
For many, many years the holidays have meant cookie baking time for me. And over the years I’ve made a wide range of cookies. About five years ago I established a goal of making at least one new cookie recipe each holiday season. The result has been a definite shift in the tried and true cookies I make each year. And it’s nice to see an evolution in my cookie baking.
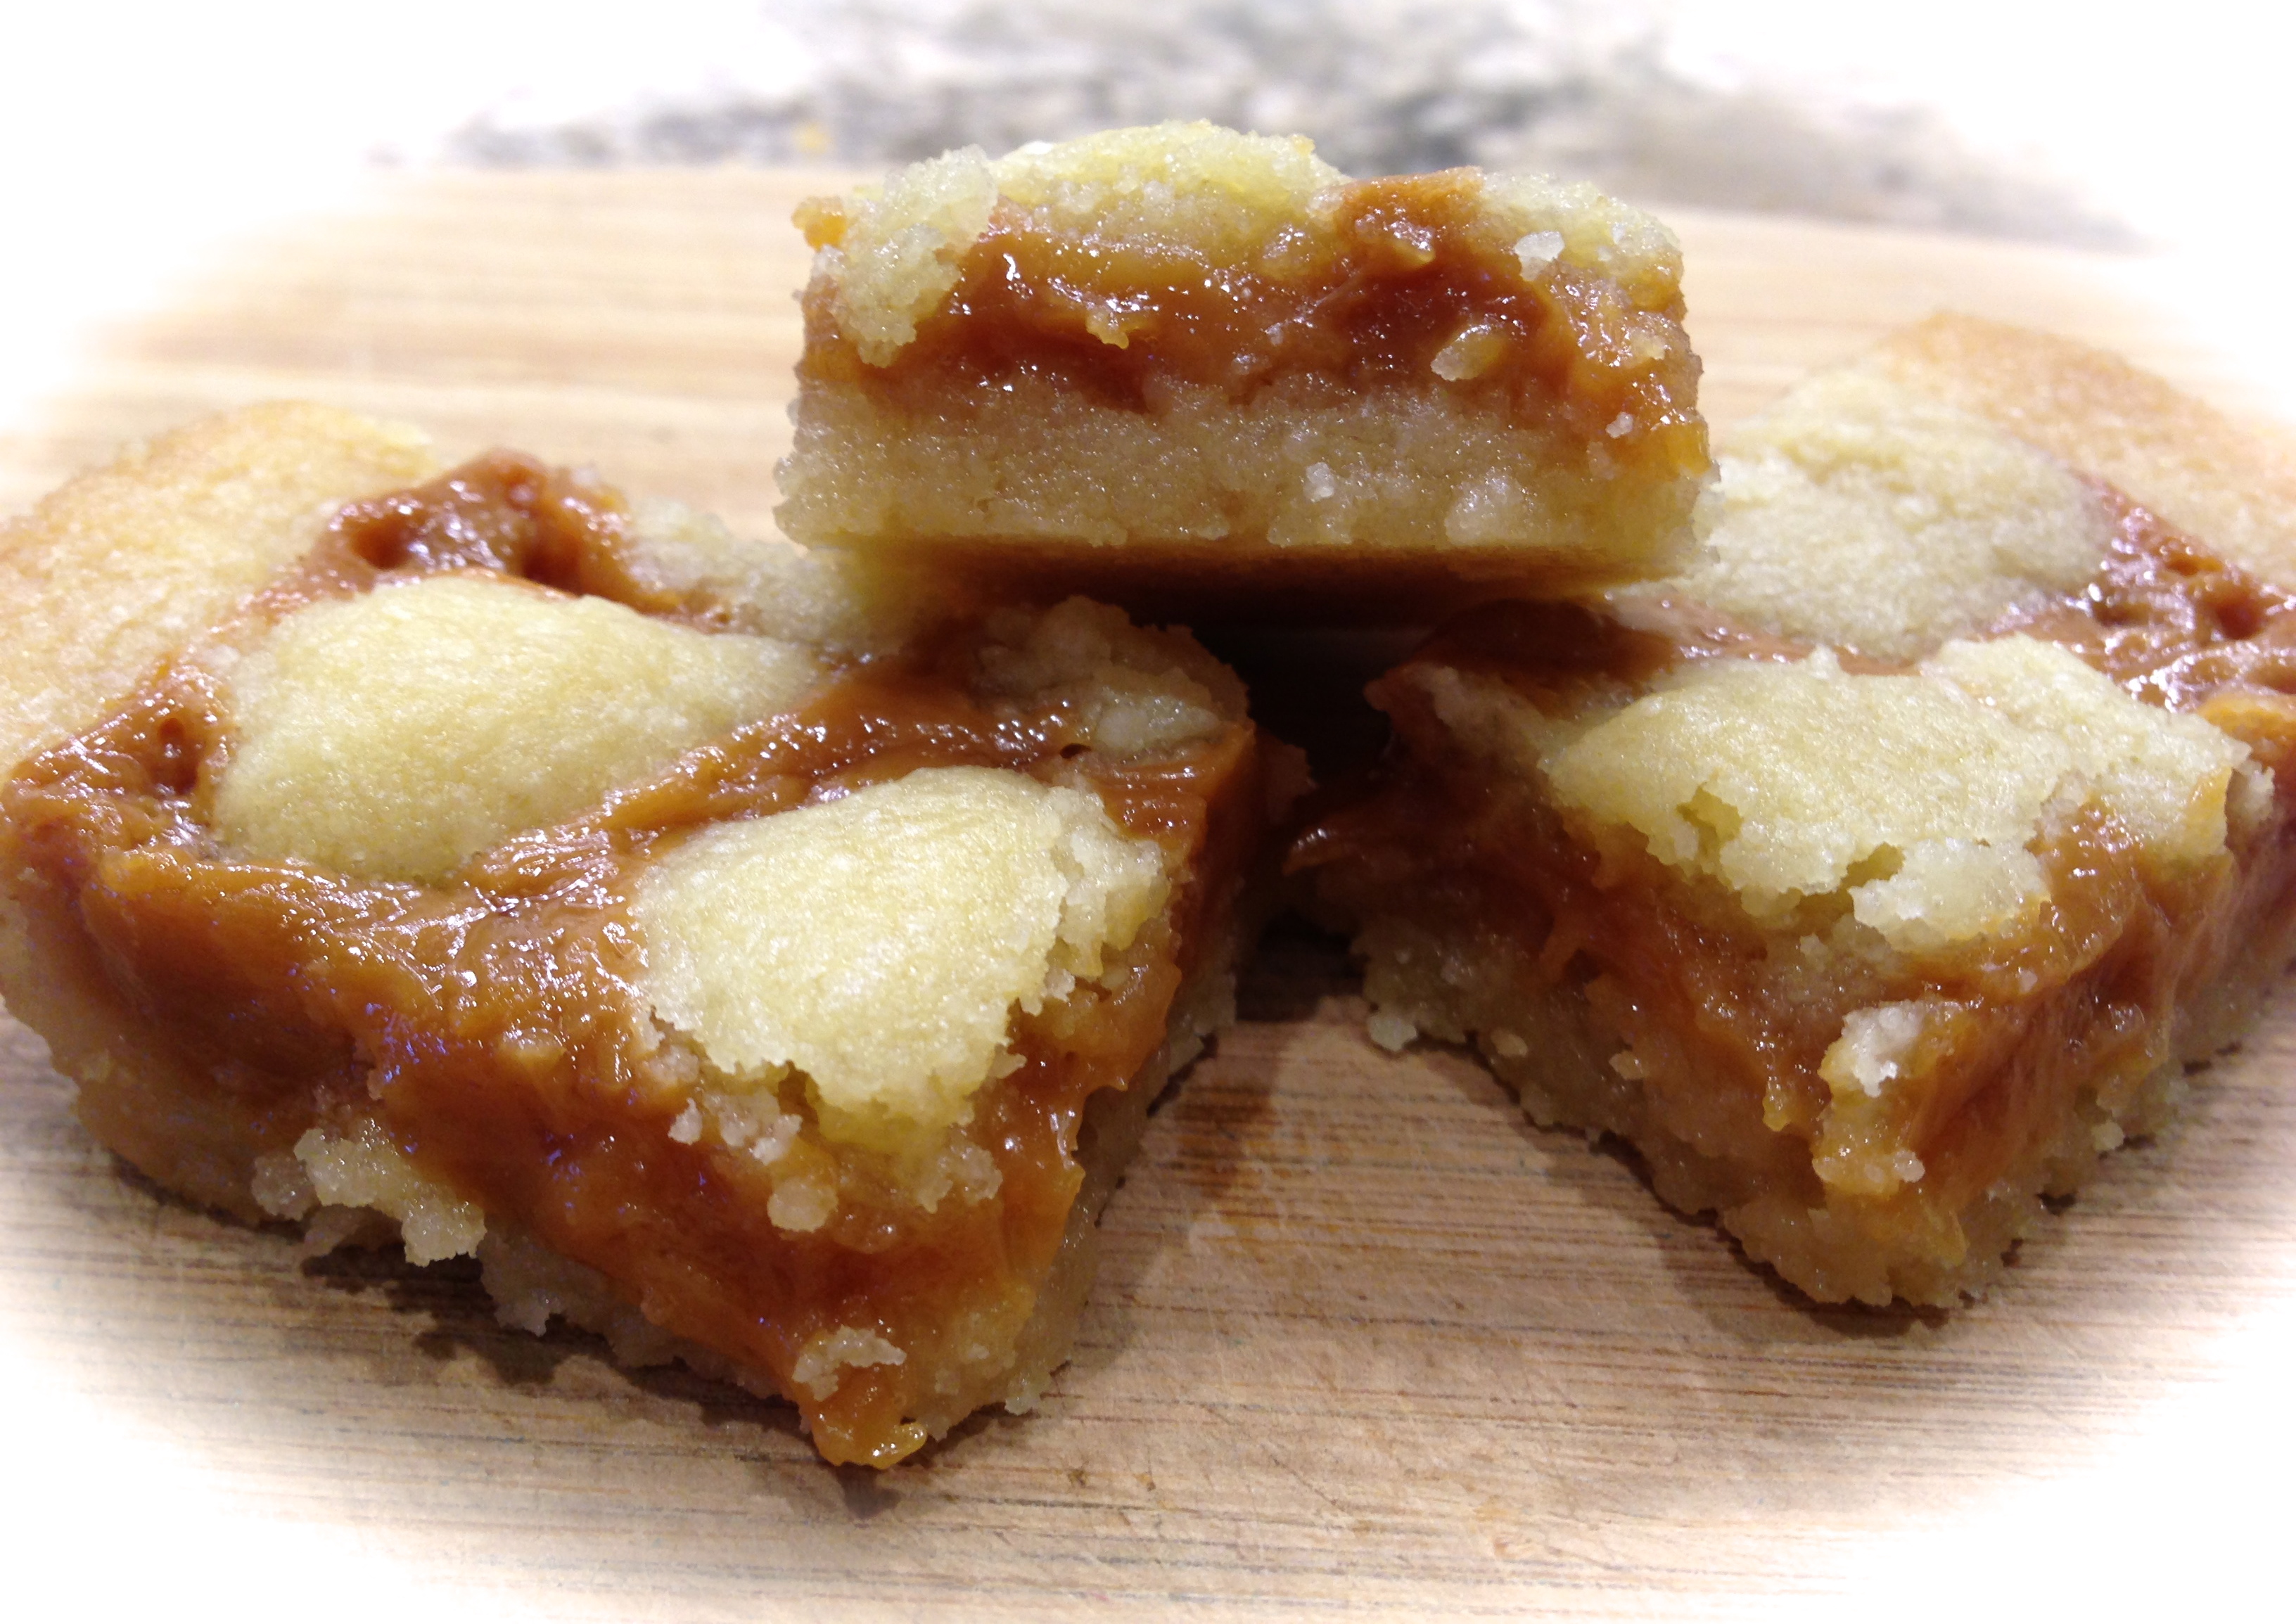
This blog is dedicated to one of the two new cookie recipes I made this year. Being that I work part time at Crate and Barrel I’ve been really challenged in making my goal of one new post a week during the holiday season. The other recipe (a recipe for oatmeal butterscotch cream cheese bars – also an excellent one) I will try to get posted within the next few days, especially for my readers who may not have started their baking yet.
This blog will also serve as a one stop shop for some of my other favorite cooke recipes. I’ll provide a picture, name and the link to each below since I’ve blogged about them already. Look through them and see what might work for you. I guarantee you, they are all delicious.
I made the peppermint twist cookies this year because I decided not to make spritz cookies and I wanted something on my cookie plates that had the colors of the holiday season. This is a delightful cookie and the combination of peppermint and chocolate truly is indicative of the holidays. It’s easy to make, colorful and delicious. Need I say more.
Recipe Rating – A: This is a flavorful, colorful cookie that will brighten up your holiday cookie platter. Just make sure your family doesn’t raid the bag of kisses before you bake the cookies like my husband did. They are a necessary part of making this cookie special.
Lesson Learned 1 – Rolling out the cookies: This is definitely the most intricate part of making the cookies. Keep in mind that you will be combining to logs of dough into one so make sure the logs are thin enough. Once you have divided the dough and colored half of it with red food coloring, you need to chill the dough for at least an hour. Then divide each half of the dough into 4 equal parts and roll one of each color into a log 9 inch log. I have a silicone baking mat that was great to use in this process as it had measurements in inches on the top of the mat that helped guide me through rolling out the logs into the appropriate length.

Roll each color of dough into 9 inch logs…
Once you do that, you need to loosely braid them together and roll them into a single log. This will elongate the log about an inch or two. Remember you want the circumference of the combined log to be as thick as each individual log.

Once you’ve rolled both pieces into a single log cut them into pieces approximately 1 1/8 inches thick. (Once I cut the first piece I used it as a guide for cutting the others)

Take each individual piece and roll it into a ball and place on a cookie sheet.

You will need to flatten each ball slightly with the bottom of a glass before putting them into the oven. That is definitely the hardest part of making these cookies.
Lesson Learned 2- Make sure you unwrap the chocolate kisses ahead of time. You only have a short window of opportunity to place the kisses on the cookies once they come out of the oven. Make sure you have them unwrapped so that you can get them on quickly. Then DON’T TOUCH THEM. The warm cookie will cause the kisses to get very soft and they need to reset to retain their shape. Once the cookies have cooled slightly I put them on a baking sheet and stick them in the freezer for a few minutes to get the chocolate to set a little quicker.
These cookies are fun to make, colorful, flavorful and will brighten up any holiday cookie tray. Enjoy!

Peppermint Twist Kisses…
INGREDIENTS:
1 cup unsalted butter at room temperature
2/3 cup sugar
2 egg yolks
1 tsp. peppermint extract
1 tsp vanilla extract
2 1/2 cups flour
1/2 tsp. salt
Red food coloring
36 chocolate kisses (1 bag will give you more than enough)
DIRECTIONS:
In a large mixing bowl cream butter and sugar. Add the egg yolks one at a time and blend. Add the extracts and mix well. Combine the flour and salt. Gradually add the dry ingredients to the wet ingredients. Mix well but do not over mix. Divide the dough in half. Tint one half of the dough with the red food coloring. Wrap both halves individually in plastic wrap and refrigerate for at least one hour.
Preheat the oven to 350 degrees. Divide each half of each dough into four equal portions. Shape each portion into a 9 inch log. Place one red log next to one white log and gently twist them together to create on swirled log. (see picture above). Gently roll both together to create one log. Cut each log into pieces approx. 1 1/8 inches thick. Roll each segment into a ball and place on an ungreased cookie sheet. Flatten each ball slightly with the bottom of a glass.
Bake at 350 for 10-12 minutes or until the edges are lightly browned. Press chocolate kisses into the center of each warm cookie. Remove to a wire rack and let cool. (once slightly cooled you can put the cookie on a flat sheet into the freezer for a few minutes to help the kisses set faster).

QUICK GUIDE TO OTHER HOLIDAY COOKIES: (just click on the title underneath the picture)


[…] one new cookie recipe. This year I was adventurous and I made two new varieties. One new cookie was peppermint twist kisses and the other, which quickly has become my husband’s favorite, was oatmeal cream cheese […]
LikeLike
[…] Peppermint Twist Kisses […]
LikeLike