Just when I think I’m getting pretty knowledgeable in the culinary arts something comes along, be it a technique or a term, that makes me realize I’ve only scratched the surface of my so-called expertise. And so it was today as I was in the midst of my quest for my one new recipe per week goal. I’ve done a lot of main dishes lately and I thought I’d switch to the baking side for a couple of posts. So merrily I skipped off to Pinterest and started perusing pins. It was the title of the recipe that piqued my interest this time, a recipe for a blueberry buckle.
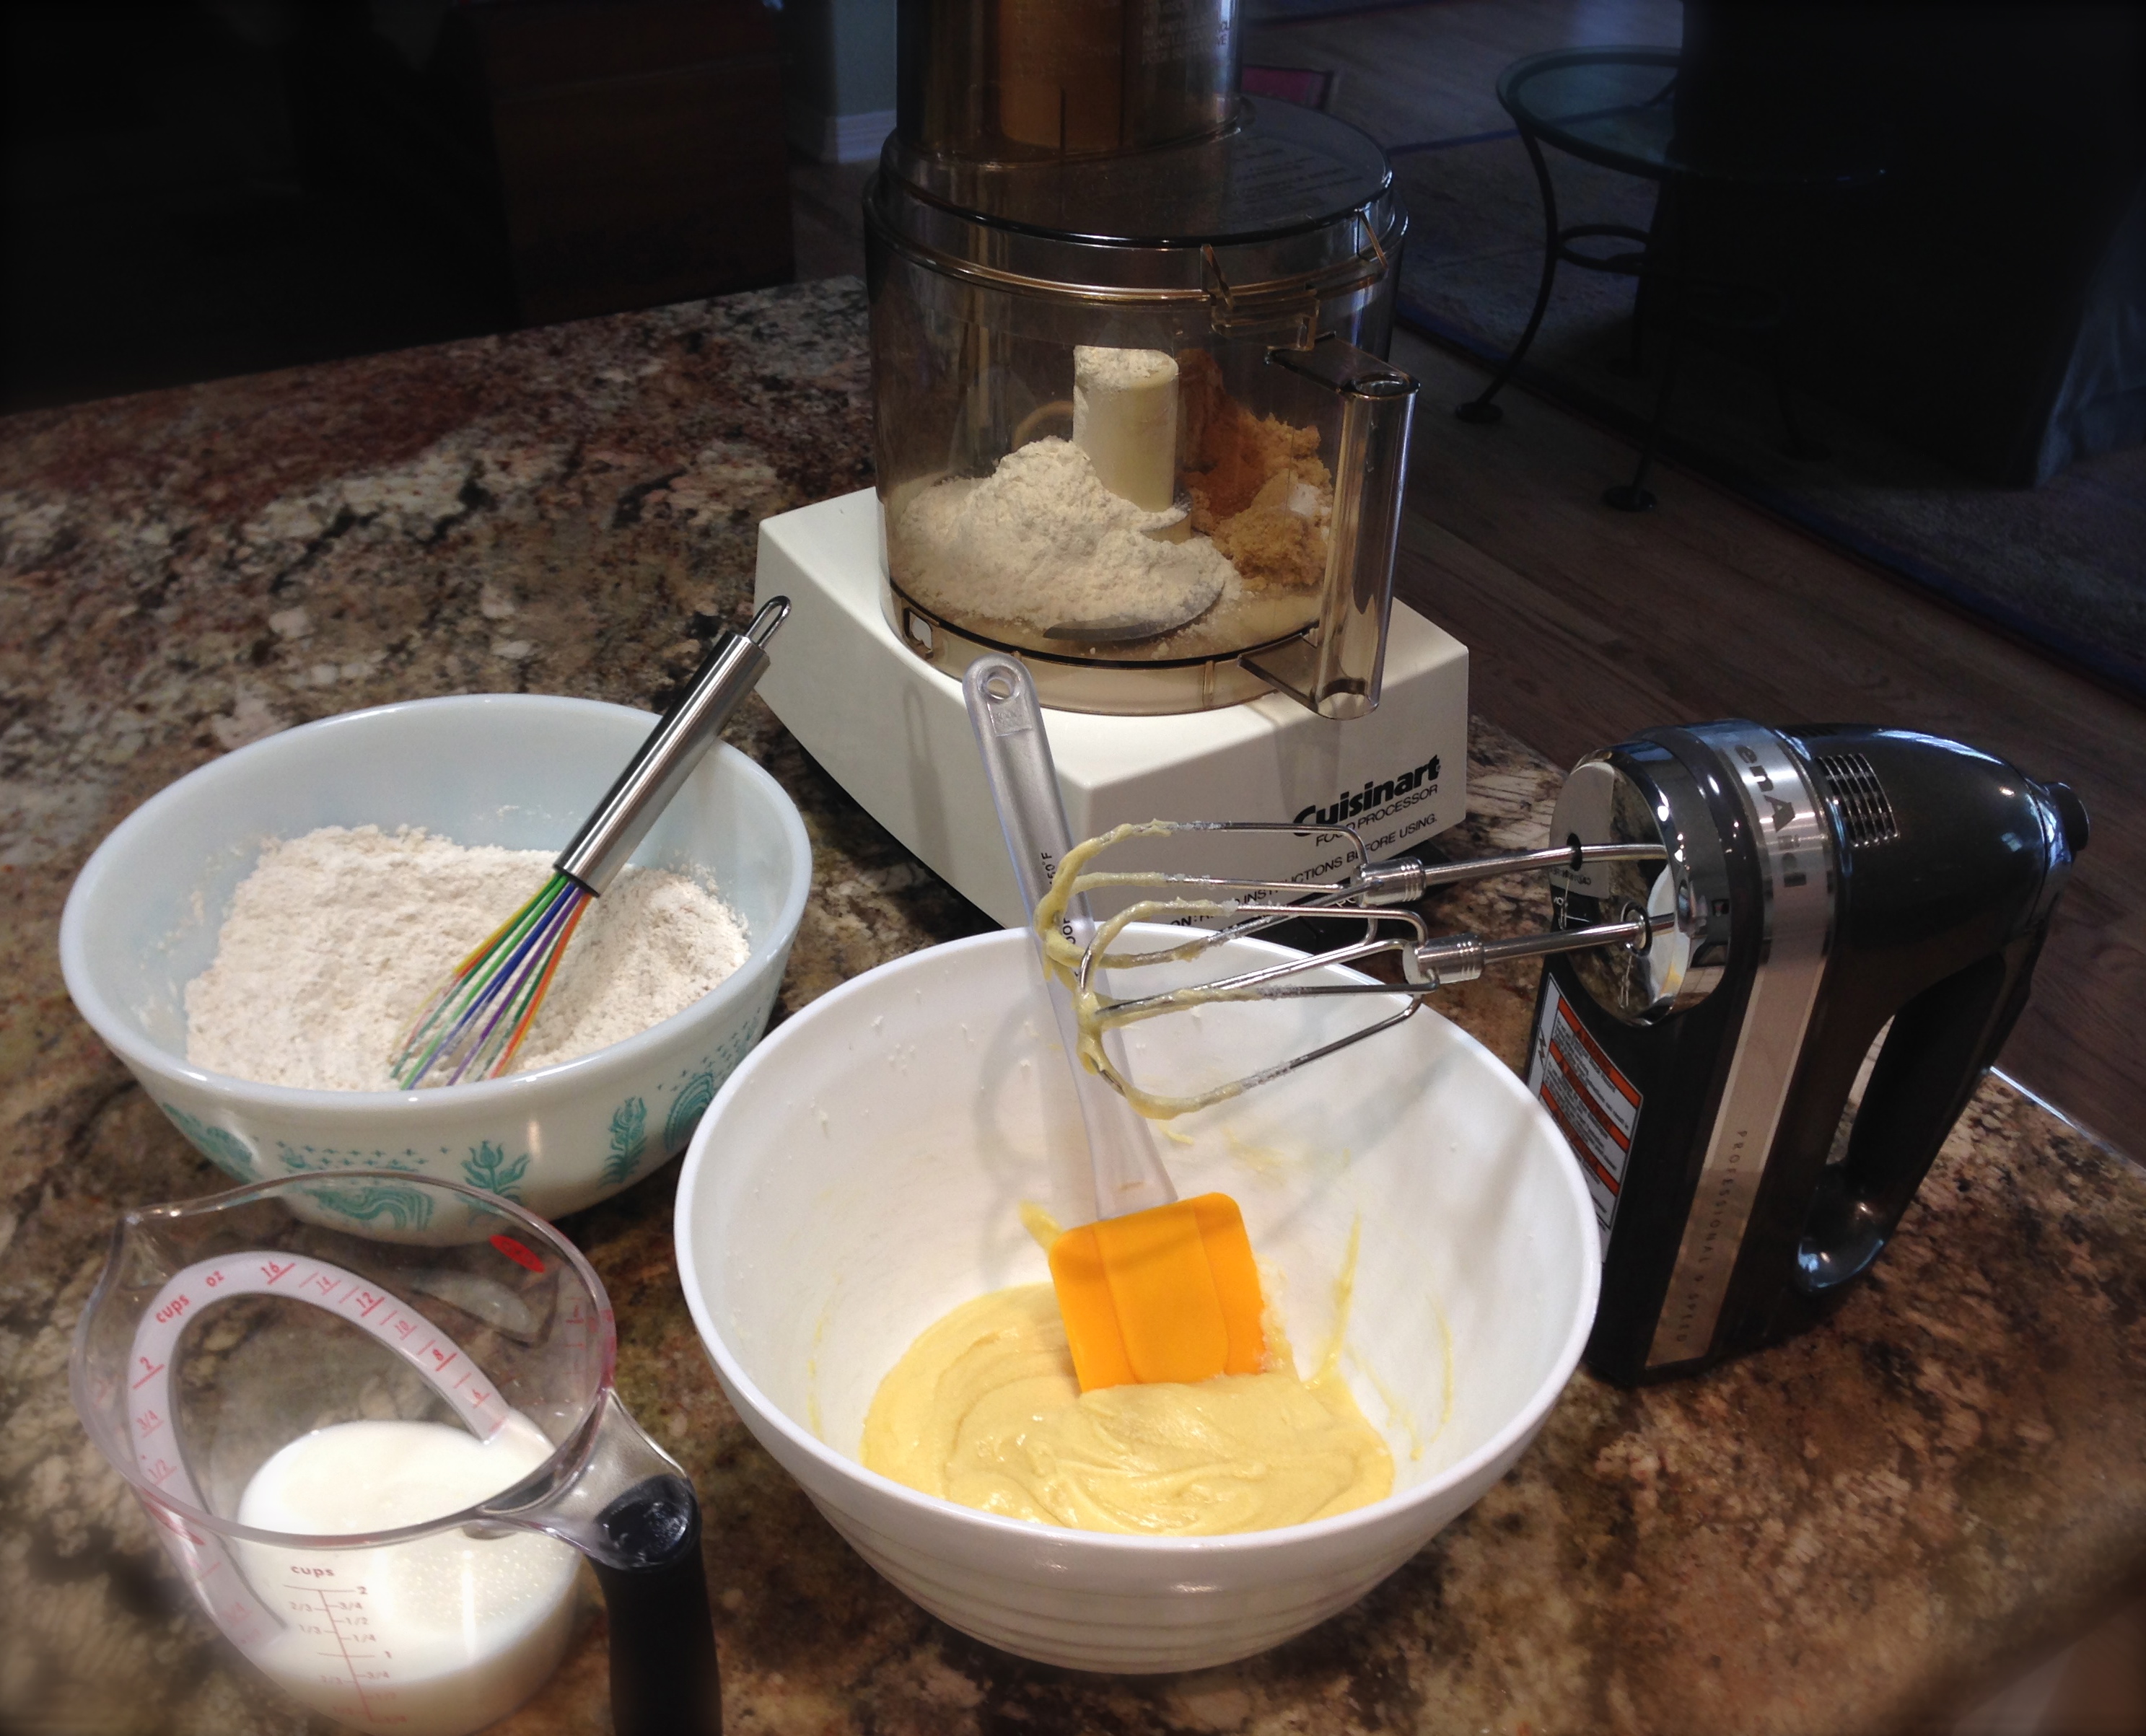
Wet and Dry Ingredients
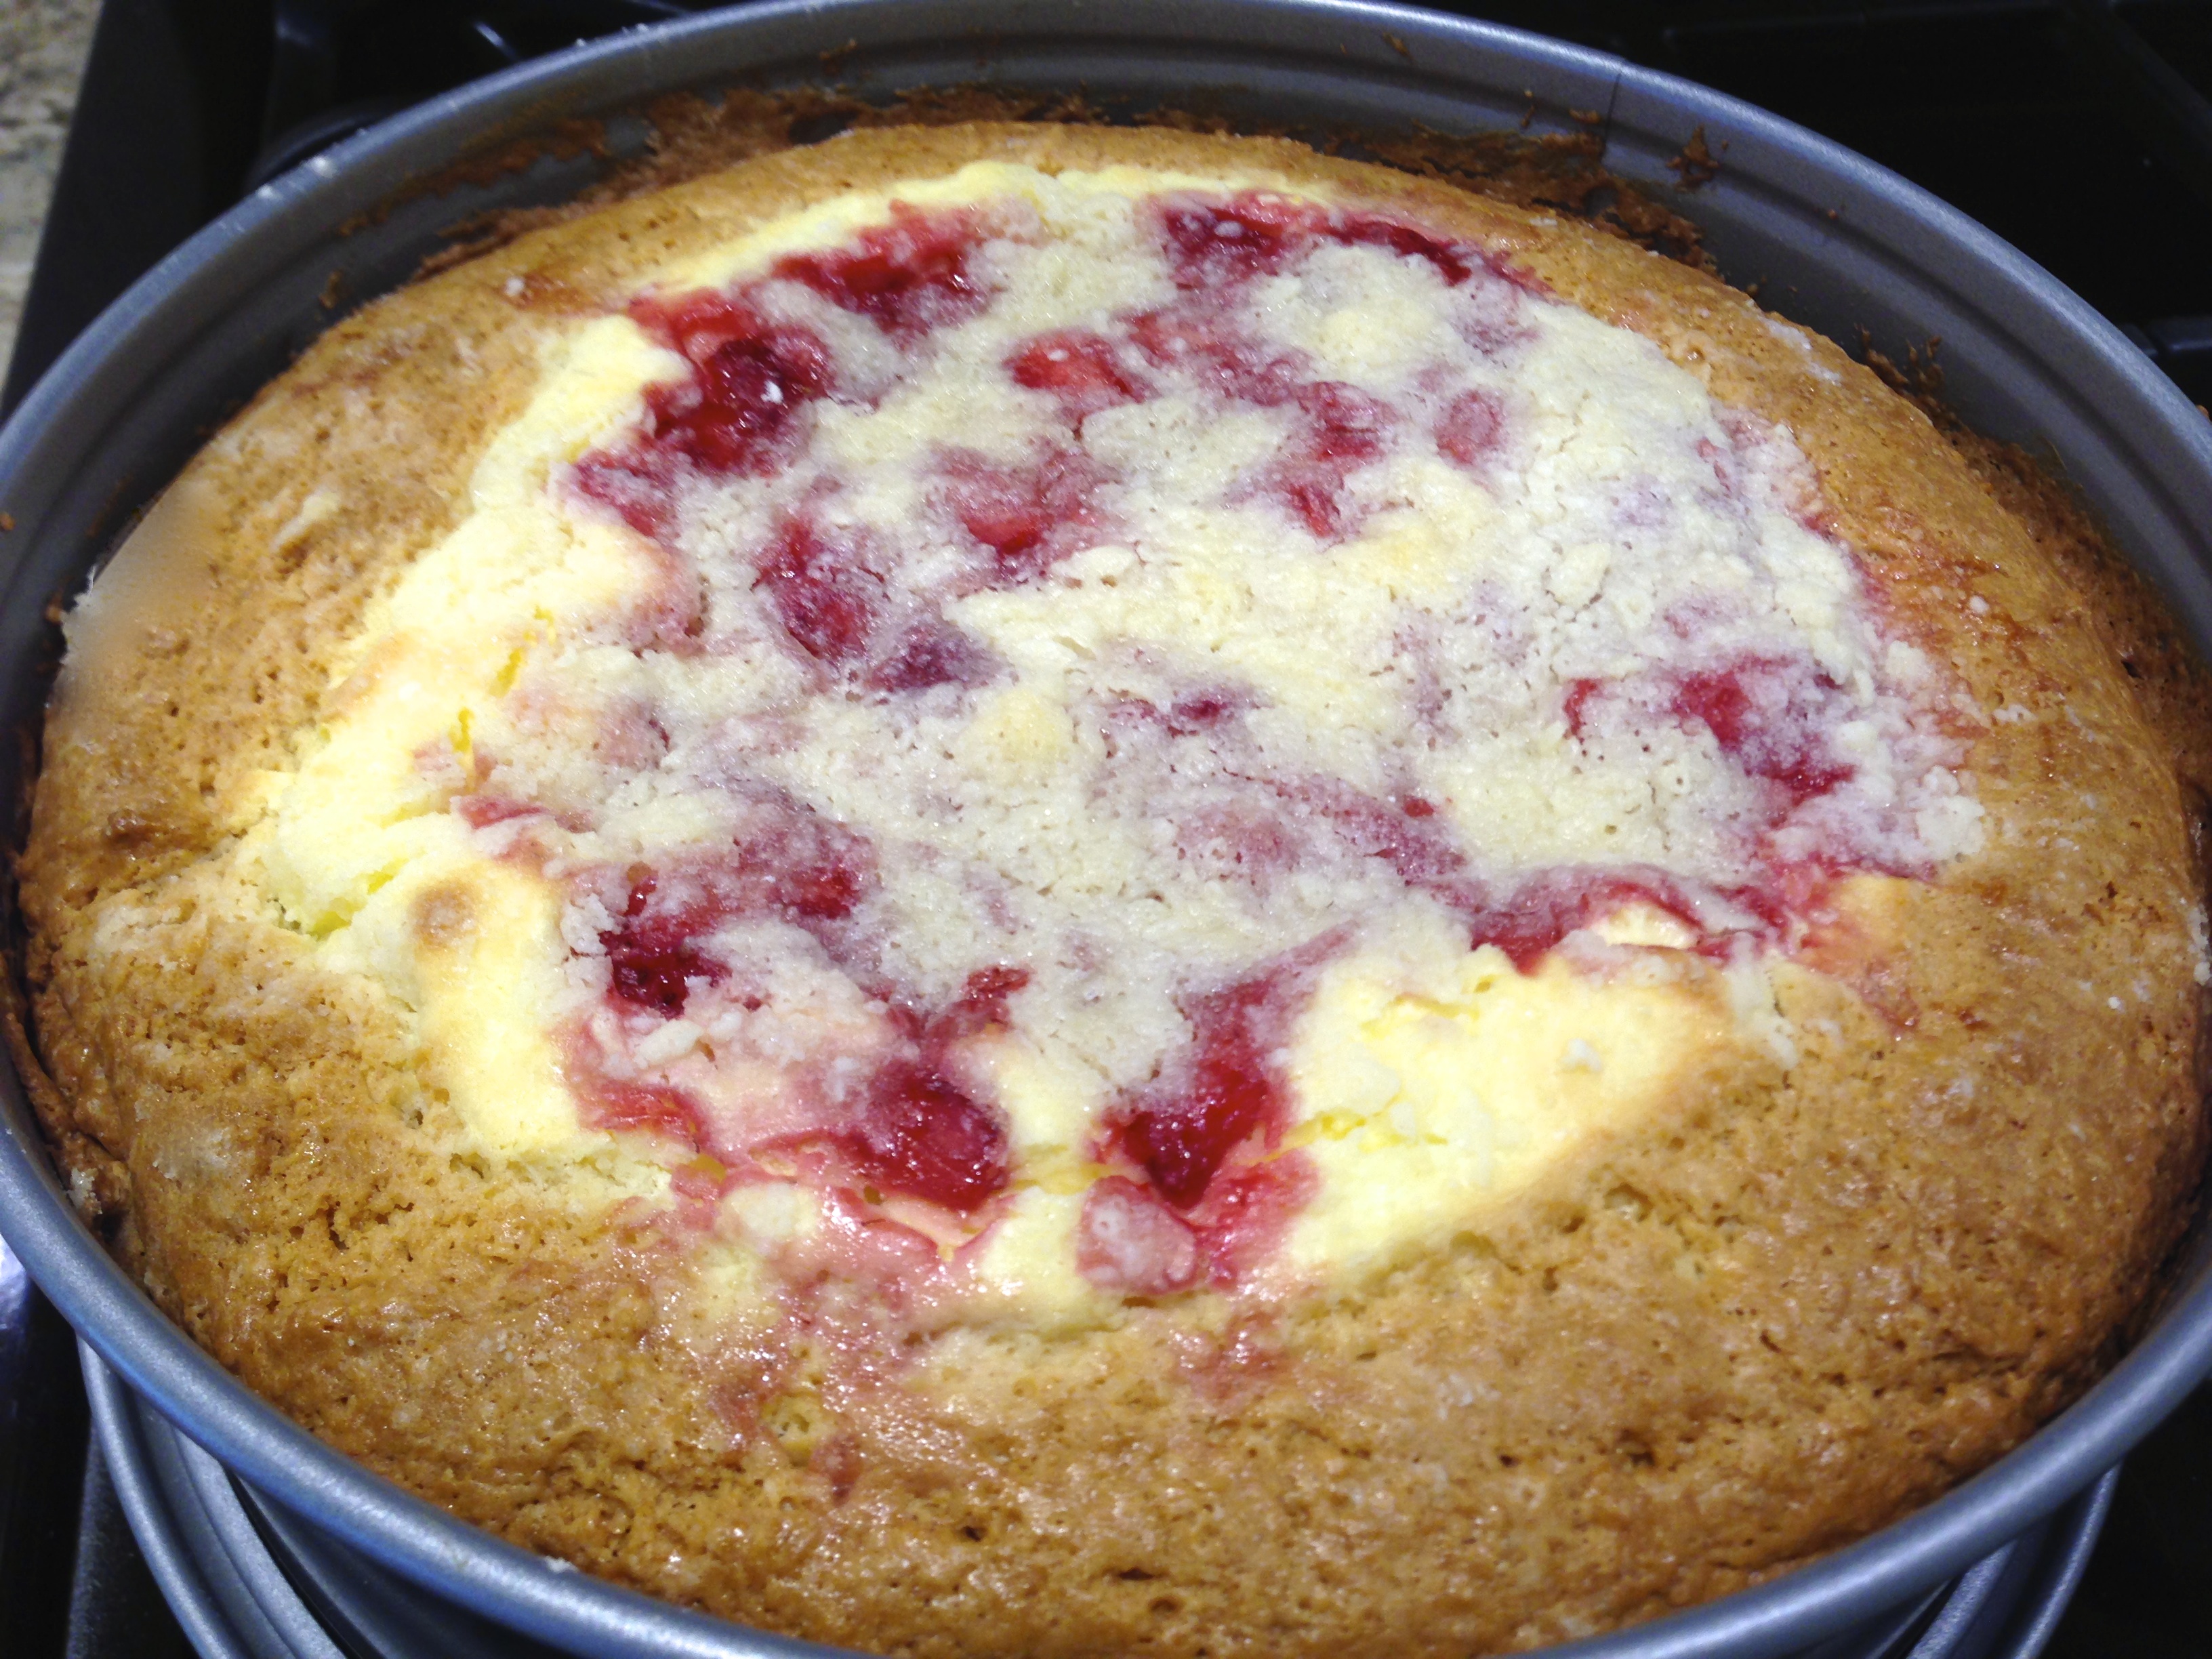
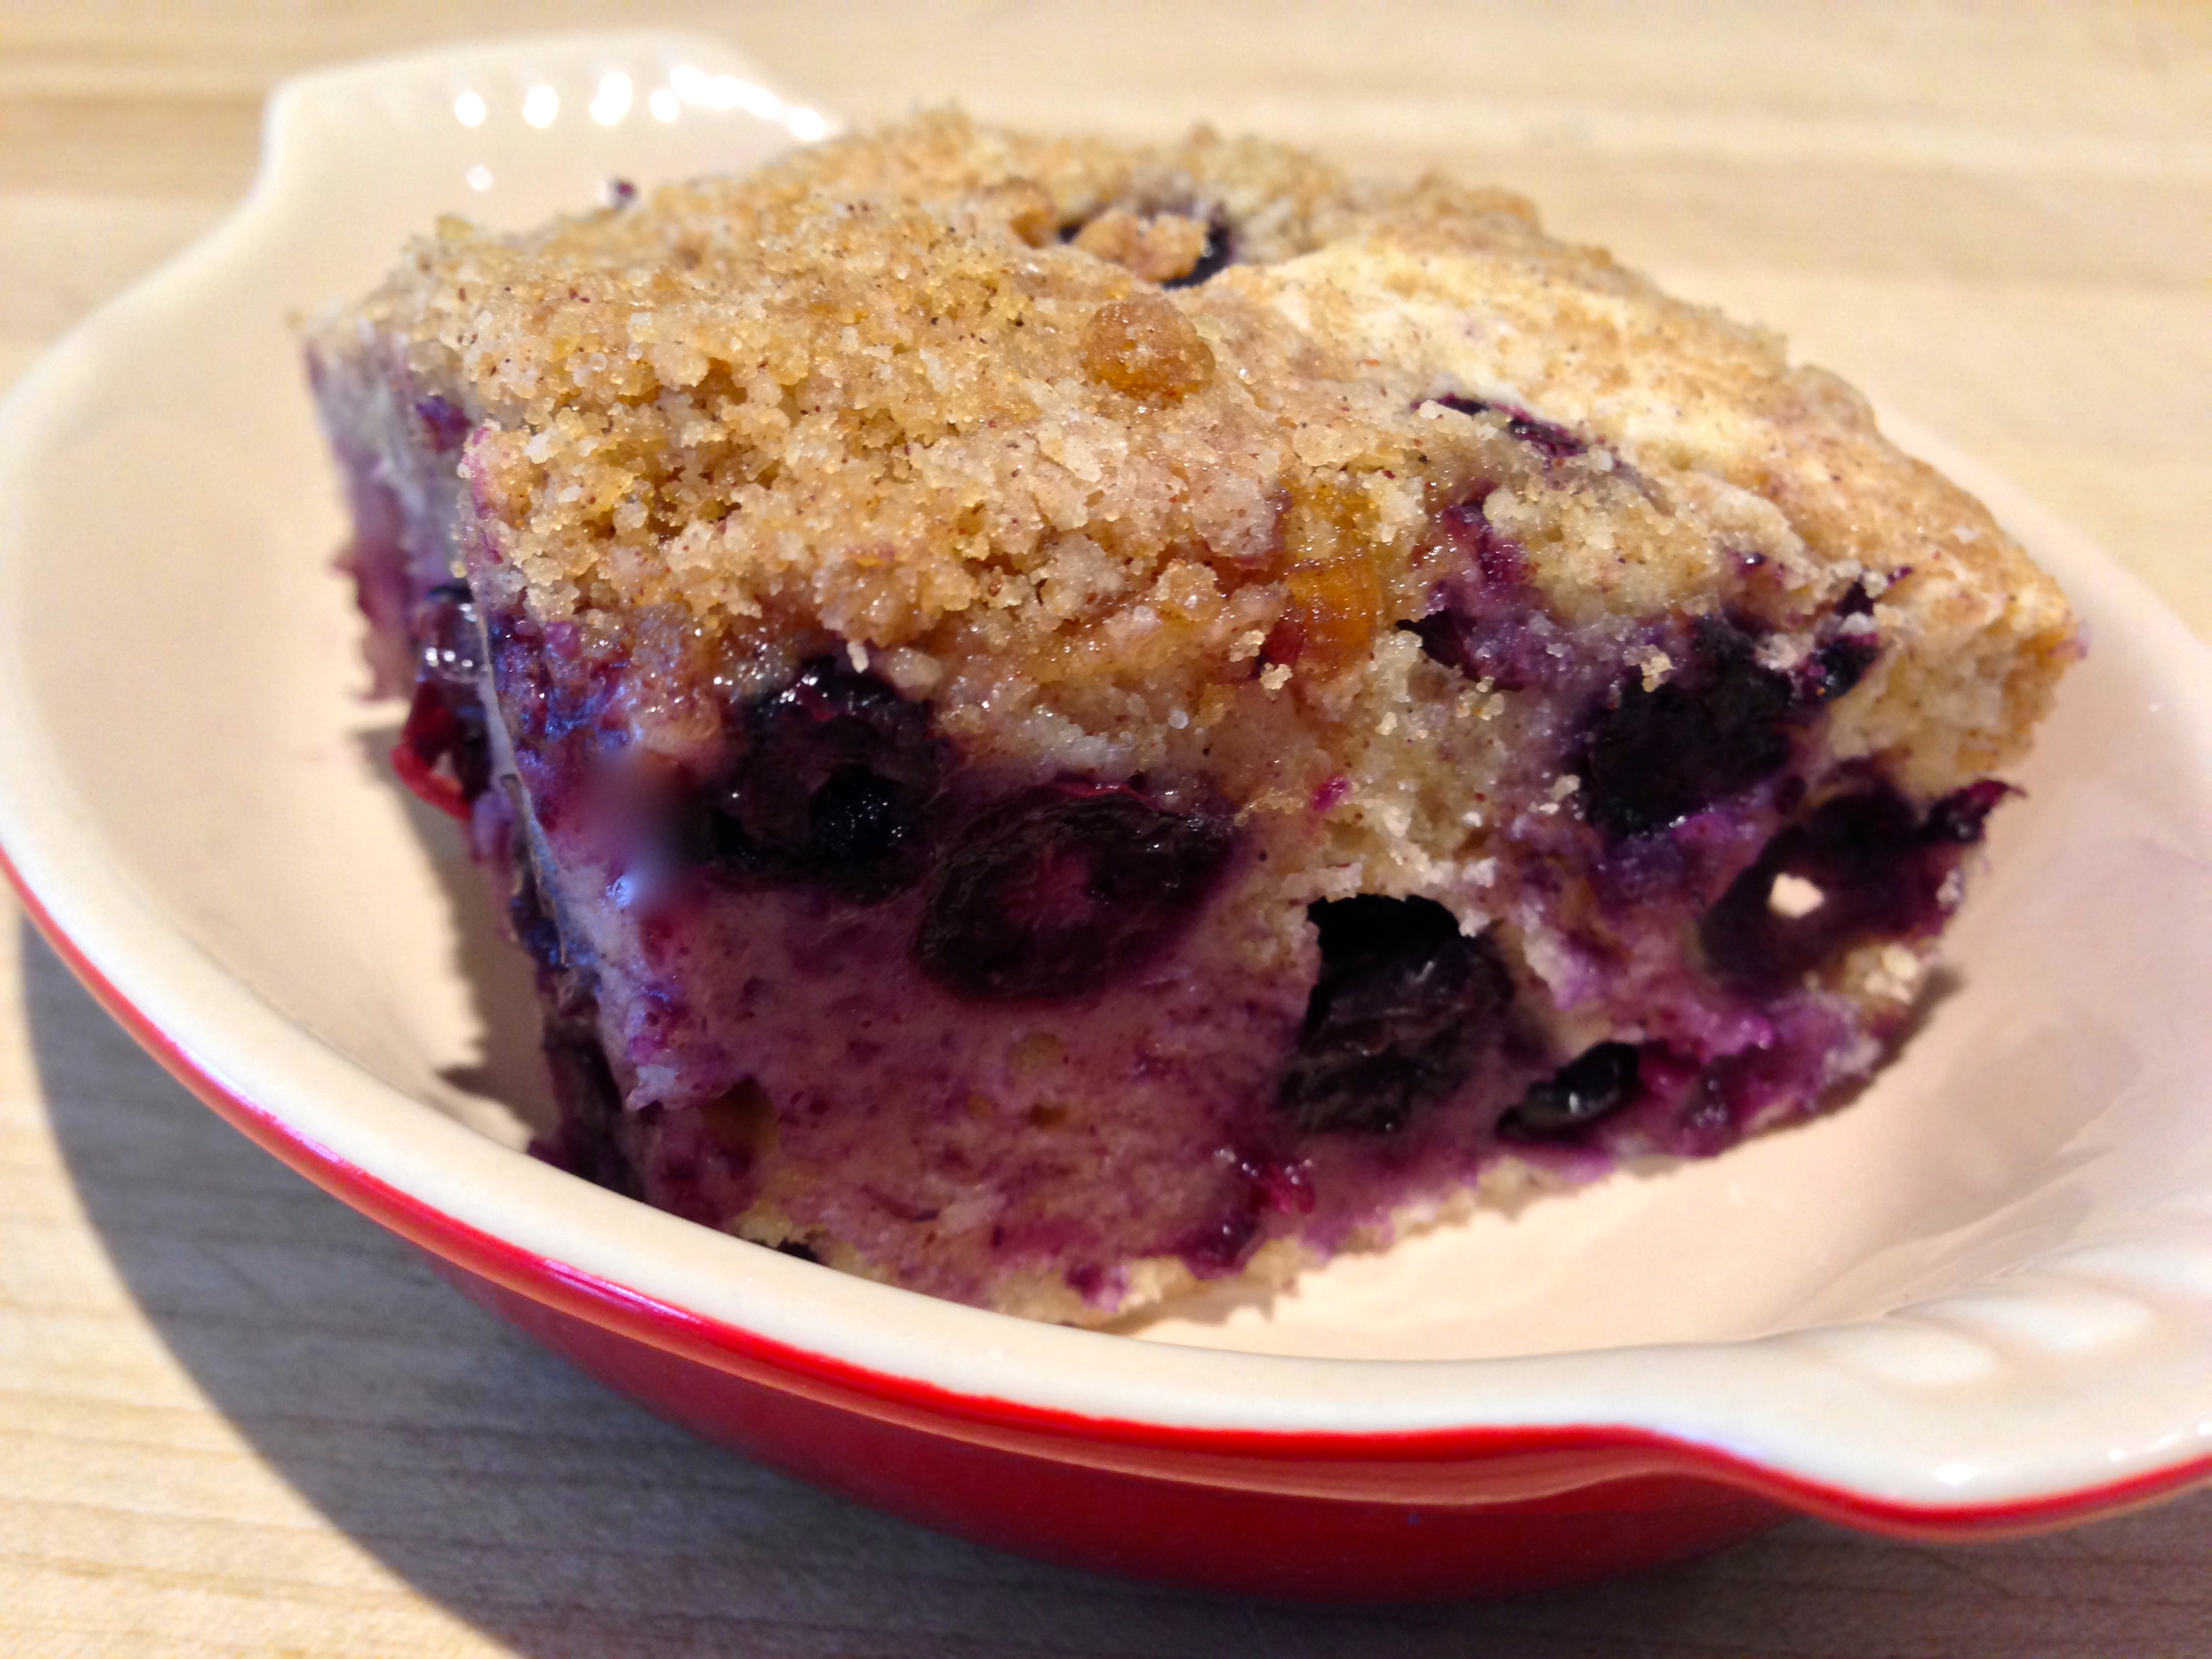
Before today I thought a buckle was a part of a belt. Now I know it is actually a term for a popular dessert that originated in New England. The premiss of a “buckle” is simple, consisting of adding berries to a single layer of cake batter. During the baking process the berries sink to the bottom and the cake emerges with a buckled appearance. Who knew you can eat a buckle as well as wear one? Will wonders never cease!
The original recipe came from a website called mybakingaddiction.com. It seemed simple enough and this time I was smarter and adjusted the recipe for high altitude and guess what, the cake didn’t didn’t sink in! What a concept! So here are my lessons learned, recipe rating and my version of the recipe.
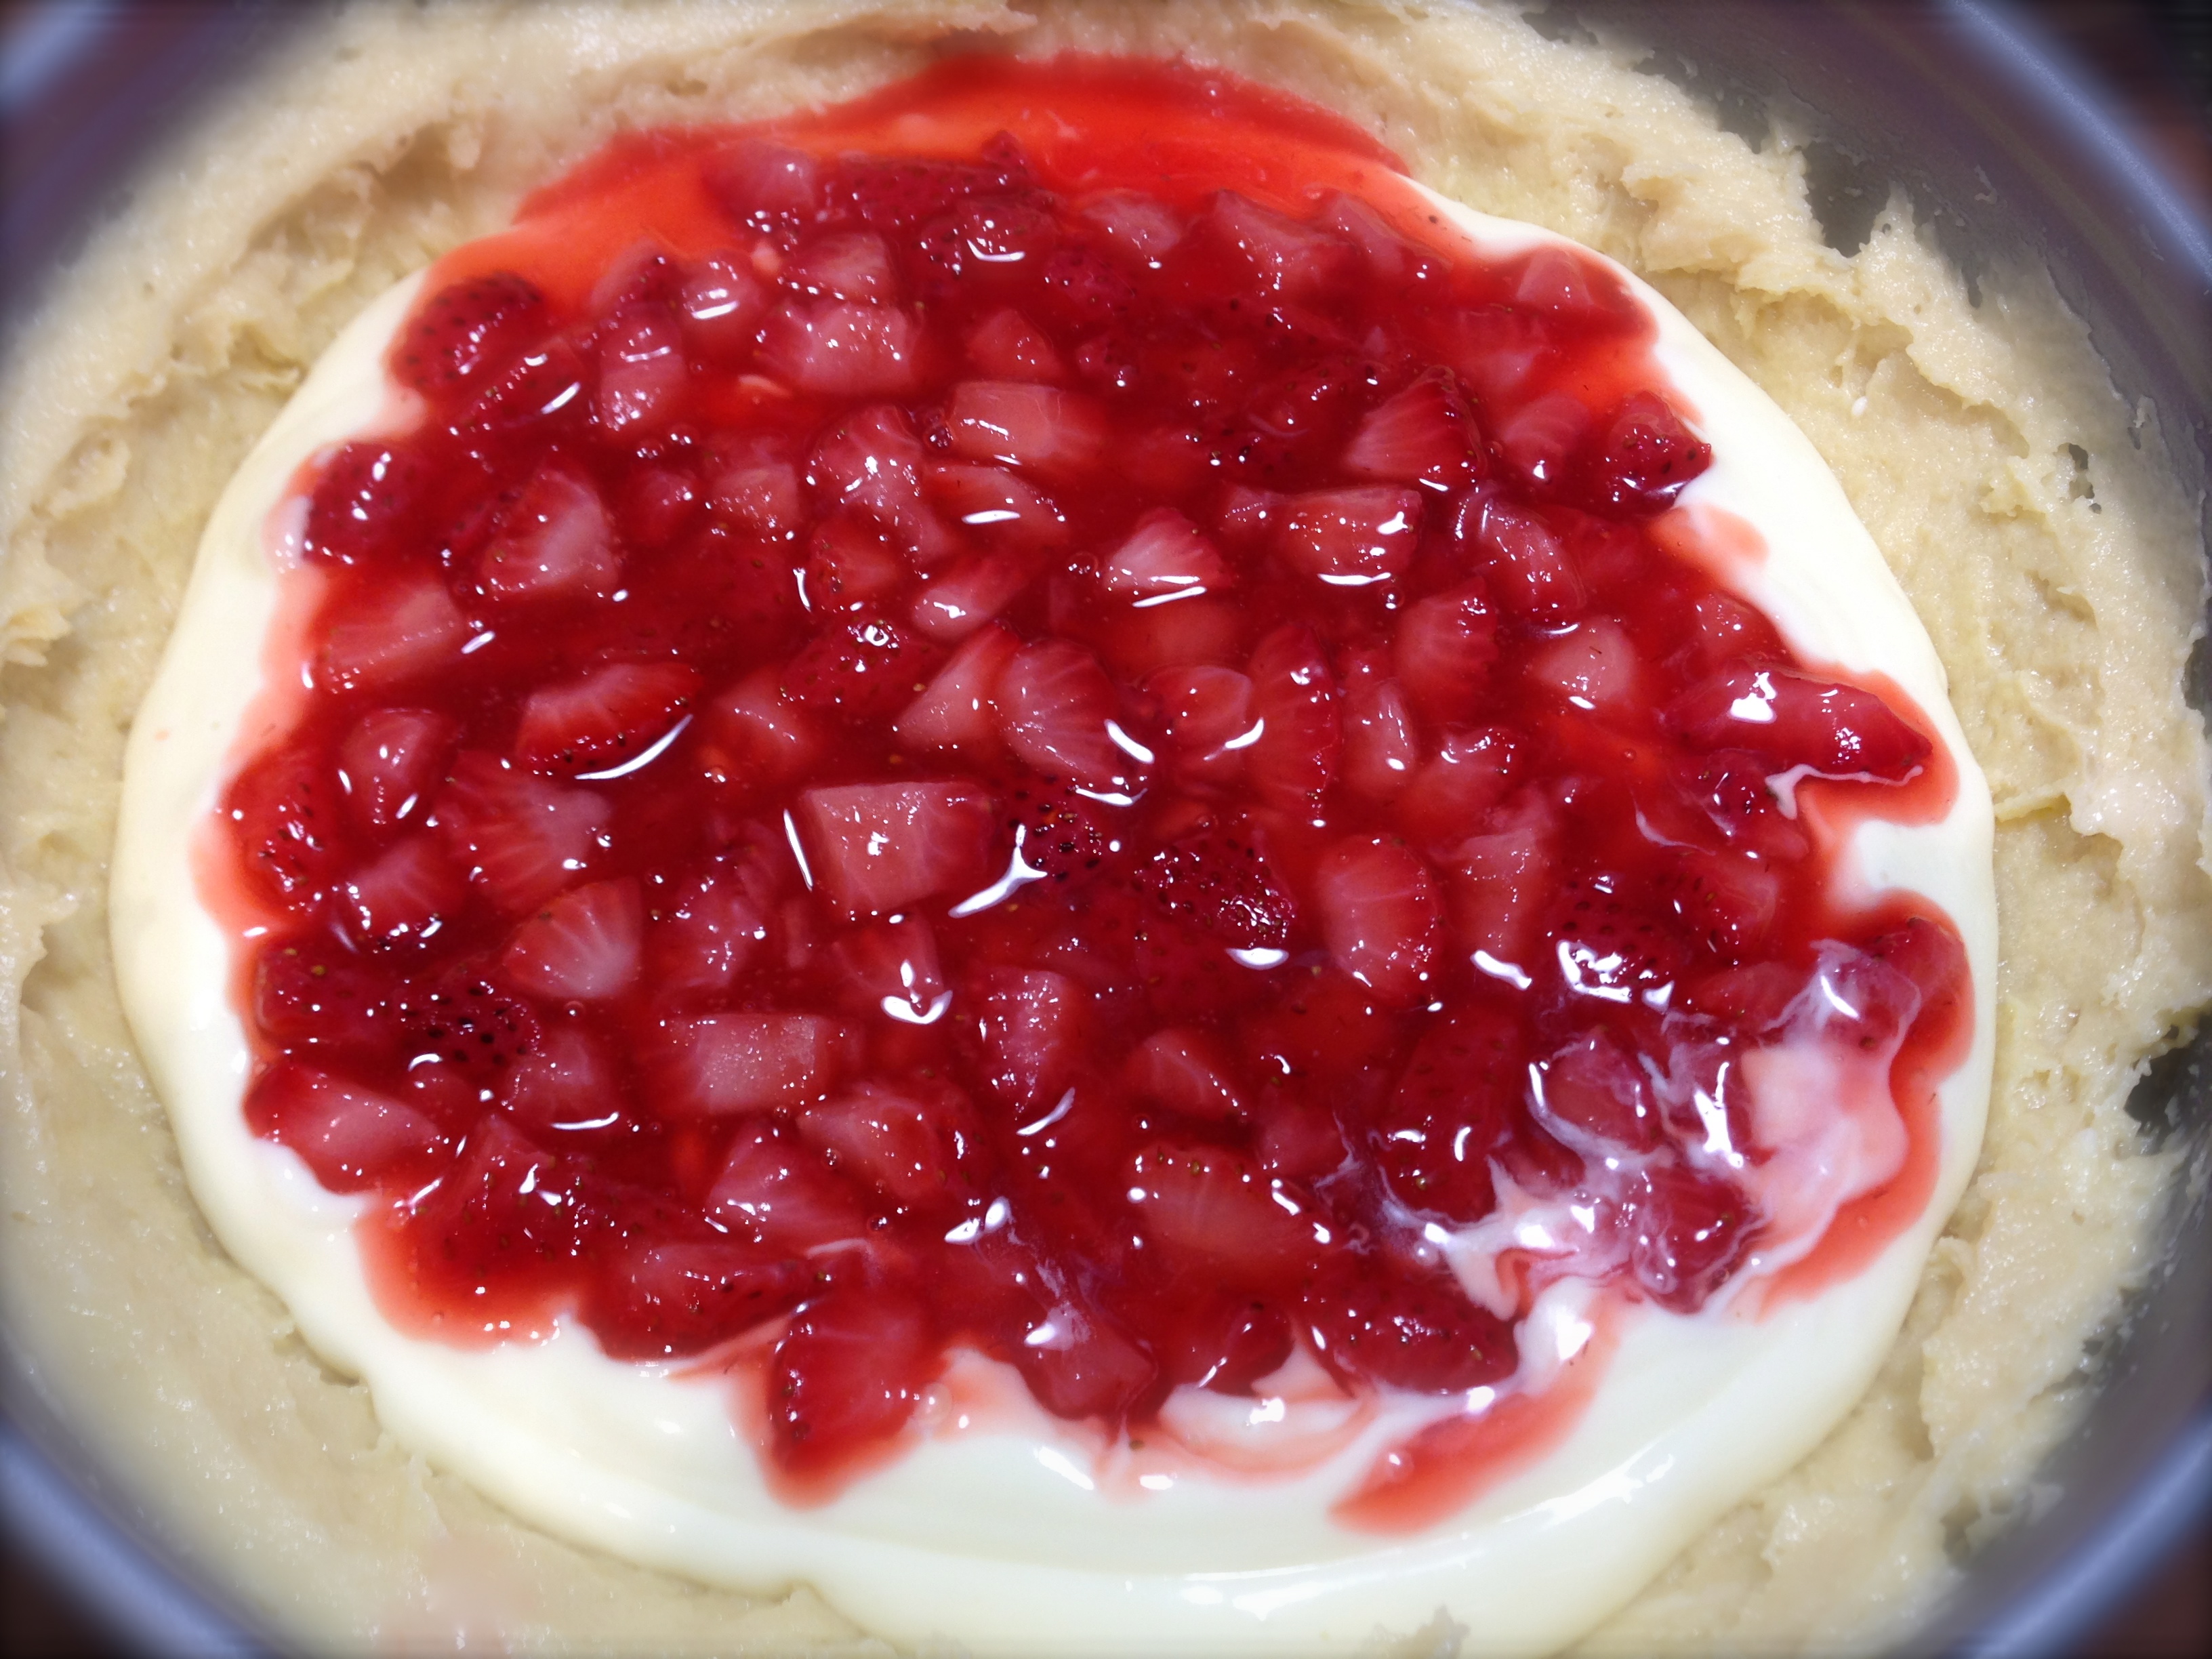
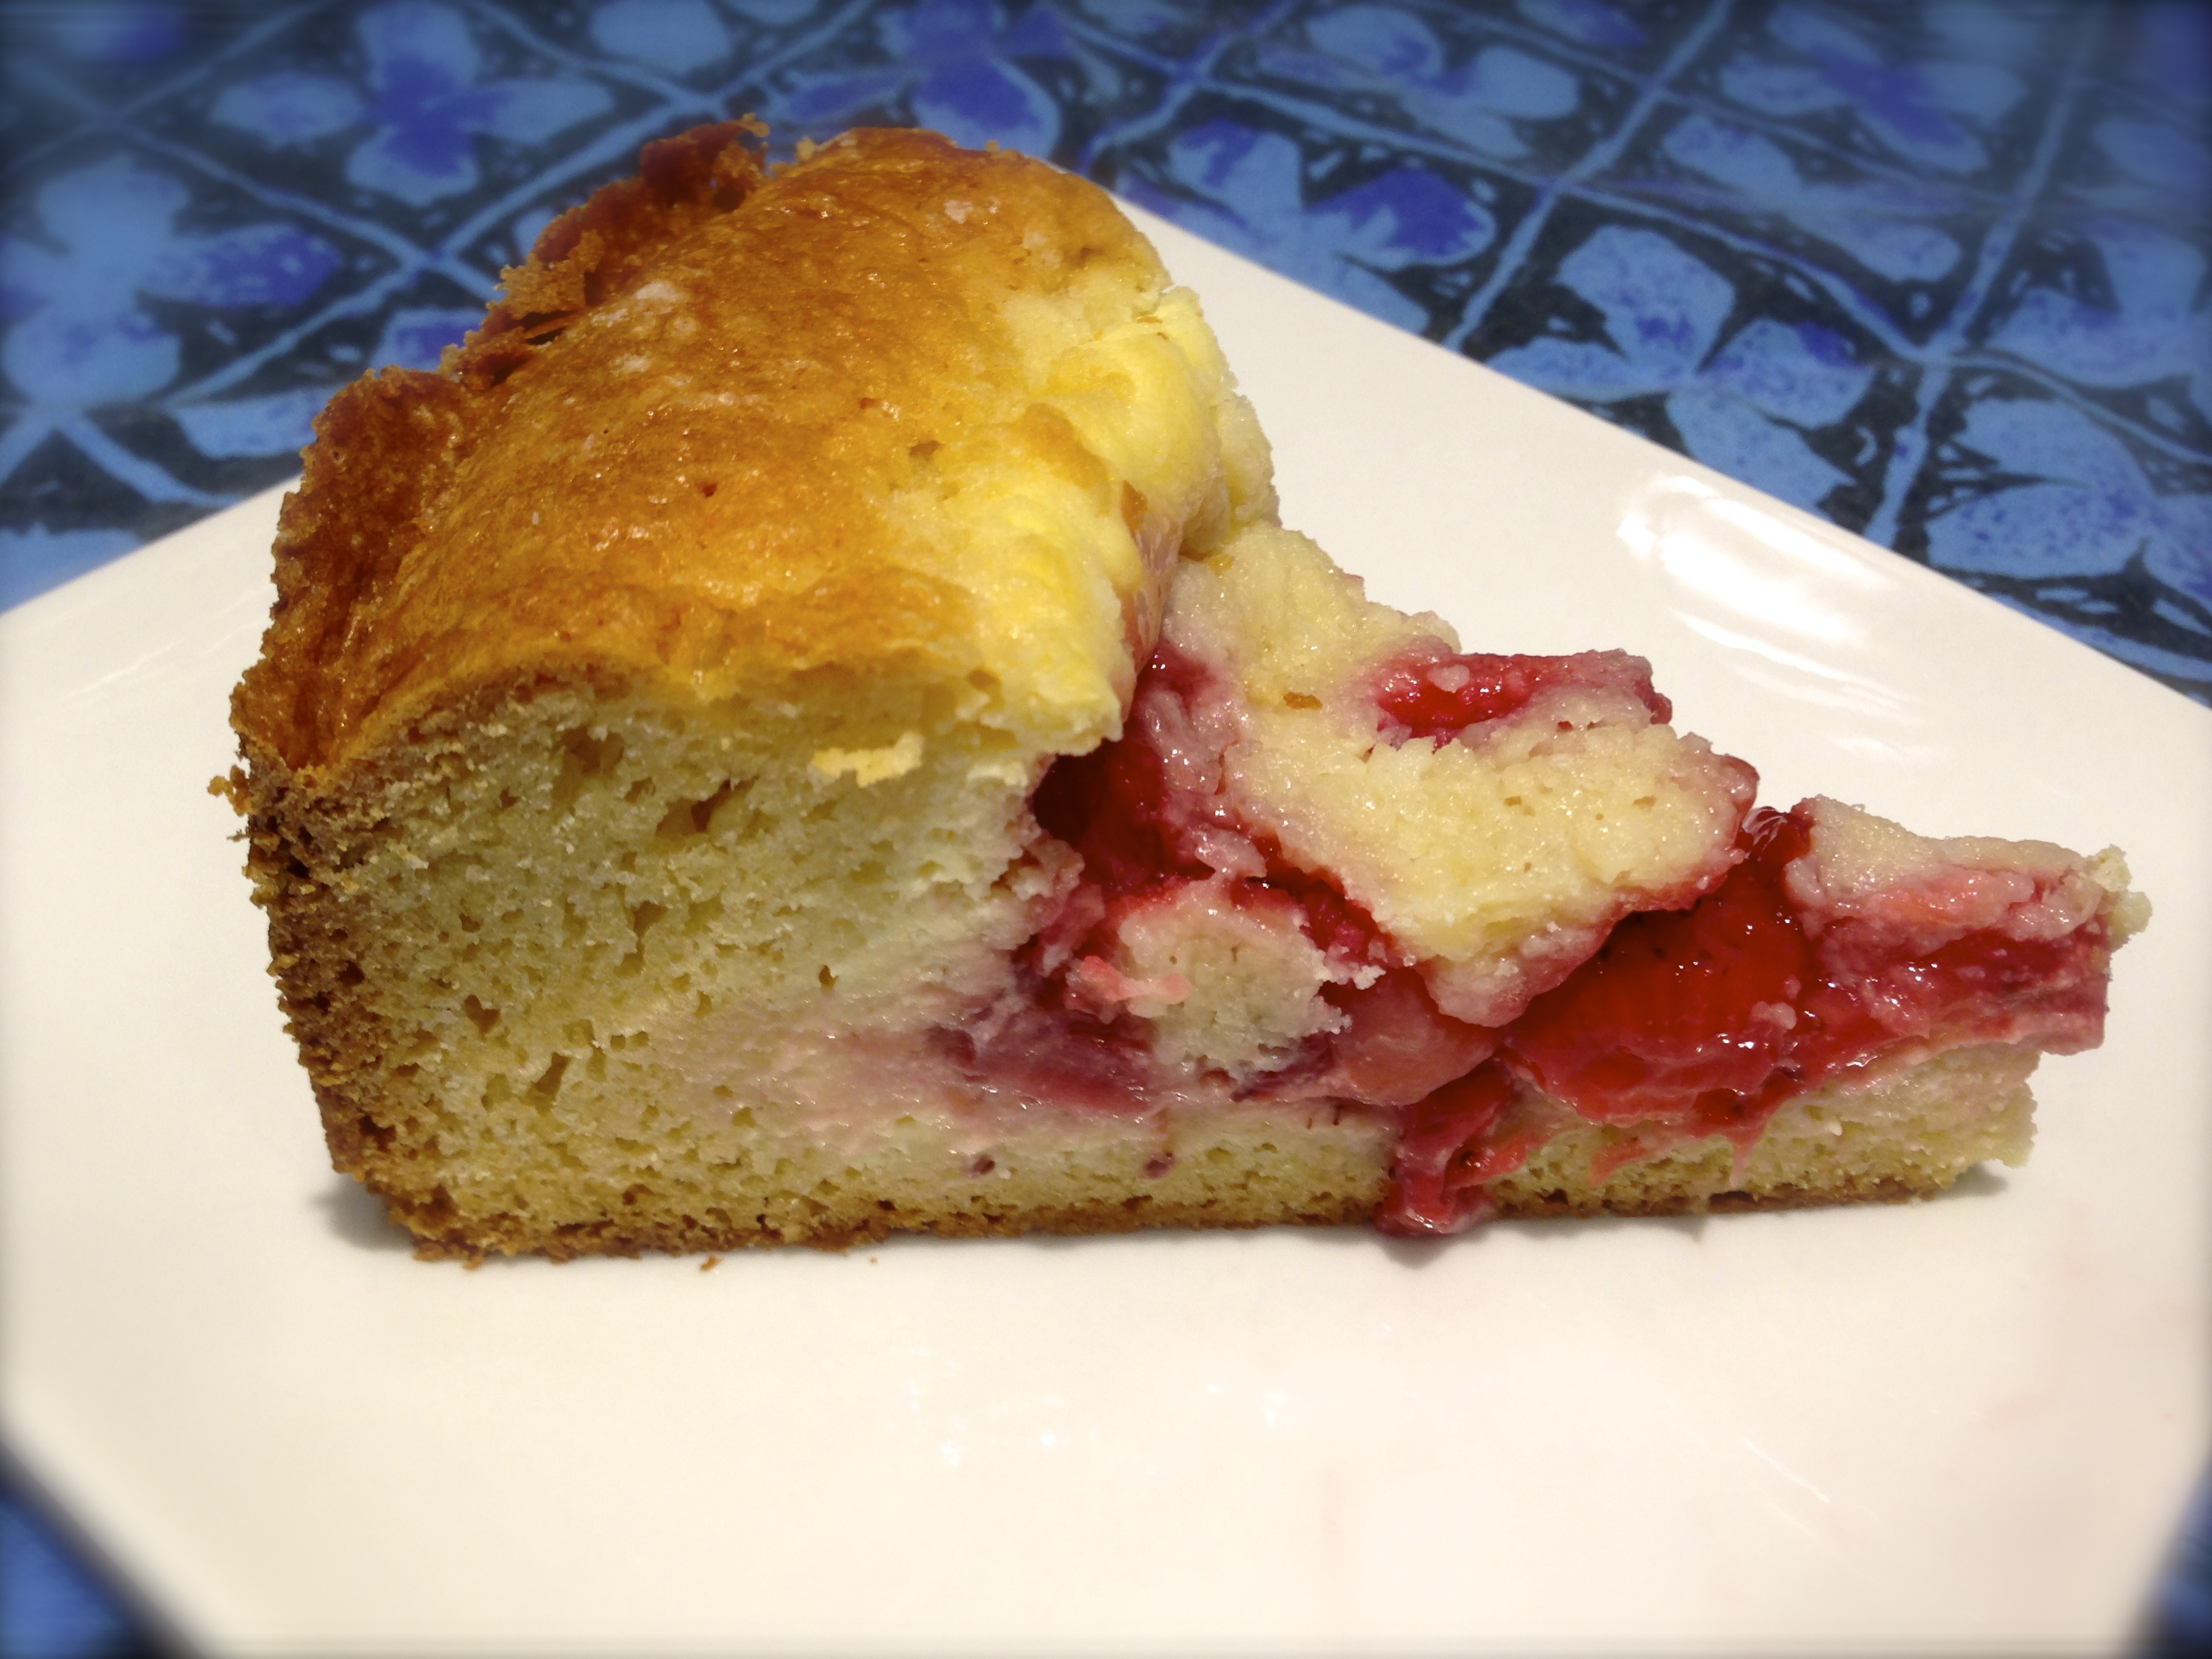
RECIPE RATING: A++++++ This is the best buckle I’ve ever eaten that’s for sure. The batter, the streusel topping and the blueberries all combine into one very delicious cake. Plus, you know me, I’m always a very happy camper when something turns out right the very first time you make it. I learned my lesson from not making the high altitude adjustments to my strawberry cream cheese coffee cake recipe. This time the adjustments were made and the cake turned out perfectly. I will outline the adjustments in the recipe below.
LESSON LEARNED 1: This time I made the streusel topping in a food processor versus trying to hand cut the cold butter into the other streusel ingredients. The mixture turned out much better. I simply pulsed the mixture until a greater portion of the mixture looked like very small pebbles. I will definitely make streusel that way from now on.
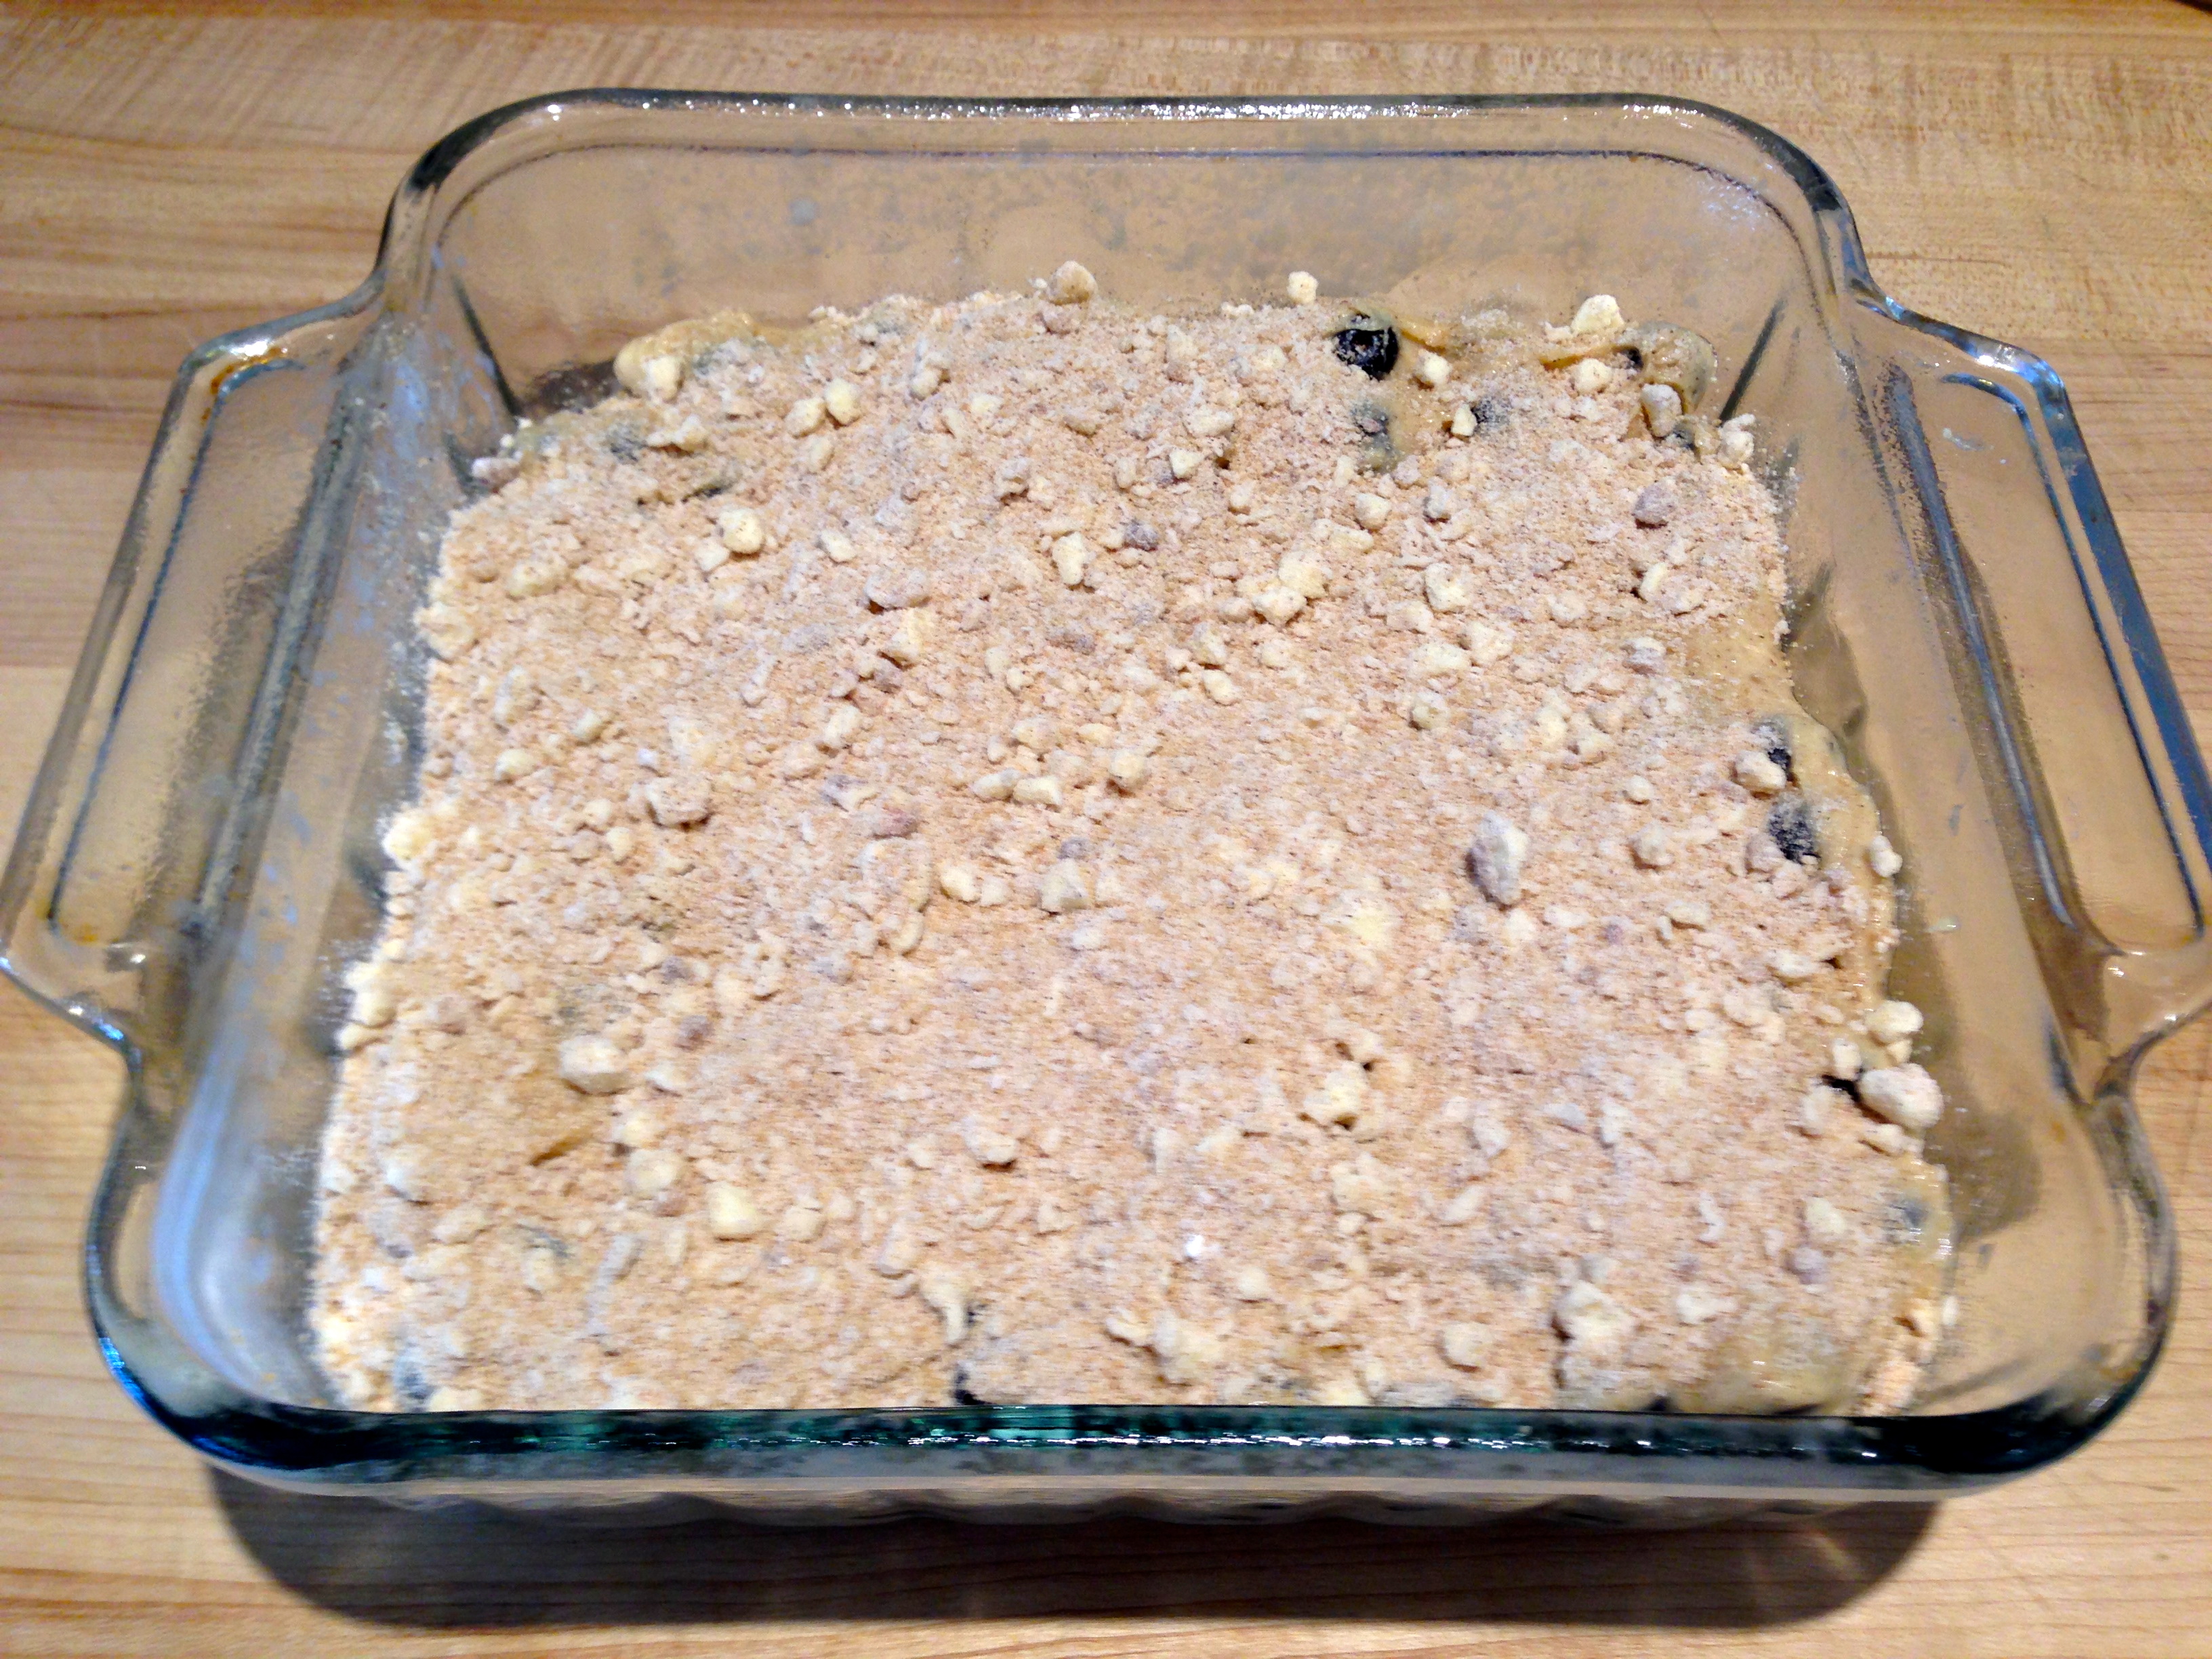
Ready To Go Into The Oven
LESSON LEARNED 2: The original recipe called for two cups of blueberries. Next time I may try to cut that back a little to a cup and a half. That was a lot of blueberries and I think I might try having the cake be a tad more prominent. But use two cups if you like. I want to see if I can better balance the ratio of blueberries to cake. But then again, maybe that’s the nature of a buckle. There was certainly nothing wrong with how the cake tasted with two cups of blueberries.
LESSON LEARNED 3: As on average in high altitude, things take longer to cook. The original recipe called for baking the buckle for 25-30 minutes at 375. I would up baking it for 40 minutes.
LESSON LEARNED 4: The original recipe called for 1/4 cup shortening. I’m not a big fan of shortening so I used butter and it was fine.
LESSON LEARNED 5: I like this recipe because it is a good size for two people. I made it in an 8 x 8 pan and that is a perfect size for two people who will be munching on it over the next couple of days.
I have nothing negative to say about this recipe. The original recipe was written clearly, suggested substitutions, and turned out perfectly the first time. The only word of caution is that you use a lot of dishes to prepare the cake, but take my word for it, it’s worth it!
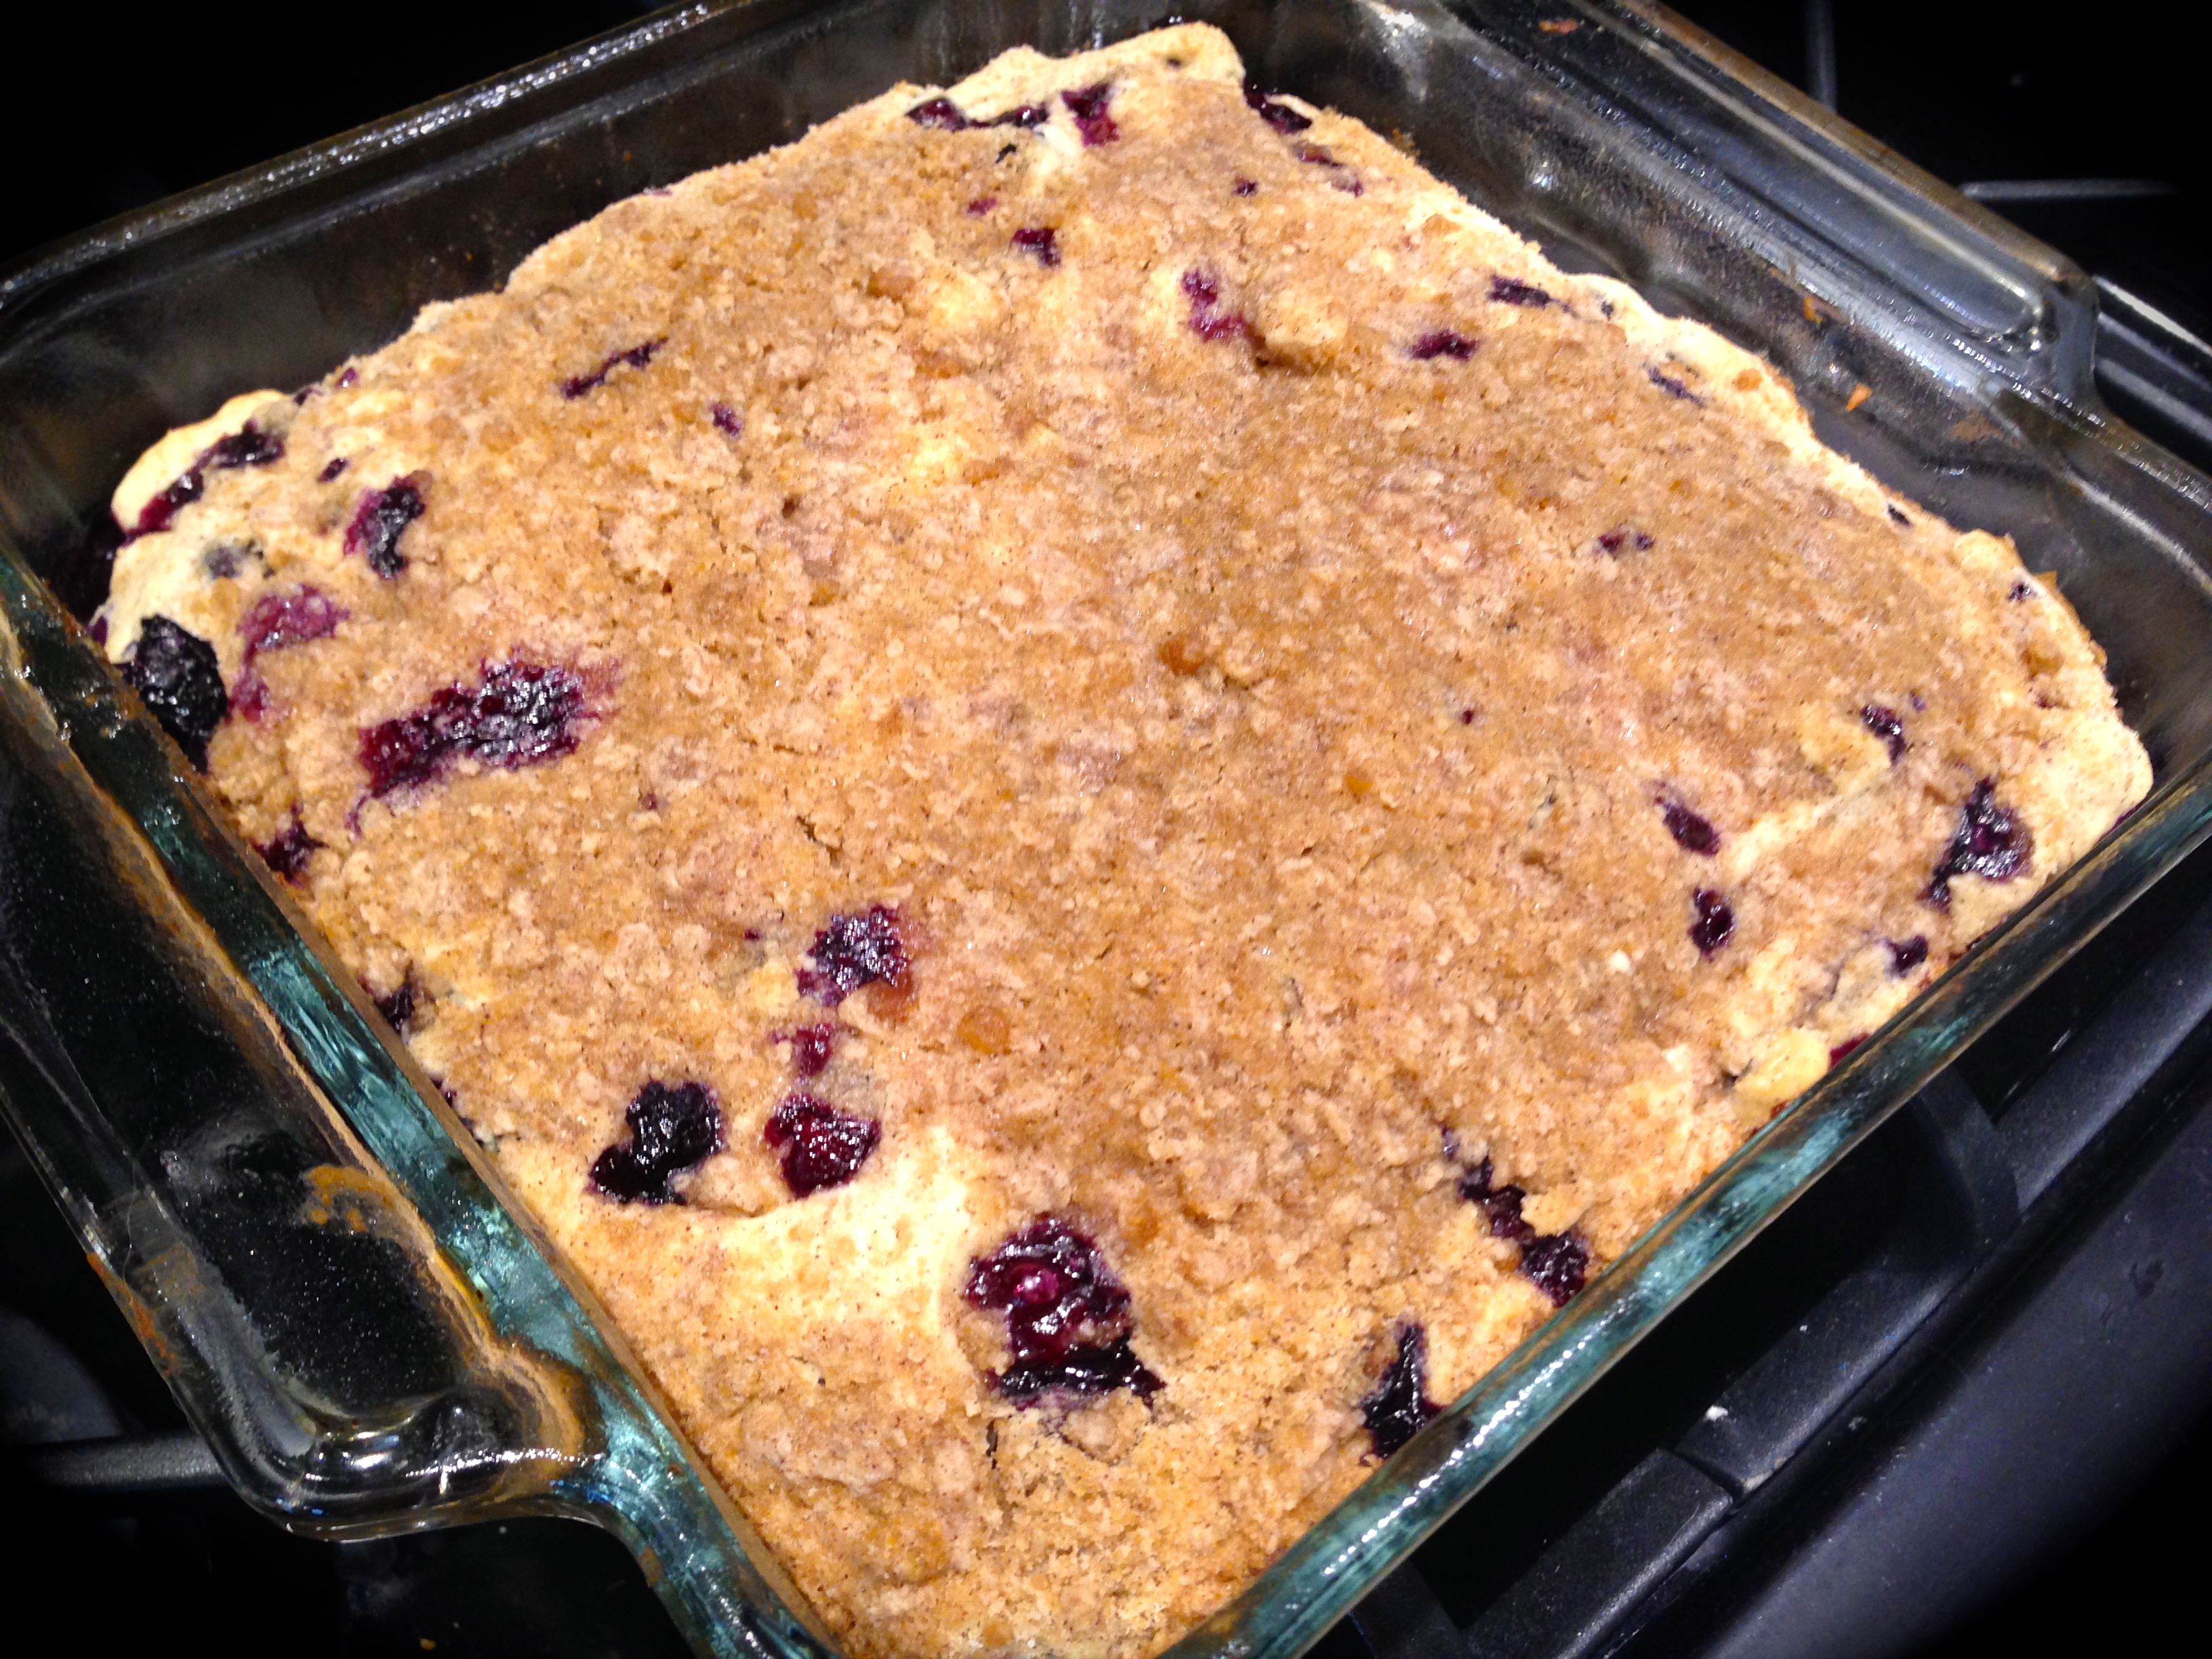
Fresh Out Of The Oven
Blueberry Buckle
INGREDIENTS:
2 cups flour
2 tsp baking powder (high altitude adjust to 1/4 tsp)
1/2 tsp salt
1 tsp. cinnamon
3/4 cup sugar (high altitude make it a “light cup” – I left about 1/16 of an inch rim around the top)
1/4 room temperature butter, unsalted
1 large egg (high altitude use an extra large egg)
1 1/2 tsp vanilla extract (high altitude 2 tsp vanilla extract)
1/2 cup of milk (high altitude add 1 TBS water to the milk)
2 cups fresh blueberries
STREUSEL TOPPING:
1/3 cup all purpose flour
1/3 packed light brown sugar (for high altitude do a soft pack)
1/2 tsp. cinnamon
1/4 tsp salt
3 TBS cold unsalted butter cut into cubes.
DIRECTIONS:
Preheat oven to 375 degrees. In a medium bowl whisk together the flour, baking powder, salt and cinnamon and set aside. Put all of the streusel ingredients except the butter into a food processor and set aside.
In a large bowl with an electric mixer, combine butter and sugar until fluffy. Add egg and vanilla and combine thoroughly. Add the dry ingredients, alternating with a small portion of the milk. Start with the milk and end with the milk until the dry and wet ingredients are just combined. Fold in the blueberries.
Spray an 8 x 8 pan with cooking spray. Spoon batter into the pan and spread out evenly. Cut the cold butter into cubes and add to the food processor. Pulse until a greater portion of the mixture resembles small pebbles. Spoon over prepared batter.
Bake in the oven for 25-30 minutes (high altitude can take as long as 40 minutes). Let cool for 20 minutes. Serve with vanilla ice cream or fresh whipped cream.
Blueberry Buckle