Lately I’ve been trying some new things with some friends and they are asking for the recipes. I love it when I try something and it is appreciated. So not only will I share this with my friends, but with all of you as well.
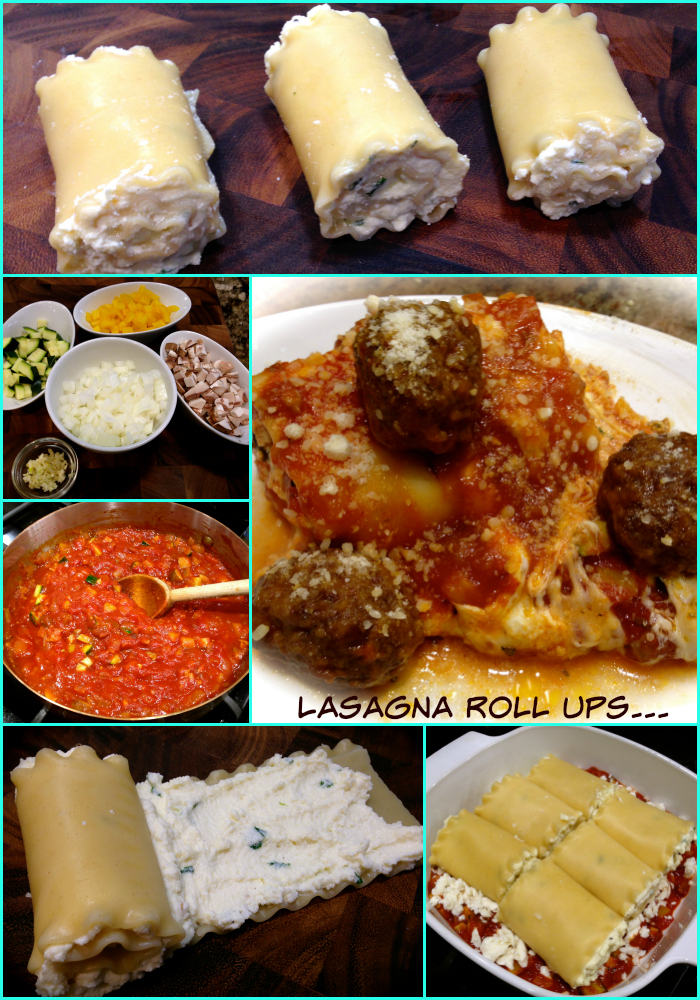
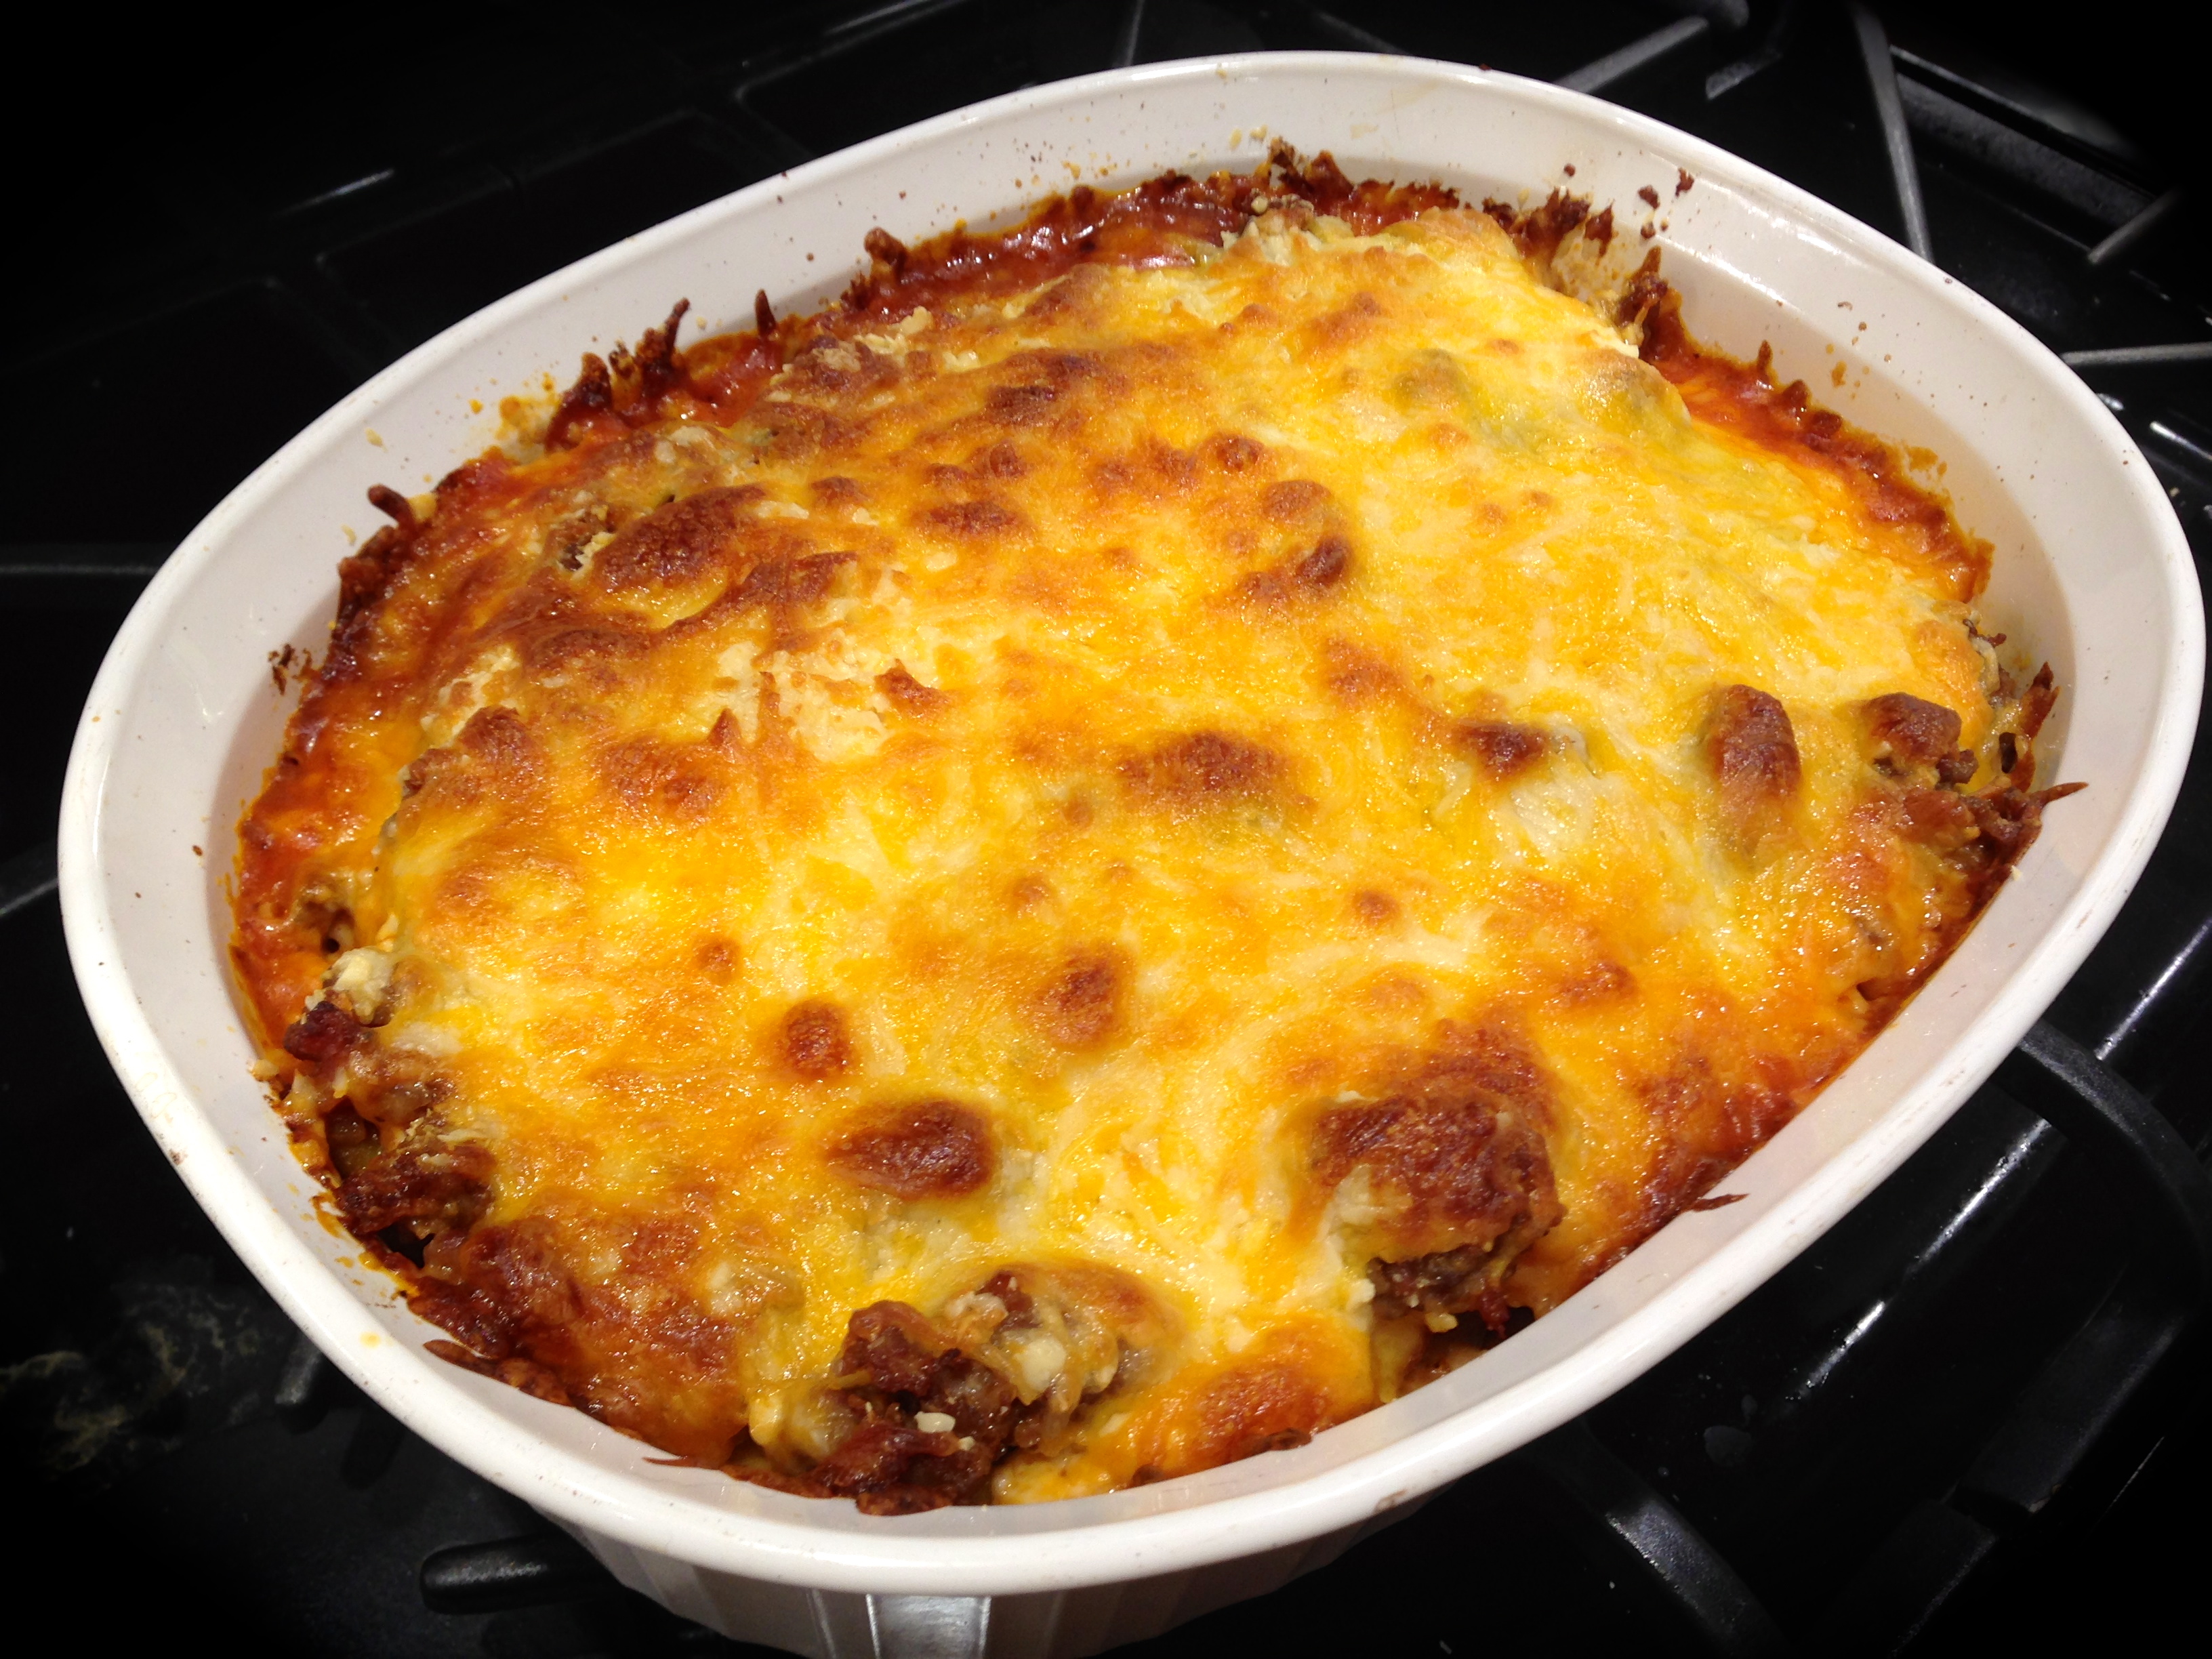
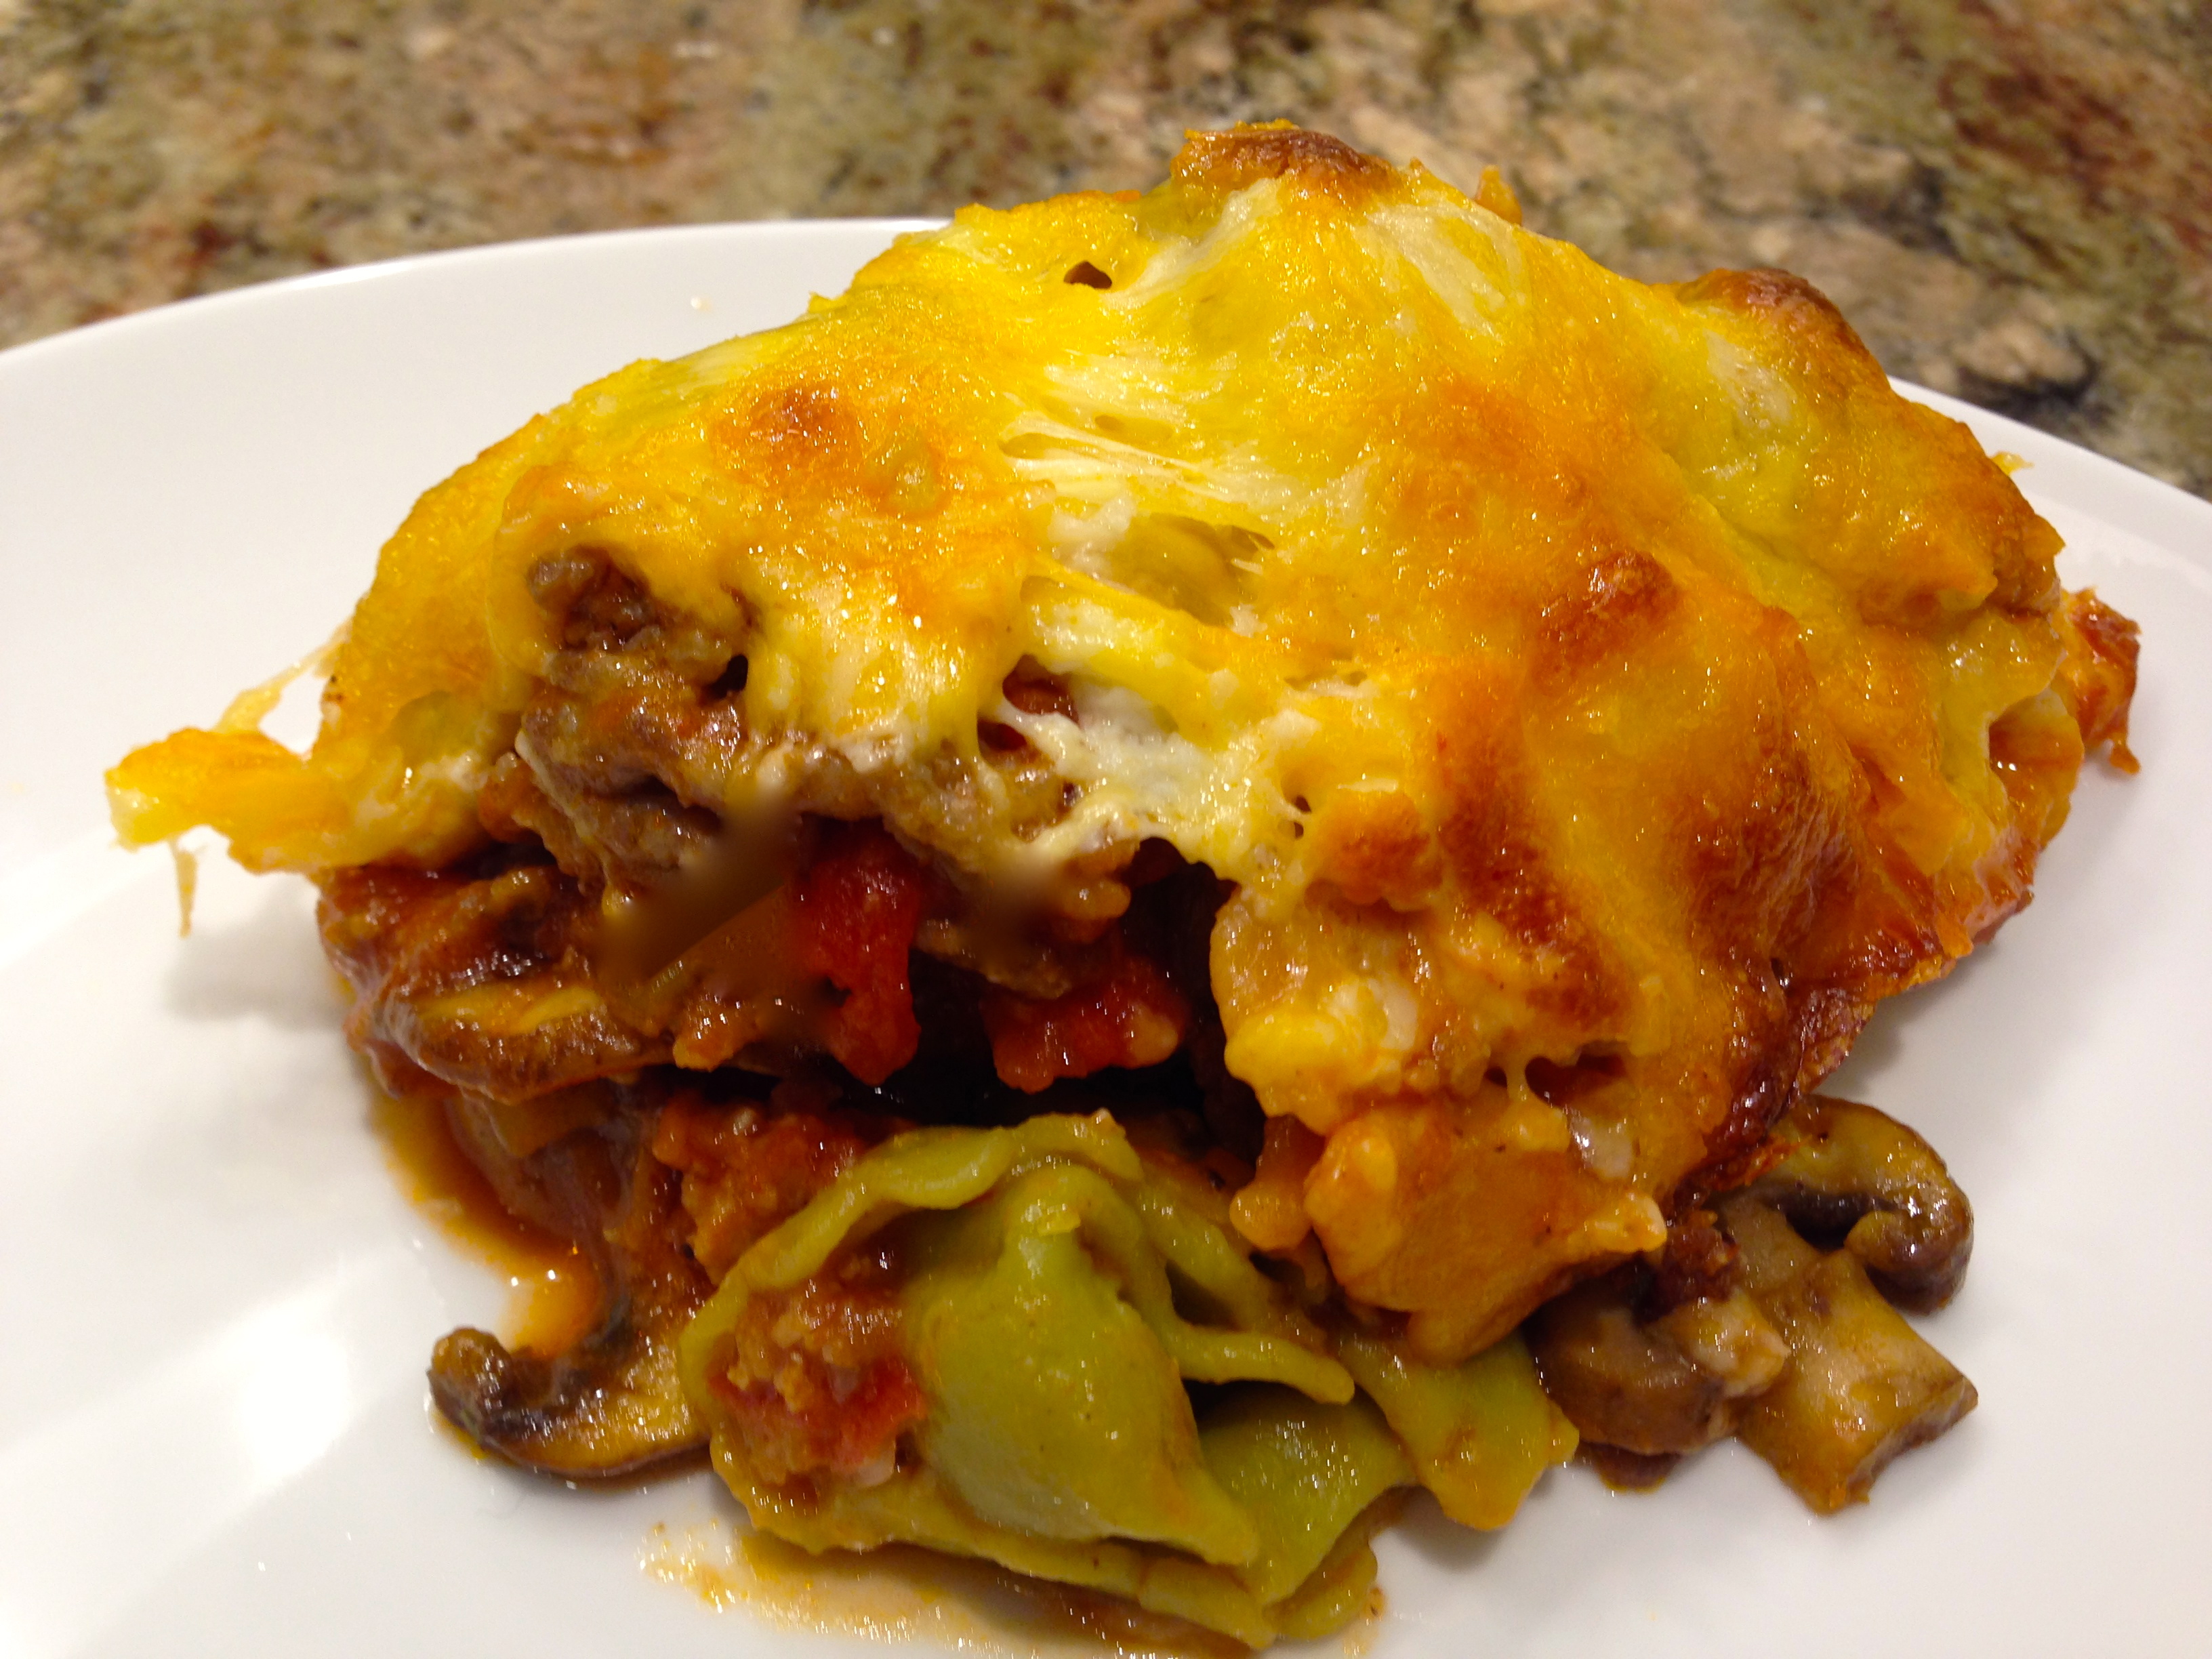
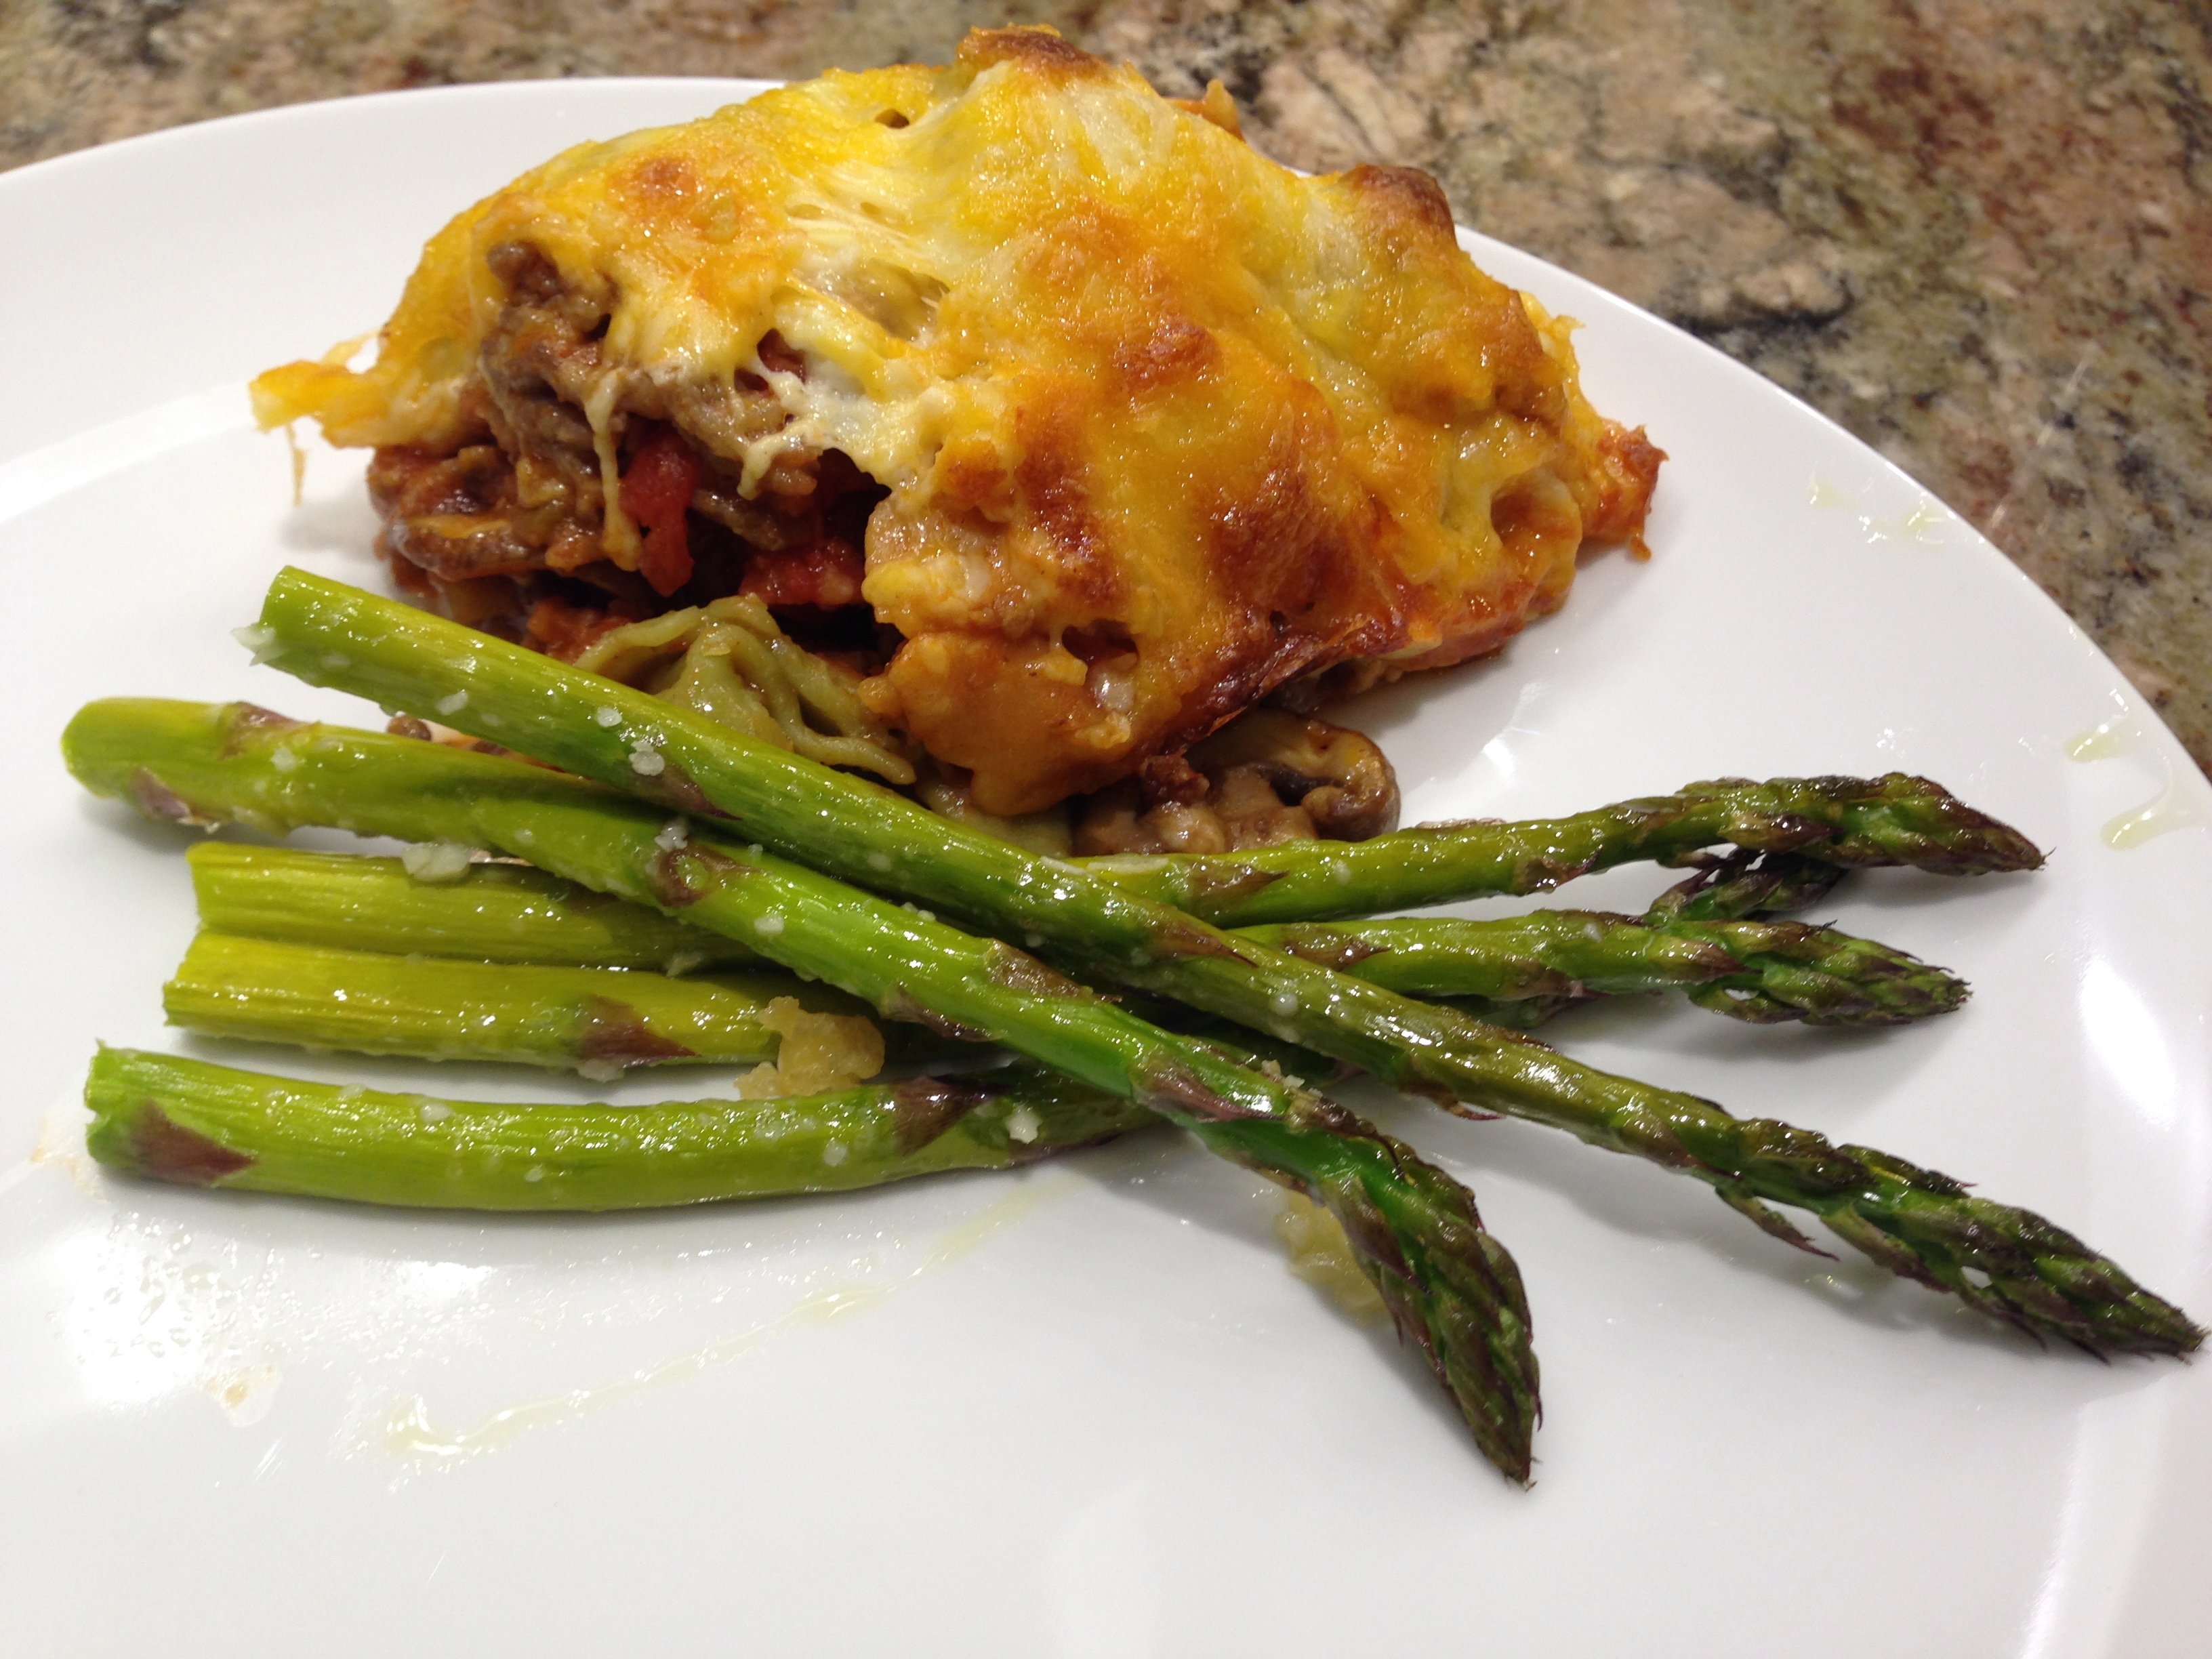
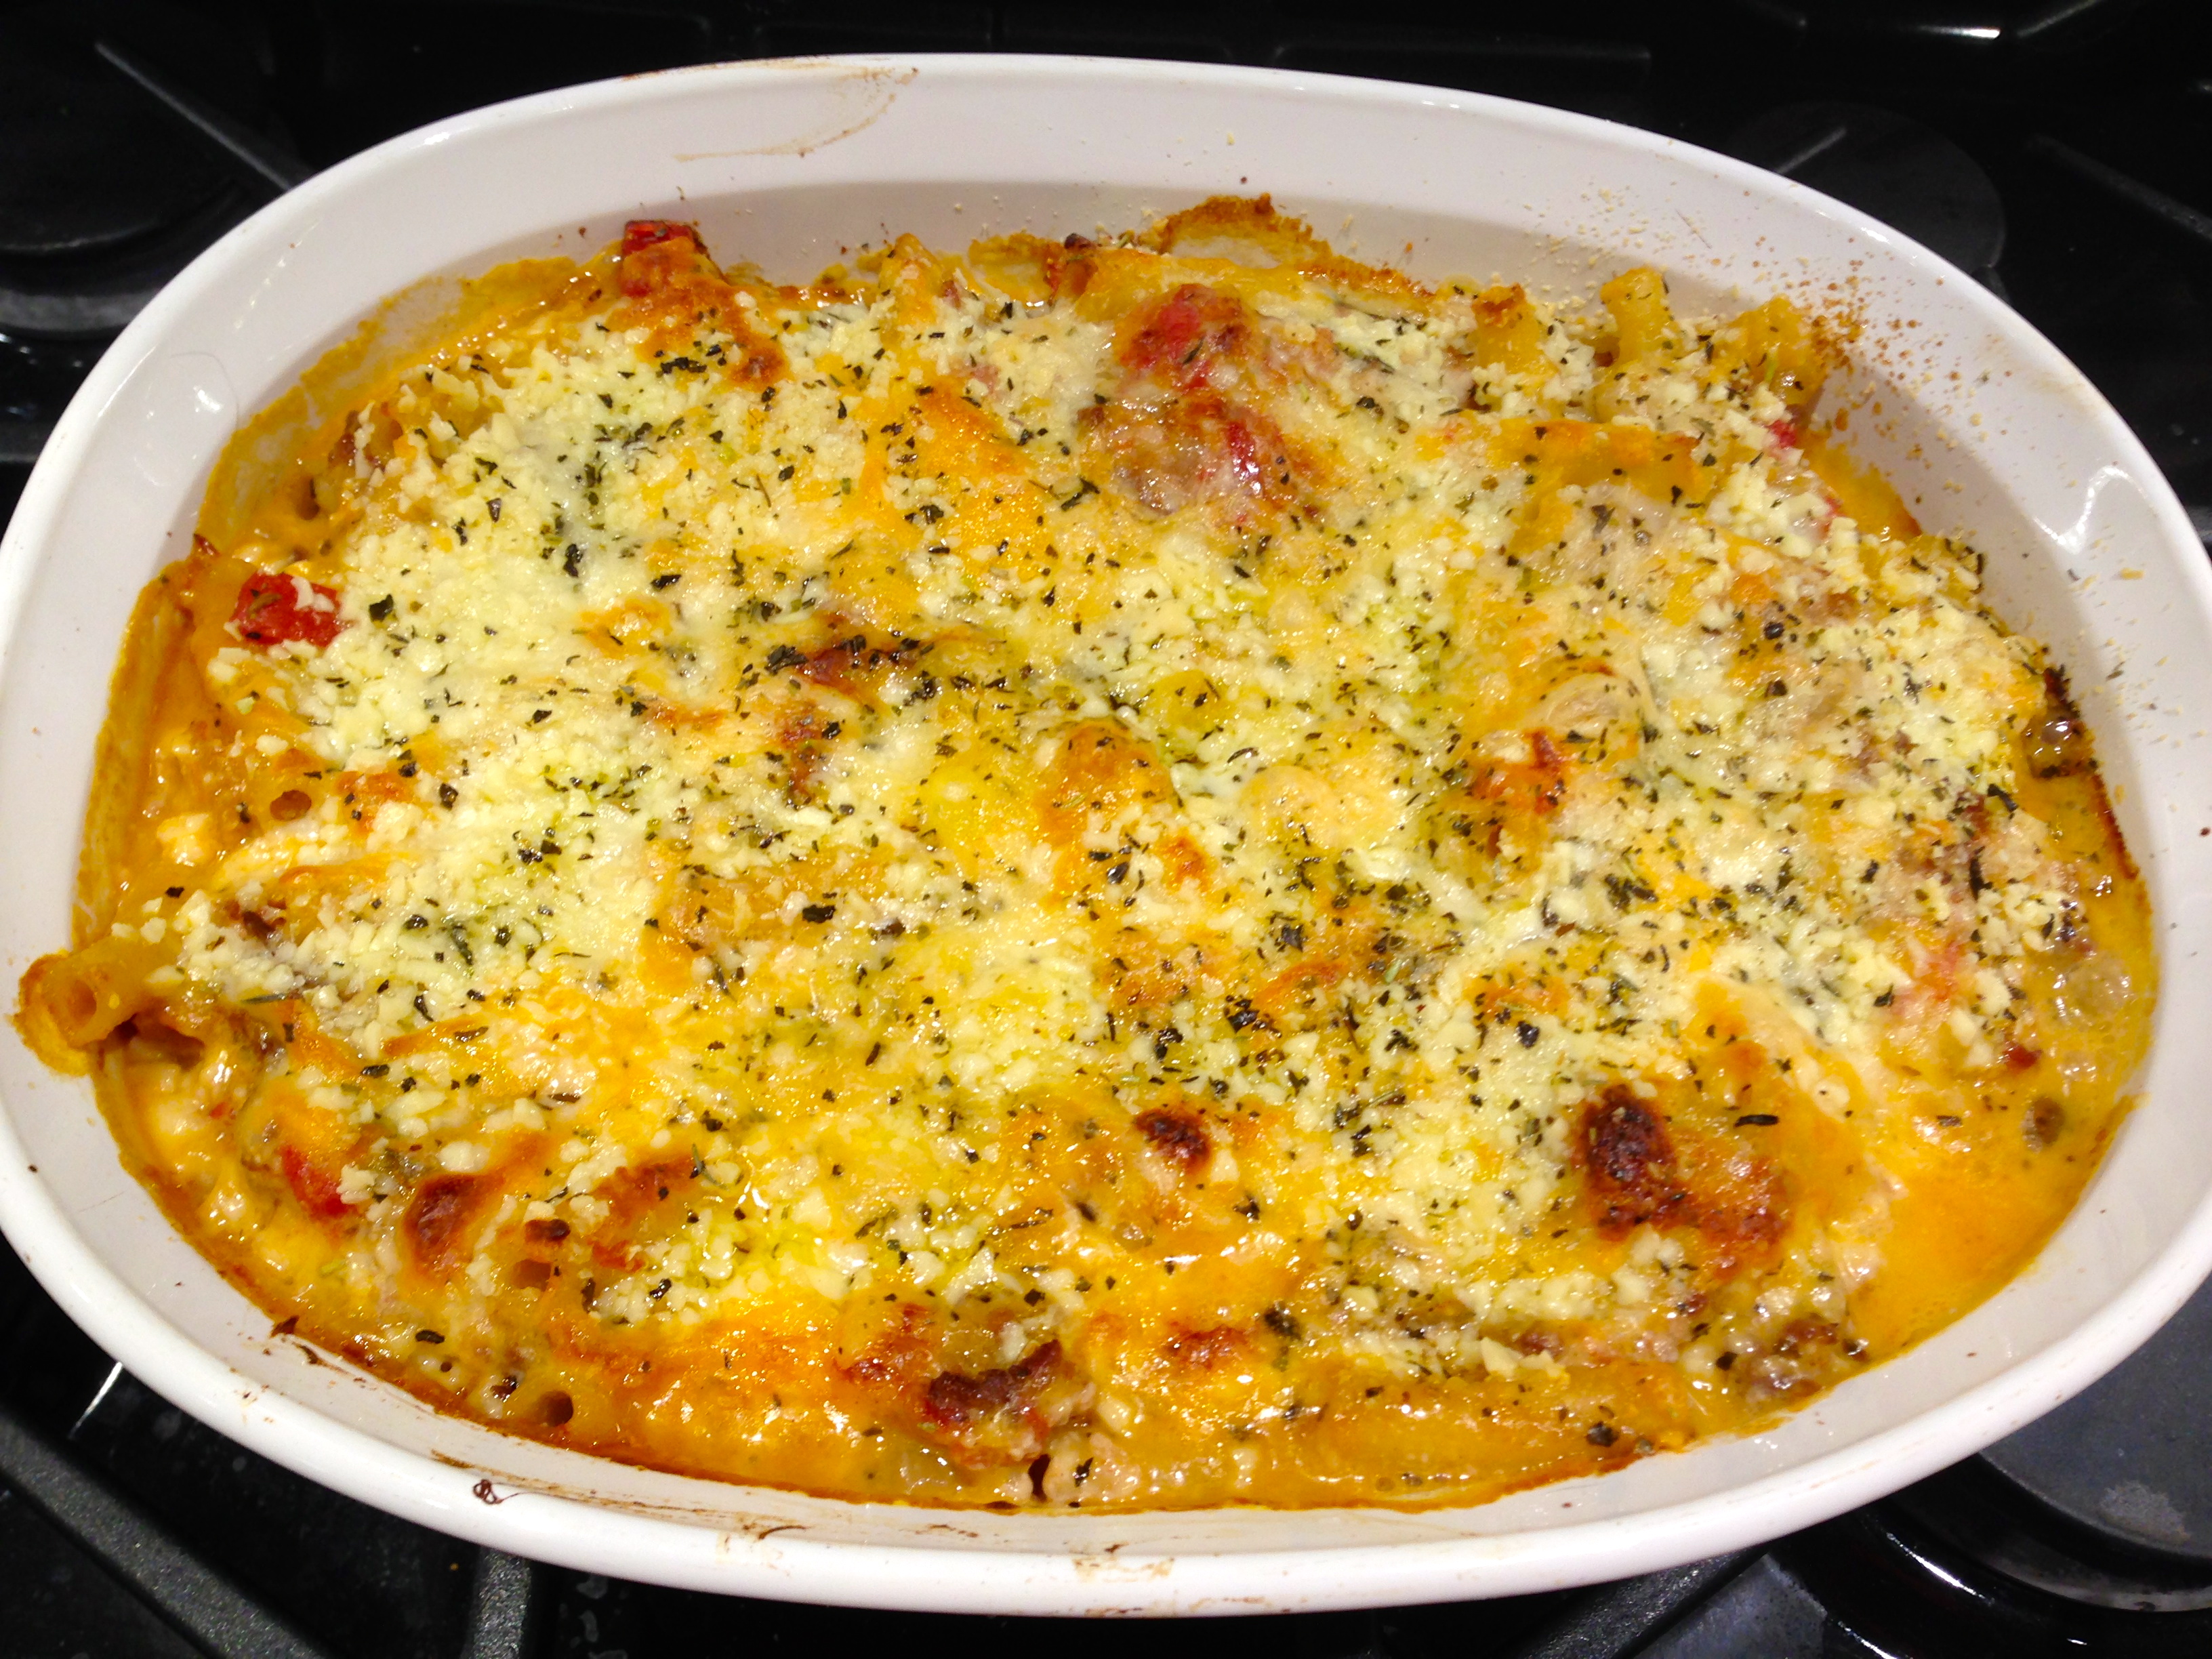
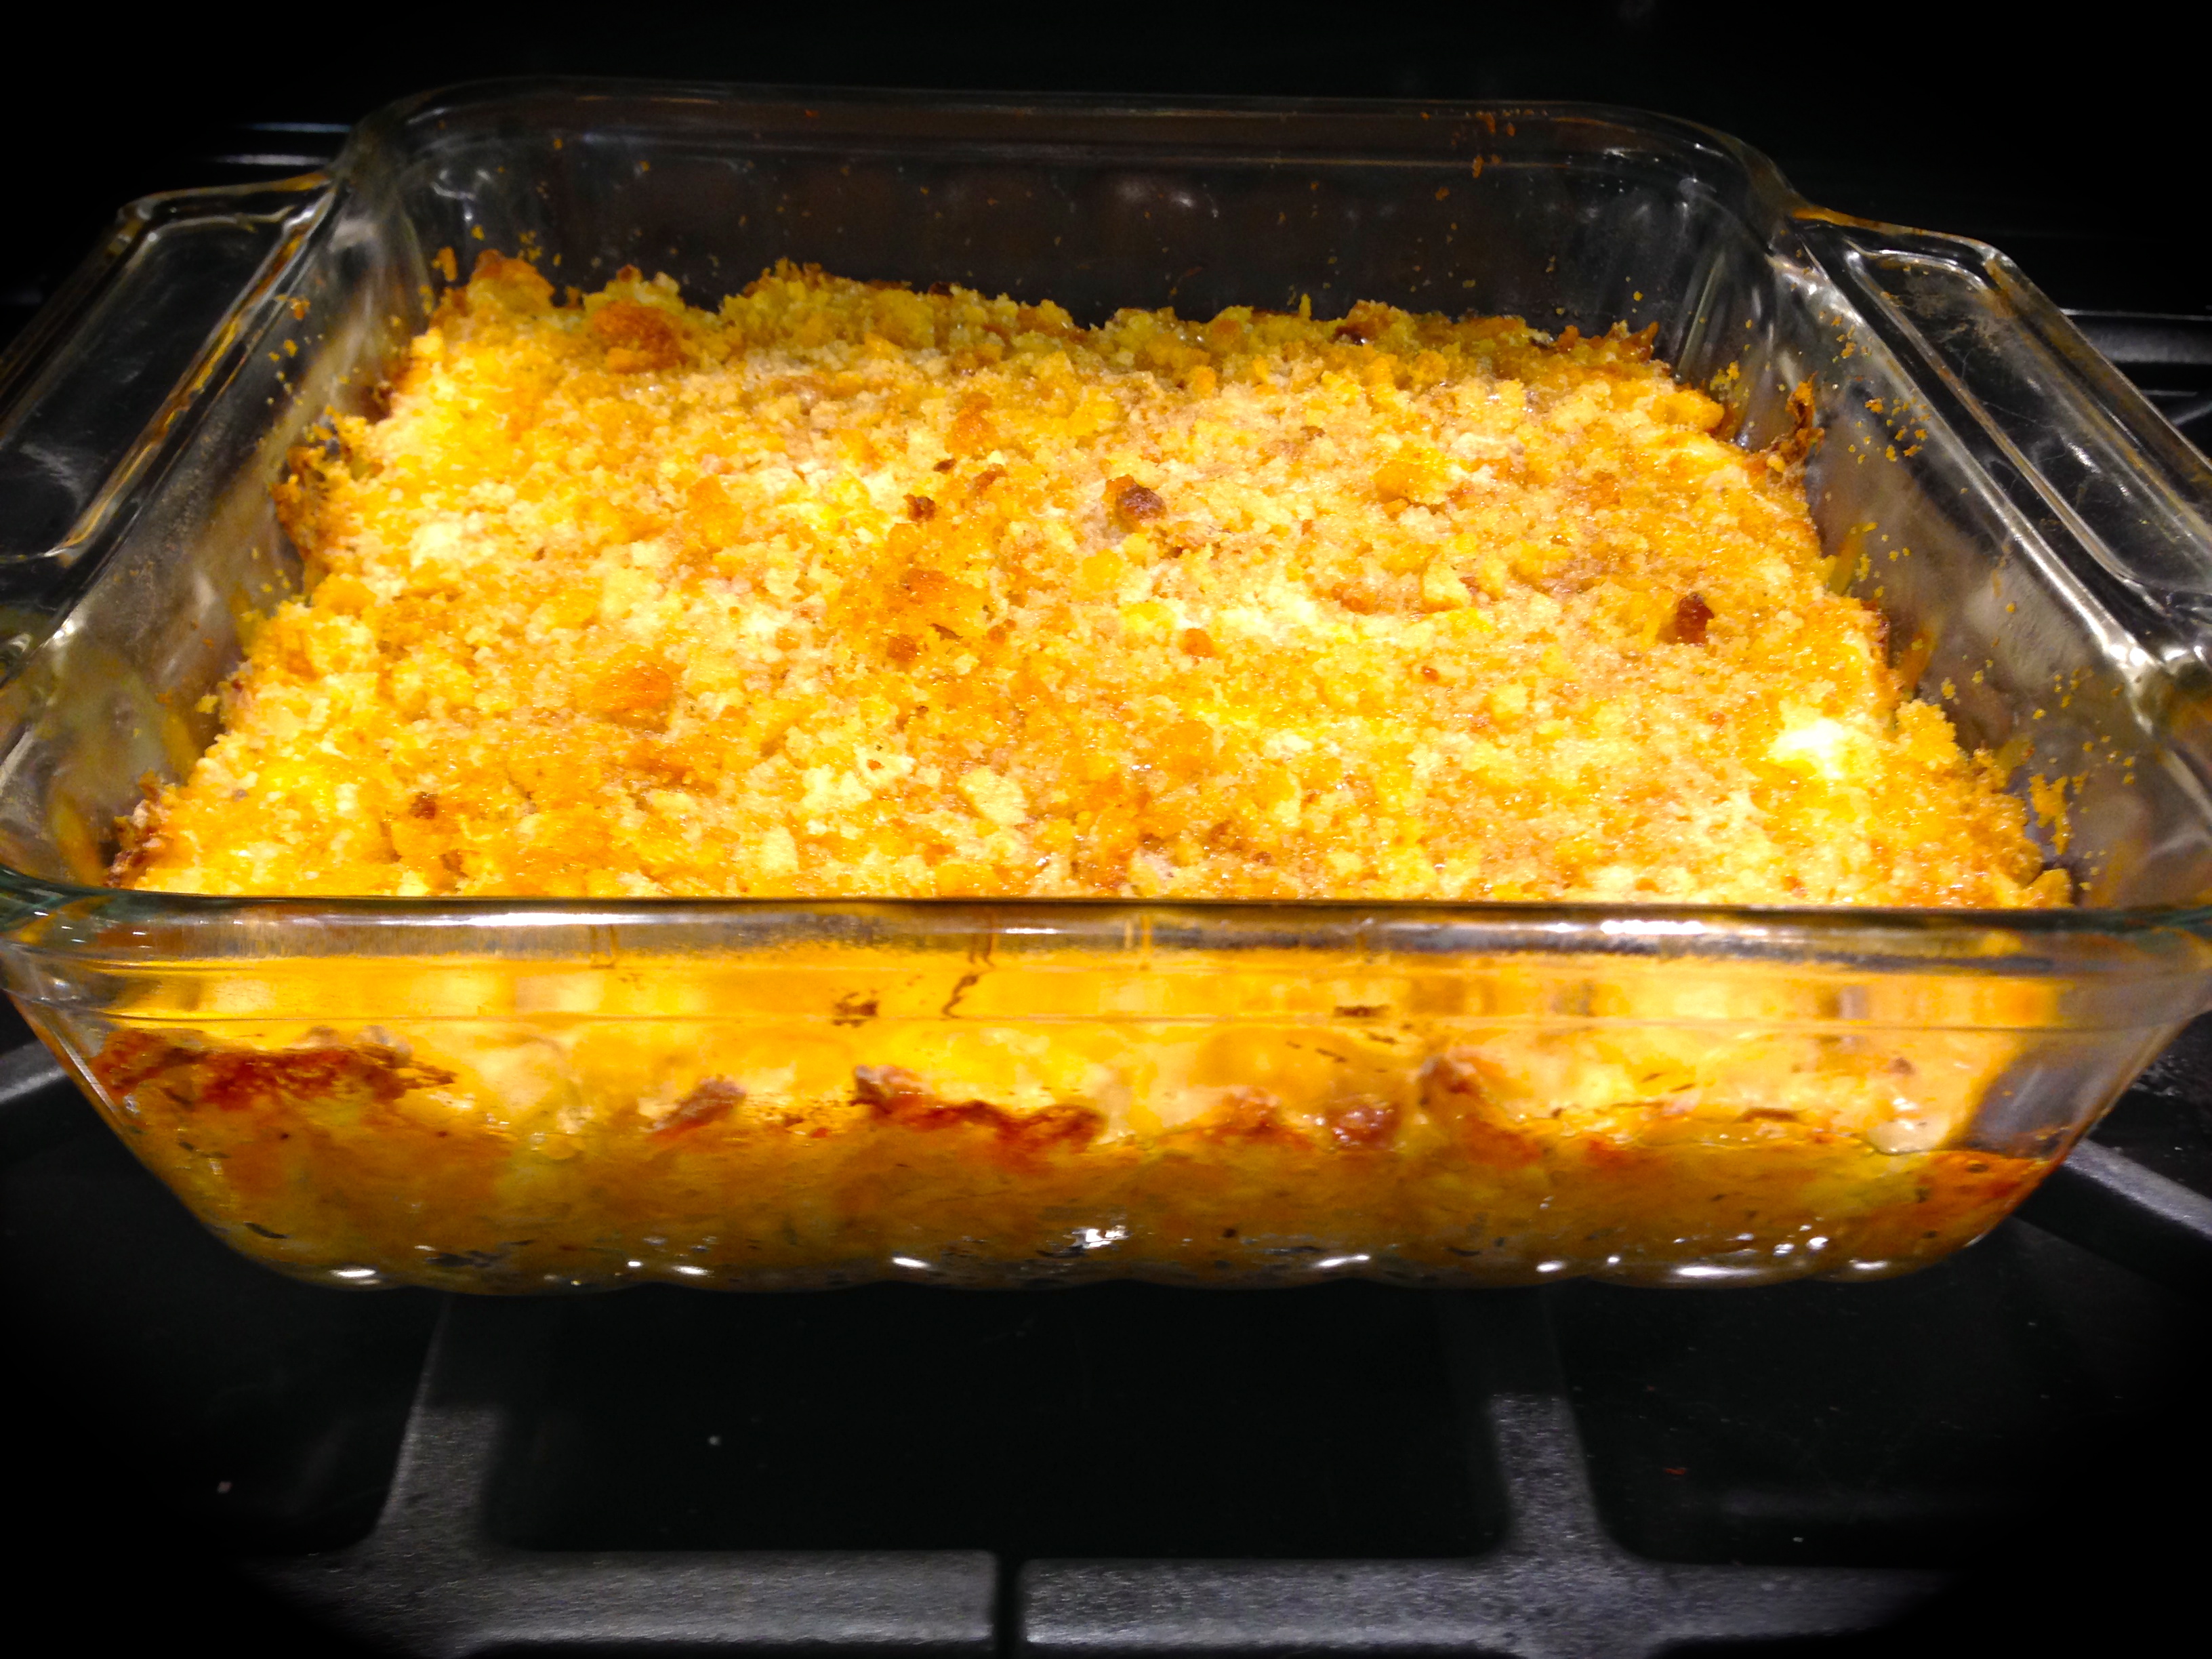
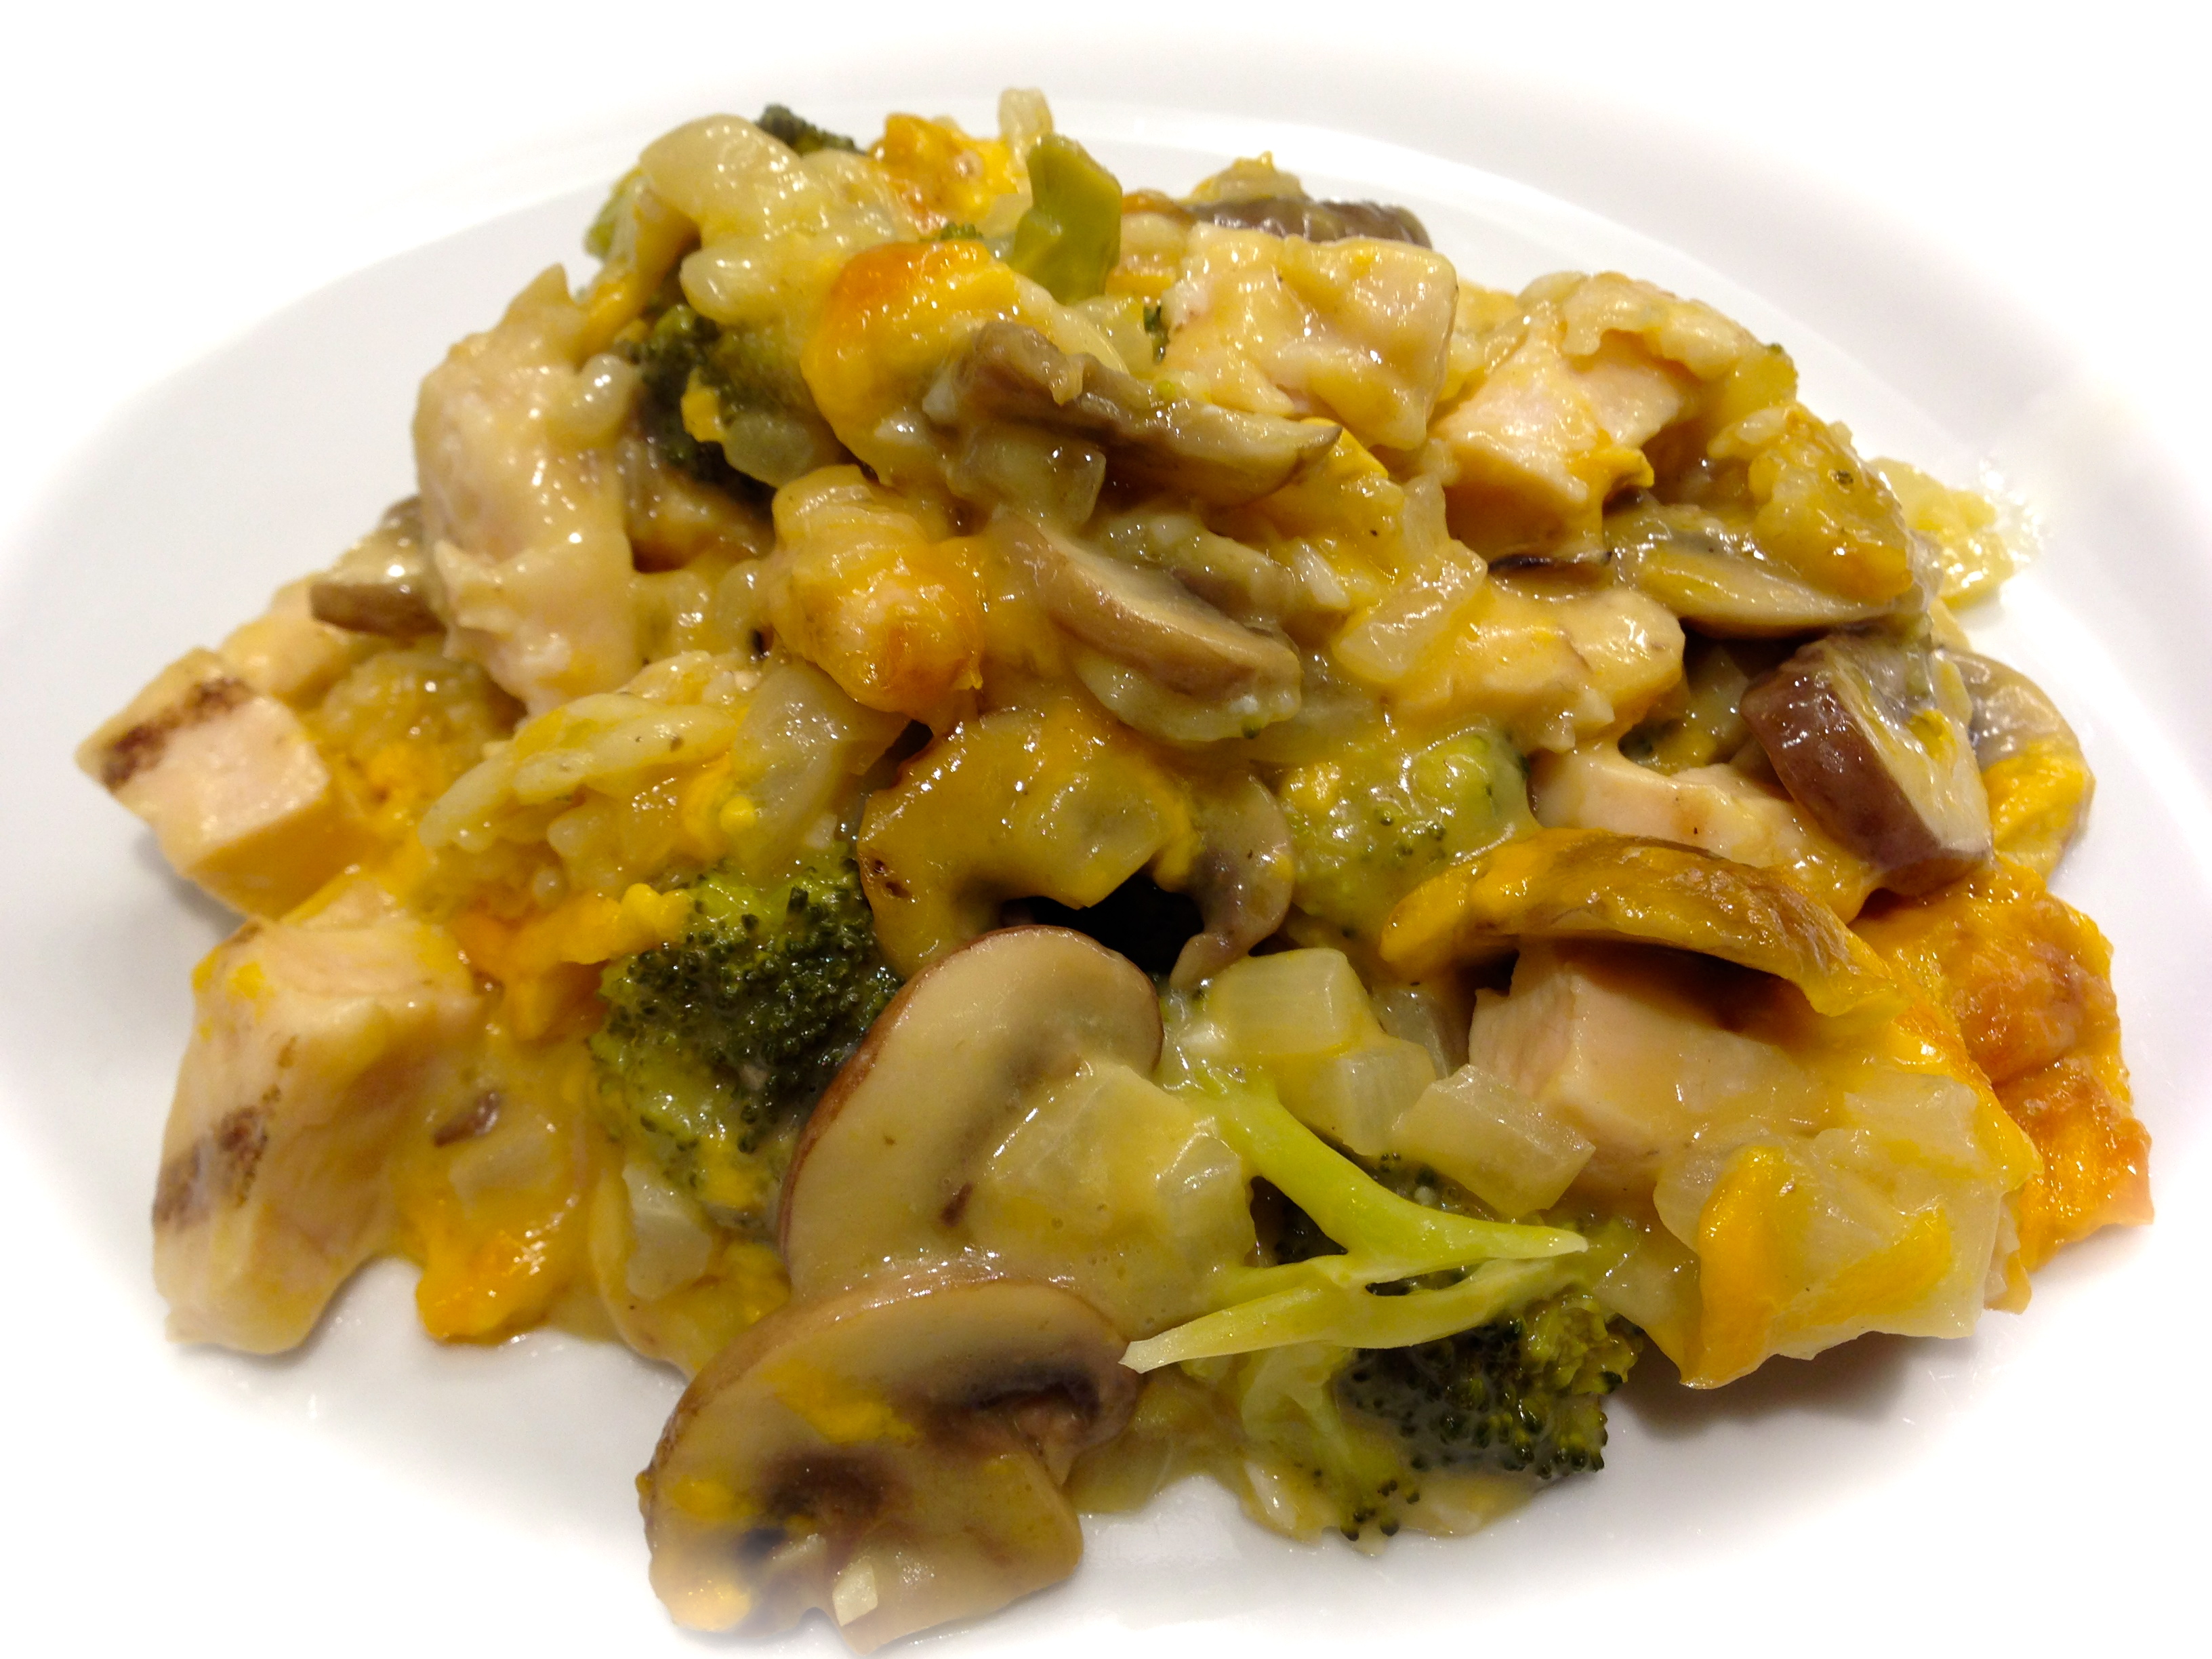
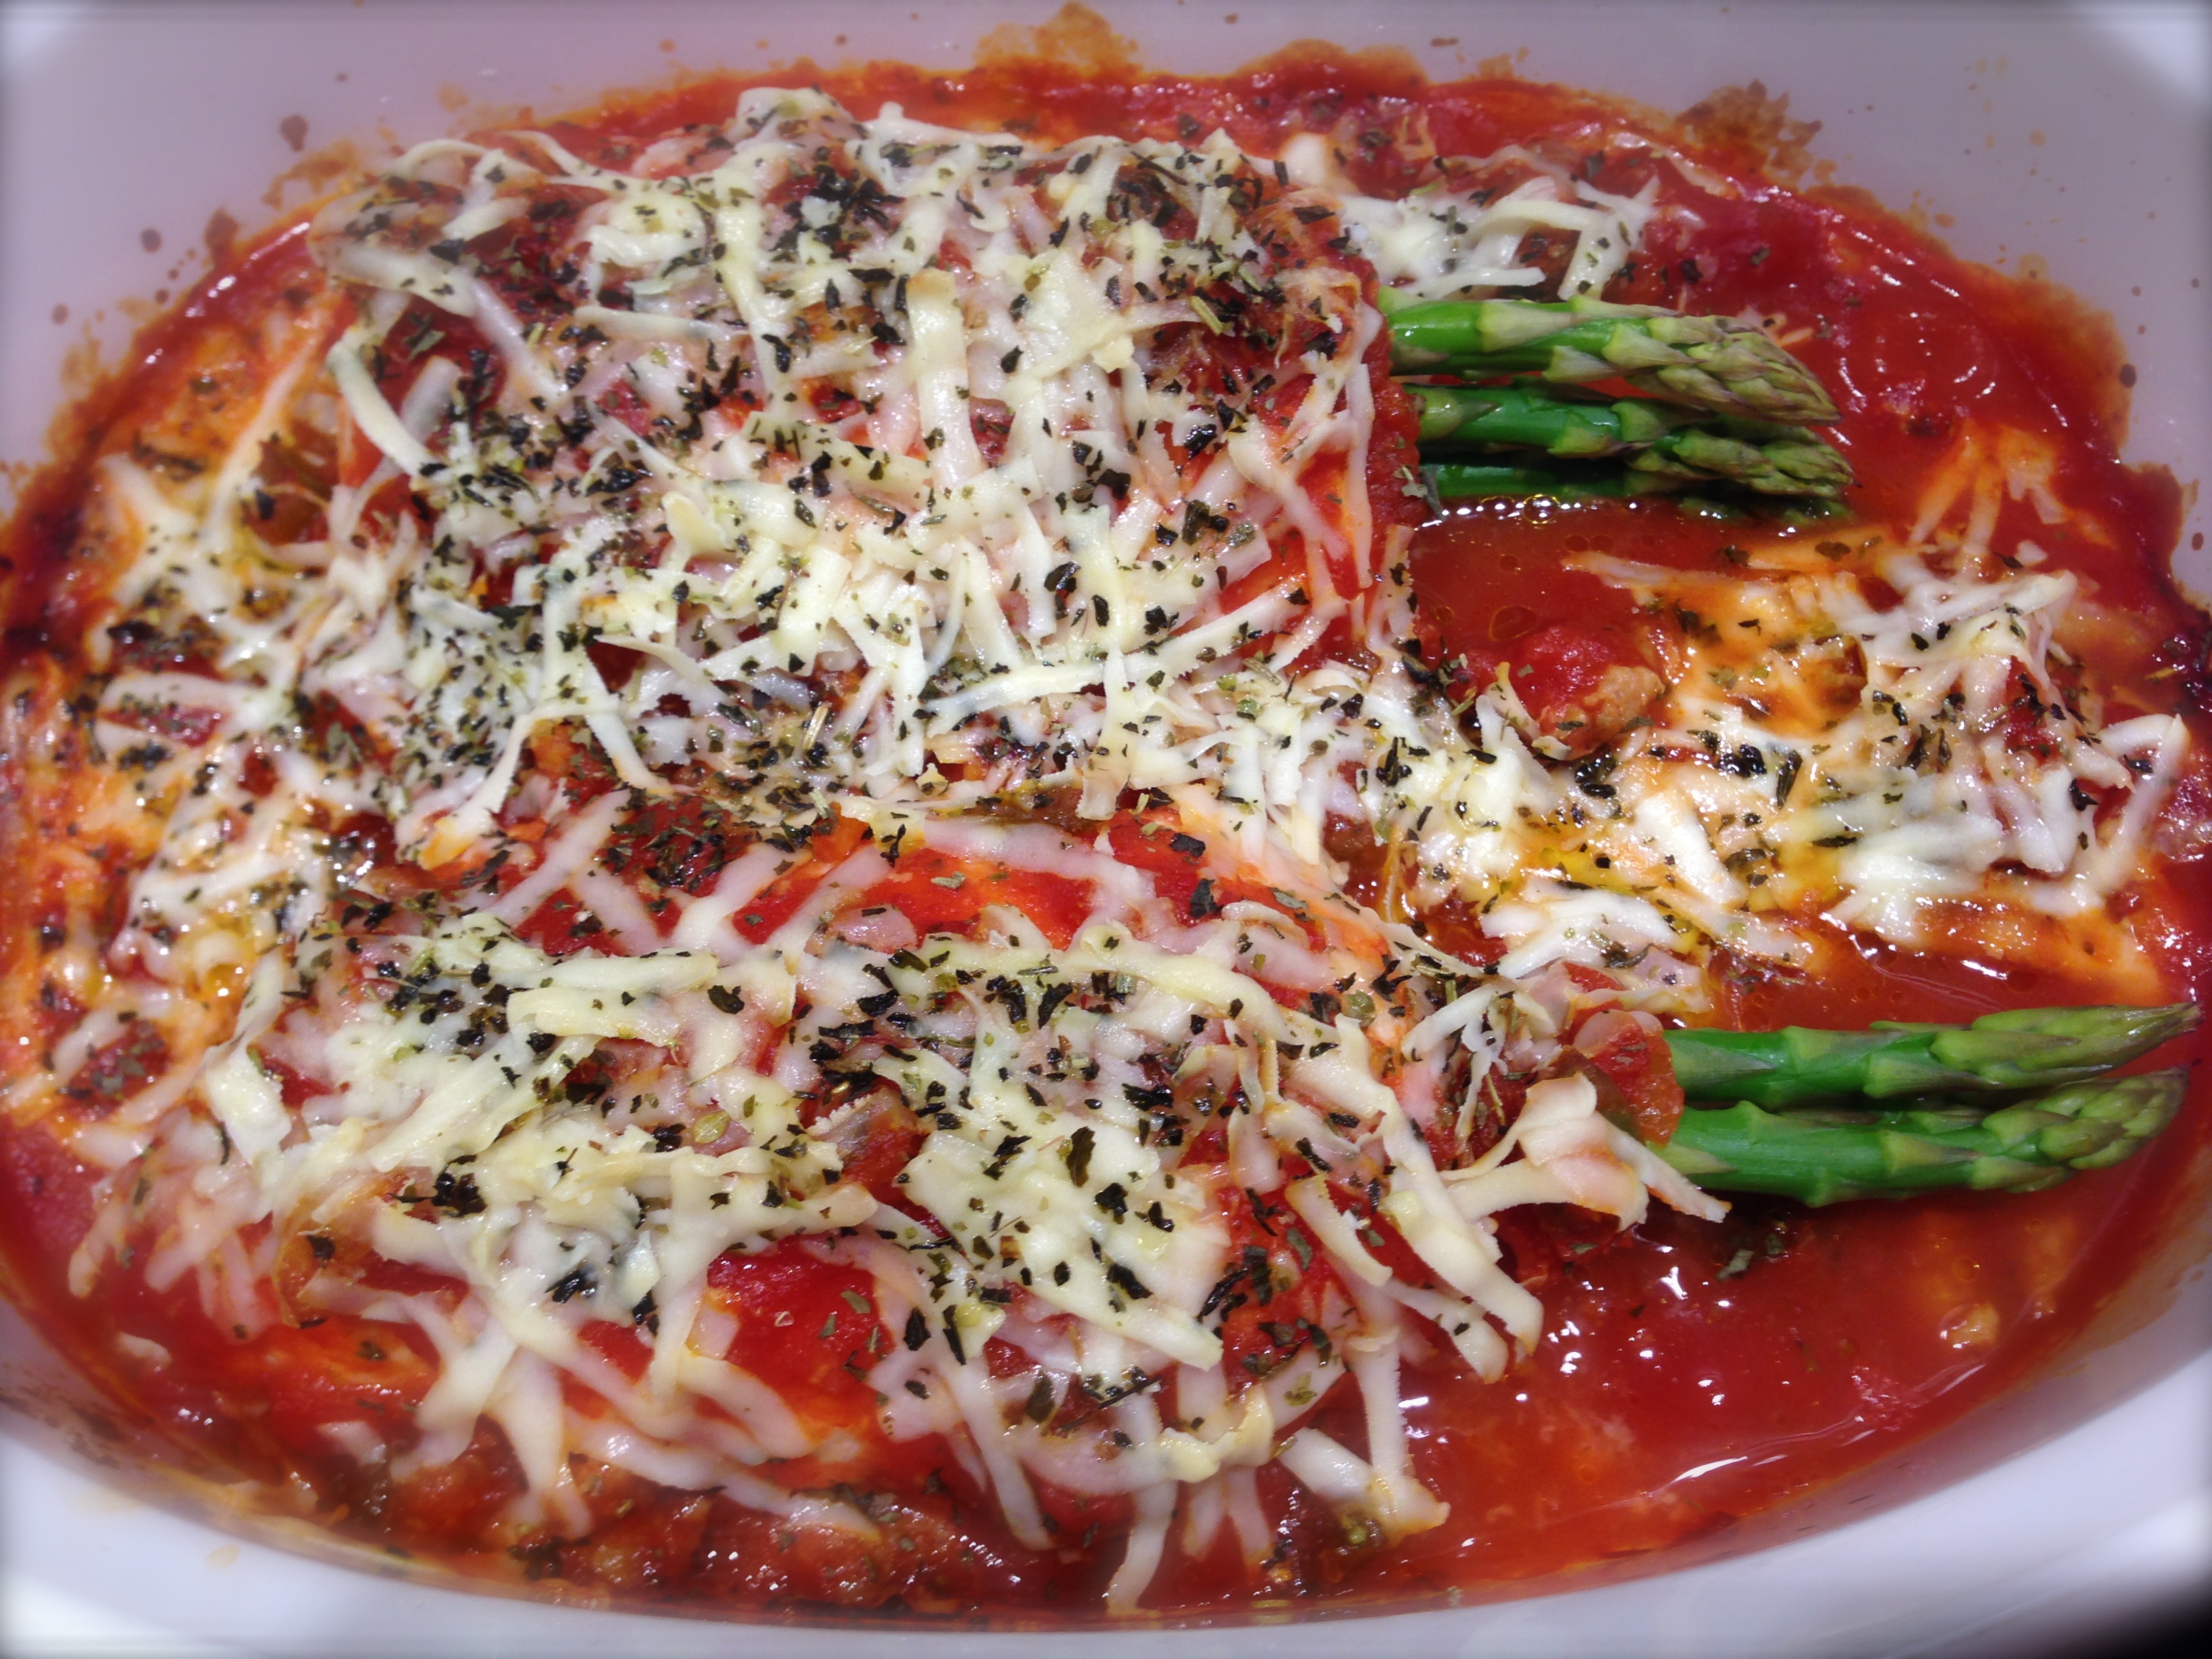
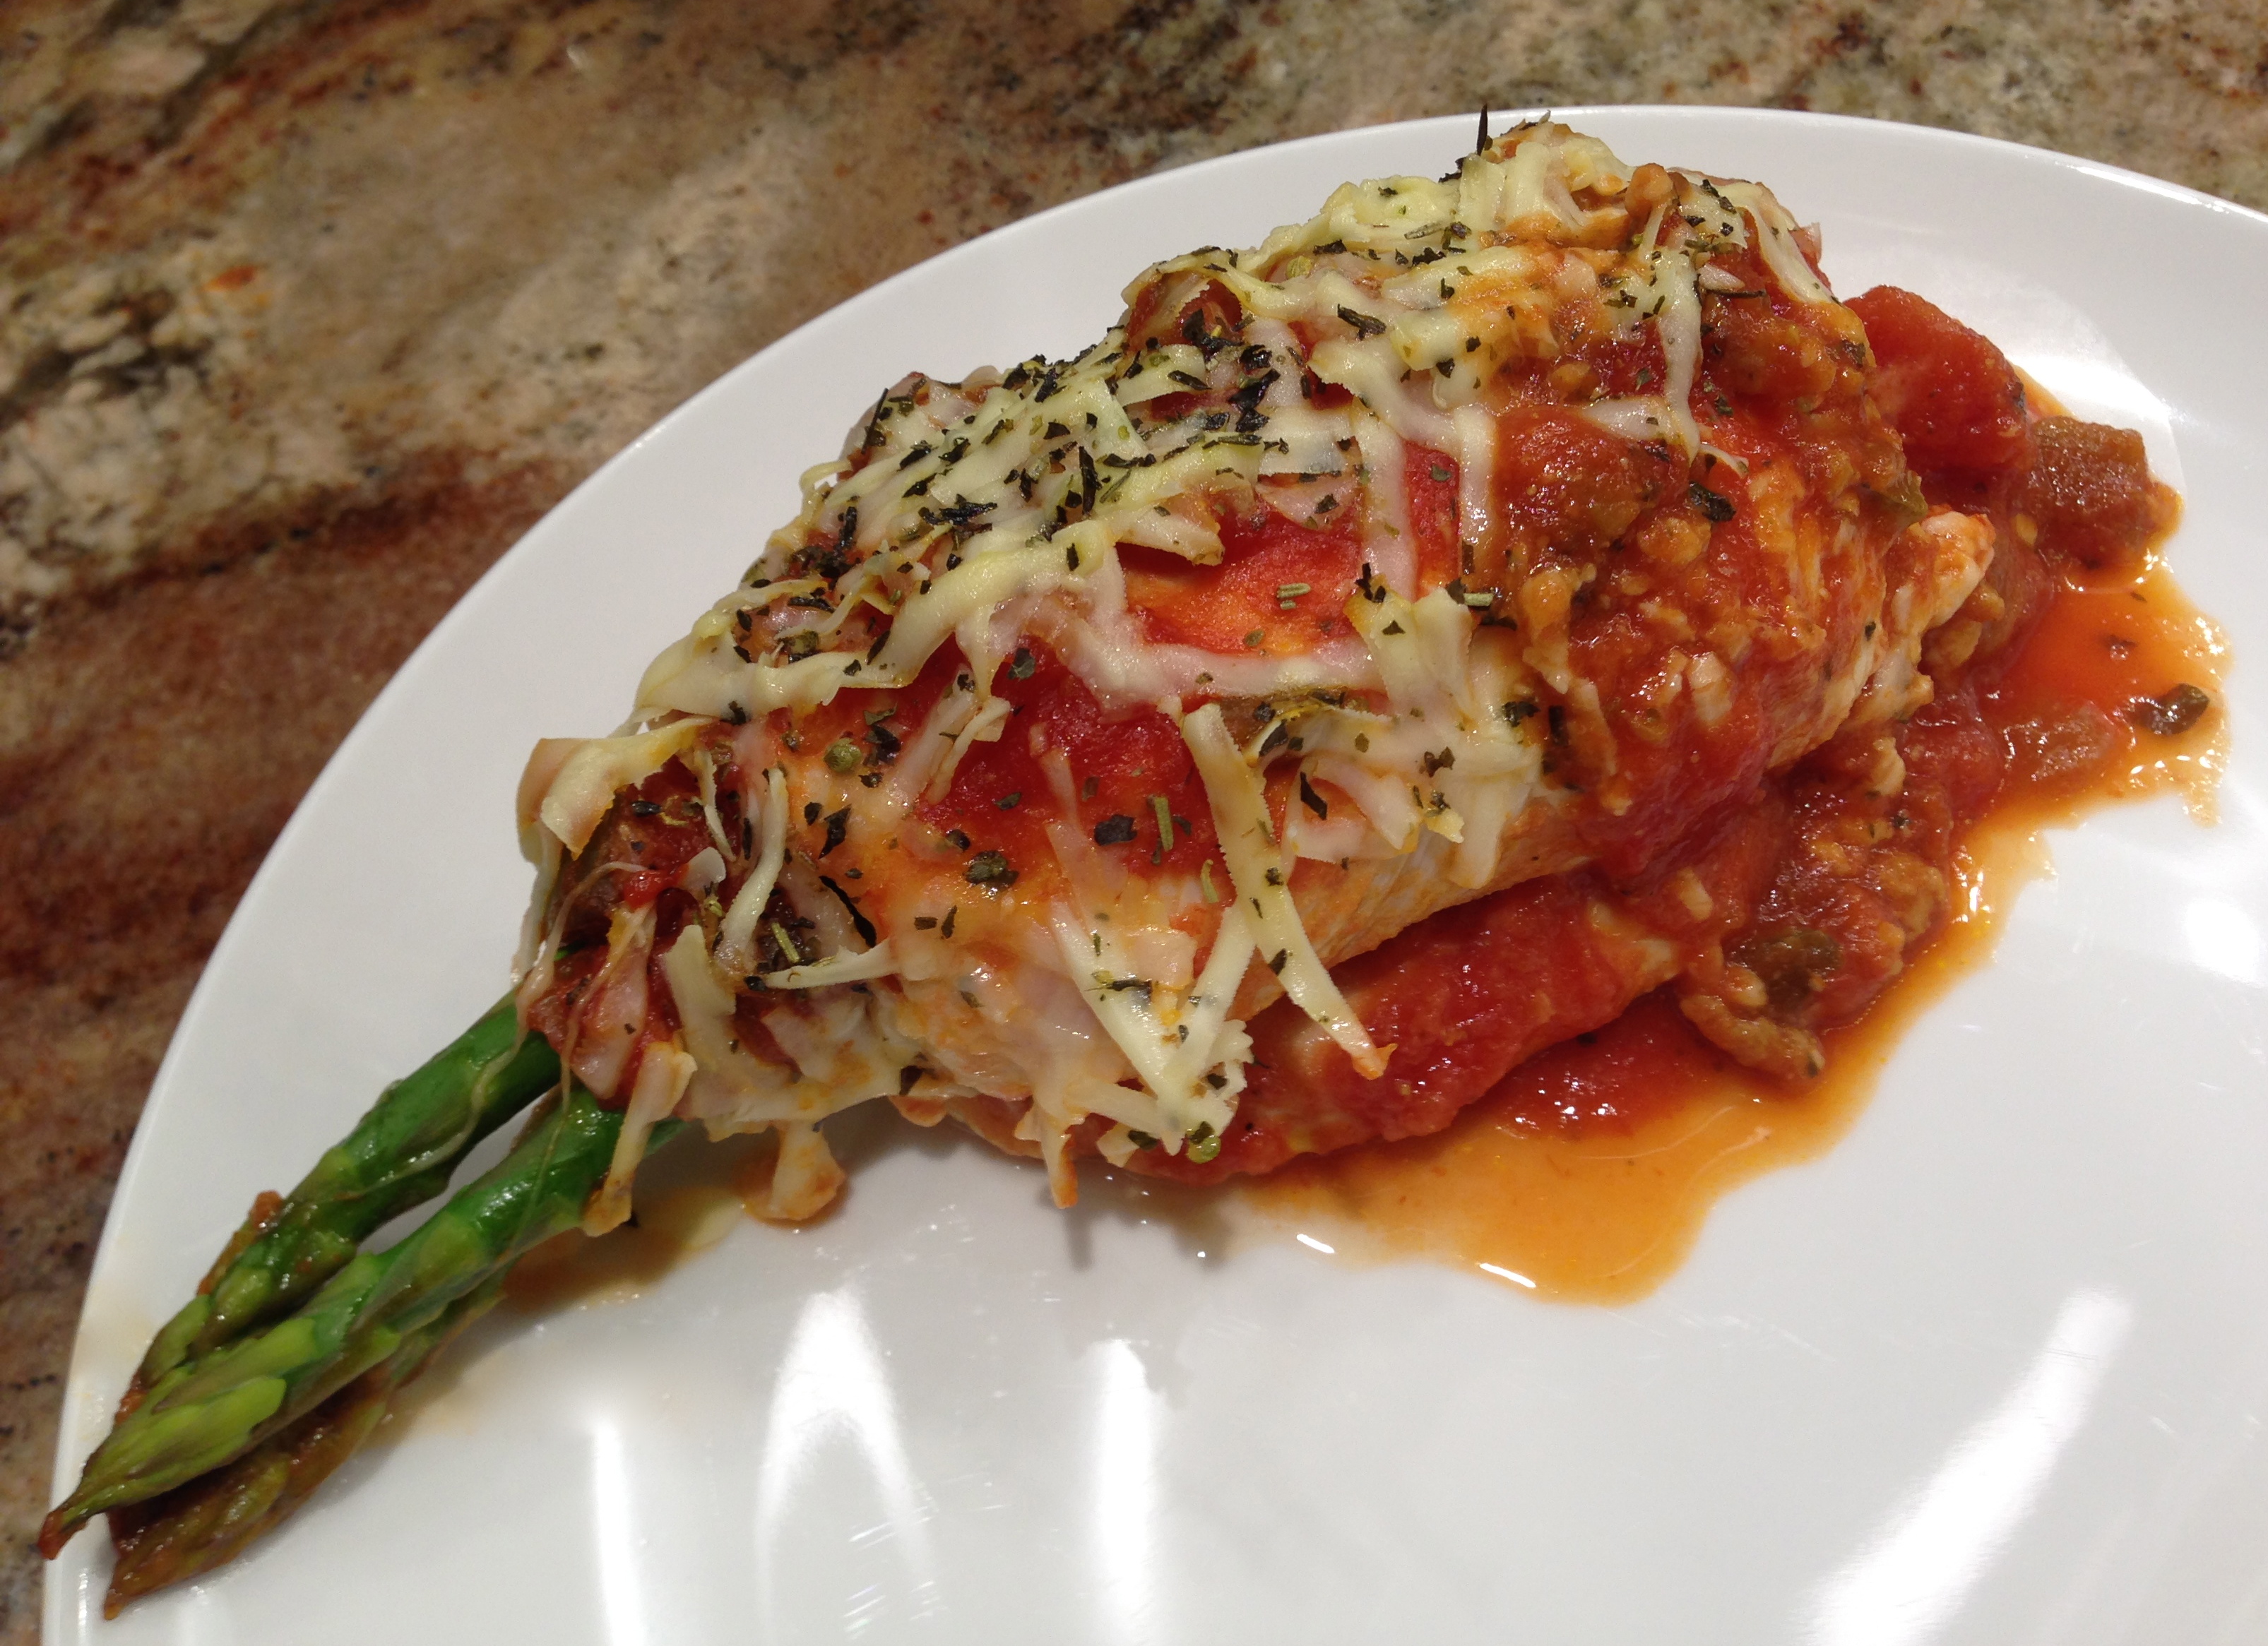
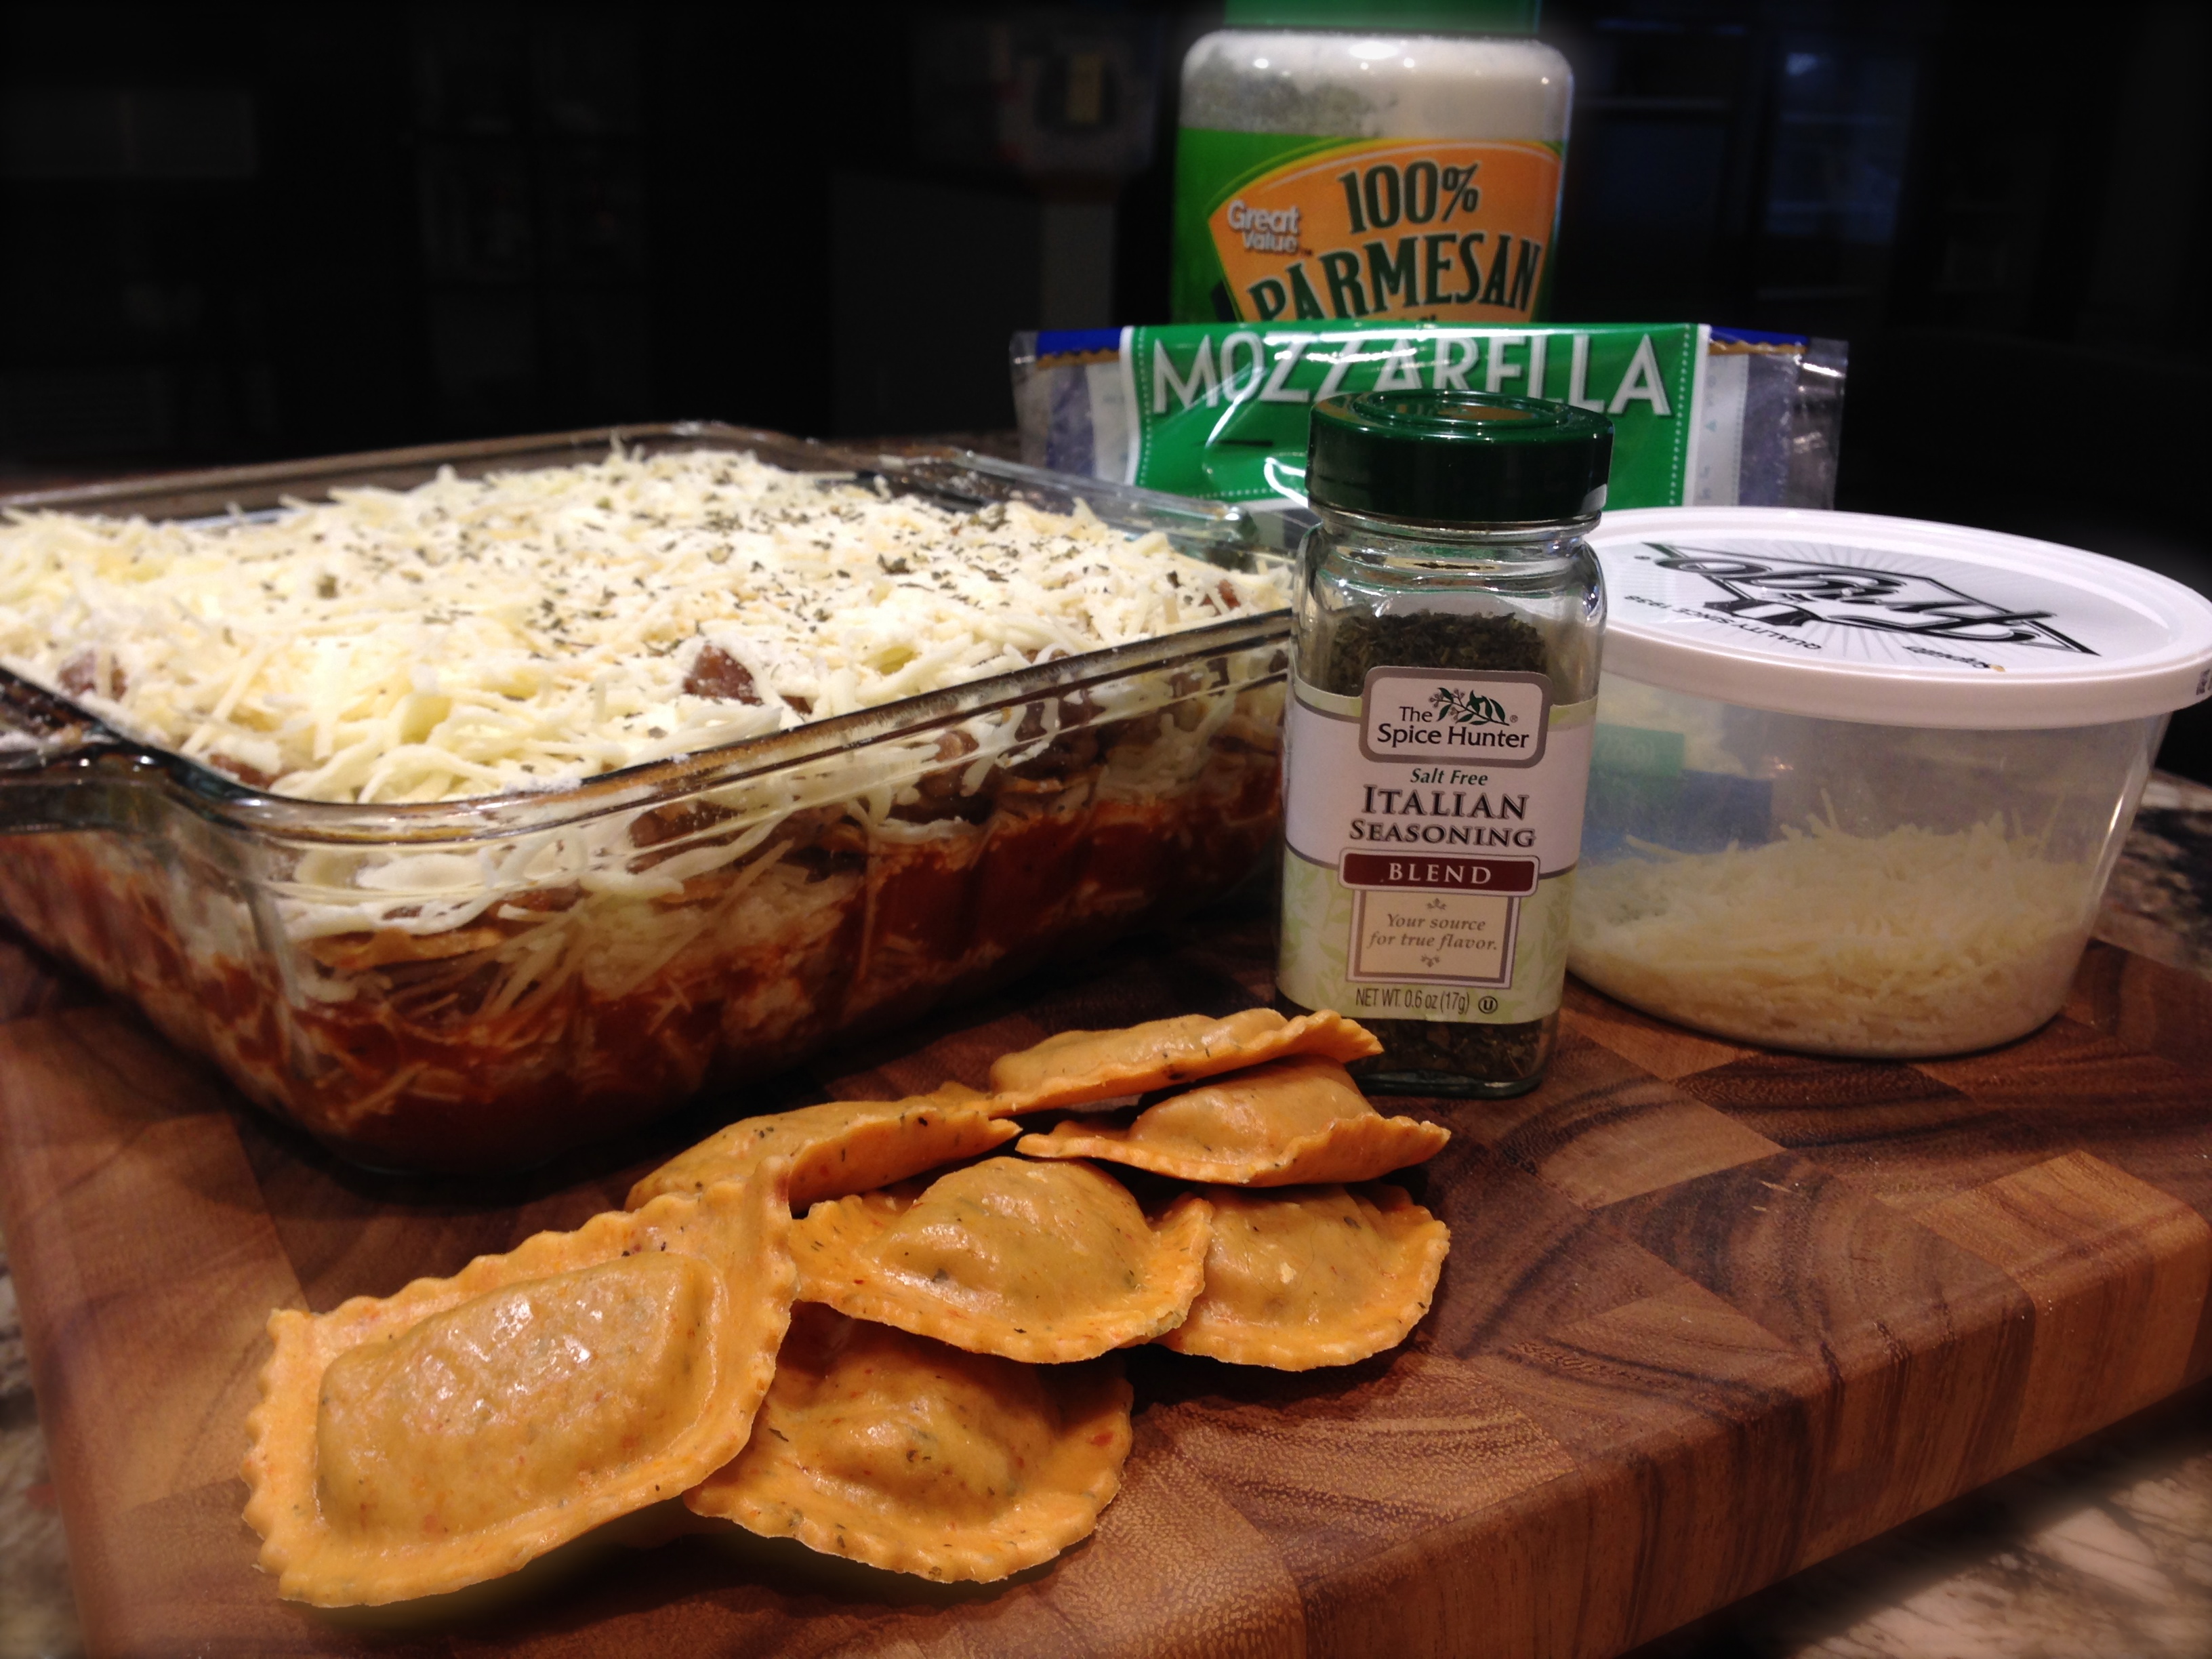
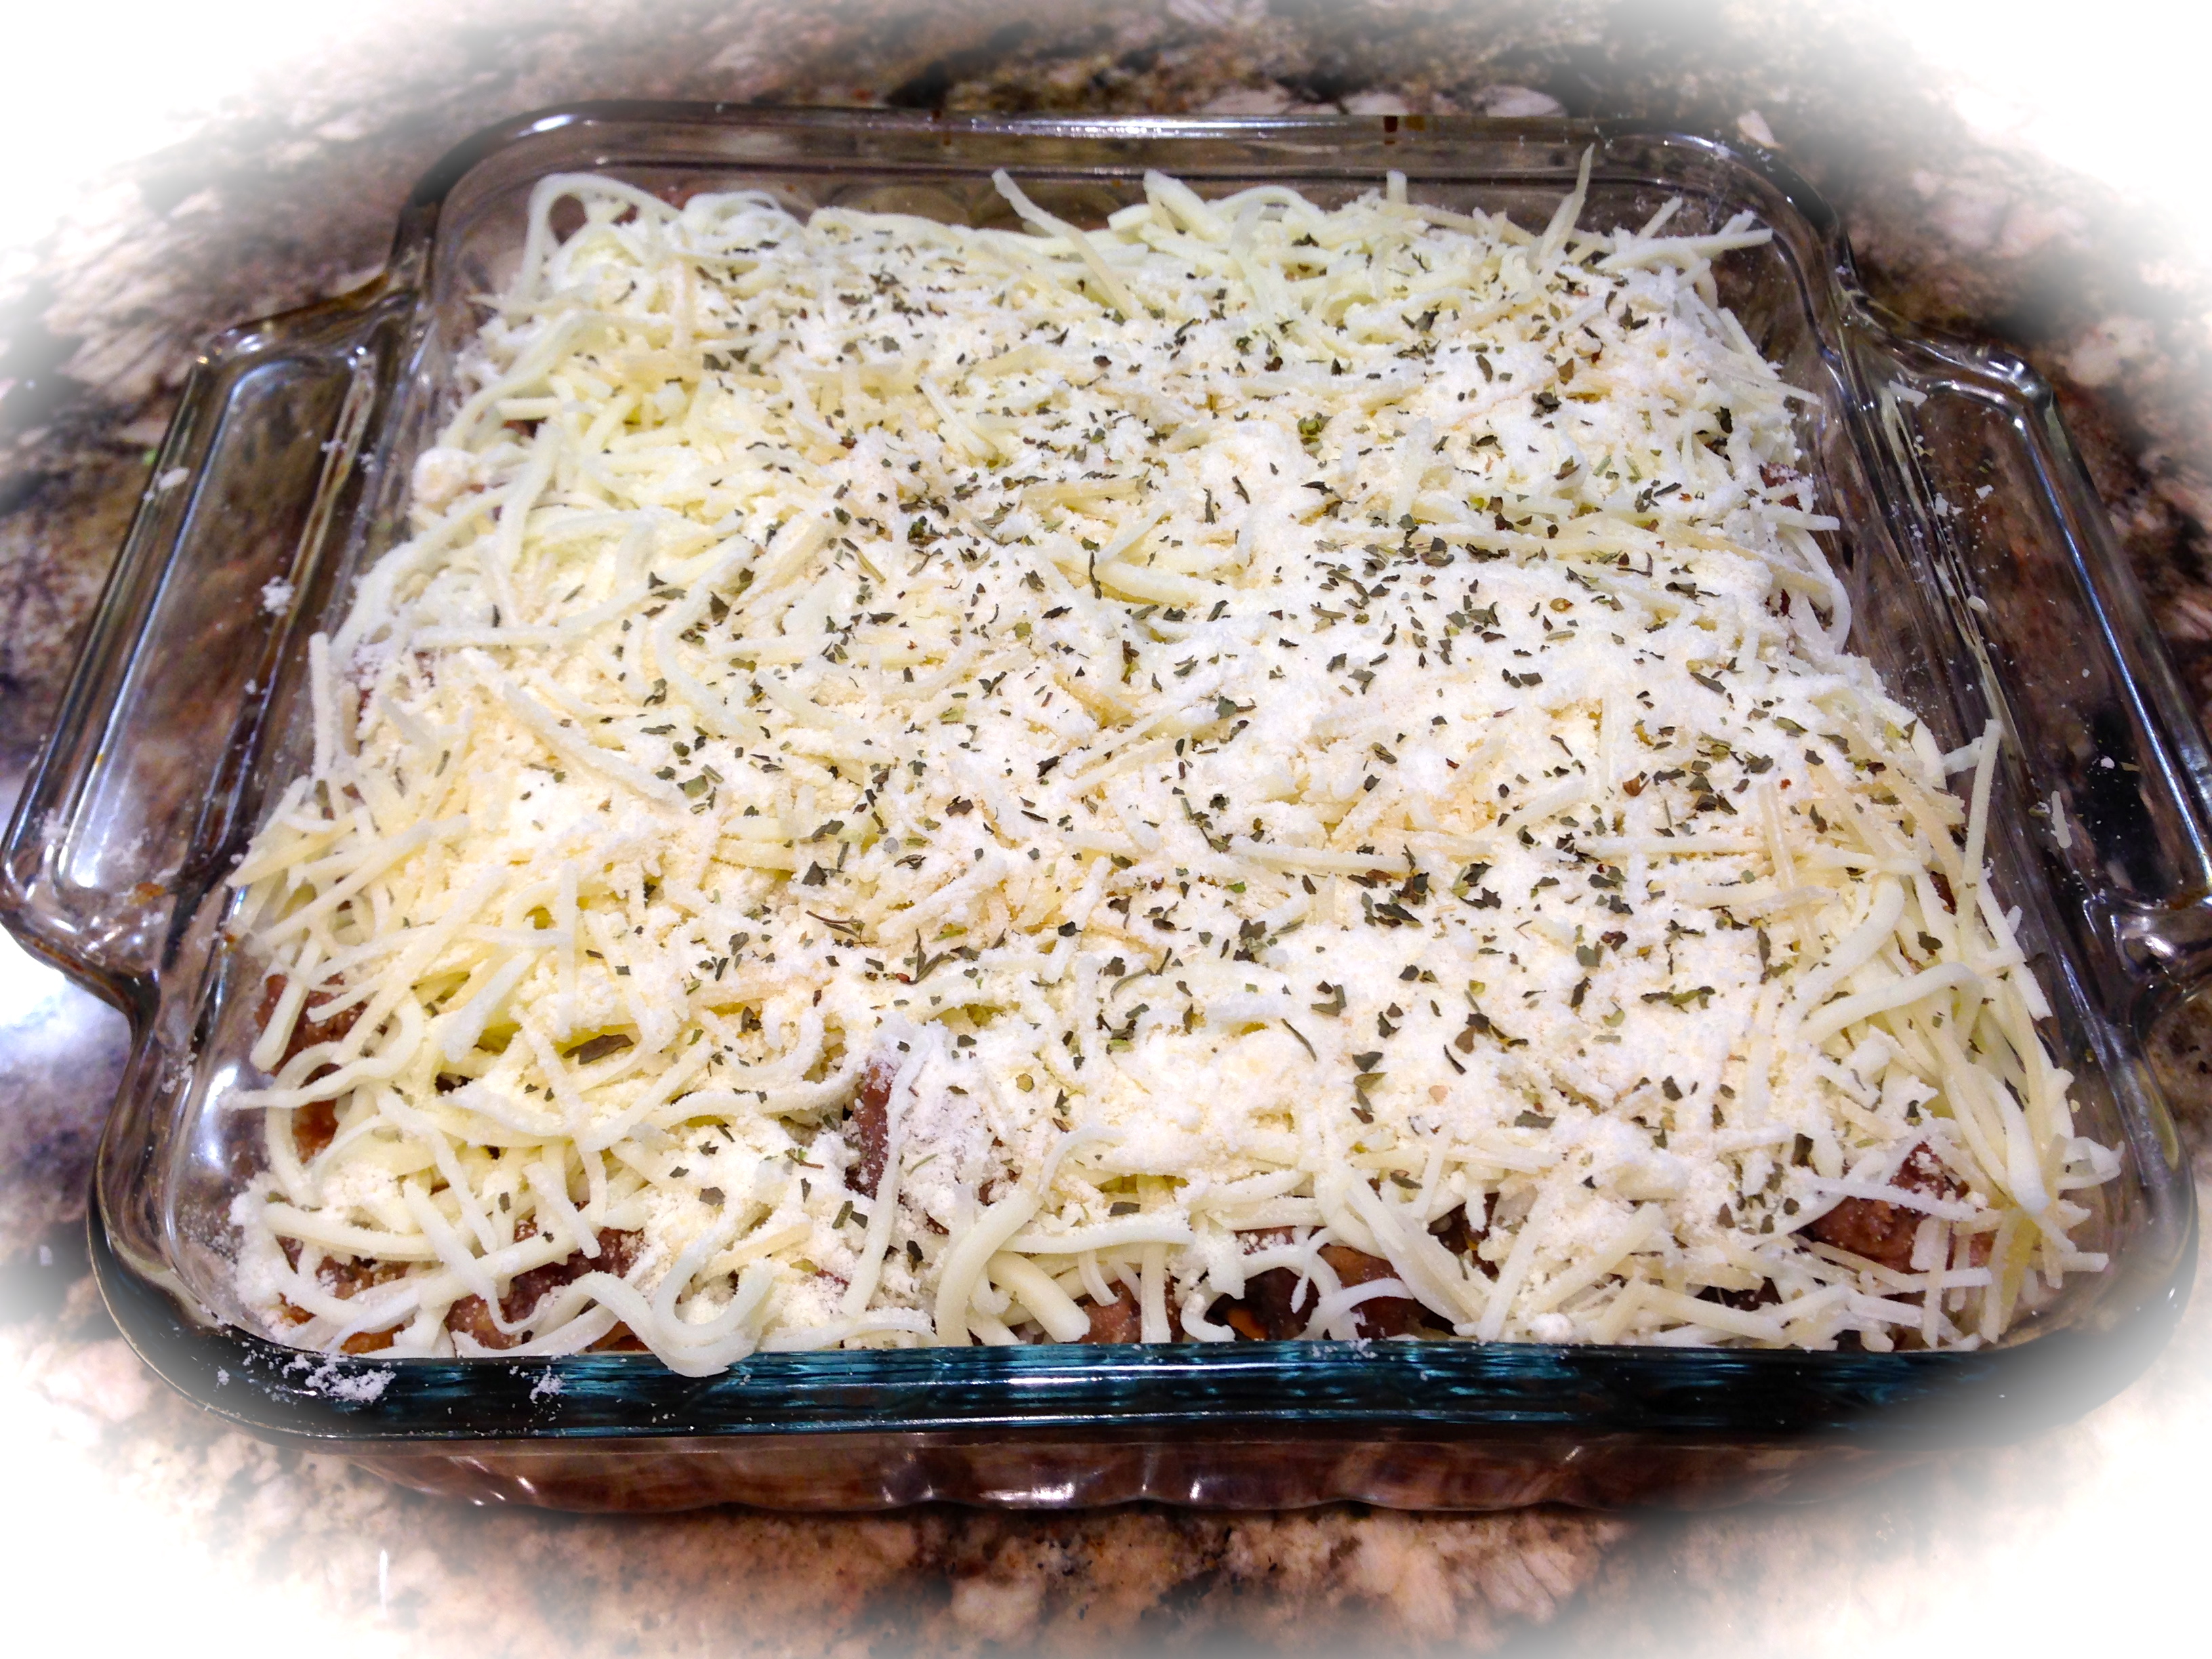
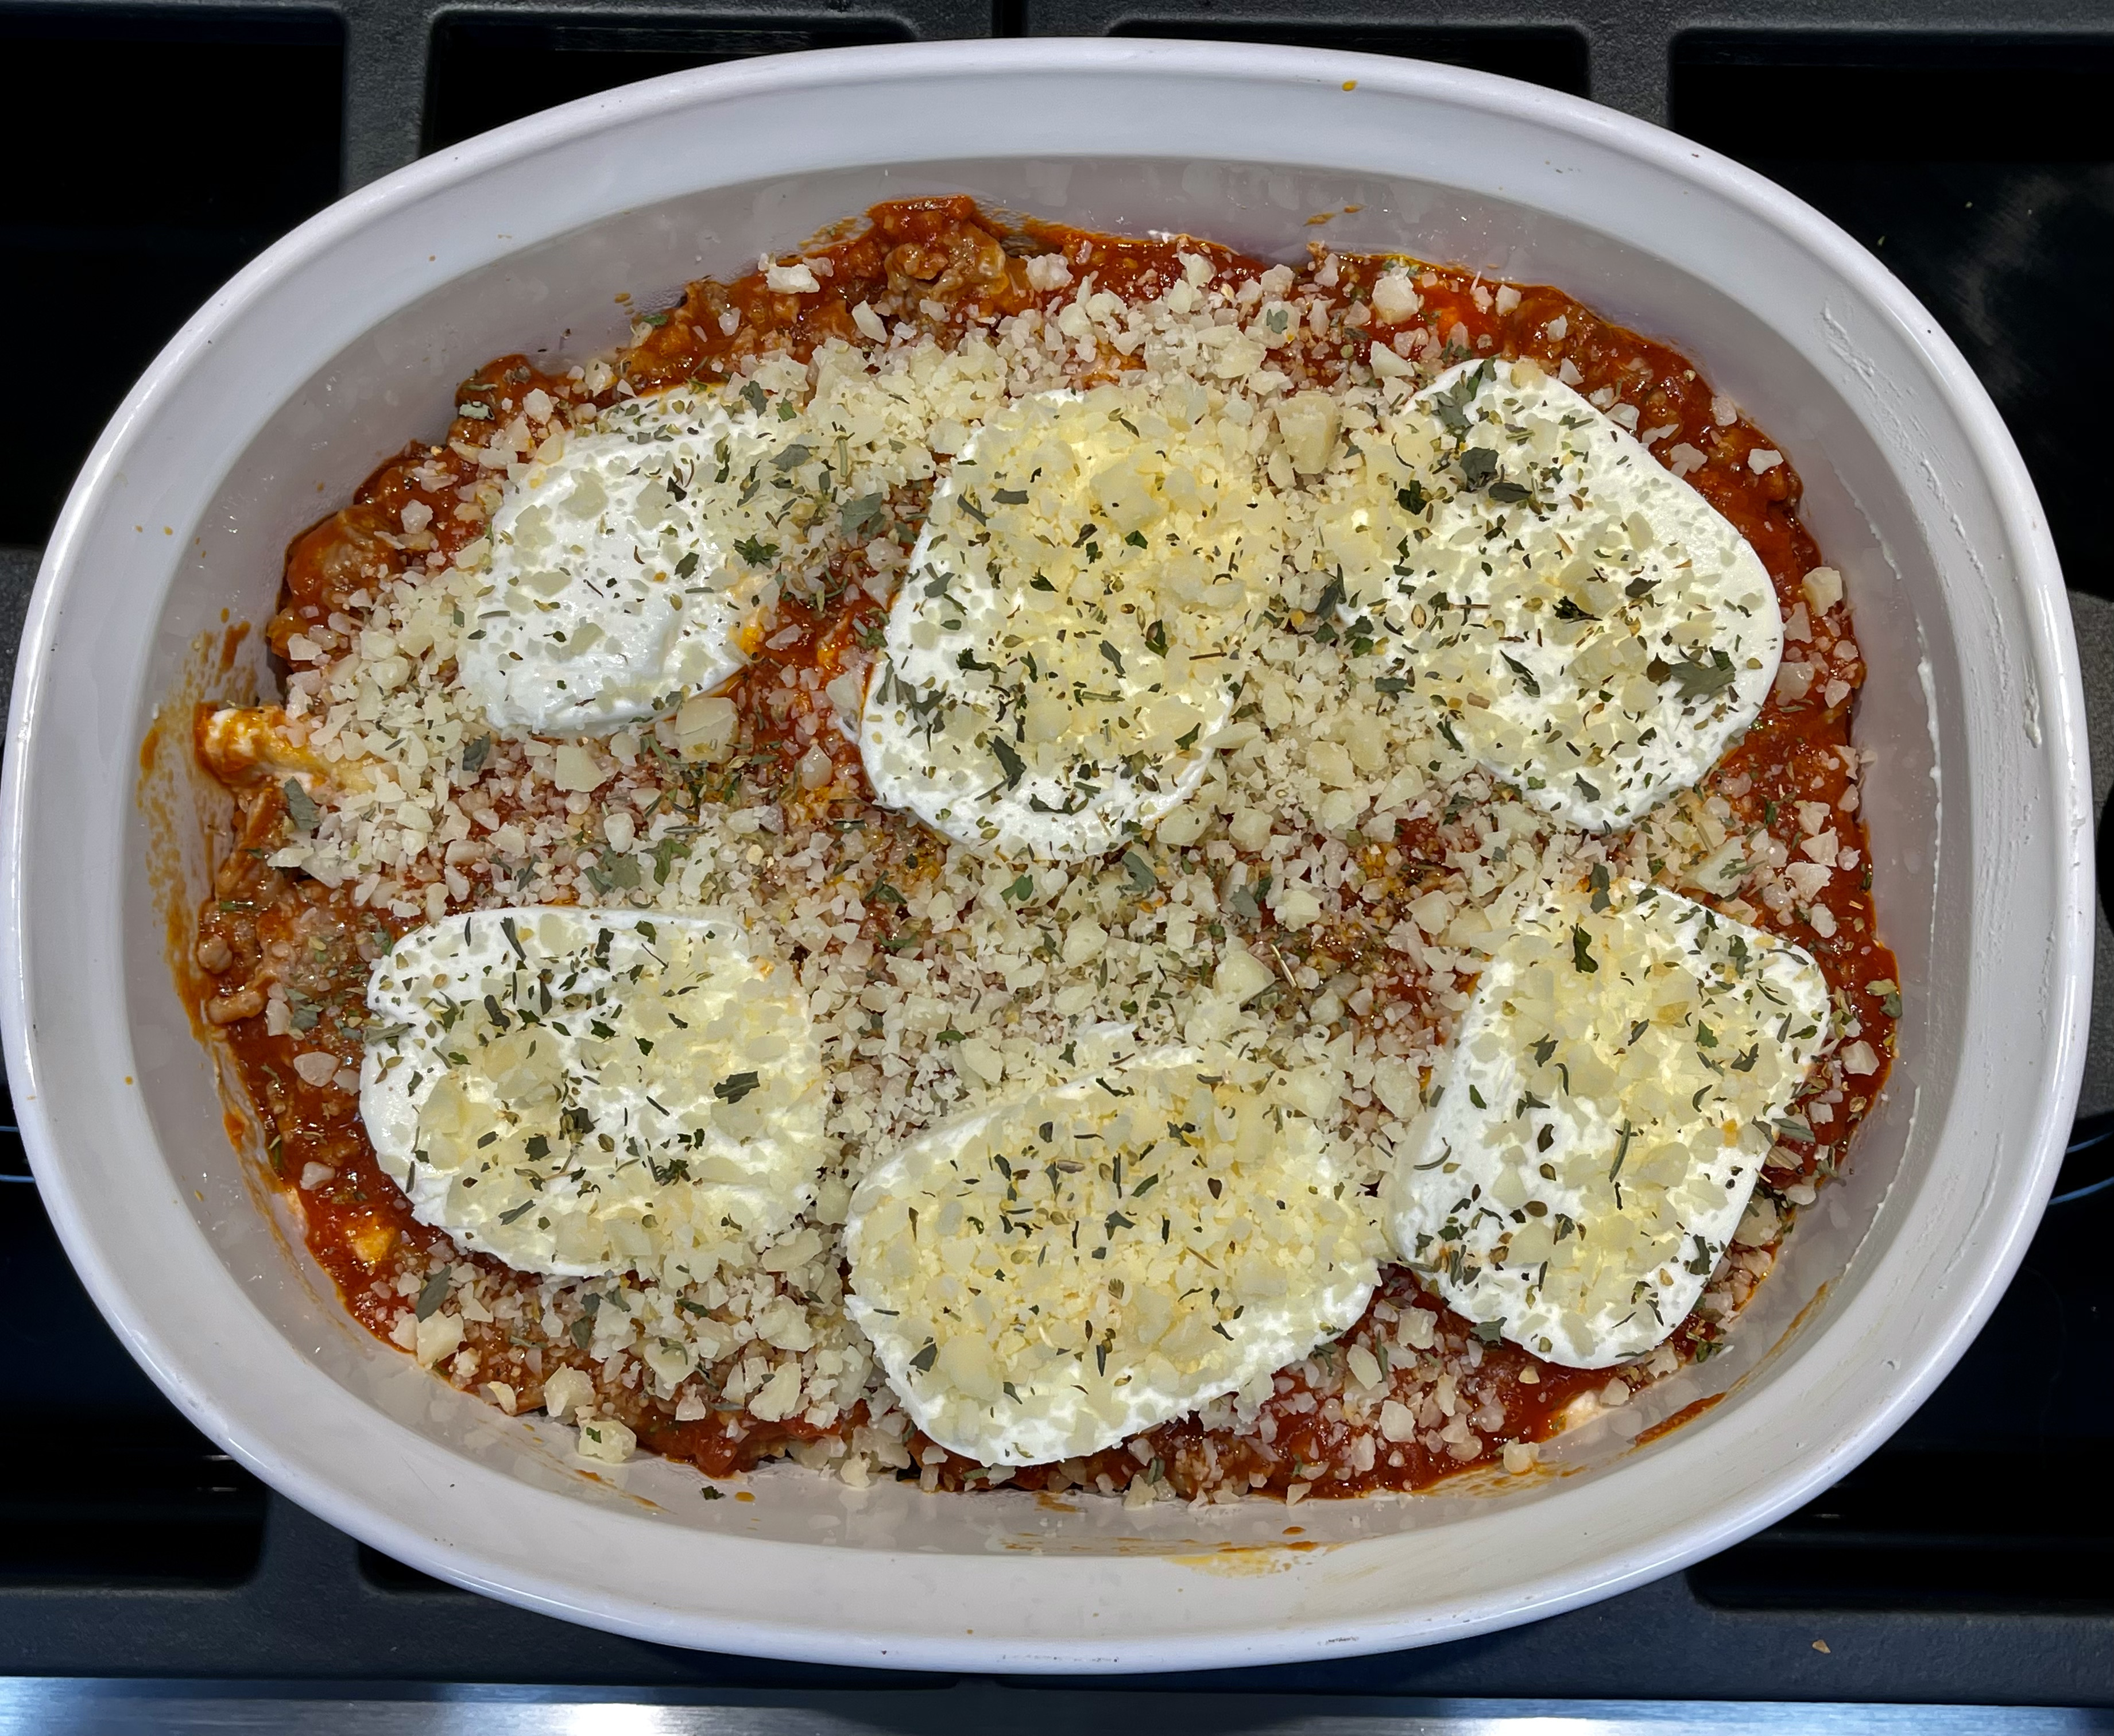
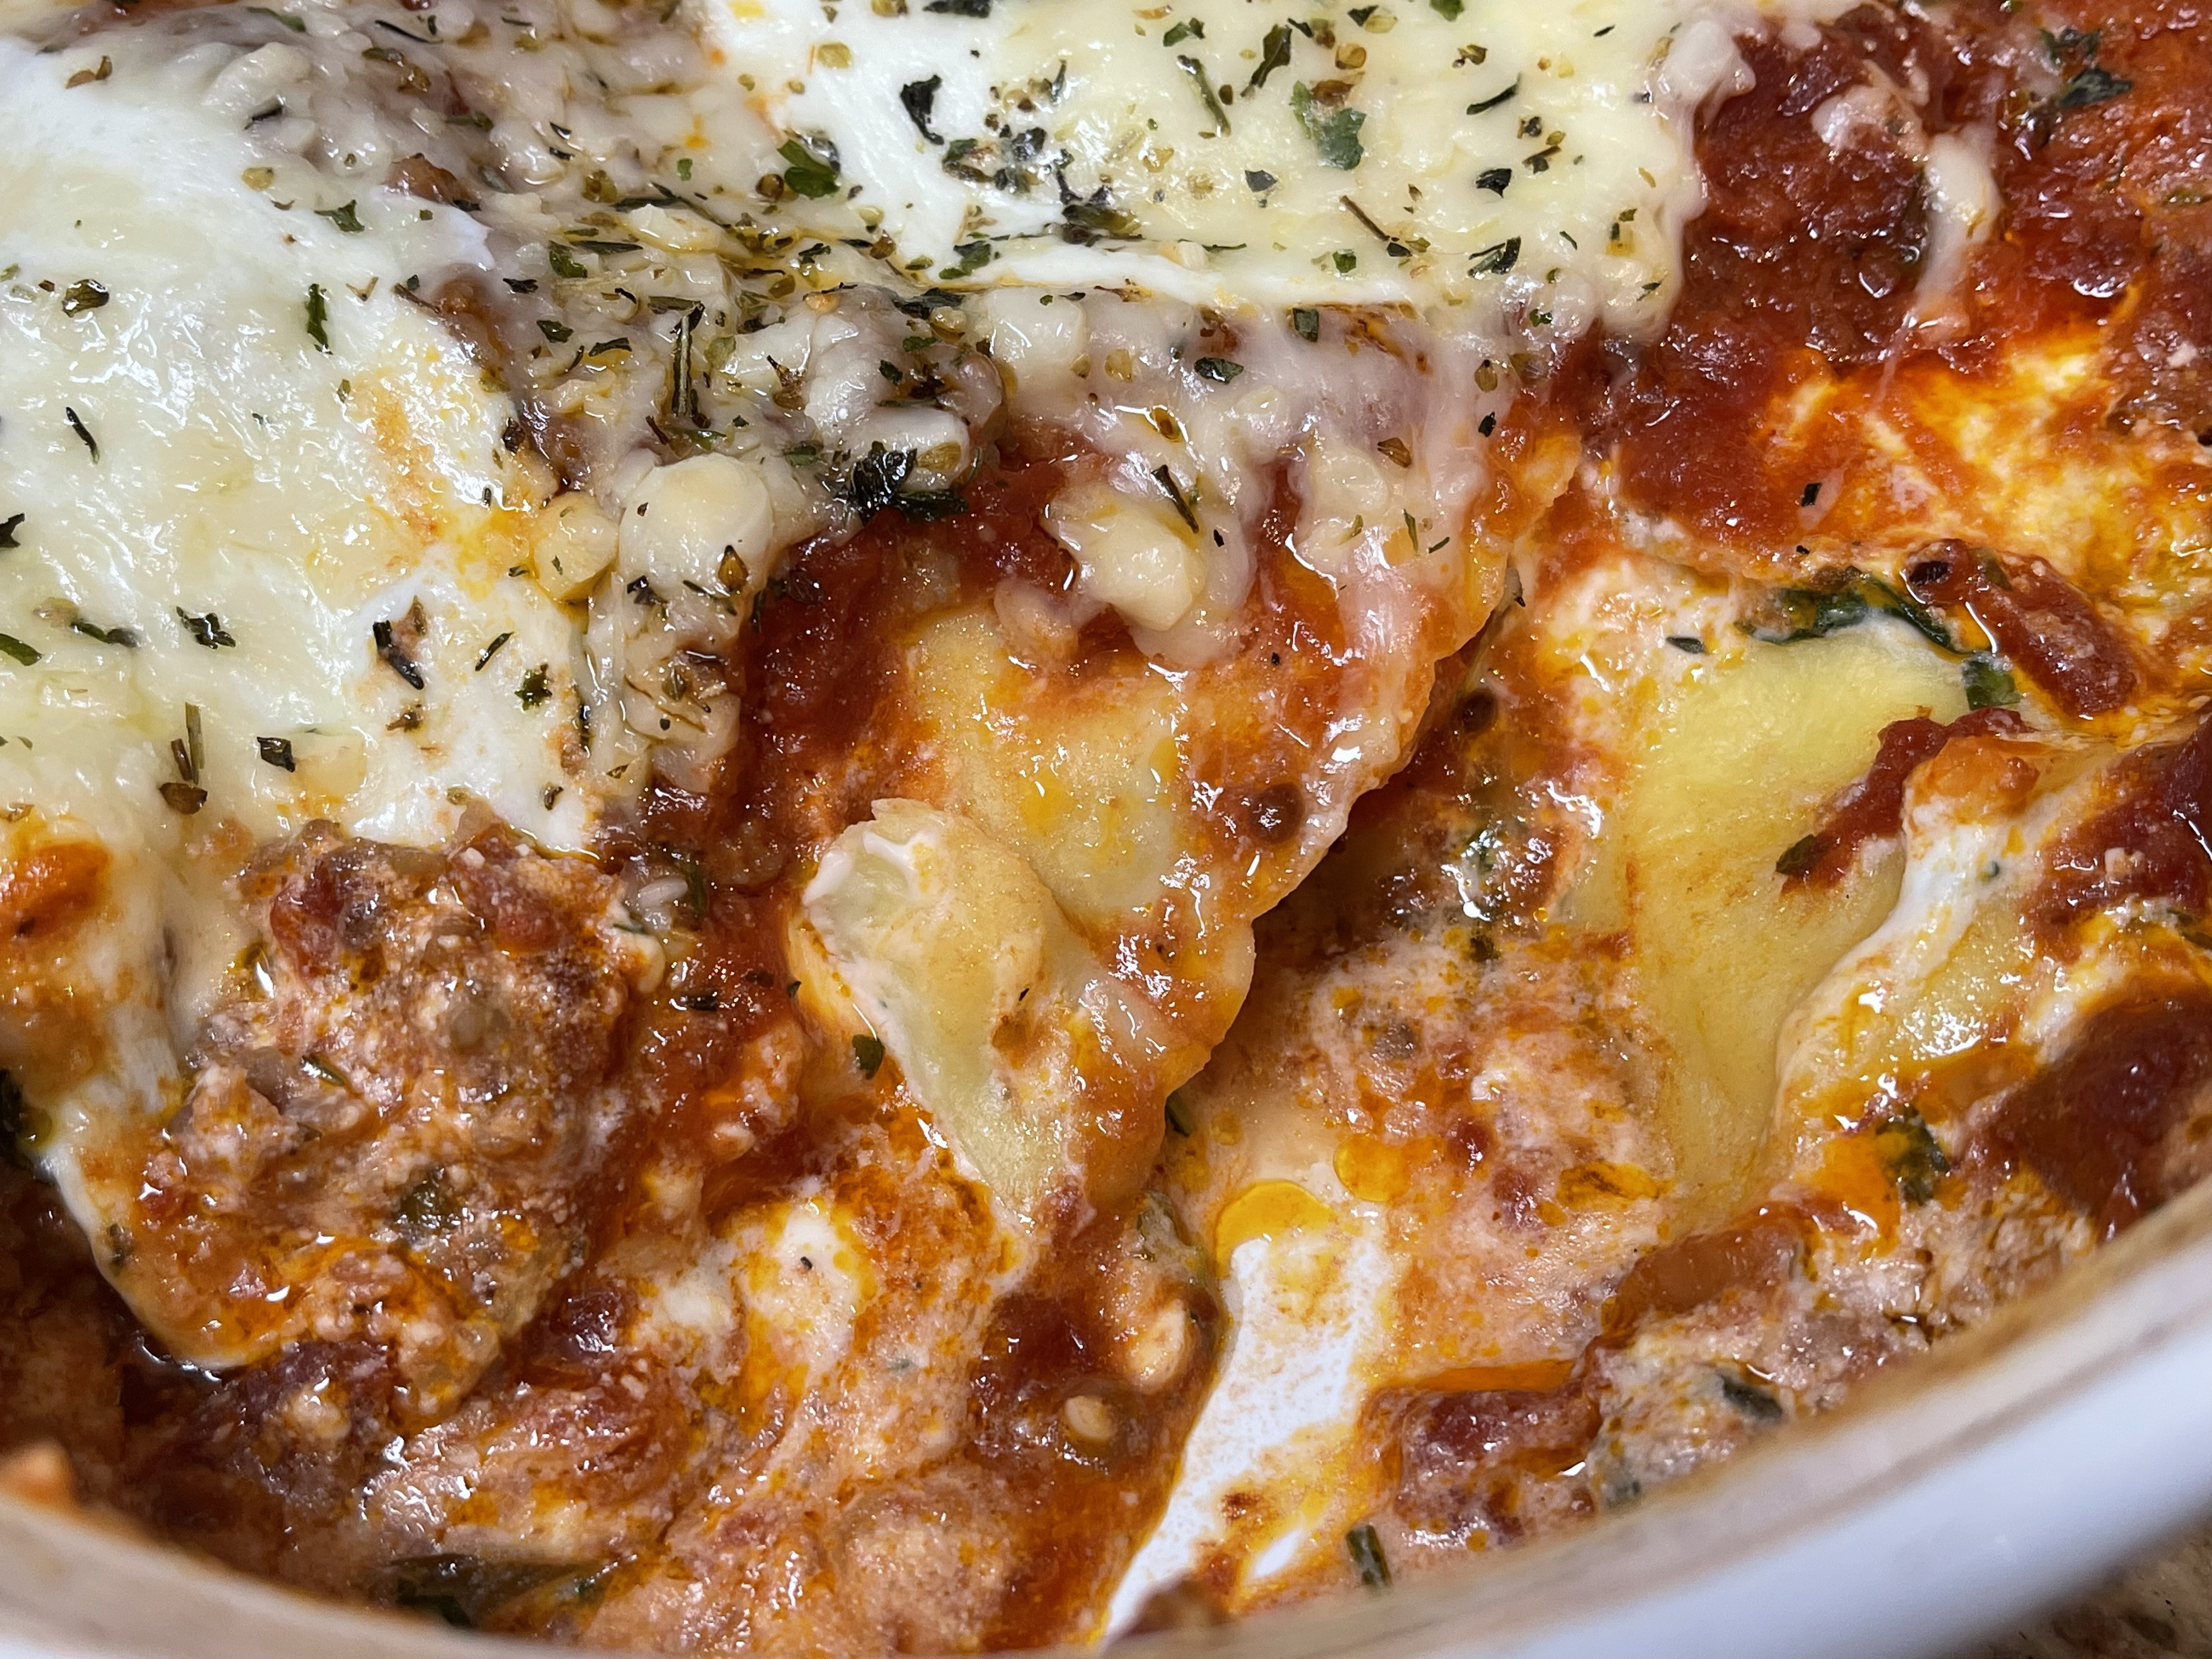
It has been bitterly cold here recently, so when I invited some friends over for lunch and cards I wanted to make something hot and hearty. I decided to make a version of my ravioli lasagna and try a side dish I hadn’t made before, broccoli casserole. My friends don’t seem to mind me trying new recipes on them and, thank goodness, this one was a hit.
LESSONS LEARNED MAKING THIS RECIPE:
- An easy way to prep the broccoli: Most broccoli recipes I looked at called for steaming the broccoli for about 3 minutes in a pot on the stove – the traditional way. But the other day I happened to be watching a cooking show on the Food Network and the chef, Jet Tila, talked about using Mike to prep the broccoli for a recipe he was making. He went on to say that Mike was the microwave and all he did was put the broccoli in a microwave safe bowl, cover it with plastic wrap and steam it for 3 minutes – much, much easier! So I did that with one exception – I only steamed my broccoli for a minute and a half as it was going to be baking in the oven for 30-40 minutes and that would accomplish the rest of the cooking.
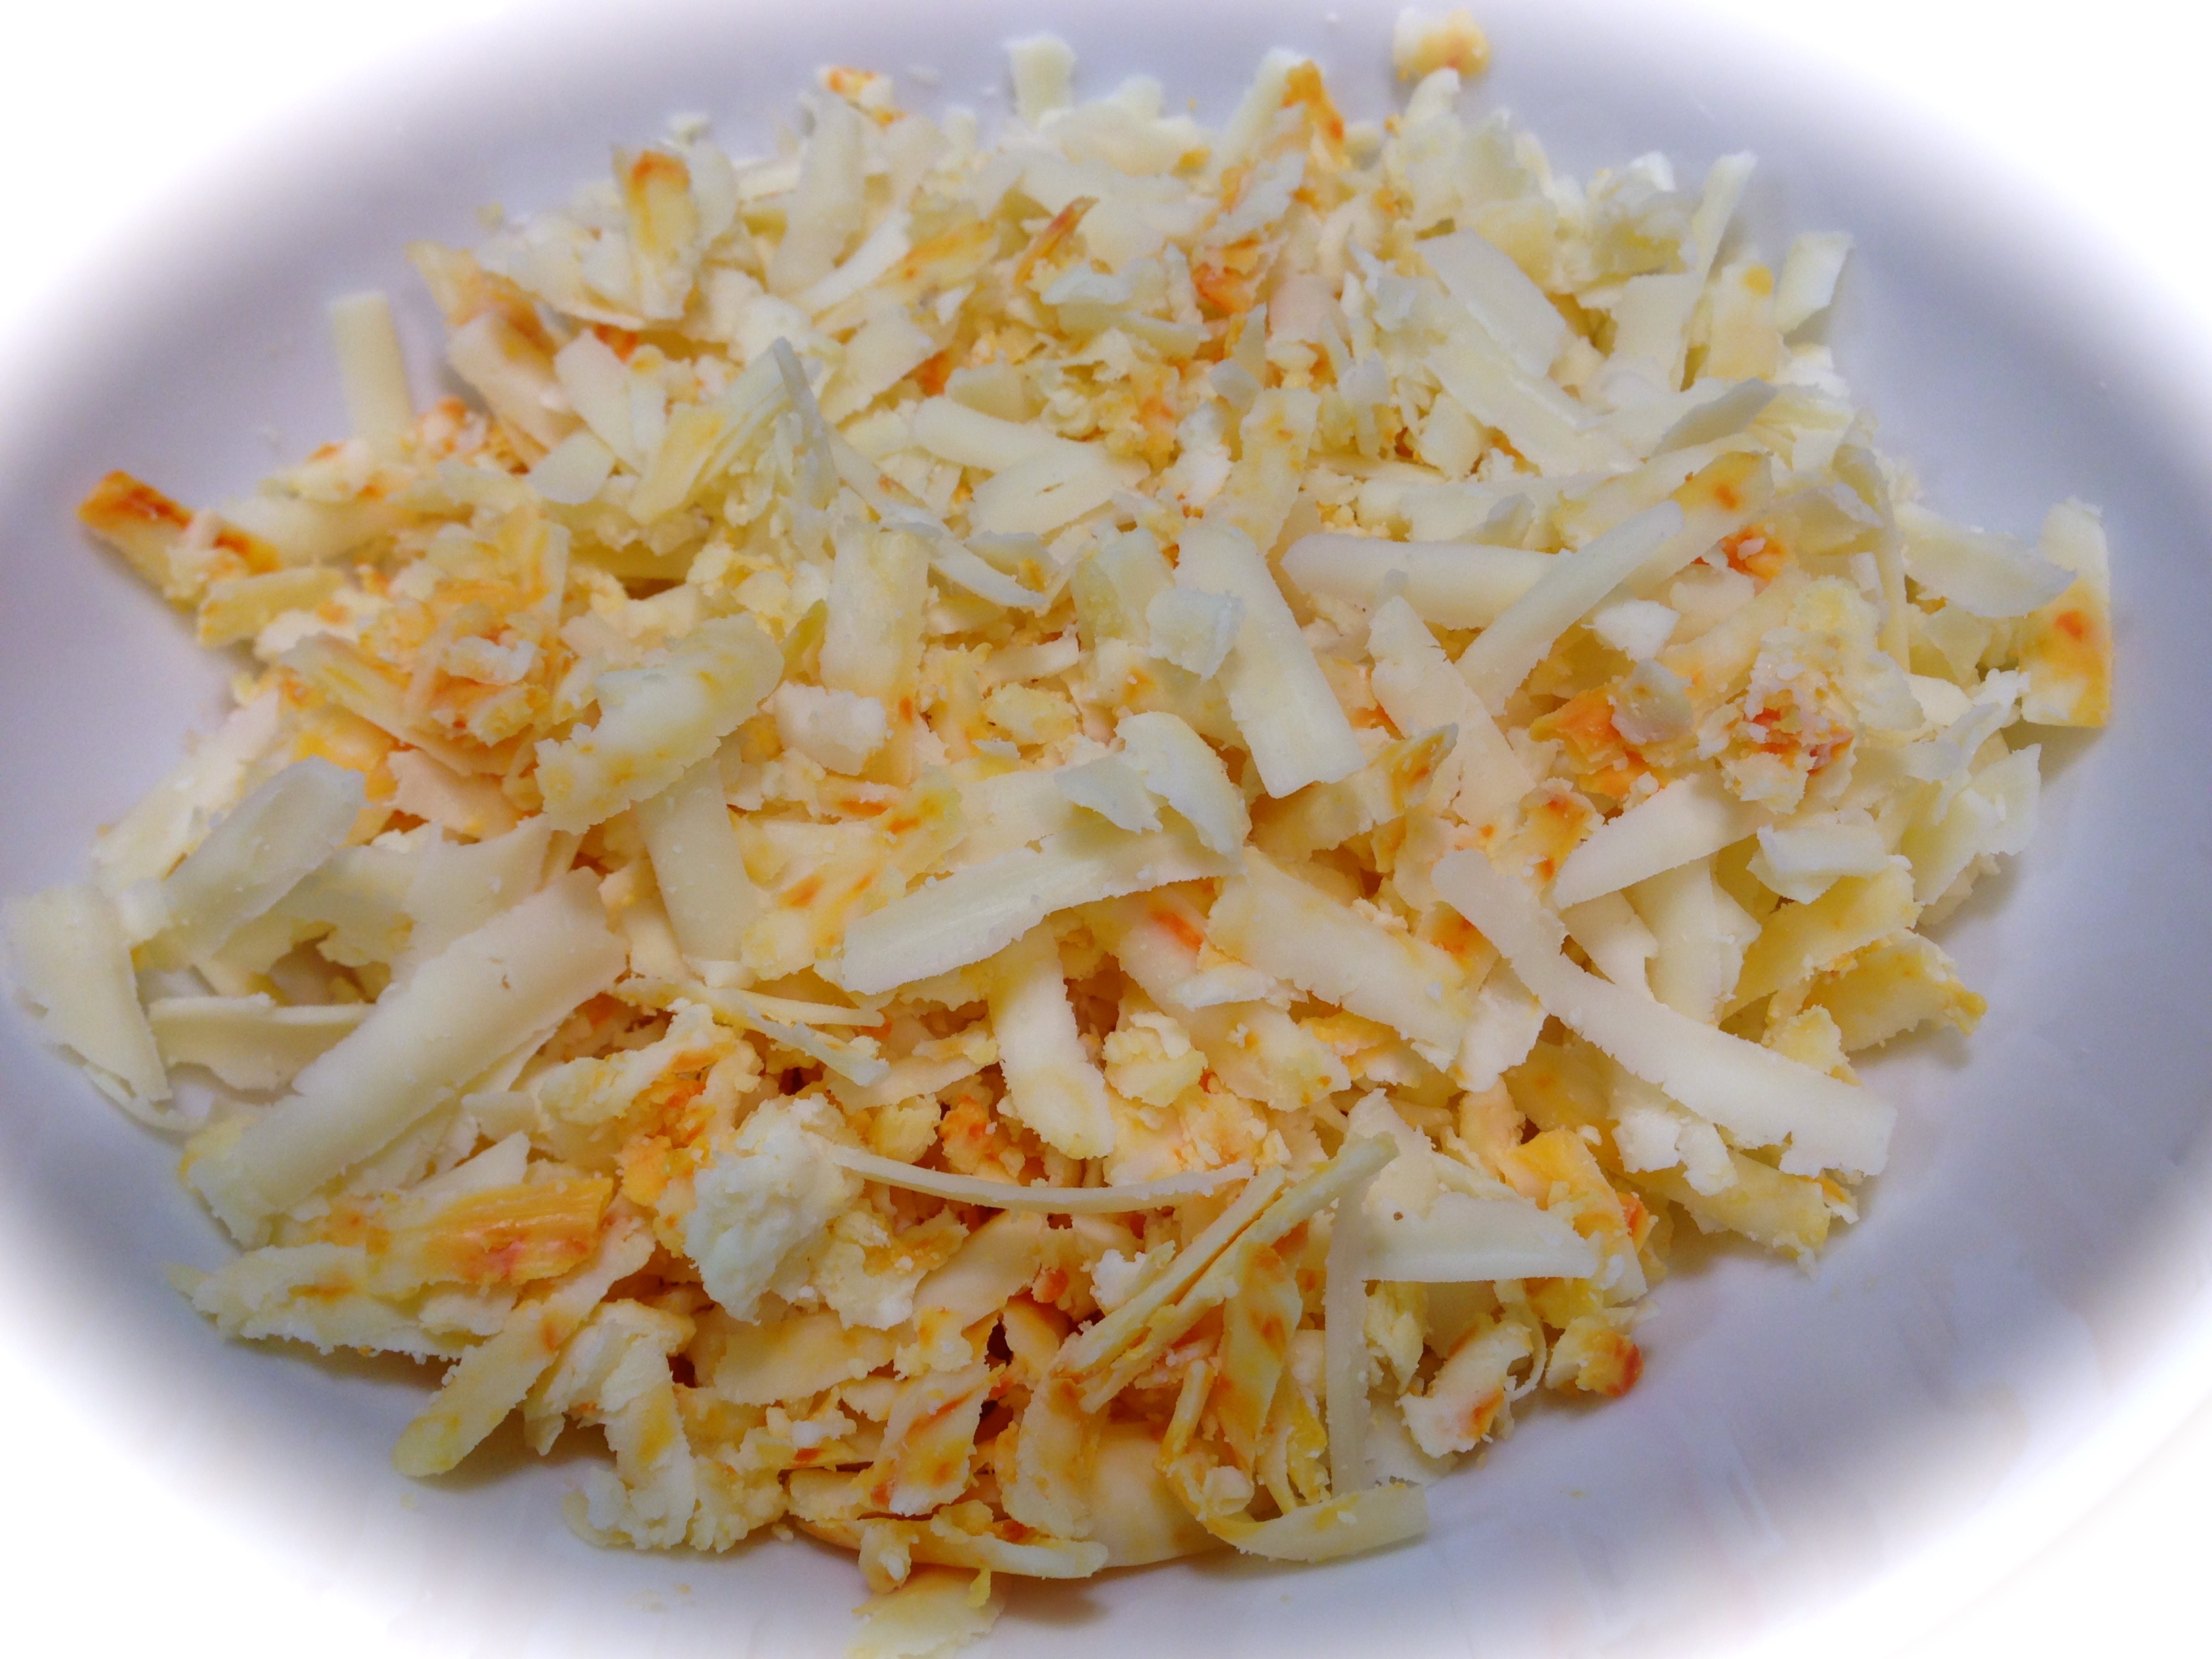
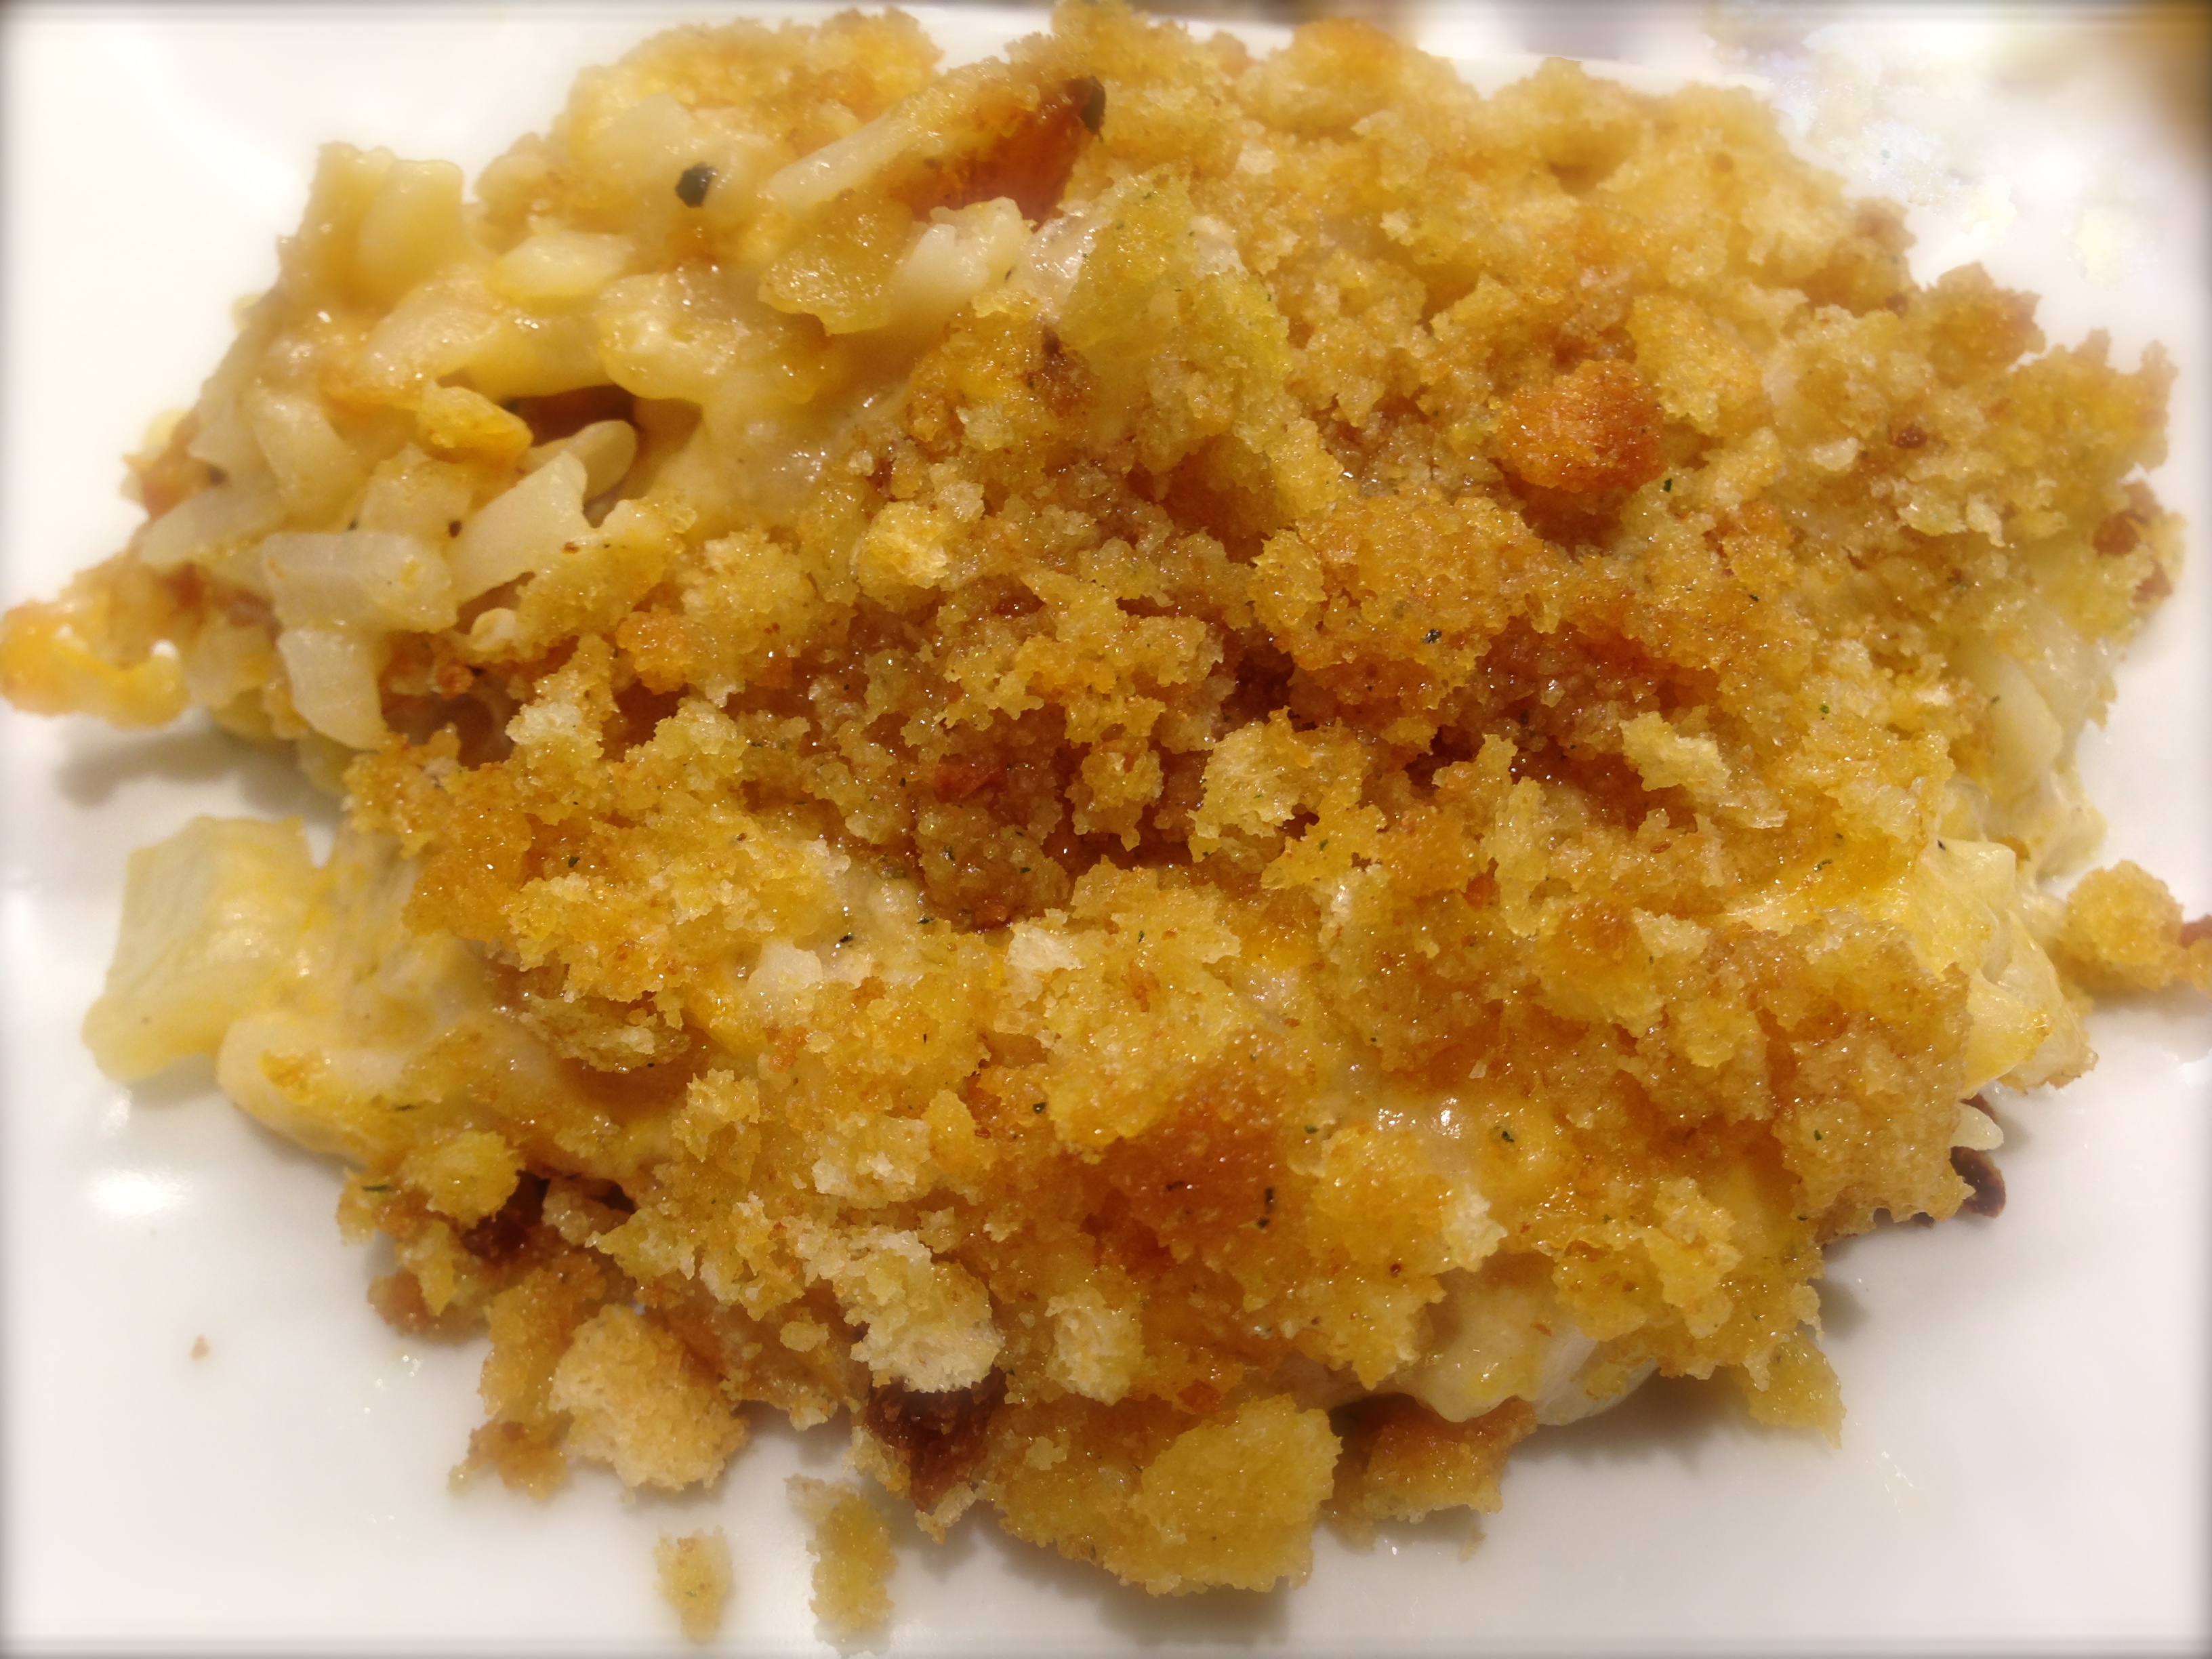
- The recipe I based this on solely called for grated sharp cheddar cheese in both the mixture and with the crumb topping. I used shredded sharp cheddar for the mixture and grated gruyere with the cracker topping. It was divine!


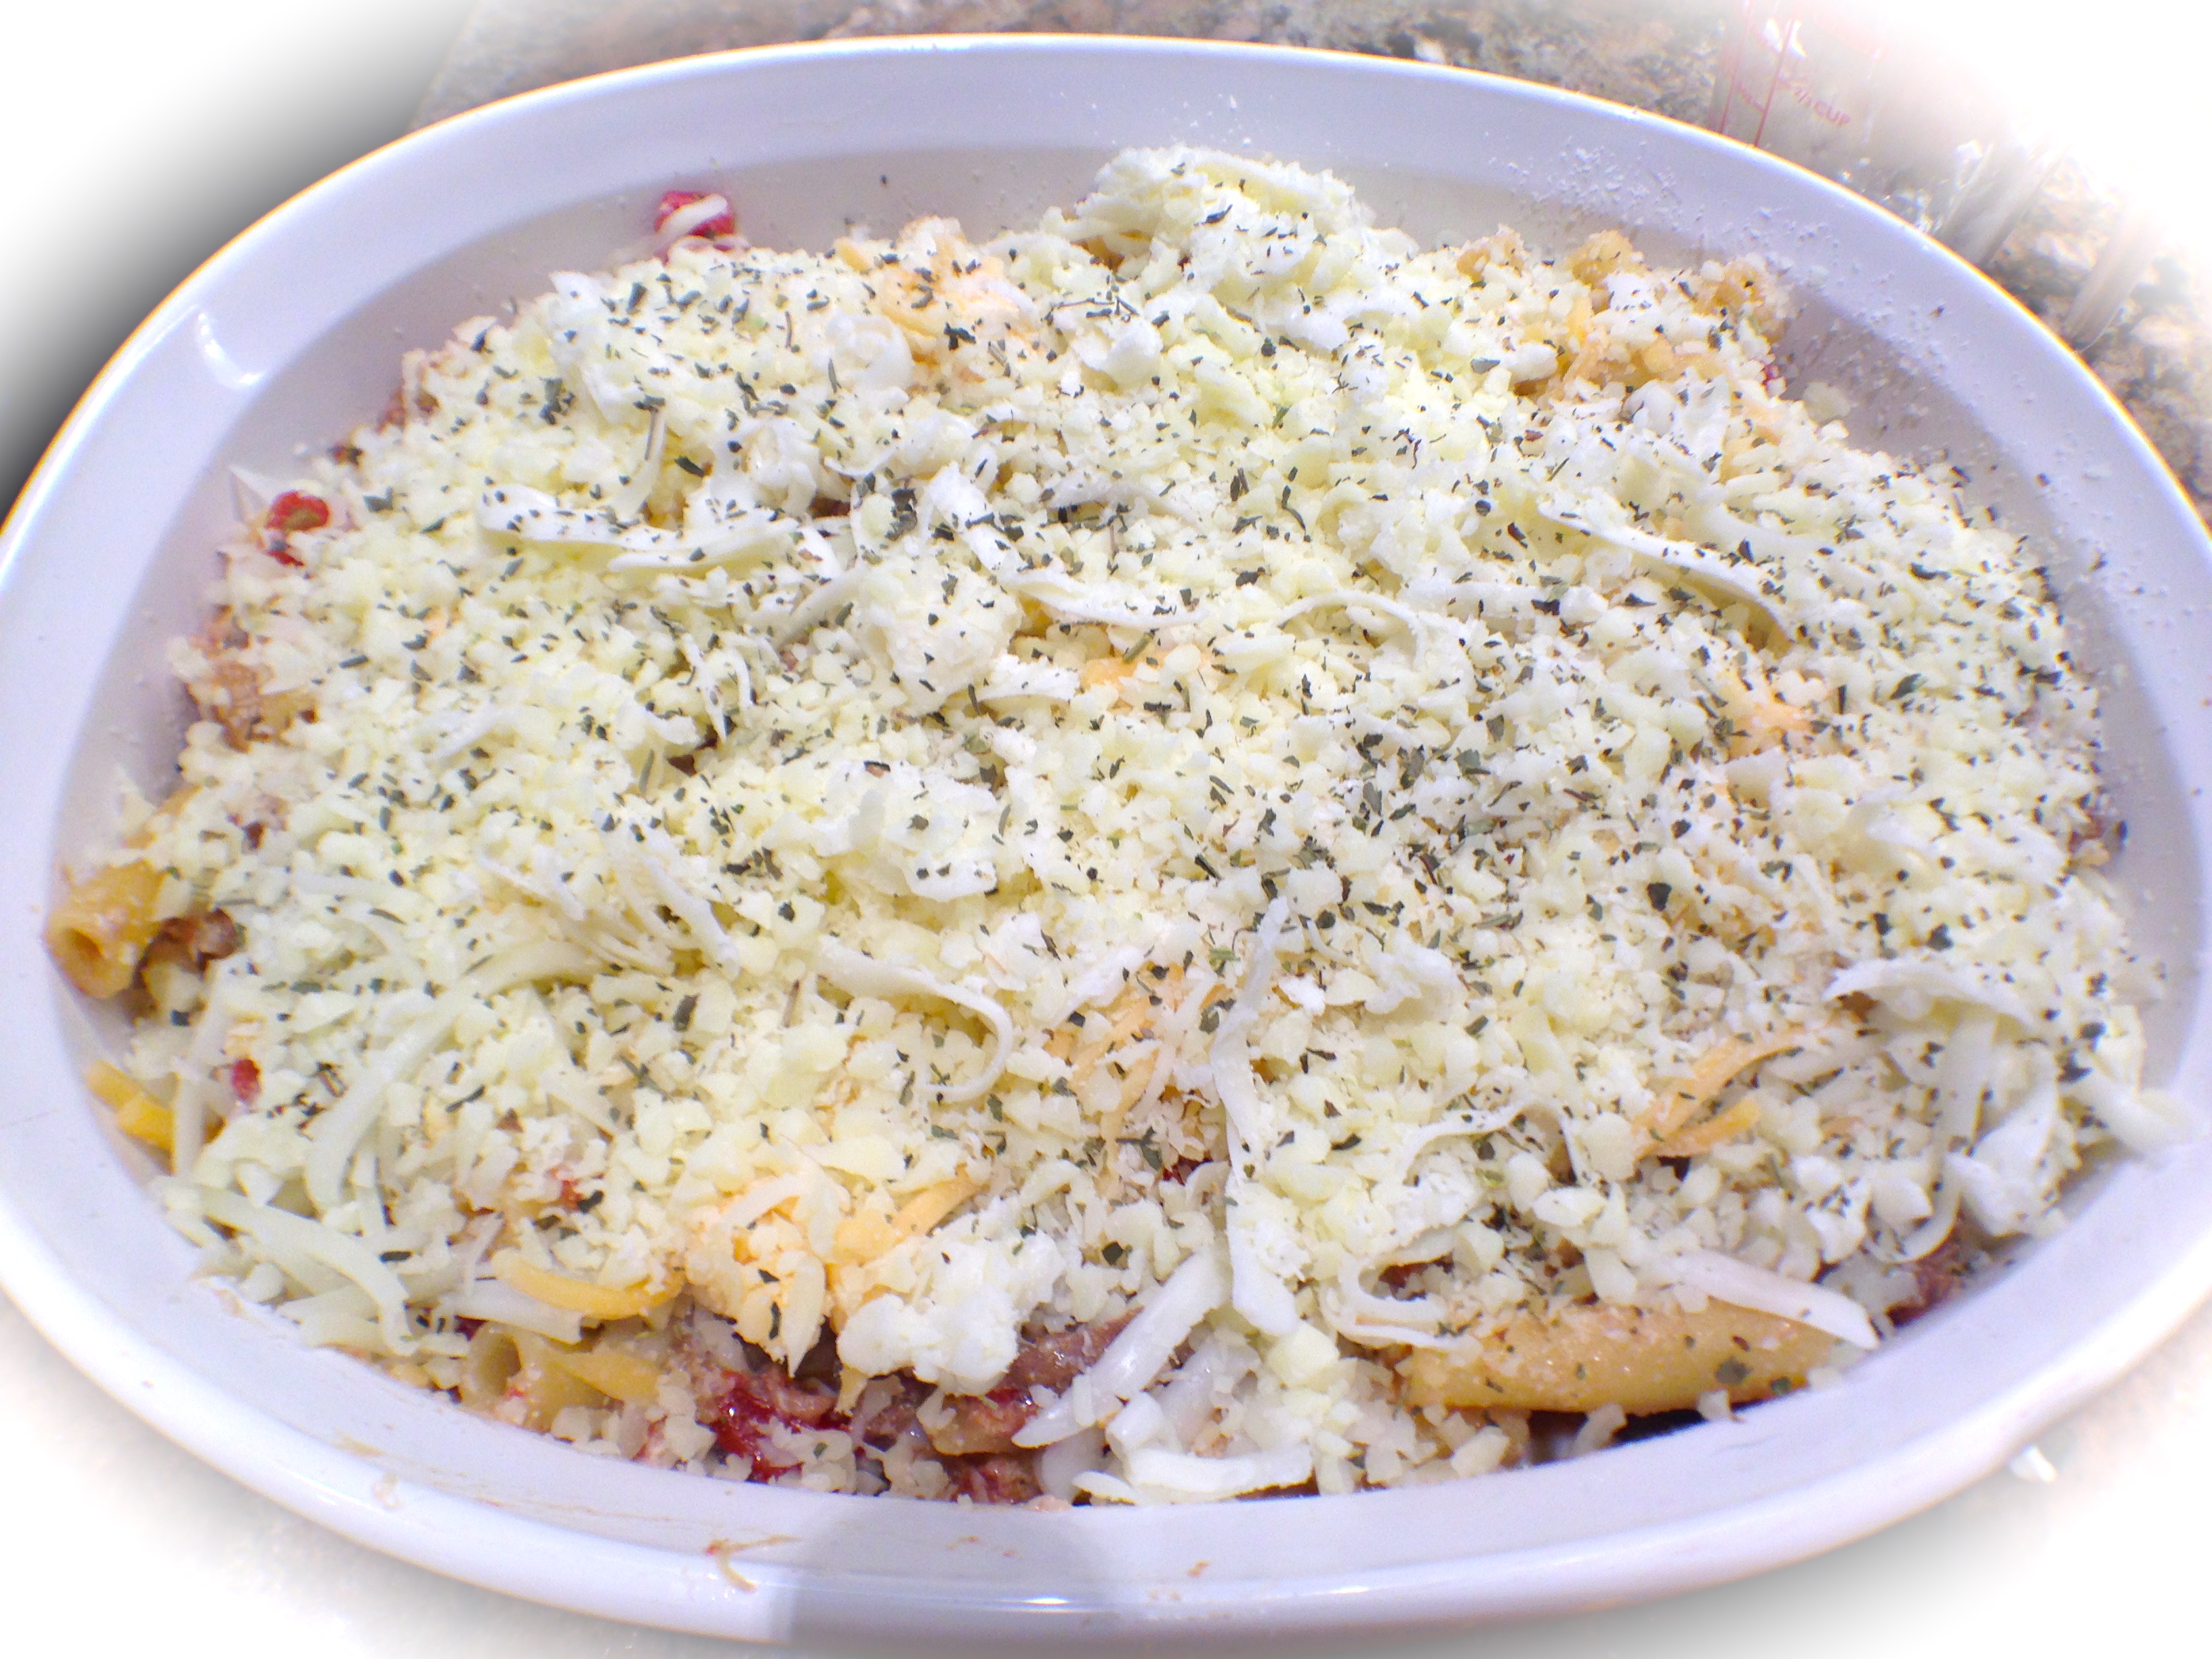
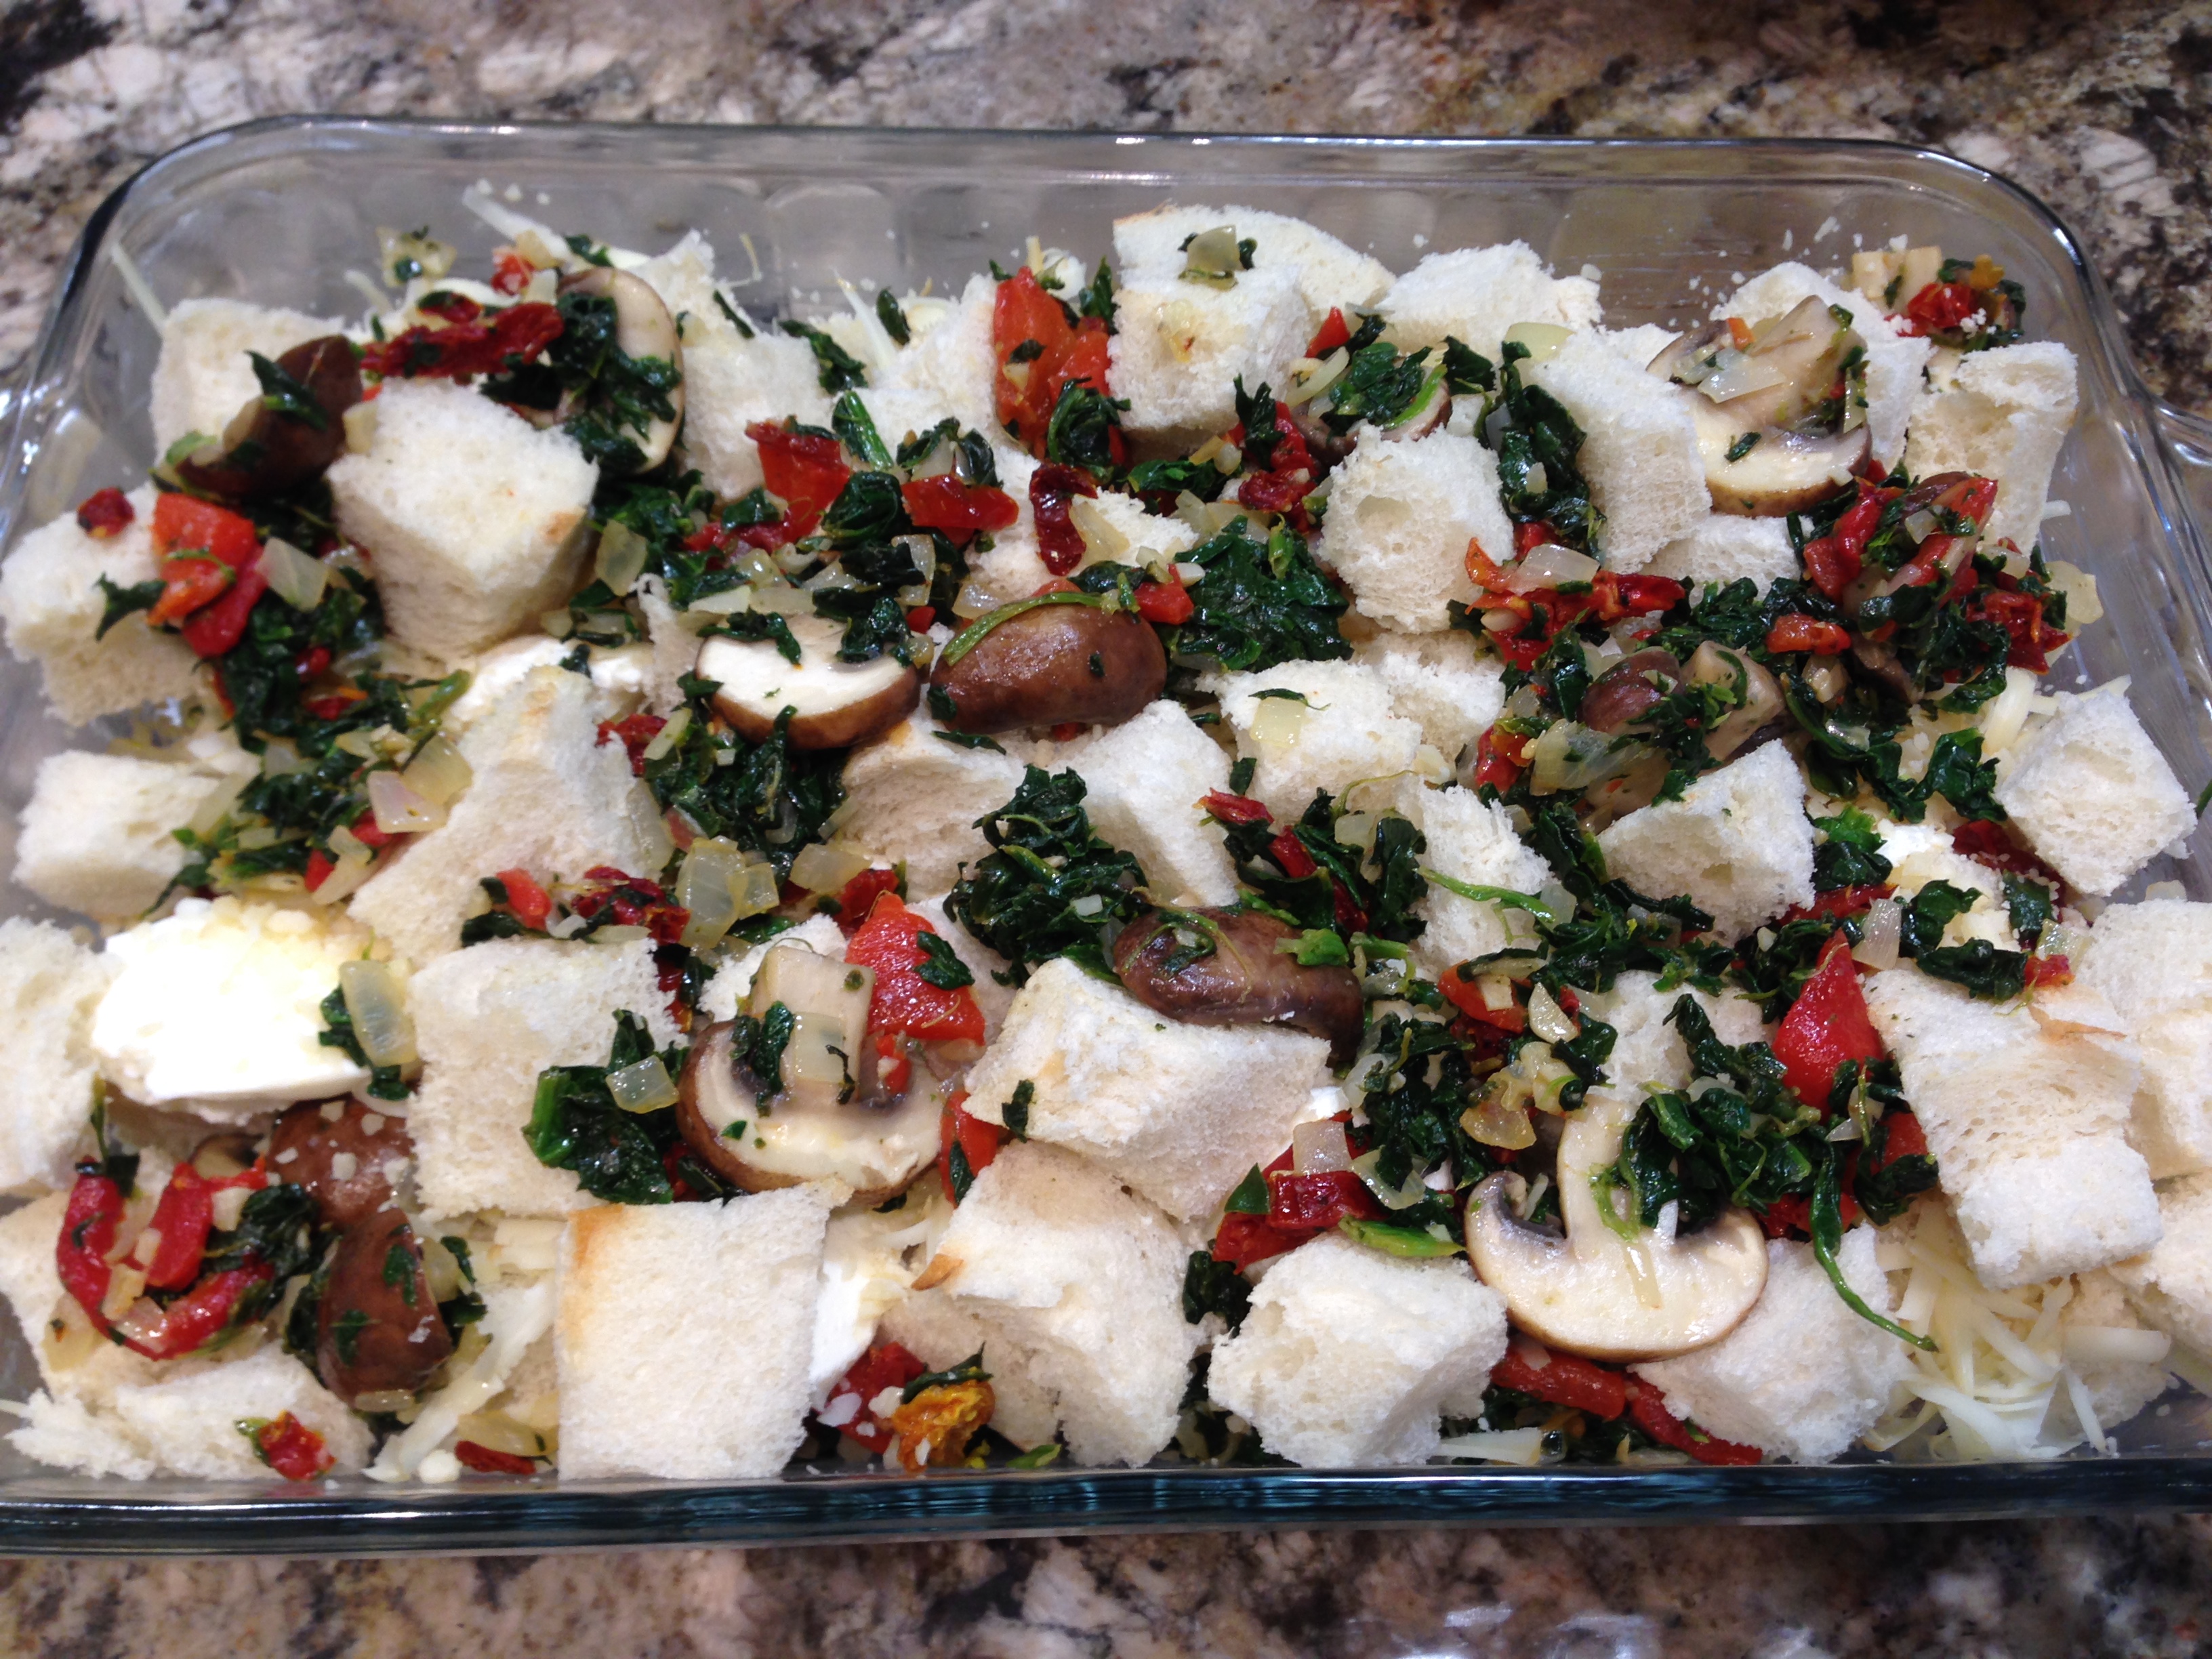
The rest was so easy. This is a recipe that you can make ahead of time, refrigerate the mixture and when ready to make it, let it sit out for about an hour to take the chill off, add the crumb mixture and bake it off.
Easy Broccoli Casserole
INGREDIENTS:
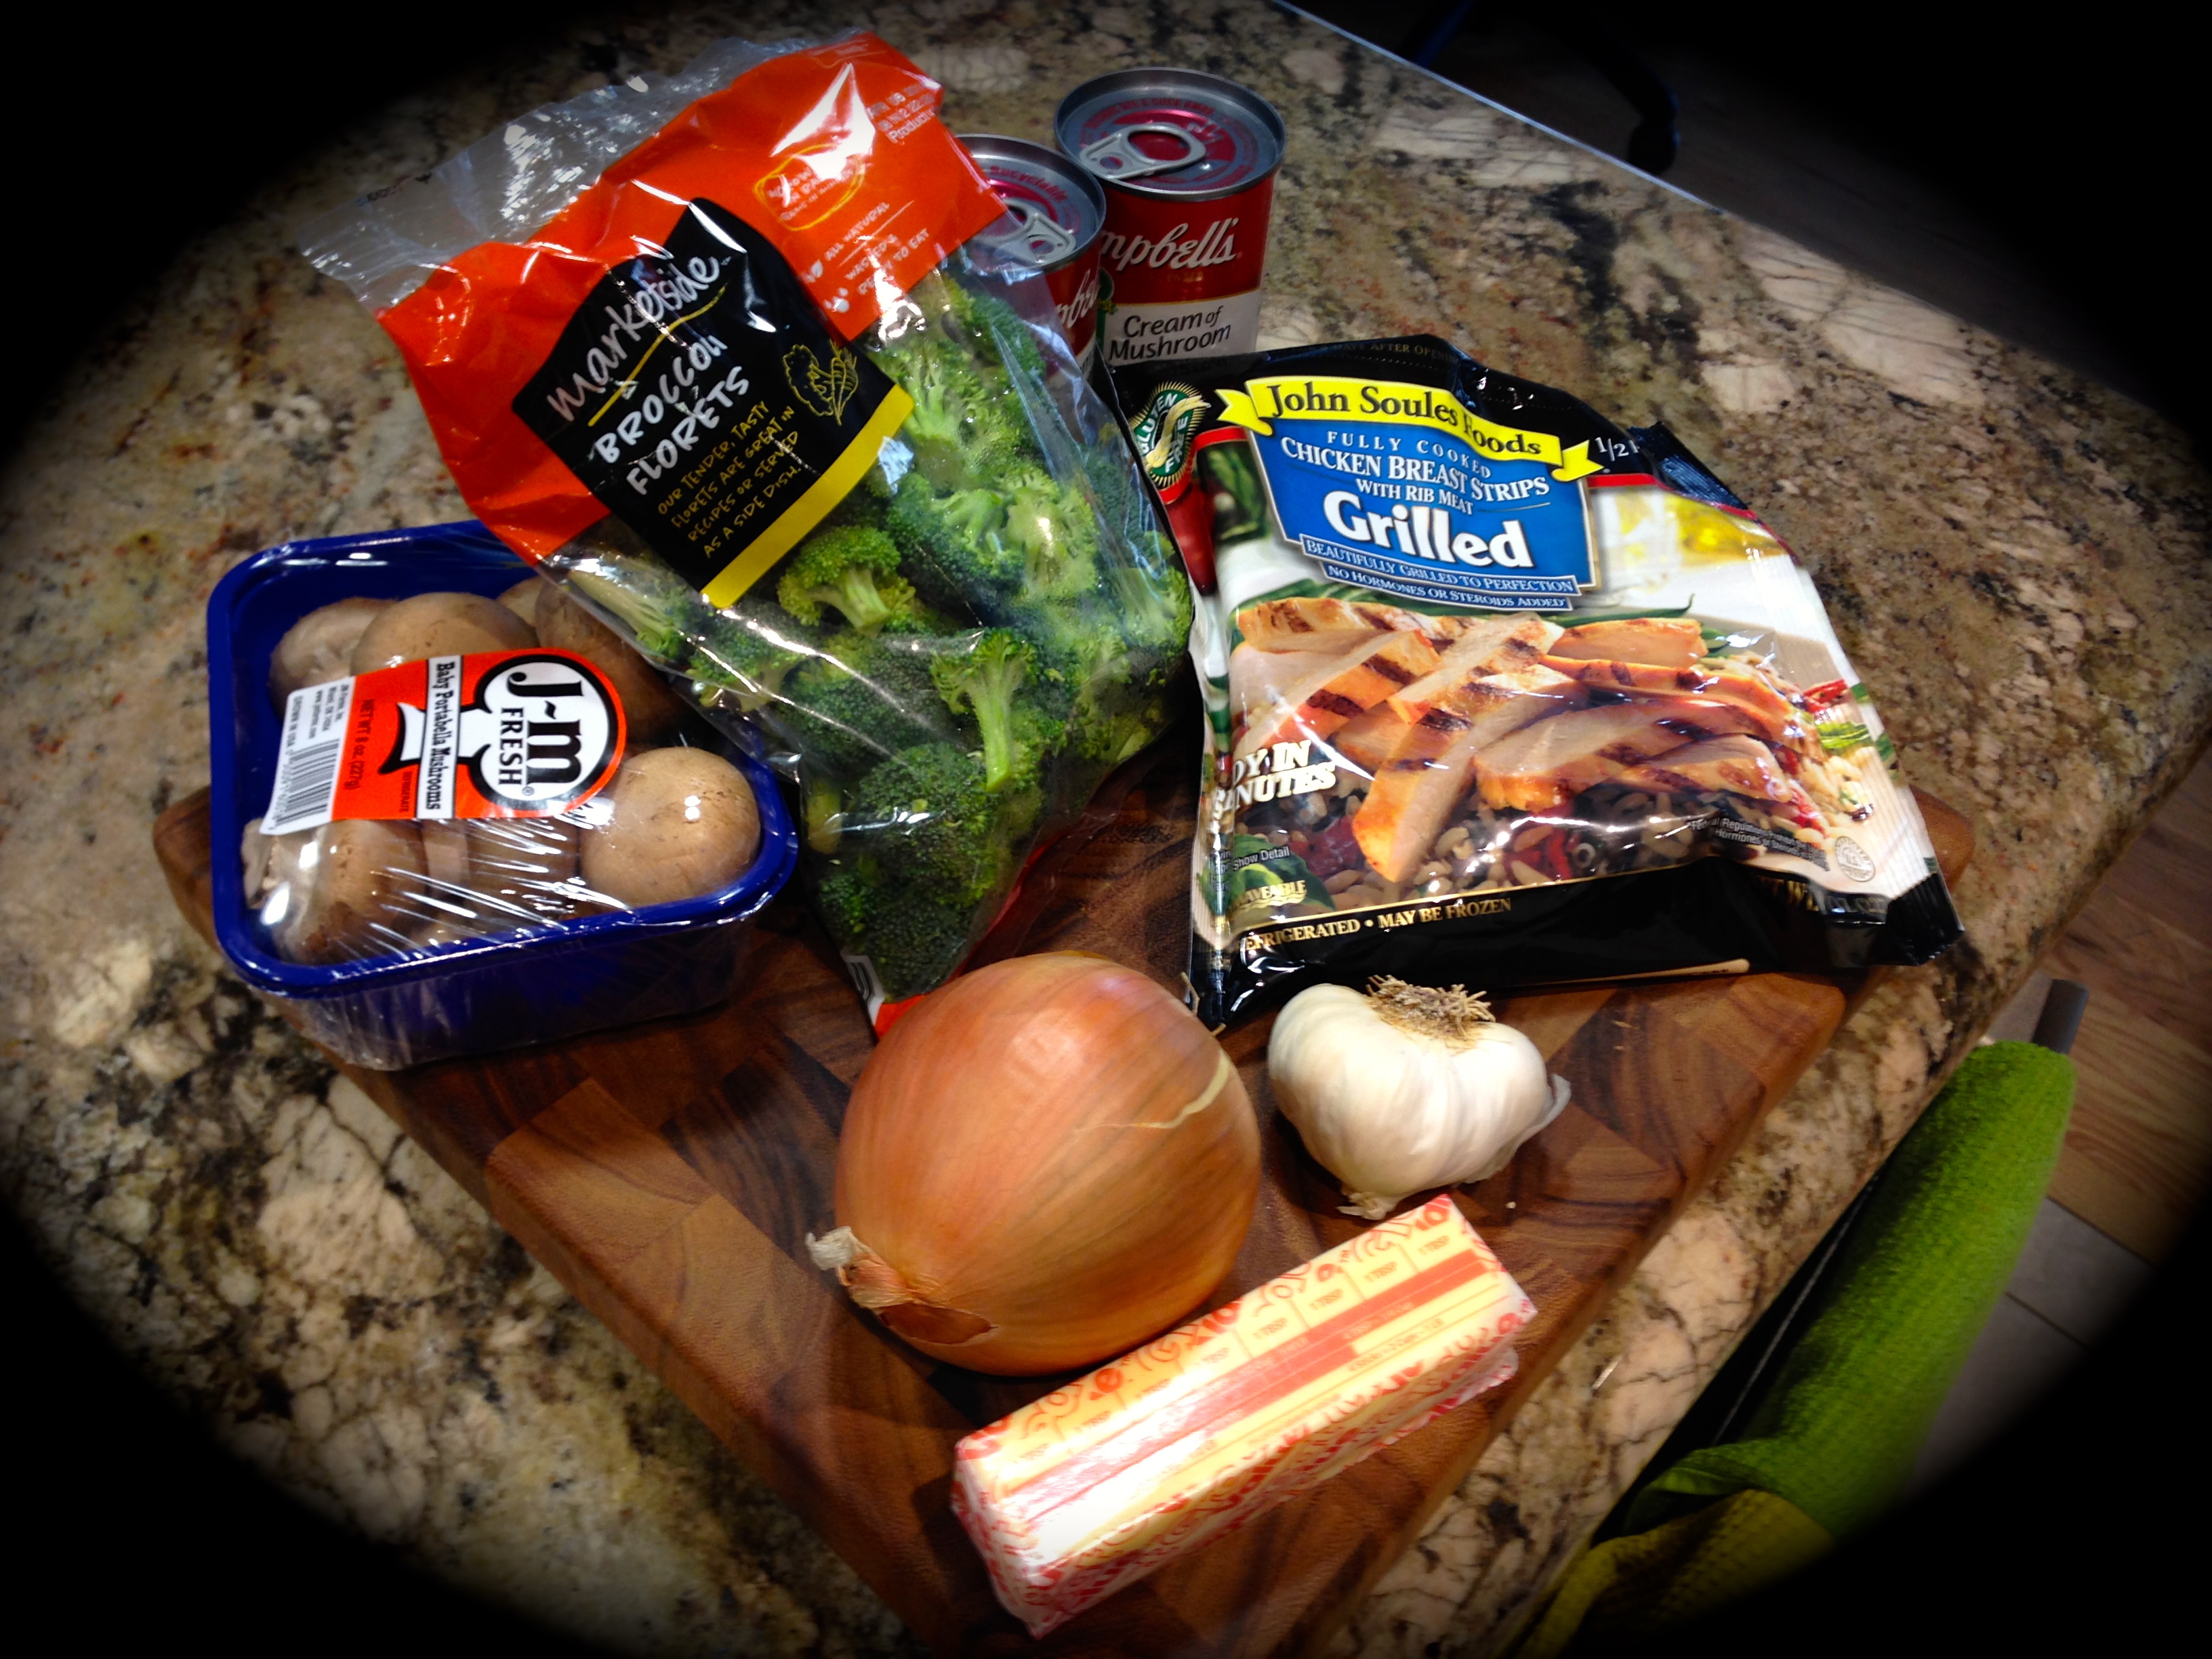
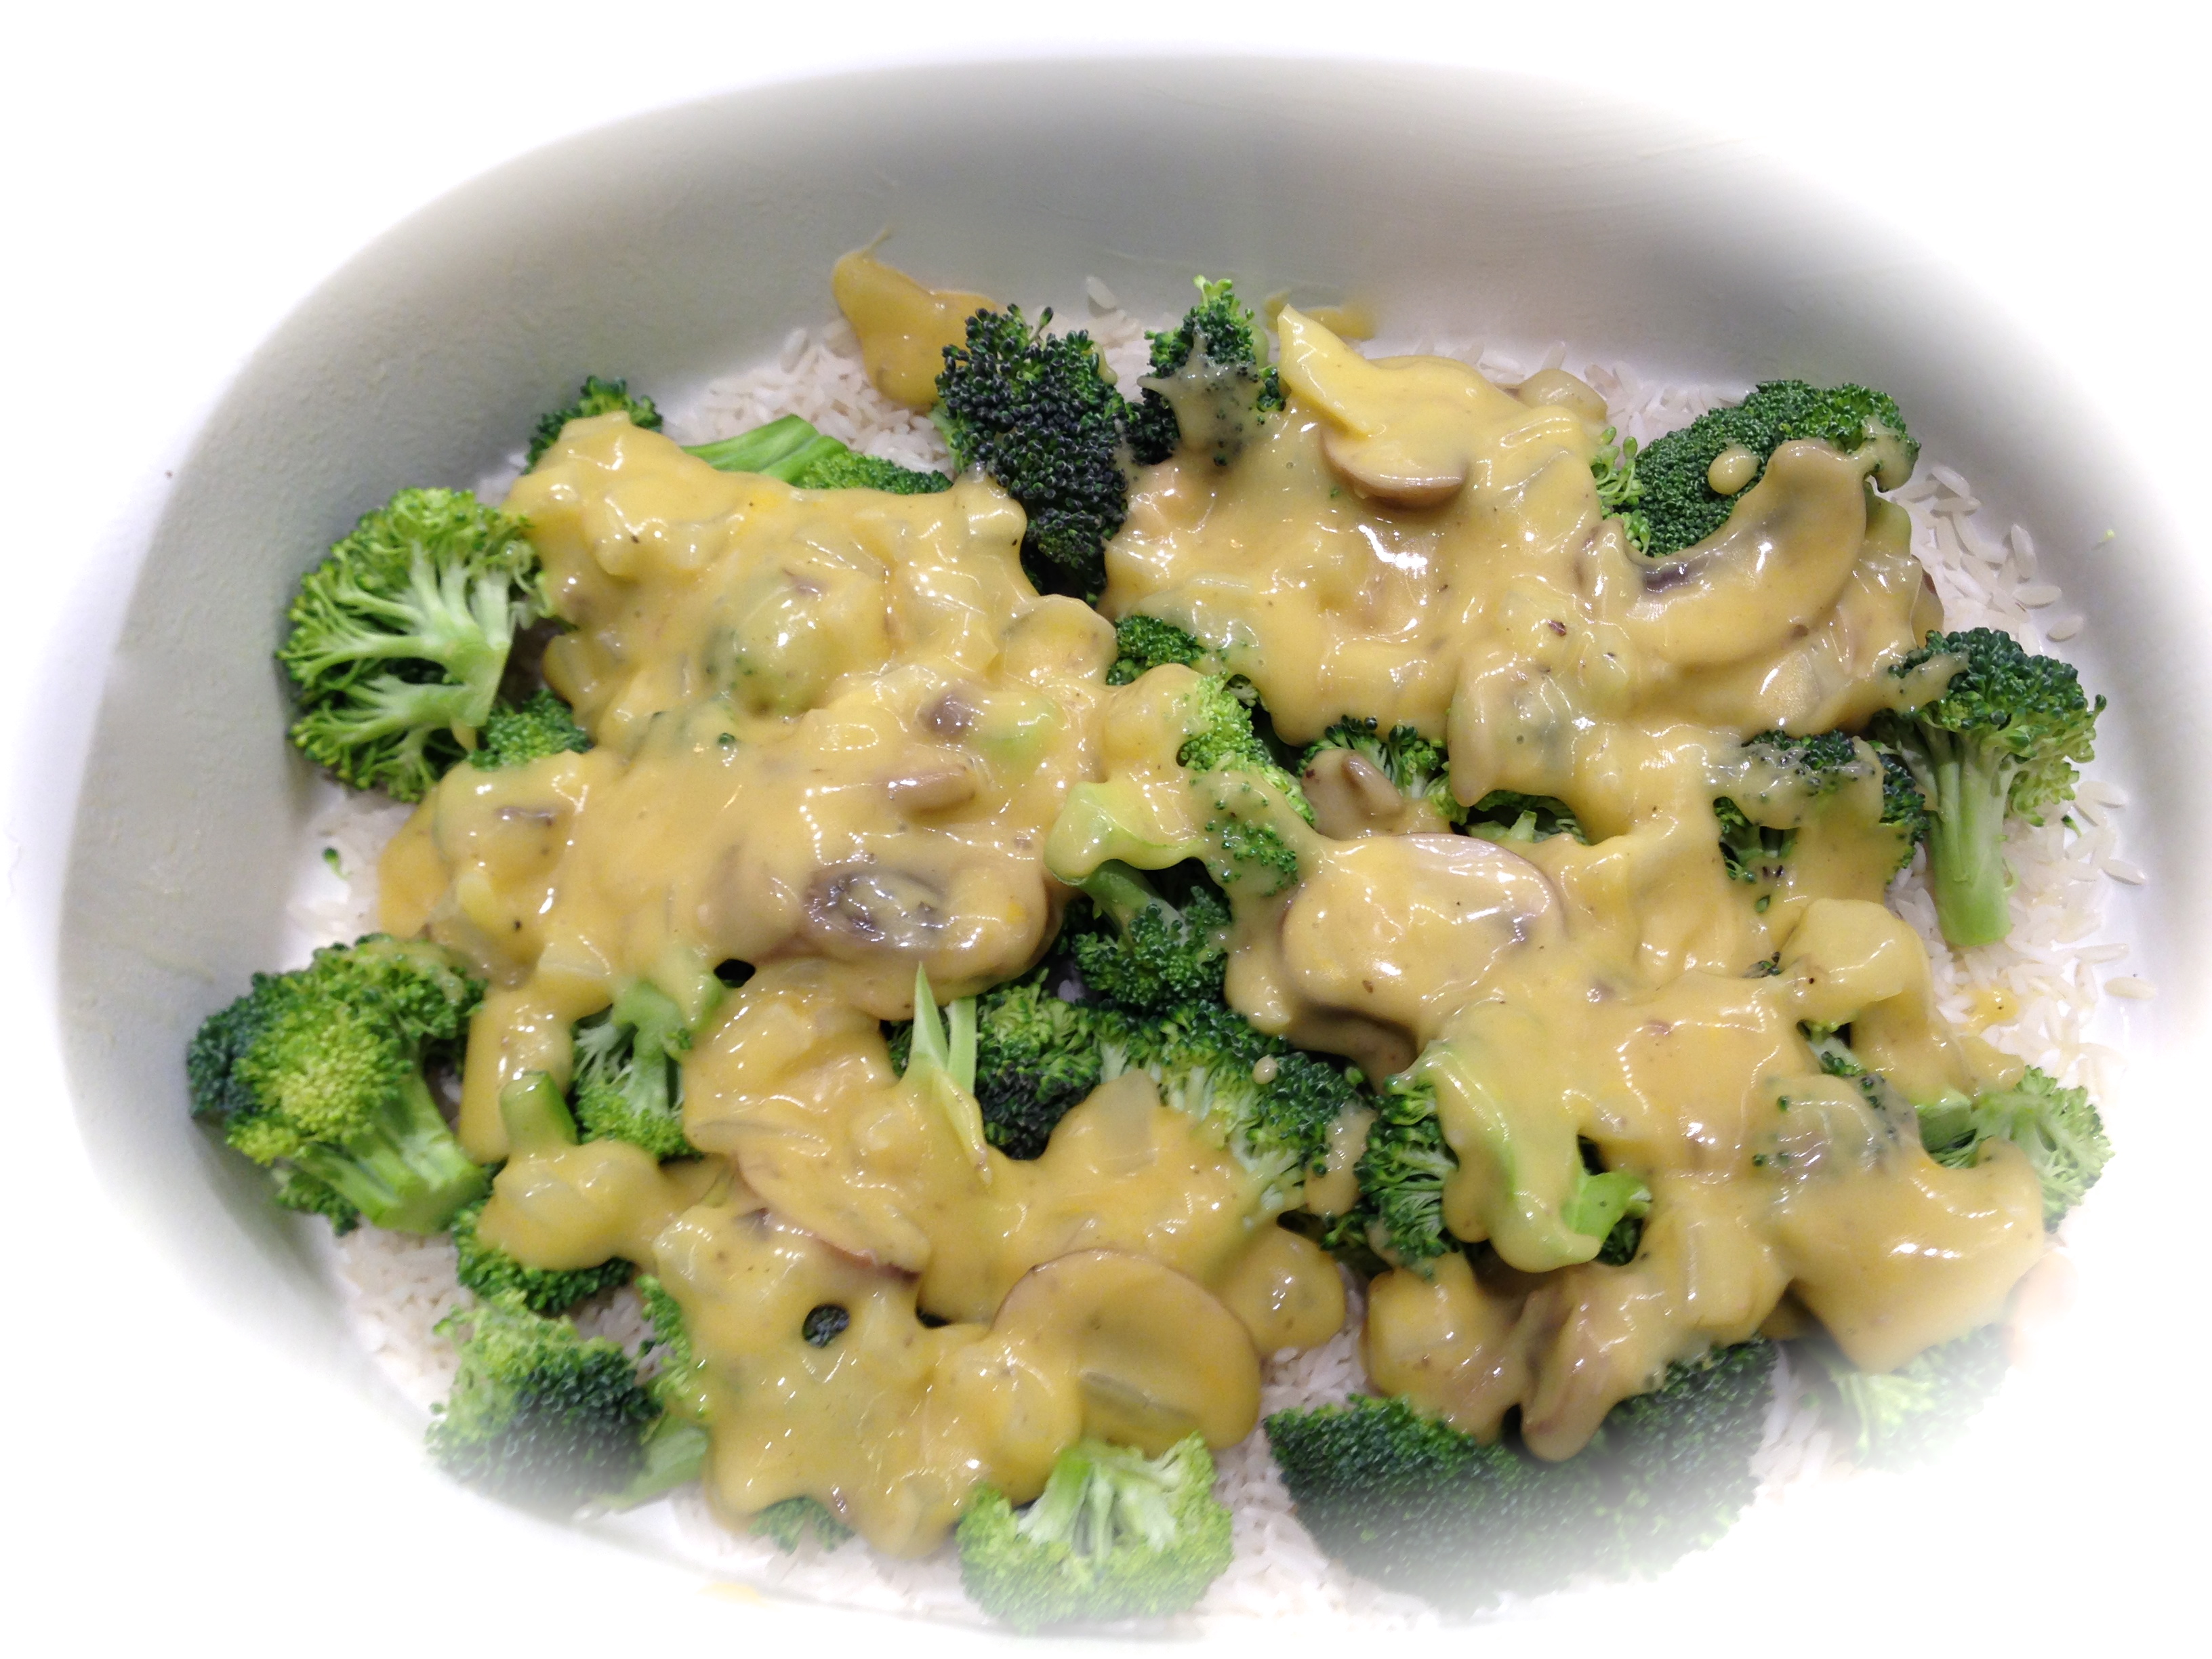
6 cups chopped fresh broccoli florets
1 (10 3/4 oz) can of condensed cream of mushroom soup
1 cup mayonnaise
1/2 stick melted butter
2 large eggs, slightly beaten
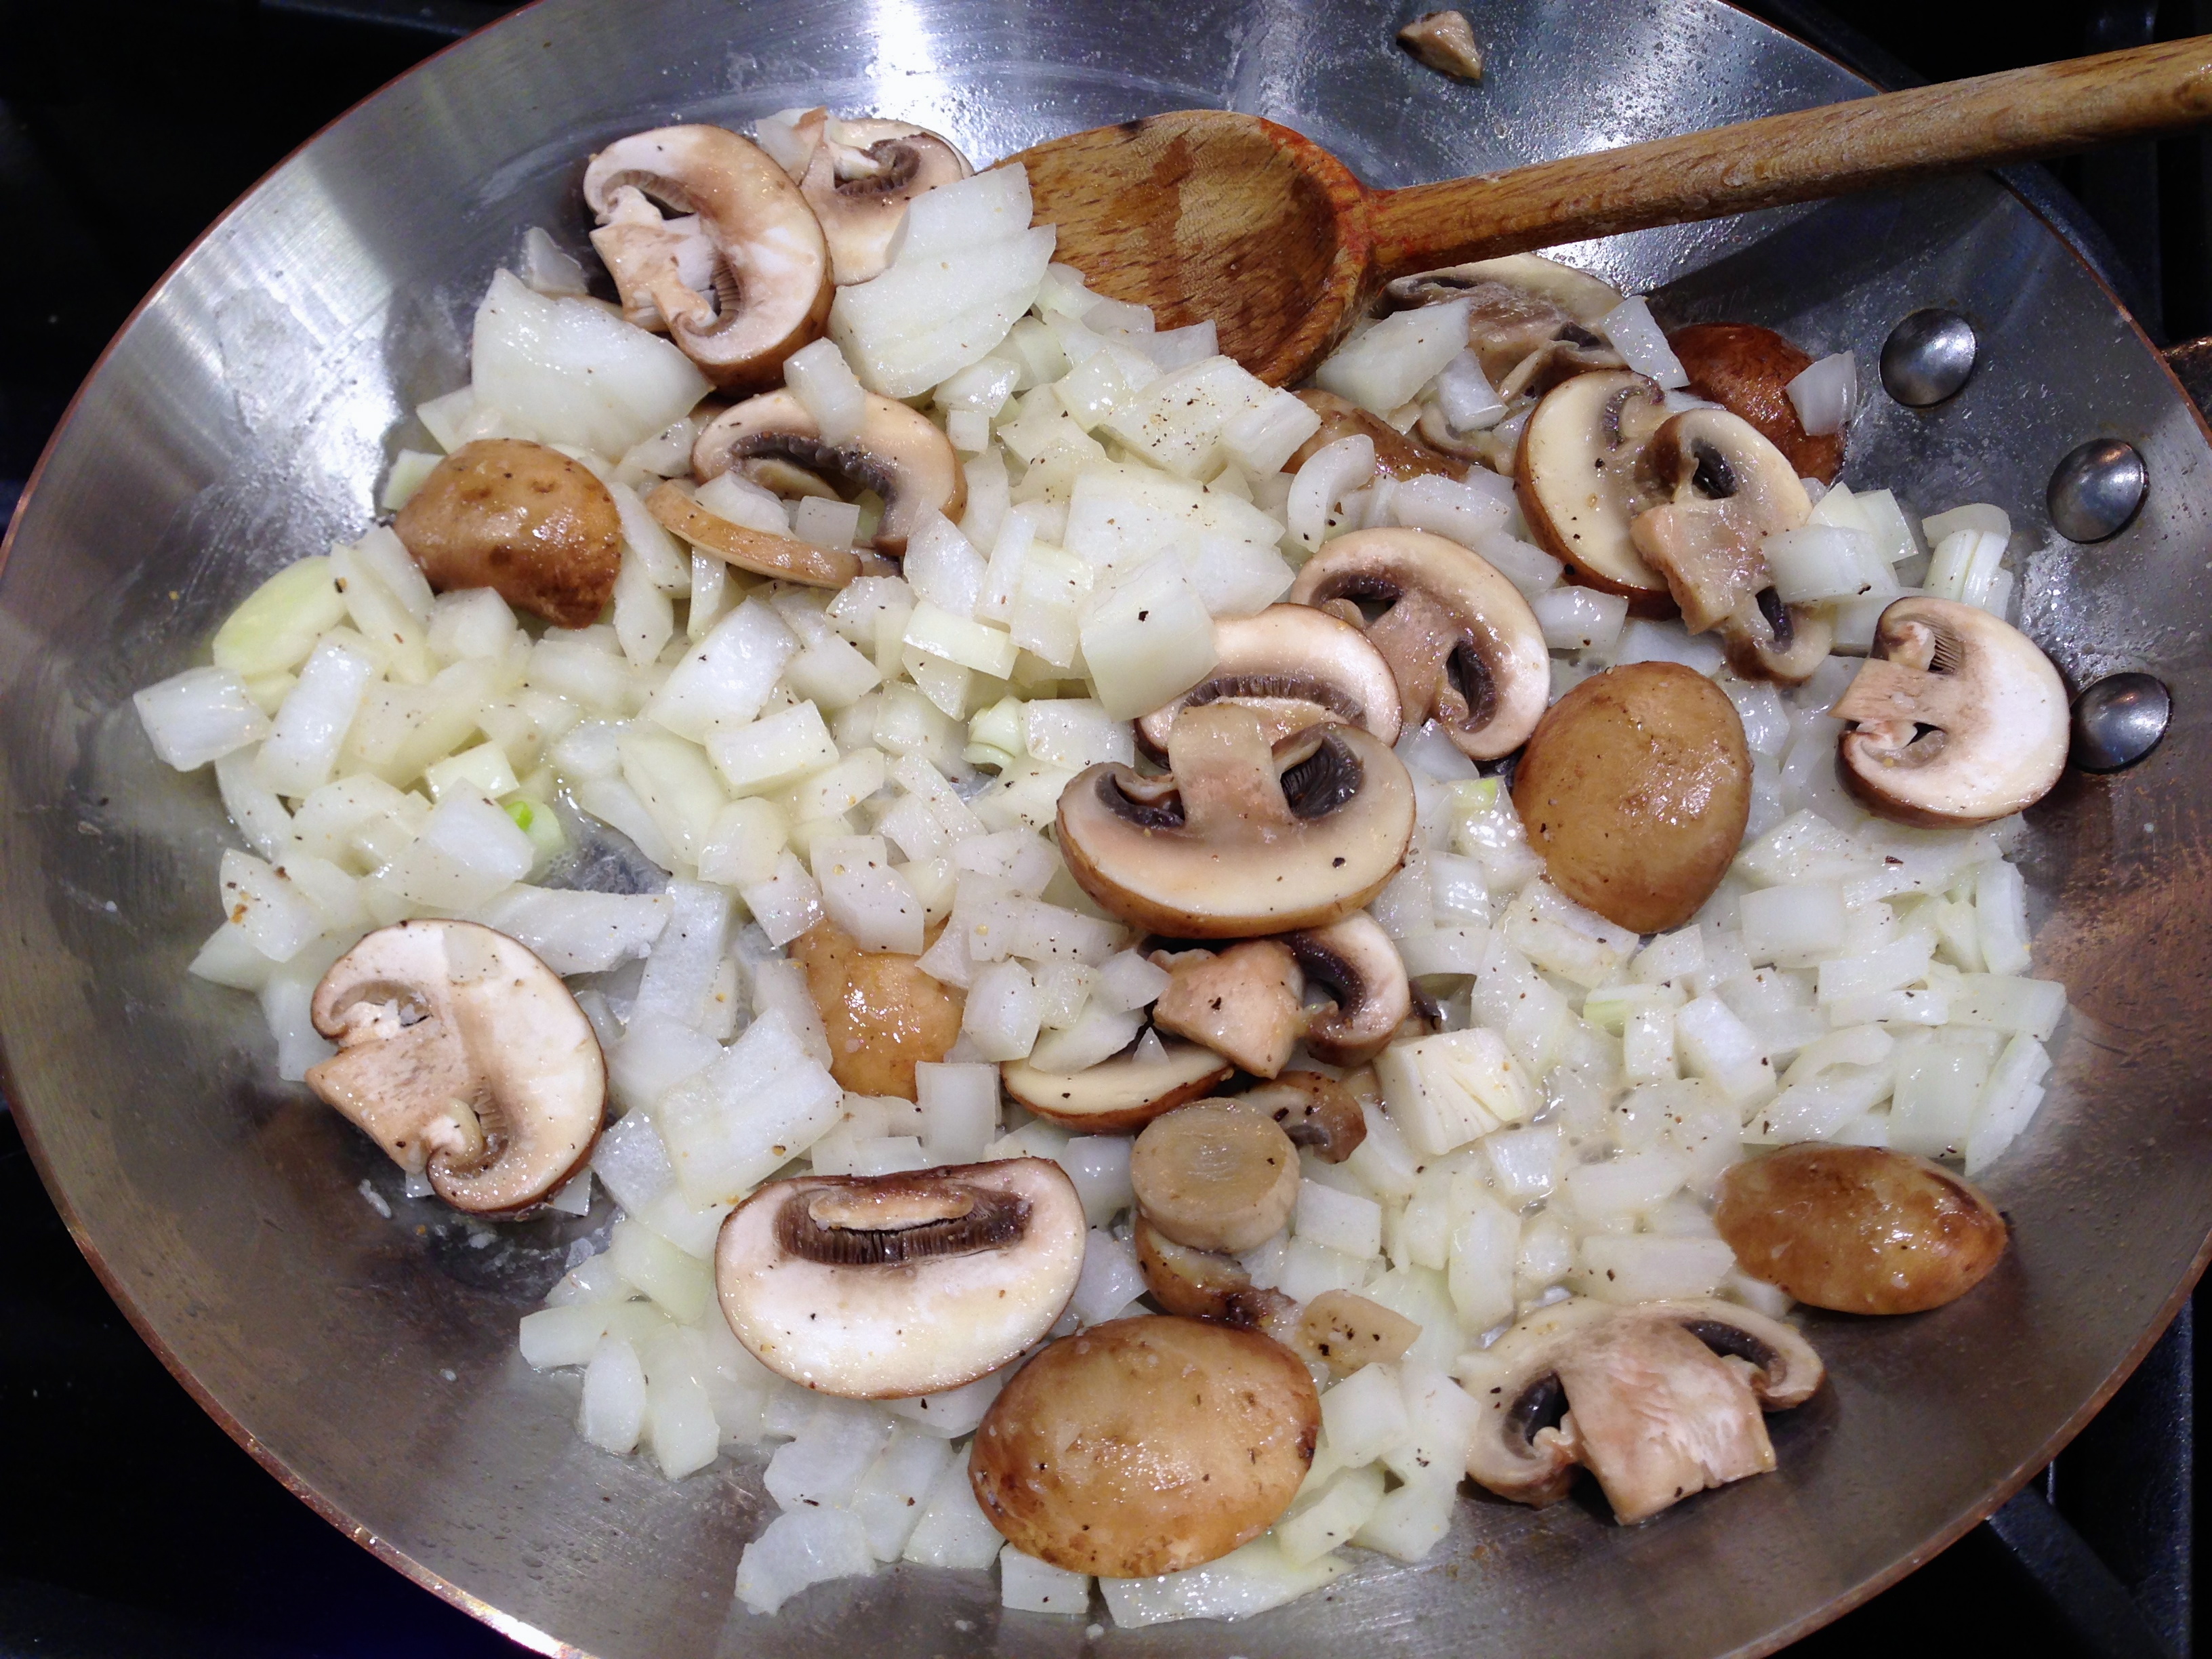
1 small onion, diced
1 cup shredded sharp cheddar cheese
1 cup gruyere cheese, grated
1 sleeve of Ritz crackers, crushed
Salt and pepper to taste
DIRECTIONS:
Preheat the oven to 375
Place broccoli in a microwave safe bowl with about 1/8 cup water. Cover tightly with plastic wrap. Microwave on high for 1 1/2 minutes. Remove plastic wrap, drain the broccoli and set aside.
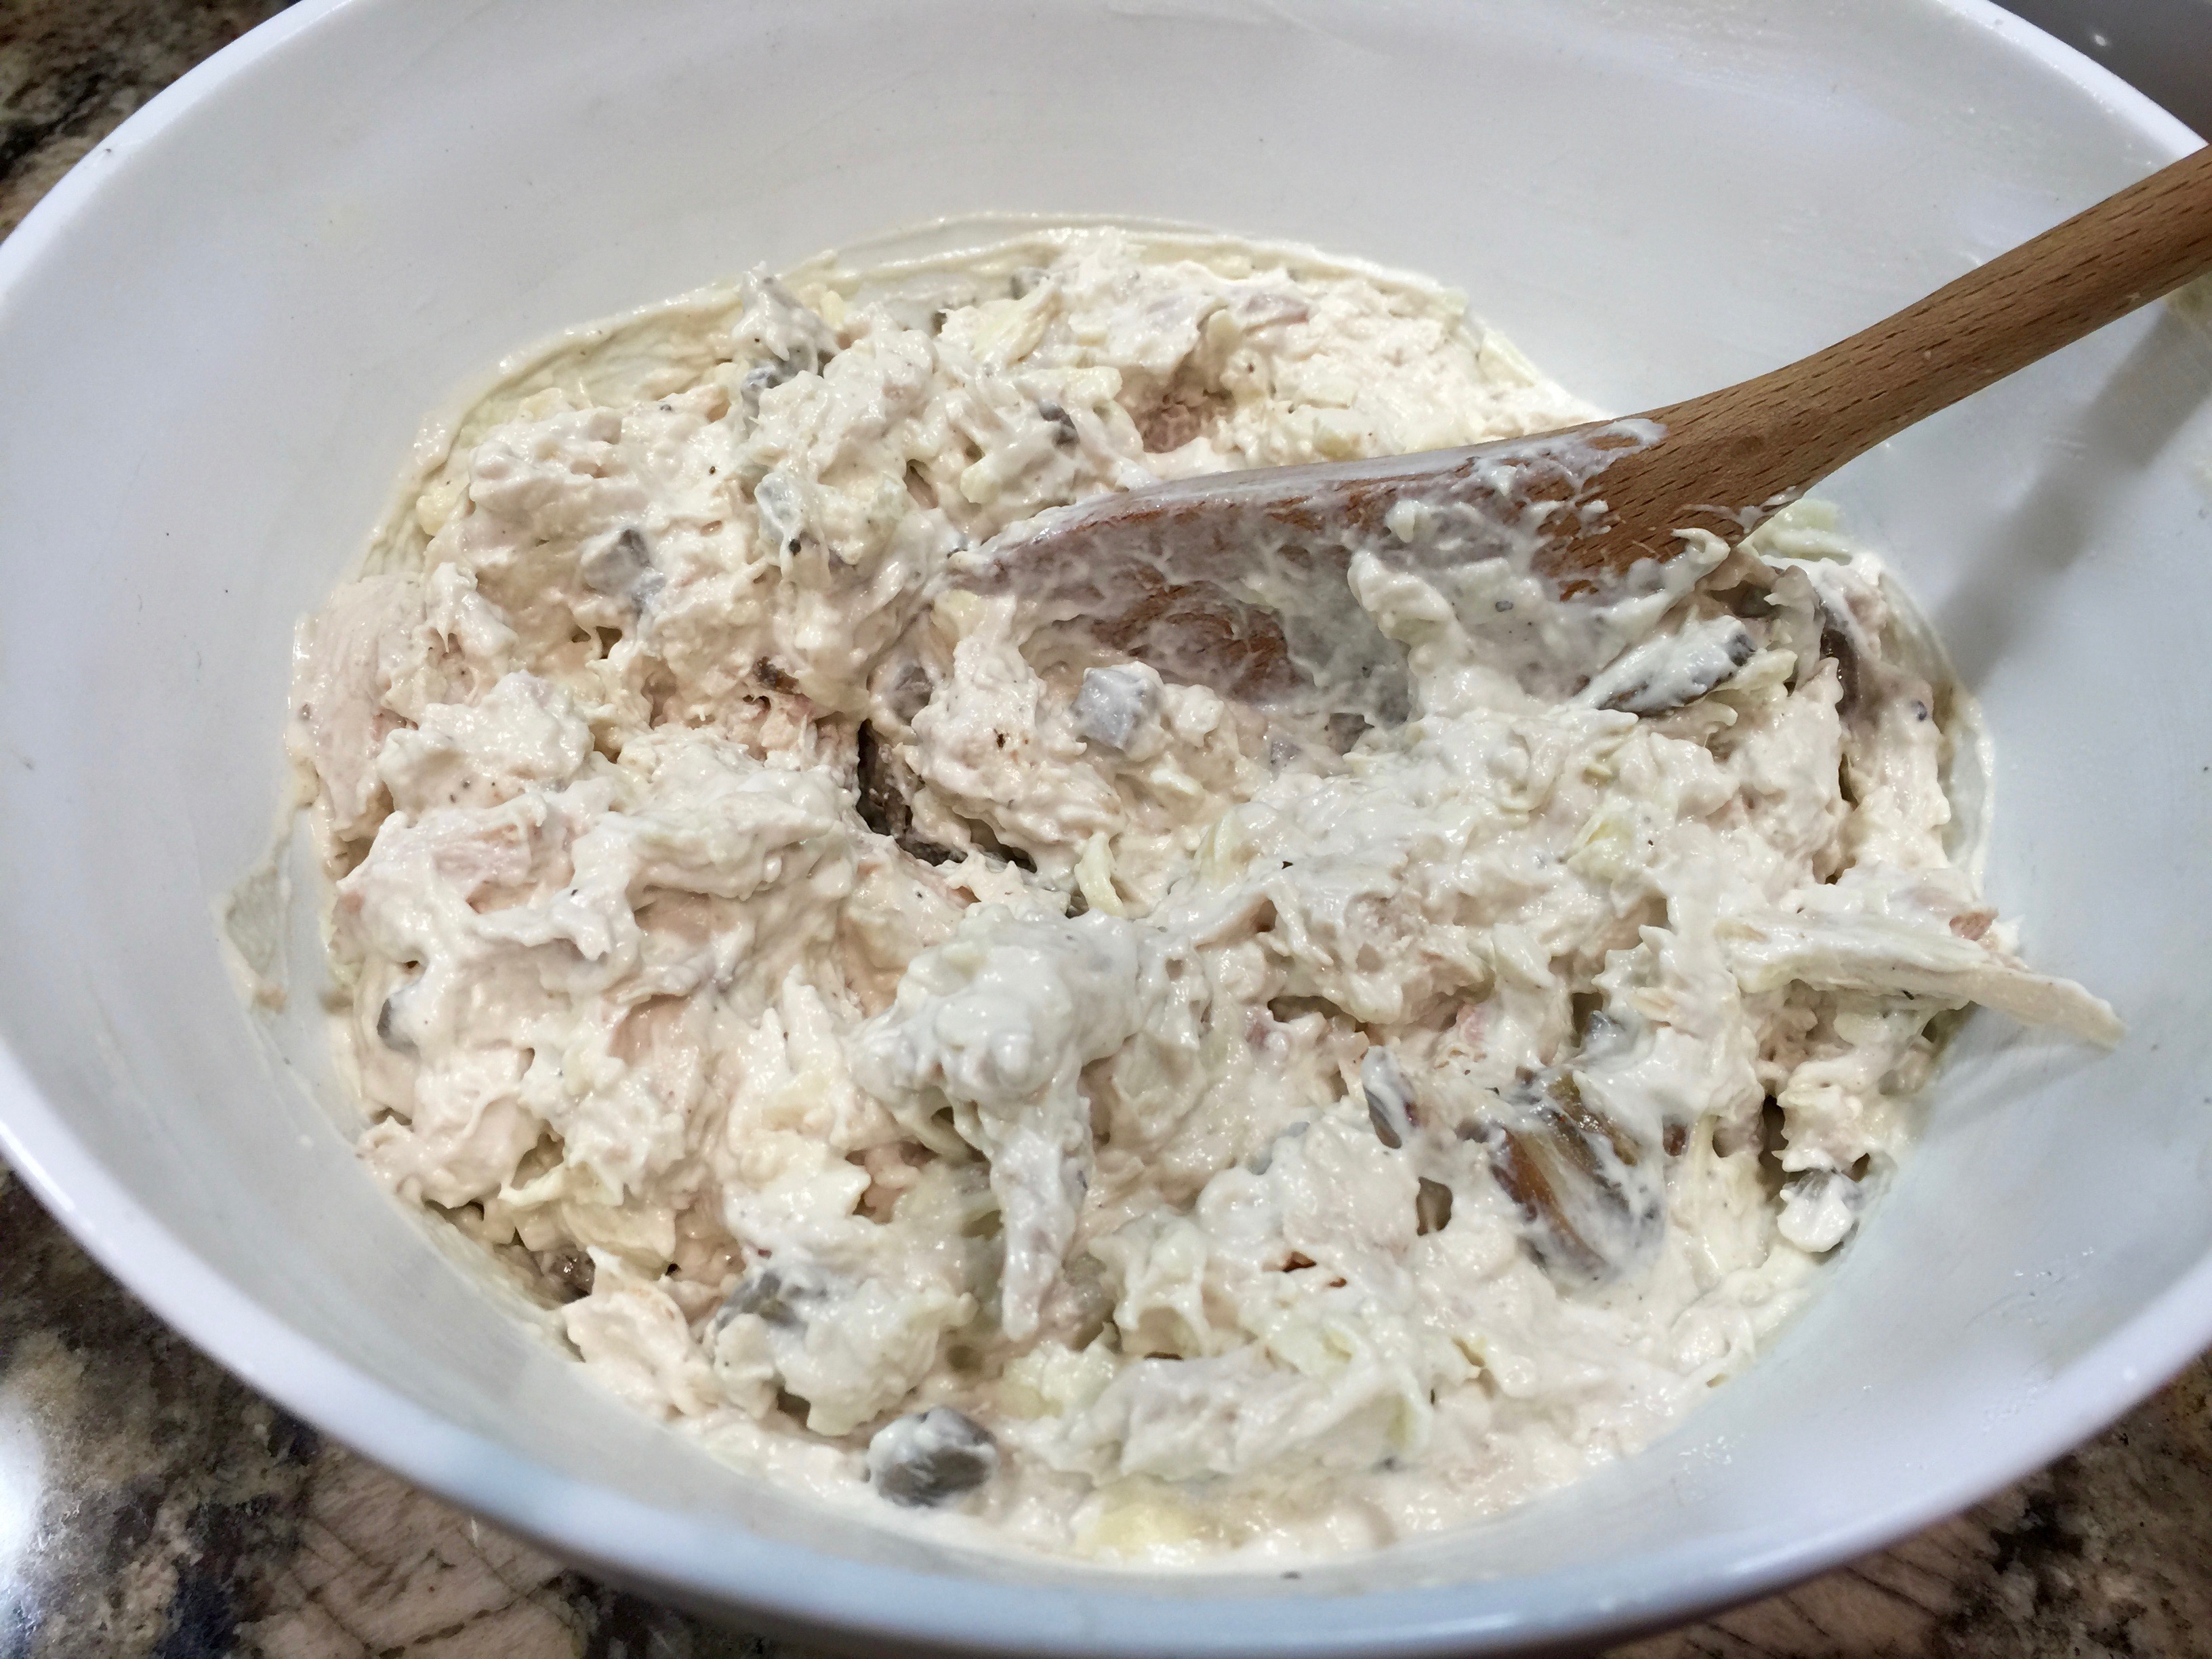
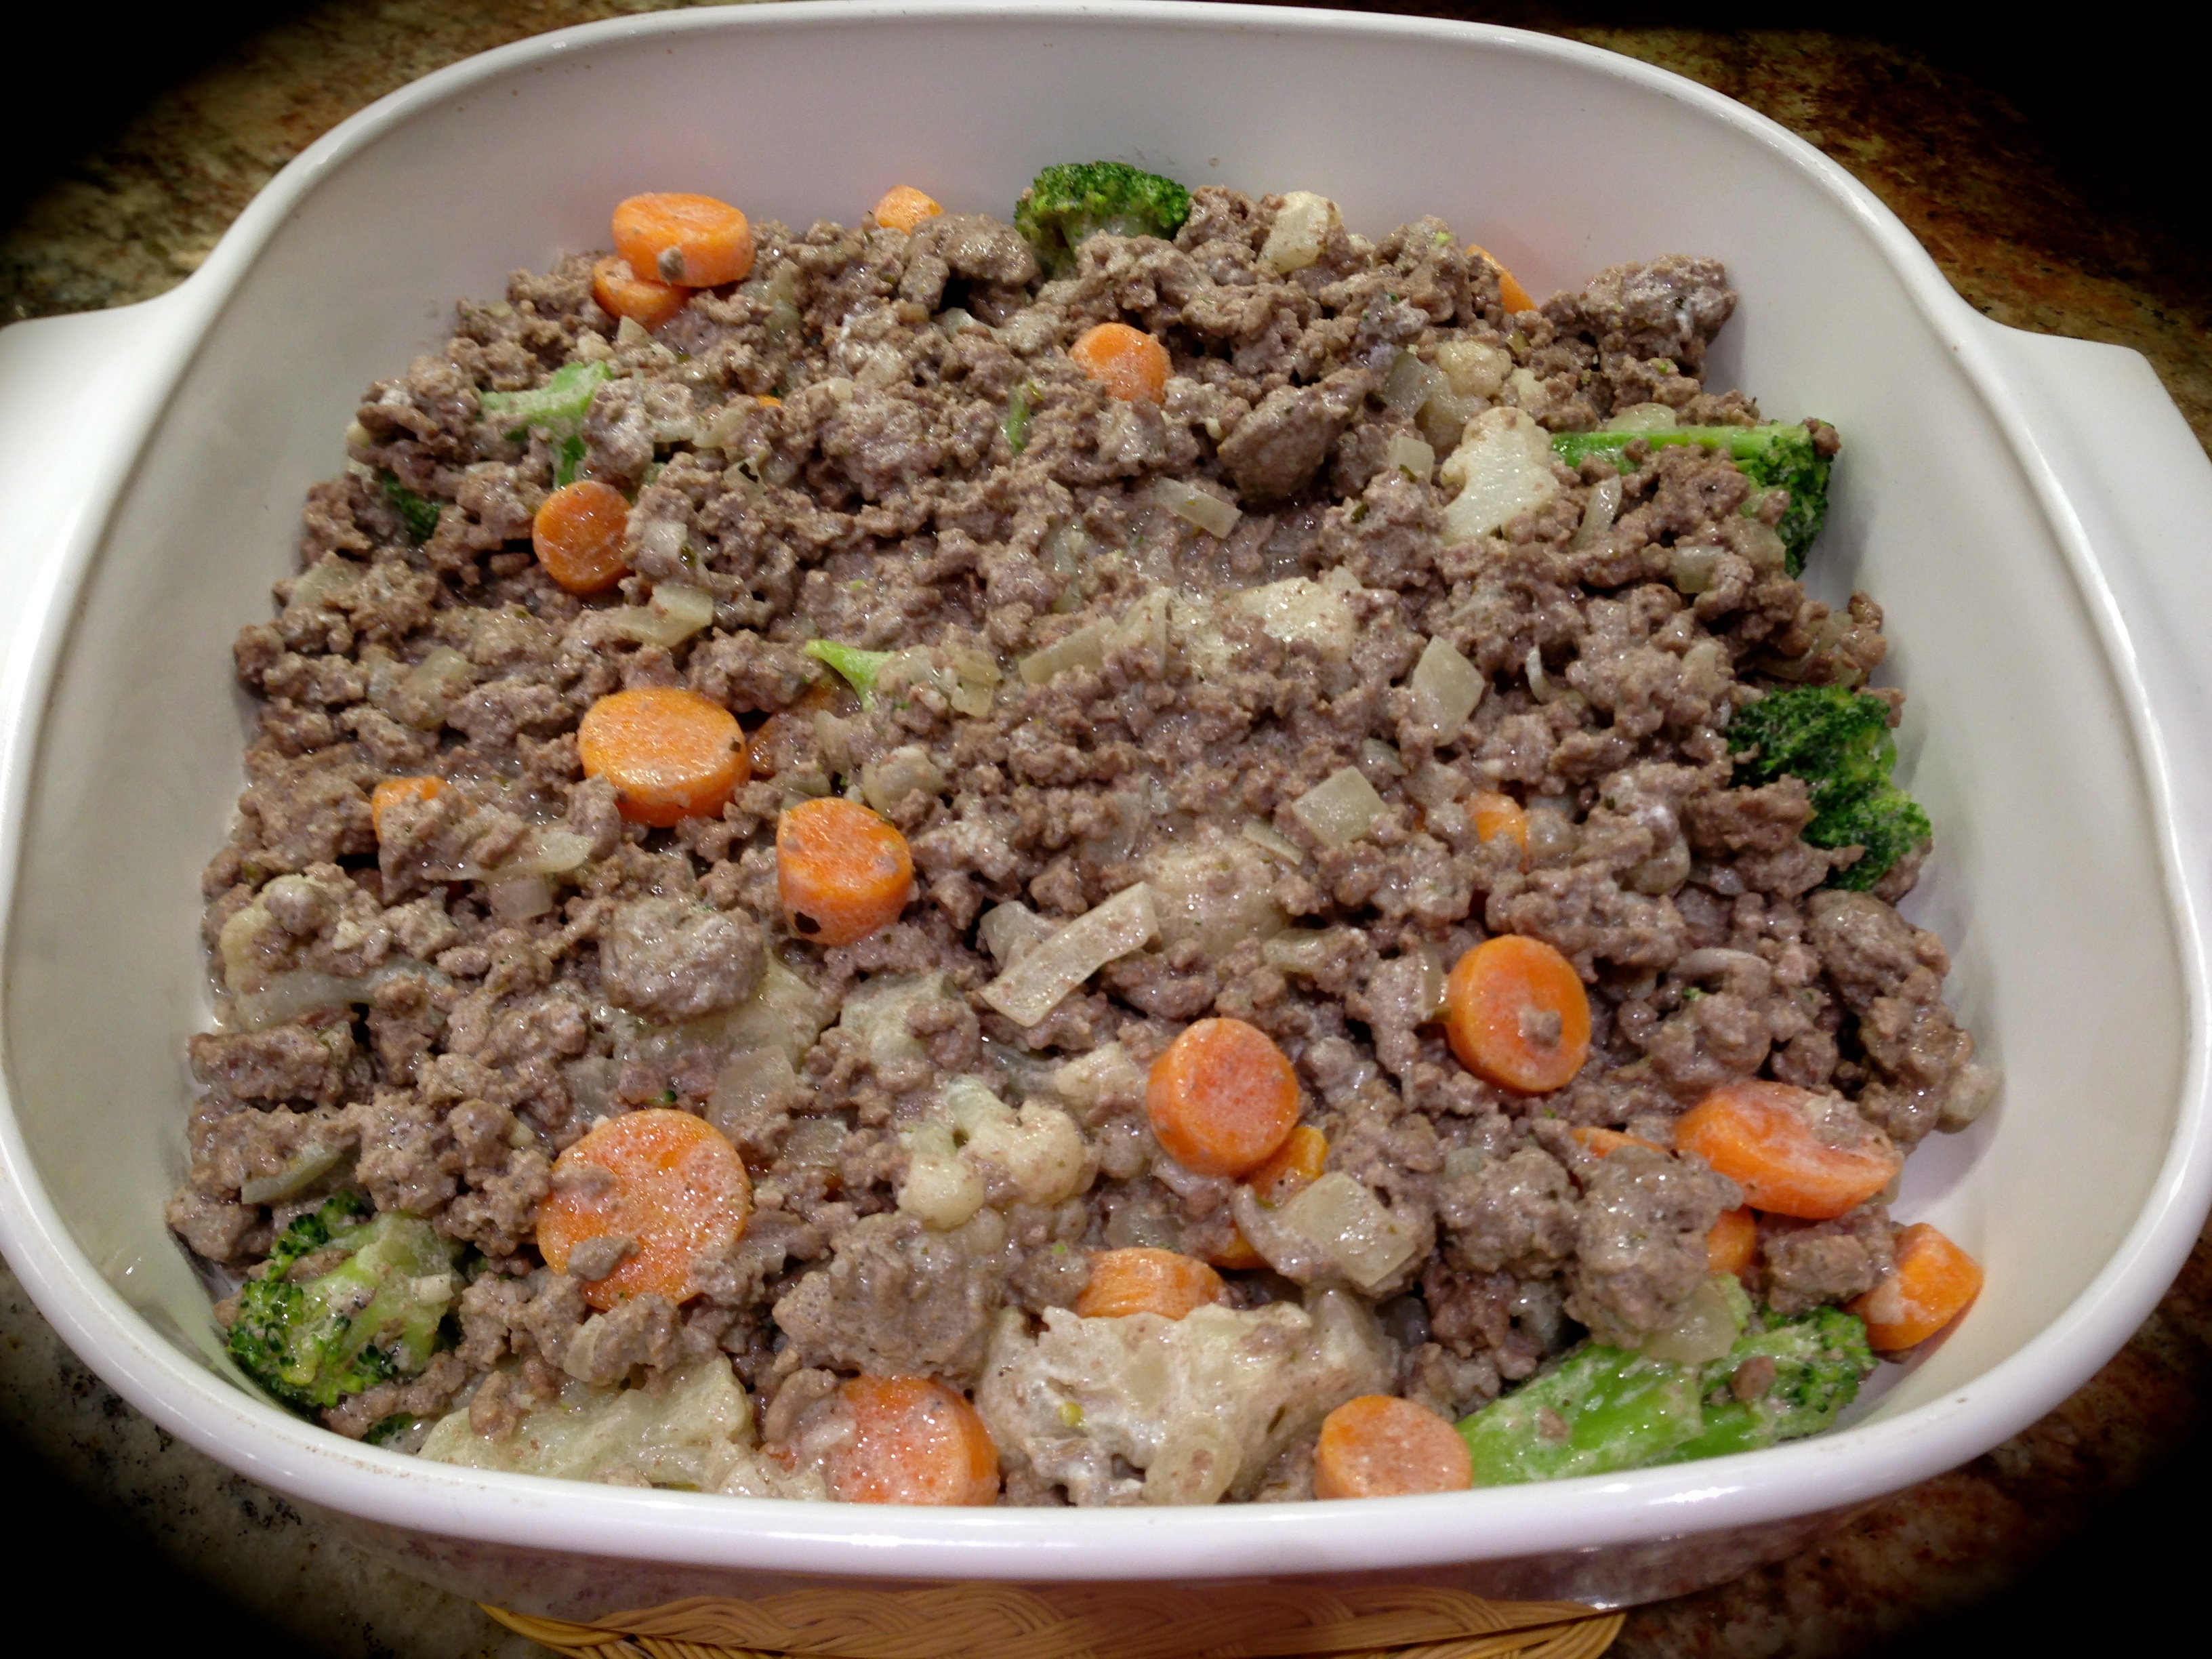
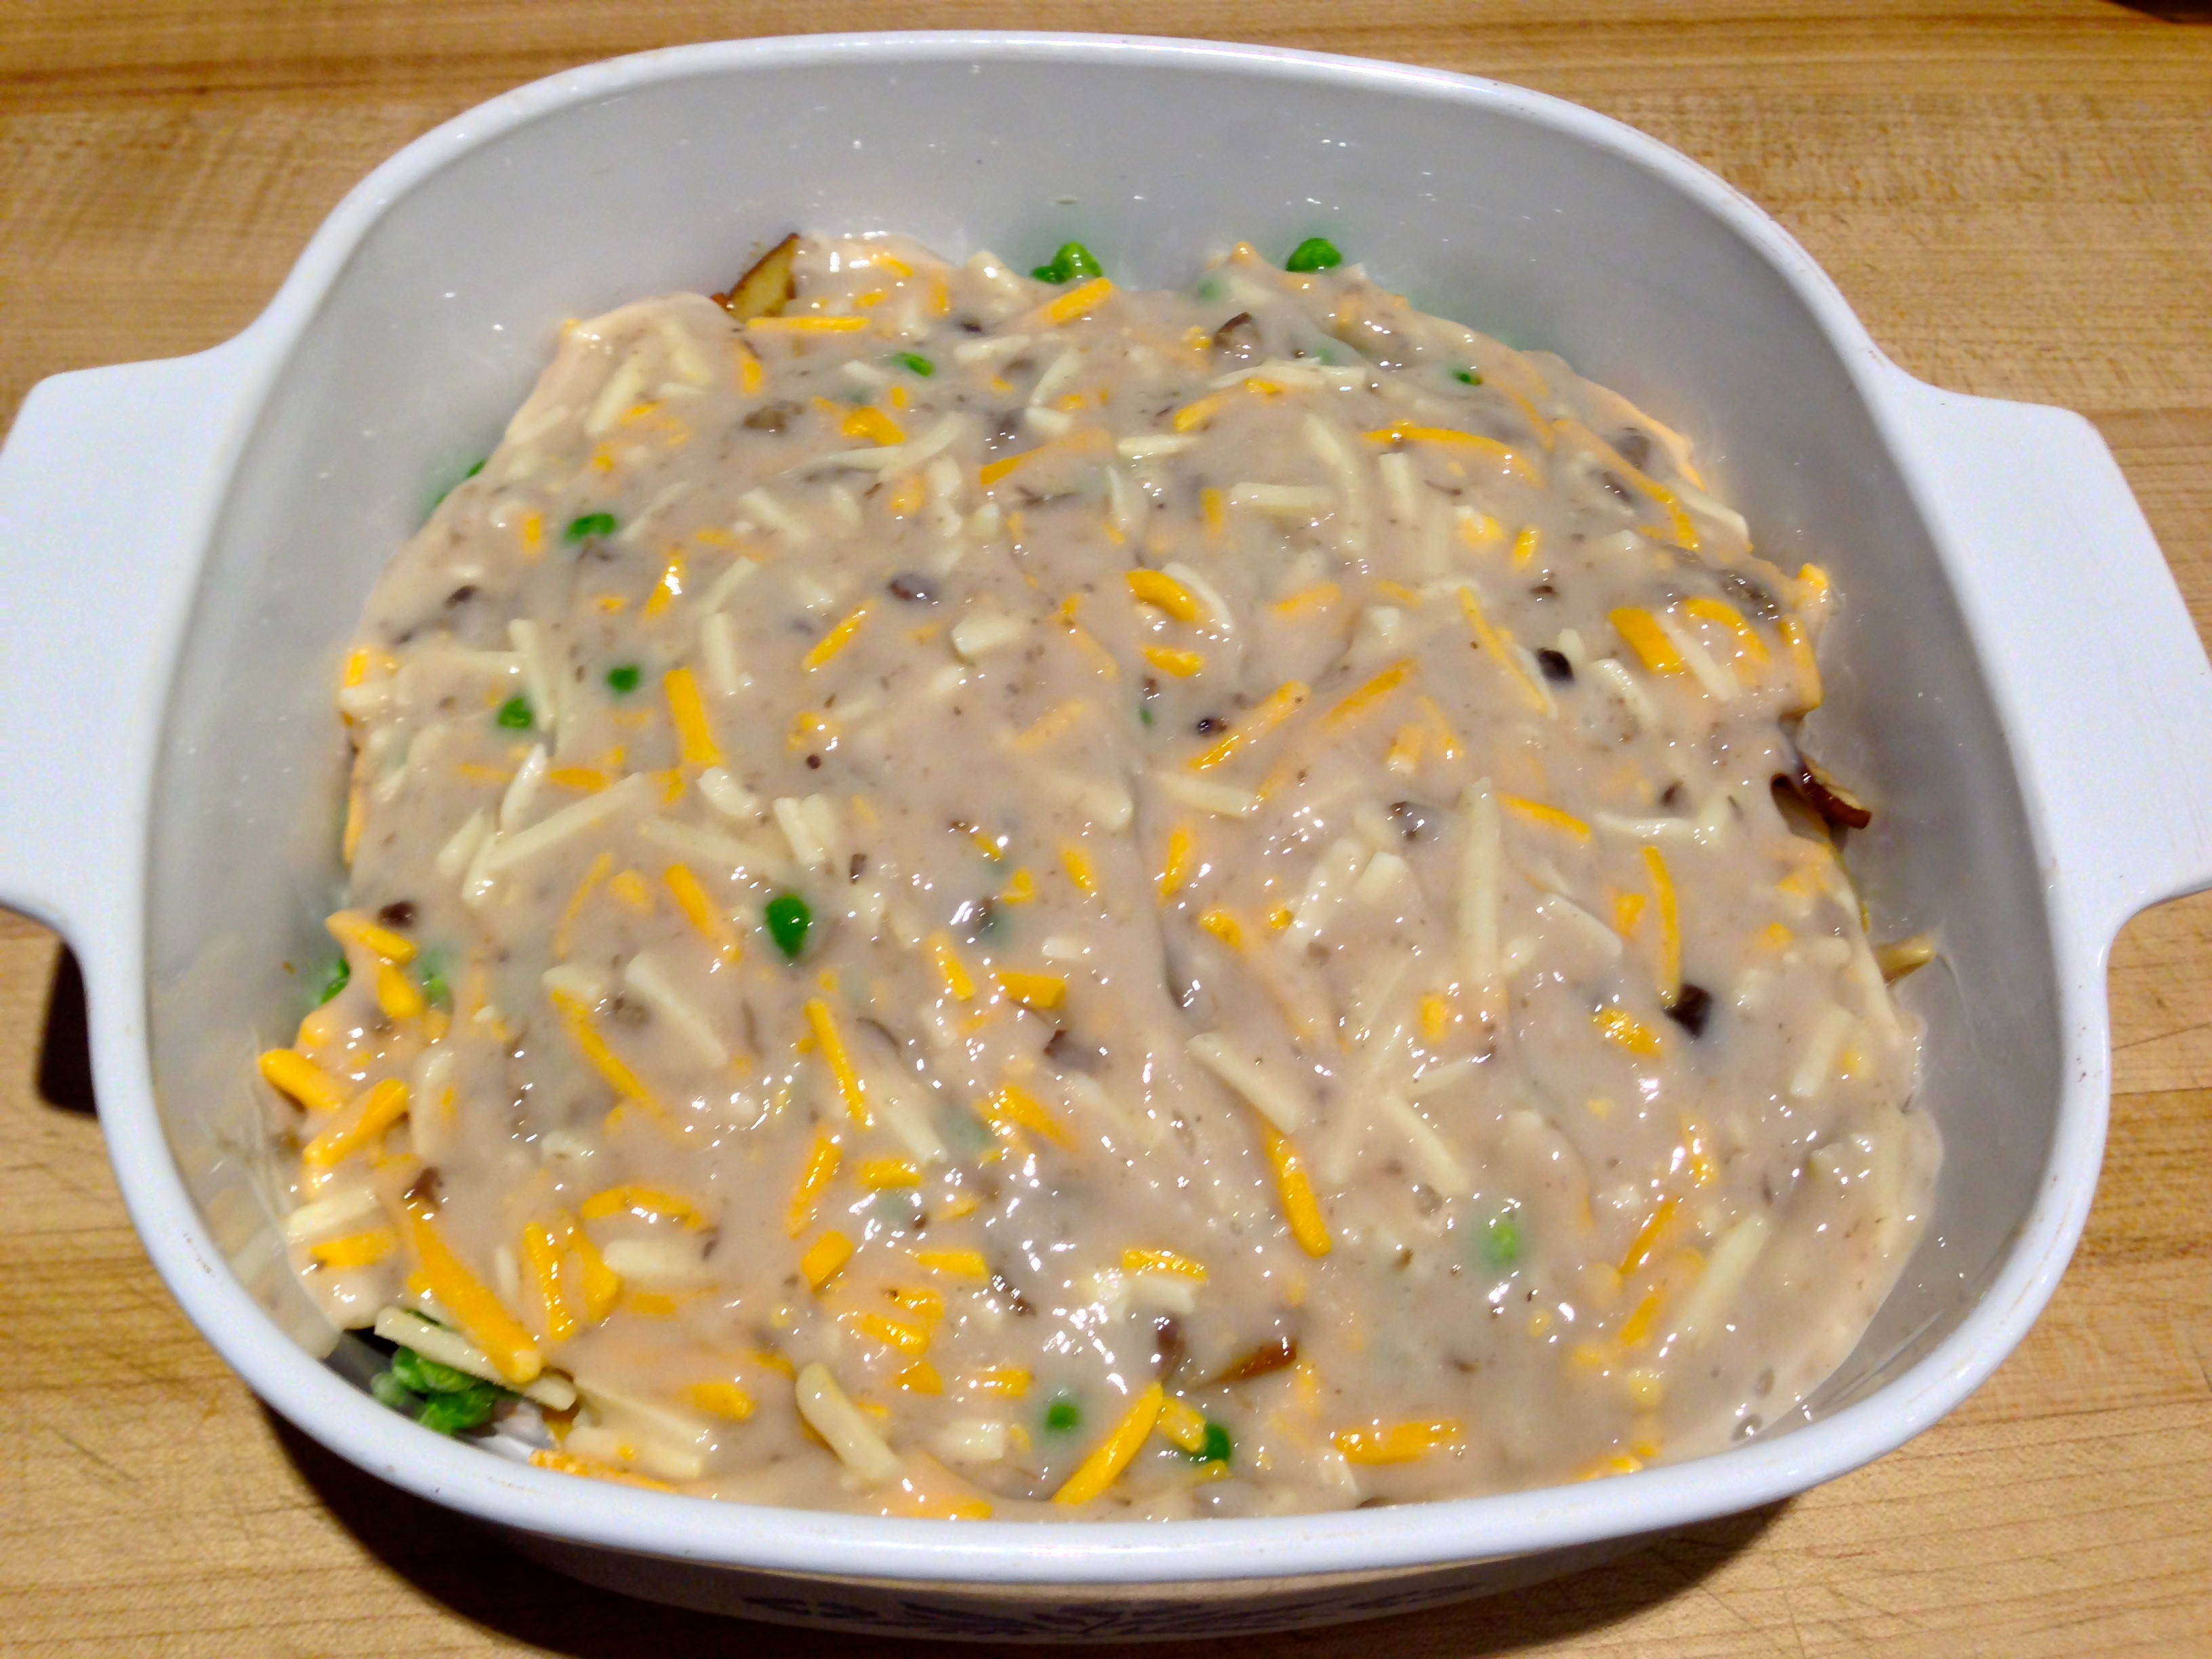
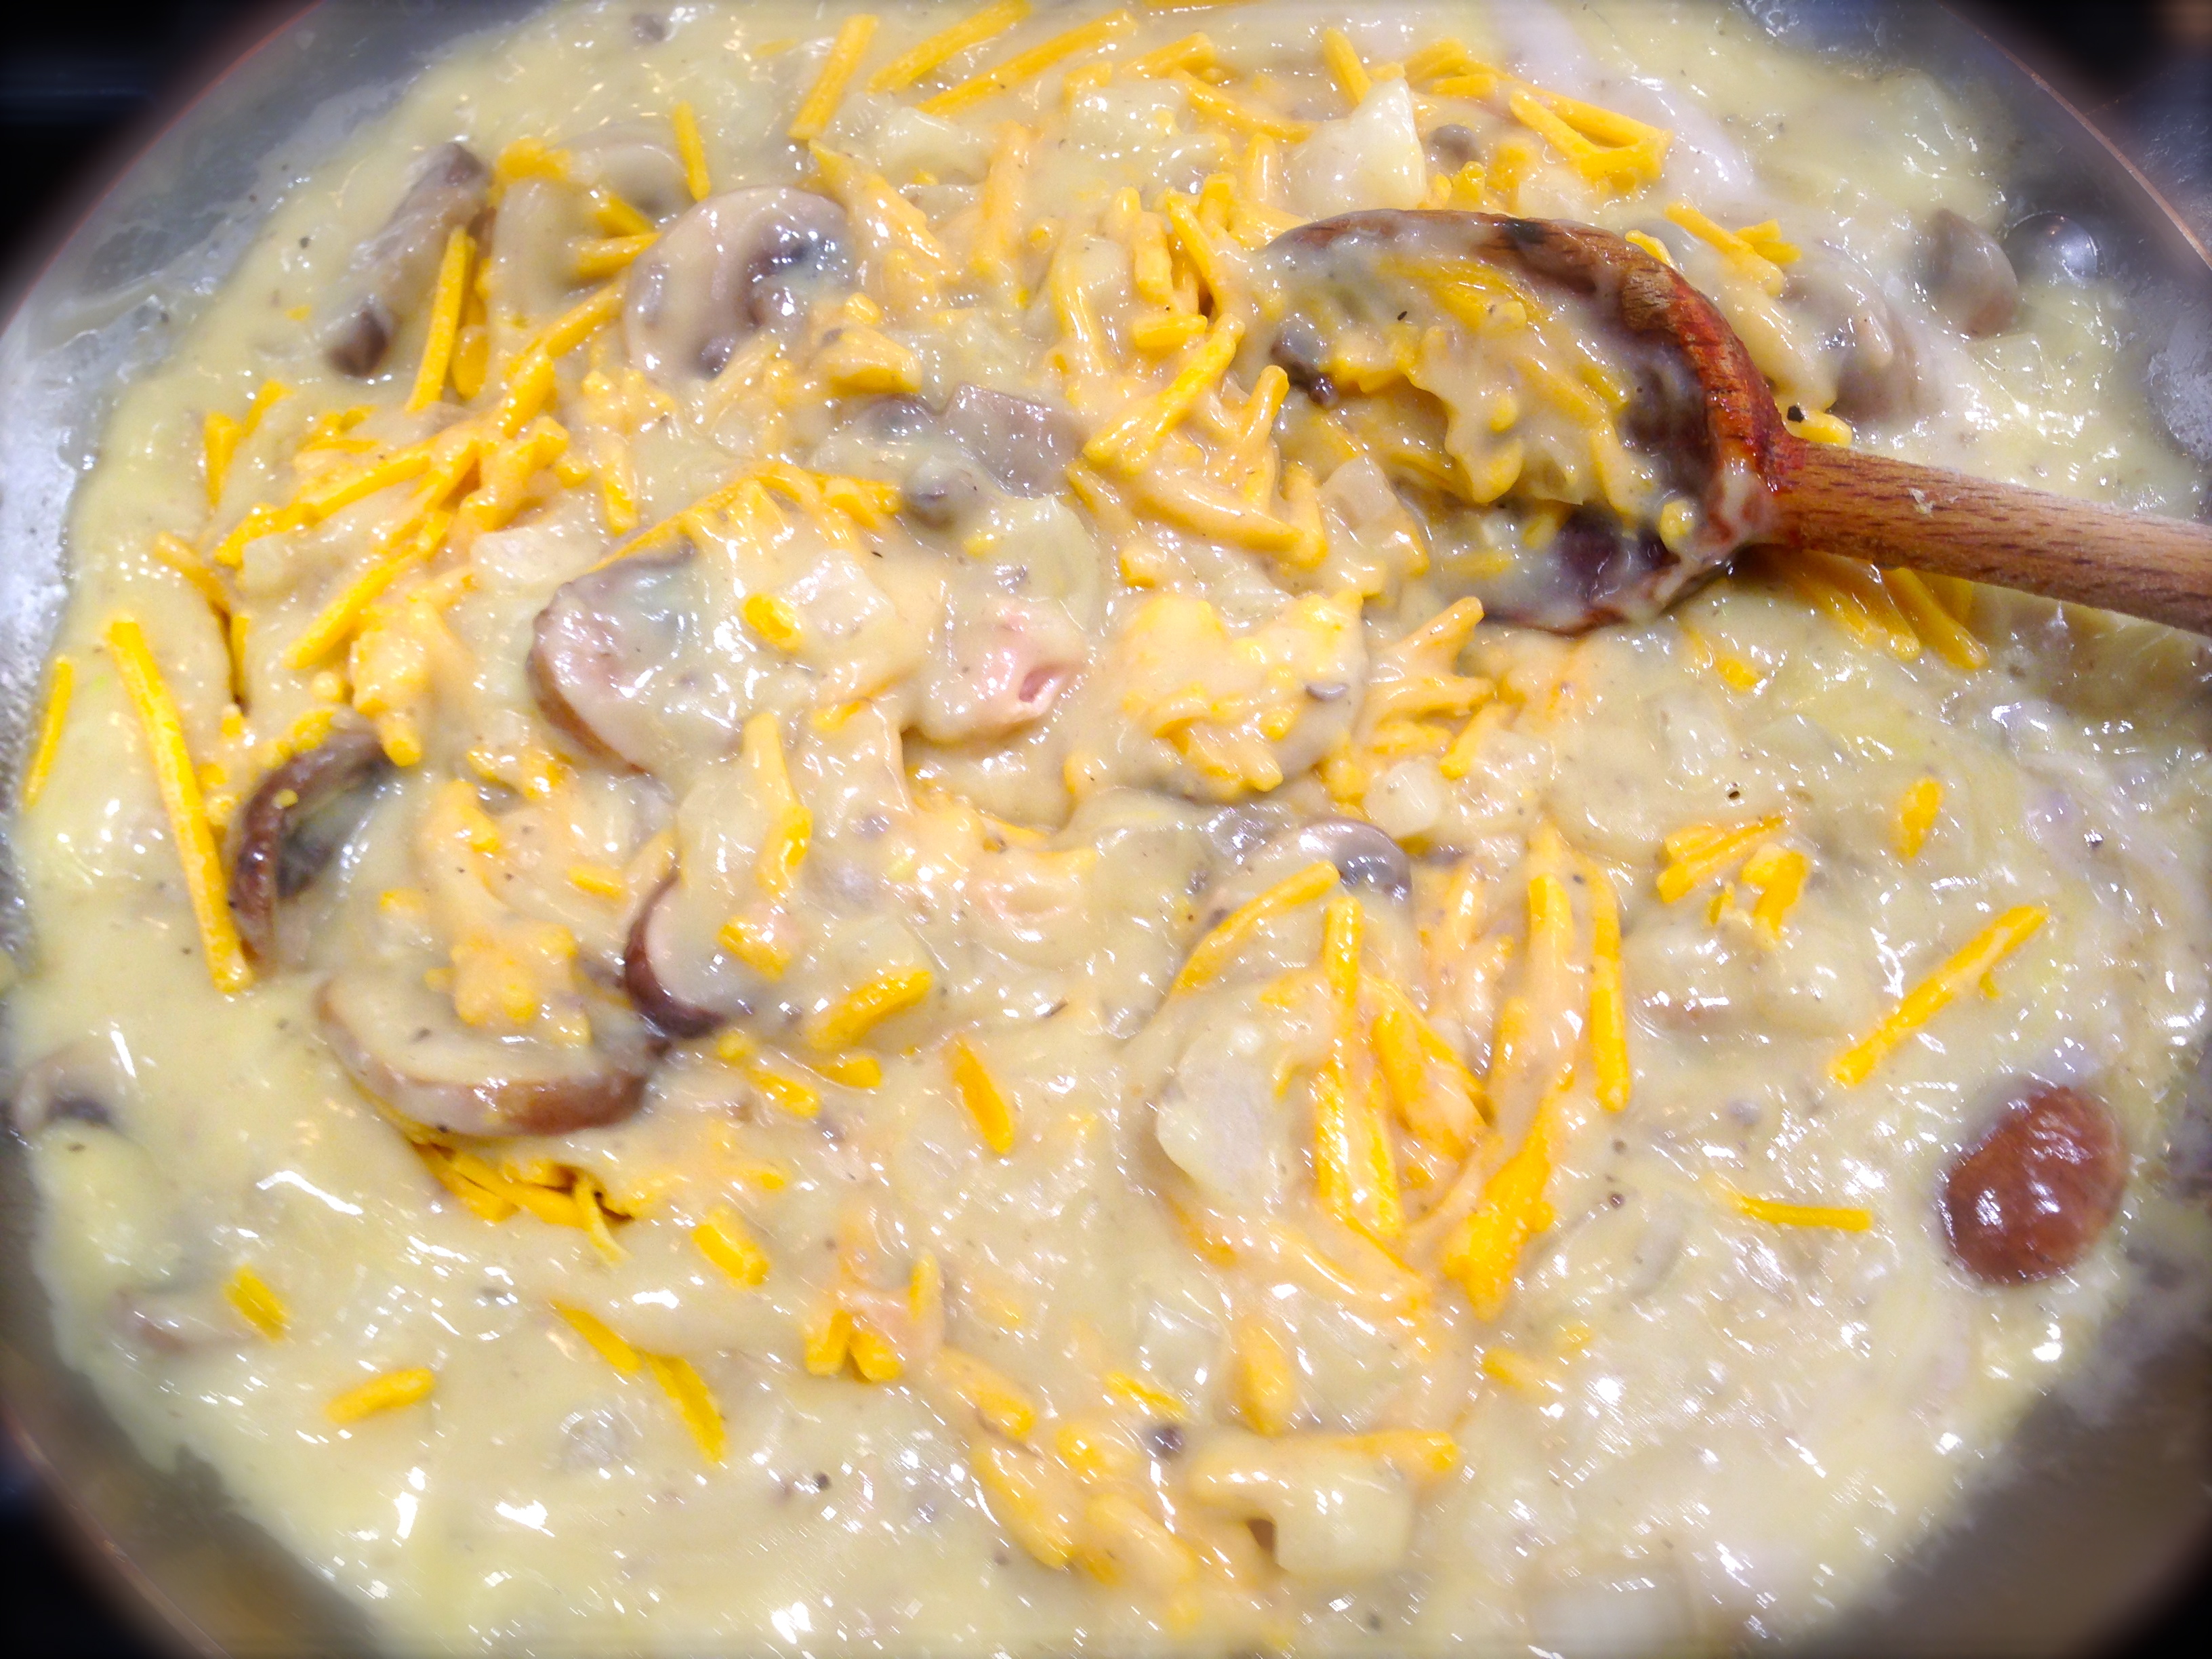
In a large bowl combine the broccoli, soup, mayonnaise, butter, eggs, onion, salt and pepper. Mix well. Add the cheddar cheese and mix again until cheese is incorporated.
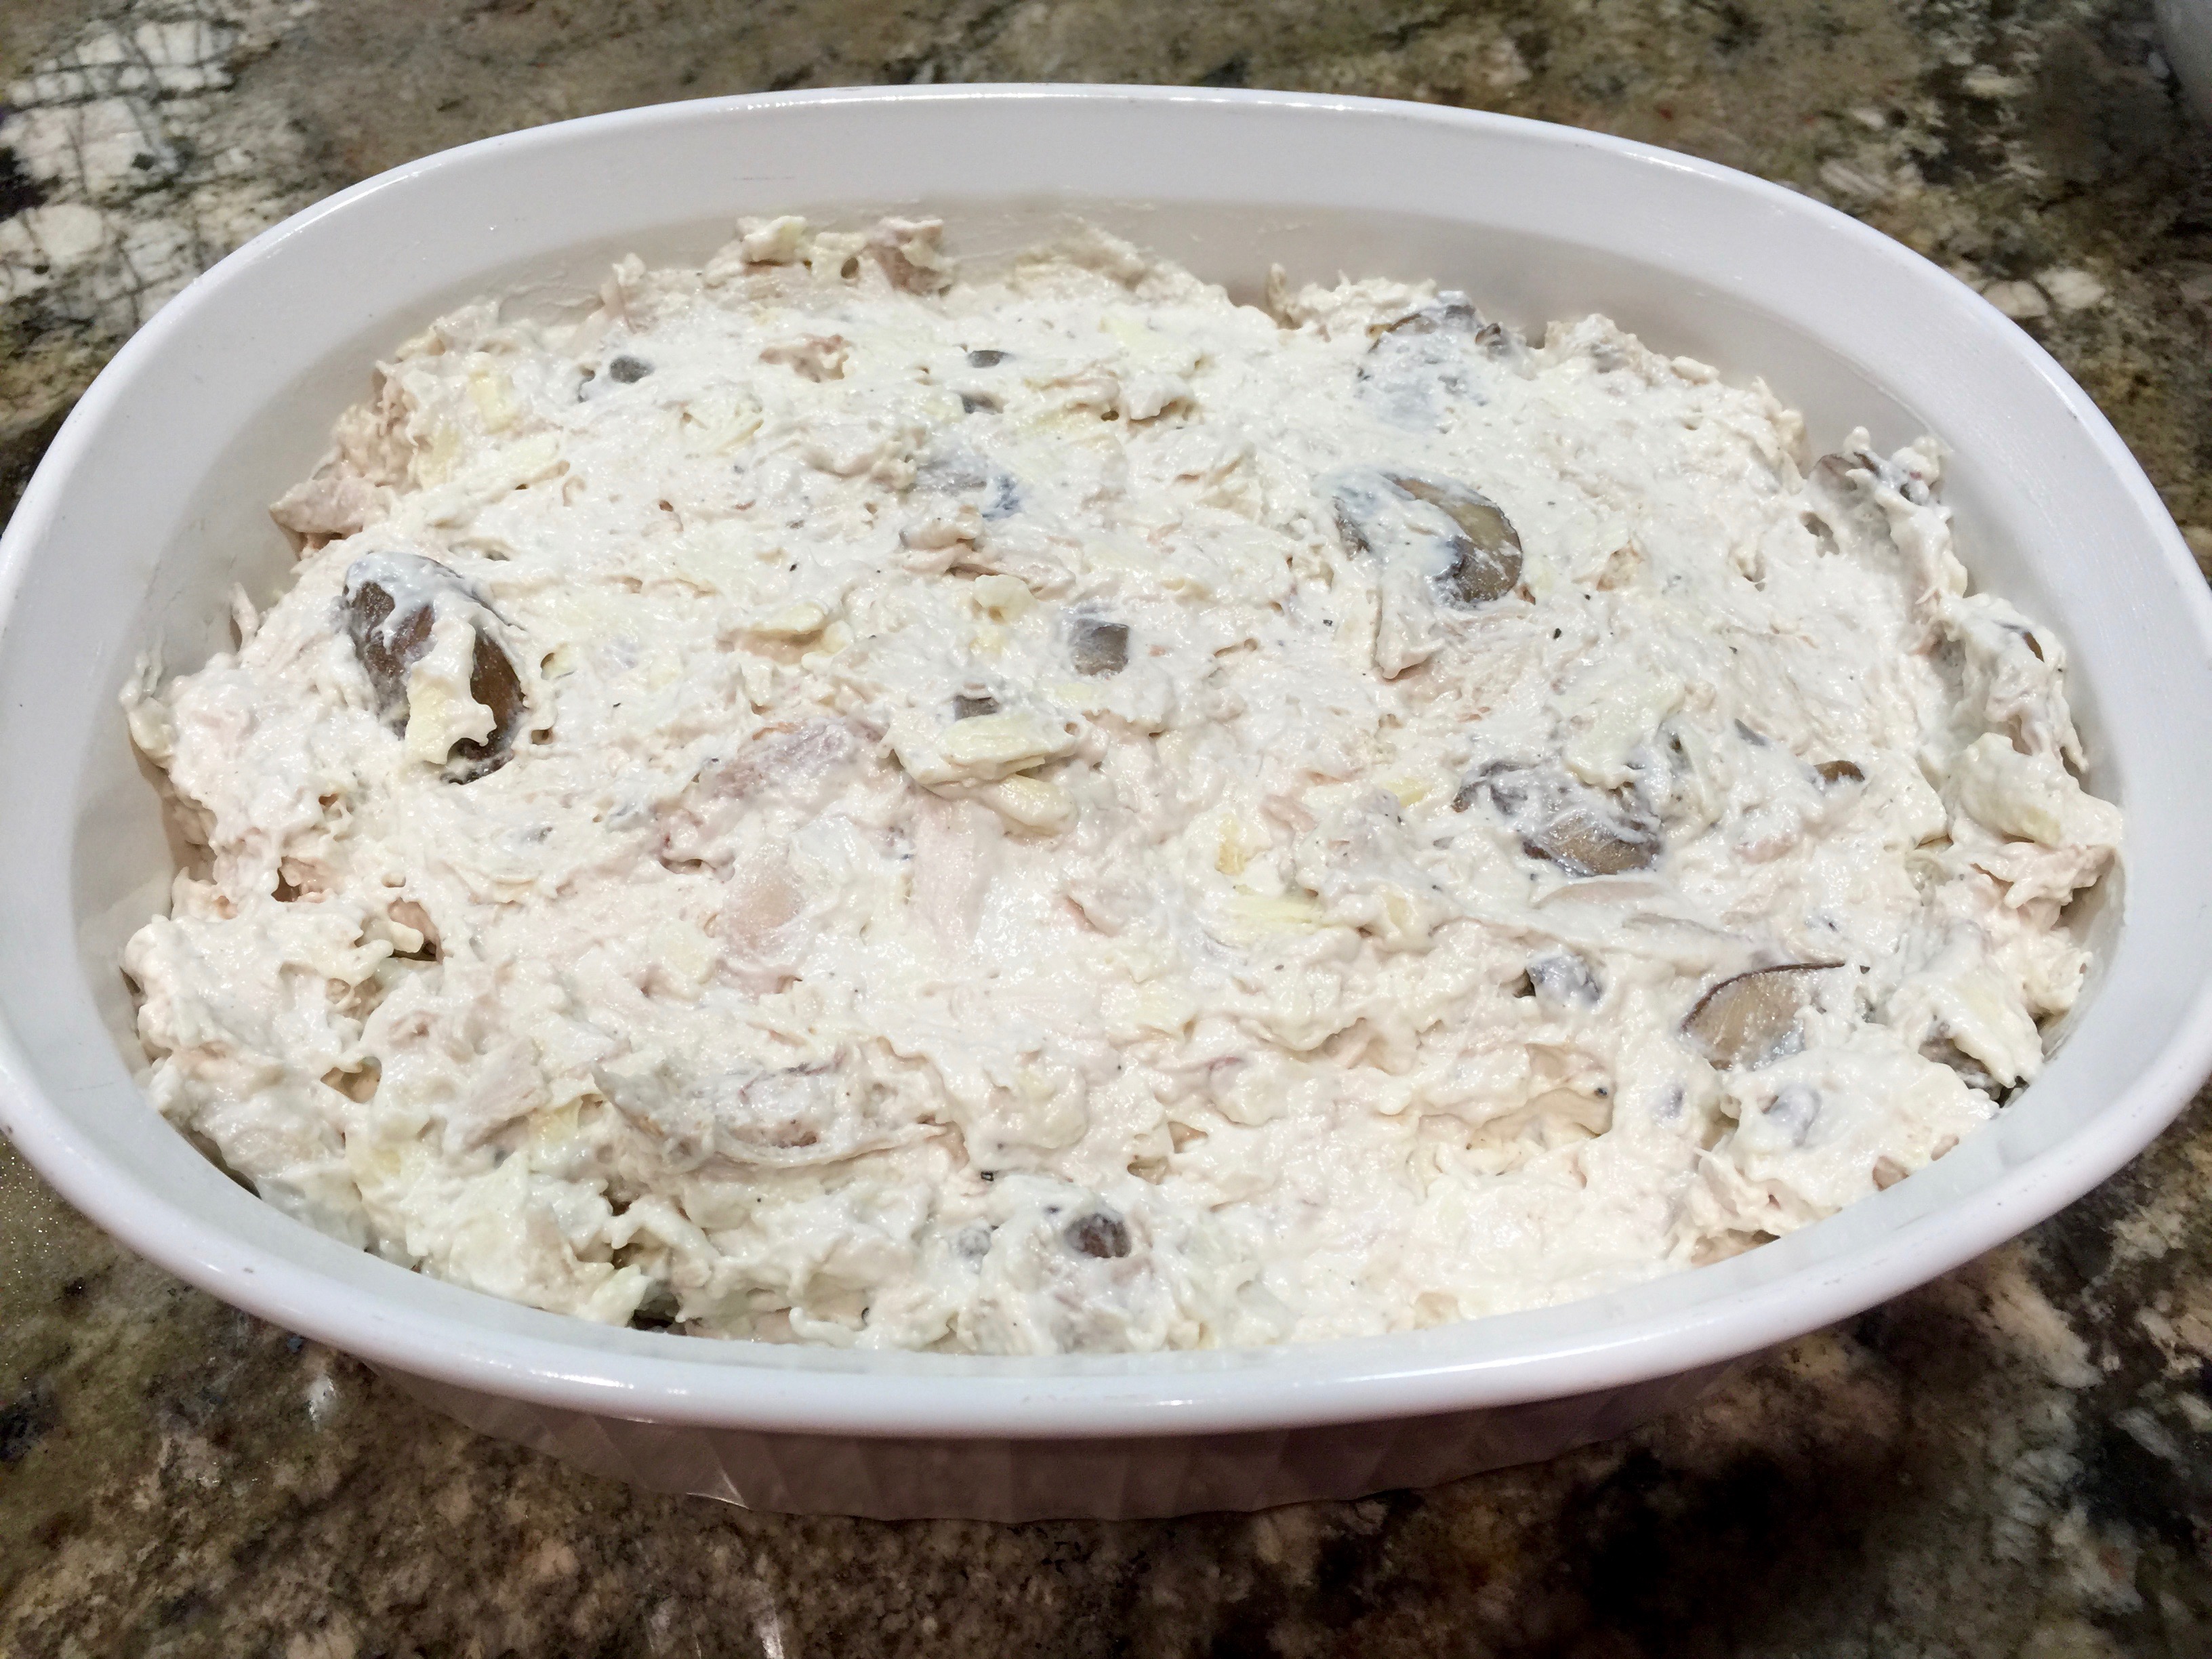
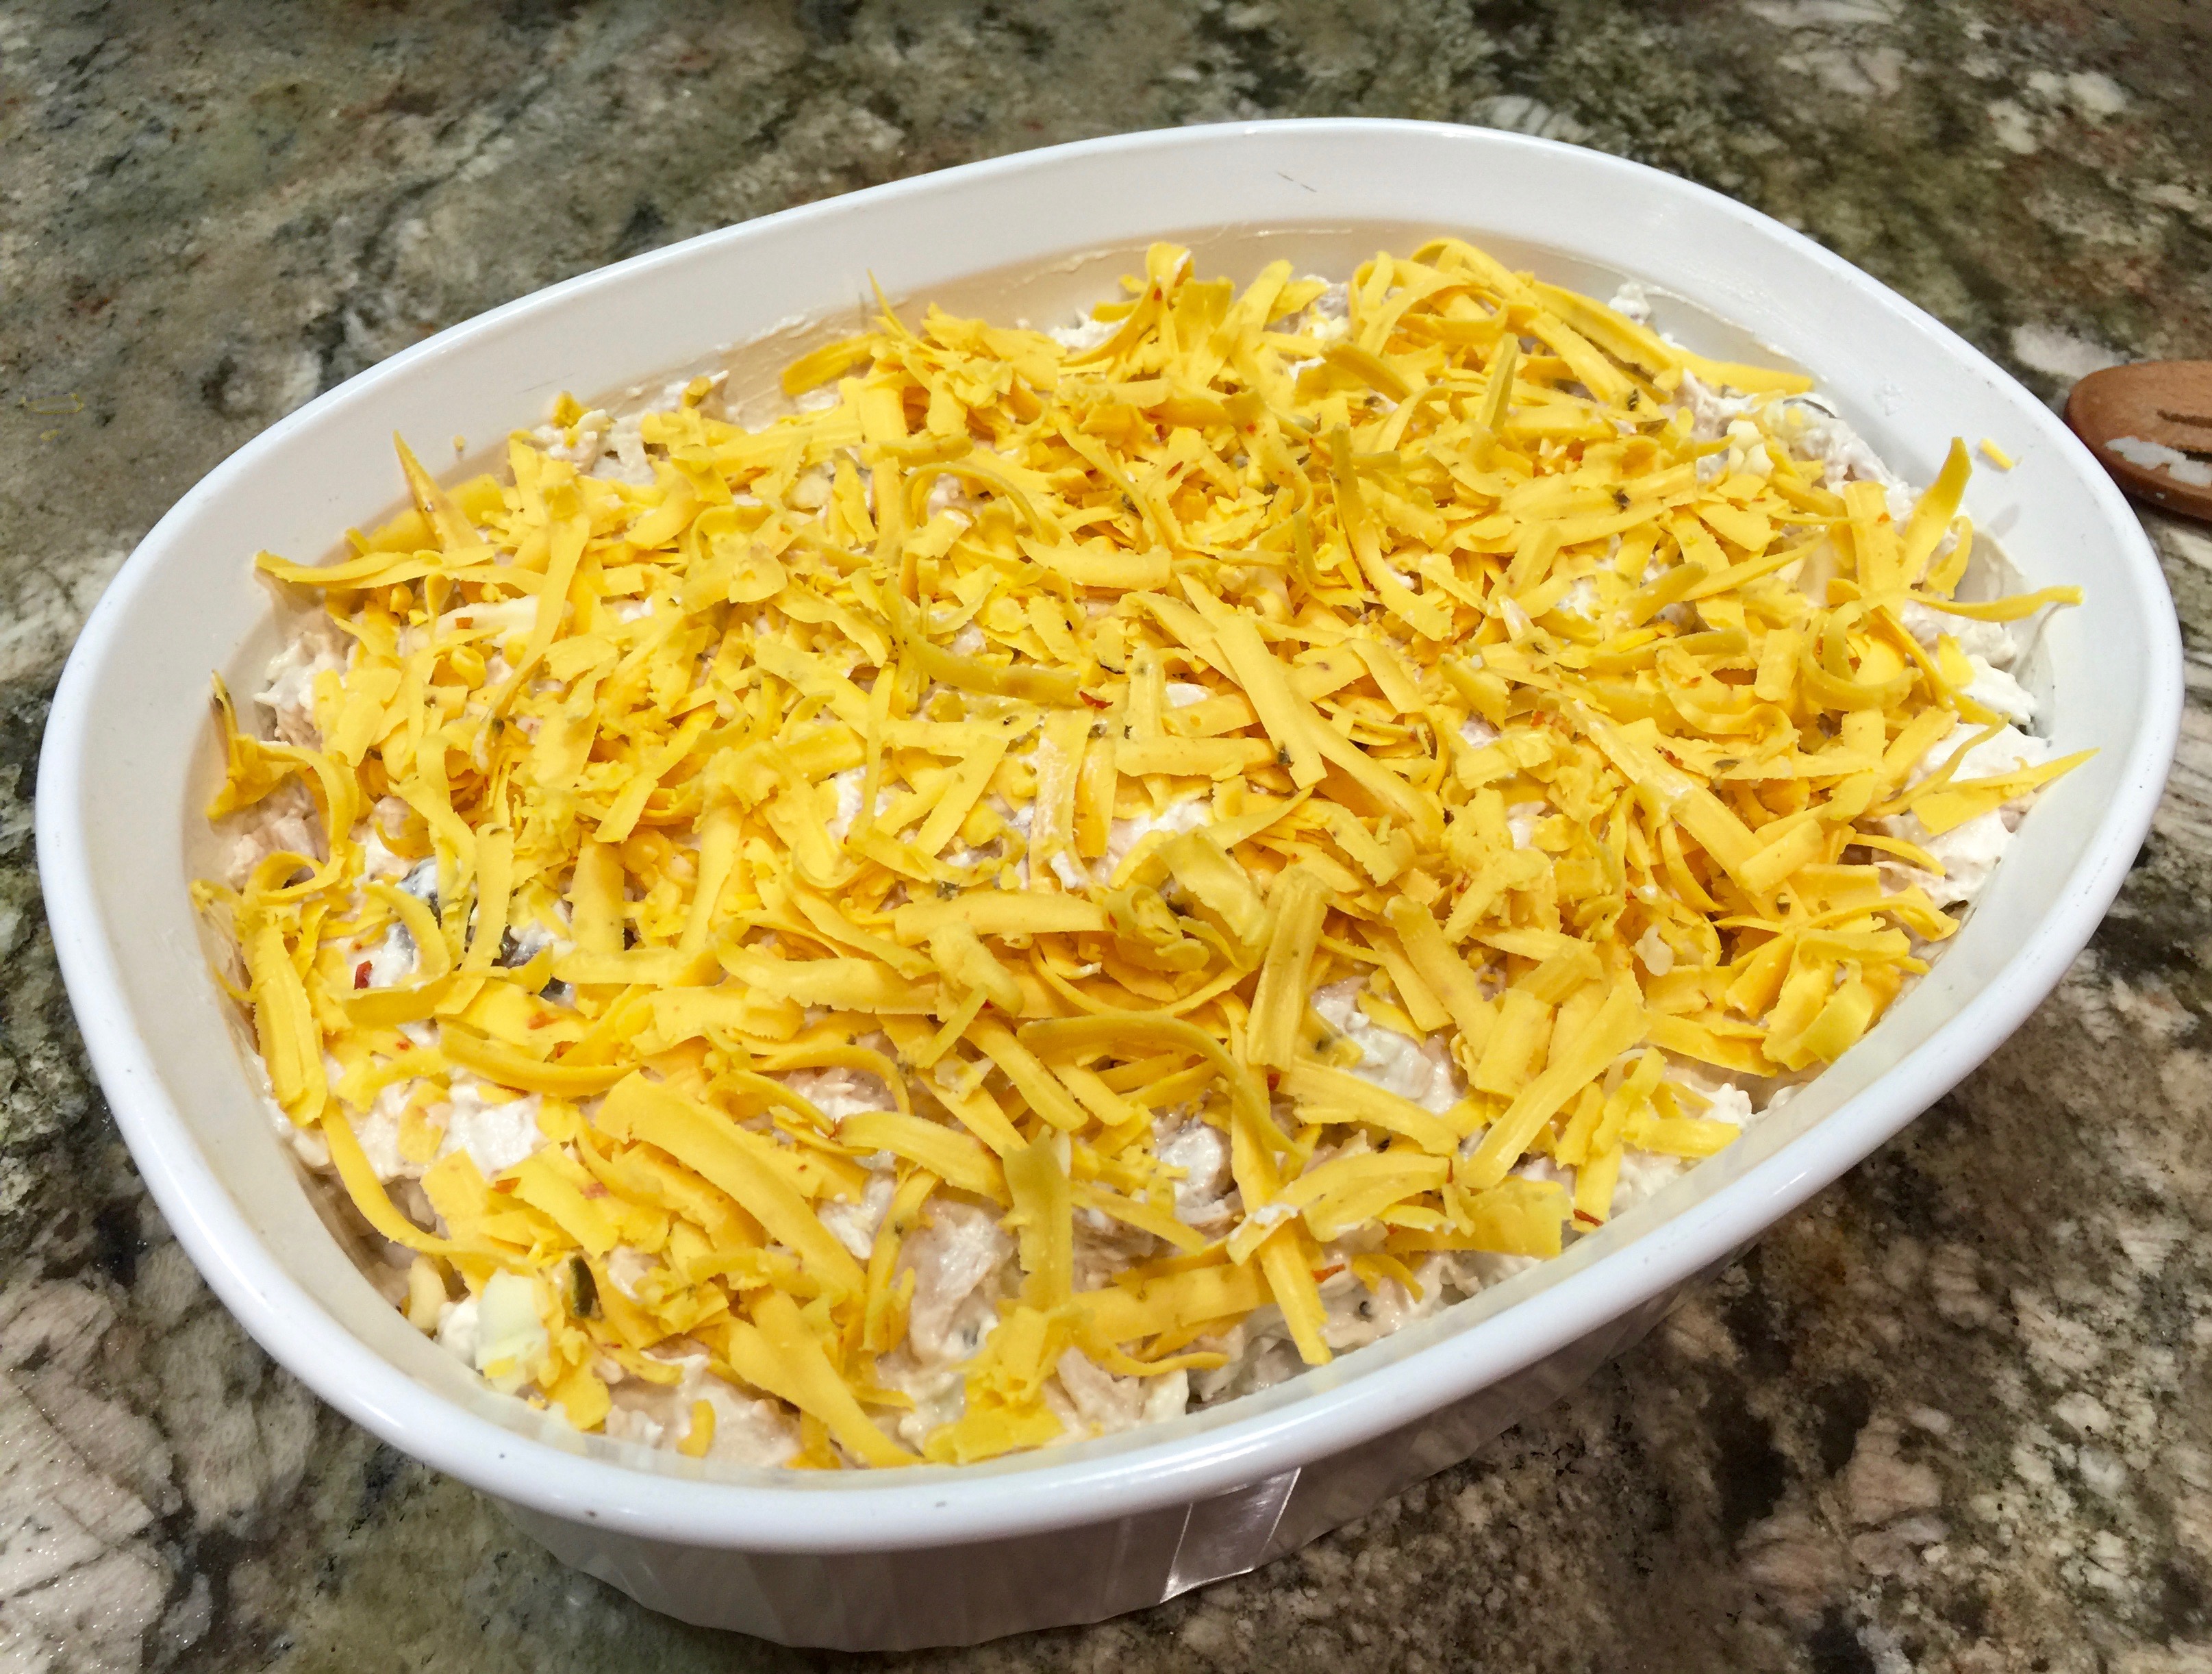
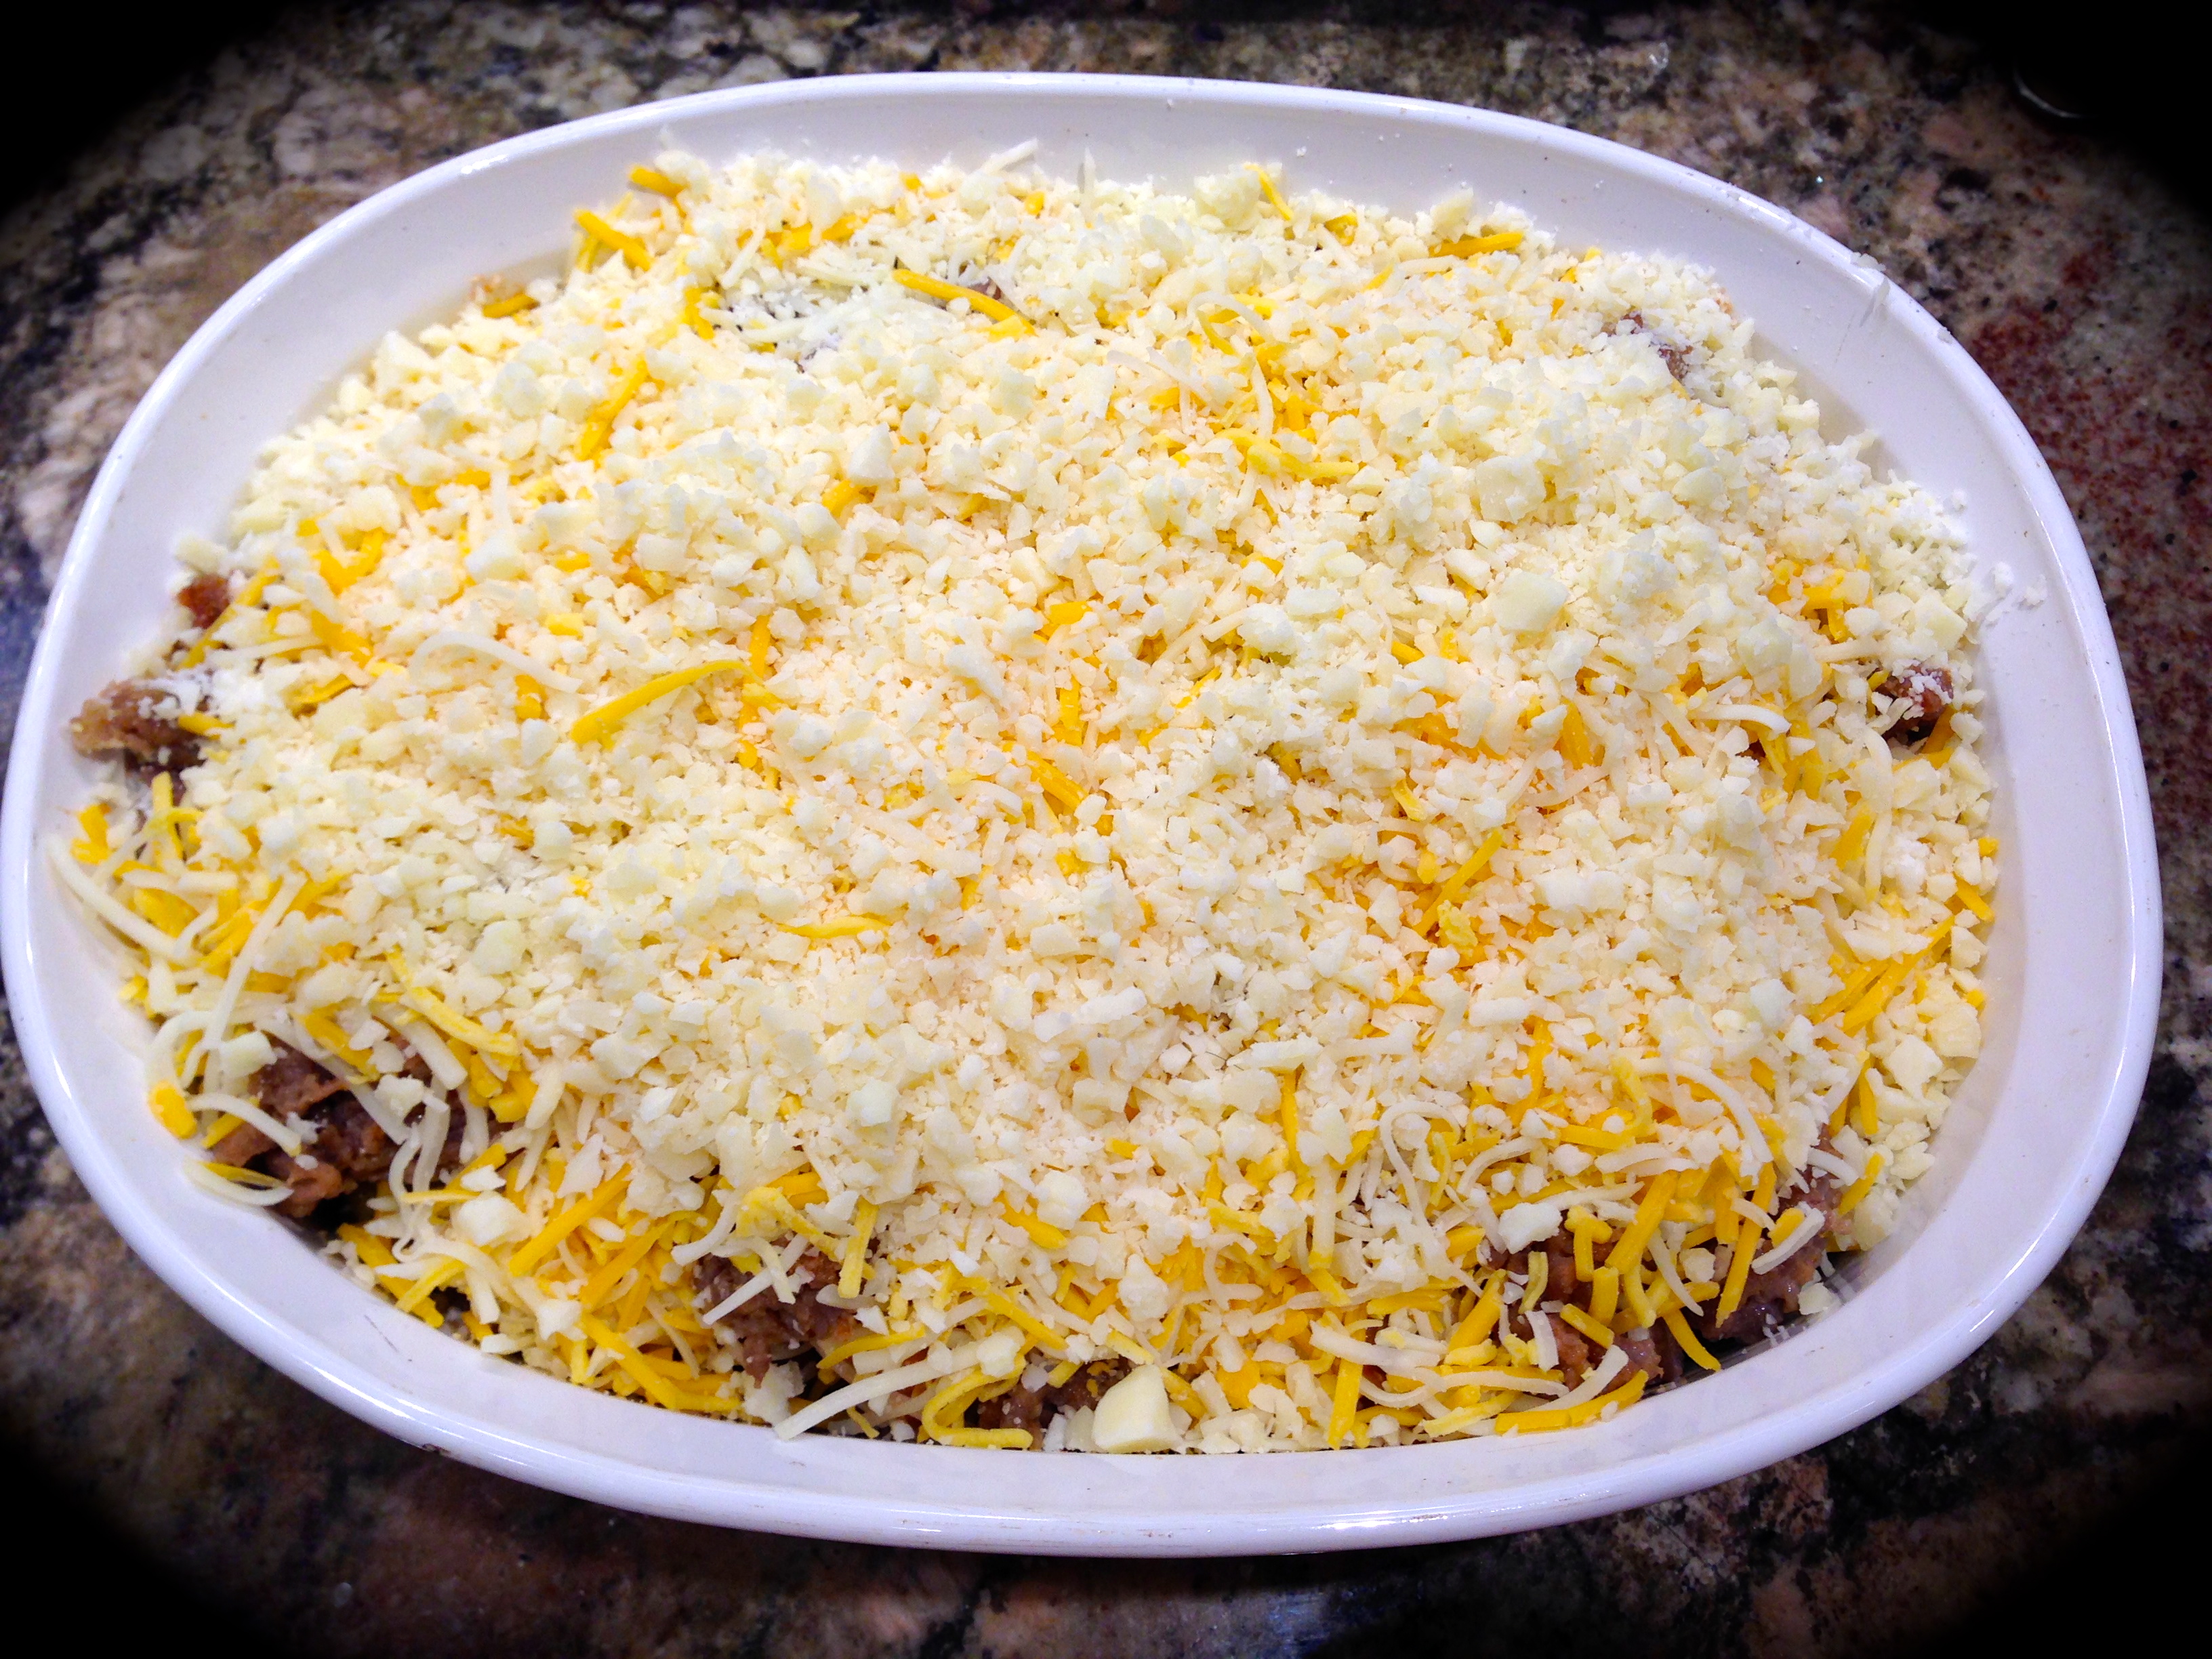
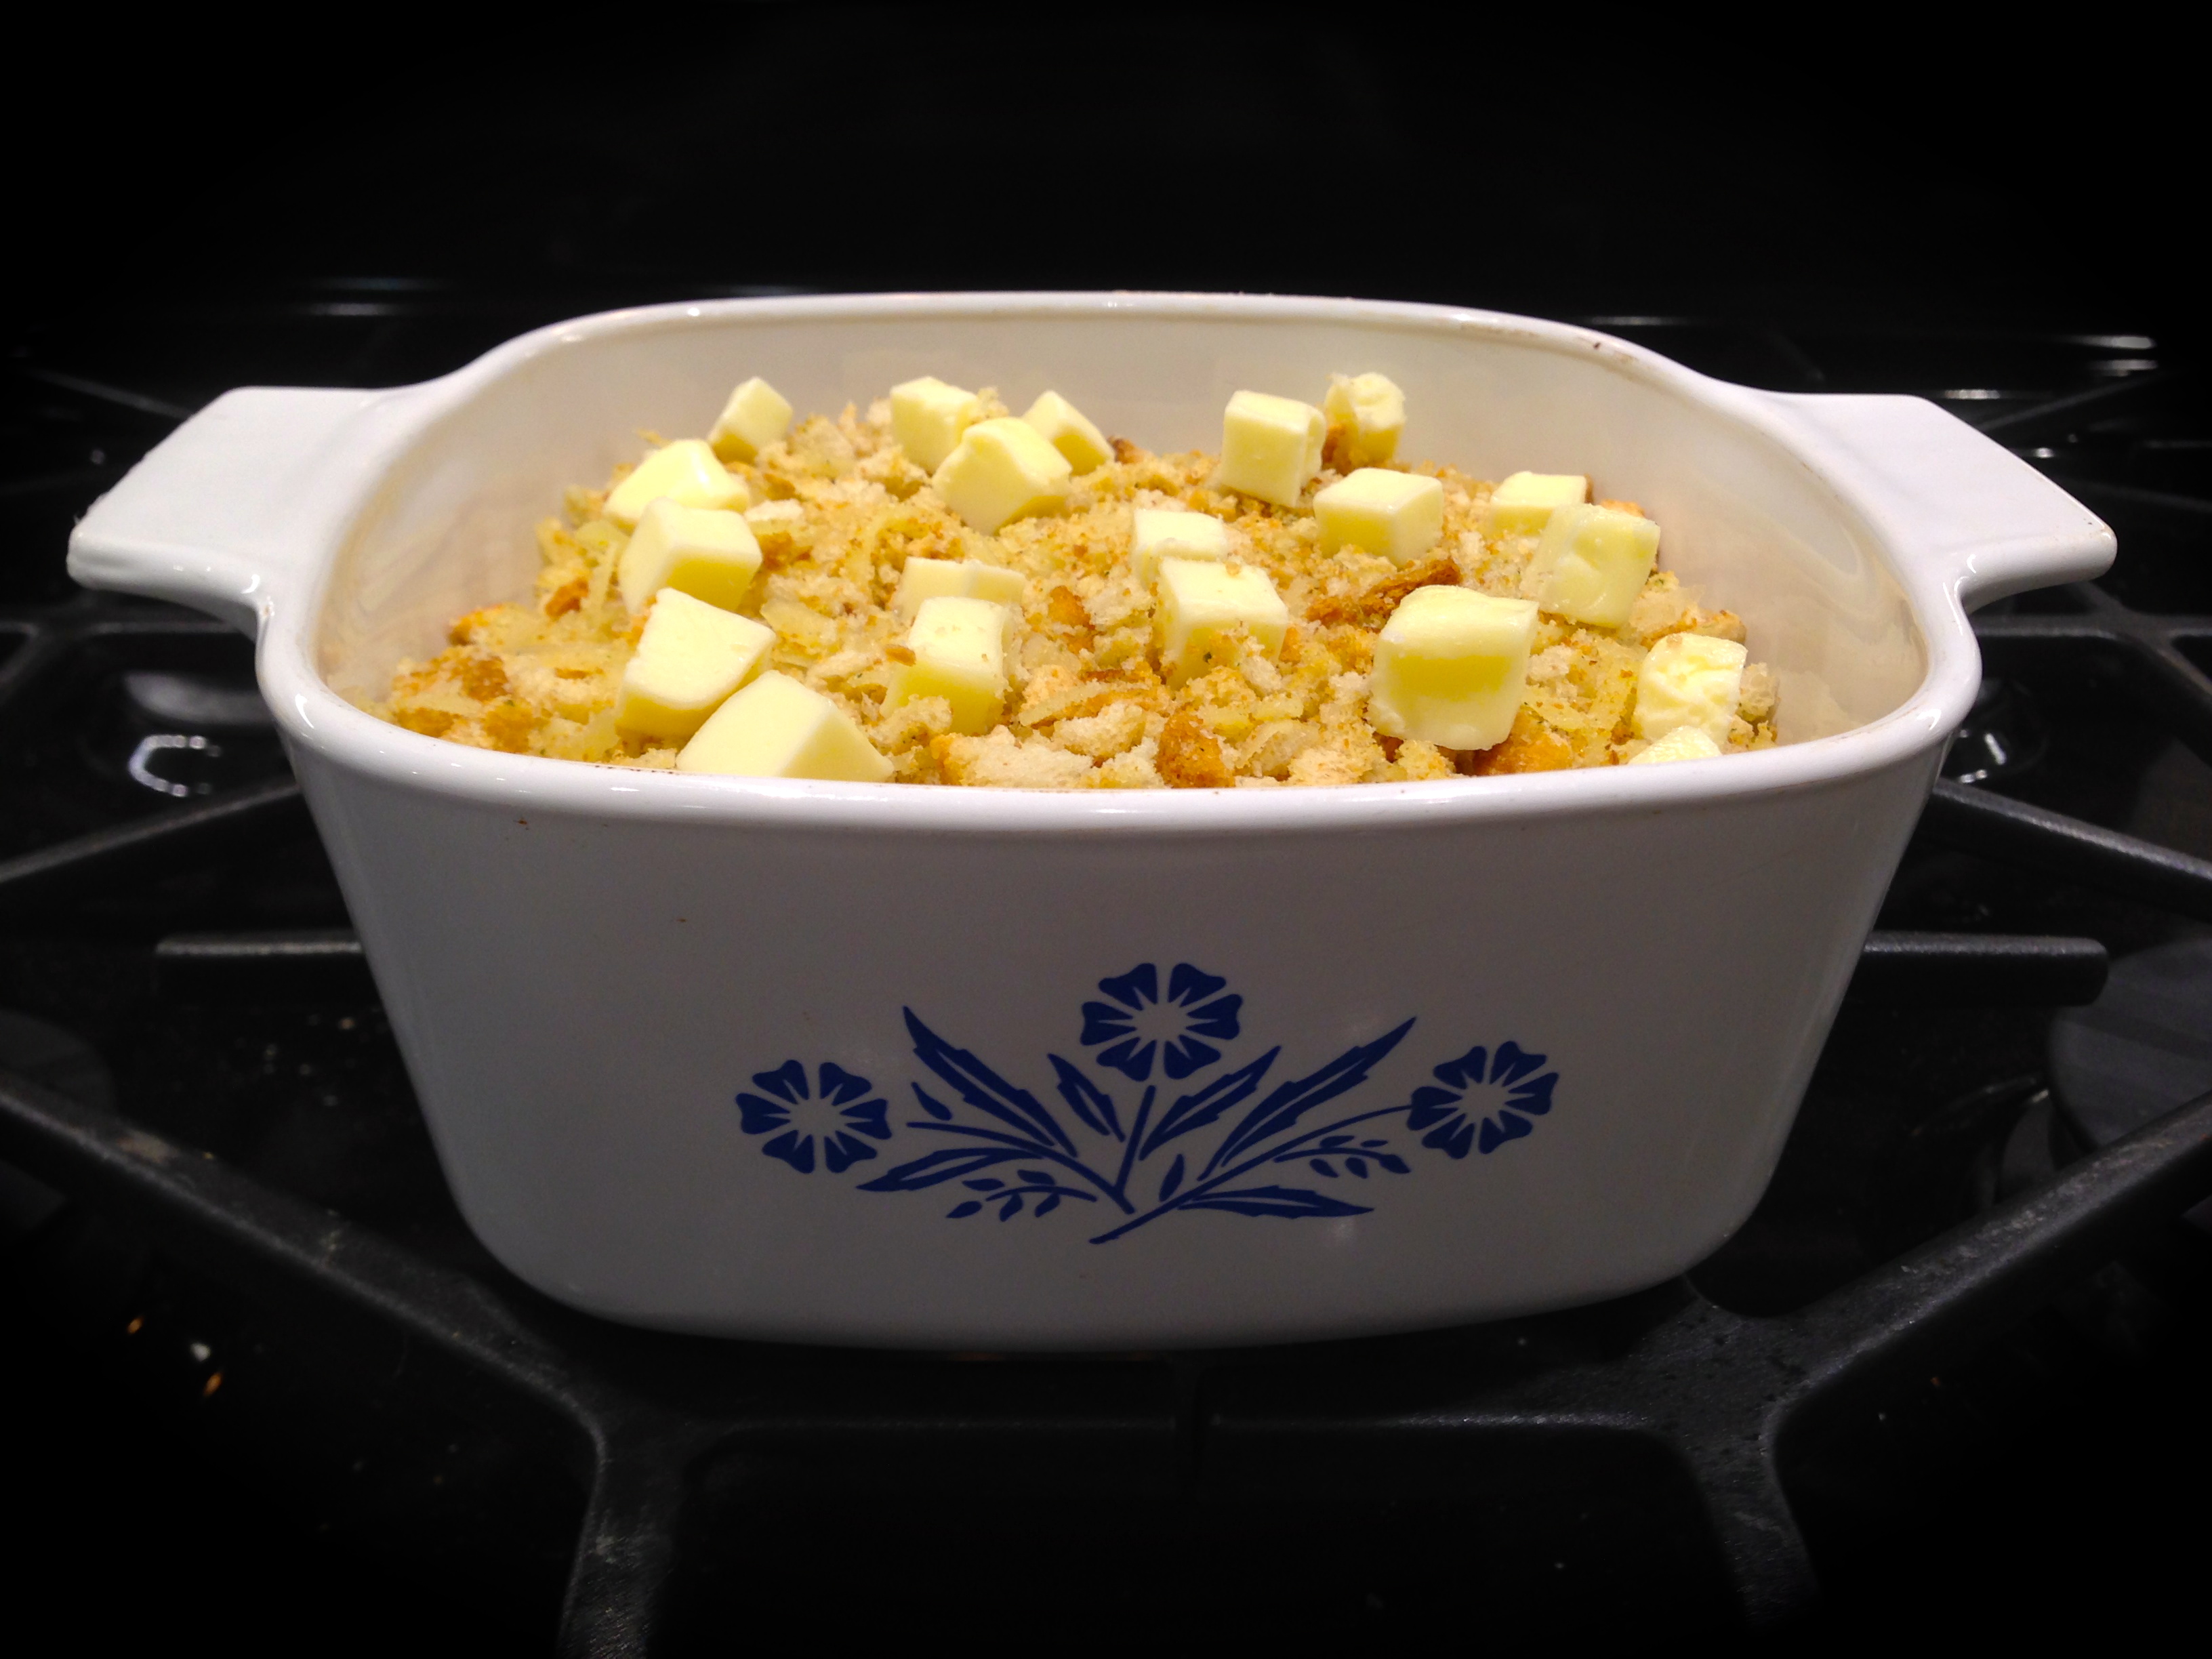
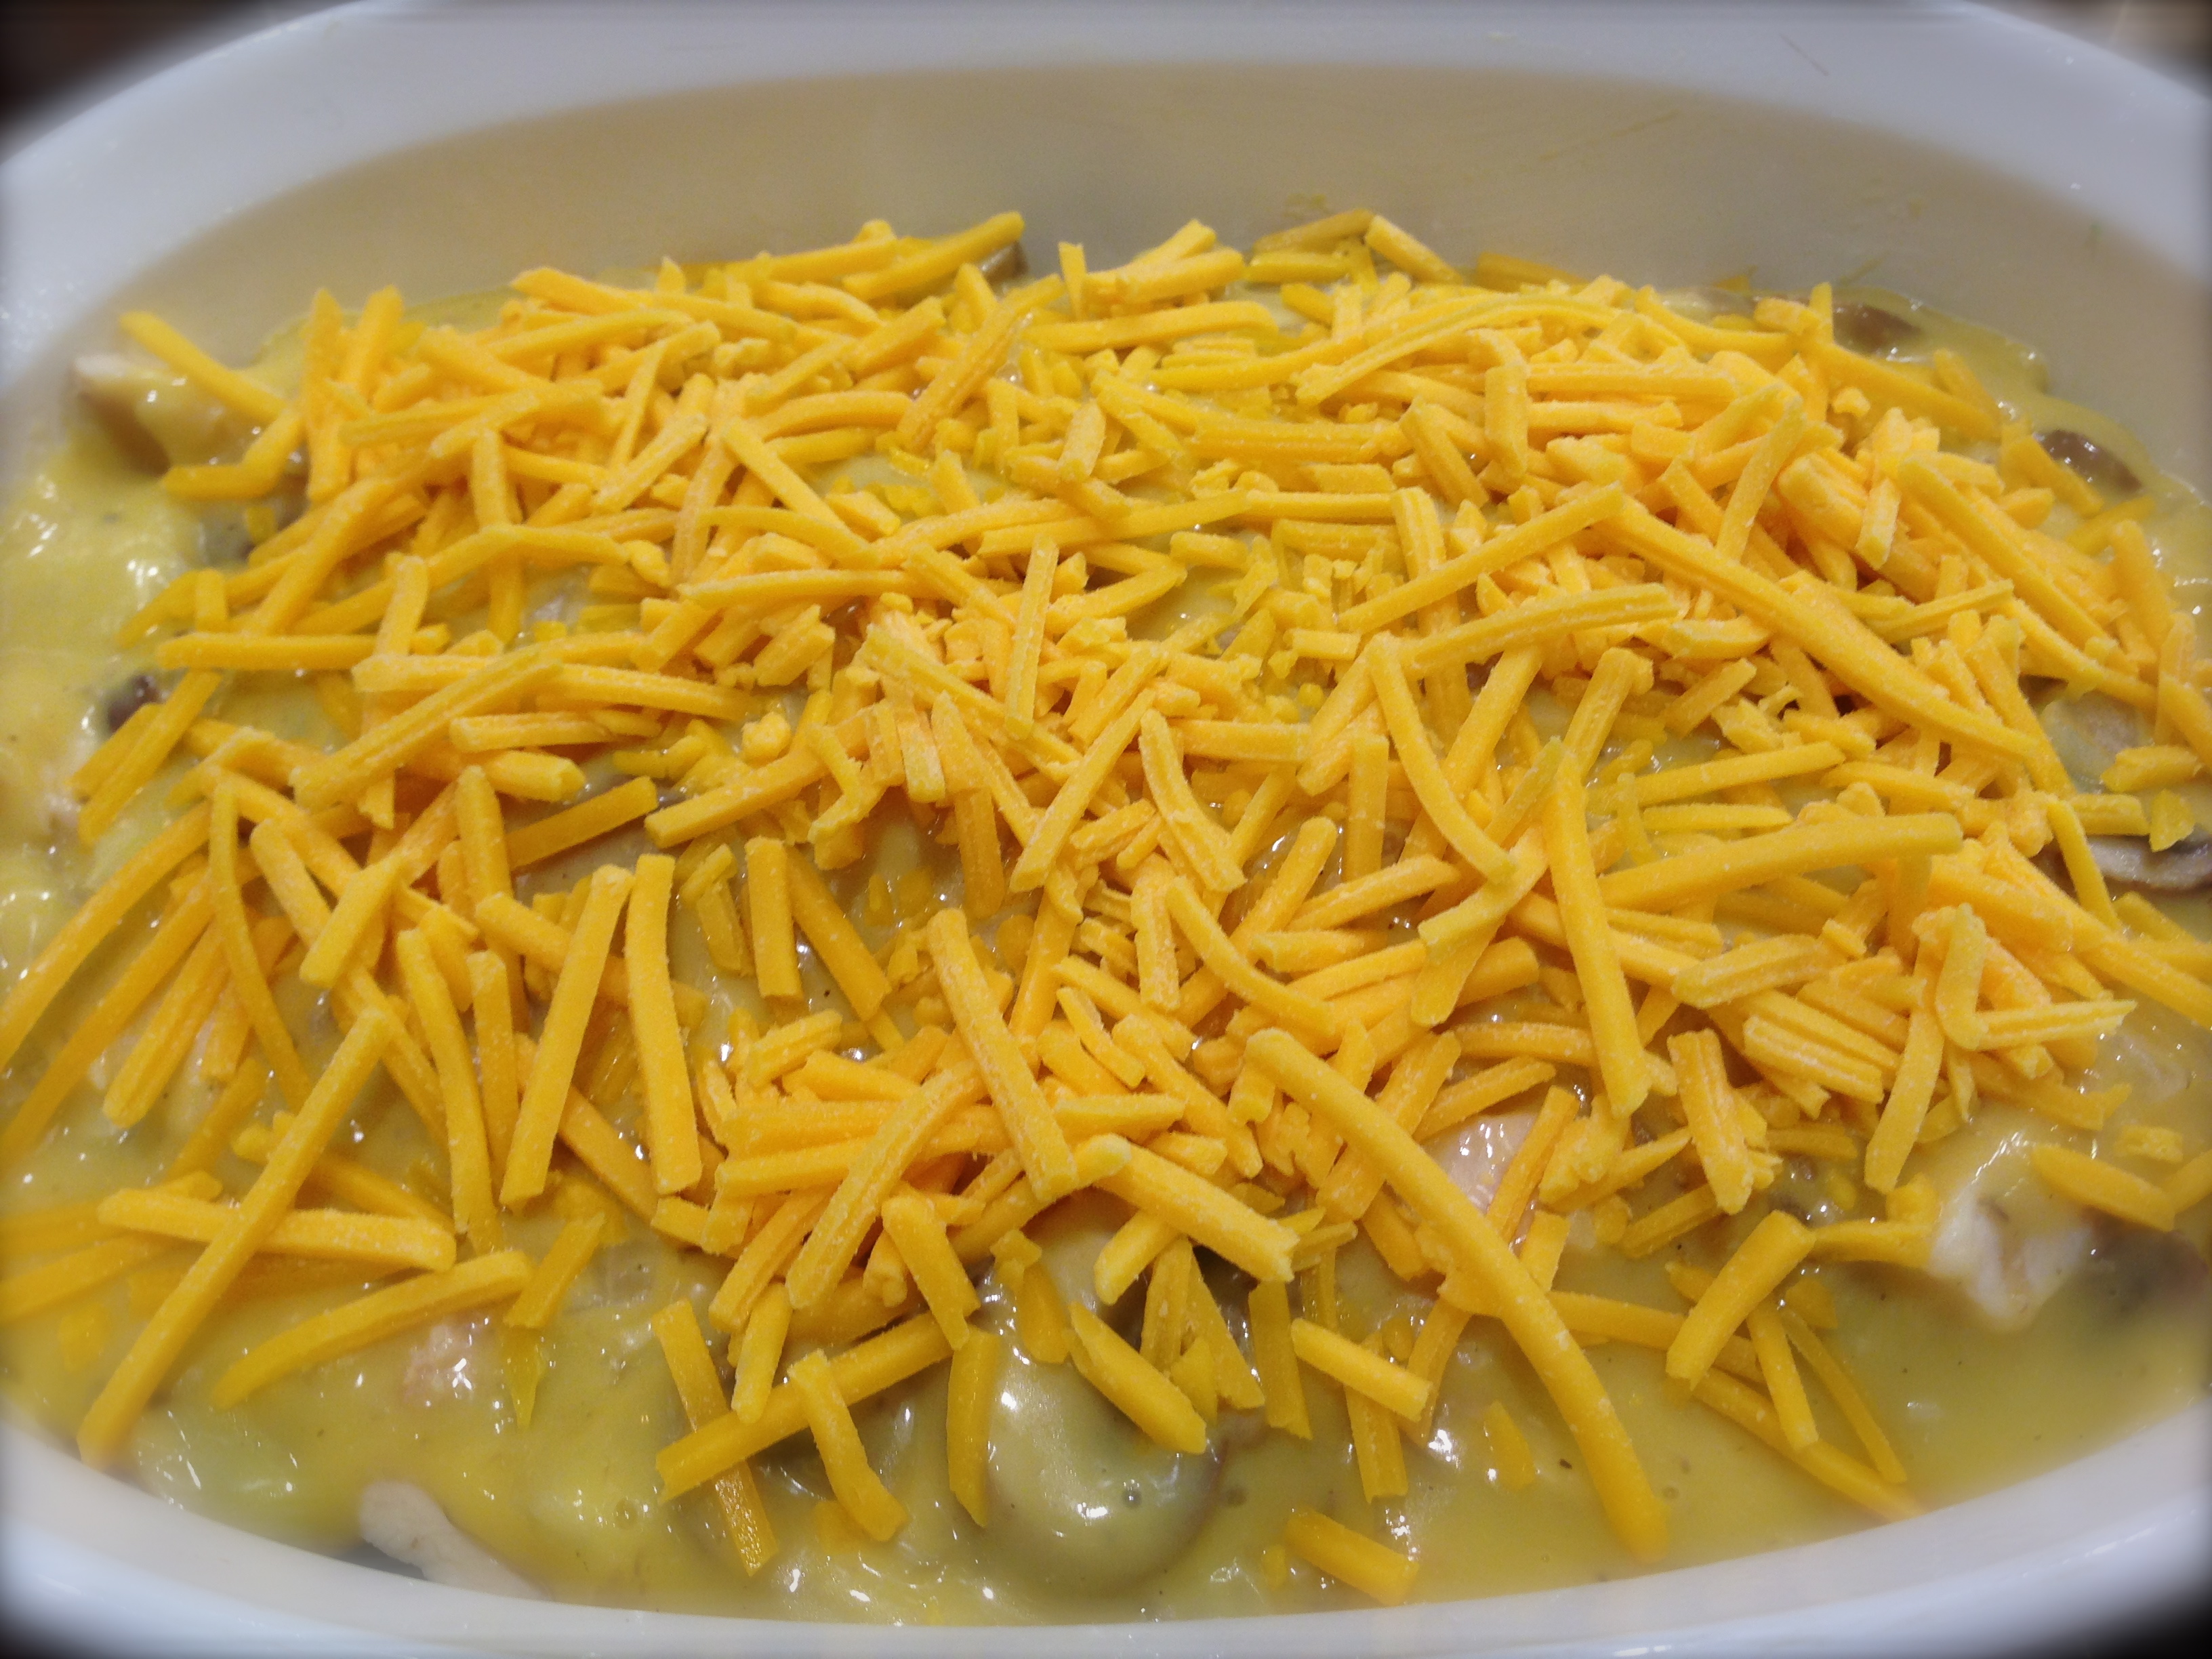
Place the mixture in a medium size buttered casserole dish.
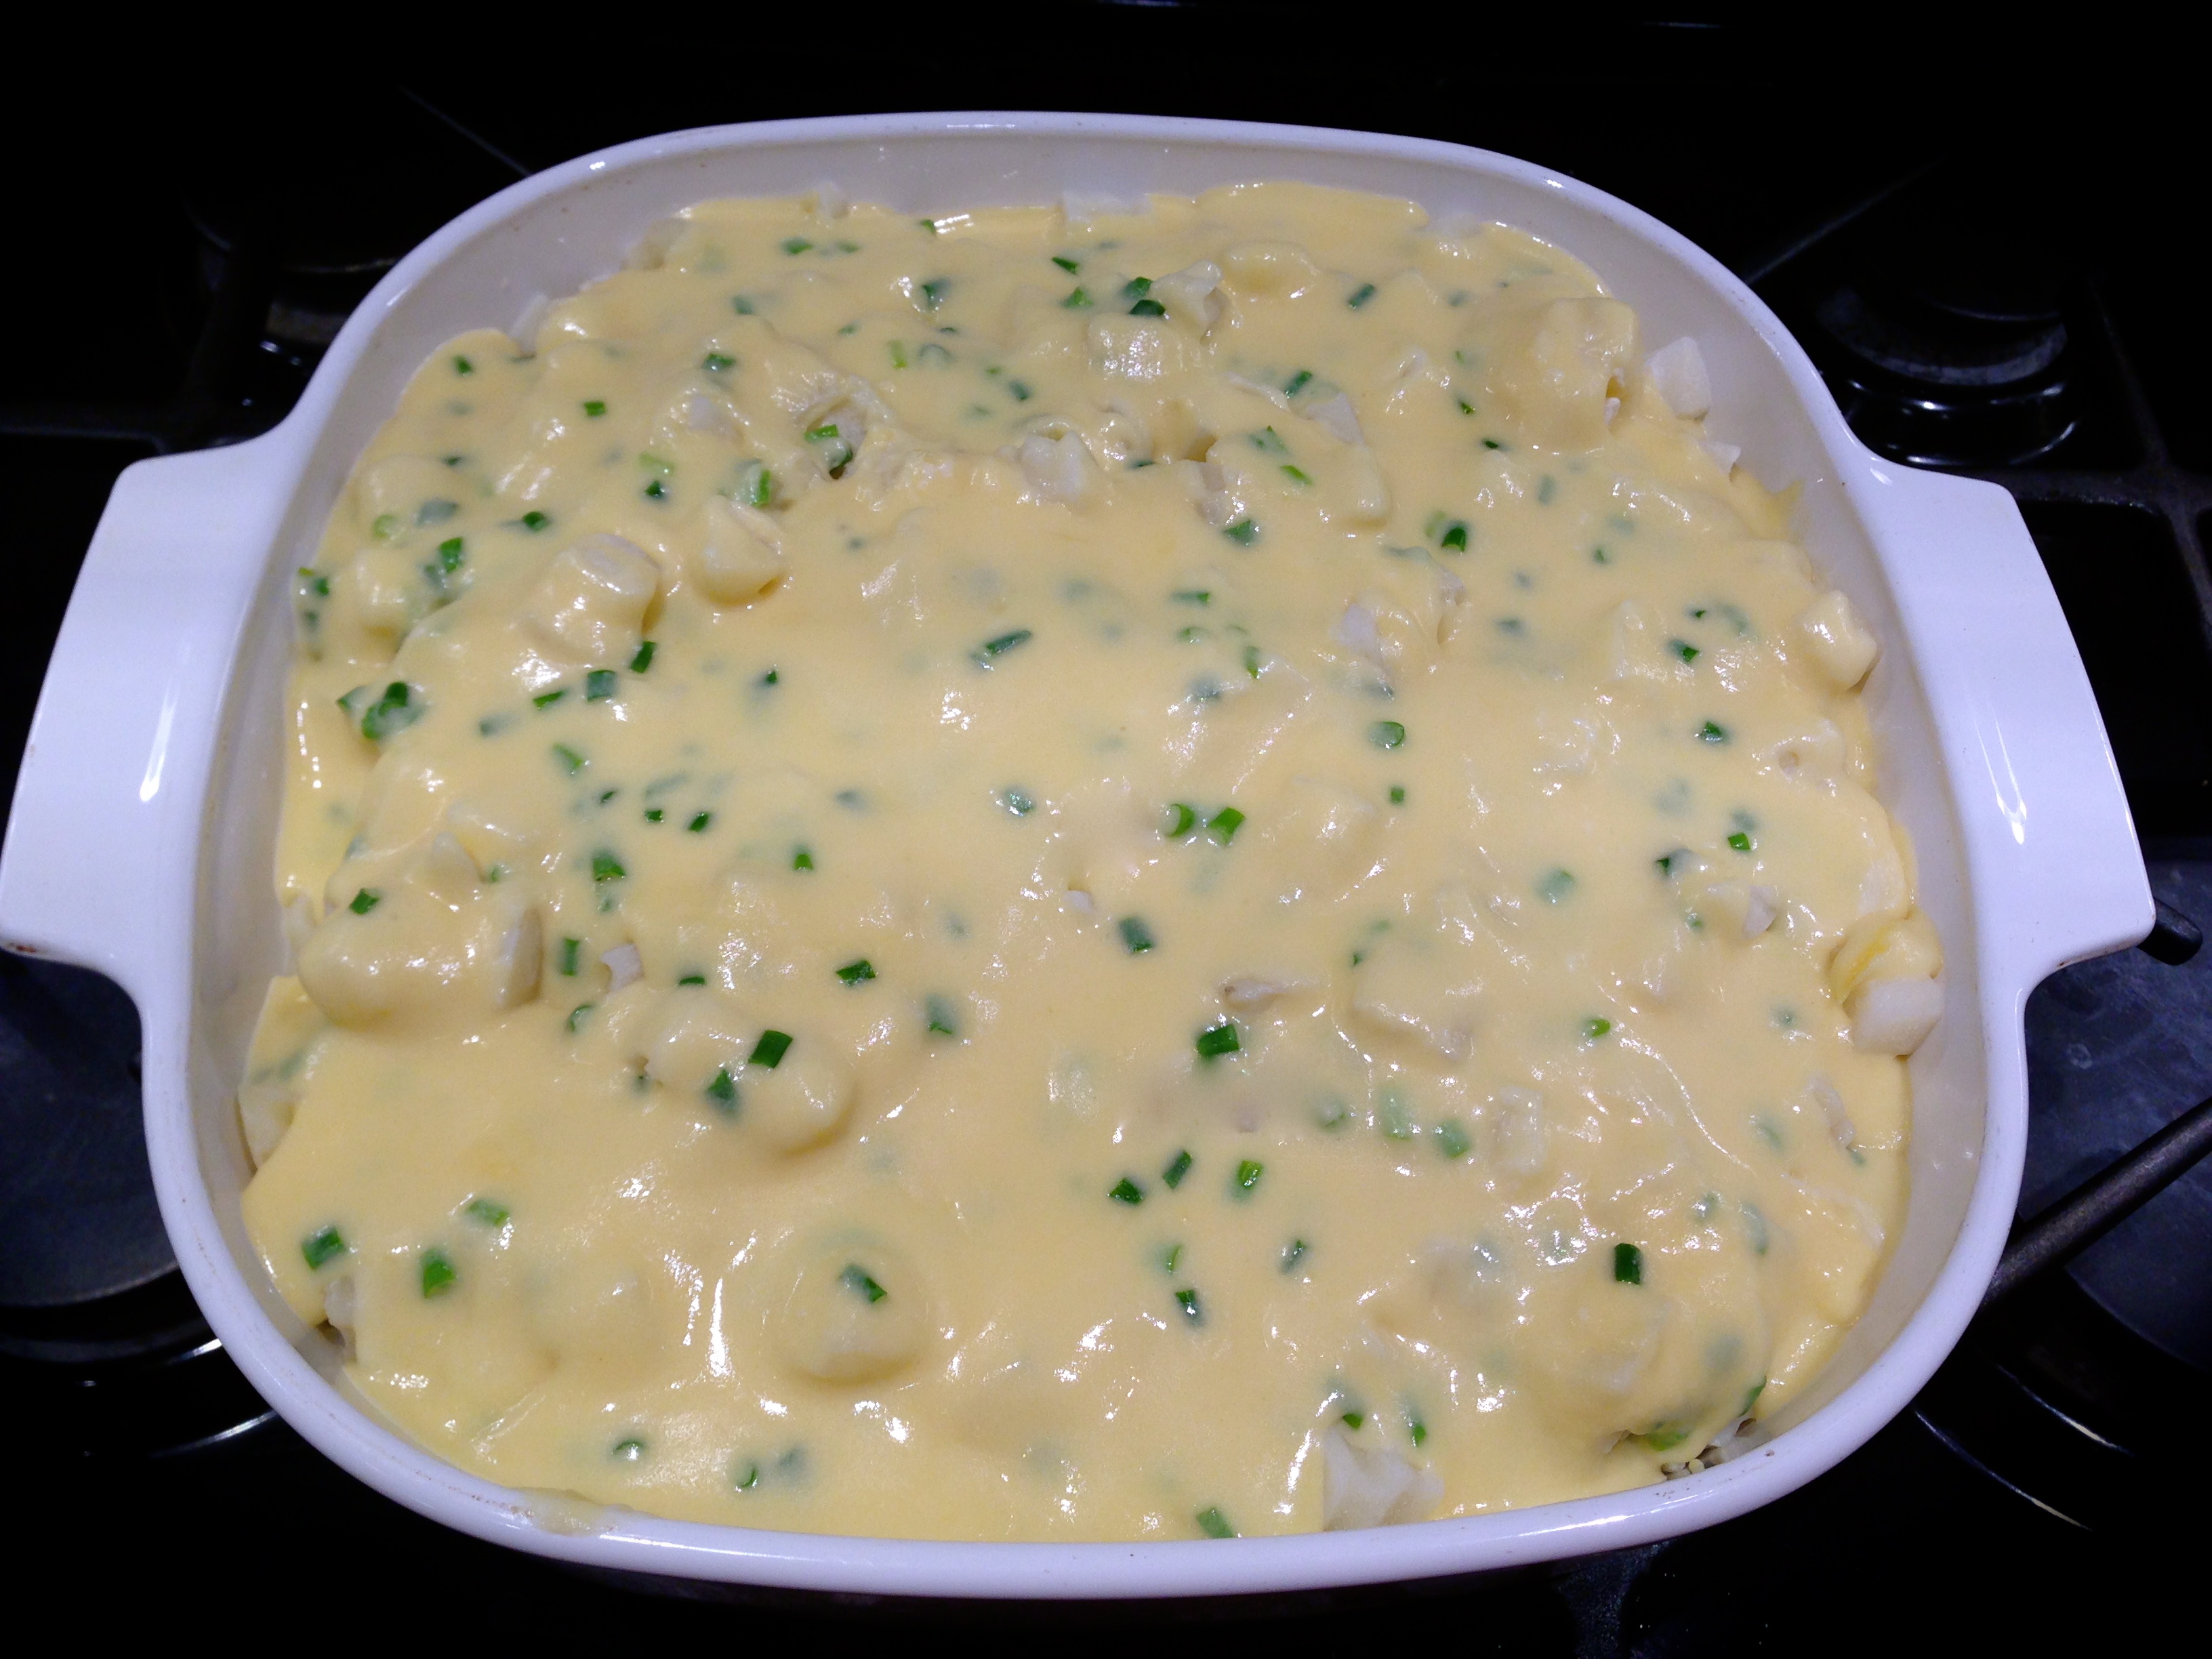
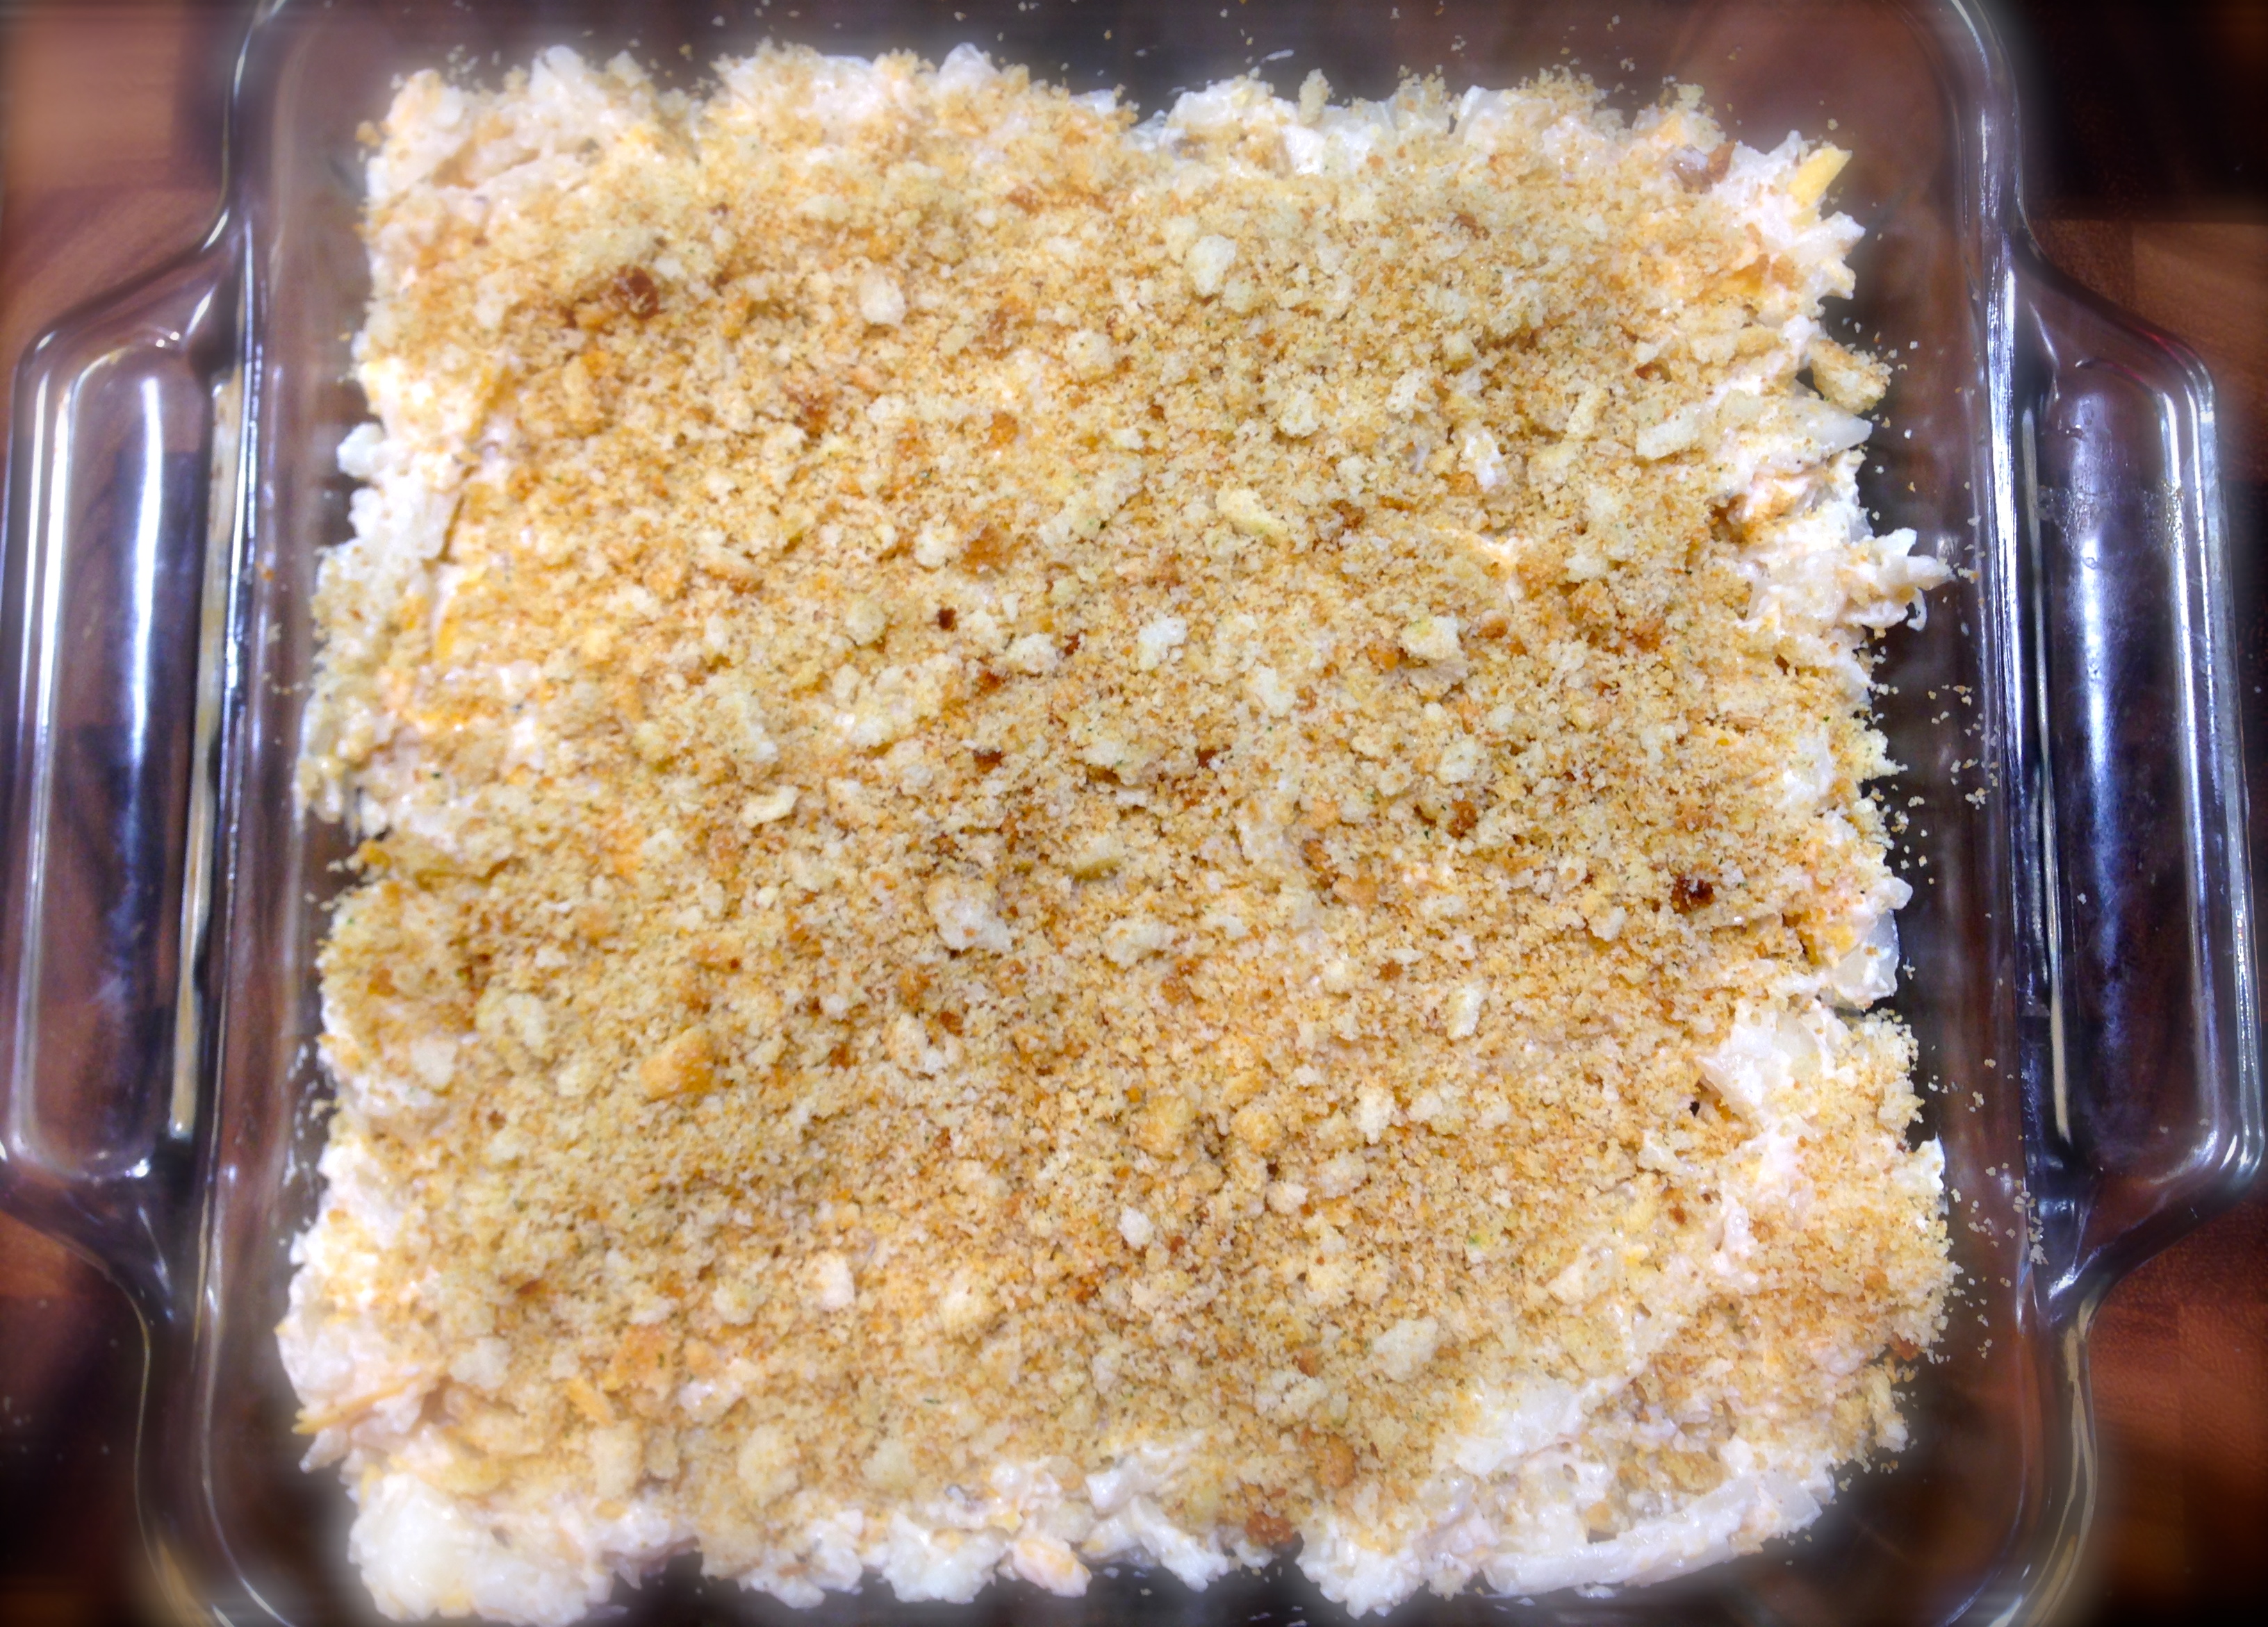
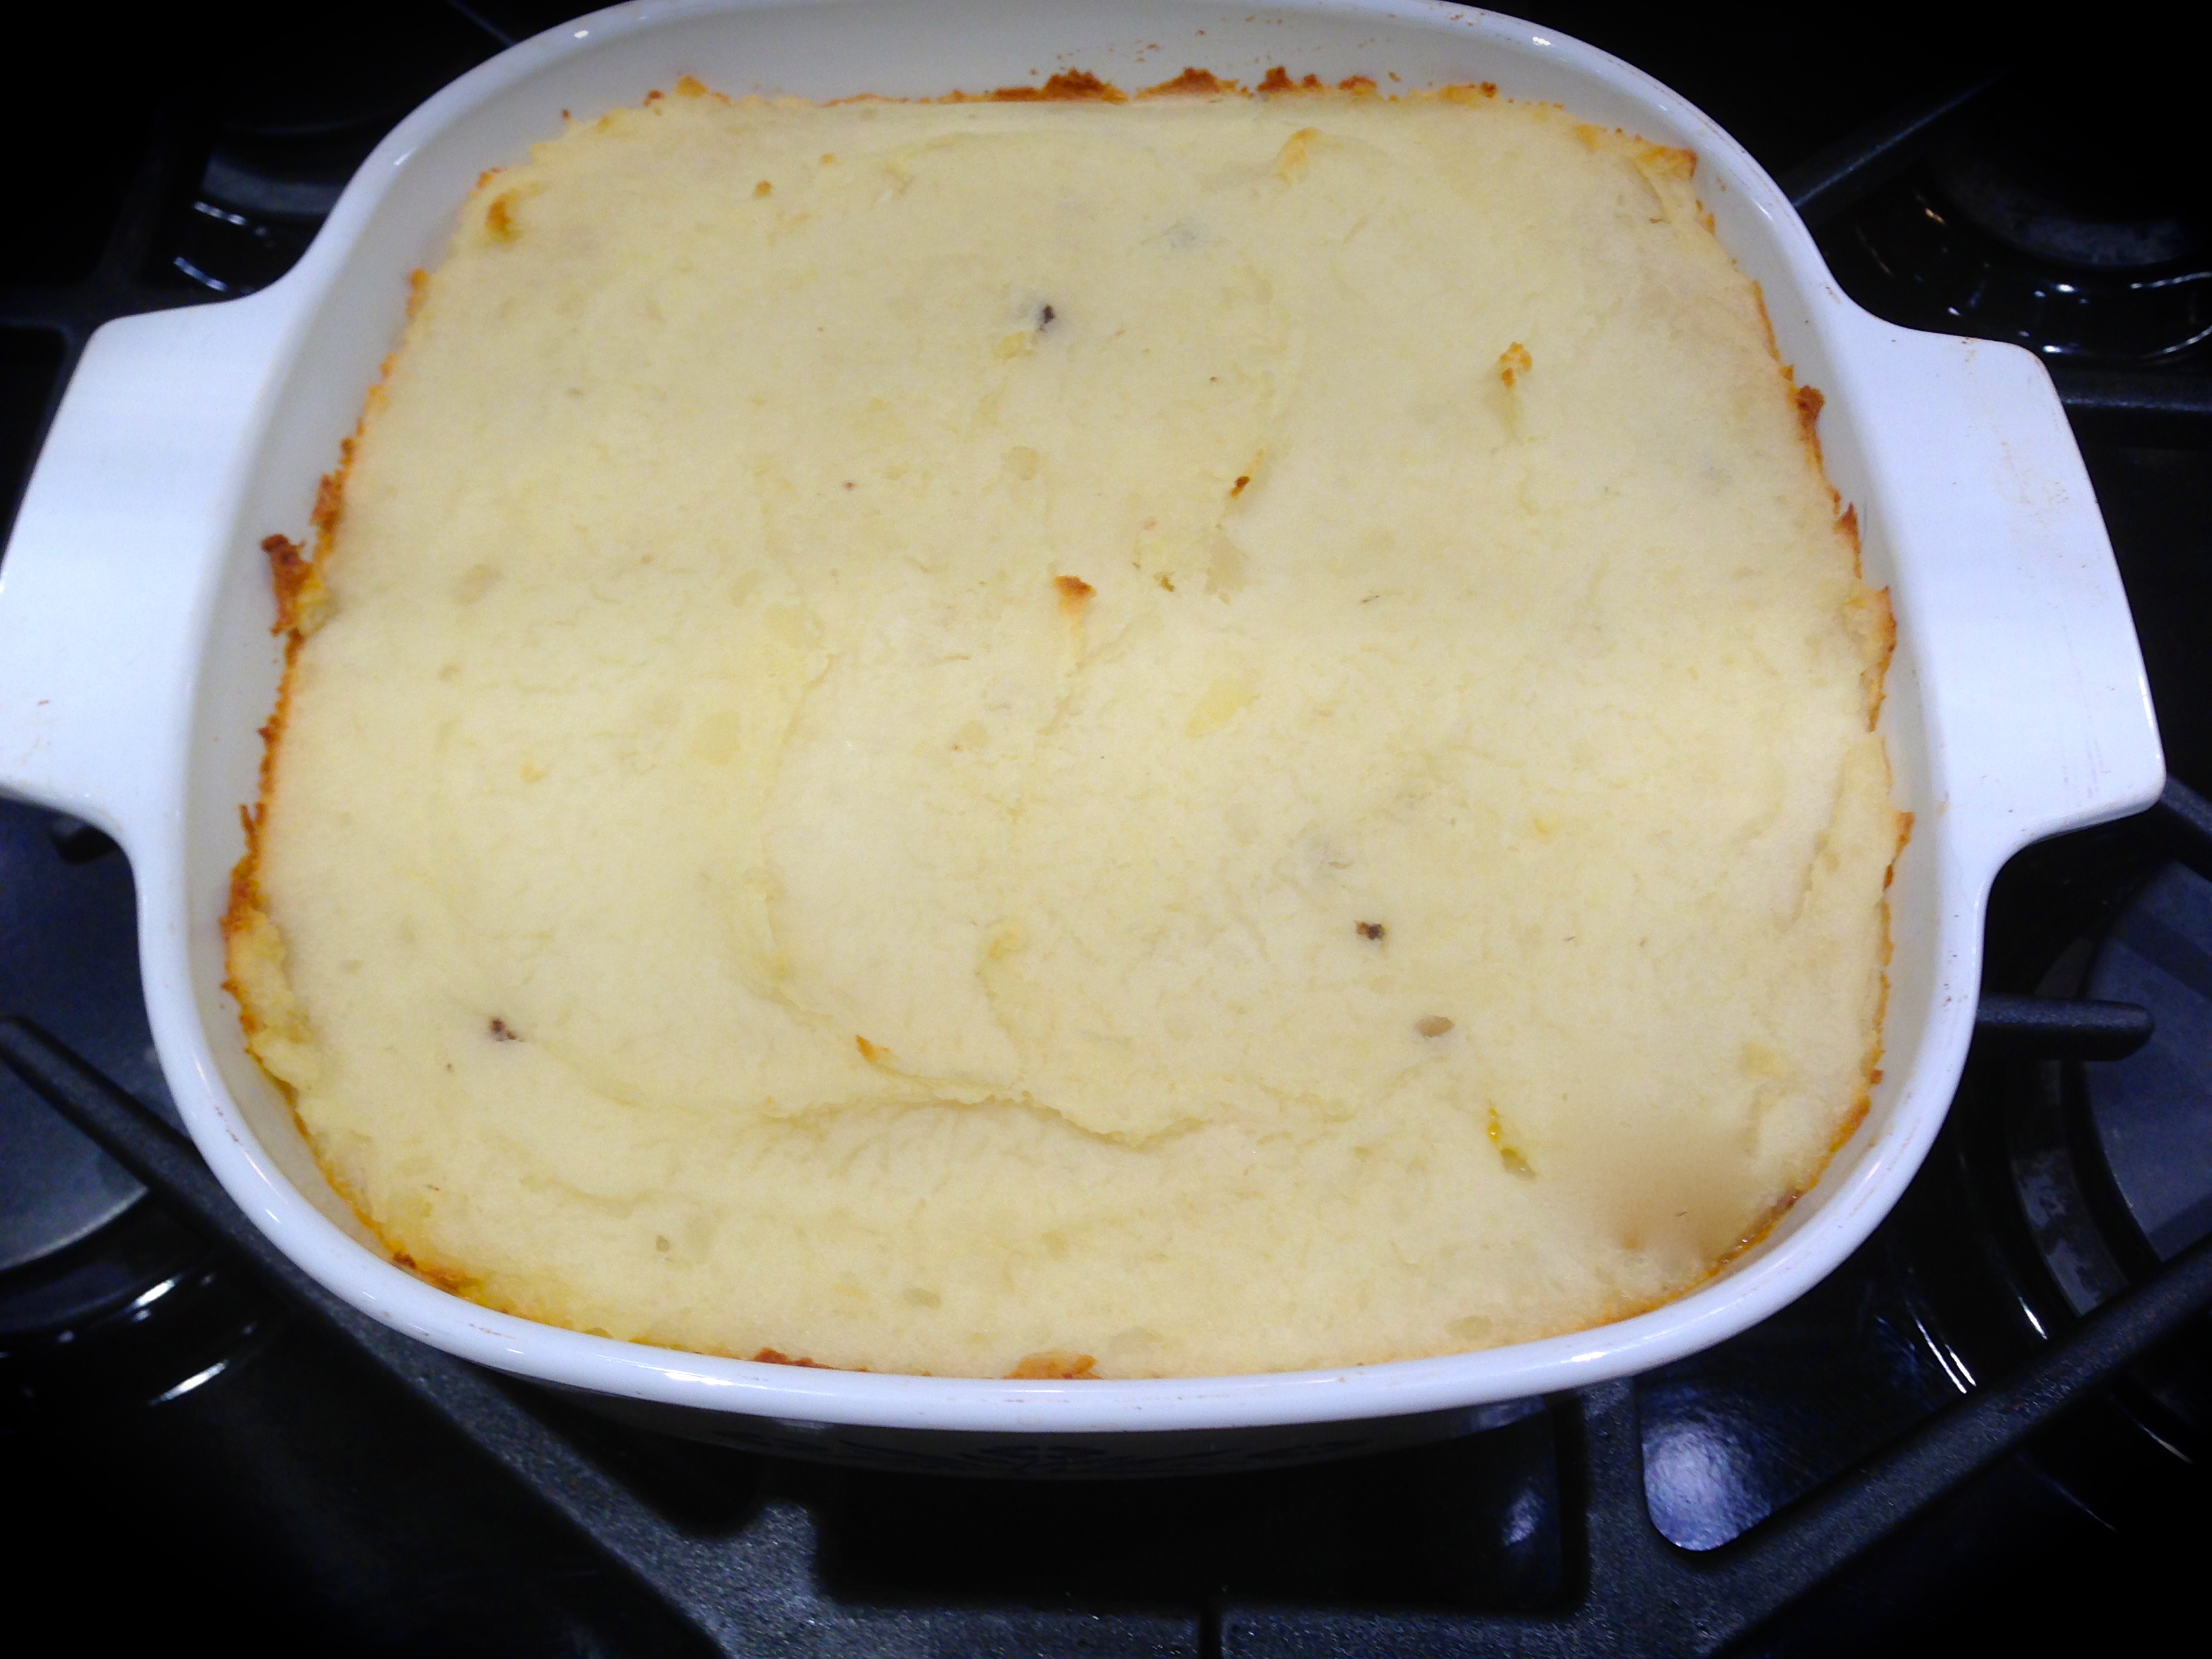
Mix together the gruyere cheese and crumbled crackers. Sprinkle cracker mixture on top.
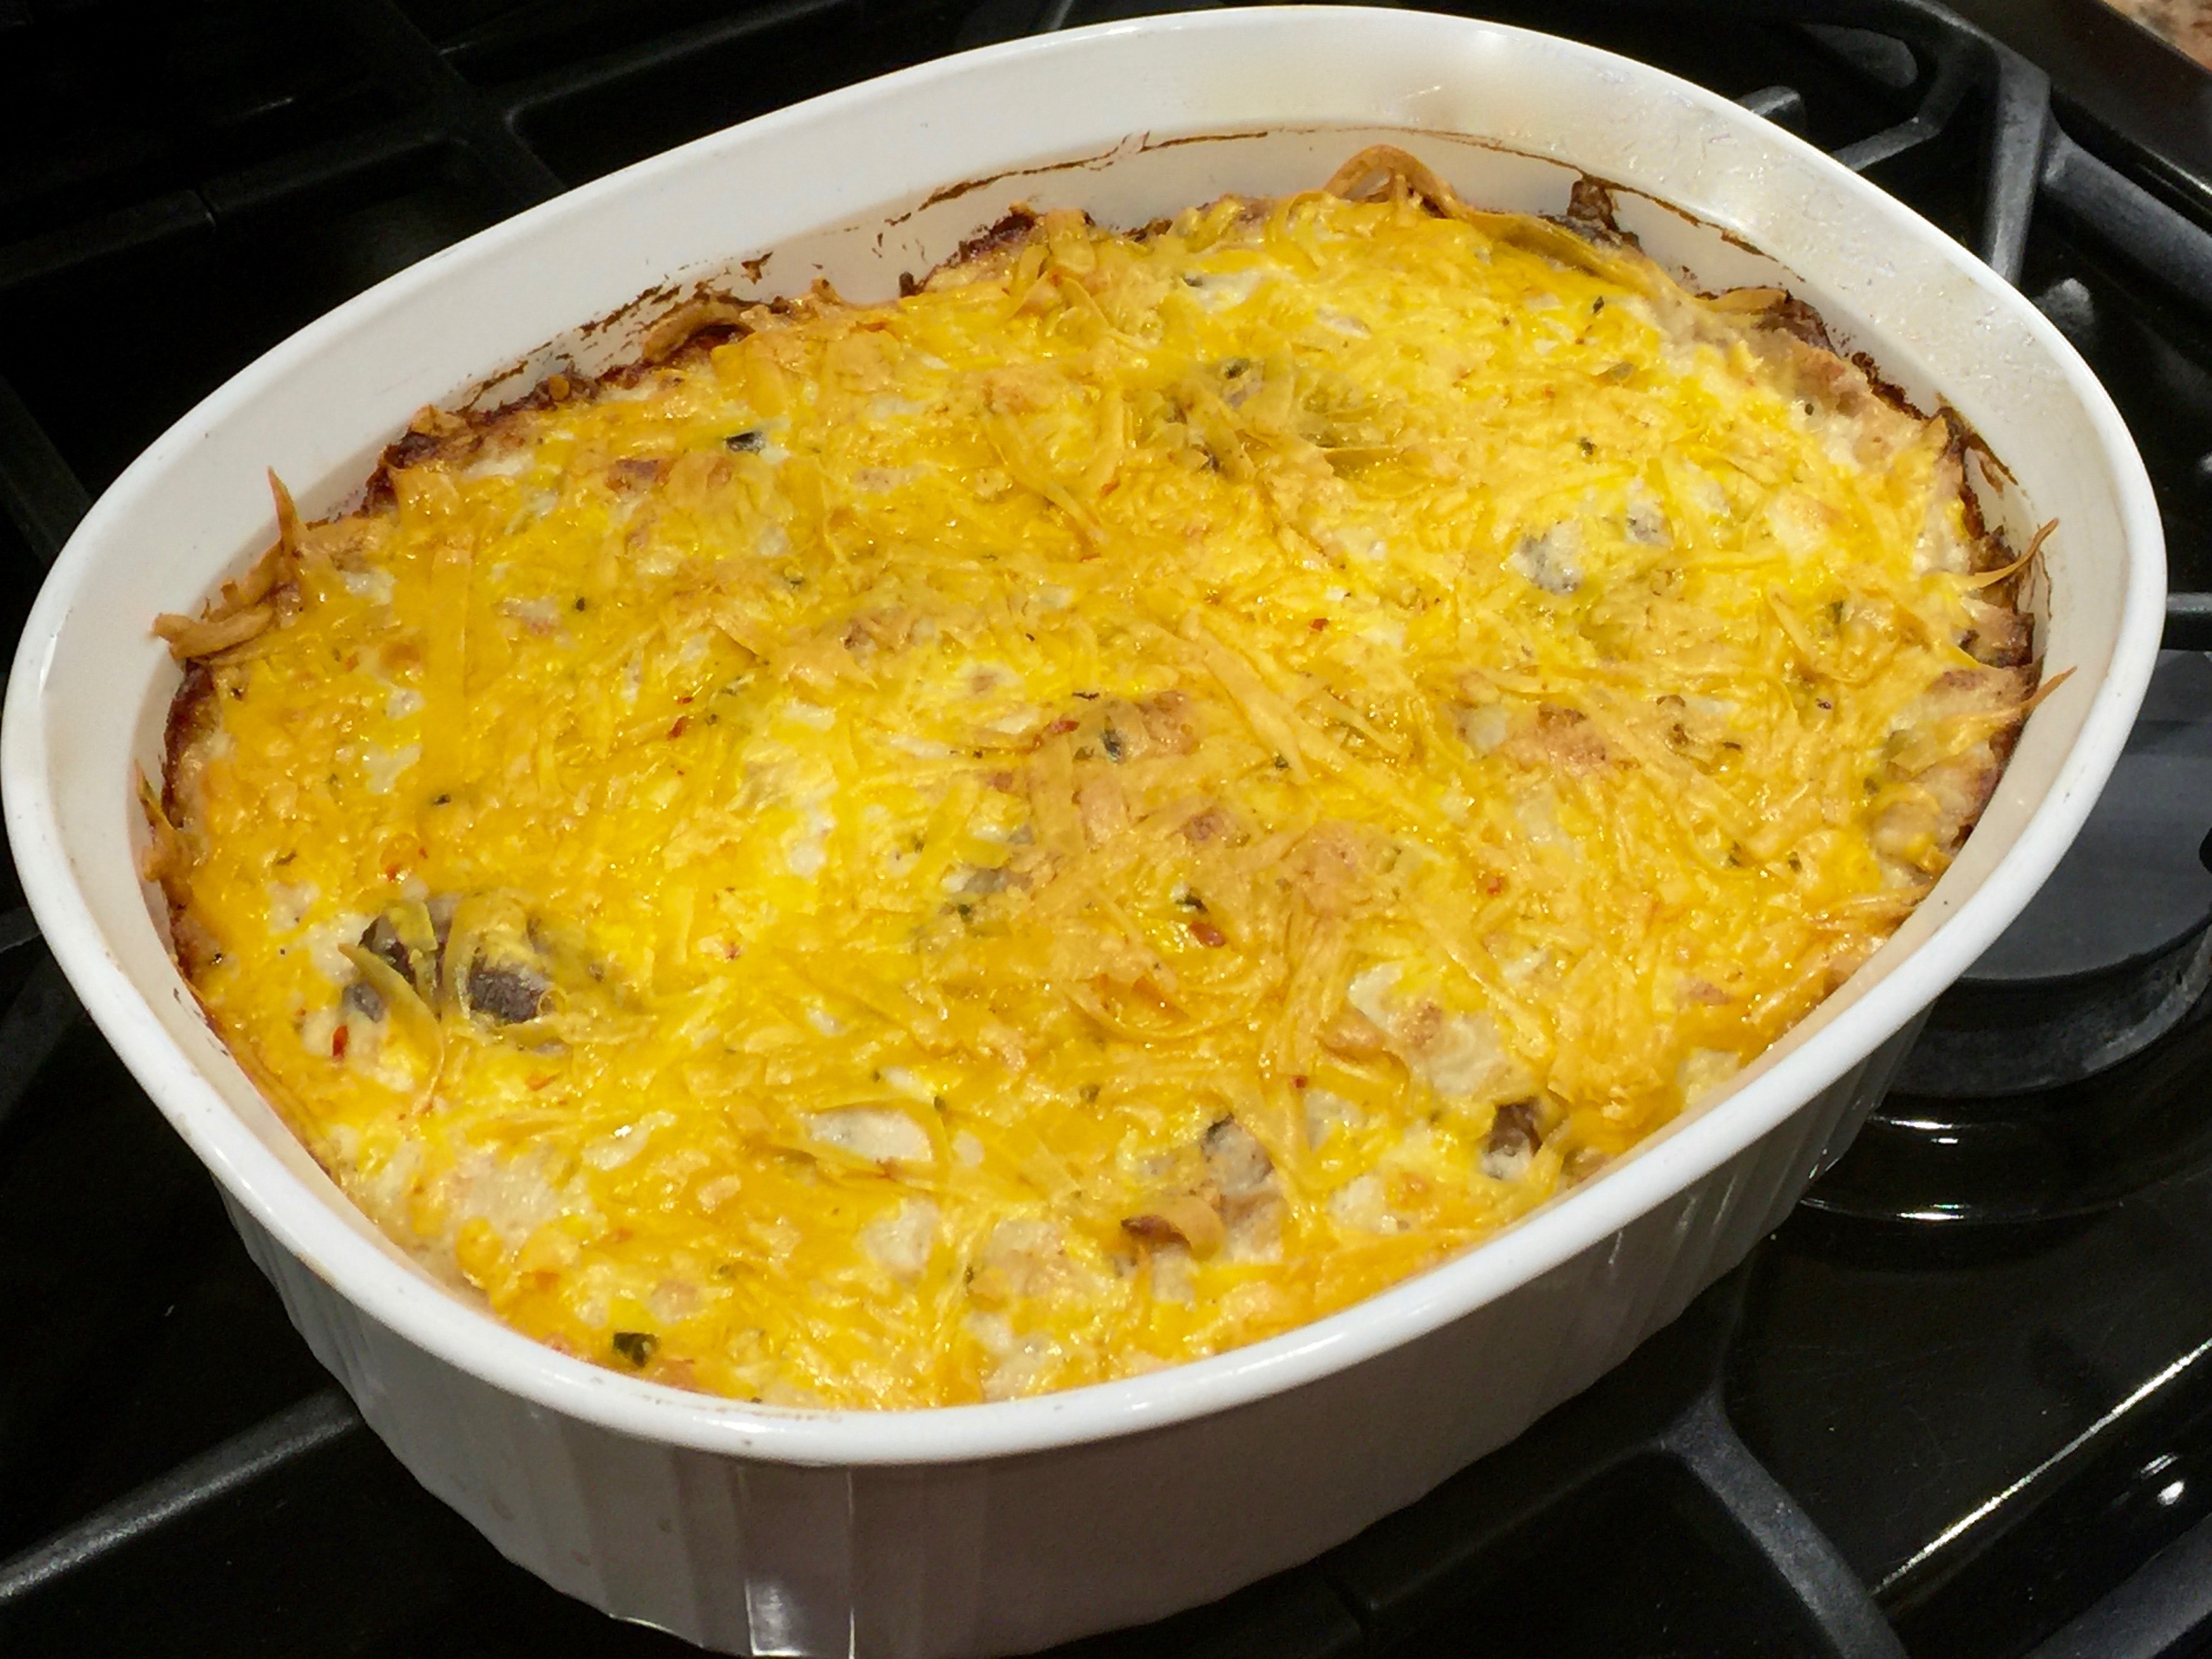
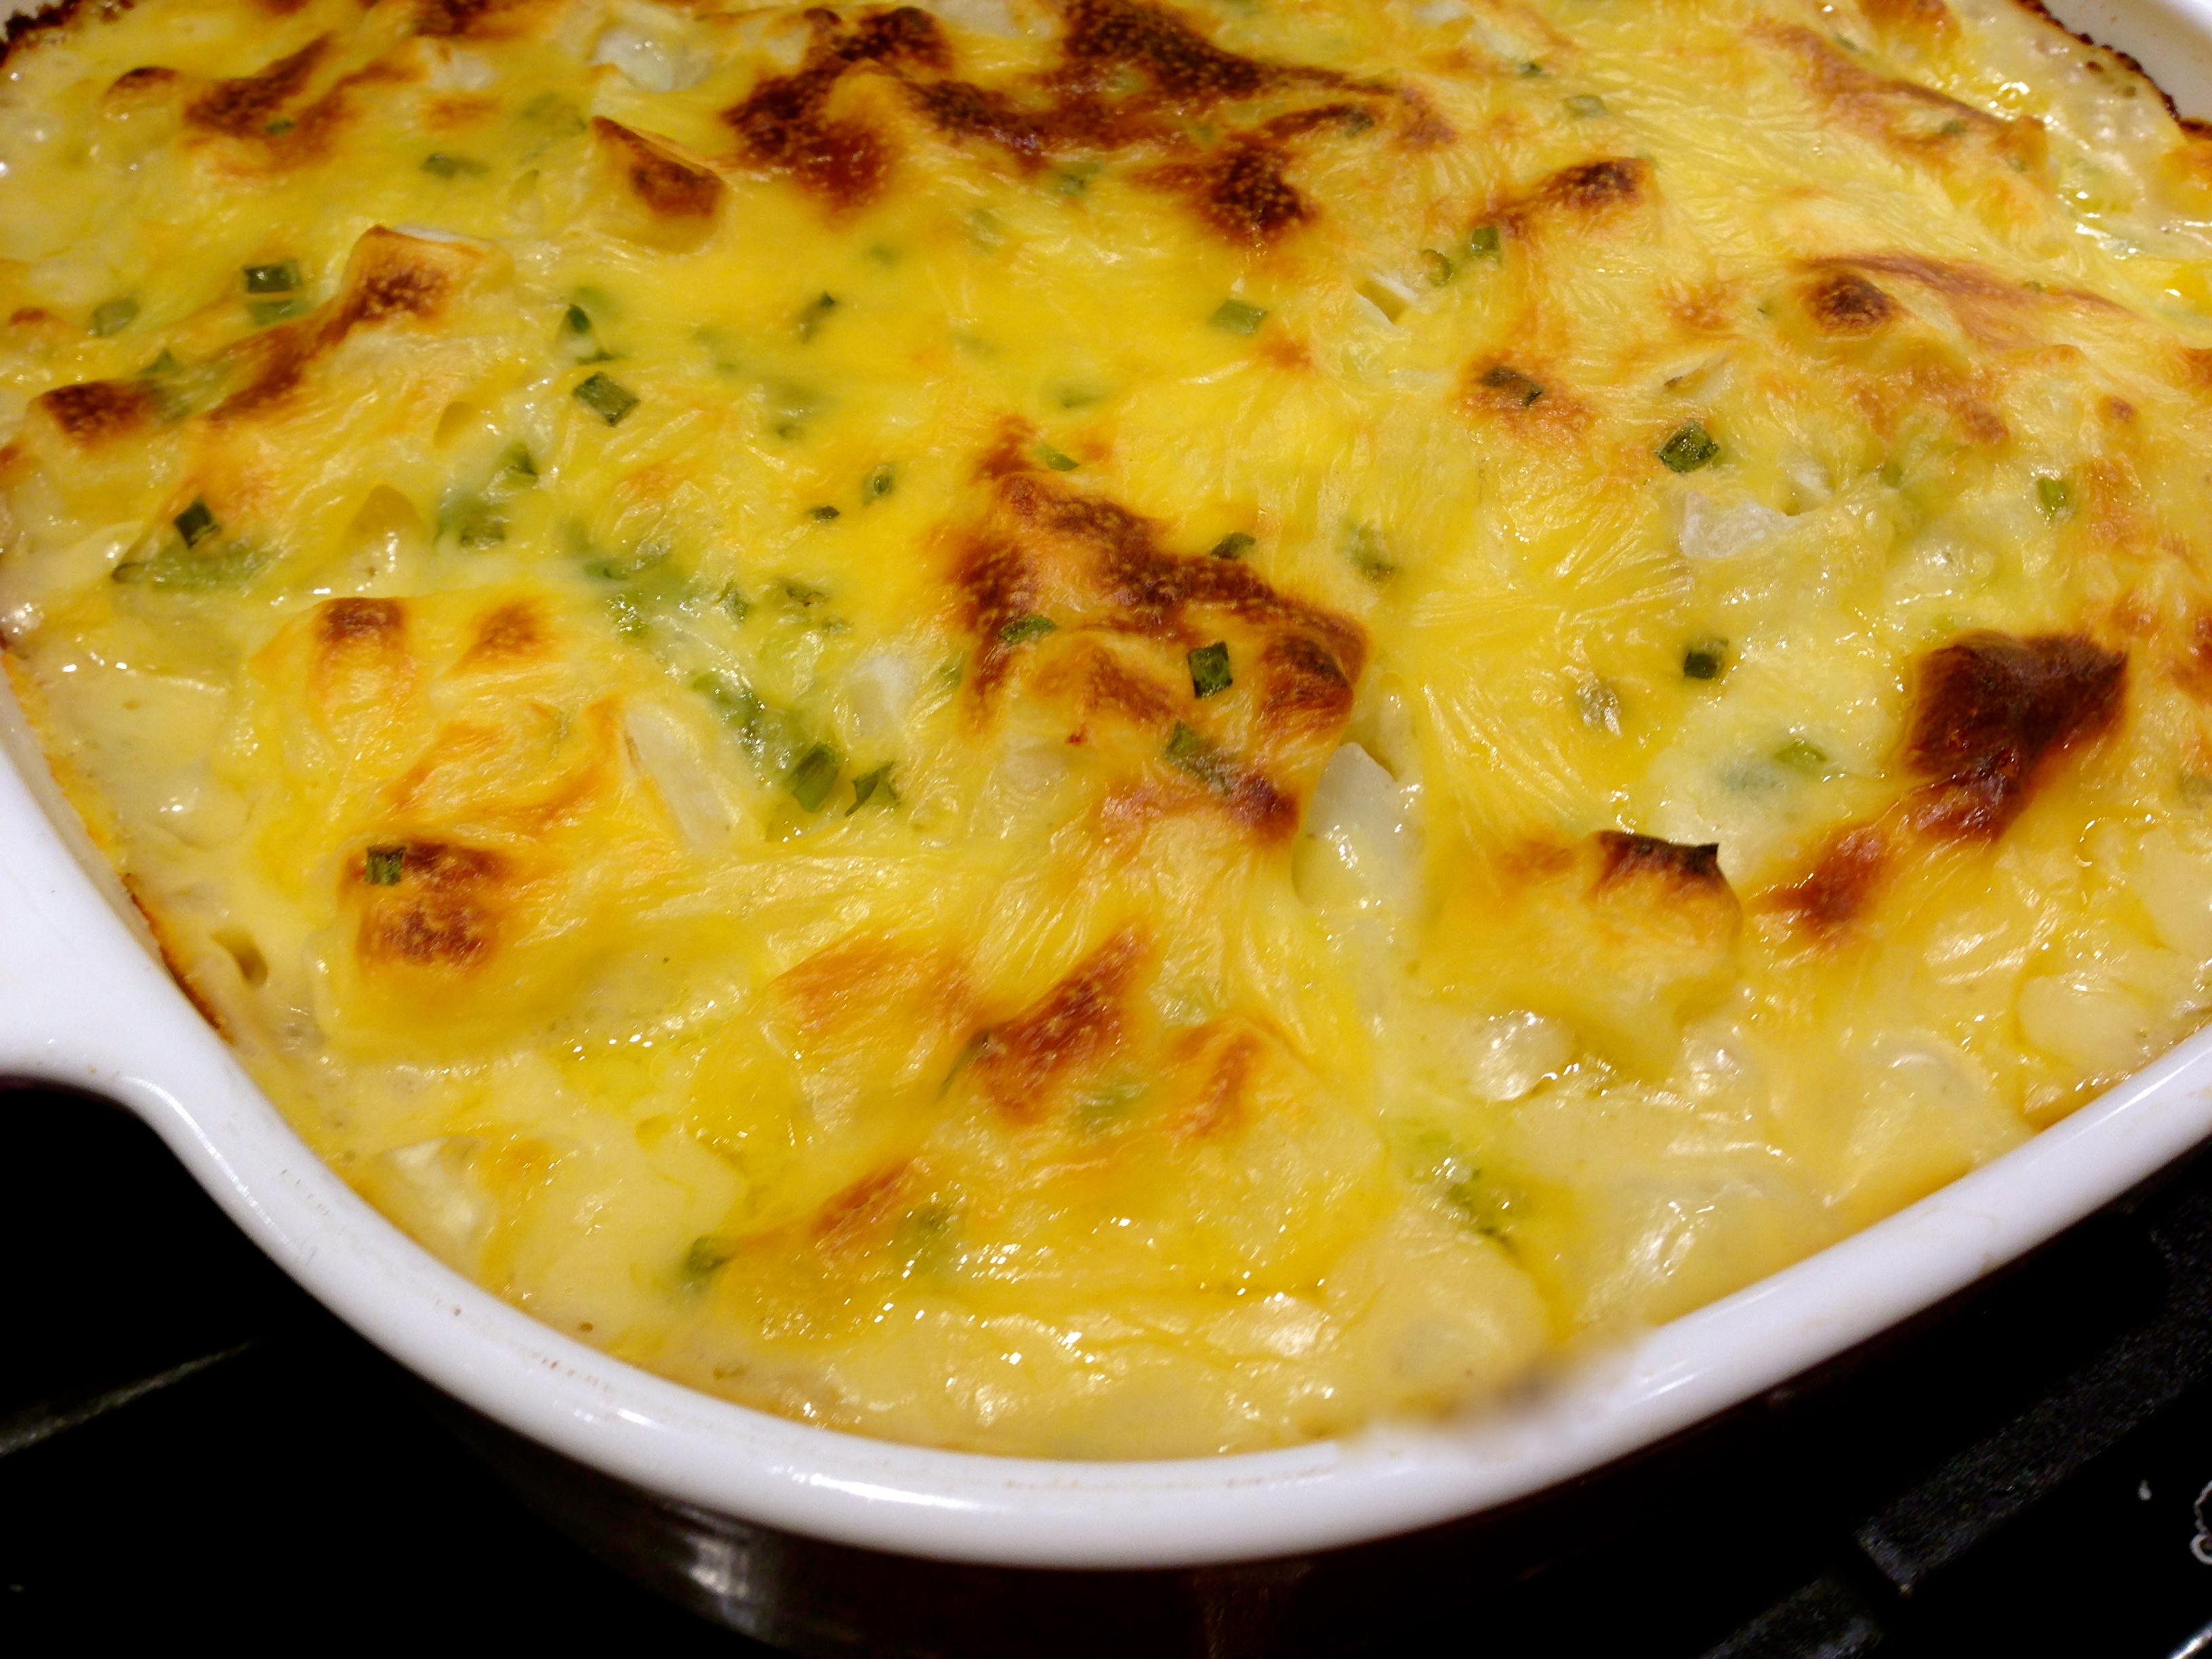
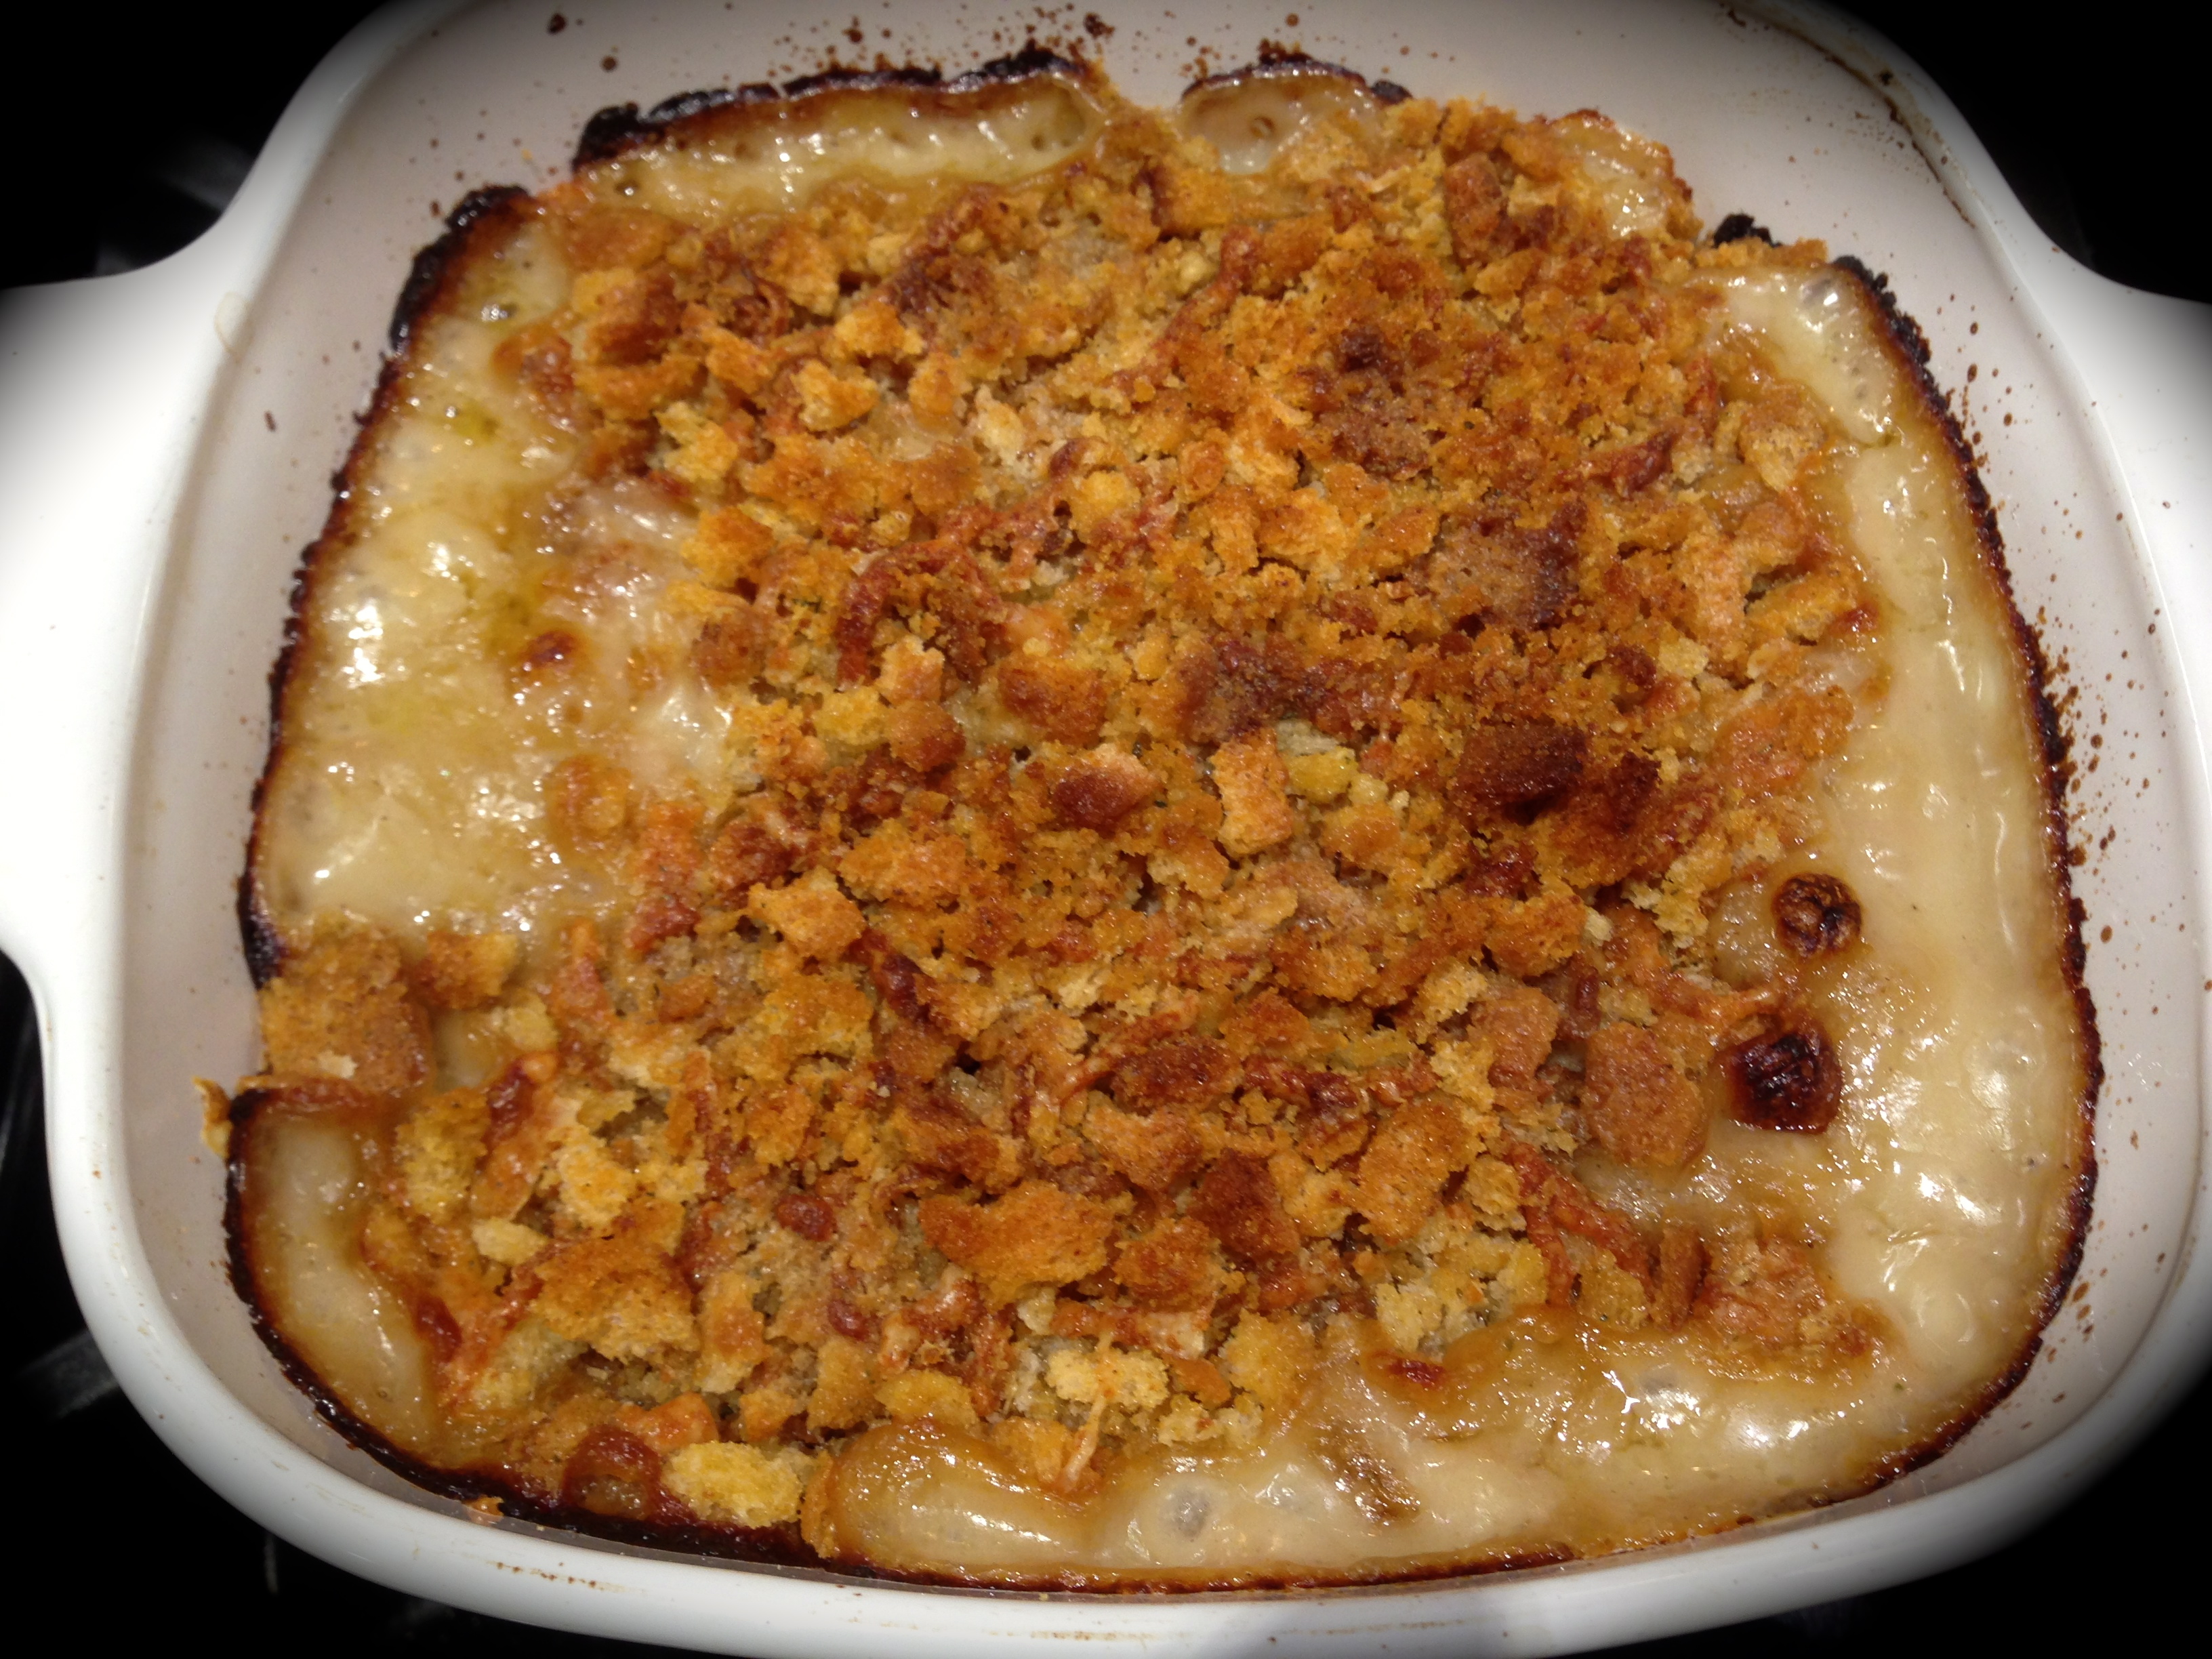
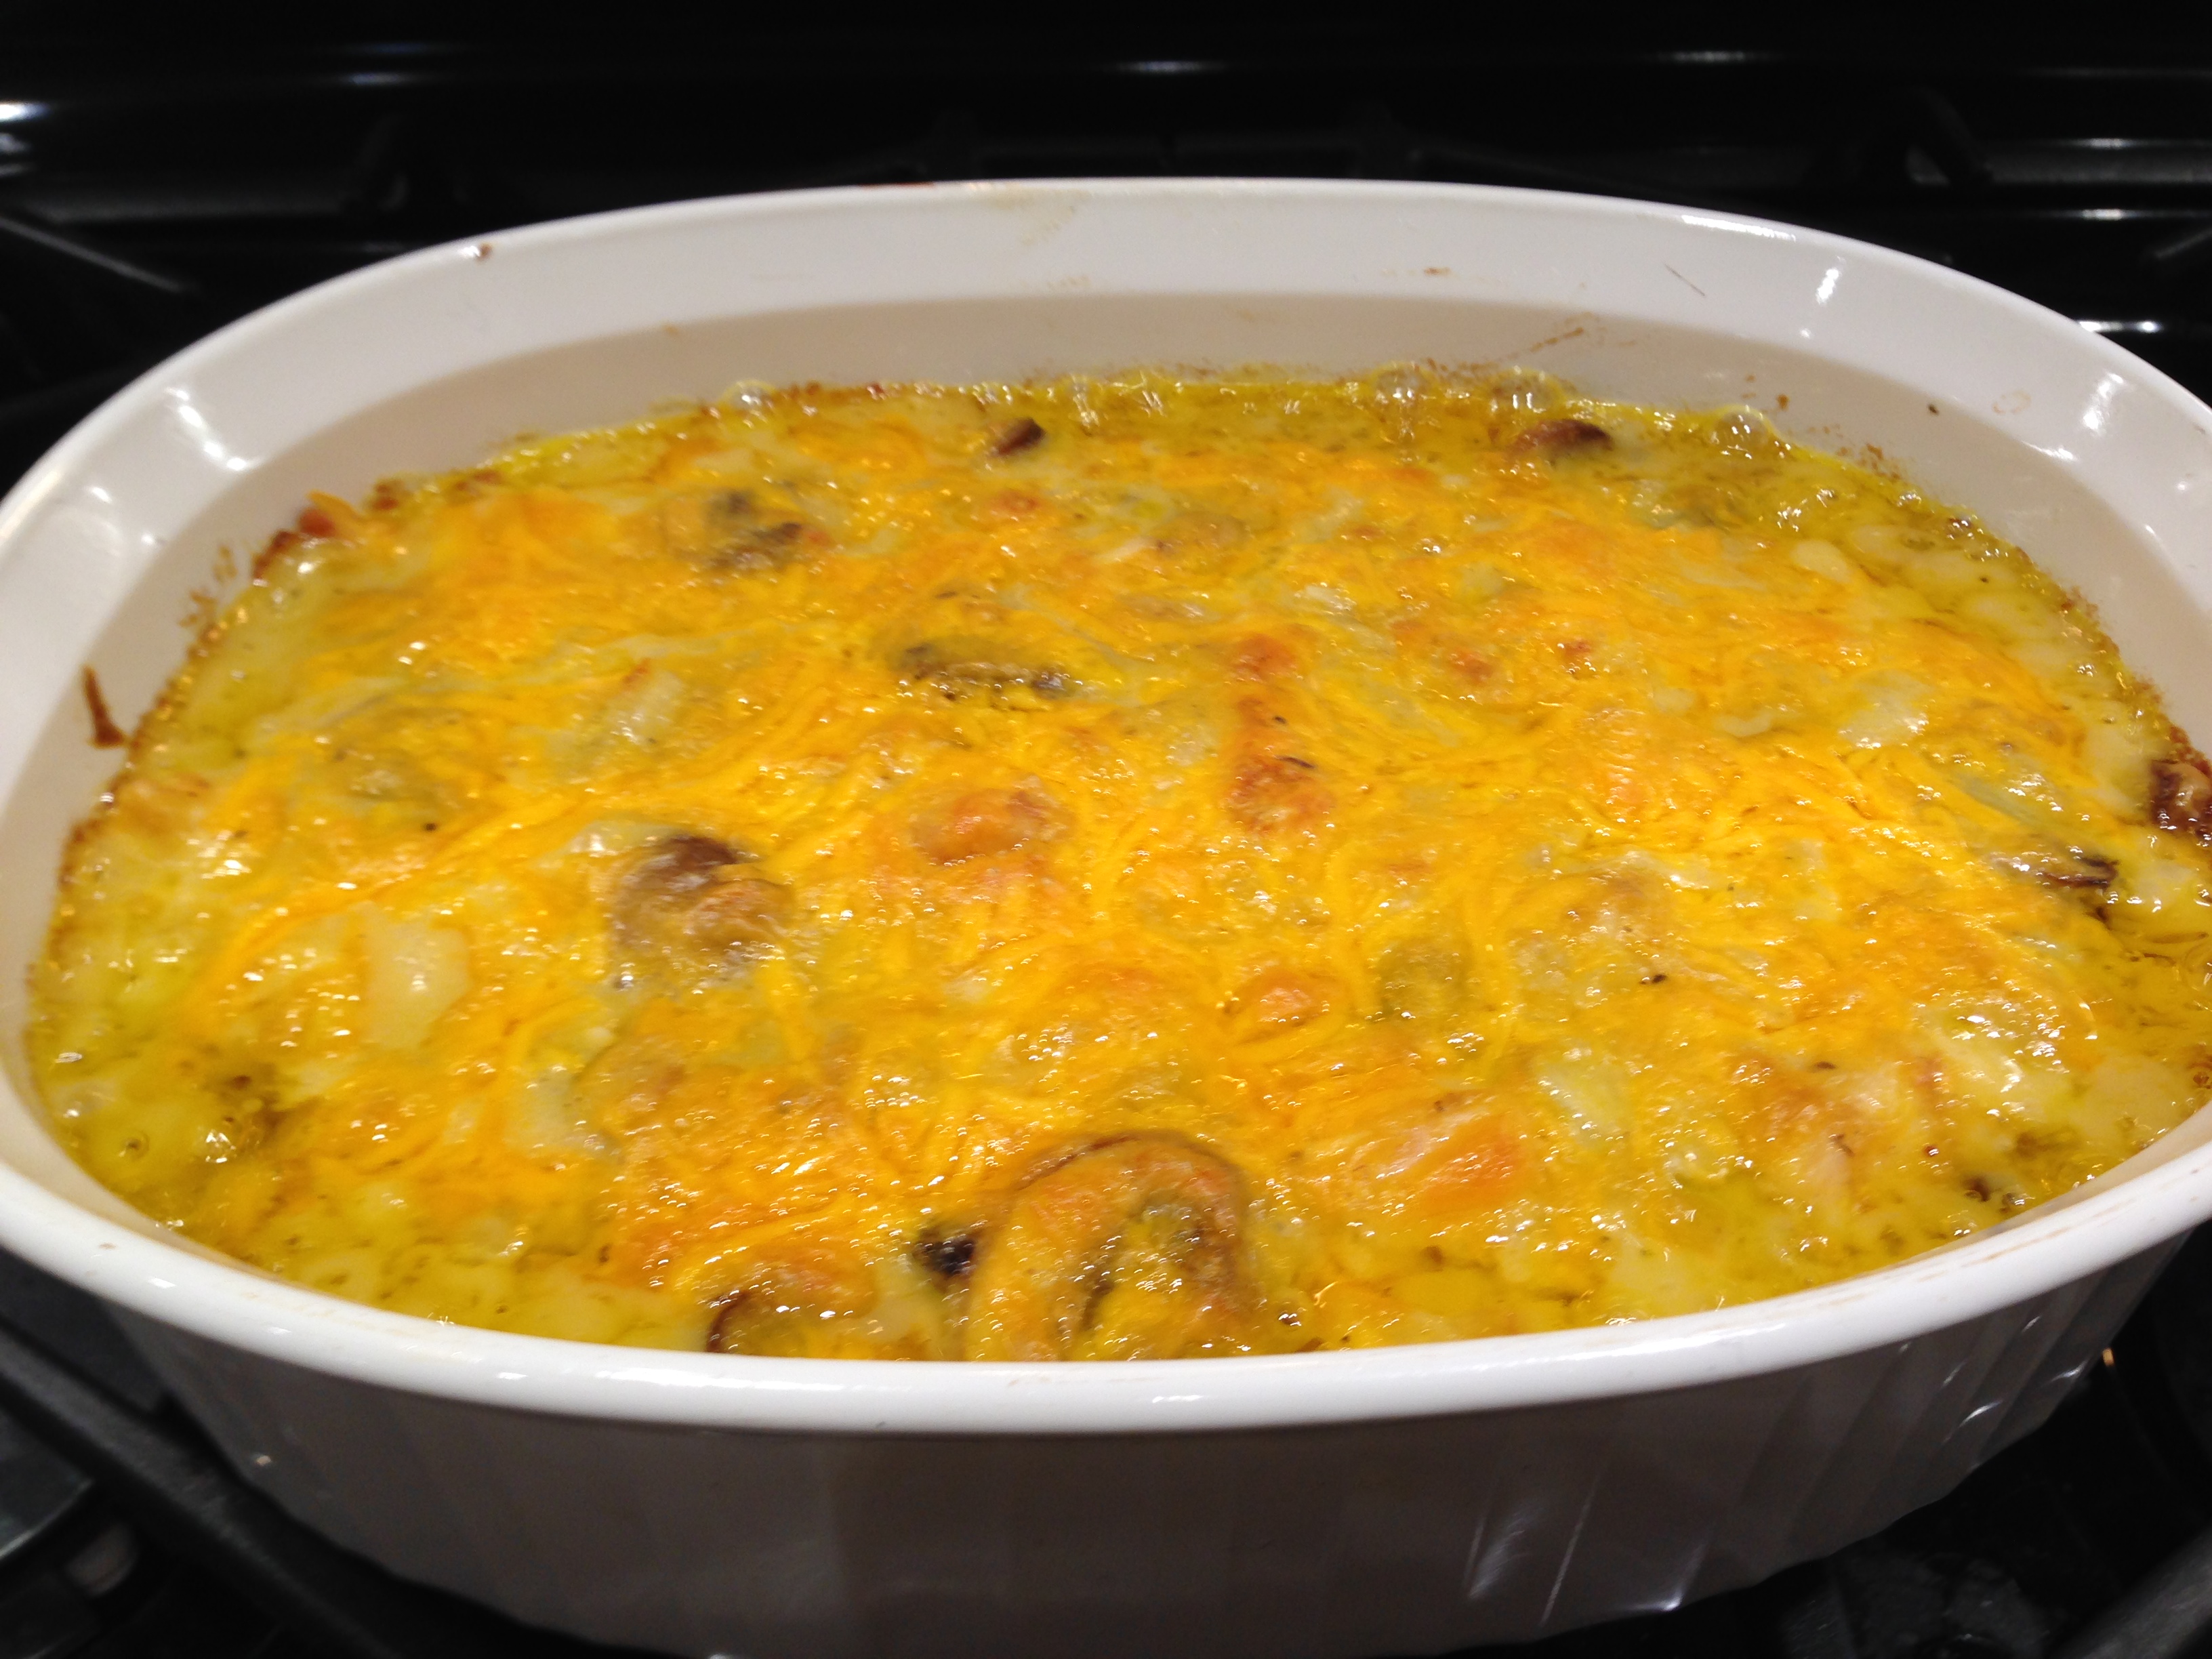
Bake for 30 – 40 minutes. Let stand for 5 minutes before serving.


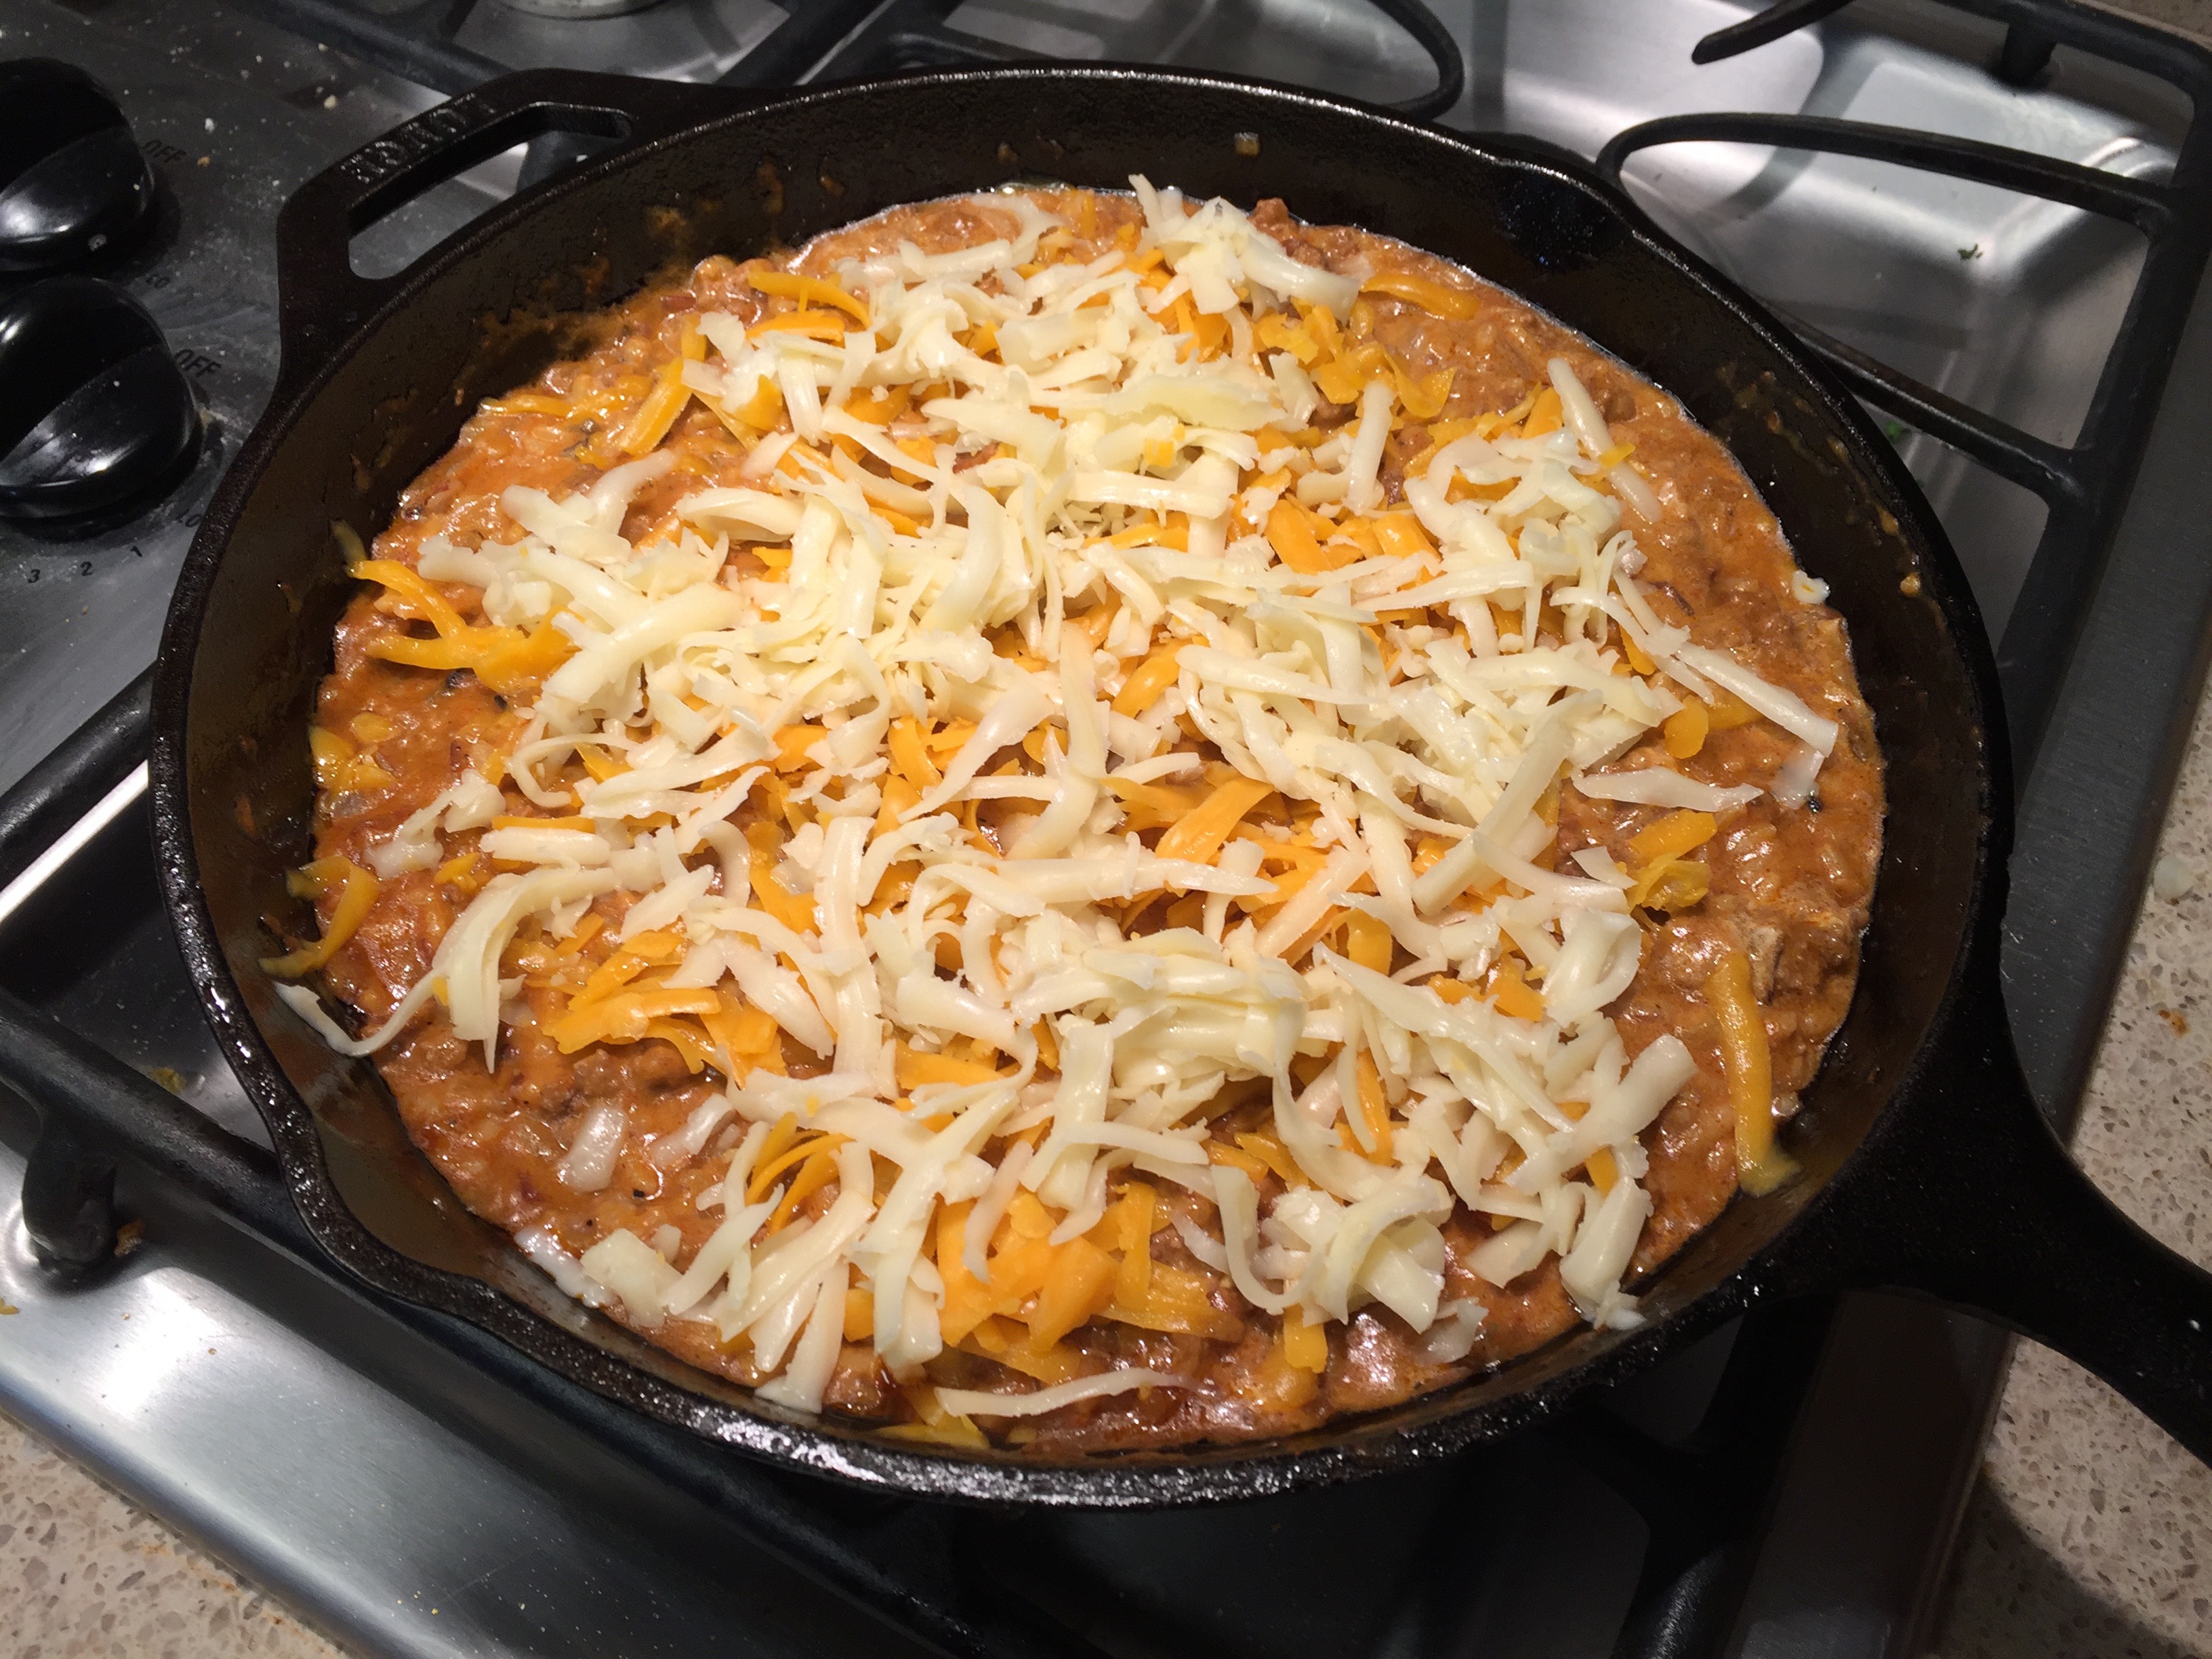
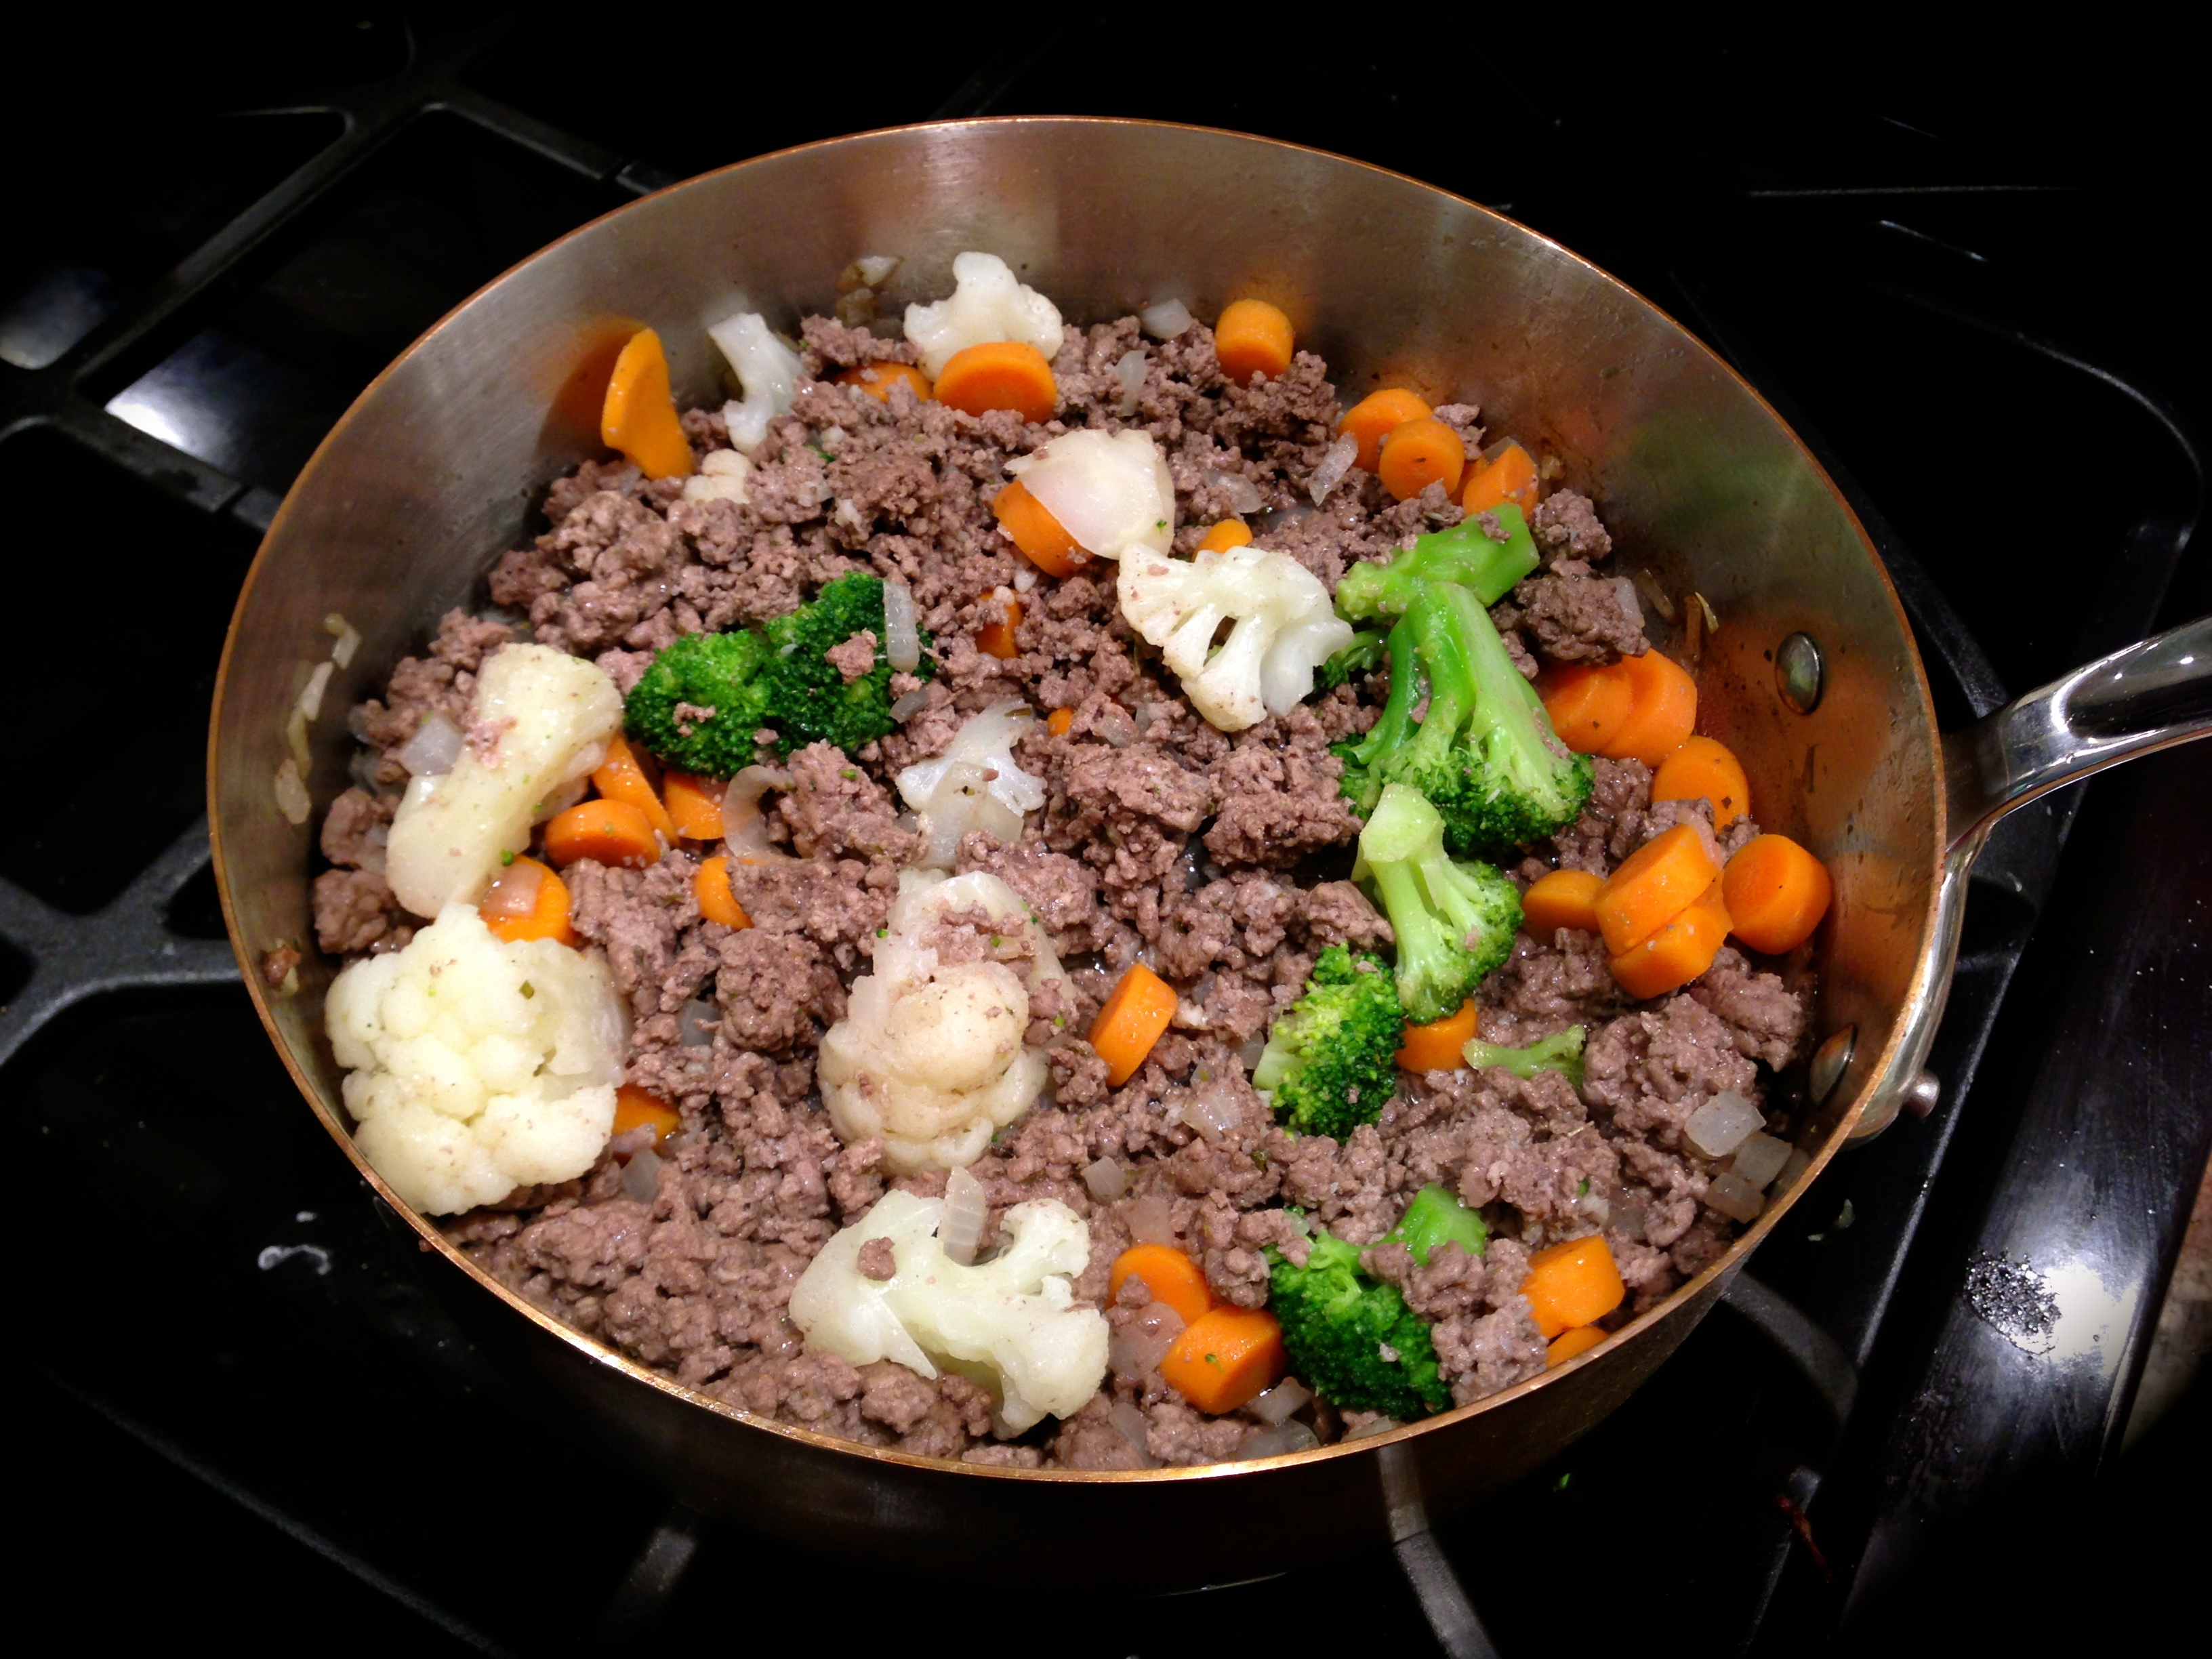
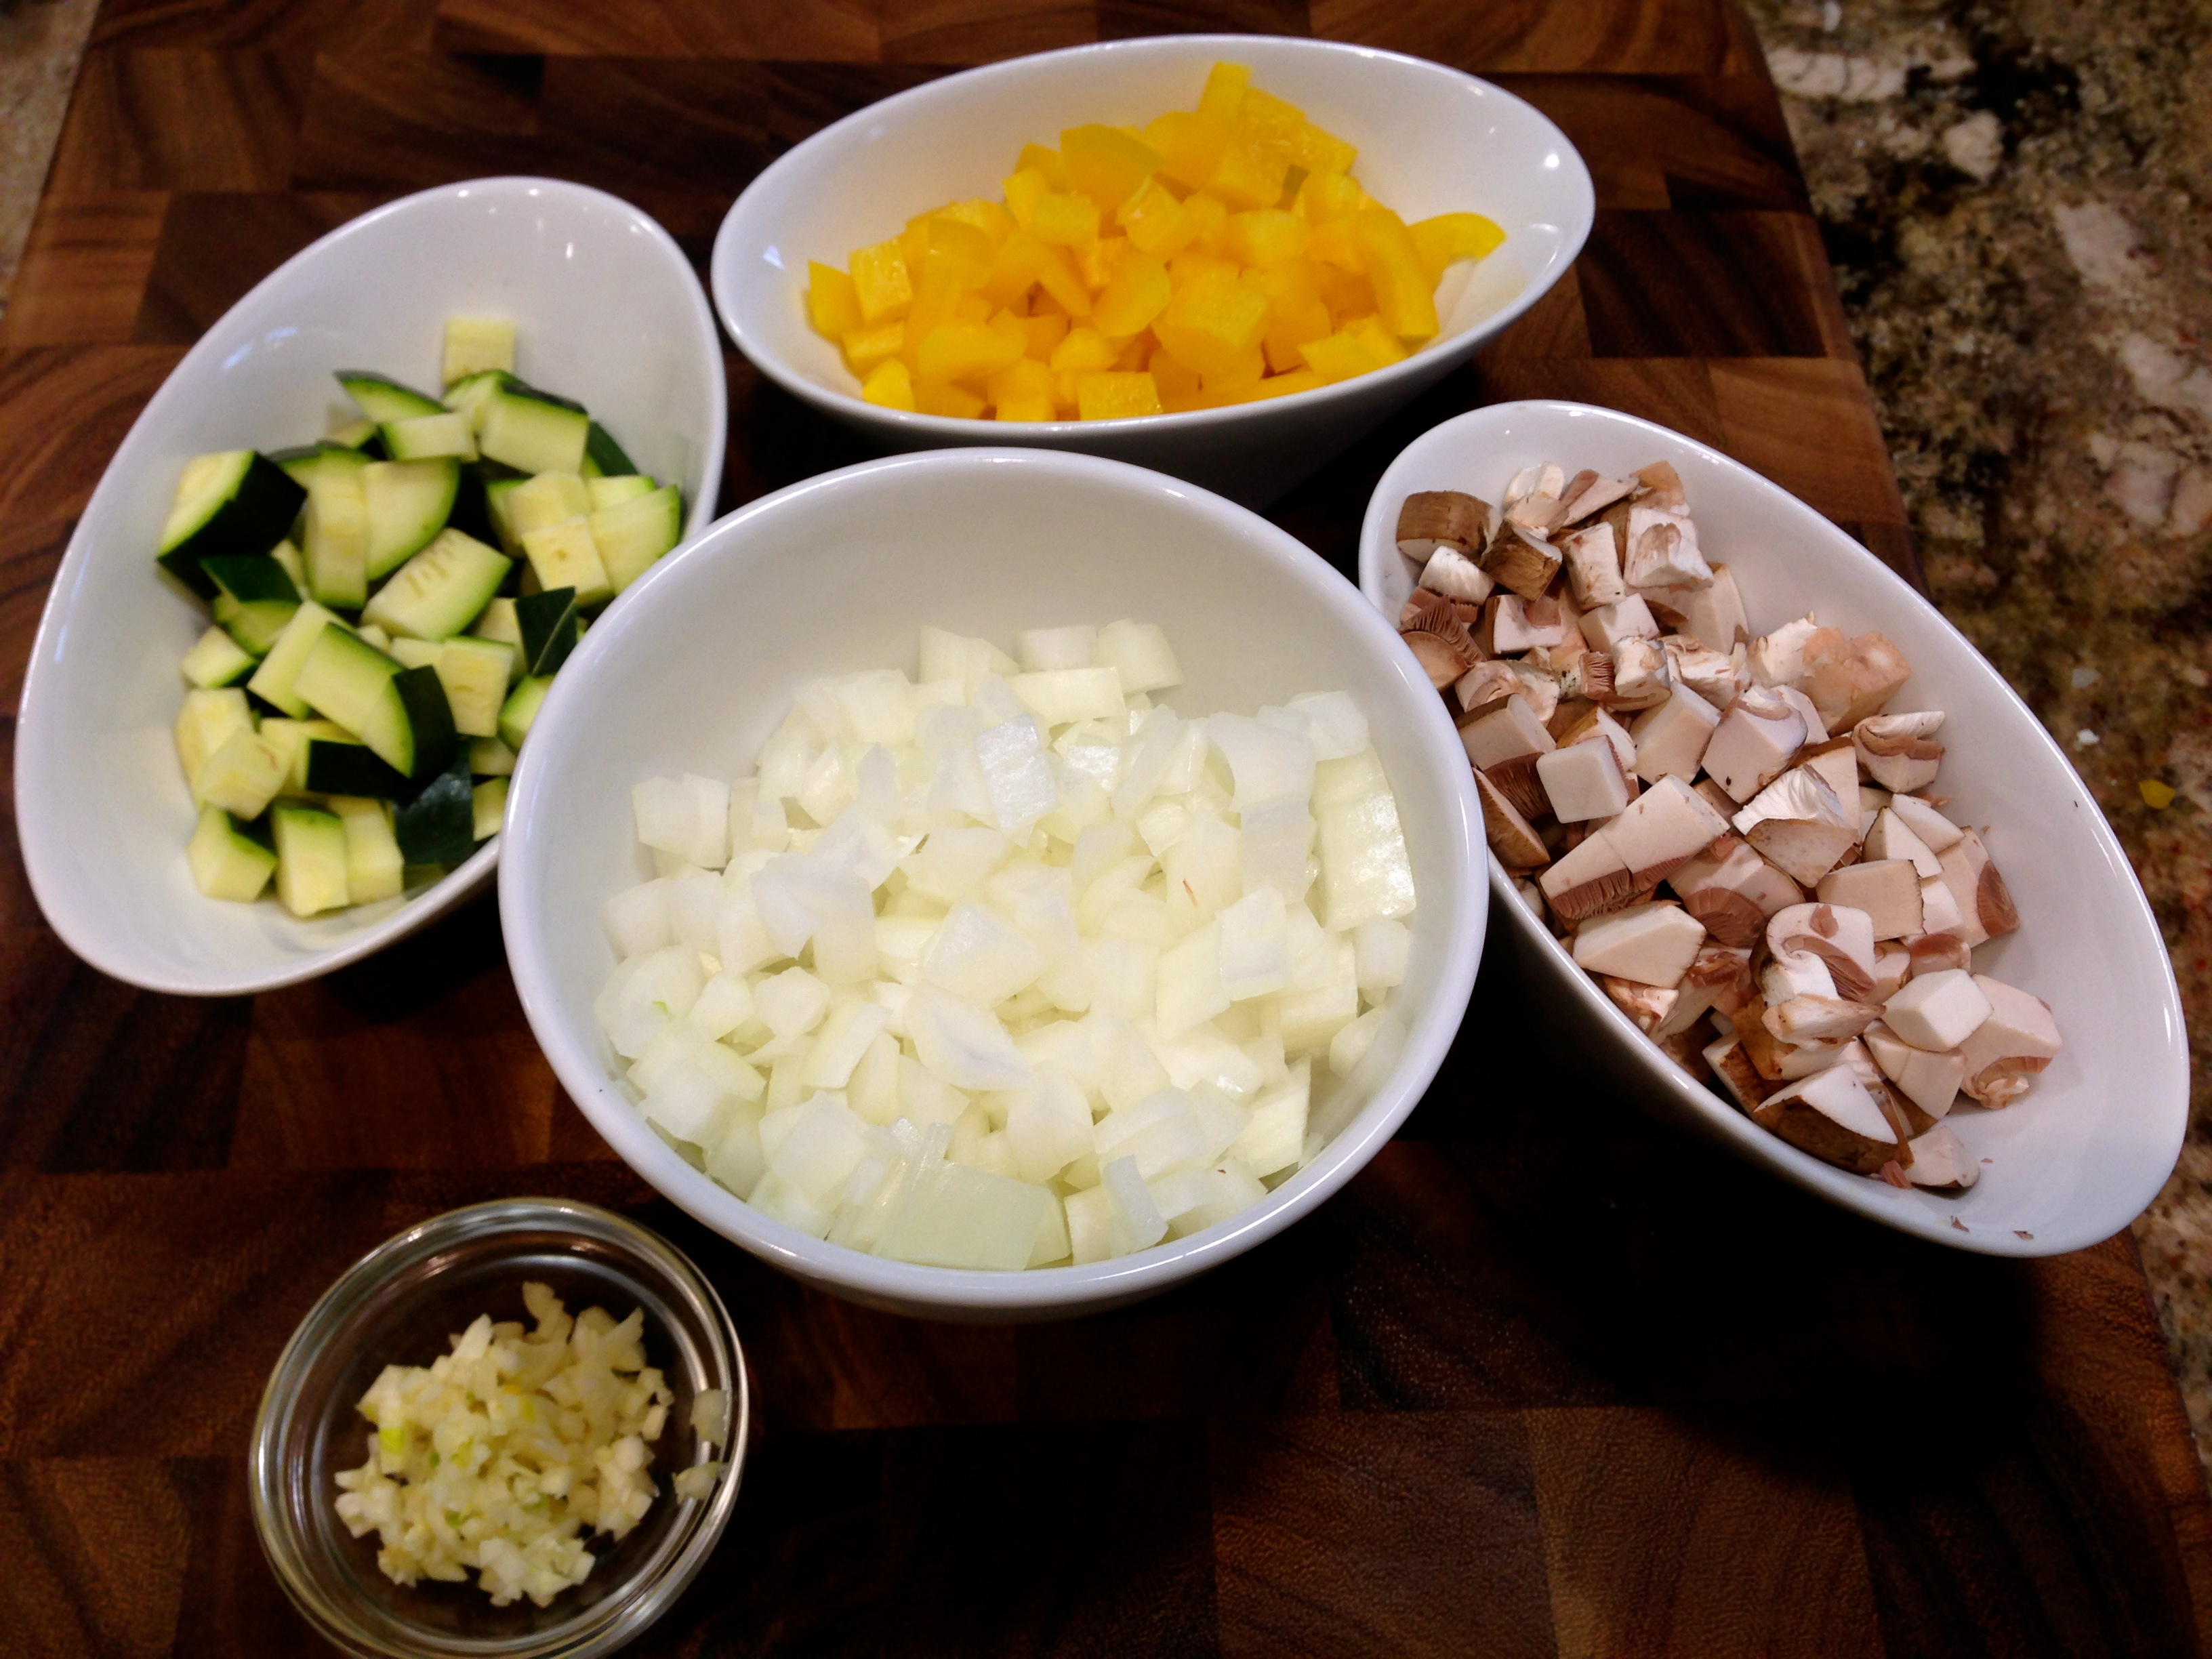
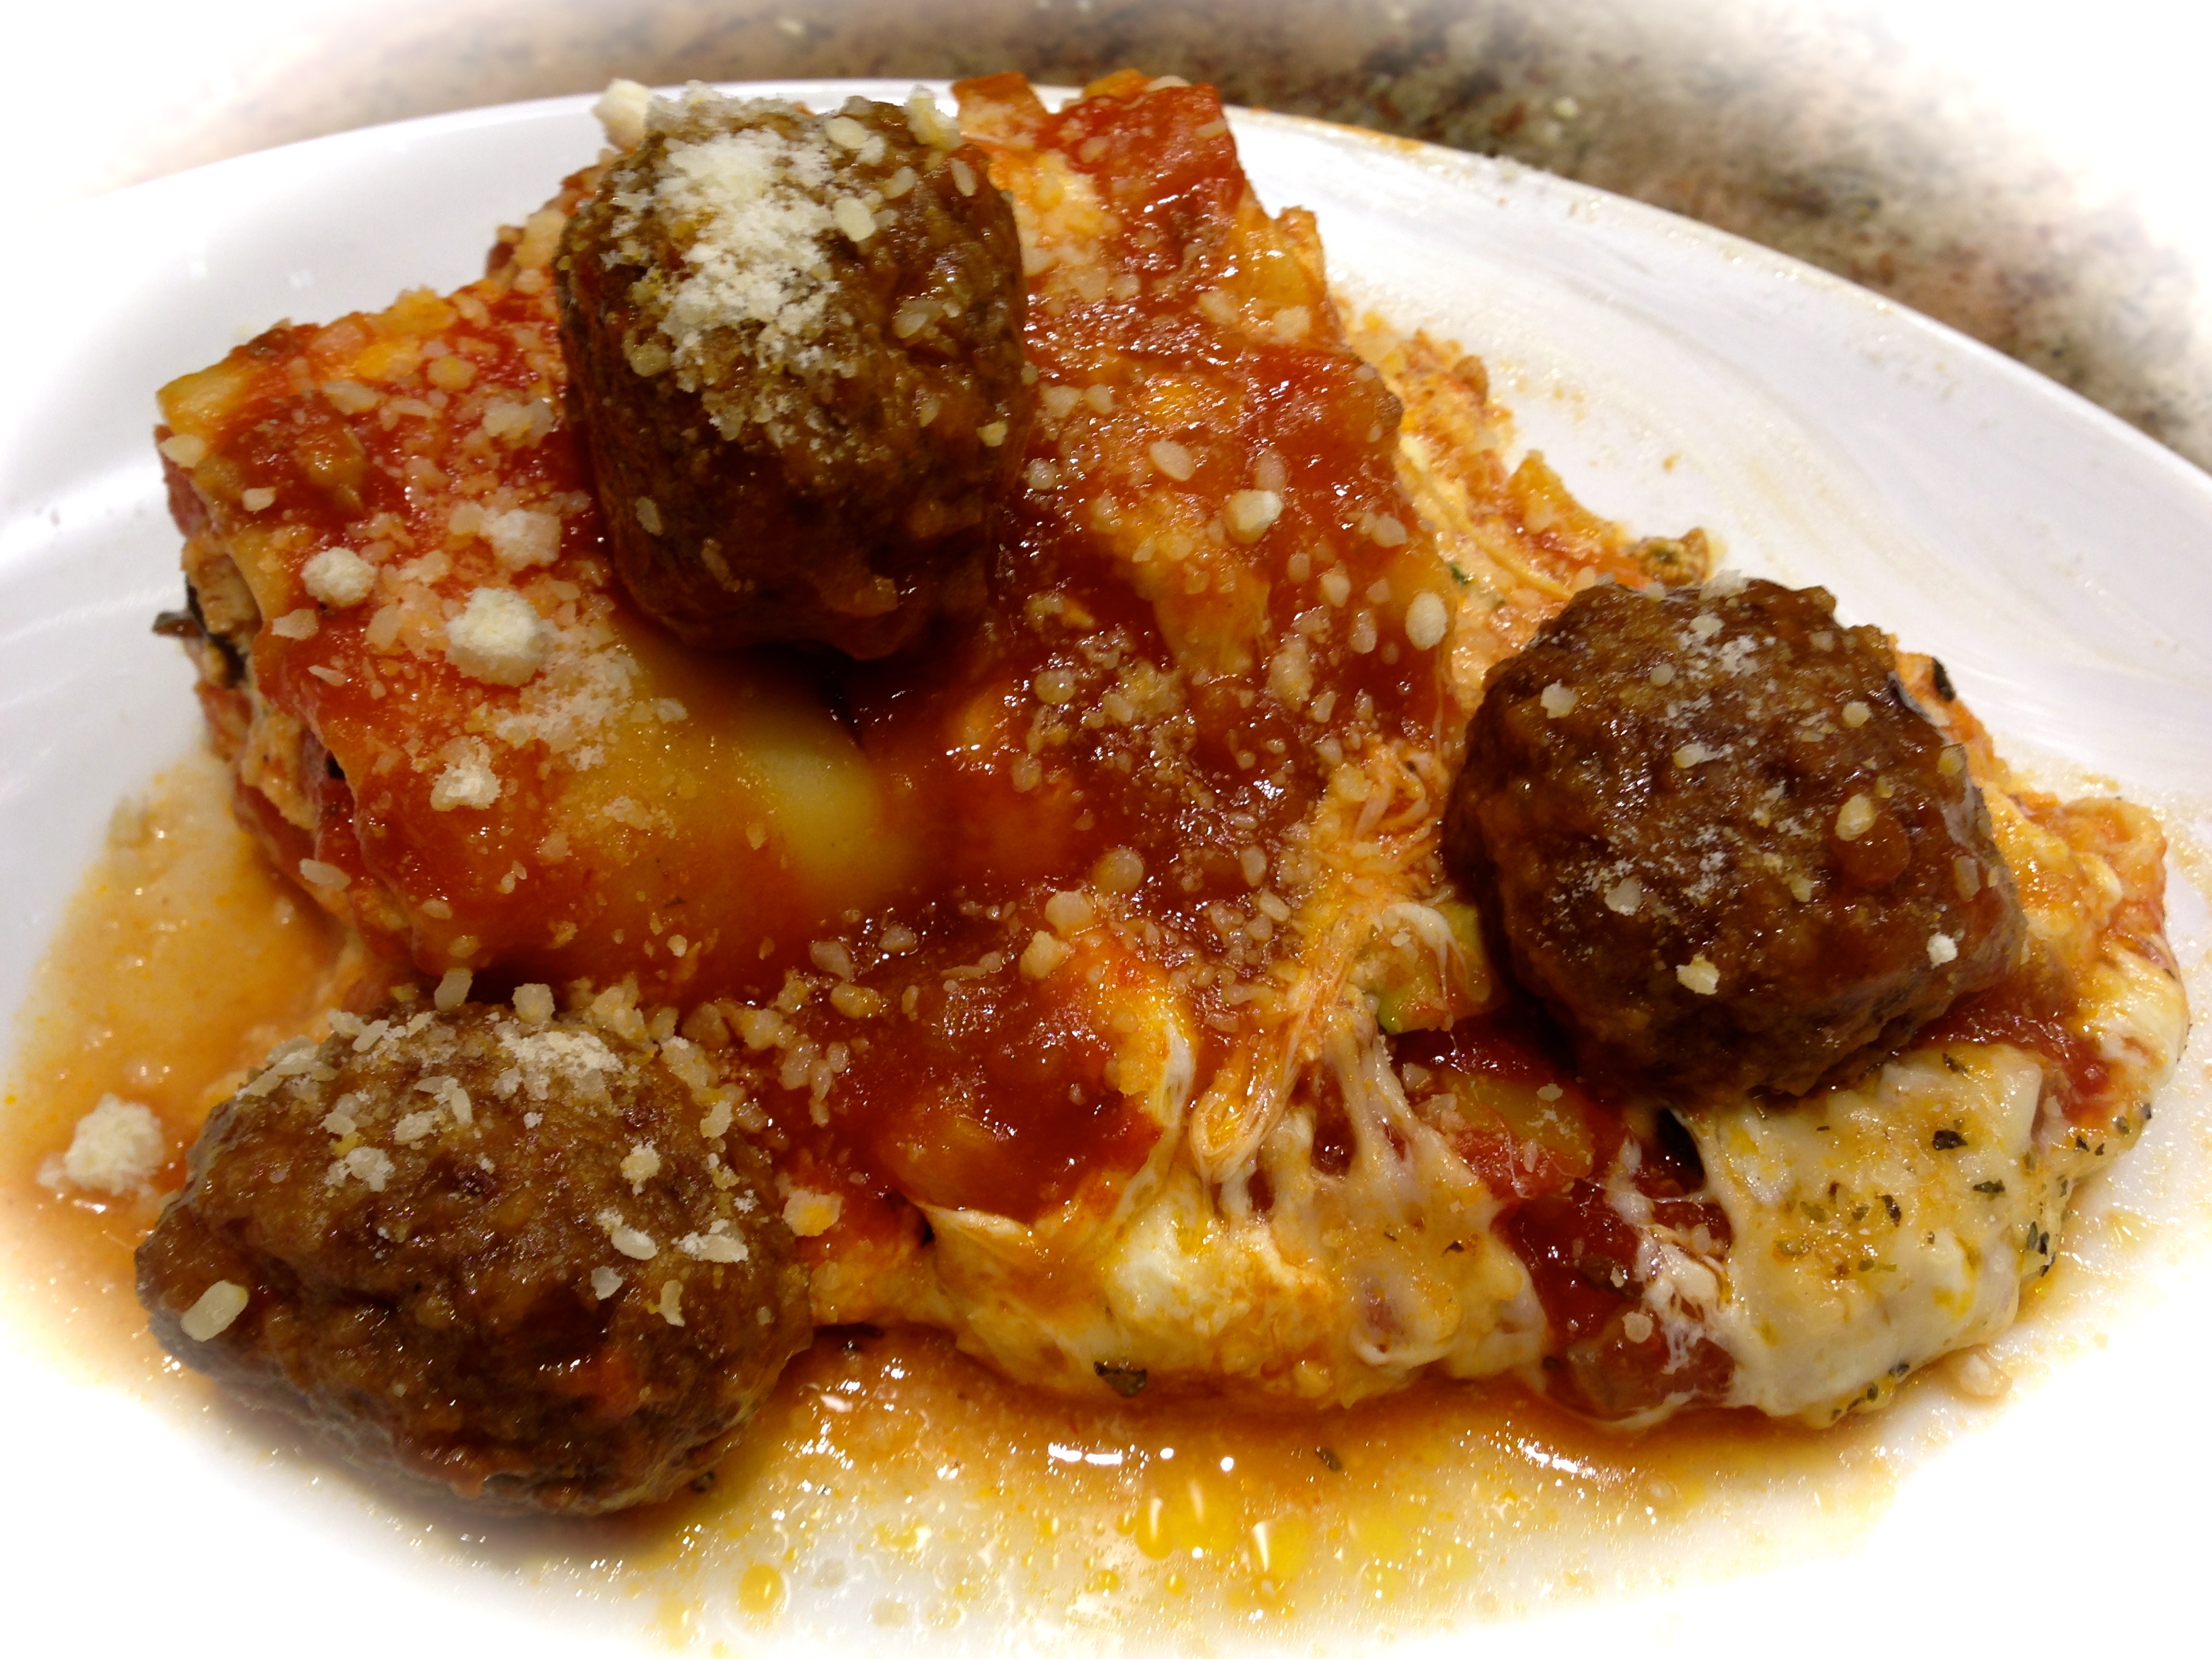
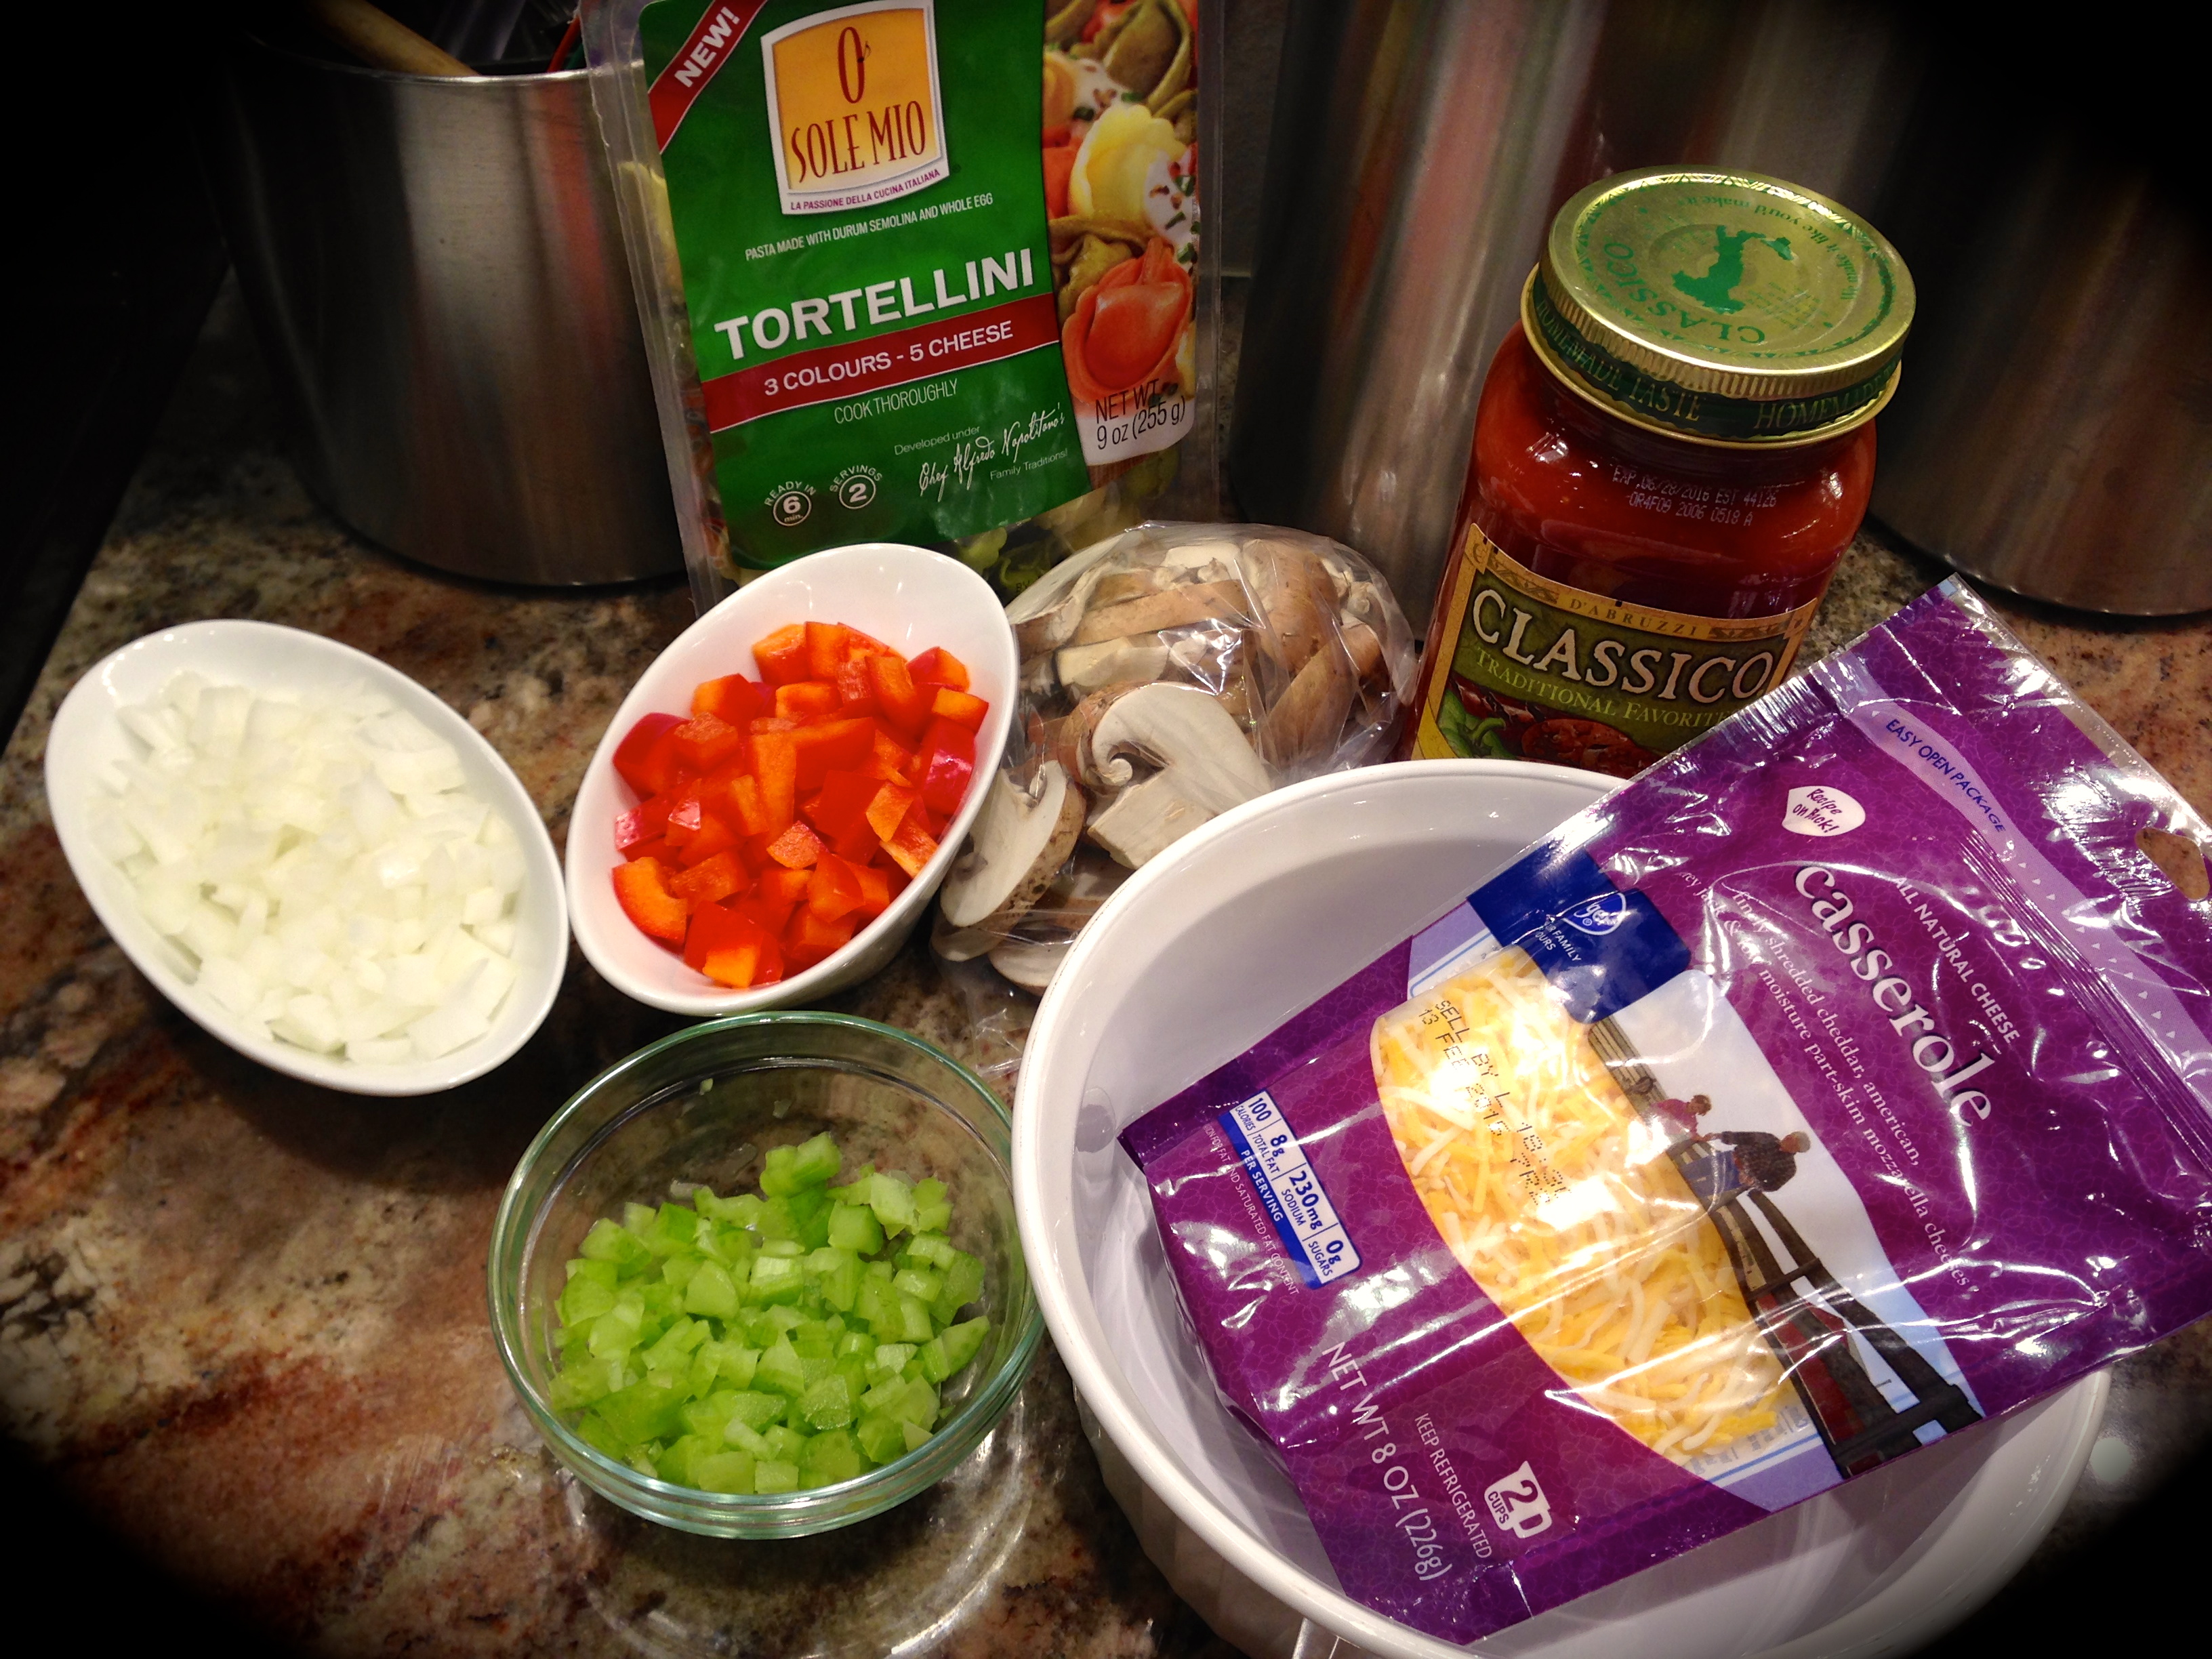
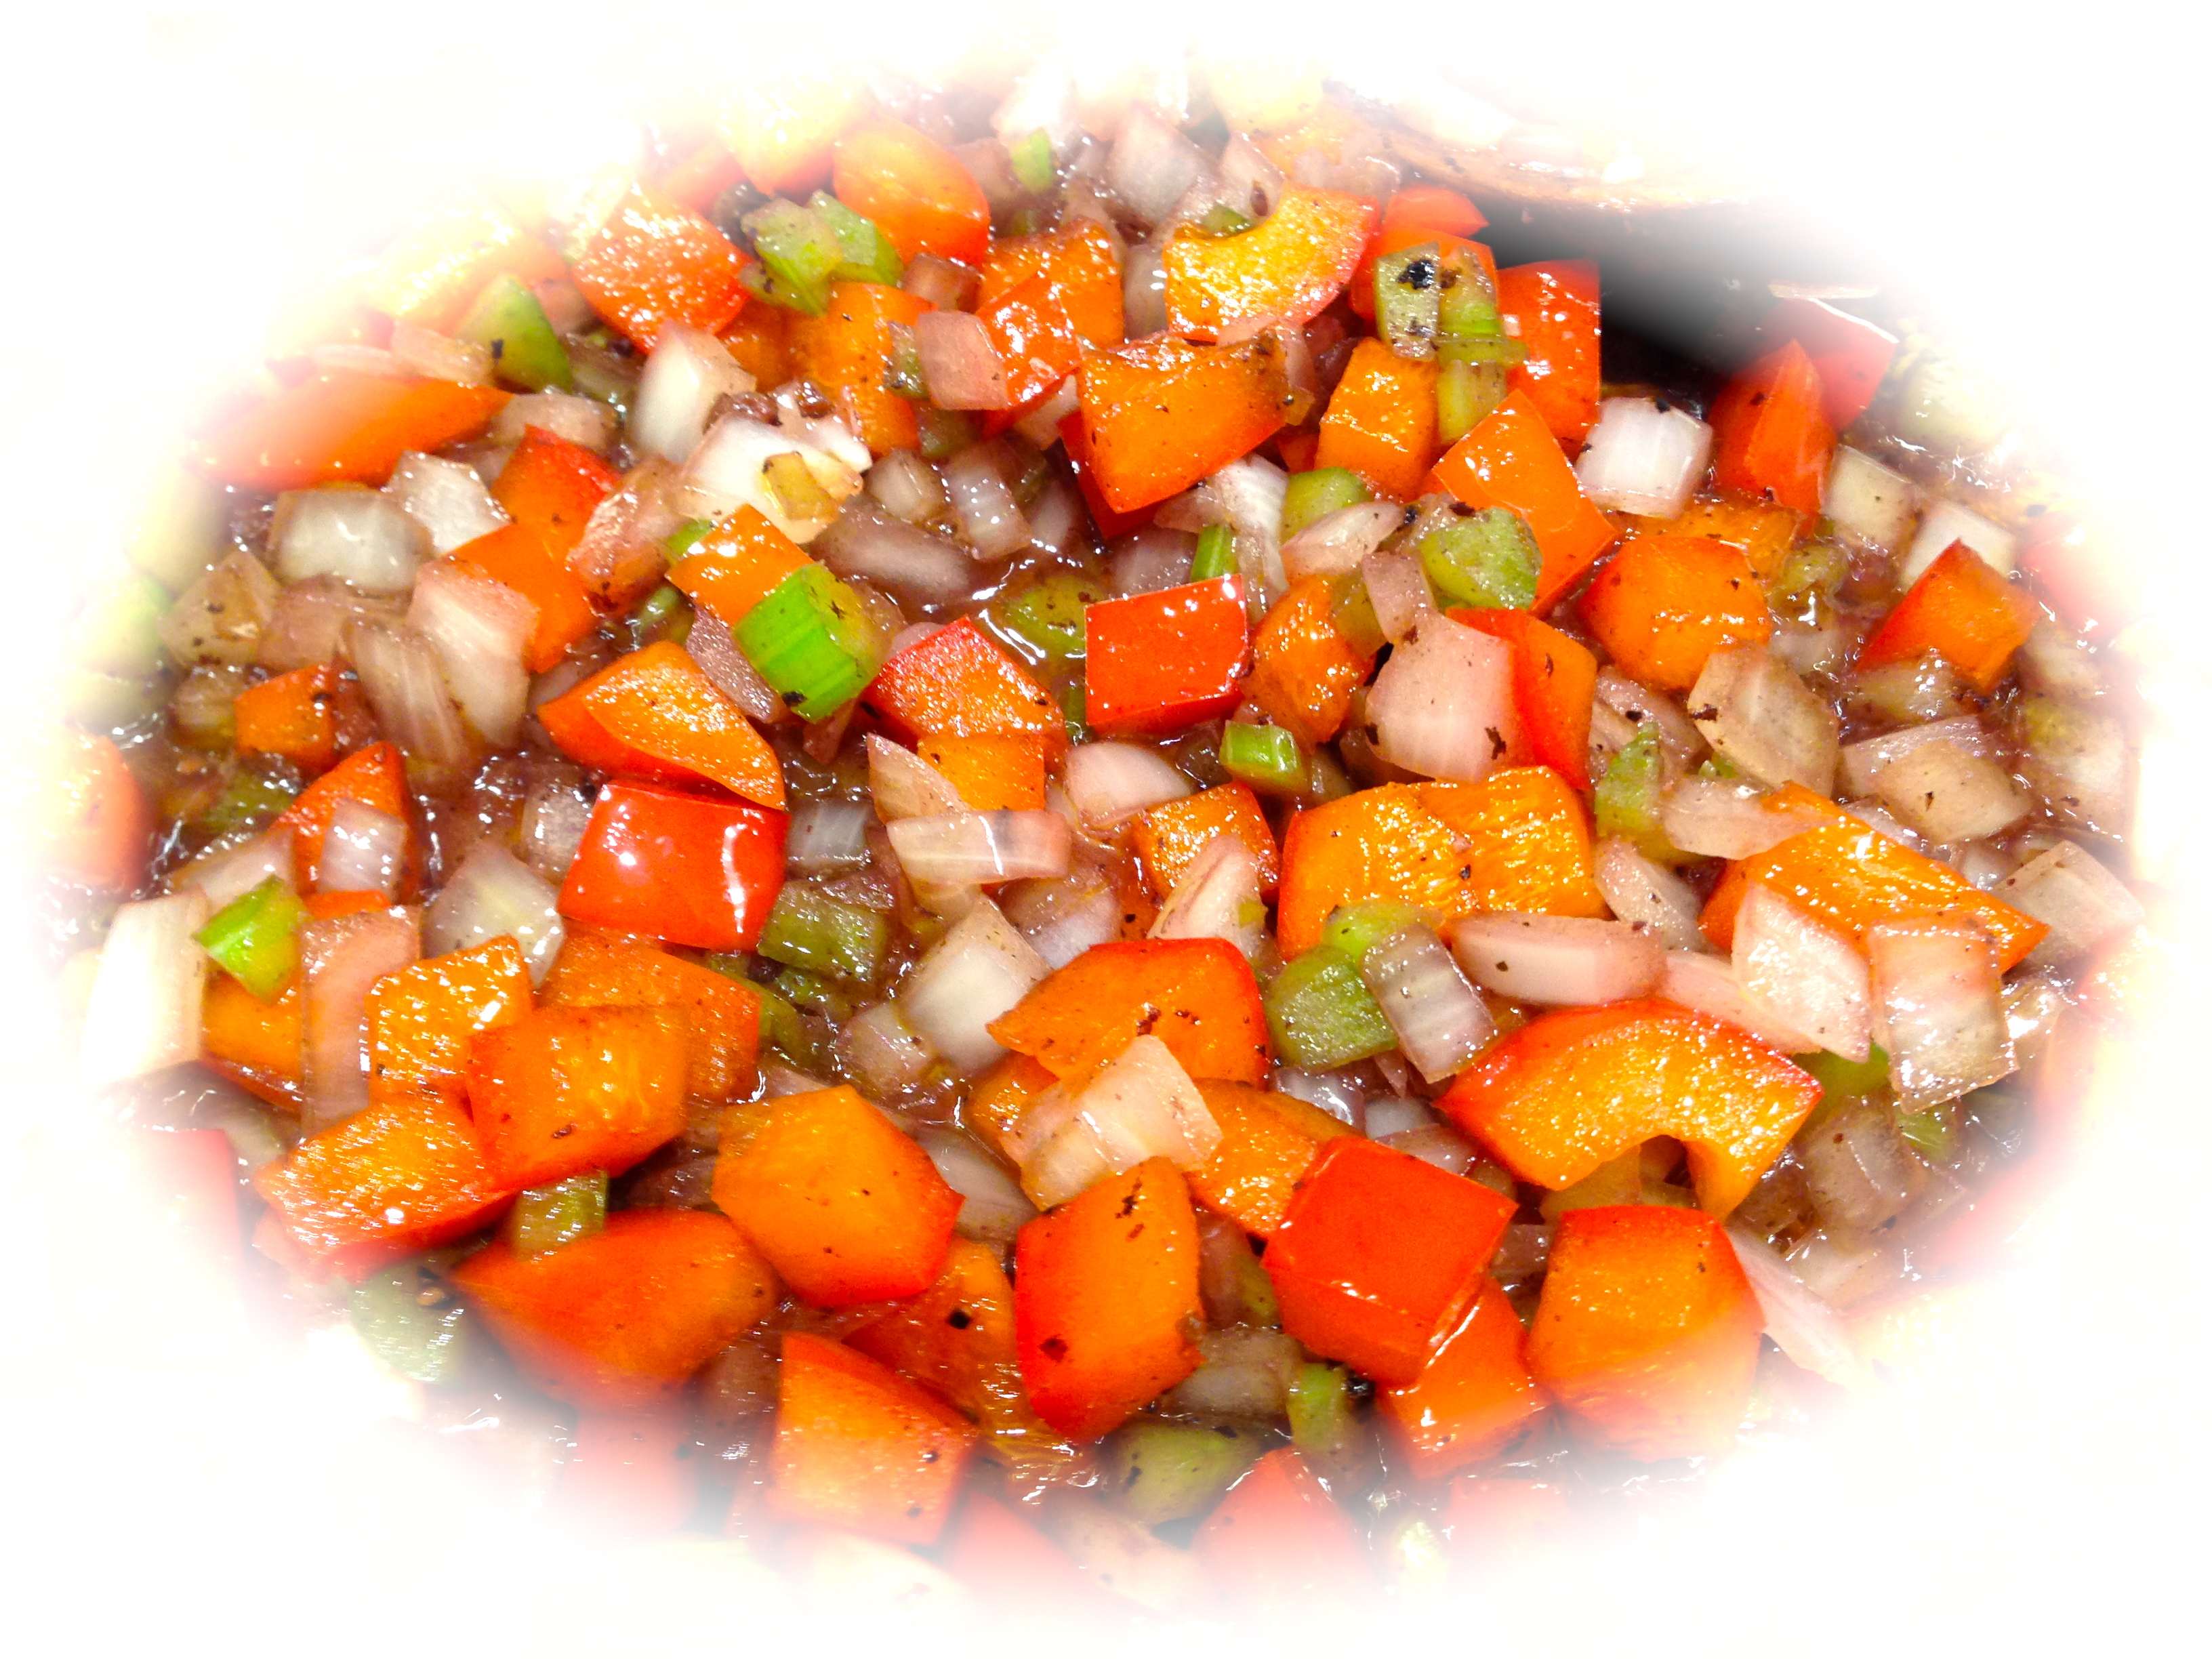
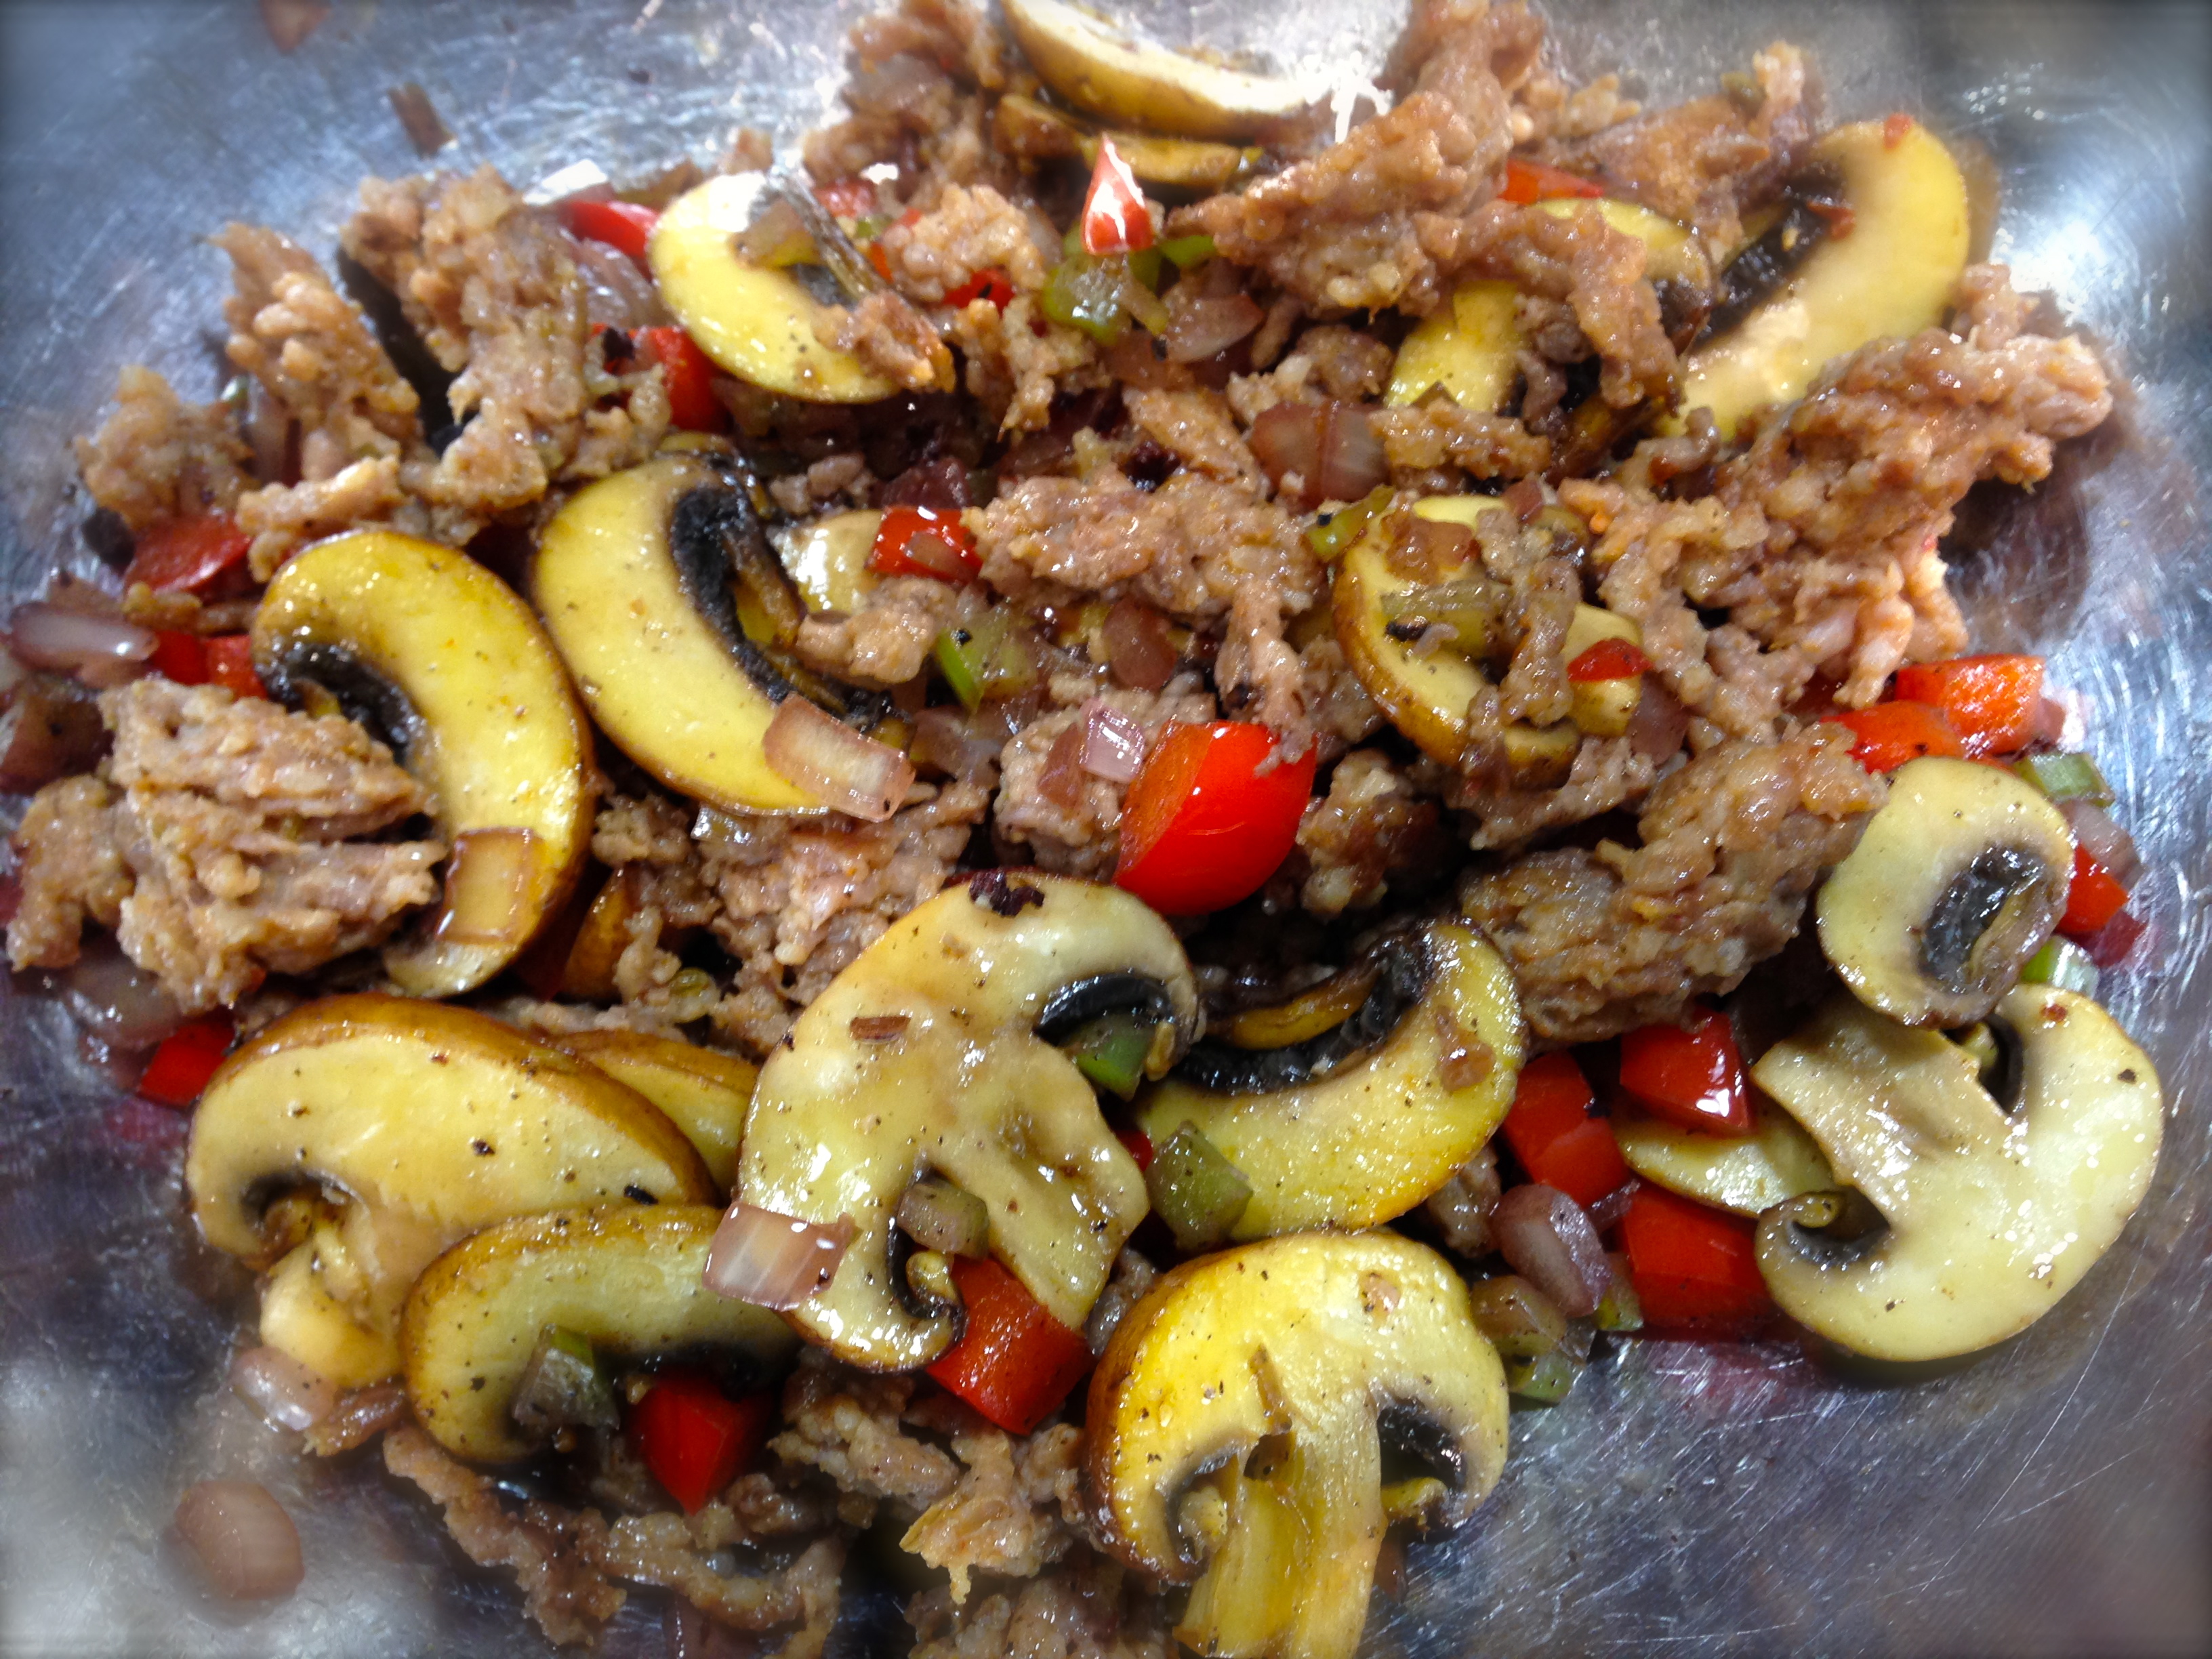
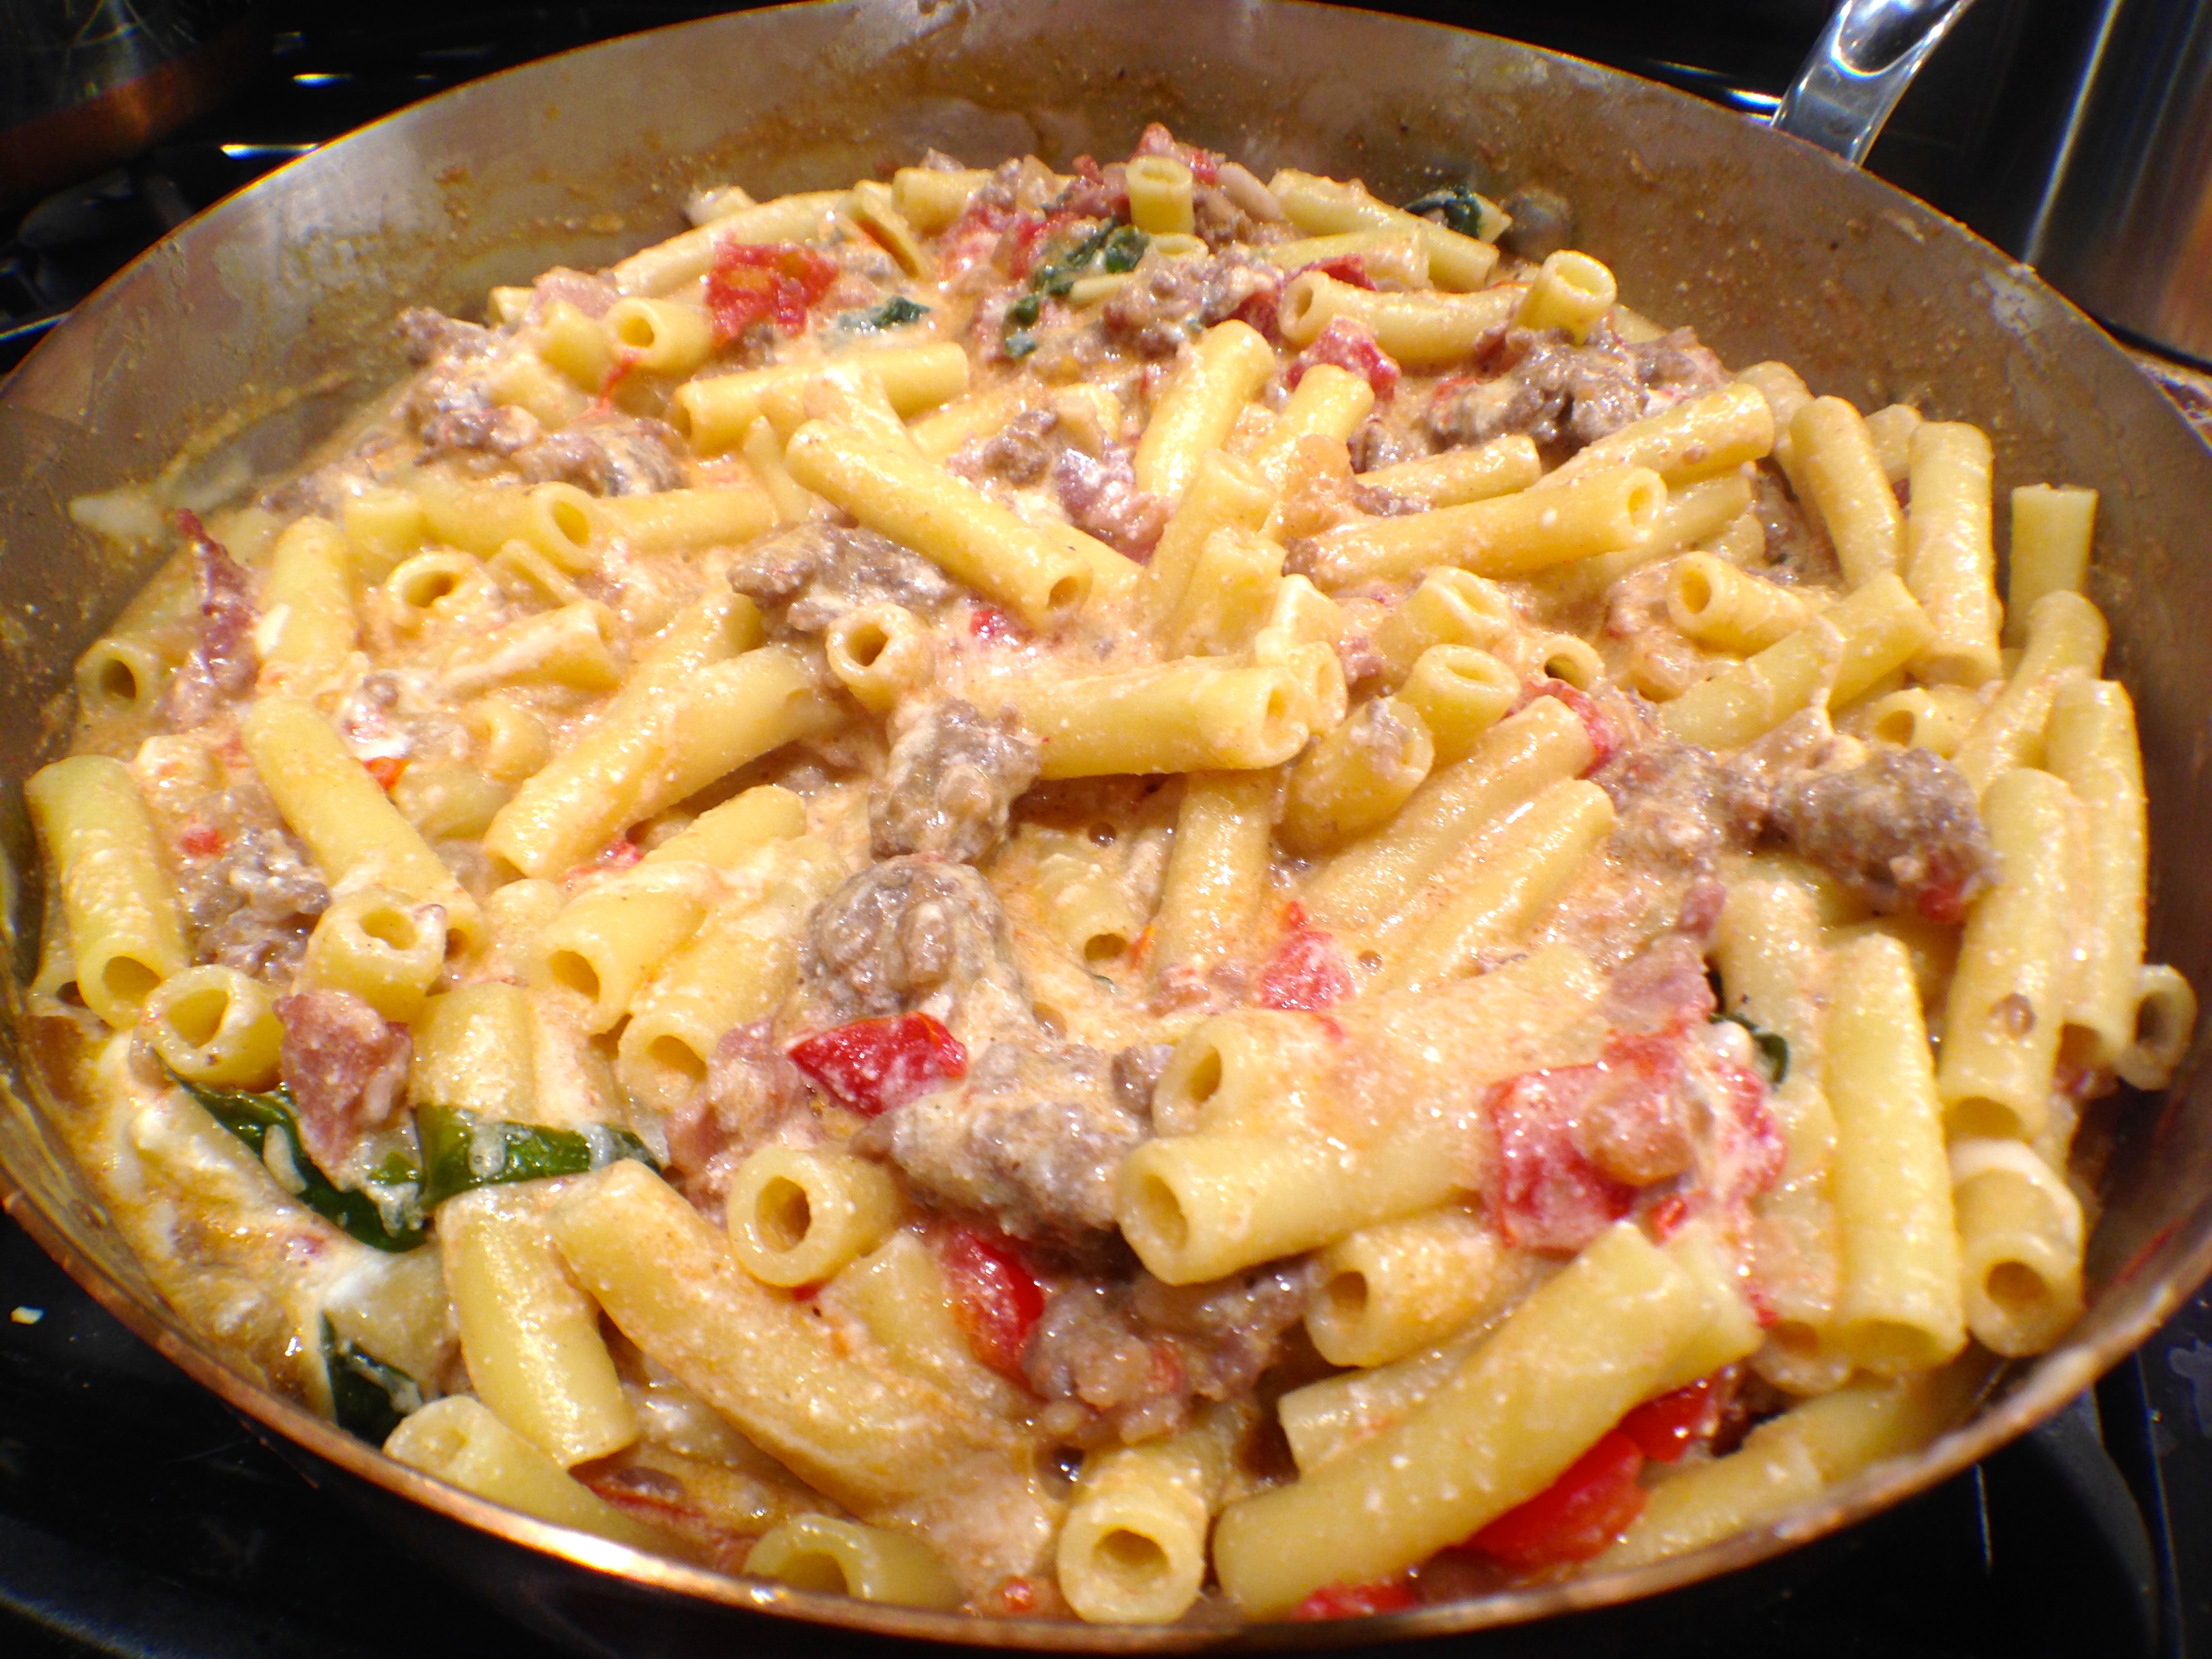
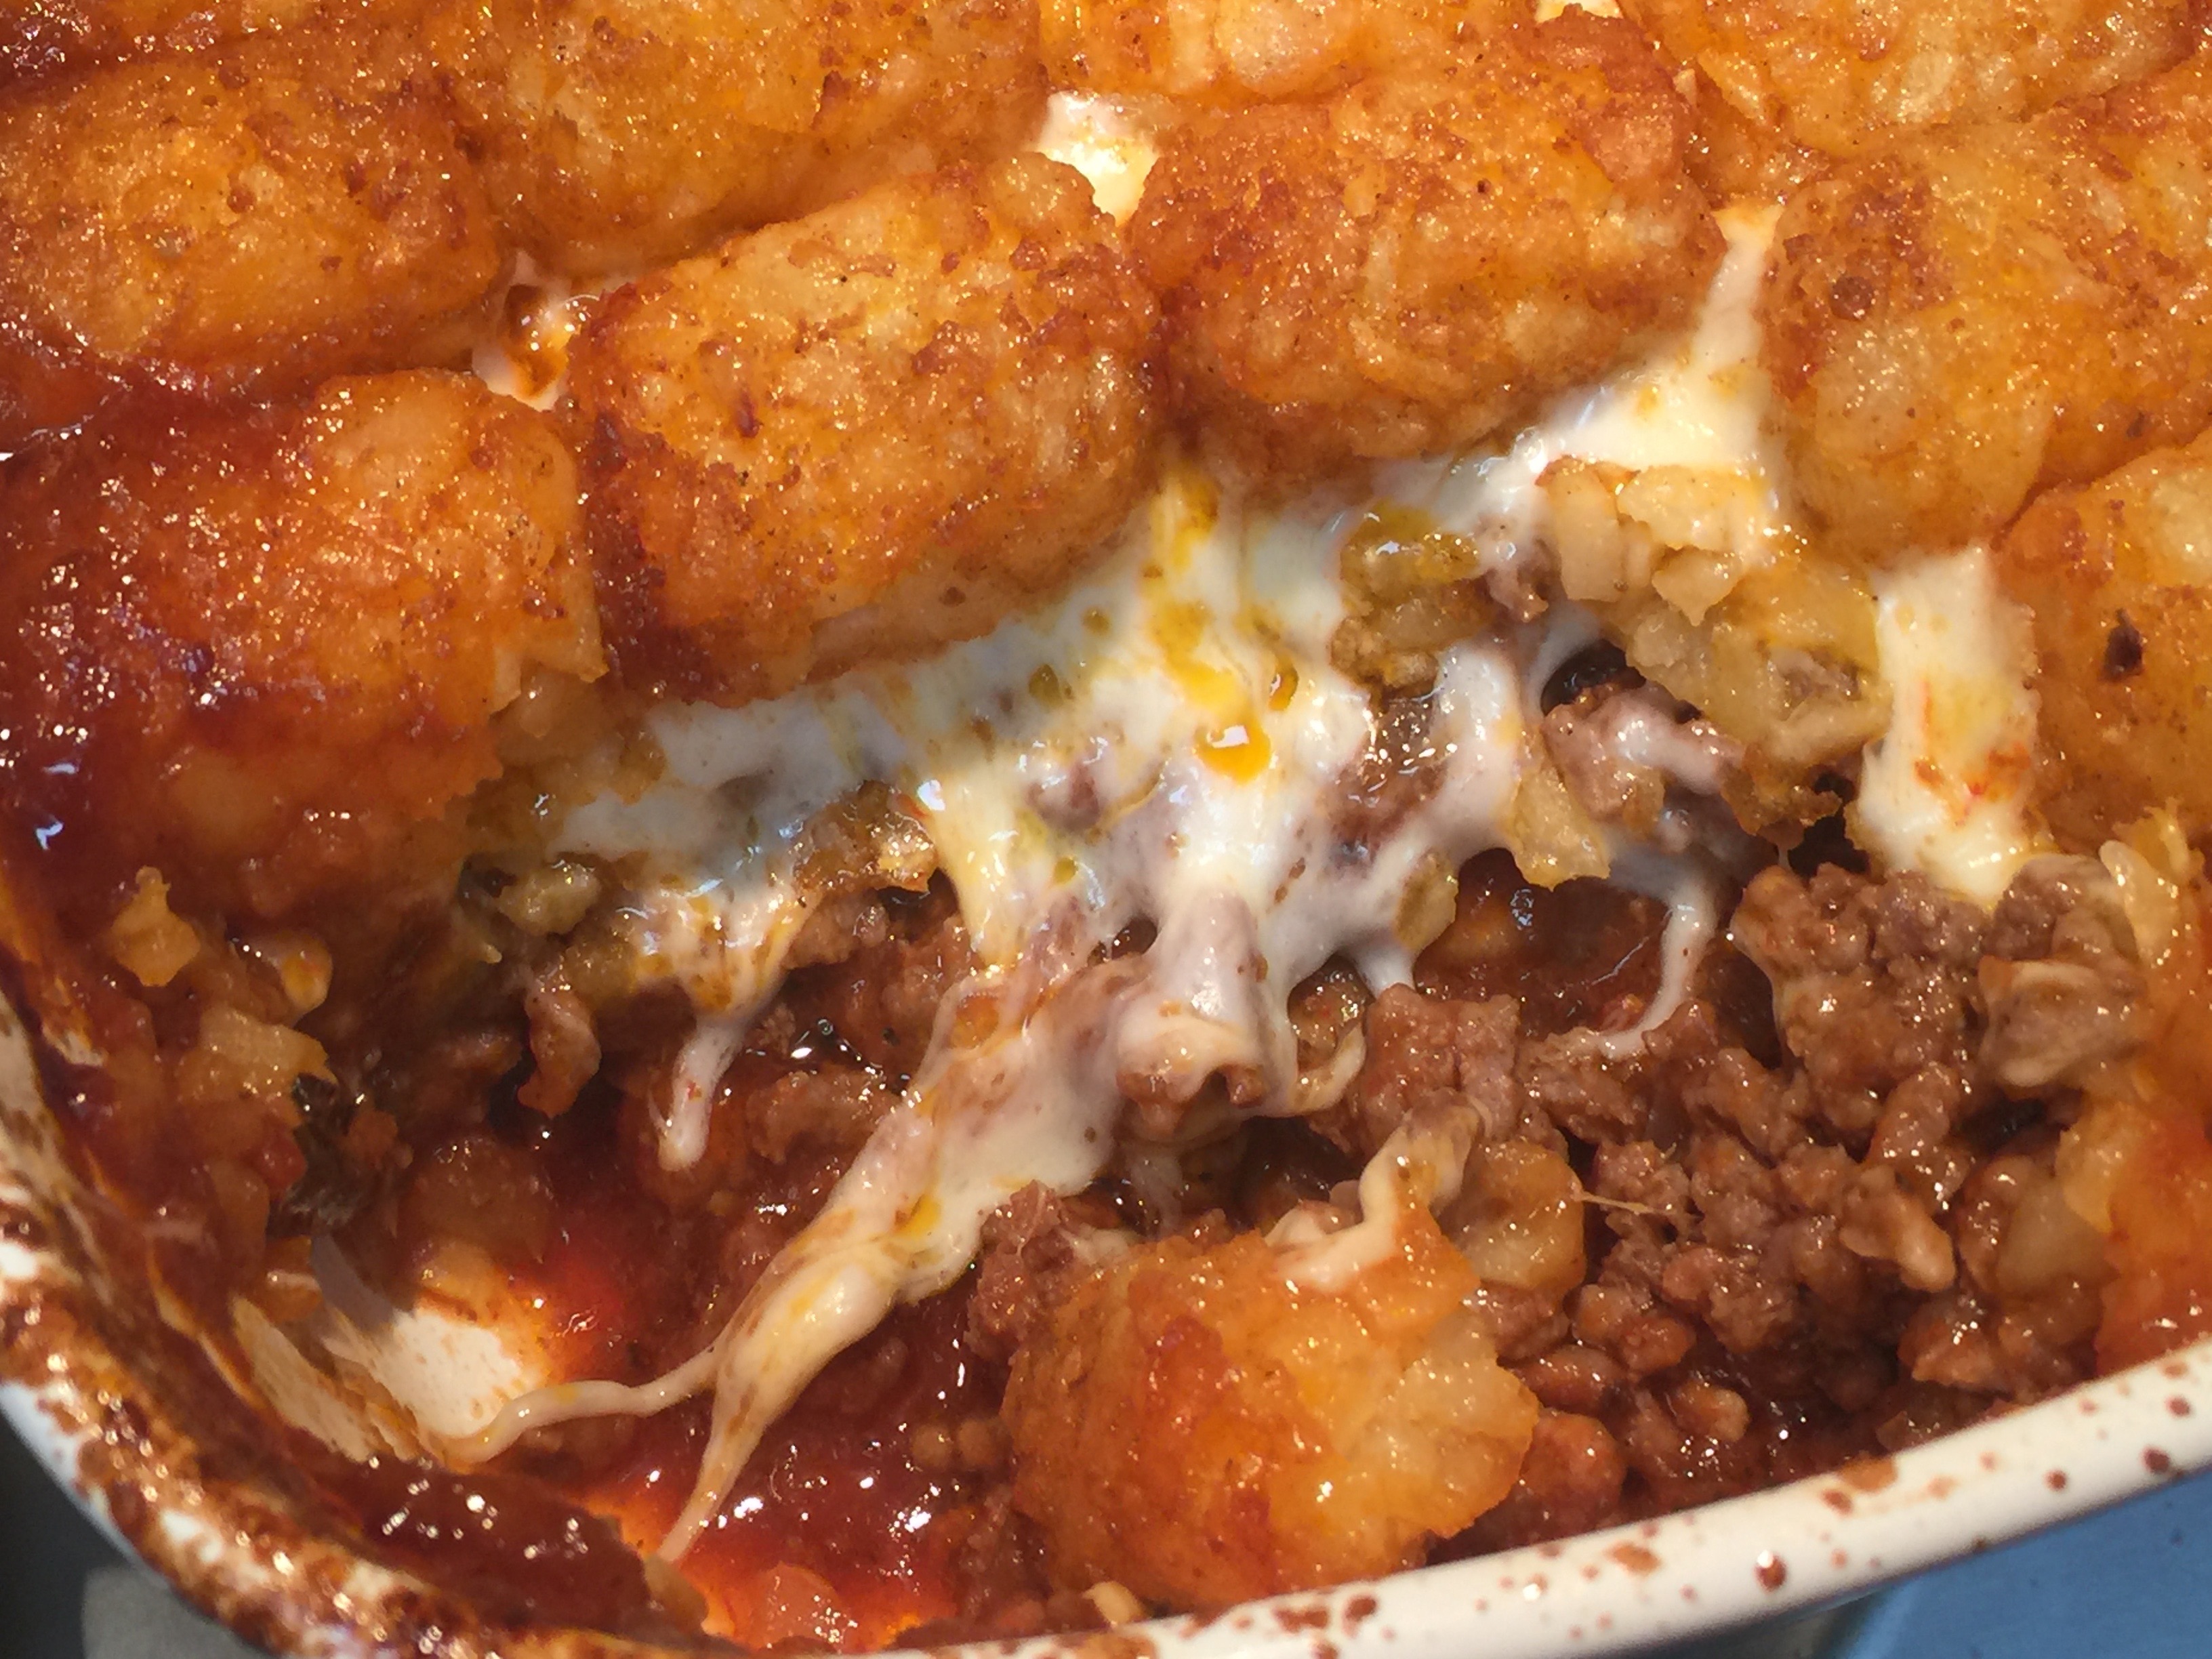
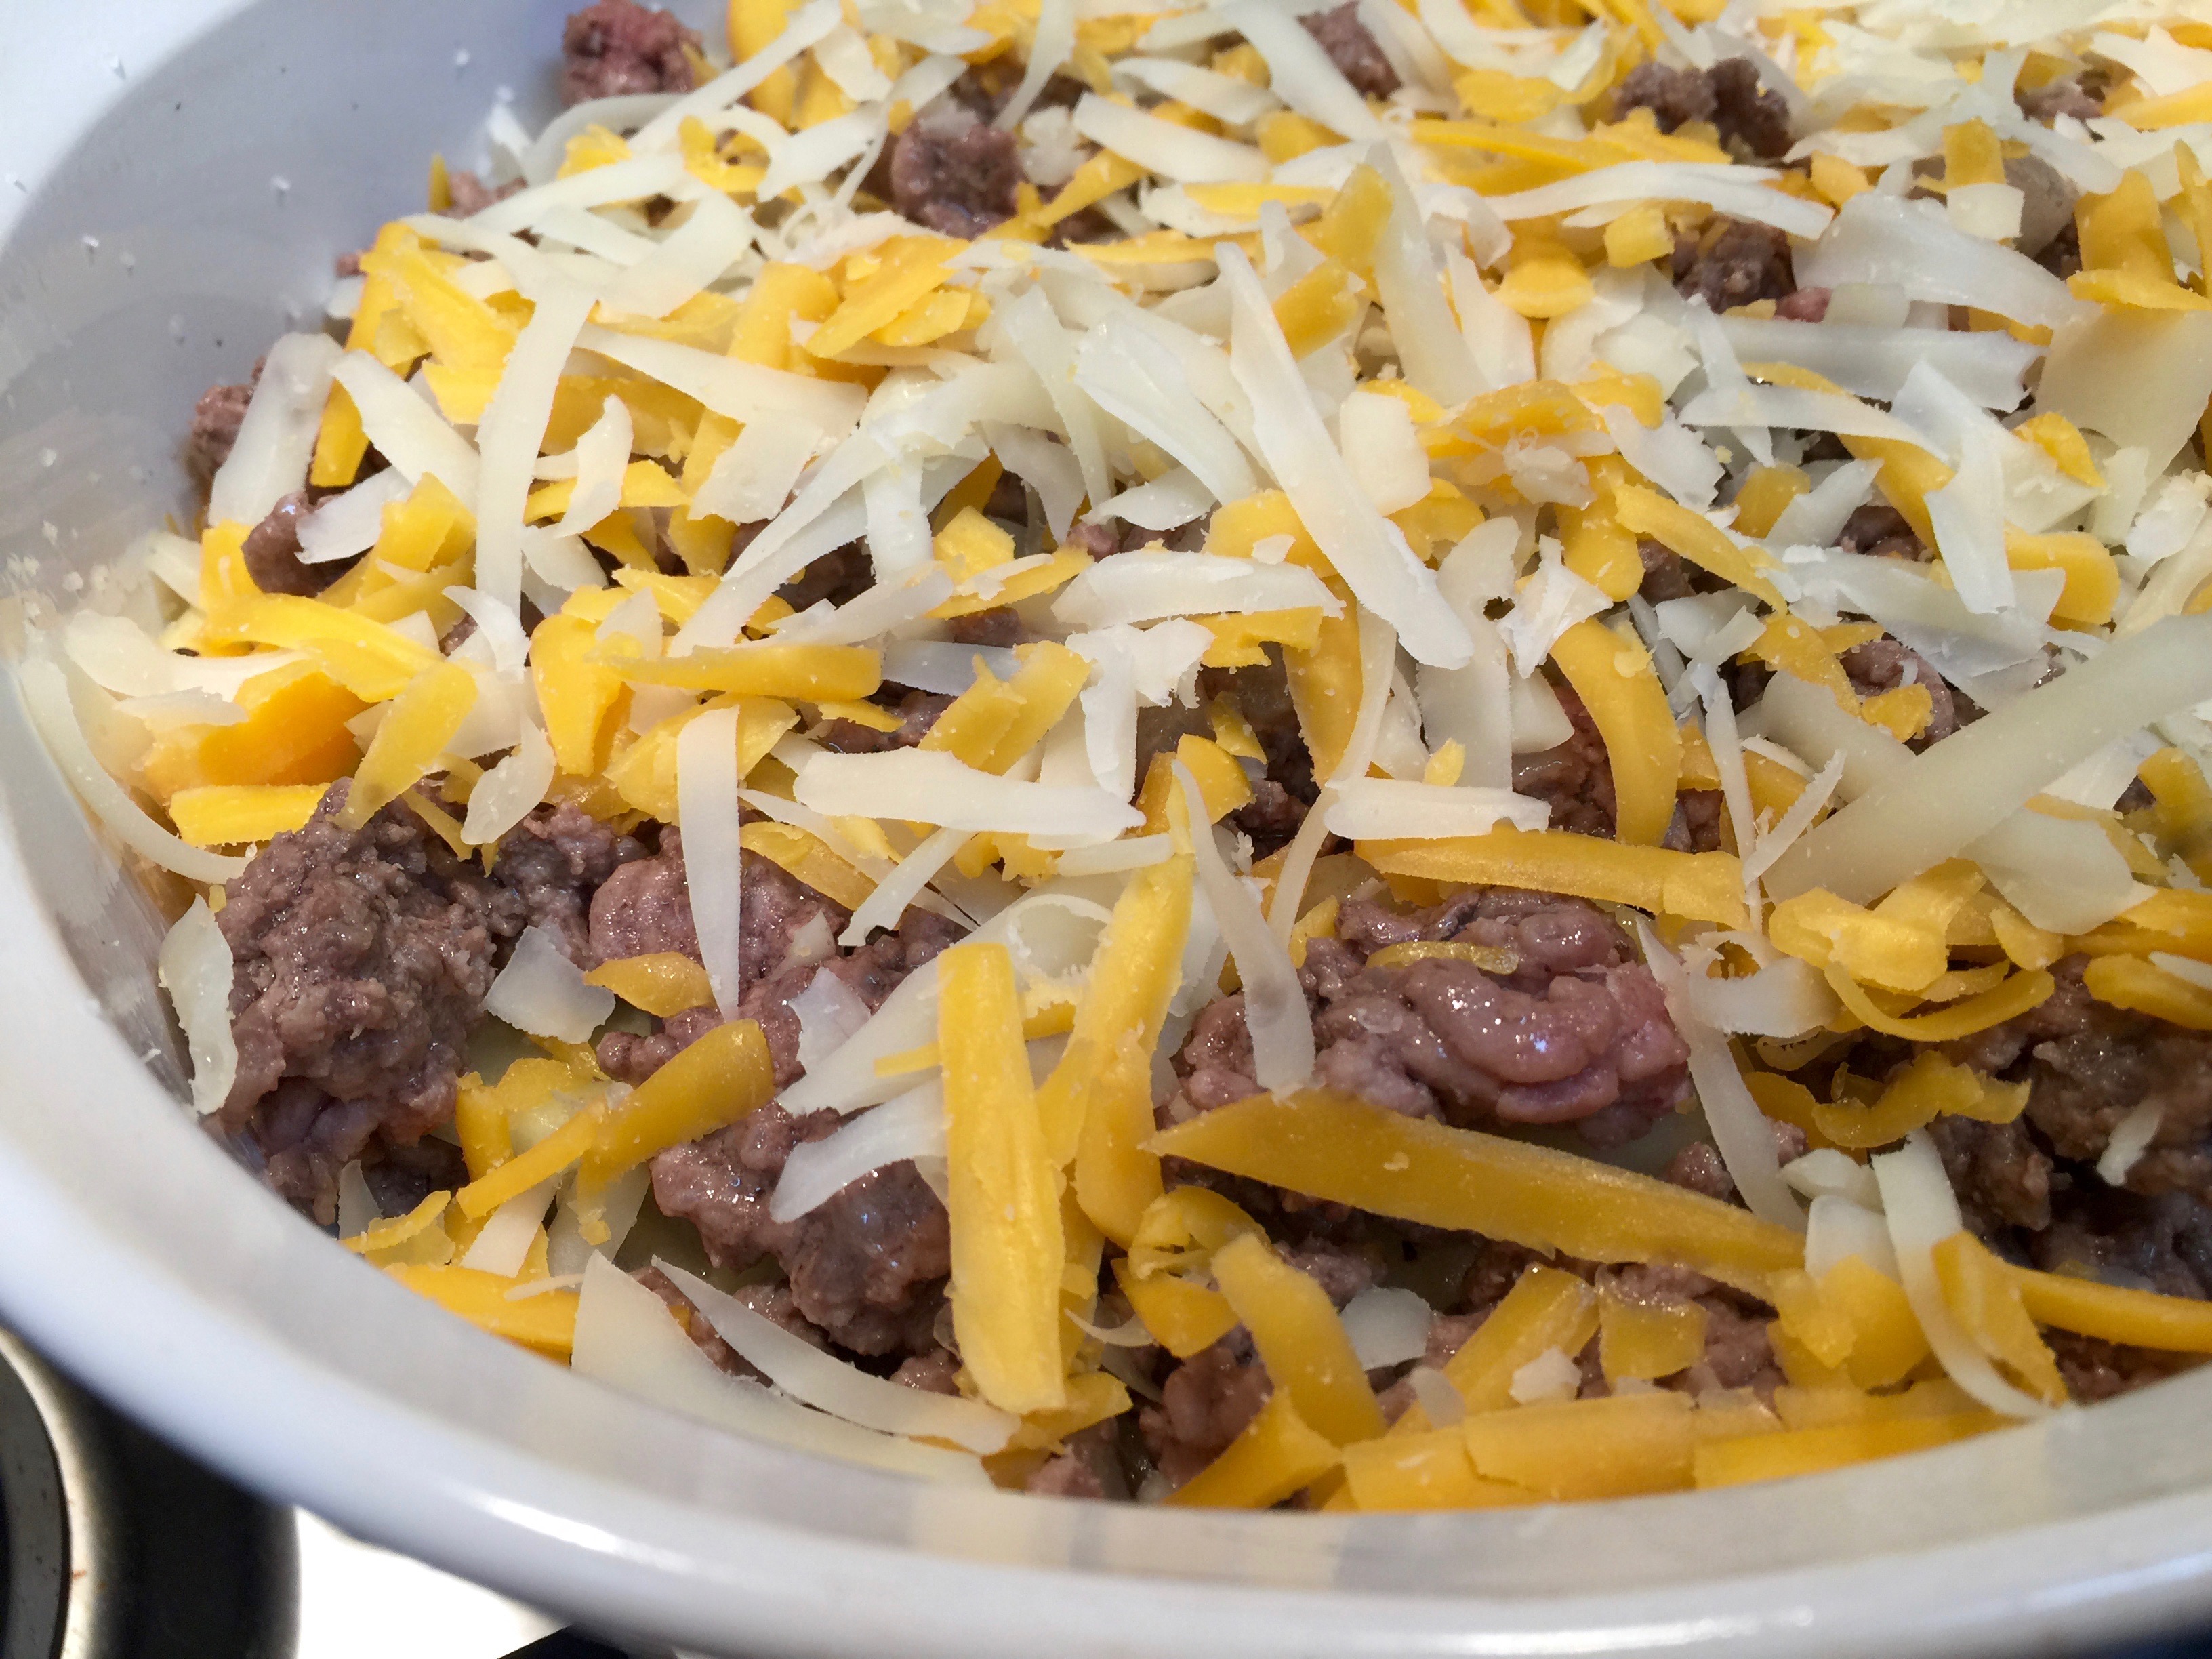
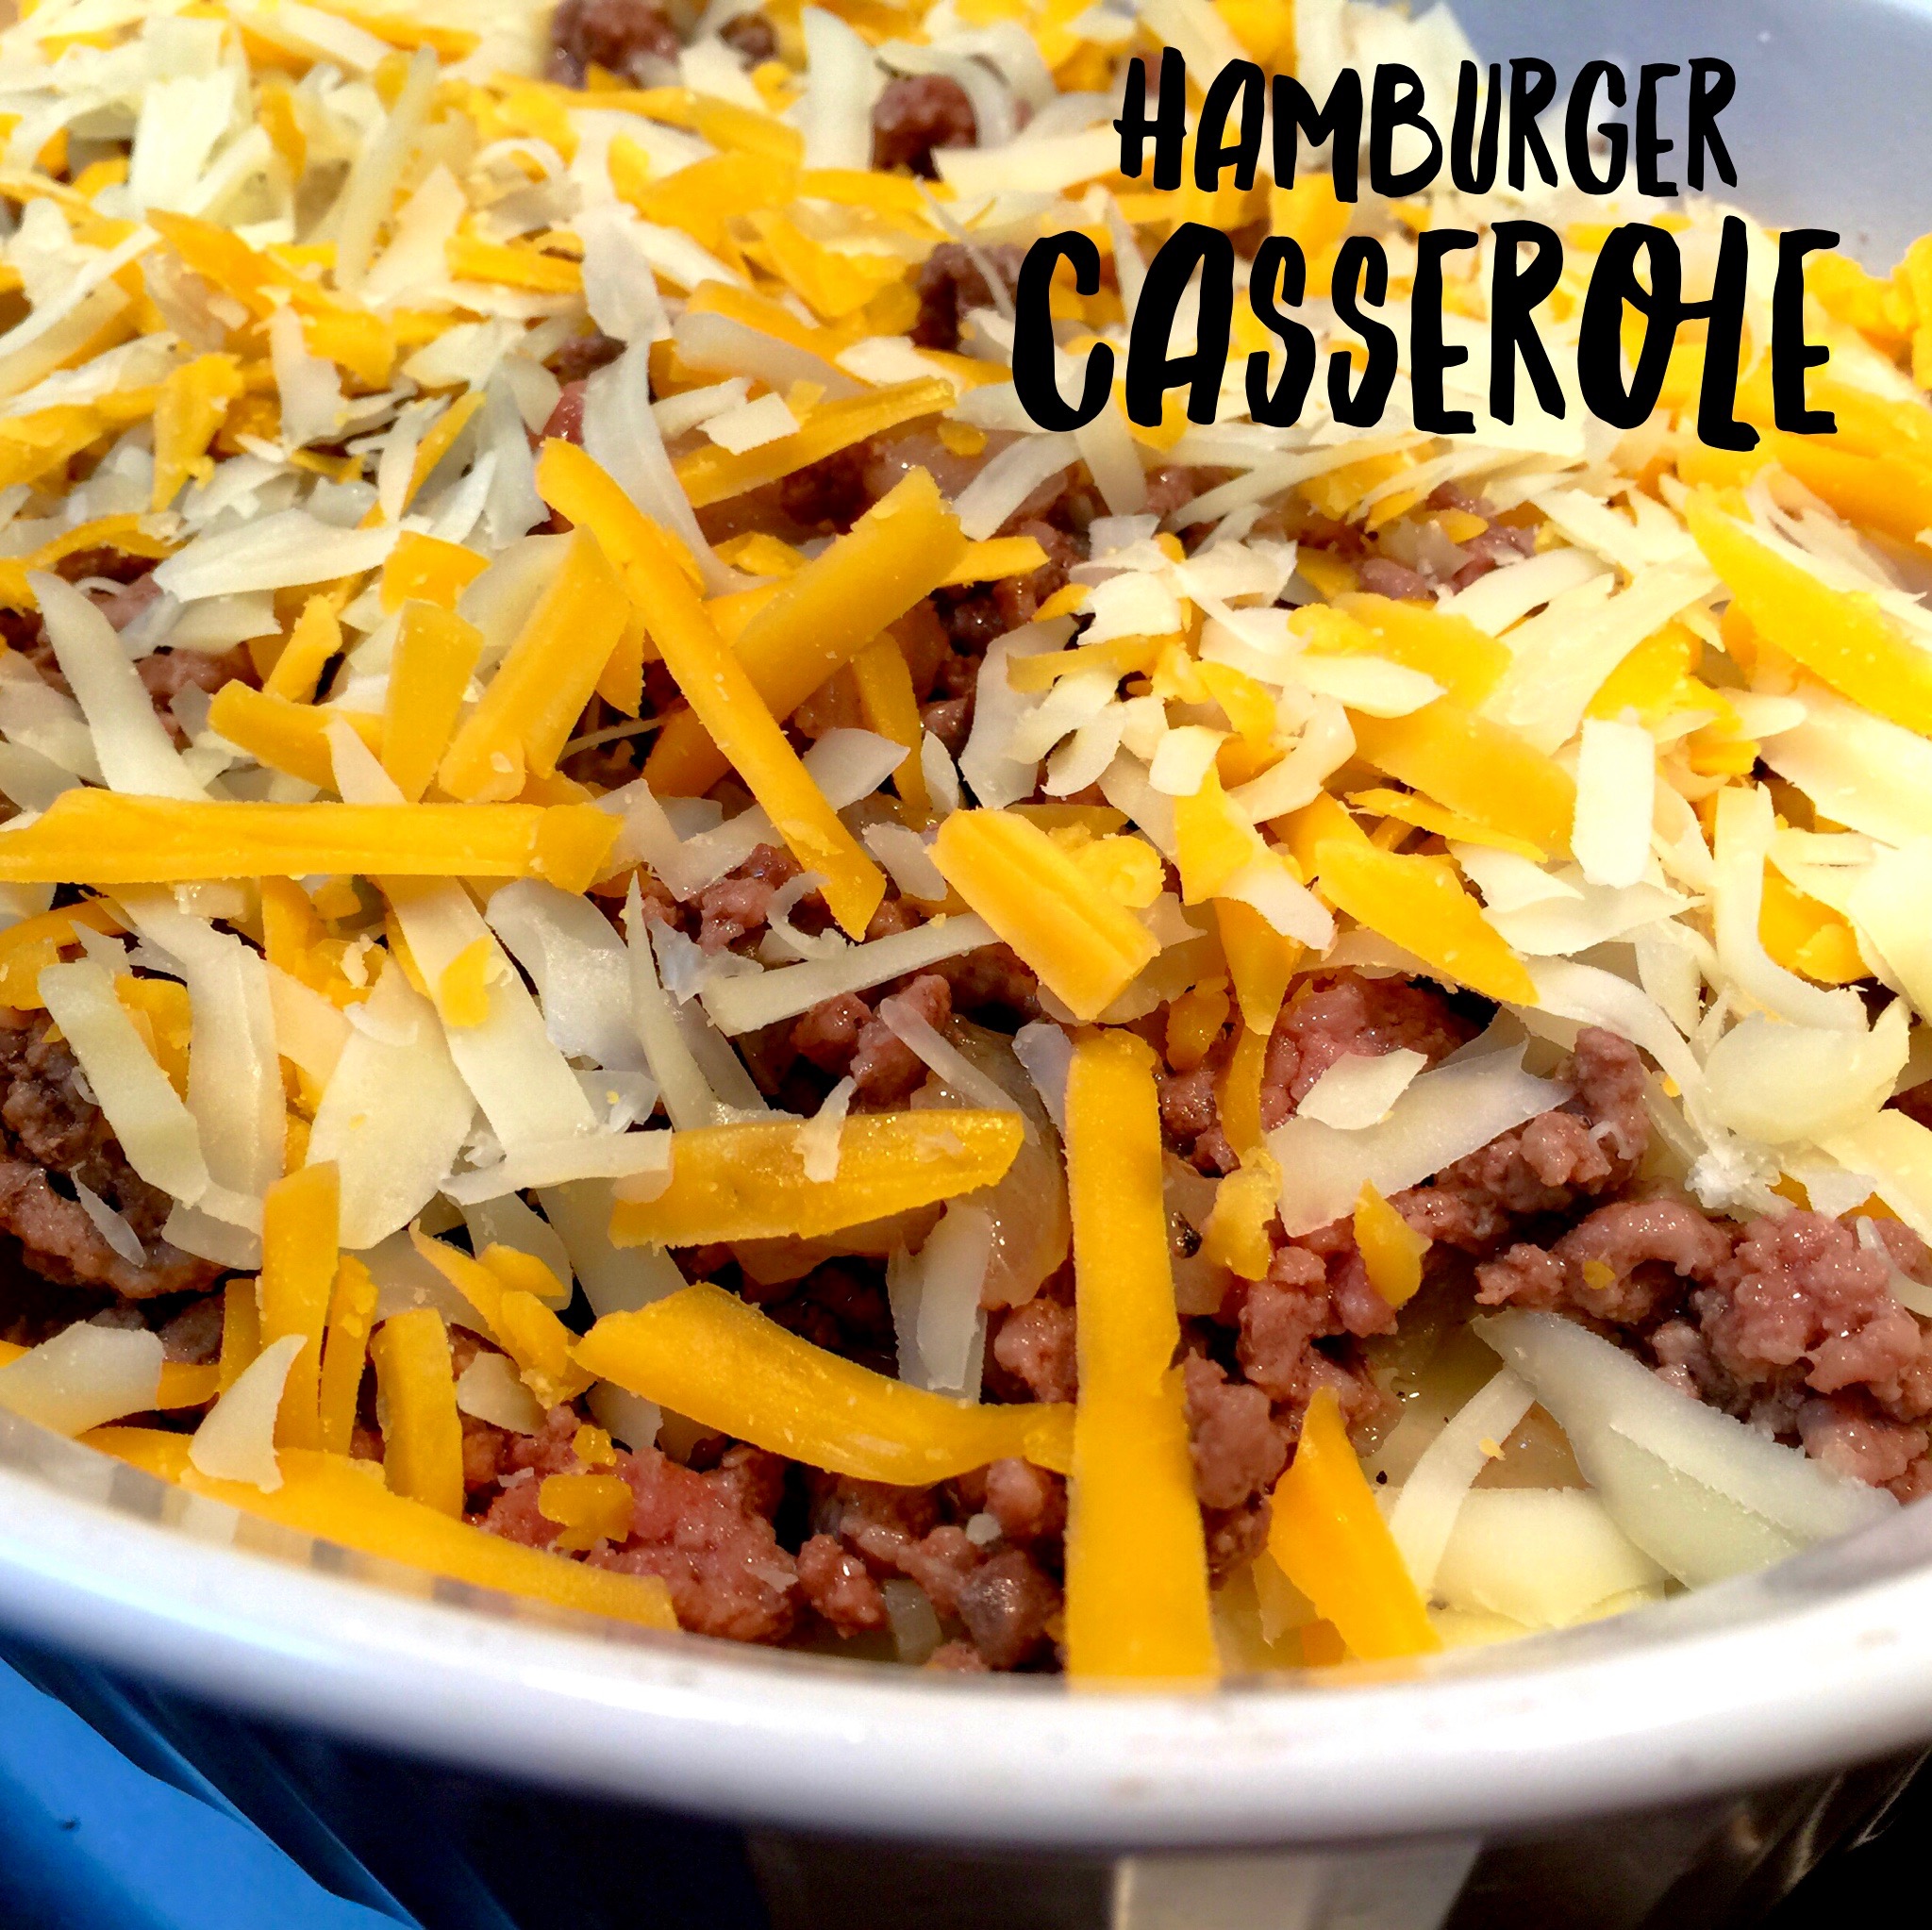
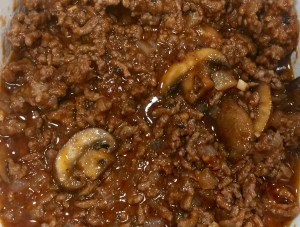 Lesson Learned 3 – Feel free to experiment with this recipe: Add ingredients to the ground beef that you and your family like. If you don’t like mushrooms, don’t use them. If you like sweet peppers, dice them up and use them. If you’re not a big fan of spicy don’t use the hot sauce. But if you want some real tang add some crushed red pepper to the beef. If you prefer pearl onions, add them. You can use cheddar cheese instead of muenster cheese (I find cheddar cheese to be somewhat greasy) or any melting cheese you prefer. The beauty is this recipe can be very versatile to include anything you enjoy.
 INGREDIENTS:


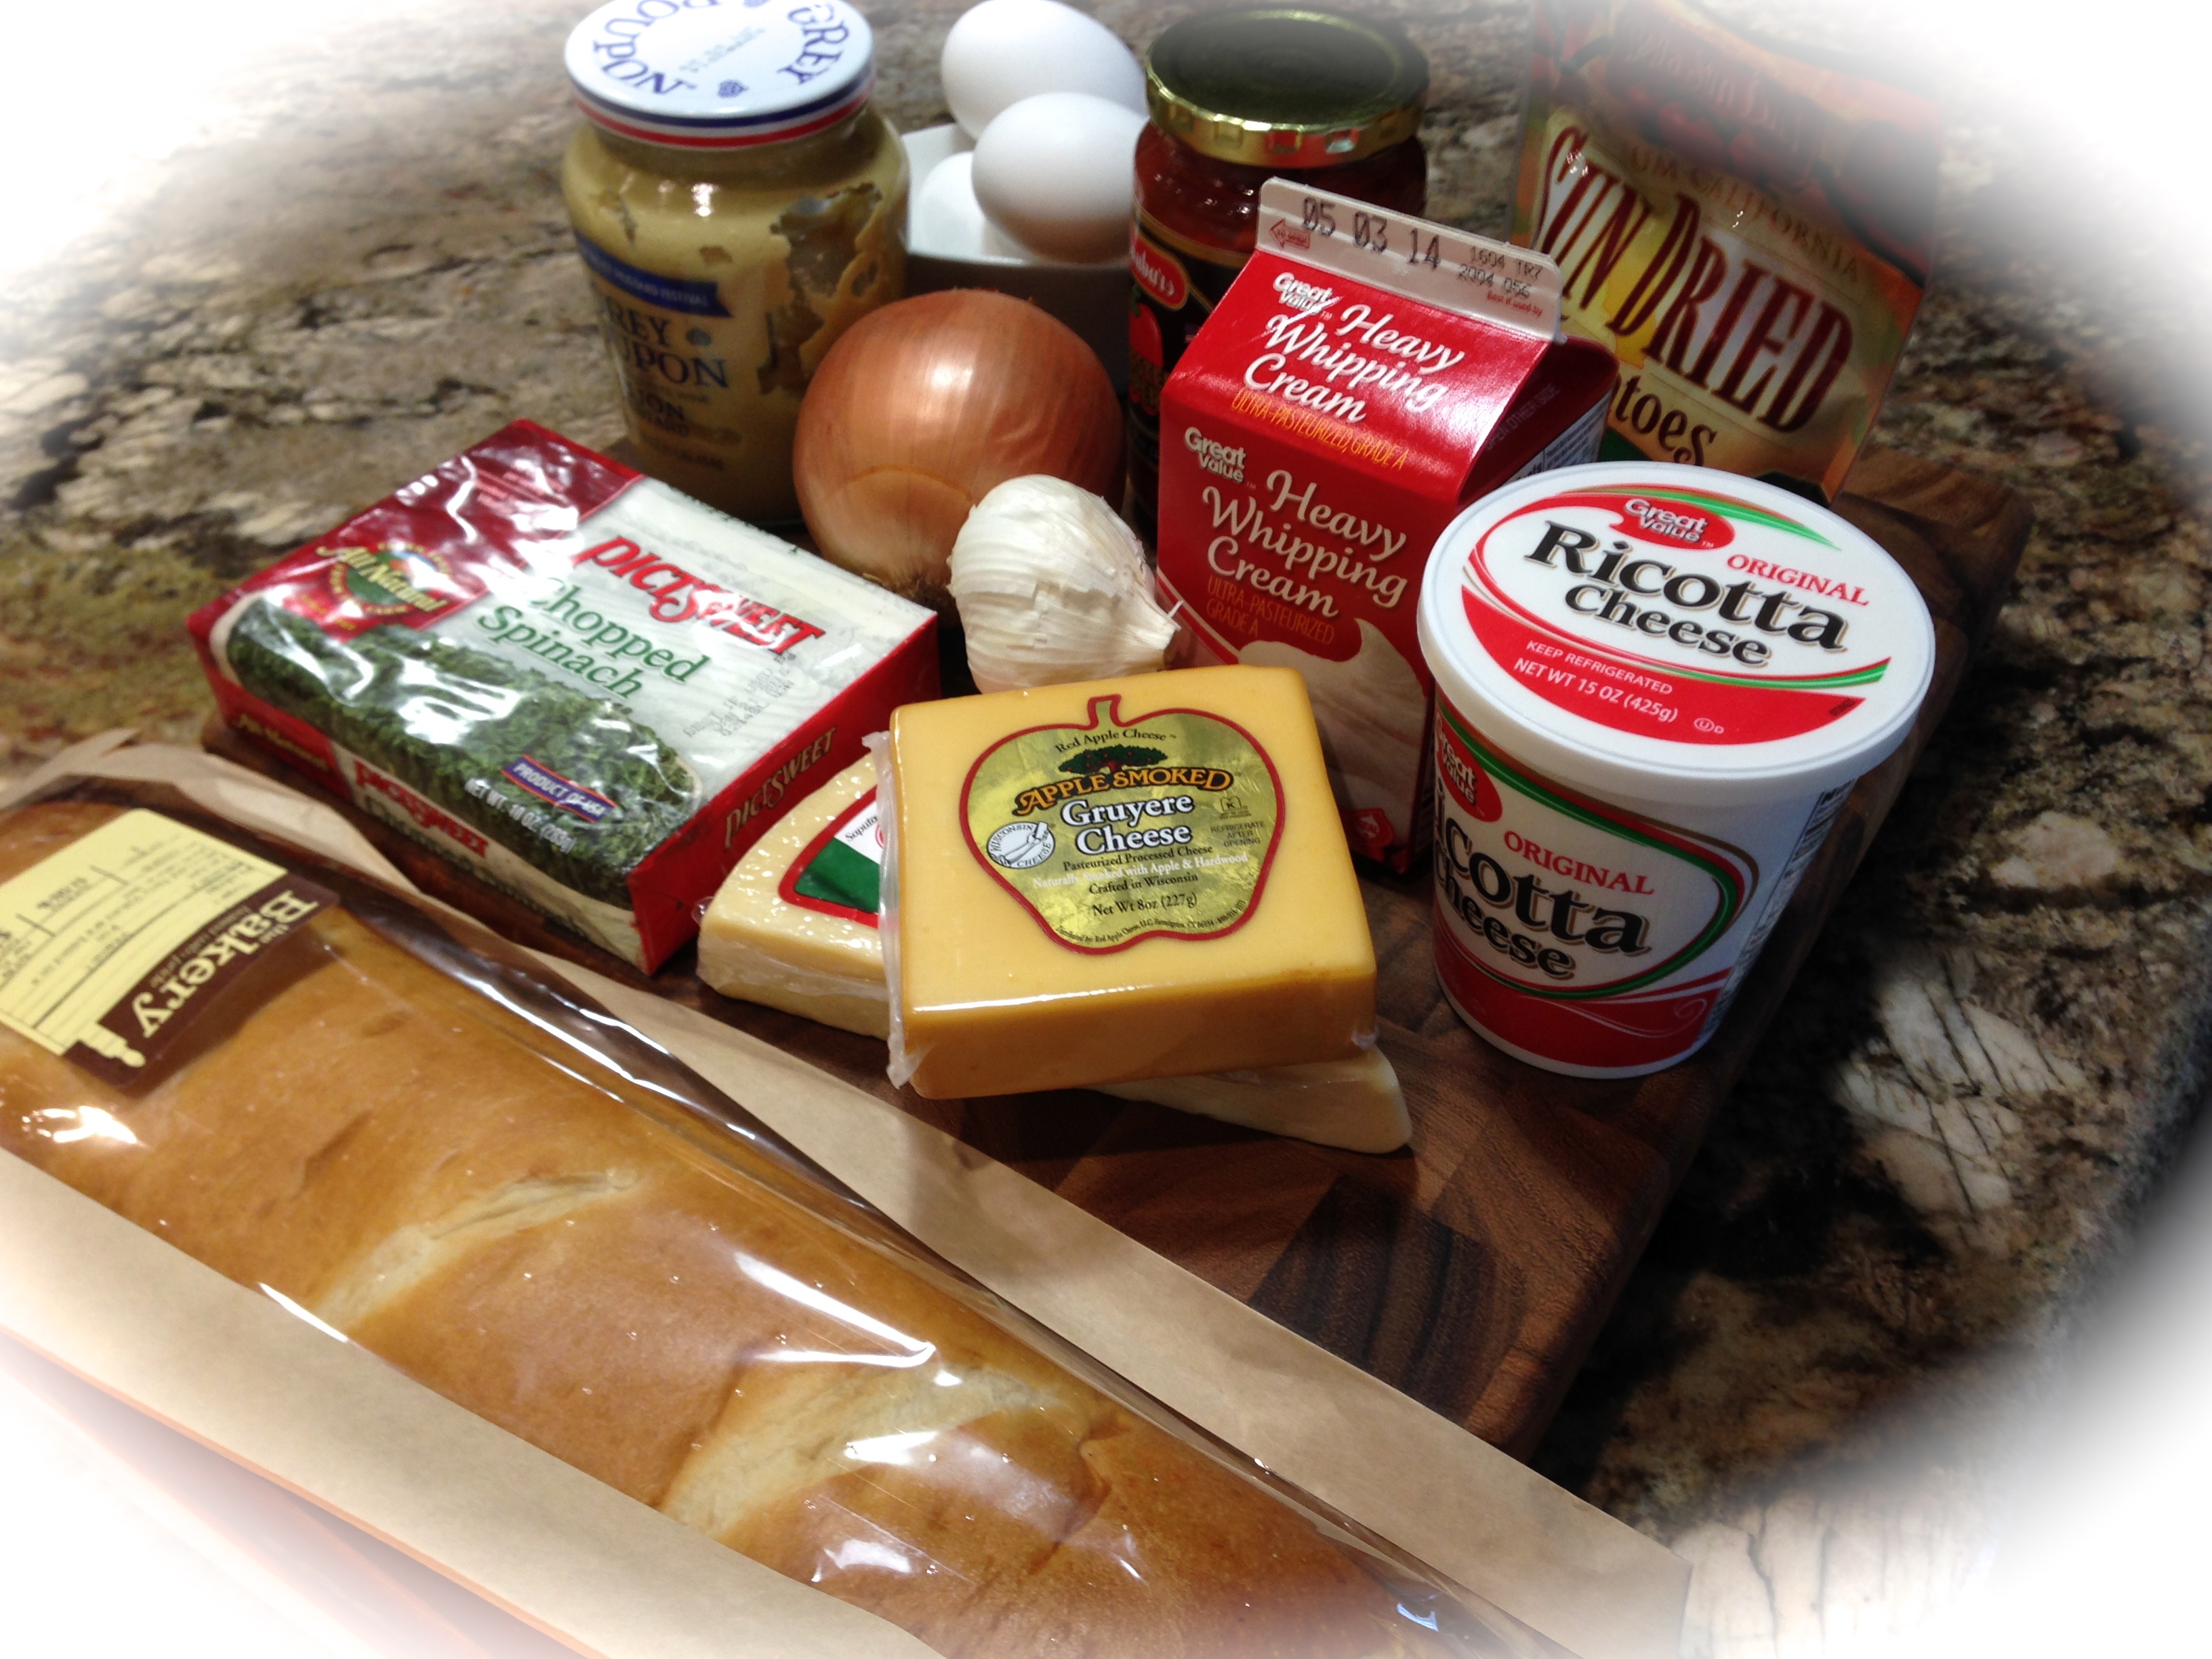
 One more note… from time to time I will also focus on making recipes for two. It’s just my husband and I that I cook for now unless we are having a party and sometimes I find if I make too much we either throw stuff out or eat leftovers. And some recipes are more conducive to leftovers than others. These days it is hard to cook for two since grocery stores seem to sell bigger portions. But I found this particular recipe can be adapted in many ways and one of them is the amount you make. So I am writing this recipe for two people but keep in mind you can increase the ingredients proportionally to serve more.
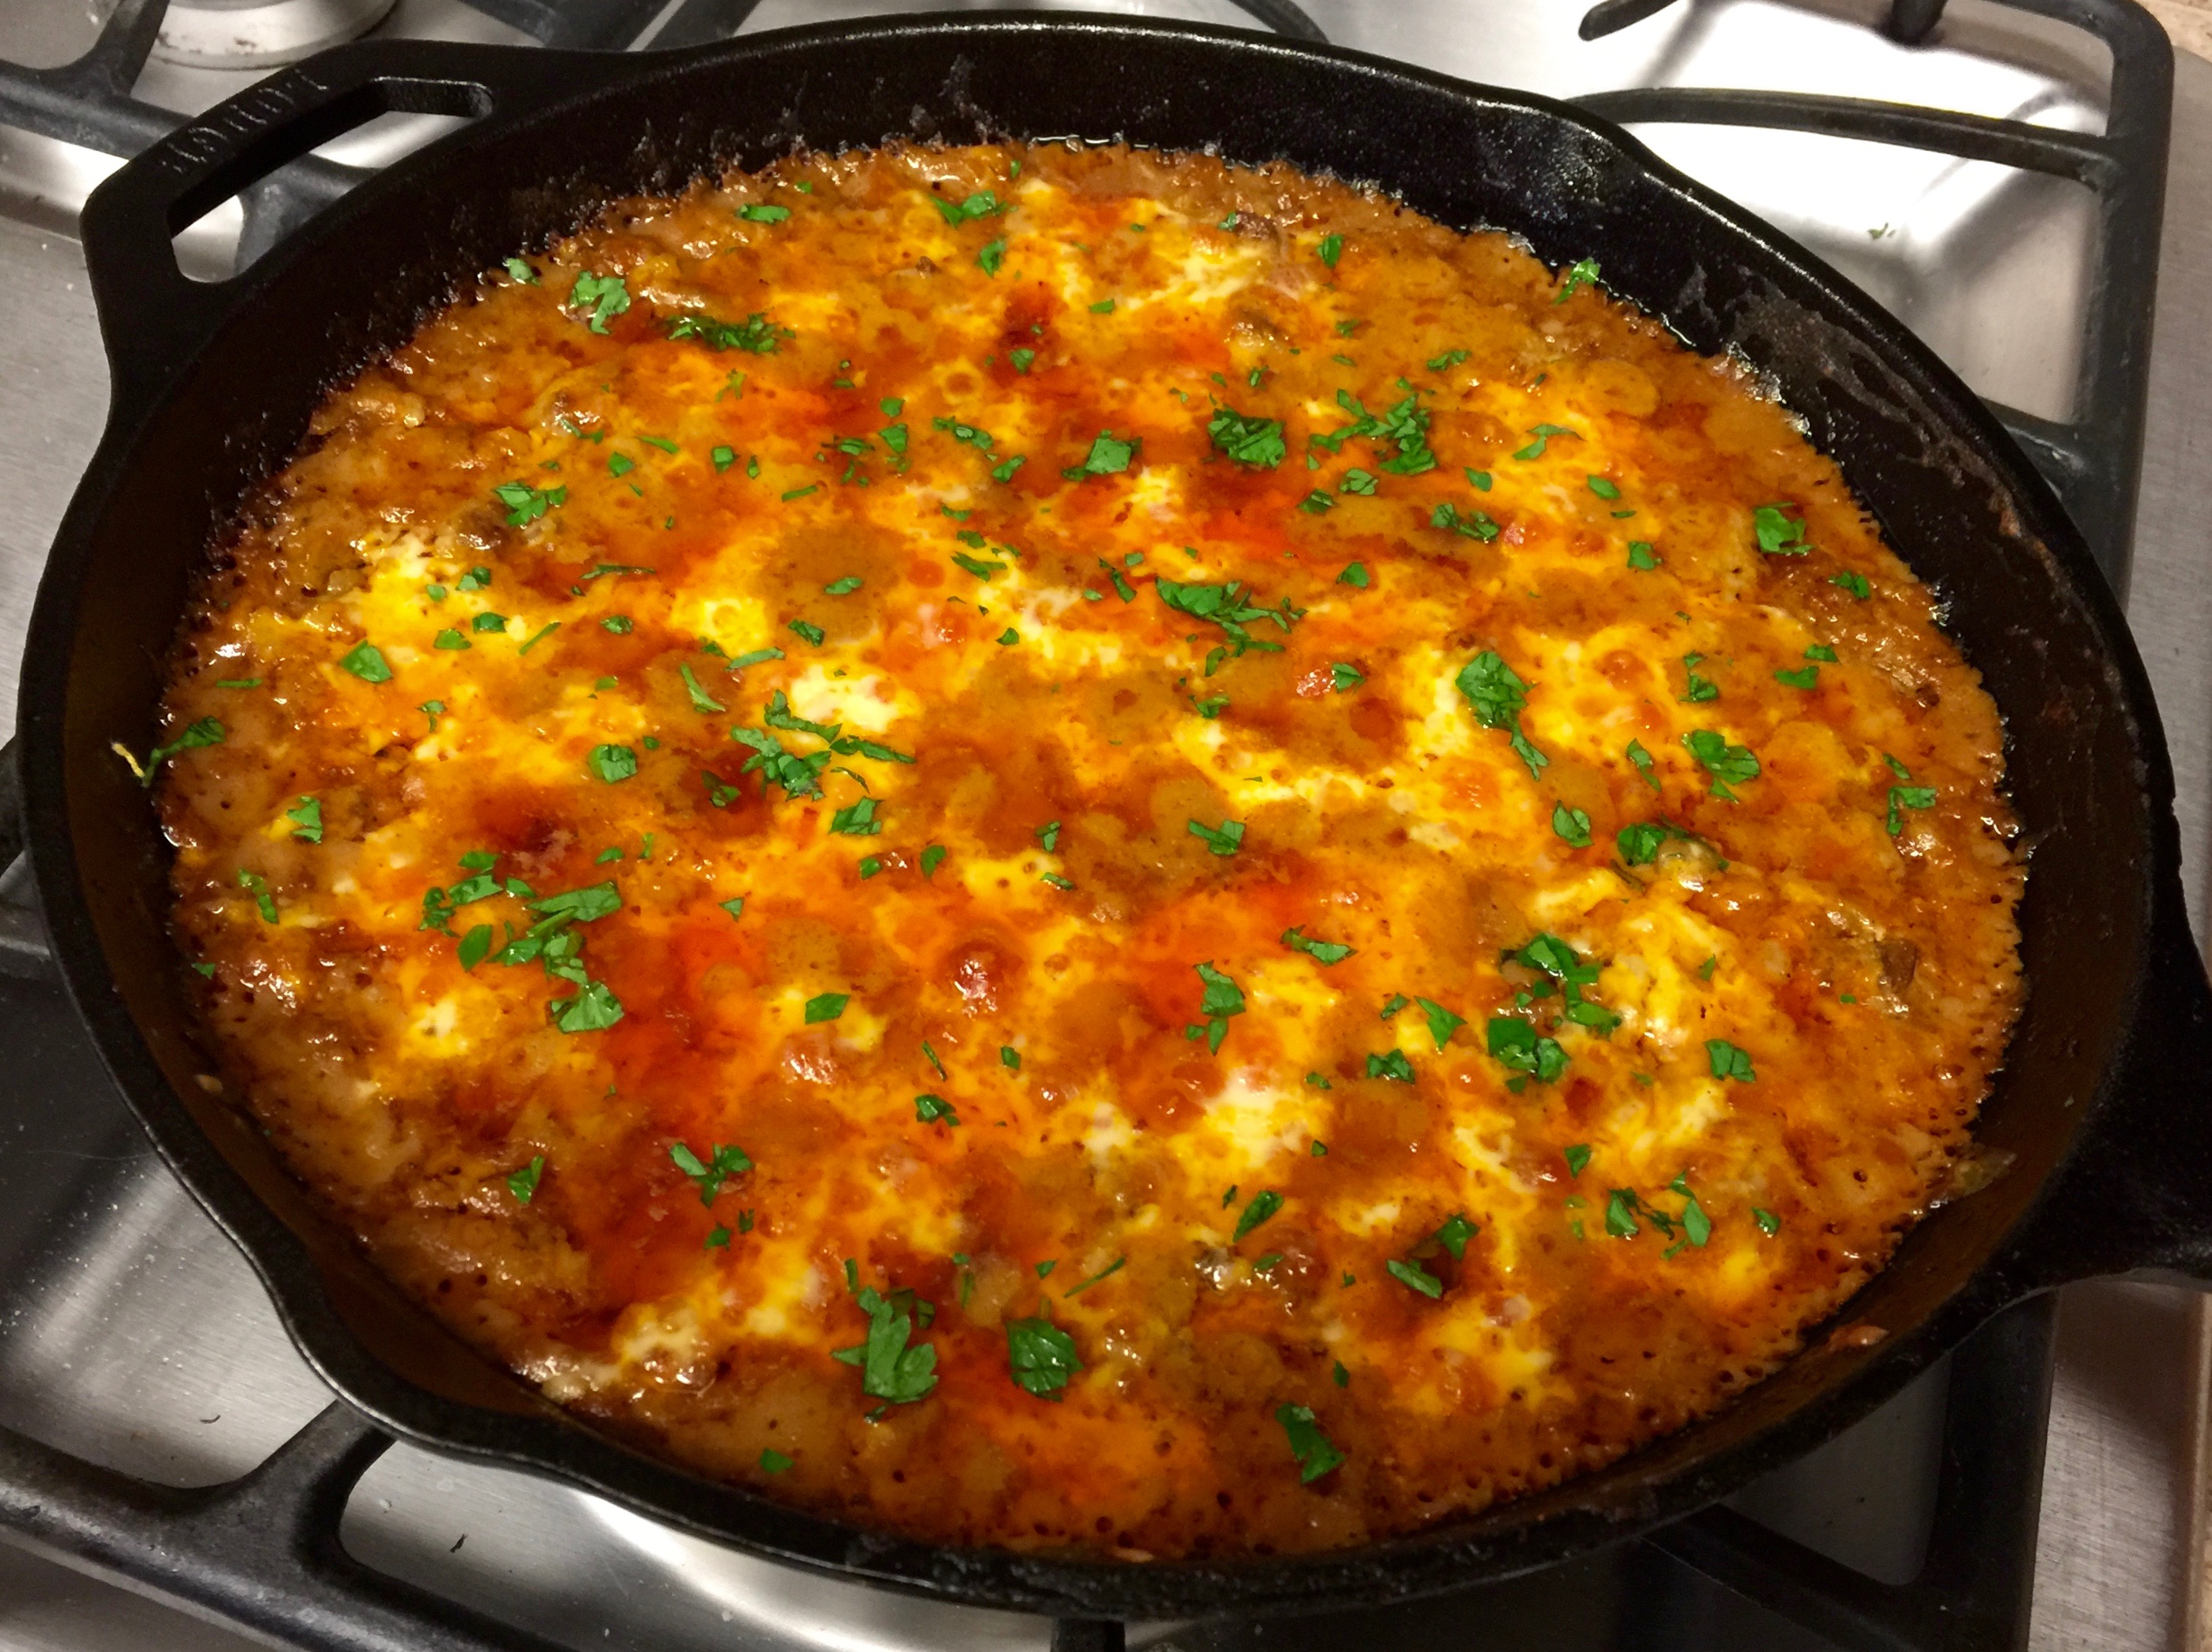
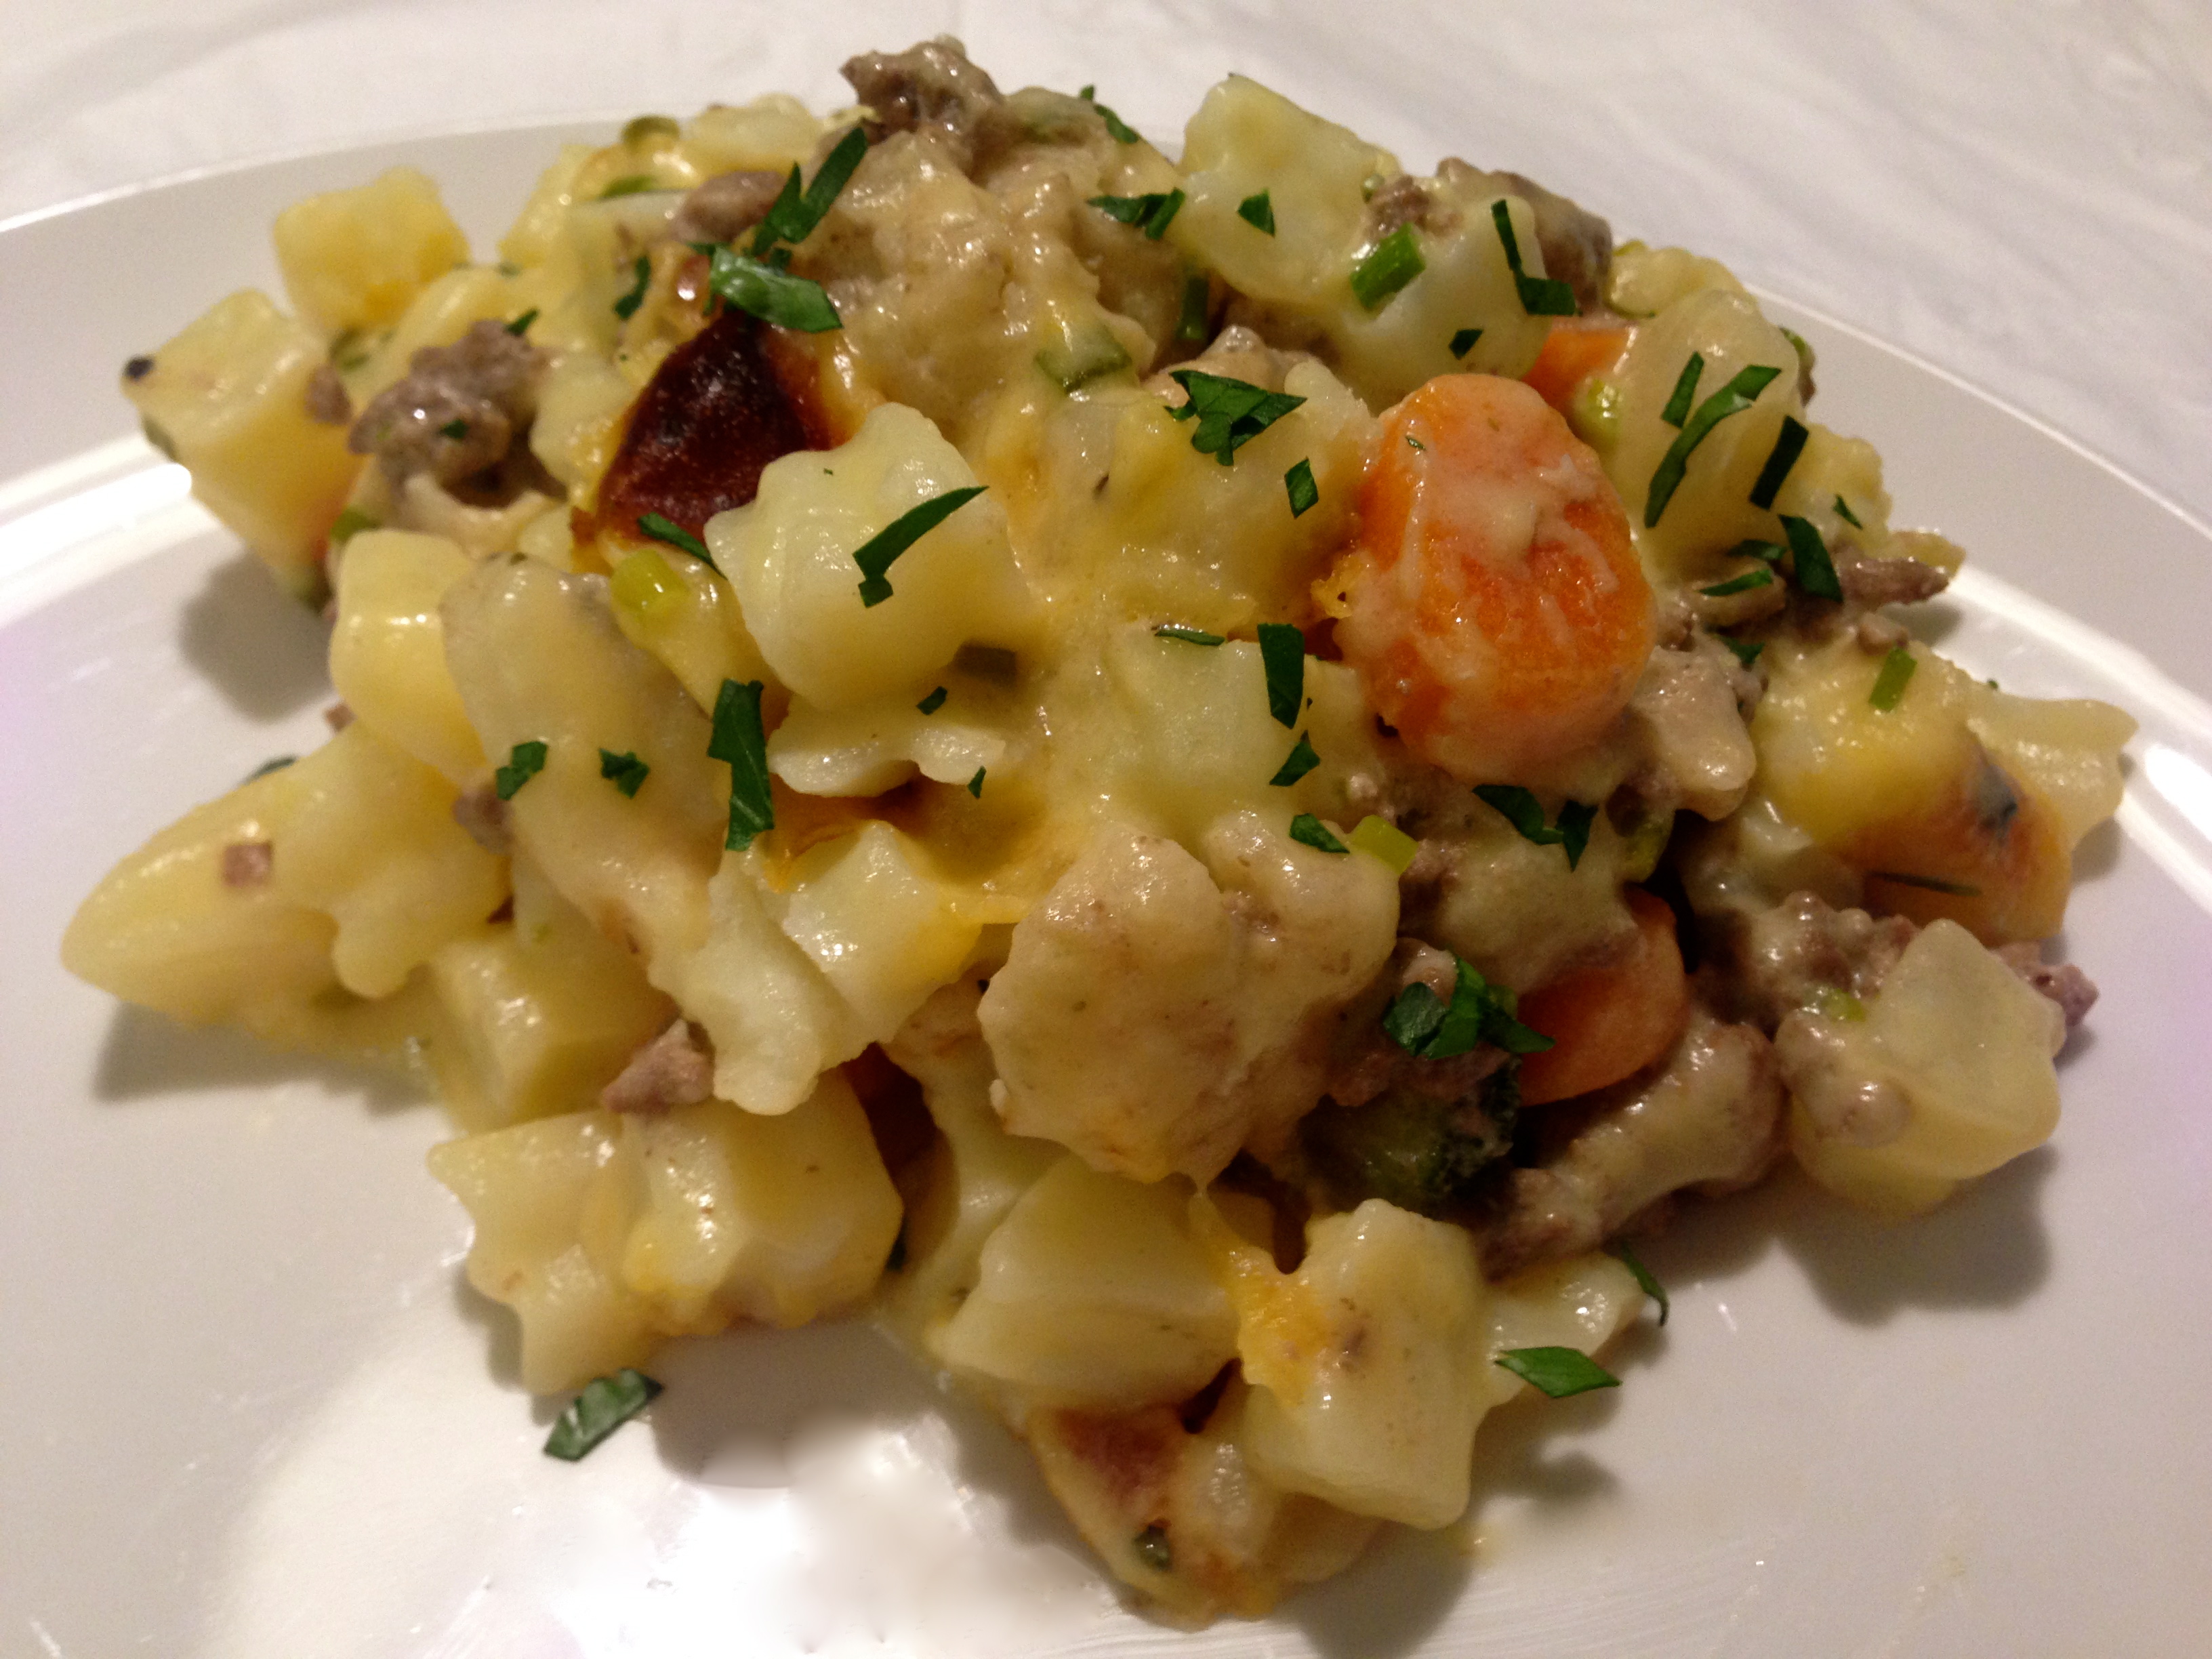
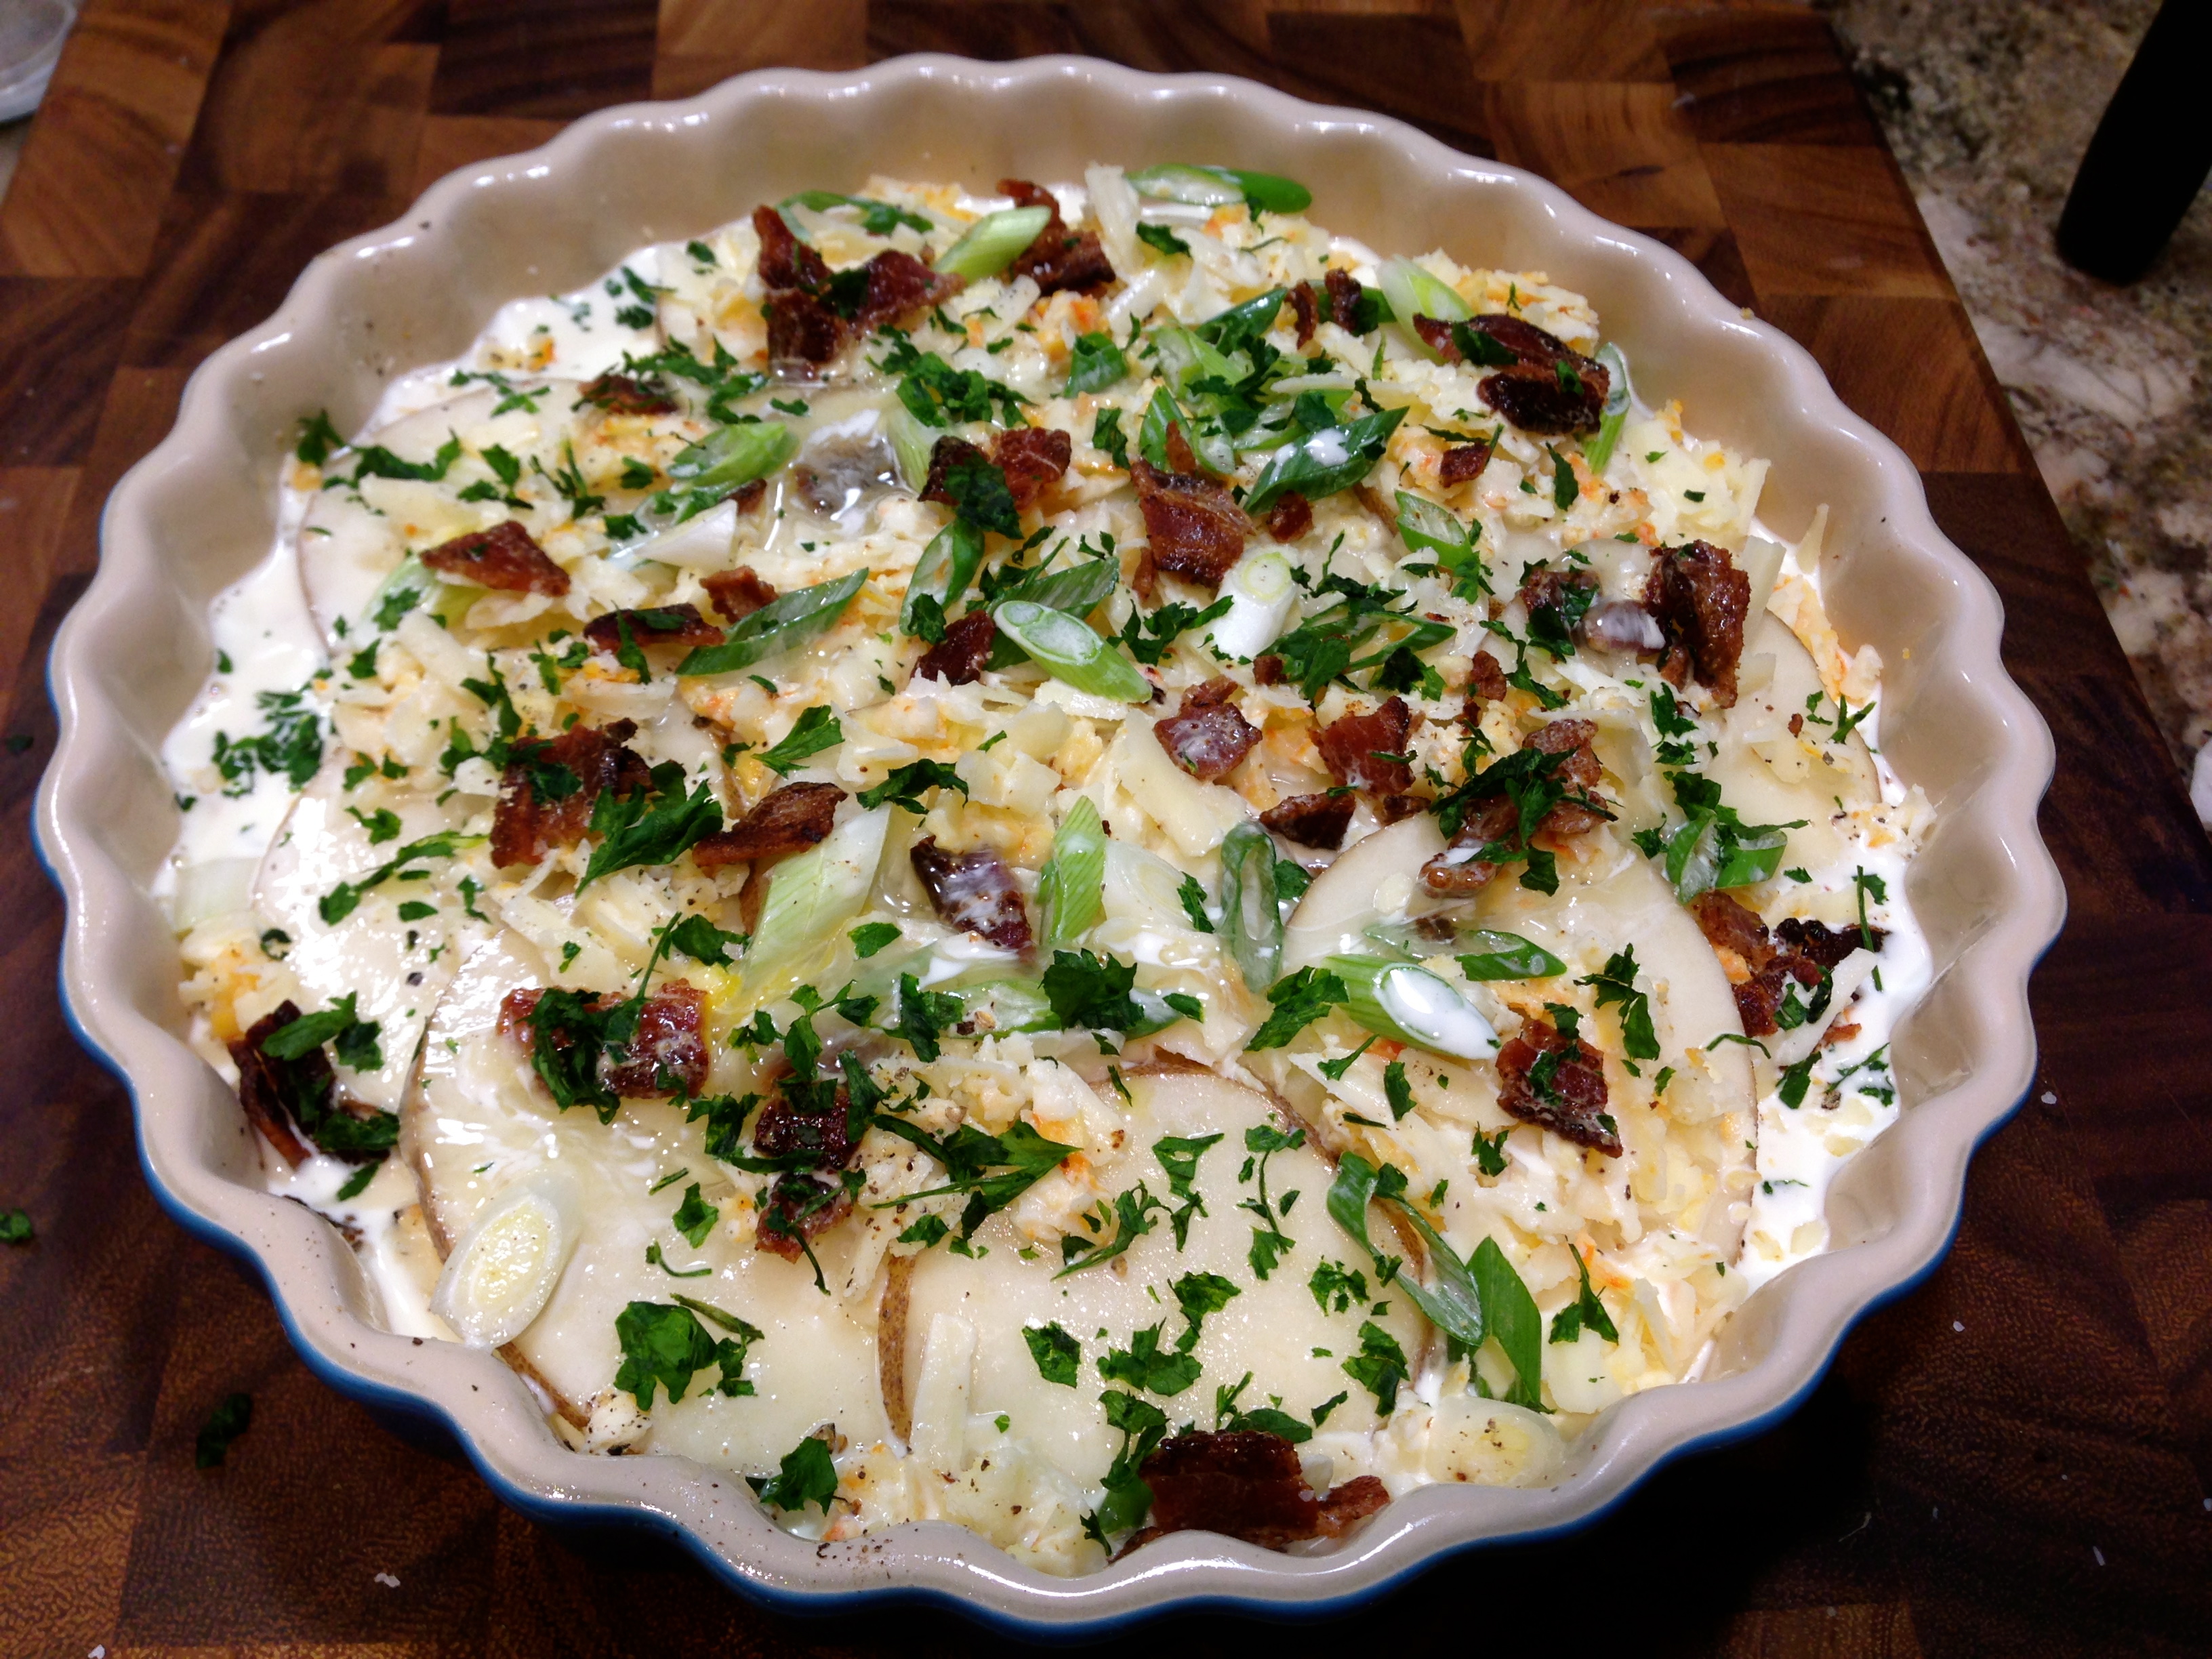
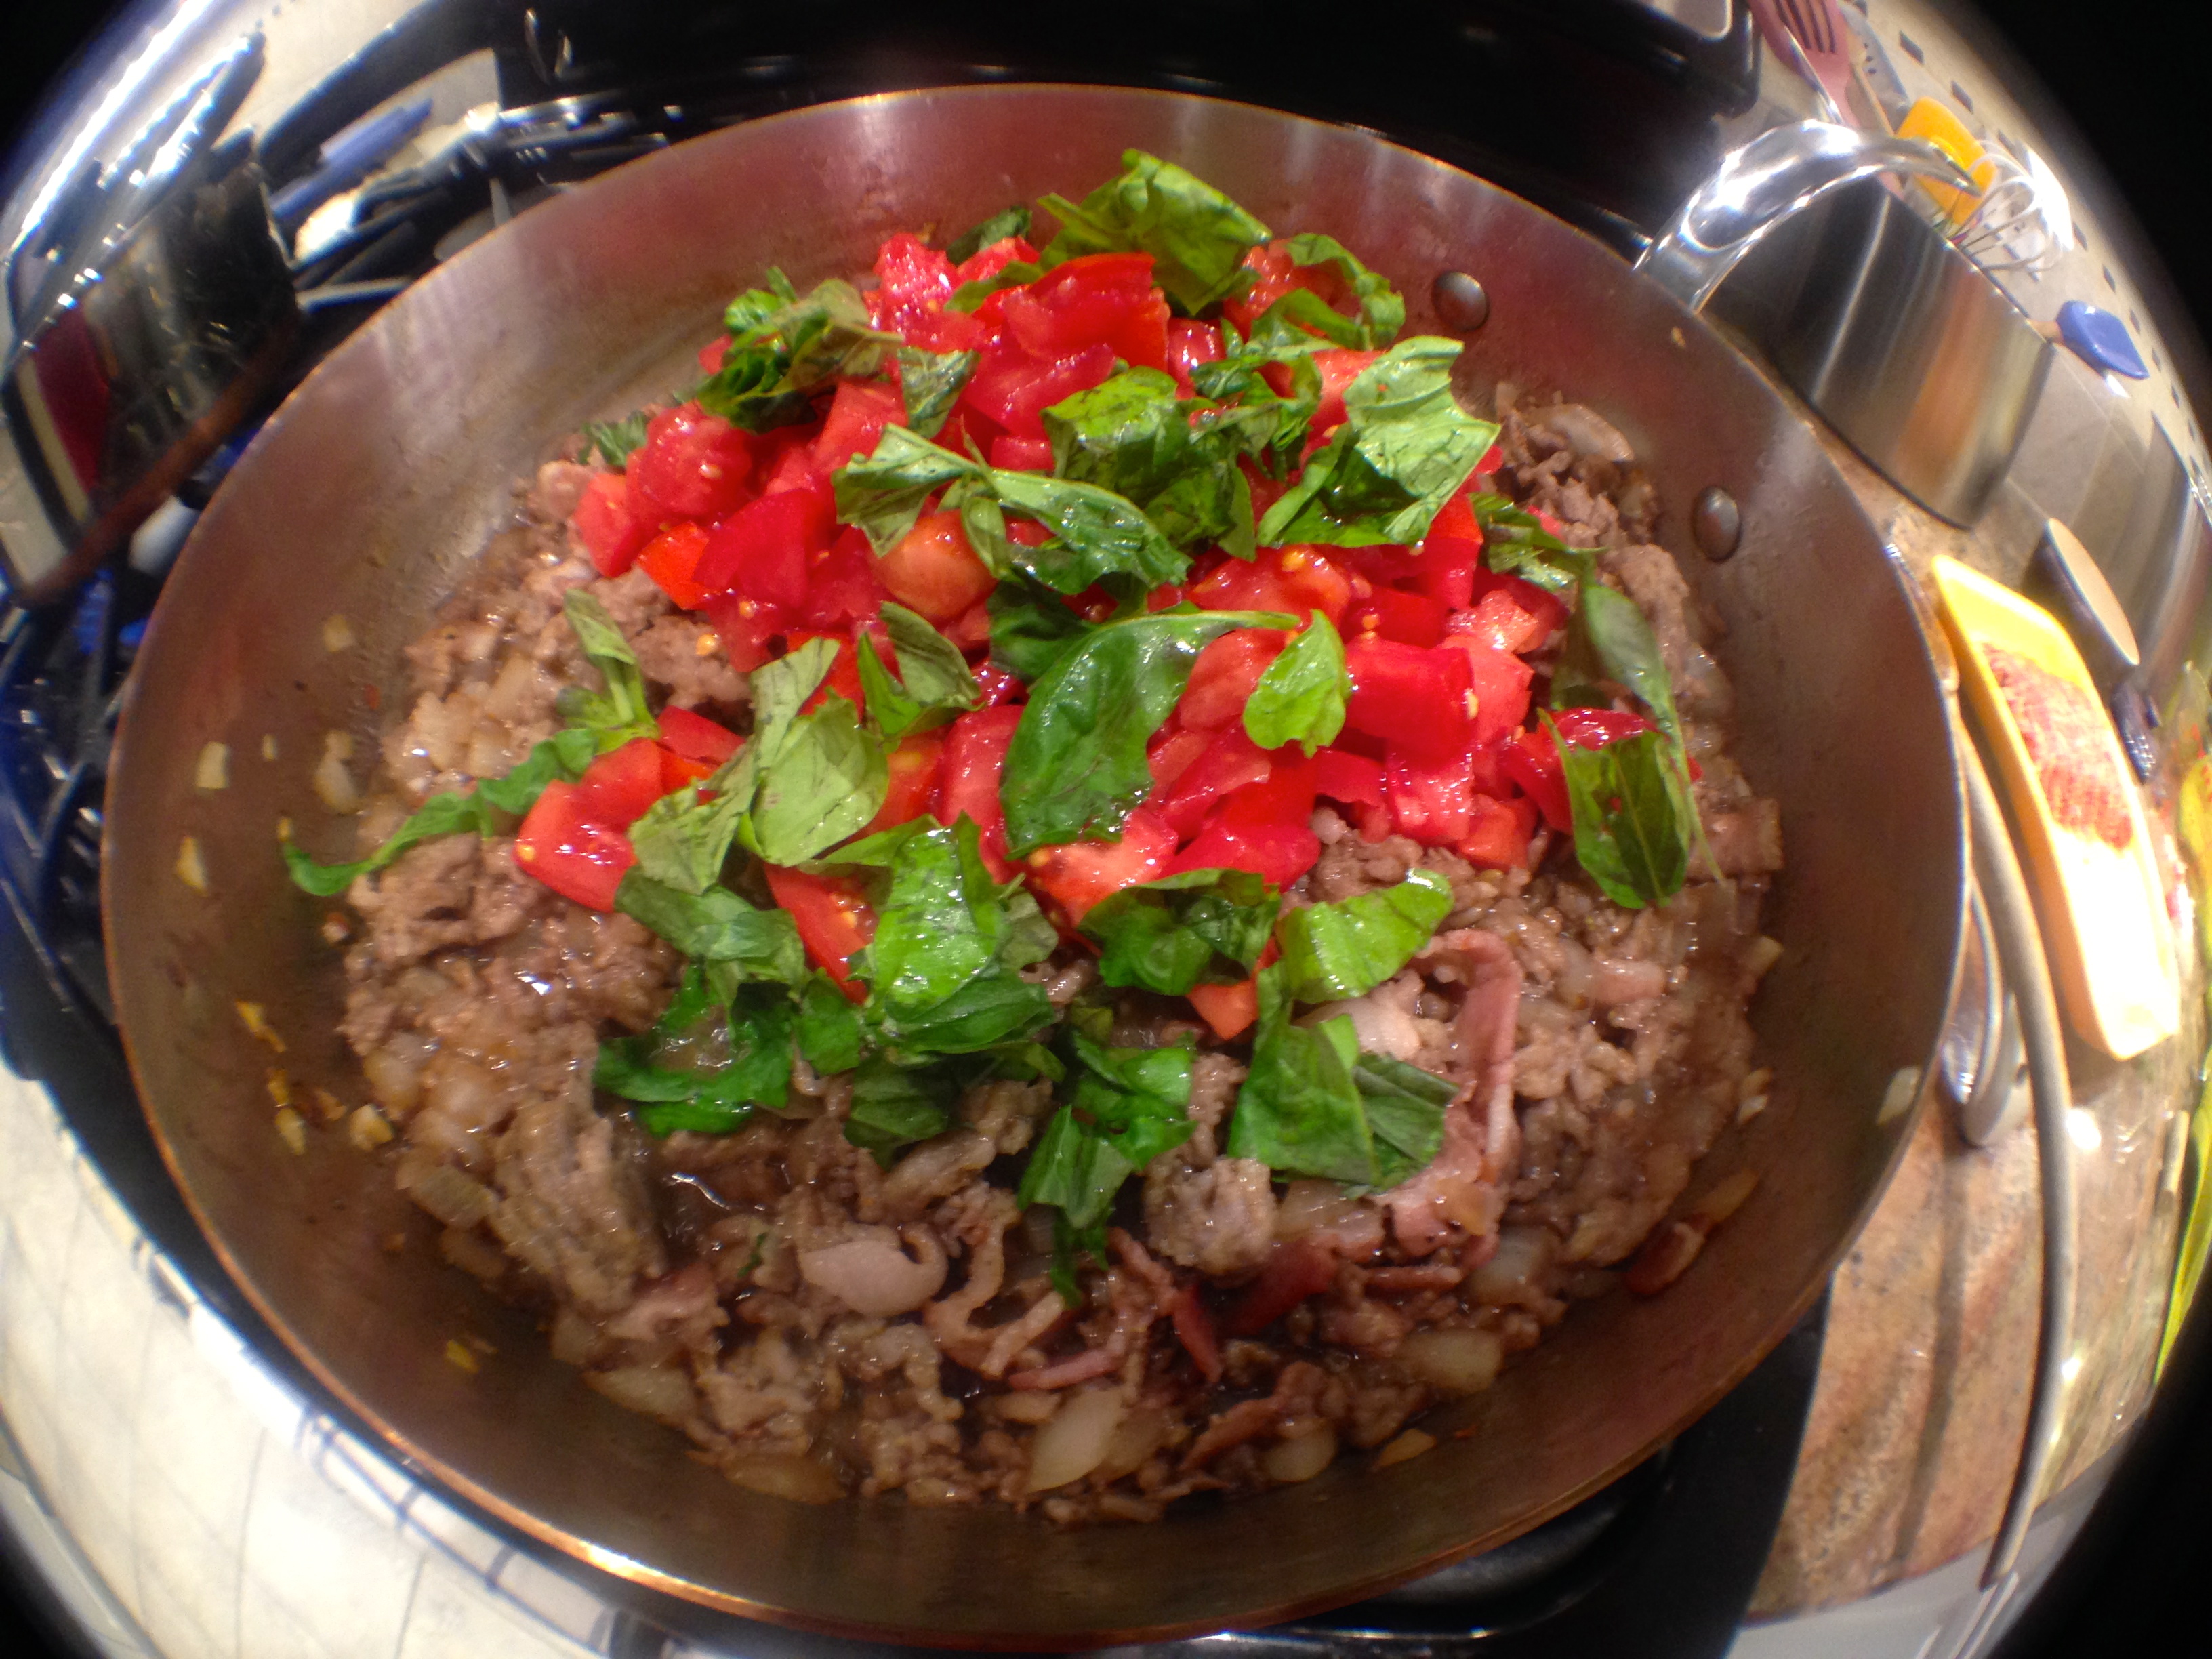
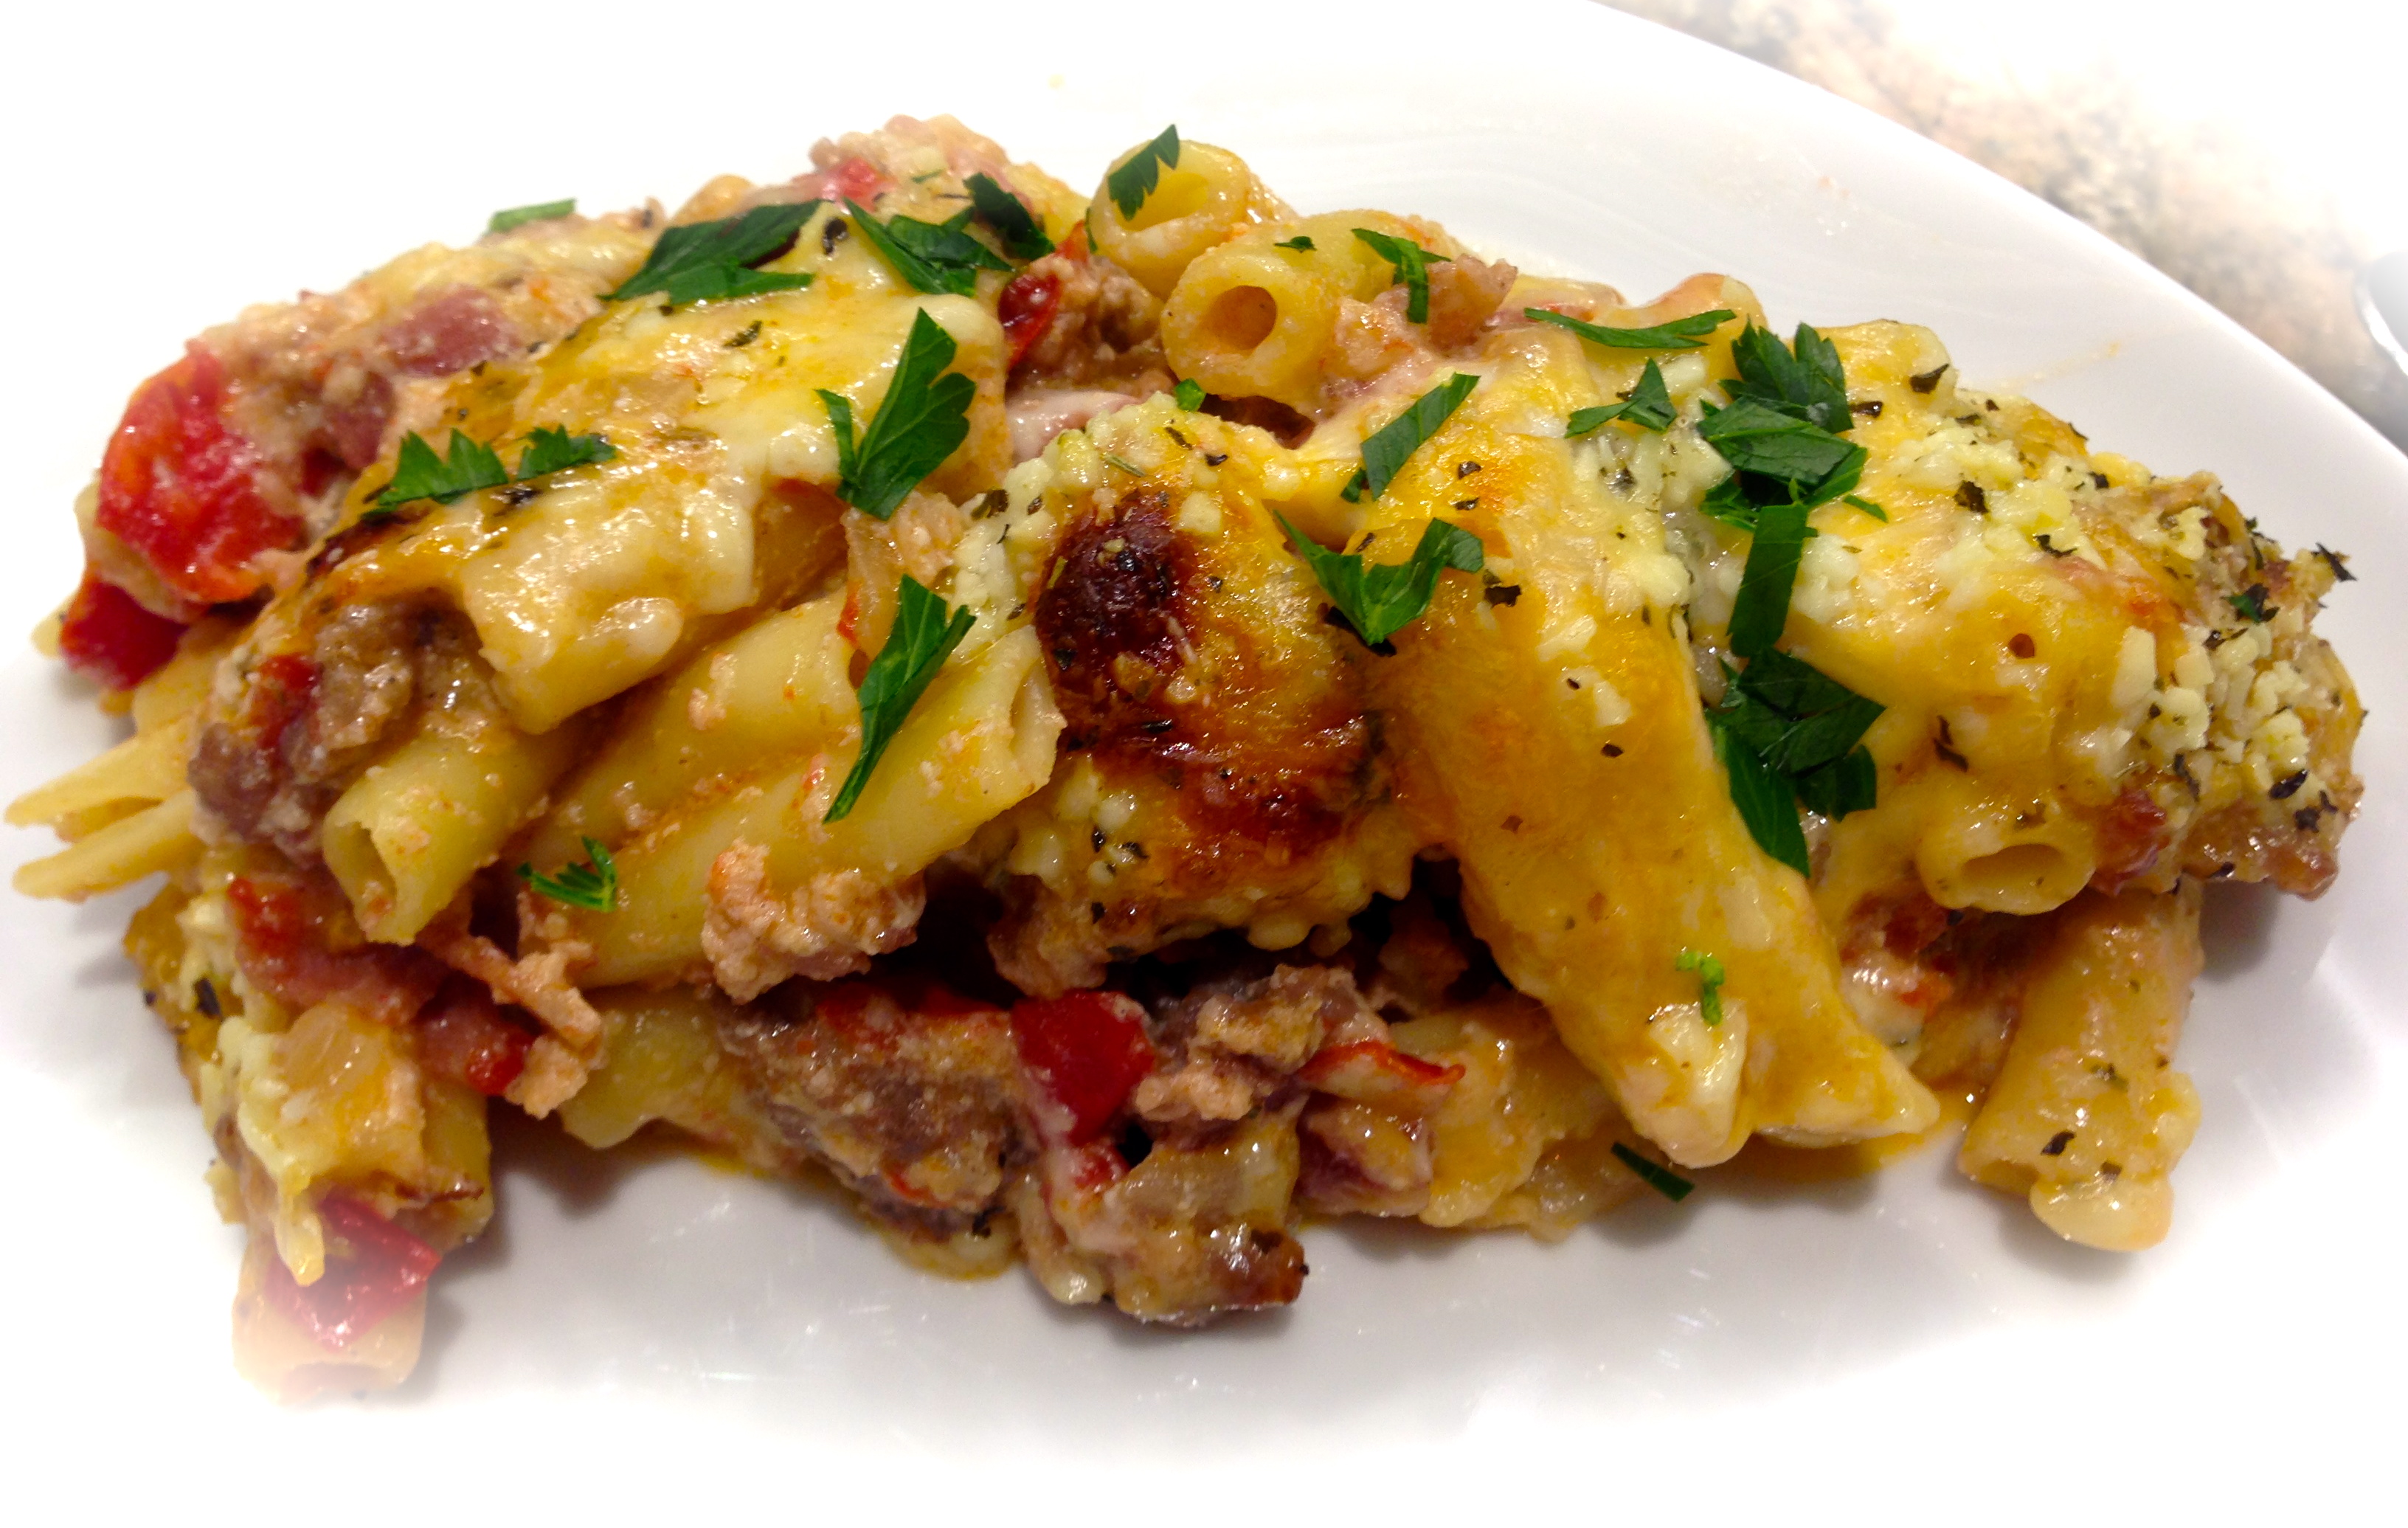
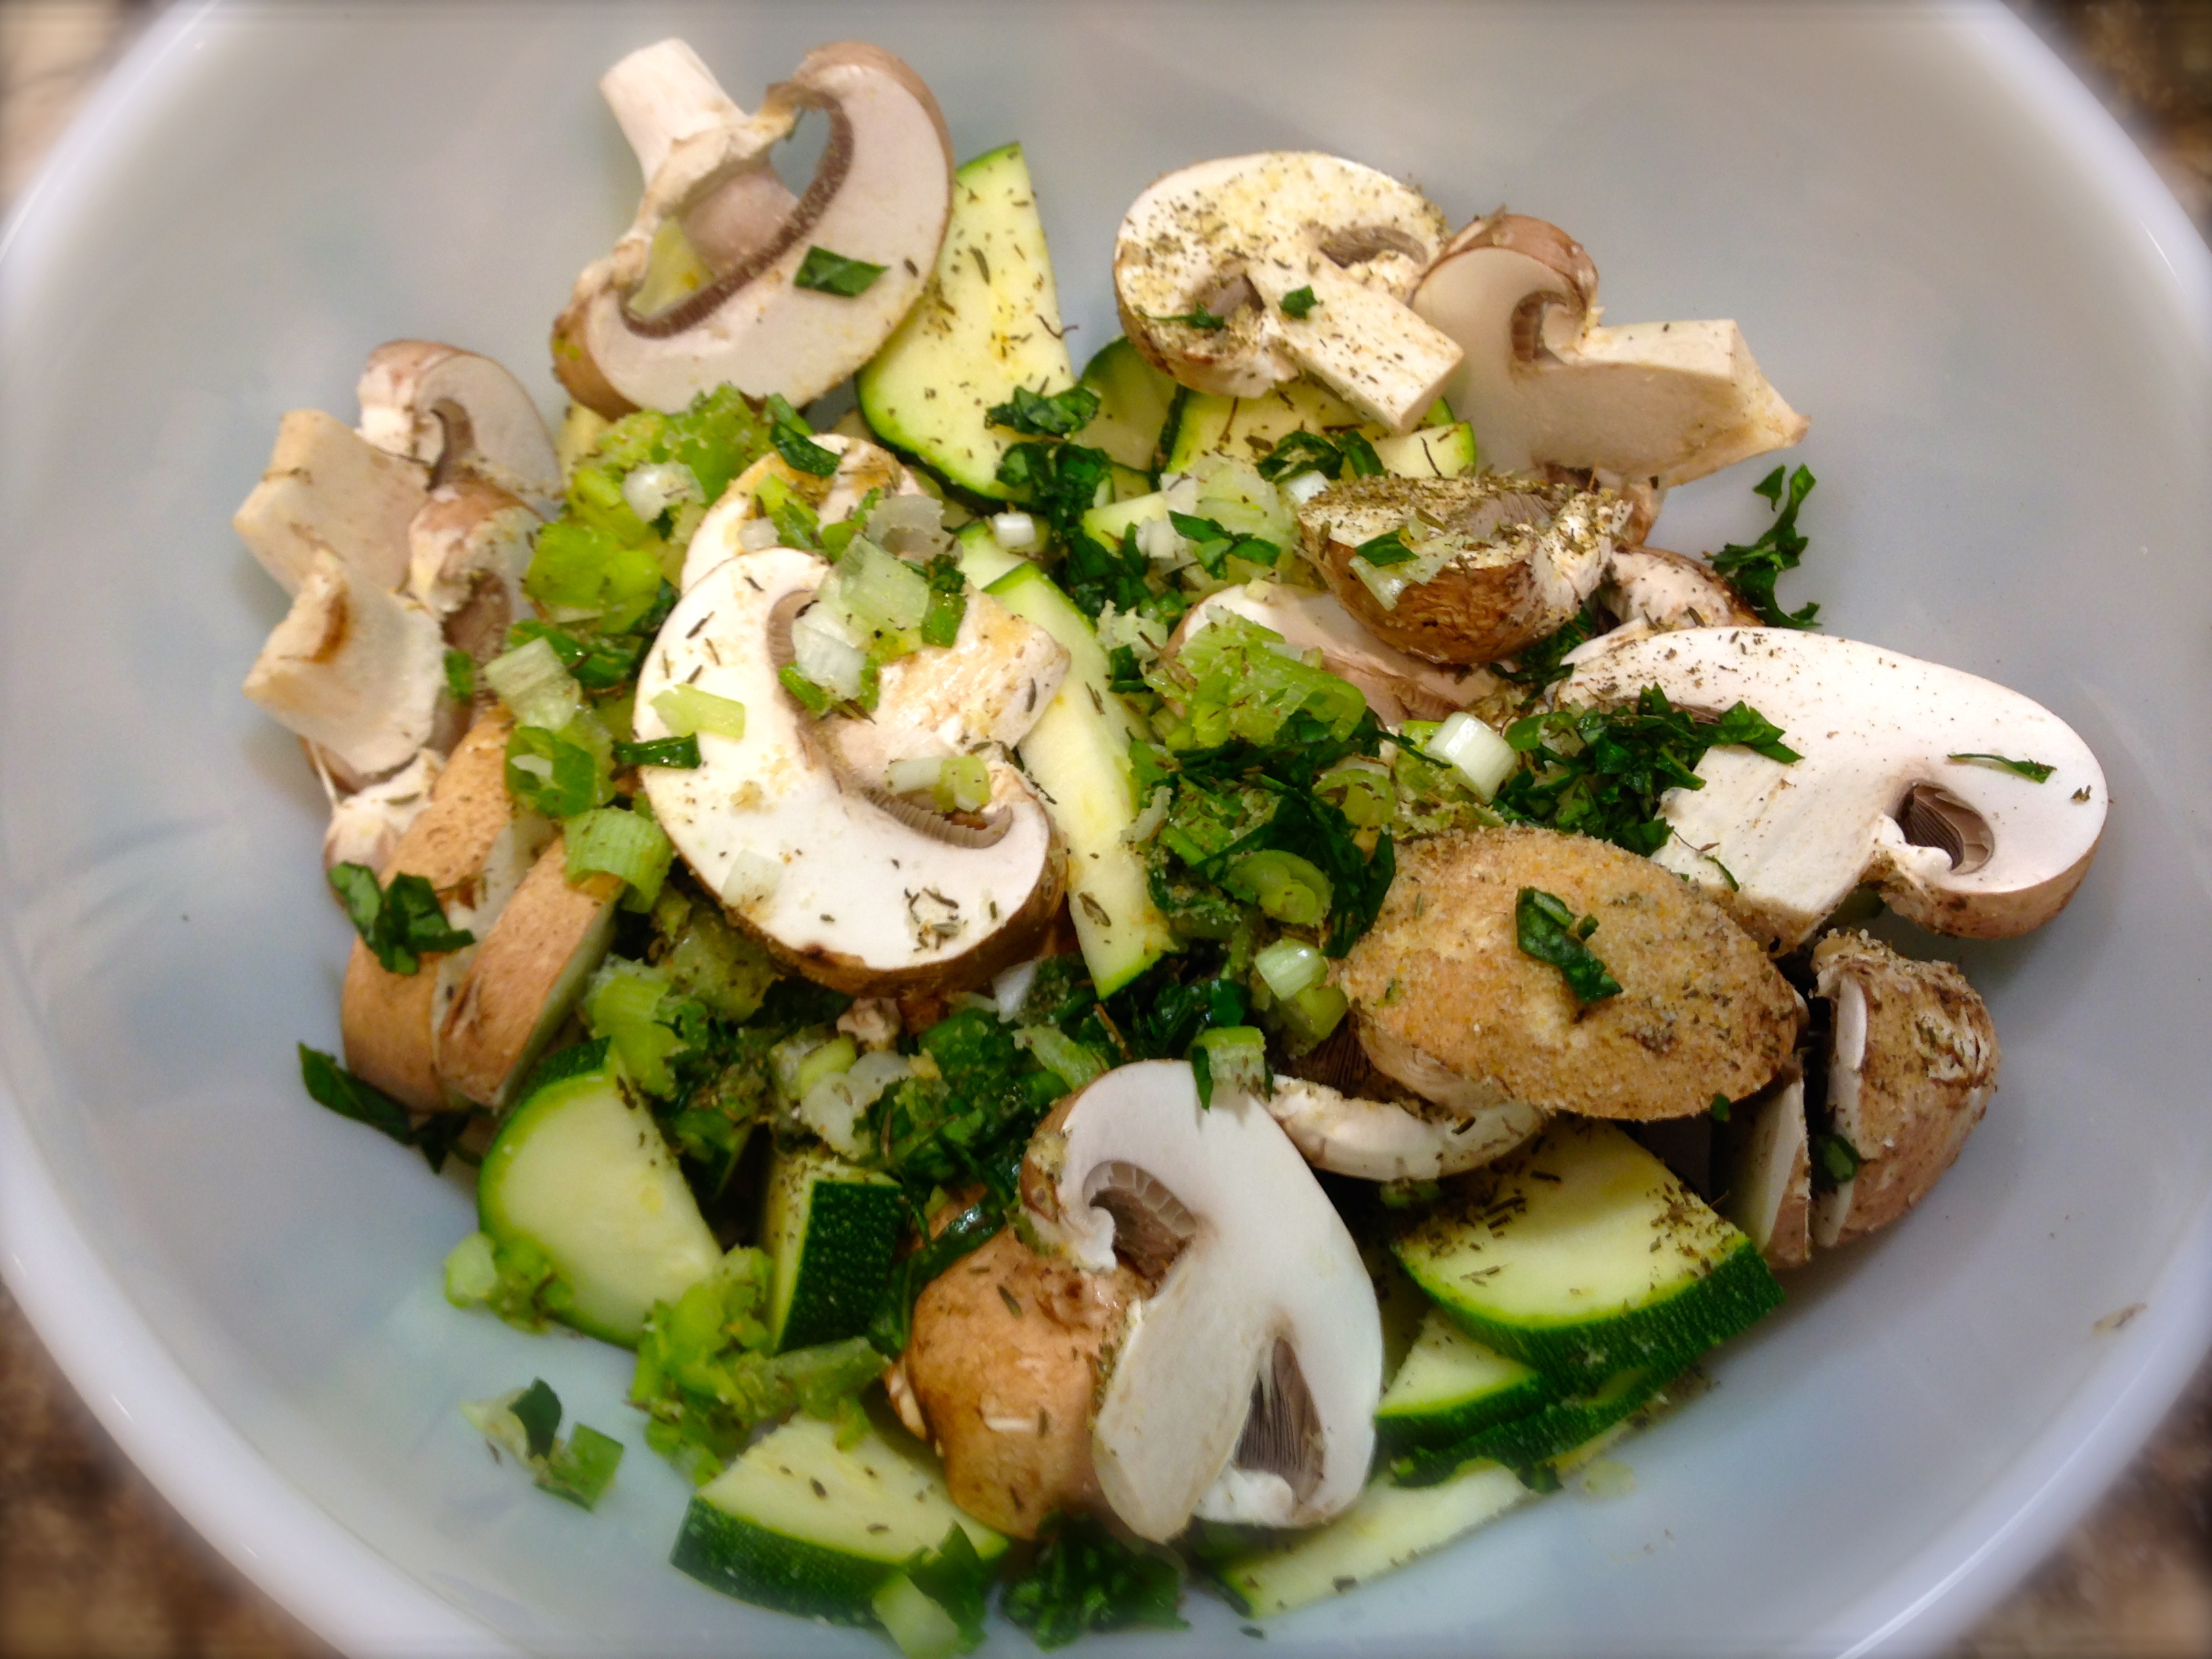
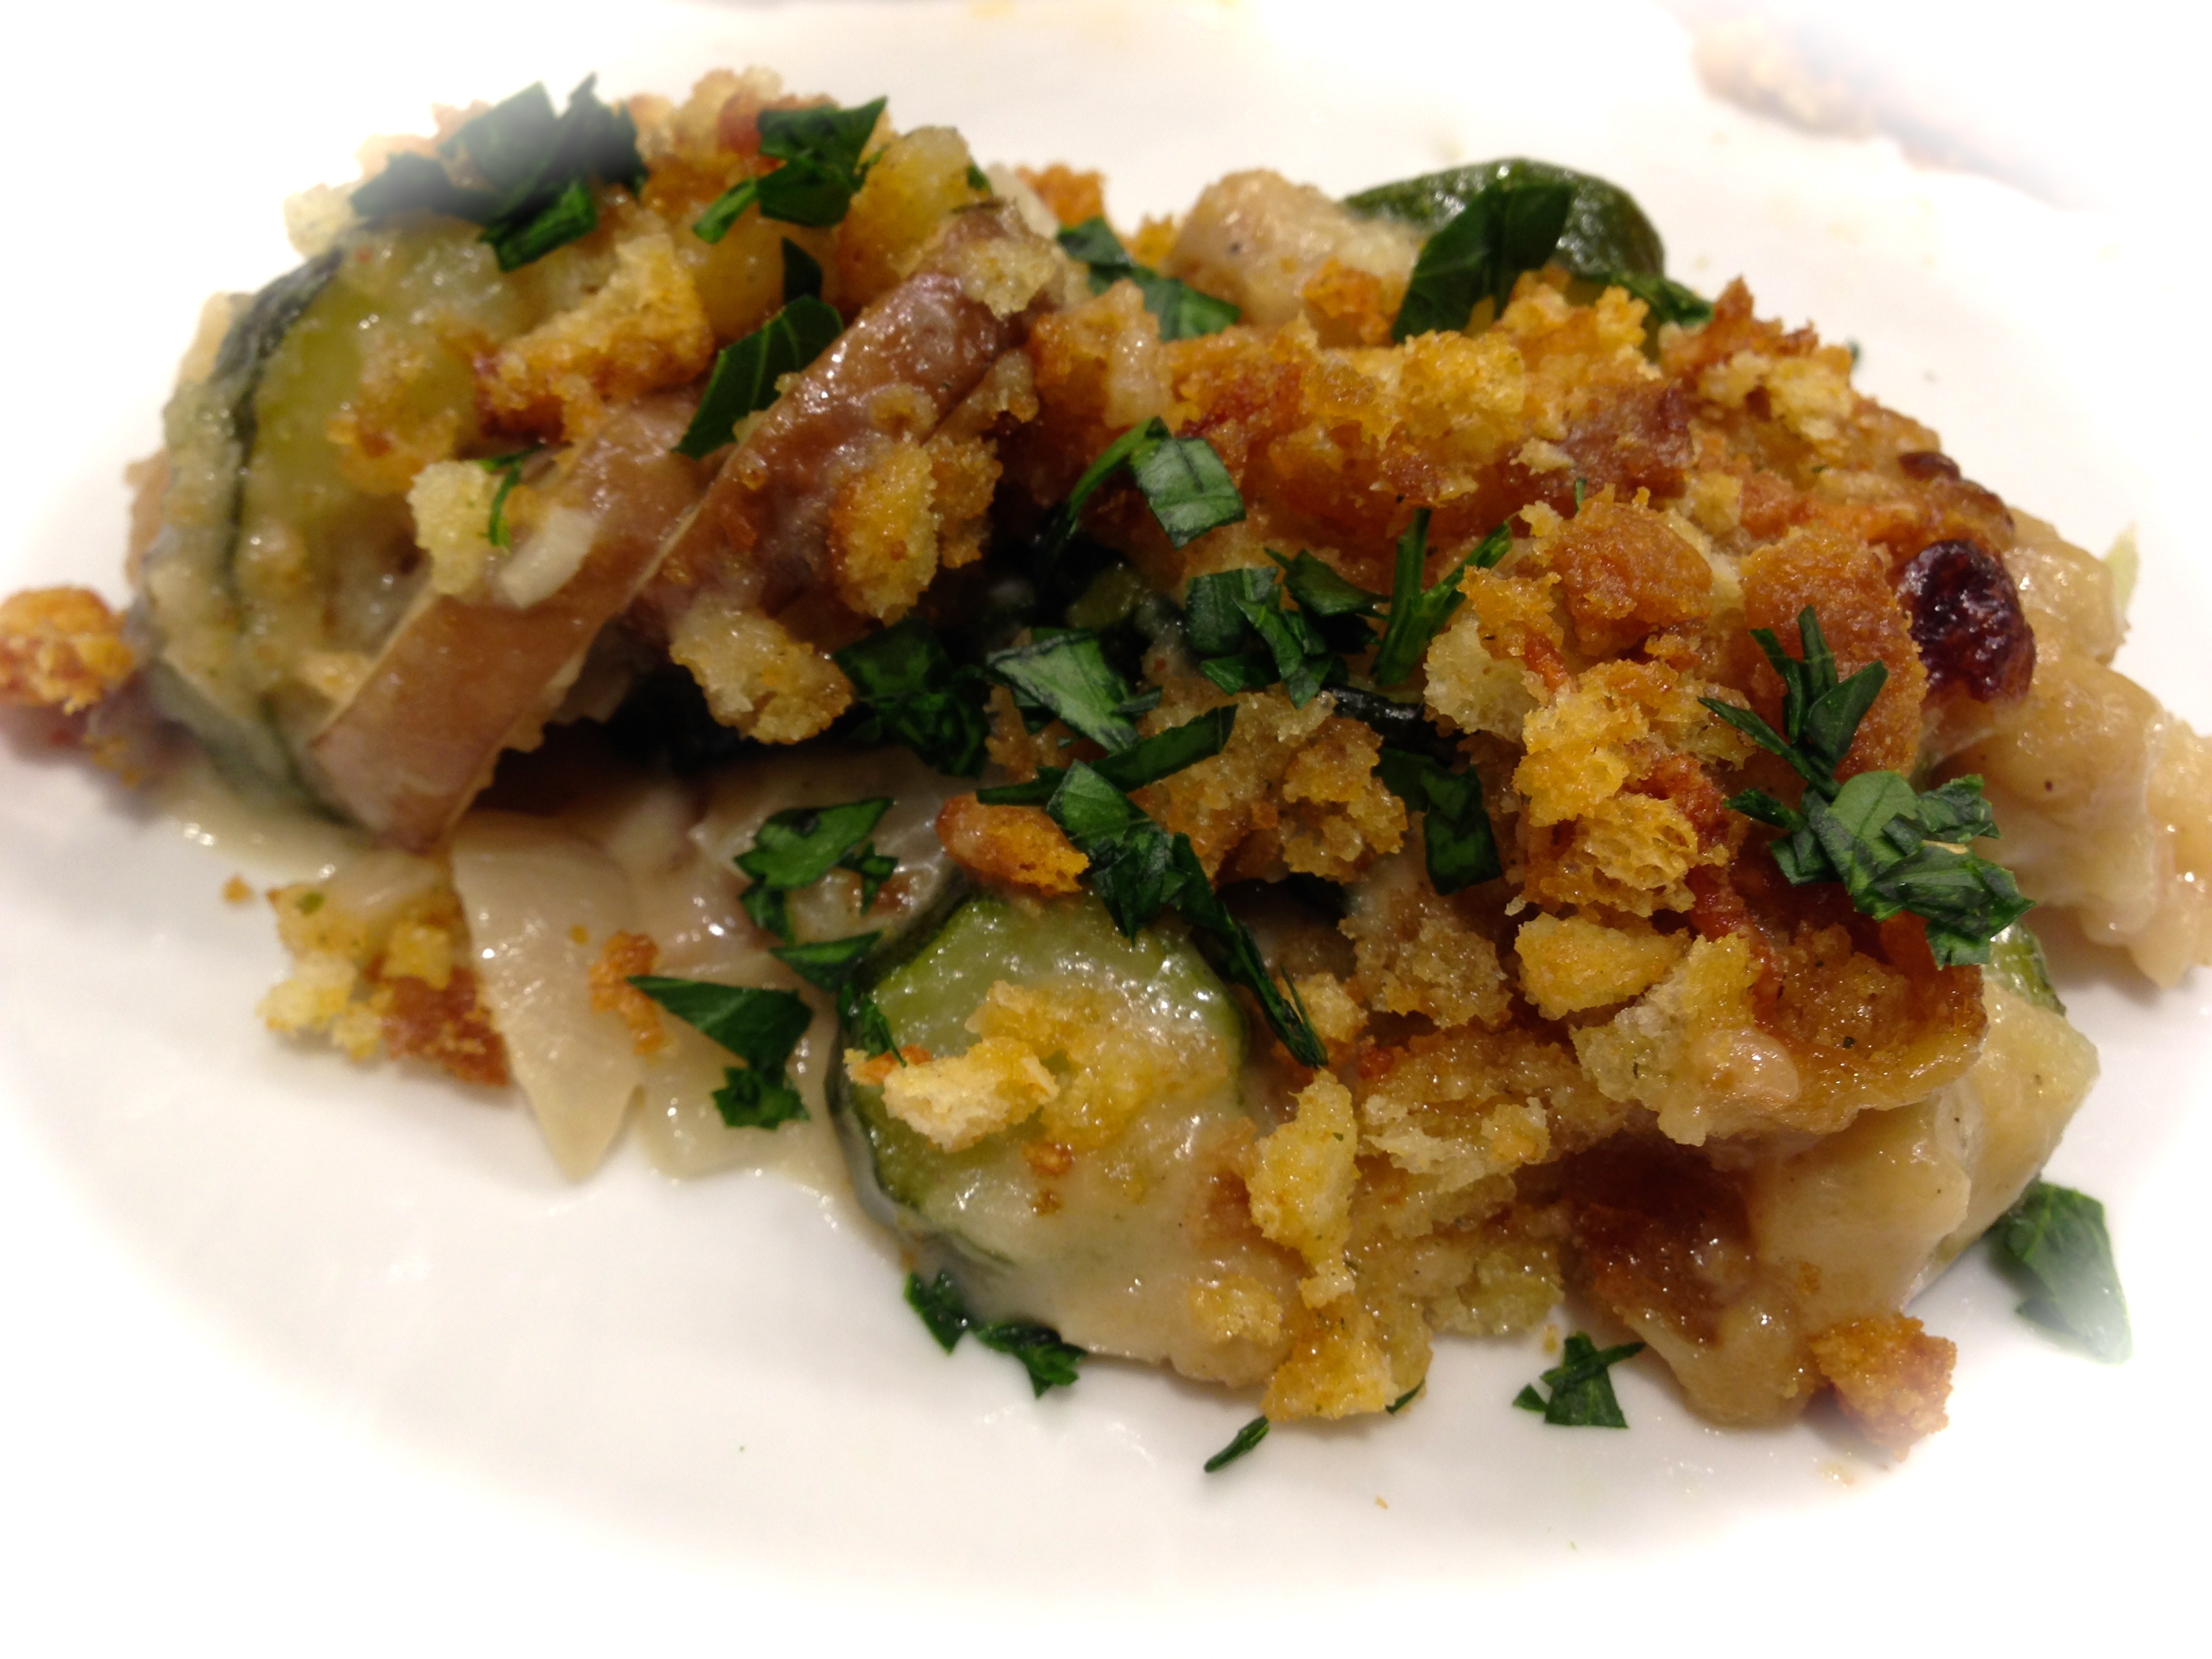
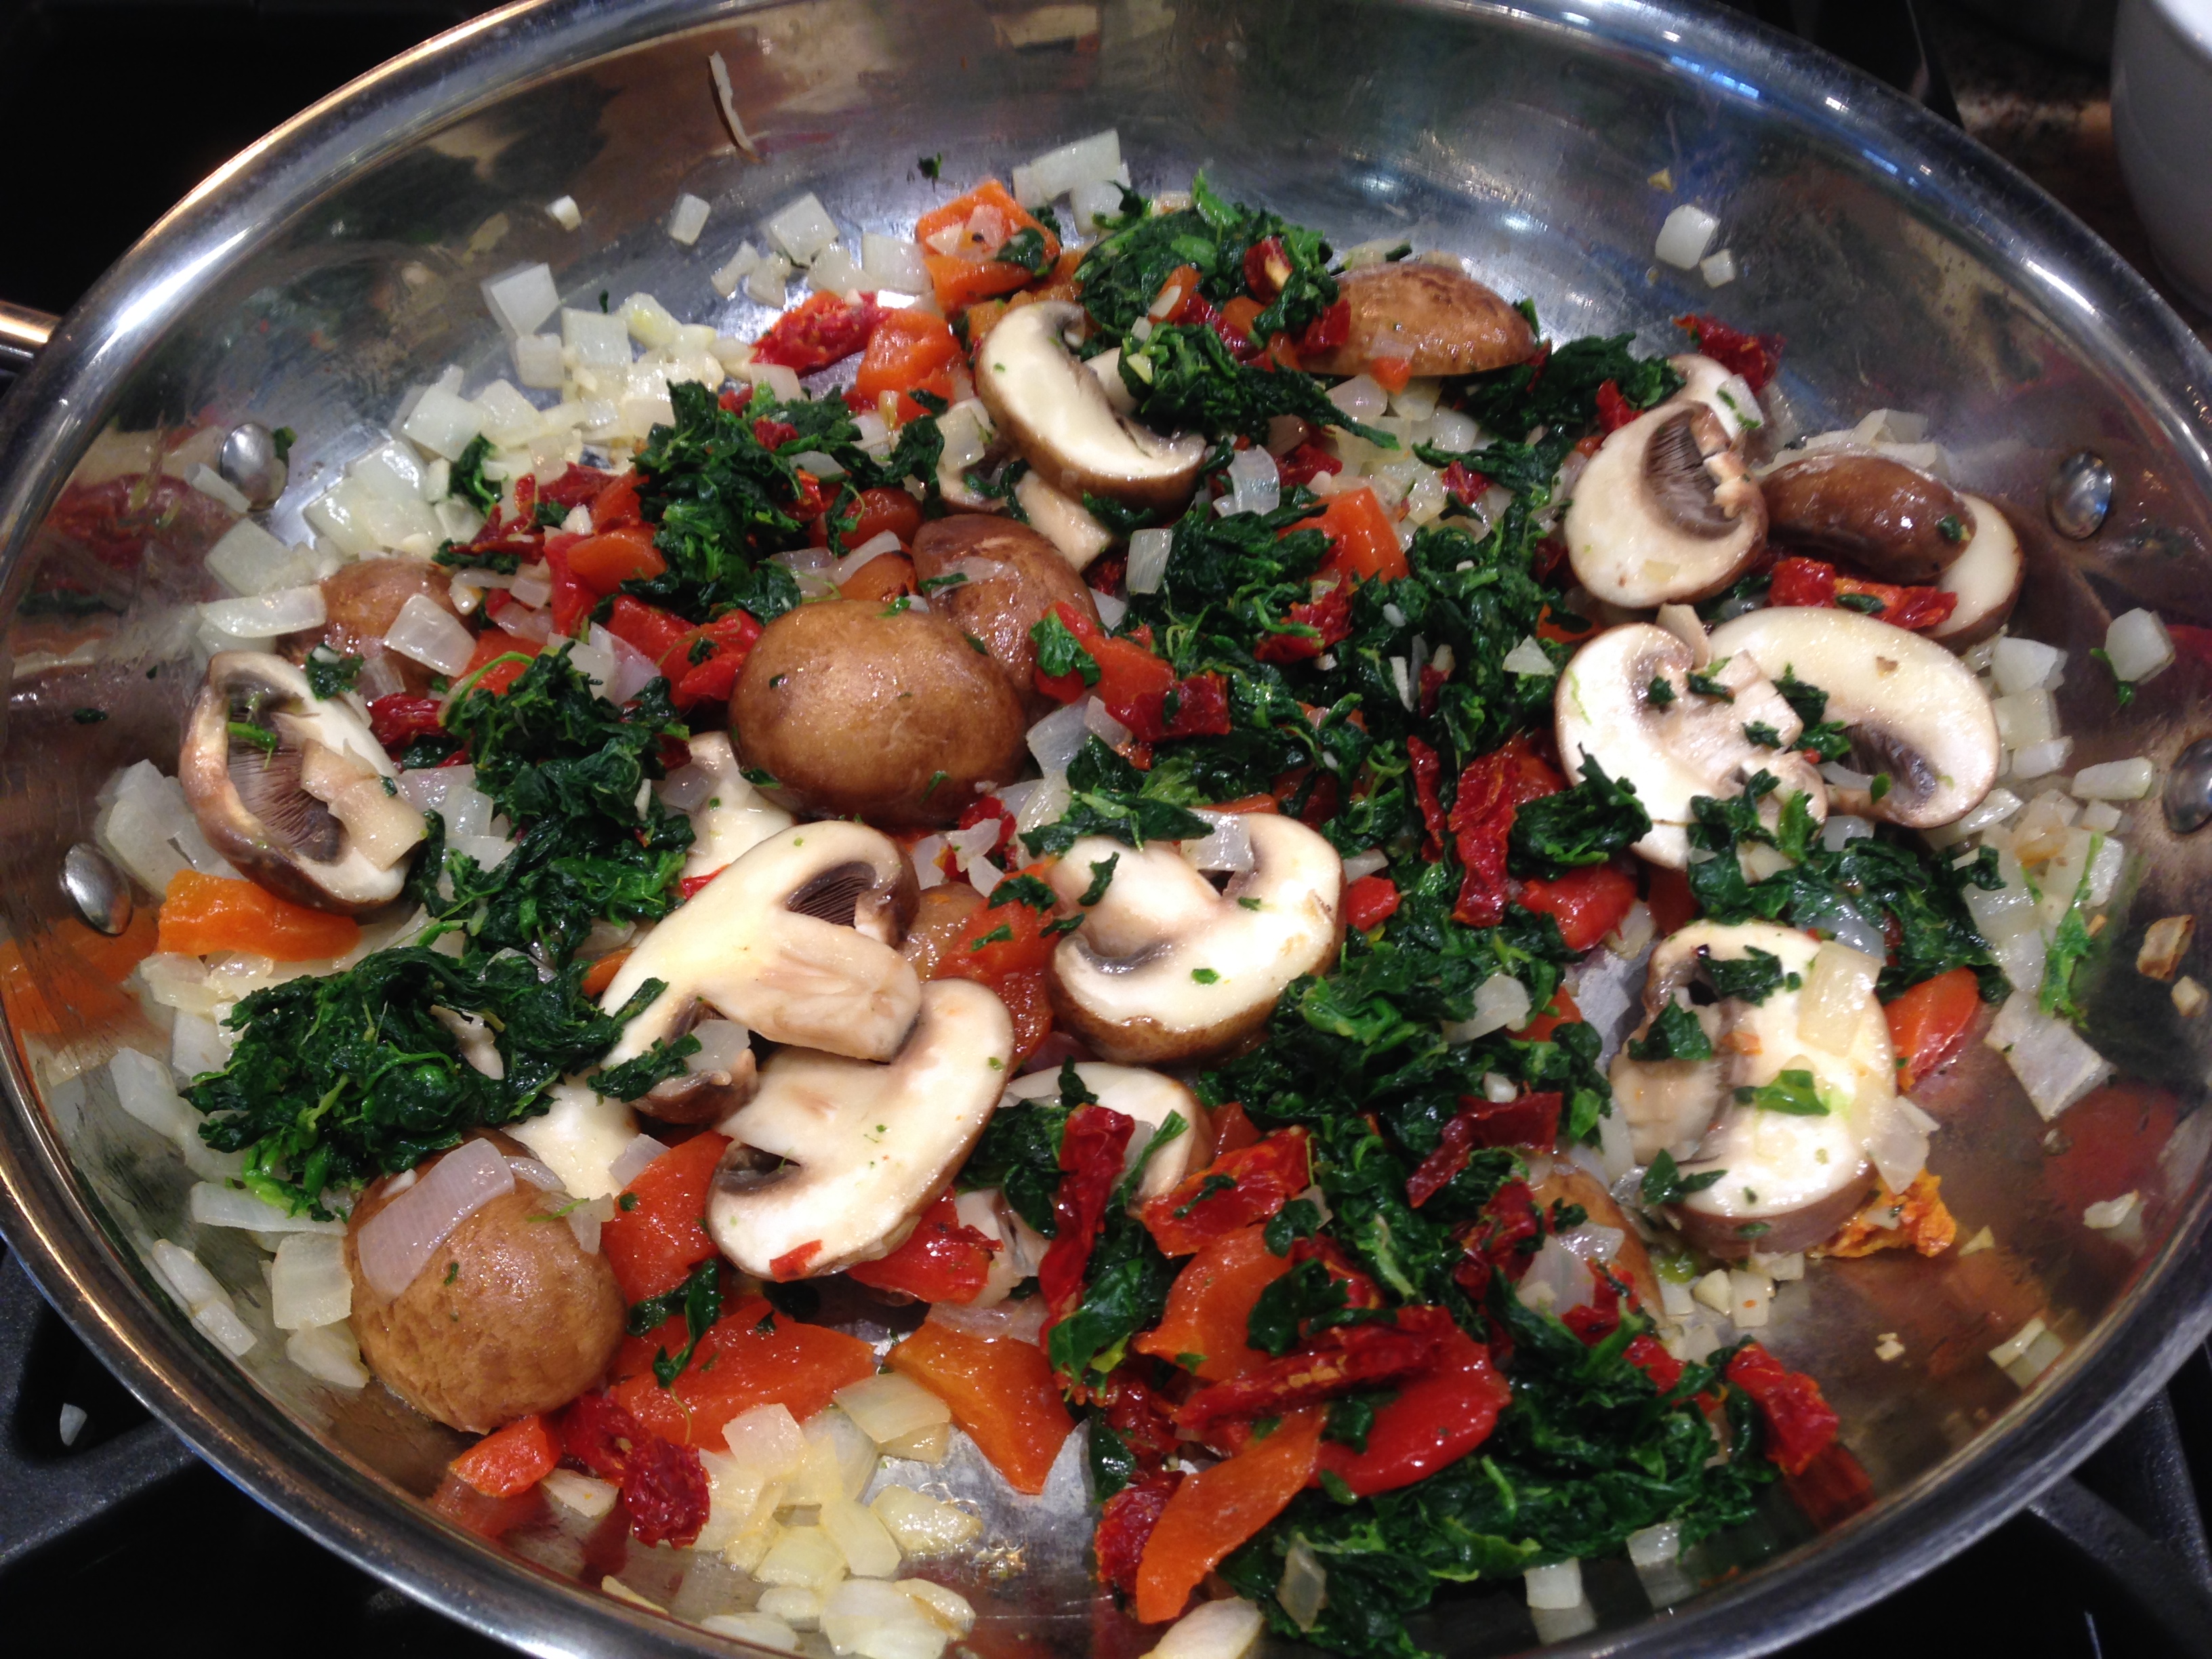
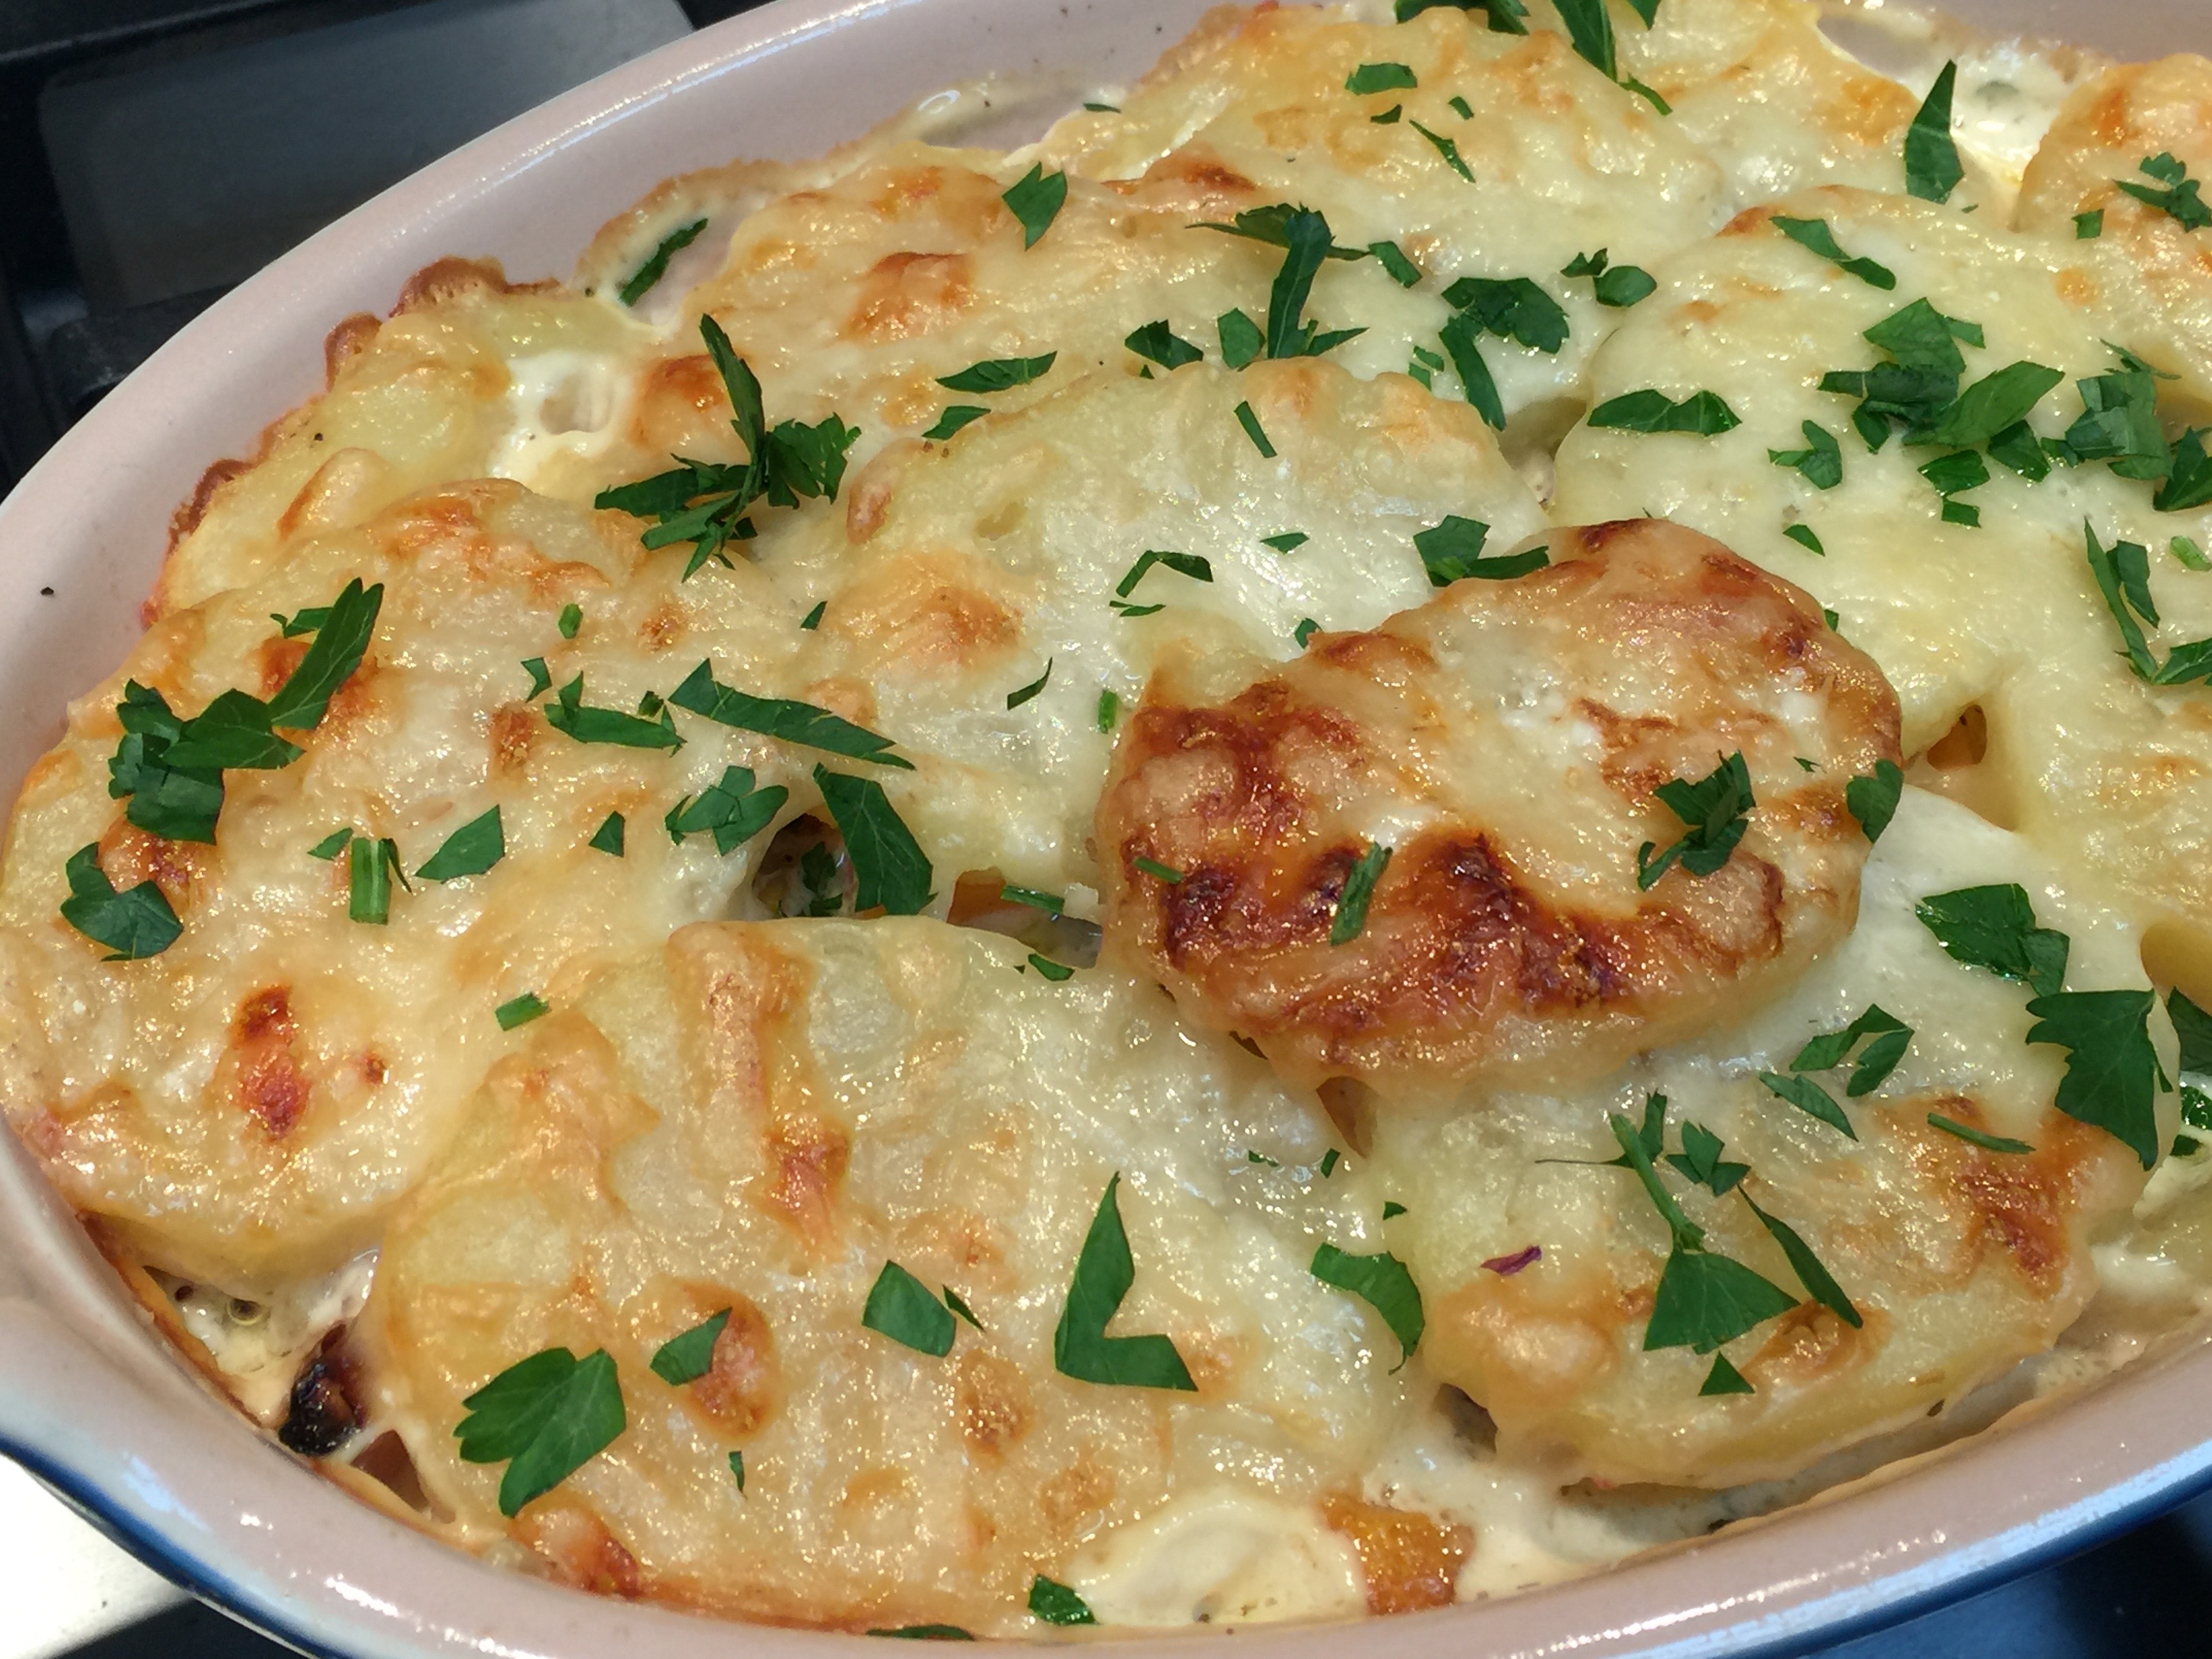
 Lesson Learned 2 – Adapting this recipe: I originally wanted to use some spinach in this recipe but didn’t have it on hand and didn’t feel like going to the grocery store to buy some. But I did have some flat leaf parsley and so I used that. If you use spinach just saute it with the onions and only use a couple of handfuls. The spinach should act as the accompaniment to the recipe and shouldn’t overpower it. The same applies to flat leaf parsley. I only used a little more than a tablespoon (and of course I used some for garnish), just enough to enhance the flavor.
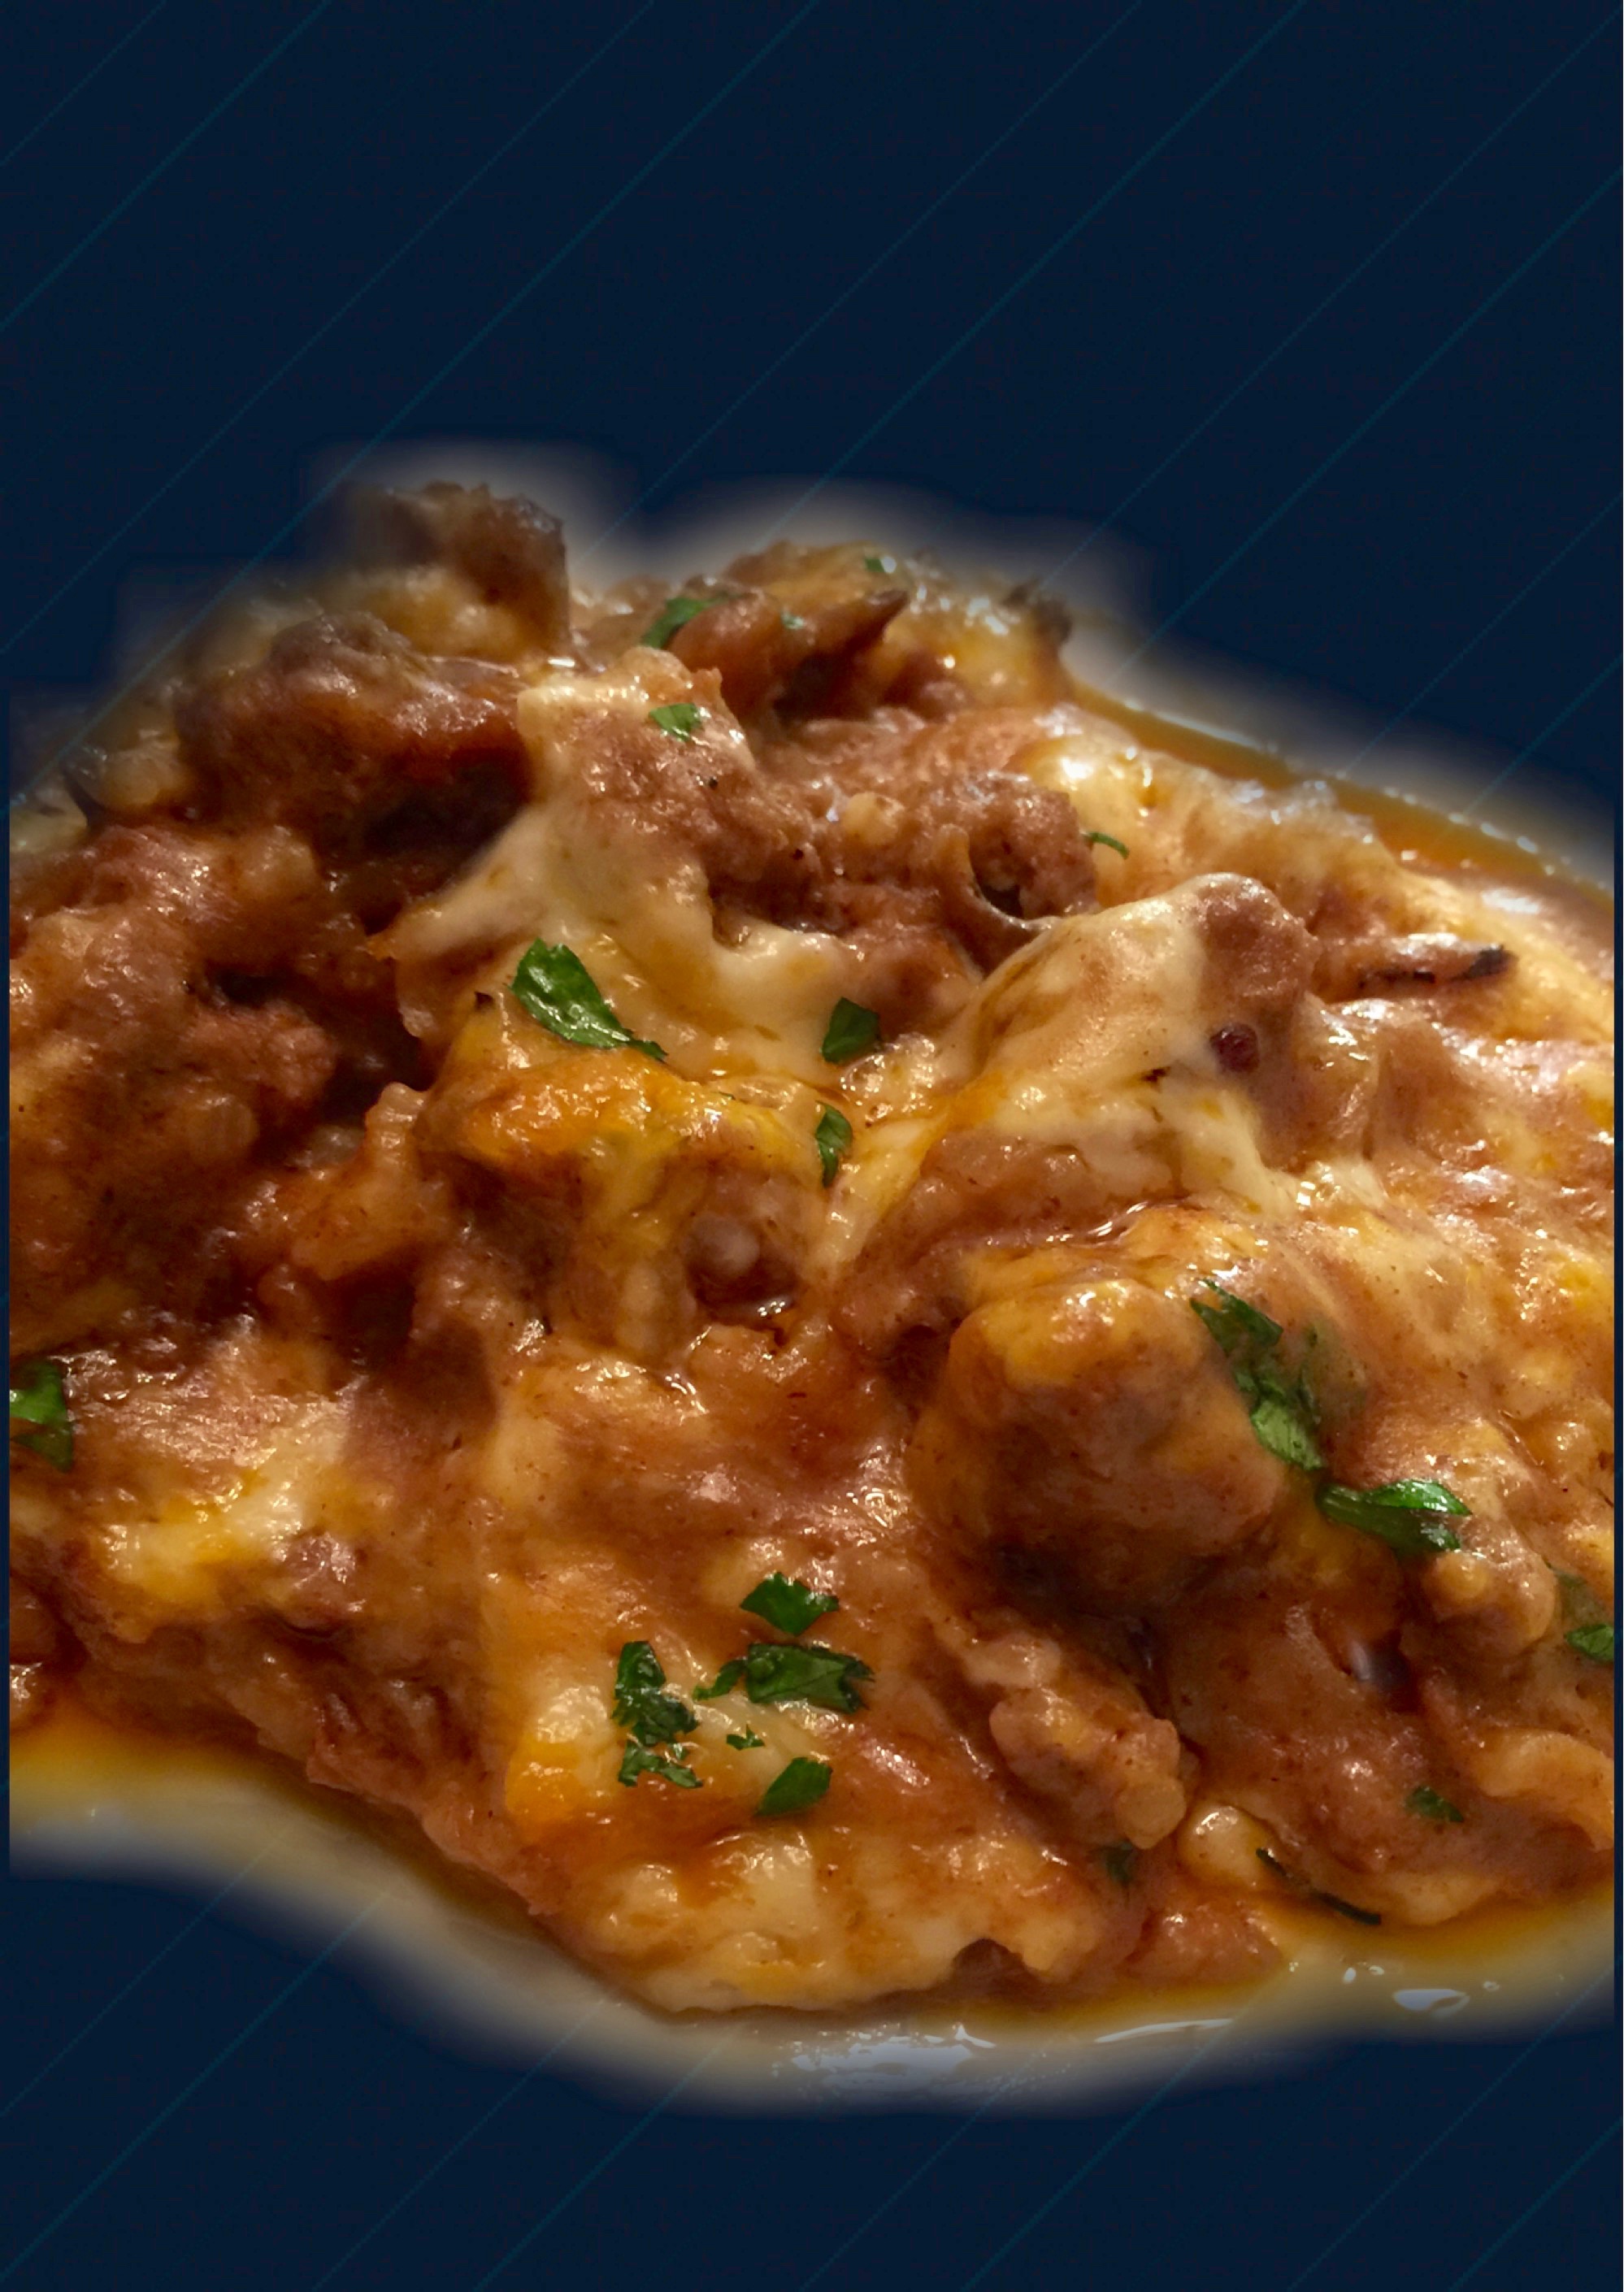
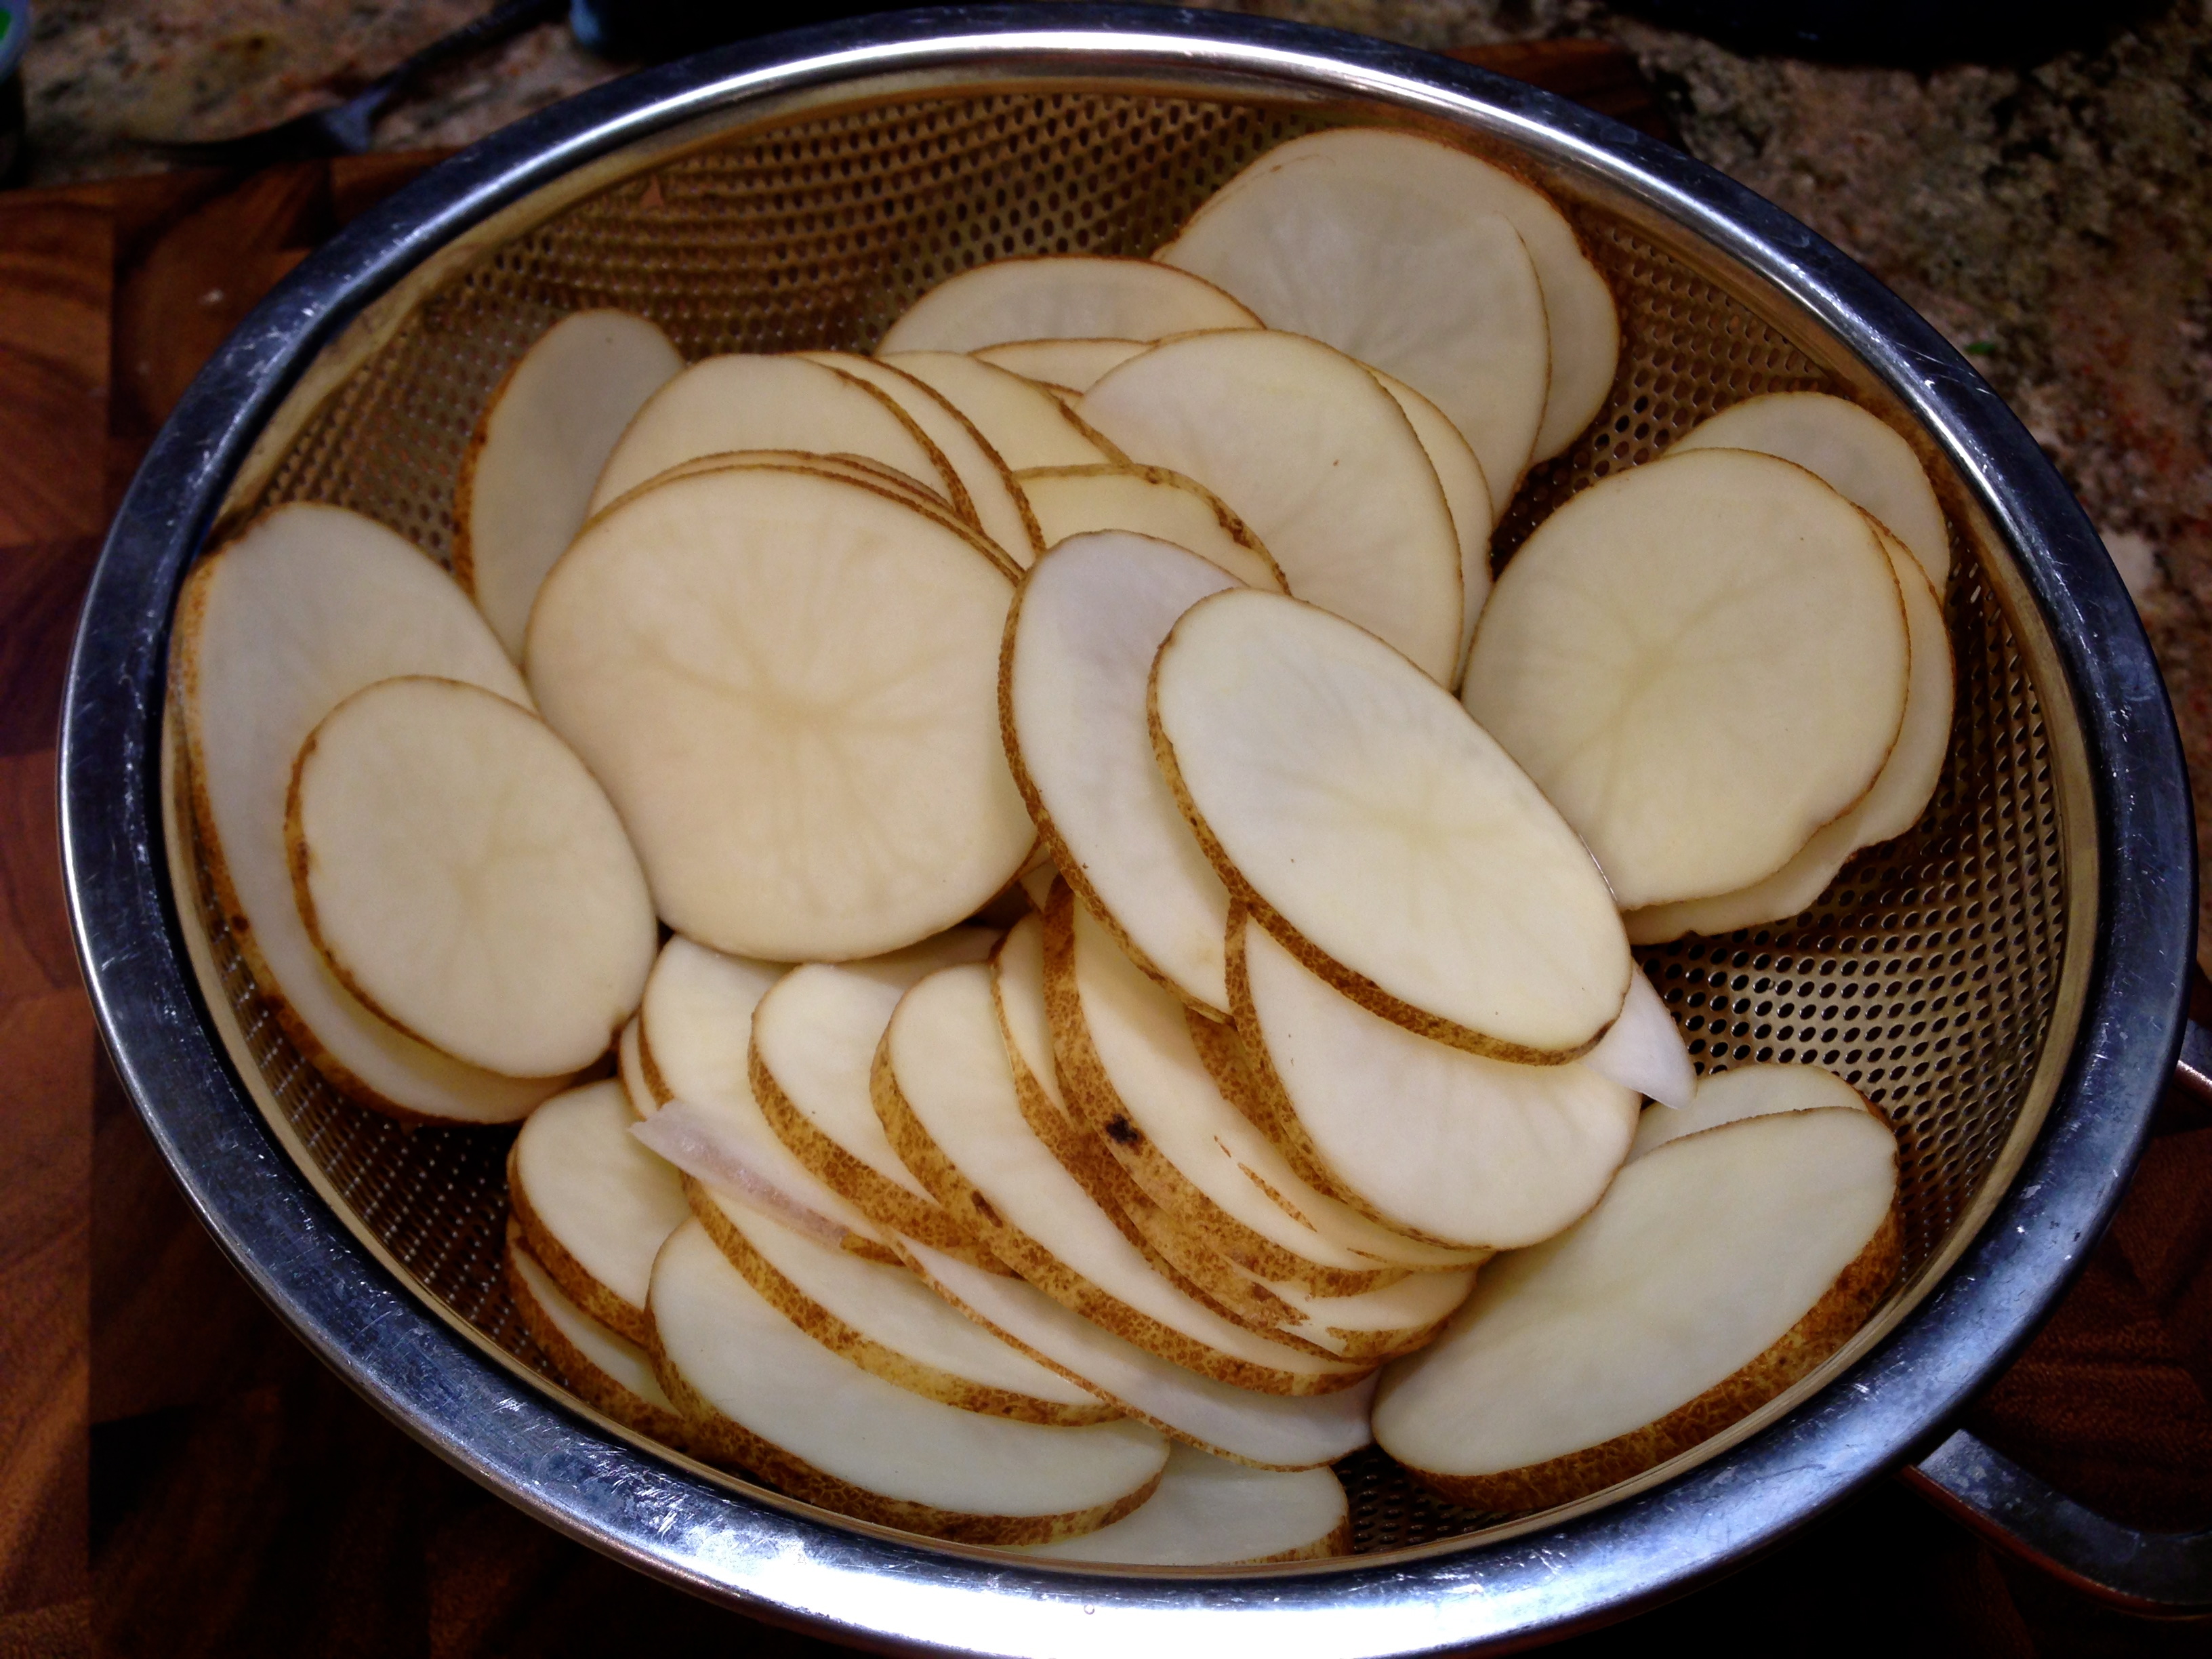
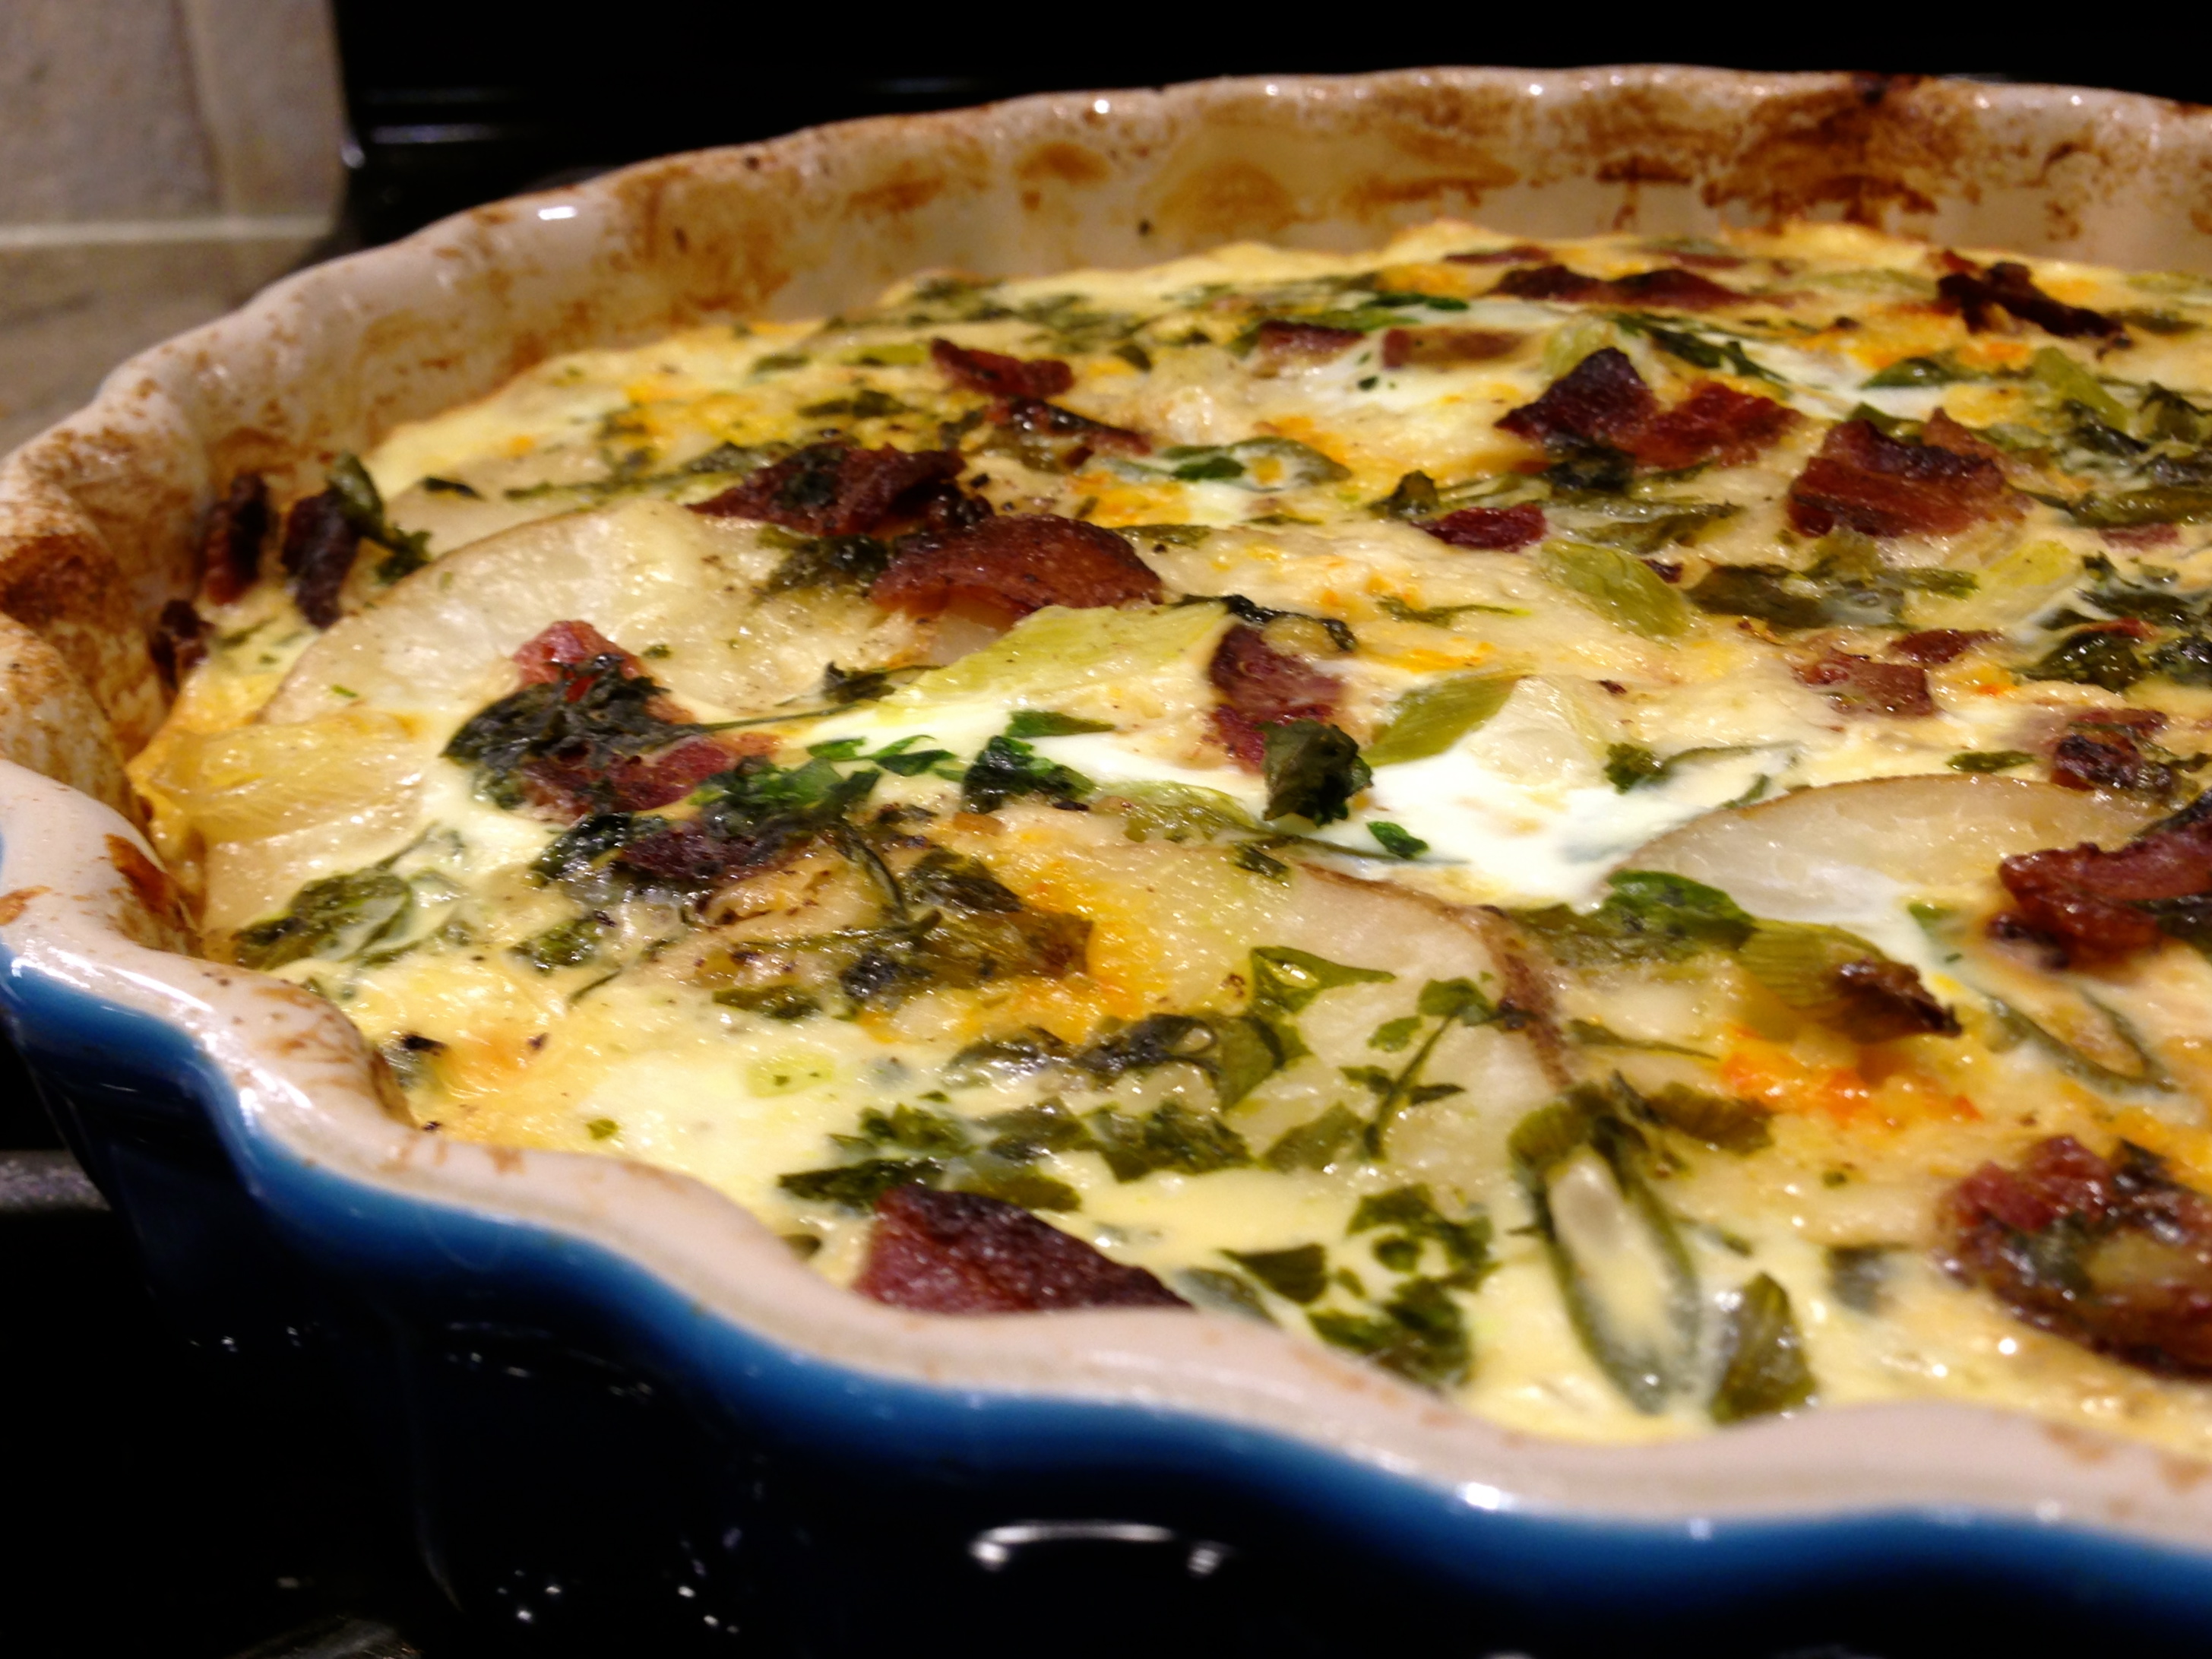
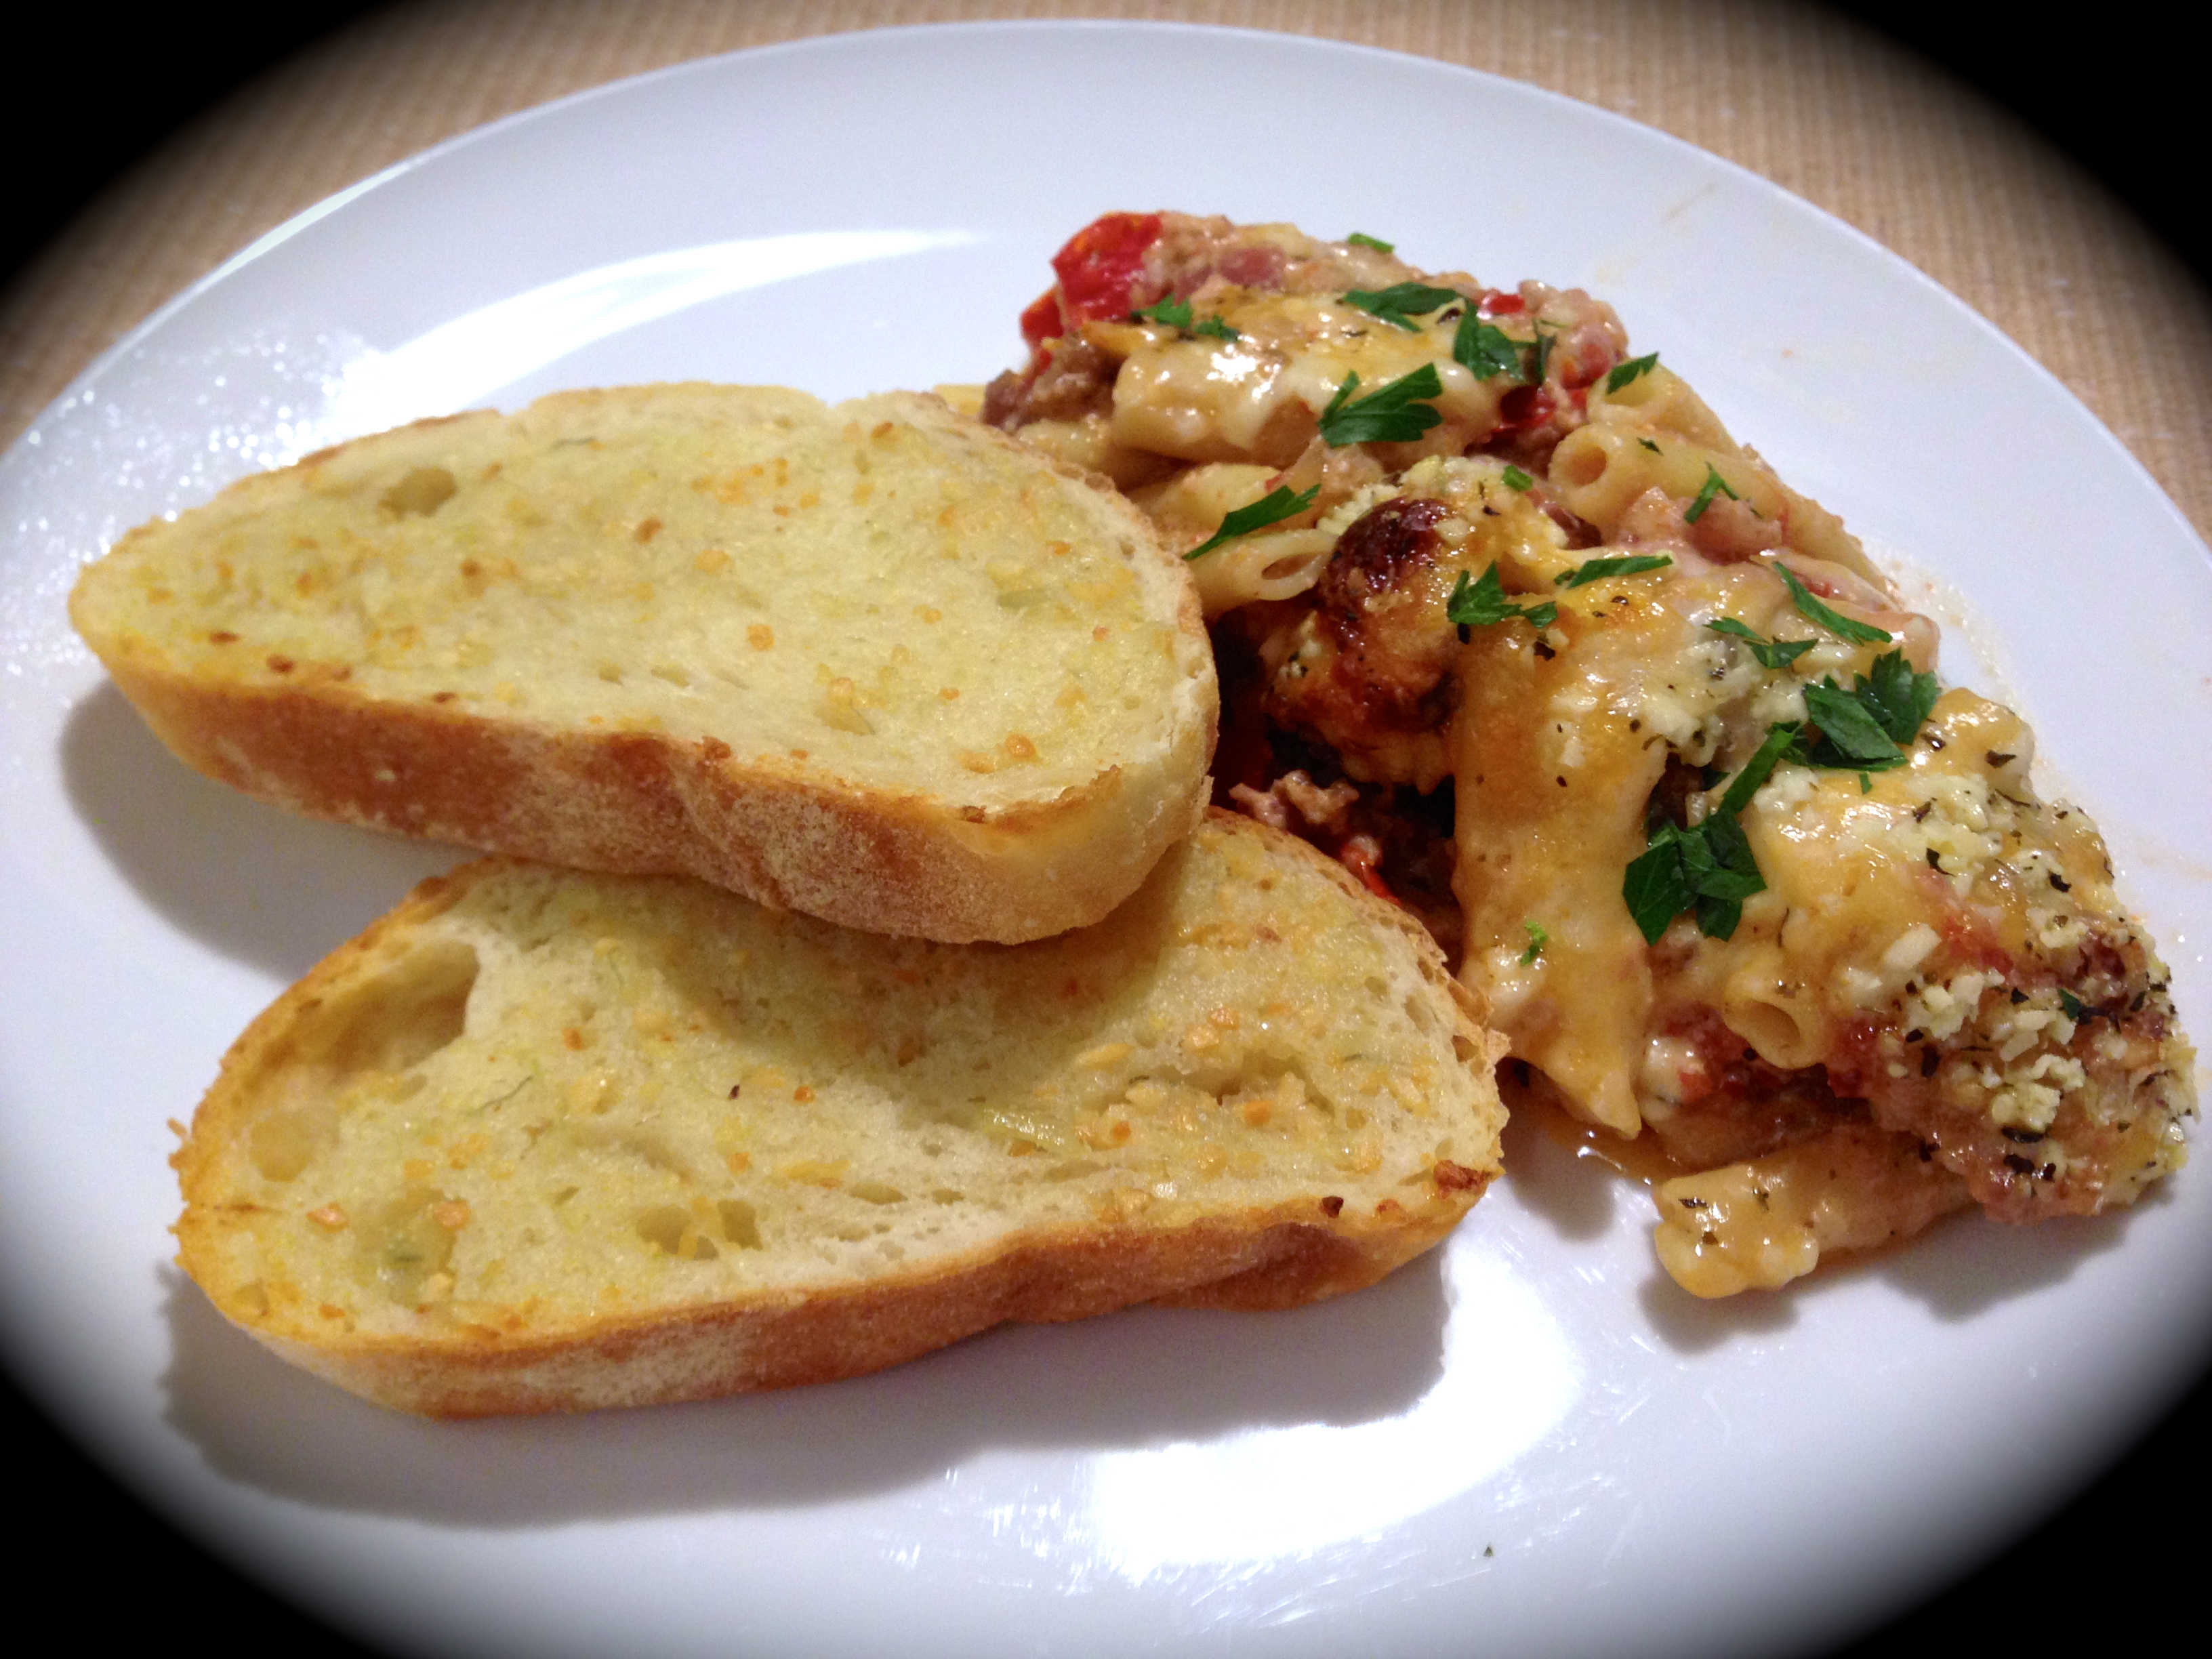
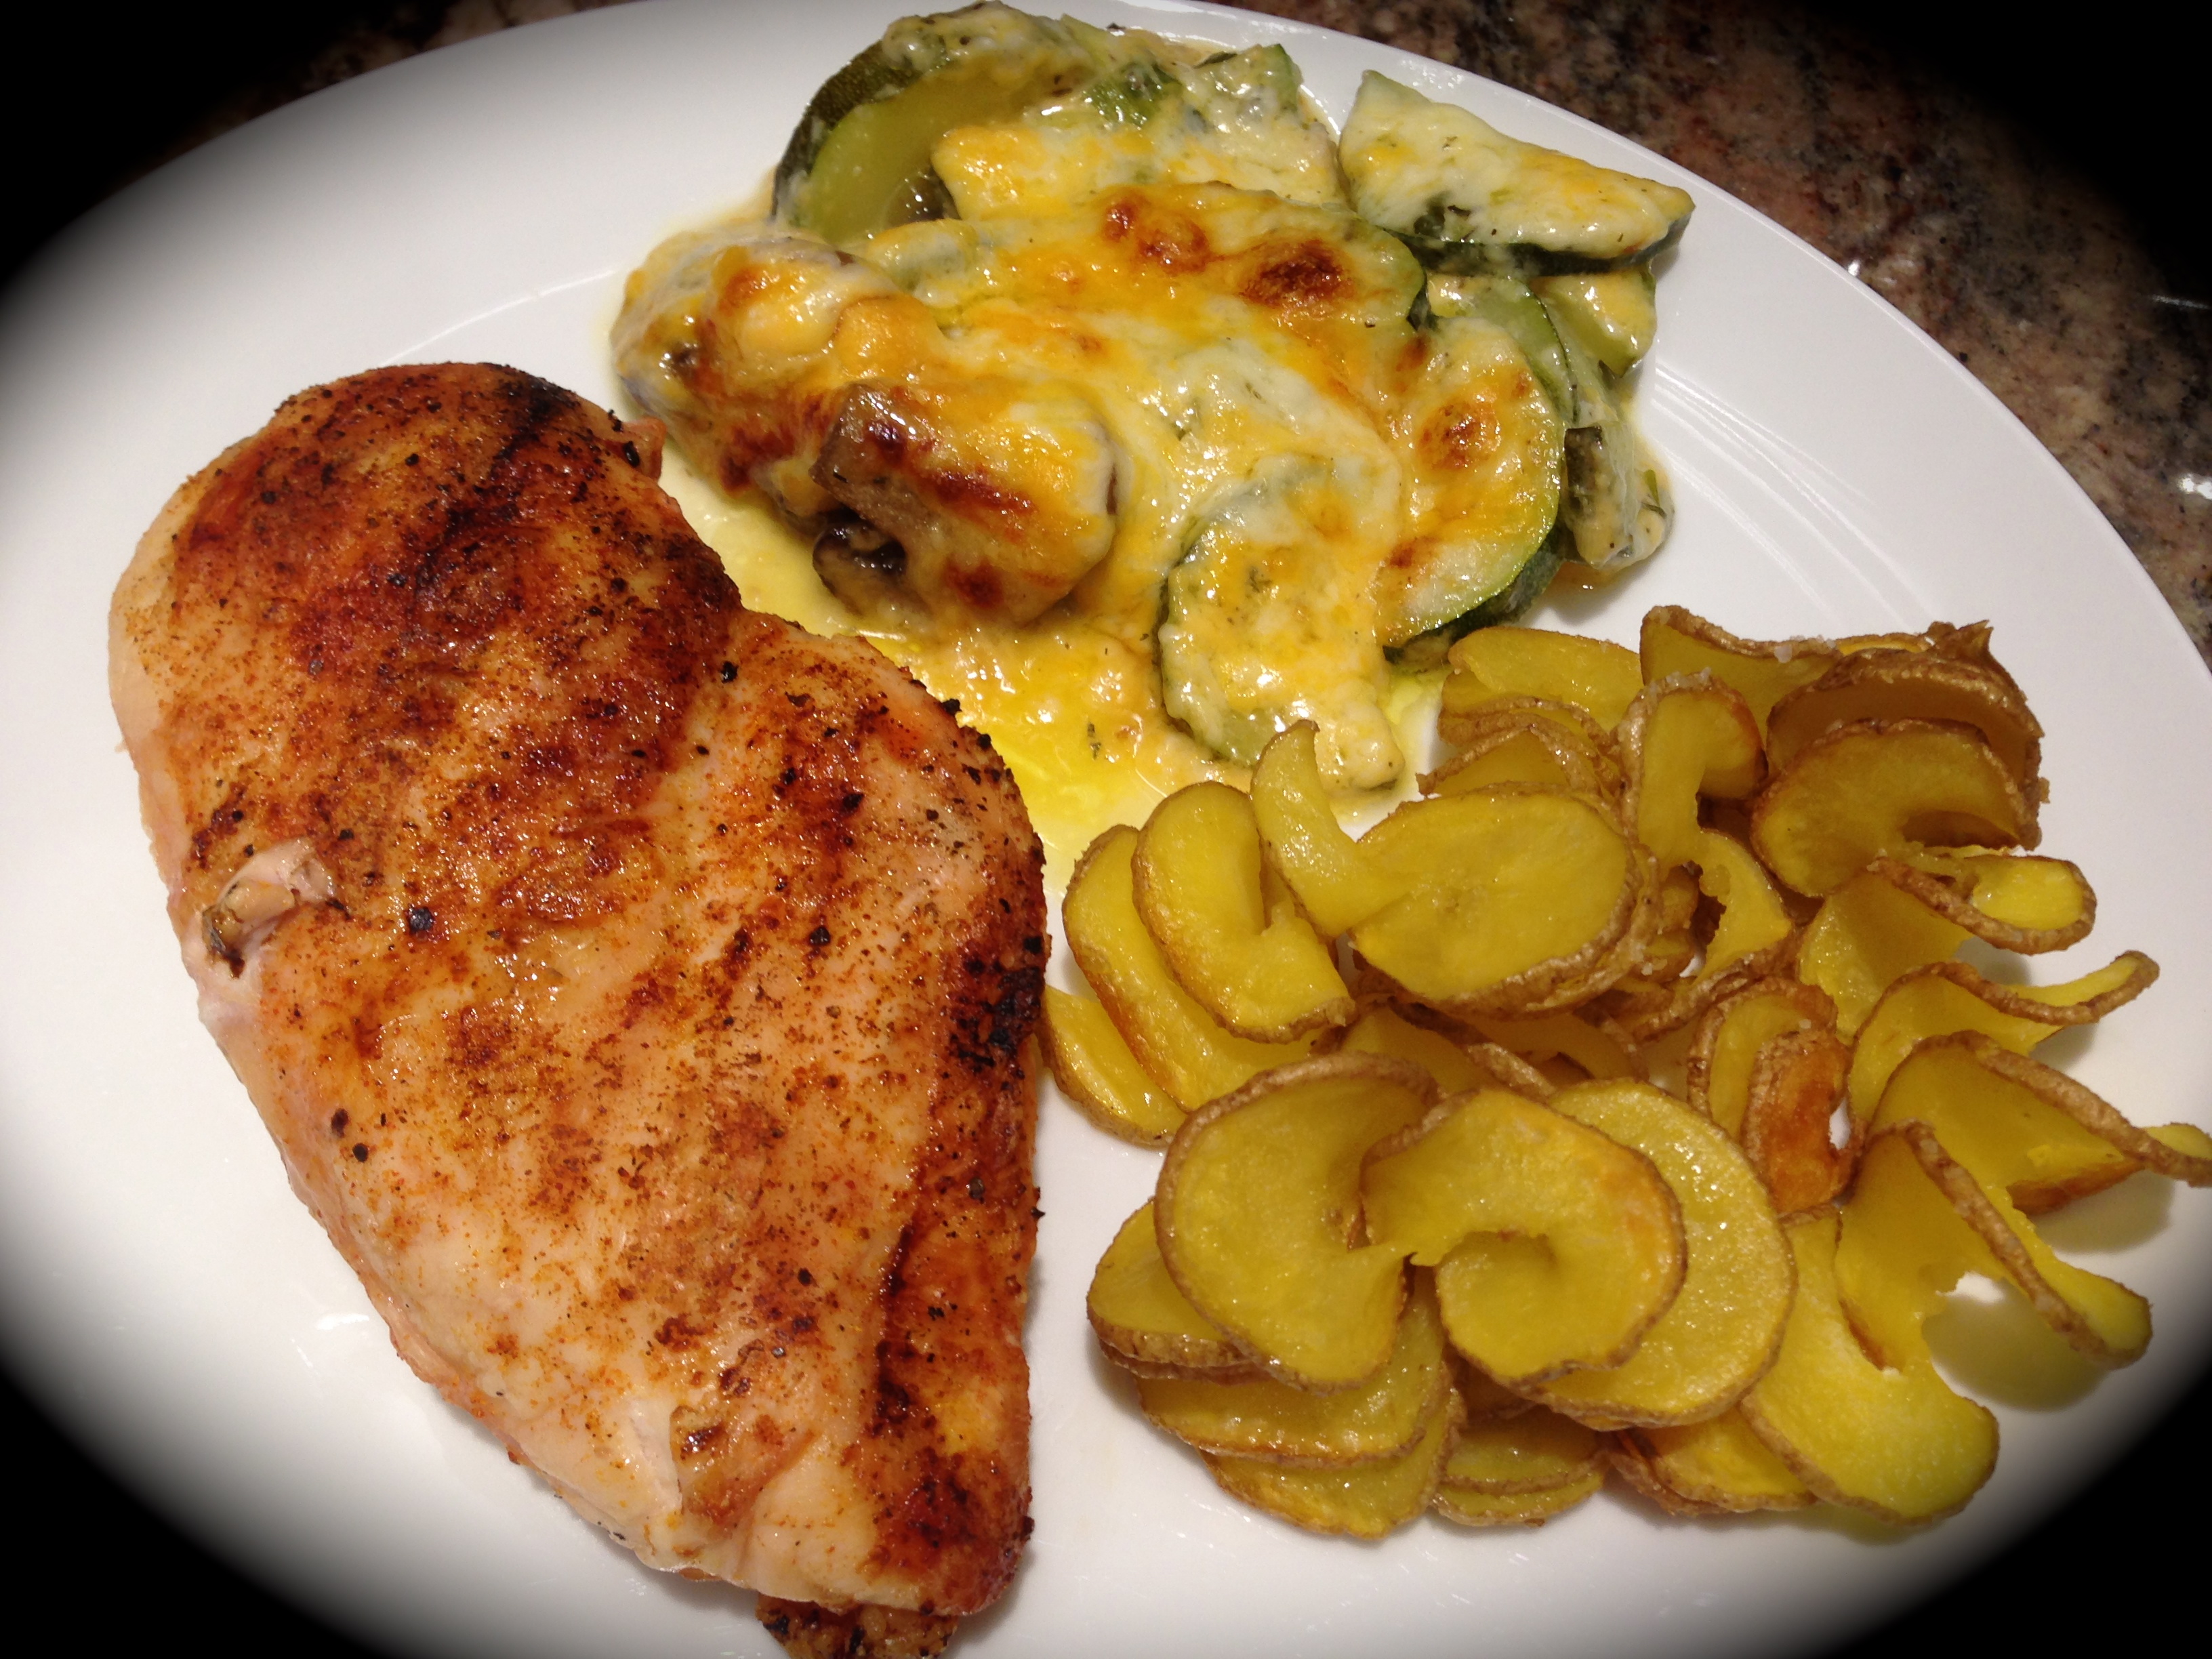
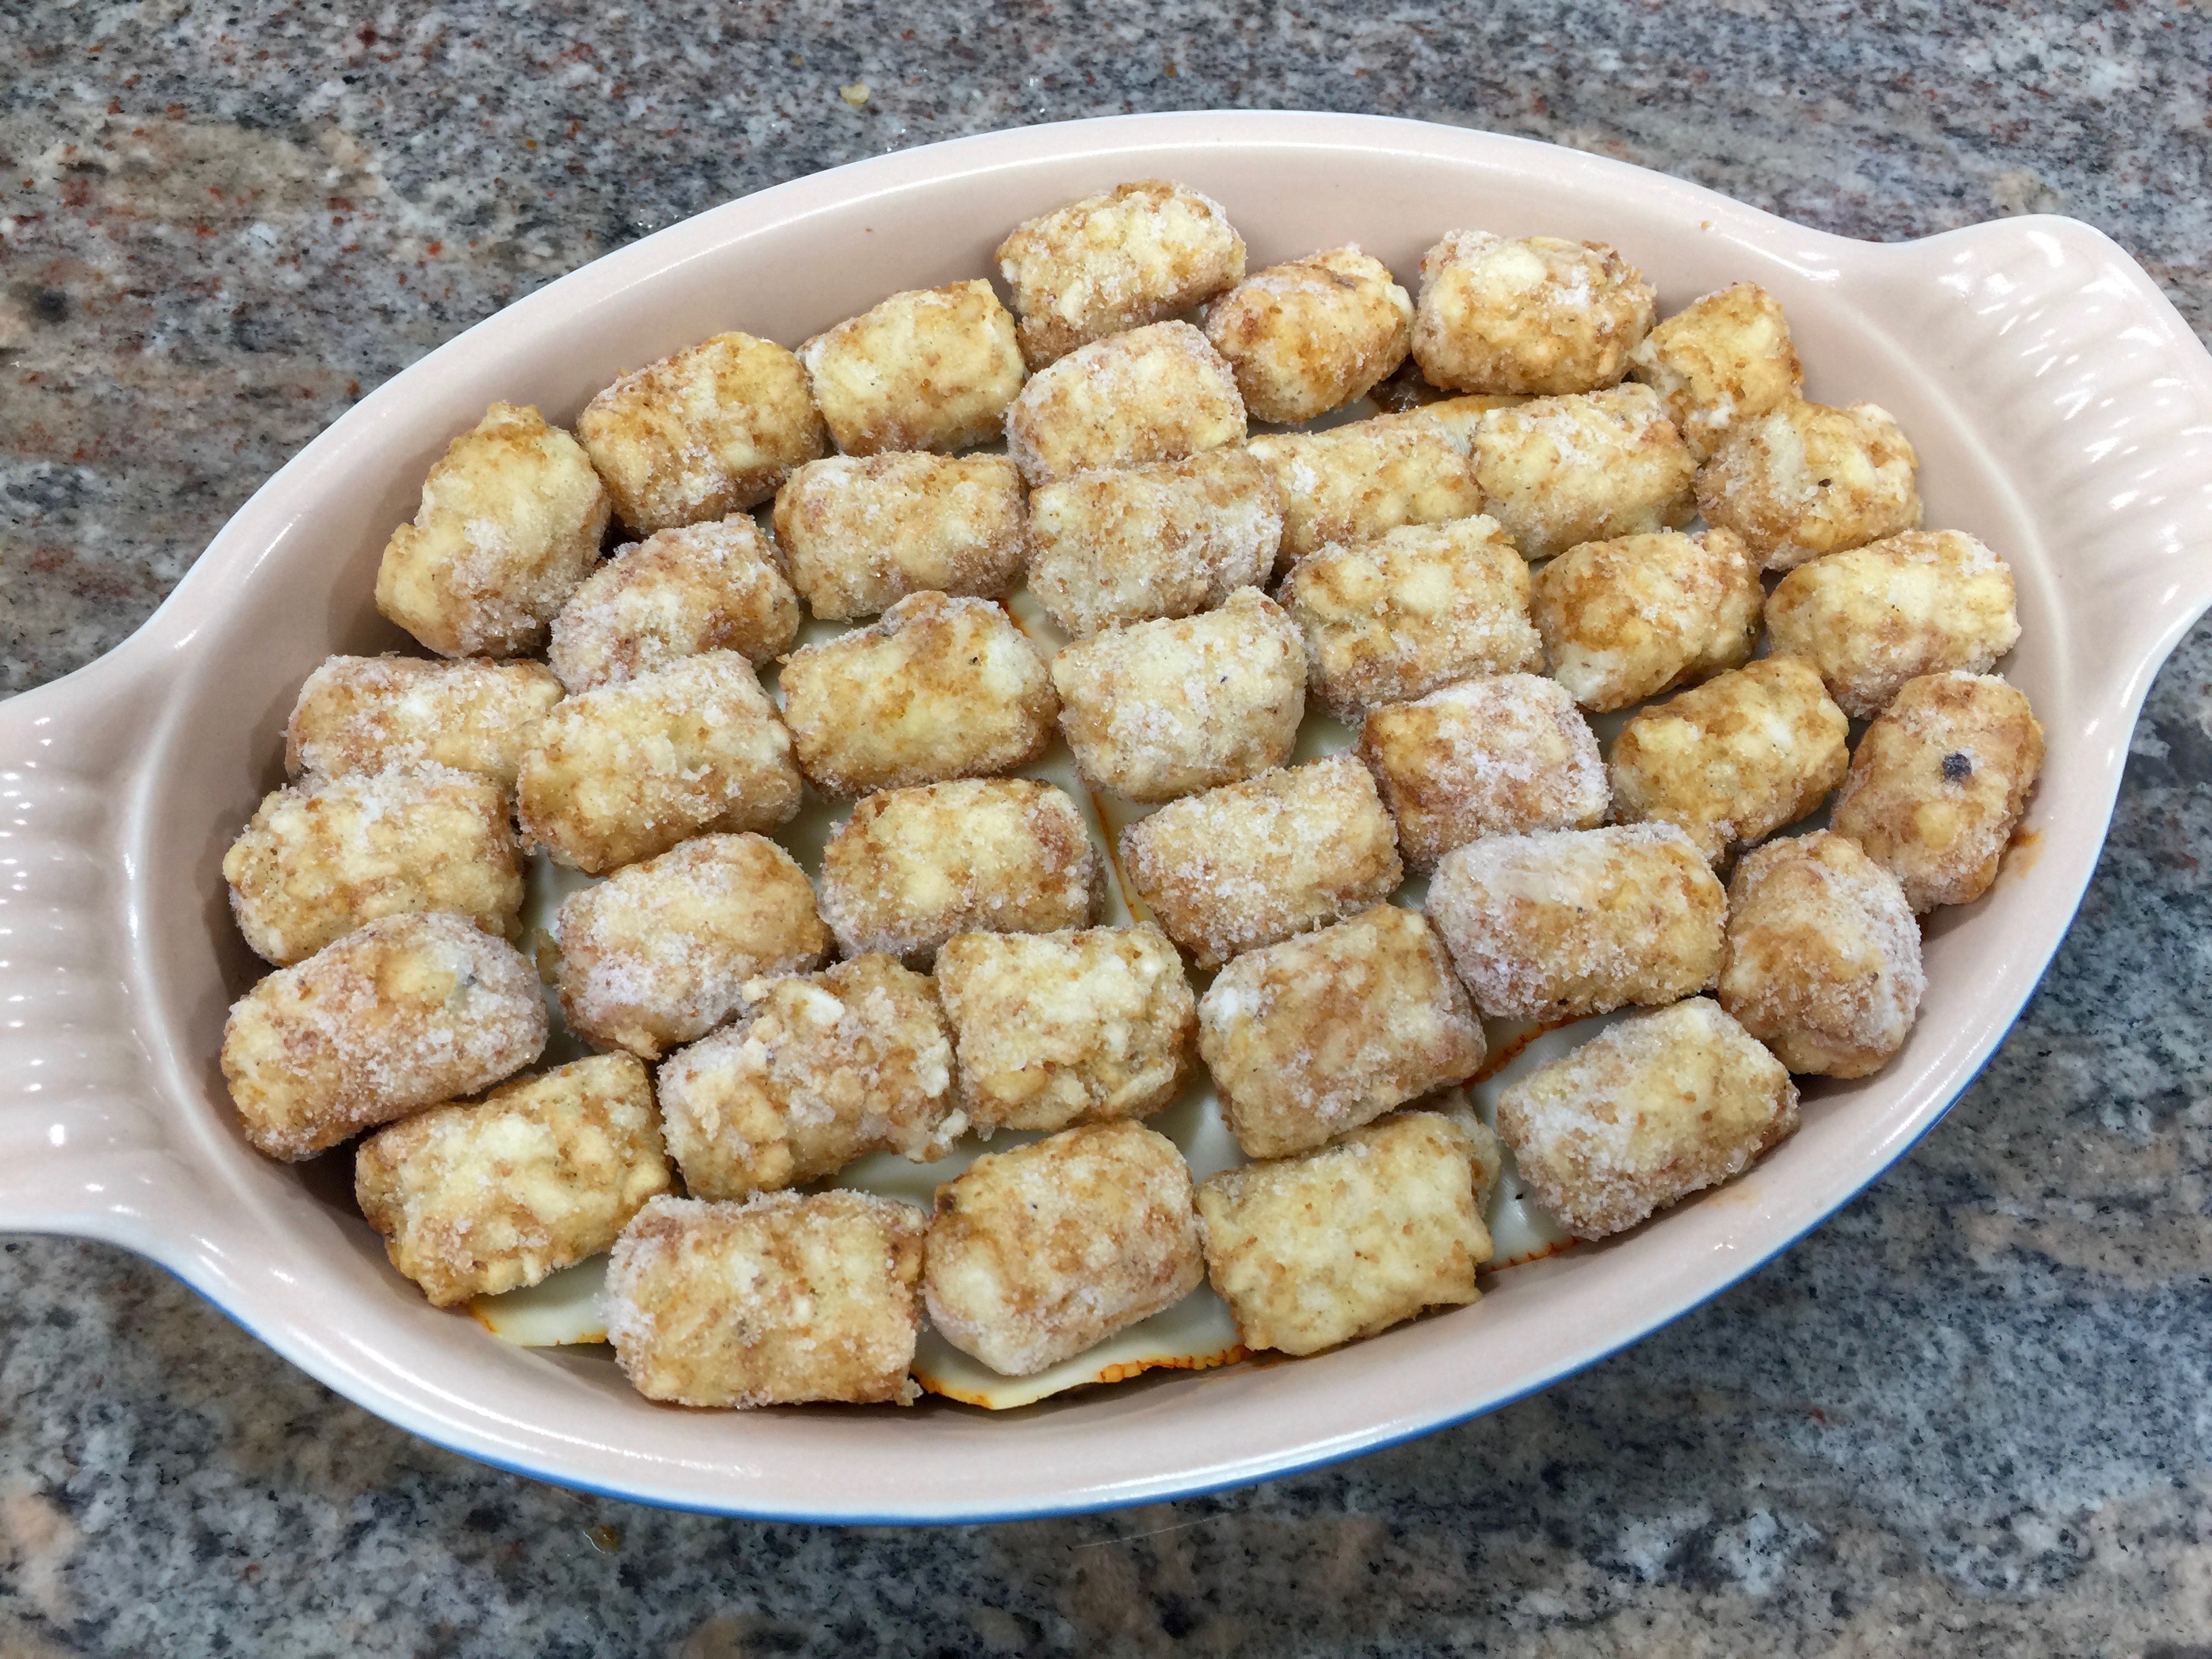
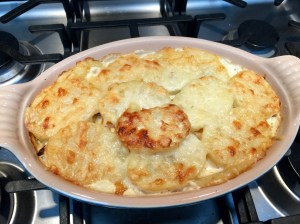
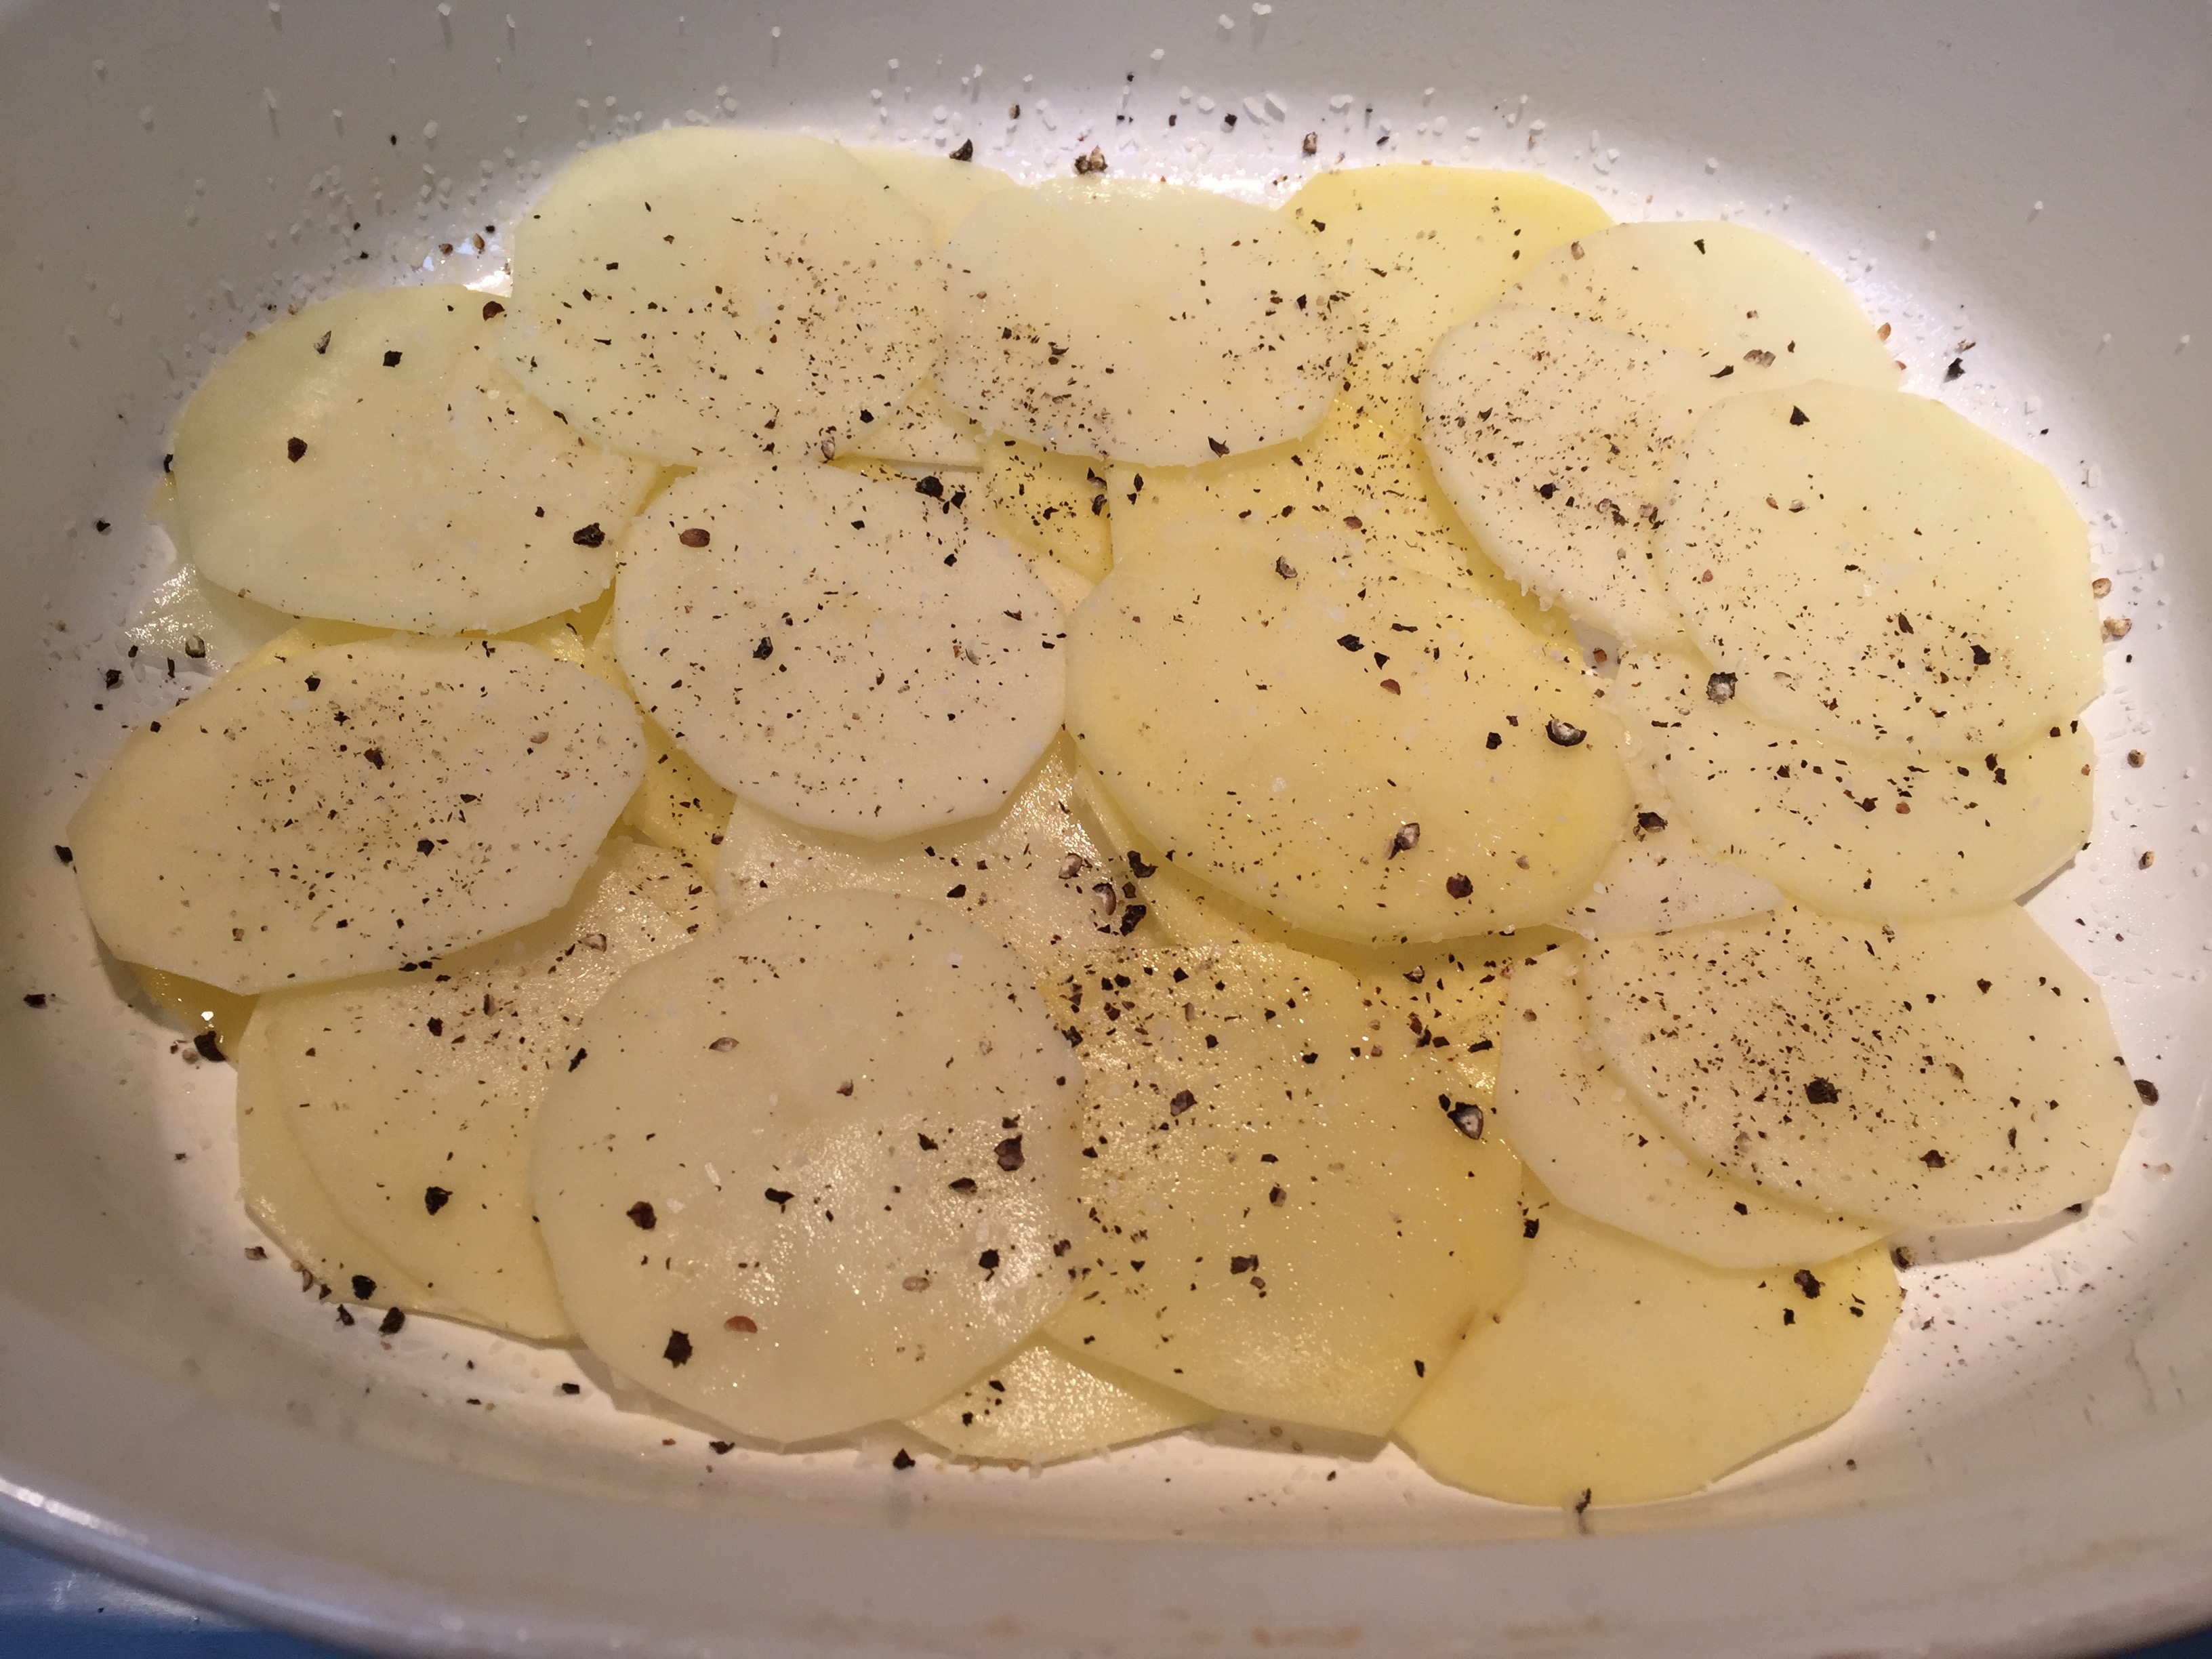
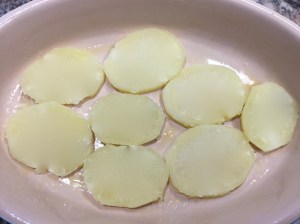 Lesson Learned 3 – Those tricky potatoes: I don’t know about you but, for me, potatoes are tricky when using them in a casserole, specifically sliced potatoes. I’ve experienced many instances where they were hard and not cooked through. This time they turned out perfectly. This is what I did. I used two medium sized yukon gold potatoes and boiled them with their skins on until I could easily stick a fork in them. Then I put them in a colander and let them cool. It is important to let them cool. If you try to cut them when they’re hot they’ll fall apart. Once they cool you can easily peel and slice them. Can you leave the peel on? Of course you can. My husband prefers them with the peel off. I sliced potatoes into half inch thick rounds and they were delicious. One of the first things my husband said when he took is first bite was, “the potatoes are good”. Success!!
 2 medium sized yukon gold potatoes, pre-boiled
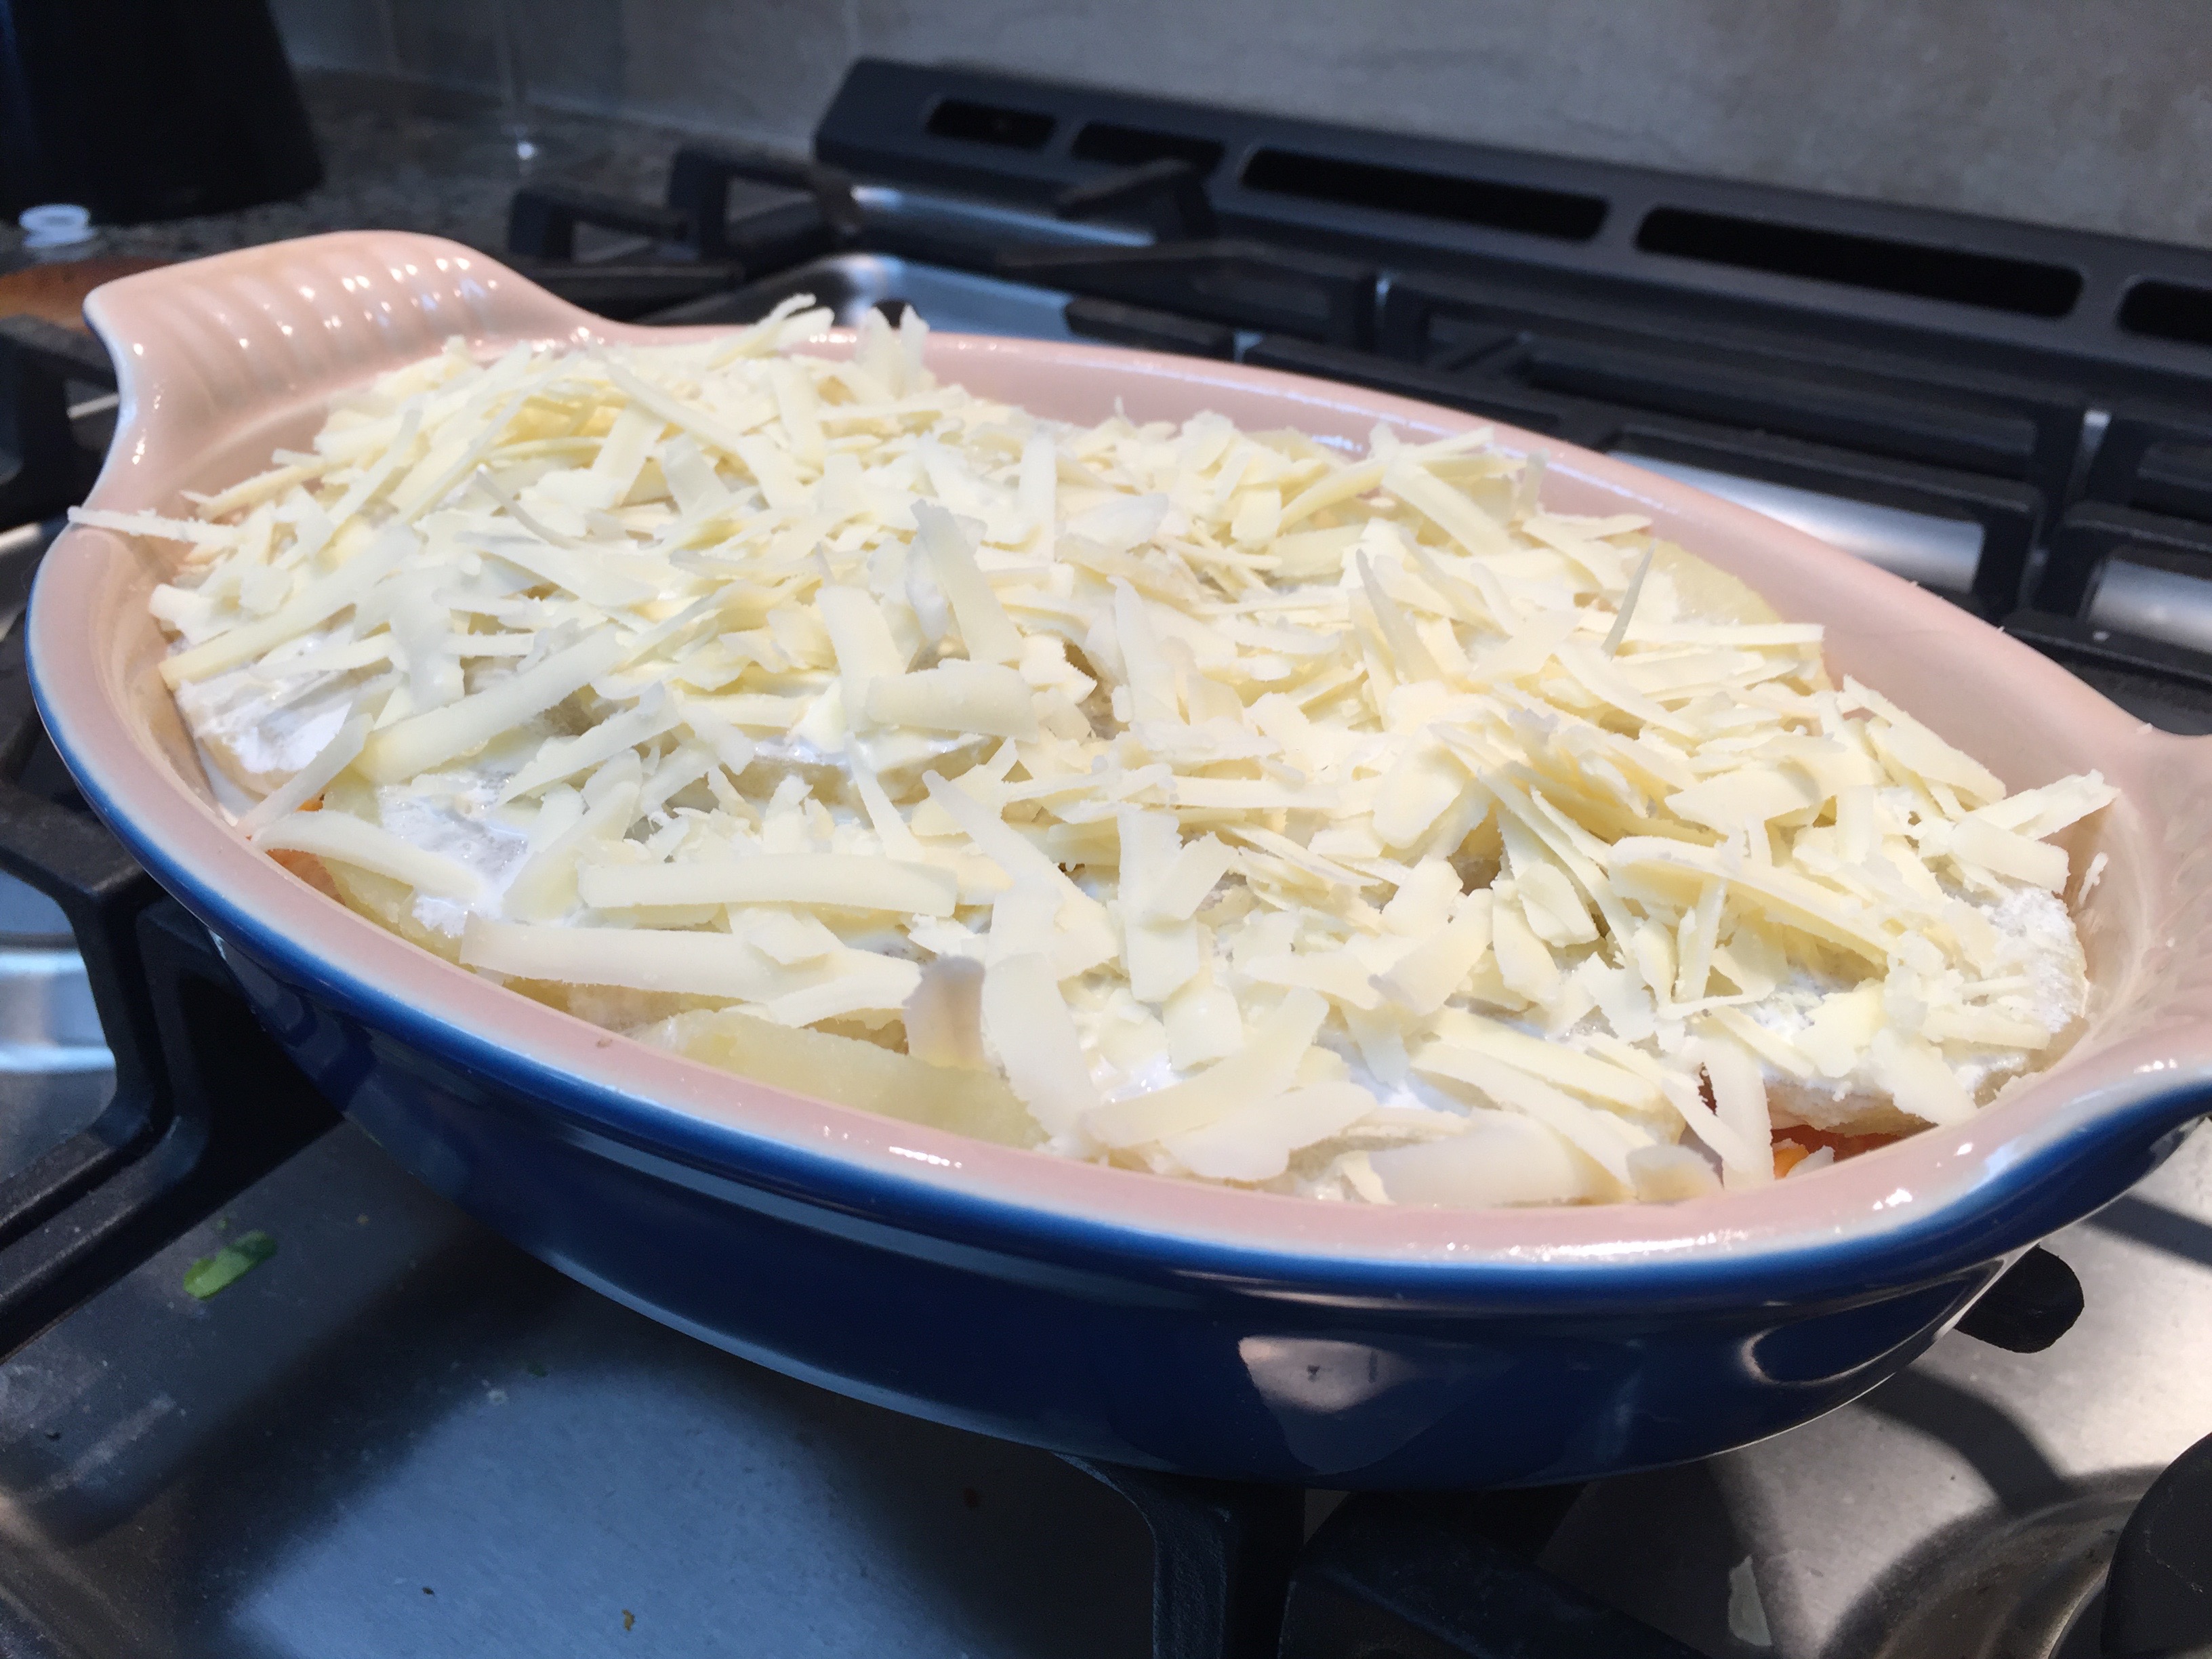

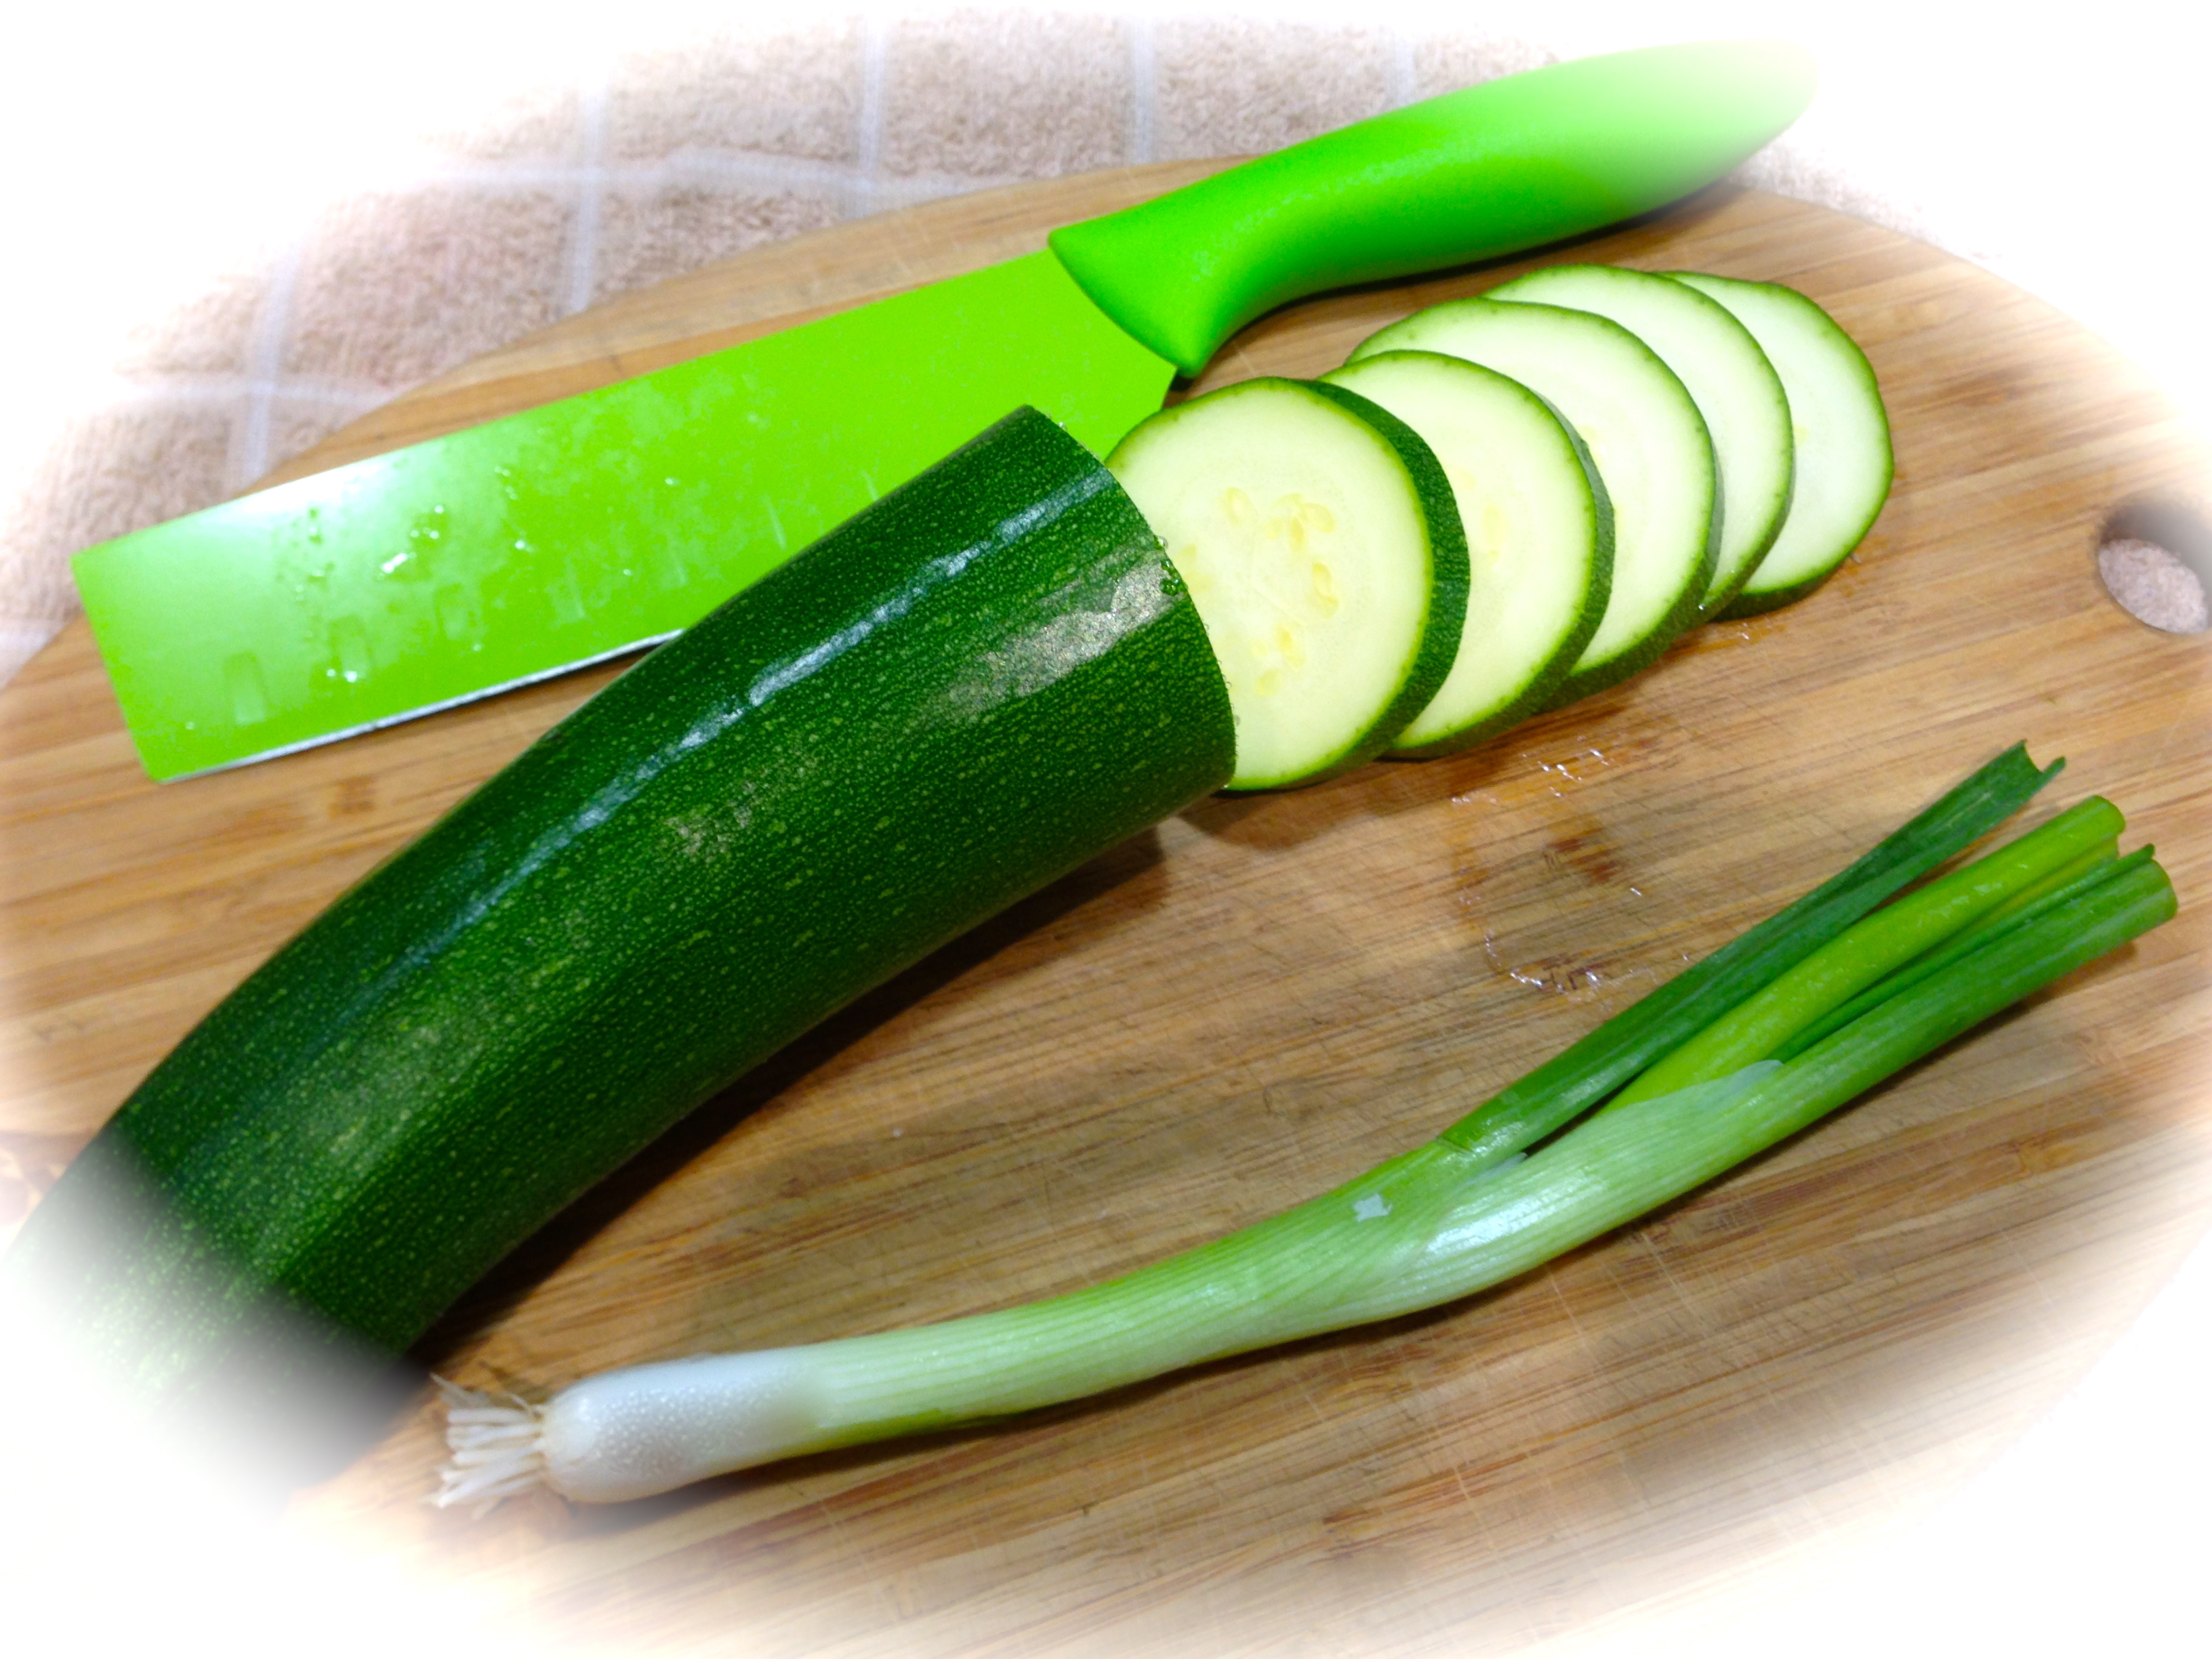
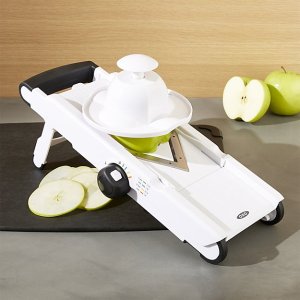 Lesson Learned 1: If at all possible use a mandolin slicer to cut your potatoes: Perhaps the trickiest part of this whole recipe is cutting the potatoes correctly. Cut them too thin and they will turn into mush in your casserole. Cut them too thick and they will never cook through. The best way to ensure you’ve cut the potatoes to the correct thickness is to use a mandolin slicer (as seen in the picture). A mandolin slicer can be a cook’s best friend if used appropriately. It can also be one of the easiest ways to chop off one of your fingers if used incorrectly. If you’re careful and use the safety features of your slicer you can slice just about anything quickly and consistently.
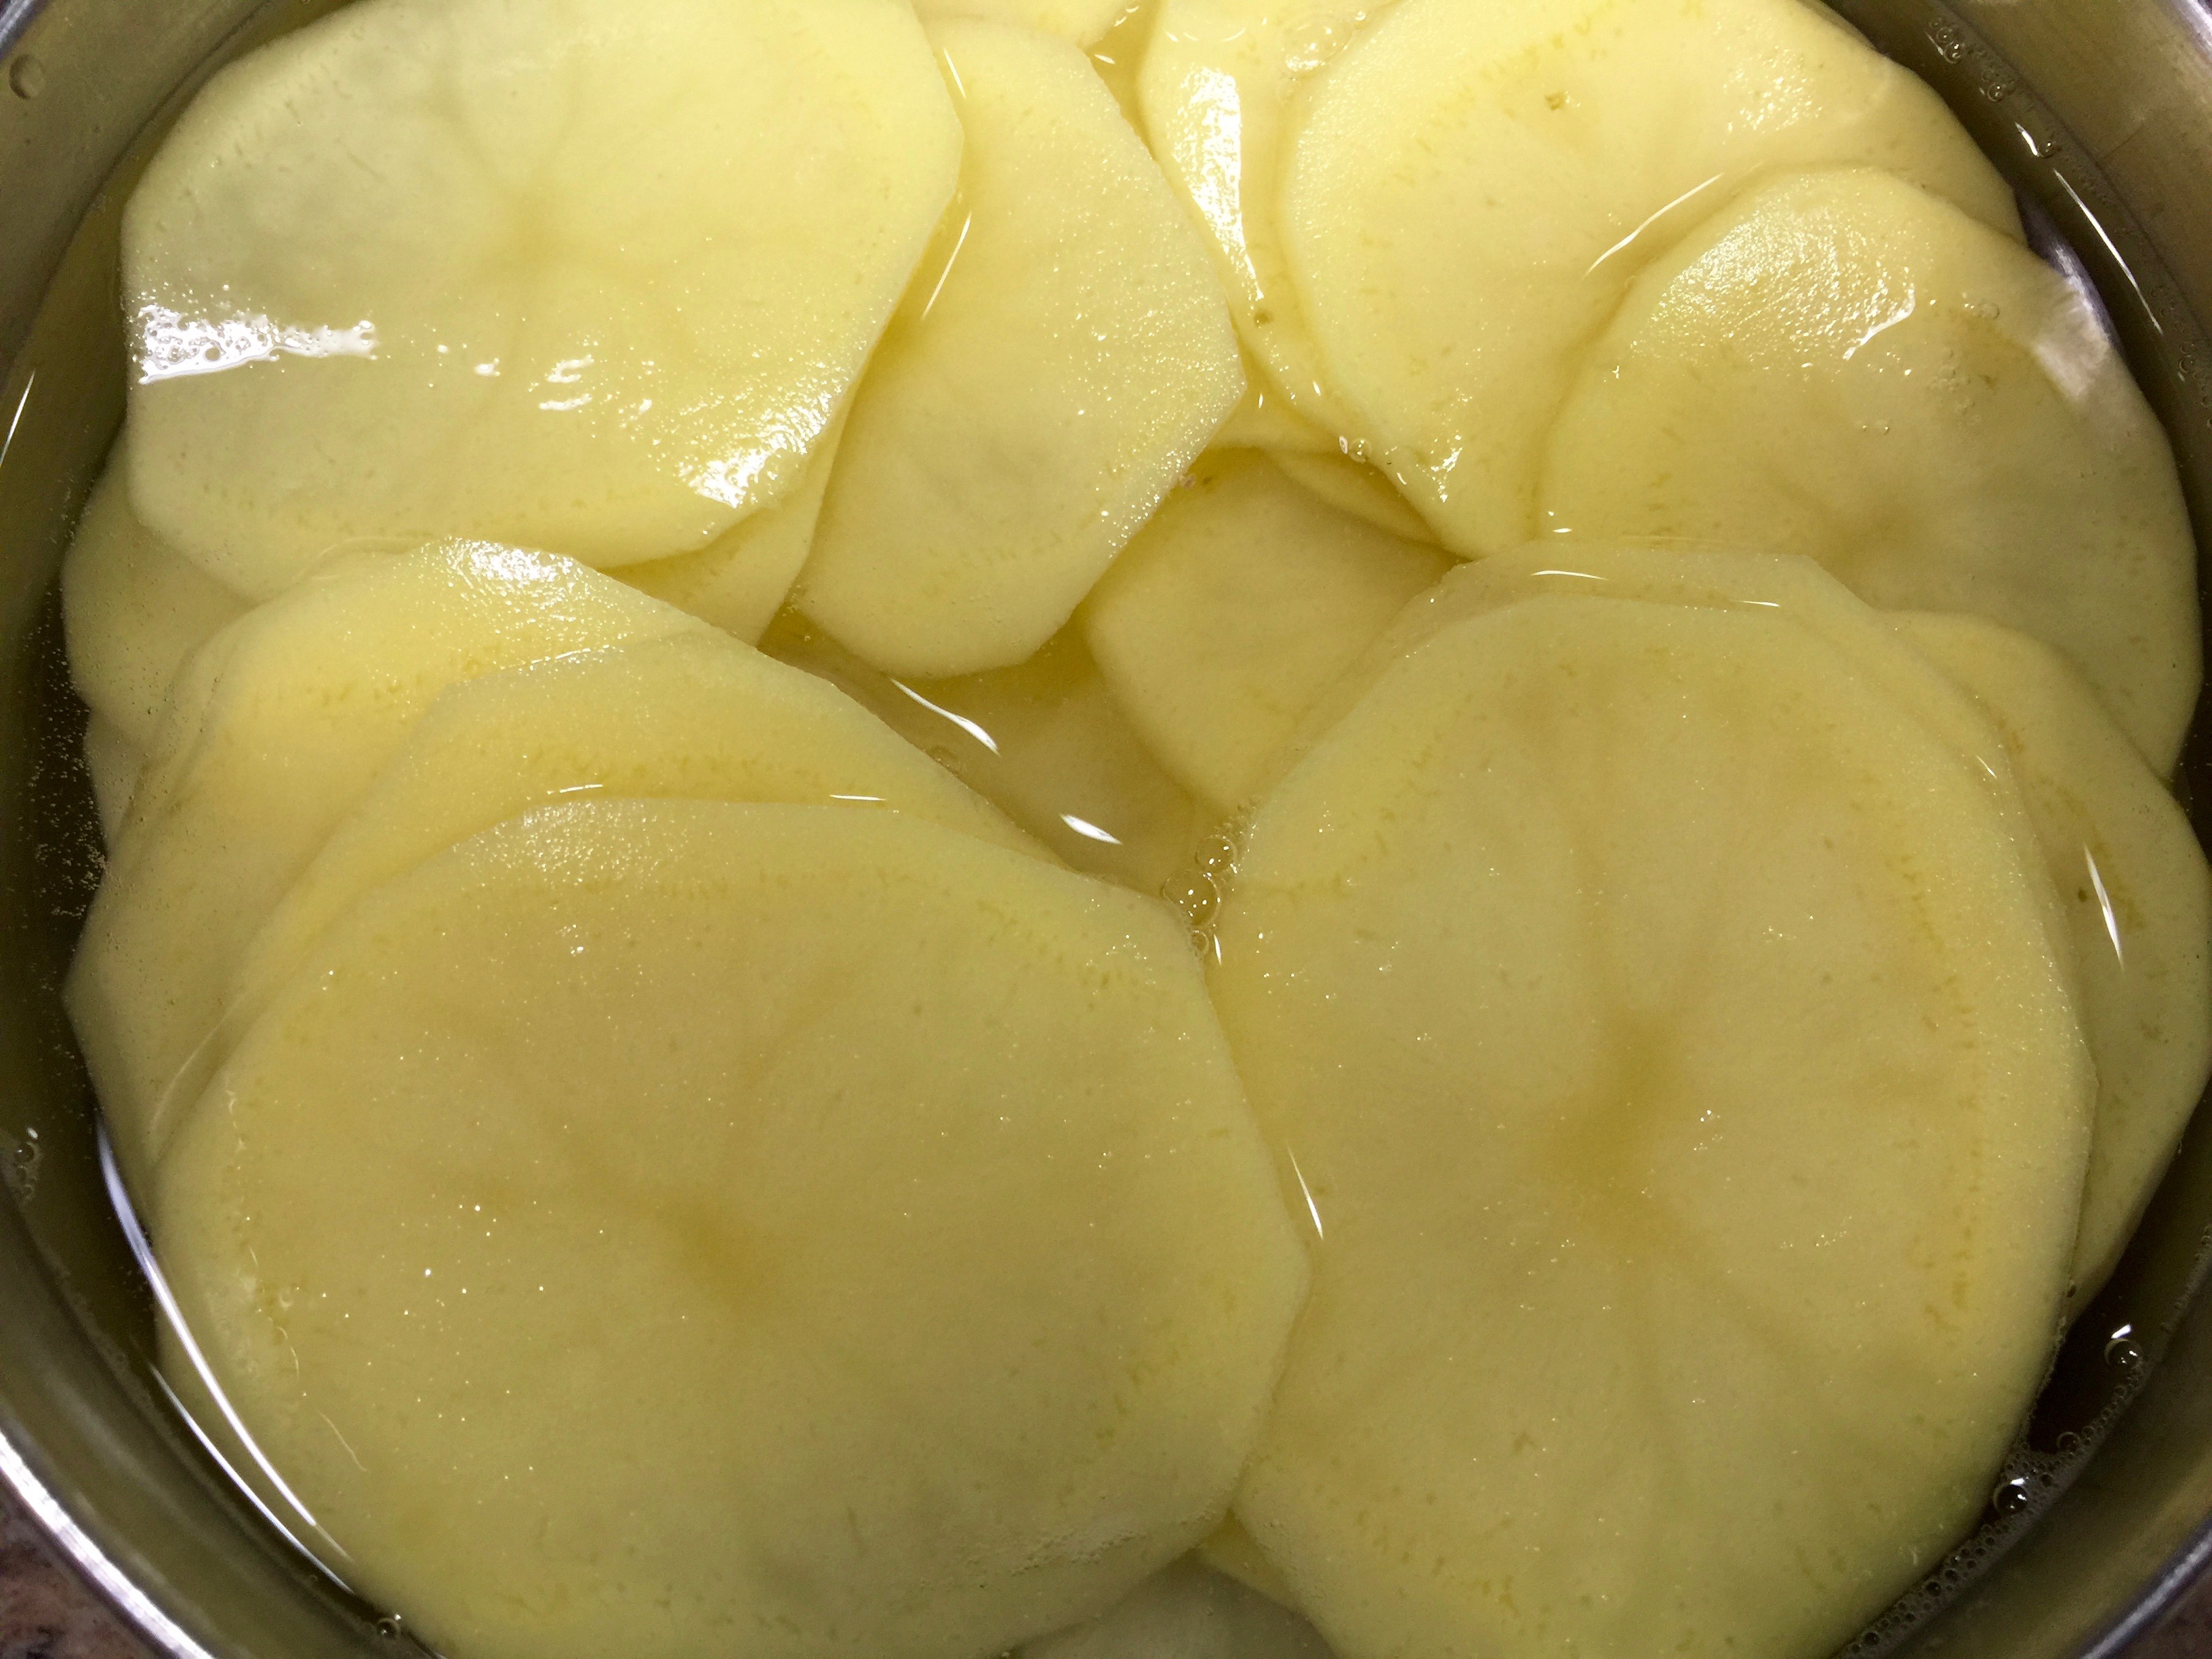


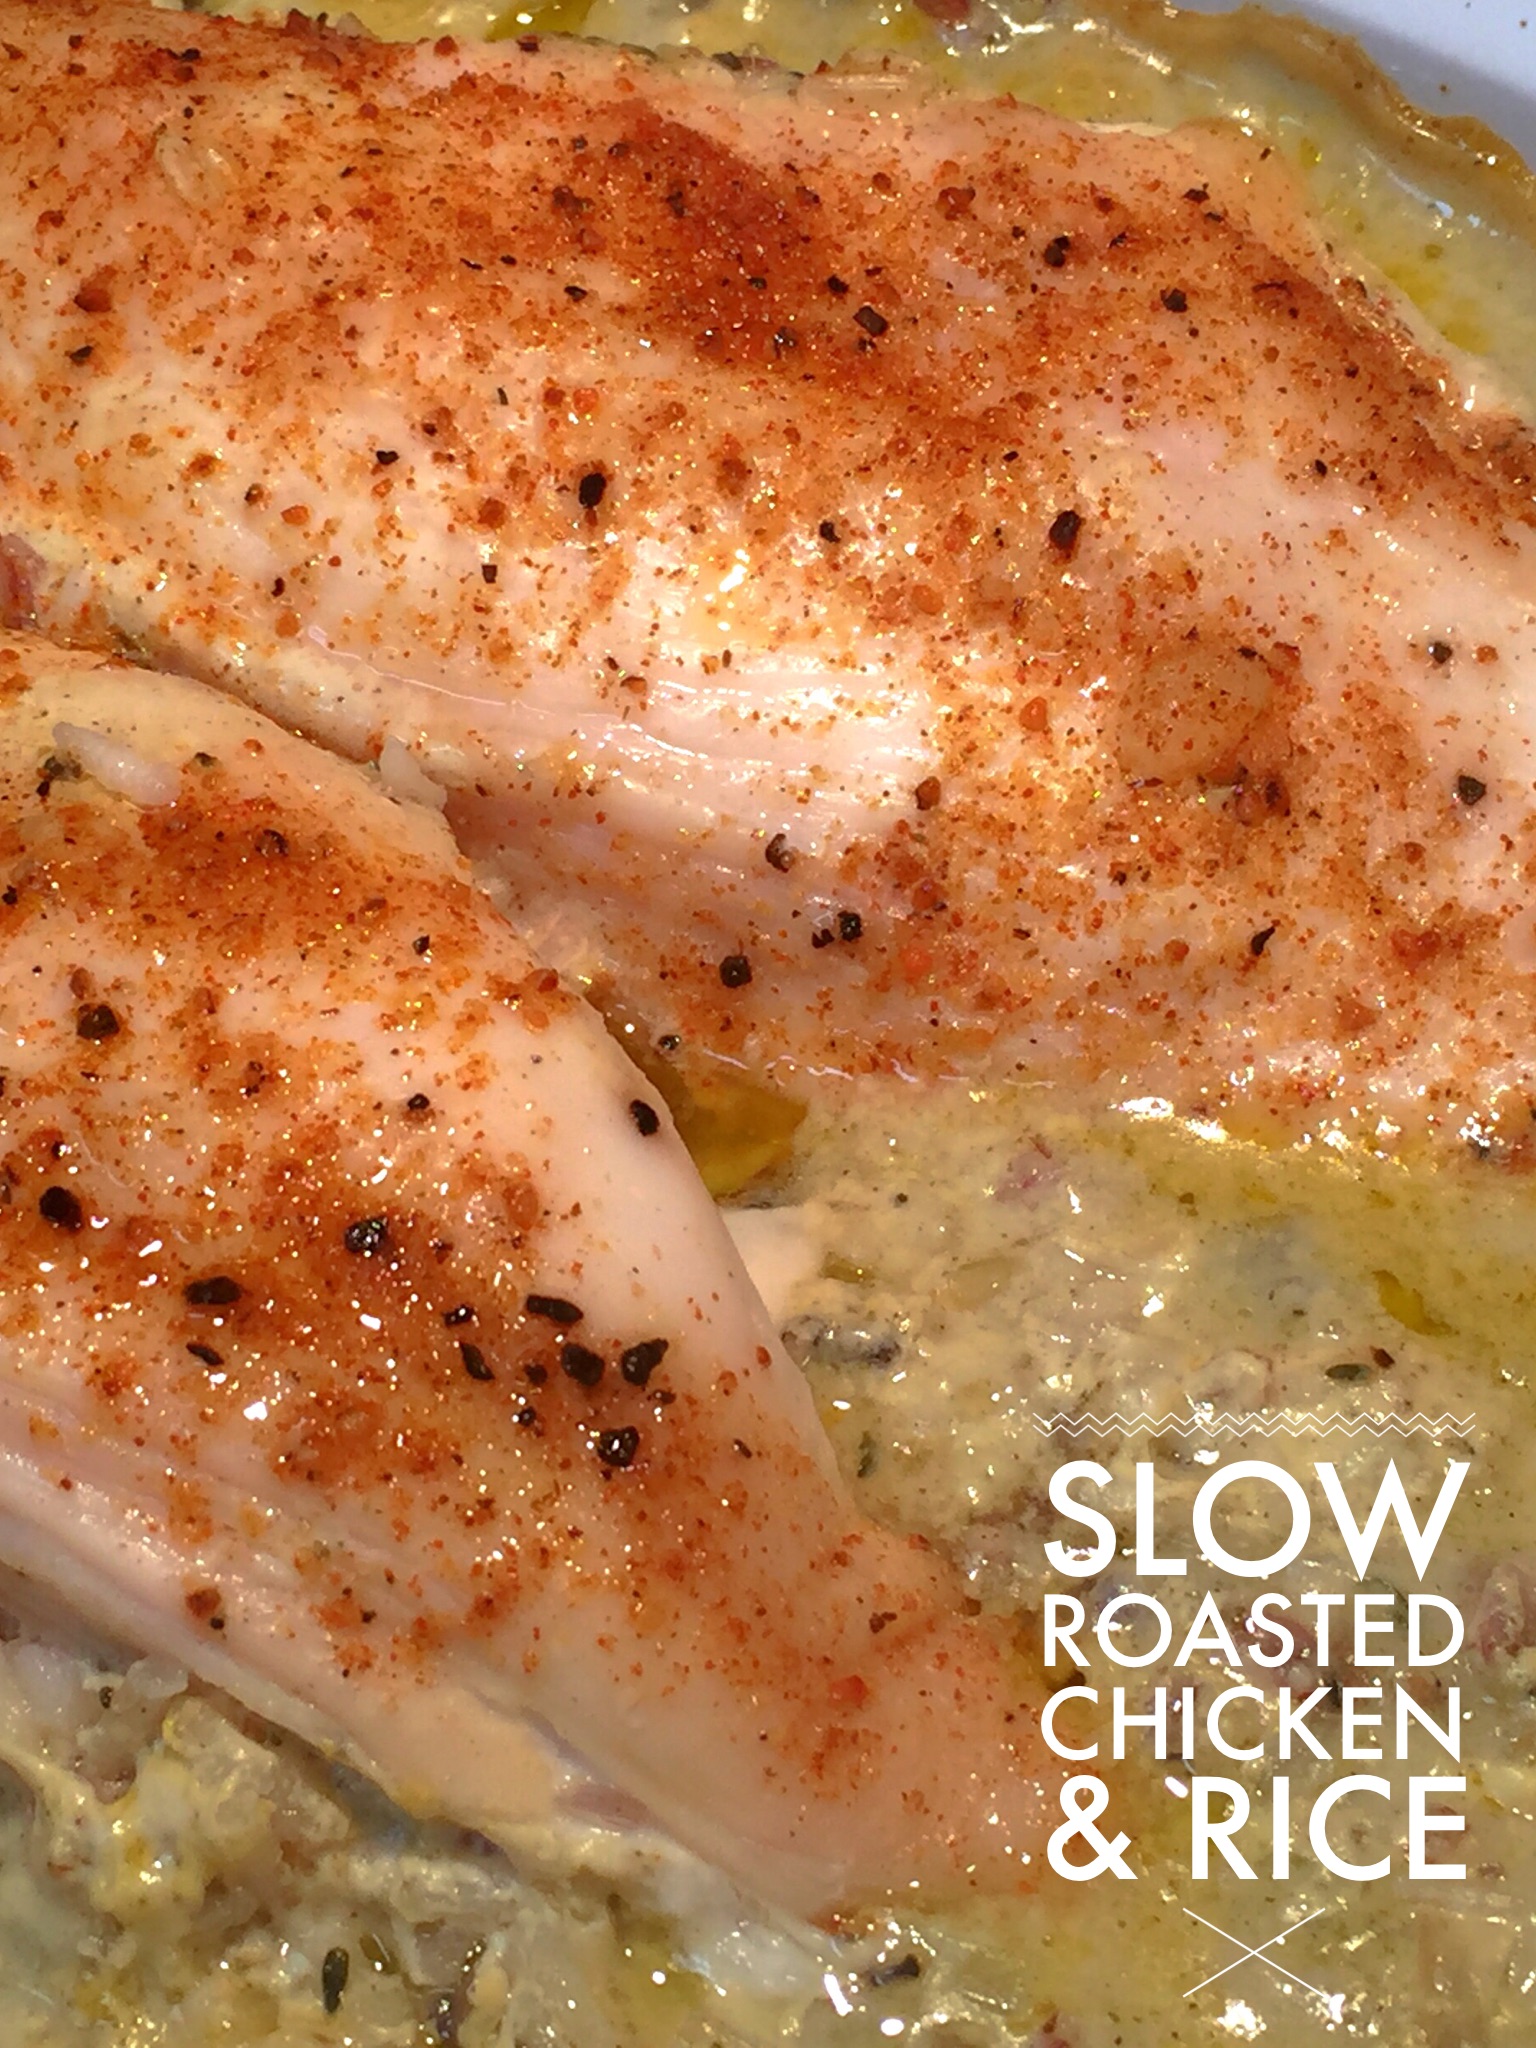
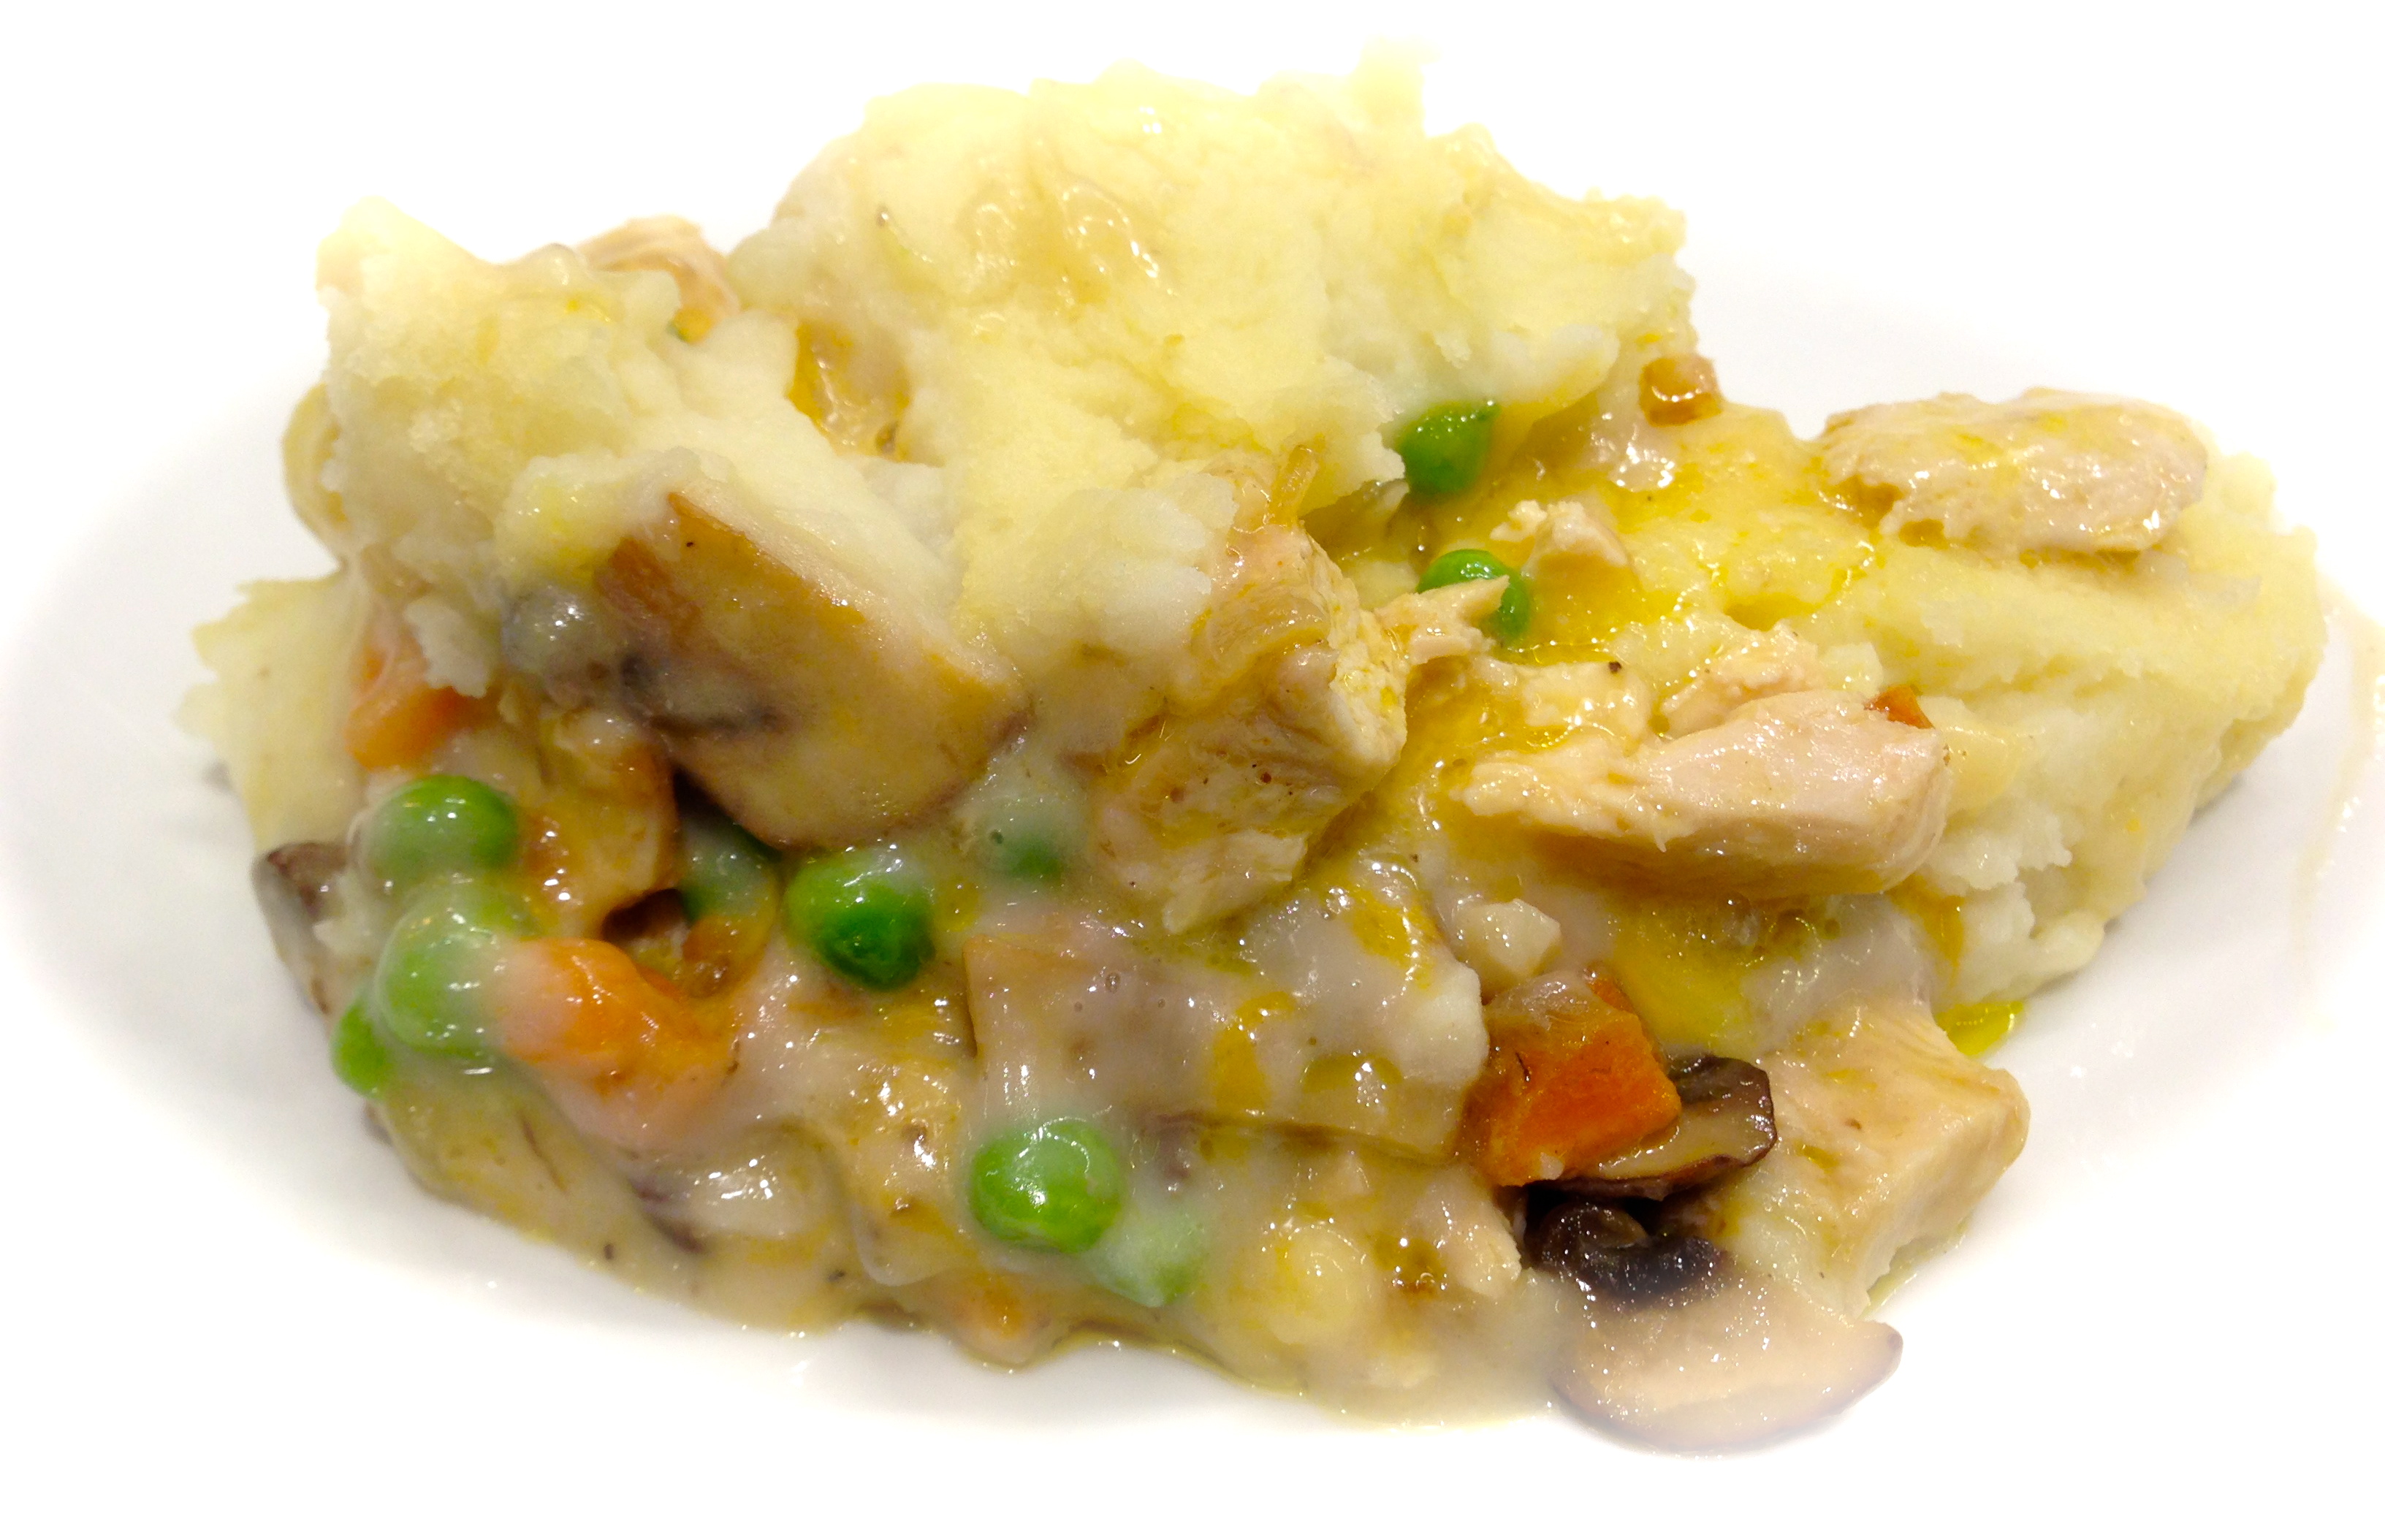
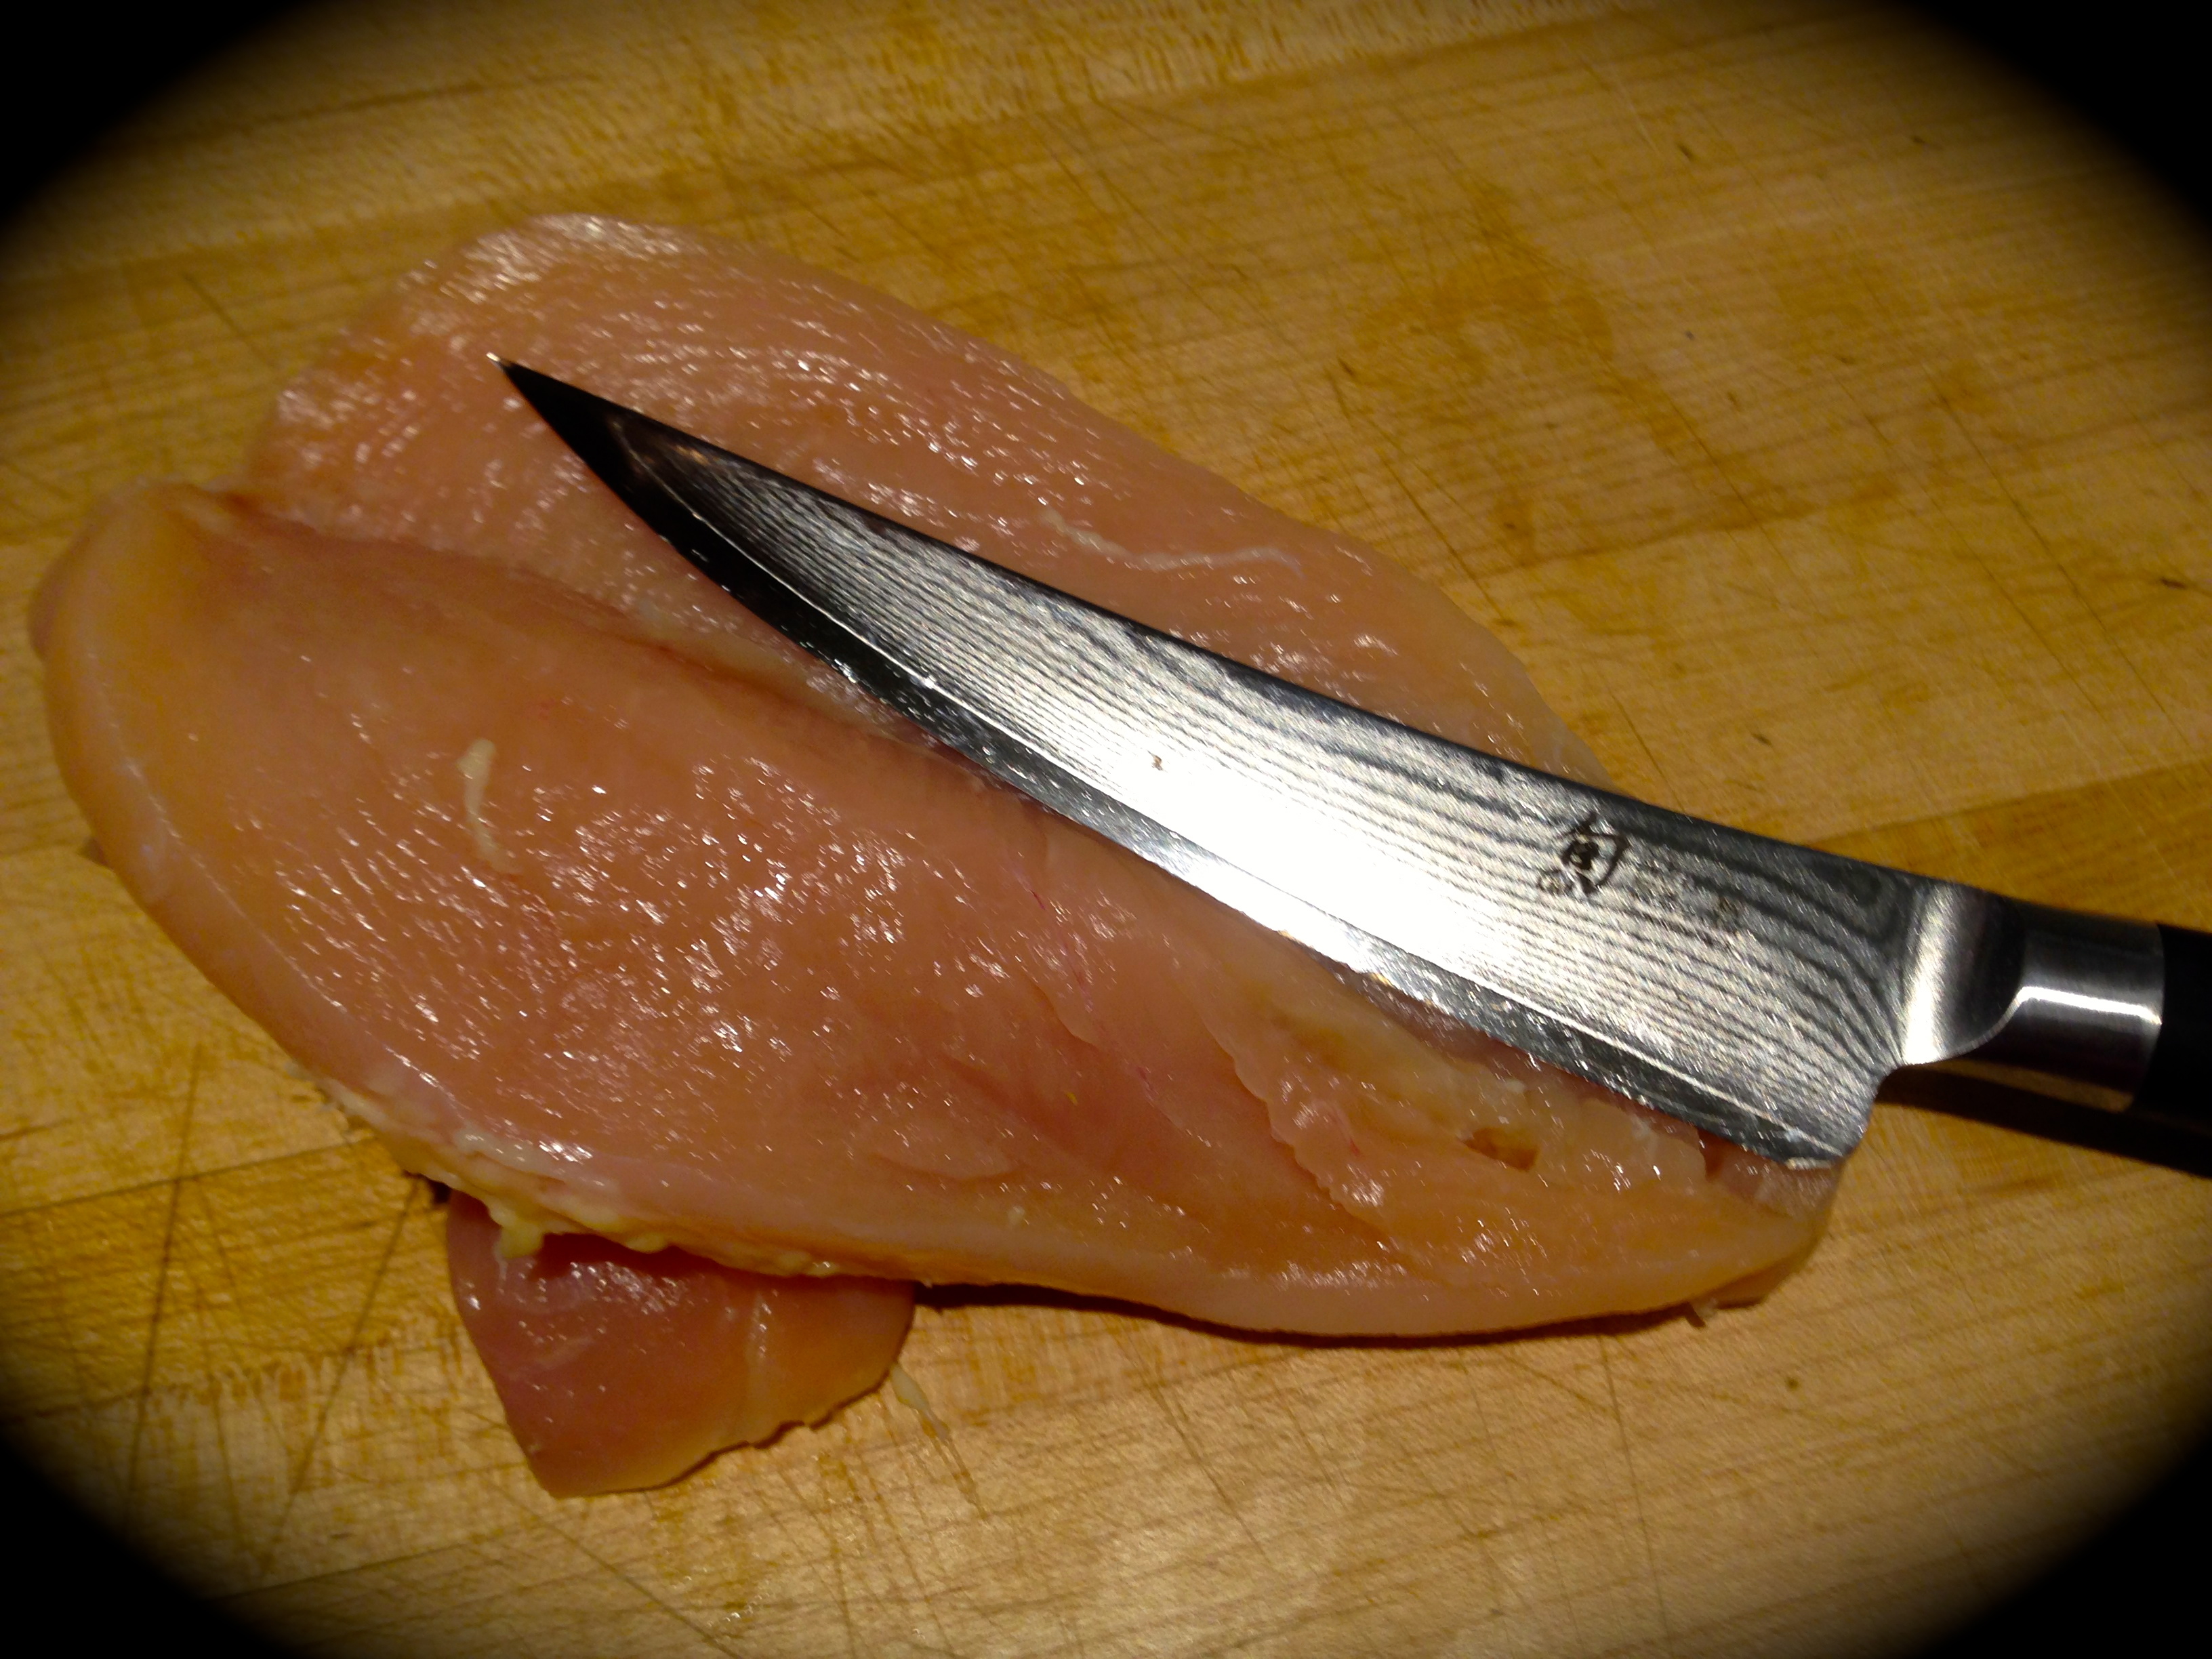
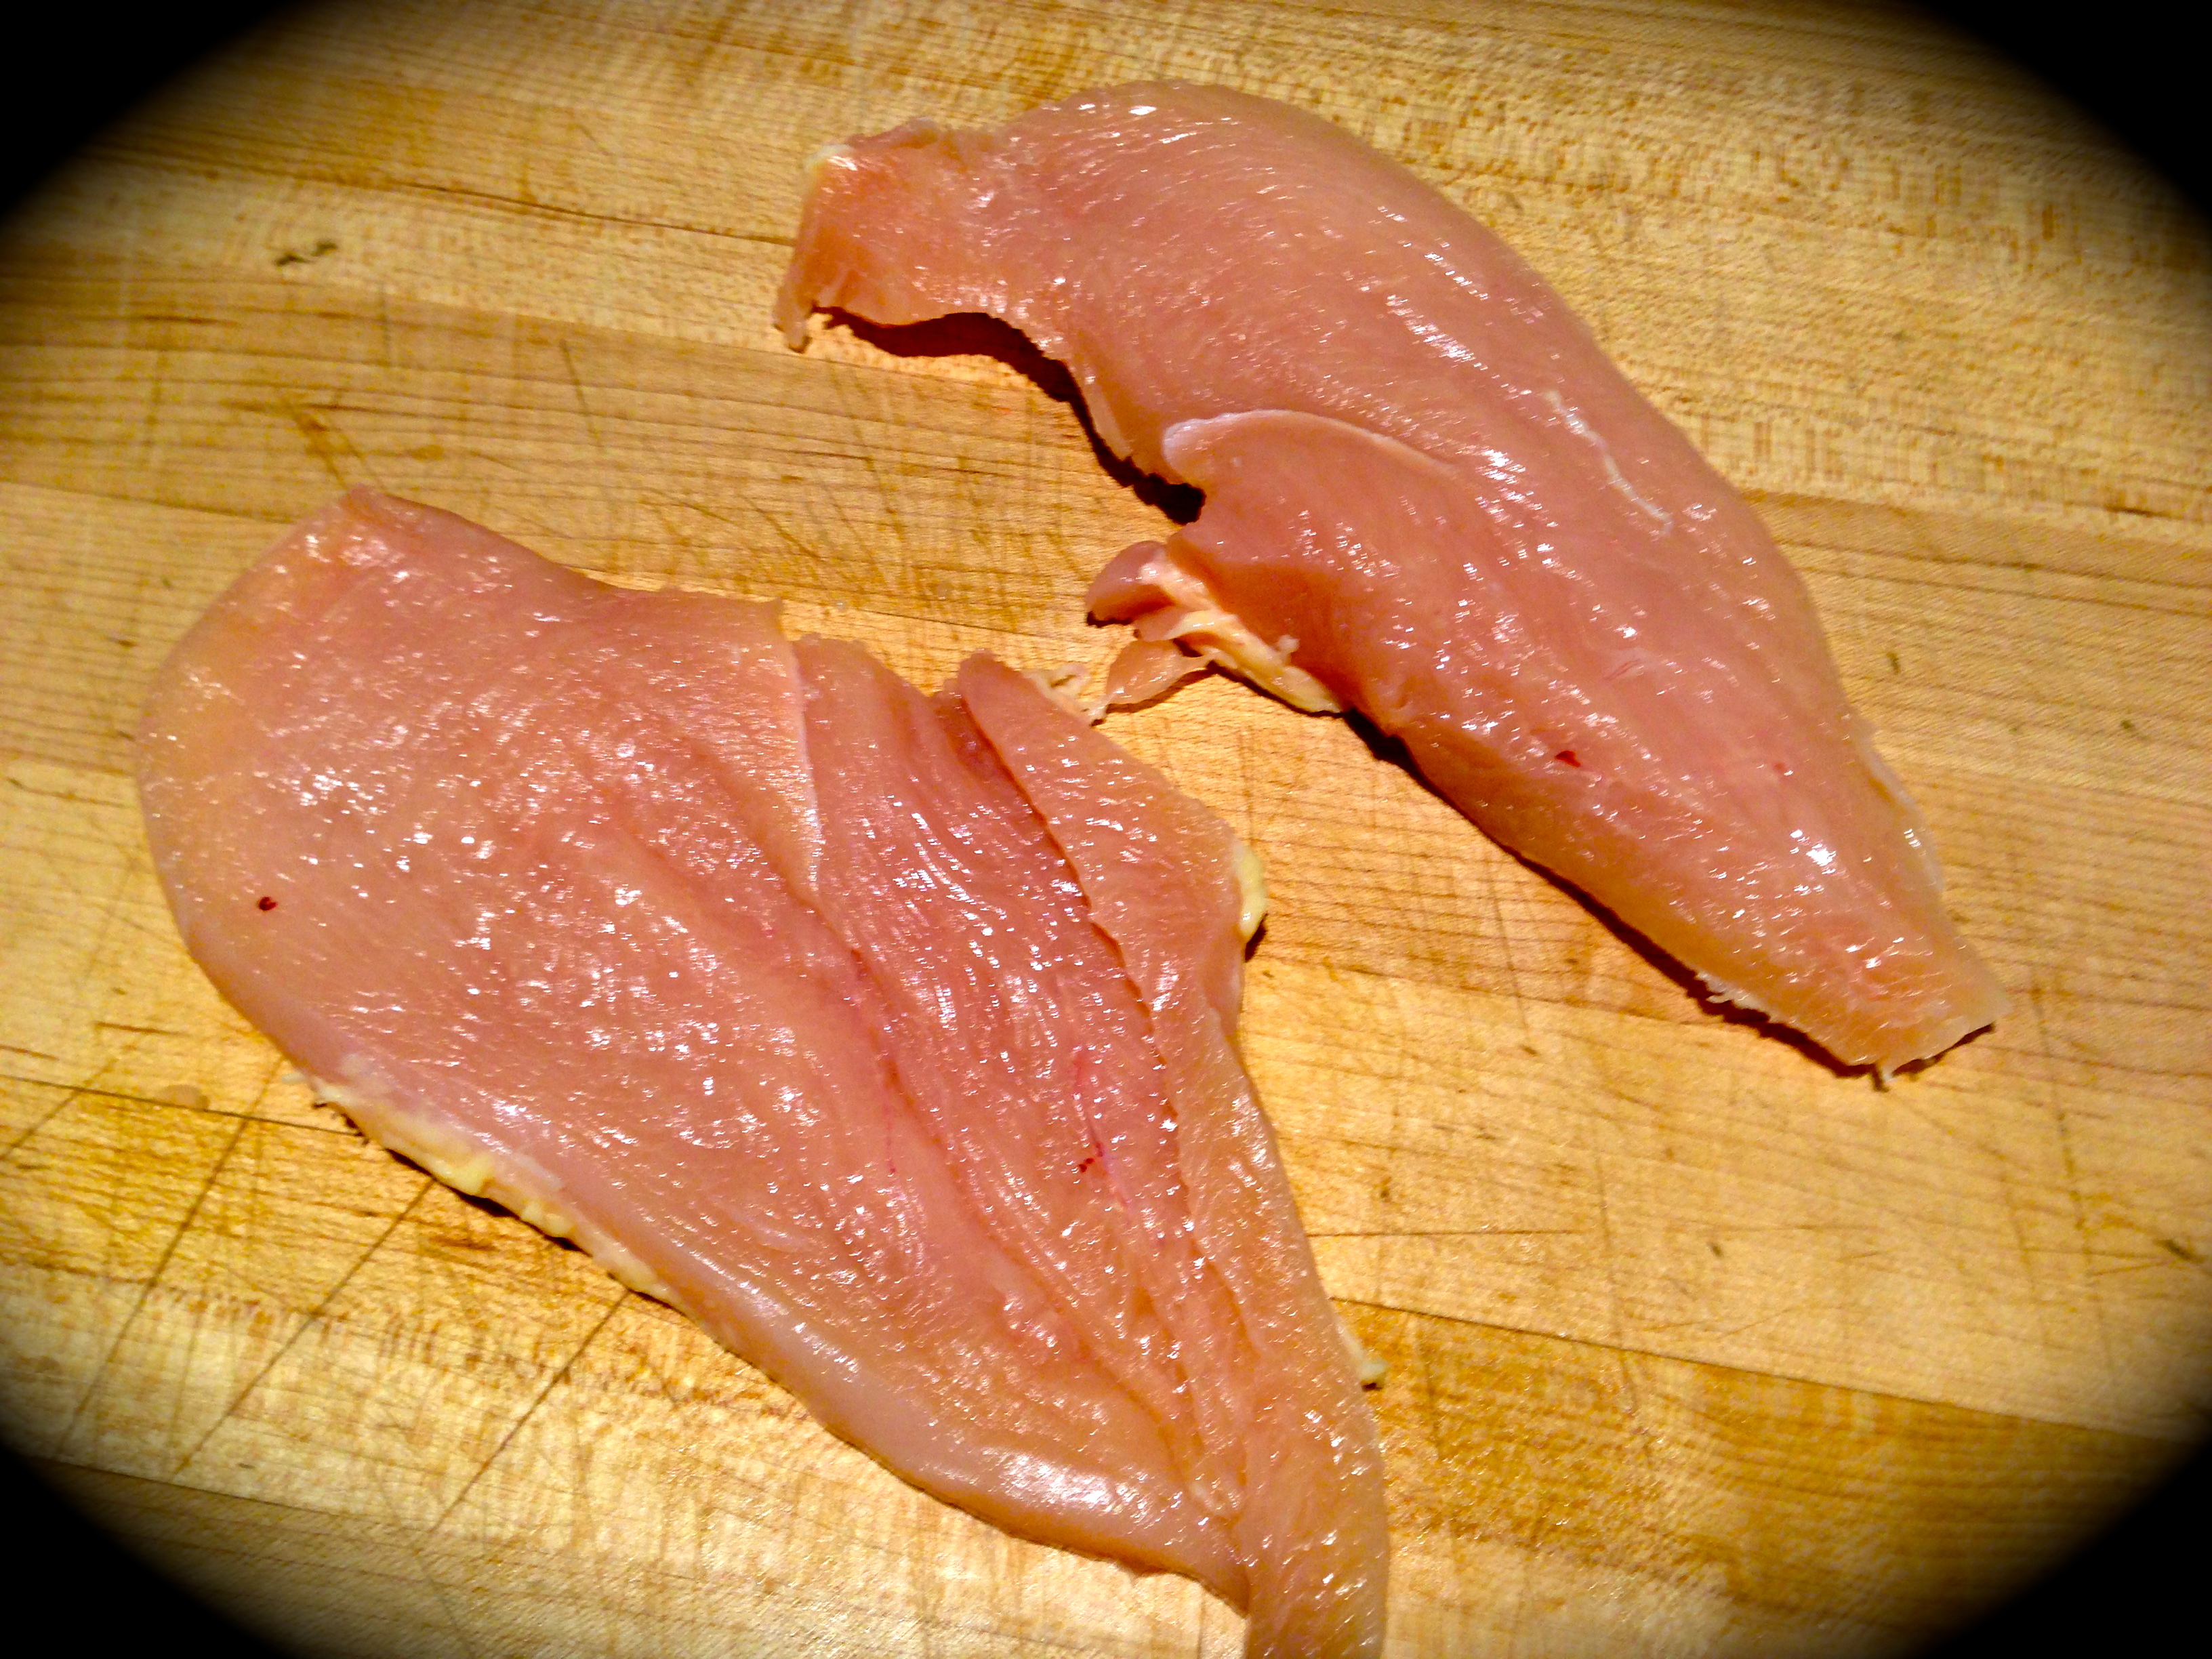
 Lesson Learned 1 – Buy chicken breasts with skin and ribs and debone the chicken yourself: You want to do this for a couple of reasons. First it is much less expensive to buy chicken this way. Second by leaving the skin on it keeps the breast nice and moist during the slow roasting process. Invest in a good boning knife and regularly maintain it with a hand sharpening tool like the one pictured to the left. It is surprisingly inexpensive and will keep your knife nice and sharp for a long time and boning the chicken breasts will be a breeze. These days it’s pretty hard to find boneless breasts with the skin still on so this may be the only way to do it.
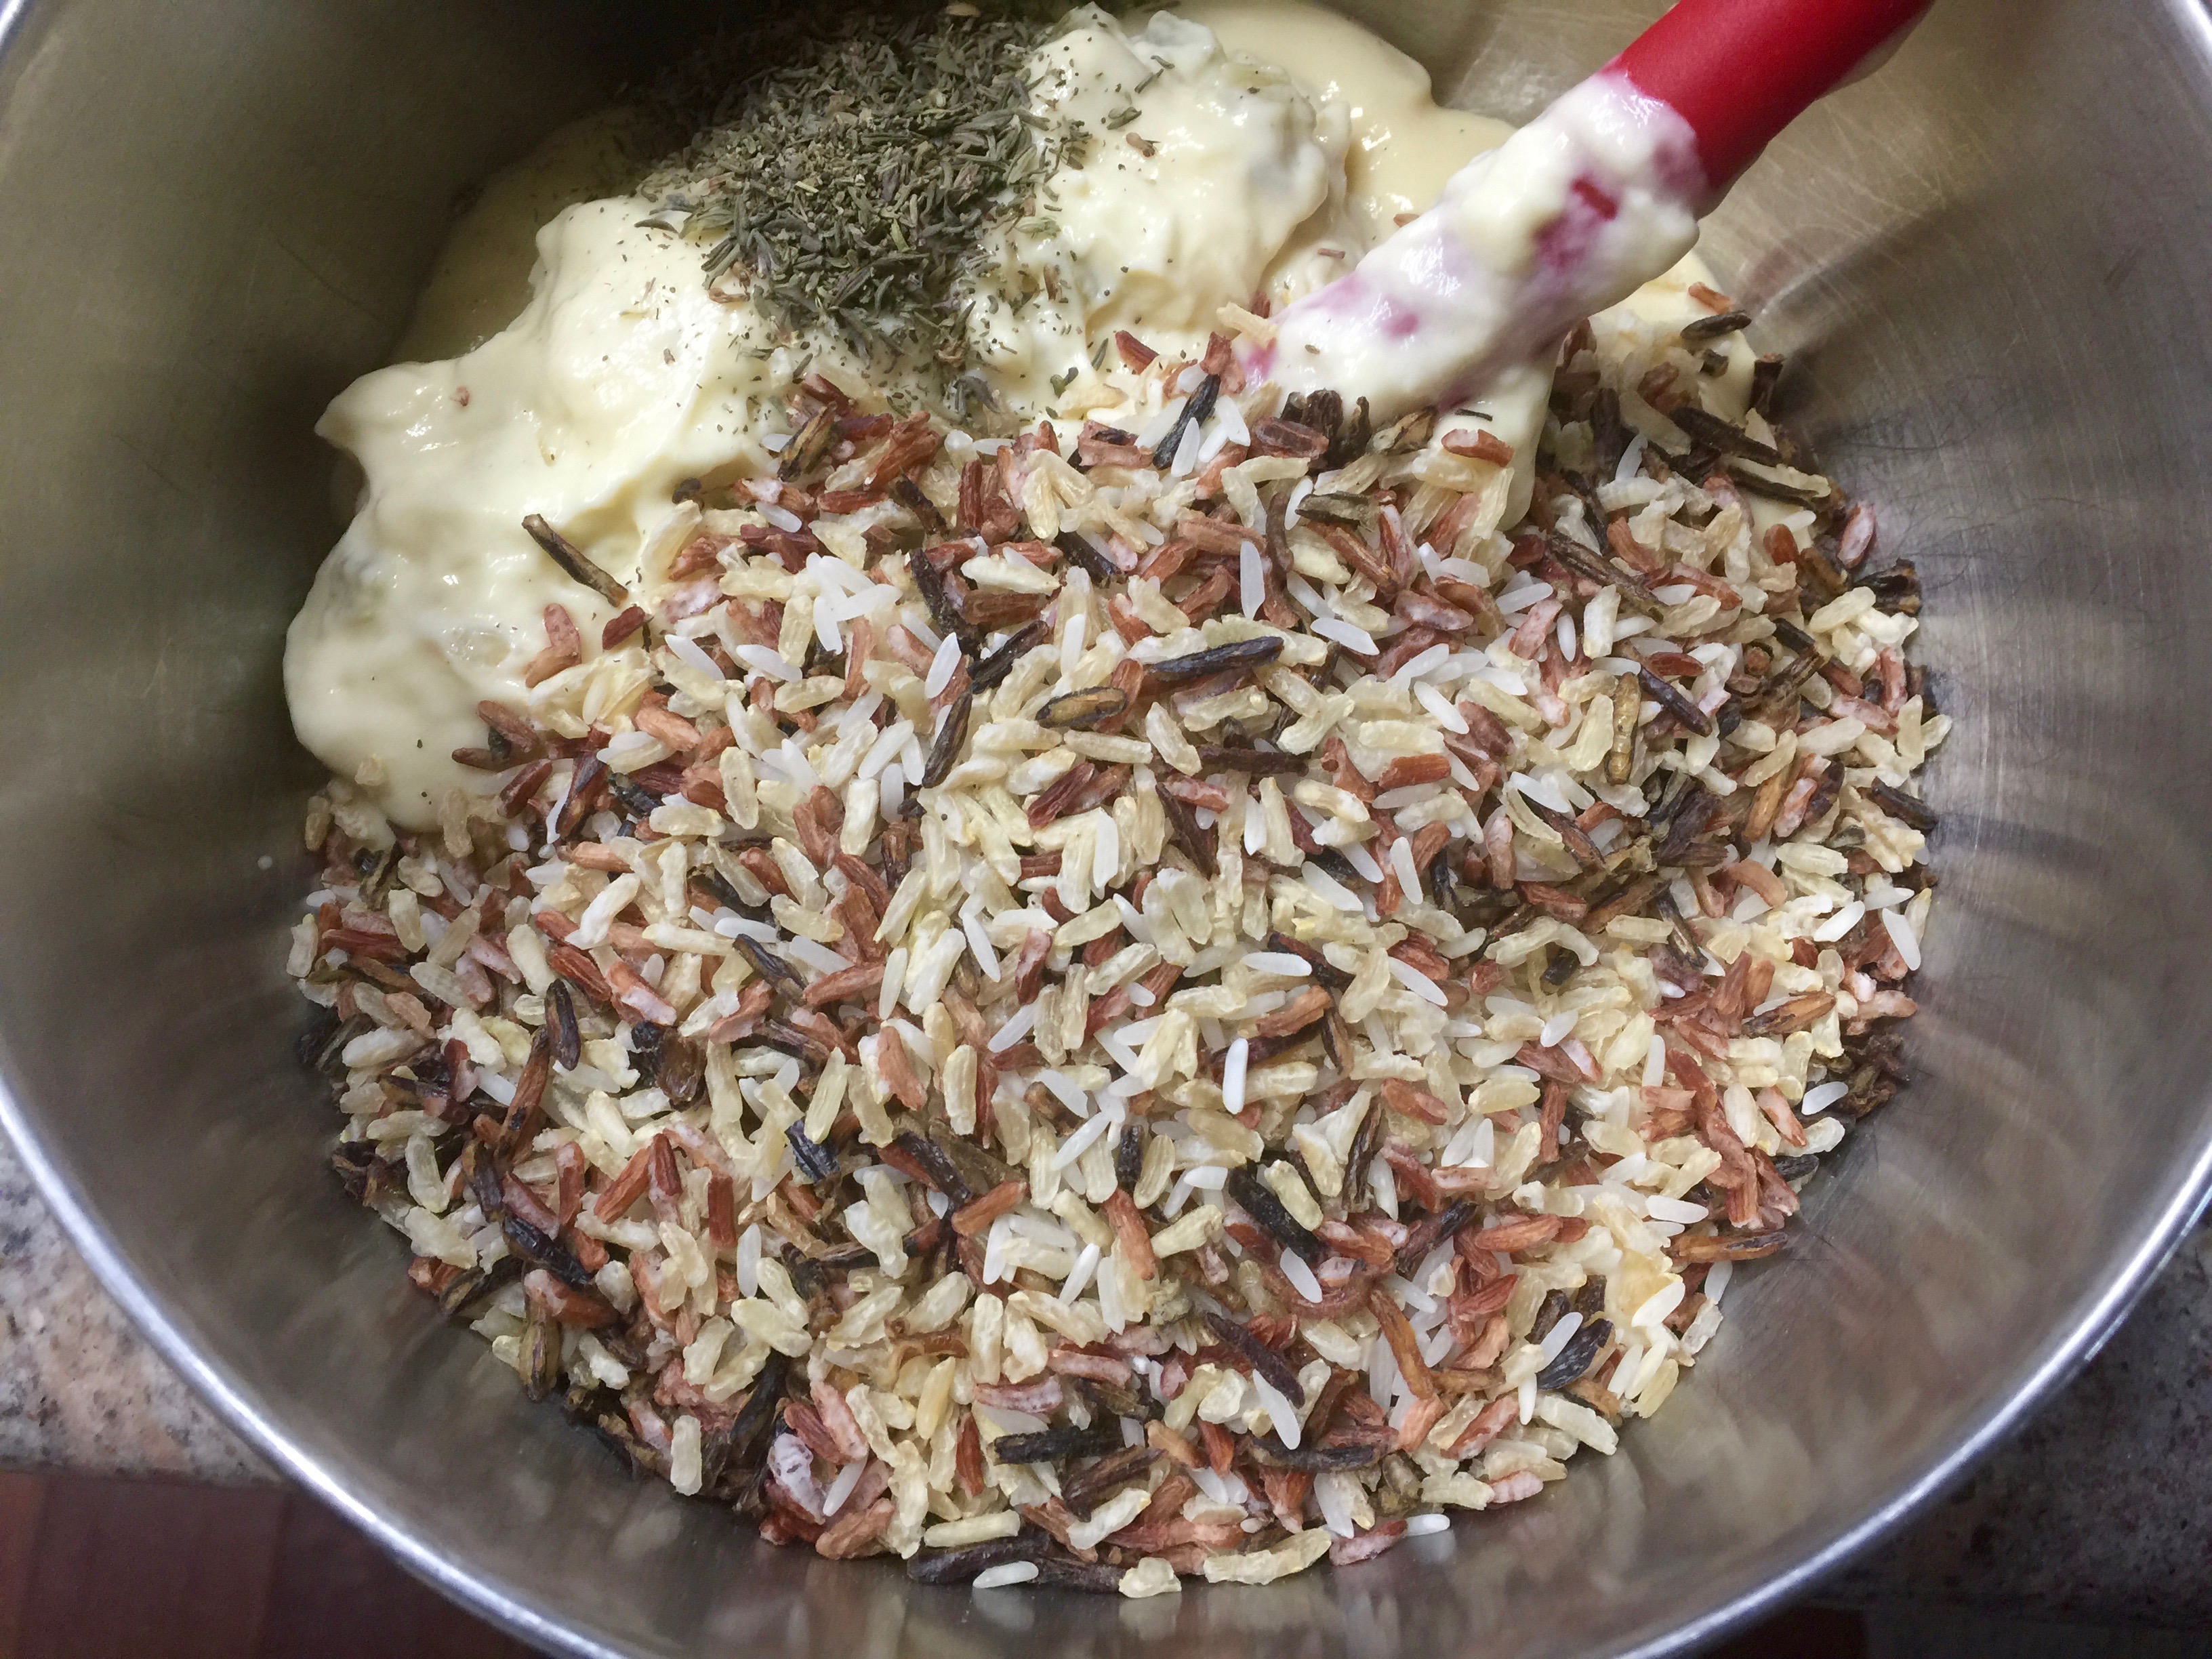
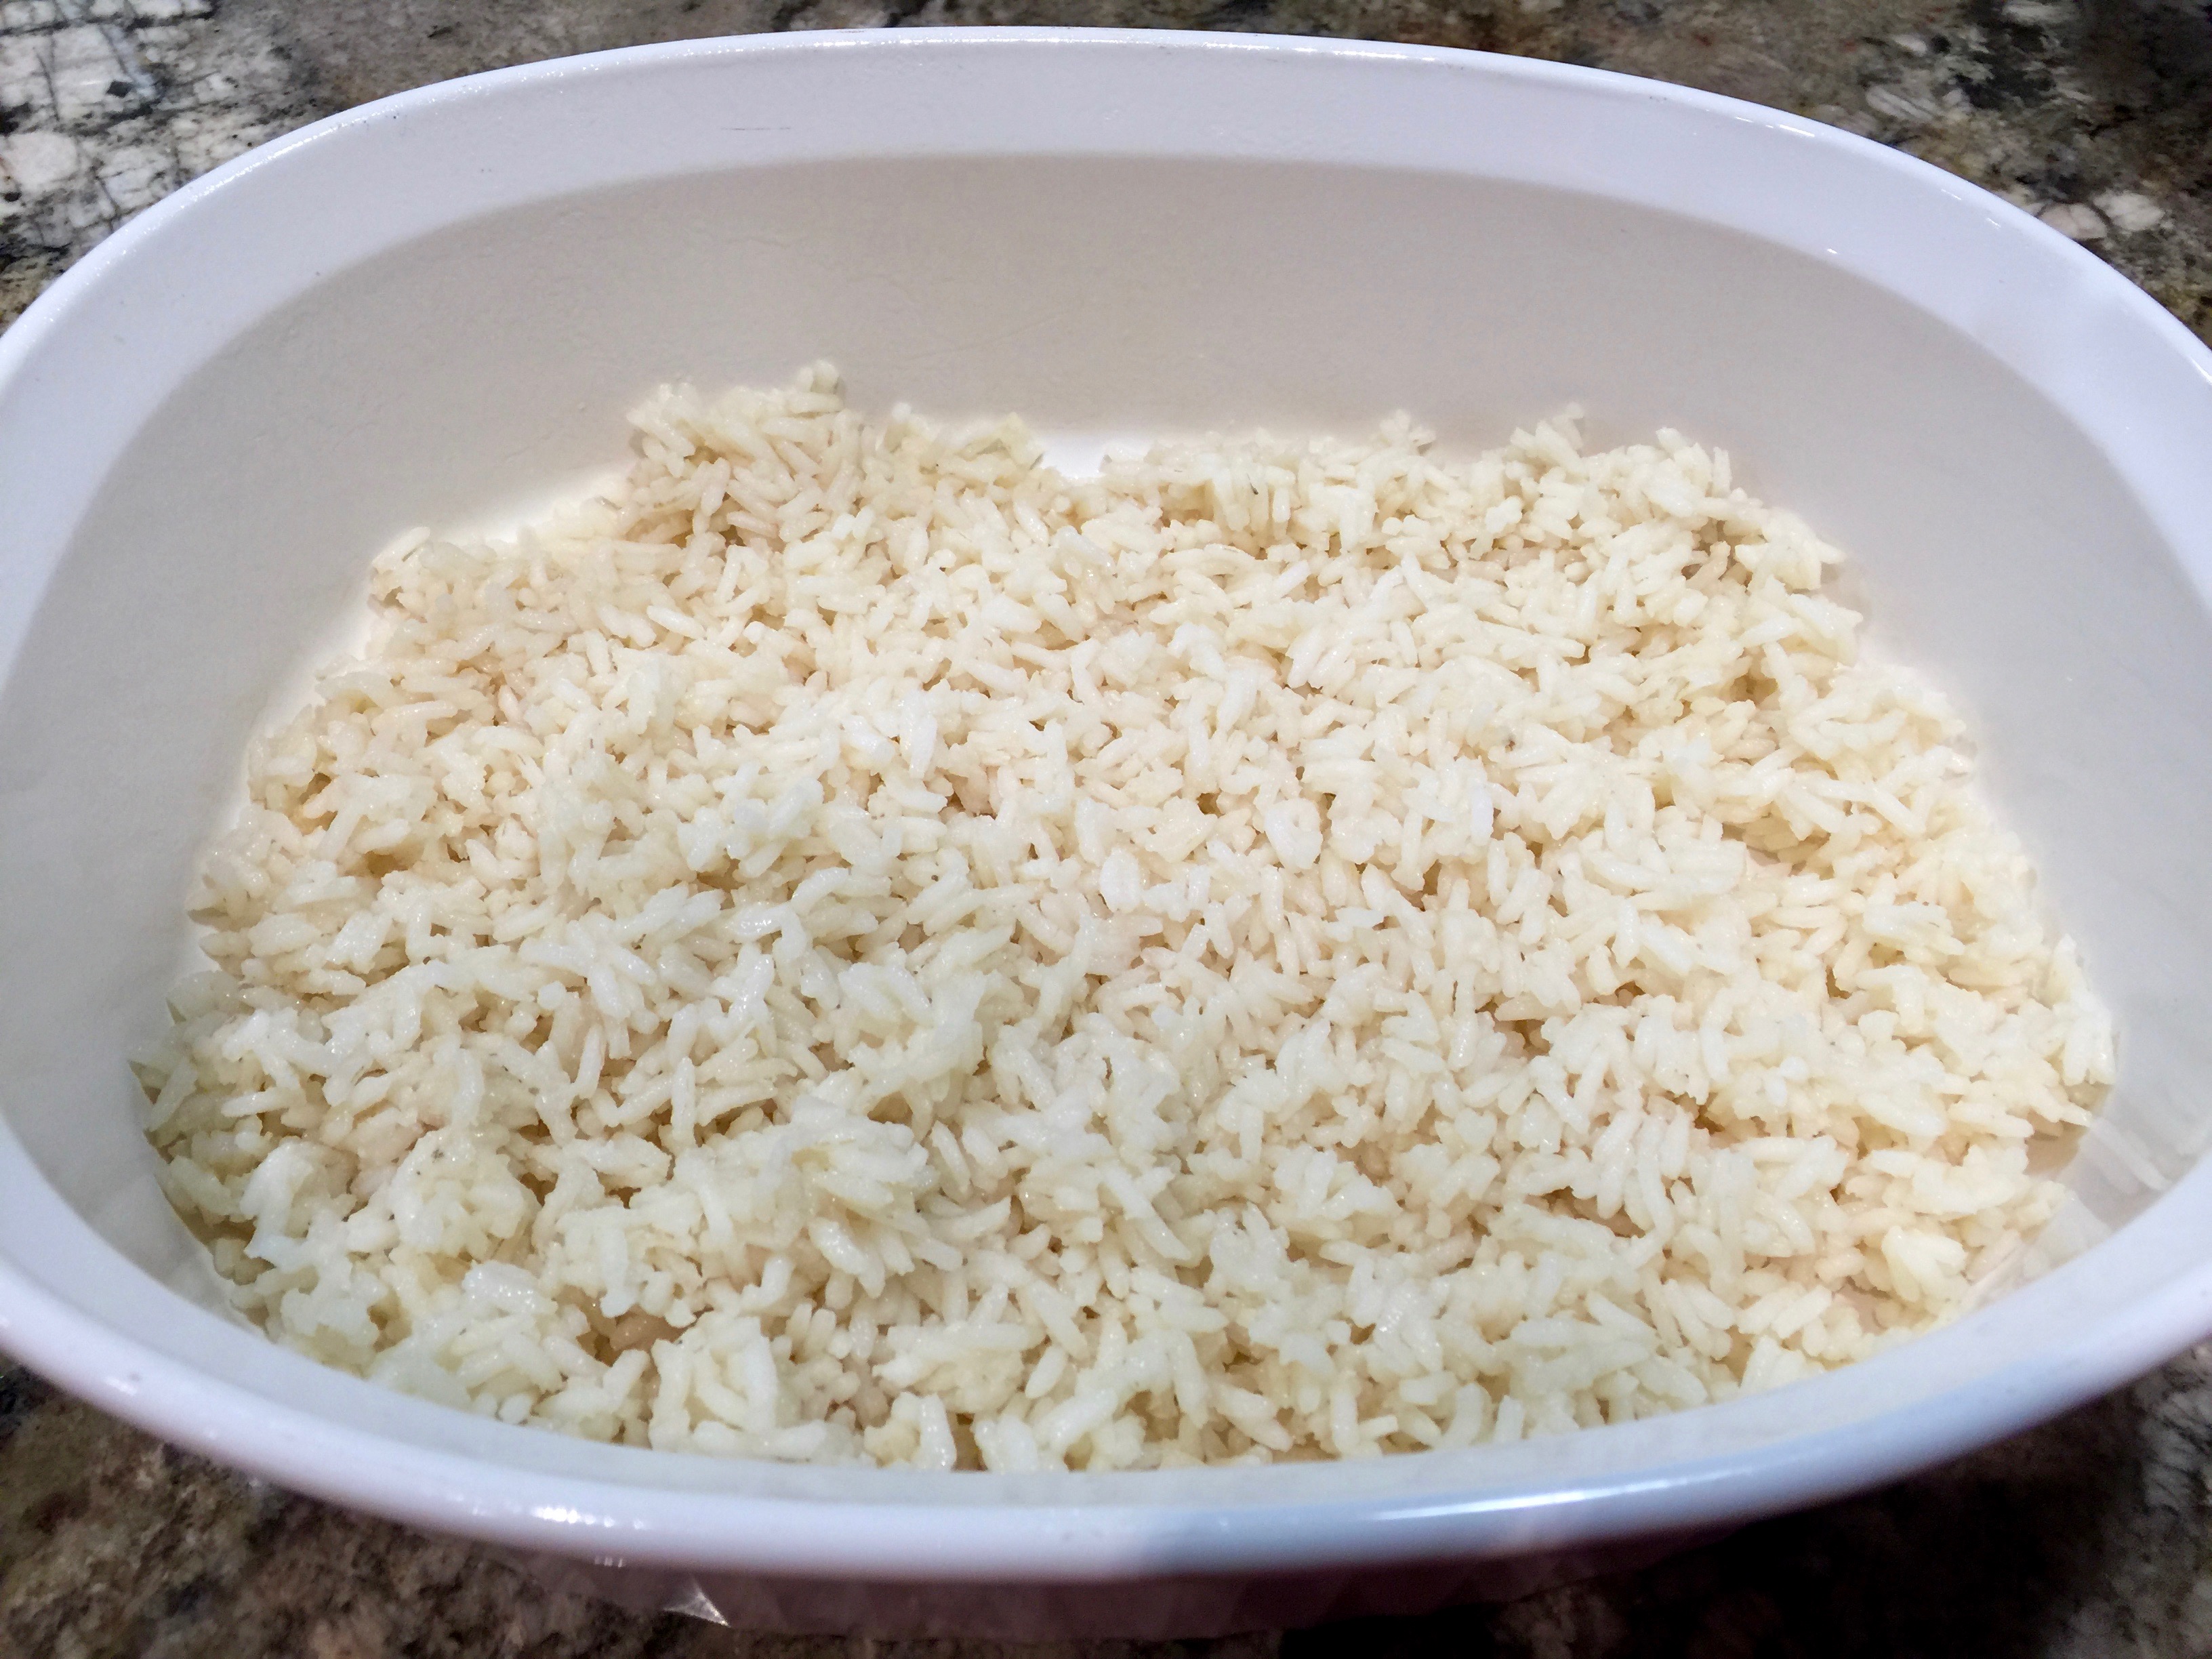
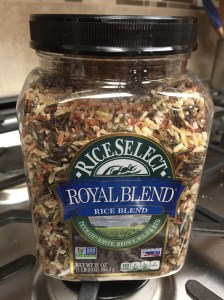 Lesson Learned 2 – Use a rice mixture for an extra flavor boost: Go ahead, be adventurous and use a rice mixture instead of just plain white rice. You can use wild rice, basmati rice or the mixture that I use which is a combination of white, brown, wild and red rice and pictured to the right. You’ll be amazed at how it punches up the flavor volume and makes the dish even more interesting.