I like a good pasta salad any time of year, but especially during the summer when dishes that are cool and crisp seem to meld well with the hot summer weather. I used to just get the boxed pasta salad mixes but as I become pickier about what I put in my mouth I tend to shy away from prepackaged foods with ingredients that I cannot pronounce. Plus chopping and dicing is very therapeutic for me and the end result is always better than something that came out of a box.
The pasta salad recipe I’m sharing today came from, where else, Pinterest and a website called barefeetinthekitchen.com. A colleague of mine pinned it and when I saw the pin it intrigued me. I decided to make it with a couple of changes from the original recipe (mostly based on what I already had in the house) and I’ll share my adaptation below.
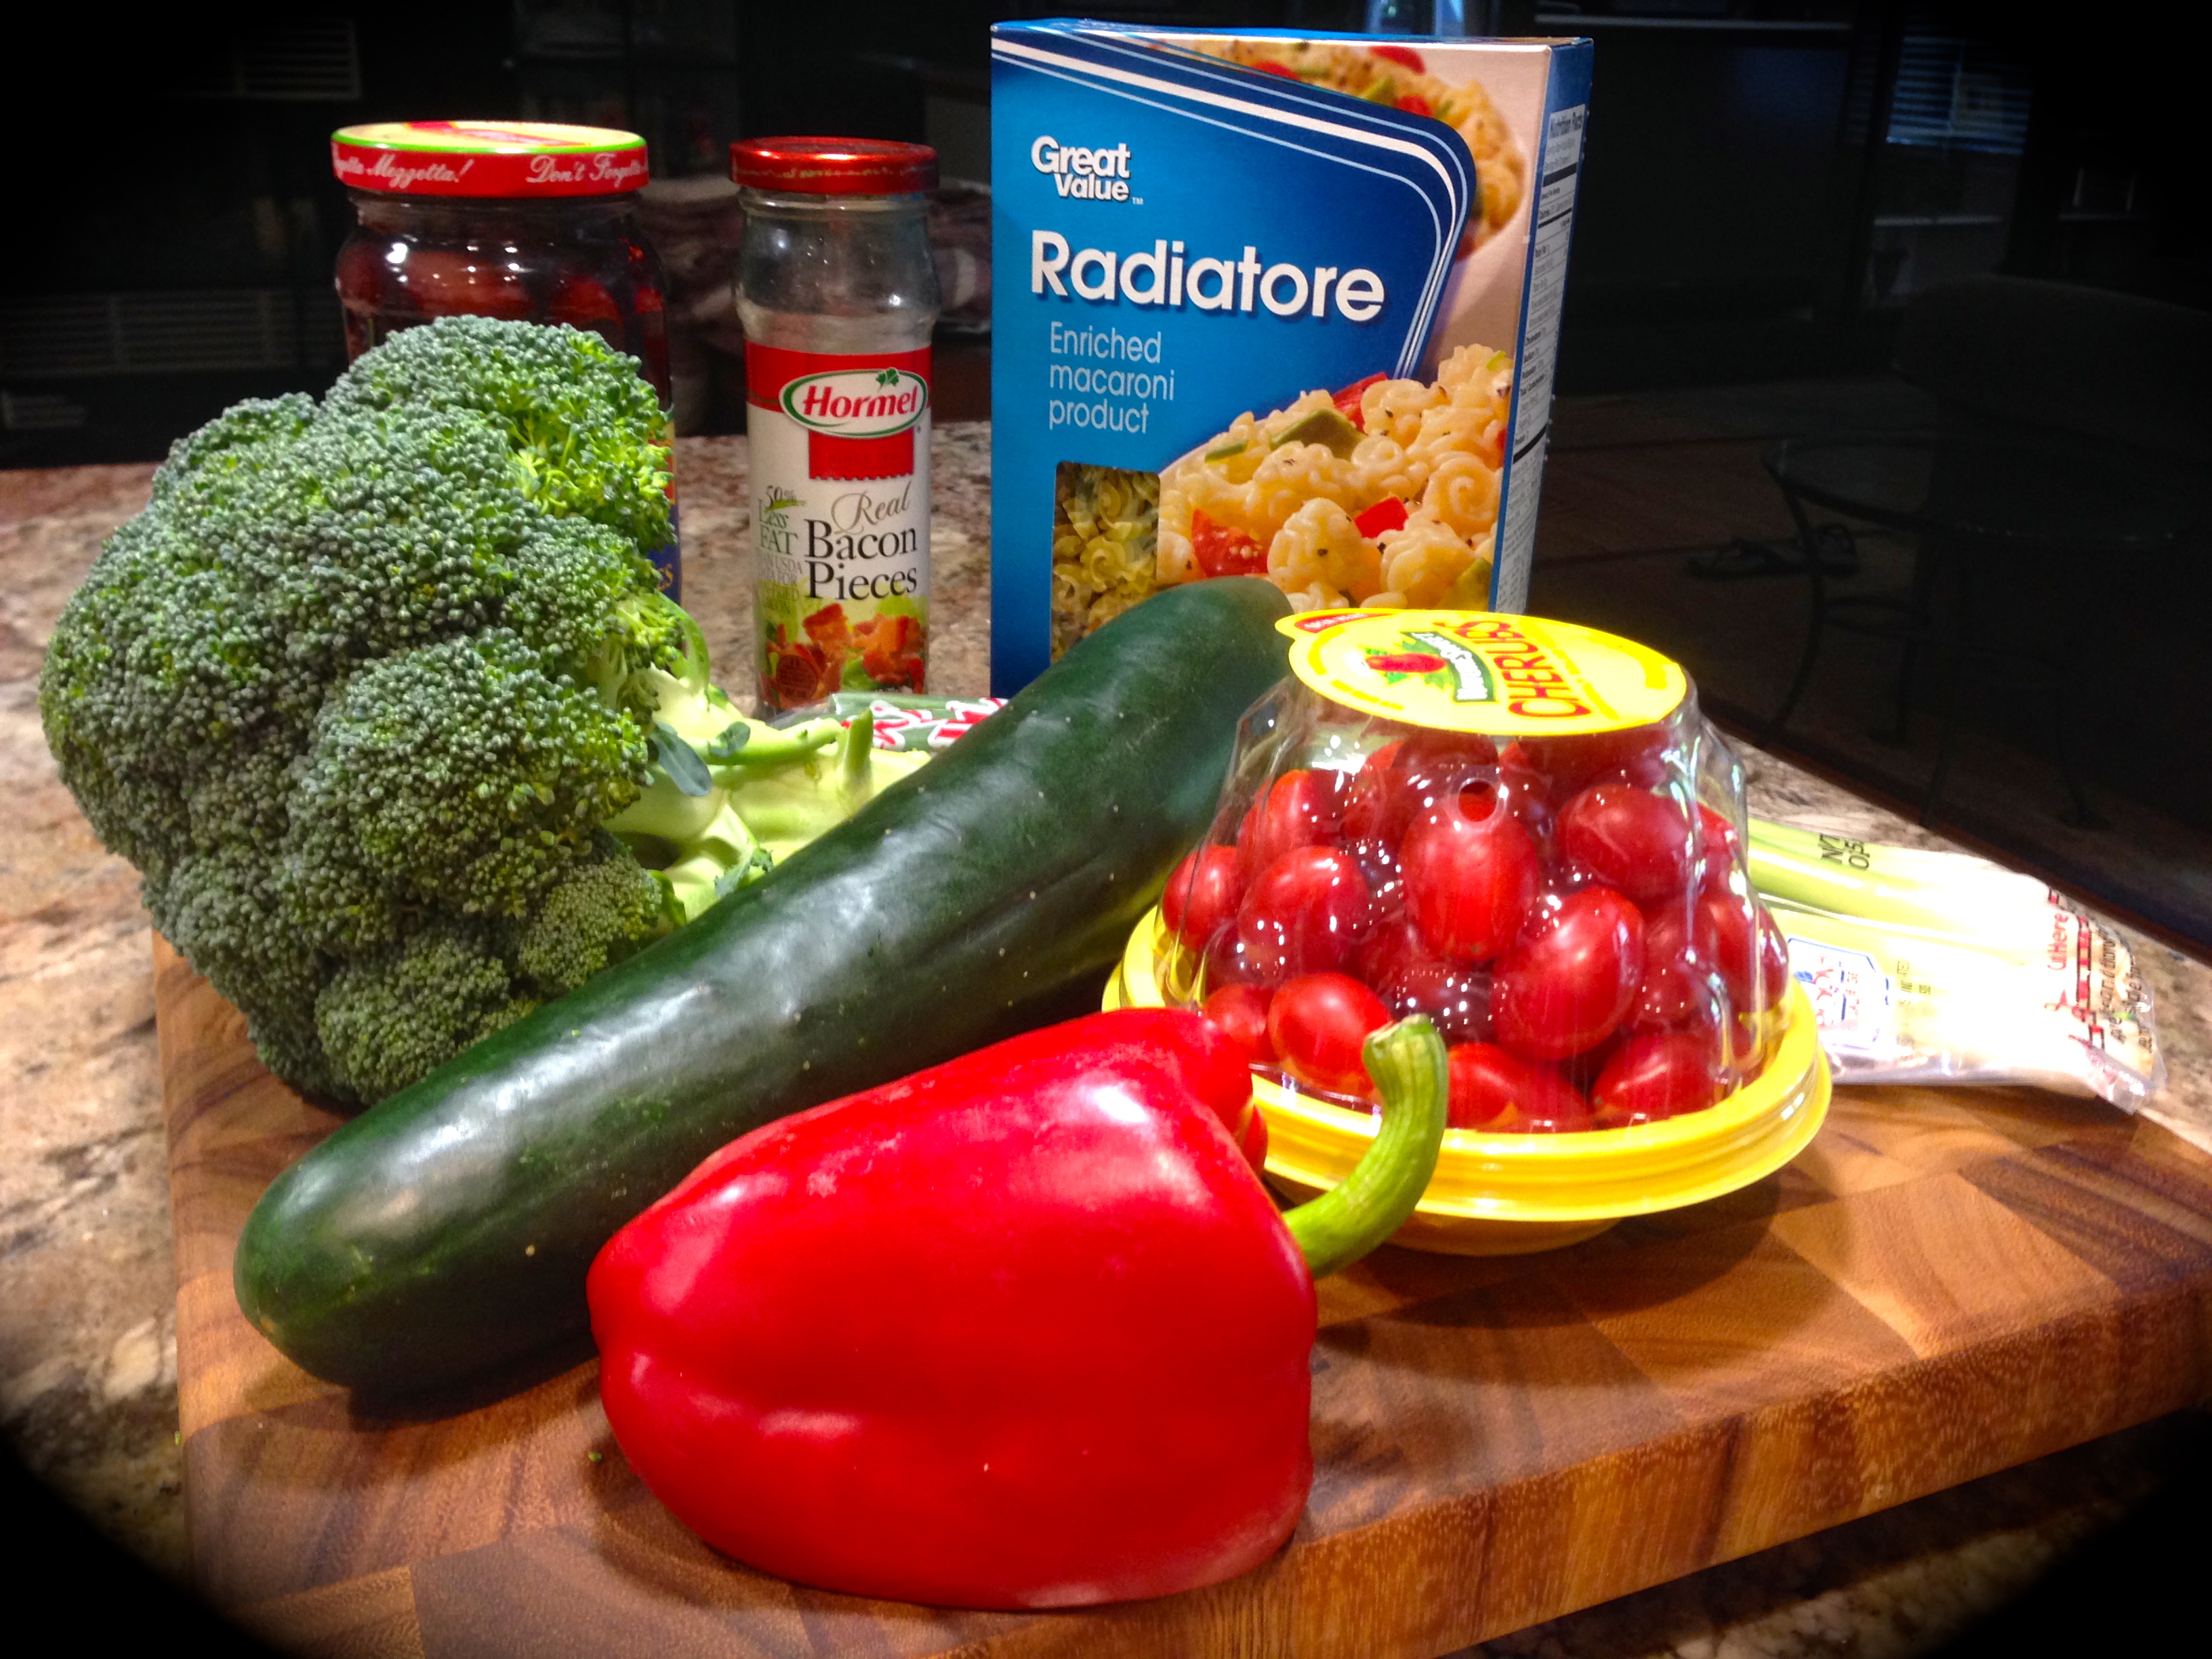
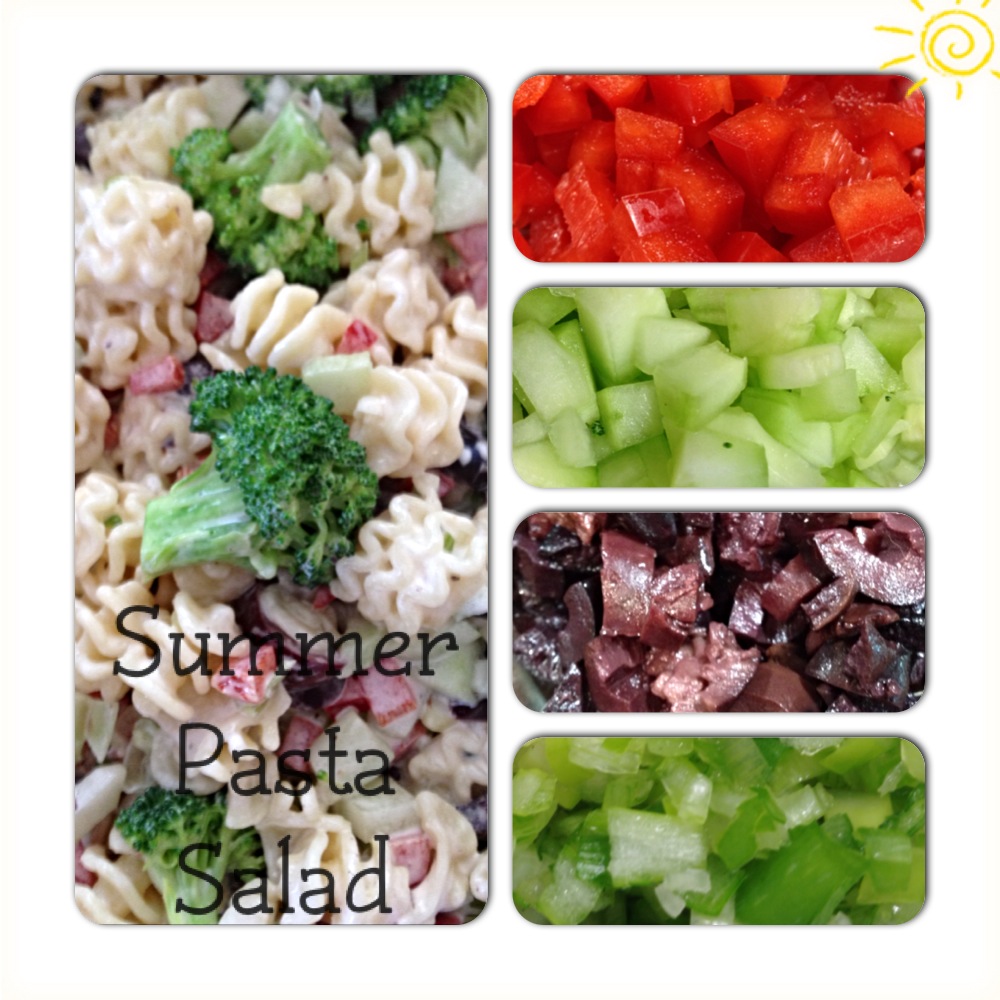
Ingredients
RECIPE RATING: A – simple to make, very flavorful and adaptable. The only thing preventing me from giving it an A+ is I didn’t think the proportion of broccoli to pasta was substantive enough. The original recipe called for 8 ounces of pasta and a cup of tiny broccoli florets. I added about a 1/2 cup more of broccoli florets because as I was eyeballing it I thought there wasn’t enough. I would have liked an even better ratio in the salad than that, so I am recommending adding two cups of tiny broccoli florets.
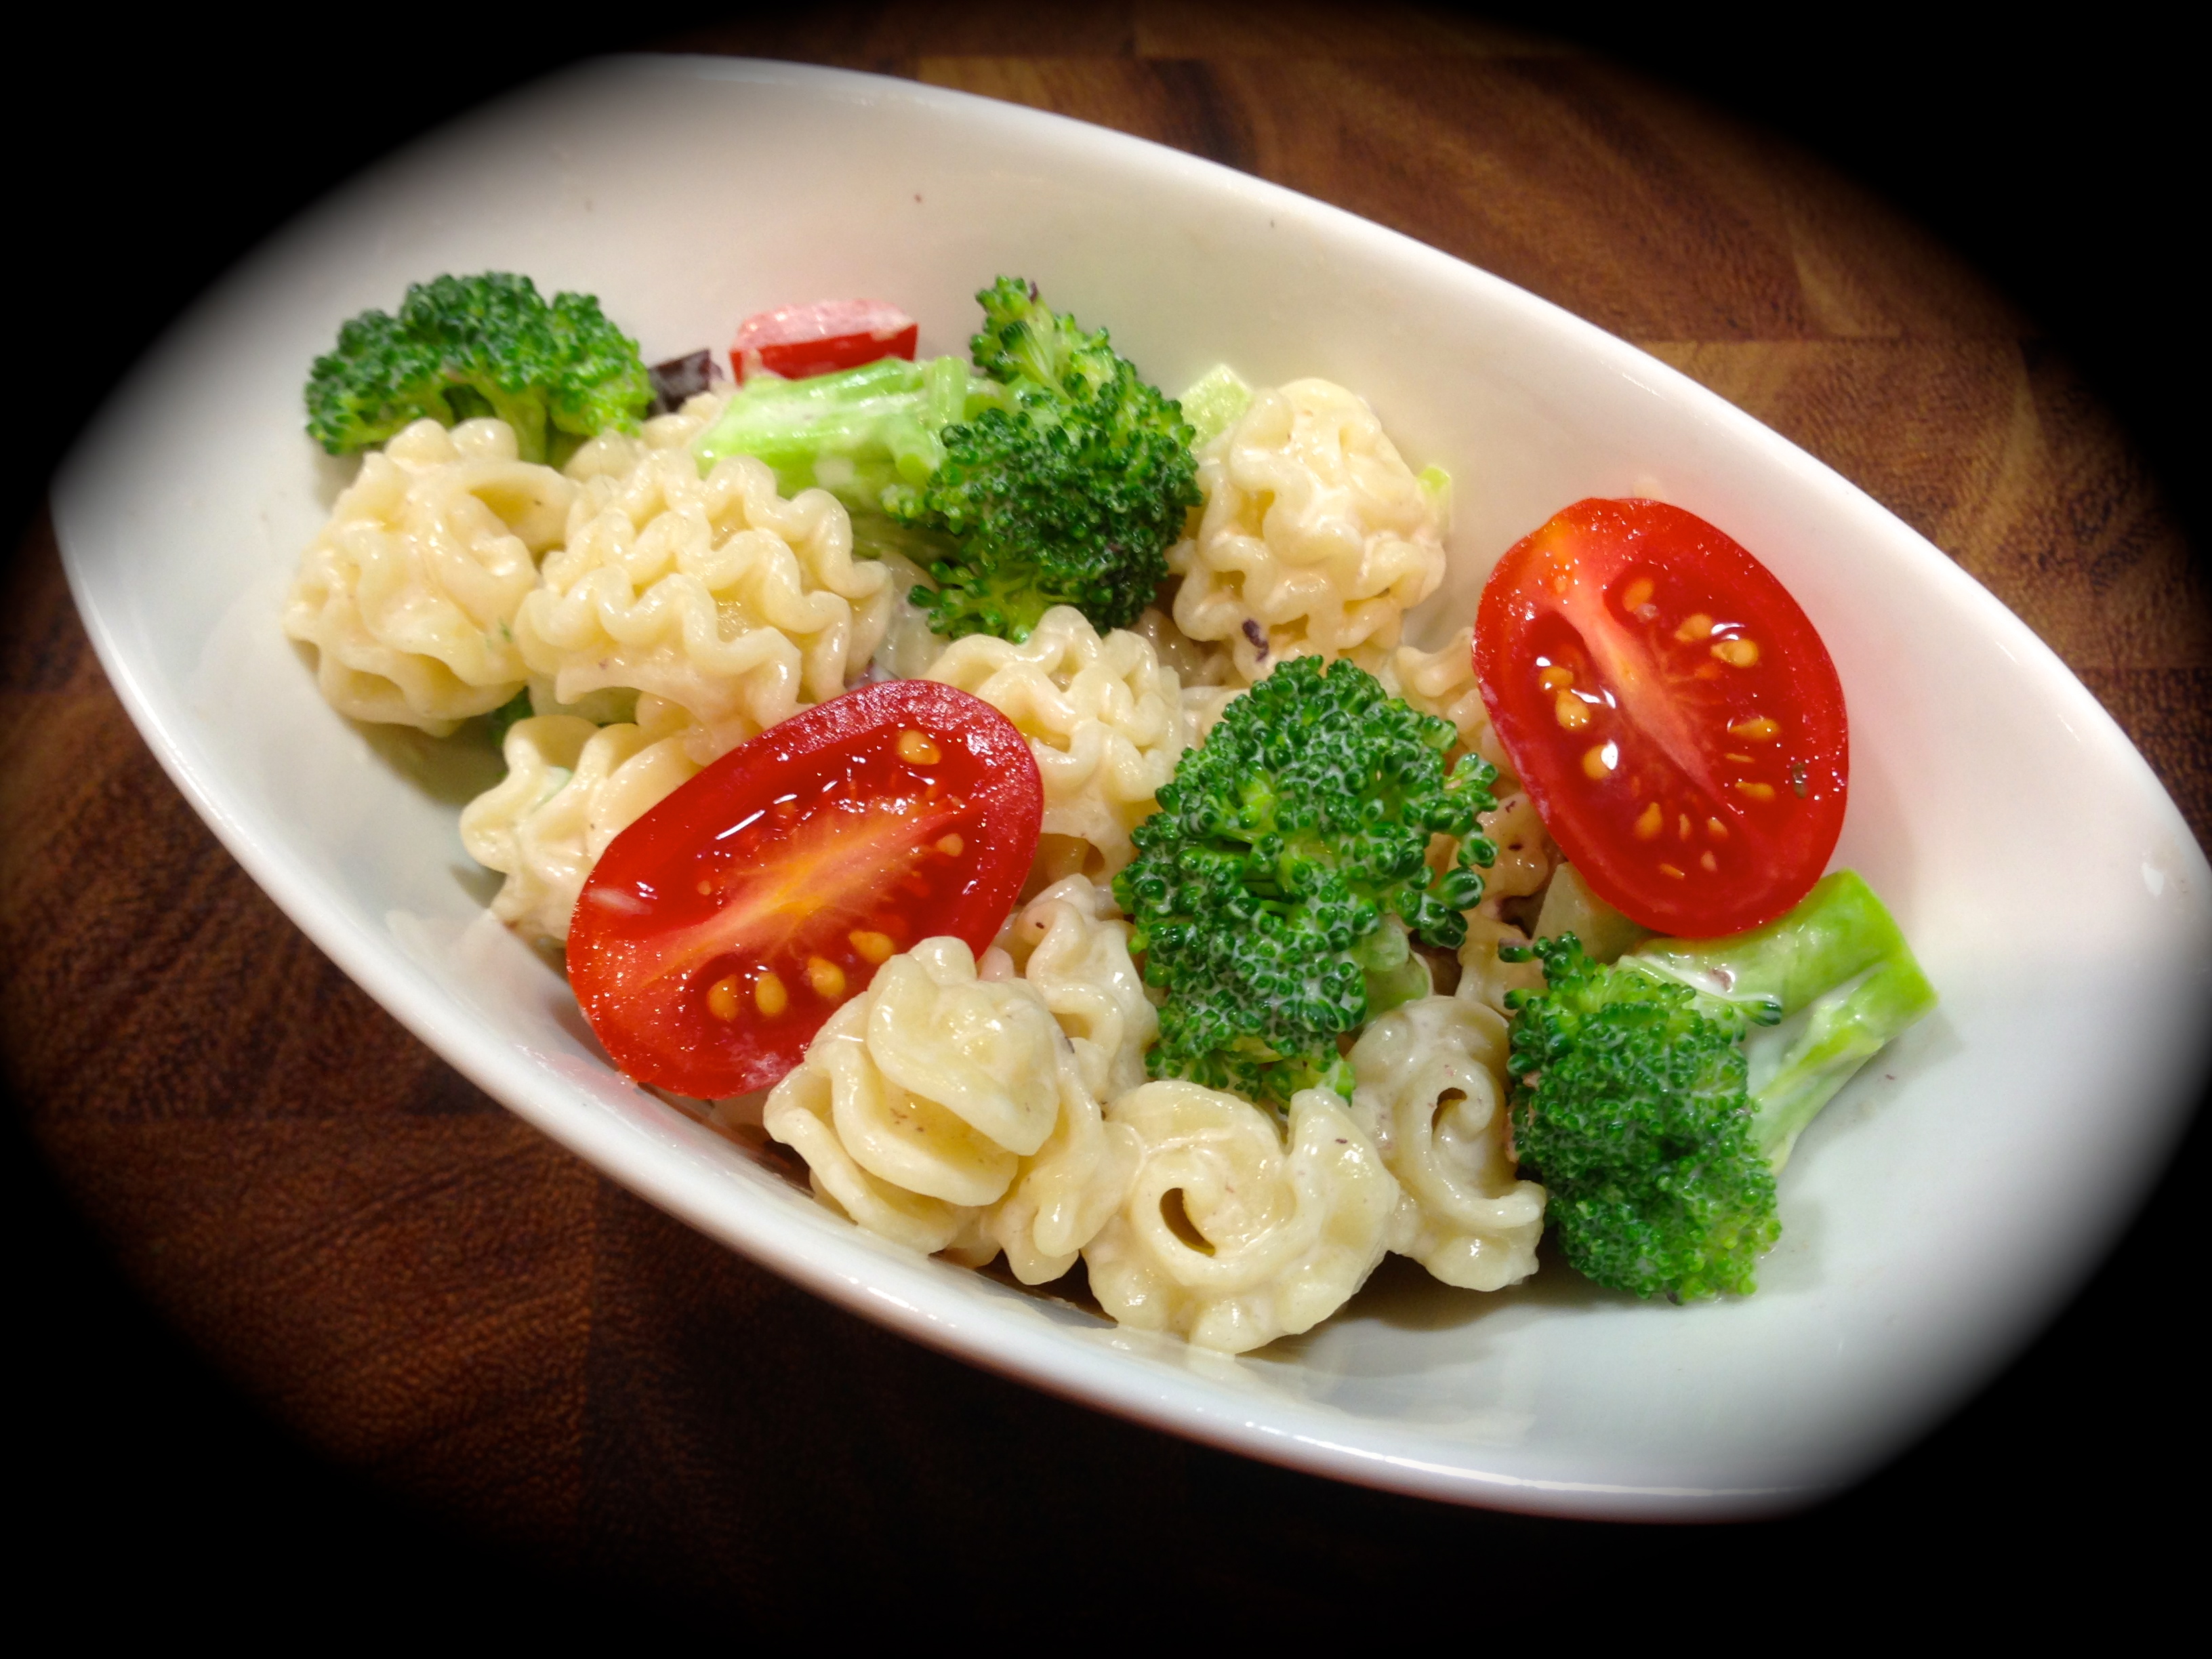
LESSON LEARNED 1 – ANY PASTA WILL DO: The original recipe called for “salad macaroni”. The pasta pictured on the website looked like ditalini. I used a pasta called “radiatore” which, as you can see in the pictures, has wavy edges. I thought this pasta would hold the dressing better and it also creates an interesting look. So, knowing that we eat with our eyes even before we even put anything in our mouths, I opted for the radiatore. But in reality any small shaped pasta will do like small shells or even elbow macaroni.
LESSON LEARNED 2 – PARBOILING THE BROCCOLI FLORETS: This was a great tip in the recipe. You have to cook the florets slightly or else they will be too hard when in actuality you want them to be crisp tender. The original recipe called for putting the florets in with the pasta for the last 30 seconds of cooking time and then draining and rinsing both with cold water. I kept the florets in for 45 seconds and I think they came out perfectly. It is important to rinse them immediately in cold water to stop the cooking process. Let the cold water run for at least a minute and shake the colander every once in a while to make the cold water is reaching all of the pasta and the broccoli.
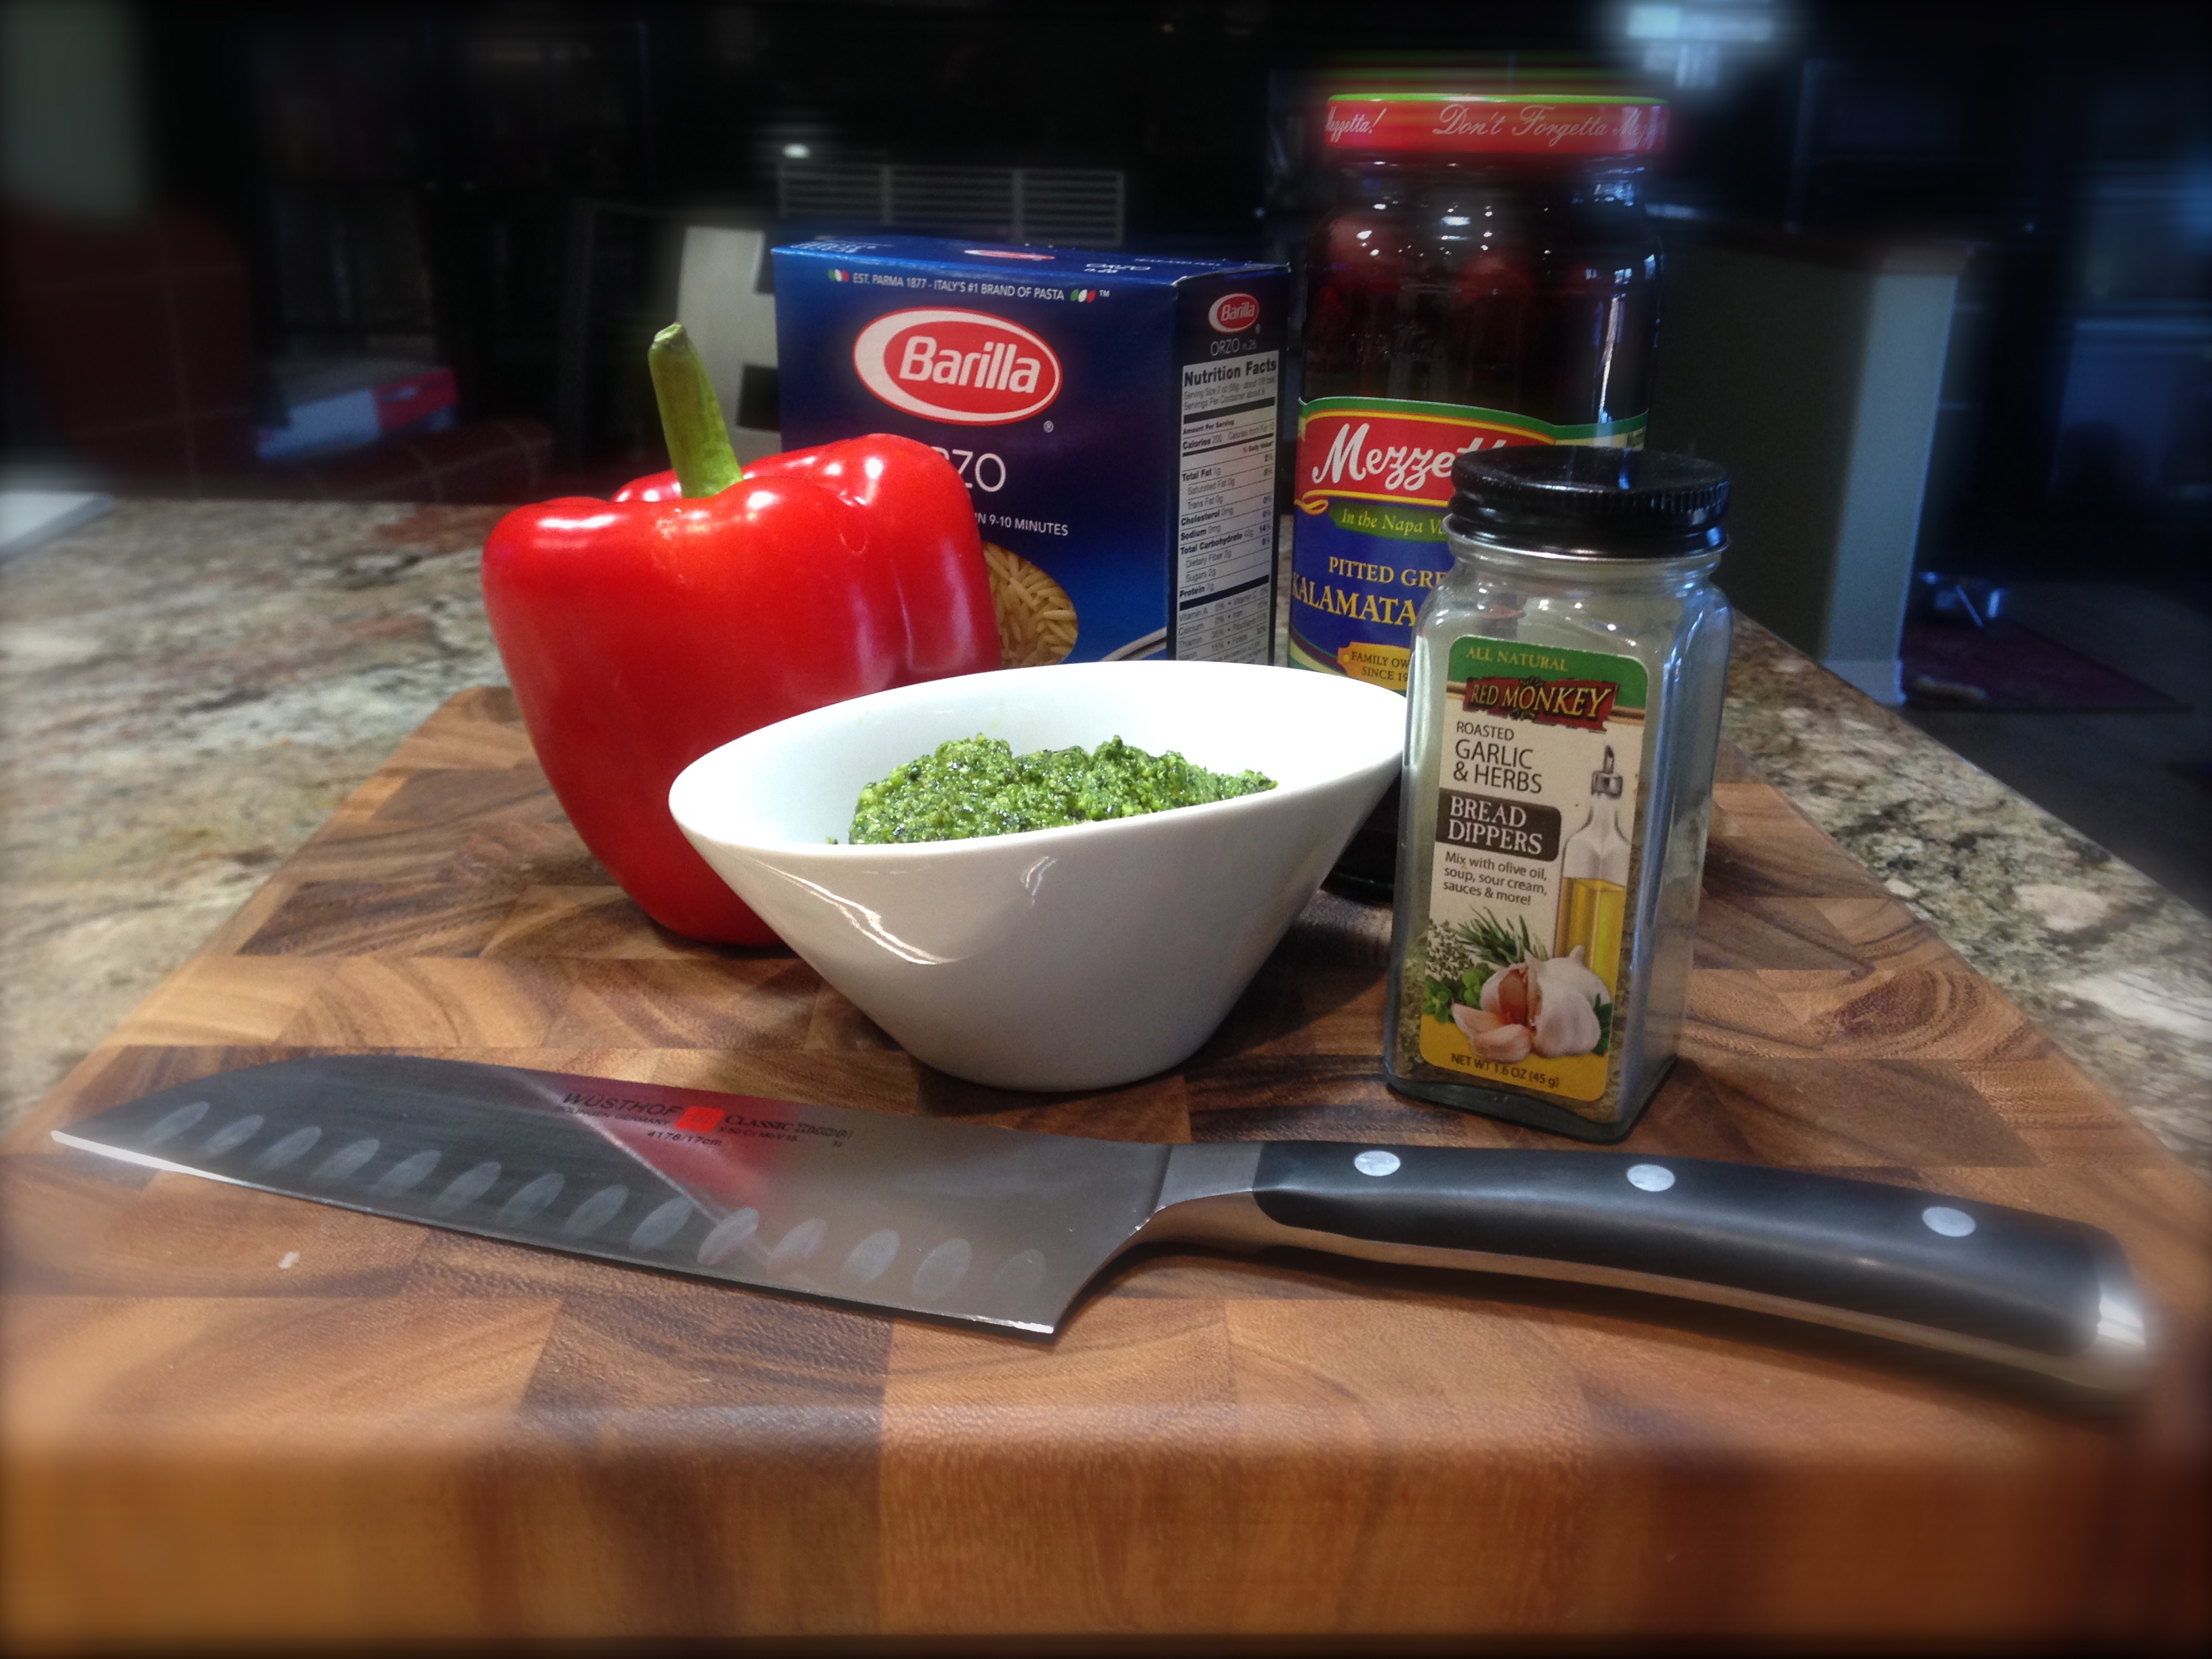
LESSON LEARNED 3 – USE WHAT YOU HAVE AT HOME: The original recipe called for black olives. I’m not a big fan of black olives but I love kalamata olives and I always have them on hand. I used them and that was just fine. The recipe also called for the mayo to be mixed with either 2 teaspoons of white wine or just plain vinegar. I split the difference and used 2 teaspoons of white wine vinegar and again, it turned out just fine.
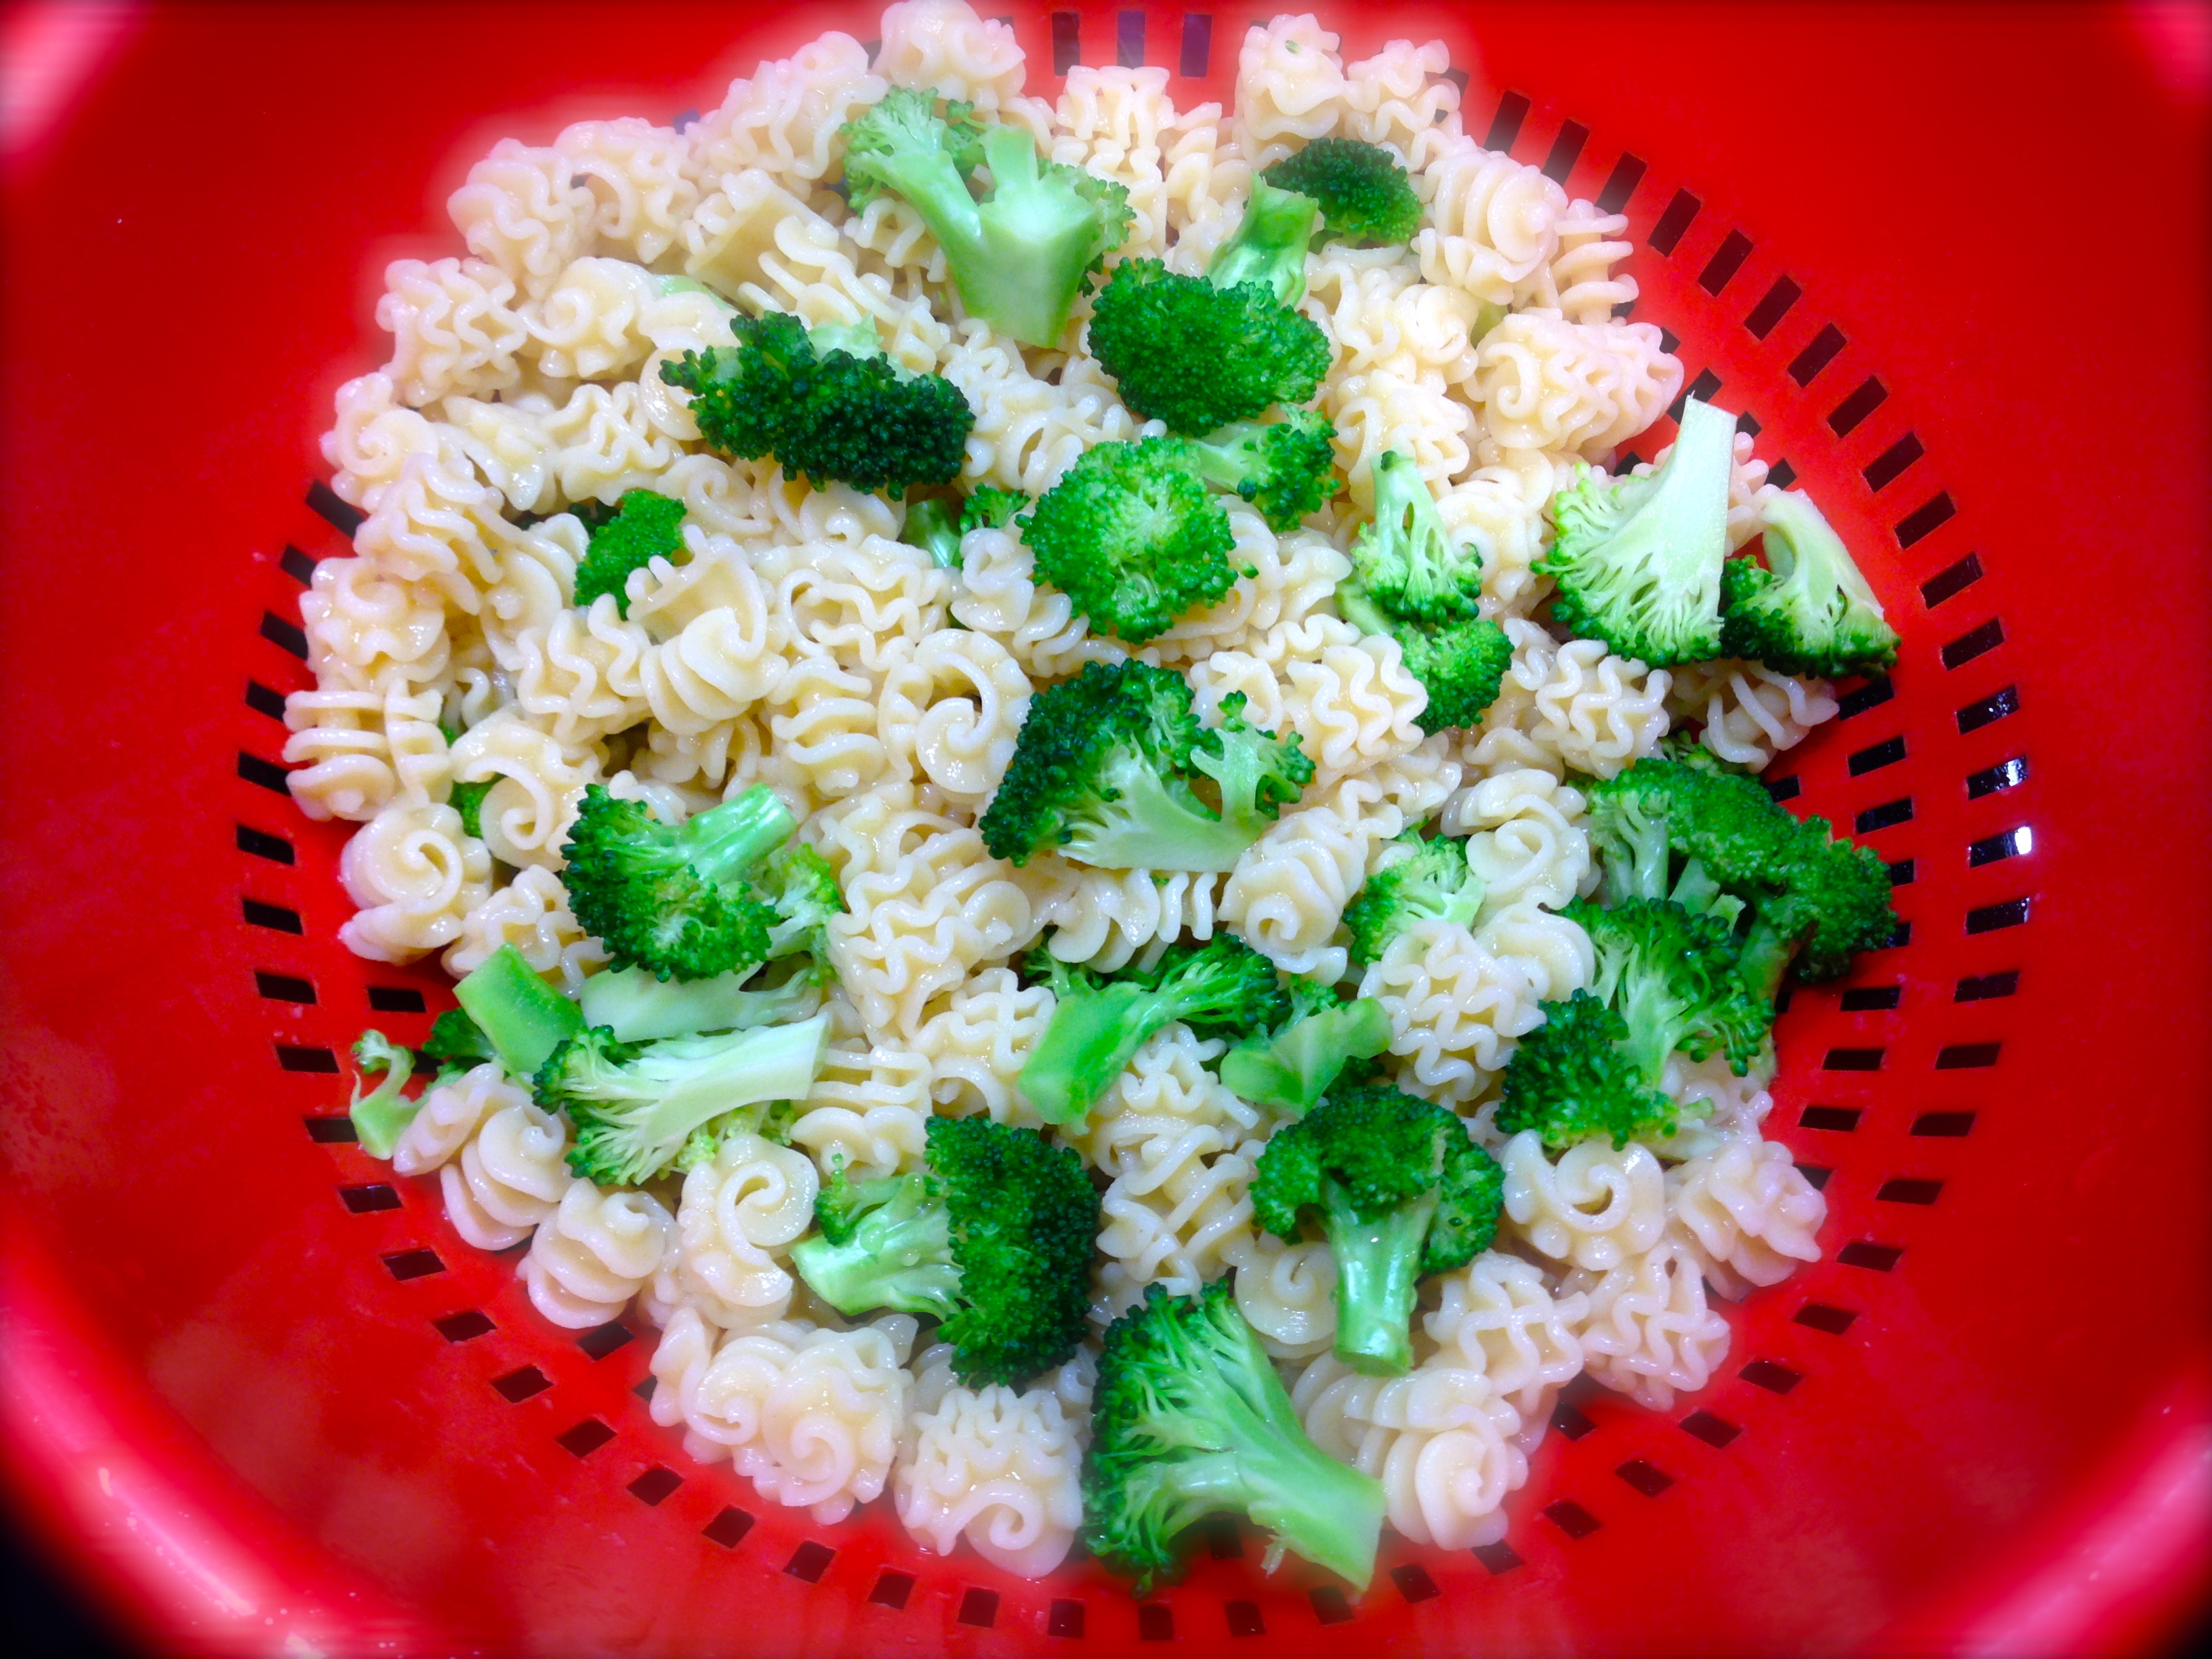
Rinse the pasta and broccoli immediately in cold water
LESSON LEARNED 4 – SERVING TIPS: I decided not to add tomatoes to the mix because the pasta was already mixed with diced cucumber and I was afraid the pasta would get too watery. What I wound up doing is cutting up a couple of cherry tomatoes and adding them when I was serving the pasta. I also sprinkled the top of the pasta with bacon bits when I served it so the bacon would not get too mushy in the dressing. It was fabulous!
LESSON LEARNED 5: USING CUCUMBER IN PASTA SALAD: I’ve never used cucumber before in a pasta salad and I liked it. It’s not over powering and gives the salad a cool crispness that has you wondering what exactly that flavor is that is brightening up the salad. Before I diced up the cucumber I cut it in half lengthwise and removed the seeds. That way only the cucumber flesh was in the salad and the salad did not become soggy.
LESSON LEARNED 6 – SUGAR IN THE DRESSING: The dressing recipe called for 1/2 teaspoon of sugar. I’d never put sugar into a dressing and so I had my concerns. I can tell you now, don’t worry about it and use the sugar. It balances out the tartness of the vinegar perfectly.
LESSON LEARNED 7 – MAKE THIS AHEAD OF TIME: What I’ve found over the years with making pasta salads and potato salads is that they even taste better if they’ve had time to sit and let the ingredients get well acquainted. If at all possible, make this early in the day and then let it sit in the refrigerator for a few hours before serving. You’ll find that the flavors have become even more robust. But if you can’t, no worries, the pasta salad will still taste wonderful.
Once again, the greater amount of time spent making this recipe involves the chopping and dicing, which I love to do! This pasta salad has great flavor, is highly adaptable and I guarantee you that you can pronounce all of the ingredients used in the recipe. Try it and let me know what you think or how you adapted it.
Summer Pasta Salad…
 INGREDIENTS:
8 ounces of a smaller type of pasta (I used radiatore)
2 cups tiny broccoli florets (use fresh if at all possible)
1/2 cup diced cucumber, peeled and seeded
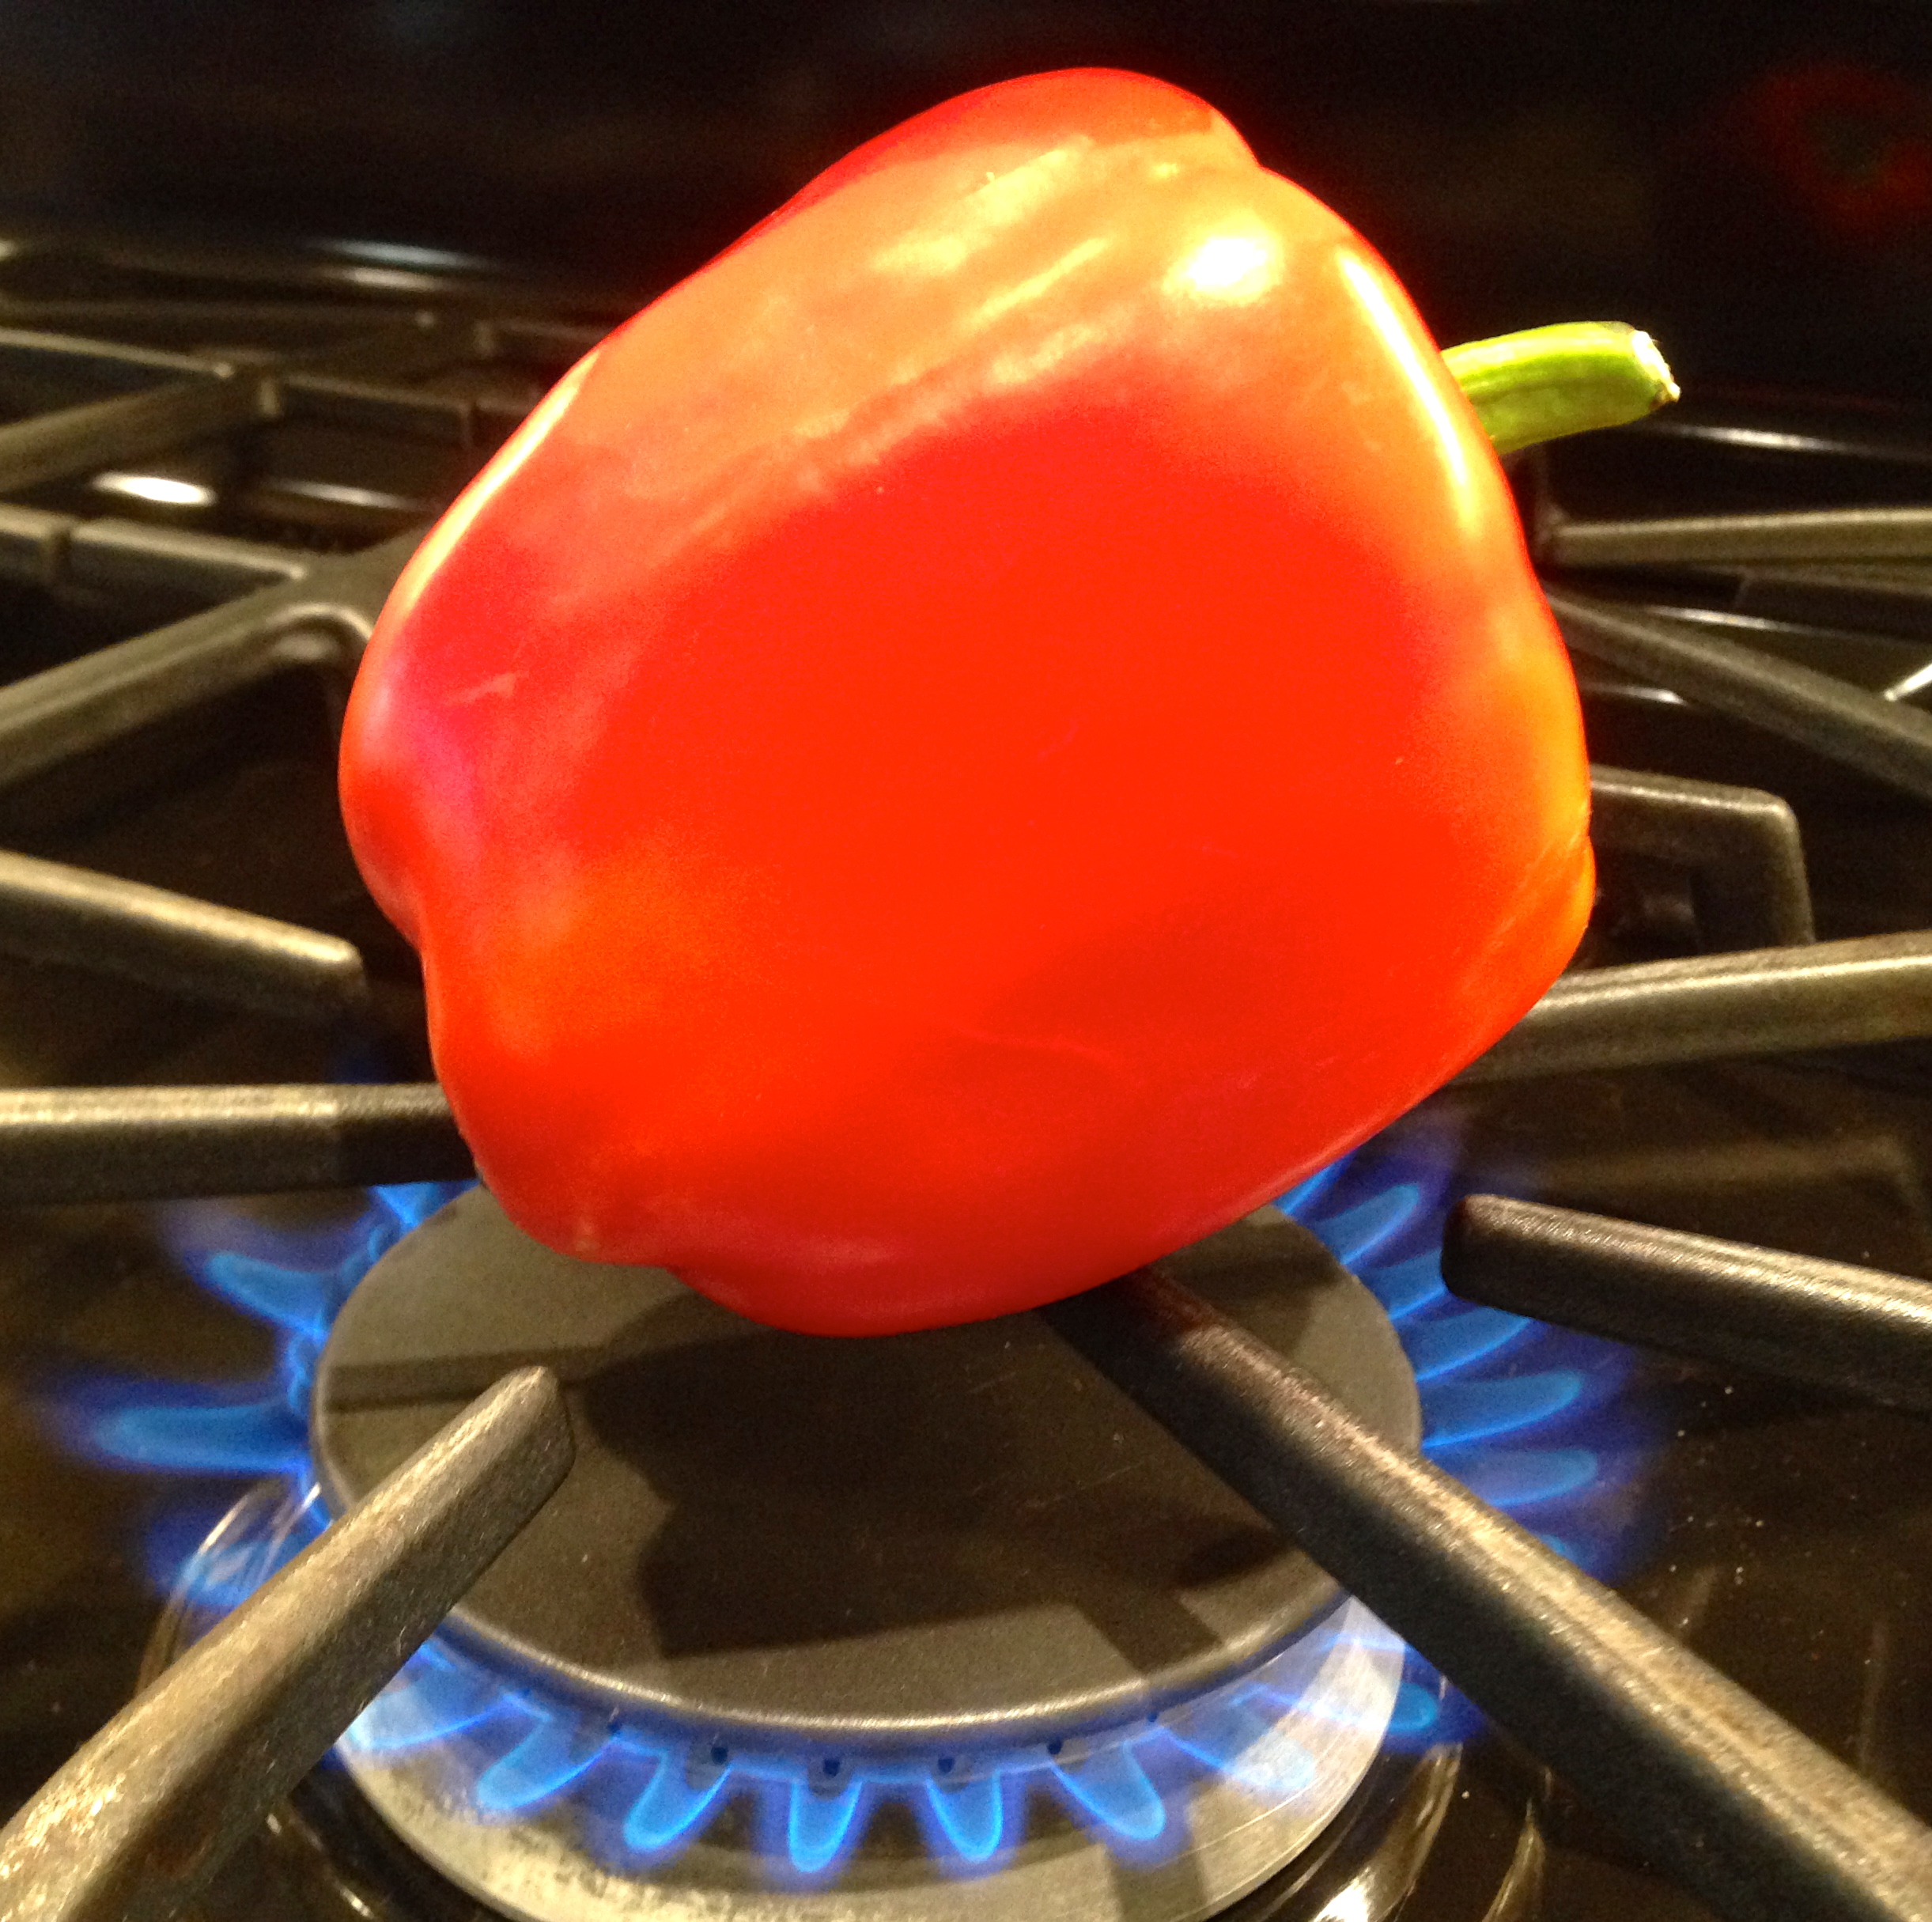
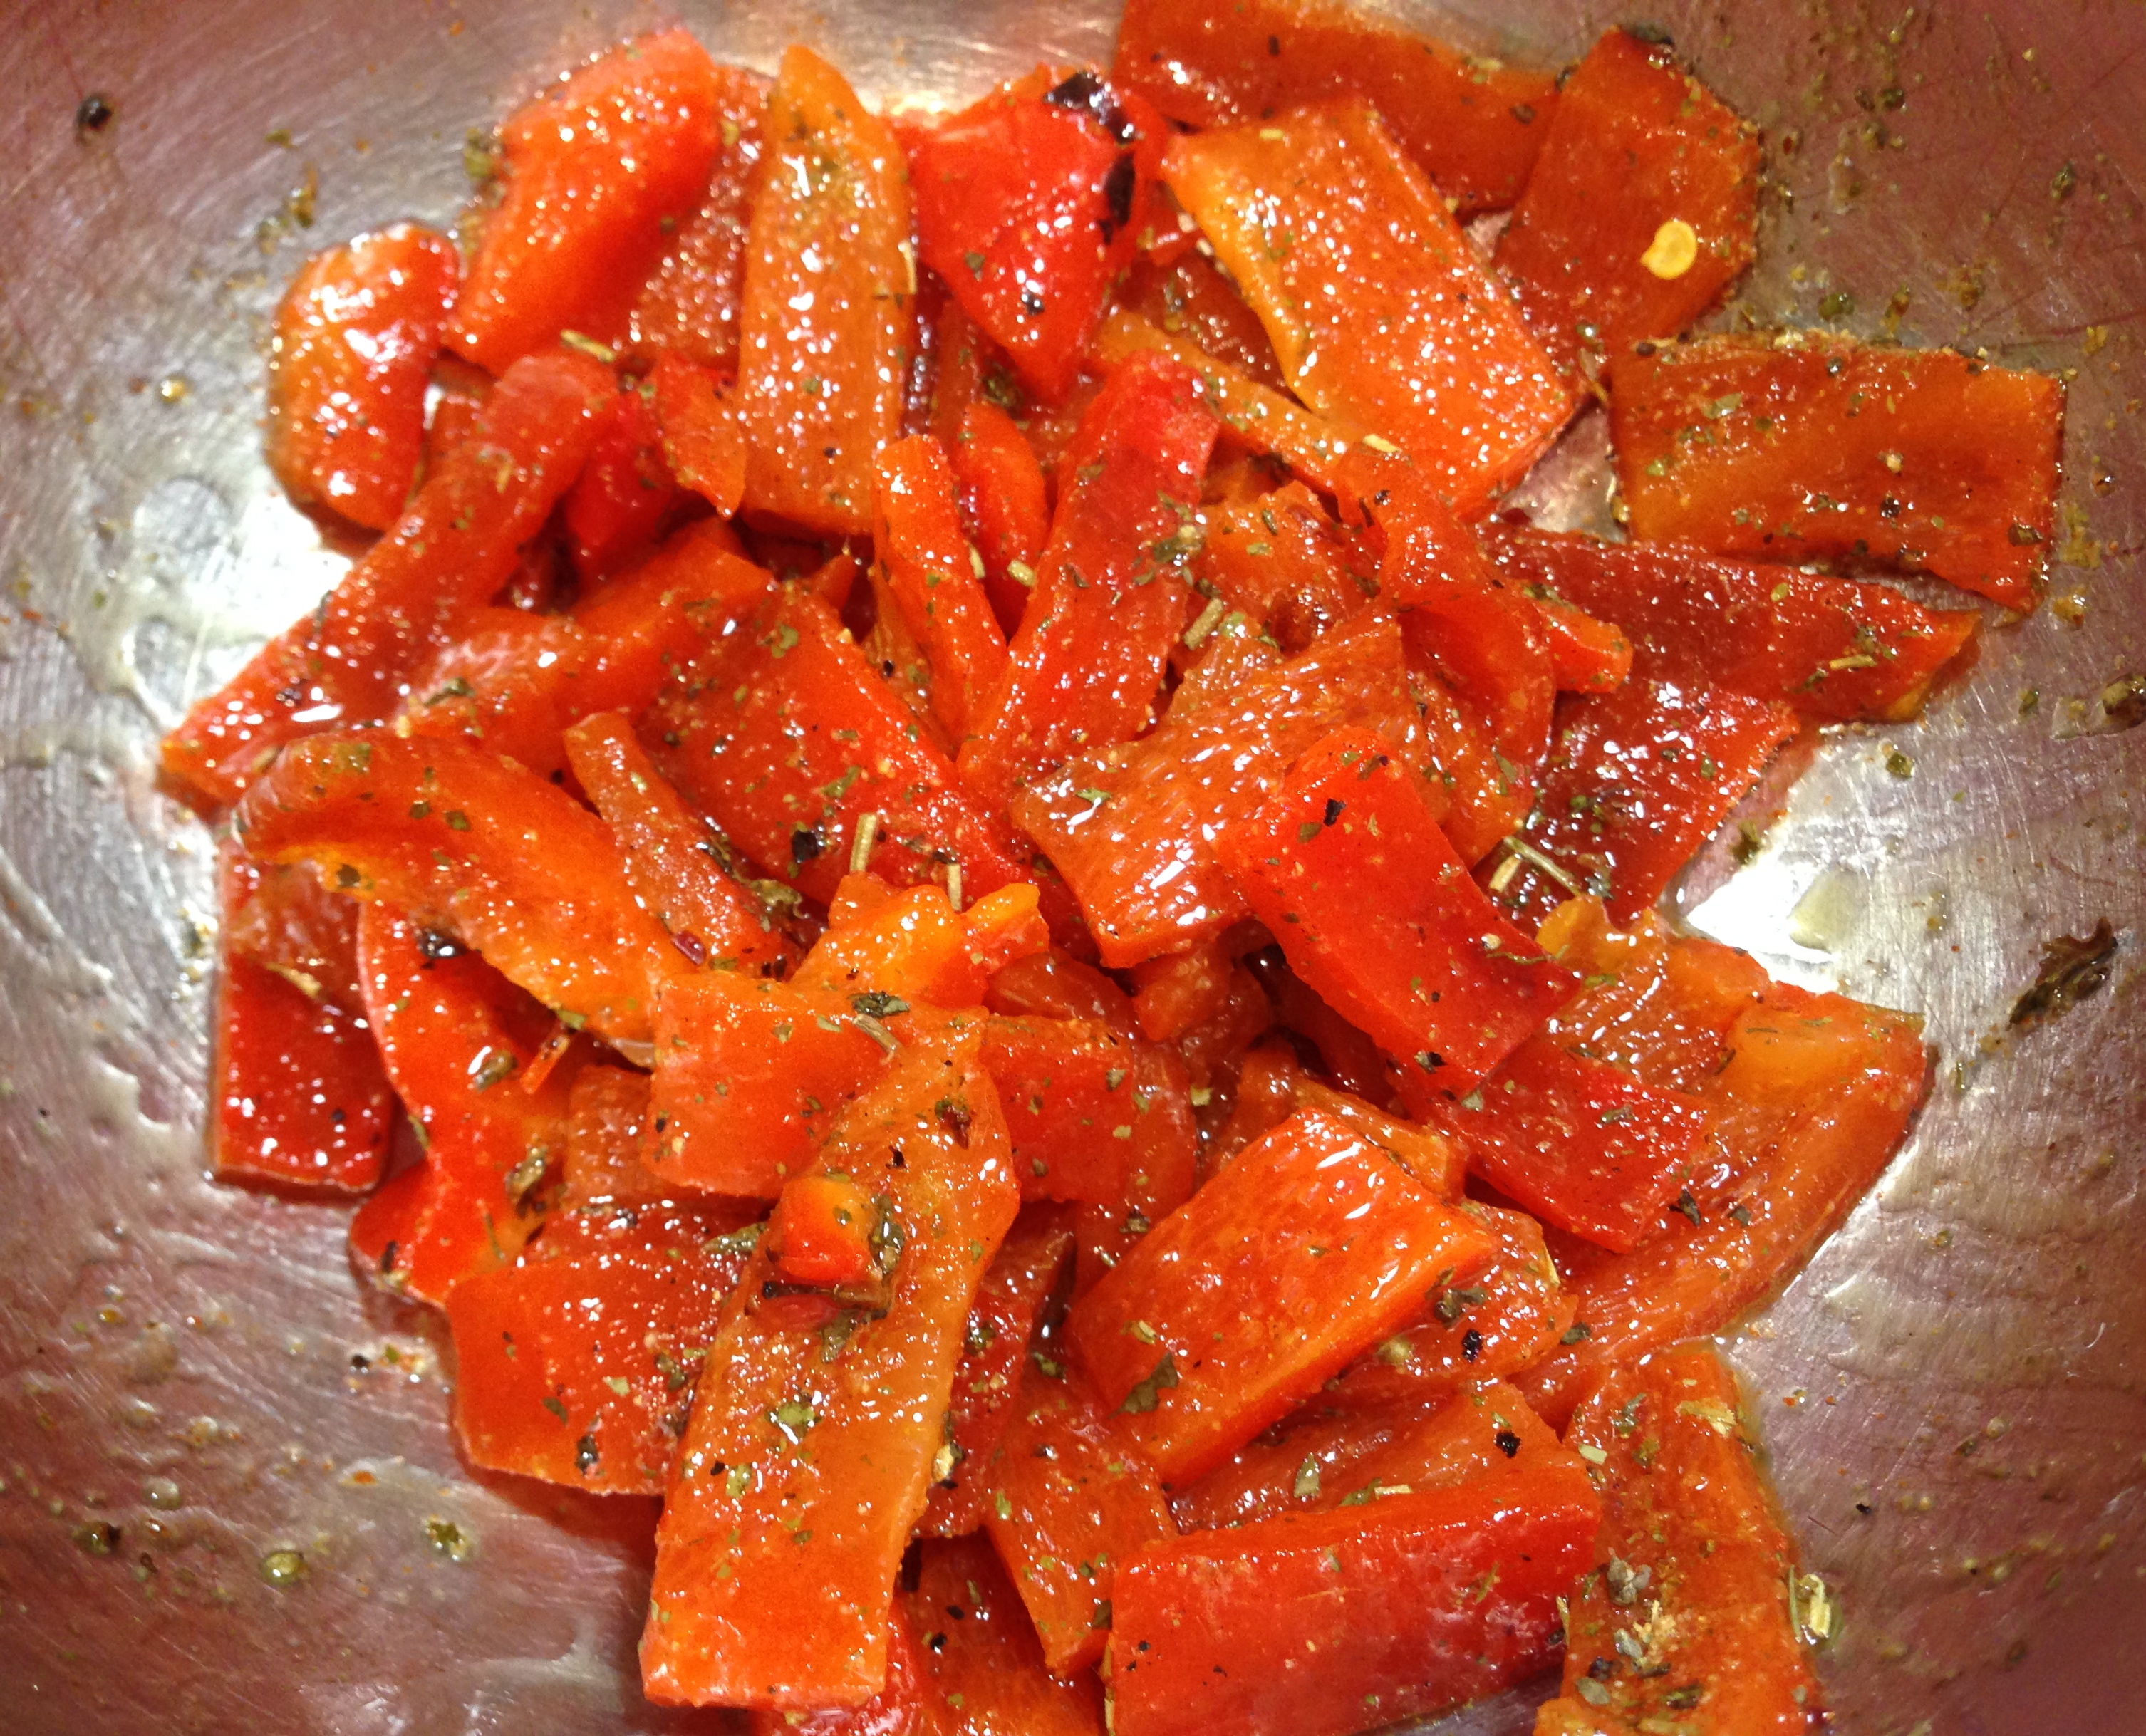
1/2 cup finely diced red pepper
1/2 cup olives (I used kalamata olives, the original recipe called for black olives)
1/3 cup finely diced green onion
DRESSING INGREDIENTS:
1/2 cup mayonnaise
2 tsp. white wine or plain vinegar (I used white wine vinegar)
1/2 tsp. kosher salt
1/2 tsp. freshly ground black pepper
1/2 tsp. sugar
DIRECTIONS:
Cook the pasta according to the package instructions, adding a generous pinch of salt to the boiling water before putting in the pasta. Just before the pasta is done cooking at the broccoli florets to the pot and boil for about 30-45 seconds. Drain the pot immediately into a colander and rinse well with cold water.
While the pasta is cooking, dice the cucumber, red pepper, olives and green onion and set aside. Mix together all of the dressing ingredients and set aside. In a large bowl pour in the dressing. Add the cooked pasta and broccoli to the bowl and stir well to coat. Add the remaining ingredients and stir again. Taste and adjust any seasonings as necessary (I found I need just a little more salt). Cover and refrigerate until ready to serve. Stir before serving. Garnish with cherry tomatoes and bacon bits if desired.