Luscious Zucchini Bread…

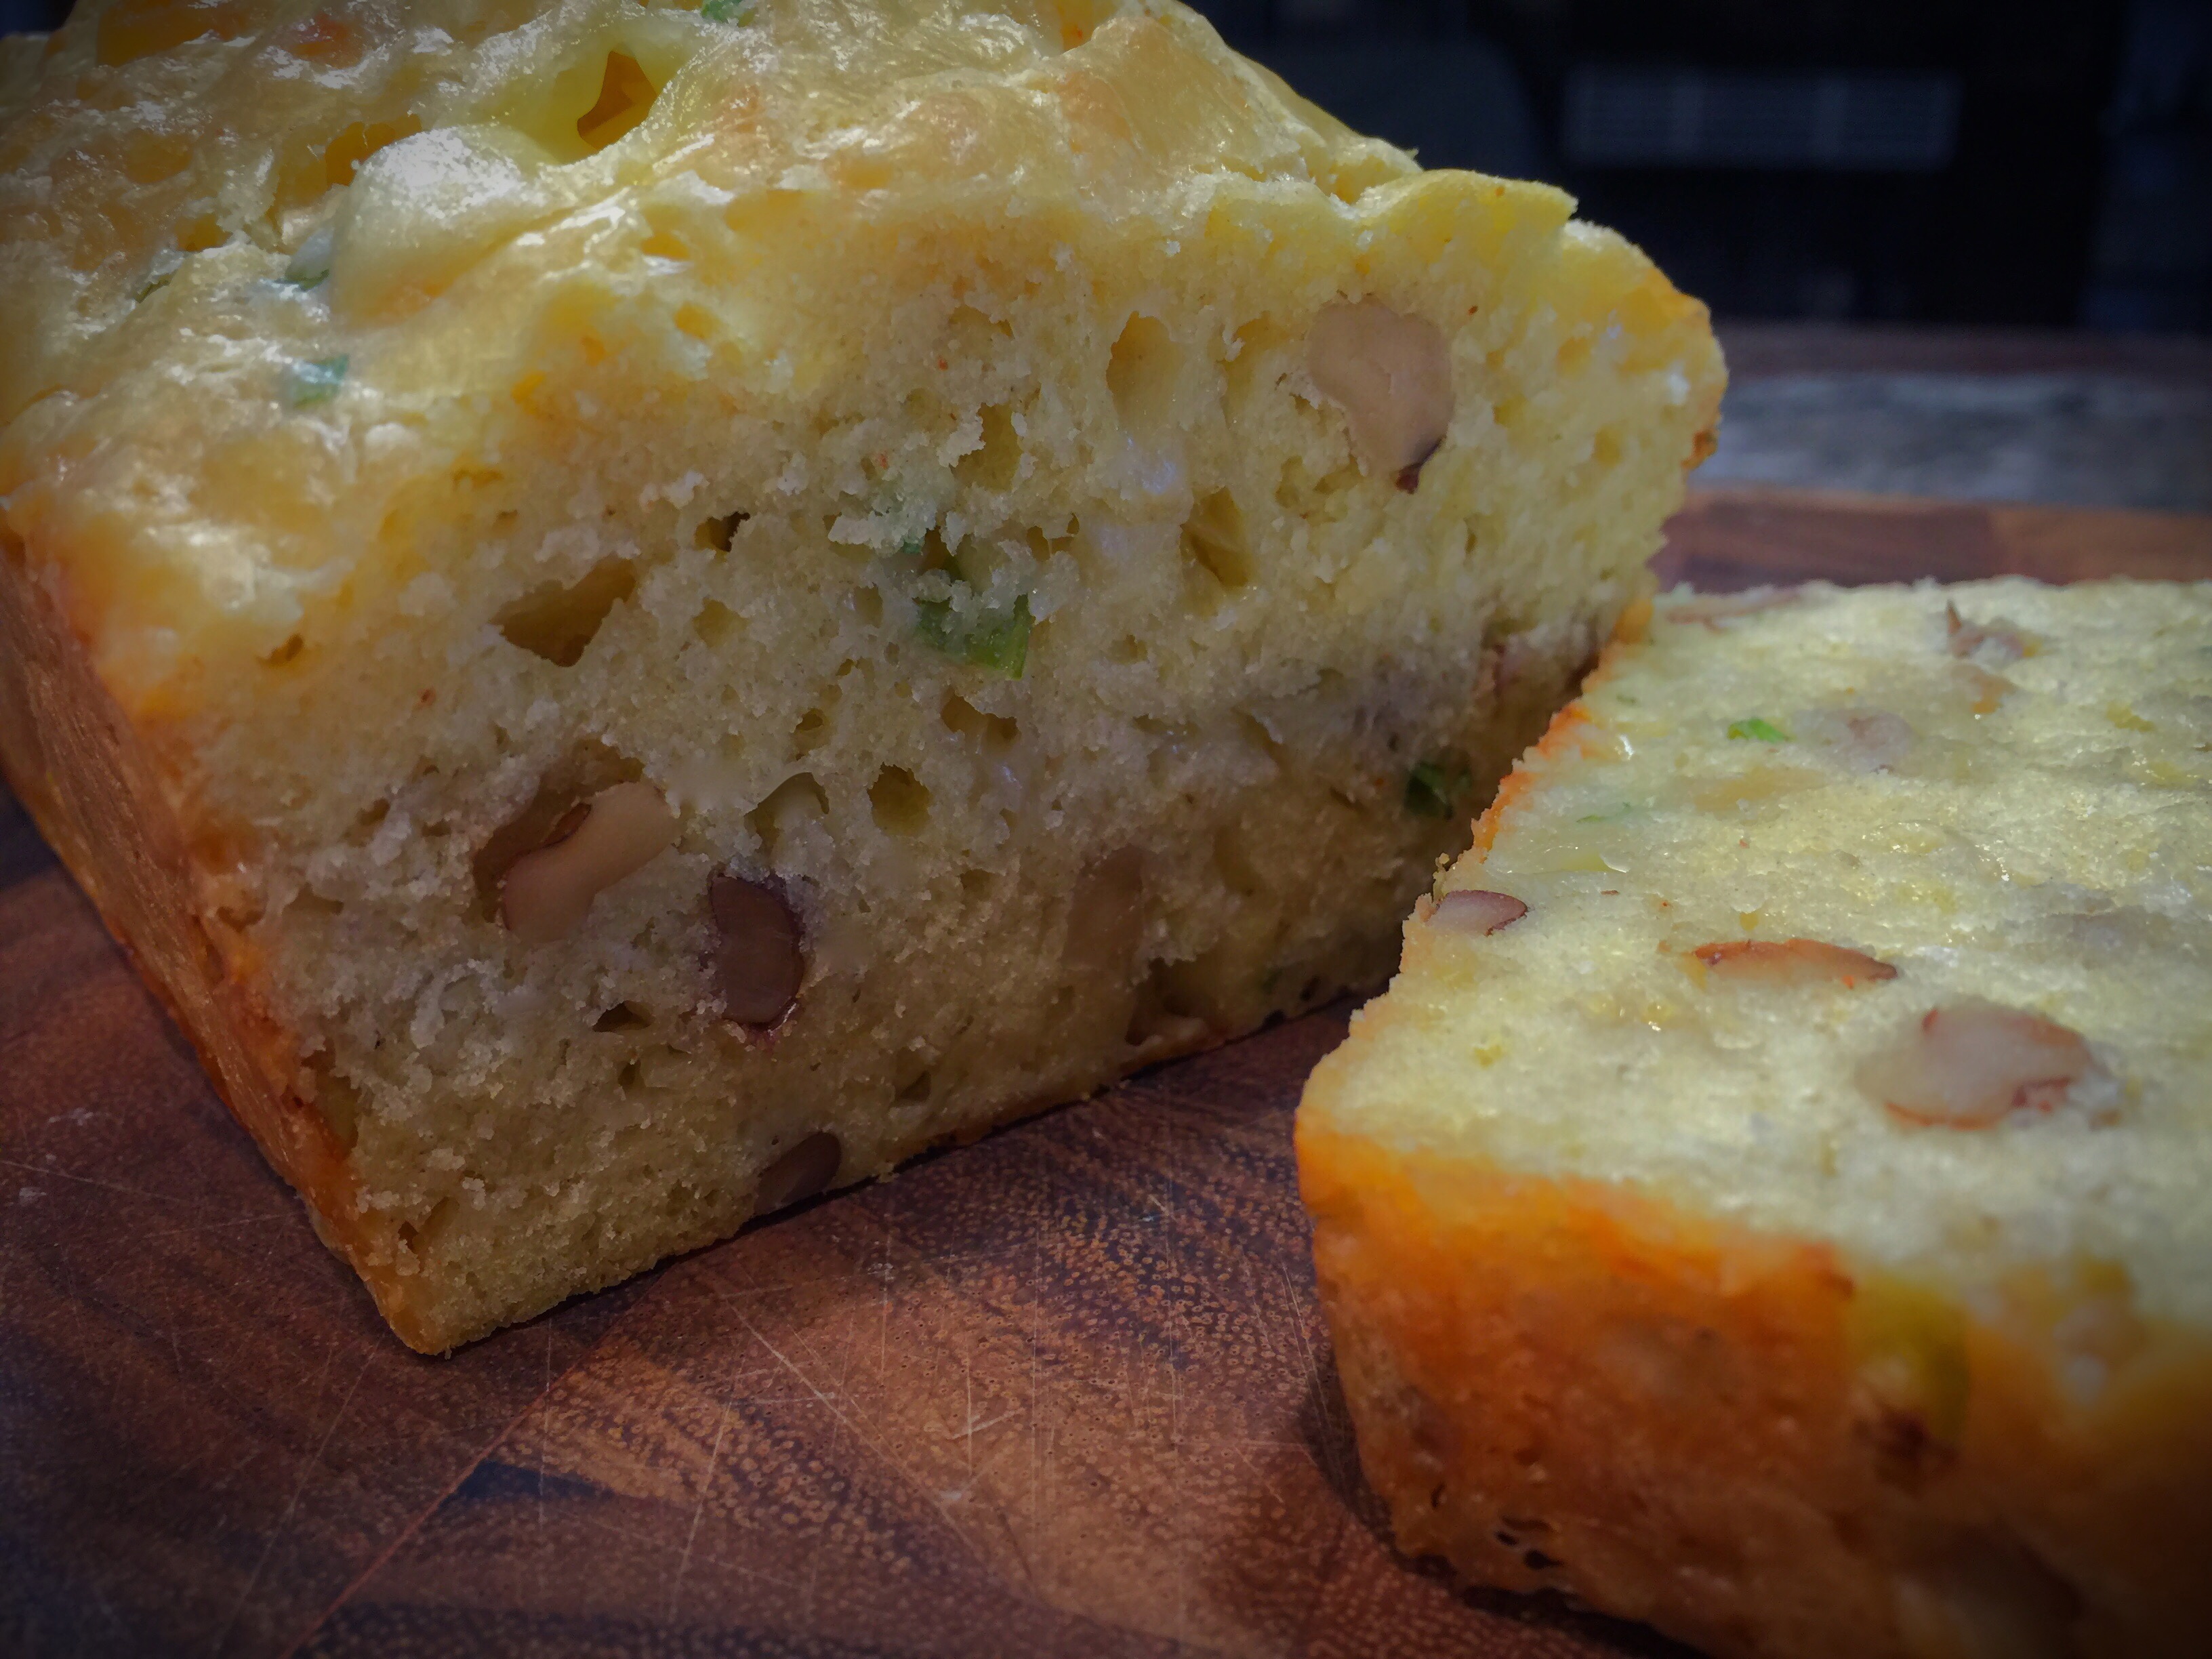
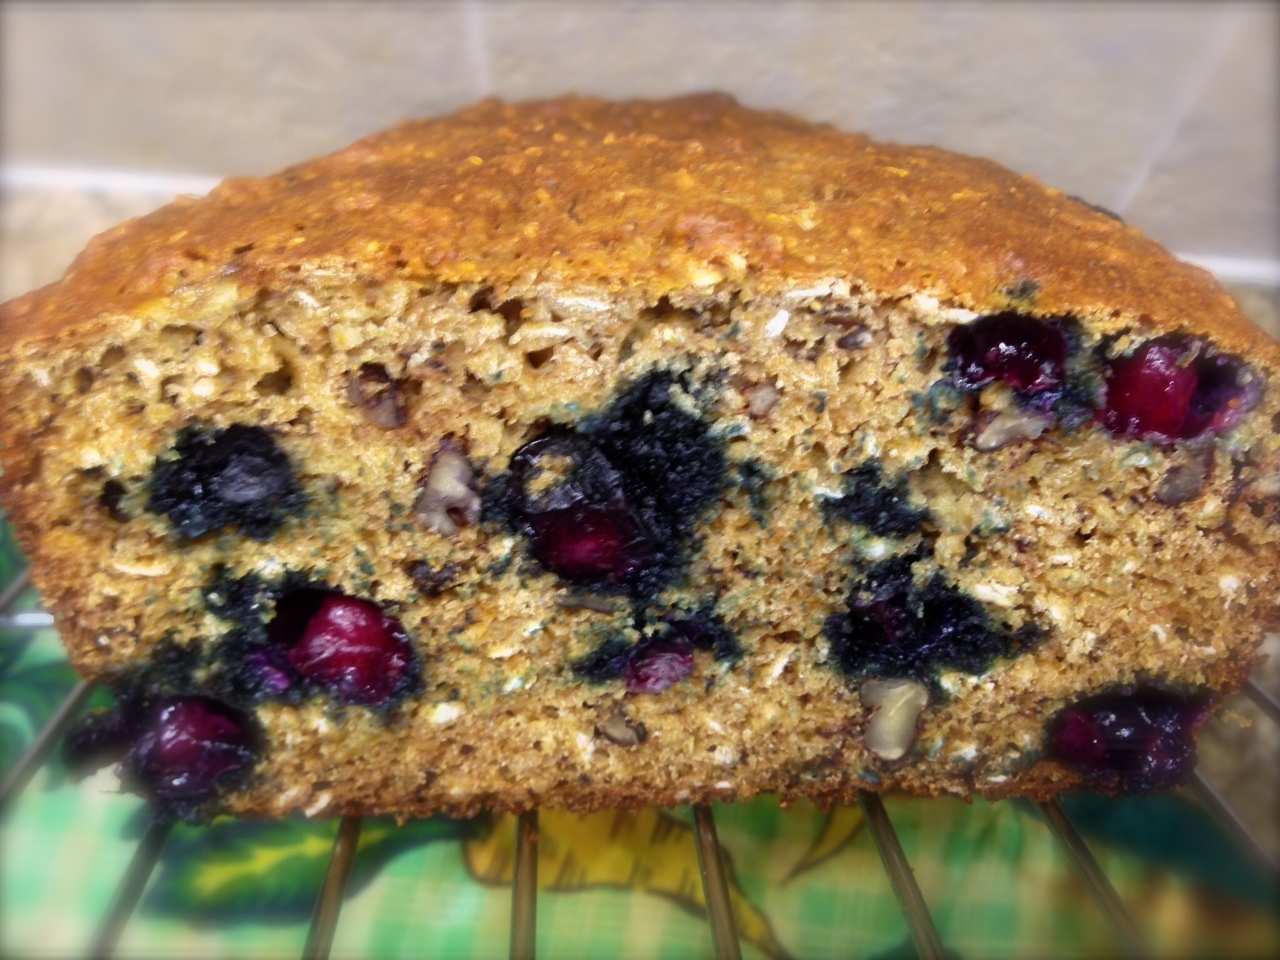
I know, I know, by now everyone has their own zucchini bread recipe. I mean, it’s a must especially if you grow zucchini or have access to a farmers market. It is definitely zucchini time of year, that glorious time when you are so grateful to have your first harvest but by the end of the season are looking for ways either to use them or get rid of them.

Fortunately (or unfortunately) for me, now that I live in a condo I can’t grow zucchini so I can control the amount of zucchini I am willing to use. So last week when I went to the farmers market I got a couple of them and used one as a vegetable side dish and the other to make a couple of loaves of zucchini bread.

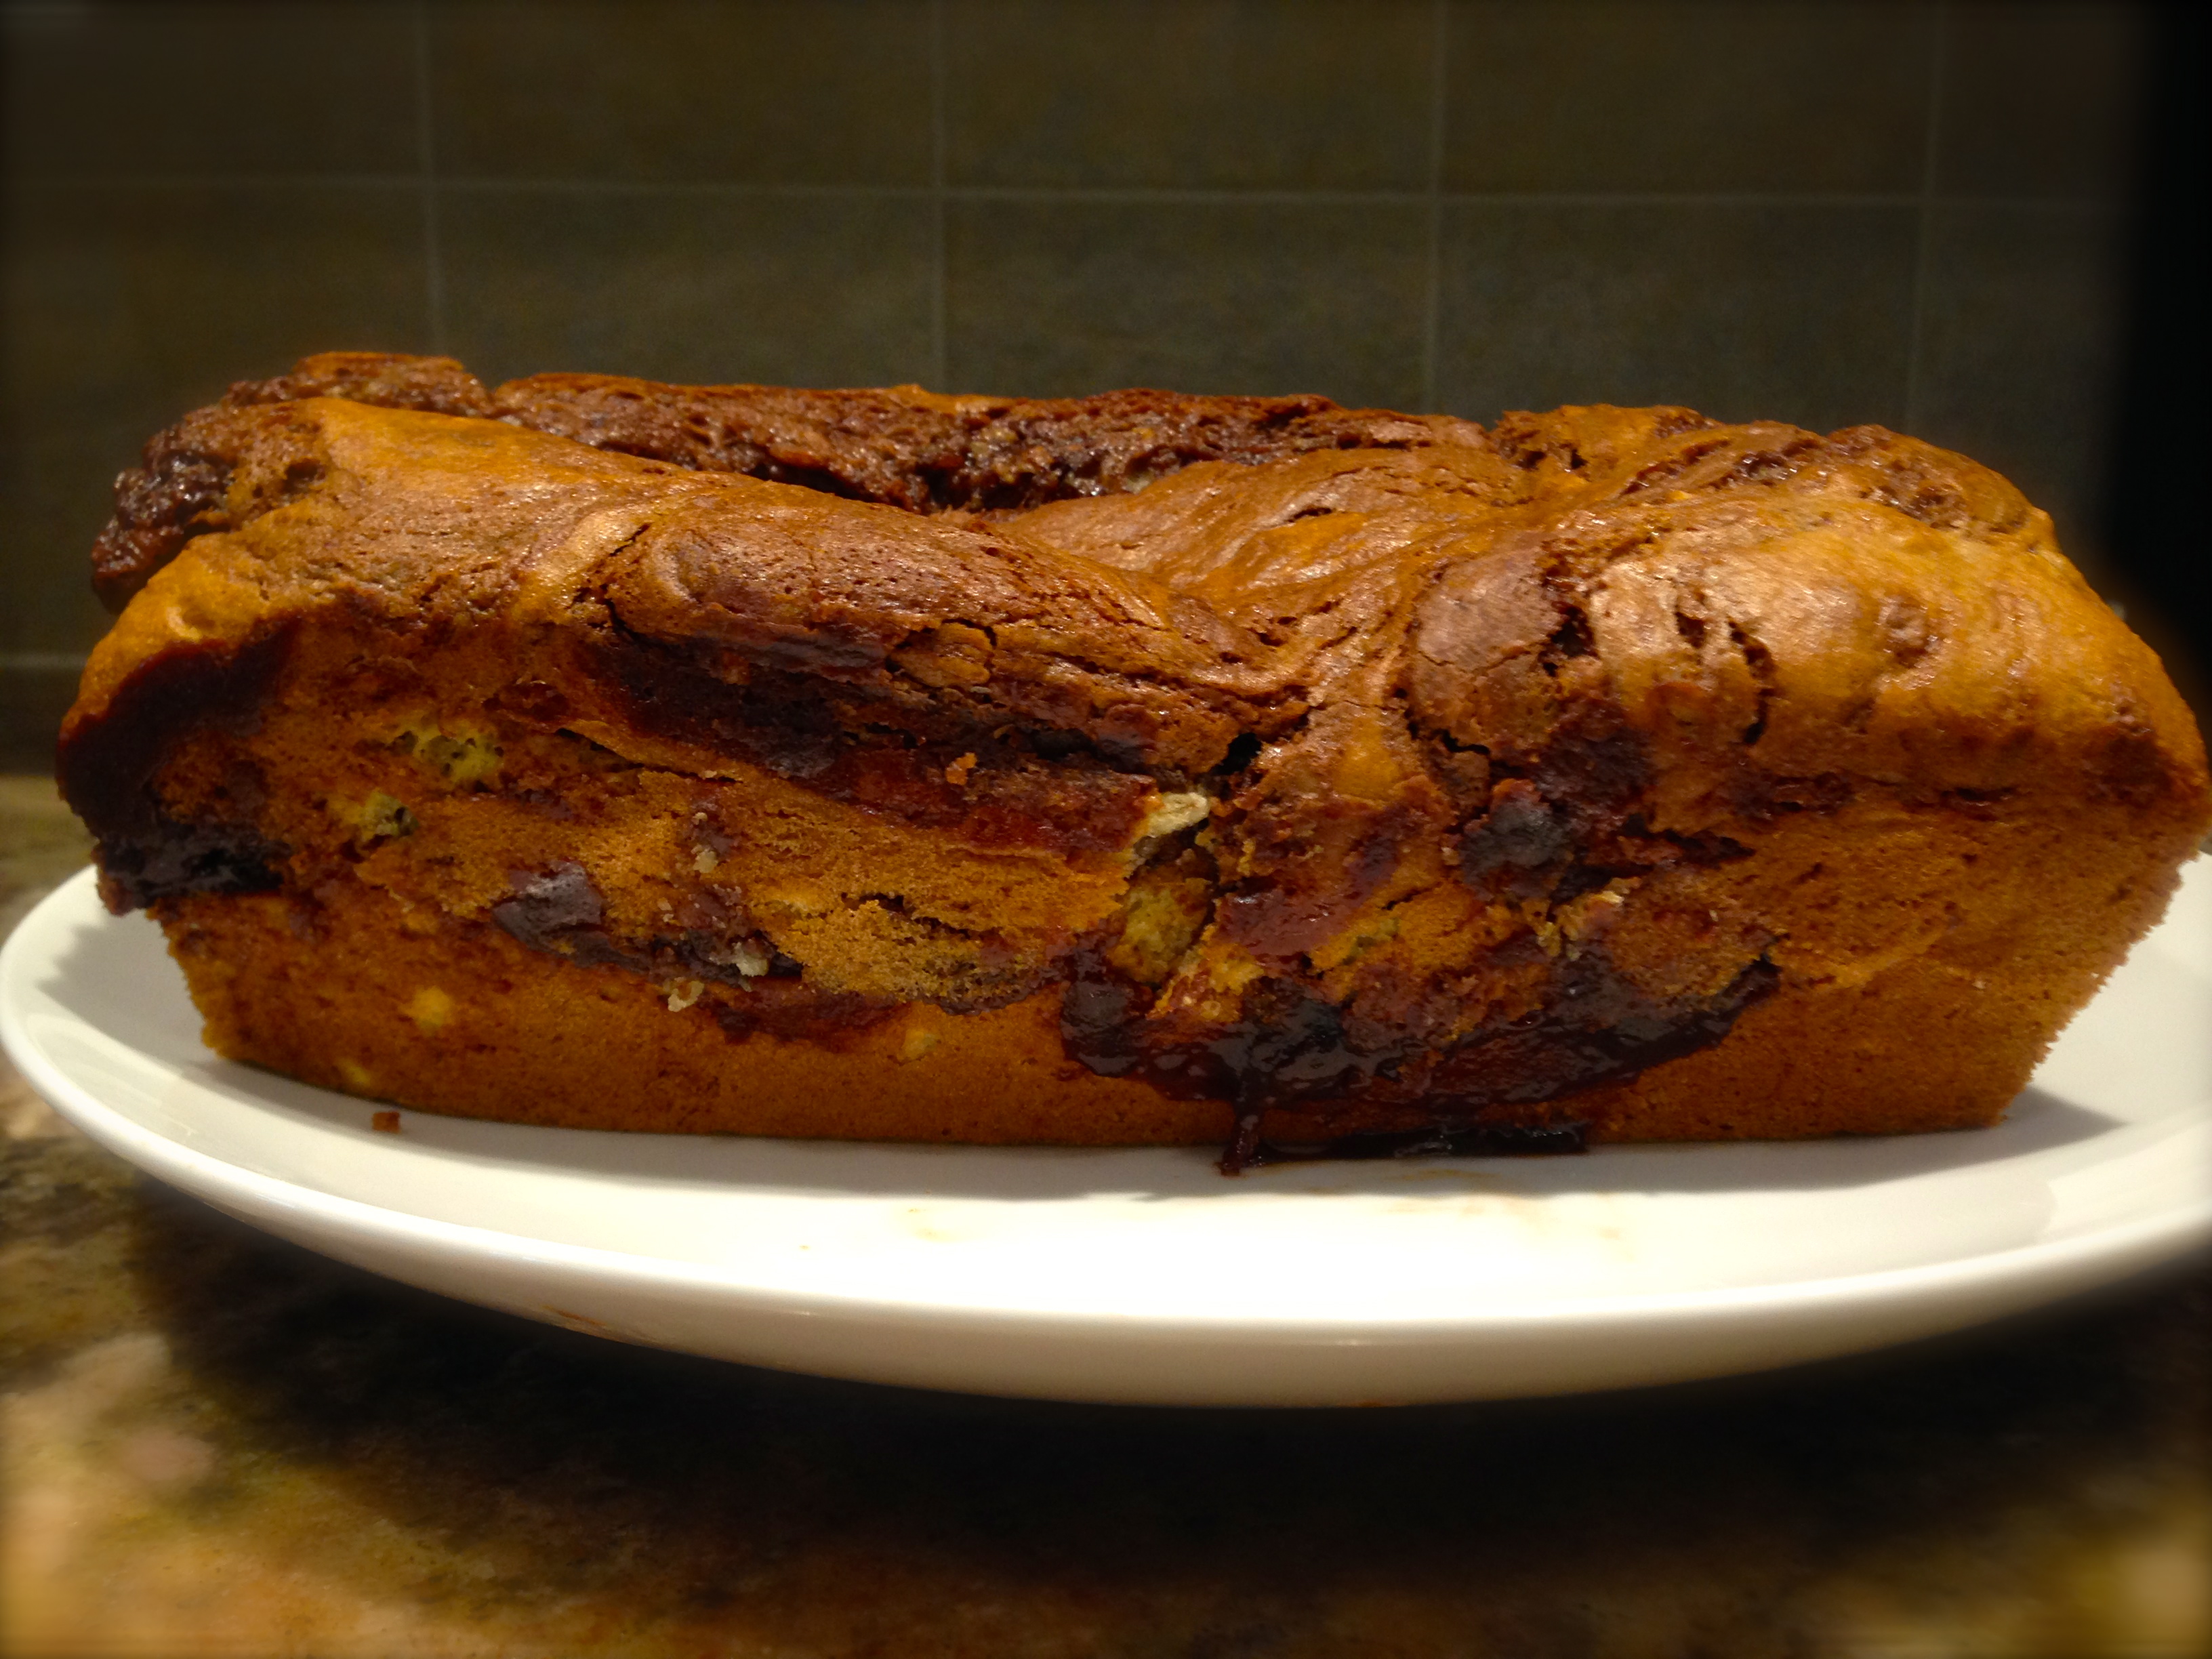
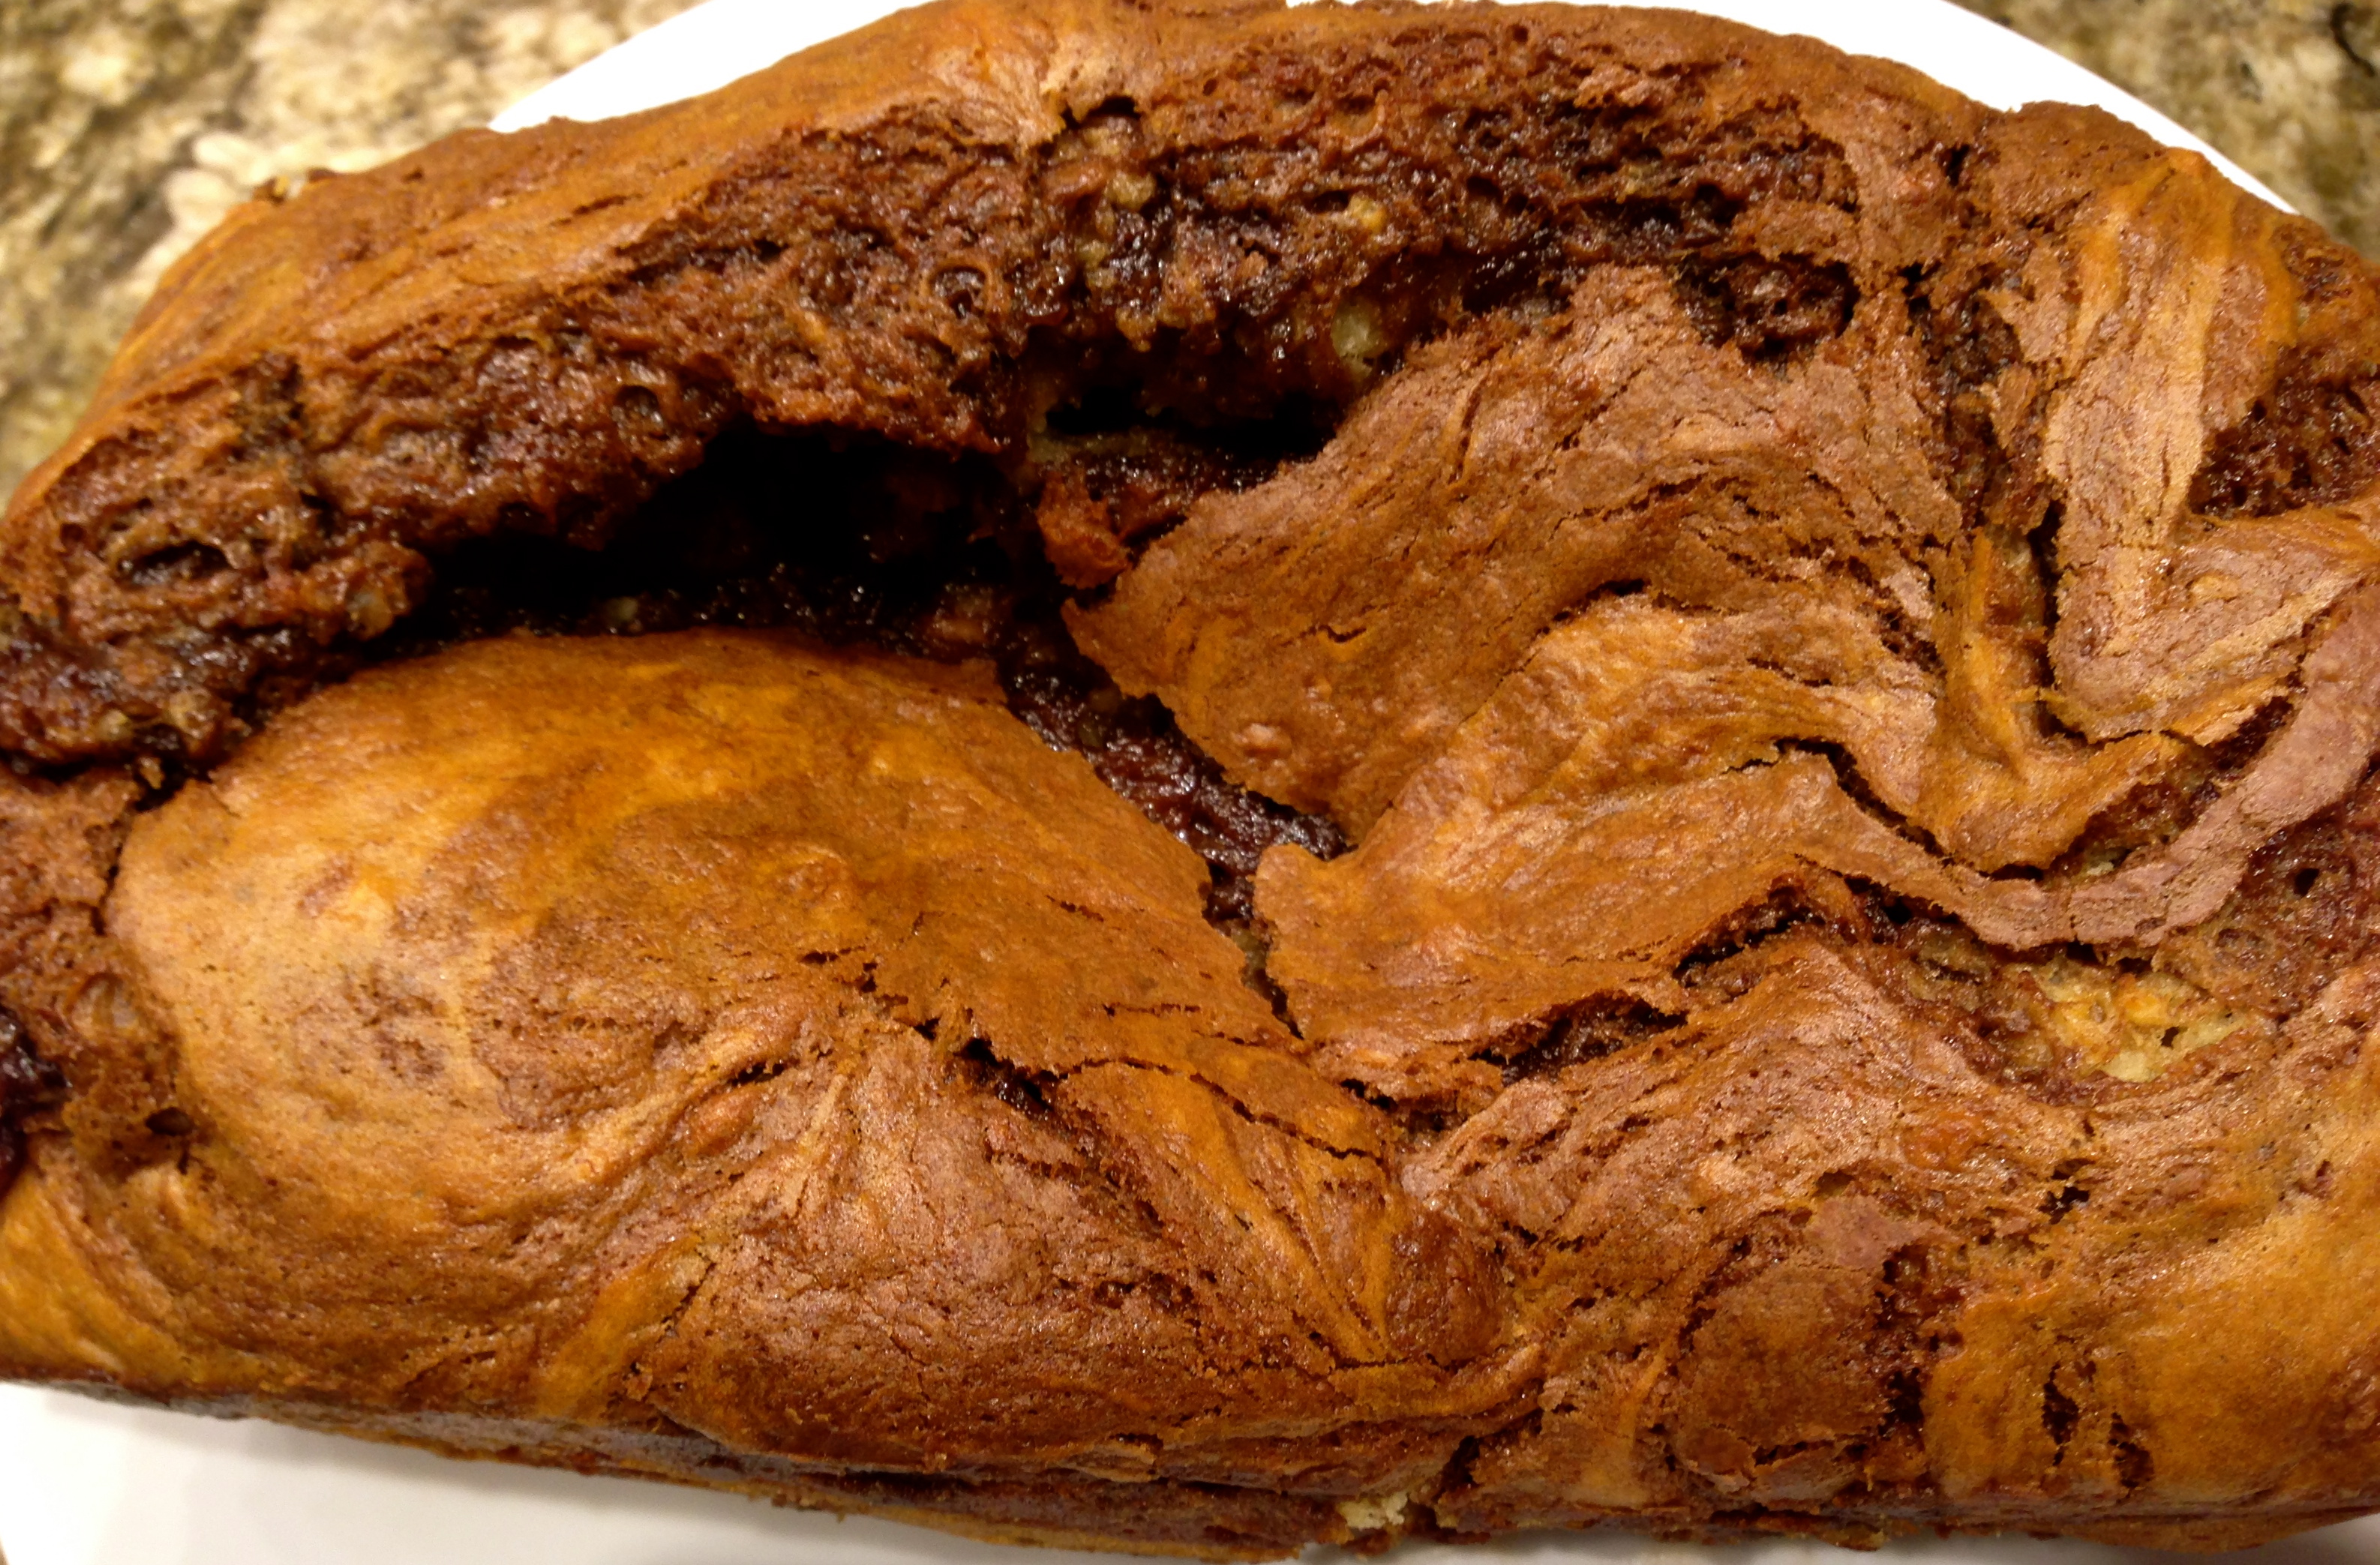
So what makes this recipe better than most. A secret ingredient that I use to up the flavor factor. So let’s talk luscious zucchini bread…

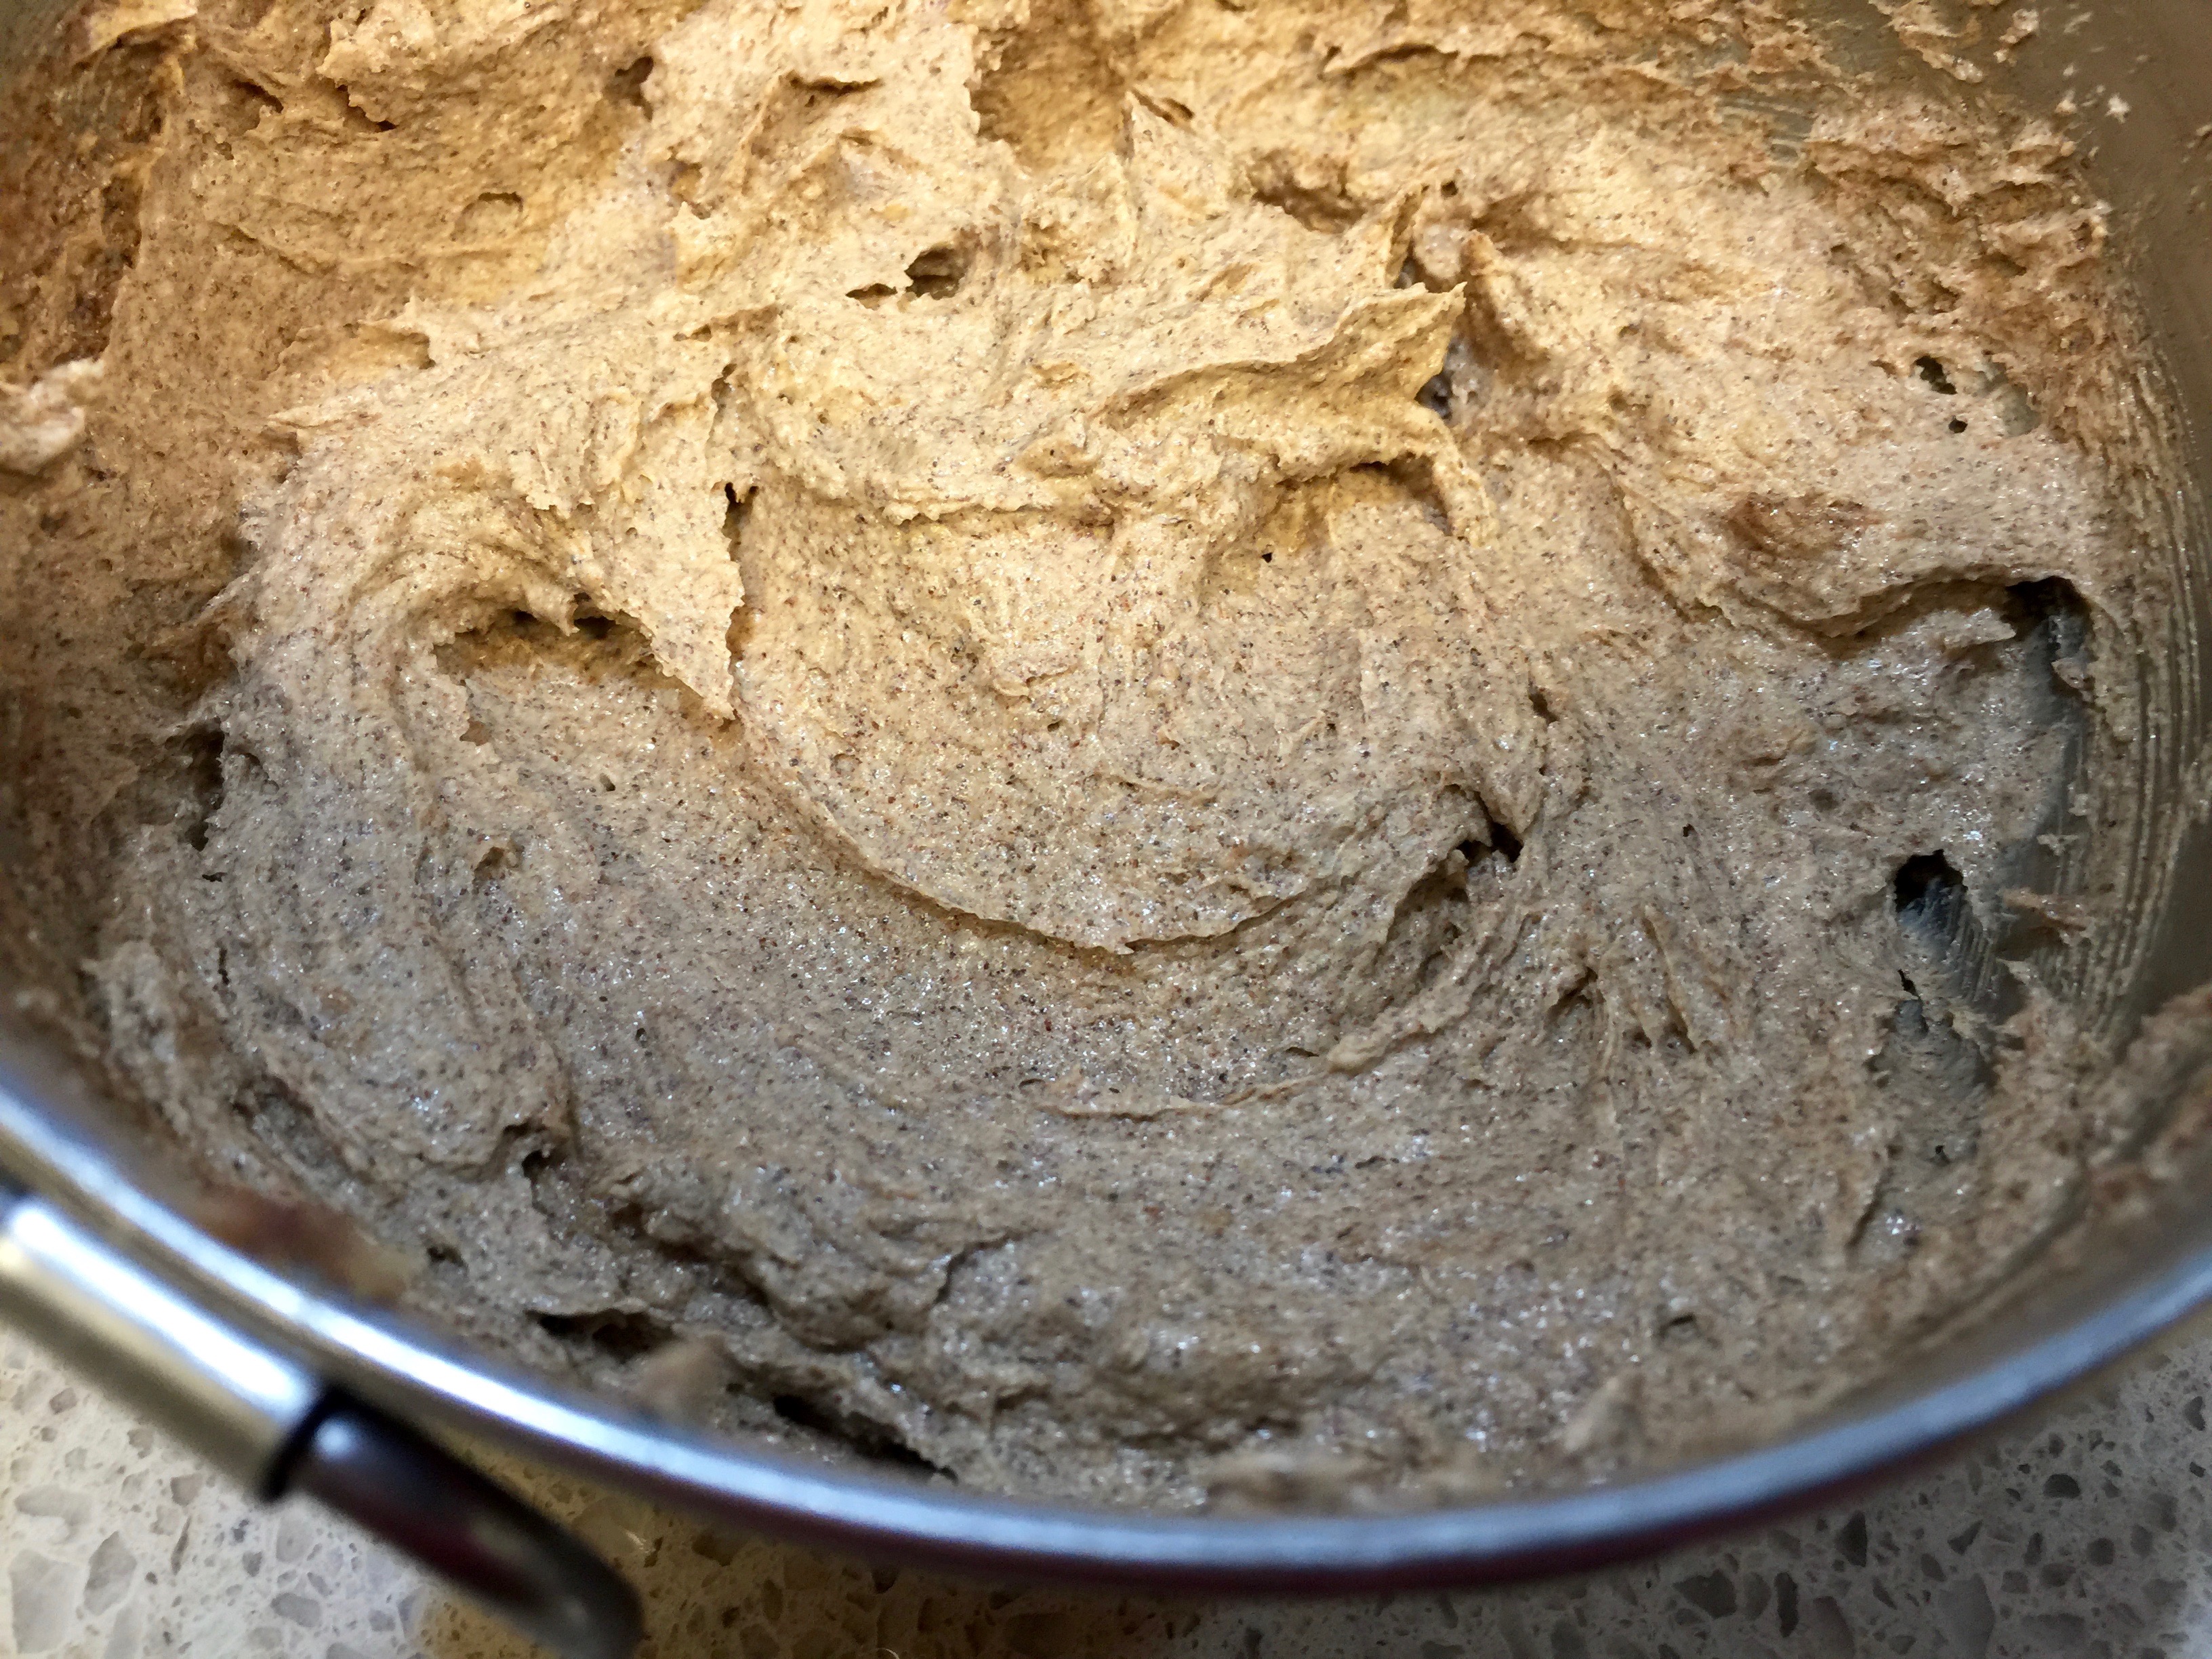
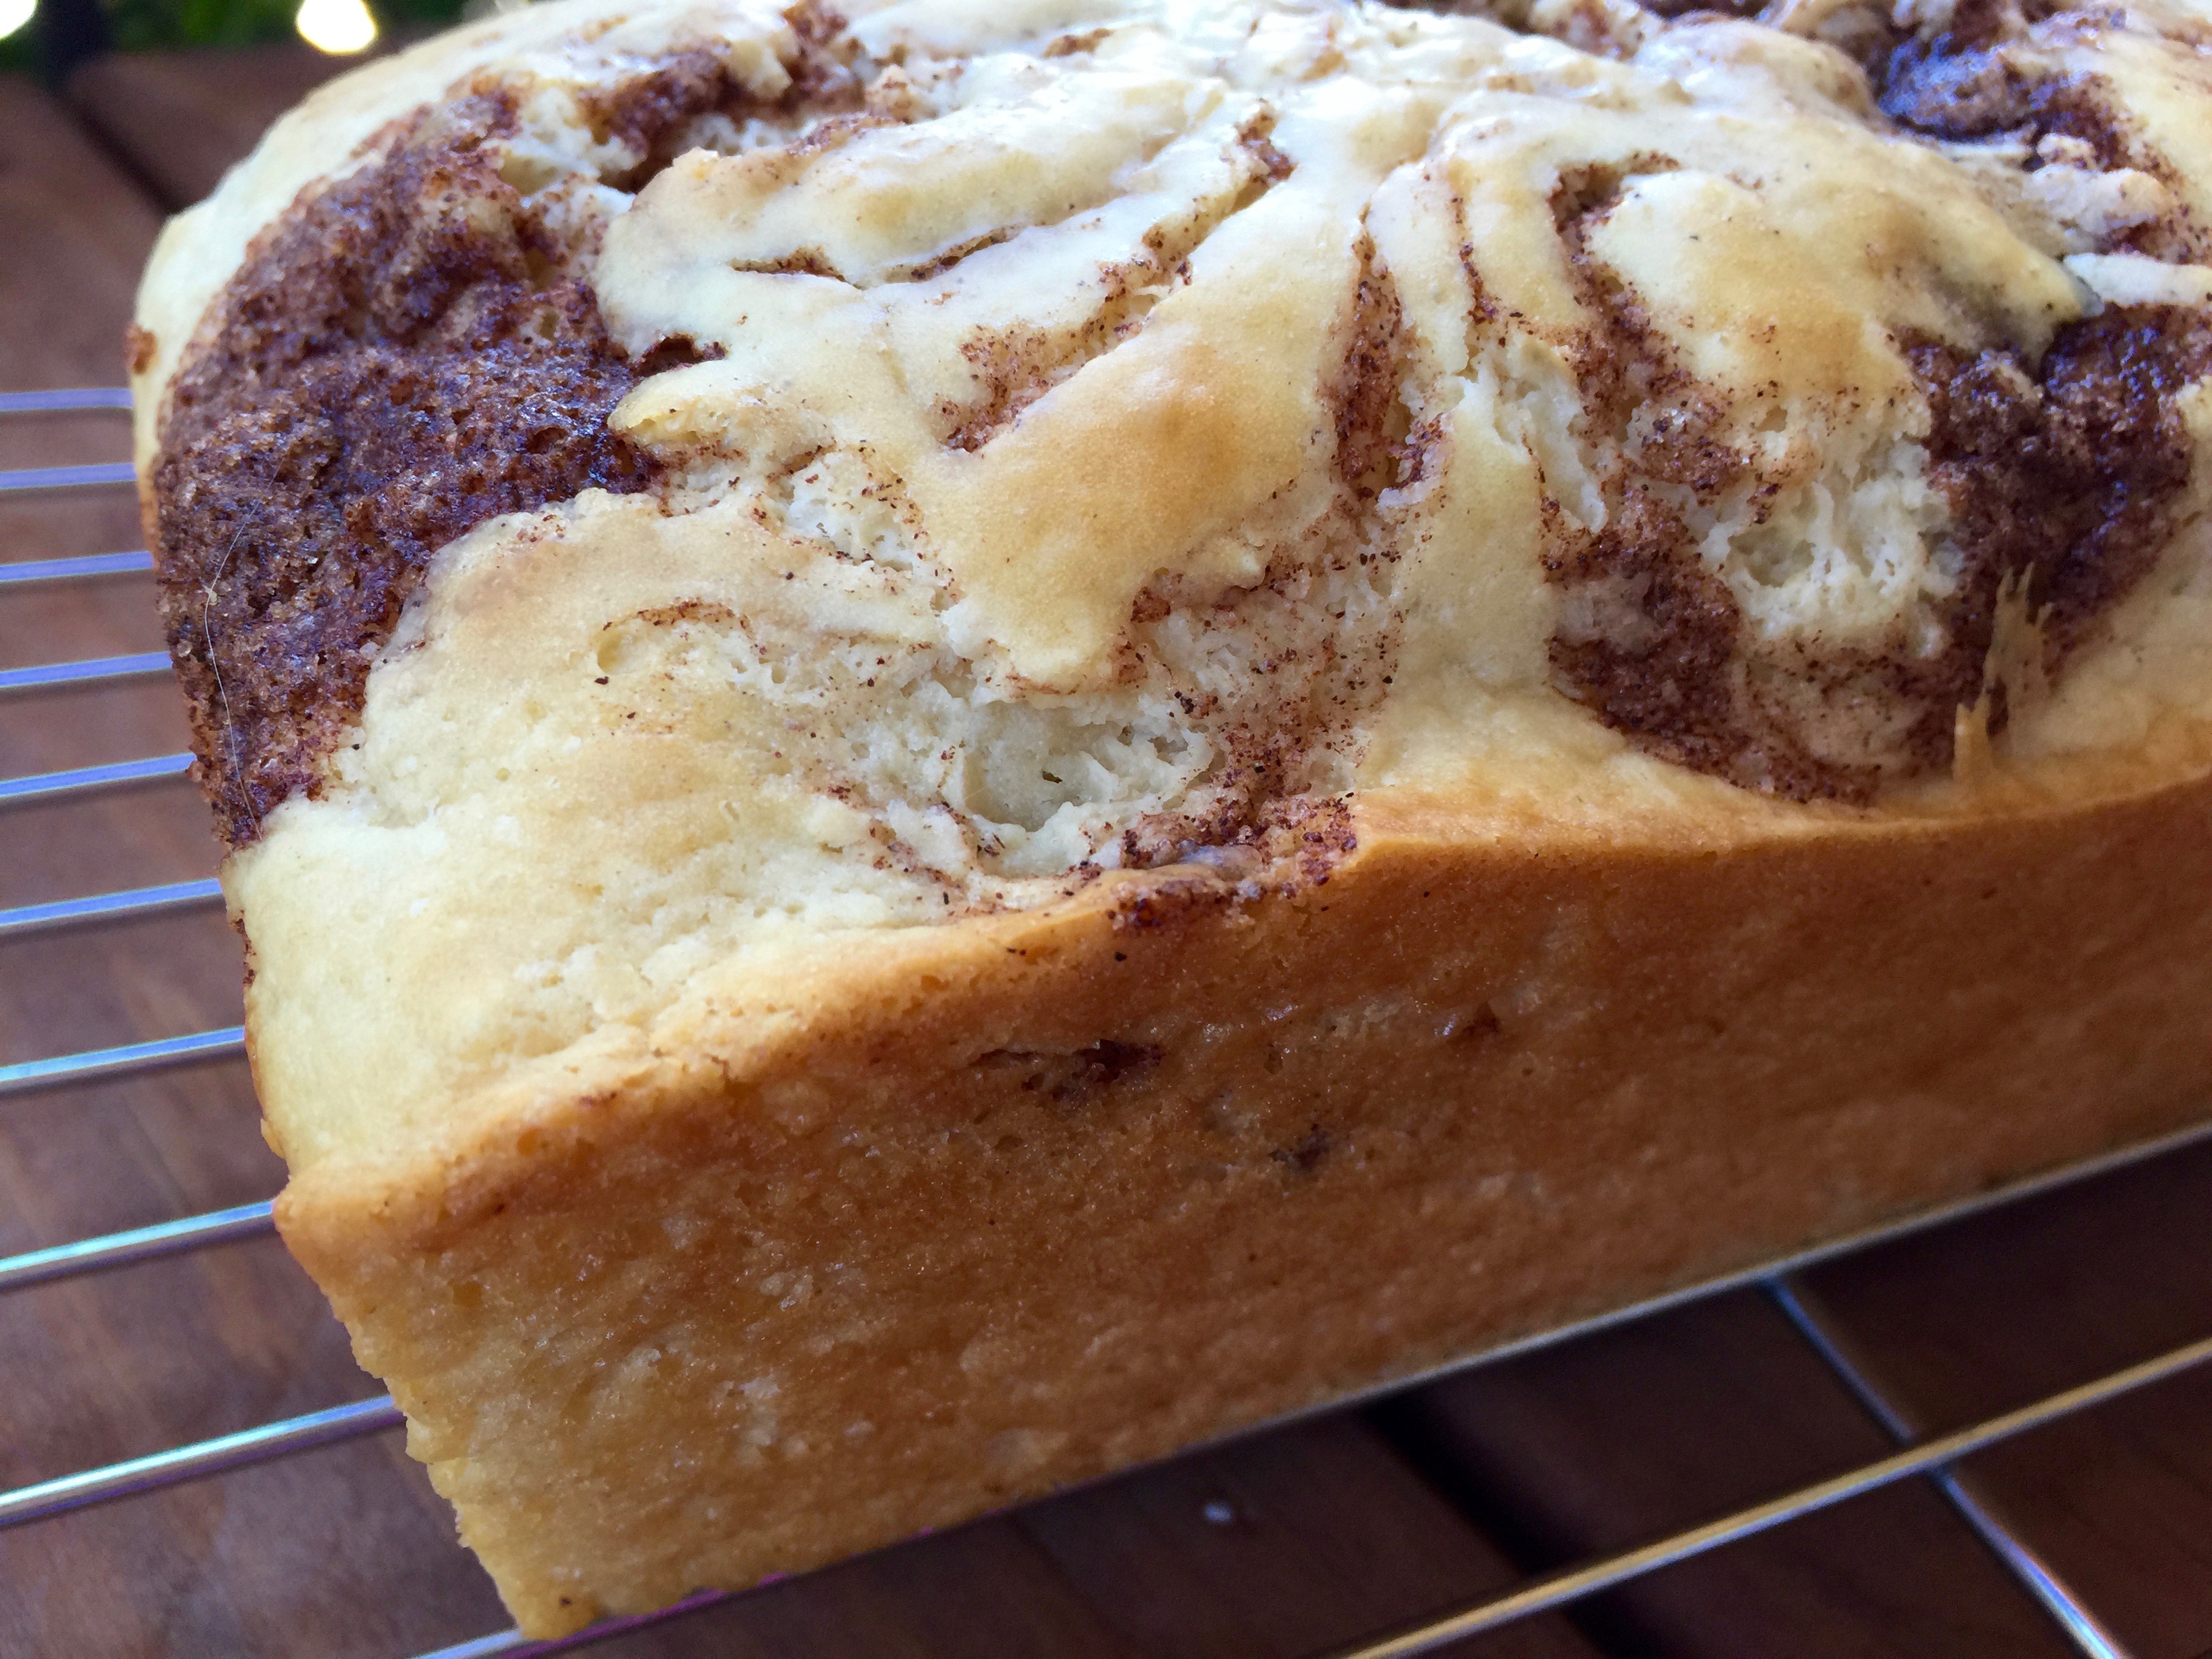
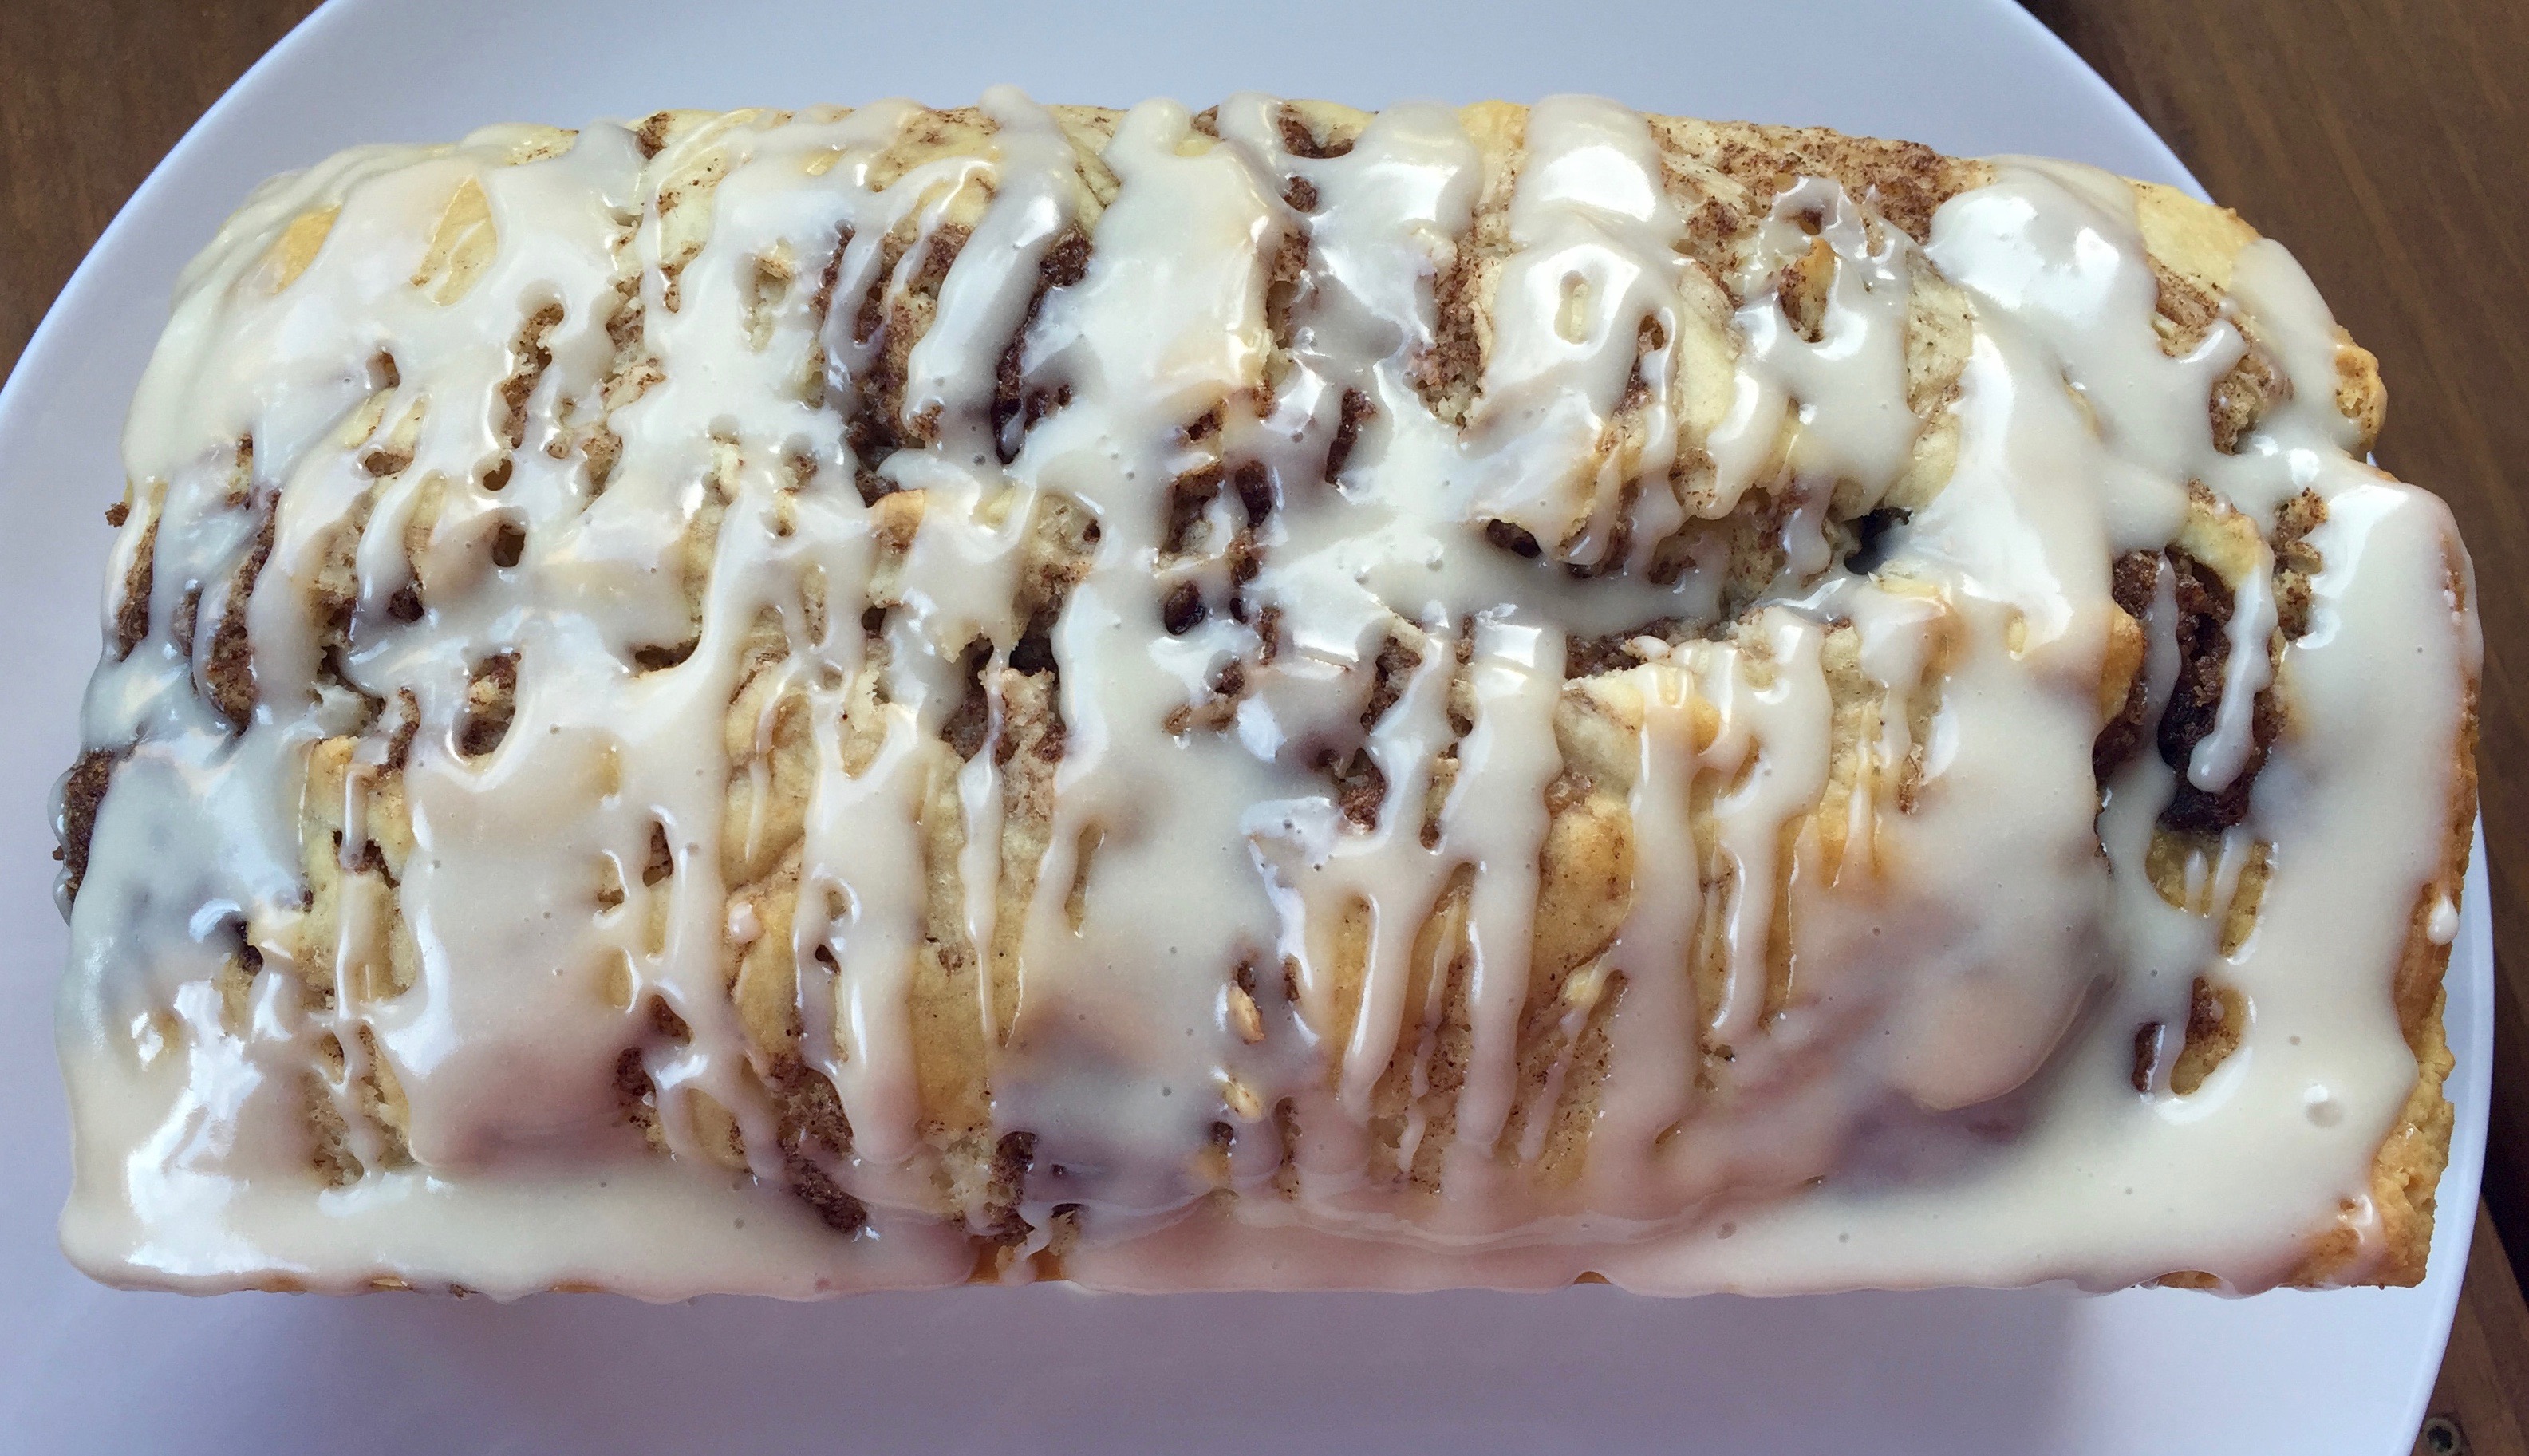
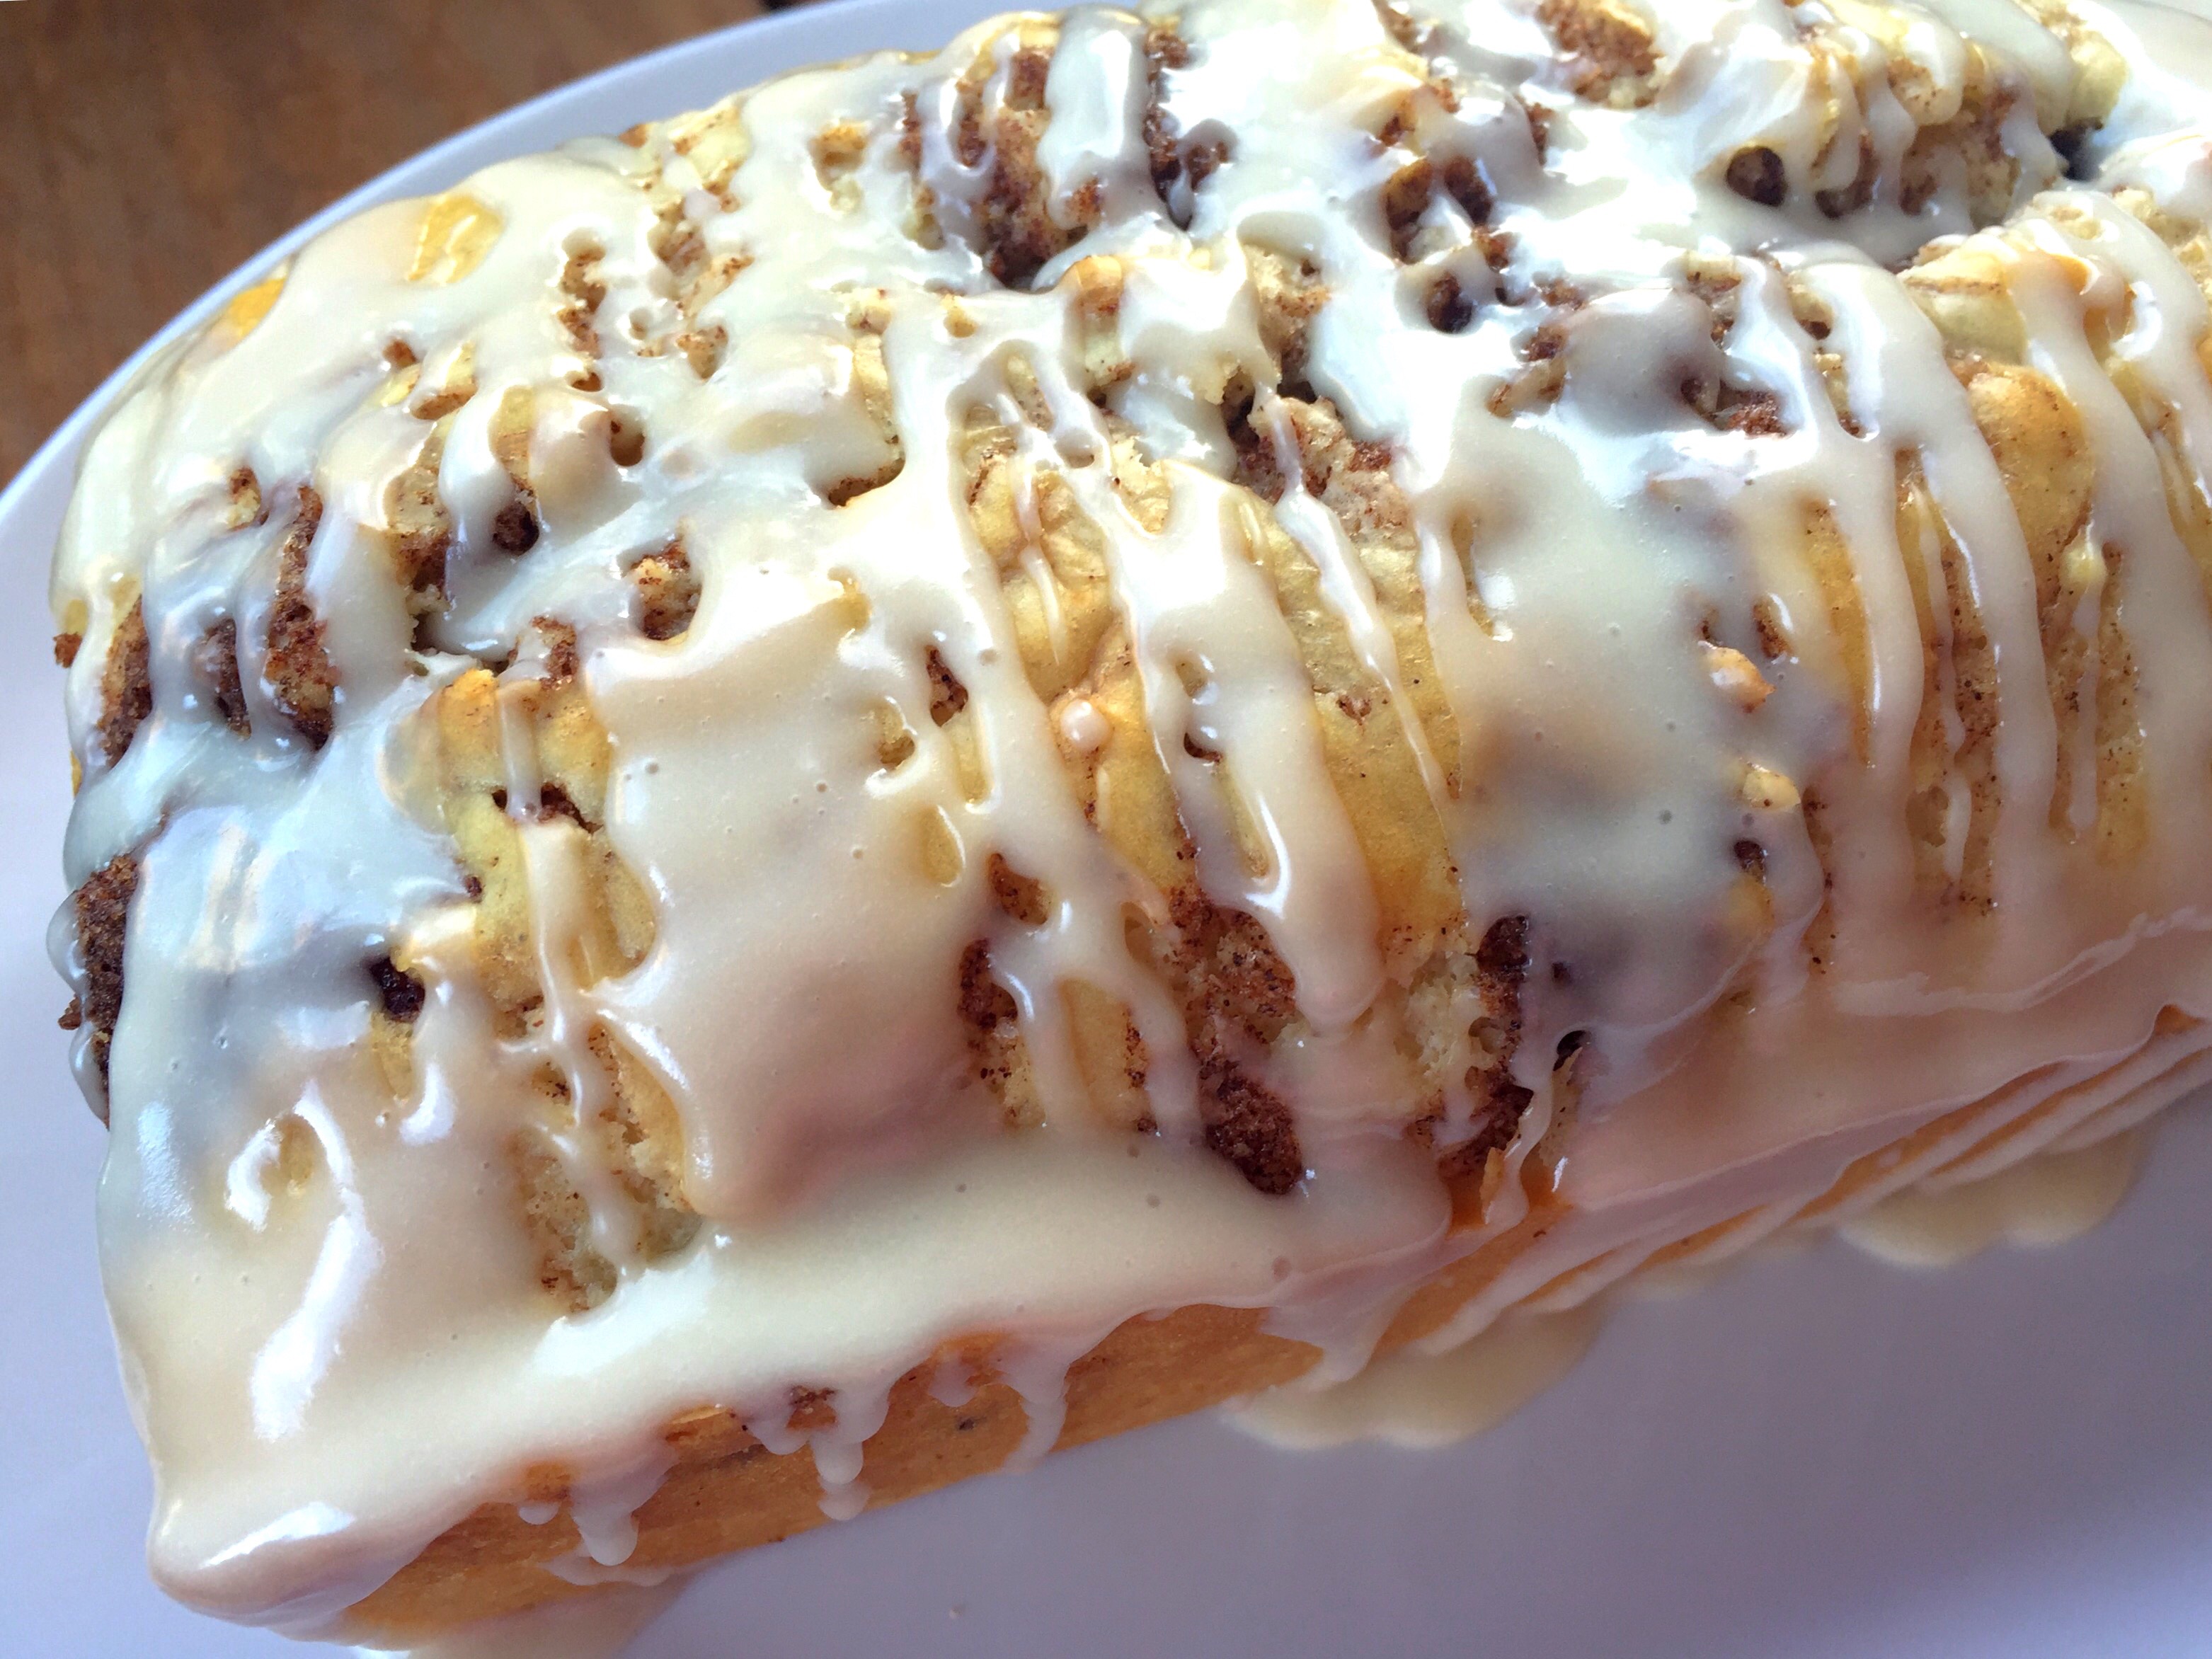
Lesson Learned 1 – The secret ingredient is vanilla bean caviar: Most zucchini bread recipes call for vanilla, as does mine. But I decided to try adding the caviar from the inside of a vanilla bean to try to enhance the flavor. And let me tell you, it really ramped up the taste factor. That’s why I call this zucchini bread luscious.

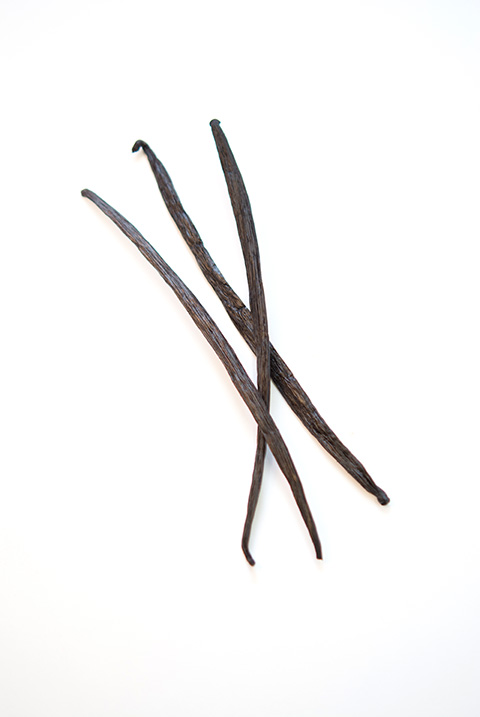
These days you can buy vanilla beans at your local grocery store but not so long ago you had to go to a specialty spice store to get them. The picture below shows you what a vanilla bean looks like.

Step 1: The shaft of the bean is quite small and kind of hard so you’ll need a very sharp knife to extract the caviar from the pod. First you need to straighten out the pod.

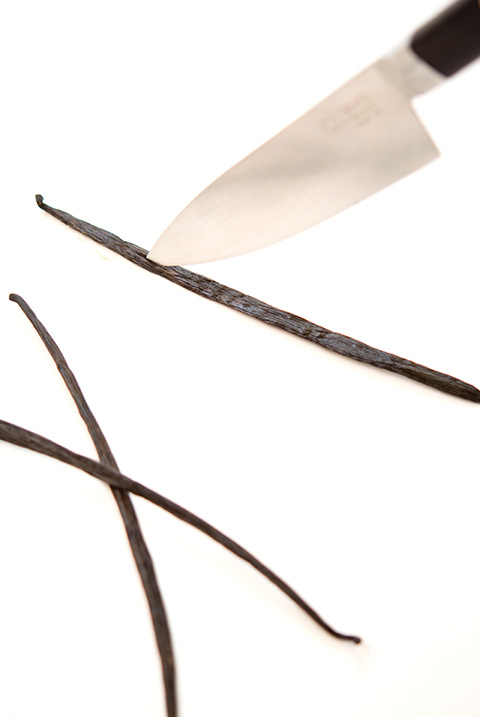
Step 2: Using a sharp knife, cut a slit all the way up and down the bean pod


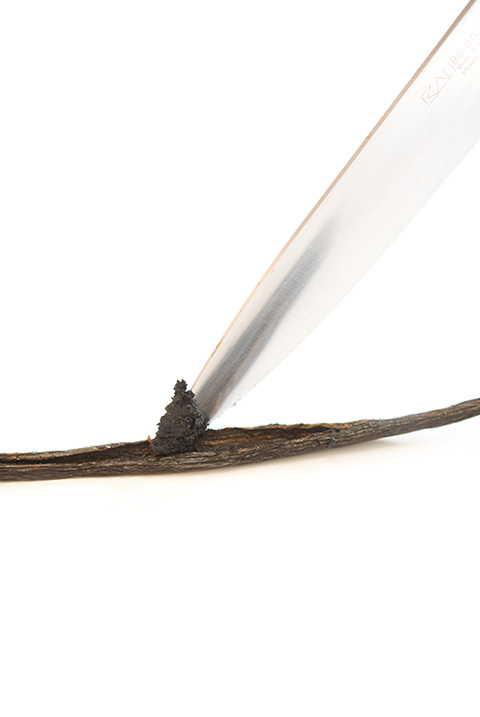
Step 3: Pry the slit open with your hands and scrape the tip of the knife up and down the open shaft of the pod making sure to get as much of the caviar out of the inside as you can.

A whole vanilla bean will give you the equivalent of approximately one teaspoon of vanilla extract. Adding this to the two teaspoons of vanilla already in the recipe and it gives a wonderful but not over powering vanilla flavor to the zucchini bread. And that’s what makes it so luscious.

Now can you make this without the caviar? Of course… but I compare this to adding some espresso powder to a chocolate recipe. The recipe would be good without it but with it there is a fuller, richer flavor. Now I will warn you, vanilla beans are expensive, but they are worth it.

Lesson Learned 2 – Use a food processor to shred the zucchini: Although you can use a box grater, a food processor is a faster and easier way to shred the zucchini for this recipe. One medium to medium-large size zucchini will give you the two cups needed to make the bread. The food processor shreds the zucchini to just the right size so there are small strands in the bread. You don’t want to the zucchini shreds to be too big. They are designed to add moisture to the cake without providing any noticeable flavor. Also, make sure to pat down the zucchini shreds in your measuring cup. You want them slightly compacted.

Lesson Learned 3 – You can use shredded carrots in this recipe as well: I chose not to use carrots this time but you can add them as well. Just substitute one cup of shredded zucchini for one cup of shredded carrots. You can also add one cup of semi-sweet chocolate chips to this recipe. Try it a variety of ways and see what you think.

Try this version of zucchini bread and compare it to yours. I’d love to know what you think!

Luscious Zucchini Bread...
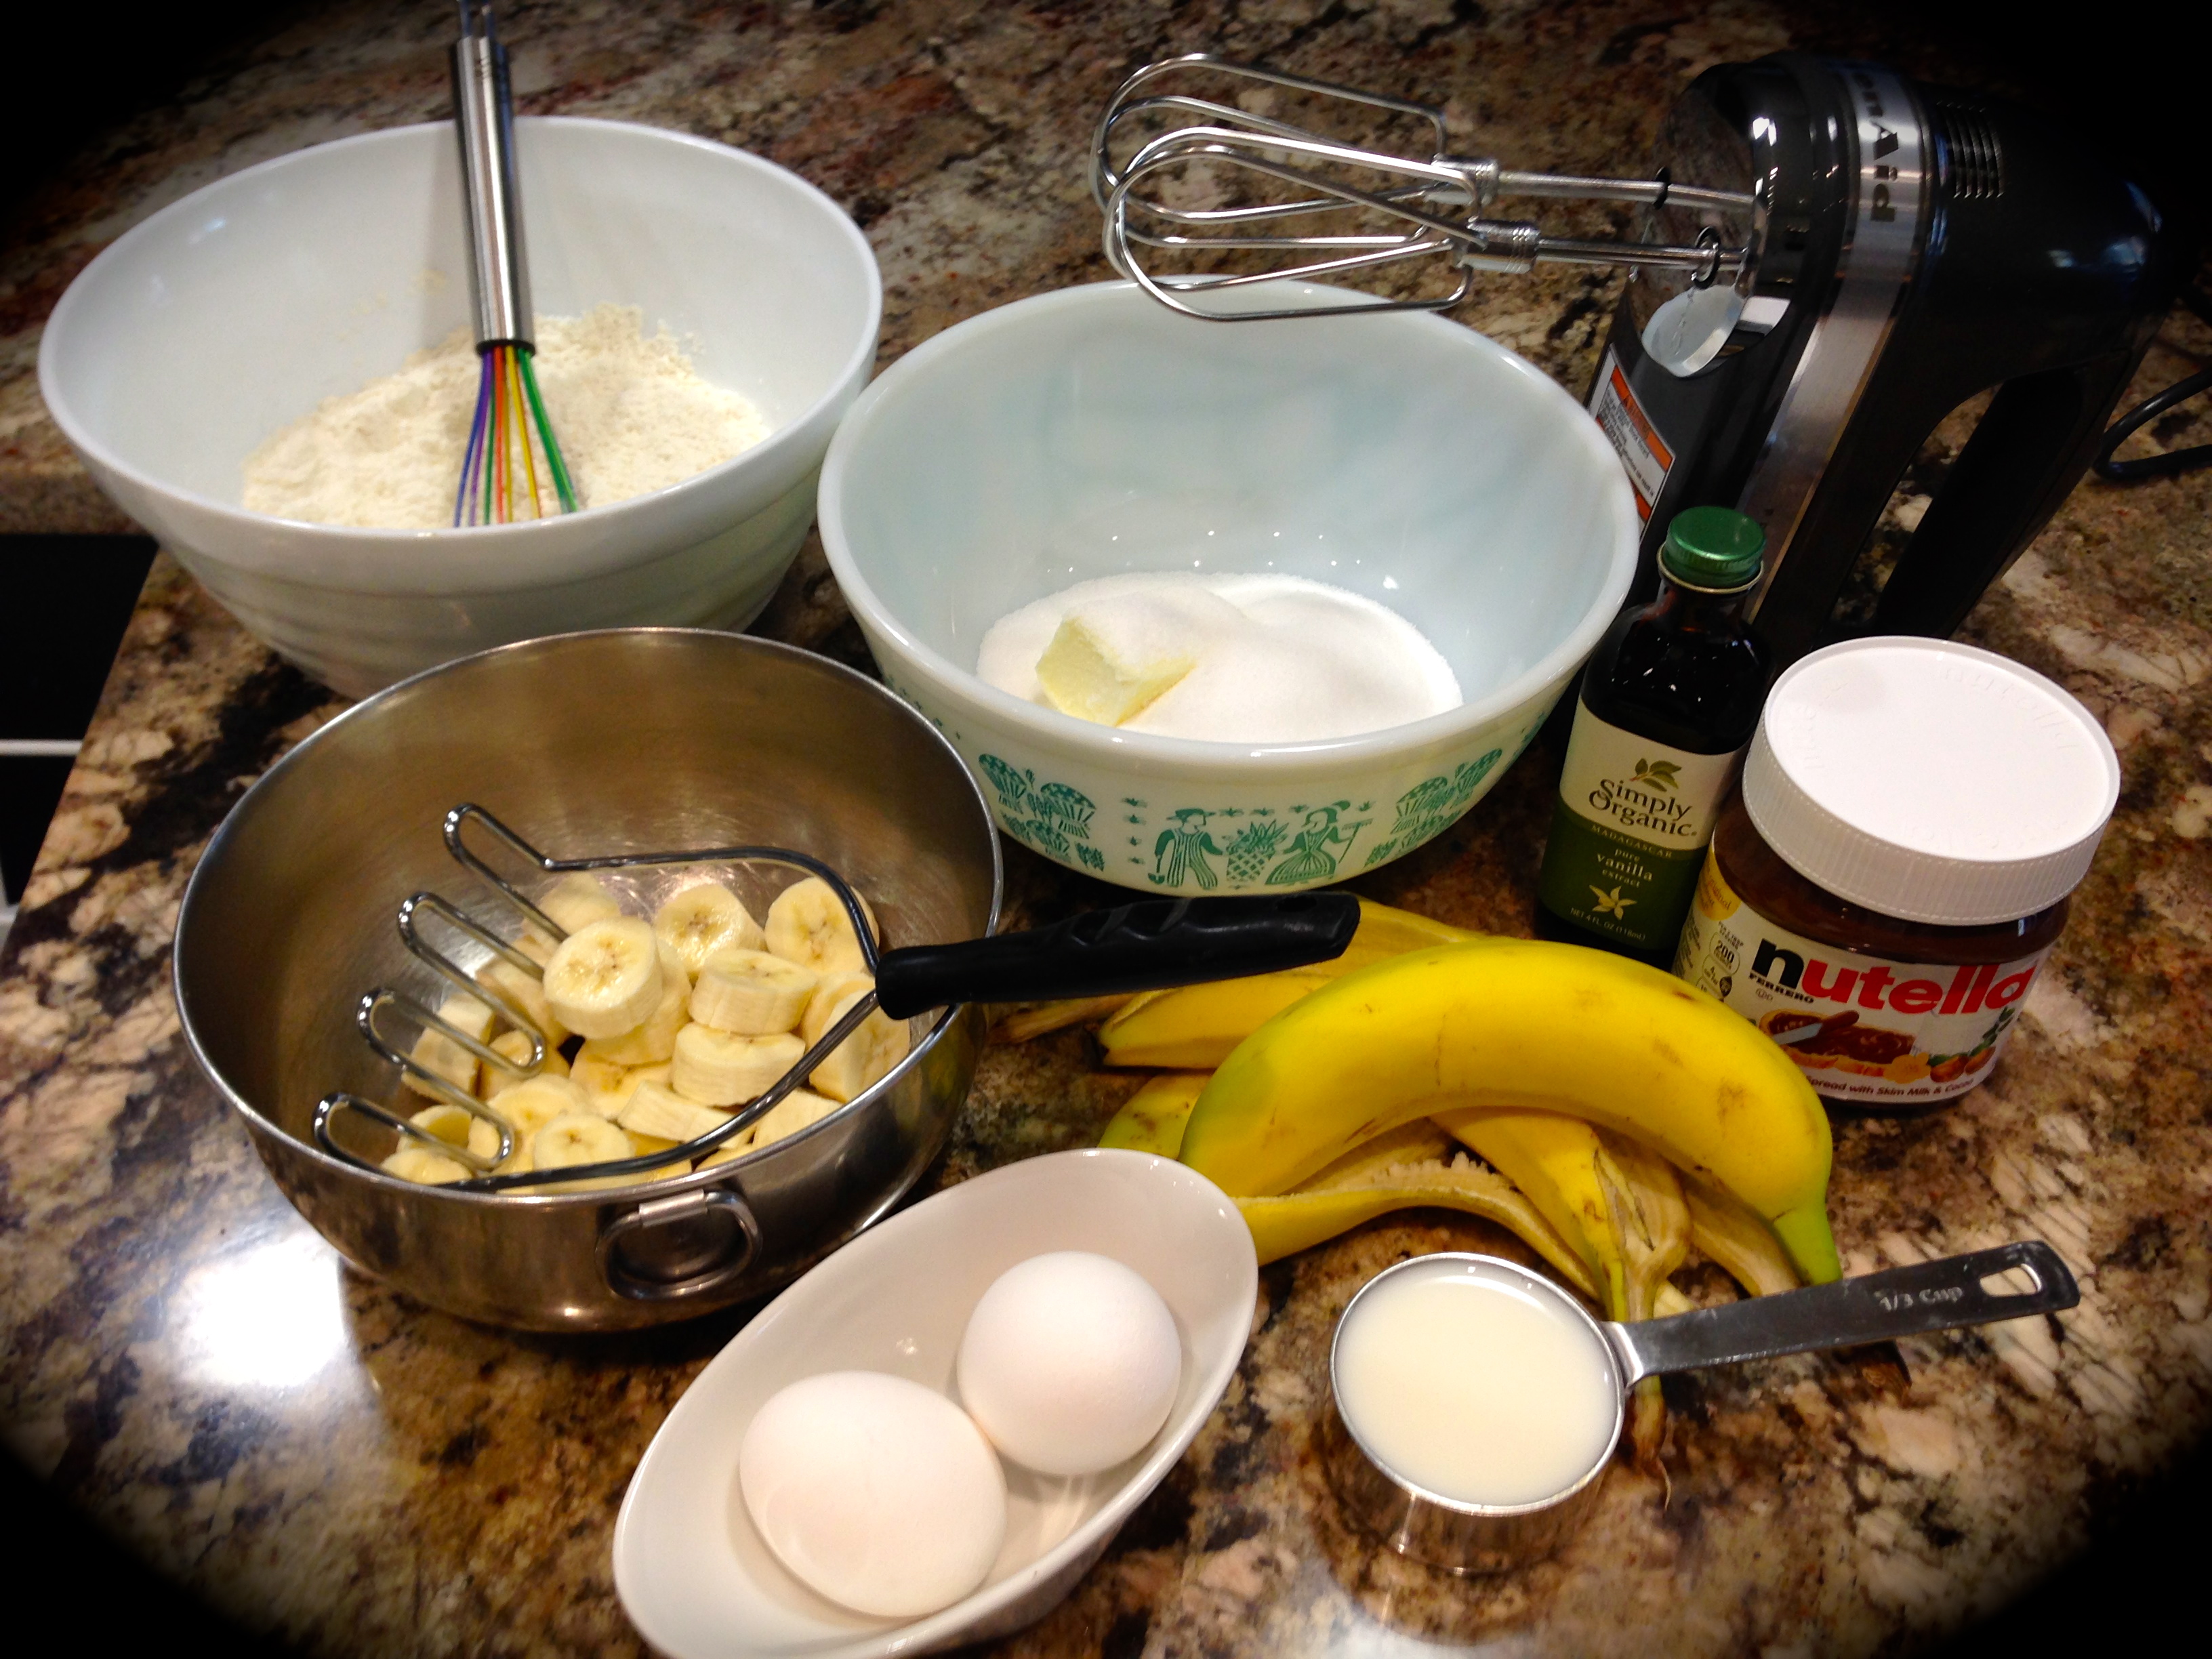
  • Servings: 8 Slices Per Loaf
  • Difficulty: Easy
  • Print

INGREDIENTS:

1/2 cup plus 2 Tbs. orange juice

1/2 cup canola oil

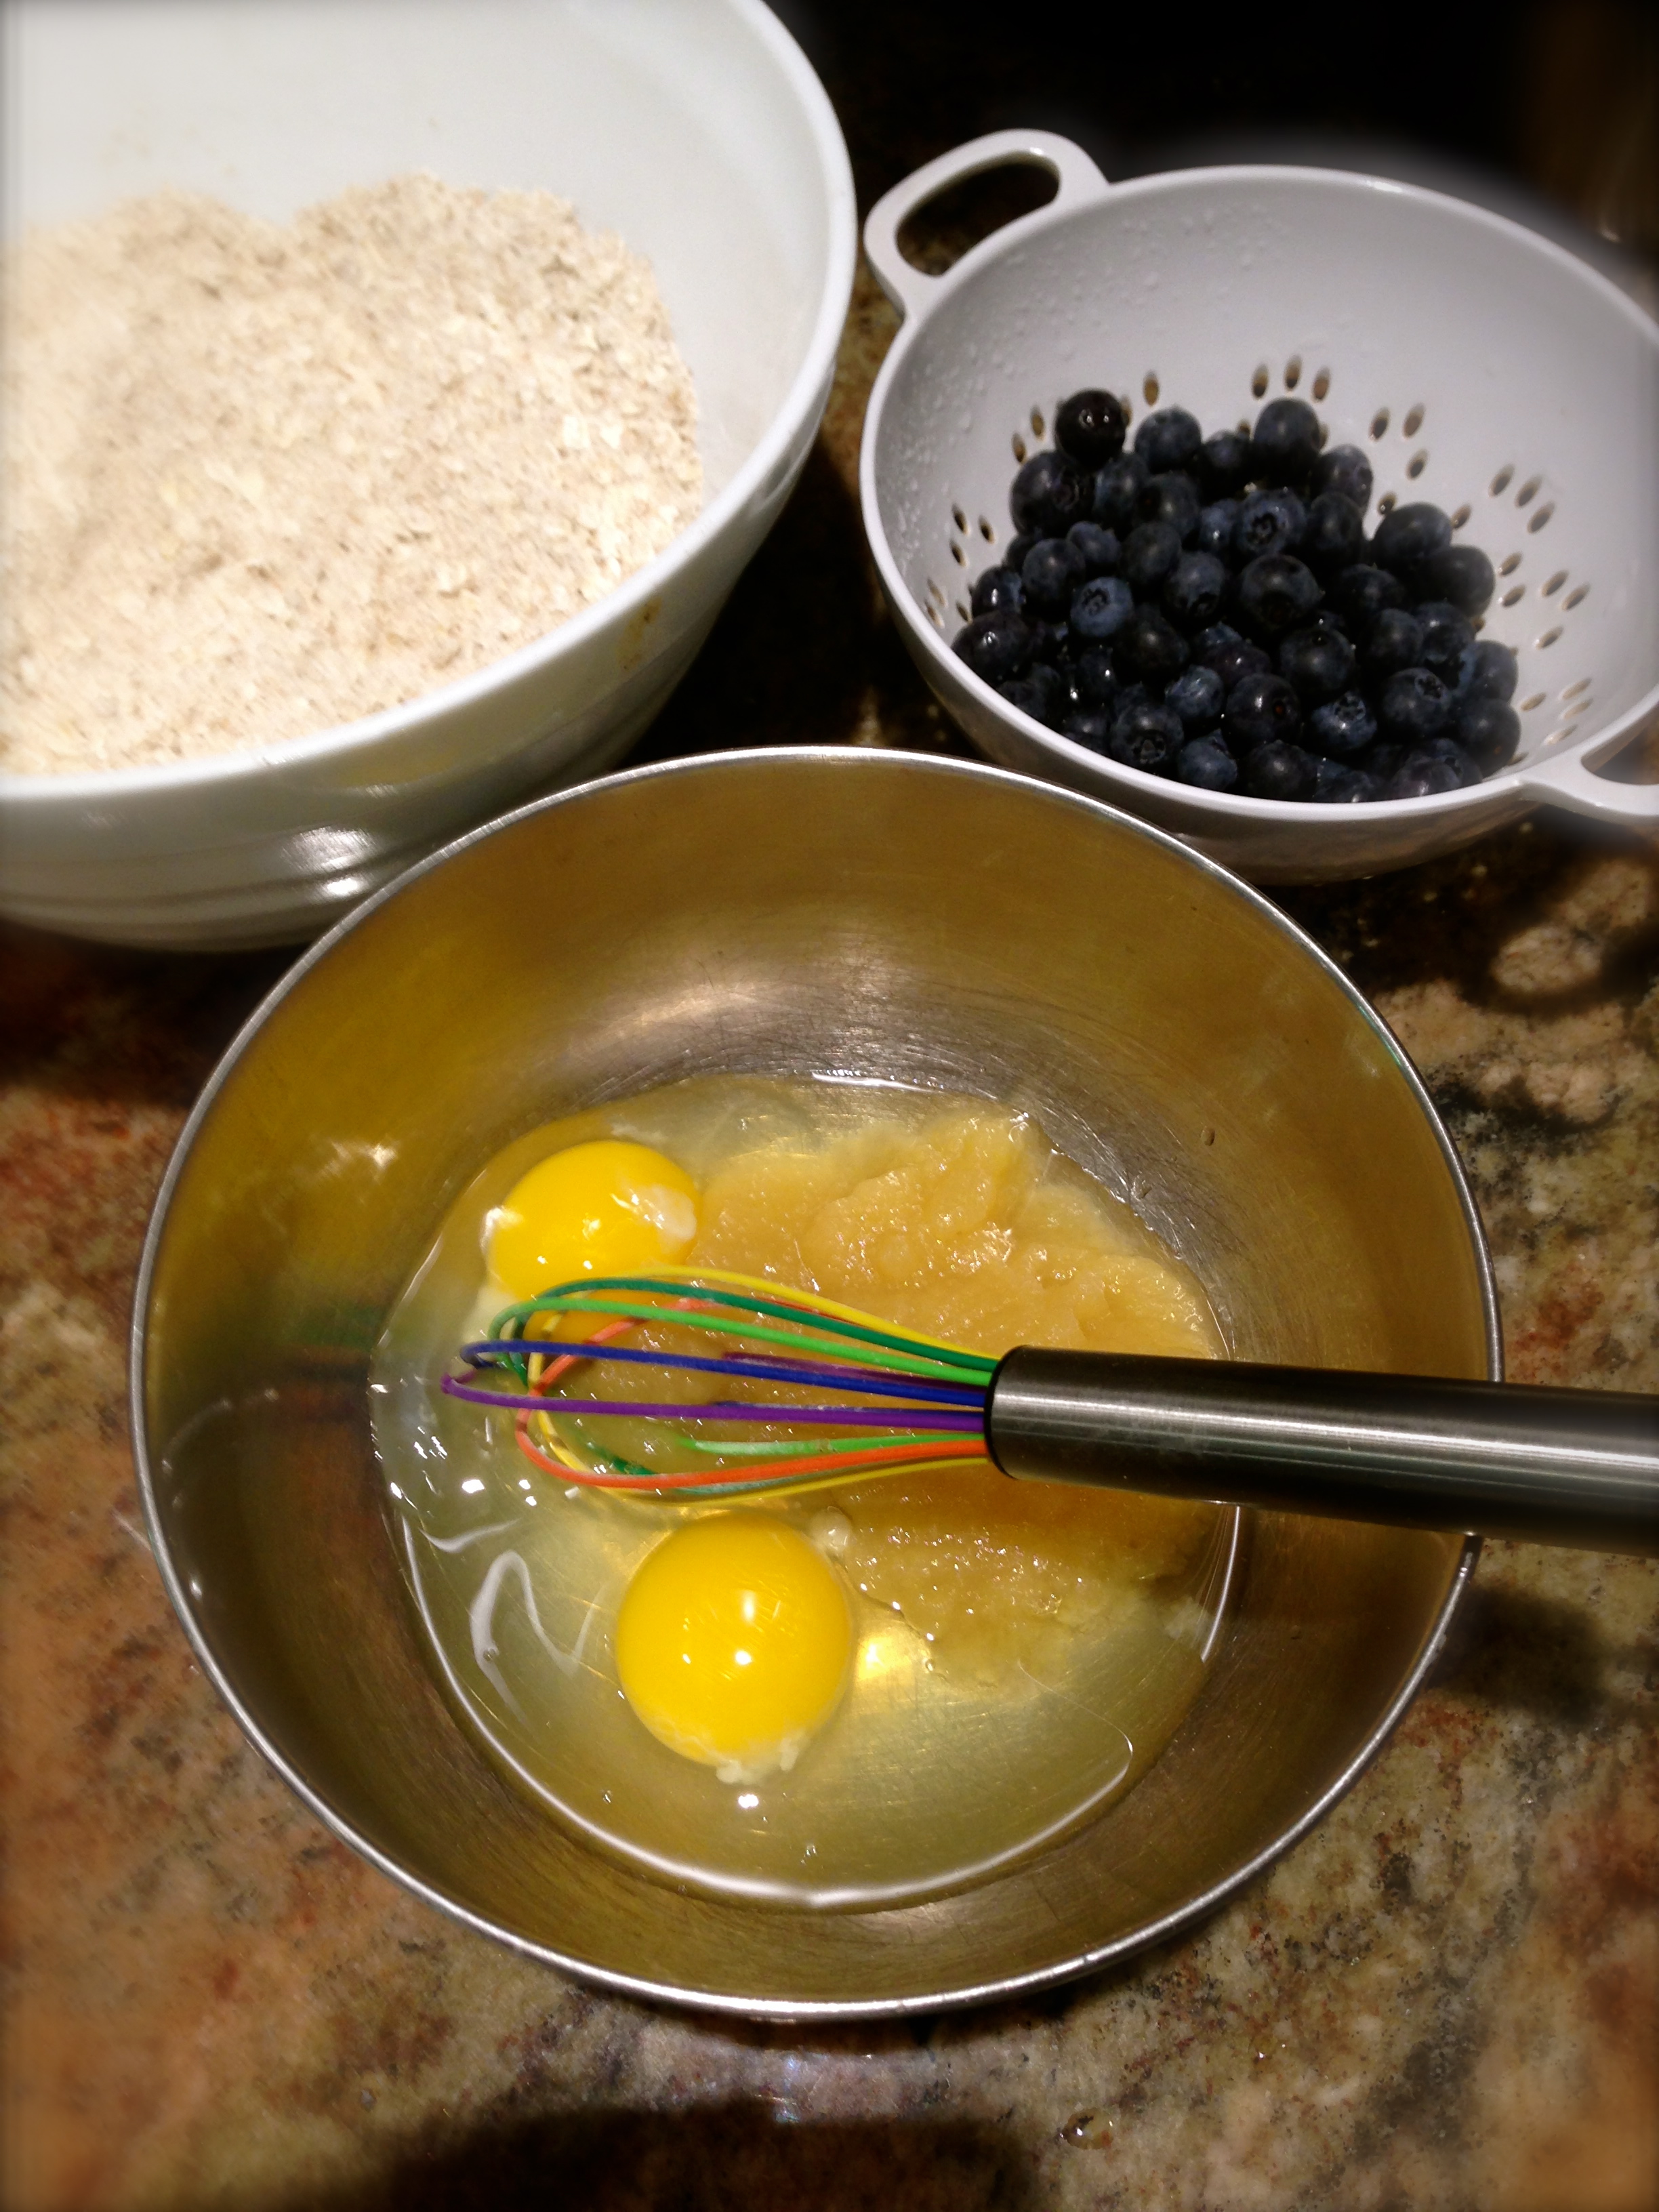
1/2 cup unsweetened applesauce

3 eggs, slightly beaten

1 tsp. vanilla bean caviar (the caviar from one pod)

2 tsp. vanilla

3 cups flour

2 cups sugar

5 tsp. ground cinnamon

1 1/4 tsp. baking powder (1 tsp. for high altitude)

1/2 tsp. baking soda  (1/4 high altitude)

1 tsp. salt

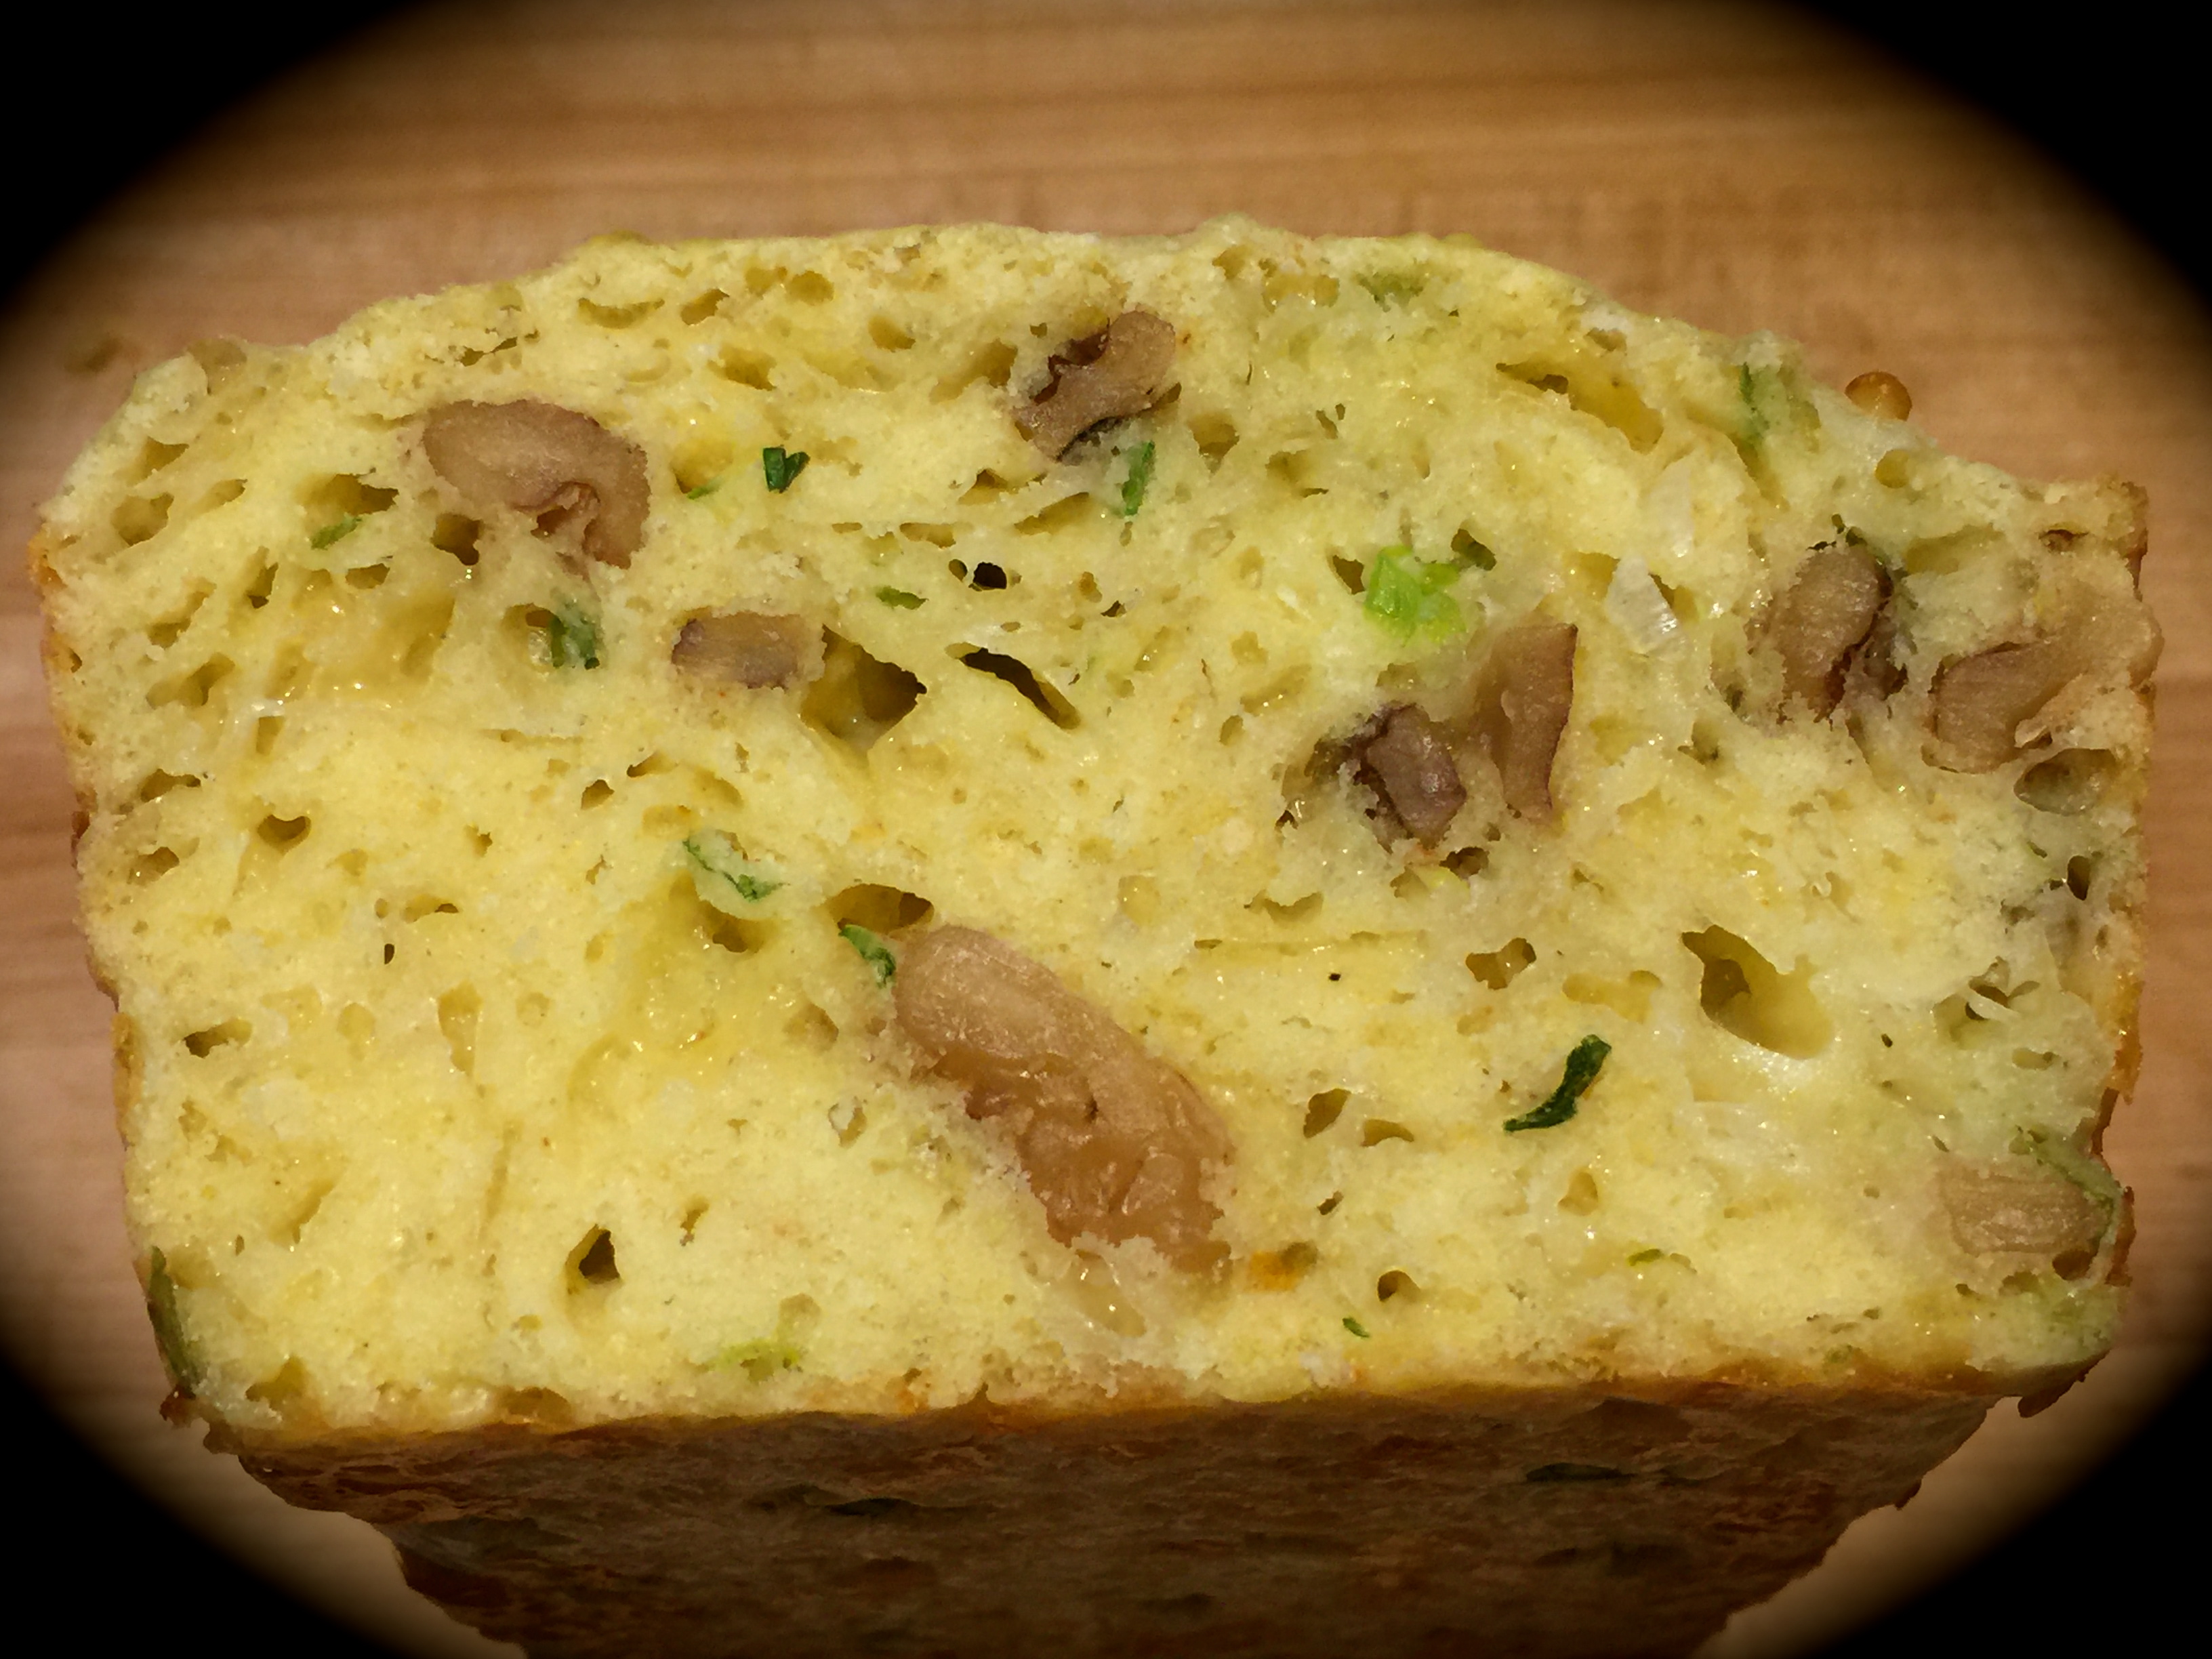
2 cups shredded zucchini, lightly packed

1 cup chopped pecans, optional

Cooking spray

DIRECTIONS:

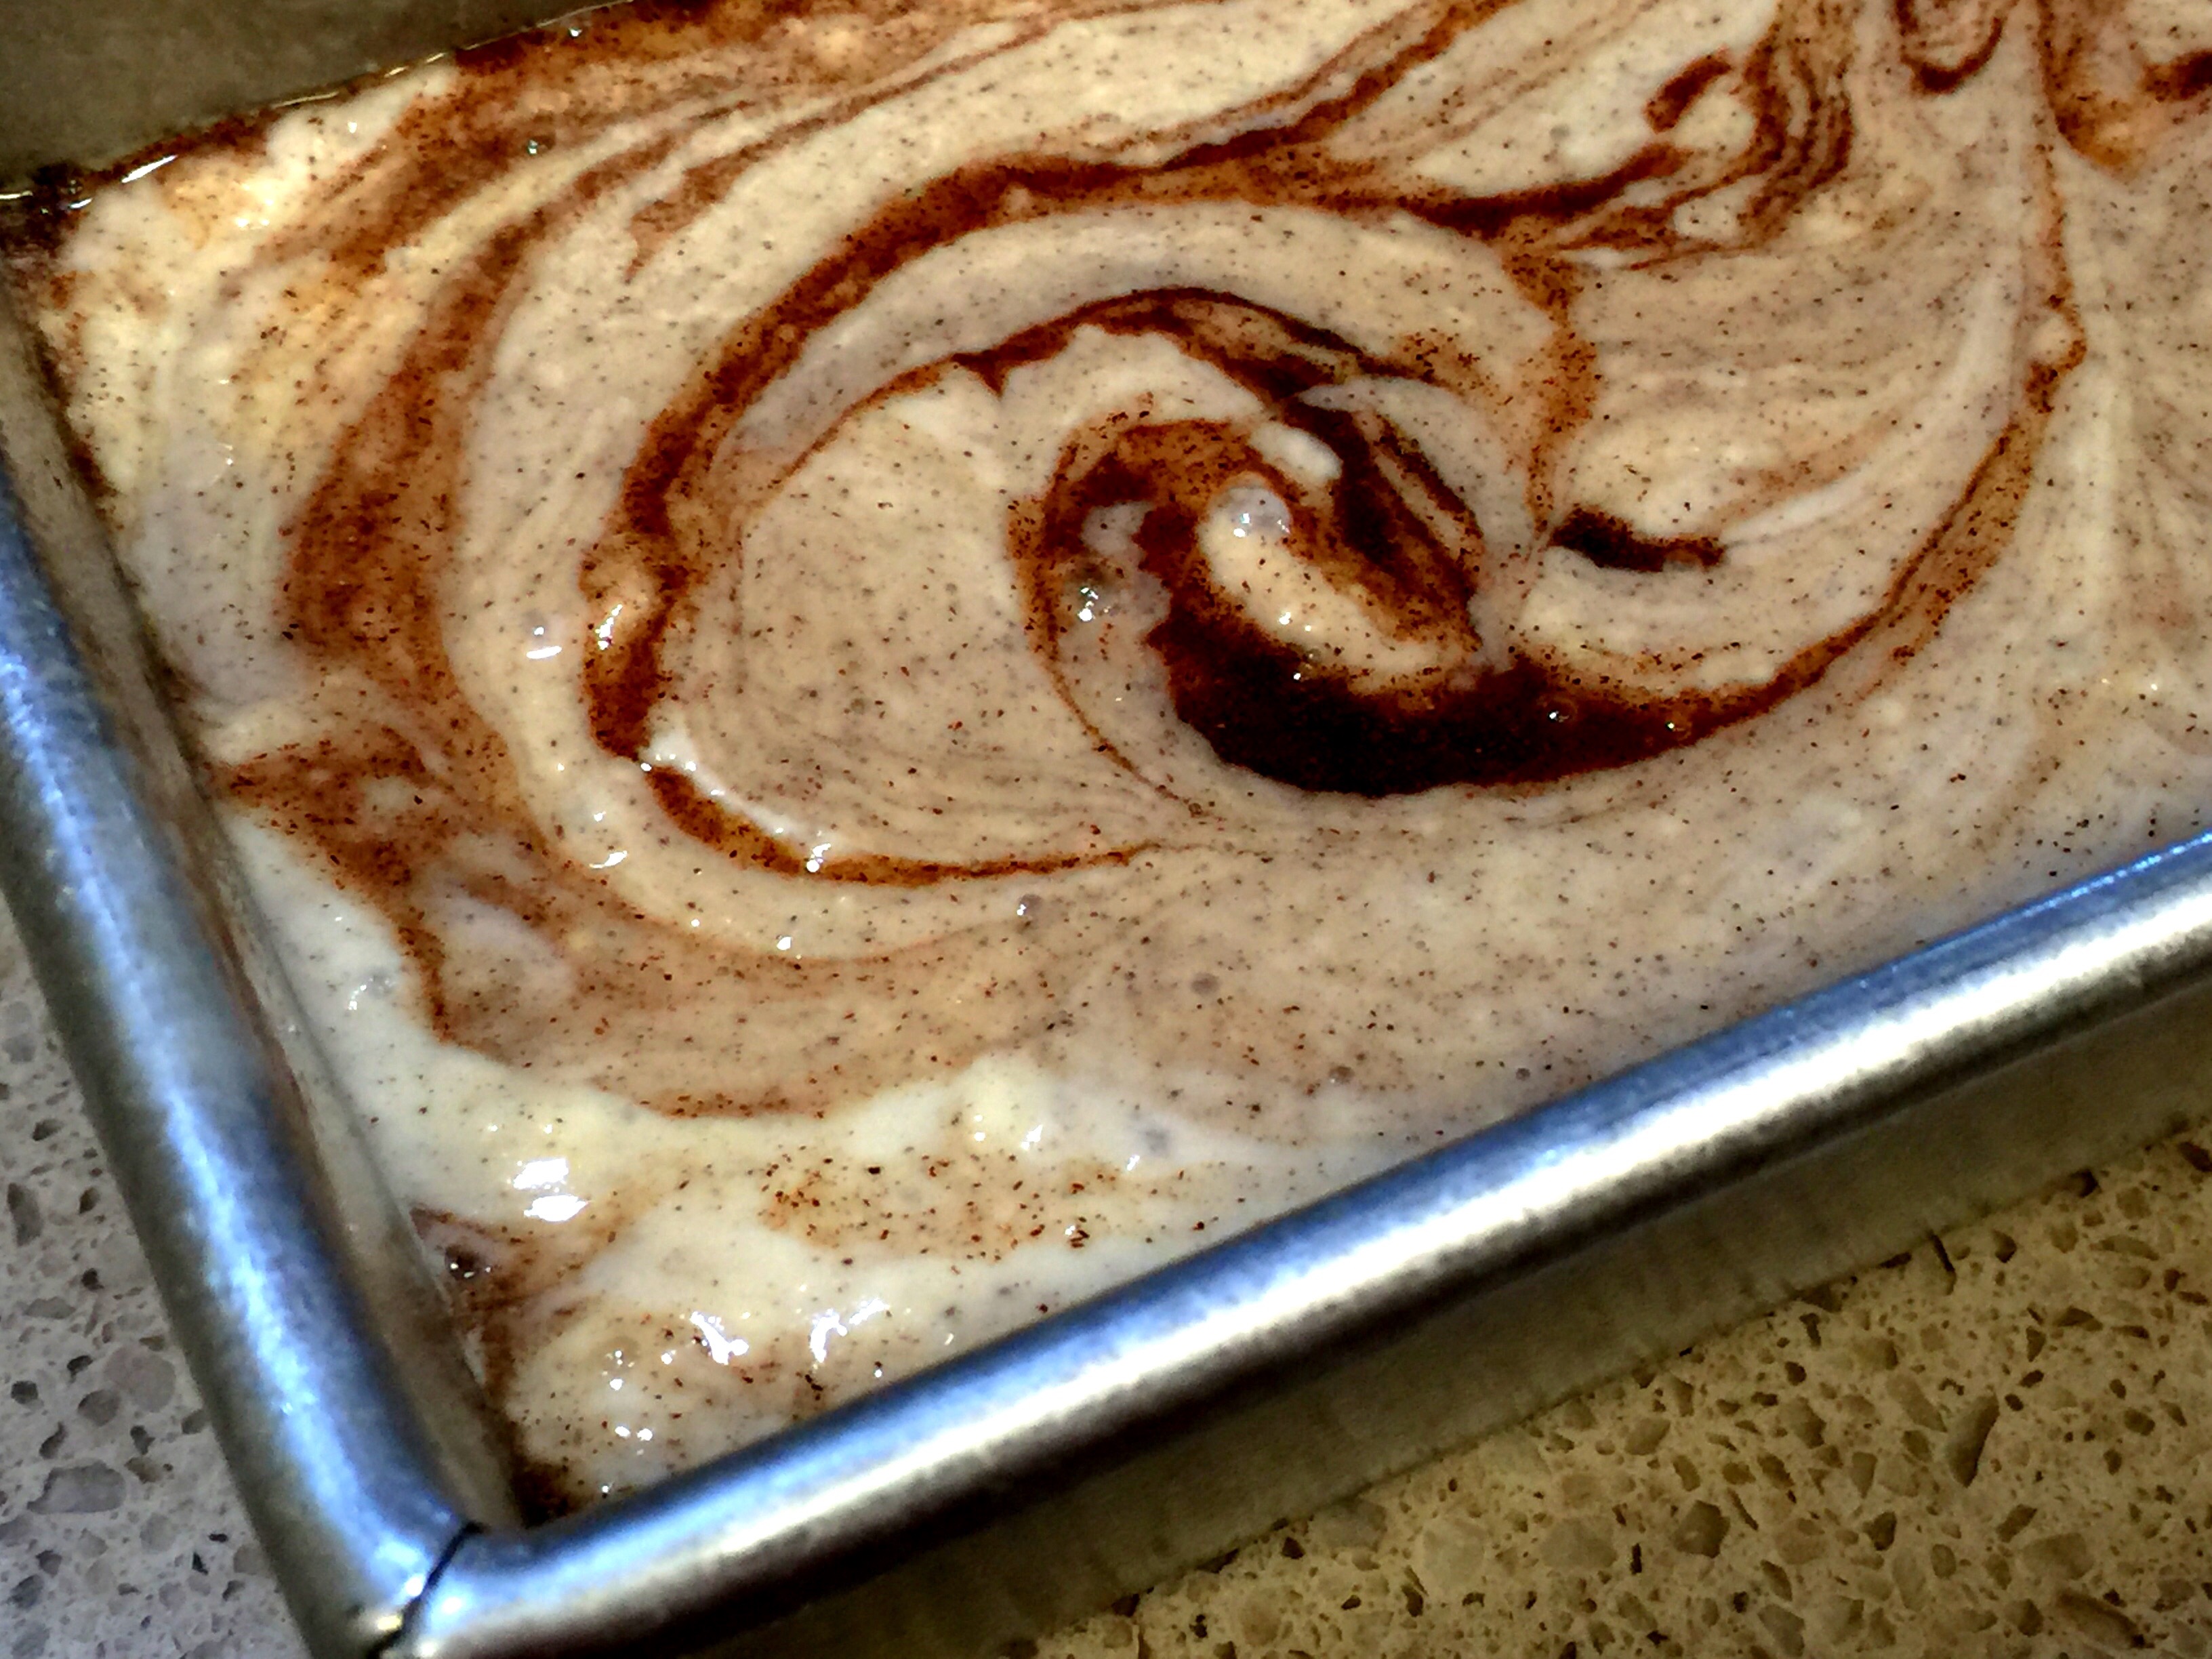
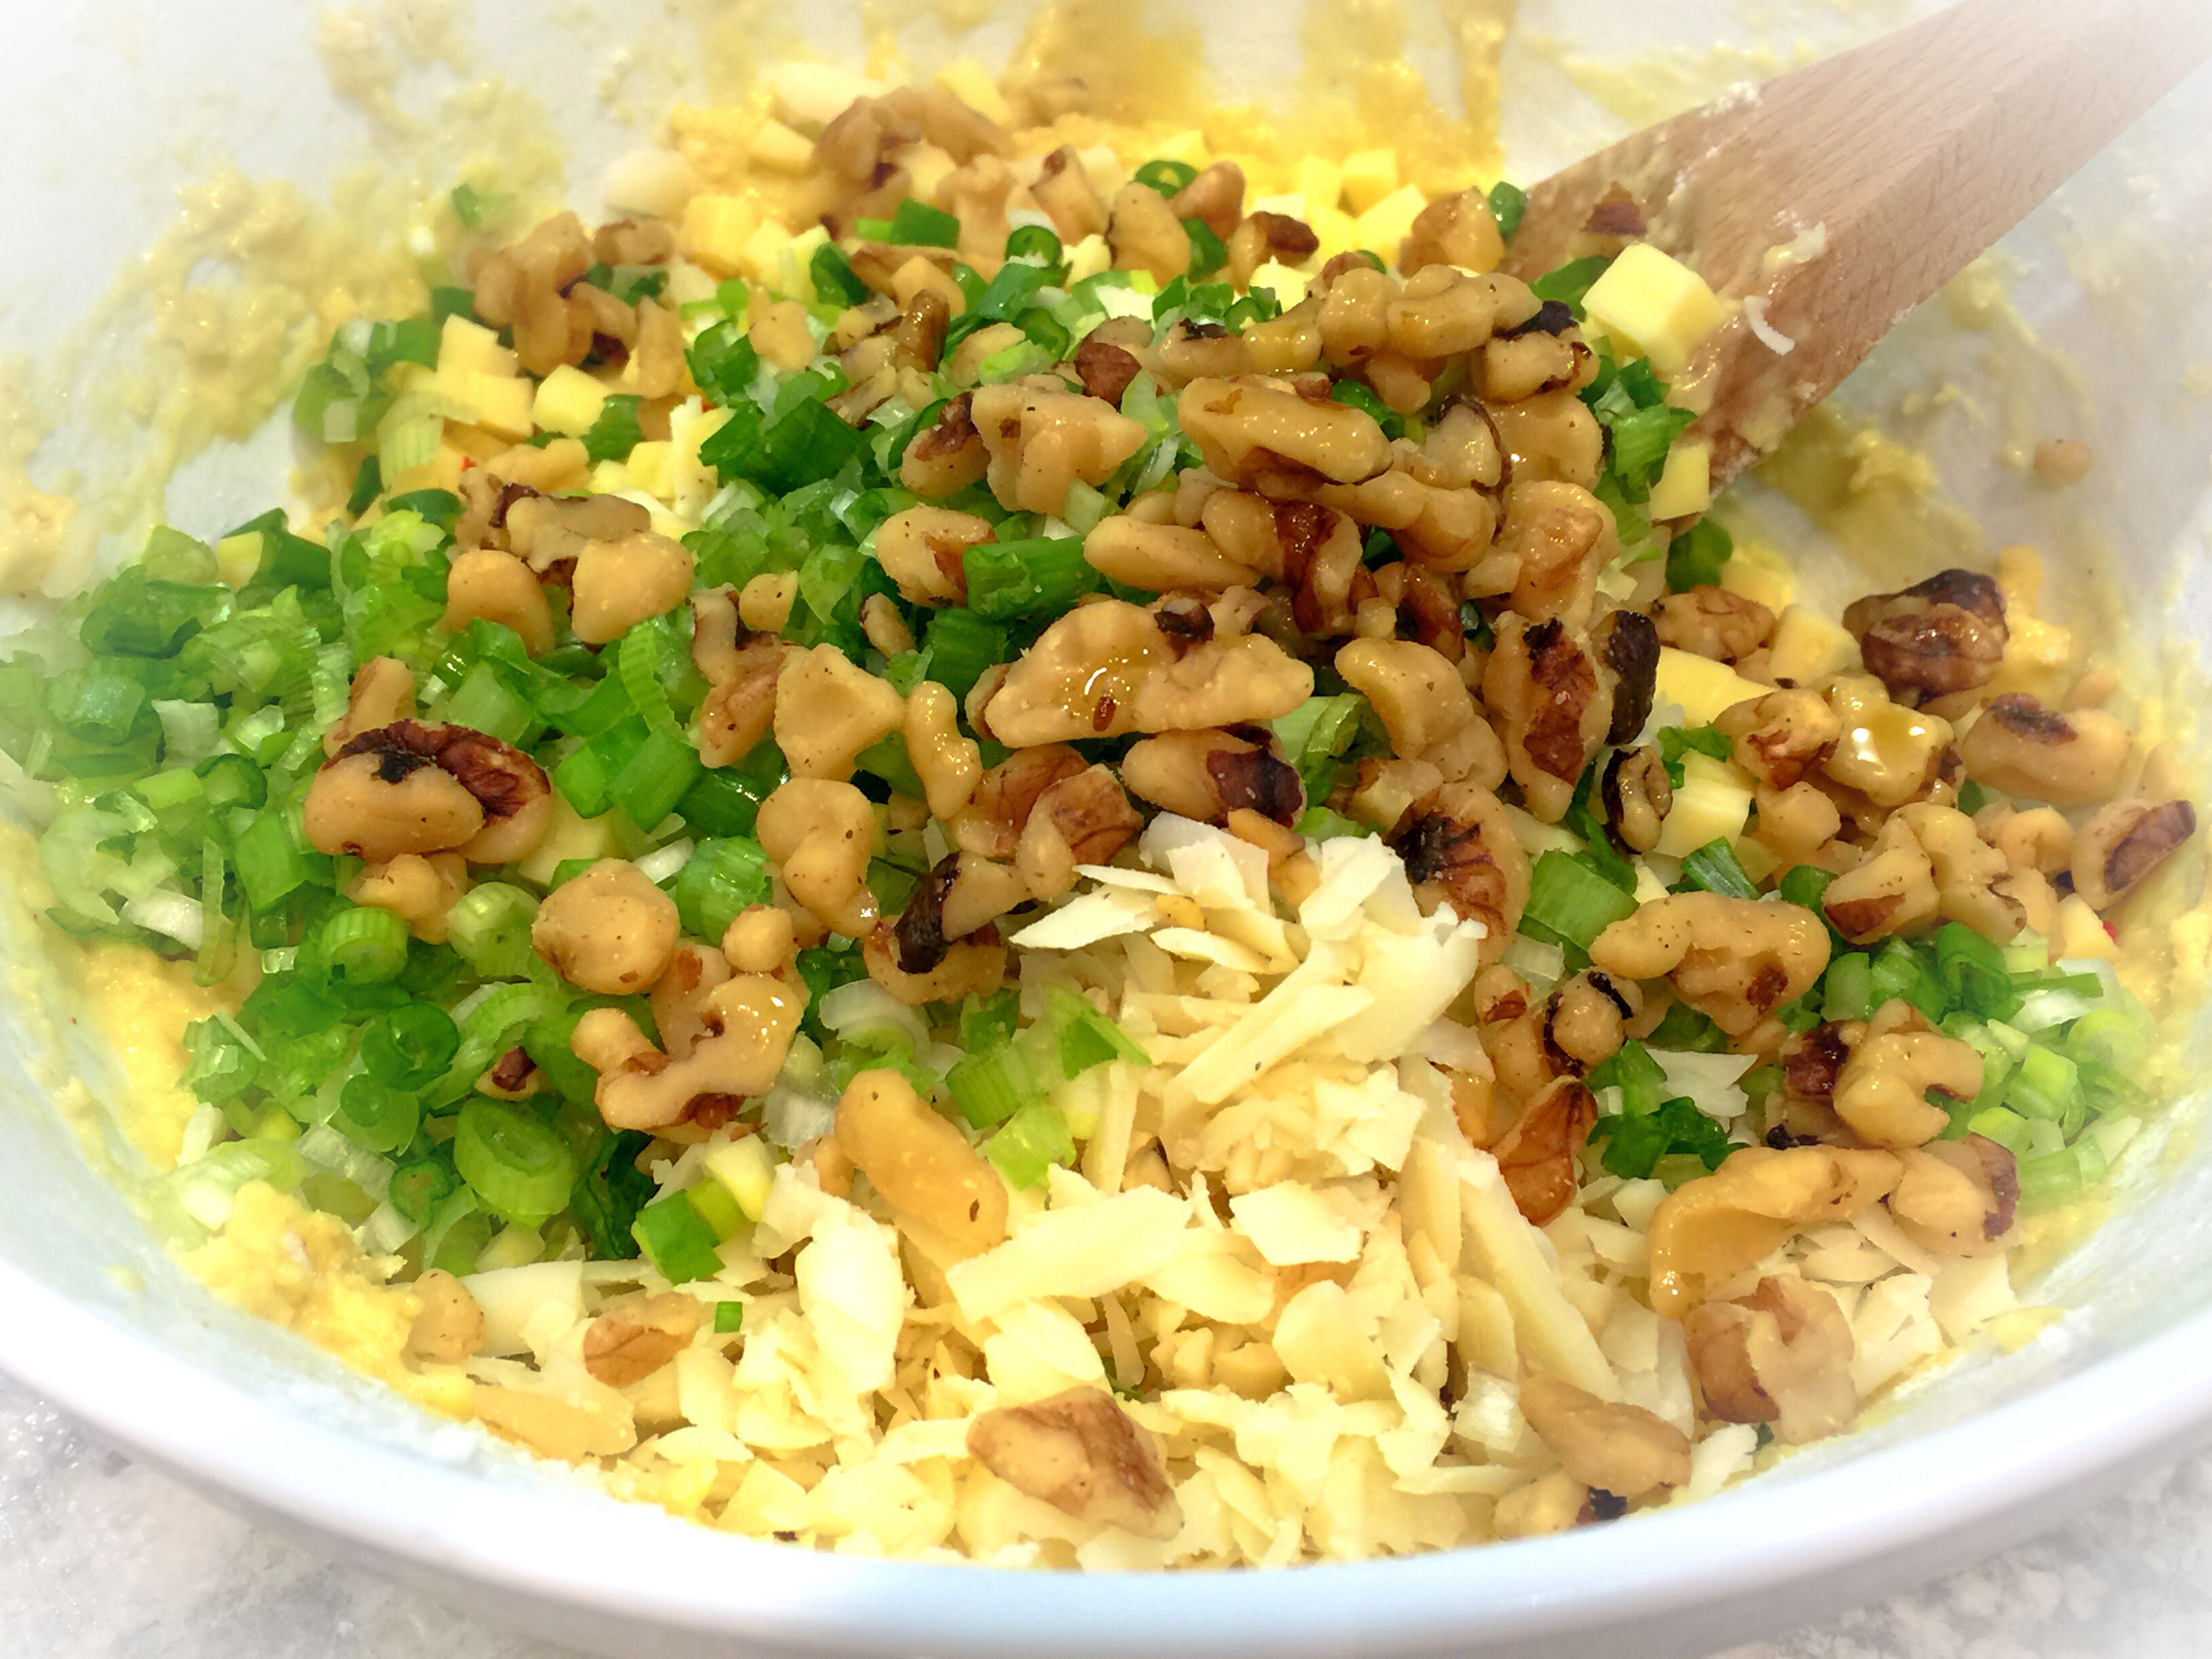
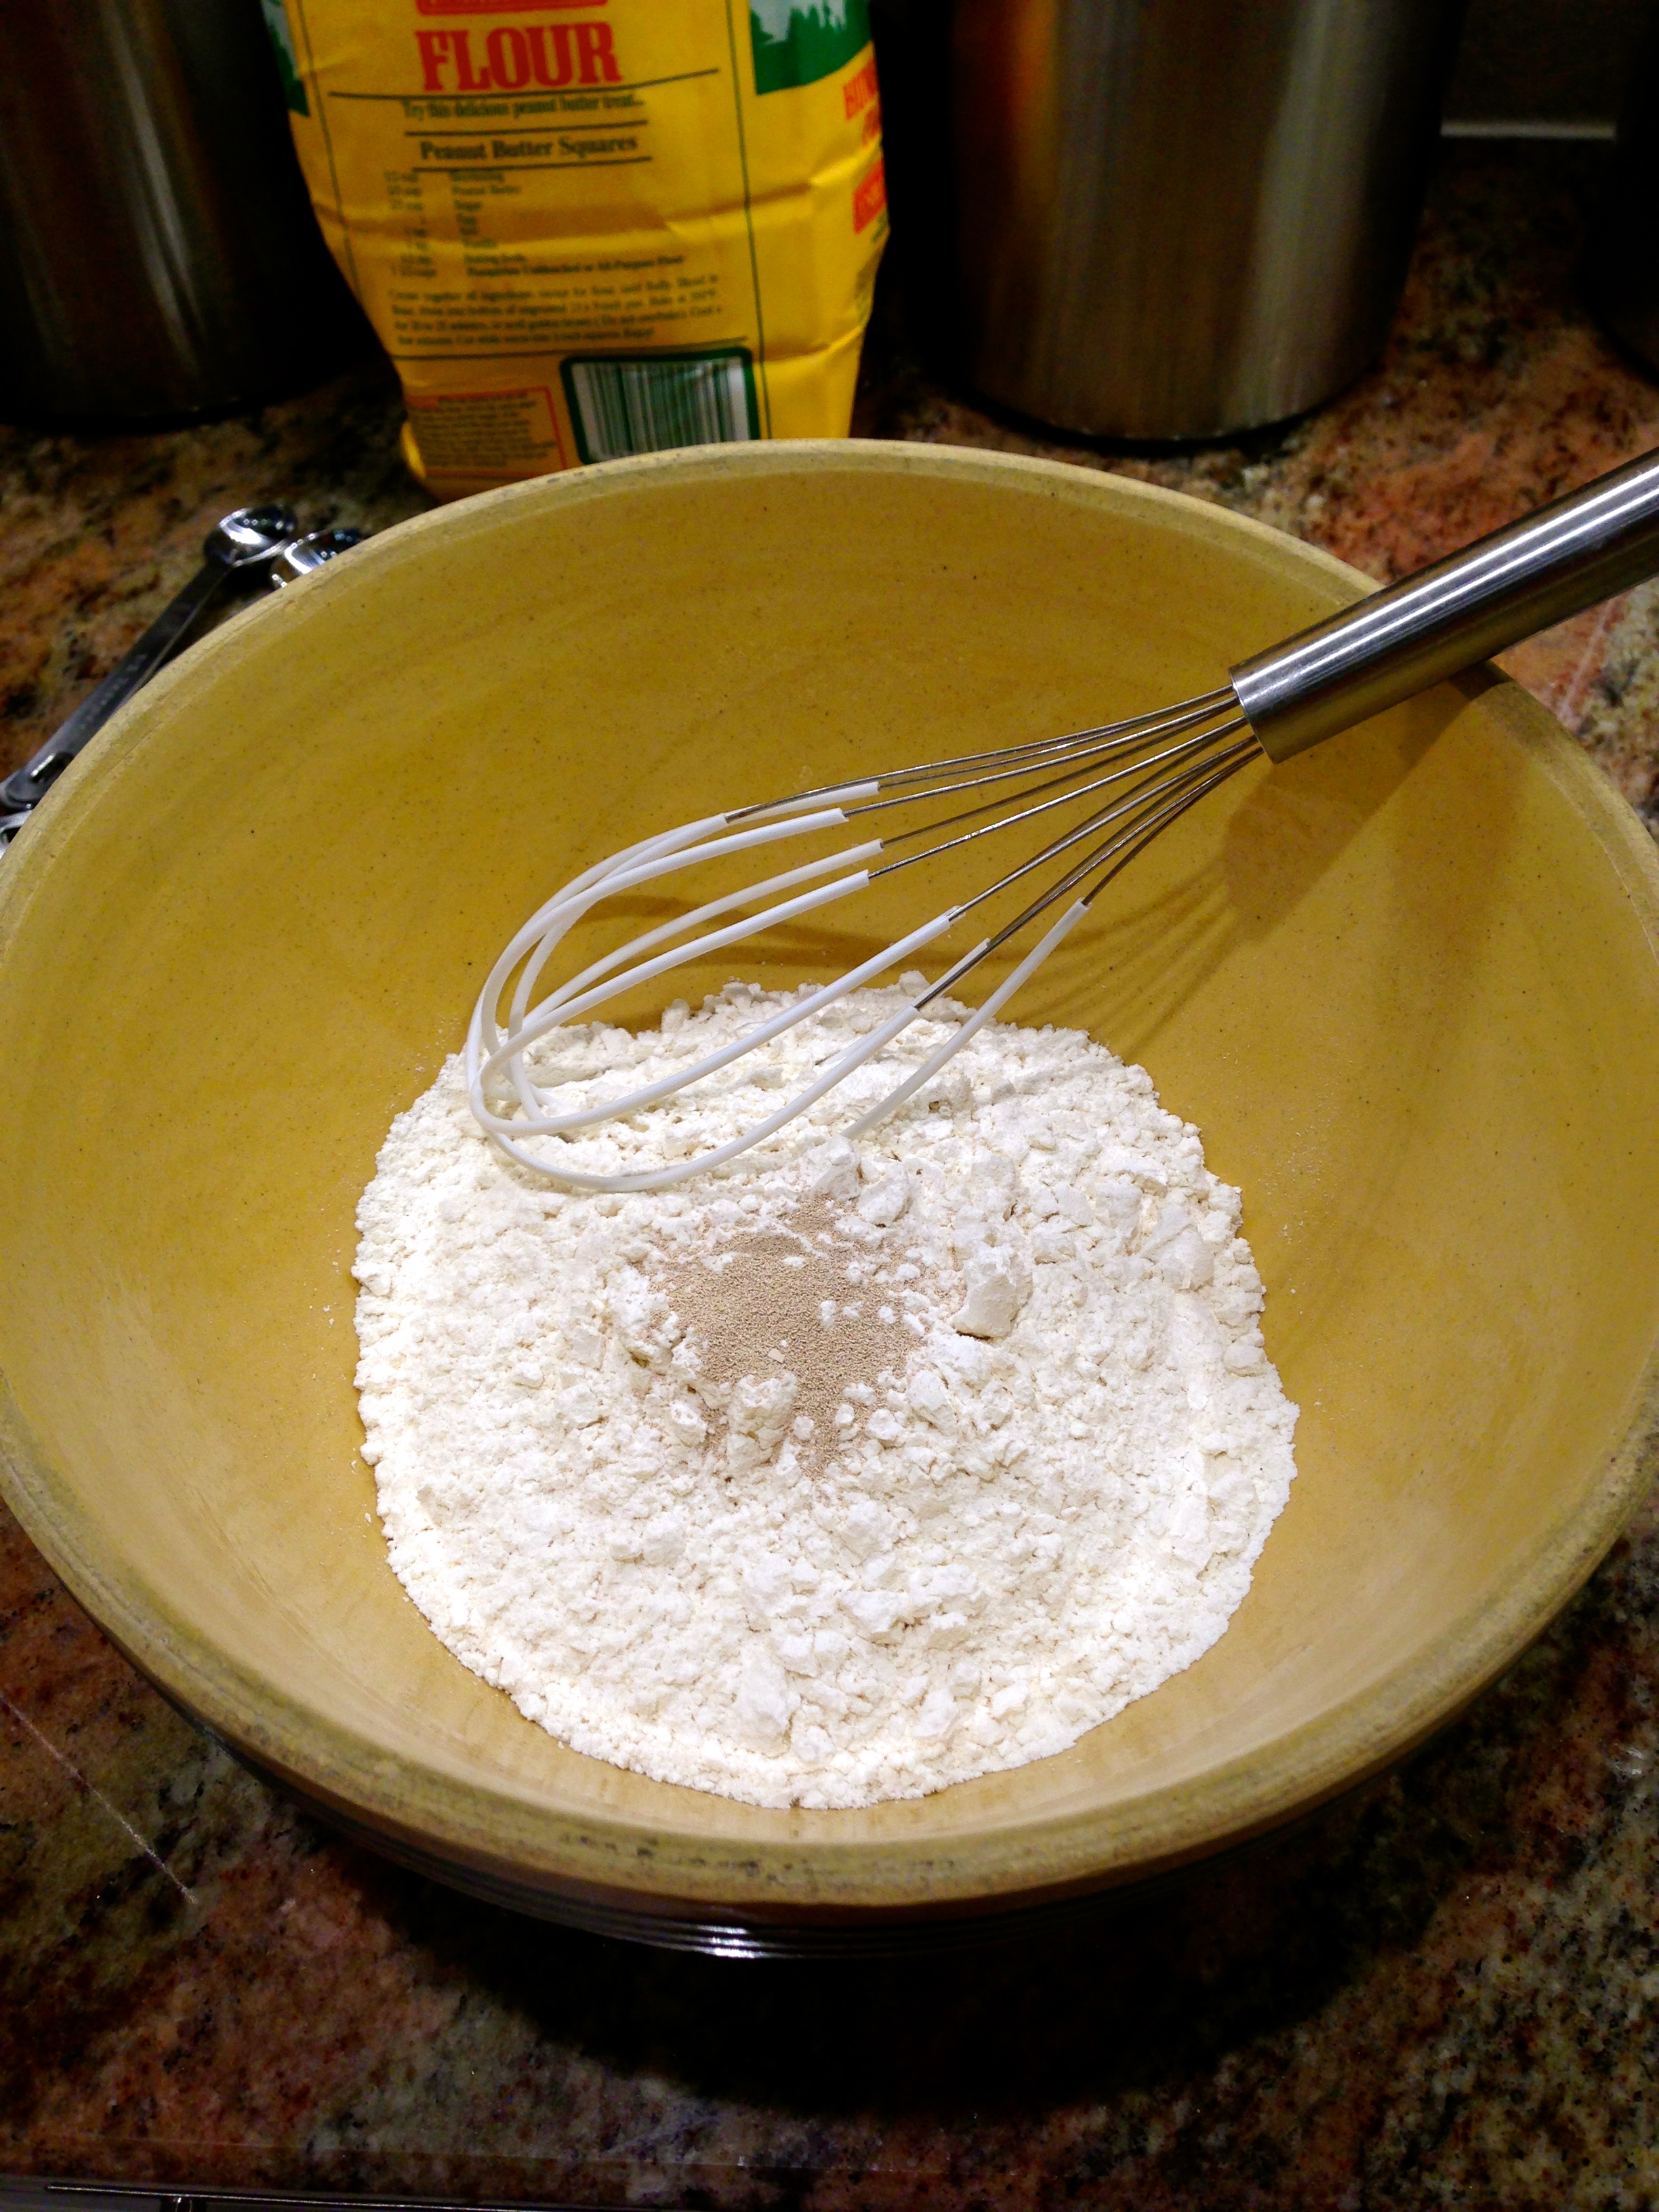
Preheat oven to 350. In a large bowel combine orange juice, oil, applesauce, eggs, vanilla extract and vanilla caviar. In another bowl combine flour, sugar, cinnamon, baking powder, baking soda and salt. Mix to combine. Fold the wet ingredients into the dry ingredients. Stir to combine. Do not over mix.

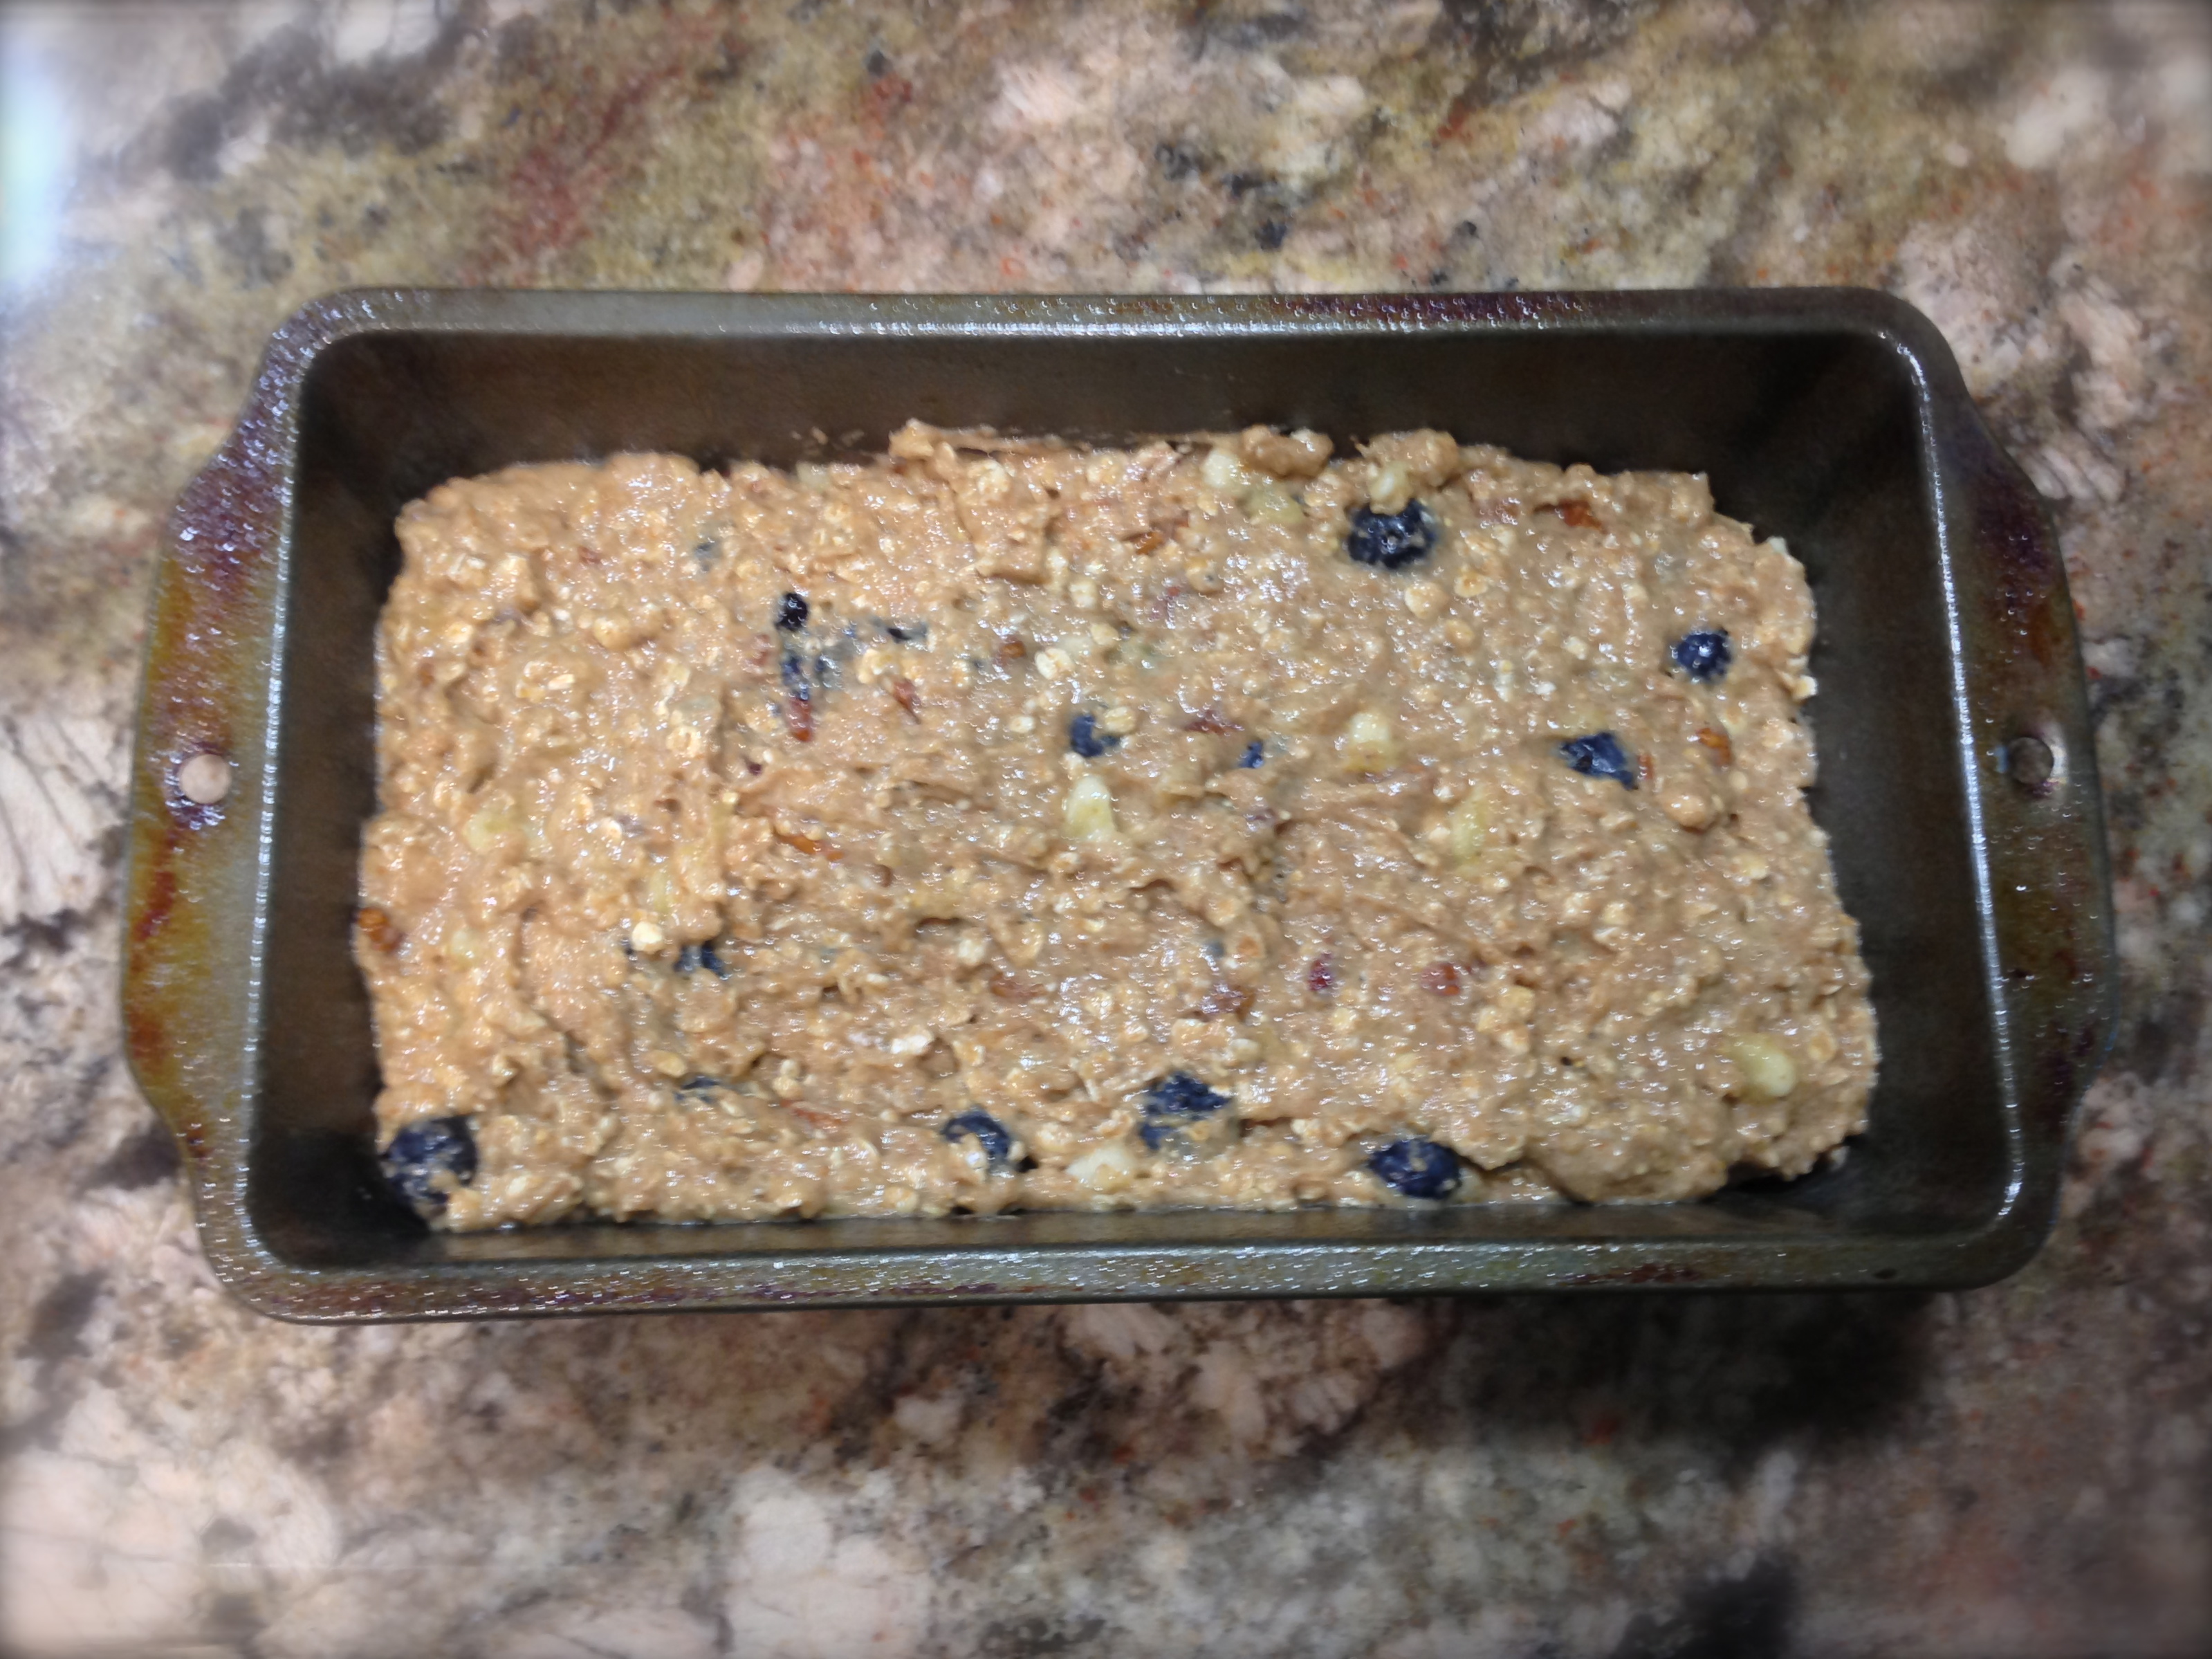
Fold in the zucchini and pecans.

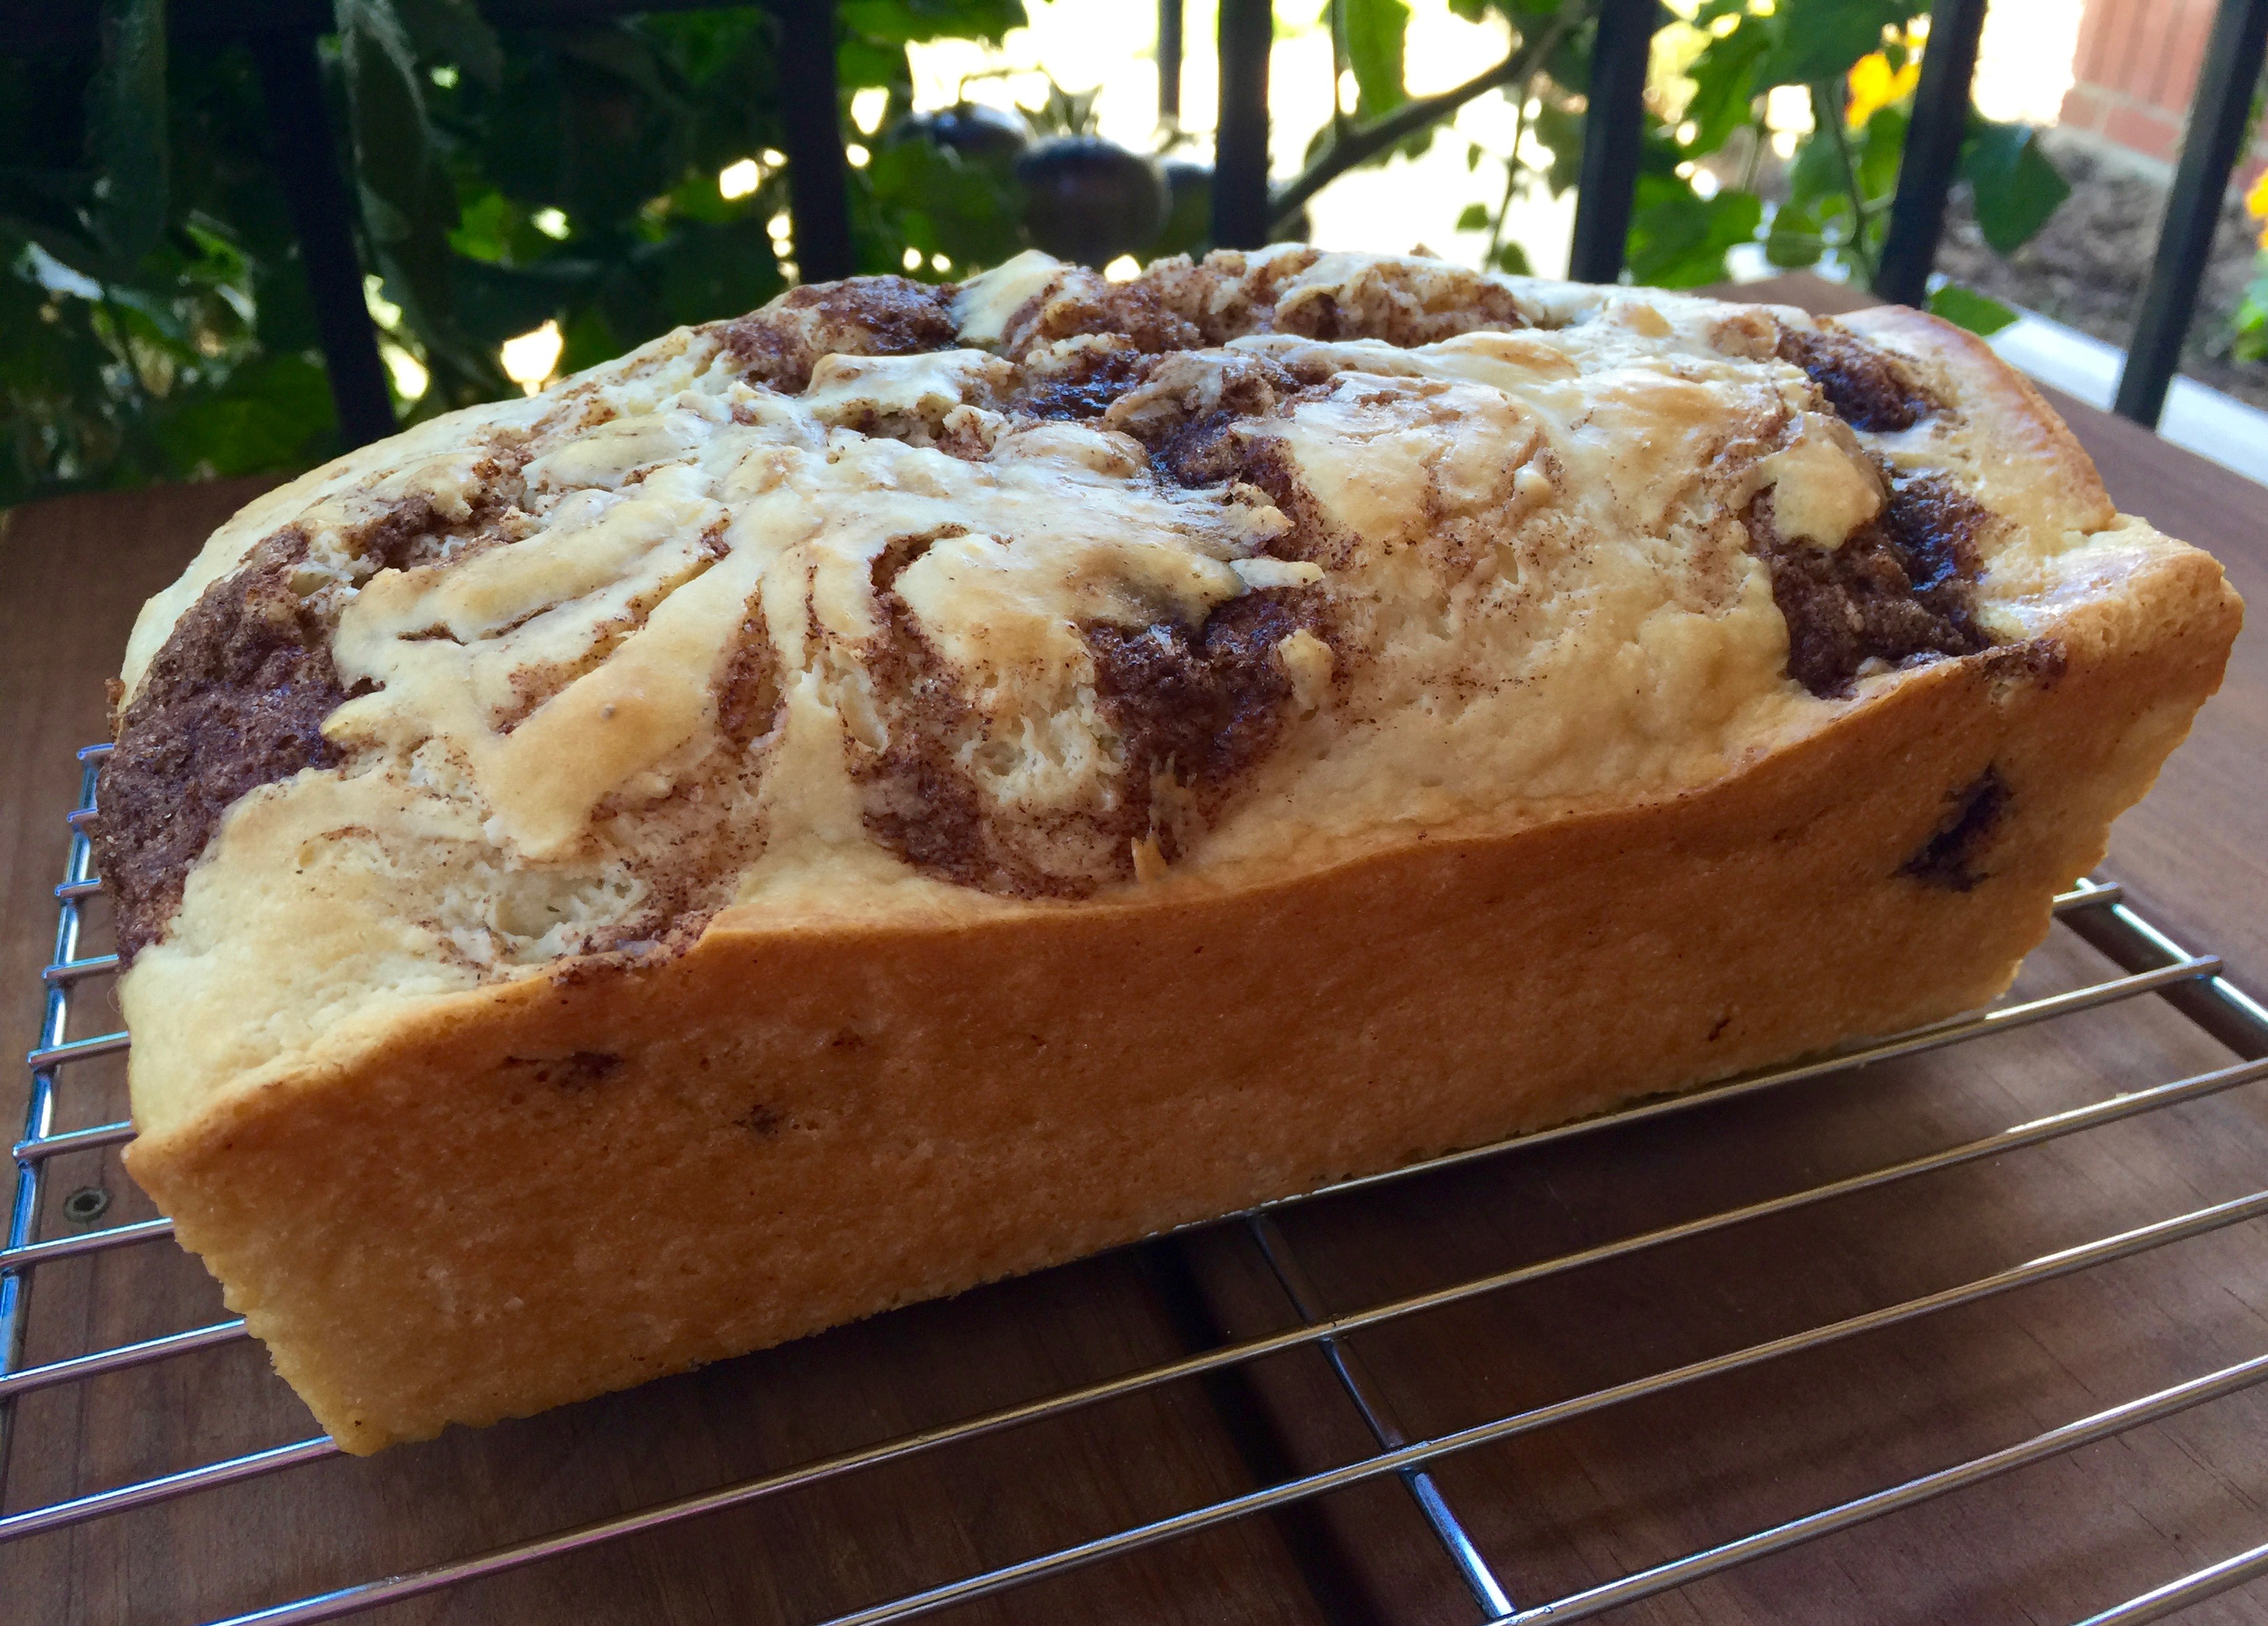
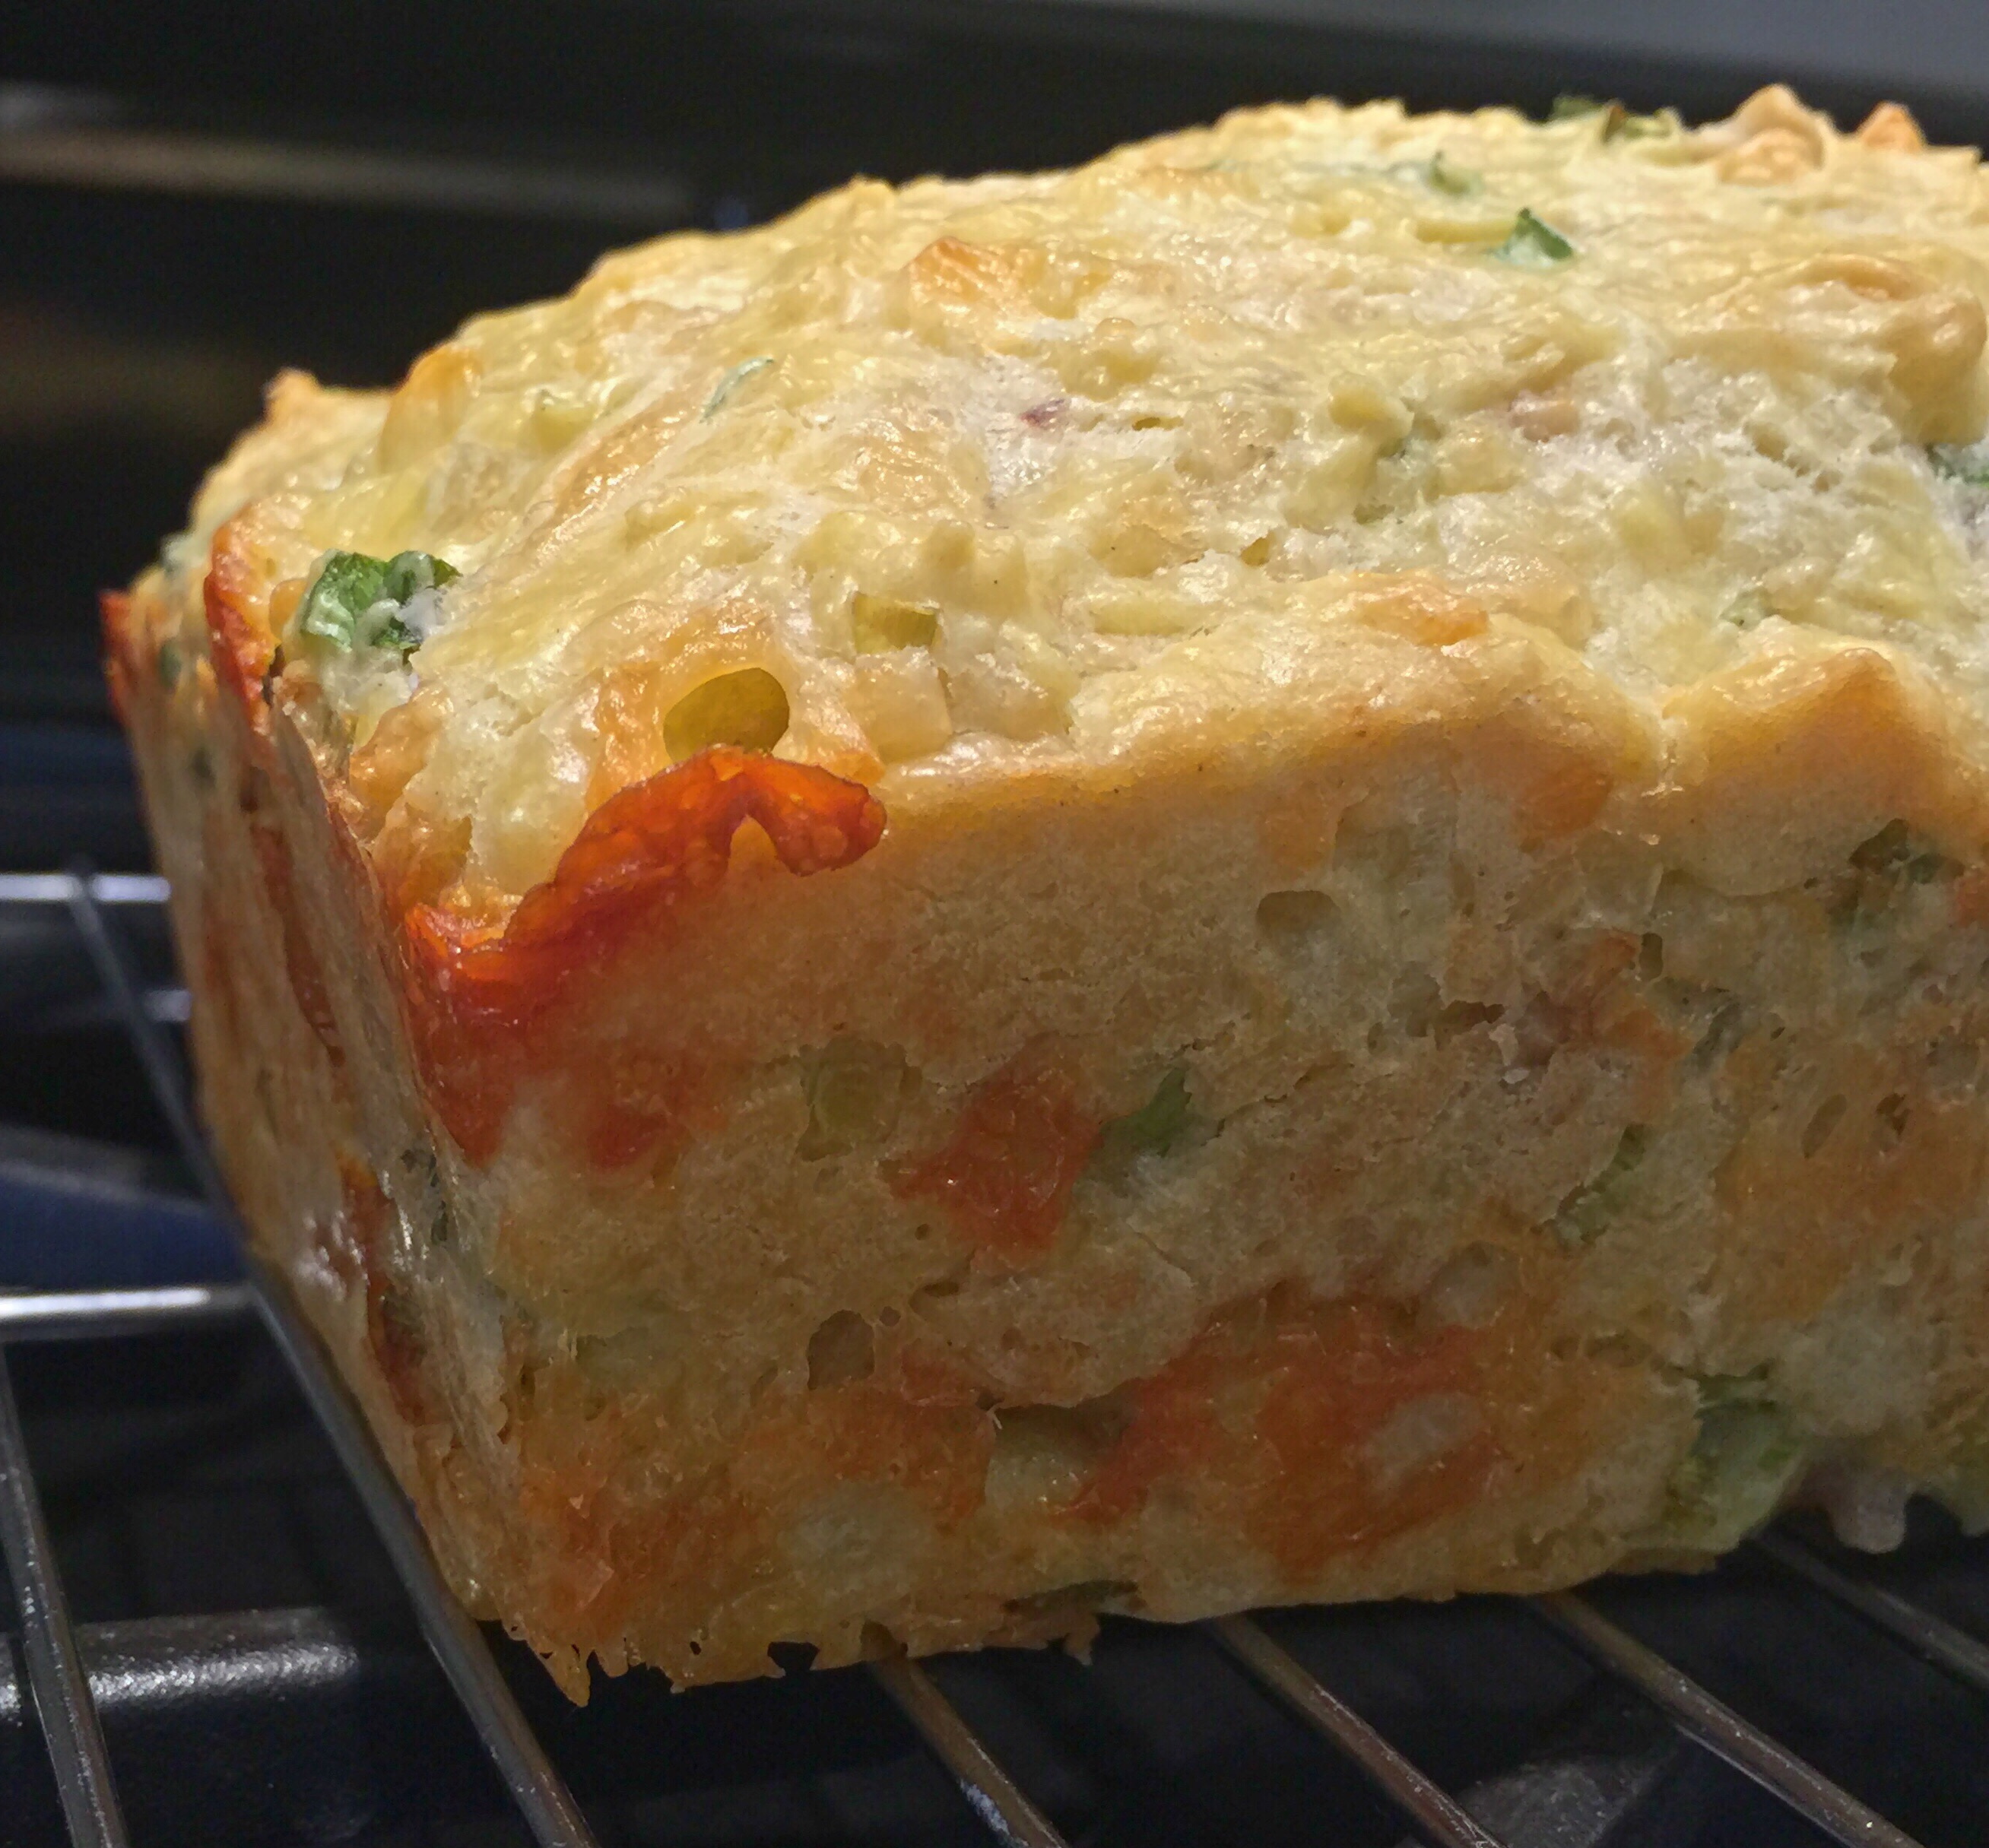
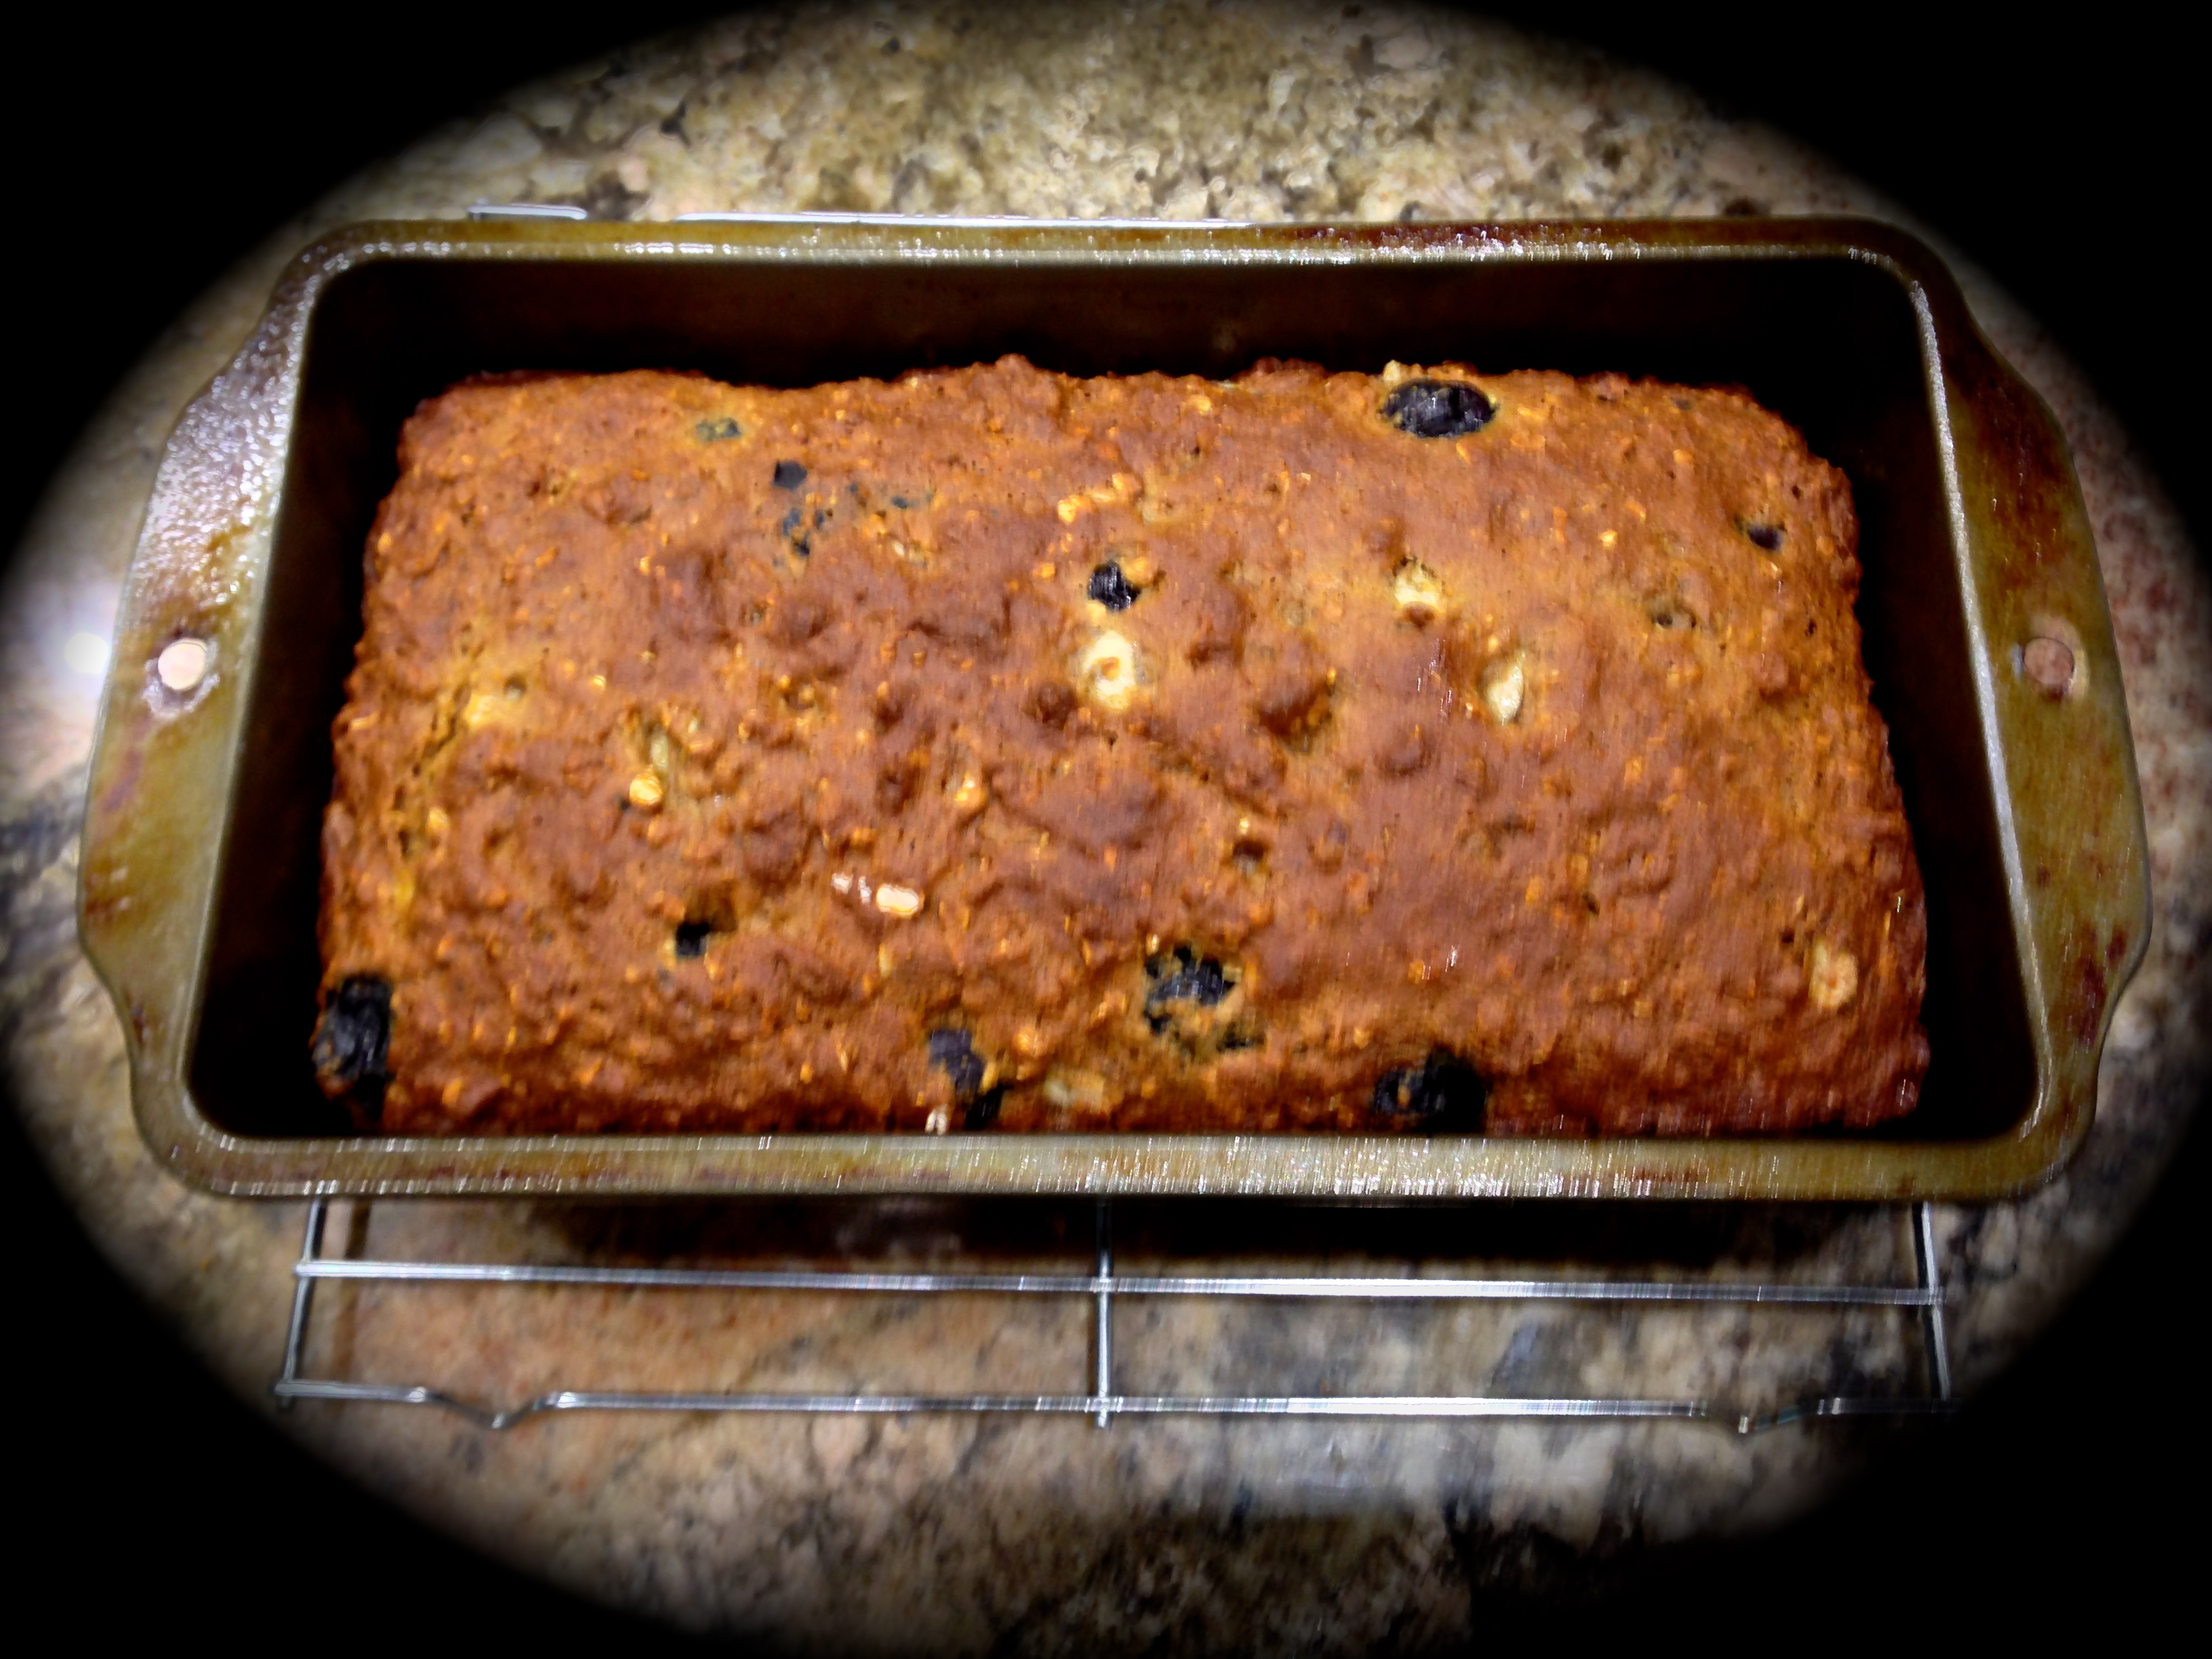
Pour the mixture into two 8 x 4 inch loaf pan coating with cooking spray. Check loaves at 45 minutes. Depending on your oven they may need to bake anywhere from 45 – 55 minutes. Loaves are done when a toothpick inserted in the center of a loaf comes out clean.

Let cool  in the loaf pan for 15 minutes. Remove loaves from the pans and let cool on a wire rack.

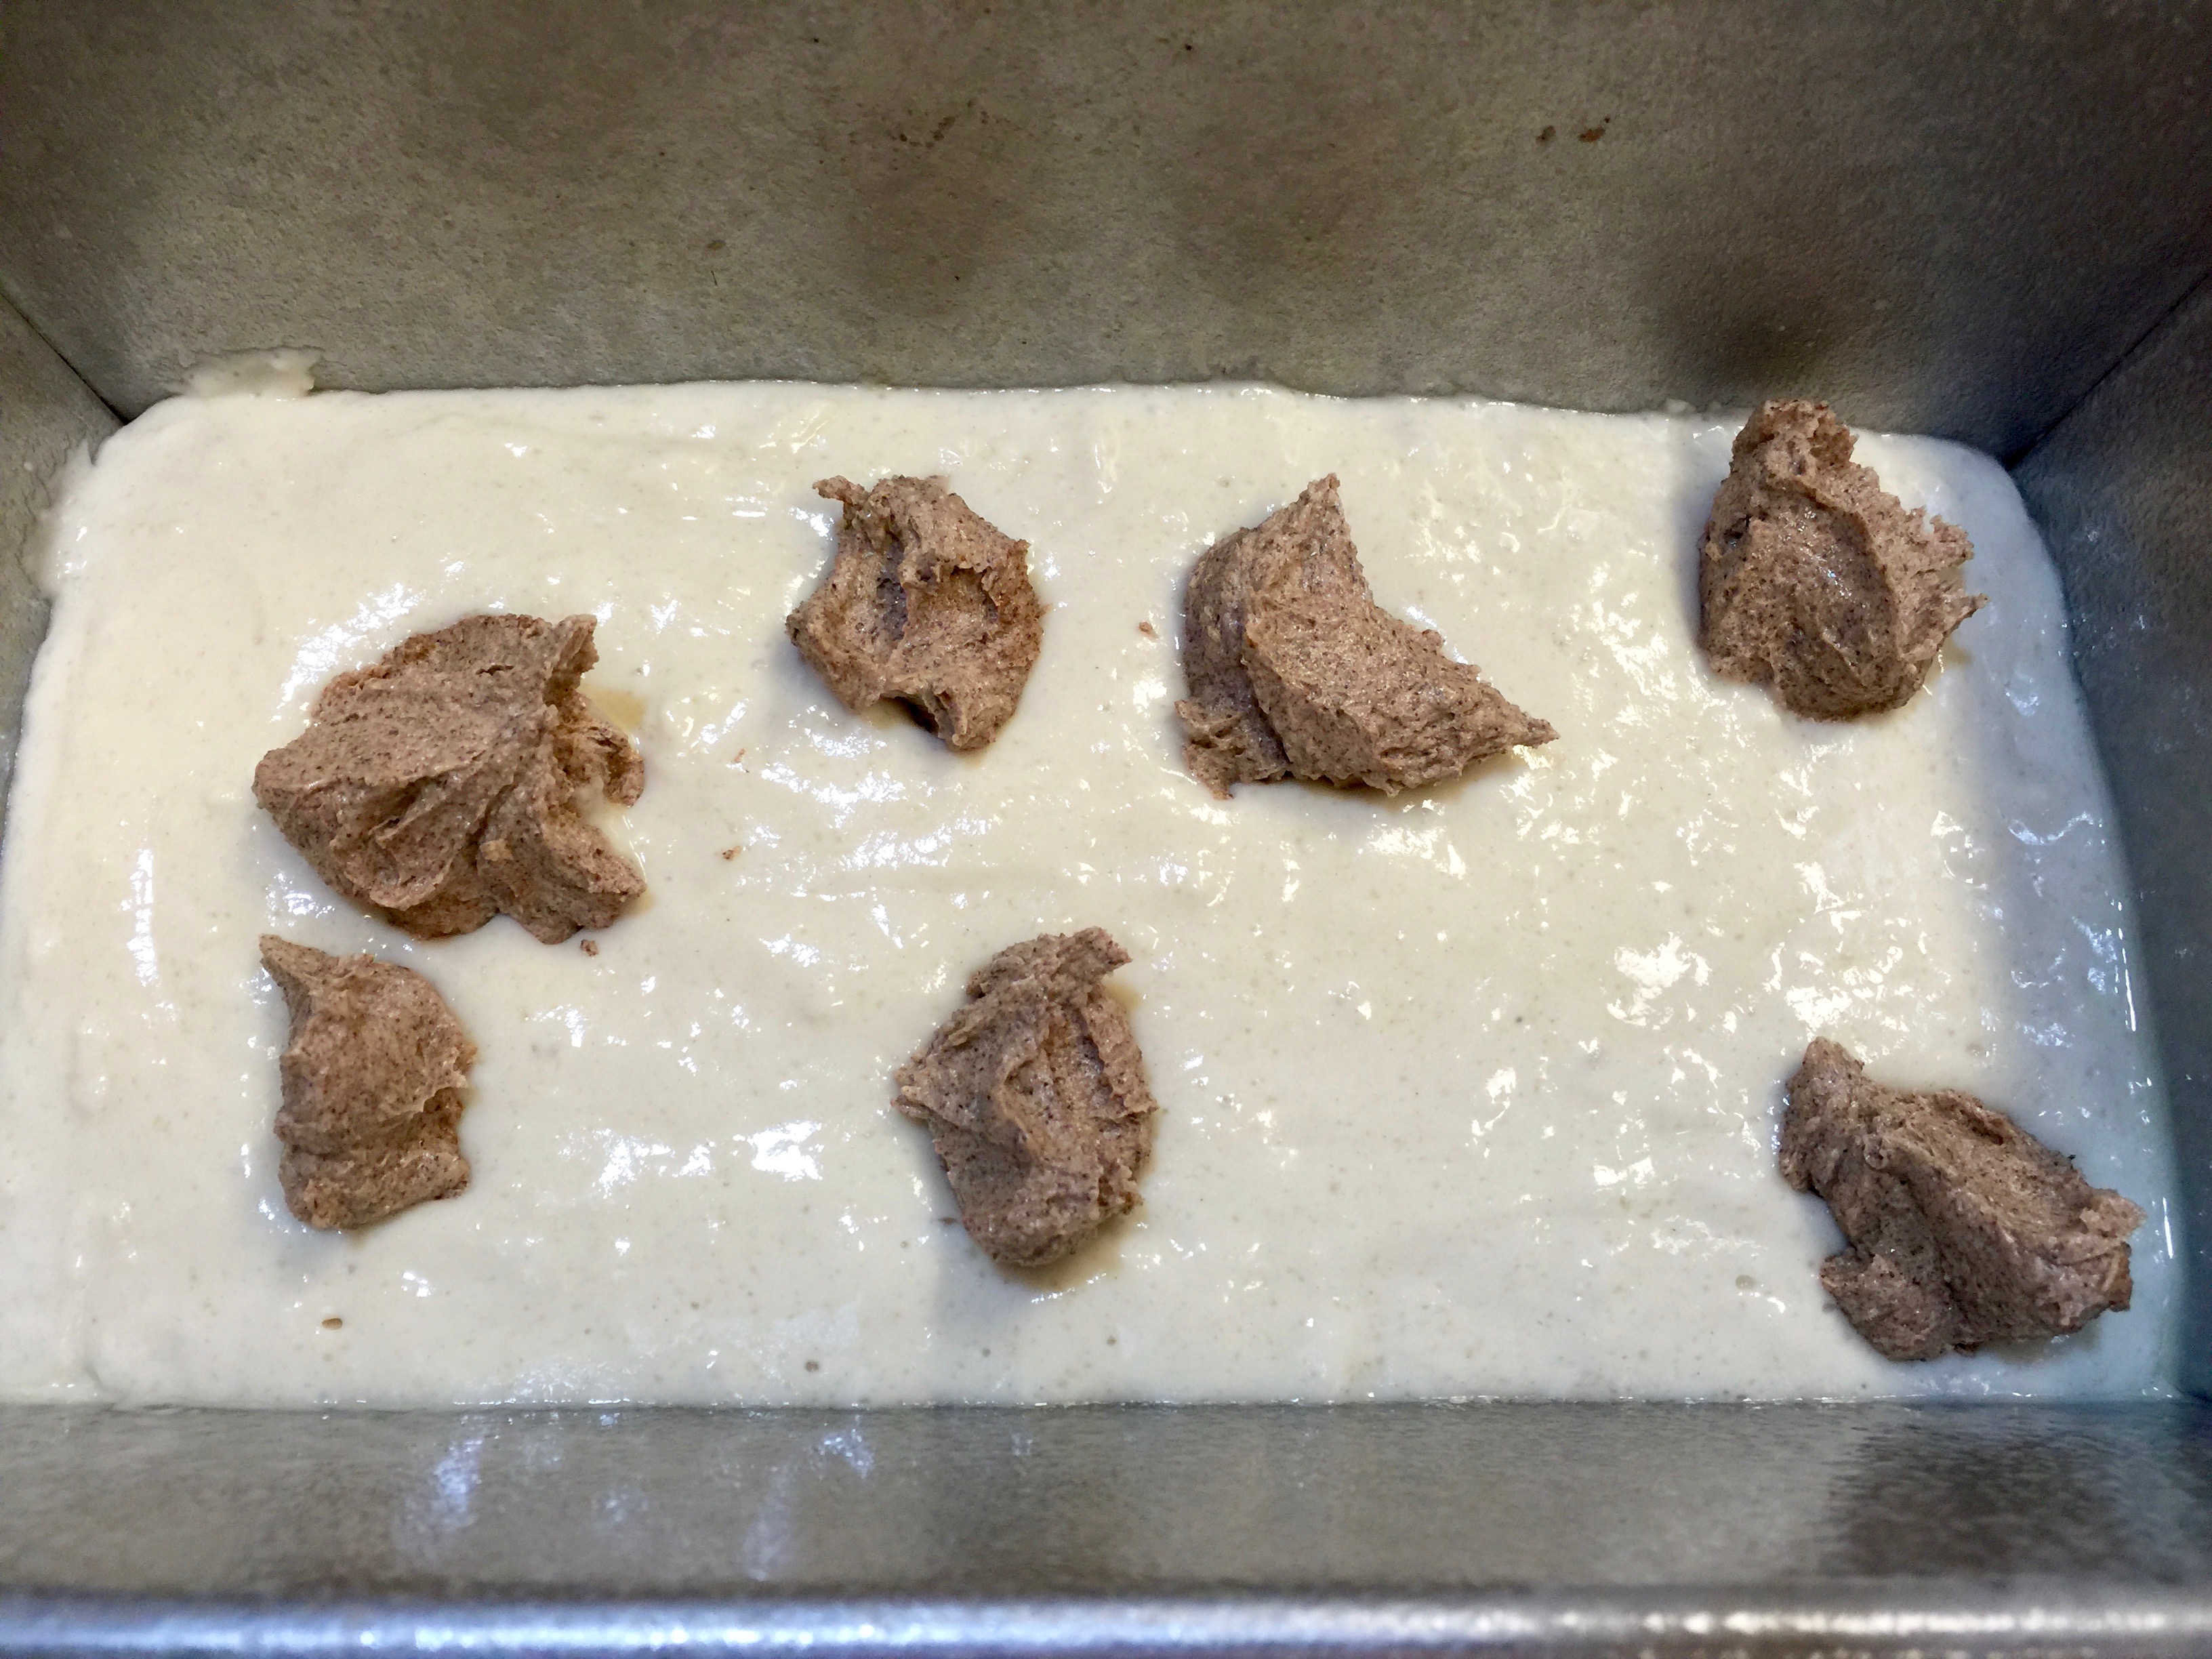
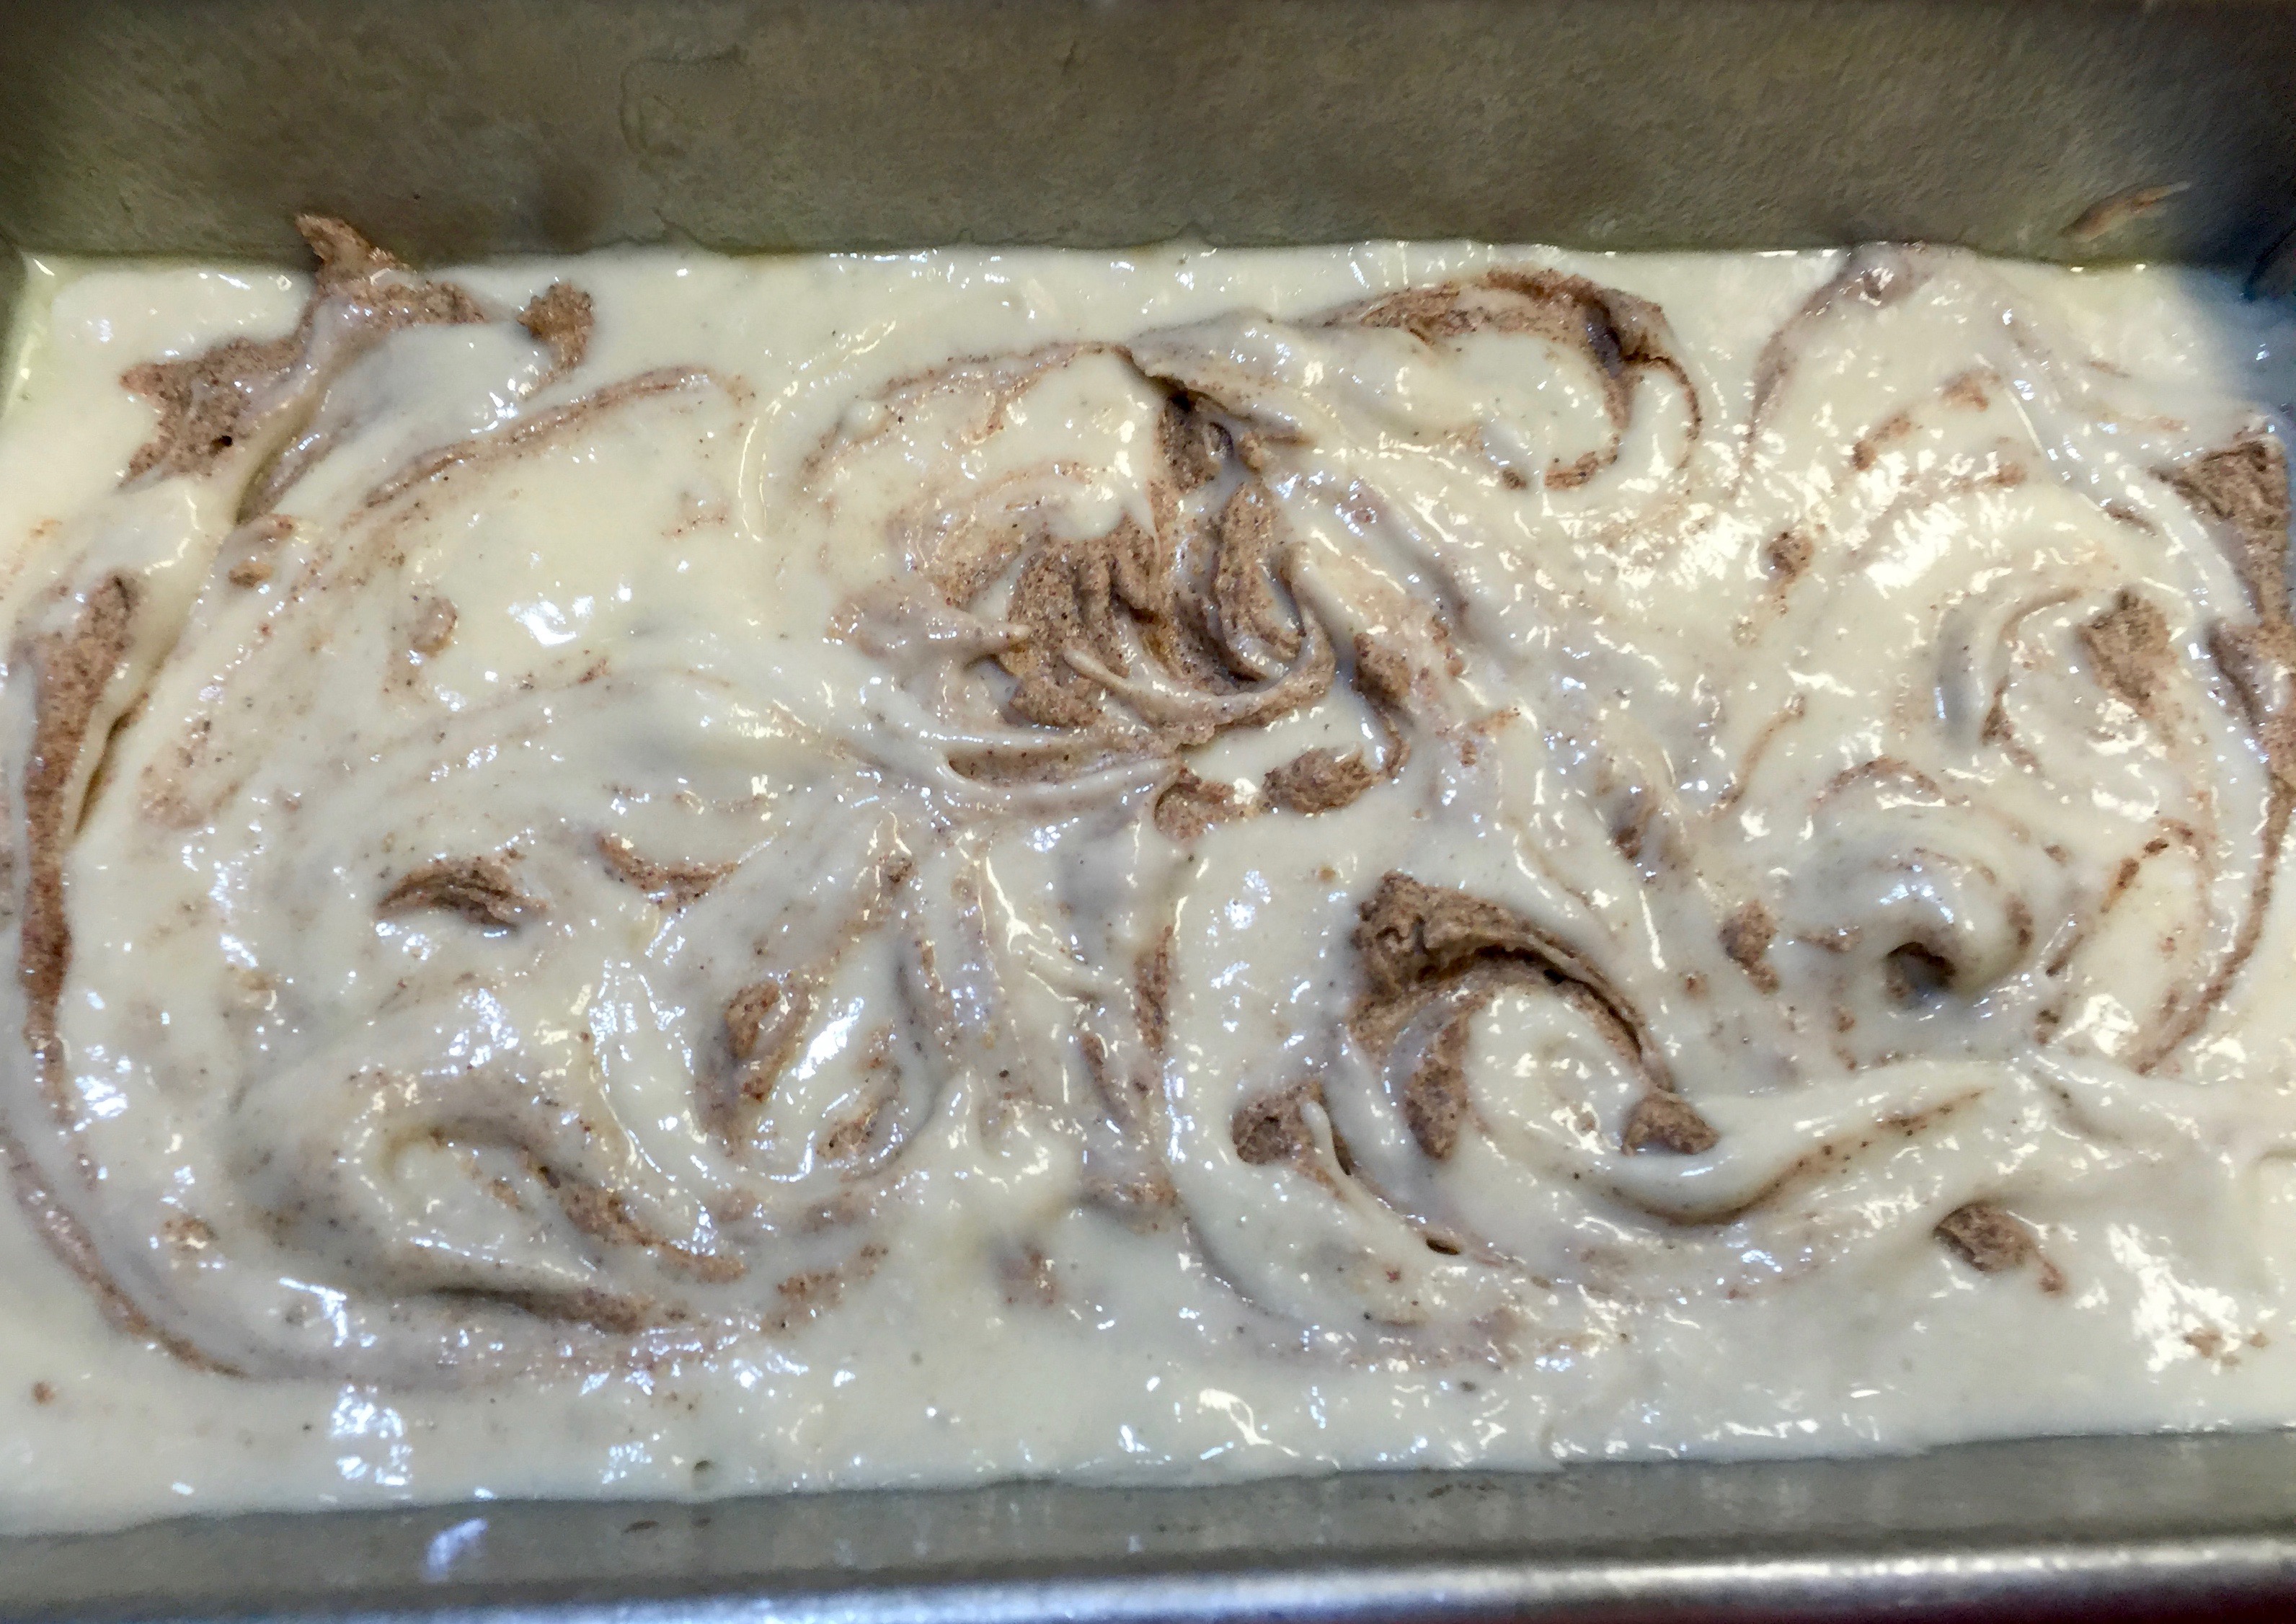
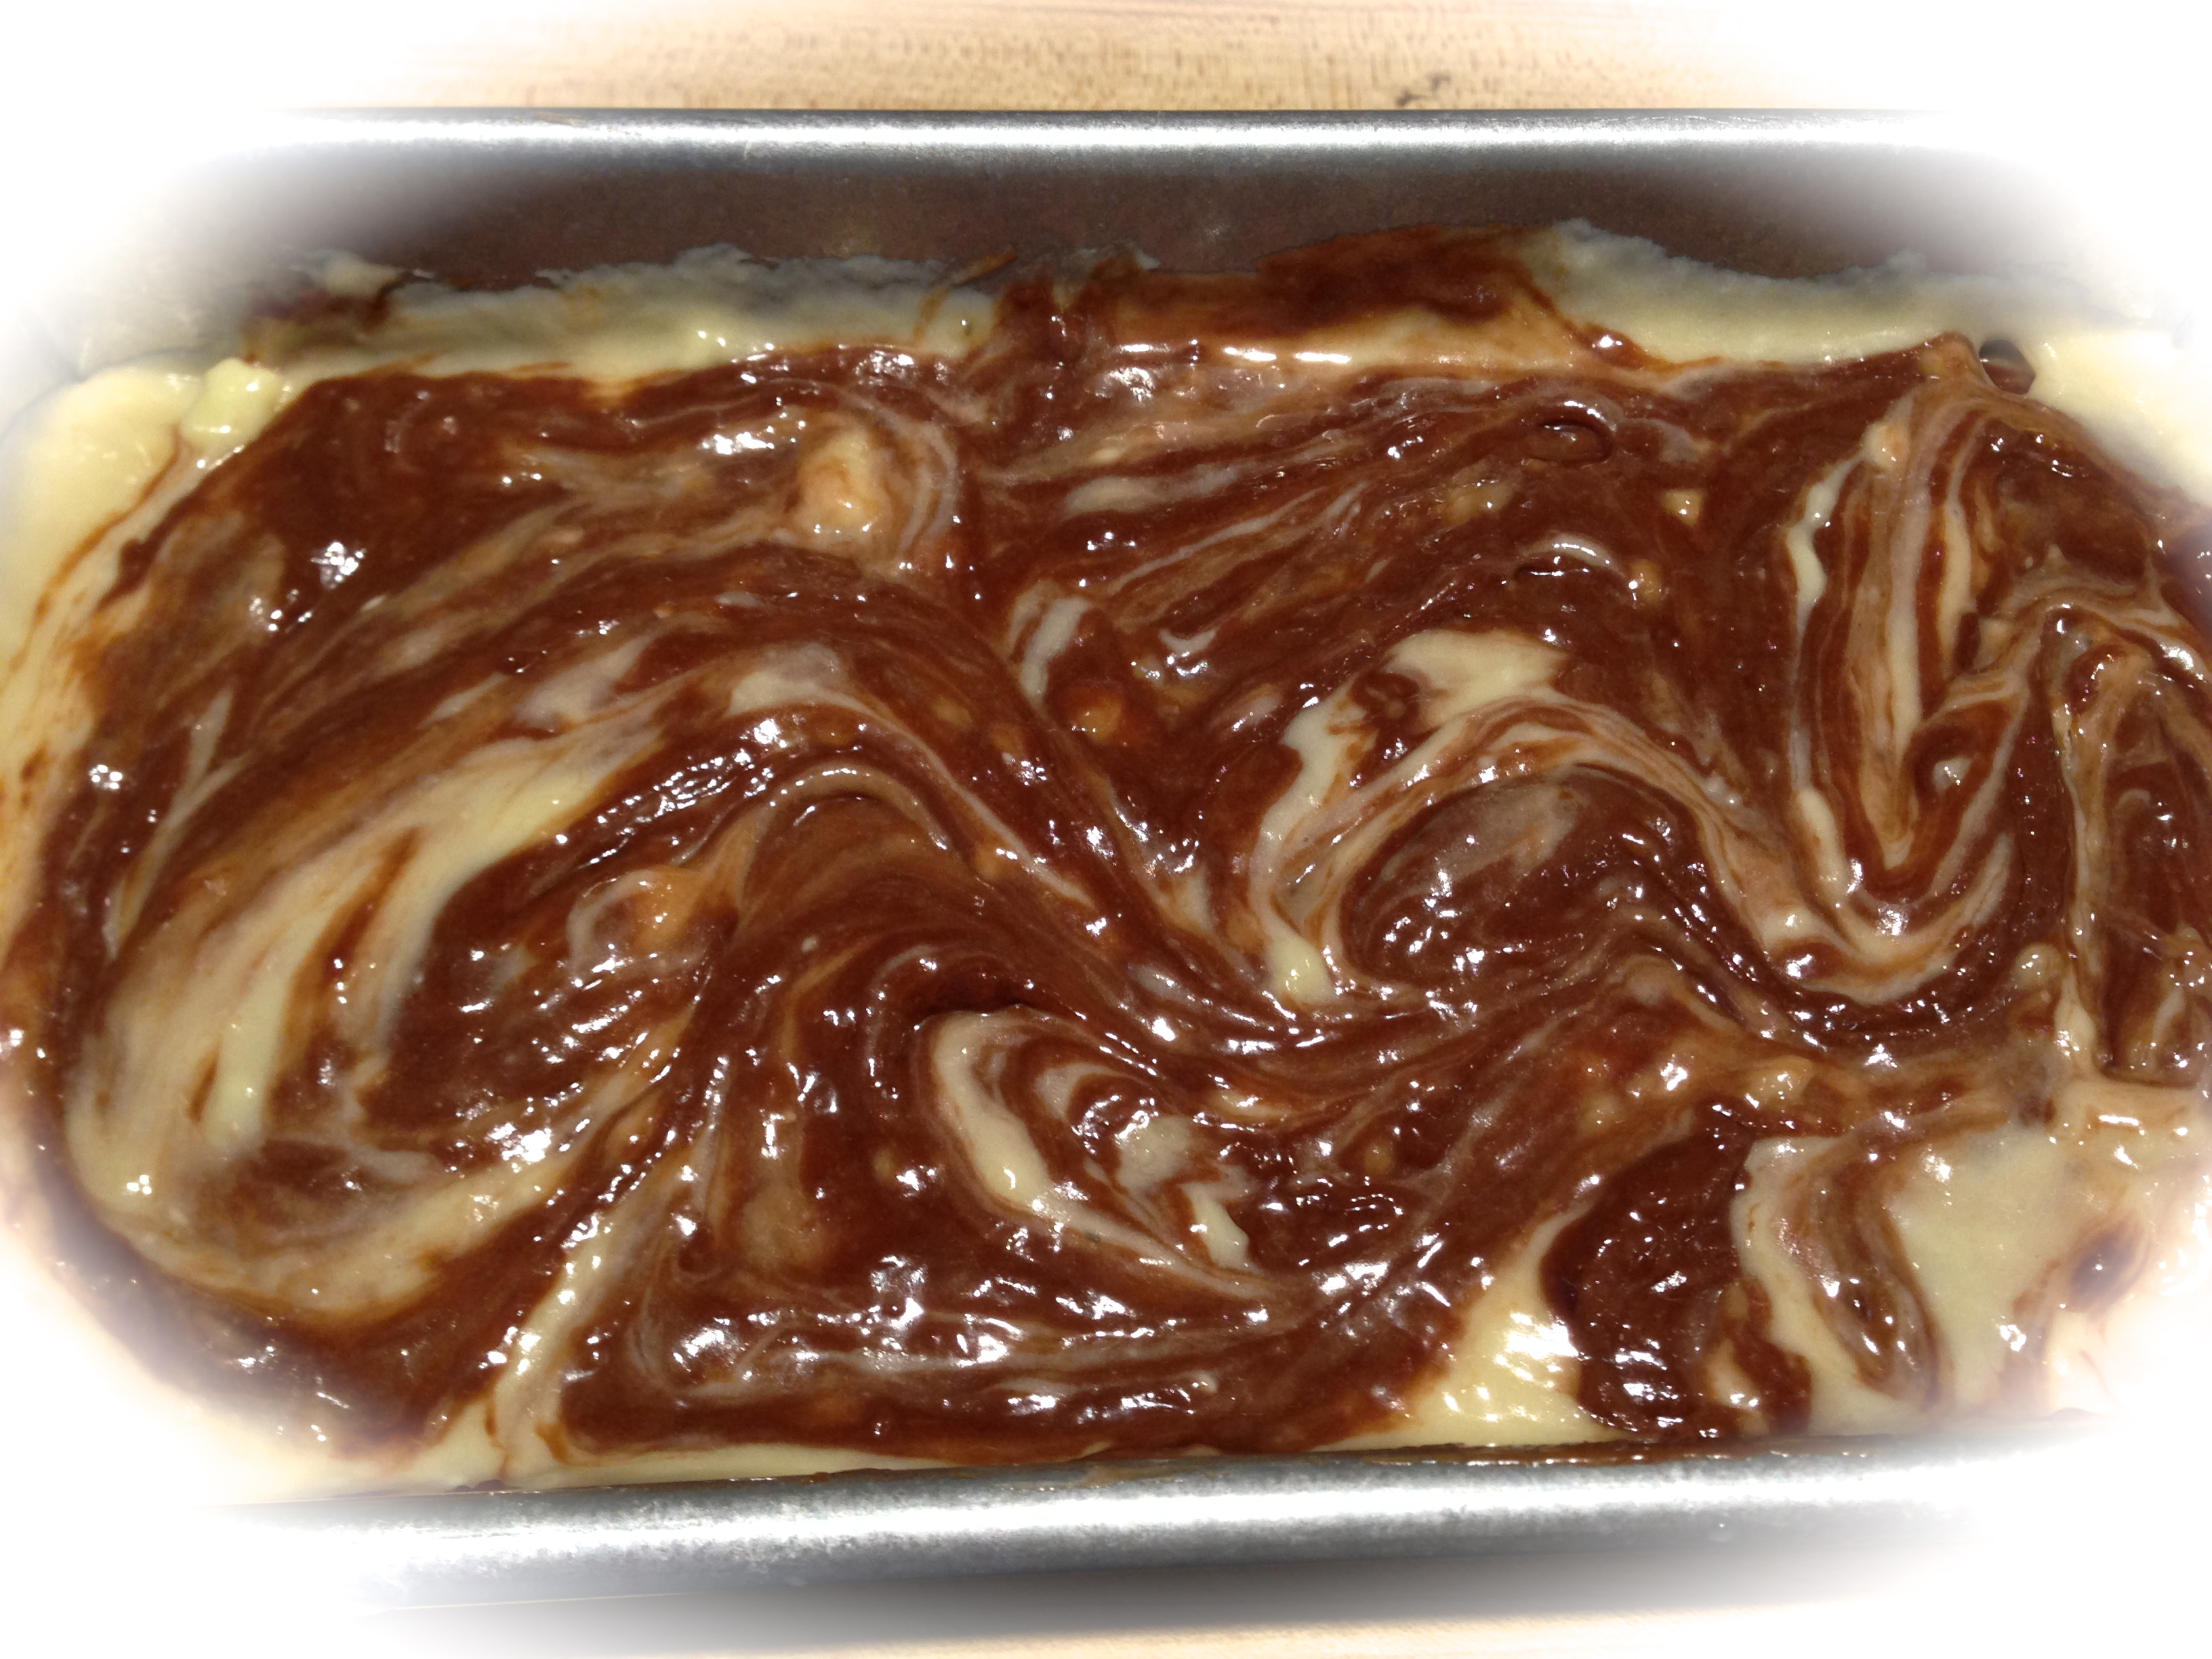
Zucchini Bread Batter


Homemade Challah…

I’ve always loved home made bread. Who doesn’t? I was never good at making it. And just when I thought I was getting the hang of it we moved to Colorado and altitude. Yuck. Altitude and bread do not mix. Well actually they do, but altitude can add some additional problems. Just what I wanted.

So I decided to take a braided bread cooking class. Am I glad I did. The class itself was a little slow in the participation area, but I came away with one nugget of information that’s changed the whole ball game. So now I’m working on making bread again.

So let’s talk homemade challah…

Lesson Learned 1 – Learning how to know when the glutens in the dough have been developed properly: This was the biggest take away for me from the cooking class I attended. I learned you can underdeveloped, develop and overdevelop the glutens in your dough. Underdeveloped glutens will give you a heavy dense dough that may fall in on you when you bake your bread. Overdeveloped and your bread will be too dry.

So how do you tell? Simple. Just take a small piece of dough in your hand and begin to pinch it and spread it with your fingers. You should be able to work the dough so that it is smooth and paper tin without the dough tearing or breaking.

That was a big breakthrough learning for me especially since I live in high altitude and its tougher to make bread in my climate.

Lesson Learned 2 – Pay attention to the humidity the day you make bread: The higher the humidity the less moisture you’ll need in your dough. I know it sounds like a lot of work, but if you pay attention to these two factors, gluten development and humidity, soon you will just be able to tell if your dough is of the correct consistency or not.

Lesson Learned 3 – Most people don’t knead their dough enough: Once I mixed all of the ingredients together I used the dough hook on my machine and kneaded the dough for five minutes. That, on average, is a good time to test the dough for gluten development. If the dough falls apart it will need more moisture, if it is too gloppy (technical term) it will need a little more flour. Once you think you have the correct consistency do the gluten test I refer to above. Chances are you’ll be right on the money.

Lesson Learned 4 – If your dough is completely stuck on your dough hook, stop your mixer and scrape the dough off: Some people think that if the dough is on the dough hook it is kneading the dough. That’s not true. The dough hook as to be working it’s way through the dough in order to be kneading it. Be mindful that you’re just not having your dough spin around in a circle without actually being kneaded.

Lesson Learned 5 – You can separate your dough into as many strands as you want for braiding: I did a traditional 3 strand braid. You braid it just like you braid hair. The picture to the right shows my strands. In hindsight I should have made the bottom one thinner and all the strands more even in size. In the end it really didn’t hurt anything as you leave the braided bread to rest on a parchment paper lined cookie sheet for at least an hour and the dough rises and sort of fills itself in.

I will admit that this recipe is a little more challenging than what I normally post, but hopefully as a fledgling cook you are confident enough in yourself to try something a little more difficult. This was the very first time I ever made challah and it turned out magnificently. But if you’re does not, go back and try it again because once you master the art of making home made bread, you’ll never turn back.

Homemade Challah...

  • Servings: 1 loaf
  • Difficulty: Medium
  • Print

INGREDIENTS:

1 1/8 cup warm water

3/4 Tbs. instant yeast

6 egg yolks, one for the egg wash

2 1/2 Tbs. vegetable oil

3 -6  Tbs. sugar, depending how sweet you want your bread

1 Tbs. vanilla extract

3 3/4 cup flour

1 1/4 tsp. salt

1 Tbs. water for the egg wash

DIRECTIONS:

Combine the water and yeast in a mixing bowl, whisk and let sit for a couple of minutes. Add the 5 eggs, oil, sugar and vanilla and whisk to break up and incorporate the eggs. Add the flour and salt.  If using a stand mixer use the paddle attachment and mix for about 2 minutes. Let the dough rest in the bowl for 5 minutes.

Switch to a dough hook and mix on low speed for 5 minutes (my mixer particularly specifies that whenever using the dough hook do not go above speed level #2. You may want check the directions that came with your mixture to see what they recommend. The speed should not go above medium low).

Use a bowl scraper and scrape the dough onto a floured surface and continue kneading the dough by hand for about 2 minutes. Form the dough into a ball and place it in a clean, lightly oiled bowl. Cover the dough with plastic wrap and let it rise until it doubles in size, approximately 2 hours.

After the dough has risen, transfer it to a lightly floured surface and cut it into the desired number of pieces you will need for your braids – I made 3 braids of 10-14 inches in length. It is important that the braids are all the same length.

Braid the pieces of dough together and transfer the loaf to a parchment lined sheet pan. Make an egg wash by combining the last egg (you can do the whole egg or the yolk) and the water. Brush the entire surface of the loaf, including the sides with the egg wash. Refrigerate the remaining egg wash. Let the loaf stand uncovered for about 1 hour.

About 20 minutes before baking time preheat the over to 350. Brush the bread one more time with the egg wash. Bake the bread for 20 minutes, then rotate the pan and bake for an additional 15-30 minutes (I only needed an additional 15 minutes).

Let cool on a wire rack and enjoy the beauty of homemade bread!


Skillet Breads – Rosemary Parmesan and Cranberry Walnut…

Nothing in this world compares to home made bread. There is something so comforting about it, it creates that feeling of “there’s no place like home” every time you smell it baking in the oven. And bread baking has progressed over the years from a process that took hours to much quicker and easier methods. To date I have made bread the traditional way (letting it rise over and over for hours and baking in a loaf pan), to making bread in an enameled cast iron dutch oven and now this third way of making it in a plain old cast iron skillet.

I’ve made this recipe a few times before I felt I perfected it and I’ll go through all of that in my lessons learned. But bottom line, even with the few blips I encountered I still wound up with wonderful homemade bread. The two versions I’m going to talk about in this blog are Cranberry Walnut Skillet Bread and Rosemary Parmesan Skillet Bread. Two very different varieties but two wonderful breads.

So let’s talk skillet breads…

Lesson Learned 1 – Use rapid rise yeast and make sure it is fresh: I had a jar of rapid rise yeast in my refrigerator and used it the first time I tried to make this bread. It never rose the way it was supposed to (the jar had been in the fridge for quite some time) and the bread wound up “doughy” as if it didn’t have enough air in it. The second time I made the bread I used fresh yeast and their was a marked difference in how much the dough had risen. Also make sure that you use warm but not scolding water when you activate the yeast. Scolding water will kill the yeast but very warm water will activate it.


The picture on the left shows the newly mixed dough. The one on the right shows what the dough will look like after it had risen in the bowl for one hour.

Skillet bread requires the dough to rise twice, once for an hour in the bowl and once for a half hour in the skillet. The picture above shows what the dough should look like after it has risen in the skillet for a half hour.

Lesson Learned 2 – Use only a small amount of olive oil to season the skillet and use good olive oil: What I really like about making bread this way is the crust you get from the cast iron skillet. 
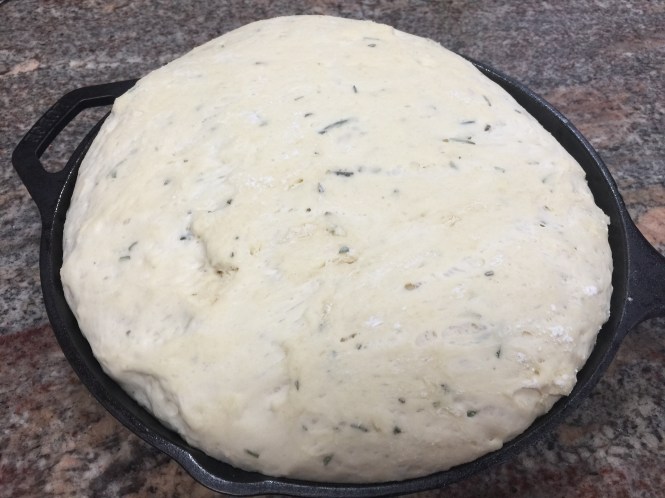
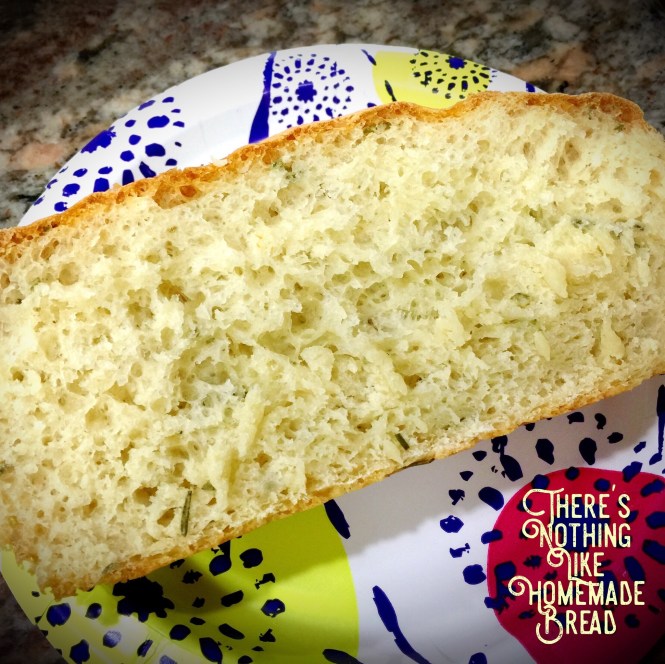
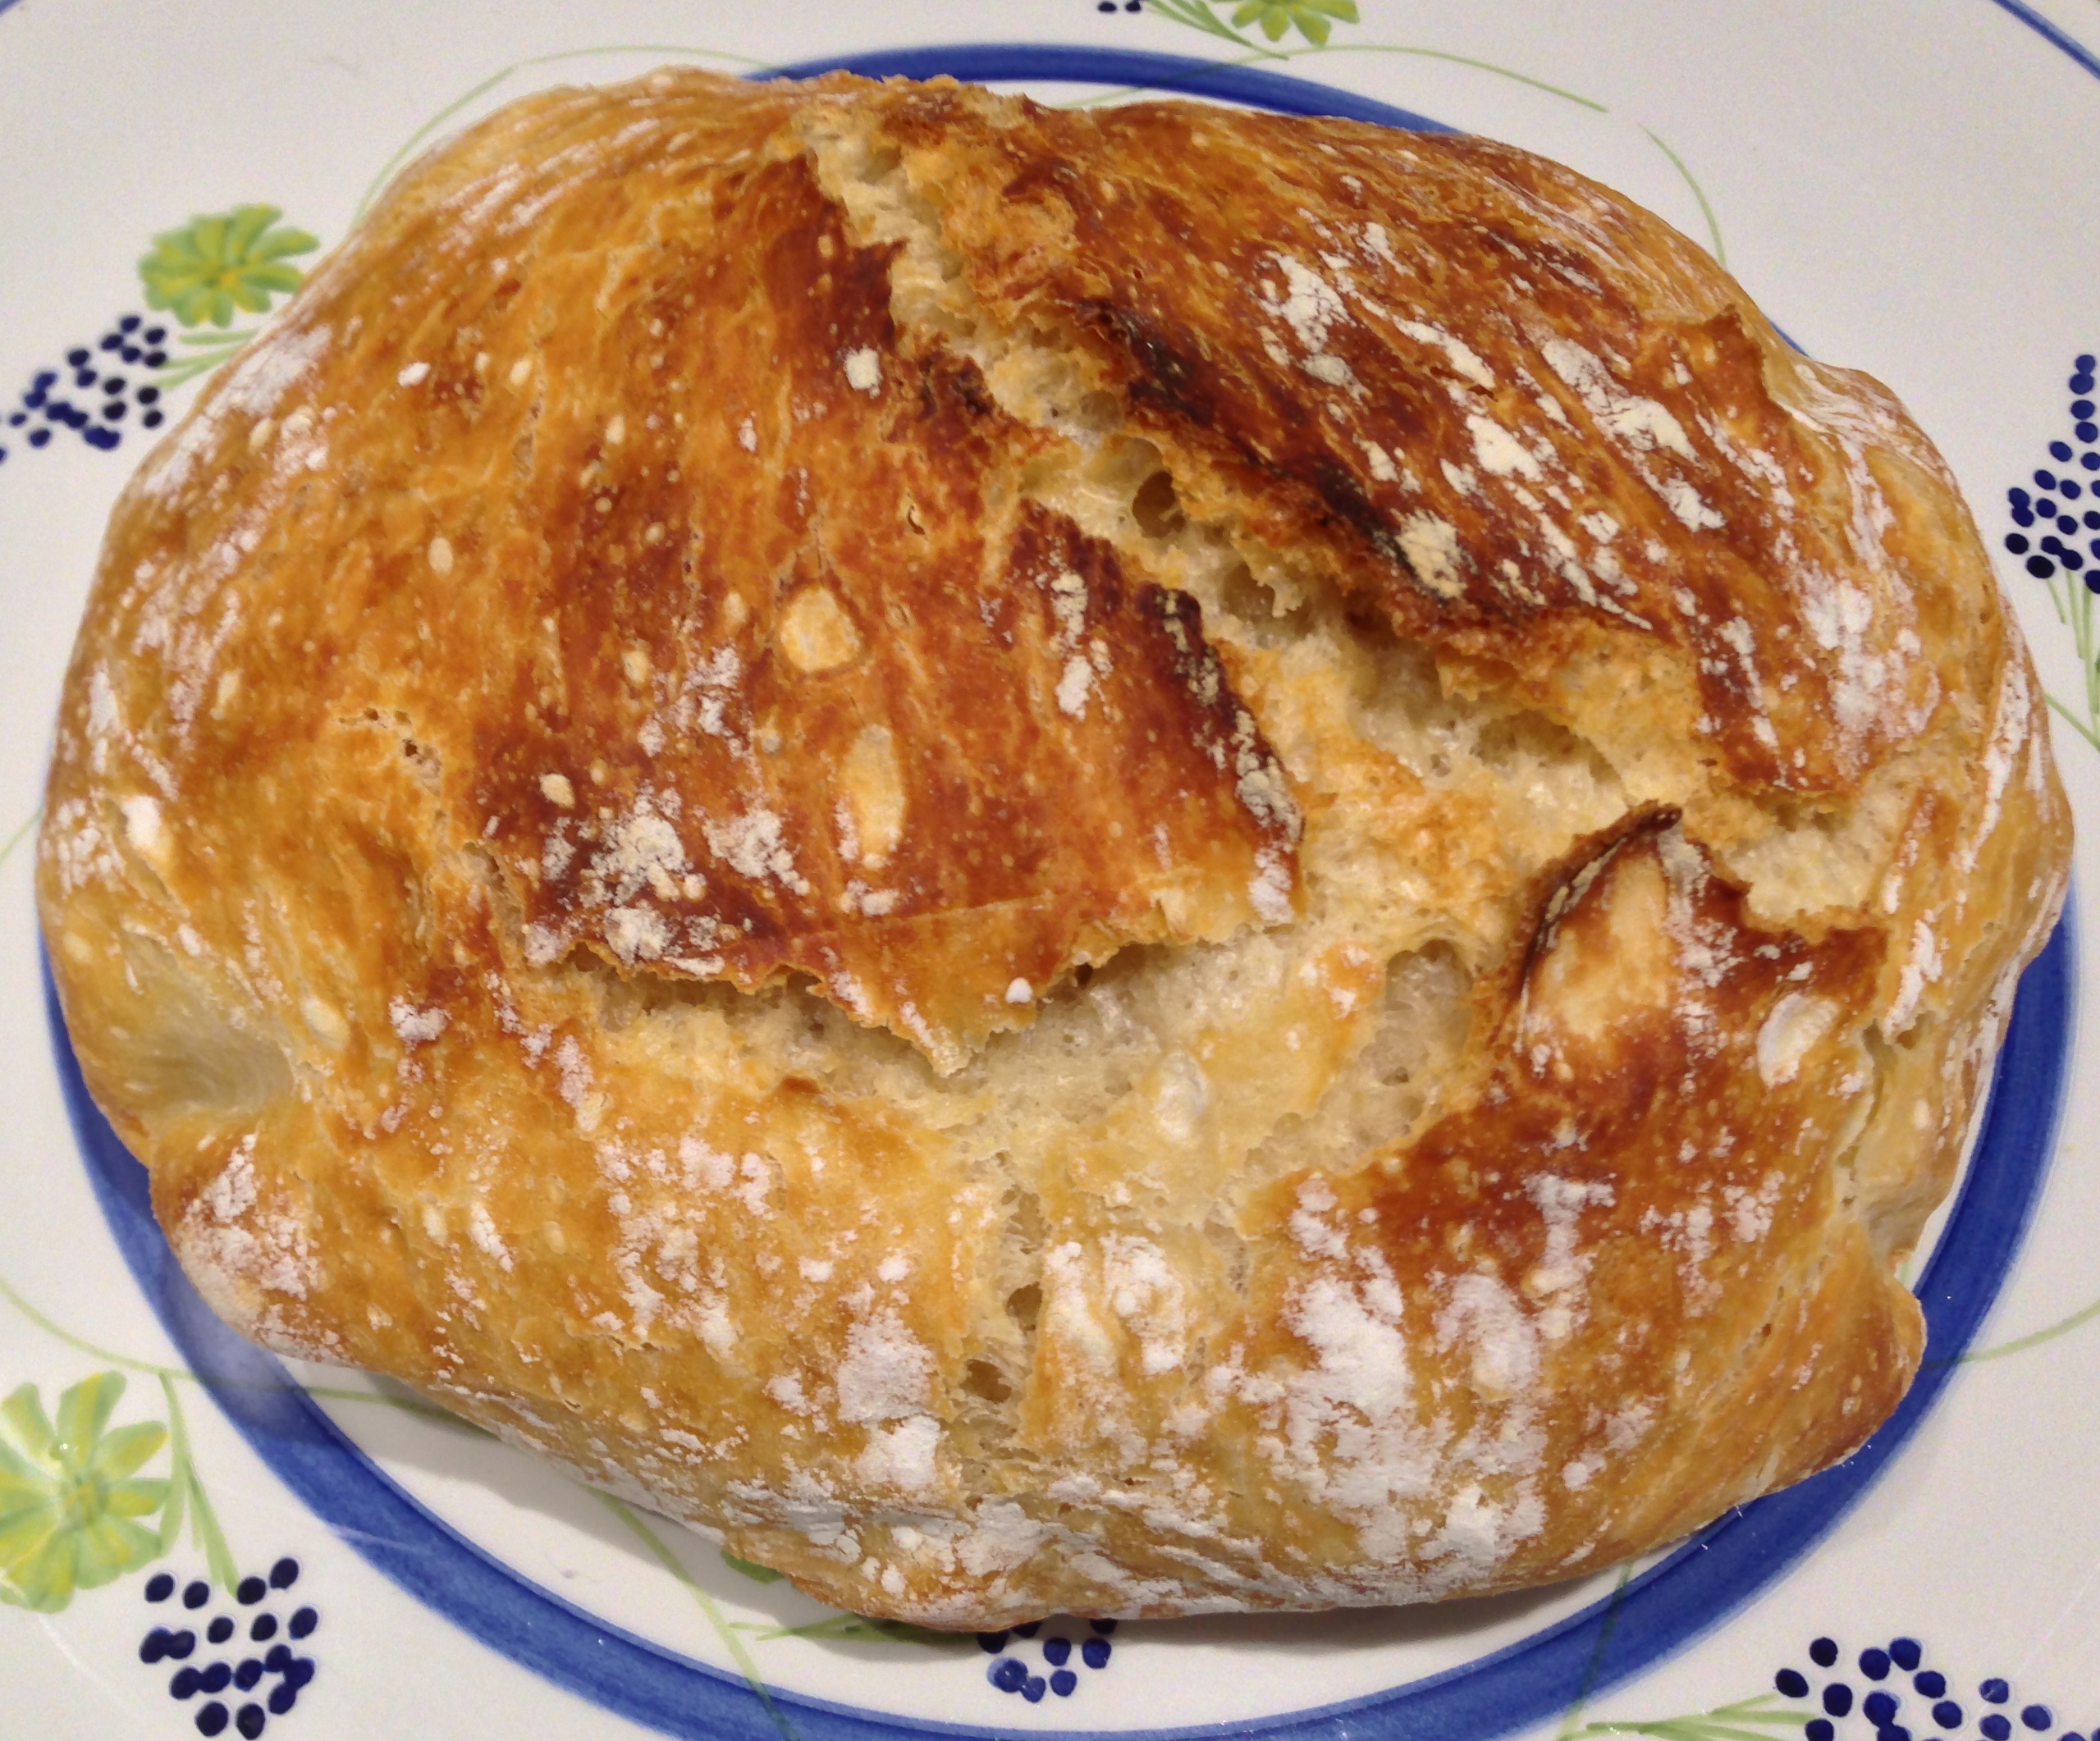
Take a silicone brush and lightly coat the bottom and sides of the skillet. You really don’t want a lot of oil sitting on the bottom. That will give you a greasy crust. And make sure you use a good quality olive oil. I used a garlic infused olive oil when I made the rosemary parmesan bread and a mild flavored premium olive oil for the cranberry walnut bread. If you don’t overdo the oil the crust will have just the right amount of crispiness and will taste heavenly.  Just make sure you use a good olive oil. I prefer the crust in this method compared to the crust you get when using an enameled cast iron dutch oven (in the process you do not oil the pan). That crust, to me, is a little tougher. But don’t get me wrong, both methods produce wonderful bread.

Lesson Learned 3 – Some recipes tell you to cut an “X” in the center (called scoring) of the dough before you put it in the oven – for this recipe DON’T:  I truly don’t think you need to score the bread using this method. When you put bread in the oven it continues to rise and a tension begins to exist between the top formed layer and the softer dough beneath. Scoring is done to assist with the bread rising consistently and predictably during this process.

When I made the rosemary parmesan skillet bread I scored it in the center before I put it in the oven. It created a small crater in the middle of the bread as seen below. It didn’t hurt anything and the bread still turned out fine but I was looking for a more rounded look in the finished product.

When I made the cranberry walnut bread I did not score it in the middle and got more of the rounded look I was wanting.

Lesson Learned 4 – The dough will be very sticky when you go to transfer it into the skillet: I’ve read many versions of how to make this type of bread and most recipes tell you to flour your hands and the dough to successfully transfer it to the skillet. I don’t find that works unless you use a lot of flour and I’m not a big fan of baking a lot of flour into my bread crust.

What I do is take a silicone spatula and work the dough to the edge of the bowl and then quickly move the spatula to get the dough into the skillet. The beauty of this type of bread is that it doesn’t need to look pristine. The more rustic looking the better. And after the dough rises for a half hour in the skillet, many of the imperfections have disappeared. So don’t angst over transferring the dough to the skillet. It’s really pretty simple if you use a silicone spatula.

I couldn’t believe how simple this was to make. The hardest part is letting the dough rise for an hour and a half – the rest is easy. And to me there is nothing like homemade bread. So try one or both of these recipes and let me know what you think…

Skillet Breads - Rosemary Parmesan or Cranberry Walnut...

  • Servings: 12 slices
  • Difficulty: Easy
  • Print

INGREDIENTS:

BOTH BREADS:

1 package instant rapid rise yeast (2 1/4 tsp.)

2 cups warm water

4 1/2 cups all bread flour

1 1/2 tsp salt

Olive oil for the skillet

ROSEMARY PARMESAN BREAD ADDITIONAL INGREDIENTS:

3 Tbs. of chopped fresh rosemary, divided

1/4 cup grated parmesan cheese

CRANBERRY WALNUT BREAD ADDITIONAL INGREDIENTS:

1/2 cup dried cranberries

1/2 cup chopped walnuts

INSTRUCTIONS:

In a large mixing bowl combine the yeast and water. Add half the flour and mix together. Mix in the remaining flour along with either the rosemary or the cranberries and walnuts. If some of the flour is still dry add a little extra warm water until the dough is completely formed.

Cover the bowl securely with plastic wrap and let it rise until doubled in size, about an hour.

Brush some olive oil on the bottom and sides of a cast iron skillet using a silicone brush. Transfer the dough to the skillet and cover loosely with a kitchen towel. Let the dough rise for 30 minutes.

While the dough is rising, preheat the oven to 400 degrees.

After the dough has risen the second time put the skillet in the oven. If making the rosemary parmesan bread, sprinkle some chopped rosemary on the top of the bread before putting it in the oven. For rosemary parmesan bread, after 20 minutes remove the bread from the oven and sprinkle the top with the parmesan cheese. Let the bread bake an additional 20 minutes. For cranberry walnut bread, let the bread bake for 40 minutes straight.

Remove the bread from the oven. Using a spatula, transfer the bread from the skillet to a cooling rack. (This should be very easy but be careful because the skillet will be very hot). Slice and enjoy.

These breads can also be frozen. Cut them into two slice or more pieces. Cover securely with plastic wrap. Put pieces in a freezer bag. Close the bag while trying to eliminate as much air as possible from the bag. Your bread will stay fresh for one month.

Rosemary Parmesan Skillet Bread

SaveSaveSaveSave

SaveSave

SaveSave

SaveSave

SaveSaveSaveSave

SaveSave

SaveSave

SaveSave

SaveSave

SaveSave

SaveSave

SaveSave

SaveSaveSaveSave

SaveSave

SaveSave

SaveSaveSaveSave

SaveSave

SaveSave

SaveSave

SaveSave

SaveSave

SaveSave

SaveSave

SaveSave

SaveSave

SaveSave

SaveSave

Cinnamon Roll Bread…

I was intrigued by the idea of a cinnamon roll-type bread and who doesn’t love the smell of cinnamon wafting through the house especially on a crisp cool Fall day? I have to admit, though, that I made this recipe twice with two very different ways of adding the cinnamon sugar filling. I definitely discovered my preference which I will share later in the blog.

The first time I did the filling I made it in a more liquid-type consistency combining the cinnamon and sugar mixture with water. The second time I used a stiffer consistency, added brown sugar instead of white sugar and mixed it with room temperature butter and a dash of flour.

Water based cinnamon sugar mixture

Water Based Cinnamon Sugar Mixture

Swirled Mixture

Swirled Mixture

Although both breads turned out perfectly fine, I have to say that I preferred the the butter blend to the water blend and here’s why. I don’t know about you, but every time I use the method of putting some sort of mixture on top of my batter and blending it into the batter with a knife it never gives me the deep kinds of swirls I want. When I used the water-based cinnamon sugar mixture it provided a nice concentration on the top of the bread but in the center it basically just blended with the bread. You could see the cinnamon but not the more distinct type of swirl that I wanted. (the pictures below show the differences between the two – the one on the left is the bread made with the water based cinnamon mixture and the one on the right represents the butter based cinnamon mixture)

Cinnamon Roll BreadCinnamon Roll Bread

The second time I made the bread I used the butter mixture and not only did I swirl it on top but I divided the batter and actually added it to the center as well. The end result was much better and really permeated the batter with the cinnamon sugar swirls as you can see from the picture on the right above. I can’t say that the water based mixture wouldn’t do the same thing as I did not use the divided batter method with it. But I think the consistency of the butter based filling gave more concentrated swirls versus just blending in with the batter. I would recommend the butter mixture but will put both mixtures in the recipe for you to try for yourself.

Butter Based Cinnamon Sugar Mixture

Butter Based Cinnamon Sugar Mixture

Applying The Mixture

Applying The Mixture

Swirled Mixture

Swirled Mixture

So let’s talk cinnamon roll bread…

Lesson Learned 1 – Be careful not to overcook this bread: The batter in this recipe has a very stiff consistency so it is important not to over mix or over bake the bread. If you do you will wind up with a very dry bread. Depending on your oven, I would check this bread about 5 minutes before the minimum baking time just to see how it is doing. It is very easy to over bake this bread.

Lesson Learned 2 – Regardless of what filling type you use, I would divide the batter and put some both in the middle and on the top: Doing it this way you will ensure more dense swirls throughout the bread and not just on top. Keep in mind there is not a lot of sugar in the batter so you want that cinnamon sugar mixture to permeate the bread as much as possible.

Lesson Learned 3 – If using the butter based cinnamon sugar mixture, use most if not all of it: When I first made it I thought, boy, this is a lot of filling. But if you want the richness of a healthy amount of cinnamon throughout the bread use it all, or most of it at least. You will need to eyeball it to determine when you’ve used enough but feel free to err on the side of more versus less. Although it looks like a lot you need a lot to get a generous amount spread throughout the bread.

Lesson Learned 4 – Make the glaze with heavy cream: I don’t know about you but I can taste a significant difference when I make a glaze with heavy cream versus making it with milk. The heavy cream gives the glaze a thicker consistency and mellows out the flavor of the powdered sugar. But if you don’t have heavy cream lying around and only have milk you can certainly use that. I just think it tastes so much better and richer when you use heavy cream.

Lesson Learned 5 – Making glaze is full proof: There is no secret to making glaze. The biggest choice you will make is what consistency you want. Don’t worry if you think your glaze it too thick or too runny. If it is too thick, add a little more cream. If it is too runny, add a little more powdered sugar. It’s just that easy.

What I really like about this recipe is that you don’t need a stand mixture (I used a hand mixer to blend the butter based cinnamon sugar mixture) and in no time flat you have a fabulous sweet bread.

Be sure to let me know your thoughts regarding the cinnamon sugar mixture. Enjoy this great recipe!

CINNAMON ROLL BREAD...

  • Servings: 8
  • Difficulty: Easy
  • Print

INGREDIENTS:

Cinnamon Roll BreadBatter:

2 cups flour, sifted

1 Tb. baking powder

1/2 tsp. salt

1/2 cup white sugar

1 large egg, room temperature & lightly beaten

1 cup whole milk

2 tsp. vanilla

1/3 cup sour cream (you can substitute plain greek yogurt)

#1 Swirl Ingredients:

1/3 cup white sugar

2 tsp. cinnamon

2 Tbs. water

OR

#2 Swirl Ingredients:

1/2 cup butter, room temperature

1/2 cup brown sugar

1 Tbs. flour

2 Tbs. cinnamon

Glaze:

1/2 cup powdered sugar

2-3 Tbs. heavy cream (you may need more depending on the consistency desired)

1 tsp. vanilla

DIRECTIONS:

Preheat oven to 350 degrees. Spray a loaf pan with non-stick cooking spray and set aside.

Prepare the cinnamon sugar mixture (either choice #1 or 2) by combining all of the ingredients. Set aside.

In a large bowl combine the flour, baking powder, salt and sugar. In another bowl whisk together the egg, milk, vanilla and sour cream. Pour the wet ingredients into the dry ingredients and stir to combine. Be careful not to overmix.

Pour about 1/3 of the batter into the prepared pan. Add half of the cinnamon sugar mixture. With a sharp knife swirl the mixture into the batter. Add the remaining batter and repeat the same process with the cinnamon sugar mixture.

Bake for 45 minutes or until a toothpick inserted in the center comes out clean. Put the pan on a cooling rack. Take a rounded knife and run it along all of the edges of the pan. Let the bread cool for 15 minutes. Remove the bread from the pan and allow it to cool completely.

Mix together all of the glaze ingredients. Drizzle the glaze over the bread. If you do not serve immediately, cover the bread loosely with foil once the glaze has hardened.

Cinnamon Roll Bread


Cinnamon Roll Bread

 Cinnamon Roll Bread

Cinnamon Roll Bread

Cinnamon Roll Bread

Savory Scallion And Cheese Bread…

The other night I just wanted to try something different. I know I can always whip up an artisan bread loaf but I wanted to try a more savory type of bread and decided to make this one. I will admit I made it twice because the first time something just did not seem right and I’ll explain why in my lessons learned. The second time, with the adjustments I made, I nailed it!

I love this bread for a variety of reasons. It is not designed to be a sandwich bread that’s for sure. This bread is a great accompaniment to almost any dinner you serve and it is fabulous reheated. So let’s talk savory scallion and cheese bread and I’ll share what I learned making it…

Lesson Learned 1 – Be very picky about the olive oil you use: The first time I made this bread with off-the-shelf Bertoli extra virgin olive oil. Big mistake! Now I’ve got nothing against Bertoli’s olive oil and I use it on a regular basis for my basic cooking needs. But the olive oil used here is designed to help enhance the flavor of the bread and so a basic cooking olive oil does little for that. As a matter of fact I felt it gave an unusual, almost borderline bitter flavor to the bread.

The second time I used garlic infused olive oil that a I got from a specialty shop – what a difference! This oil enhanced the bread and made a big difference in the flavor. So make sure you are using a good flavorful olive oil when making this bread.

Pepper Jack Cheese

Pepper Jack Cheese Cubes

Lesson Learned 2 – Choose good melting cheese: The first time I made this I used gruyere. I like gruyere but I didn’t think it did much for the bread. The second time I made the bread I used emmenthaler cheese. Now what’s emmenthaler you ask. Same here, I had no idea what emmenthaler was before I made this bread. Emmenthaler is actually swiss cheese. It is savory but not overpowering and it melts divinely. It is quite often used in fondues.

I actually used a combination of cheeses – I used shredded emmenthaler and cubed pepper jack. The pepper jack and cayenne pepper give the bread a nice but not overpowering bite. So those are the cheeses I recommend when making this recipe.

Emmenthaler Cheese

Emmenthaler Cheese

chopped scallionsLesson Learned 3 – Learn how to adapt: The recipe I adapted this from called for 1/3 cup of whole milk. I did not have any whole milk in the house but I had heavy cream and 2% milk. I filled the measuring cup three quarters of the way up with heavy cream and then filled the rest in with the 2% milk. I loved the way it turned out and I think the heavy cream did a lot to enhance the flavor of the bread.

You could also use chives or other herbs to enhance the flavor of the bread. I had scallions in the refrigerator so I chose to use them and that added great depth of flavor!

Lesson Learned 4 – This bread is divine reheated: When I was getting ready to make dinner the other night I cut a few pieces of the bread and put them in aluminum foil. I set my toaster oven to 350 and put the bread in for 20 minutes. It was fabulous!

I don’t often make savory breads so I’m very pleased with how this one turned out. The only changes I would recommend when making this at sea level is to increase the amount of baking powder from 1 teaspoon to 1 tablespoon and to perhaps shorten the cooking time by about five minutes or so.  Other than that, everything else remains the same. Enjoy this one!

Savory Scallion And Cheese Bread…

  • Servings: 8-10
  • Difficulty: Easy
  • Print

INGREDIENTS:

1 3/4 cups of flour, sifted

1 tsp. baking powder (use 1 Tbs. for sea level baking)

1 1/2 tsp. of salt

1/8 tsp. cayenne pepper

3 large eggs, room temperature

1/3 cup whole milk (I used a combination of heavy cream and 2%)

1/3 cup garlic infused olive oil (or your olive oil of choice – good flavorful olive oil)

1 1/4 cup grated emmenthaler cheese (swiss cheese)

2 ounces pepper jack cheese, diced in small pieces

1/2 cup minced scallions

1/3 cup chopped walnuts

DIRECTIONS:

Preheat your oven to 350 degrees. Sift together the flour, baking powder, salt and cayenne pepper in a large bowl. In another bowl whisk the eggs until they are frothy. Combine the milk and olive oil with the eggs and whisk together.

Add the wet ingredients to the dry ingredients until just combined – do not over mix. Stir in the cheeses, scallions and walnuts and mix until combined.

Prepare an 8 x 4 loaf pan by either using butter or cooking spray. Put the batter into the pan and smooth out to the edges. Bake for 35 – 40 minutes (I baked to 45 minutes but I am at high altitude – I began checking the bread at 35 minutes) or until the bread is golden and a toothpick inserted in the center comes out clean.

Put the pan on a cooling rack and immediately run a knife along the edges to loosen the bread from the pan. After cooling in the pan for 5 minutes, remove the bread and let it cool on a wire rack (or once it has cooled slightly you can serve it warm).

Bread Ingredients

Savory Scallion And Cheese Bread

Savory Scallion And Cheese Bread

 Savory Scallion And Cheese Bread

A Delicious Disaster…

I wish I could say that everything I bake comes out perfect the first time. I would be a liar if I did. Actually it often takes a few stops and starts to get a new recipe right. And today’s venture into baking was definitely an example of that.

Nutella Banana Bread Ingredients

Nutella Banana Bread Ingredients

How do you feel when you bake something for the first time and it basically flops? I used to get very frustrated and never attempt the recipe again until I learned that it is more the exception than the rule that first time ventures are actually successful. Now I view my flops as learning moments and from that point on it becomes a mission to get the recipe right. And by right I mean it has to meet the two basic criteria: it has to look good and it has to taste good. Today’s foray into baking was a taste delight that literally collapsed upon itself.

So let’s talk briefly about the recipe. Today’s recipe for Nutella Banana Bread came via Pinterest from a website called Chef-In Training. I was intrigued by the combination of combining Nutella with bananas and being that I had all the ingredients in the house decided to try it.  The recipe states that this is the BEST way to make banana bread and after tasting the finished product I would have to agree. The trick is combining the ingredients in such a way that the bread doesn’t collapse unto itself. Needless to say the bread looked pretty good right out of the oven, but once I took it out of the pan the middle slowly started to sink in. At that point I was pretty frustrated but when I eventually tasted it, I knew I needed to make the effort to perfect this recipe.

Bread Mixture Before Baking

Bread Mixture Before Baking

So, how would I rate this recipe: A+ for flavor, B- for instructions. The recipe did indicated that the bread would look a tiny bit undercooked (because of the nutella) but I wasn’t prepared for a major collapse. I really think the amount of nutella called for in the recipe is a tad too much. Here are some lessons learned making it:

Lesson 1: Don’t give up on what may seem to be a failure. I was ready to throw the bread in the garbage but my husband sliced a bit off the end and told me it was worth tasting. I did, and this is a very delicious recipe.

Lesson 2: I need to play with the nutella amount. The recipe calls for 3/4 heaping cup of Nutella mixed with one cup of the bread mixture. I would cut that down a bit. In my opinion, the high density of the nutella was the reason for the collapse in the center of the bread. I think next time I will pare down the combination to 1/2 cup nutella and 3/4 cup of the cake mixture. You definitely need more cake mixture sans nutella to give the cake a fuller body.

Bread Collapsing In Center

Bread Collapsing In Center

Lesson 3: Get a good cake pan. I finally did. Now I need to add the disclaimer that I work part-time at Crate and Barrel. But they have a loaf pan made exclusively for them called the Pro-Line Loaf Pan. It is commercial grade and non stick. It is fabulous. I have to admit I had my doubts, but I put the batter in the pan (and this was a gooey batter with the the nutella) and once it was baked and I let it cool for about 10 minutes the cake popped right out of the pan without greasing and flouring or using sprays. Also, the cake cooked evenly and not like my old pan the cooked the edges faster than the center. My point here is, if you’re going to bake a lot, invest in good pans. They are worth the money.

Lesson 4: The recipe calls for layering the bread and nutella mixtures and then swirling them with a knife. I did that and it still did not mix the nutella into the batter they way I would have liked it. Next time I am going to do a layer of each (starting with the basic batter) swirl it and then add the next two layers and swirl again. I think that will combine the mixture better and prevent a mass of nutella from settling in any one place in the batter.

Top Of Bread Sinking In

Top Of Bread Sinking In

I cannot stress enough that this bread is very delicious. Once I have it perfected I will write and addendum to this with the amounts that I used that created a perfectly swirled bread that did not collapse onto itself. If you try this recipe and have more initial success than I did, let me know how you did it. But bottom line, the recipe is worth the work to perfect.

Bread and Enameled Cast Iron, Who Knew…

Last Sunday when I met with my “foodie” group, one of the members brought a fabulous loaf of homemade bread. Not only did it look spectacular but it tasted divine. You would have thought it was made by a professional baker. When I asked her how she made it she told me she baked the bread in an enameled cast iron pot. She said it was so easy that I just had to try it. It sounded way too good to be true but even though that was my initial impression I began to research how to bake bread this way online.

5-6 quart enameled cast iron pot

5-6 quart enameled cast iron pot

Everything I read about making this type of artisan bread seemed to support what she said. Everyone wrote that the basic recipe was easy, forgiving, and produces the most fabulous loaf of bread. The recipe I chose was from a site called SimplySoGood.com. I liked the site for several reasons: 1.) It was written in a very folksy easy to understand way. 2.) The blog took the mystery out of making bread in this particular way and made you feel like you could really do it and do it well. 3.) I like sites that give you step by step pictures of the process and what the recipe should look like at all stages. This site may have overdone it a little with the pictures but better more than less I always say, especially where pictures are concerned.

And so, with my new found courage I ventured into the world of baking bread in an enameled cast iron vessel. The bread recipe was extremely, and I mean extremely simple – only 4 ingredients. If you use rapid rise yeast you don’t even have to fuss with determining the correct water temperature. You simply mix together the ingredients, cover the bowl, let it sit overnight on the counter, form it into a ball and bake it in a pre-warmed pot. It doesn’t get much easier than that.

3 Simple Dry Ingredients: Flour, Yeast and Salt

3 Simple Dry Ingredients: Flour, Yeast and Salt

So what lessons did I learn from making it. Lesson Learned #1: The blogger says this recipe is full proof and it is. I live in high altitude and absolutely no adjustments had to be made to the recipe. Lesson Learned #2: The dough is very sticky when you start to form it into a ball. The recipe calls for an over abundance of flour on the surface you use when forming the dough and for your hands. I actually think I put down too much flour on my counter because the bottom of my bread was loaded with it to the point I had to brush some off after it was baked. Just be careful and don’t go overboard like I did. But you will need a good amount of flour.

What the dough looks like when initially mixed

What the dough looks like when initially mixed

LessonLearned 3#: This is probably the absolute easiest way to make bread and be successful every time. The outside is crusty, the inside is moist and flavorful. I am looking forward to experimenting with different versions of this recipe, maybe using whole wheat flour or adding cranberries and nuts. When I do I will post the results.

I was so amazed to see the finished product and I was so surprised that I actually made this. So I guarantee that you will be equally successful when you try it. You would be foolish not too, this bread it just two darn easy to make. Click on this link: artisanbread for the recipe. Enjoy!

The finished produce: Artisan No-Knead Bread

The finished product: Artisan No-Knead Bread

A Self-Proclaimed Pinterest Recipe Critic…

Tonight I’m getting together with a group of people, undercover foodies, to begin a conversation of how we can form a group based on cooking, learning and fun. The group already has a name – Sweet Serendipity, Supper, Sips and Such – and the name leads me to believe that the members will all be “foodie forces” unto themselves. The person who coordinated the group asked us to bring an appetizer or something sweet, preferably a recipe taken from the Pinterest site.

Now I know I’ve mentioned this before but I am a big fan of Pinterest. What I love about using Pinterest is that you are exposed to a broader segment of the internet often being introduced to interesting websites and blogs you might never have found through Google. And I love it for the wealth of cooking information and recipes that are pinned to various boards. So, needless to say, I am “on board” with the idea of this cooking group and with Pinterest.

For this evening’s cooking contribution I made a coffee cake recipe I found Pinterest. I made it on Friday but the coffee cake was such a hit that this morning I was faced with the dilemma of having only a meager amount to bring to the meeting. So, off I went back to Pinterest in search of something simple but also unique. I found what I was looking for on a website called “Pardon The Dog Hair” (a website I would never have found on my own), a recipe for Blueberry Banana Oatmeal Bread. The pictures of the bread looked delicious, the recipe was simple and I had most of the ingredients already so the decision to make it was easy.

The bread is made from a traditional process, combining all the dry ingredients, adding the wet ingredients and then finally folding in the blueberries and nuts.

Preparing the ingredients

Preparing the ingredients

What’s nice about this recipe is that it doesn’t use any white sugar. The sweetness comes from brown sugar, apple sauce and bananas. After you combine all the dry ingredients you whisk together the eggs, apple sauce and bananas and then combine the wet mixture with the dry mixture. Last, you carefully fold in the blueberries and the nuts and put the mixture in a prepared loaf pan.

bbo4

bbobread2

The recipe calls for baking it at 350 for one hour – that seemed like a long time to me so I started with 40 minutes and pulled the bread out of the oven at that time. As you can see the bread was already quite dark and even though it was very firm at the very very middle top it wasn’t completely done. Despite that the end result, as you can see below, was still wonderful but there definitely were some lessons learned about making this recipe.

Blueberry Banana Oatmeal Bread

Blueberry Banana Oatmeal Bread

First lesson: The next time I make this I will use a glass loaf pan. I used a dark loaf pan and I think it contributed to making the bread darker more quickly even when it was not completely done. Second lesson: If you look at the pictures of the bread from the website where the recipe was taken, it looks like the top of the bread was also dusted with quick cooking oats. I think that would offset the very dark color on top, keeping in mind that whole wheat flour is the main flour in this bread so it will naturally look darker. Third lesson: The recipe did not call for this but I dusted the pecans with just a smidge of flour. I’ve found that the nuts will more evenly disperse themselves into a mixture and not just rise to the top during the baking process when you do that.

Rating for the recipe: Between very good and excellent – if the blogger did in actuality dust the top of the bread with quick cooking oats like the pictures on the site seem to suggest, I would note that in the recipe. Taste-wise the rating is excellent, and I love the fact that this recipe is delicious without having to use white sugar. This is definitely a recipe to try. 

I have a feeling I will be trying a lot more recipes from the Pinterest site in the upcoming weeks and months. I plan to share the escapades of making and eating them on this blog. If you see a Pinterest recipe you’d like me to “test” with the group – just let me know. If you’re anything like me you’ve probably been wondering if all those recipes you see posted are really as good as they look. And if you have any experiences with Pinterest recipes, I would love to hear about them. The Pinterest test kitchen is now open for business.