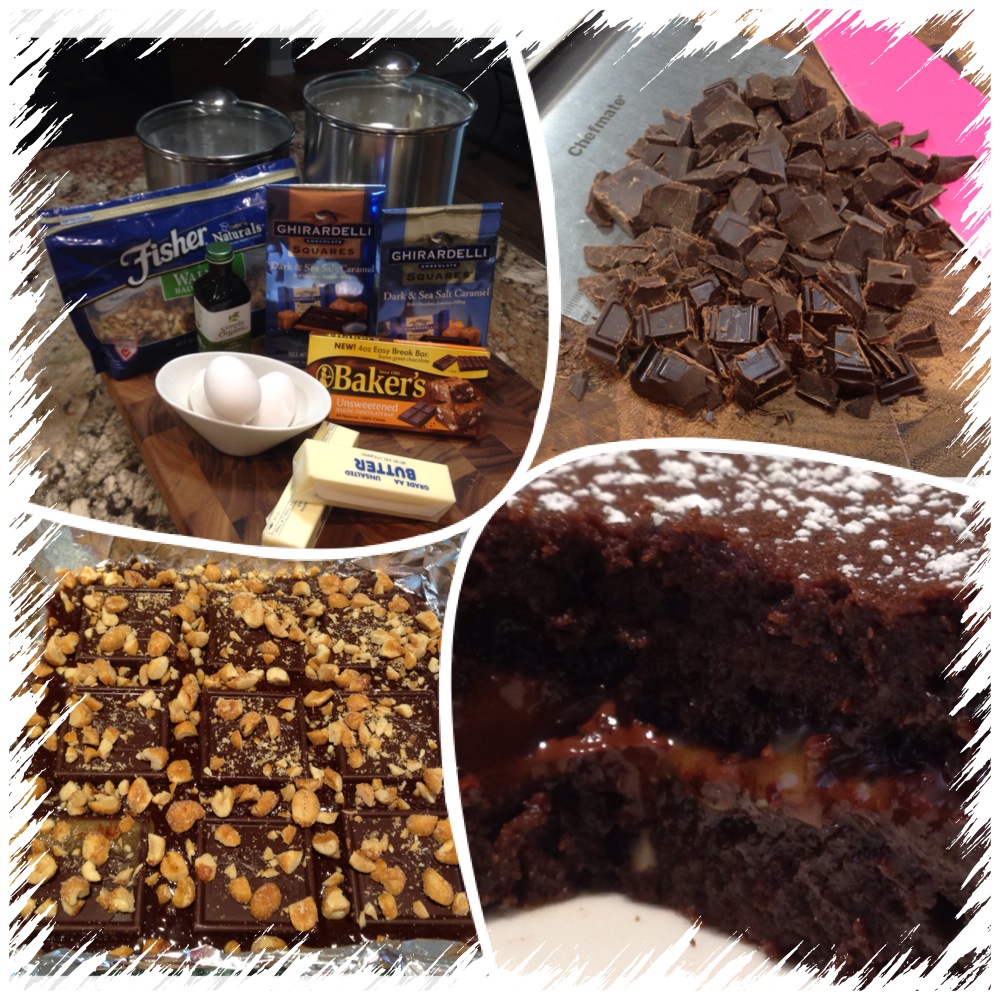
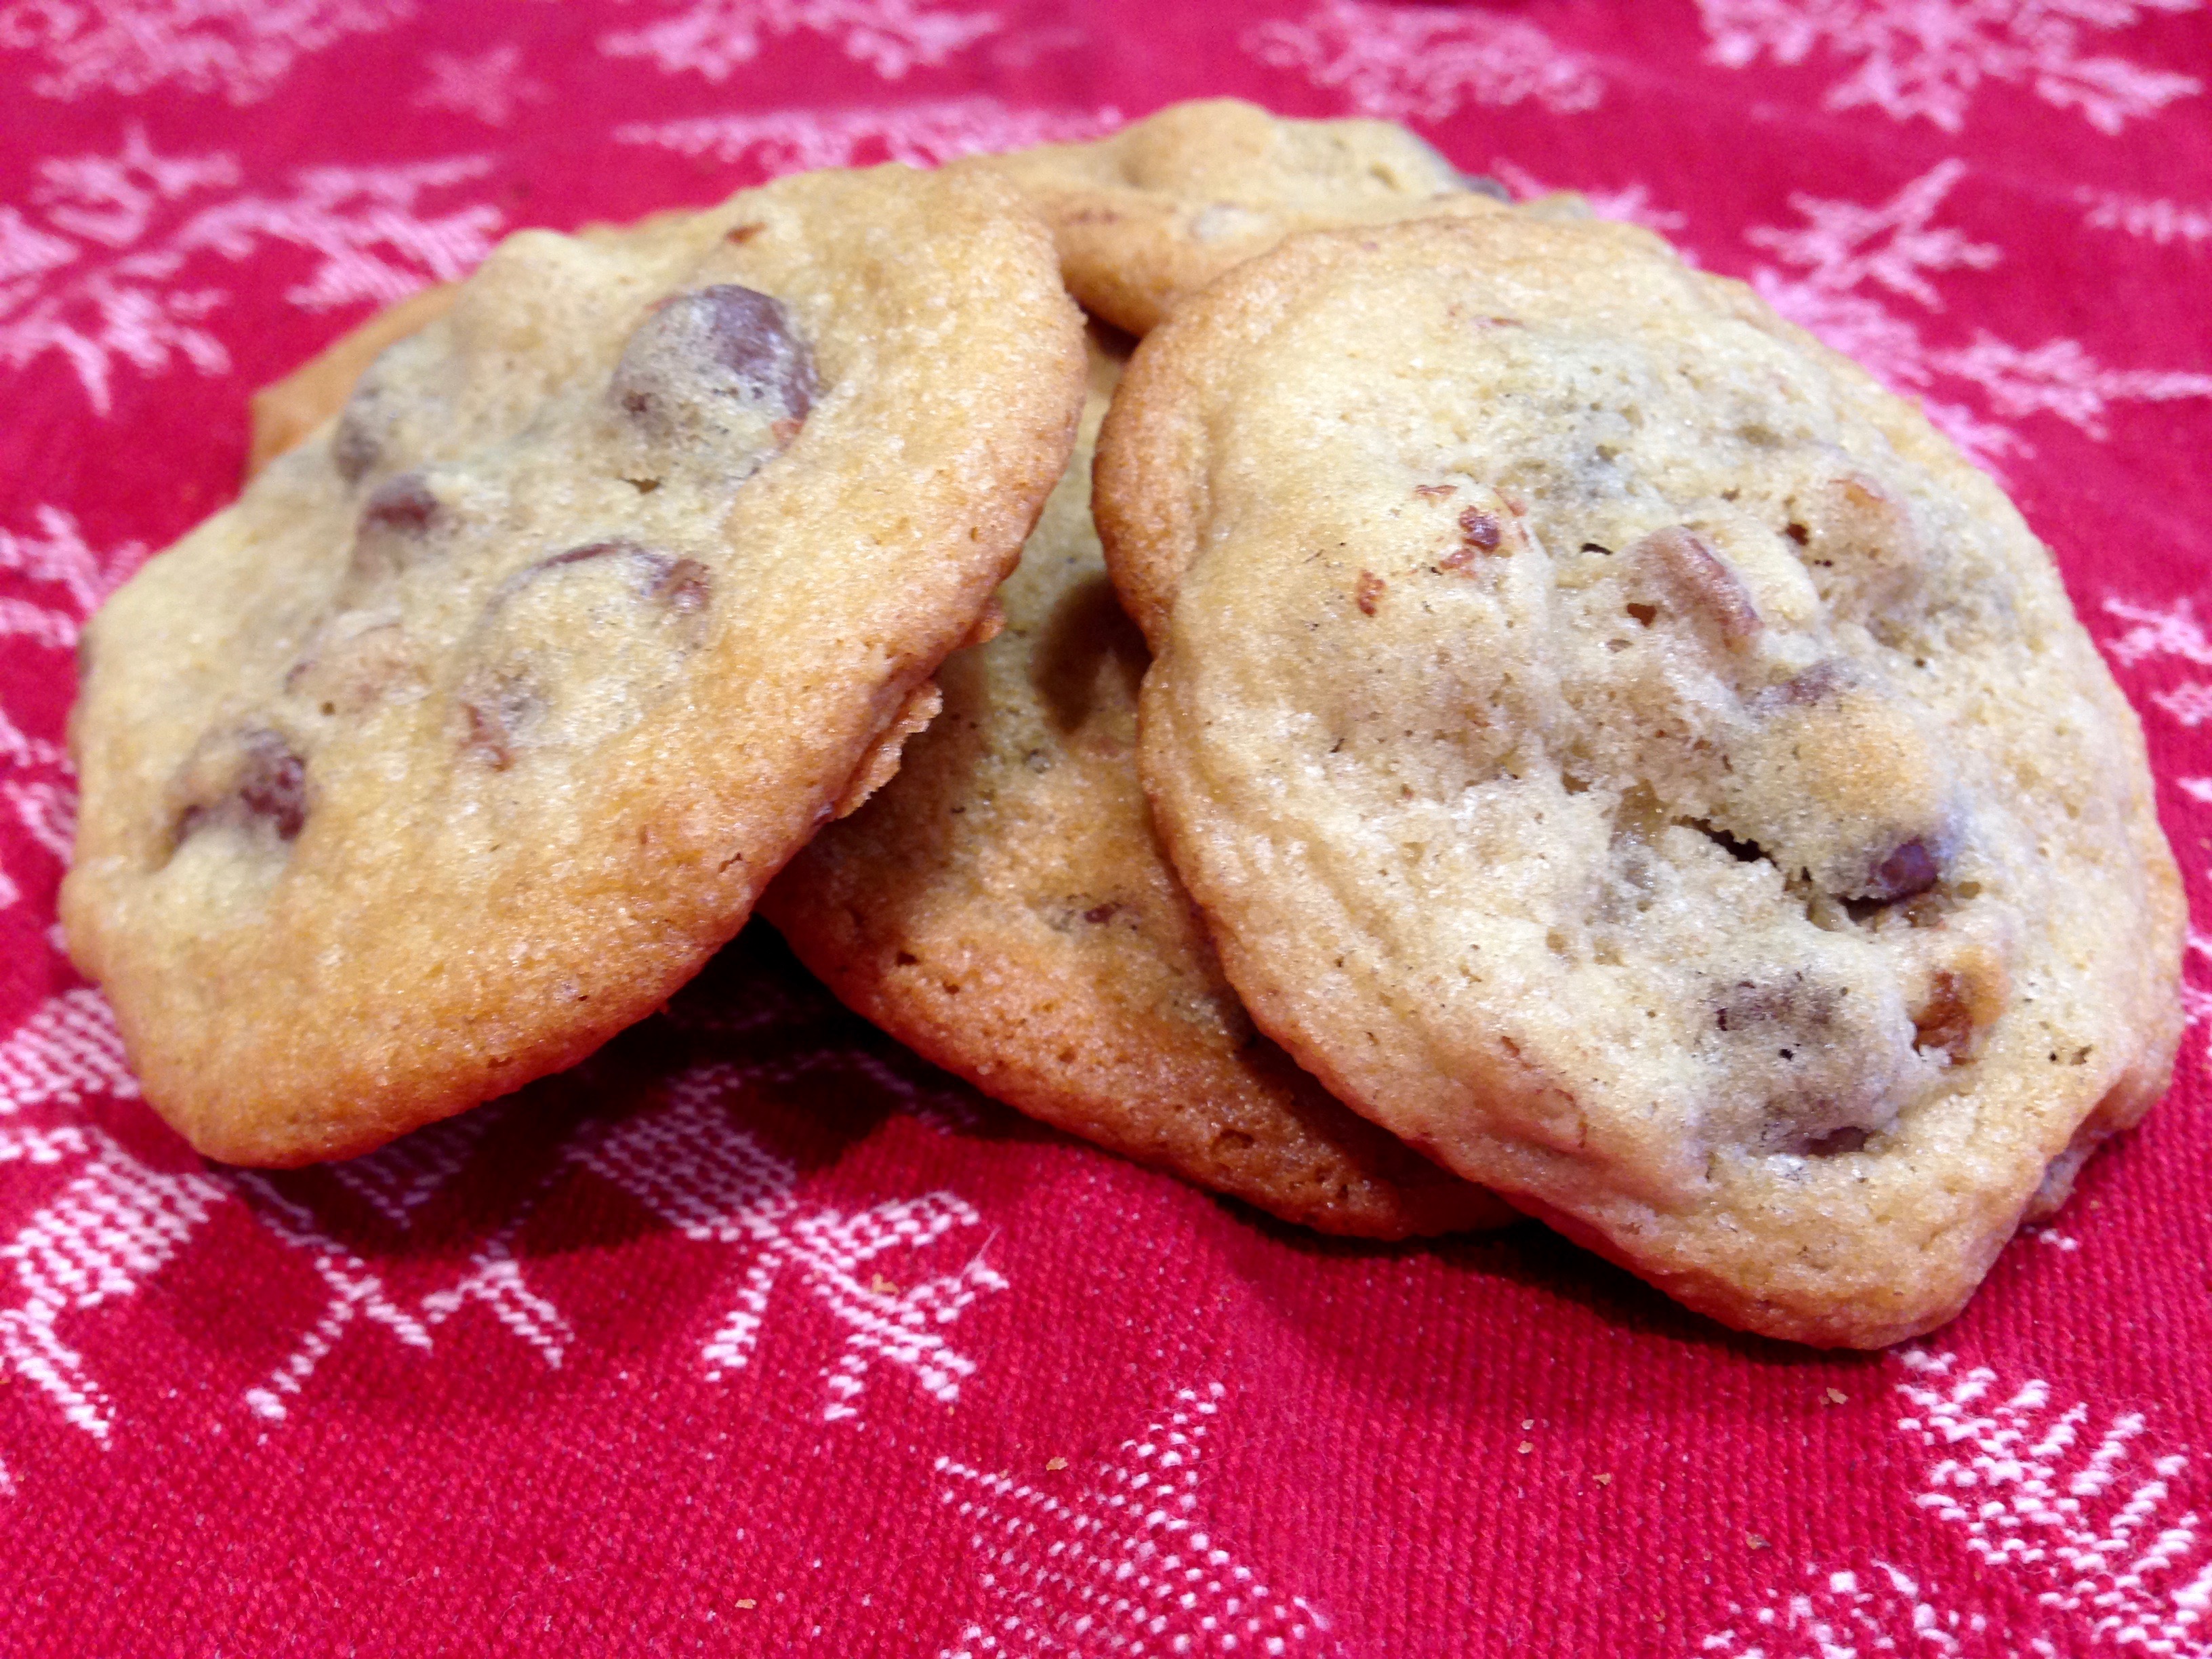
Doesn’t salted caramel seem to be all the rage right now? Maybe it’s just me but I’m seeing this flavor trend just about everywhere these days – salted caramel pretzels, salted caramel ice cream, salted caramel peanuts – it just seems to be “the thing.” So as I looked for my next new weekly recipe, it didn’t surprise me that I found one for salted caramel brownies.
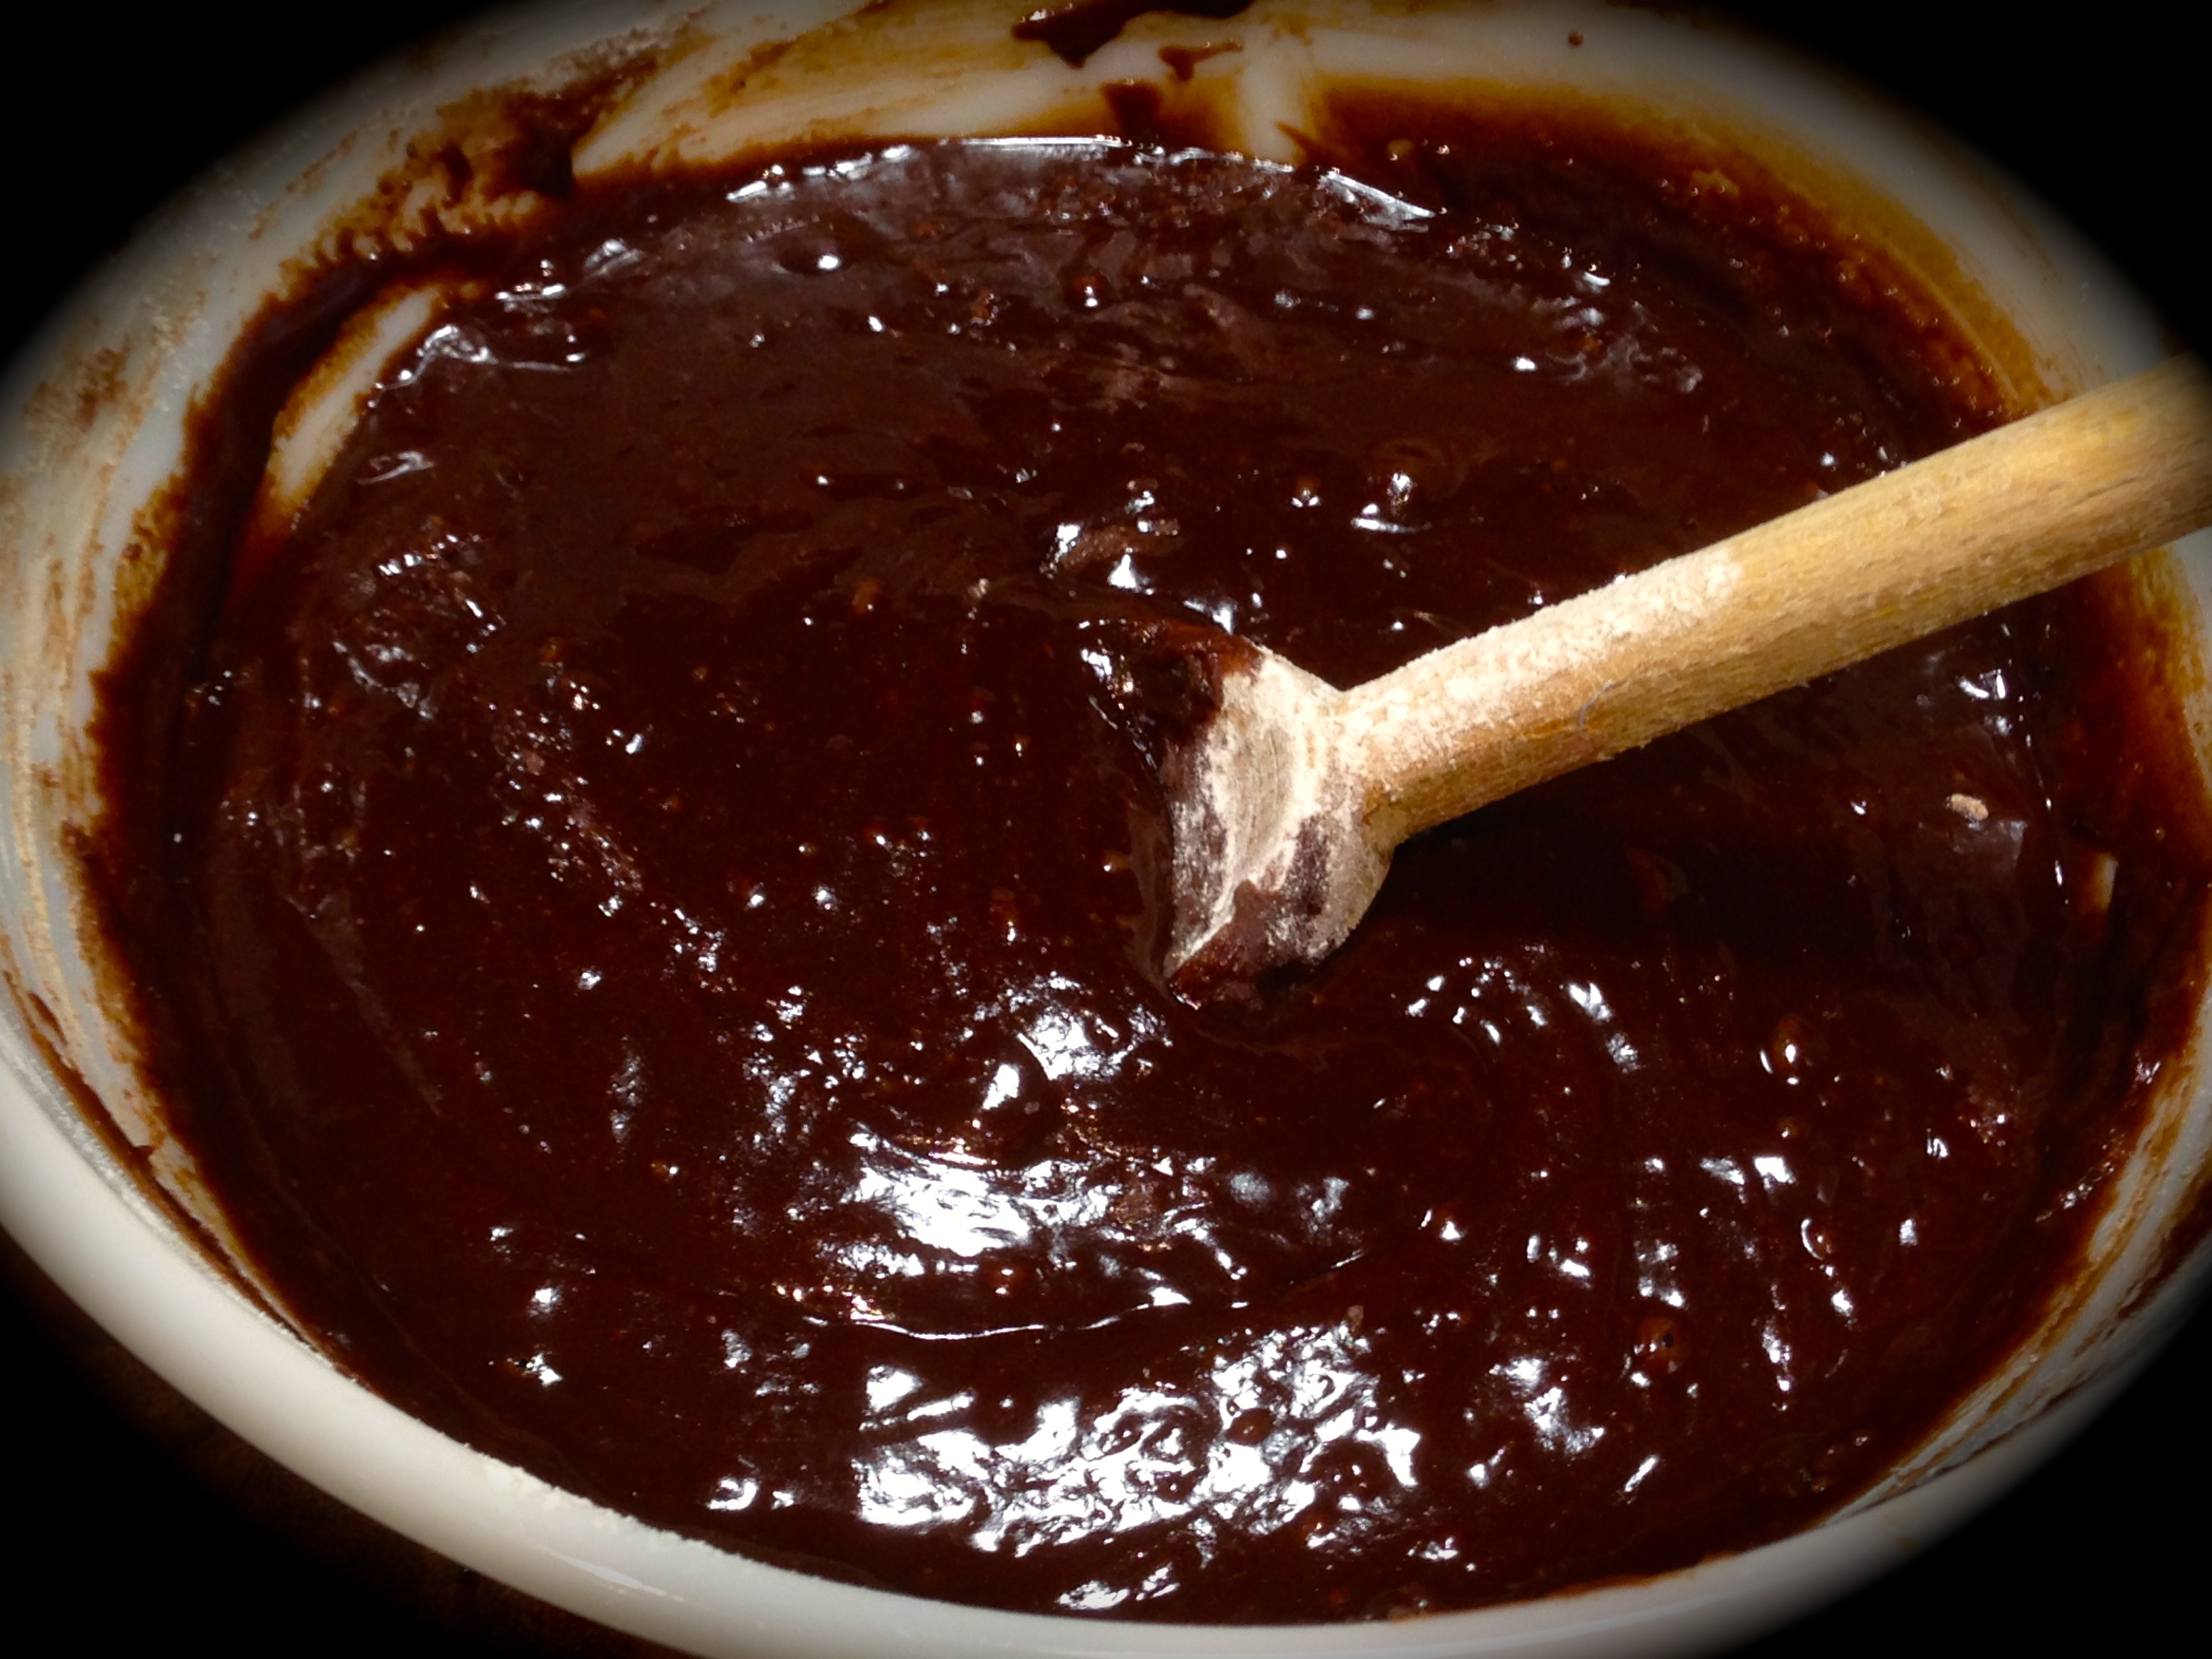
Unsweetened chocolate and butter mixture…
I found a version of this recipe on a website called mybakingaddiction.com. I thought this would be great to make for my husband especially because he’s been in the doldrums since Haagen Dazs discontinued their test market salted caramel truffle ice cream. I thought this might make a good substitute for him, and I have to admit the recipe intrigued me.
I normally don’t do this but I made this particular recipe twice before blogging about it. I will explain why in my lessons learned.
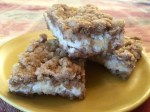
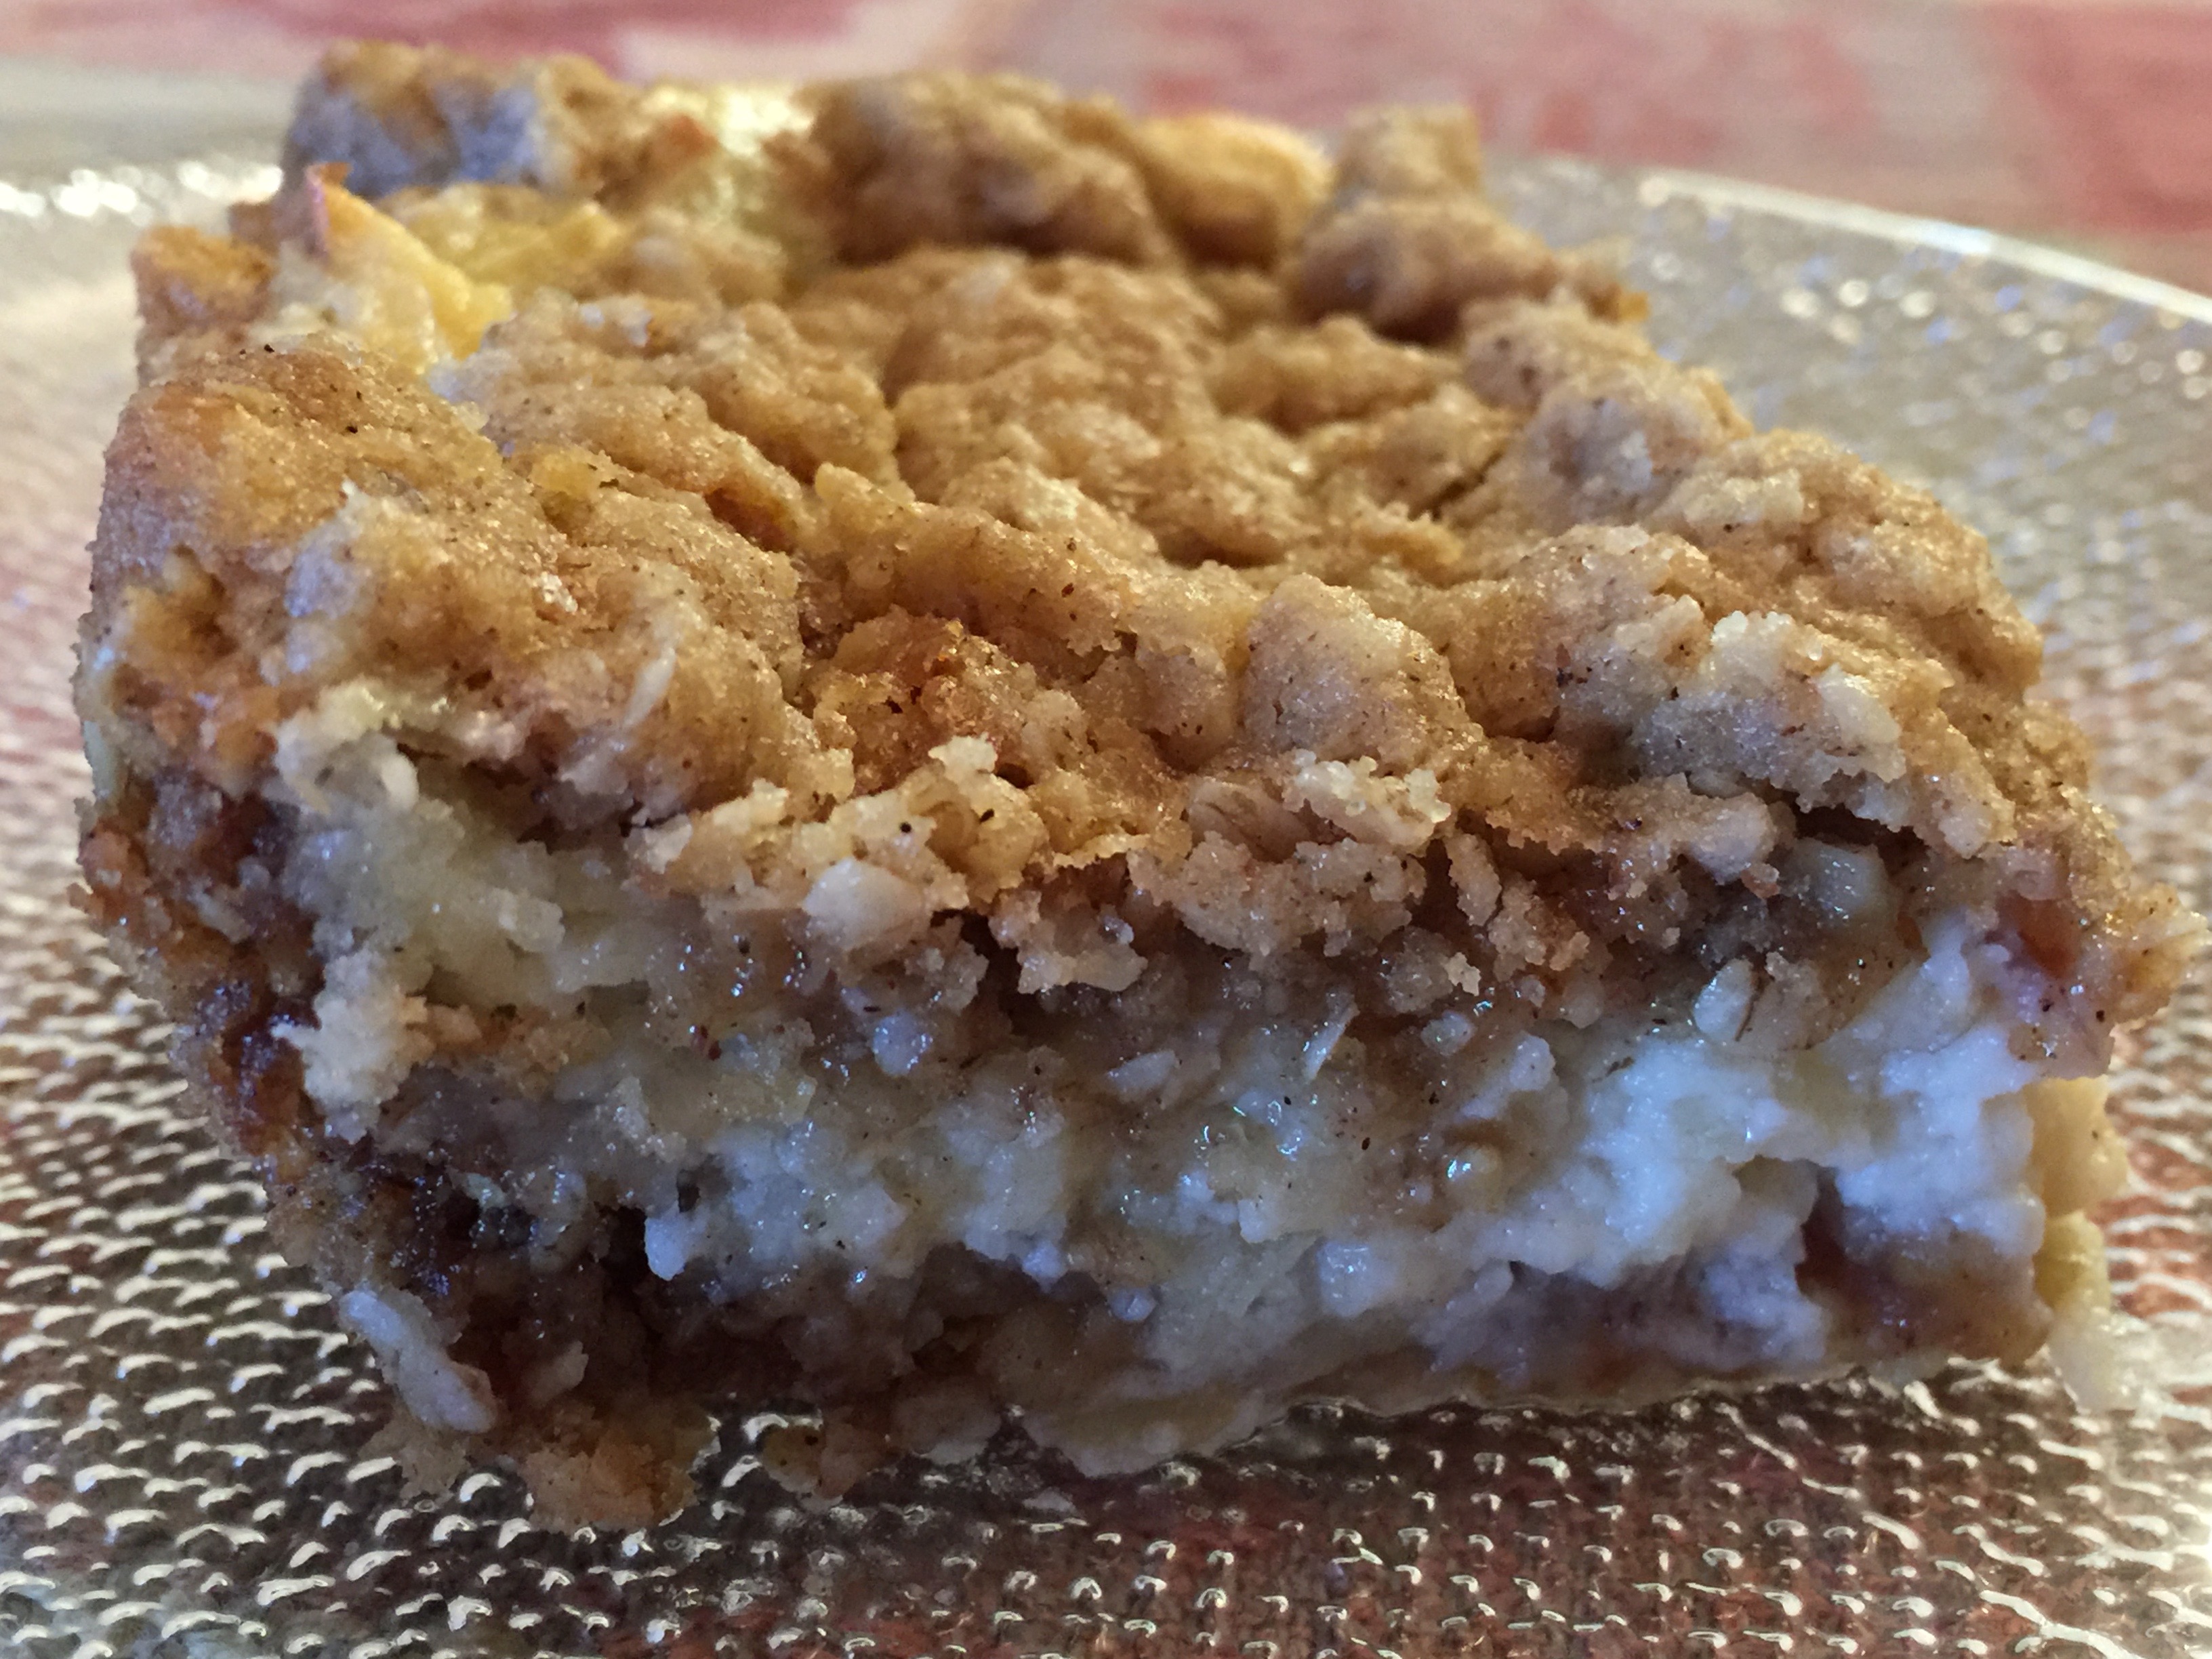
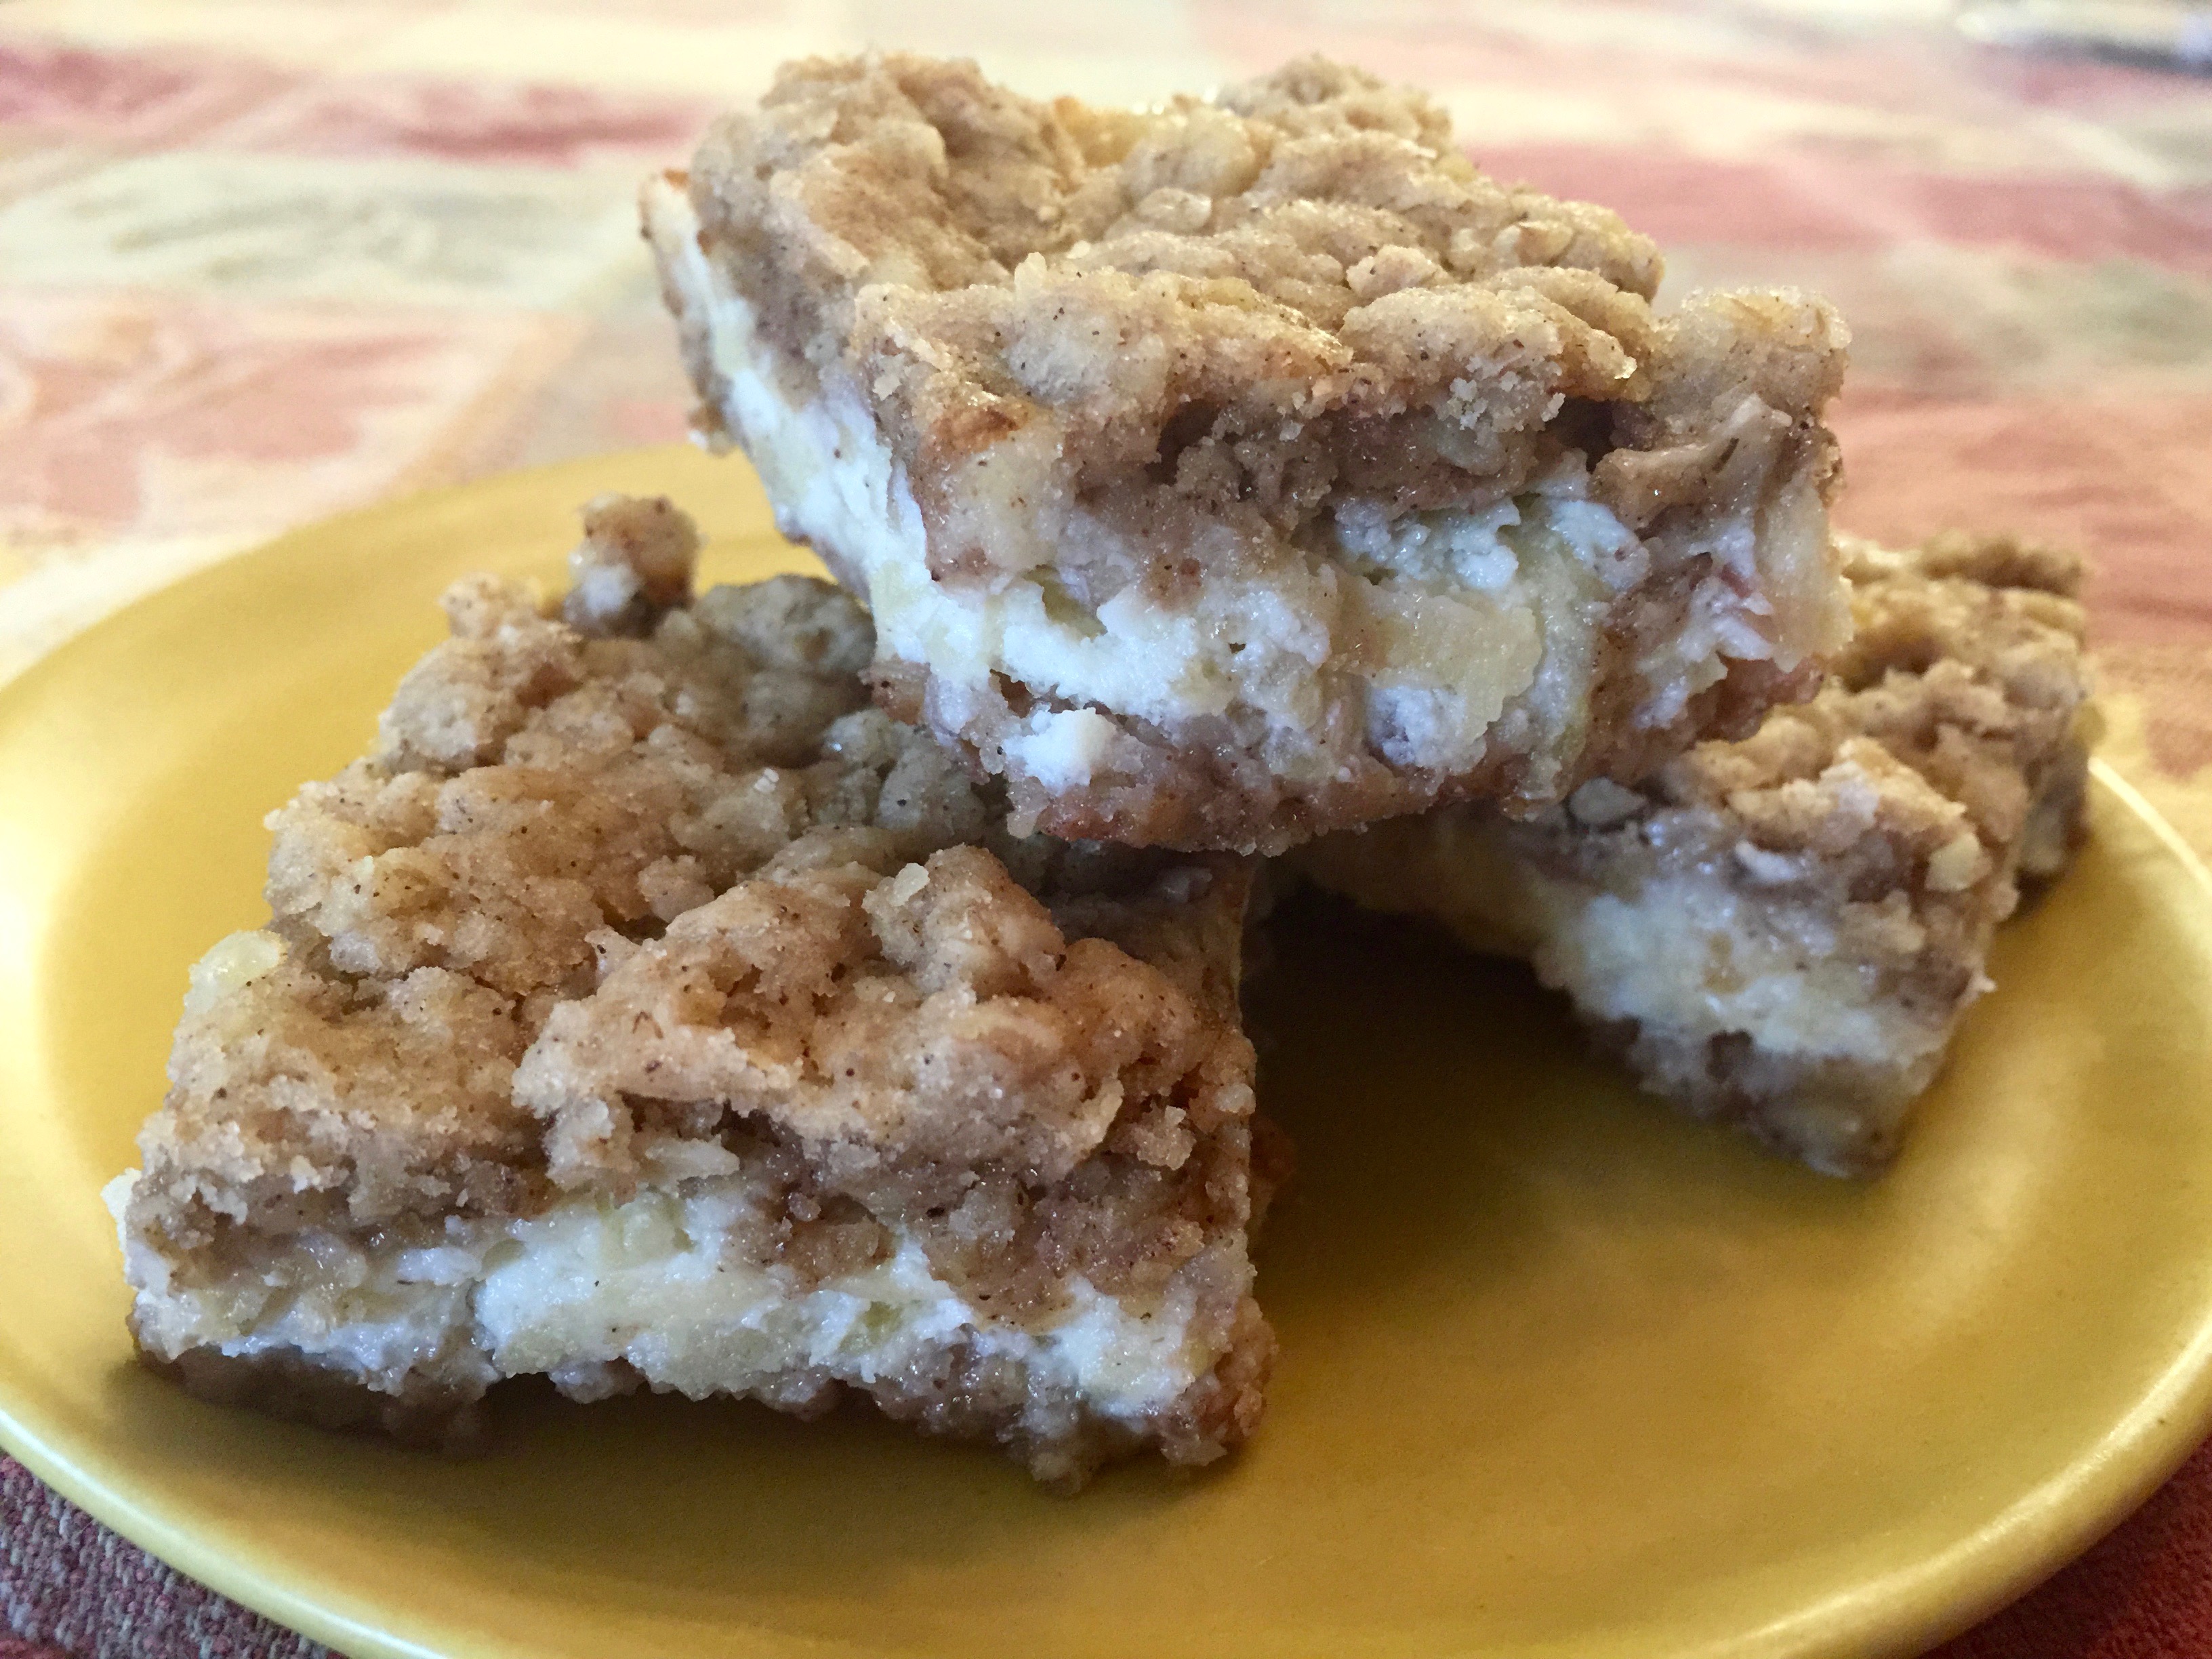
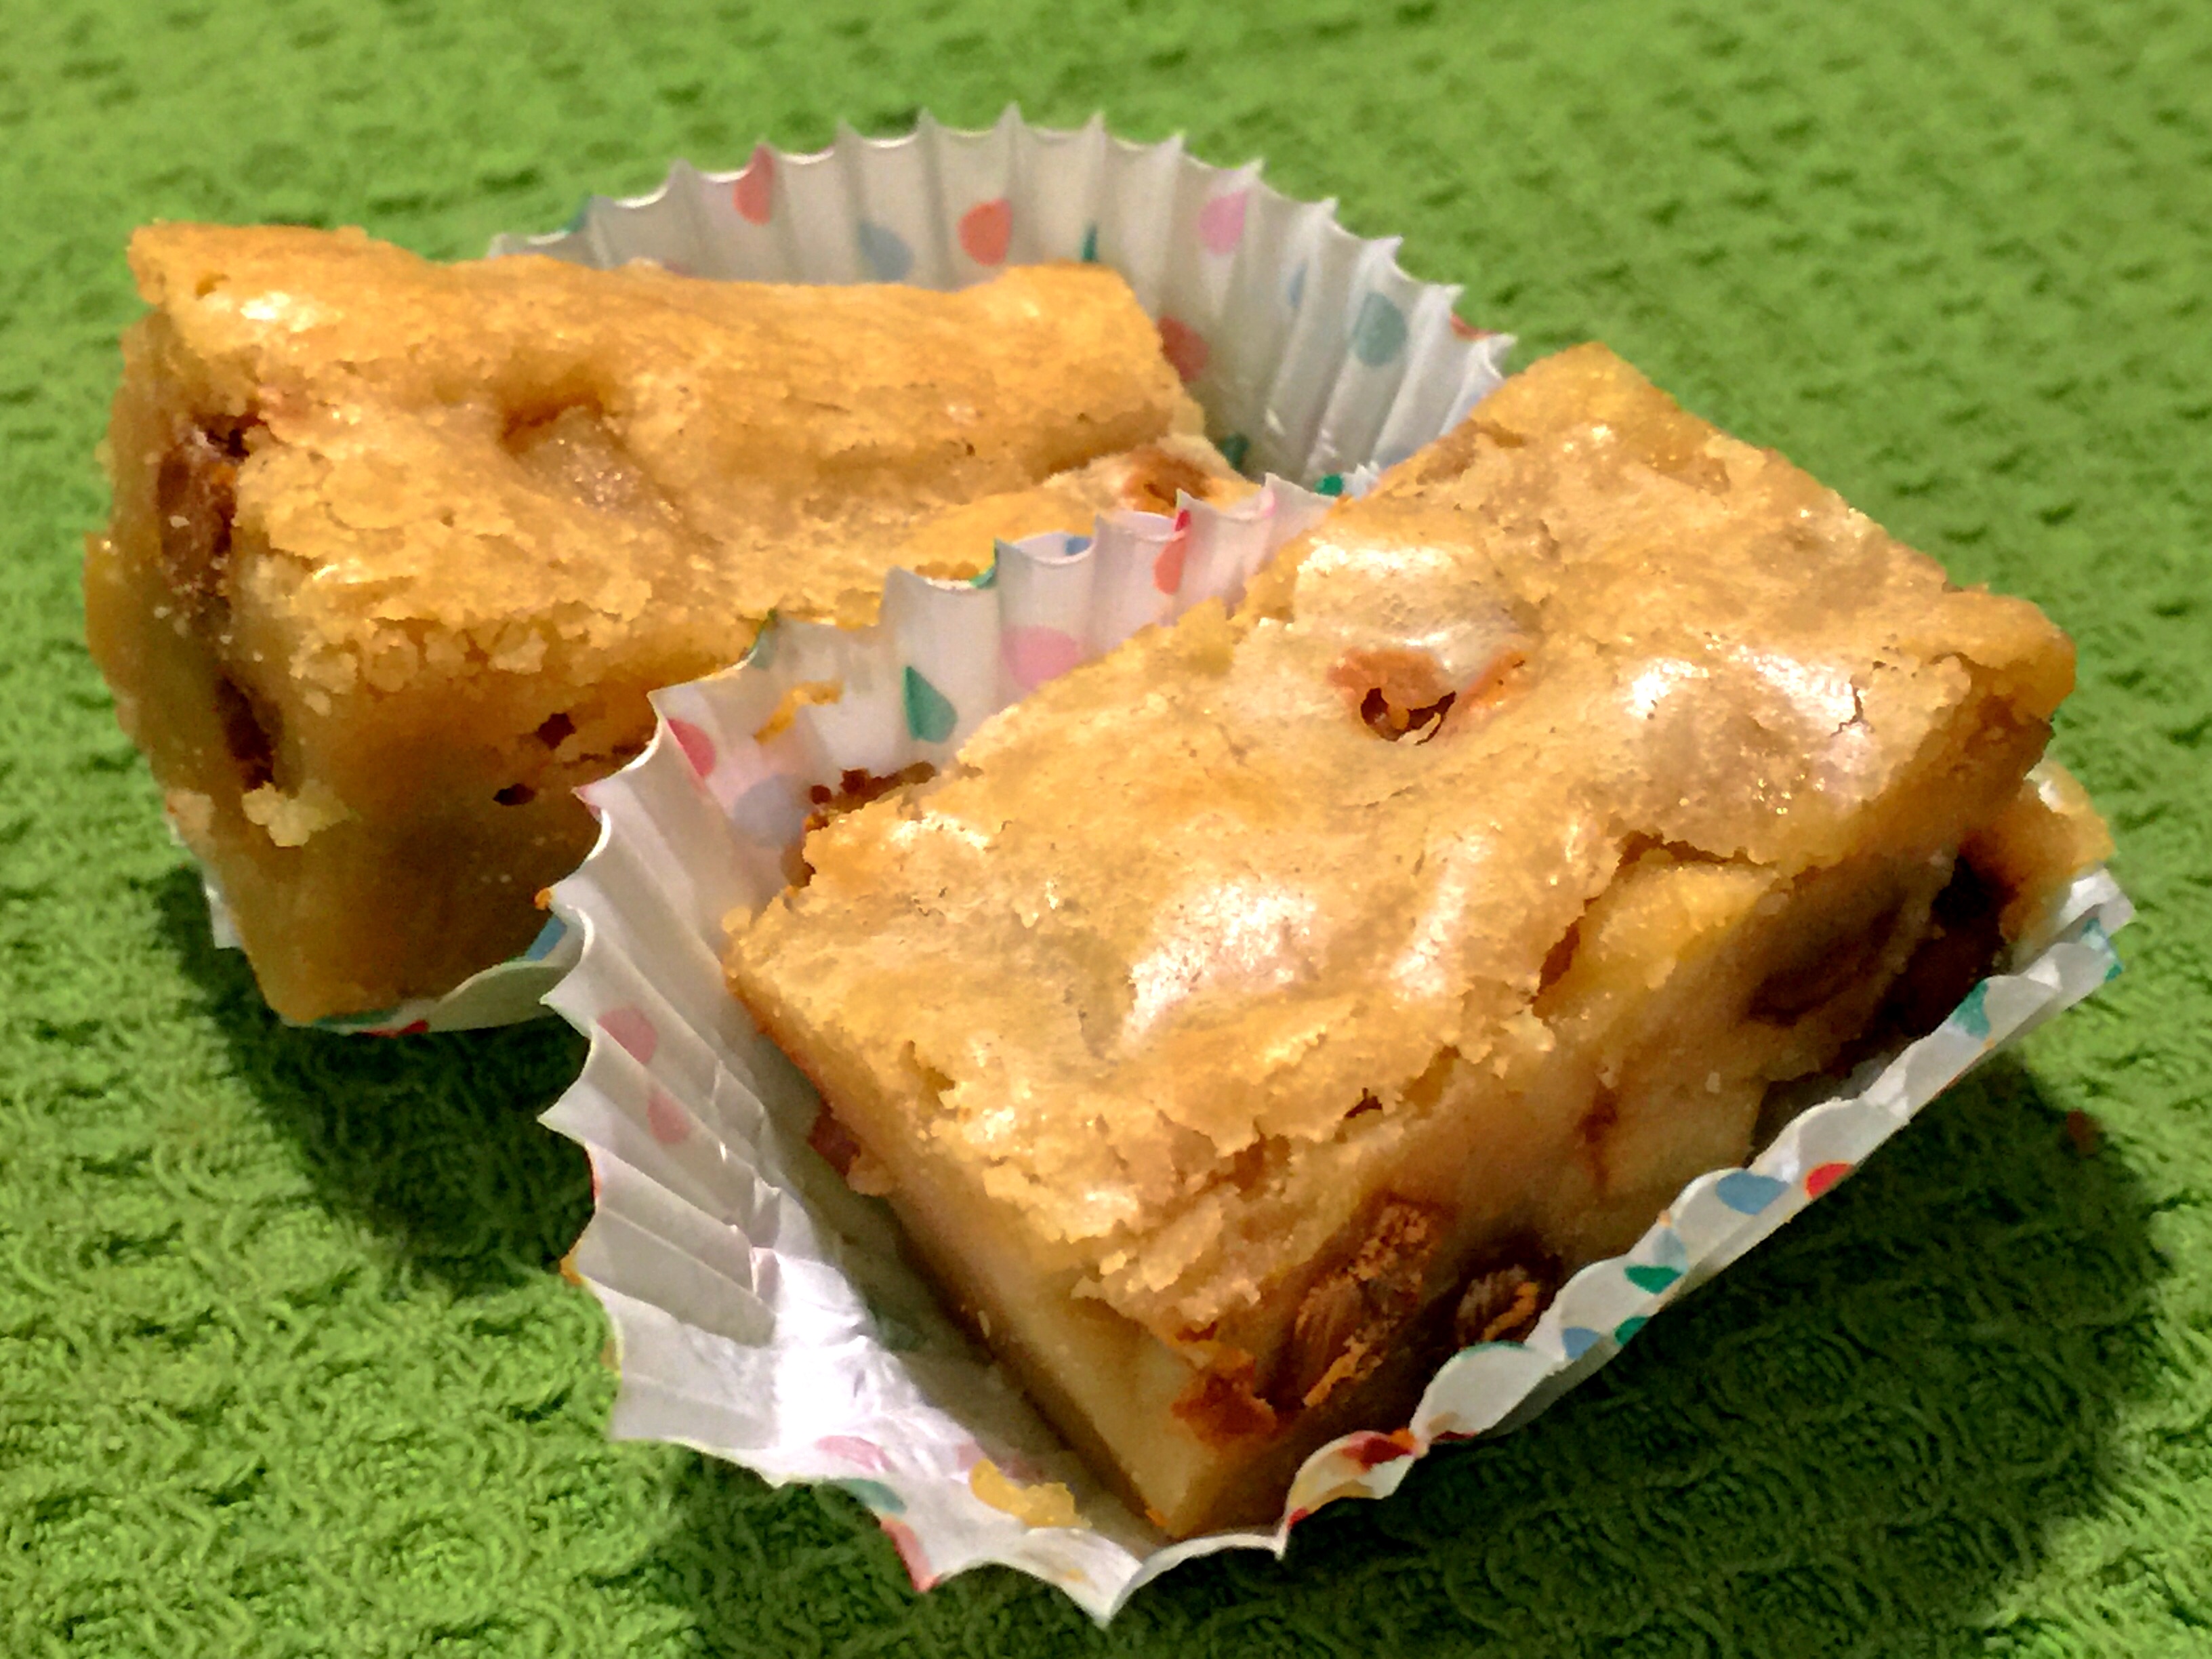
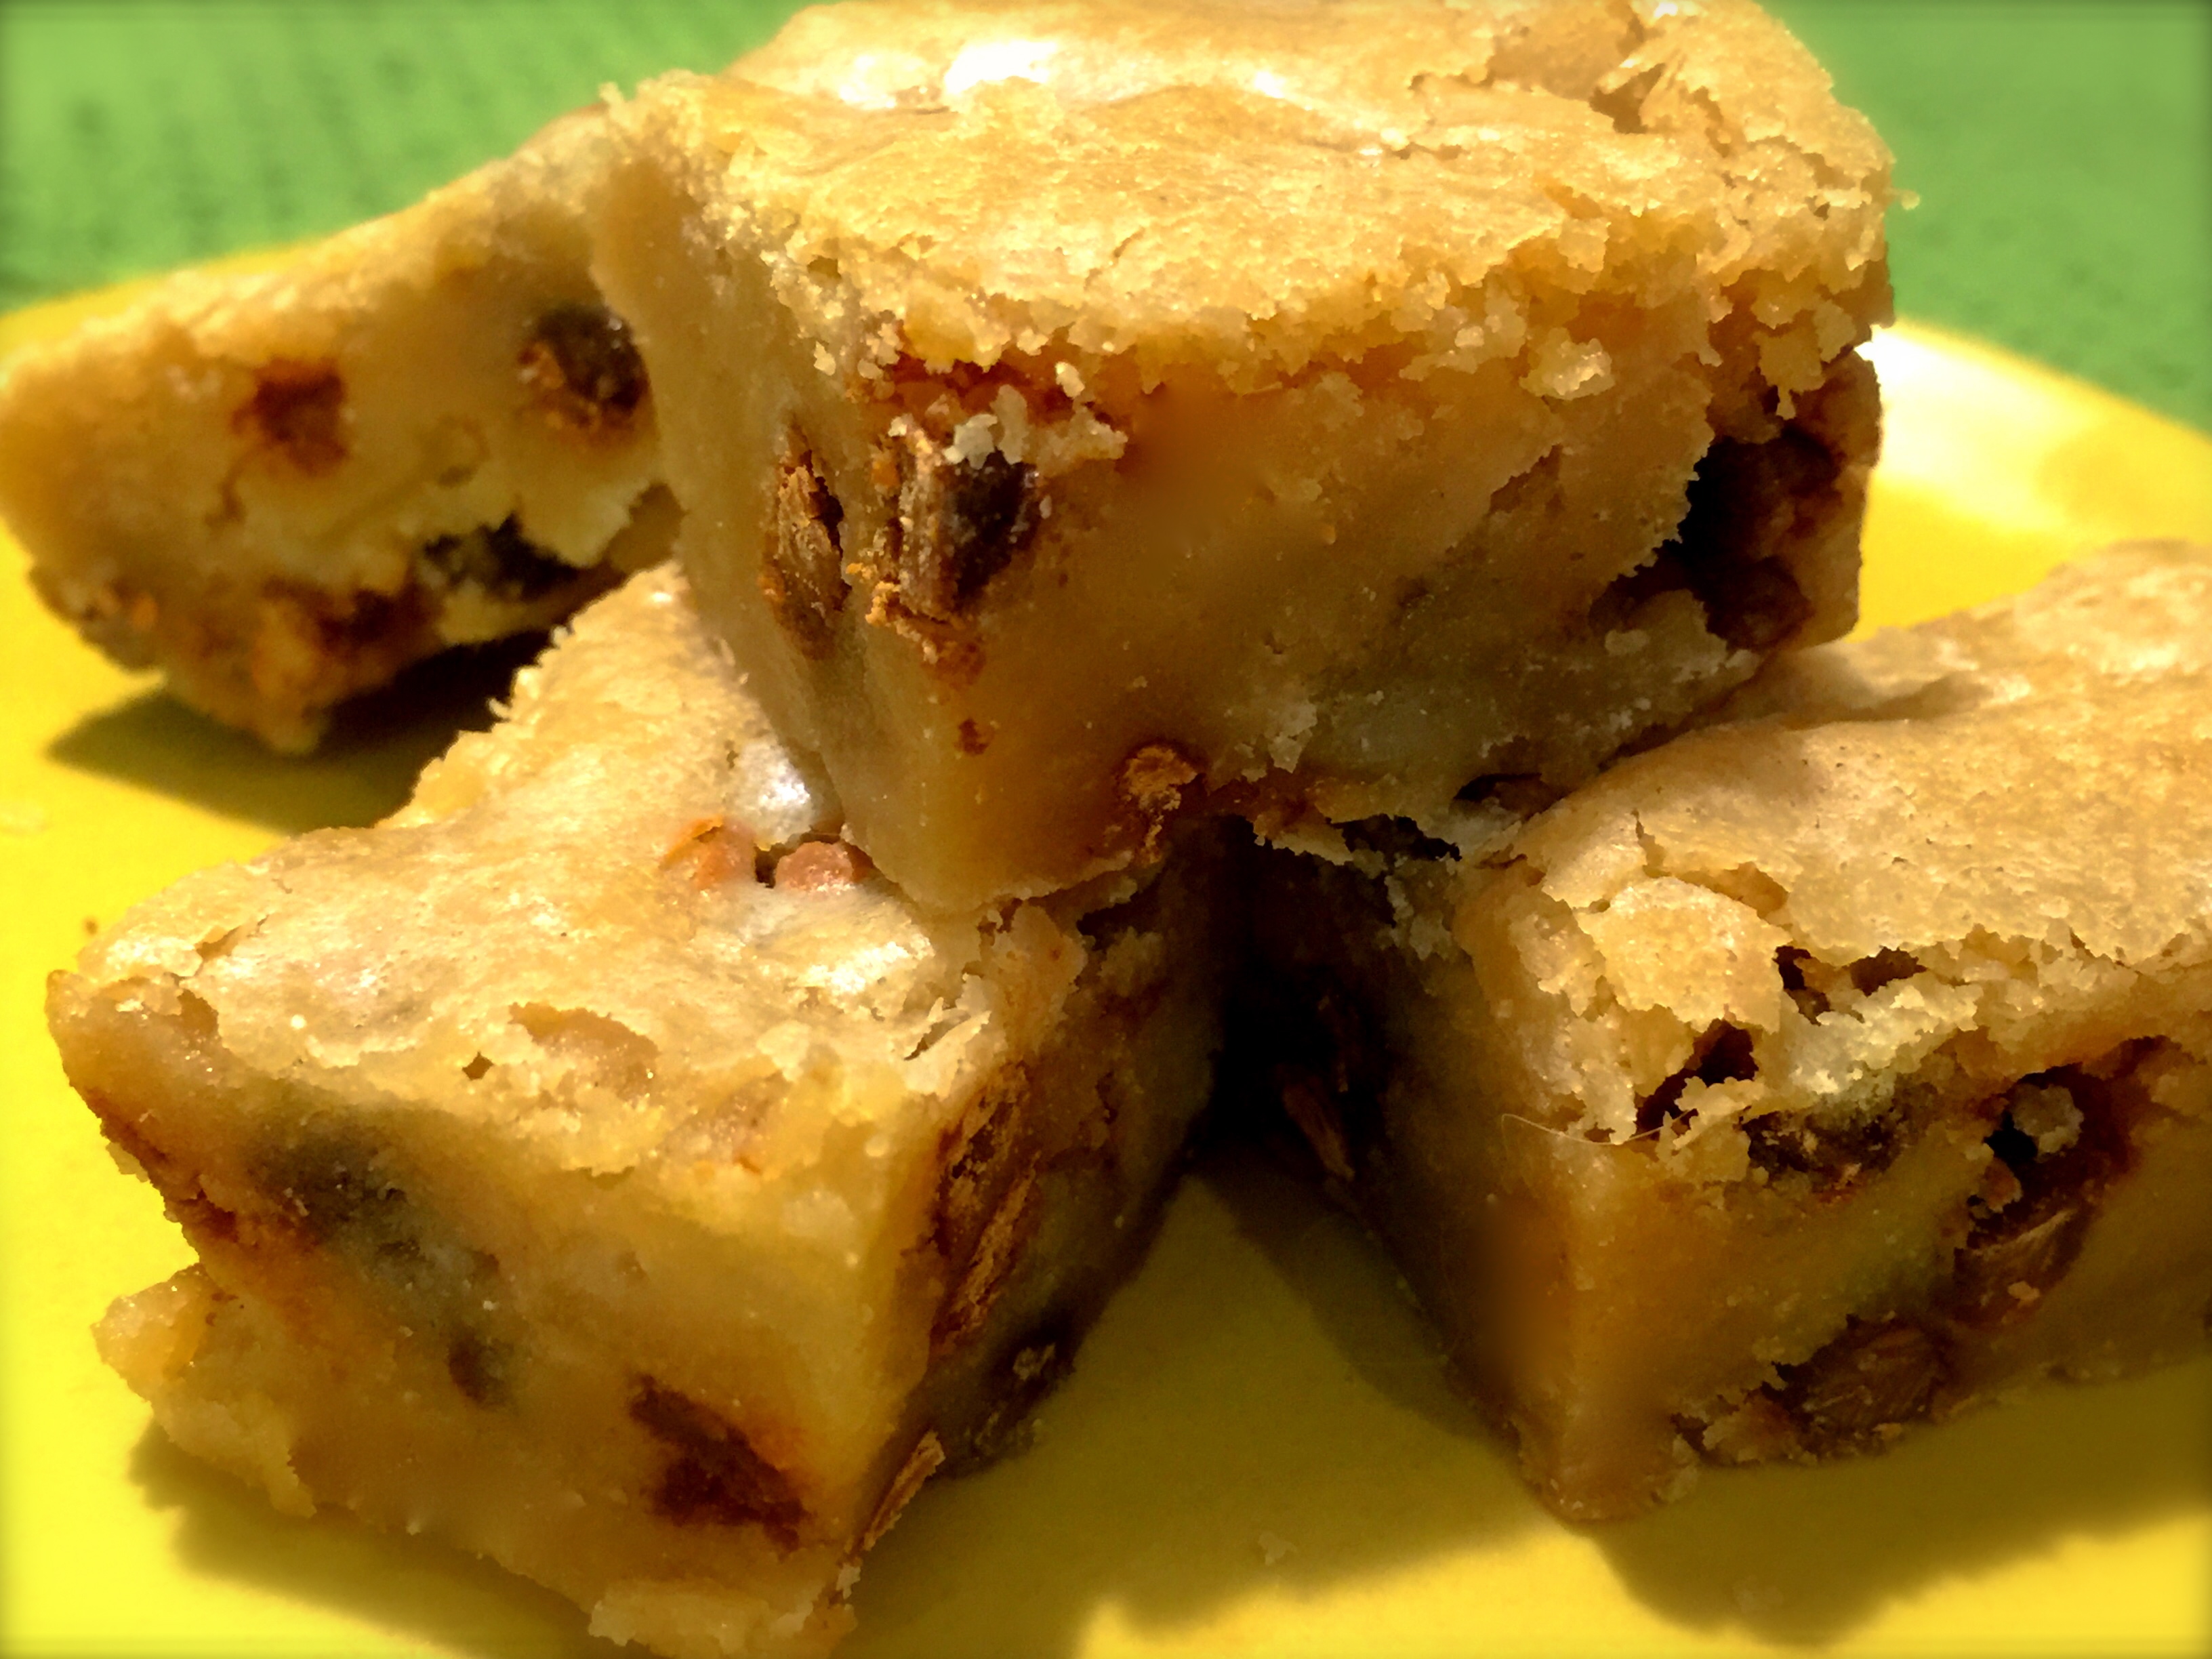
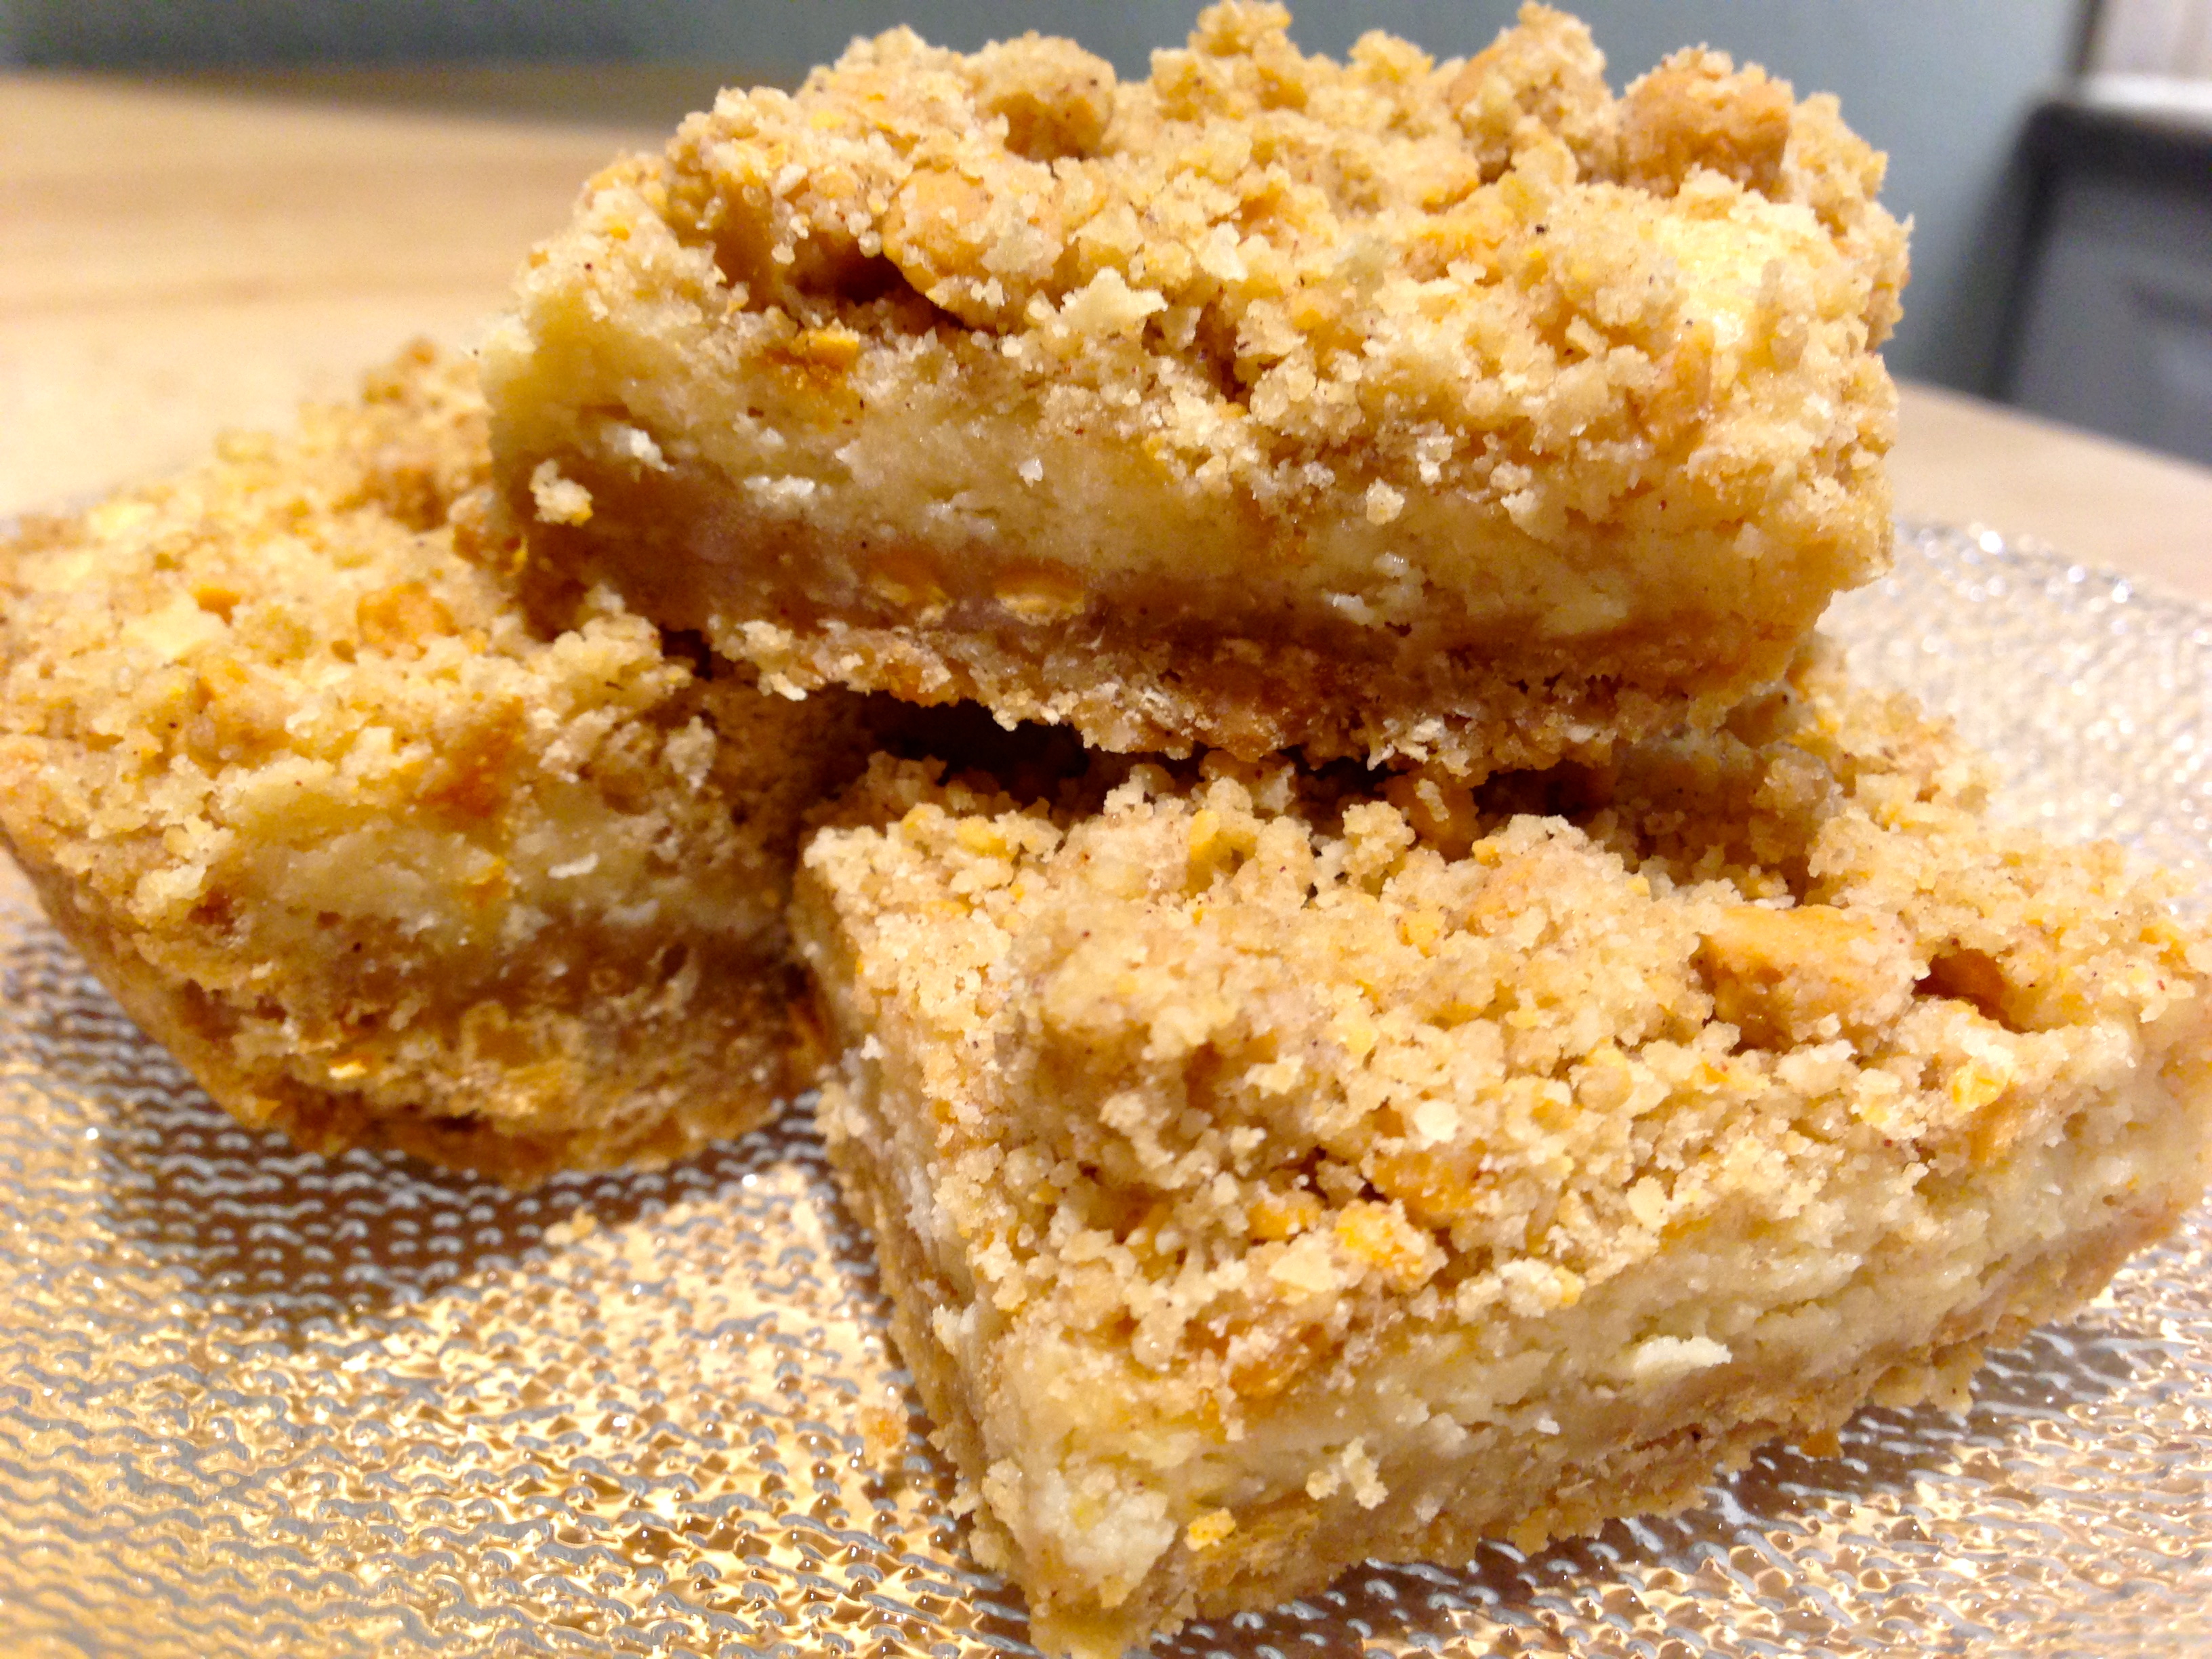
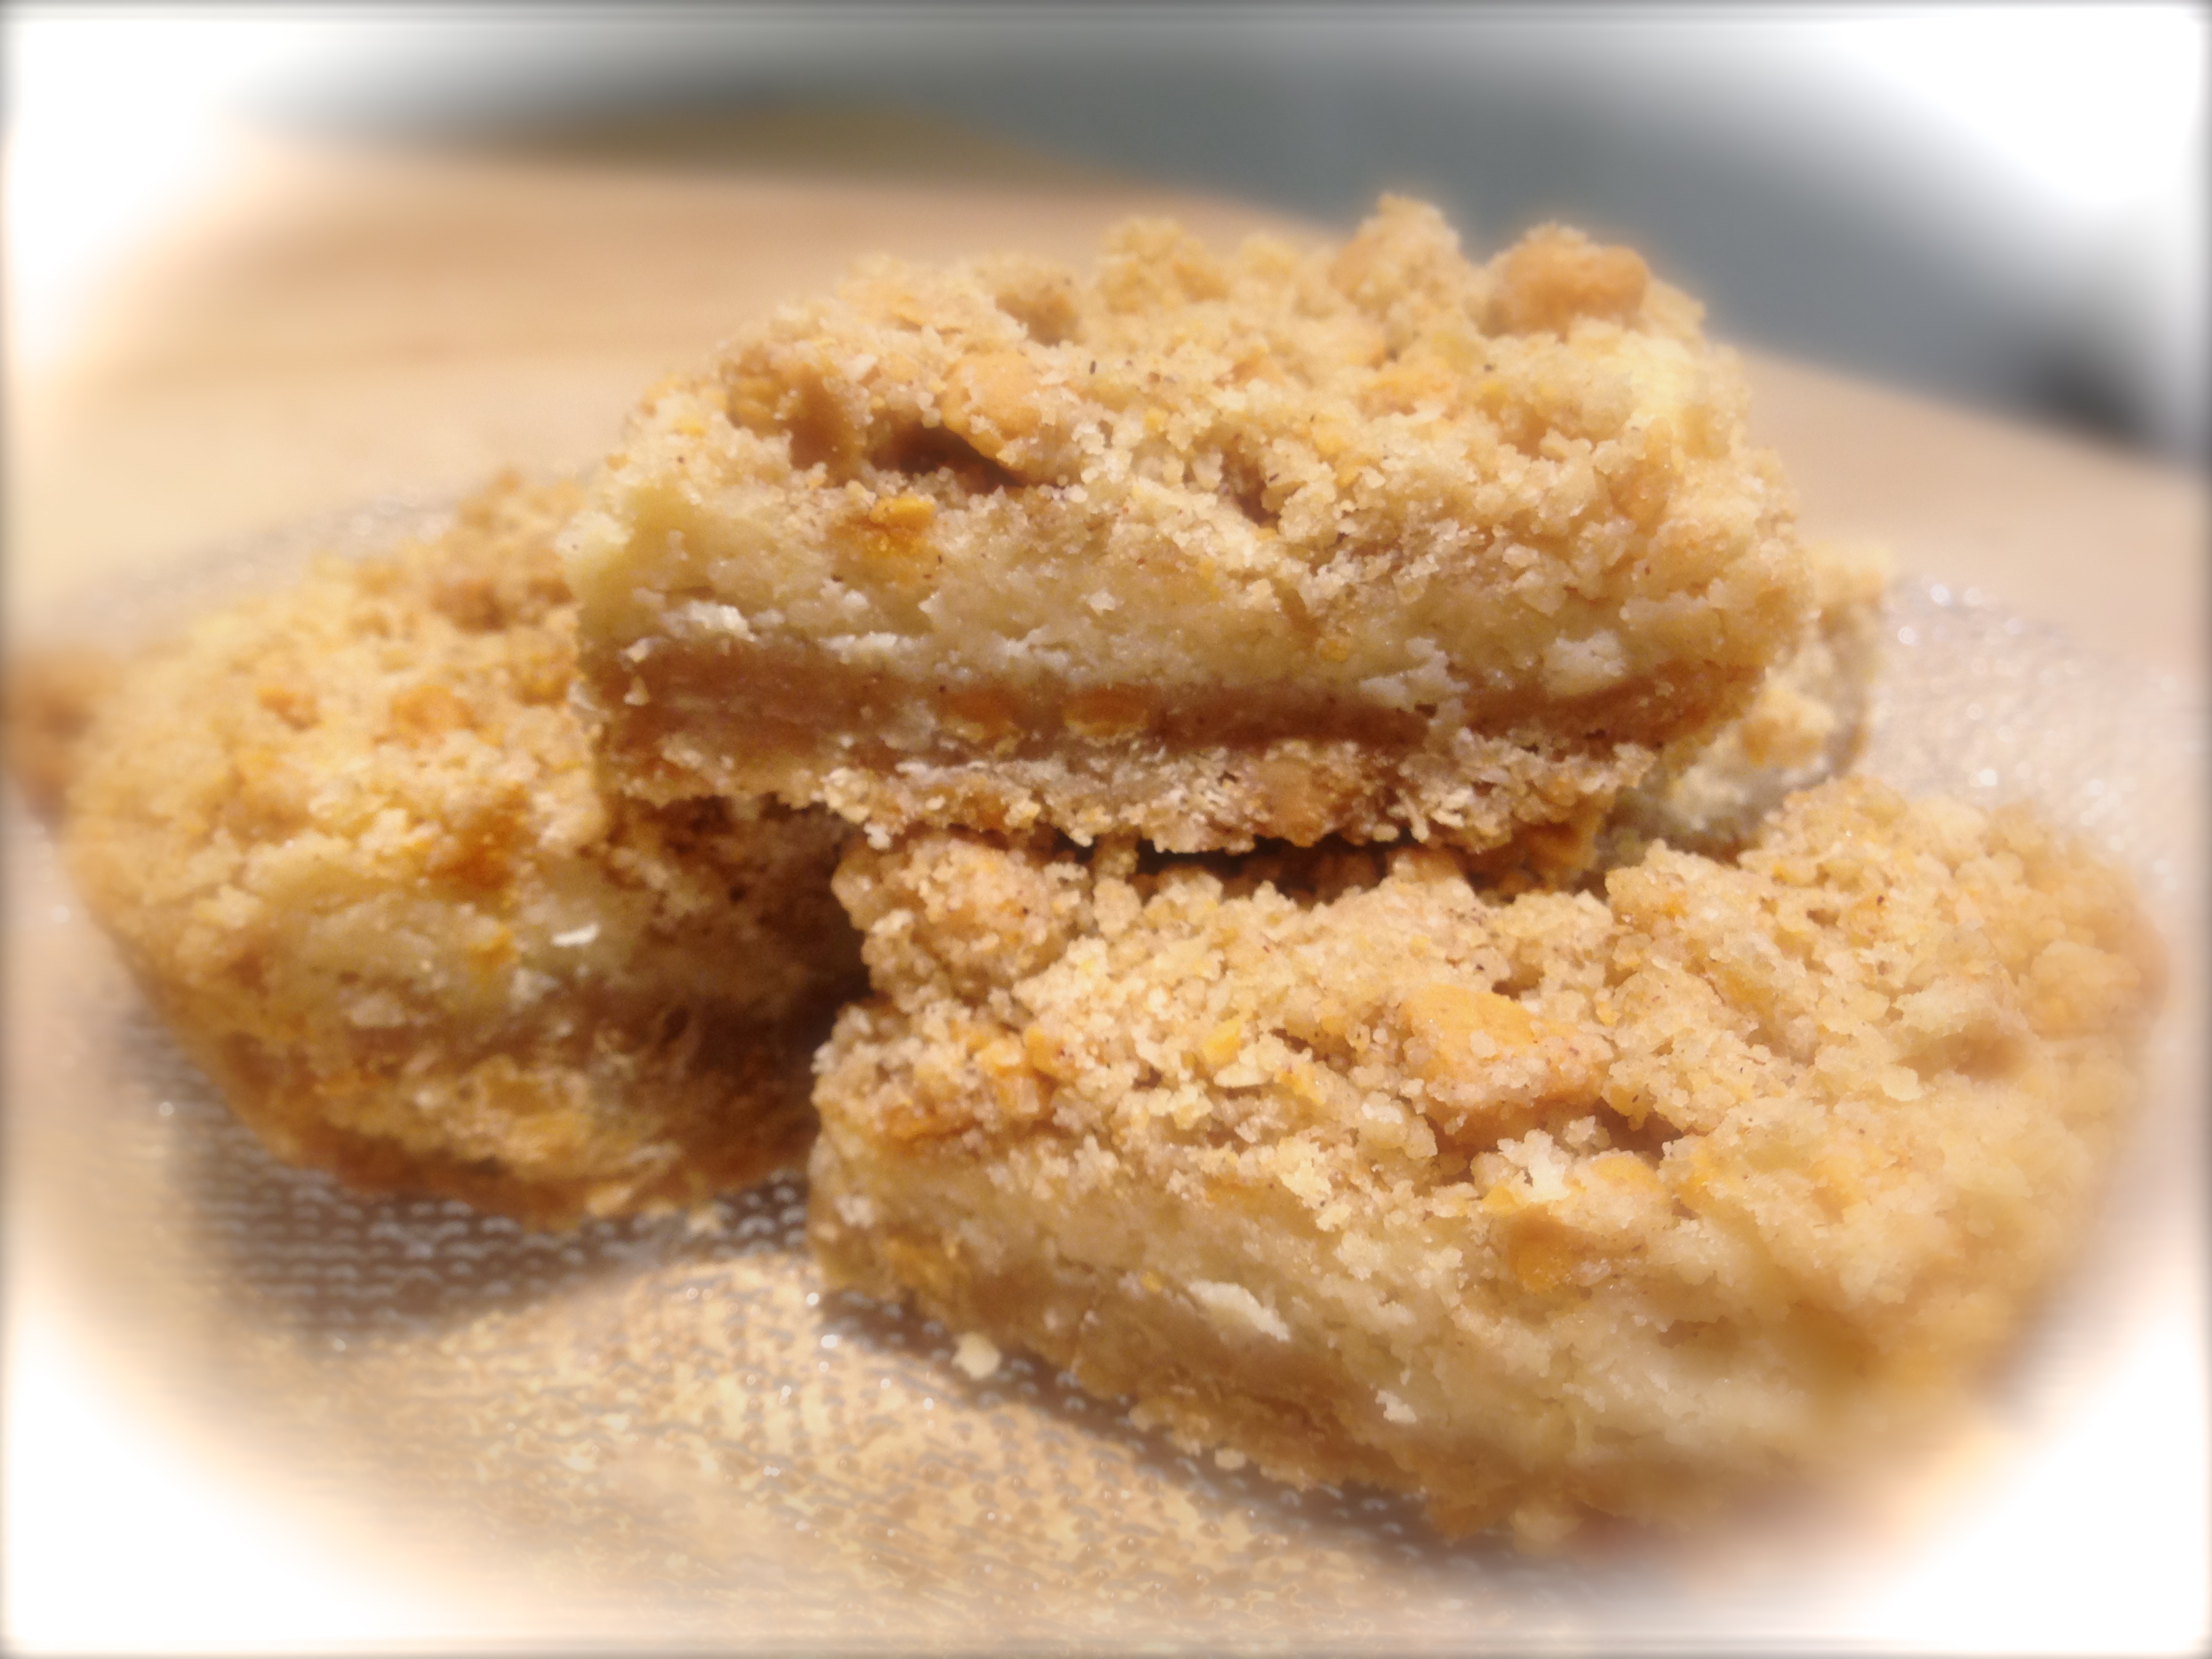
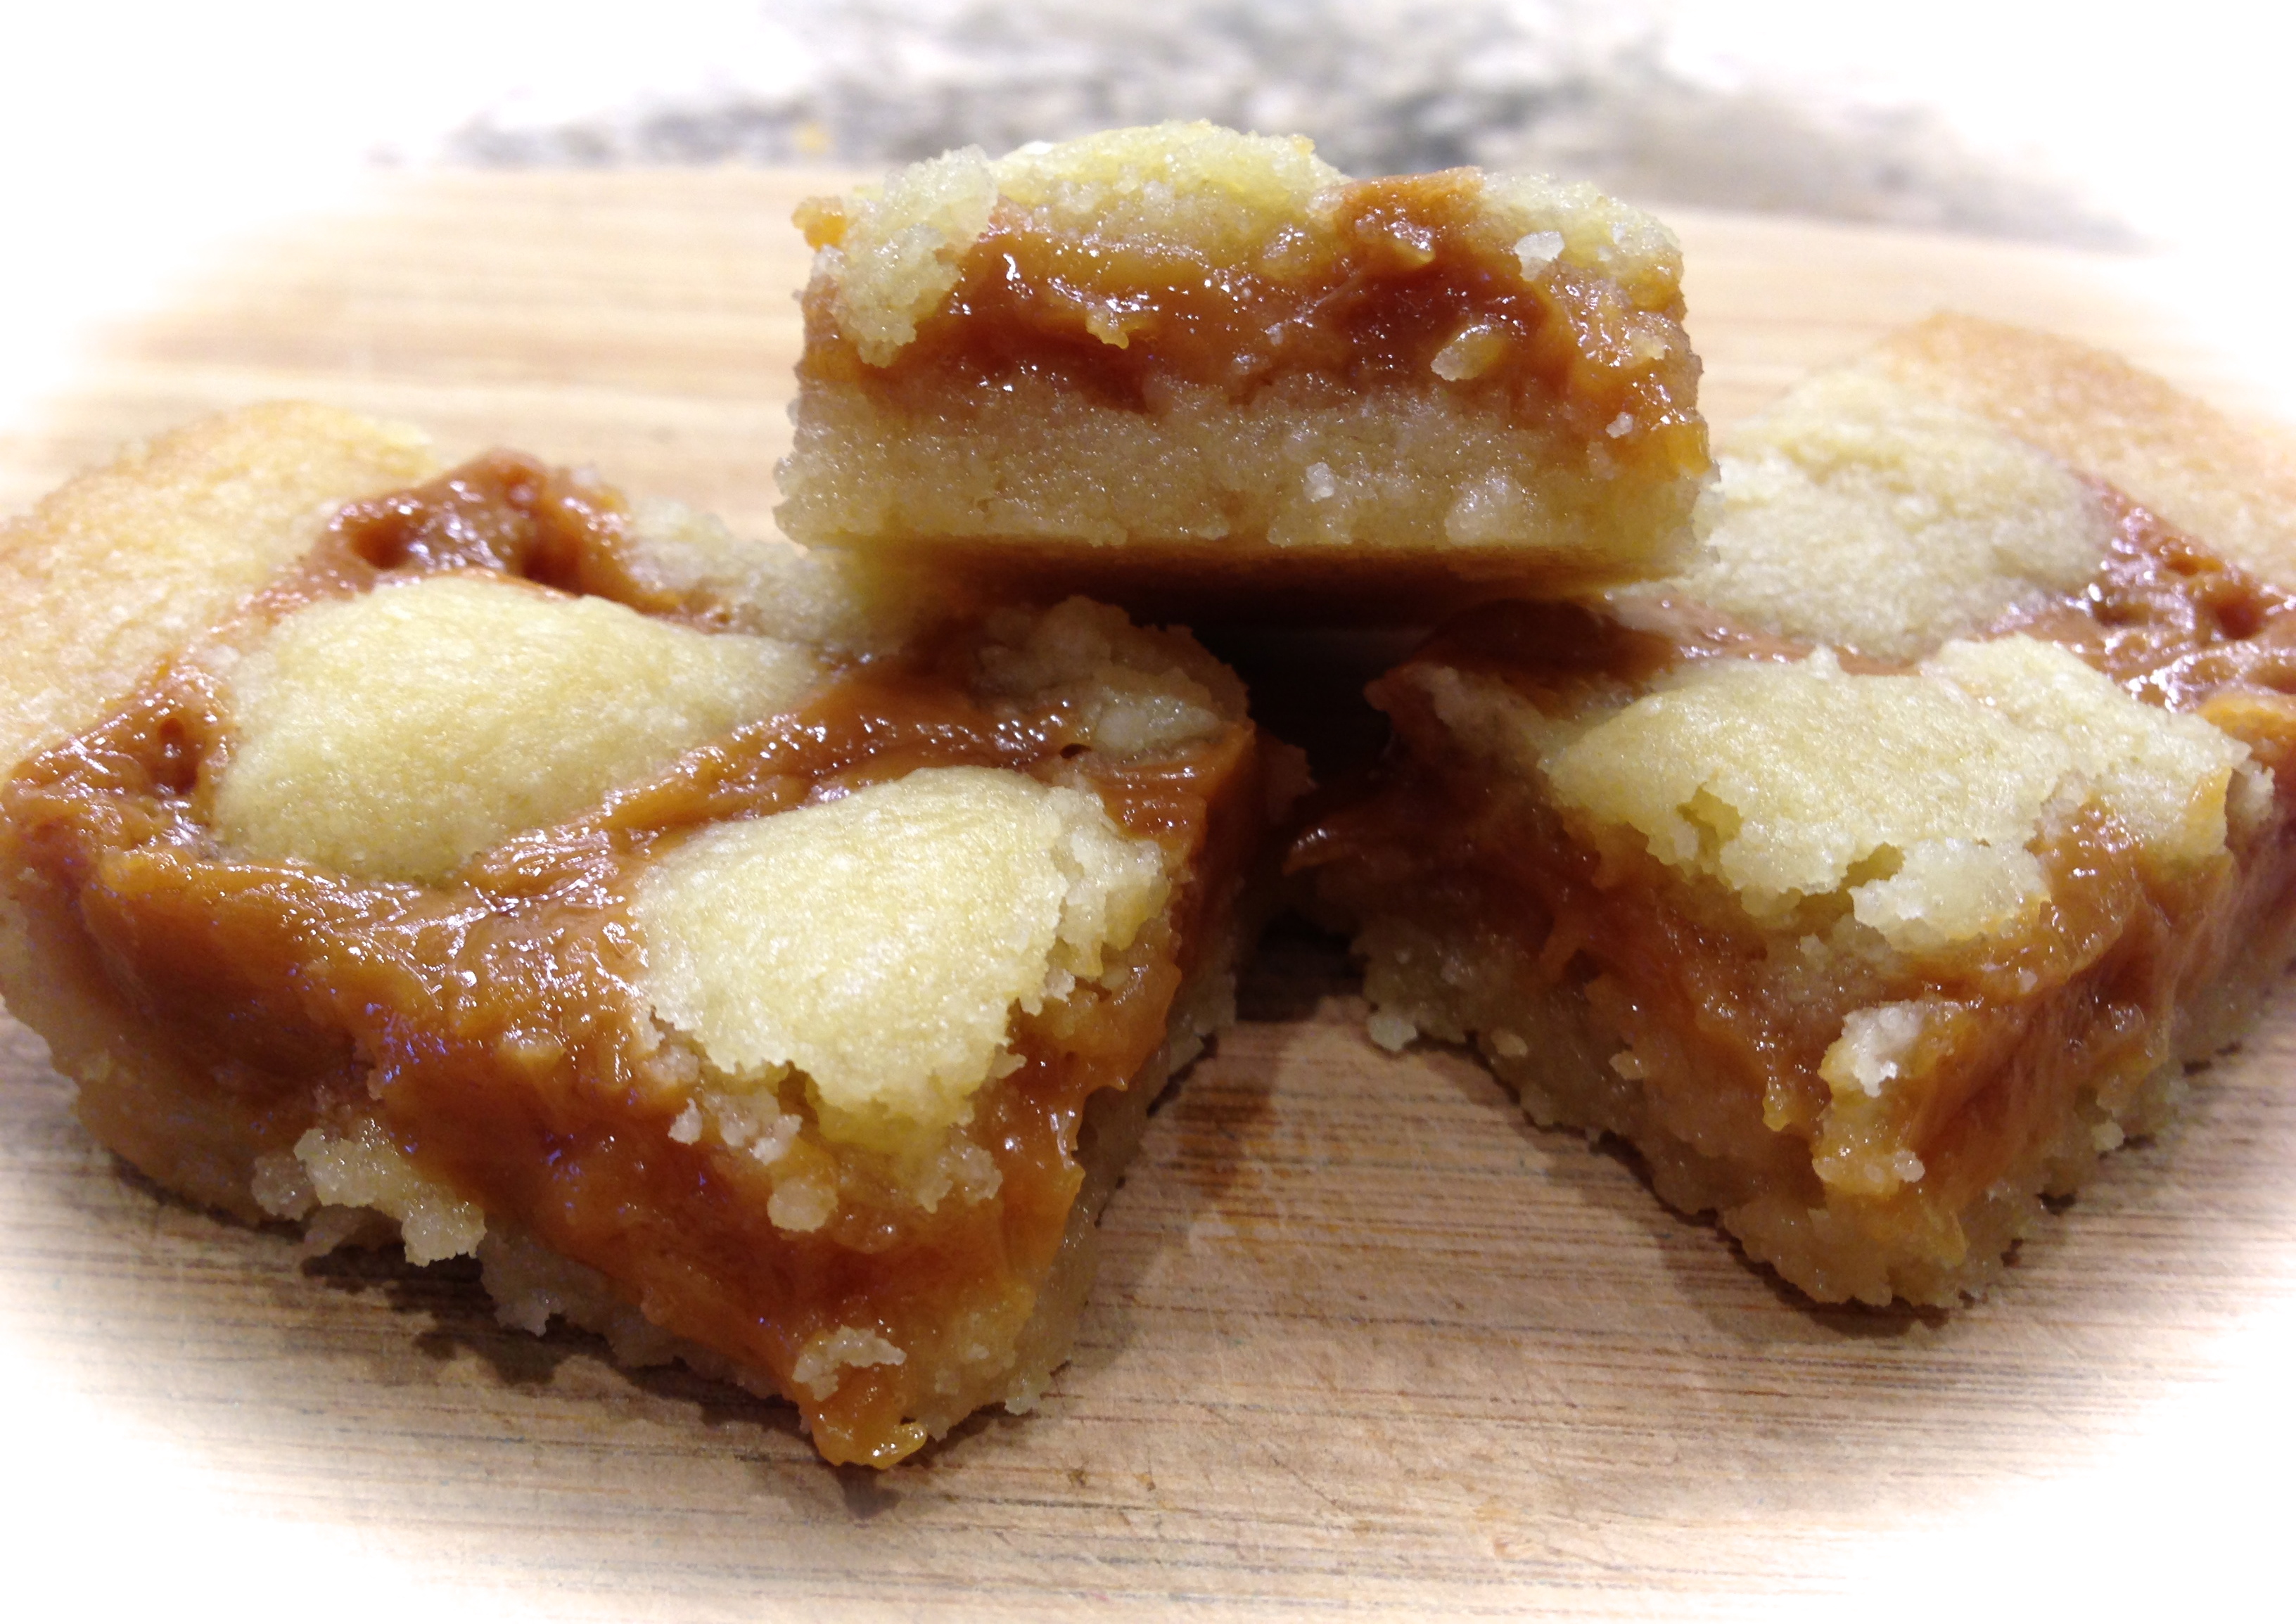
Recipe Rating: B+ There are many reasons why I like this recipe and one very important reason why I think it still may need something. It’s easy to make, not overly sweet (which I like a lot) but the salted caramel taste was not as pronounced as I thought it should be. I’m not quite sure what can be done to enhance the salted caramel flavor. That being said, it’s still a great brownie and you should try it and see if you agree with me.
LESSON LEARNED 1 – Use the ingredients called for in the recipe: I know you’re probably saying, c’mon Jan everybody knows that! And that’s true. But when I first made the recipe I thought to myself, “I’ve got a bunch of walnuts in the freezer – I’ll just use those instead of the Planter’s Salted Caramel Peanuts called for in the recipe”. Then as I’m eating the brownies I’m wondering why I’m not getting more of a salted caramel flavor. Well, last time I checked walnuts did not have a natural salted caramel flavor all on their own. So you see, I told you I can be challenged in the kitchen. I even had to laugh at myself over this one.
Chocolate squares and peanuts layered in the center of the batter
And that’s why I made the recipe twice. I had to see how different the flavor of the brownies would be with the salted caramel peanuts. Lo and behold, to my surprise they really didn’t make a huge difference. But I knew I had to make it with the ingredients called for in the recipe before I could talk about the flavor of the brownies. I expected there to be a much stronger caramel flavor using both the Ghirardelli Chocolate and Sea Salt Caramel Squares and the salted caramel peanuts. Using the Planter’s Peanuts changed the flavor somewhat, but not to the degree that I expected. So if you don’t have them or can’t find them you can use any kind of nuts you have on hand. It won’t make that much difference. Personally I had a very difficult time finding them in our local grocery stores but I eventually prevailed. The peanuts had a very strong salted caramel flavor right out of the can. That flavor seemed to get lost a little in the chocolate during the baking process but that’s not necessarily a bad thing.
LESSON LEARNED 2 – Unsweetened chocolate is really unsweetened: The recipe calls for melting in the microwave 4 ounces of unsweetened chocolate with 3/4 cup of unsalted butter. I’ve done this process before when making my triple chocolate brownie cookies but for some reason the chocolate looks so rich and good (as you can see by the picture near the beginning of the blog) that I’m always tempted to dip my finger in the chocolate and lick it. DON’T. Although it looks divine it does not taste good at all – so resist the temptation. You’ll be glad you did.
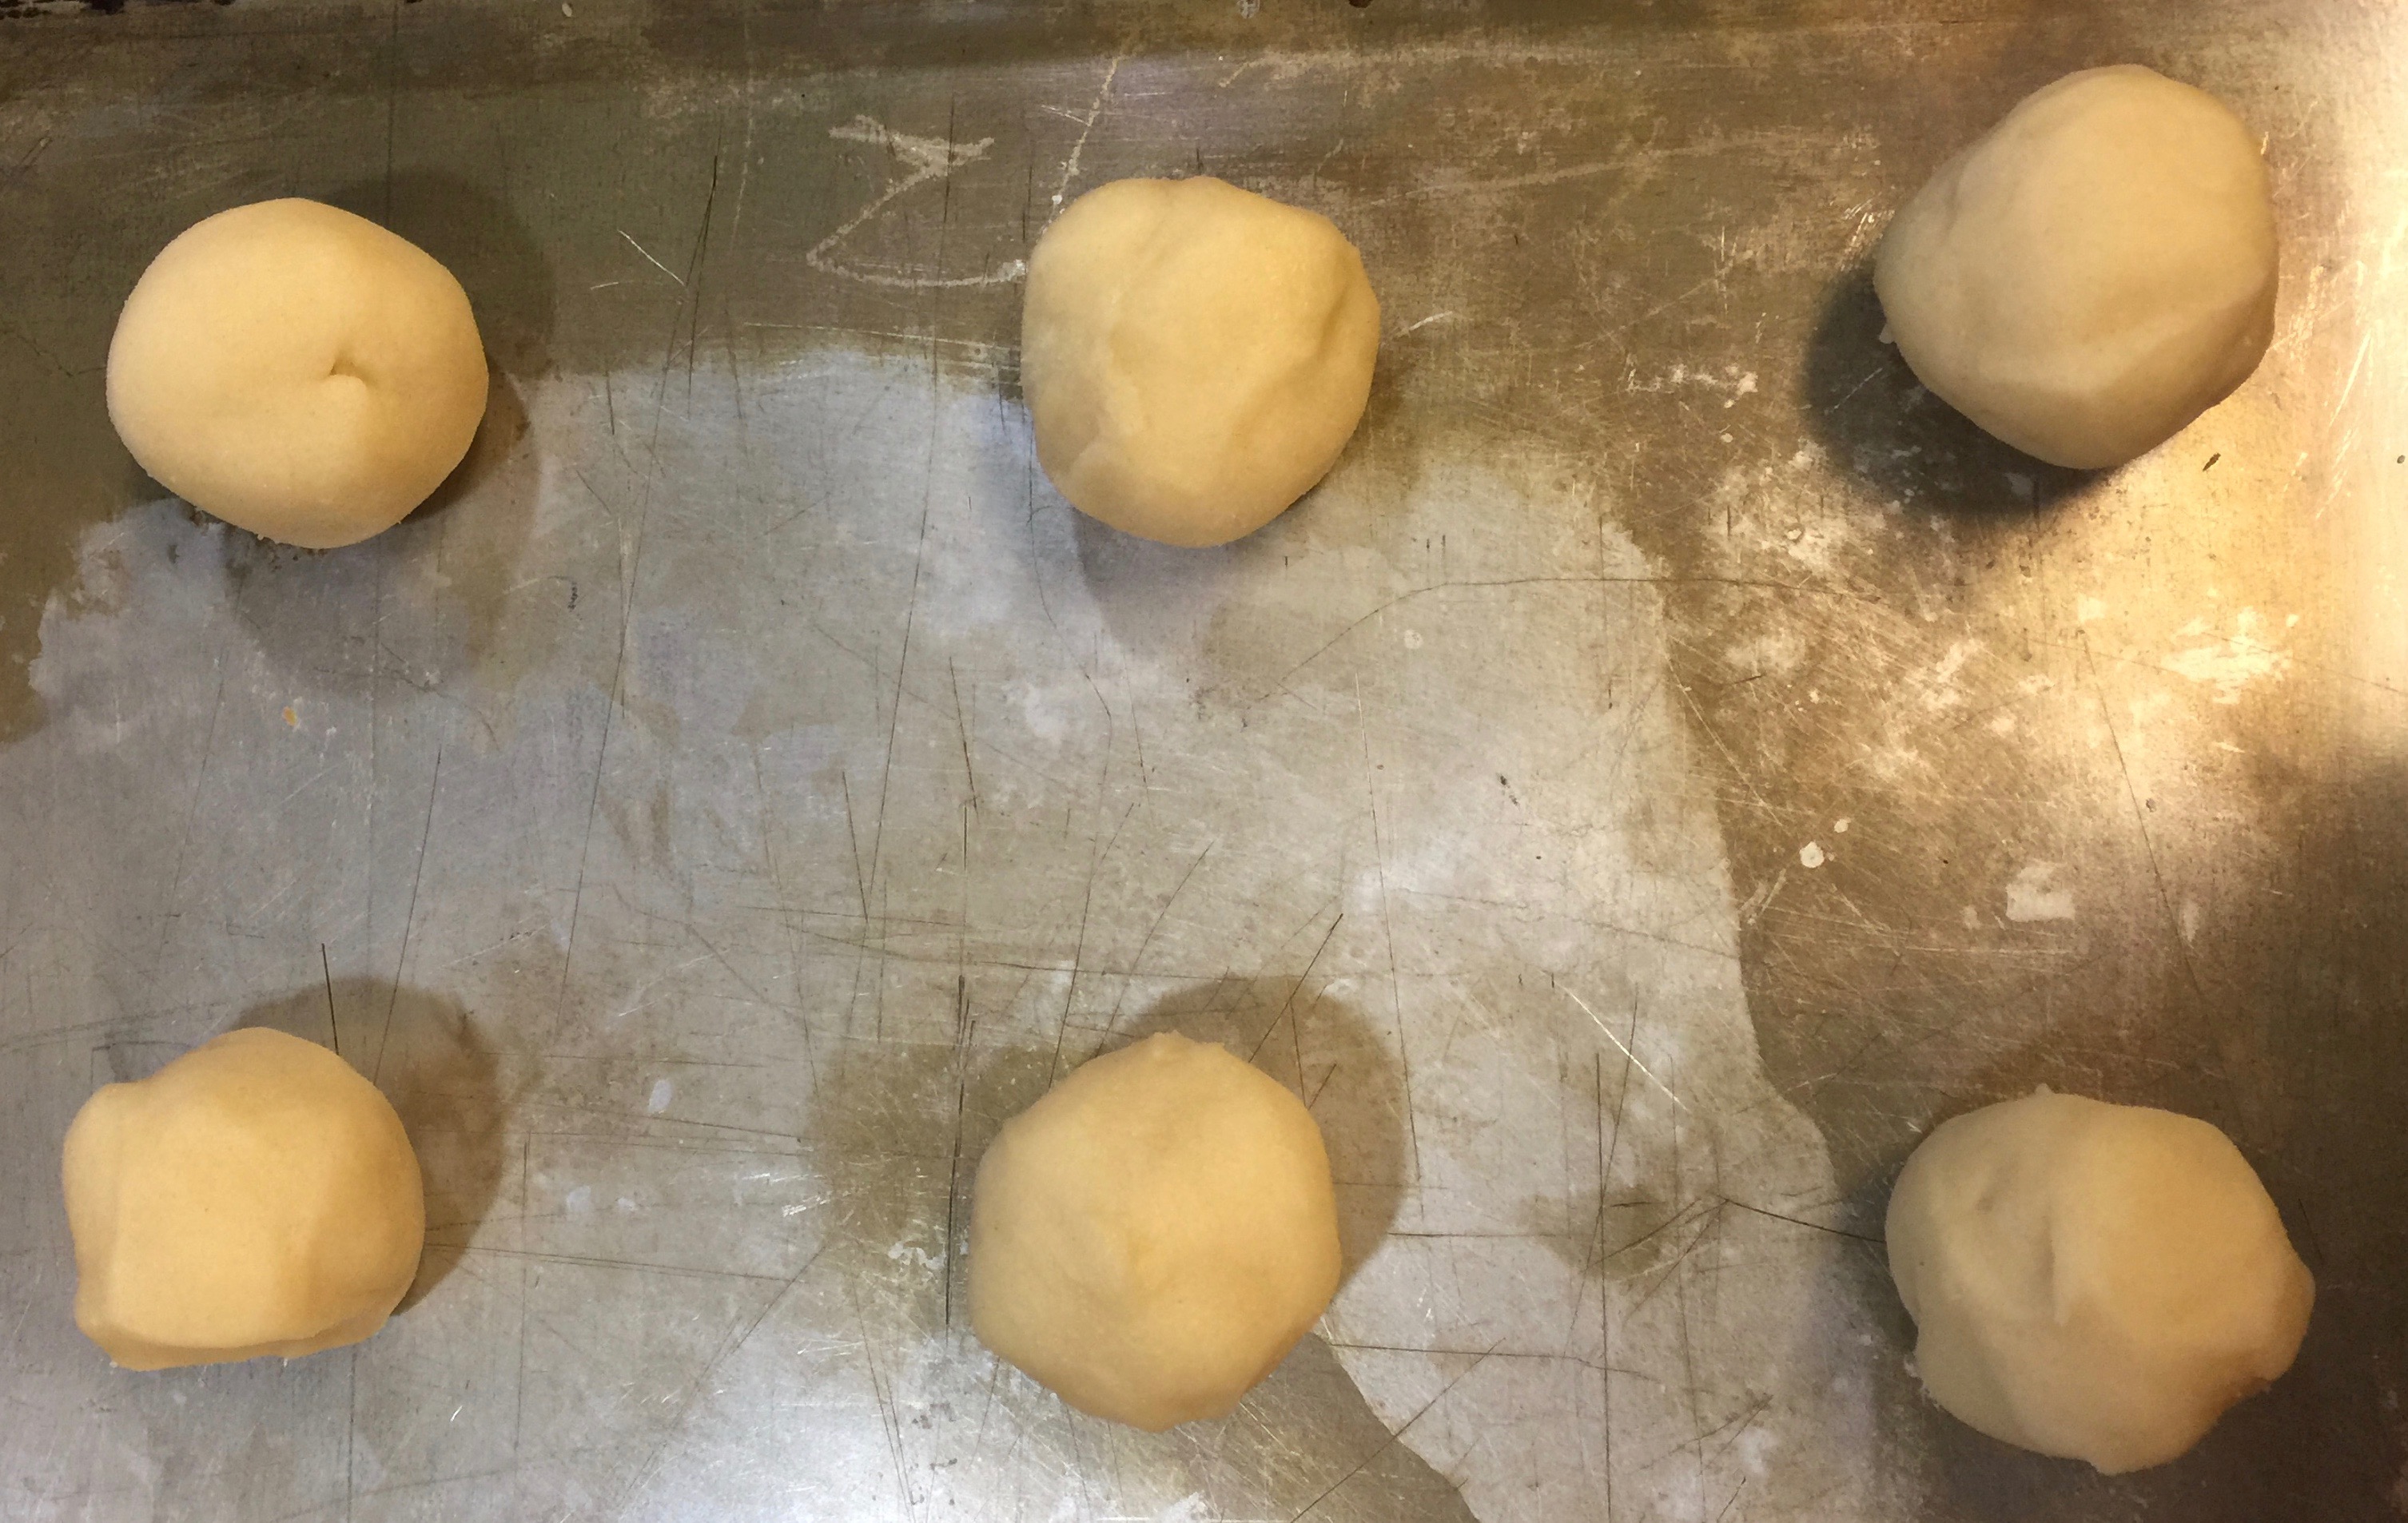
LESSON LEARNED 3 – Room temperature eggs: The reason cooks tell you to use room temperature eggs is they blend more thoroughly into a batter than cold eggs. The challenge is to remember to set them out so that they can become room temperature. Never fear – I have a neat little trick for you. Take whatever number of eggs called for in your recipe and put them in a container of warm water and let them sit for 5 minutes. Voila! you have room temperature eggs. No need to make the water overly hot, just warm feeling to the back of your hand will do. This is a great trick for people like me who never remember to take the eggs out ahead of time.

Brownie batter
LESSON LEARNED 4 – Cooking with eggs: Eggs can be tricky. They can be bad without you knowing it until you crack them open. That’s why I always crack my eggs individually in a small dish before adding them to a batter. That way if I have a bad egg I’m not ruining a perfectly good batter. It’s only one additional dish and can save you a lot of time if you happen to have a bad egg.
Also, I break my eggs up with a fork before adding them to a batter, especially if it is a batter that you mix by hand (which this recipe is). That way I’m not counting on a silicone whisk to break up the eggs. The job has already been done.
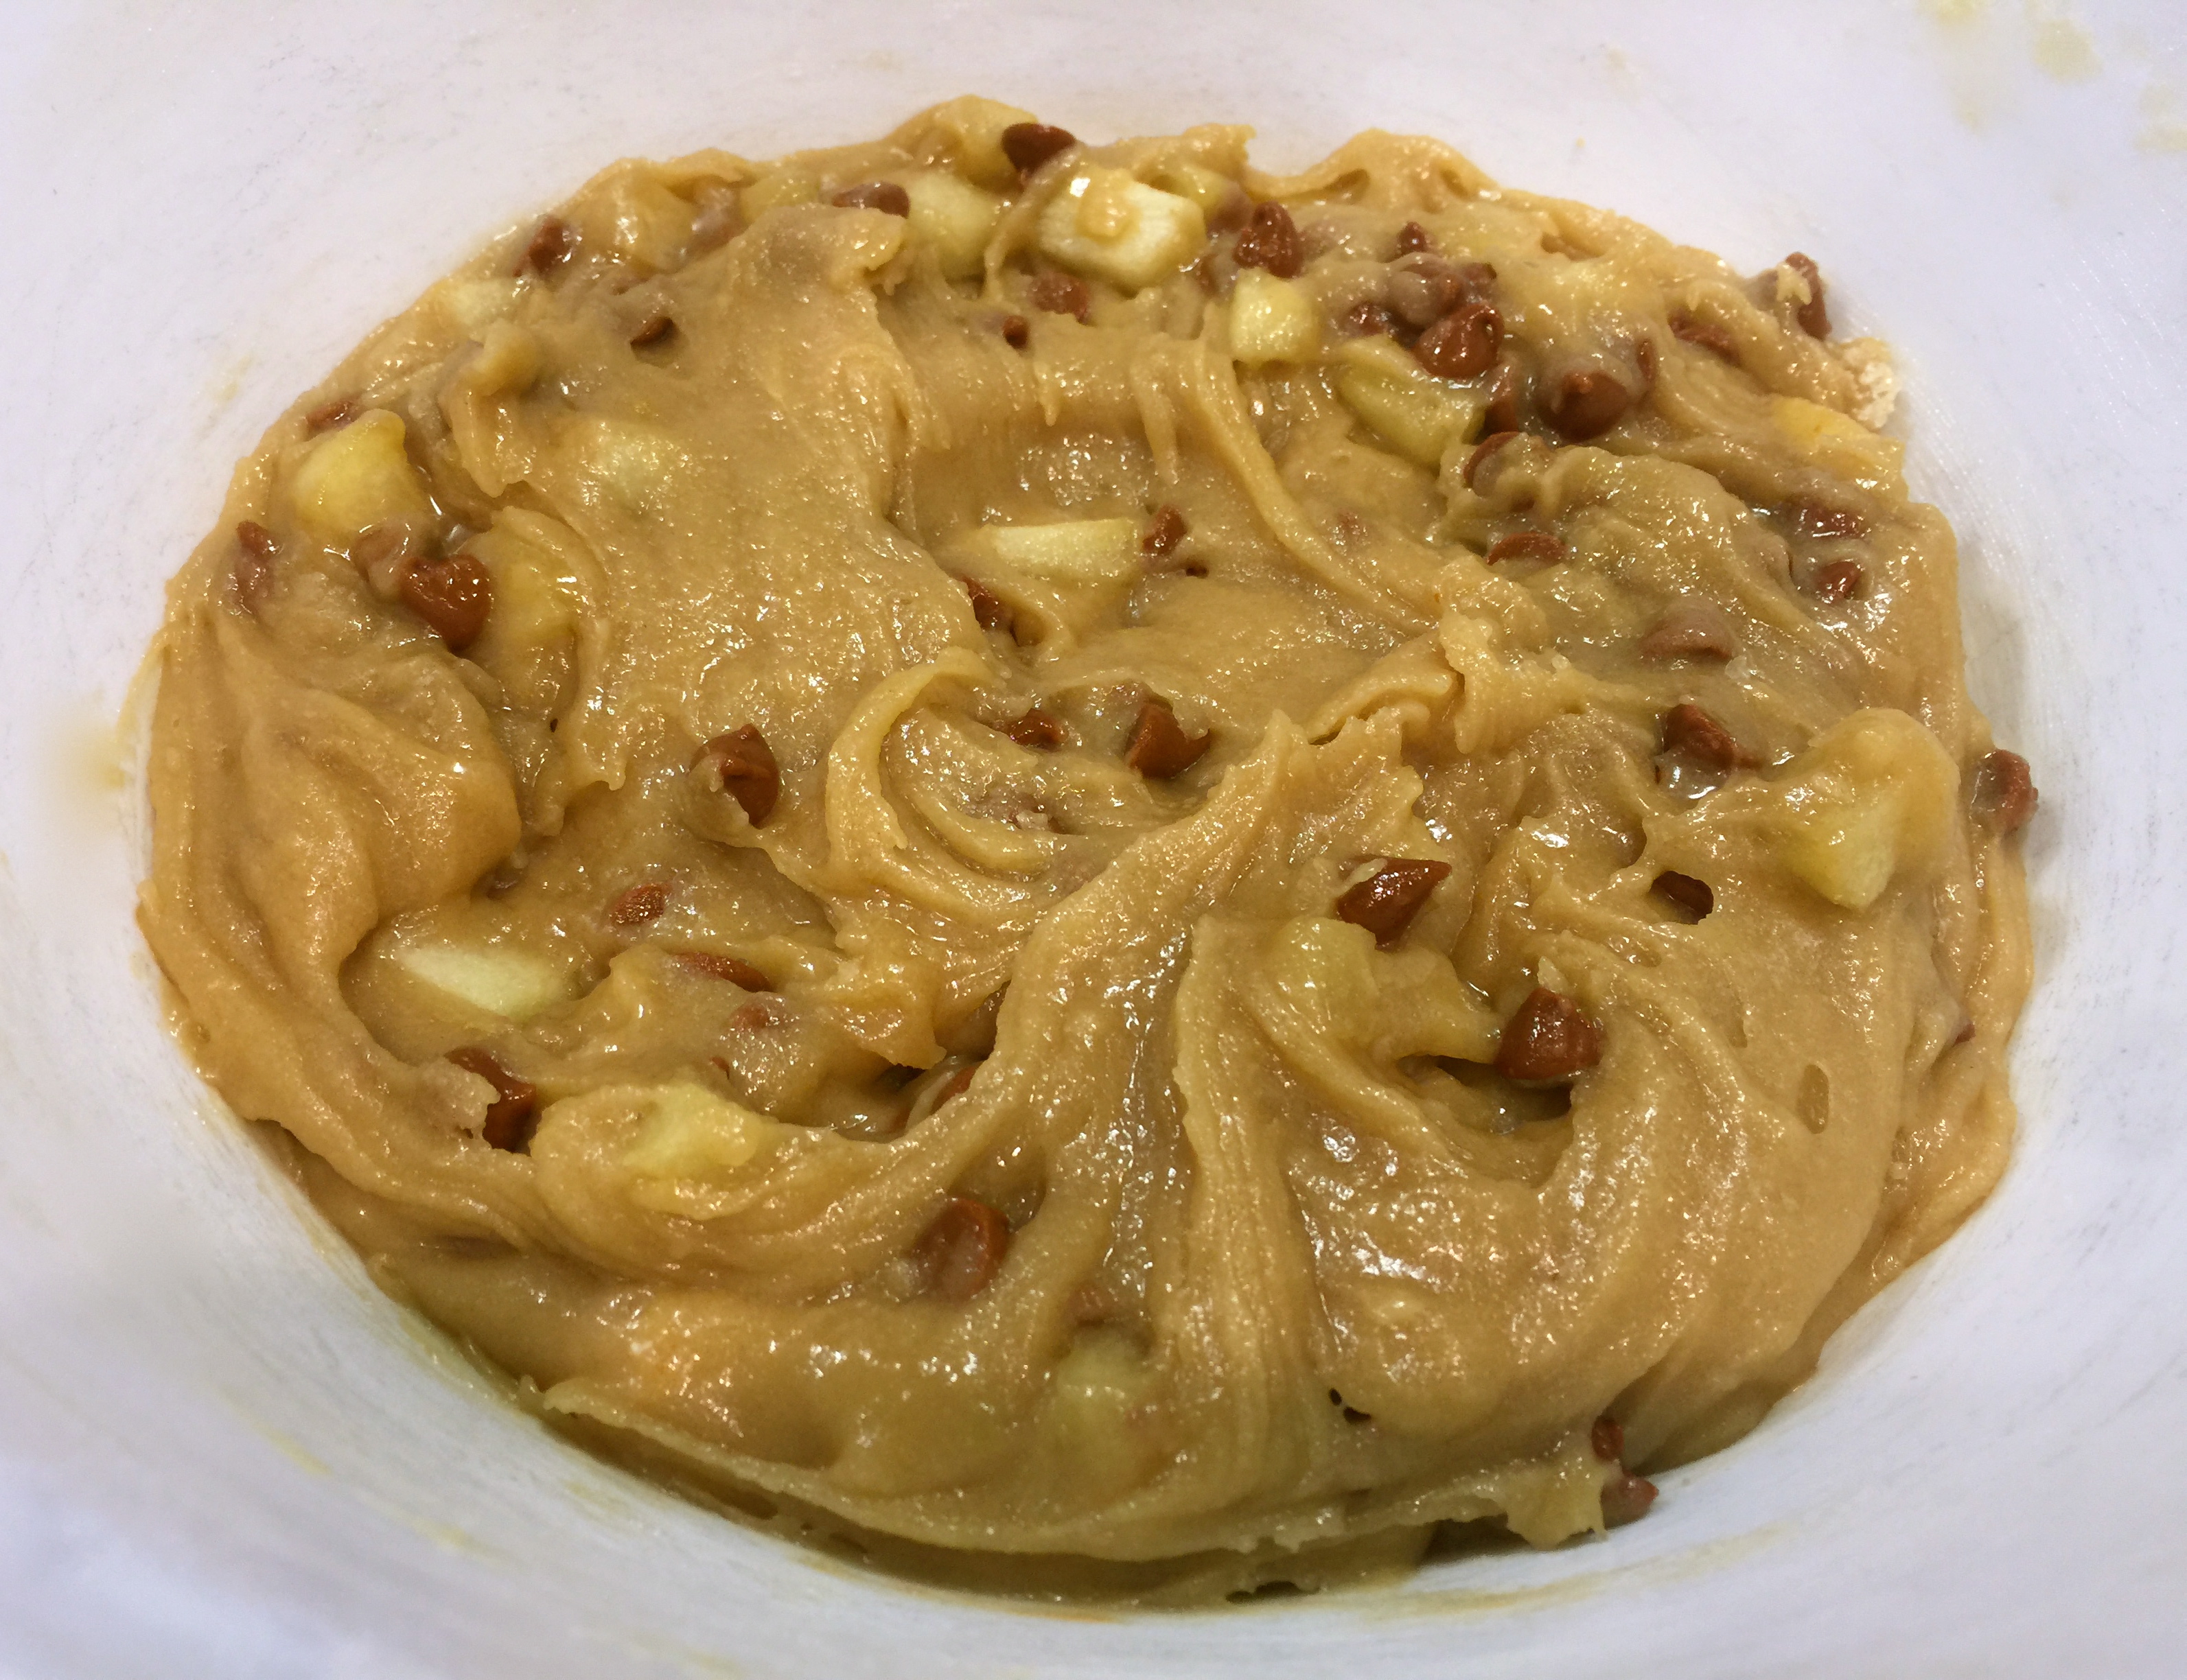
Lesson Learned 5 – Do not over mix: This is easier said than done but it is very important for achieving a cake or cookie that is not tough. With this recipe it’s relatively simple. The last thing you do is mix in the flour until just combined. Not seeing the white of the flour is very easy to eyeball in this recipe. Just make sure you stop as soon as the flour has been completely incorporated.
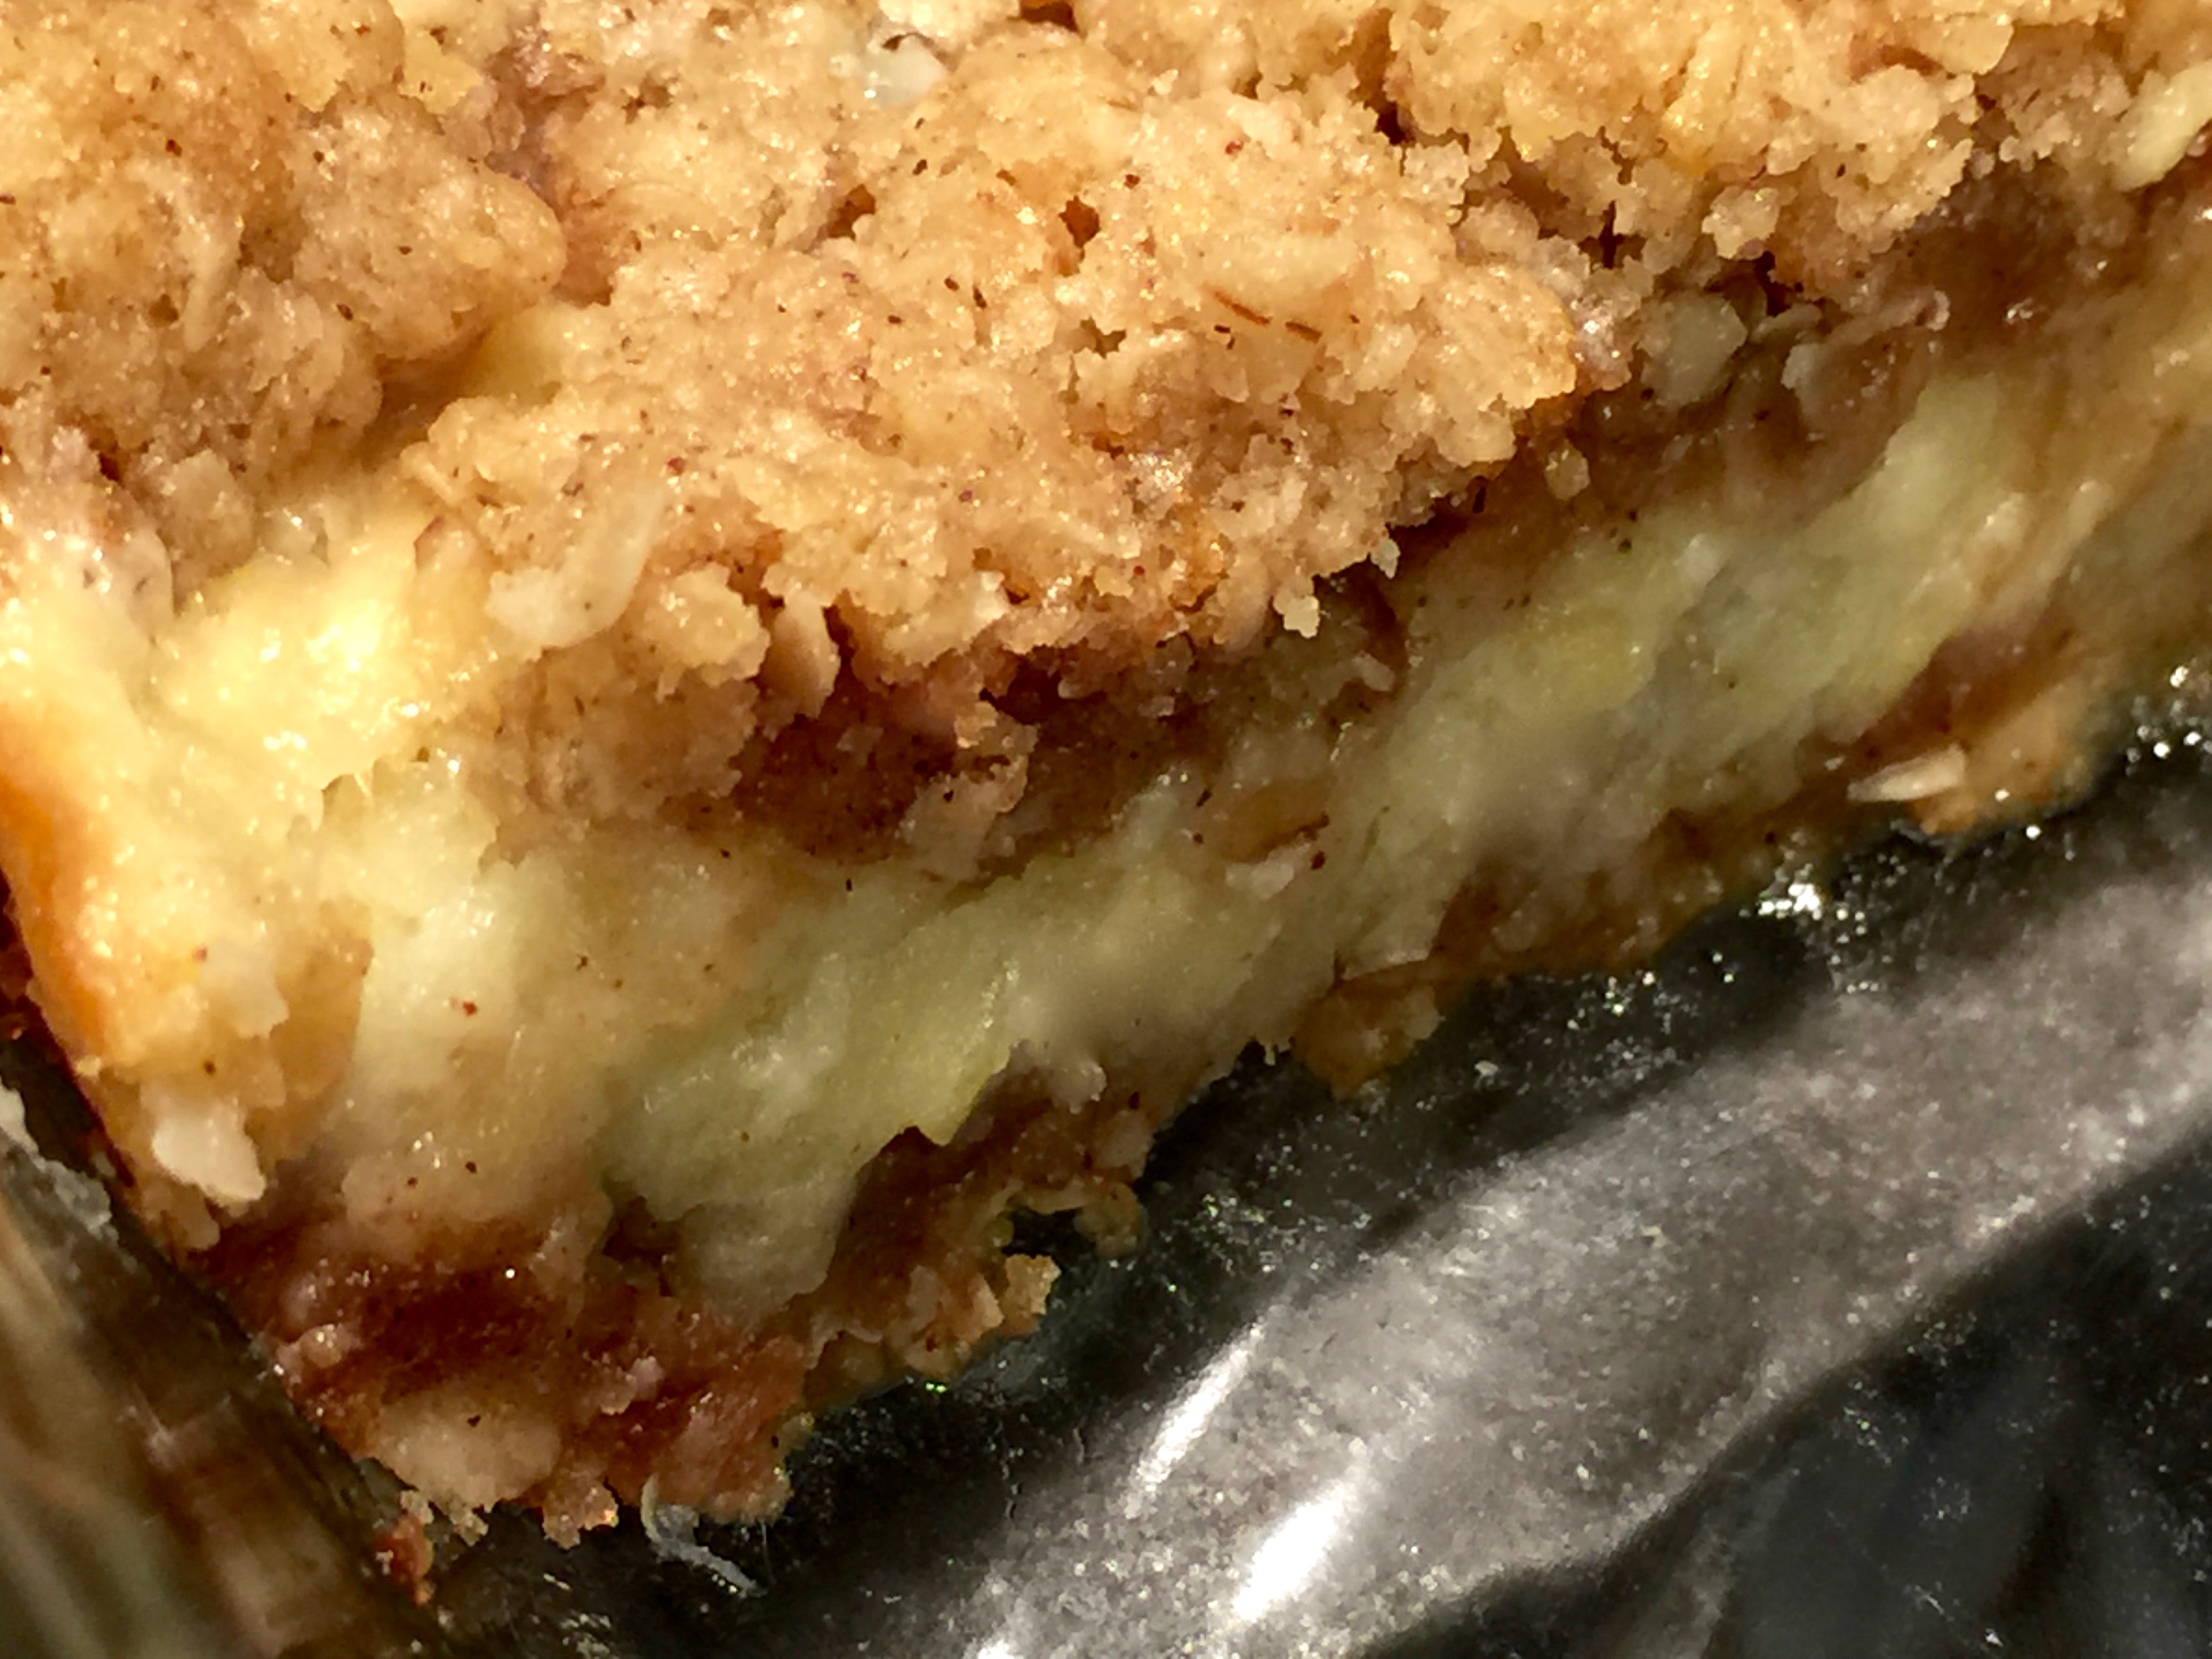
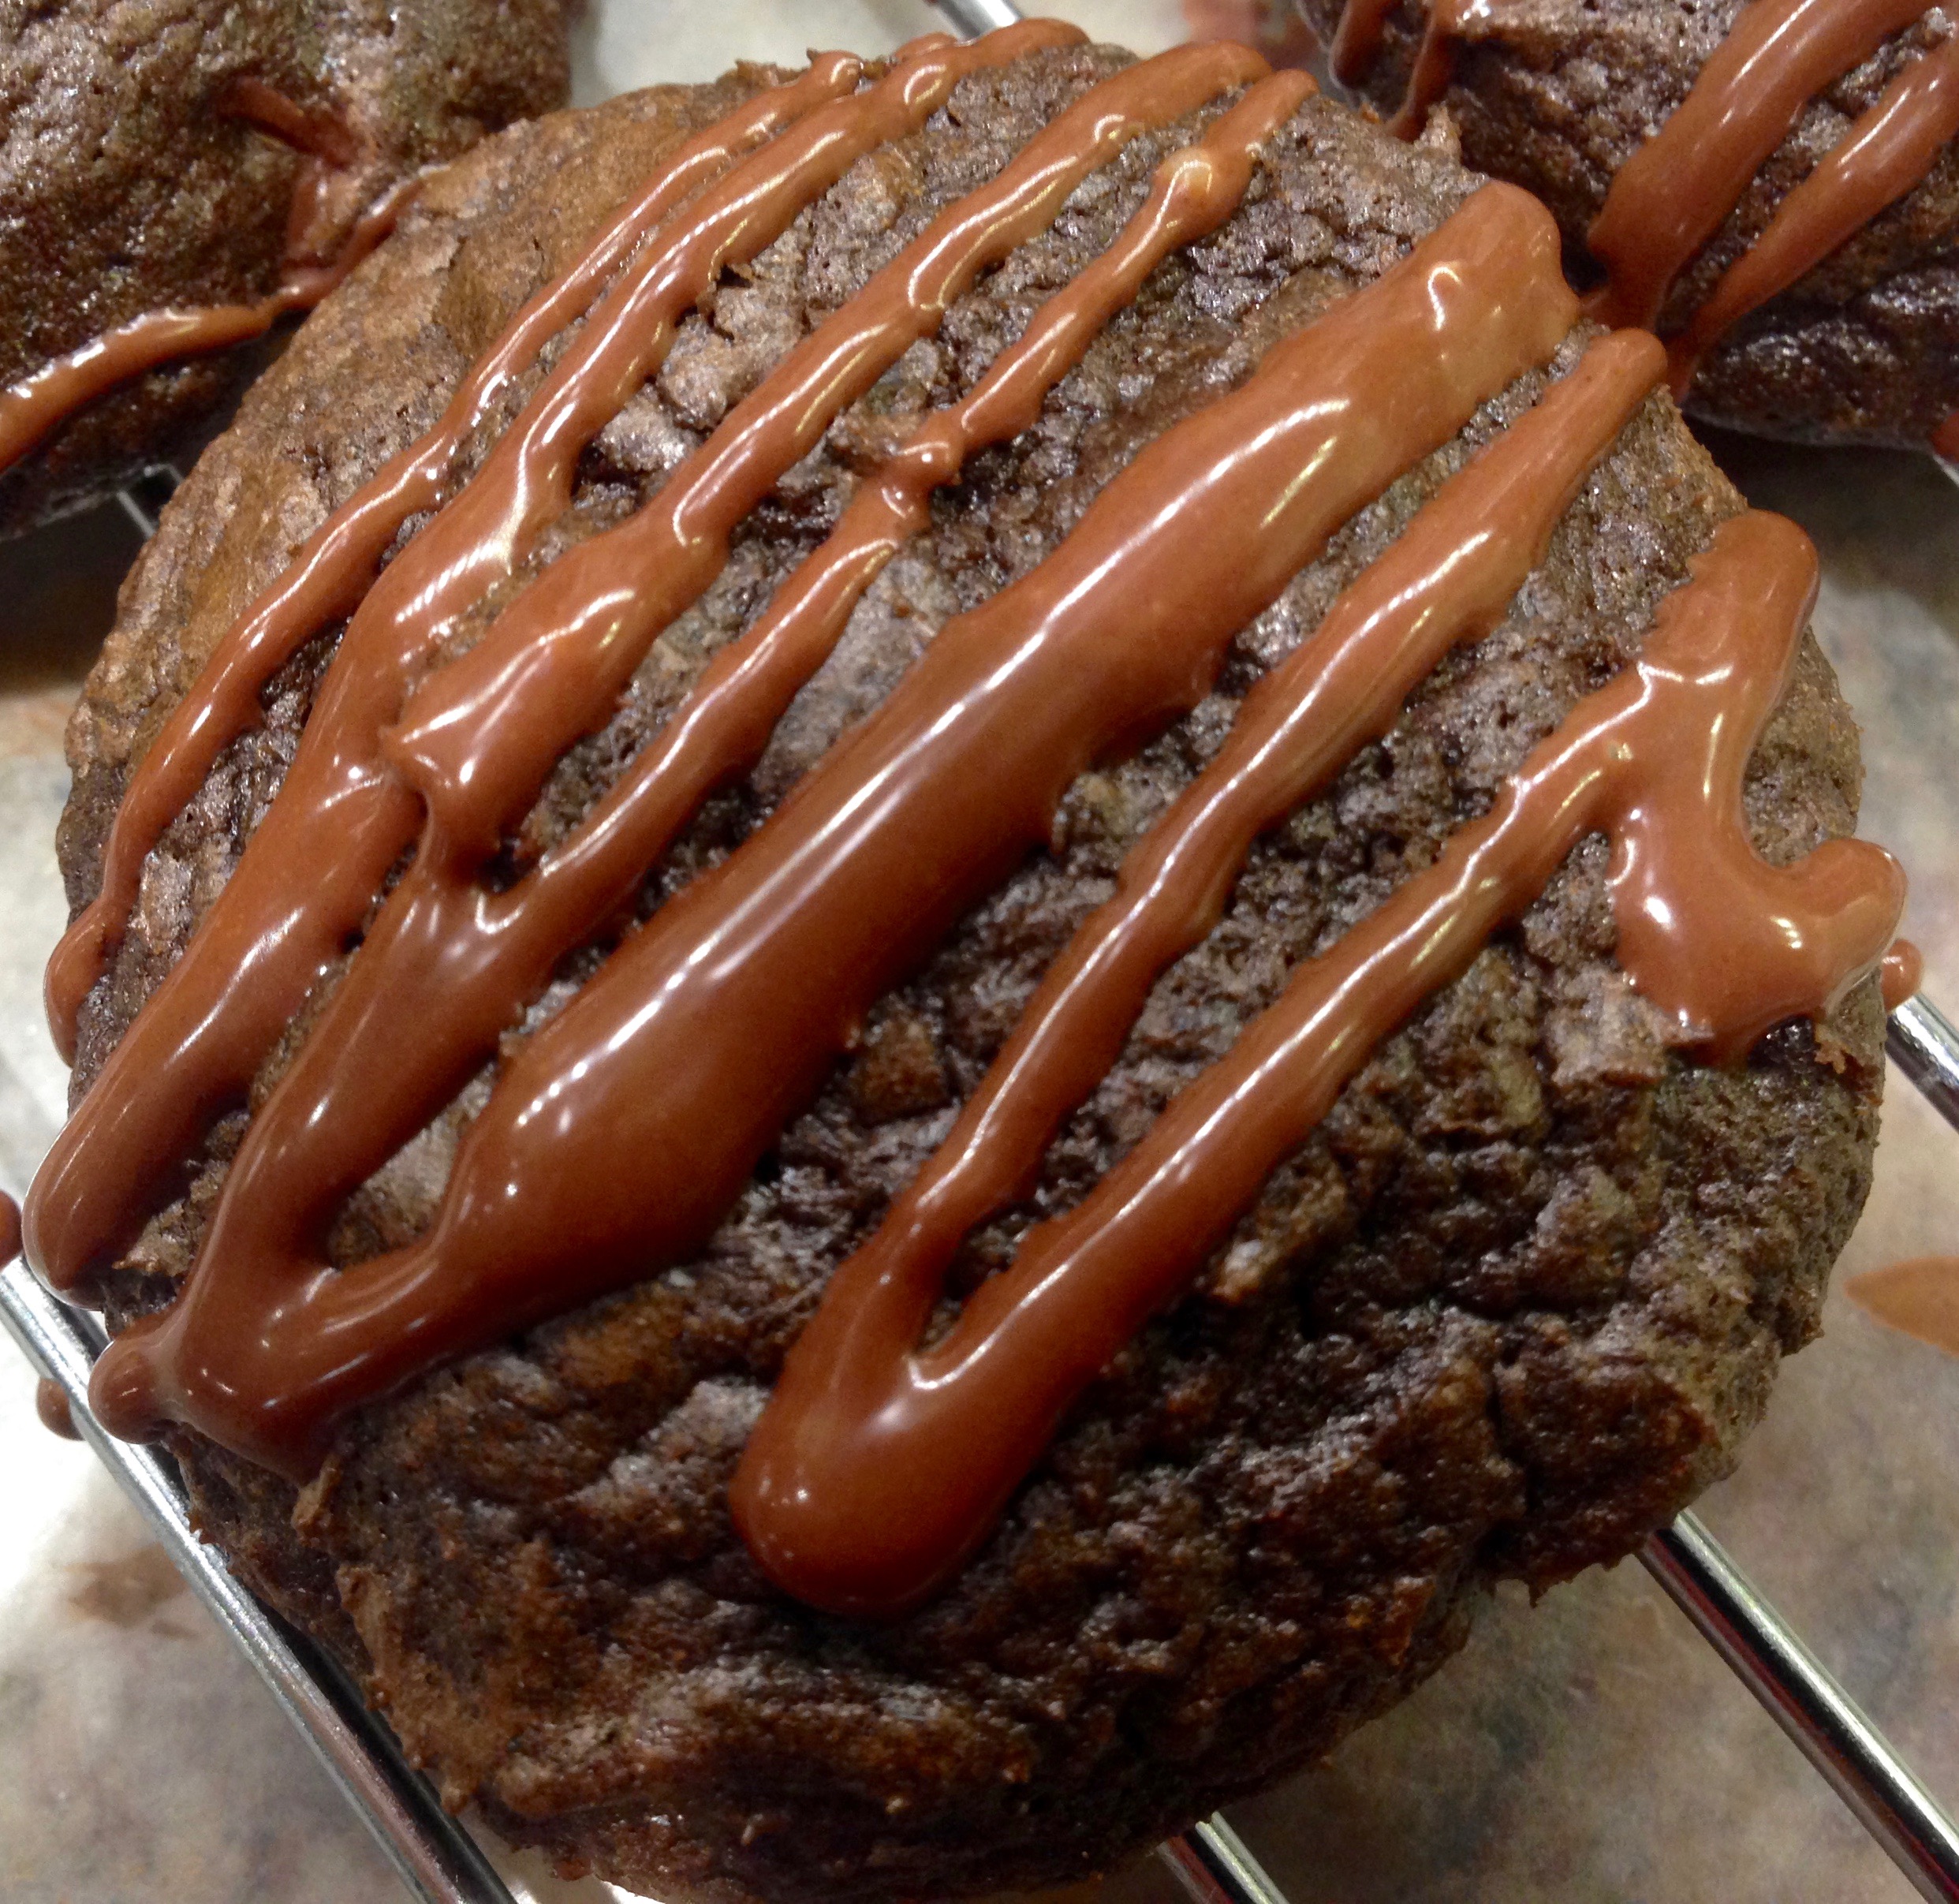
Lesson Learned 6 – Working with Ghirardelli filled chocolate squares: Be careful when handling the chocolate squares. If you break them the caramel will ooze out. The caramel center is not solid like the chocolate. You want the caramel to ooze out in the baking process and not all over your hands. If you break them you will wind up with a sticky mess.
Lesson Learned 7 – Adding coffee to the batter: I can’t take credit for this trick. I learned it from watching Ina Garten on the Food Network. If you want to enhance the flavor of chocolate in any recipe, just add some fresh brewed coffee. You don’t have to add a lot. For this recipe I added 2 teaspoons of coffee. If you try the same chocolate recipe both with and without the coffee you will be amazed at the difference. The original recipe did not call for adding coffee, but my version of the recipe does.
Lesson Learned 8 – Storing the brownies in the refrigerator: My husband came up with this trick. He wanted to give our garbage men a little treat during their route so he cut a couple of brownies and put them in the refrigerator until he saw the garbage truck. There was only one man in the truck this week so he had an extra cold brownie. He decided to eat it himself and he told me he liked how it tasted cold. I tried it and had to agree. The brownie had almost an ice-cream like consistency when it was cold. But room temperature or cold, either way this is a good brownie recipe. If you want to be even more decadent, you can frost the brownies and sprinkle the top with some additional nuts. That would definitely be a killer brownie!
I recommend that you try this recipe and tell me what you think. It is a very good basic brownie recipe and more and more as I become less willing to make things from a box, I look to these types of recipes to give me the ability to make baked goods with fresh ingredients. I’d be very interested to hear your impressions on this one. Enjoy!
Salted Caramel Brownies…
INGREDIENTS:
4 ounces unsweetened chocolate coarsely chopped
3/4 cup unsalted butter cubed
1 cup sugar
3 large room temperature eggs
1 teaspoon vanilla extract
2 teaspoons brewed coffee
1/2 teaspoon kosher salt
9 Ghirardelli Dark Chocolate and Sea Salt Caramel Squares (1 package)
1/2 cup Planters Salted Caramel Peanuts, chopped
1 TBS. powdered sugar
DIRECTIONS:
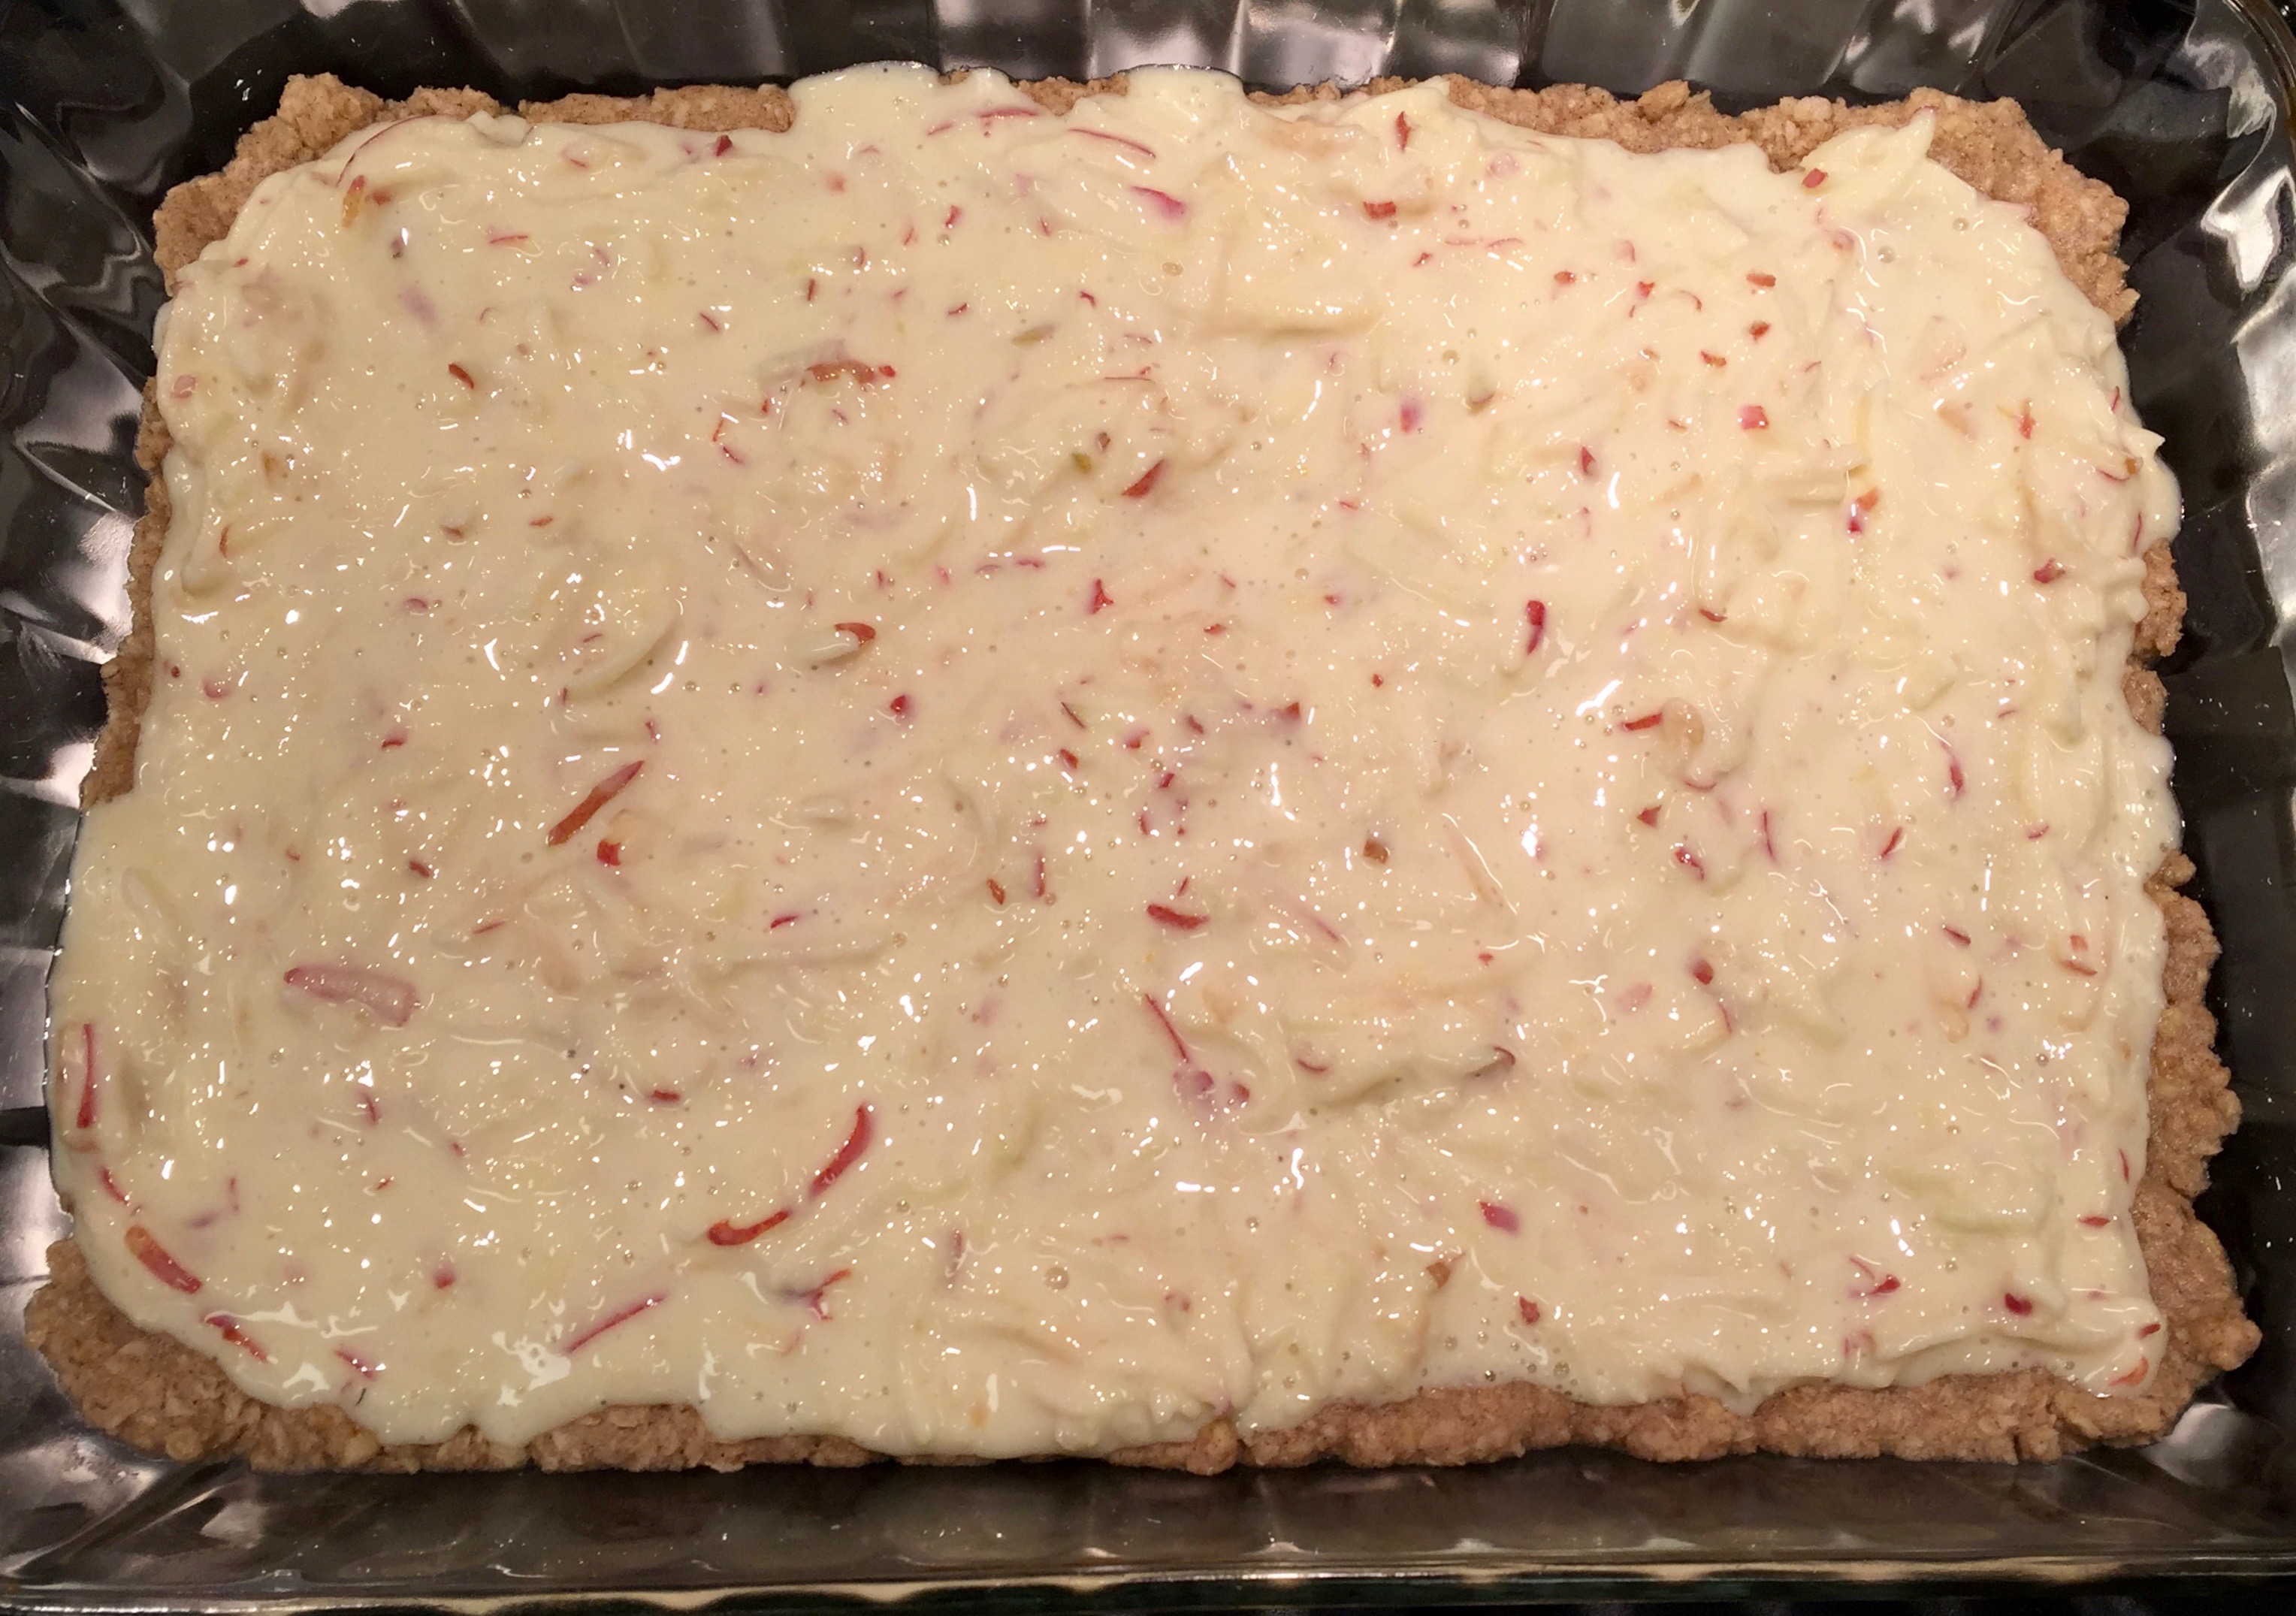
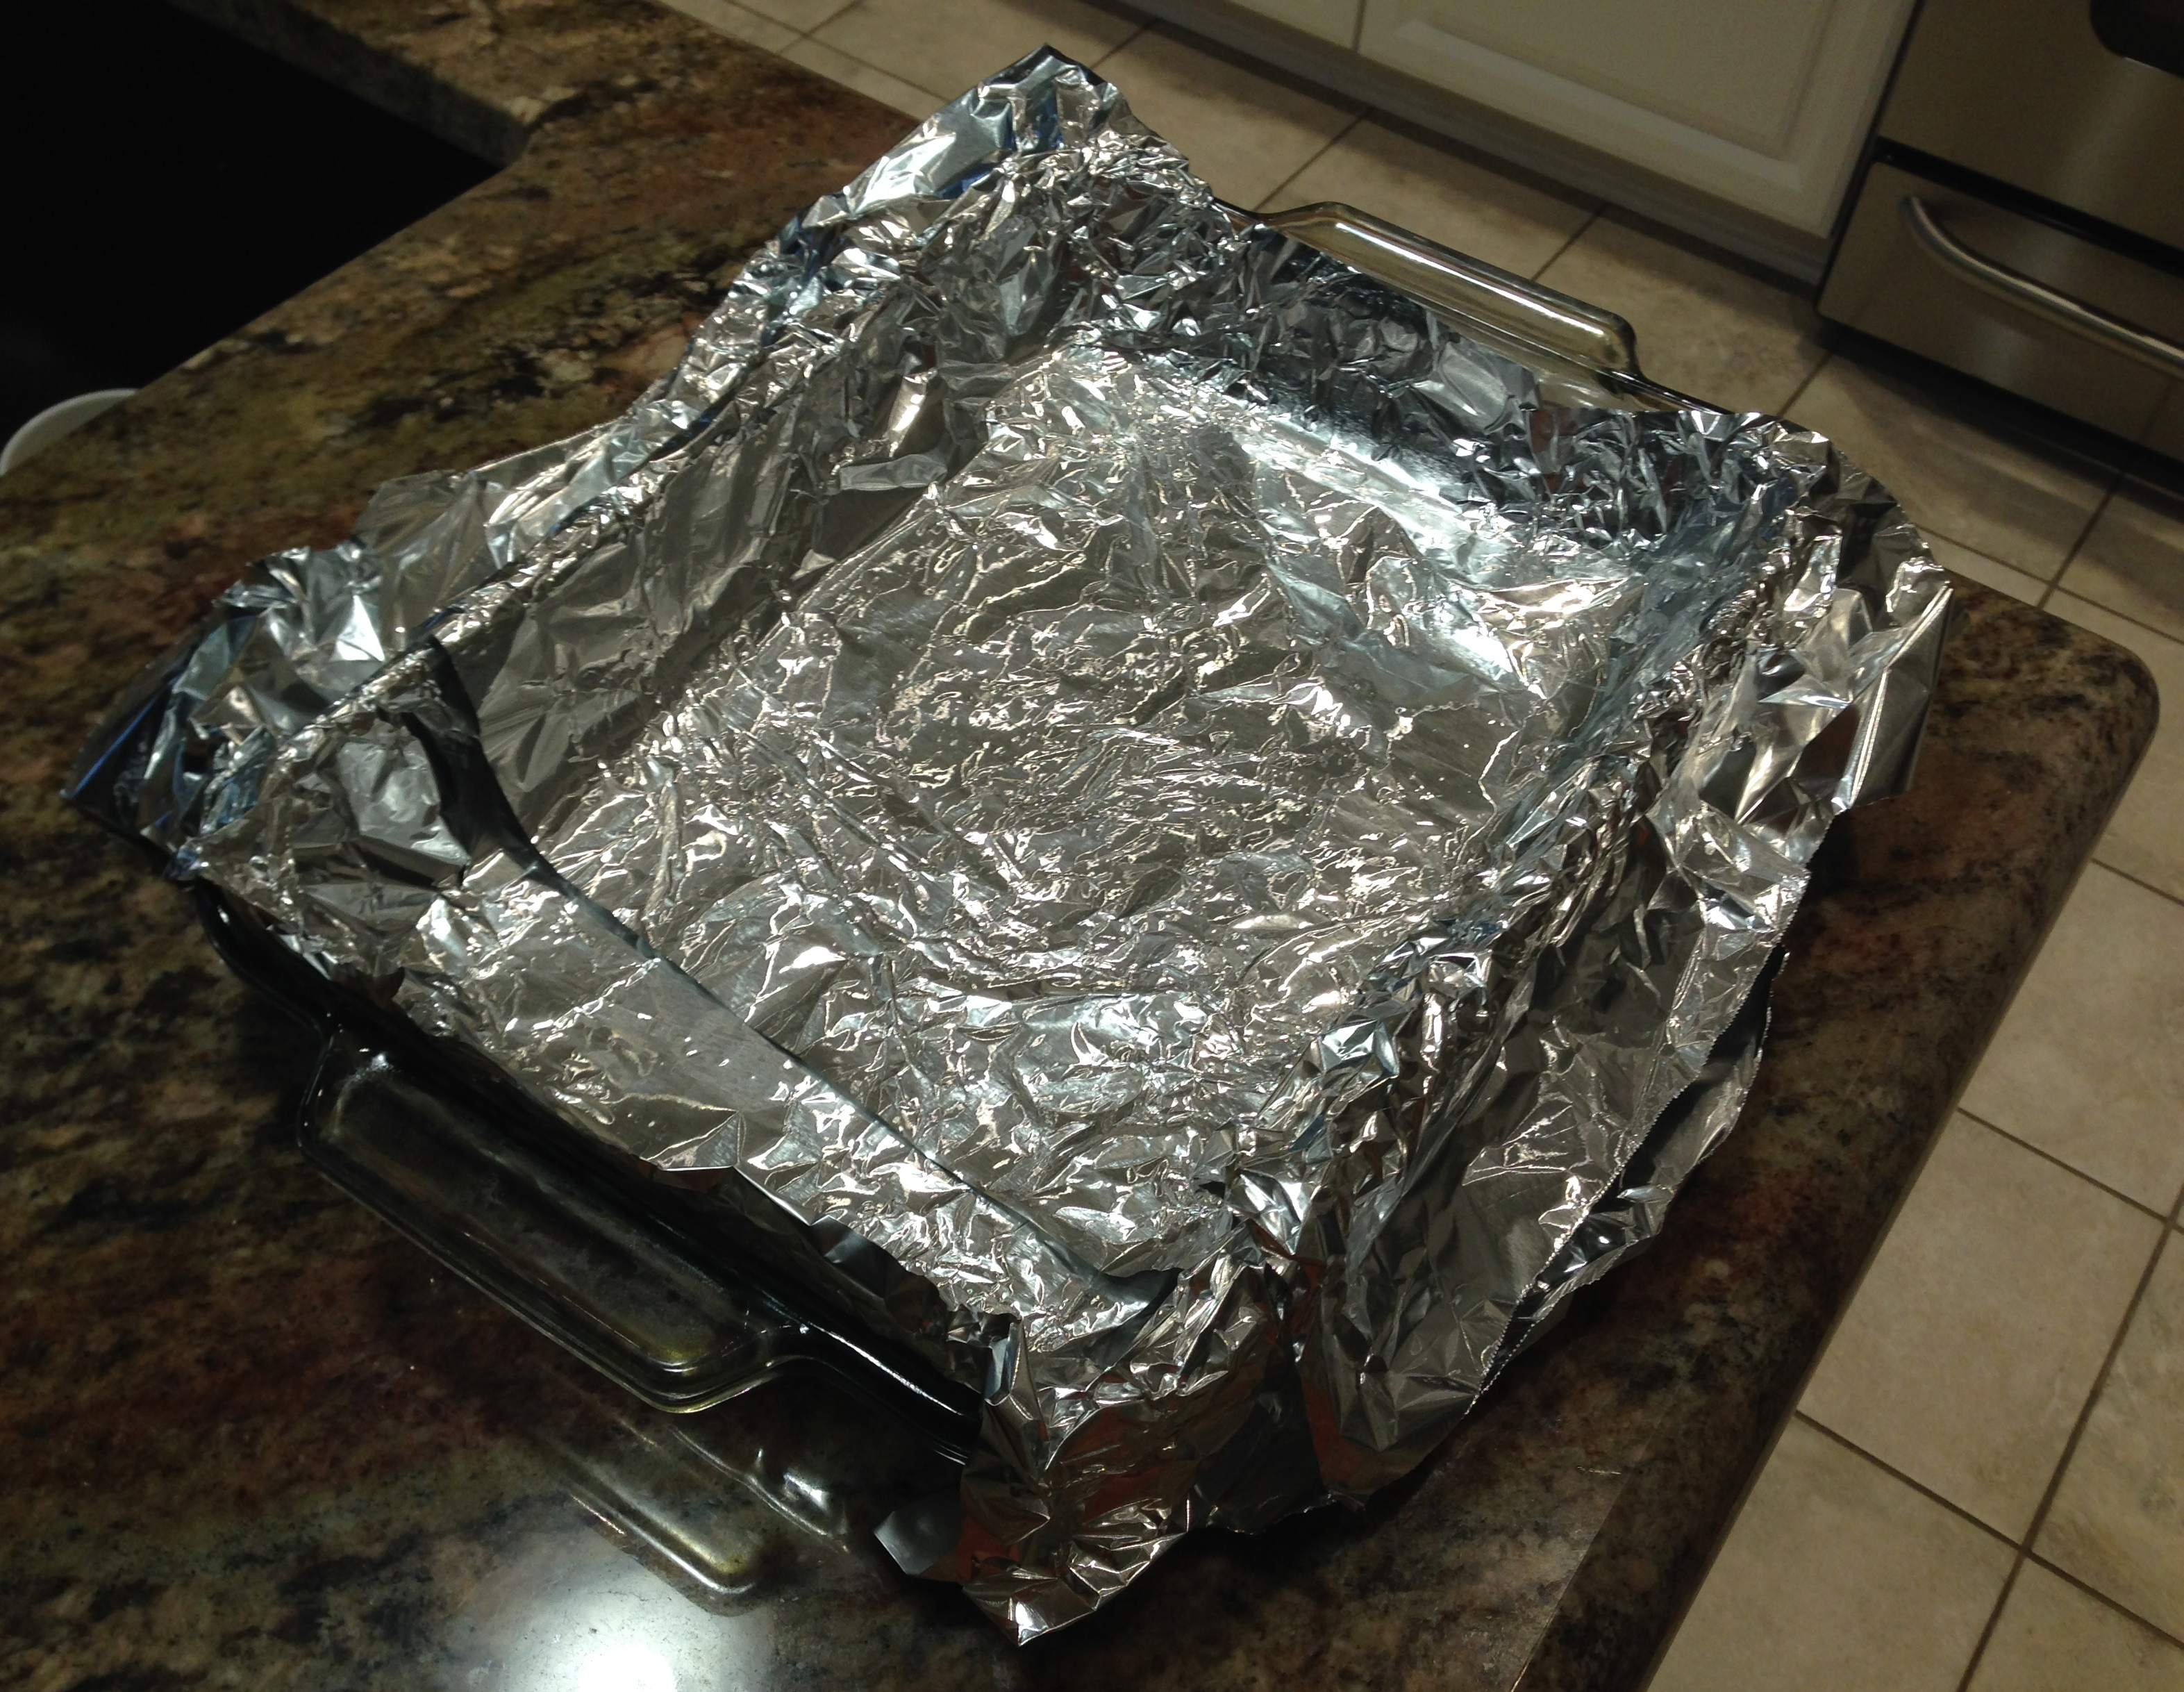
Preheat the oven to 350 degrees. Line an 8×8 baking dish with foil and spray lightly with nonstick spray. Microwave unsweetened chocolate and butter for 2-3 minutes or until butter is melted at 50% power (I stopped at each minute interval and stirred the mixture). Stir until chocolate is fully melted. Whisk in eggs, vanilla, coffee and salt. Gradually add flour until just combined.
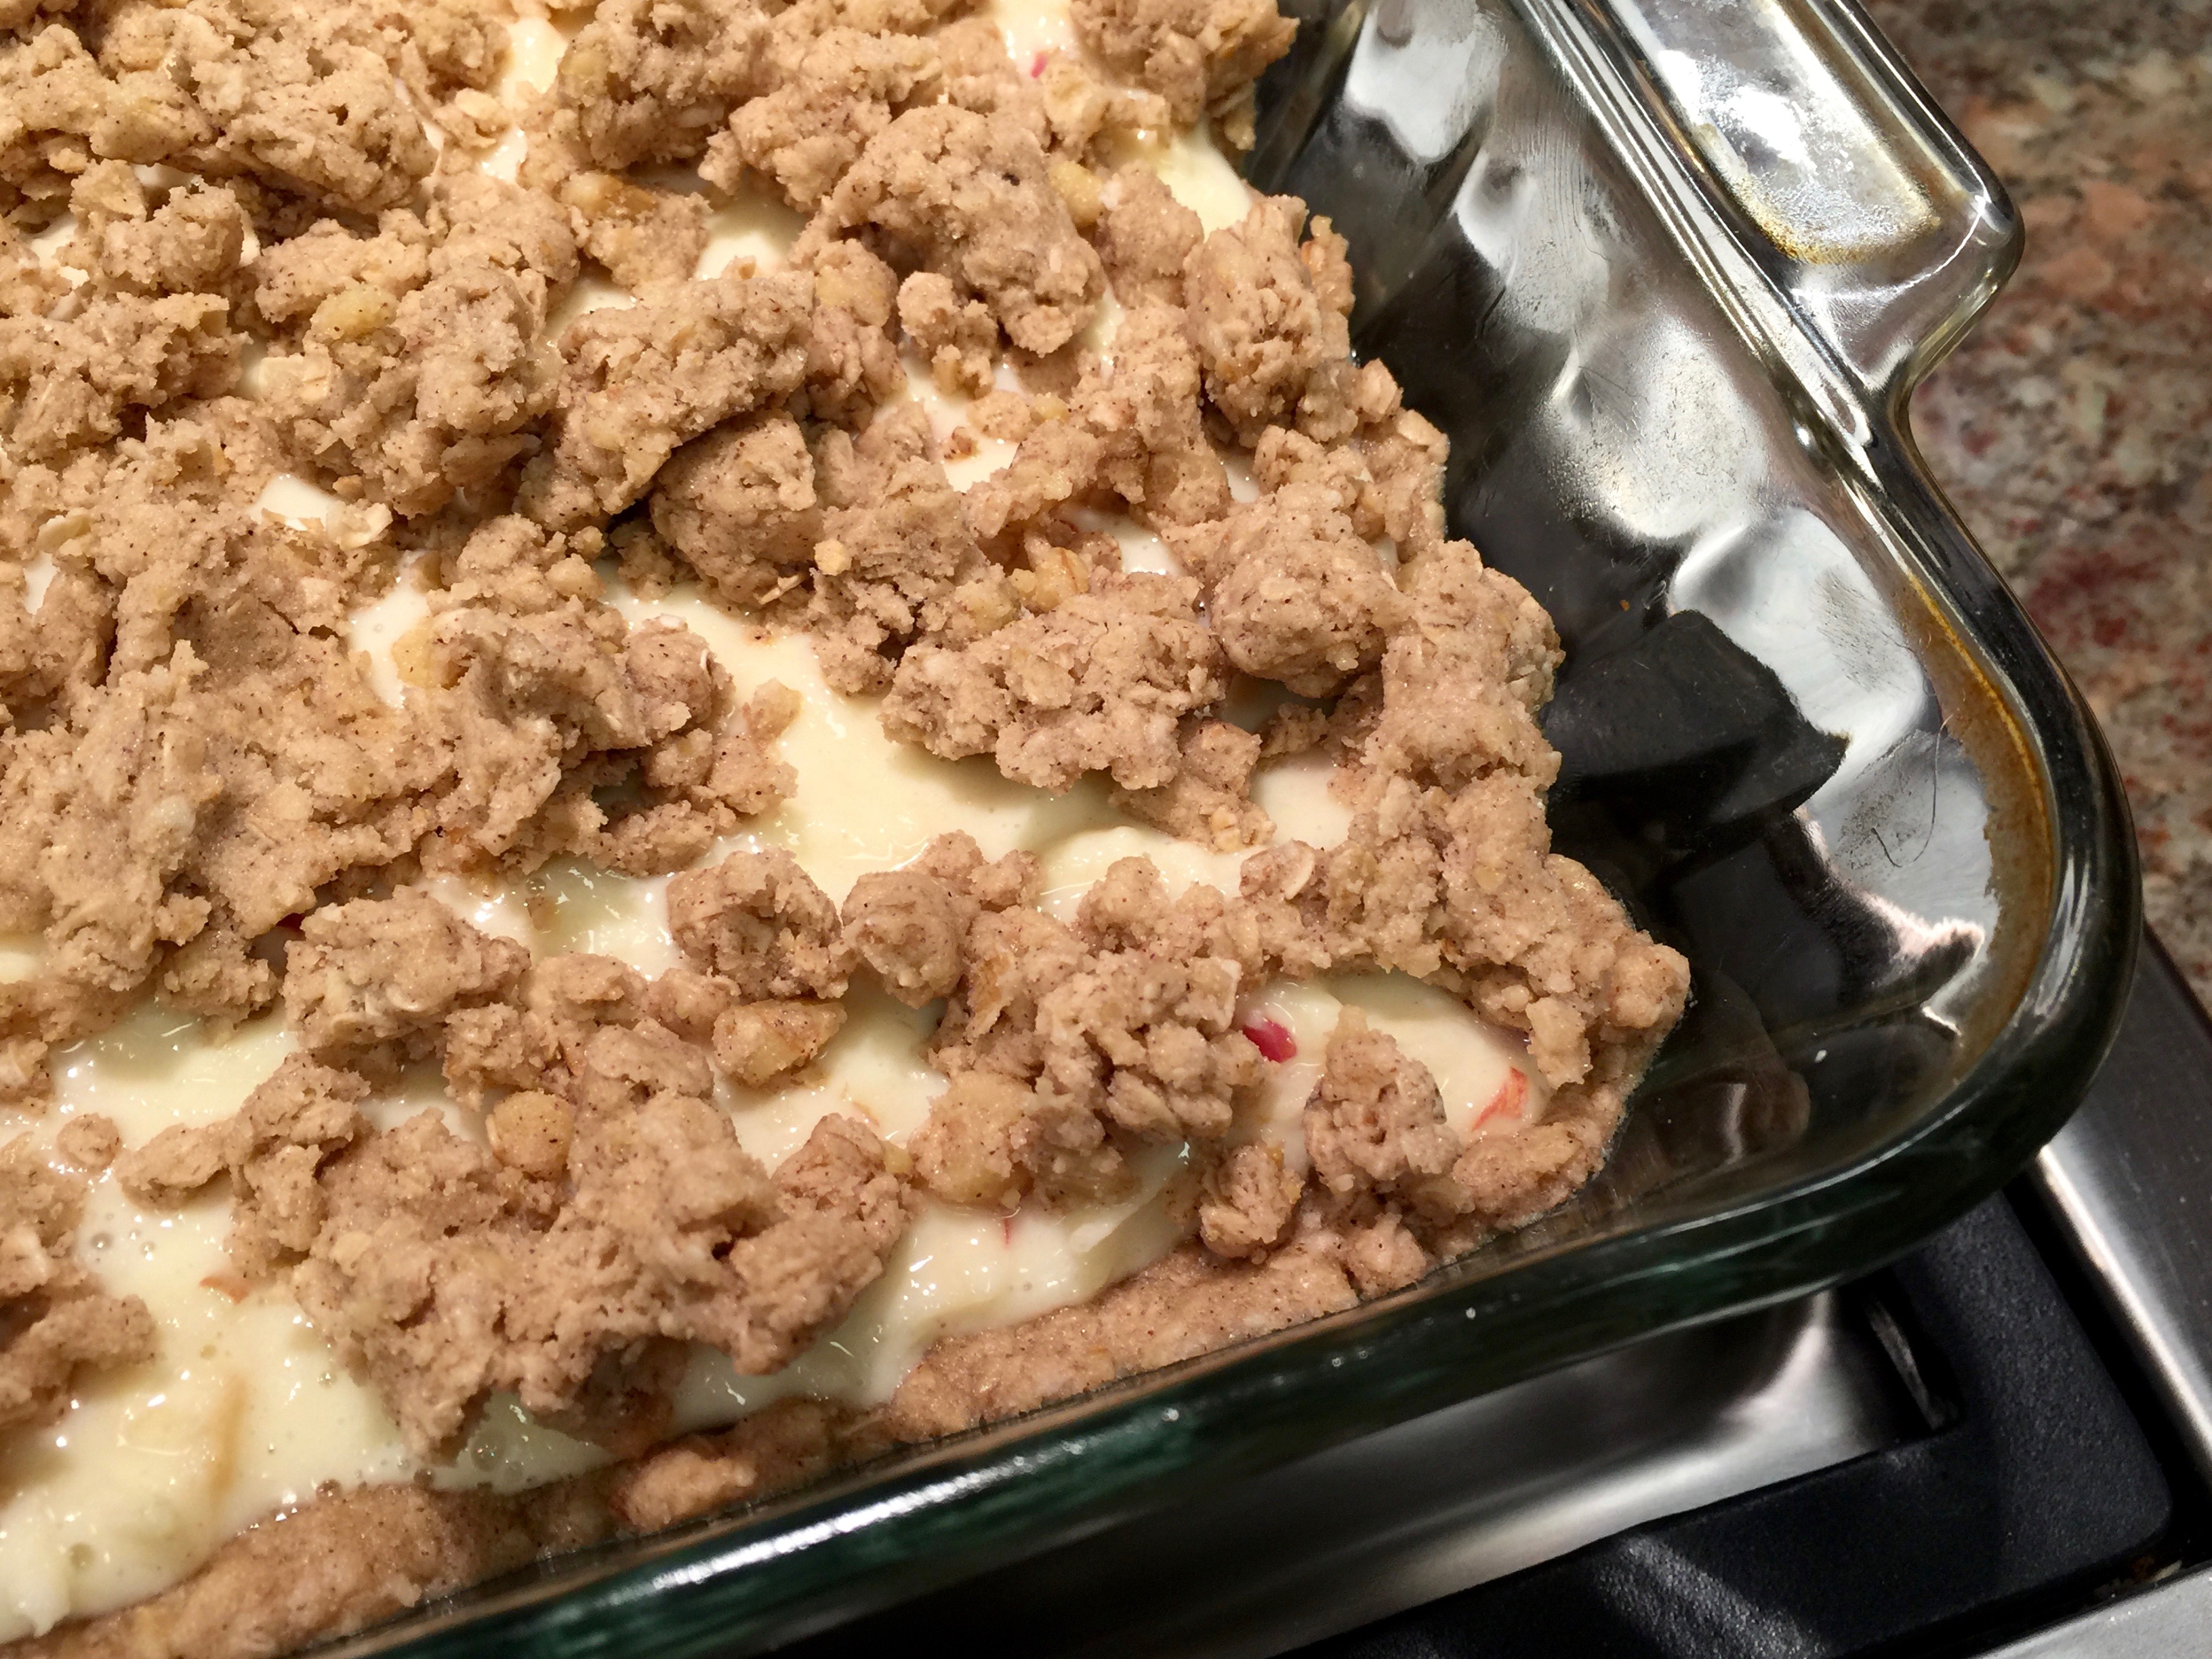
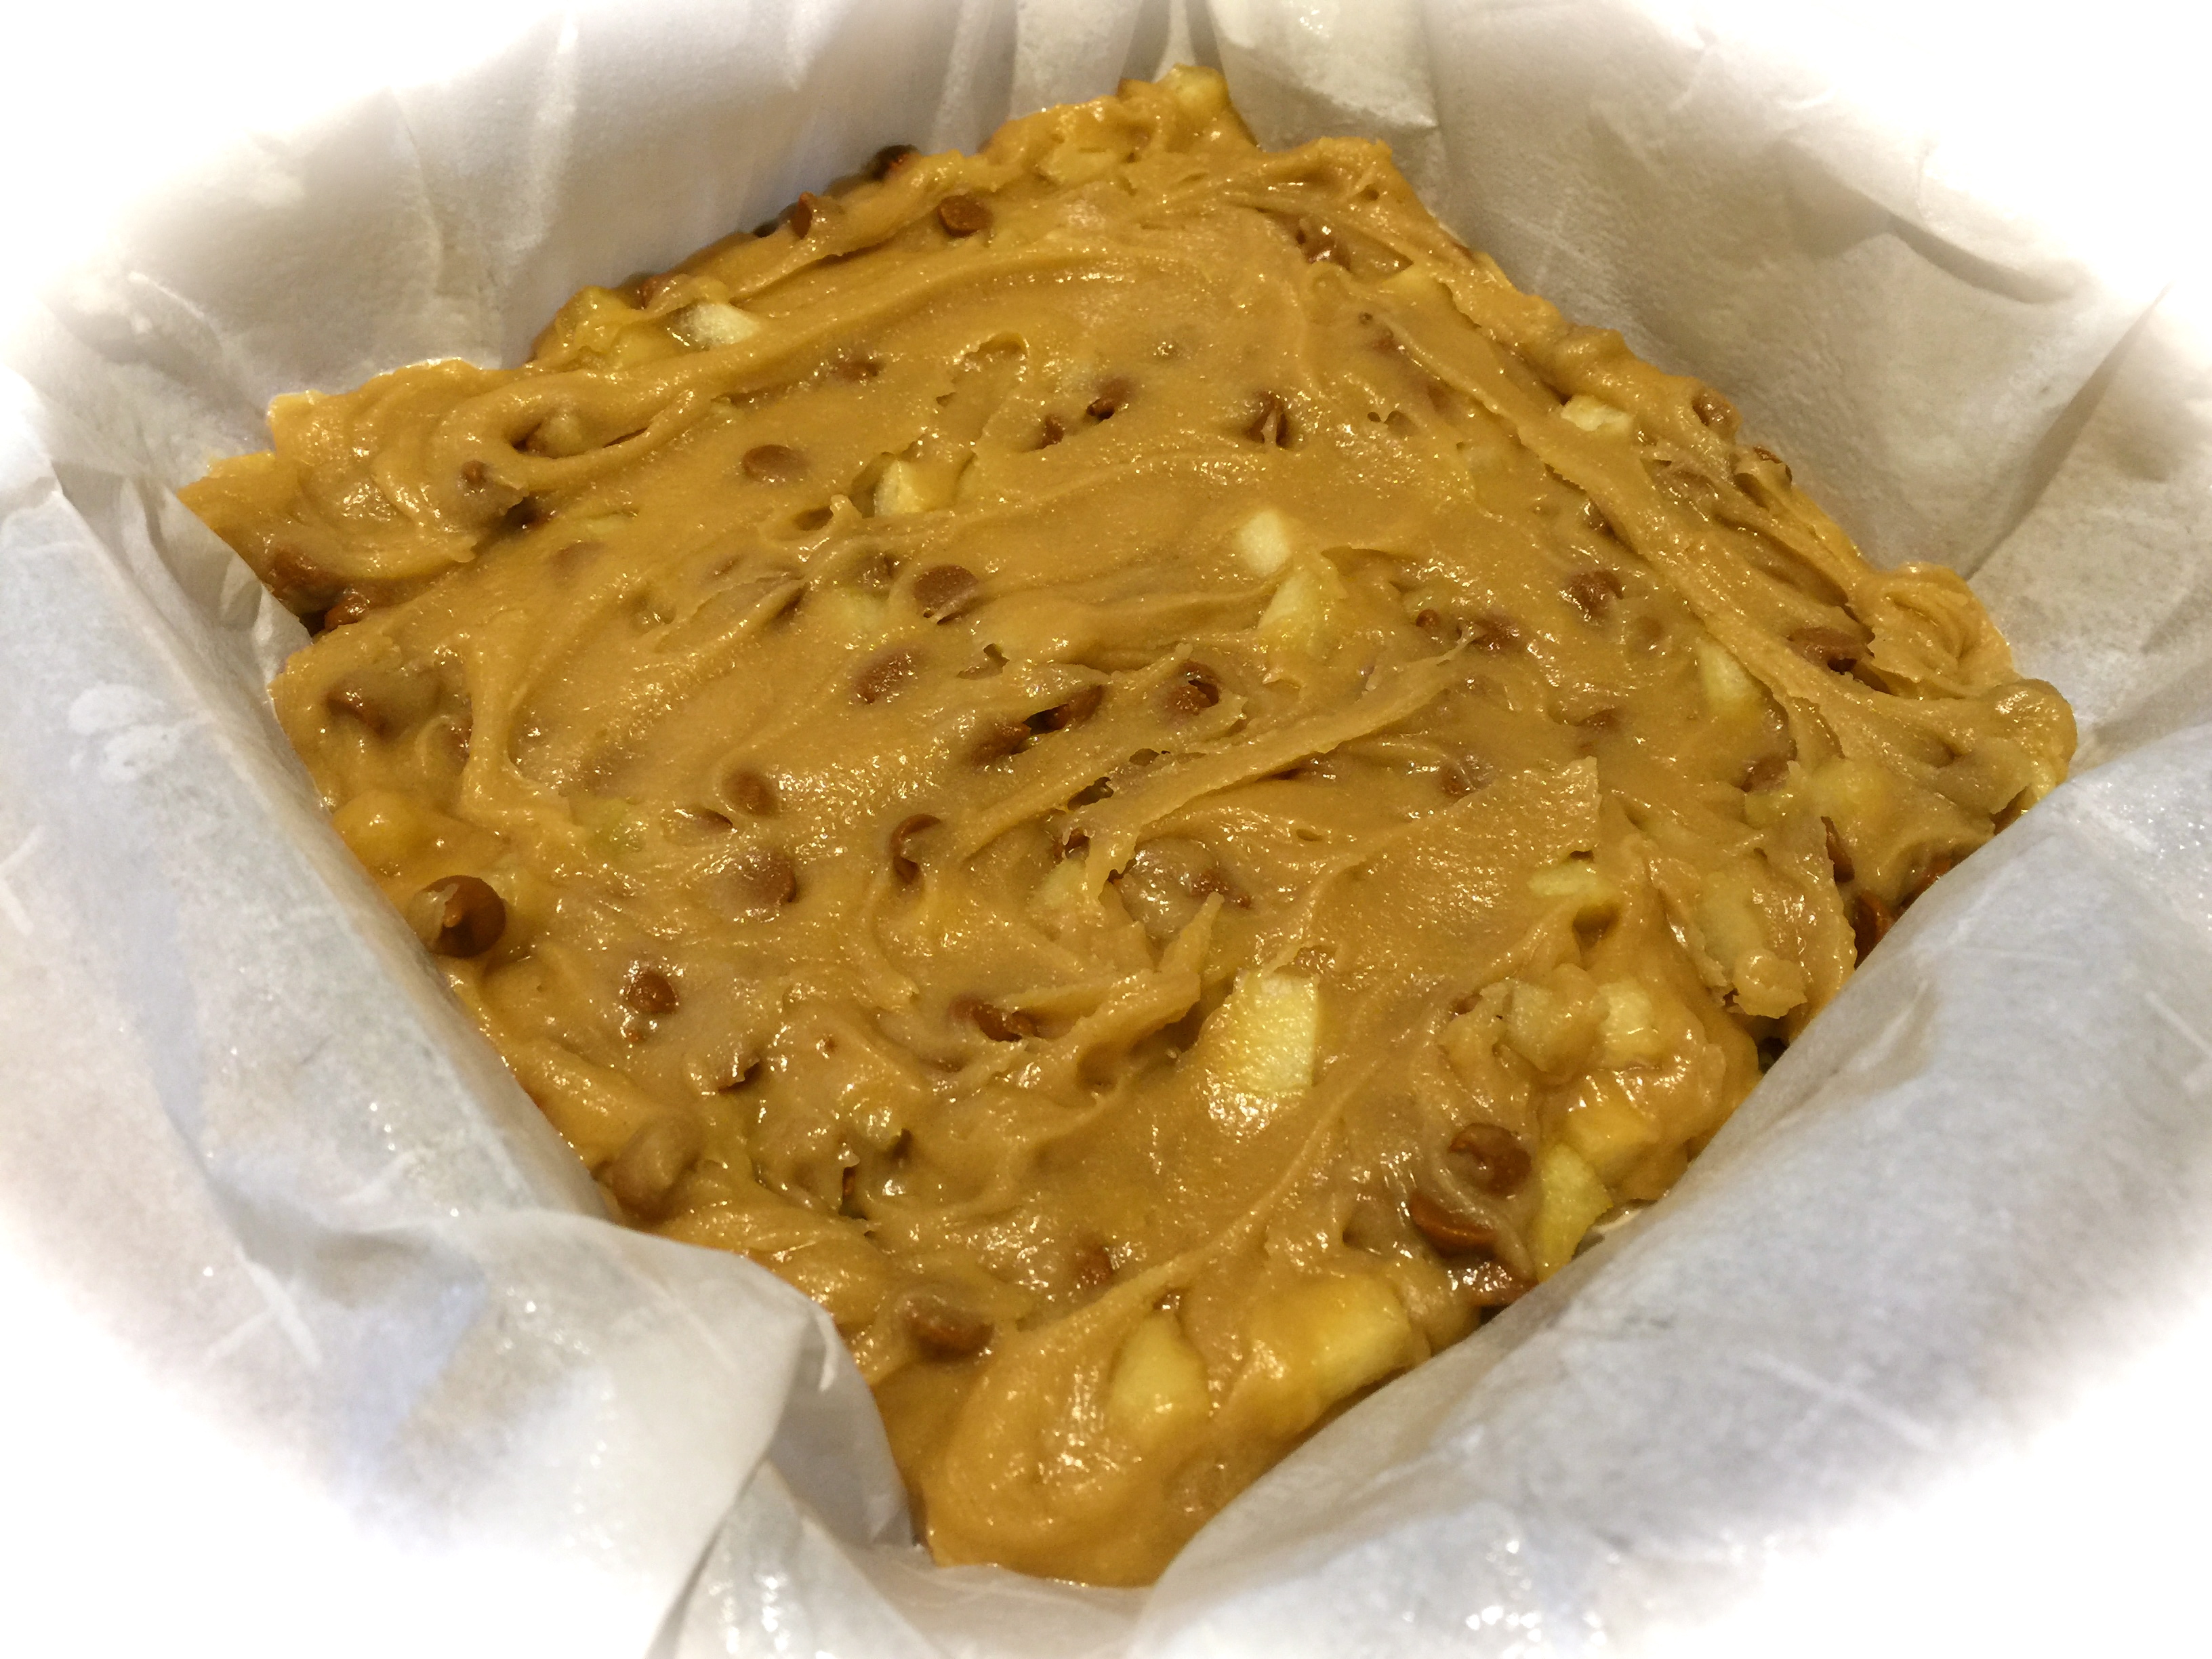
Spread half the batter into the prepared pan. Add a layer of the chocolate squares and sprinkle peanuts over the entire layer. Cover with the remaining batter.
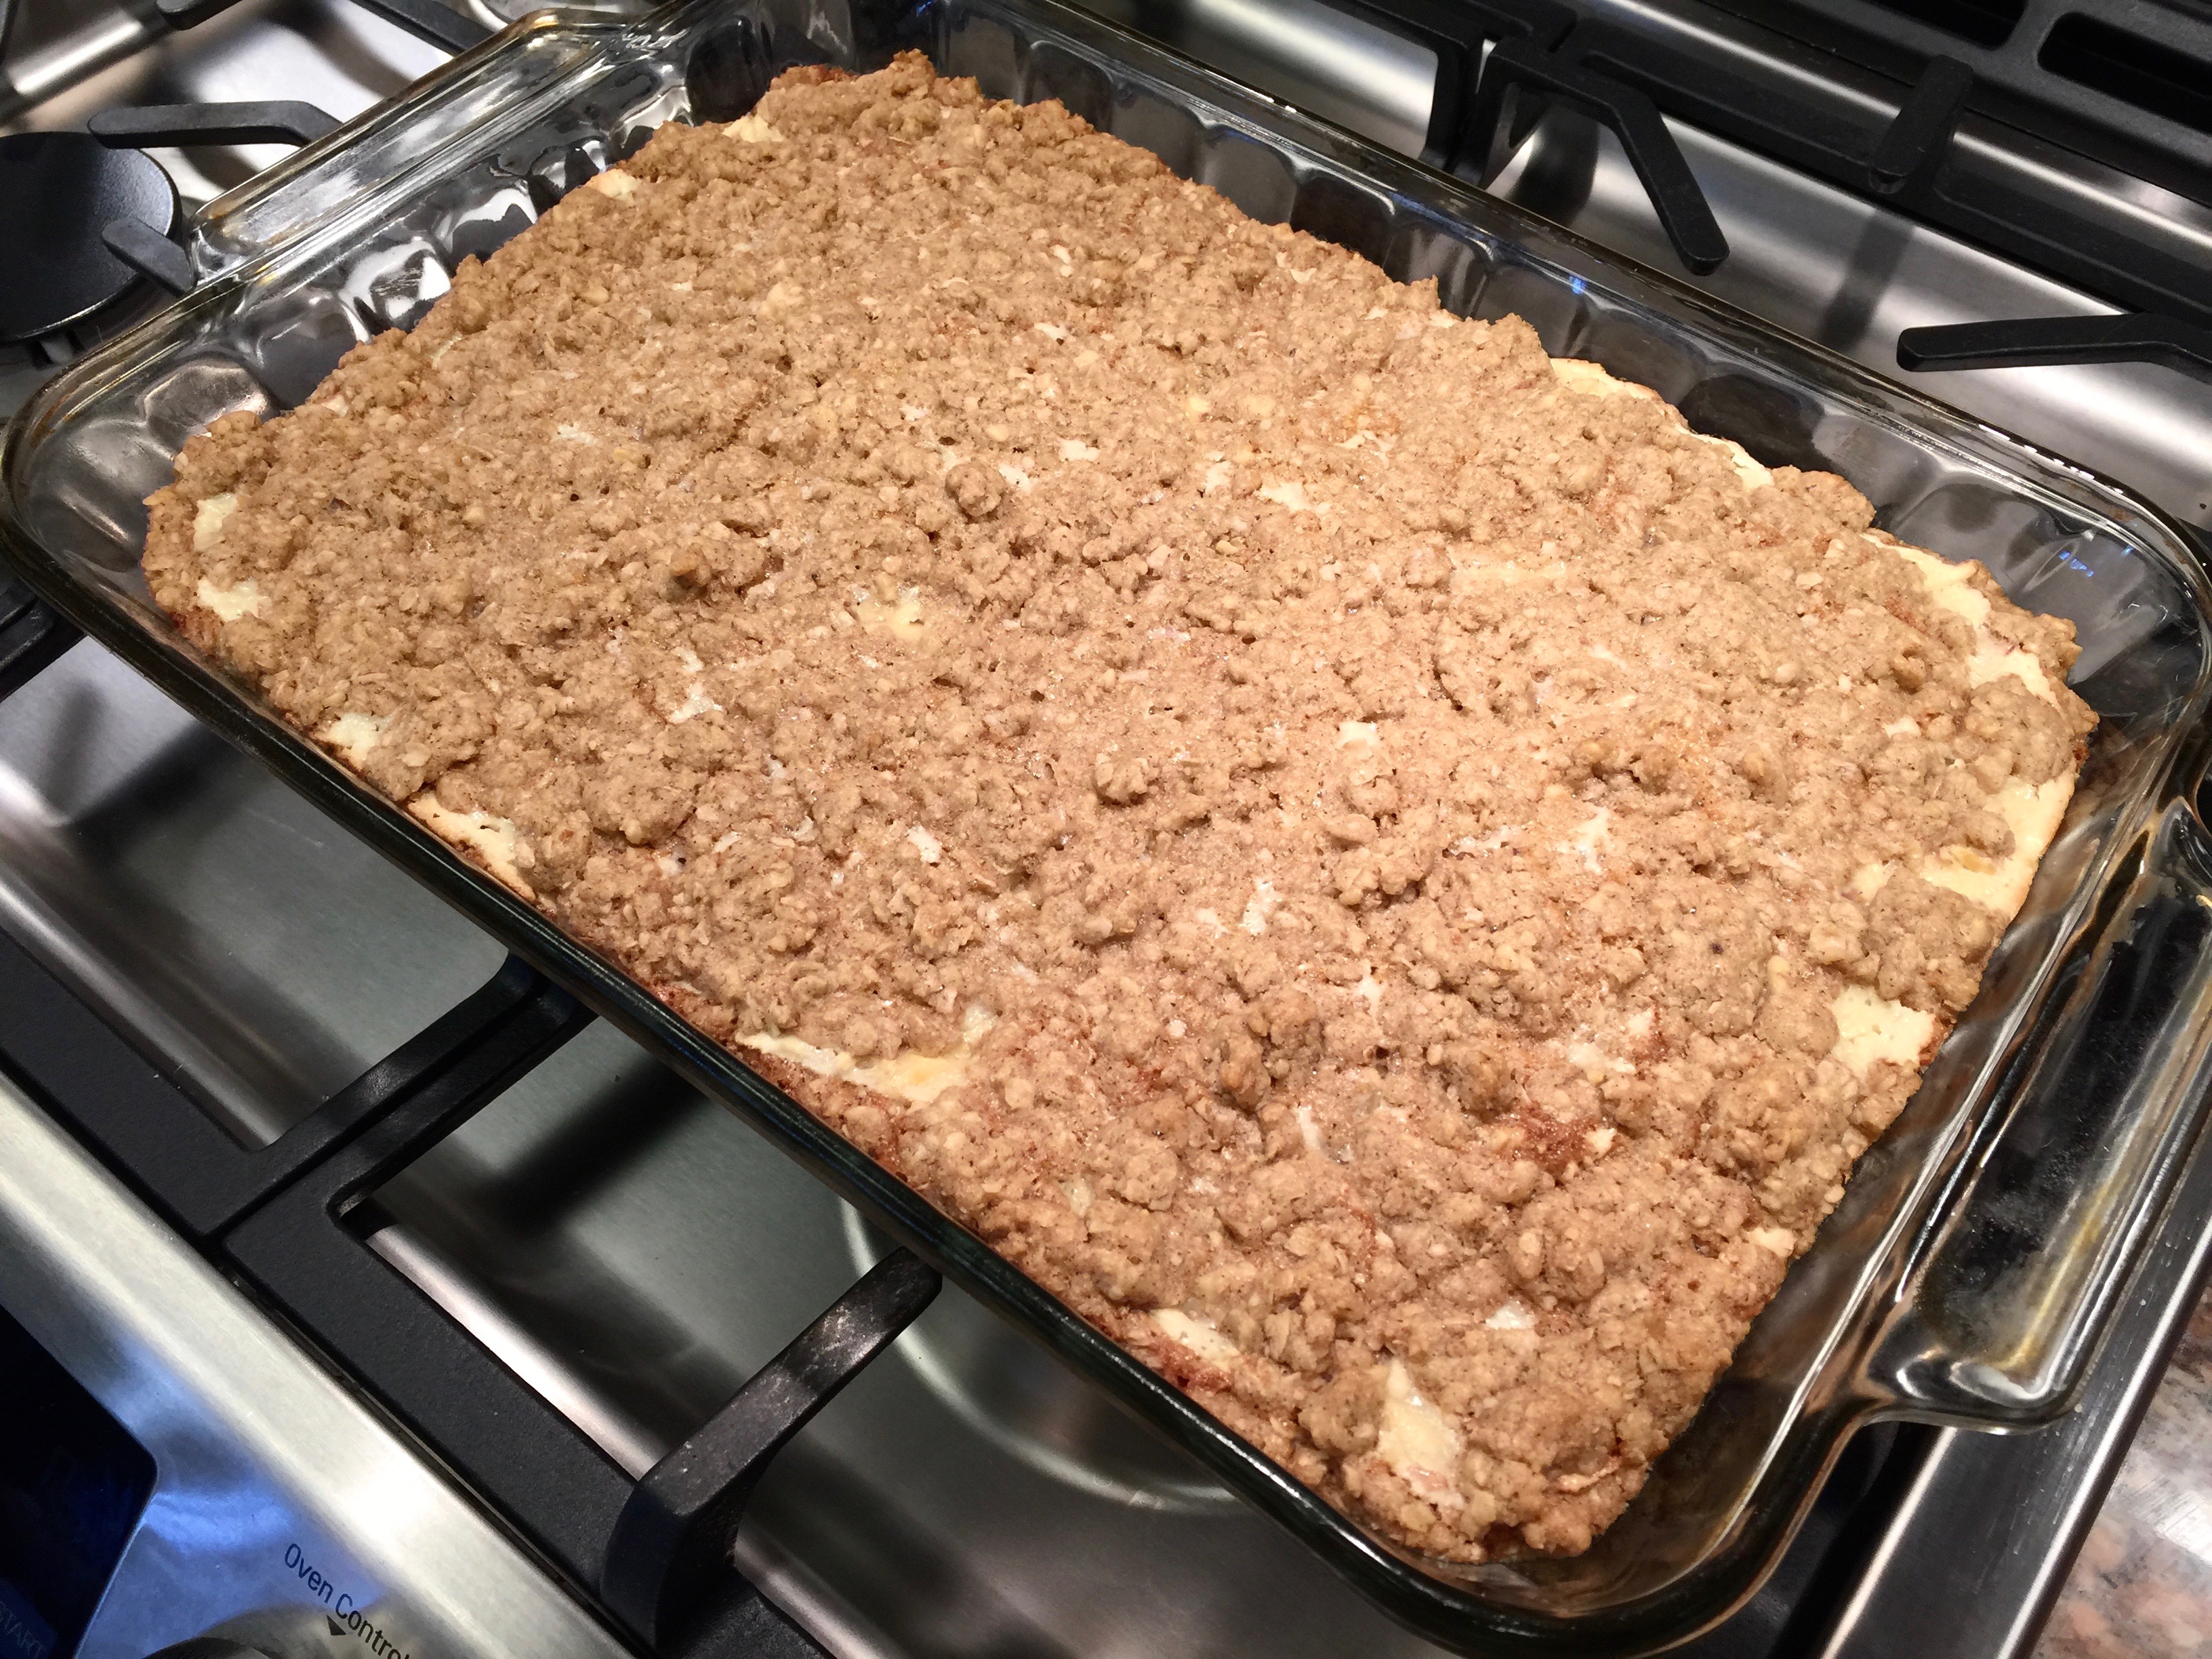
Bake for 30-35 minutes – do not over bake. (It took me 35 minutes)
Cool for 15 minutes then remove brownies in the foil and set on a cooling rack. Let cool completely, remove the foil and dust with powdered sugar. Cut into squares and serve. (You could also serve these brownies with a dollop of caramel flavored whipped cream or a scoop of vanilla ice-cream).


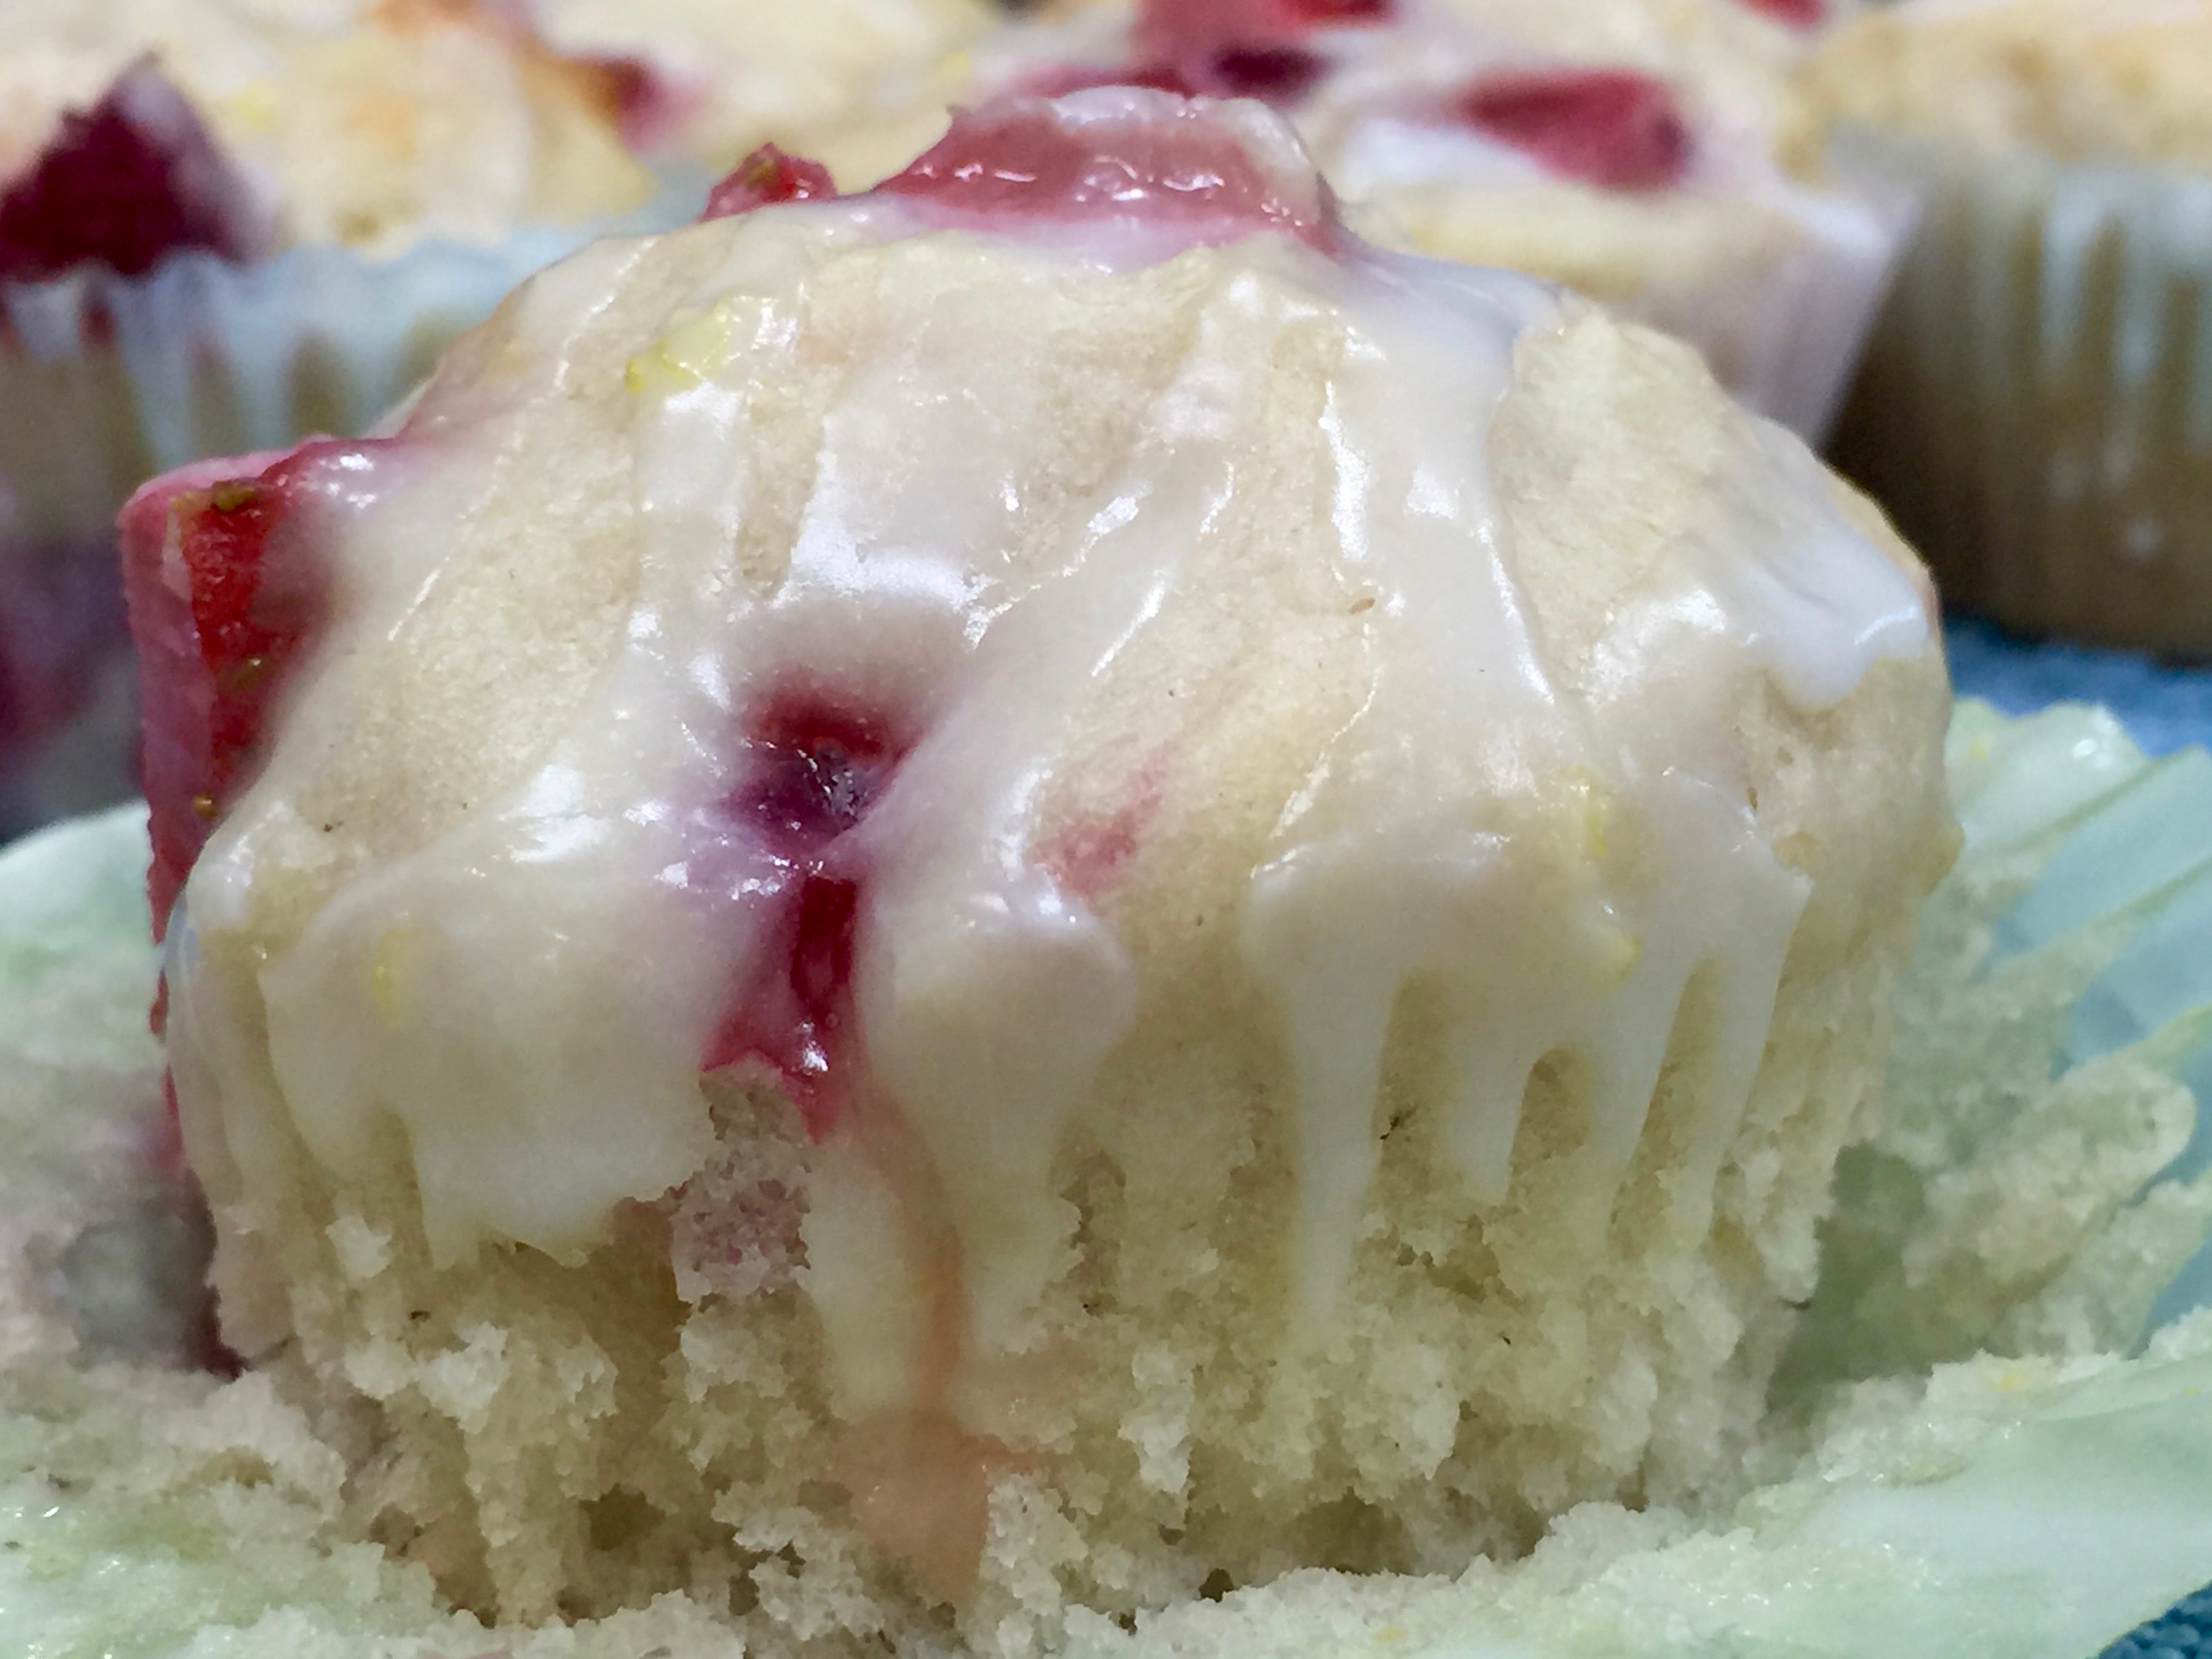
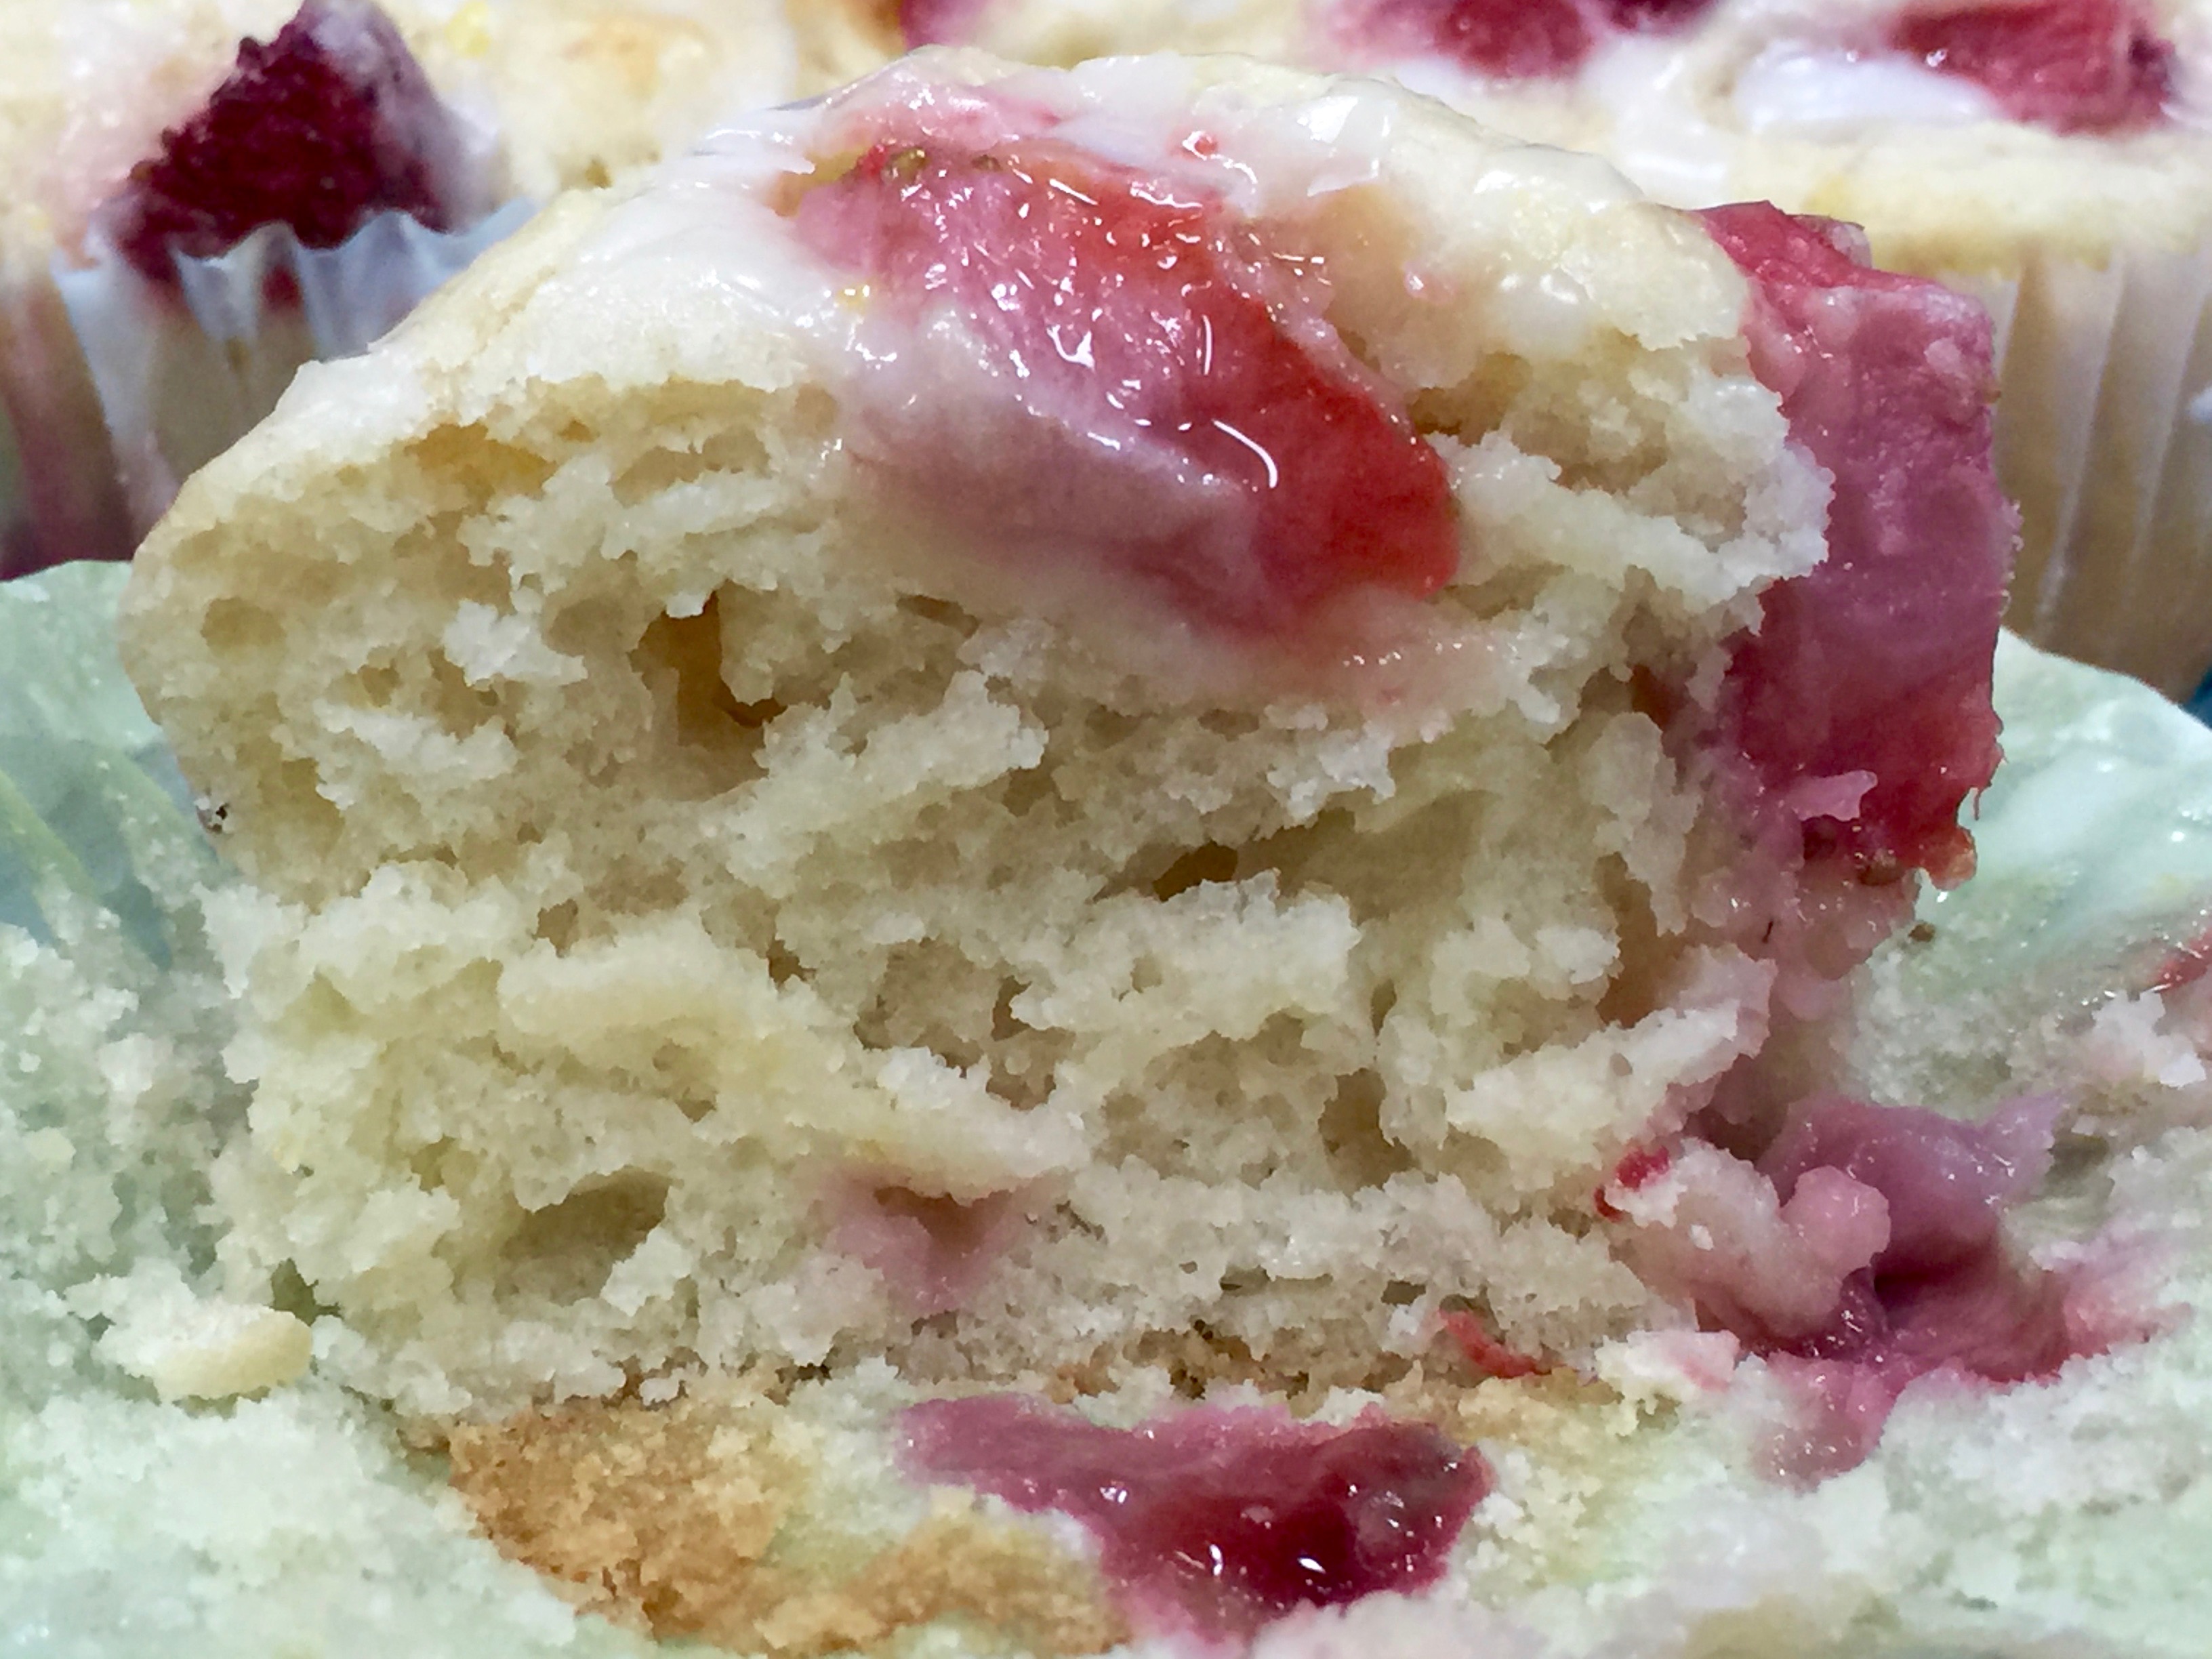
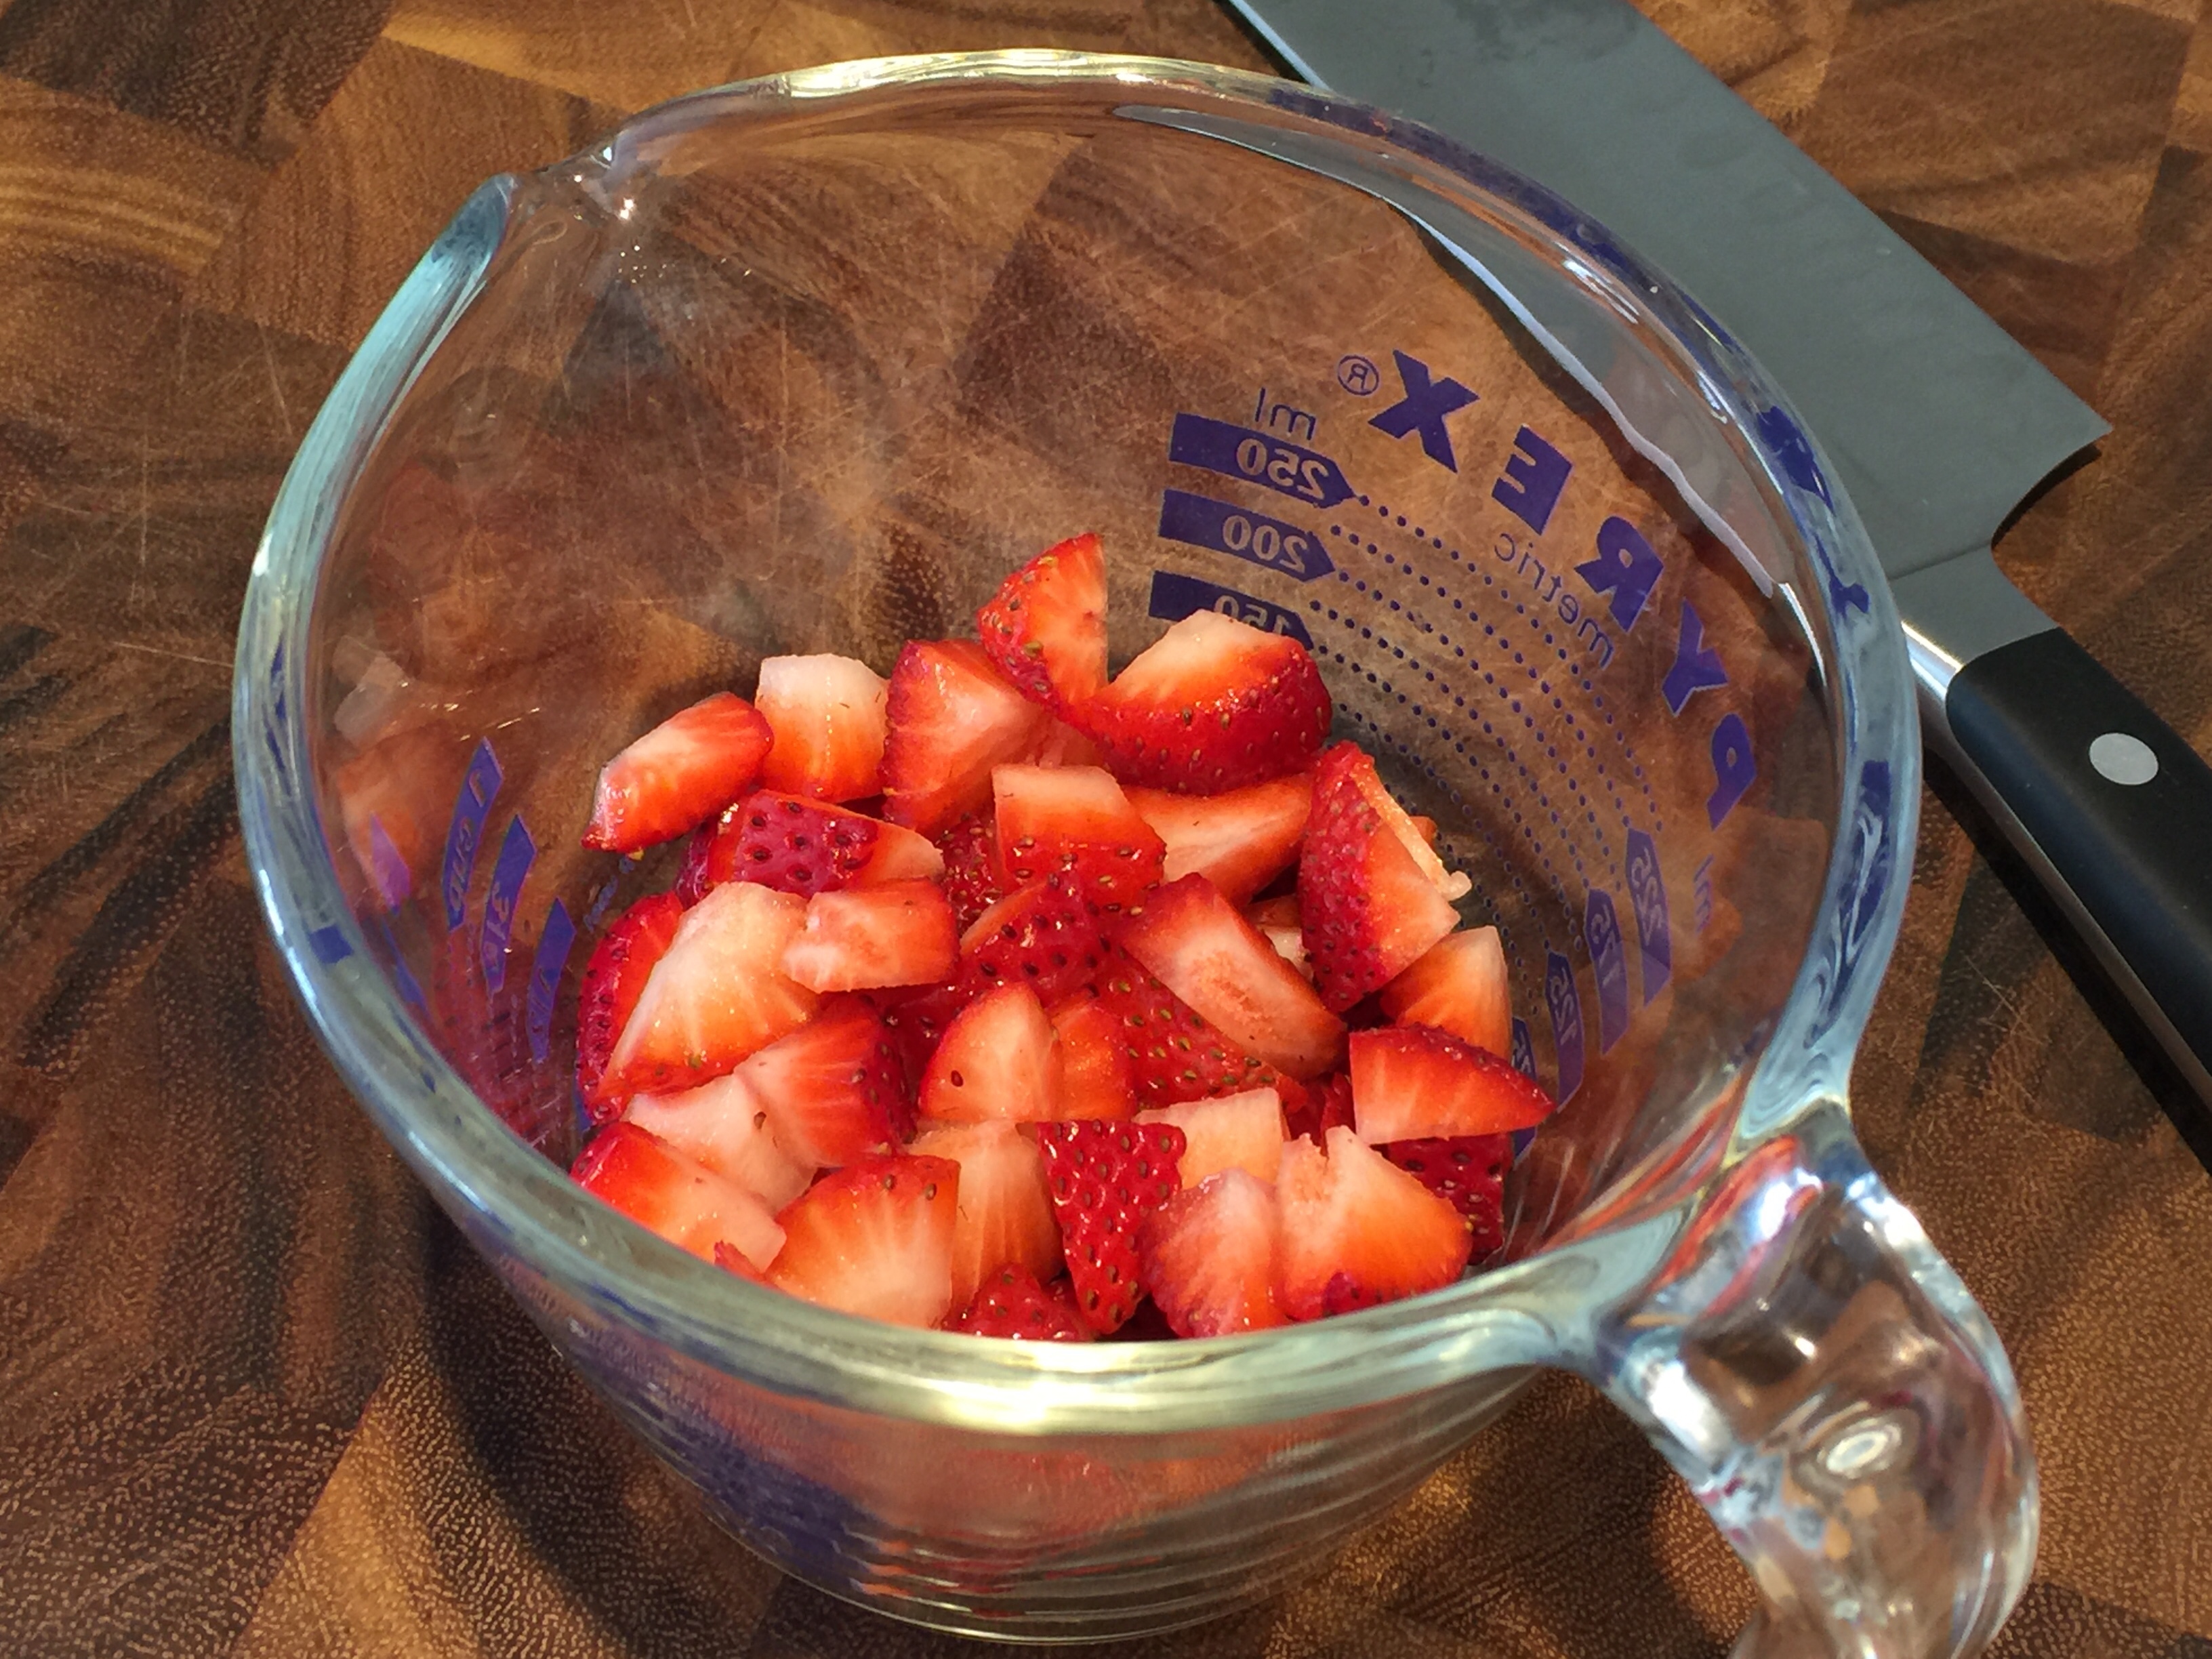
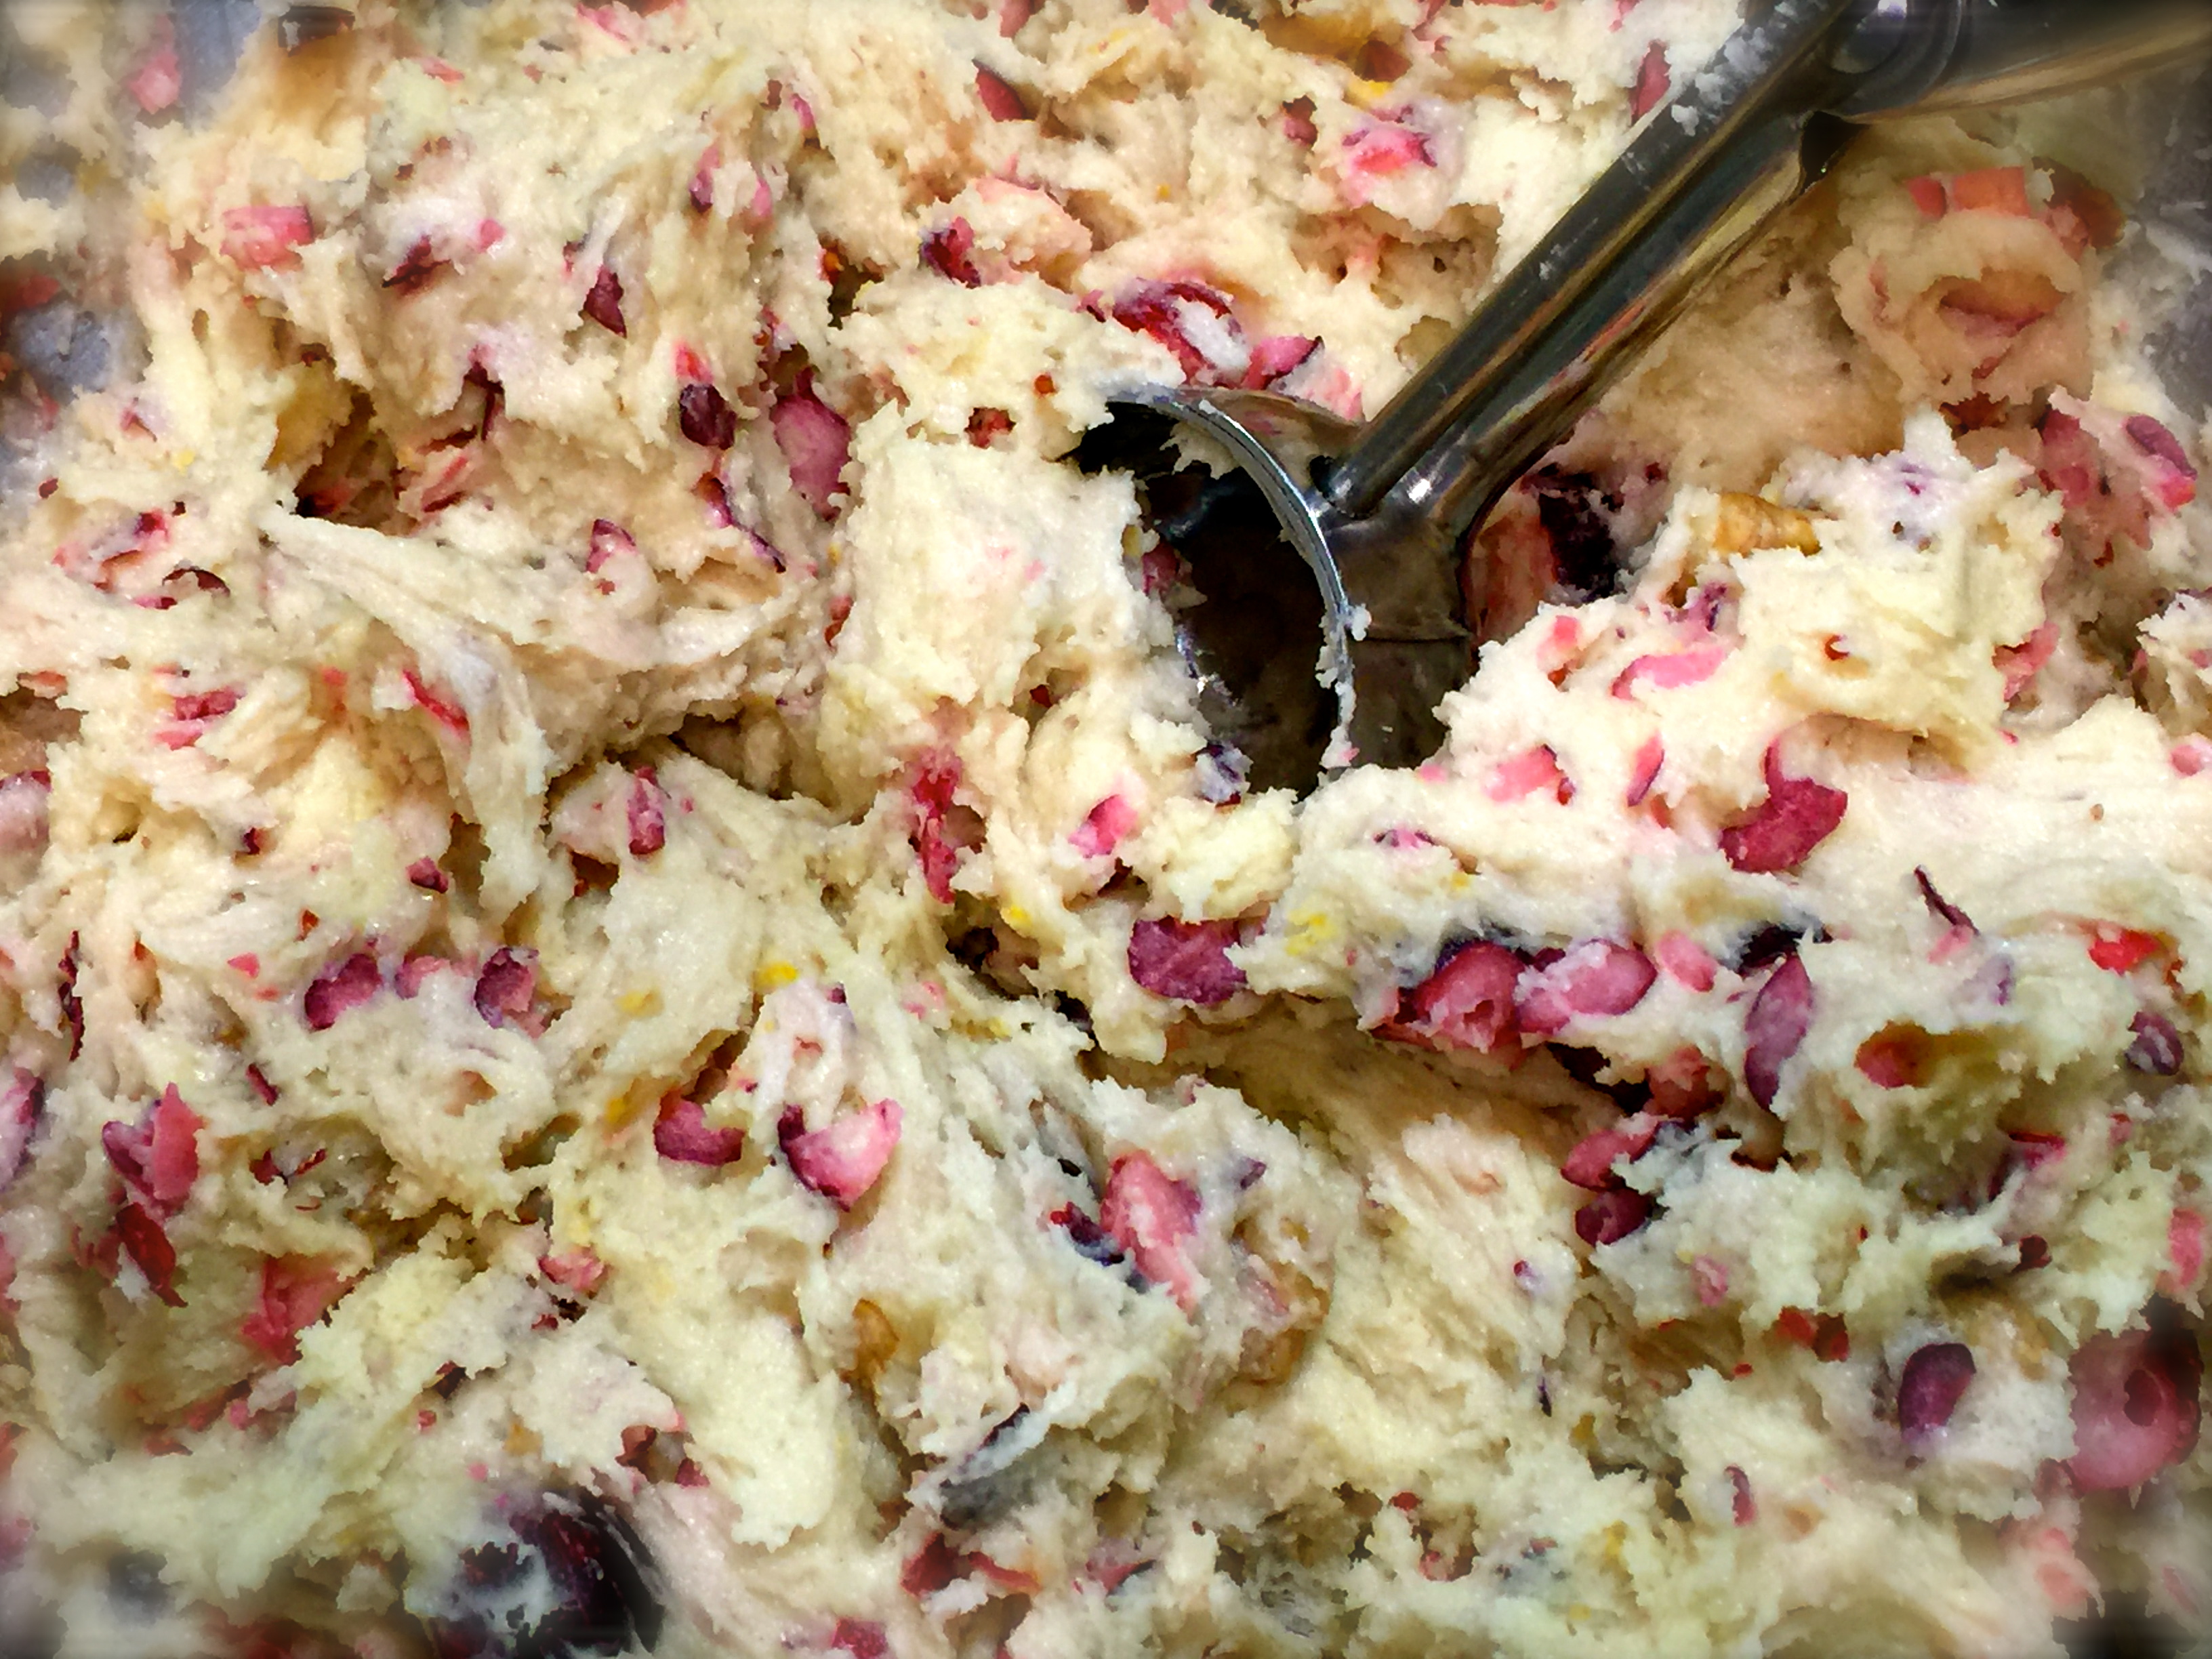
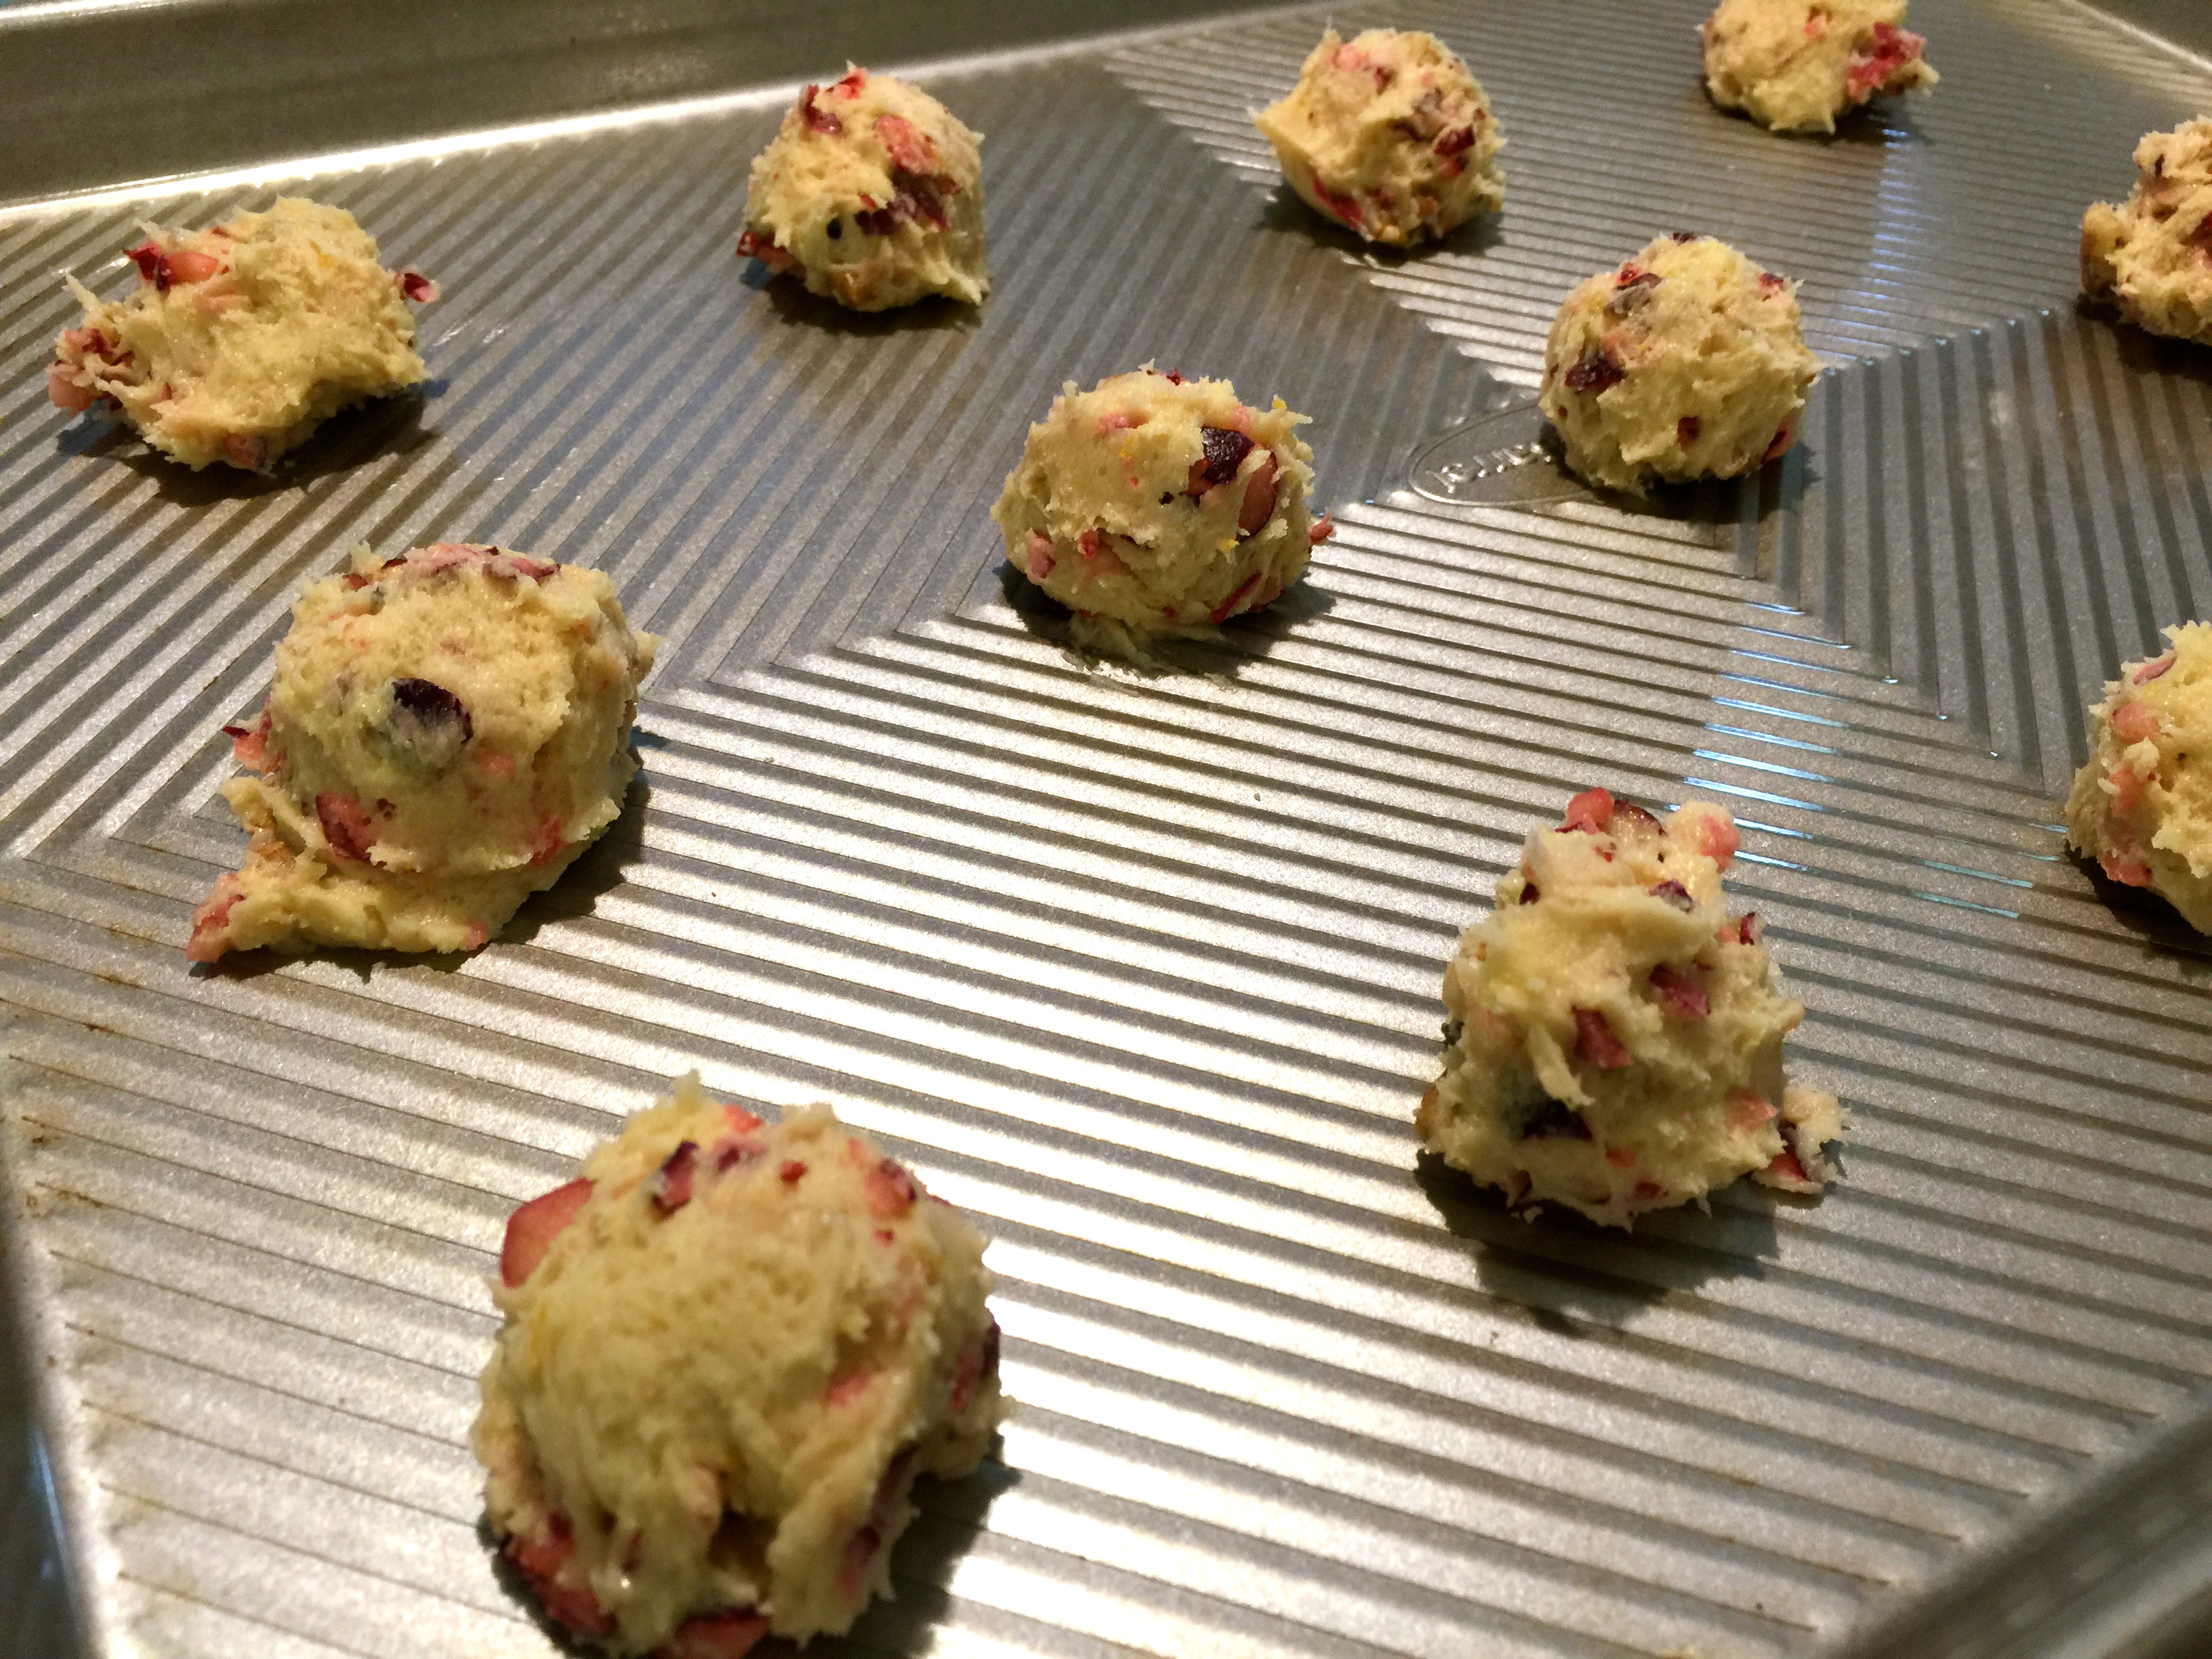
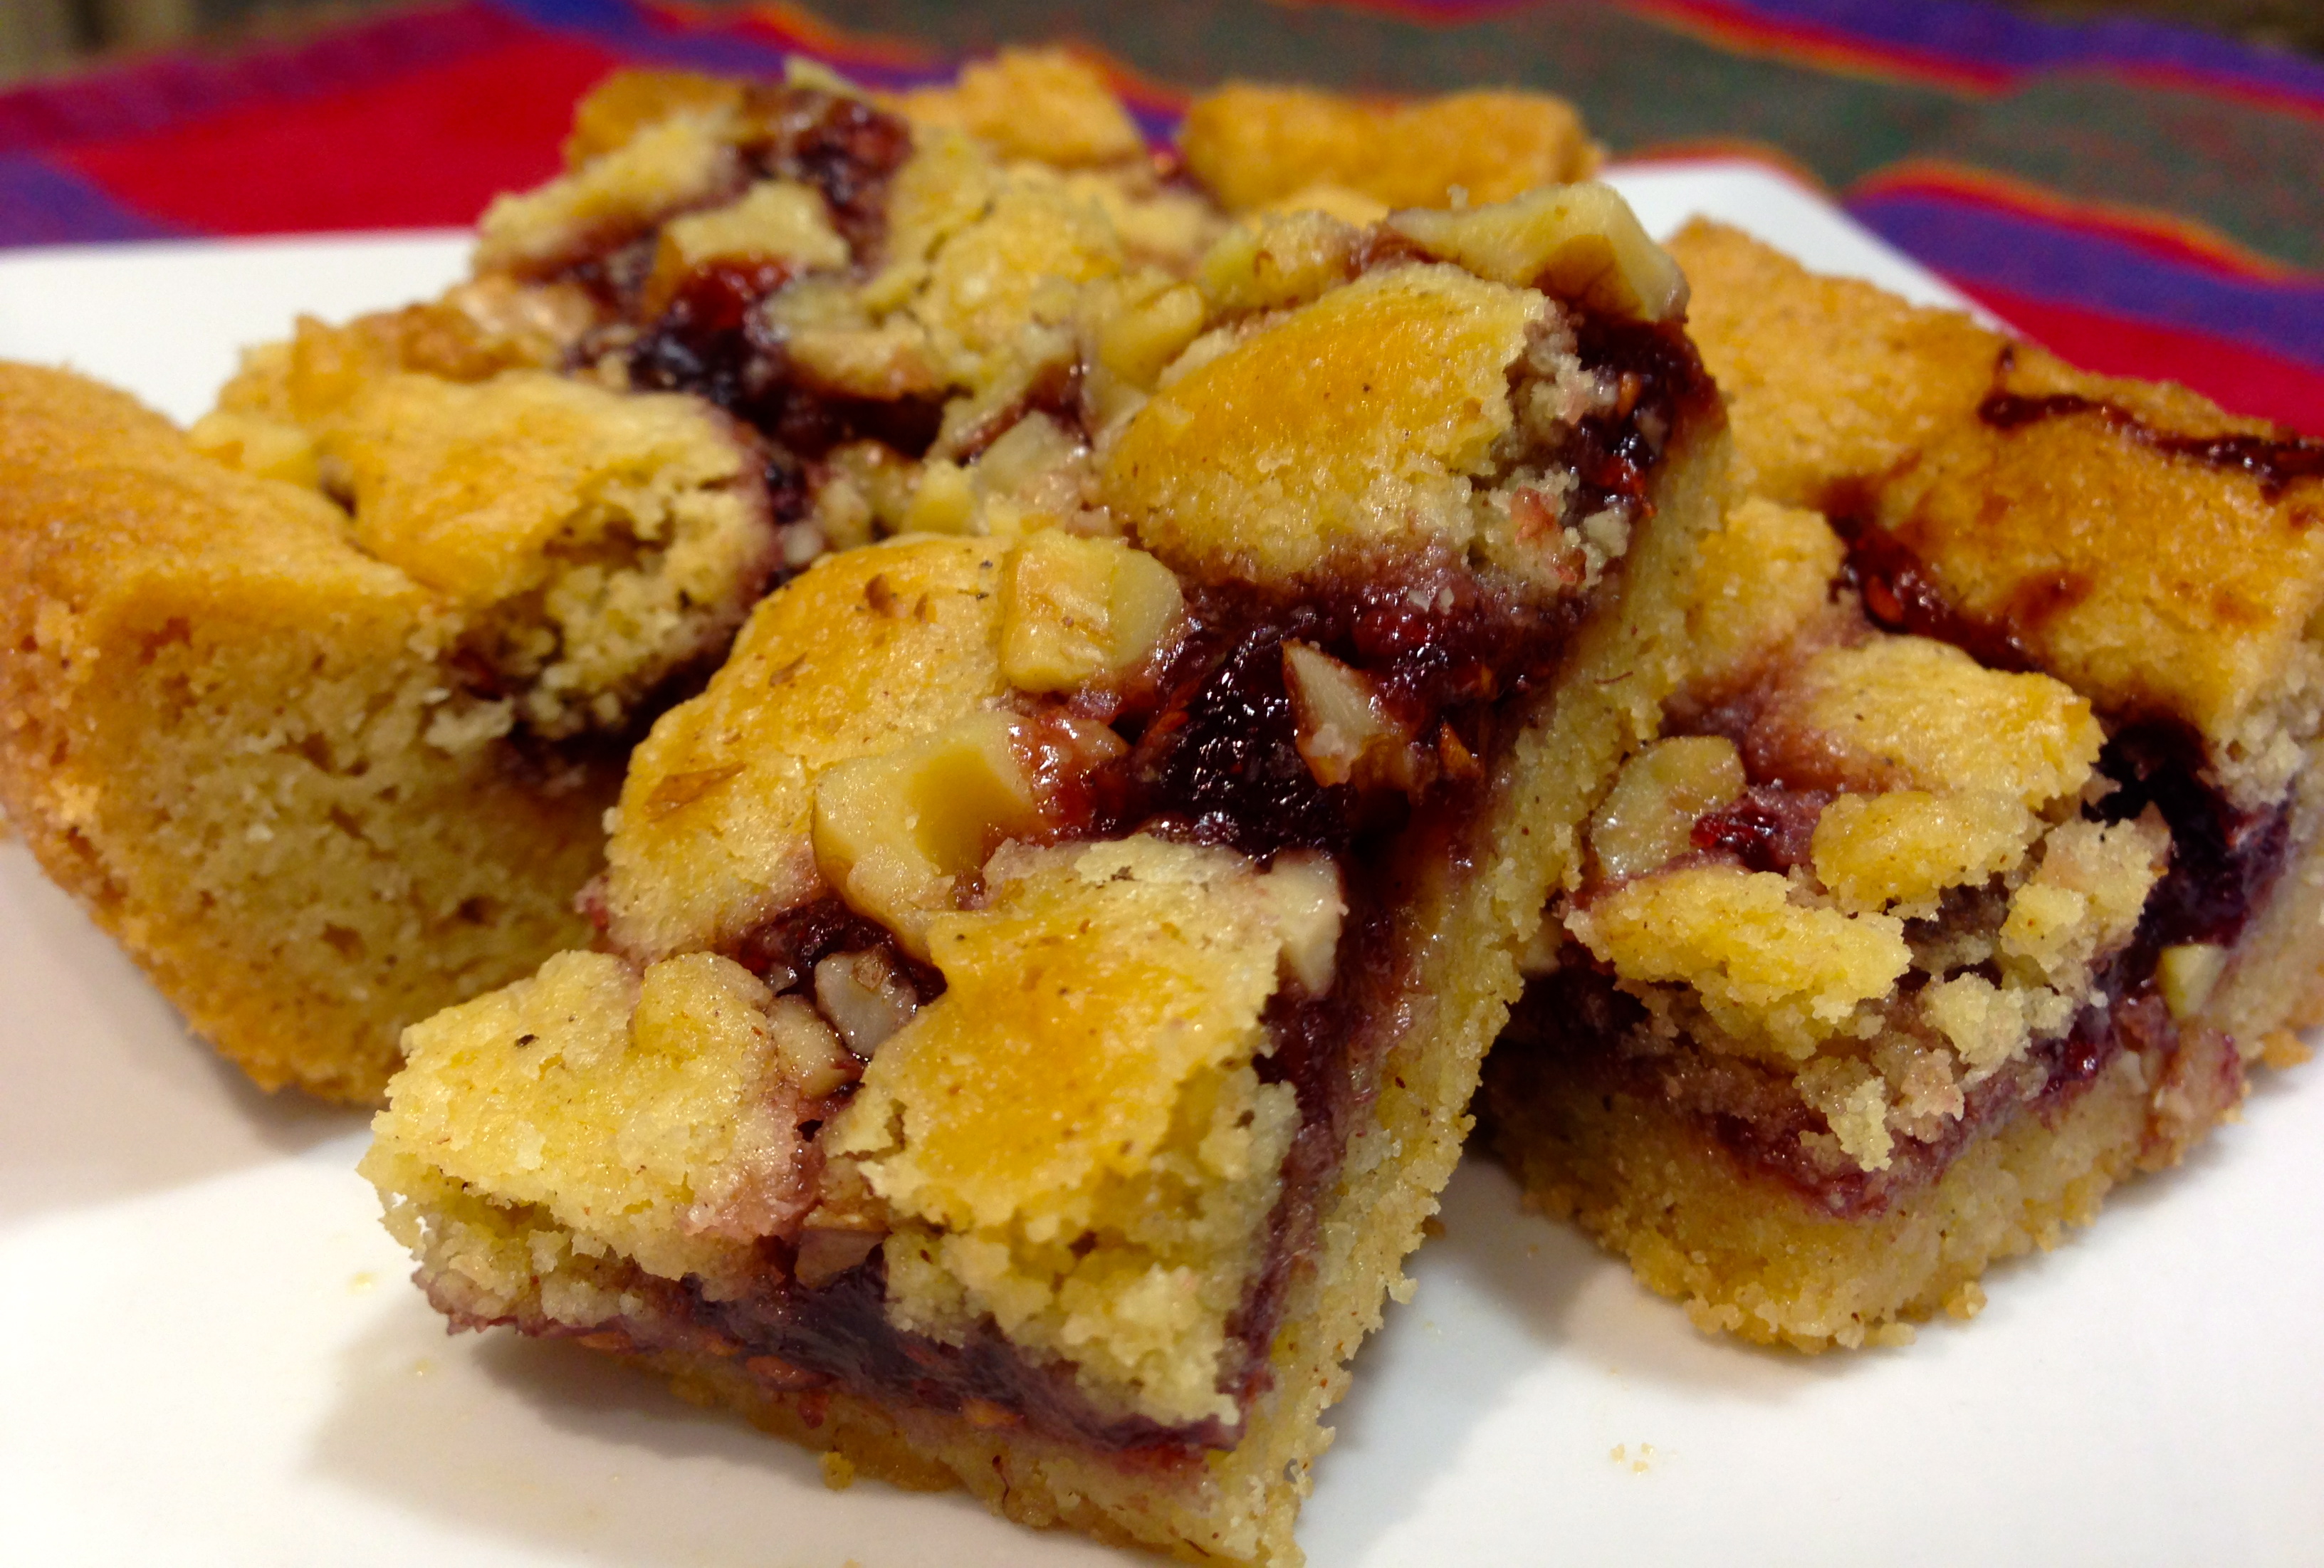
 Lesson Learned 2 – The batter will be thicker than you think: I was surprised at how thick the batter was in this recipe. But the combination of a thick batter and strawberries creates the perfect balance for a moist and flavorful muffin. All the magic happens in the oven, so don’t worry about how thick the batter is.
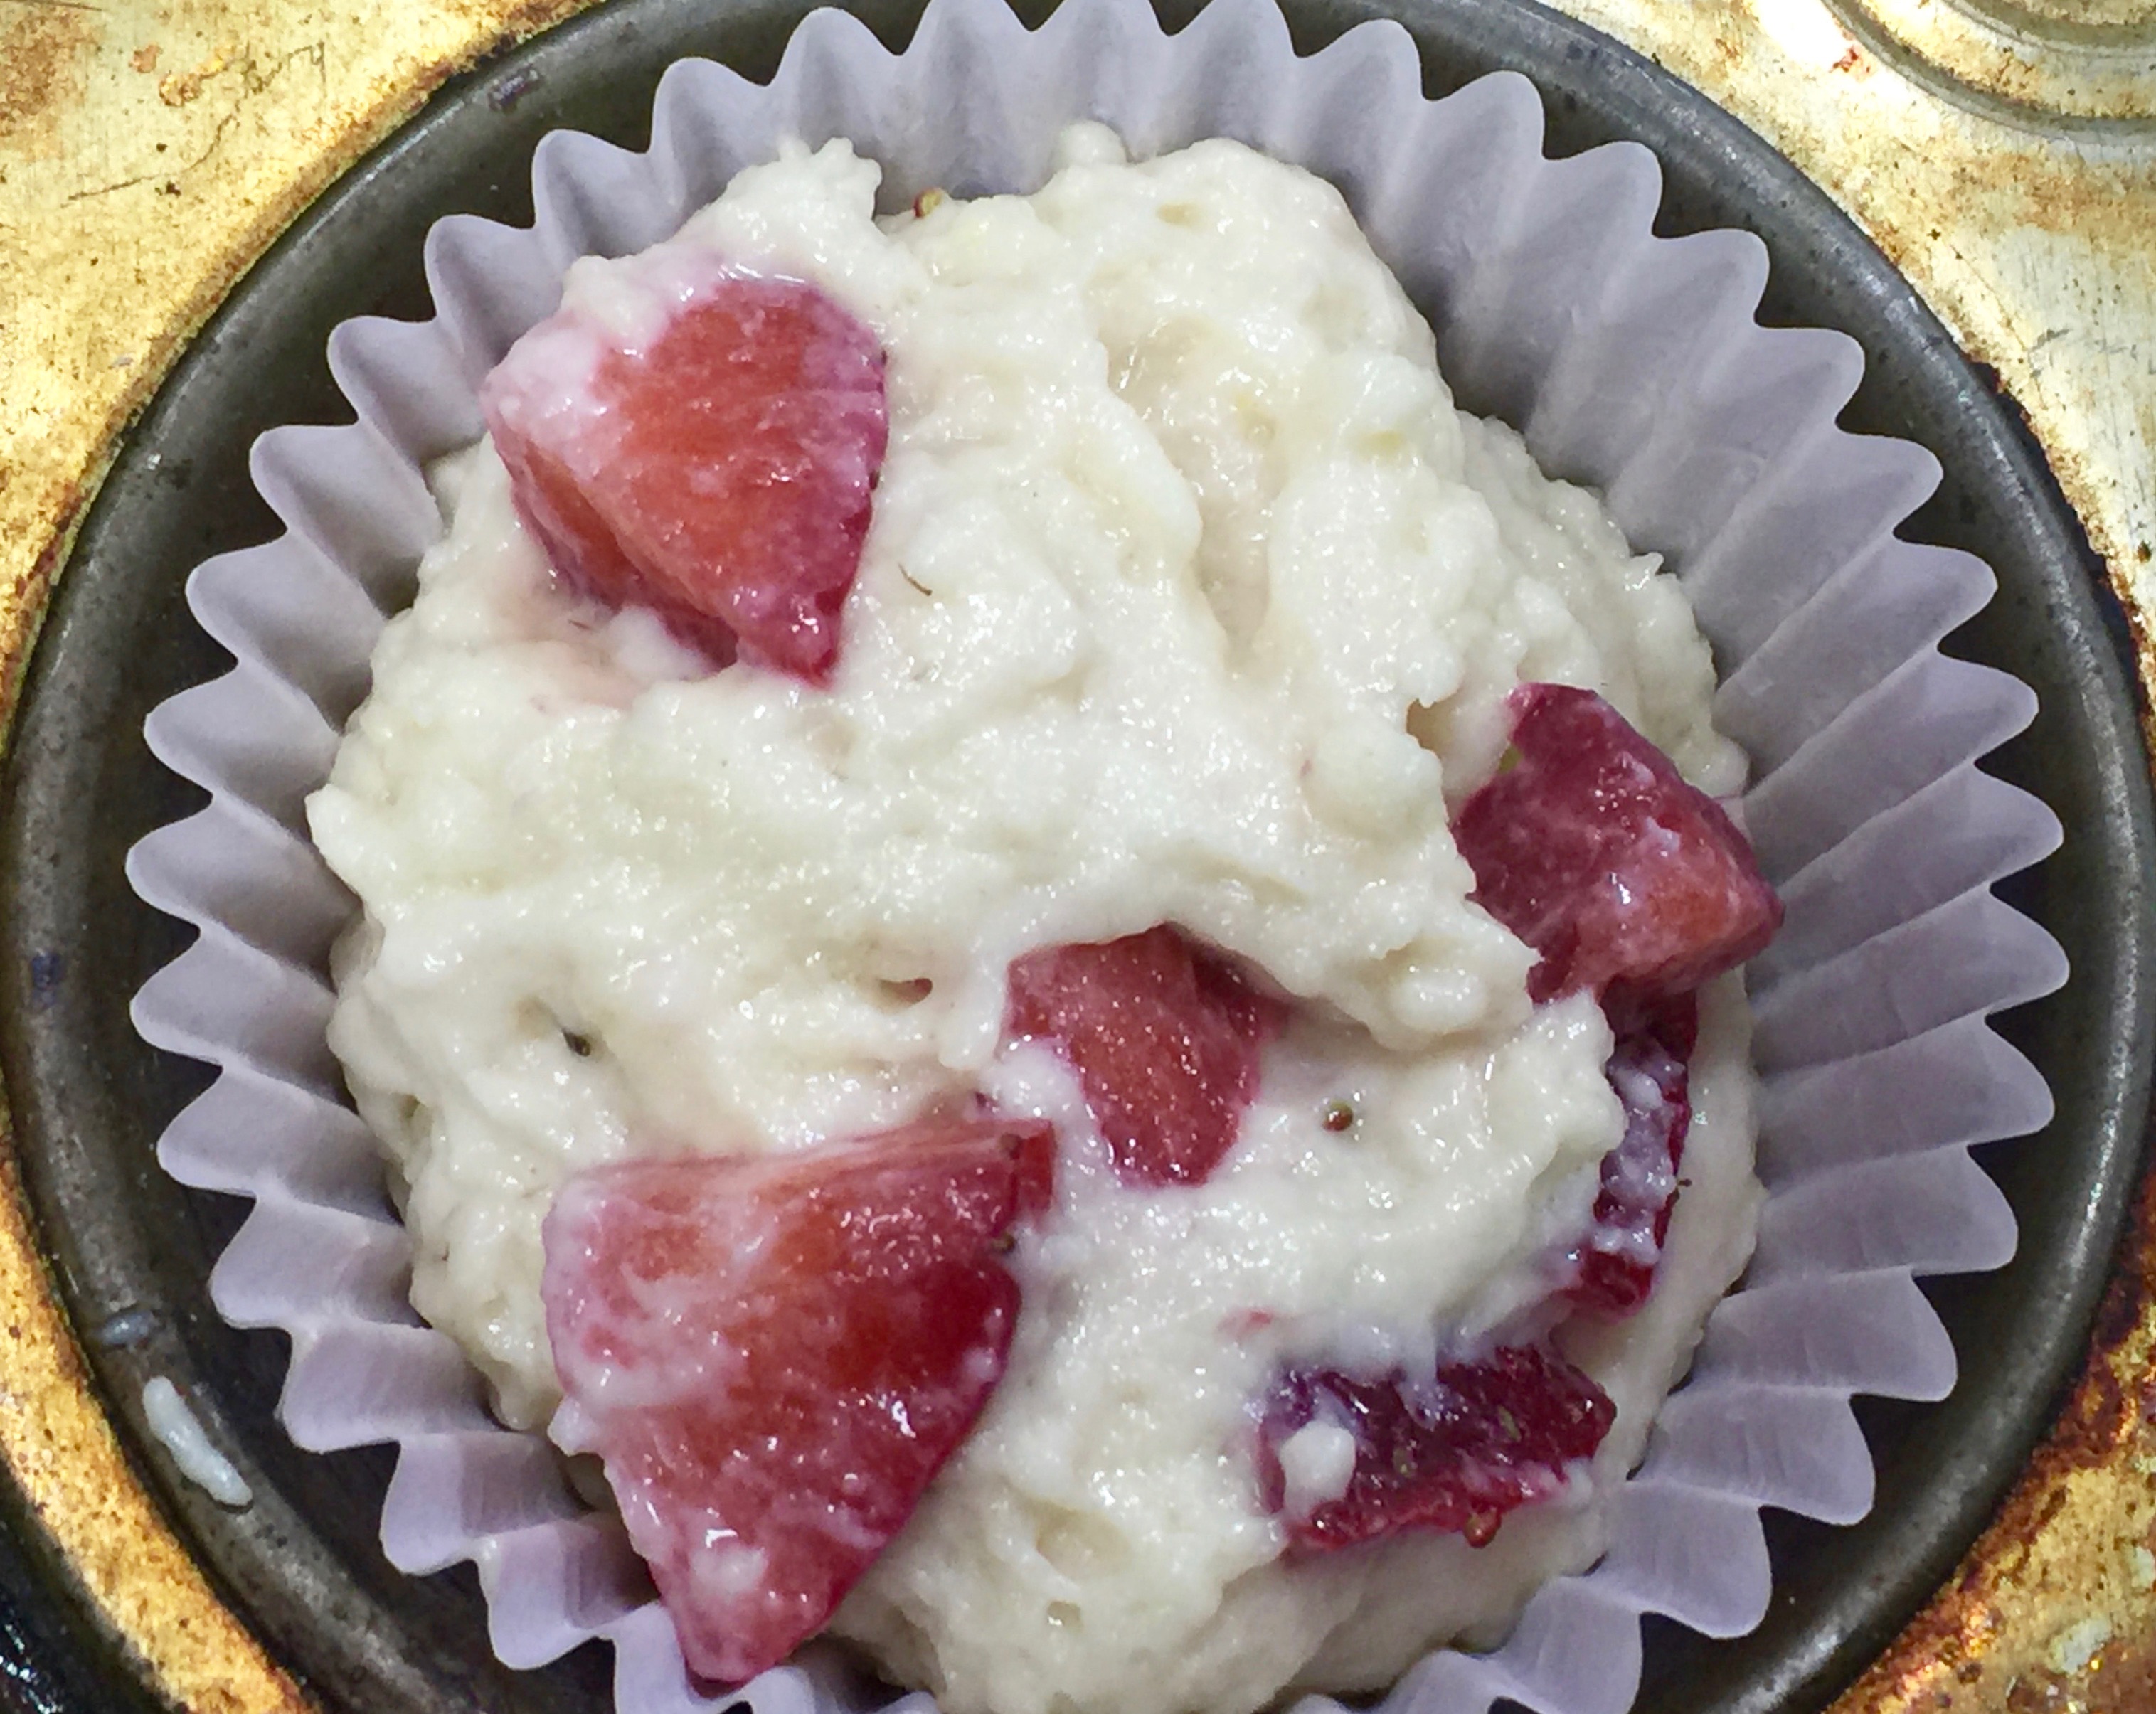
 2 cups flour