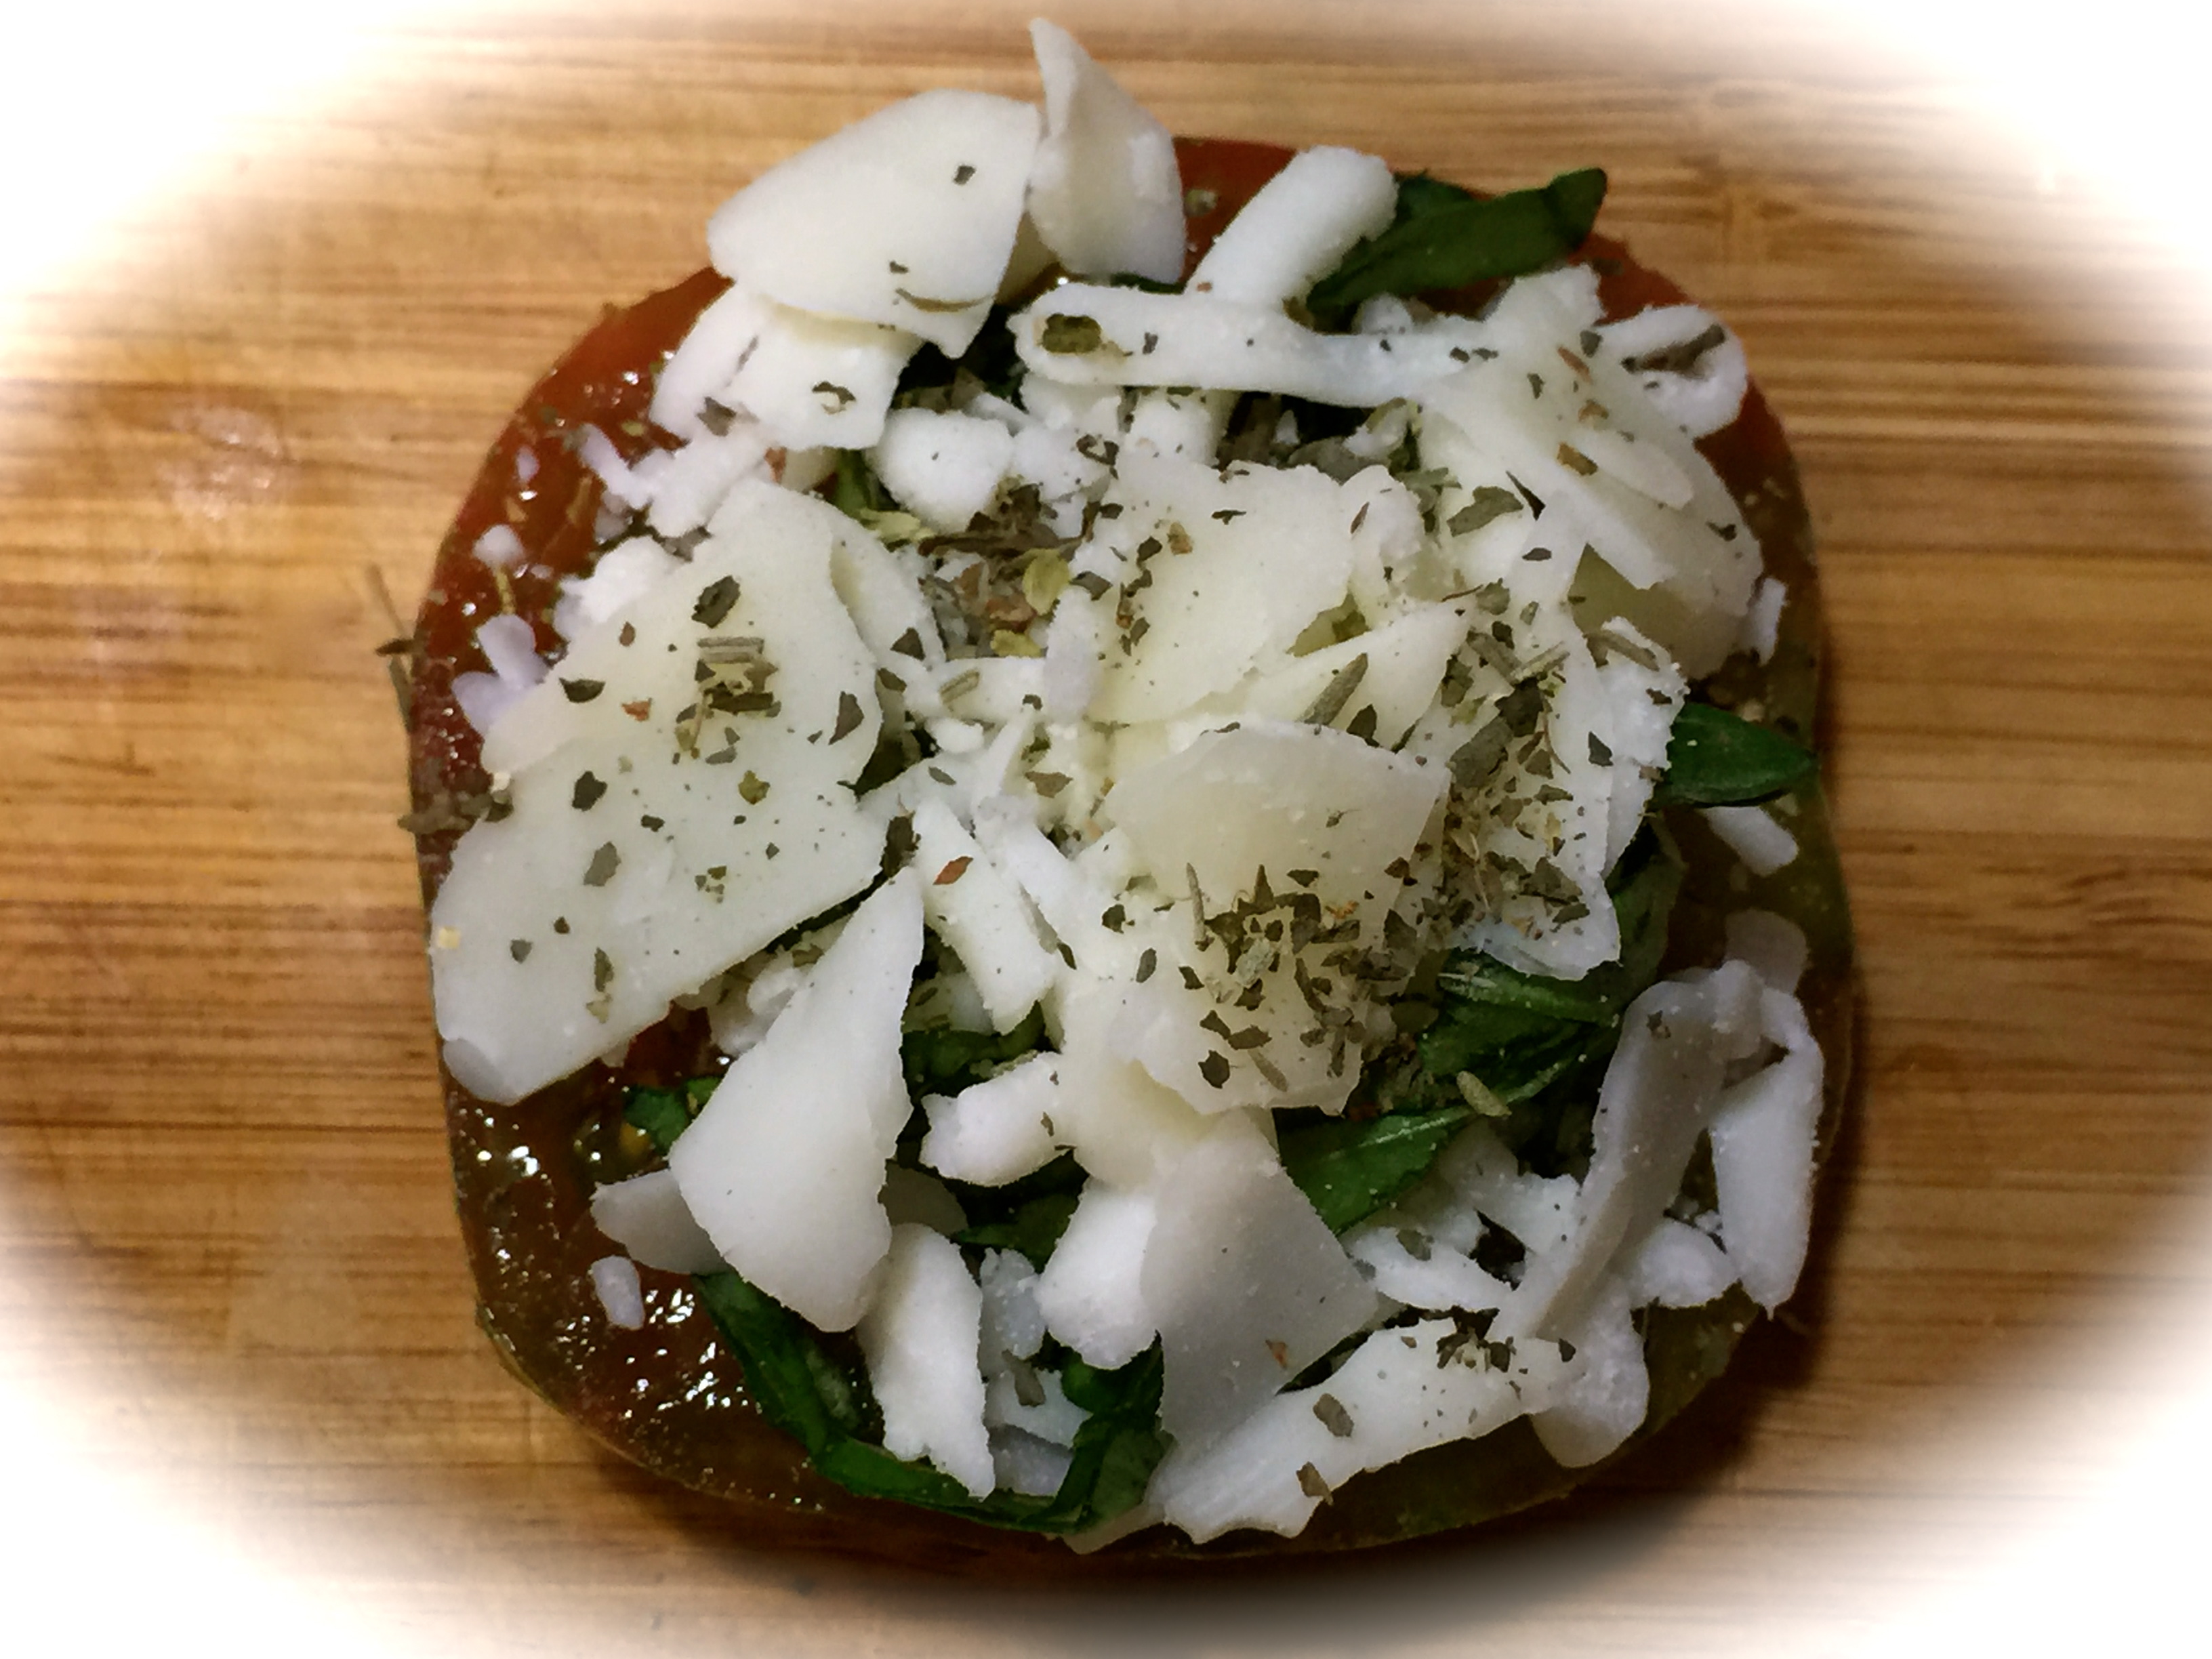
Let me say right up front that this recipe is an artery clogger. That is why I make it once or maybe twice a year tops. The recipe has its roots in my family history. I am of both Lithuanian and Polish decent, and this recipe comes directly from my Lithuanian heritage.
My grandmother (my mother’s mother) was a great cook. She was one of those cooks who could never give you a recipe since everything she made was by look and taste. So it was with this kugelis recipe. I’ve played around with it and have gotten it to just about the way my grandmother made it. But lets face it, no one ever made it like Grandma or ever will.
Before I go into my lessons learned I think it only fair to share some memories of my grandmother. She came on a boat from Lithuania when she was only 16. Her passage was paid for by the man she was to marry. It was an arranged marriage. I can’t even begin to imagine how, at that young age, she had to courage to travel by herself to meet a man she had never met and marry him. But she felt it was her way out of abject poverty.
She got to the United States and immediately knew she did not want to marry this man. She was fortunate enough to meet another man she liked and convinced him to “buy-out” her marriage contract. He did and she wound up marrying him. They lived in Chicago which, at the time, had the largest Lithuanian population outside of Lithuania itself.

My Grandmother and Grandfather on their wedding day
They were not rich by any stretch of the imagination and they had four children to feed. My mother told me there were times when my Grandmother went without food so the kids could eat. But they worked hard, watched their pennies and were finally able to make ends meet. They were the embodiment of the American dream but for a long time it was not easy.
Because they were so poor, my grandmother had to find ways to fill up the bellies of her kids while not spending a lot of money. A recipe like kugelis fit the bill. She could make good use out of a few potatoes, eggs, bacon and butter and turn them into a stick to your ribs kind of dish that would feed the whole family. In the end, she was noted for her kugelis and her home made bread, another inexpensive staple she made often during those times. I have not mastered her homemade bread and making bread from scratch is even trickier at high altitude, but I keep trying and someday I hope to post that recipe as well.
So let’s talk Lithuanian Kugelis…
Lesson Learned 1 – There is no one way to make kugelis: Just about every person of Lithuanian decent I’ve spoken to has their own family recipe for kugelis. And the ingredients can vary. Many recipes include onions (my grandmother did not use them), some recipes use condensed milk, (again, this recipe does not) and some do not use cream of rice or wheat (this recipe does). My point is there is not one full proof way of making kugelis. I am sharing the way my grandmother and mother made it.
 Lesson Learned 2 – Use a little cream of rice or wheat: My grandmother used “farina” in her recipe. Farina used to be very popular when I was growing up but not so much now. As a substitute you can use either cream of rice or wheat. They are both a very creamy type of hot cereal and the little bit you use gives extra creaminess to the kugelis.
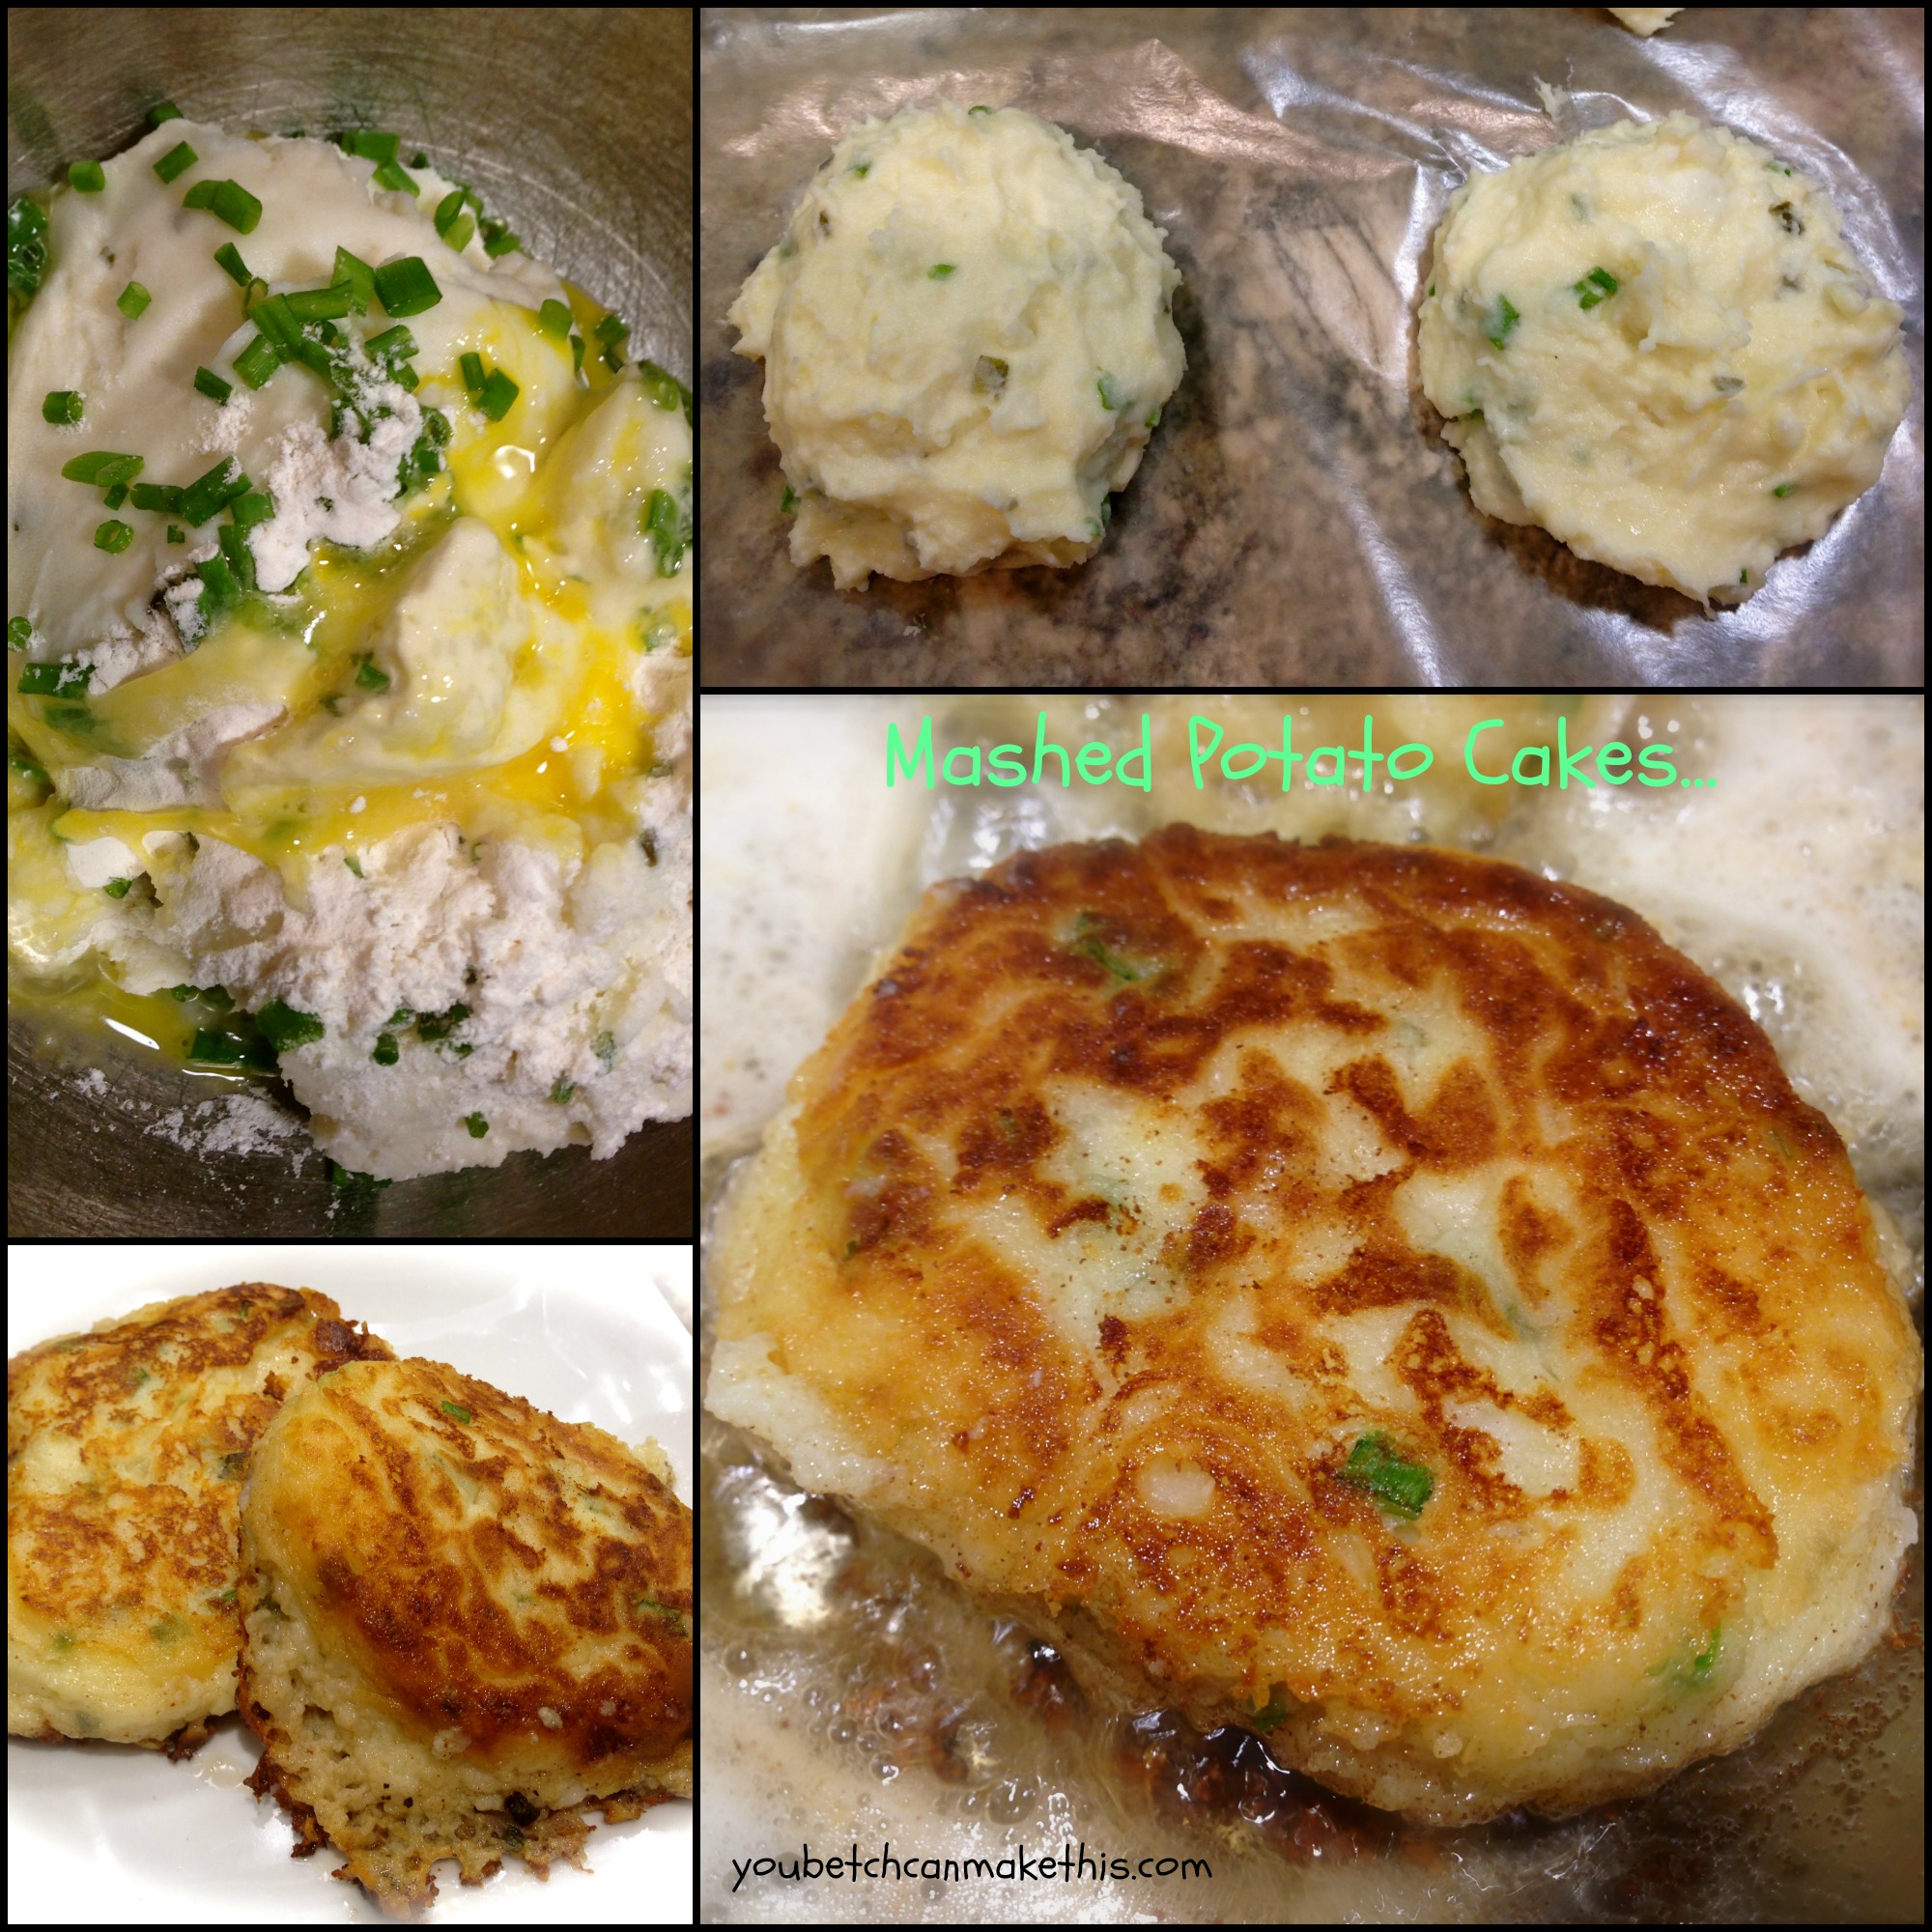
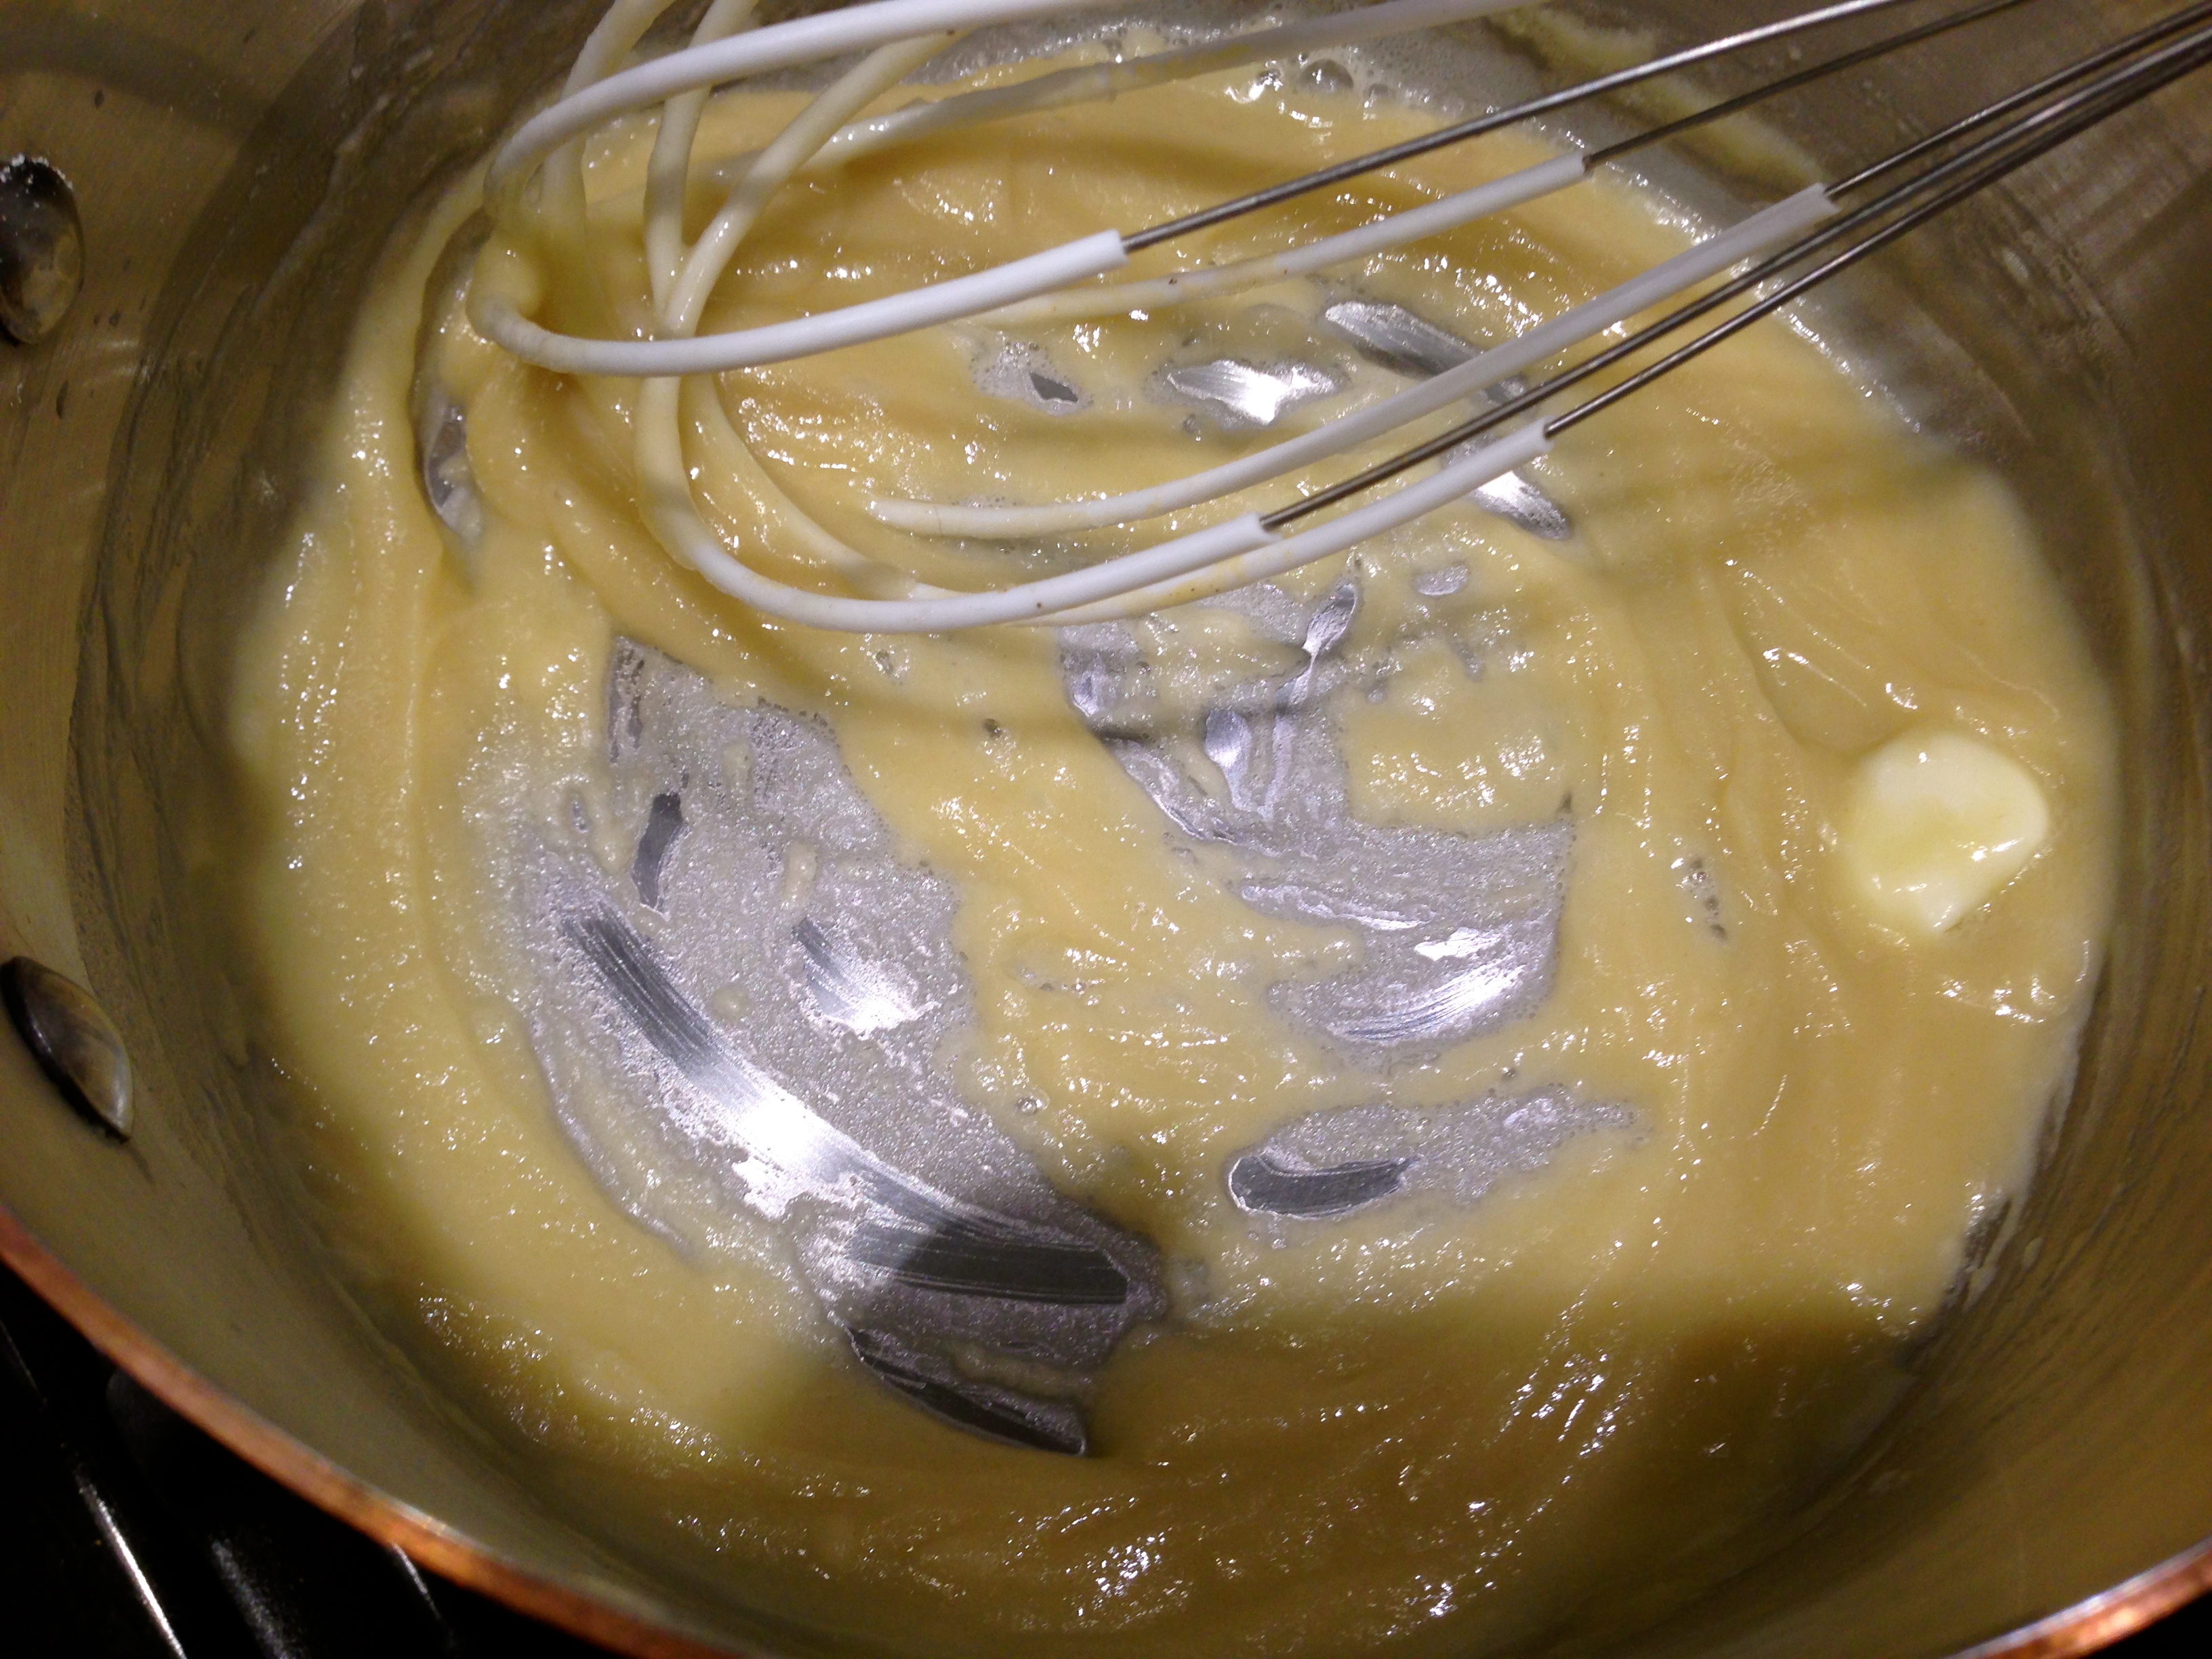
Lesson Learned 3 – Beat the eggs into submission: This is one of the tricks my mother taught me. You want your kugelis to be light and fluffy so you want a lot of air in your beaten eggs. You need to beat them for about 5-7 minutes with a hand mixer. I advise you not to guess when 5 minutes is up but to actually set a timer. You will not believe how long 5 minutes feels when you are beating those eggs. But you want a very airy consistency to the eggs as seen in the picture below.

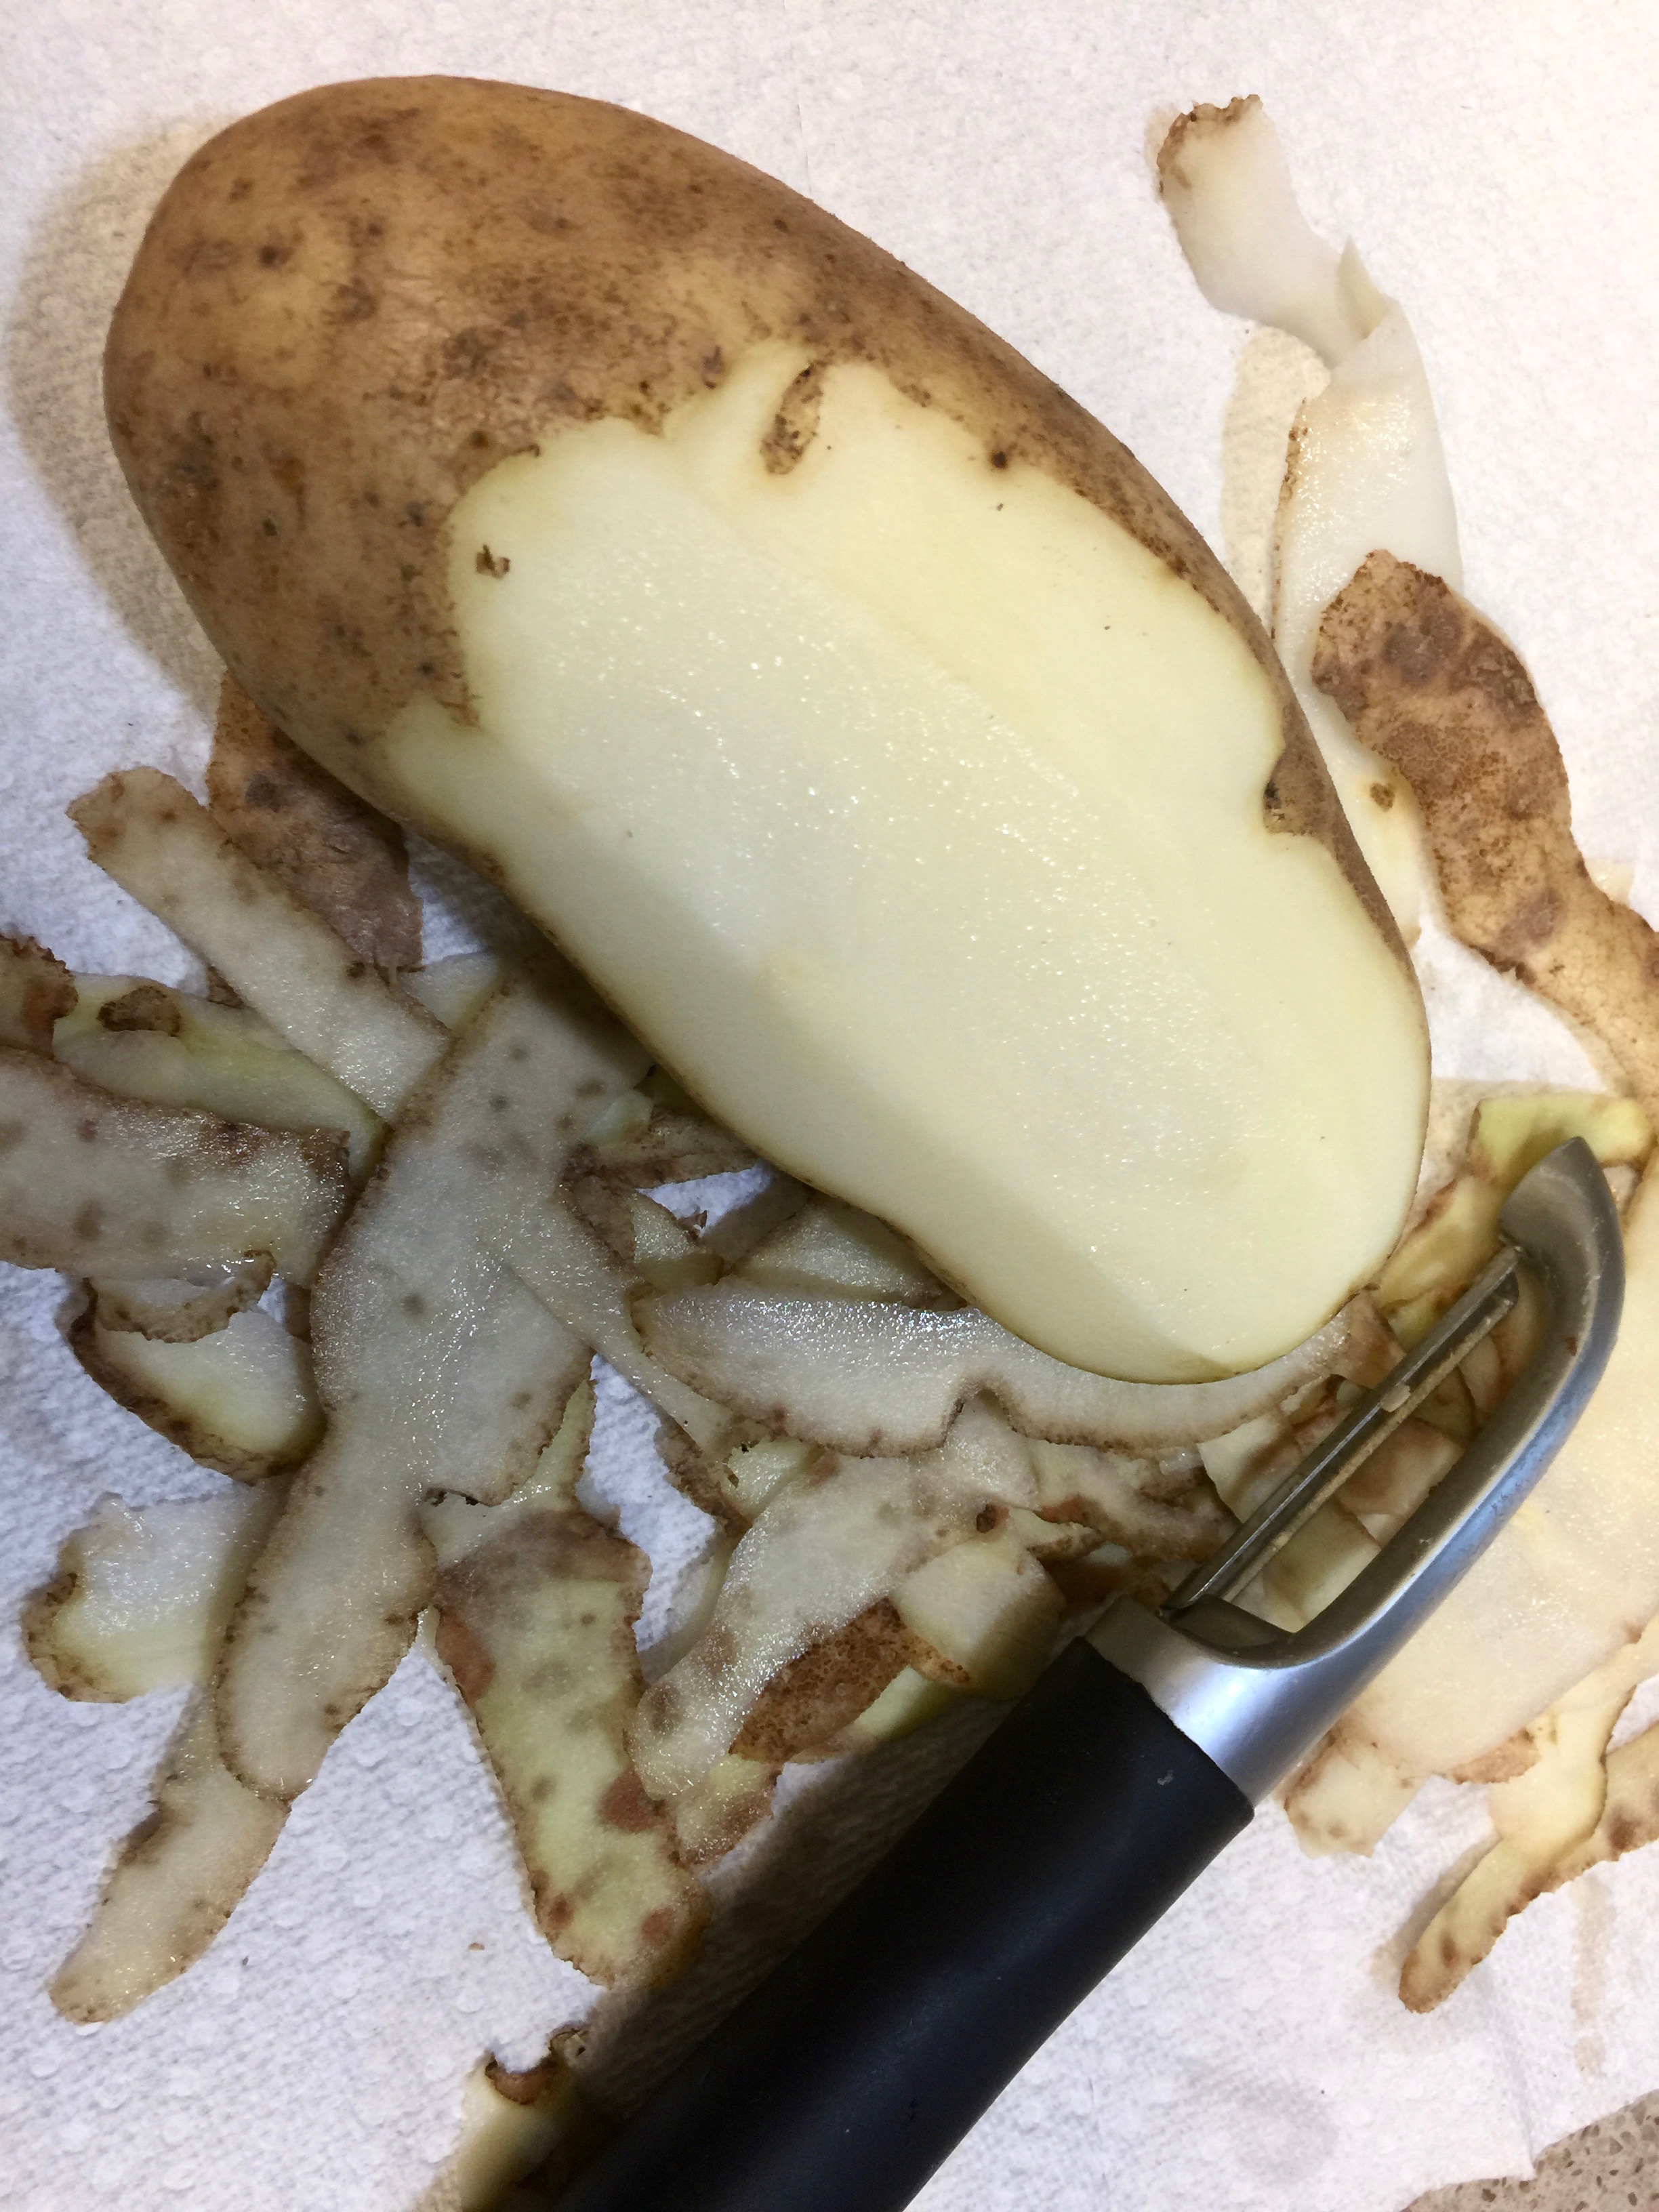
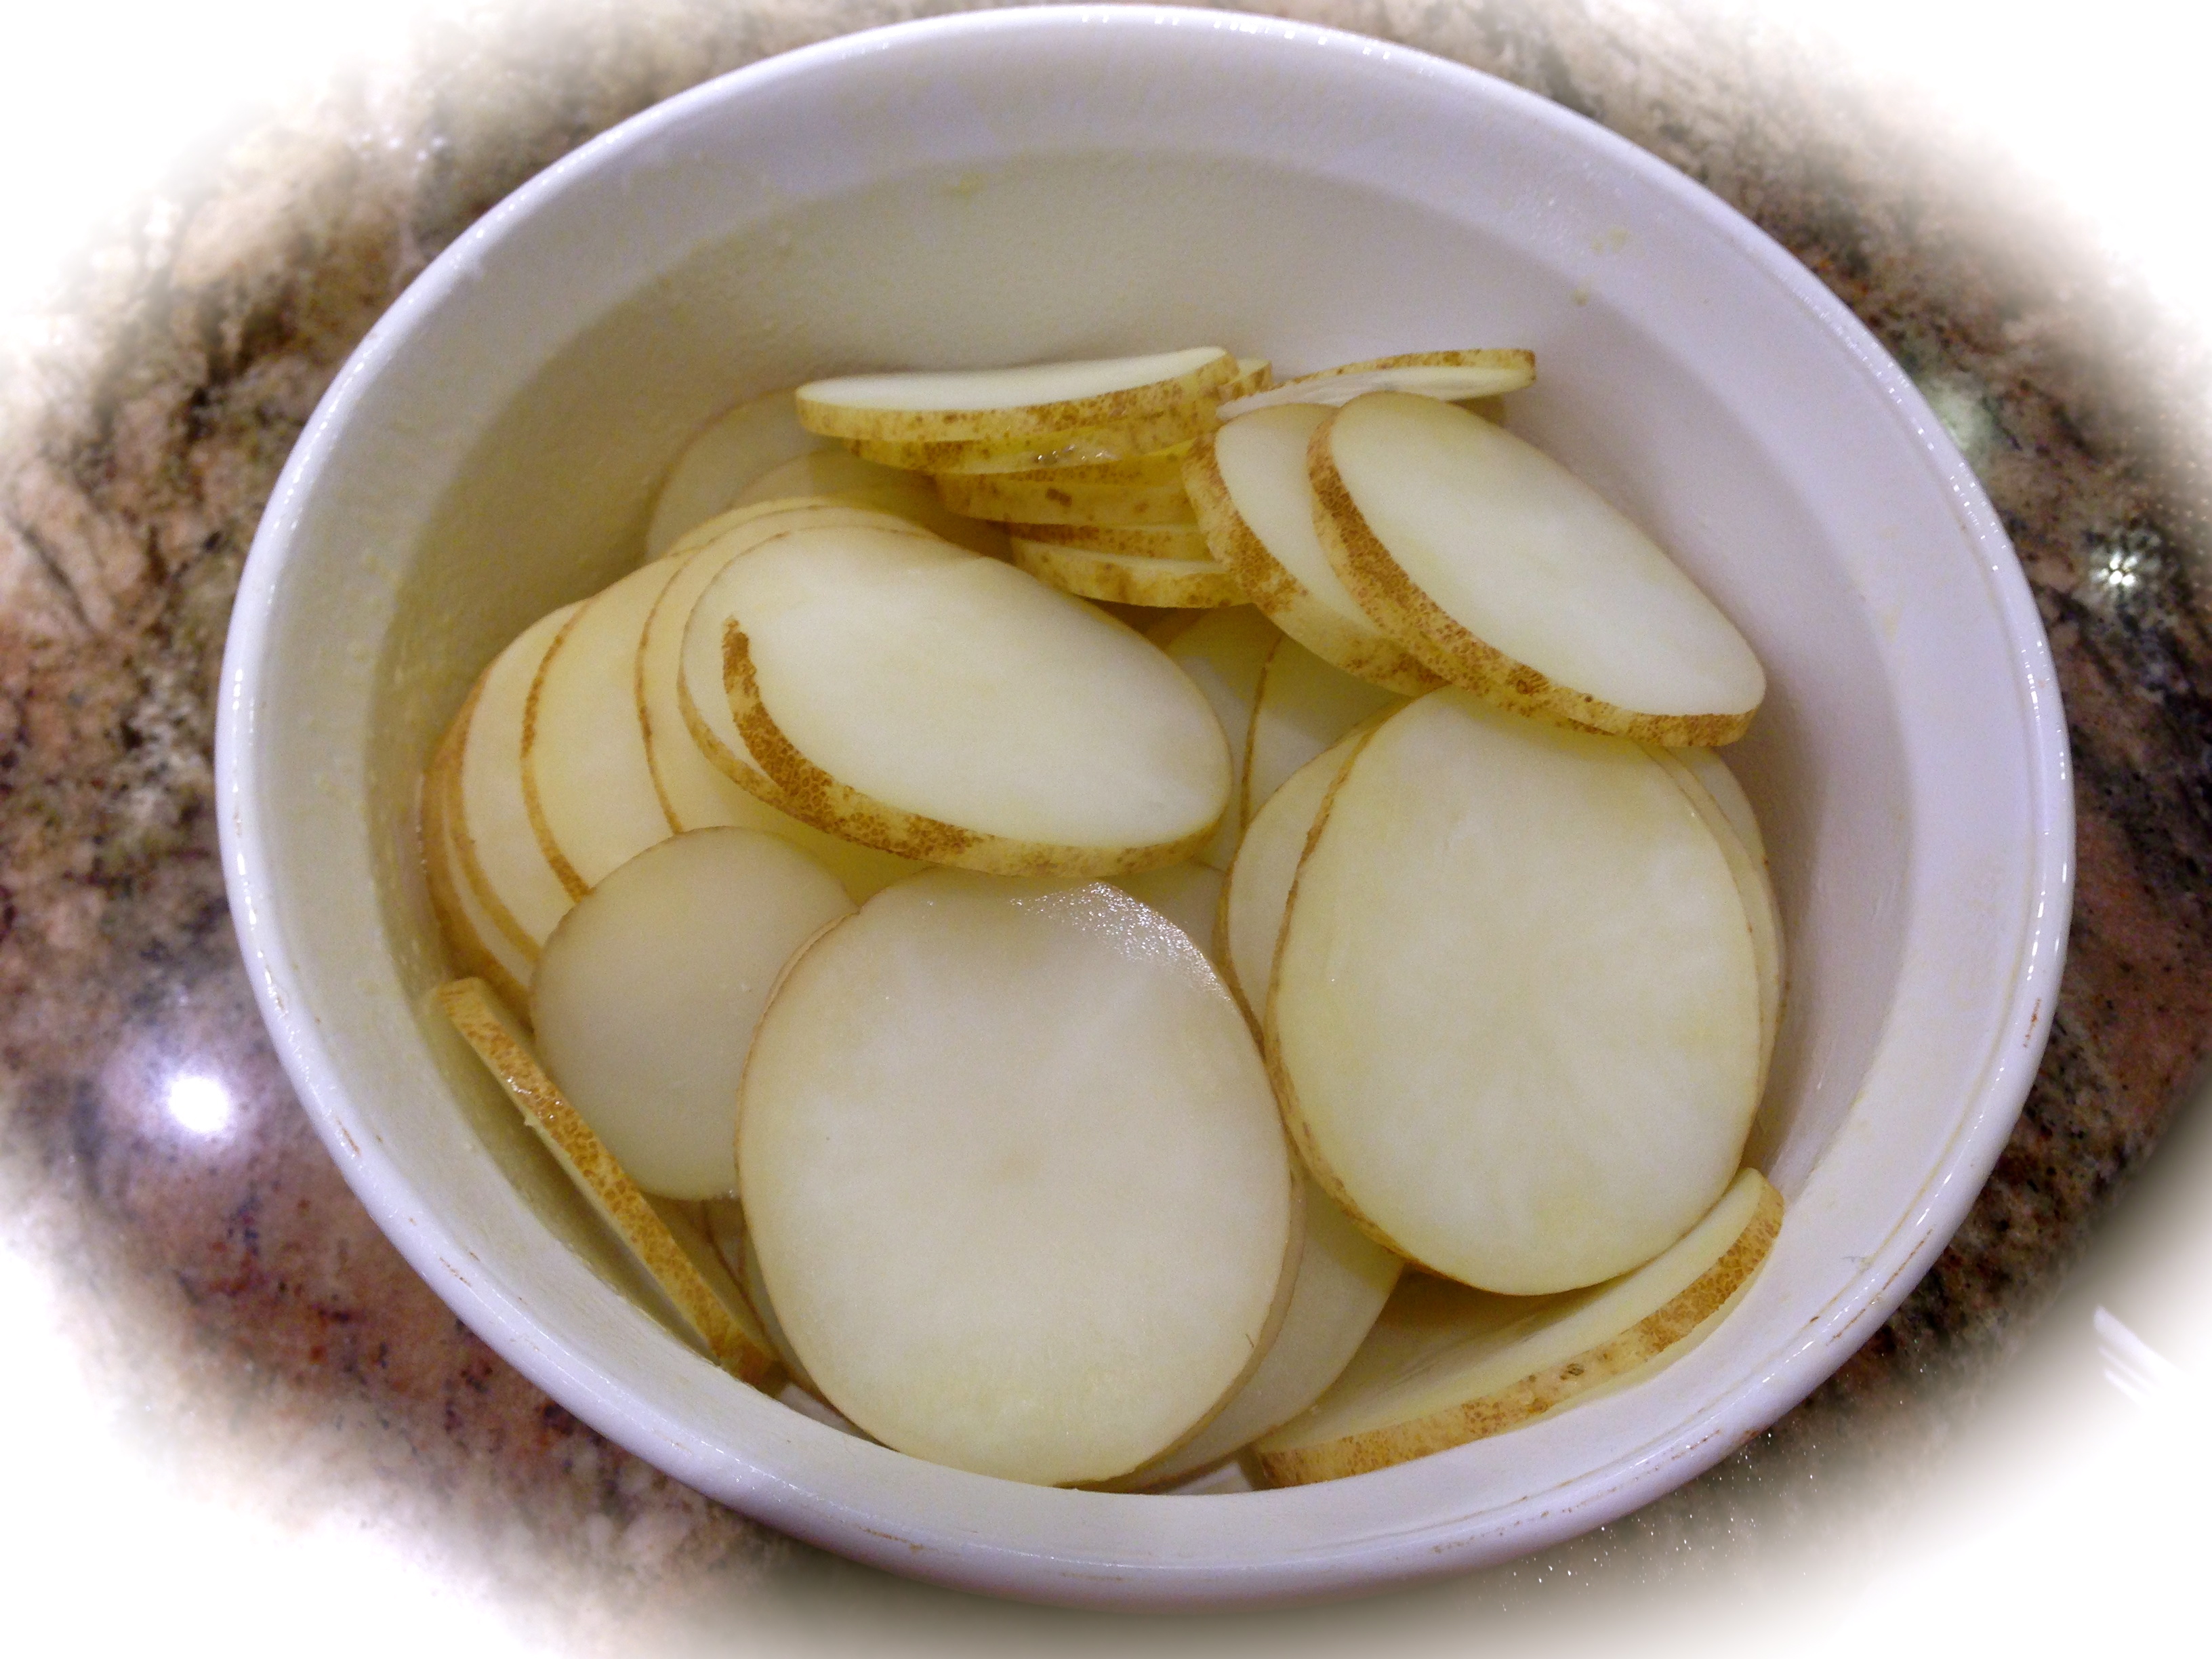
Lesson Learned 3 – Keep the potatoes soaking in water until you are ready to grate them: You use quite a bit of potatoes in this recipe and it takes time to grate them.  The last thing you want to have happen is for the potatoes to oxidize and turn brown while waiting to be grated. Once you peel them put them in a bowl of cold water until you are ready to grate them. That way they will not turn brown on you.
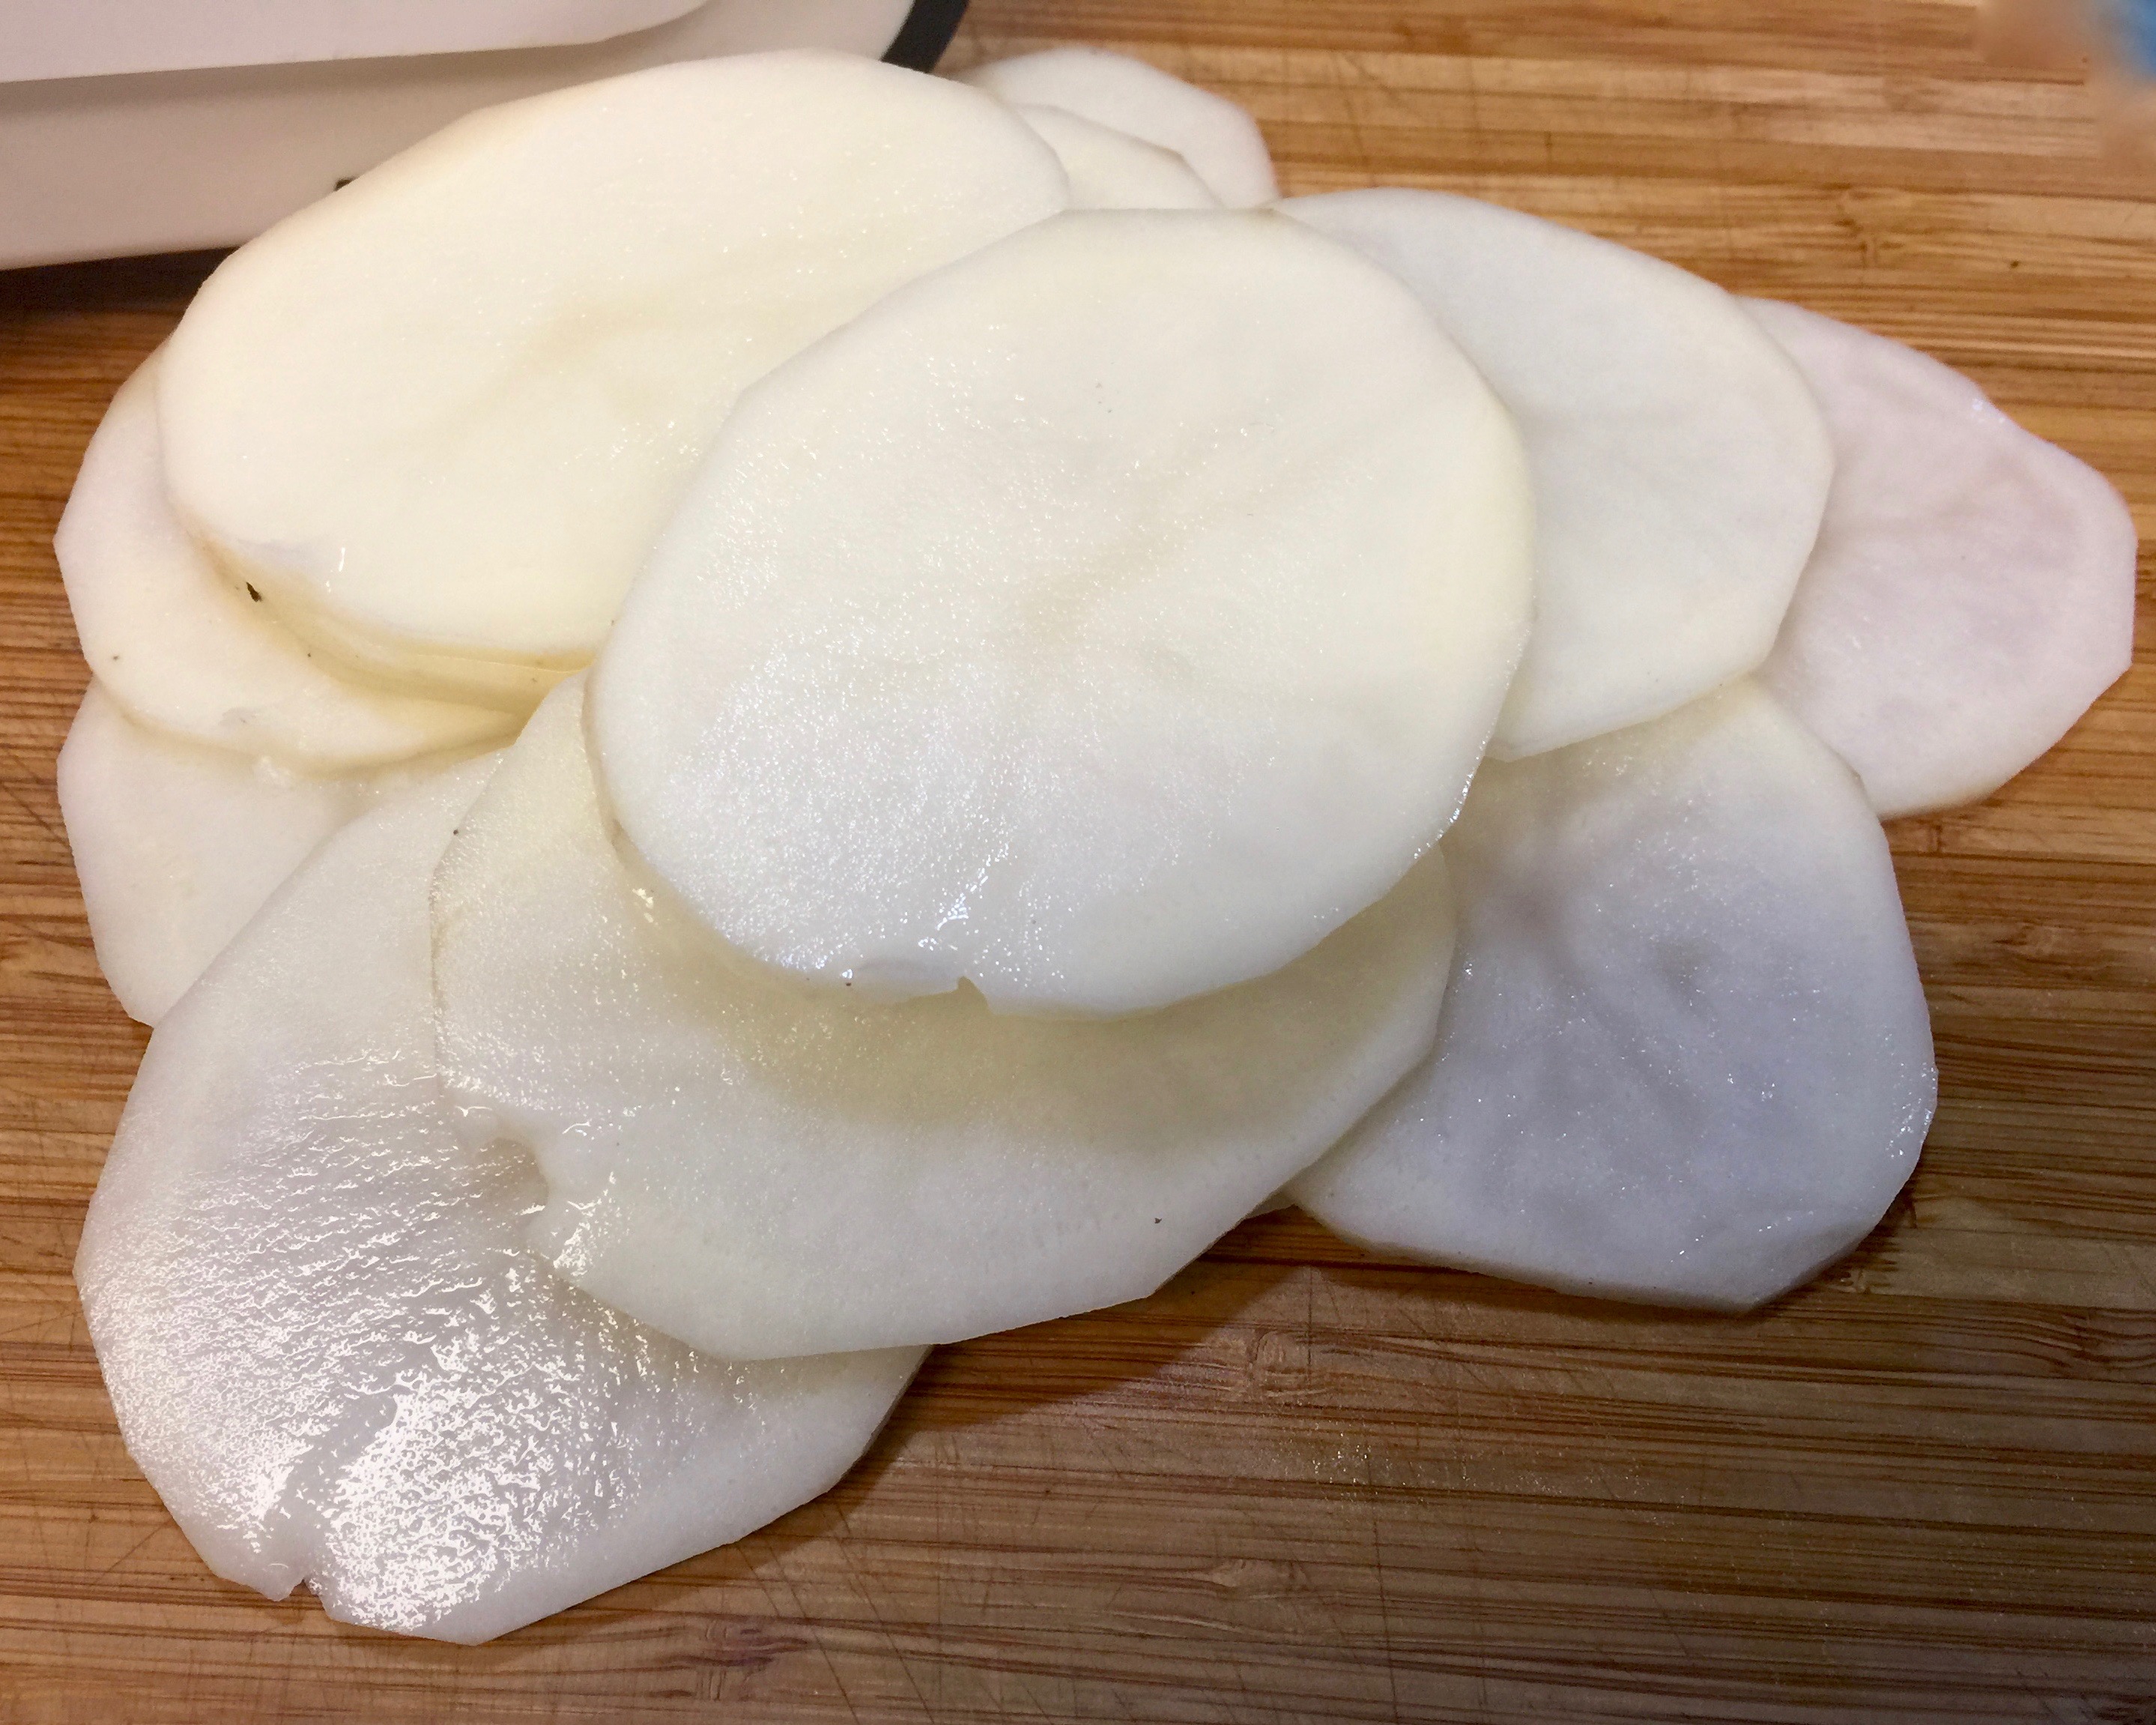
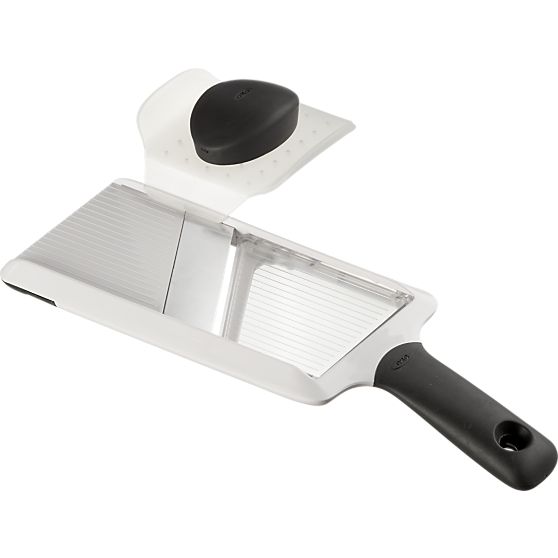
Lesson Learned 4 – Grate the potatoes by hand: My mother maintained that the only way to get the potatoes to a perfect consistency for kugelis is to grate them by hand. Let me tell you, that is quite an arduous task. Many people now use food processors to grate their potatoes, but my mother felt a food processor rendered the potatoes too watery. So, I do what my mother and my grandmother before always did and grate the potatoes by hand. You can really build up your upper body strength by grating the potatoes by hand, but the end result is so worth it. The pictures below show the gadget I use to grate the potatoes and the desired consistency of the grated potatoes.


The desired consistency of the grated potatoes
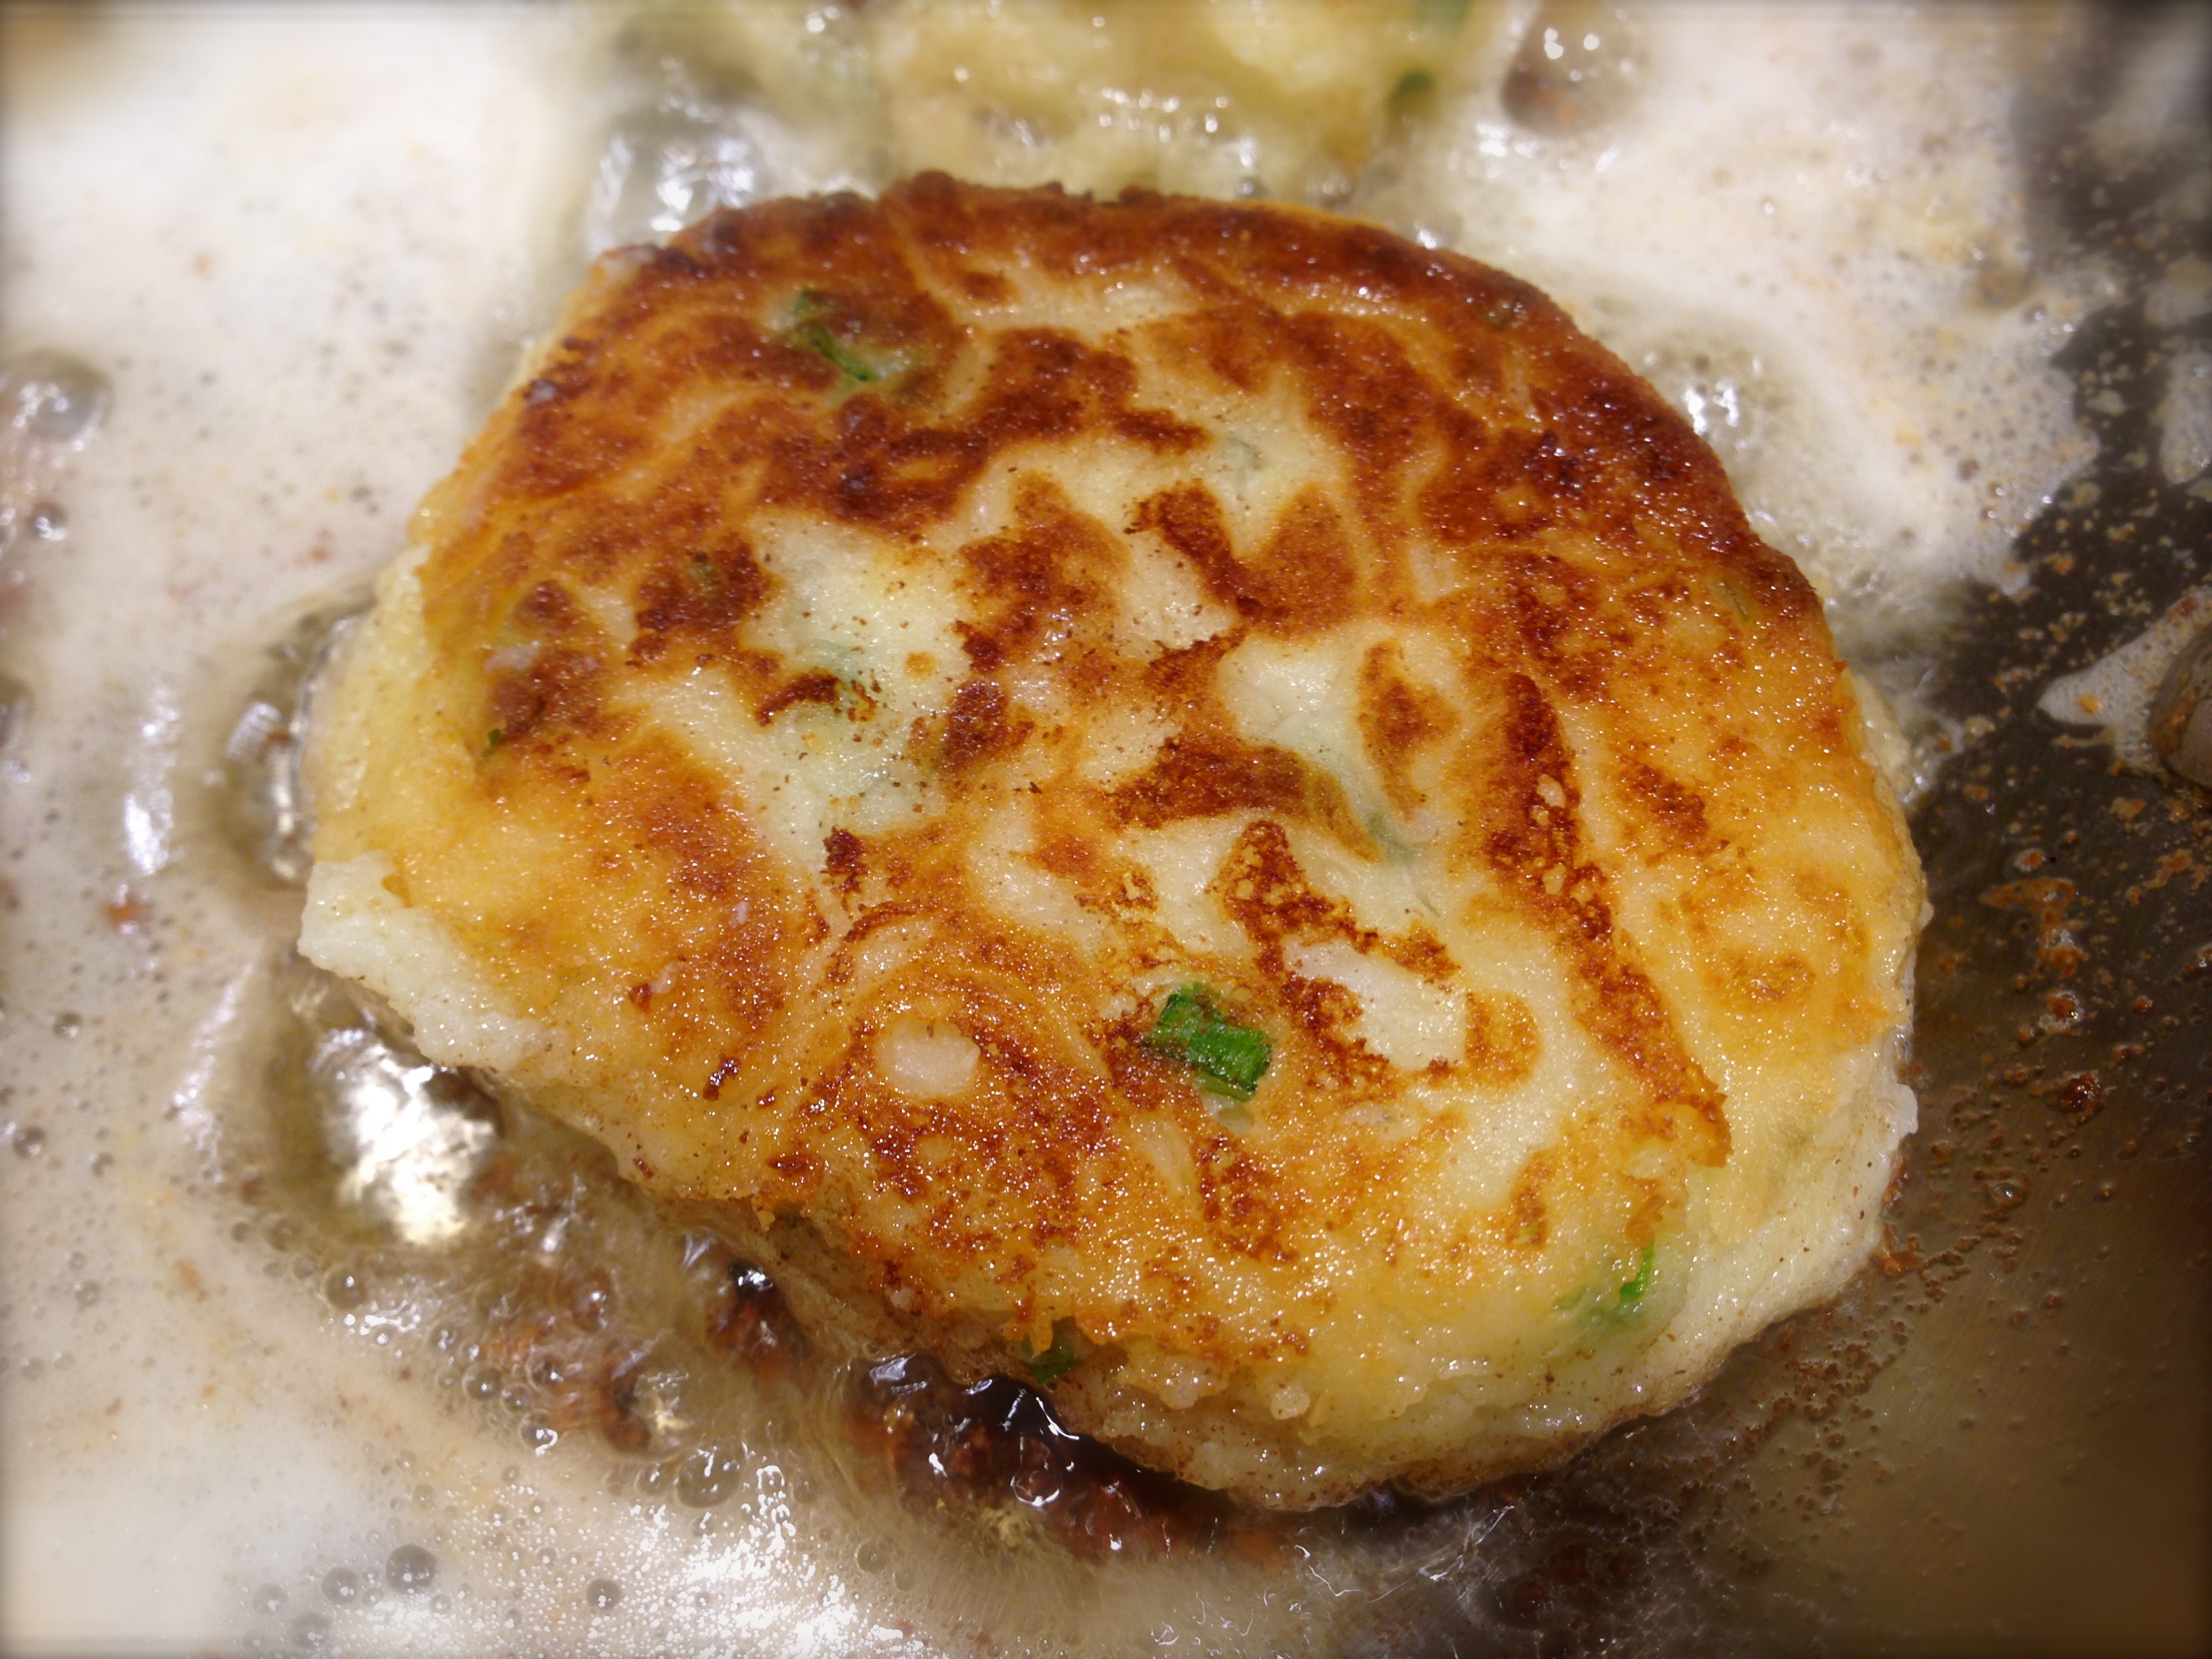
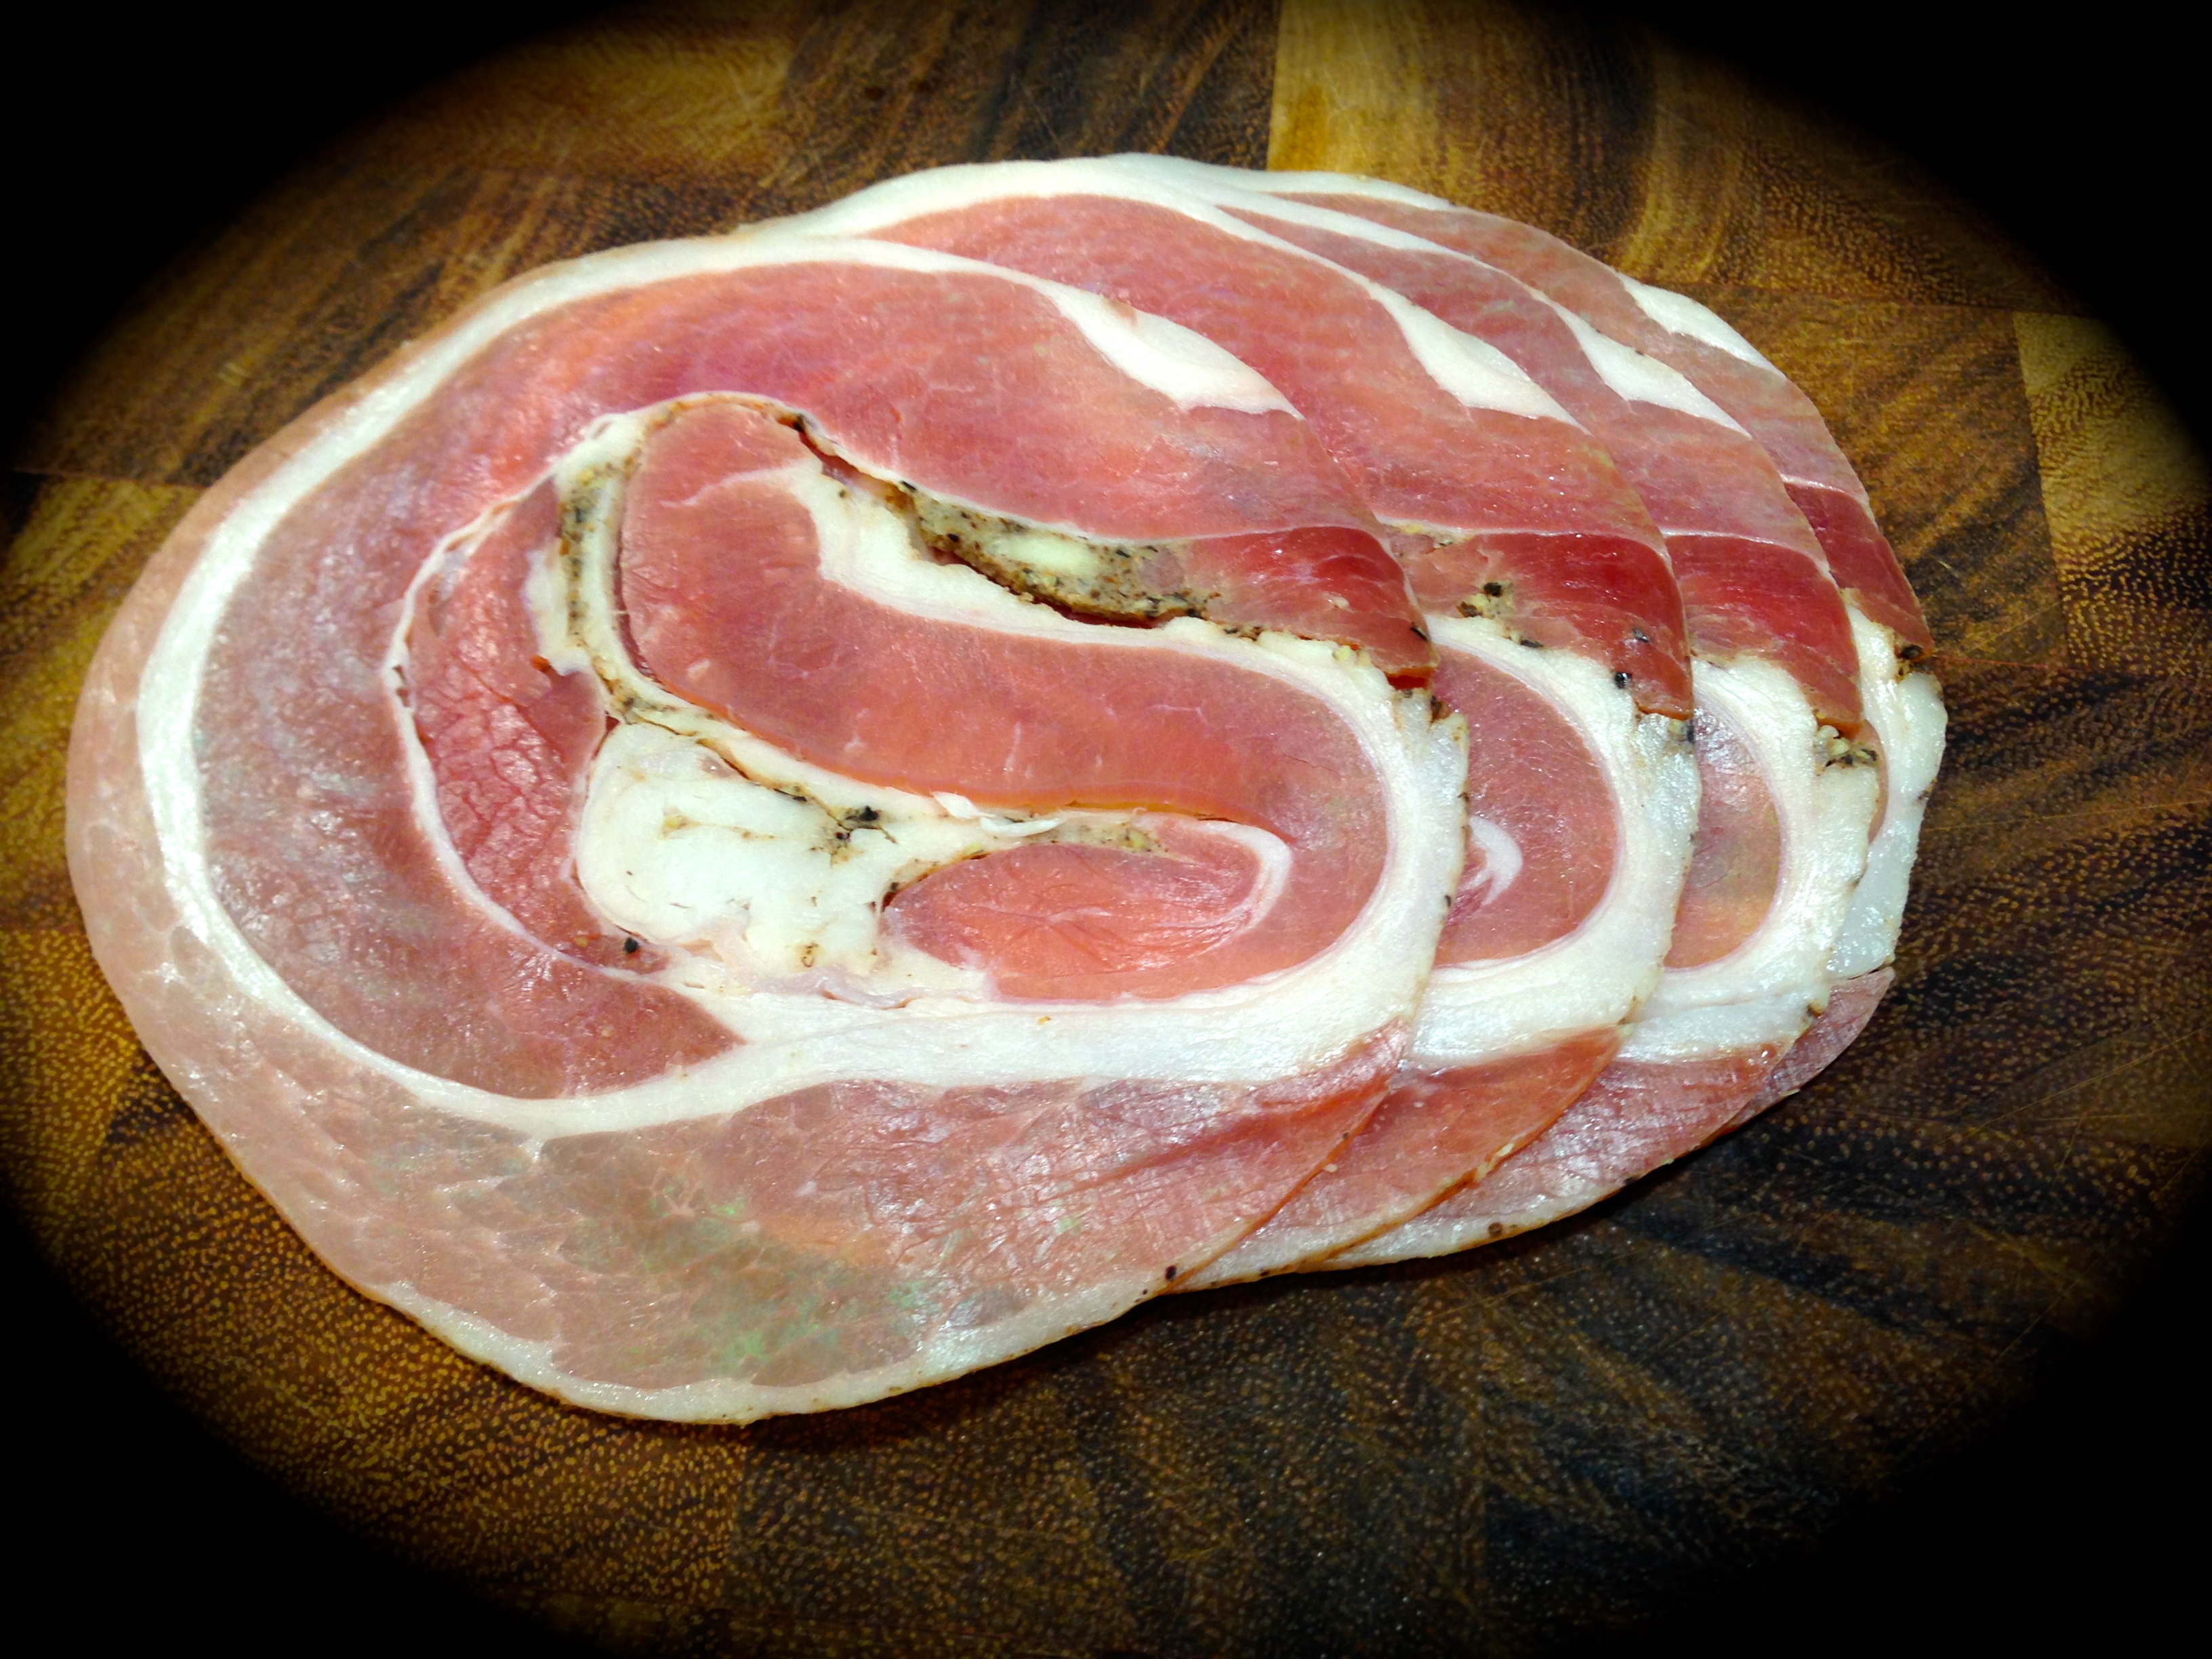
Lesson Learned 5 – Cut the bacon into lardons and cook until brown but not crisp: You want the bacon to have good color but you don’t want it so crispy that it won’t hold its shape when you mix it with the potatoes. So cut your bacon into lardons, as shown below, and cook them until they have a nice deep rich color.


The desired color of the bacon
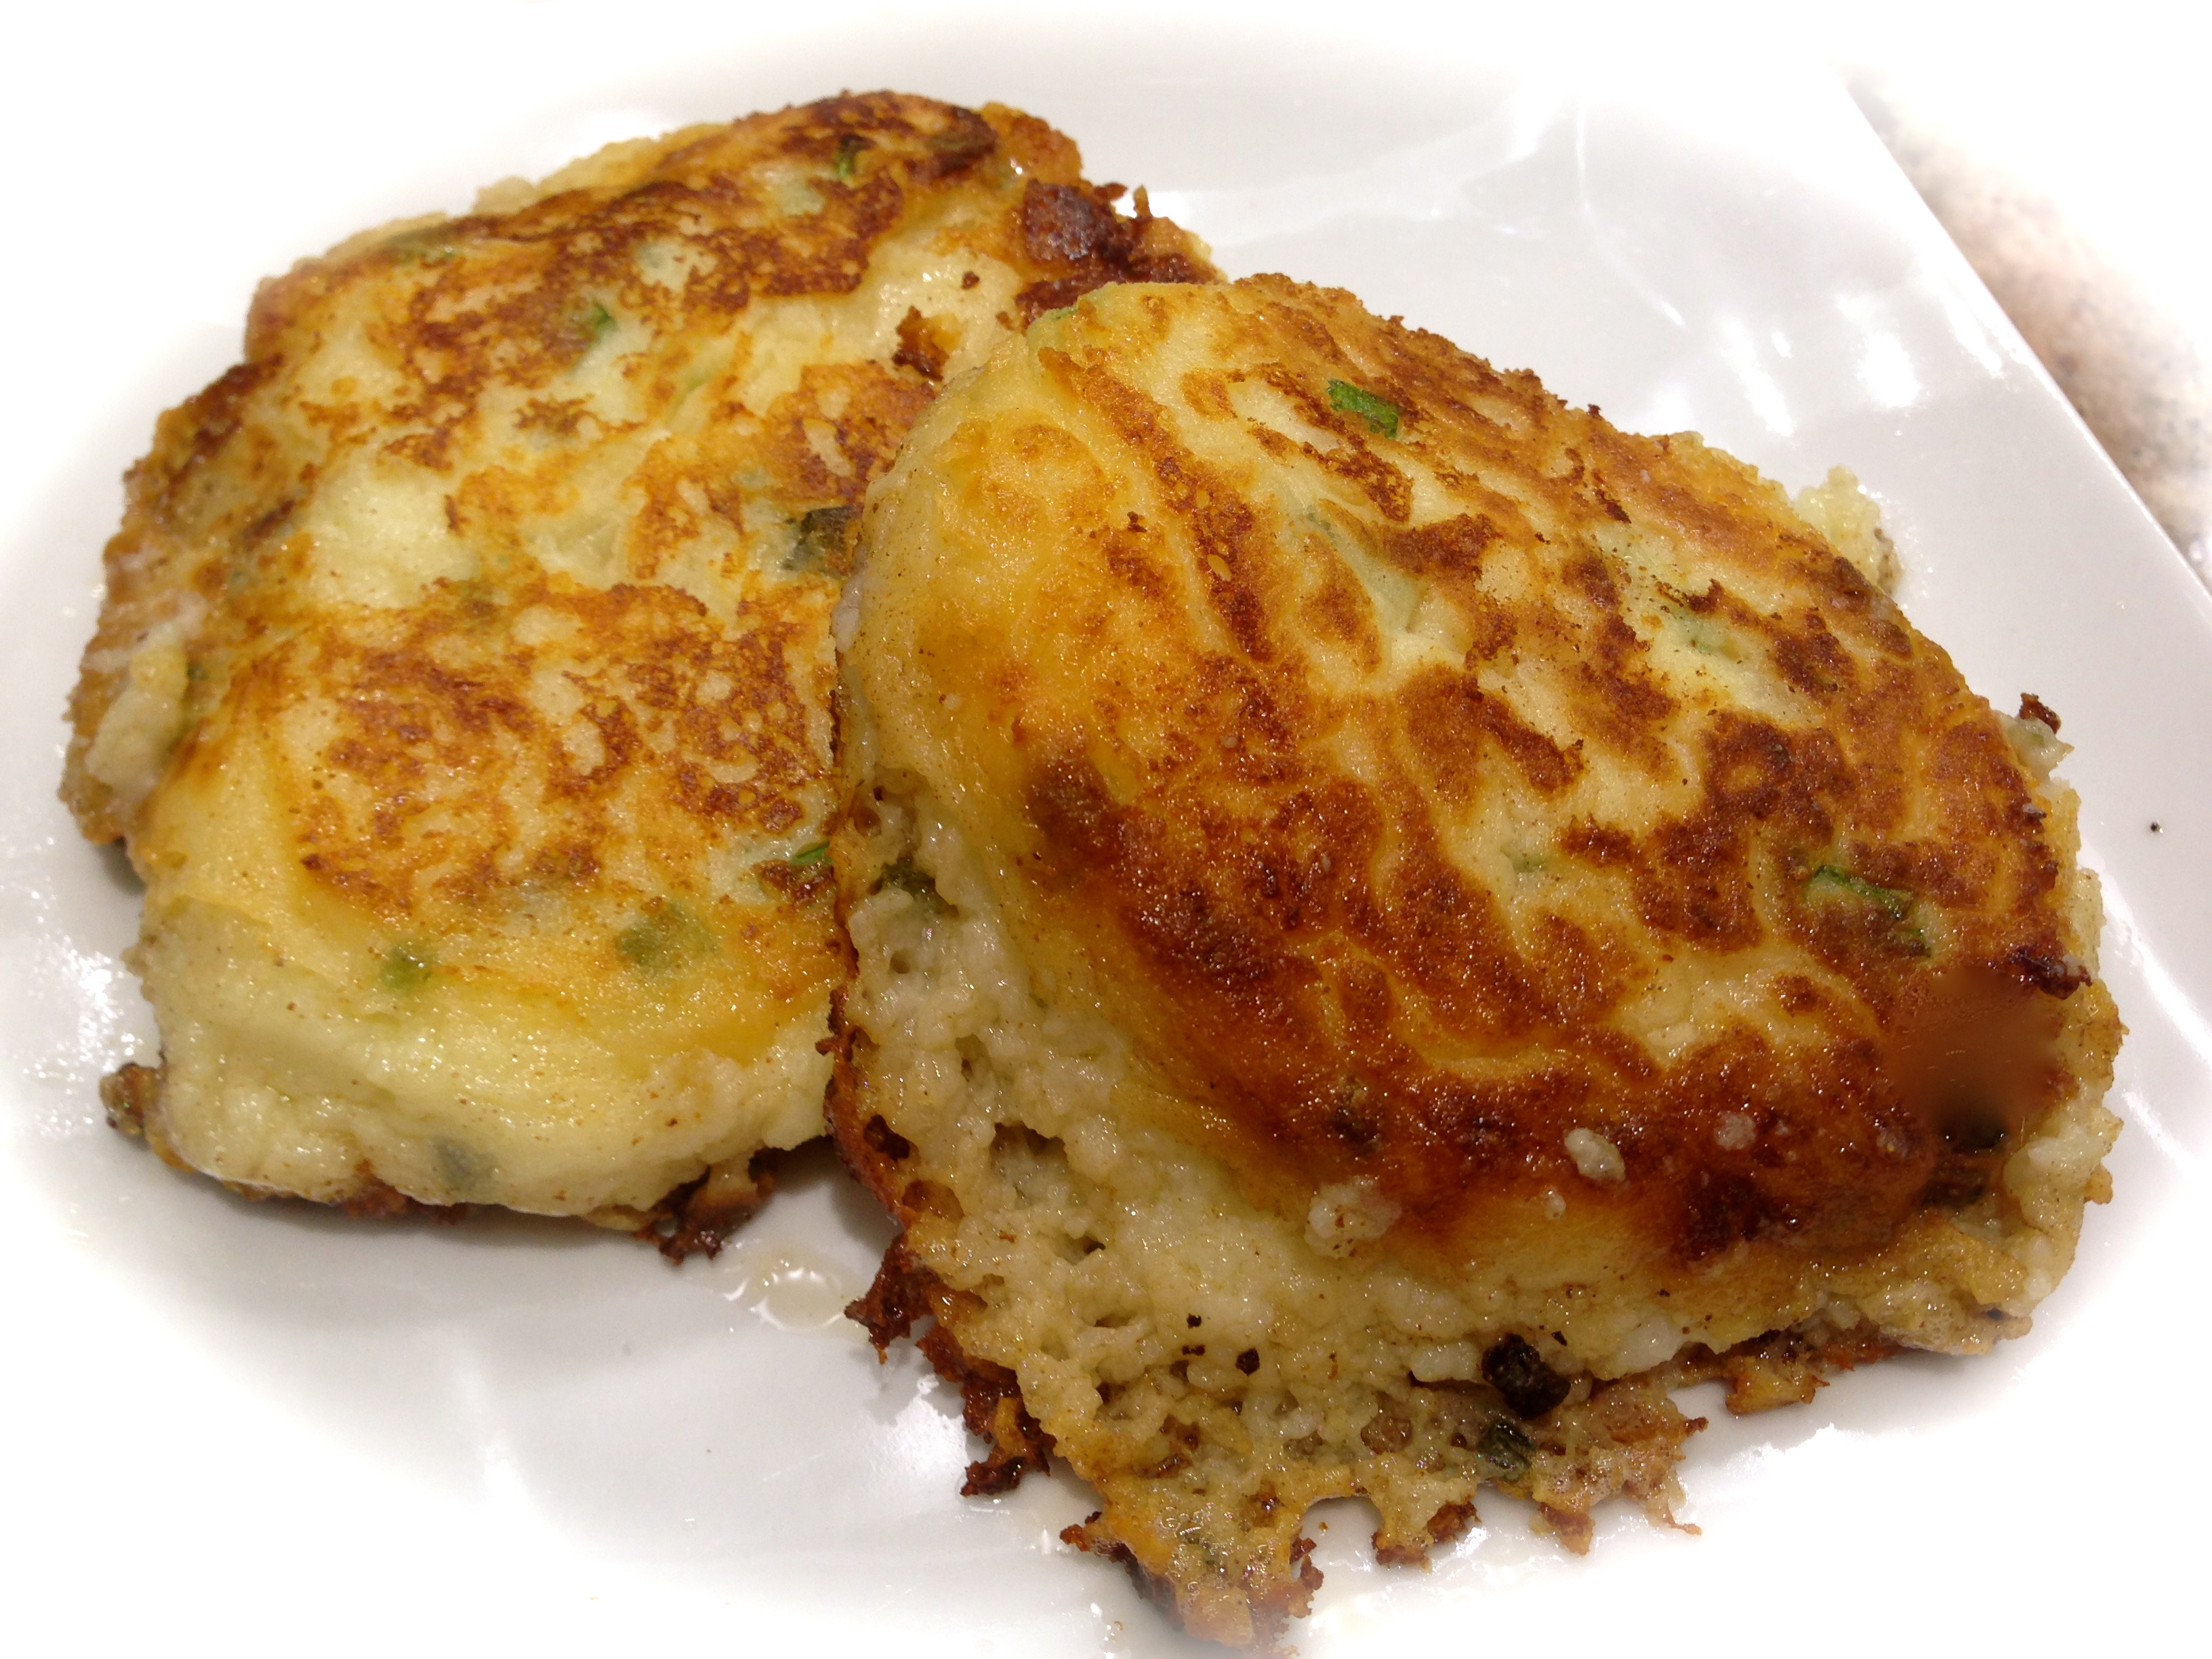
Lesson Learned 6 – Mix well and taste for enough salt: My mother used to say over and over again that you need to mix these ingredients really well. She usually mixed them for about 3-4 minutes and now so do I. This is not like other recipes that tell you not to over mix as the it will make the end result tough. So take your time and mix the ingredients thoroughly. You won’t be disappointed. My mother was also very specific about tasting the uncooked mixture for enough salt. Now keep in mind there is a lot of salt in the bacon so you don’t want the kugelis too salty. I always take a little taste before putting it in the baking dish just to make sure there is enough salt. I start out with one teaspoon at the beginning and add more after I’ve done my mixing if I think the kugelis needs it.
I guarantee you this recipe is over the top. A great recipe with a treasured heritage – nothing can beat that! Enjoy!
Lithuanian Kugelis...
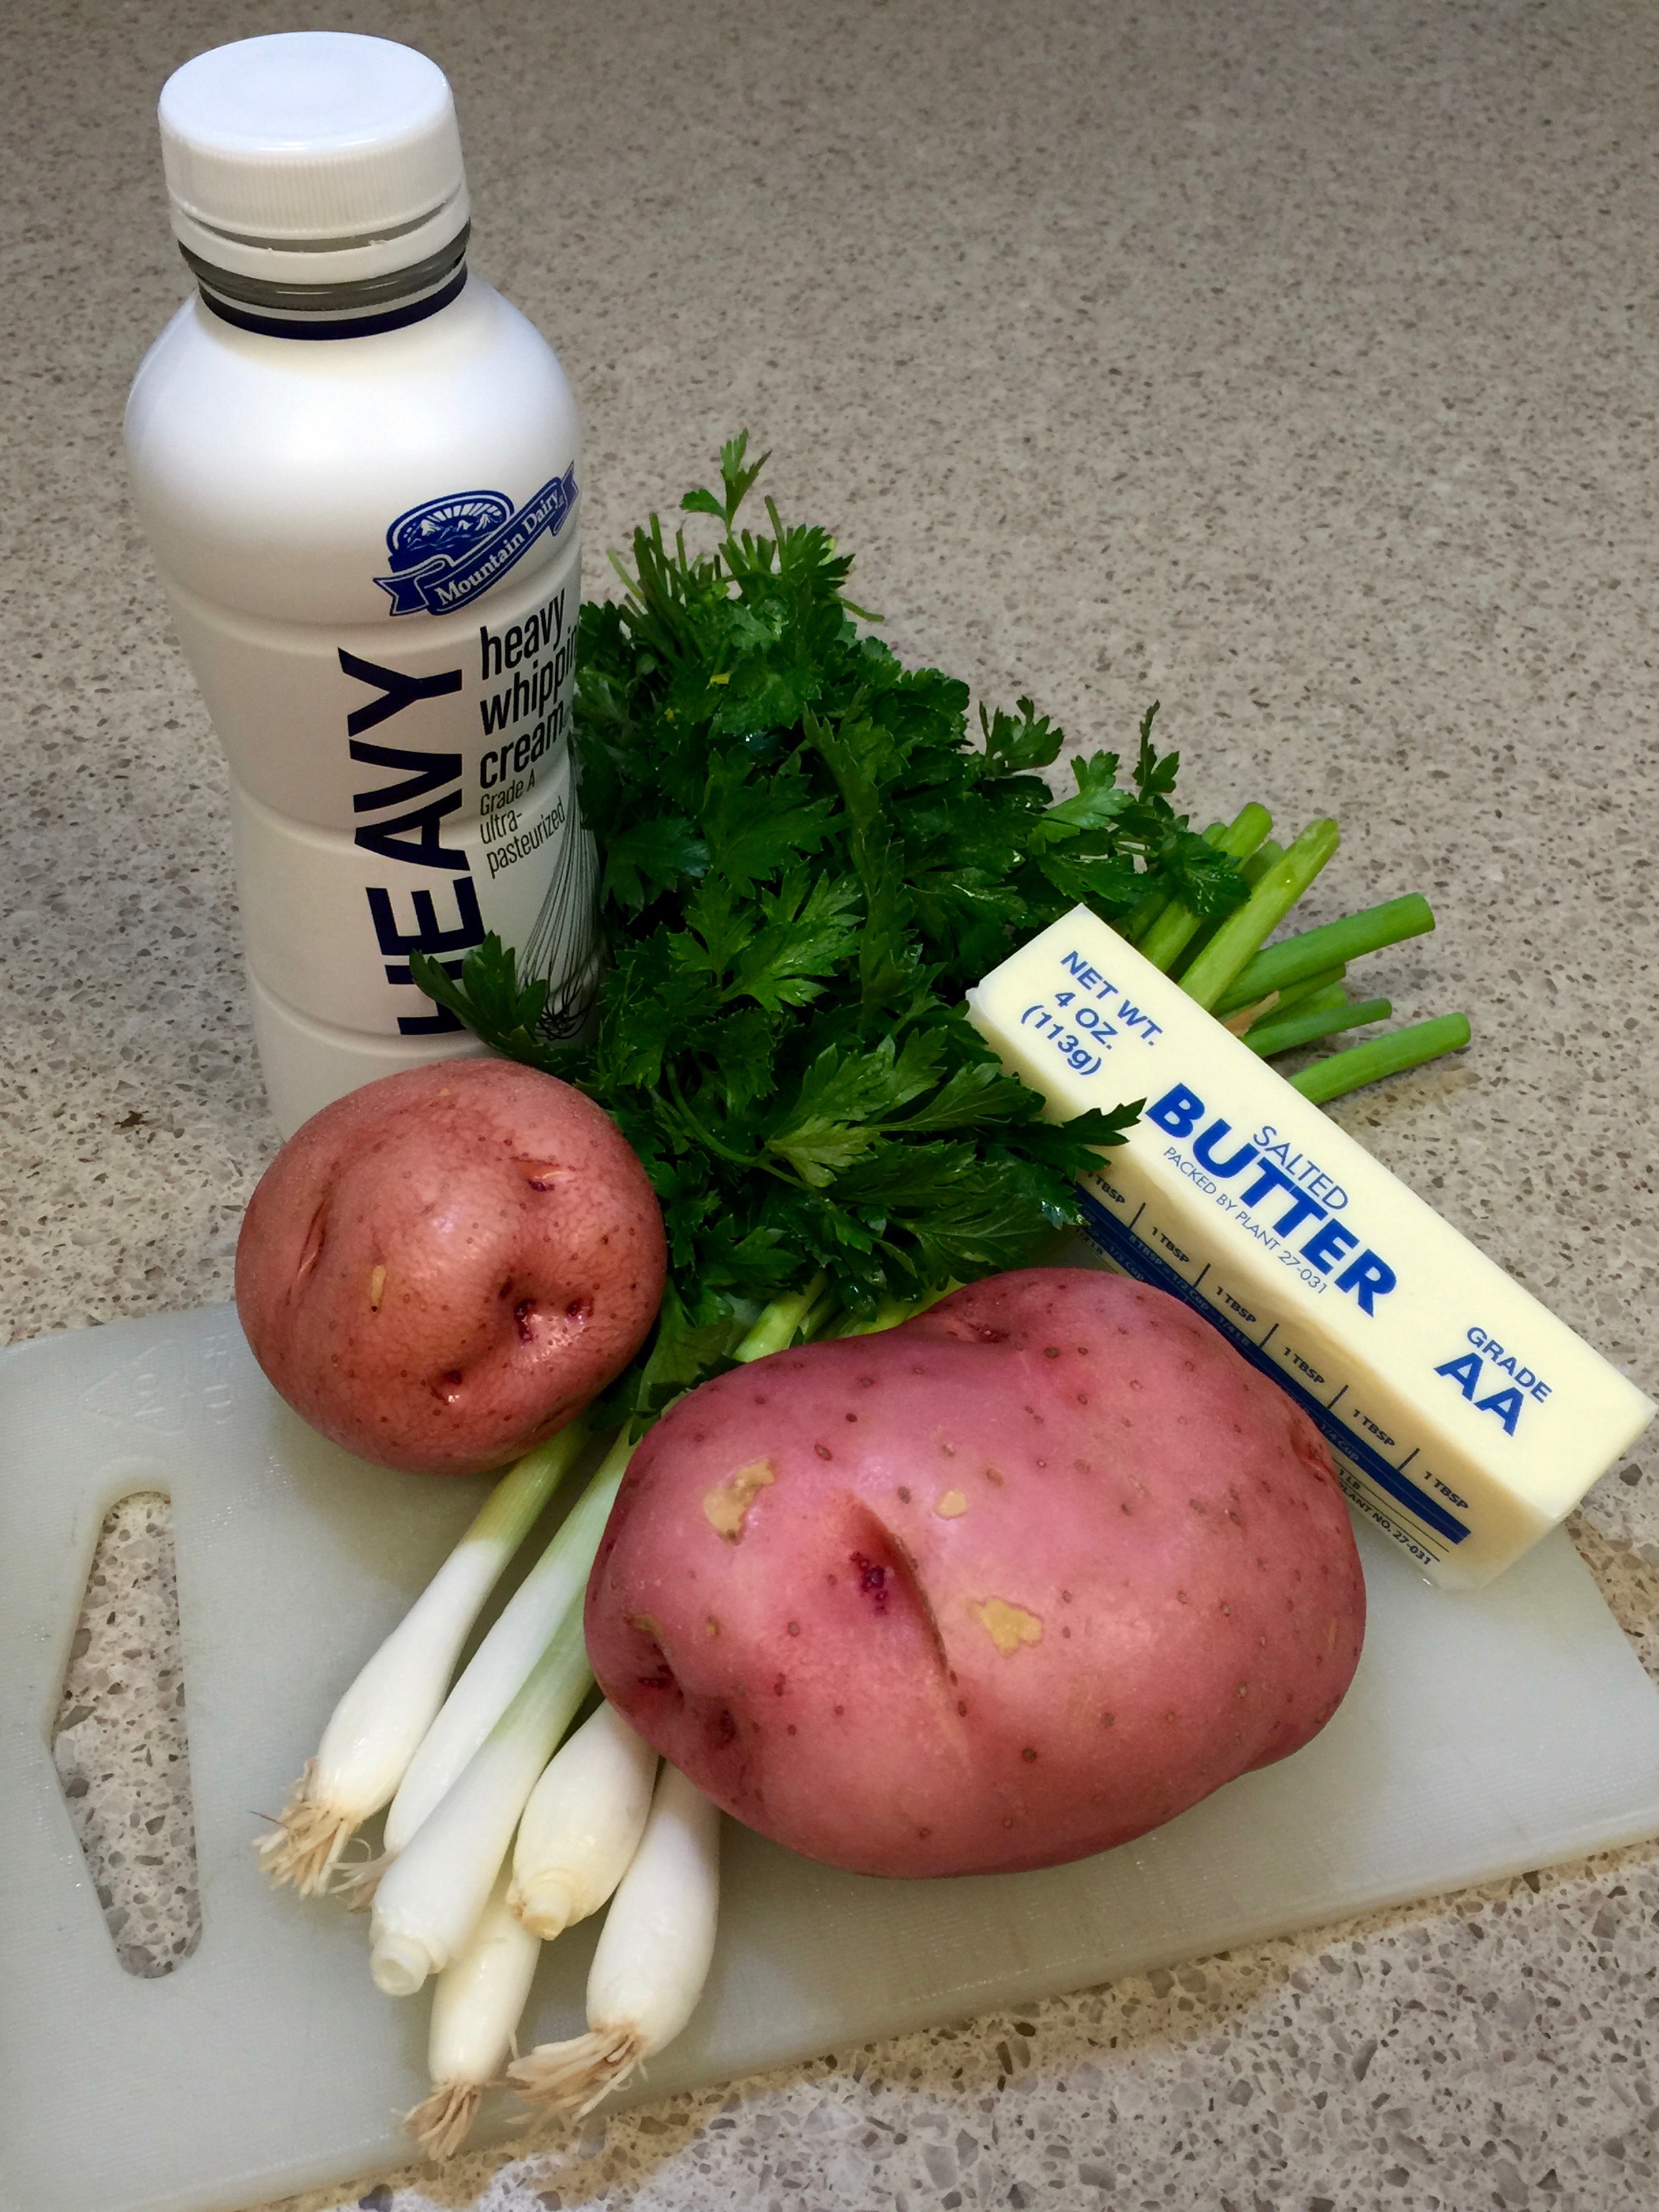
INGREDIENTS:
8 Large russet potatoes
1/2 pound of bacon, cut into lardons
1/2 stick of butter
3 Tbs. cream of rice or wheat
1-2 tsp. salt
8 large eggs
Sour cream, for topping
DIRECTIONS:
Preheat the oven to 375 degrees. Sauté the bacon and butter together. Set aside. Peel the potatoes and place into a large bowl of water until ready to use.
Beat the eggs with a hand mixer for 5-7 minutes or until extremely frothy. Set aside. Grate the potatoes. Add the eggs, bacon and melted butter, cream of rice and salt. Mix very well.
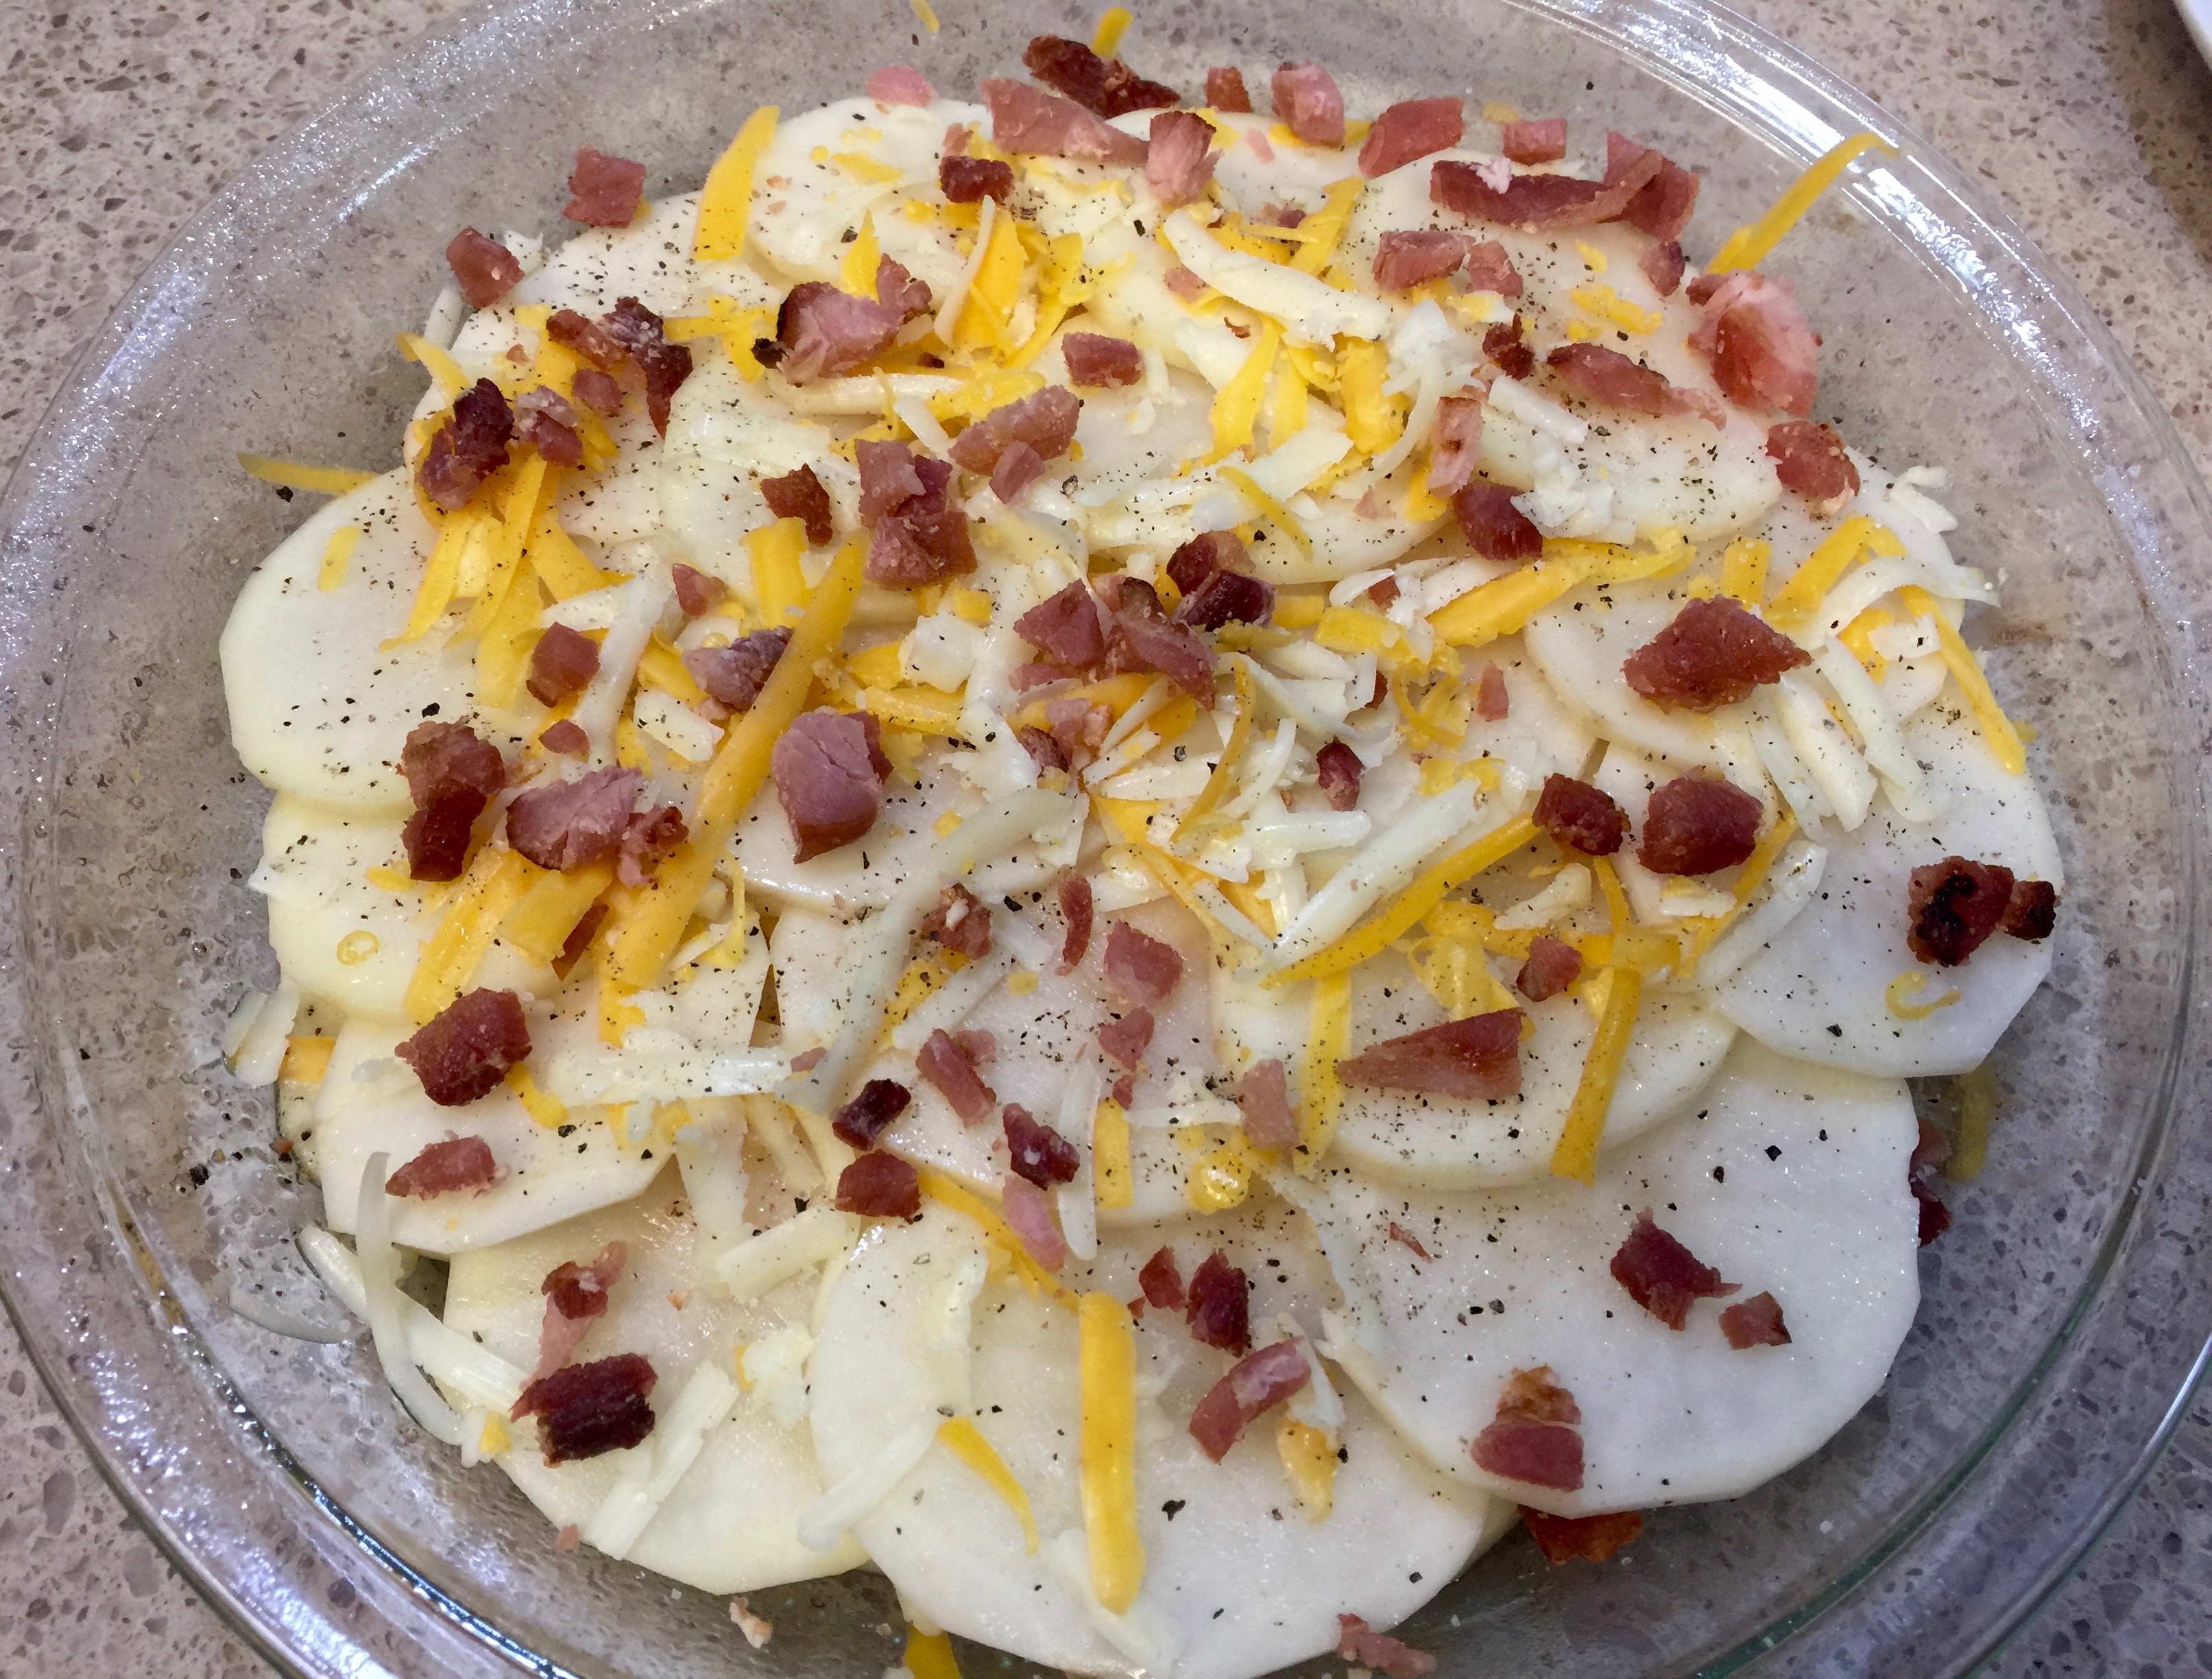
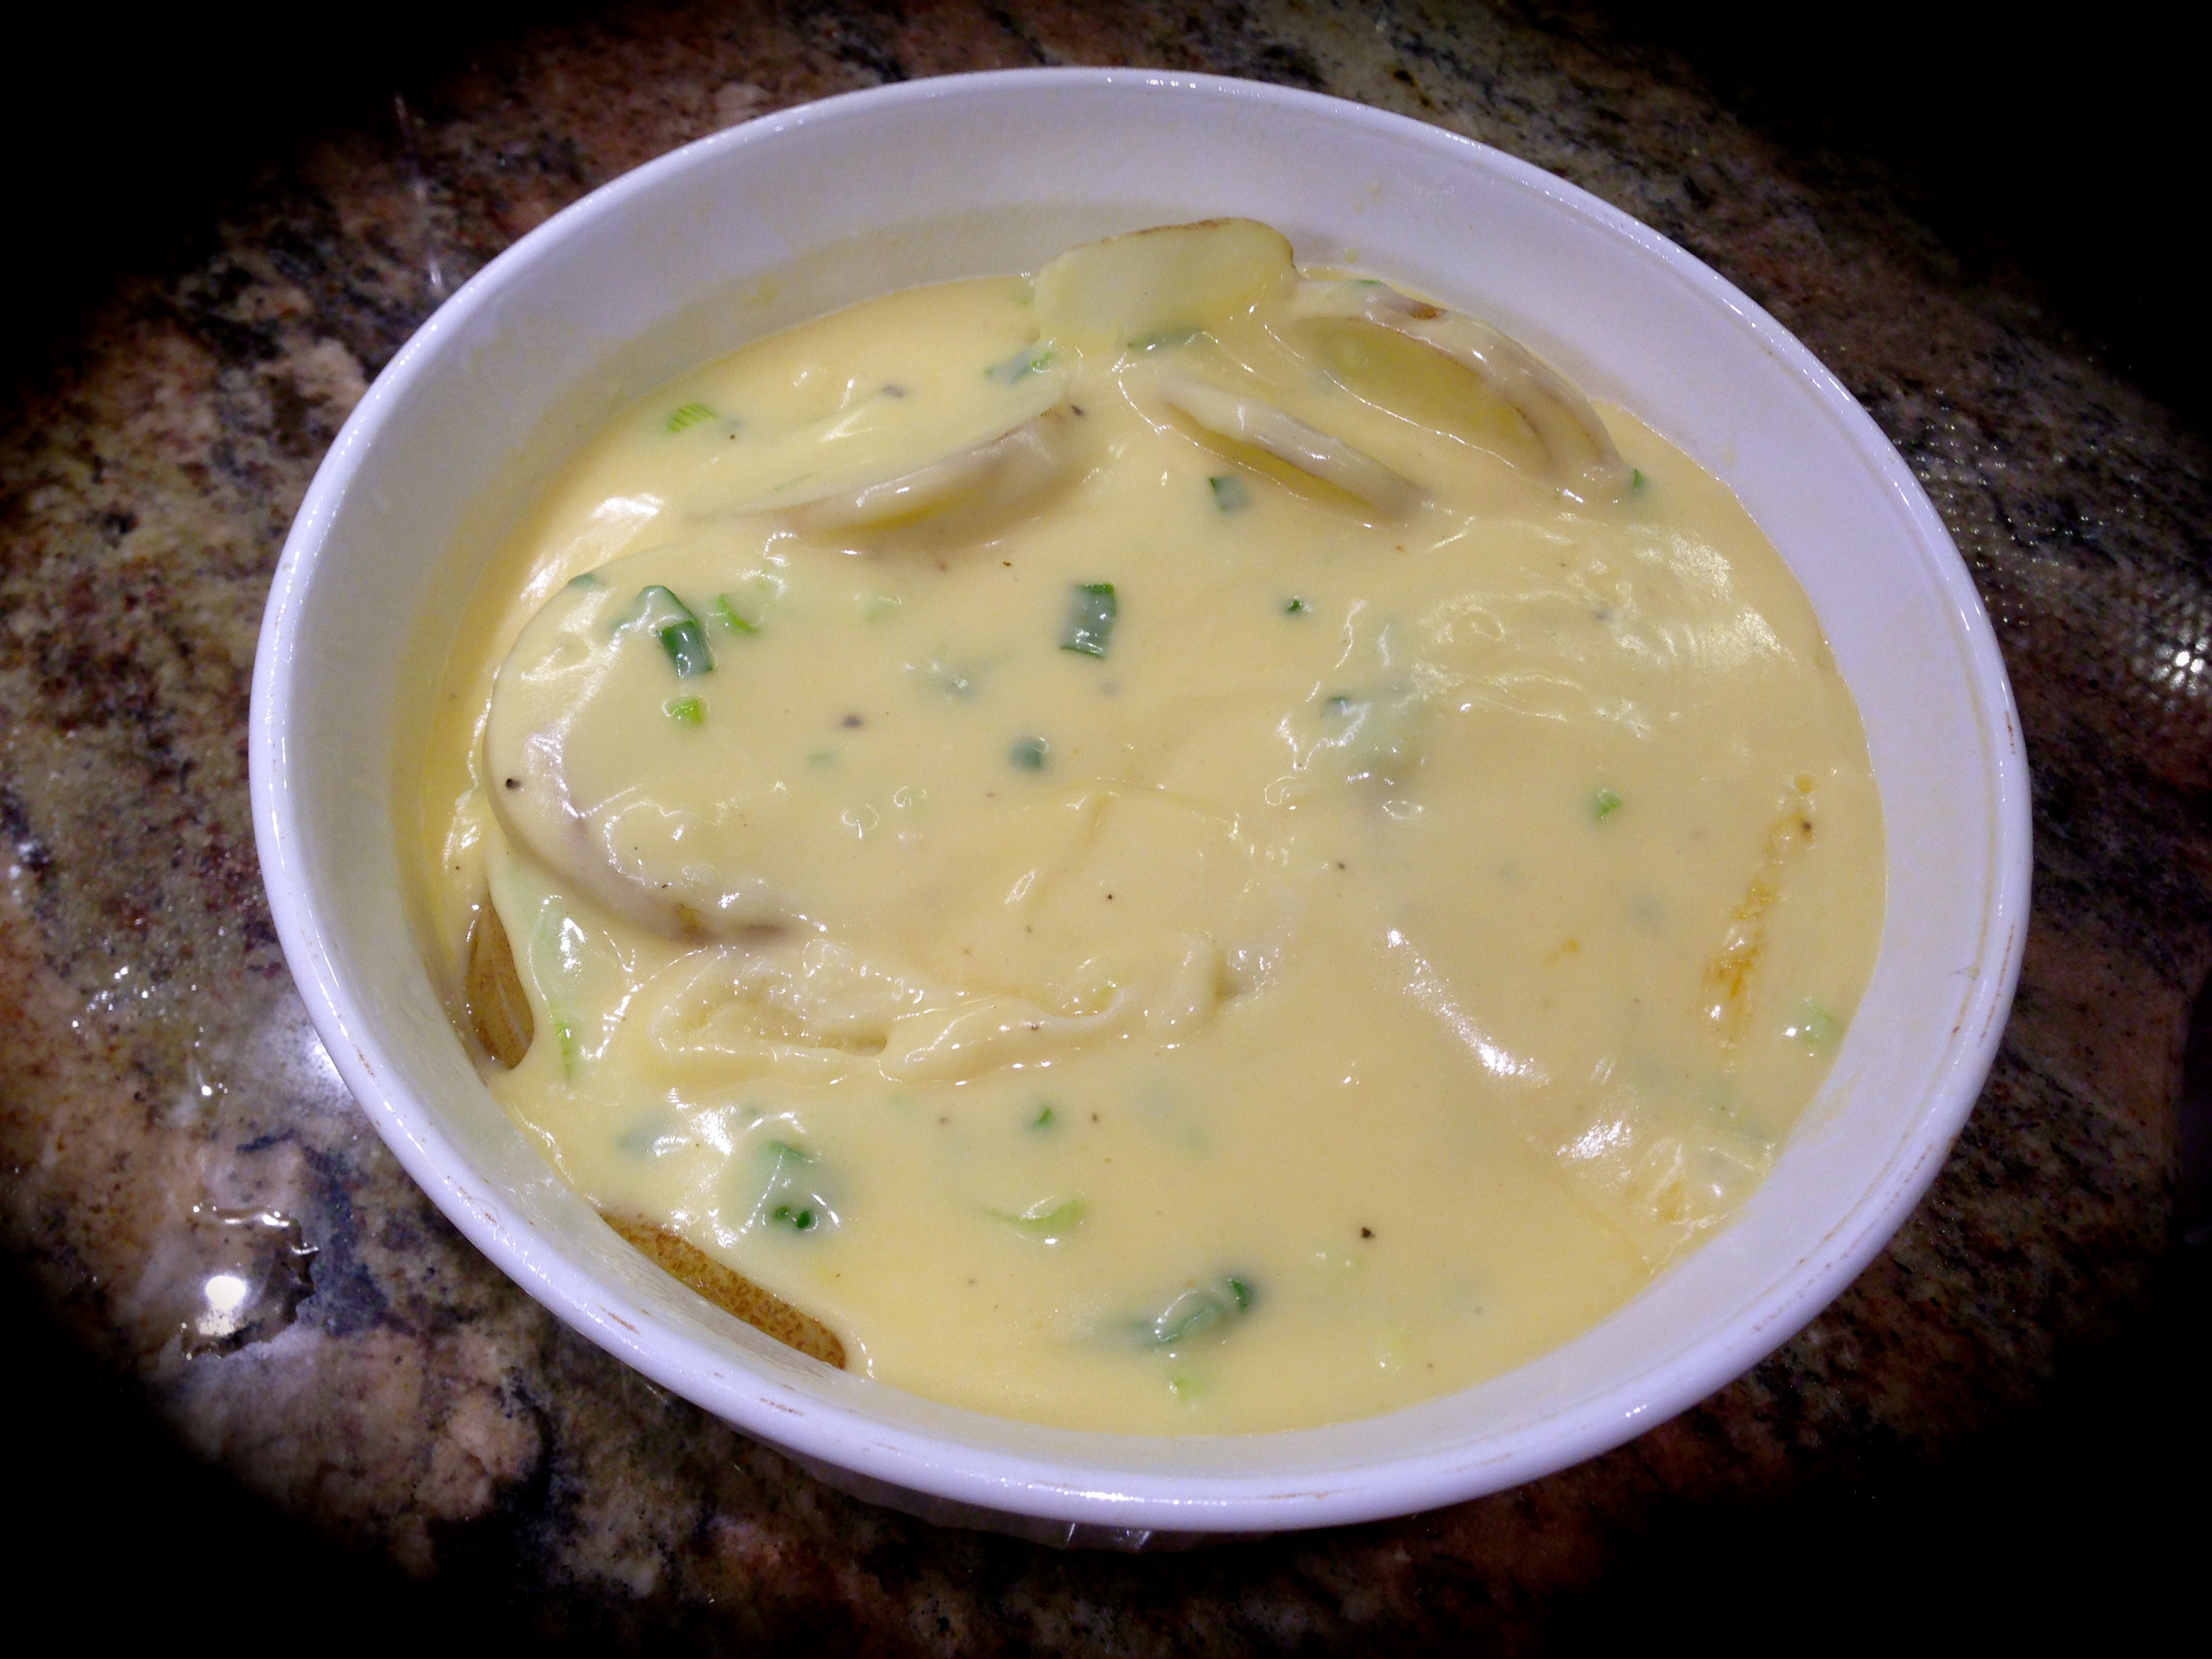
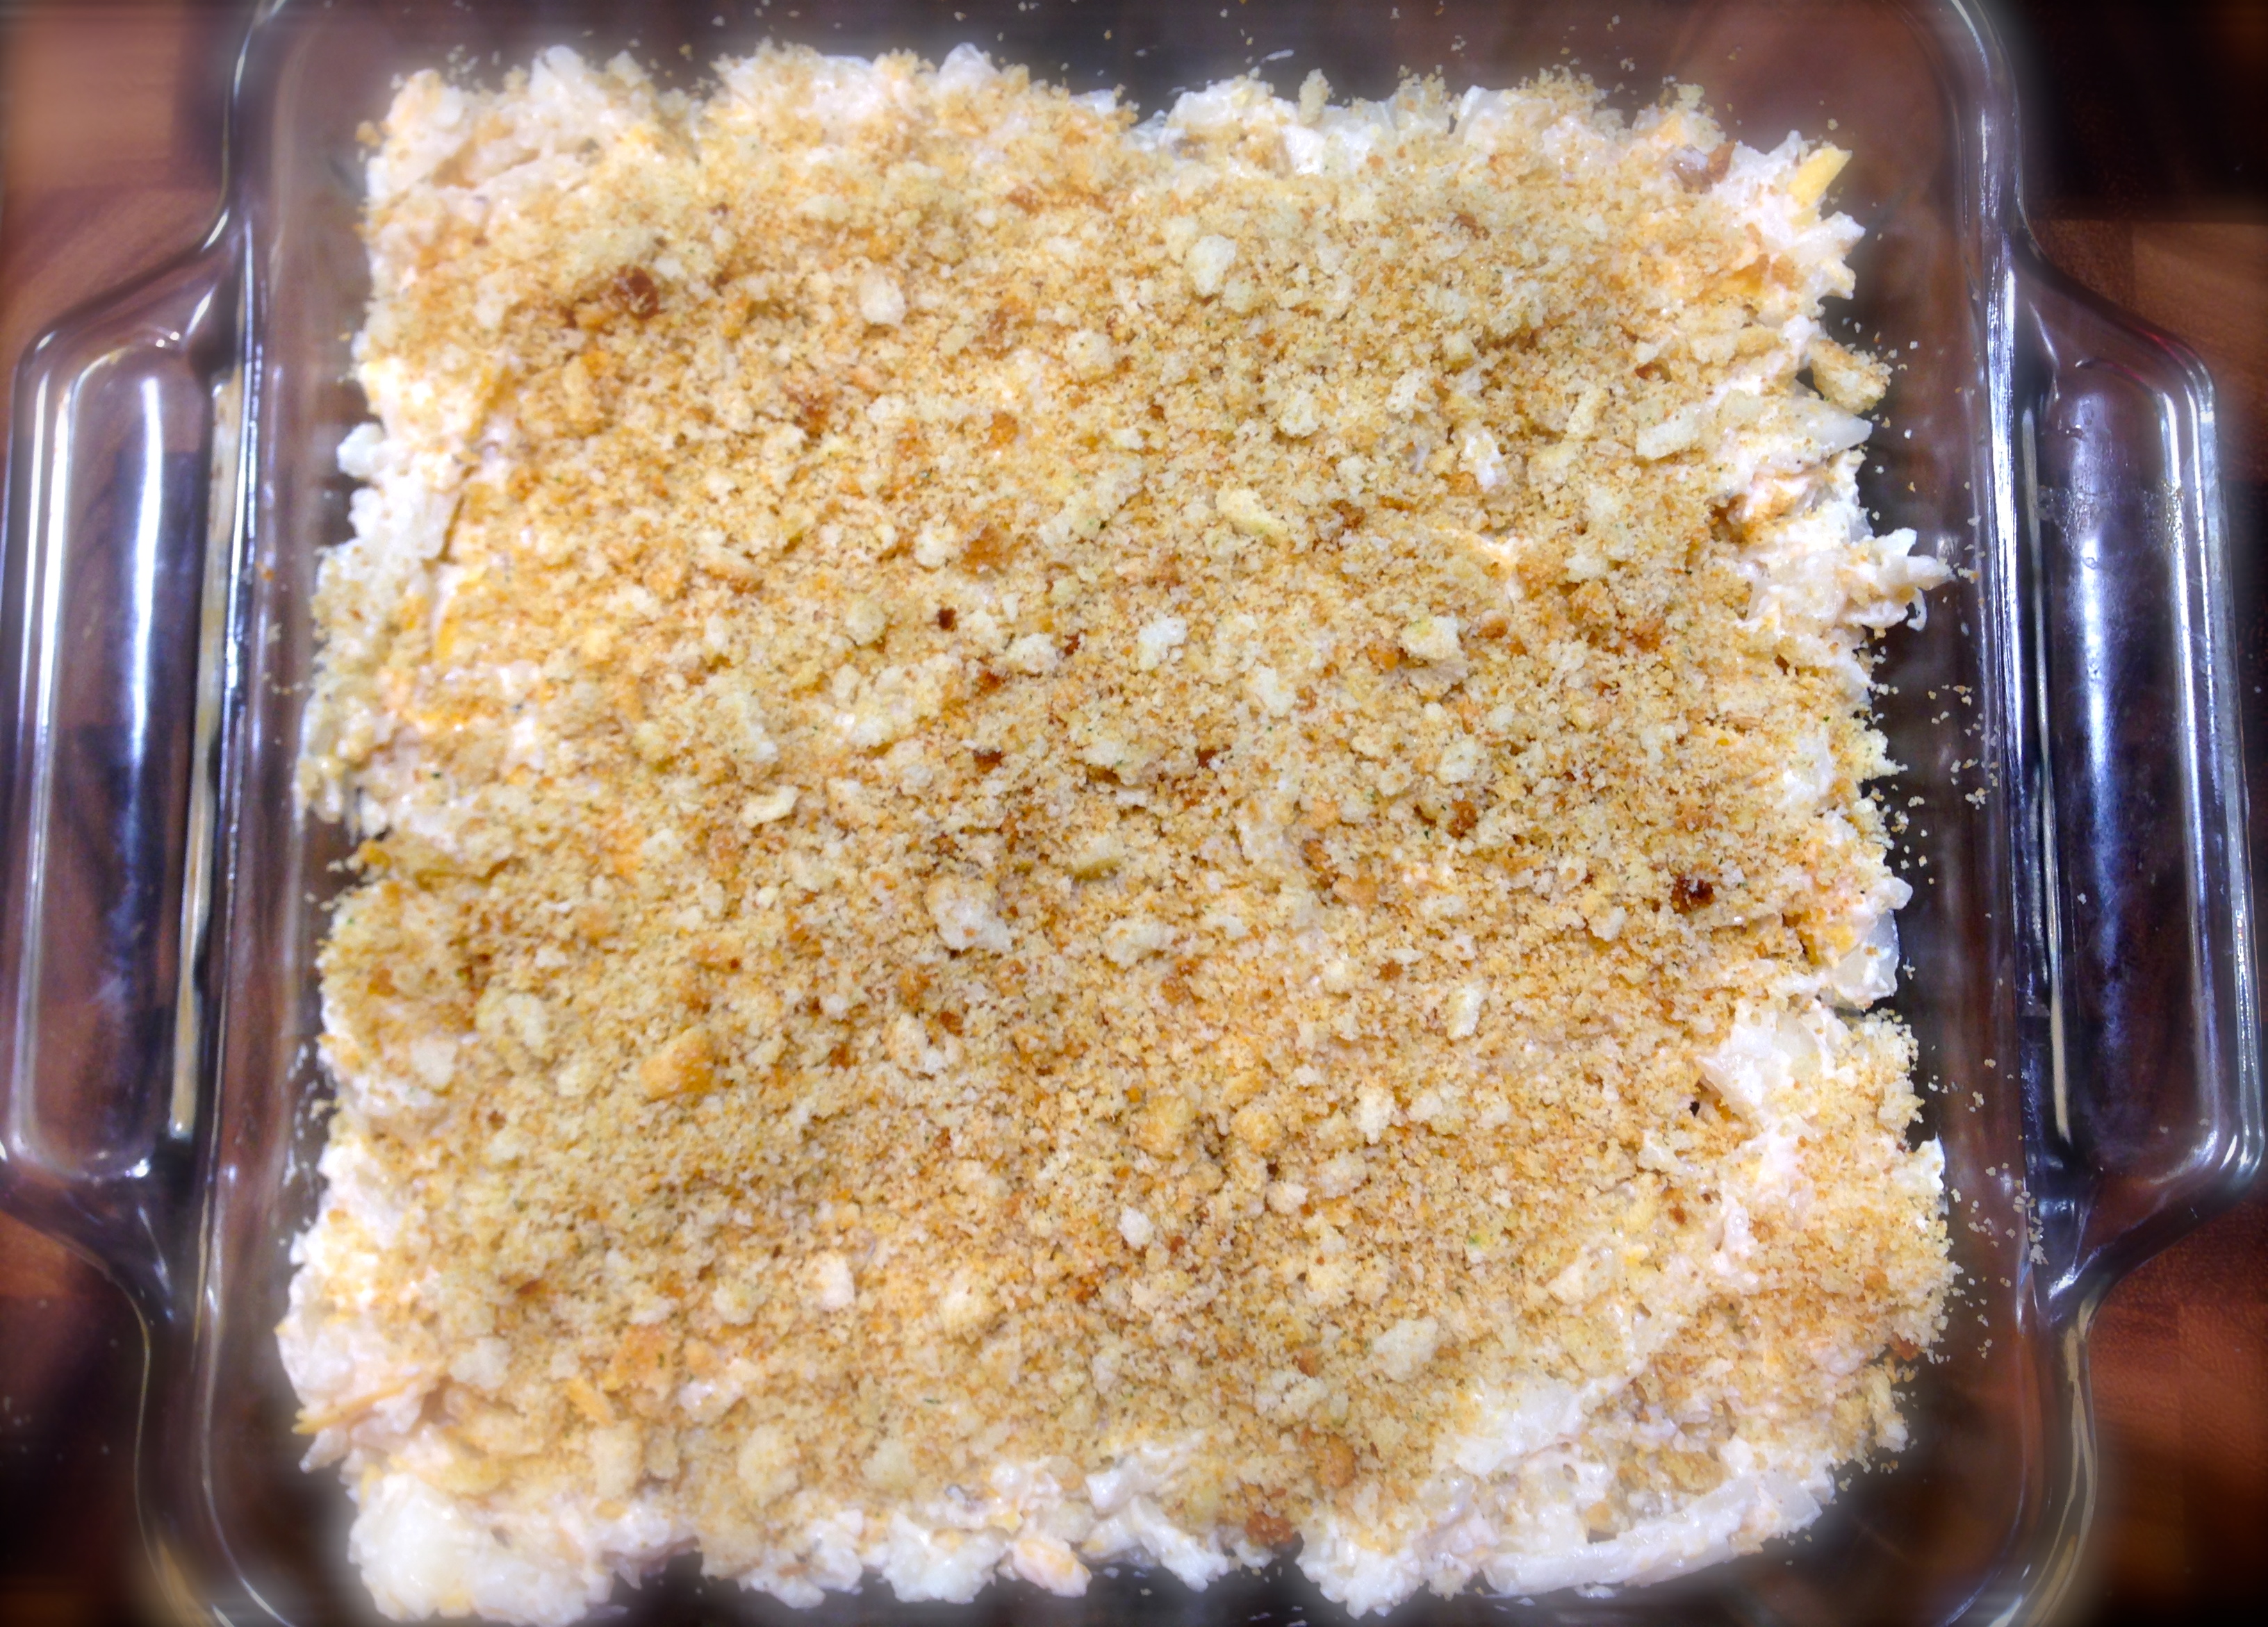
Pour the mixture unto a 13 x 9 x2 pan (no need to prepare the pan in any way).
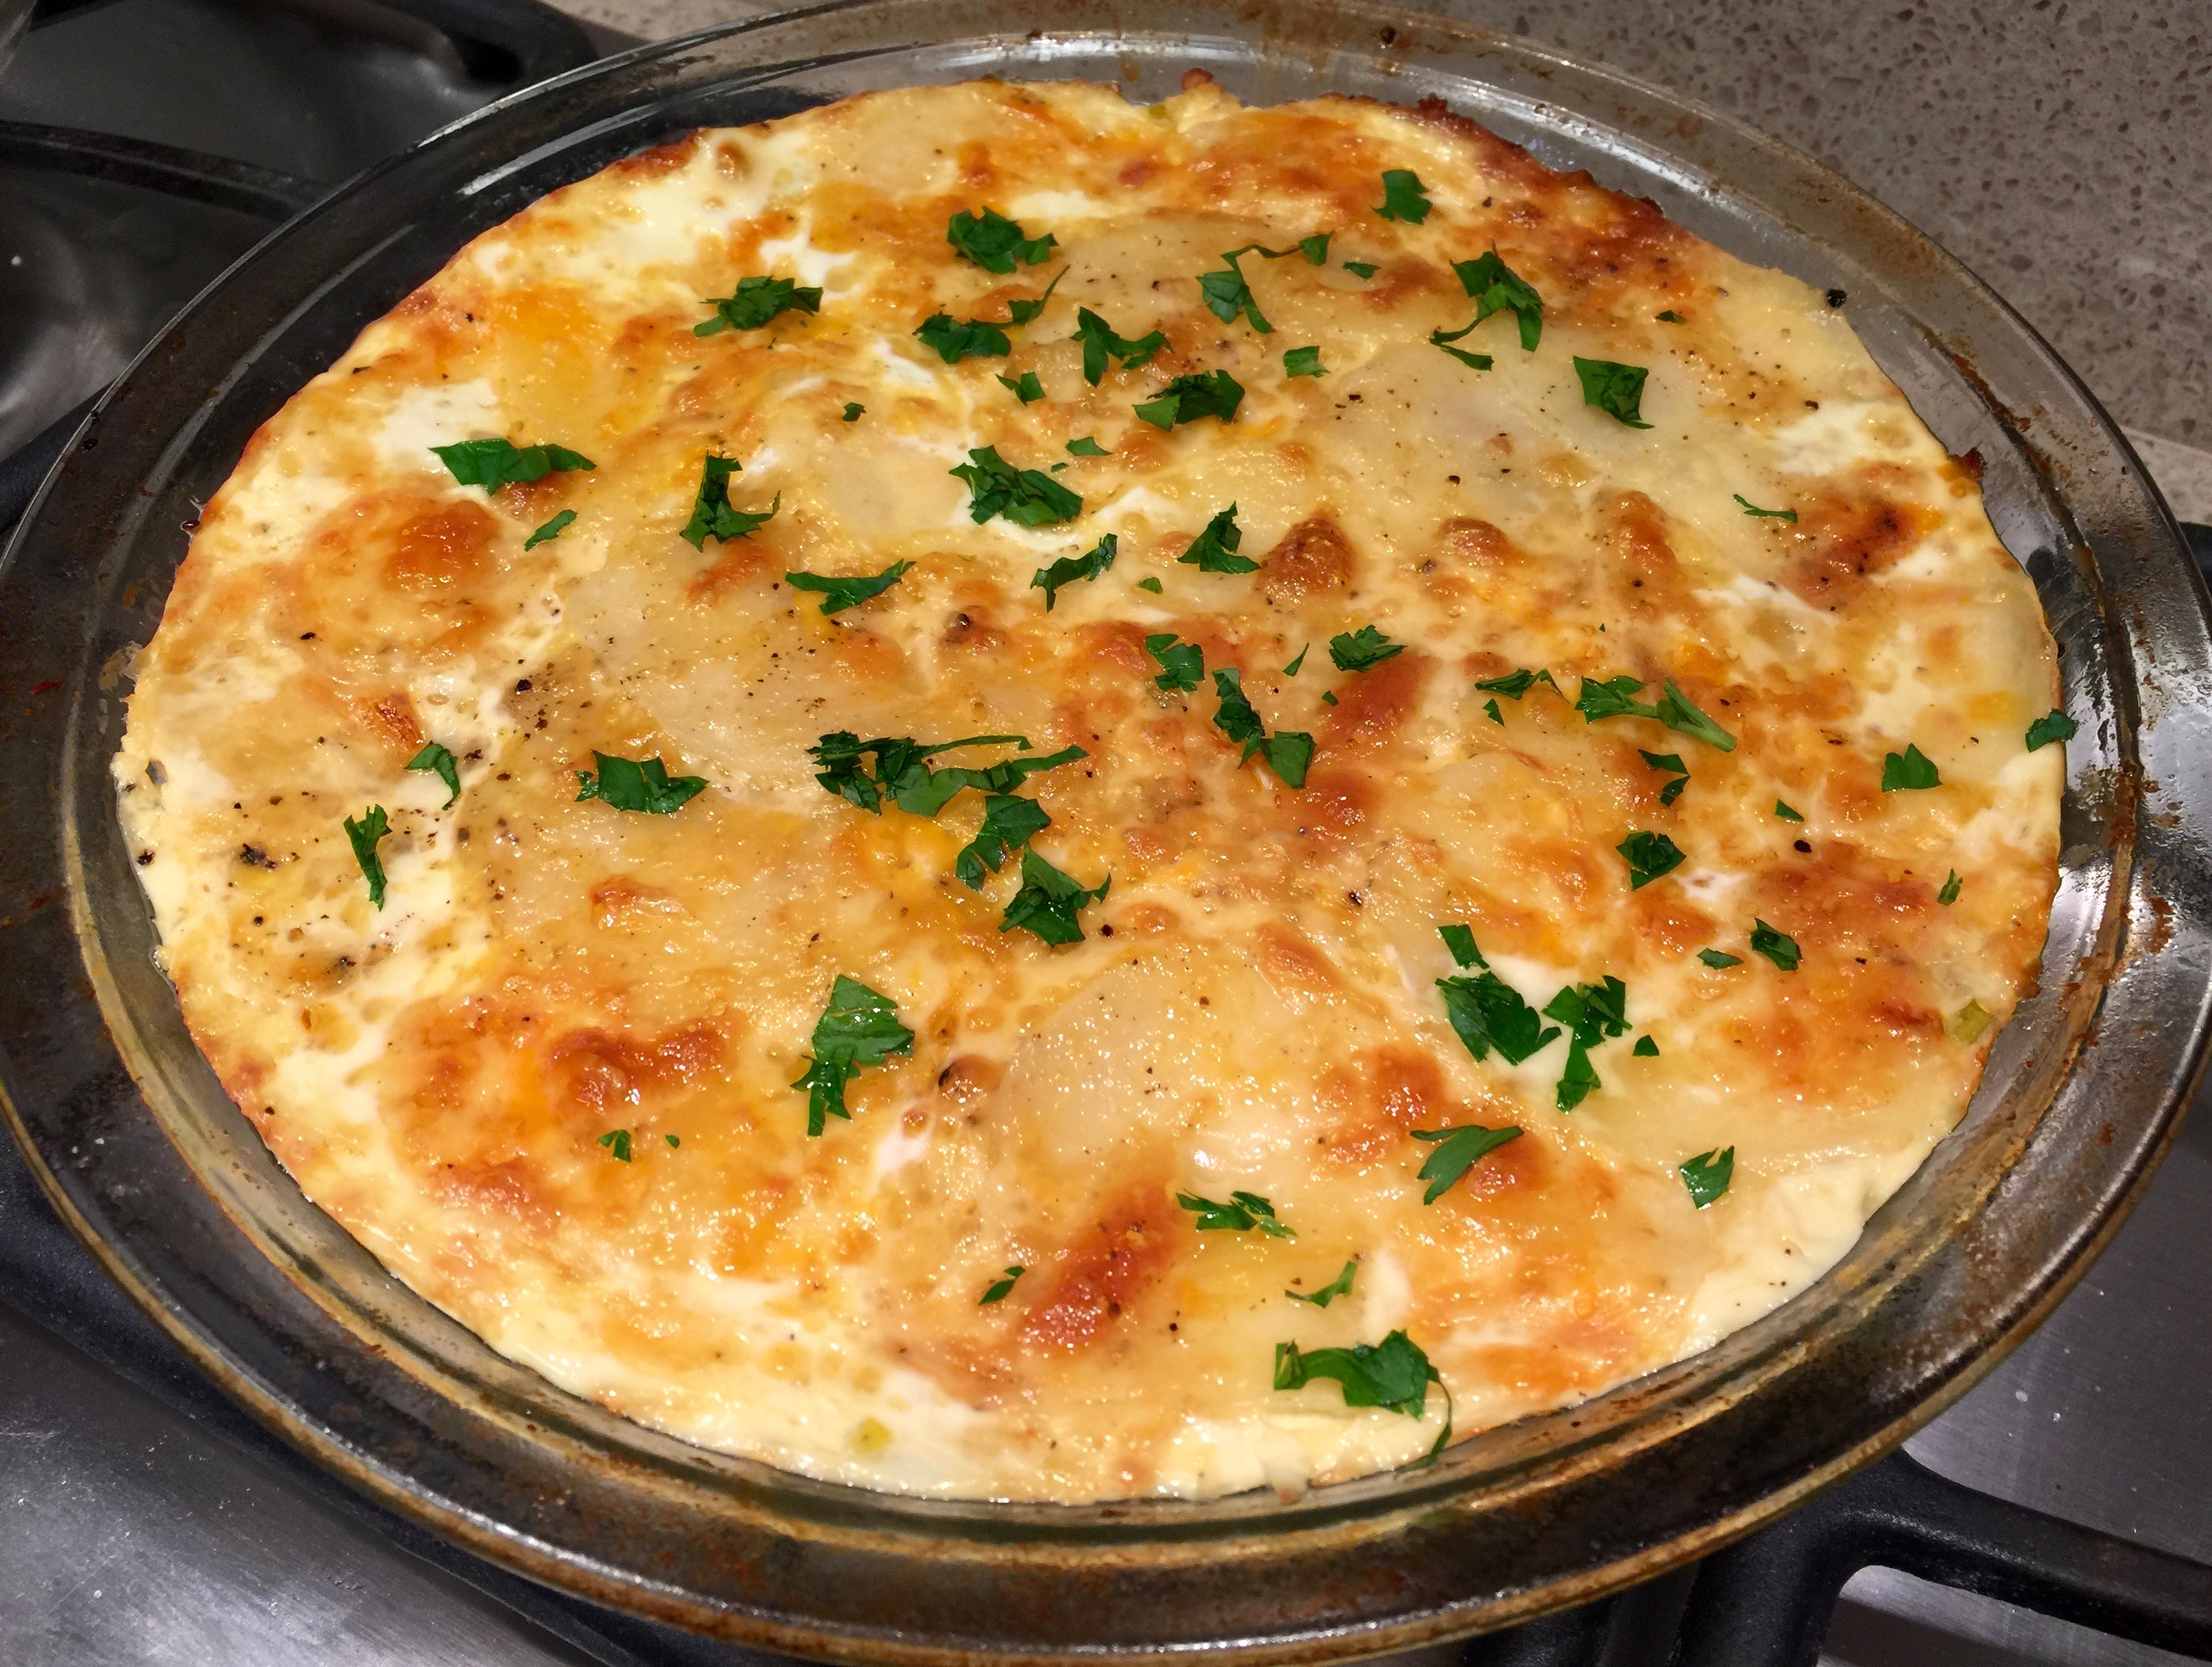
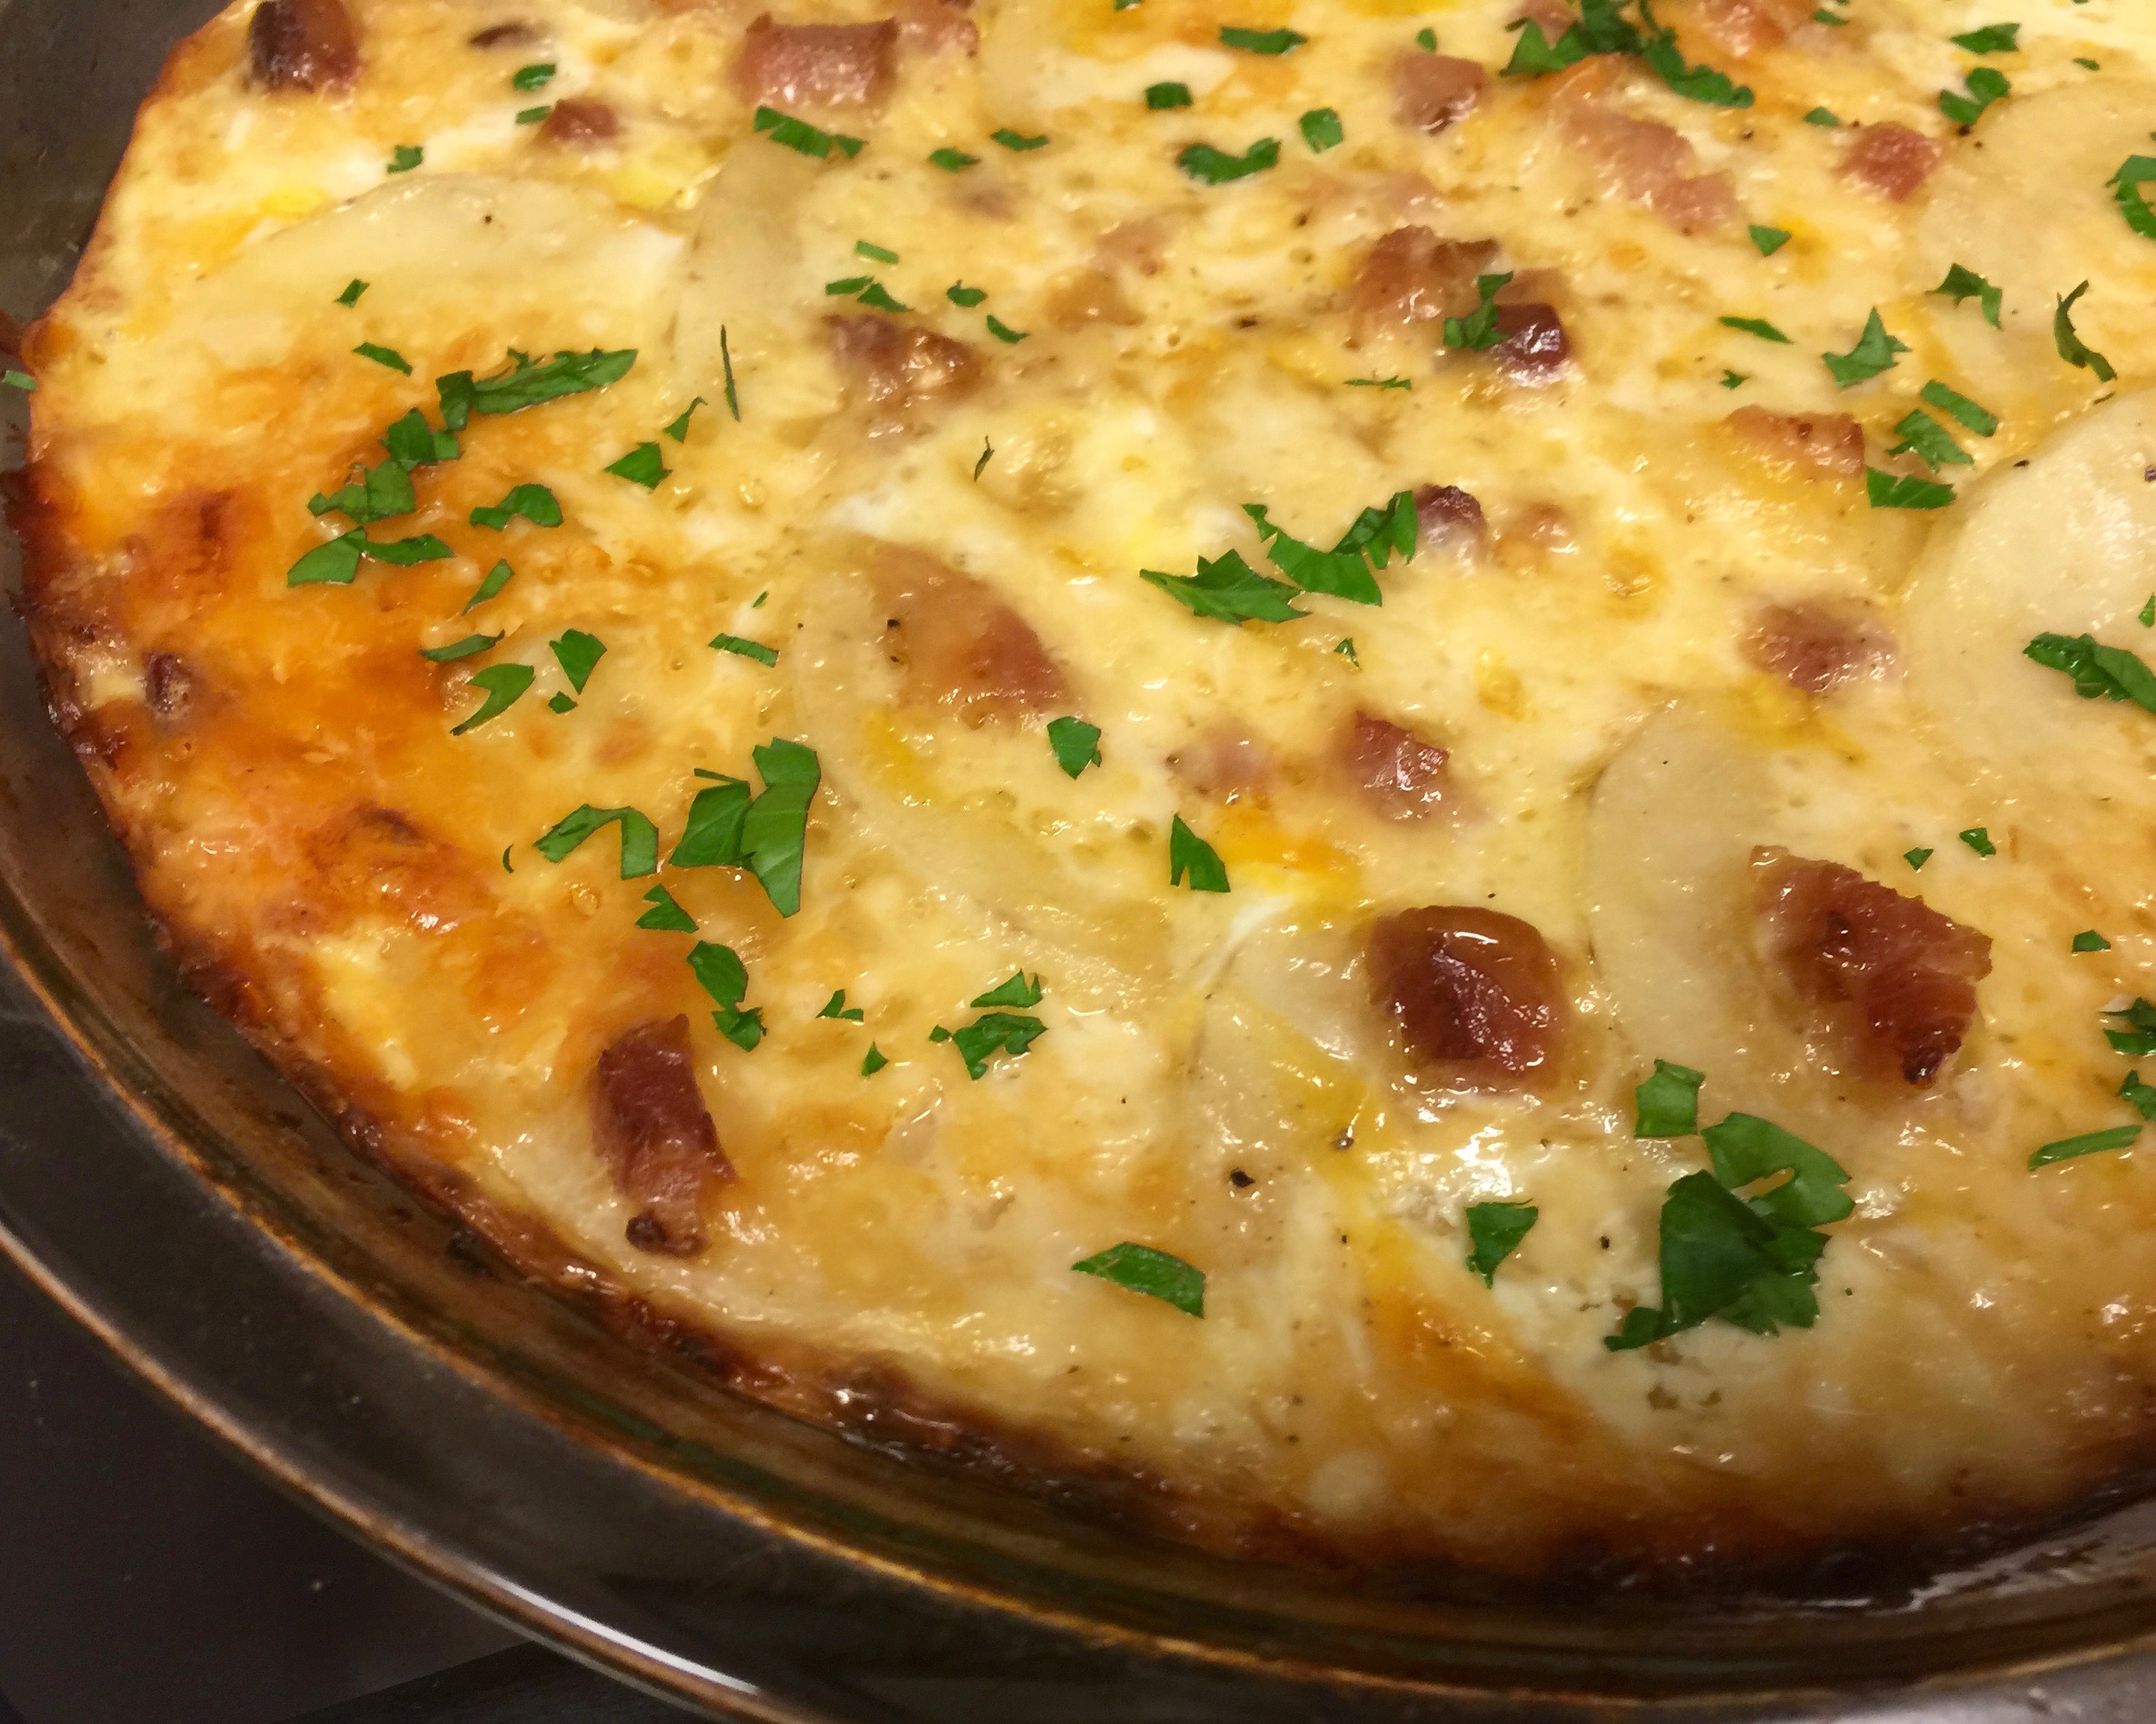
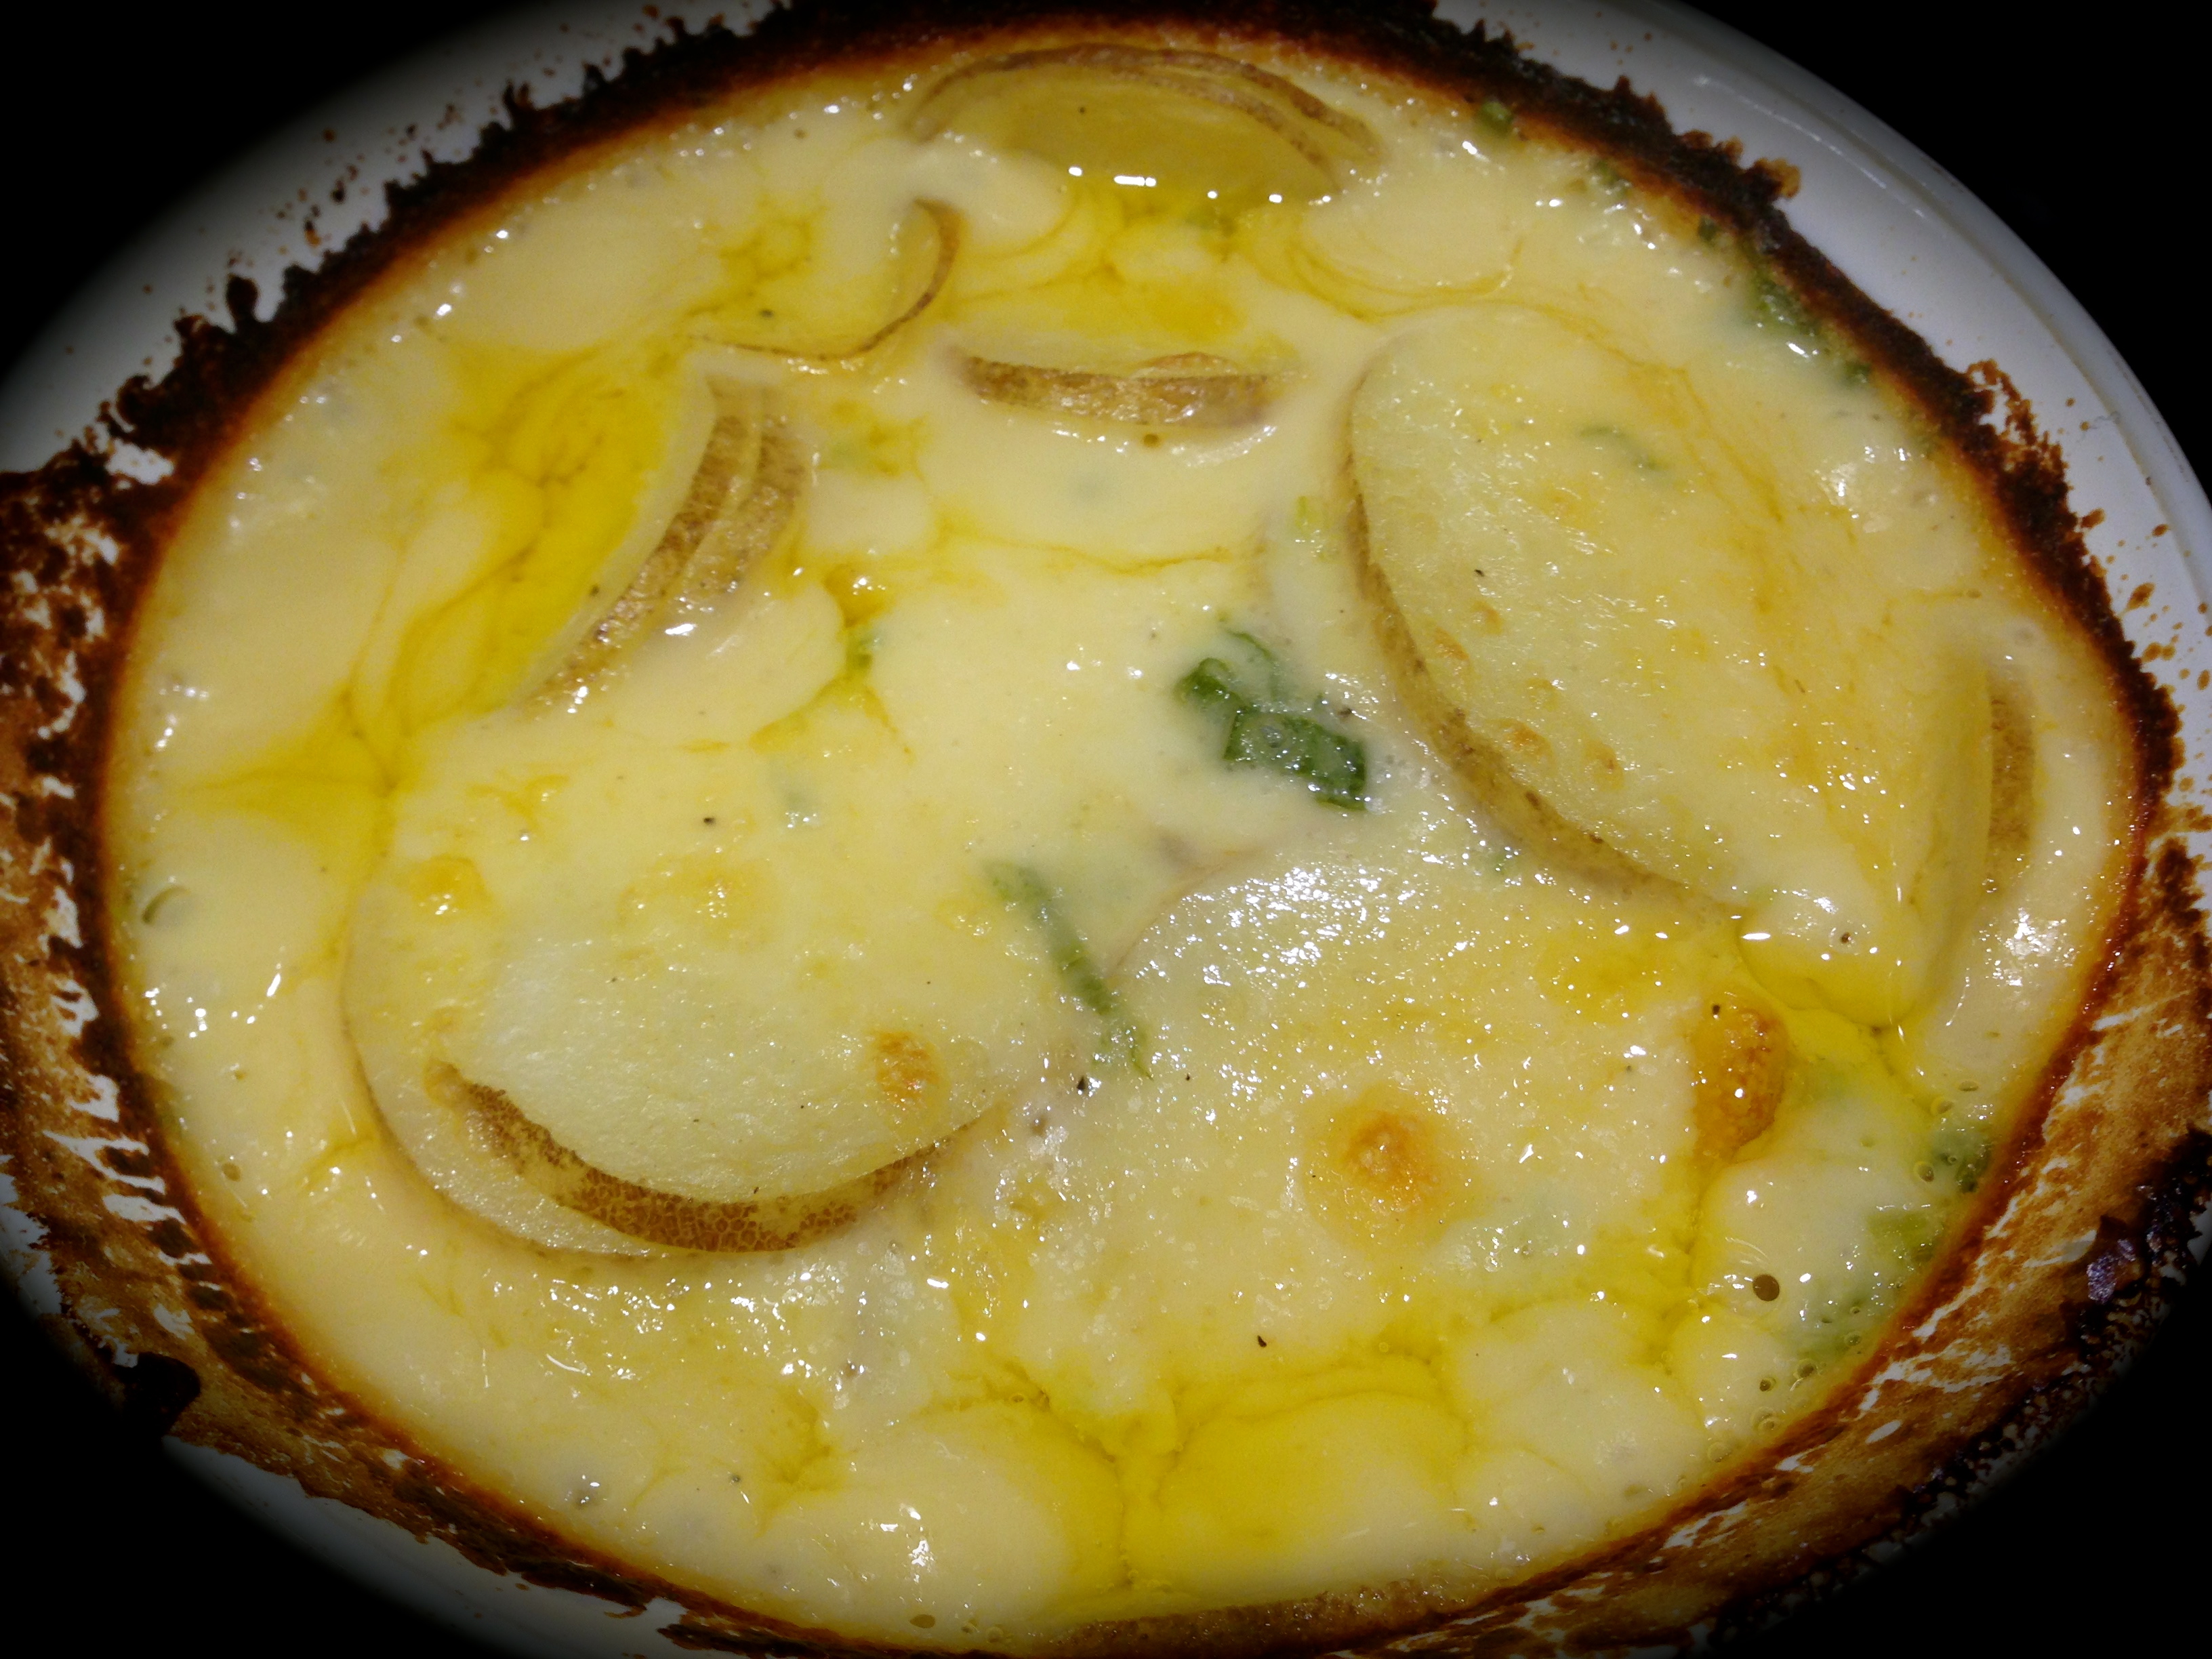
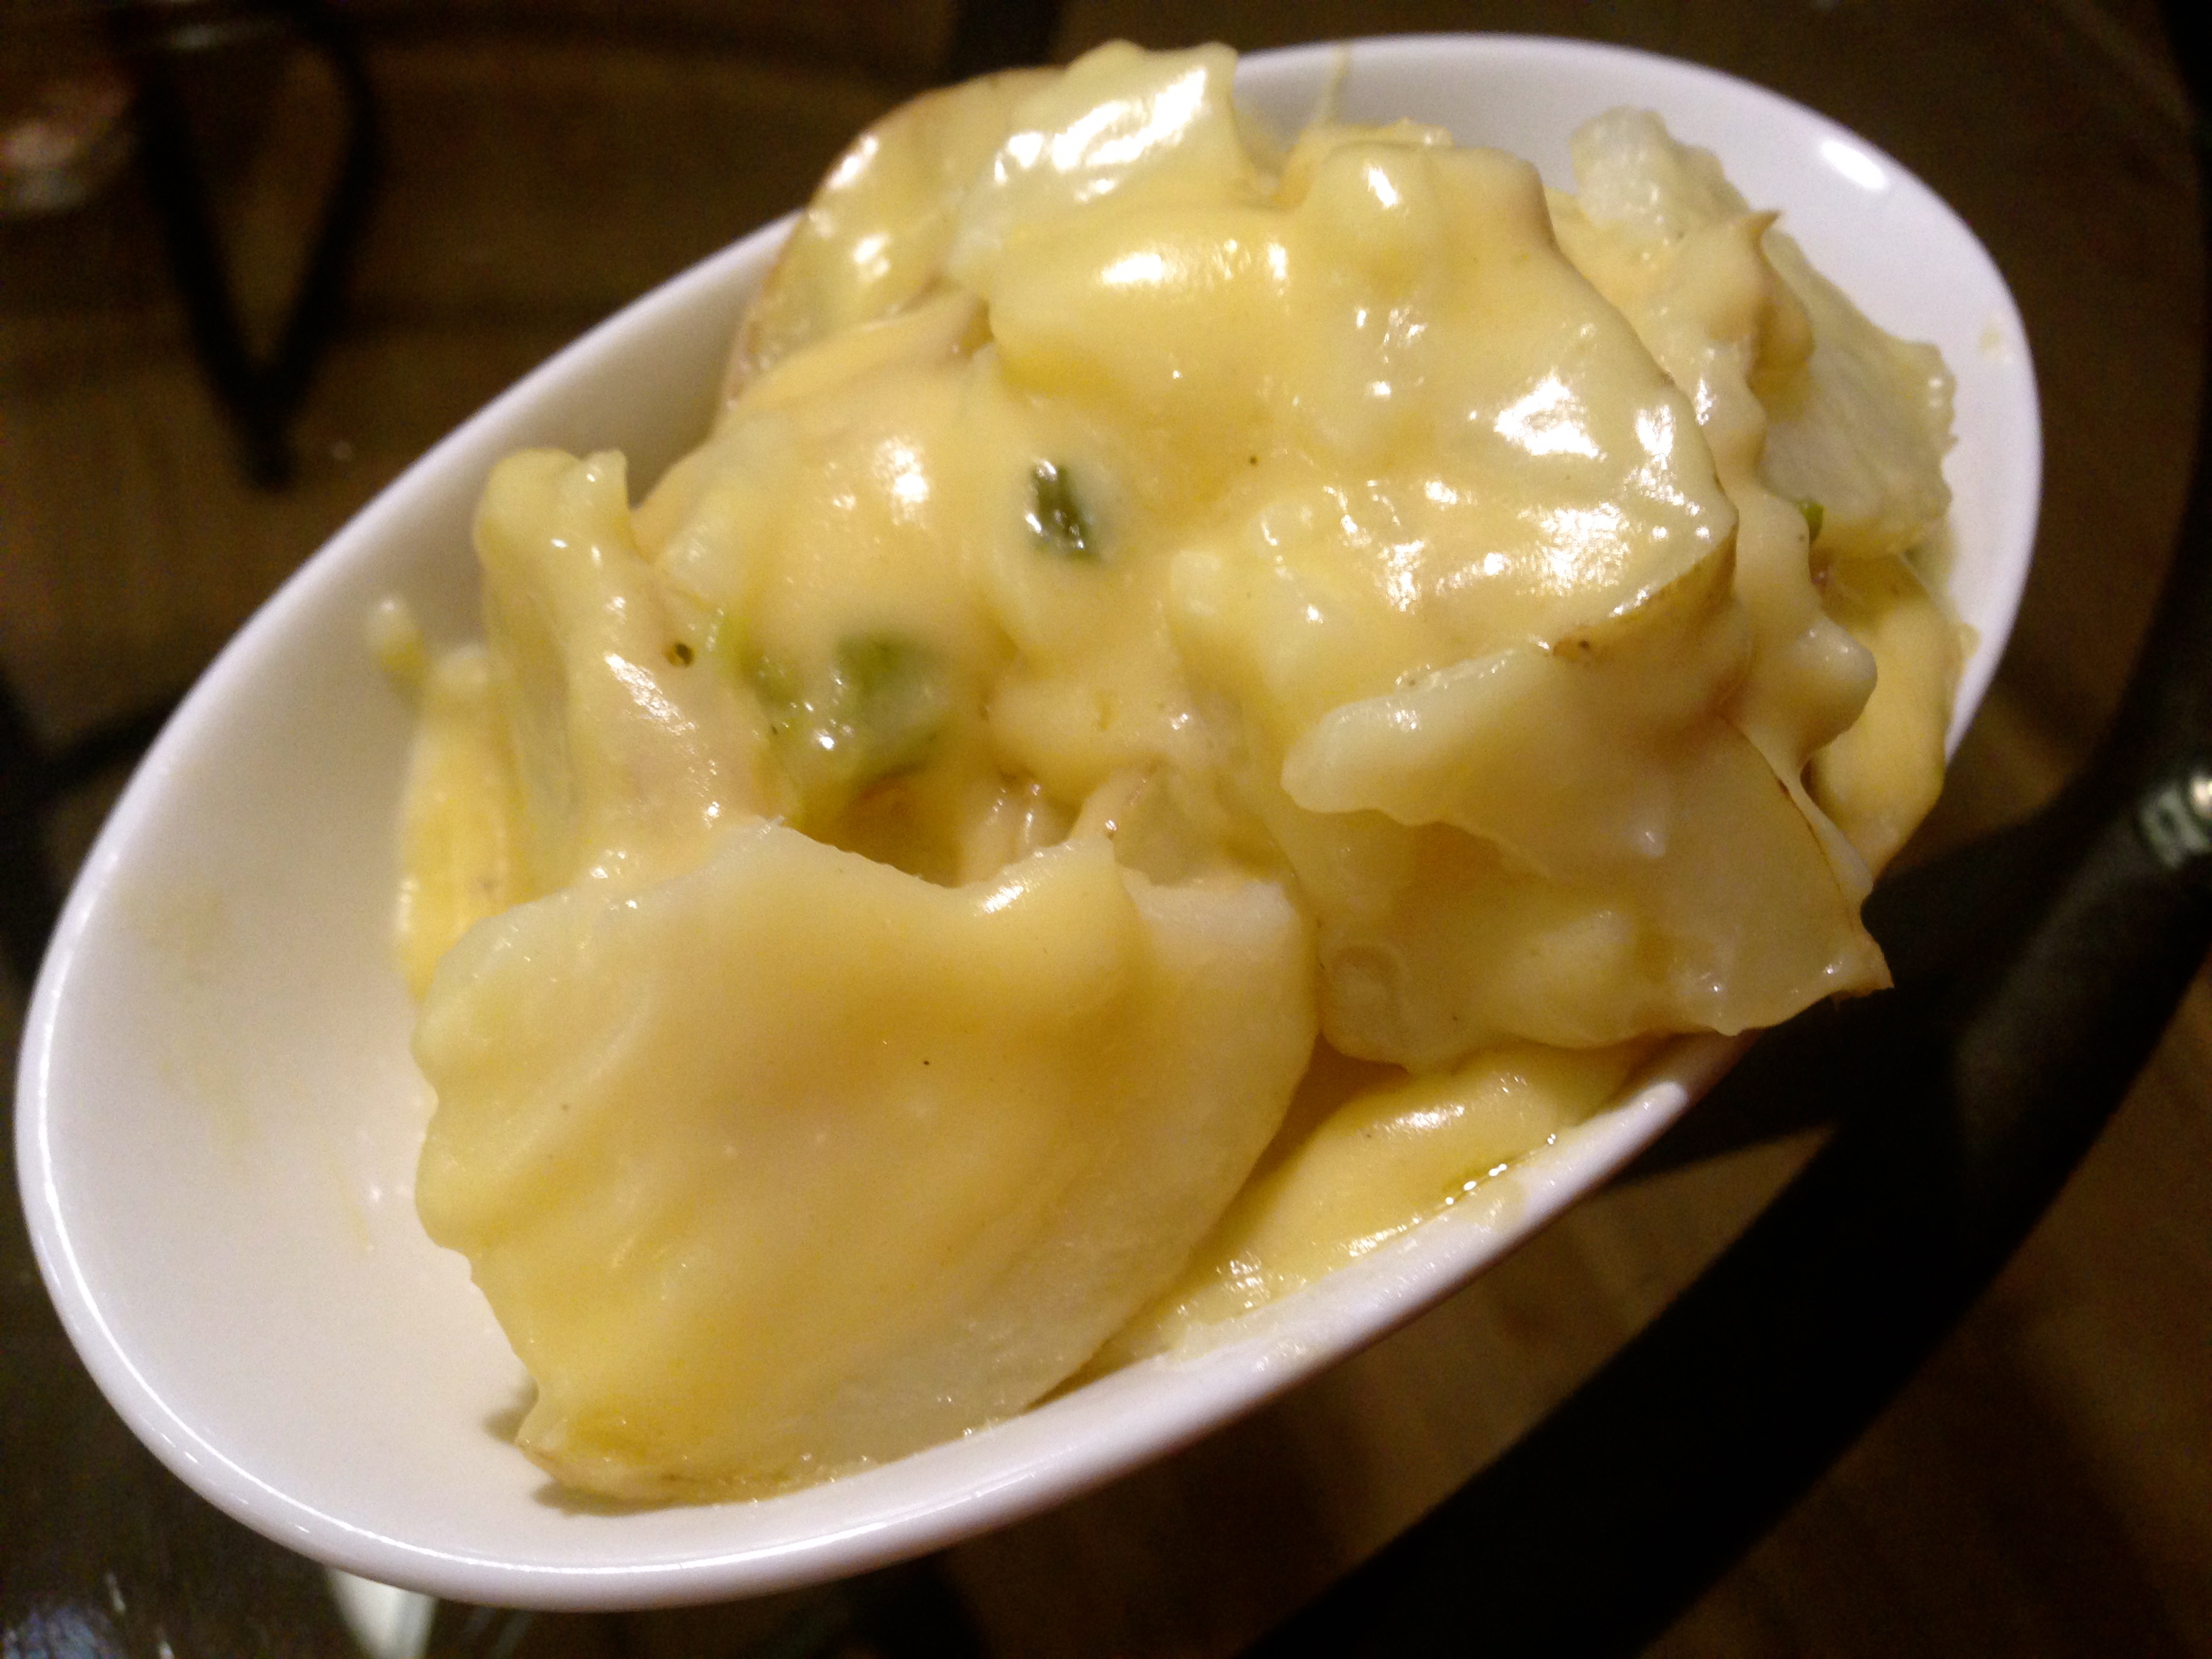
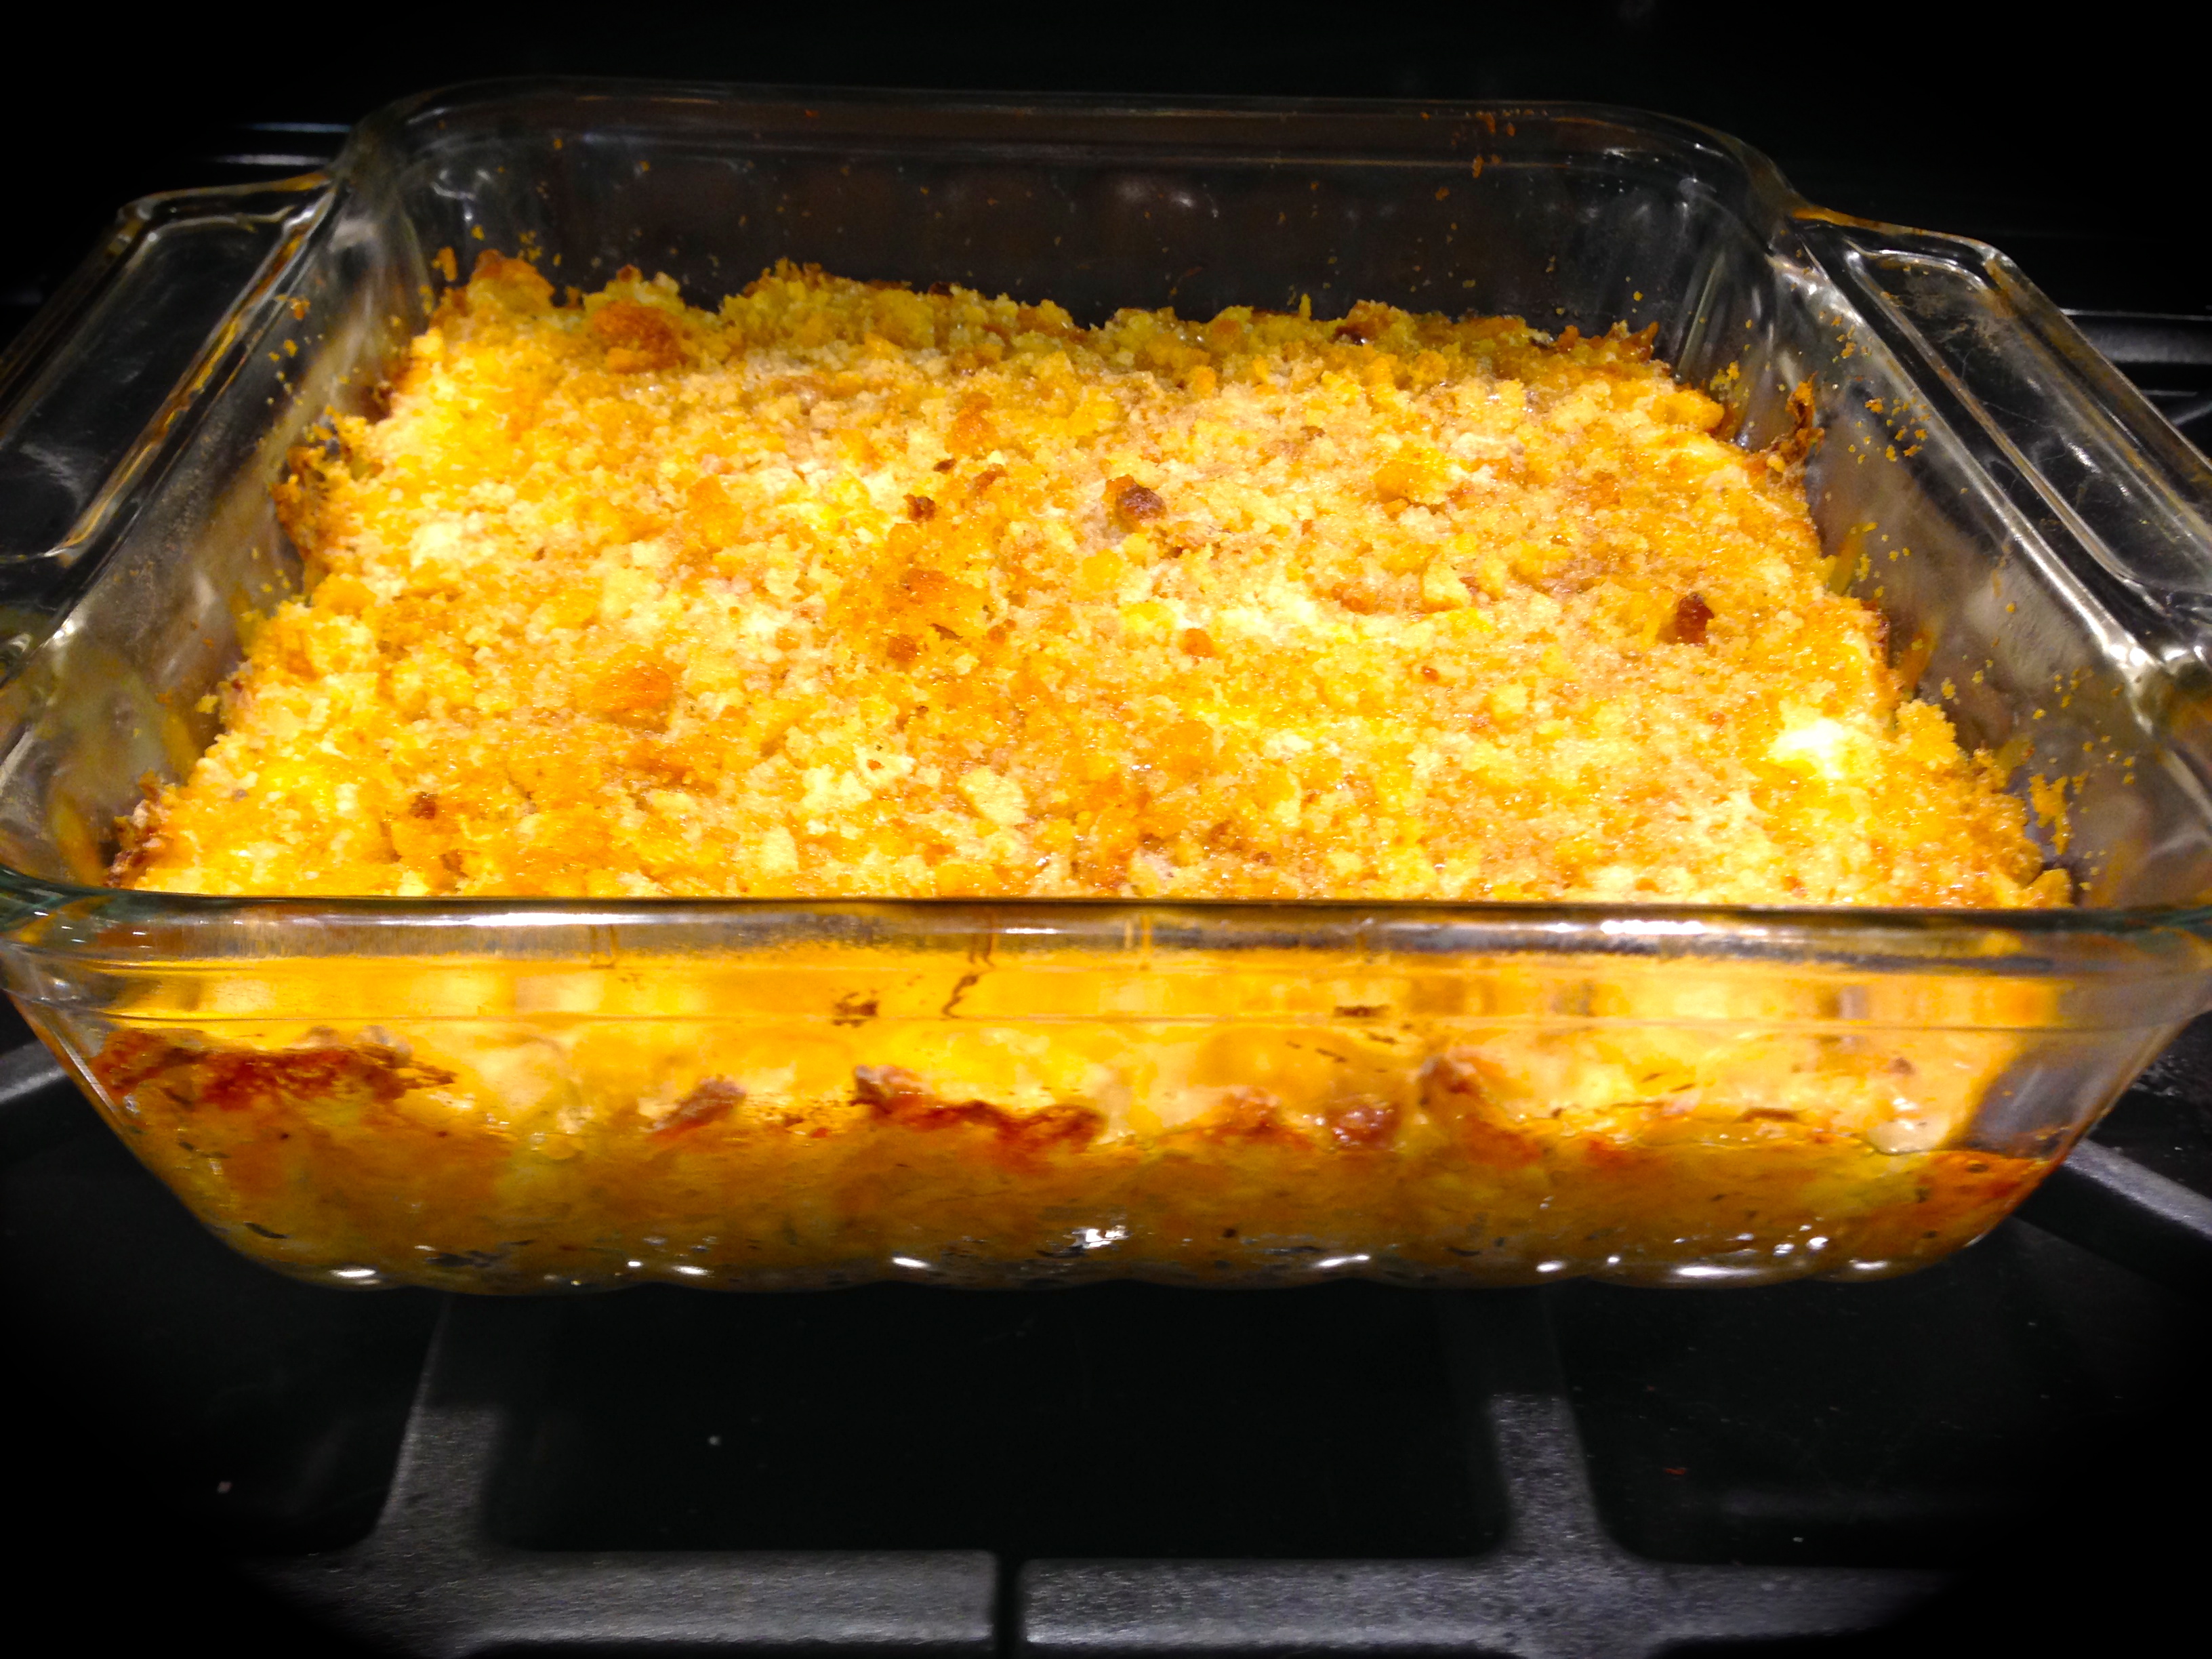
Bake for 90 minutes or until the center is done. Serve warm with a dollop of sour cream.

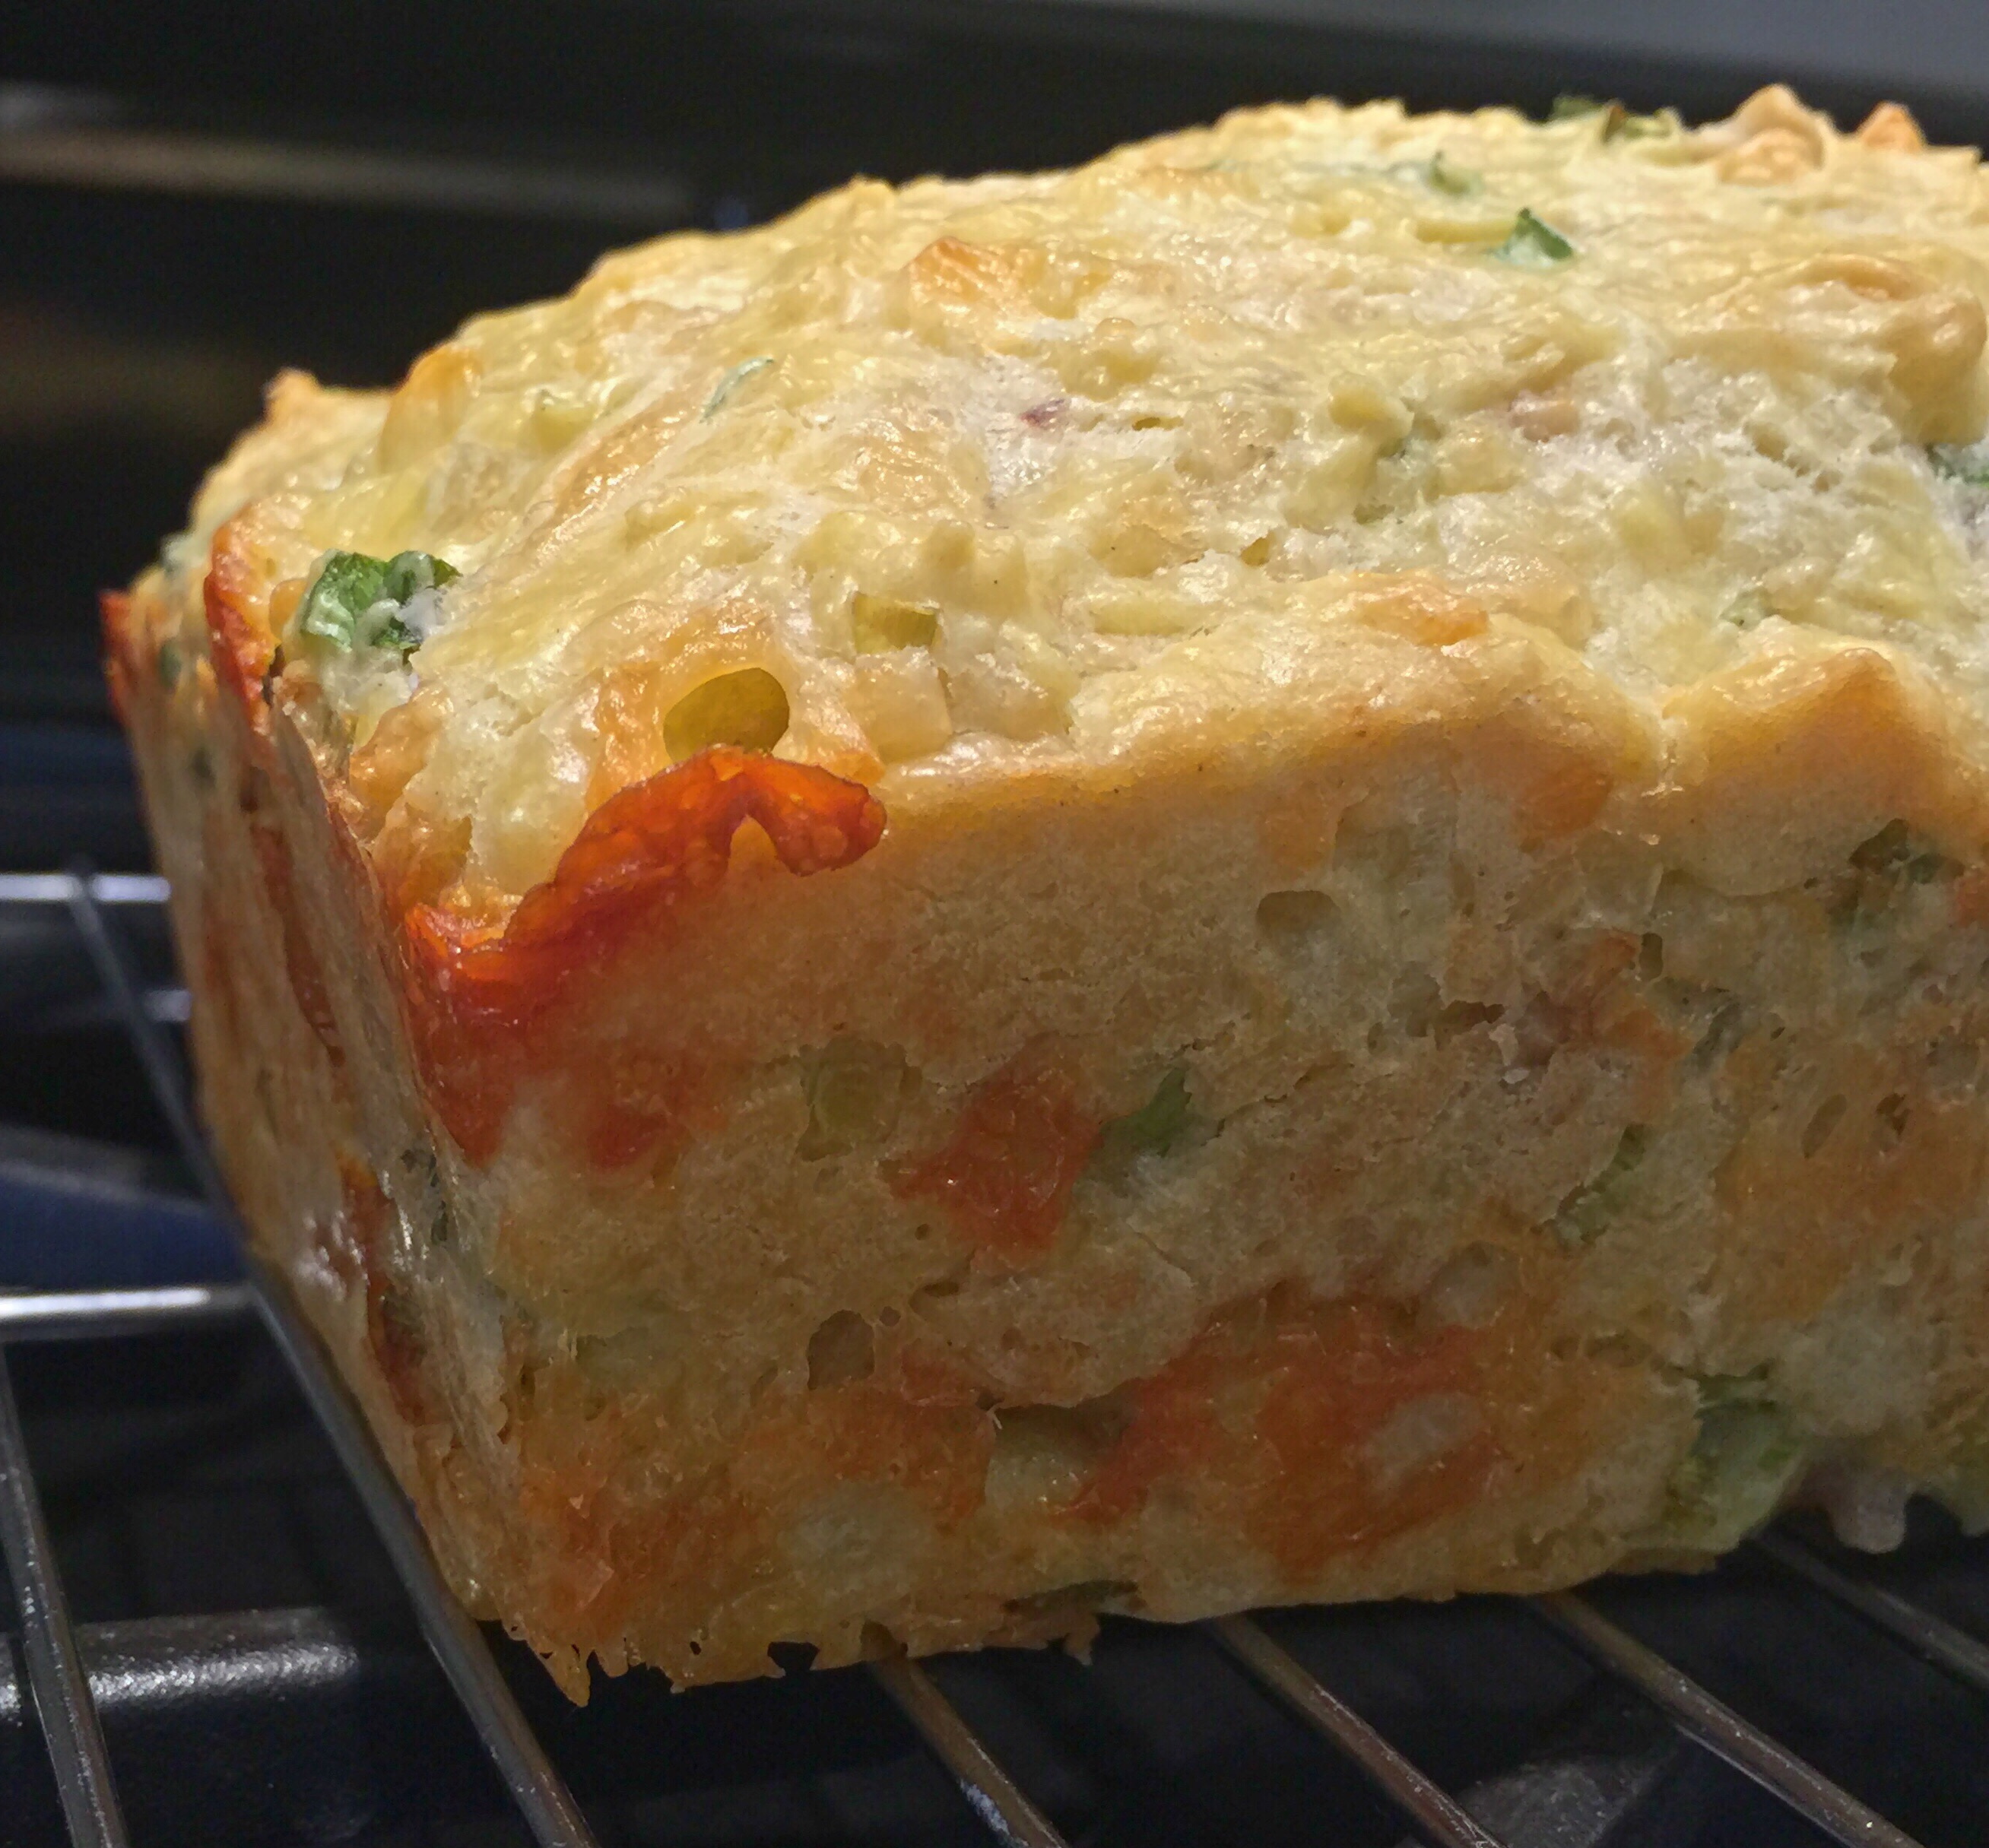
Ready to go into the oven

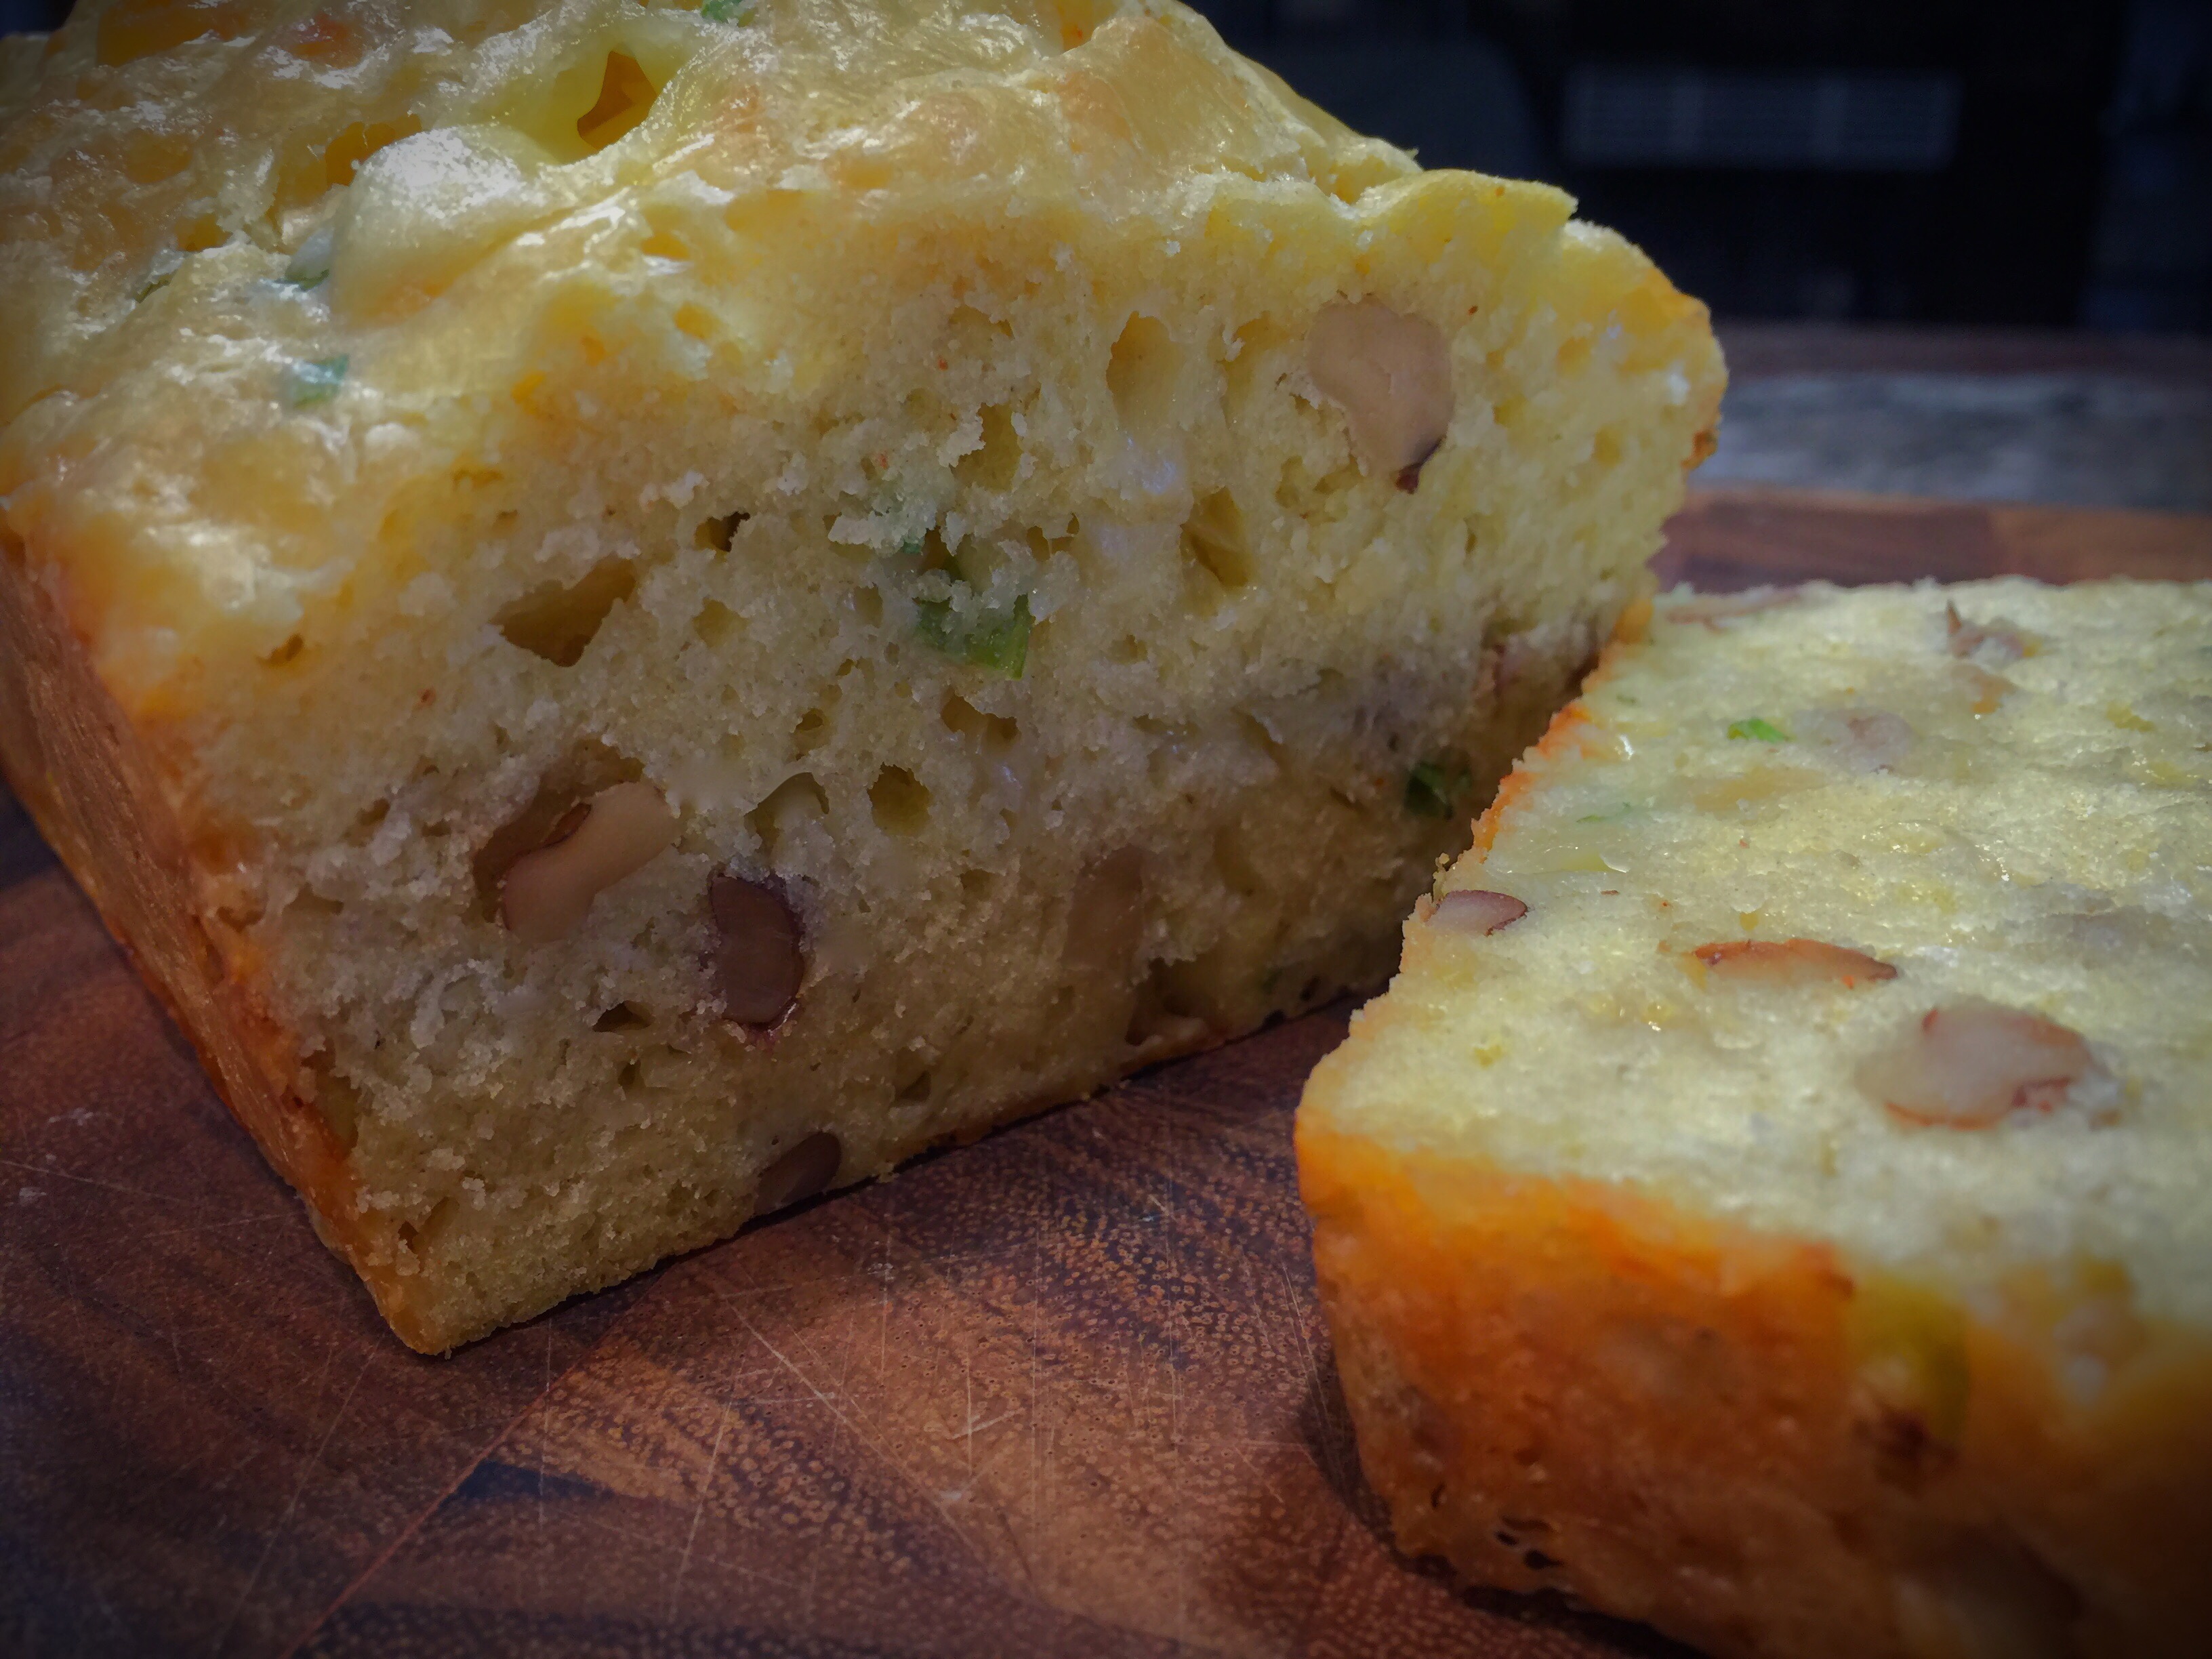
Out of the oven

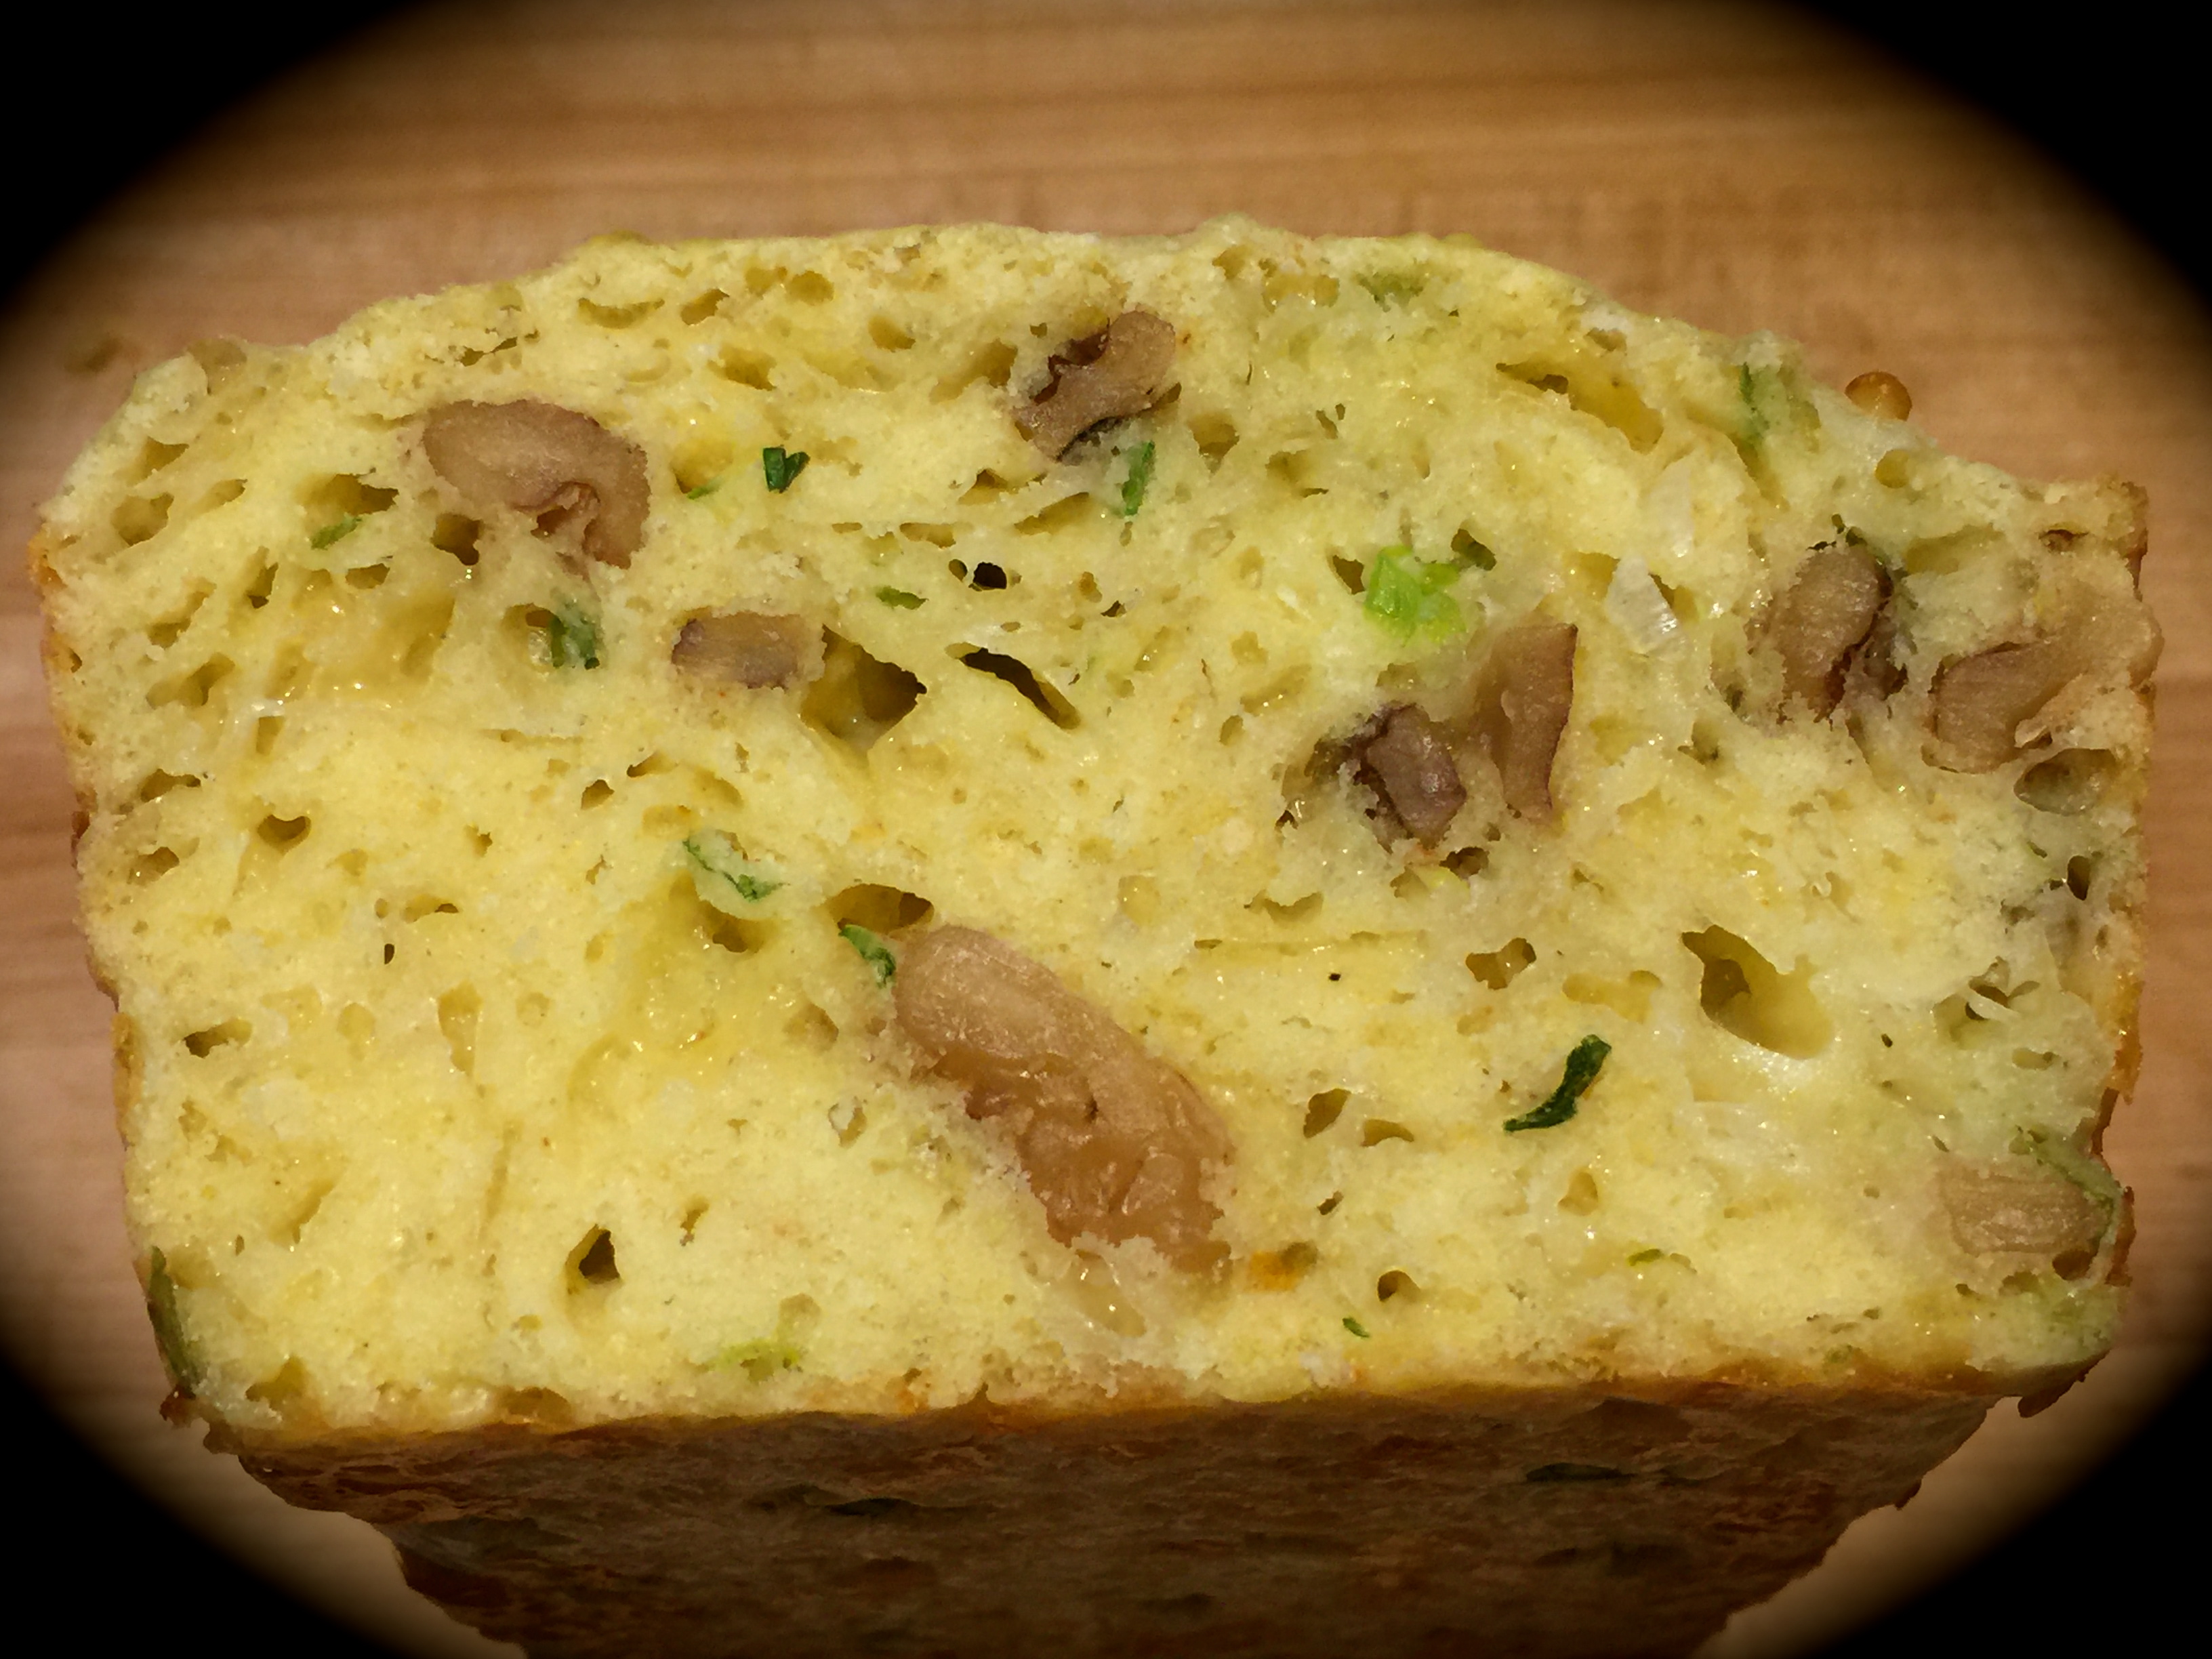
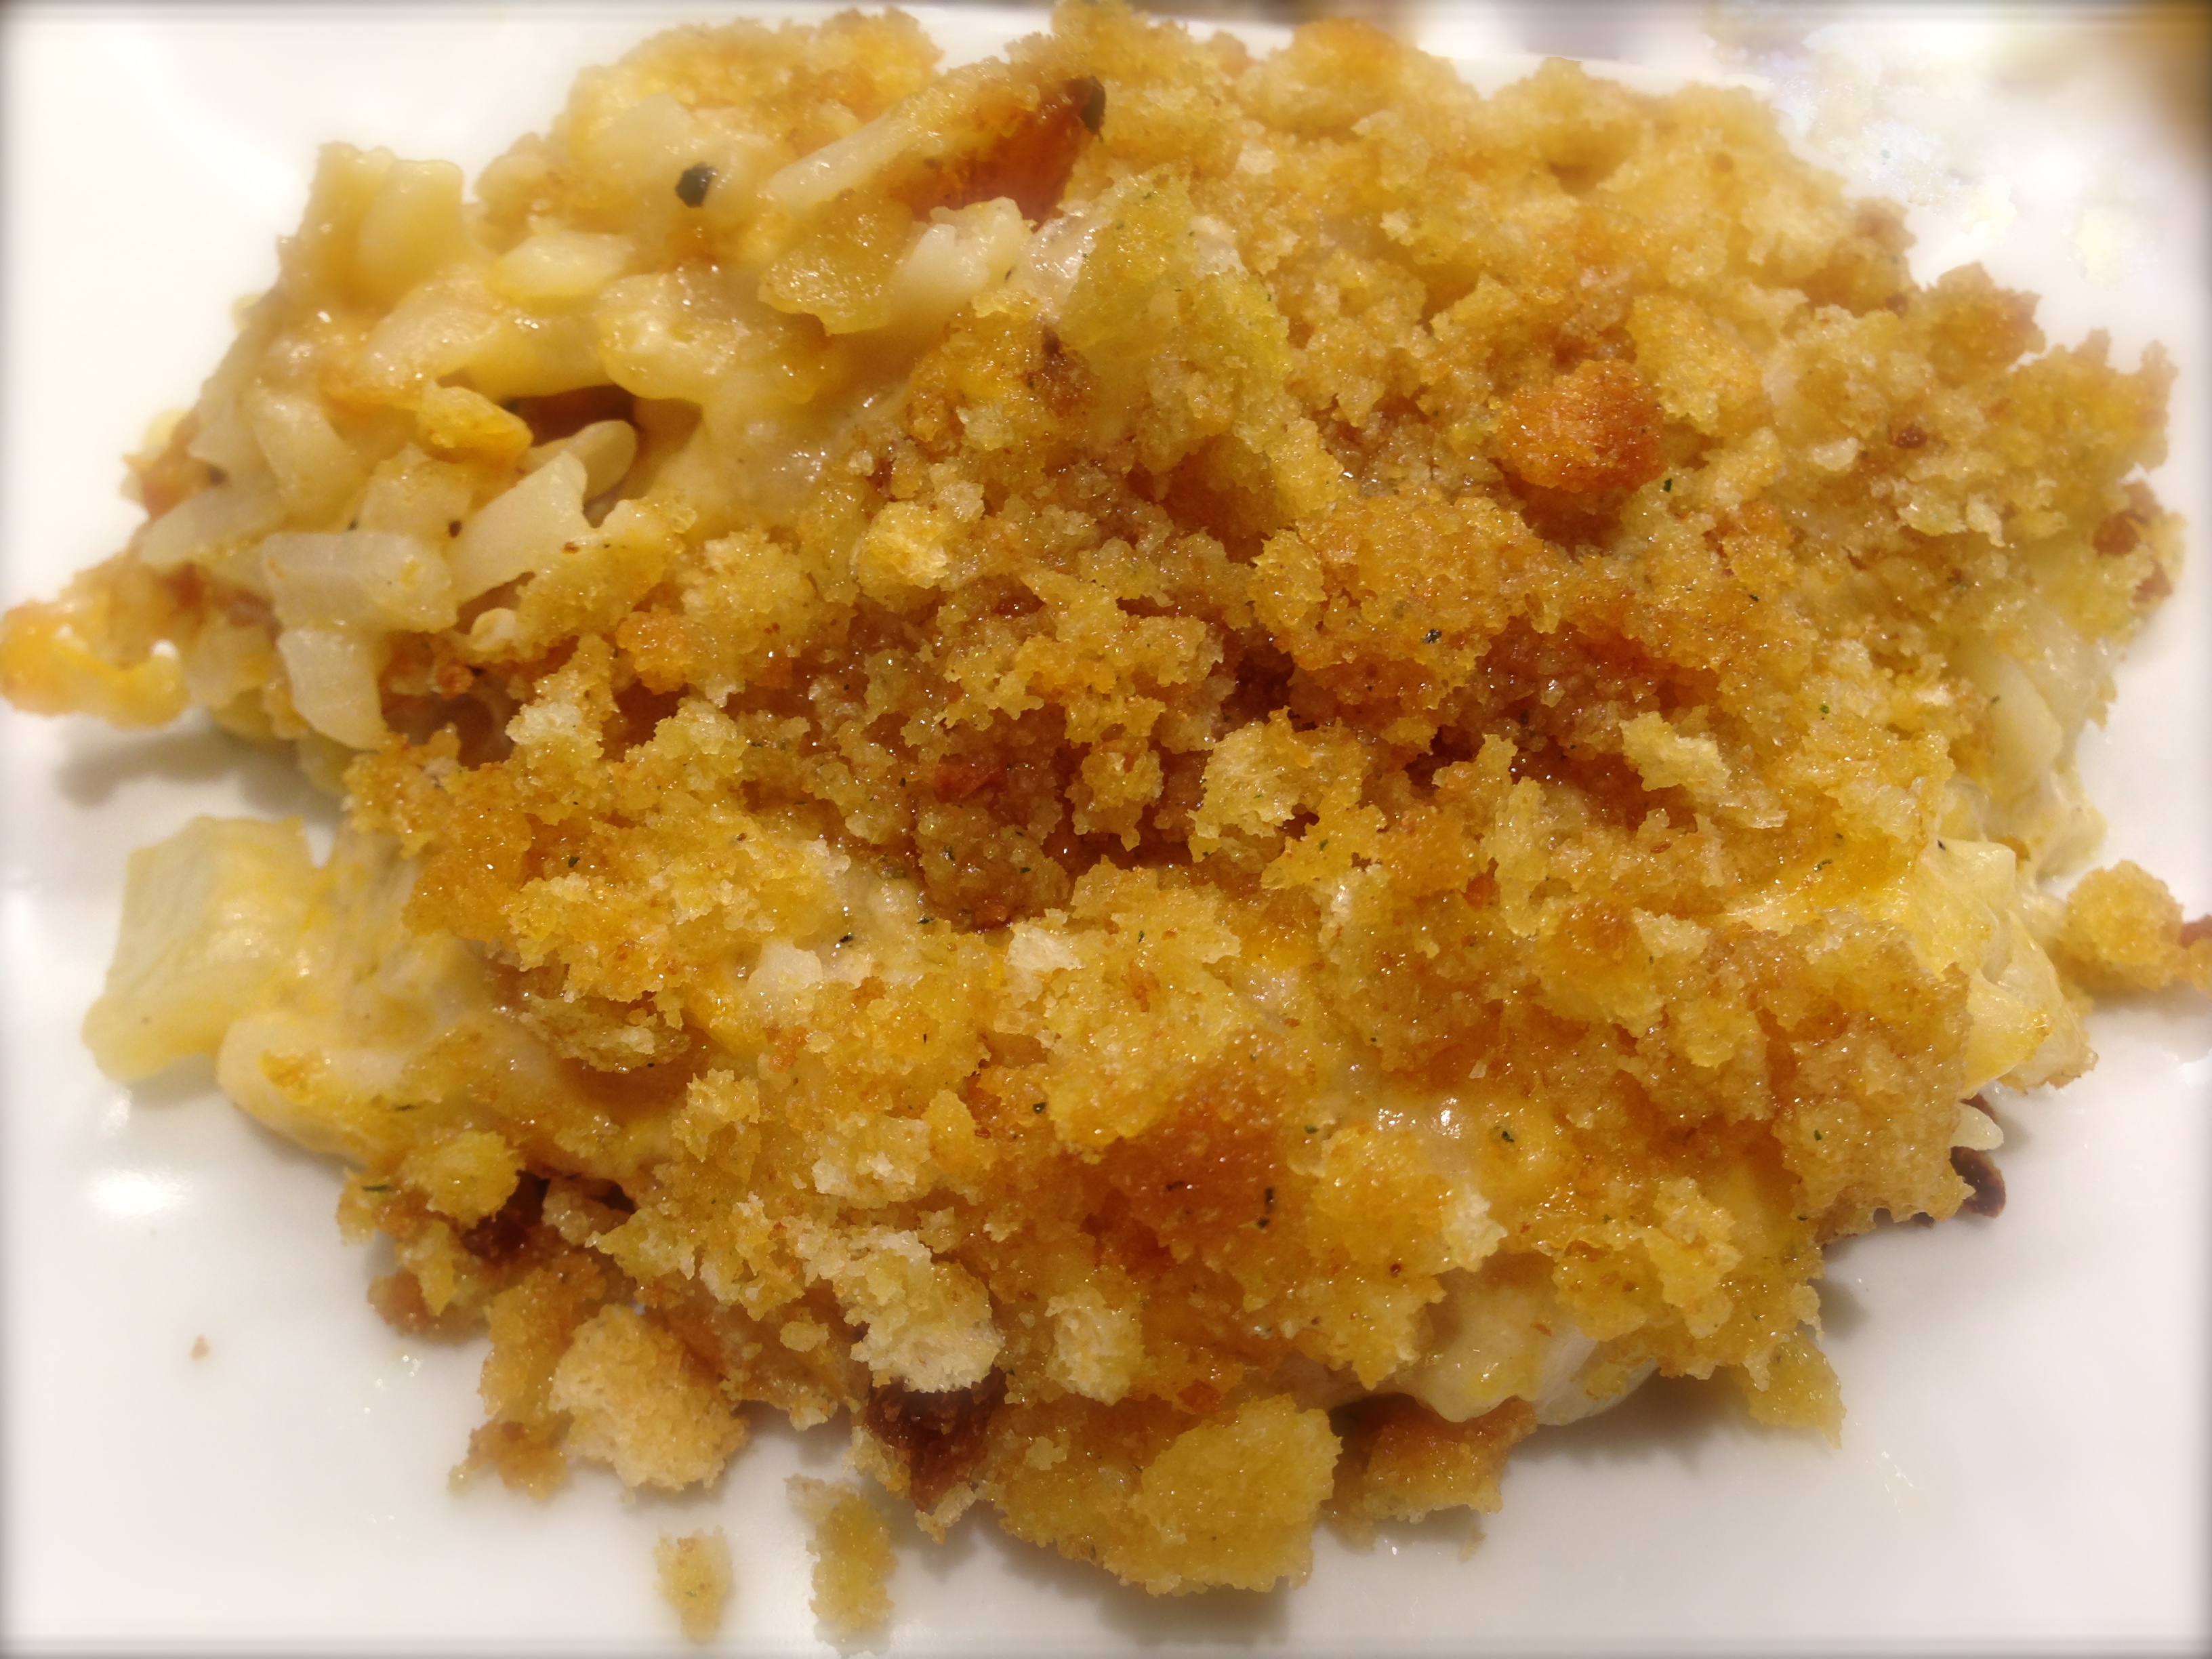
Kugelis

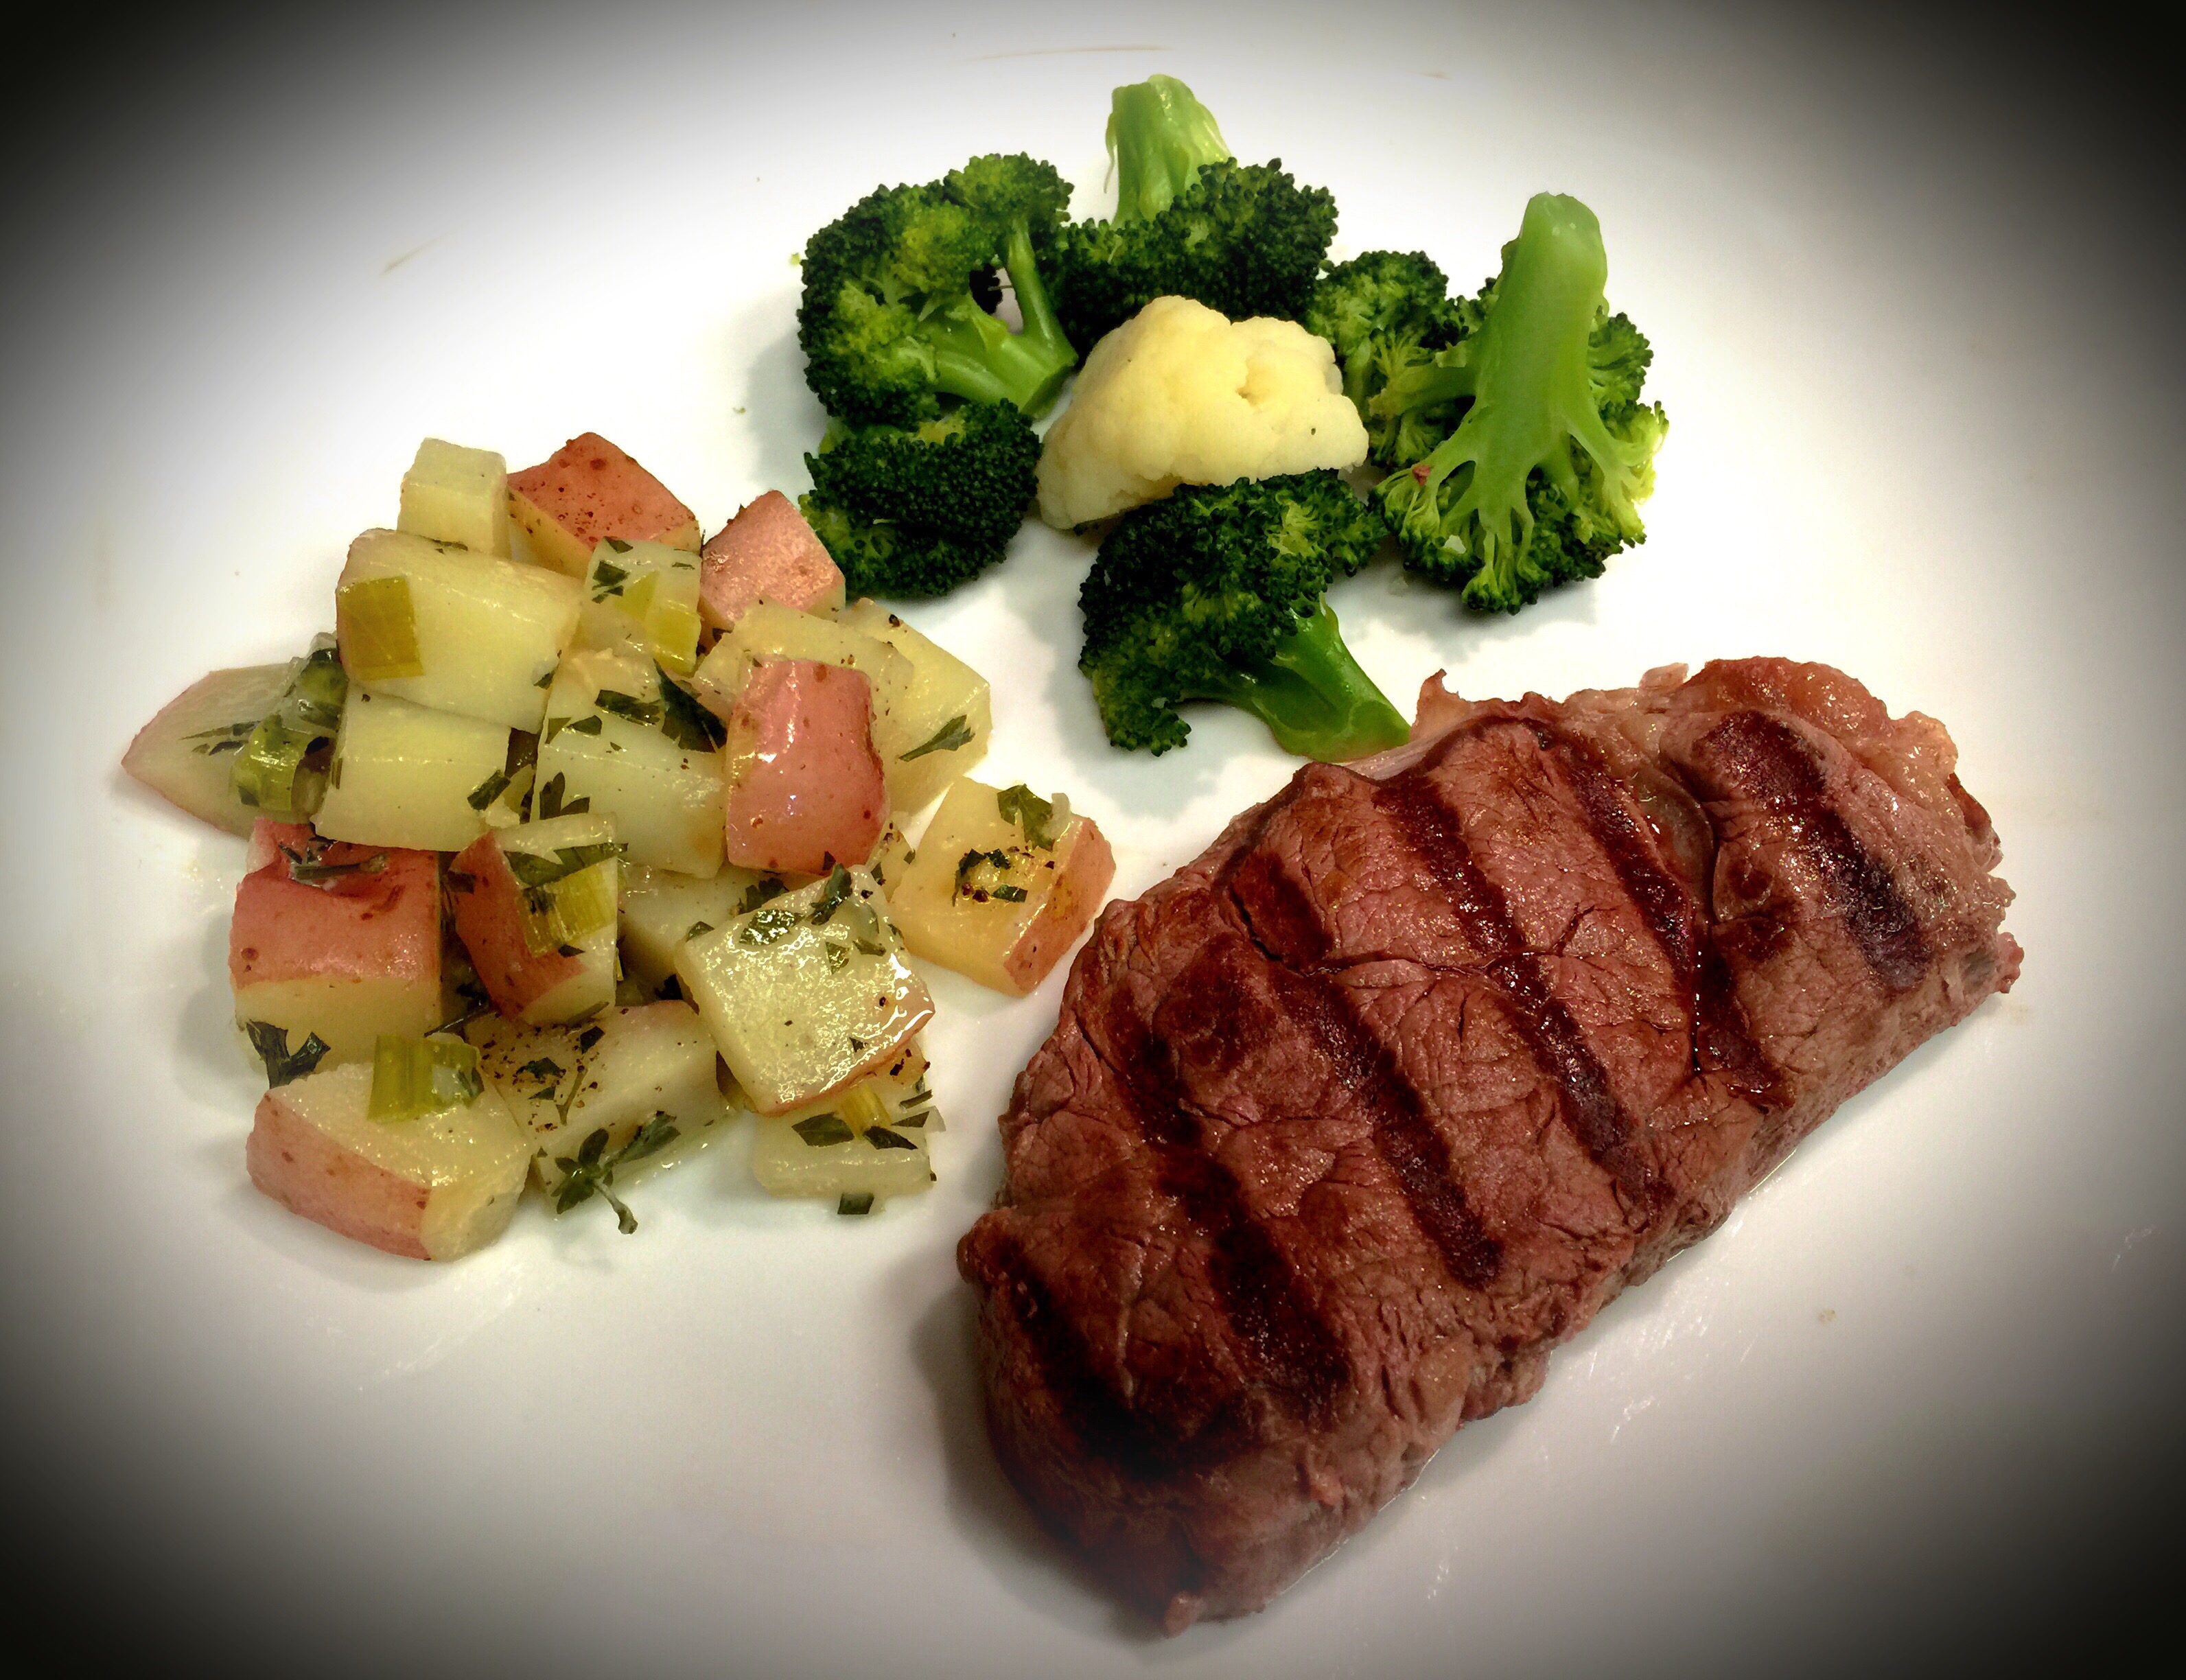
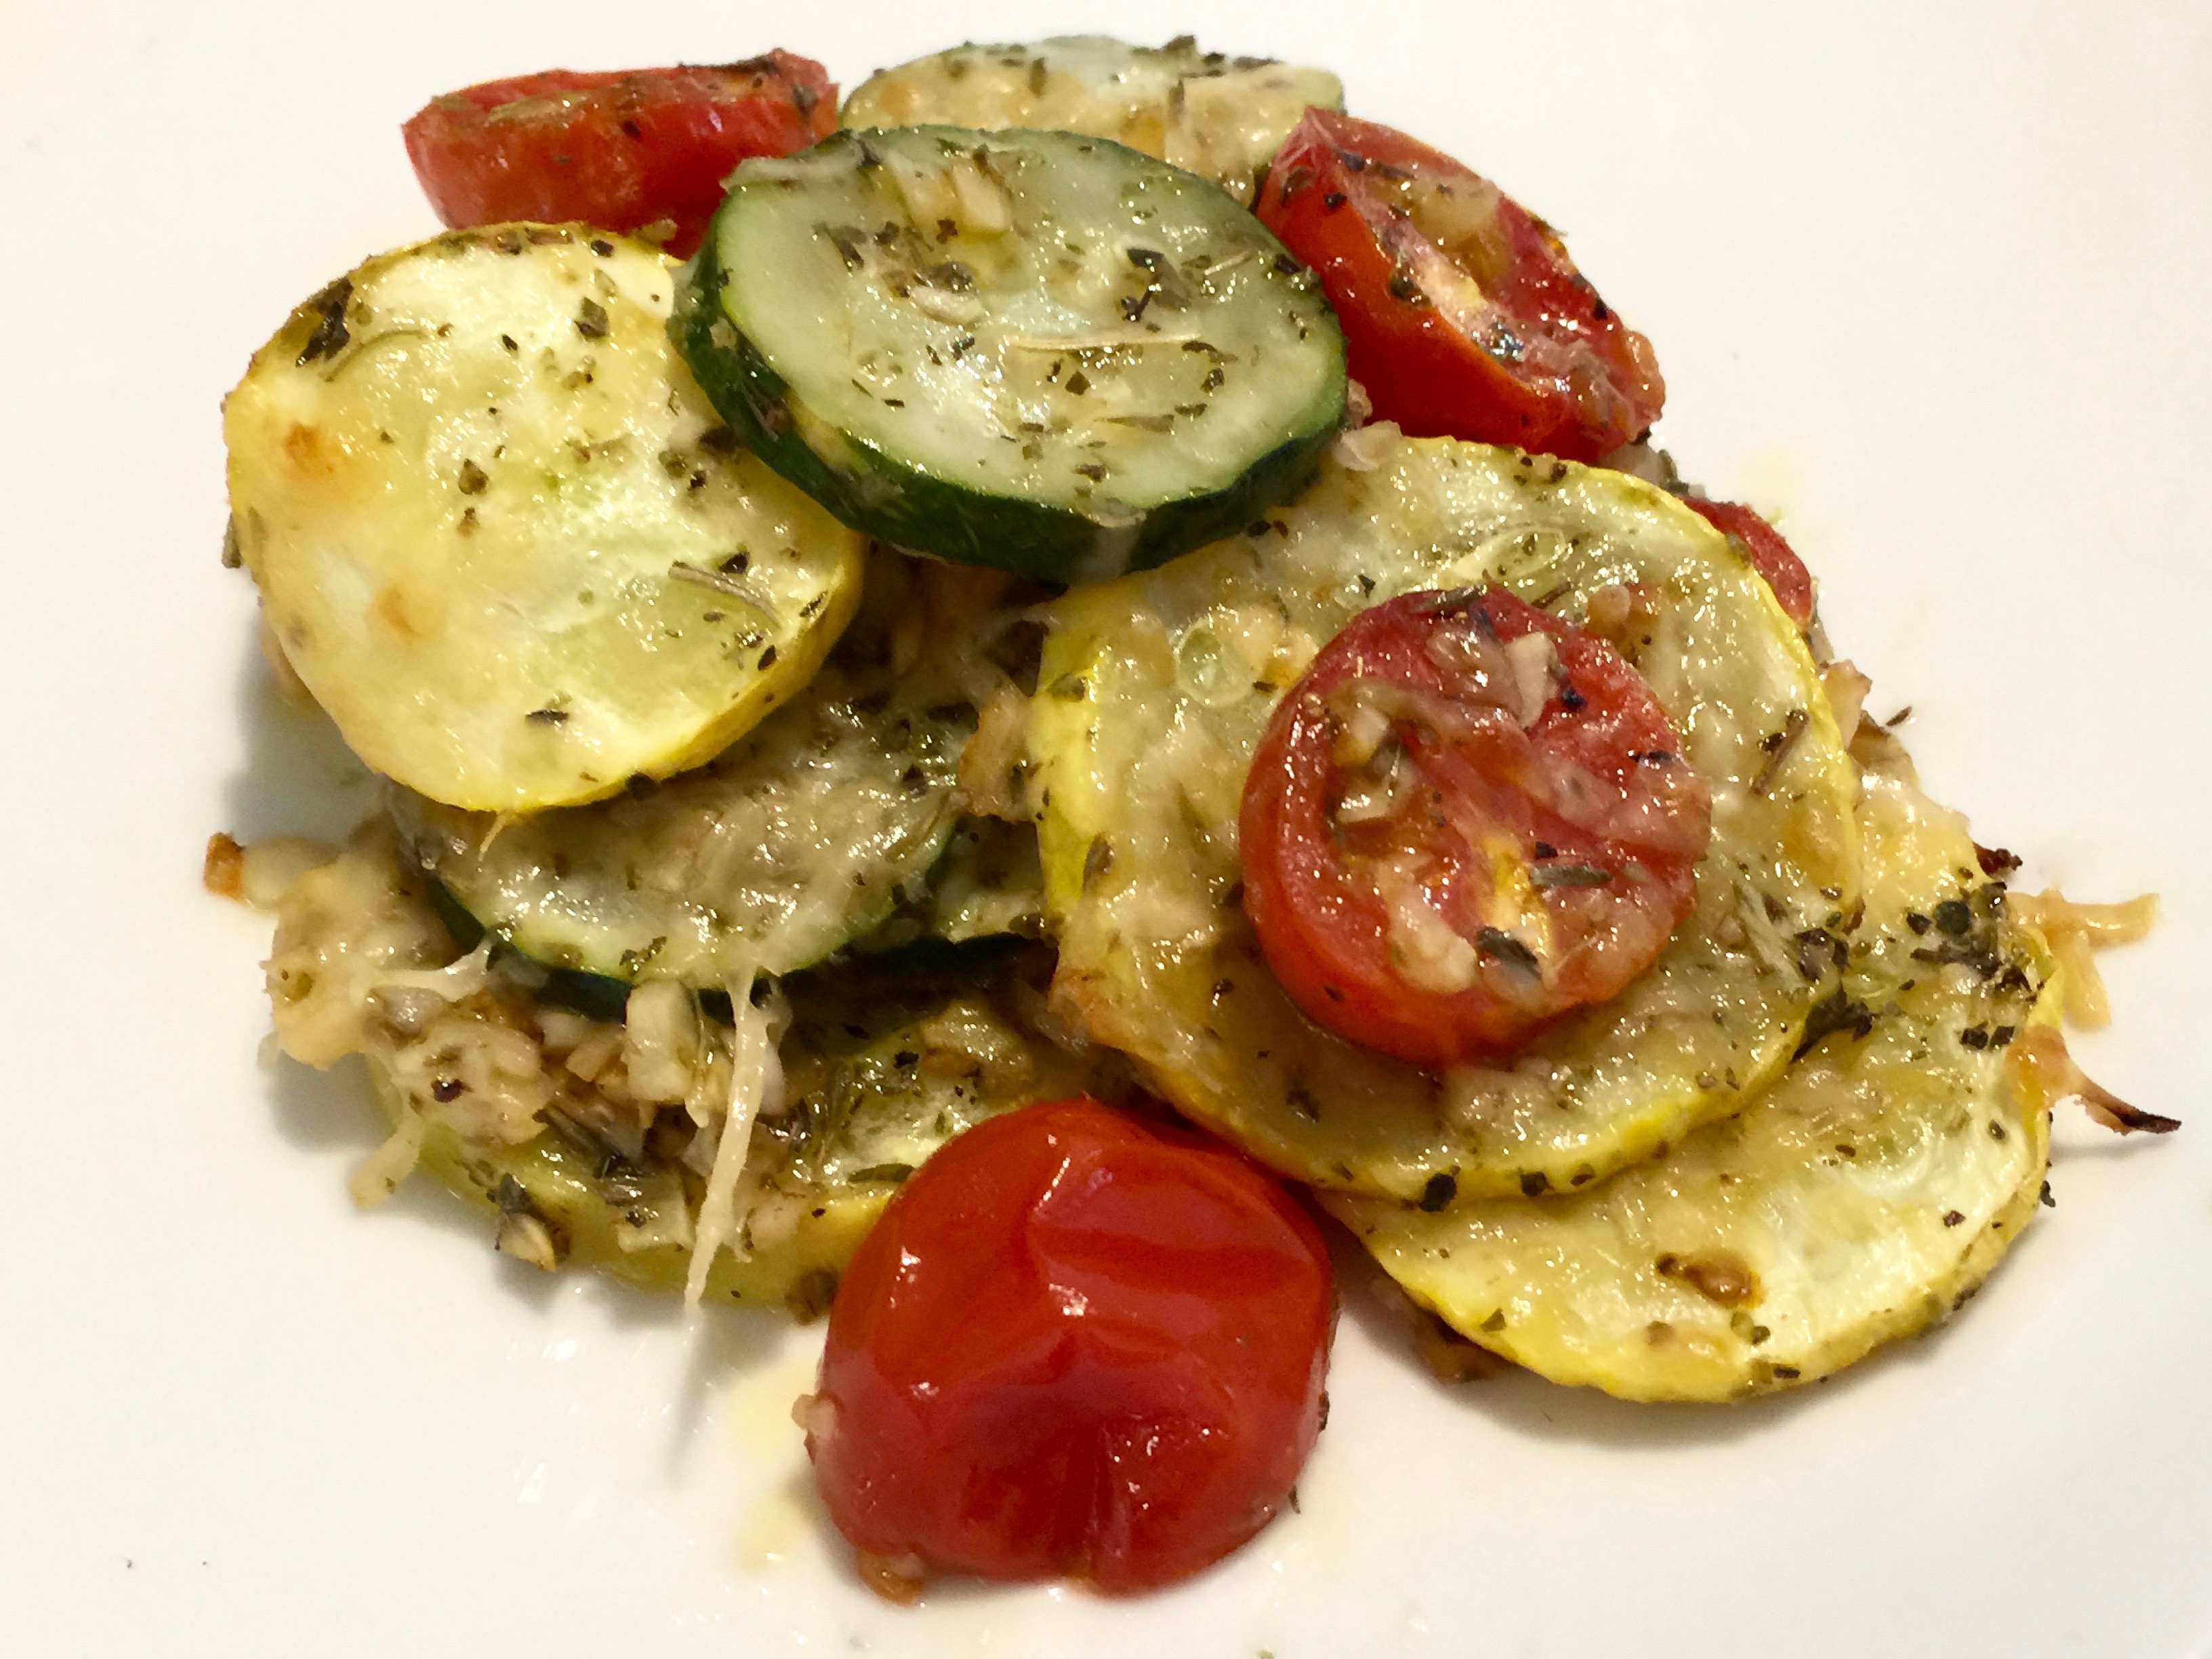
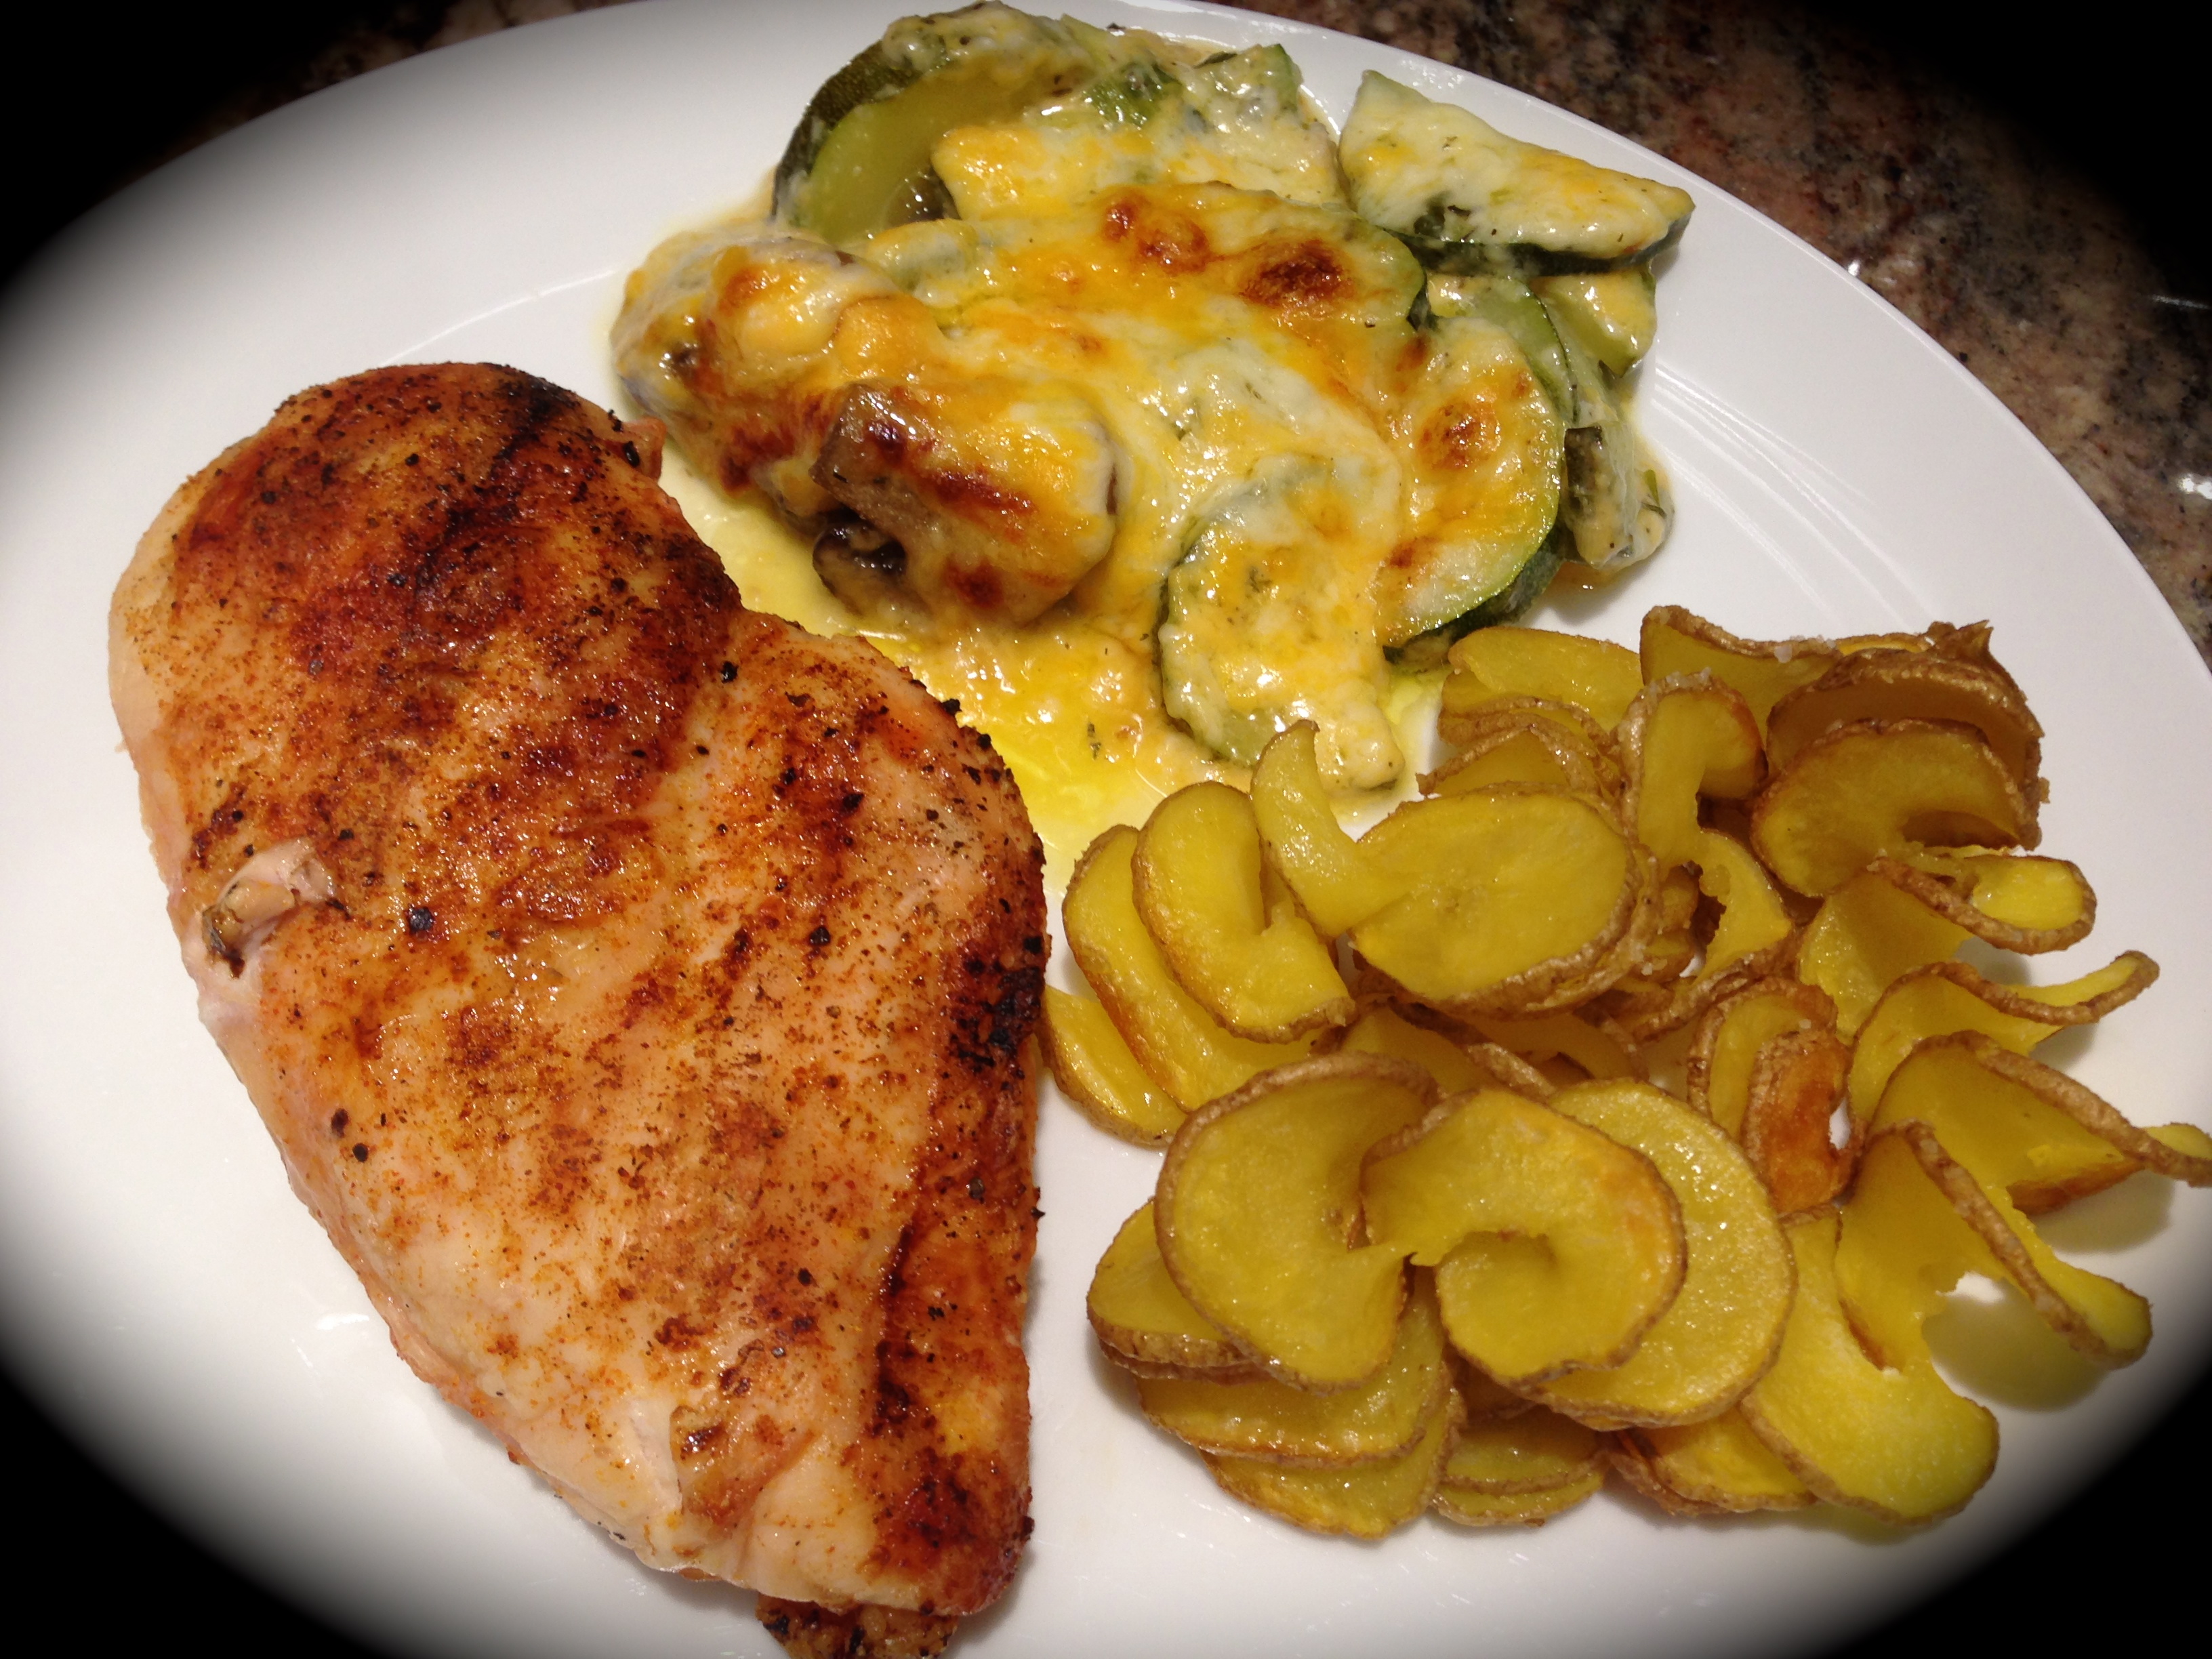
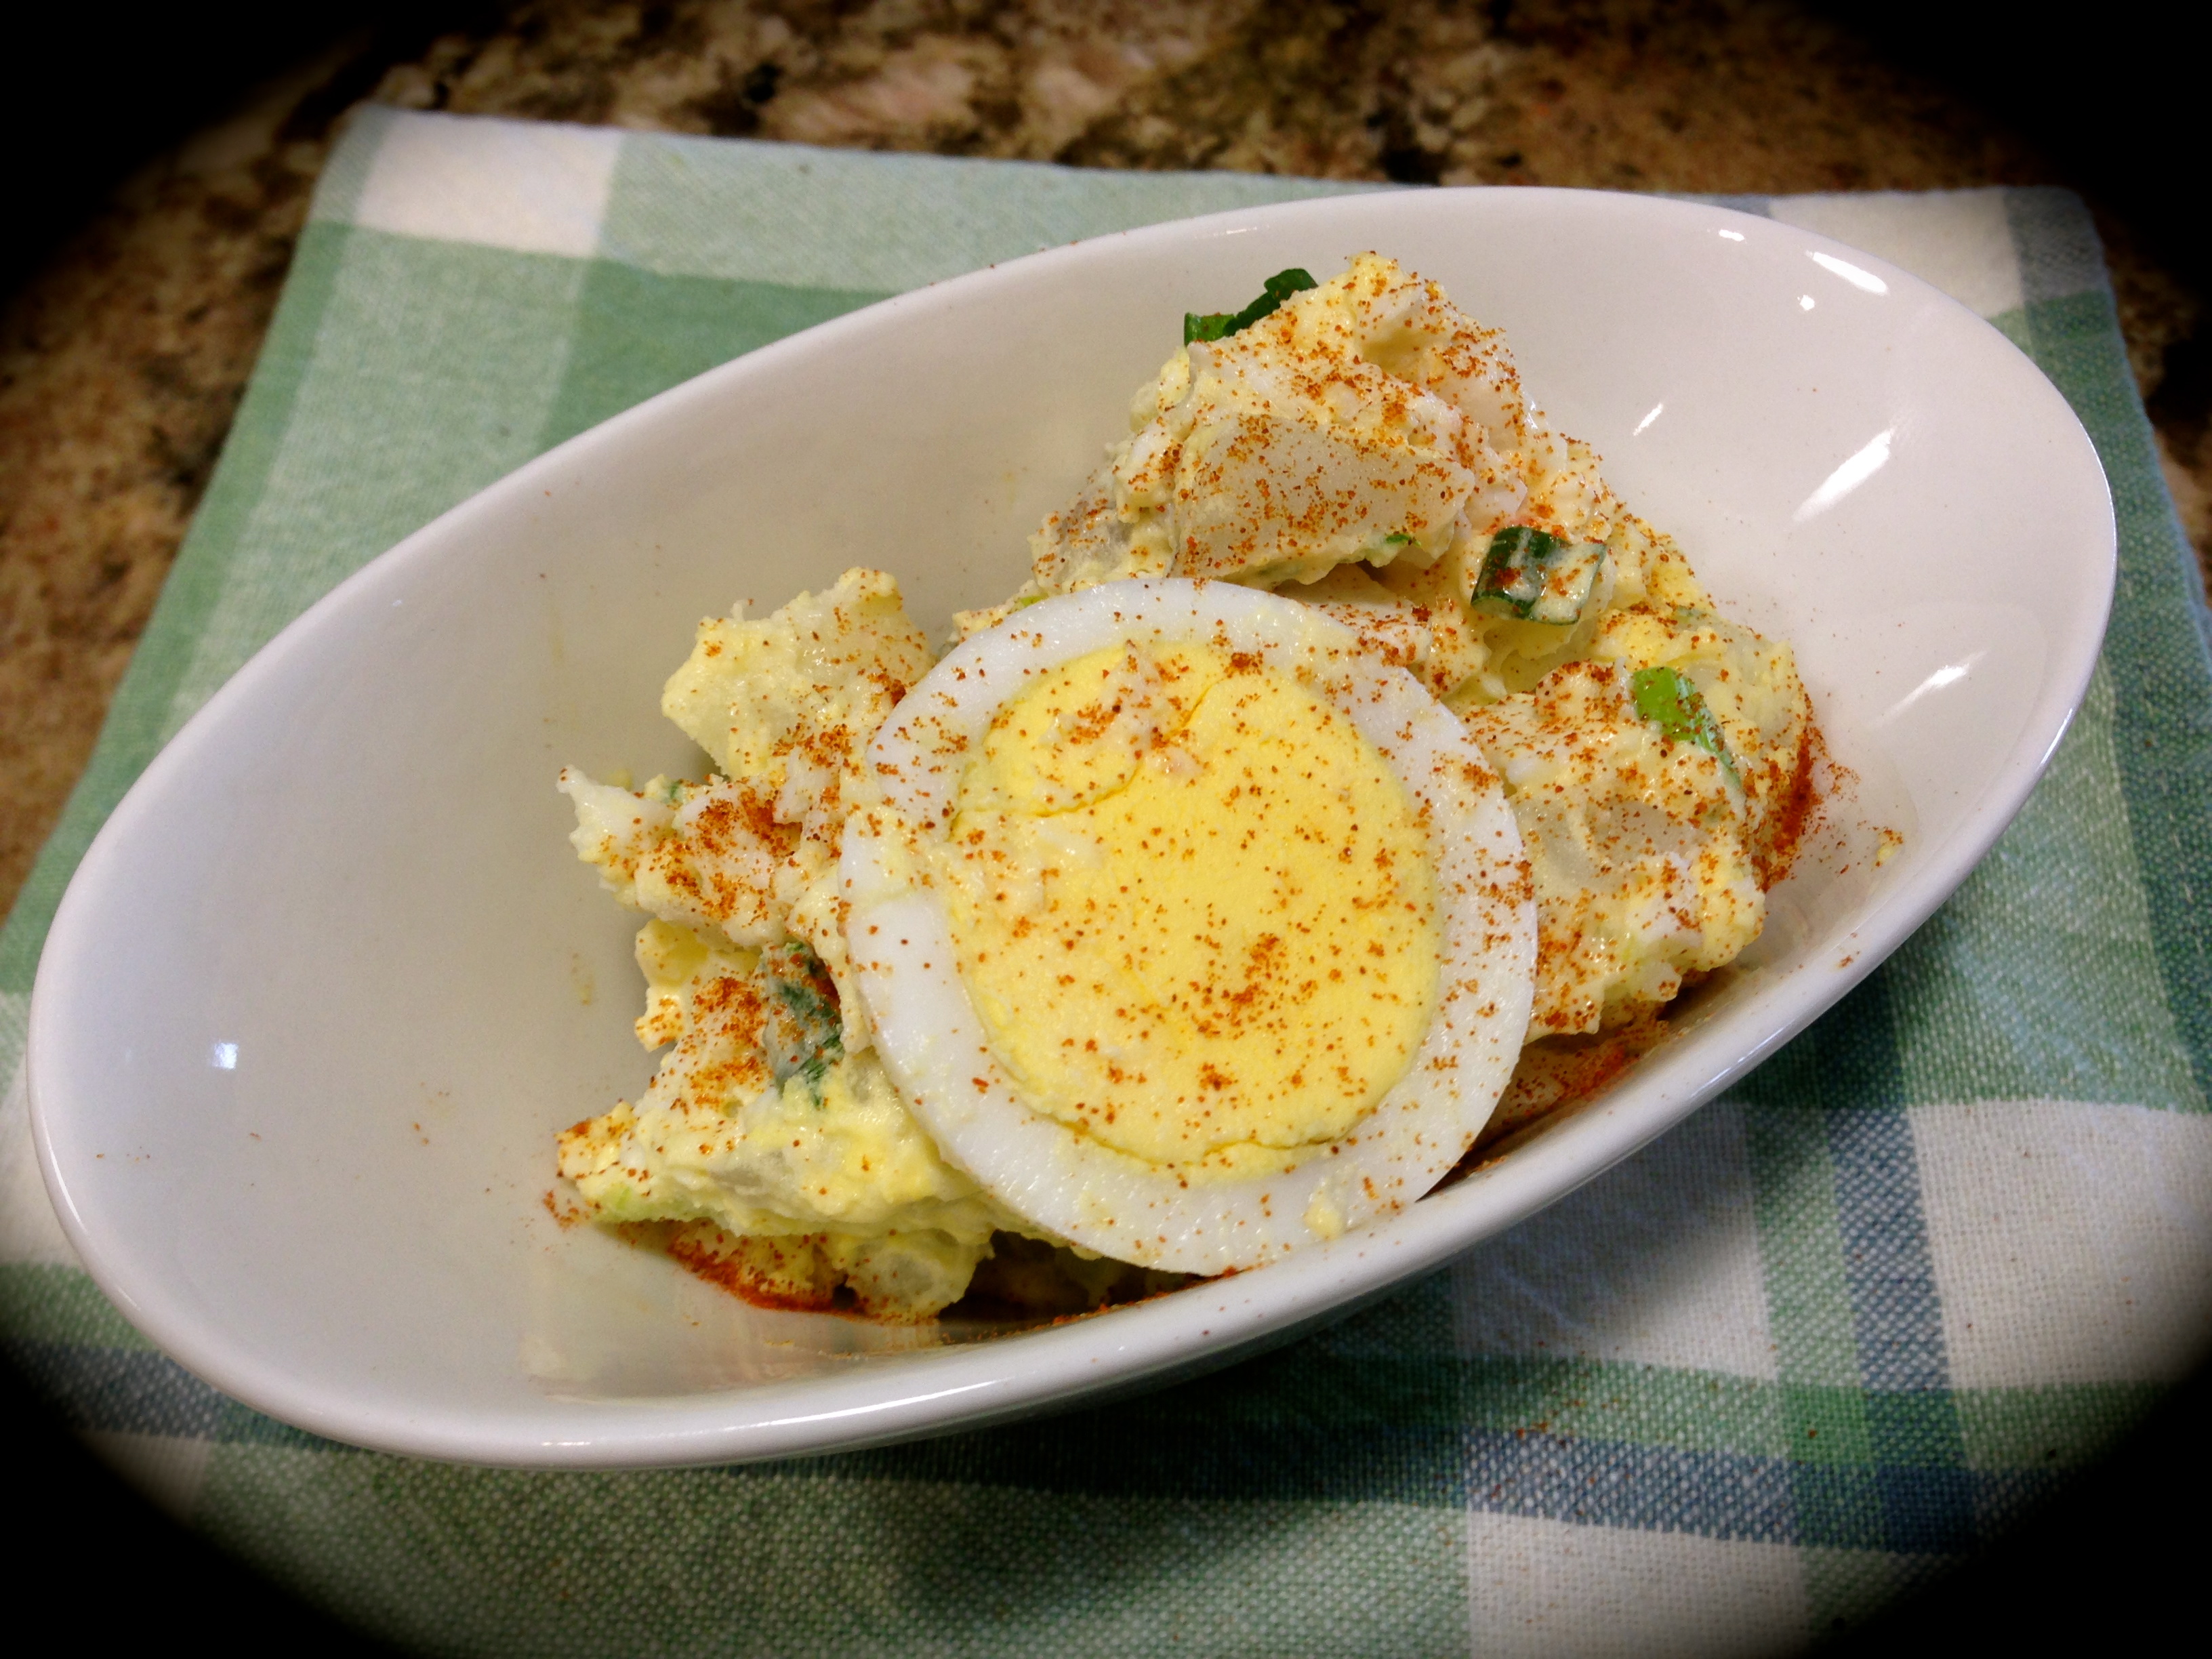
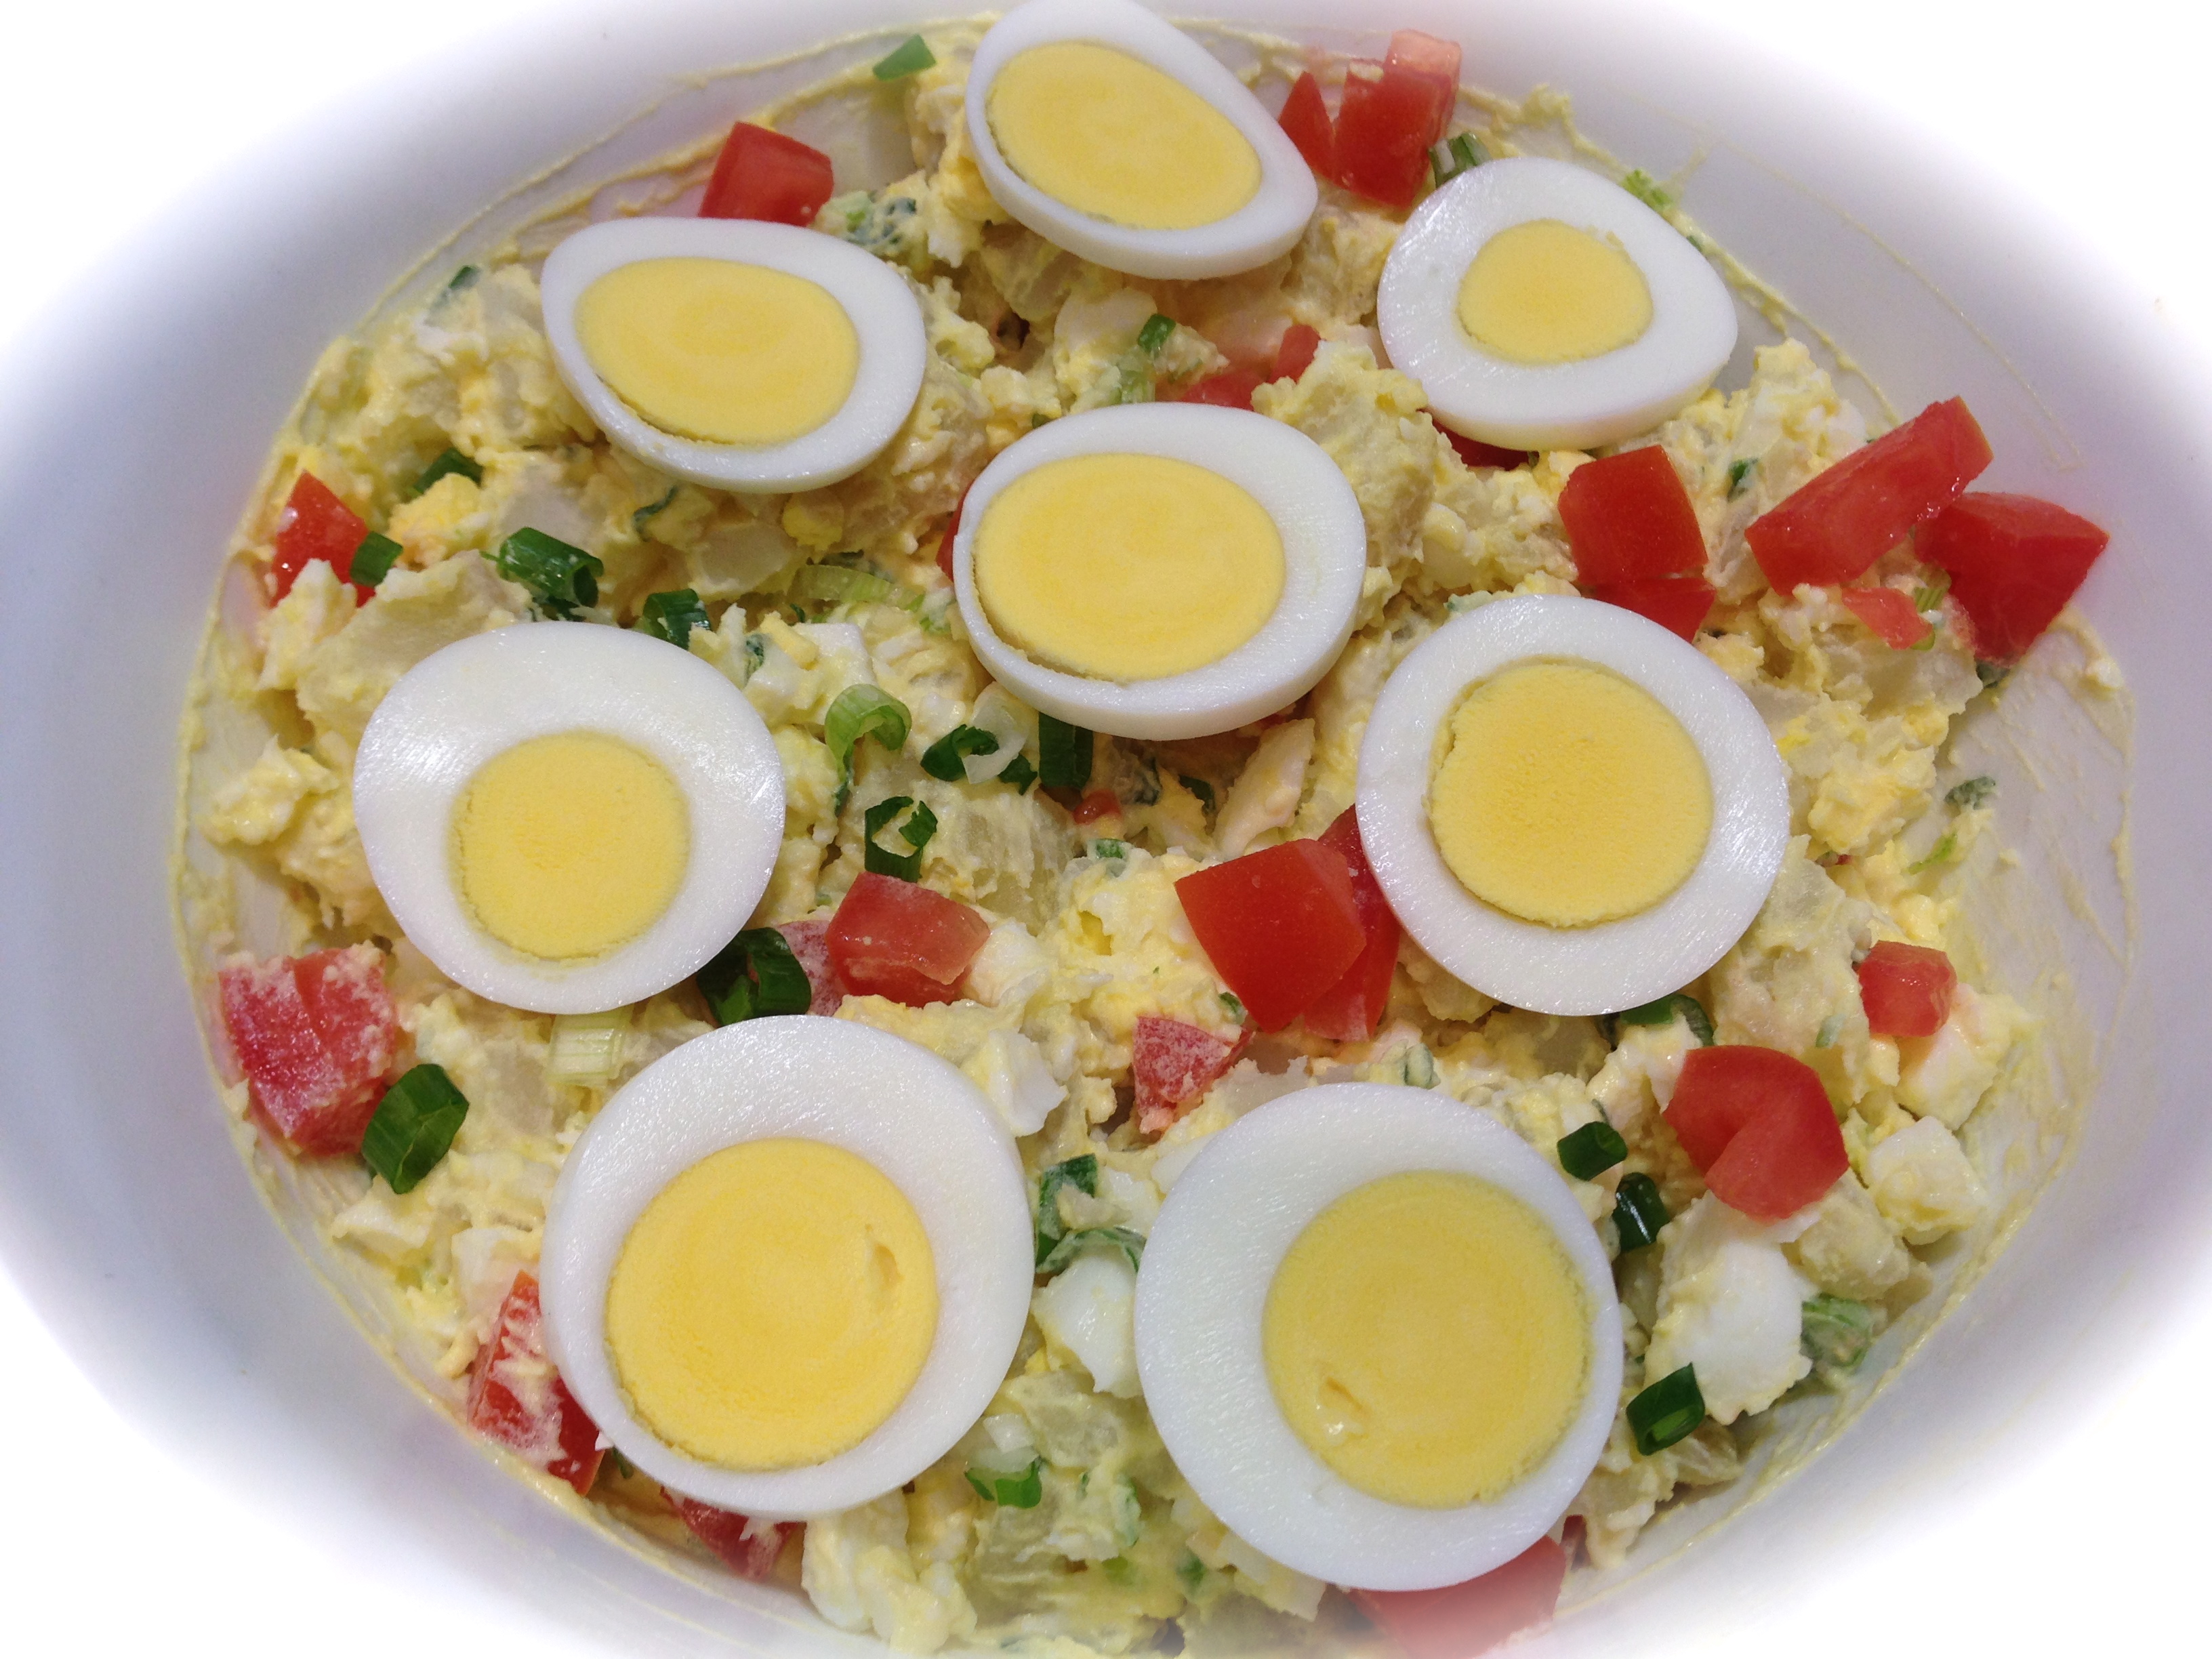
Serving suggestion


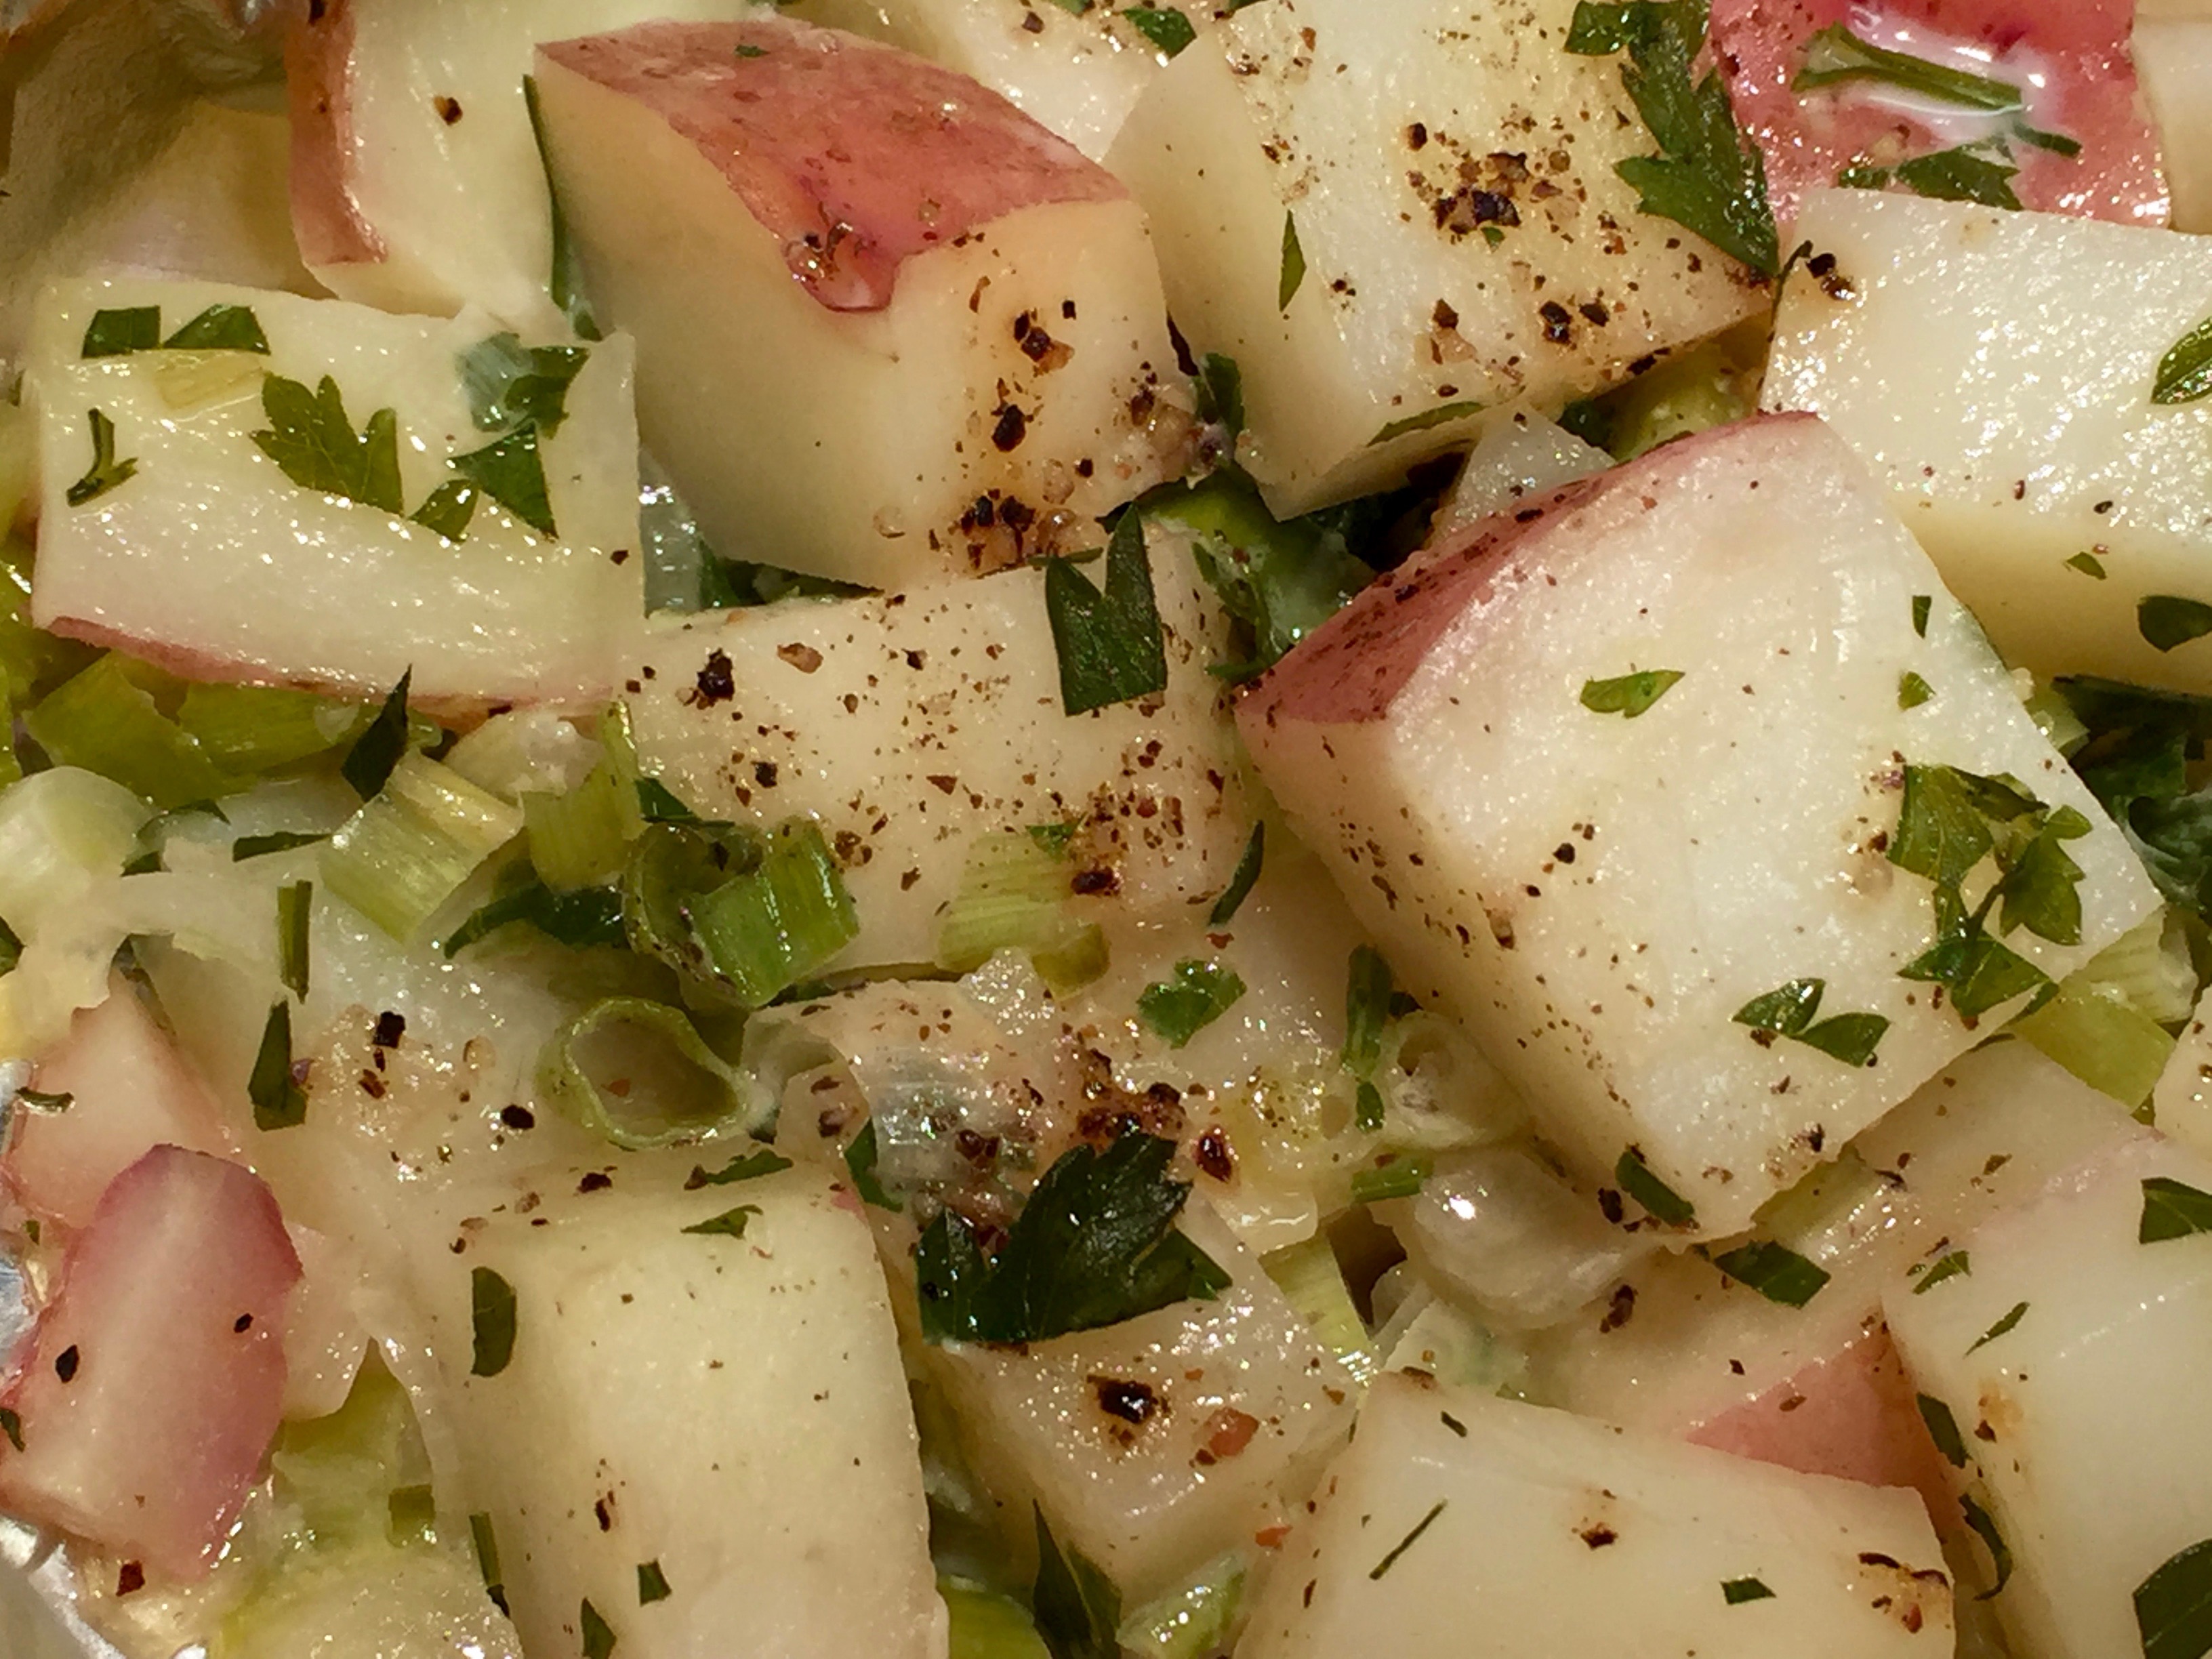
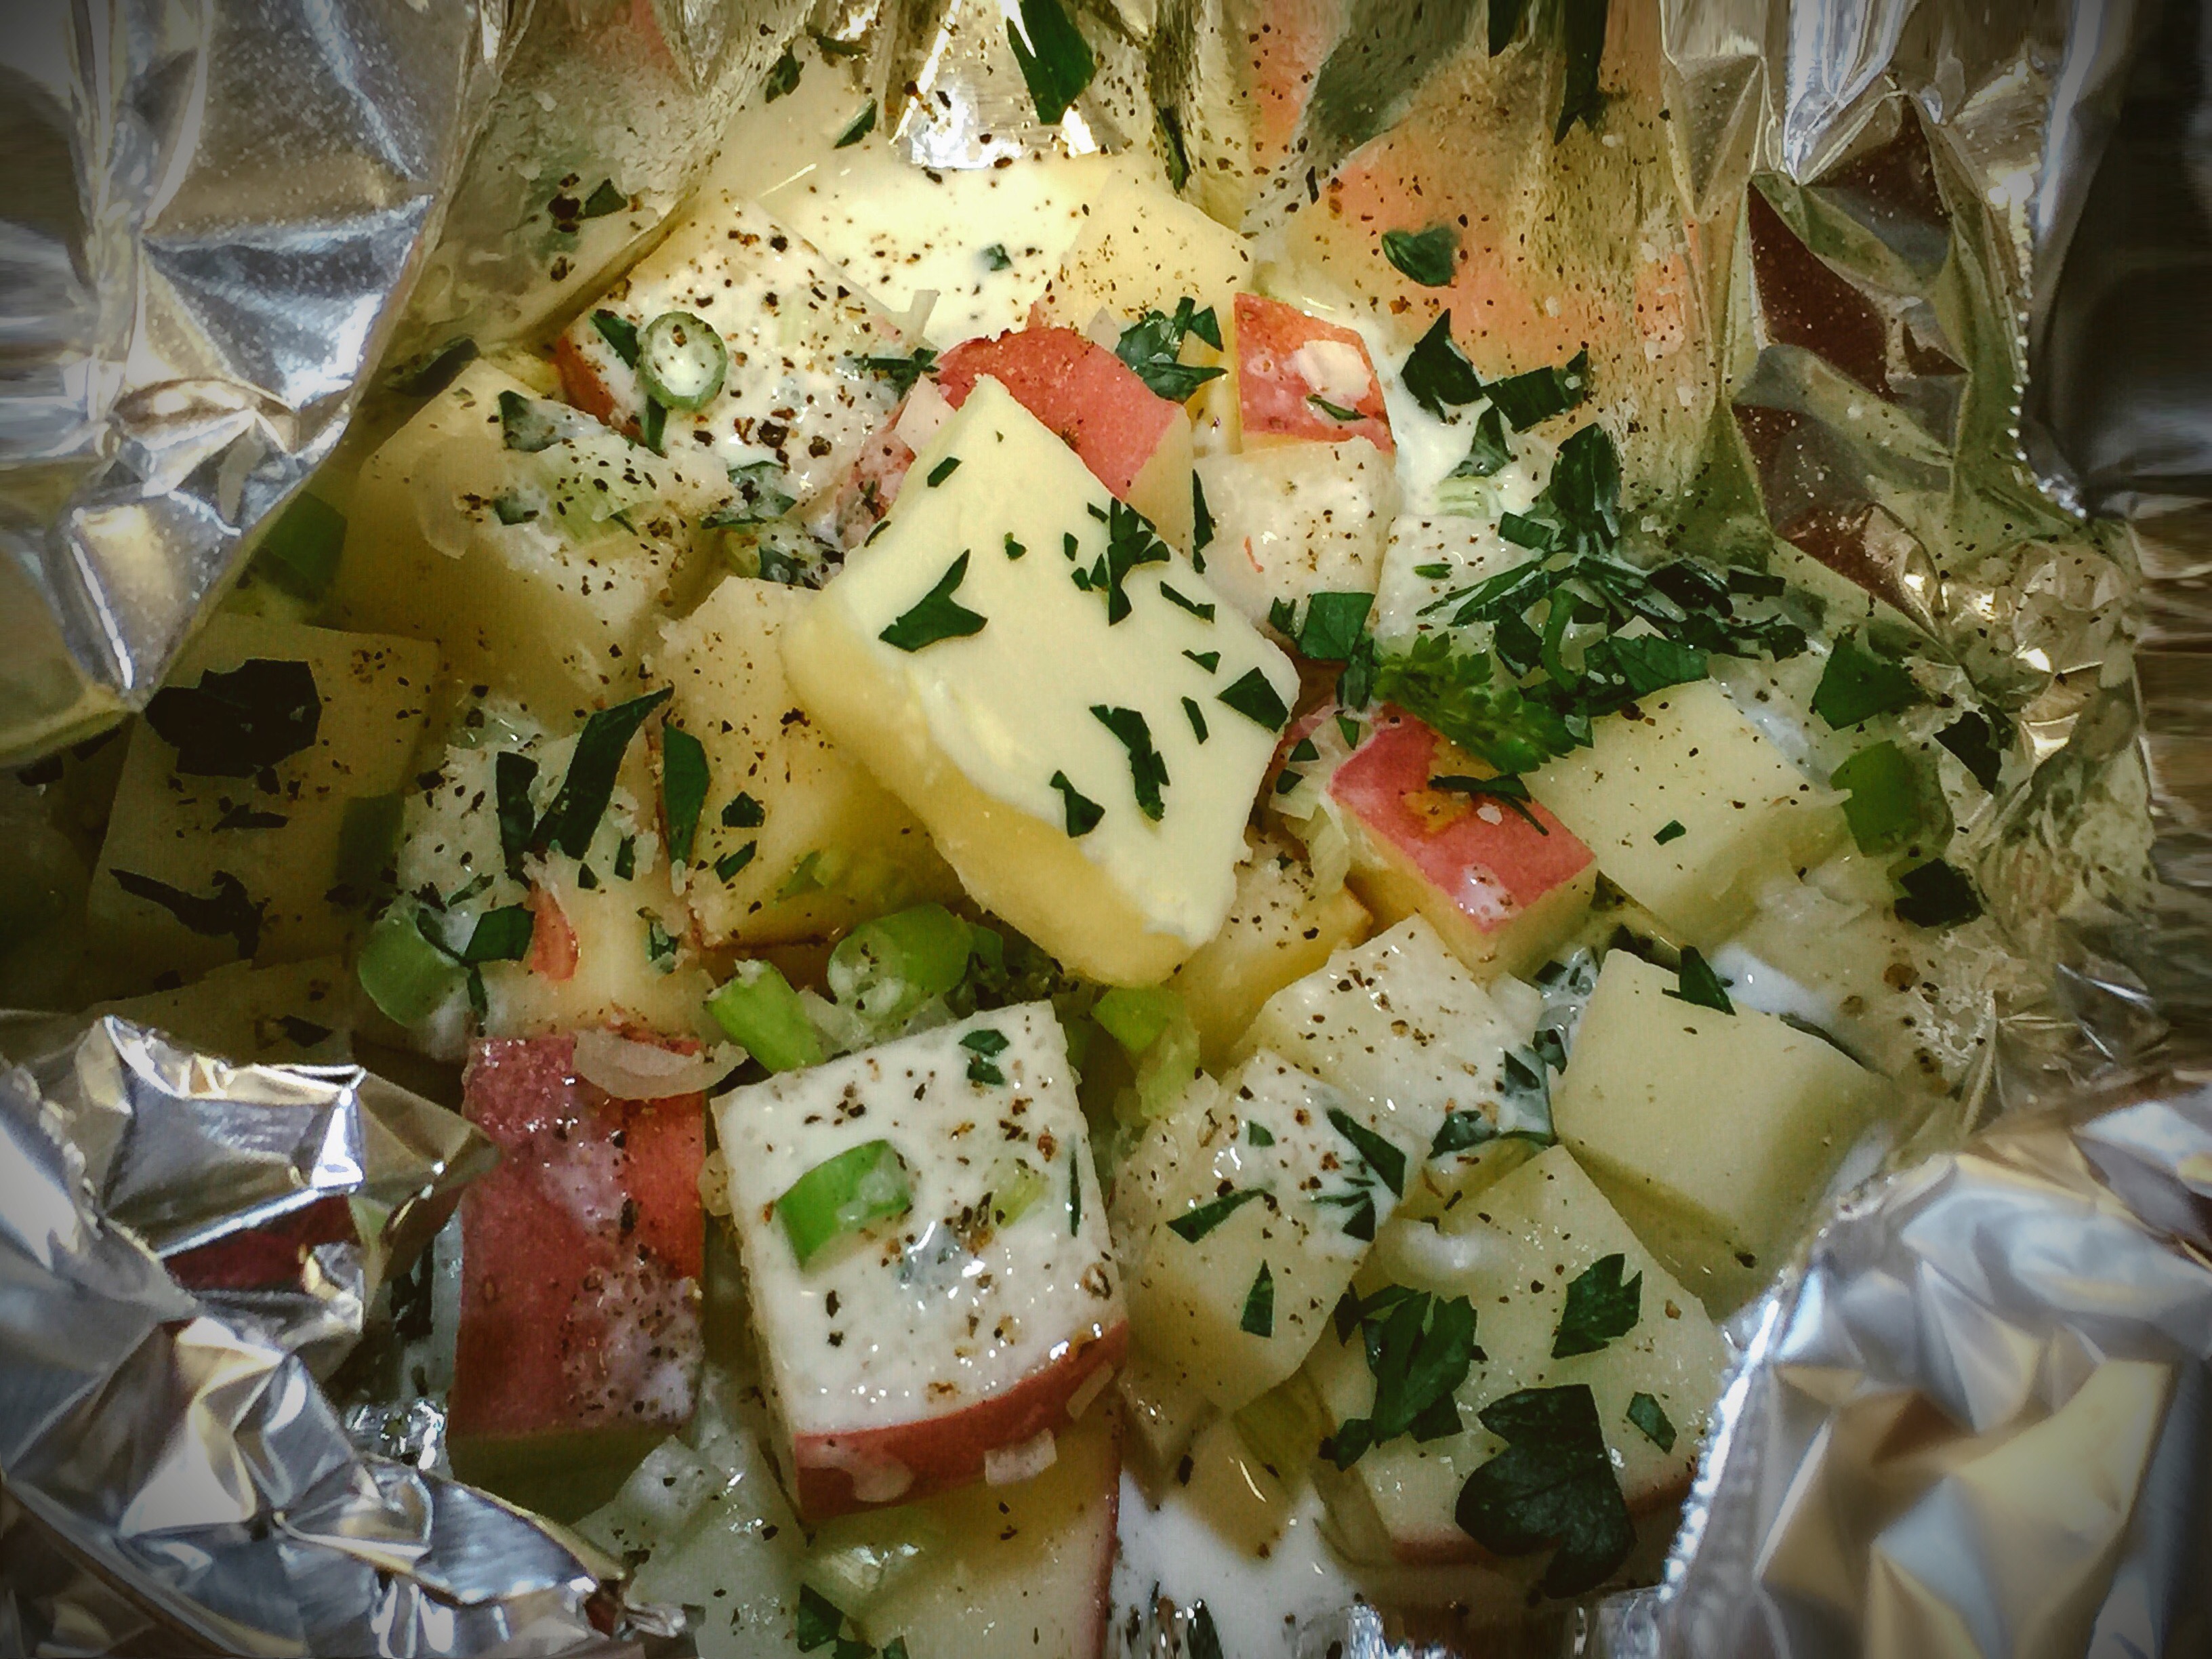
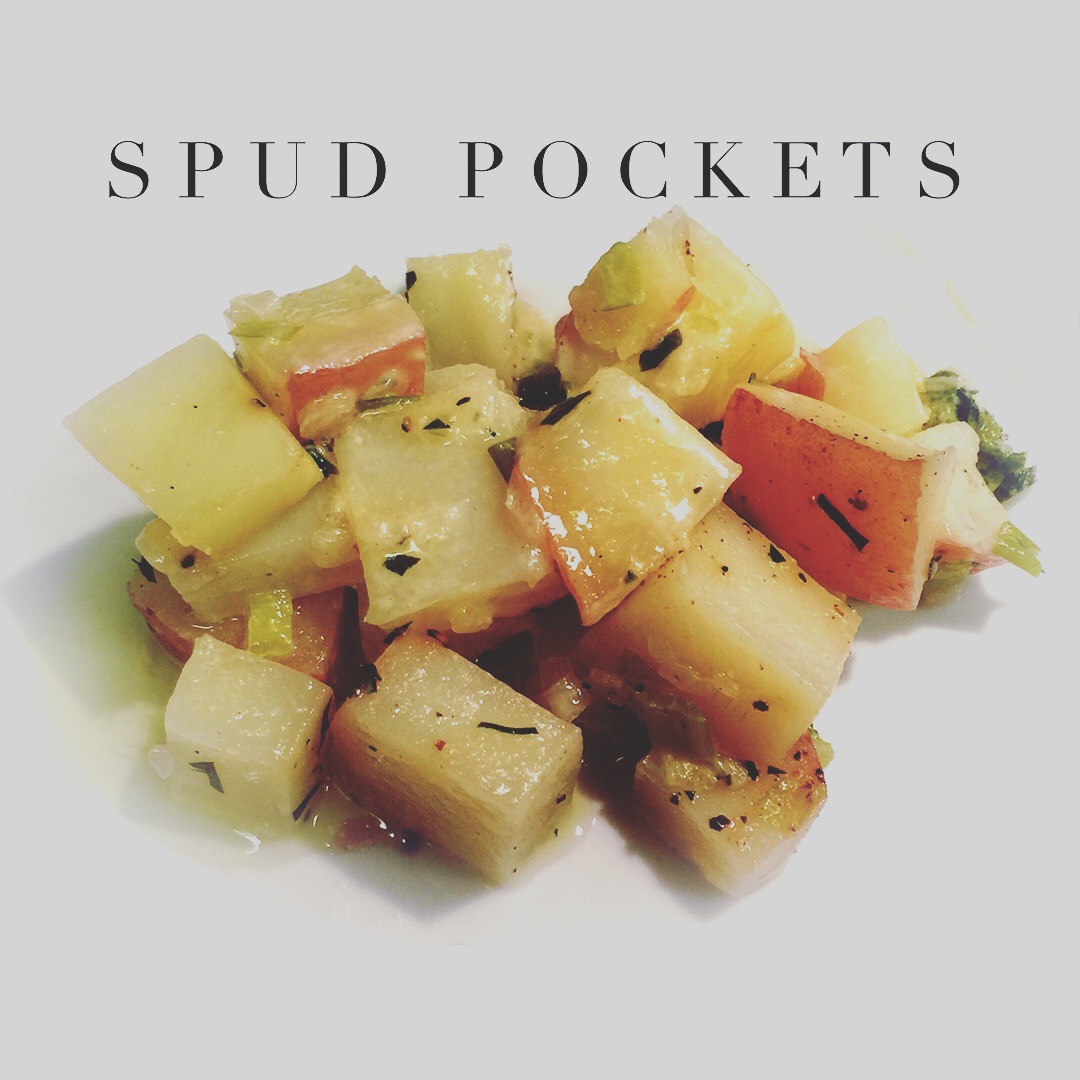
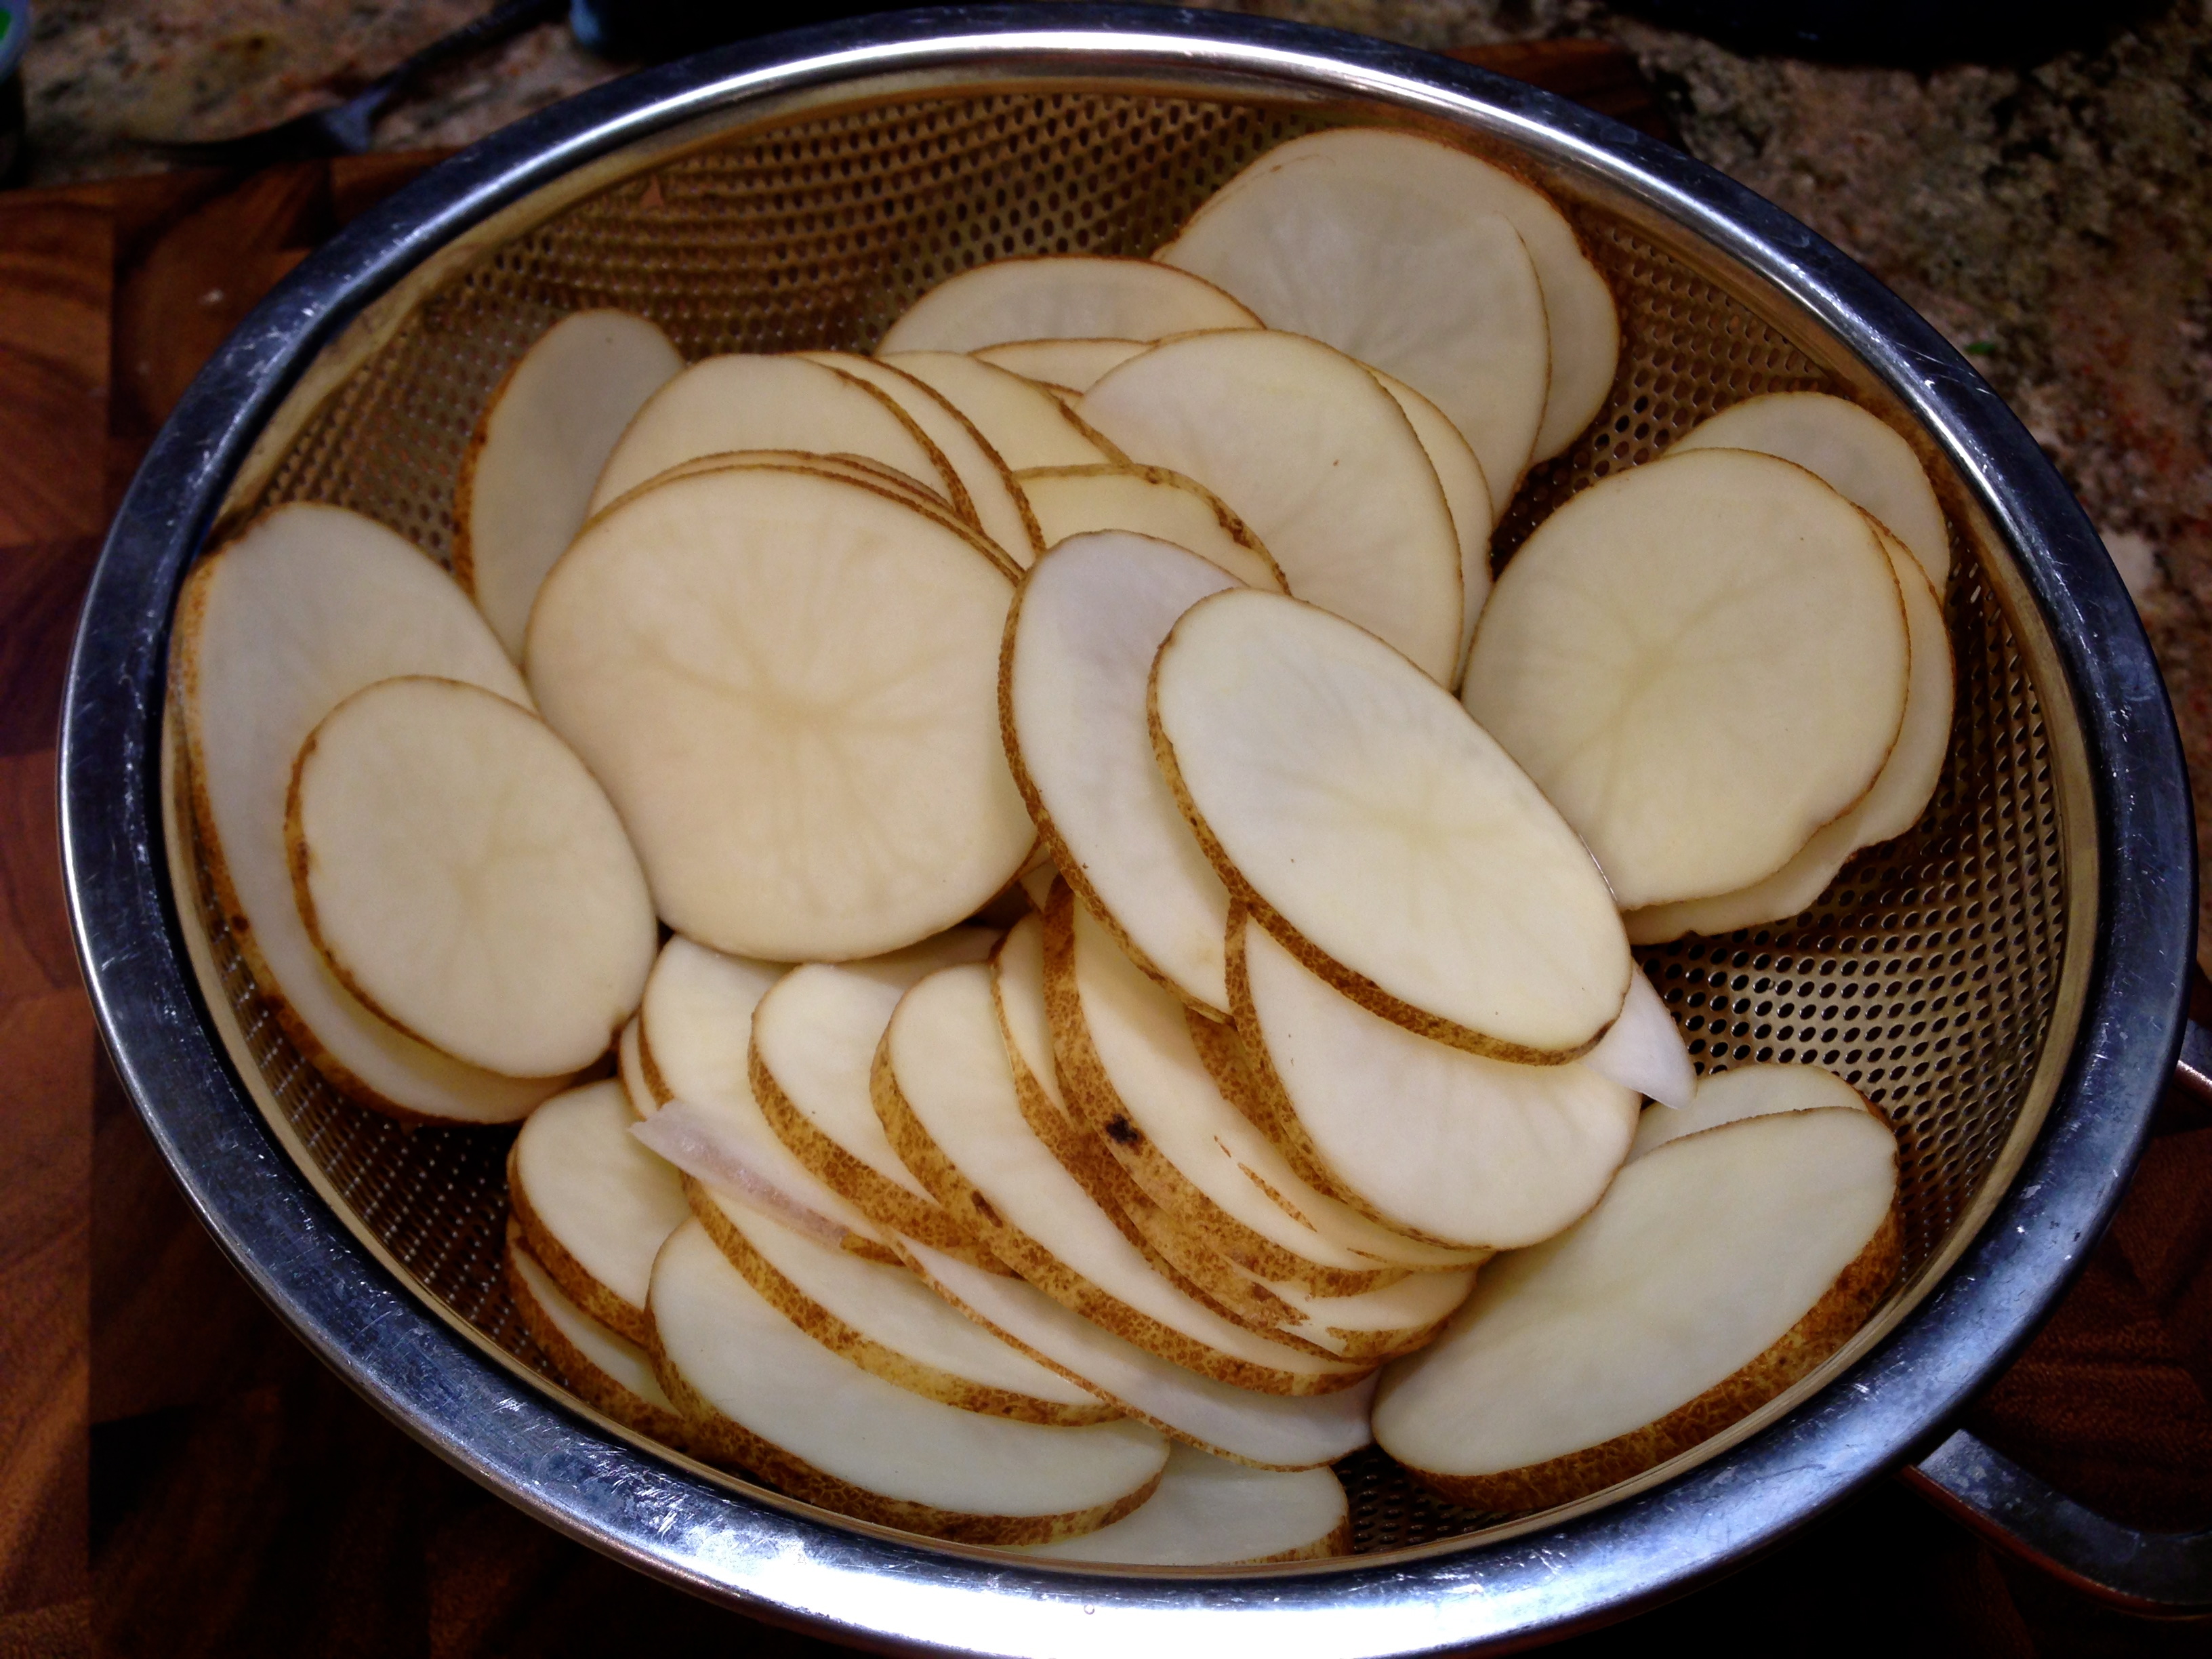
 Lesson Learned 1 – Make sure to cut the potatoes to the correct size: For the purposes of this recipe you need to keep the pieces close in size (approx. 3/4 inch pieces). Here’s a little trick to help you achieve that. Using your chef’s knife cut a thin slice off of one of the longer sides of a peeled potato. Set the potato on the cut side and slice crosswise into even planks. Stack several planks and cut crosswise. Then rotate and cut crosswise again. This will give you evenly sliced potatoes.
 Lesson Learned 2 – You can cook the pieces of potatoes two different ways, on the stovetop or in the microwave: (I will include both methods in the recipe printout). I chose to cook them on the stove. The process is not much different than making mashed potatoes. The only difference is you want to monitor the potatoes as they boil to make sure they don’t get overly soft, otherwise they’ll break apart. You want them to hold their shape. I would boil them for about 7-10 minutes and check their consistency. If they are still hard, check every couple of minutes until they are just becoming fork tender.
 Lesson Learned 5 – Don’t continuously move the potatoes once they are in the skillet: In order to get the potatoes nice and brown you have to let them sit for a while in the skillet. The whole browning process can take about 20 minutes and you don’t want to be flipping the potatoes continuously during that time. If you want to check to see if they are ready to flip, turn one of the pieces or look on the sides of the pieces to see if the bottoms have started to to turn color. You’ll get a much better result if you are patient during the browning process.
 2 large russet potatoes, peeled and sliced into 3/4 inch cubes


 Lesson Learned 3 – If you’ve never had it, try some mint jelly with your lamb chops: I was introduced to lamb chops with mint jelly when I was a kid. I was at a friend’s house for dinner and this is what was served. I never had lamb before and didn’t know what to think. At the time I was not all that enamored with the flavor but was afraid to say anything to my friend’s mom so I just said it was fabulous. Because of that, she made lamb with mint jelly every time I came over for dinner. I learned to love it, and now it is one of my all time favorites. Just use a little jelly with a piece of lamb. The flavor combination is to die for!