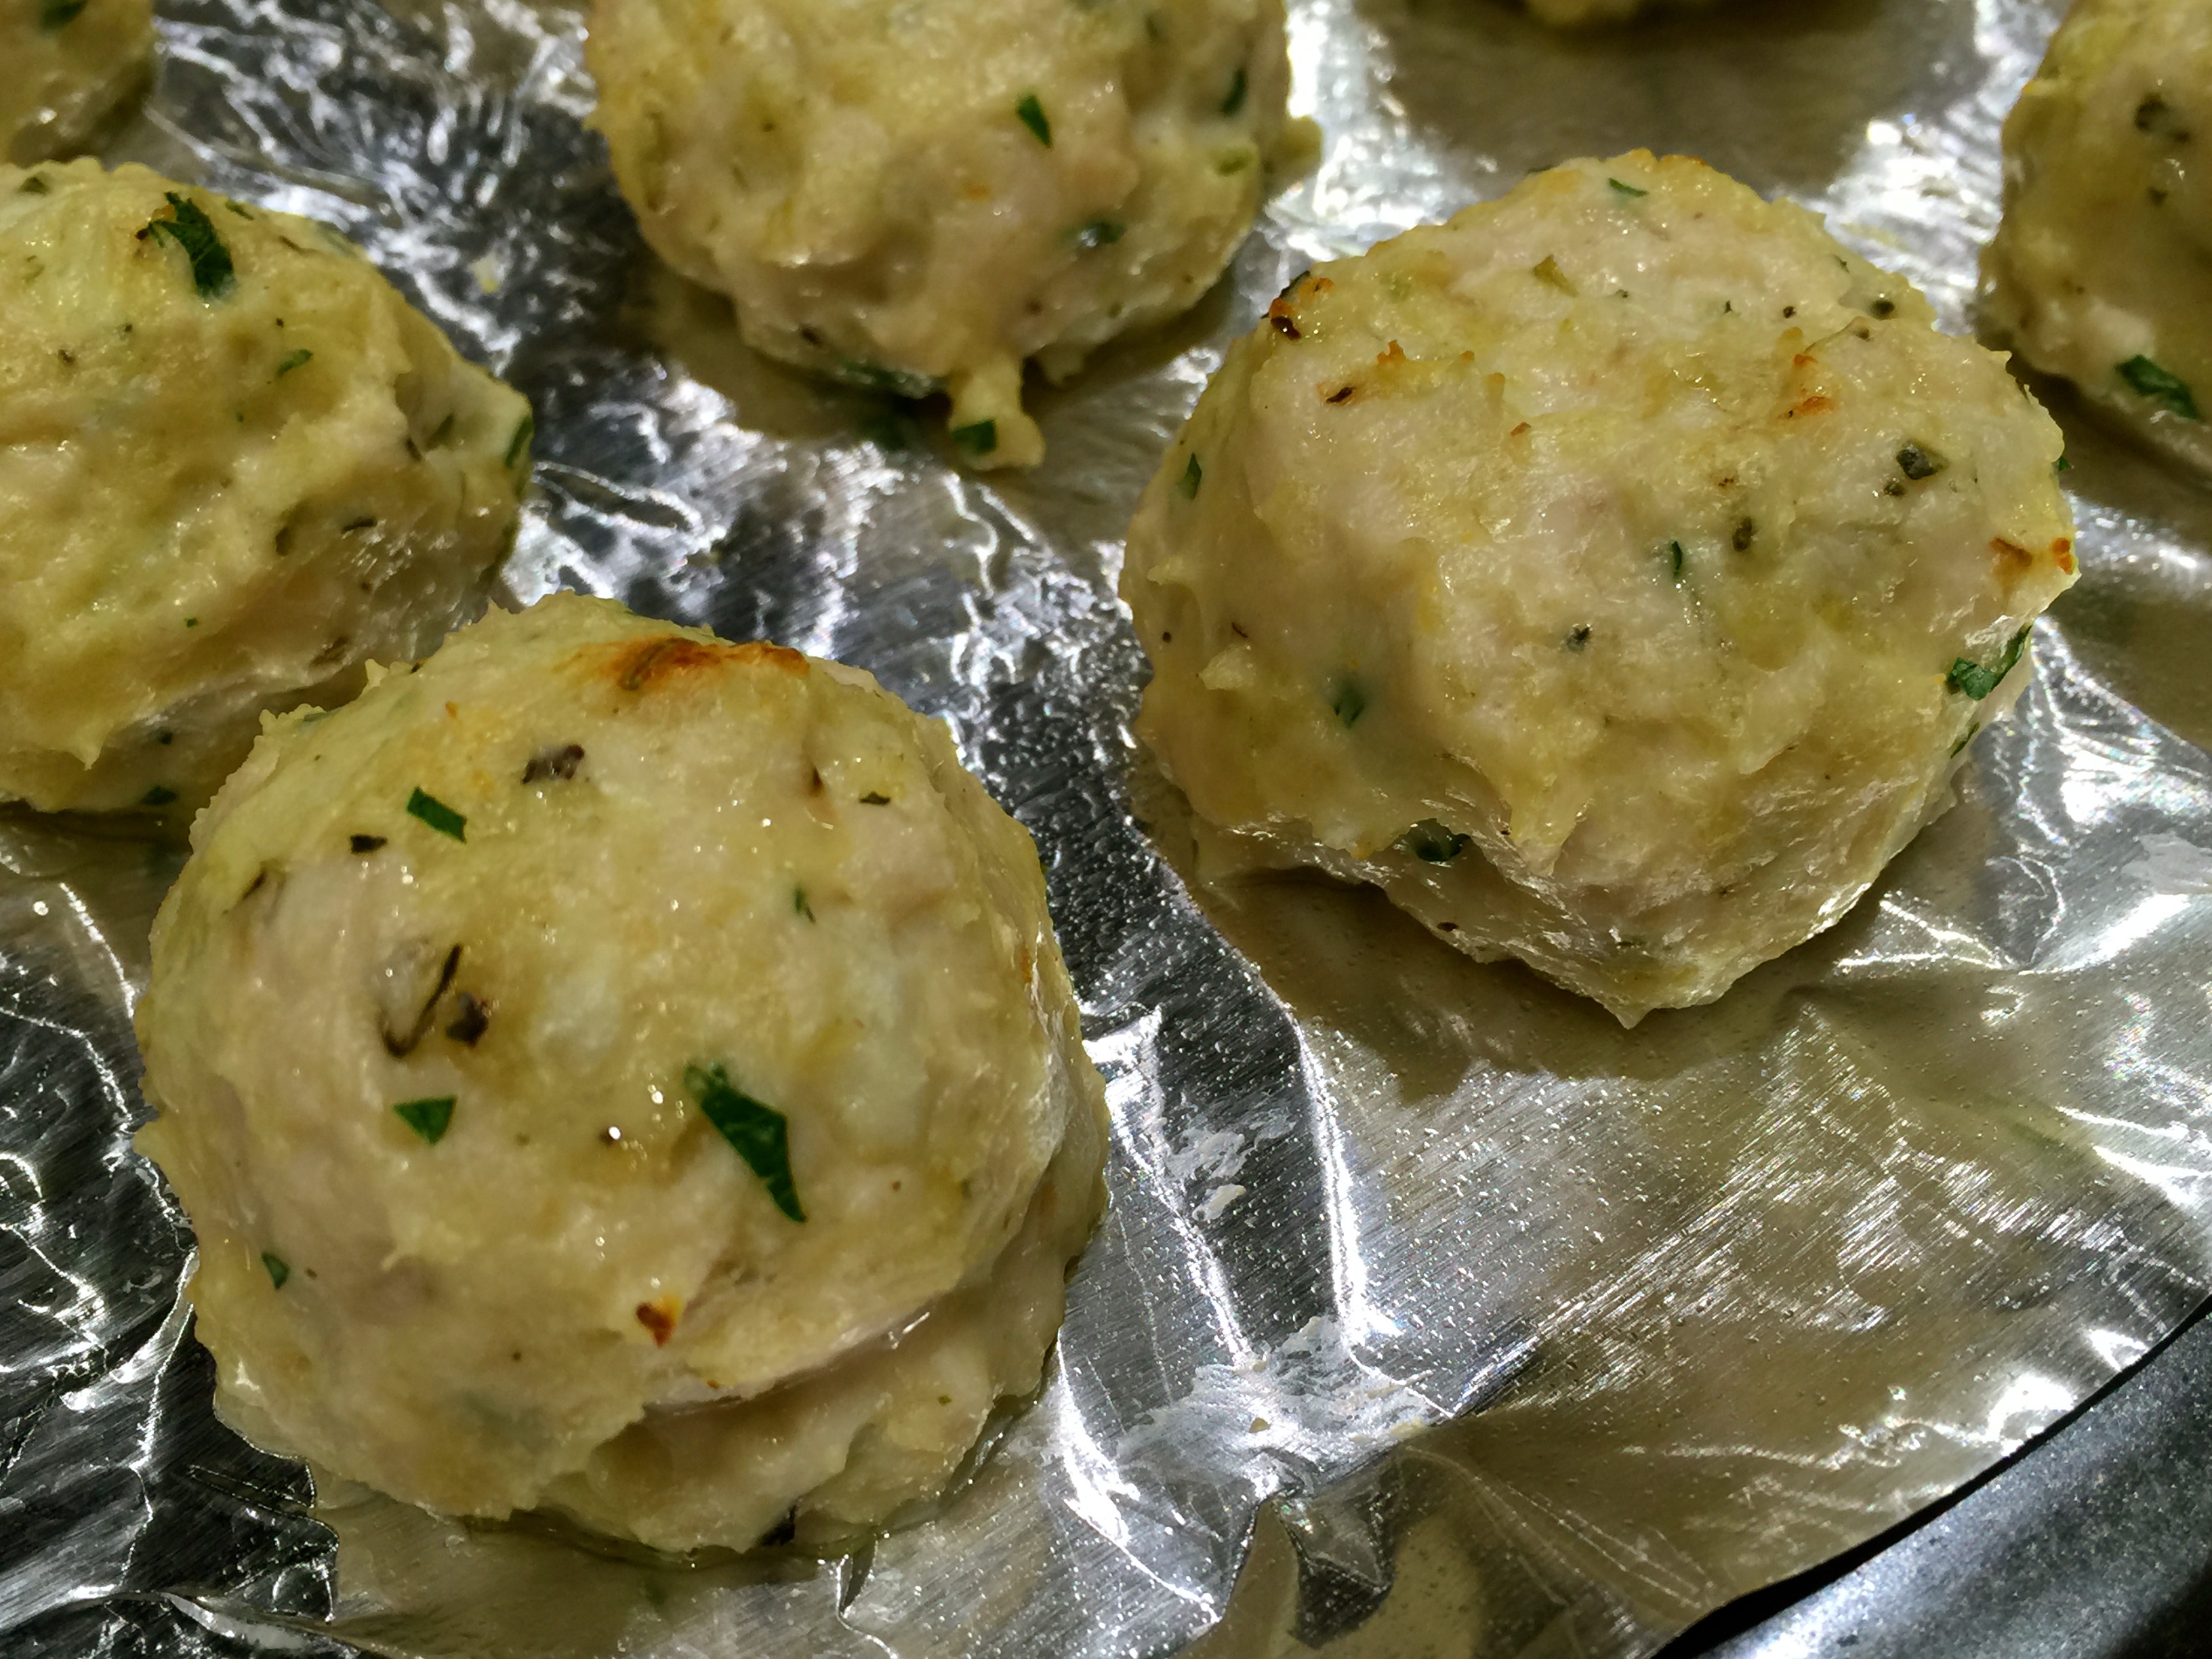
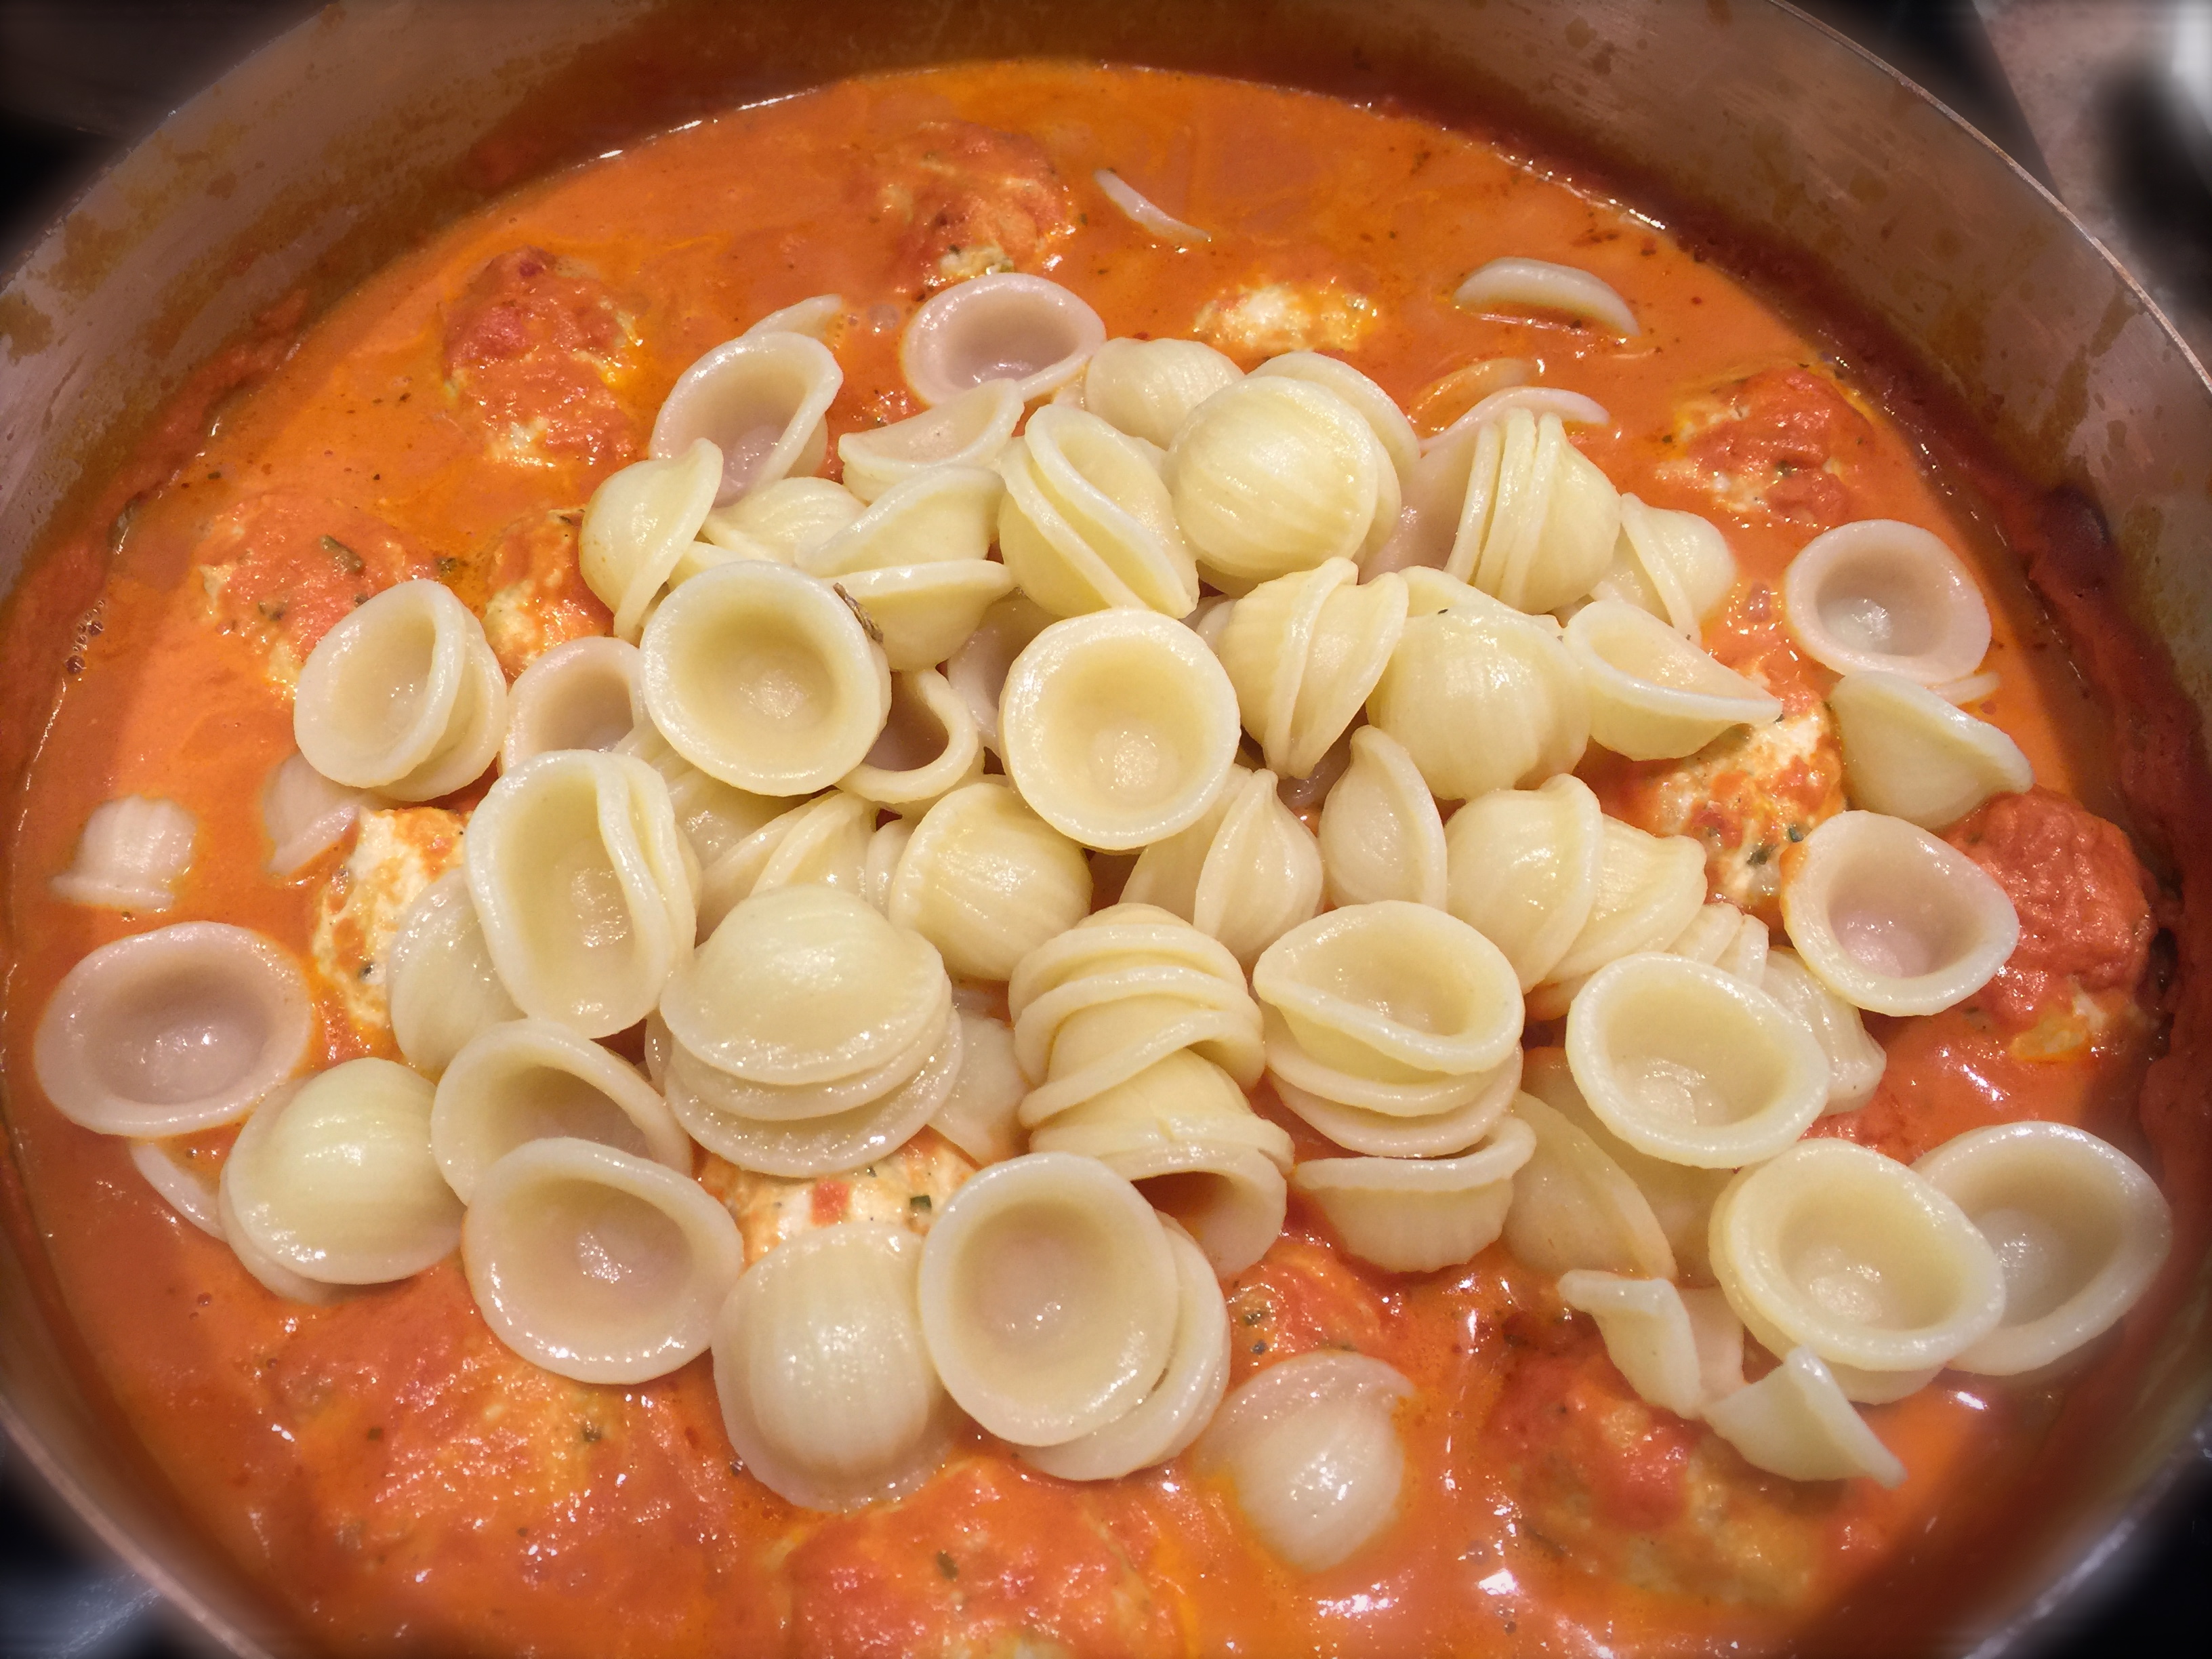
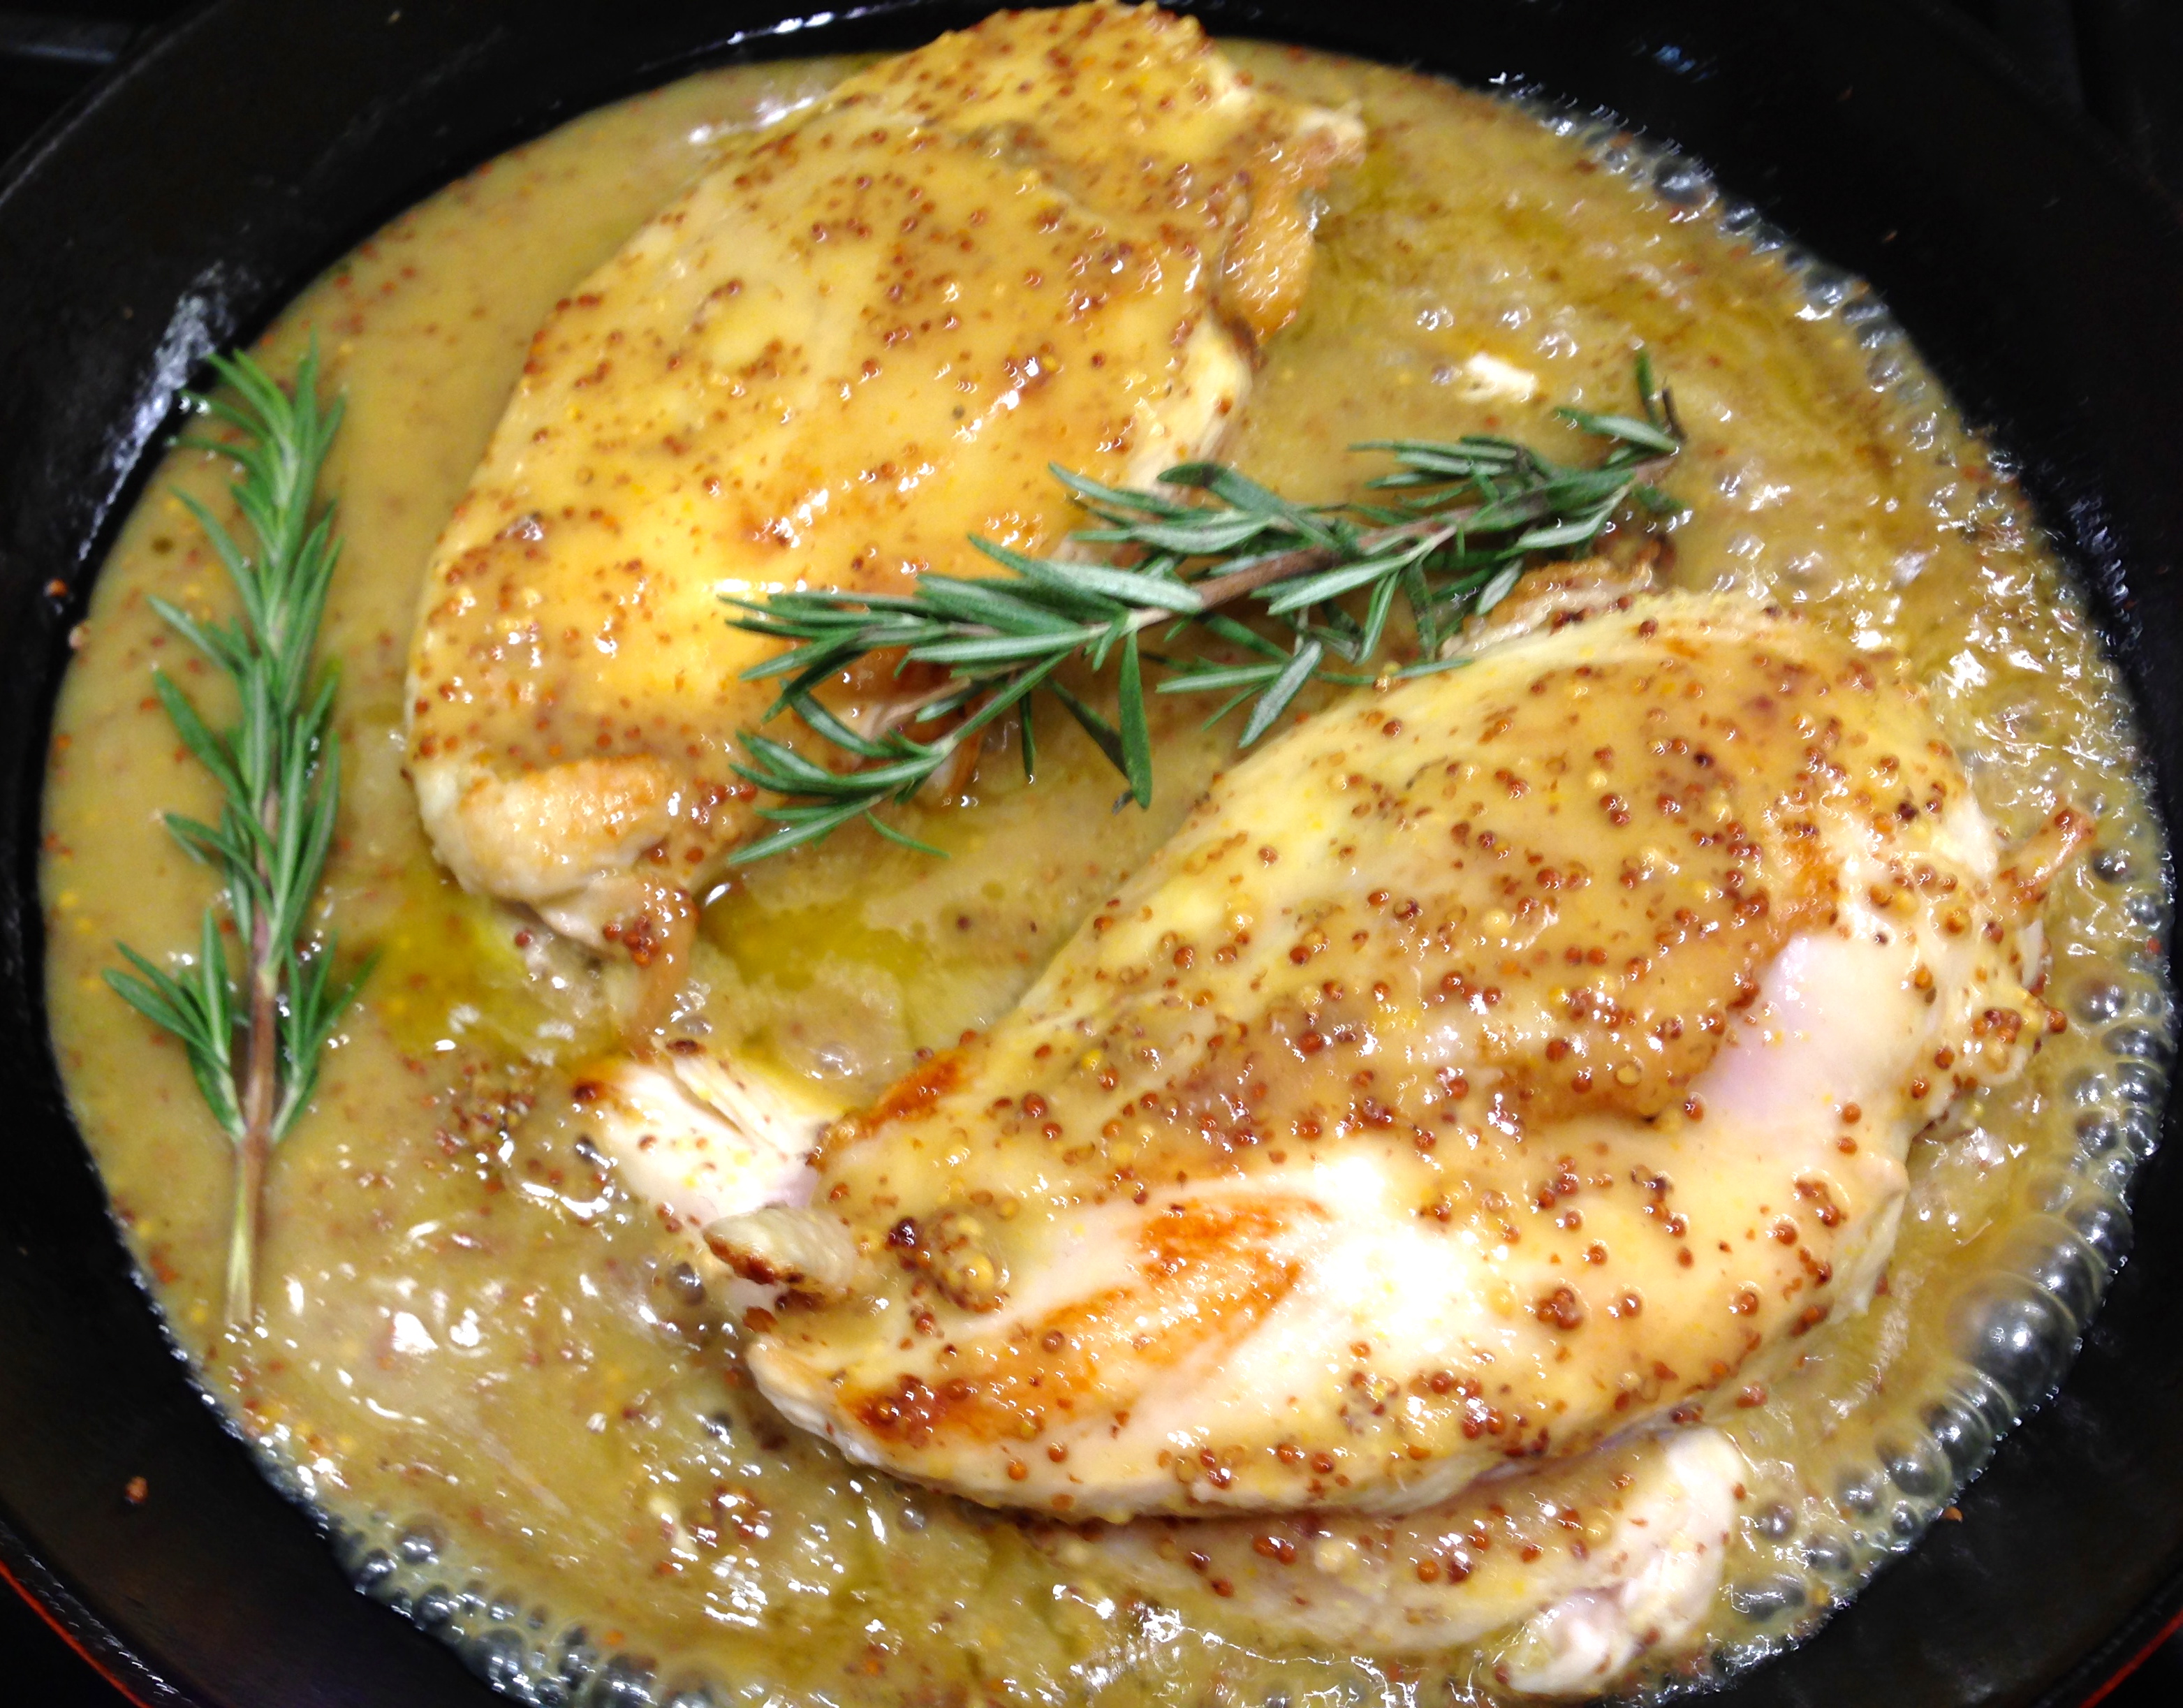
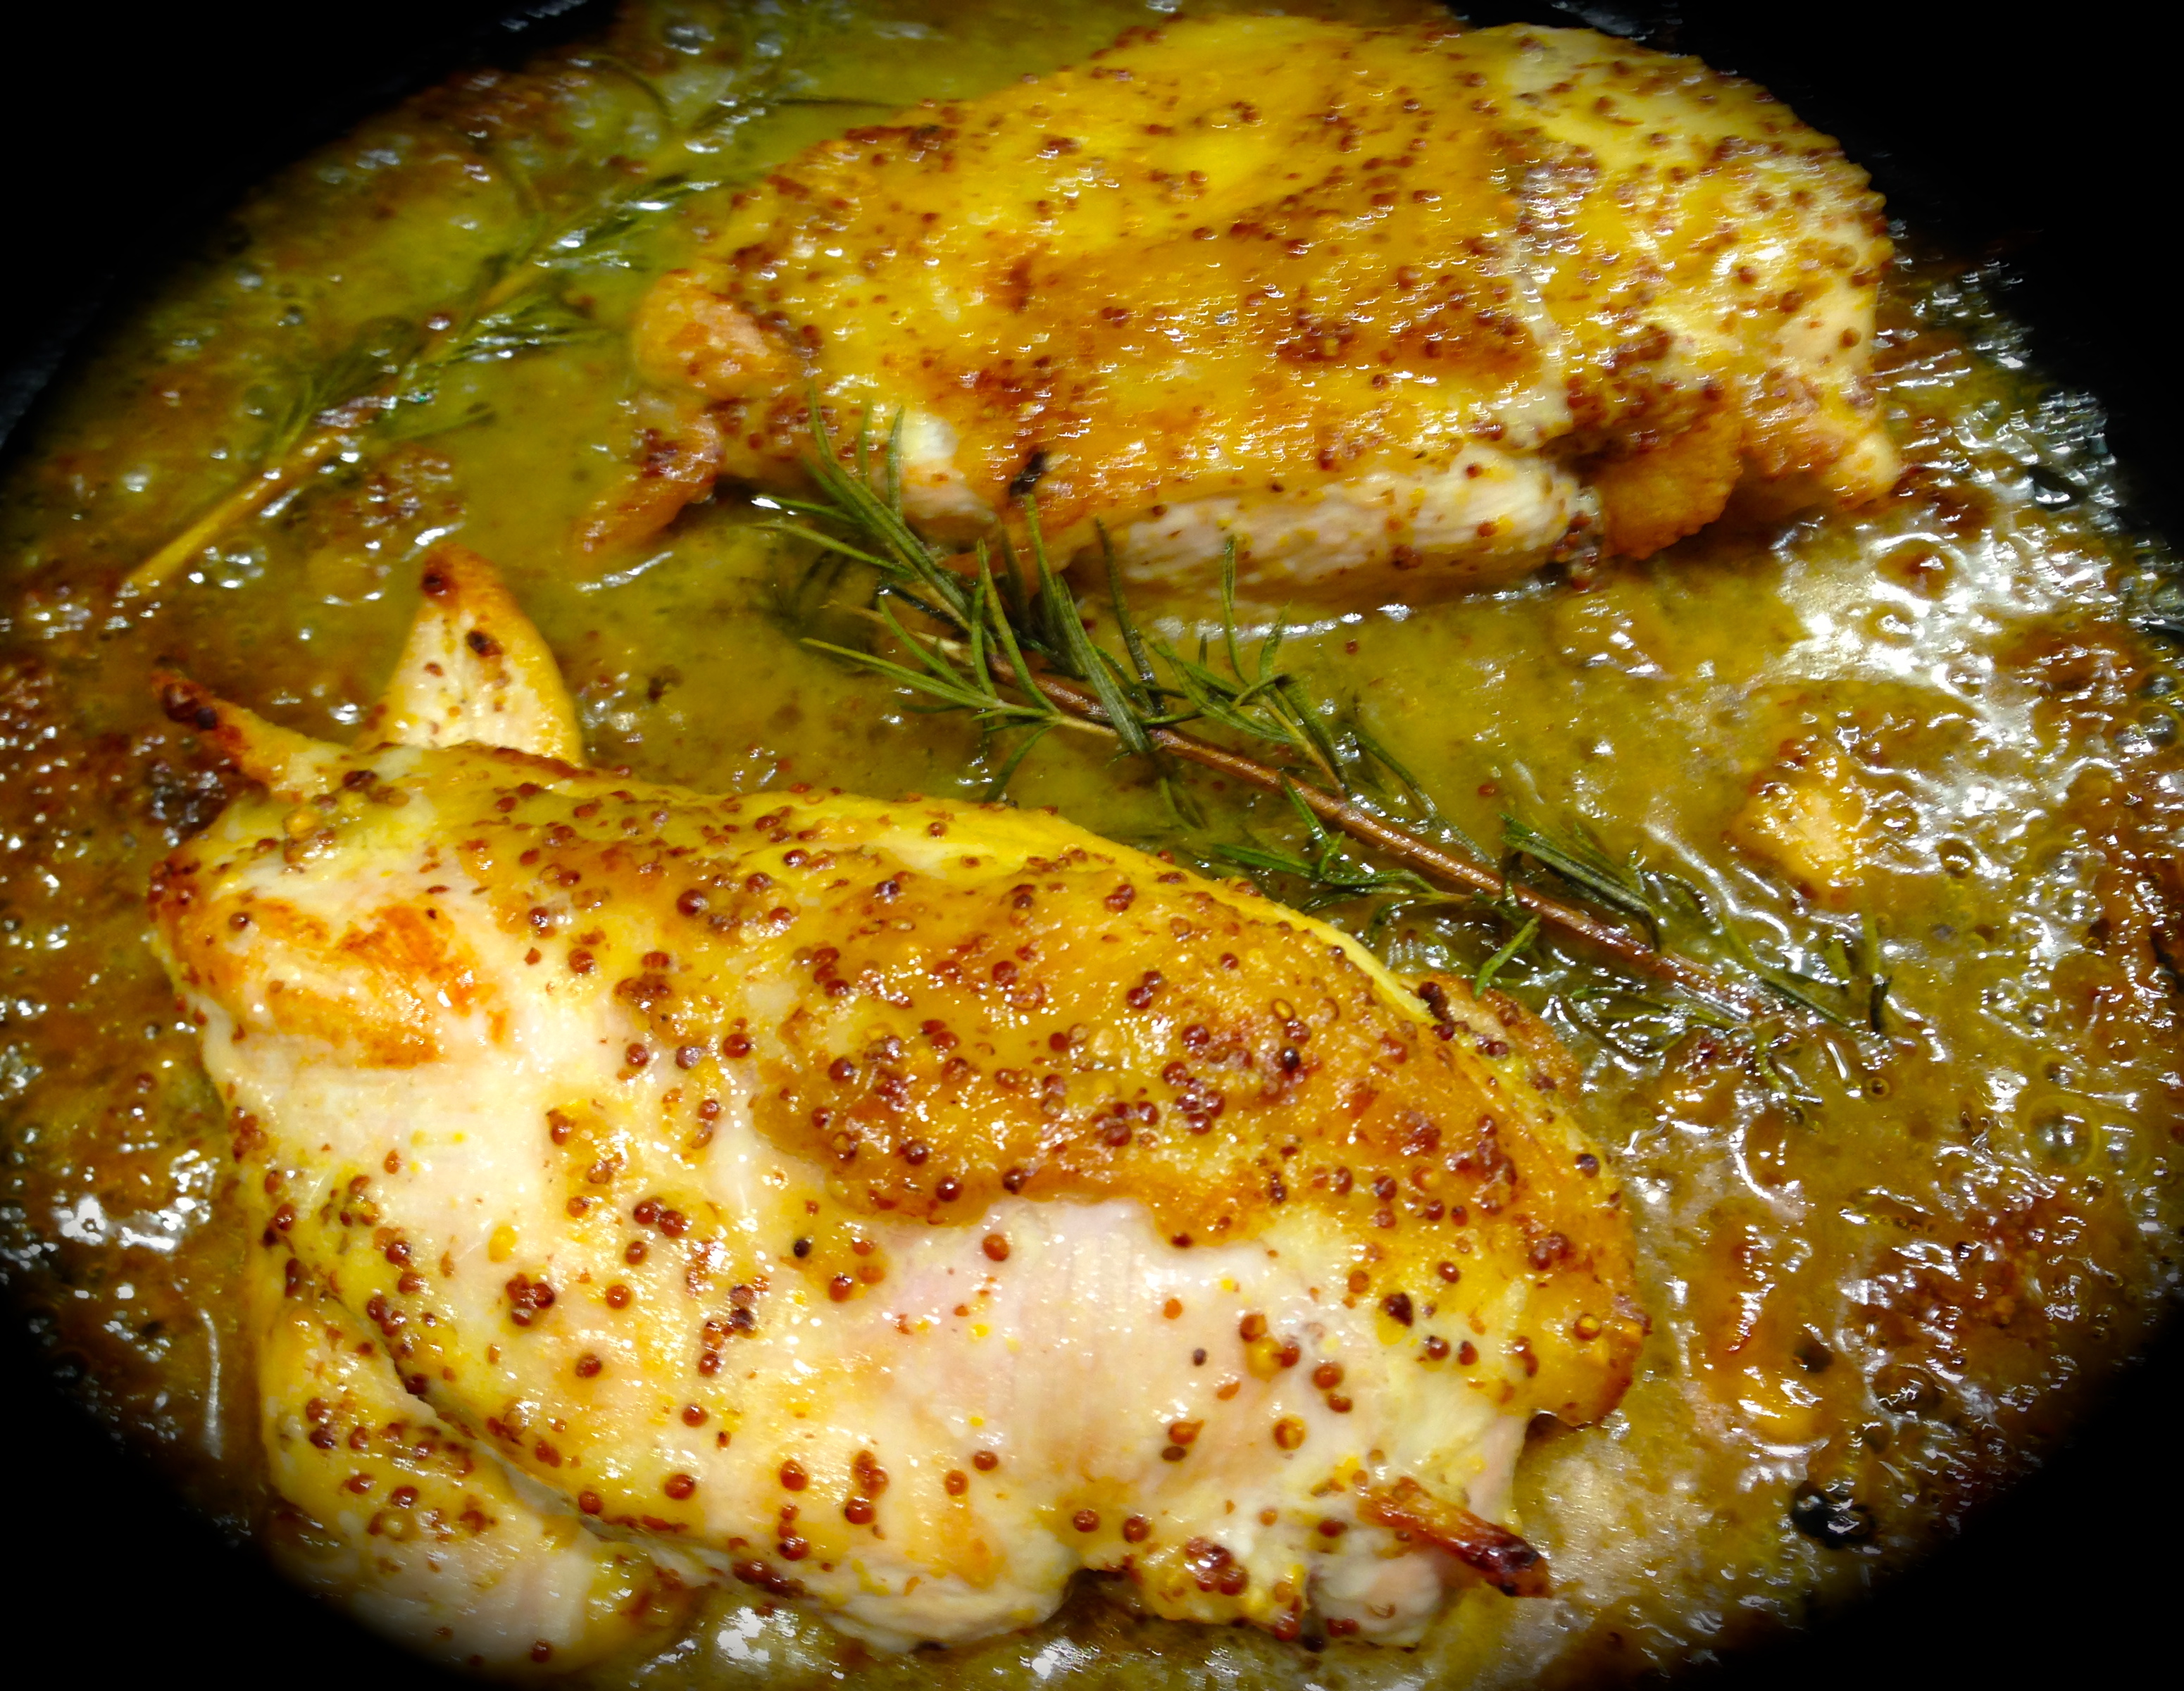
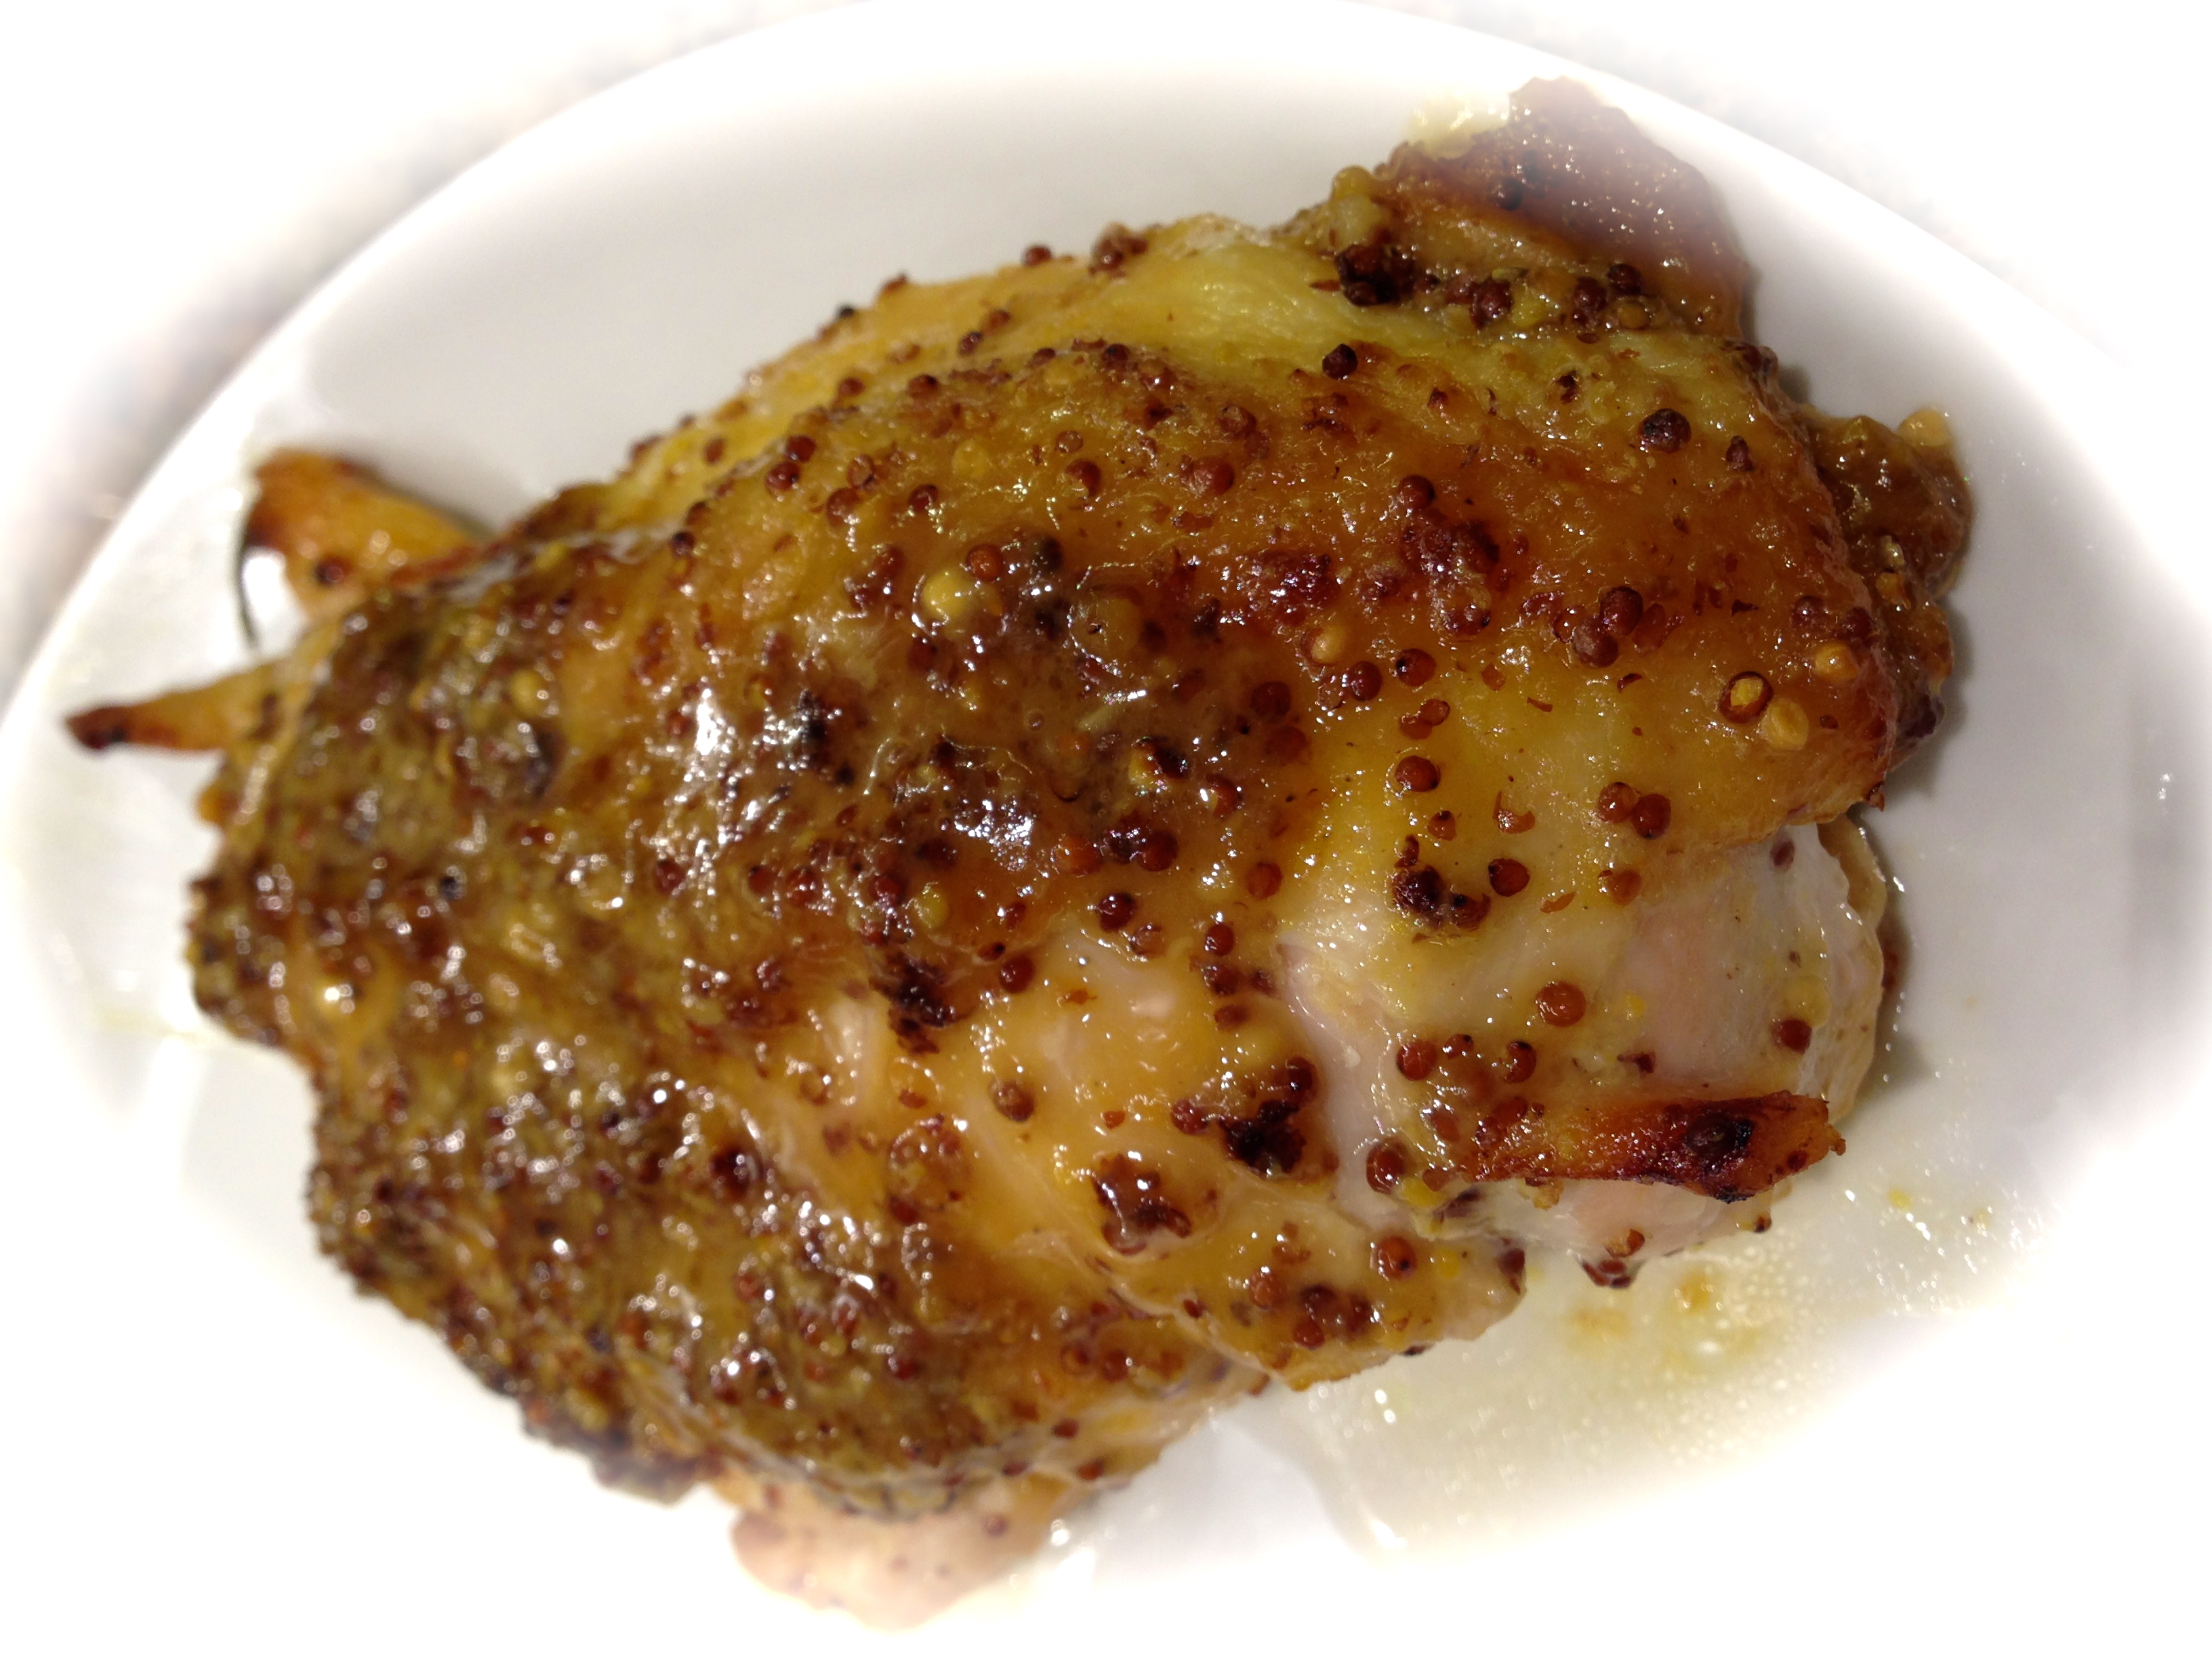
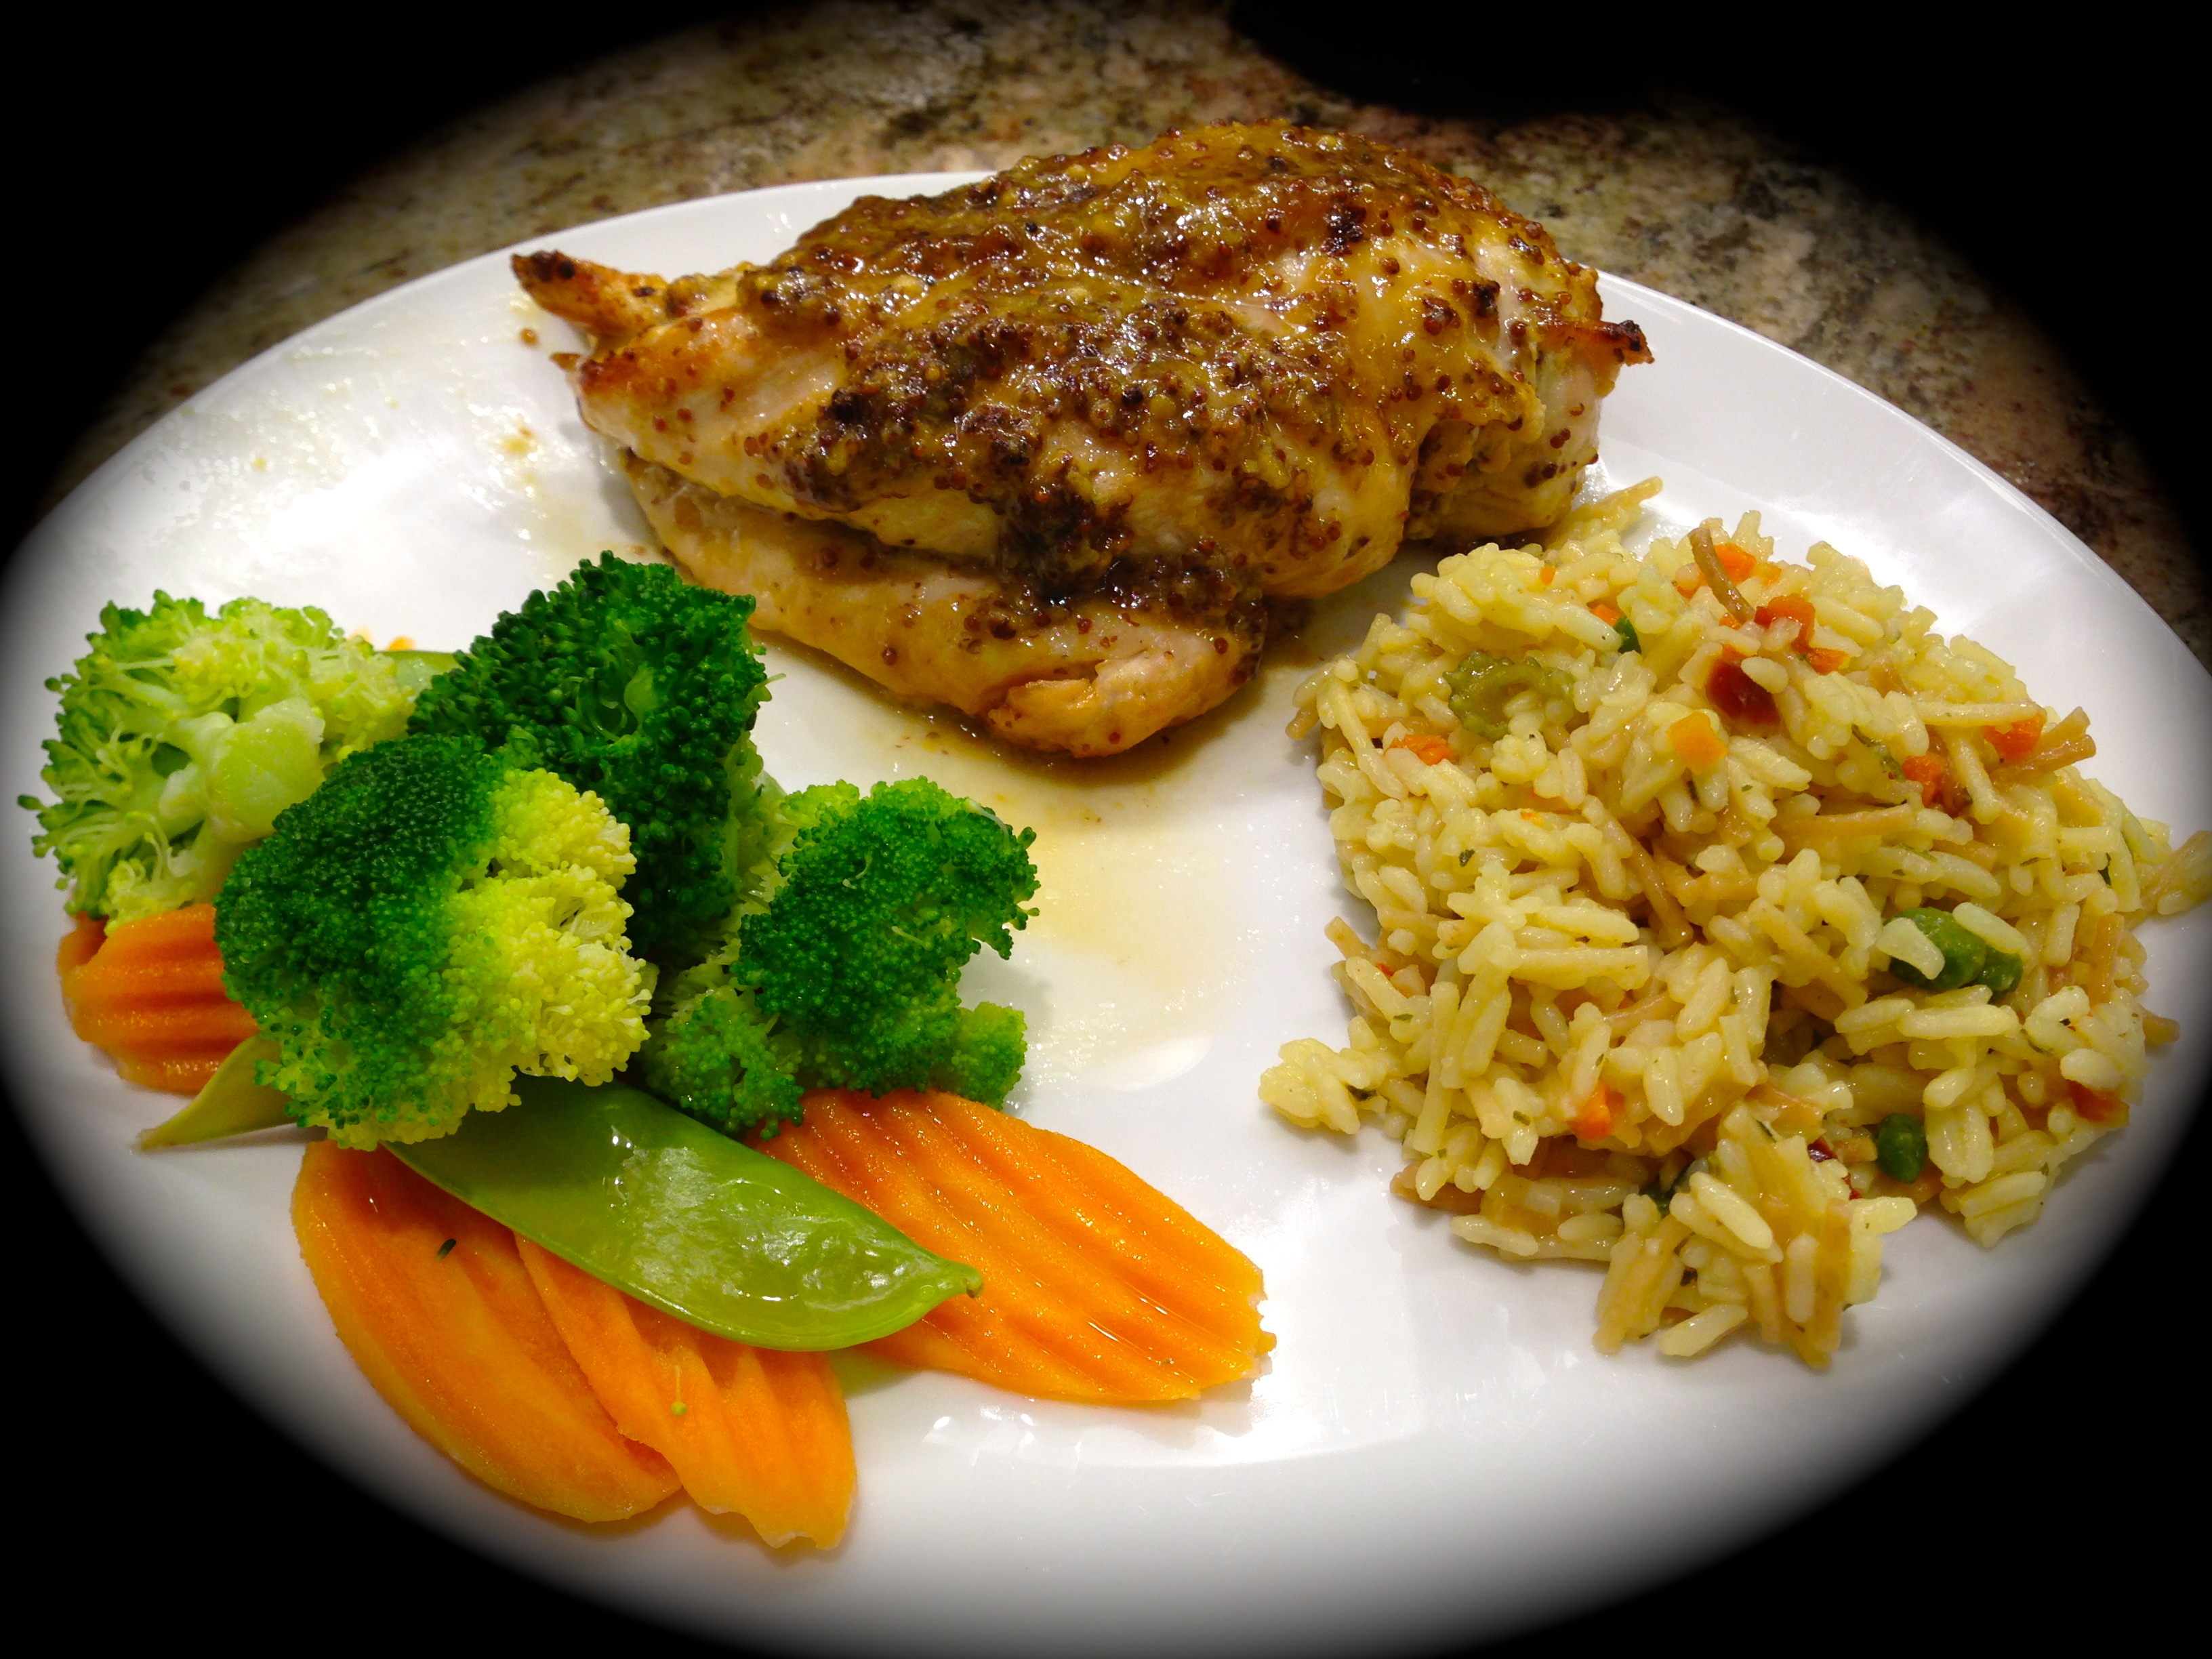
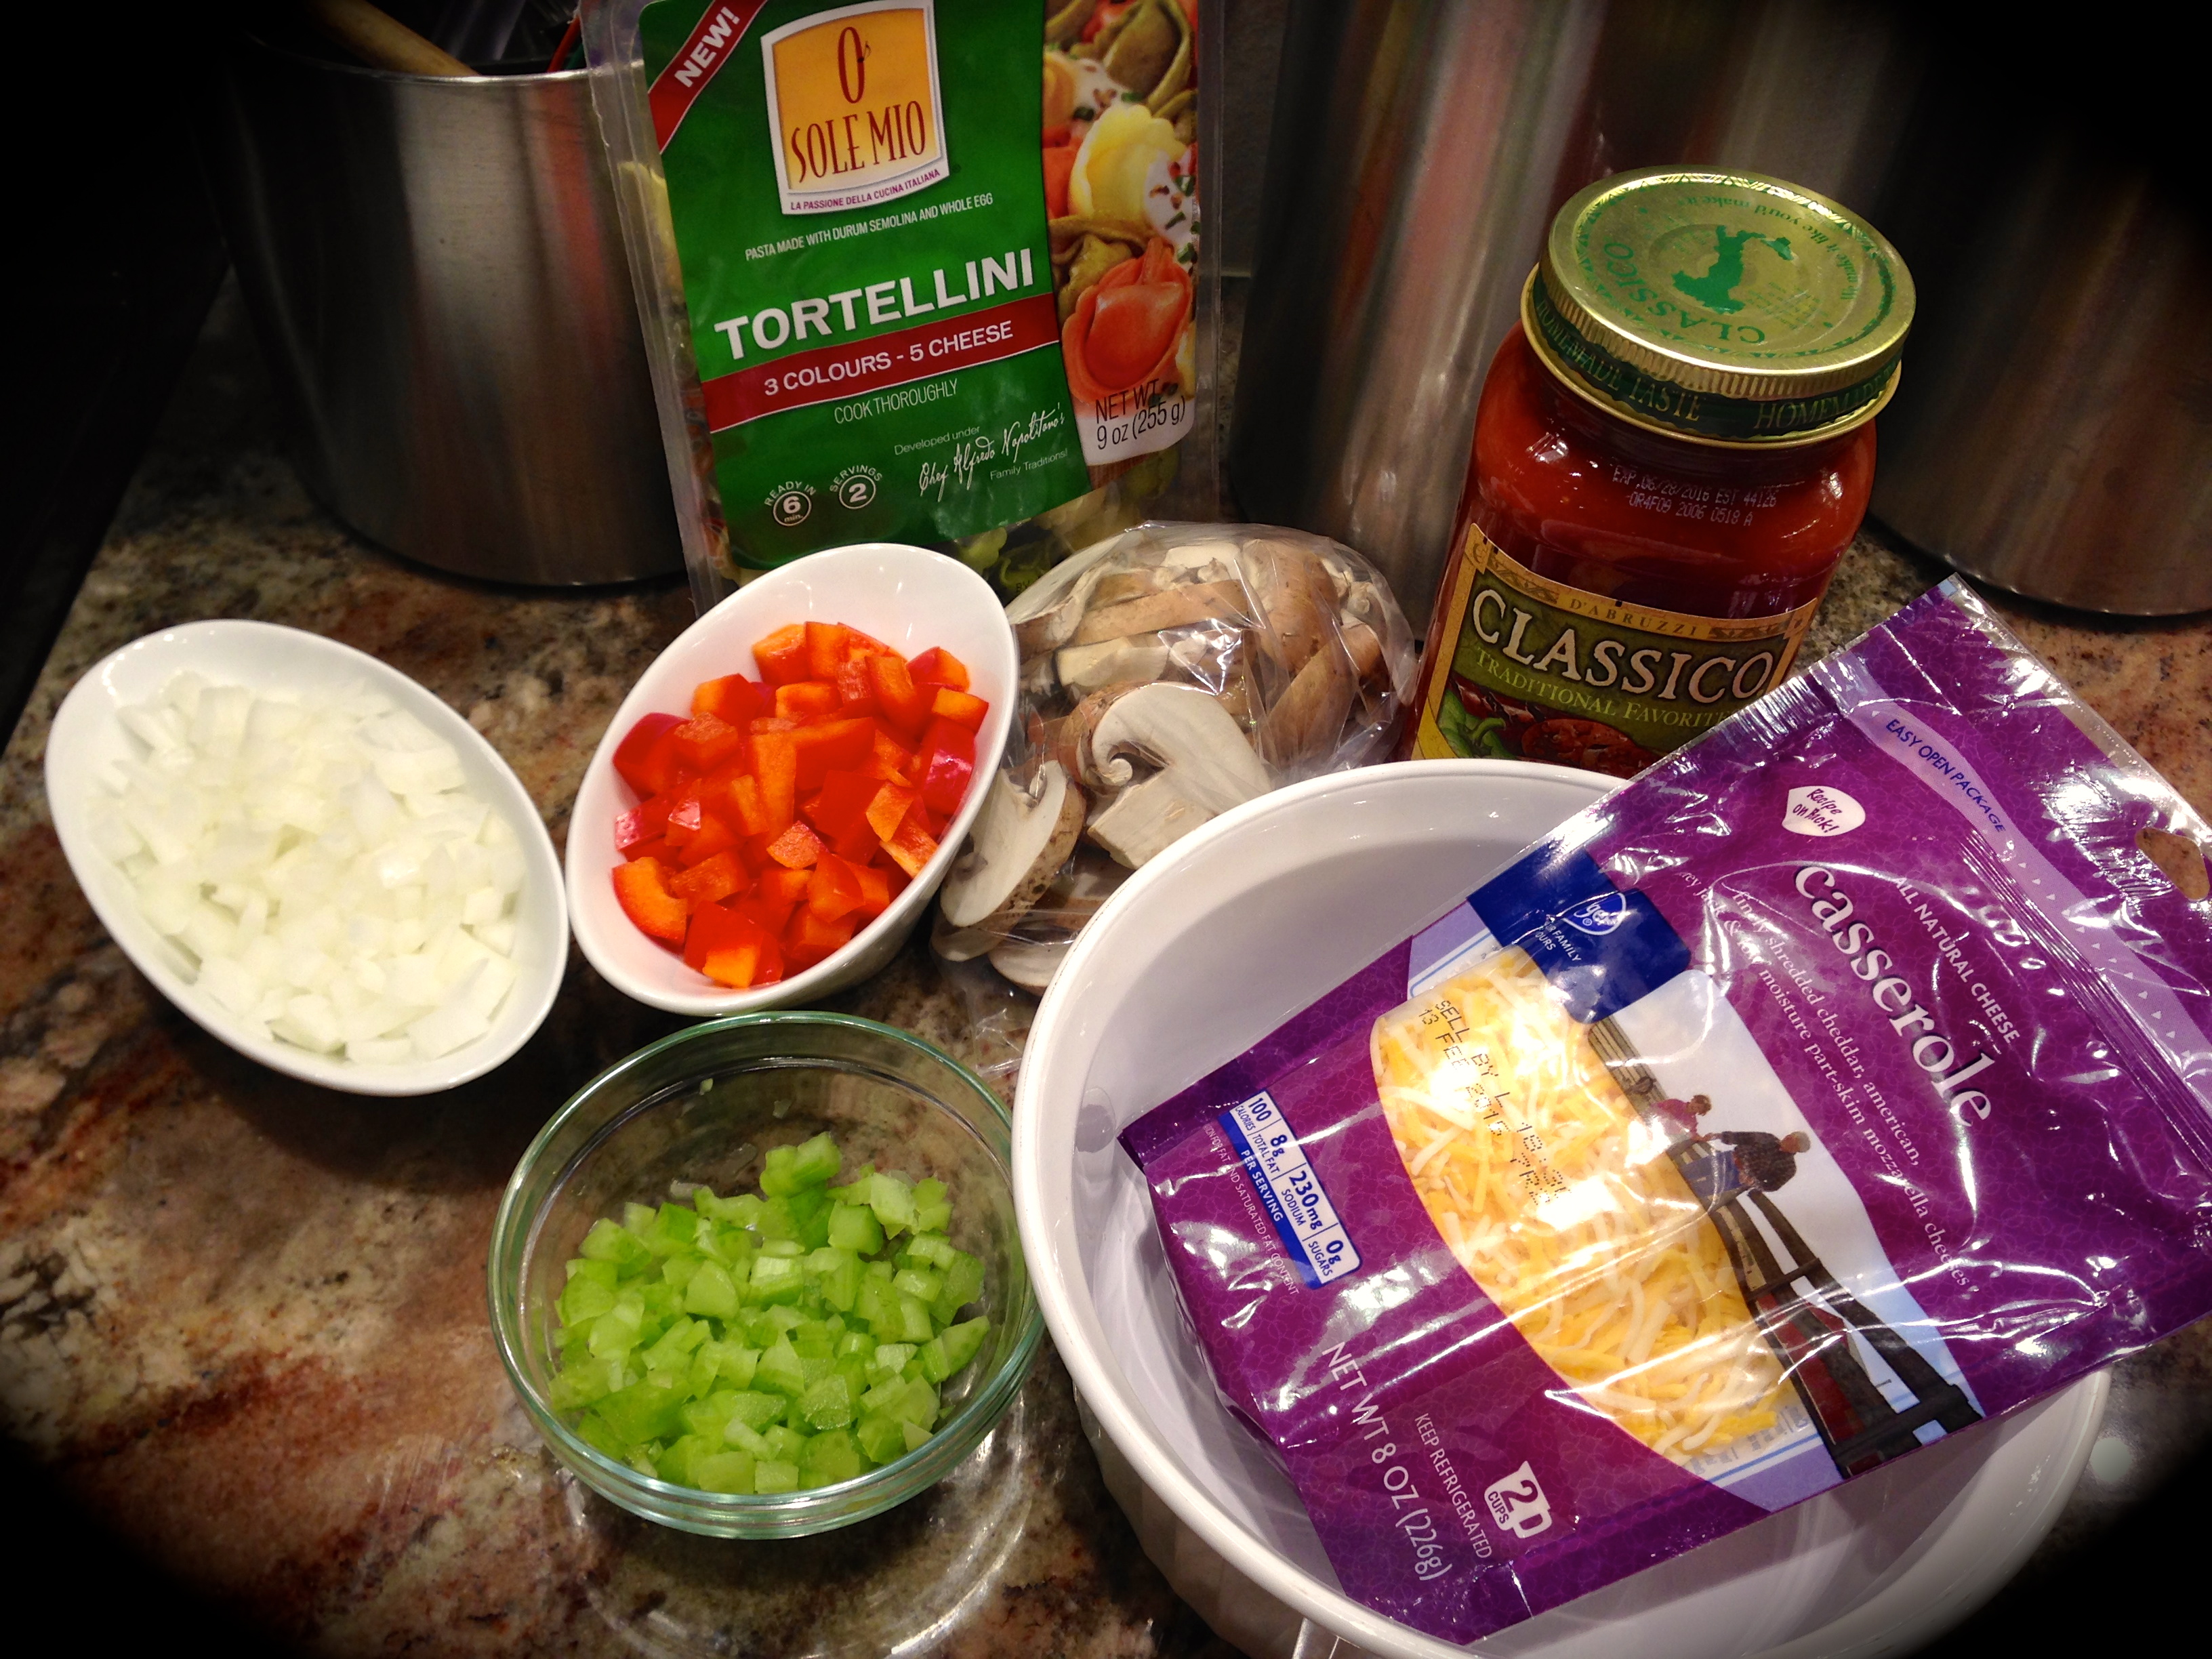
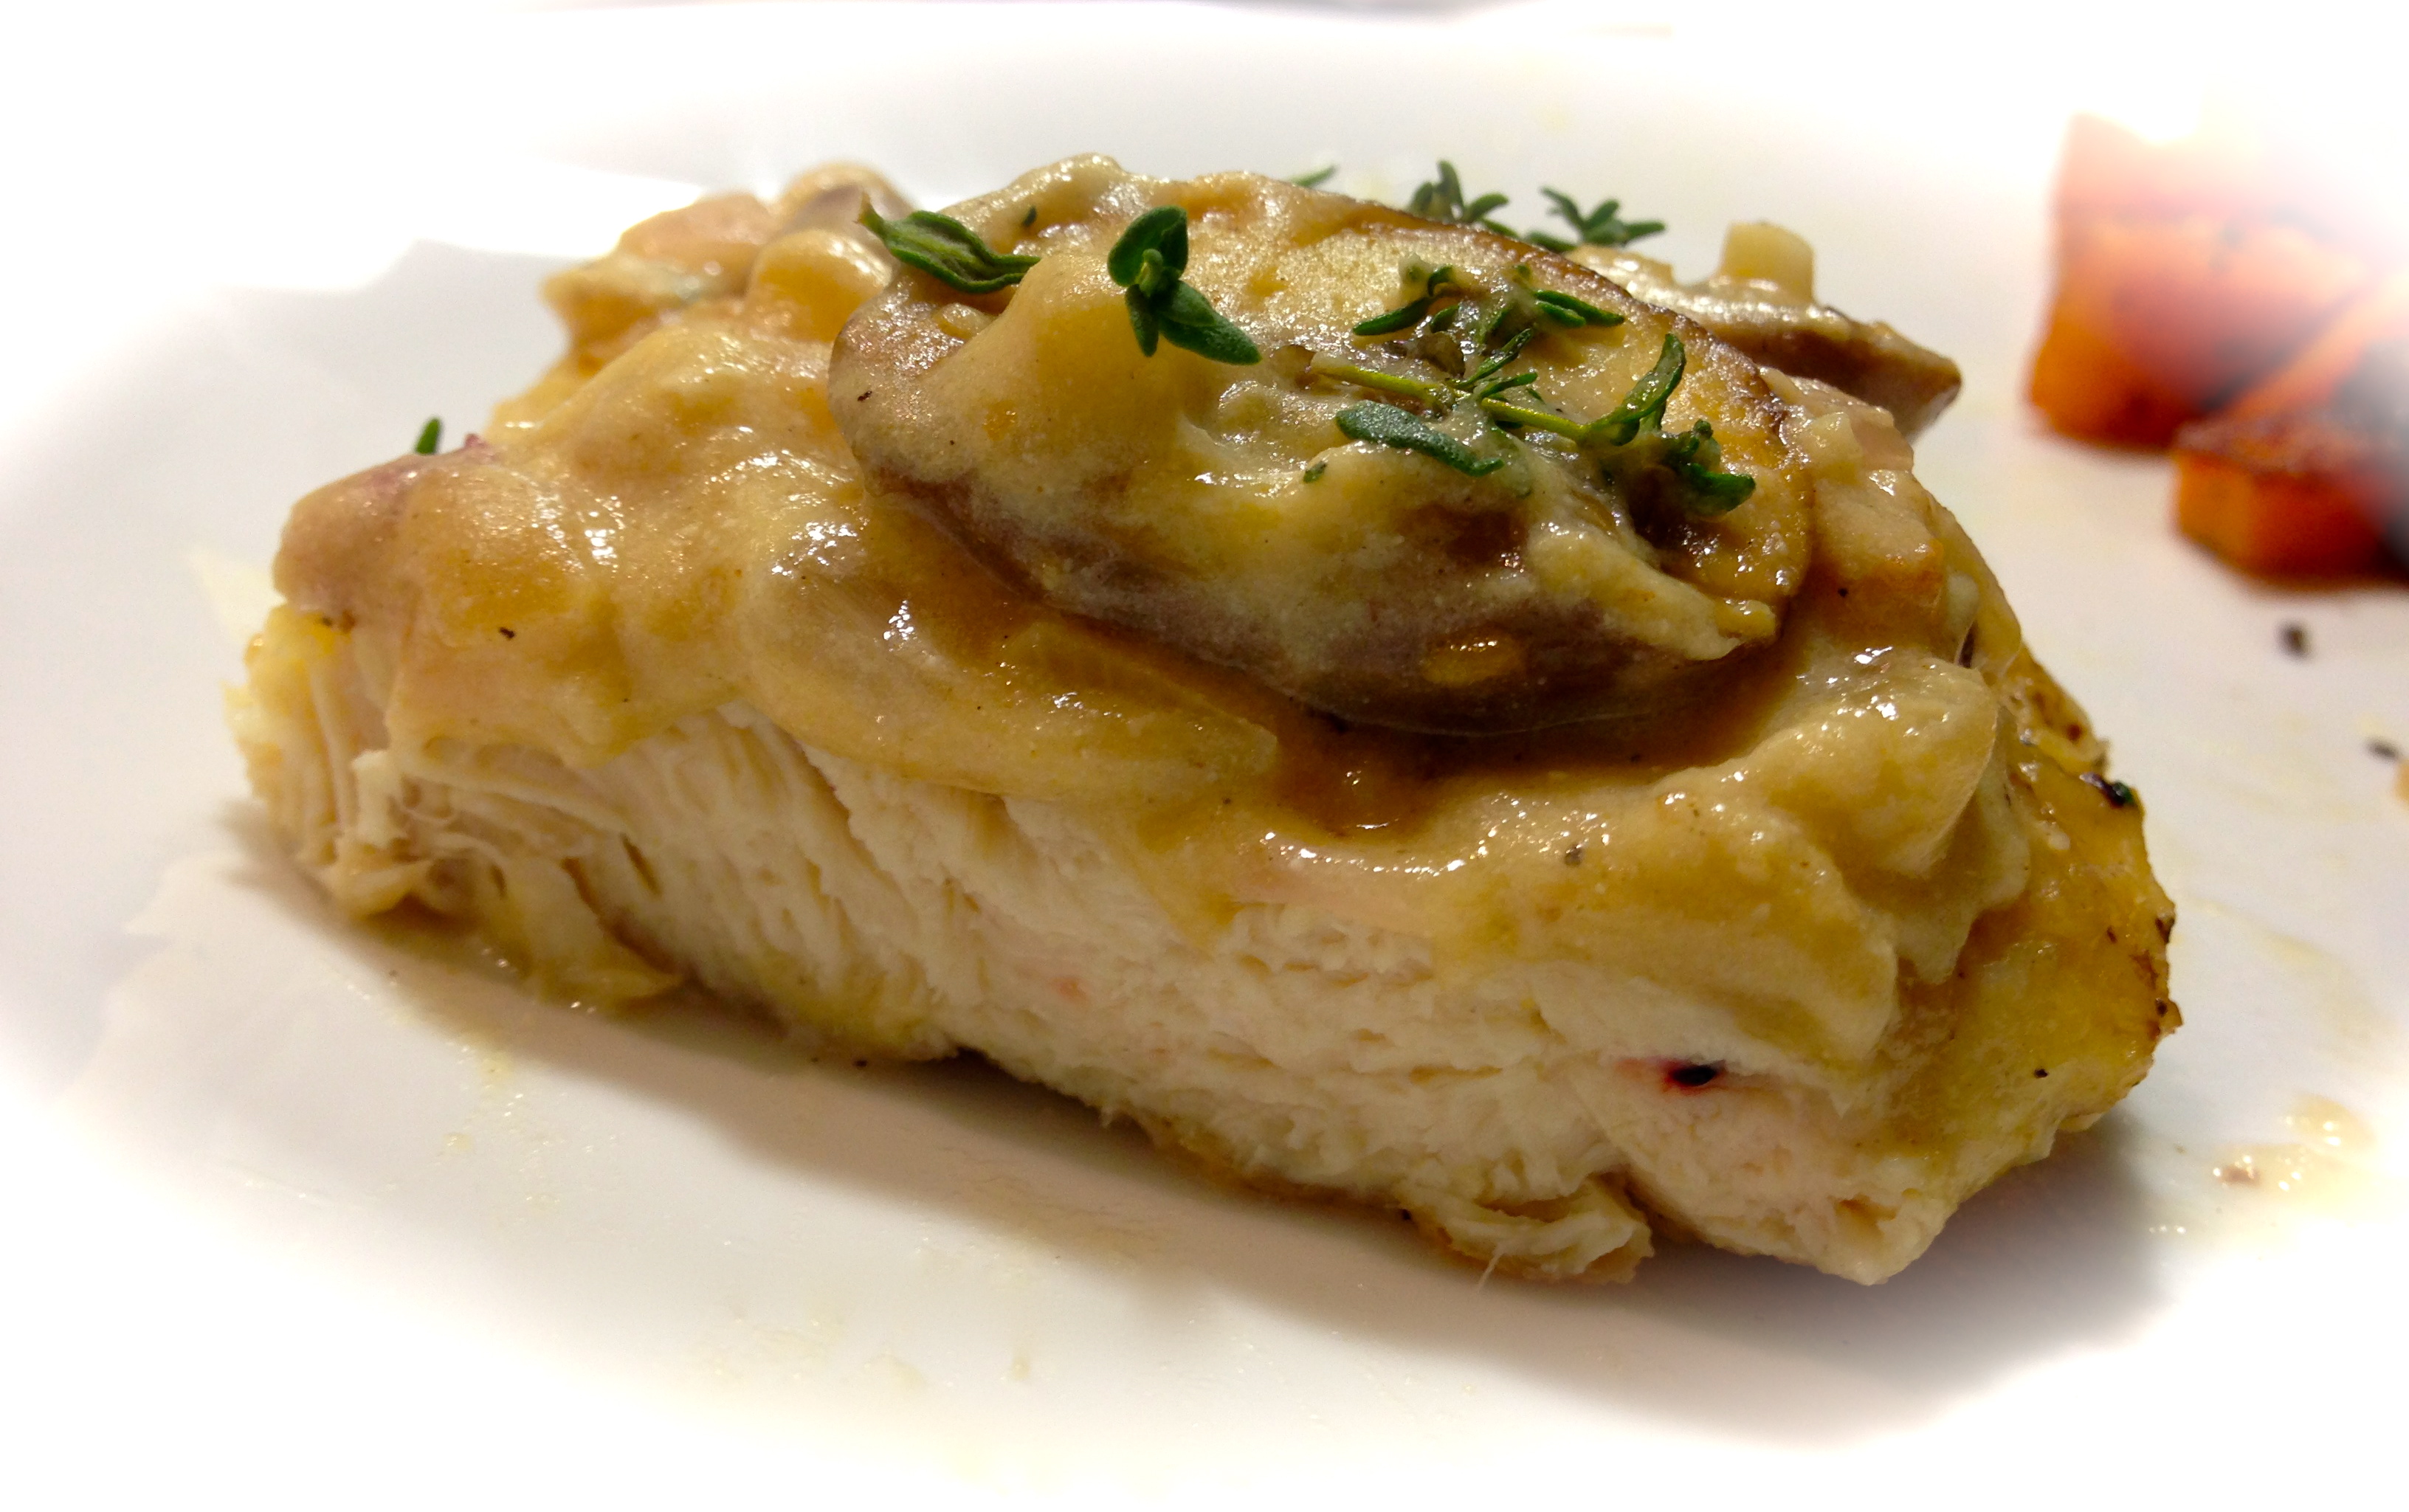
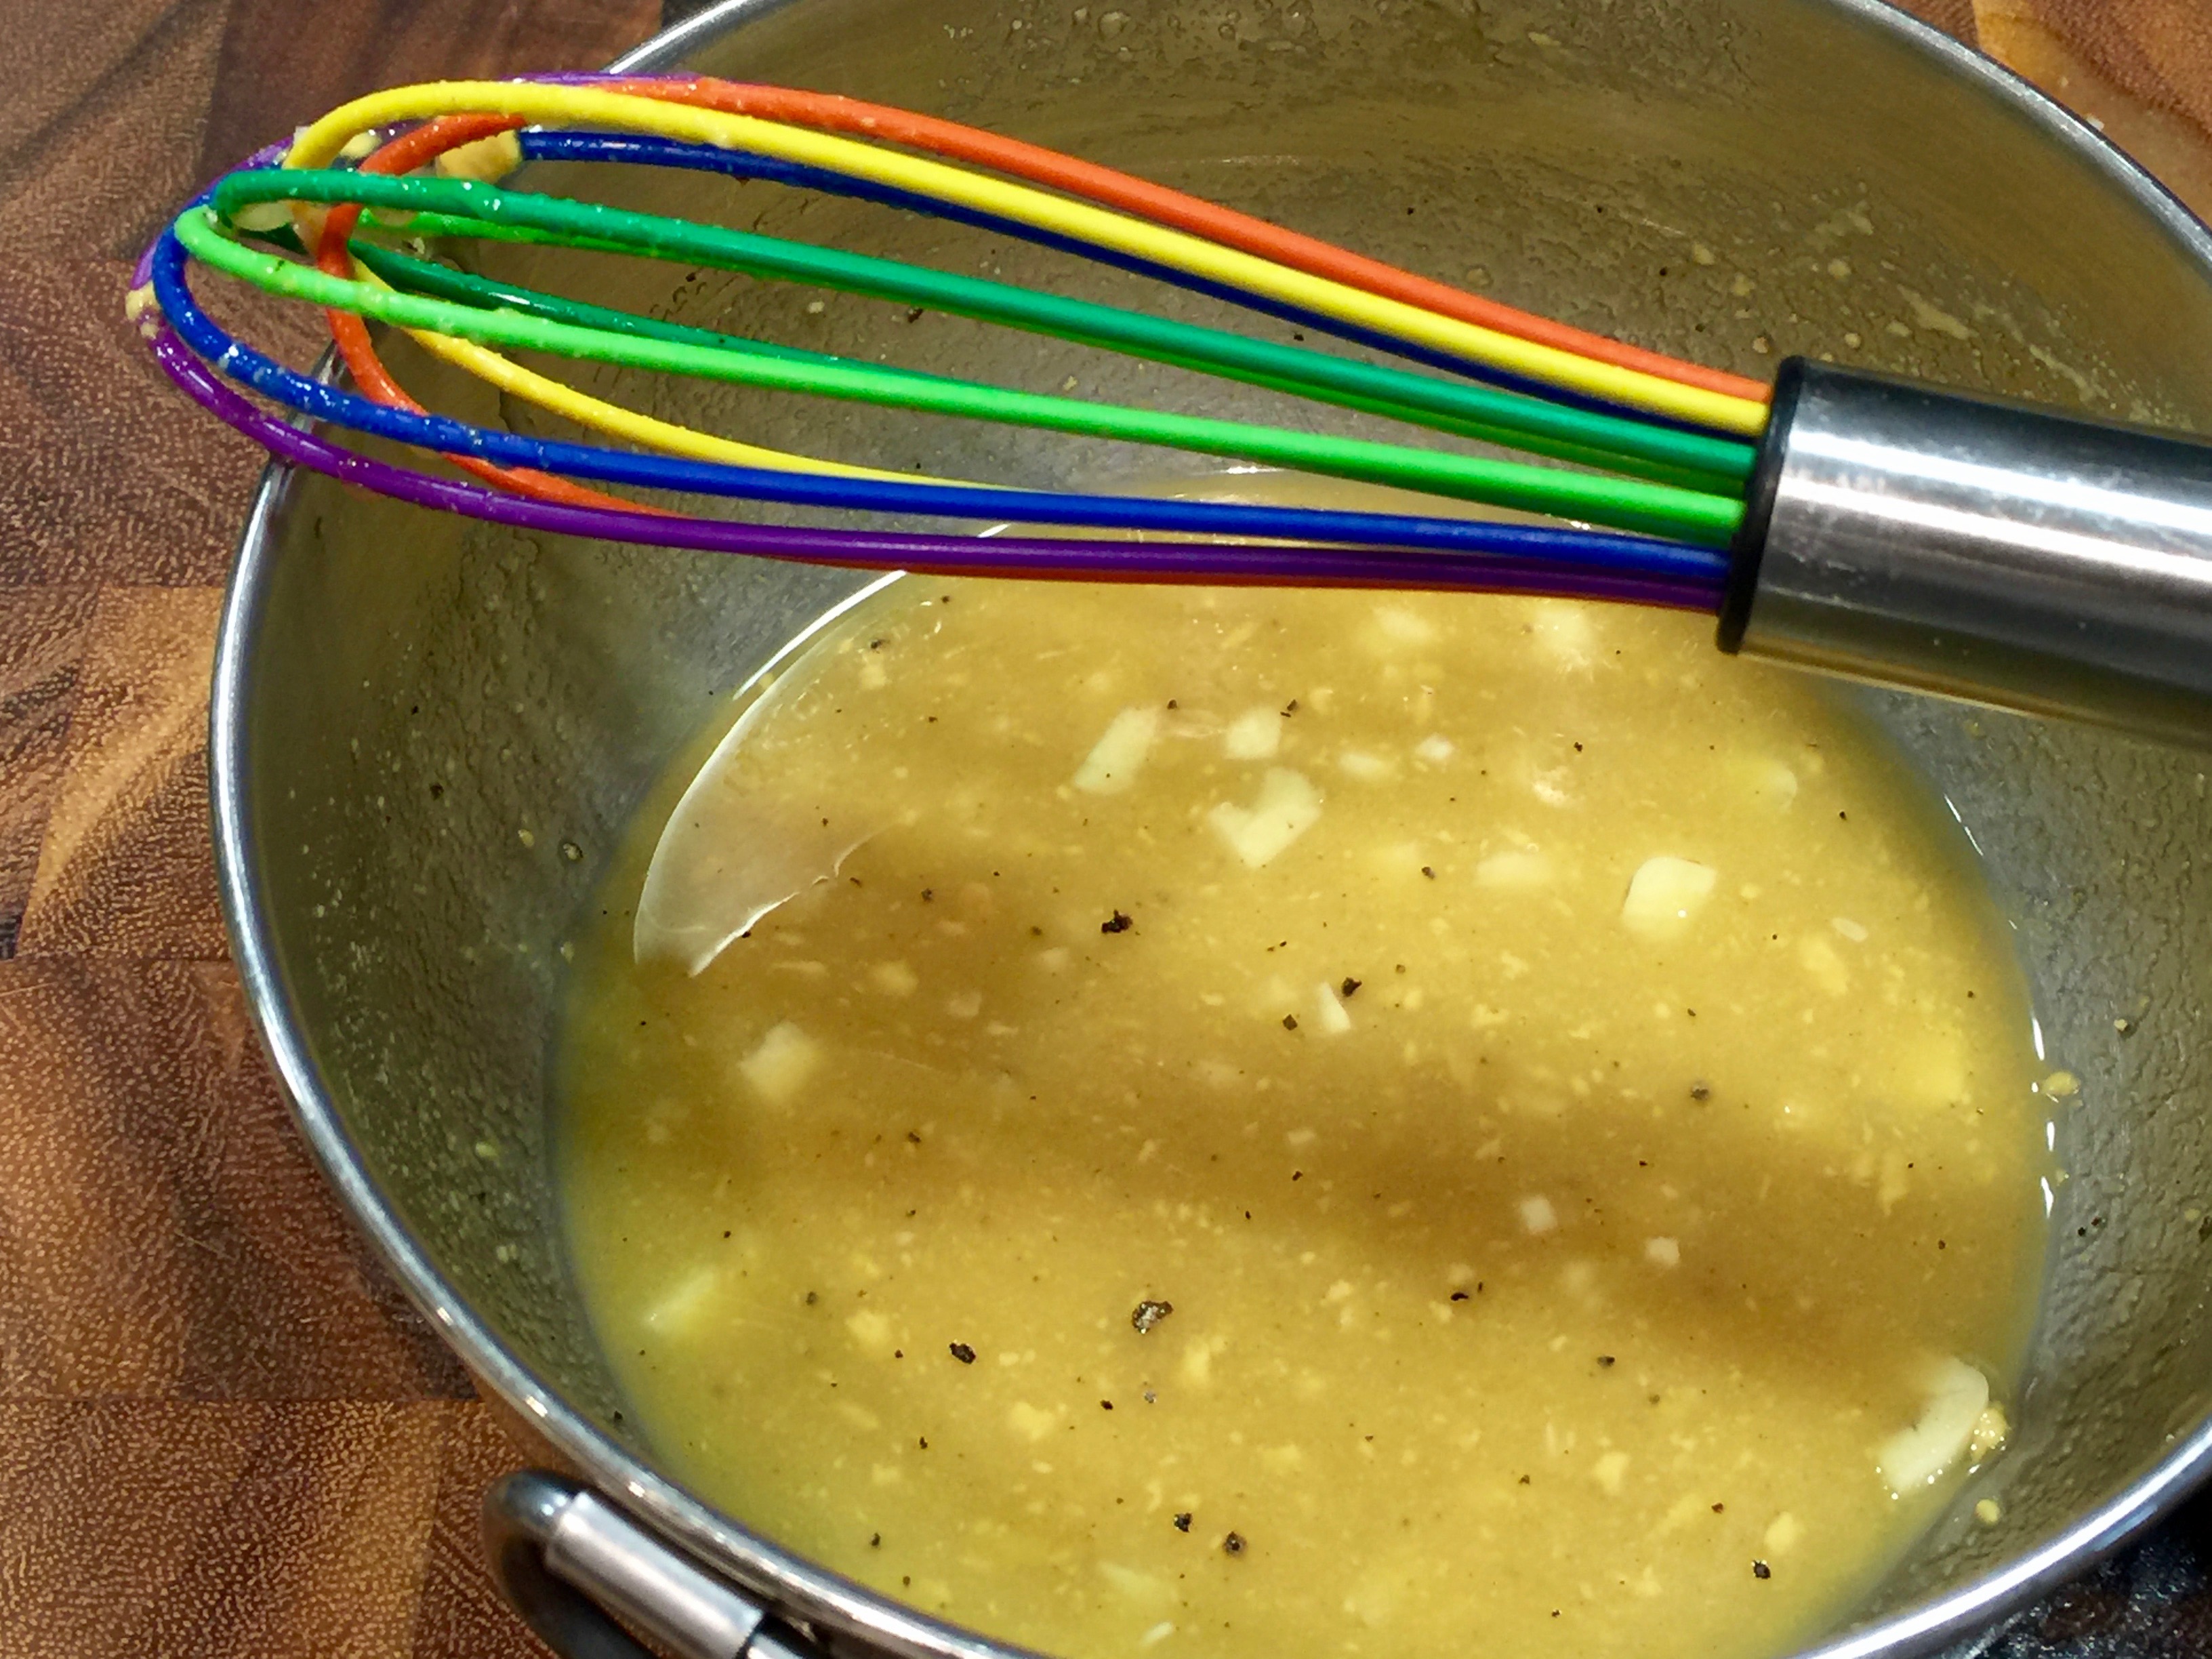
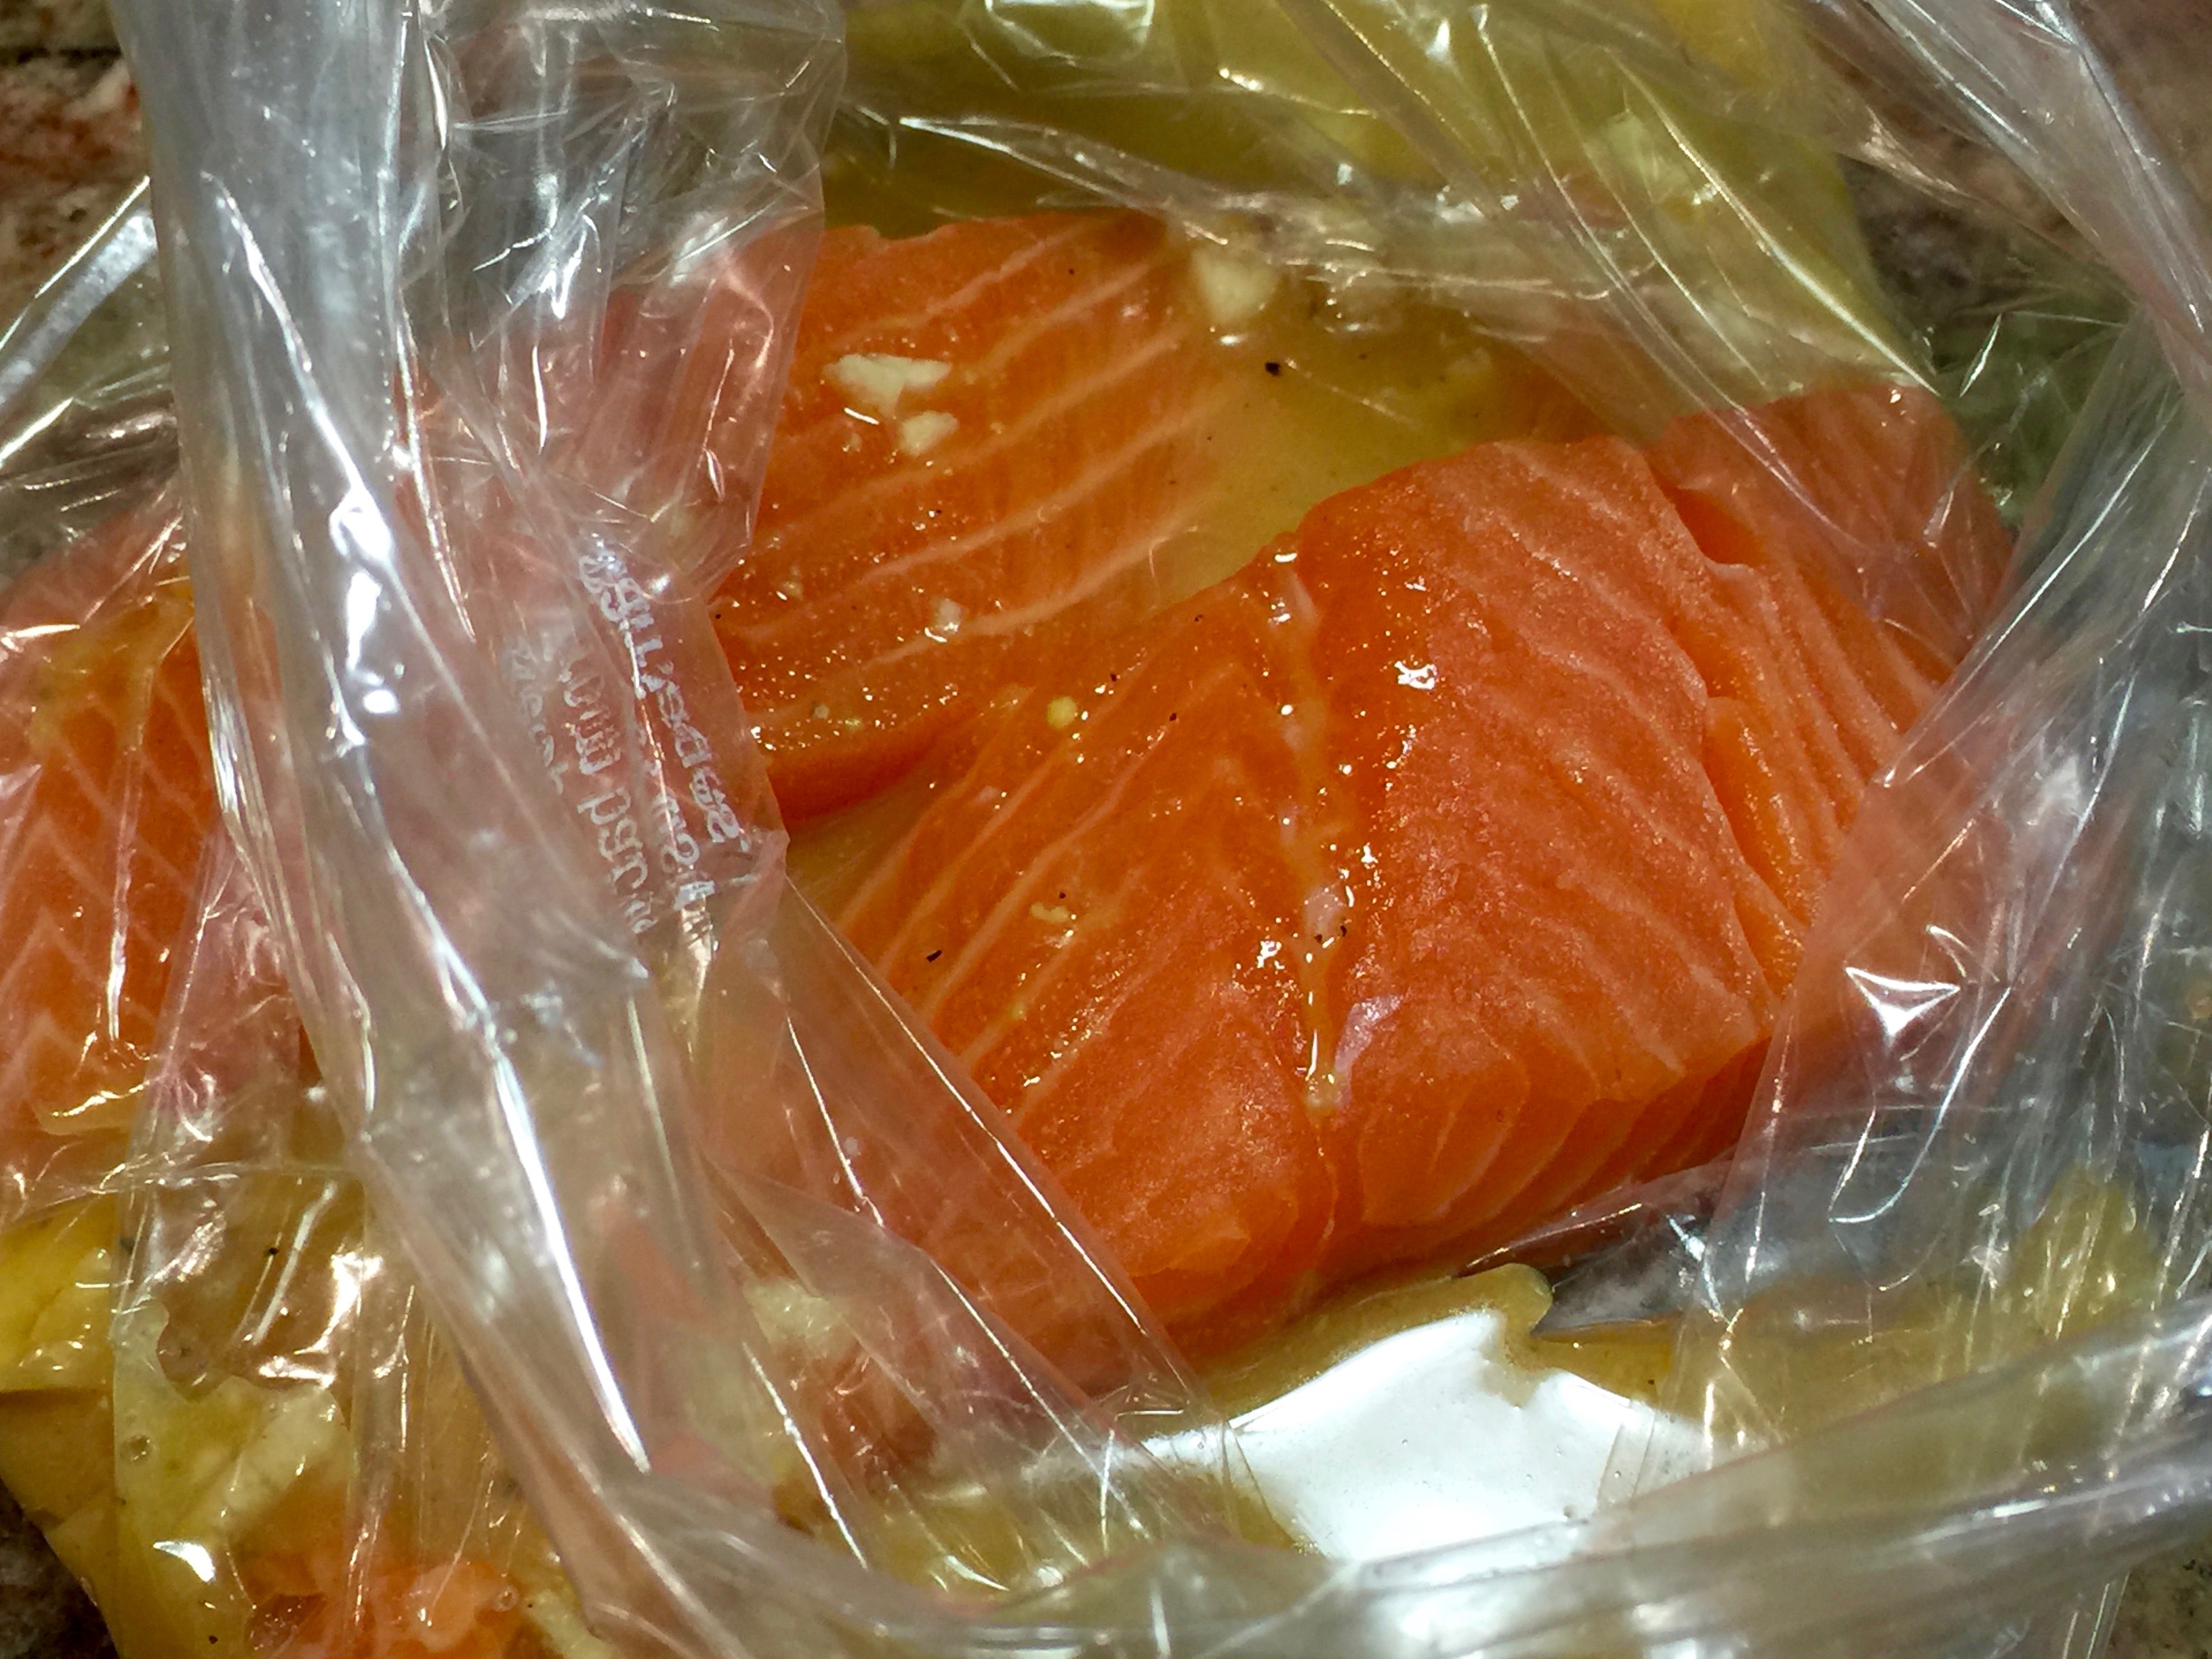
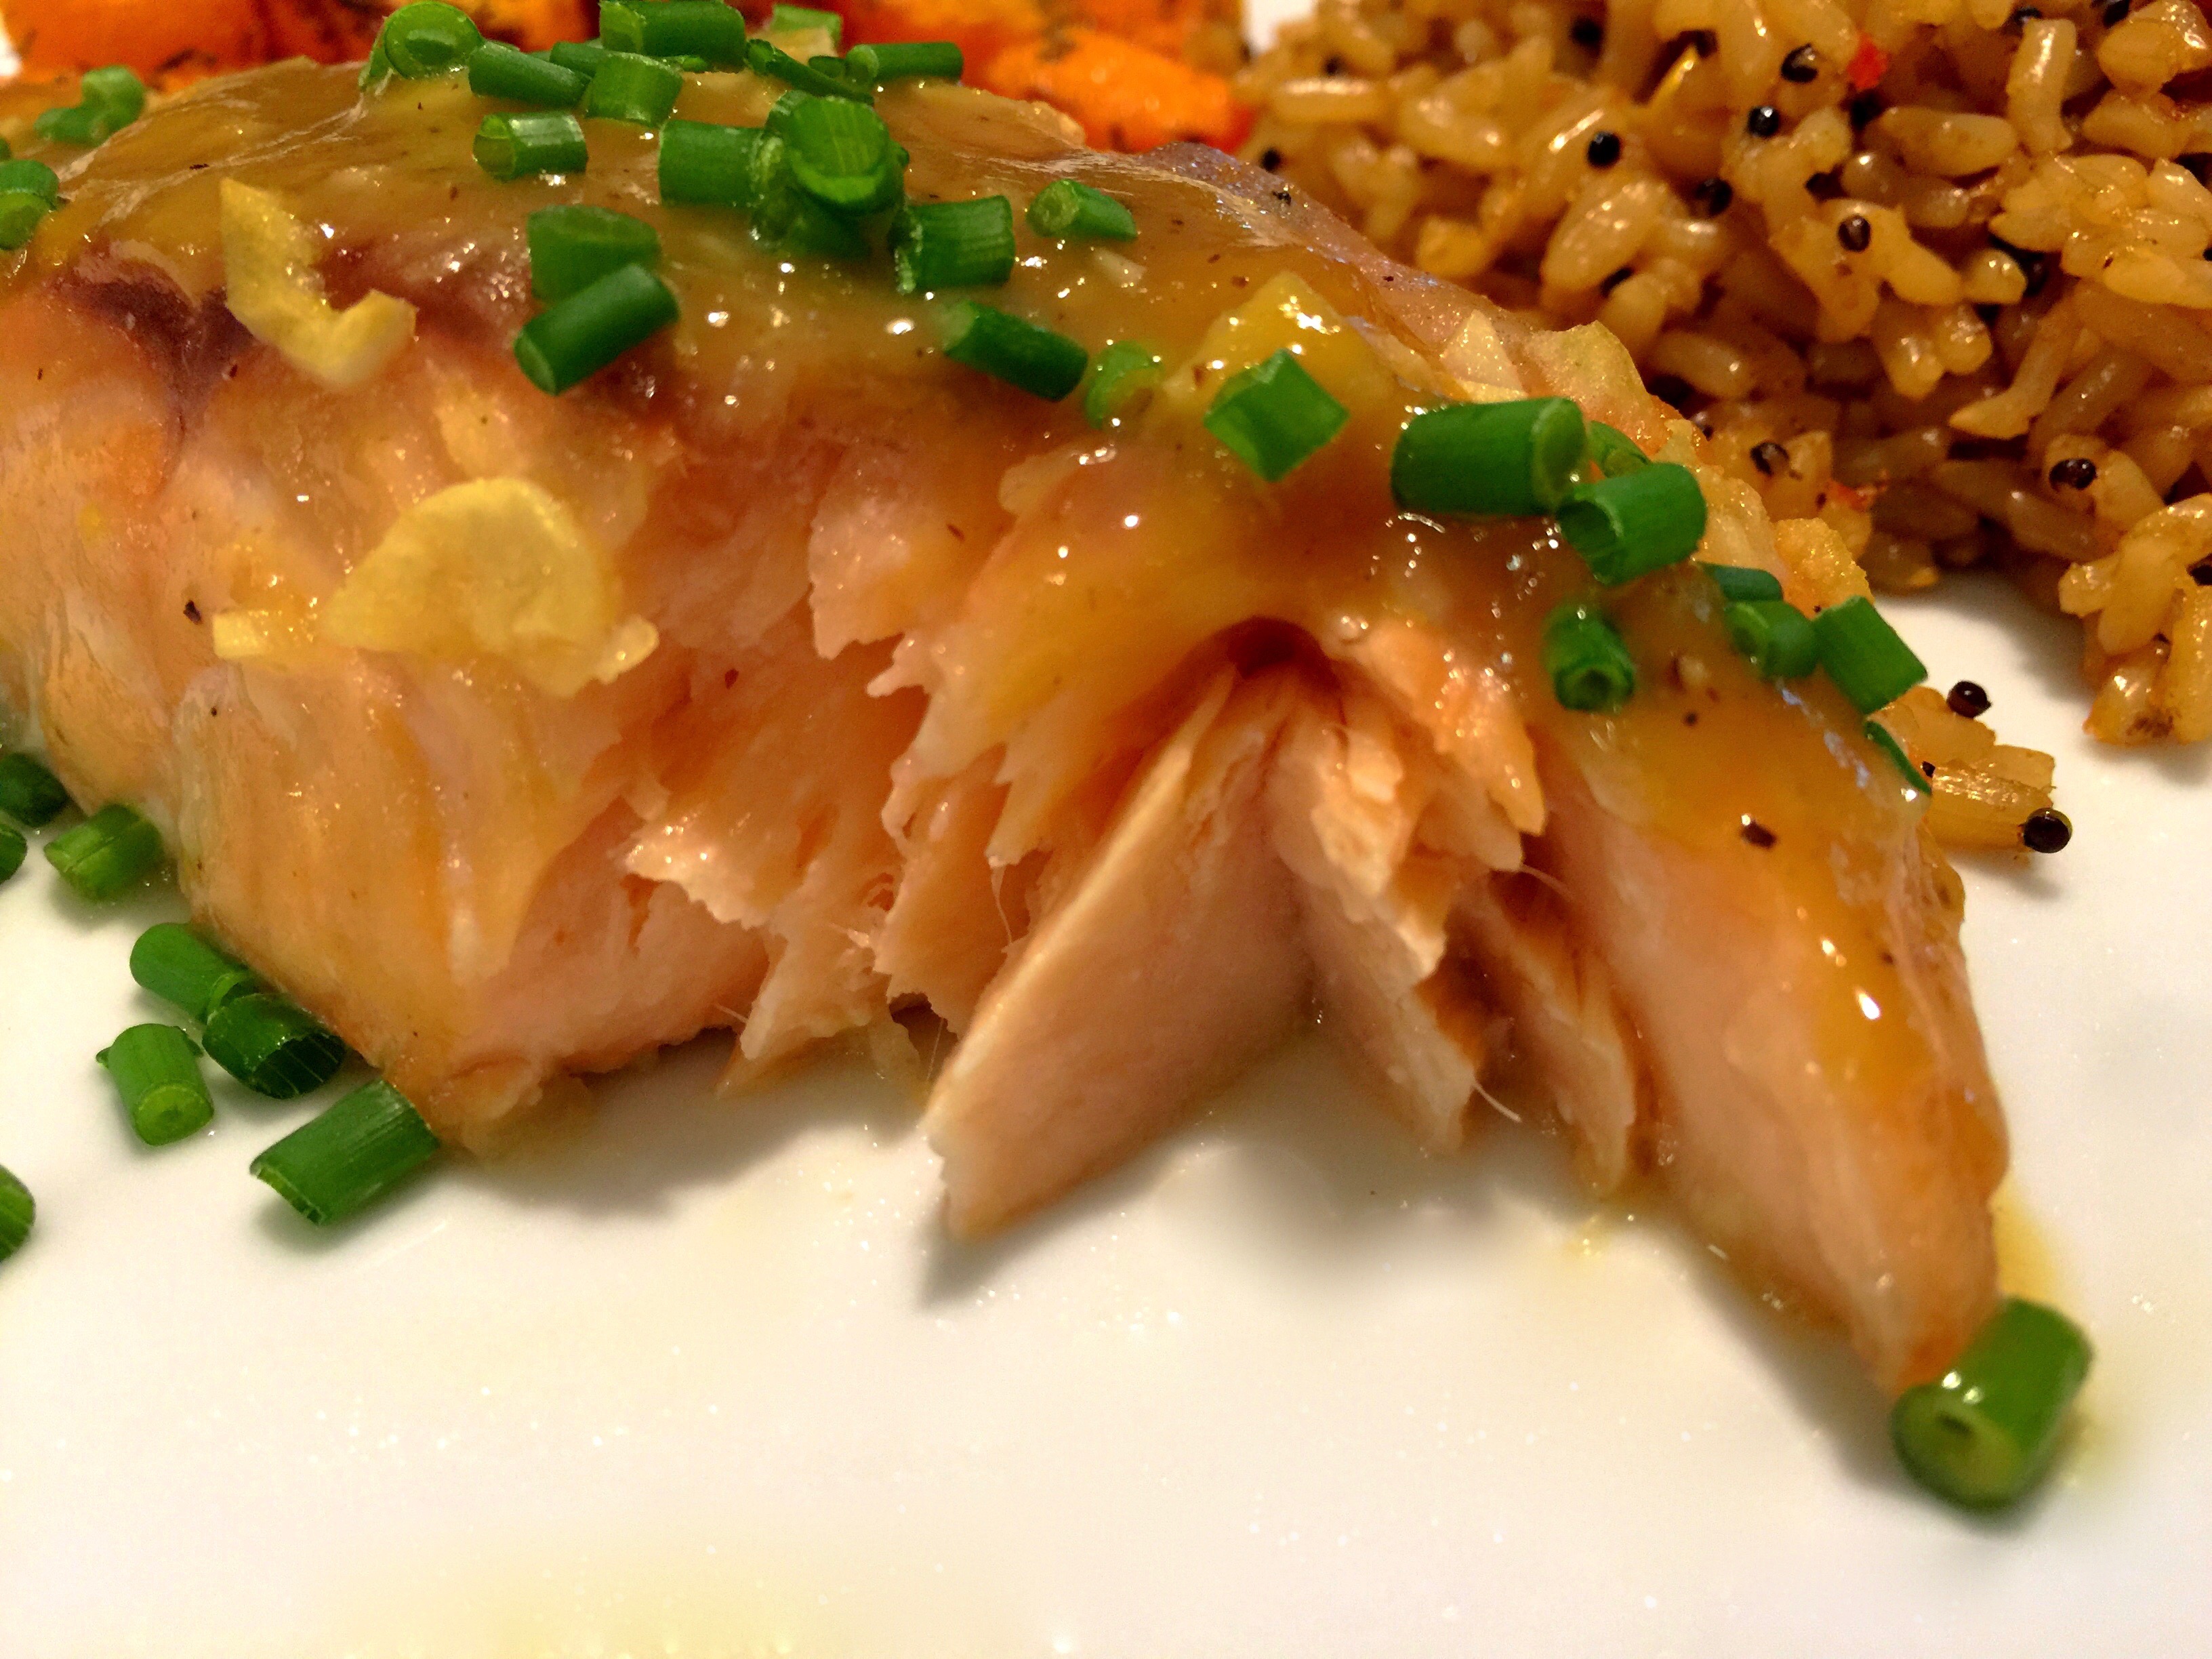
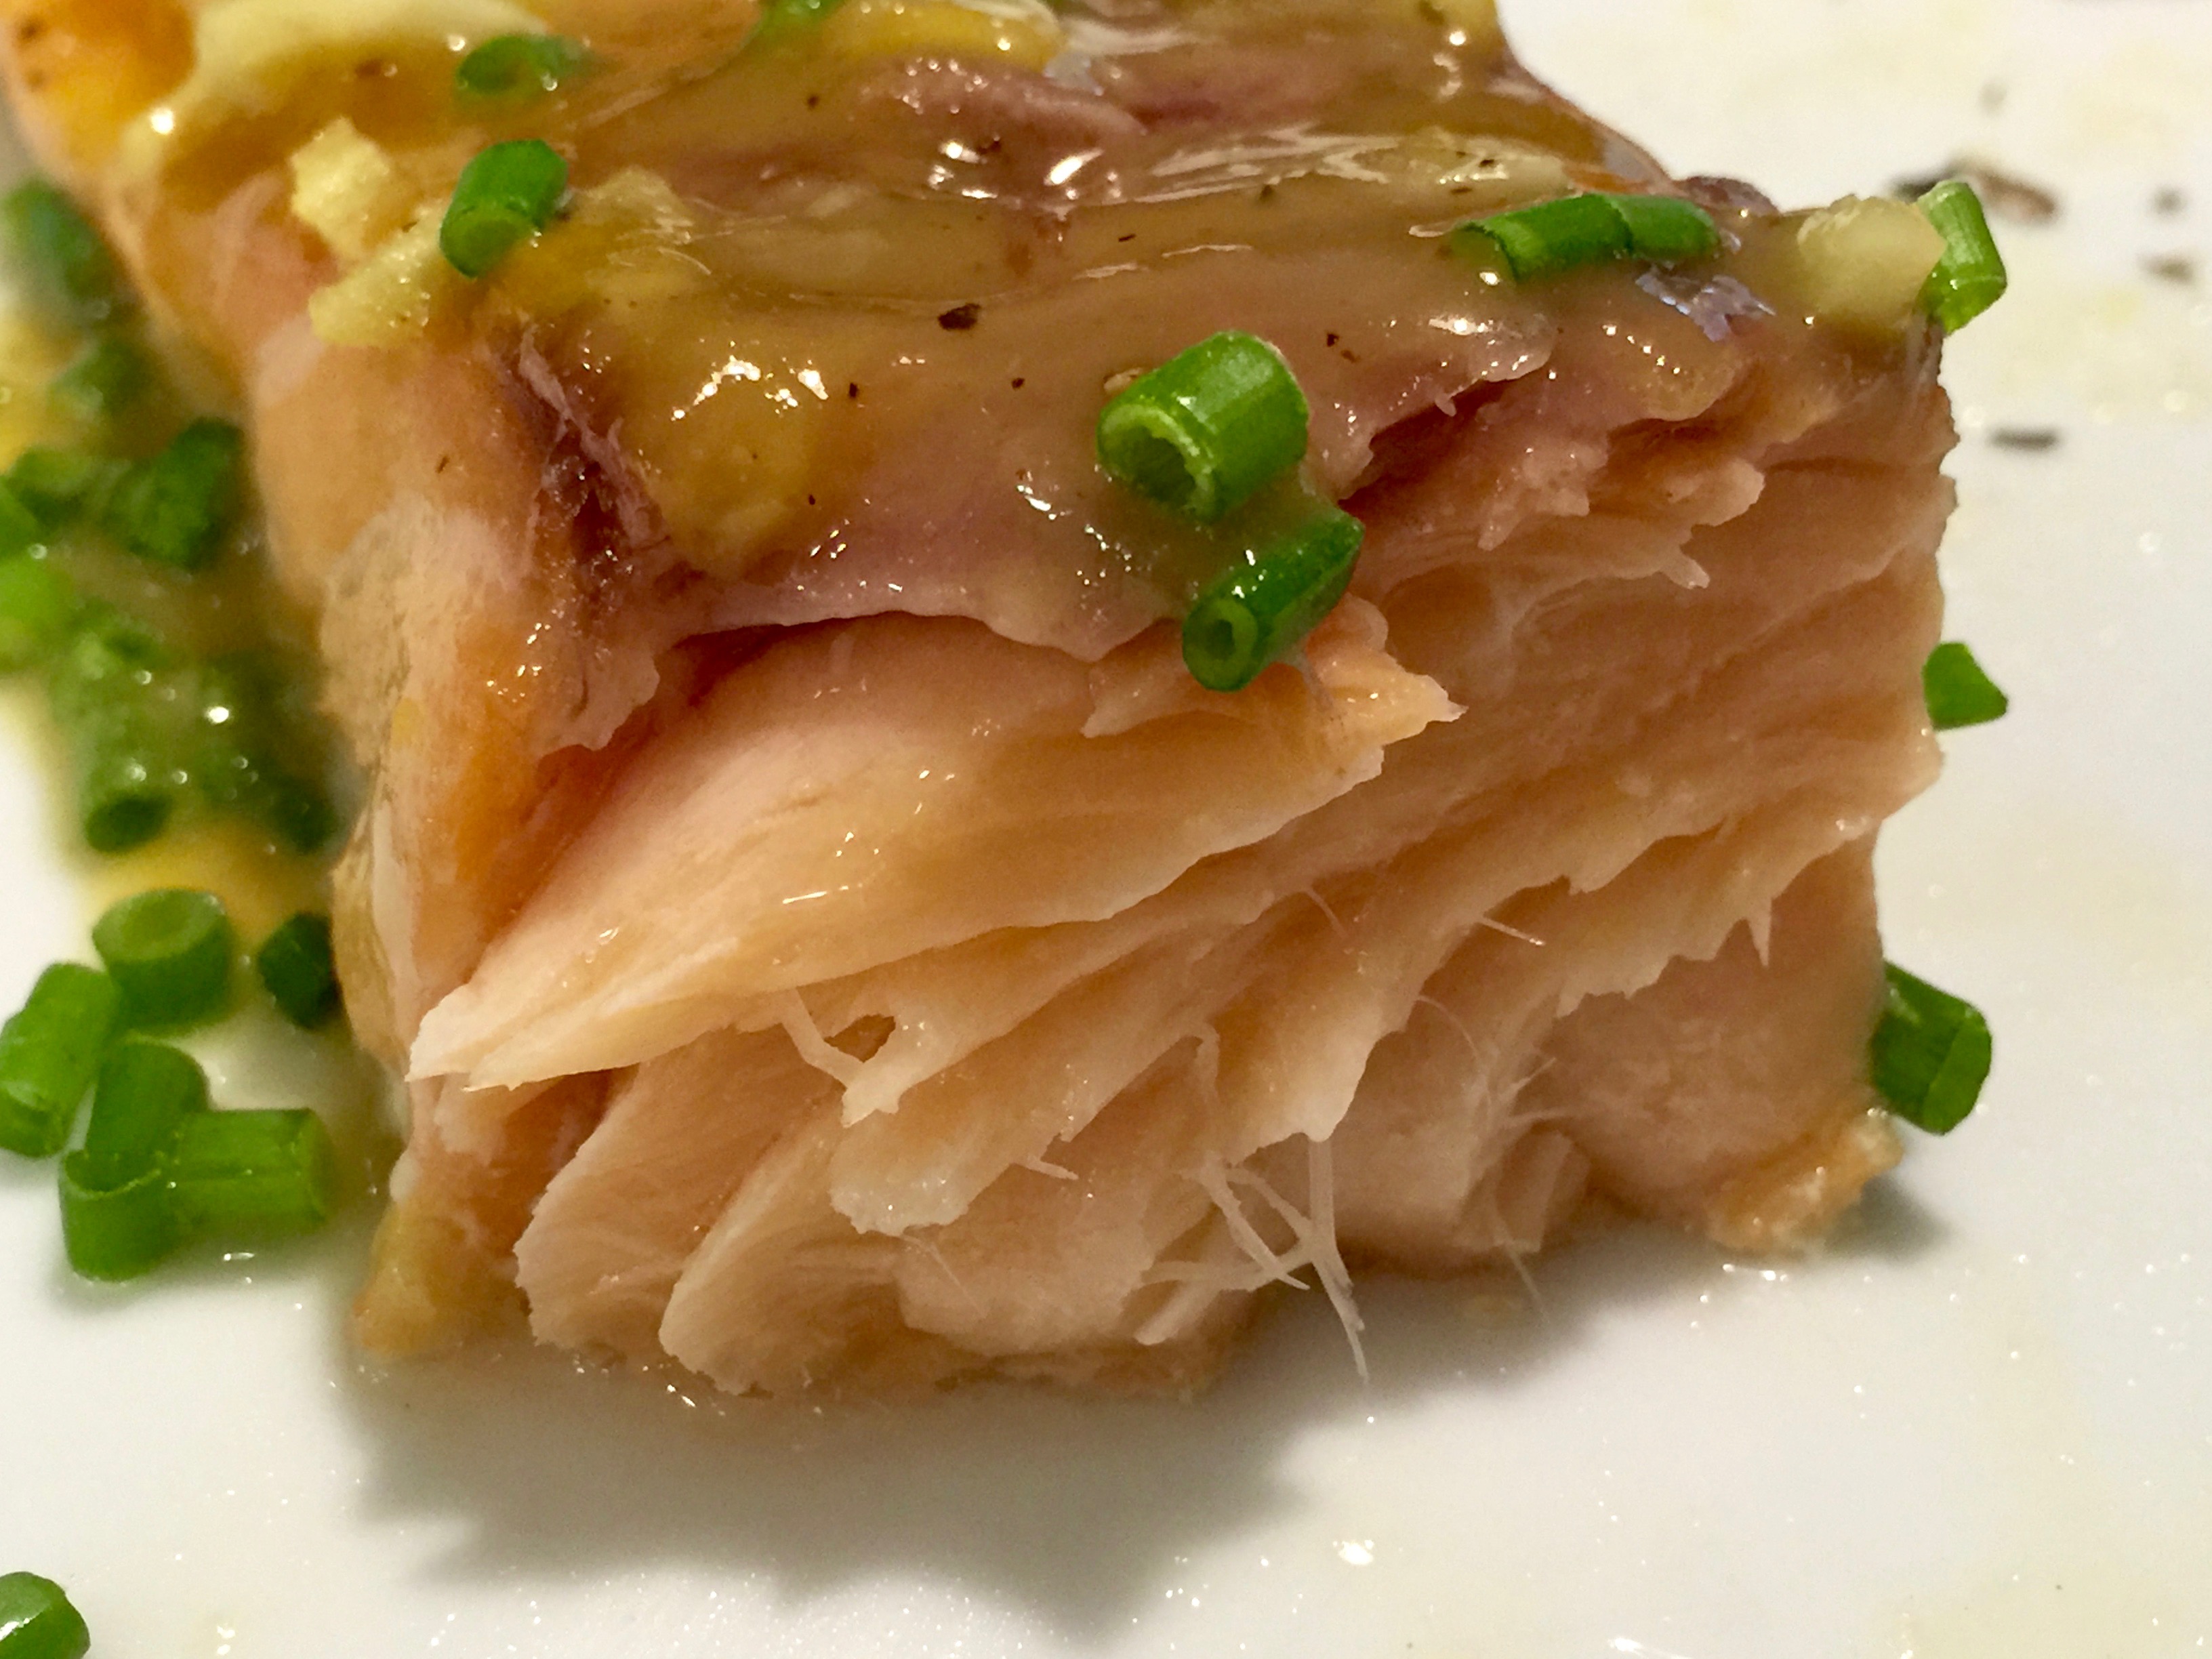
Every once in a while you stumble upon a recipe, make it and then say “Where have you been all my life?” This was that recipe for me. Based on a recipe by Robin Miller, I adapted it to my tastes and am so glad it’s now a regular on my dinner rotation. I am also so glad to share it with you.
Robin Miller used to be a chef on The Food Network. Back in the day when it was a fledgling network, the shows were more about how to cook versus all of the competition shows they have on now. Originally I remember thinking who, in their right mind, would watch someone cook on tv. But I started to watch and got hooked. Plus, as you can tell by the theme of this blog, I was never a cook in my early years and always felt that I’d never become one. But as I got older I got more interested and those cooking shows provided so much basic knowledge and started me on my culinary journey. All of a sudden I began thinking, “I can do this!” and as I started getting more adept I developed not only a deep interest but also a knack for creating successes in the kitchen. Robin Miller was one of the chefs that I credit teaching me basics and I, for one, am sad she no longer has a show on The Food Network. But I follow her on Facebook and am privy on a daily basis to some of her great recipe ideas.
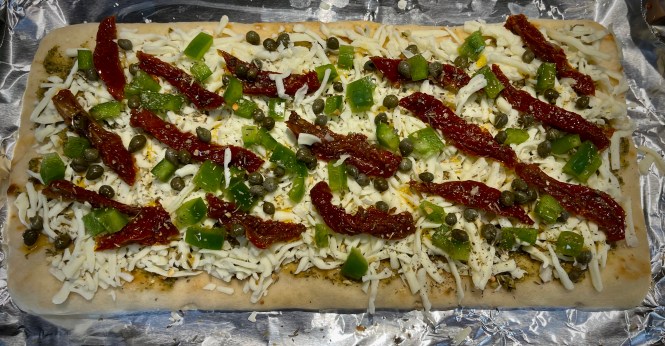
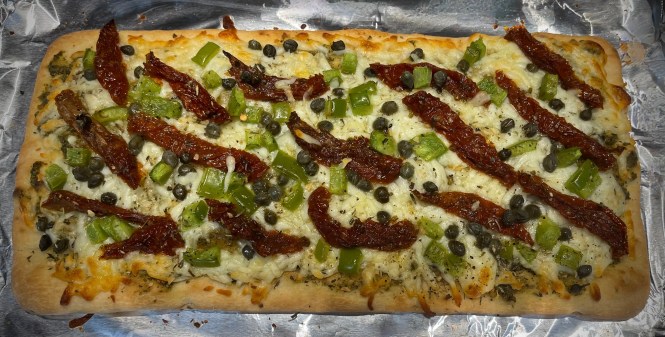
Her recipe for flatbread pizza struck my fancy and I amended it to include some of the ingredients I especially like on a pizza. What I also like is this recipe is meatless. Not to say you couldn’t add some cooked sausage, or bacon, or pancetta on top, but I like to limit my intake of red meat and to find something this flavorful and meatless is always a plus for me.
LESSONS LEARNED MAKING THIS RECIPE:
- I used Stonefire Artisan Flatbread. I prefer this because it basically serves as a blank canvas. You can try to use others, this is simply the one I prefer for this recipe.

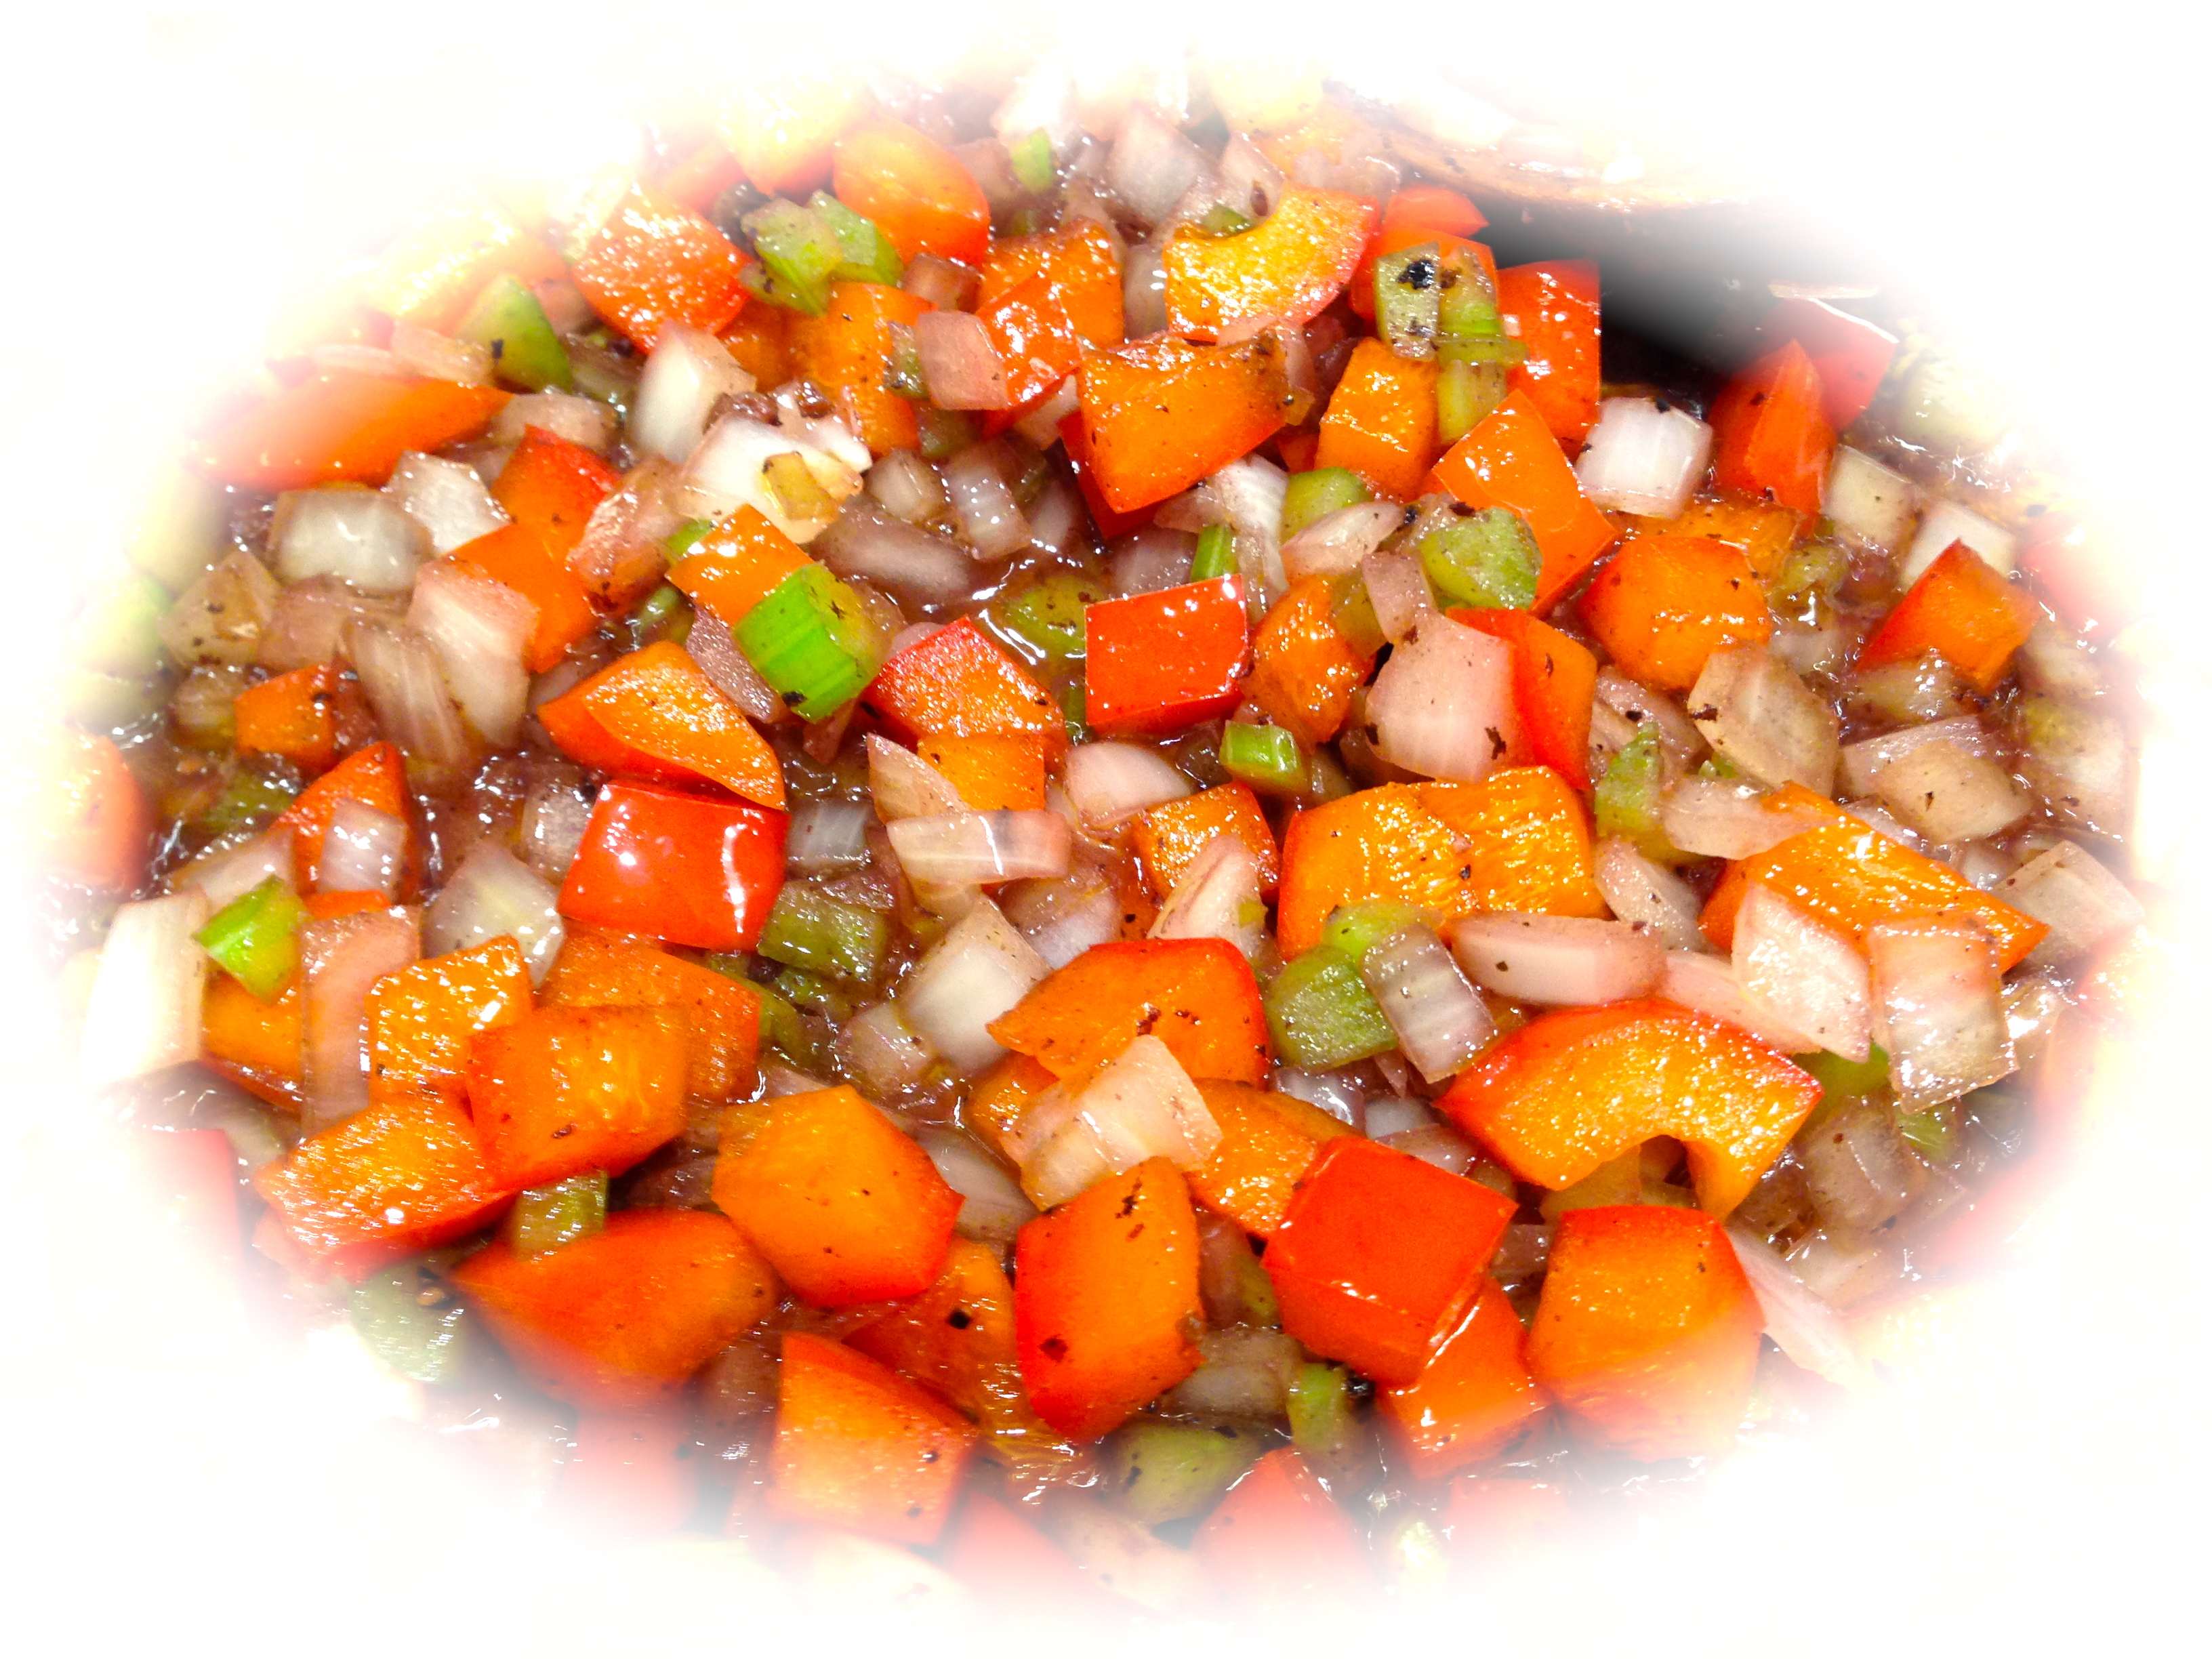
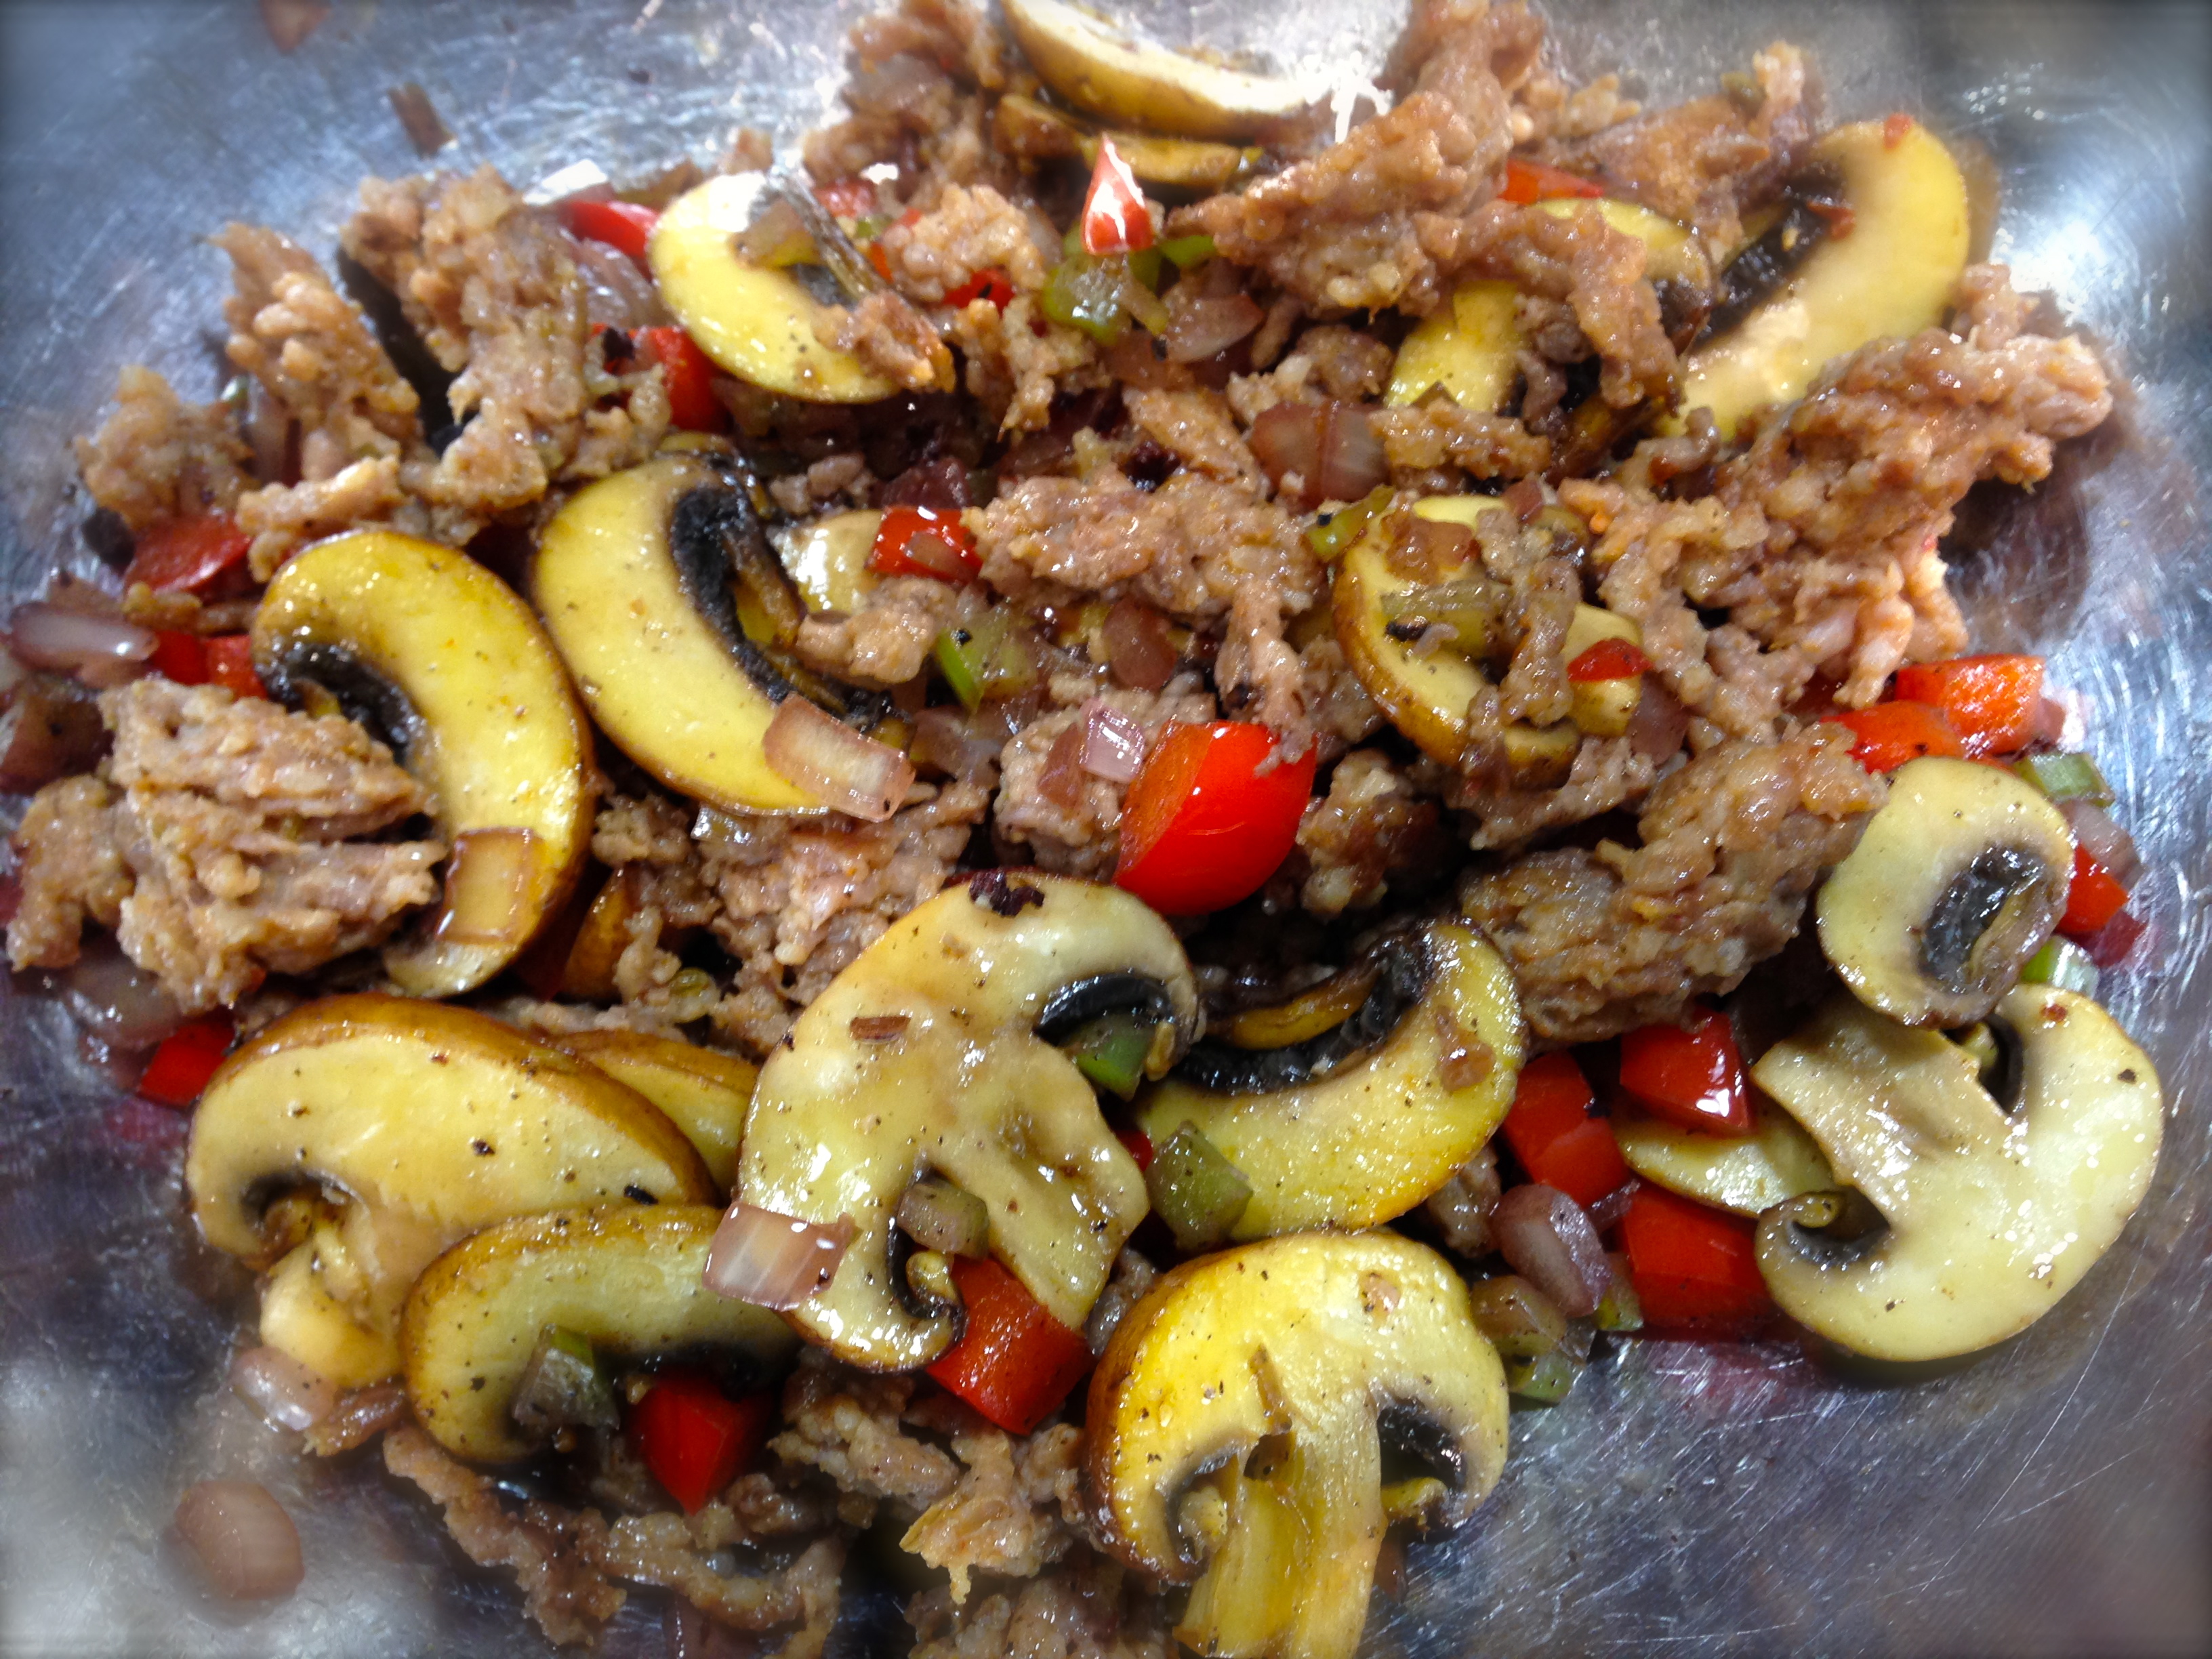
- Be creative with your toppings. When I order a “regular” pizza, I like mushrooms and green peppers on it. For this particular recipe I just added green pepper (make sure you chop it into small pieces). But I plan on trying it with mushrooms and probably onions as well.
- Use sun dried tomatoes packed in oil. I found drizzling a little oil over the pizza once all the toppings are on and it’s ready to go into the oven adds more depth of flavor.
- Don’t overload the flatbread with pesto. All you need is a light spread over the bread. If you add too much it tends to overpower all the other ingredients.
- The measurements in the recipe are guidelines: I find it hard to put measurements into a recipe like this because so much is done by sight and taste. If you want more cheese on your flatbreads than put it on. The same goes for the tomatoes, and green pepper. With the capers, I would err on the lighter side as they give a nice briny taste to the pizza but could overpower the other ingredients if there are too many. Just my opinion.
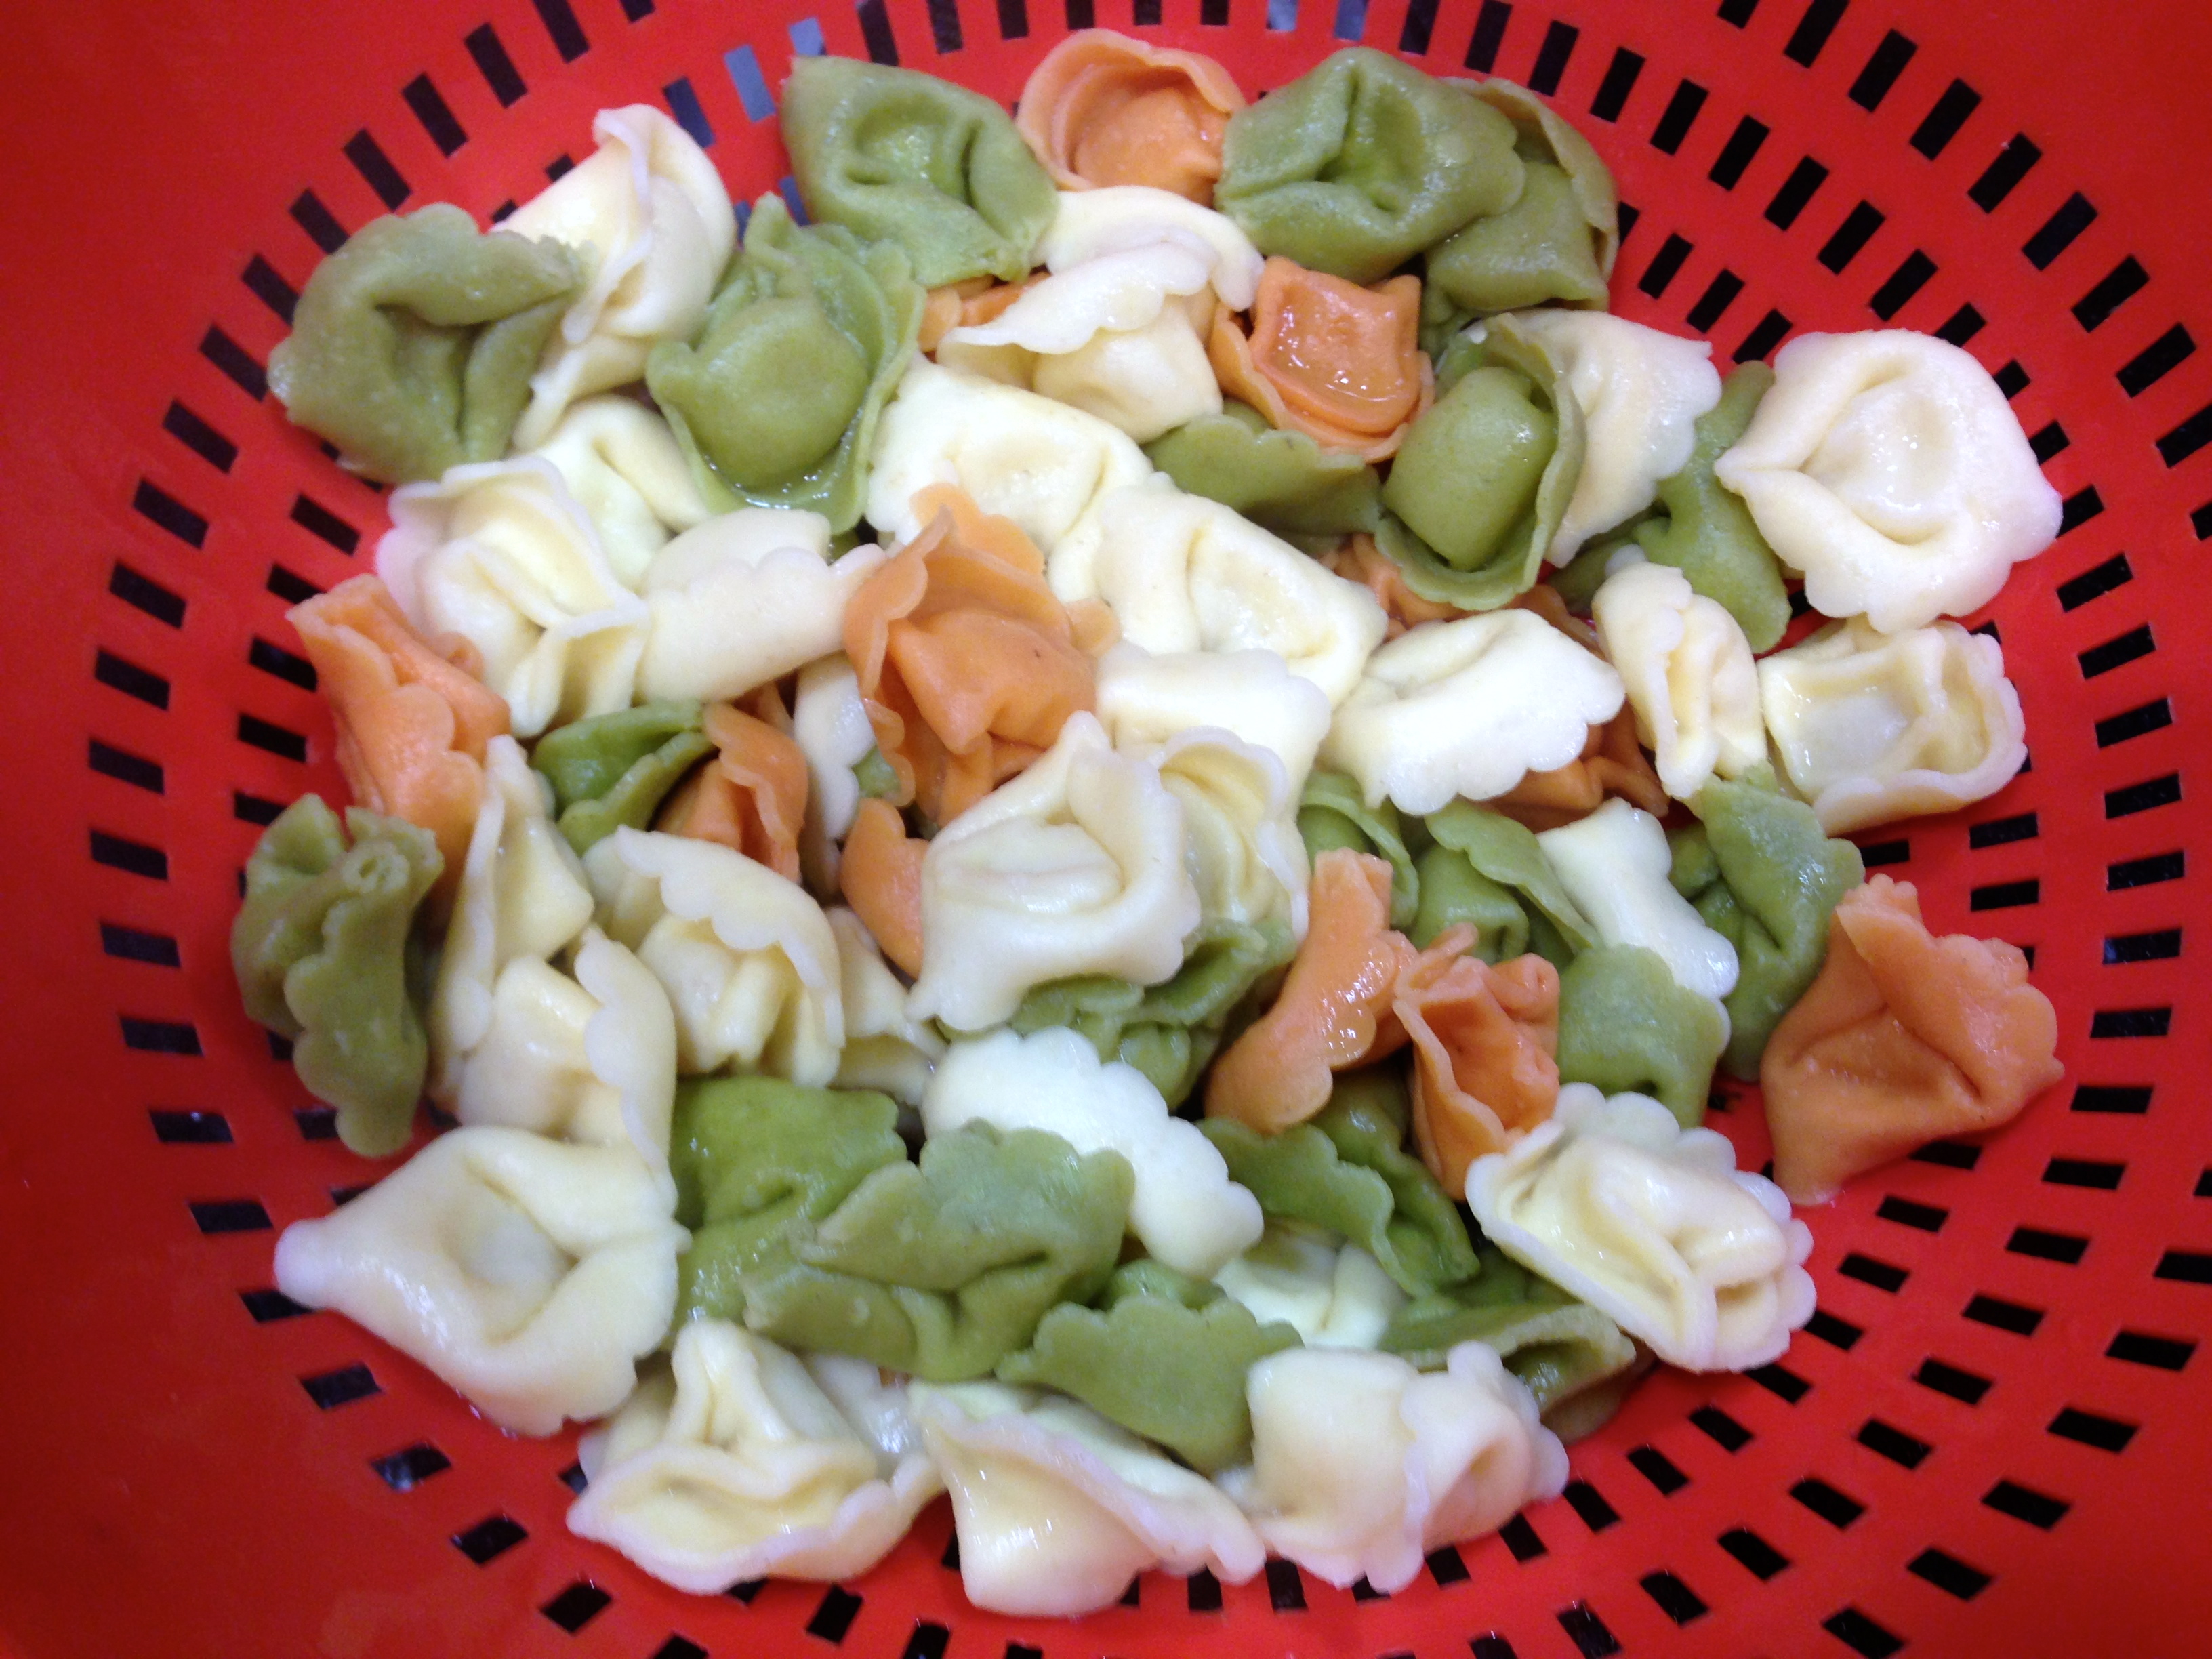
- Each flatbread makes 2 servings. The package contains two flatbreads. To serve use both.
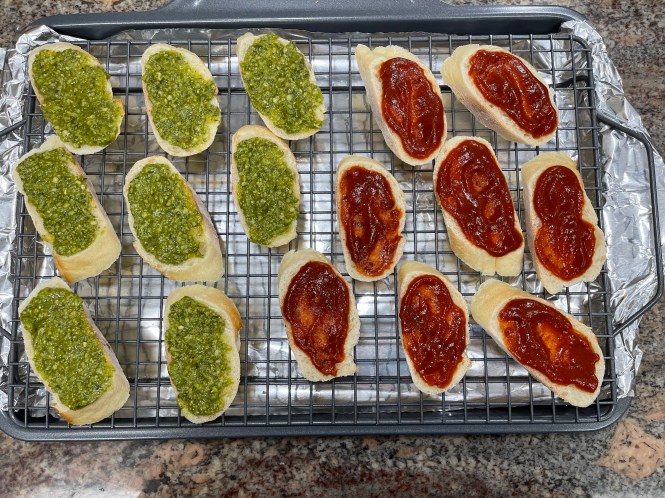
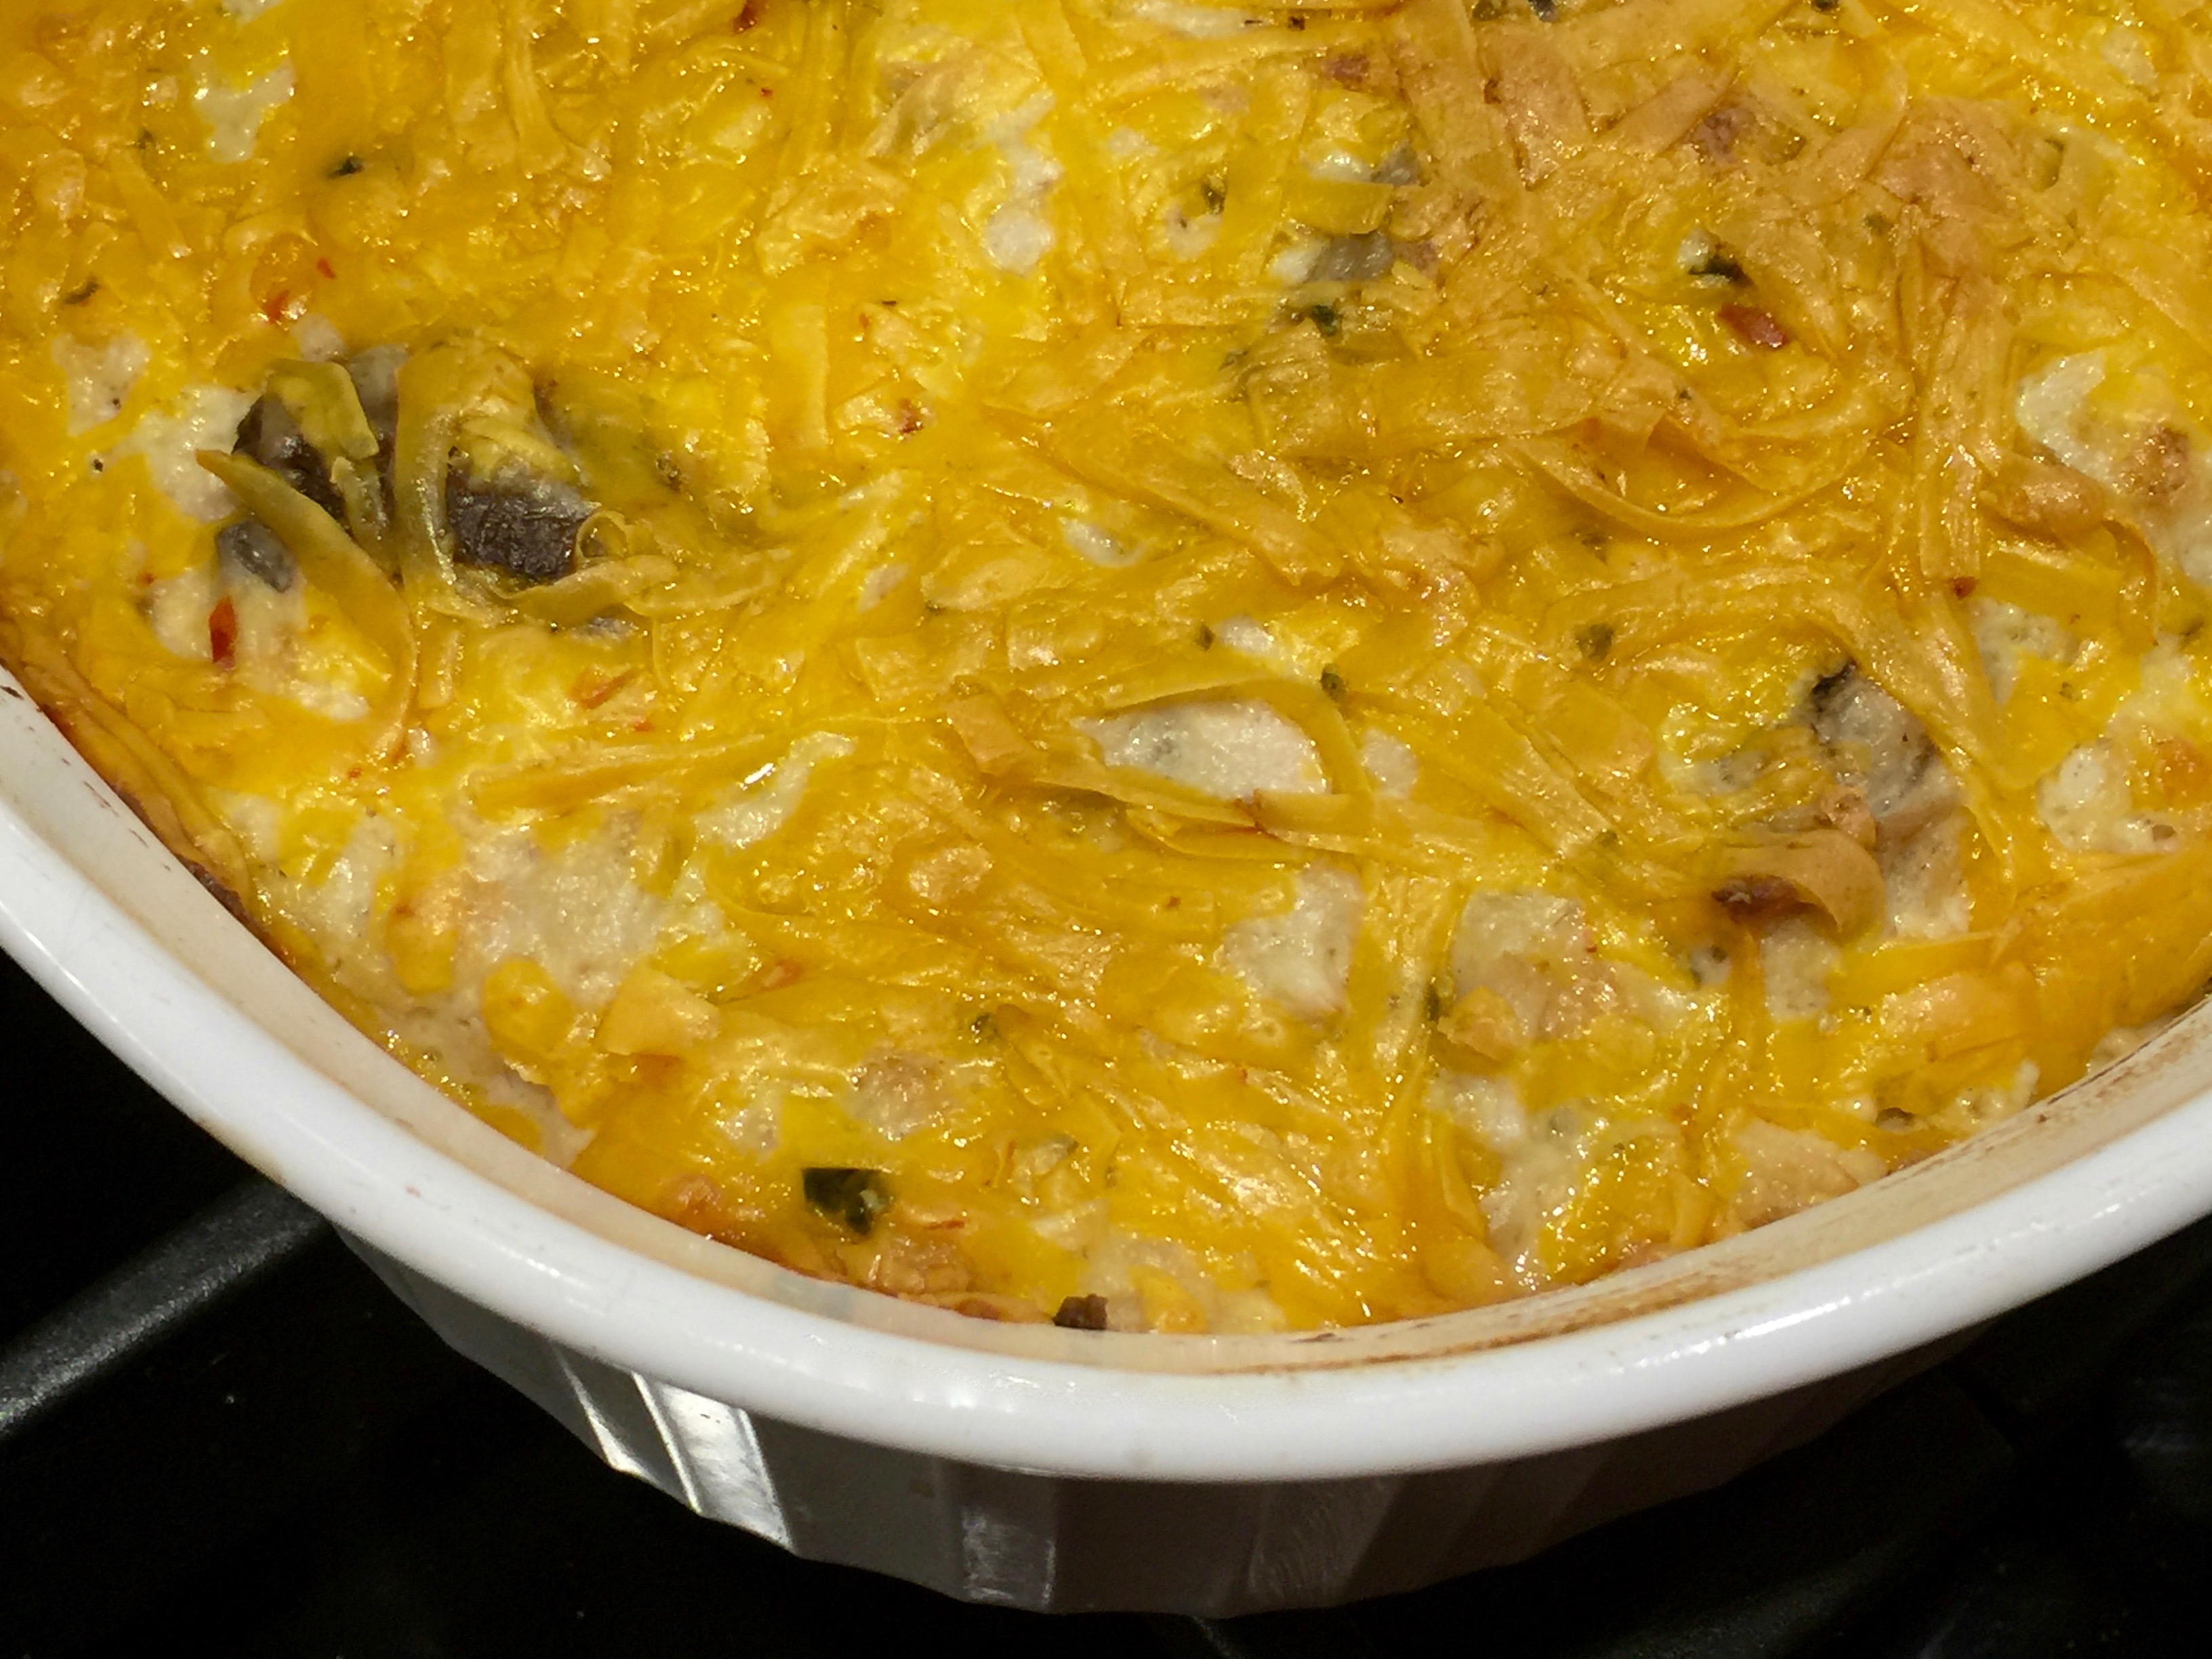
Ready To Go Into The Oven
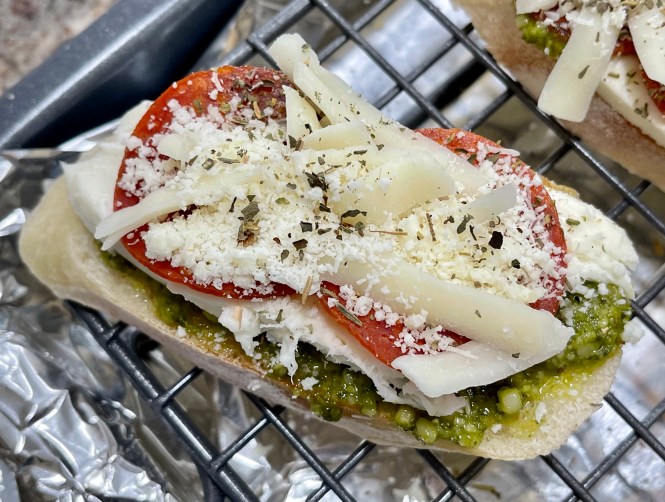
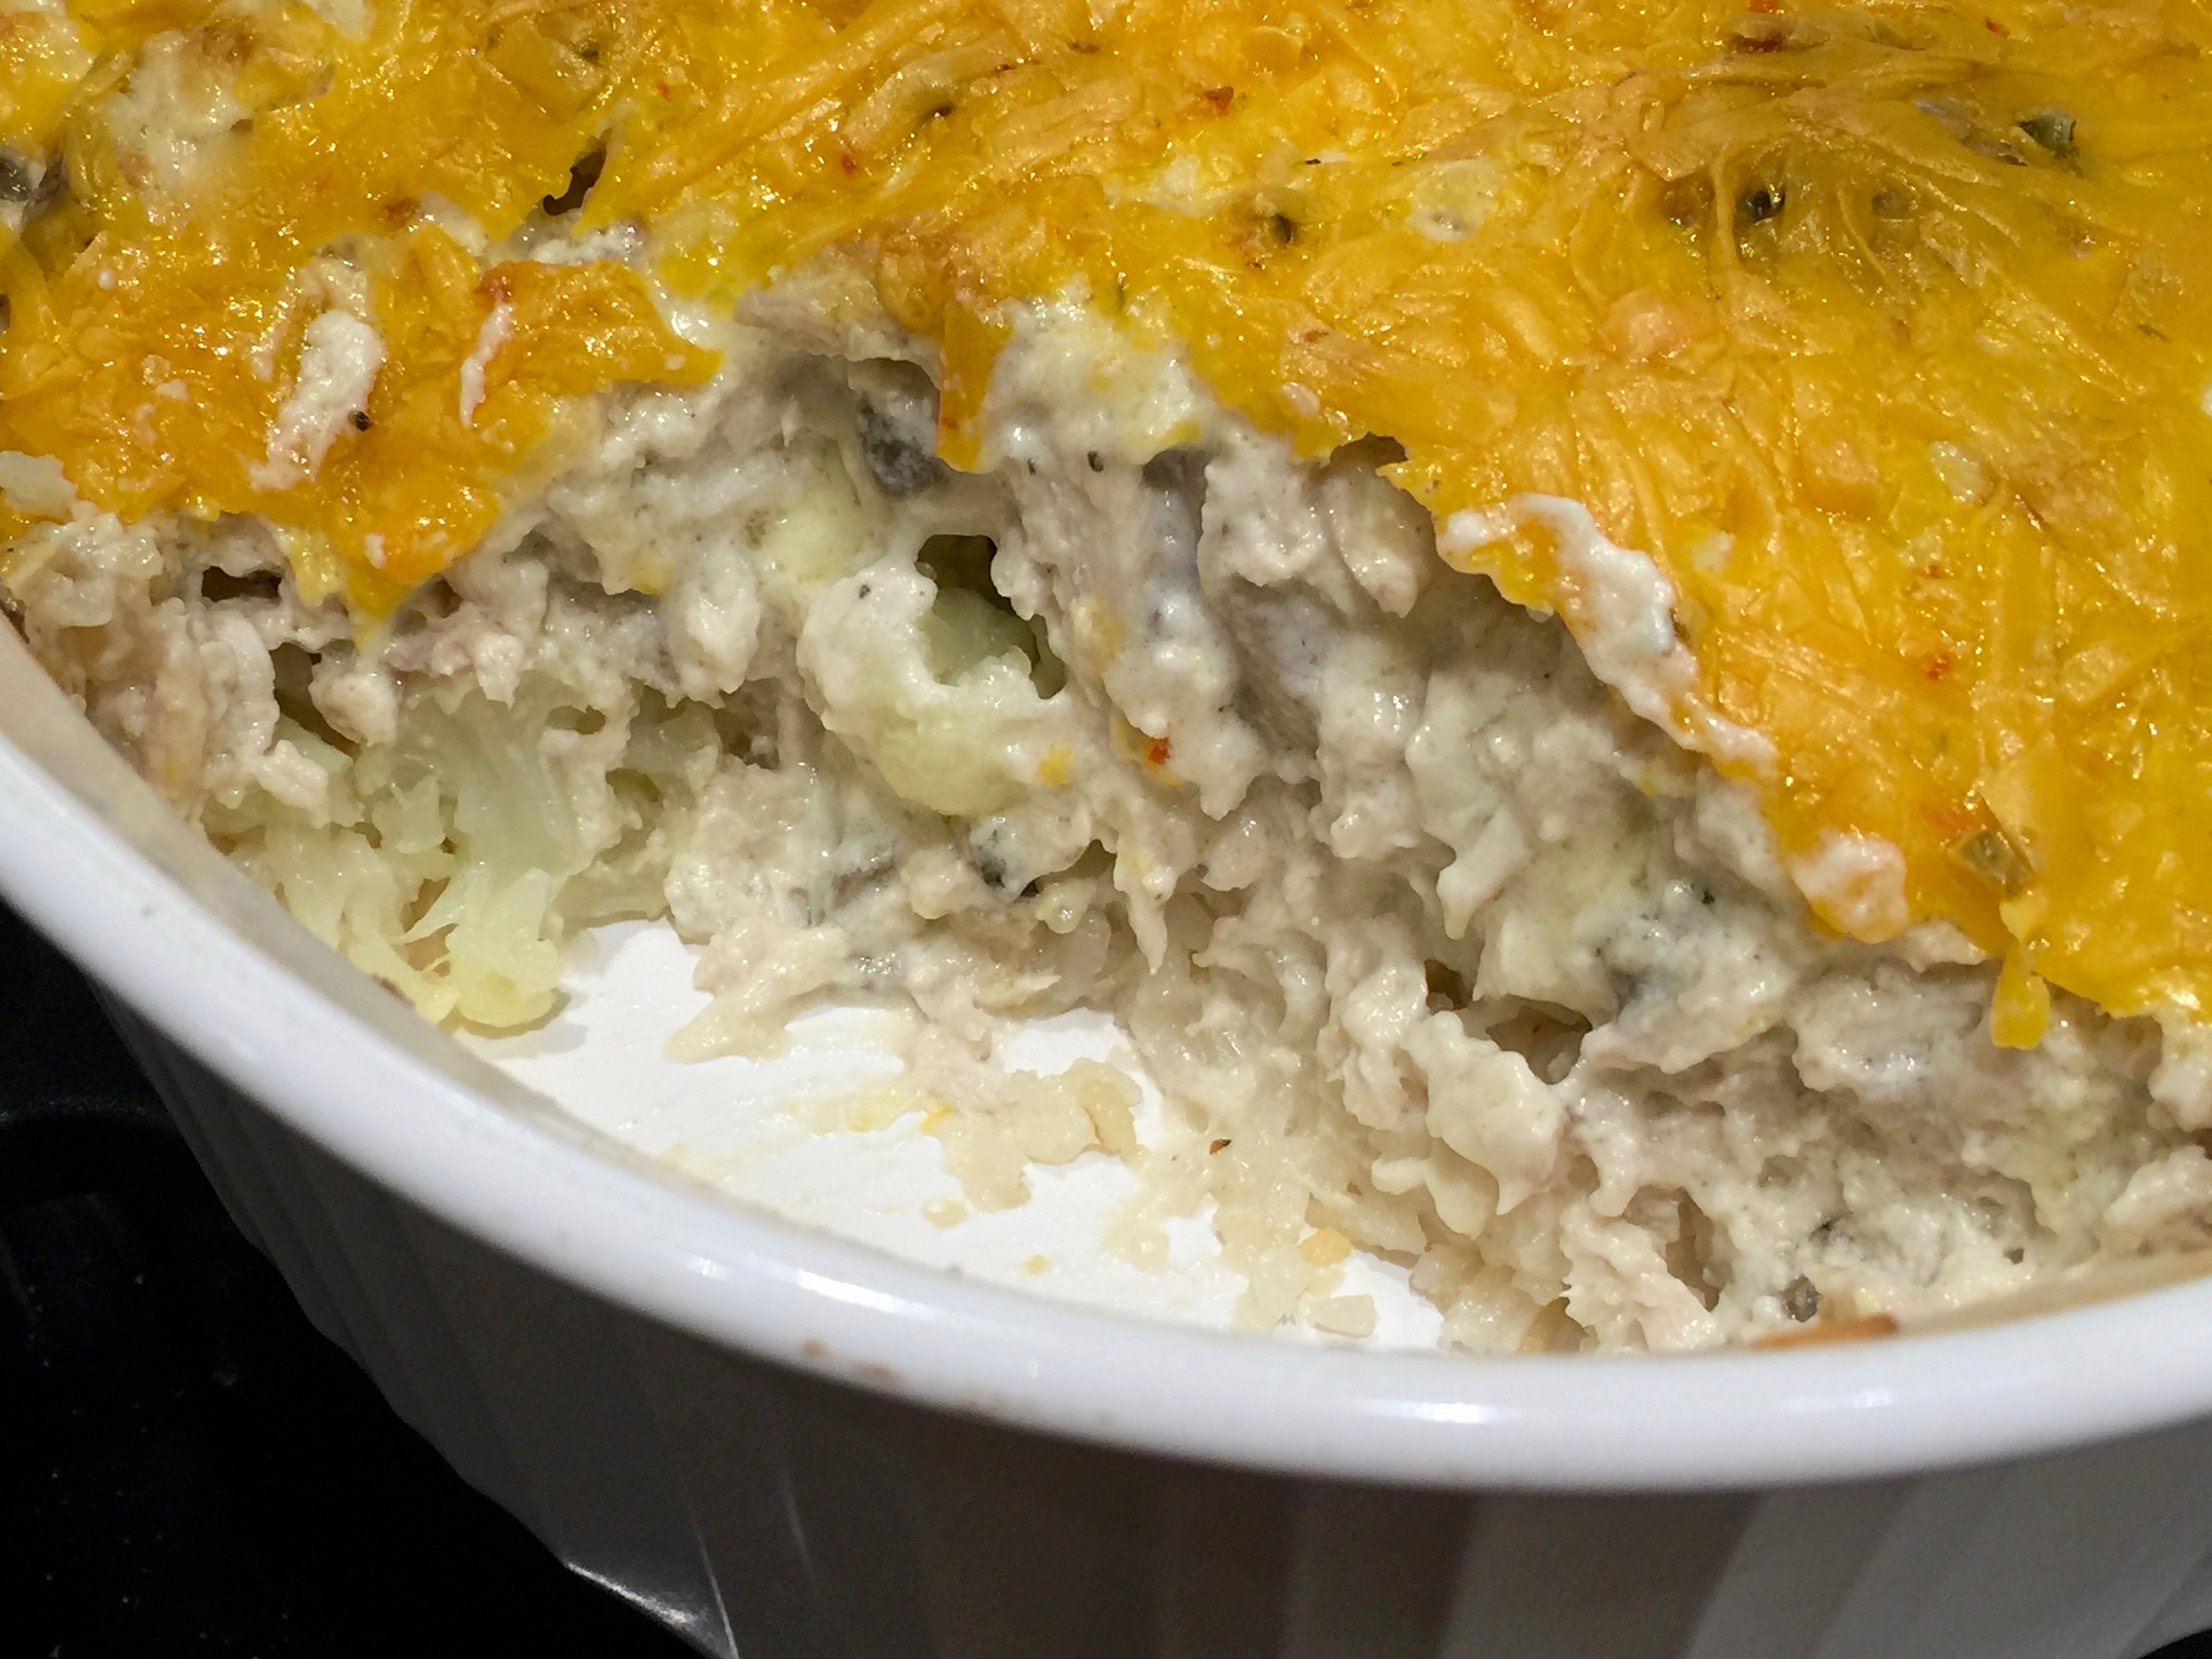
Fresh Out Of The Oven
Flatbread Pizza
INGREDIENTS:
2 Flatbreads
1/4 cup basil pesto
2 cups shredded mozzarella cheese
1/4 cup sun dried tomatoes packed in oil, sliced plus 2 TB oil from the jar
1 TB capers, drained
1/4 cup green pepper, diced small
1 tsp Italian seasoning
DIRECTIONS:
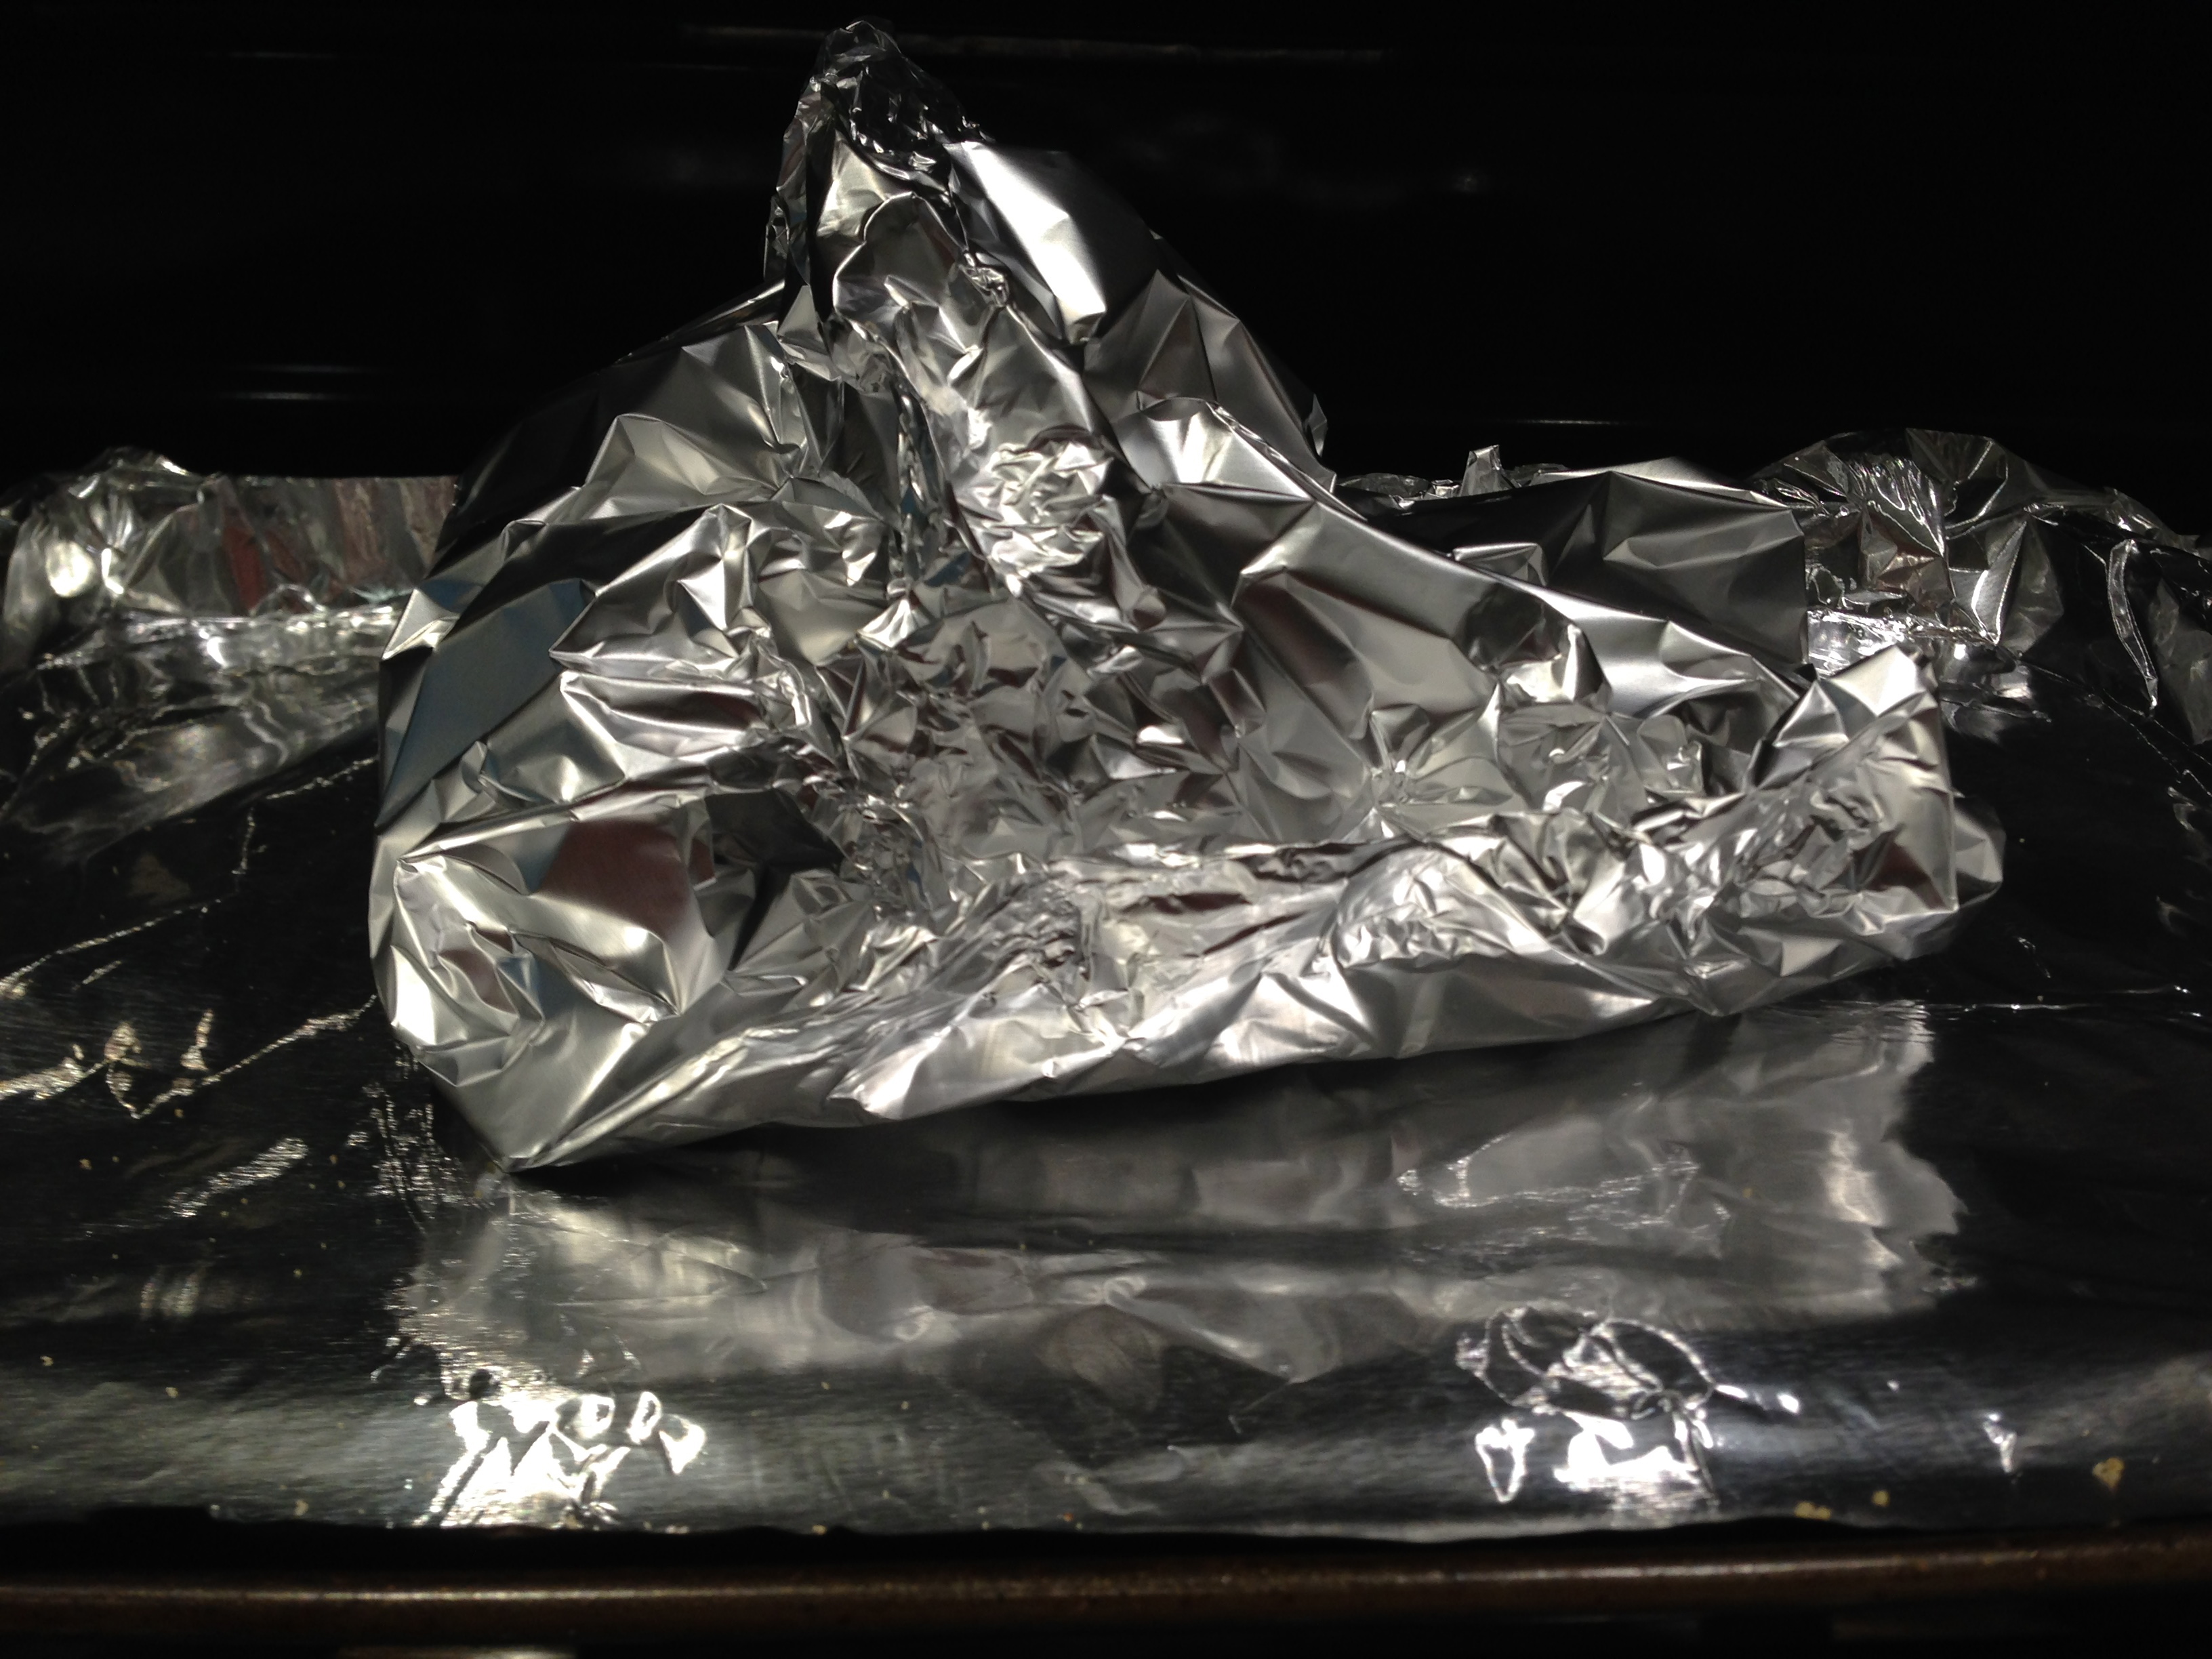
Preheat the oven to 400 degrees. Line a baking sheet with foil.
Arrange the flatbreads on the prepared pan. Spread the pesto over the flatbreads to about 1/2 inch from the edges. Spread the cheese on top of the pesto. Arrange the sliced sun dried tomatoes, capers and diced green pepper on top. Drizzle the oil from the sun dried tomatoes over the flatbreads. Sprinkle with the Italian seasoning.
Bake for 10-15 minutes or until the cheese is melted and slightly browned and the edges of the flatbread are slightly crispy.
Cut into slices and serve.


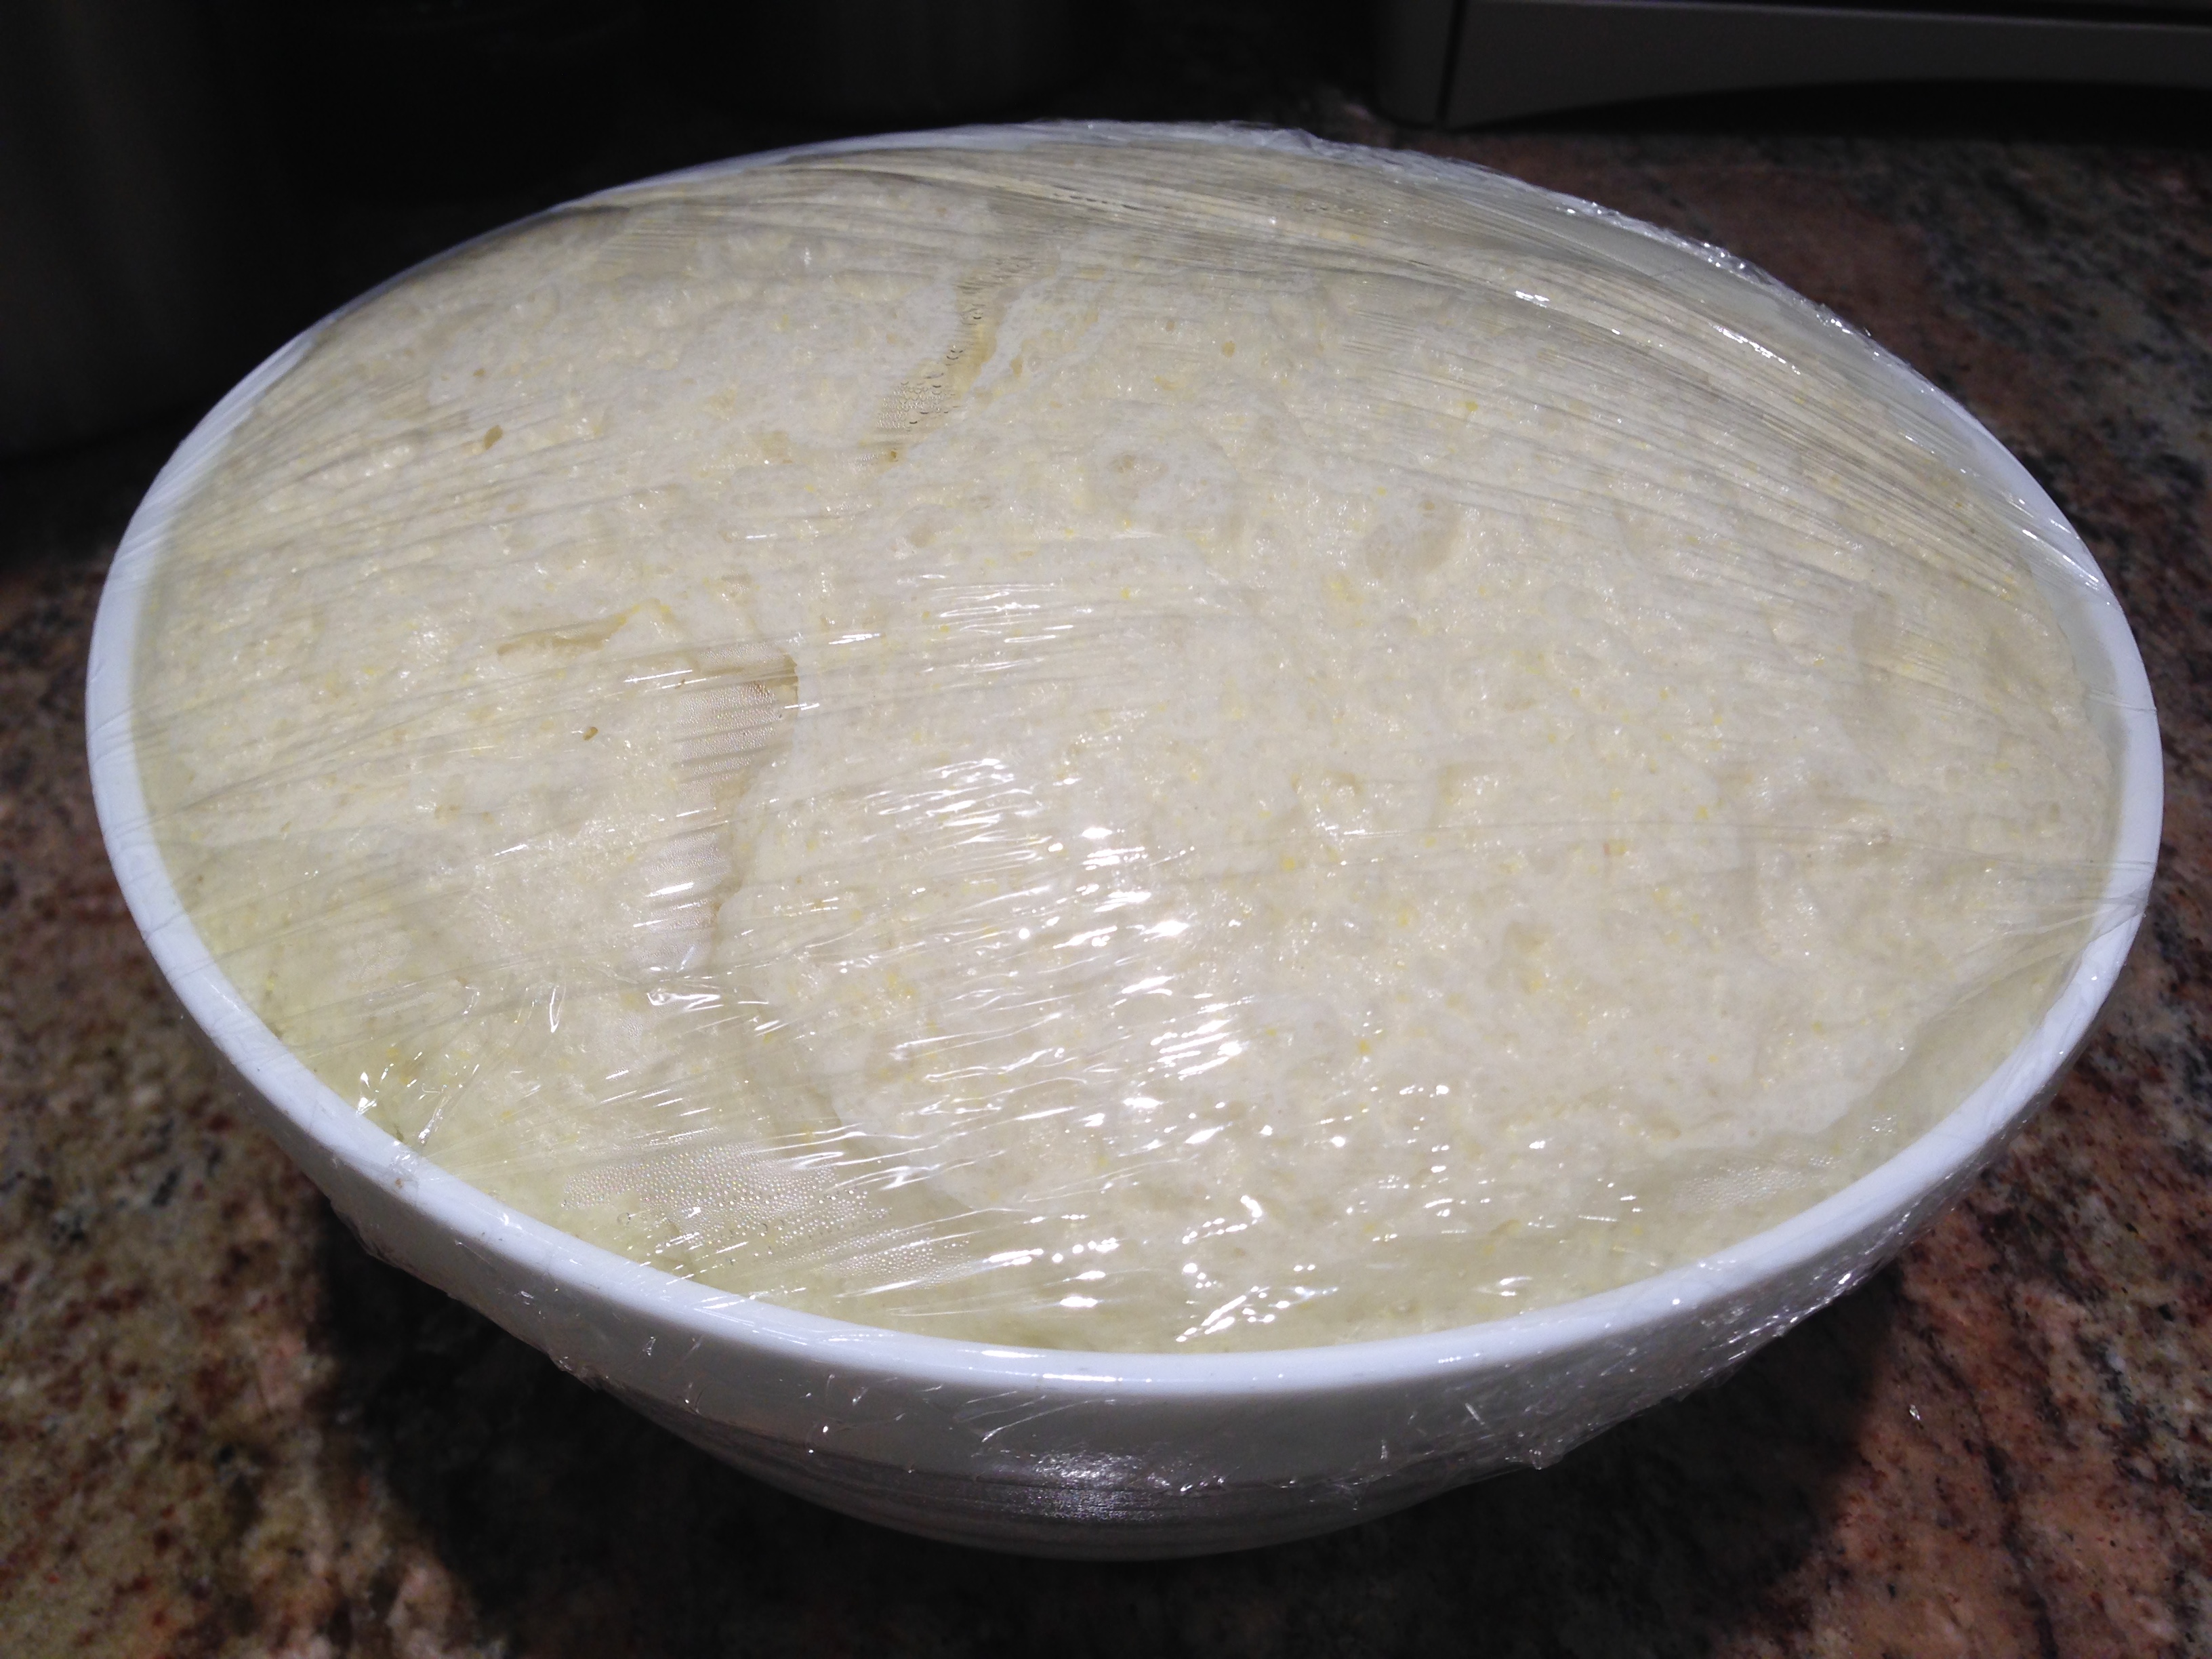
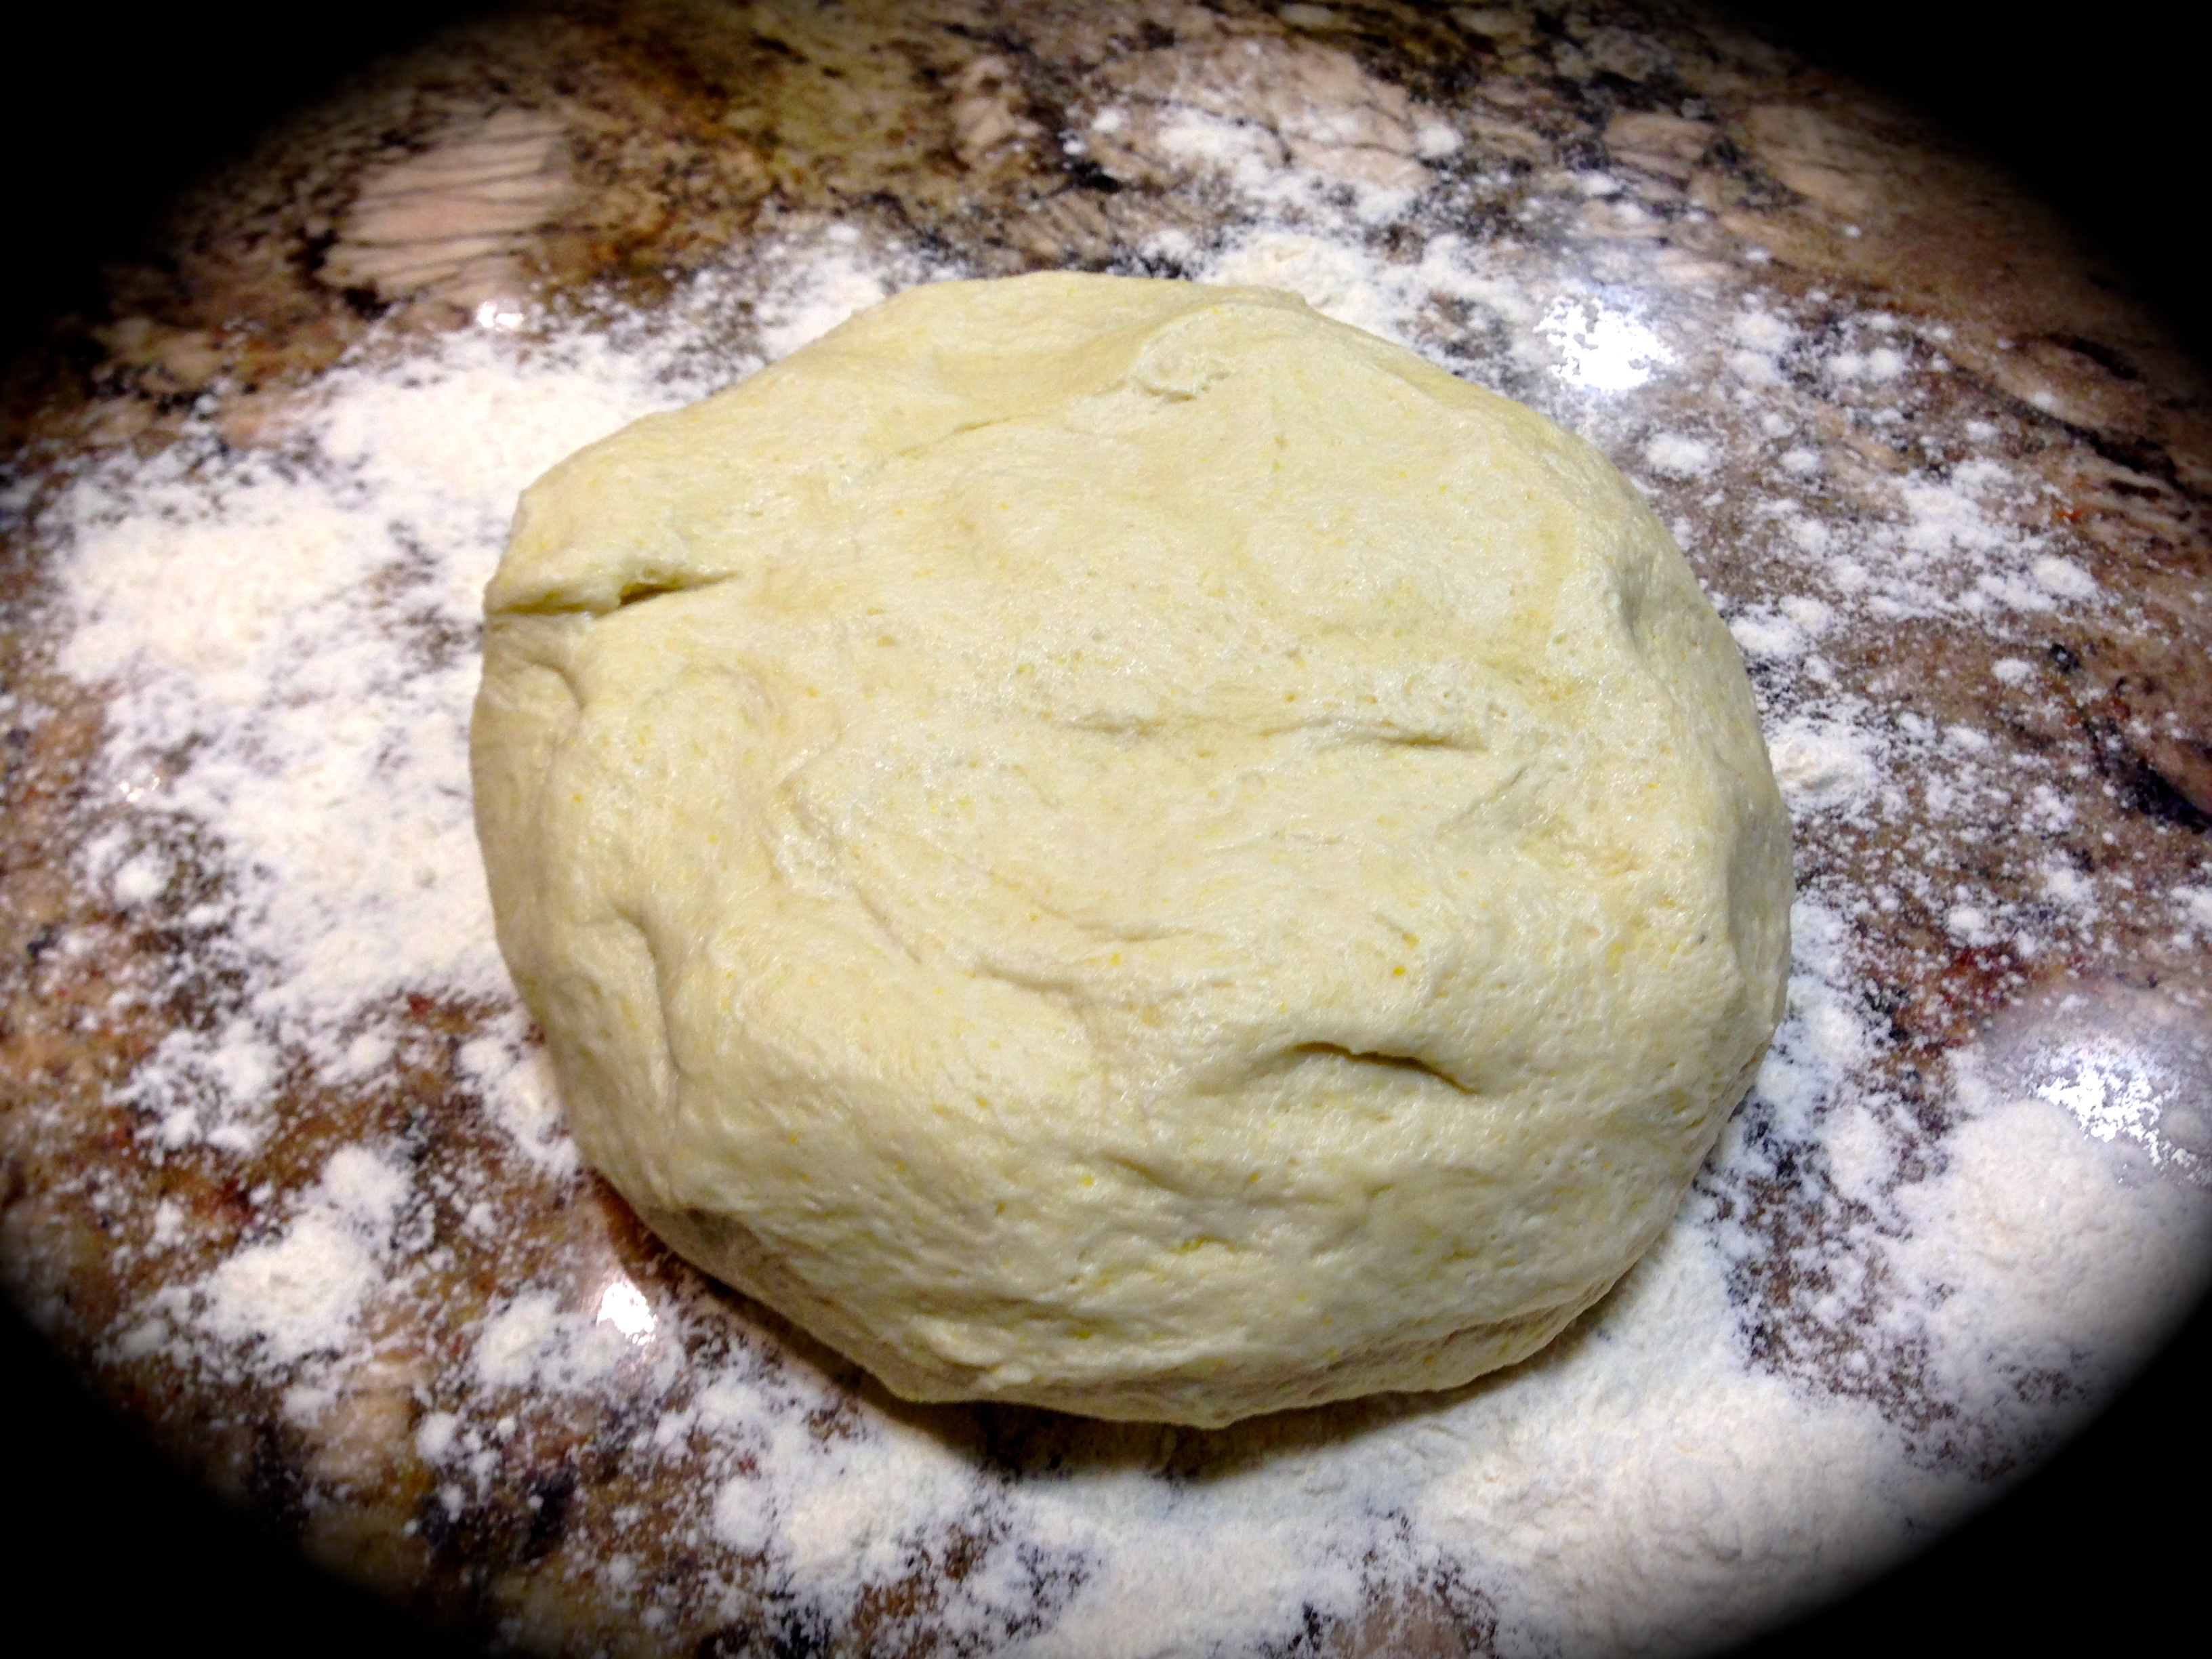
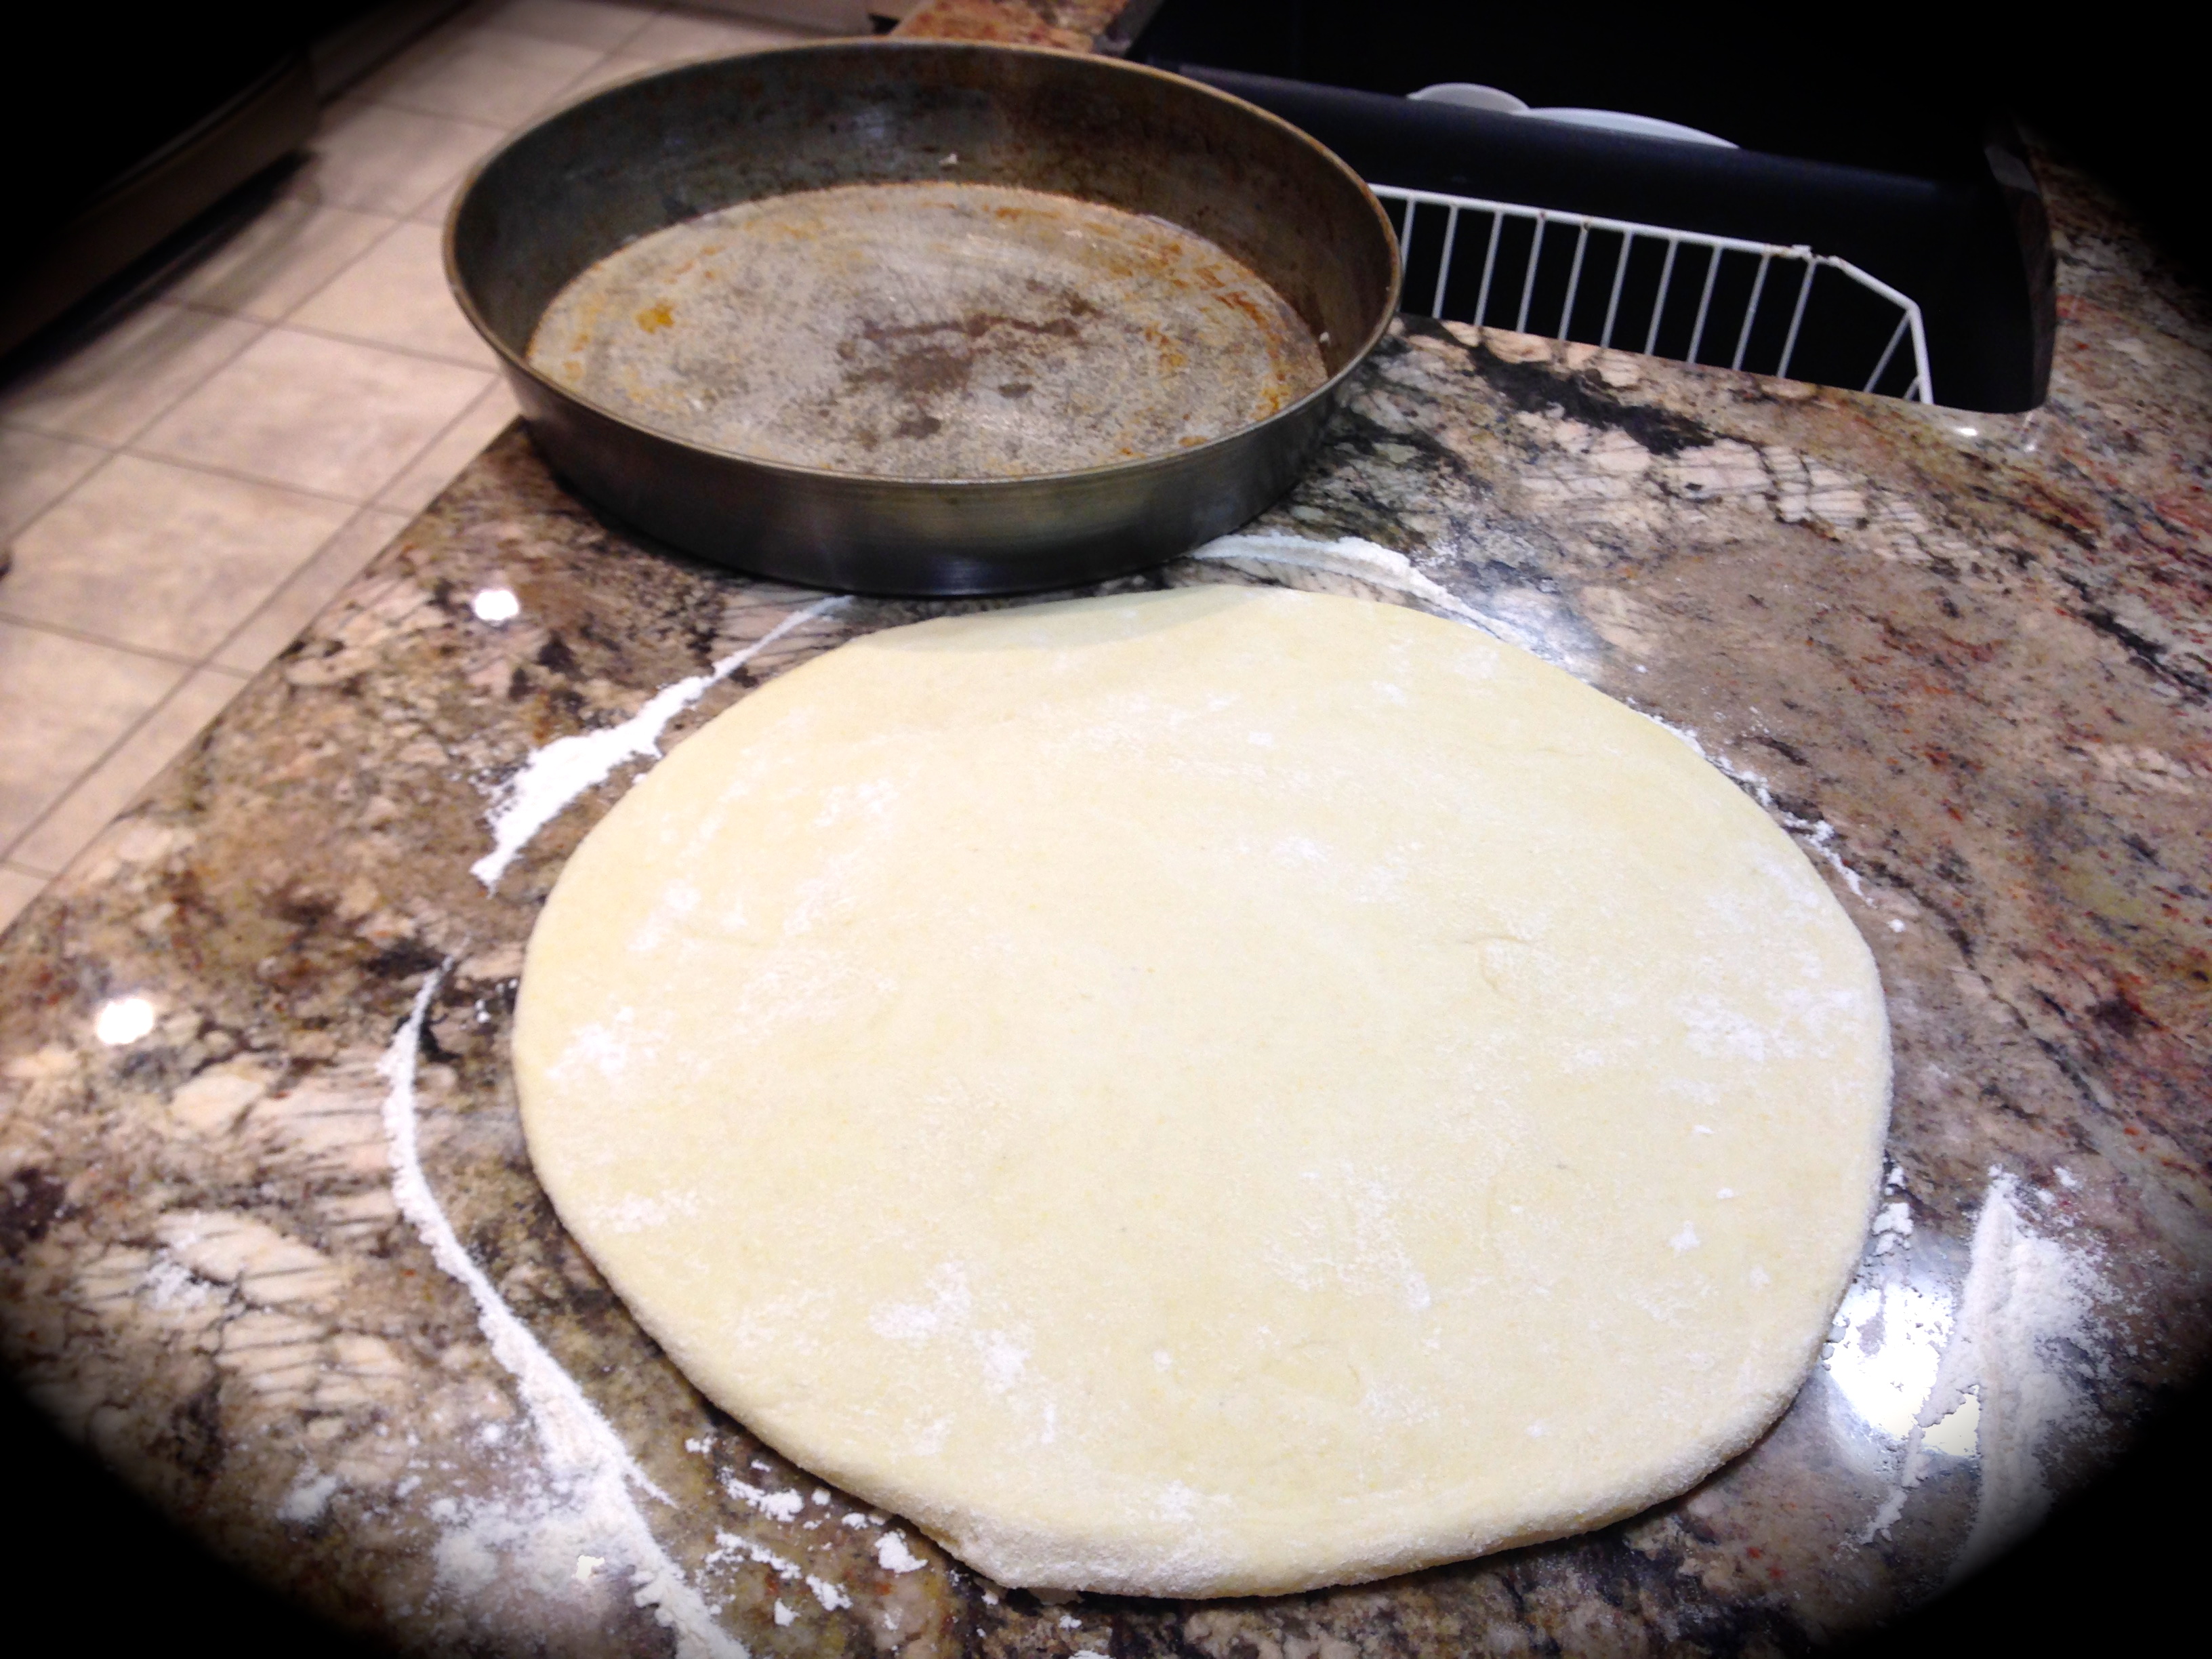
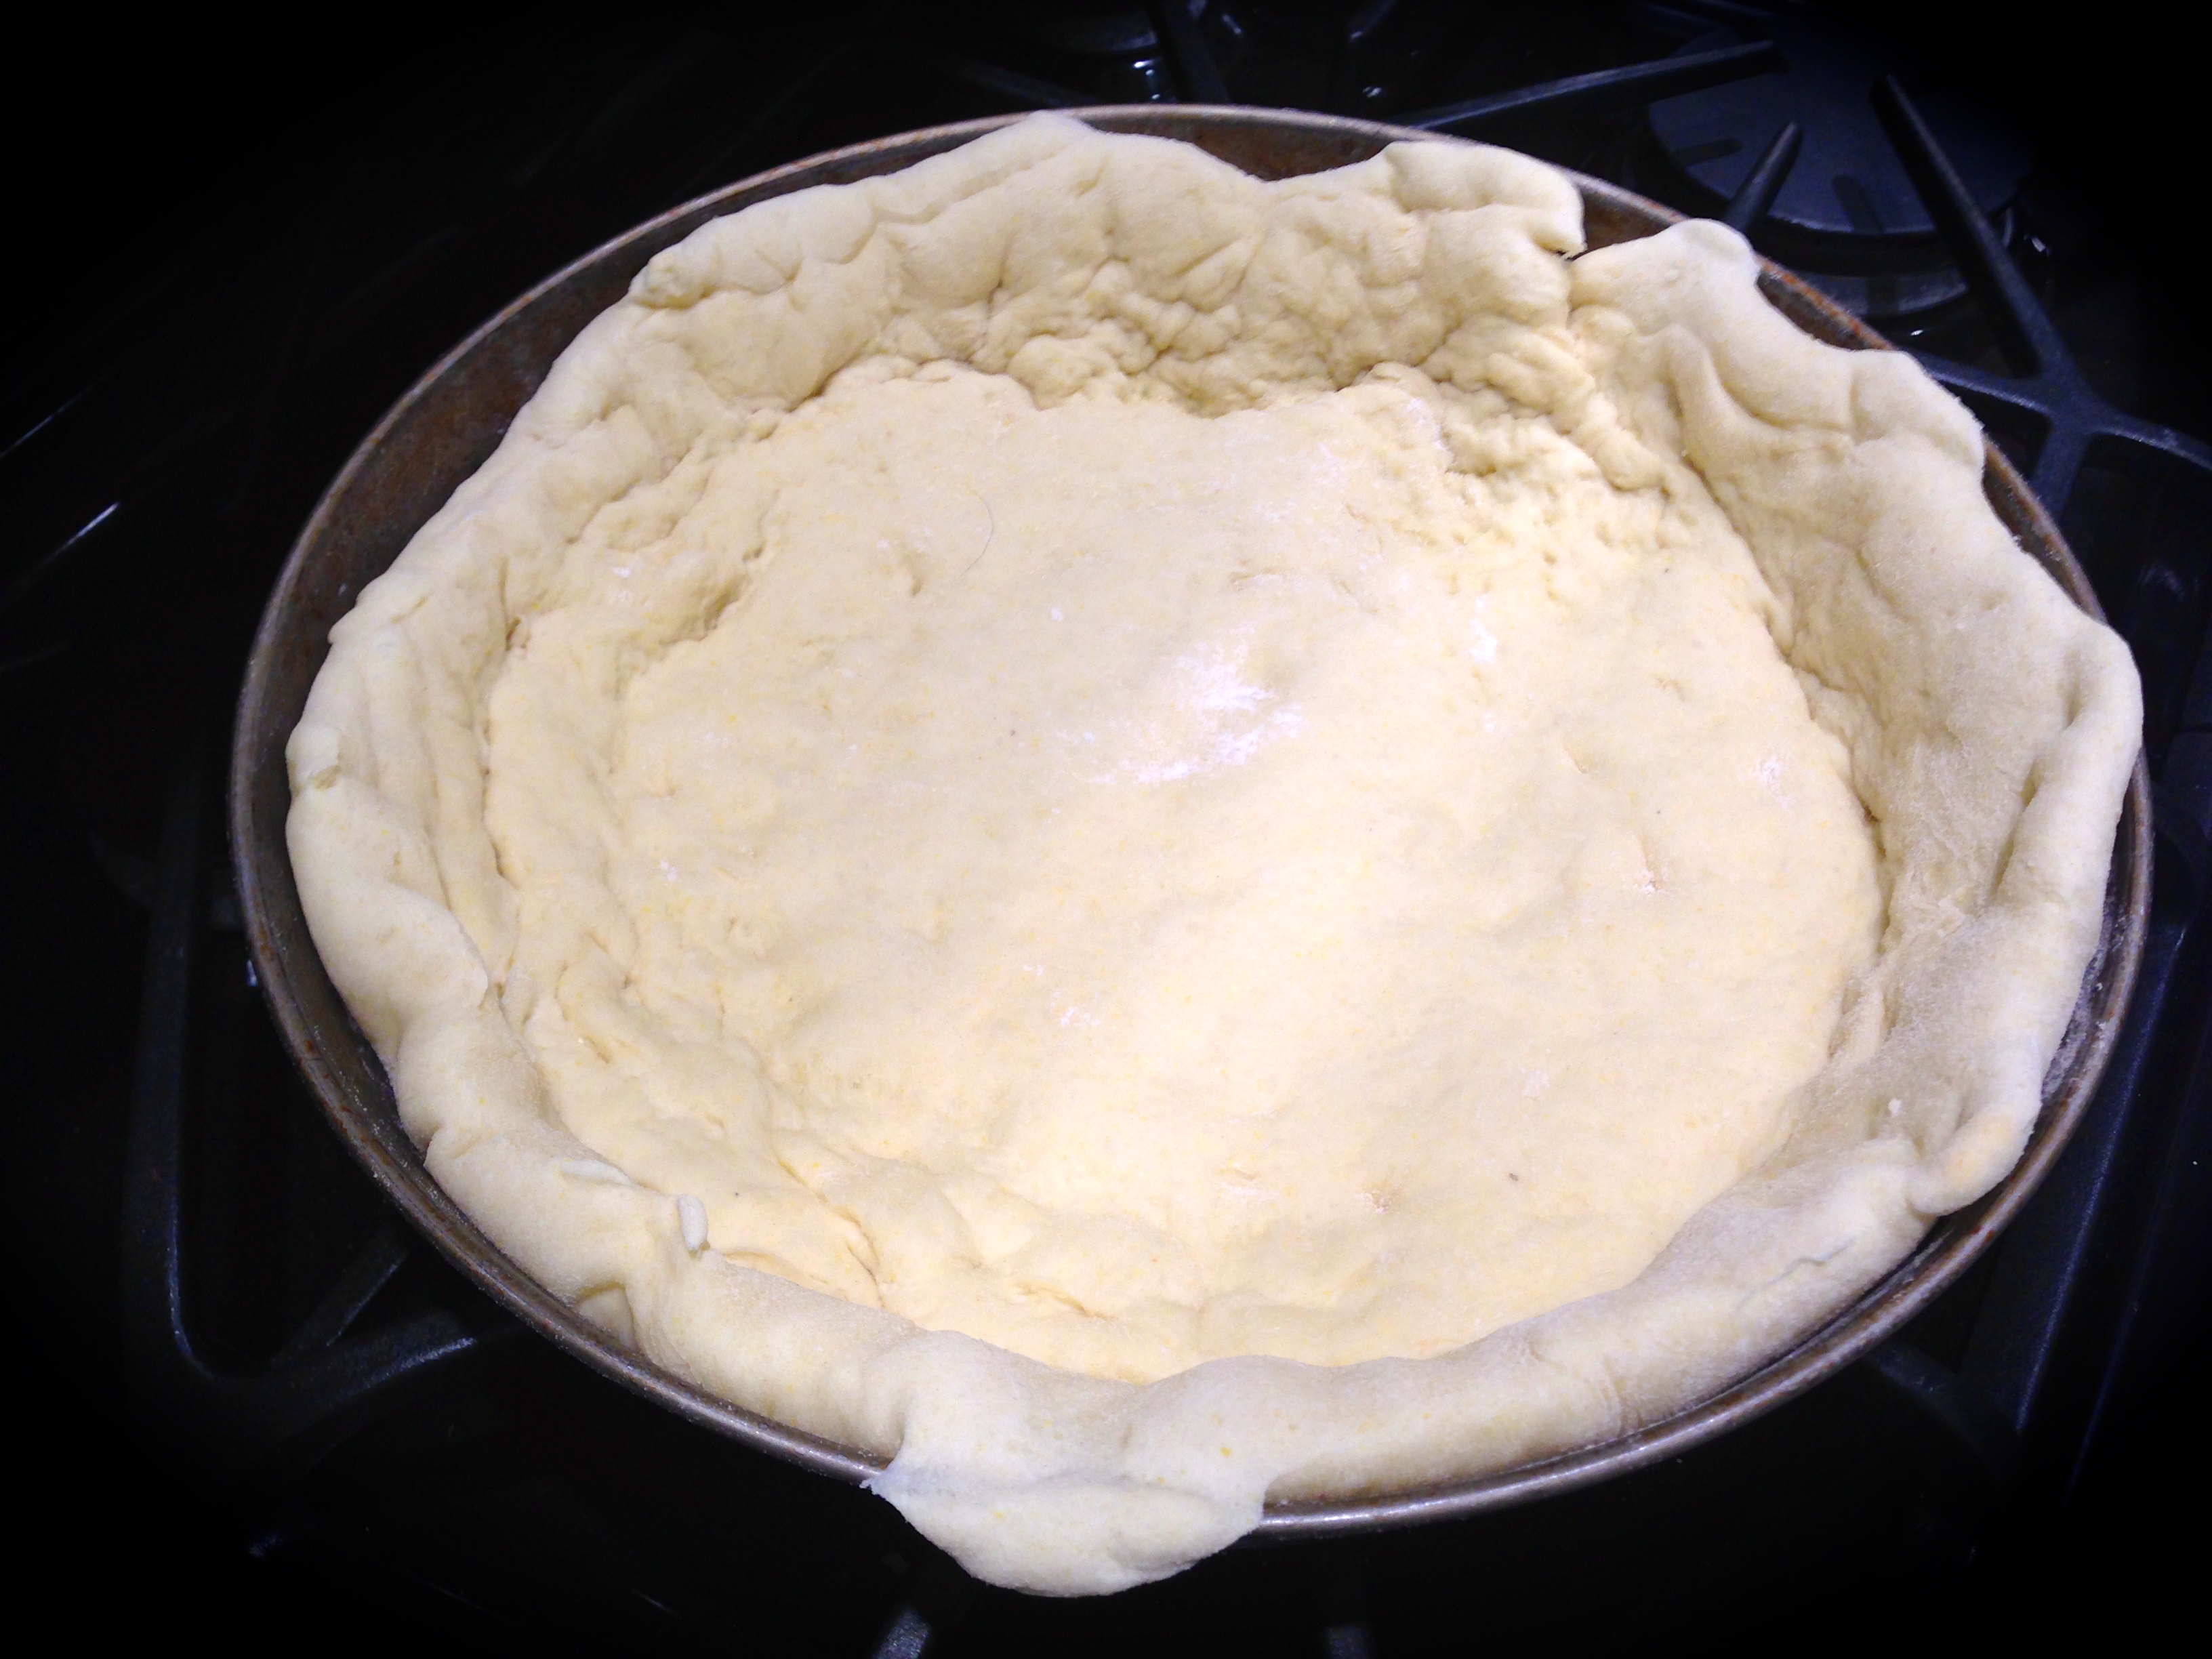
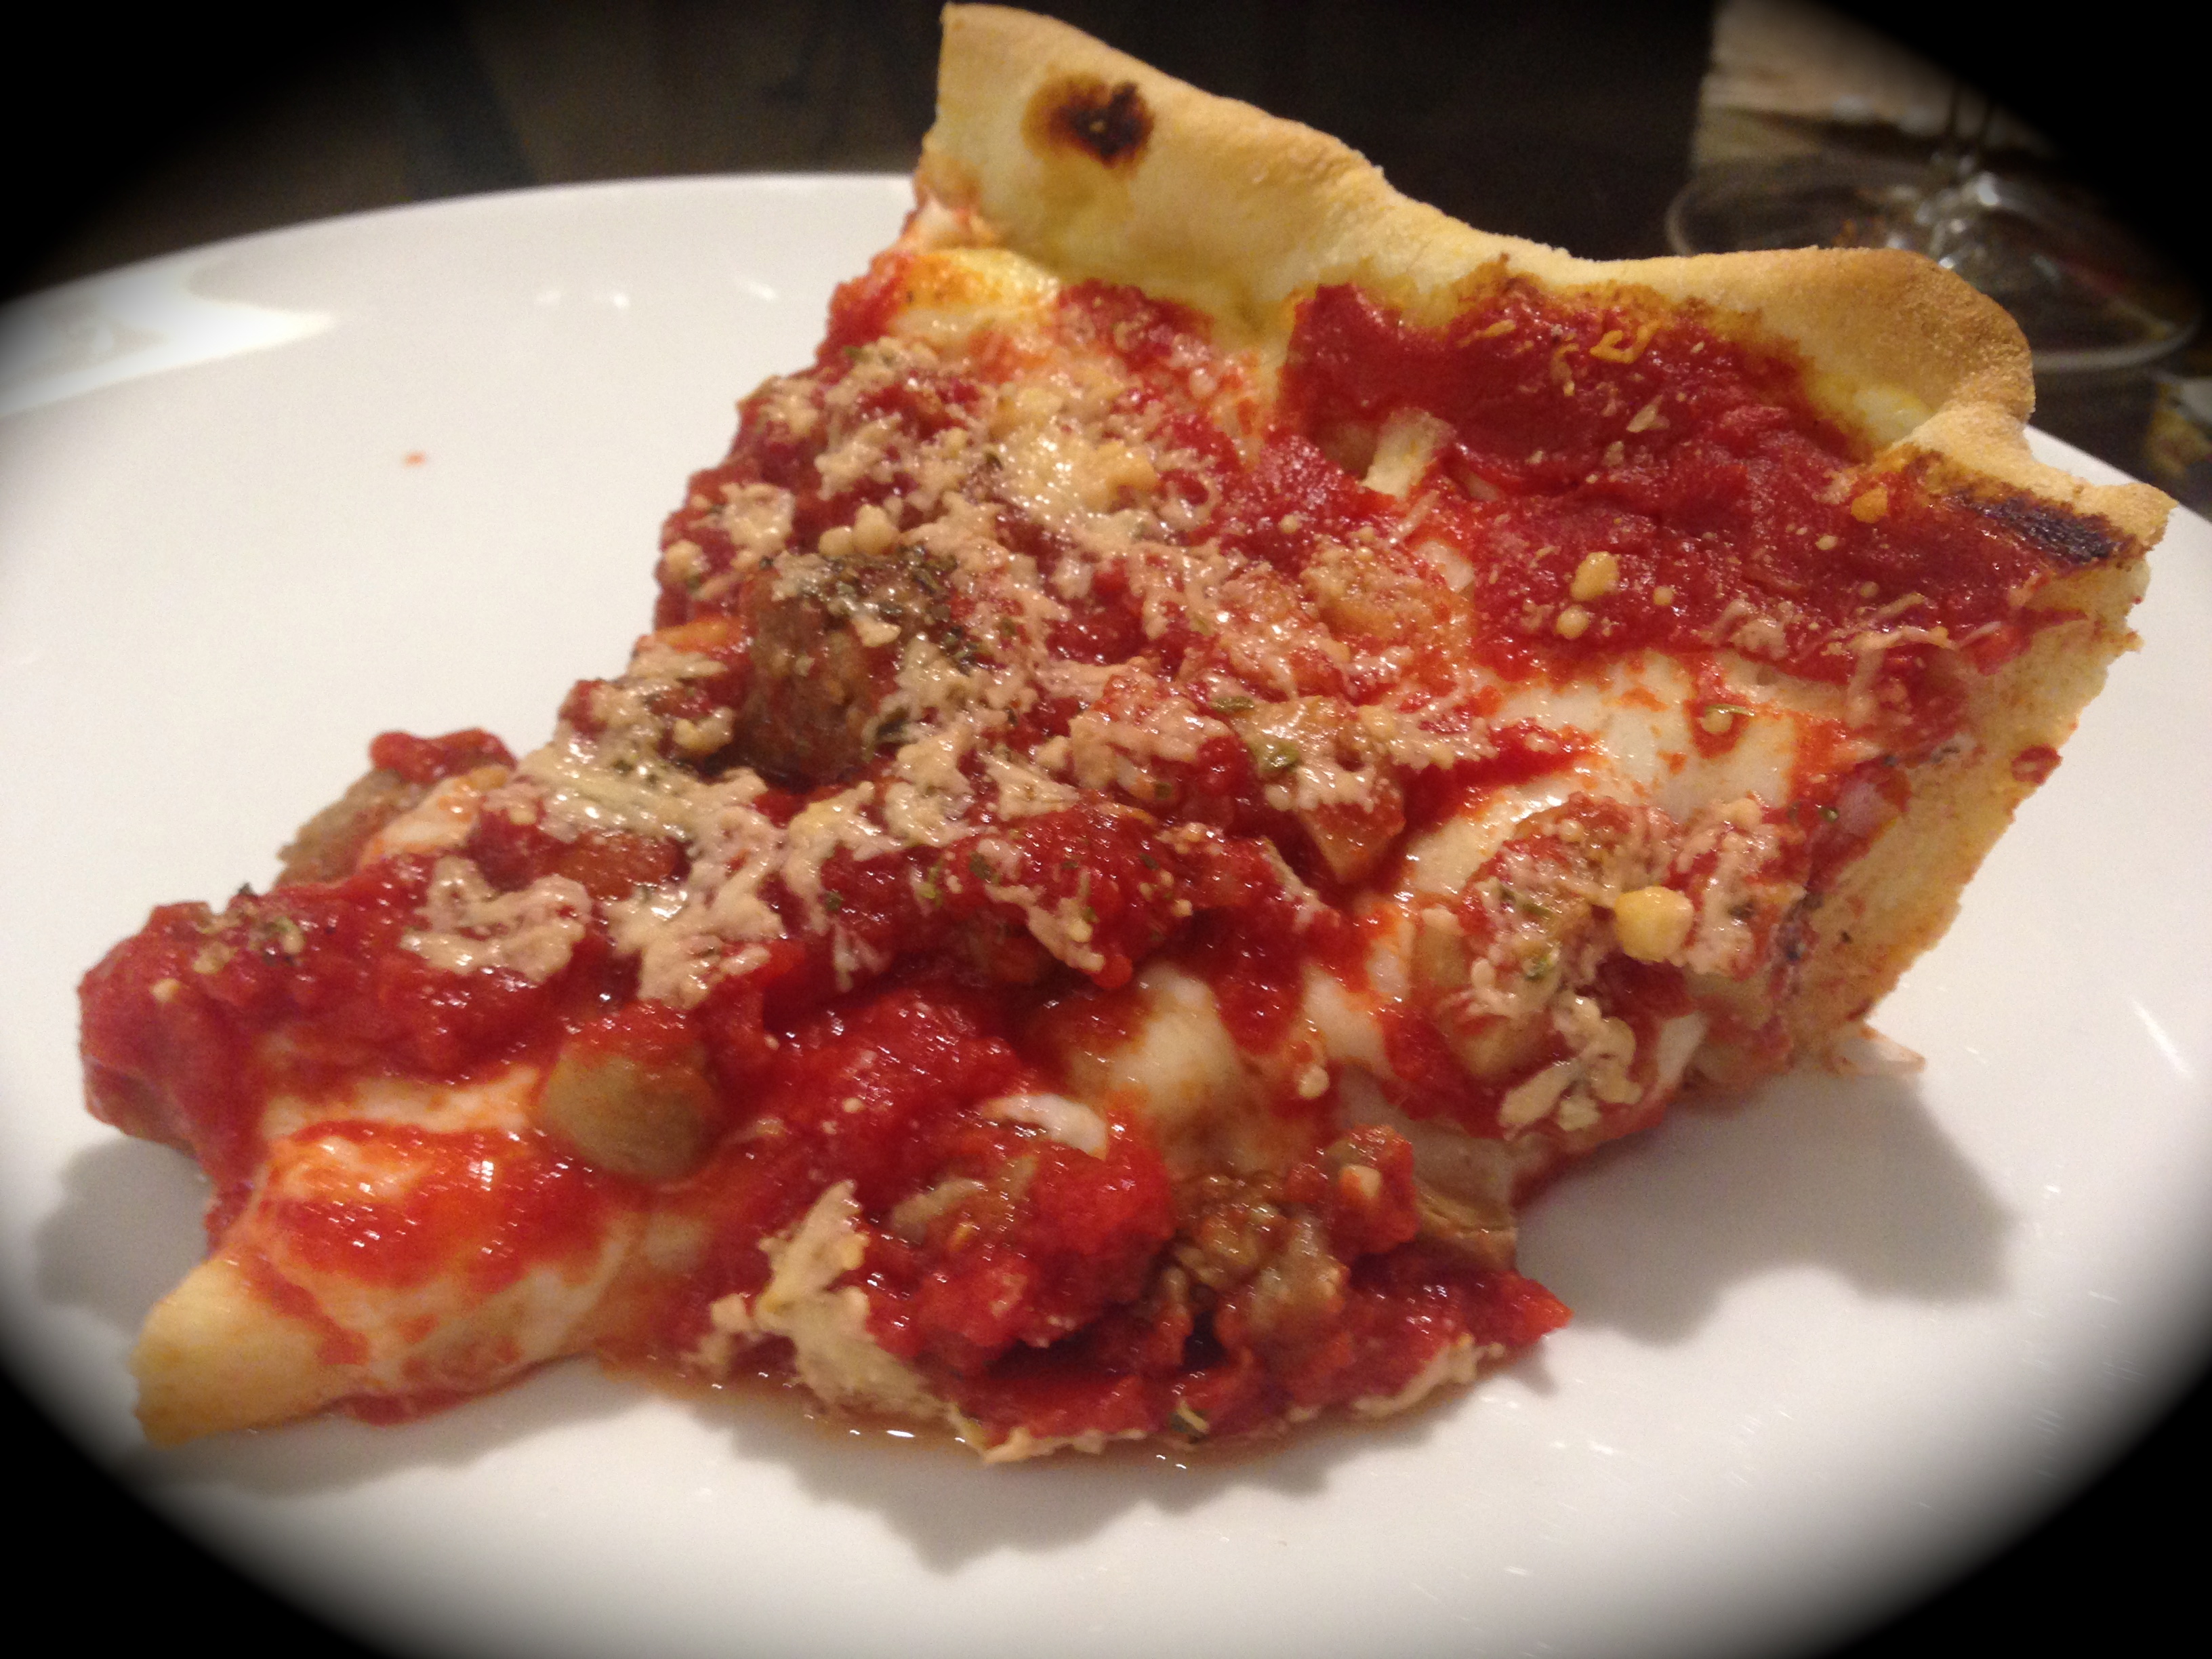
 Lesson Learned 1 – Tips for working with pizza dough: Pizza dough, like most other types of dough, likes to rest before you roll it out. One common mistake with using store bought pizza dough is to take it out of the refrigerator and immediately start working with it. Doing that will result in a tough crust. Let the dough rest on your counter for about 20 minutes before you begin rolling it out. That way the glutens in your dough won’t get overworked and you won’t have a tough crust.
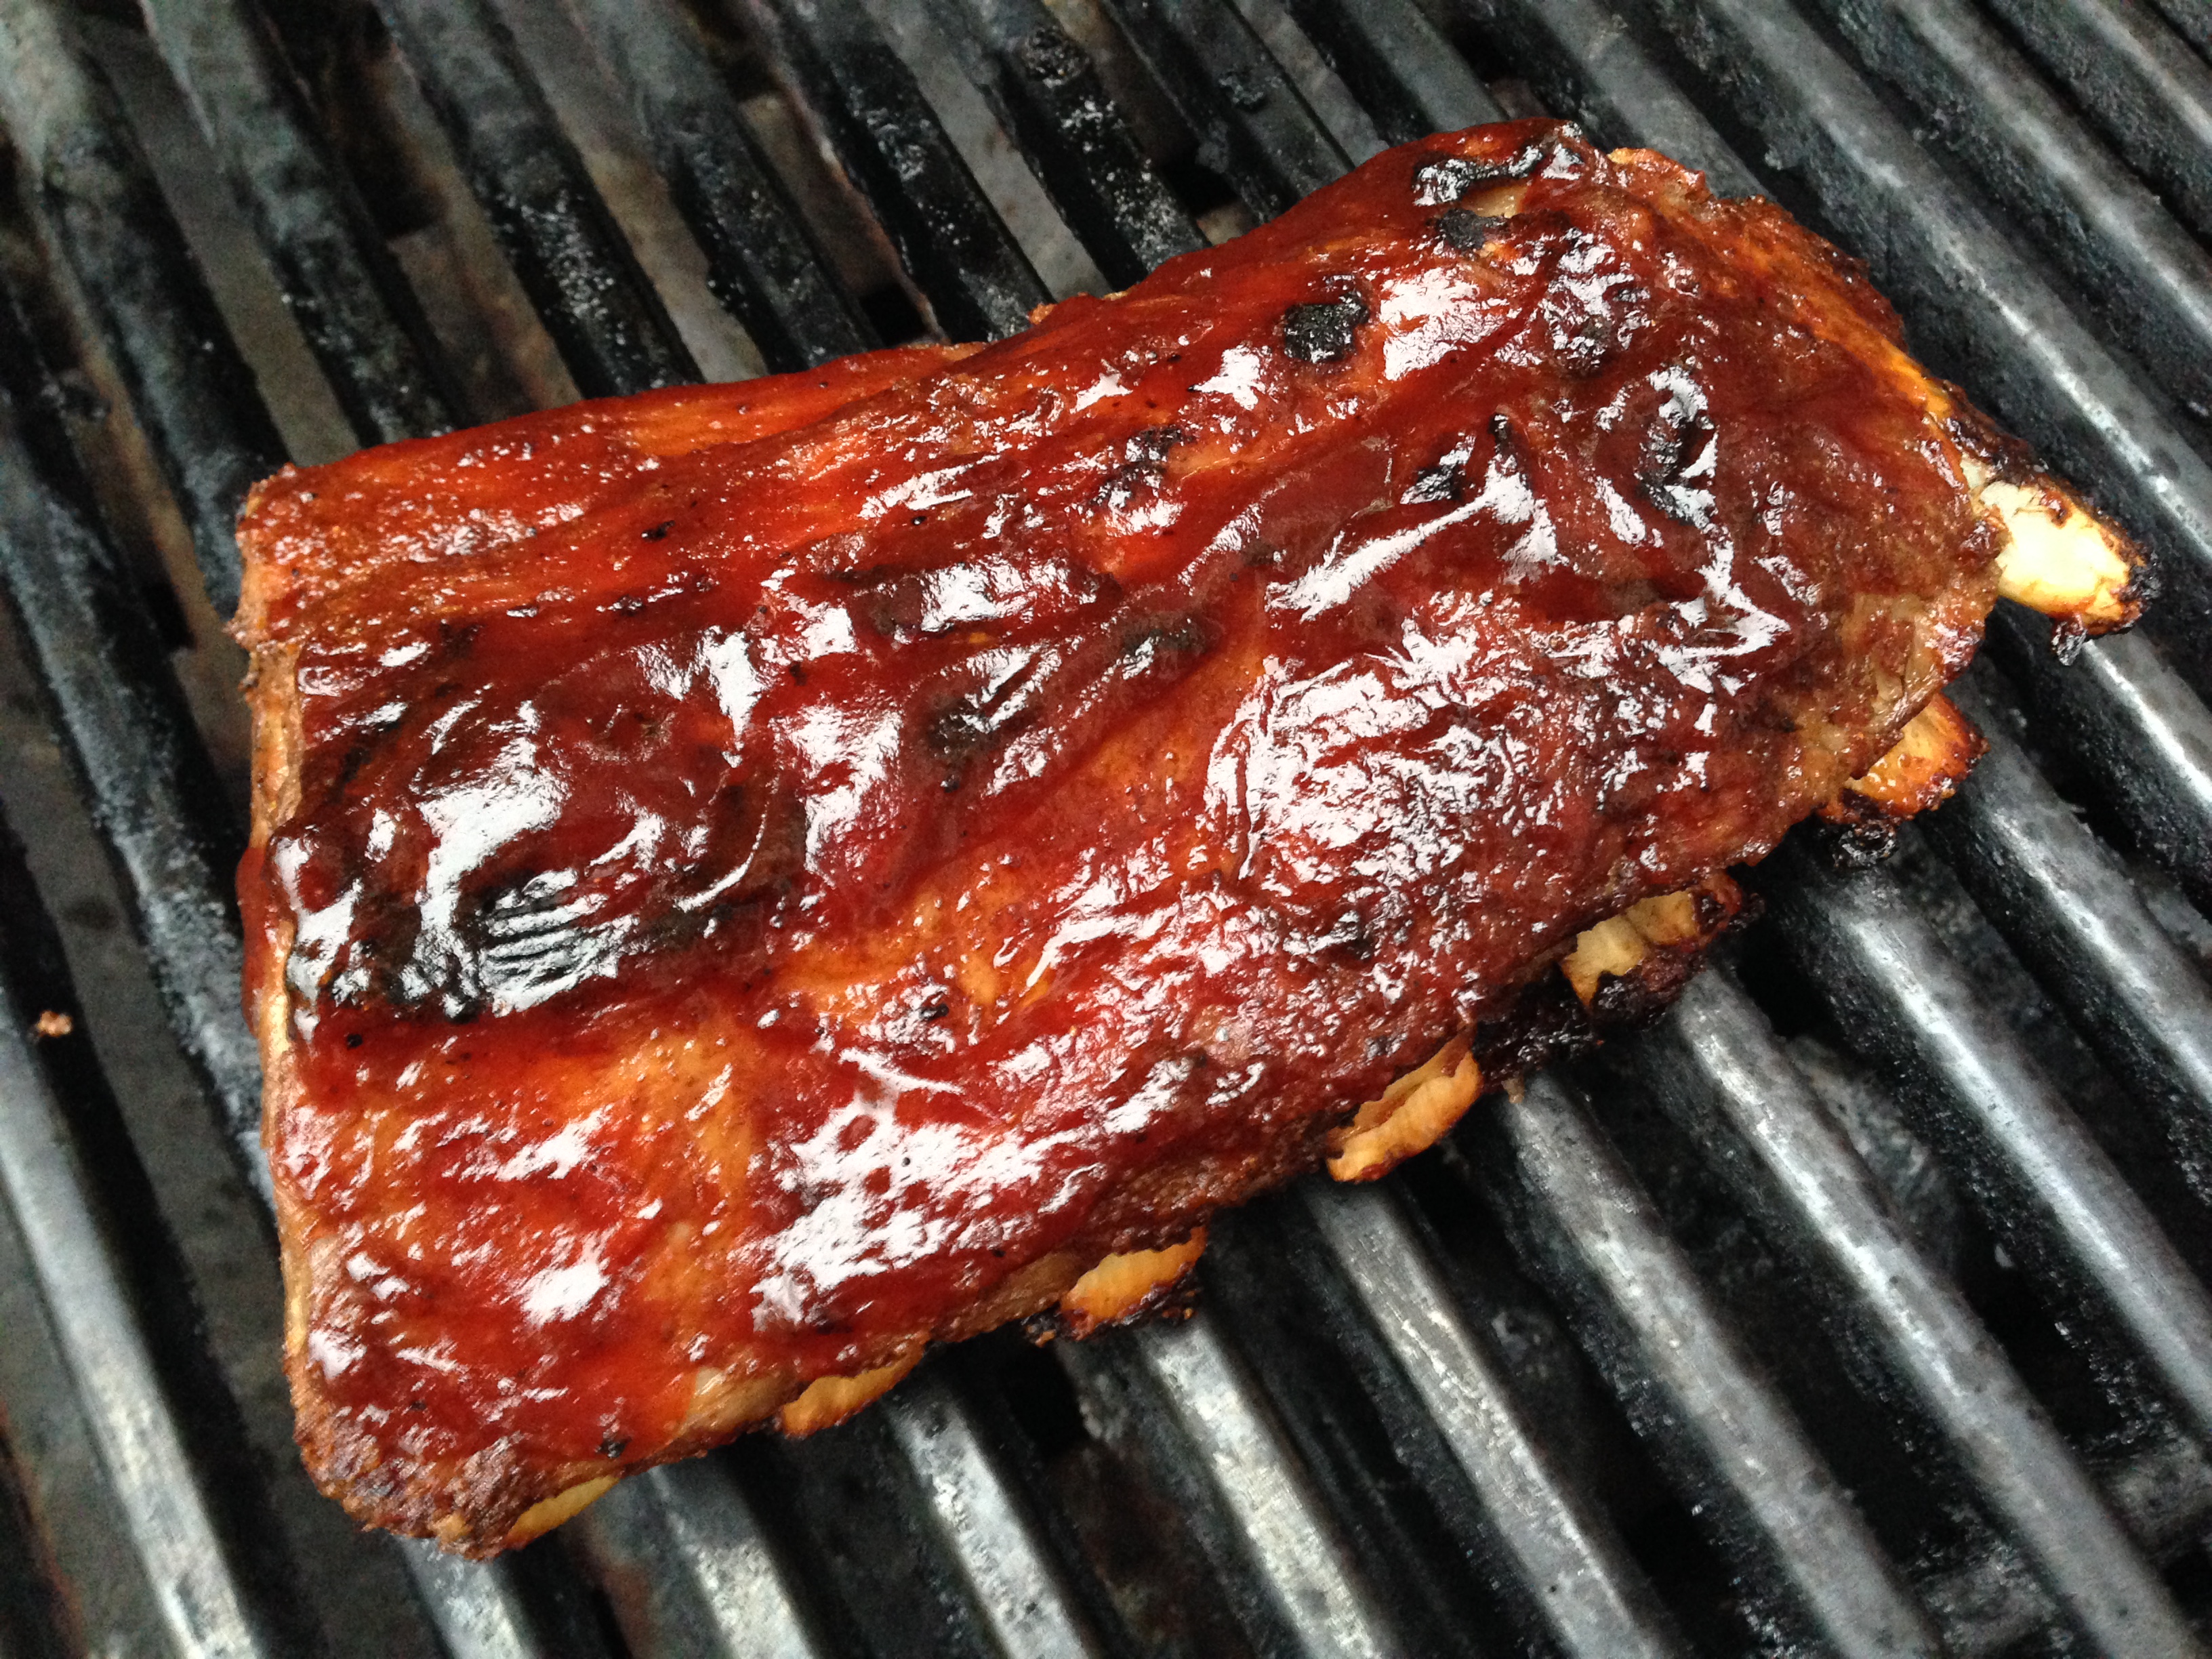
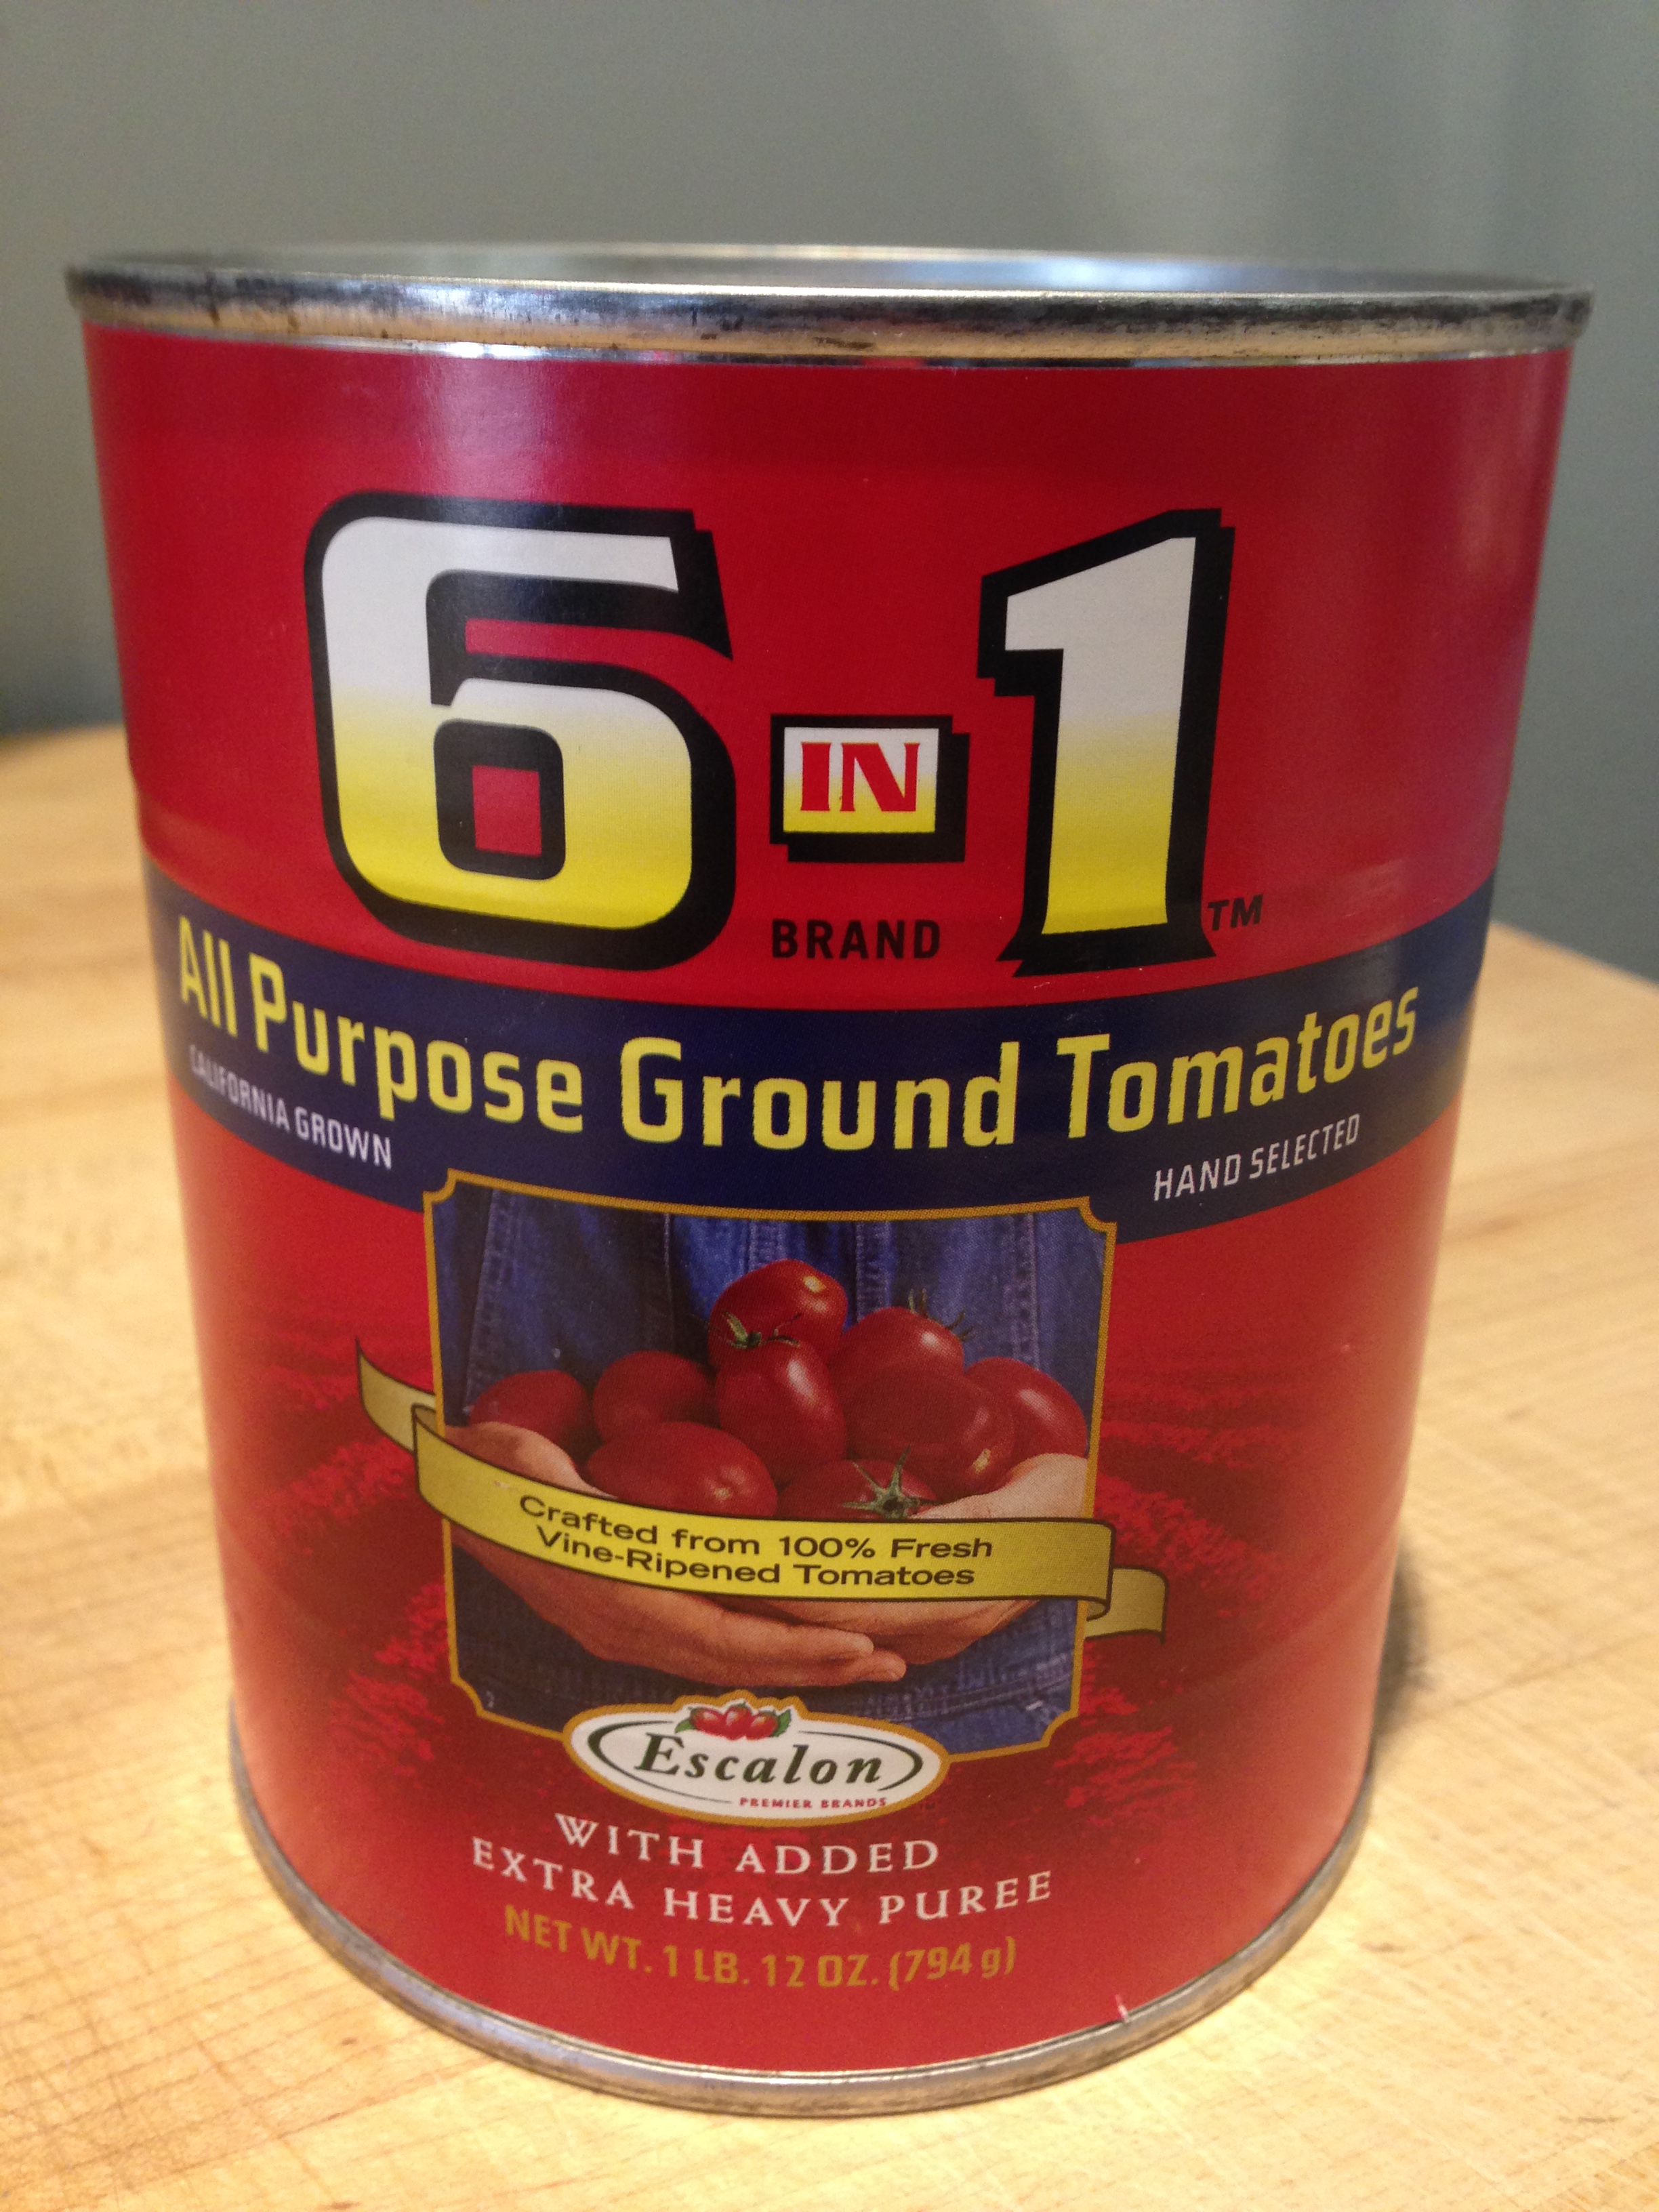
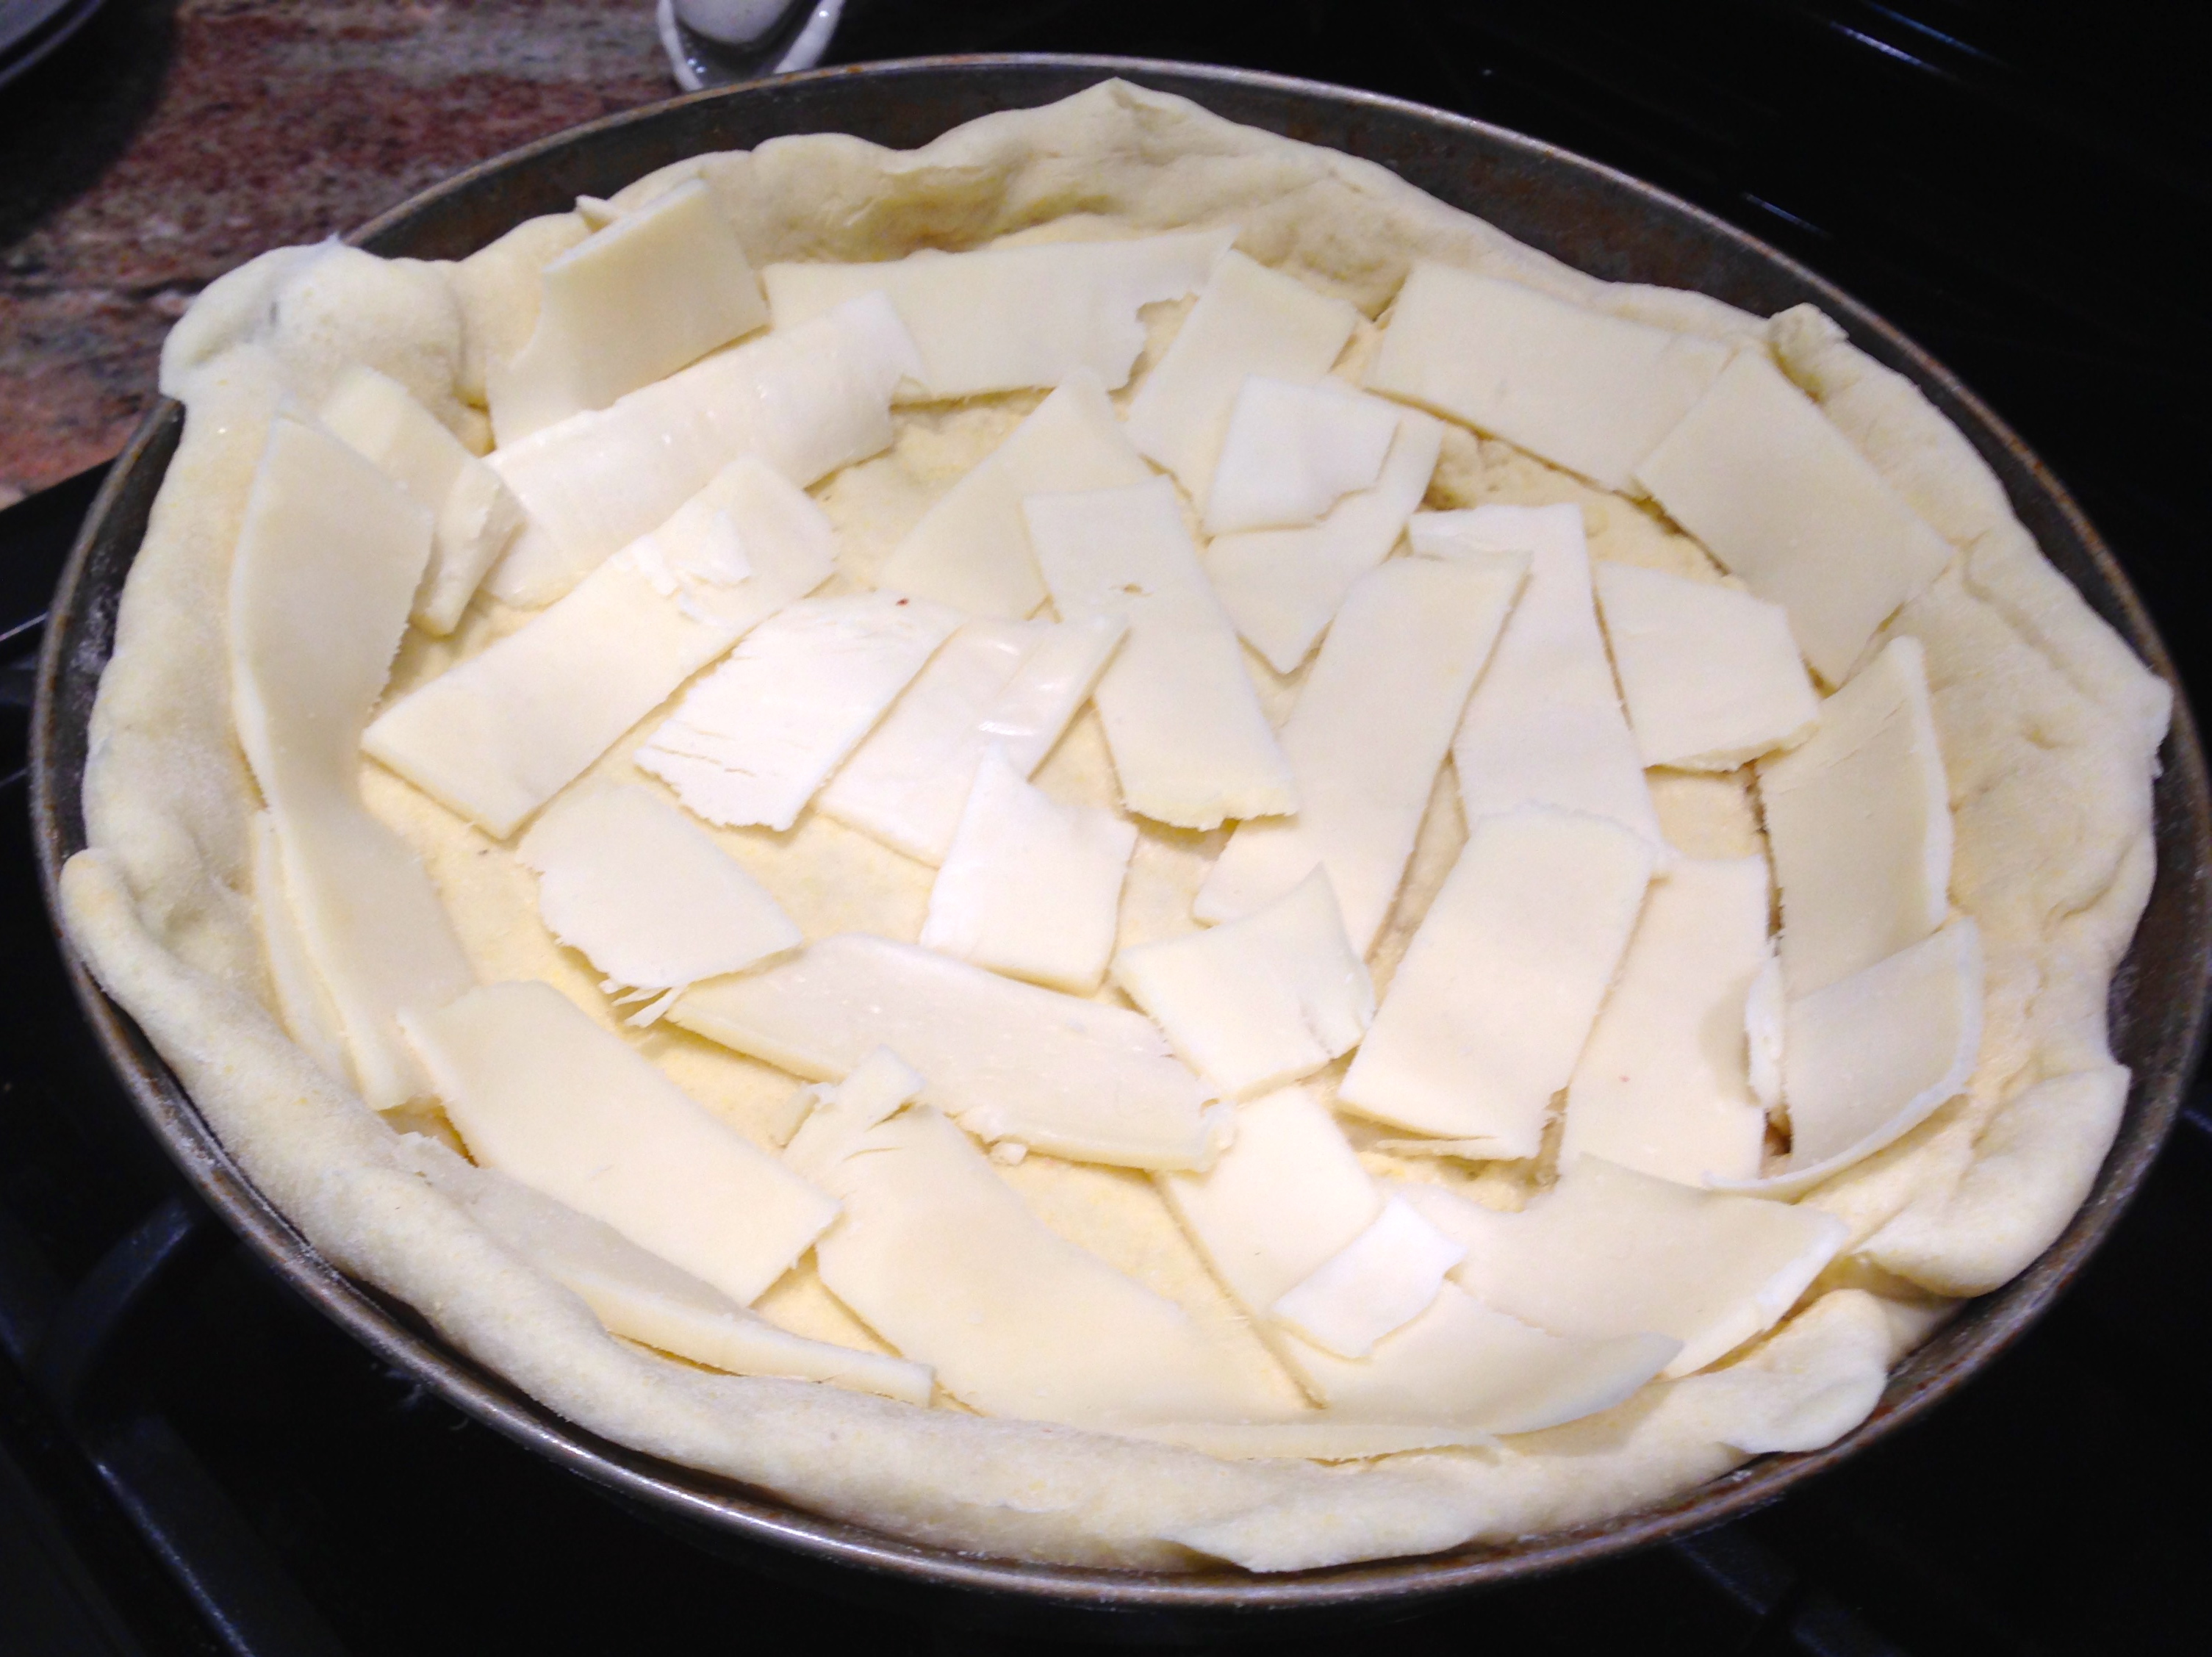
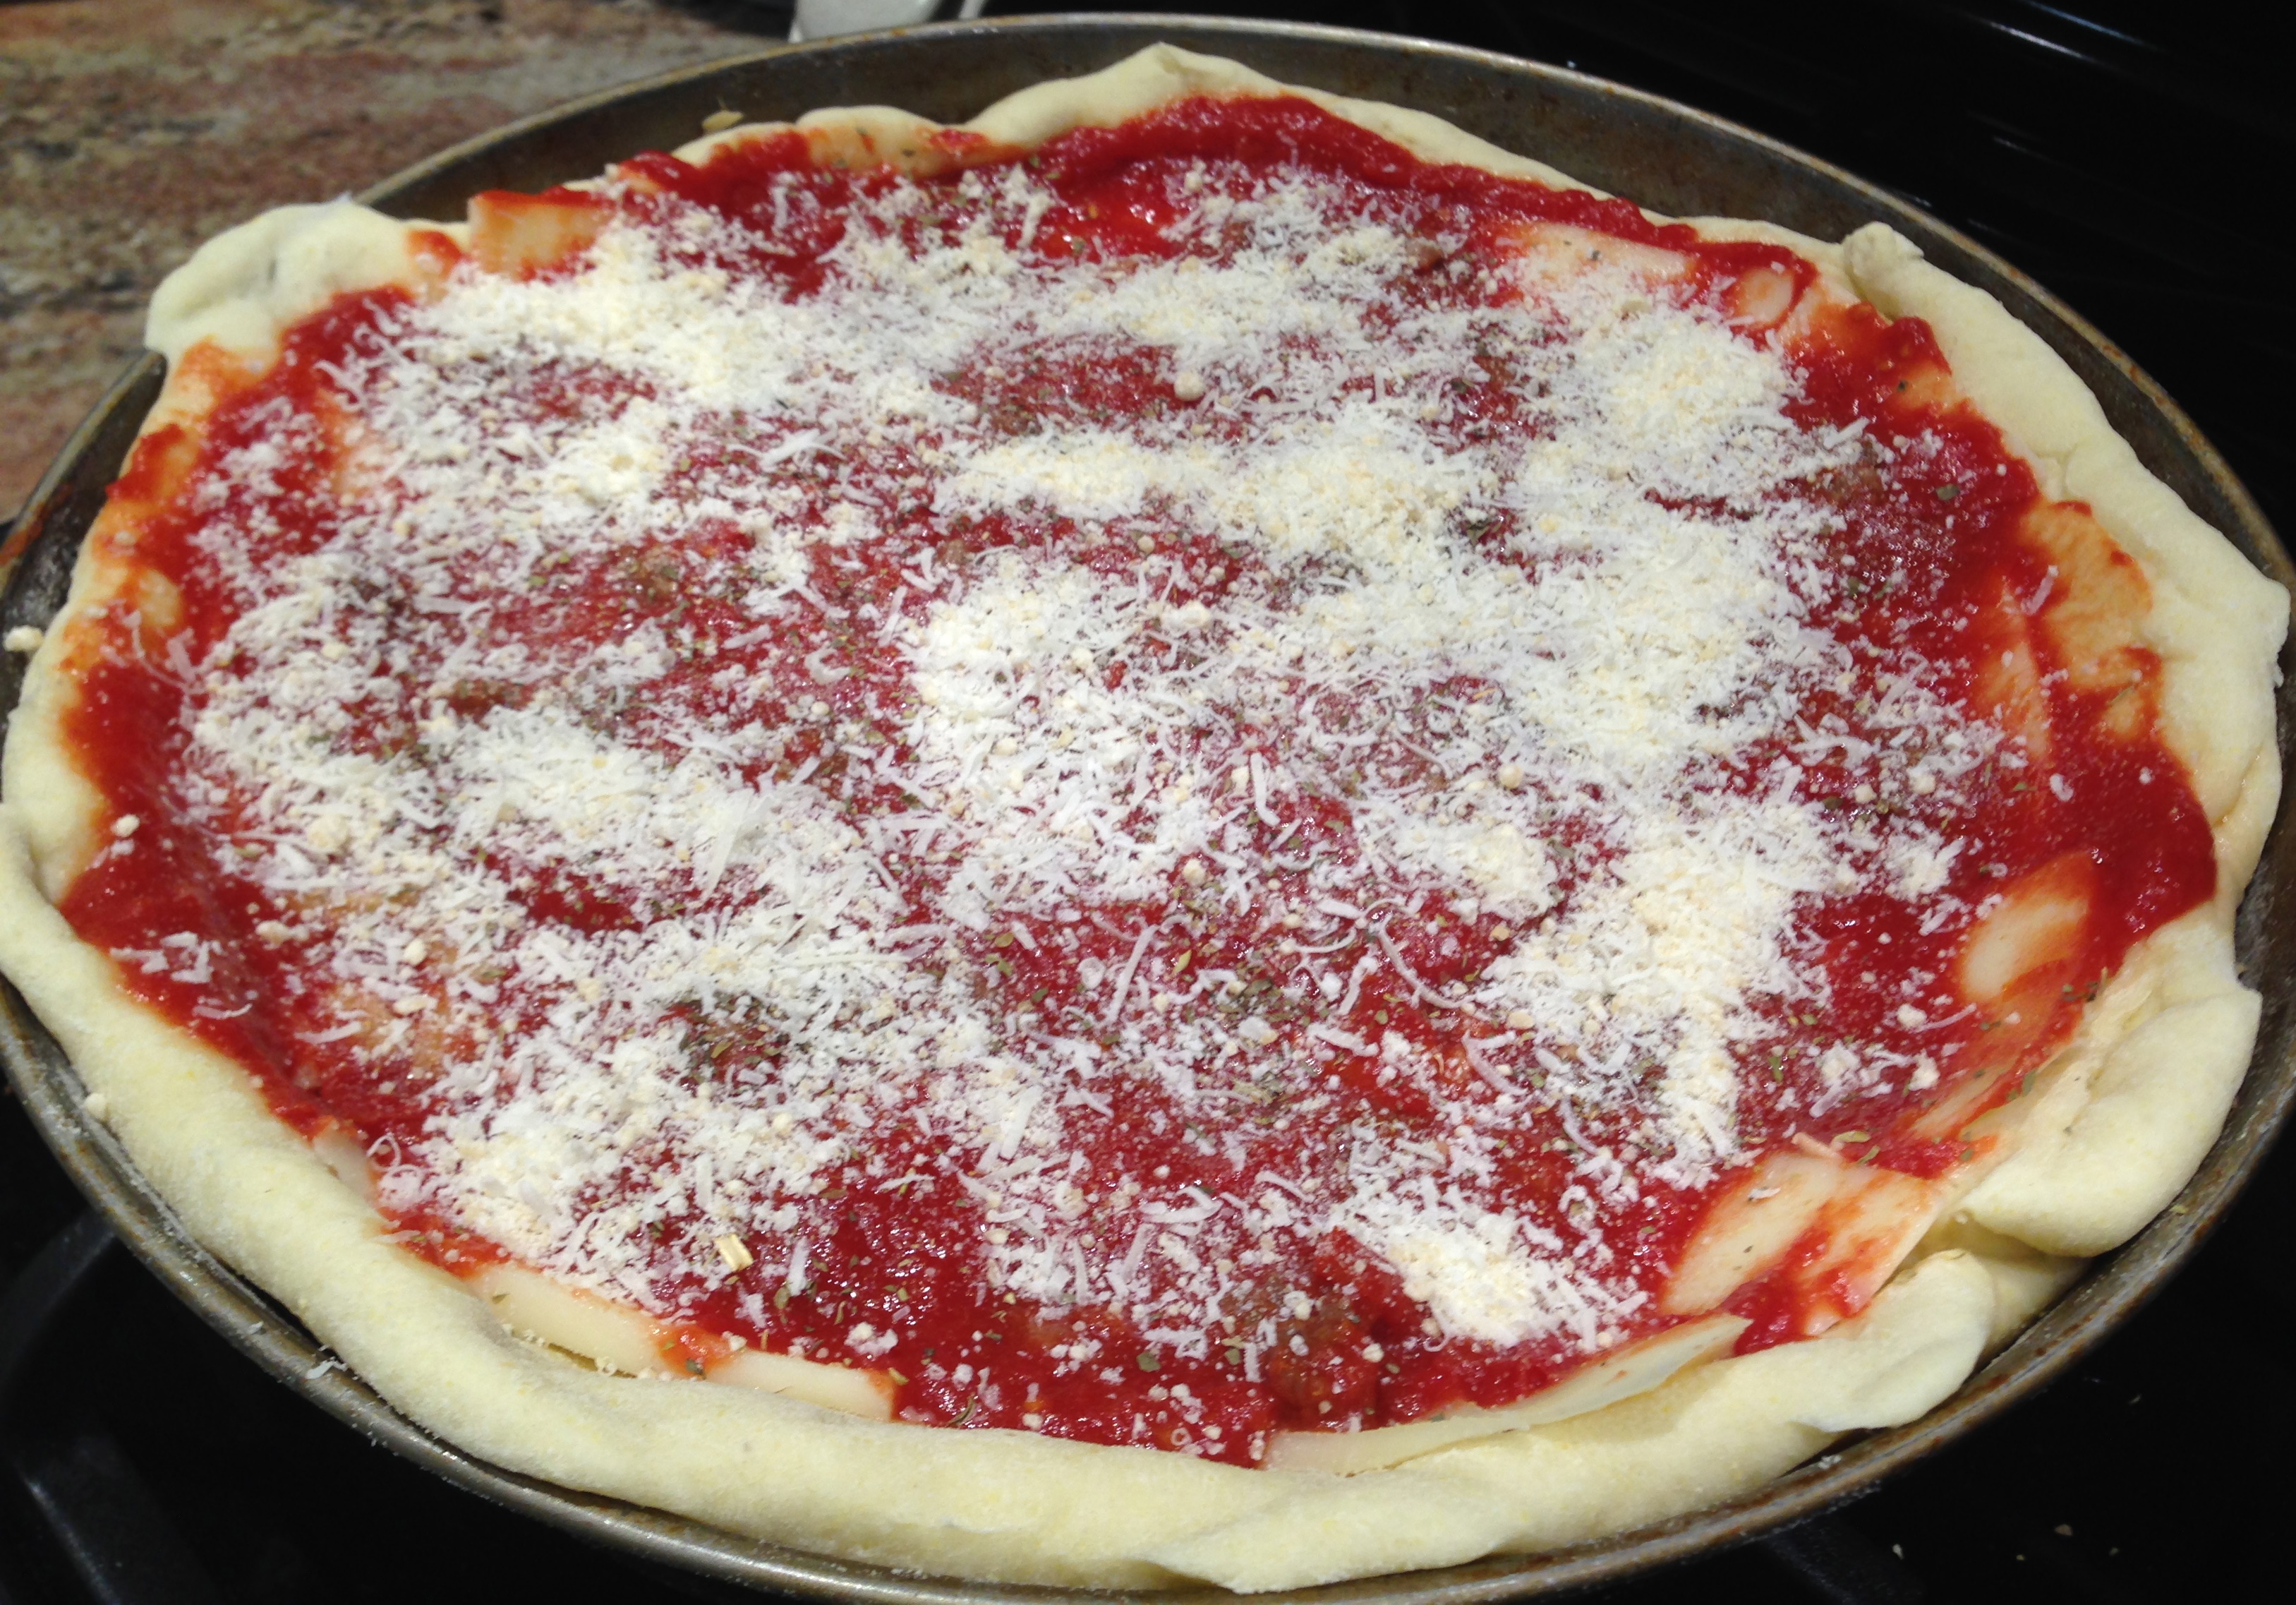
 Lesson Learned 3 – Don’t drench the pizza with sauce: I used the smallest jar of marinara I could find, 14 ounces, and I still didn’t use all of it. Now you may ask should I use pizza sauce or pasta sauce. I don’t think it really matters. Some make pizzas with alfredo sauce. I don’t think there is a hard fast rule. It’s really all up to you. What’s more important is to make sure you don’t drown your dough in sauce. Just spread it on to lightly and evenly cover it. You don’t want to create soggy dough.
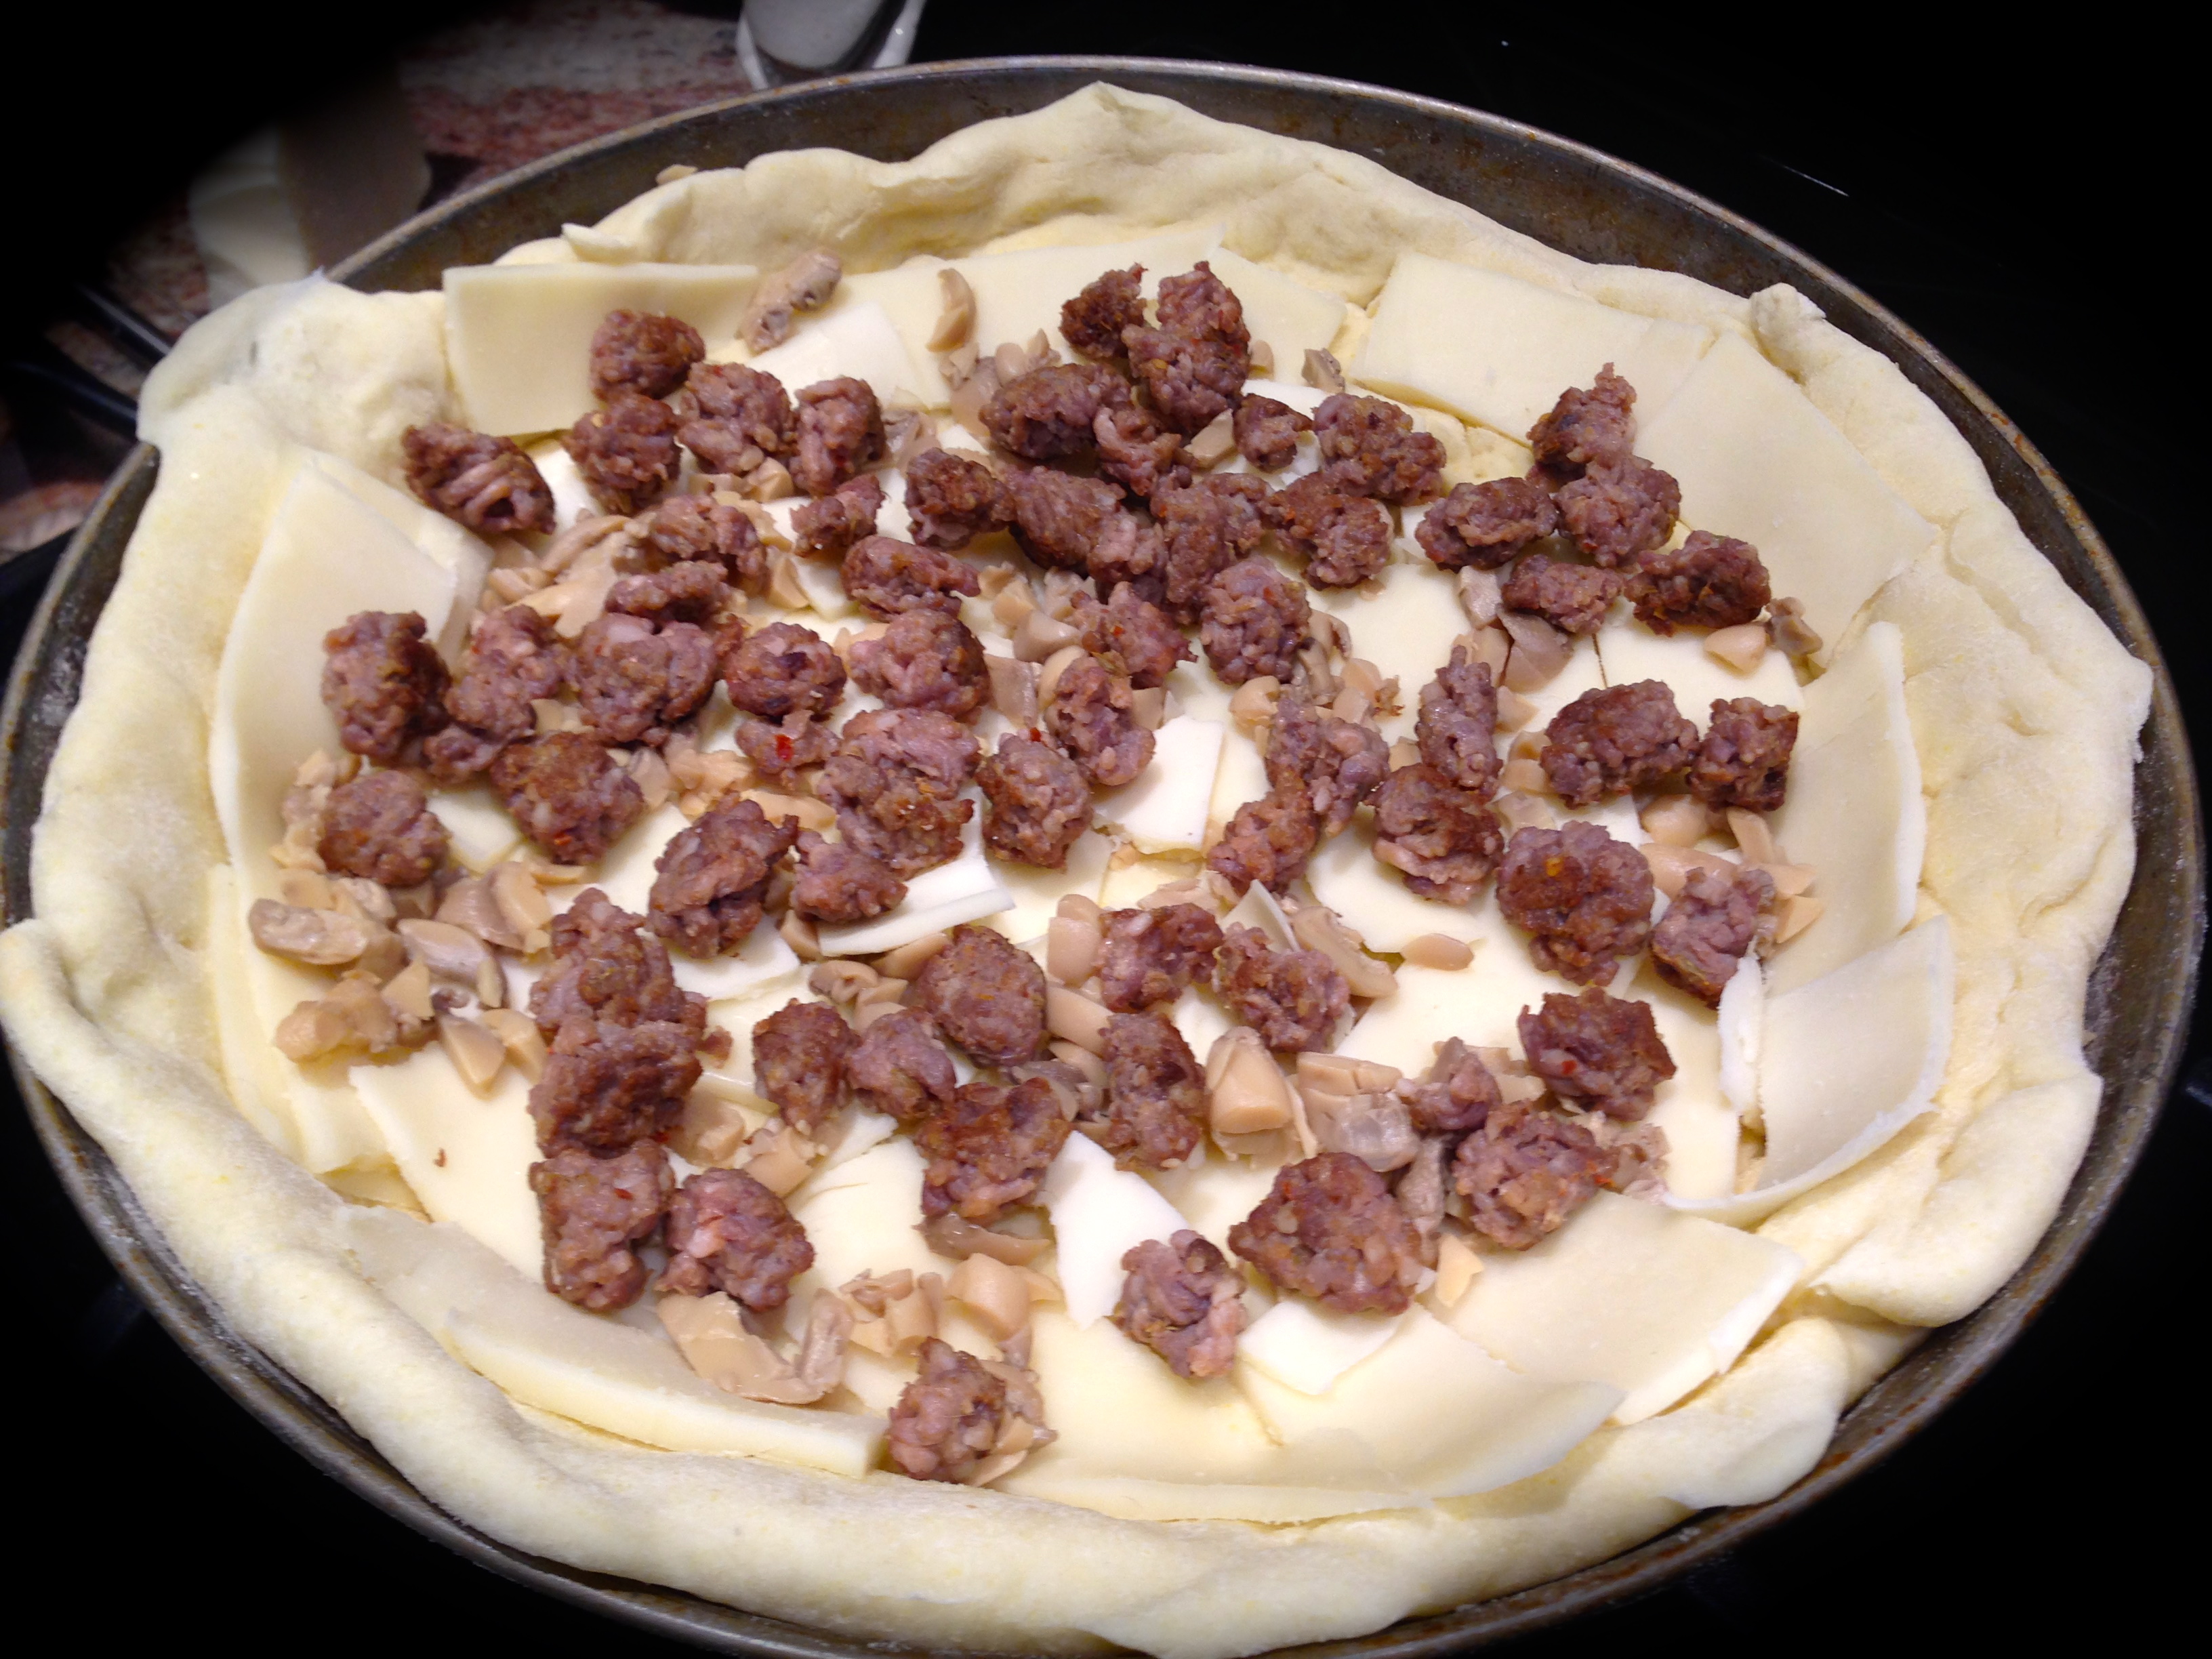
 Another mistake common in making homemade pizza putting the toppings on too thick. Now don’t get me wrong, I like lots of toppings on my pizza. Just be careful not to create a huge mound. What happens when putting too much toppings on is the crust will get done before your toppings are cooked or even warmed through. You don’t want that.


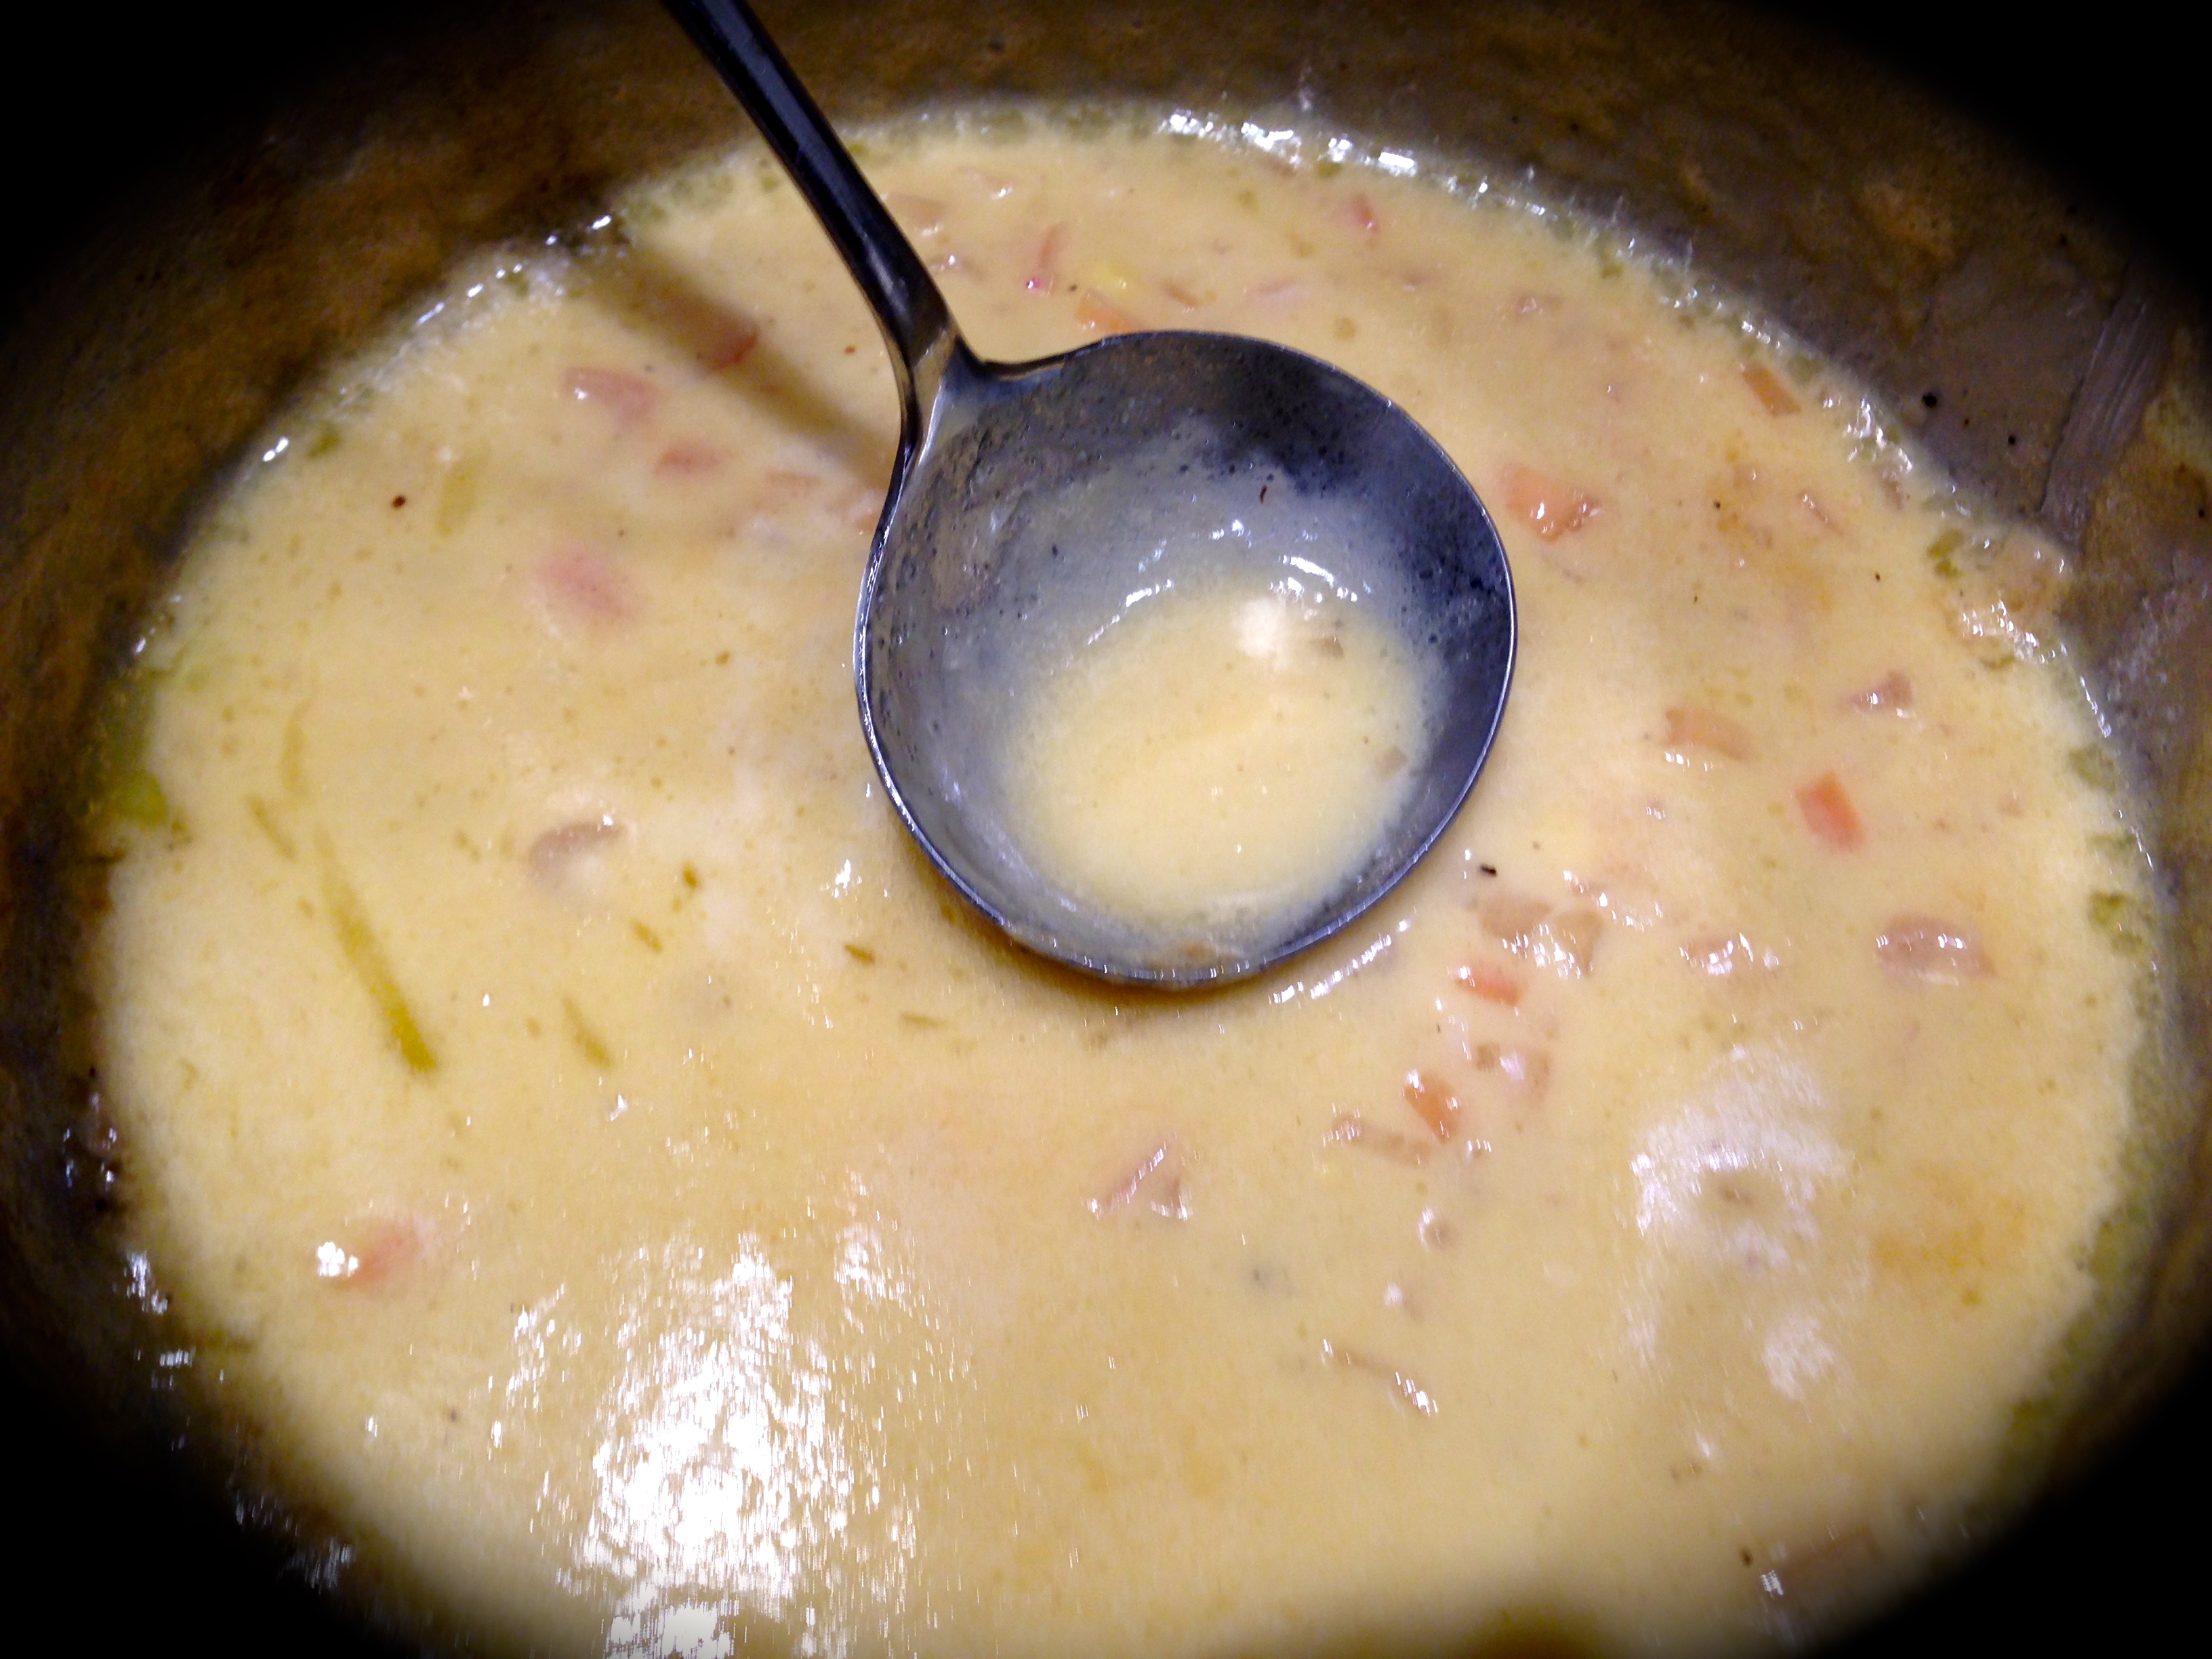
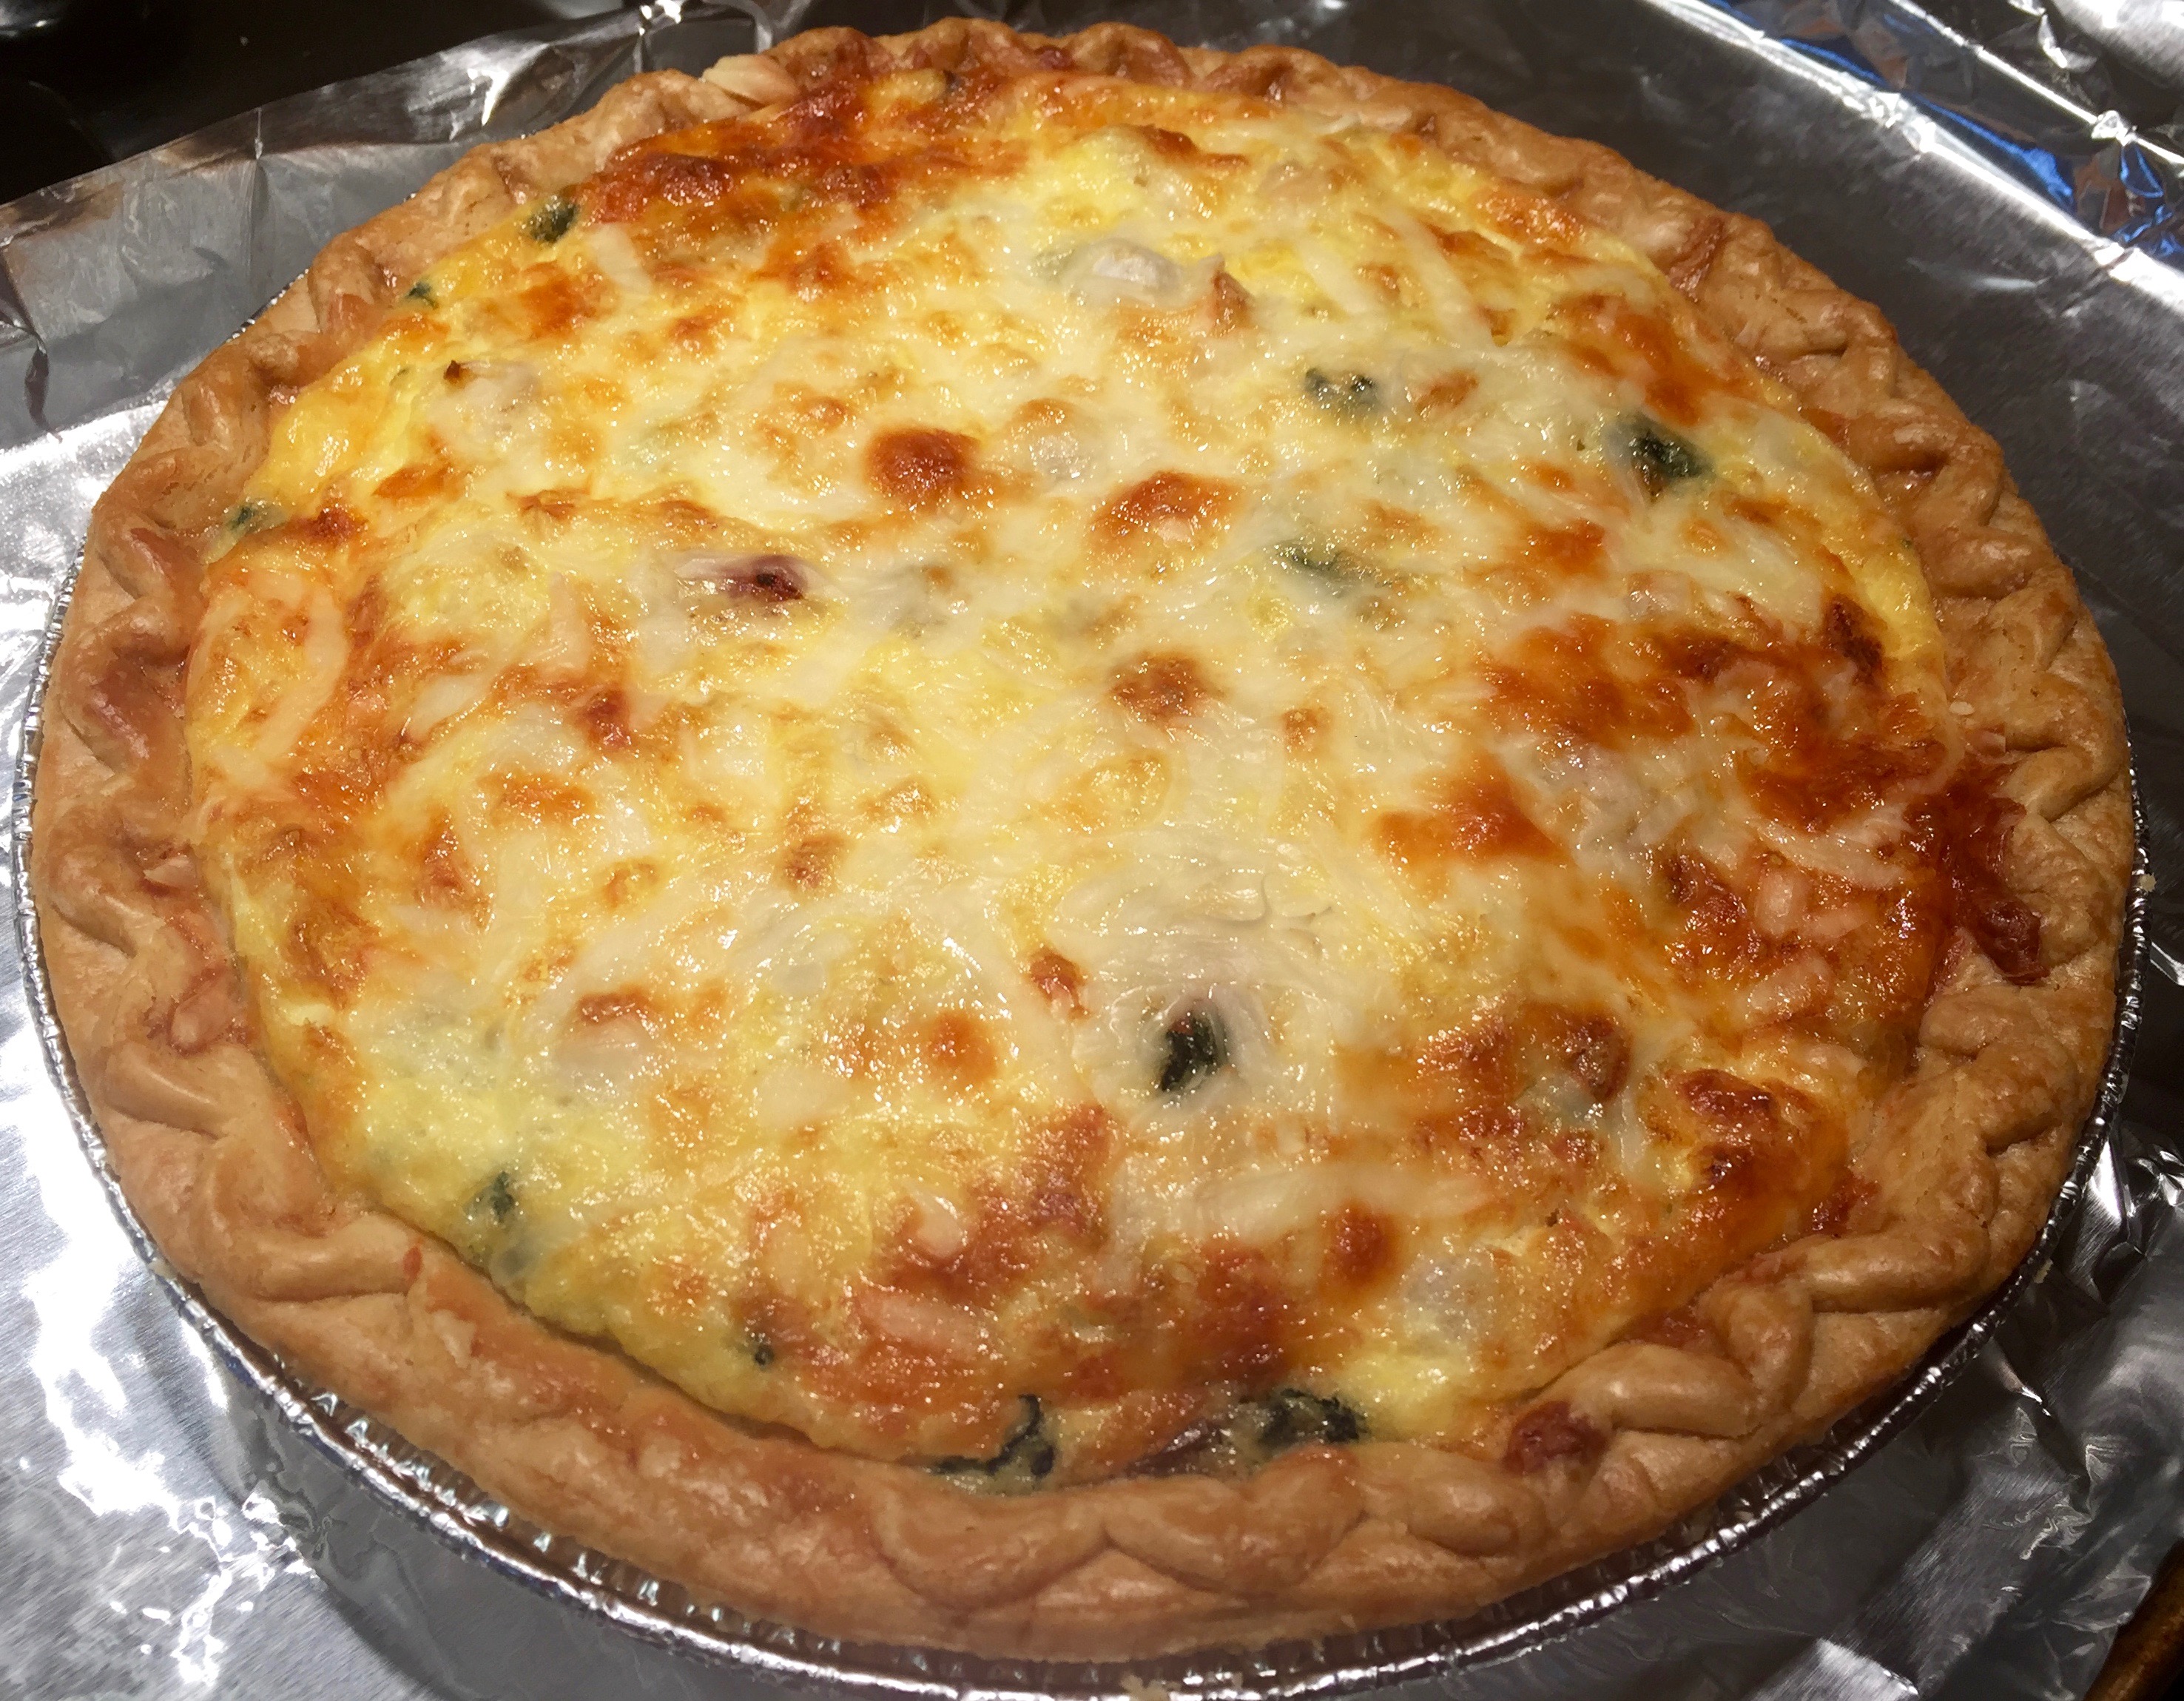
 Lesson Learned 2 – Cook the breakfast sausage until you see only a little light pink: Remember the quiche is going to bake for an hour so the sausage will continue to cook during that time. I like to cook my sausage first, mix it with the cream cheese and let it sit a little before I put it in the pie crust. I normally use that time to put the egg mixture together.
 Lesson Learned 4 – Use a good melting cheese: You can use a wide variety of melting cheeses in a quiche. I like this particular recipe because it pairs a little cream cheese with another melting cheese. I used muenster in this recipe but you can also use cheddar, gruyere, swiss, or mozzarella. That’s the beauty of making a quiche. The choice is yours!
 1 9 inch frozen pie crust


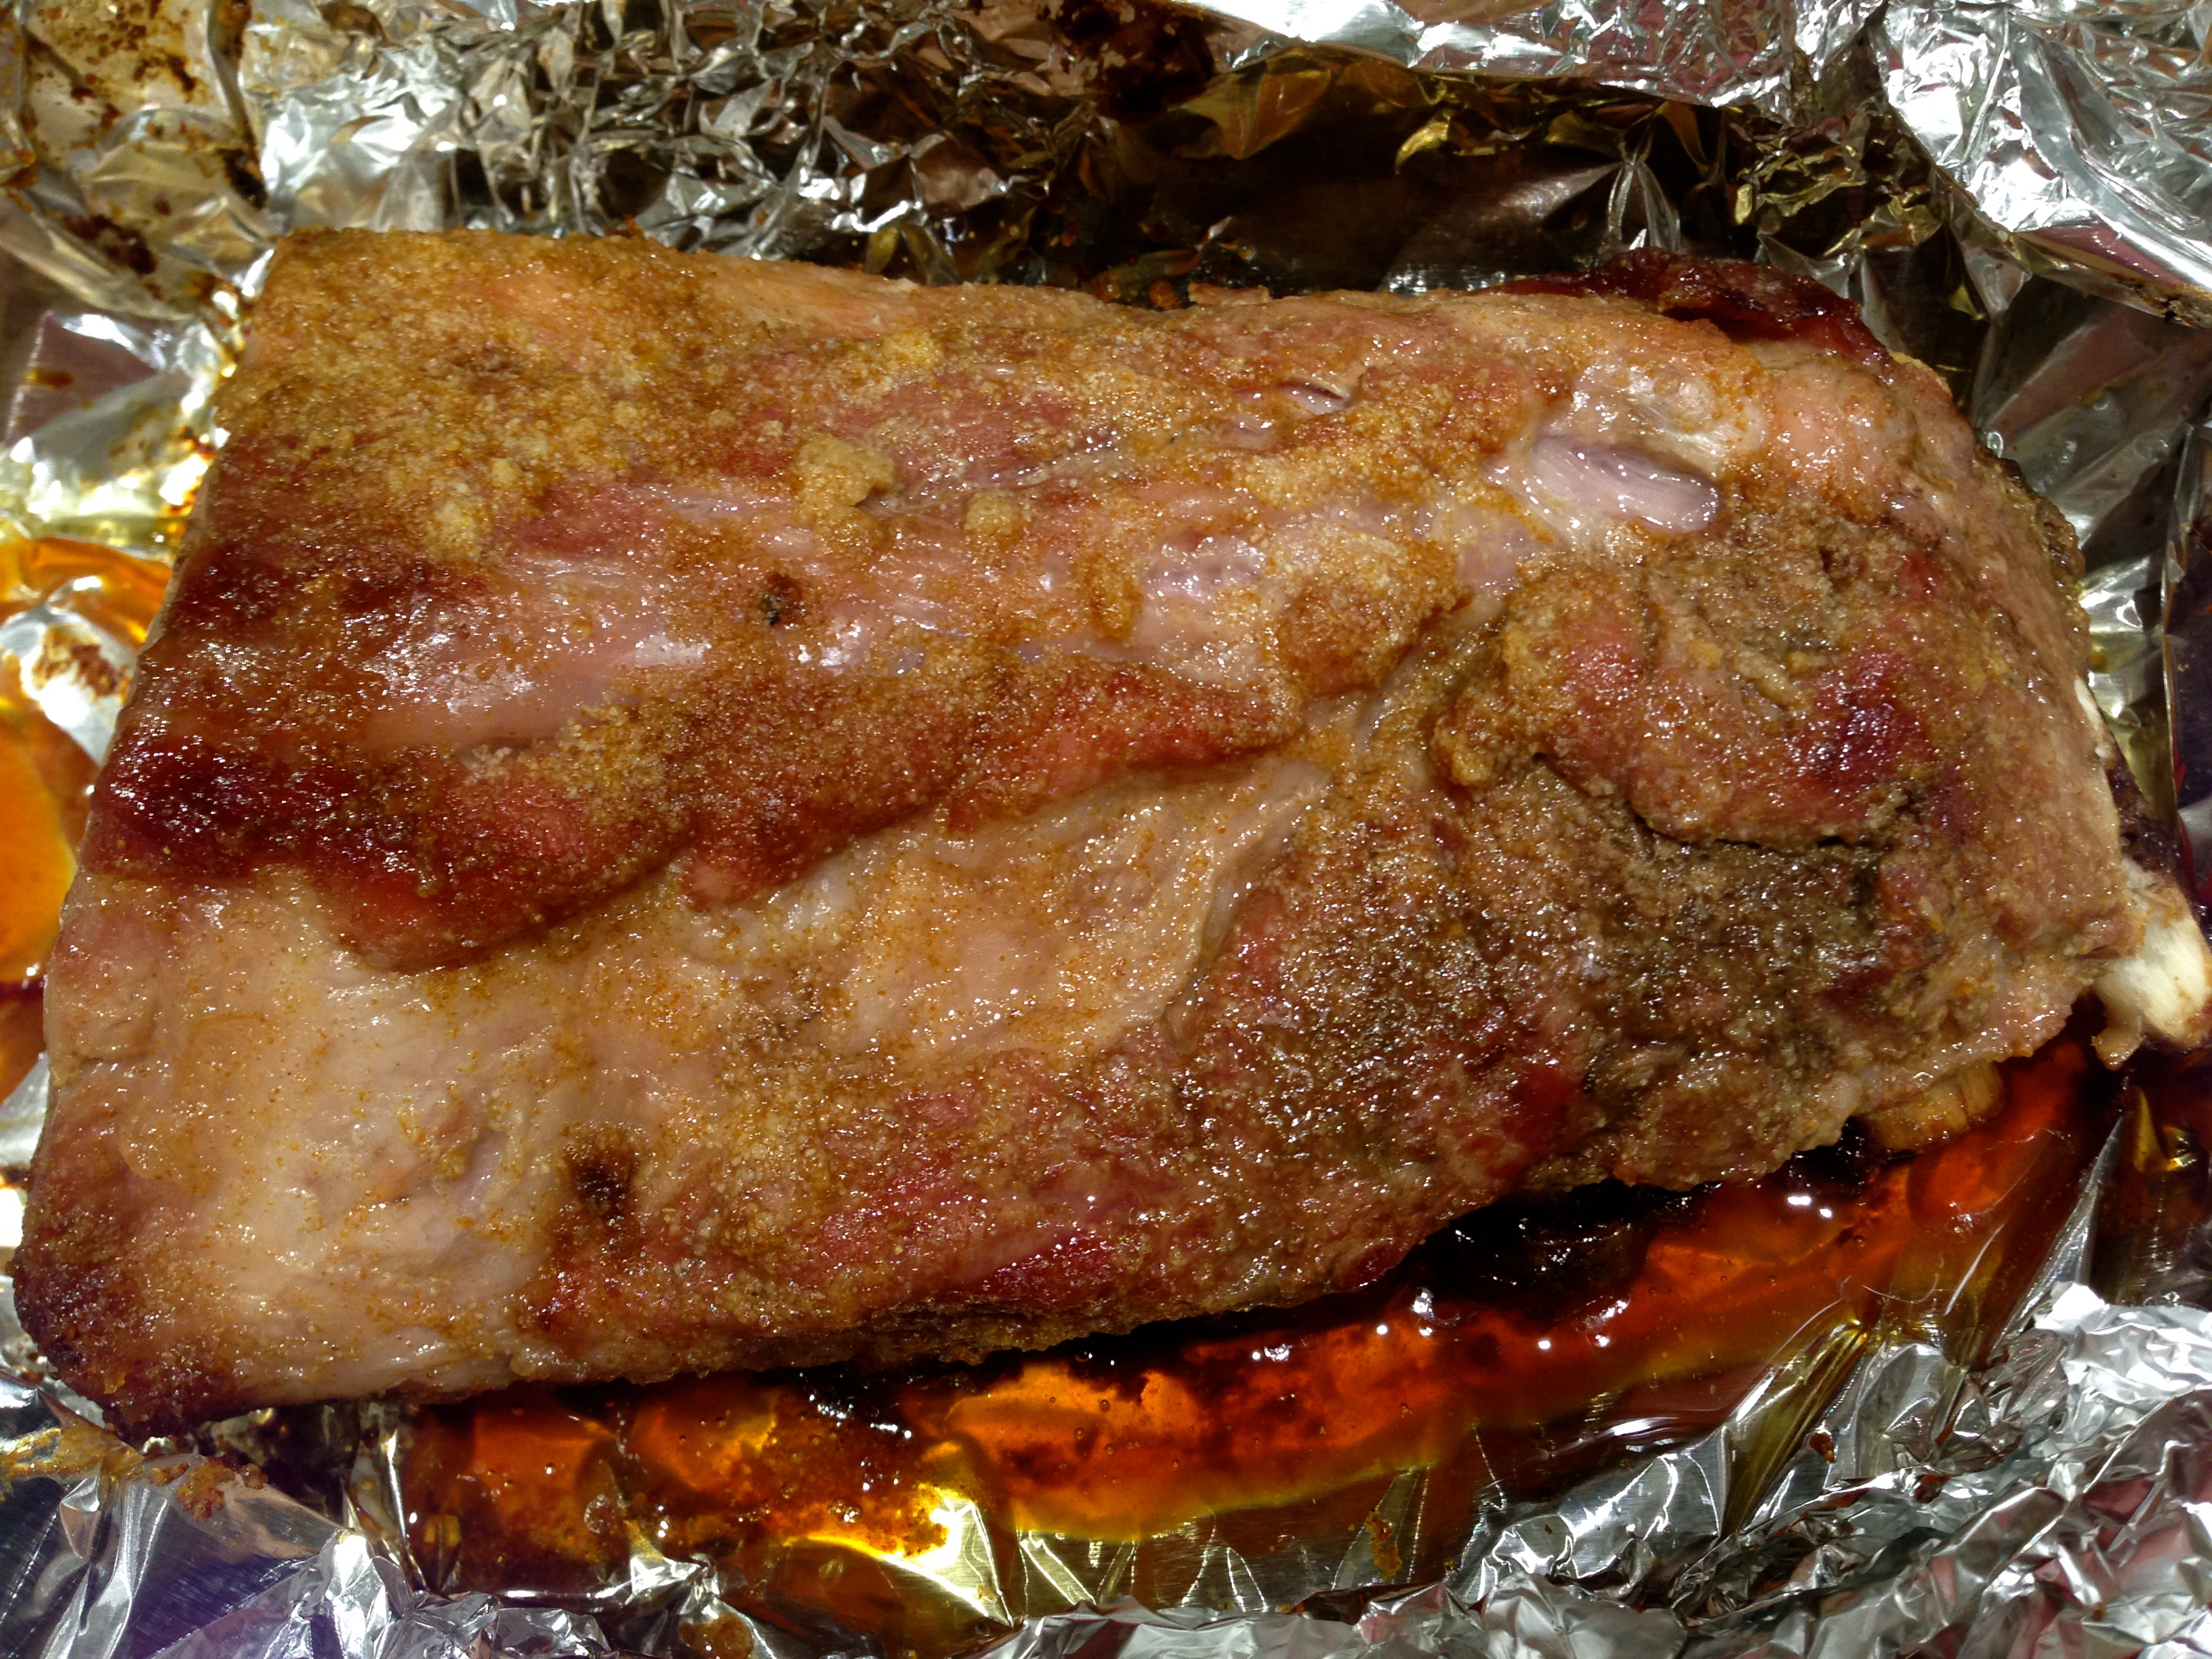
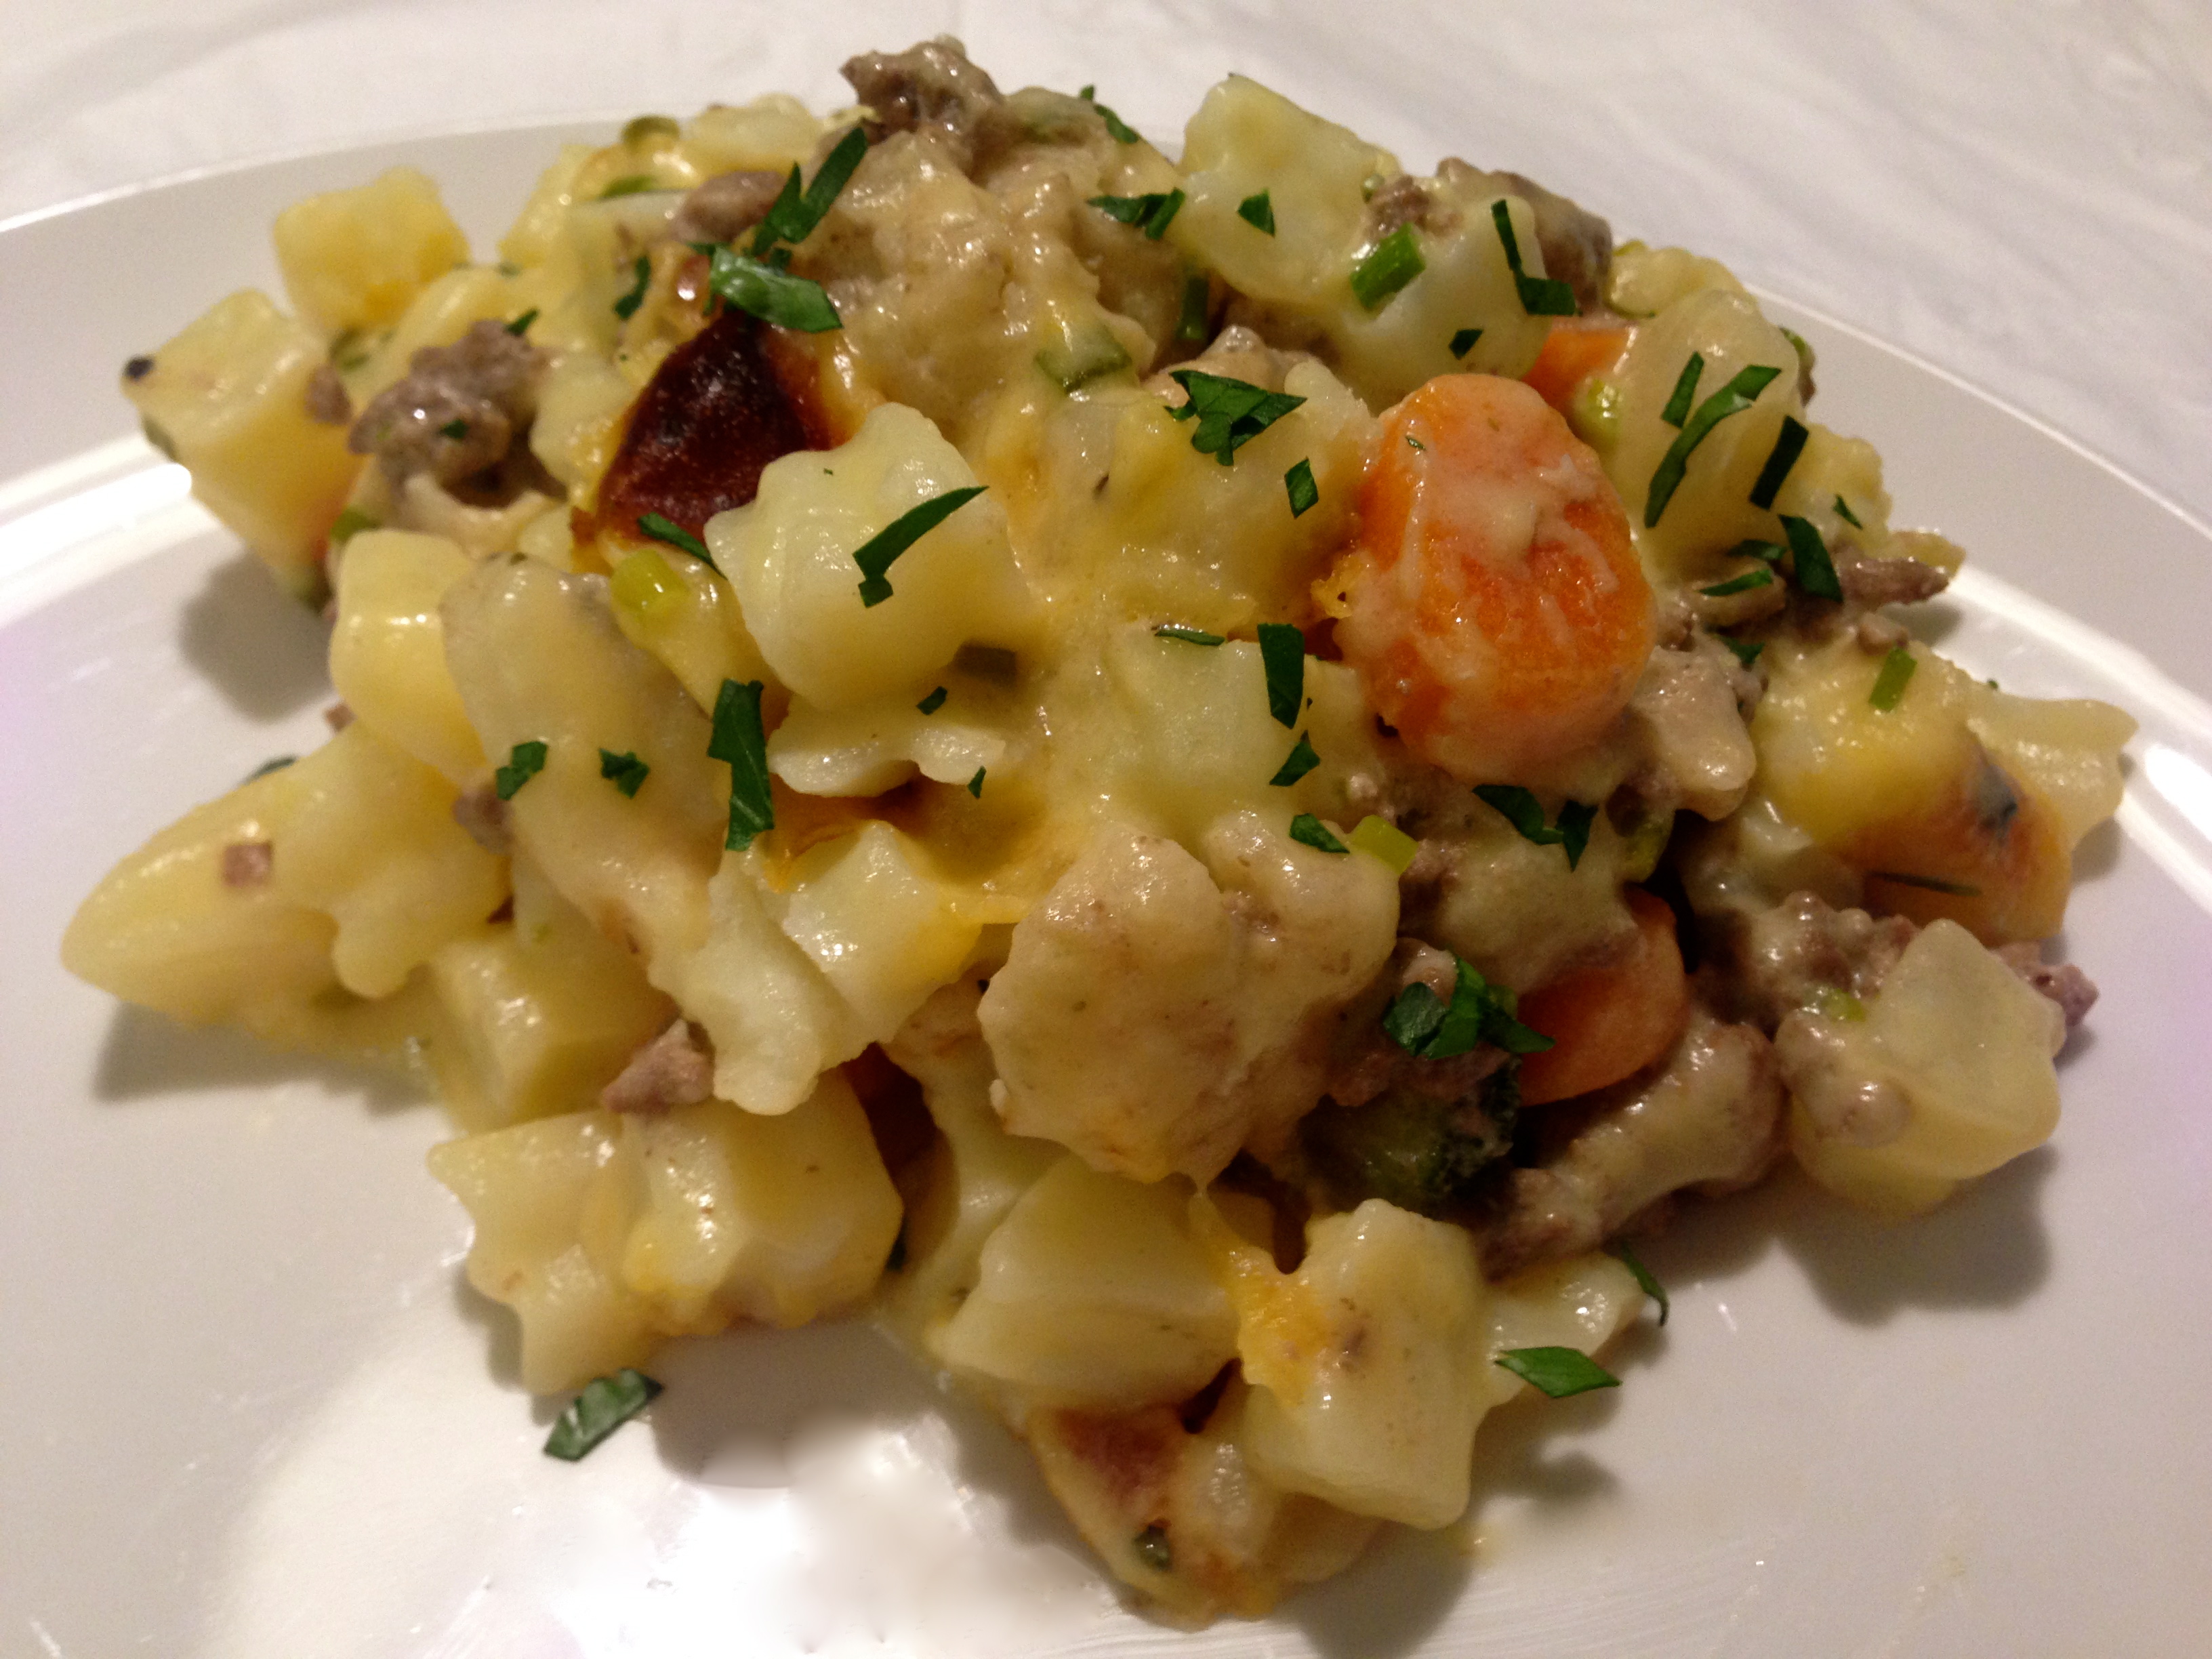
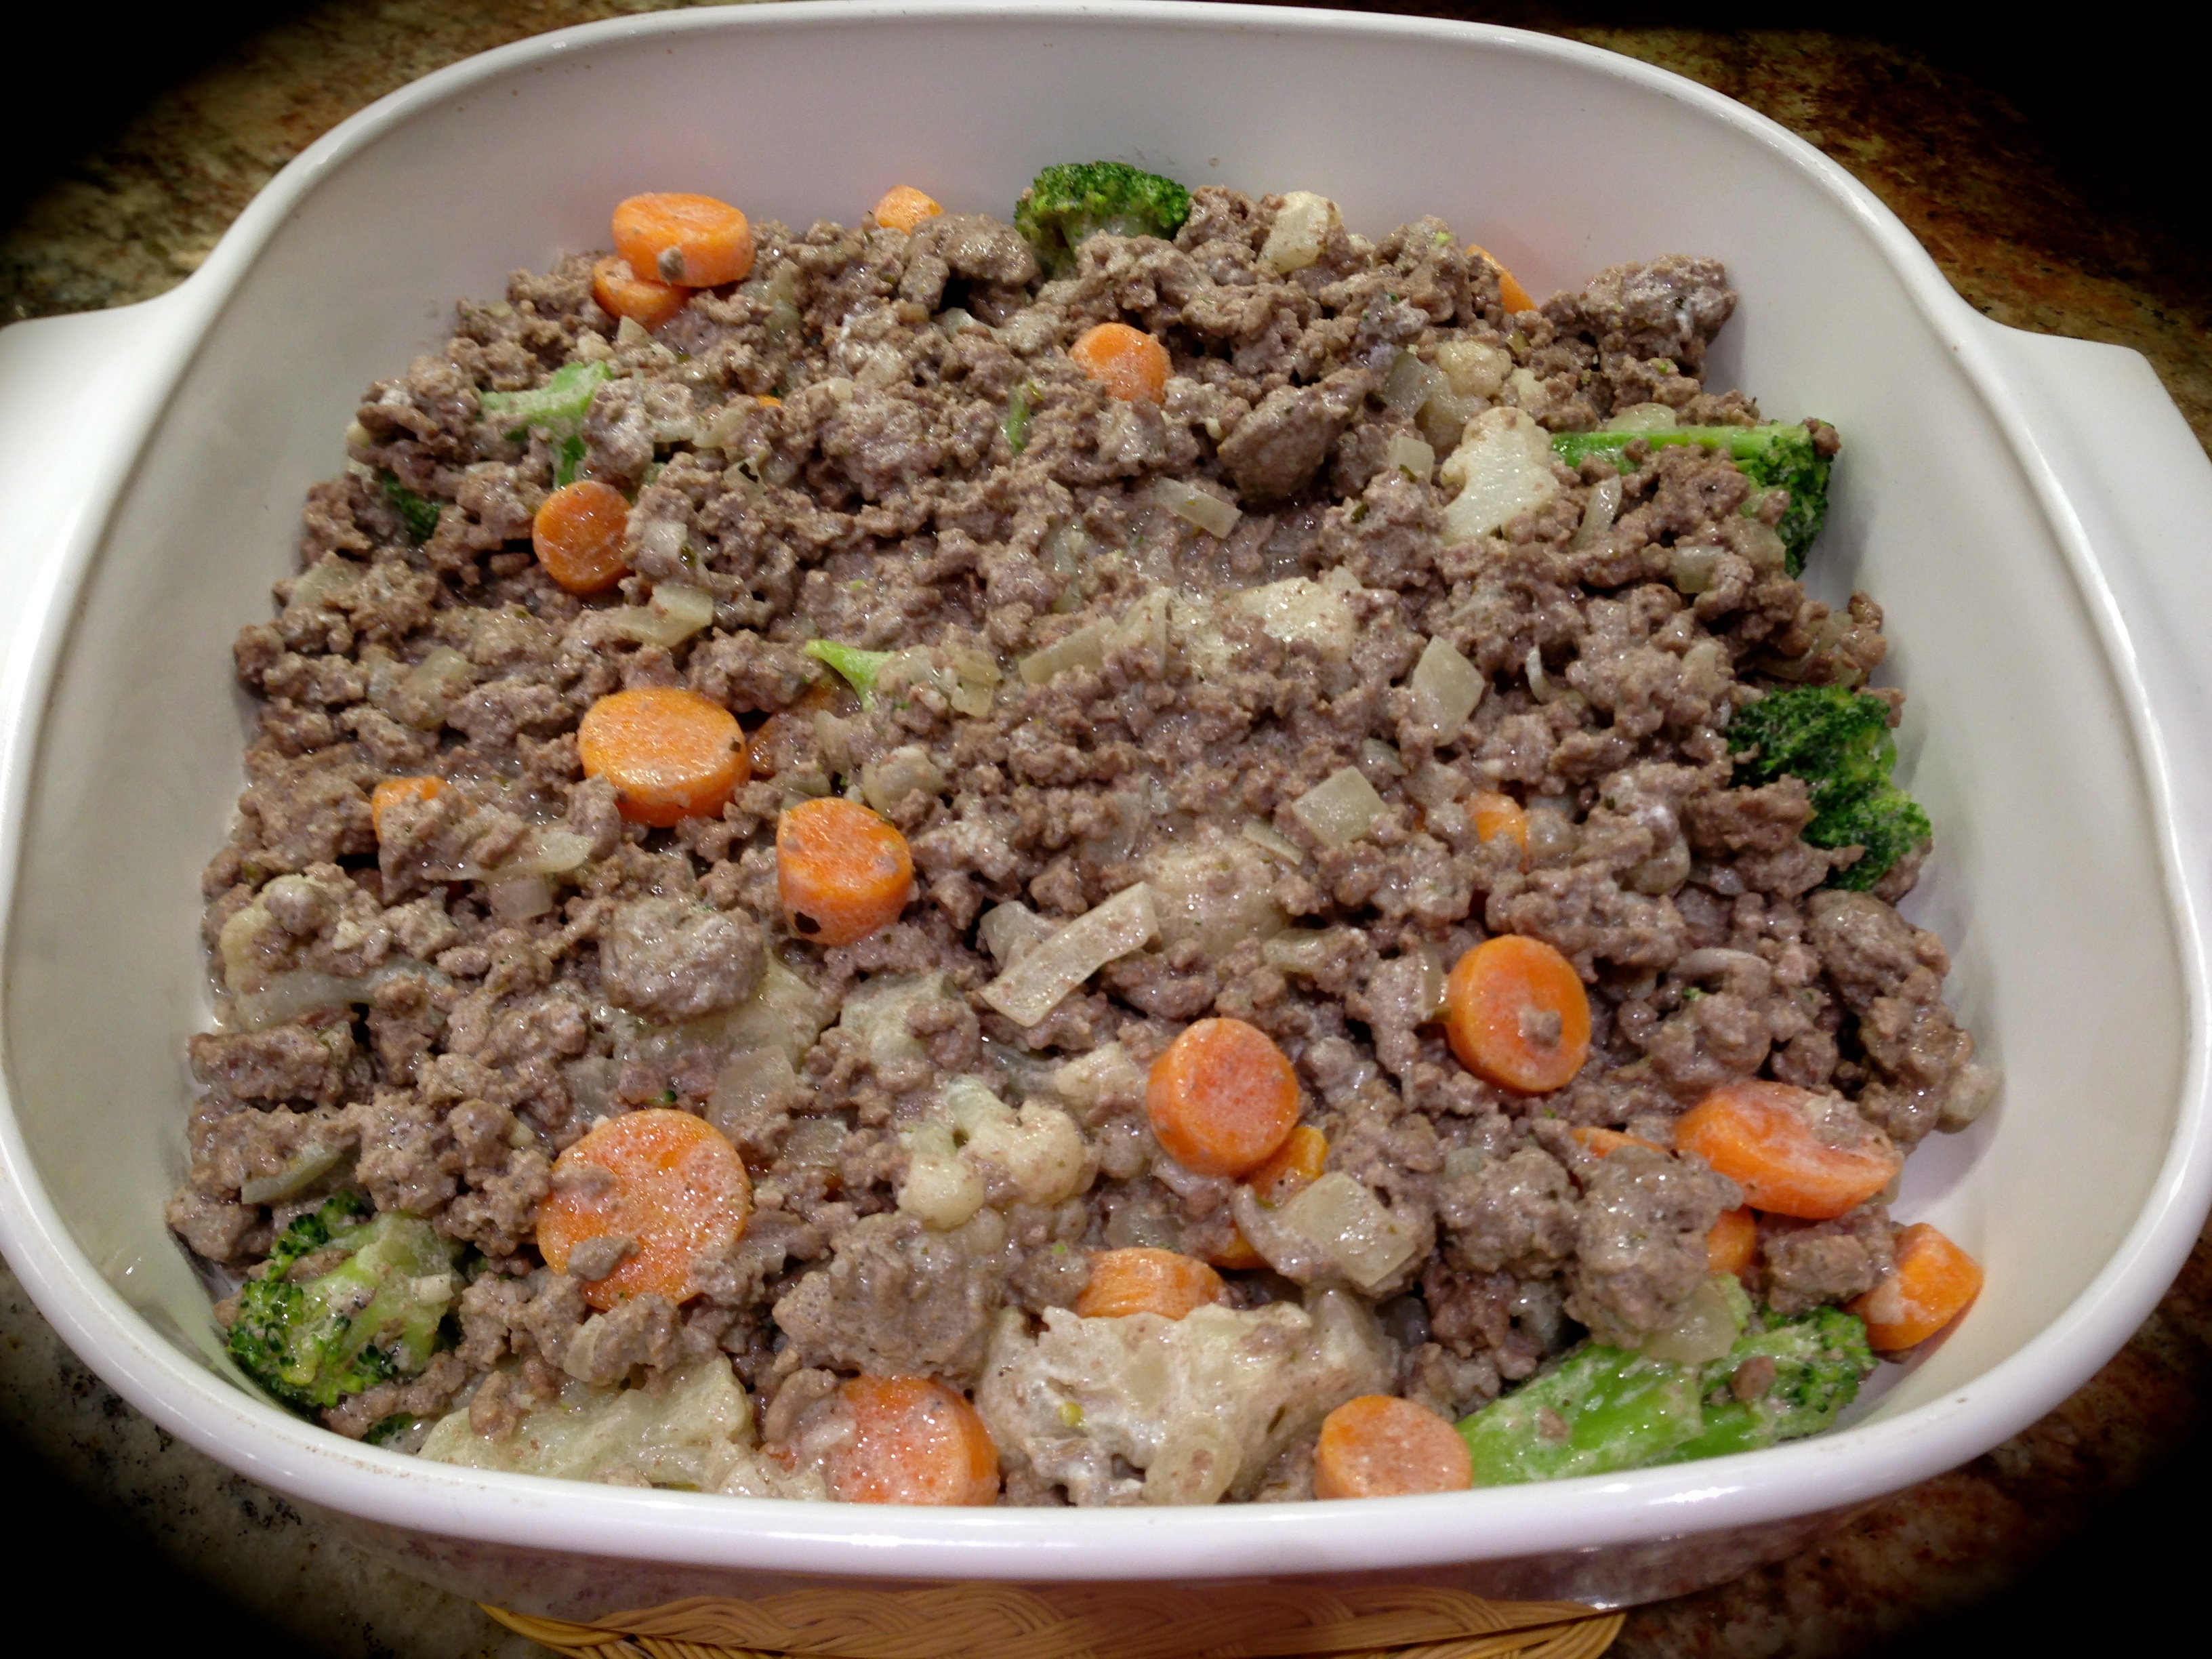
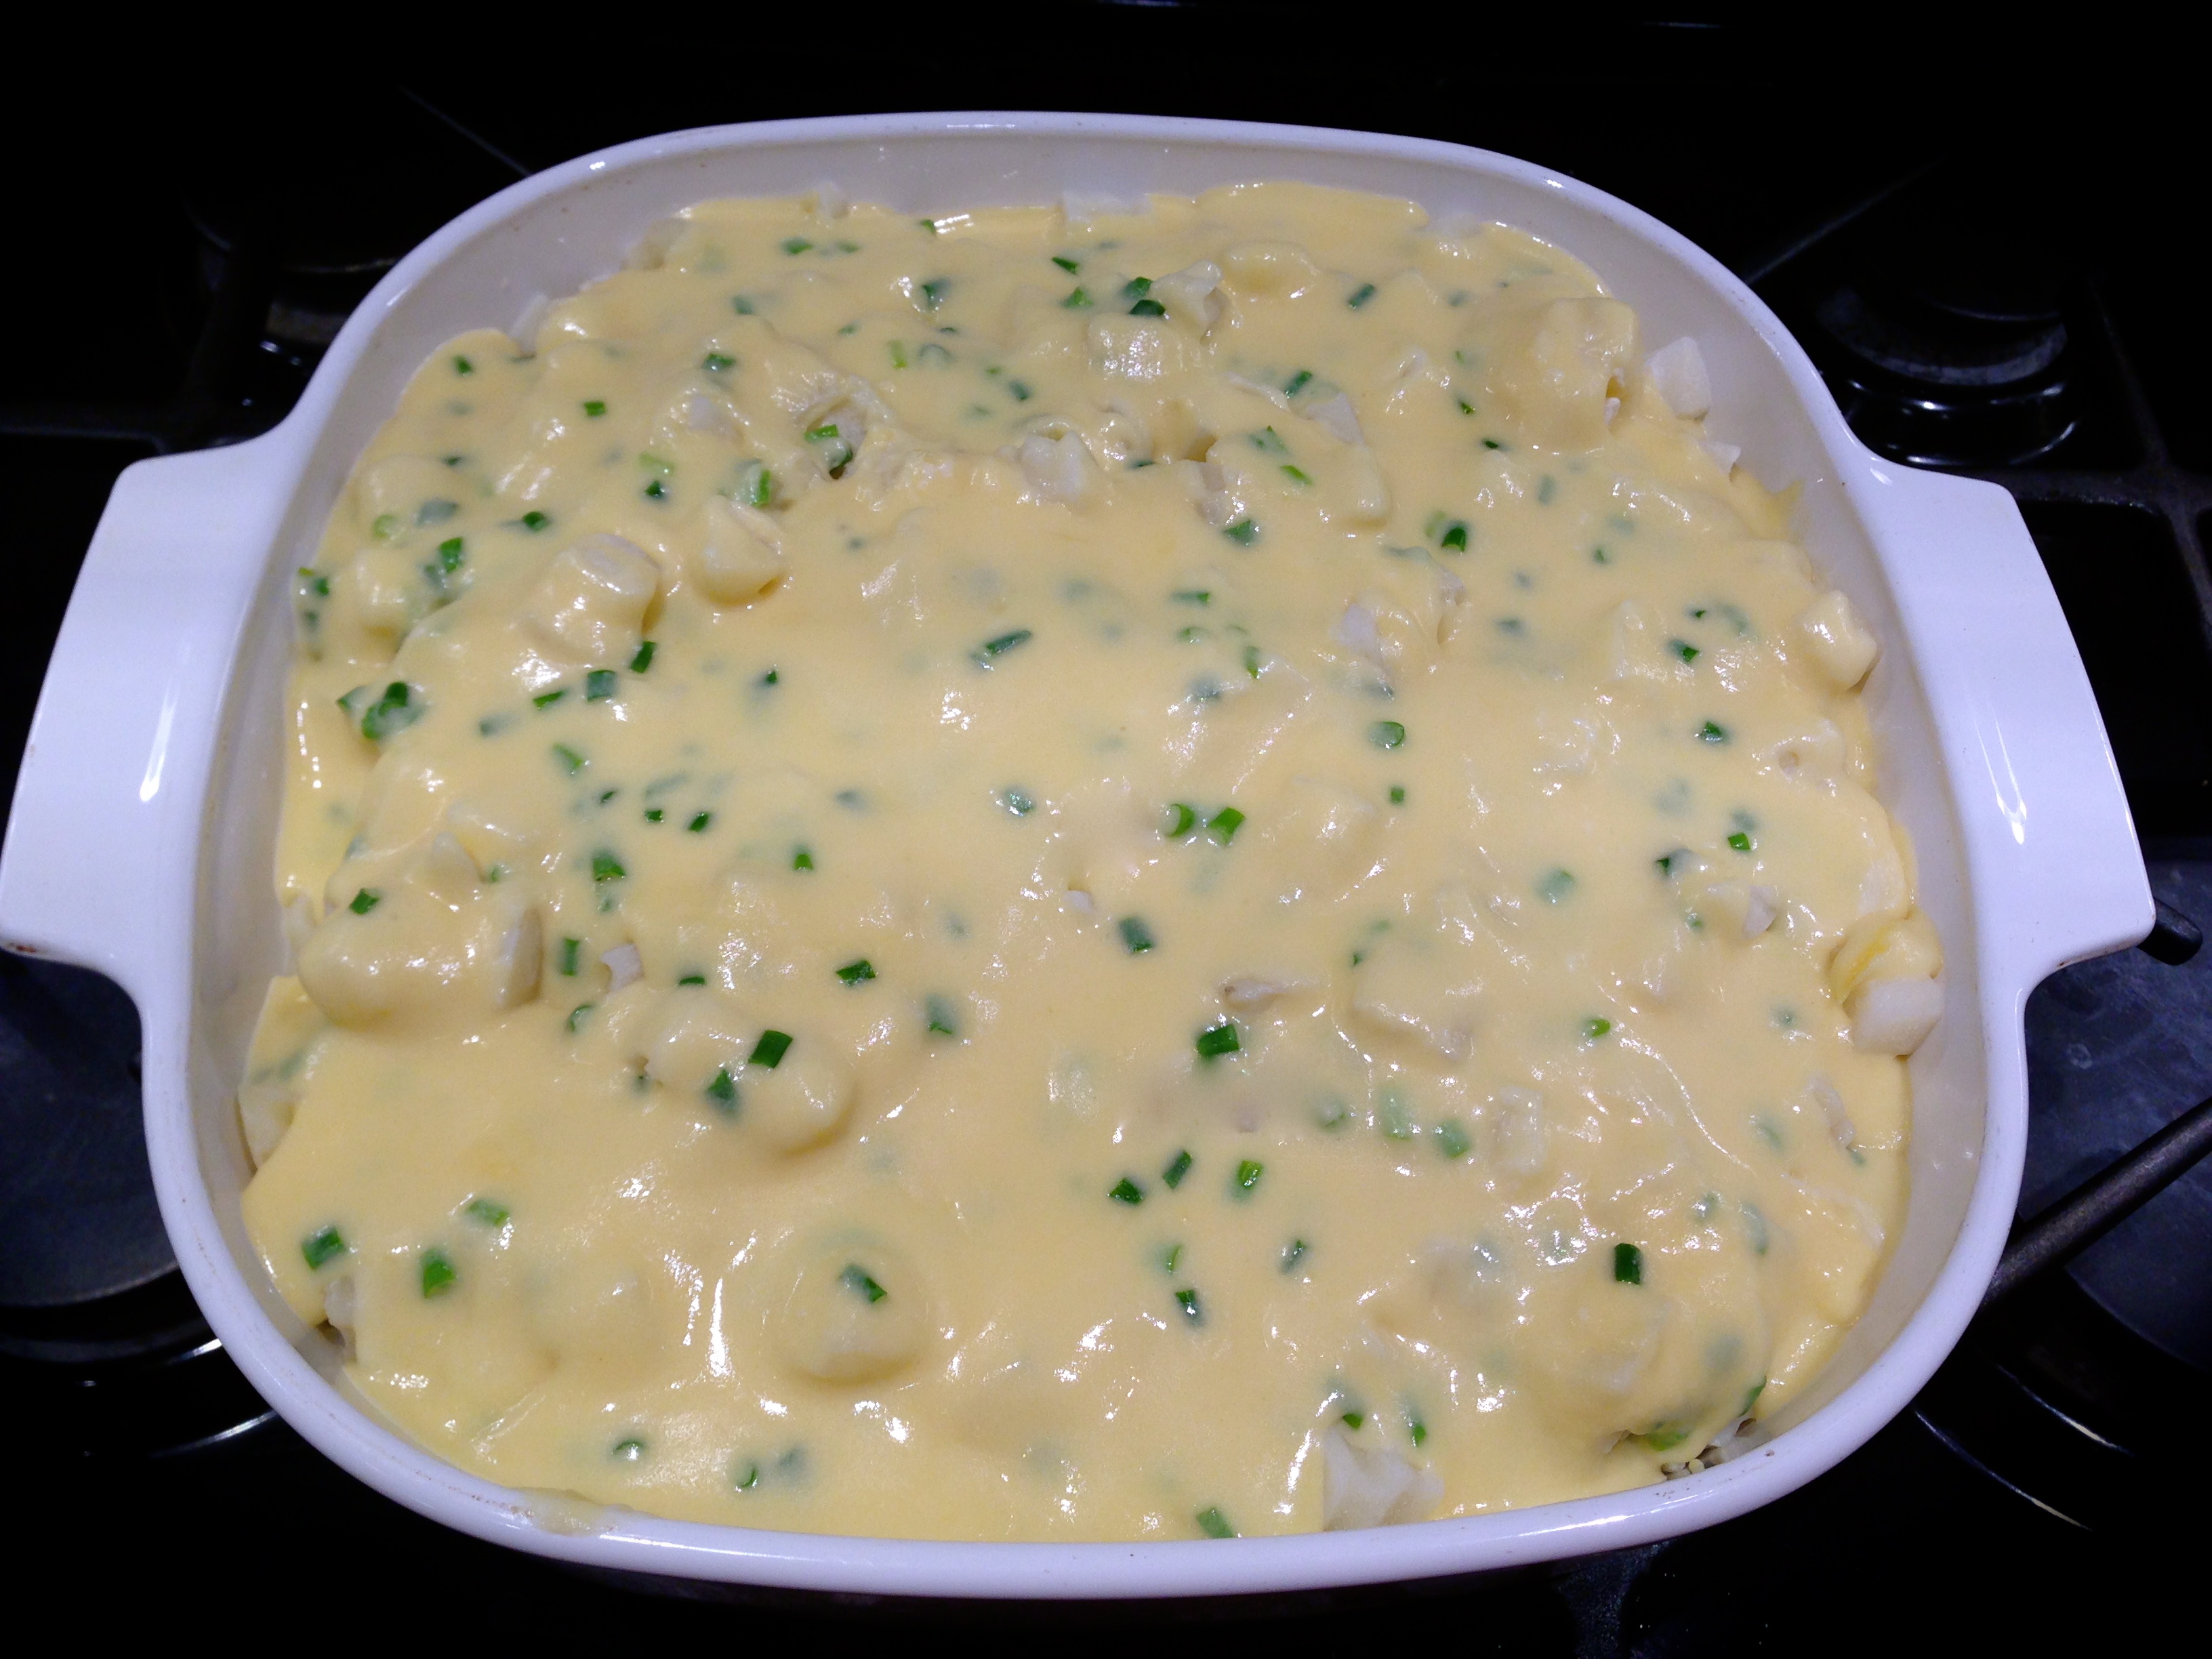
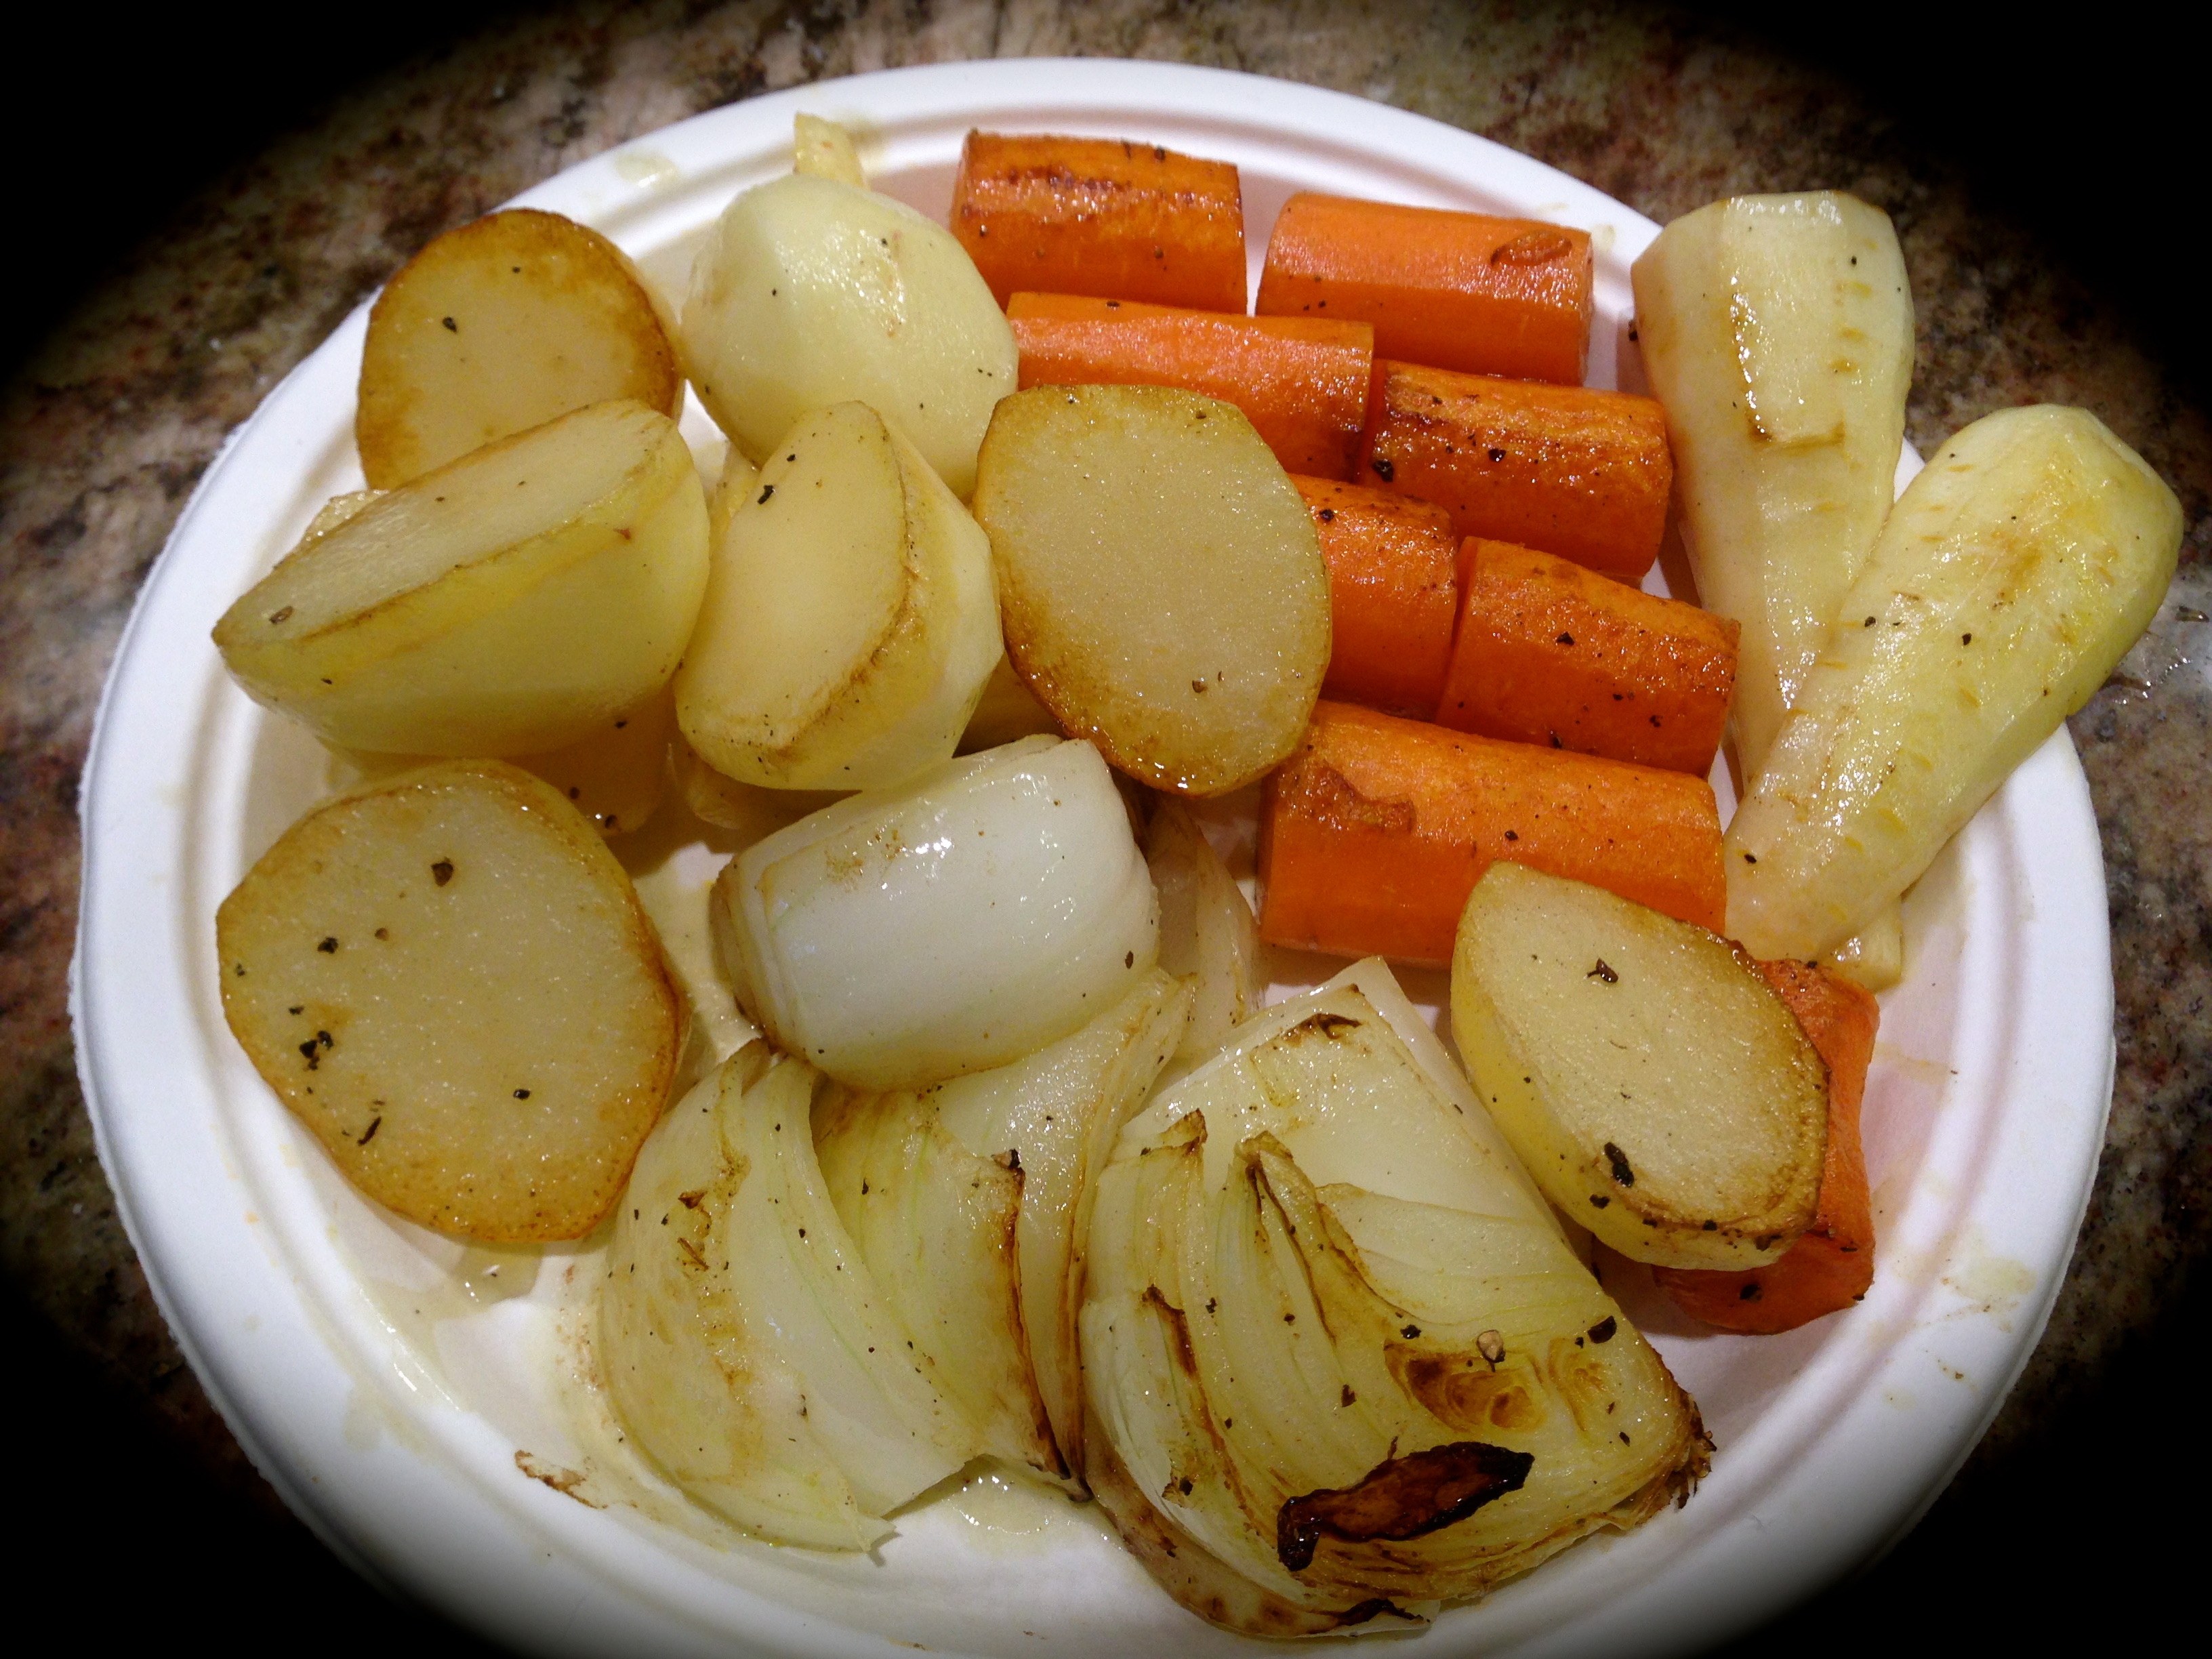
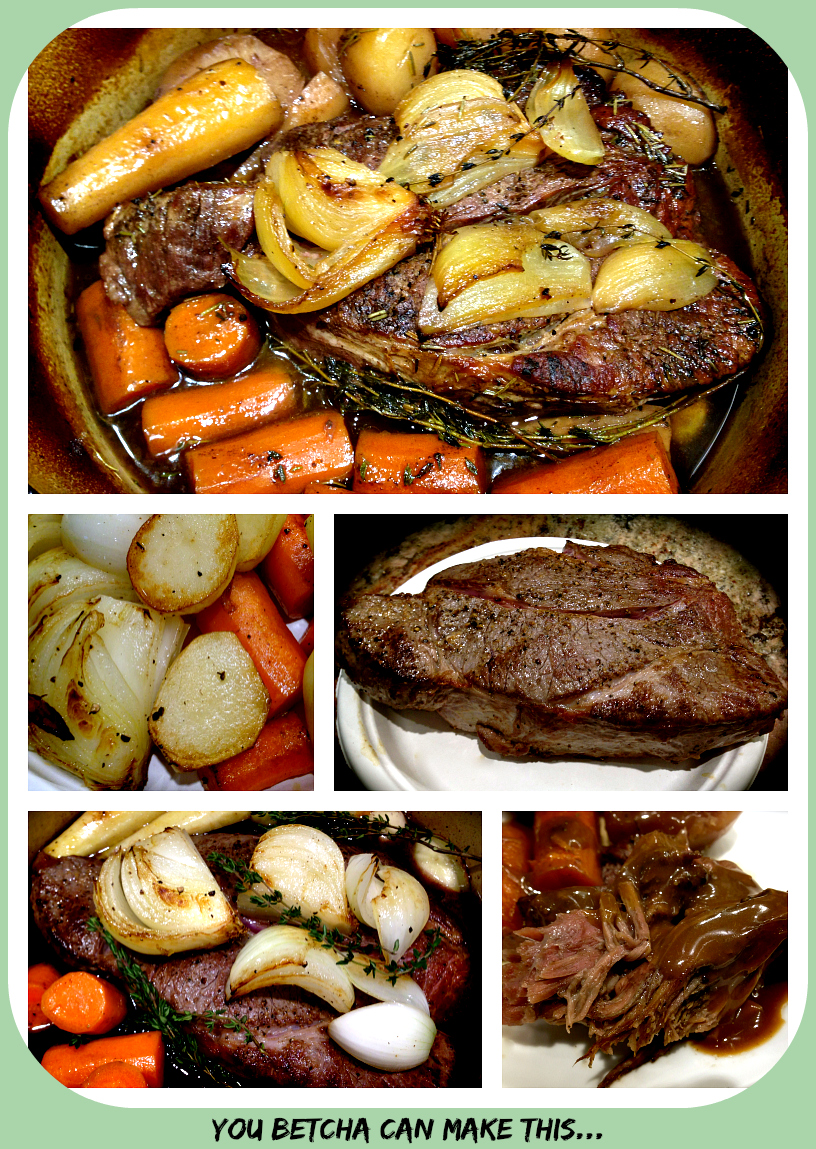
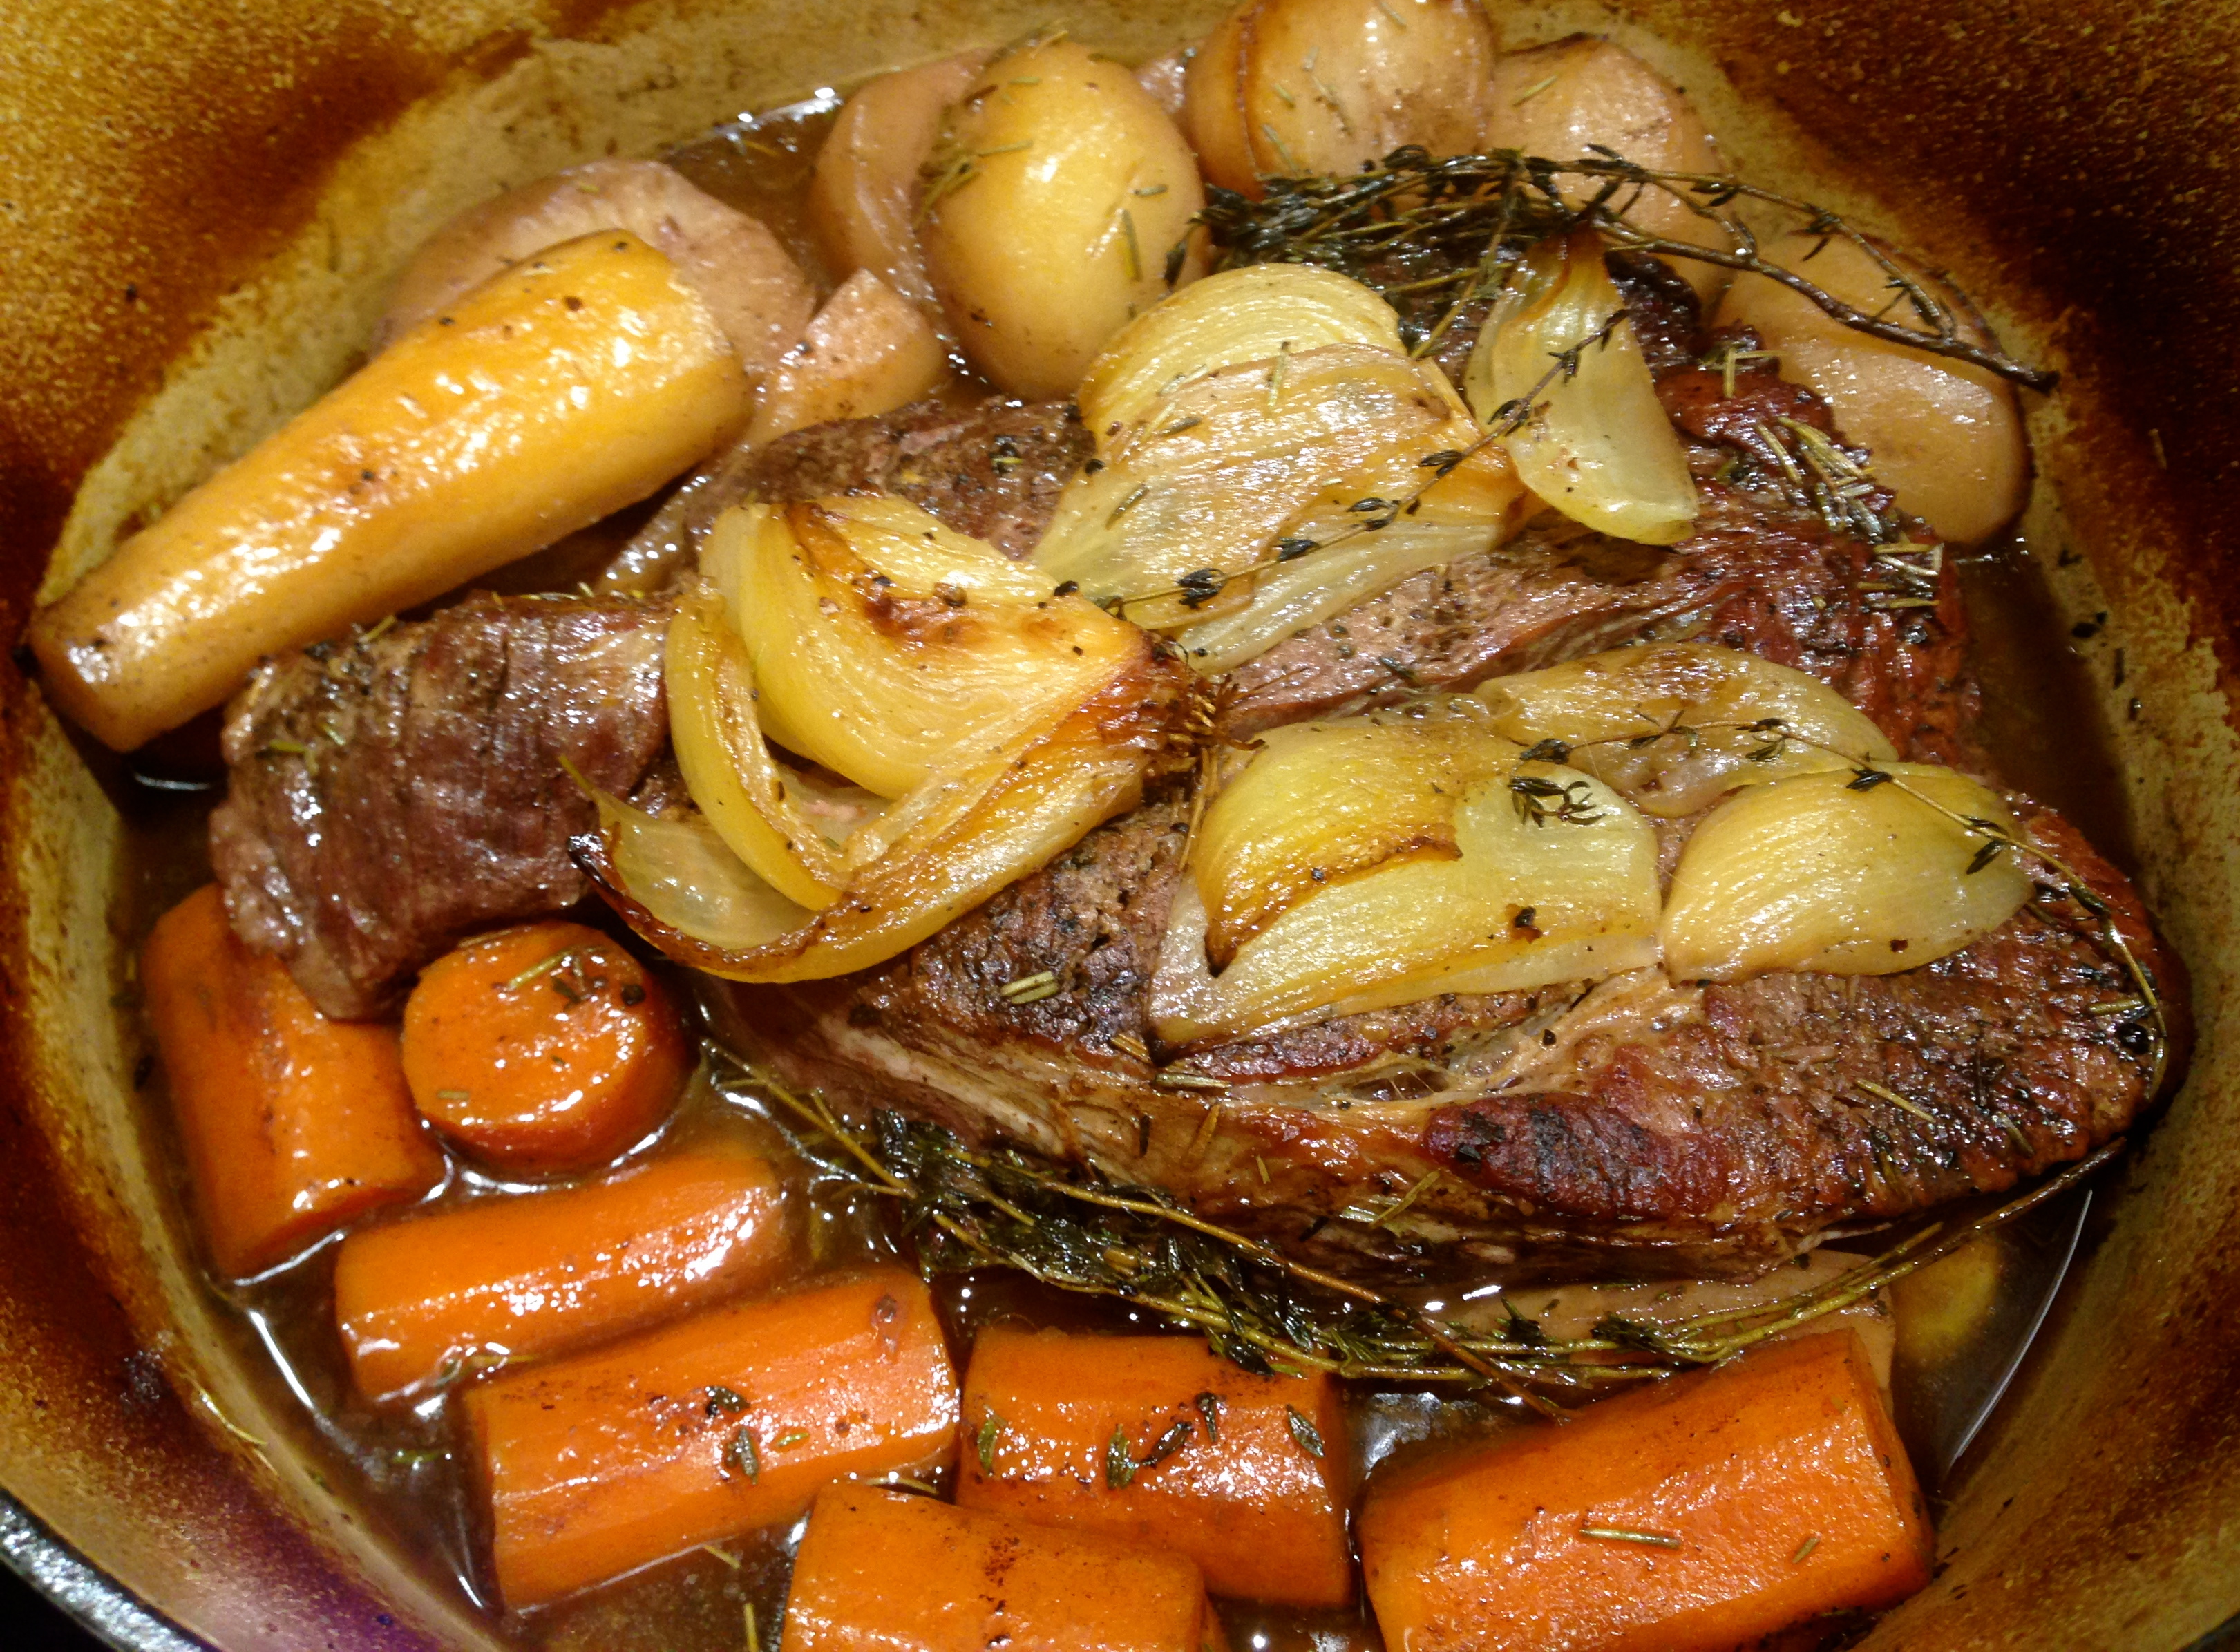
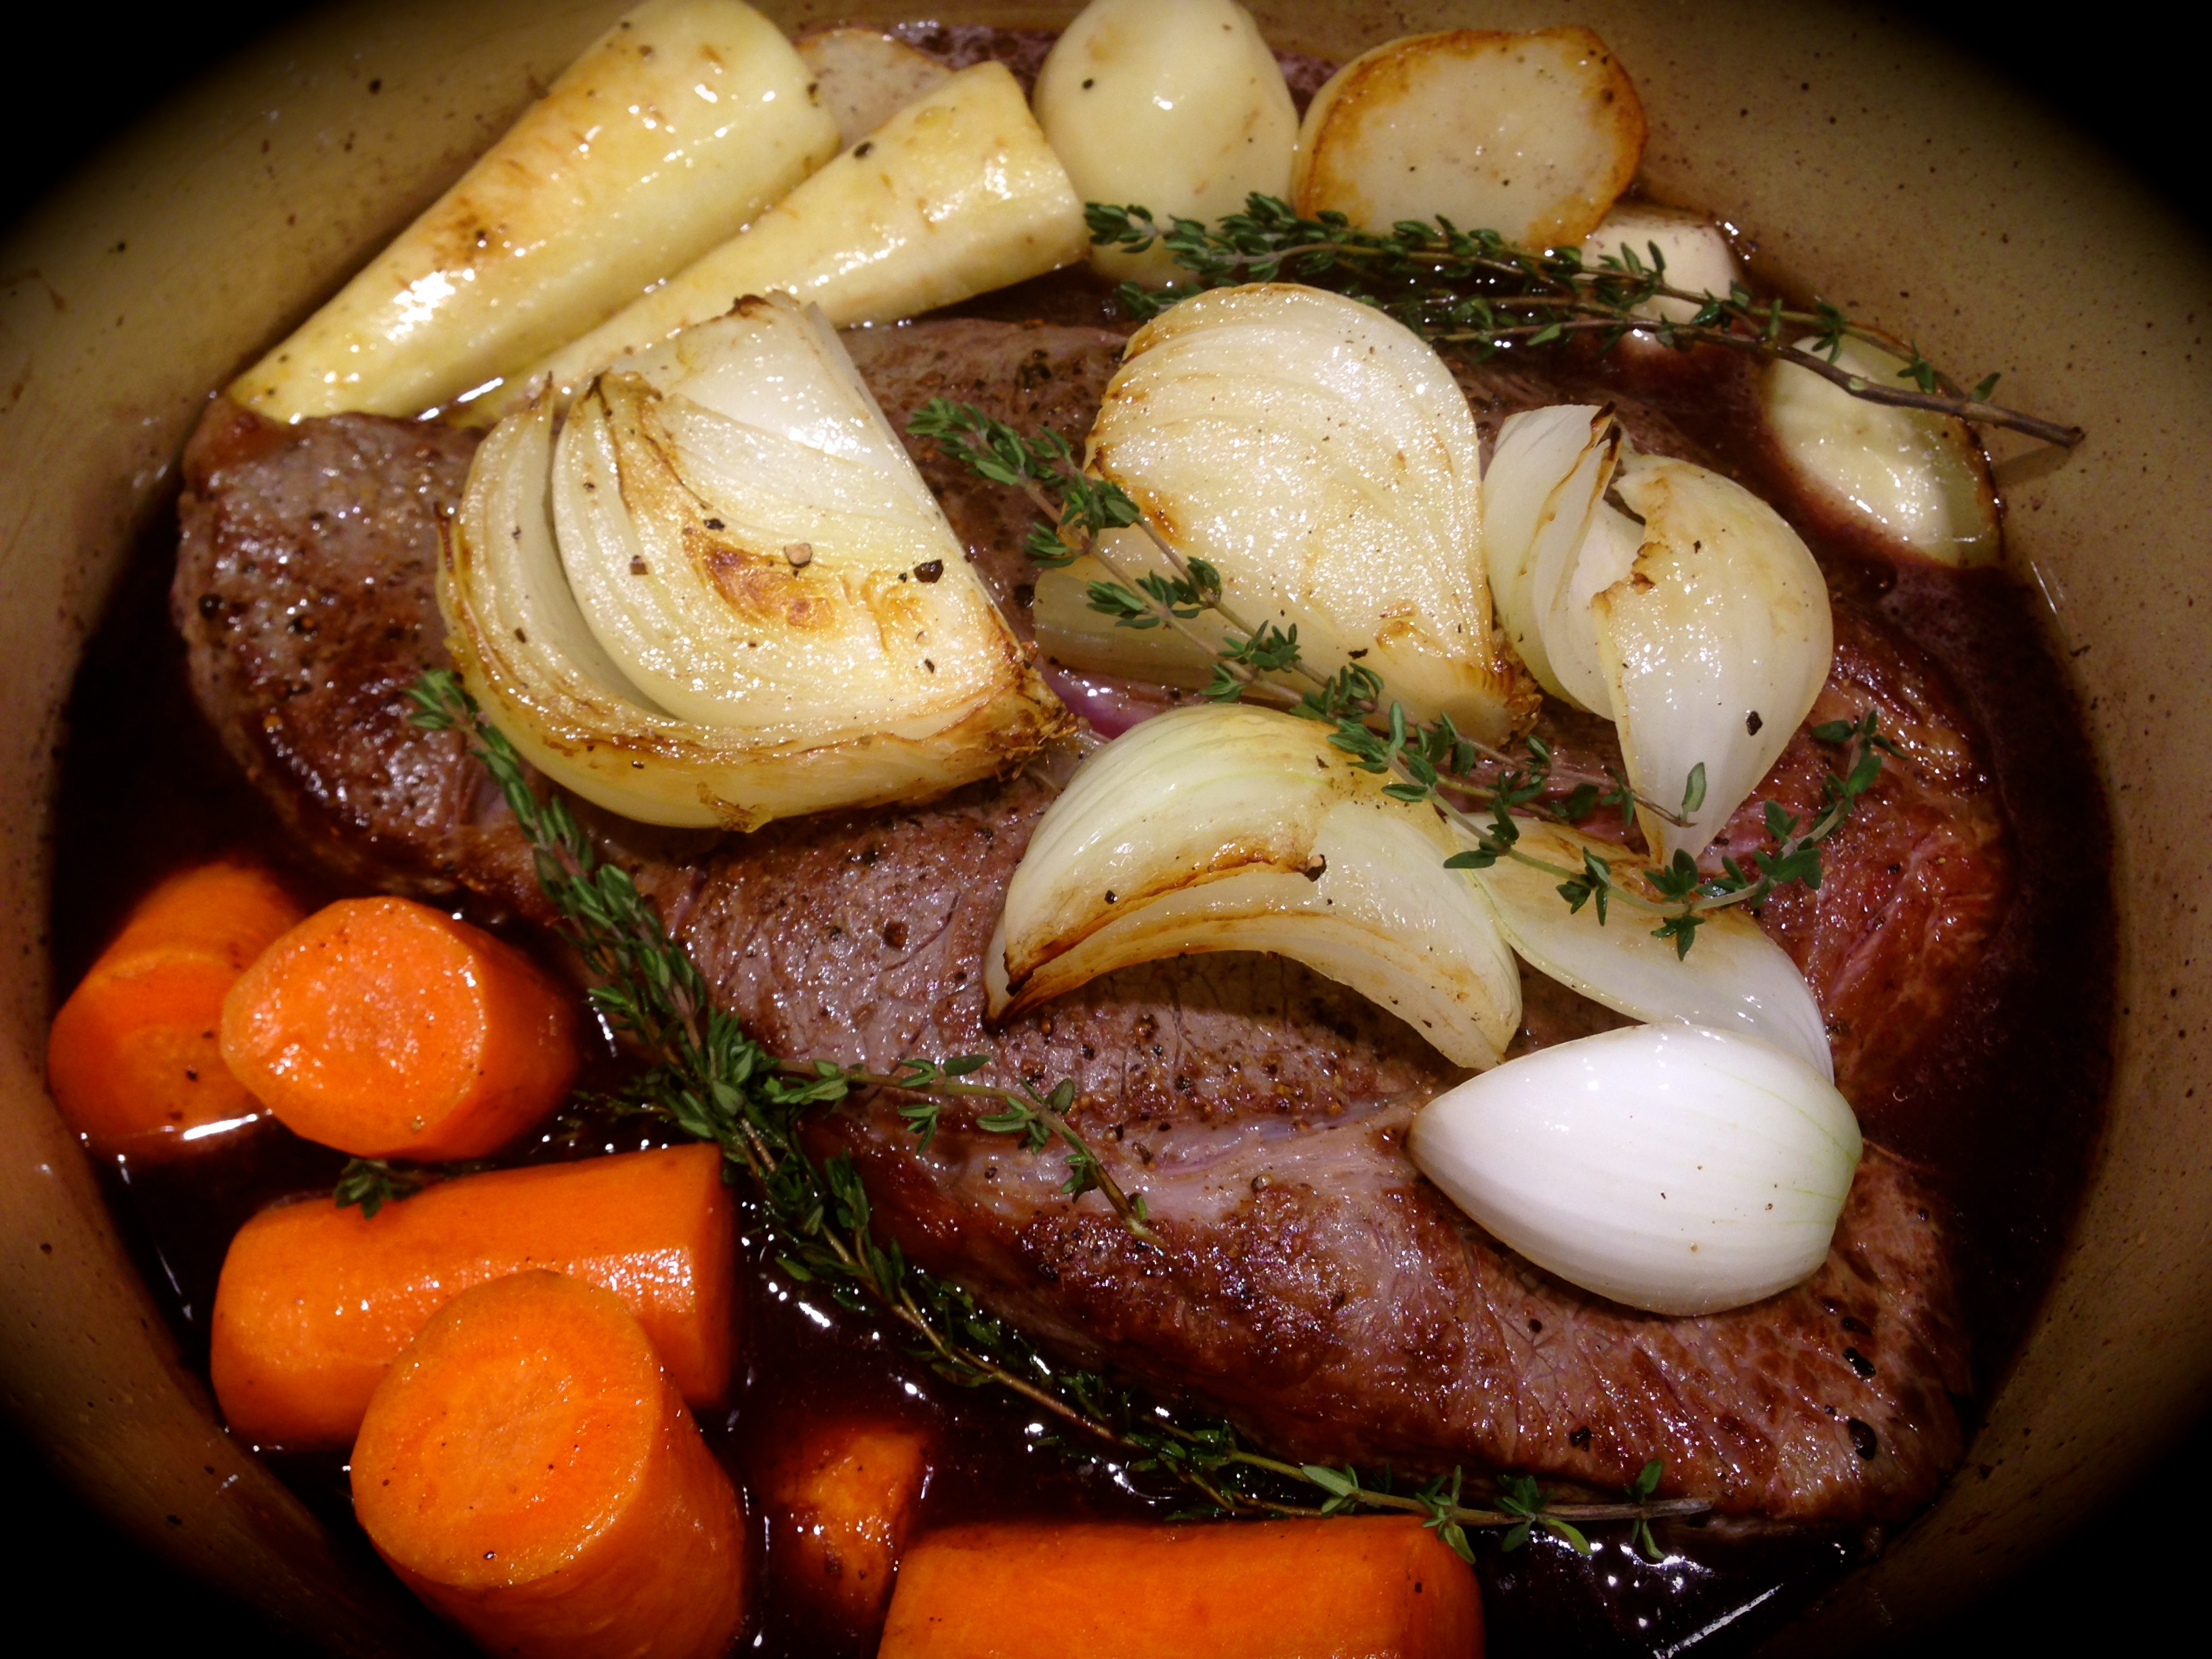
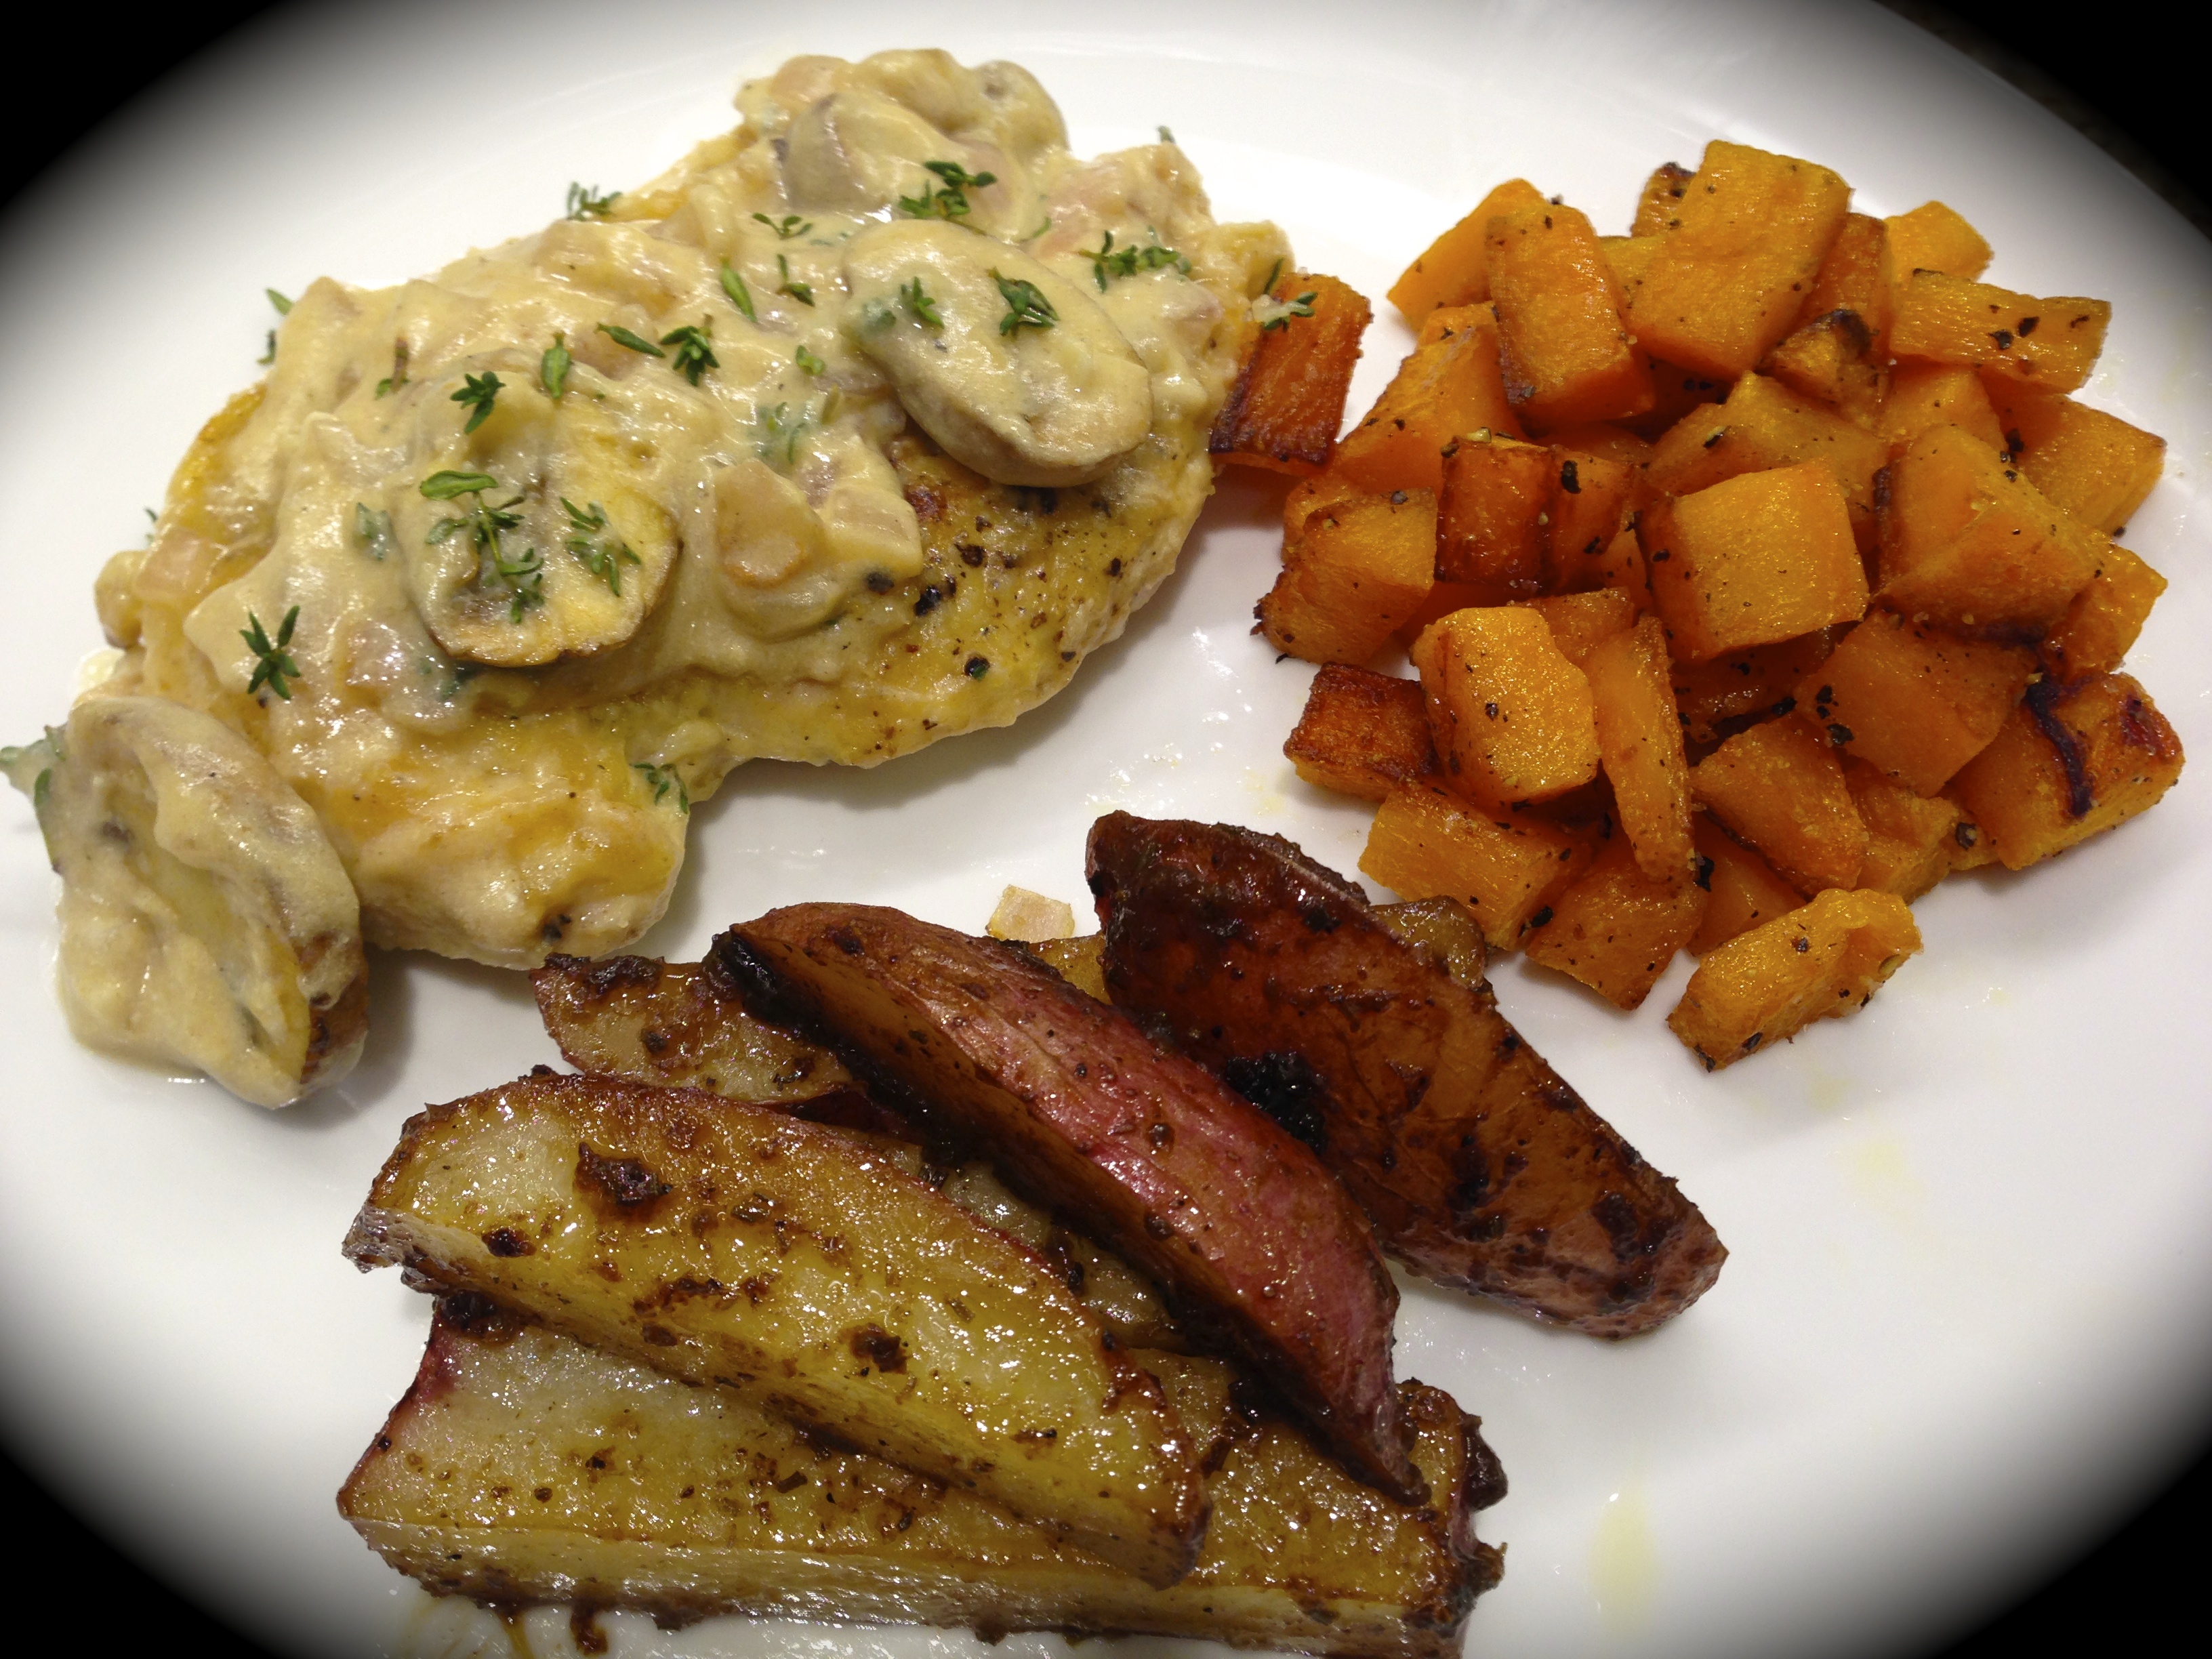
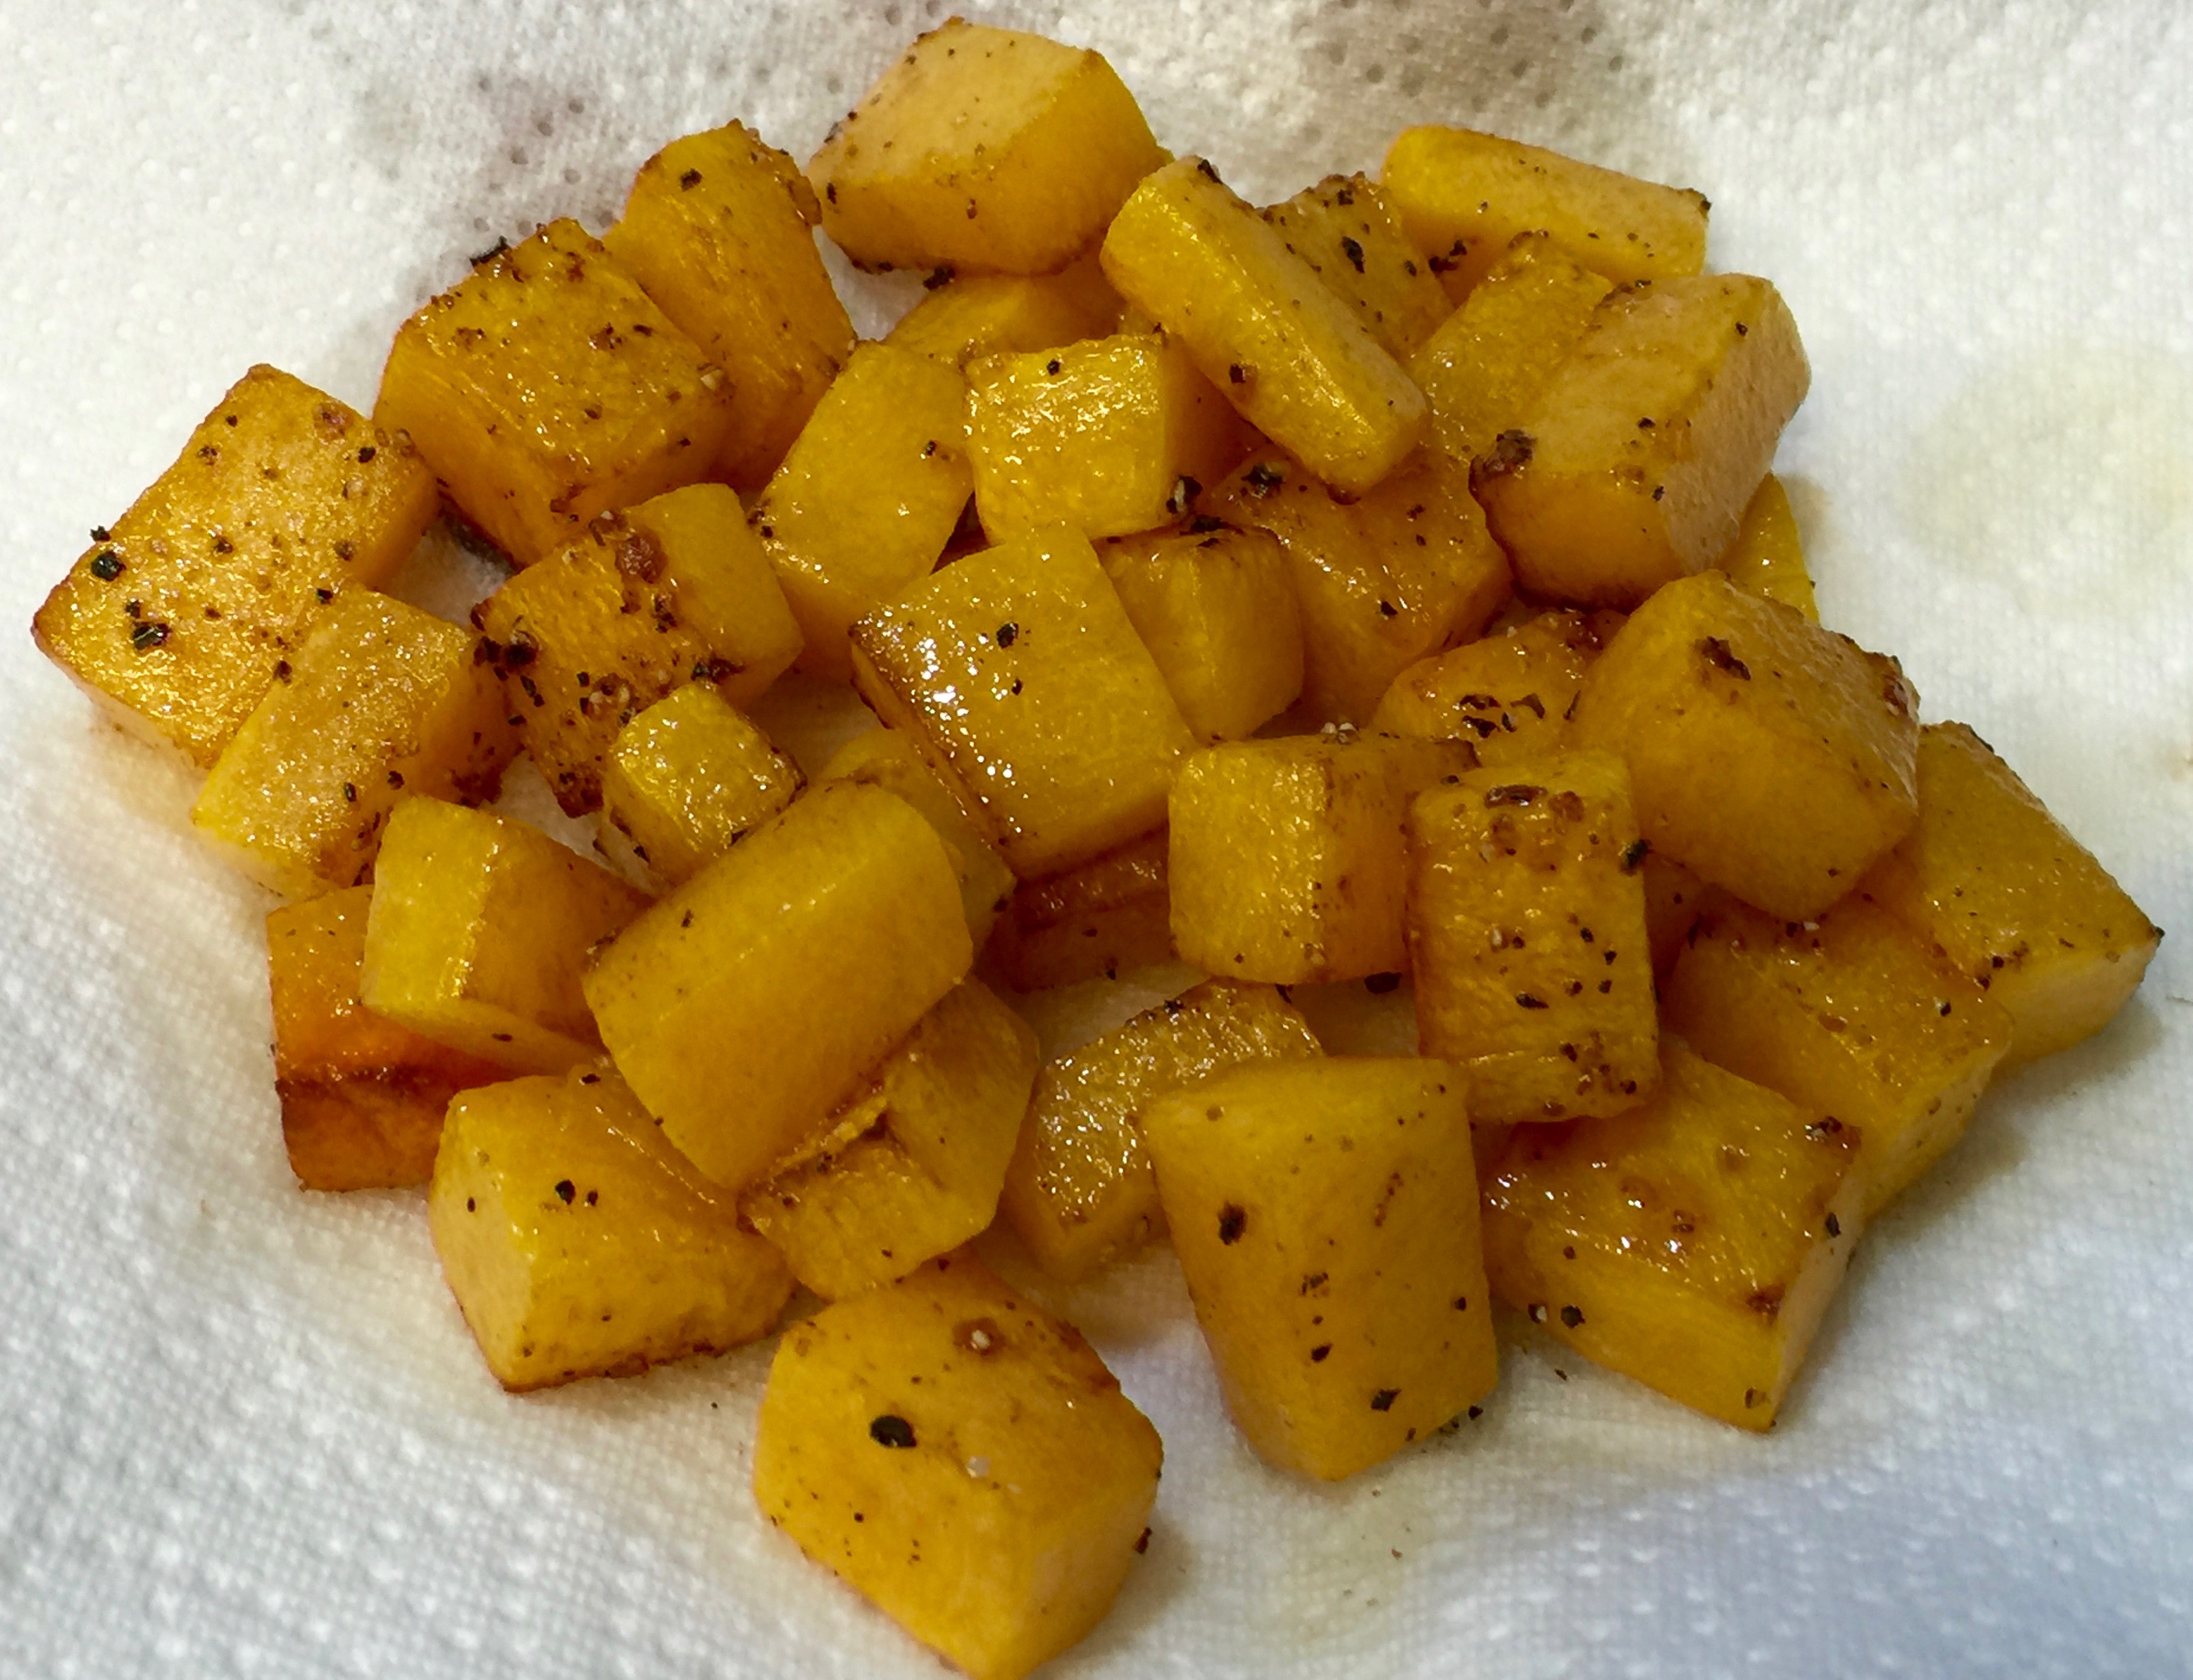
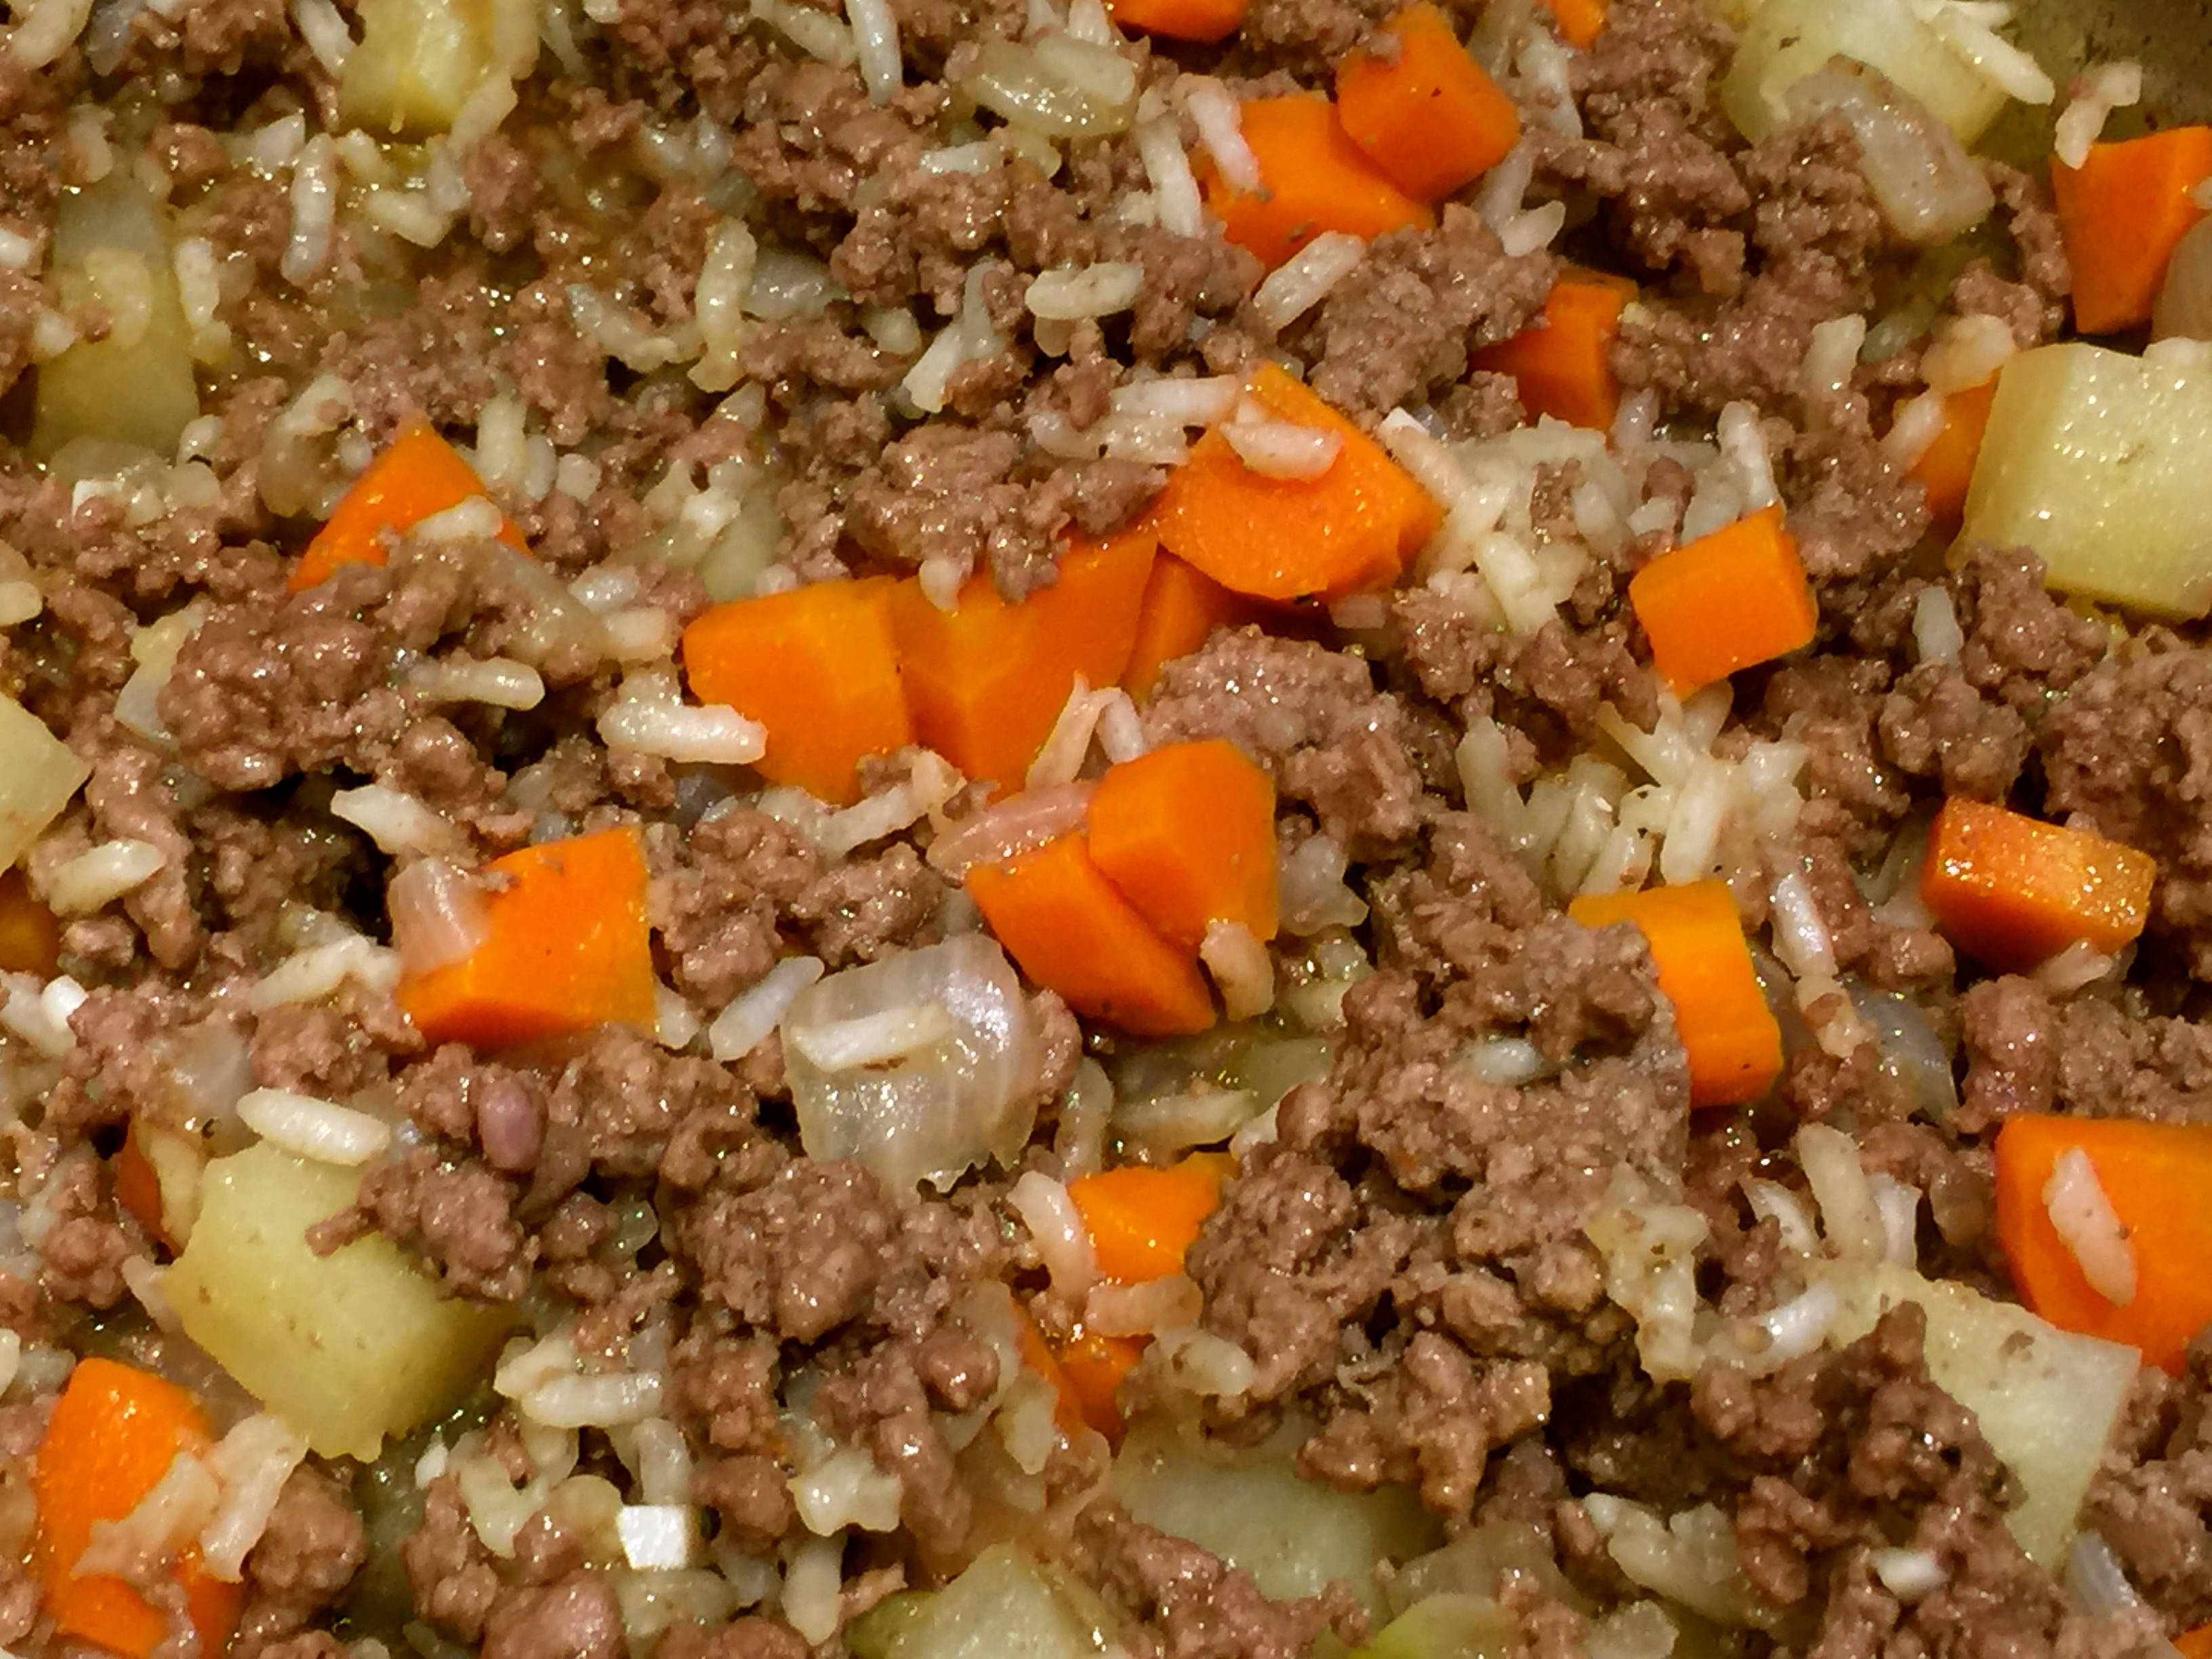
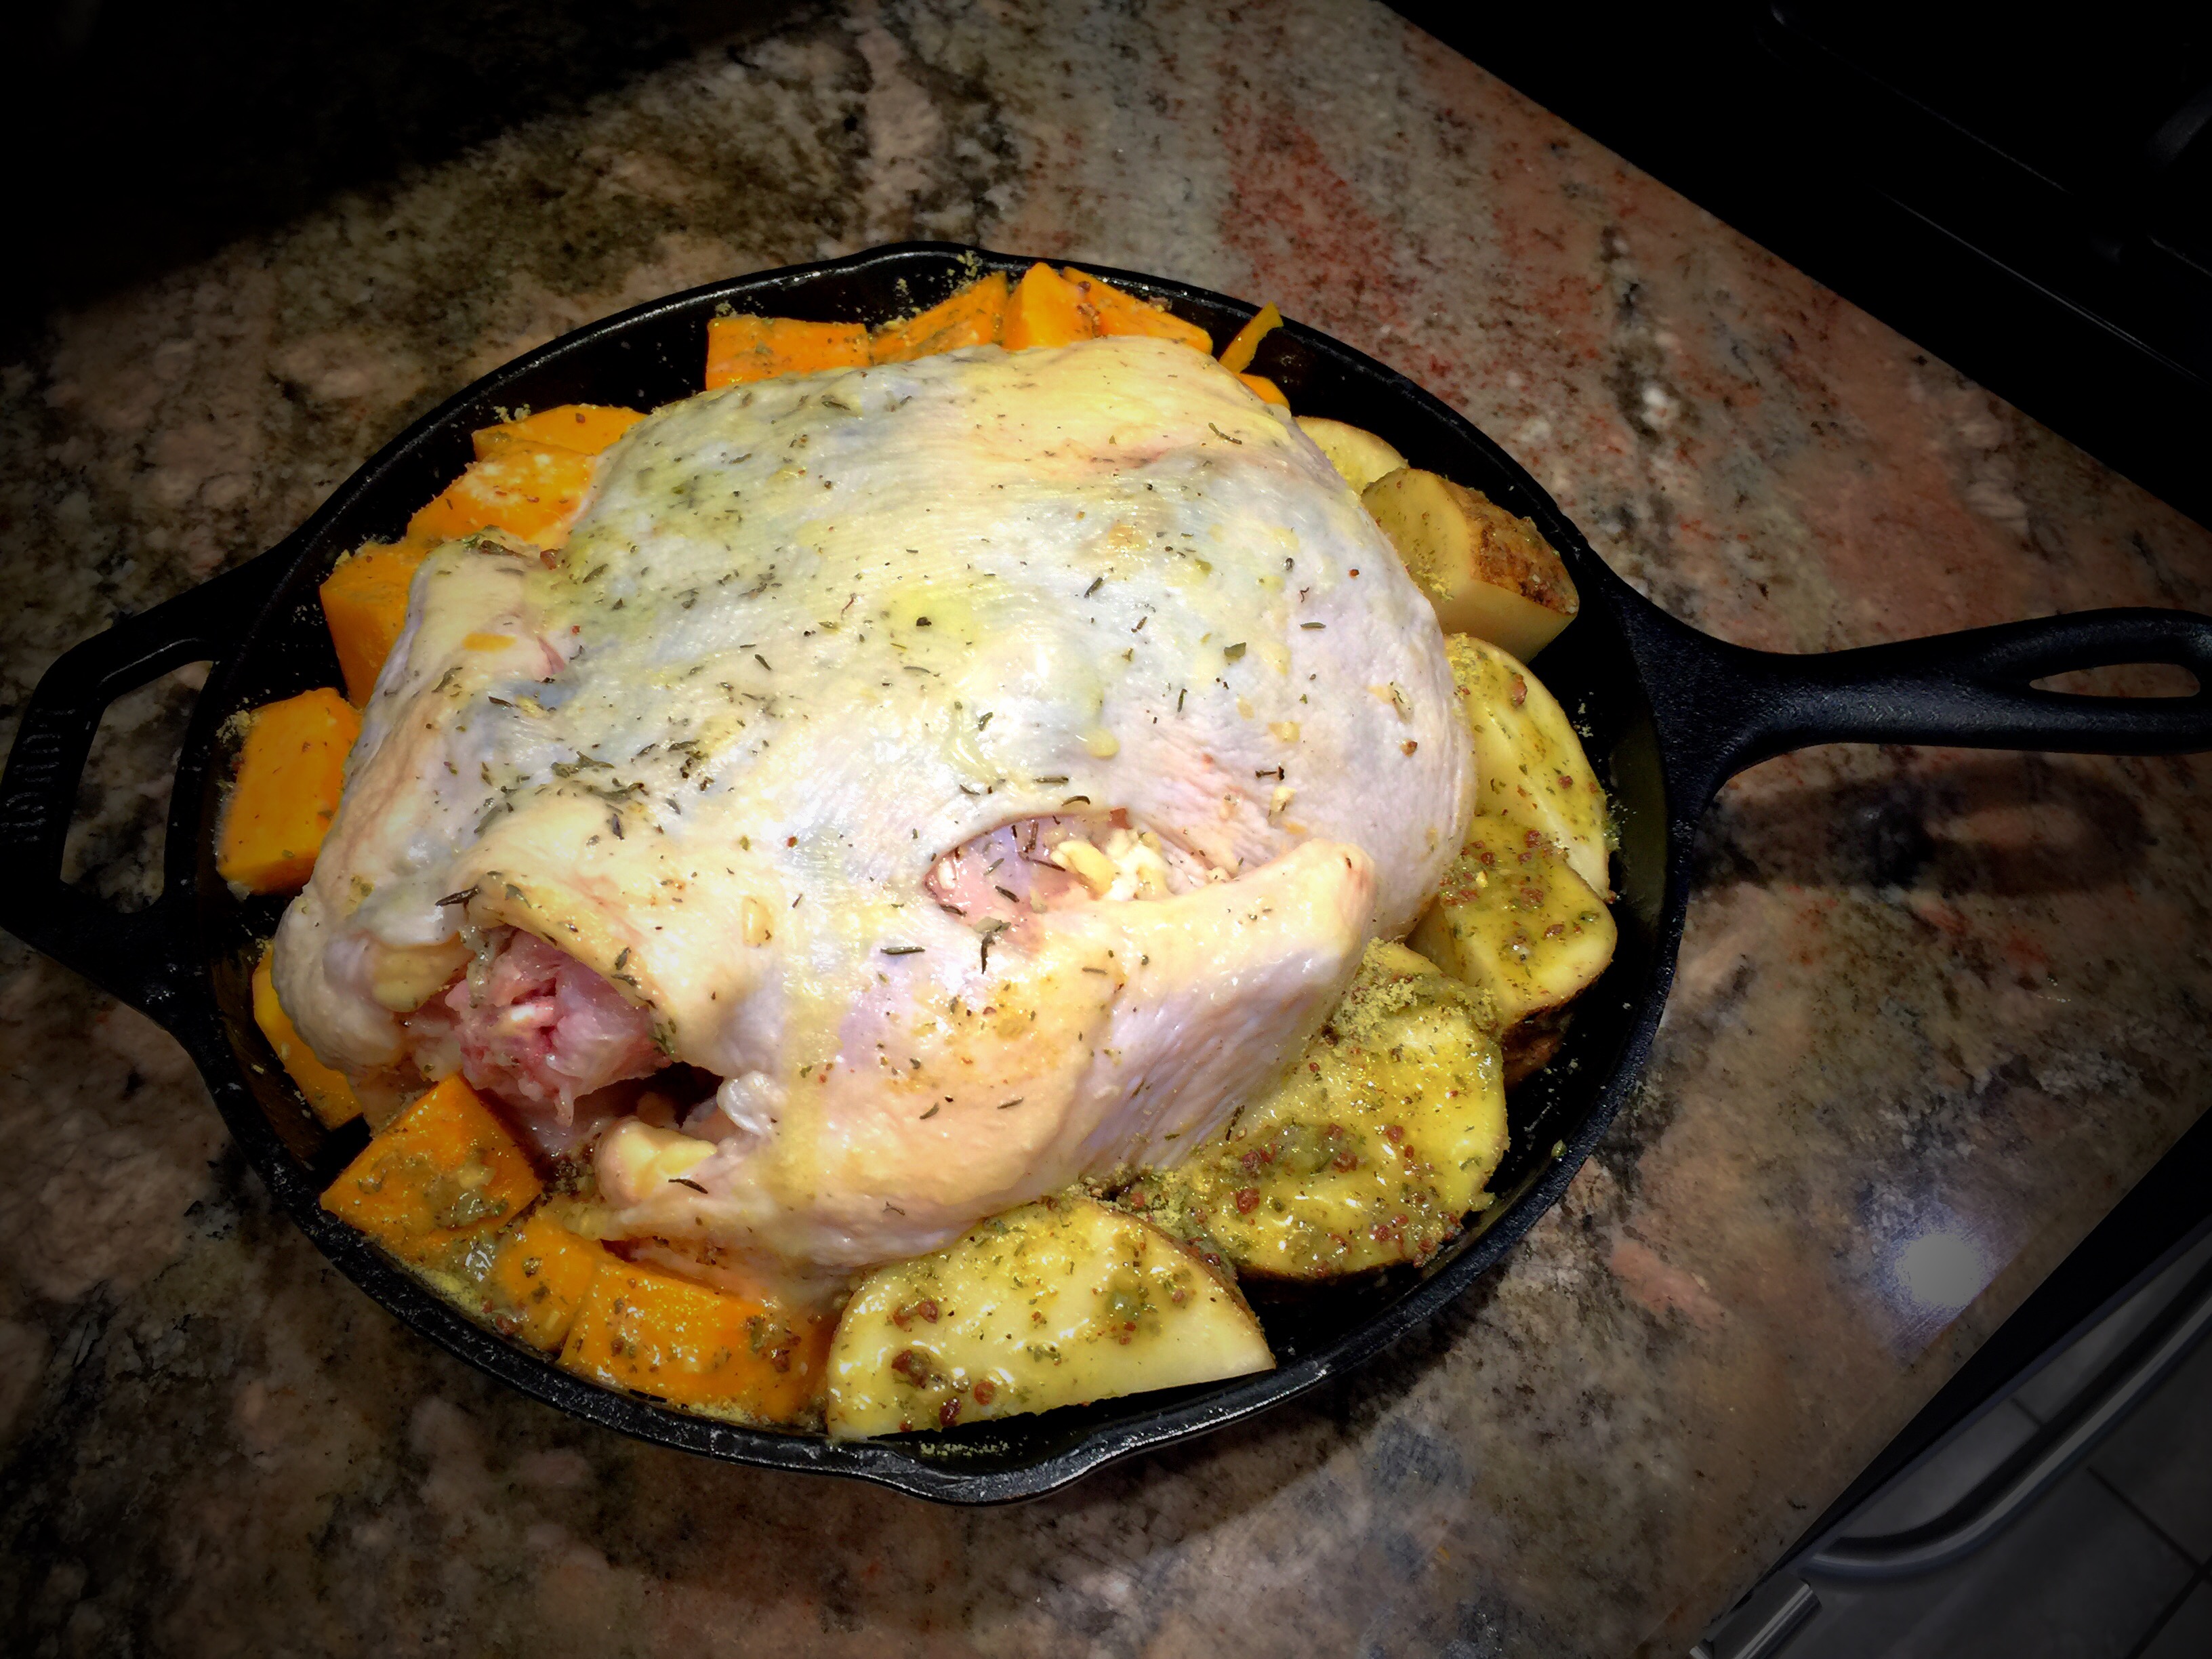
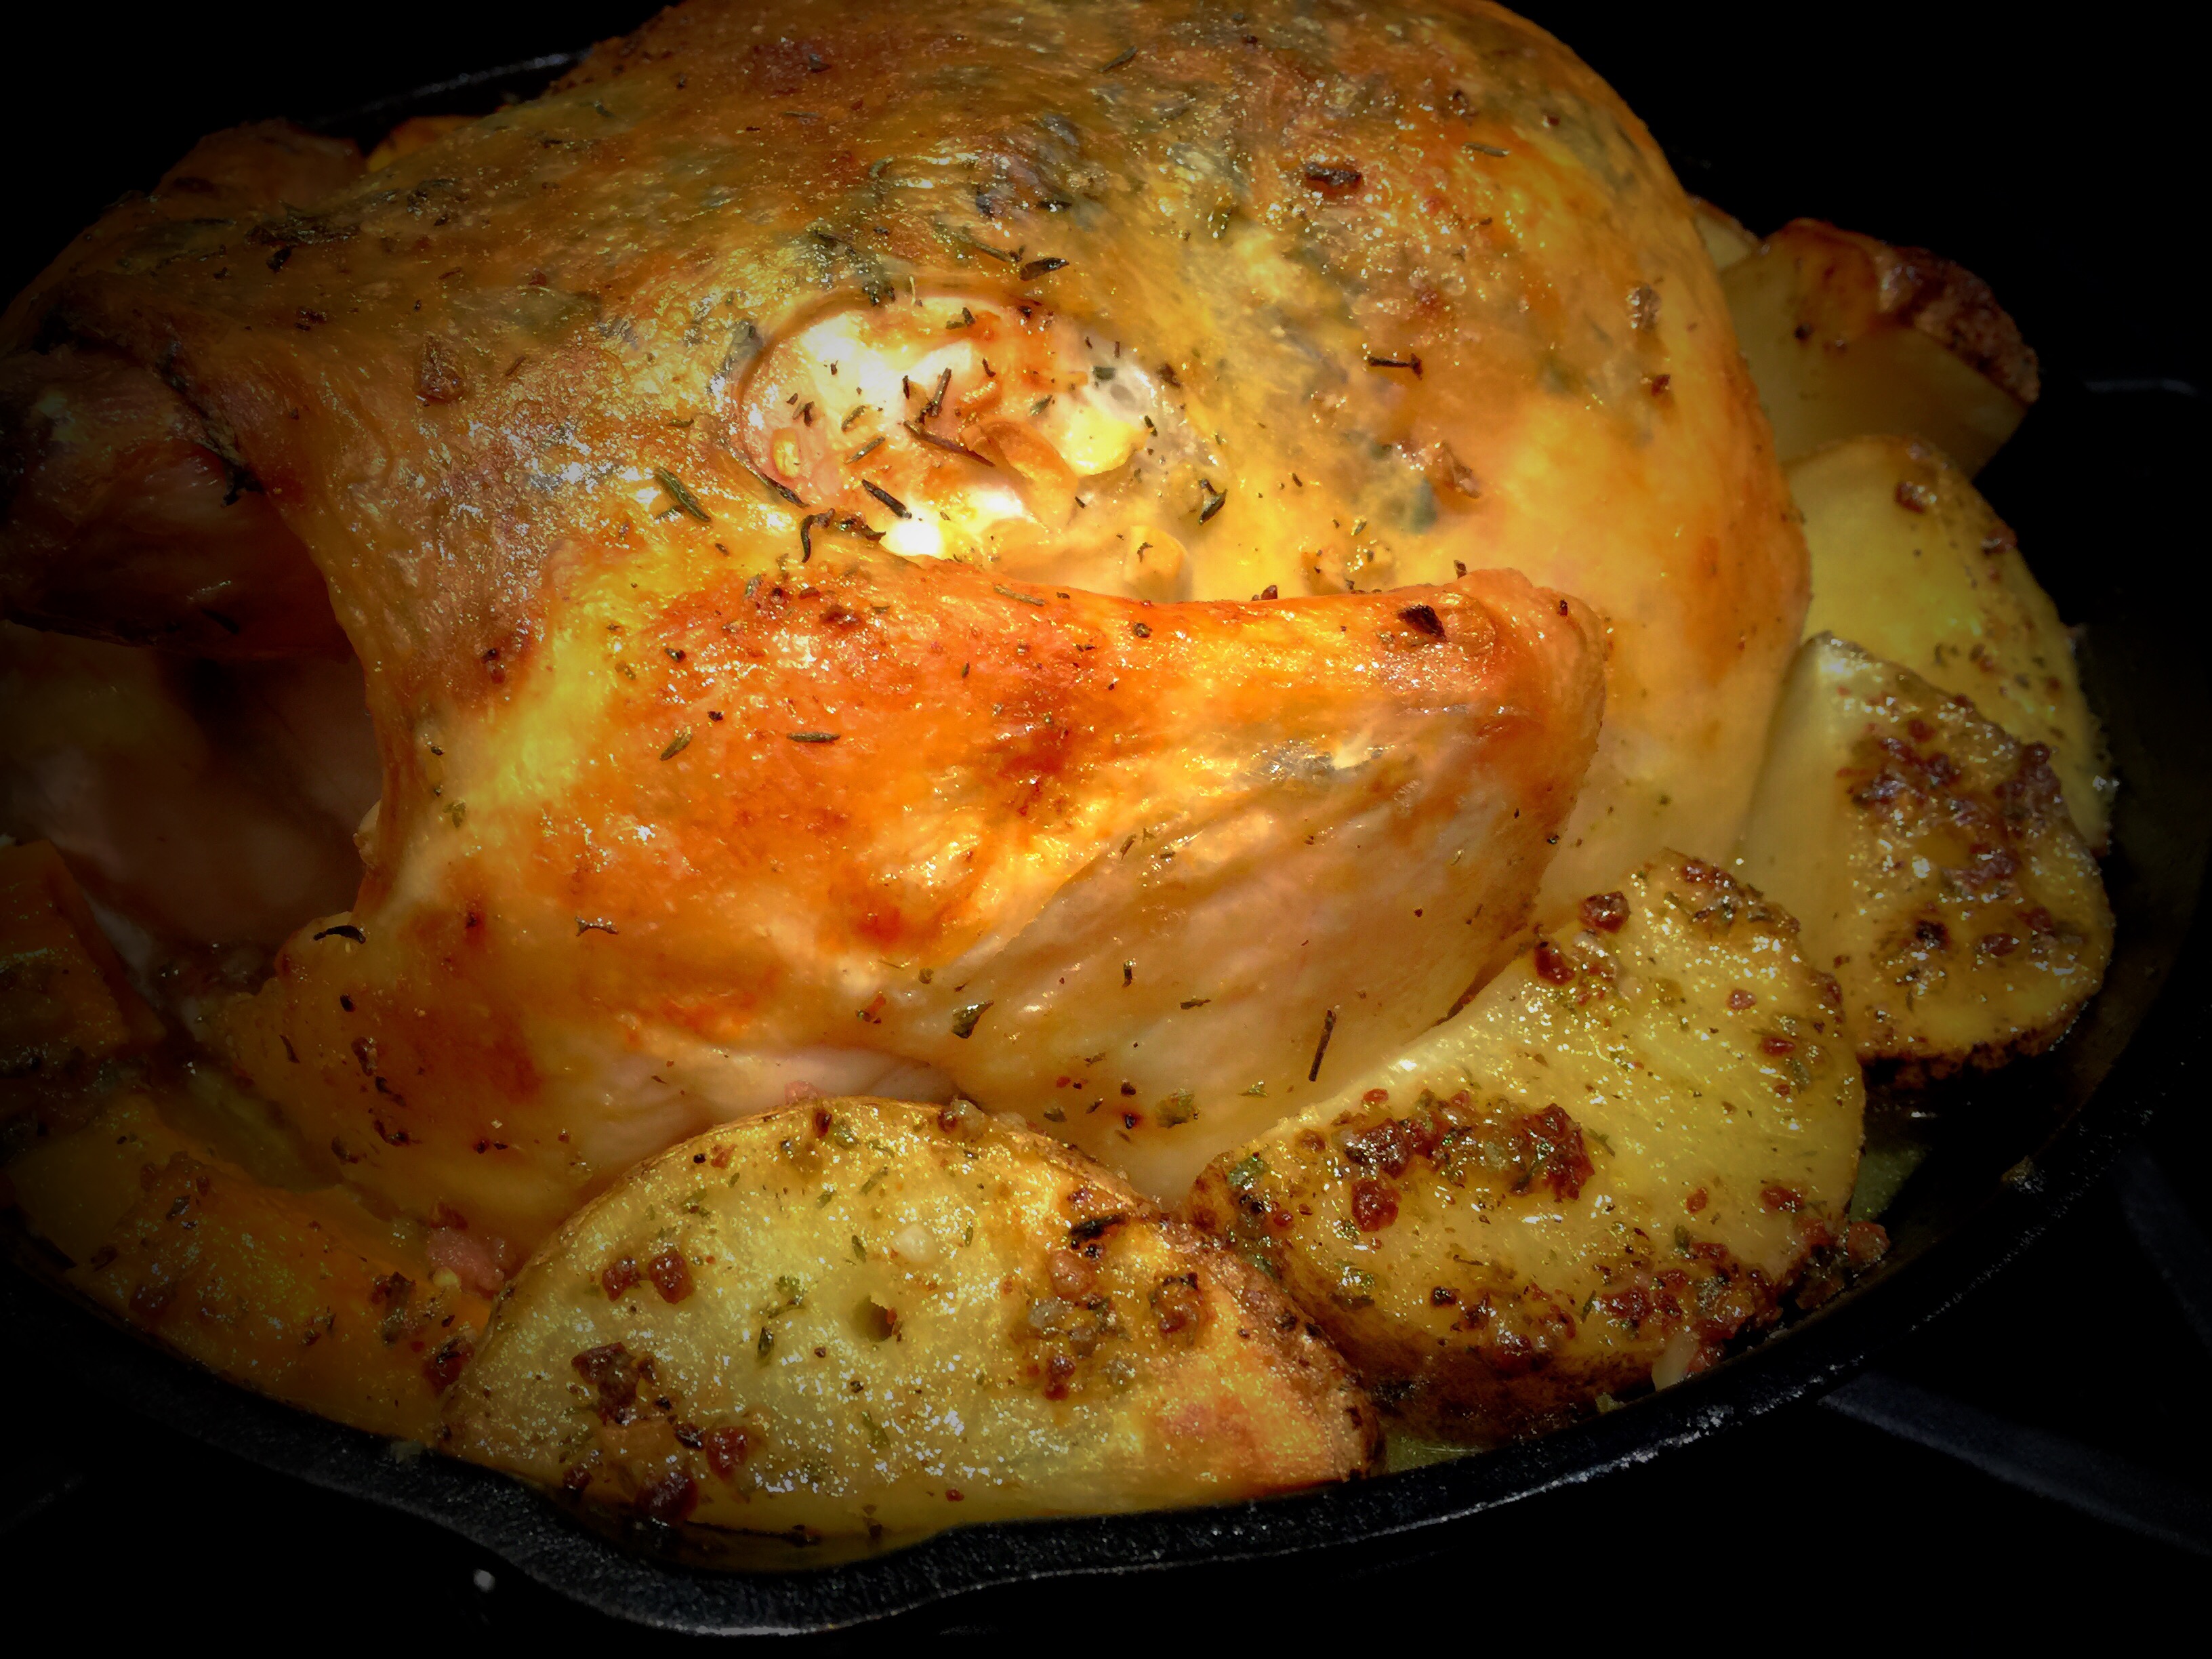
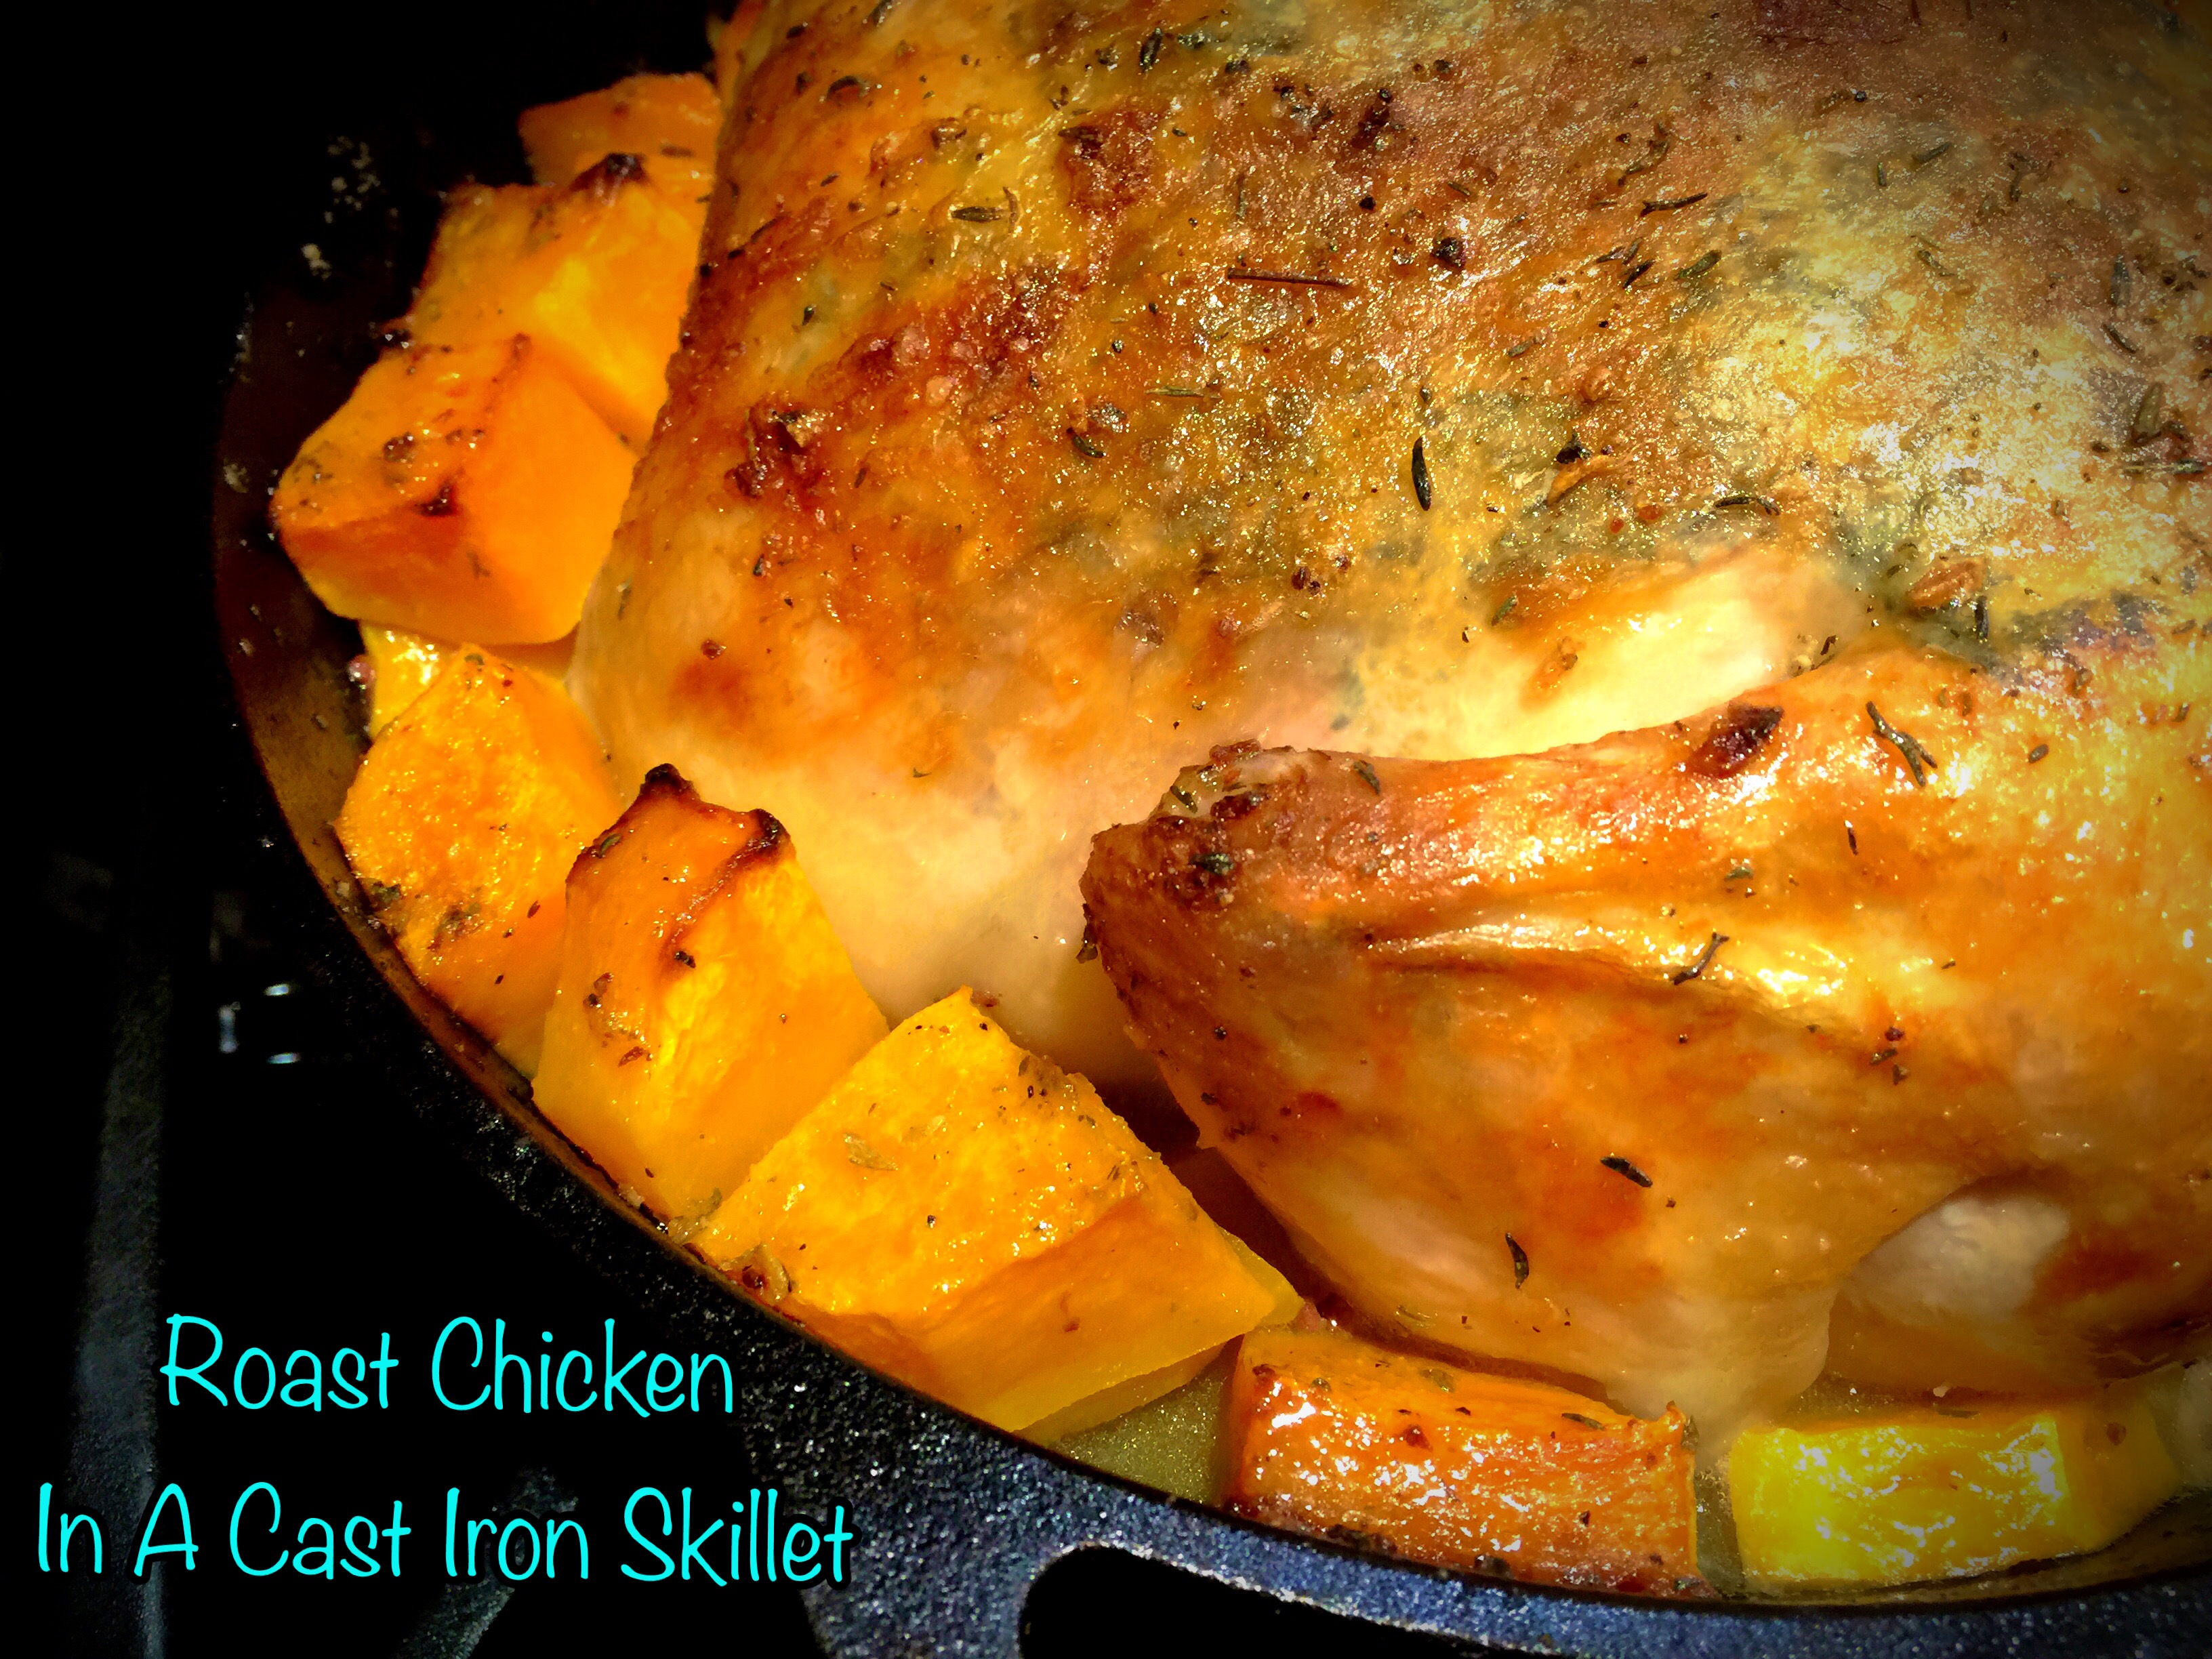
 Lesson Learned 1: Slightly par boil your potatoes before roasting them: I don’t know about you but I’ve found that roasting potatoes can be tricky. I usually wind up with hard or semi hard potatoes that are not cooked through. In this recipe it is important to cut the potatoes as evenly as possible (mine were approximately one inch squares). Once I do that I put them in a pot with water, bring the water to a boil and boil the potatoes for about 5 minutes or just until they start to turn tender around the edges. Then I drain the potatoes and let me cool slightly in the strainer. I’ve found when I do this my potatoes come out perfectly when making this recipe. After I strain off the water I transfer them into a bowl so that I can coat them with the balsamic mixture before putting them in the roasting pan. It’s a little extra work, but definitely worth it.
 Lesson Learned 2 – This recipe roasts the carrots to crisp tender: Carrots are also tricky to cook and although I prefer mine to be crisp tender, some people prefer their carrots to be soft. If soft is your preference roasting them this way will not give you that consistency unless you either cut them into thin rounds or use small baby carrots. I cut my carrots into about 2 inch chunks, cut each chunk into half and then half again. This produced a somewhat softened crisp tender carrot, which I love.


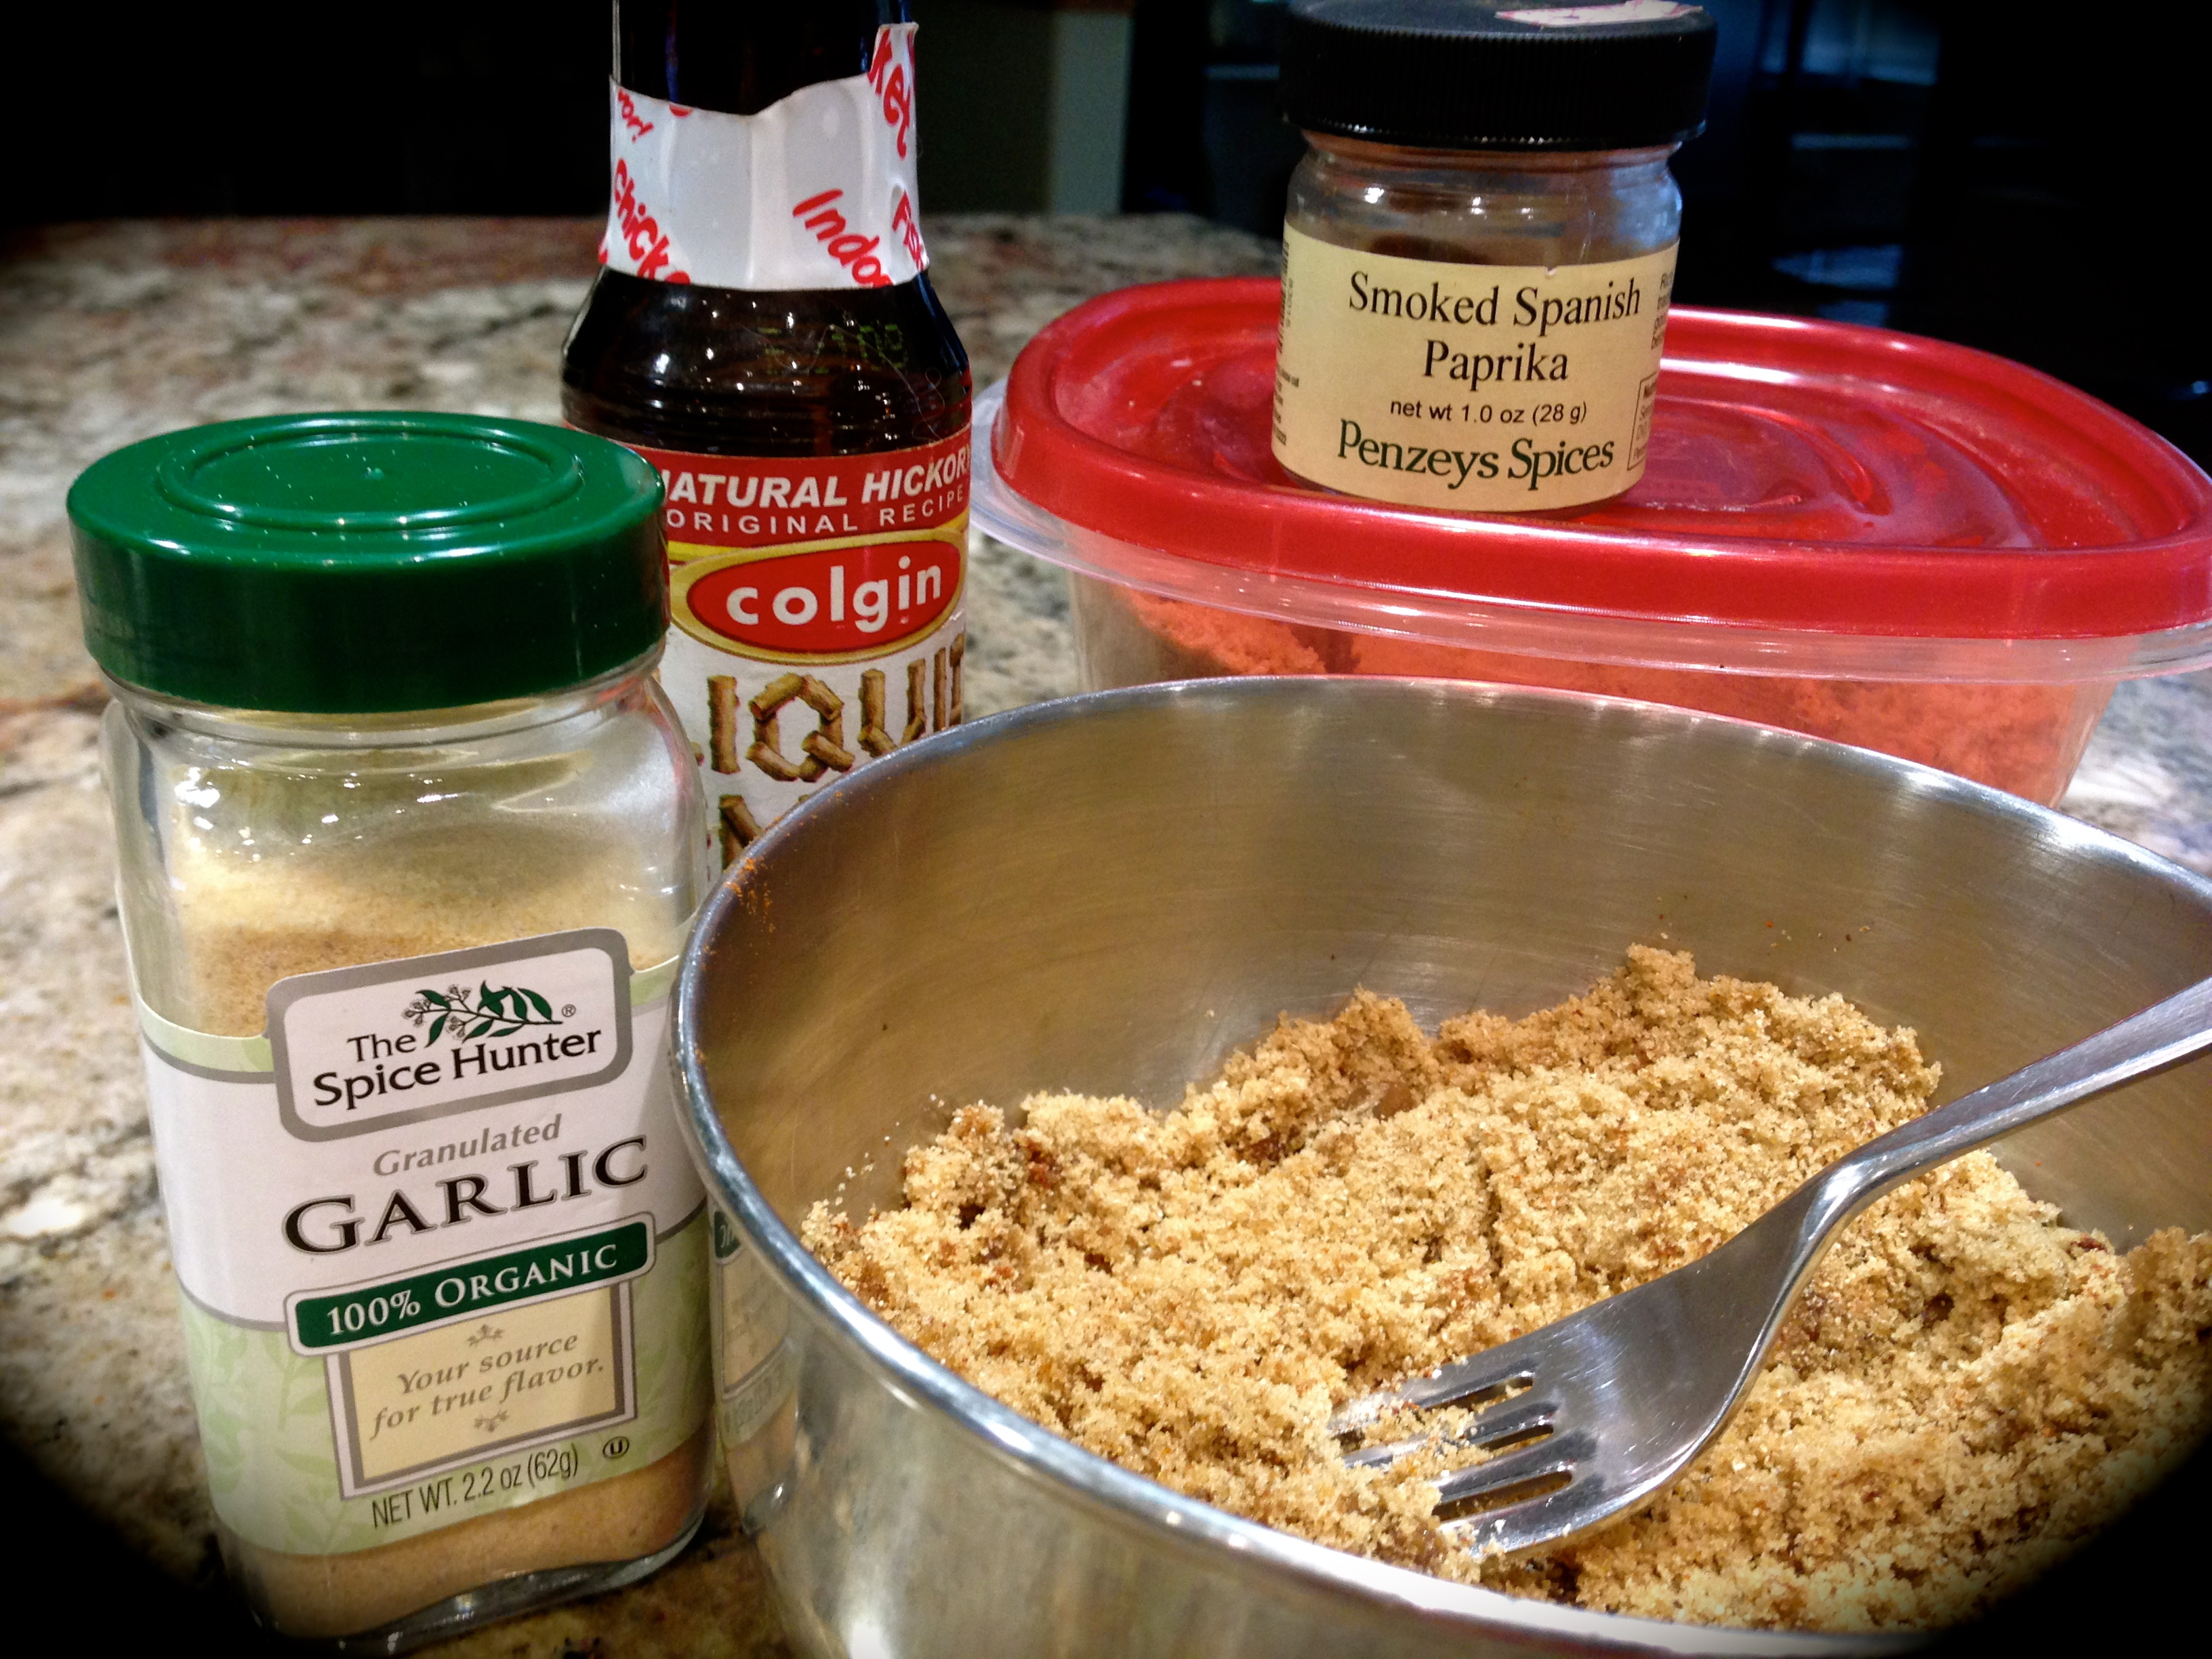
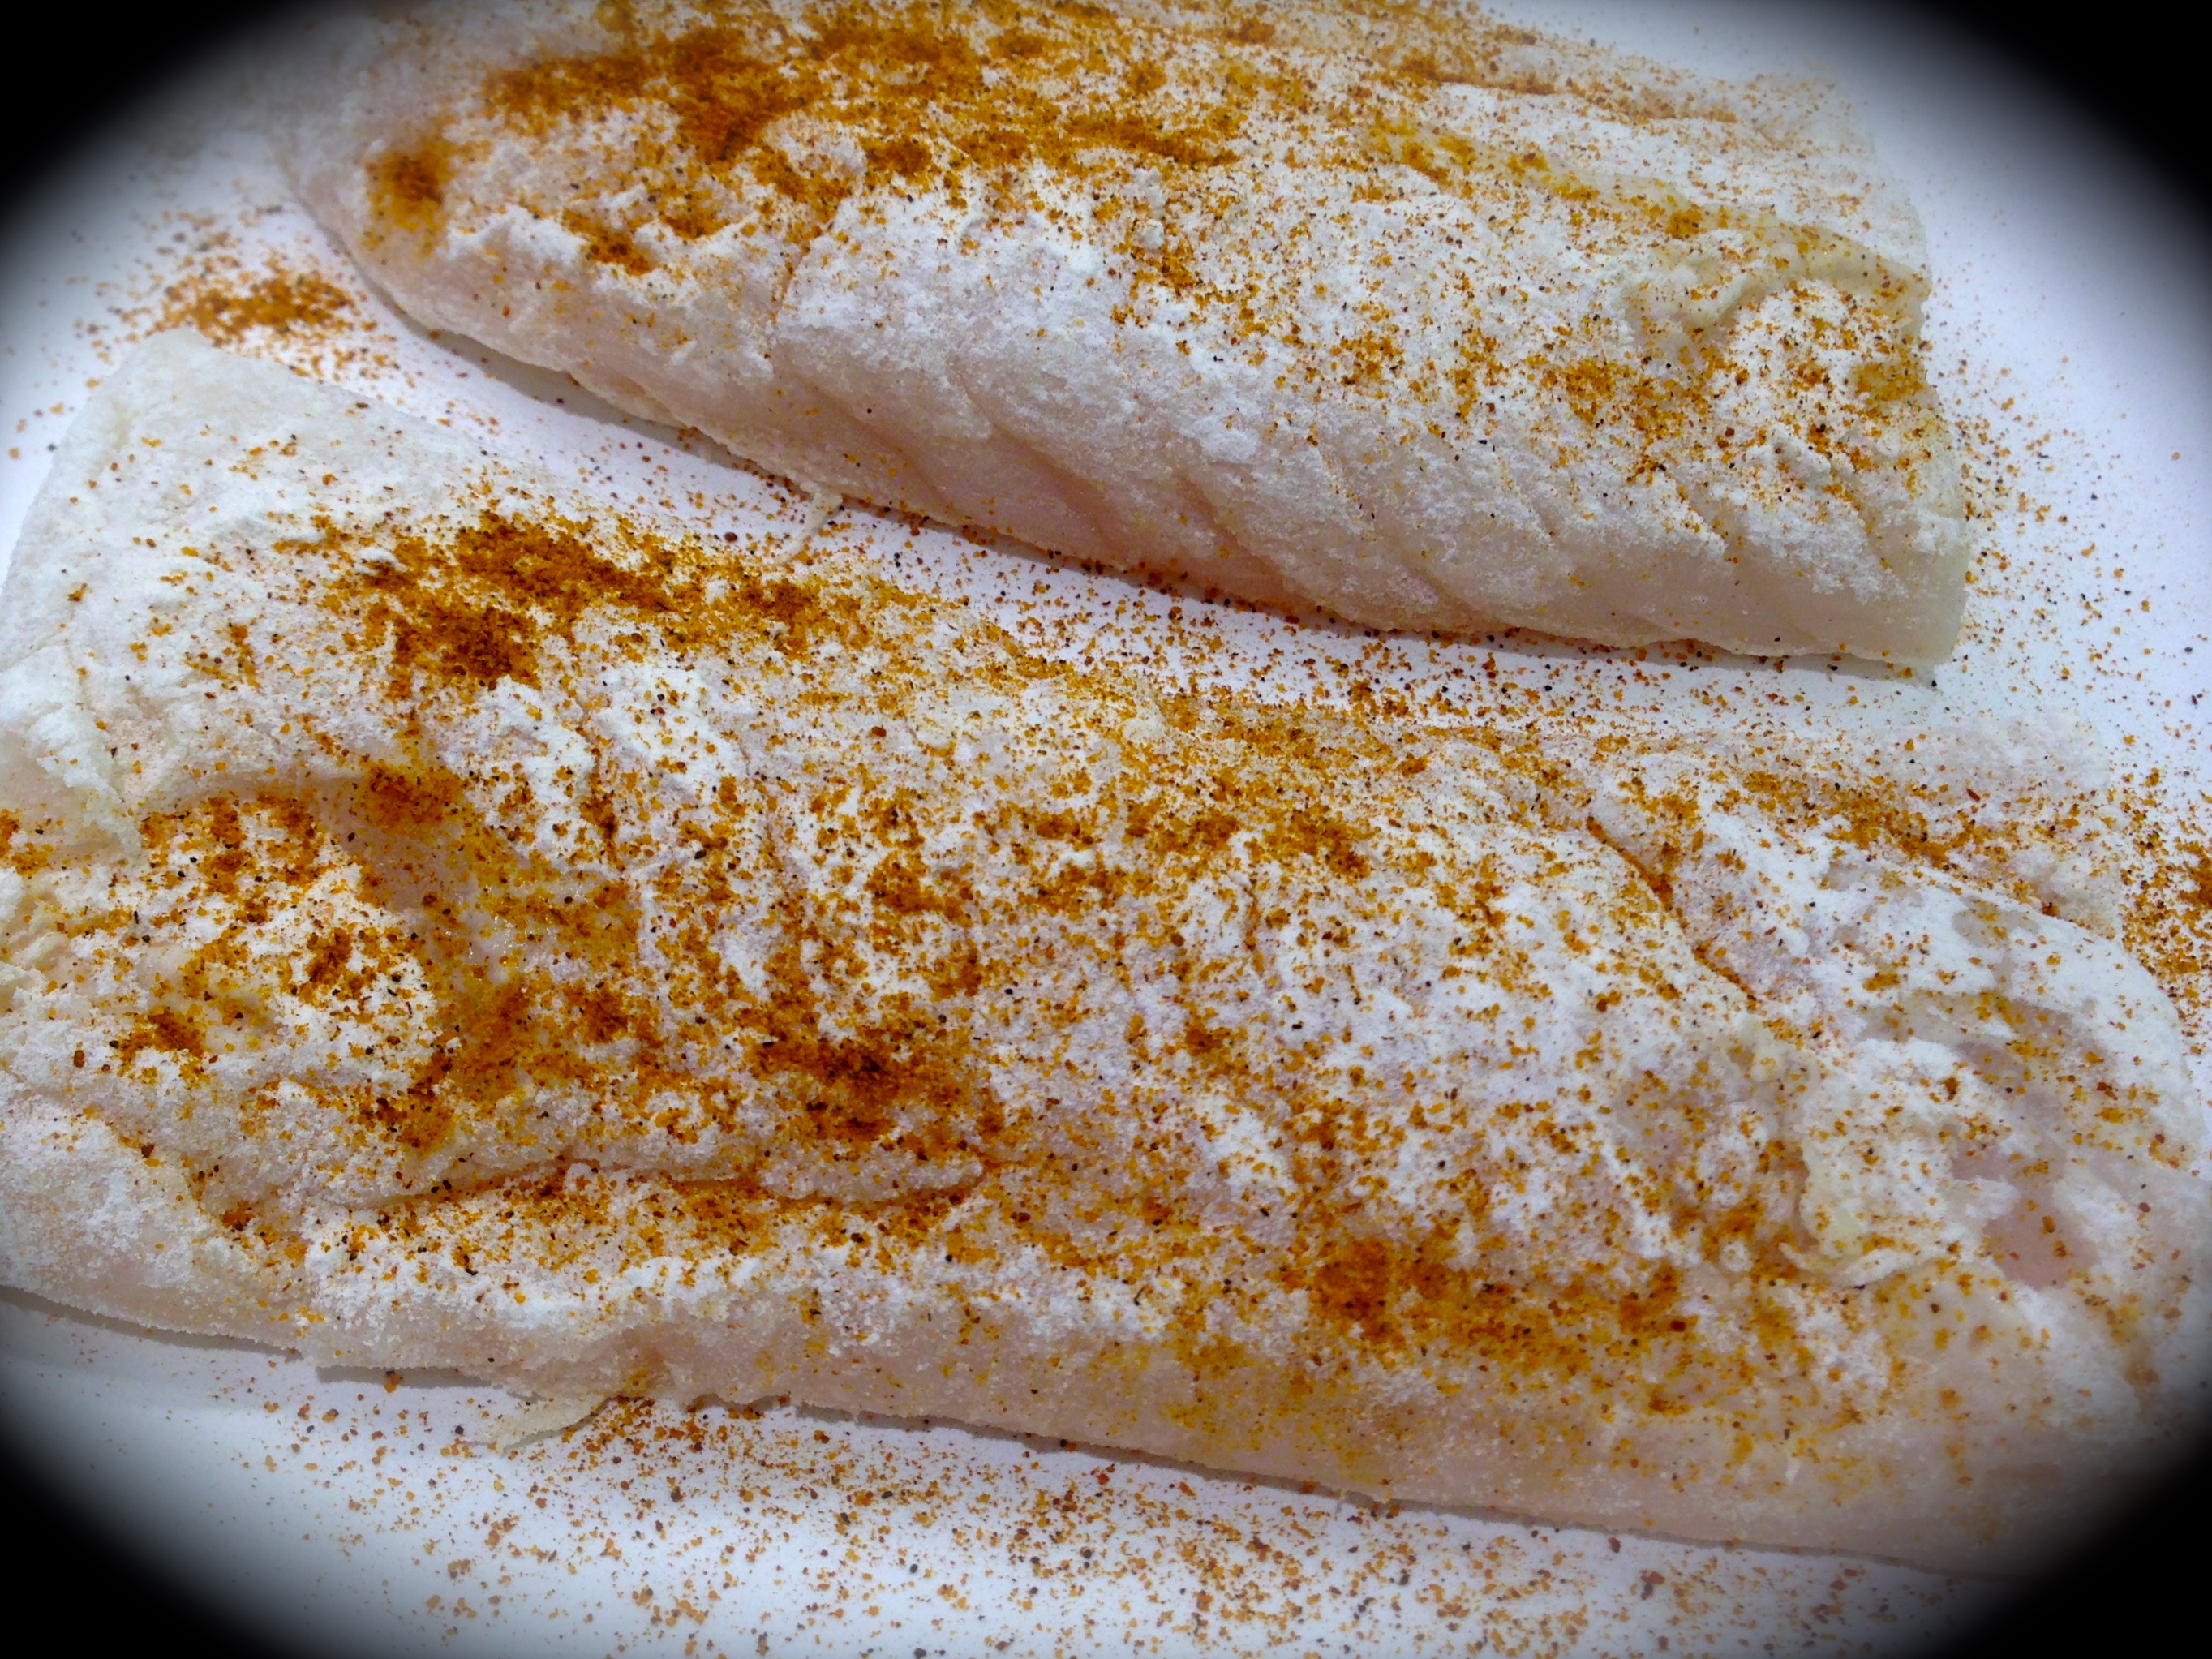
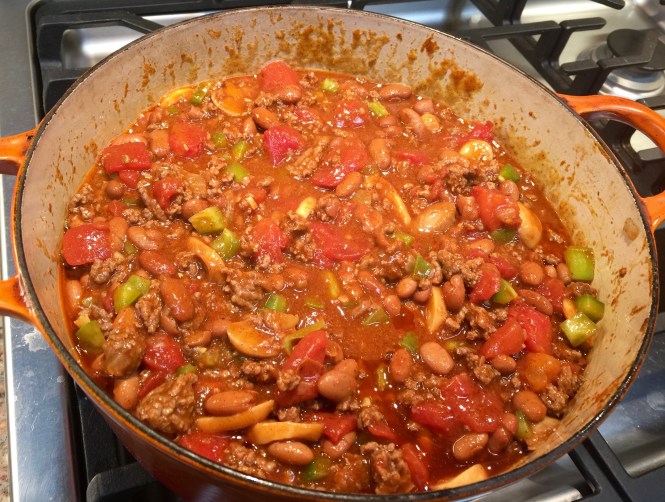
 but you can make it has hot as you like. McCormick has a few varieties of seasonings and if you can’t find a seasoning mix that gets you the heat you crave you can always add red pepper flakes. This seasoning mix contains a blend of chili pepper, paprika, cumin, onion salt and garlic. I also add about a teaspoon of chili powder and this combination of seasonings gives us the kind of chili we prefer.


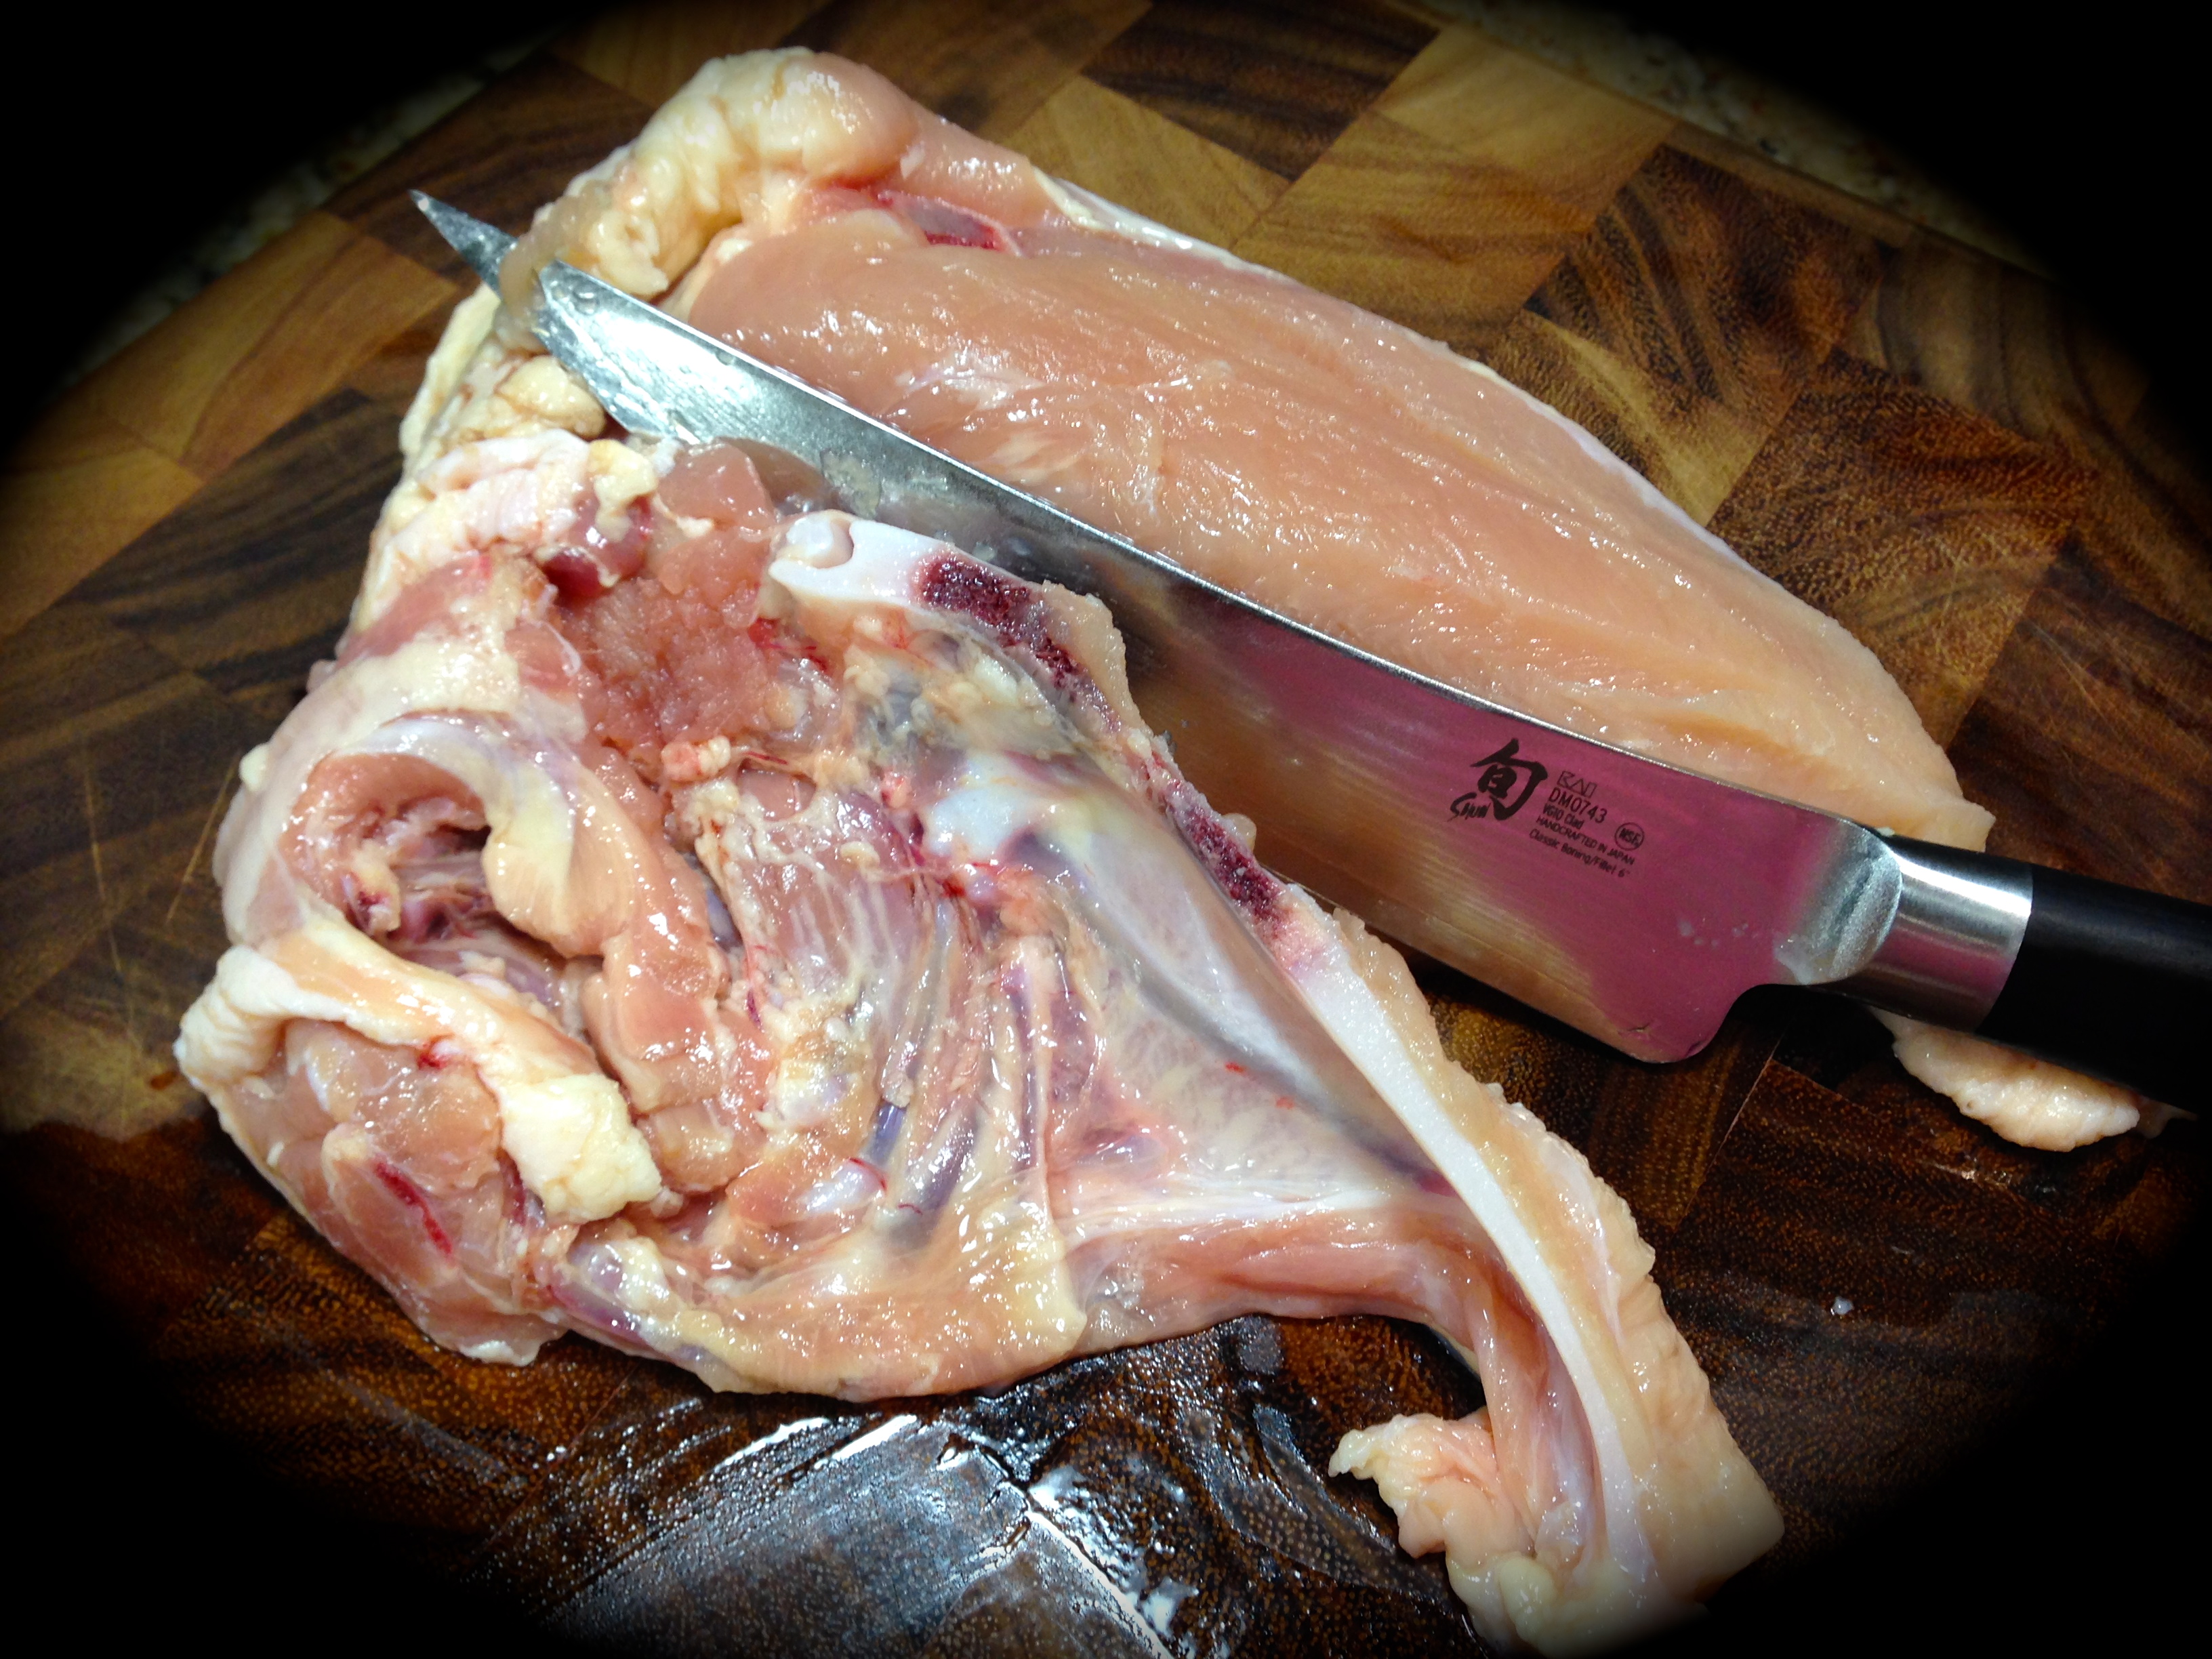
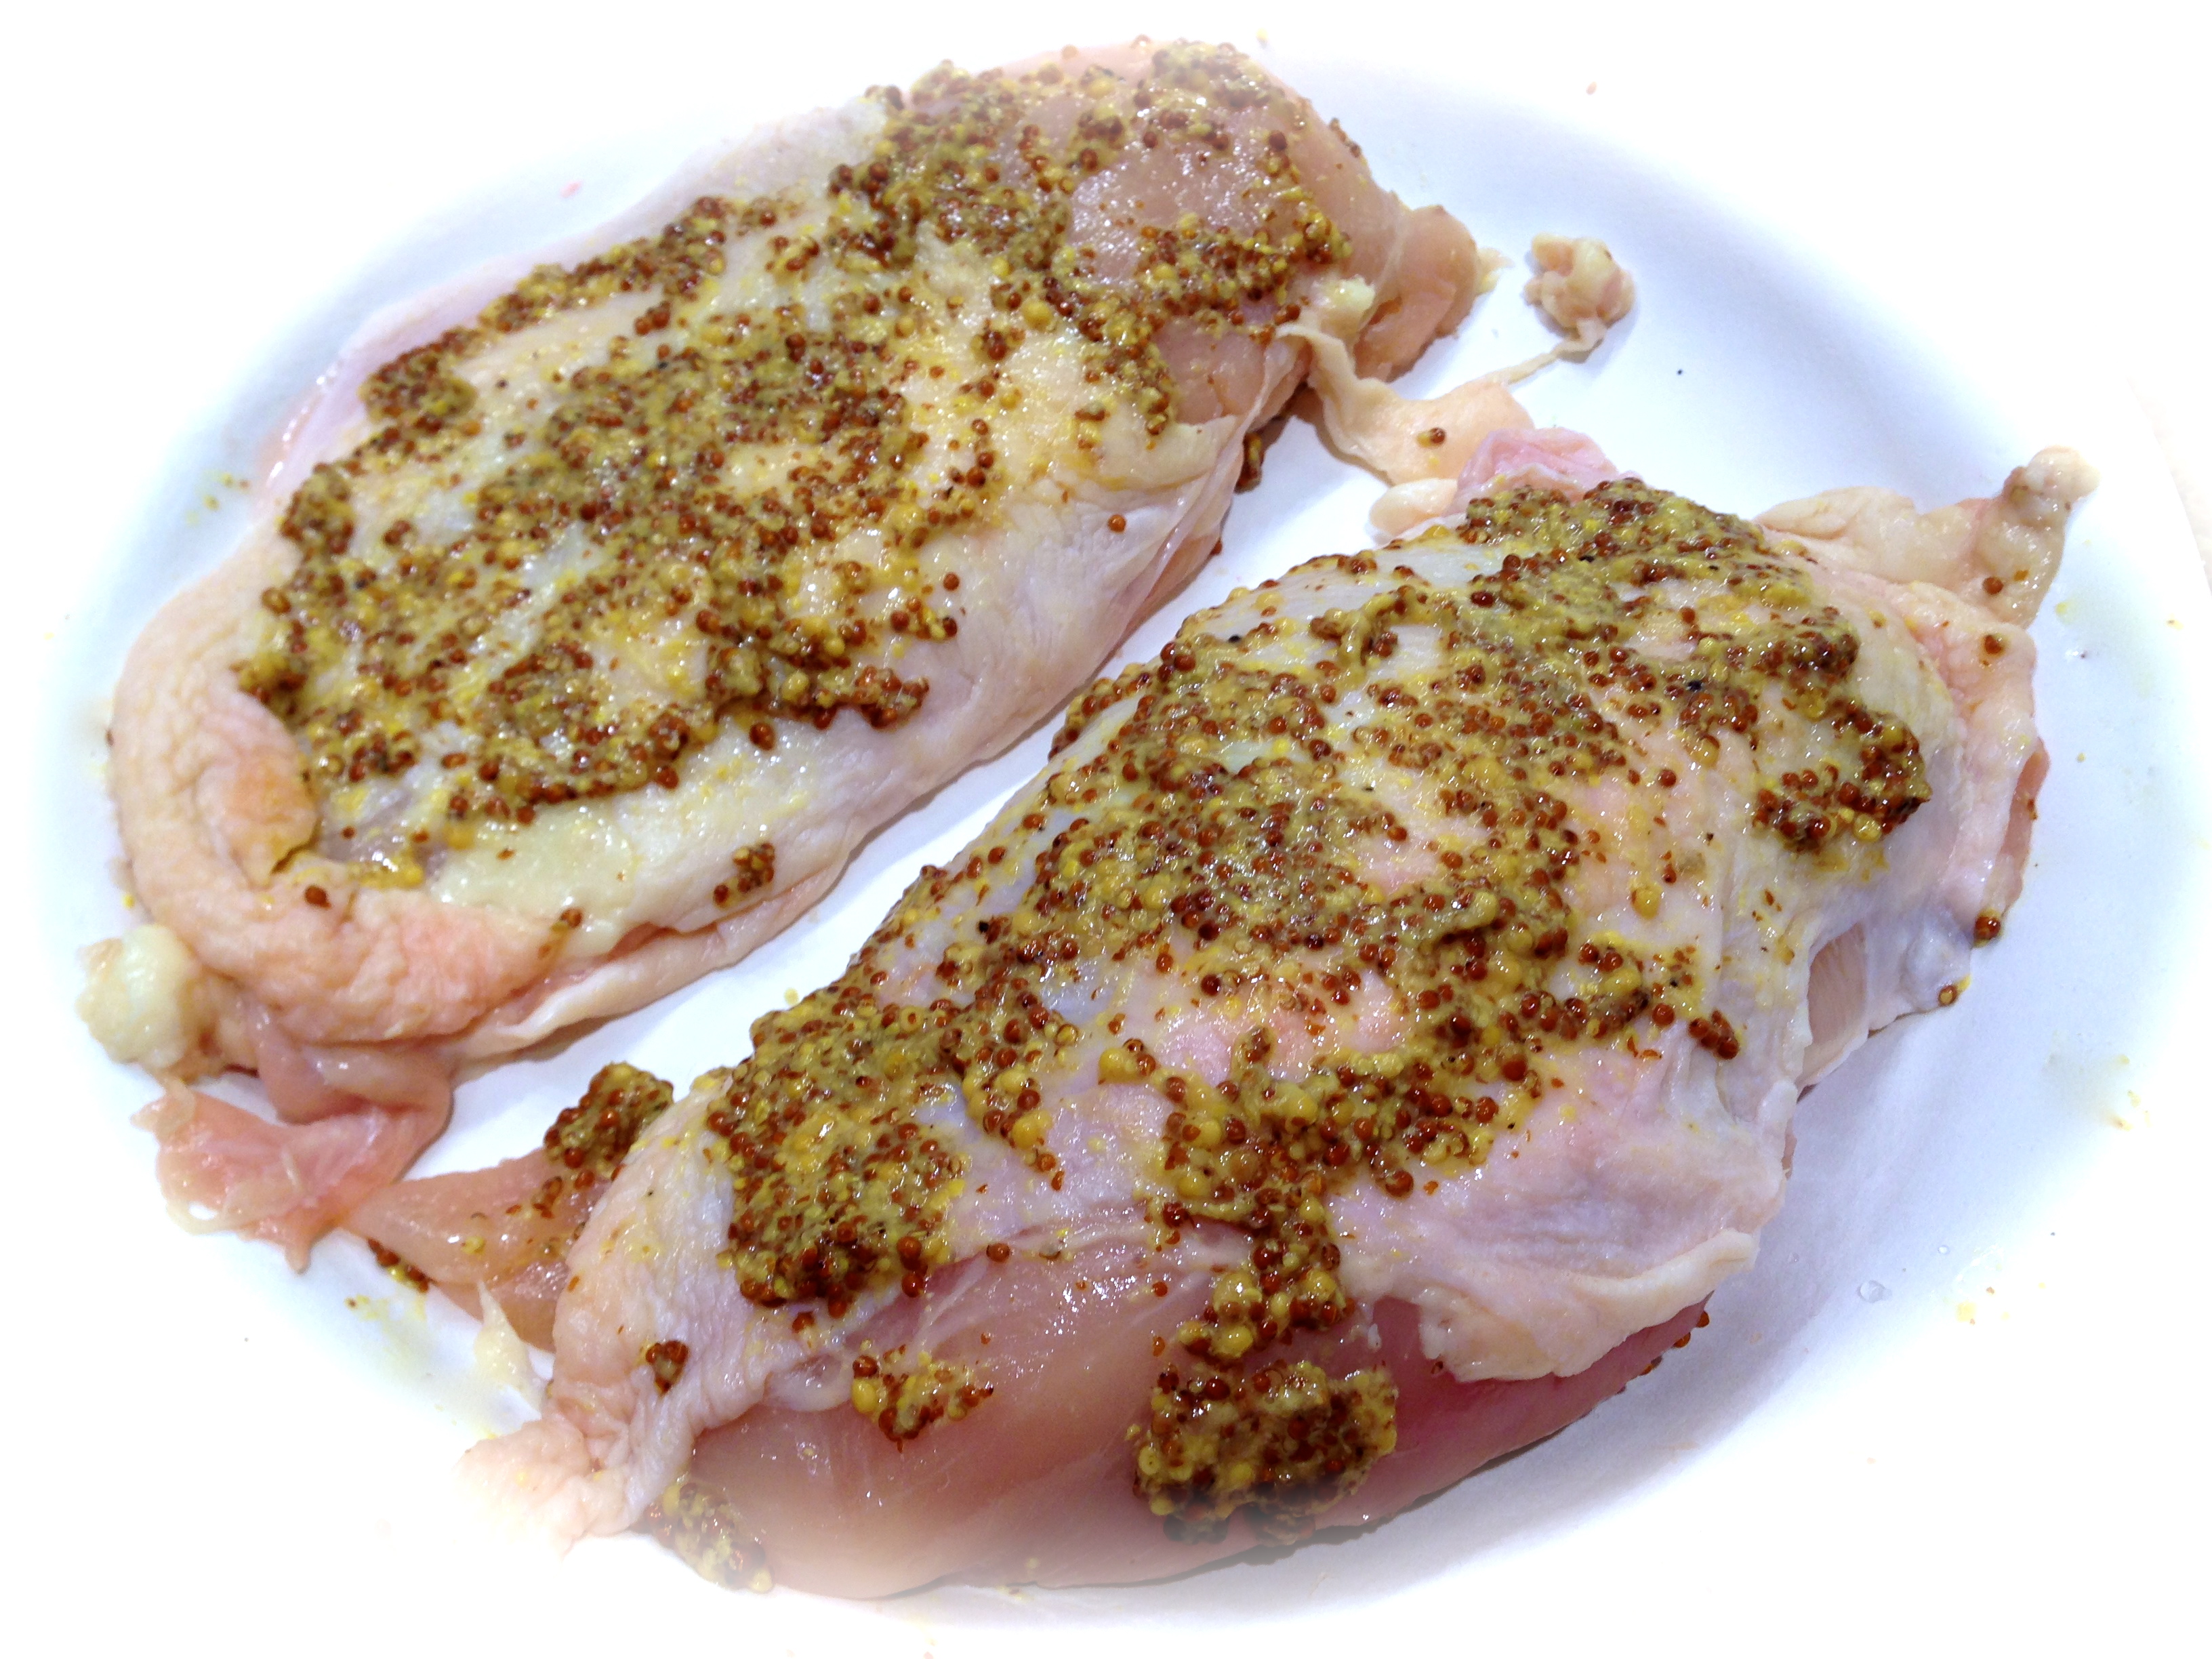
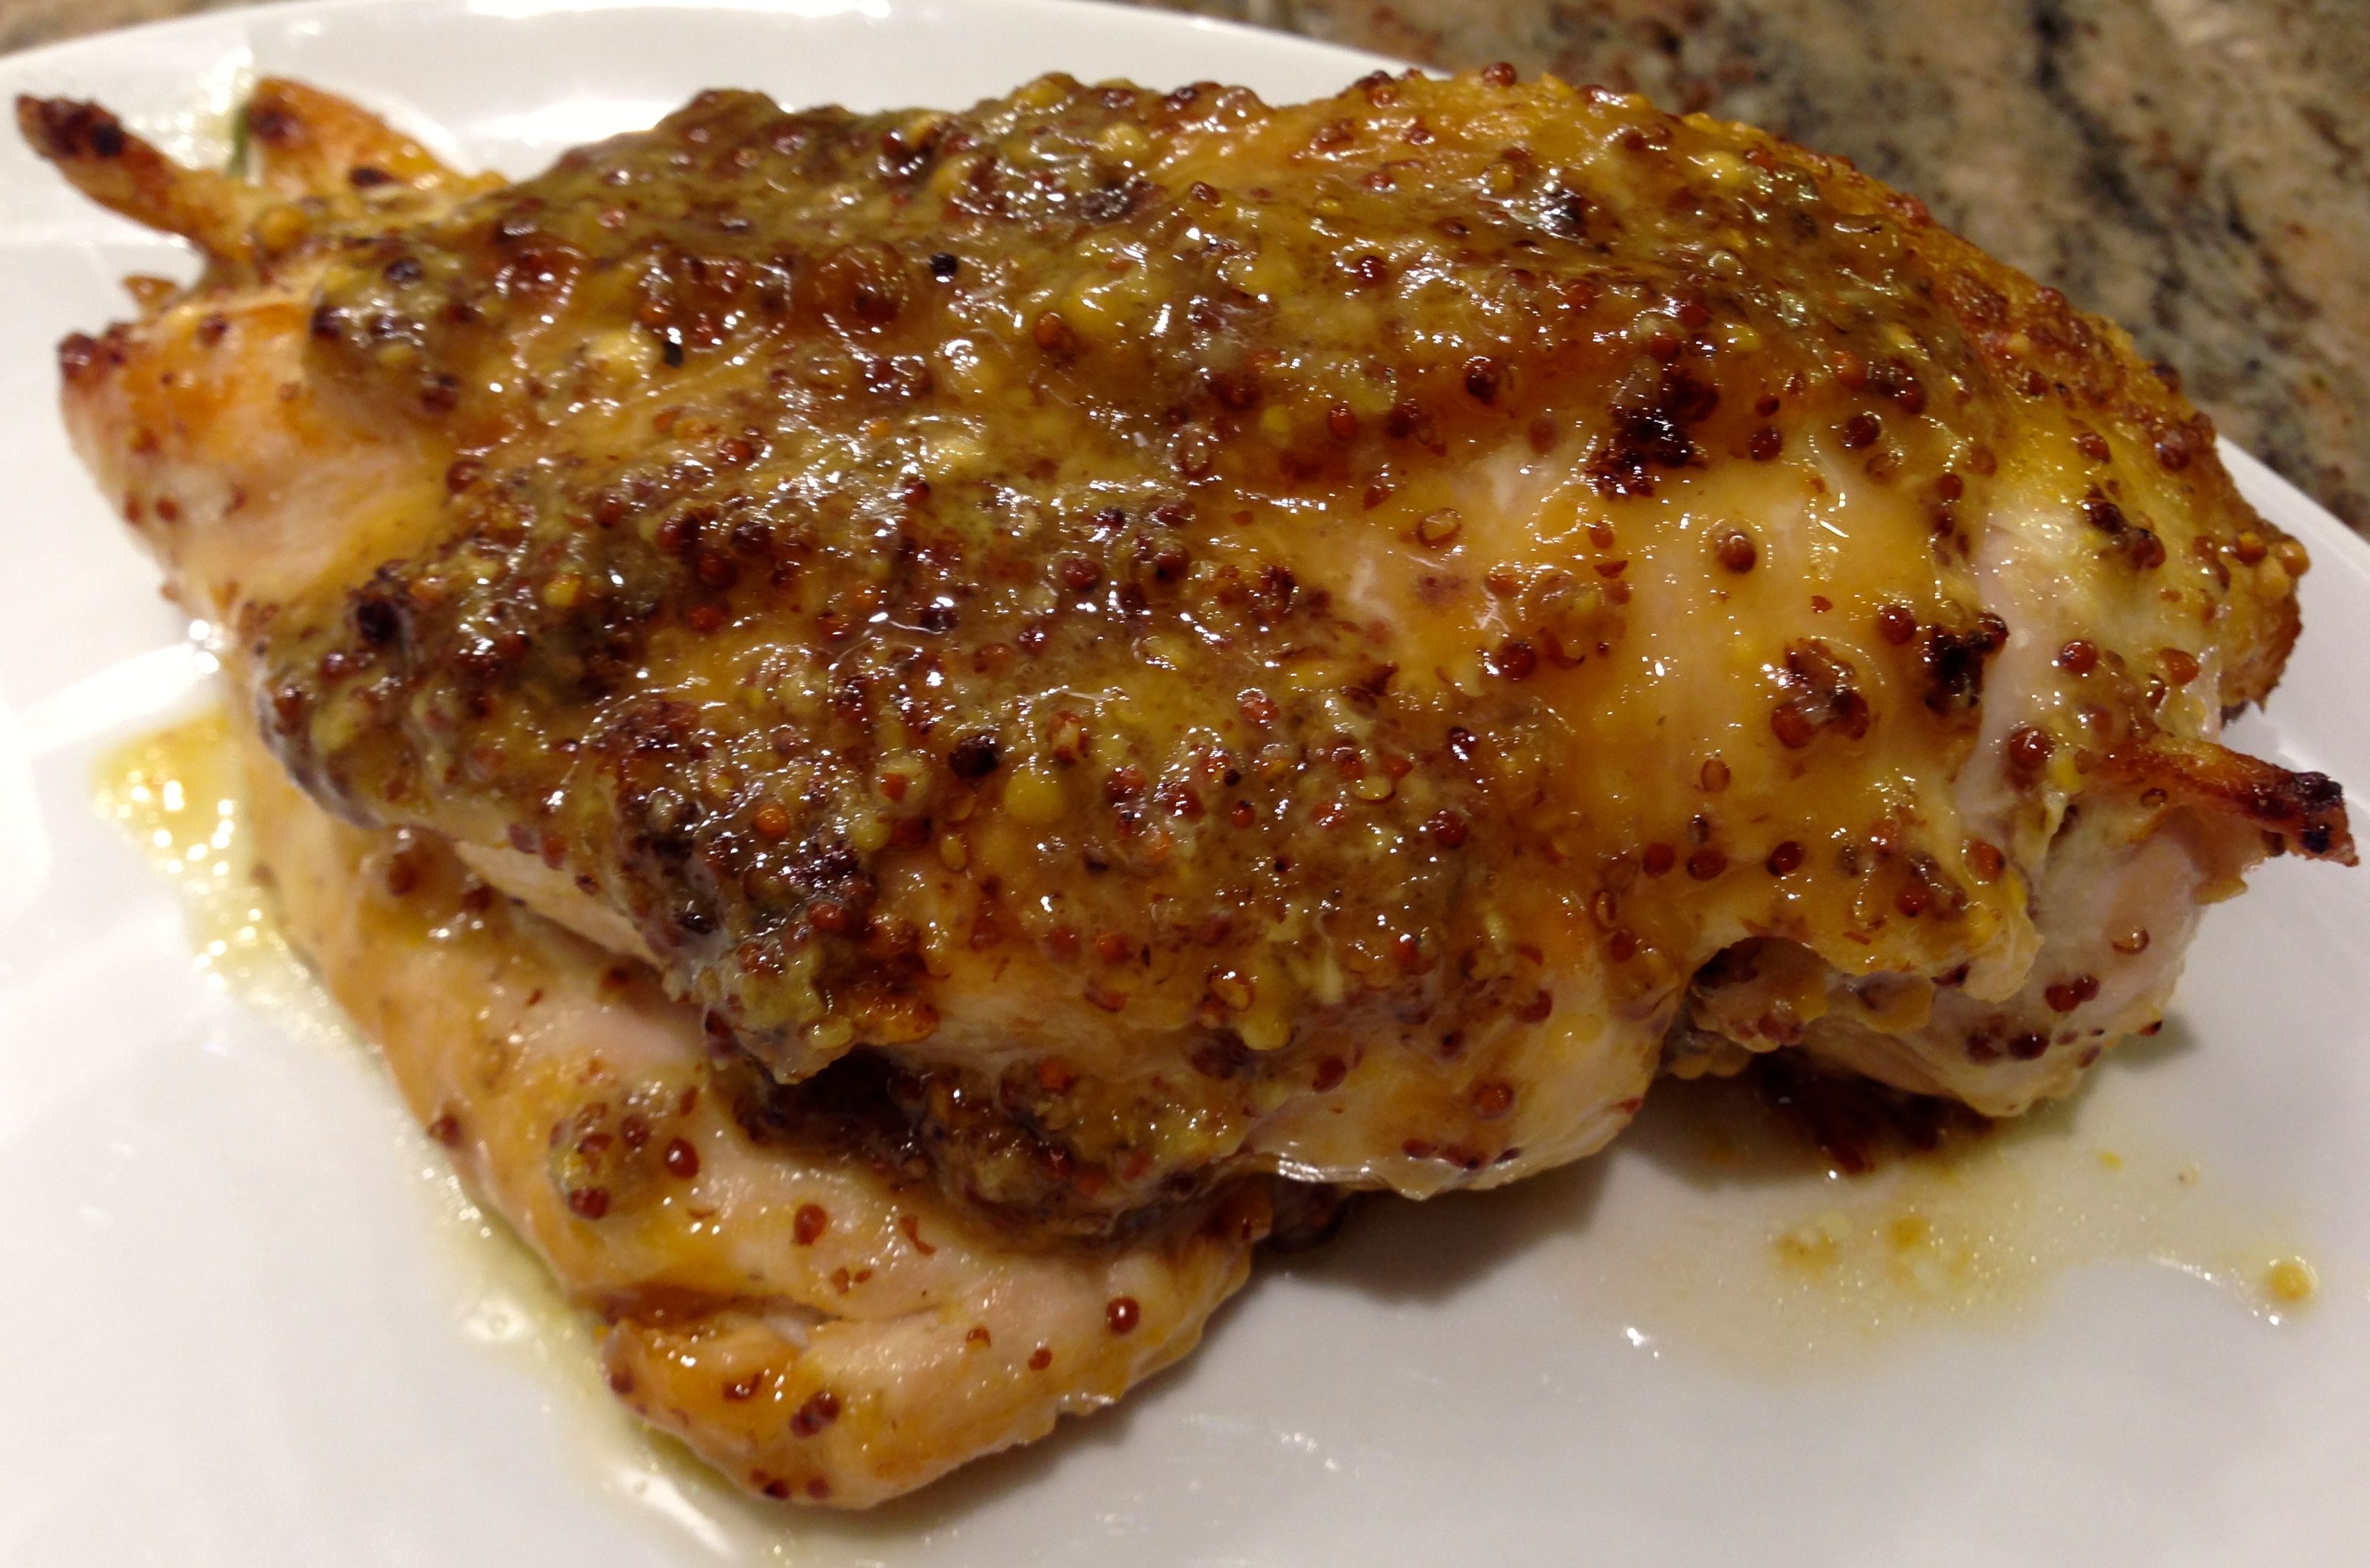
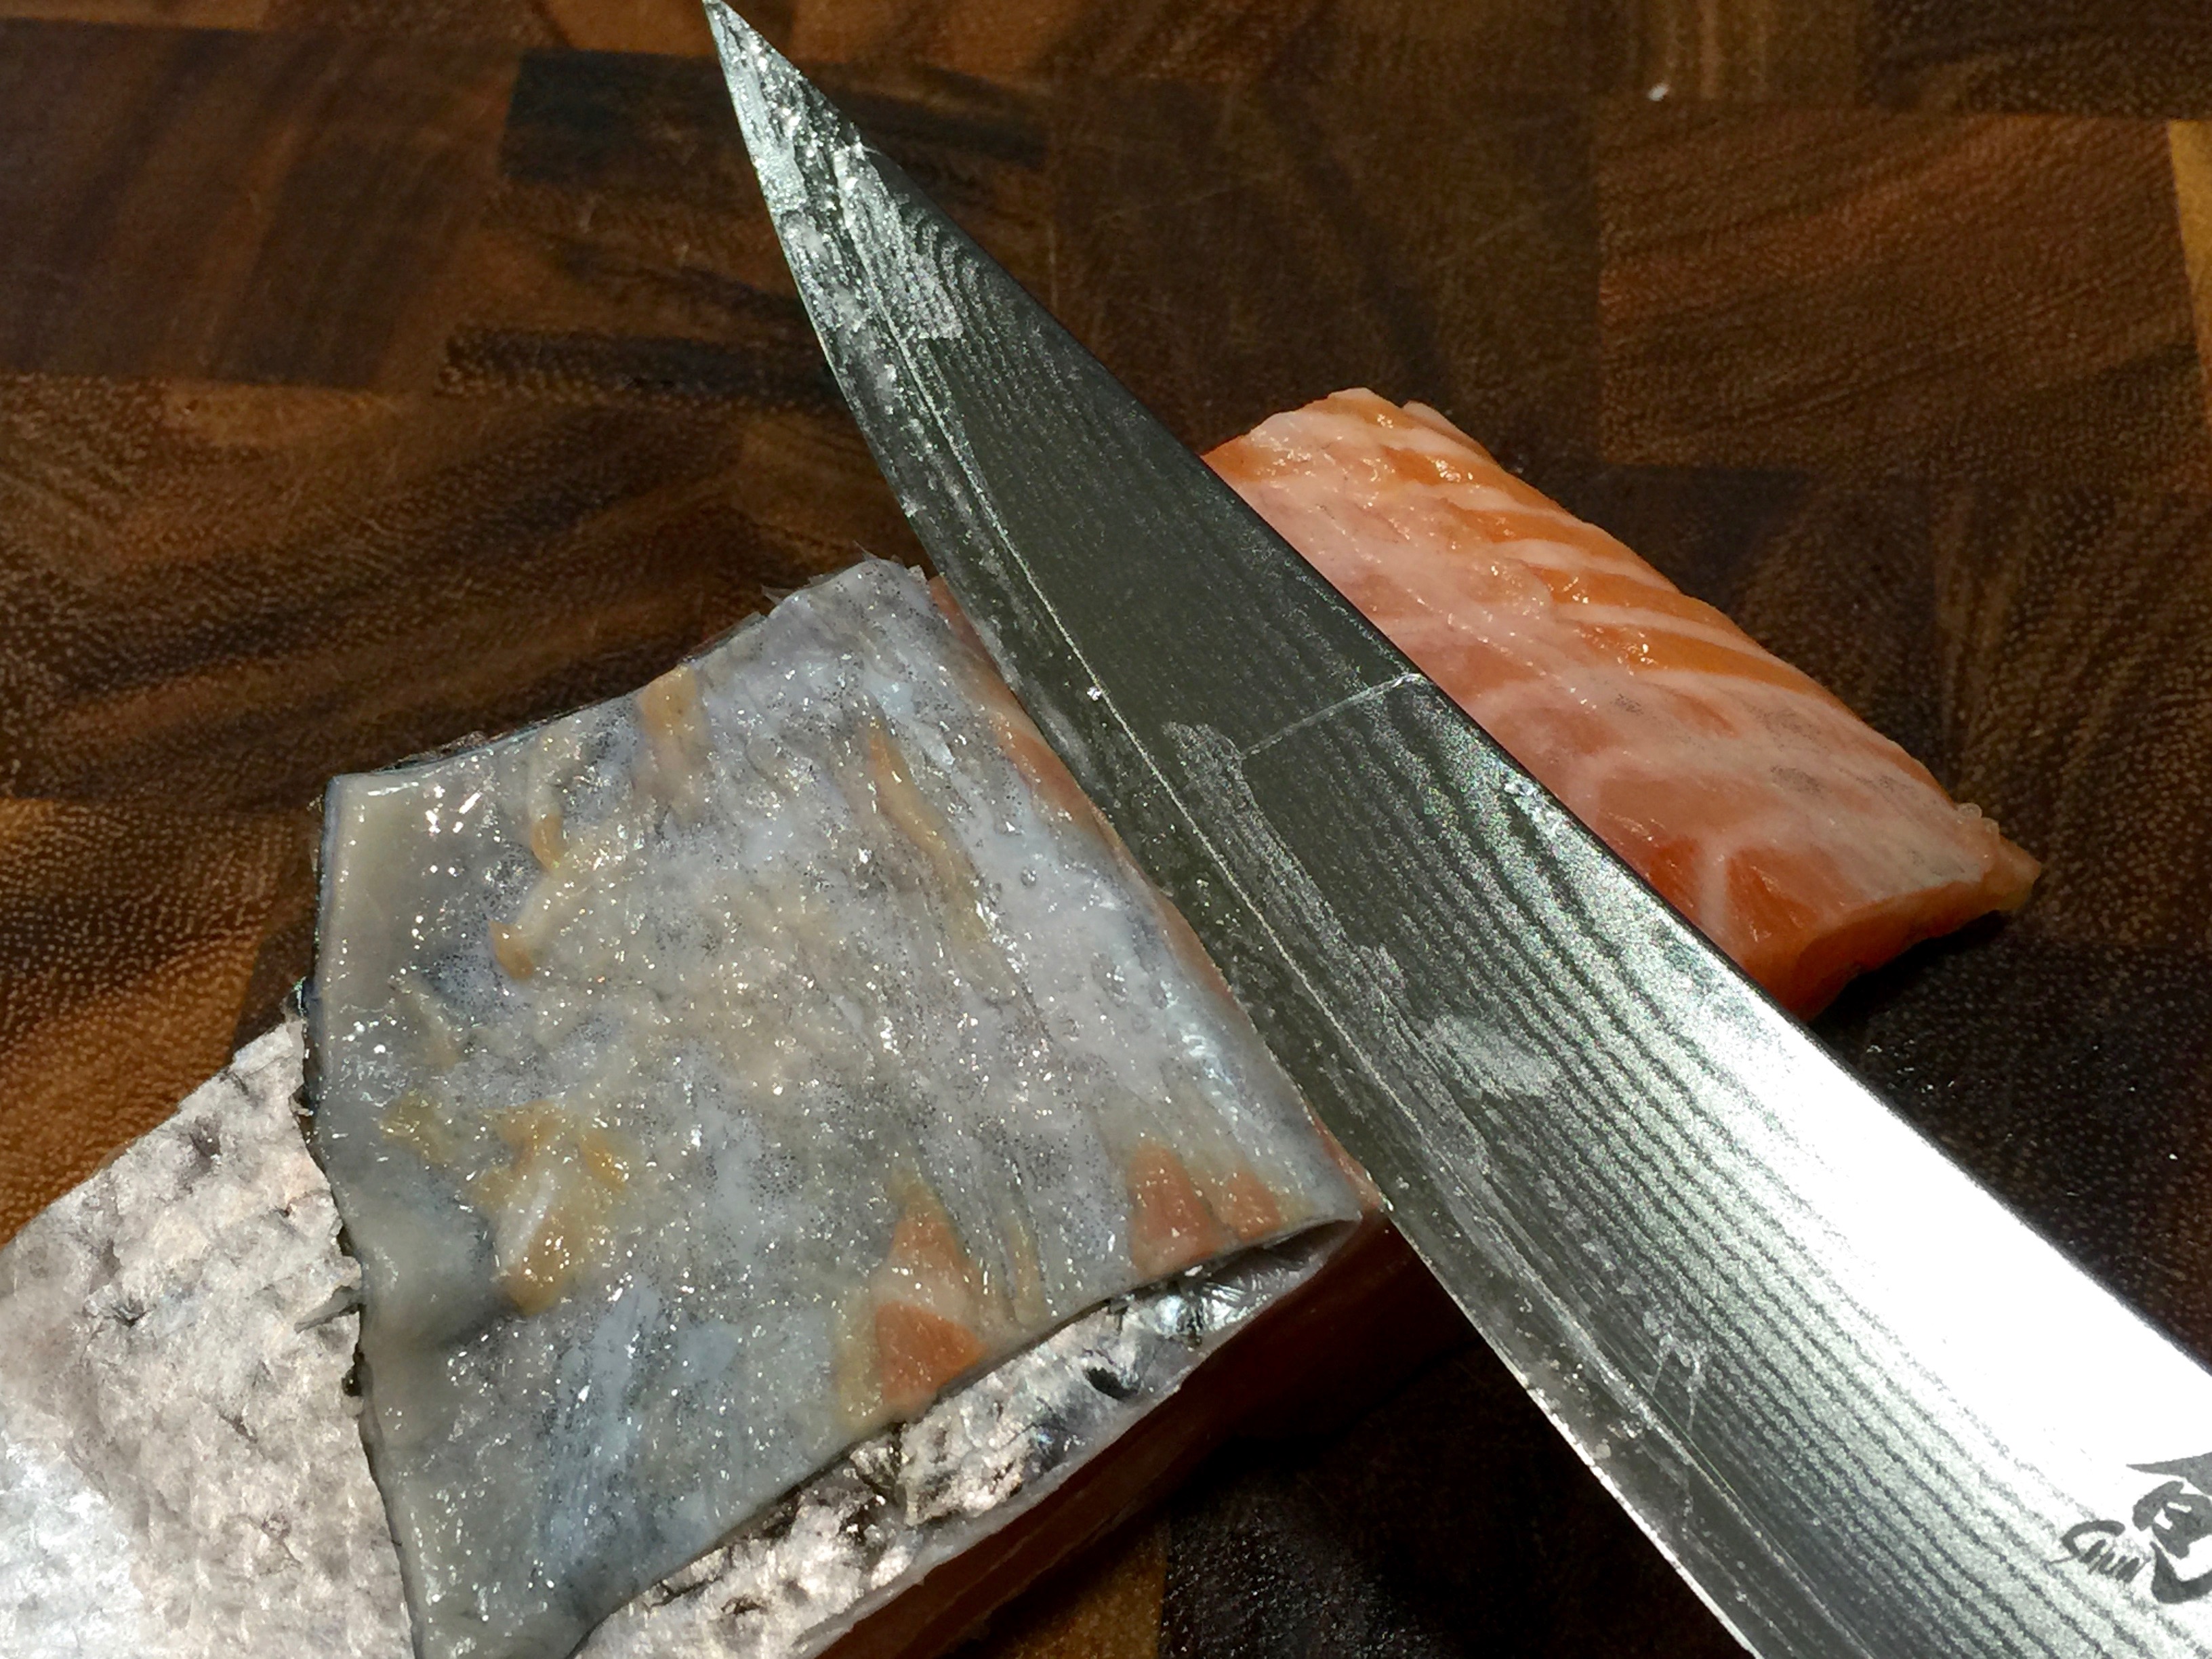
 Lesson Learned 1 – Buy chicken breasts with skin and ribs and debone the chicken yourself: You want to do this for a couple of reasons. First it is much less expensive to buy chicken this way. Second by leaving the skin on it keeps the breast nice and moist during the slow roasting process. Invest in a good boning knife and regularly maintain it with a hand sharpening tool like the one pictured to the left. It is surprisingly inexpensive and will keep your knife nice and sharp for a long time and boning the chicken breasts will be a breeze. These days it’s pretty hard to find boneless breasts with the skin still on so this may be the only way to do it.
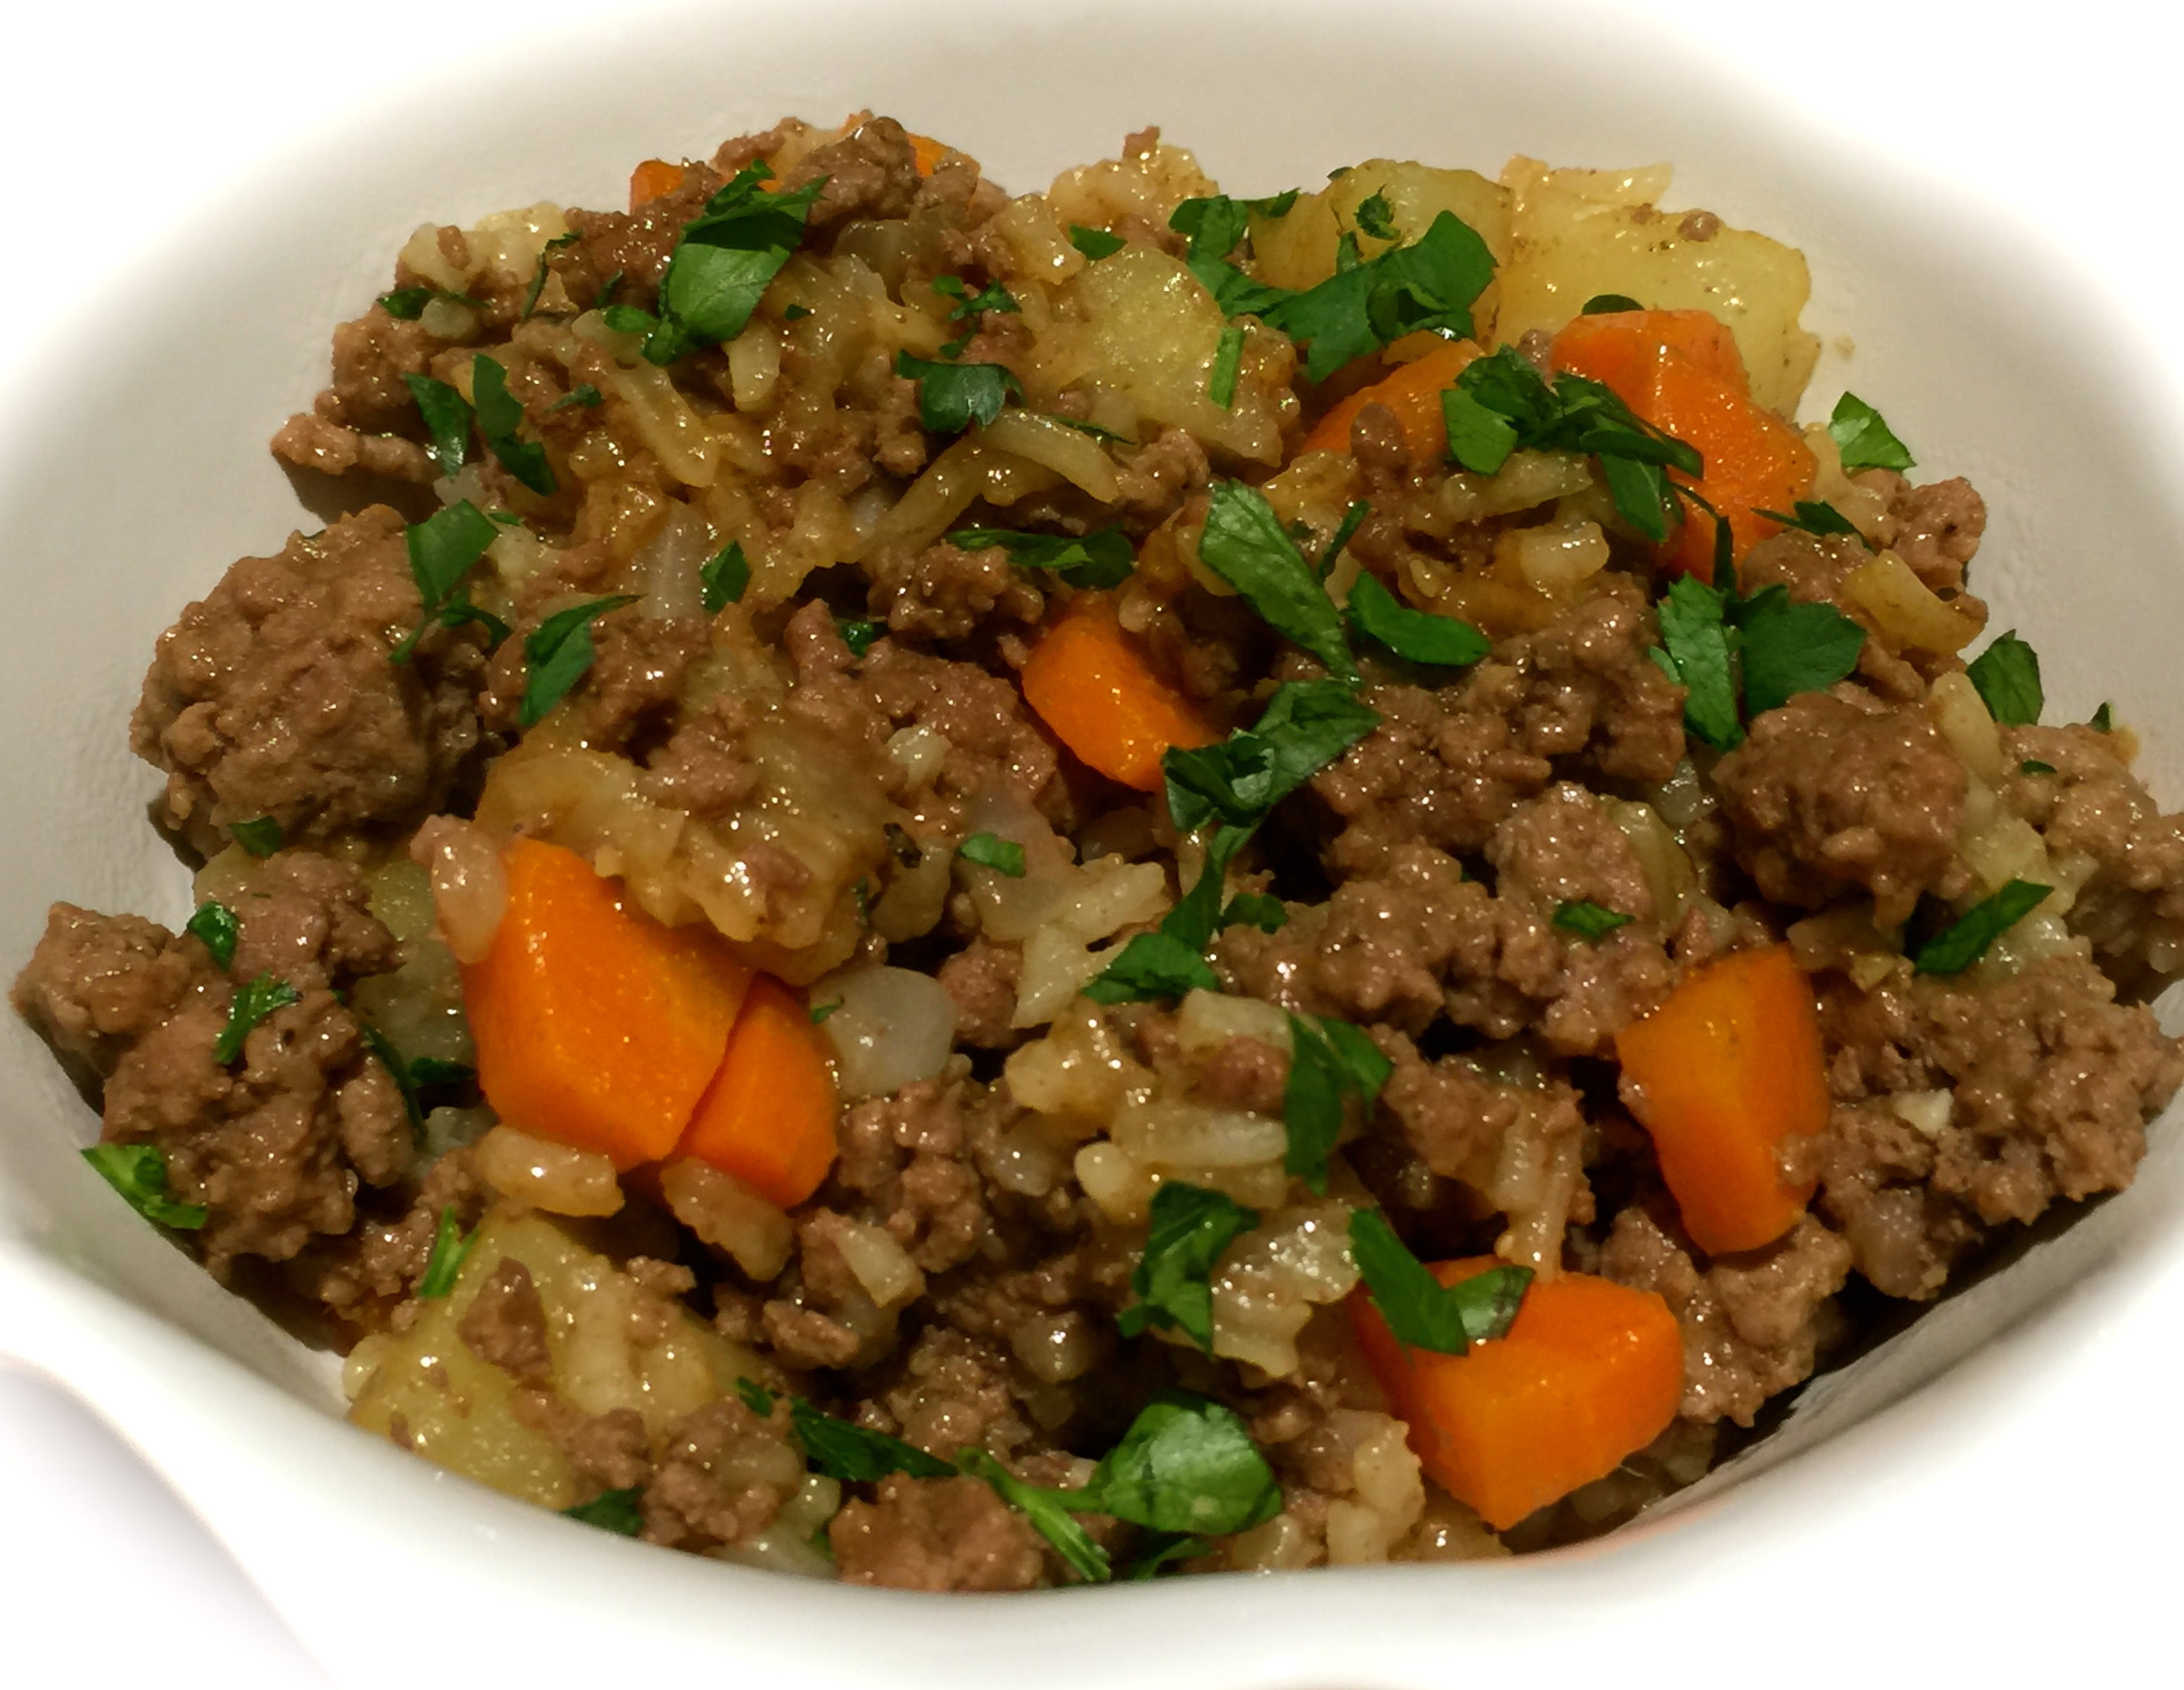
 Lesson Learned 2 – Use a rice mixture for an extra flavor boost: Go ahead, be adventurous and use a rice mixture instead of just plain white rice. You can use wild rice, basmati rice or the mixture that I use which is a combination of white, brown, wild and red rice and pictured to the right. You’ll be amazed at how it punches up the flavor volume and makes the dish even more interesting.


 Lesson Learned 1 – Try to use chicken breasts with the skin on: I normally buy chicken breasts with the skin on and rib portions attached. First they are cheaper when purchased that way and second it’s easy to remove the rib portion and you’re left with a skin-on breast. Chicken can dry out very easily in a slow cooker and often can get overcooked. With the skin on it gives the breast meat more moisture during the cooking process and that is what you’re looking for. But sometimes you just can’t find them that way and that’s ok as well. Both times I made this recipe I had skinless breasts in the freezer and so I used them. But in my experience with other recipes, skin on breasts are preferred when cooking them in a slow cooker.
 Lesson Learned 3 – Don’t overcook the chicken: I know, easier said then done, but most people overcook chicken breasts no matter what cooking method they are using. Chicken breasts can be moist as well as cooked through but there is a fine line between when that occurs and dried out chicken.
 Lesson Learned 4 – You can cook a veggie with the chicken if you want to: The first time I made this recipe I only cooked the chicken in the bbq sauce mixture. The second time I added carrots. When it came time to shred the meat I just pulled out the carrots, put them on a baking sheet lined with foil and sprayed with cooking spray and kept them in a warm oven until dinner was served. Make sure you use cooking spray on the foil as the remnants of the bb sauce on the carrots will stick to the foil and you don’t want the carrots sticking. Also make sure you don’t use overly thick carrots – they won’t cook through in six hours.
 3 large chicken breasts, skin on preferred


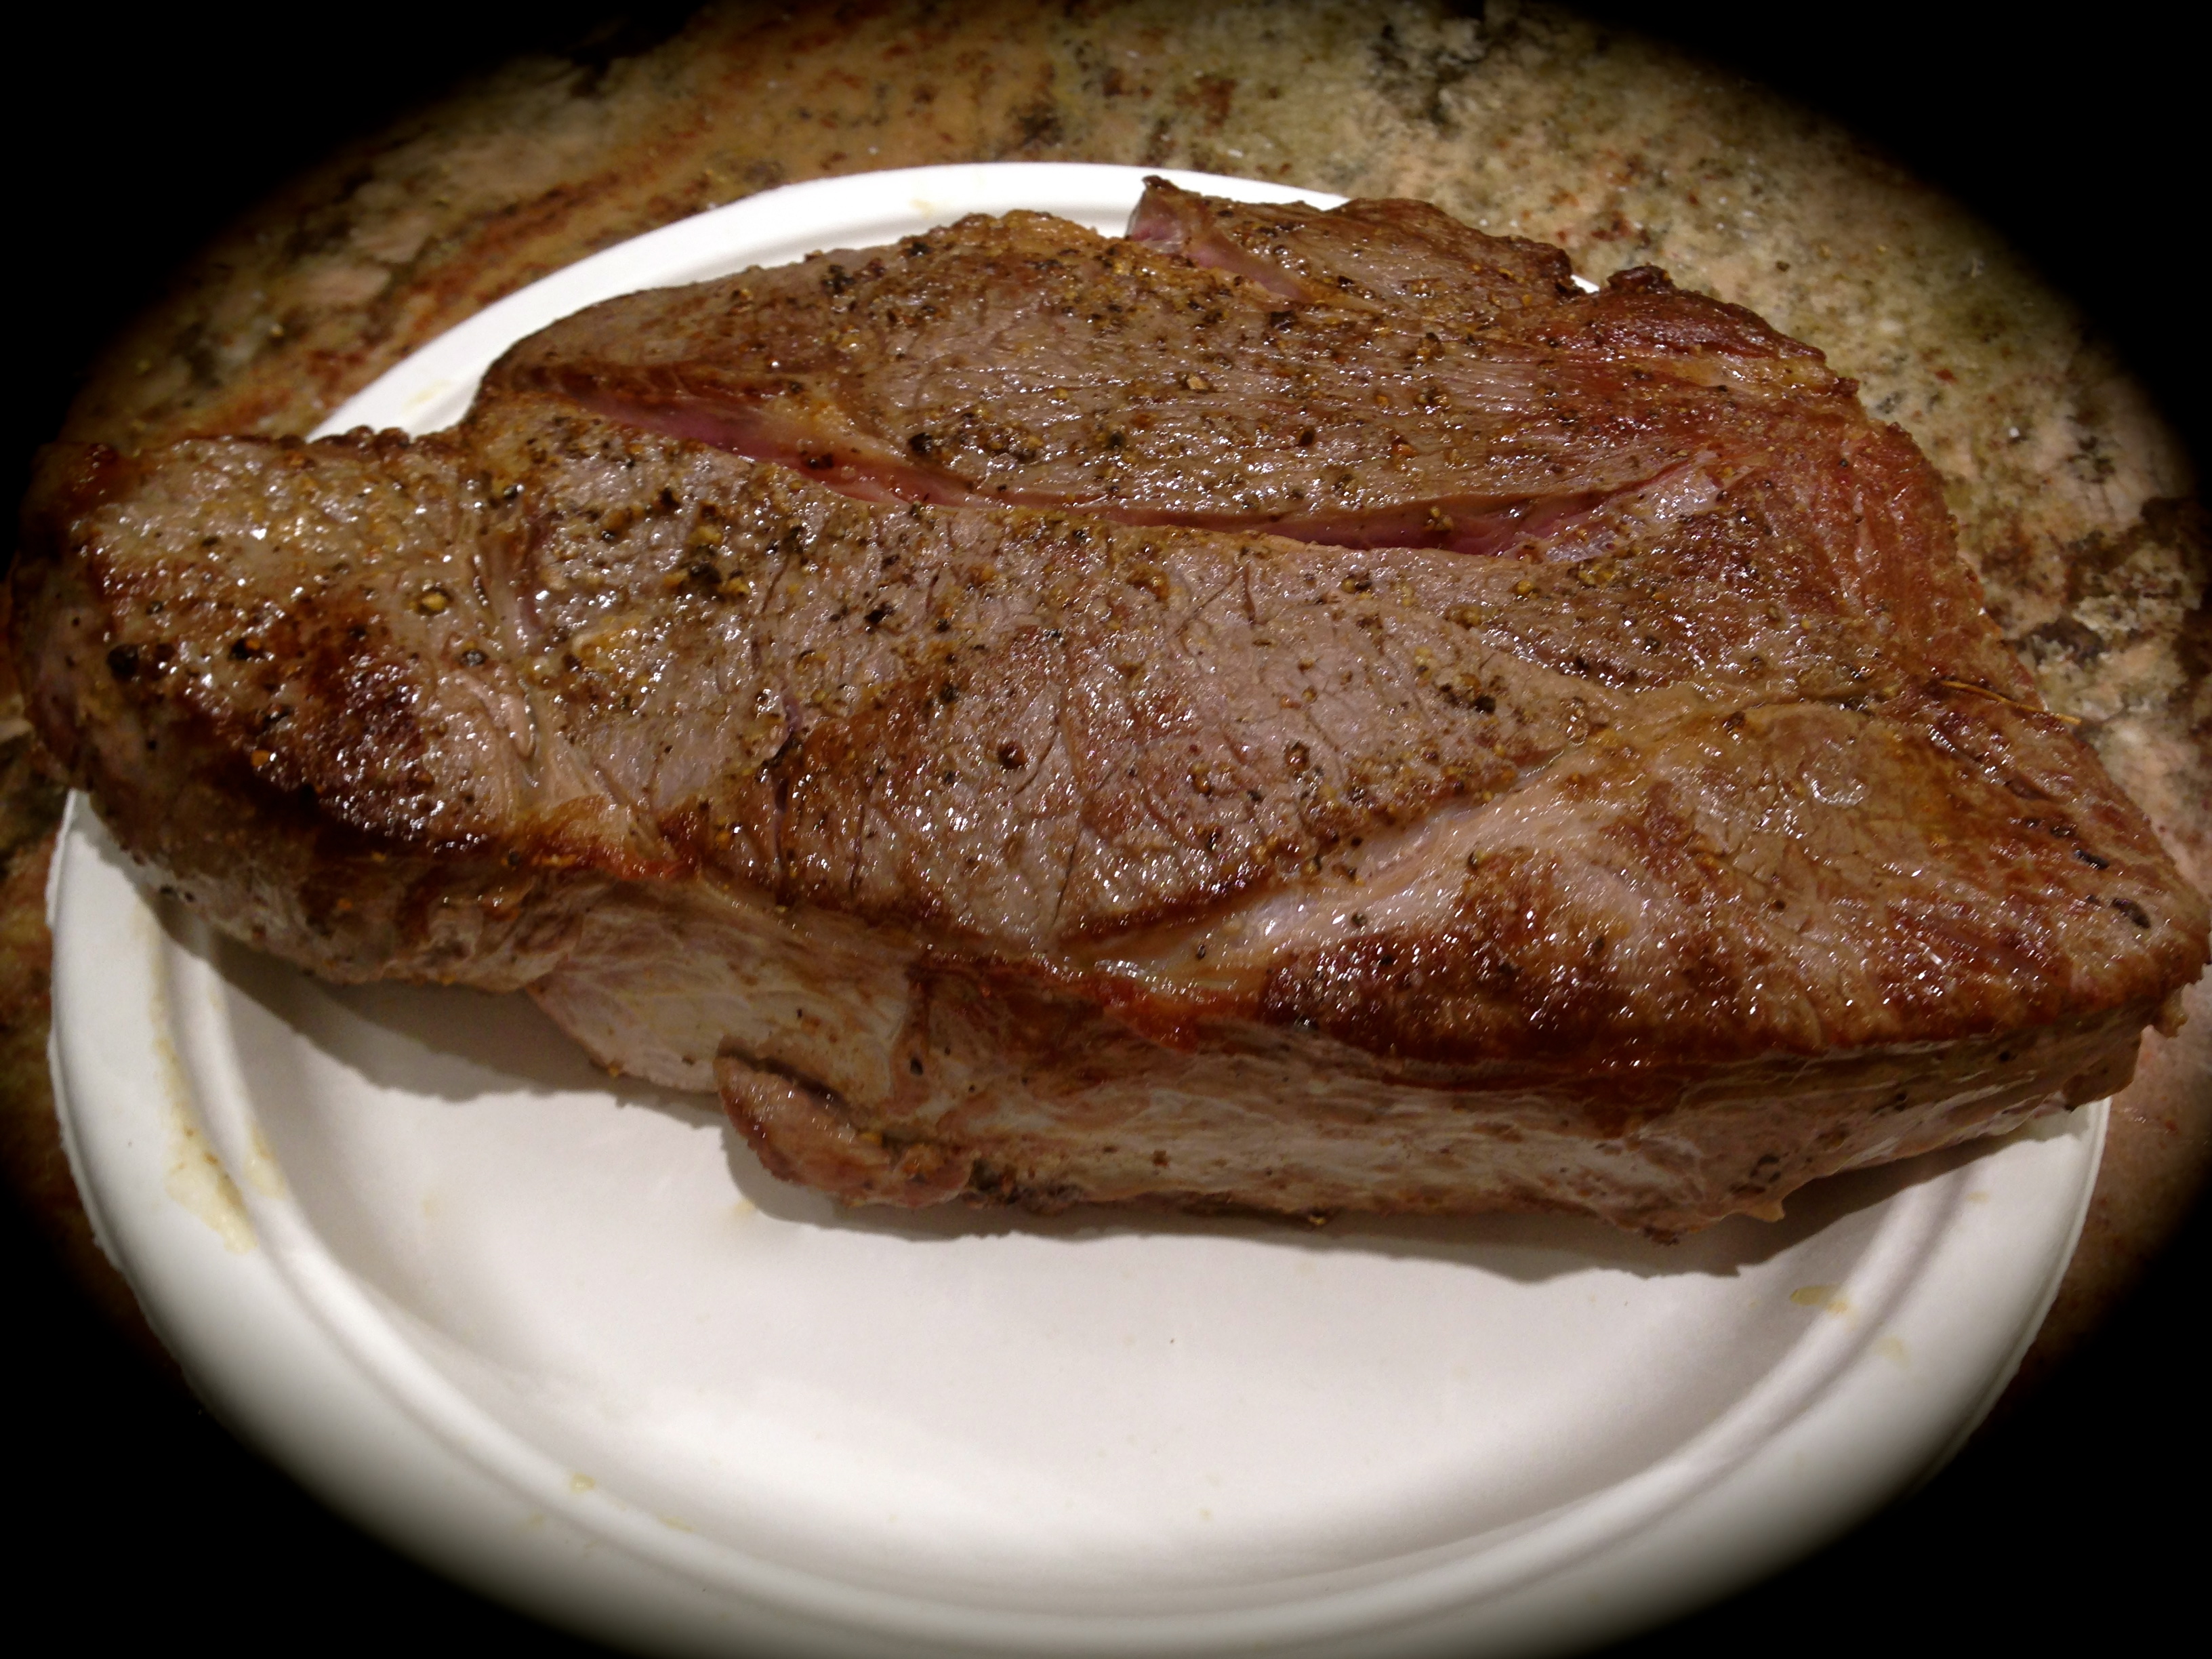
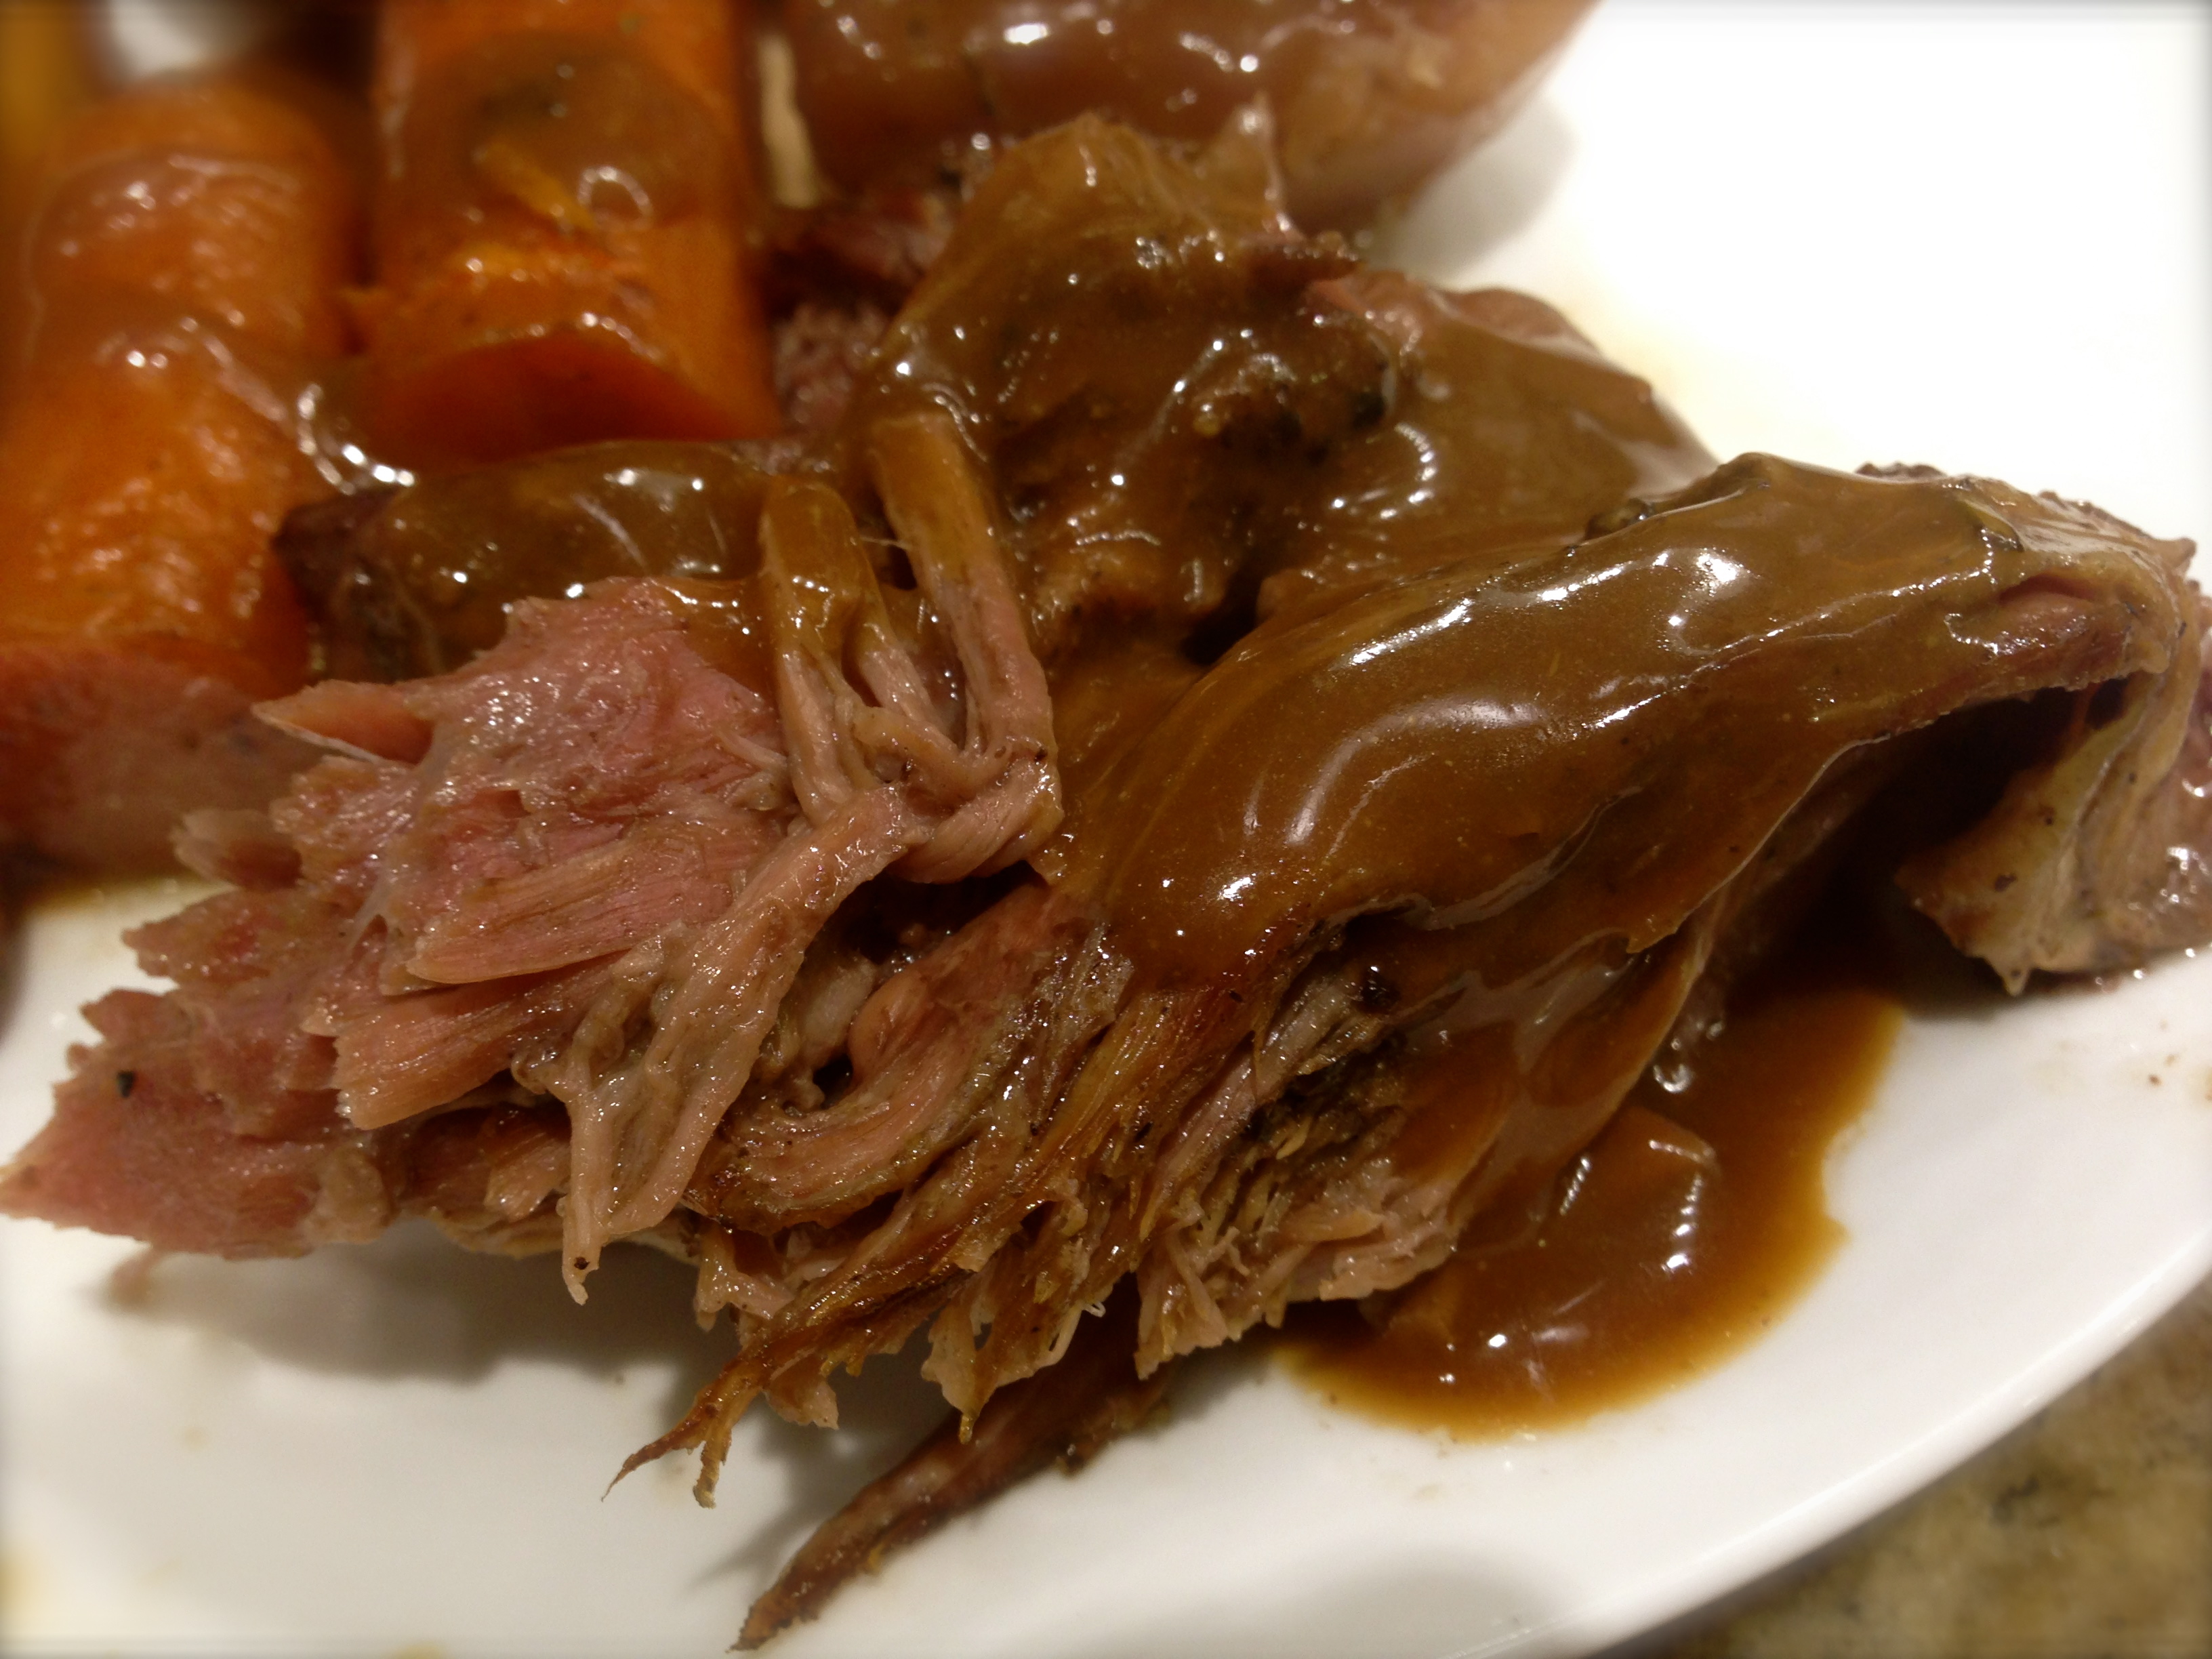
 I finally worked with a butcher at Safeway who cut me a two rib roast and tied the bones to the bottom as I requested. The roast coast $44 for a 4.3 pound roast. Still expensive, and choice but not prime, but I could rationalize that for a special meal more than $68.00. In the end the roast was fabulous so I was glad I opted for the less expensive cut. My next step was researching various cooking methods and determining what I felt would work for me. So I have some really good lessons learned to share with this blog…
 Lesson Learned 4 – A rub on the roast makes a difference: I used a rub consisting of olive oil, fresh garlic, fresh rosemary, thyme, and salt and pepper. What I found is the rub creates a delicious crust when cooked at those initial high temperatures. It added a fabulous flavor to the meat. I highly recommend the rub in this recipe. It tasted divine!
 1 4-5 pound rib roast, bones tied to the bottom


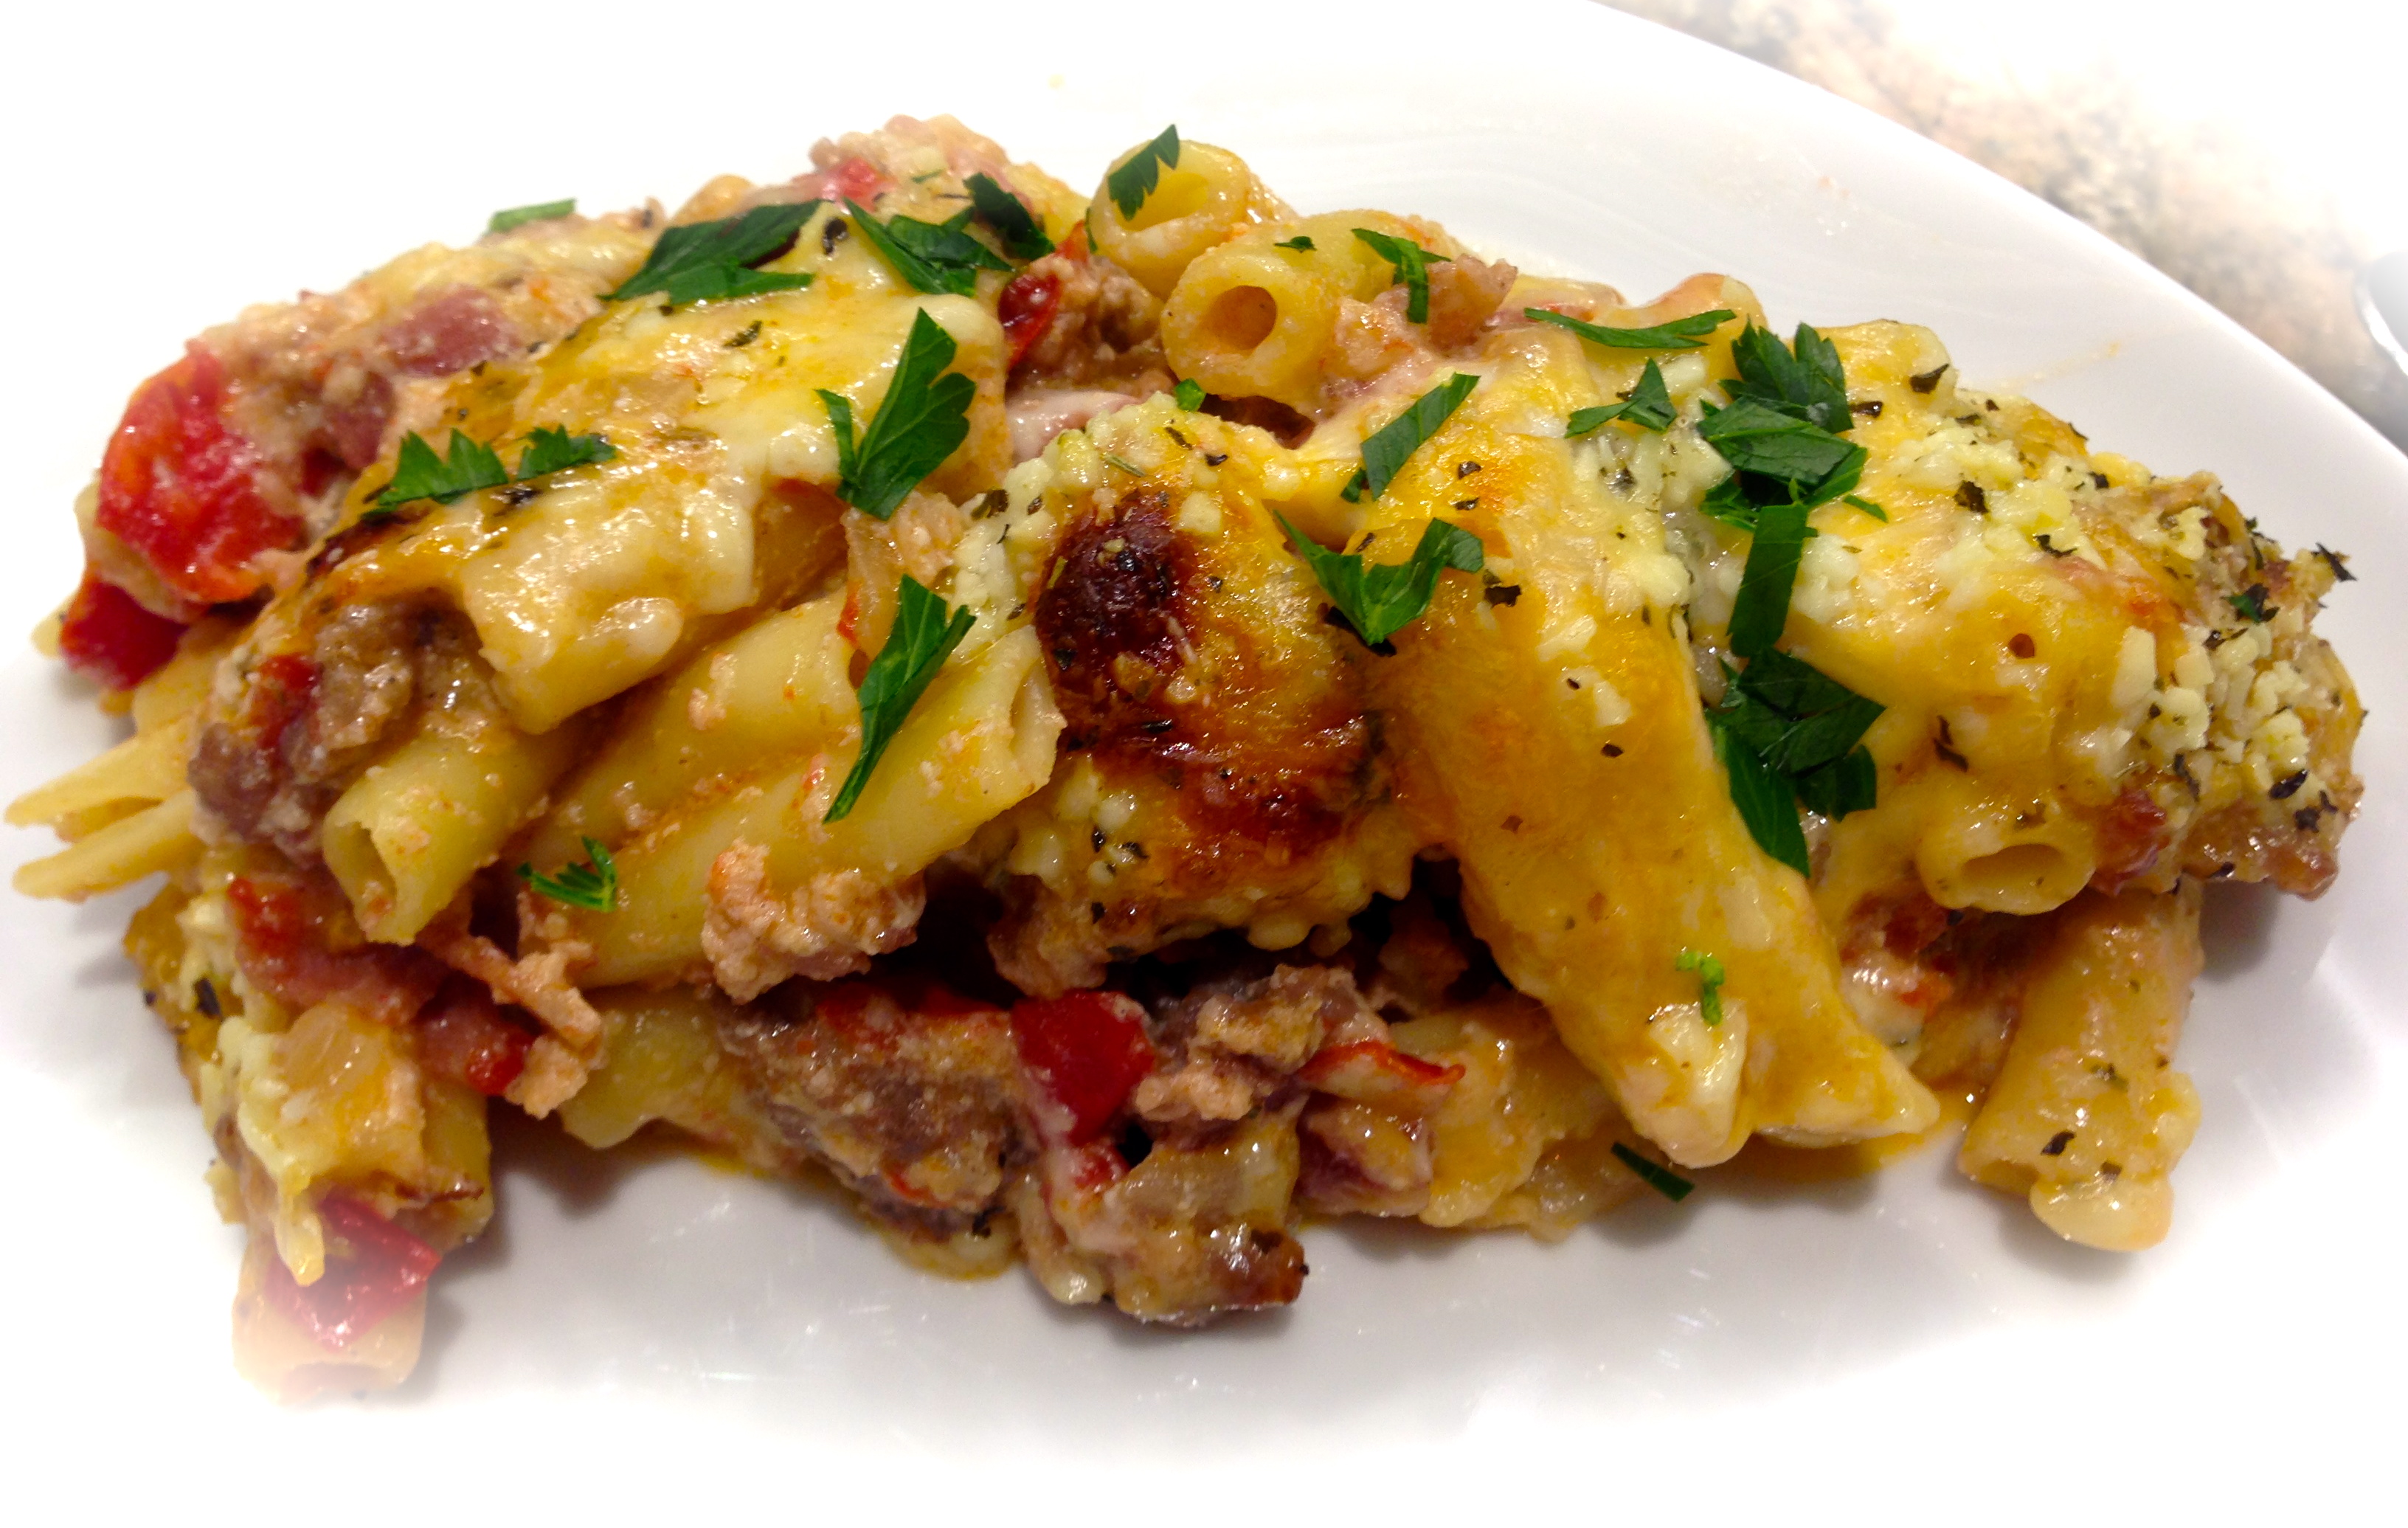
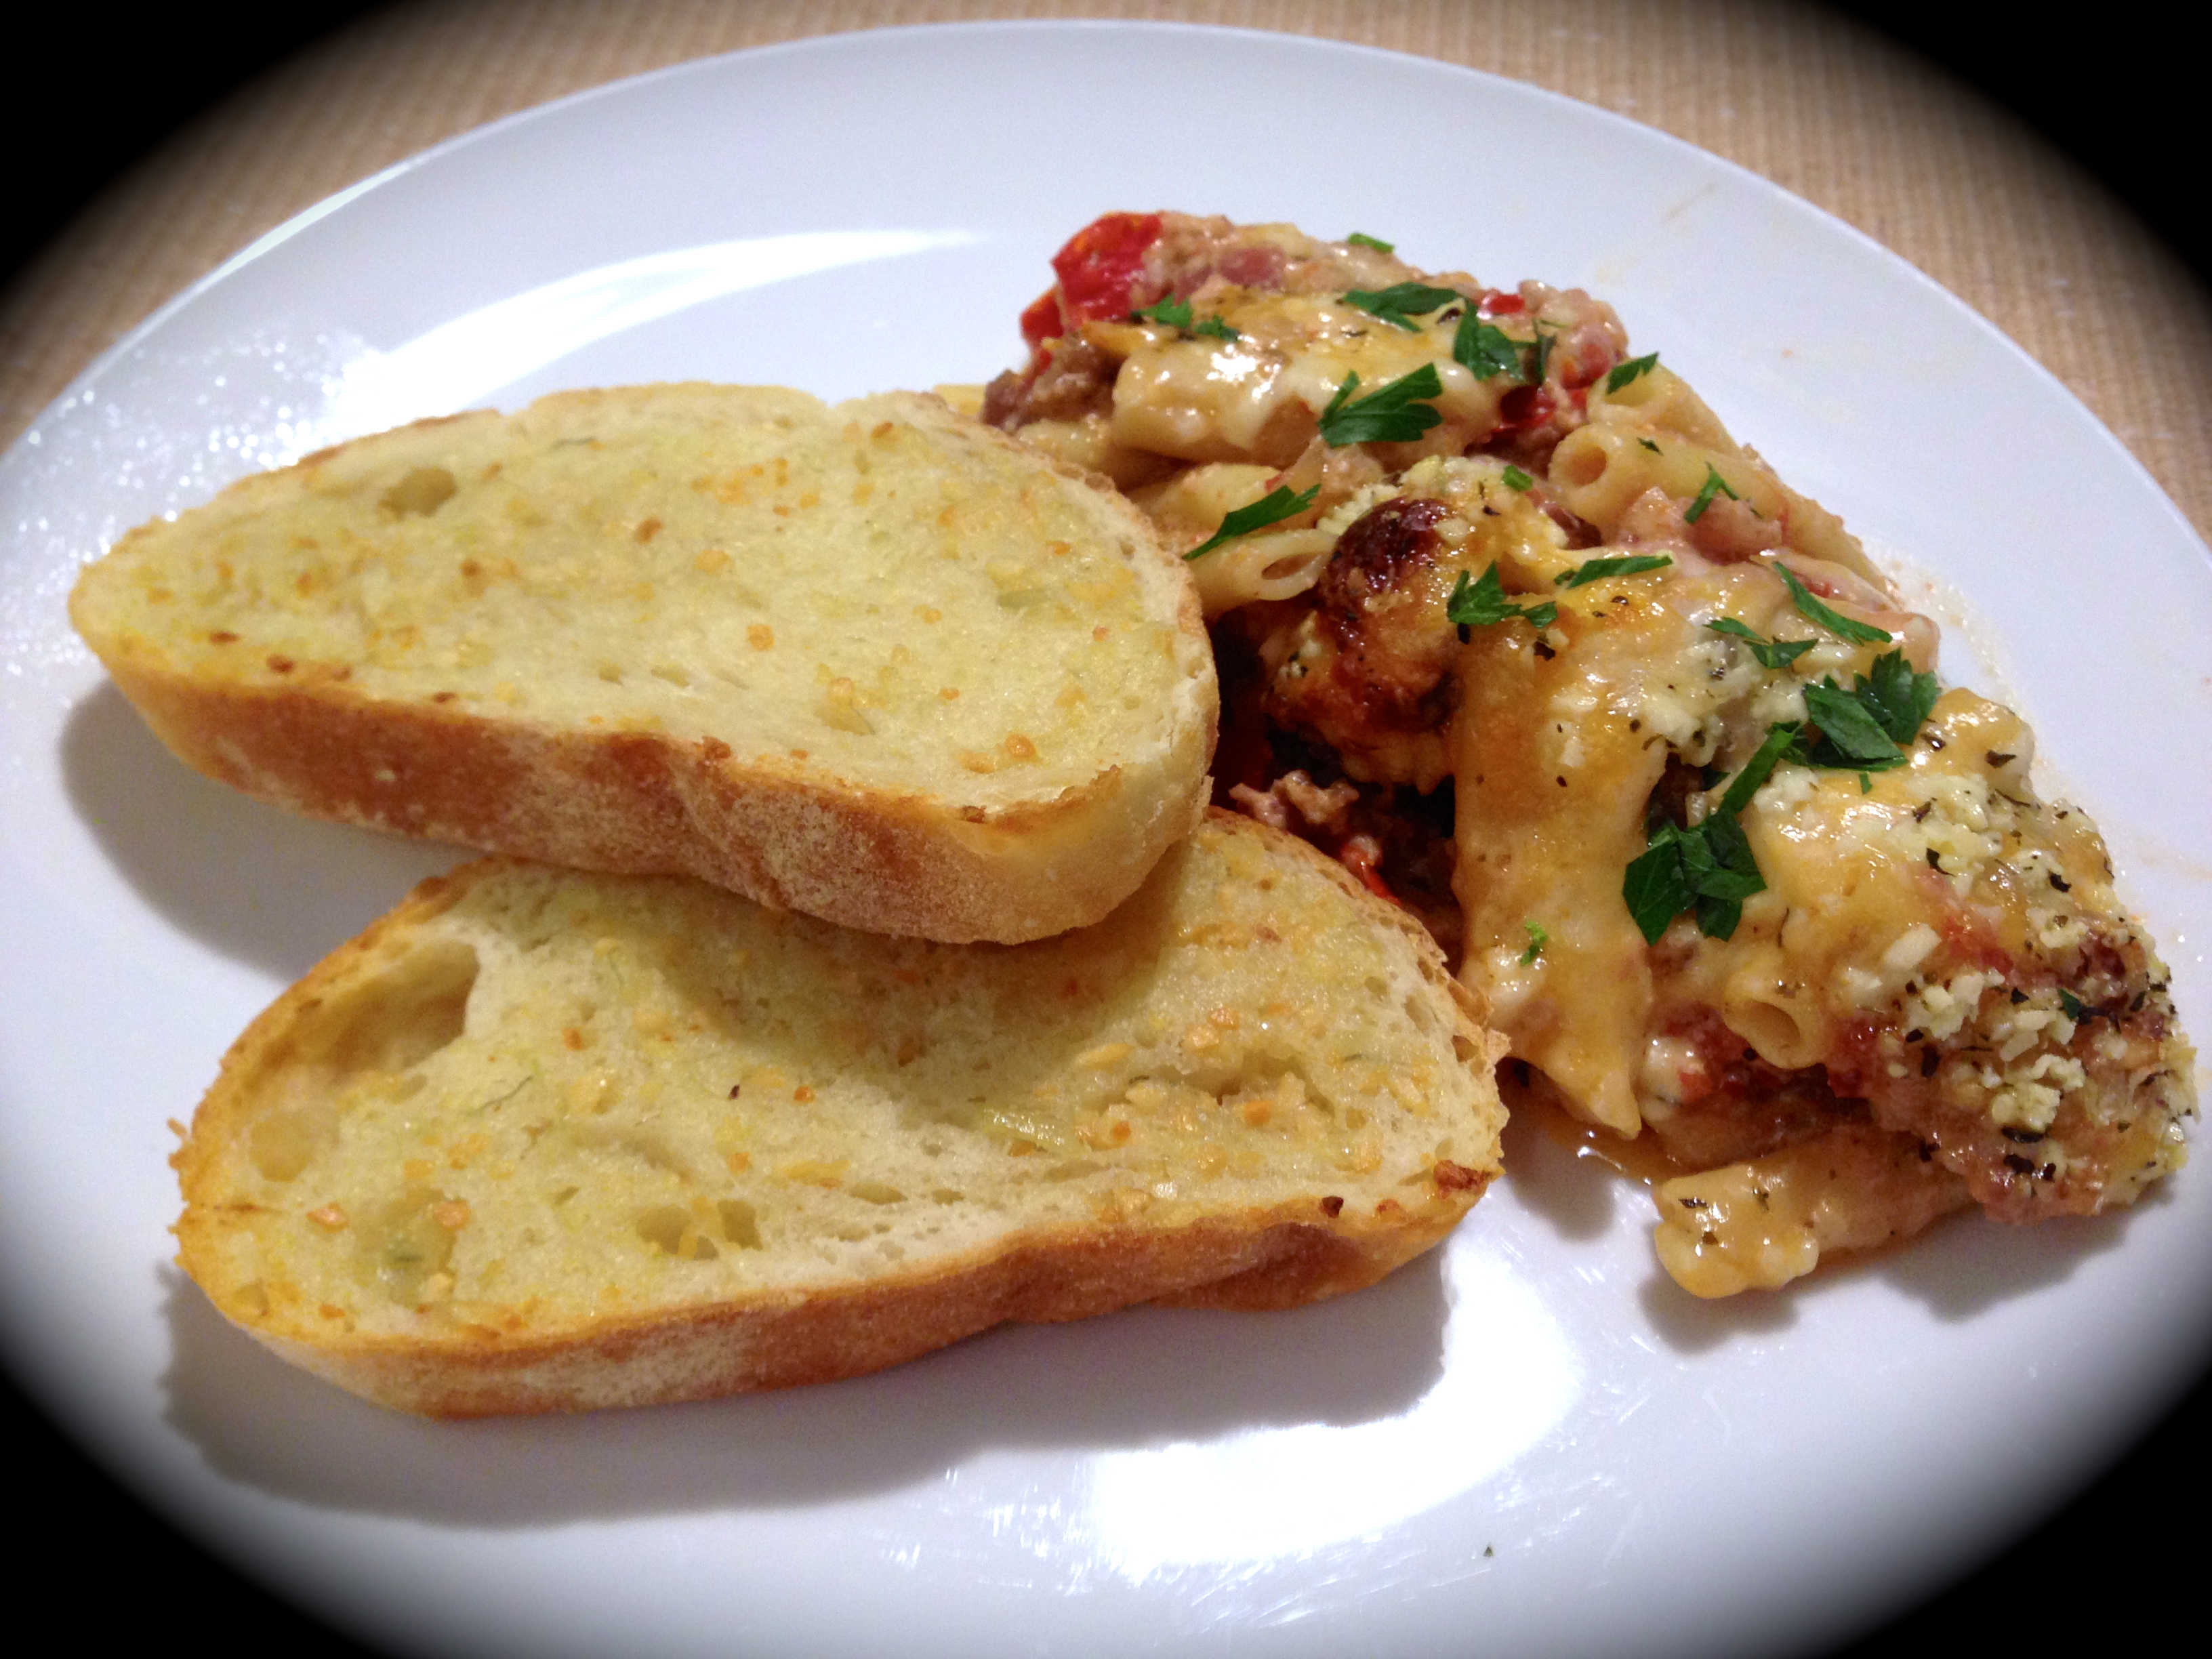
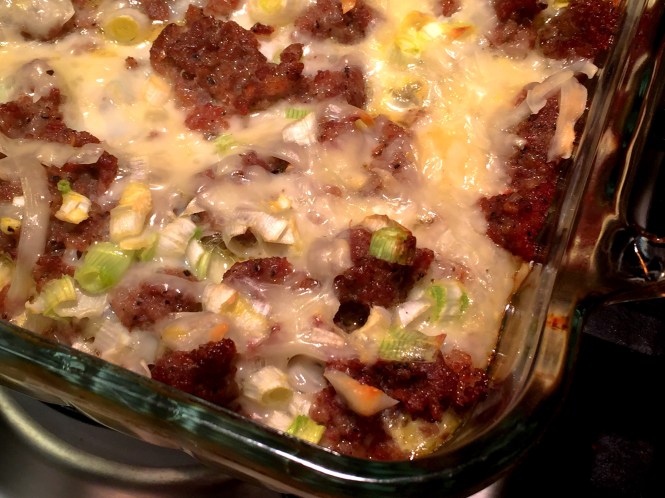
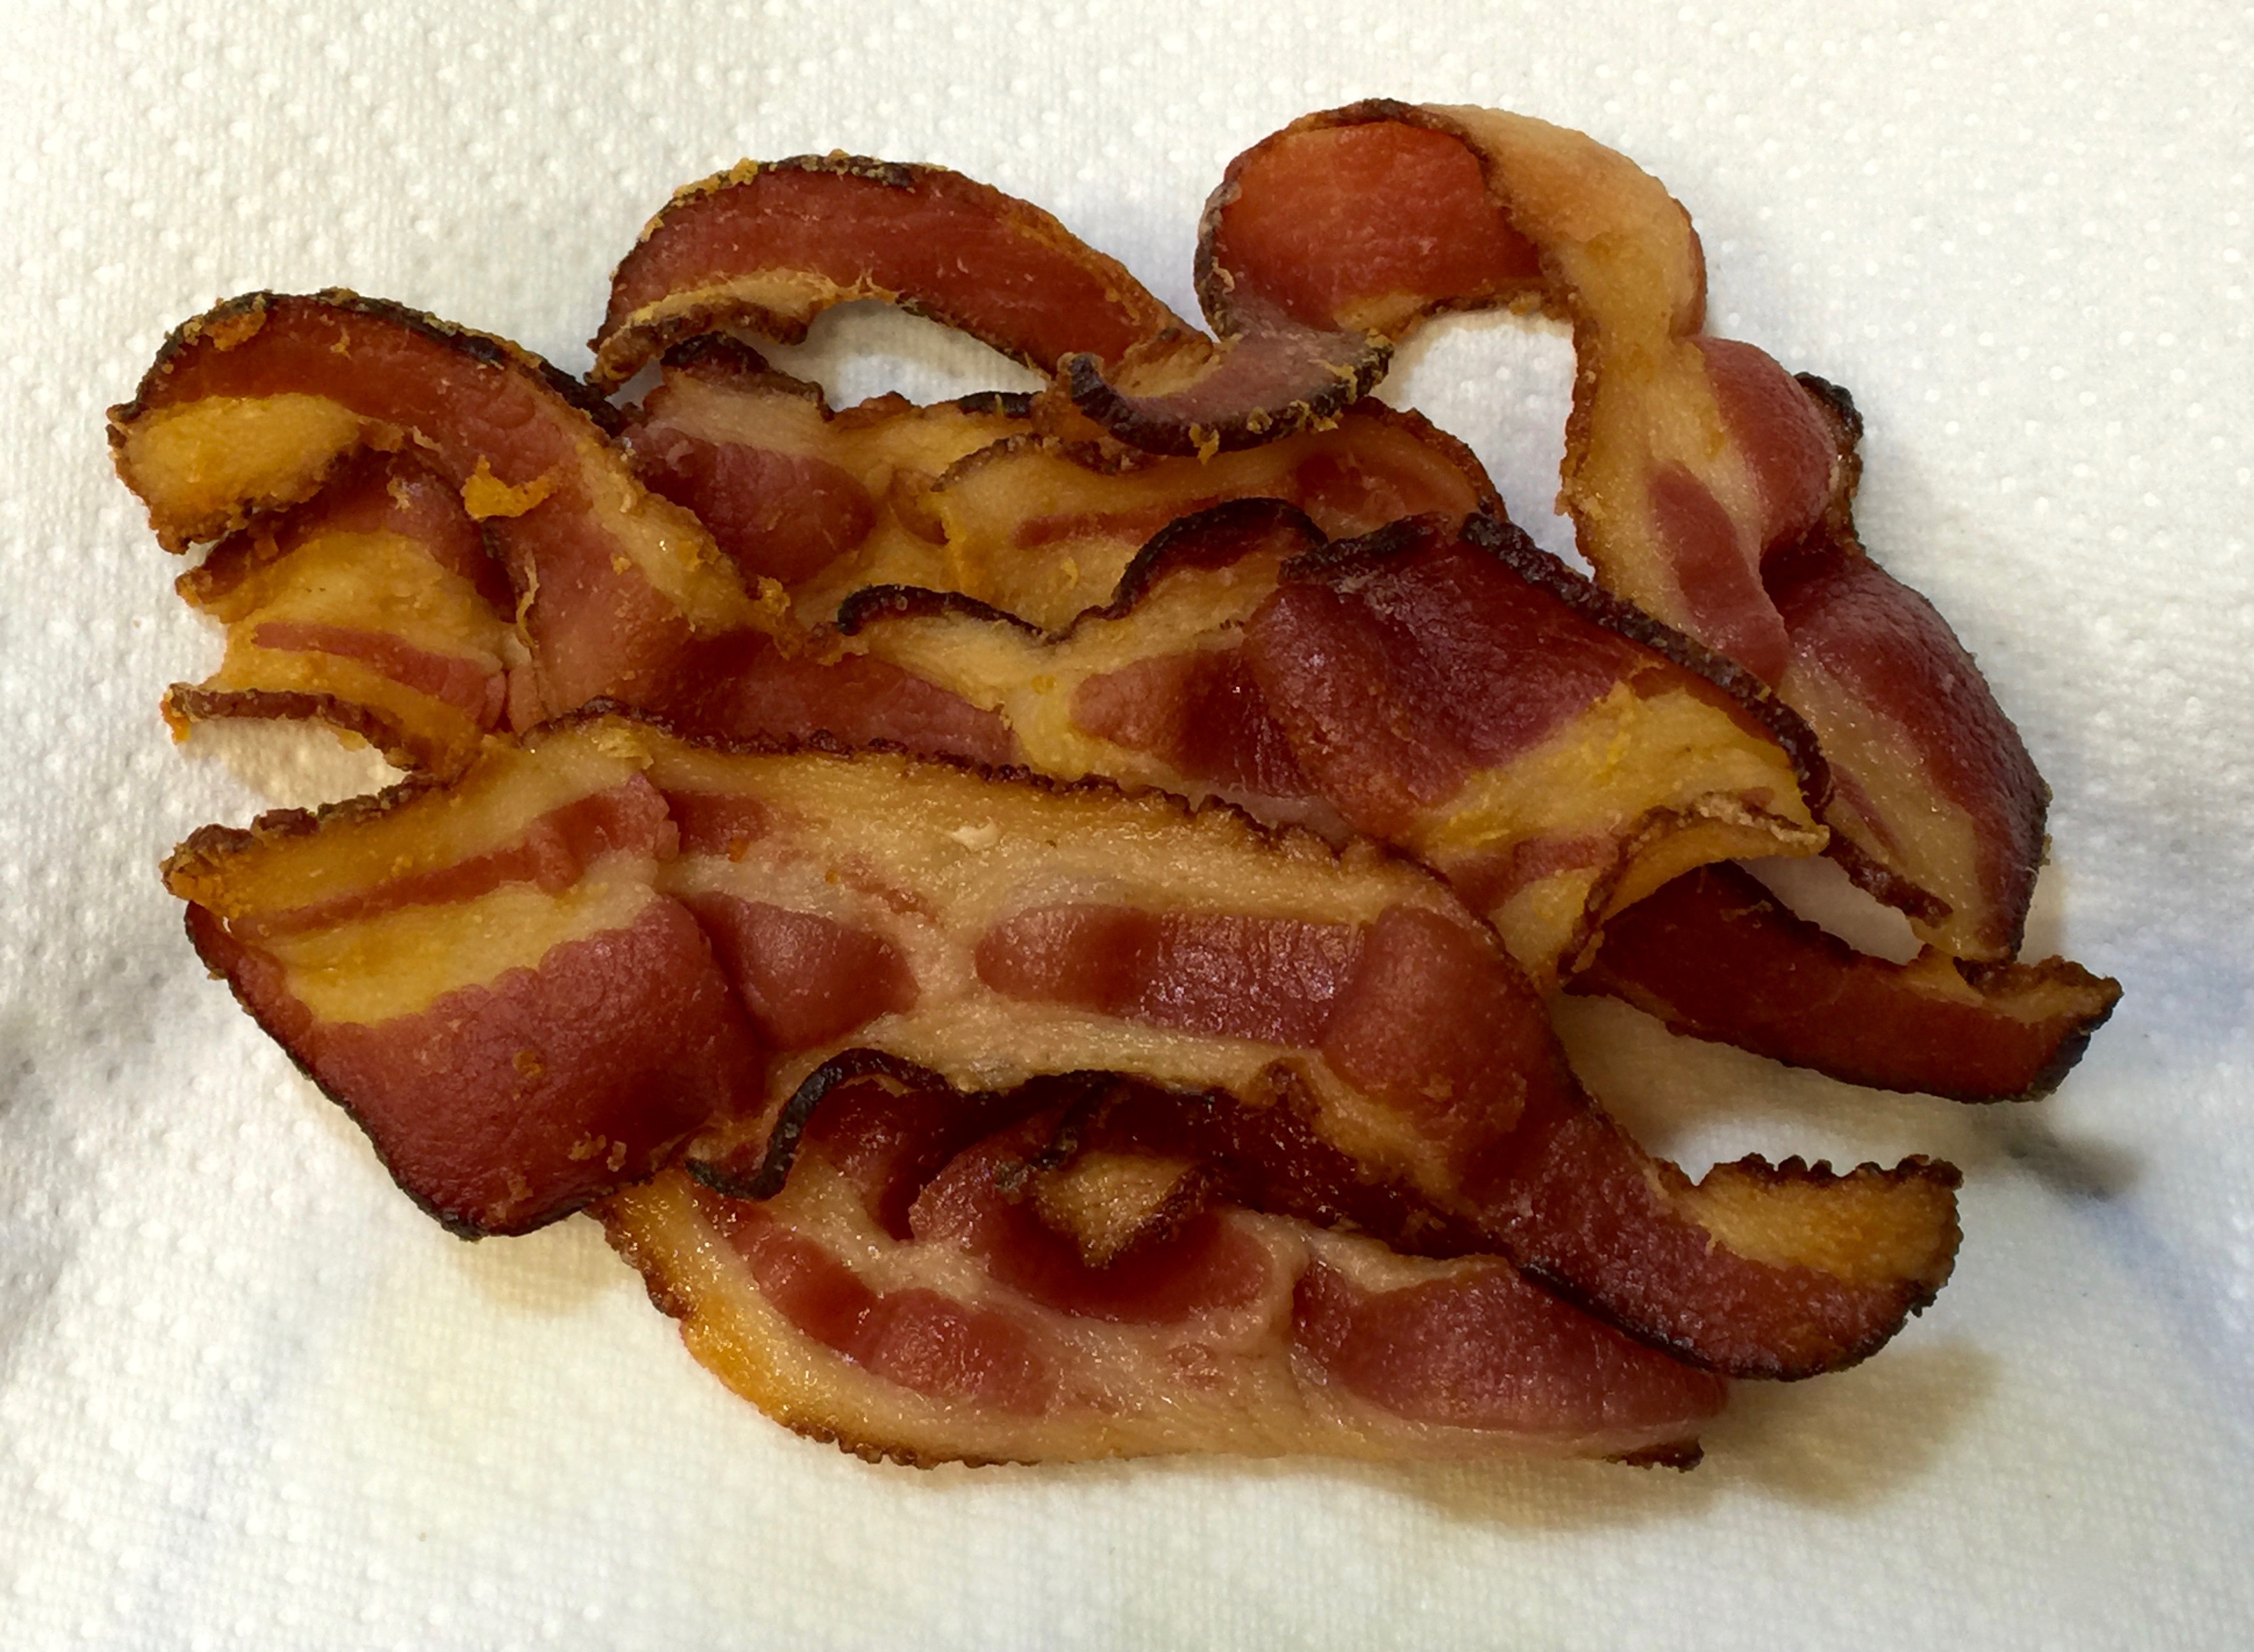
 Lesson Learned 1 – You probably will not need an entire tube of breakfast sausage: This recipe is made in an 8 x 8 pan and serves four. Double it if you want to make it in a 13 x 9 pan. In the smaller pan you probably will not need the entire tube of sausage. Use as much as you like and if you are a true meat eater use the whole thing. We only needed about three quarters of the tube. We froze the rest to use later.


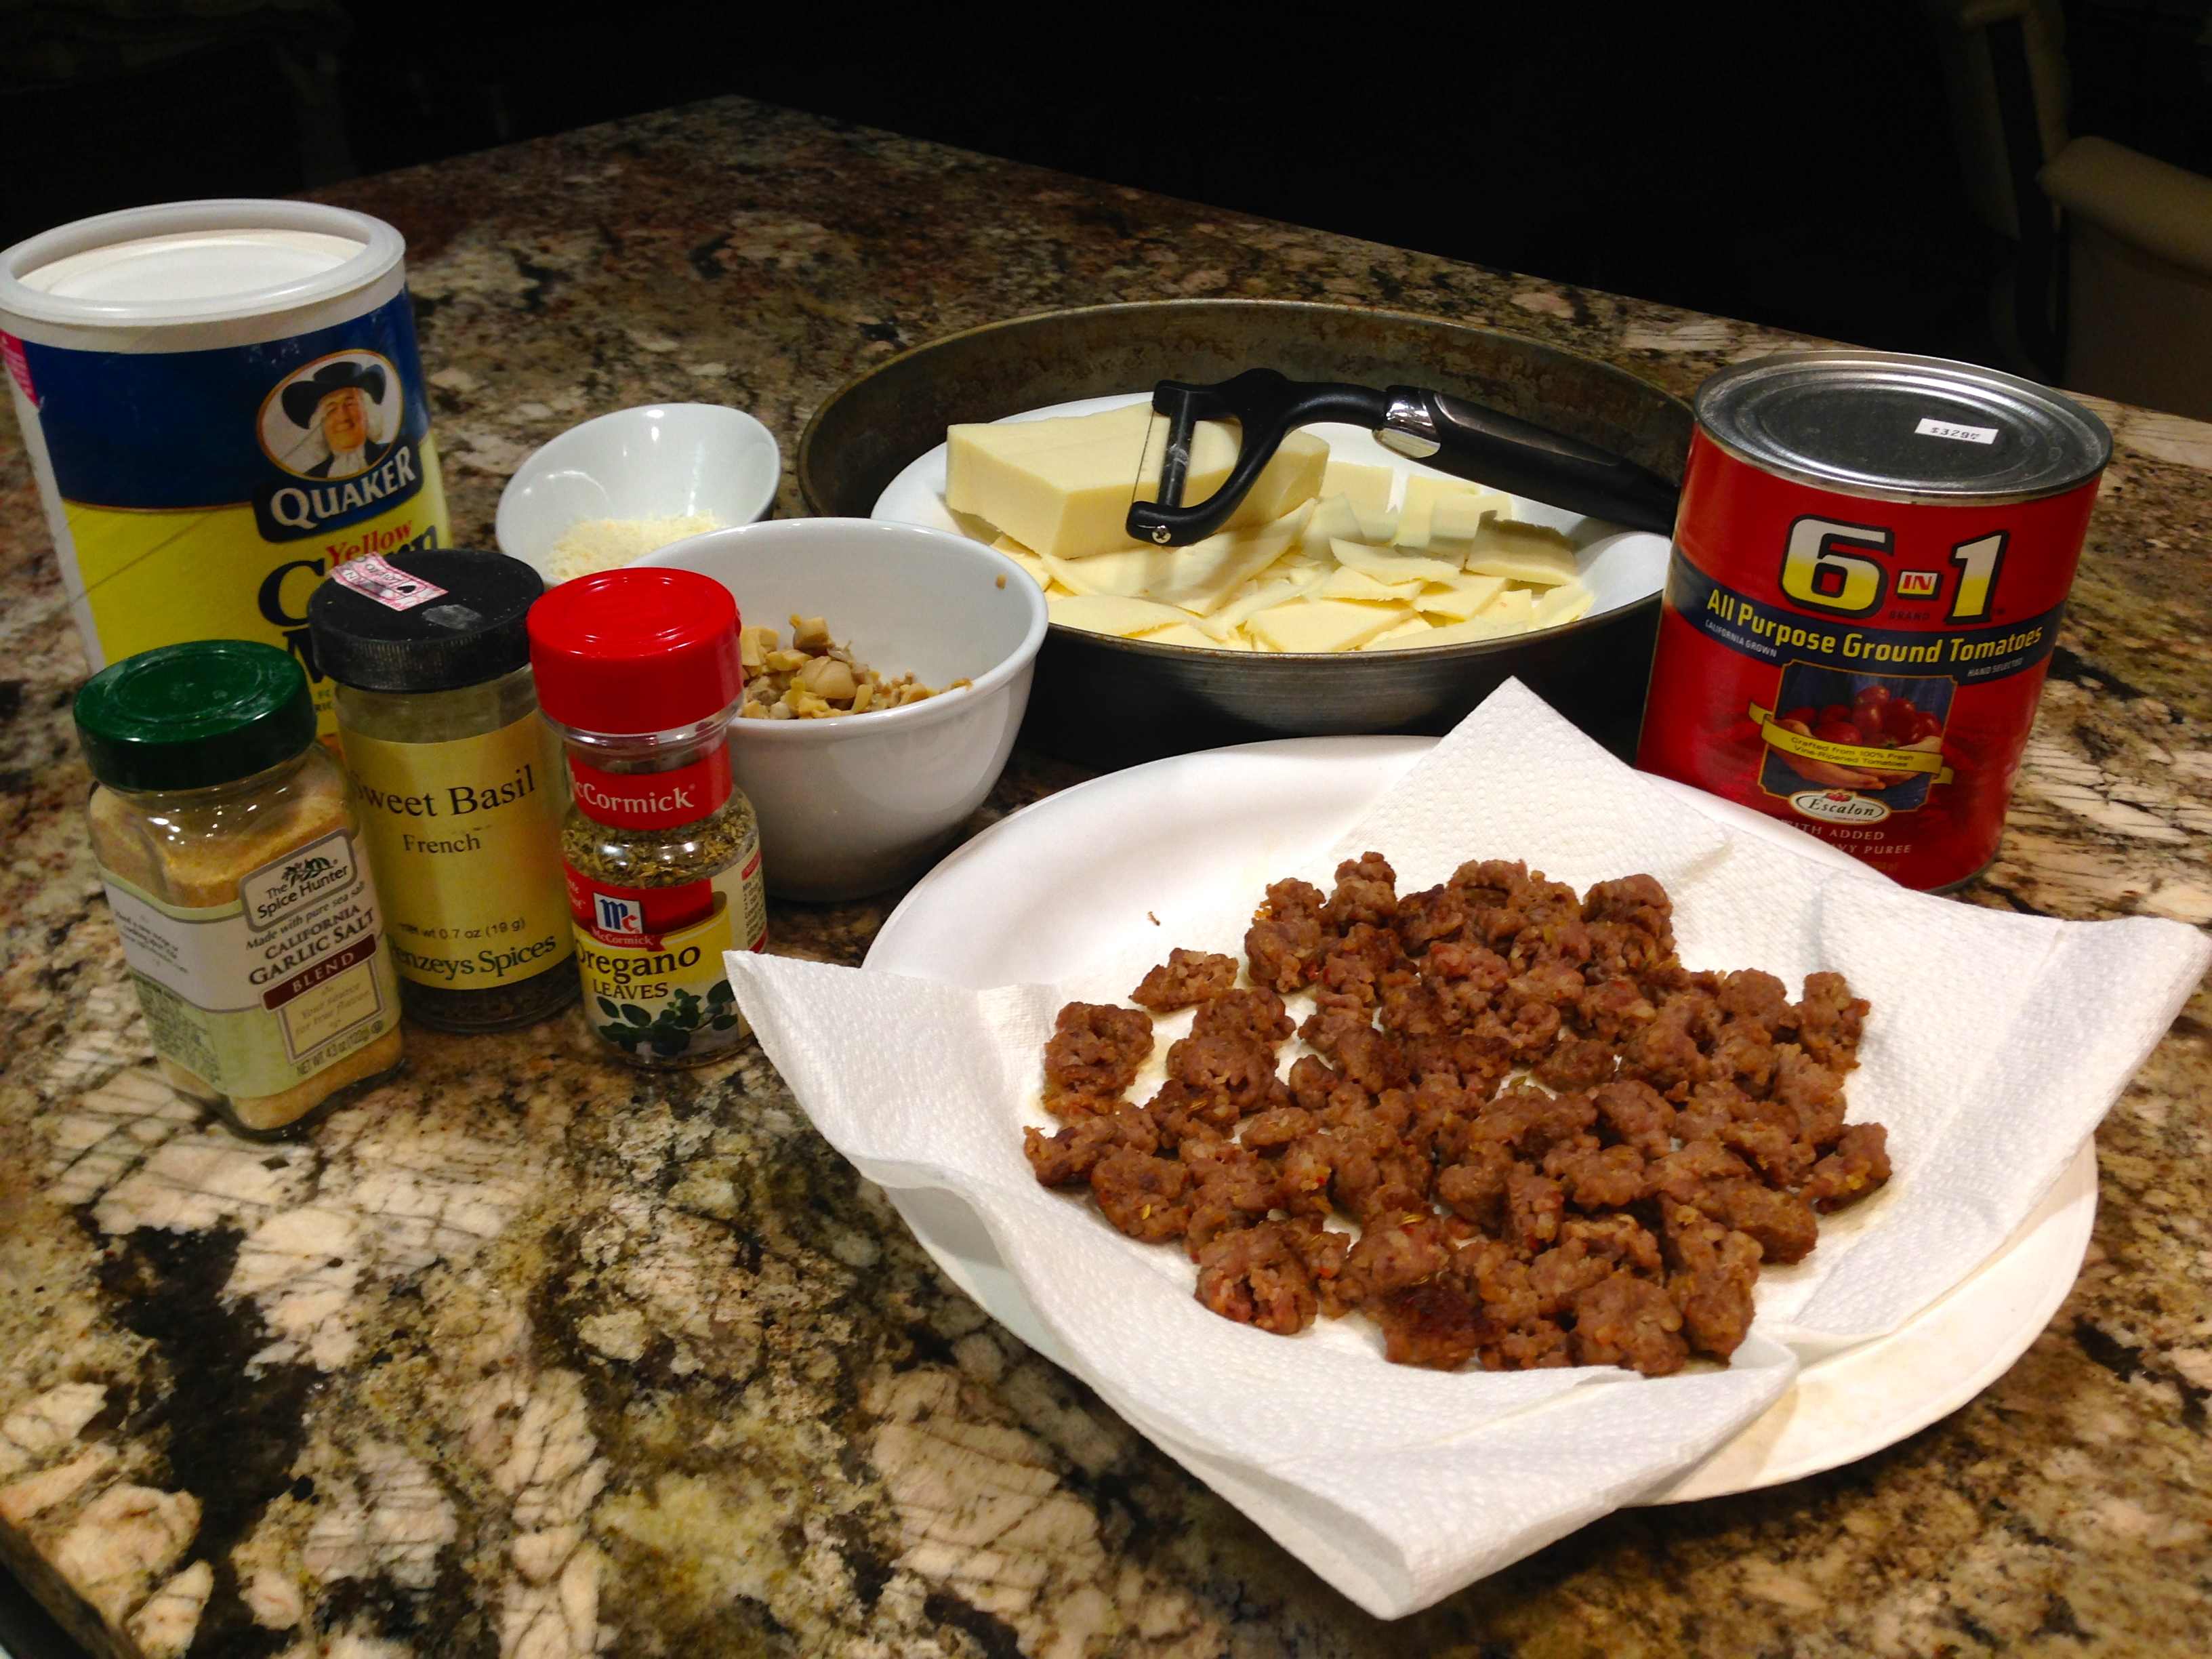
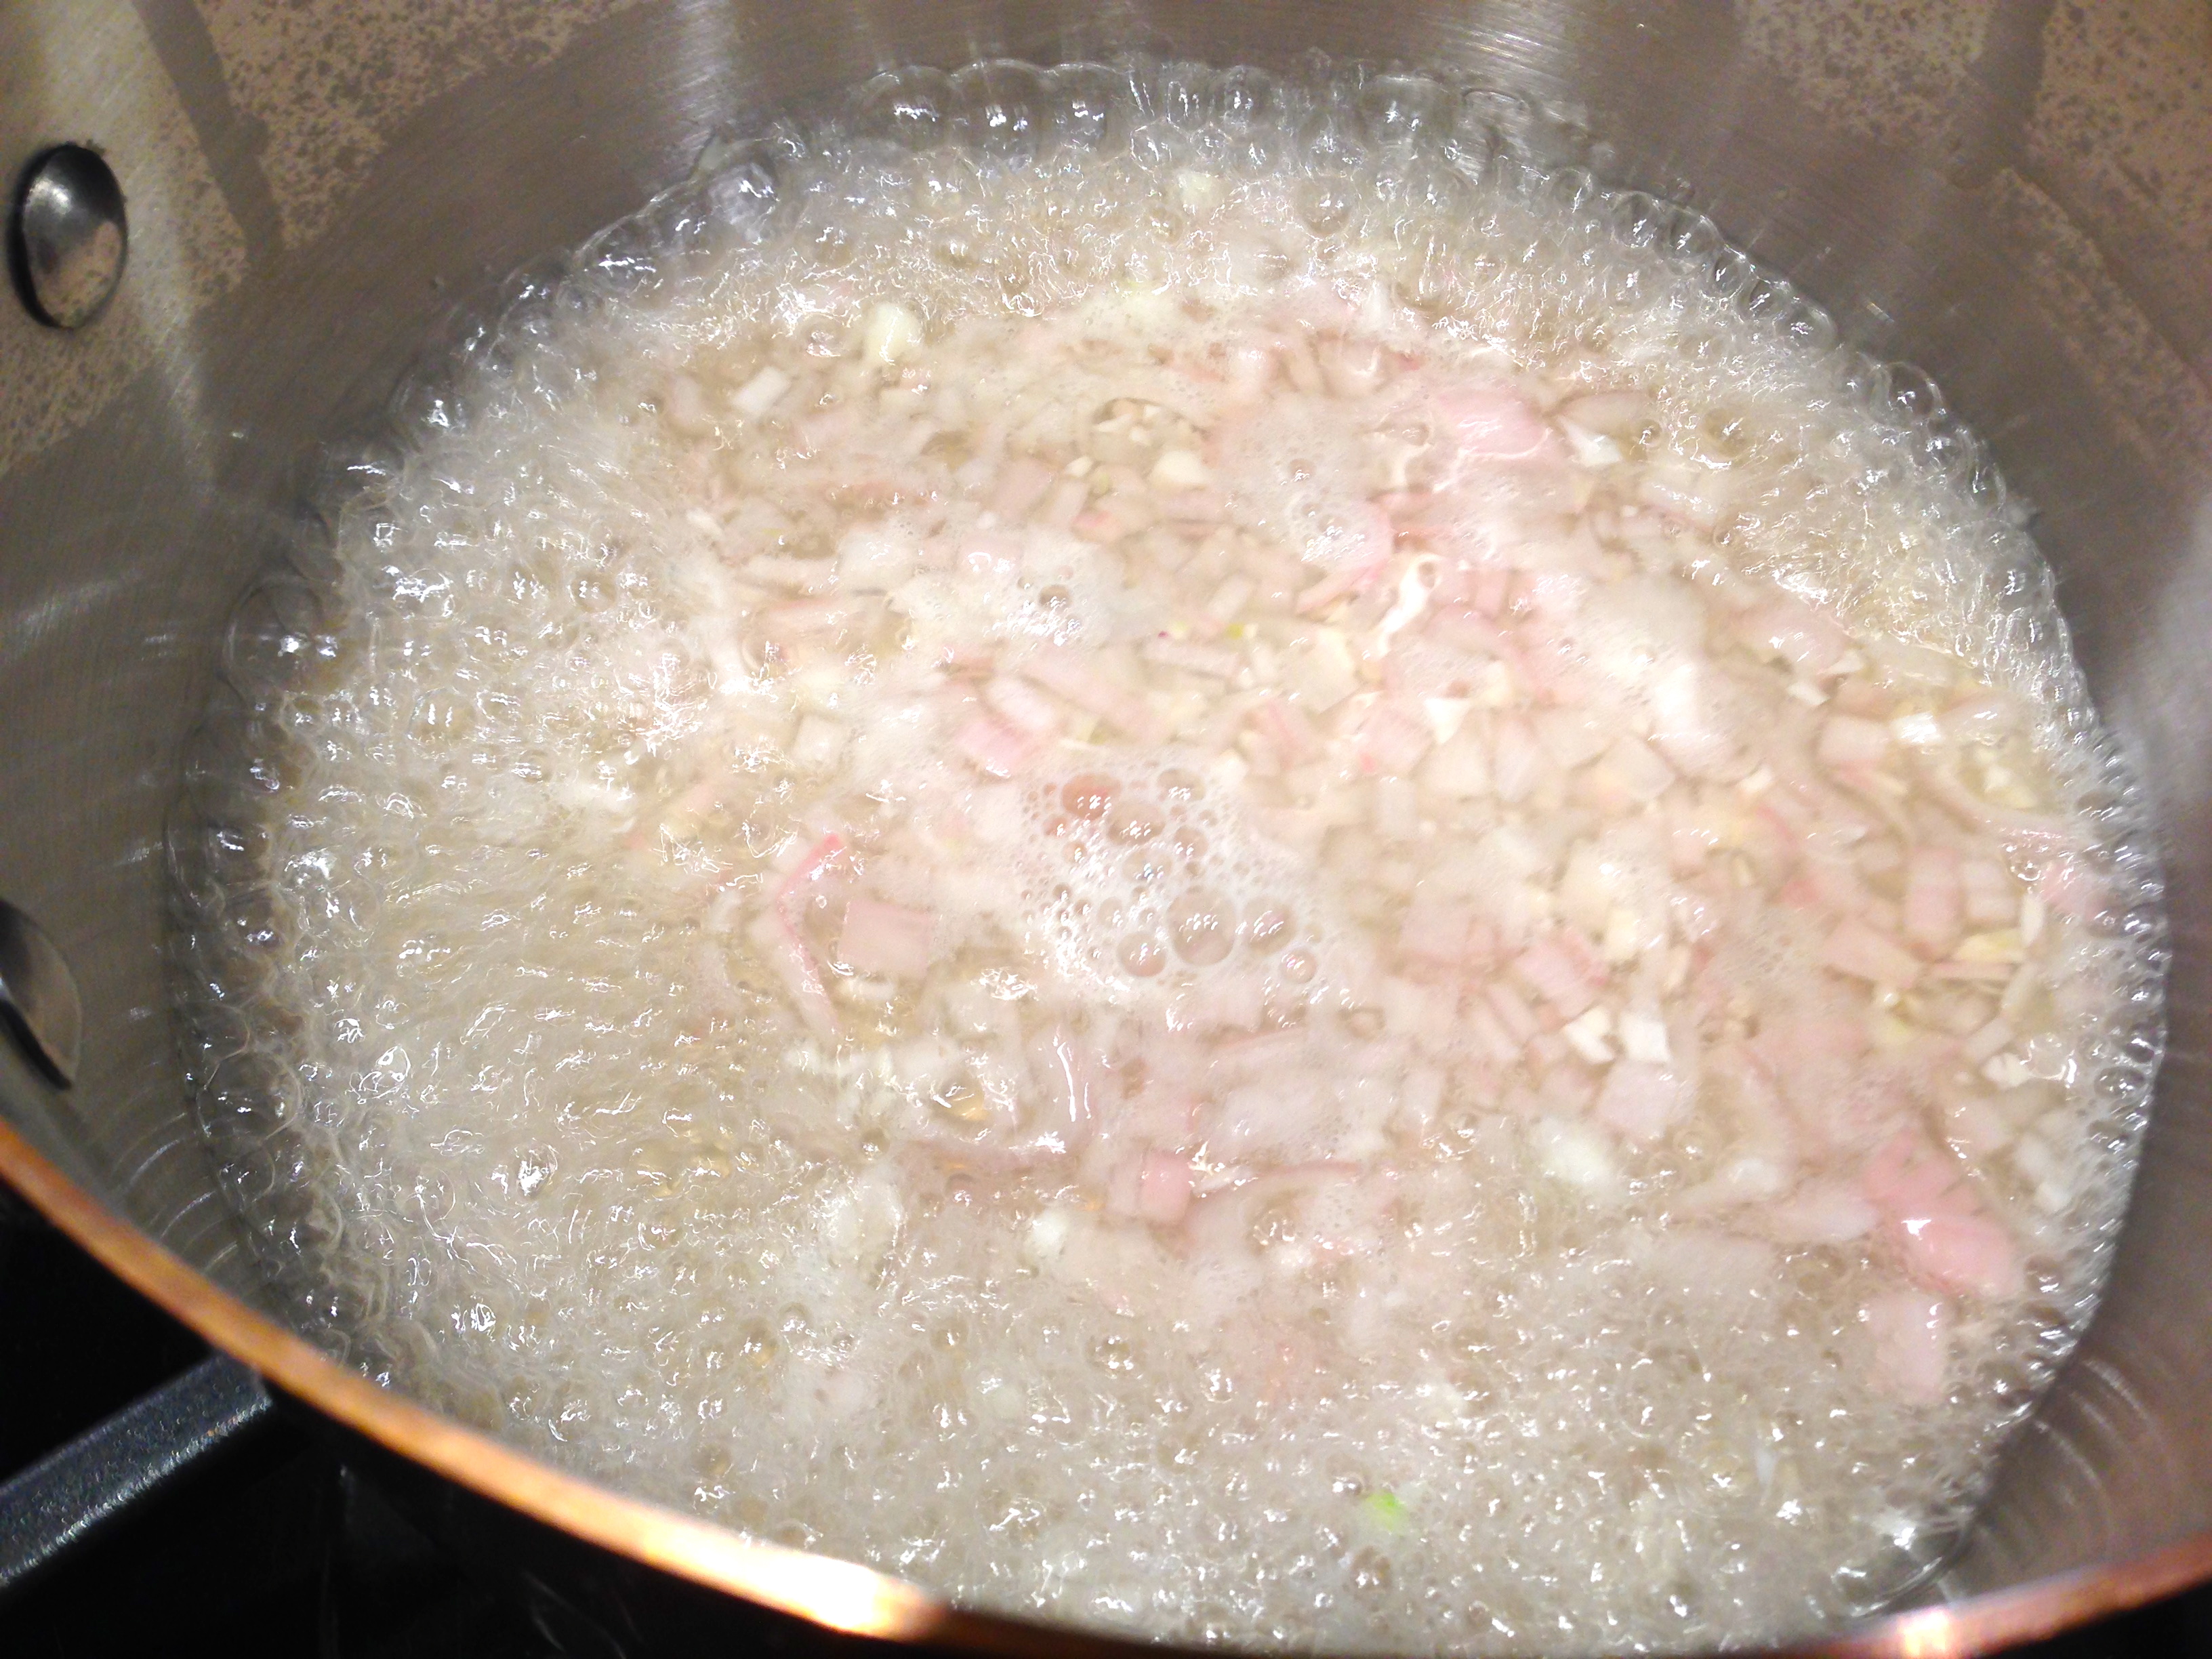
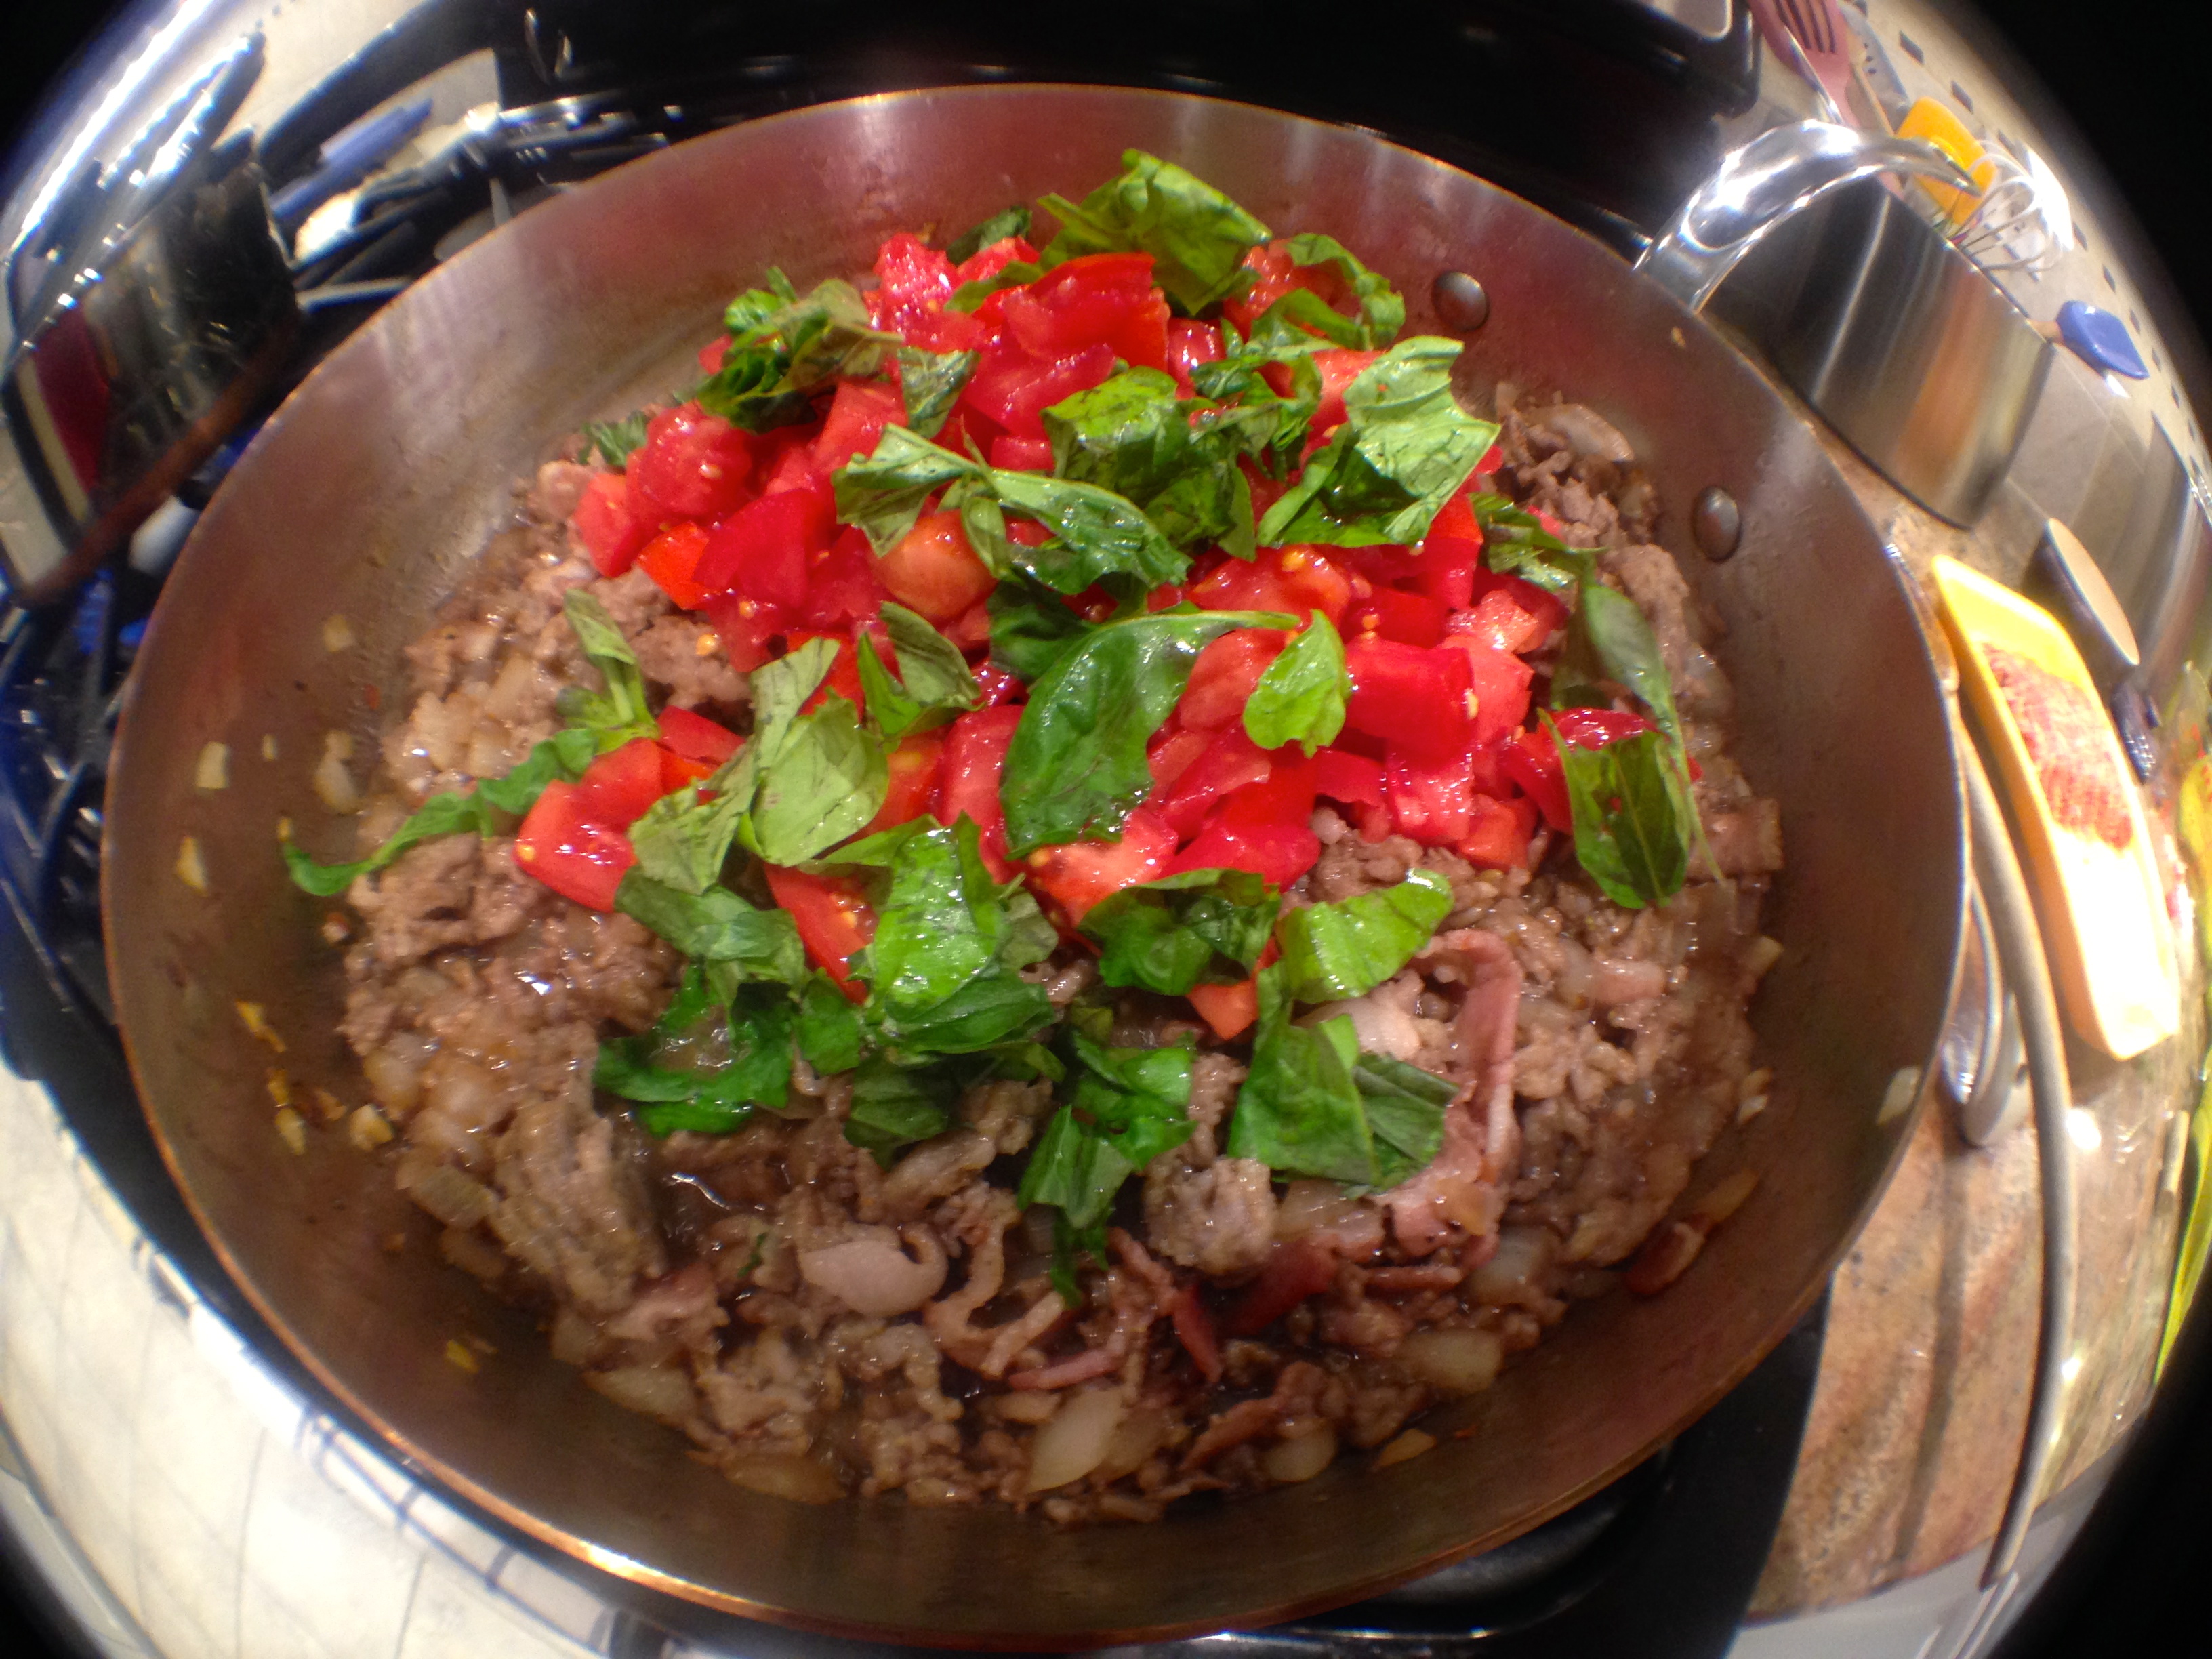
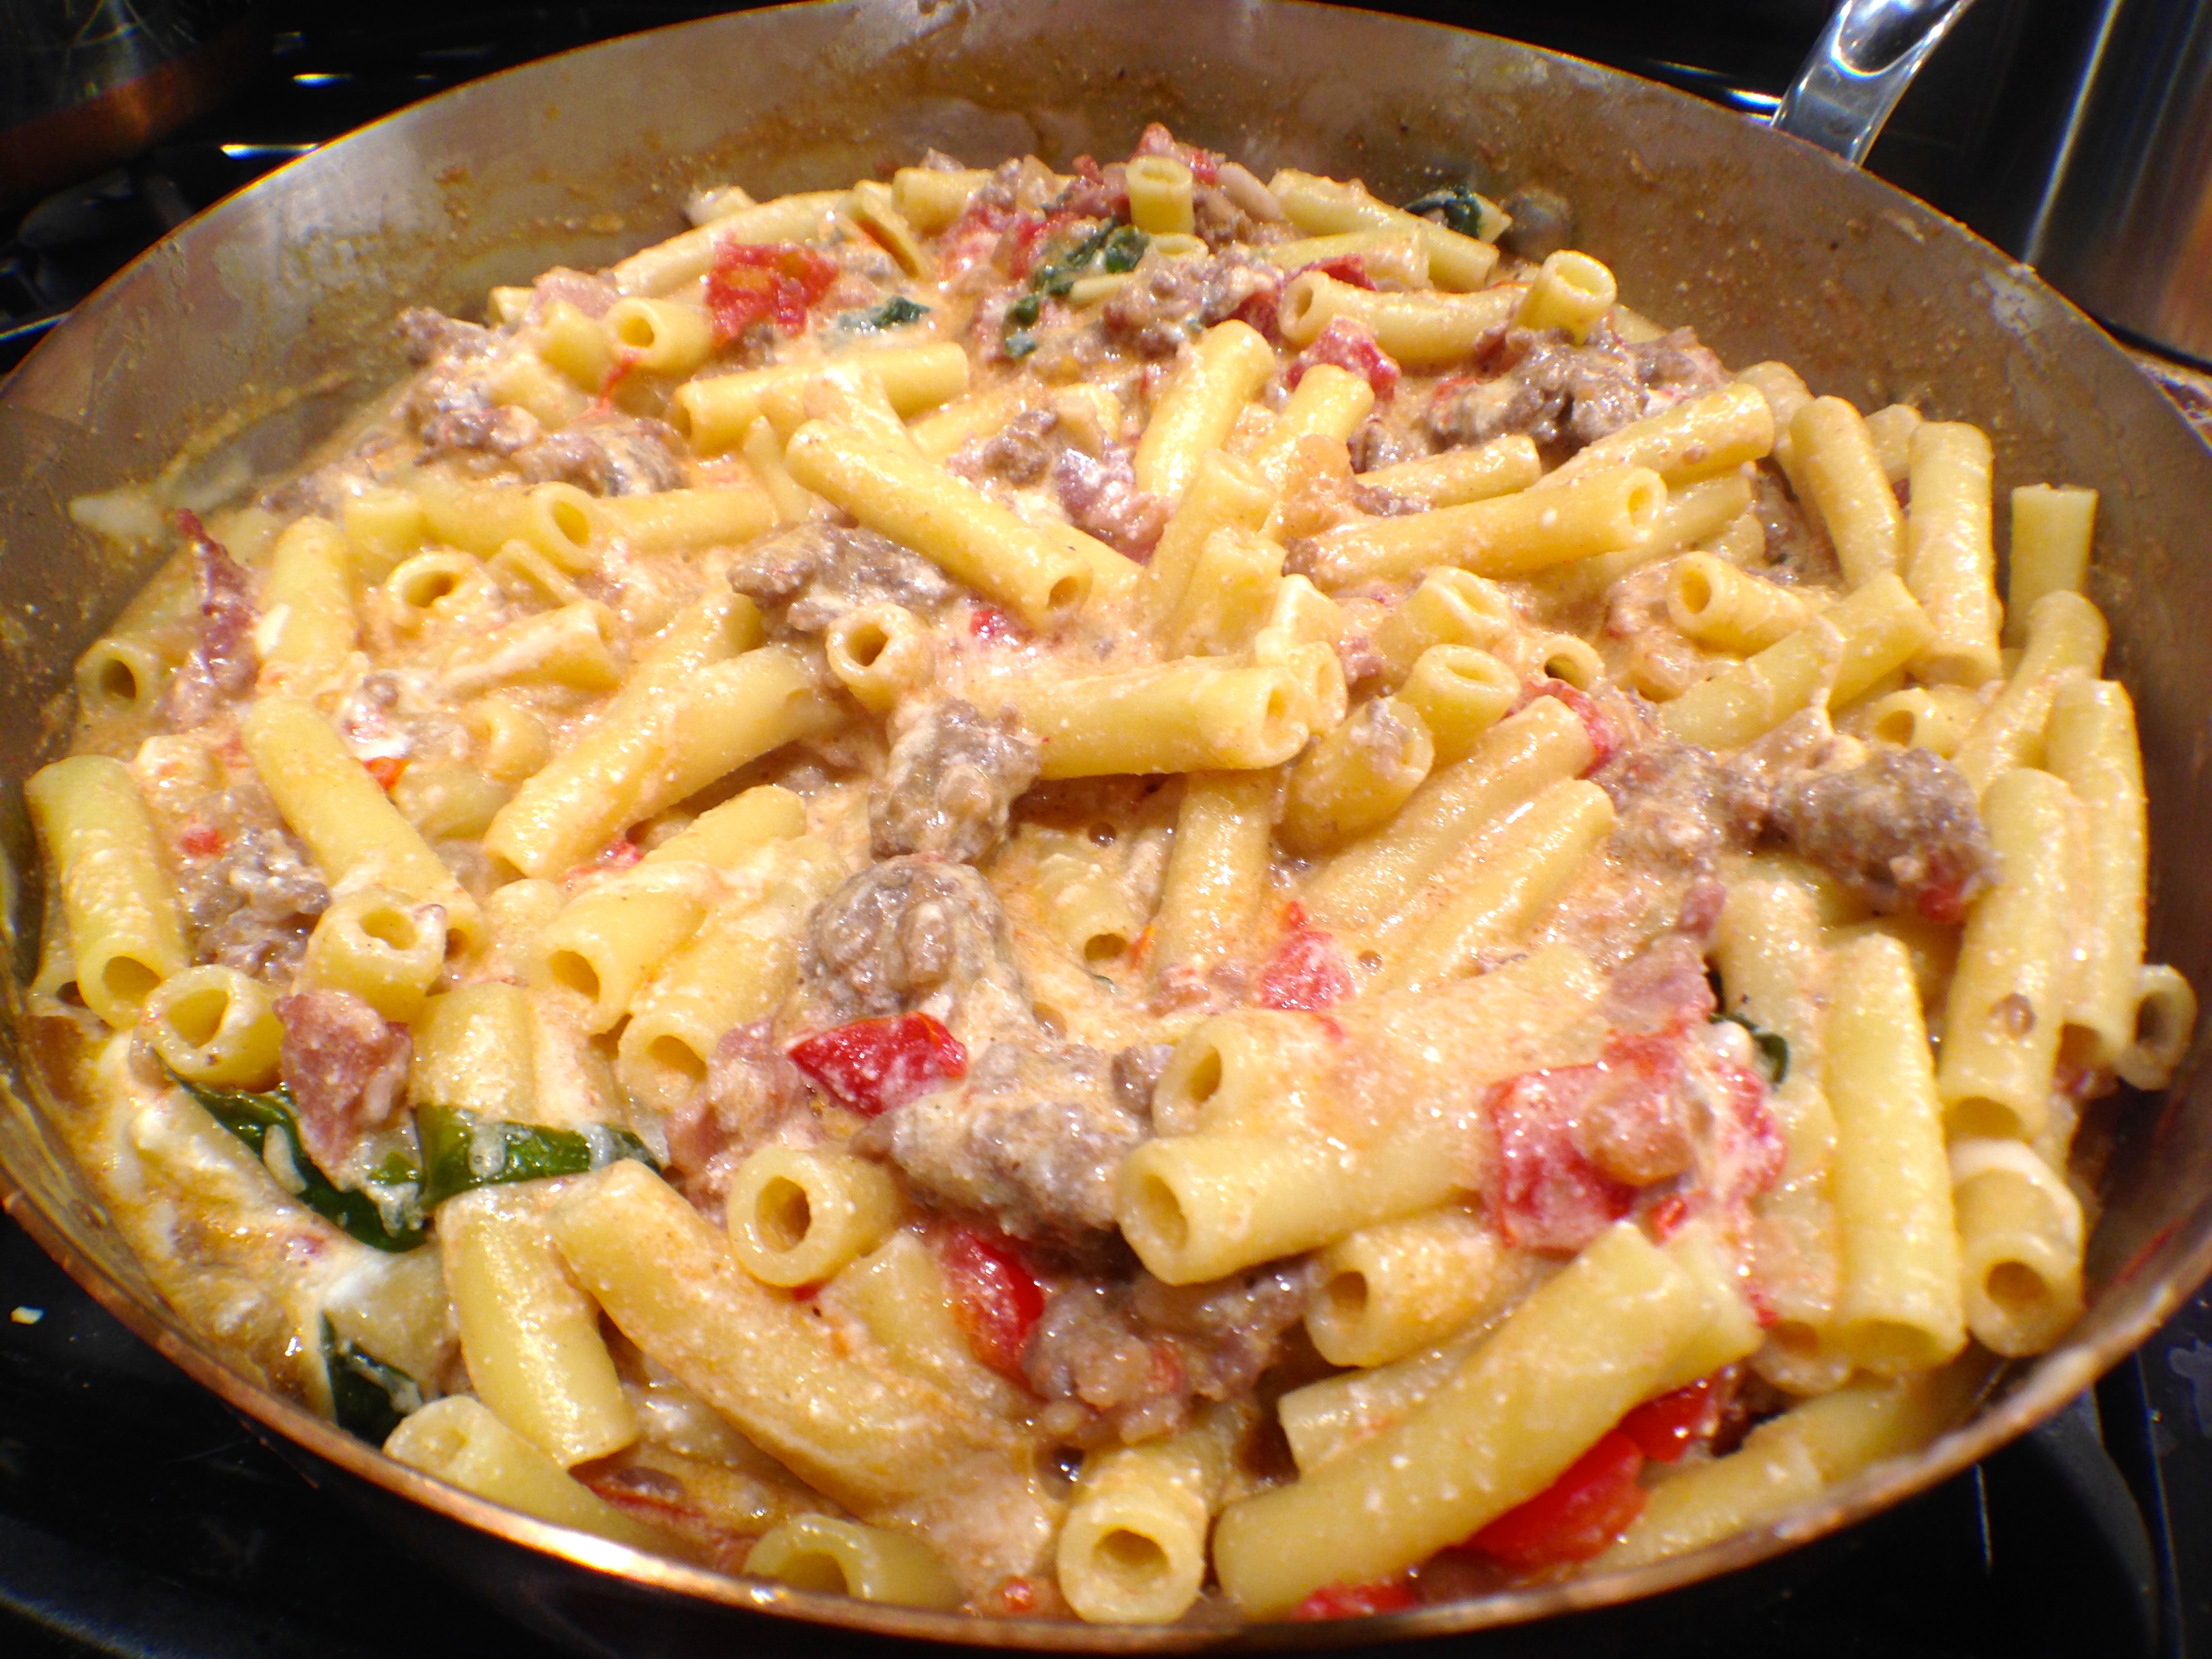
 Lesson Learned 1 – I used ground italian sausage but you can also use prosciutto: My husband needs to eat foods that are easy to chew and so I used ground italian sausage. If you choose to use prosciutto, use about 5 thin slices. Add them to the onions once they are translucent and cook them until they are crisp. Then follow the remainder of the recipe as is. I guarantee it will be equally as good.
 when I looked at the ingredients they were all natural. There were no names that I couldn’t pronounce. Natural and organic foods are much higher in cost. That is unfortunate as I hate to think about all these chemicals we can put in our bodies every day. But heck, before I was born my mother drank and smoked and I’m still here. I guess the idea is why tempt fate. The better you take care of yourself the better your chances are of living a longer healthier life.


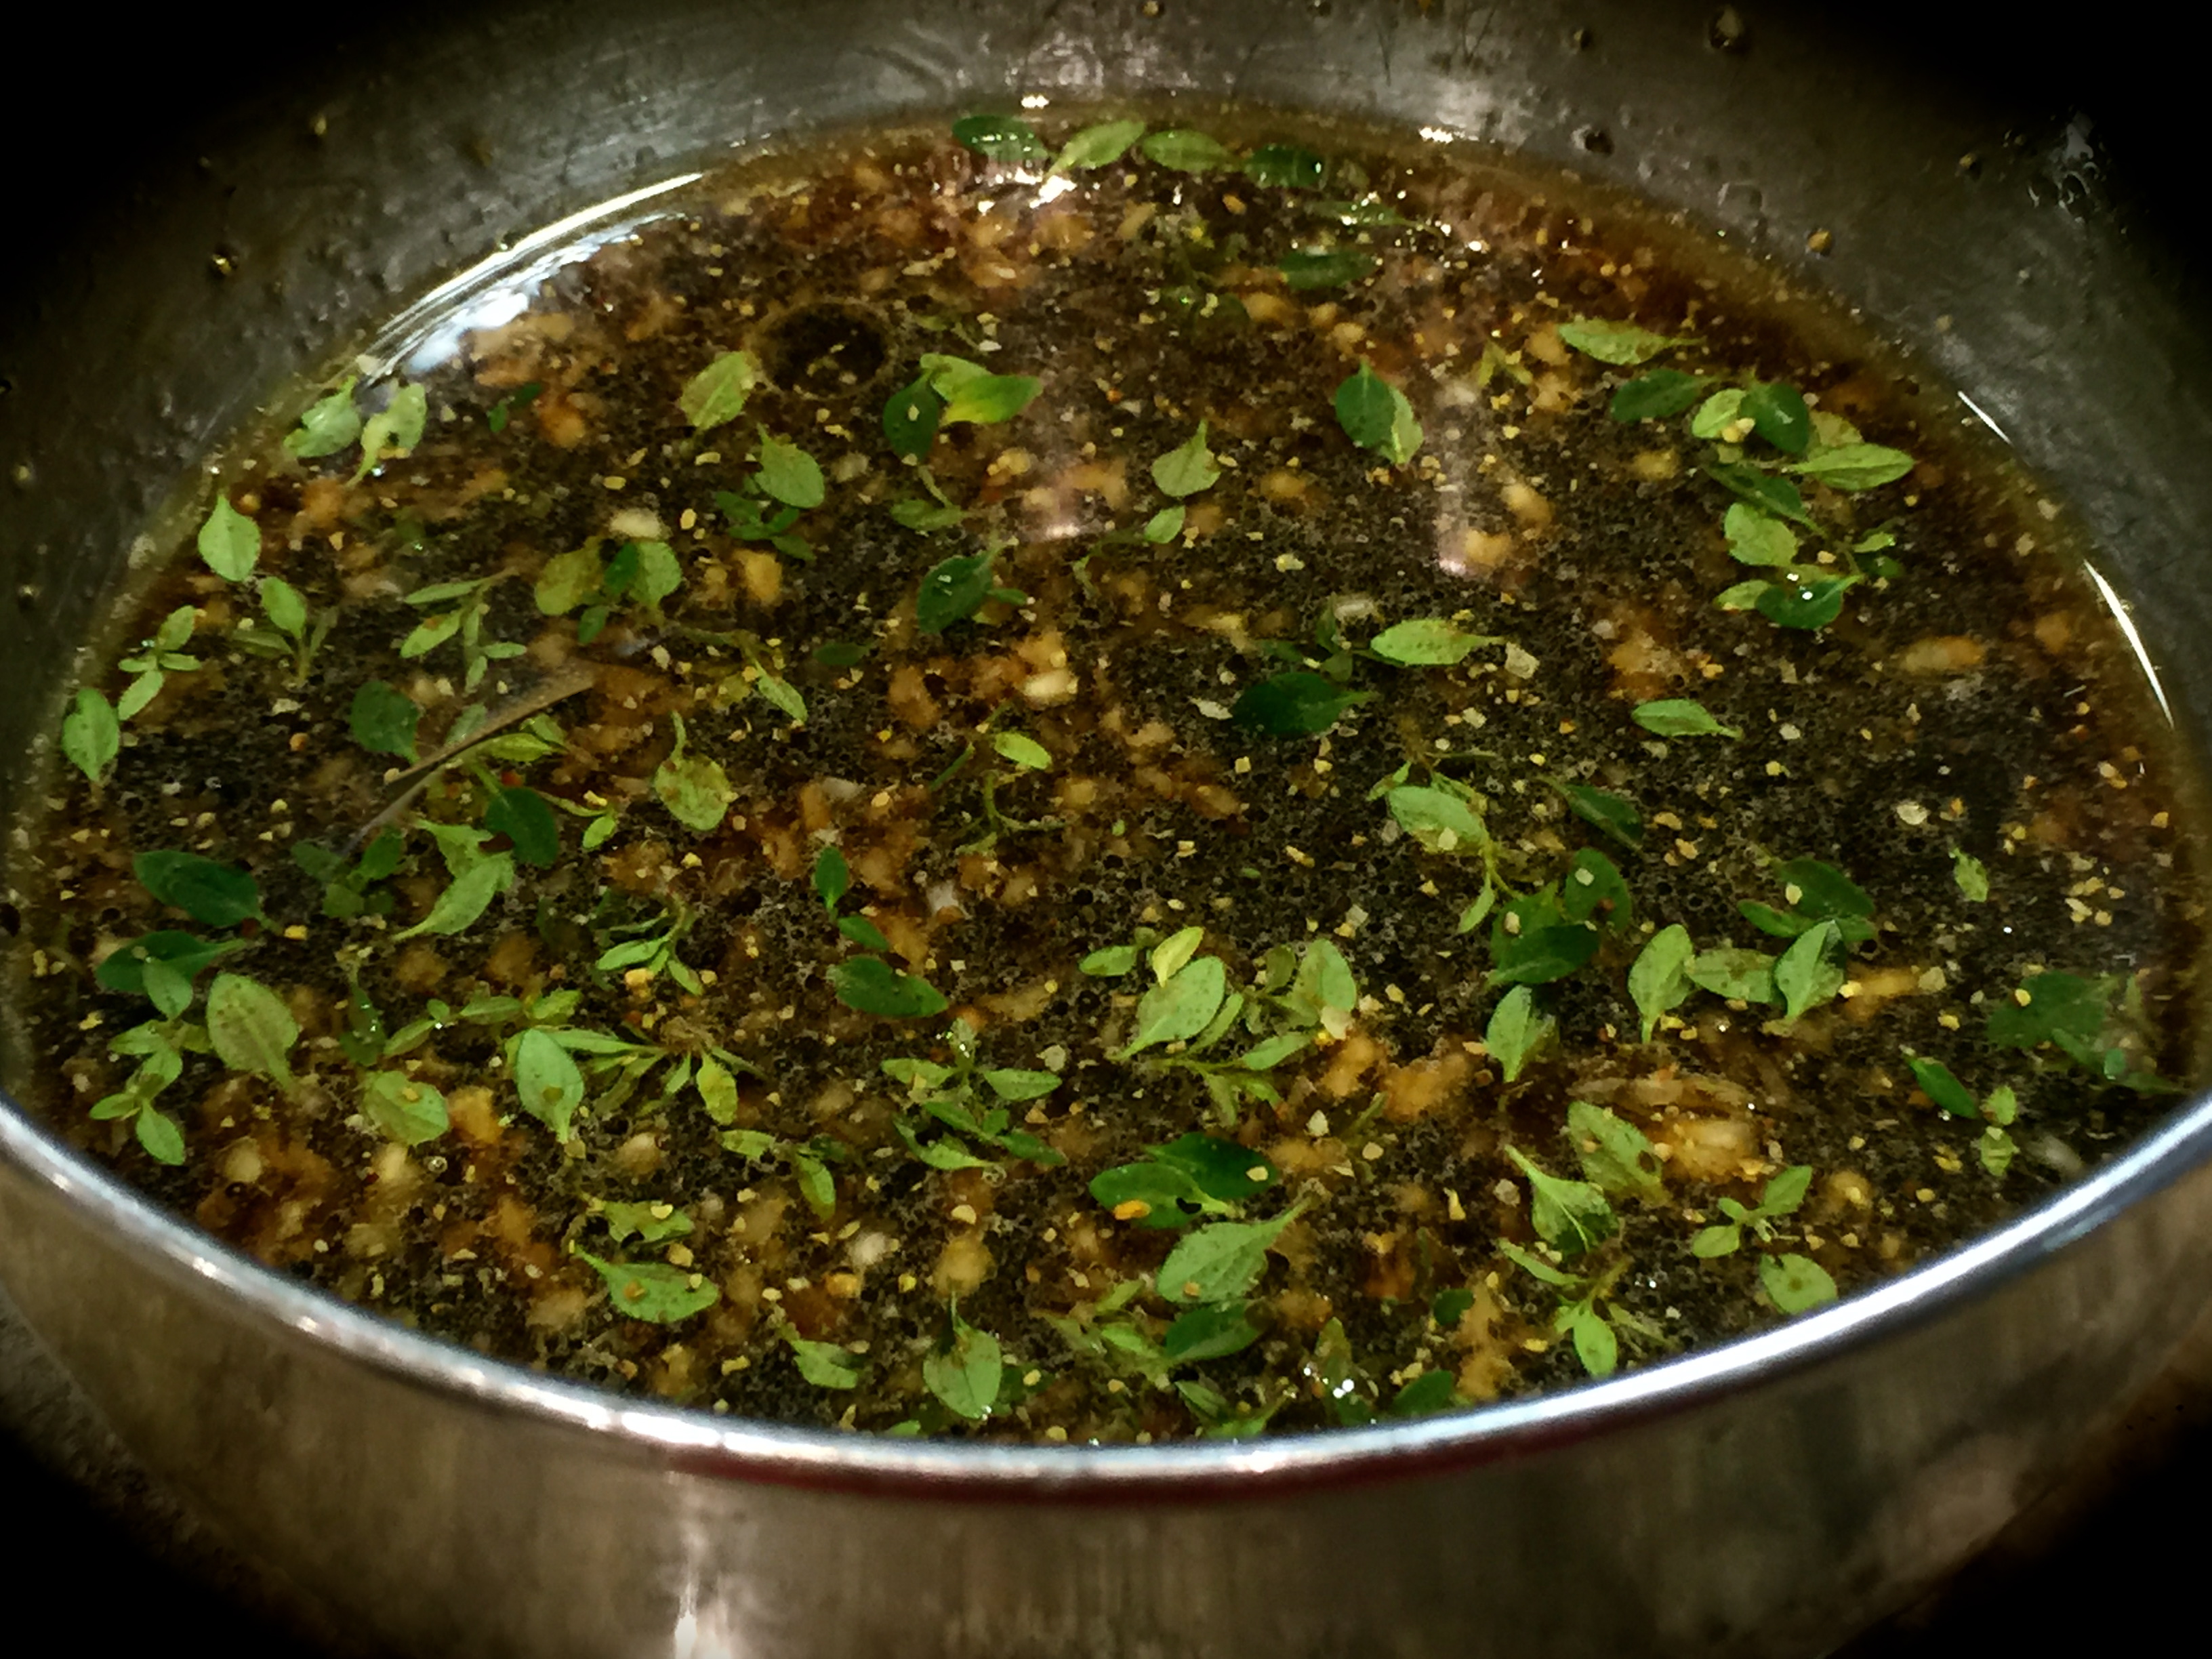
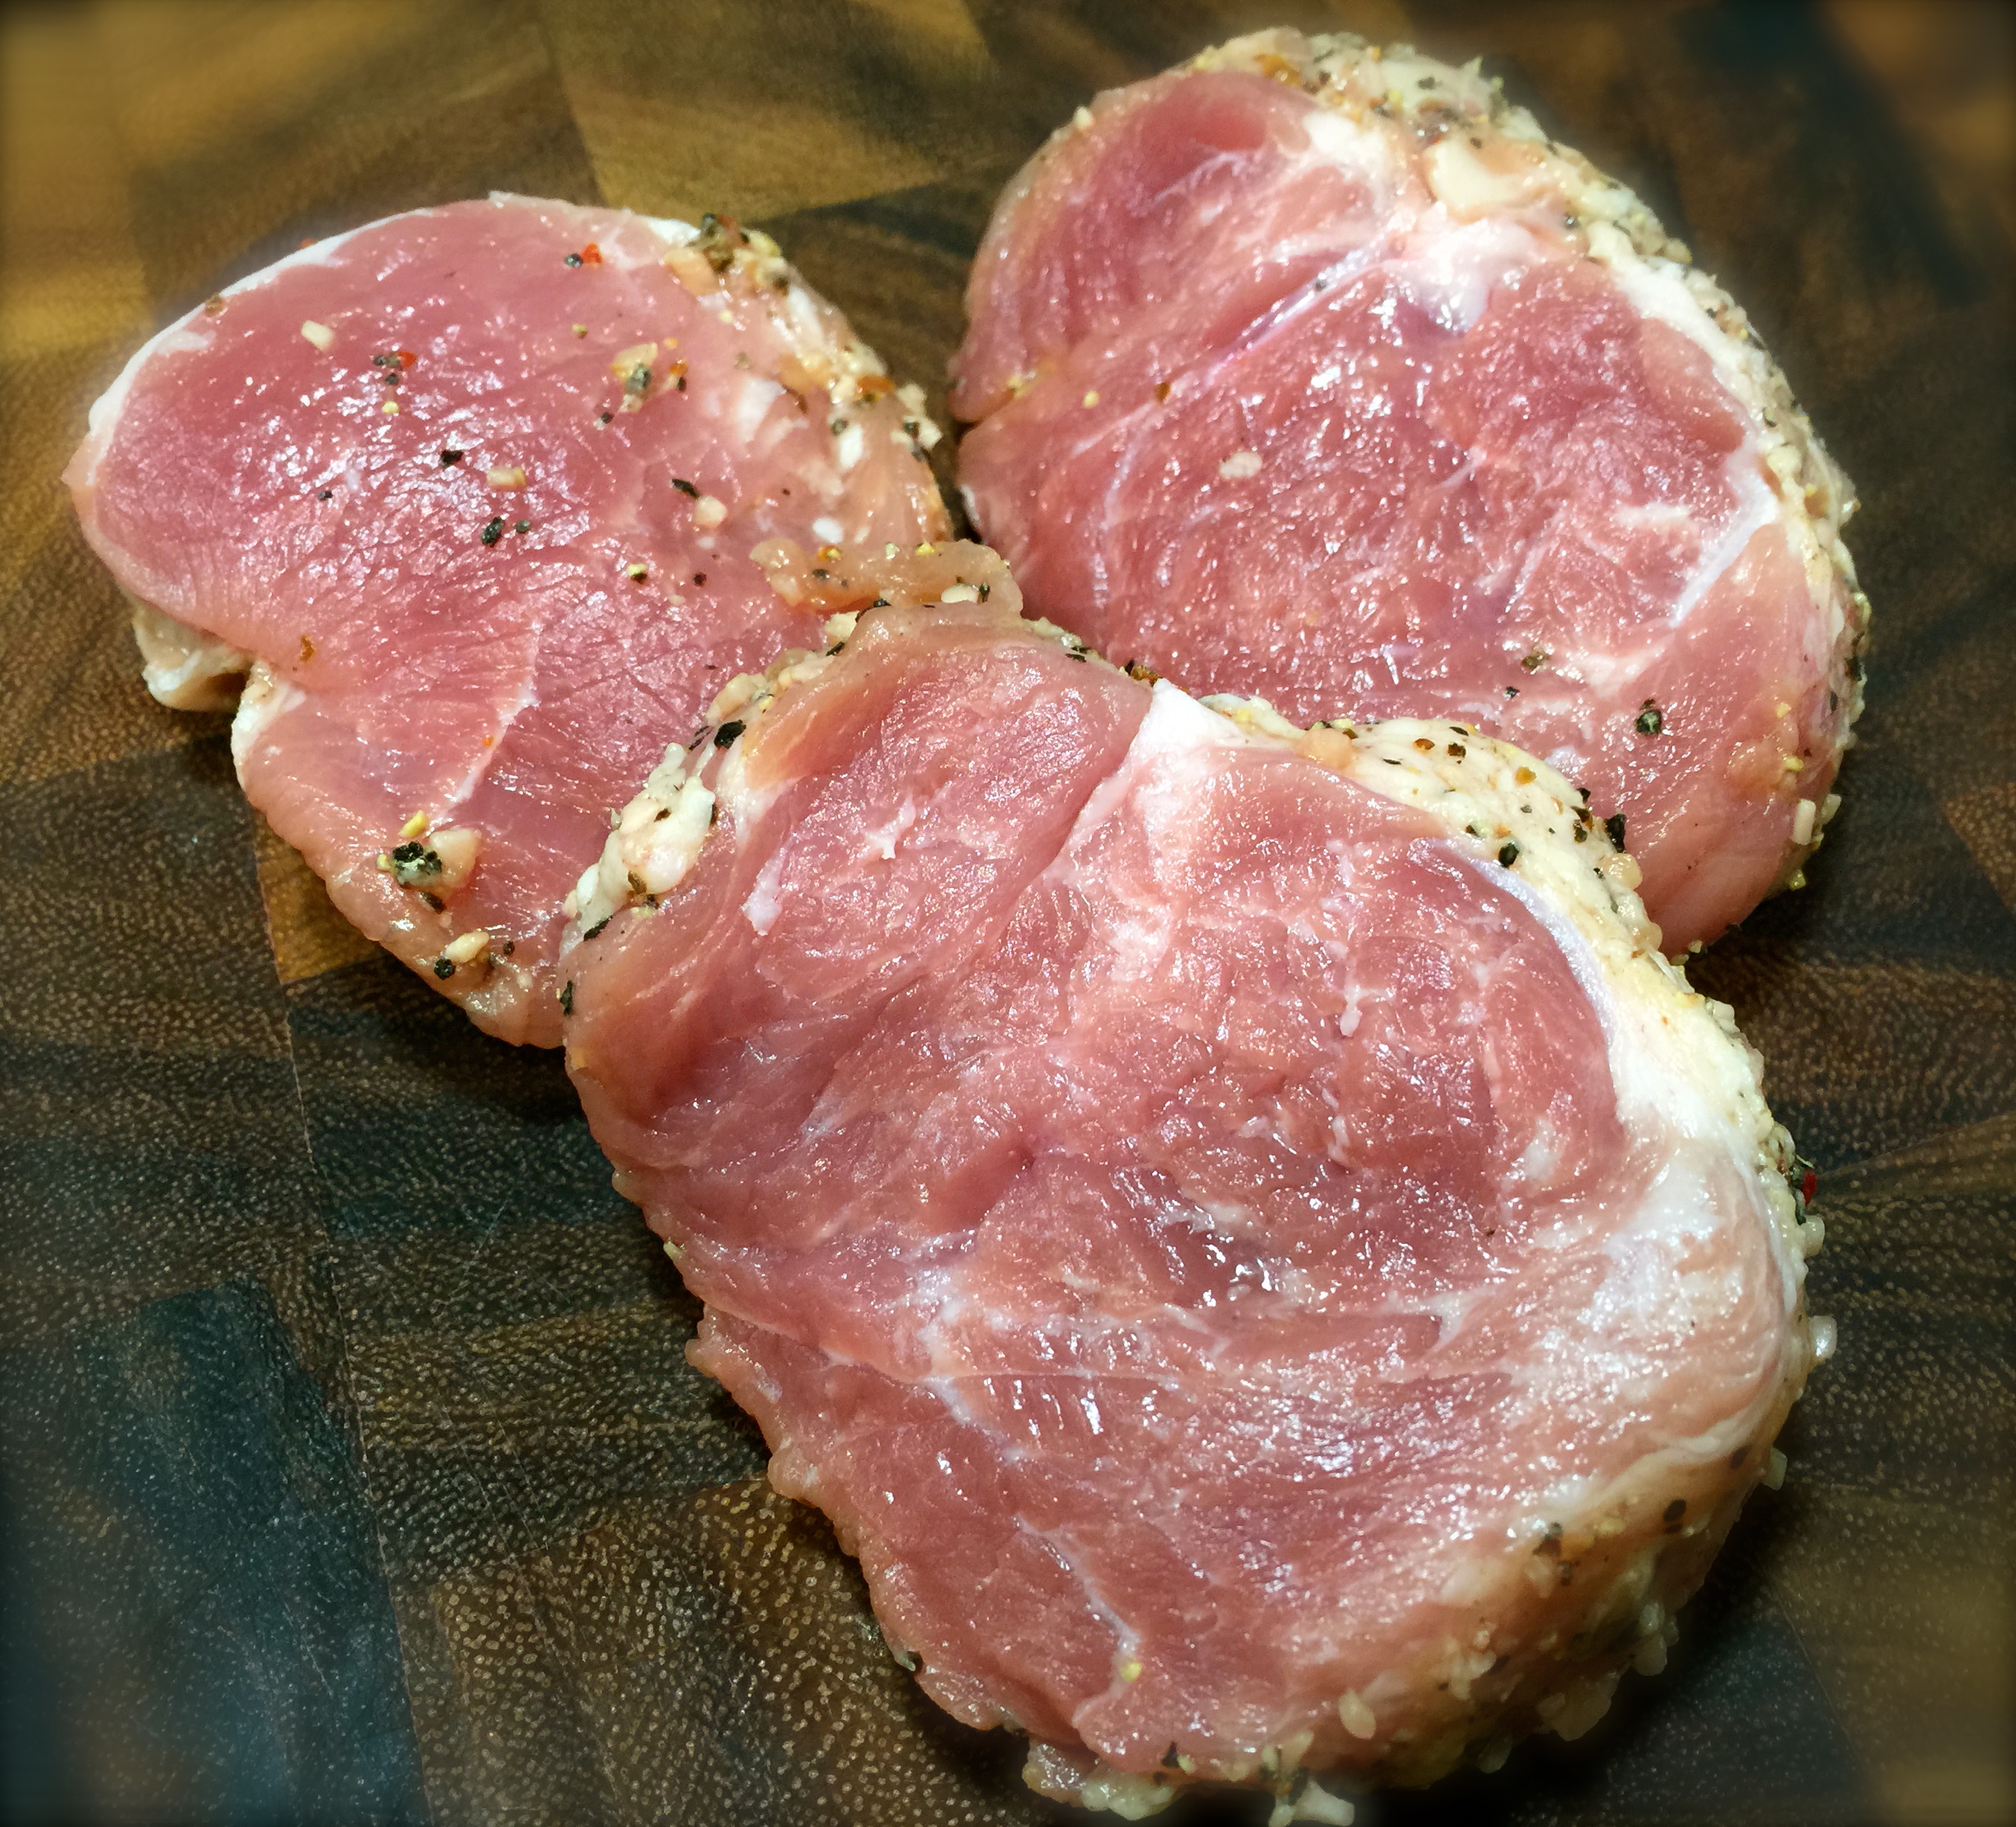
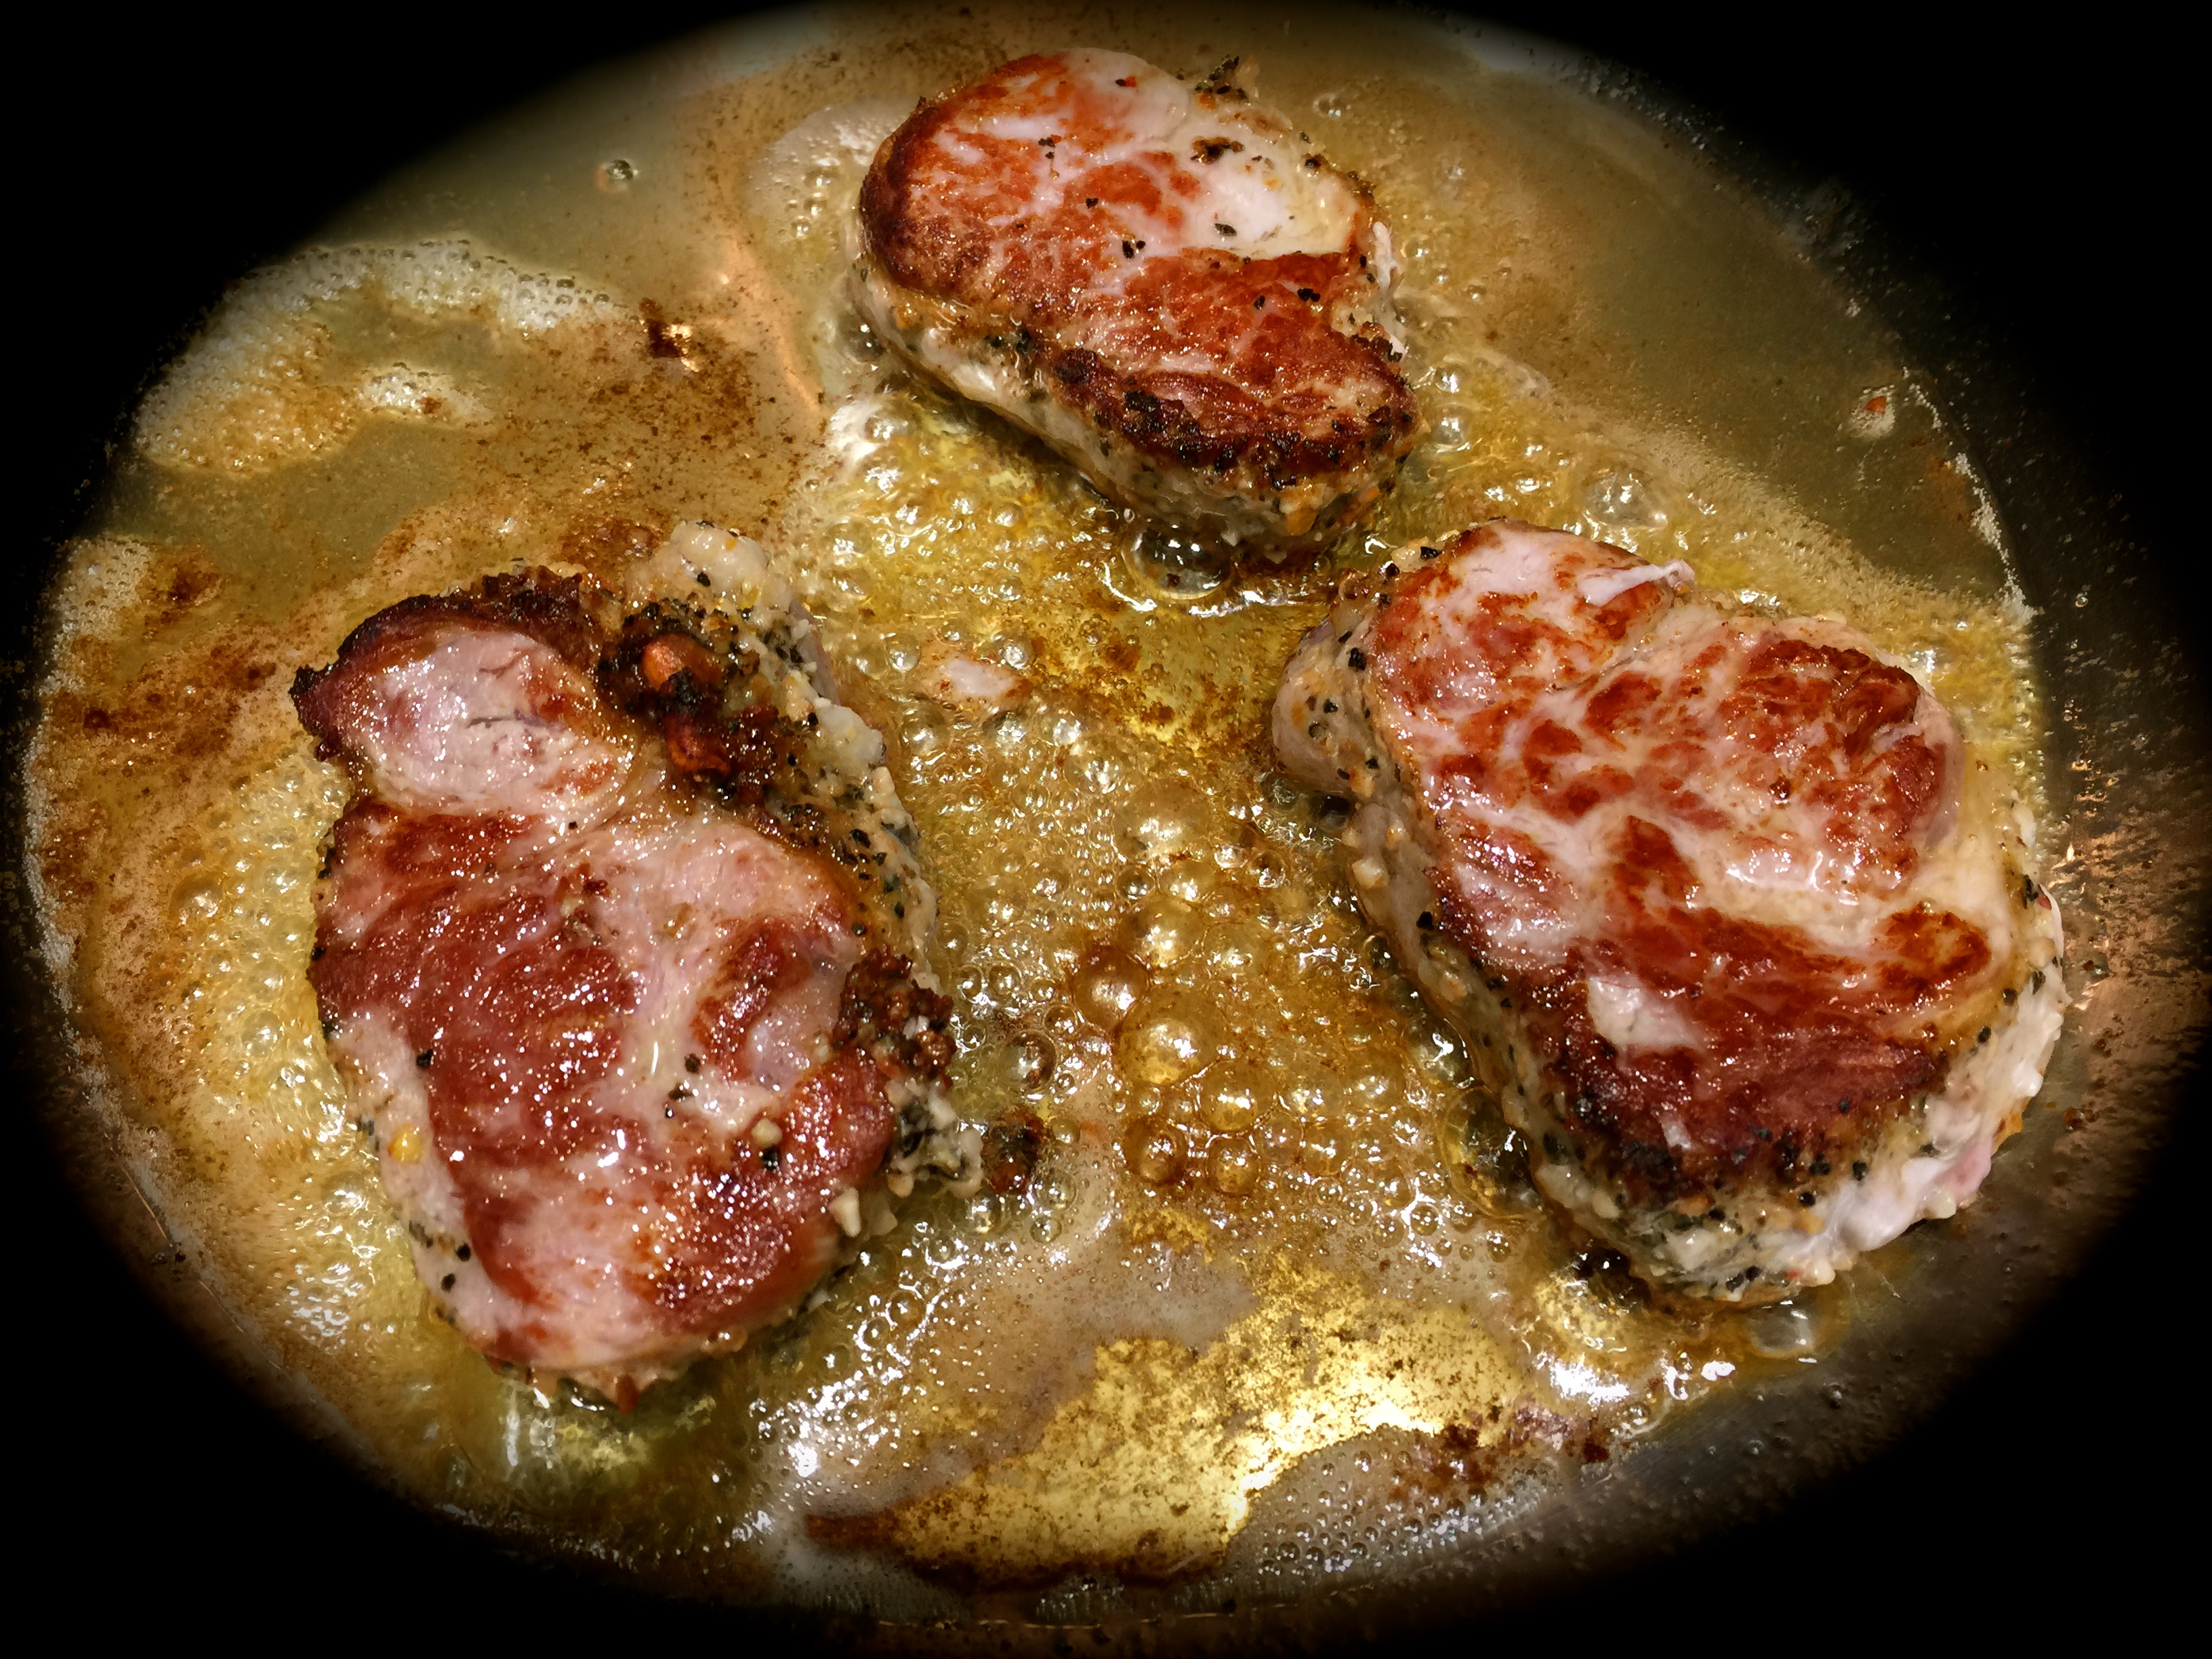
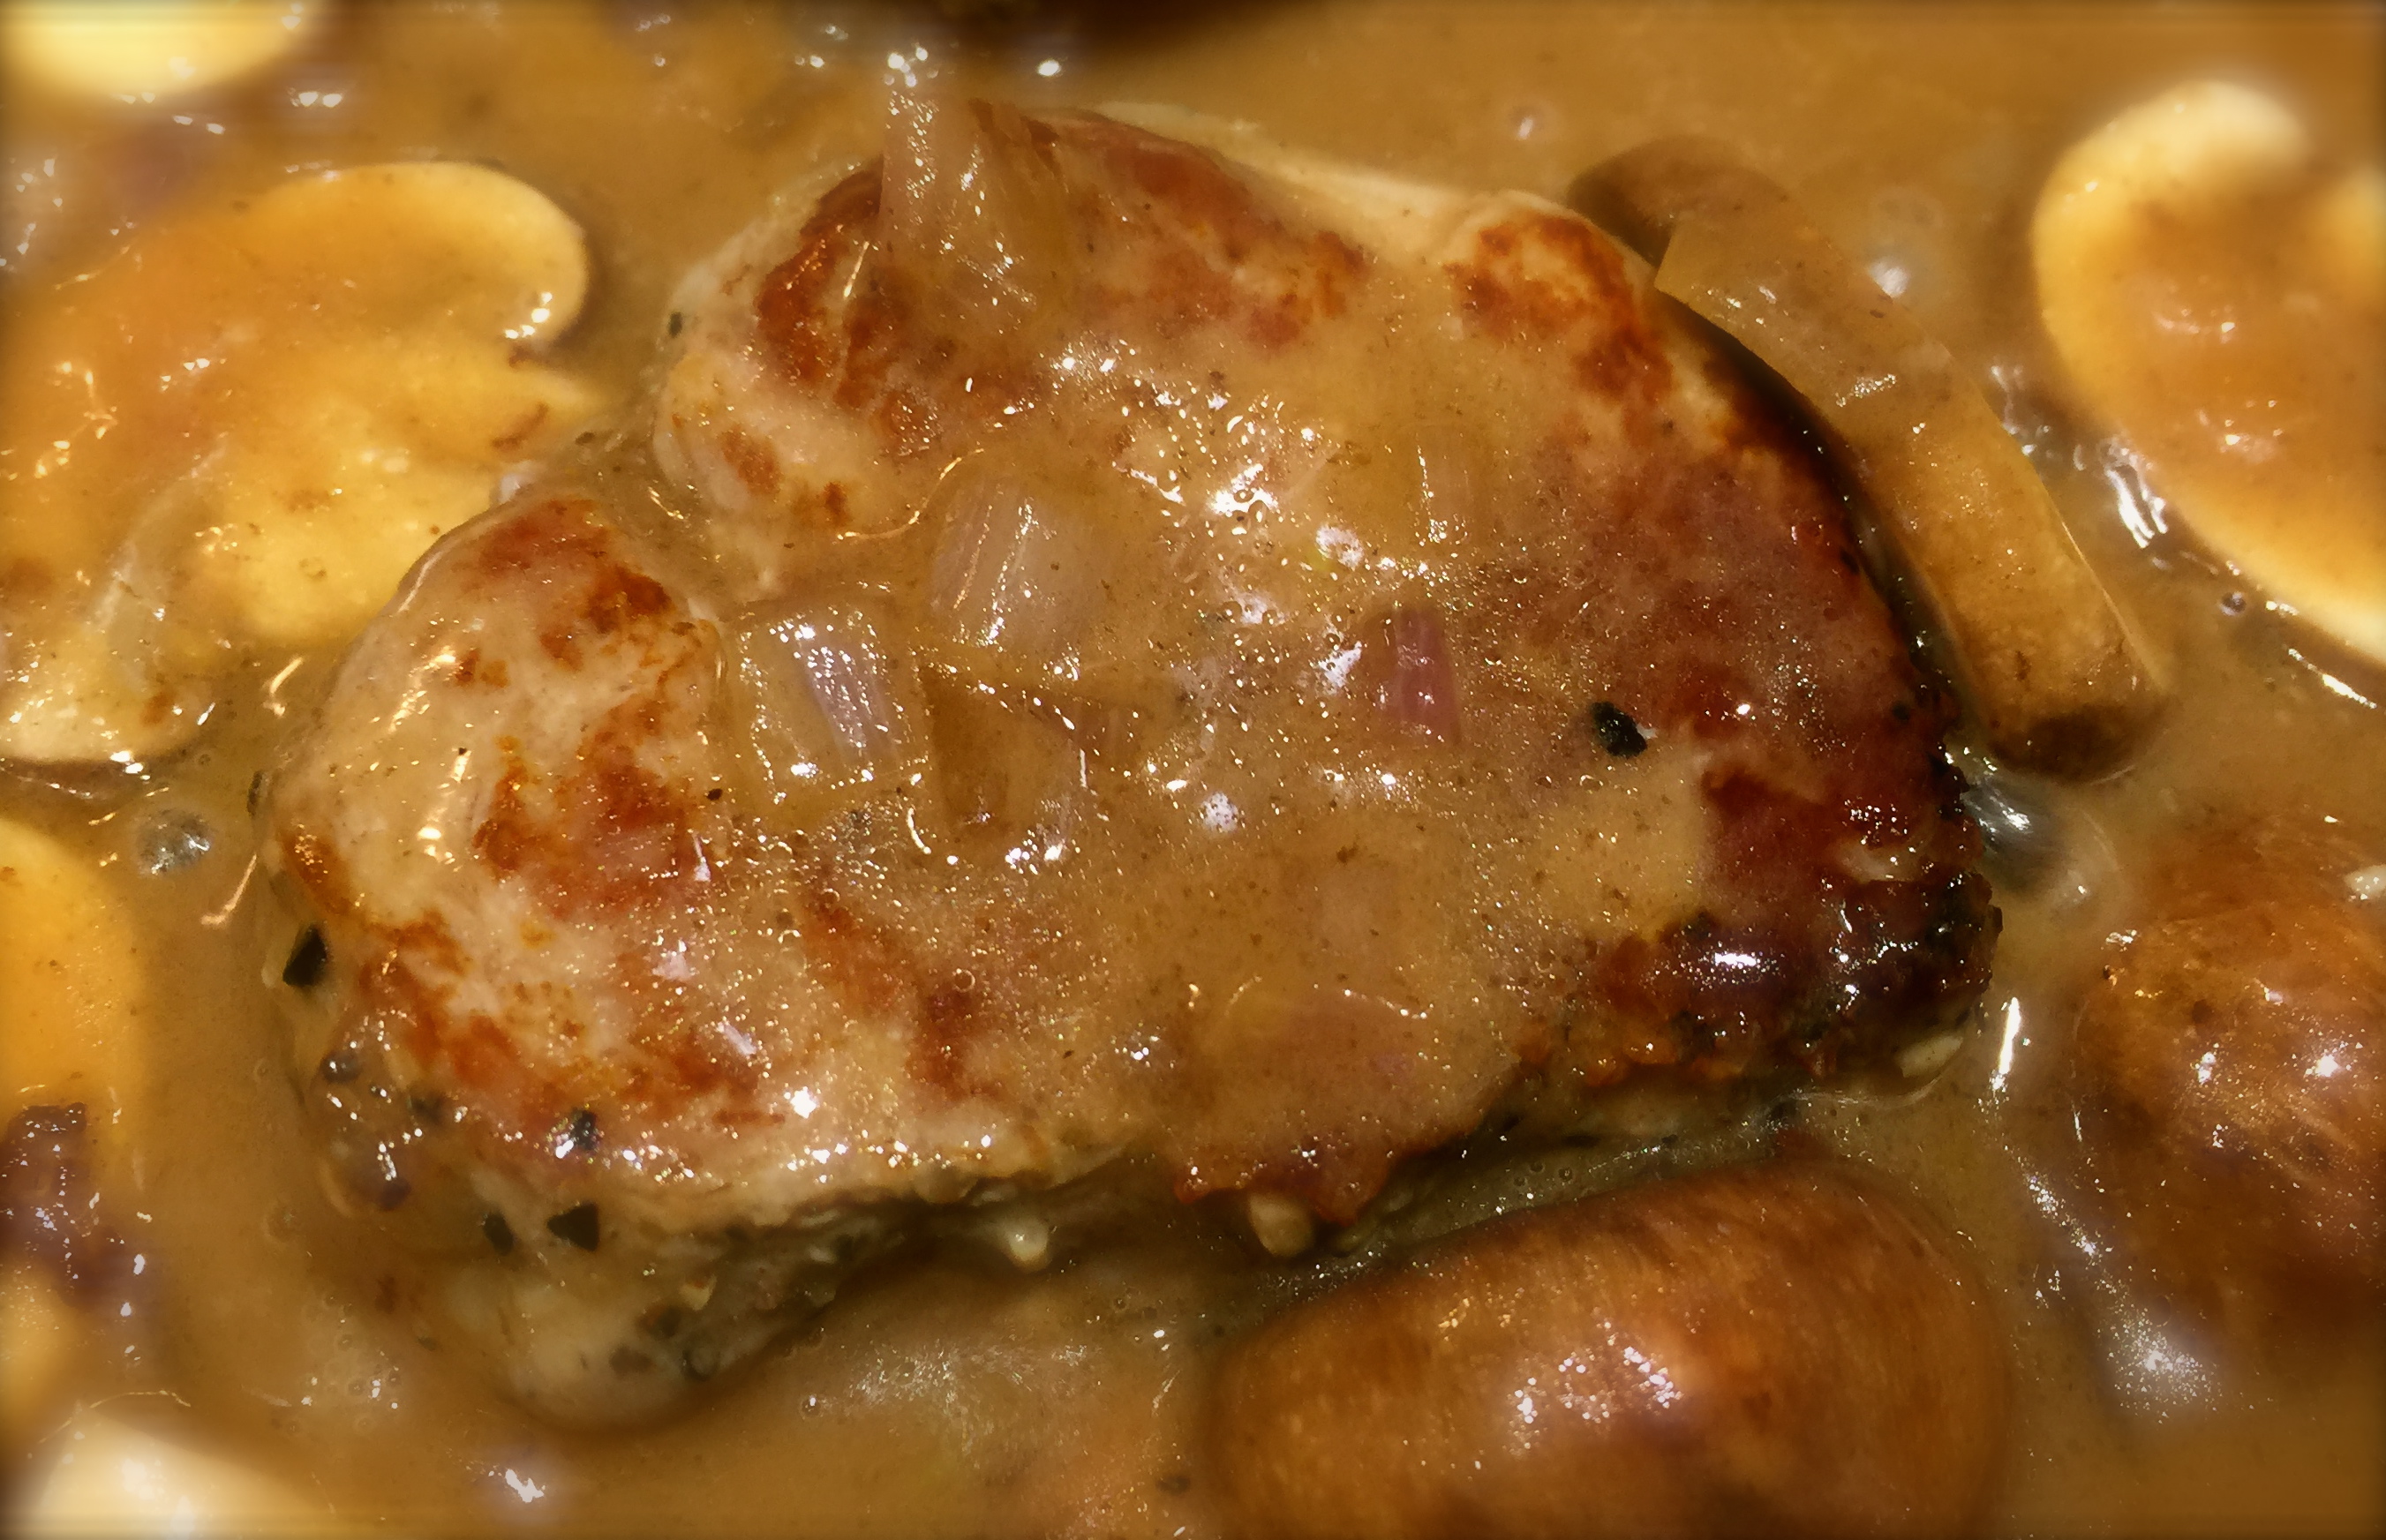
 Lesson Learned 3 – If you’ve never had it, try some mint jelly with your lamb chops: I was introduced to lamb chops with mint jelly when I was a kid. I was at a friend’s house for dinner and this is what was served. I never had lamb before and didn’t know what to think. At the time I was not all that enamored with the flavor but was afraid to say anything to my friend’s mom so I just said it was fabulous. Because of that, she made lamb with mint jelly every time I came over for dinner. I learned to love it, and now it is one of my all time favorites. Just use a little jelly with a piece of lamb. The flavor combination is to die for!


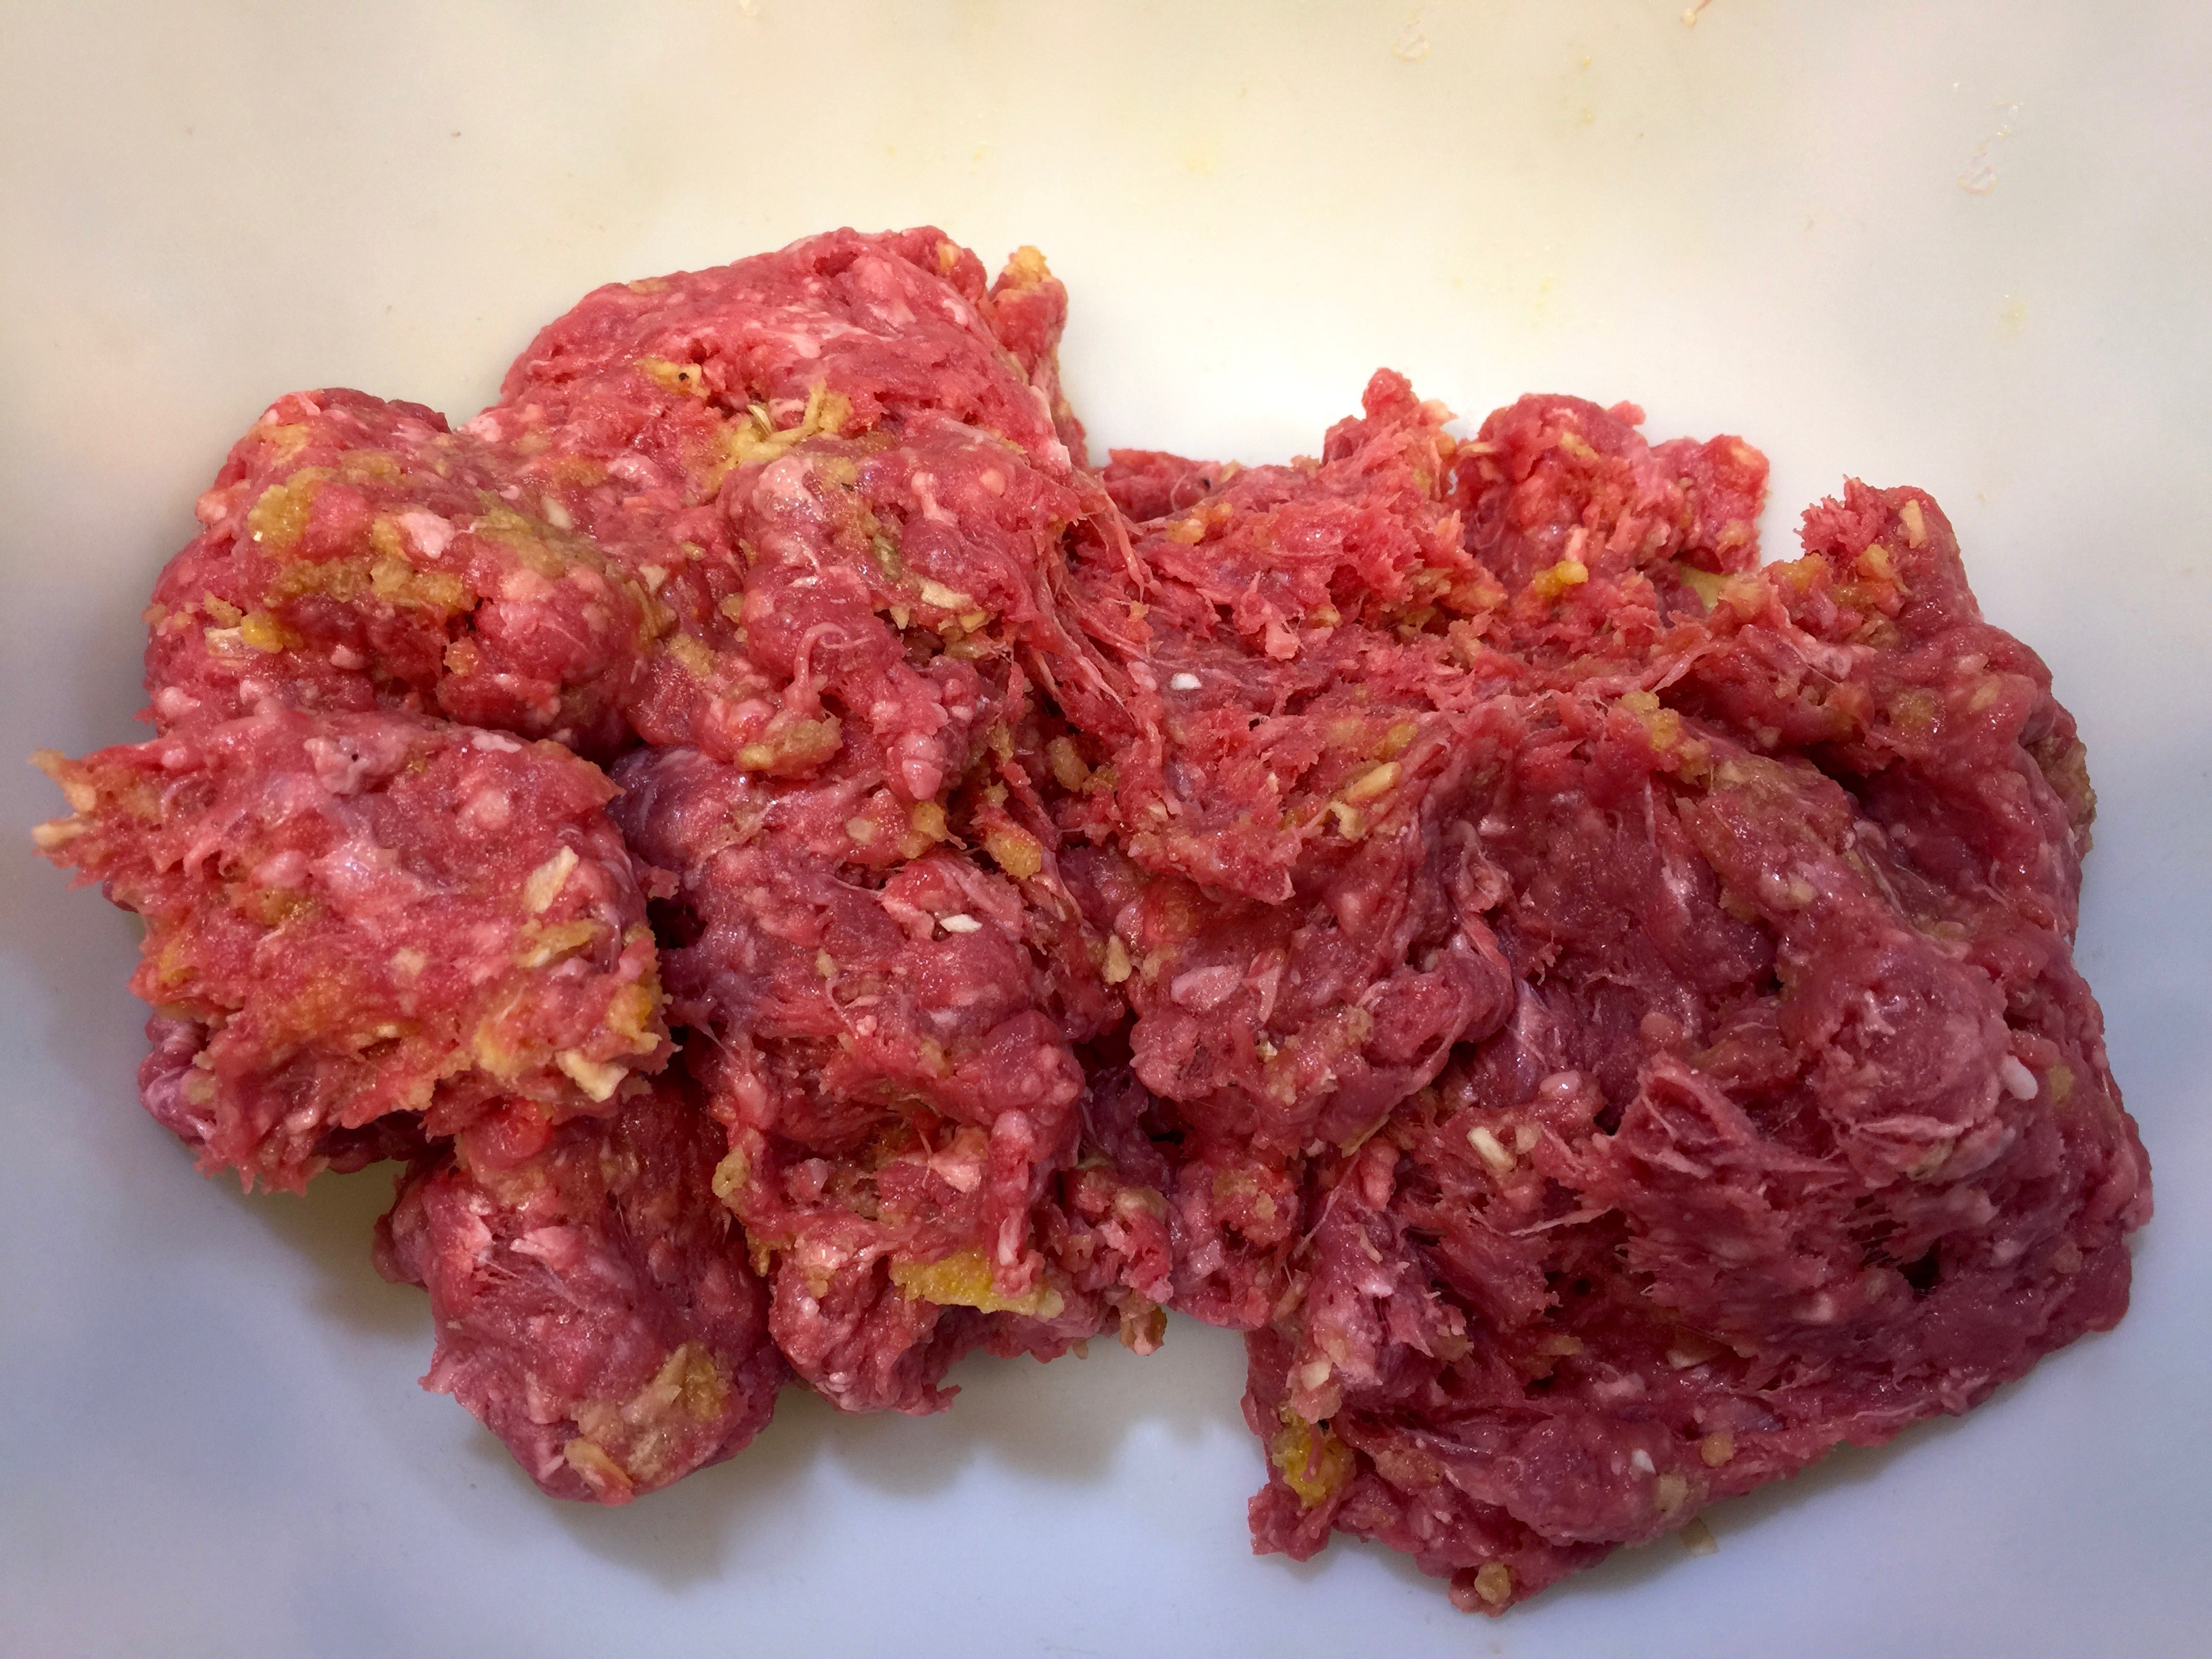
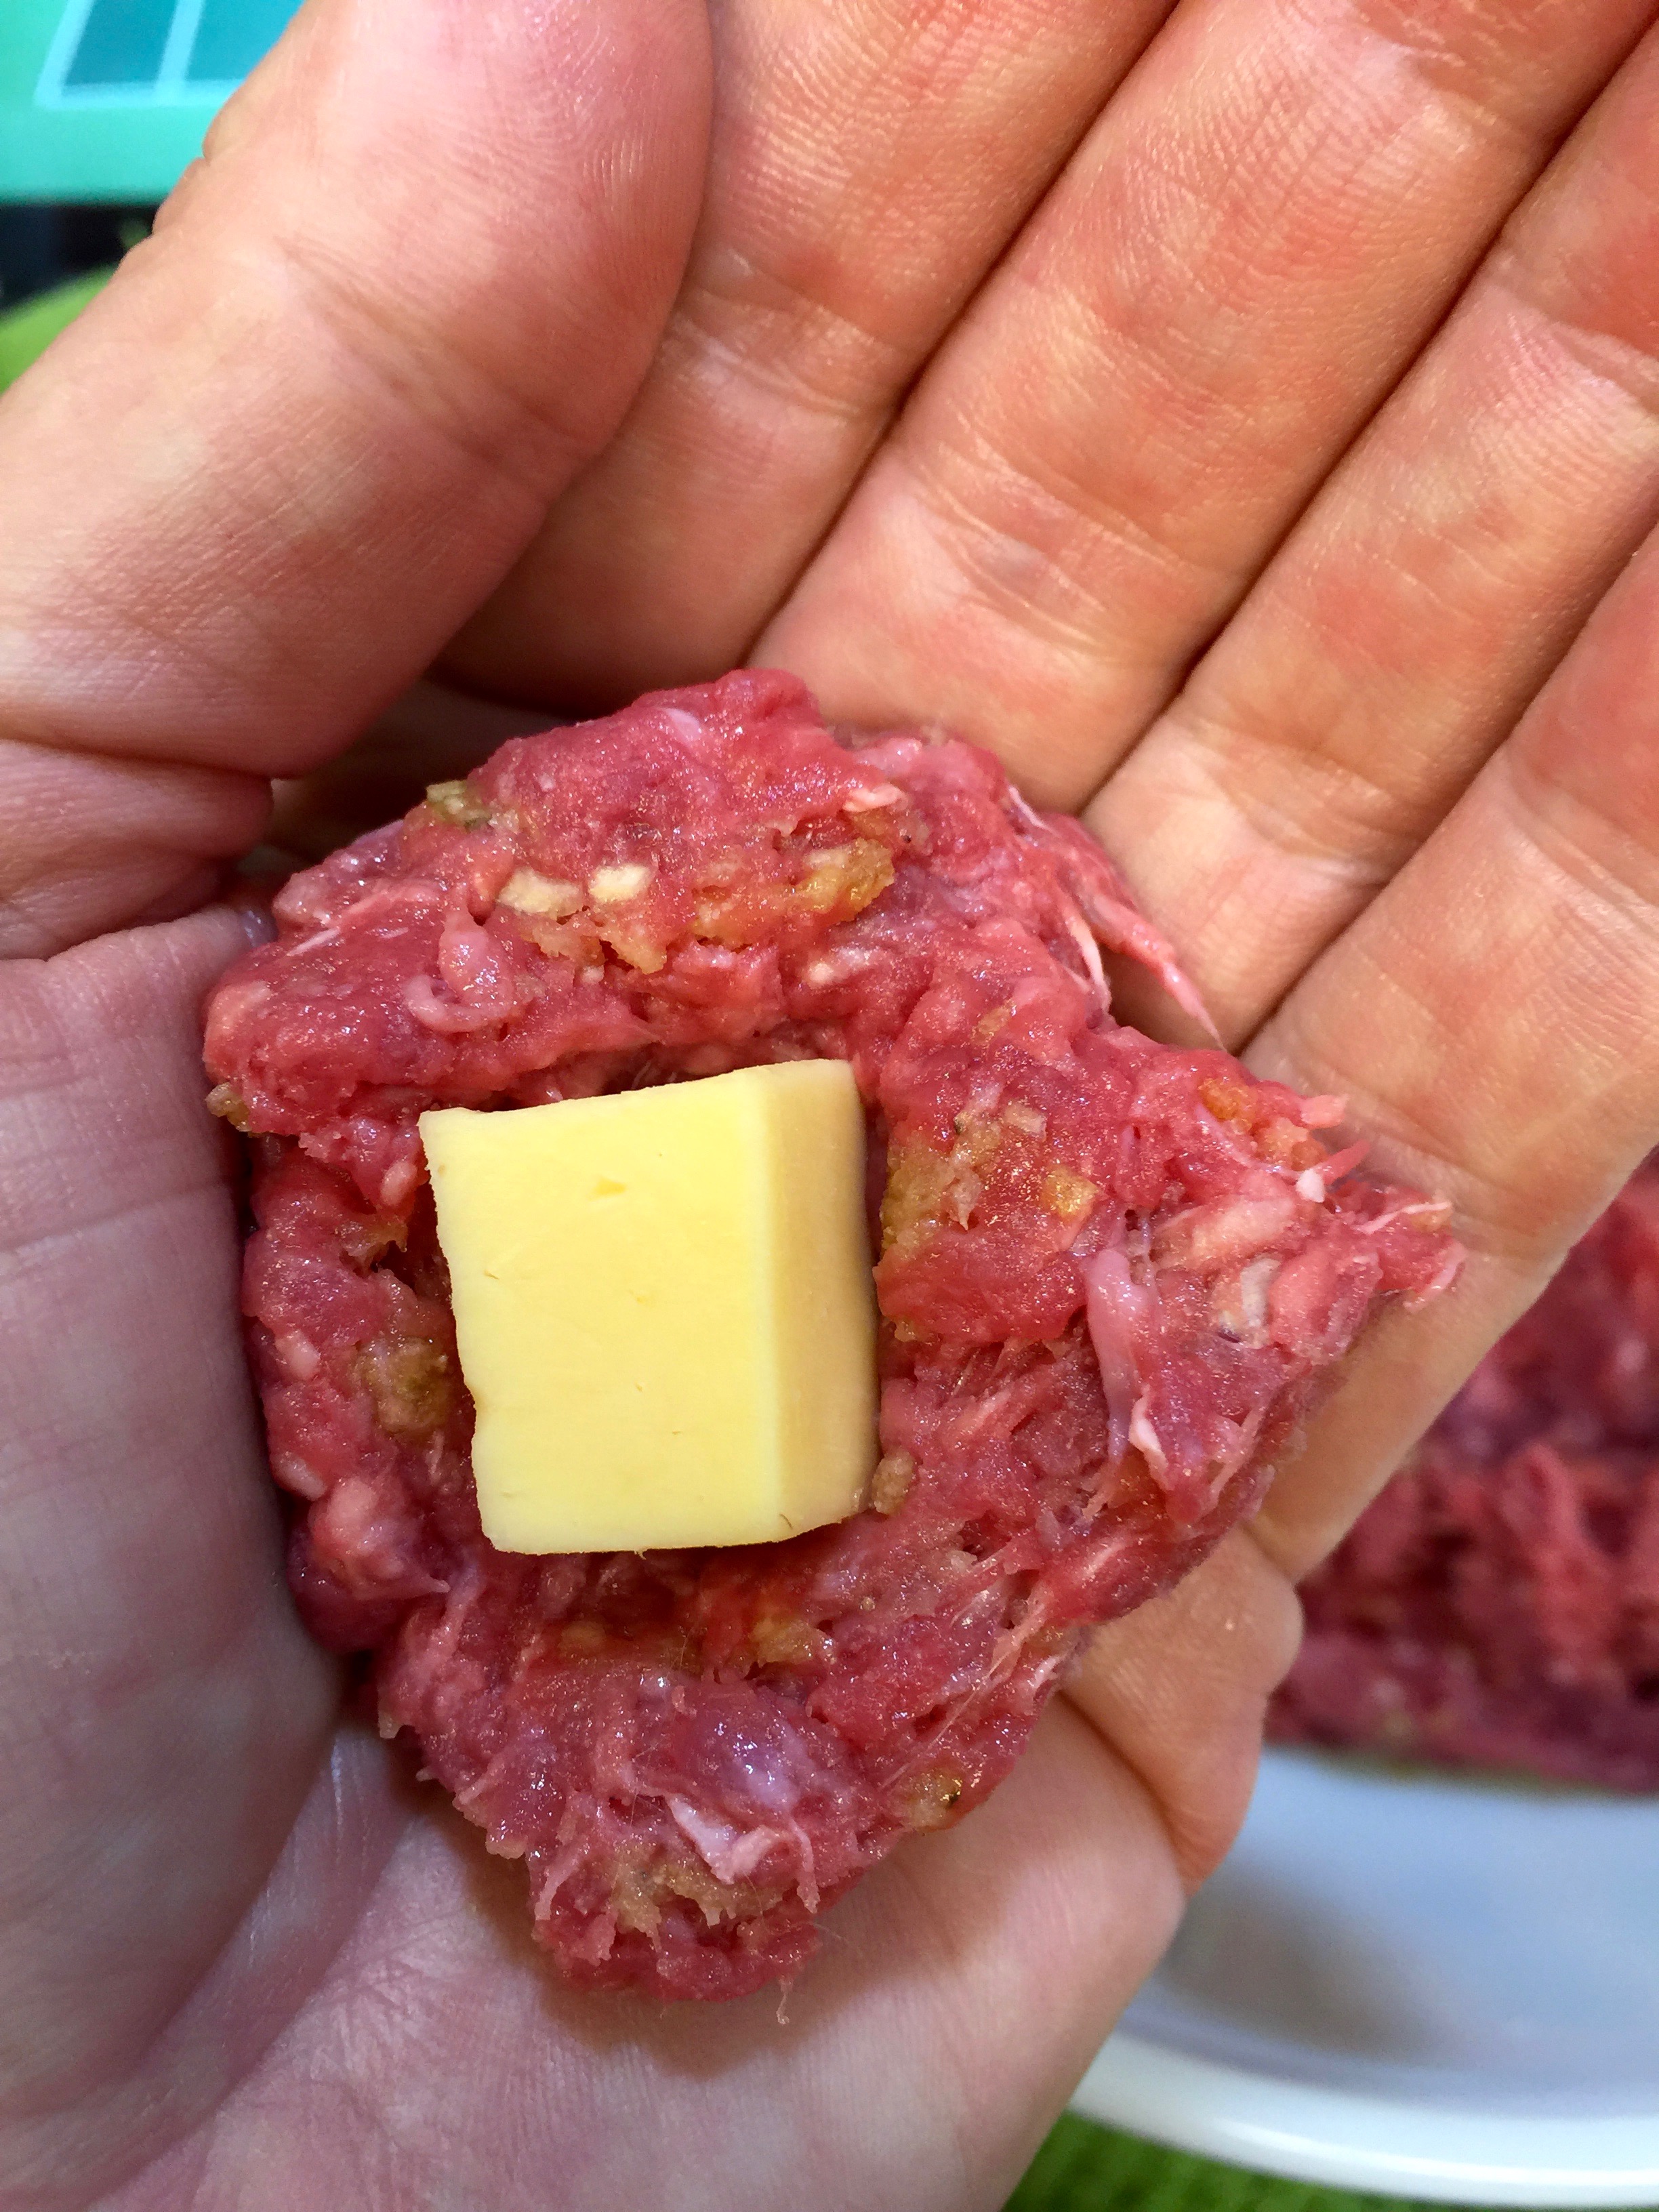
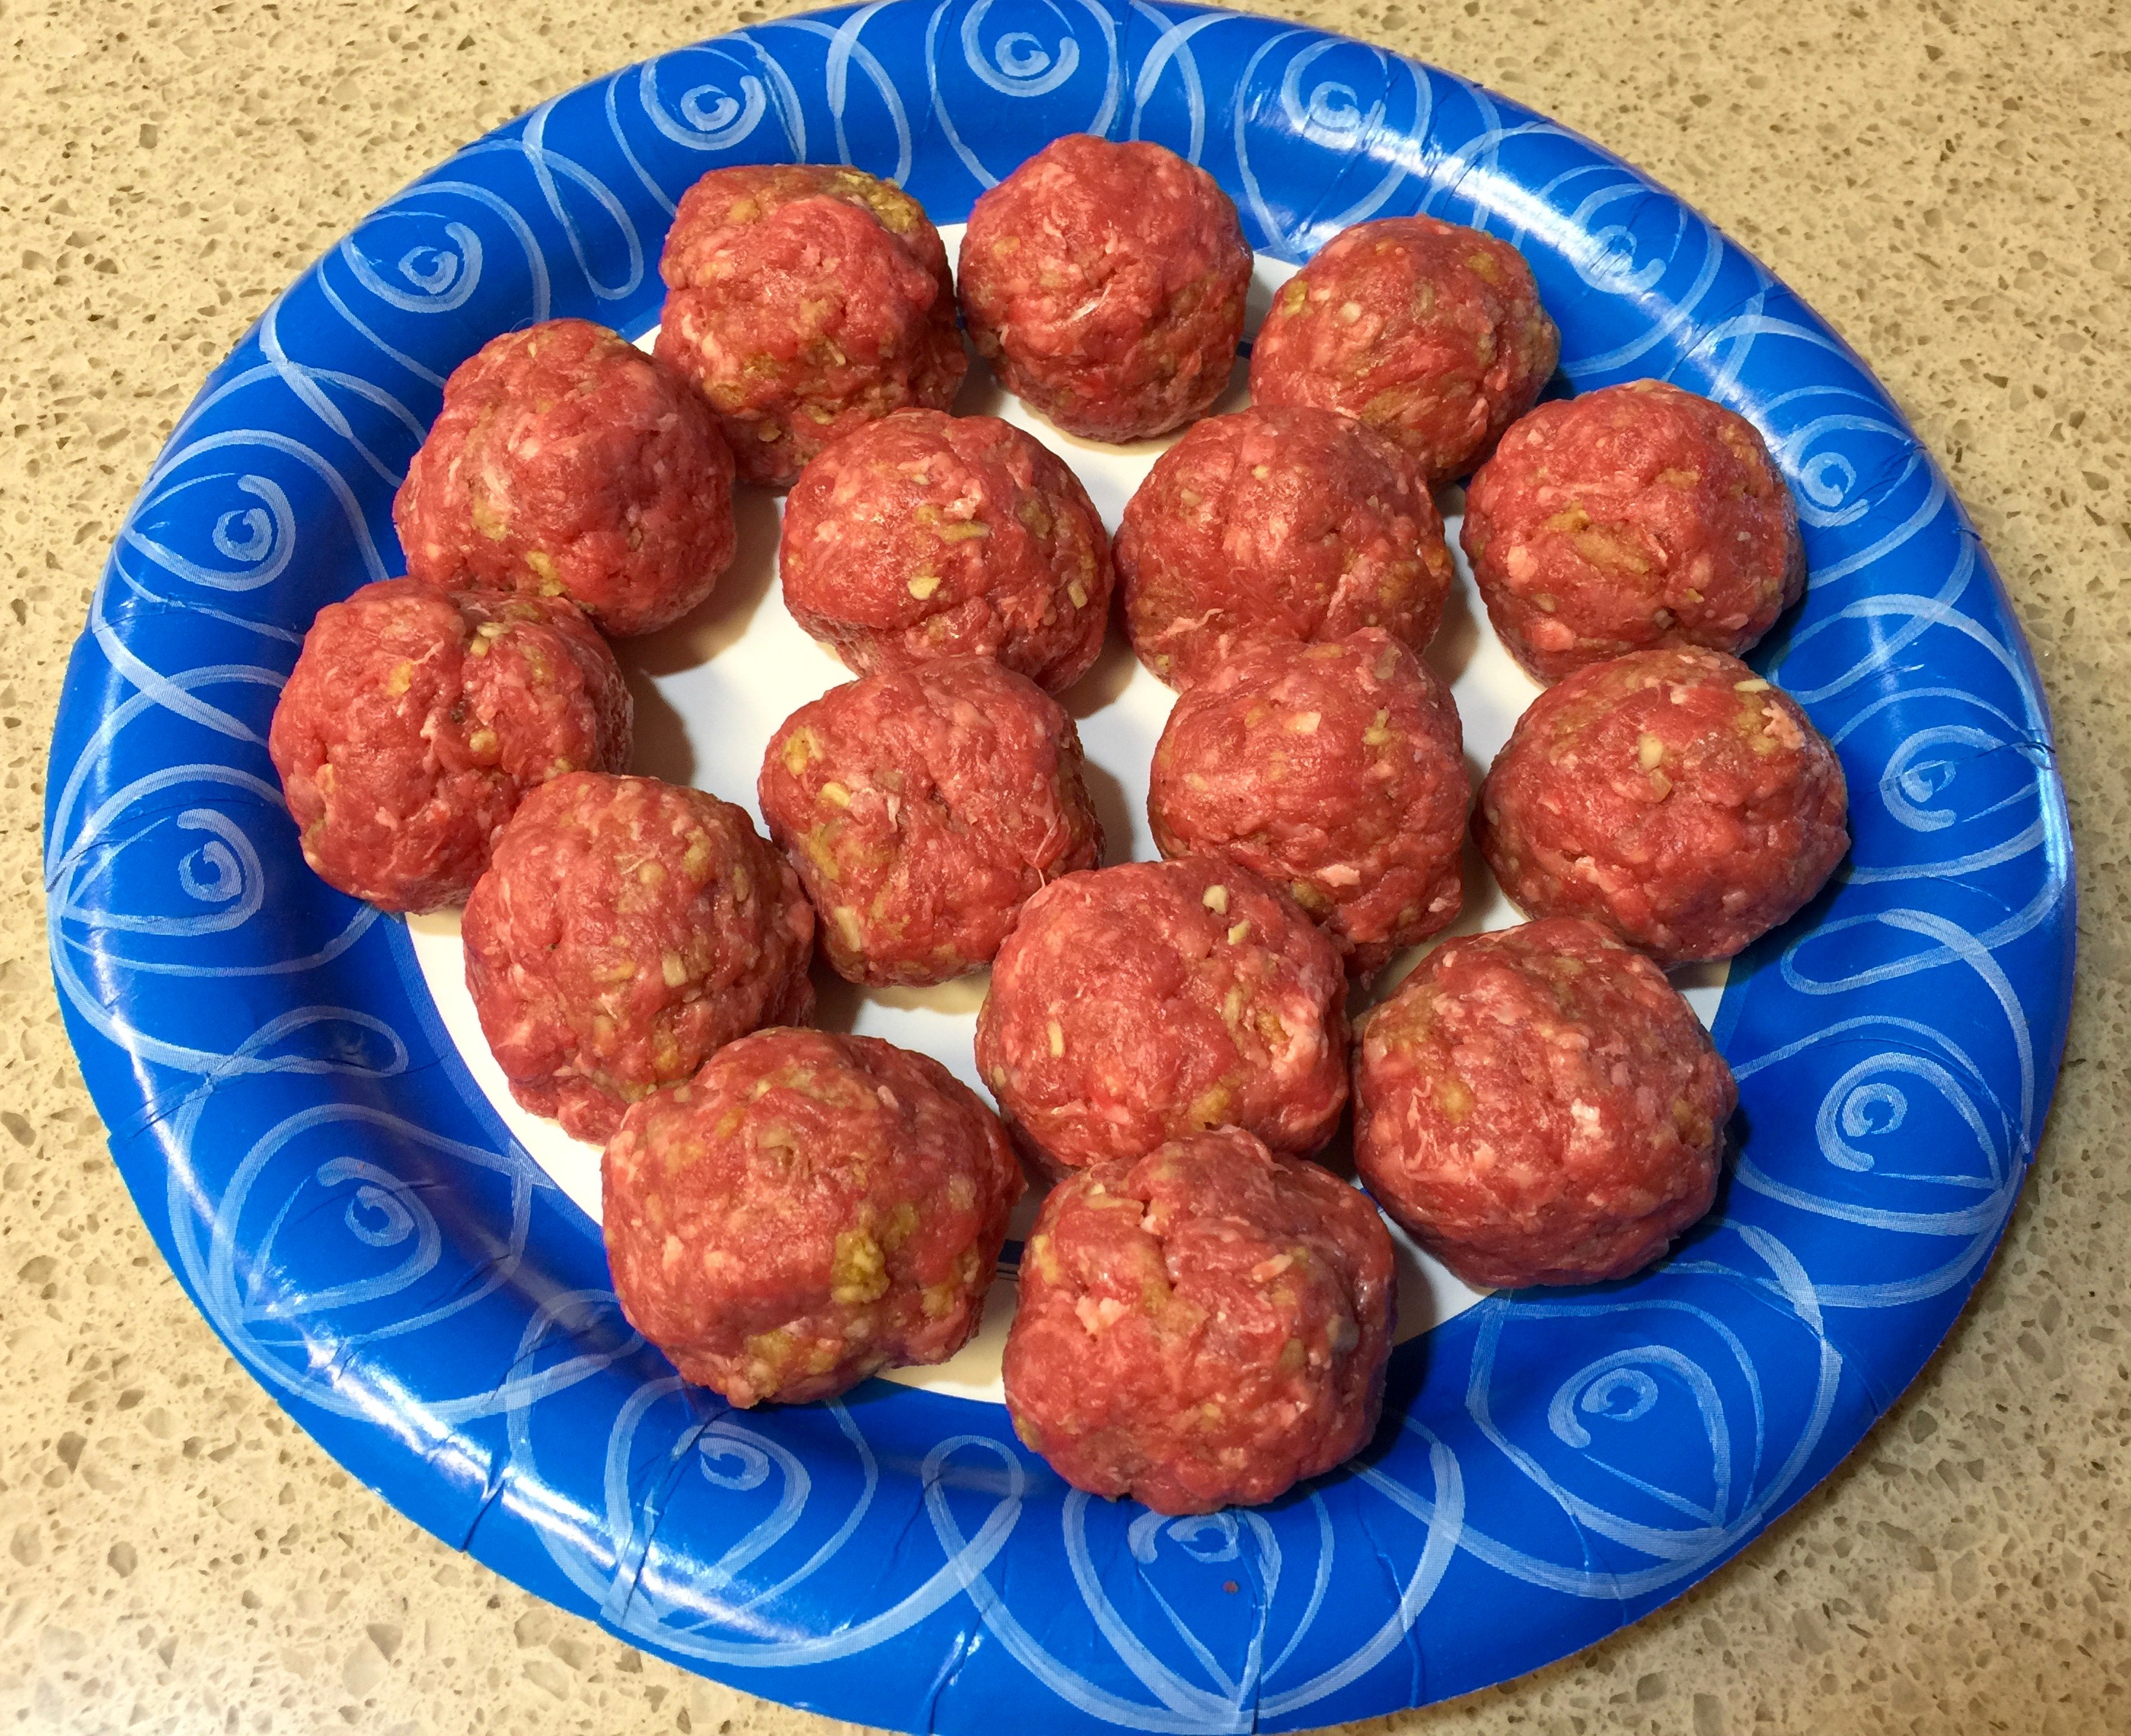
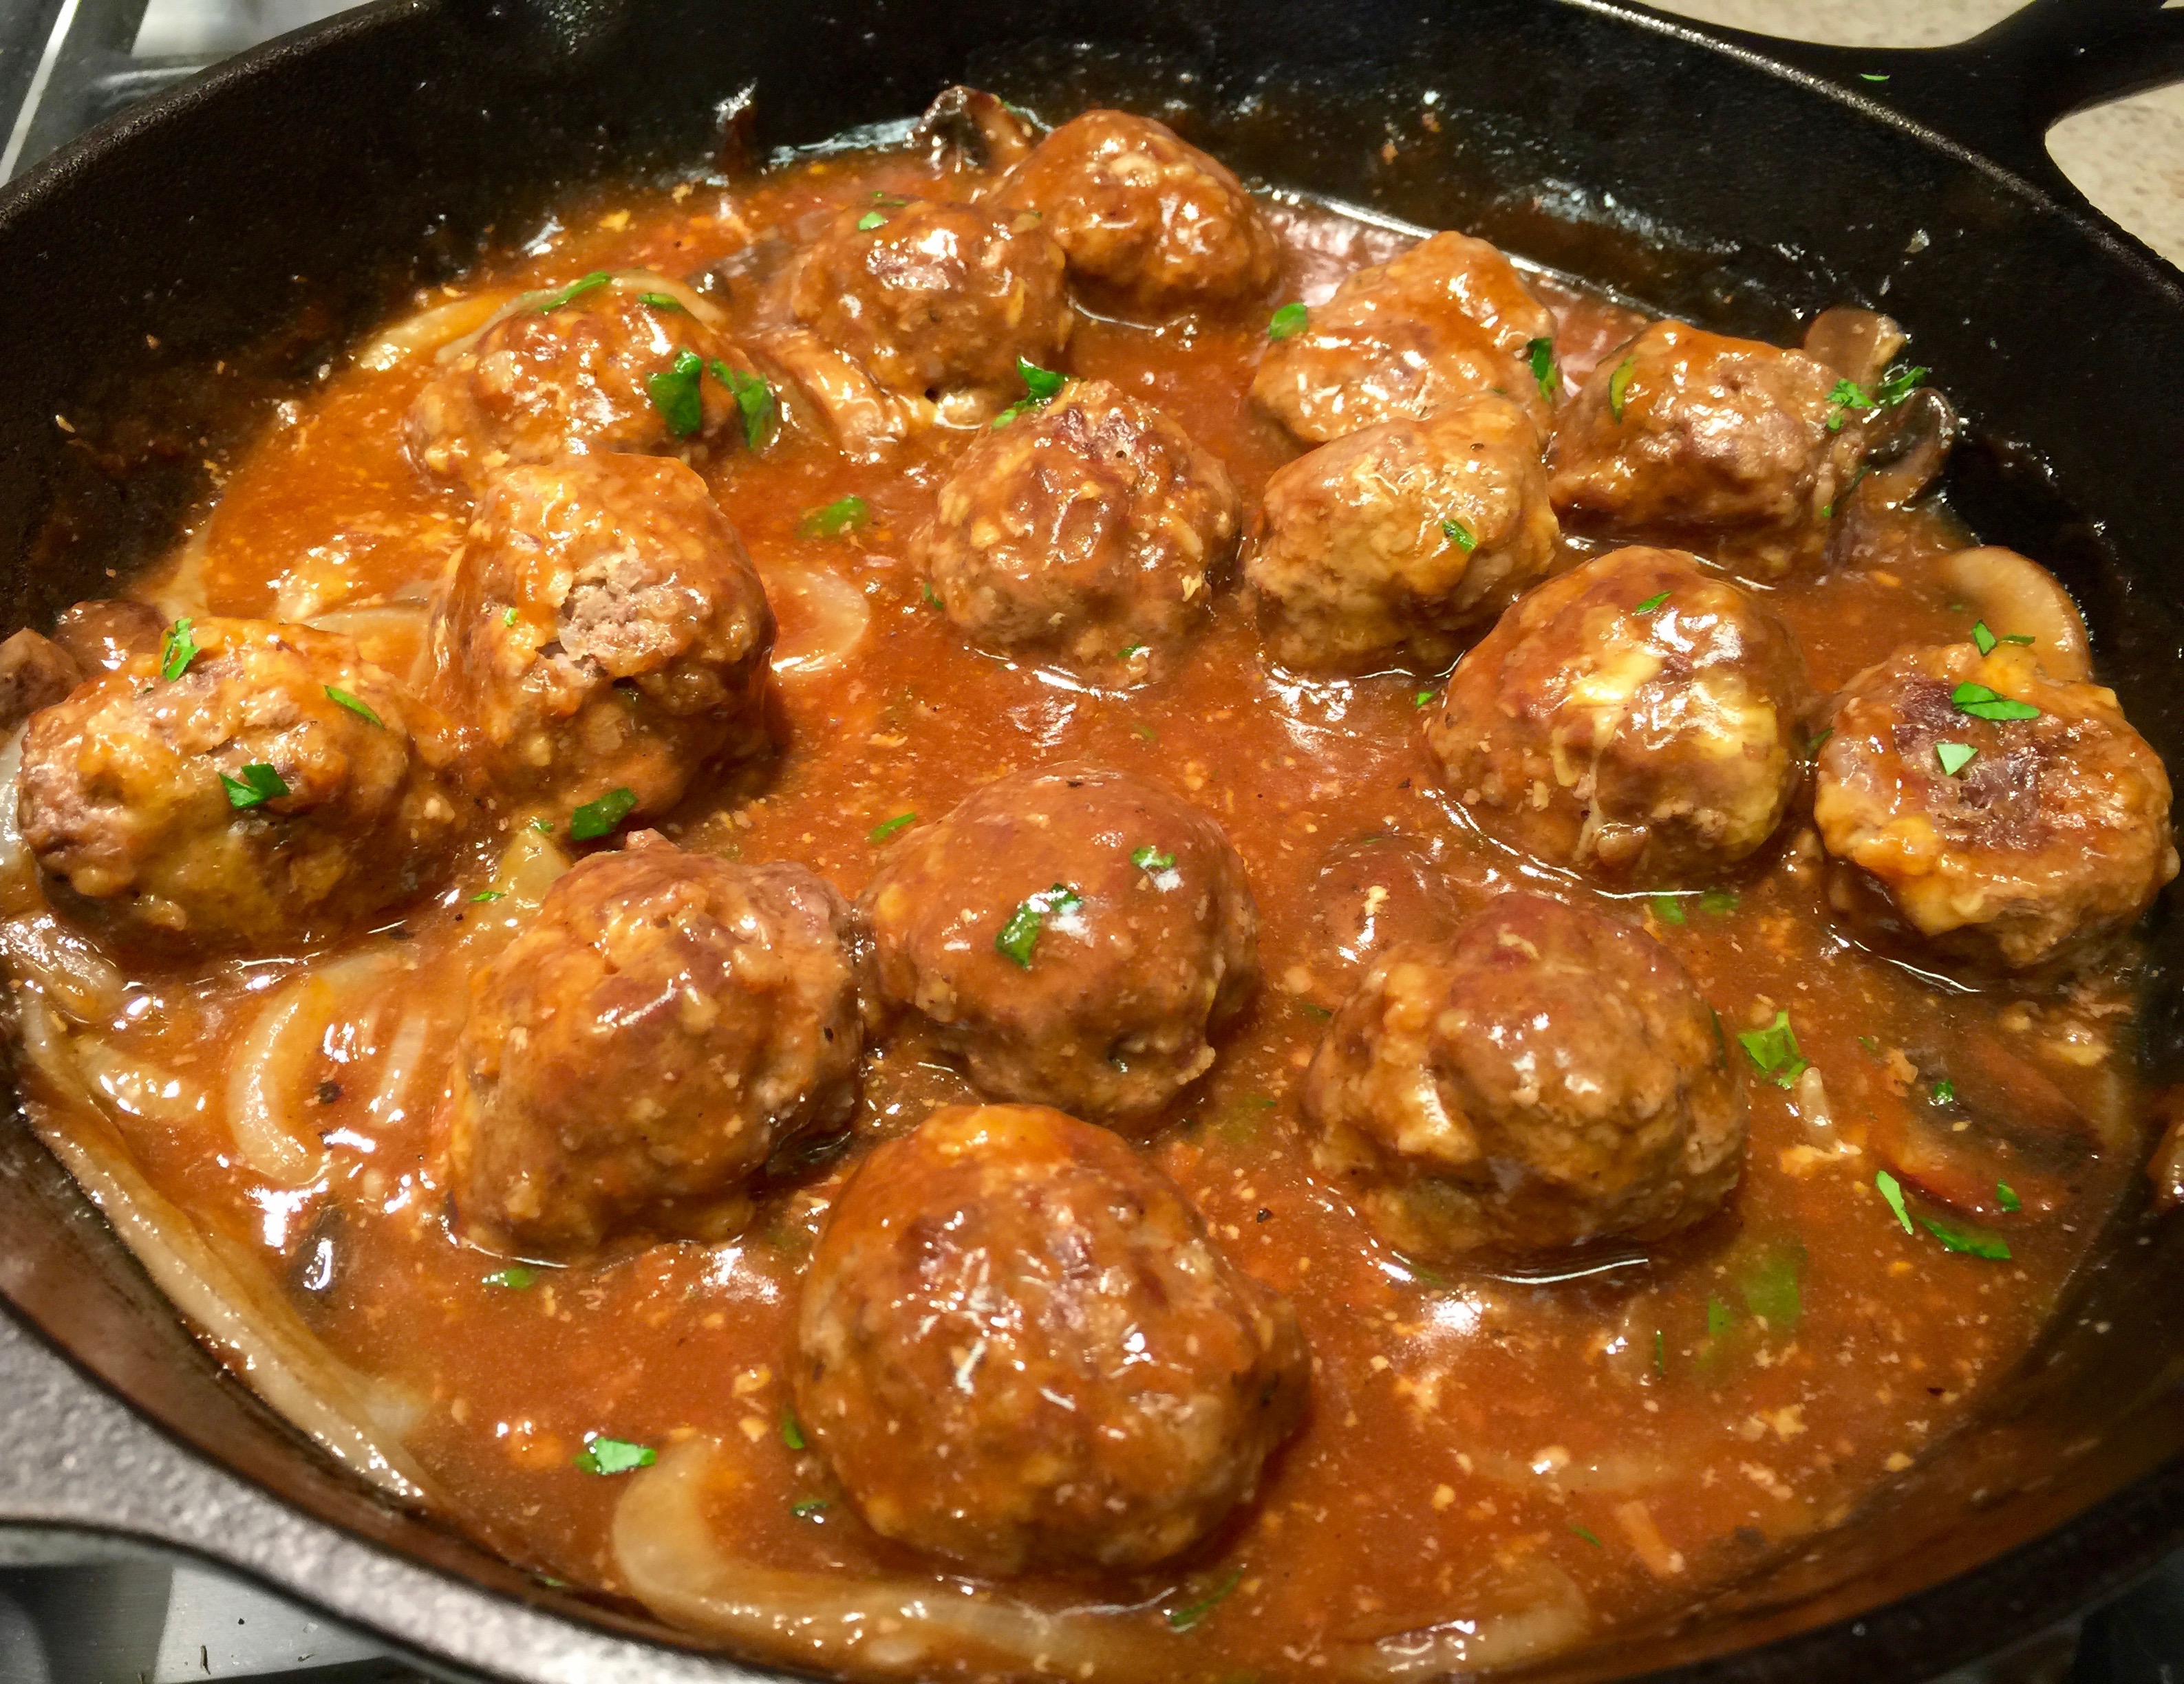
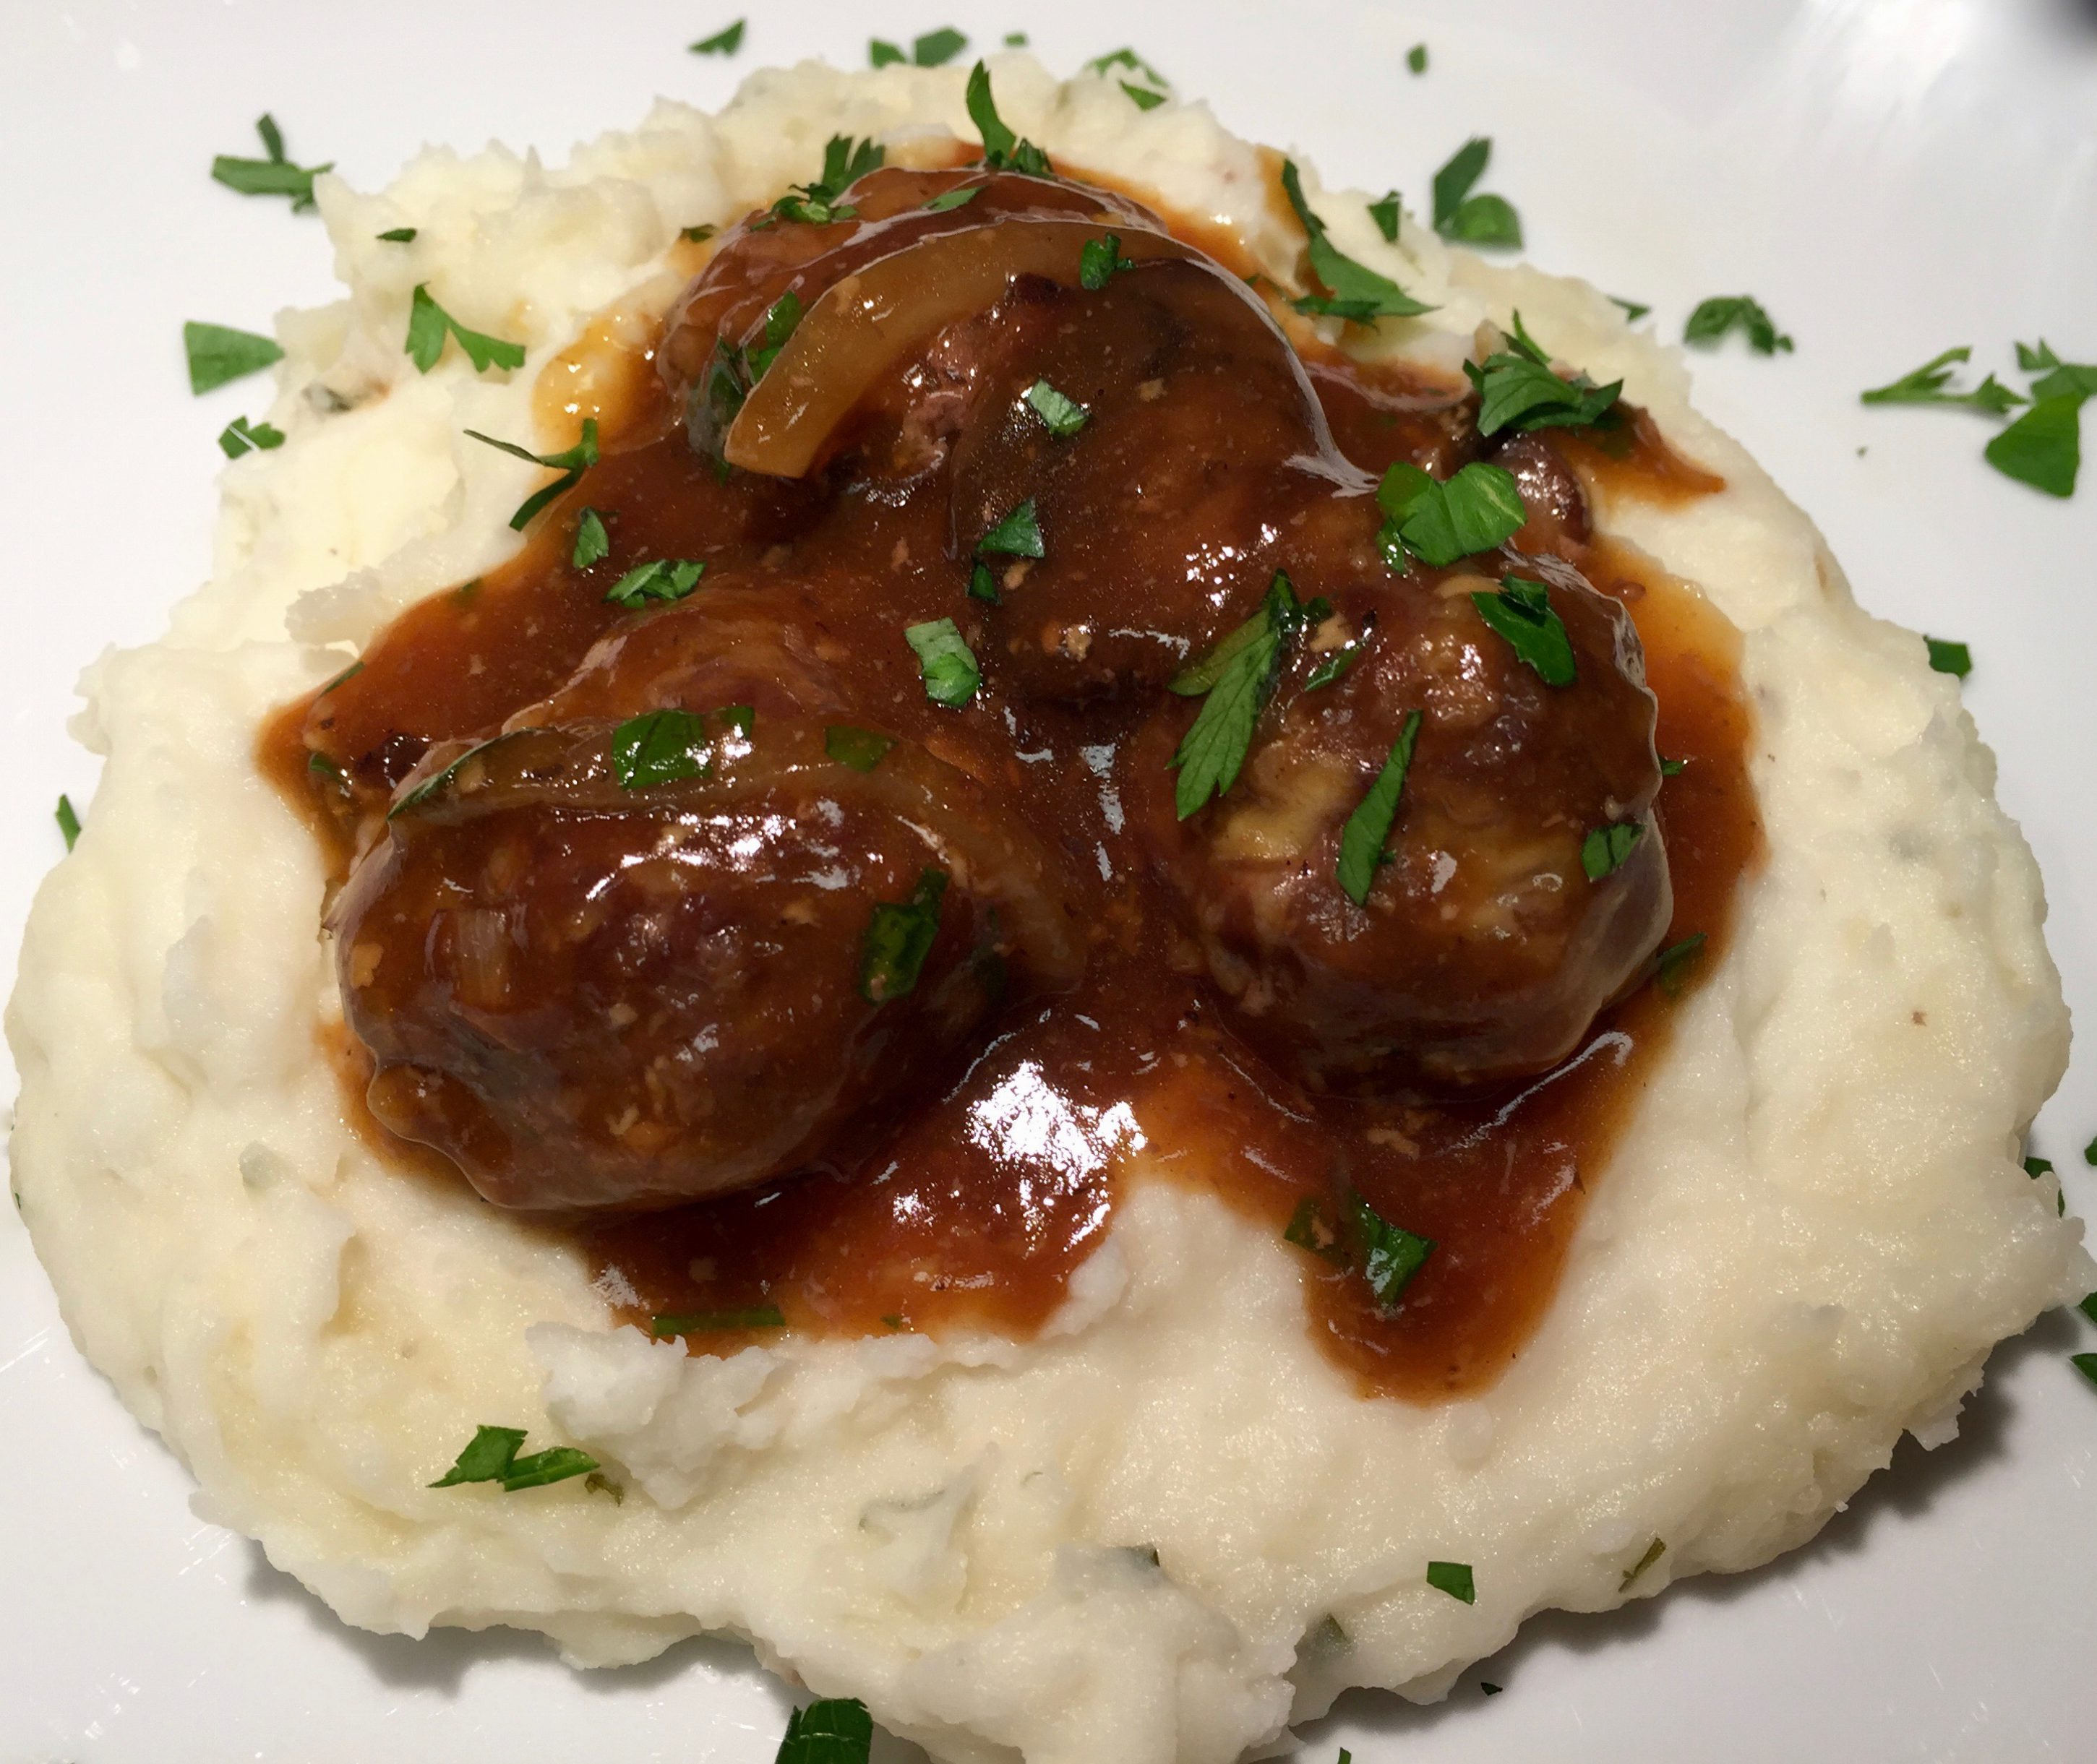
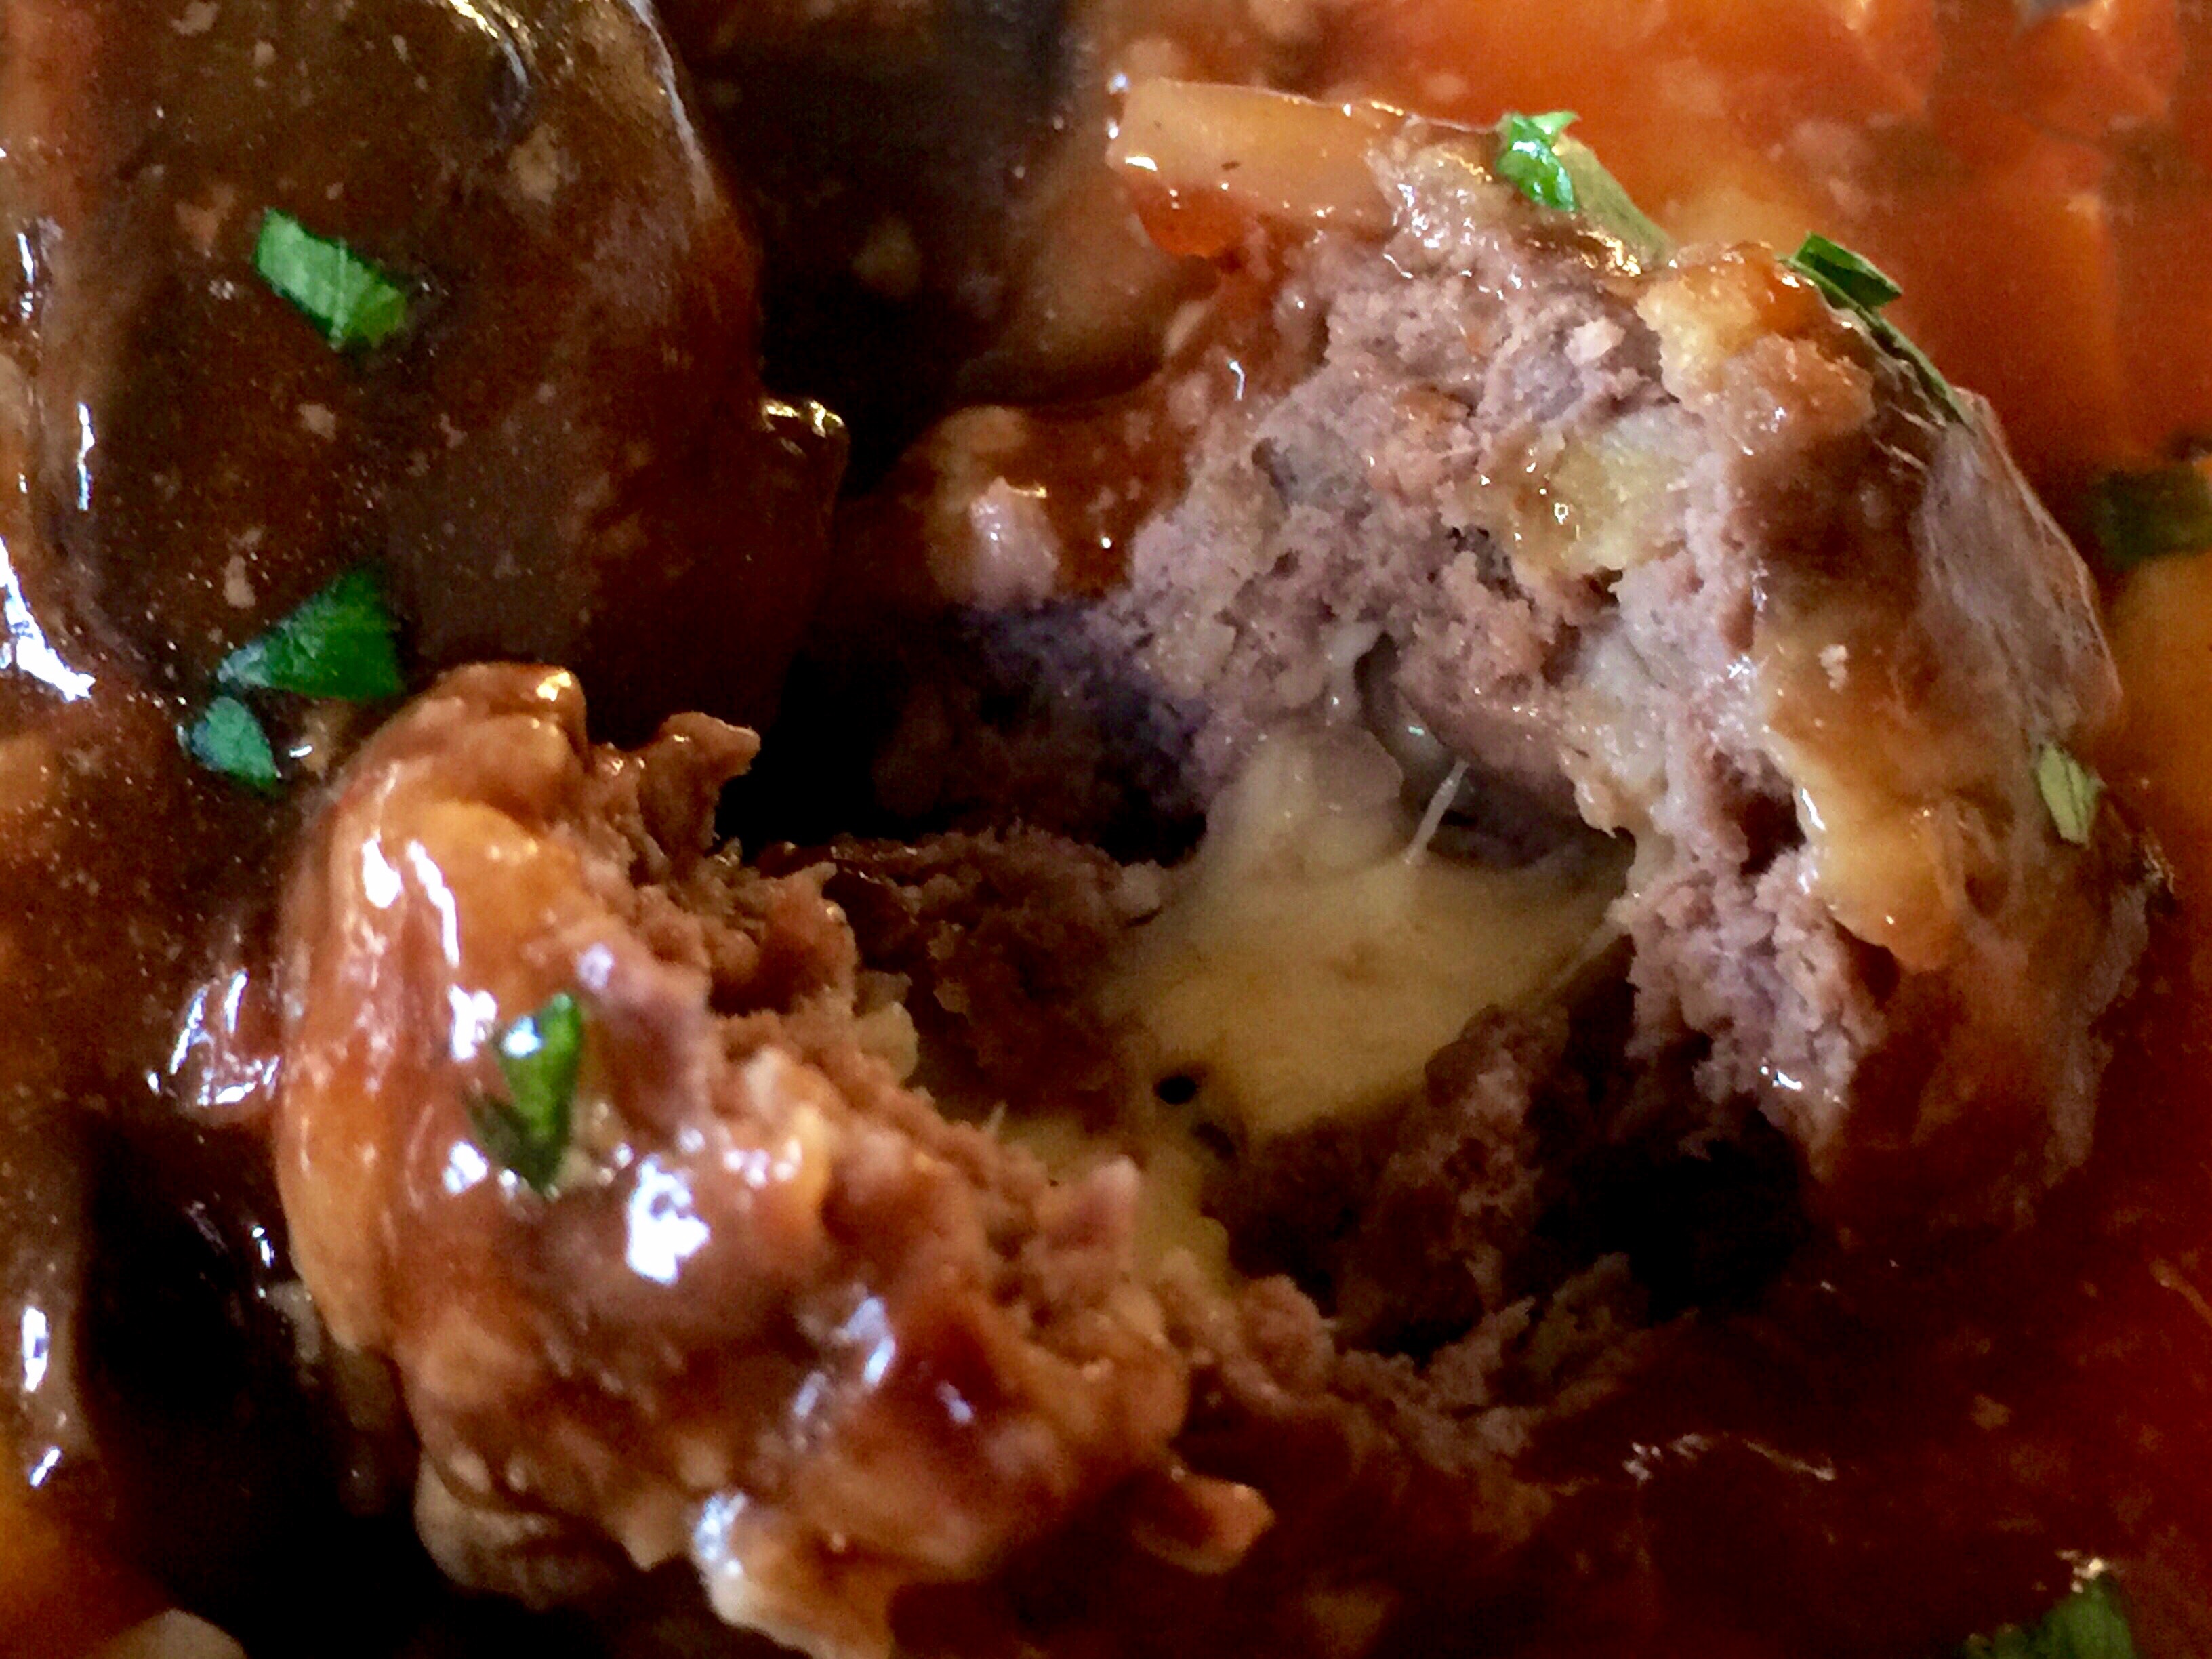


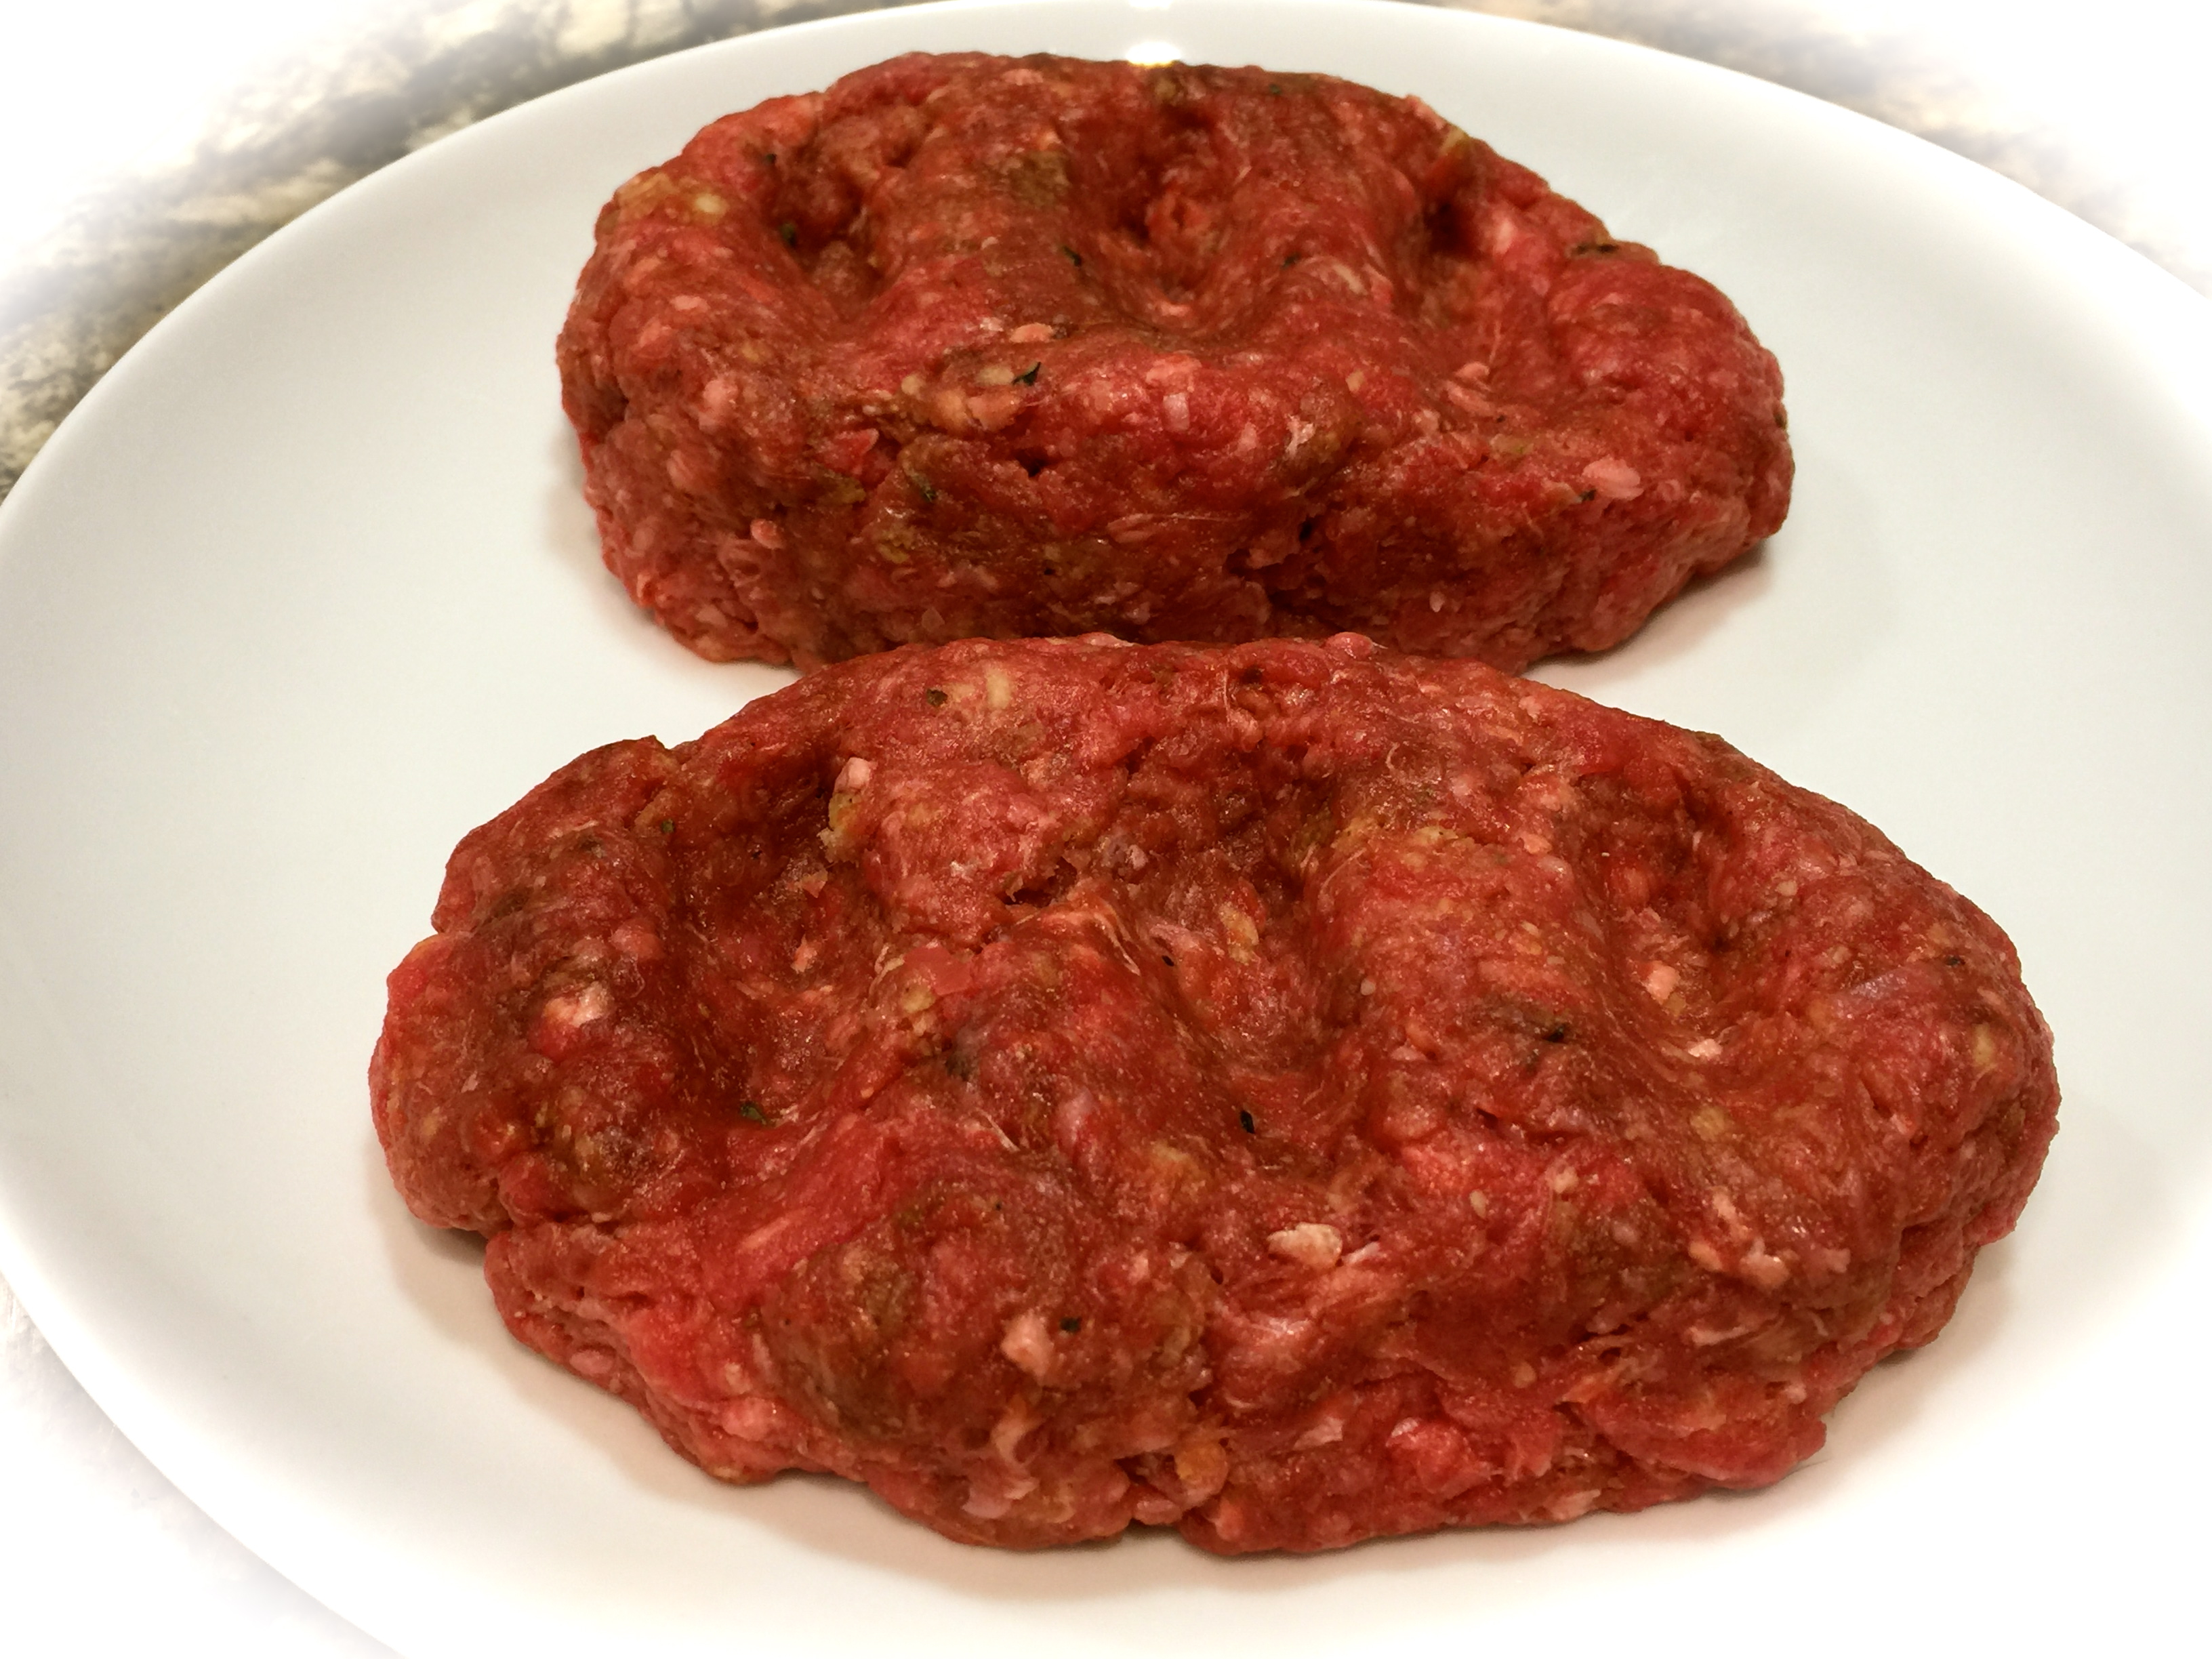
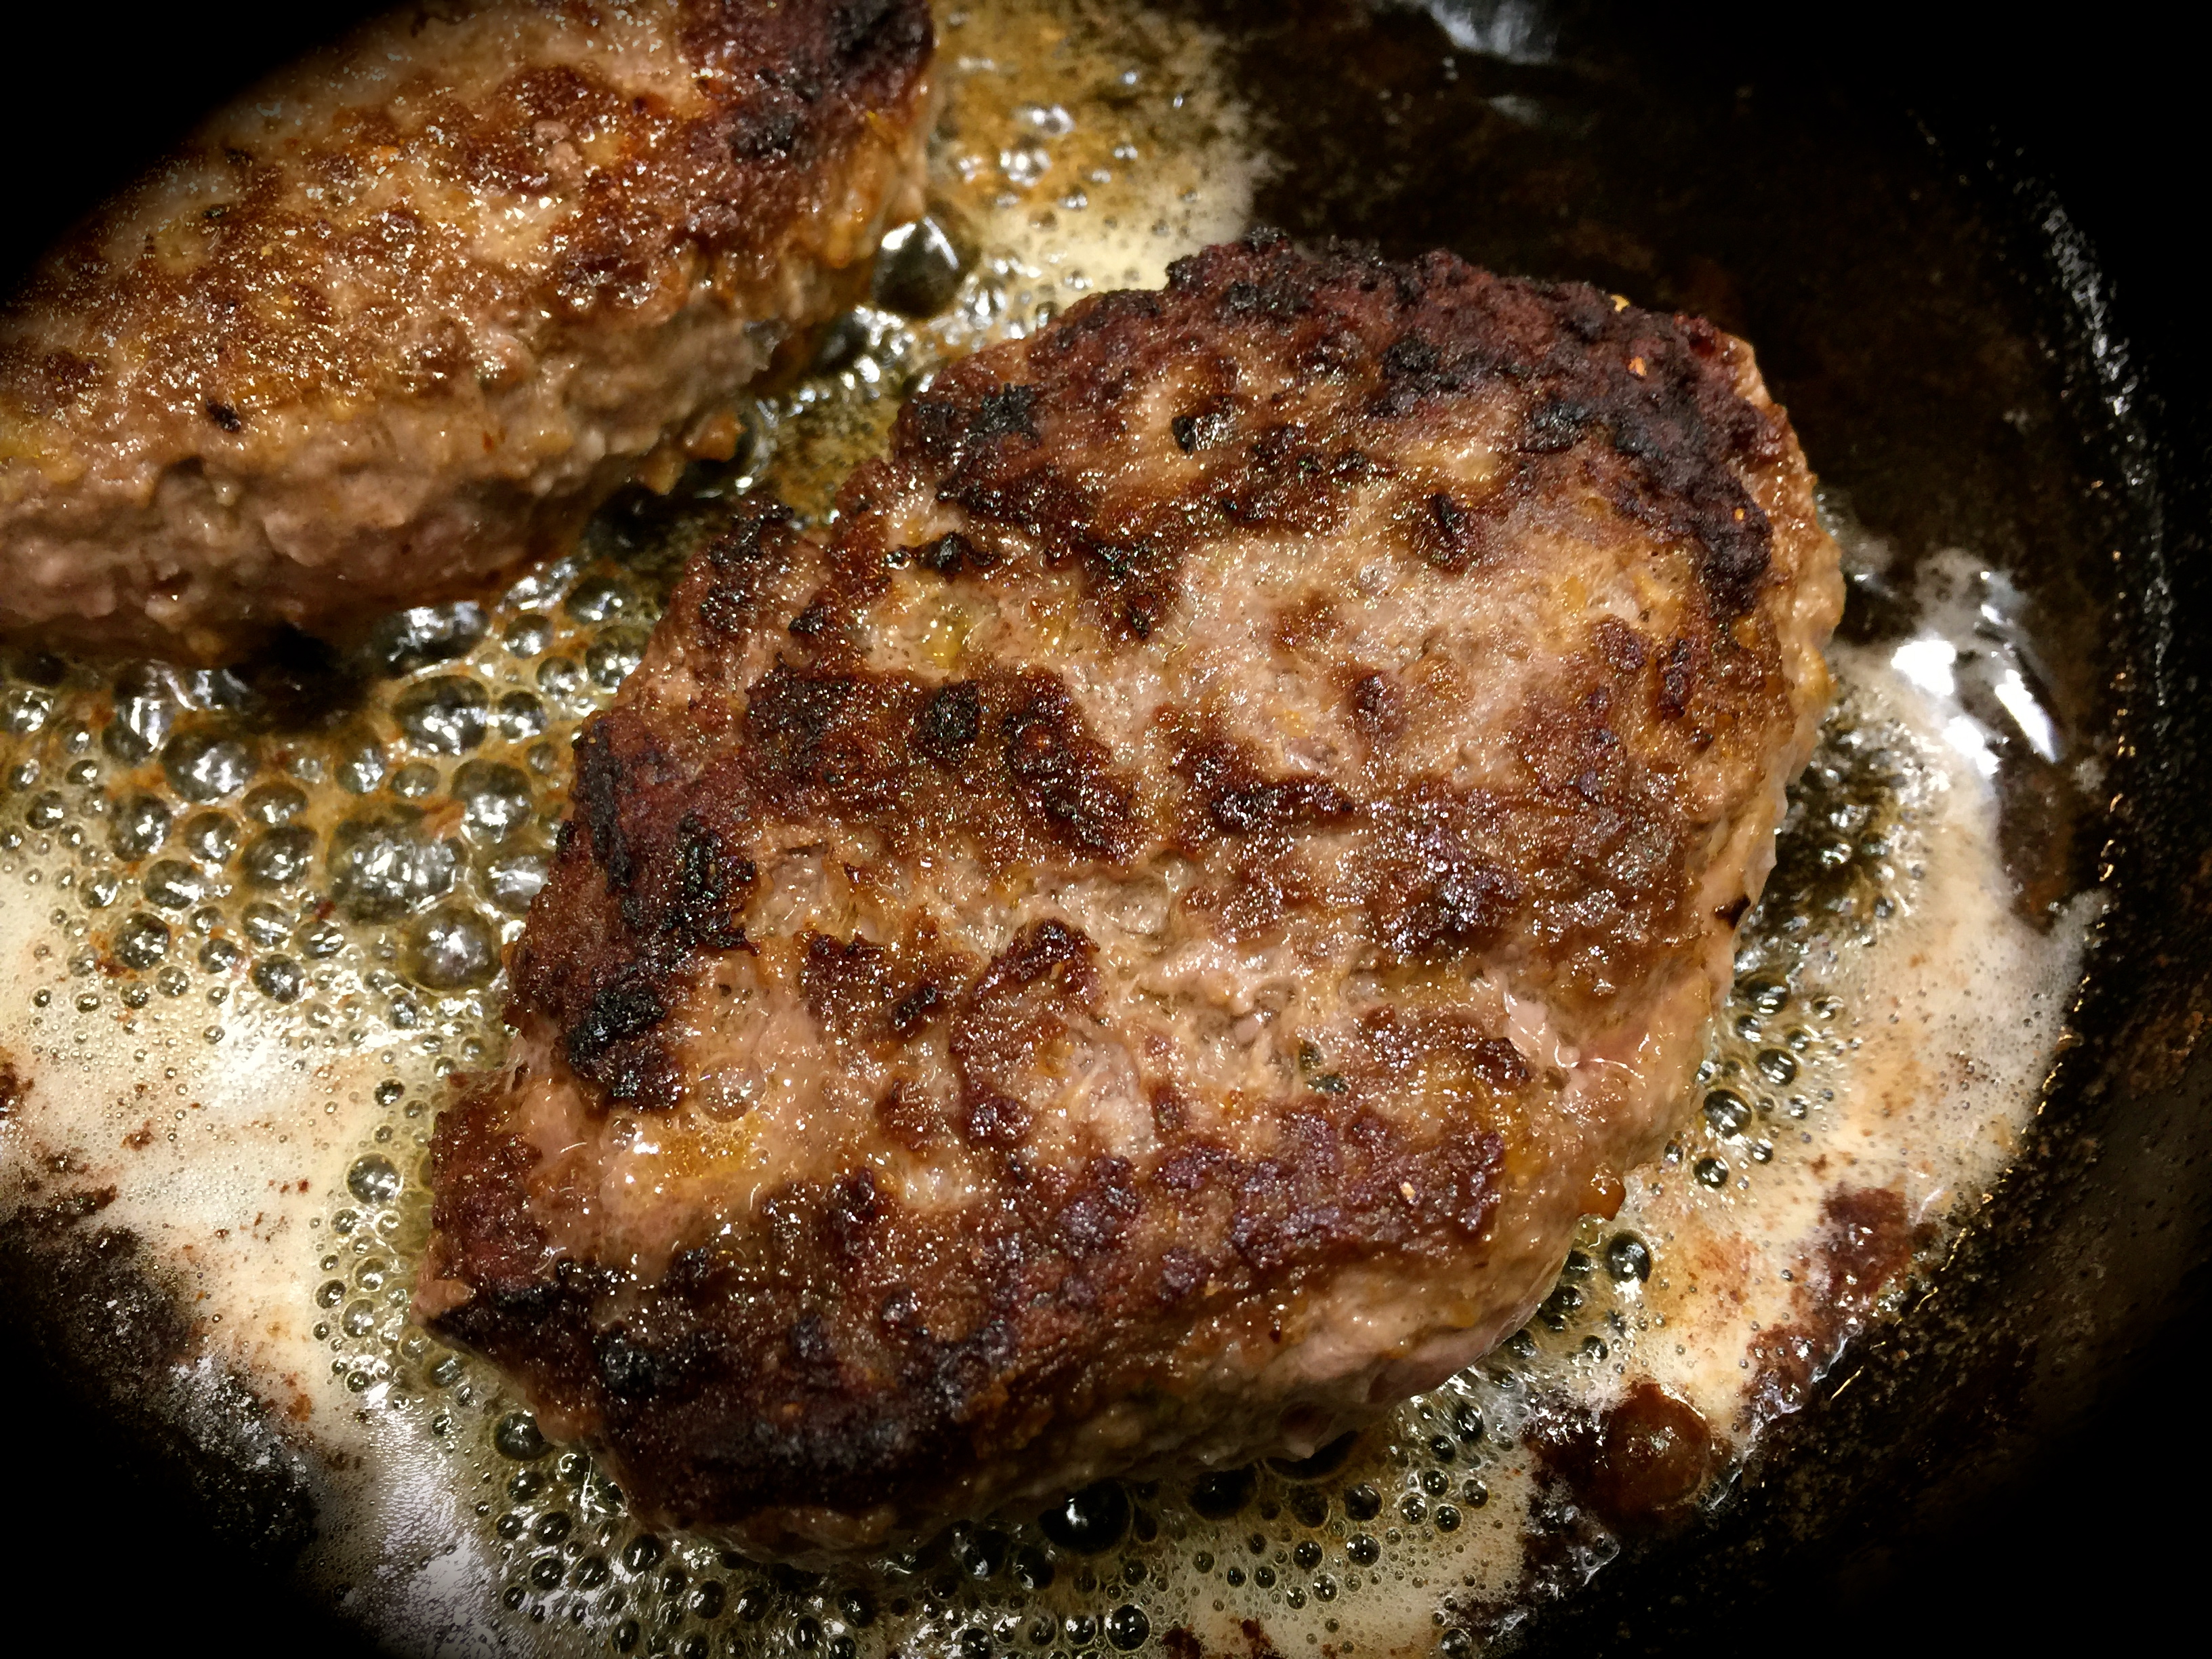
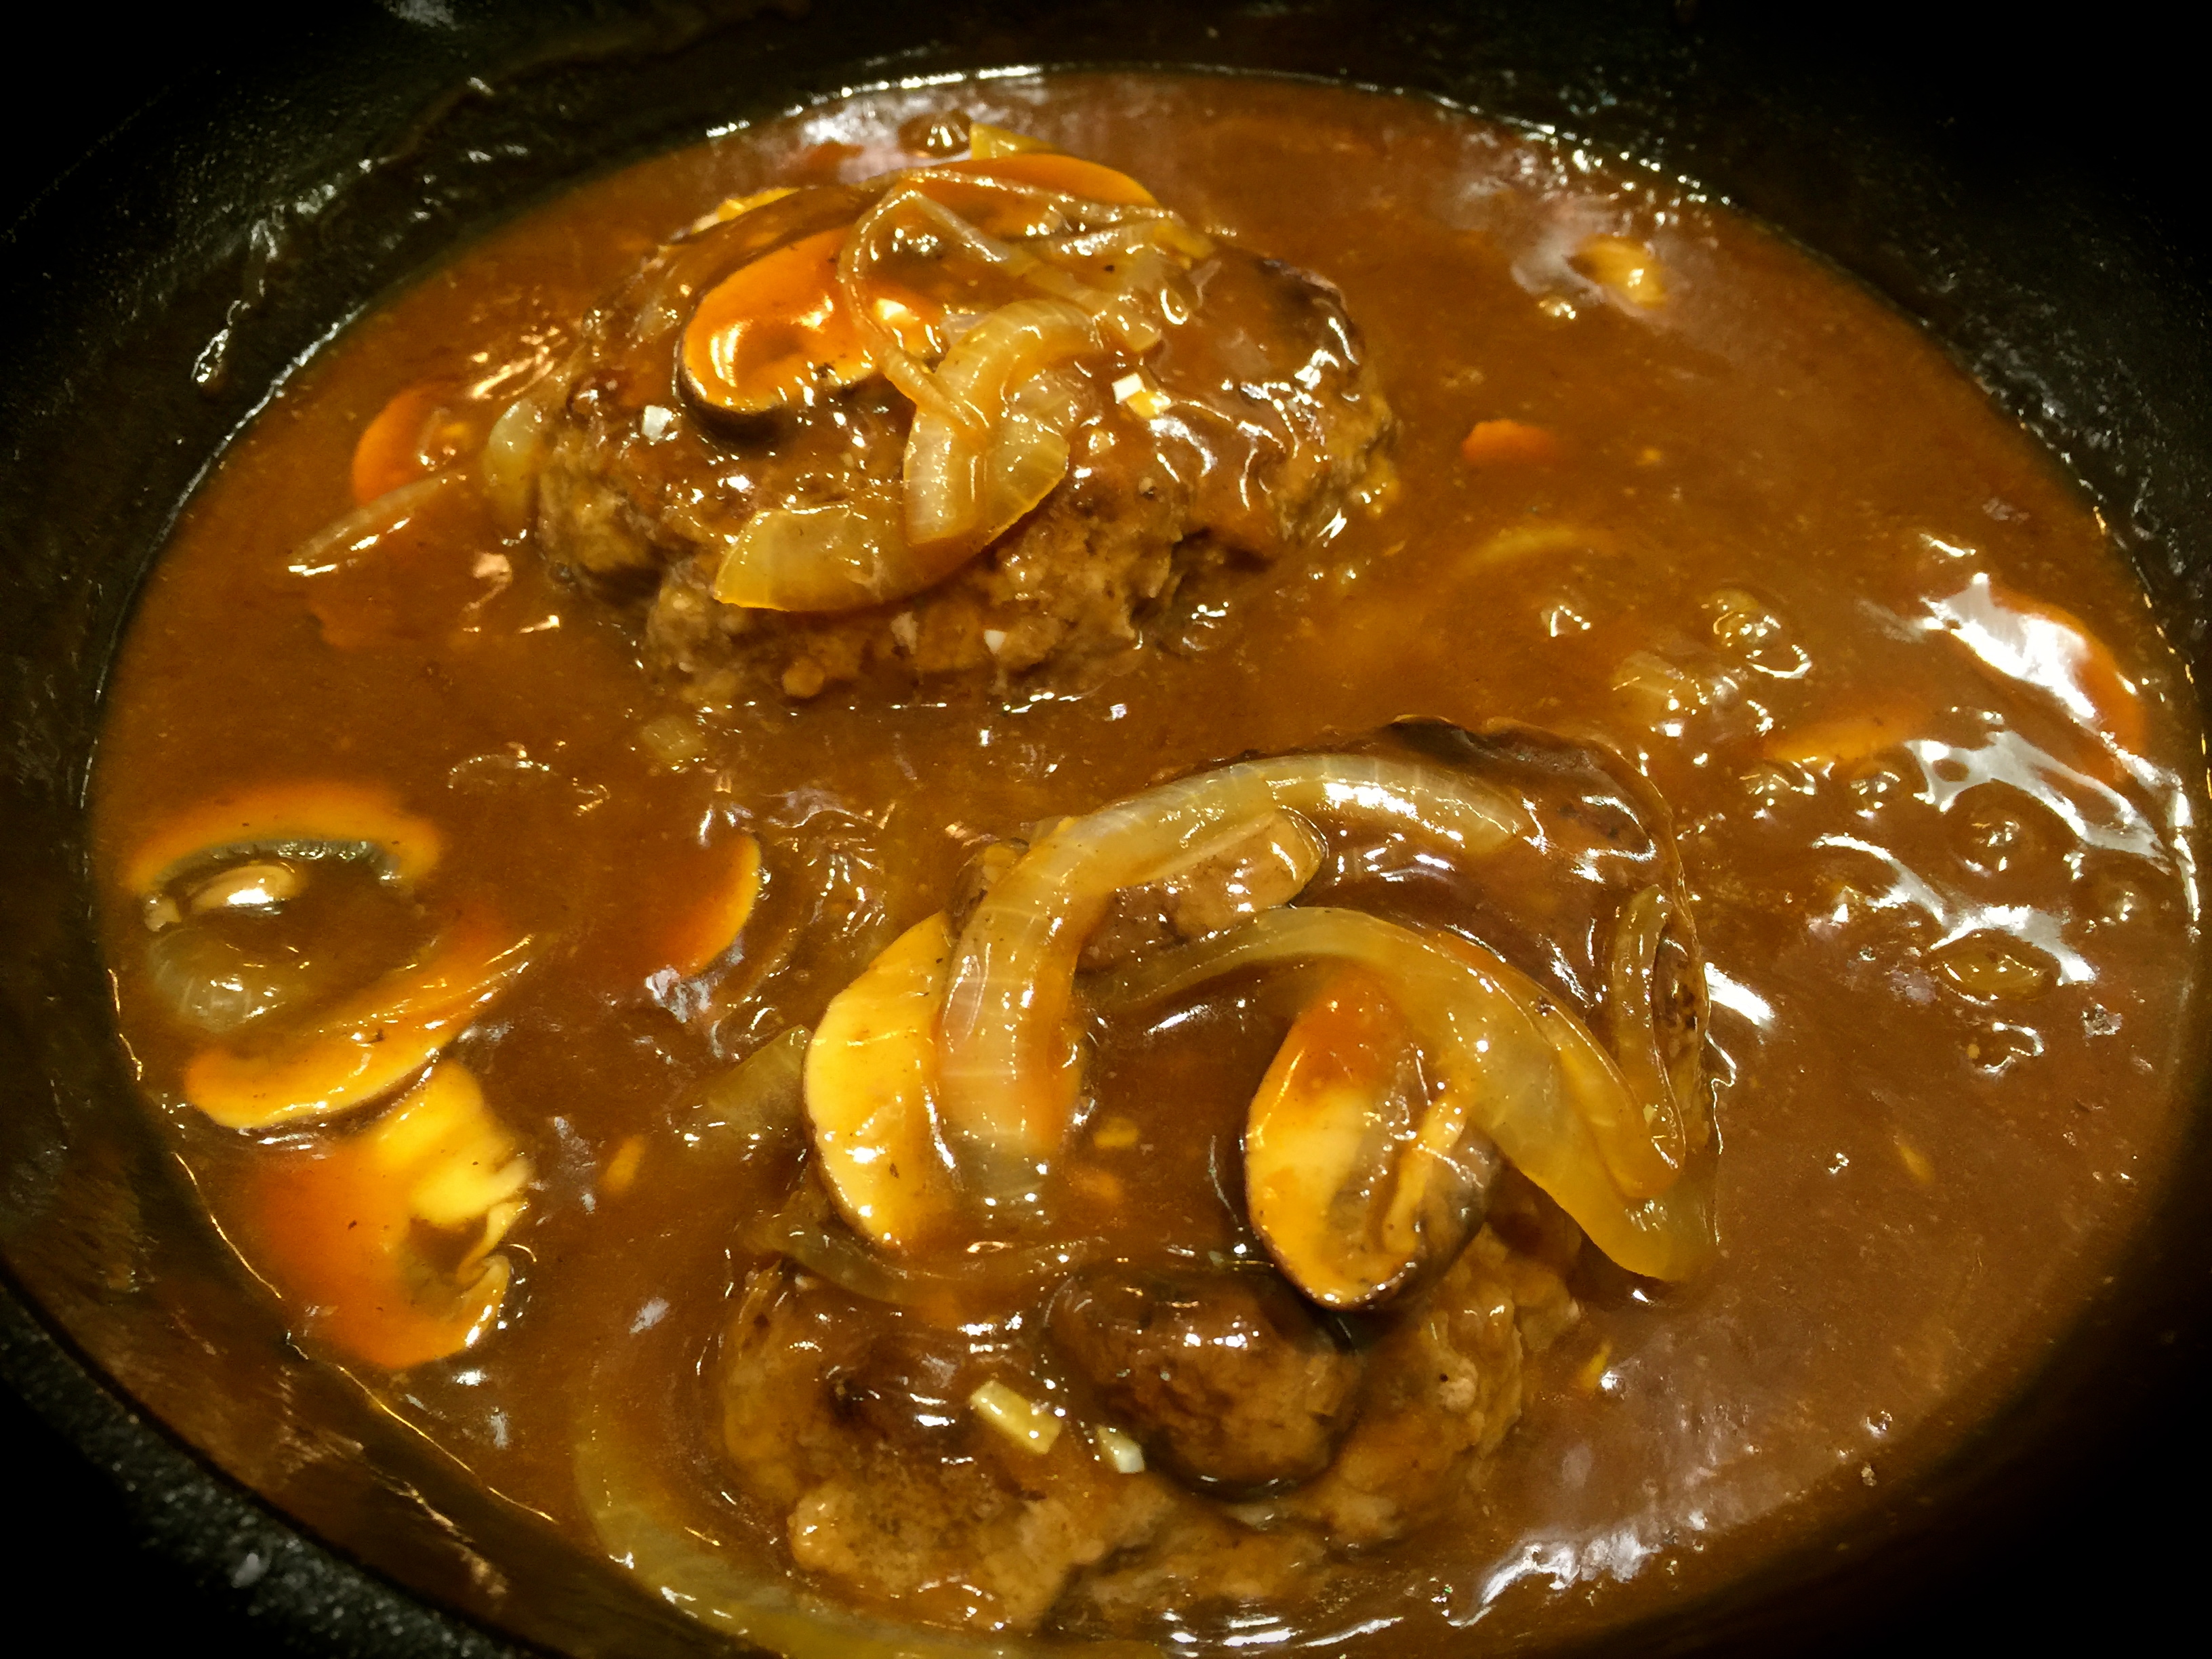
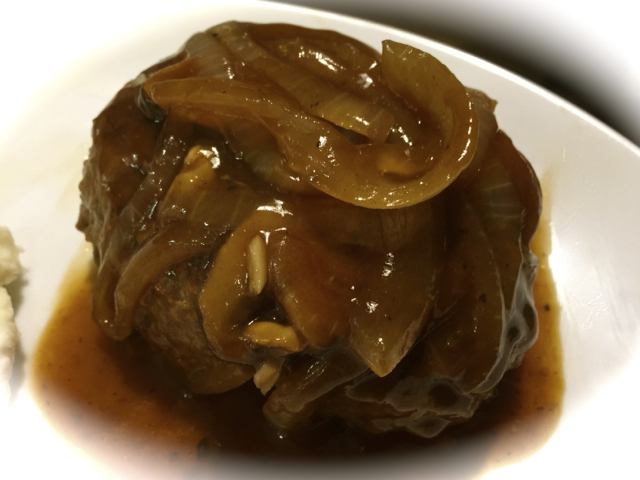
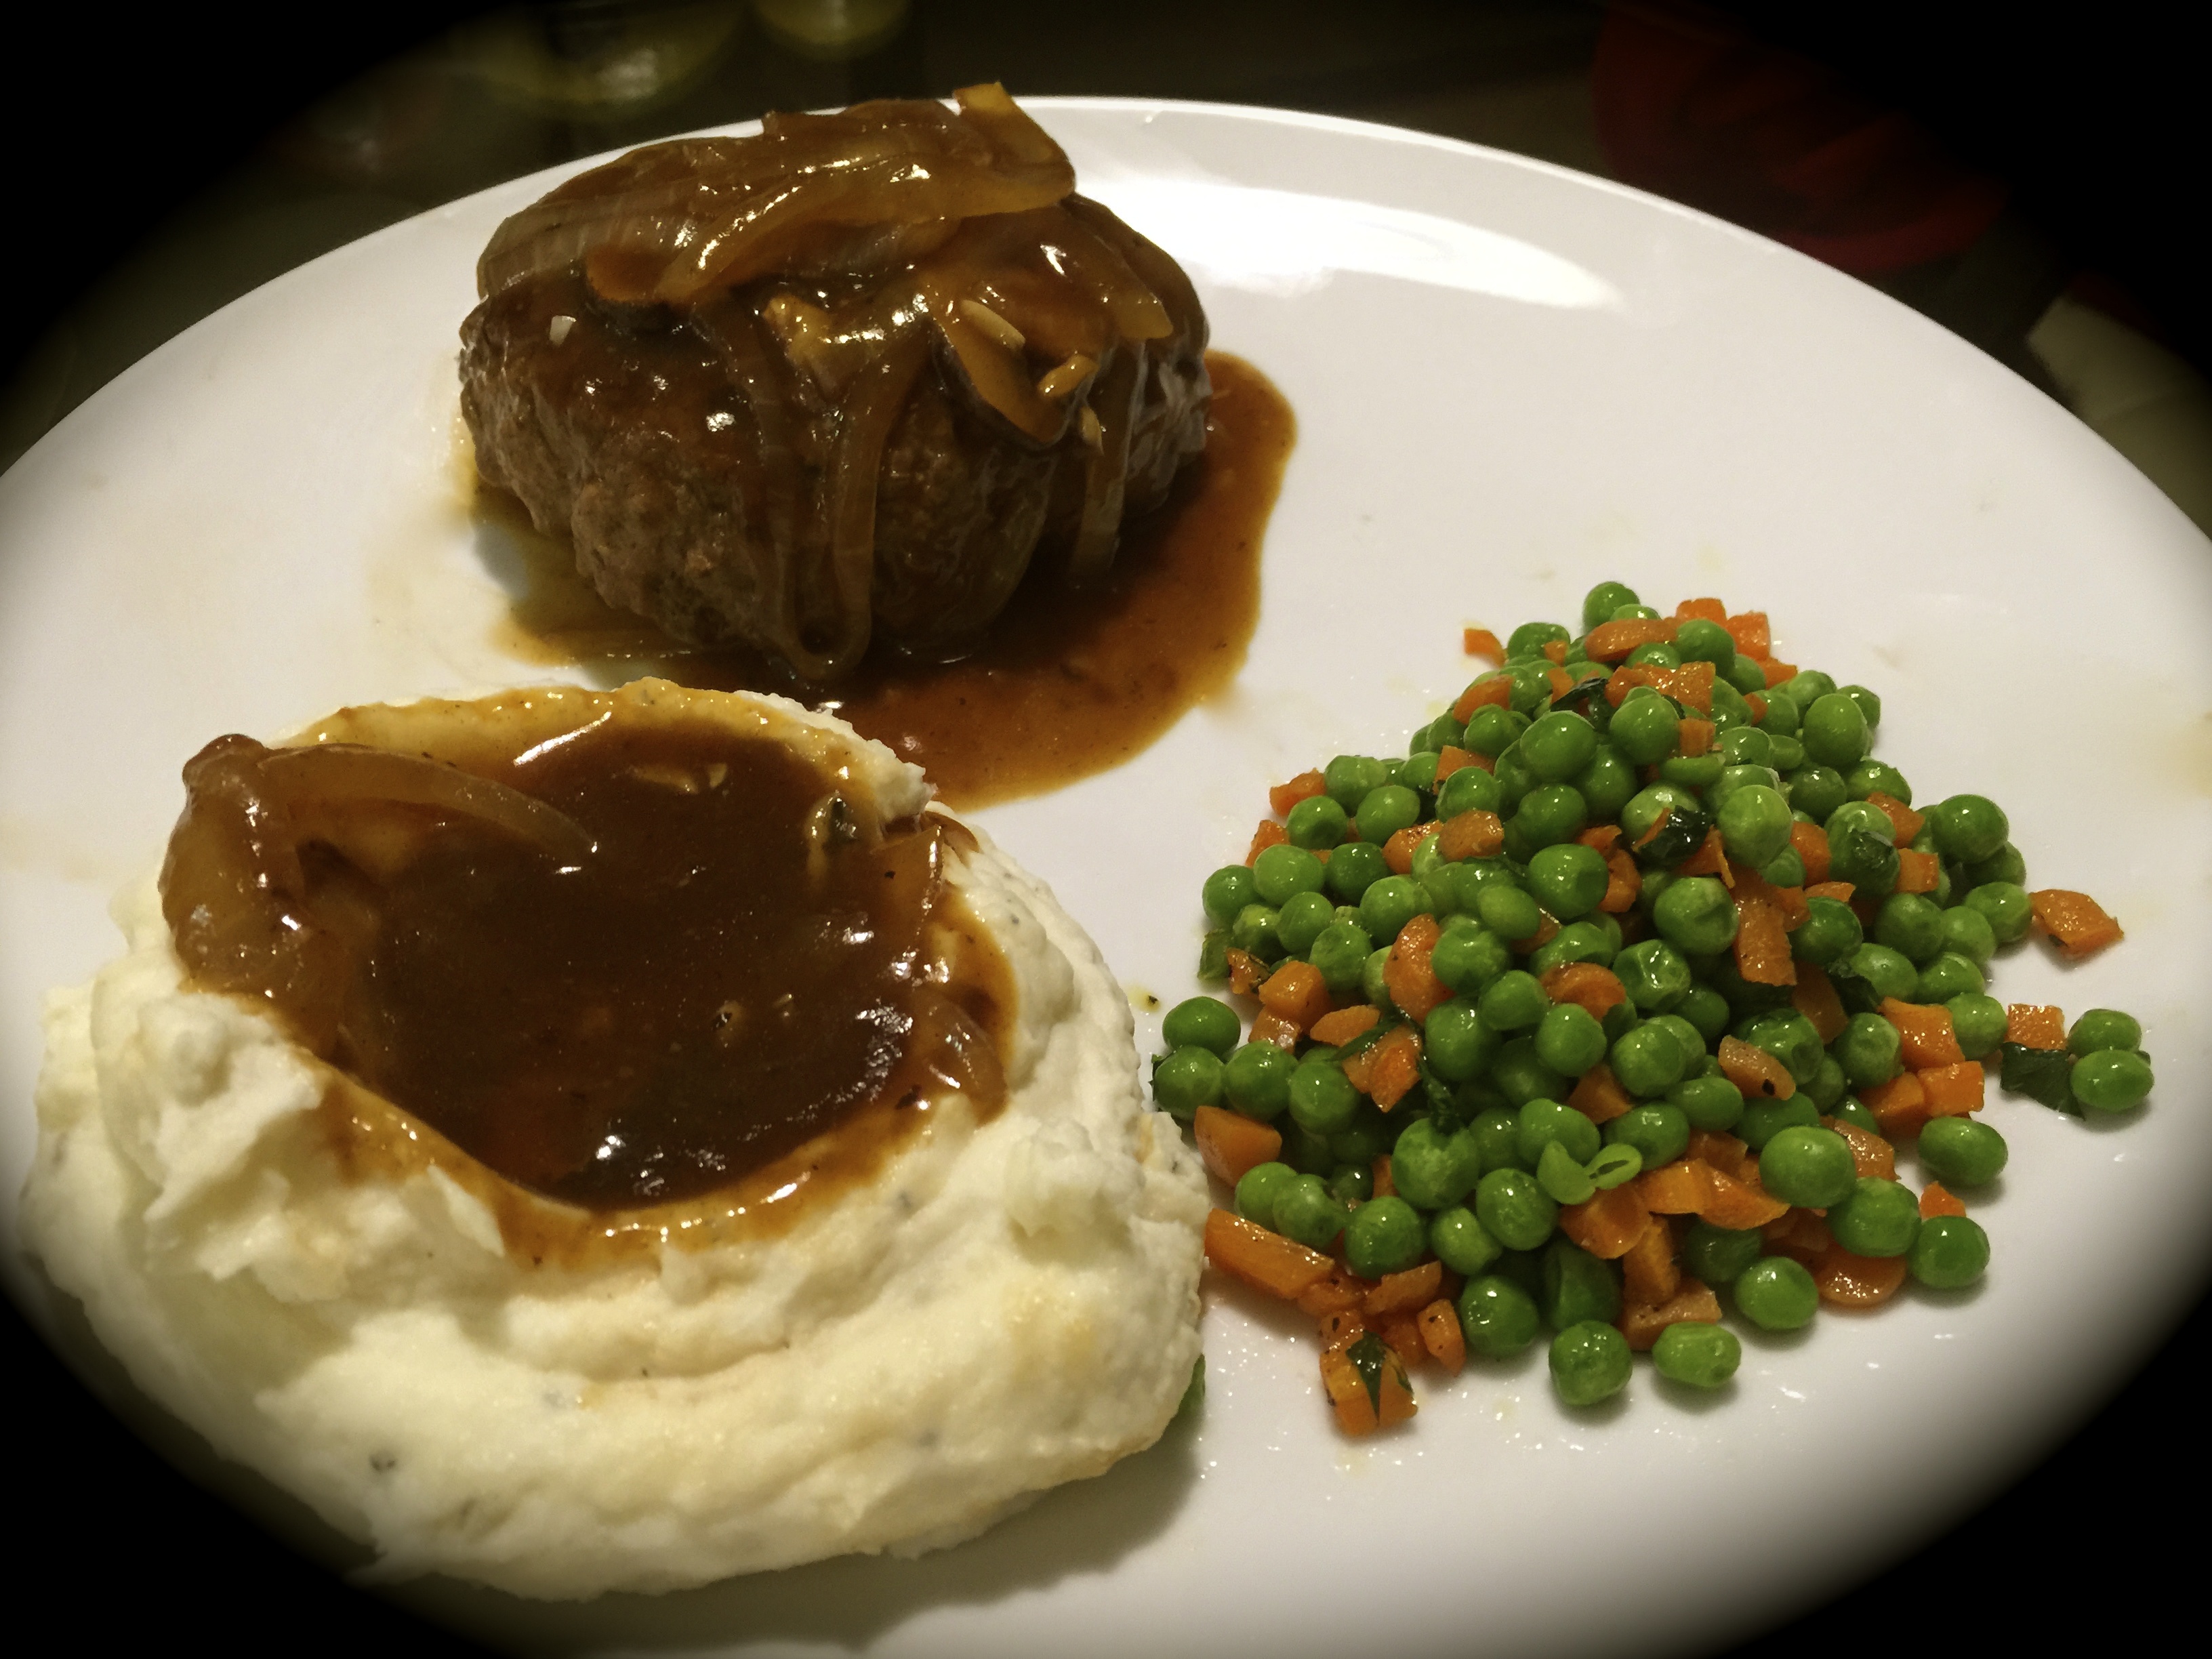
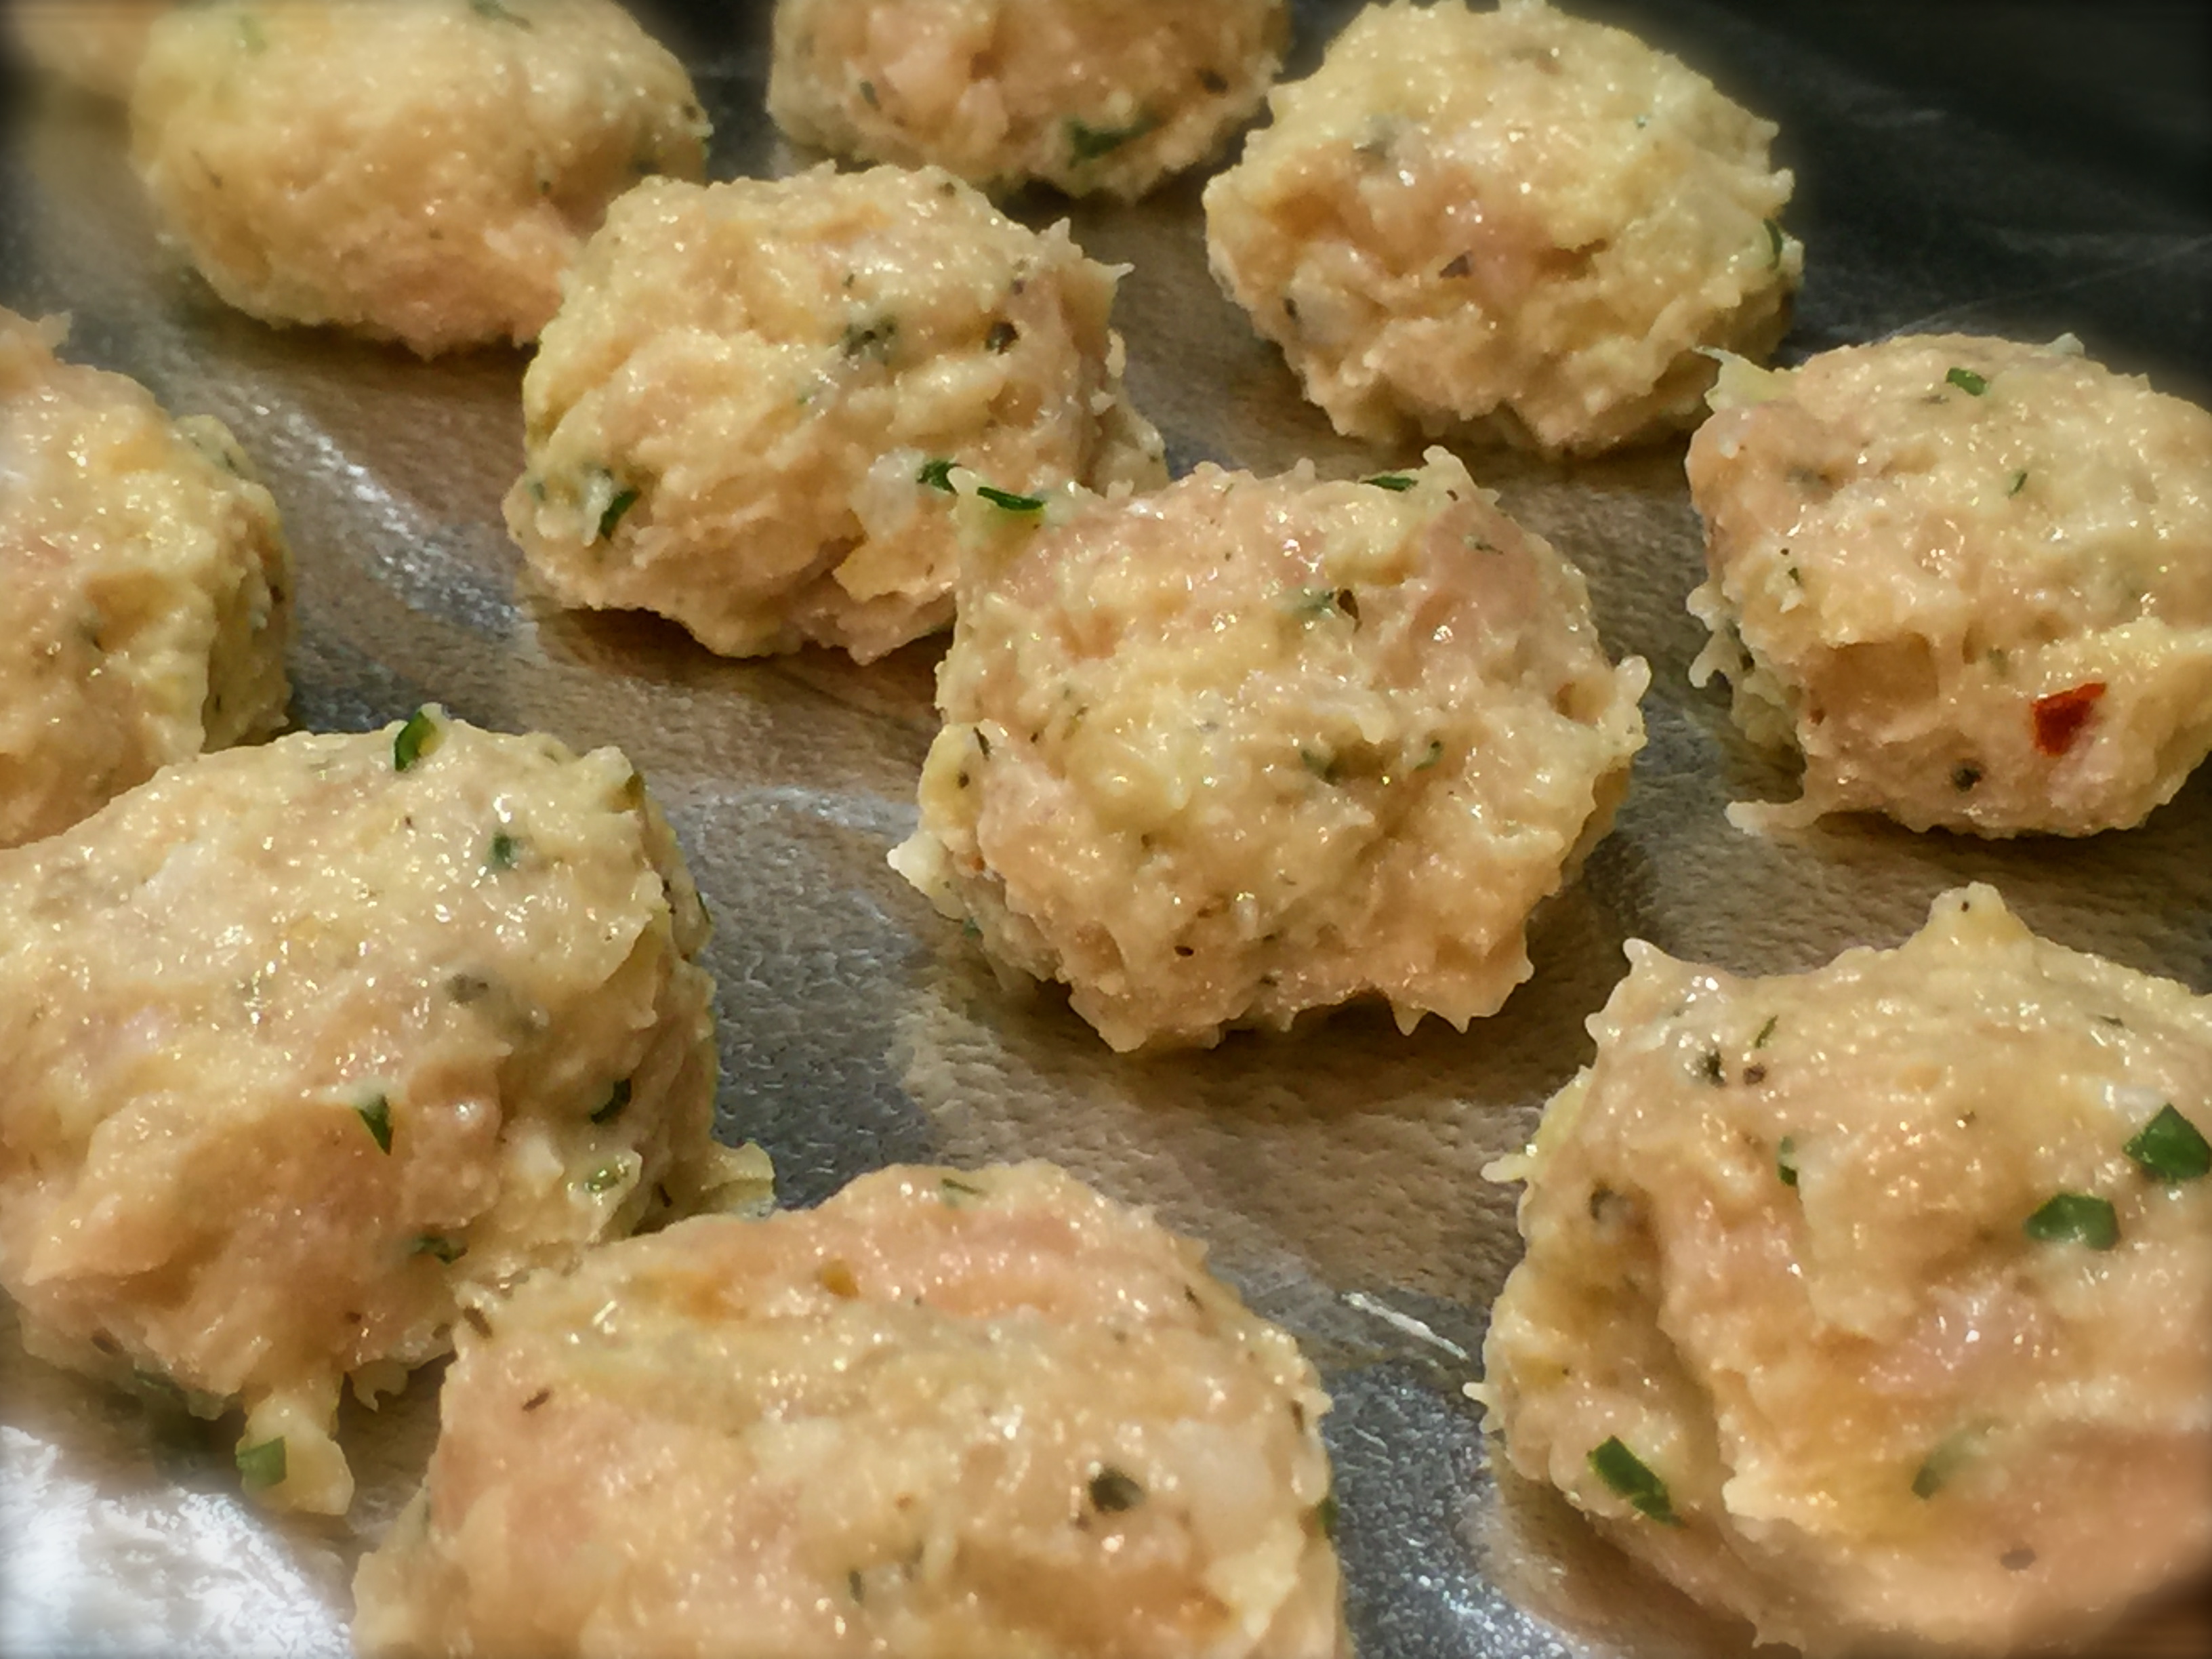
 You want to be careful not to overload your ground beef with bread crumbs. You’ll dry it out. After making hamburgers and meatloaf for years and now salisbury steak, I know how the beef should feel so that it will not be overly dry. It should feel moist but not overly sticky. This is something you’ll get a feel for over time. Don’t worry about it. I always add about half the amount of bread crumbs the recipe calls for to begin with and add more from there. You can always add more and you don’t want to wind up with too much bread crumbs in the mix.