The Best Sausage And Onion Quiche…

I only started making home made quiches recently. Normally I would just pick one up at the grocery store and heat it for either breakfast or dinner. But I found that not only could I control what goes into the quiche, but also the texture and flavor of the quiche is so much better when I make it.  And it really isn’t all that hard if you know a simple few tricks which I will share.

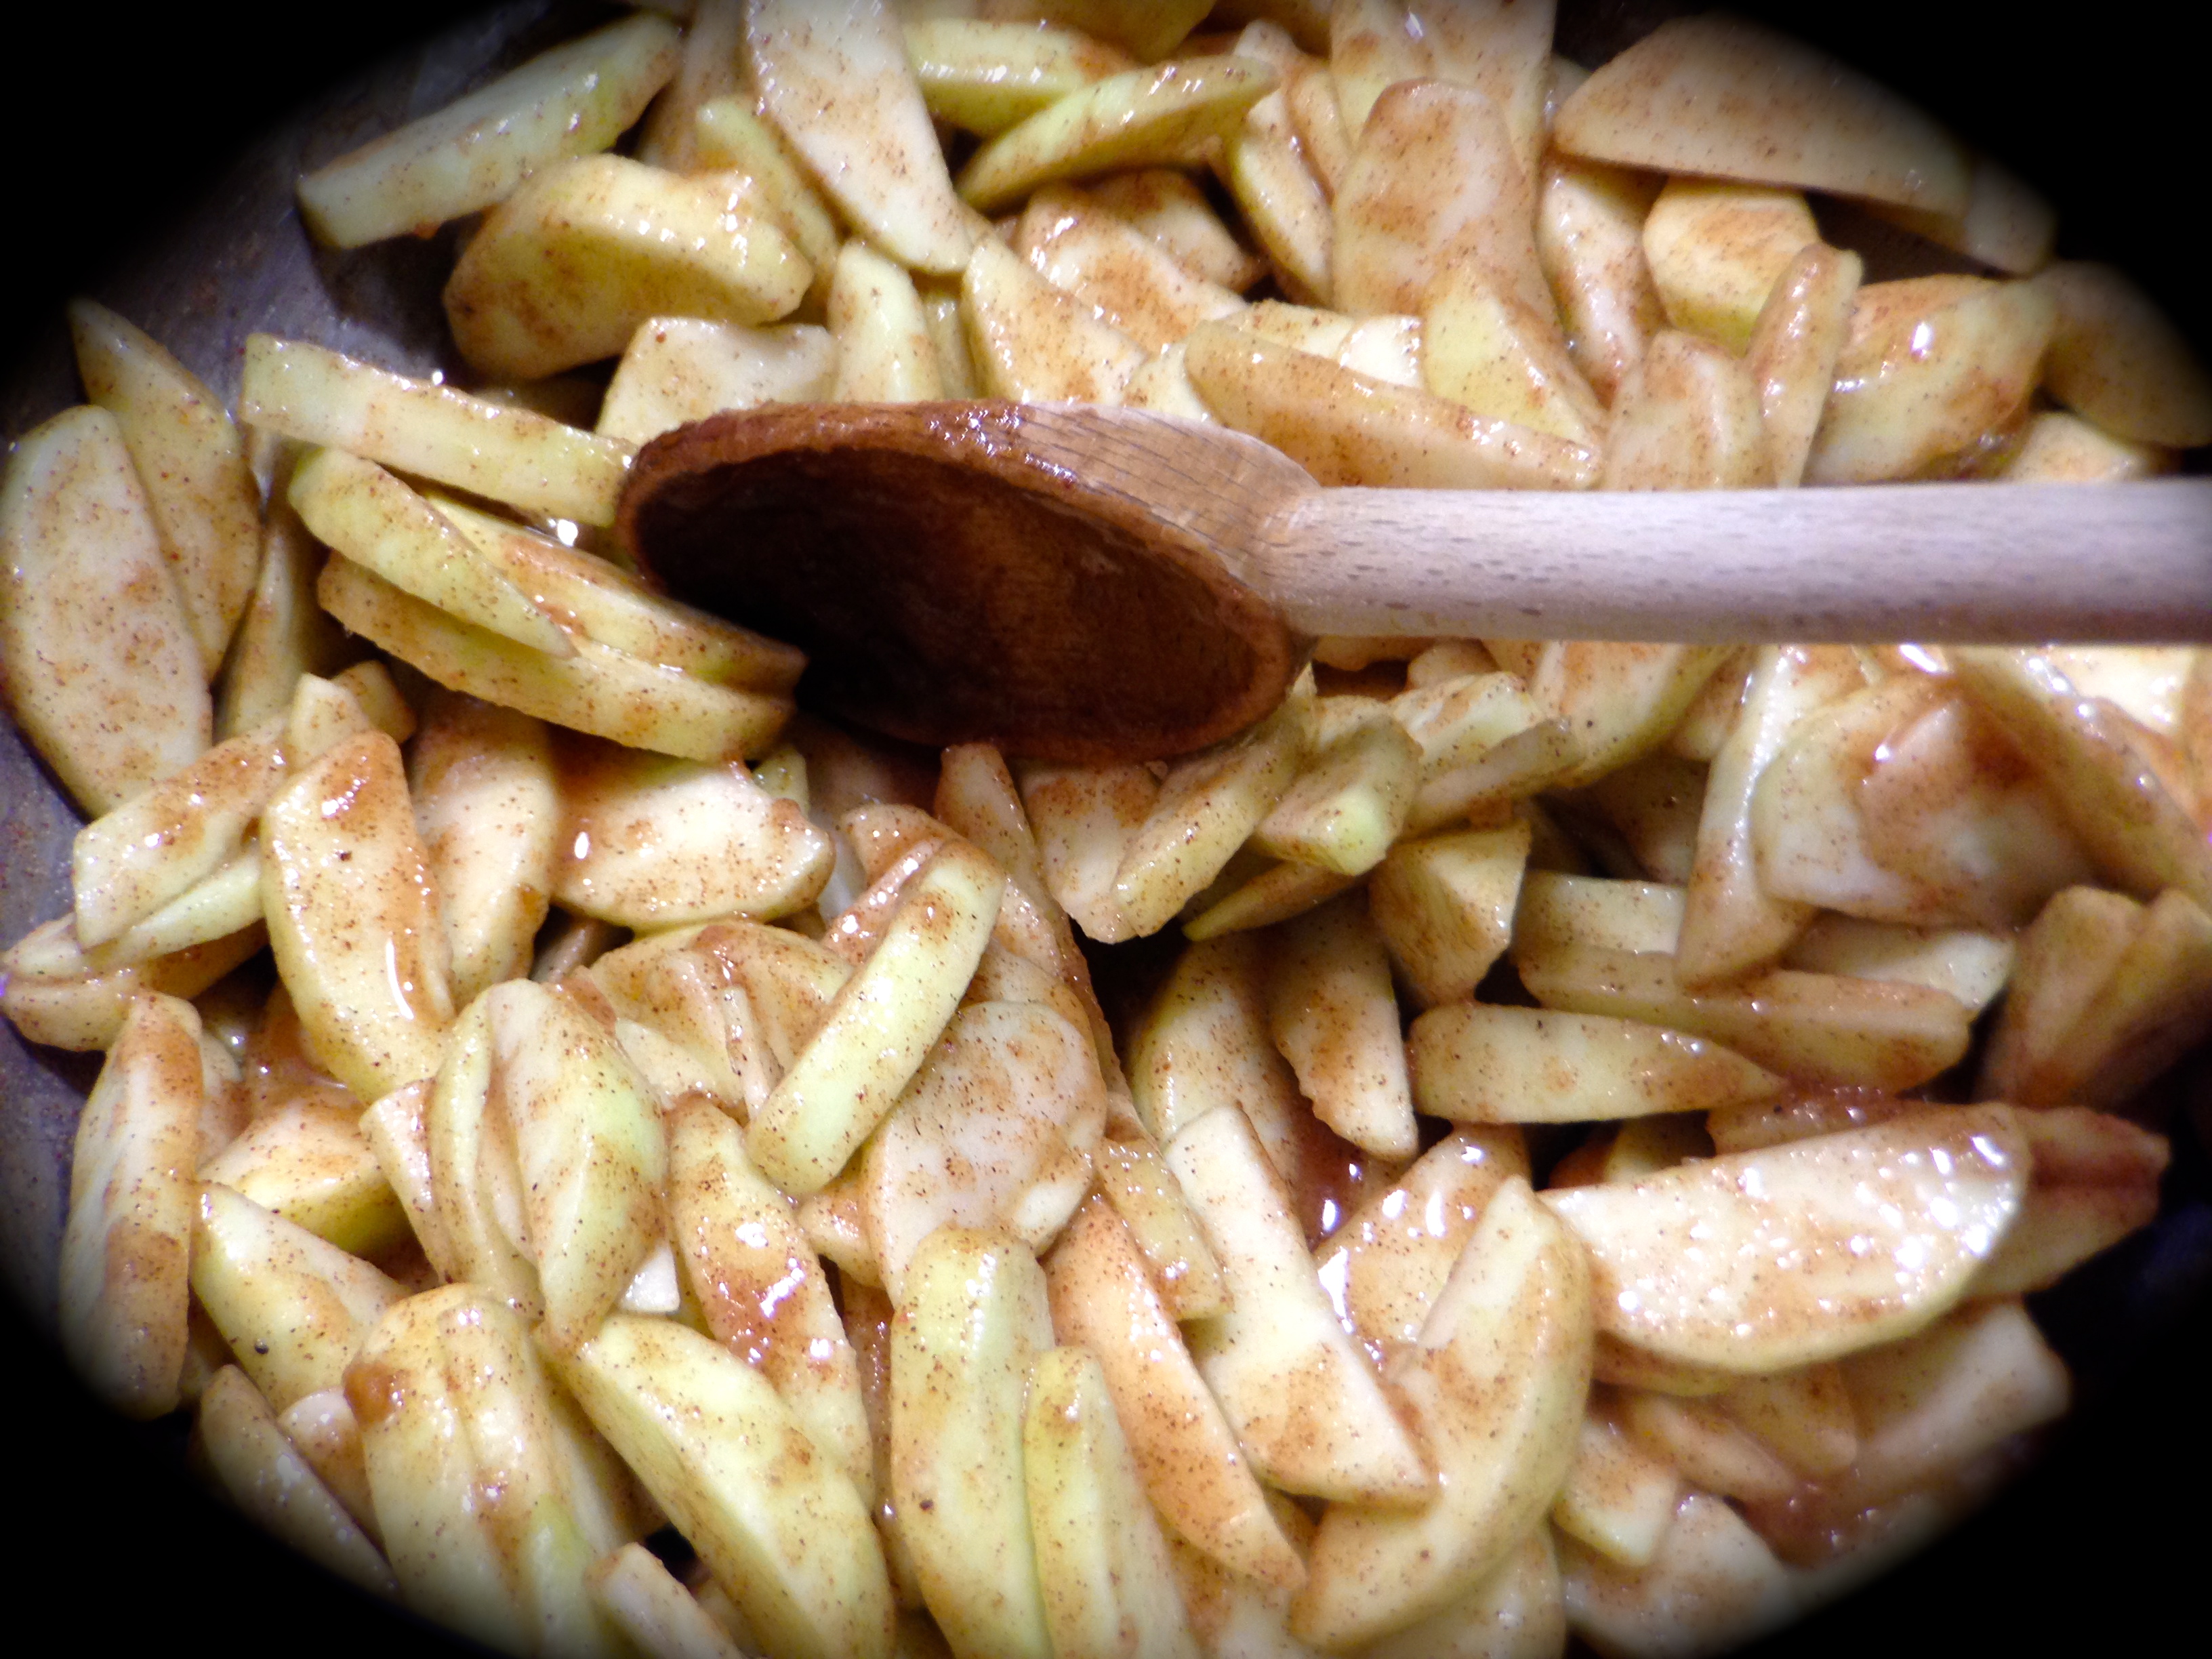
The best thing about quiche is it can be a great dumping ground for leftovers. And there isn’t just one way to make one or only certain ingredients you can use. Making quiche is like painting on a blank canvas – create what you want and it will all be good.

This recipe is about as basic as you can make it. But even with that, my husband said that my homemade quiche is so much better than the fancier ones I’ve been buying at the store. So, I think it’s pretty much home made quiche from now on. But that doesn’t bother me because it really is so simple to make.  So let’s talk easy sausage and onion quiche…

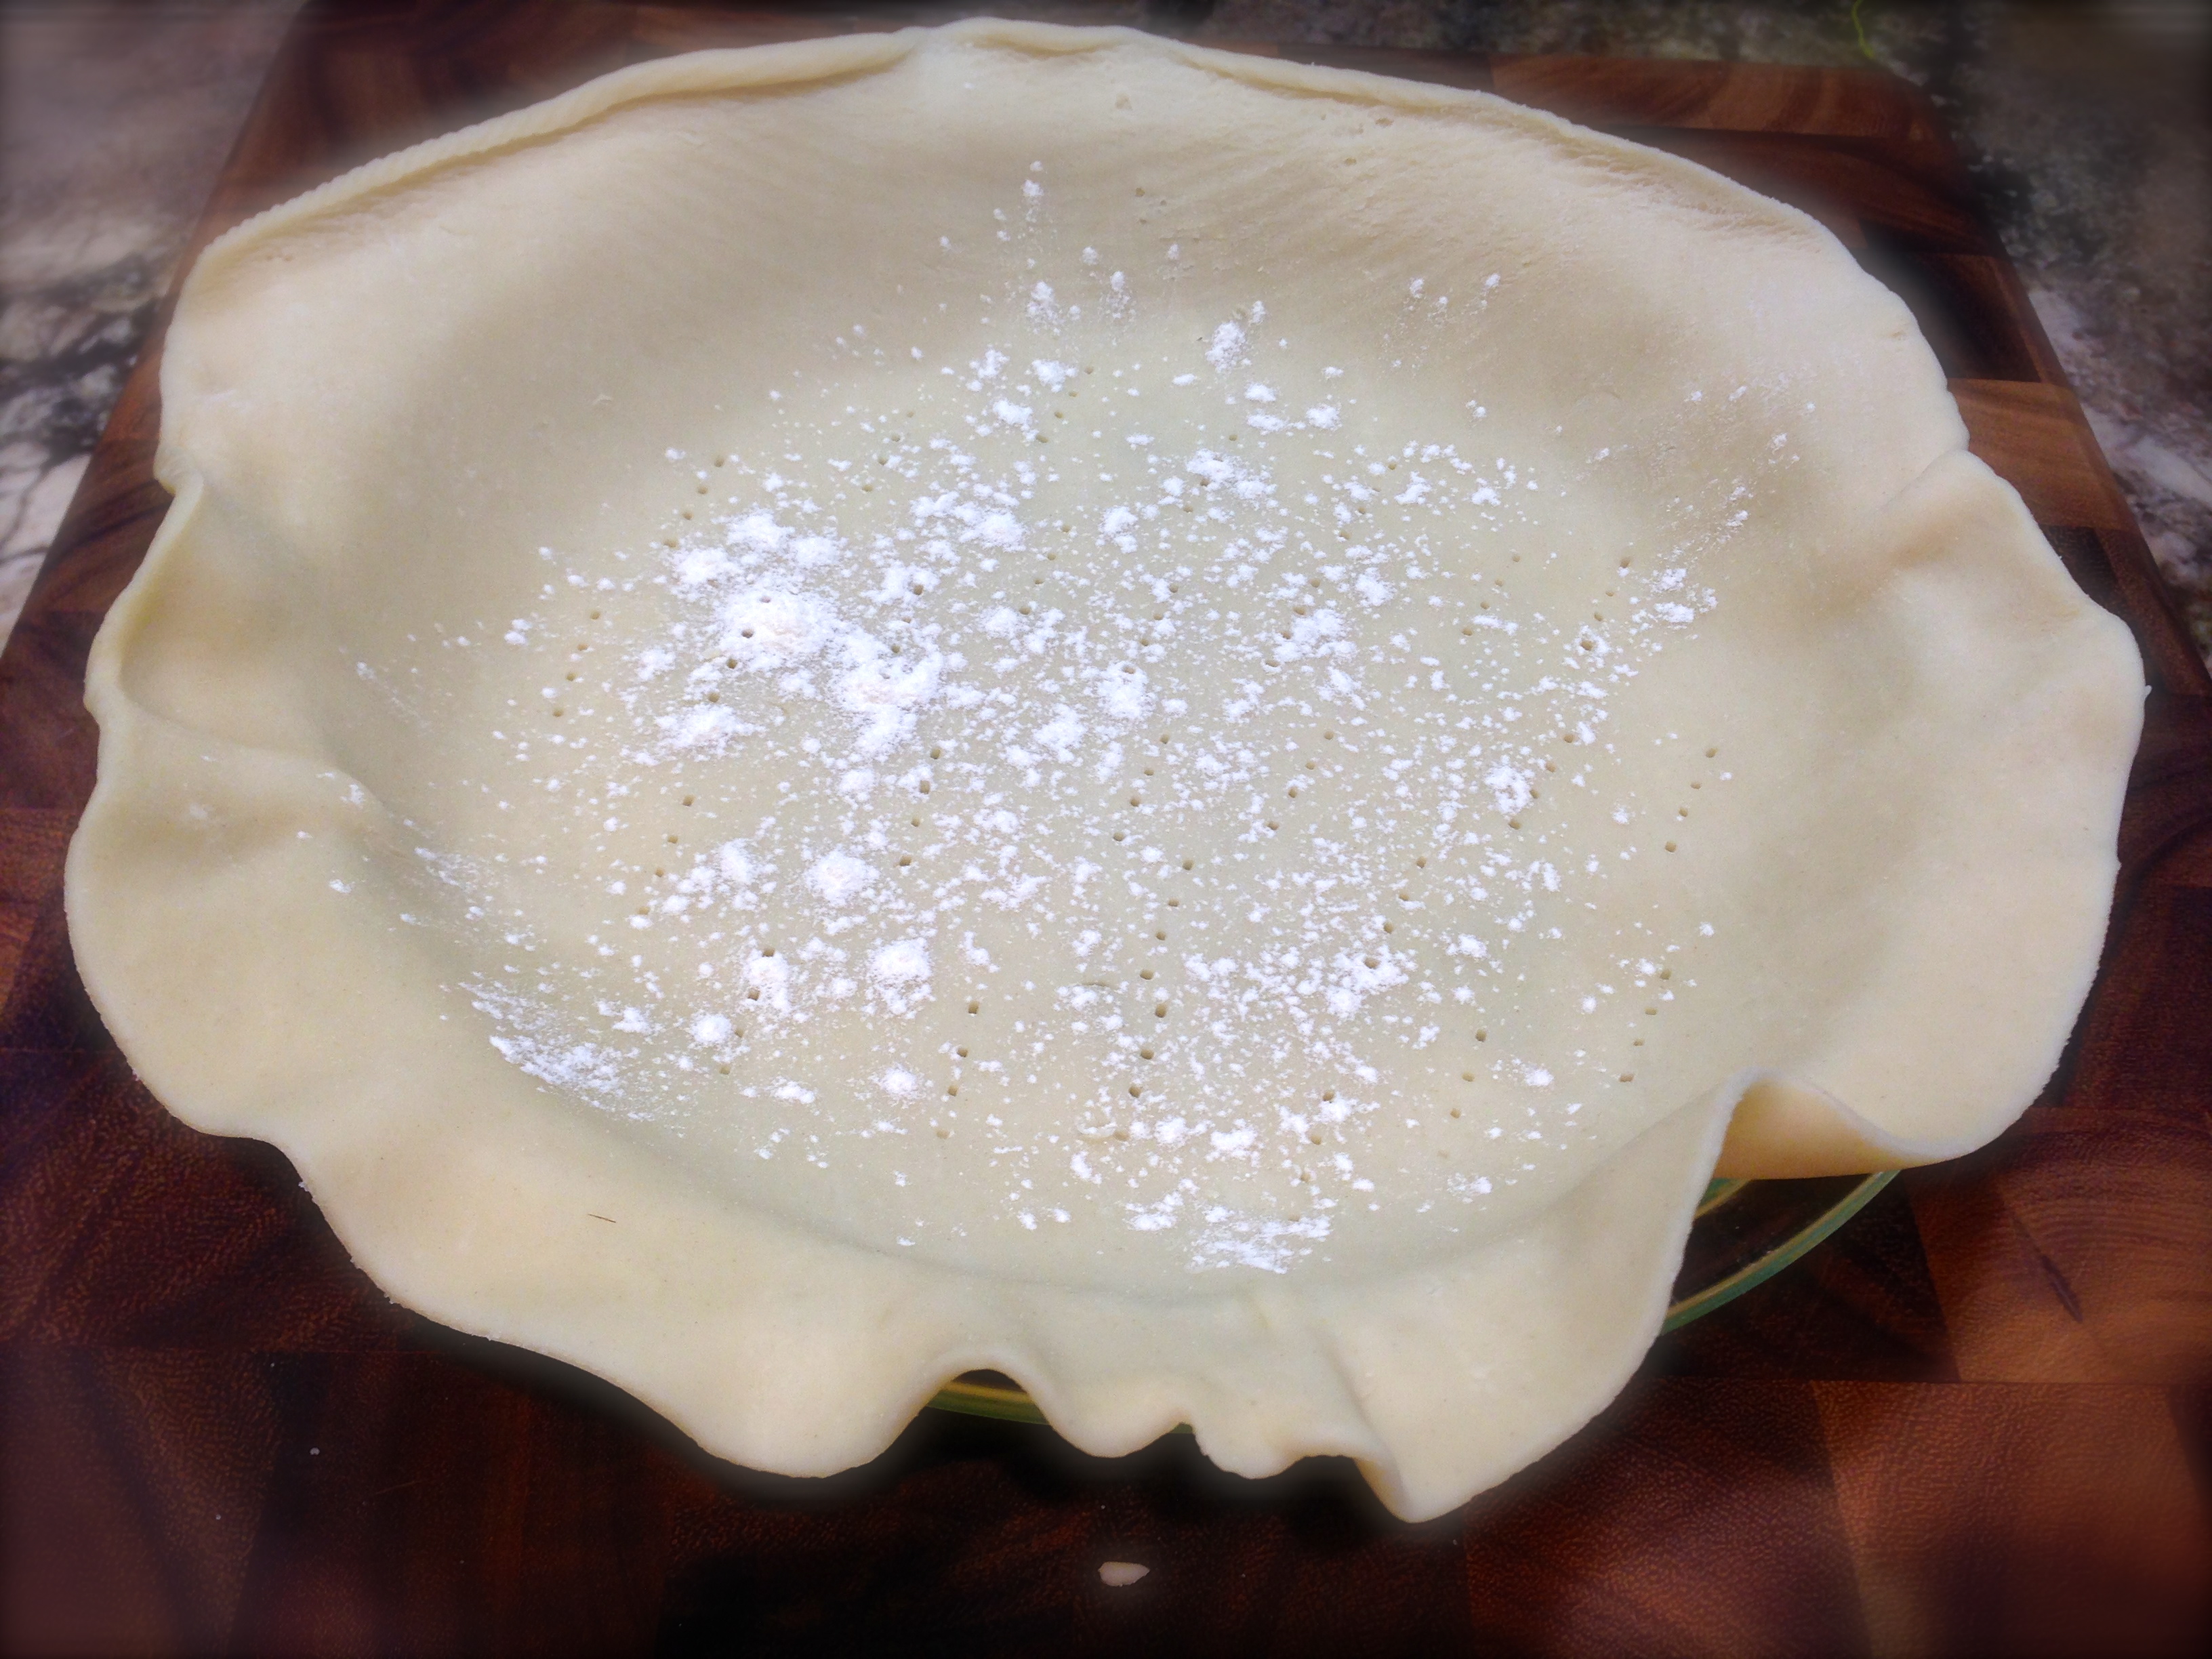
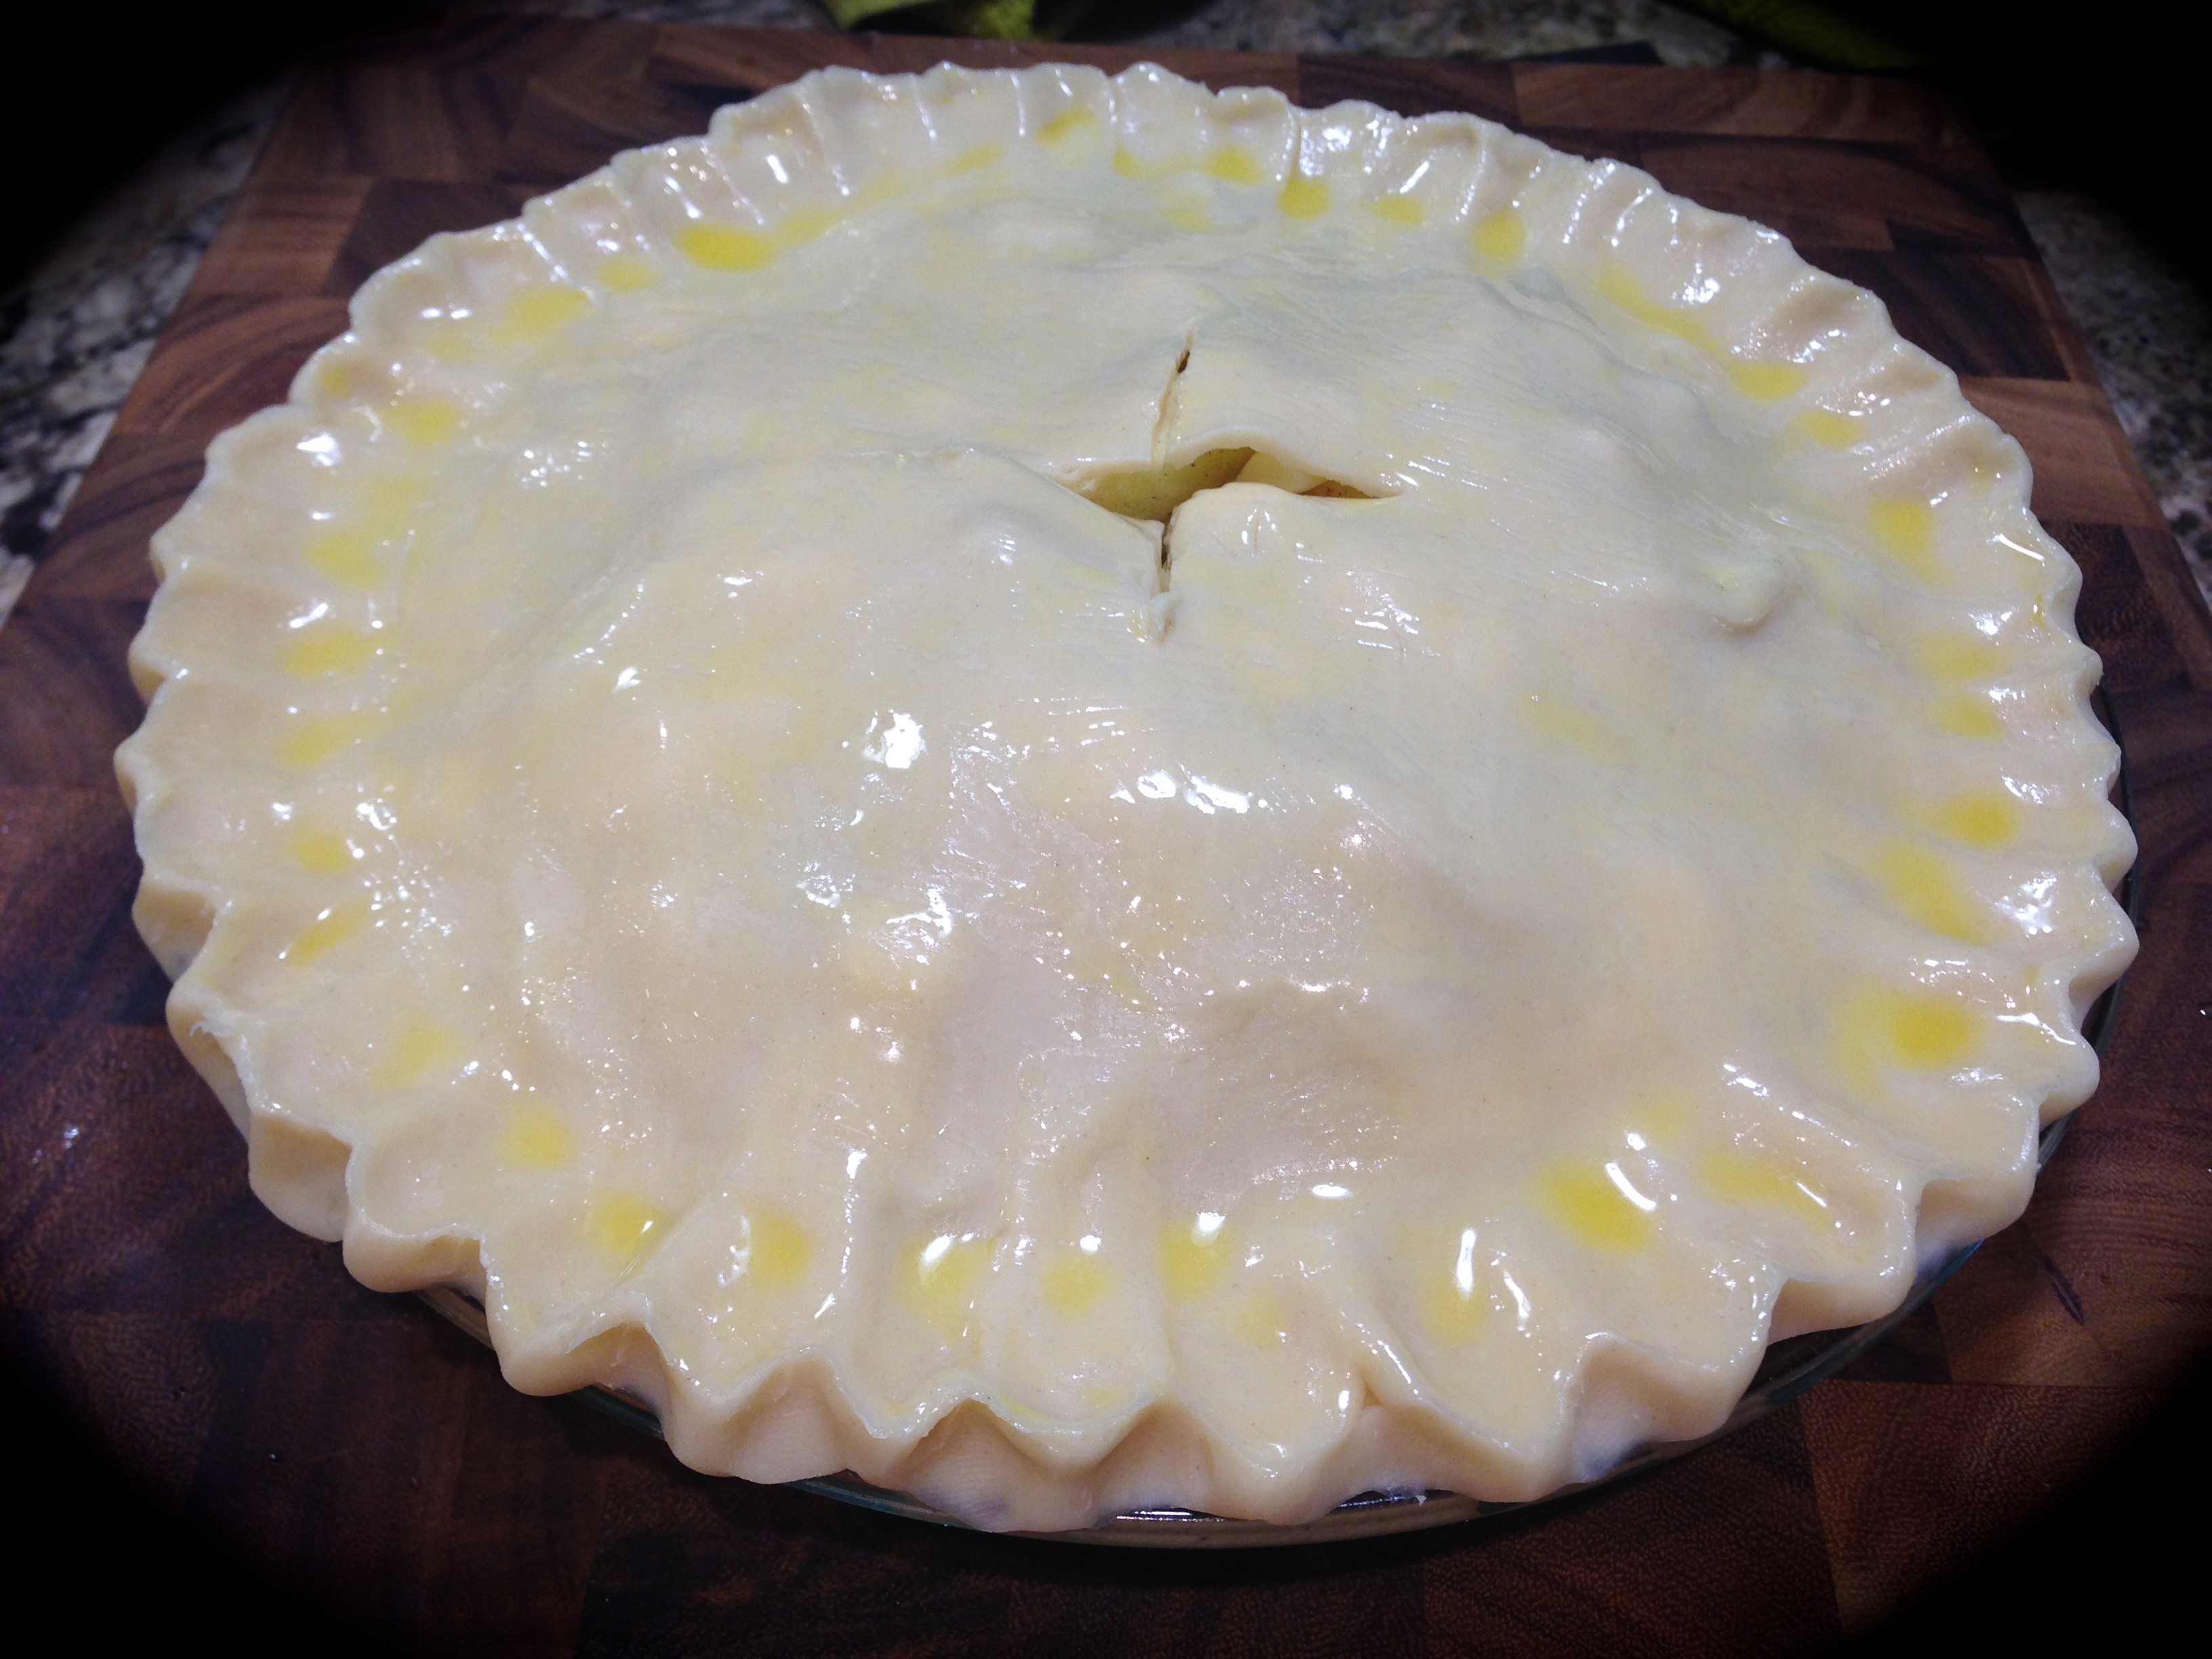
Lesson Learned 1 – Frozen pie crust shells work perfectly for this recipe: Now I’m not saying that you can’t make crust from scratch but why go through all that work when the frozen shells work equally as well. But you definitely have the choice. You can make your crust from scratch, or use the packaged pie crust rounds or get the pie crust shells that are pre-made and frozen. All will work.

Lesson Learned 2 – Cook the breakfast sausage until you see only a little light pink: Remember the quiche is going to bake for an hour so the sausage will continue to cook during that time. I like to cook my sausage first, mix it with the cream cheese and let it sit a little before I put it in the pie crust. I normally use that time to put the egg mixture together.

An 8 oz. tube of breakfast sausage is more than enough. You can go a little lighter on the sausage and only use 4 ounces at a time. We like a lot of sausage in our quiche so I prepare the whole tube and use the leftovers to put in my scrambled eggs for breakfast during the week. But just a warning, if you cook all 8 ounces there will be leftovers.

Also, make sure you drain the sausage on paper towels to get all the grease out before adding it to the quiche. It’s important that the sausage is as dry as possible.

Lesson Learned 3 – Beat the eggs really well: I found if you want the fluffiest quiche you need to beat the egg mixture until it foams. This may take a couple of minutes but it is definitely worth it. When the eggs are that light and airy, so is the quiche.

Lesson Learned 4 – Use a good melting cheese: You can use a wide variety of melting cheeses in a quiche. I like this particular recipe because it pairs a little cream cheese with another melting cheese. I used muenster in this recipe but you can also use cheddar, gruyere, swiss, or mozzarella. That’s the beauty of making a quiche. The choice is yours!

Lesson Learned 5 – I used pearl onions for an extra pop of flavor: You can definitely chop and saute some onions and add it to the quiche. I prefer using frozen pearl onions. You can drop them in frozen and they give a noticeable pop of flavor when you bit into one. Pearl onions are quick and easy.

Lesson Learned 6 – Let the quiche stand for 10 minutes when it comes out of the oven: For ease of cutting you need the quiche to set before you serve. Once you take the quiche out of the oven cover it with foil and let it sit for 10 minutes. The consistency will be perfect and cutting the quiche will be a breeze!

And that’s it. Pretty simple actually – simple but oh so good! Try it and let me know what you think.

The Best Sausage & Onion Quiche

  • Servings: 6
  • Difficulty: Easy
  • Print

INGREDIENTS:

1 9 inch frozen pie crust

1 – 8 oz. tube of breakfast sausage (I used Jimmy Dean)

1/2 cup frozen pearl onions

4 oz. of cream cheese, room temperature

1 cup shredded melting cheese (I used muenster), divided

4 eggs

1 cup heavy cream

2 Tbs. sour cream

DIRECTIONS:

Preheat the oven to 350. In a skillet, cook the sausage until only slightly pink breaking up the sausage as you cook it. Drain the sausage thoroughly. Combine the sausage and cream cheese. Set aside.

In a medium size bowl beat the eggs, sour cream and heavy cream thoroughly (at least a minute).

Place the sausage and pearl onions in the bottom of the pie plate. Cover with 1/2 of the cheese. Pour the egg mixture over the sausage, onions and cheese. Add the remaining cheese on top.

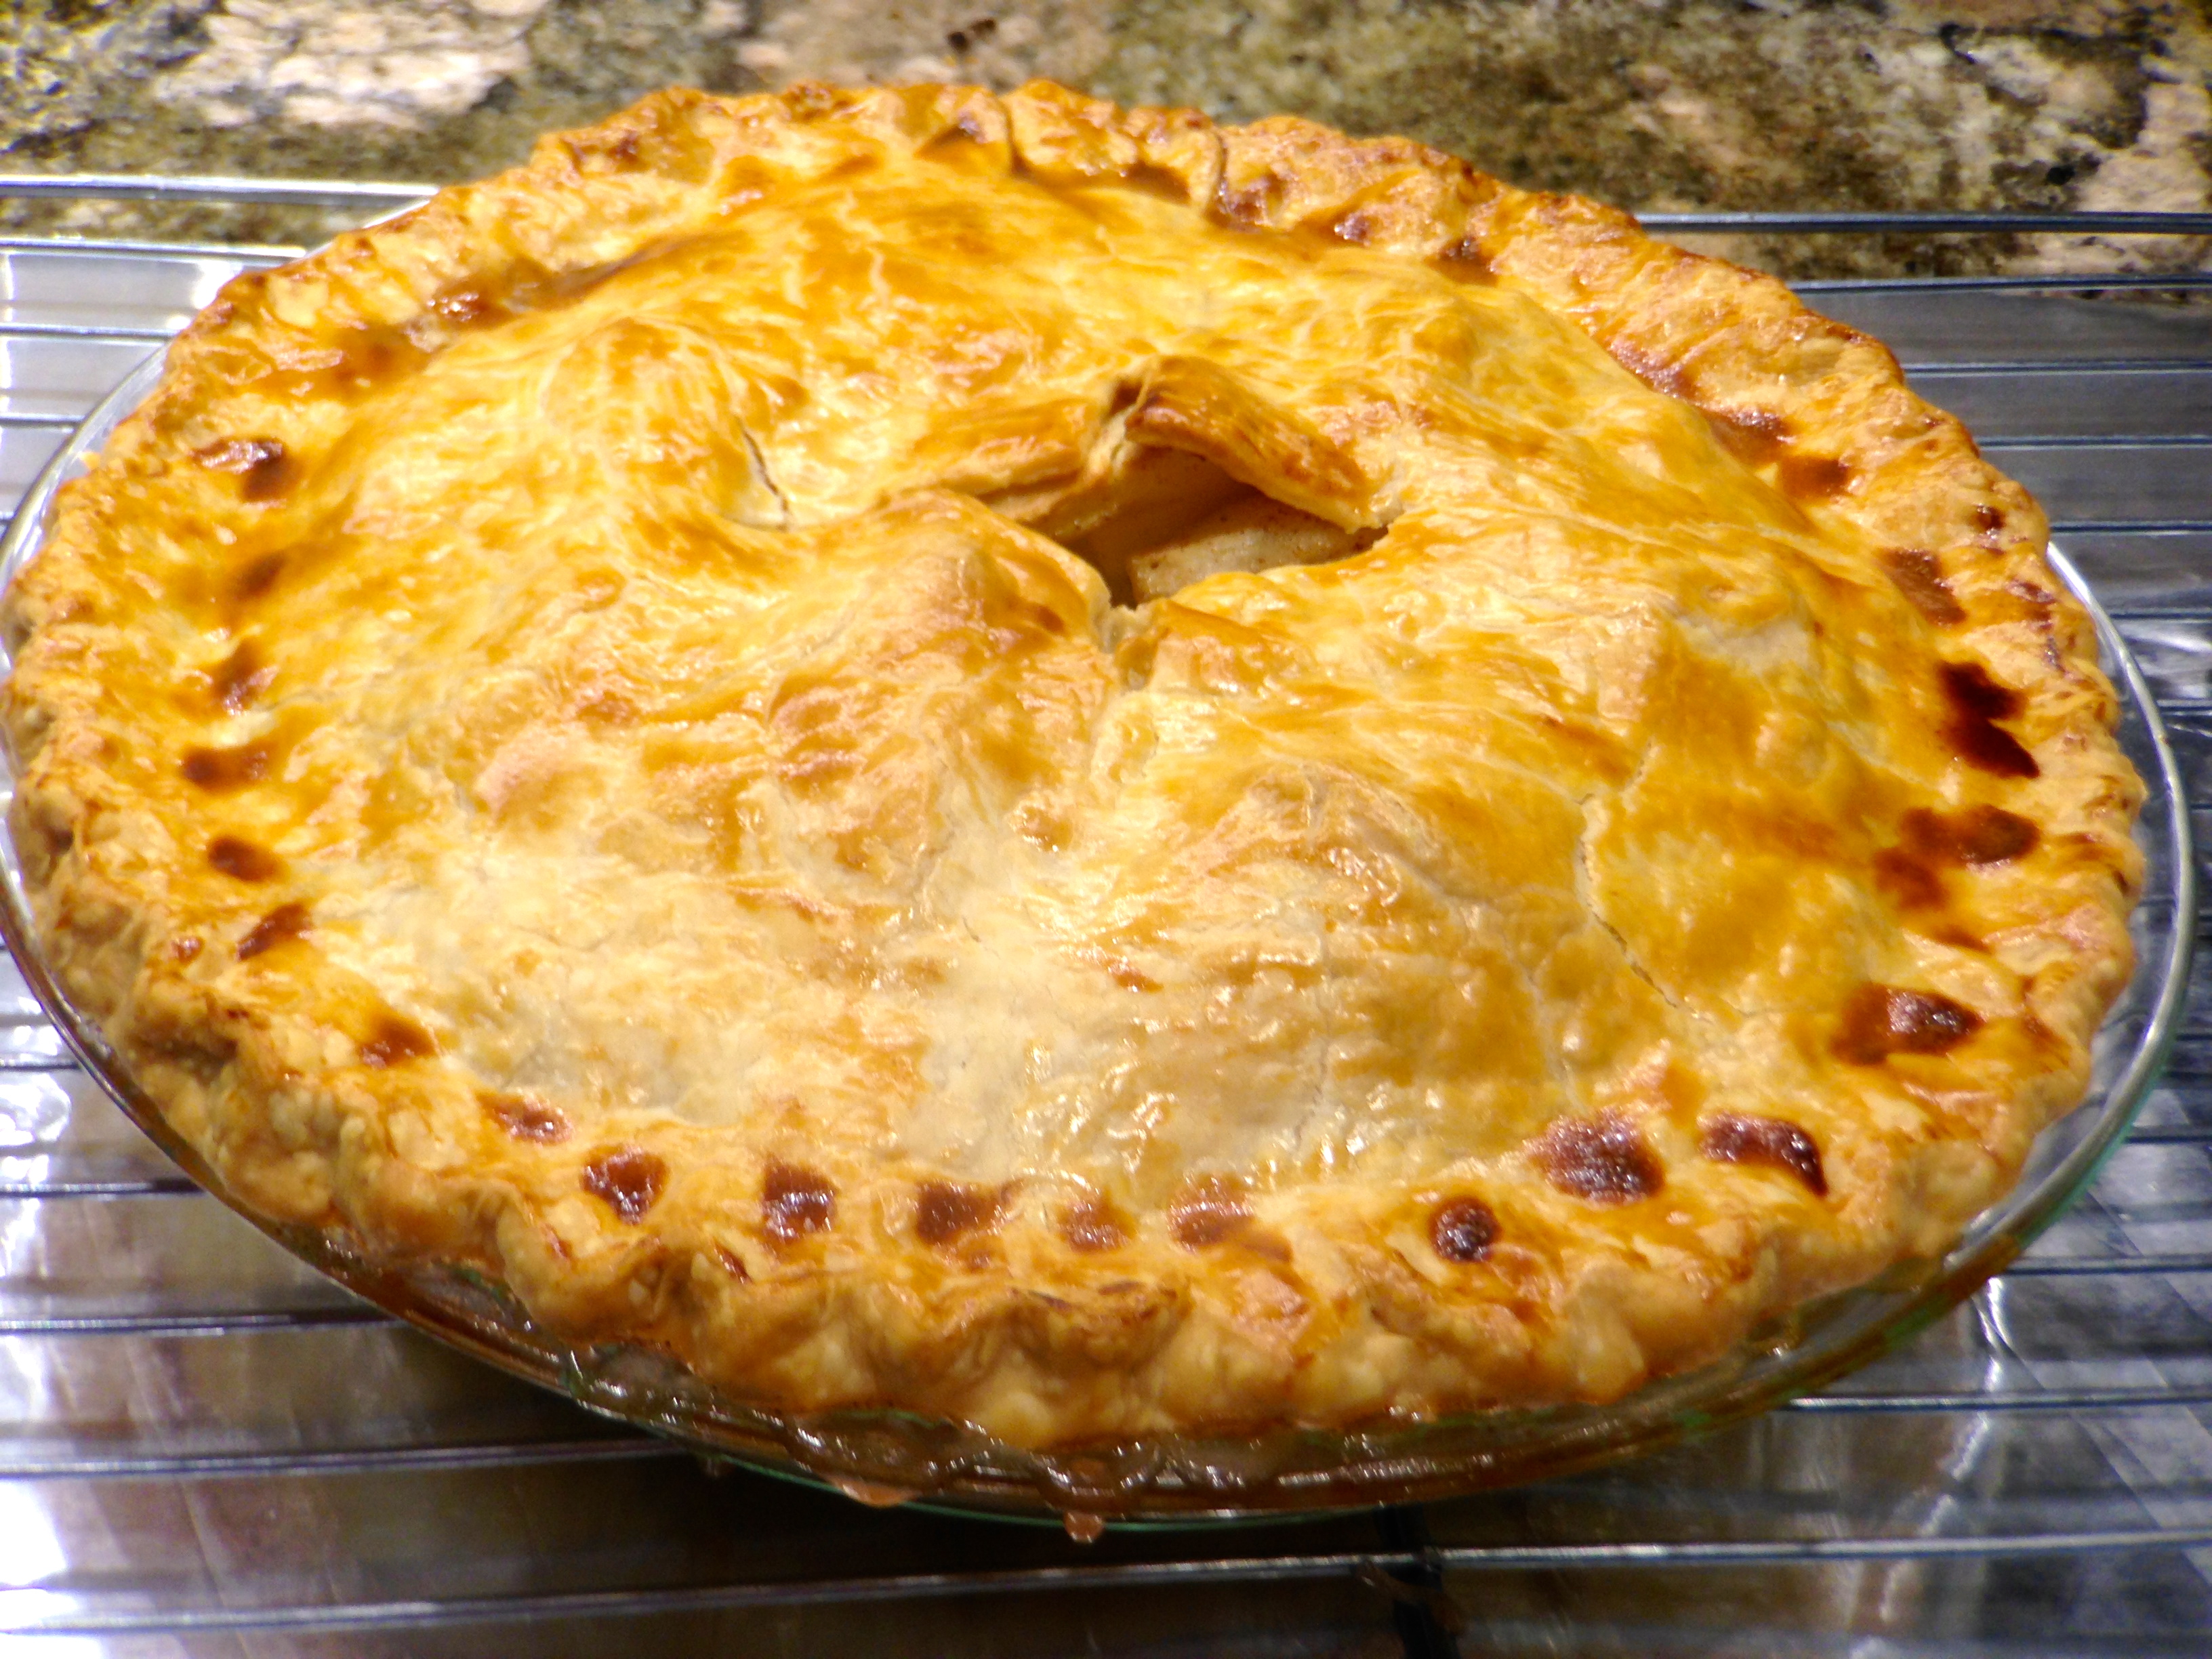
Bake for 1 hour. Check the quiche about half way through to make sure the cheese on top is not getting too brown. If it is, loosely cover the quiche in foil for the remainder of the cooking process.

IMPORTANT: Allow the quiche to rest covered in foil for 10 minutes before serving.


Mini Cherry Cheese Danishes…

This recipe was born out of leftovers I had from making my Chocolate Cherry Cream Cheese Cake. I still had some of the cream cheese mixture and cherry pie filling leftover and really didn’t want to just throw them out. I searched online to see if I could get some ideas and found something similar to this and thought, I’ll make some mini cheese danishes.

Apparently a lot of people are using refrigerated dough to makes these types of recipes. I was surprised to find crescent dough “rounds”. I’d never seen them before. I was thinking I might have to take the traditional crescent dough and pinch the seams in order to get the rounds I needed. I was delighted that I did not have to do that work, that it was already done for me.

So let’s talk mini cherry cheese danishes…

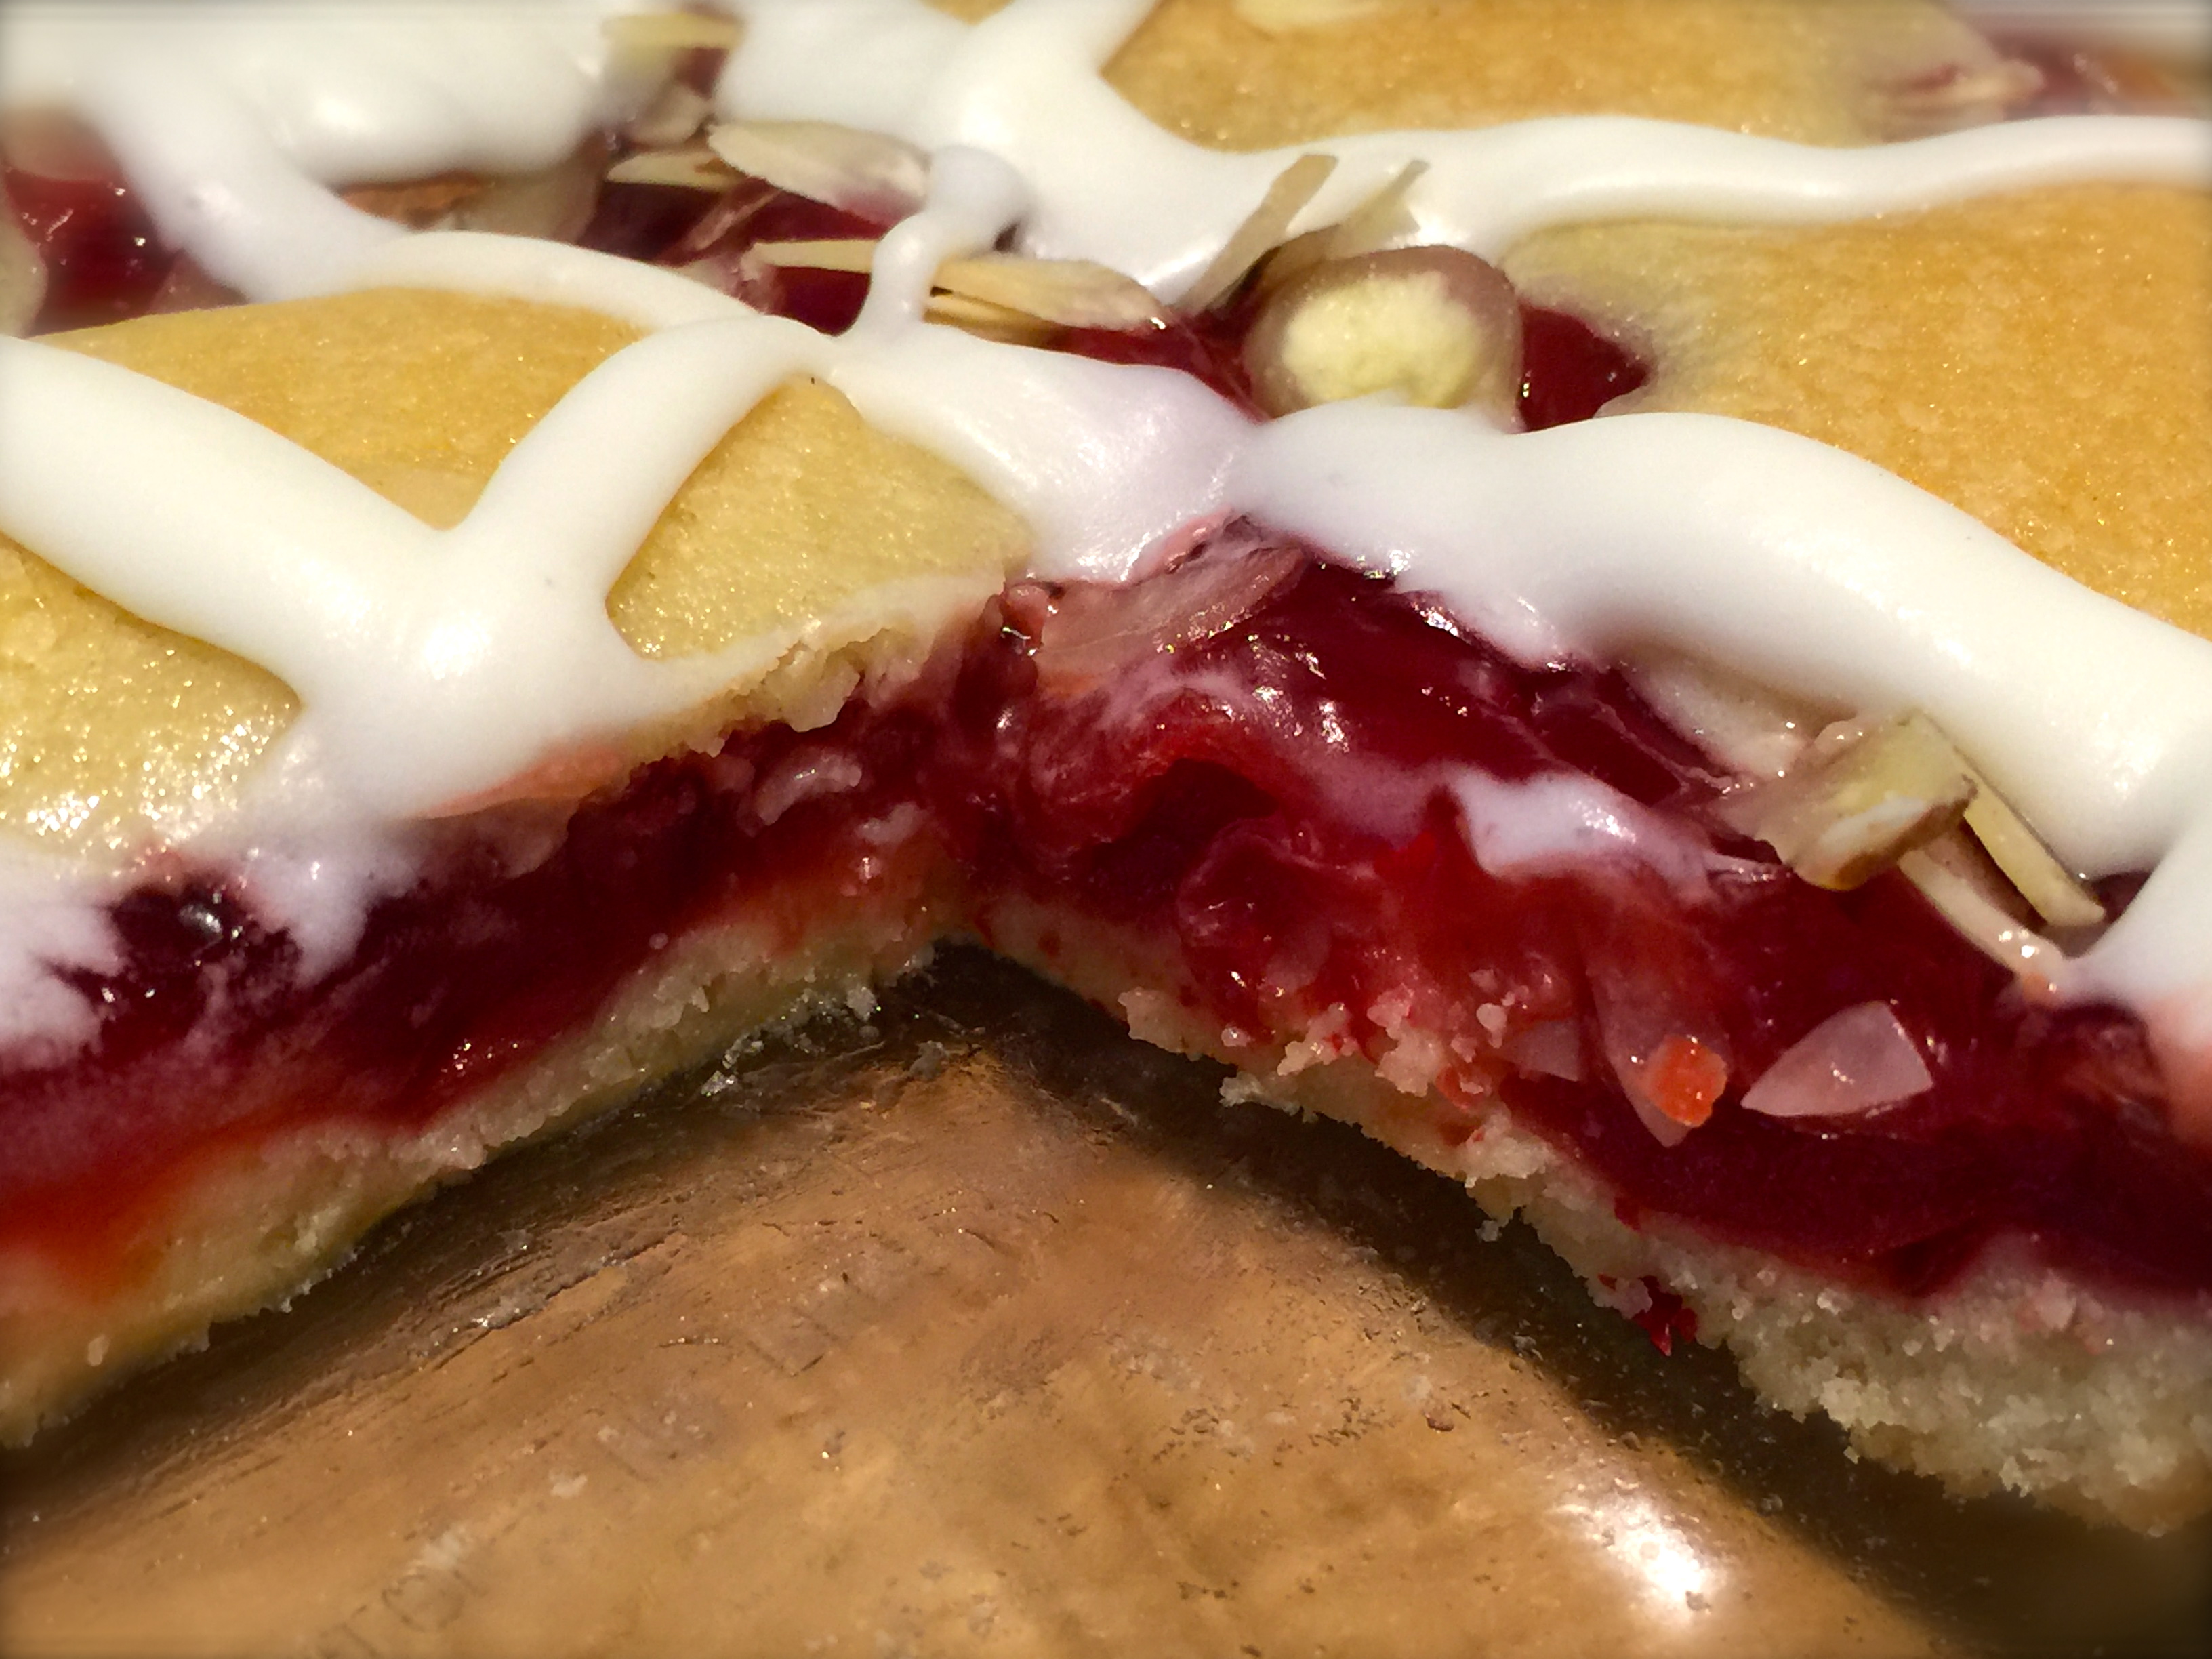
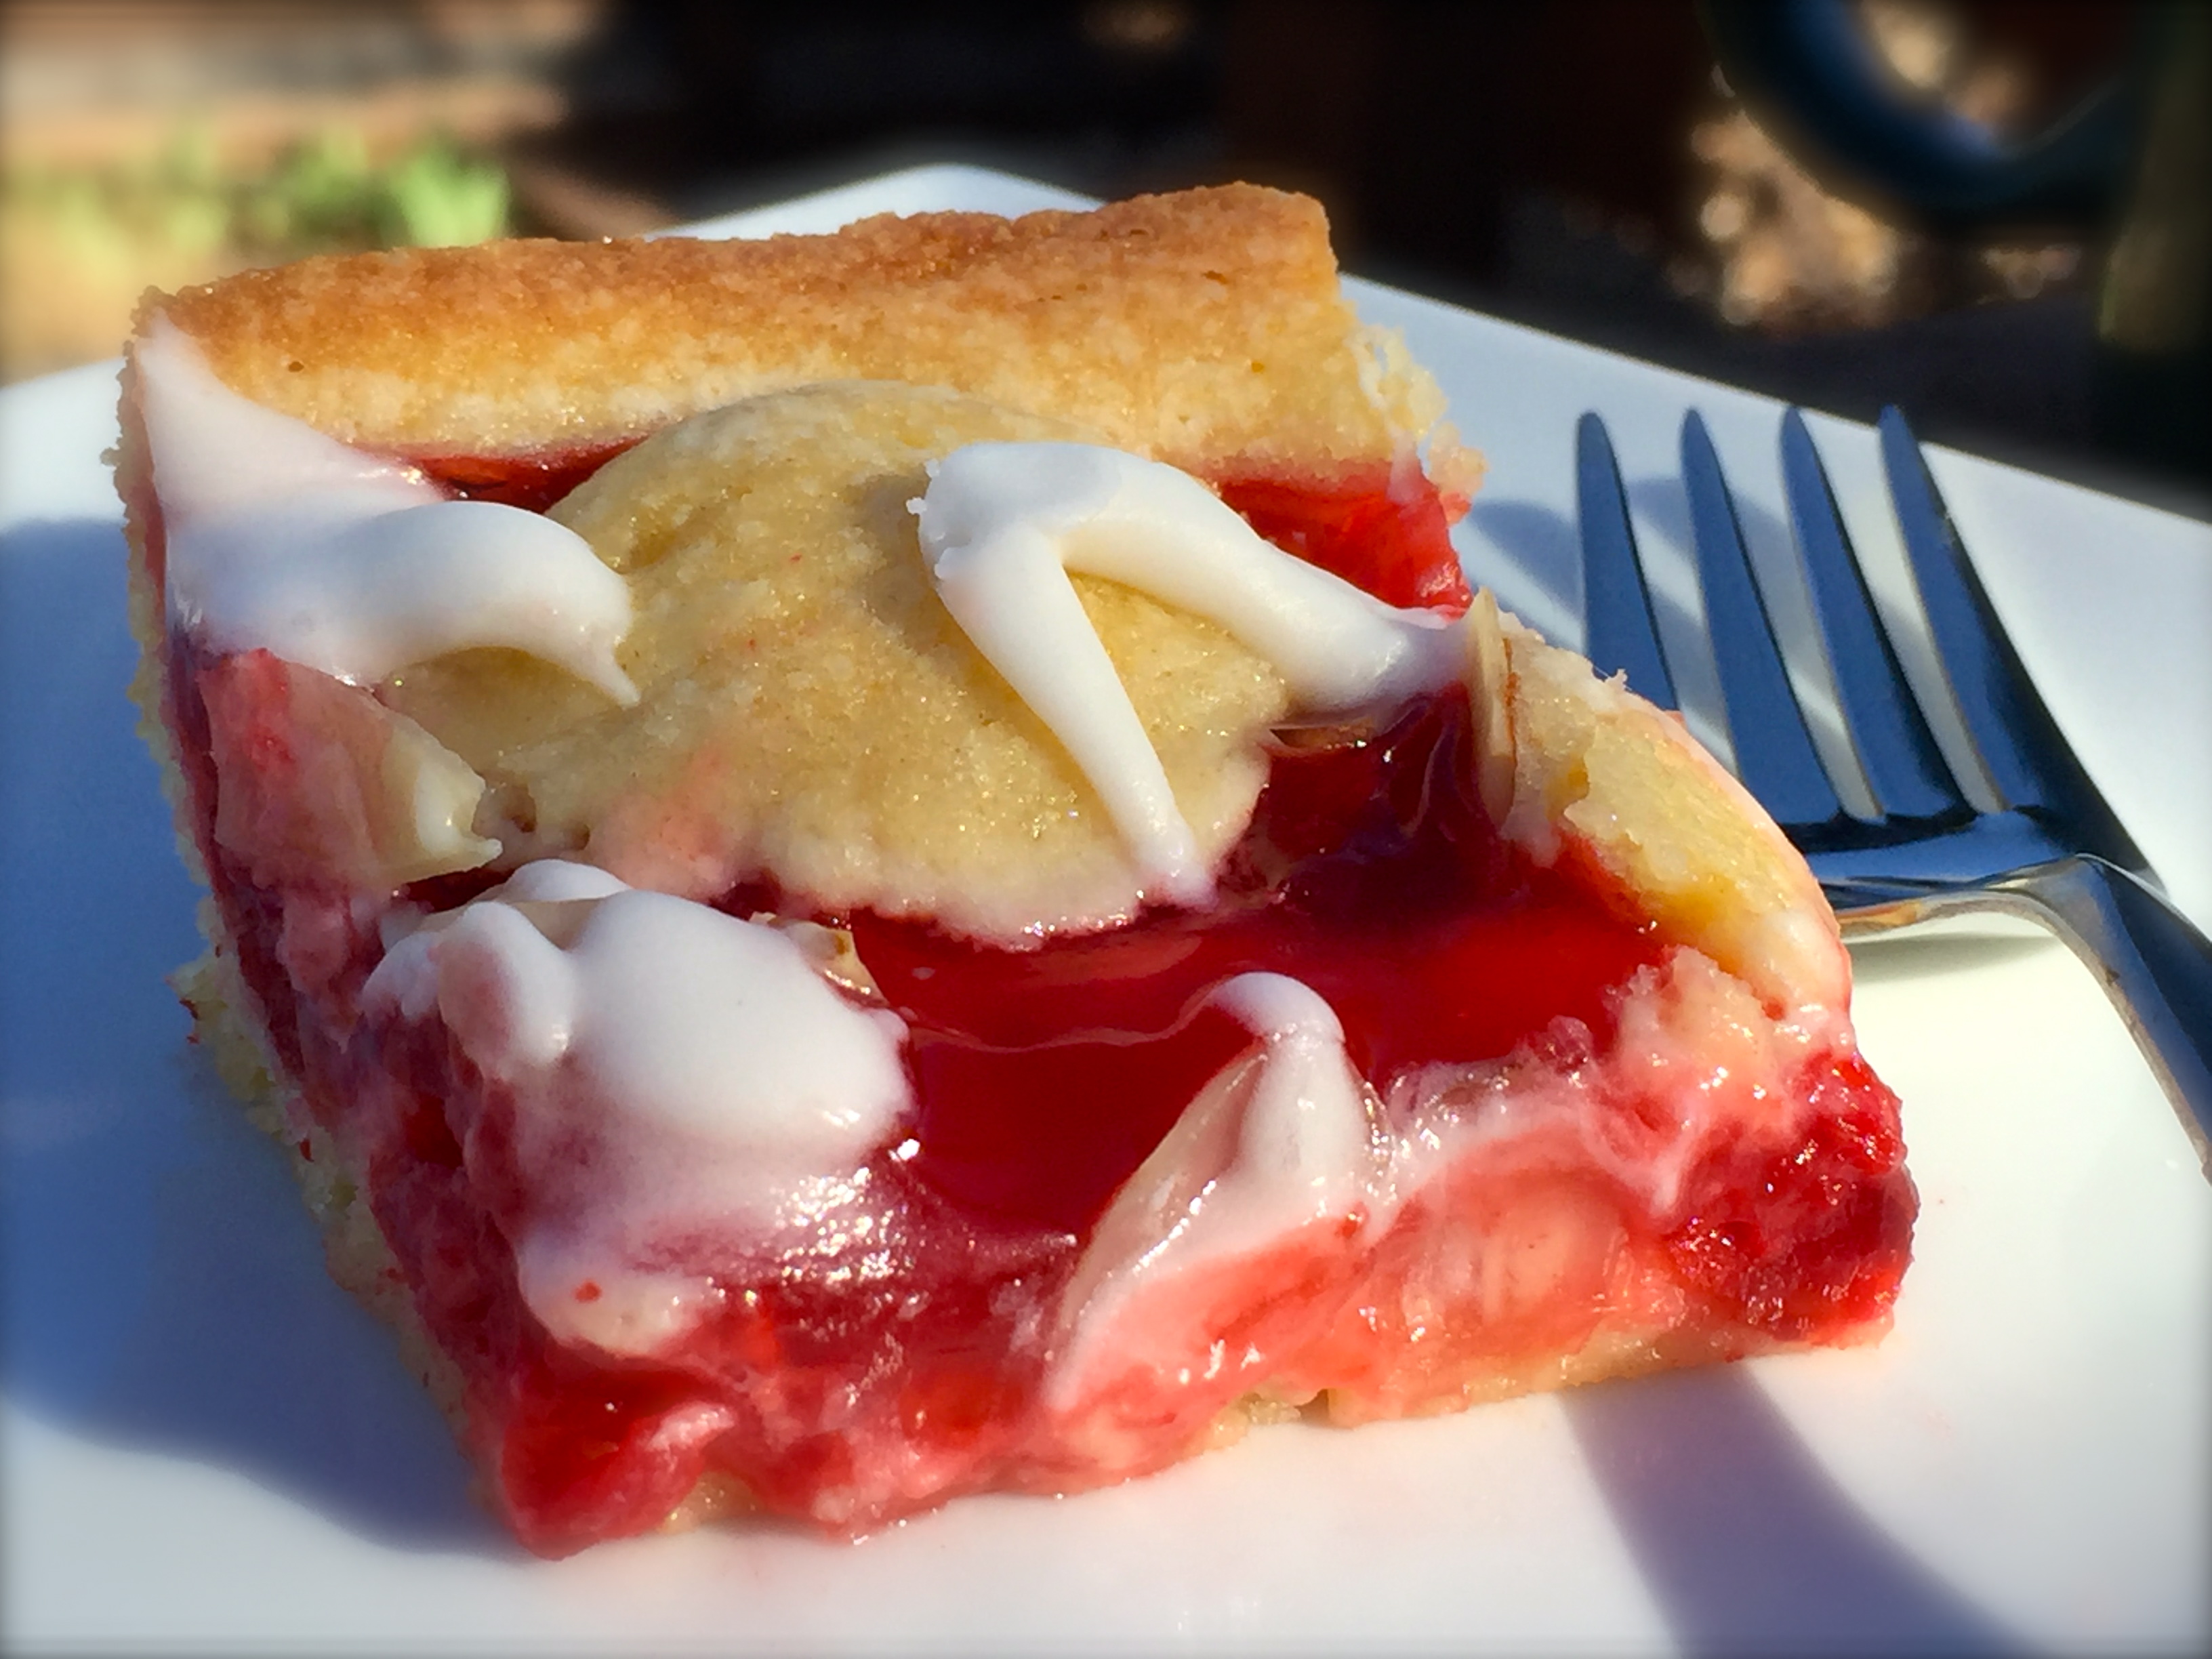
Lesson Learned 1 – Working with the refrigerator dough: Using this kind of dough is very convenient but you do have to work it a little bit. I cut the pieces along the pre-perforated edges as best I could (I wound up with 9 rounds and  I should have only had 8 if I followed the perforations exactly – oh well…) and  rolled each piece into a ball. I flattened each piece with my hand and then used my thumbs to create a crater inside the dough. The crater is important because that’s where you put the cream cheese and cherries. Making the crater as deep as possible helps to prevent the cherries from falling off. But don’t worry, if they do once you pull them out of the oven just use a small spoon to push them back on top. Once they cool they will stay put.

Lesson Learned 2 – The cream cheese filling: This recipe was inspired by the cream cheese filling and canned cherries I had left over from making a Chocolate Cherry Cream Cheese Cake. After I made the cake I had enough filling and cherries left over that I really didn’t want to just throw out. This recipe is designed for that type of leftover. You can make the filling for this recipe versus using leftovers, and I will include the the recipe for the filling I used, but any type of cream cheese filling will do. Plus if you make the filling from scratch you will definitely have too much filling. There have been many times I’ve had filling like this left over and I just trashed it. But even if I didn’t have any leftover canned cherries, another type of fruit could be substituted, like left over apple sauce or apple pie filling. This recipe is a very easy way to use your baking leftovers.

Lesson Learned 3 – The Glaze: As I’ve shared before the formula for glaze is quite simple – a cup of confectioners sugar and 1 – 2 tbs. of liquid (water, milk, heavy cream) and a little flavoring like an extract, juice, and/or zest. For this recipe I used 1/8 tsp. of almond extract and the glaze was perfect.

My husband really liked these tasty little bites. Cover them with plastic wrap or put them in an air tight container and they’ll stay fresh for 3 days, if they even last that long. I know mine didn’t. Enjoy!

Mini Cherry Cream Cheese Danishes

  • Servings: 9
  • Difficulty: Easy
  • Print

INGREDIENTS

1 can of crescent rounds, I used Pillsbury

Leftover cream cheese filling (note recipe below was the filling I used but if made from scratch is too much for this recipe)


2 – 8oz. packages cream cheese, softened

1/2 cup + 2 Tbsp. sugar

1 tsp. vanilla extract

3 Tbs. flour

1 egg, room temperature


Leftover fruit  – I used leftover canned cherry pie filling

GLAZE:

I cup confectioners sugar

1 – 2 tsp milk

1/8 tsp almond extract

DIRECTIONS:

Preheat oven to 375. Line a 9 x 13 pan with parchment paper and set aside.

Open the can of refrigerator dough and cut the dough rounds using the perforations as a guide. Roll each into a ball. Flatten each ball with the palm of your hands and create a crater in the center of each with your thumbs.

Place a half teaspoon of cream cheese filling and 2-3 cherries inside each crater.

Bake for 10 – 12 minutes.

Remove each danish onto a wire rack and let cool. If any cherries have fallen off during the baking process, spoon them back on top before placing on the wire rack.

Once cooled, make the glaze and drizzle over the danishes. Serve or place in an air tight container. Danishes will stay fresh for approximately 3 days.

Ready To Go Into The Oven

SaveSave

SaveSave

SaveSave

SaveSave

SaveSave

SaveSave

SaveSave

SaveSave

SaveSave

SaveSave

SaveSave

SaveSave

SaveSave

SaveSave

SaveSave

SaveSave

SaveSave

SaveSave

Cherry Pie Squares…

I was looking for a way to use a can of cherry pie filling I had in my pantry and I didn’t  want to make a traditional pie so I decided to make these instead. I love these because you satisfy your cherry pie craving with a tasty little morsel. These squares are easy to make and impressive looking. Your friends will think you are an accomplished baker when you make these.

So let’s talk cherry pie squares…

Lesson Learned 1: You need less batter on top than you think: Initially I only used 1 1/2 cups of batter for the bottom crust of he squares. That left me with quite a bit of batter for the top. I found in making this that a little batter goes a long way. It is better to dot the top with small dollops of batter far enough away from each other so they spread out but not necessarily touch. The pictures below show the amount of batter I put on top and my final product. Next time I make these I will use smaller amounts of dough to dot the top and probably set aside 1 3/4 cups for the bottom crust.  That way I will have a little more dough for the crust and the small dollops will still be more than enough for the top.

The batter on top of the pie filling

Cherry Pie Squares

Lesson Learned 2 – A little bit of baking spray goes a long way: The best way to insure that the squares don’t stick to the pan is to either spray the pan with baking spray or line it with parchment paper. This time I chose to use baking spray. Don’t overdo spraying the bottom of your pan with the spray. You don’t want to make the crust soggy. Just spray lightly. Next time I make these I am going to line the pan with parchment paper instead of spraying the bottom. I tend to prefer that method.

Lesson Learned 3 – The batter is very sticky: When spooning the crust batter into your baking dish you might want to take large spoonfuls and put them in various parts rather than taking the full amount and just putting it in the middle. You will need to pat the batter down with your hands to cover the entire bottom of the baking dish. I suggest spraying your hands with baking spray. It makes this job much less difficult. After I covered the entire bottom I smoothed the batter with an icing knife.

The bottom crust of the cherry pie squares

Lesson Learned 4 – Leave about an inch around edges when adding the cherry pie filling: The cherry pie filling will run during the baking process. Leaving some space around the edges will allow the batter to rise around the edges making it easier to remove the squares when the time comes.

Adding the cherry pie filling

Lesson Learned 5 – If you can use heavy cream when making the glaze: I found that if you use heavy cream in a glaze the consistency and flavor are much better. Don’t go out and buy heavy cream just for the glaze if you don’t already have it. But if you do I think you’ll find you’ll prefer glazes made with heavy cream to those that are not.

After I made these I gave some to my neighbors. Everyone of them asked for the recipe. I think you will enjoy these a lot! Try them and let me know what you think.

CHERRY PIE SQUARES…

  • Servings: 20 Squares
  • Difficulty: Easy
  • Print

INGREDIENTS:

1 1/2 cups unsalted butter, room temperature

Cherry Pie Squares1 cup sugar

1/2 tsp. salt

2 eggs, room temperature

1/2 tsp. vanilla extract

1/4 tsp. almond extract

1 1/2 cups flour, sifted

1/2 tsp. baking powder

1 can cherry pie filling, 21 ounces

Sliced almonds

GLAZE:

1/2 cup powdered sugar

1/4 tsp. almond extract

2-4 Tbs. of heavy cream

DIRECTIONS:

Preheat the oven to 350. Spray a 9 x 13 pan with baking spray or line with parchment paper. Set aside.

Cream together butter and sugar. Add the eggs one at a time and beat until completely combined. Add the vanilla and almond extracts and beat until well combined.

In a separate bowl whisk together the flour, baking powder and salt. Add the flour mixture to the butter and sugar mixture and mix until just combined. Do not over mix. Take 1 3/4 cup of the batter and smooth over the bottom of the baking dish. Spoon the cherry pie filling over the batter, leaving about an inch of batter around all the edges. Dollop the remaining batter on top of the pie filling. Sprinkle the top with sliced almonds.

Bake for 35 minutes or until the crust is golden brown. Let cool completely. Mix all of the glaze ingredients together and drizzle over the top. Cut and serve.

Cherry Pie Squares

Cherry Pie Squares

Cherry Pie Squares


Easy Apple Pie…

Over the years I haven’t had a lot of luck making apple pies. I’m not sure of the exact reason but I would wind up with a variety of issues such as a burnt crust, a gooey crust, hard uncooked apples, lack of flavor in the filling and on and on and on… So when my neighbor across the street gave us a whole bunch of apples from his backyard and after numerous hints from my husband saying, “What are you going to do with them – make a pie?” I thought I would take another stab at it.

I know there are certain apples that better lend themselves to being baked in a pie, but I had no idea what type of apples I was given. I even asked my neighbor if he knew but he didn’t. I washed one, cut a piece of it, ate it and thought it might do well in a pie. So I put my cooking ego aside and decided to once again give it the old college try.

IMG_0821

I combed through a variety of recipes, reading different tips and techniques and looking at the various ingredients I could potentially use. I was surprised to find that some use heavy cream in the filling and others mixed the apples with some flour. After reading a bunch of different recipes I decided on one that I thought would give me a traditional apple pie, by that I mean one like my grandmother used to make. And from there my adventure began…

Recipe Rating A+++ – Color me surprised. It turned out great! I used a very basic recipe but added some ingredients and used different techniques I picked up looking at other recipes and the combination worked beautifully. I told my husband I thought that this was the best apple pie I ever made. He agreed!

IMG_0608Lesson Learned 1 – Invest in an apple corer: Since the apples I was using were smaller and had imperfections that I needed to work around I needed to peel and core a lot of them. When I made an apple cake recently I just used my knife to cut the core out of the apples. That took a lot of time. I invested in a simple apple corer and I was able to peel, core and cut up the apples a lot more quickly. And I also did not waste as much of the apple. It was well worth the money spent.

Lesson Learned 2 – Use lemon juice on your sliced apples to keep them from browning: I was working with some small to medium sized apples and had to use a lot of them. It took time to peel, core and slice them. If I did not sprinkle some fresh lemon juice on them periodically, some of the slices would have turned brown by the time I was ready to put them in the pie. Lemon juice prevents oxidation from occurring and that’s what turns peeled apples brown. By using lemon juice the apples looked gorgeous when I was ready to mix the filling and put them in the pie.

IMG_0618Lesson Learned 3 – Don’t slice the apples too thick and pile them high: If you slice the apples too thick they won’t cook. I sliced mine about a quarter of an inch thick and they cooked perfectly. Don’t be afraid the pile the apples into a big mound in the pie plate. They will shrink down in the cooking process and you want to make sure you still have a nicely rounded pie once it’s cooked.

Lesson Learned 4 – Prick the bottom layer of crust with a fork and sprinkle a little flour on it:  One recipe that I read included this tip. What I liked about the tip was the blogger said her grandmother always did this technique and she had no idea why but since her grandmother did it, she does it too. Well, if it’s good enough for grandma, it’s good enough for me so I did the same thing. I think the trick actually helped to cook the bottom crust as this was the first time ever that I was pleased with how the bottom crust turned out. Thanks grandma!

IMG_0615

Lesson Learned 5 – Never underestimate the power of packaged refrigerated pie crusts: As I mentioned earlier, to date I’ve not had a lot of success making apple pies. Because of that I decided to concentrate on the filling first before venturing into the realm of making a homemade pie crust. I used Pillsbury refrigerated pie crust dough in this recipe and the crust turned out amazingly well. The trick is to let the dough sit out and get to room temperature (and that takes only about 15 minutes – about the same amount of time it took to prepare the apples). That way it is much more malleable and less prone to cracking when you work with it. I brushed the top crust with an egg wash consisting of one egg yolk and a tiny splash of milk and it browned beautifully. I may venture into a homemade crust the next time, or if I want to have a great pie a little more quickly, I’ll use the prepackaged ones again. They are really surprisingly good.

IMG_0625

Lesson Learned 6 – Taste the apple mixture and adjust spices if necessary: After I mixed the apples with the flour, sugars, cinnamon and nutmeg I tasted the apples and the nutmeg seemed to be the predominant spice. I wanted the nutmeg to enhance in the background but the cinnamon to be the dominant spice. I added an extra teaspoon of cinnamon and the filling was perfect. I am writing the recipe with 2 teaspoons of cinnamon instead of one, but if you are skeptical, try it with one teaspoon first and go from there.

Lesson Learned 7 – Adjusting your oven temperature during the pie baking process: When I made this pie I started the oven at 425 and baked it at that temperature for 15 minutes. Then I reduced the temperature to 350 and continue to bake it for another 45 minutes. I’d never done this before and I think this helped not only to cook the filling all the way through but also not burn the crust. I did not have to protect the edges of the crust at all during the entire baking process.

Lesson Learned 8 – Brush the crust with an egg wash to make it brown in the oven: All you need to do is to take one egg (I’ve seen it recommended as just the yolk or the entire egg – either way it works) whisk it with the smallest splash of milk and brush the mixture on top of the pie crust. You will have way more than you need so don’t put the whole amount on. Once it is lighted coated pop the pie in the oven and the rest is magic. You’re left with a beautifully browned crust.

IMG_0646

Lesson Learned 8 – Put a baking sheet lined with foil on a rack below the pie to catch drippings: I thought about this just as I was putting the pie in the oven and immediately grabbed a baking pan, lined it with foil and put it on a rack below the pie. Even though you vent the pie and crimp the edges of the crust it always seems like some filling manages to leak out. I was so glad I did this. I did get some drippings on the foil but it was so much easier to clean up that way.

I could not be more pleased with this recipe. I always wanted to make an apple pie like my grandmother used to make and I finally figured out how to do it. We got another batch of apples from our neighbor yesterday and the first thing my husband said was, “Are you going to bake another pie?” I think I am going to try out an apple cake recipe that I found in the newspaper first, but I do think I’ll still have enough apples to make a pie. And now I’m not afraid to make one anymore. I just know you will enjoy this recipe. Try it and let me know how it turns out.

Easy Apple Pie...

  • Servings: 10-12
  • Difficulty: Medium
  • Print

INGREDIENTS

1 box refrigerated pie crust, Pillsbury pie crust recommended

8 cups of baking apples – peeled, cored and sliced – approx. 3 lbs. (Granny Smith, Cortland, Jonathan)

Lemon juice – approx. 2 Tbs., fresh or bottled

3/4 cup sugar

1/4 cup brown sugar

1/4 cup flour, plus a 1/2 teaspoon for dusting the lower crust

2 tsp. cinnamon – start with 1 tsp. and add from there if needed

1/4 tsp. nutmeg

2 Tbs. butter, cut in small cubes

1 egg yolk

Splash of milk

DIRECTIONS

Preheat oven to 425 degrees. Take box of pie crust dough out of the refrigerator and bring to room temperature. Core, peel and slice the apples. Sprinkle a small amount of lemon juice over the apples as you slice them. Stir to coat the apples with the lemon juice. (This process only needs to be repeated two or three times while slicing the apples or you can do a little more if you notice the apples are browning)

Combine flour, sugars and spices. Pour over the apples and stir to combine. Taste the mixture to ensure the correct amount of spices have been used. (don’t be afraid to add a little more cinnamon if necessary).

Line a 9 inch pie plate with one of the pie crusts. Prick the crust several times with a fork and dust with flour. Fill crust with the apple mixture. Dot the apple mixture with the butter cubes. Place the second crust on top of the pie filling. Seal the edges crimping by hand or using a fork. Cut a slit in the center of the pie to vent. Whisk together the egg and milk. Brush the top crust with the egg mixture.

Bake at 425 for 15 minutes. Lower the oven to 350 and bake for an additional 45 minutes, or until the crust is golden and the filling is bubbly.

IMG_0661


IMG_0667


Blueberry Buckle…

Just when I think I’m getting pretty knowledgeable in the culinary arts something comes along, be it a technique or a term, that makes me realize I’ve only scratched the surface of my so-called expertise. And so it was today as I was in the midst of my quest for my one new recipe per week goal. I’ve done a lot of main dishes lately and I thought I’d switch to the baking side for a couple of posts. So merrily I skipped off to Pinterest and started perusing pins. It was the title of the recipe that piqued my interest this time, a recipe for a blueberry buckle.

Wet and Dry Ingredients

Wet and Dry Ingredients

Before today I thought a buckle was a part of a belt. Now I know it is actually a term for a popular dessert that originated in New England. The premiss of a “buckle” is simple, consisting of adding berries to a single layer of cake batter. During the baking process the berries sink to the bottom and the cake emerges with a buckled appearance. Who knew you can eat a buckle as well as wear one? Will wonders never cease!

The original recipe came from a website called mybakingaddiction.com.  It seemed simple enough and this time I was smarter and adjusted the recipe for high altitude and guess what, the cake didn’t didn’t sink in! What a concept! So here are my lessons learned, recipe rating and my version of the recipe.

RECIPE RATING: A++++++  This is the best buckle I’ve ever eaten that’s for sure. The batter, the streusel topping and the blueberries all combine into one very delicious cake. Plus, you know me, I’m always a very happy camper when something turns out right the very first time you make it. I learned my lesson from not making the high altitude adjustments to my strawberry cream cheese coffee cake recipe. This time the adjustments were made and the cake turned out perfectly. I will outline the adjustments in the recipe below.

LESSON LEARNED 1: This time I made the streusel topping in a food processor versus trying to hand cut the cold butter into the other streusel ingredients. The mixture turned out much better. I simply pulsed the mixture until a greater portion of the mixture looked like very small pebbles. I will definitely make streusel that way from now on.

Ready To Go Into The Oven

Ready To Go Into The Oven

LESSON LEARNED 2: The original recipe called for two cups of blueberries. Next time I may try to cut that back a little to a cup and a half. That was a lot of blueberries and I think I might try having the cake be a tad more prominent. But use two cups if you like. I want to see if I can better balance the ratio of blueberries to cake. But then again, maybe that’s the nature of a buckle. There was certainly nothing wrong with how the cake tasted with two cups of blueberries.

LESSON LEARNED 3: As on average in high altitude, things take longer to cook. The original recipe called for baking the buckle for 25-30 minutes at 375. I would up baking it for 40 minutes.

LESSON LEARNED 4: The original recipe called for 1/4 cup shortening. I’m not a big fan of shortening so I used butter and it was fine.

LESSON LEARNED 5: I like this recipe because it is a good size for two people. I made it in an 8 x 8 pan and that is a perfect size for two people who will be munching on it over the next couple of days.

I have nothing negative to say about this recipe. The original recipe was written clearly, suggested substitutions, and turned out perfectly the first time. The only word of caution is that you use a lot of dishes to prepare the cake, but take my word for it, it’s worth it!

Fresh Out Of The Oven

Fresh Out Of The Oven


Blueberry Buckle

  • Servings: 8
  • Difficulty: Easy
  • Print

INGREDIENTS:

2 cups flour

2 tsp baking powder (high altitude adjust to 1/4 tsp)

1/2 tsp salt

1 tsp. cinnamon

3/4 cup sugar (high altitude make it a “light cup” – I left about 1/16 of an inch rim around the top)

1/4 room temperature butter, unsalted

1 large egg (high altitude use an extra large egg)

1 1/2 tsp vanilla extract (high altitude 2 tsp vanilla extract)

1/2 cup of milk (high altitude add 1 TBS water to the milk)

2 cups fresh blueberries

STREUSEL TOPPING:

1/3 cup all purpose flour

1/3 packed light brown sugar (for high altitude do a soft pack)

1/2 tsp. cinnamon

1/4 tsp salt

3 TBS cold unsalted butter cut into cubes.

DIRECTIONS:

Preheat oven to 375 degrees. In a medium bowl whisk together the flour, baking powder, salt and cinnamon and set aside. Put all of the streusel ingredients except the butter into a food processor and set aside.

In a large bowl with an electric mixer, combine butter and sugar until fluffy. Add egg and vanilla and combine thoroughly. Add the dry ingredients, alternating with a small portion of the milk. Start with the milk and end with the milk until the dry and wet ingredients are just combined. Fold in the blueberries.

Spray an 8 x 8 pan with cooking spray. Spoon batter into the pan and spread out evenly. Cut the cold butter into cubes and add to the food processor. Pulse until a greater portion of the mixture resembles small pebbles. Spoon over prepared batter.

Bake in the oven for 25-30 minutes (high altitude can take as long as 40 minutes). Let cool for 20 minutes. Serve with vanilla ice cream or fresh whipped cream.

Blueberry Buckle

Blueberry Buckle


It’s Been a Plum Job…

Tomorrow I go to the doctor and I’m anticipating being released to drive, go back to my part-time job and in essence be unchained from my surgery mandated recuperative routine. That means a couple of things, namely less regular time baking and slightly greater intervals in between my blogs. I know, this breaks your heart, but I have to admit it’s been fun taking time to just “be” and pursue a passion of mine, perfecting my skills in the kitchen. But before the doctor’s verdict I thought I would go for one last hurrah in the form of an easy plum tart.

Once again I foraged through the boards on Pinterest in search of a recipe that was not only easy but also comprised of ingredients I already had in the house (driving by myself to the grocery store is still a no-no, and getting my husband to make daily trips is a little more difficult than it’s worth).

IMG_4384After scrolling through at least 75 recipes I came upon one from the website makinghomebase.com called Easy Plum Tarte. I basically had all of the ingredients and probably the most time consuming part of the entire process was cutting up the plums and scooping out the pits. So once again I journeyed into the land of baking to see if I would have success making a plum tart. Lo and behold I did! I always love it when something comes out the way it’s supposed to the first time, it’s so affirming. And being the self-proclaimed Pinterest recipe critic that I am, I am including my rating of the recipe and lessons learned while making it.

Rating: A – this recipe turned out exactly the way it was supposed to – the fruit was bubbly, the crust nice and browned and the taste was delicious – so quick and easy to make, perfect as a fresh baked dessert for a busy weeknight.

Lesson Learned 1: I’ve made tarts somewhat similar to this before but never put parchment paper on the baking sheet. Never again. The parchment paper makes it so easy to transfer the tart to a plate, why didn’t I think of this before?

Ready To Go Into The Oven

Ready To Go Into The Oven

Lesson Learned 2: The recipe called for almond extract. I didn’t have it (I really need to spend some time at the grocery store since I’m out of both almond and vanilla extract, that’s unheard of for me) so I substituted cinnamon extract. I also added a little bit of nutmeg as I did not want the flavor of the plums to be to “cinnamony” and it worked well.

Lesson Learned 3. Take the time to arrange the fruit decoratively. In this case I made slices since the plums were big and I arranged them in a circular fashion. It looked good before and after it was baked. Remember you eat with your eyes first.

Lesson Learned 4: After brushing the pie crust dough with an egg wash I sprinkled it with some raw sugar. That gives the crust a little more of a professional look and adds some nice sweetness to the pie crust. The recipe did not call for that, but it’s a trick I learned a while back and it really adds to the flavor and appearance of the tart.

Lesson Learned 5: I always take 5 minutes off the recommended cooking time just to do a check-in. The recipe says to bake the tart for 40 minutes. I have a professional grade baking sheet and it tends to cook things a little faster so I checked the tart at 35 minutes and it was ready to come out of the oven. It helps to know your oven and to keep an eye on things. You can always keep it in longer but can’t go back once you’ve burned it.

Easy Plum Tarte

Easy Plum Tarte

This one is definitely a keeper. I would make it right before dinner, let it cool slightly while you’re eating and then serve it warm with a scoop of ice cream on top. Yum! Enjoy!

Easy Plum Tarte

  • Servings: 8
  • Difficulty: Easy
  • Print

INGREDIENTS:

1 package store bought pie crust (I used Pillsbury)

8-10 plums (small to medium sized)

1/2 cup sugar

zest of one lemon

1 tsp. cinnamon

1 teaspoon almond extract

2 Tbs. flour

1 egg beaten with a tiny bit of water

raw sugar

DIRECTIONS:

Preheat the oven to 400 degrees. Slice and pit the plums and cut them into wedges. Toss the plums gently with the sugar, lemon zest, cinnamon, almond extract and flour.

Unroll a single pie crust on to a parchment paper lined baking sheet (the pie crust will unroll more easily if you let it sit on your counter for at least 30 minutes to an hour so that it gets close to room temperature). Arrange the wedges in a circular pattern starting from the outside and working your way to the center, leaving at least 2 inches of pie crust plain around the edges.

Fold the pie crust up and over the wedges all the way around. In a small bowl beat the egg with water. With a pastry brush, spread the egg wash all over the edges. Sprinkle raw sugar on the dough.

Bake for approximately 35- 40 minutes or until the fruit gets bubbly and the dough gets golden brown.