Garlic and Herb Compound Butter…

A while back I had an out of town guest and I decided to make a special dinner for her, steak and lobster. I have a lobster recipe on this blog entitled Quick And Easy Lobster Tails, and as for the filet that recipe is yet to be posted. My guest turned me on to something that took the steak we had over the top. She mentioned that one of her favorite restaurants is Ruth Chris Steak House and said when they serve steaks they top them with a compound butter. I never tried that before but I can tell you if you want to be in steak heaven just put a pat of this compound butter on your next steak and you’ll never go back to plain old steak again!

This recipe couldn’t be any simpler and the flavor of this butter is a garlicky and herb heaven. The hardest part of the recipe is waiting for the butter to soften to room temperature. Then you simply add all the ingredients, mix, roll a log, refrigerate and serve once it’s firm again.

So lets talk garlic and herb compound butter…

Lesson Learned 1 – The butter must be room temperature soft: This means the butter must be mushy. The only way you’ll be able to evenly incorporate the ingredients is by making sure the butter is completely soft. You want the ingredients to be evenly incorporated throughout the butter as there is a lot of garlic in this recipe and you don’t want to wind up with big pockets of garlic and very little herbs.

Lesson Learned 2 – Don’t add any salt to this recipe: I recommend using salted butter for this recipe so there is no need to add any additional salt. If you add salt it may become overpowering. If you want to add some heat to this butter add some cracked black pepper or a very small amount of red pepper flakes but don’t overdo.

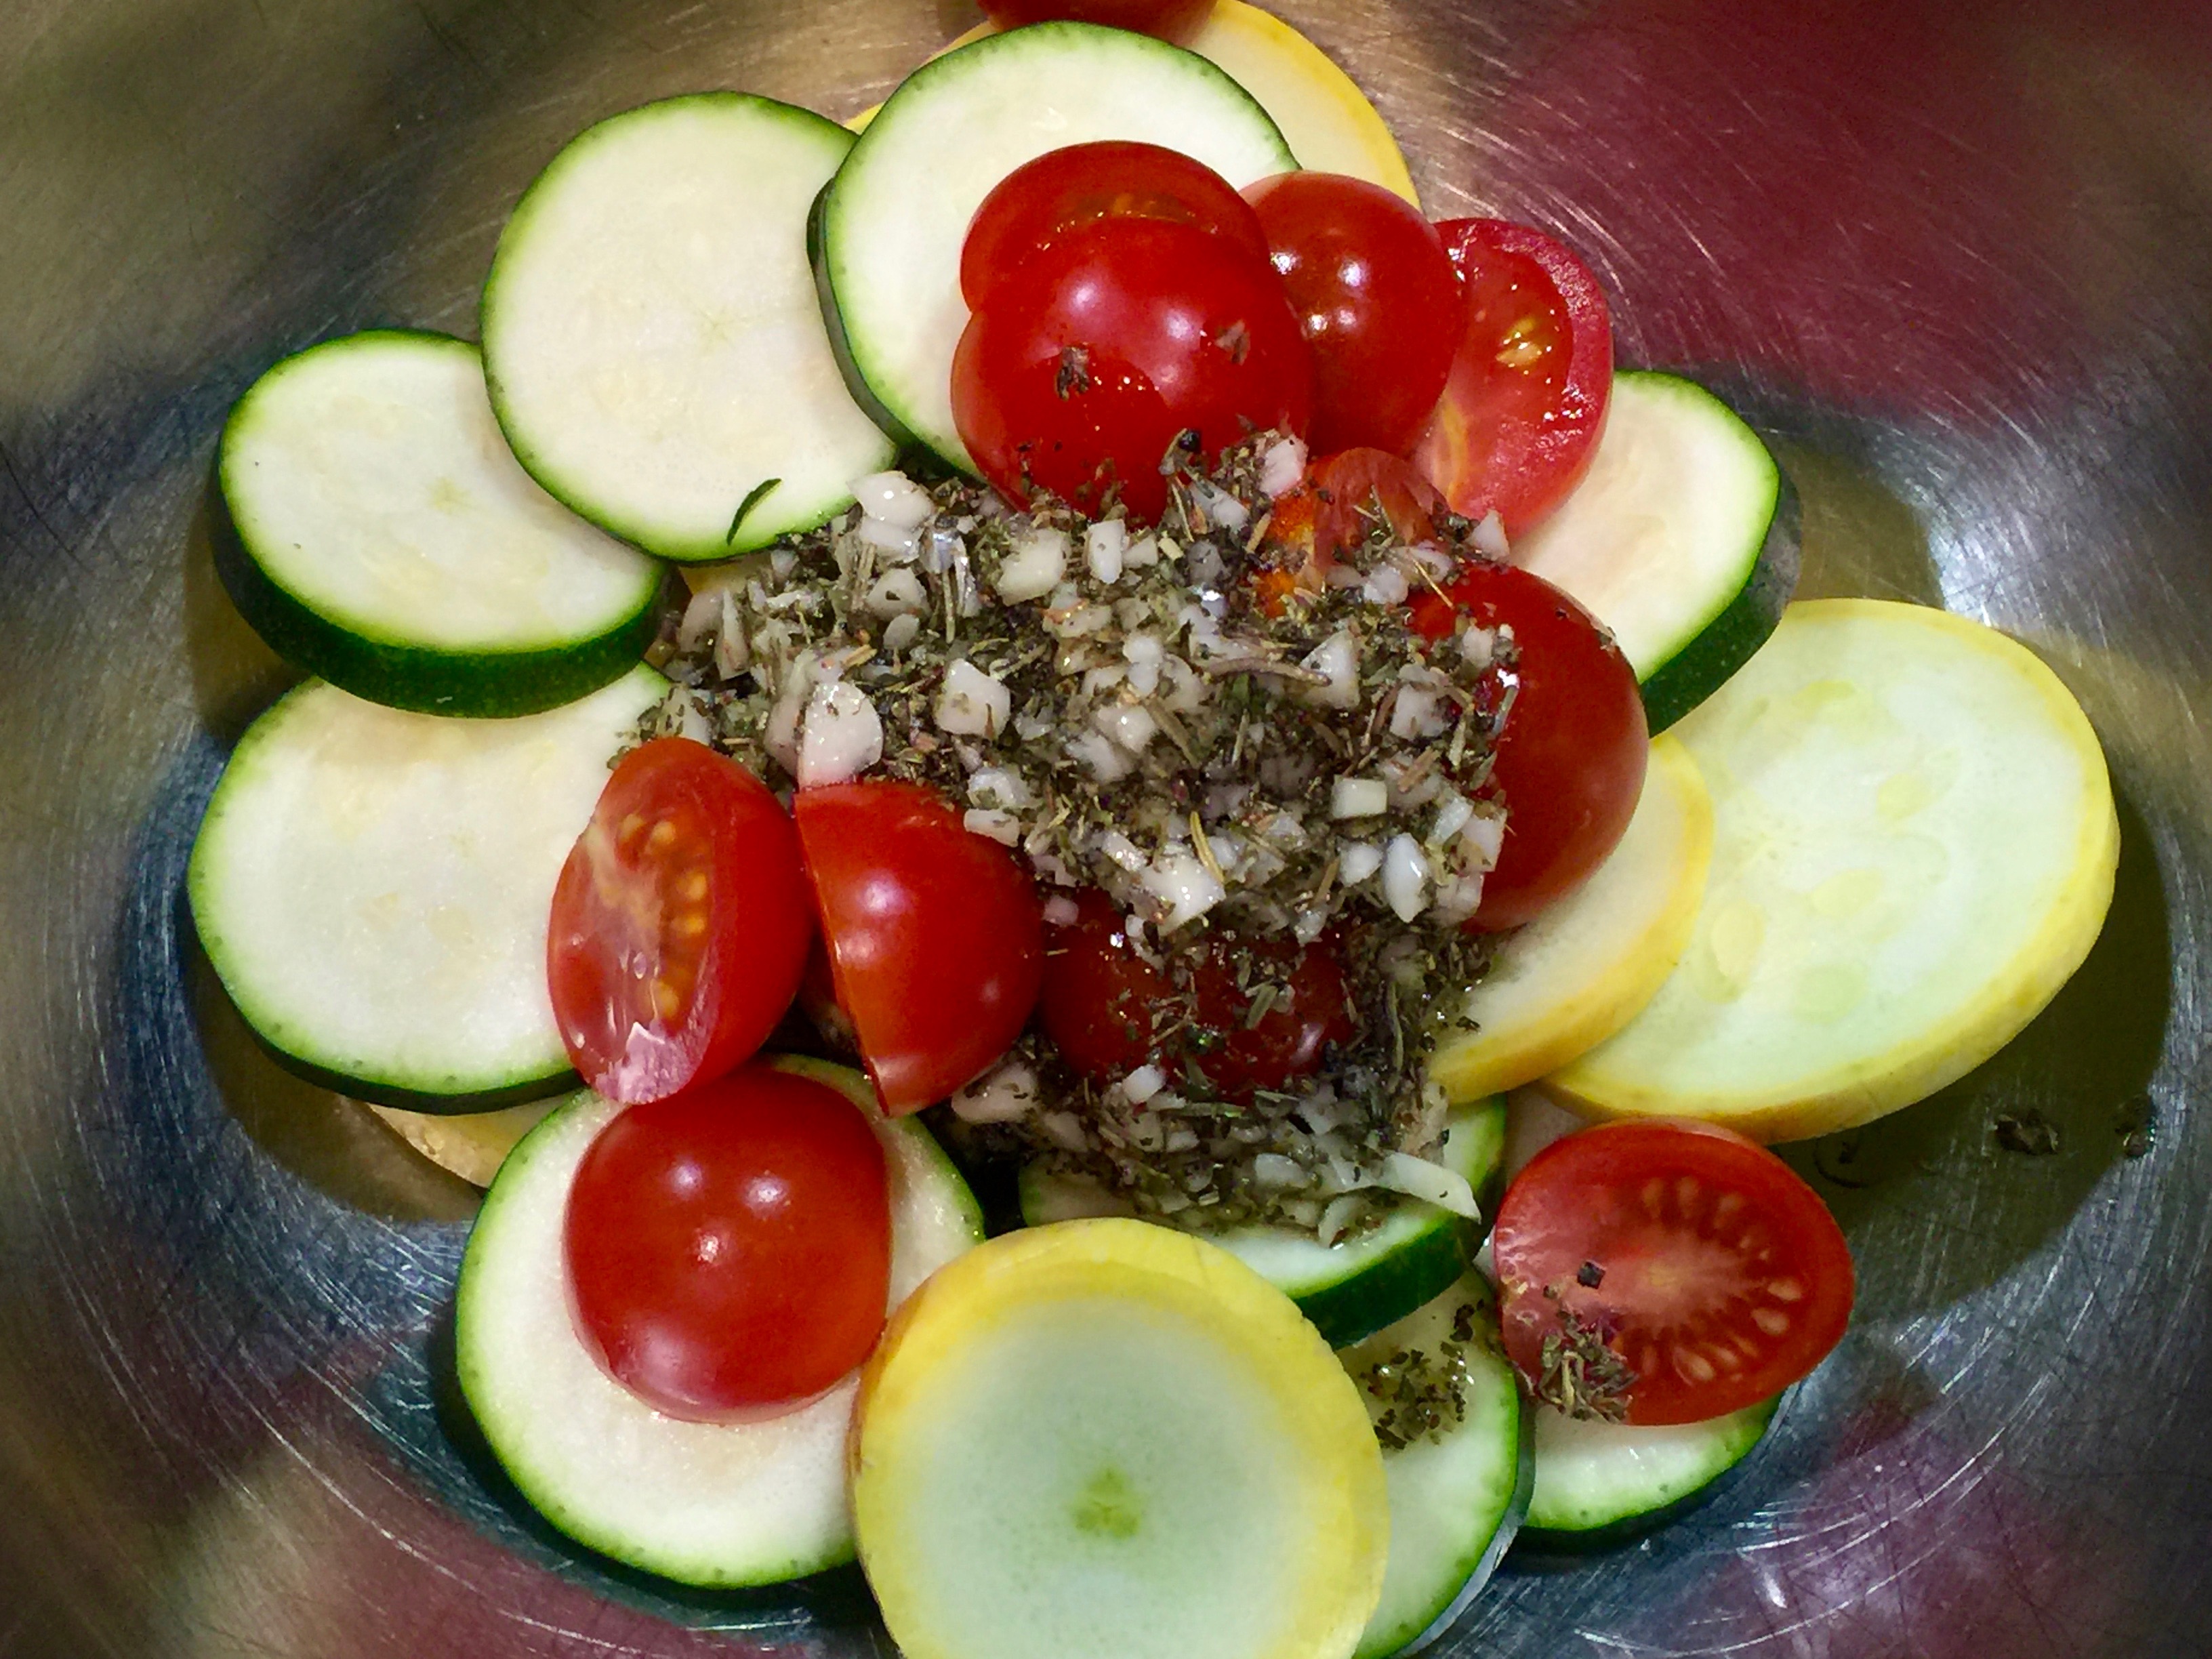
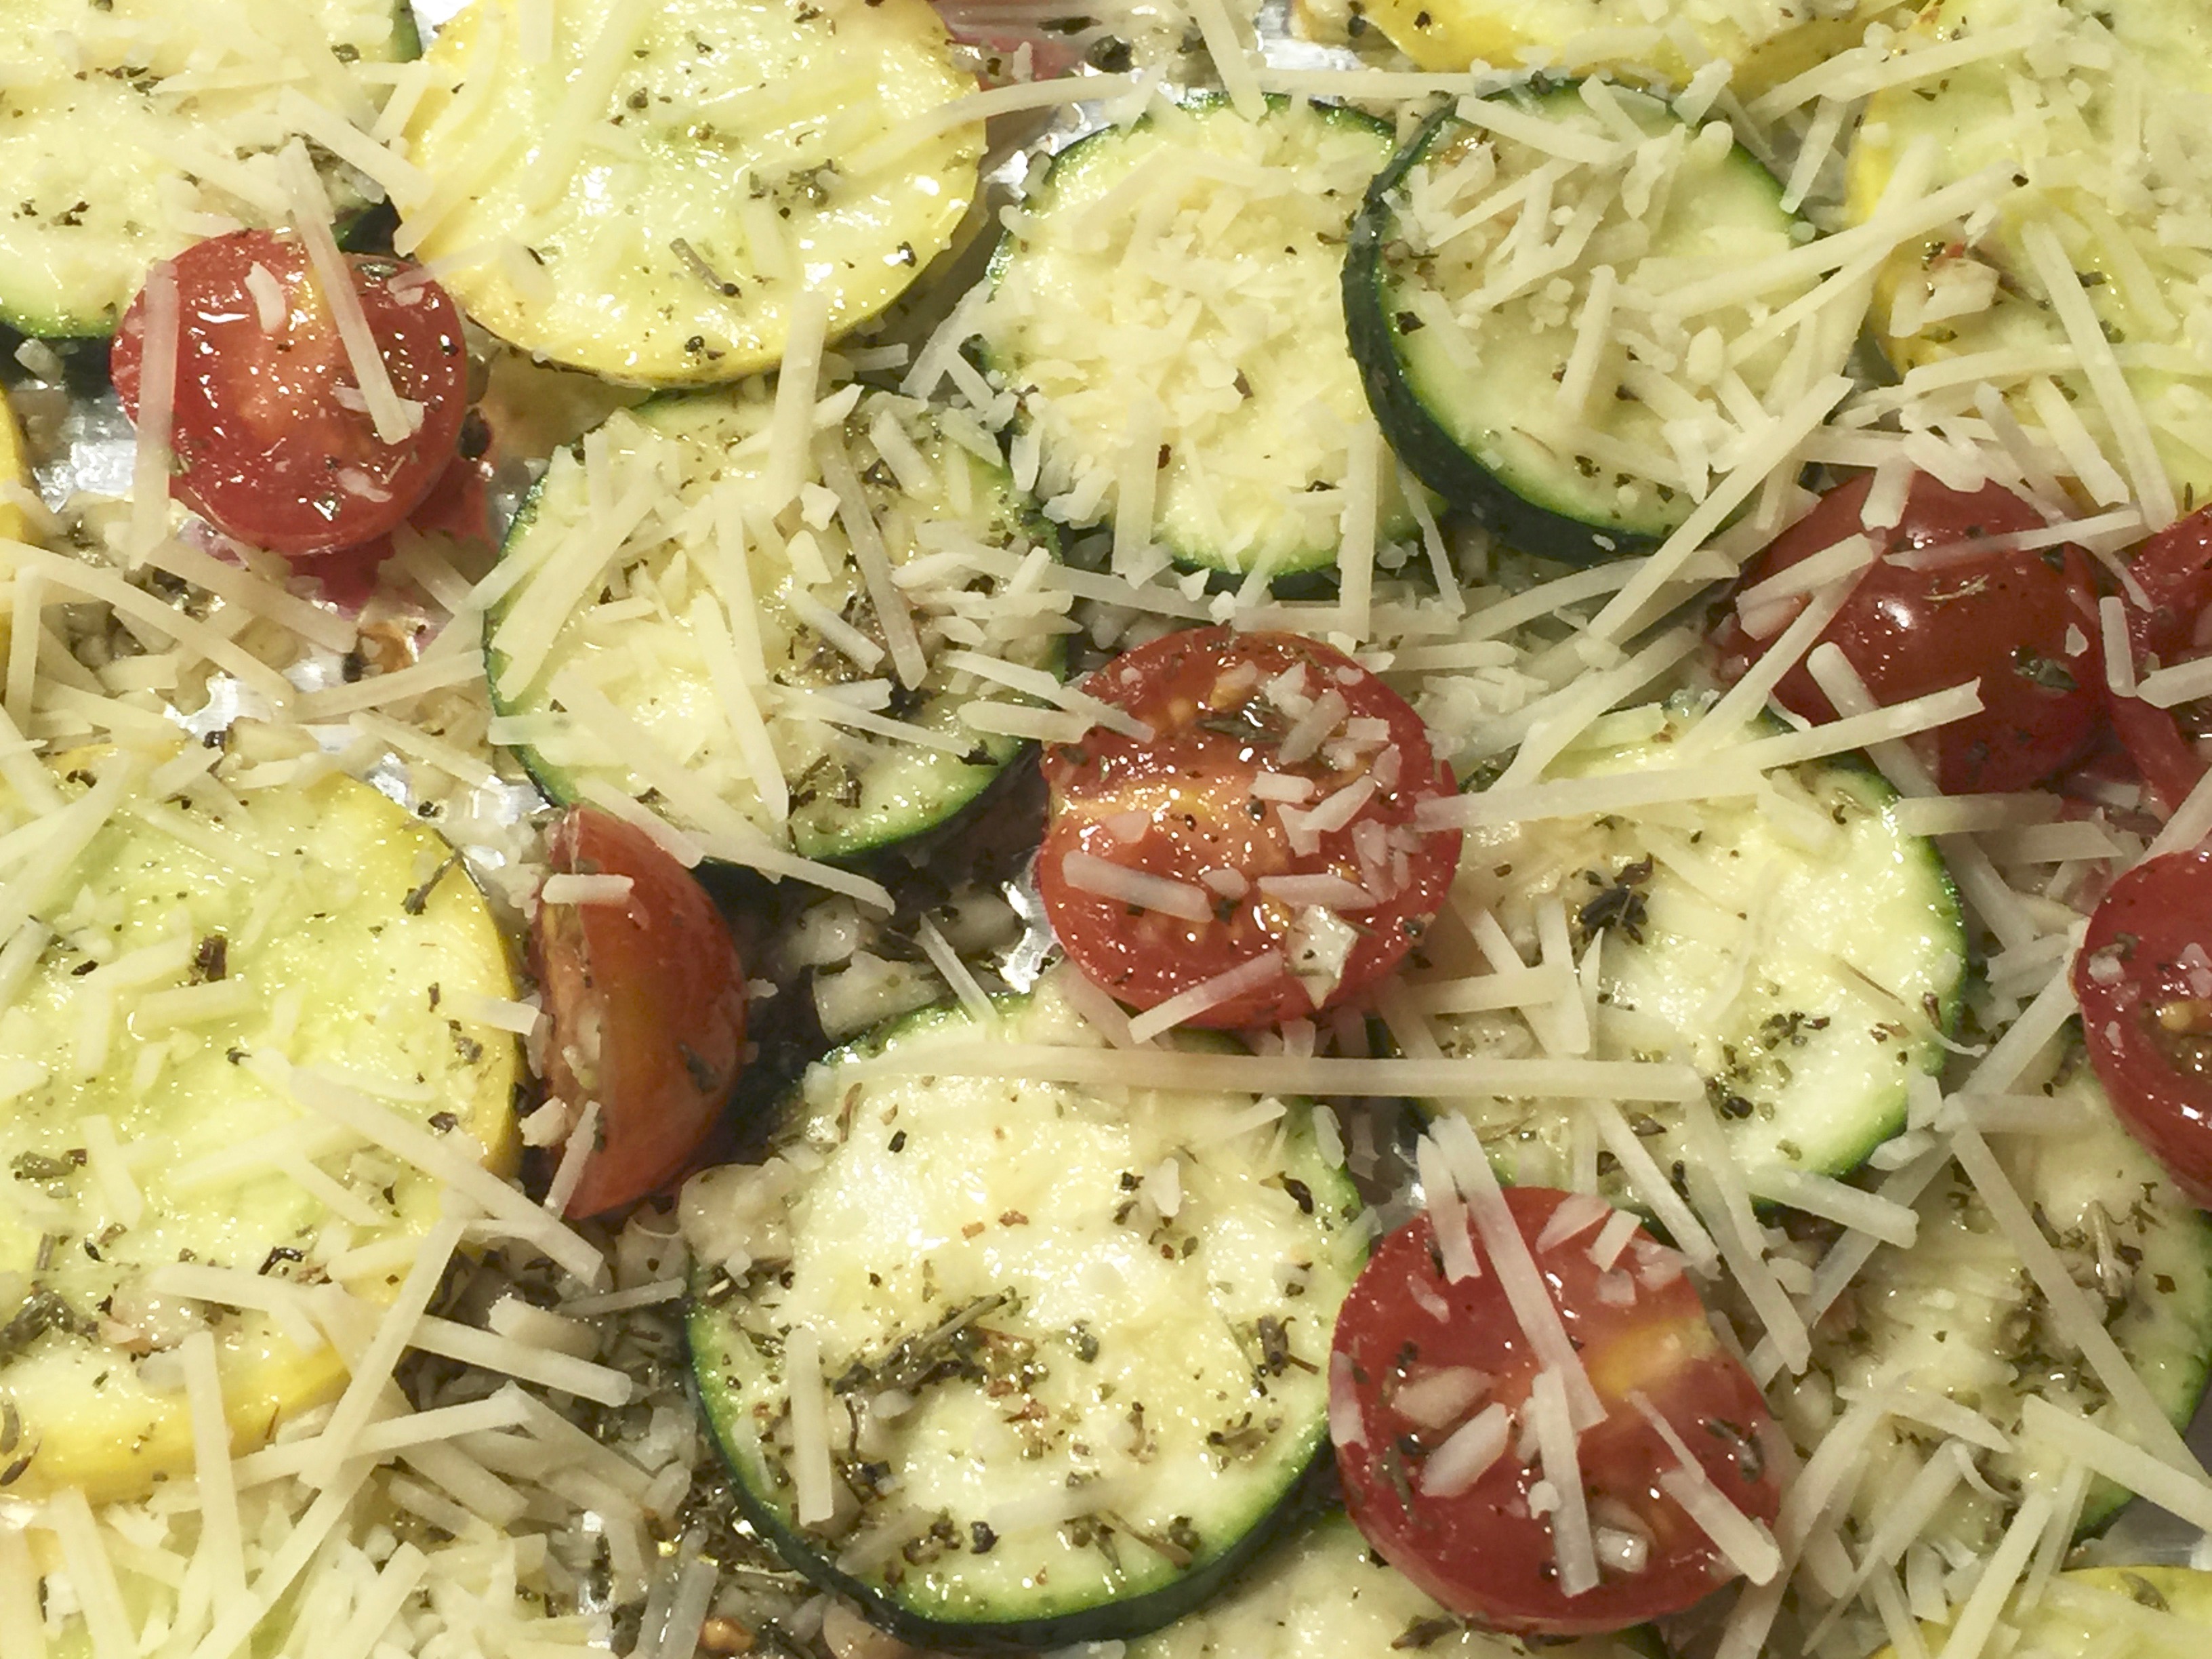
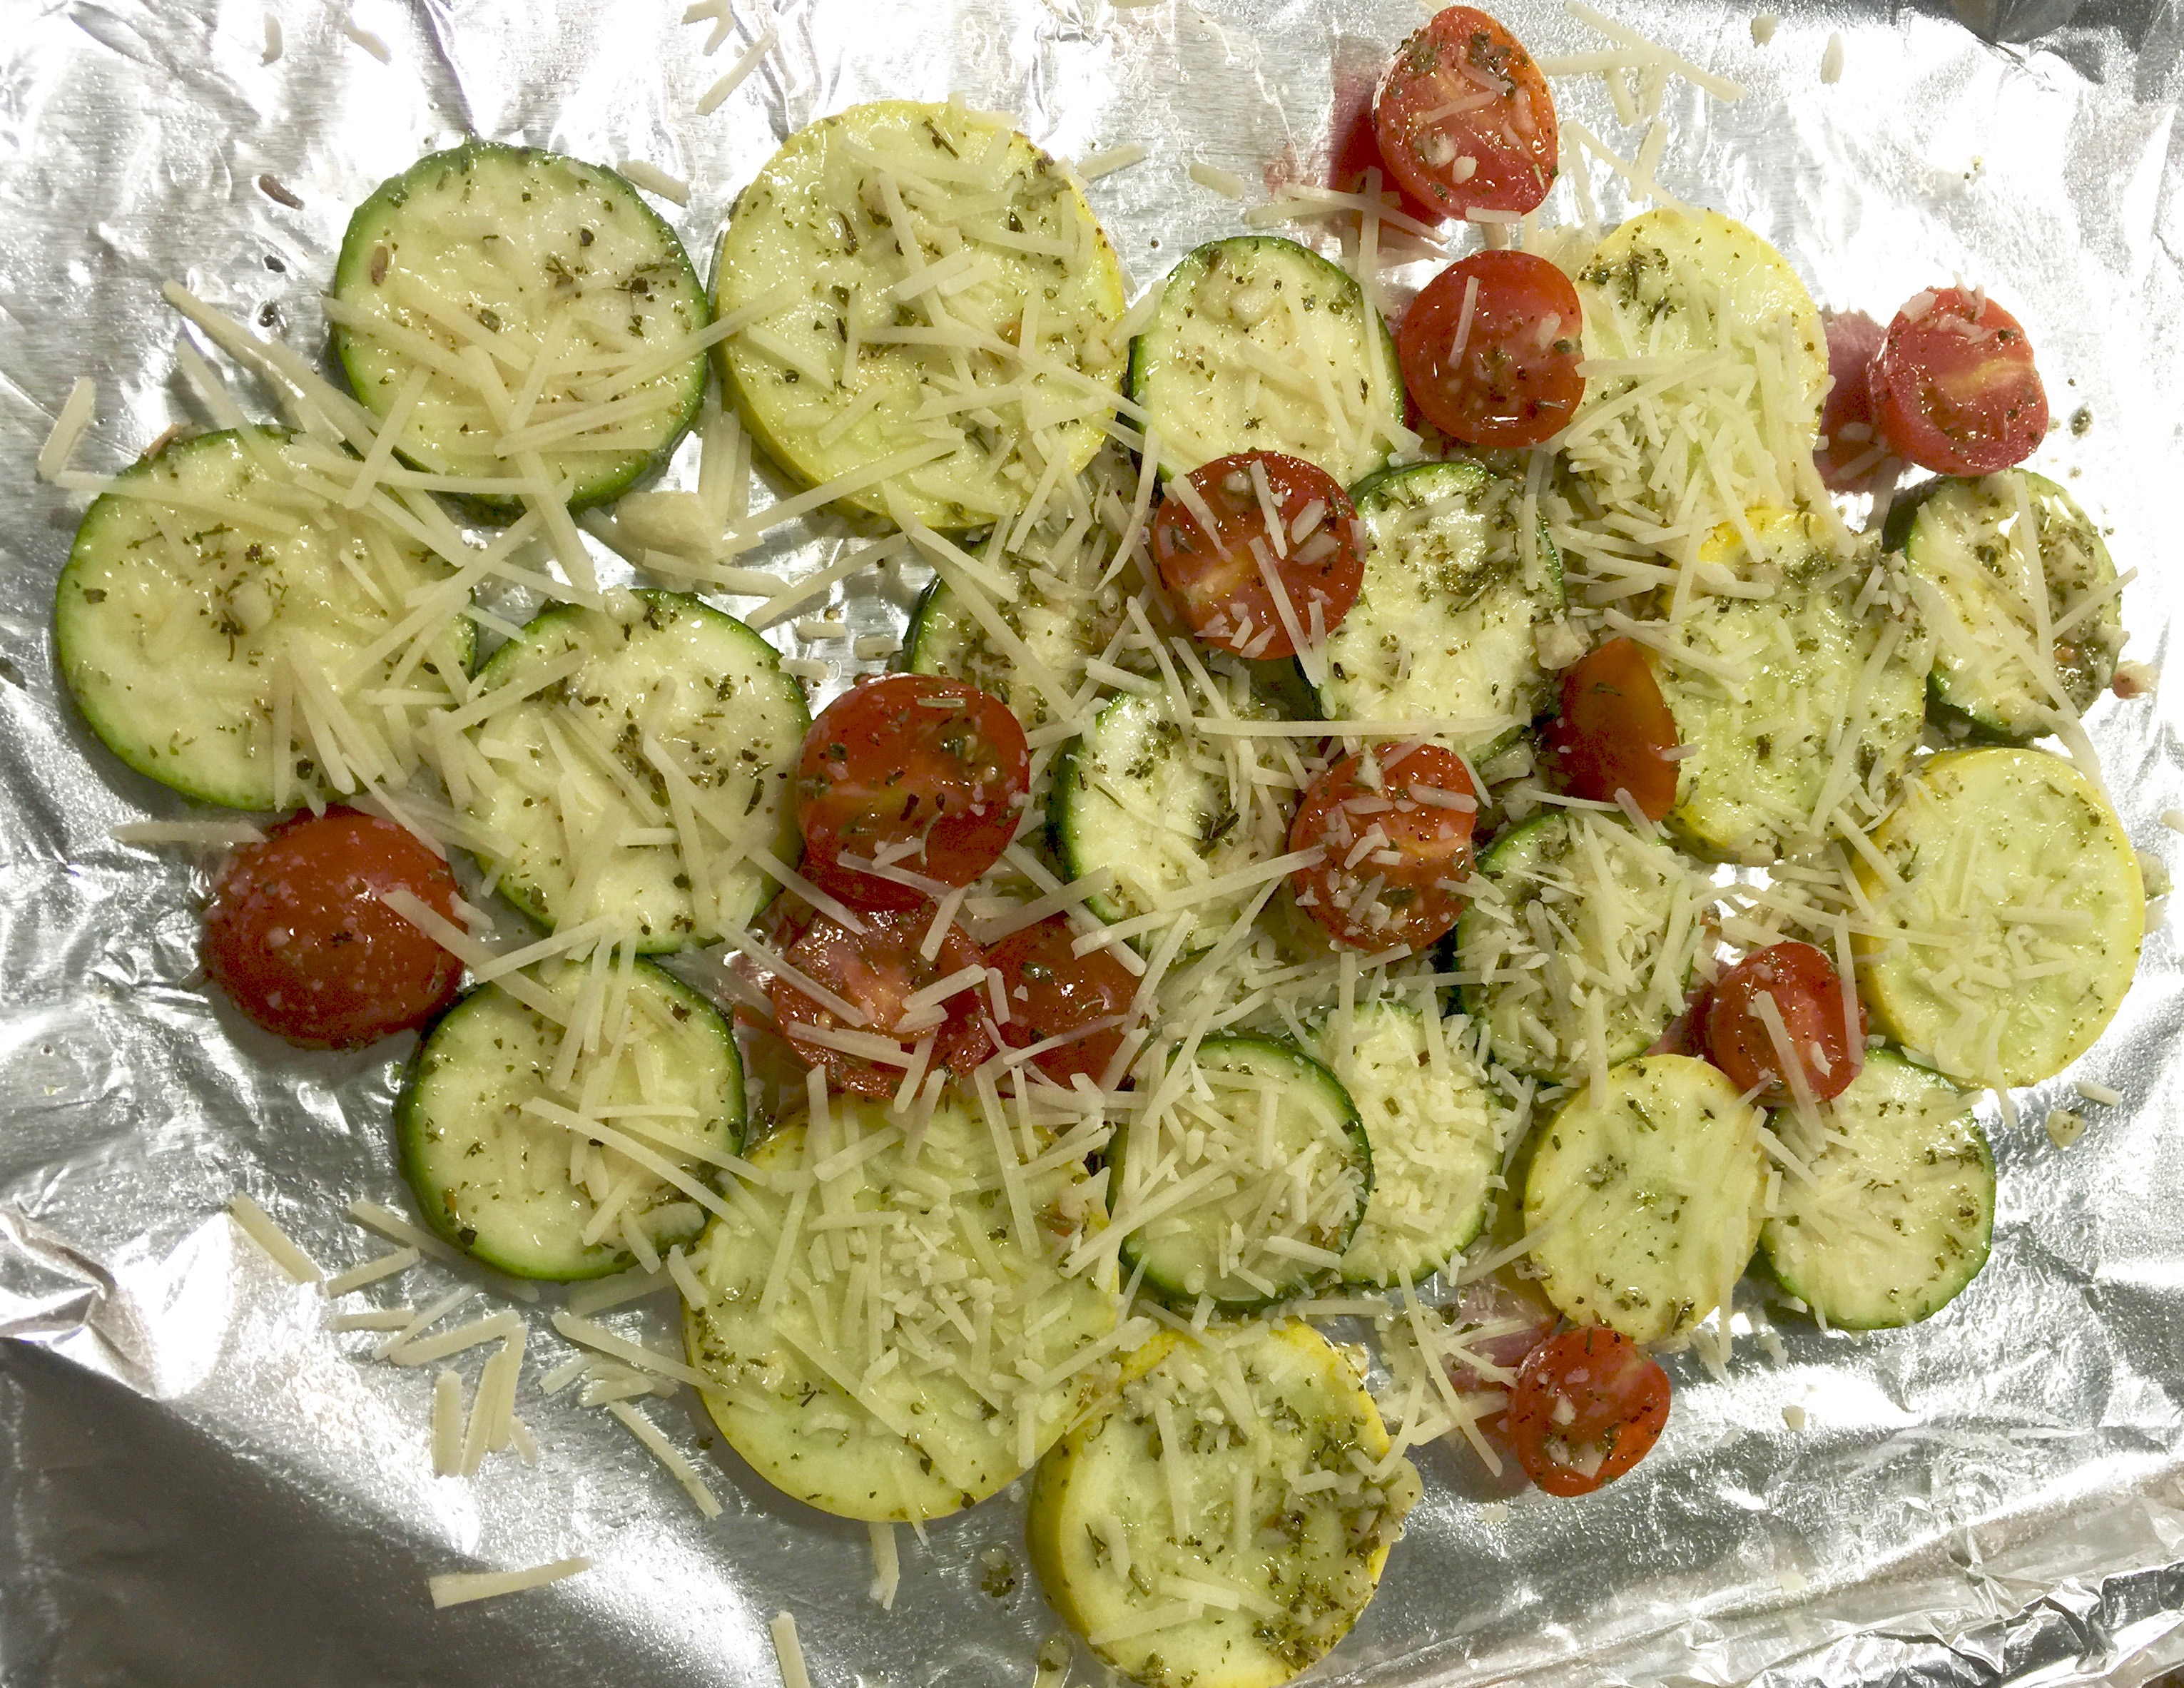
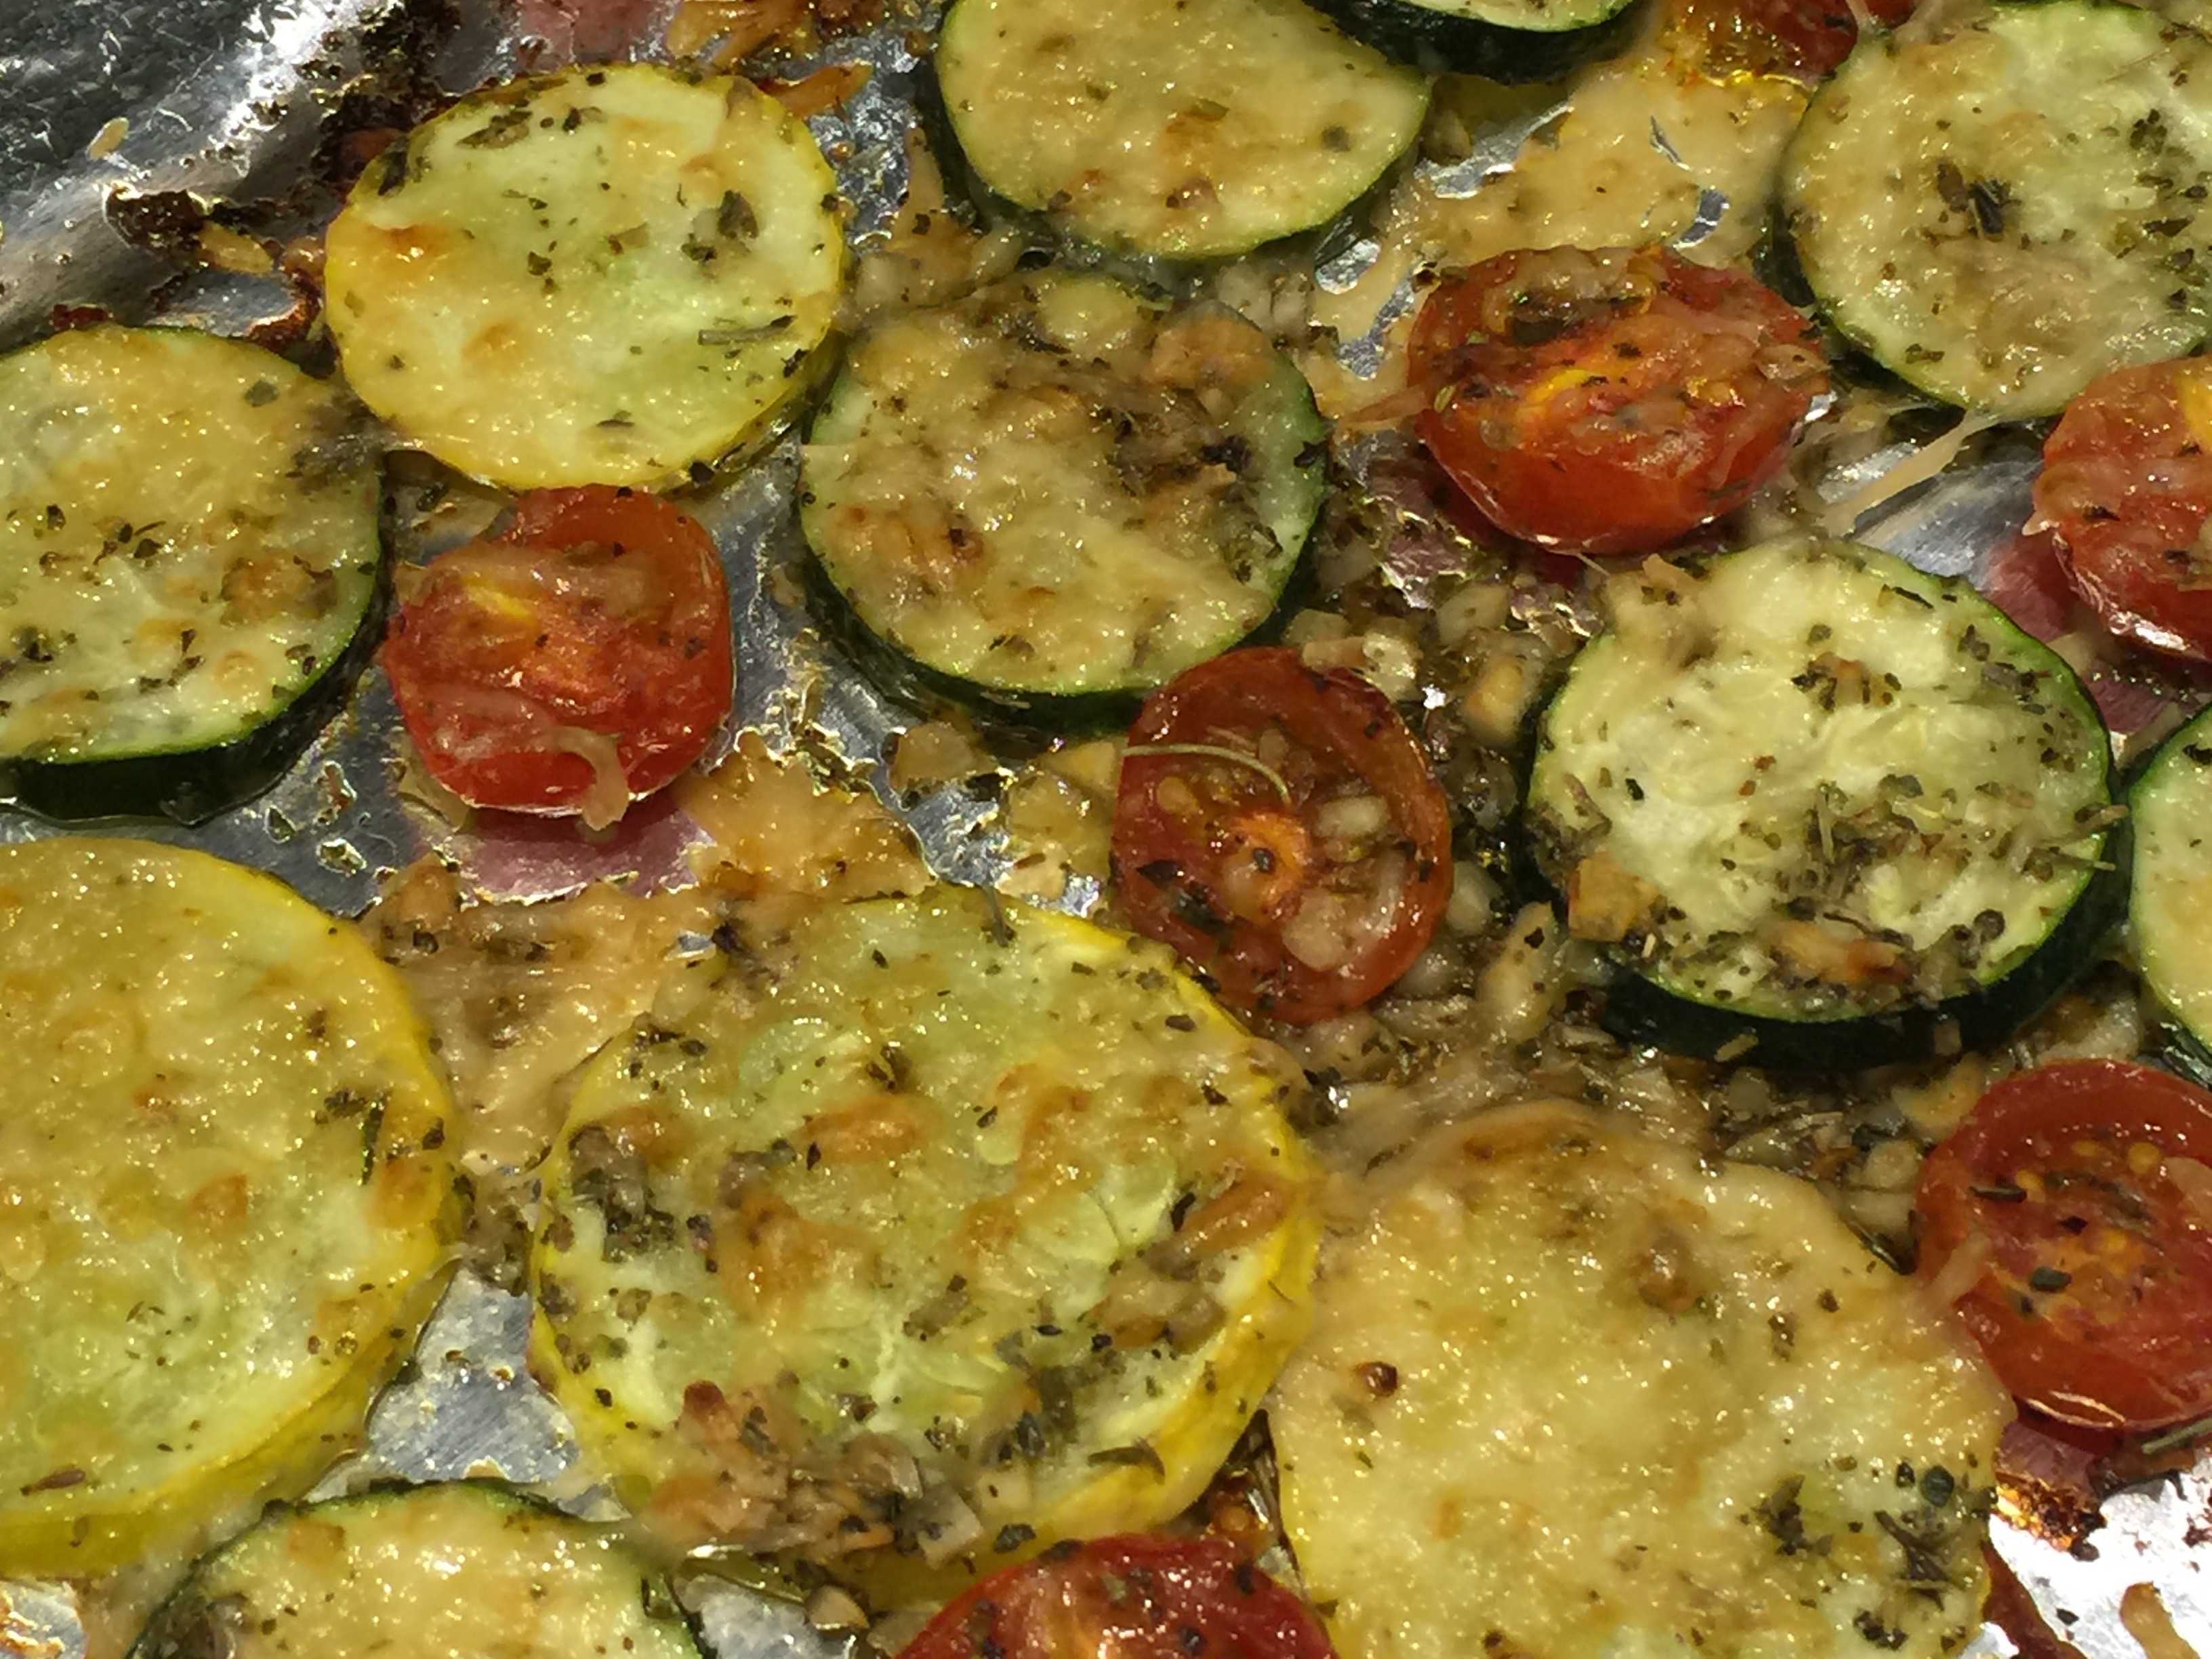
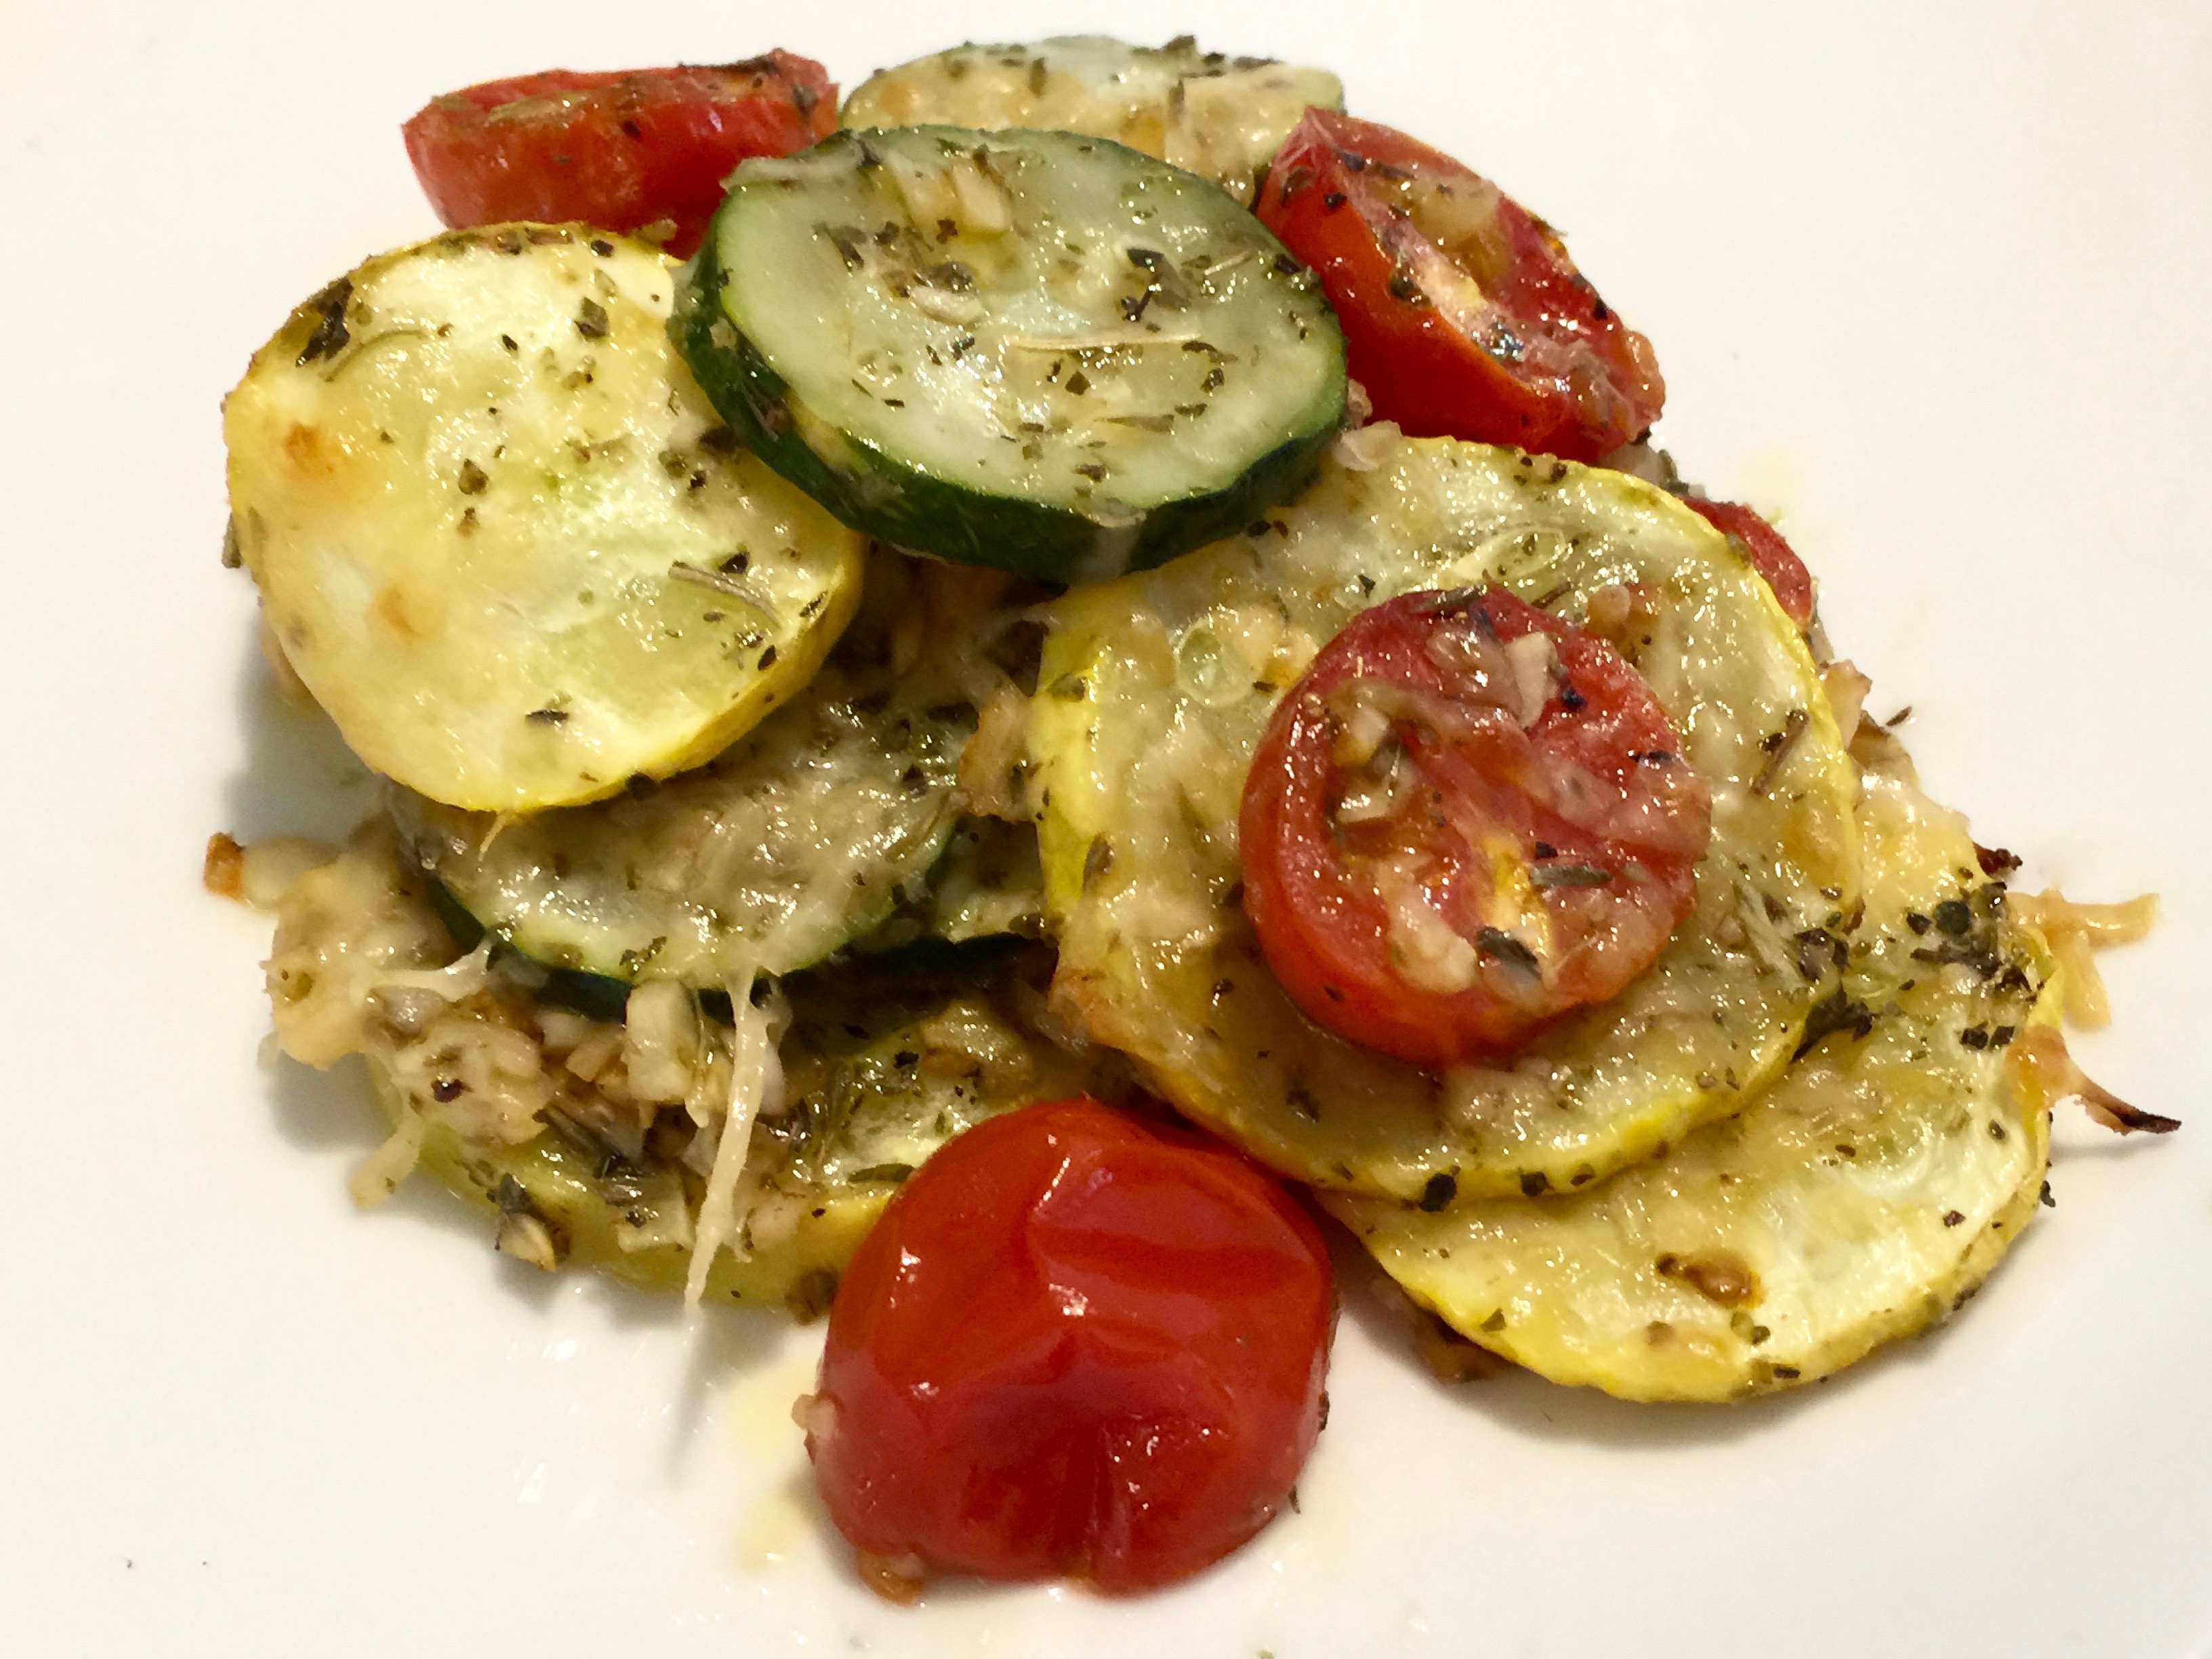
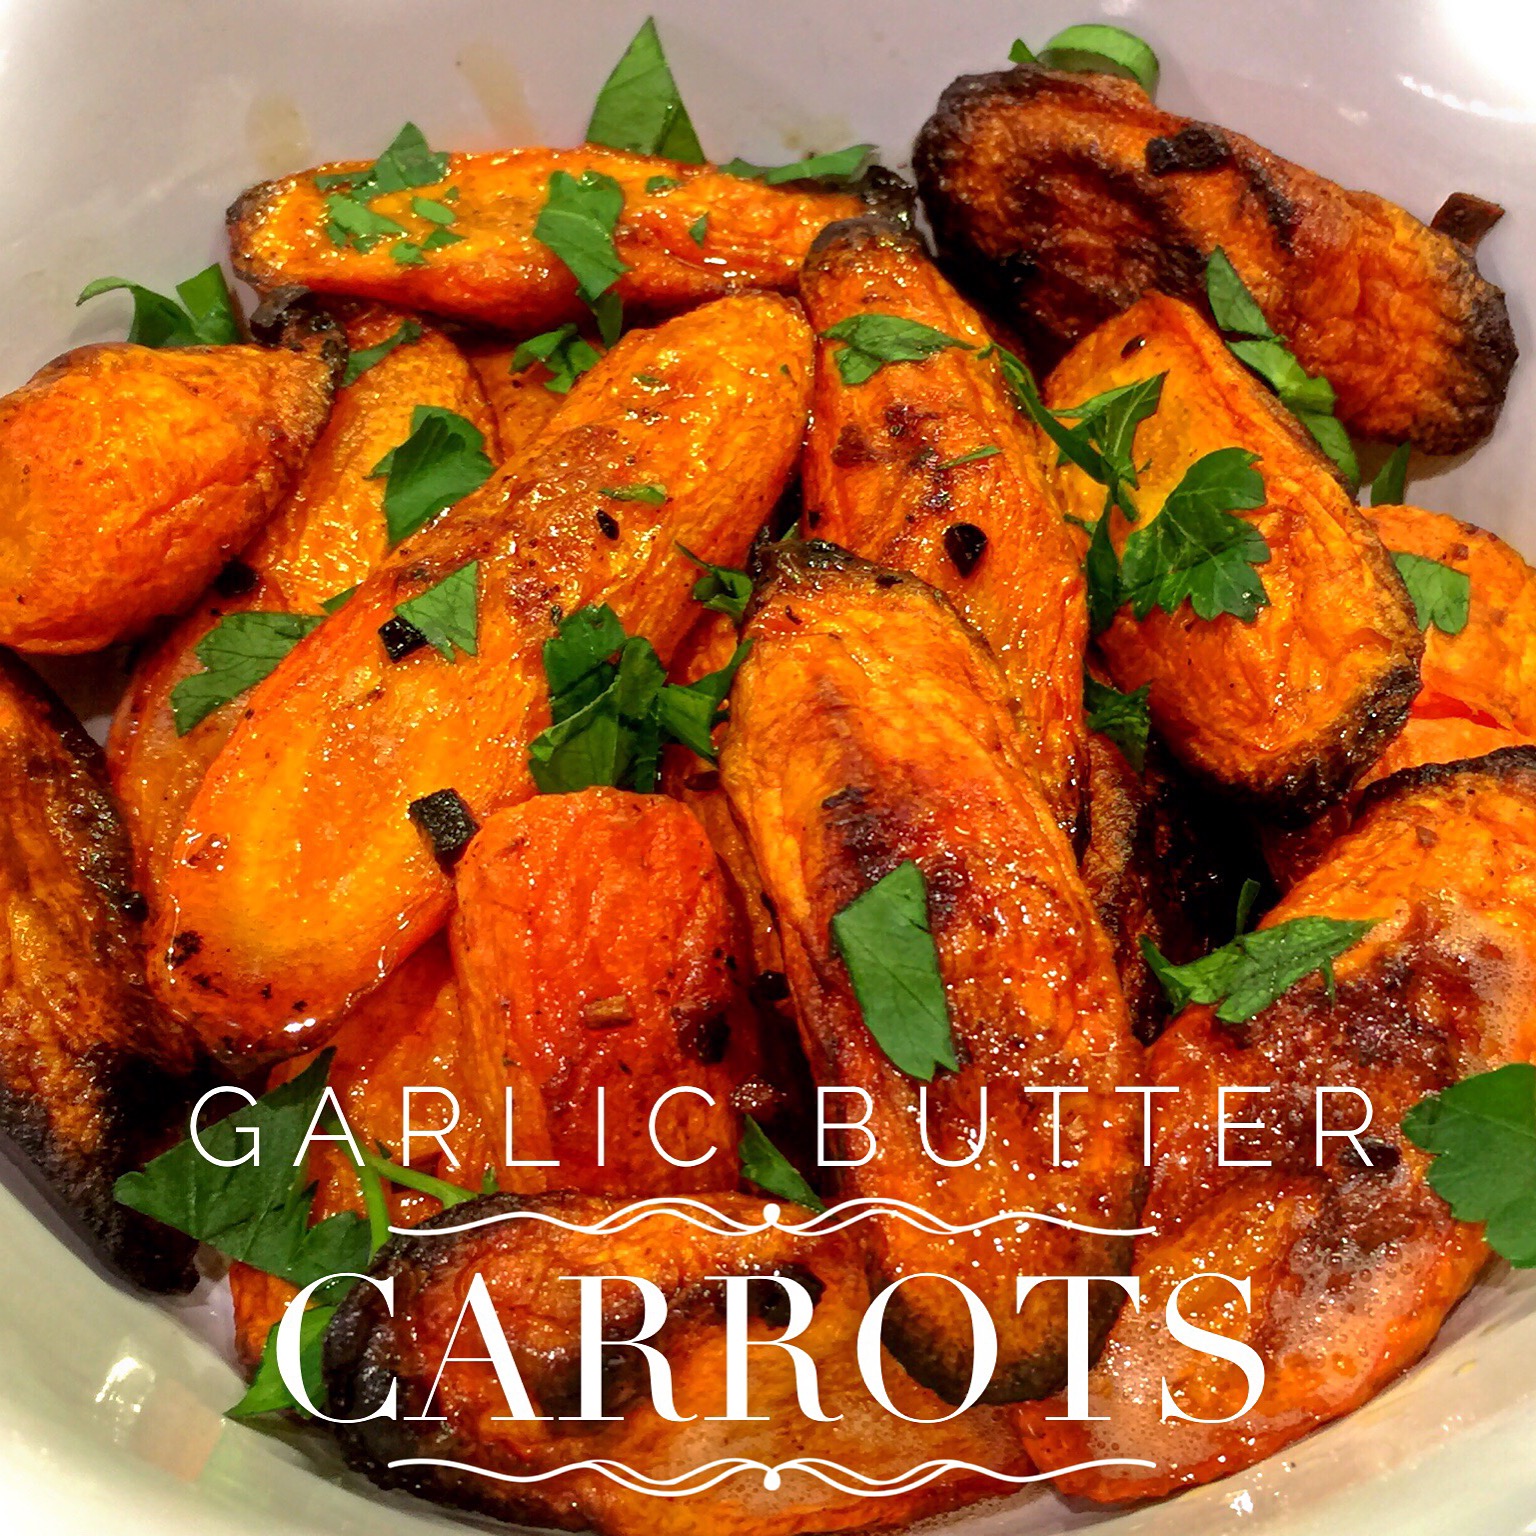
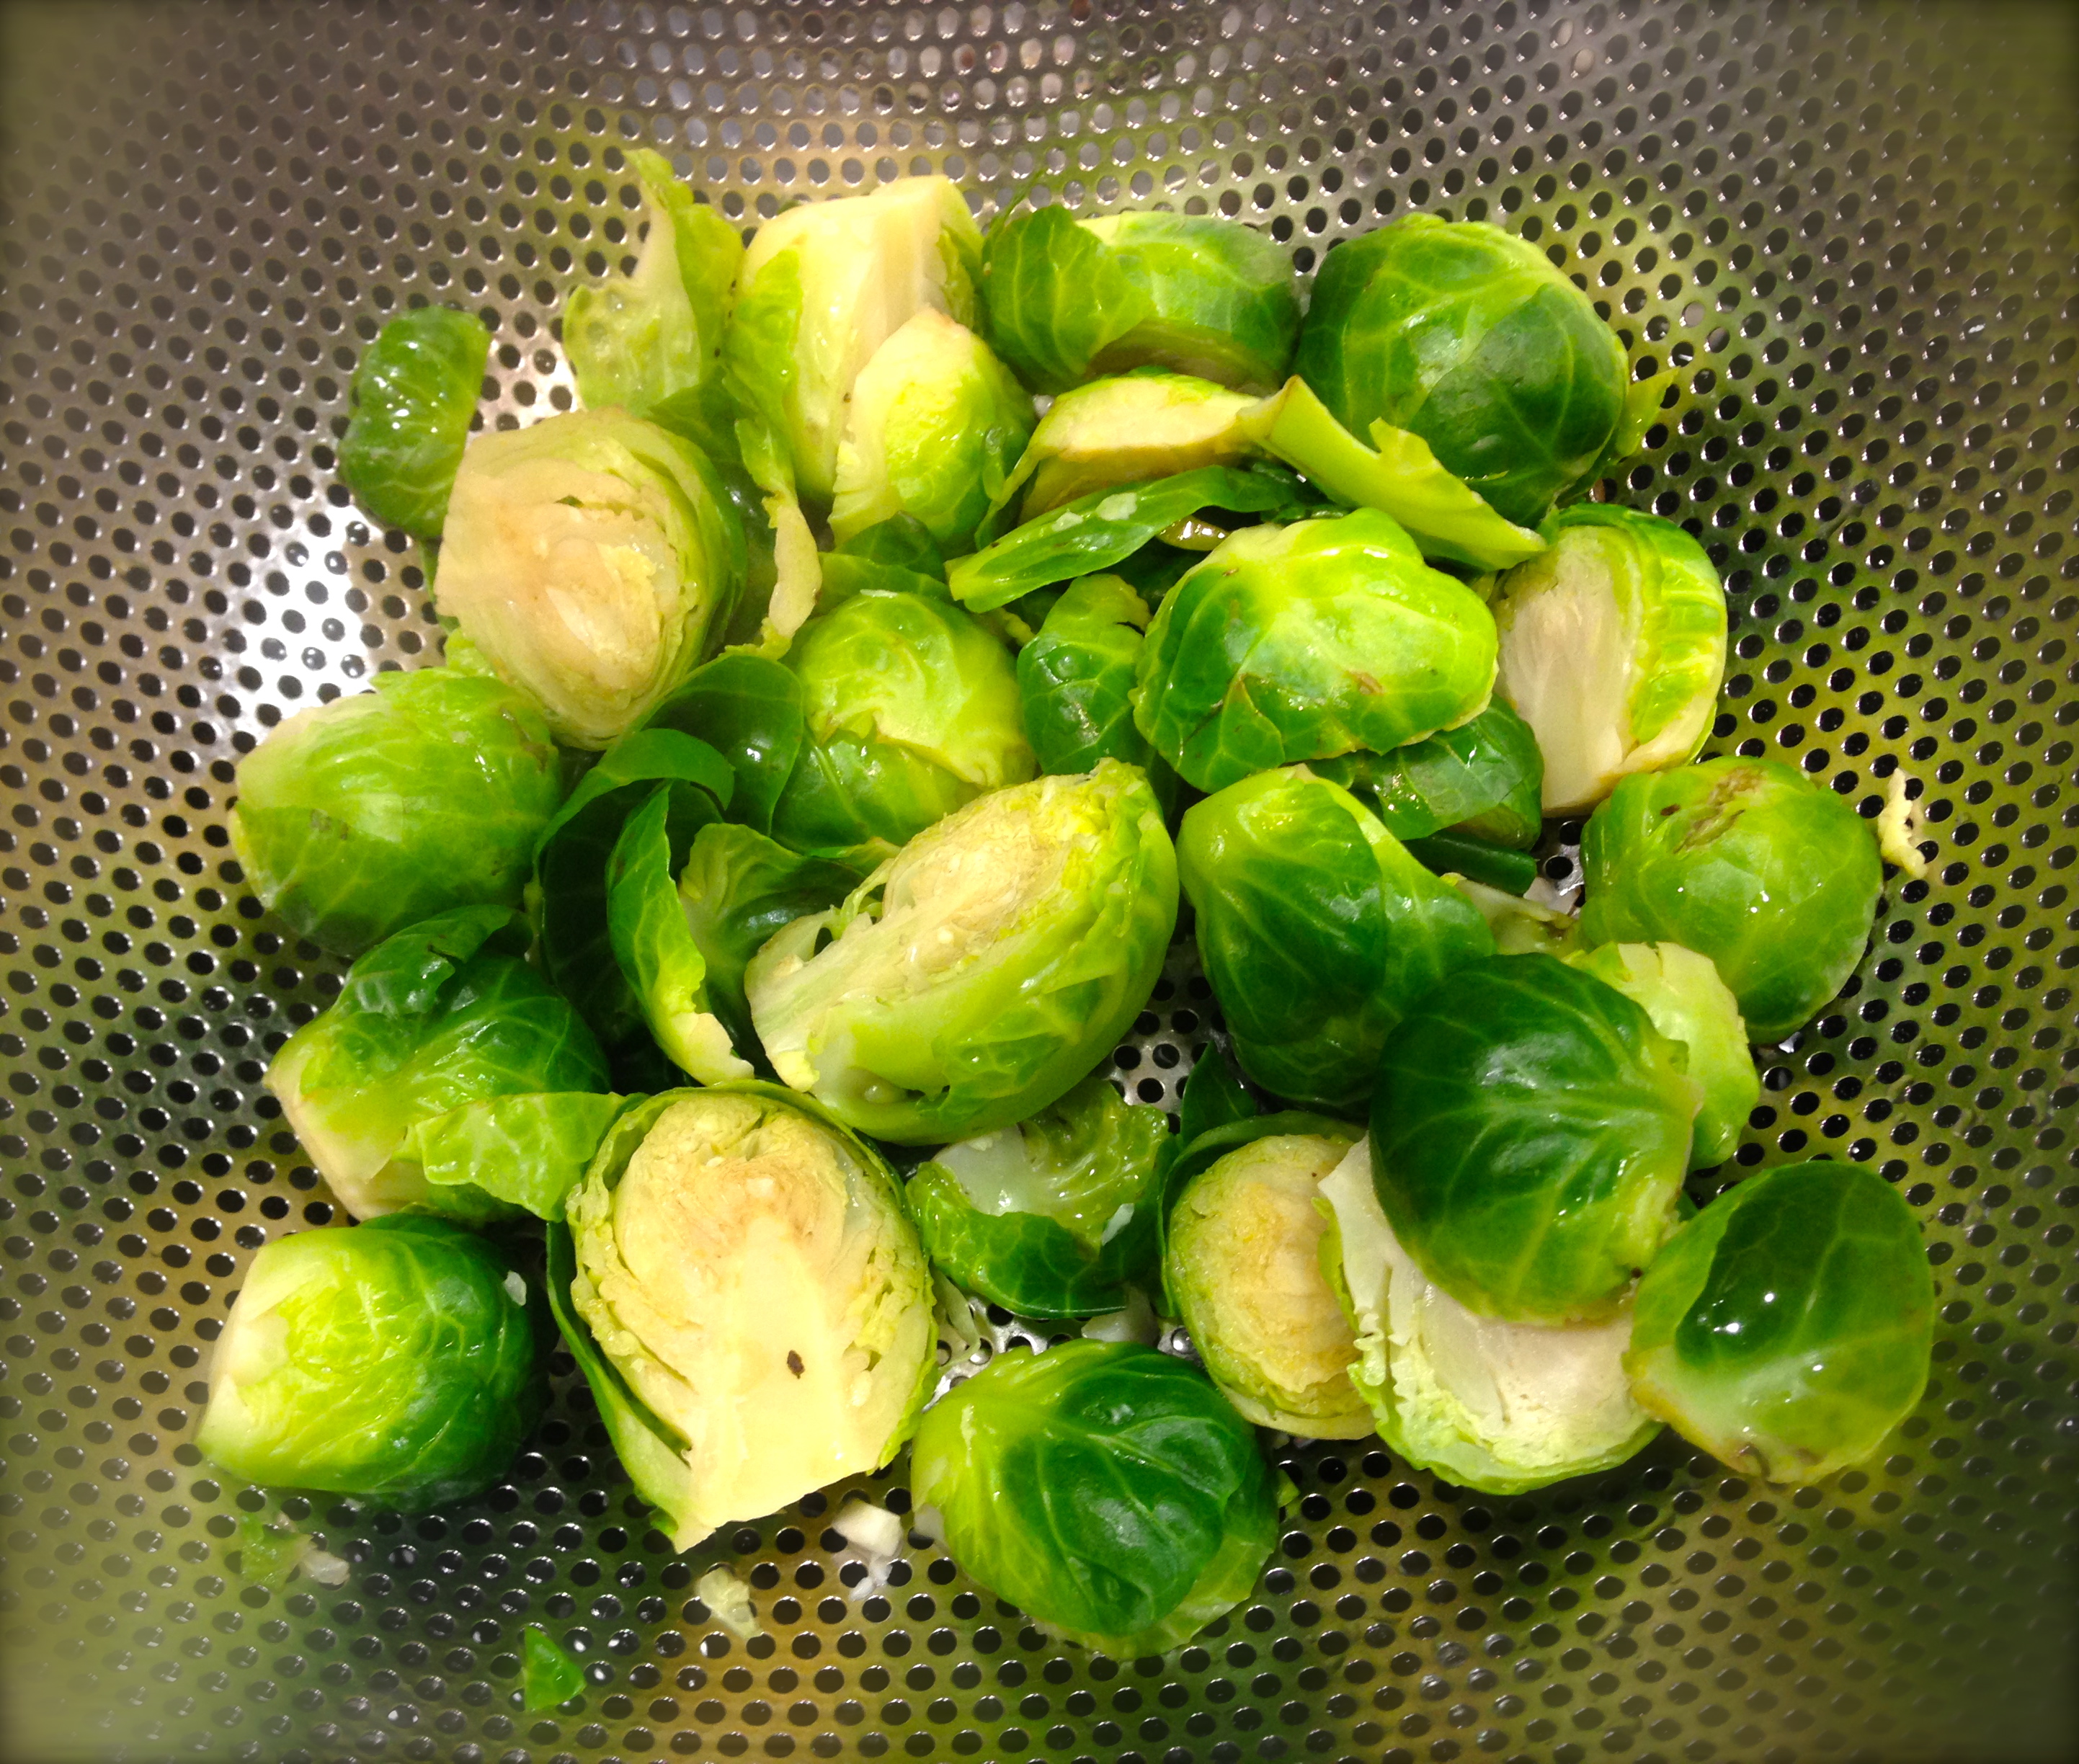
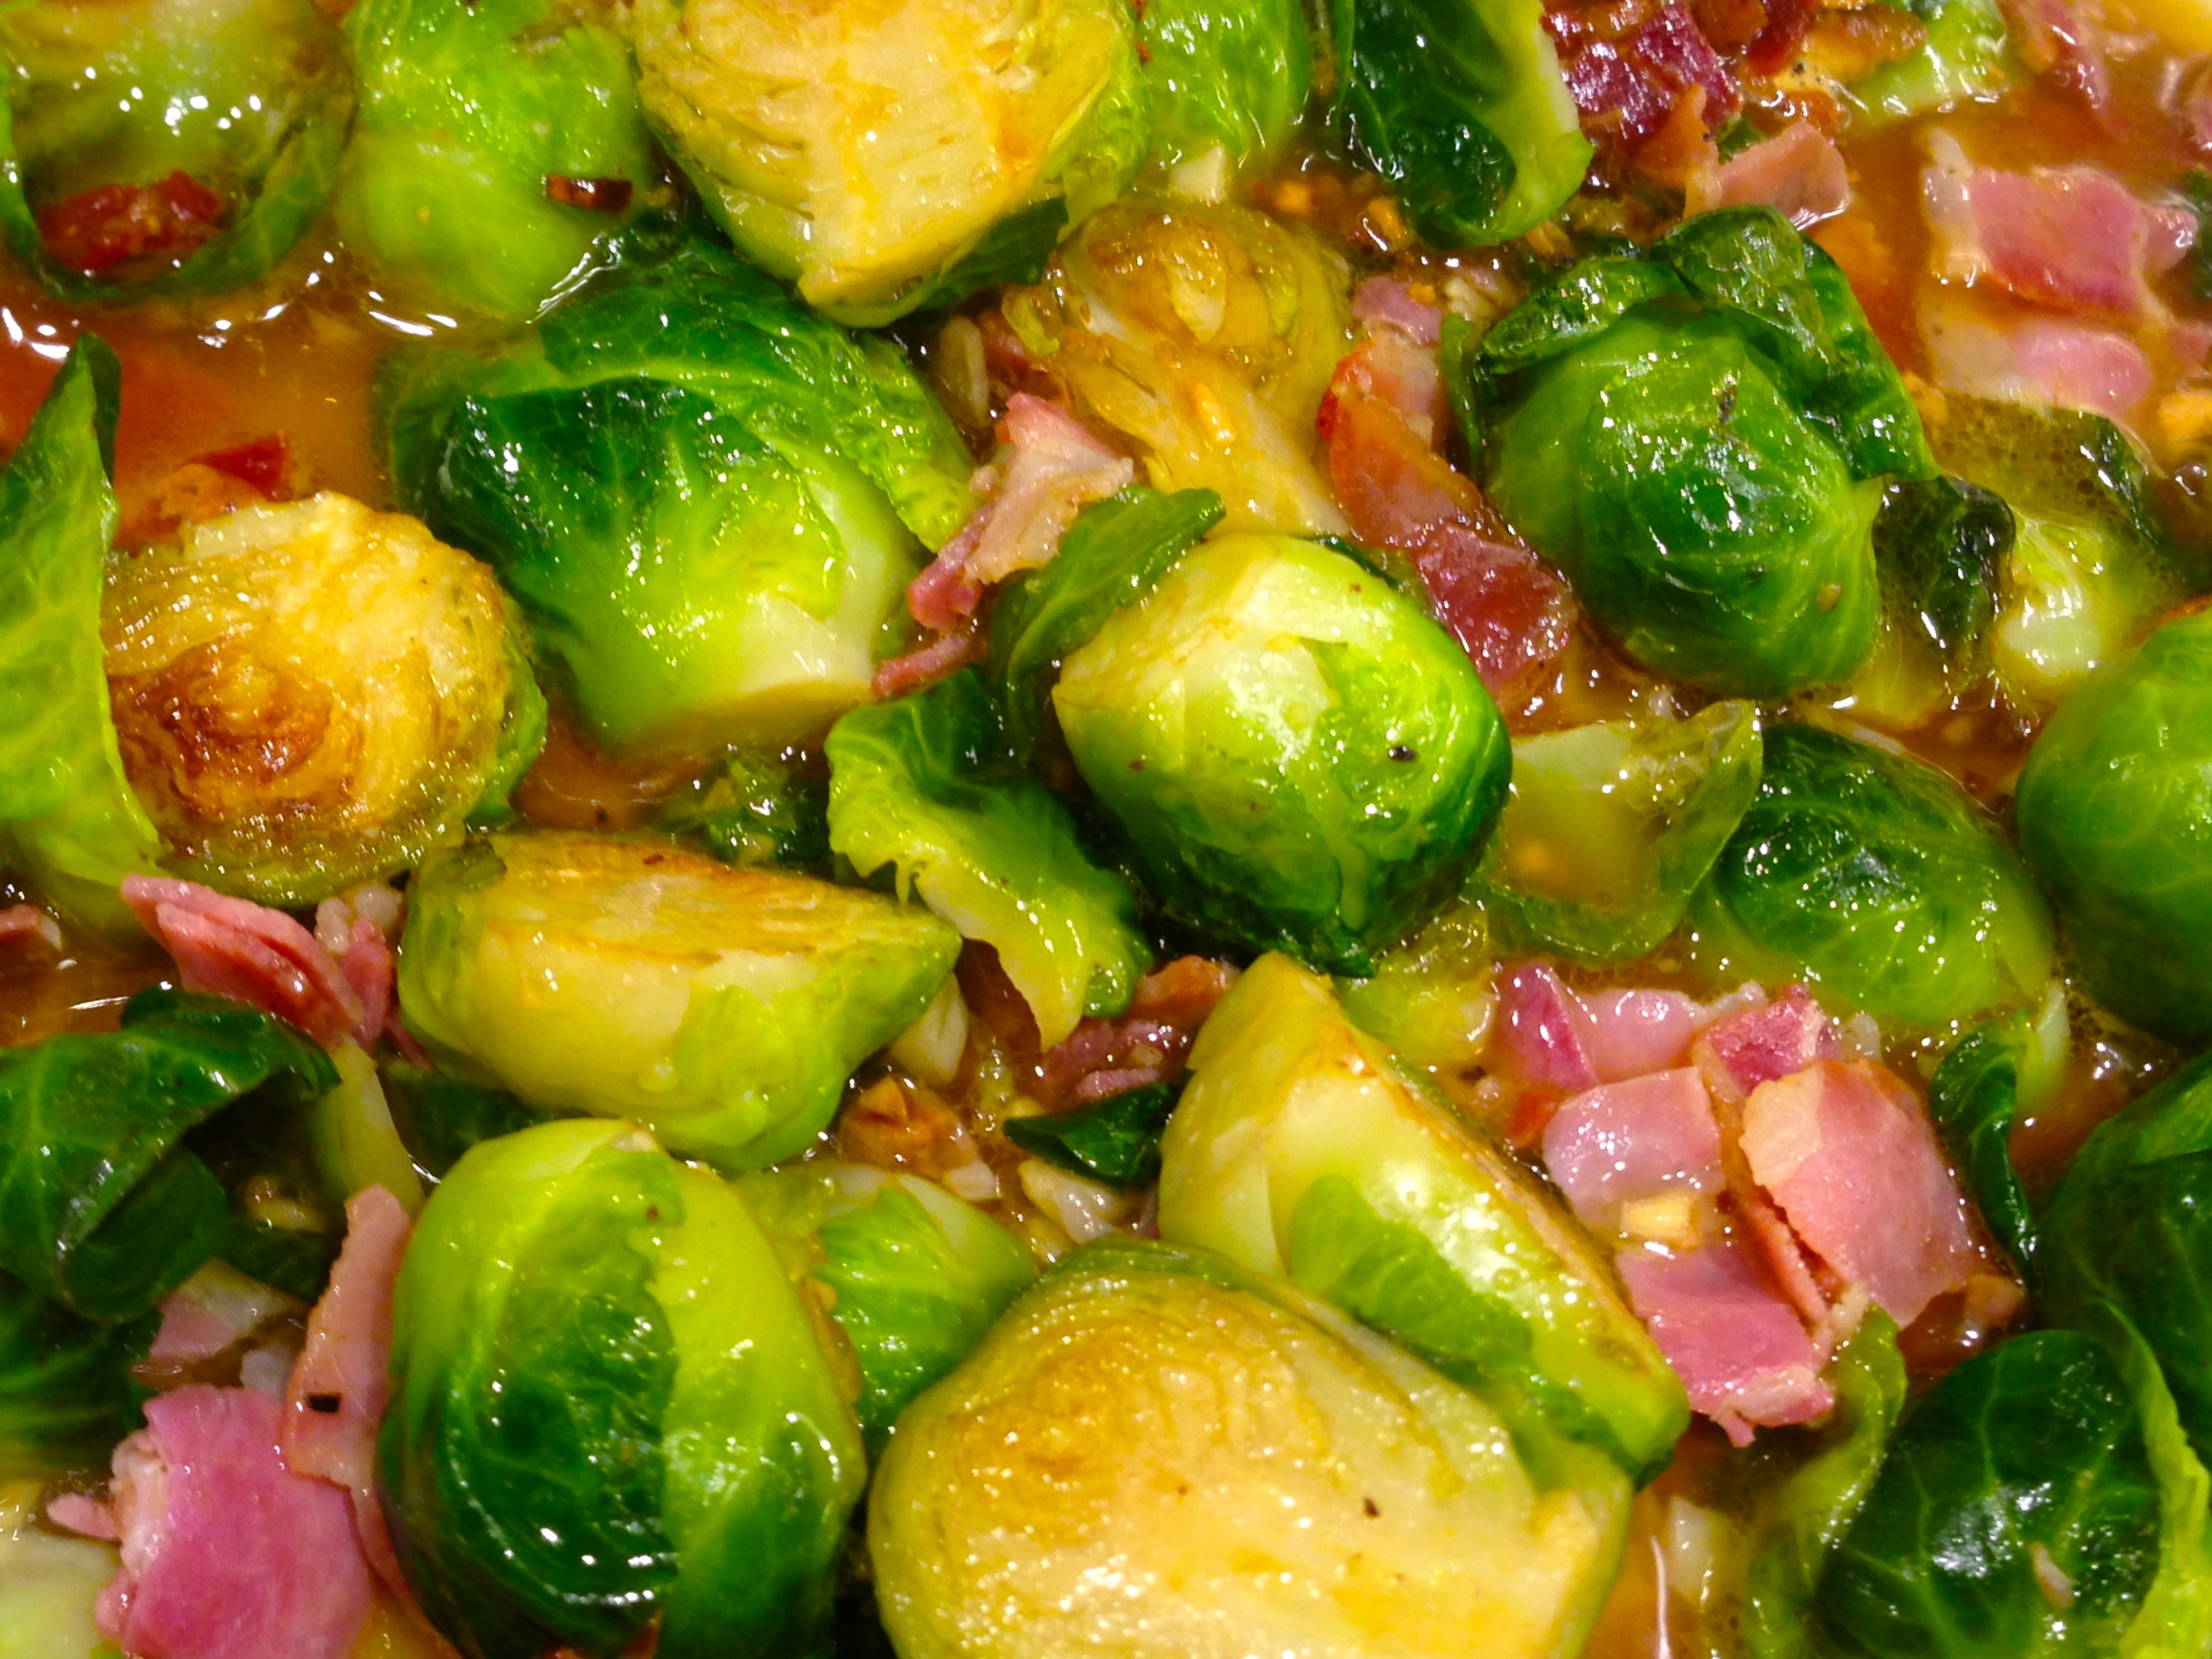
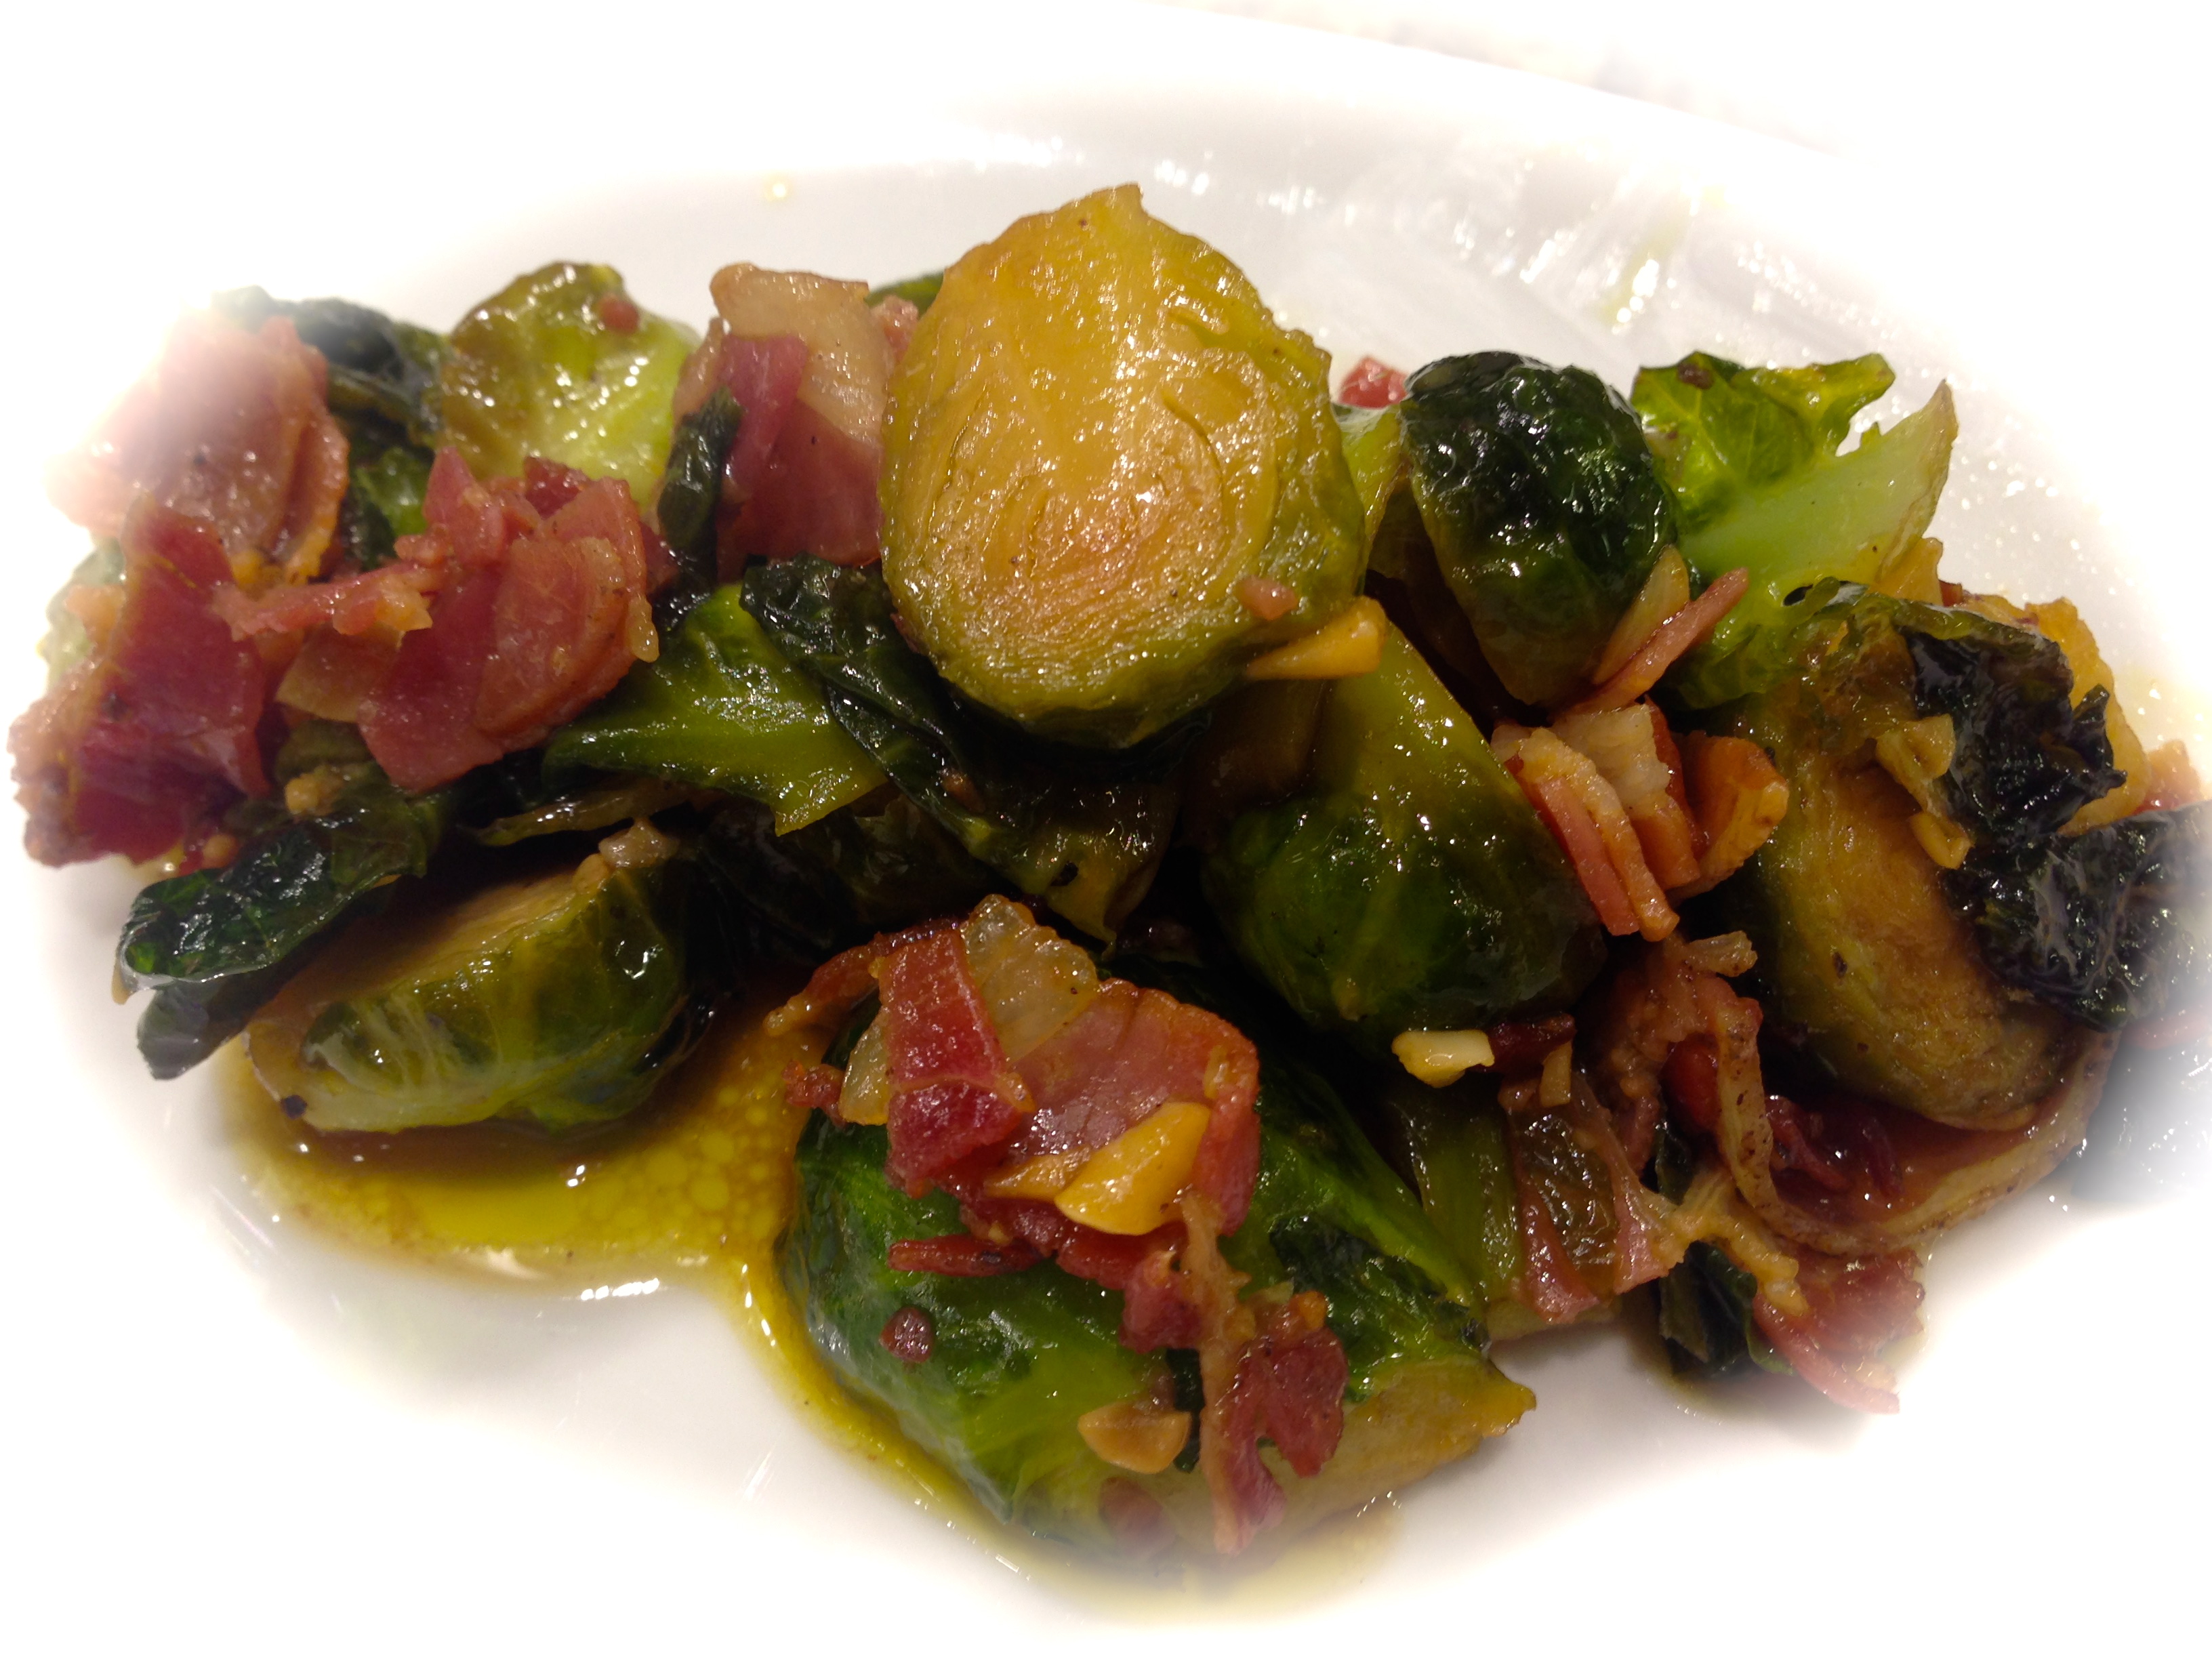
Lesson Learned 3 – This compound butter can be used in a variety of ways: Not only will this compound butter give you the most delicious steak you’ve ever tasted but it is fabulous for making garlic bread or putting on a baked potato. If you plan on doing a vegetable saute you can use this butter instead of an oil and it will wildly enhance the flavor of the veggies. Or just steam your veggies and put a pat of this butter on top.

Lesson Learned 4 – Don’t make this butter if you don’t like garlic: This butter has a healthy dose of grated garlic in it and the flavor is very robust. If you don’t like garlic you won’t like this compound butter. I recommend using fresh cloves of garlic and a grater to process the garlic. Grating fresh garlic, in my estimation, allows the full garlic flavor to shine through.

Lesson Learned 5 – The ingredient amounts in the recipe are a guideline: The beauty of this butter is that you can adjust the ingredients to suit your taste. If you don’t want the butter quite as garlicky then use a little less. If you want a little more flat leaf parsley, feel free to add it. When I make this butter I normally just eyeball what I put in always erring on a little less until I mix everything together and see what I’ve got. The flavor combinations are really all up to you.

And that’s it. I am originally from Chicago and there was an Italian restaurant on the North Side that made the best garlic bread. Since moving away from Chicago I have not been able to find anything close to that garlic bread – until now! This butter slathered on top of a sliced baguette and baked in the oven (I bake it in my toaster oven) is simply divine. And when I pull this bread out of the oven I take some more of the butter and let it melt on top of the warm bread. I guarantee you it will be garlic bread heaven!

So try this compound butter and let me know what you think. These days I am never without a stick of it in my refrigerator!

Garlic And Herb Compound Butter...

  • Servings: 10-12
  • Difficulty: Easy
  • Print

INGREDIENTS:

1 stick softened salted butter

4-5 medium cloves of garlic, grated

1 Generous TB chopped chives,

1 Generous tsp. chopped flat leaf parsley

DIRECTIONS:

Combine all ingredients until well mixed. Place softened butter in the center of a piece of clear plastic wrap. Fold one side of the plastic wrap over the butter and roll the butter back and forth until it forms a log. Use the remaining plastic wrap to completely seal the rolled log. Chill until firm. Serve with steak, on bake potatoes, or garlic bread. Actually the possibilities are endless.


Slow Cooker Lemon Garlic Butter Chicken…

I saw a version of this recipe online and it intrigued me. First of all I love my slow cooker. It has become a more versatile tool than it was years ago when you’d put in some meat and veggies, make some concoction usually comprised of some sort of cream soup and let it cook for hours until you had a tasteless soggy mess. Slow cookers can produce some great meals but you have to know how to use them. And just like your oven, no two brands of slow cookers are alike so you need to know your slow cooker.

I have two All-Clad slow cookers, a 7 quart and a 5 quart. For smaller meals when I cook for one or two I prefer the 5 quart, plus it has the versatility of browning food in its own sleeve which is very convenient. I find the All-Clad slow cookers to have a nice moderate temperature. Some slow cookers boil your food, even on low. I don’t find that to be the case with mine. I get a nice even slow cooking process and so if I gauge my cooking times correctly I do not wind up with dried out tasteless food.

Enough about slow cookers, let’s talk about slow cooker lemon garlic butter chicken…

Lesson Learned 1 – Recipes are designed to be guides, not gospel: The instructor in one of my more recent cooking classes said this and it really struck home with me. When you are making something savory, make the recipe your own. You don’t have to follow the recipe exactly ingredient by ingredient. Now mind you, this is not the case when you’re baking – you need to be precise with those recipes. But savory recipes can take on a life of their own depending upon your likes and dislikes. So feel free to experiment. Some of my most popular recipes were a result of doing just that.

The version I worked from called for 1/3 teaspoon of red pepper flakes. I did not want the heat so I eliminated that ingredient. I also added less butter and more lemon zest than recommended in the recipe and I added some carrots to the slow cooker which served as a base for the chicken thighs.

Lesson Learned 2 – Avoid the common mistake of long cooking times with your slow cooker: This is all a part of knowing your slow cooker as I mentioned above. I find, mostly where chicken recipes are concerned, that slow cooker recipes have cooking times that are too long. The recipe that I based this on called for 4 hours on high or 6-8 hours on low. I cooked my chicken for 5 hours on low and the result was perfect. Normally with beef recipes I find the recommended cooking times to be more accurate. But be careful with chicken in a slow cooker. You can really dry it out by cooking it too long. If you’re not sure if your chicken is done take its internal temperature. The safe internal temperature for cooked chicken is 165 degrees.

Lesson Learned 3 – Yes, you must brown your chicken first to get it to look like my pictures: The one drawback of a slow cooker is that it does not brown meat when it is slow cooking. The good news is there are now slow cookers on the market where you can brown your meat in its own sleeve and place the sleeve back in the slow cooker to finish the rest. These slow cookers tend to be a little more expensive but are a great convenience.

I browned my chicken thighs for about 4 minutes with the skin side down. I just browned them on one side and drained them on paper towels before adding them to the slow cooker. Some people don’t care if their meat looks grey and skip the browning process. But it you want your chicken thighs to look like mine, you’ll need to brown them first.

Lesson Learned 4 – I prefer using chicken thighs in a slow cooker: I find chicken thighs to be more forgiving, especially if you overcook them in a slow cooker. So if you feel it absolutely necessary to cook them for 6 hours on low use chicken thighs. The result will be much better.

Lesson Learned 5 – Slice the garlic in thin slices and place the slices on top of the chicken: I found that to be the best way to infuse the garlic into the meat. If you want you can also put some garlic slices under the meat as well. Once the chicken was done I removed the garlic slices and disposed of them. But you can serve them as well. I’m just not a big fan of eating garlic that way. You can also just mince the garlic and sprinkle it on top of the chicken. The choice is yours.

Lesson Learned 6 – Baste the chicken in the drippings before serving: This recipe makes a great lemon butter sauce. Baste the chicken thighs in that sauce before plating them. You’ll be glad you did.

And that’s it. This is a very basic recipe with a minimal amount of ingredients. You can skip adding the carrots if you want, or you can add some onions under the chicken as well. The choice is yours. I definitely enjoyed this recipe and will make it again. Let me know what you think!

Slow Cooker Lemon Garlic Butter Chicken...

  • Servings: 2-4
  • Difficulty: Easy
  • Print

INGREDIENTS:

4 chicken thighs with skin on

1 Tbs. vegetable oil

1 tsp. butter

1 tsp. garlic powder

1 tsp. onion powder

1/2 tsp. paprika

1 tsp. Italian seasoning

4 garlic cloves sliced thin

1/2 stick of butter diced

The zest of one medium size lemon (or two small)

The juice of one medium size lemon (or two small)

1/3 cup low sodium chicken broth

Salt and pepper to taste

4 carrots, peeled and cut into chunks

Chopped fresh flat leaf parsley for garnish, optional

Lemon slices for garnish, optional

DIRECTIONS:

Heat the vegetable oil and butter in a pan on the stove. Brown the chicken thighs skin side down for approximately 4-5 minutes. Remove the chicken thighs and drain on a paper towel. Set them aside.

Place carrots in the bottom of the slow cooker. Combine the chicken broth, lemon juice and zest. Place thighs on top of the carrots and pour the chicken broth mixture over them.

In a small bowl combine the Italian seasoning, onion powder, garlic powder, and paprika with some salt and pepper. Sprinkle the spice mixture over the chicken thighs. Top them with the garlic and dot them with the diced butter.

Cook on low for 5 hours. Baste the chicken thighs with the lemon butter sauce before removing them from the slow cooker. Garnish with lemon slices and parsley.


Parmesan And Garlic Herb Baked Cod…

Fish has become a staple in our household. Years ago I hardly ever made fish – I was too afraid of it and frankly not all that enamored with it. But now it has become a mainstay in our diet. Not only is it good for you but there are also a variety of ways to cook fish that make it super delicious. This recipe is one of those.

I’ve mostly cooked cod, red snapper, halibut, tilapia, trout, swordfish, and salmon. The main kind of fish I cook for me and my husband is salmon. I’ve got cooking salmon down to such a science that if I prepare it a certain way it always comes out perfect. This is a recipe for cod and I am still perfecting my cod prowess. But I made this the other night and it turned out wonderful so now I have a baseline to work from.

So let’s talk Parmesan and garlic herb baked cod…

Lesson Learned 1 – Cod is plentiful, easy to find and a great choice for this type of recipe: Whenever I go to the grocery store I can always get salmon, tilapia (although lately I’ve shied away from this because of everything that has been written about it) or cod. Finding other fish can be iffy for me. Trout is somewhat plentiful, halibut and red snapper are iffy (and halibut is very expensive) and swordfish I normally can only find frozen. But I’m in Colorado and not near the ocean so I’m sure in various parts of the country availability of various types of fish is much different.

I’d like to stop for a moment here and talk about frozen fish. Years ago frozen fish was not very good. The freezing process tended to dry out the fish and so you basically started out with dry fish once it was thawed – not good. Today the flash freezing methods they use keep the fish extremely fresh which makes frozen fish rival fresh fish and at a much better price. So don’t be afraid of frozen fish anymore.

The Herb Mixture

I also found that thawing frozen fish matters. I’ve been in a hurry and just put the frozen fish on the counter to thaw. That tends not to be a recommended process but when you’re in a hurry you do what you can do. But I found that if I thaw the fish in the refrigerator overnight the fish tends not to dry out in the baking process. Now I’m not sure if that’s true or if it’s just me, but I recommend thawing your fish overnight in the refrigerator if you can.

I found a package of six flash frozen 4-5 ounce cod pieces at Whole Foods at a great price. But cod is easy to find just about anywhere and often you can find it fresh. And no matter what way you make it, cod is the type of fish that easily takes on any flavor palate you choose. That’s what makes it so versatile.

One last point – don’t be afraid to let the fish sit outside of the refrigerator a bit before you bake it. I normally let my fish sit out for about one half hour. That way some of the chill is taken out of the fish. I find it bakes better that way.

Lesson Learned 2 – The art of cooking fish: As I mentioned earlier, I used to shy away from fish and one of the main reasons why was the fear of over or under cooking it. And when you have two pieces of halibut that cost over $20 you really don’t want to mess up. But even if you pay much less, cooking fish can be tricky and if you have enough failures you may just say enough is enough. But don’t do that. Once you get the hang of it, you’ll make great fish meals more and more.

If you’re really nervous just keep in mind that baked cod should be cooked to an internal temperature of 155 degrees. To test the temperature just use a food thermometer and stick it in the thickest part of the fish keeping the tip near the center of the filet. I’ve cooked fish enough that I’ve learned to eyeball it by either looking at the sides to see how opaque the color of the fish is or by sticking a fork on the edge to see if it’s flaky. But that skill comes with time and I recommend using a food thermometer if you’re new at it.

And while we’re talking food thermometer I would recommend getting a good one. The more inexpensive ones can work but they can register temperatures incorrectly, especially over time. Invest in a good food thermometer and it will become you’re best friend.

Ready To Go Into The Oven

Lesson Learned 3 – Grate your own Parmesan for this recipe: There is a BIG difference between jarred Parmesan cheese and grating your own. First the quality of the cheese can be much better as you choose what kind of Parmesan wedge you’ll use. Second the consistency is different. Homemade grated Parmesan tends to have slightly bigger pieces, tastes more robust and stands up better to the melting process in the oven. Now I know it takes a little extra time to do it but it is so worth it. I just zip out my little mini food processor, cut my Parmesan into small pieces and let the food processor do the rest. It’s so easy really and so worth it. I always make more than I need and use it for other things. Once you grate your own you may find that you’ve become a Parmesan snob and always grate your own versus buying it in the jar. It wouldn’t surprise me.

And that’s basically it. The recipe I am sharing is for two but you can certainly make more – just increase the amounts for the mayonnaise mixture. Also if you use larger sized filets you’ll need to increase the baking time. I served this with my cinnamon roasted butternut squash, a side salad and some garlic knots. It was a fantastic meal. Try it and tell me what you think!

Parmesan And Garlic Herb Baked Cod...

  • Servings: 2
  • Difficulty: Easy
  • Print

INGREDIENTS:

2 four to five ounce cod filets

1/2 cup mayonnaise

1/2 cup freshly grated Parmesan

1 scallion chopped, including the green parts (you can substitute 2 Tbs. shallots)

1 garlic clove, grated

1 Tablespoon fresh Italian parsley, chopped

DIRECTIONS:

Preheat oven to 375 degrees. Line a baking sheet with foil and spray the foil with cooking spray. Place the cod filets on the foil and set aside.

In a small bowl mix together the remaining ingredients. Spread the mixture evenly over the top of the fish. Bake for 8-10 minutes or until the fish starts to look opaque and will flake.

If you desire the topping to be more browned, at 8 minutes switch the oven to broiler and brown the tops of the fish until lightly golden (not longer than 2 minutes). Remove from oven and serve.


Homemade Garlic Dill Pickles…

It was so much fun at the Farmers Market this past weekend. It’s that time of year when you start to get a lot of great things there like fresh herbs, green beans, early girl tomatoes and of course cucumbers and zucchini.

I stopped at a stand that offered a deal of $10 per bag, fill it with what you want (and a fairly large bag I might add). Needless to say I loaded up. Since I don’t have the space to grow zucchini anymore I got a couple of them so that I could make my Double Chocolate Zucchini Bread. They had some fabulous fresh green beans and I got some of them as well – great for steaming. They also had some Yukon gold potatoes that I couldn’t resist. And they also had some great looking pickling cucumbers and so I thought I’d try my hand at that.

Pickling is a rather easy process and if you decide not to can for preserving purposes the pickling process is even easier. I really had no idea how many little cucumbers I should get as I wanted to try to fill two pint jars, so I guessed at four and I happened to be right (this time).

So let’s talk making homemade garlic dill pickles…

Lesson Learned 1 – Make the cucumber slices of equal thickness: Best to use a mandolin slicer for this job. I set my slicer to 3/16 of an inch (use whatever setting you have that is close to 1/4 inch) and all the slices came out perfectly proportioned. Of course you can use a knife and if some of the slices are not the same thickness it won’t harm the process but I think this is a perfect thickness for the pickle slices. They’re pretty much the same size as you buy in jars at the store. And as I like to always remind you, be very careful using a mandolin slicer and use the finger protector so you still have them once you’re done slicing!

Lesson Learned 2 – Pack the jars as firmly as you can without crushing the slices: You want all the slices to be able to soak up the pickling brine and once you add the brine they will tend to separate from each other a little. Four cucumber pickles, medium sized, for two pint jars should be sufficient for what you need to have the pickles layered firmly in the jar and still be able to close the lid.

Pack the jars tightly without crushing the slices

Lesson Learned 3 – Once the jars are filled and sealed turn them over a couple of times: I like to see that the pickling spices are sitting throughout the jar and not just stuck on the bottom. I’ve not read anywhere that you have to do that, but I think it creates better all around pickling.

Lesson Learned 4 – Leave the refrigerated jars of pickles alone for at least 48 hours: I know you will be tempted to see what they taste like long before that, but you want to give the pickling spices and brine plenty of time to get acquainted with the cucumber slices. And if you can leave them alone for 72, well that’s even better. Believe me, it’ll be worth the wait.

Other than measuring out the spices and boiling the vinegar water and salt, that’s basically it. It couldn’t be easier and you control the ingredients. So much better than buying jars at the store.

Homemade Garlic Dill Pickles

  • Servings: Many
  • Difficulty: Easy
  • Print

INGREDIENTS:

4 medium sized pickling cucumbers

4 large cloves of garlic, peeled and smashed

4 teaspoons dill seed

1/2 tsp. red pepper flakes (optional)

1 cup apple cider vinegar

1 cup water

1 1/2 Tbs. kosher salt

DIRECTIONS:

You will need two wide-mouth mason jars with lids for this recipe. Make sure the jars and lids are clean.

Wash and dry the cucumbers. Make sure any blossoms or remnants of blossoms are removed. Cut the cucumbers into 3/16 inch coins. Divide the garlic, dill seed and red pepper flakes in half. Put equal amounts into the bottom of each jar. Pack the cucumbers into the jars as much as you can without crushing any of them and so the lid of the jar can be closed and sealed.

Bring the pickling brine (apple cider vinegar, water and salt) to a rolling ball, whisking it until the salt is incorporated into the liquid.

Pour the hot liquid into the jars, filling each to about 1/2 inch from the top. (I found I used all the brine but depending how you pack your pickles you may not use all of it). Gently tap the jars on the side to remove any air pockets and add more brine if necessary.

Place the lids on top of the jar and screw on the rings until tight. Let the jars stand until they reach room temperature. Refrigerate the jars for a minimum of 48 hours. Refrigerate the jars after opening.

Home Fries…

I love my cast iron skillet. It only cost me about $20 and it’s one of the best skillets I have. But there’s a reason for that. Cast iron produces even, sustained heat and that’s the best for cooking just about anything. The only drawback to cast iron is it’s so darn heavy. But I just think of it as an upper body workout and move on from there.

This recipe uses the features of a cast iron skillet to produce the tastiest home fries. And making home fries is not all that complicated. The flavor of homemade sure beats the taste of the frozen kind.

So without further adieu, let’s talk home fries…

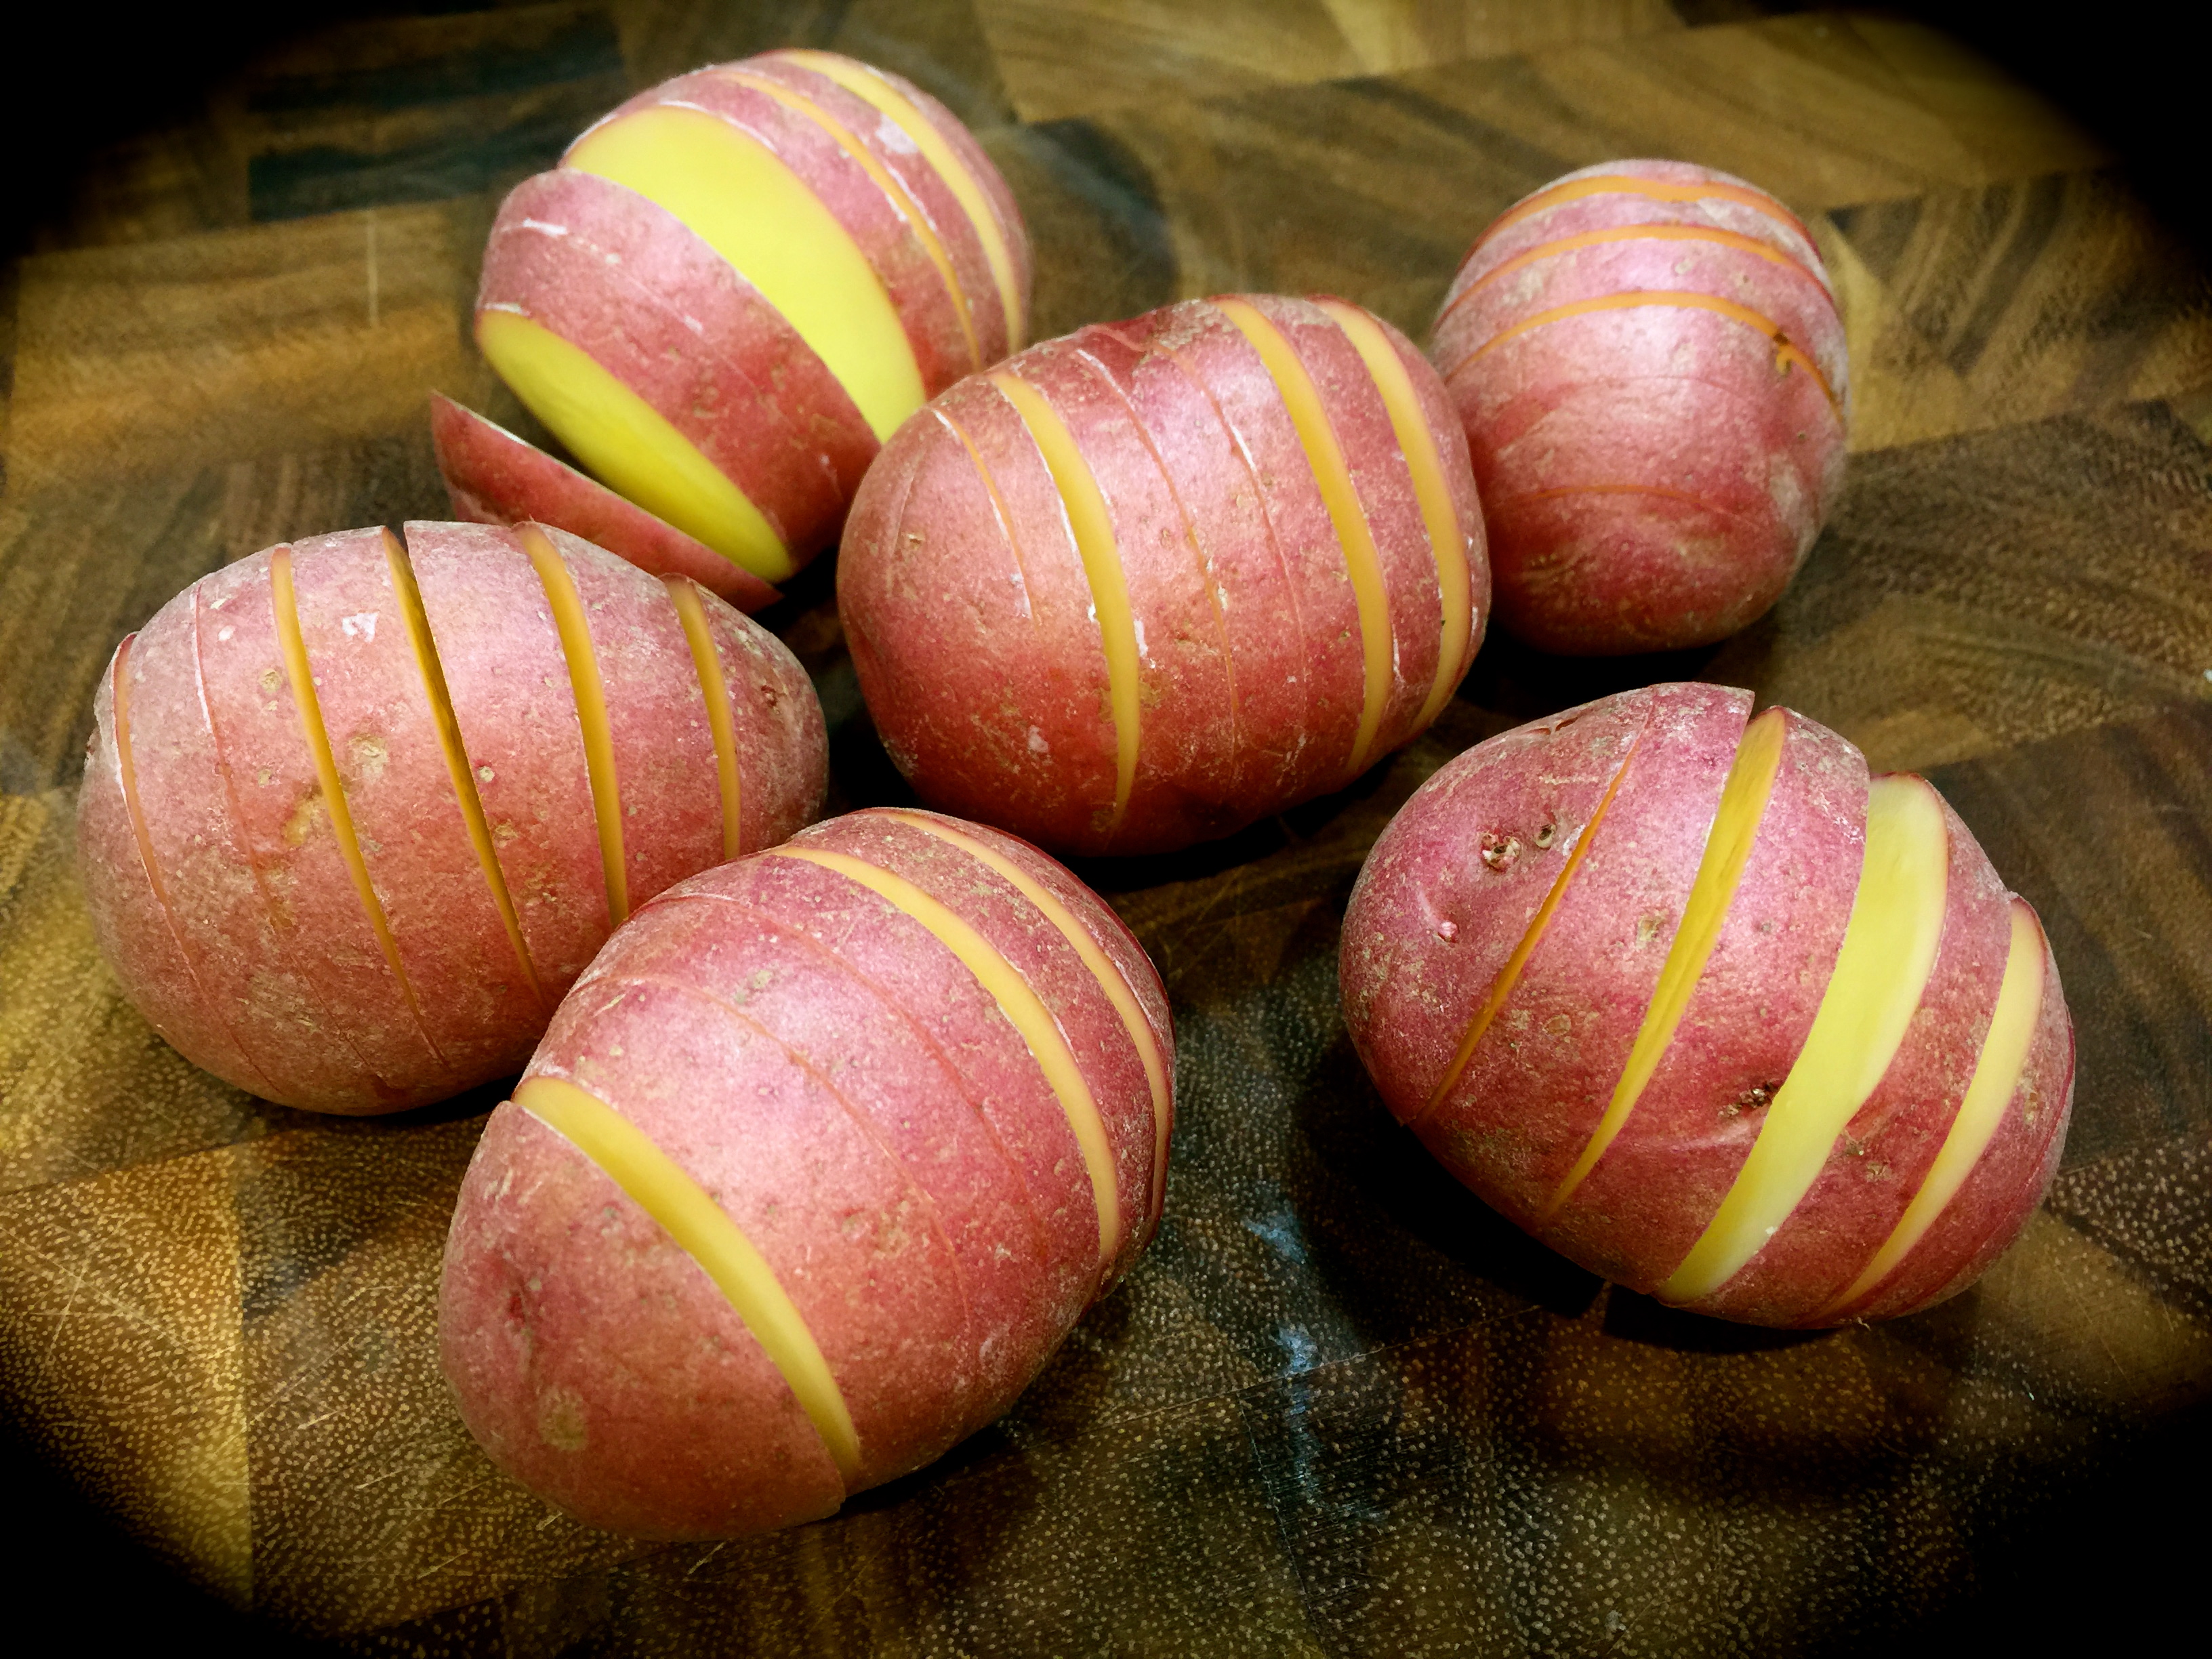
Lesson Learned 1 – Make sure to cut the potatoes to the correct size: For the purposes of this recipe you need to keep the pieces close in size (approx. 3/4 inch pieces). Here’s a little trick to help you achieve that. Using your chef’s knife cut a thin slice off of one of the longer sides of a peeled potato. Set the potato on the cut side and slice crosswise into even planks. Stack several planks and cut crosswise. Then rotate and cut crosswise again. This will give you evenly sliced potatoes.

Lesson Learned 2 – You can cook the pieces of potatoes two different ways, on the stovetop or in the microwave: (I will include both methods in the recipe printout). I chose to cook them on the stove. The process is not much different than making mashed potatoes. The only difference is you want to monitor the potatoes as they boil to make sure they don’t get overly soft, otherwise they’ll break apart. You want them to hold their shape. I would boil them for about 7-10 minutes and check their consistency. If they are still hard, check every couple of minutes until they are just becoming fork tender.

Lesson Learned 3 – If you choose to boil your potatoes first, let them cool a little in the strainer so they are as dry as possible when you put them in the cast iron skillet: In order to get your potatoes nice and brown you want them to be as free from water as possible. I would boil the potatoes first, strain them and let them sit in the strainer while you saute the onions and garlic. That way most of the moisture will drain off before you put them in the skillet.

Lesson Learned 4 – Once you saute the onions and garlic remove them from the pan and set them aside. The first time I made this recipe I kept them in the cast iron pan while I was browning the potatoes. Big mistake! They didn’t stand up very well through the browning process and wound up getting burned. Once you saute the mixture remove it from the pan and add it back in at the last minute just to get it warmed through again. That way you won’t get browned potatoes and blackened onions and garlic. Lessons learned from the cook who never could…

Lesson Learned 5 – Don’t continuously move the potatoes once they are in the skillet: In order to get the potatoes nice and brown you have to let them sit for a while in the skillet. The whole browning process can take about 20 minutes and you don’t want to be flipping the potatoes continuously during that time. If you want to check to see if they are ready to flip, turn one of the pieces or look on the sides of the pieces to see if the bottoms have started to to turn color. You’ll get a much better result if you are patient during the browning process.

And that’s it, couldn’t be any easier. I like these so much better than the frozen kind. Try them and see if you agree!

Home Fries...

  • Servings: 4
  • Difficulty: Easy
  • Print

INGREDIENTS:

2 large russet potatoes, peeled and sliced into 3/4 inch cubes

2 – 3 Tbs. vegetable oil

1 small-medium size onion, chopped

2 garlic cloves, minced

1 Tbs. fresh chives

Salt and pepper, to taste

DIRECTIONS:

In a high rimmed pot, boil the potatoes until they just fork tender. Drain the potatoes and set aside. (NOTE: you can also microwave the potatoes. Put 1 Tbs. oil, 1/2 tsp. salt and 1/2 tsp. pepper in a covered microwave safe bowl along with the potatoes. Stir. Cook 7-10 minutes stirring occasionally. Drain the potatoes well).

Heat a cast iron skillet over medium heat for about 3-4 minutes. Start with 2 Tbs. of oil (you may or may not need to add more later) added to the skillet and heated until shimmering. Add the onions and cook until lightly browned. Salt and pepper the onions. Add the garlic and cook until fragrant. Remove the mixture from the pan and set aside.

If needed, add the remaining oil to the pan. Add the potatoes and gently pack them into the skillet using the back end of a spatula. Cook, without moving for 7-10 minutes or until they begin to brown.

Flip the potatoes and lightly repack them into the skillet. (check to see if you need to add oil during this process). Continue flipping process until the potatoes are browned on all sides. Add the onions and garlic back to the pan, mix with the potatoes and heat until warmed through.

Season with salt and pepper, garnish with chives and serve immediately.

Potatoes during the browning process


SaveSave

SaveSave

SaveSave

SaveSave

SaveSave

SaveSave

SaveSave

SaveSave

SaveSave

SaveSave

SaveSave

SaveSave

SaveSave

SaveSave

SaveSave

SaveSave

Garlic Roasted Summer Squash And Tomatoes…

Get ready for the onslaught of summer squash. If your garden has been anything like mine in recent years you will soon be inundated with more summer squash than you can handle. It often gets to the point where you can’t even give the squash away. So think about different ways you can use of all of that squash.

Over the years I’ve posted a wide variety of recipes using summer squash and you can find those recipes in my recipe index. Today’s recipe is very basic. It is quick and easy and a great way to use your squash to accompany just about any meal.

So let’s talk about garlic roasted summer squash and tomatoes…

garlic roasted summer squash and tomatoesLesson Learned 1 – For the best results, let the olive oil, garlic and seasoning rest: A great way to infuse your olive oil with the flavors of the garlic and Italian seasoning is to combine them all together and let the mixture sit for 5-10 minutes before coating the squash and tomatoes. That way you will get a great infused olive and those flavors will permeate the squash and tomatoes during the roasting process.

Lesson Learned 2 – once again it is important to cut the squash rounds into evenly thick pieces: I cannot sing the praises of a mandolin slicer enough. It is truly the best way to cut veggies into rounds that are uniformly thick in size. The reason you do this is so the squash cooks evenly and you don’t wind up with some pieces overcooked, some undercooked and some just right. Eliminate what I call the Goldilocks And The Three Bears dilemma and use a mandolin slicer. And once again, I cannot stress enough to use the finger guard whenever using the mandolin slicer. Accidents can happen very easily if you don’t.

Roasted summer squash and tomatoes

Lesson Learned 3 – Use firm tomatoes in this recipe: I would not use overly ripe soft tomatoes in this recipe. A firmer, slightly less juicy tomato holds up best during the 30 minute roasting time. I used firm cherry tomatoes in this recipe but you can also cut up roma tomatoes or use firm campari tomatoes.

The prep on this recipe is quick and the result is fabulous. And with squash season upon us, this is a great recipe to have in your hip pocket. Try it and let me know what you think…

GARLIC ROASTED SUMMER SQUASH AND TOMATOES...

  • Servings: 4
  • Difficulty: Easy
  • Print

INGREDIENTS:

1 large or 2 small zucchini squash

1 large or 2 small yellow squash

1/2 cup firm cherry tomatoes, halved

3 Tbs. olive oil

3-4 cloves of garlic, minced

1 1/2 tsp. Italian seasoning

1 cup shredded parmesan cheese

Salt and Pepper, to taste

DIRECTIONS:

Preheat the oven to 400 degrees. Line a lipped baking sheet with foil. Spray the foil lightly with cooking spray.

Mix together the olive oil, garlic and Italian seasoning. If you can, let the mixture sit for 5-10 minutes to infuse the olive oil with the garlic and seasoning.

Slice the squash into 1/8 slices (using a mandolin slicer is preferred). Cut the cherry tomatoes in half. Put the squash and tomatoes in a large bowl. Pour the olive oil mixture over the vegetables and stir to evenly combine.

Spread the vegetables out evenly onto the prepared baking sheet. Season the mixture with salt and pepper. Sprinkle the parmesan over the top of the vegetables. Roast for 30 minutes or until the vegetables are tender and the parmesan is golden brown. Serve immediately.

Garlic Roasted Summer Squash And Tomatoes

Garlic Roasted Summer Squash and Tomatoes

Garlic Roasted Summer Squash And Tomatoes

Garlic Butter Roasted Carrots…

This recipe could not be any more basic but it produces a side dish rich in flavor. Whenever you caramelize something it produces a sweetness that is awesomely delicious. And because this blog is dedicated to those beginning to feel their way around the kitchen, this recipe is perfect because it produces spectacular results with very little effort. If you’re looking for something to boost your confidence in the kitchen, this one’s is for you!

So let’s talk garlic butter roasted carrots…

Lesson Learned 1 – Use lots of garlic: I used 4 big cloves of garlic in this recipe and you can even add more if you want. Just be aware that the garlic will turn dark in the oven but that’s ok. It will still infuse the carrots with great garlic flavor.

Saute the cloves in the butter for a good 3-4 minutes and just when you start to see some slight browning on the edges, remove the mixture from the heat and pour it over the carrots. Make sure the carrots are evenly coated with the butter/garlic mixture. Use your hands if you have to to make sure they’re coated all over.

IMG_0198

Lesson Learned 2 – Cut the carrots in one inch chunks on the diagonal: One inch chunks work well for this roasting time. Cutting them on the diagonal makes them look prettier.

Lesson Learned 3 – Make sure you flip the carrots during the roasting process: You want to make sure the carrots caramelize on all sides so check them after 15-20 minutes and flip them over so the other side can caramelize as well.

When I first took these carrots out of the oven I thought perhaps I had browned them too much. I was wrong. These carrots had such a wonderful sweet flavor and the darkened areas were rich and sweet. The main thing to remember is to flip them so they caramelize on both sides.

Image-1

I have to say I could not believe how sweet and delicious these carrots were. This is a great recipe for when you want to impress but also want something insanely easy. Enjoy!

Garlic Butter Roasted Carrots

  • Servings: 4-6
  • Difficulty: Easy
  • Print

INGREDIENTS:

4-6 large carrots, cut in 1 inch lengths on the diagonal

5 Tbs. butter

4-5 cloves of garlic, minced

Salt and pepper to taste

Flat leaf parsley for garnish

DIRECTIONS:

Preheat oven to 400 degrees. In a saucepan melt the butter. Add the garlic and cook for 3 – 4 minutes being careful not to burn the garlic.

Put the carrots in a large bowl and add the butter/garlic mixture. Toss until all the carrots are completely covered.

Spread the carrots out on a prepared baking sheet (I covered my sheet with aluminum foil and sprayed it lightly with olive oil cooking spray), making sure they are not crowded and that all the butter/garlic mixture is poured onto the sheet.

Roast for 30 – 40 minutes making sure to flip them half way through the roasting process. Remove the carrots from oven and salt and pepper to taste. Garnish with flat leaf parsley and serve. Enjoy!

Garlic Butter Carrots

Slow Cooker Honey Garlic Chicken…

I think I have a love/hate relationship with slow cookers. The concept of the slow cooker is undeniably fabulous – put something in the pot when you leave the house in the morning and voila, when you come home from work, you have a meal ready to go. The challenge is to find or create slow cooker recipes that in the end not only produce a meal but a flavorful one, one that is not cooked to the Peter Principal of bland. I’ve tried many variations of slow cooker recipes and have only a few that I think I’ve perfected. This is one of them.

What I’ve found with a slow cooker is if you vary what you are slow cooking with either other ingredients not in the slow cooker or ingredients that you put in the slow cooker near the end of the cooking process you’ll get a much better outcome. So is the case with this recipe.

So let’s talk slow cooker honey garlic chicken…

Browned Chicken ThighsLesson Learned 1 – The best type of chicken to use and how to prepare it: For this recipe and for most slow cooker recipes involving chicken, I use chicken thighs. I recommend using bone in, skin on chicken thighs for this particular recipe. Slow cooking tends to take the moisture out of chicken and by using these types of chicken thighs you protect yourself against getting dried out, bland chicken. I recommend searing the thighs briefly over a very hot heat, preferably in a cast iron skillet, before putting them into the slow cooker. Then after the meal is prepared, I recommend putting the chicken under the broiler just briefly the crisp up the exterior skin a little. As I mentioned earlier, I think the process of slow cooking is merely a part of the cooking process and not the entire thing. By searing and then briefly putting the chicken under the broiler at the end, you’ll wind up with a juicier, more flavorful outcome.

all-clad-6.5-qt.-slow-cookerLesson Learned 2 – Get to know how your slow cooker cooks: All slow cookers are not created equal. Some have higher default temperature settings than others. I have an All-Clad slow cooker and I love it, but I’ve learned over time that I can lessen the cooking time on my chicken recipes and they turn out better. Many of the recipes I read from which I based this one called for the cooking time to be 7-8 hours on low. In my experience and with my slow cooker I know I can cook chicken for 6 hours on low and I wind up with chicken that is cooked through but doesn’t taste like chalk. Especially with this recipe where you open the slow cooker twice during the cooking process to baste and to add the haricot vert. So be aware, you may have a few disappointments before perfecting recipes in your slow cooker. But there is nothing like the convenience of a slow cooker and once you find your groove with yours, you will love it!

Lesson Learned 3 – Ingredients to add at the end of the cooking process: In this recipe you add the haricot vert (green beans) during the last half hour of cooking. At the time I added them, I also scooped some of the sauce over the chicken just to add a little more moisture to it. (I also basted the chicken with the sauce about half way through the cooking process). By adding the green beans at the end they turned out crisp tender and were delightful. Put in only the amount you intend to have for that meal. If you have leftovers, cook a fresh bunch of beans at that time.

Also, if you want crisp tender onions you can add frozen pearl onions in with the haricot vert during the last thirty minutes.

Slow Cooker Honey Garlic ChickenCertain ingredients only take a short amount of time in the slow cooker (like beans, shrimp, frozen okra) but others take the full cooking time (like carrots, potatoes and onions). The ones you cook the entire time should always be cut into large chunks so they don’t fall apart at the end. The ones you put in for a short time can go in as is.

I think you’ll like this recipe. It definitely is easy and with a few simple tricks you can achieve great flavor as well. Try it and tell me what you think!

Slow Cooker Honey Garlic Chicken…

  • Servings: 4
  • Difficulty: Easy
  • Print

INGREDIENTS

8 bone in, skin on chicken thighs

baby new potatoes (or red potatoes quartered)

baby carrots (or 4-5 large carrots cut into chunks)

1 large sweet onion, quartered (or frozen pearl onions)

haricot vert (thin green beans), enough for your initial serving

1 Tbs. butter

1 Tbs. garlic infused olive oil (you can use plain olive oil)

1 1/2 cups low sodium soy sauce

1 1/2 cups clover honey

3/4 cup ketchup

4 cloves garlic, minced

1 1/2 tsp. dried basil

1 tsp. dried oregano

1/2 tsp. red pepper flakes (you can add more if you want it spicier)

Salt and pepper

DIRECTIONS

In a cast iron skillet, heat the butter and olive oil until the butter is melted. Pat dry the chicken thighs and season them with salt and pepper. Place them skin side down into the hot pan. Sear them until light golden brown, about 3 minutes. Remove the chicken thighs from the pan and set aside.

Whisk together the soy sauce, honey, ketchup, garlic, basil, oregano and red pepper flakes. Place the potatoes, carrots and onions (if using frozen pearl onions, add them during the last 30 minutes of cooking time) in the slow cooker. Season with salt and pepper. Place the chicken thighs on top of the vegetables. Pour the soy sauce mixture over the chicken and vegetables. Cover and cook on low for 6-8 hours (this time depends on your slow cooker and its default temperatures). Half way through the cooking process baste the chicken with the soy sauce mixture.

One half hour before serving add the green beans and baste the chicken again (add the frozen pearl onions at this time). If desired, before serving, place the chicken thighs on a baking sheet and put them under the broiler for approximately three minutes. Serve immediately.

Ingredients ready for slow cooking

Ingredients ready for slow cooking

IMG_9344

Herb Roasted New Potatoes…

As you can imagine, I check out a lot of food blogs to see what others are making. I am impressed by the skill and creativity I see in a lot of them. And I say to myself, why can’t I be like that? But I am who I am, and what I make is based on my upbringing, my tastes, and sometimes even an adventurous spirit. But by and large, I am a pretty simple cook who likes to make simple things and be very successful at doing so.

Don’t get me wrong, my palate has matured over the years and I now enjoy many things I never would have dreamed of eating when I was younger. But when push comes to shove I’m basically a meat and potatoes girl (as is reflected by my recipes). So this recipe will come as no surprise.

Herb Roasted New PotatoesI like this recipe both for it’s simplicity and its flavor. Plus during the summer months I grow a lot of herbs and am always looking for ways use my fresh herbs in recipes. So this one fits the bill. I used my flat leaf parsley and lemon thyme as well as garlic to provide the aromatics. I love the added boost of the lemon thyme, but if you don’t have it or can’t find it, you can achieve the same affect by adding some lemon wedges to the roasting process. All in all, the hardest part of this recipe was making sure I didn’t slice the potatoes all the way through but just deep enough so they would fan out slightly. The rest was a breeze.

Lesson Learned 1 – Know your oven: I researched similar recipes to mine and many of them suggested baking the potatoes for an hour at 350. That would never work for me. At high altitude you often have to set your oven temperature higher and cook things longer. I set my oven temperature at 375 and for the last ten minutes cranked it up to 400. Next time I make this recipe I will start at 400 degrees and check the potatoes after 45 minutes. For me, I am thinking that 400 degrees for an hour will be optimum. At sea level, I would suggest starting at 375 and checking the potatoes for doneness at 45 minutes. If they are not done, make a decision from there whether to cook them longer at the same temperature or to crank up the oven.  Keep in mind the size of the potatoes matter. New potatoes are small but can still vary in size and that will affect the roasting time. The larger the new potatoes the longer the roasting time. Check your potatoes at 45 minutes and plan for at least an hour. That way you won’t go wrong.

Sliced New PotatoesLesson Learned 2 – Don’t throw out the garlic: I recommend using a full head of garlic when roasting the potatoes (you can even use more if you like). You don’t need to peel it, just cut off a small portion of the top. It will not only provide a delightful aromatic during the roasting process, but will also give you sweet soft garlic cloves that you can either spread directly on bread or use with butter to make a garlic herb butter that’s great for making garlic bread. You get that extra added benefit with this recipe.

If you  like rich, creamy potatoes infused with an herb and garlic flavor, this recipe is for you. Let me know what you think about the recipe after you make it.

Herb Roasted New Potatoes…

  • Servings: 4
  • Difficulty: Easy
  • Print

INGREDIENTS:

2 pounds new potatoes, scrubbed

1/4 cup olive oil (I used garlic infused olive oil)

2 Tbs. melted butter

1 Large head of garlic, top trimmed

1 – 2 Tbs. chopped flat leaf parsley

4 – 6 sprigs lemon thyme (if using regular thyme cut up half a lemon into wedges and add)

Salt and freshly cracked black pepper

DIRECTIONS:

Preheat oven to 375 (for high altitude 400 degrees). Melt the butter and add the olive oil to it. Cut slits into the potatoes being careful not to slice them all the way through. Place the potatoes in a roasting pan (I lined my with foil, but that is discretionary). Put the garlic head in the middle of the potatoes. Baste the potatoes and garlic with half of the butter/olive oil mixture. Sprinkle the potatoes with the chopped parsley and place the thyme sprigs in between the potatoes. Sprinkle with salt and pepper.

Half way through the roasting process baste the potatoes with the remaining butter/olive oil mixture. Check the potatoes for doneness at 45 minutes. If they do not appear to be almost fork tender raise the temperature of the oven to 400 degrees and roast at least an additional 15 minutes or until the potatoes are fork tender. Serve immediately.

Ready To Go Into The Oven

Herb Roasted New Potatoes

Herb Roasted New Potatoes

Lemon Chicken With Garlic And Capers…

If you happen to glance at my recipe page and notice a plethora of chicken recipes there’s a reason for that. I simply love chicken, no two ways about it. A lot of people blog a wide variety of recipes. I simply blog recipes that I like. If my recipes don’t fit the bill for you, no worries. There are so many websites to choose from these days so I’m sure you’ll find what you’re looking for if it’s not here.

Not only do I blog recipes that I like, but also ones that are simple but can challenge you in some regard to move yourself out of your comfort zone. My goal is to be your test kitchen by doing the work up front and giving you insights on how to be successful. I wished for a long time that I had someone who would do that for me. It can get frustrating when you fail to get things right time after time. So hopefully I can demystify a few things for you, and I hope I can learn some things from you as well.

So back to this chicken recipe. It’s relatively simple. What takes the most time is the prep. But I love to prep. Chopping, mincing, dicing, slicing – it’s therapeutic for me. Don’t let the prep make you shy away from making this. So much can be done ahead and then once it’s time to cook, everything goes relatively quickly. I made this with a brussels sprouts, pancetta and sun-dried tomato side and it was a little tricky balancing the steps between both. But it was all worth it when my husband kept saying, “This dinner is really good.” Enjoy this recipe and my lessons learned…

IMG_2614Lesson Learned 1 – Cooking with lemon slices: First you need to slice the lemon into even-sized thin rounds. The best way to do this is with a mandolin slicer. In a past recipe I spent quite a bit of time talking about how great a mandolin slicer can be and also how dangerous it can be to use. Just be careful when you use one. But as you can see from the picture, the mandolin will give you even-sized thin rounds.

IMG_2625In the recipe you actually sauté the lemon rounds. It gives the chicken and sauce a delightful flavor and also serves as a garnish for the chicken when you serve it. The trick is to cook them quickly, no longer than about 45 seconds. Once you notice the lemons starting to turn brown, as you can see in the picture to the right, remove them from the pan. You want them to be slightly browned but you don’t want them to loose their shape or too much of their sections.

Lesson Learned 2 – Make sure the chicken breasts are no thicker than 3/4 inch: The thin breasts cook quickly, about 4 minutes per side. I took regular chicken breasts and with a sharp knife cut them in half. That gave me 3/4 inch pieces. You can also take a breast and pound it out to that thickness and then cut it into portion size pieces. Whatever is easier.

10-piece-2.25-10.25-glass-bowl-setLesson Learned 3 – Be organized when making this recipe: I like this recipe not only because it’s flavorful, and believe me it is, but because once you’re done with the prep, the rest is a breeze and goes quite quickly. But the trick is to be organized and have everything prepped up front. I systematically go through the list of ingredients and see what needs to be done with each. Then I put each ingredient into little prep bowls and set them aside until it’s time to use them. Just be careful, you don’t want to prep some things too far ahead. Something like flat leaf parsley that you use for a garnish is best prepped right before you want to use it. If I’m not sure about something I prep it, cover it with plastic wrap and put it in the refrigerator until it’s time to start cooking. I am not suggesting doing your prep hours in advance. I normally start, depending upon the requirements of the recipe, about an hour before I plan on cooking it. The key is to have everything chopped, diced, sliced, etc., before you start. You will have no time to do this work once you start the cooking process.

Now that I come to think of it, this really applies to any recipe. It is so important to understand it and stick to the process, especially when you’re learning to maneuver your way around a kitchen. Ready recipes thoroughly (at least twice all the way through), understand the terminology, prep ahead and go through the process as designed. This will help to ensure your success with any recipe.

I really like this recipe and will definitely make it often. I hope you try it and let me know what you think.

Lemon Chicken With Garlic And Capers

  • Servings: 4
  • Difficulty: Easy
  • Print

INGREDIENTS:

2 small lemons cut into thin rounds

1 1/2 tsp. of sugar

4 cloves of garlic, halved

4 boneless skinless chicken breasts 3/4 of an inch thick

2-3  Tbs. olive oil (I used garlic infused olive oil)

2 Tbs. butter

2 tsp. grated shallot

1/2 tsp. grated garlic

1/2 tsp. dried oregano (use can use 1 fresh spring as well)

1 fresh thyme sprig (you can use dried – I preferred to have at least one herb fresh)

1/2 cup dry white wine

1 cup unsalted chicken stock

1 tsp. flour

1 Tbs. capers, drained and rinsed

flat leaf parsley for garnish, optional

Salt and pepper to taste

DIRECTIONS:

Slice the lemons and combine in a bowl with the sugar and garlic. Set aside. Season chicken with salt and pepper. In a large skillet over medium high heat add the oil. Swirl to coat the pan. Add the chicken to the pan and cook about 4 minutes each side. Remove the chicken front the pan, put on a plate and cover with foil to keep warm.

If needed, add some oil to the pan and add the lemon mixture. Cook stirring occasionally until the lemons start to turn a light brown. Remove the mixture from the pan and set aside.

Add 1 1/2 tsp. butter to the pan and once melted add the grated shallots, grated garlic and herbs. Cook for about a minute. Add the wine and deglaze the bottom of the pan. Continue to cook until the wine is almost completely evaporated. Season with salt and pepper. Add the flour and stir for about a minute, just to remove any floury taste. Add the chicken stock and whisk while bringing the mixture to a boil. Reduce the heat and continue to whisk until the liquid has thickened and reduced by a third. Remove herb sprig(s) from pan. Add a remaining butter and capers. Stir until the sauce gets shiny. Add the chicken and lemons back into the pan. Cover the chicken with the sauce, cover the pan and cook for and additional 2-3 minutes. Serve garnished with flat leaf parsley.

IMG_2649

IMG_2670

IMG_2681

IMG_2663

Brussels Sprouts With Pancetta…

I’ve never been a big fan of brussels sprouts. Cooked cabbage of any kind doesn’t do anything for me. The meal I dread the most is corned beef and cabbage (sorry to any of my readers that love CB&C) – I could just gag. But my husband loves brussels sprouts and has often asked me not only to eat them but also make them. I now can empathize a little more with my mother who was not a great cook. She had a limited palate and she refused to make anything she didn’t like. I get it now. It’s hard to get excited about making something you don’t like. But if you know me, you know I like a good challenge. Was there a brussels sprouts recipe out there that could actually get me to eat and enjoy them? I had my doubts.  And so my research began…

I looked at a wide variety of recipes and came across a couple of combinations that sounded interesting. One involved cranberries, feta cheese and nuts (and that will be a future blog) and one involved pancetta. Making brussels sprouts with pancetta is a little less involved so I thought I would try it. The results were quite interesting…

Image 2

Recipe Rating: A – I even had to admit that the results, for me, were very palatable and for my husband, who is a brussels sprouts lover, it was phenomenal. The combination of the pancetta, garlic and chicken stock infused the brussels sprouts with flavor. I actually made this recipe twice (as I had a lot of brussels sprouts and extra pancetta) and enjoyed it. Don’t get me wrong, I didn’t kid myself into thinking that brussels sprouts will now become my vegetable of choice, but at least I know there is a way to prepare them that I can live with and that brussels sprouts lovers truly enjoy!

IMG_1491Lesson Learned 1 – The difference between pancetta and bacon: Both pancetta and bacon are made from pork bellies. The difference is how they are prepared. Bacon is brined and smoked. Pancetta is seasoned with a lot of salt and pepper then rolled and wrapped in a casing to keep its shape. Pancetta is cured but not smoked. You can easily substitute bacon for pancetta in any recipe. I cut the pancetta into lardons just like I would bacon and added the brussels sprouts once the pancetta began to crisp. What I learned in making this recipe is, if you use pancetta, wait until the very end to add any salt to the sprouts. The nice thing about brussels sprouts is they highly absorb the flavors they are cooked with, and in this case they absorb the salt and pepper from the pancetta. I found it best to use unsalted chicken stock as well and to taste the sprouts at the very end to see if they needed any additional salt or pepper. I found that I needed very little salt at the end, much less than I would have added originally. So be careful. You can always add more salt, but you can’t take it away. You don’t want the brussels sprouts to be too salty.

IMG_1617Lesson Learned 2 – Boiling the sprouts before putting them in the skillet: You need to do this otherwise the sprouts will not cook all the way through in the time allotted for the recipe. I found putting them in boiling water and letting them cook for 5-7 minutes is the best way to get the desired end result. The remaining time they cook (approx. 25 minutes) in the skillet will then be sufficient to produce tender sprouts.  Also it is important to try to make the sprouts of equal size. If some of them are too big, cut them in half or in quarters. That way they will all cook evenly.

This recipe is easy to prepare and if can be enjoyed by someone who is not the biggest fan of brussels sprouts, imagine how good it will be for someone who loves them. I can now say that I have eaten brussels sprouts and enjoyed them – something I thought would never have come out of my mouth!

Brussels Sprouts With Pancetta…

  • Servings: 2
  • Difficulty: Easy
  • Print

INGREDIENTS:

1/2 pound fresh brussels sprouts, trimmed

2 Tbs. olive oil (I used garlic infused olive oil)

2-3 ounces of very thinly sliced pancetta cut into lardons

2 cloves garlic, minced

3/4 cup unsalted chicken stock

DIRECTIONS:

Start a pot of water boiling on the stove (do not add any salt to the water at this time). Once the water comes to a boil put in the brussels sprouts and cook for 5-7 minutes.  Drain the brussels sprouts and set aside.

Add olive oil to a hot pan. Add the pancetta and cook until the edges start to crisp. Add the garlic and cook for 30-60 seconds until the garlic becomes fragrant. Add the brussels sprouts to the pan and cook until they begin to brown. Turn them over and allow them to cook a little longer or until the second side begins to brown. Add the chicken stock, scrape any bits off the bottom of the pan and cook until the broth reduces to the point that it is just coating the sprouts. Serve immediately.

IMG_1639


IMG_1656