Homemade Challah…

I’ve always loved home made bread. Who doesn’t? I was never good at making it. And just when I thought I was getting the hang of it we moved to Colorado and altitude. Yuck. Altitude and bread do not mix. Well actually they do, but altitude can add some additional problems. Just what I wanted.

So I decided to take a braided bread cooking class. Am I glad I did. The class itself was a little slow in the participation area, but I came away with one nugget of information that’s changed the whole ball game. So now I’m working on making bread again.

So let’s talk homemade challah…

Lesson Learned 1 – Learning how to know when the glutens in the dough have been developed properly: This was the biggest take away for me from the cooking class I attended. I learned you can underdeveloped, develop and overdevelop the glutens in your dough. Underdeveloped glutens will give you a heavy dense dough that may fall in on you when you bake your bread. Overdeveloped and your bread will be too dry.

So how do you tell? Simple. Just take a small piece of dough in your hand and begin to pinch it and spread it with your fingers. You should be able to work the dough so that it is smooth and paper tin without the dough tearing or breaking.

That was a big breakthrough learning for me especially since I live in high altitude and its tougher to make bread in my climate.

Lesson Learned 2 – Pay attention to the humidity the day you make bread: The higher the humidity the less moisture you’ll need in your dough. I know it sounds like a lot of work, but if you pay attention to these two factors, gluten development and humidity, soon you will just be able to tell if your dough is of the correct consistency or not.

Lesson Learned 3 – Most people don’t knead their dough enough: Once I mixed all of the ingredients together I used the dough hook on my machine and kneaded the dough for five minutes. That, on average, is a good time to test the dough for gluten development. If the dough falls apart it will need more moisture, if it is too gloppy (technical term) it will need a little more flour. Once you think you have the correct consistency do the gluten test I refer to above. Chances are you’ll be right on the money.

Lesson Learned 4 – If your dough is completely stuck on your dough hook, stop your mixer and scrape the dough off: Some people think that if the dough is on the dough hook it is kneading the dough. That’s not true. The dough hook as to be working it’s way through the dough in order to be kneading it. Be mindful that you’re just not having your dough spin around in a circle without actually being kneaded.

Lesson Learned 5 – You can separate your dough into as many strands as you want for braiding: I did a traditional 3 strand braid. You braid it just like you braid hair. The picture to the right shows my strands. In hindsight I should have made the bottom one thinner and all the strands more even in size. In the end it really didn’t hurt anything as you leave the braided bread to rest on a parchment paper lined cookie sheet for at least an hour and the dough rises and sort of fills itself in.

I will admit that this recipe is a little more challenging than what I normally post, but hopefully as a fledgling cook you are confident enough in yourself to try something a little more difficult. This was the very first time I ever made challah and it turned out magnificently. But if you’re does not, go back and try it again because once you master the art of making home made bread, you’ll never turn back.

Homemade Challah...

  • Servings: 1 loaf
  • Difficulty: Medium
  • Print

INGREDIENTS:

1 1/8 cup warm water

3/4 Tbs. instant yeast

6 egg yolks, one for the egg wash

2 1/2 Tbs. vegetable oil

3 -6  Tbs. sugar, depending how sweet you want your bread

1 Tbs. vanilla extract

3 3/4 cup flour

1 1/4 tsp. salt

1 Tbs. water for the egg wash

DIRECTIONS:

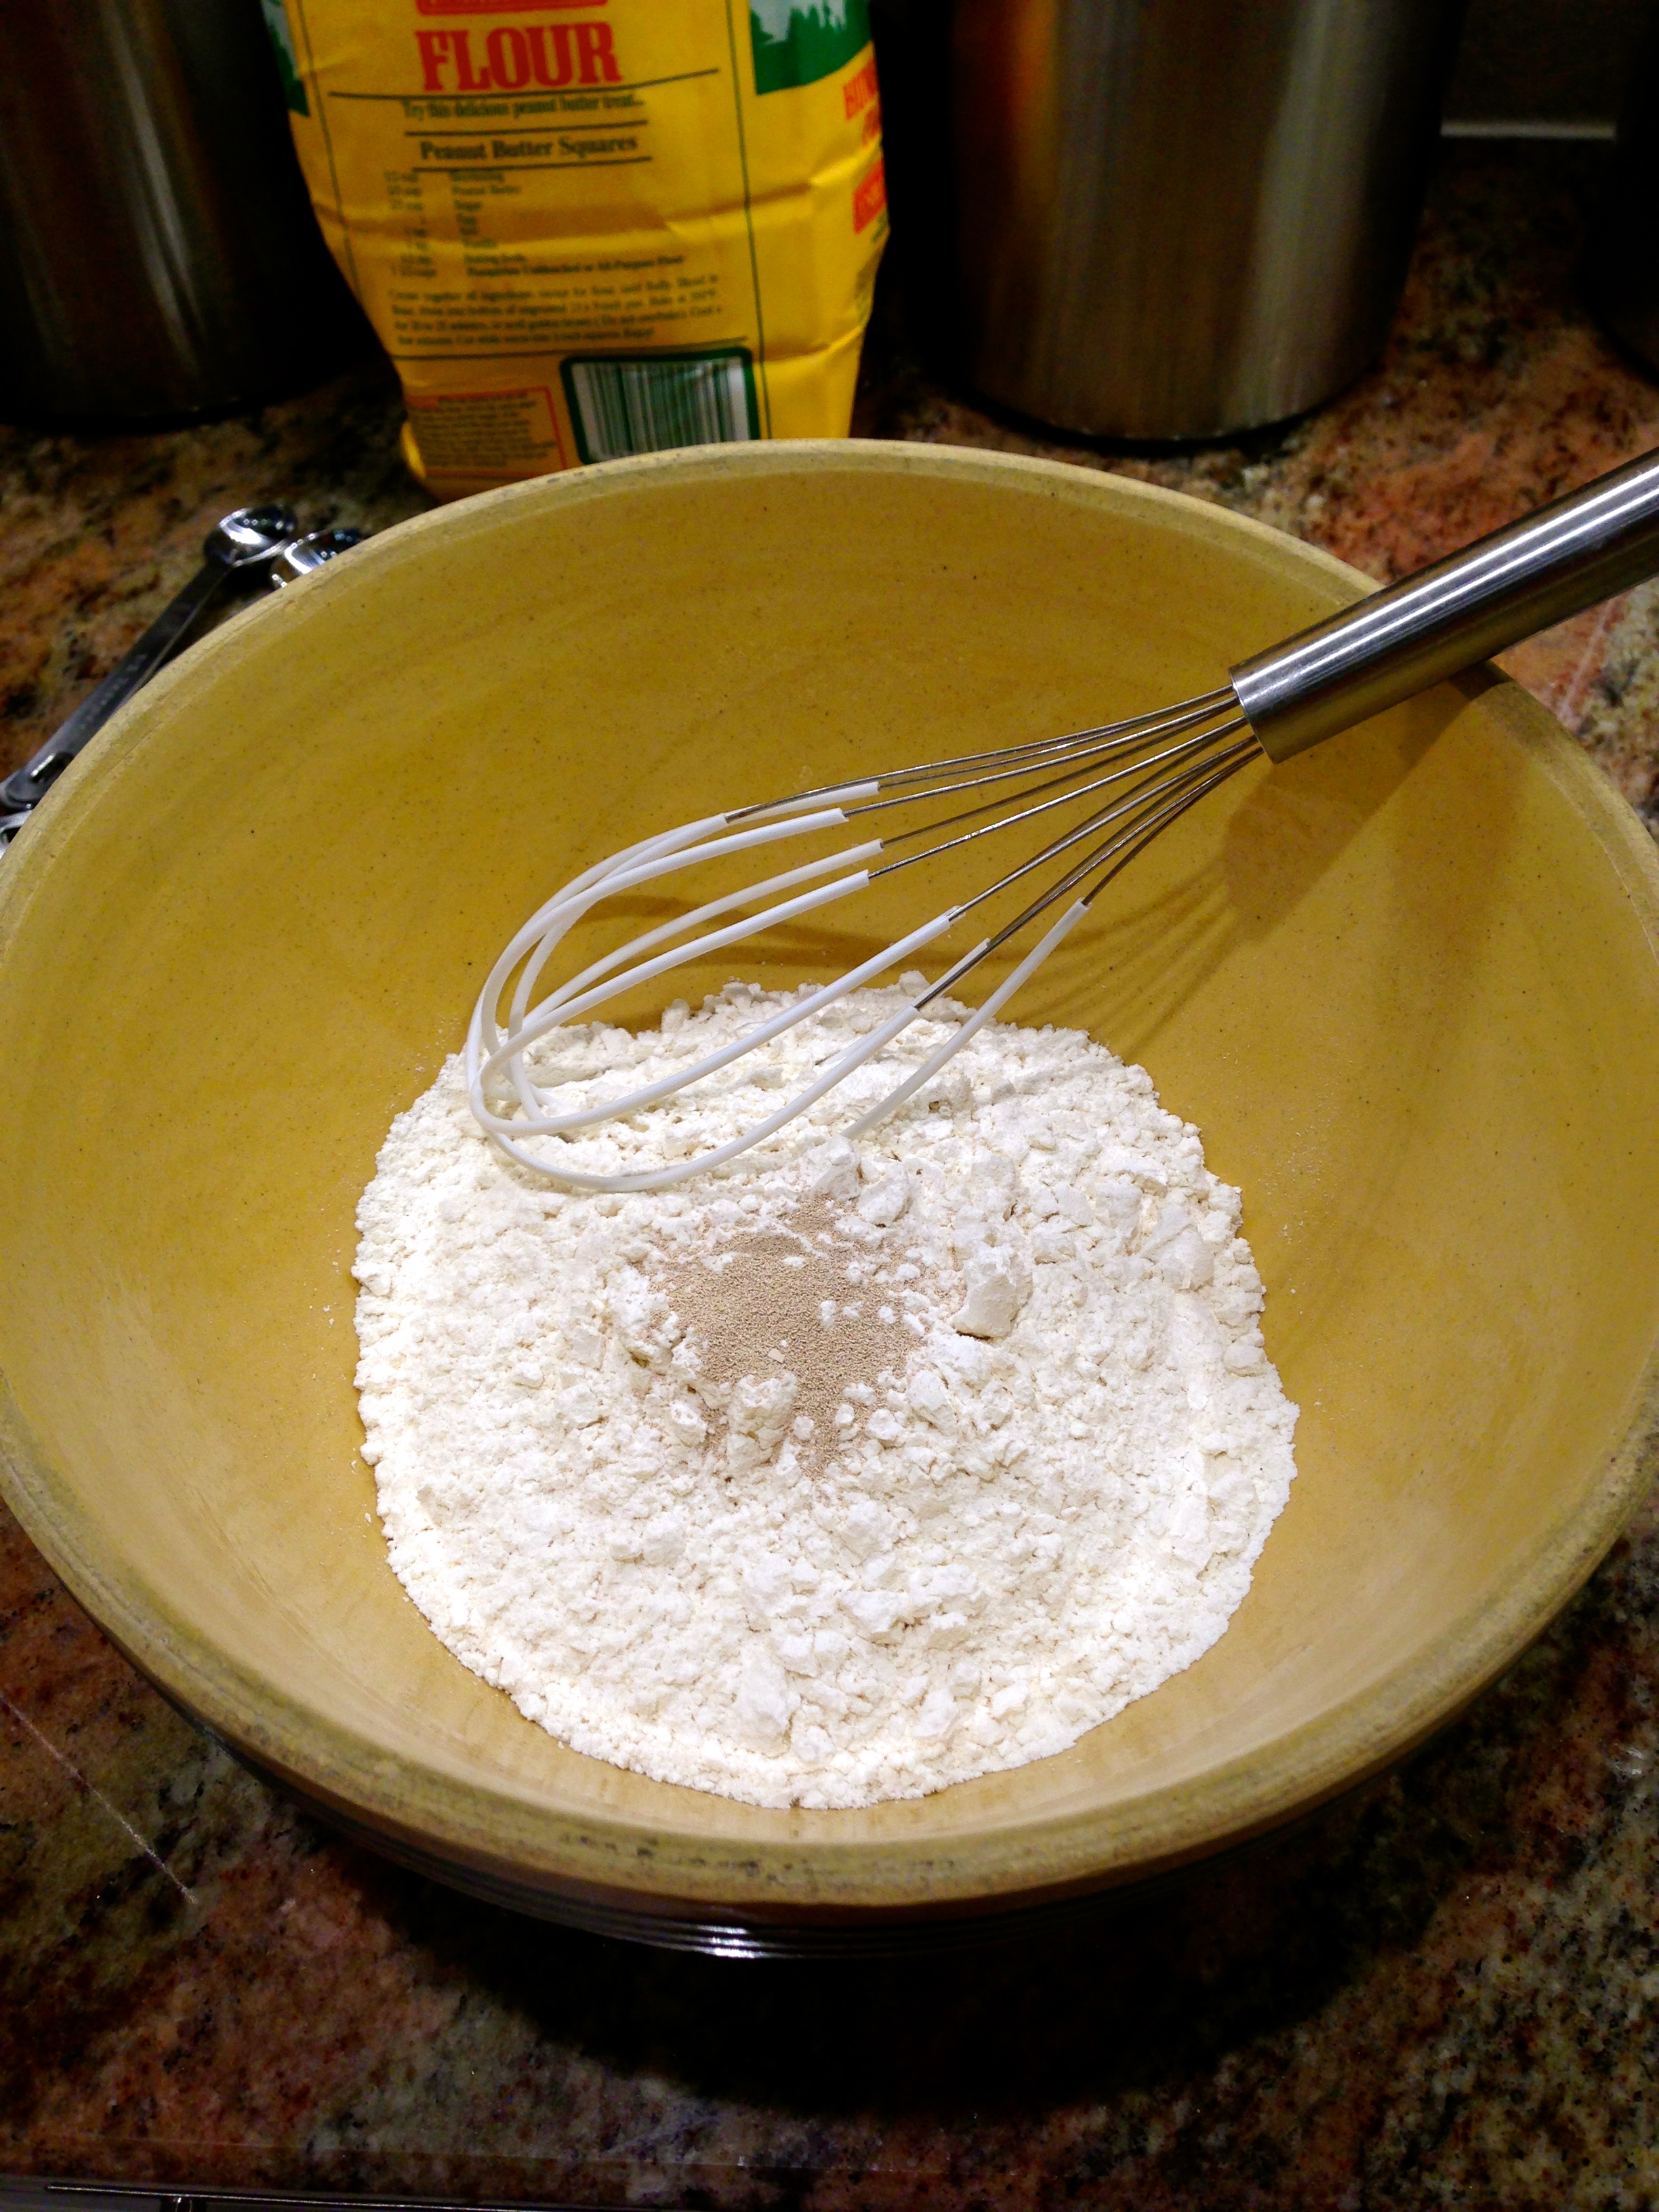
Combine the water and yeast in a mixing bowl, whisk and let sit for a couple of minutes. Add the 5 eggs, oil, sugar and vanilla and whisk to break up and incorporate the eggs. Add the flour and salt.  If using a stand mixer use the paddle attachment and mix for about 2 minutes. Let the dough rest in the bowl for 5 minutes.

Switch to a dough hook and mix on low speed for 5 minutes (my mixer particularly specifies that whenever using the dough hook do not go above speed level #2. You may want check the directions that came with your mixture to see what they recommend. The speed should not go above medium low).

Use a bowl scraper and scrape the dough onto a floured surface and continue kneading the dough by hand for about 2 minutes. Form the dough into a ball and place it in a clean, lightly oiled bowl. Cover the dough with plastic wrap and let it rise until it doubles in size, approximately 2 hours.

After the dough has risen, transfer it to a lightly floured surface and cut it into the desired number of pieces you will need for your braids – I made 3 braids of 10-14 inches in length. It is important that the braids are all the same length.

Braid the pieces of dough together and transfer the loaf to a parchment lined sheet pan. Make an egg wash by combining the last egg (you can do the whole egg or the yolk) and the water. Brush the entire surface of the loaf, including the sides with the egg wash. Refrigerate the remaining egg wash. Let the loaf stand uncovered for about 1 hour.

About 20 minutes before baking time preheat the over to 350. Brush the bread one more time with the egg wash. Bake the bread for 20 minutes, then rotate the pan and bake for an additional 15-30 minutes (I only needed an additional 15 minutes).

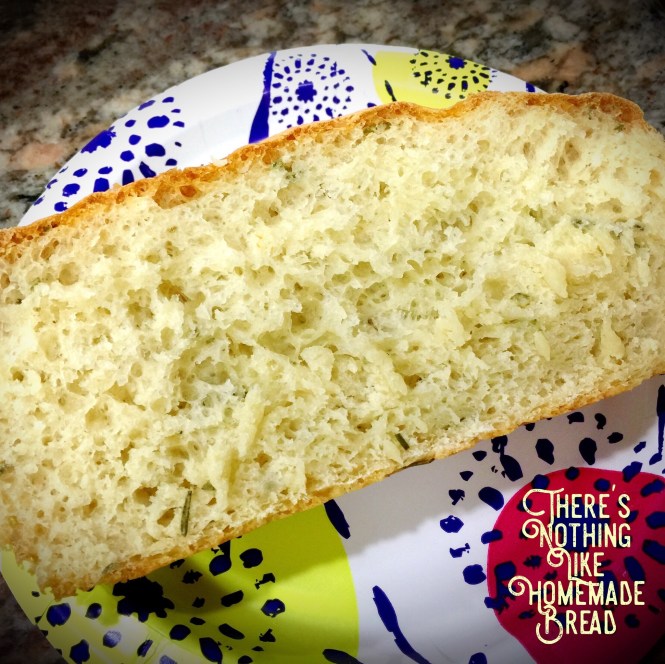
Let cool on a wire rack and enjoy the beauty of homemade bread!


Skillet Breads – Rosemary Parmesan and Cranberry Walnut…

Nothing in this world compares to home made bread. There is something so comforting about it, it creates that feeling of “there’s no place like home” every time you smell it baking in the oven. And bread baking has progressed over the years from a process that took hours to much quicker and easier methods. To date I have made bread the traditional way (letting it rise over and over for hours and baking in a loaf pan), to making bread in an enameled cast iron dutch oven and now this third way of making it in a plain old cast iron skillet.

I’ve made this recipe a few times before I felt I perfected it and I’ll go through all of that in my lessons learned. But bottom line, even with the few blips I encountered I still wound up with wonderful homemade bread. The two versions I’m going to talk about in this blog are Cranberry Walnut Skillet Bread and Rosemary Parmesan Skillet Bread. Two very different varieties but two wonderful breads.

So let’s talk skillet breads…

Lesson Learned 1 – Use rapid rise yeast and make sure it is fresh: I had a jar of rapid rise yeast in my refrigerator and used it the first time I tried to make this bread. It never rose the way it was supposed to (the jar had been in the fridge for quite some time) and the bread wound up “doughy” as if it didn’t have enough air in it. The second time I made the bread I used fresh yeast and their was a marked difference in how much the dough had risen. Also make sure that you use warm but not scolding water when you activate the yeast. Scolding water will kill the yeast but very warm water will activate it.


The picture on the left shows the newly mixed dough. The one on the right shows what the dough will look like after it had risen in the bowl for one hour.

Skillet bread requires the dough to rise twice, once for an hour in the bowl and once for a half hour in the skillet. The picture above shows what the dough should look like after it has risen in the skillet for a half hour.

Lesson Learned 2 – Use only a small amount of olive oil to season the skillet and use good olive oil: What I really like about making bread this way is the crust you get from the cast iron skillet. 
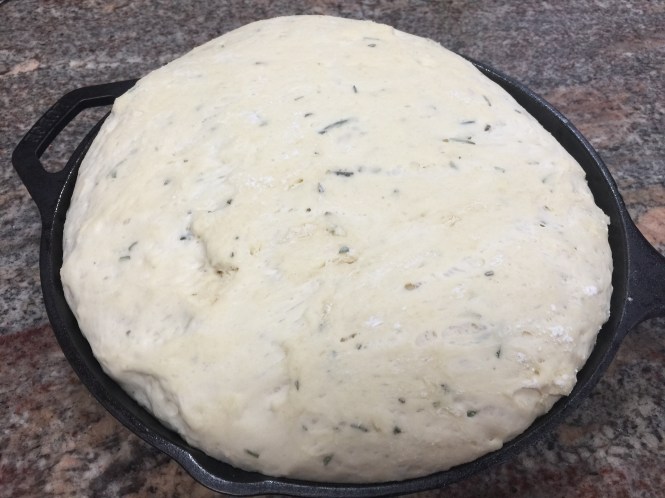
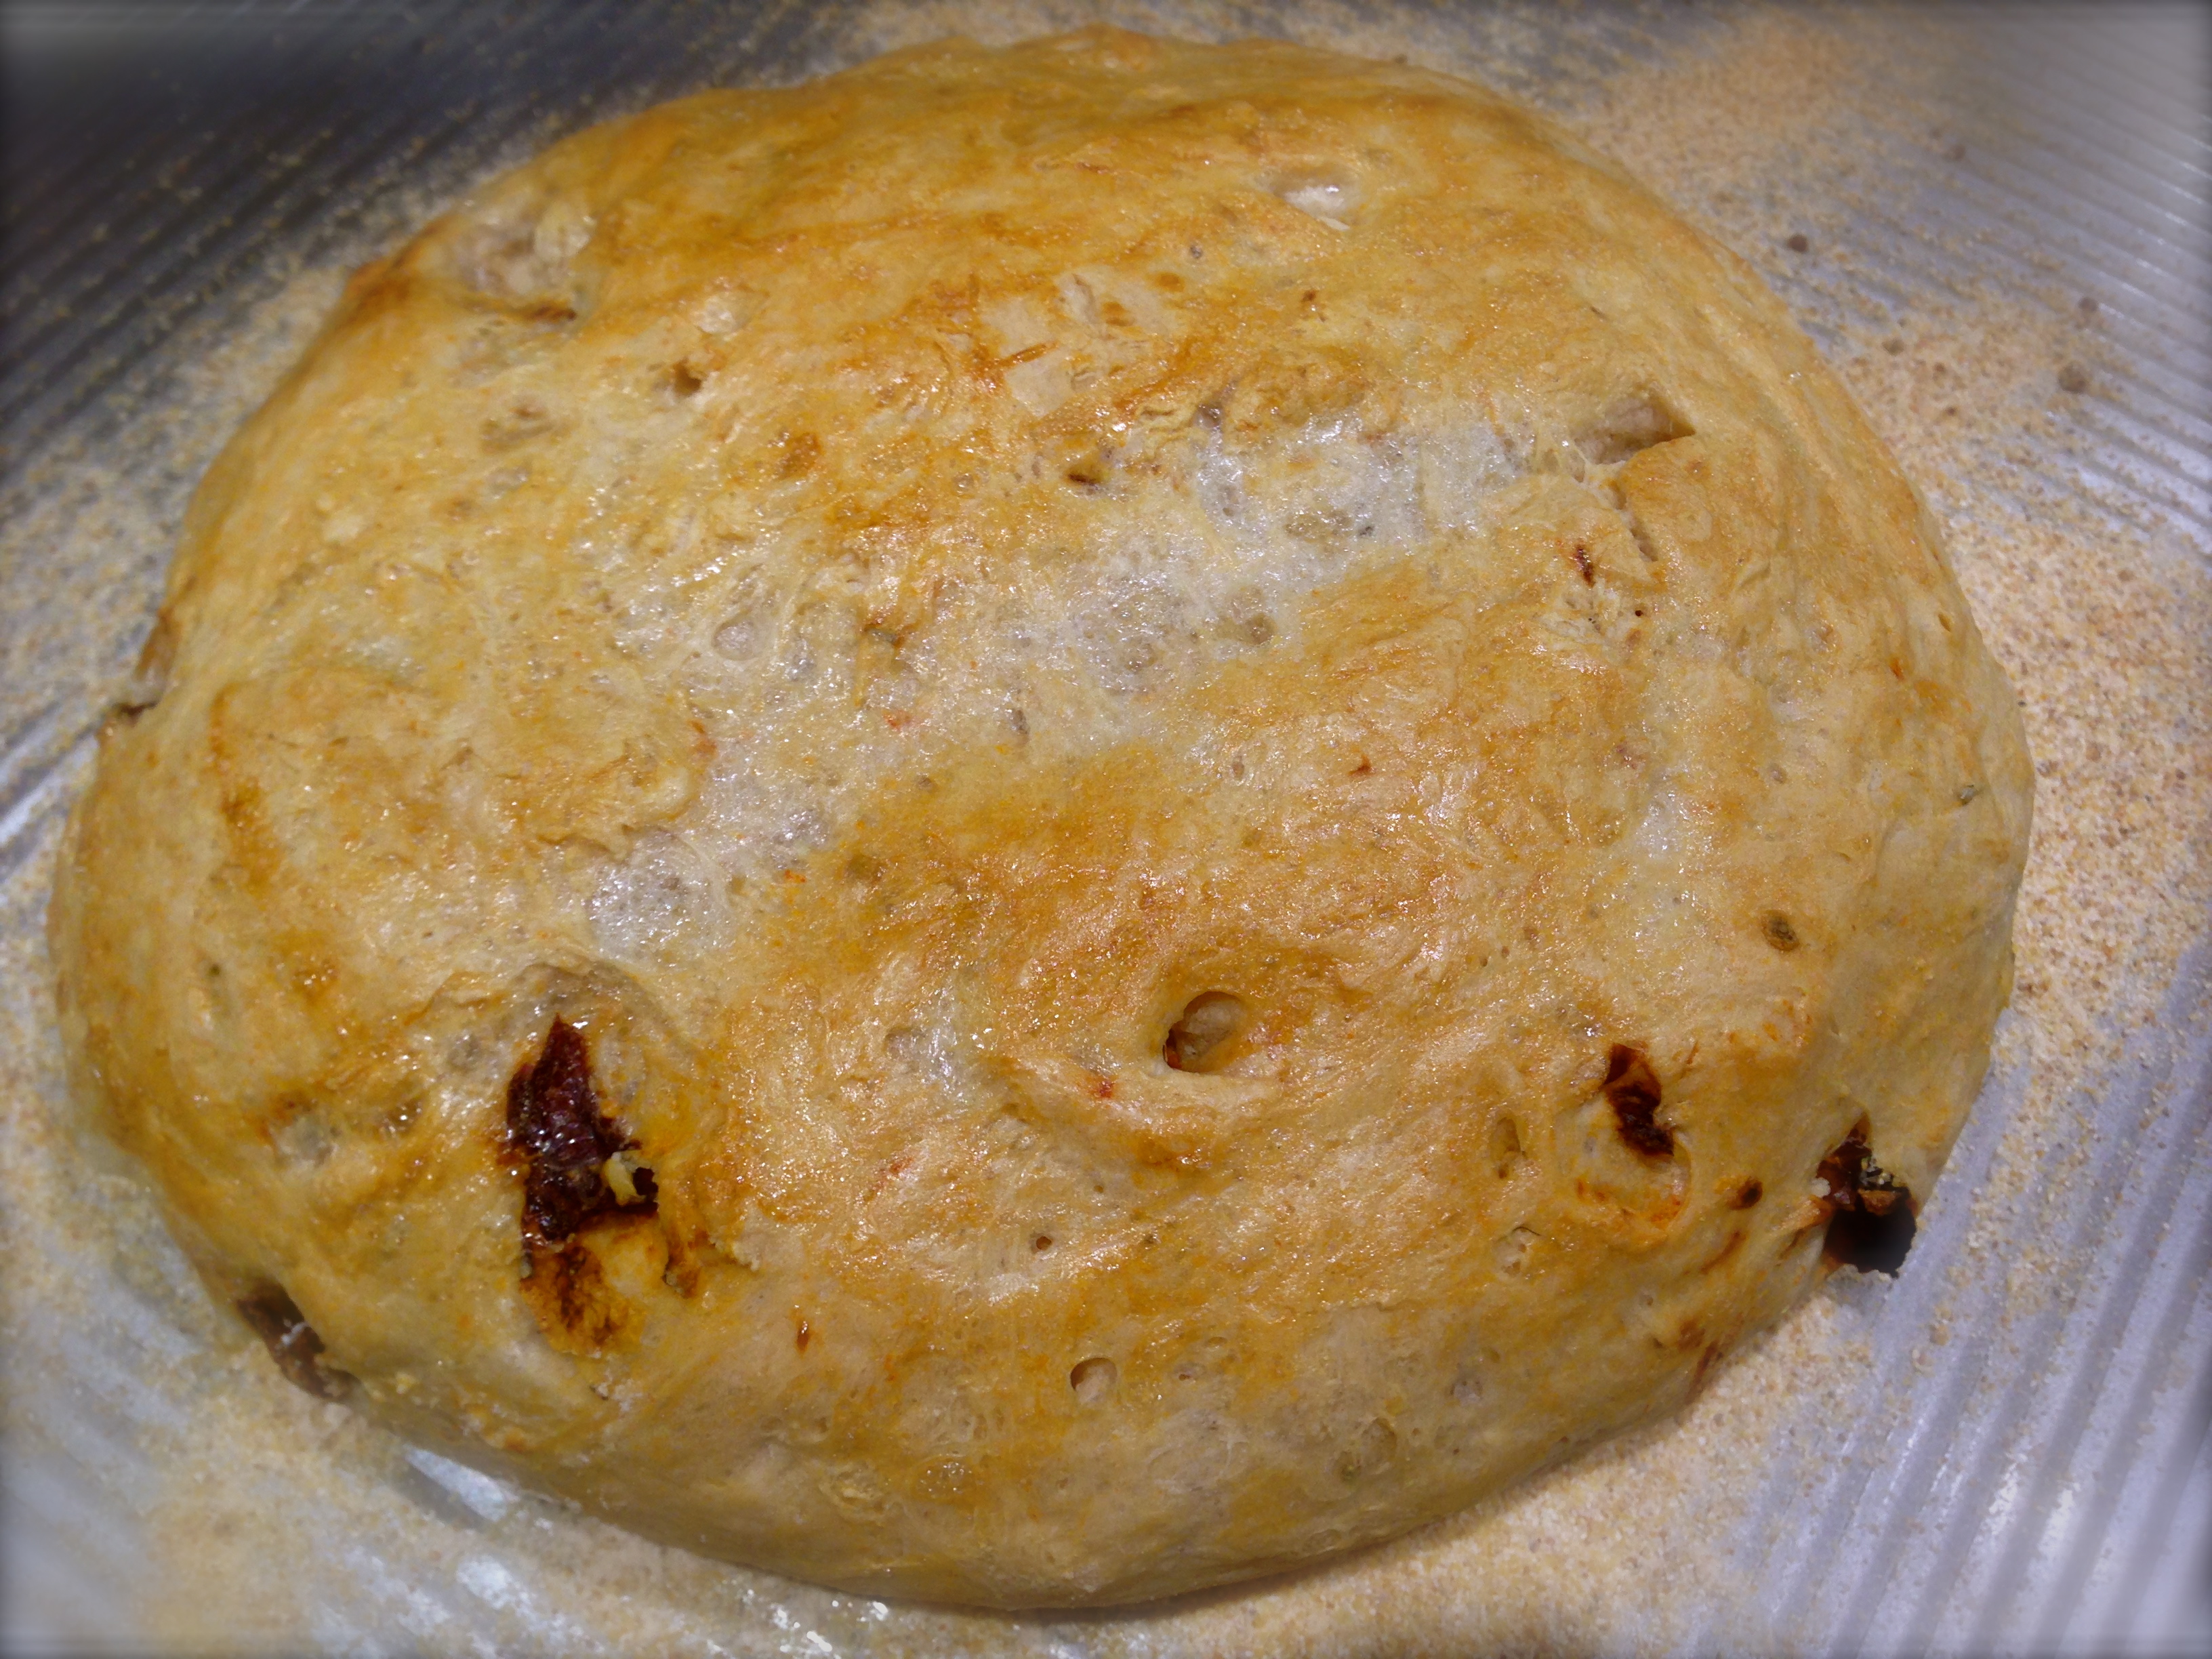
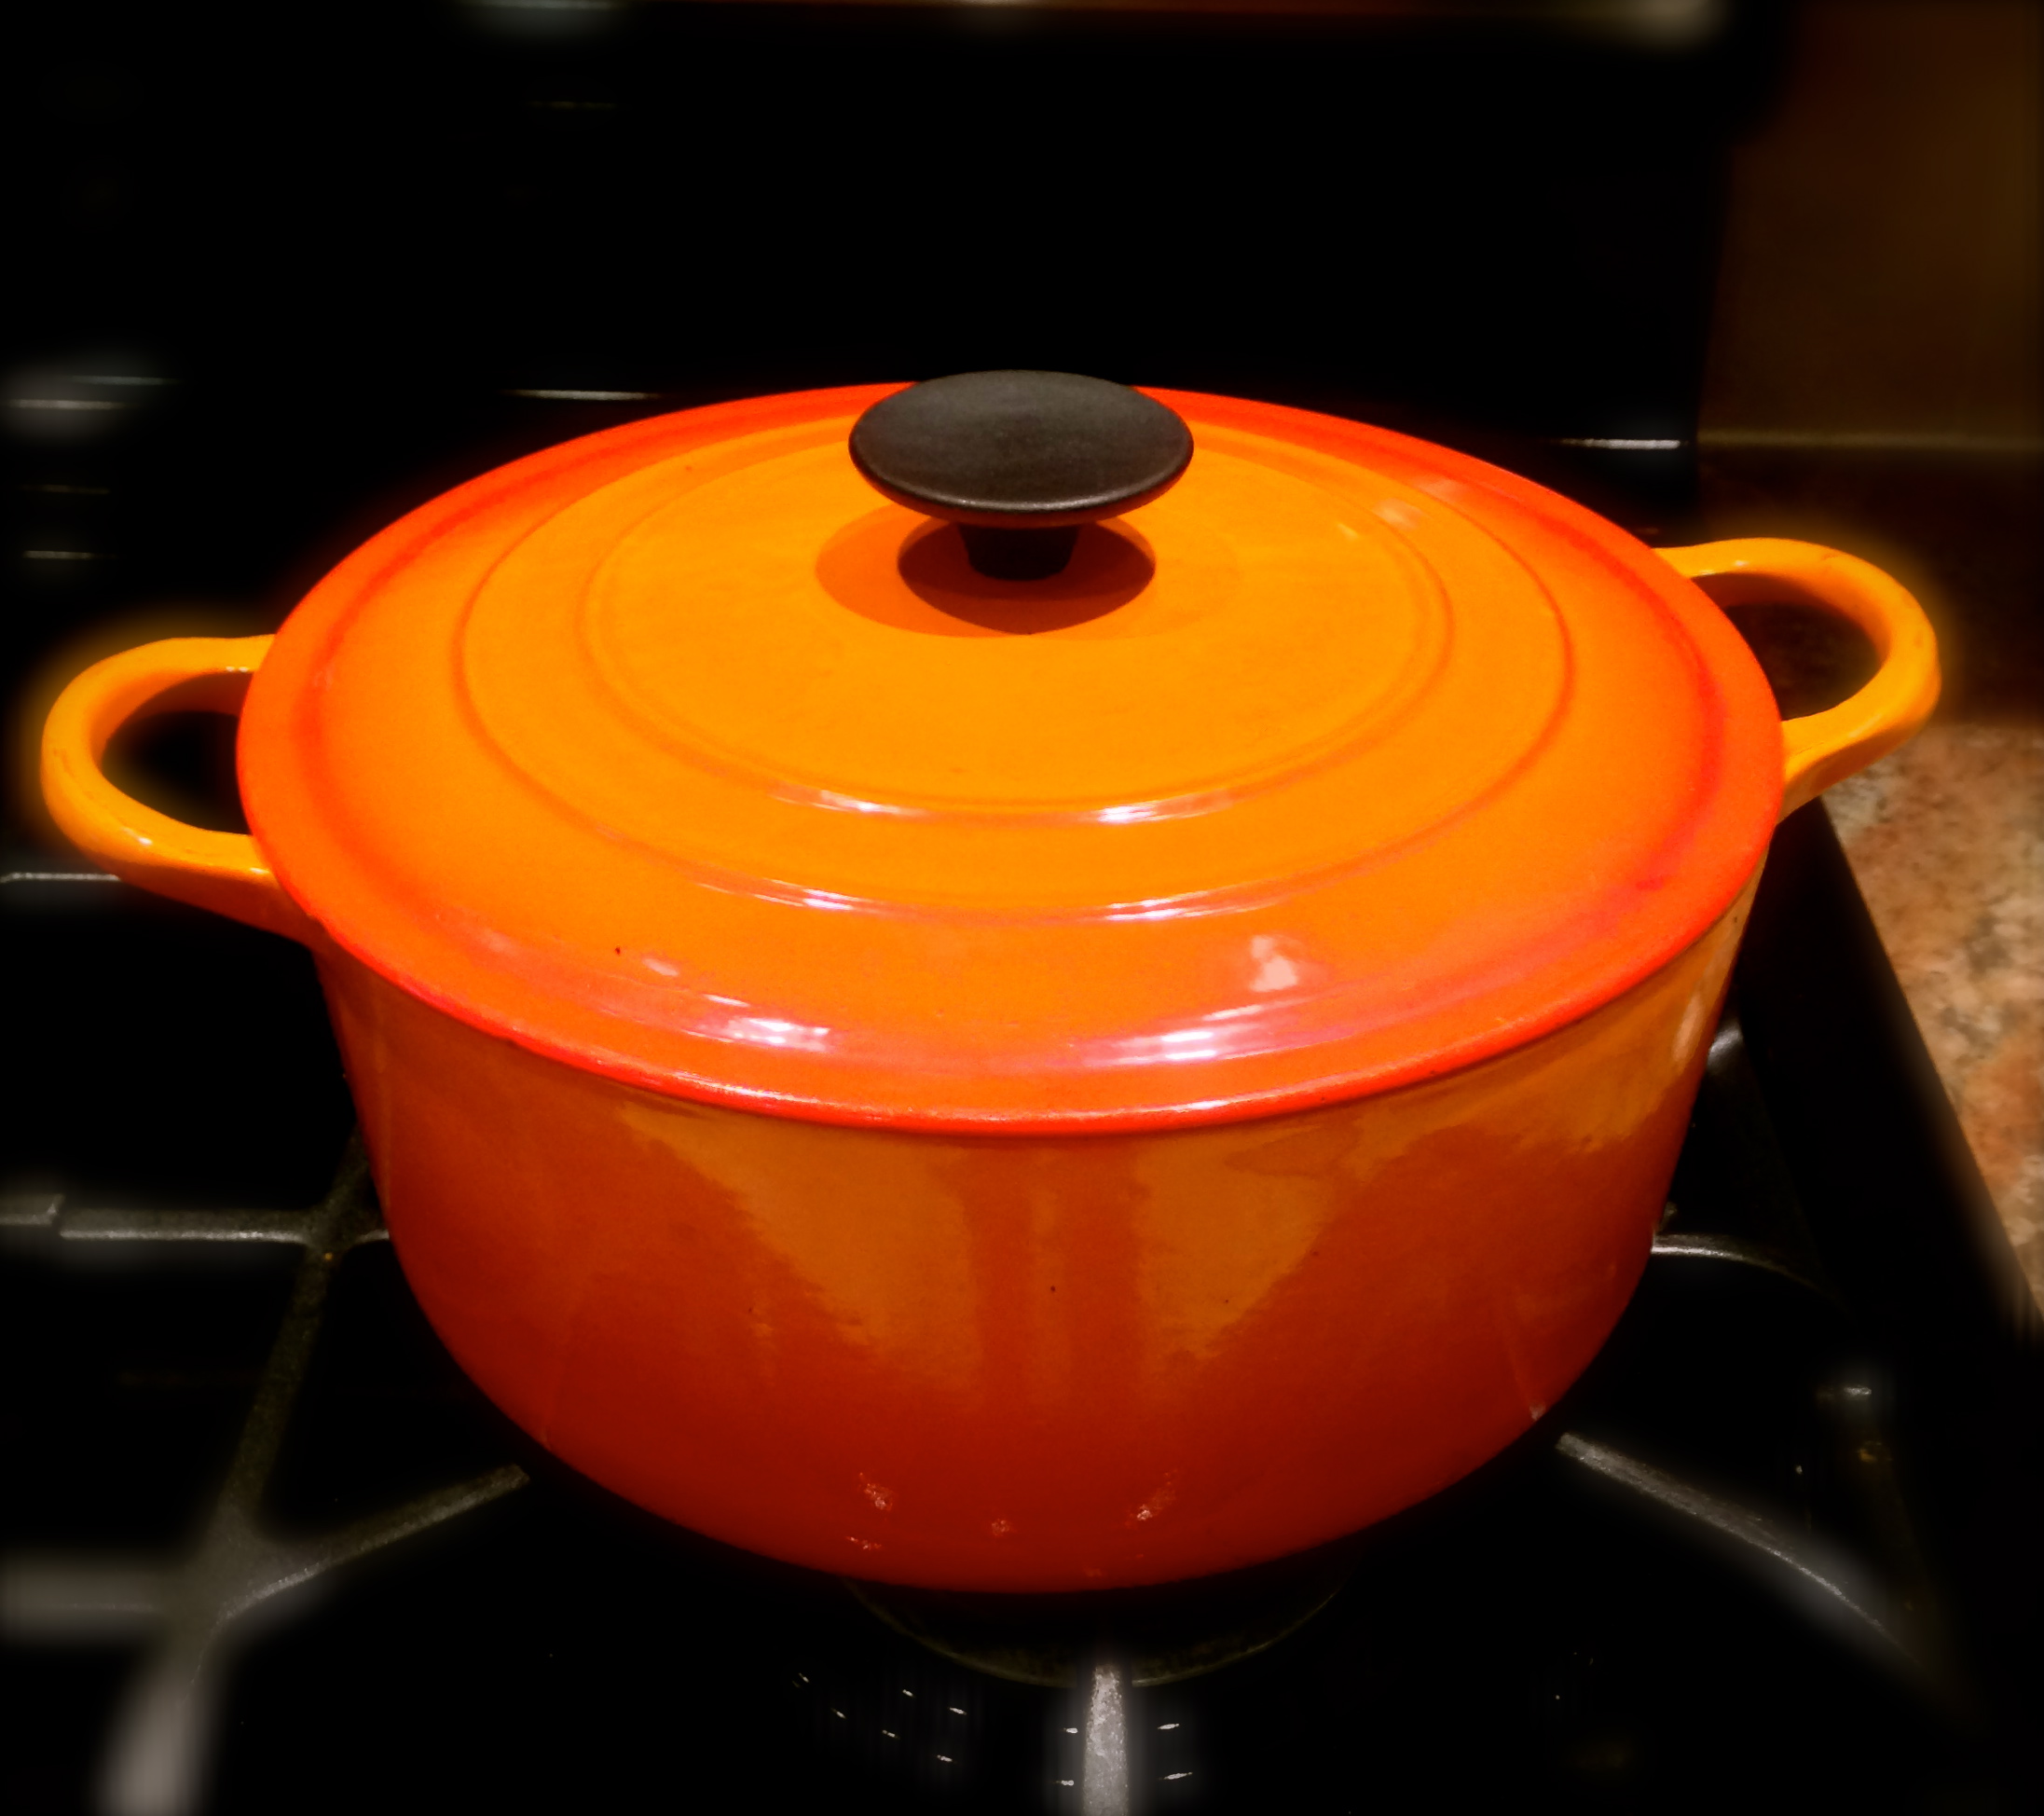
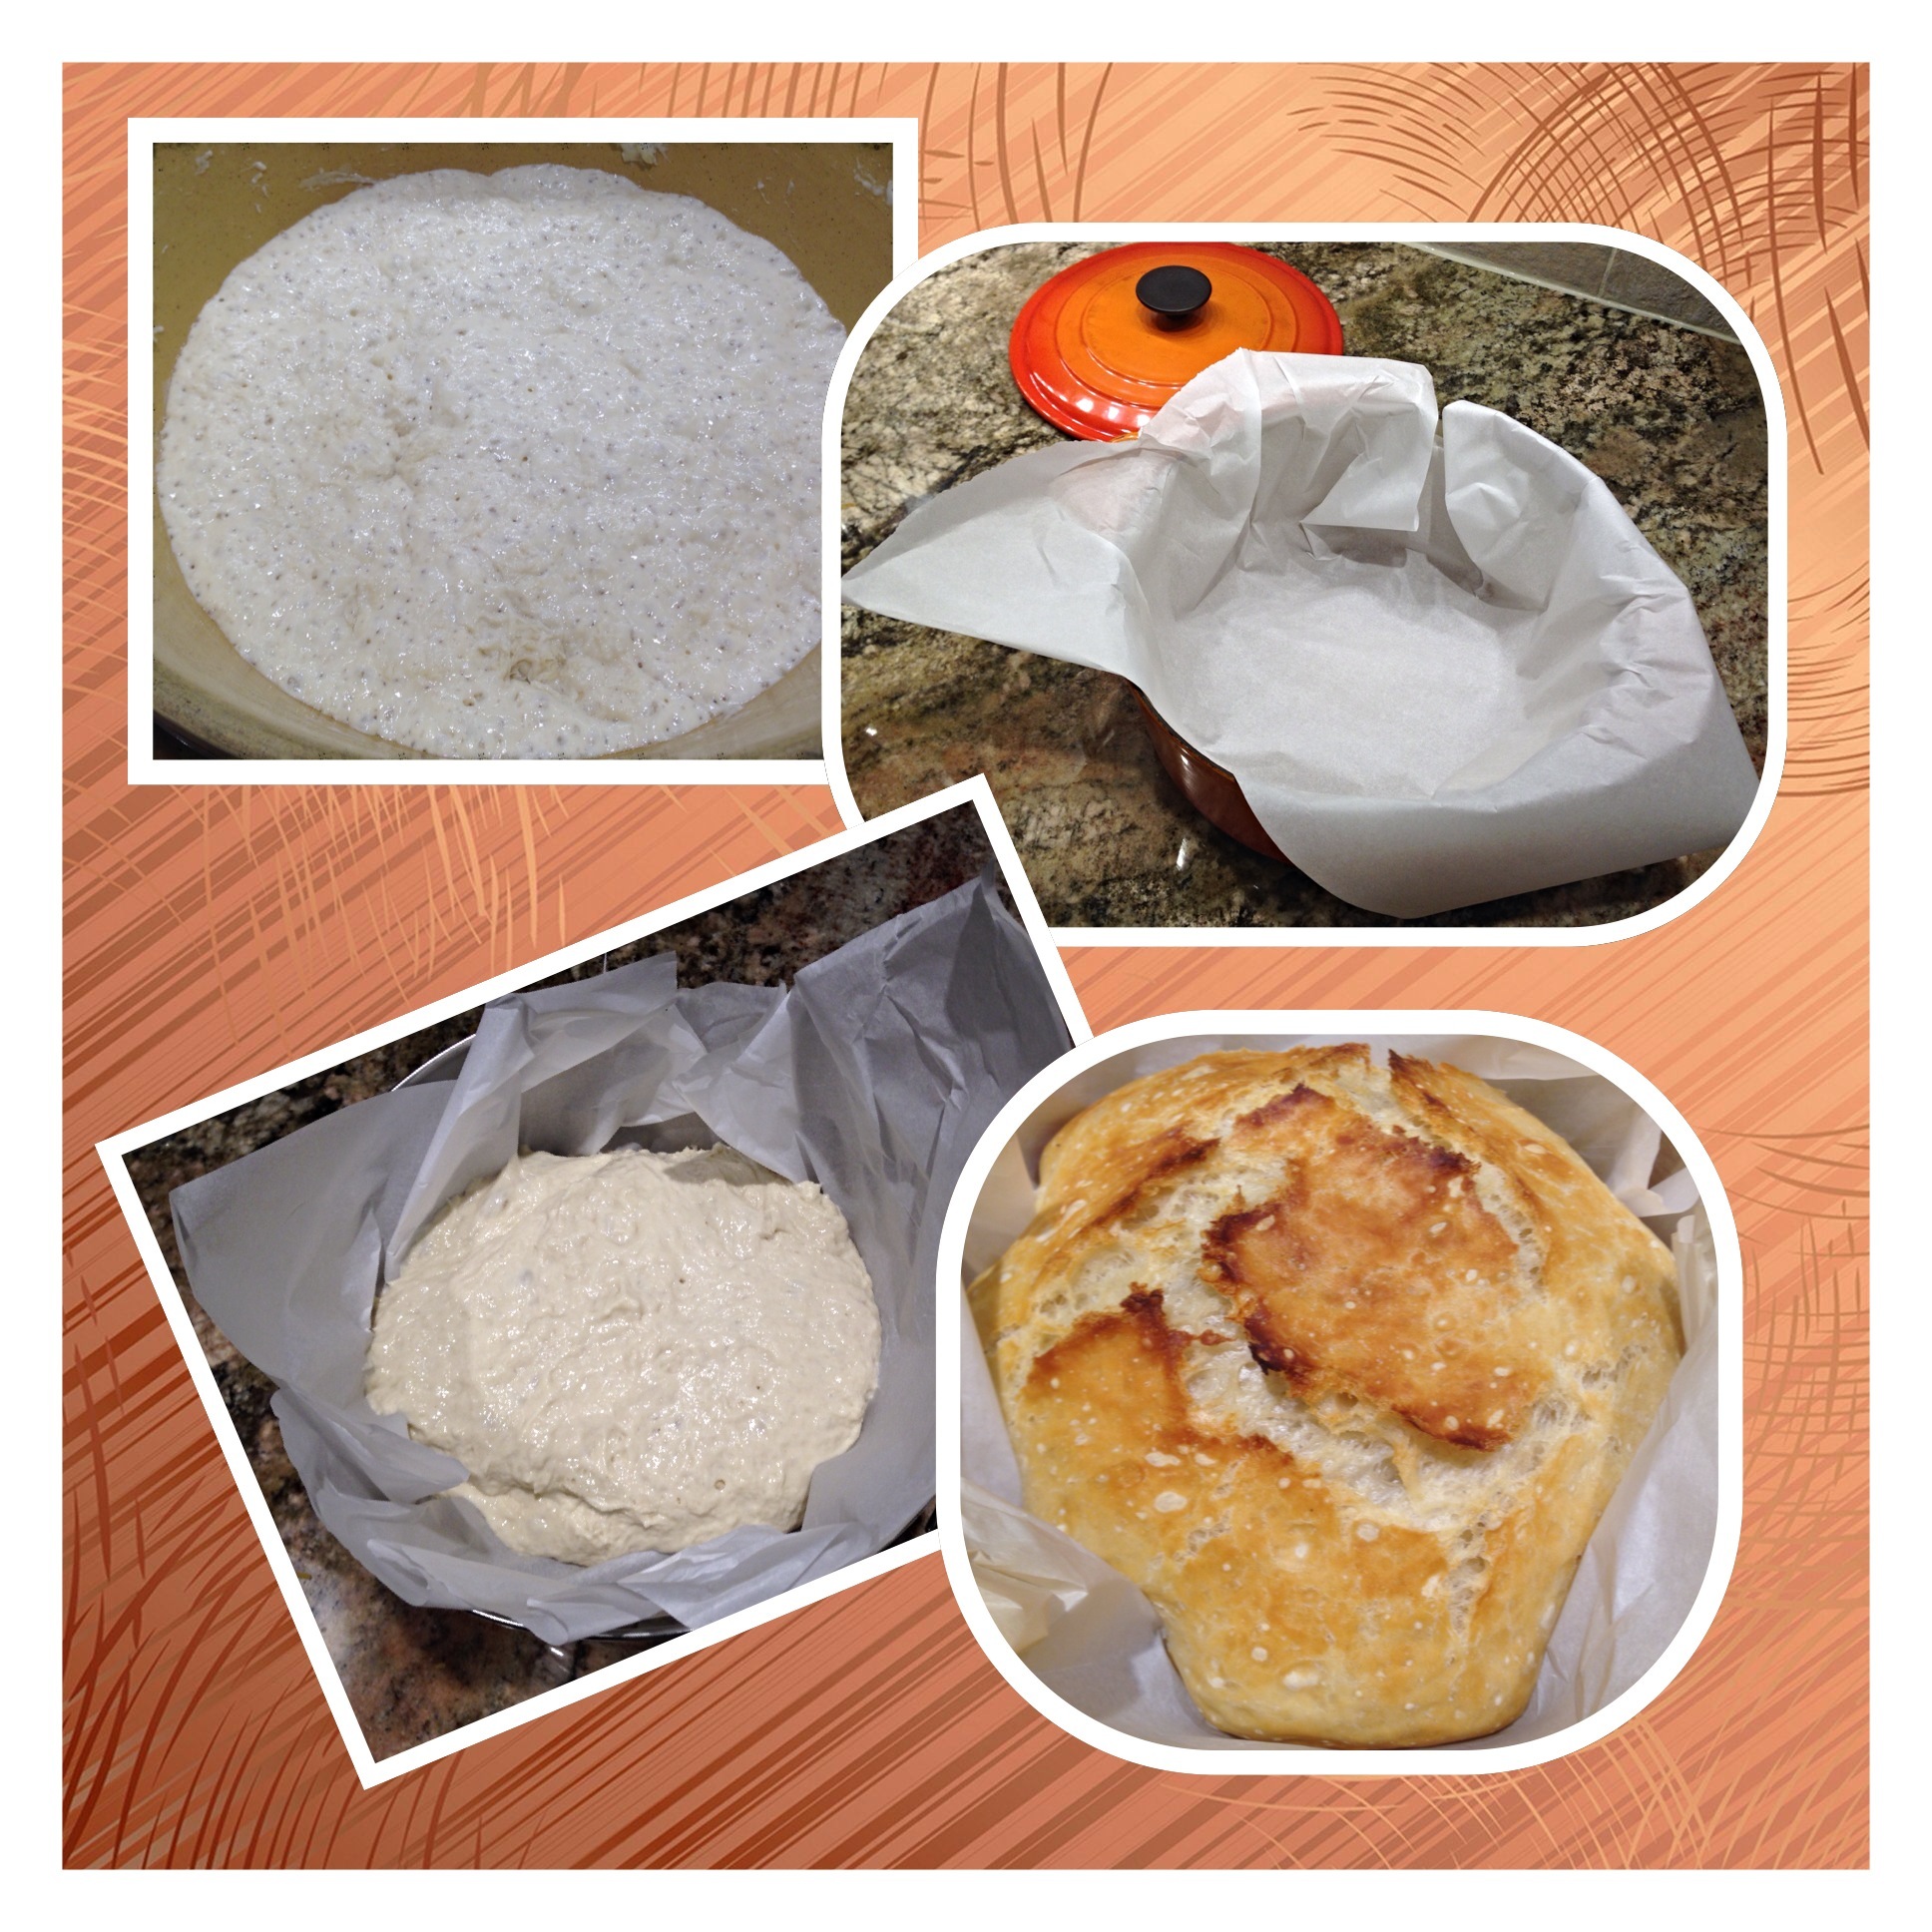
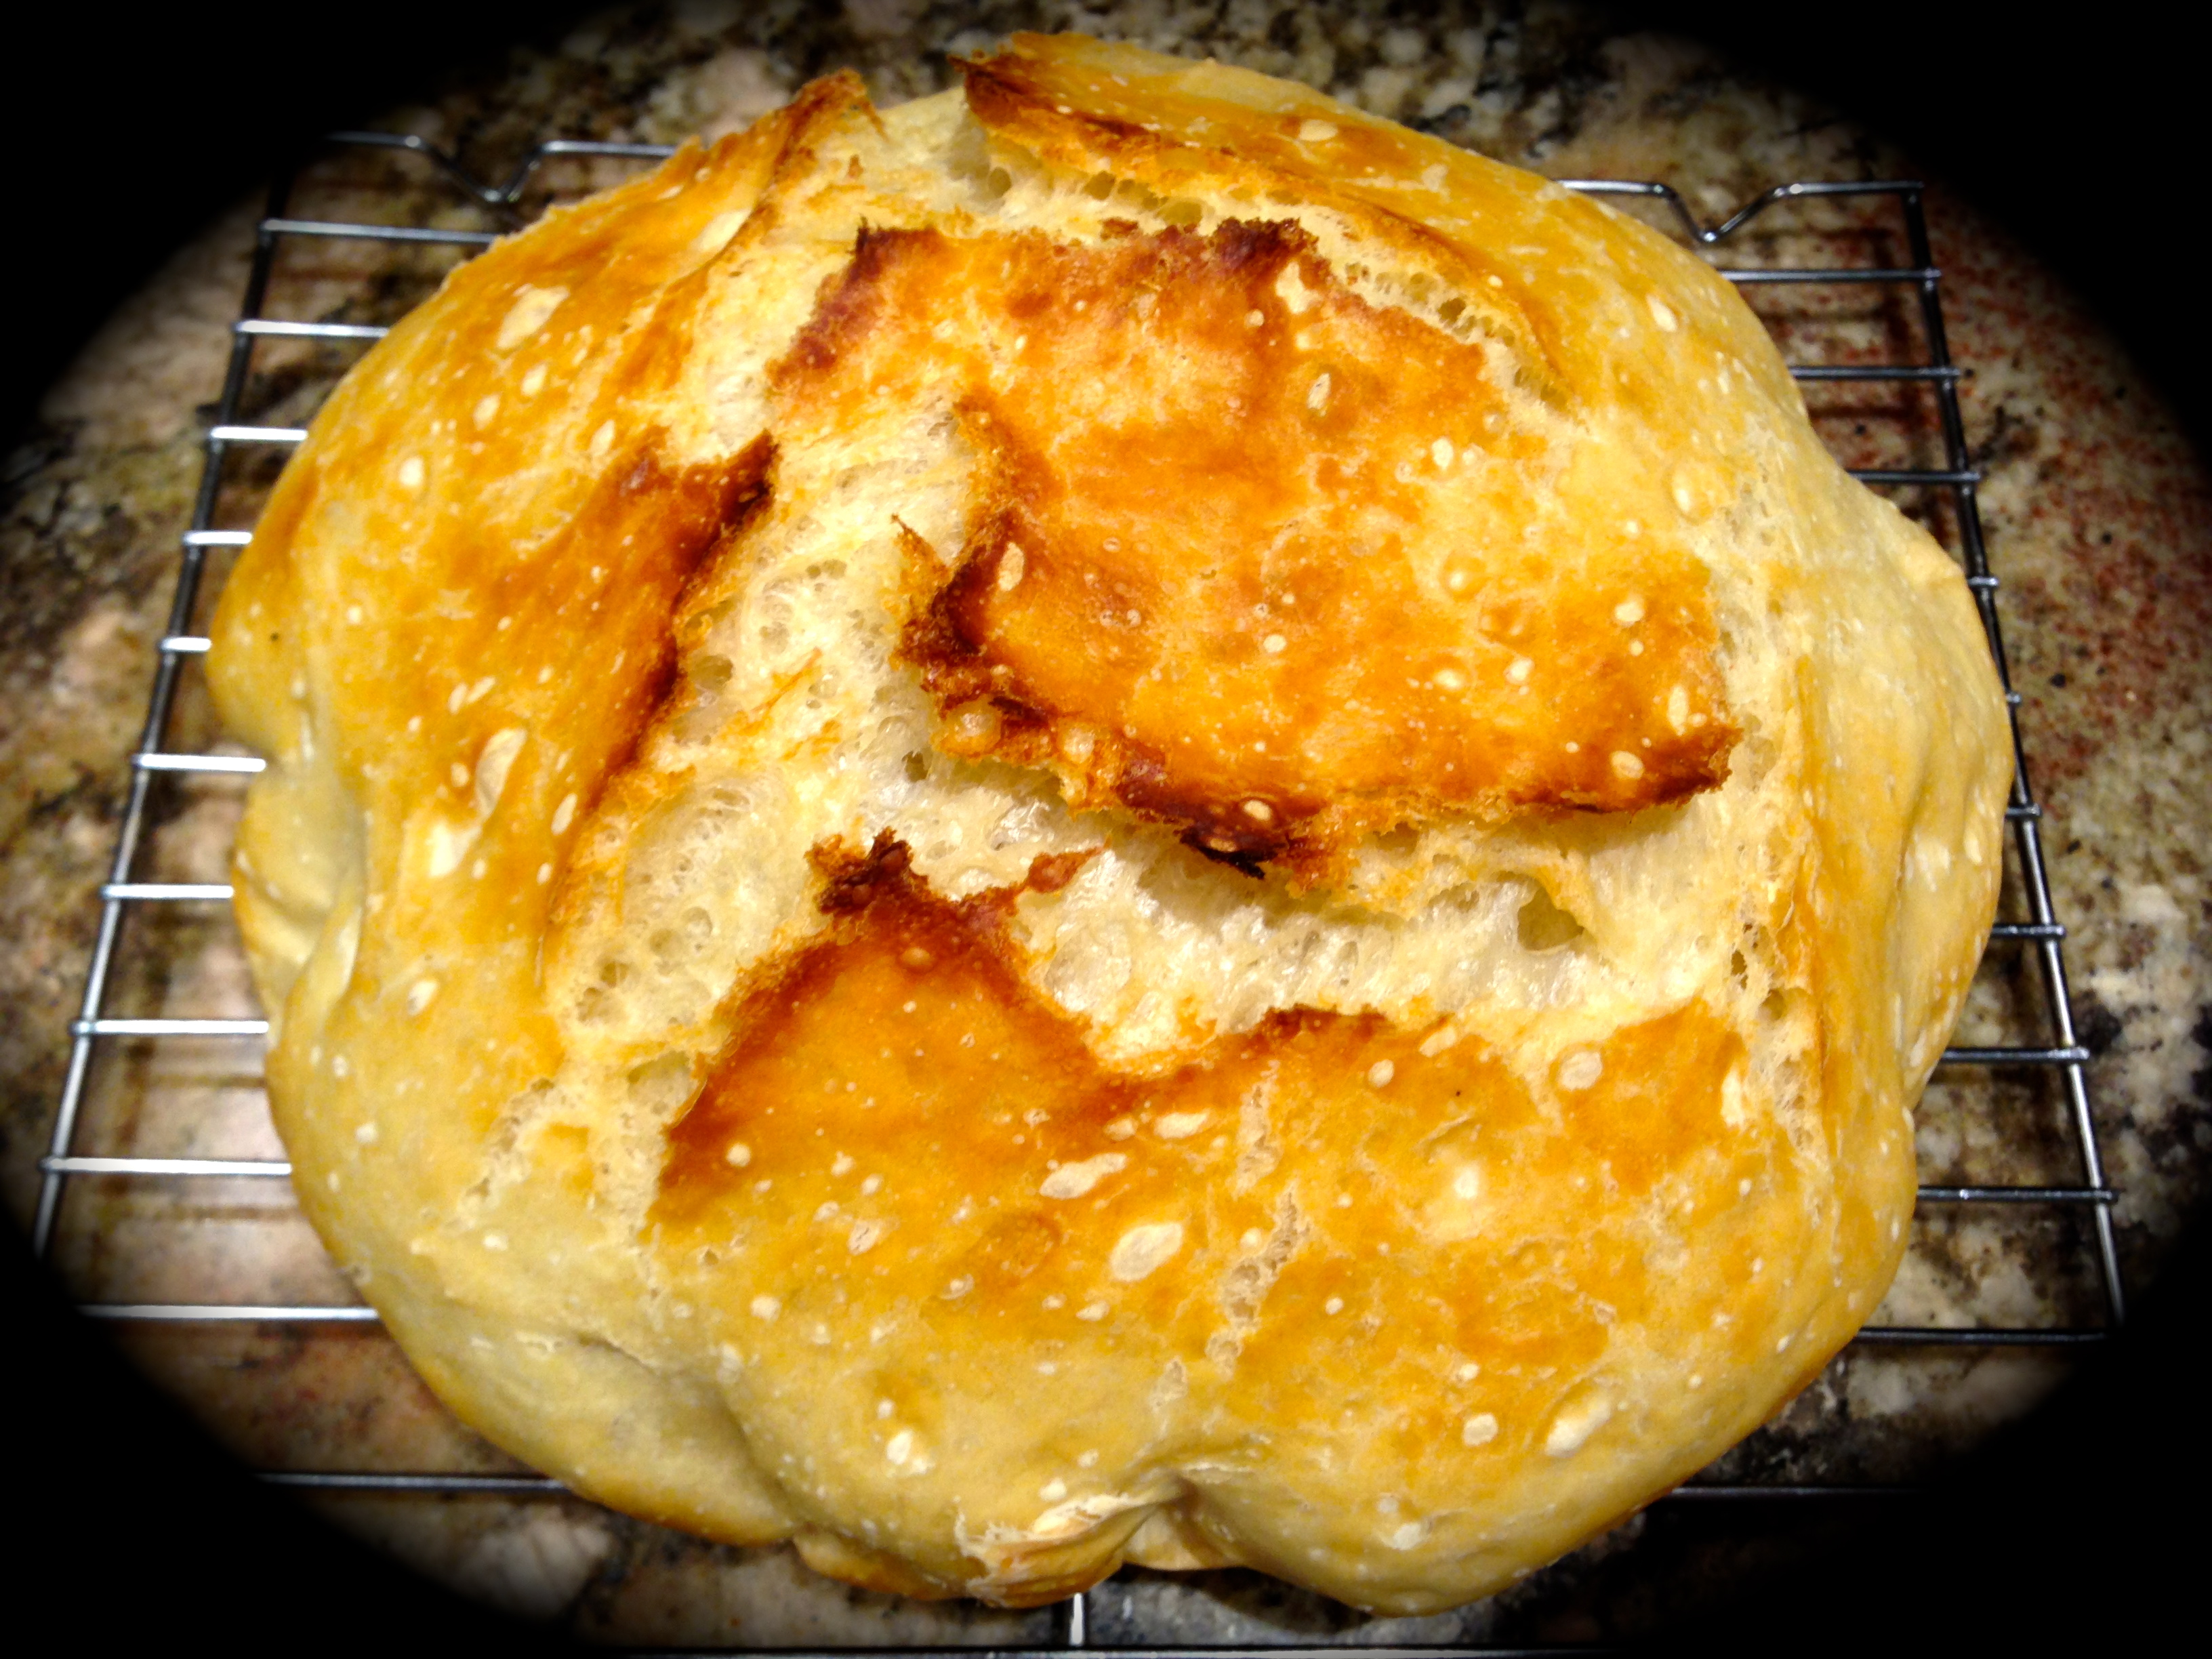
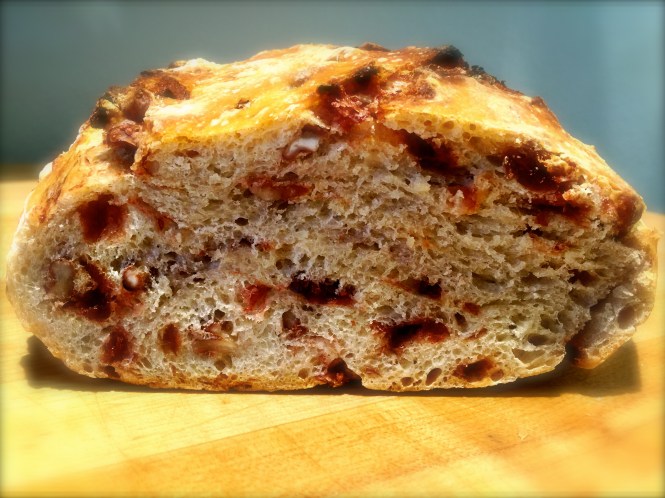
Take a silicone brush and lightly coat the bottom and sides of the skillet. You really don’t want a lot of oil sitting on the bottom. That will give you a greasy crust. And make sure you use a good quality olive oil. I used a garlic infused olive oil when I made the rosemary parmesan bread and a mild flavored premium olive oil for the cranberry walnut bread. If you don’t overdo the oil the crust will have just the right amount of crispiness and will taste heavenly.  Just make sure you use a good olive oil. I prefer the crust in this method compared to the crust you get when using an enameled cast iron dutch oven (in the process you do not oil the pan). That crust, to me, is a little tougher. But don’t get me wrong, both methods produce wonderful bread.

Lesson Learned 3 – Some recipes tell you to cut an “X” in the center (called scoring) of the dough before you put it in the oven – for this recipe DON’T:  I truly don’t think you need to score the bread using this method. When you put bread in the oven it continues to rise and a tension begins to exist between the top formed layer and the softer dough beneath. Scoring is done to assist with the bread rising consistently and predictably during this process.

When I made the rosemary parmesan skillet bread I scored it in the center before I put it in the oven. It created a small crater in the middle of the bread as seen below. It didn’t hurt anything and the bread still turned out fine but I was looking for a more rounded look in the finished product.

When I made the cranberry walnut bread I did not score it in the middle and got more of the rounded look I was wanting.

Lesson Learned 4 – The dough will be very sticky when you go to transfer it into the skillet: I’ve read many versions of how to make this type of bread and most recipes tell you to flour your hands and the dough to successfully transfer it to the skillet. I don’t find that works unless you use a lot of flour and I’m not a big fan of baking a lot of flour into my bread crust.

What I do is take a silicone spatula and work the dough to the edge of the bowl and then quickly move the spatula to get the dough into the skillet. The beauty of this type of bread is that it doesn’t need to look pristine. The more rustic looking the better. And after the dough rises for a half hour in the skillet, many of the imperfections have disappeared. So don’t angst over transferring the dough to the skillet. It’s really pretty simple if you use a silicone spatula.

I couldn’t believe how simple this was to make. The hardest part is letting the dough rise for an hour and a half – the rest is easy. And to me there is nothing like homemade bread. So try one or both of these recipes and let me know what you think…

Skillet Breads - Rosemary Parmesan or Cranberry Walnut...

  • Servings: 12 slices
  • Difficulty: Easy
  • Print

INGREDIENTS:

BOTH BREADS:

1 package instant rapid rise yeast (2 1/4 tsp.)

2 cups warm water

4 1/2 cups all bread flour

1 1/2 tsp salt

Olive oil for the skillet

ROSEMARY PARMESAN BREAD ADDITIONAL INGREDIENTS:

3 Tbs. of chopped fresh rosemary, divided

1/4 cup grated parmesan cheese

CRANBERRY WALNUT BREAD ADDITIONAL INGREDIENTS:

1/2 cup dried cranberries

1/2 cup chopped walnuts

INSTRUCTIONS:

In a large mixing bowl combine the yeast and water. Add half the flour and mix together. Mix in the remaining flour along with either the rosemary or the cranberries and walnuts. If some of the flour is still dry add a little extra warm water until the dough is completely formed.

Cover the bowl securely with plastic wrap and let it rise until doubled in size, about an hour.

Brush some olive oil on the bottom and sides of a cast iron skillet using a silicone brush. Transfer the dough to the skillet and cover loosely with a kitchen towel. Let the dough rise for 30 minutes.

While the dough is rising, preheat the oven to 400 degrees.

After the dough has risen the second time put the skillet in the oven. If making the rosemary parmesan bread, sprinkle some chopped rosemary on the top of the bread before putting it in the oven. For rosemary parmesan bread, after 20 minutes remove the bread from the oven and sprinkle the top with the parmesan cheese. Let the bread bake an additional 20 minutes. For cranberry walnut bread, let the bread bake for 40 minutes straight.

Remove the bread from the oven. Using a spatula, transfer the bread from the skillet to a cooling rack. (This should be very easy but be careful because the skillet will be very hot). Slice and enjoy.

These breads can also be frozen. Cut them into two slice or more pieces. Cover securely with plastic wrap. Put pieces in a freezer bag. Close the bag while trying to eliminate as much air as possible from the bag. Your bread will stay fresh for one month.

Rosemary Parmesan Skillet Bread

SaveSaveSaveSave

SaveSave

SaveSave

SaveSave

SaveSaveSaveSave

SaveSave

SaveSave

SaveSave

SaveSave

SaveSave

SaveSave

SaveSave

SaveSaveSaveSave

SaveSave

SaveSave

SaveSaveSaveSave

SaveSave

SaveSave

SaveSave

SaveSave

SaveSave

SaveSave

SaveSave

SaveSave

SaveSave

SaveSave

SaveSave

Rosemary And Sun Dried Tomato Artisan Bread…

My husband is a bread lover and consequently bread is part of every dinner at our house. Carbs aren’t a factor for him, he’s as thin as a rail.  He just loves to have a couple of slices of bread warmed in the toaster oven to accompany his meal. It is one of life’s simple pleasures for him.

Over the past year I’ve experimented with making bread in various ways. When I was growing up homemade bread was a special event, especially since it took nearly all day to make with lots of arduous kneading and several hours of rising time. Now we’ve figured out how to make bread more simply, calling it artisan bread and using various methods to produce loafs that don’t challenge your muscles in the process. Last year I published a blog about Artisan No-Knead Bread and if you haven’t tried that particular method I suggest you do. It makes wonderful bread. The only challenge with that recipe is you have to let the dough rest and rise for a minimum of 18 hours, so if you forget to mix the dough the night before you’re out of luck.

IMG_2809This particular recipe mimics the packaged bread mixes that are out there that promise to give a loaf of “homemade” bread in less than an hour. All you have to do is add water. And that’s great. I’m not sure of the last time I had homemade bread that included azodicar-bonamide or mononitrate. And in my quest to lessen the amount of processed foods in my life I am trying more and more to make things from scratch and not from out of boxes with hard to pronounce ingredients. But you have to admit it is tempting to use these products in order to make fresh bread quickly. And I think I have a recipe that can give you a great loaf of bread in as short of a period of time as possible without all of the processed food additives we want less of in our lives.

This recipe is simple and straightforward. It does call for allowing for the dough to rise twice, first for an hour and then for a half hour. But that’s nothing. The ingredients are so easy to assemble that you can be doing a lot of other things while the bread is rising. Thirty minutes in the oven completes the process and you have great tasting, non-processed artisan bread. Even the novice cook can be successful the first time making this bread.

Lesson Learned 1 – Let the yeast bloom: You need to make sure the yeast is activated in order for this bread to work. Take 2 Tbs. of active dry yeast (slightly less than one pouch) pour it into a bowl, add one cup of very warm water and then whisk the two ingredients together until combined. Let the mixture sit for 3-5 minutes. You will see some bubbling action on the water and then you will see the yeast bloom (almost like mini chalky volcanic eruptions on the surface of the water). Once that happens you know the yeast has been activated and can add the rest of the ingredients.

Lesson Learned 2 – All that’s left is combining the remaining ingredients: It couldn’t be any simpler. Combine all of the remaining ingredients and let the yeast do its work.

pro-line-nonstick-baking-sheetLesson Learned 3 – Prepping the baking sheet: I use a professional grade baking sheet (picture on the left). I have to include a disclaimer that I work at Crate and Barrel which carries this particular baking sheet. I am not trying to sell this, but have found that if you invest in good housewares i.e., cookware, bakeware, gadgets, etc. it will pay dividends in the kitchen. This particular baking sheet is a non-stick baking sheet. It does not have a traditional non-stick surface but notice the groves throughout the bottom of the pan. That allows for heat to circulate underneath whatever is on the sheet and consequently it does not stick. To make this particular bread all I had to do was dust the pan with some cornmeal. When I took the bread out of the oven, I simply lifted it off the sheet with a silicone spatula. The bread did not stick. If you don’t have a pan similar to this you will need to grease a baking sheet with some vegetable oil and then dust it with cornmeal.

I guarantee if you try this recipe you will impress your family and friends. The end result is exquisite and no one will ever believe how easy it was to make. So throw away the box and say good-bye to processed bread mixes. You are now a “from-scratch” bread maker!

Rosemary And Sun Dried Tomato Artisan Bread

  • Servings: 1 Loaf
  • Difficulty: Easy
  • Print

IMG_2779INGREDIENTS:

2 tsp. active dry yeast

1 cup warm water

1/3 cup chopped sun dried tomatoes

1 tsp. dried rosemary, crushed

1 tsp. kosher salt

2 cups flour

cornmeal for dusting

vegetable oil for baking sheet prep

1 egg white (for an wash on the top of the bread)

1 Tbs. milk (for a wash on top of the bread)

DIRECTIONS:

In a medium sized bowl combine yeast and warm water. Whisk to combine. Let the mixture sit for 3-5 minutes until the yeast starts to expand and bloom. Add the tomatoes, rosemary, salt and flour all at once. Use a wooden spoon to combine. If dough is too sticky add a little more flour. If the dough feels too dry add a little more water. The dough should be a bit sticky but capable of being formed into a ball. Cover the dough and let it rise for 1 hour.

After an hour either dust a non-stick baking sheet with cornmeal or, if not using non-stick, brush the sheet with some vegetable oil and dust with cornmeal. Shape the dough into a ball with your hands (or you can use a heavy duty silicone scraper to shape into a ball) and put it on the prepared baking sheet. Cover the dough with a dishtowel and let it rise for and additional 30 minutes.

While the dough is rising, preheat the oven to 400 degrees. After 30 minutes, bake the dough for 20 minutes. Remove the bread from the oven and brush lightly with the whisked egg white and milk mixture. Put the bread back into the oven for an additional 5-10 minutes or until the outer crust turns a nice light golden brown.

Bread Dough Ready To Rise On Prepared Baking Sheet...

Bread Dough Ready To Rise On Prepared Baking Sheet…

IMG_2779

Fresh Out Of The Oven…

IMG_2789


IMG_2797

Rosemary and Sun Dried Tomato Artisan Bread…


Artisan No-Knead Bread…

Over a year ago I wrote a blog about making no-knead bread in an enameled cast iron pot. Although it is a great blog, I felt the “knead” to rewrite it because of a significant lesson I’ve learned since I initially published the blog.

The original recipe came from a website called simplysogood.com and although I basically use that recipe there are many others out there that have slightly different variations and still produce this wonderful, easy to make bread. The key to success in this recipe is not the mixing (that is by far the easy part) but rather the handling of the dough, getting it prepped and into a screaming hot enameled cast iron pot. So I am going to revisit this recipe, rate it and give you my lessons learned. Hopefully these lessons will help you get your desired result much quicker than I did.

What I use to bake the bread - a LeCreuset 6 quart dutch oven...

What I use to bake the bread – a LeCreuset 6 quart dutch oven…

RECIPE RATING: A for the pictures and step-by-step instructions, C-for advice on how to prep the dough. If you go to the website and search for the recipe you will find wonderfully detailed pictures of the process for making the bread and I like that. The thing that I feel is misleading is the information on the dough prep right before putting it into the oven and I will address that in my lessons learned.

LESSON LEARNED 1 – MIXING THE DOUGH: In my mind there is nothing easier than the initial mixing of the dough in this recipe. It requires only 4 simple ingredients and time. By time I mean a minimum of 12 hours to let the dough cure and the longer the better, even up to 18 hours. As stated on the website, this recipe is very forgiving so if you make the bread after 11 hours of curing or even after 24 hours you will still get a great bread. From a mixing standpoint there is little if anything you can do to ruin the dough.

When the dough is mixed it is sticky...

When the dough is mixed it is sticky…

LESSON LEARNED 2 – TO FLOUR OR NOT TO FLOUR: This is perhaps where I disagree the most with the original recipe. In that recipe it calls for you to “flour the heck” out of the surface that you place the dough on after initially removing it from the bowl. One thing is for sure, the dough is very, very sticky and you need something to help you manage it. But in my experience the dough is also much looser than what you see in the pictures and all the flour in the world does not get it to form as round of a ball as depicted on the website. What tends to happen as you try to get some shape to the dough is it rolls back over on itself trapping small pockets of flour on the bottom of the loaf and I can tell you from much experience that they do not magically disappear when the bread is baking. Your slices wind up having pockets of flour packed into the bottom crust.  There were may times I had to cut off about a 1/4 inch off the bottom of the loaf just to remove those baked-in flour pockets.

Try as I may, whenever I tried to shape the dough on a floured surface (and I tried all amounts of flour to see what might be the right combination), it would roll over on itself and create the flour pockets. And because the dough is loose, it also is a challenge to transfer it from one surface to another without creating additional pockets. The original recipe states that after you’ve formed the loaf to let it rest covered in plastic wrap while the enameled cast iron pot is heating in the oven.  Then you can either just put the dough in the heated enamel pot or line the pot with parchment paper and put the dough on the parchment paper and into the pot. Either way, once cooked the dough will not stick to either surface and the parchment paper will not burn. That is true. But trying to move the dough from one surface to another was almost an impossible task, especially when dealing with a cast iron pot that has been in the oven for a half hour at 450 degrees. Over and over I kept trying to make this recipe work as written until I realized I was flirting with the definition of insanity, that being doing the same thing over and over again and expecting different results. I became very frustrated with the recipe and almost gave up on it but then I came up with an ingenious idea.

Image 1

(upper left: dough after 18 hours – upper right: laying out the parchment paper mold – lower left: – dough resting in parchment paper – lower right: dough right out of the oven before removed from the pot)

Here is how I solved the flour dilemma. Before I heat the cast iron pot I measure the amount of parchment paper I need to line the inside of the pot and cut the mold. Then I place the parchment paper mold into a high rimmed bowl. I take the other bowl with the dough, use a spatula and systematically scrape the dough into a ball and move the ball toward the rim of the bowl. Once I have it near the rim of the bowl I scrape it into the bowl with the parchment paper mold and voila I have my rounded loaf resting in parchment paper. I cover that bowl with plastic wrap and let it sit for 30 minutes while the cast iron pot is preheating in the oven.  When it comes time to put the dough into the prepared enameled cast iron pot I just pick up the dough up by the edges of the parchment paper and transfer it quickly and without drama into the cast iron pan. It couldn’t be easier and I did not have to use one bit of flour. I no longer have any flour pockets on the bottom of my baked artisan bread!

I highly encourage you to try this recipe. It really is easy and makes perfect bread every time. My challenge was simply to eliminate the flour pockets in my otherwise perfect bread. I will write the recipe with the original instructions and with my recommendations. Try it both ways and see what works for you. And if you have an answer to the flour dilemma other than mine, I’d love to hear it. Also if your dough is not as loose as mine please let me know how you achieved that. Most recipes for making artisan bread that I’ve researched do not vary greatly in the ingredients and instructions, and most say that the dough will be loose and sticky so I’m thinking the flour on the bottom of the dough will continue to be a challenge. Let me know your thoughts or suggestions – I’d love to hear them.

Artisan No-Knead Bread…

  • Servings: 8-10
  • Difficulty: Medium
  • Print

INGREDIENTS:

3 cups unbleached flour

1 3/4 tsp. kosher salt

1/2 tsp. rapid rise yeast

1 1/2 cup water

(You can add a variety of herbs and fruits to this basic recipe. See picture below of cranberry walnut artisan bread. Just add 1/3 cup dried cranberries and 1/3 cup walnuts when making the dough)

DIRECTIONS:

In a large bowl whisk together flour, salt and yeast. Add water and mix until combined. Cover the bowl with plastic wrap and set aside for 12-18 hours. (overnight is the best).

Heat oven to 450 degrees. While oven is preheating, line your enameled cast iron pot with parchment paper and press the down the center, sides and top to form a clear outline of the pot. Cut the parchment paper along the edges (so that when you eventually place it back in the pot it won’t be hanging over the sides) and place the paper mold into a bowl that has a circumference close to the desired shape of a nicely rounded loaf.  The recipe is very forgiving so don’t spend too much time worrying about the size bowl to put it in. When the oven is heated, place your enameled cast iron pot with lid into the oven and heat for 30 minutes.

Meanwhile take the dough that has been curing overnight and scrape it into a loosely formed ball inside the bowl its in and then drop it into the other bowl with the parchment paper mold. Cover the dough with plastic wrap and let it rest until the enameled cast iron pot is done heating. (The original recipe calls for you to put the dough on a heavily floured surface, shape into a ball and cover it with plastic wrap to rest while the pot is warming in the oven. You can try it this way if you want, but I found that I get pockets of flour that get baked into the bottom of the bread when I do it that way).

Once the pot is heated, quickly transfer the dough into the pot, cover and put back in the oven. (If you use the parchment paper method, just grab the paper on opposite sides and drop into the pot. Just make sure to remember that the pot is very hot. (If you don’t use the parchment paper method just drop the dough into the pot, cover and put in the oven.) You do not need to prepare the pot in any way. The dough will not stick to the surface nor will it stick to the parchment paper.

Bake for 30 minutes. Then remove the lid from the pot and bake for 10-15 minutes more. (I find that 10 minutes gives me the nice golden color you see in the picture at the beginning of this blog).  Remove the bread from the oven and place on a cooling rack to cool.


Artisan No-Knead Bread

Artisan No-Knead Bread


IMG_9215

Cranberry Walnut Artisan Bread

Bread and Enameled Cast Iron, Who Knew…

Last Sunday when I met with my “foodie” group, one of the members brought a fabulous loaf of homemade bread. Not only did it look spectacular but it tasted divine. You would have thought it was made by a professional baker. When I asked her how she made it she told me she baked the bread in an enameled cast iron pot. She said it was so easy that I just had to try it. It sounded way too good to be true but even though that was my initial impression I began to research how to bake bread this way online.

5-6 quart enameled cast iron pot

5-6 quart enameled cast iron pot

Everything I read about making this type of artisan bread seemed to support what she said. Everyone wrote that the basic recipe was easy, forgiving, and produces the most fabulous loaf of bread. The recipe I chose was from a site called SimplySoGood.com. I liked the site for several reasons: 1.) It was written in a very folksy easy to understand way. 2.) The blog took the mystery out of making bread in this particular way and made you feel like you could really do it and do it well. 3.) I like sites that give you step by step pictures of the process and what the recipe should look like at all stages. This site may have overdone it a little with the pictures but better more than less I always say, especially where pictures are concerned.

And so, with my new found courage I ventured into the world of baking bread in an enameled cast iron vessel. The bread recipe was extremely, and I mean extremely simple – only 4 ingredients. If you use rapid rise yeast you don’t even have to fuss with determining the correct water temperature. You simply mix together the ingredients, cover the bowl, let it sit overnight on the counter, form it into a ball and bake it in a pre-warmed pot. It doesn’t get much easier than that.

3 Simple Dry Ingredients: Flour, Yeast and Salt

3 Simple Dry Ingredients: Flour, Yeast and Salt

So what lessons did I learn from making it. Lesson Learned #1: The blogger says this recipe is full proof and it is. I live in high altitude and absolutely no adjustments had to be made to the recipe. Lesson Learned #2: The dough is very sticky when you start to form it into a ball. The recipe calls for an over abundance of flour on the surface you use when forming the dough and for your hands. I actually think I put down too much flour on my counter because the bottom of my bread was loaded with it to the point I had to brush some off after it was baked. Just be careful and don’t go overboard like I did. But you will need a good amount of flour.

What the dough looks like when initially mixed

What the dough looks like when initially mixed

LessonLearned 3#: This is probably the absolute easiest way to make bread and be successful every time. The outside is crusty, the inside is moist and flavorful. I am looking forward to experimenting with different versions of this recipe, maybe using whole wheat flour or adding cranberries and nuts. When I do I will post the results.

I was so amazed to see the finished product and I was so surprised that I actually made this. So I guarantee that you will be equally successful when you try it. You would be foolish not too, this bread it just two darn easy to make. Click on this link: artisanbread for the recipe. Enjoy!

The finished produce: Artisan No-Knead Bread

The finished product: Artisan No-Knead Bread

Snow Day, Crank Up The Oven…

It’s March, it’s Spring and it’s snowing, tons… I decided not to go to work today, something that is very hard for me to do but given the conditions outside I think it’s best. So now I have a whole day of unplanned time. What’s a girl to do? I decided to go treasure hunting in my pantry to see if there was anything I could whip up. After all it’s cold and snowy outside and that only means one thing, time to crank up the oven!

I belong to a recipe share group on Facebook. One of my former students is a closet foodie as well and she invited me to join. The group shares a lot of good ideas and yesterday I came across a recipe for “Red Lobster’s Cheese Biscuits” done as a loaf. A member of the group posted a picture of it and I was intrigued, plus I happened to have all of the ingredients to make it. I think I may have eaten at Red Lobster only once in my lifetime so I was not familiar with their cheese biscuits but the snow on the ground and the chill in the air compelled me to give it the old college try.

Needless to say I was pleasantly surprised, the bread turned out beautifully. The ingredients almost make it cake-like and the sour cream gives it a nice little tang. There is only one thing I would change about it when I make it again. The recipe calls for 4 ounces of cheddar cheese cut into 1/4 inch cubes. For some reason even with a 350 degree oven the cheese did not melt. Next time I’ll used shredded cheddar instead of cubes and see if I like it better that way. The best reviews come from my husband and he gave this one a thumbs up (he agrees about the cheese) so I suggest you try it. It’s easy and it is delicious.

cheese bread

Red Lobster Cheese Biscuit Bread

  • Servings: 1 Loaf
  • Difficulty: Easy
  • Print

INGREDIENTS:

3 Cups Flour

1 Tbs. baking powder

1 tsp. salt

1/4 tsp. cayenne pepper

1/8 teaspoon black pepper

4 ounces cheddar cheese, cut into 1/4 inch cubes

1 1/4 cups milk

3/4 cup sour cream

3 Tbs. butter, melted

1 egg, slightly beaten

DIRECTIONS:

Preheat oven to 350 degrees. Grease a 9×5 loaf pan with oil. In a bowl, whisk together the first 5 ingredients. Carefully stir in the cheese cubes until covered in the flour mixture. (this will prevent the cheese from sinking to the bottom of the loaf). In a separate bowl whisk together the remaining ingredients. Fold the wet mixture into the flour and cheese mixture and stir until just combined. (do not over mix). Spread the mixture into the loaf pan. Bake for 45-50 minutes. Let cool 10 minutes and then remove from the pan. Allow to cool for one hour before slicing and serving.