Frosted Lemon Cookies…

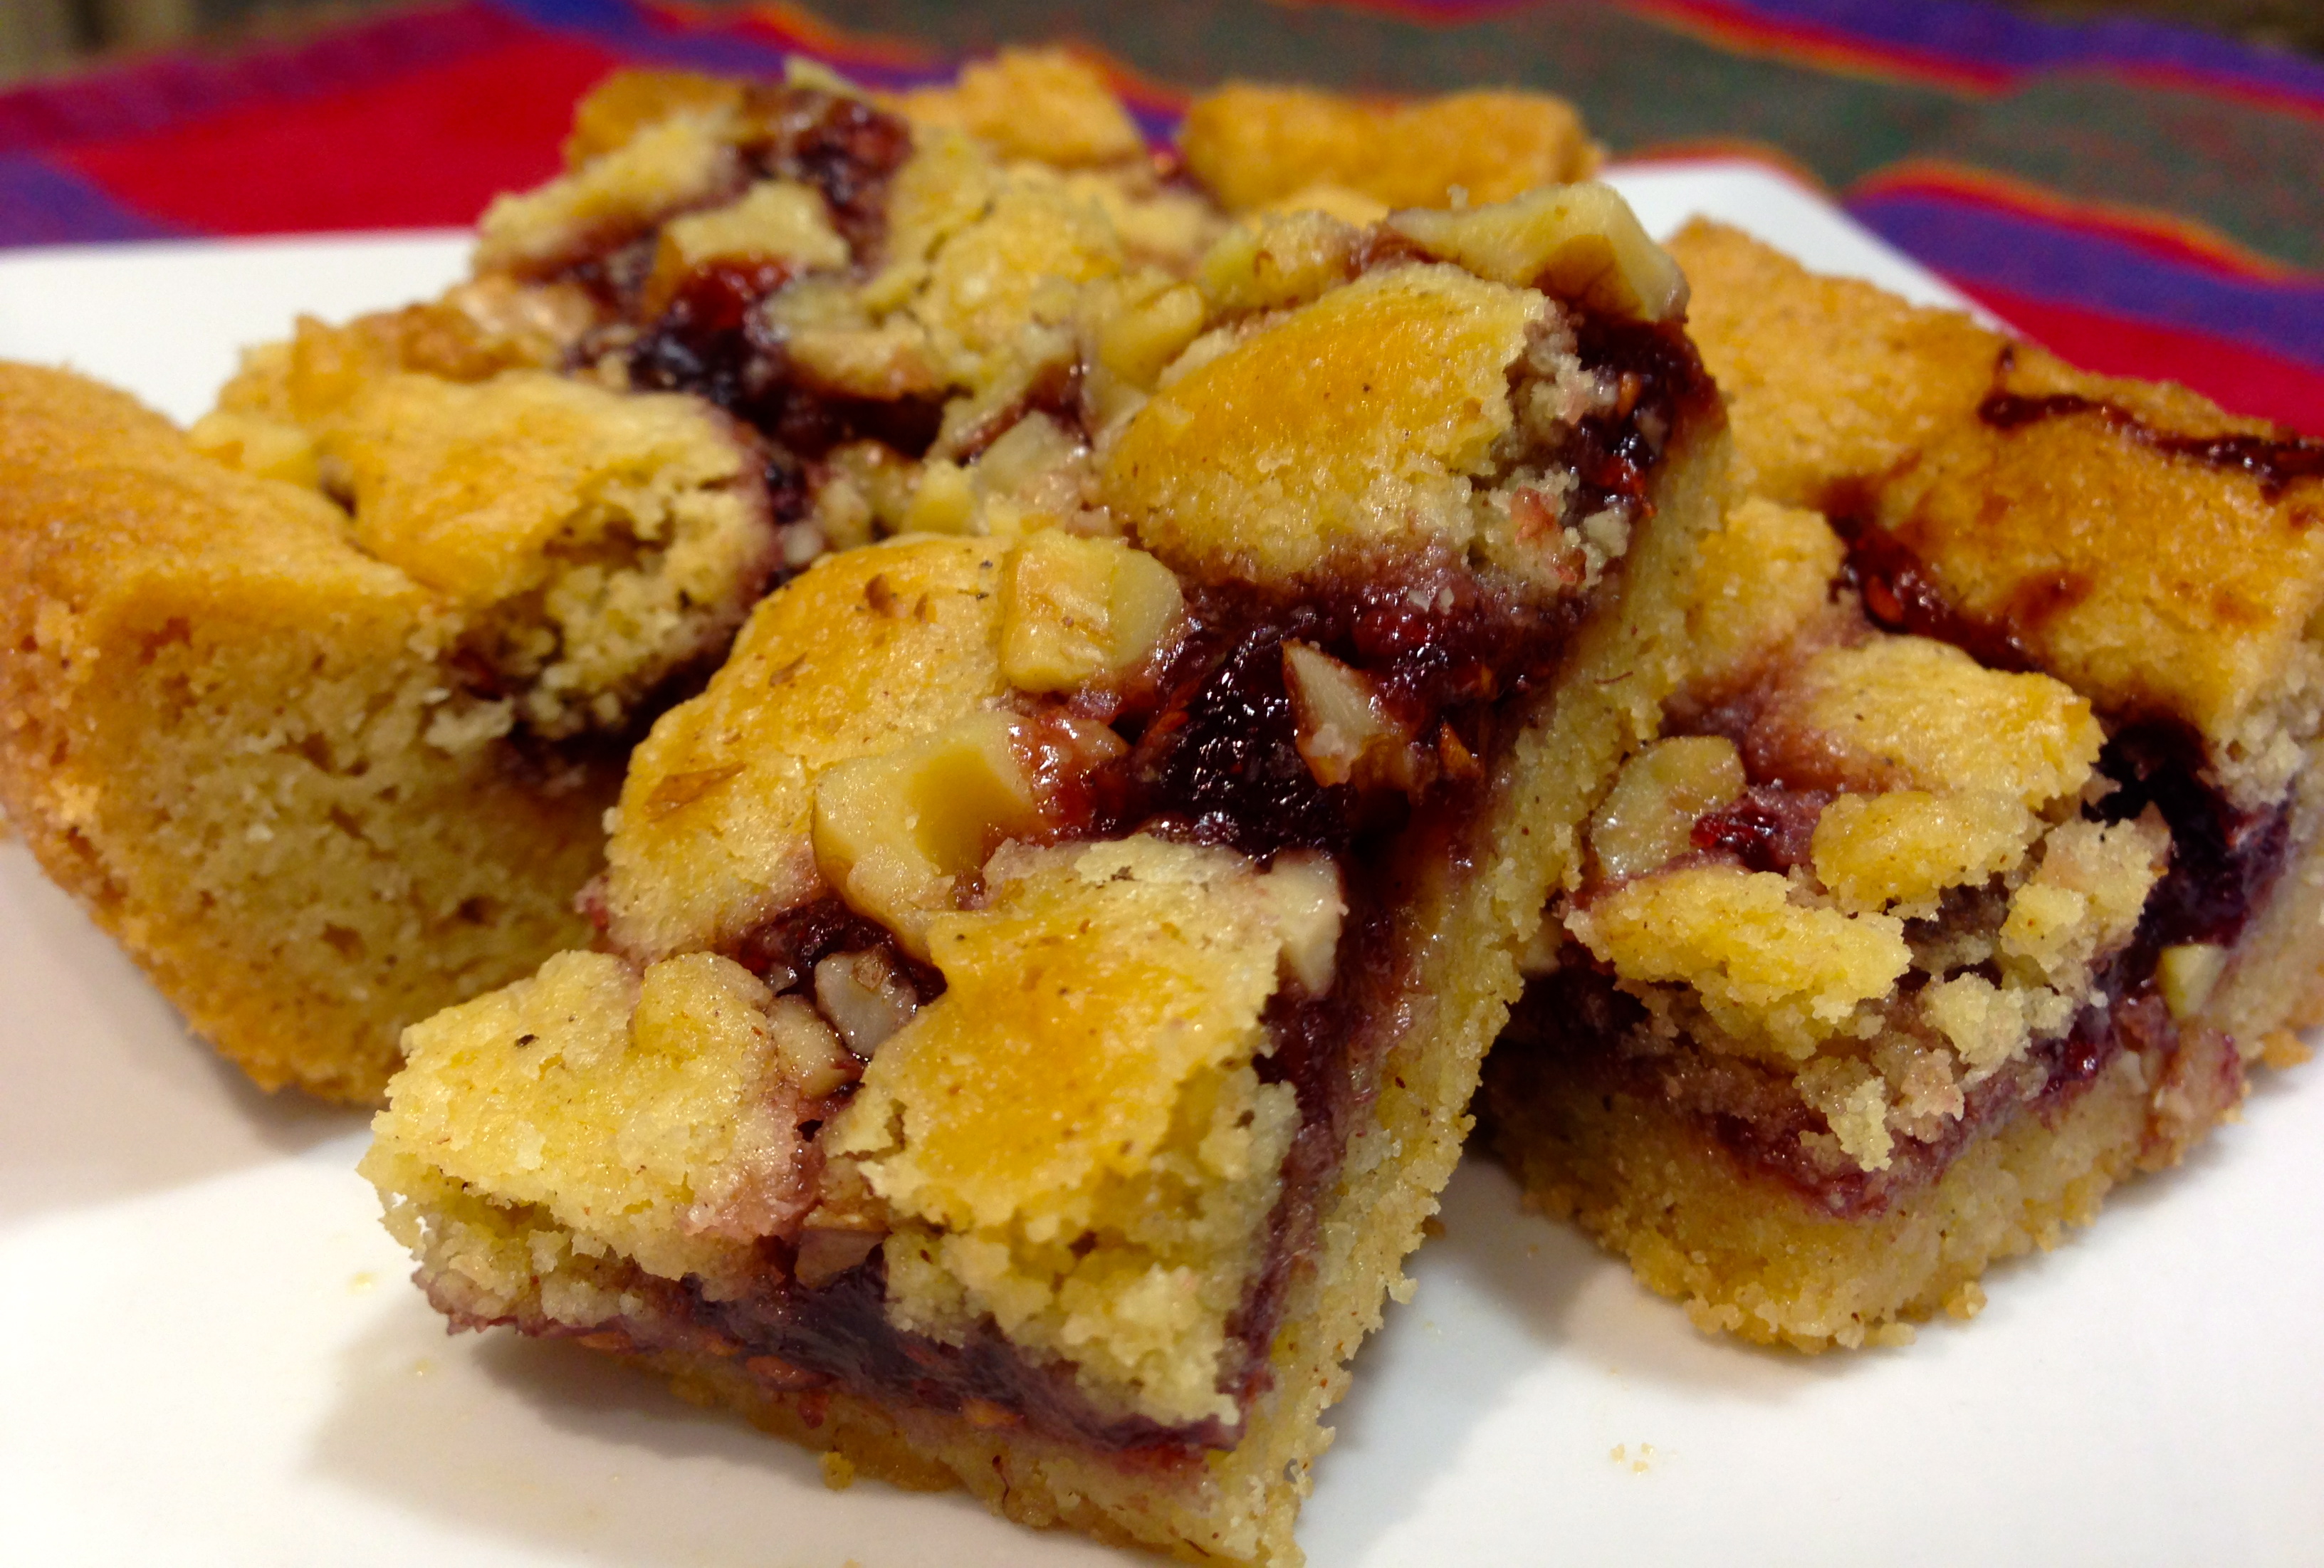
Are you ready for a little Summer melt in your mouth goodness? Well here’s something that fits the bill. During the dogs days of summer you want something light, cool, refreshing… and these tasty morsels are like have a glass of lemonade in a cookie.

The ingredients in the recipe are a little unusual. For instance, you don’t use any eggs just butter and lemon juice – you use powdered sugar in place of granulated sugar – and you mix the flour with cornstarch. Sounds a little strange but the result is what, as a child, I called sand cookies. And although sand cookies doesn’t sound very appetizing, it was my term for cookies that literally melt in your mouth. The combination of ingredients in this recipe creates a melt in your mouth consistency that is amplified when you ice them with the lemon frosting. All I can say is yummo!

So let’s talk iced lemon cookies…

Dough log
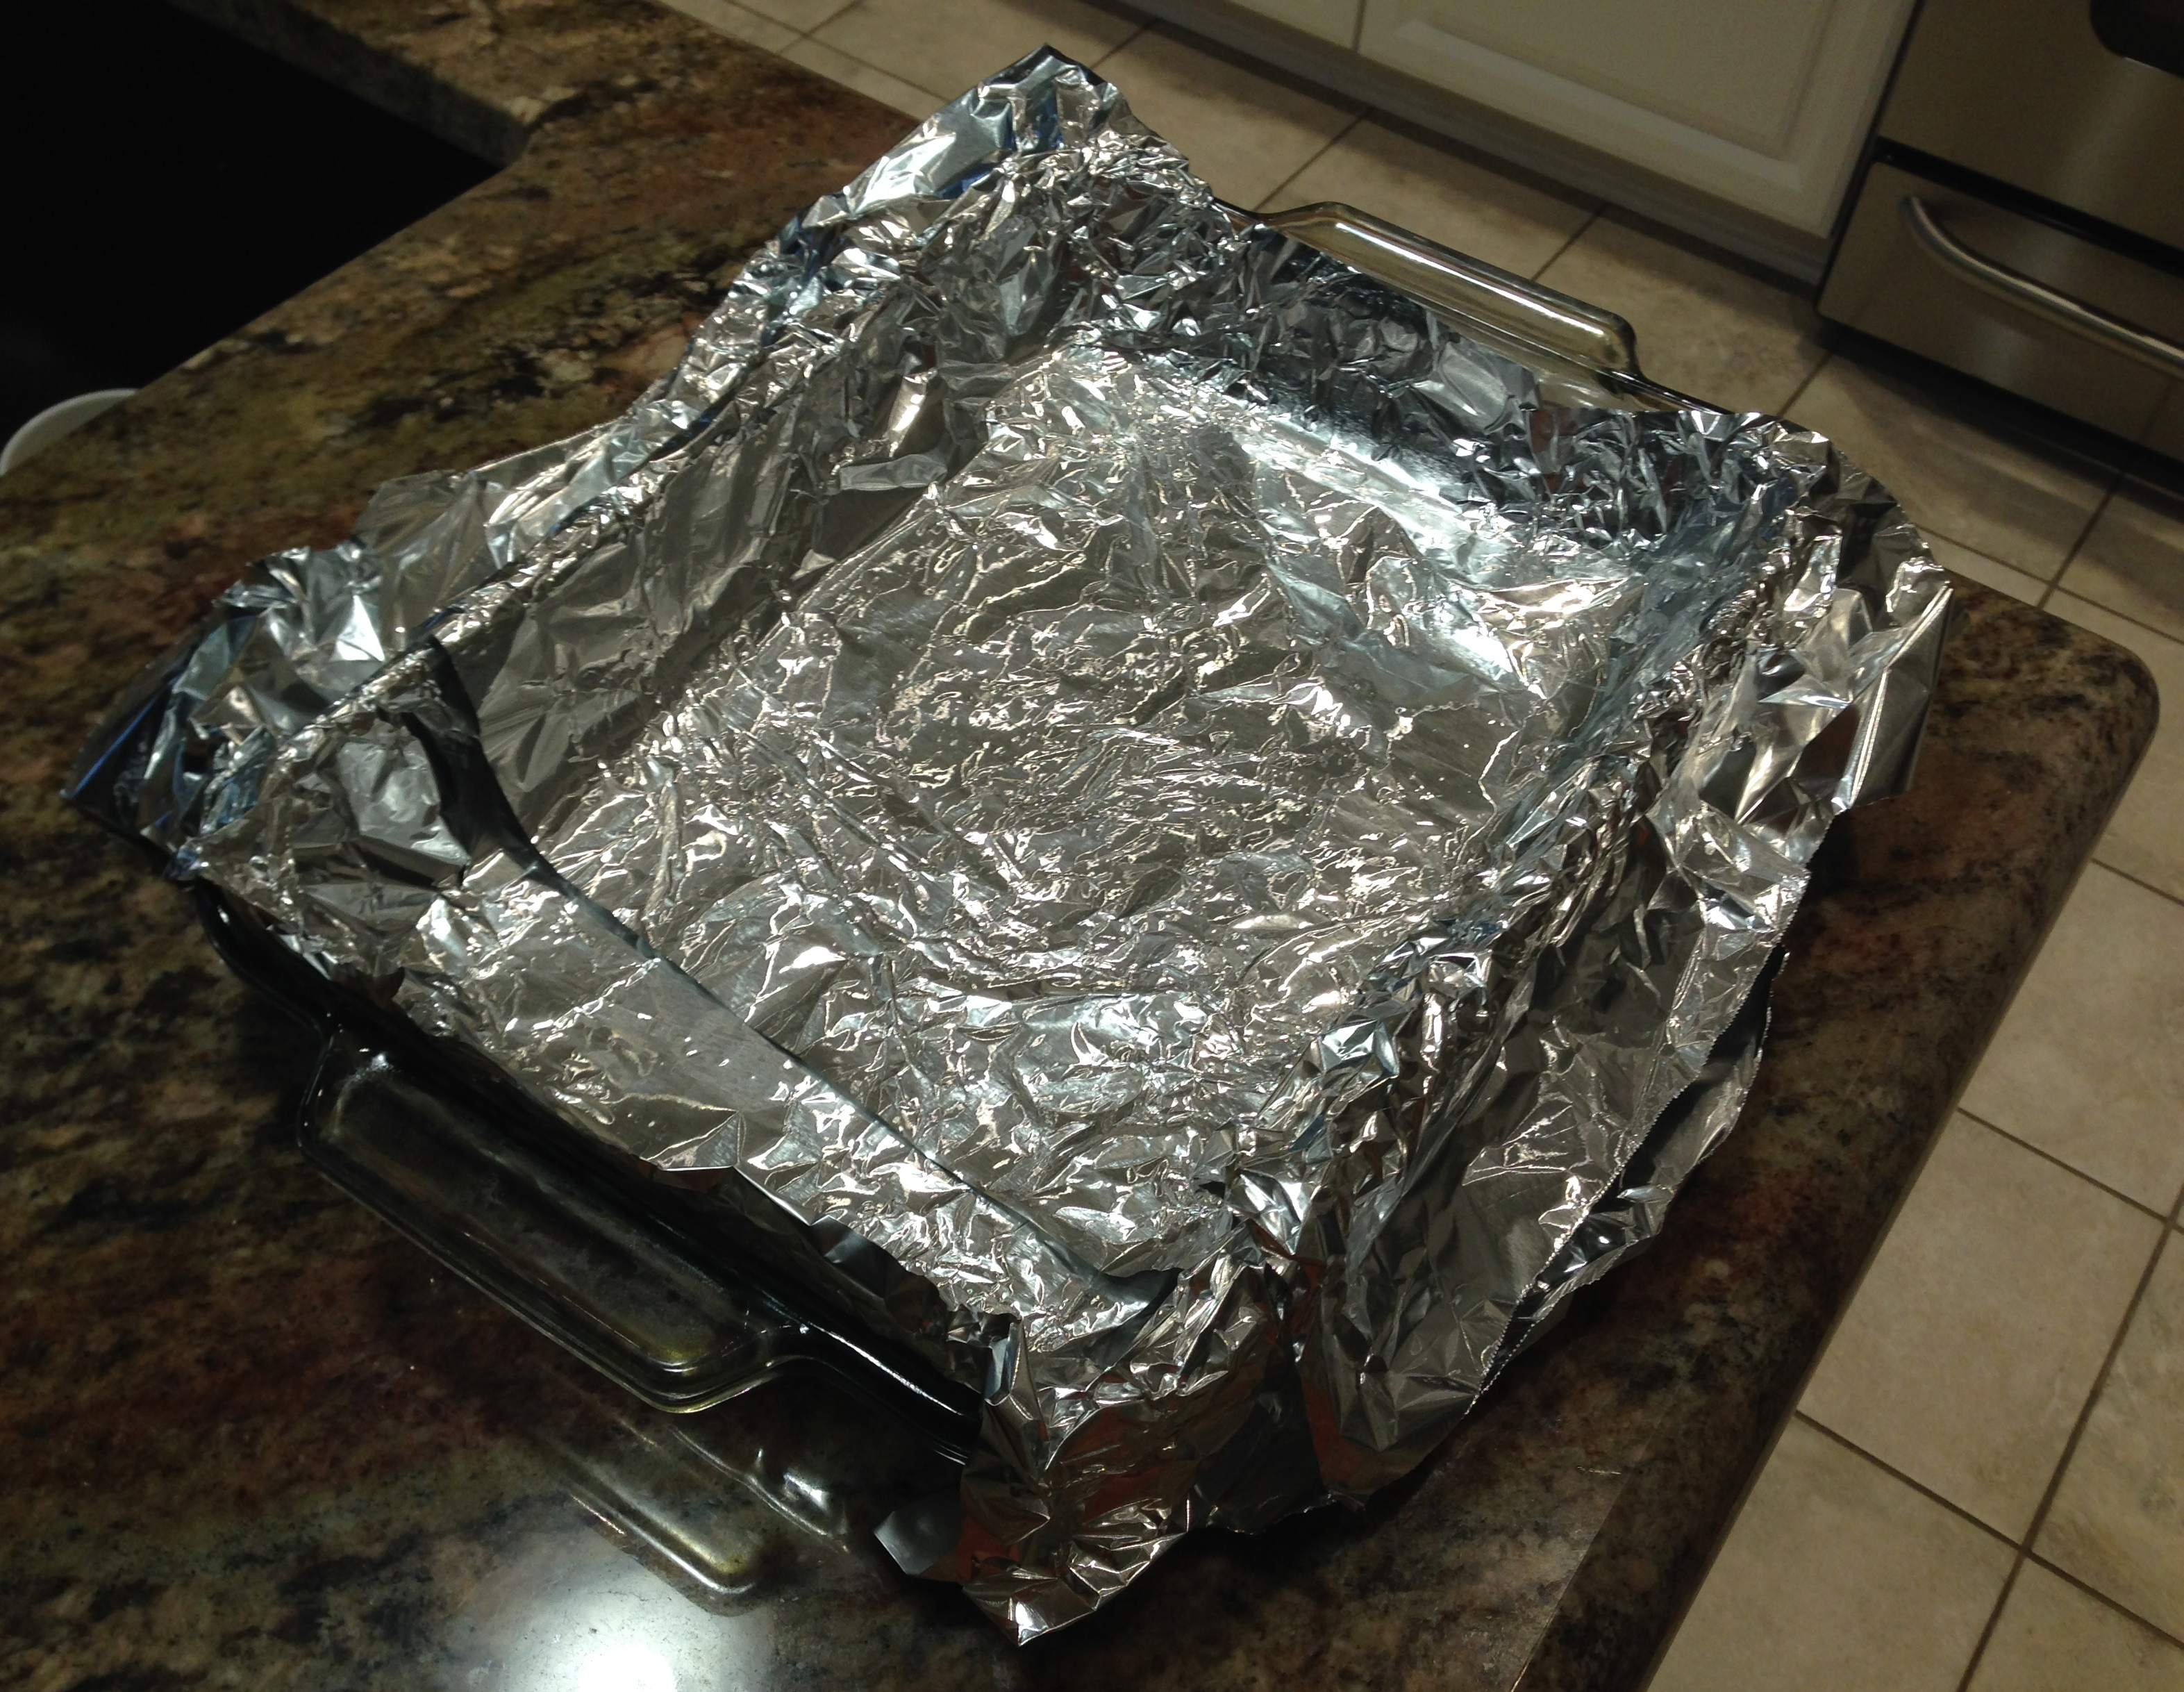
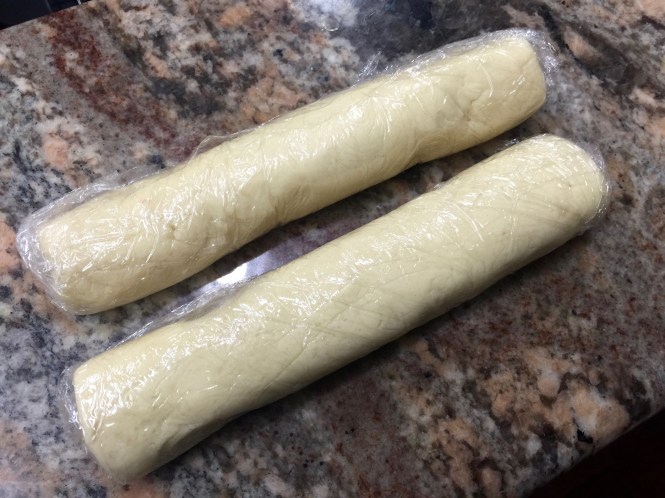
Lesson Learned 1 – Make sure you chill the dough: The consistency of the dough is not like most cookies – it will be softer and stickier. It’s important for the dough to chill in order to form the cookies and bake them off. Divide the dough in half and make two eight inch logs. Cover the logs in plastic wrap and refrigerate for up to two hours. My dough was nice and firm after an hour and a half, so check your dough at that point to see if it is ready to go.

Dough logs

These cookies do not have a lot of binding ingredients (there is some butter but no eggs) and so they are more delicate than others. Basically that is what gives them their melt in your mouth consistency. So when they are still warm they can easily break apart. Be very careful when removing them from the baking sheet to the cooling rack. Also be careful when icing them. You can have a love-hate relationship with these cookies. You love the consistency as they flake apart in your mouth but they can also do that in your hand if they are not handled with care. Just take your time with them. These cookies are worth all the care you can give!

Lesson Learned 3 – Chill the cookies once you’re done: I found the best way to enjoy these cookies is when they have a slight chill. The flavor is so light and with the chill it creates a cooling Summertime treat sensation. You’ll find that you can’t eat only one of these flavorful bite size morsels. I guarantee they will be a hit!

Lesson Learned 4 – I used yellow food coloring in the frosting: I used yellow food coloring in the frosting but it’s not necessary. I found it gave the cookies that special look and we all know we eat with our eyes first. I used 3 drops and it created this beautiful lemony color!

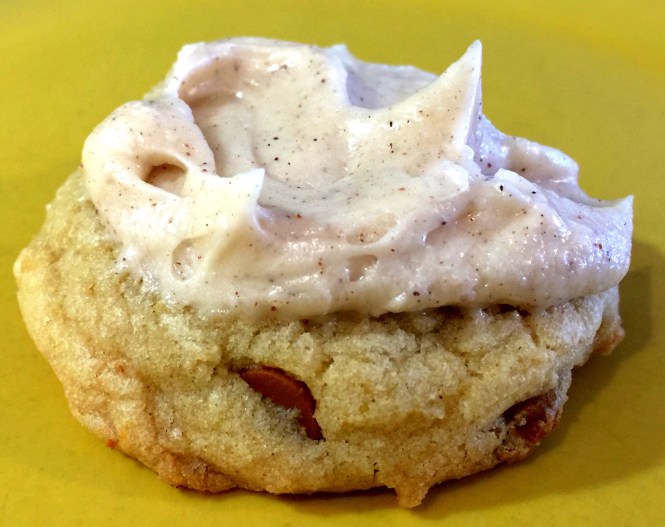
Frosted Lemon Cookies...

  • Servings: 4-5 dozen
  • Difficulty: Easy
  • Print

INGREDIENTS:

3/4 cup unsalted butter, room temperature

1/3 cup powdered sugar

1 tsp. fresh lemon juice

1 1/4 cup flour

1/2 cup cornstarch

FROSTING:

1/4 cup unsalted butter, room temperature

3/4 cup powdered sugar

1 tsp. lemon zest

1 tsp. fresh lemon juice

3 drop yellow food coloring, optional

DIRECTIONS:

In a medium bowl beat together the butter and sugar until combined. Beat in the lemon juice. In another bowl whisk together the flour and corn starch. Gradually beat the flour mixture into the butter/sugar mixture until combined.

Divide the dough in half and shape into two 8 inch logs. Cover the dough with plastic wrap and refrigerate until firm – approximately 1 1/2 – 2 hours.

Preheat the oven to 350 degrees.

Unwrap the dough and cut it into 1/4 inch slices. Place slices 1 inch apart on an ungreased cookie sheet. Bake for approximately 10-12 minutes.

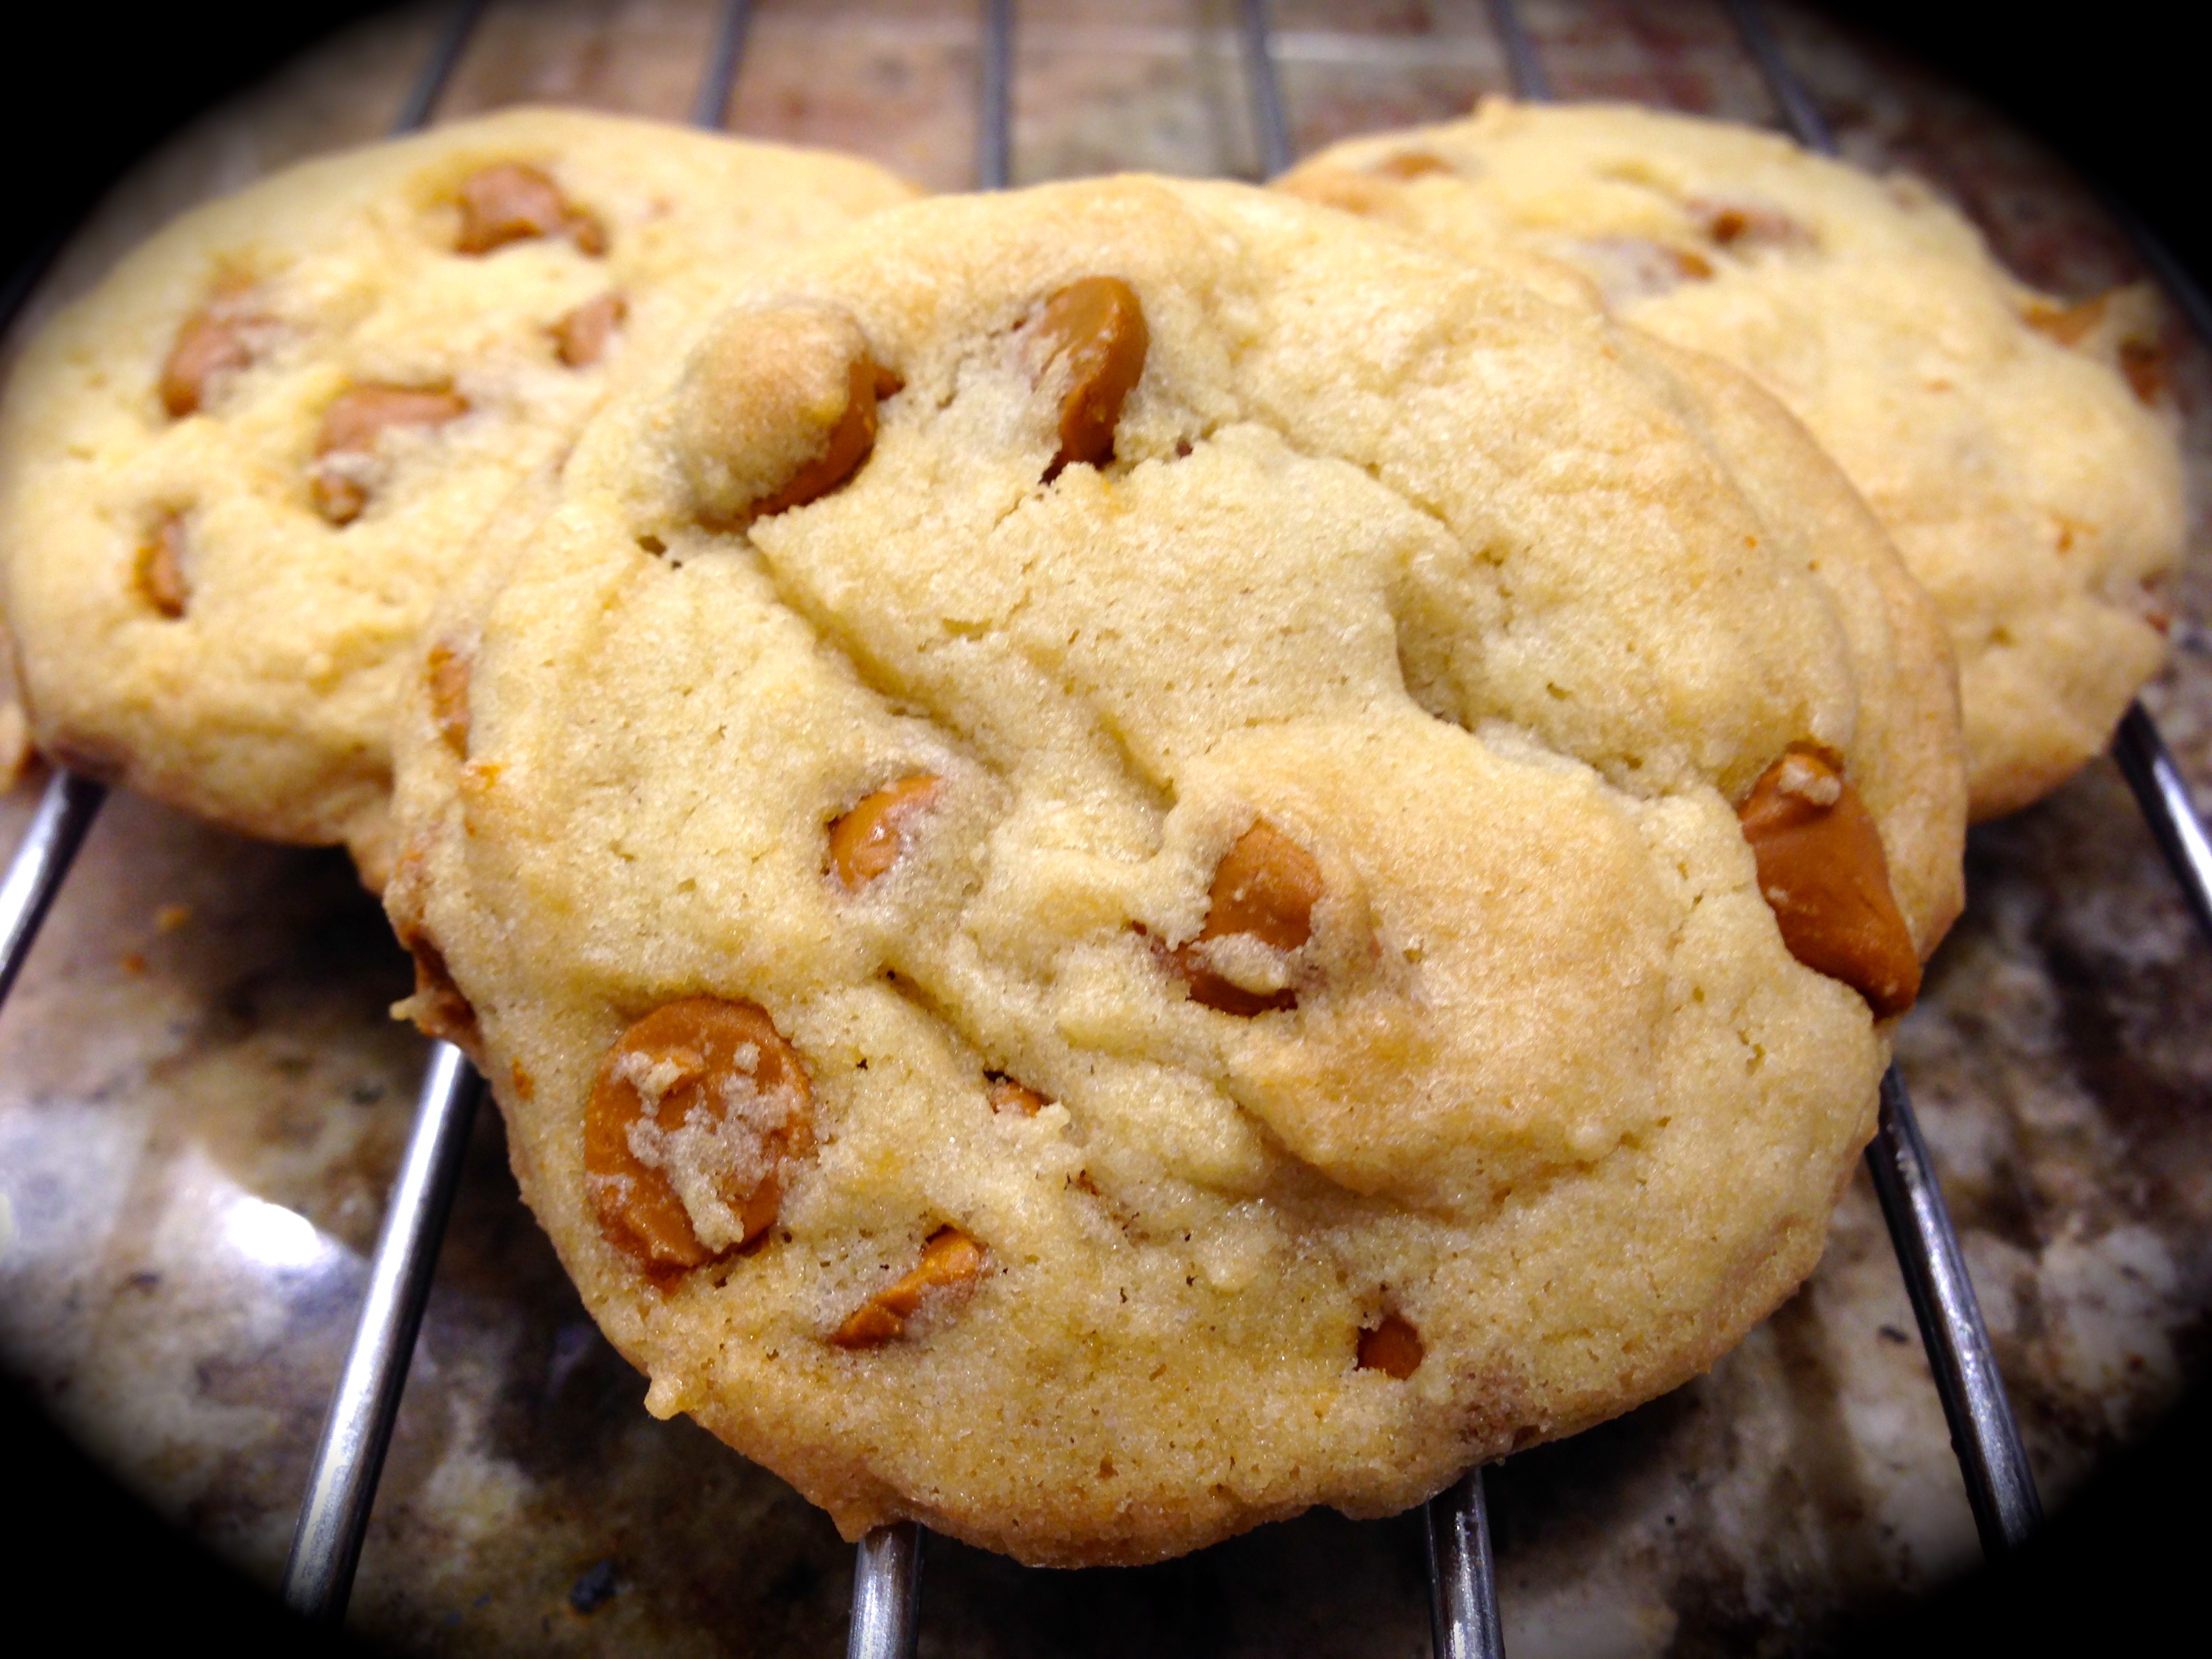
Gently remove the cookies from the pan onto a cooling rack. Cool completely.

For the frosting, beat together all of the ingredients. Spread over the cookies. Chill and serve.

Ready to go into the oven
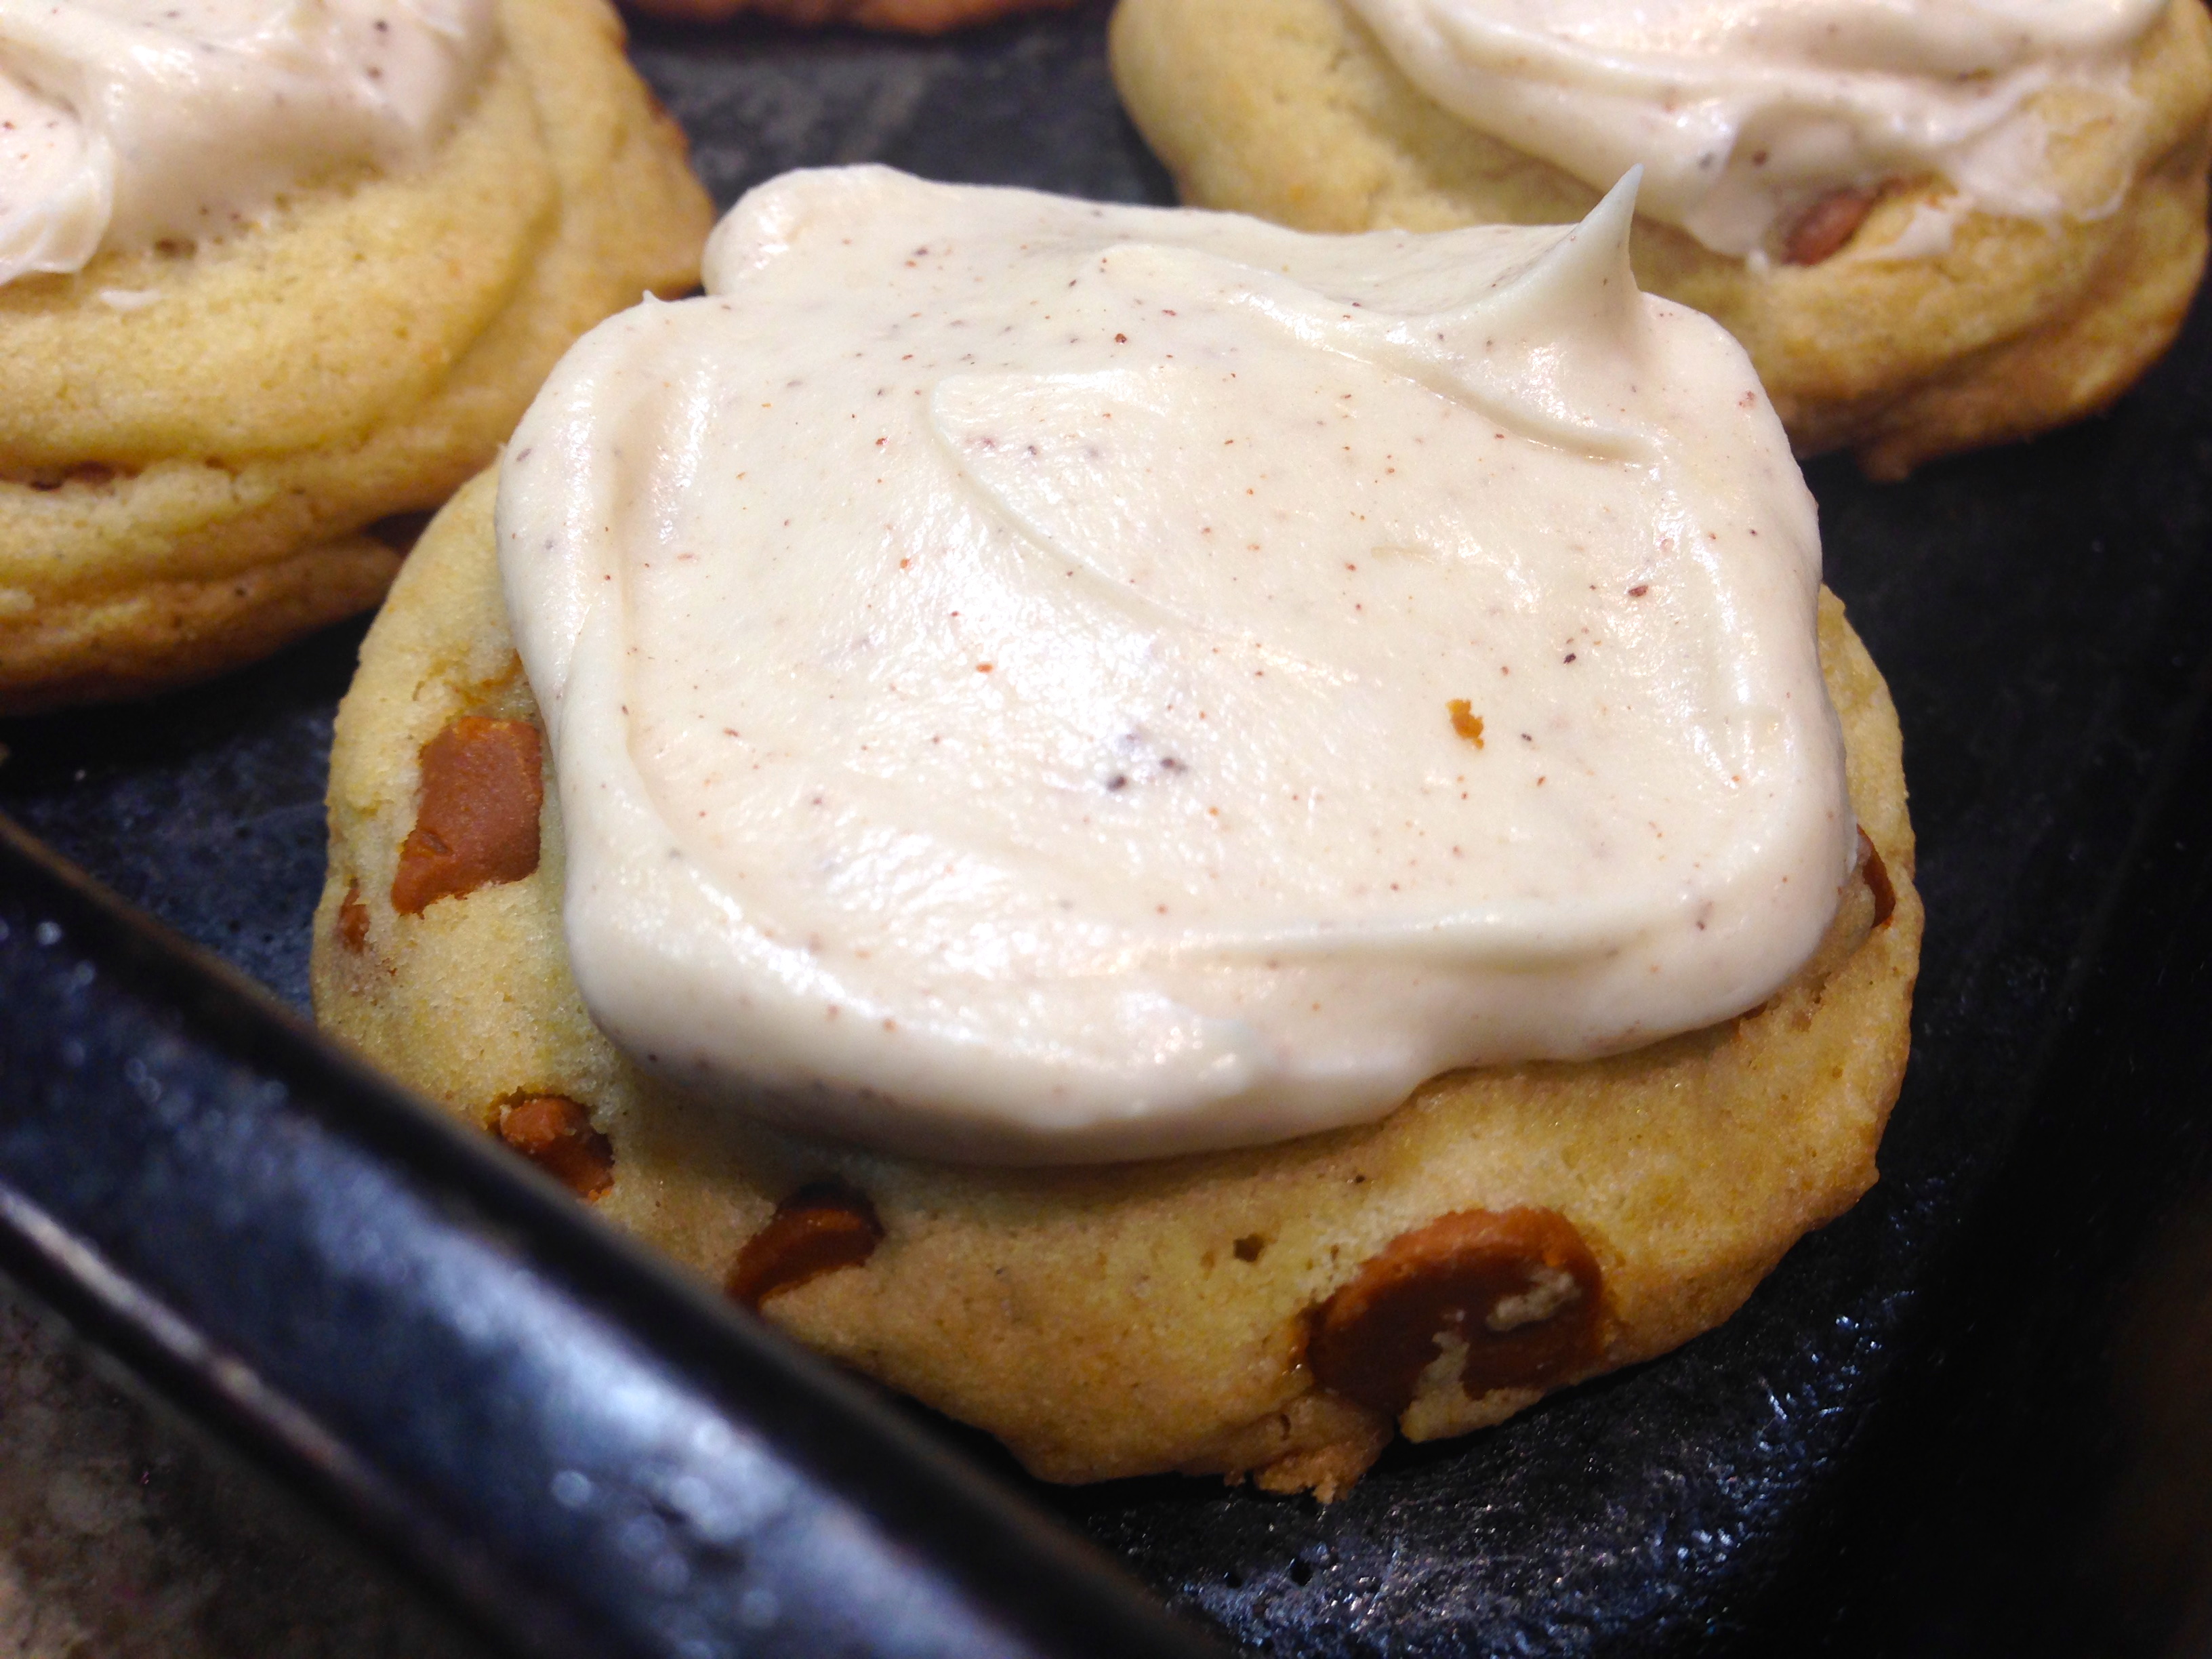
Icing the cookies


SaveSave

SaveSave

SaveSave

SaveSave

SaveSave

SaveSave

SaveSave

SaveSave

SaveSave

SaveSave

SaveSave

SaveSave

SaveSave

Oatmeal Cream Cheese Butterscotch Bars…

I have a goal every holiday season of making at least one new cookie recipe. This year I was adventurous and I made two new varieties. One new cookie was peppermint twist kisses and the other, which quickly has become my husband’s favorite, was oatmeal cream cheese butterscotch bars. The past few years I’ve ventured away from some of the more traditional holiday faire and tried more unique types of cookies. Last year, my iced cinnamon chip cookies became a big hit replacing the more traditional chocolate chip cookie in look and flavor. This year my peppermint twist kisses not only gave the look of the holiday but also provided the flavor combination of peppermint and chocolate. Yum!

This recipe is a great melding of oatmeal, cream cheese and butterscotch. It’s not all that difficult to make and it tastes divine. I found I had to buy two bags of butterscotch chips as my husband attacked the first bag when it was in the refrigerator leaving me barely enough to make the bars. Beware those elves that steal the chips before the cookies are made!

For about a year I have been chronicling recipes I’ve made and giving them my rating and lessons learned. As I look back on these recipes there’s hardly a one that has a rating below an A minus. So I’ve decided not to do recipe ratings anymore as I promise to bring you only A and A plus recipes. I will definitely continue my lessons learned, as I know how appreciative I am to learn tips and tricks ahead of time that will make me more successful in the kitchen, especially when trying a recipe for the first time.

Line the pan with foil and let it overlap the sides to create handles...

Line the pan with foil and let it overlap the sides to create handles…

Lesson Learned 1 – Preparation is key to this recipe: Prepping the pan appropriately is key to the success of this recipe. You need to line a 9 x 13 inch pan with a couple of pieces of foil. Make sure the foil overlaps on the long sides of the pan to serve as handles when you lift out the bars. Grease the foil lightly, and wait until the pan is completely cool before lifting the bars out and cutting them (more on that below). If you do that, you will have absolutely no problem removing them from the pan.

Lesson Learned 2 – You don’t need a stand mixer to make these cookies: For those of you that don’t have a stand mixer, never fear – you don’t need one to make this recipe. The bottom of the bars and the crumb topping are one in the same mixture and are made in a food processor. IMG_2403The filling can be made with a hand mixer. Personally I preferred making the crumb mixture in the food processor. I think the pulsing action of the food processor blends the butter with the sugars more completely creating a perfect crumble. The texture should resemble what you see in the picture to the right. I would not recommend trying to make the crumble by hand. I also have to admit it felt weird not using my stand mixer to make the bars, but it was a delightful departure from the usual way of making cookies.

Lesson Learned 3 – Let the pan cool and chill the bars before attempting to cut them: This is critical. The ingredients need to completely set before cutting and the only way to do that is to let them cool. Once the pan was slightly cool I covered it loosely with foil and put it out in the garage. The winter temperatures here in Colorado make it easy to use the garage as a cooling station. I don’t recommend this for warmer climates. If you live in one, let the pan cool on a cooling rack in the kitchen and then put it in the refrigerator once the pan is cool to the touch. Leave the pan in the refrigerator until the bars have completely cooled.

Although this recipe may look difficult it is really quite easy, and definitely worth it. This recipe has become my husband’s new holiday favorite. I think you will enjoy it too!

Oatmeal Cream Cheese Butterscotch Bars…

  • Servings: 36
  • Difficulty: Easy
  • Print

INGREDIENTS:

2 sticks room temperature butter cut into small pieces

2 cups flour

1 1/2 cups quick cooking oats

3/4 cup firmly packed brown sugar

1 tsp. cinnamon

1 bag butterscotch chips (11 ounces)

I package cream cheese, softened (8 ounces)

1 can sweetened condensed milk (14 ounces)

1 lemon zested and juiced

1 tsp. vanilla extract

DIRECTIONS:

Preheat oven to 350 degrees. Line a 9 x 13 pan with foil making sure the foil overlaps the side of the pan to create handles for easy removal. Grease the foil lightly.

Combine flour, oats, and brown sugar in a food processor. Pulse to combine. Add the butter, cinnamon and butterscotch chips. Pulse until the mixture clumps when pressed between your fingers. Press half of the mixture in an even layer into the bottom of the prepared pan.  Bake until slightly golden and set approximately 12 – 15 minutes.

With a hand mixer beat until smooth the cream cheese, condensed milk, lemon juice and zest and vanilla. Spread the mixture evenly over the cooled oatmeal mixture. Sprinkle the remaining oatmeal mixture on the top. Bake until top is golden, approximately 40 minutes.

Cool and chill before cutting. Use the foil handles to remove the bars from the pan and place on a cutting board. Cut into squares.

IMG_2432 2

IMG_2438

Iced Cinnamon Chip Cookies

If you have been following my recent holiday cookie recipe posts you know by now that every year I try at least one new cookie recipe. This year I tried two, Salted Caramel Butter Bars and the one I am going to share in this post the Iced Cinnamon Chip Cookies. The Caramel Bars were a huge hit with my husband but my favorite was the cinnamon chip cookies.

First of all, did you even know that cinnamon chips existed? I didn’t until I saw the recipe and decided to do some hunting at the grocery store. Lo and behold, right next the semi-sweet chocolate morsels were the cinnamon chips. I had never seen them before but I guess I just wasn’t looking for them. They were there in plain sight.

Cinnamon Chip Cookies

Cinnamon Chip Cookies

At first I was a little hesitant about making this cookie – the recipe was very similar to a chocolate chip cookie recipe but I wanted to make an iced cookie this year and thought a hearty cookie like this would stand up well to icing. I found the recipe in my trusty 2008 Taste of Home Best Loved Cookies and Bars magazine (the magazine that has supplied quite a few a my holiday cookie recipes over the years). The one thing that I did not like about the recipe was the frosting ingredients (they seemed bland to me, just the usual milk and confectioners sugar combination) so I went online to research a cinnamon cream cheese frosting recipe. I found one that was part of a soft pumpkin cookie recipe and decided to try it. I’m so glad I did. I’m sure it complimented the cookie much better than the original frosting recipe. So now my recipe rating and lessons learned.

Rating: A++++++  I absolutely LOVE this cookie recipe. The cinnamon chips provide a delightful unique flavor and the frosting highly compliments the cookie and makes it an absolutely tasty delight. If you try any cookie this year, I would recommend this one. It is easy to make and soooooo good!

Lesson Learned 1: I am providing you the recipe as it is in the magazine. I had to adjust it for high altitude. Please note the adjustments in the recipe. If you are at high altitude it is important to make them, otherwise the cookies will not bake correctly and will be inedible.

Lesson Learned 2: Storing an iced cookie can be a challenge. I recommend making the icing, refrigerating it and putting it on the cookie before serving or giving away. That way the cookies are easier to store.

Lesson Learned 3: These cookies are so easy to make that there are no more words of wisdom I can depart regarding making them or storing them. Just make them and enjoy them.

Iced Cinnamon Chip Cookies

  • Servings: 4 dozen
  • Difficulty: Easy
  • Print

INGREDIENTS:

Cookies:

1 cup unsalted butter, softened

3/4 cup packed brown sugar (2/3 cup high altitude)

3/4 cup sugar (2/3 cup high altitude)

2 eggs

1 tsp. vanilla

3 cups flour (3 1/4 cups high altitude)

1 tsp. baking soda

1 tsp. salt

1 package (10 ounces) cinnamon baking chips

Frosting:

8 oz. cream cheese, softened

4 TBS softened butter

2 1/4 cups powdered sugar

1/2 tsp. cinnamon

1 tsp. vanilla

DIRECTIONS:

Preheat oven to 350.

In a large mixing bowl cream butter and sugars. Beat in eggs and add vanilla. Combine flour, baking soda and salt; gradually add to creamed mixture and mix well. Fold in the cinnamon chips.

Drop by rounded tablespoonfuls (I use a cookie scoop) 2 inches apart onto an ungreased cookie sheet. Bake for 10-12 minutes or until golden brown. Remove to wire rack to cool.

Frosting: In a mixing bowl cream butter and cream cheese. Add powdered sugar and mix until combined. Add cinnamon and vanilla. Store in refrigerator until ready to use.


IMG_2216 2


IMG_8894

Iced Cinnamon Chip Cookies

Iced Cinnamon Chip Cookies

Salted Caramel Butter Bars…

Holiday Cookie Platter

Holiday Cookie Platter

Today I am going to a neighbor’s house for a holiday party and am bringing a platter of my holiday cookies. This year I made eight different kinds and along the way have posted updates of my baking endeavors on Facebook and Pinterest. The cookie recipe that I am going to share with you today stole the show in terms of favorable comments and requests for the recipe.

As part of my holiday baking tradition I always try at least one new recipe. This year I tried two, salted caramel butter bars and iced cinnamon chip cookies. Both turned out fabulously and will probably become future holiday staples. At some point I will have to pick and choose since eight different types are about all I can handle in one holiday season.

The salted caramel butter bars were a big hit when I posted a picture of the finished product on FB. What I like about them, besides the fabulous flavor, is that they are relatively easy to make. My husband gave them two thumbs up which is a real vote of confidence for a new holiday cookie and although the iced cinnamon chip cookies topped my list of the new recipes (that recipe to be posted in the near future) these certainly will wind up a keeper. So here is my rating and lessons learned making this recipe.

Rating: A – hard to top a cookie that not only looks bone chilling delicious but is easy to make and tastes as good as it looks!

Lesson Learned 1: The recipe calls for one bag of caramel candies or 50 individual pieces. The bag I bought was 11 ounces and had 40 pieces in it. I bought two bags. In my estimation you need the 50 pieces to have enough caramel filling to spread so buy either a 14 ounce bag or two 11 ounce bags.

Lesson Learned 2: The most labor intensive part of this recipe is unwrapping the individually wrapped pieces of caramel. It took me about 7 minutes just to do that. If you can buy a slab of caramel that would definitely be easier, just make sure you have a sufficient amount to spread over a 9×13 pan.

Lesson Learned 3: The ingredients to make the crust call for a whole pound of butter. Although I used that, I am wondering if that couldn’t be cut down just a little bit. When I cut the bars the bottoms appeared to be a little greasy. Next time I make these I may experiment with using a little less butter. But beware, you have to be careful when experimenting with cookie recipes as the amounts need to be more exact than they do when you are just cooking something.

Lesson Learned 4: This recipe makes a lot of dough. The instructions call for using 1/3 of the dough for the base. I used more than that and still had a lot of dough to dot the top with a lot left over. Next time I make this I may reduce the portions by twenty-five percent. That still should provide plenty of dough for the crust and the top.

Lesson Learned 5: I had to make these a little earlier in the month and put refrigerate them to keep them fresh. If you do that, pull them out of the refrigerator and let them get to room temperature before serving. They are very hard when taken immediately from the fridge and you don’t want anyone cracking a tooth on them.

Lesson Learned 6: I made this recipe without the sea salt but next time I am going to try it with the salt. Either way the bars were still delicious.

I cannot take credit for this recipe. I found it posted on Facebook and discovered it comes from the website http://www.cleverhousewife.com. I will still post the recipe here so you don’t have to link to the site but I want to give credit where credit is due. Enjoy this recipe. I am sure it will become a holiday staple for you as well!

Salted Caramel Butter Bars

Salted Caramel Butter Bars

Salted Caramel Butter Bars

  • Servings: 2 dozen
  • Difficulty: Easy
  • Print

INGREDIENTS:

Crust:

1 lb. salted butter at room temperature

1 cup sugar

1 1/2 cups powdered sugar

2 TBS. vanilla

4 cups flour

Filling:

1 bag caramel candies (you will need a 14 ounce bag) or about 50 pieces

1/4 cup milk or cream

1/2 tsp. vanilla

1 TBS. sea salt (optional)

DIRECTIONS:

Preheat the oven to 325 and grease a 9×13 pan (or use cooking spray).

In a large bowl combine the butter and sugars and beat until creamy. Add the vanilla and beat until combined. Add the flour and mix until a smooth dough forms.

Press one third of the dough evenly into the pan. Wrap the remaining dough in plastic wrap and refrigerate. Bake the crust approximately 20 minutes or until firm and the edges are lightly browned. Transfer the dish to a wire rack and cool for 15 minutes.

While the crust is baking make the caramel filling. Place the unwrapped caramels and cream in a microwave safe bowl and cook on high for 1 minutes. Stir and continue to cook for 30 second intervals until the mixture is combined and smooth. Once the caramel is melted add the vanilla and stir until combined. Pour and smooth the caramel filling over the somewhat cooled crust. If you are going to use sea salt, now is the time to add it on top of the caramel. Take the remaining chilled dough and crumble it over the entire top.

Return the pan to the oven and bake until the filling is bubbly and the crumbled topping is firm and lightly golden, about 25 – 30 minutes.  Let cool before cutting into squares.

Triple Chocolate Brownie Cookies…

The second favorite cookie in my recent posts on Facebook was the Triple Chocolate Brownie Cookie. I’ve been making this cookie for the past six years and it has risen to the list of the big three must-bake every year holiday cookies (the other two being chocolate chip cookies and the chocolate dipped sugar cookies, soon to be featured in future blogs). I like this particular cookie for several reasons: one it is easy to make, two it has three kinds of chocolate in it and three it has a great consistency that leaves you asking the question am I eating a cookie or a brownie.

Triple Chocolate Brownie Cookies

Triple Chocolate Brownie Cookies

The recipe comes from a magazine I purchased in 2008 called “Taste of Home Best Loved Cookies & Bars.” This magazine was definitely worth the money because it also provided the recipe for another one of my holiday staples, the cranberry oatmeal cookie (also to be featured in a later blog). I like this recipe because not only does the finished product look and taste so darn good but it keeps well in the freezer so it is a great make-ahead cookie. That being said, let’s move on to my rating and lessons learned.

RATING: A++++++++++++ This cookie is one of my big three holiday must-bake recipes so I will give you a clue and tell you that all three will have the same rating. Easy to make, great visual appeal and leaves you wondering whether you’ve just had a cookie or a brownie. Top that off with three different types of chocolate used in the recipe and tell me, how can you go wrong?

Lesson Learned 1: Make sure you cool the melted butter and unsweetened chocolate before beating it with the sugar and eggs. If you don’t you will wind up with scrambled eggs.

Lesson Learned 2: Use a cookie scoop (a small ice-cream scoop) to portion out the cookie dough. That way you have the same amount and don’t have to worry about having some cookies baking faster than others. Spray the inside of the scoop with some non-stick spray when you first start out and then wash it out after every completed baking sheet. That way you won’t struggle as much with getting the batter out of the scoop. It will stick somewhat, but having even amounts of batter on the cookie sheet is worth it.

Lesson Learned 3: Don’t over-bake the cookies. The cookies will be robust in the center and they are supposed to be that way. The cookies are done when the edges are set and the tops are slightly cracked. They are designed to have a doughy consistency.

Lesson Learned 4: You don’t need any special utensil to drizzle the chocolate over the cookies. Use an ordinary quart-sized plastic bag, insert it into a tall drinking glass, pour the melted chocolate and shortening mixture into the bag and squeeze it down to one of the tips of the bag. Twist the top portion of the bag and snip a very, very small portion of the tip. Then just drizzle what comes out free-armed over the cookies. As you can see from the pictures, the back and forth pattern really gives a professional finishing touch to the cookies.

Just like the Raspberry Walnut Bars from my previous blog, this recipe is so easy to make and produces a professional looking end product. I like this recipe because of the consistency of the finished product that often has people asking if they are eating a cookie or a brownie. Plus it really appeals to the chocolate lovers out there and tell me, how many non-chocolate lovers do you know? Try making these cookies during this holiday season and see if it doesn’t quickly becoming one of your holiday must-bake traditions.

Triple Chocolate Brownie Cookies

  • Servings: 3 dozen
  • Difficulty: Easy
  • Print

INGREDIENTS:

3/4 cup butter cubed

4 squares (1 ounce each) unsweetened chocolate

2 cups sugar

4 eggs

1 1/2 cups all-purpose flour

1/2 cup baking cocoa

2 tsp. baking powder

1/2 teaspoon salt

2 cups (12 ounces) semisweet chocolate chips, divided

2 teaspoons shortening

DIRECTIONS:

Preheat your oven to 350. In a small saucepan over low heat melt the butter and unsweetened chocolate; cool. Transfer to a large mixing bowl; add sugar and eggs. Beat until smooth. Combine the flour, cocoa, baking powder and salt; gradually add to the chocolate mixture. Stir in 1 1/2 cups of chocolate chips. Cover and refrigerate for 2 hours or until the dough is easy to handle.

Drop by tablespoonfuls 2 inches apart onto greased baking sheets (or you can line your baking sheets with parchment paper). Bake for 7-9 minutes or until the edges are set and tops are slightly cracked. Cool for 2 minutes before removing from pans to wire racks to cool completely.

In a microwave-safe bowl, heat shortening and remaining chocolate chips on high for 1 minute or until chips are melted; stir until smooth. Drizzle over cookies. Let stand for 30 minutes (or pop them in the freezer for about 5 minutes) until the chocolate is set. Store in an airtight container. These cookies freeze well so they are a great make-ahead cookie.

Triple Chocolate Brownie Cookies

Triple Chocolate Brownie Cookies

Raspberry Walnut Bars…

I made three holiday cookies recipes yesterday and posted pictures of the final results on Facebook. Without a doubt two of the three were big hits with my friends. (The third, chocolate chip cookies, are such a traditional favorite that they did not get much attention). The biggest hit as determined by the number of recipe requests I received were the Raspberry Walnut Bars followed by the Triple Chocolate Brownie Cookies. The latter will be the subject of an ensuing blog, but today we’re focusing on the media favorite.

Raspberry Walnut Bars

Raspberry Walnut Bars

There’s a lot of reasons for this recipe being so popular. First, and probably foremost, it looks so darn delicious. Second, and not known by those requesting the recipe, it is sinfully easy to make. And third, the recipe turns out perfect first time, every time. I can’t take credit for the recipe, it was one I found a few years ago, I simply can’t remember where I found it. So up front I apologize to whomever I am not giving credit to for the actual recipe. And, as with all the recipes I make these days, I will give it may rating and share my lessons learned making it.

Recipe Rating: A++++++++++ (get the message)? I just can’t say enough about this recipe. I remember the first time I saw a picture of it. It looked so good but I thought it would be hard to make. Was I ever wrong. This recipe couldn’t be simpler and it has turned out perfectly every time I’ve made it, including the first time. And it’s not all that often that a recipe turns out picture perfect the first time you make it. So you definitely have to try this one. You will love it.

Lesson Learned 1: Perhaps the hardest thing about this recipe is preparing the pan. The recipe calls for lining a 8 inch square pan with parchment paper allowing some overhang on both sides. Trying to keep parchment paper from popping back out of the pan when you allow for overhang can be tricky. I found the easiest way to make the parchment paper behave is to take two heavy cans of anything and weigh down the paper in the pan while making the dough. That way when it’s time to spread the dough out on the bottom the paper has been somewhat trained and doesn’t jump around as much.

Lesson Learned 2: It is important to follow the directions of using the parchment paper, having the overhang and spraying the parchment paper with cooking spray. I can’t image what you would wind up with if you didn’t. But if you take the time to do it, it comes out of the pan easily and absolutely nothing sticks to the parchment paper.

Lesson Learned 3: This recipe gives you plenty of dough so don’t worry about using it to fill up the bottom. It says to use two thirds of the dough for the crust and one third to dot the top. I found that gave me way too much dough for the top. You need a lot less dough to dot the top then you think, so don’t be afraid to use more than two thirds of the dough for the crust.

Lesson Learned 4: Avoid the temptation to use too much raspberry jam. A nice even thin coat is all you need. Stick to the amount called for in the recipe.

Lesson Learned 5: Depending on how many bars you want to give out, you may have to make this recipe a couple of times. You can make the bars big or small, but the most you’ll probably get out of this recipe is 24 small bars.

I guarantee these bars will be a hit with your family and friends. You simply must try them!

Raspberry Walnut Bars

  • Servings: 2 dozen
  • Difficulty: Easy
  • Print

INGREDIENTS:

Non stick baking spray

1 3/4 cups flour

1/2 tsp. kosher salt

1/2 tsp. ground cinnamon

1/8 tsp. nutmeg

3/4 cup unsalted butter, room temperature

1 cup sugar

2 large egg yolks

1 tsp. vanilla

2/3 cup raspberry jam

1 cup chopped walnuts

DIRECTIONS:

Preheat oven to 350. Line an 8 inch square baking pan with parchment paper leaving an overhang on both sides. Spray the parchment paper with cooking spray. (I do this right before I am ready to put the dough into the pan).

In a medium bowl whisk the flour, salt, cinnamon and nutmeg. Set aside. Beat the butter and sugar until fluffy. (This does take a little time, most people do not do this thoroughly enough so make sure to take the time to make the mixture fluffy). Beat in the egg yolks and vanilla. Gradually add the flour mixture until combined. Do not over mix. Transfer two thirds of the dough into the prepared pan and press down evenly. Spread the jam on top. Crumble the remaining dough and dot it over the jam. Sprinkle the top with the walnuts. Bake until golden 35-45 minutes. Cool completely in the pan. (this is very important).

Holding both sides of the parchment paper, lift out of the pan, transfer to a cutting board and cut into rectangles. Store in an airtight container at room temperature for up to 5 days.

Raspberry Walnut Bars

Raspberry Walnut Bars