I love my cast iron skillet. It only cost me about $20 and it’s one of the best skillets I have. But there’s a reason for that. Cast iron produces even, sustained heat and that’s the best for cooking just about anything. The only drawback to cast iron is it’s so darn heavy. But I just think of it as an upper body workout and move on from there.
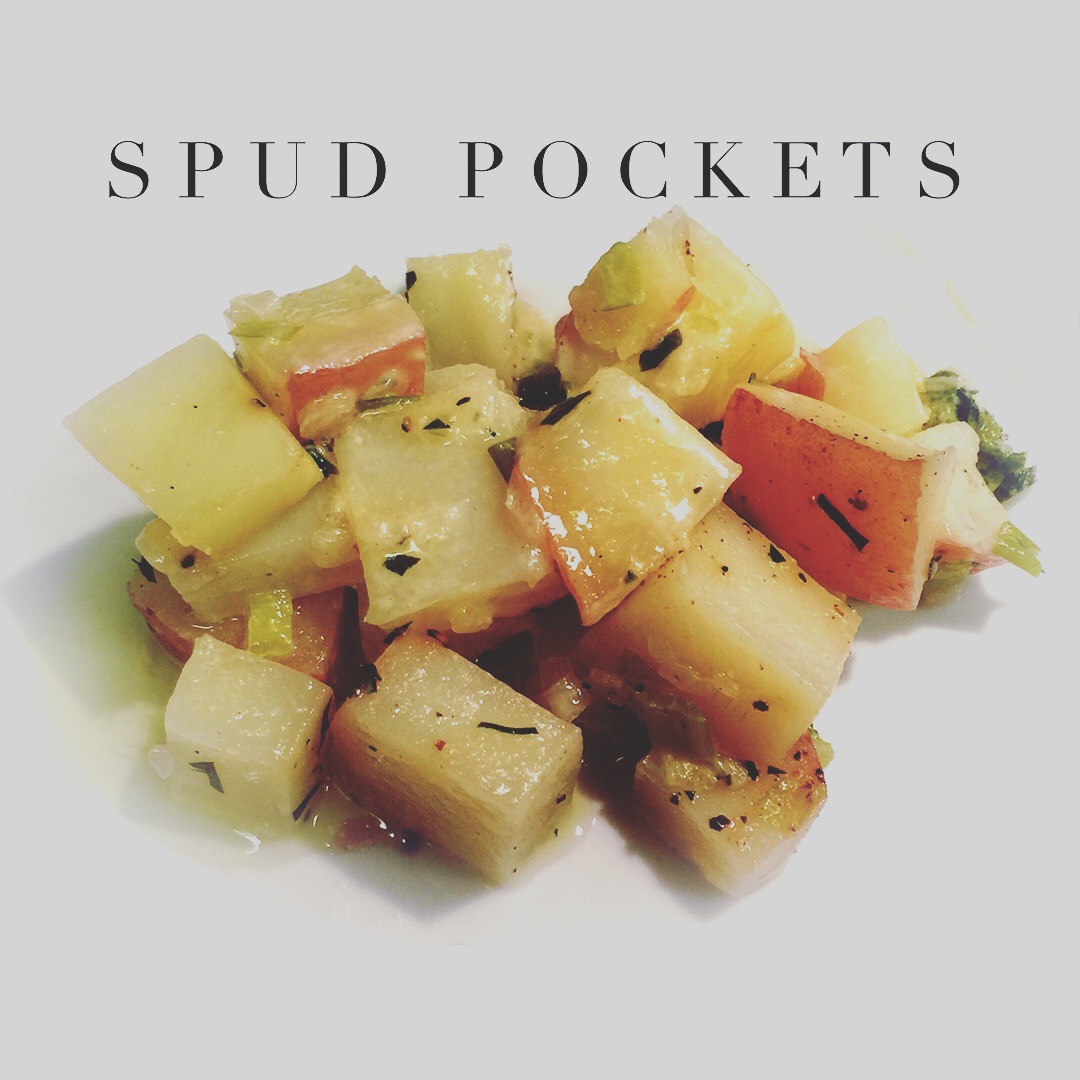
This recipe uses the features of a cast iron skillet to produce the tastiest home fries. And making home fries is not all that complicated. The flavor of homemade sure beats the taste of the frozen kind.
So without further adieu, let’s talk home fries…
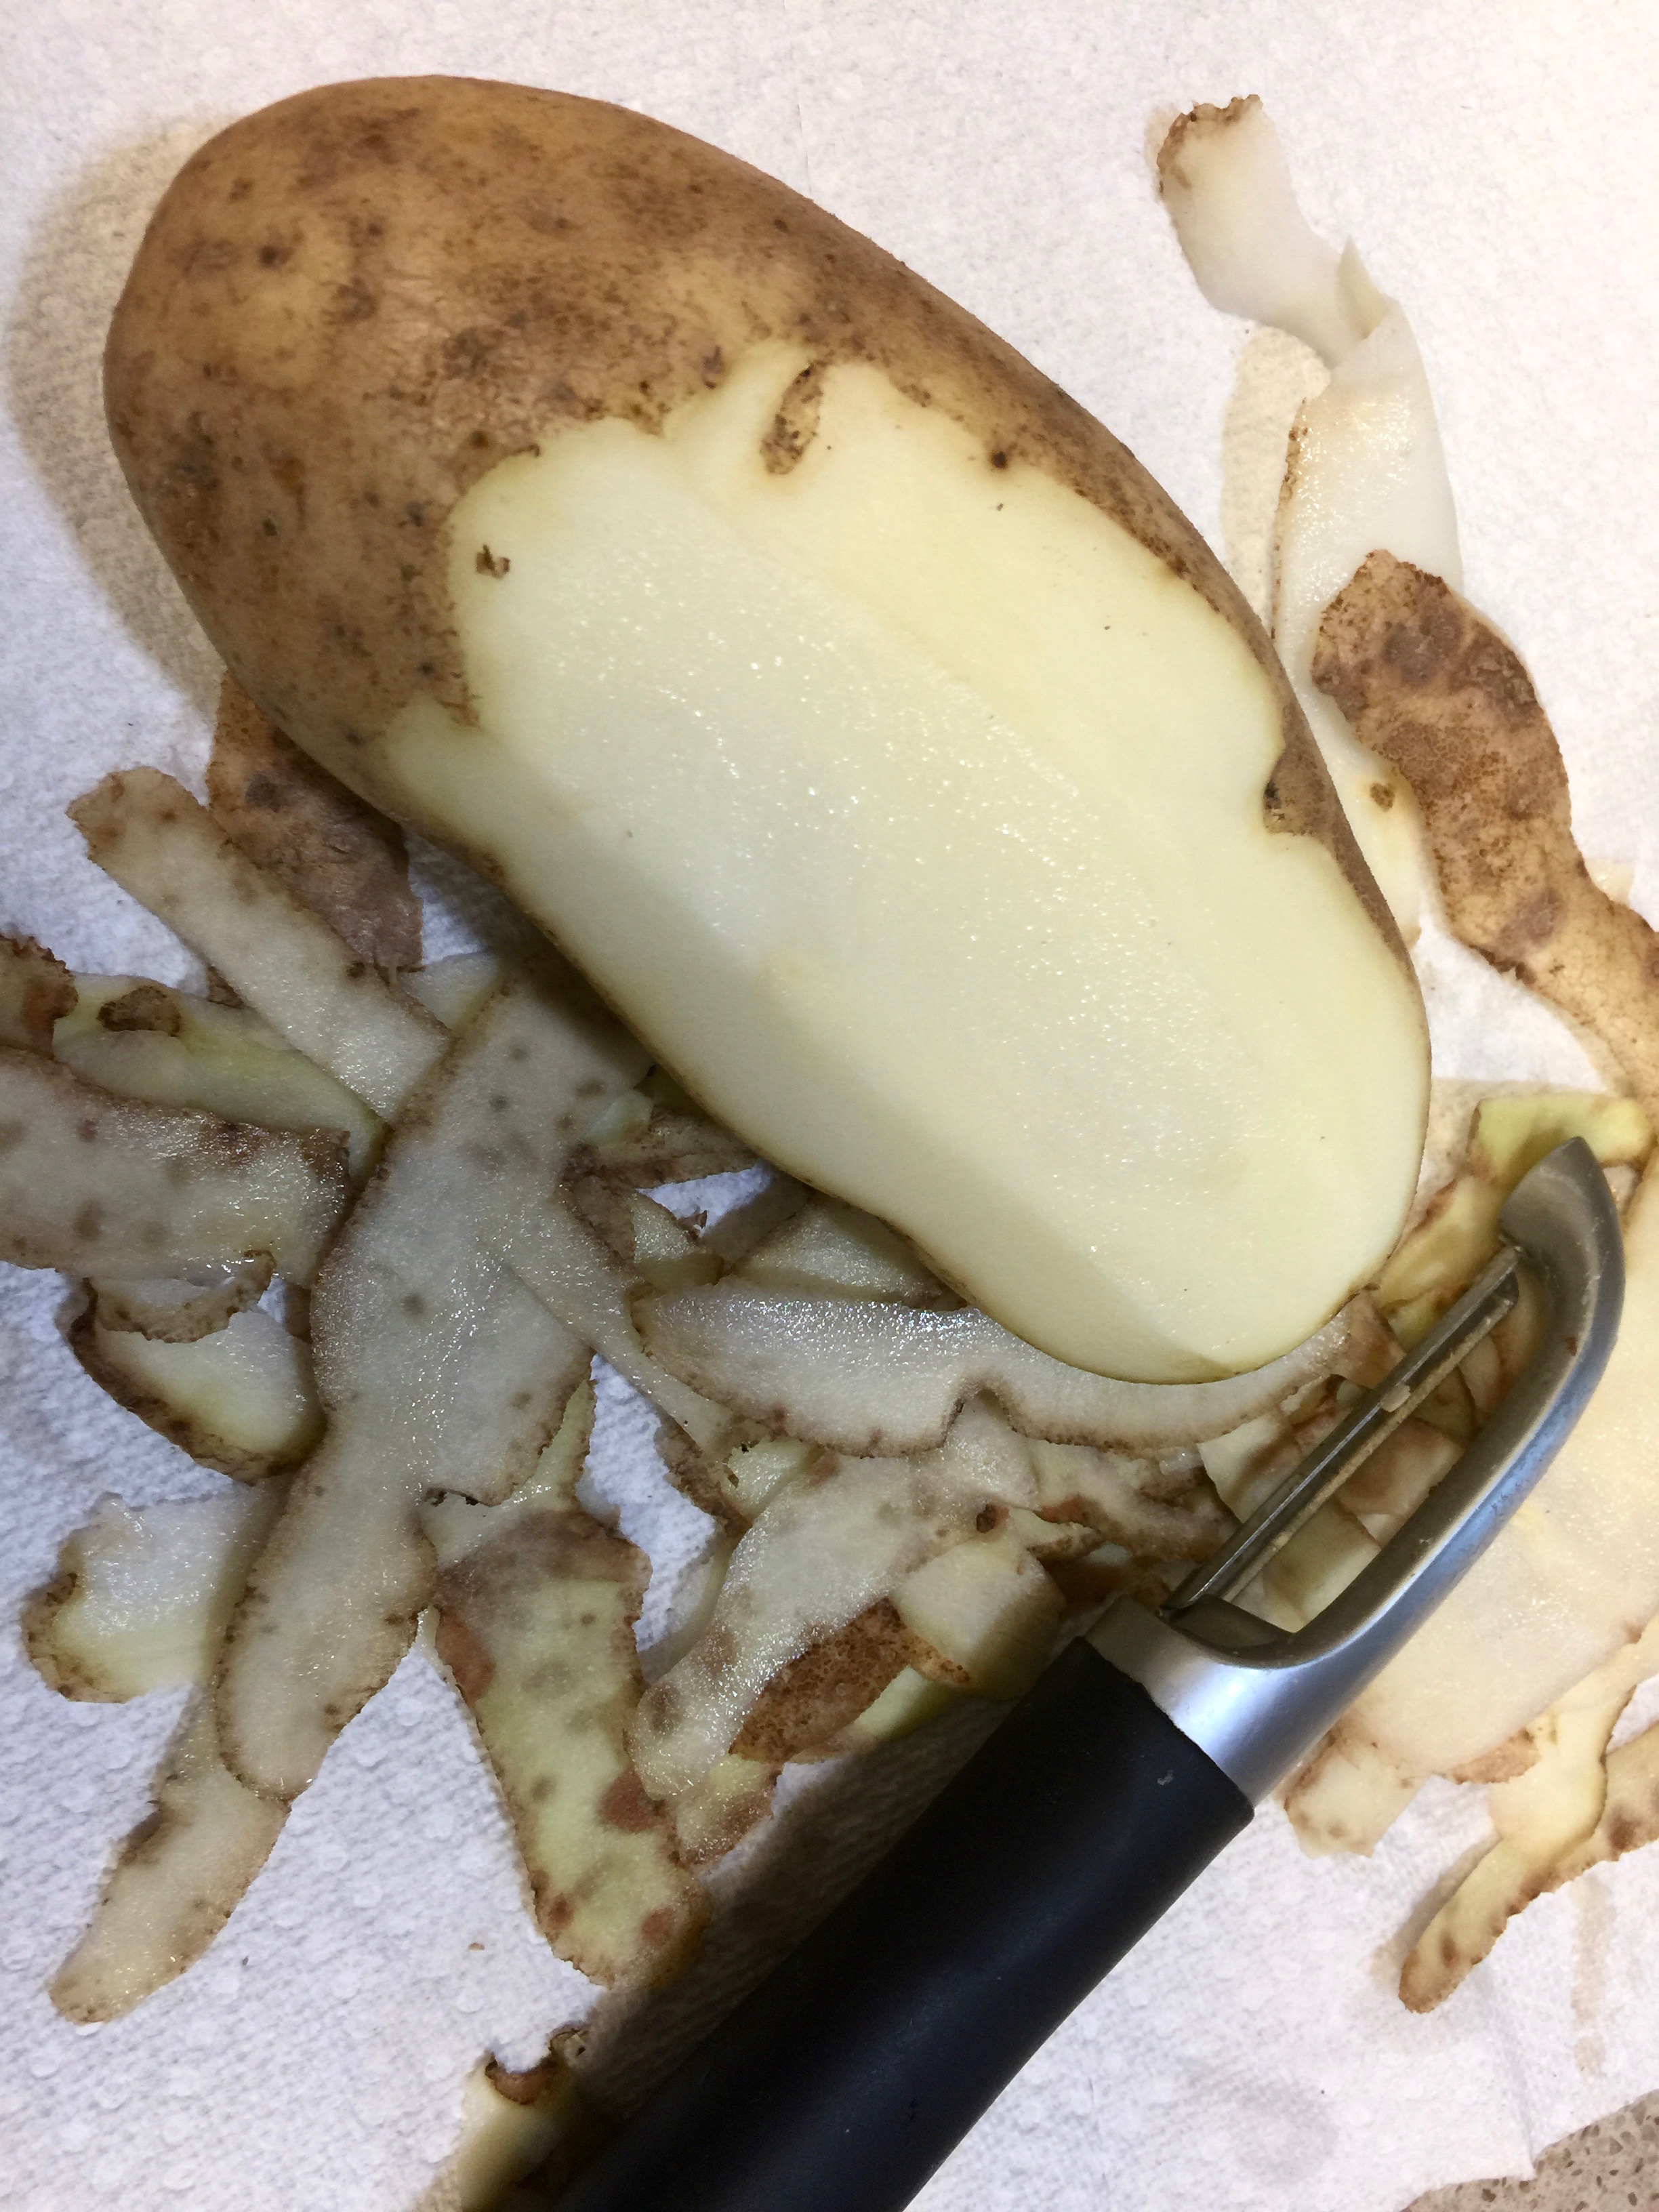
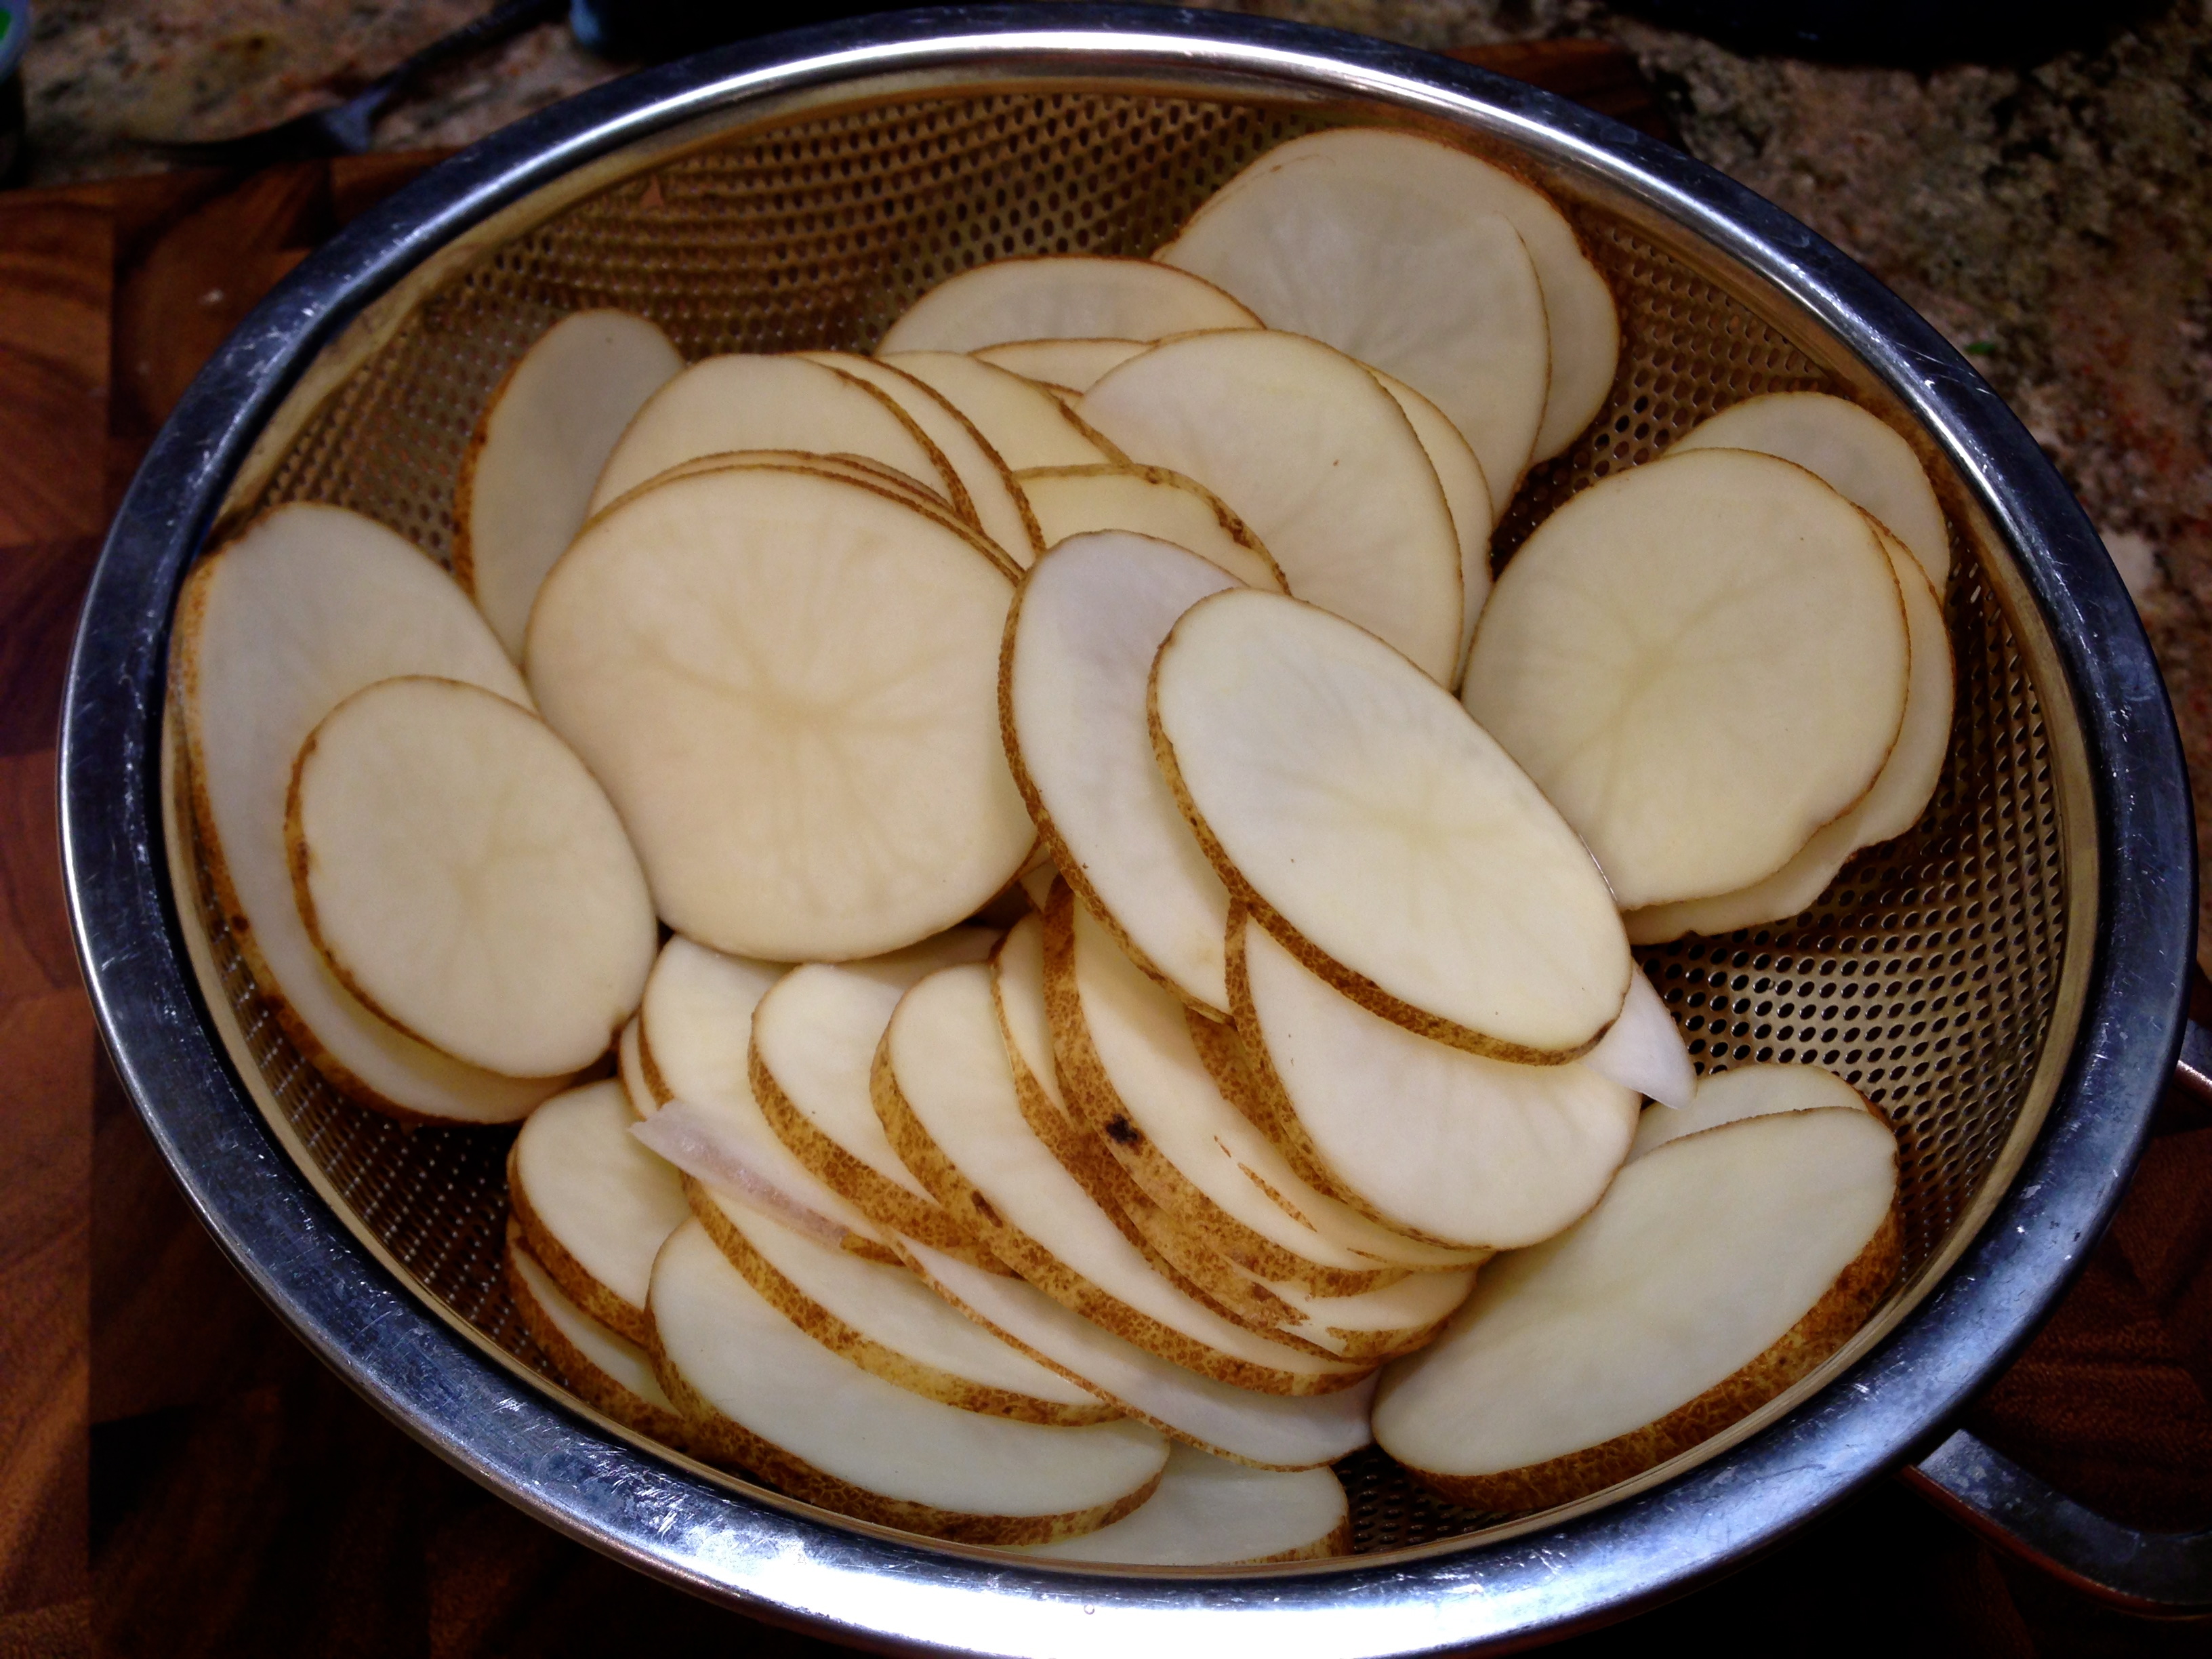
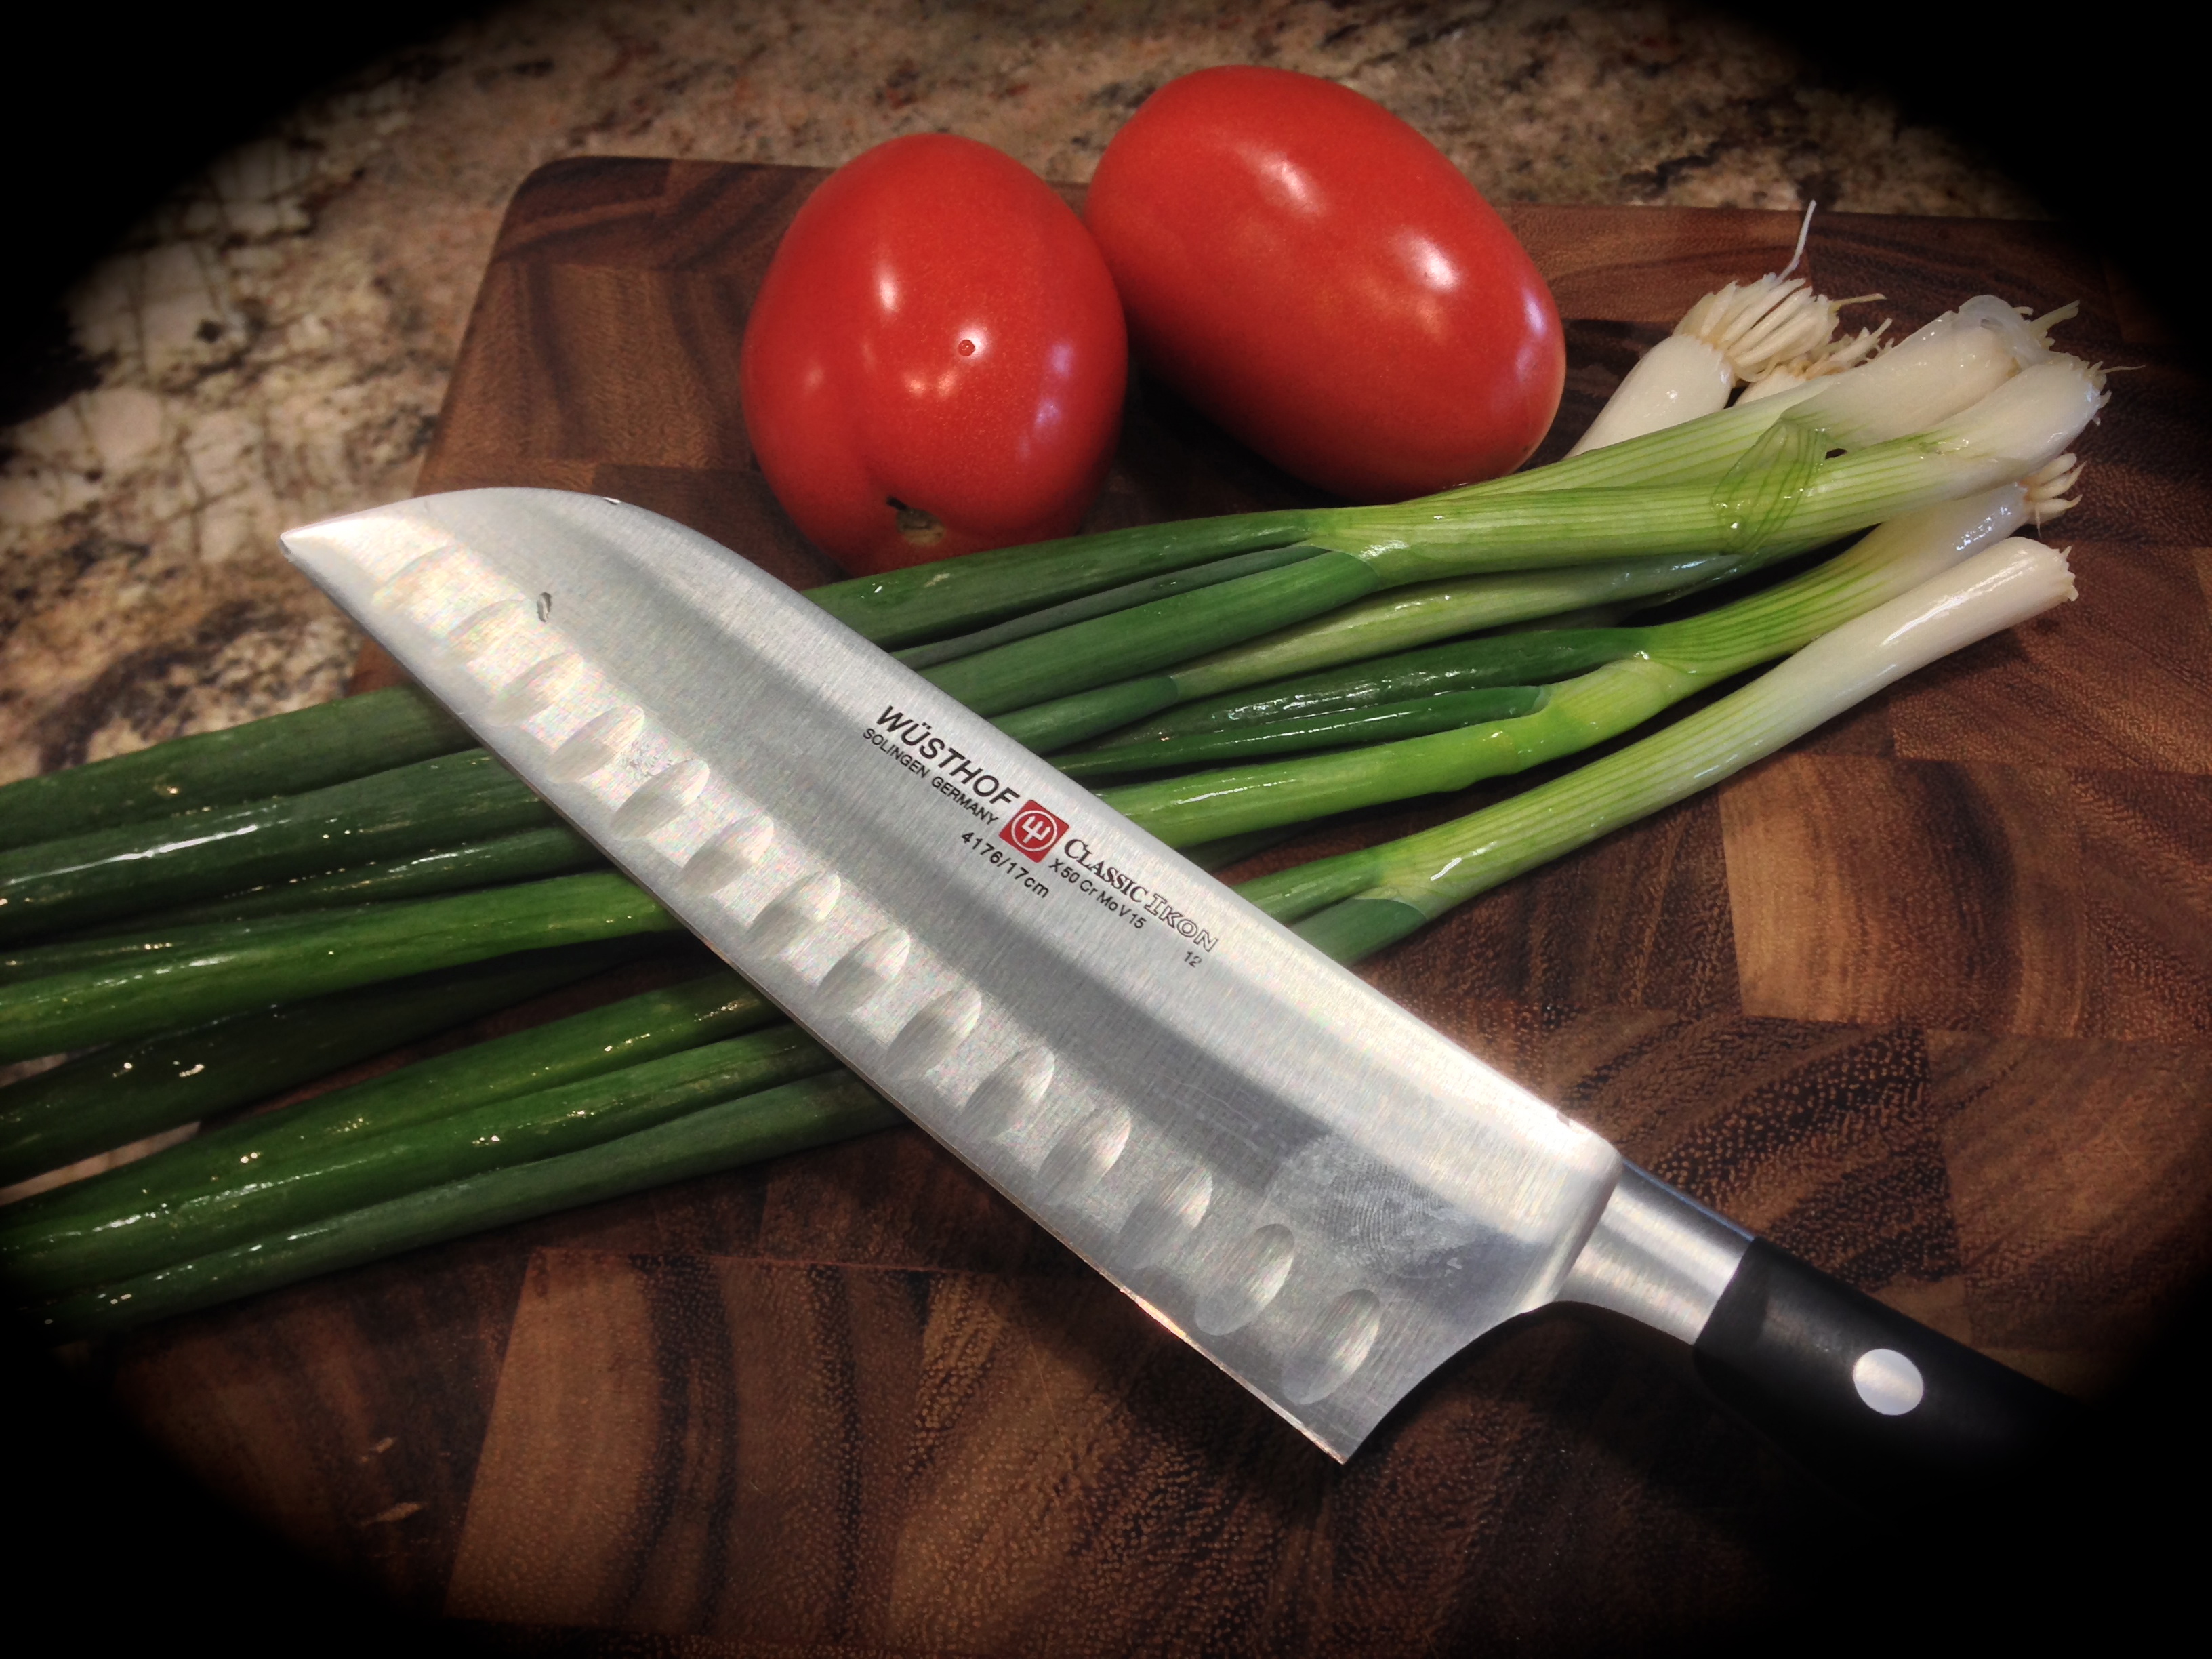
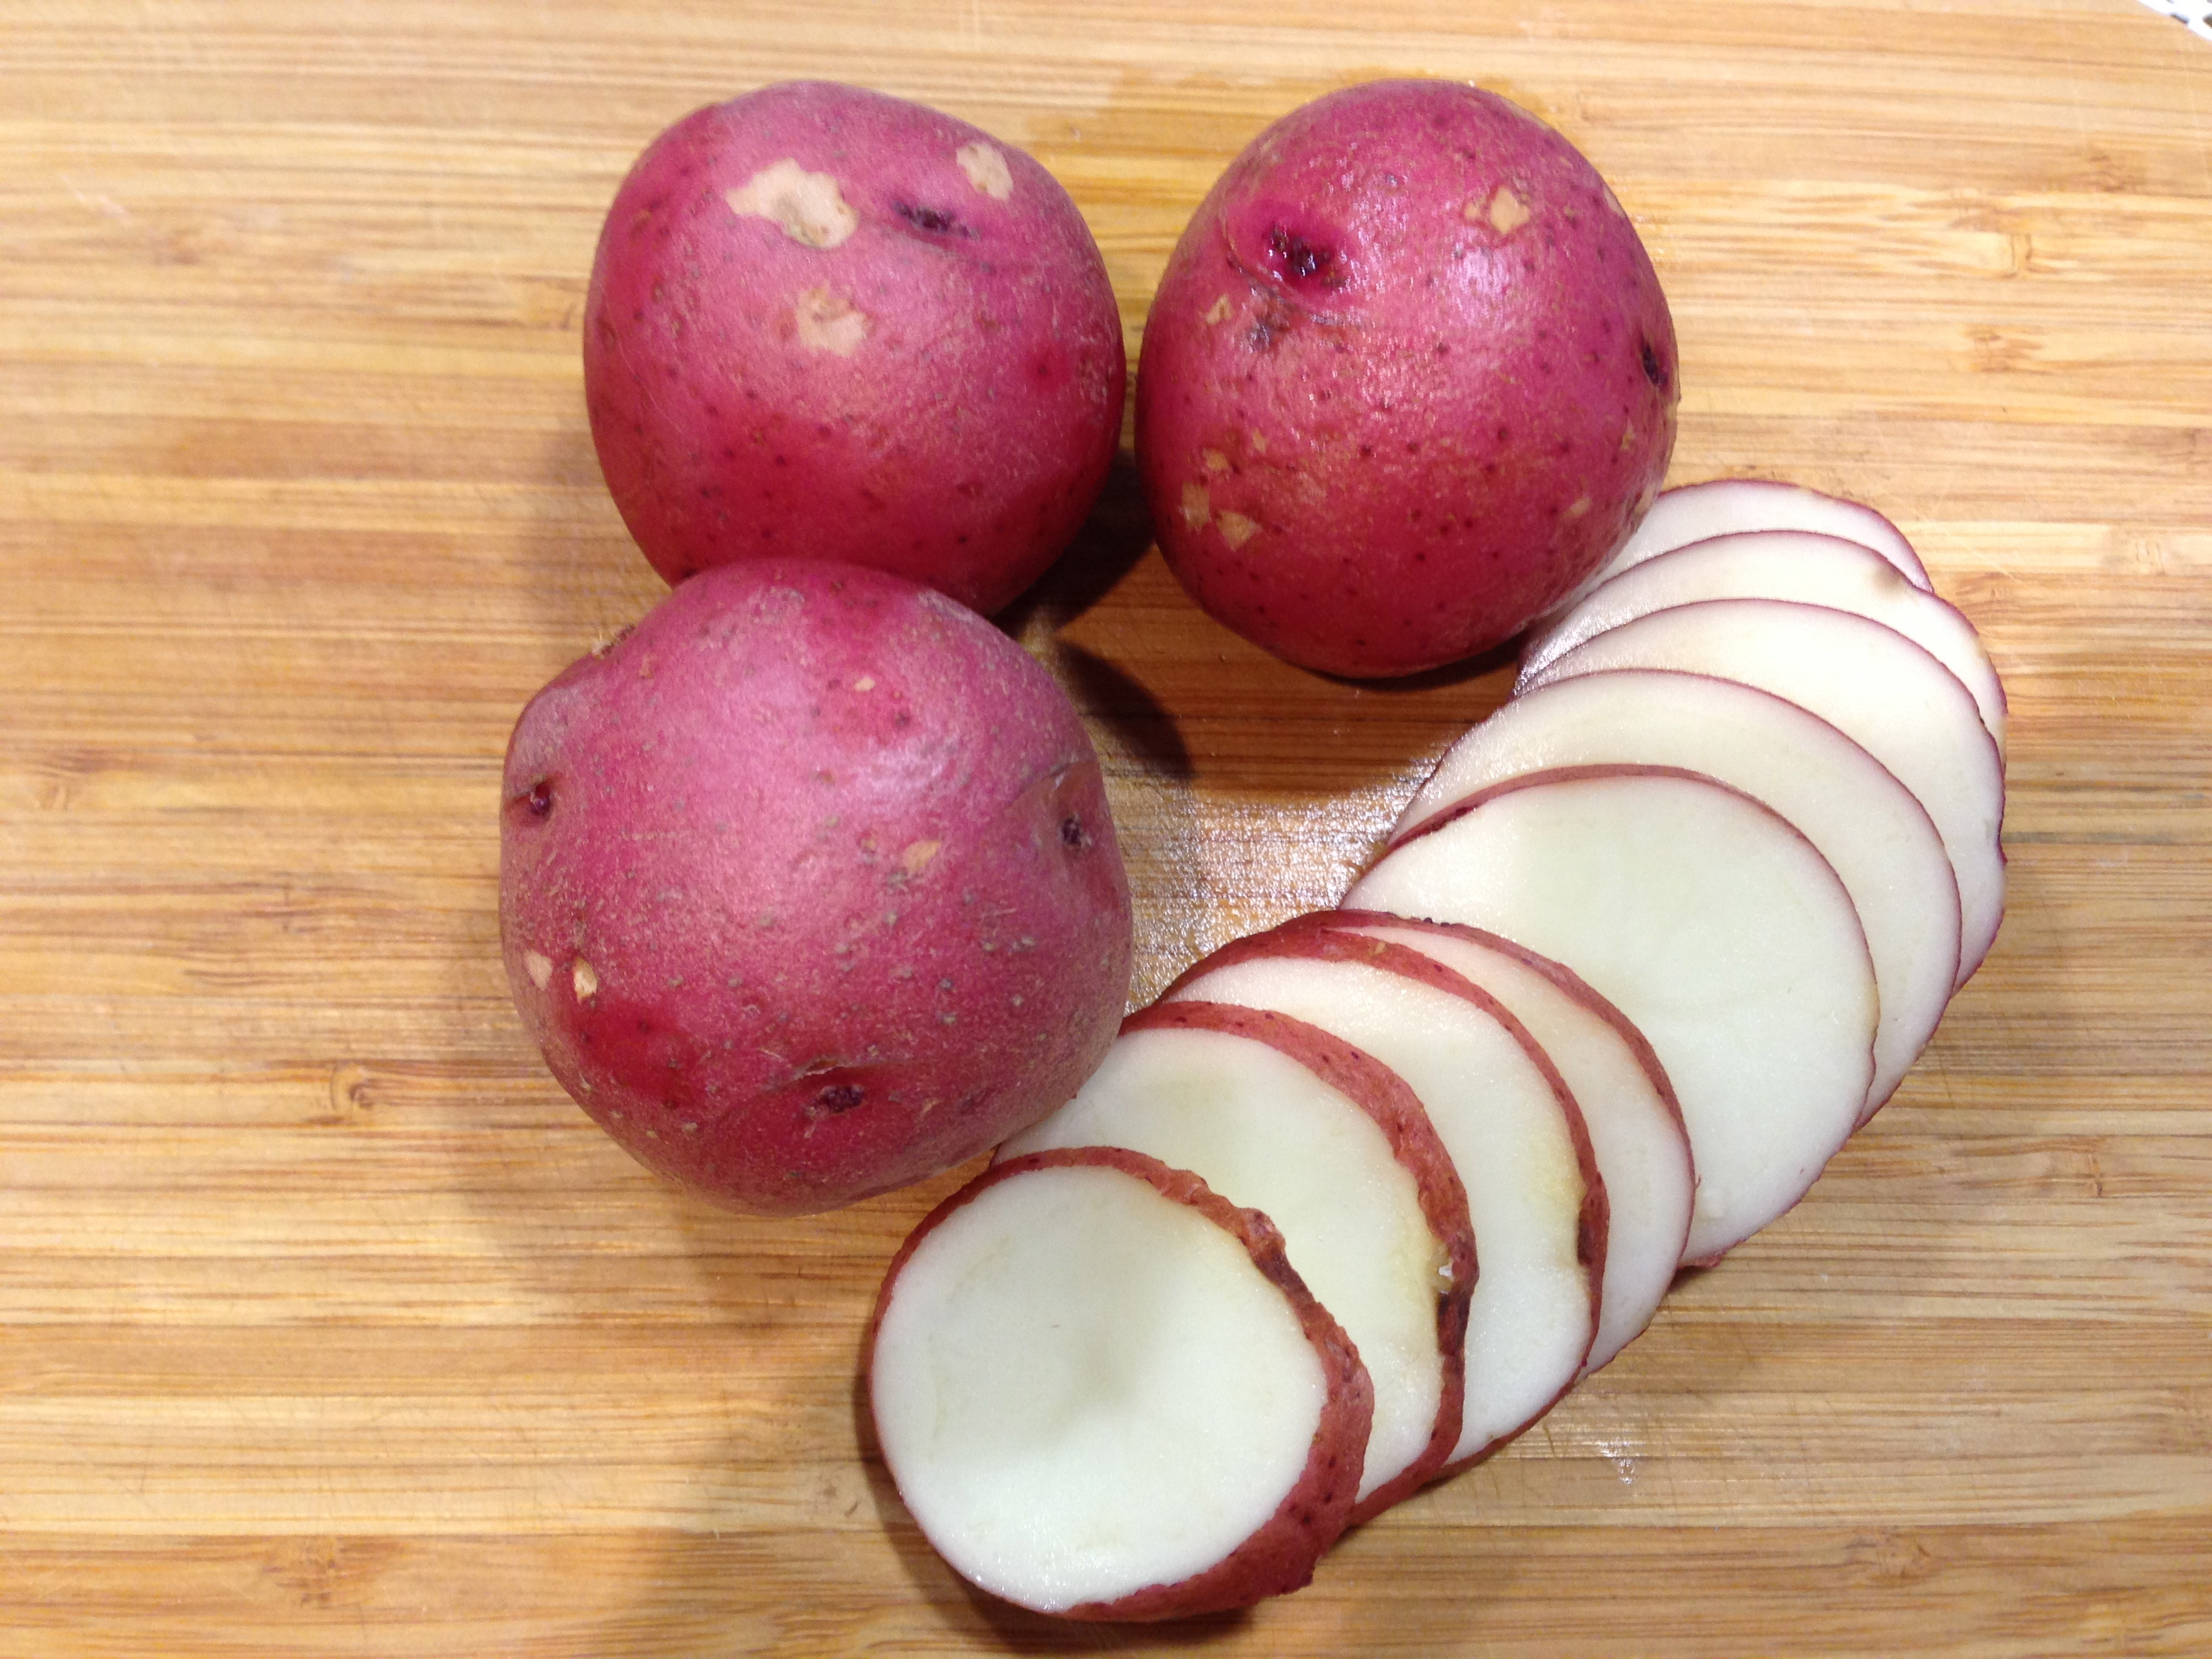
 Lesson Learned 1 – Make sure to cut the potatoes to the correct size: For the purposes of this recipe you need to keep the pieces close in size (approx. 3/4 inch pieces). Here’s a little trick to help you achieve that. Using your chef’s knife cut a thin slice off of one of the longer sides of a peeled potato. Set the potato on the cut side and slice crosswise into even planks. Stack several planks and cut crosswise. Then rotate and cut crosswise again. This will give you evenly sliced potatoes.
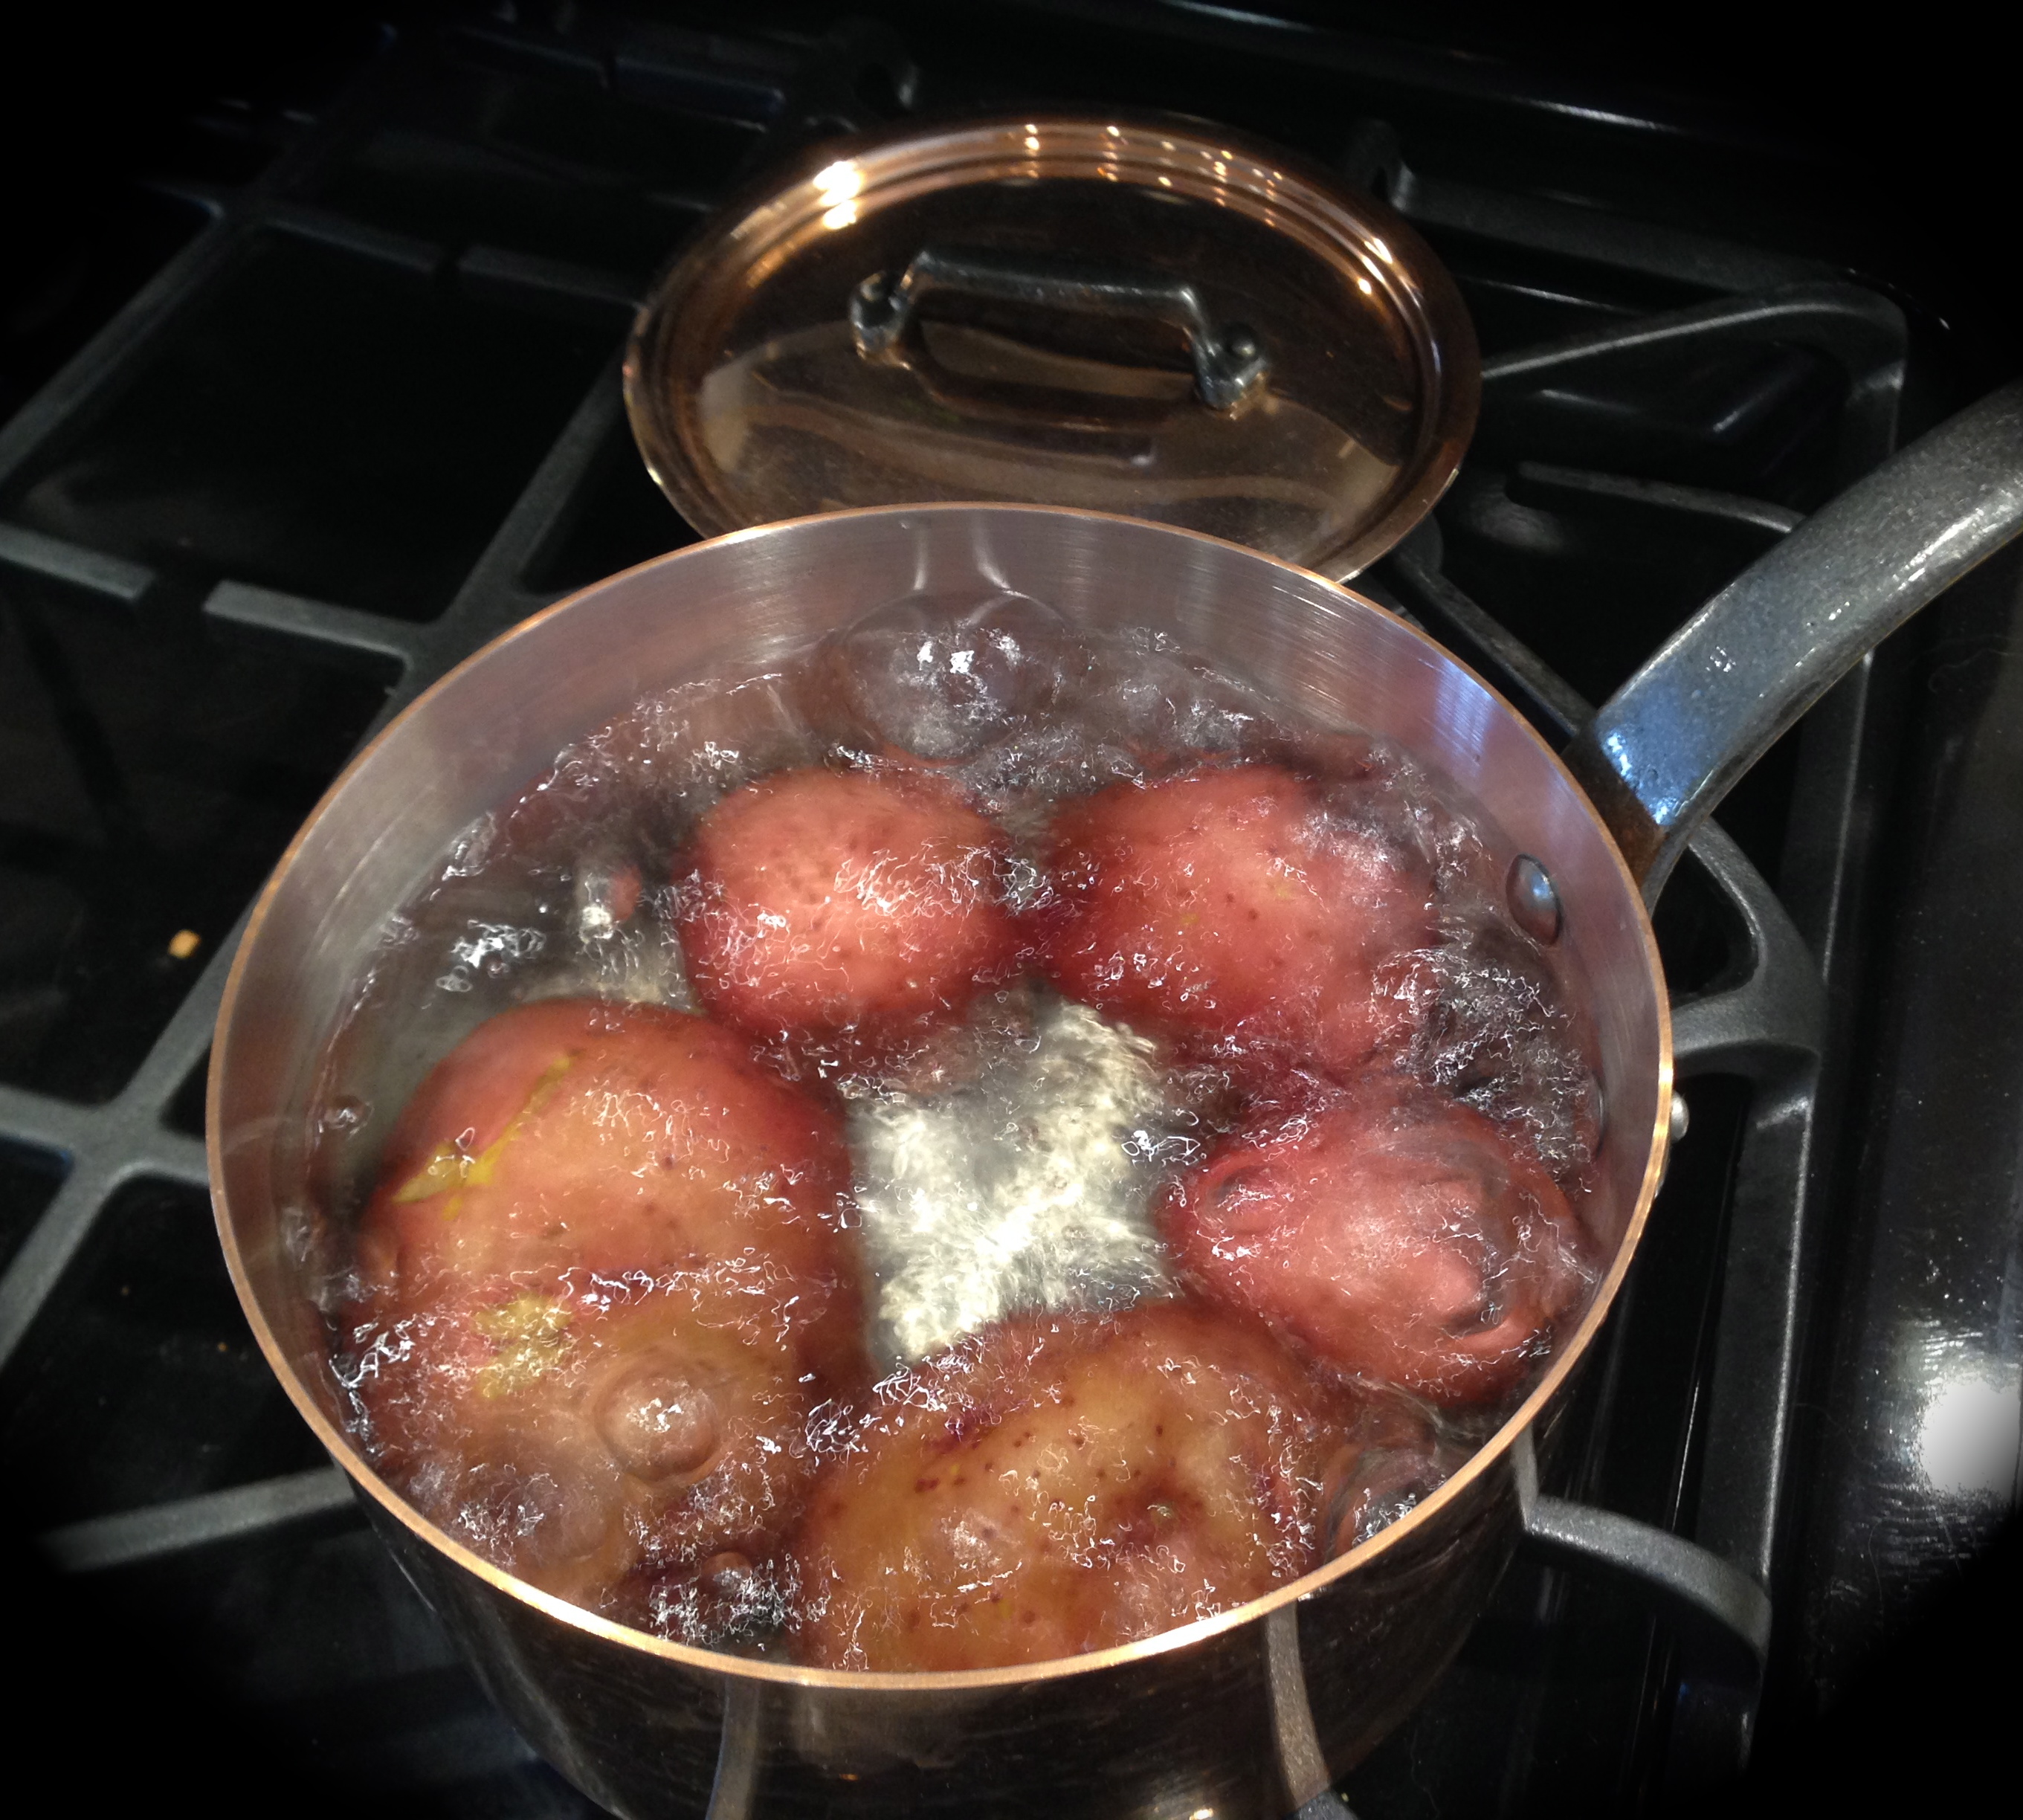
 Lesson Learned 2 – You can cook the pieces of potatoes two different ways, on the stovetop or in the microwave: (I will include both methods in the recipe printout). I chose to cook them on the stove. The process is not much different than making mashed potatoes. The only difference is you want to monitor the potatoes as they boil to make sure they don’t get overly soft, otherwise they’ll break apart. You want them to hold their shape. I would boil them for about 7-10 minutes and check their consistency. If they are still hard, check every couple of minutes until they are just becoming fork tender.
Lesson Learned 3 – If you choose to boil your potatoes first, let them cool a little in the strainer so they are as dry as possible when you put them in the cast iron skillet: In order to get your potatoes nice and brown you want them to be as free from water as possible. I would boil the potatoes first, strain them and let them sit in the strainer while you saute the onions and garlic. That way most of the moisture will drain off before you put them in the skillet.
Lesson Learned 4 – Once you saute the onions and garlic remove them from the pan and set them aside. The first time I made this recipe I kept them in the cast iron pan while I was browning the potatoes. Big mistake! They didn’t stand up very well through the browning process and wound up getting burned. Once you saute the mixture remove it from the pan and add it back in at the last minute just to get it warmed through again. That way you won’t get browned potatoes and blackened onions and garlic. Lessons learned from the cook who never could…
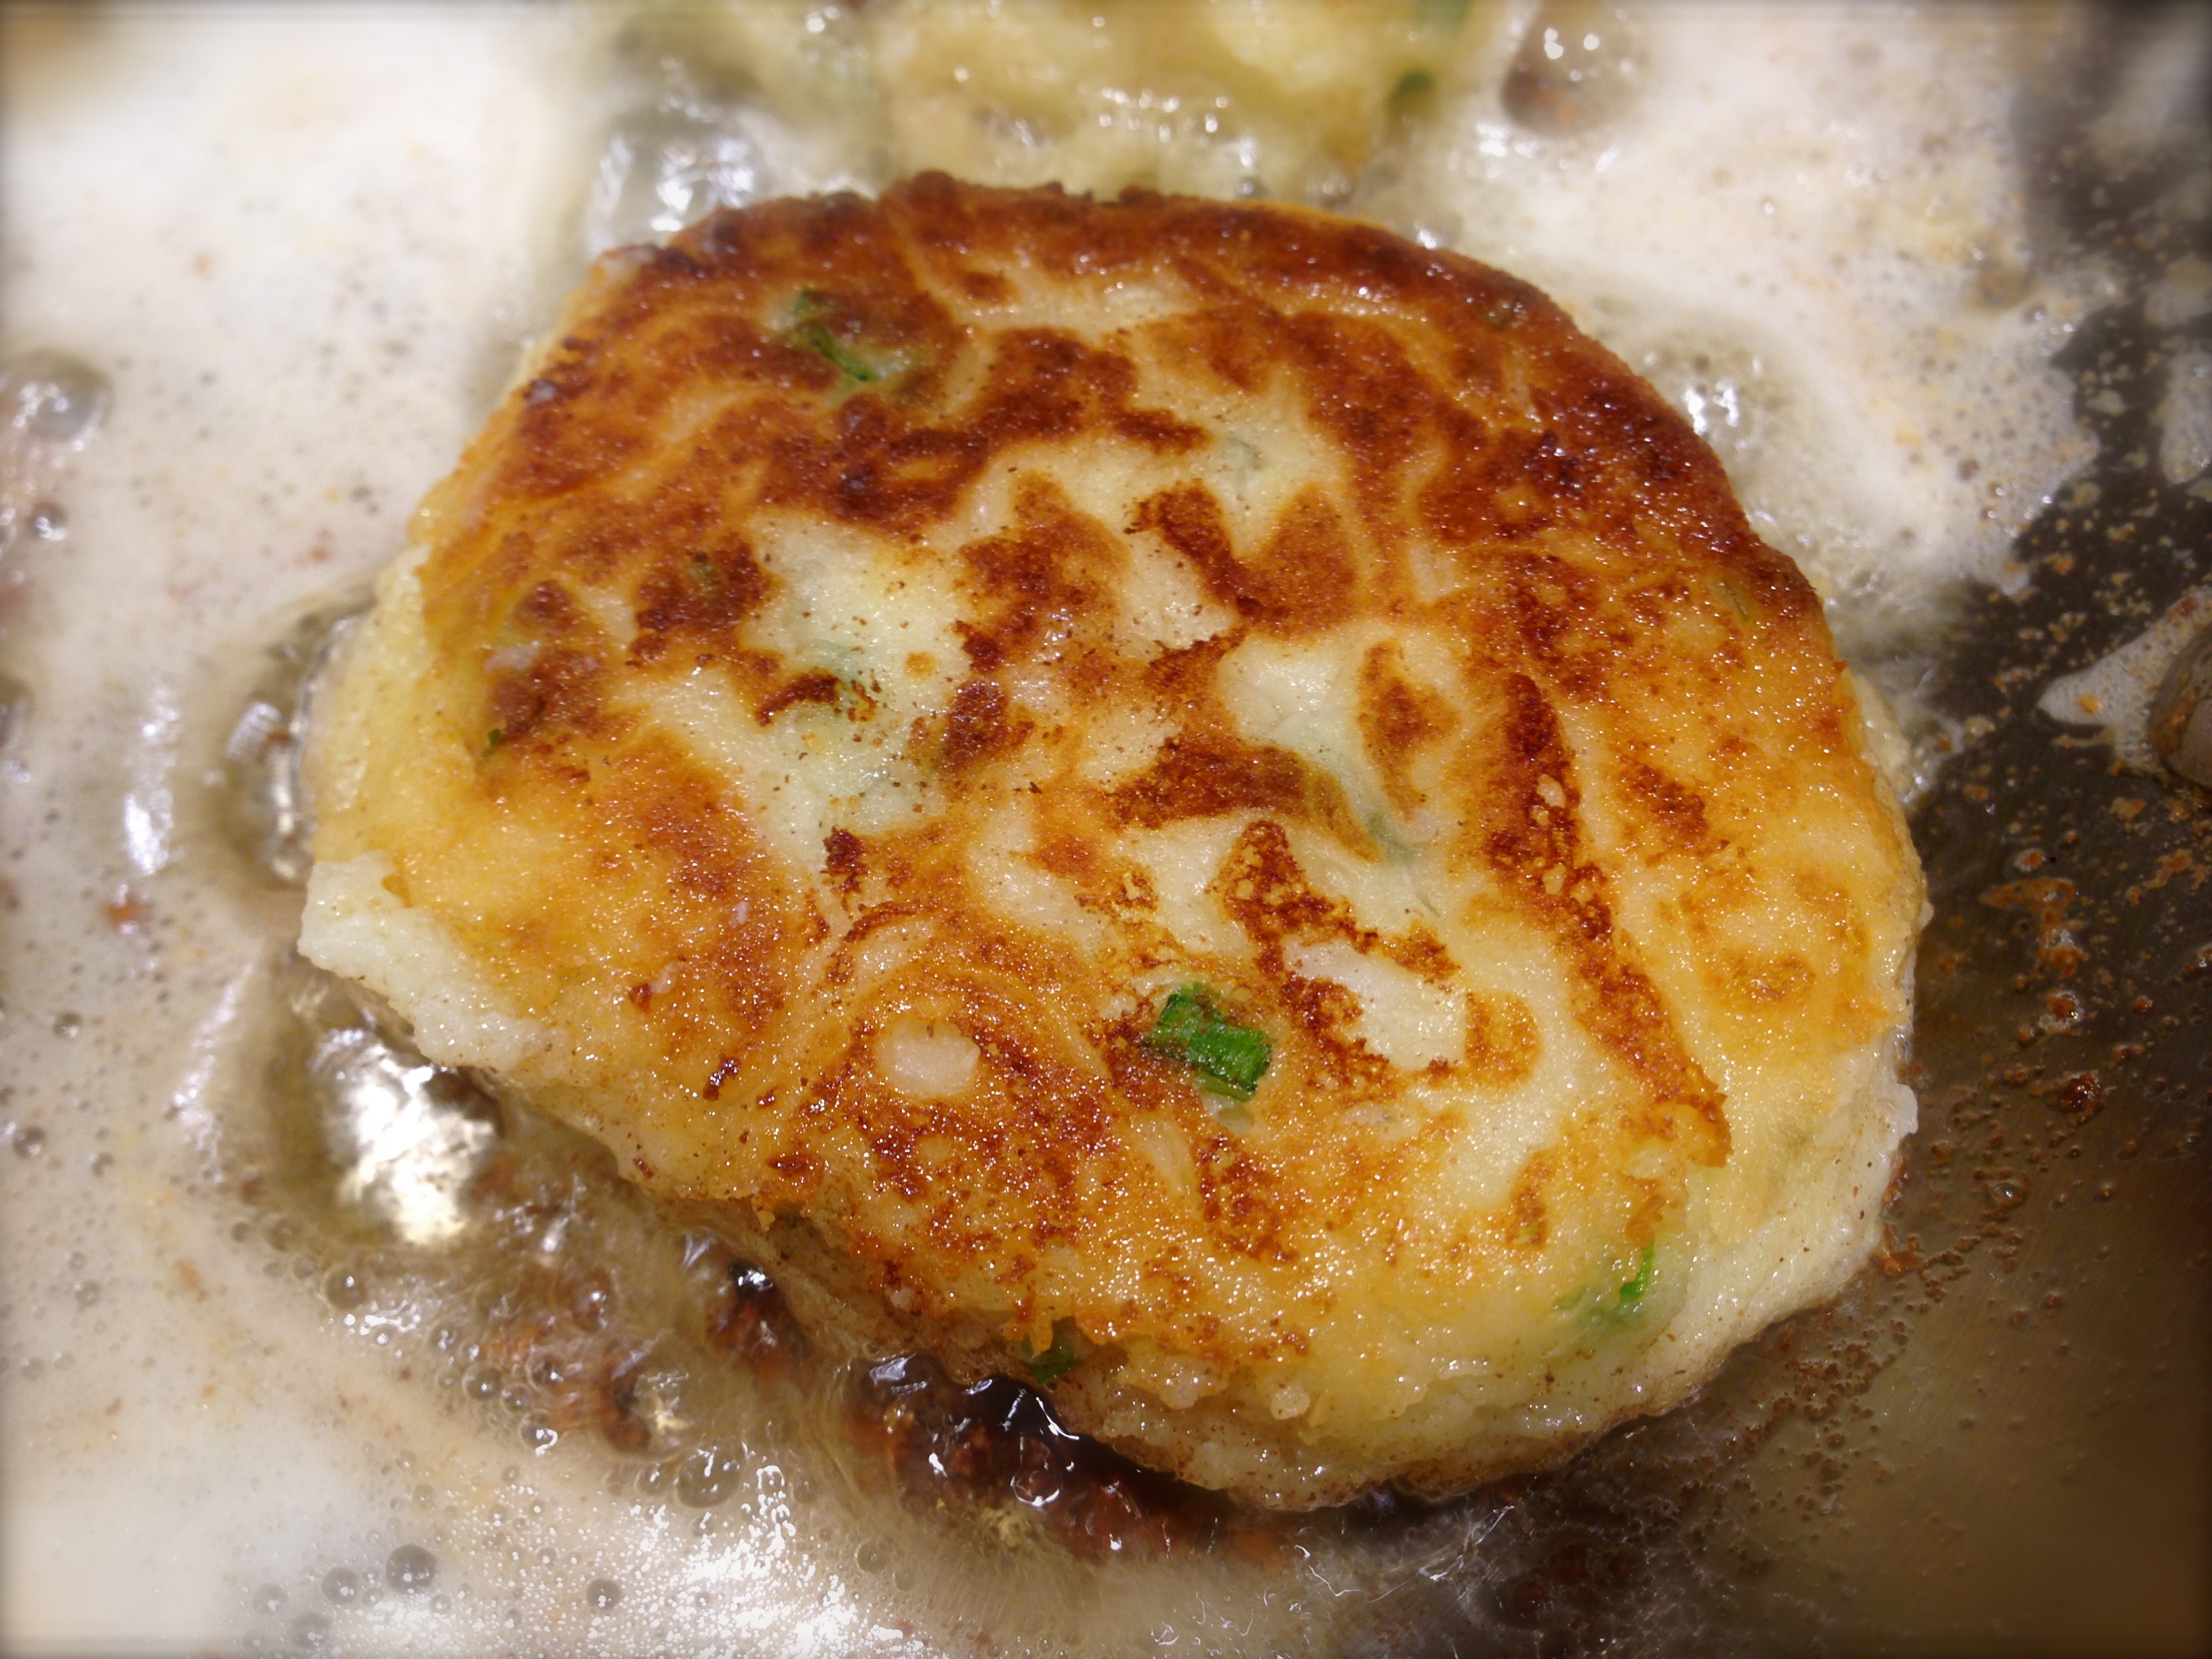
 Lesson Learned 5 – Don’t continuously move the potatoes once they are in the skillet: In order to get the potatoes nice and brown you have to let them sit for a while in the skillet. The whole browning process can take about 20 minutes and you don’t want to be flipping the potatoes continuously during that time. If you want to check to see if they are ready to flip, turn one of the pieces or look on the sides of the pieces to see if the bottoms have started to to turn color. You’ll get a much better result if you are patient during the browning process.
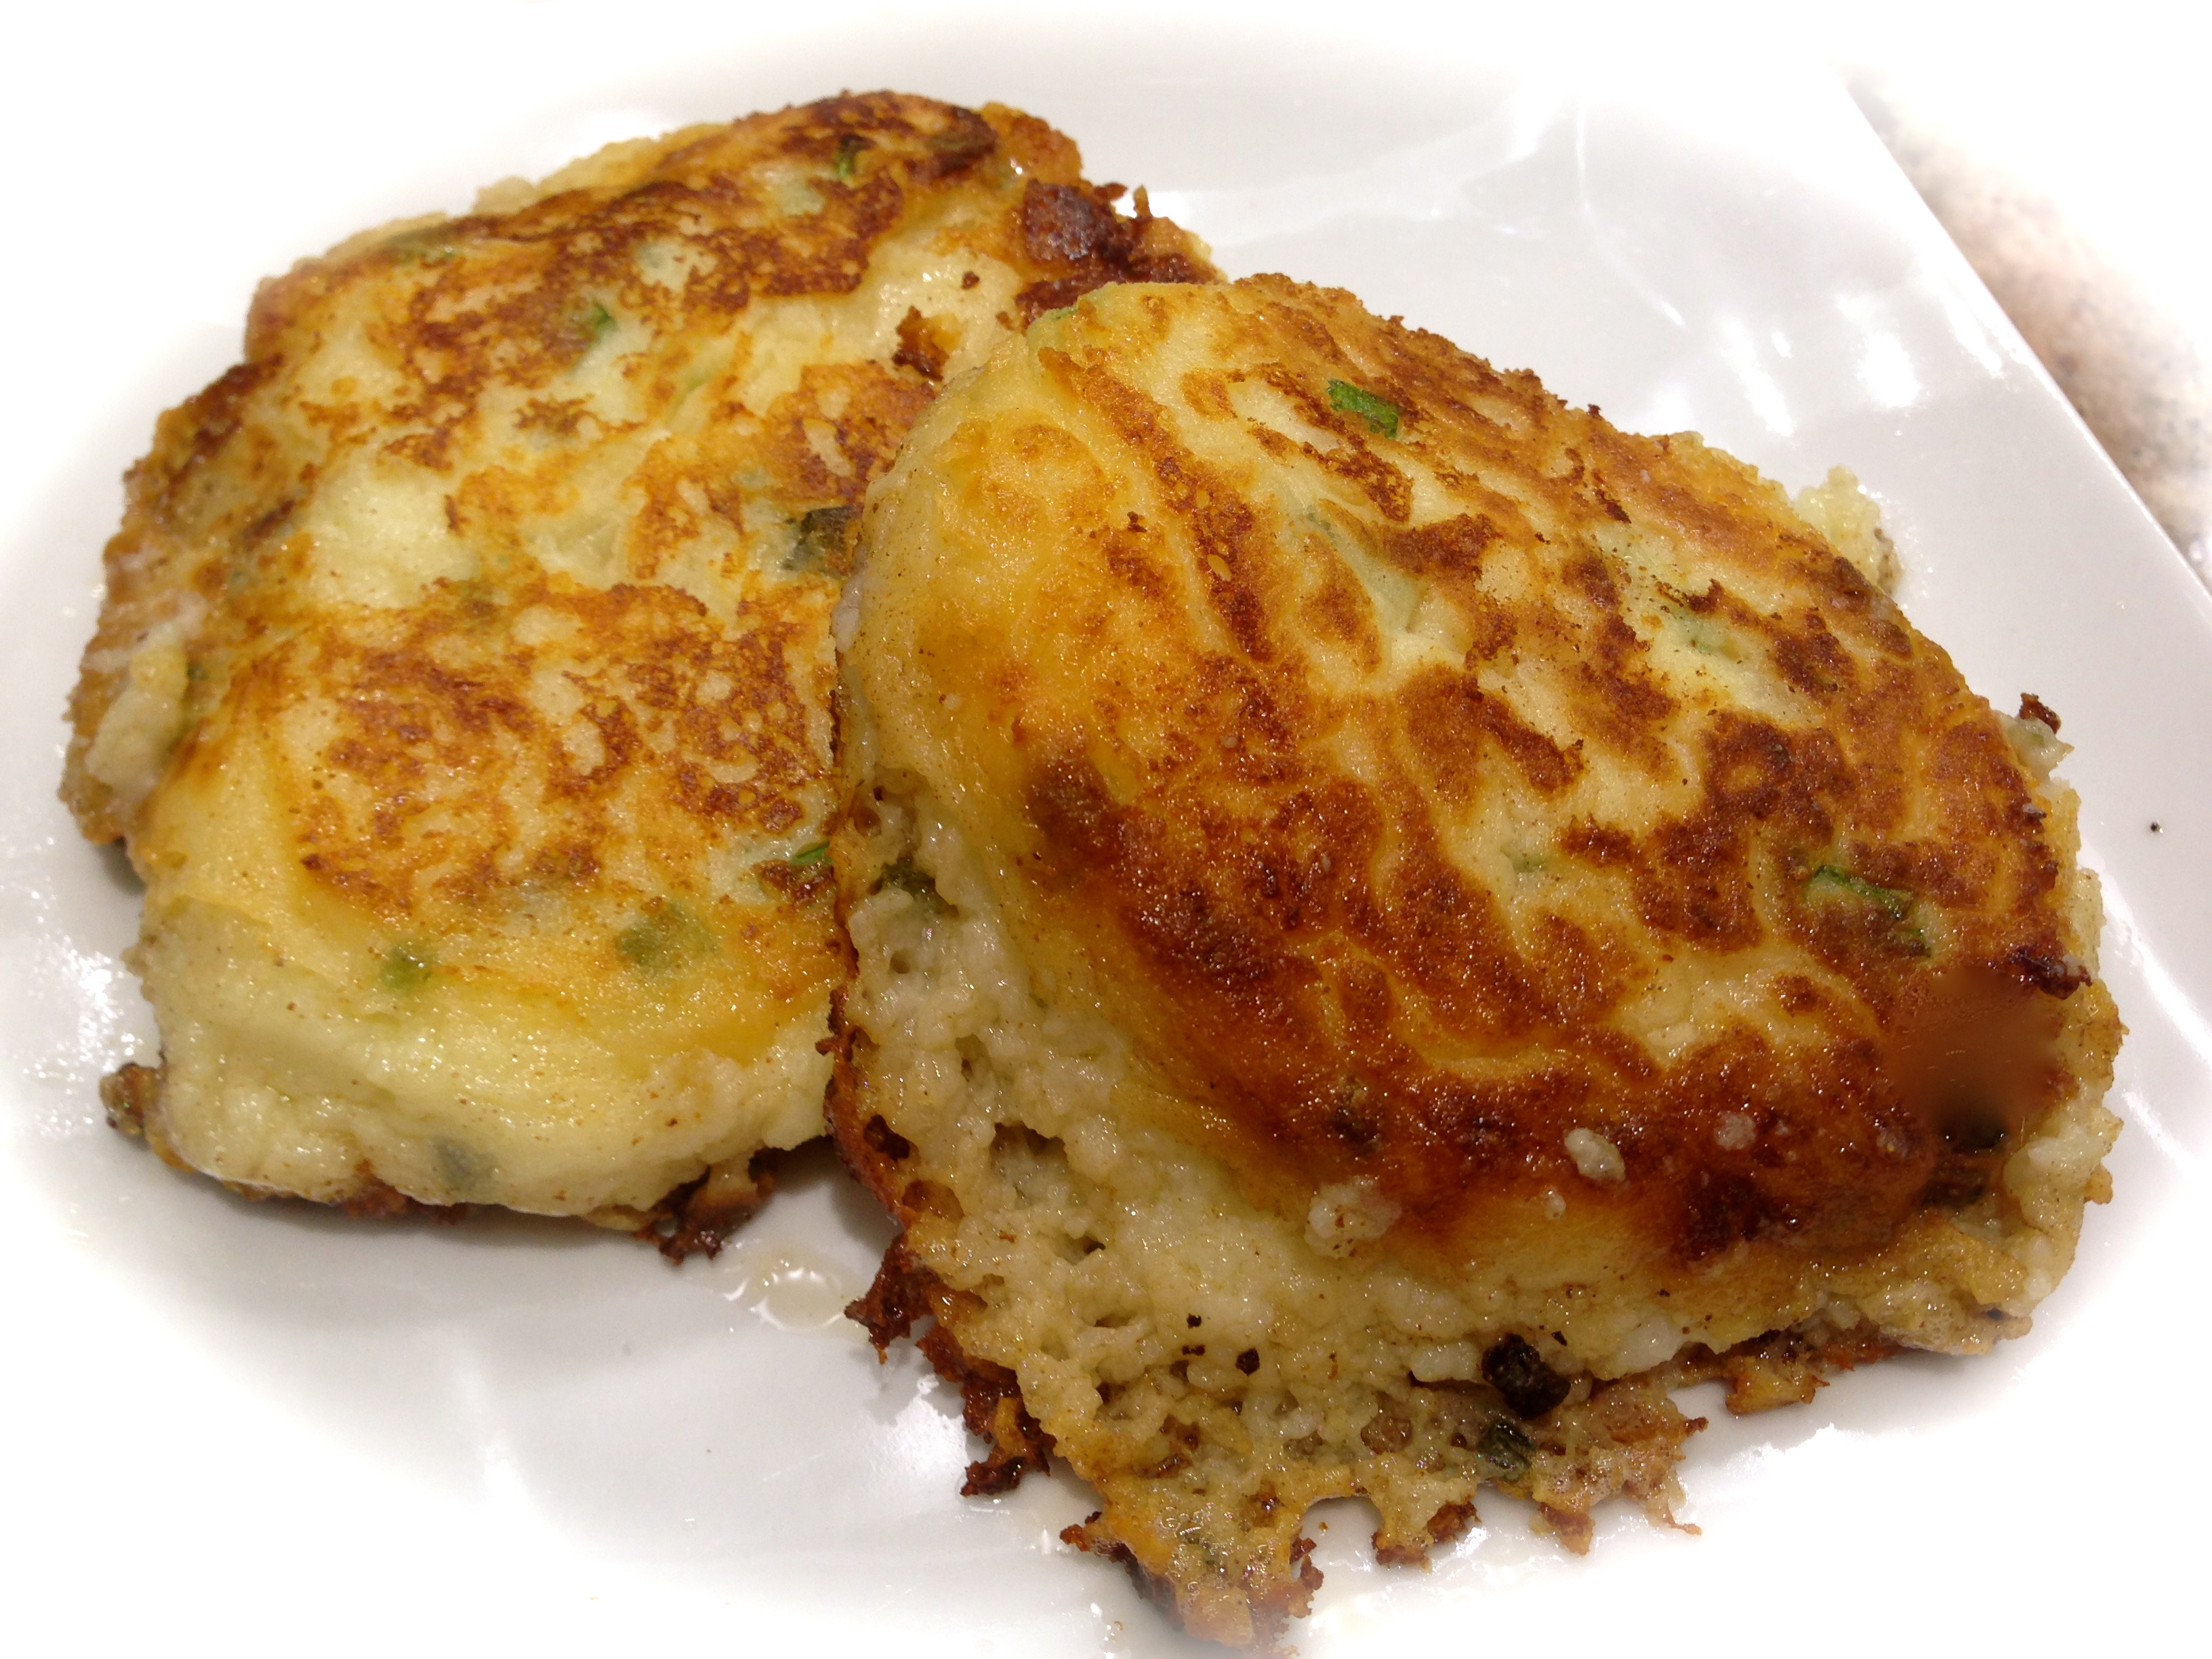
And that’s it, couldn’t be any easier. I like these so much better than the frozen kind. Try them and see if you agree!

Home Fries...
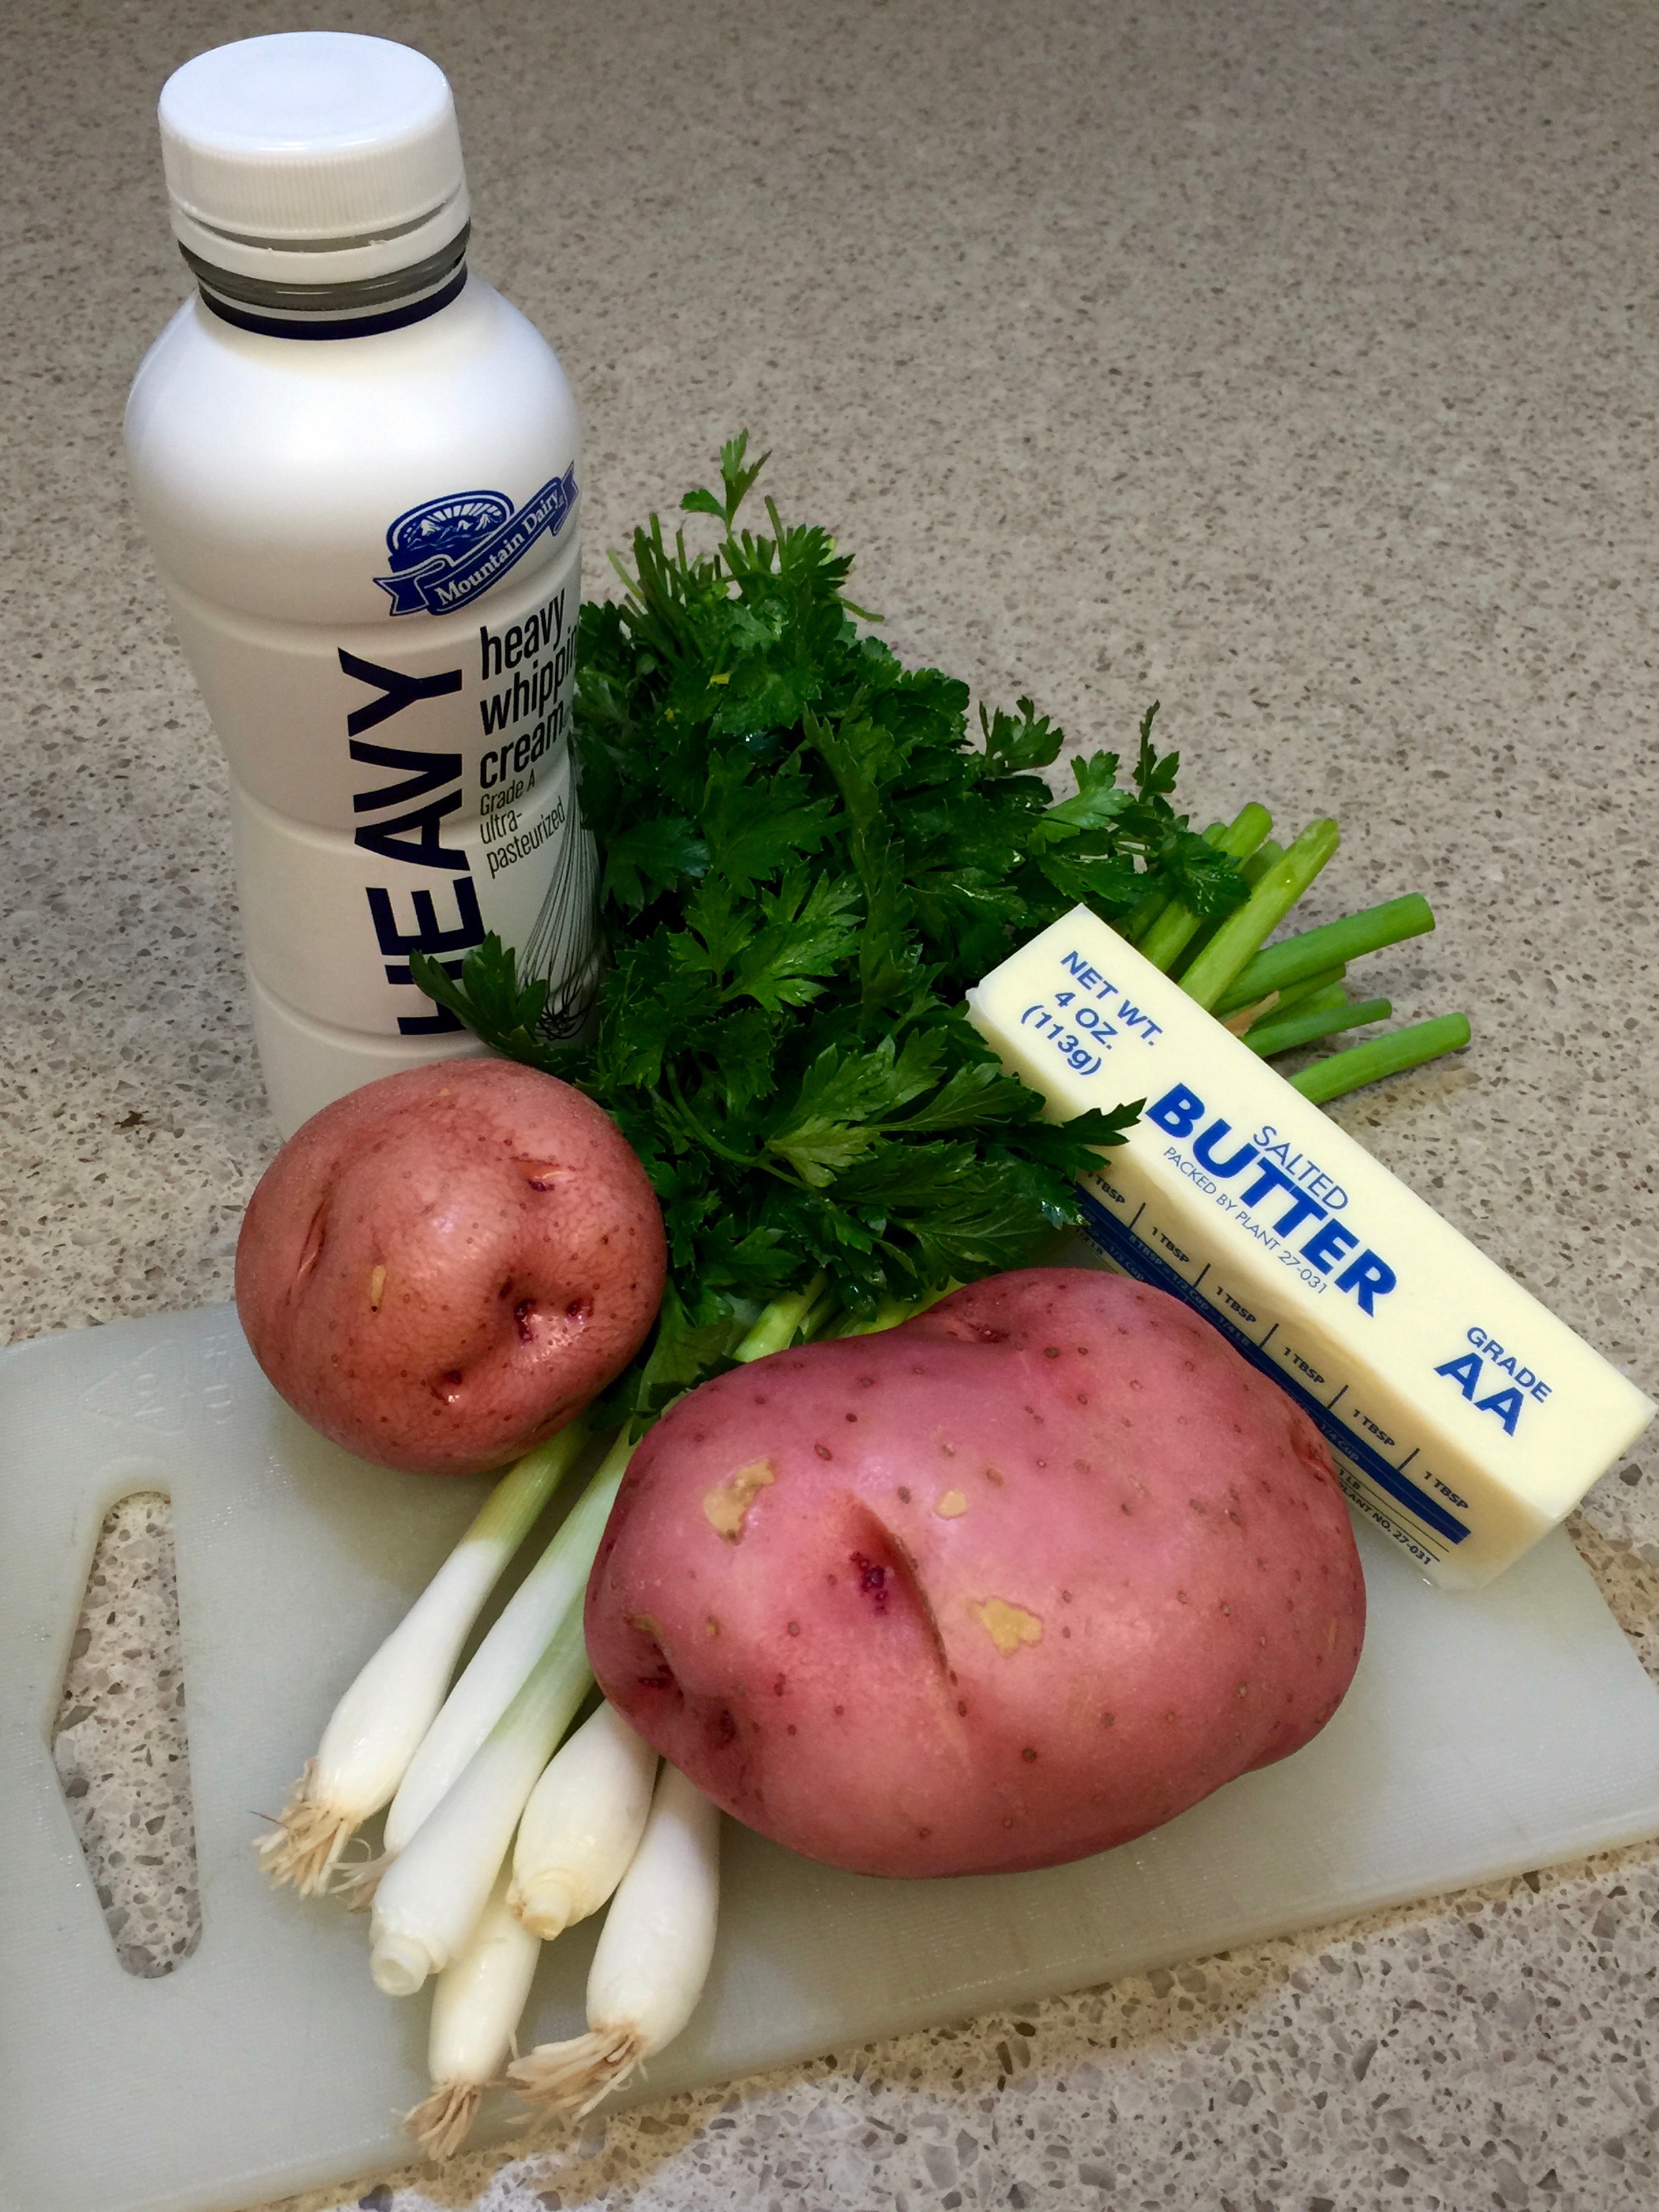
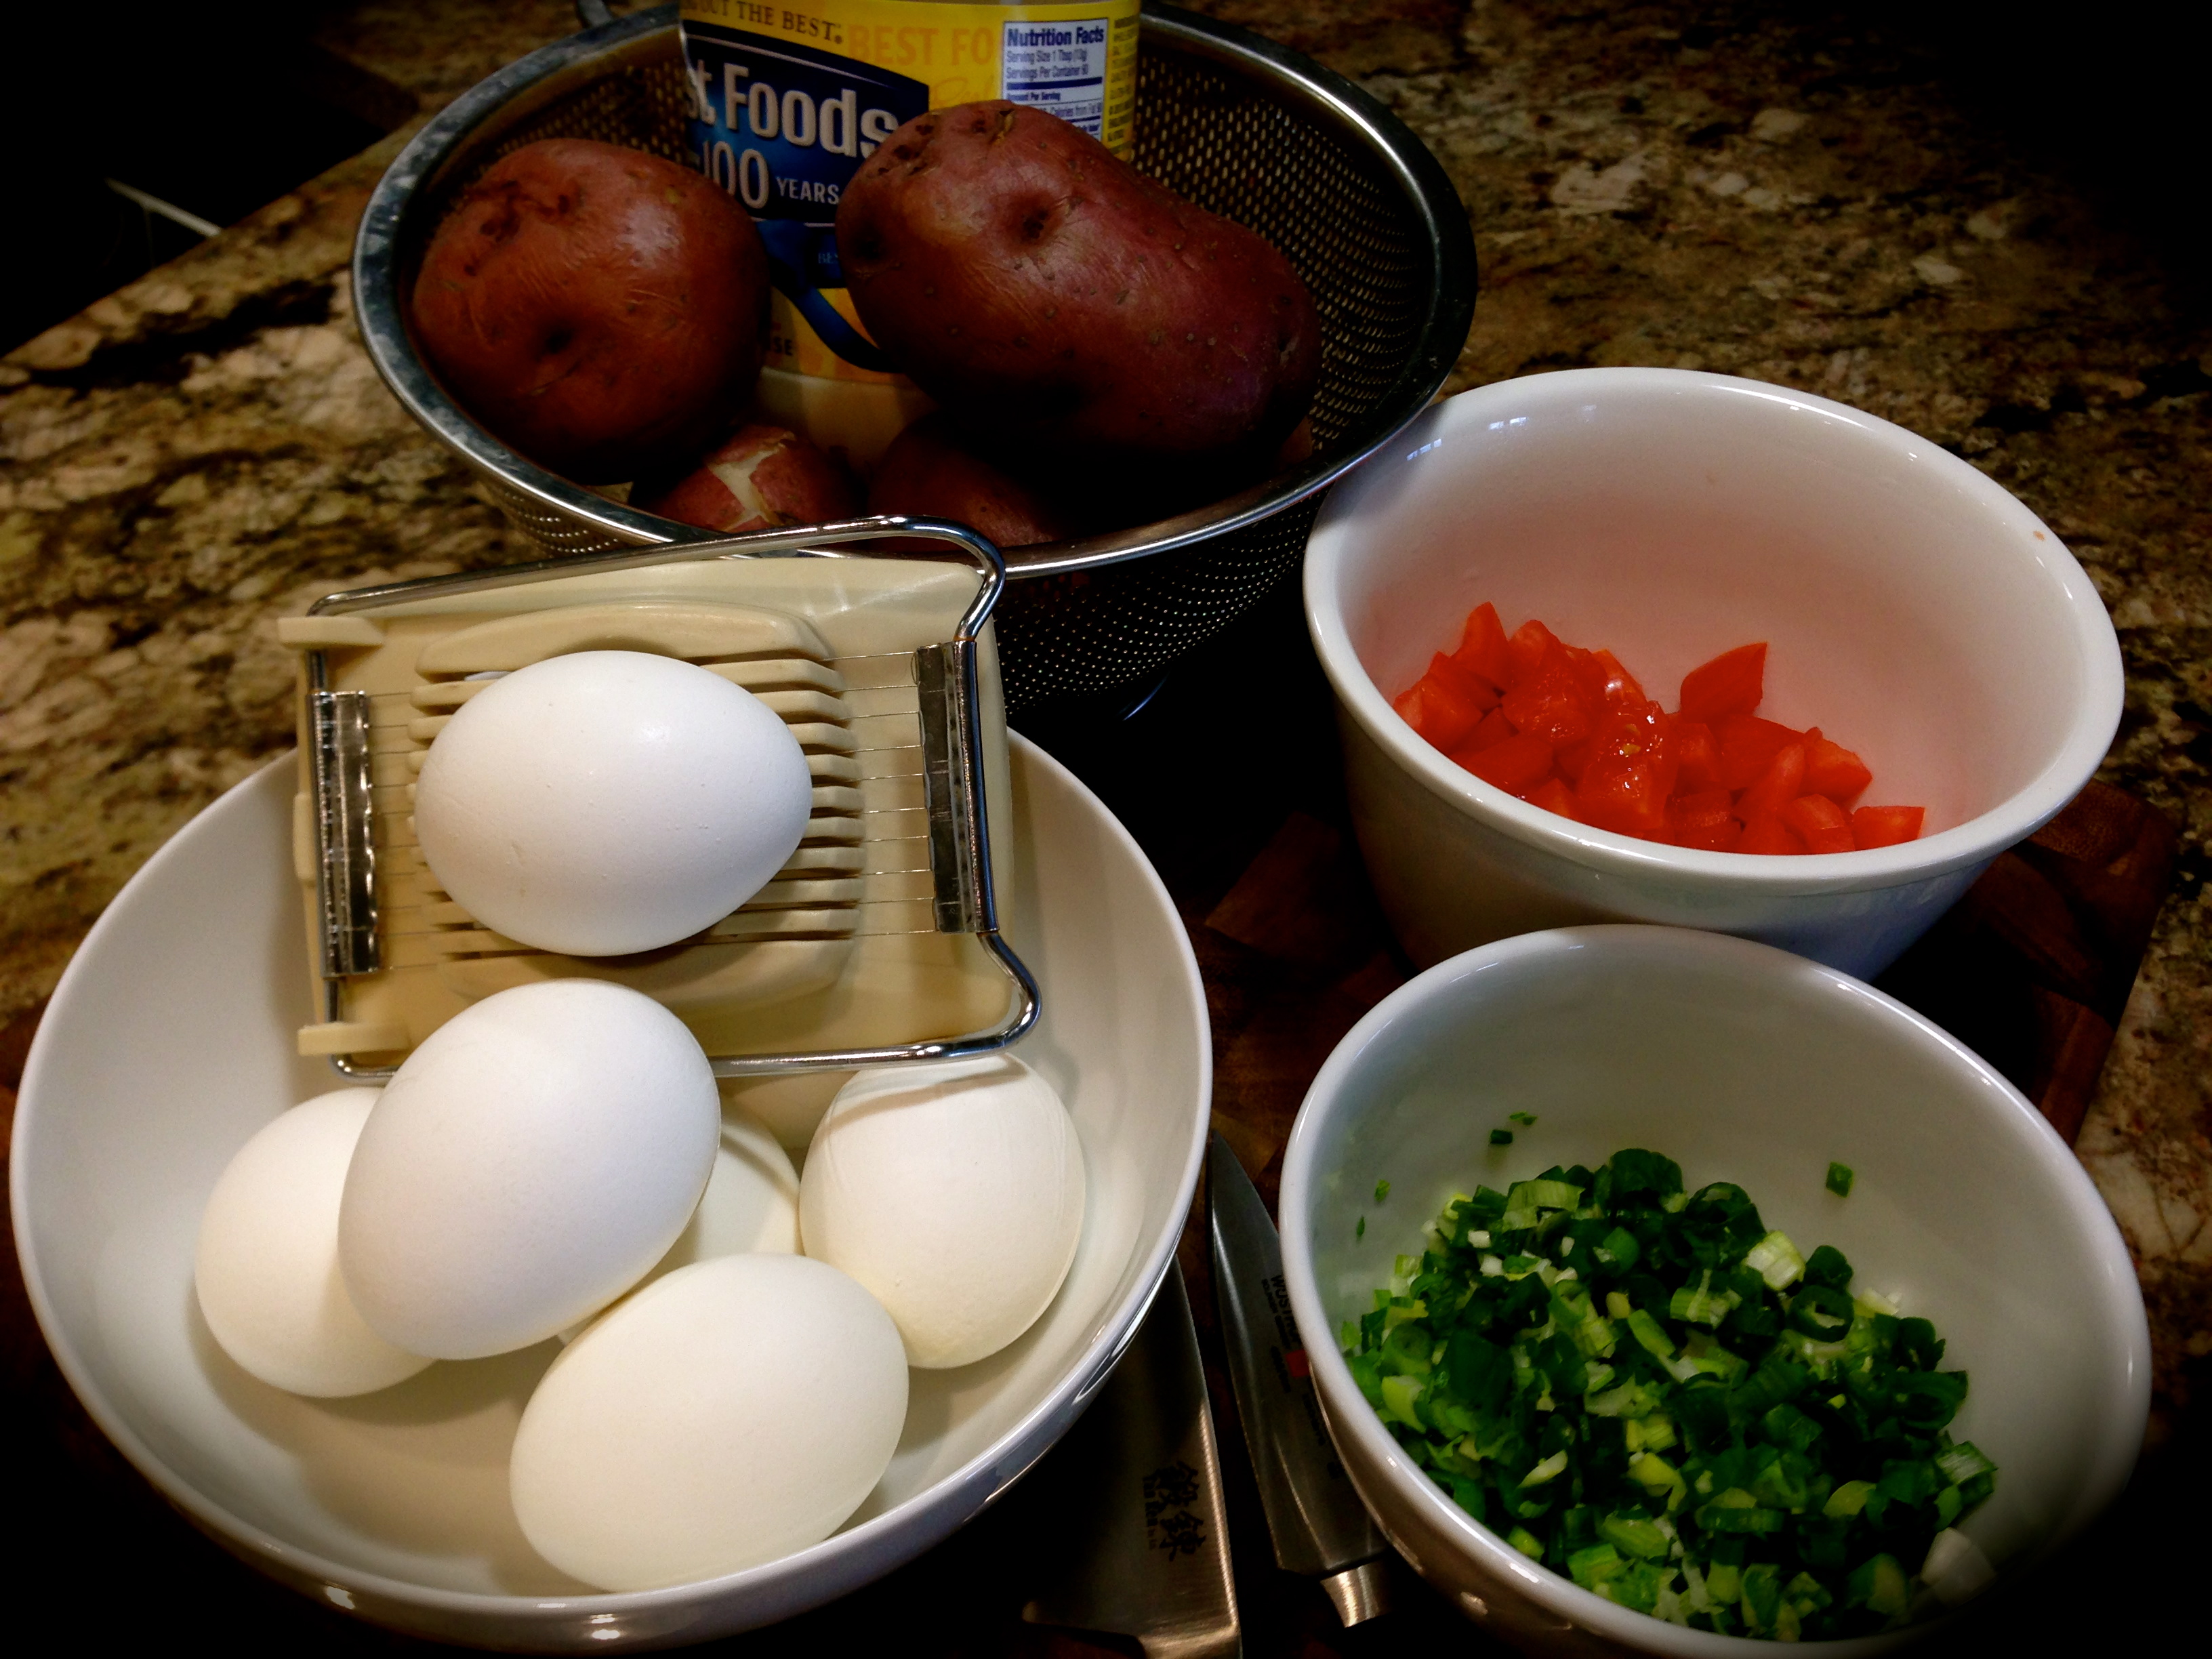
INGREDIENTS:
 2 large russet potatoes, peeled and sliced into 3/4 inch cubes
2 – 3 Tbs. vegetable oil
1 small-medium size onion, chopped
2 garlic cloves, minced
1 Tbs. fresh chives
Salt and pepper, to taste
DIRECTIONS:
In a high rimmed pot, boil the potatoes until they just fork tender. Drain the potatoes and set aside. (NOTE: you can also microwave the potatoes. Put 1 Tbs. oil, 1/2 tsp. salt and 1/2 tsp. pepper in a covered microwave safe bowl along with the potatoes. Stir. Cook 7-10 minutes stirring occasionally. Drain the potatoes well).
Heat a cast iron skillet over medium heat for about 3-4 minutes. Start with 2 Tbs. of oil (you may or may not need to add more later) added to the skillet and heated until shimmering. Add the onions and cook until lightly browned. Salt and pepper the onions. Add the garlic and cook until fragrant. Remove the mixture from the pan and set aside.
If needed, add the remaining oil to the pan. Add the potatoes and gently pack them into the skillet using the back end of a spatula. Cook, without moving for 7-10 minutes or until they begin to brown.
Flip the potatoes and lightly repack them into the skillet. (check to see if you need to add oil during this process). Continue flipping process until the potatoes are browned on all sides. Add the onions and garlic back to the pan, mix with the potatoes and heat until warmed through.
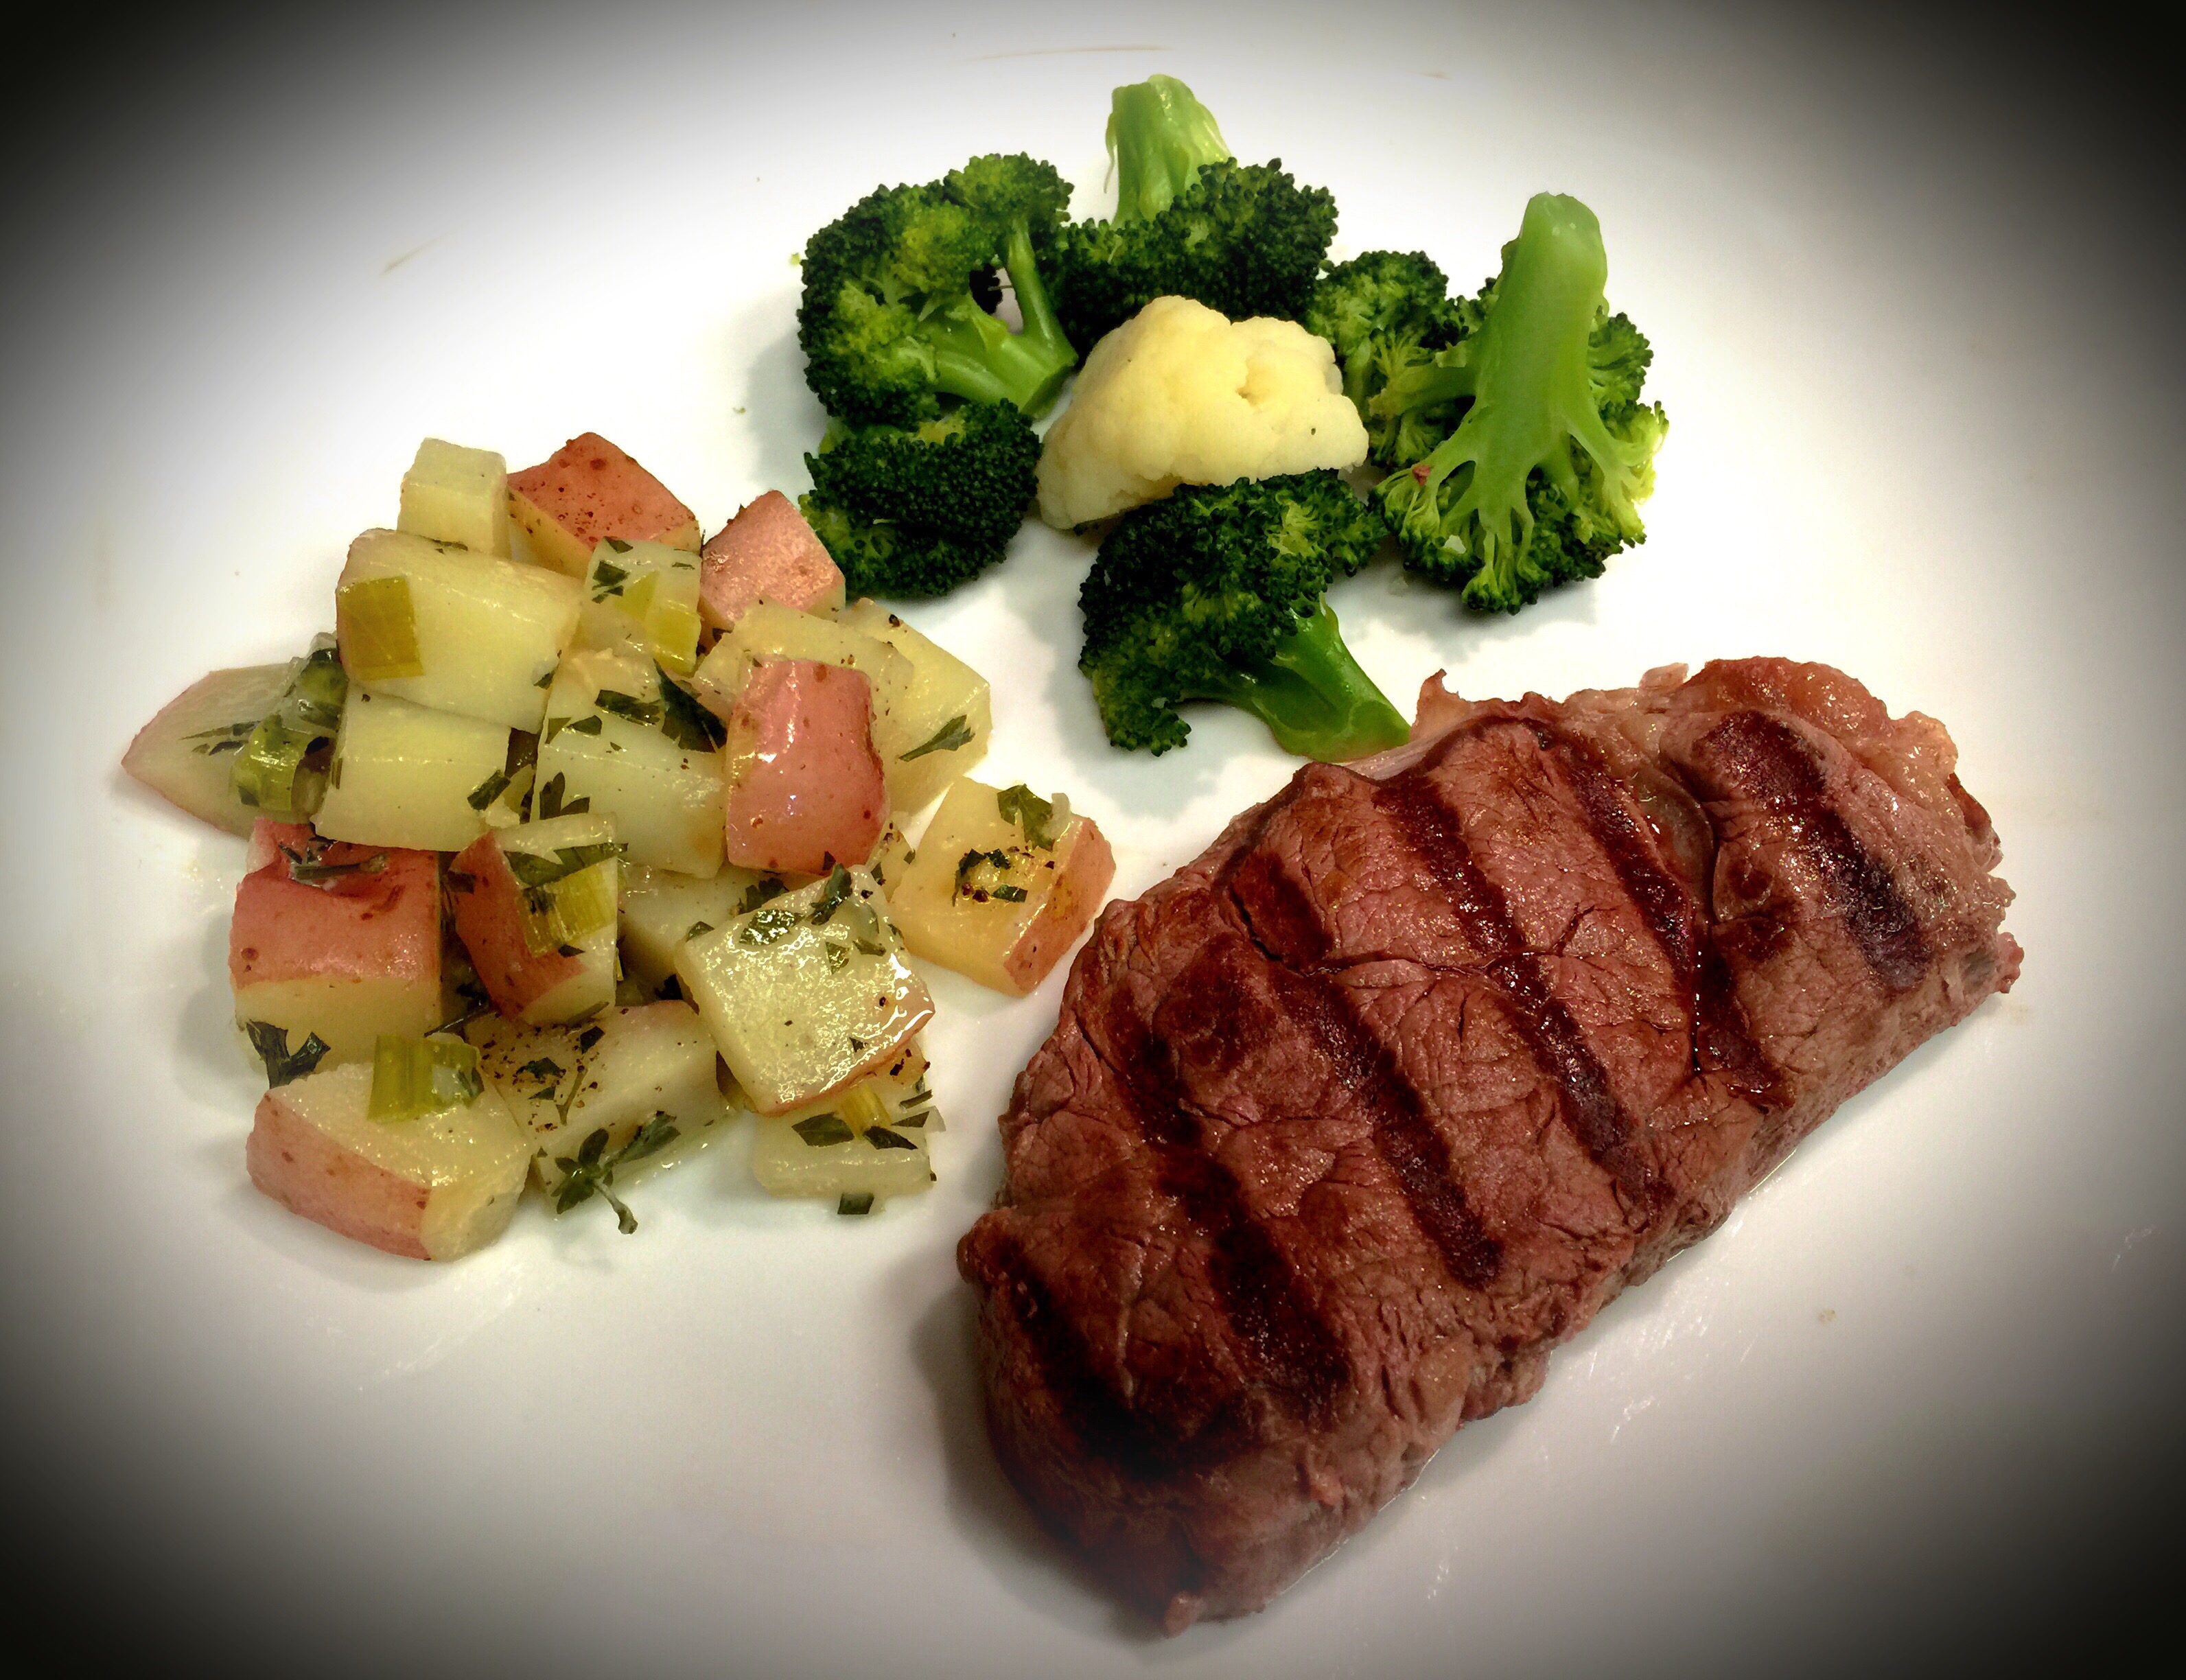
Season with salt and pepper, garnish with chives and serve immediately.


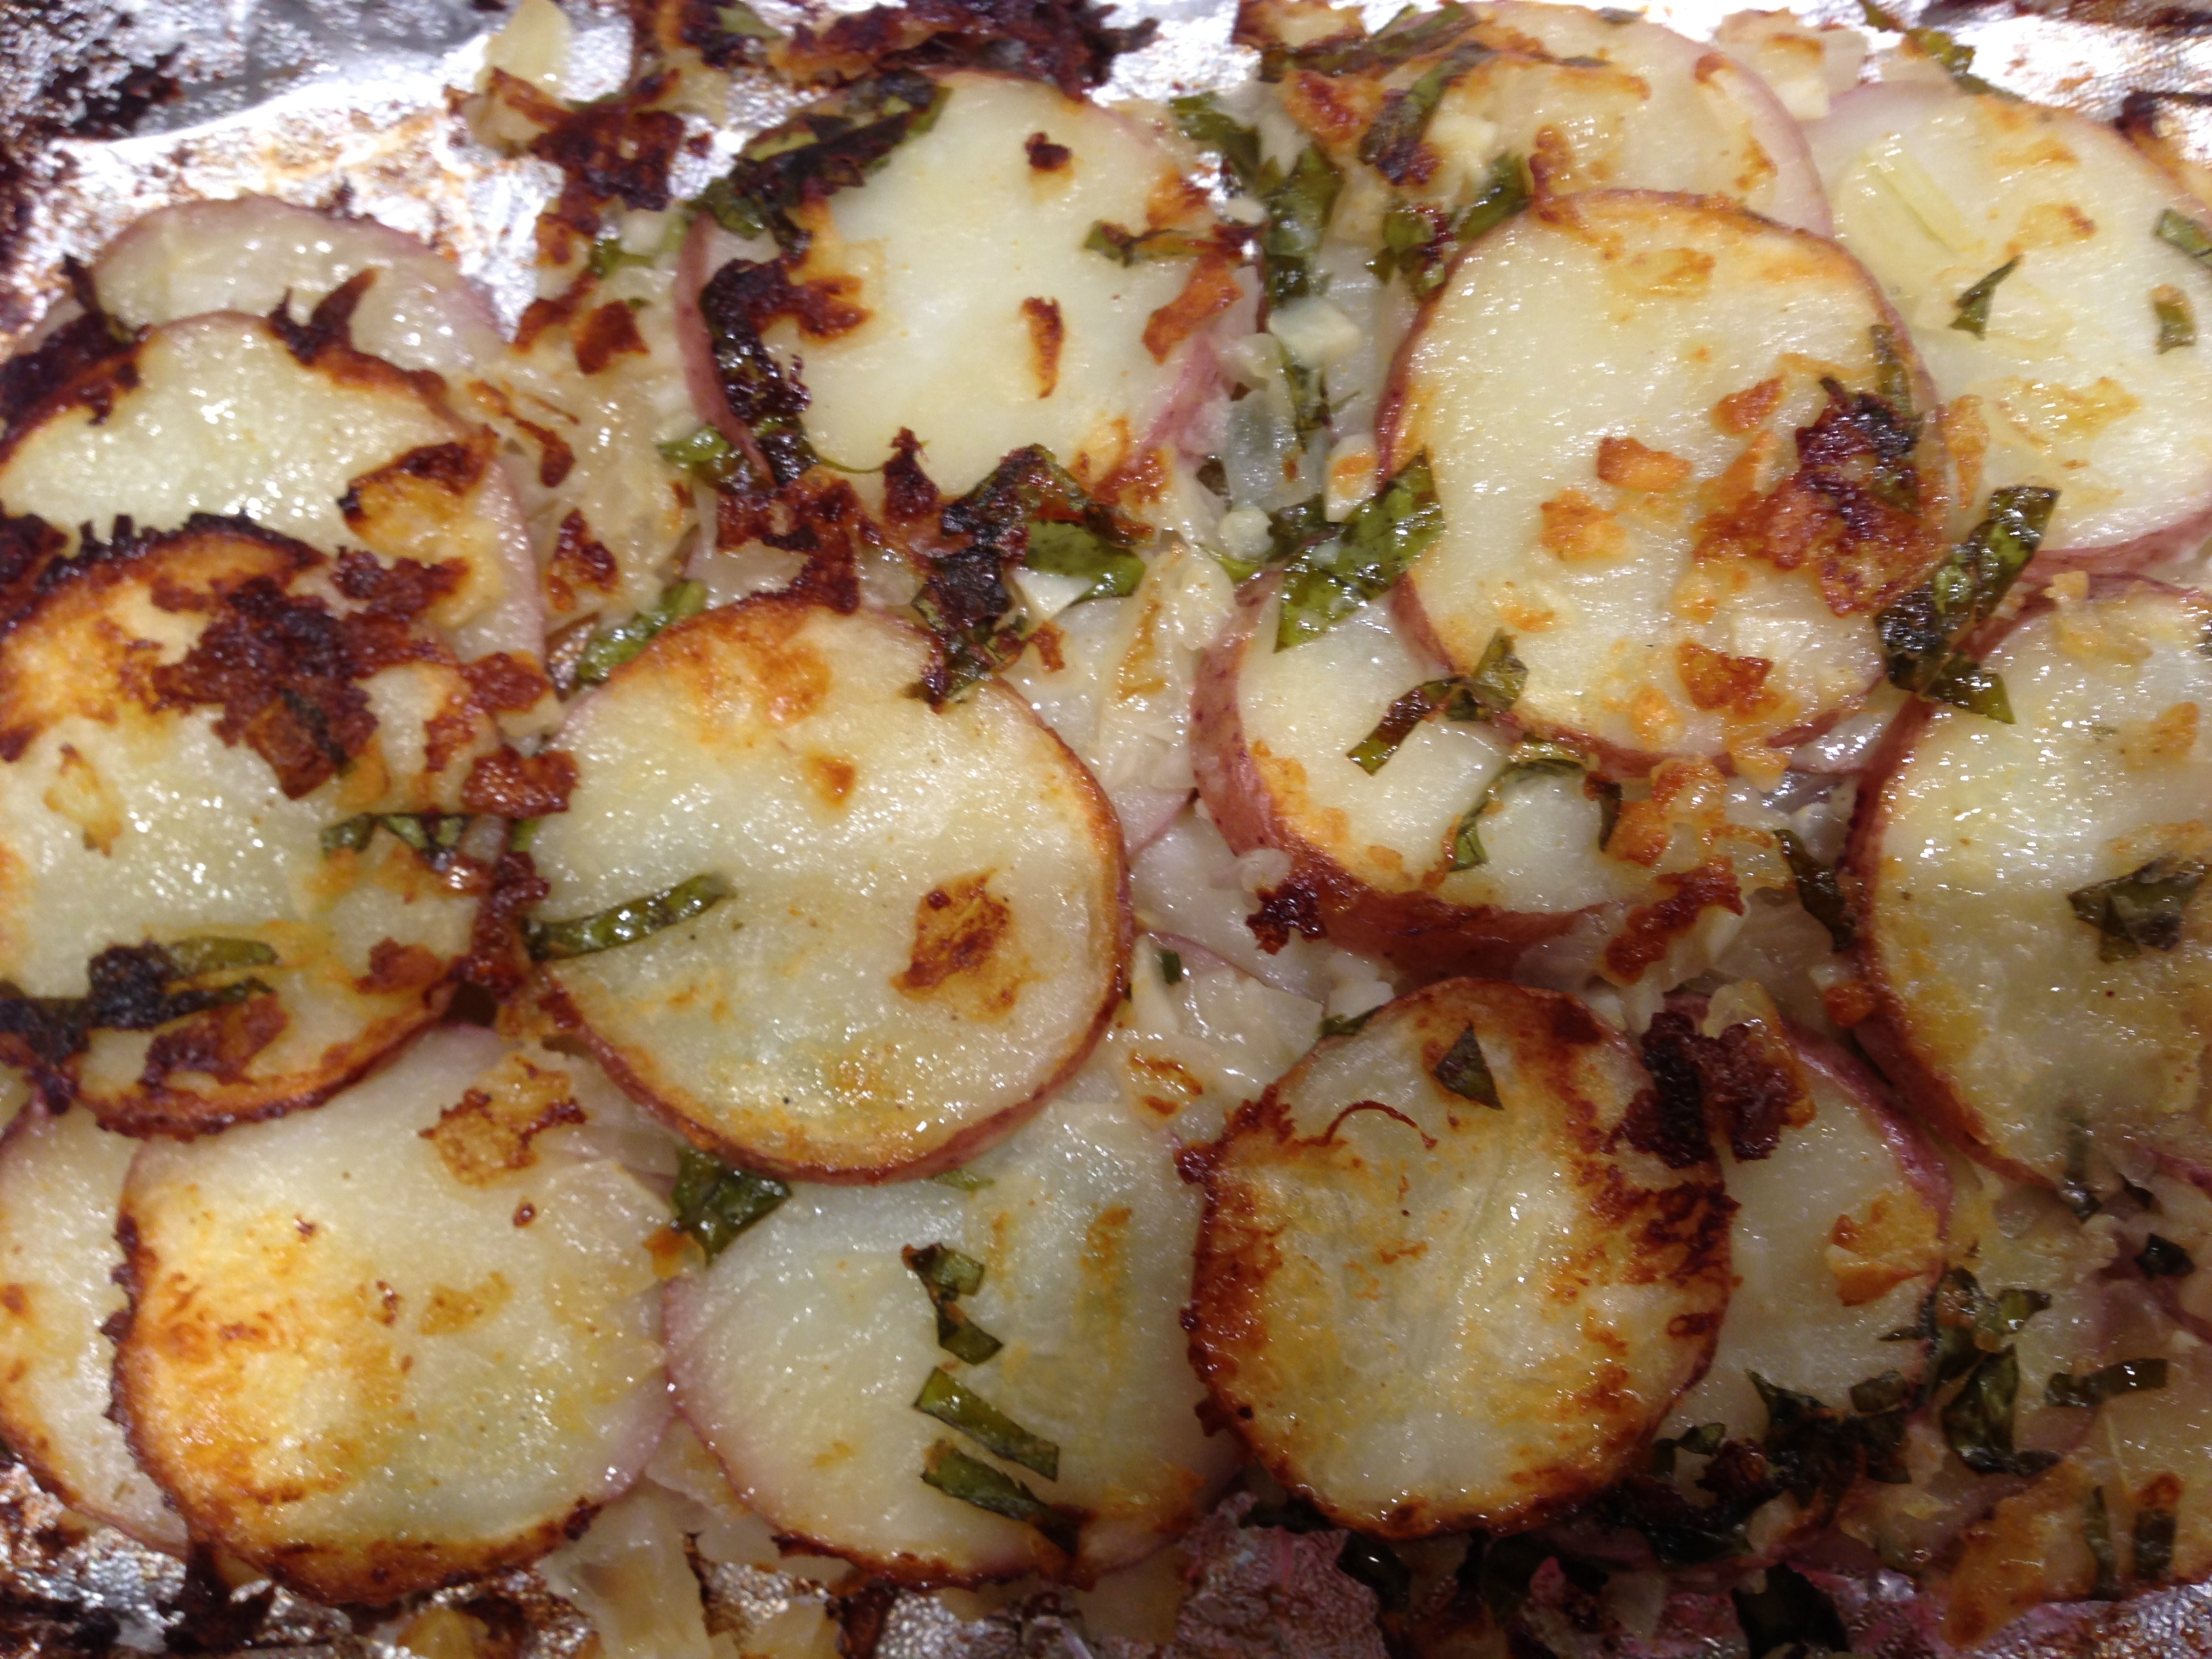
Potatoes during the browning process


 Lesson Learned 2 – Use a little cream of rice or wheat: My grandmother used “farina” in her recipe. Farina used to be very popular when I was growing up but not so much now. As a substitute you can use either cream of rice or wheat. They are both a very creamy type of hot cereal and the little bit you use gives extra creaminess to the kugelis.
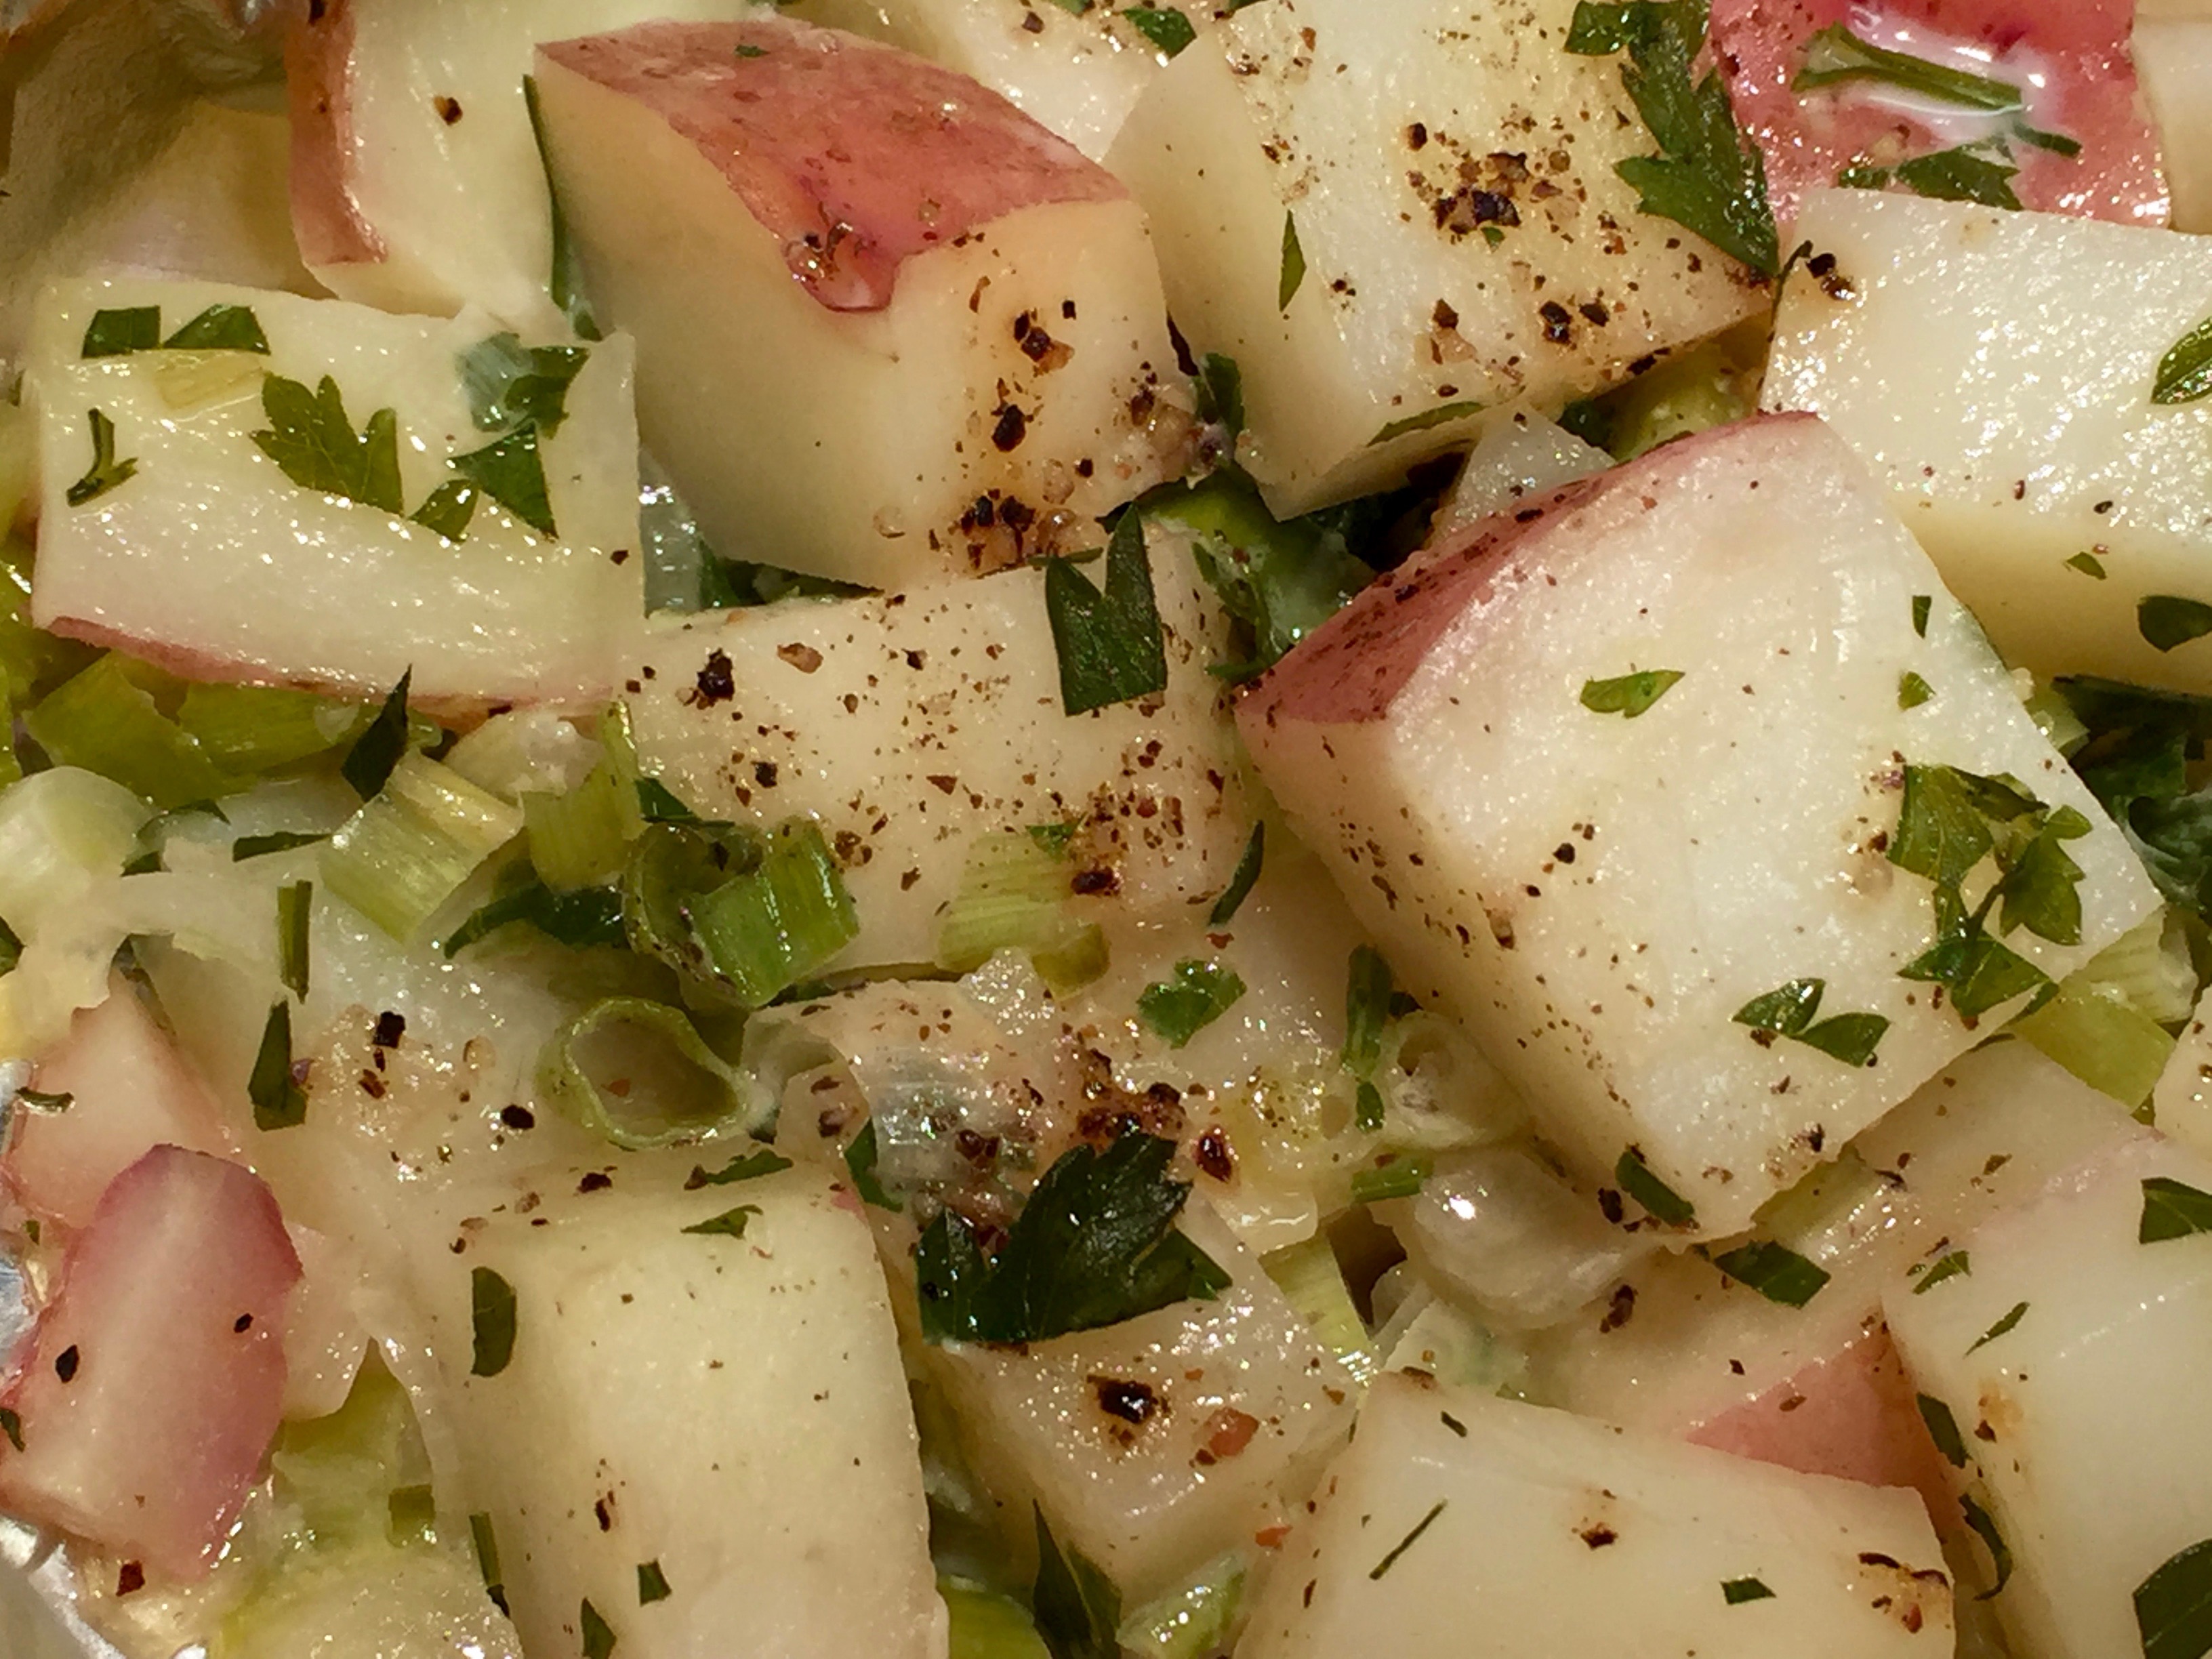
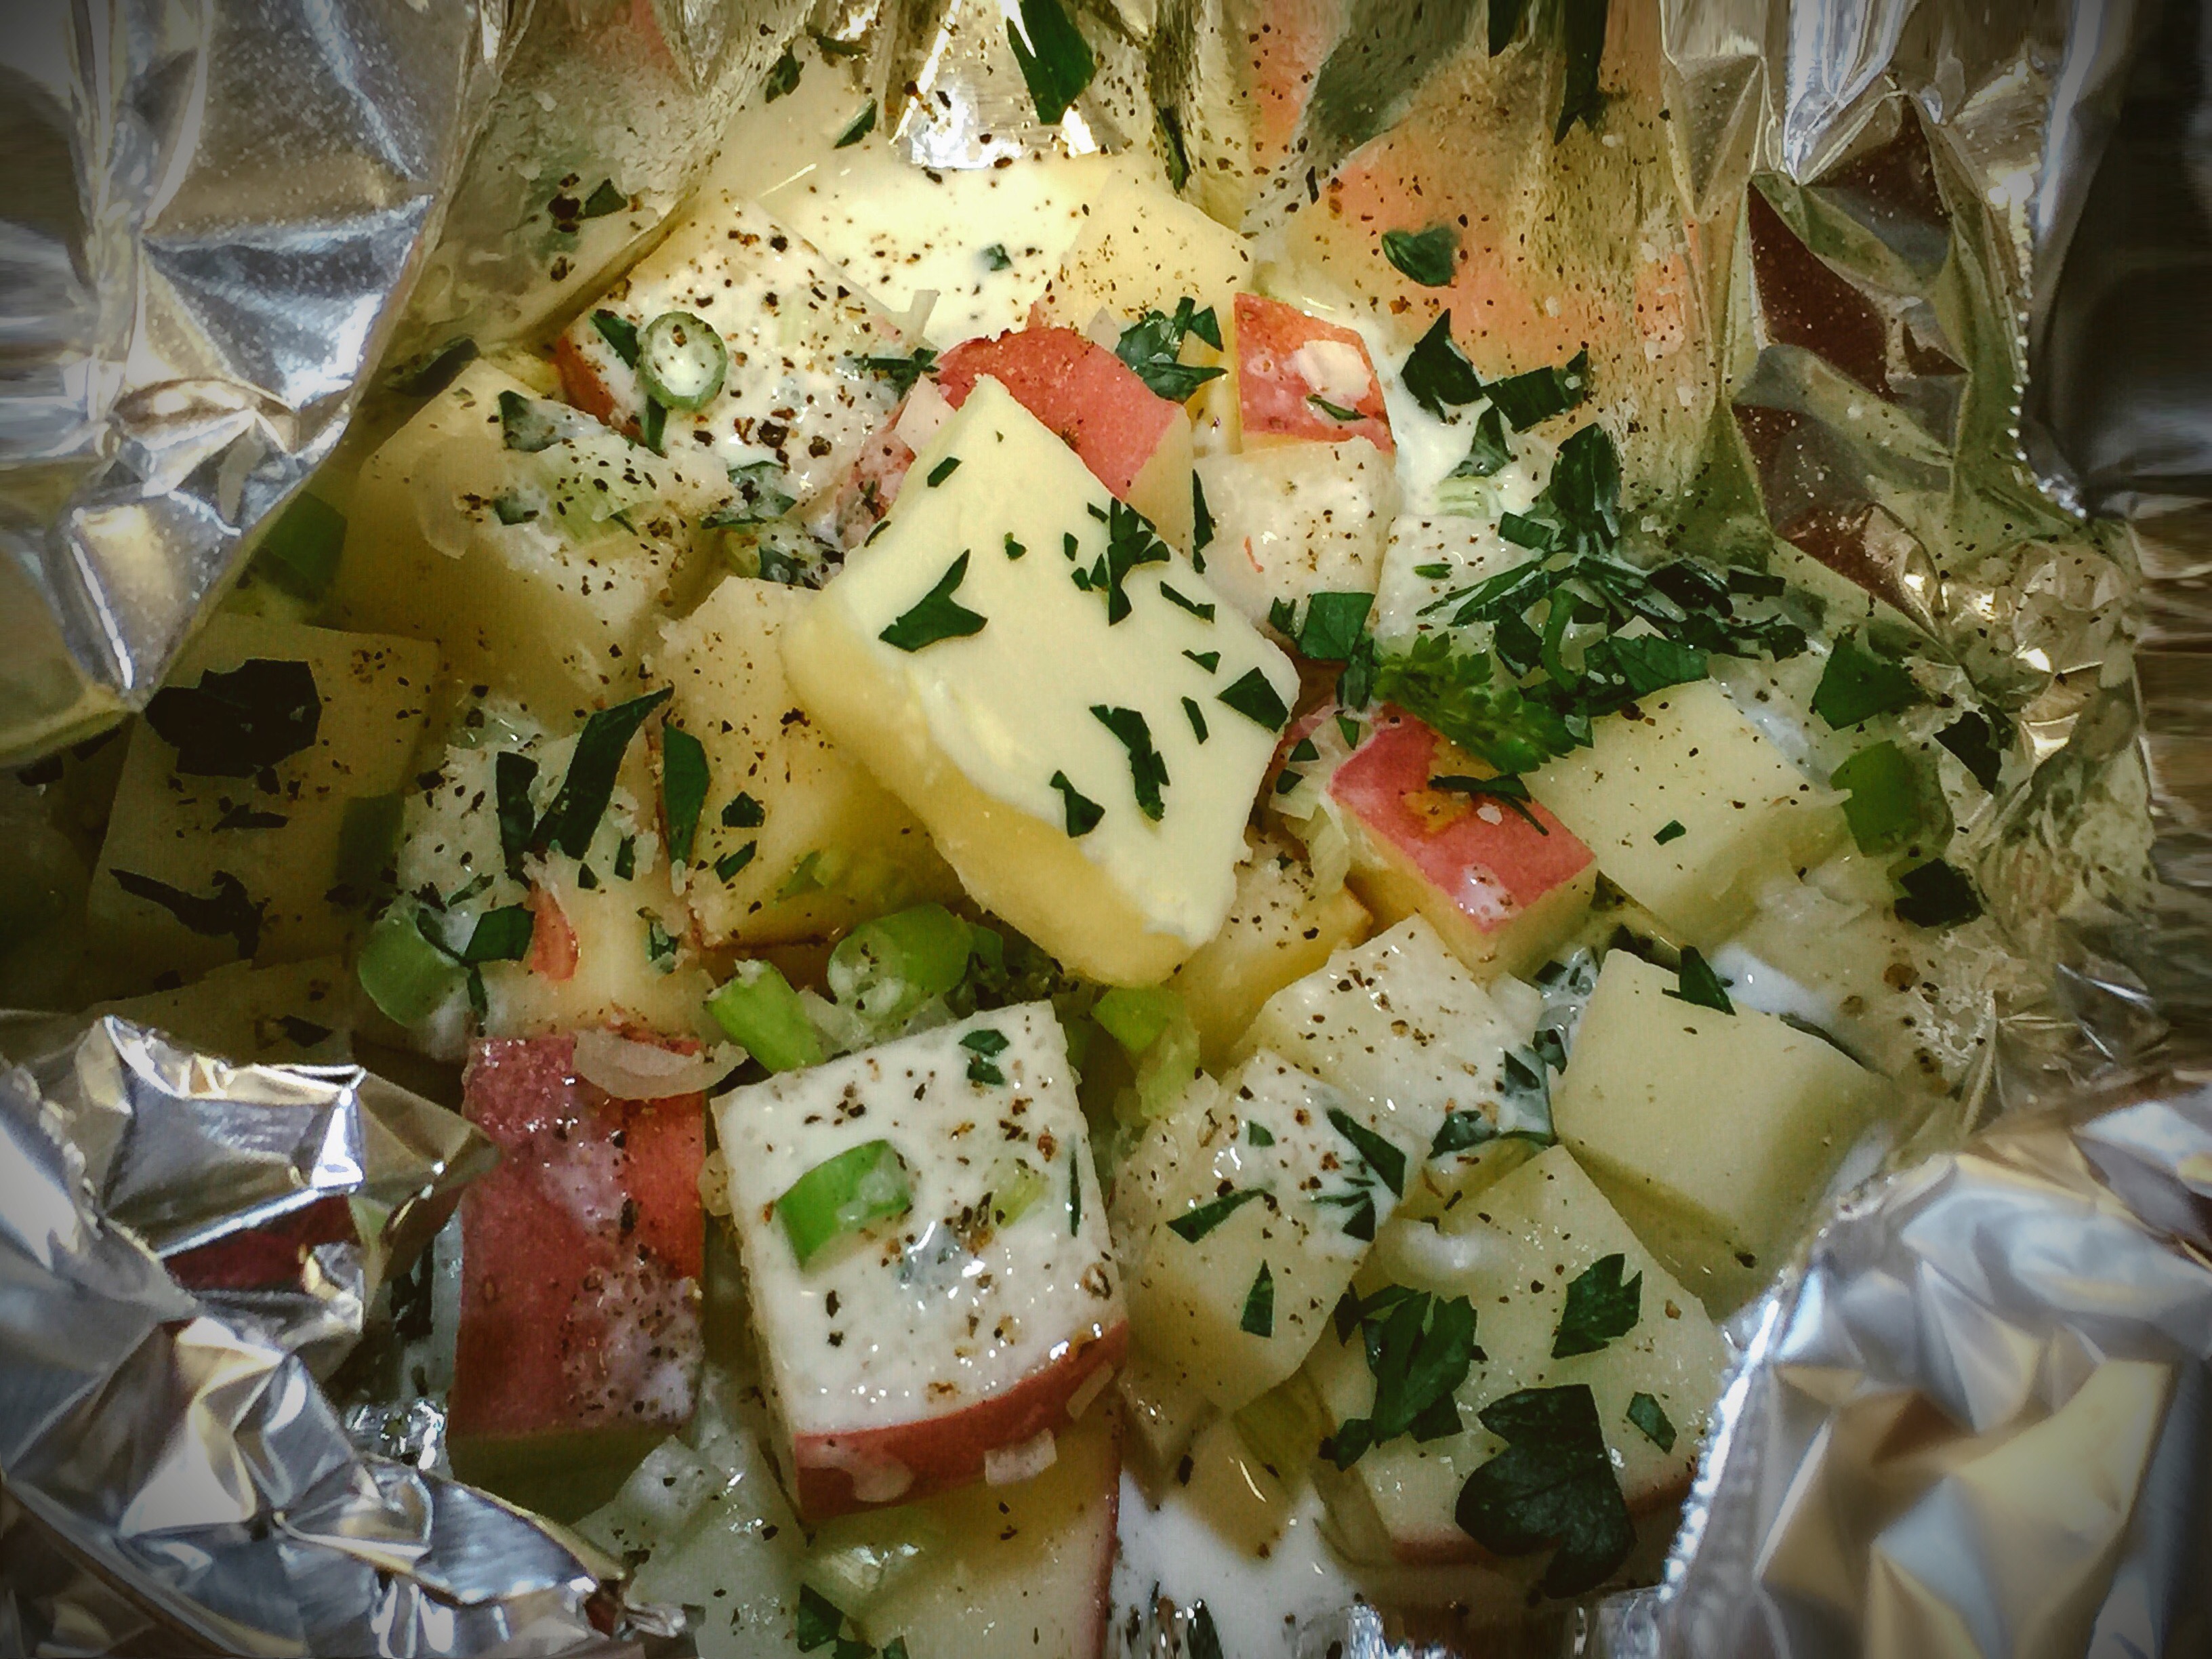
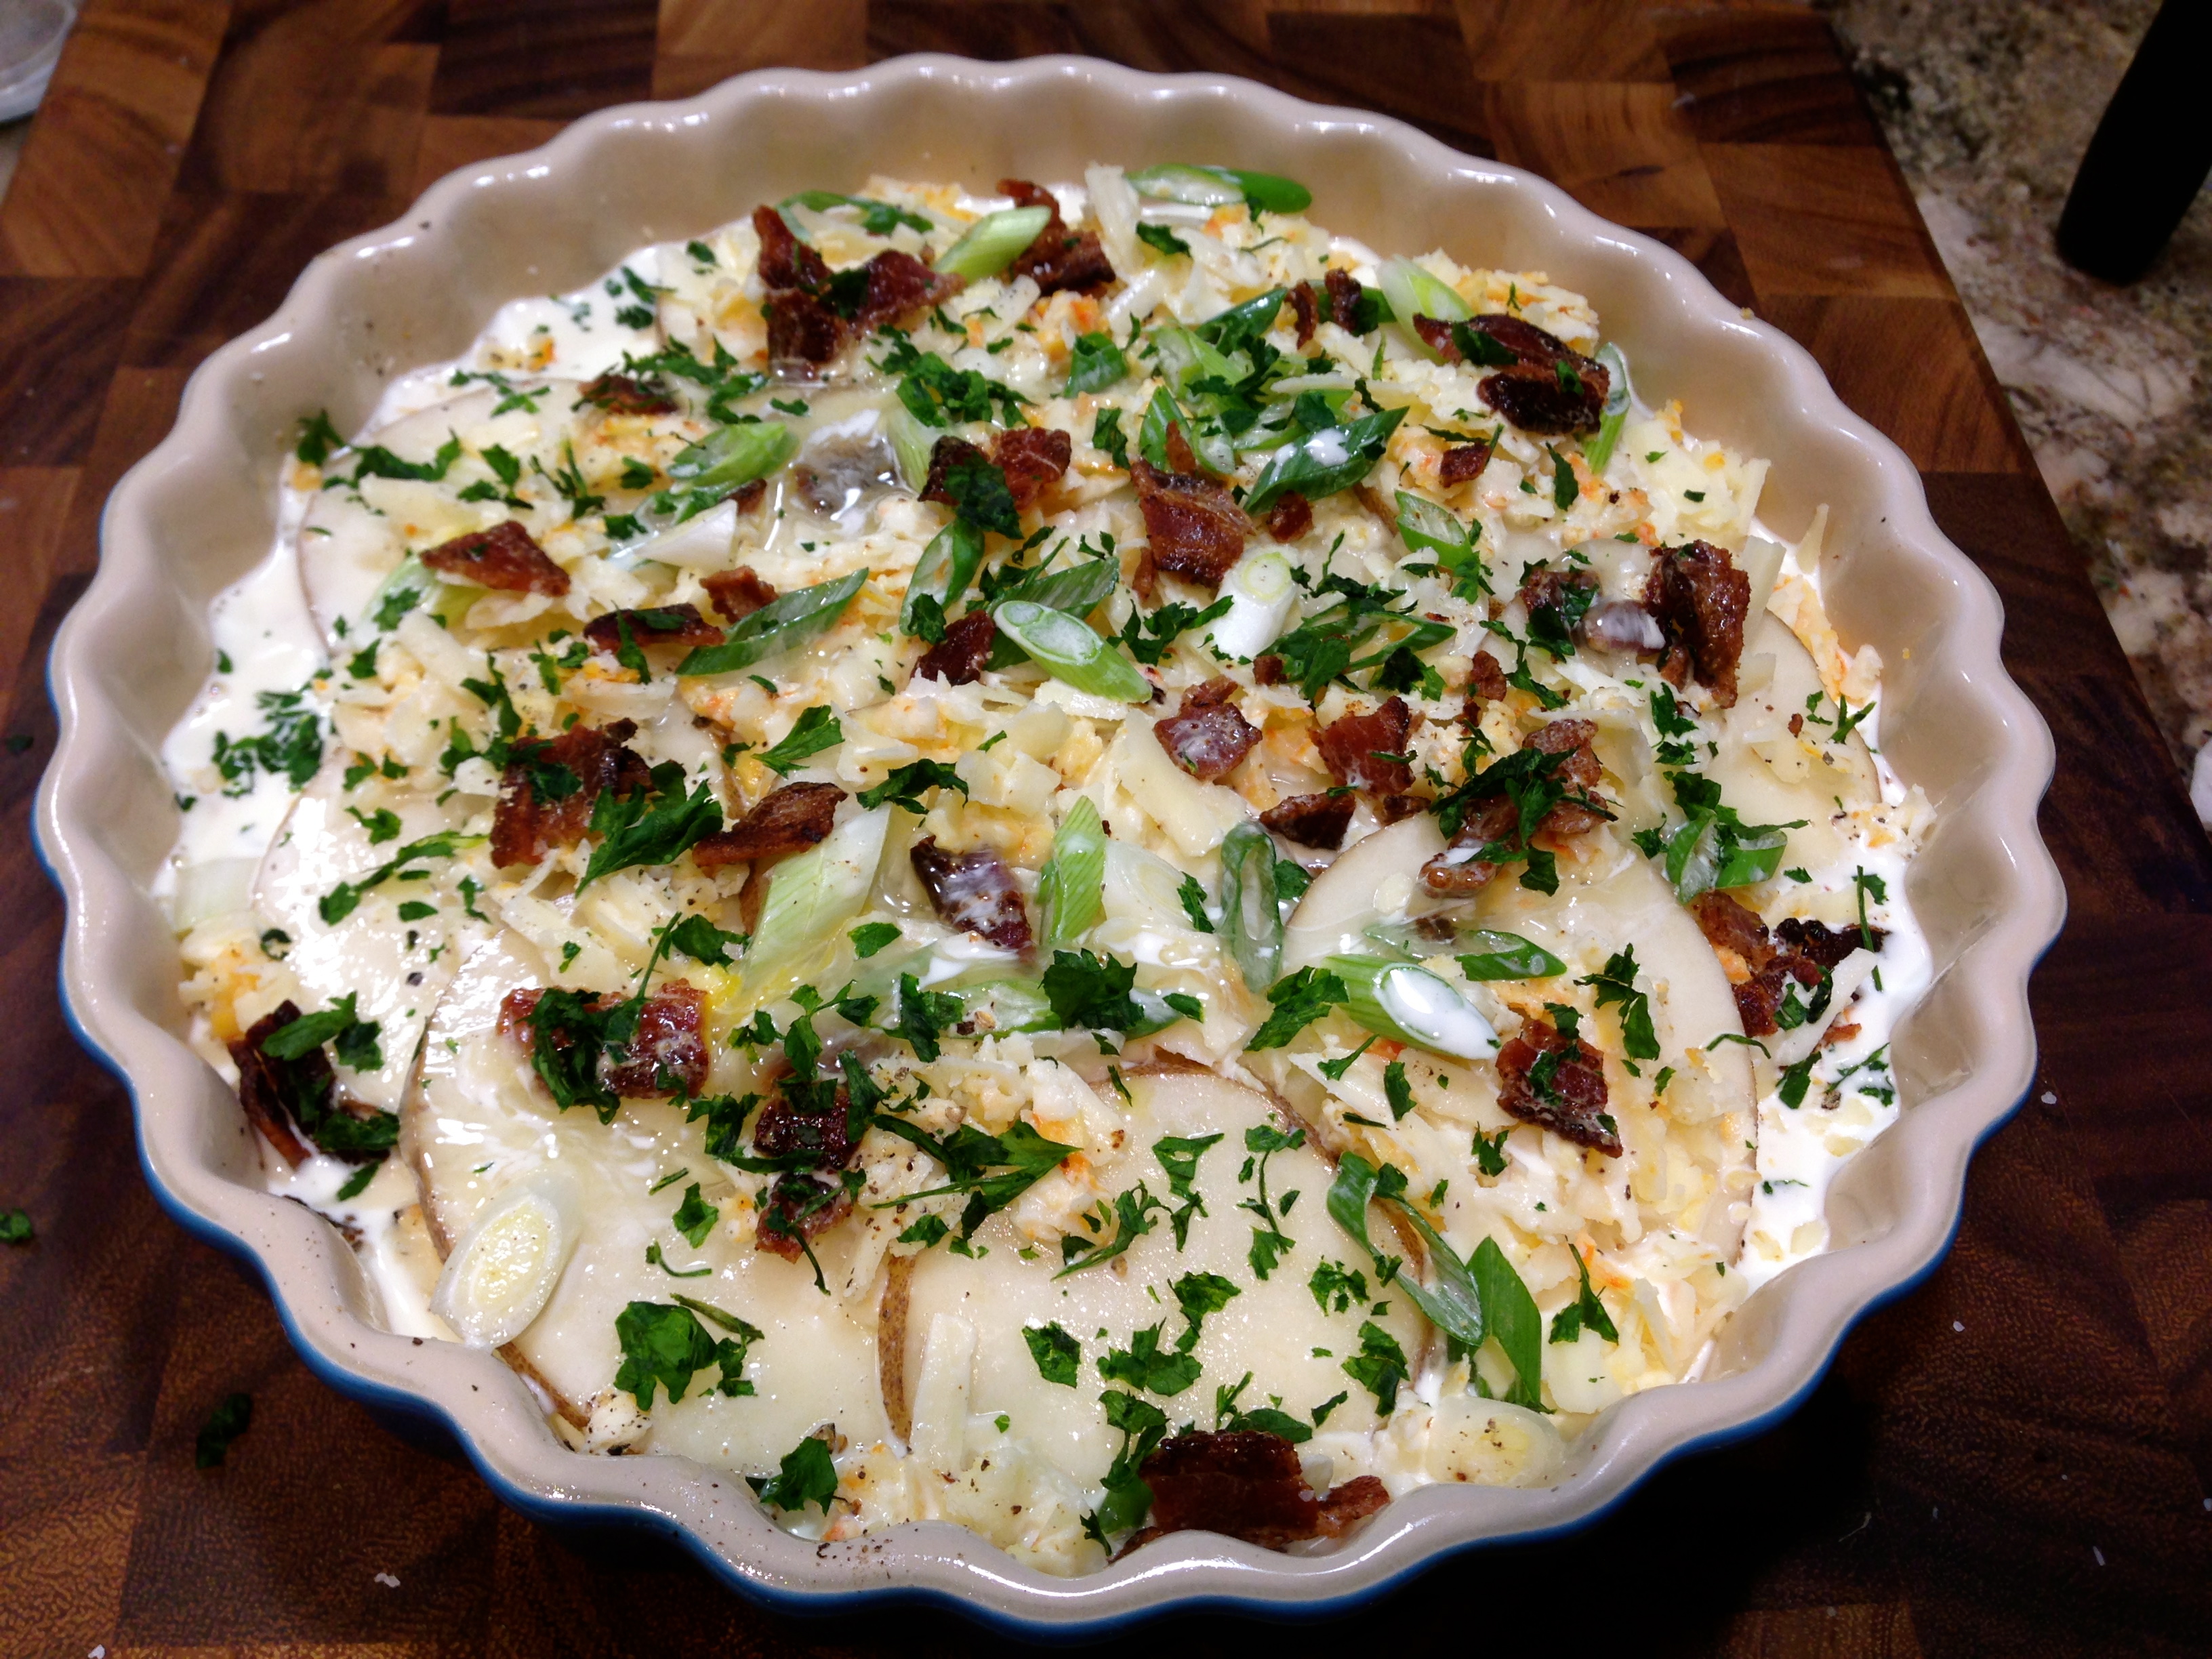
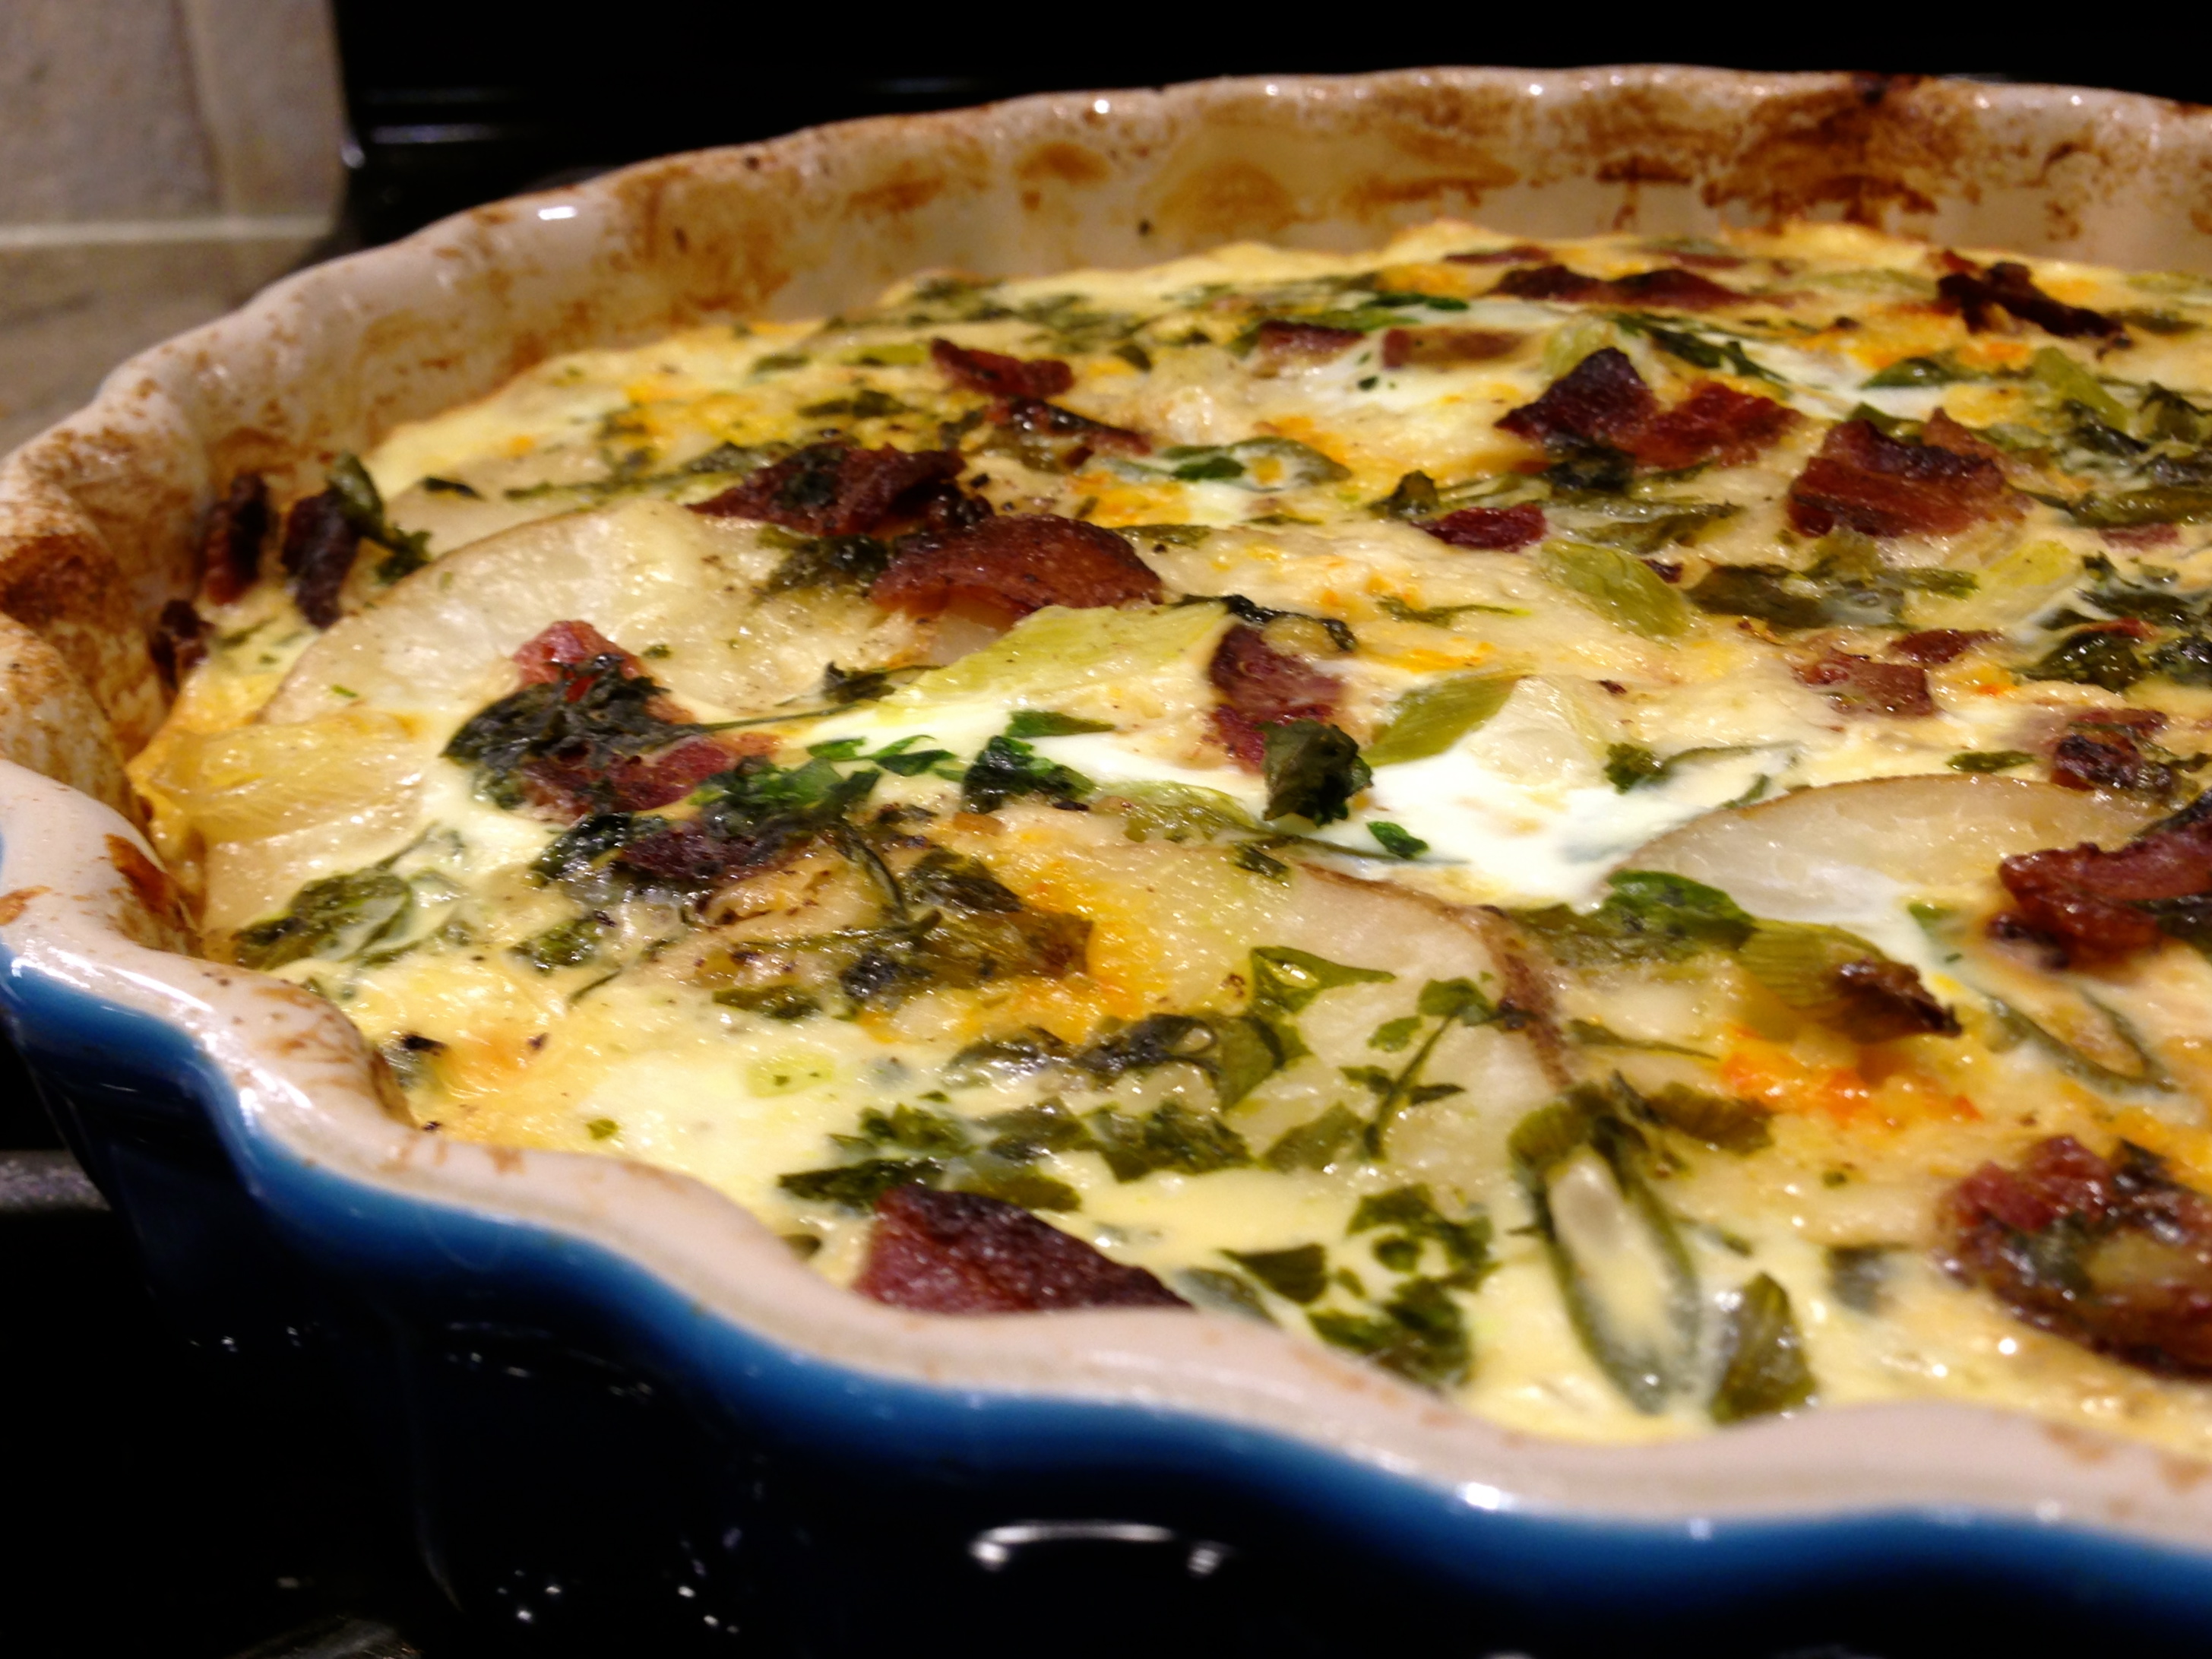
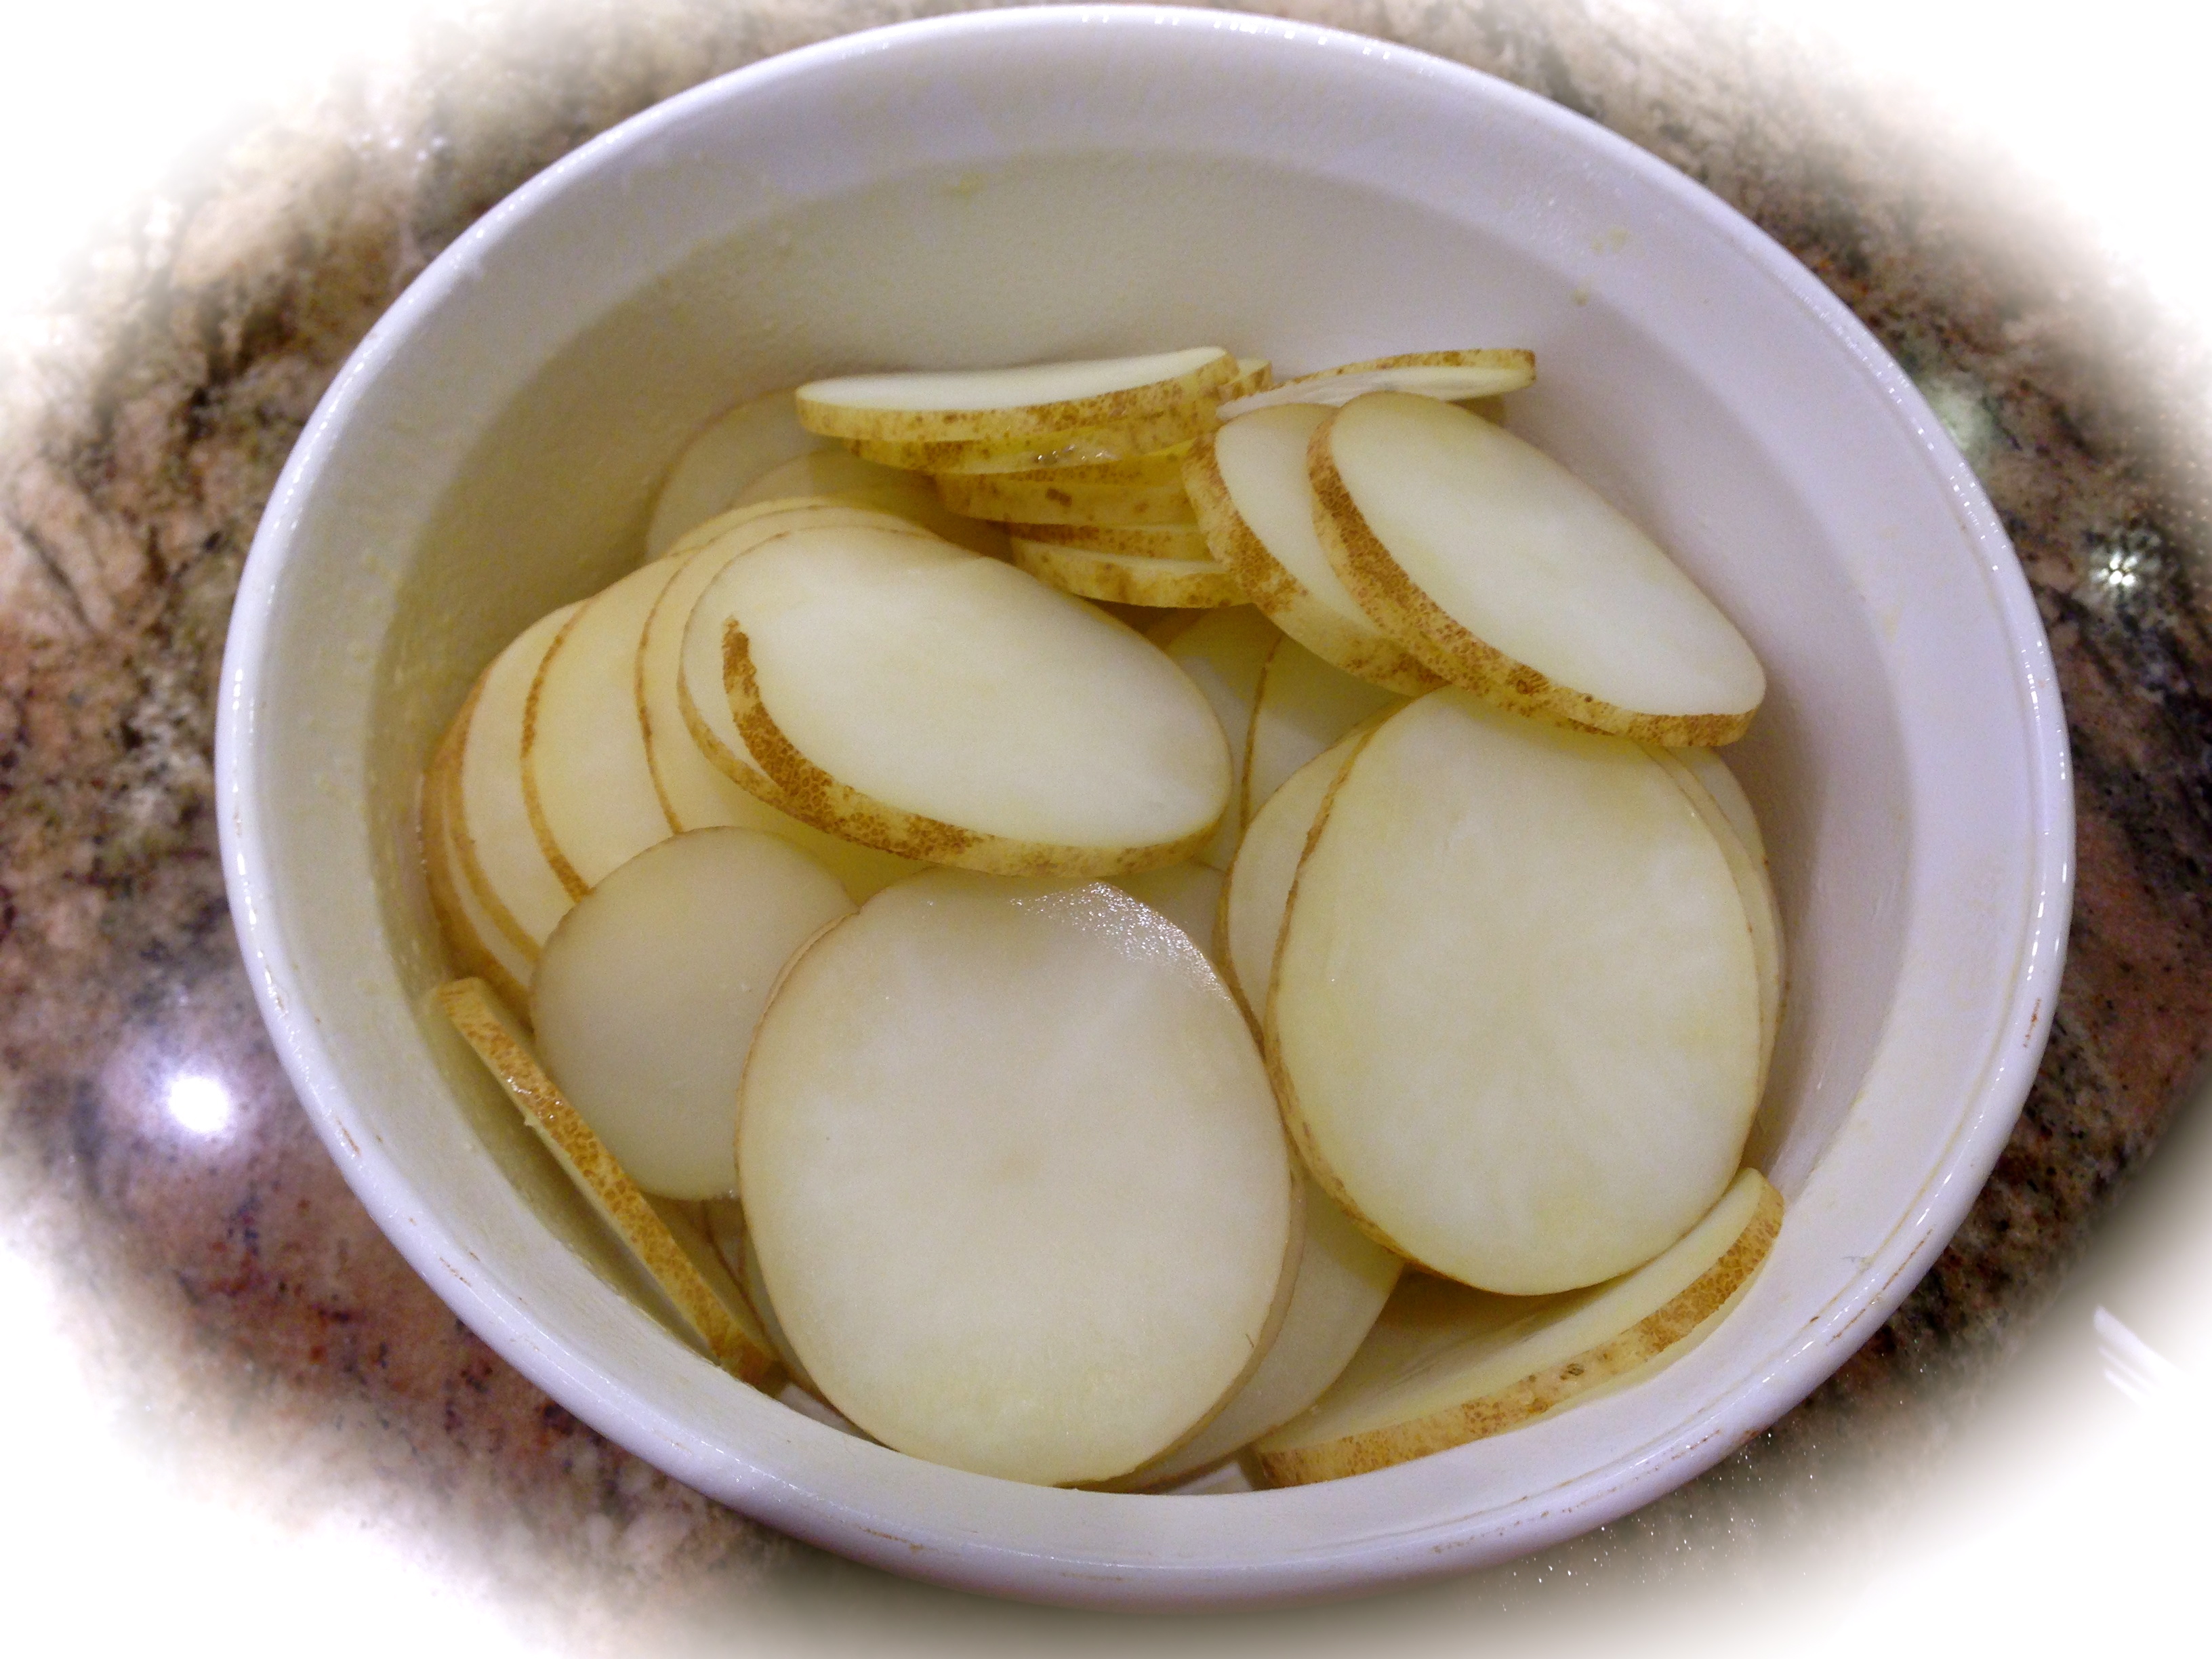
 The last thing you want to have happen is for the potatoes to oxidize and turn brown while waiting to be grated. Once you peel them put them in a bowl of cold water until you are ready to grate them. That way they will not turn brown on you.


 Lesson Learned 3 – If you’ve never had it, try some mint jelly with your lamb chops: I was introduced to lamb chops with mint jelly when I was a kid. I was at a friend’s house for dinner and this is what was served. I never had lamb before and didn’t know what to think. At the time I was not all that enamored with the flavor but was afraid to say anything to my friend’s mom so I just said it was fabulous. Because of that, she made lamb with mint jelly every time I came over for dinner. I learned to love it, and now it is one of my all time favorites. Just use a little jelly with a piece of lamb. The flavor combination is to die for!