Ravioli Casserole…

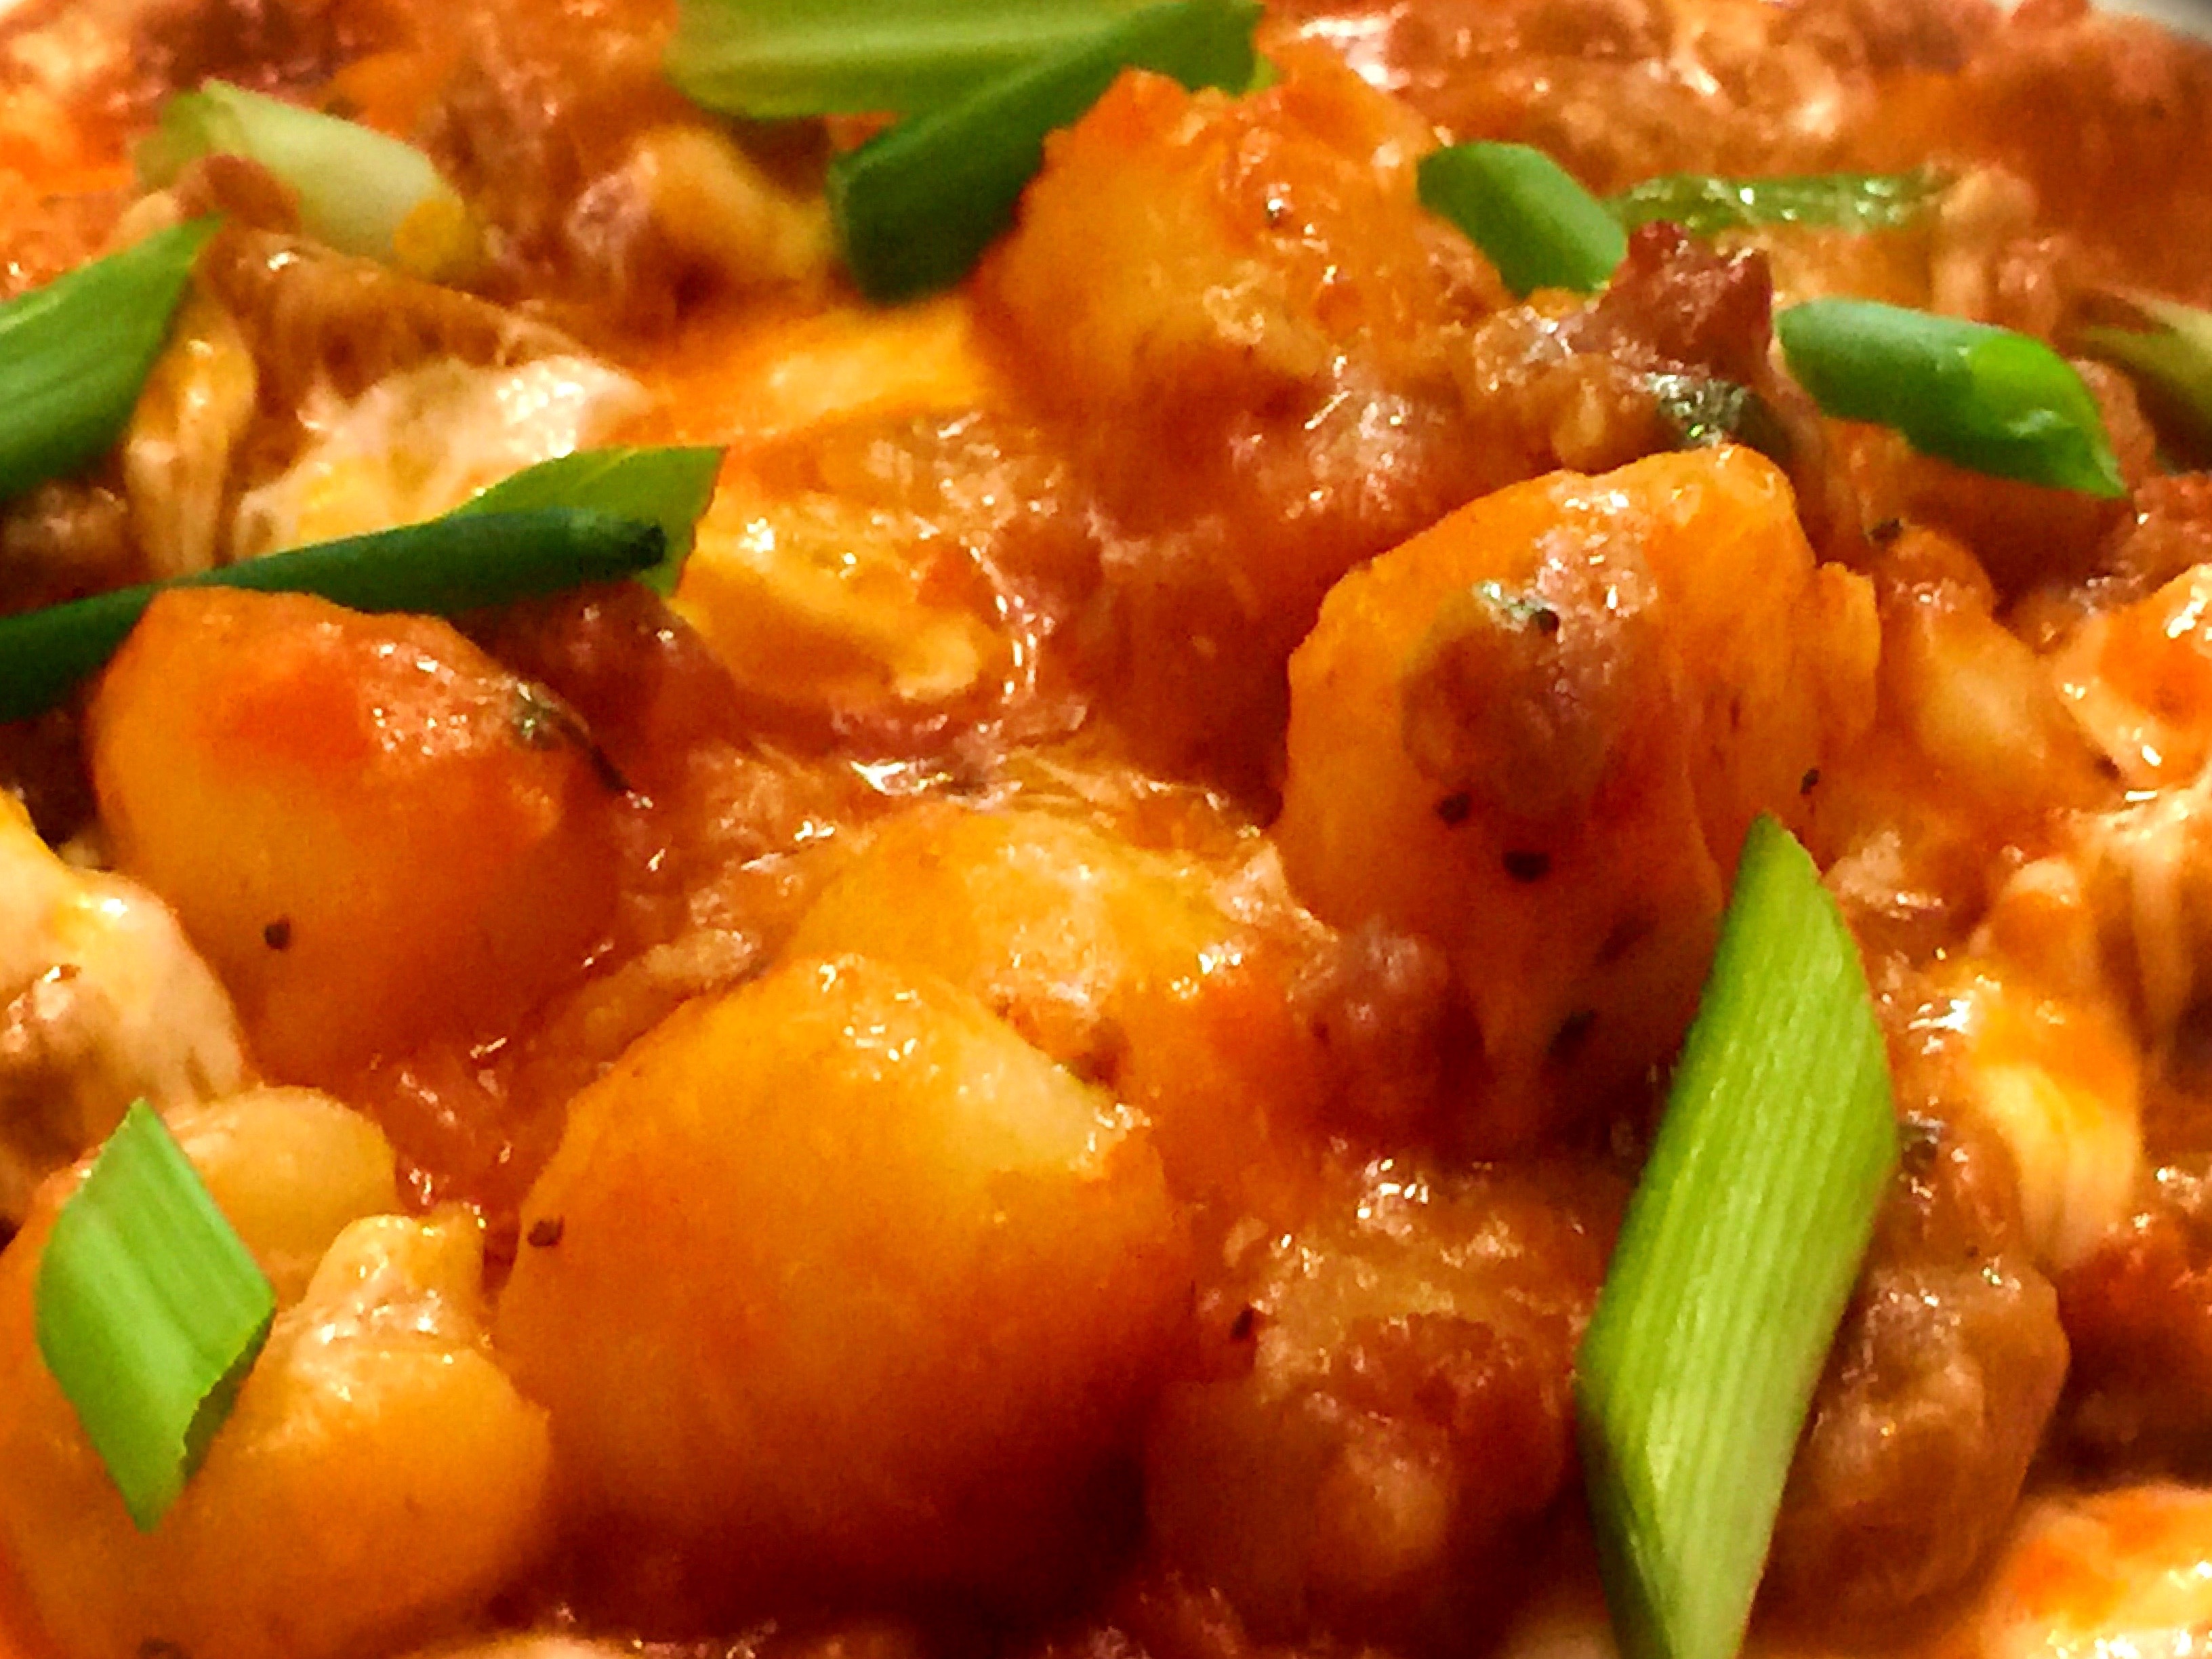
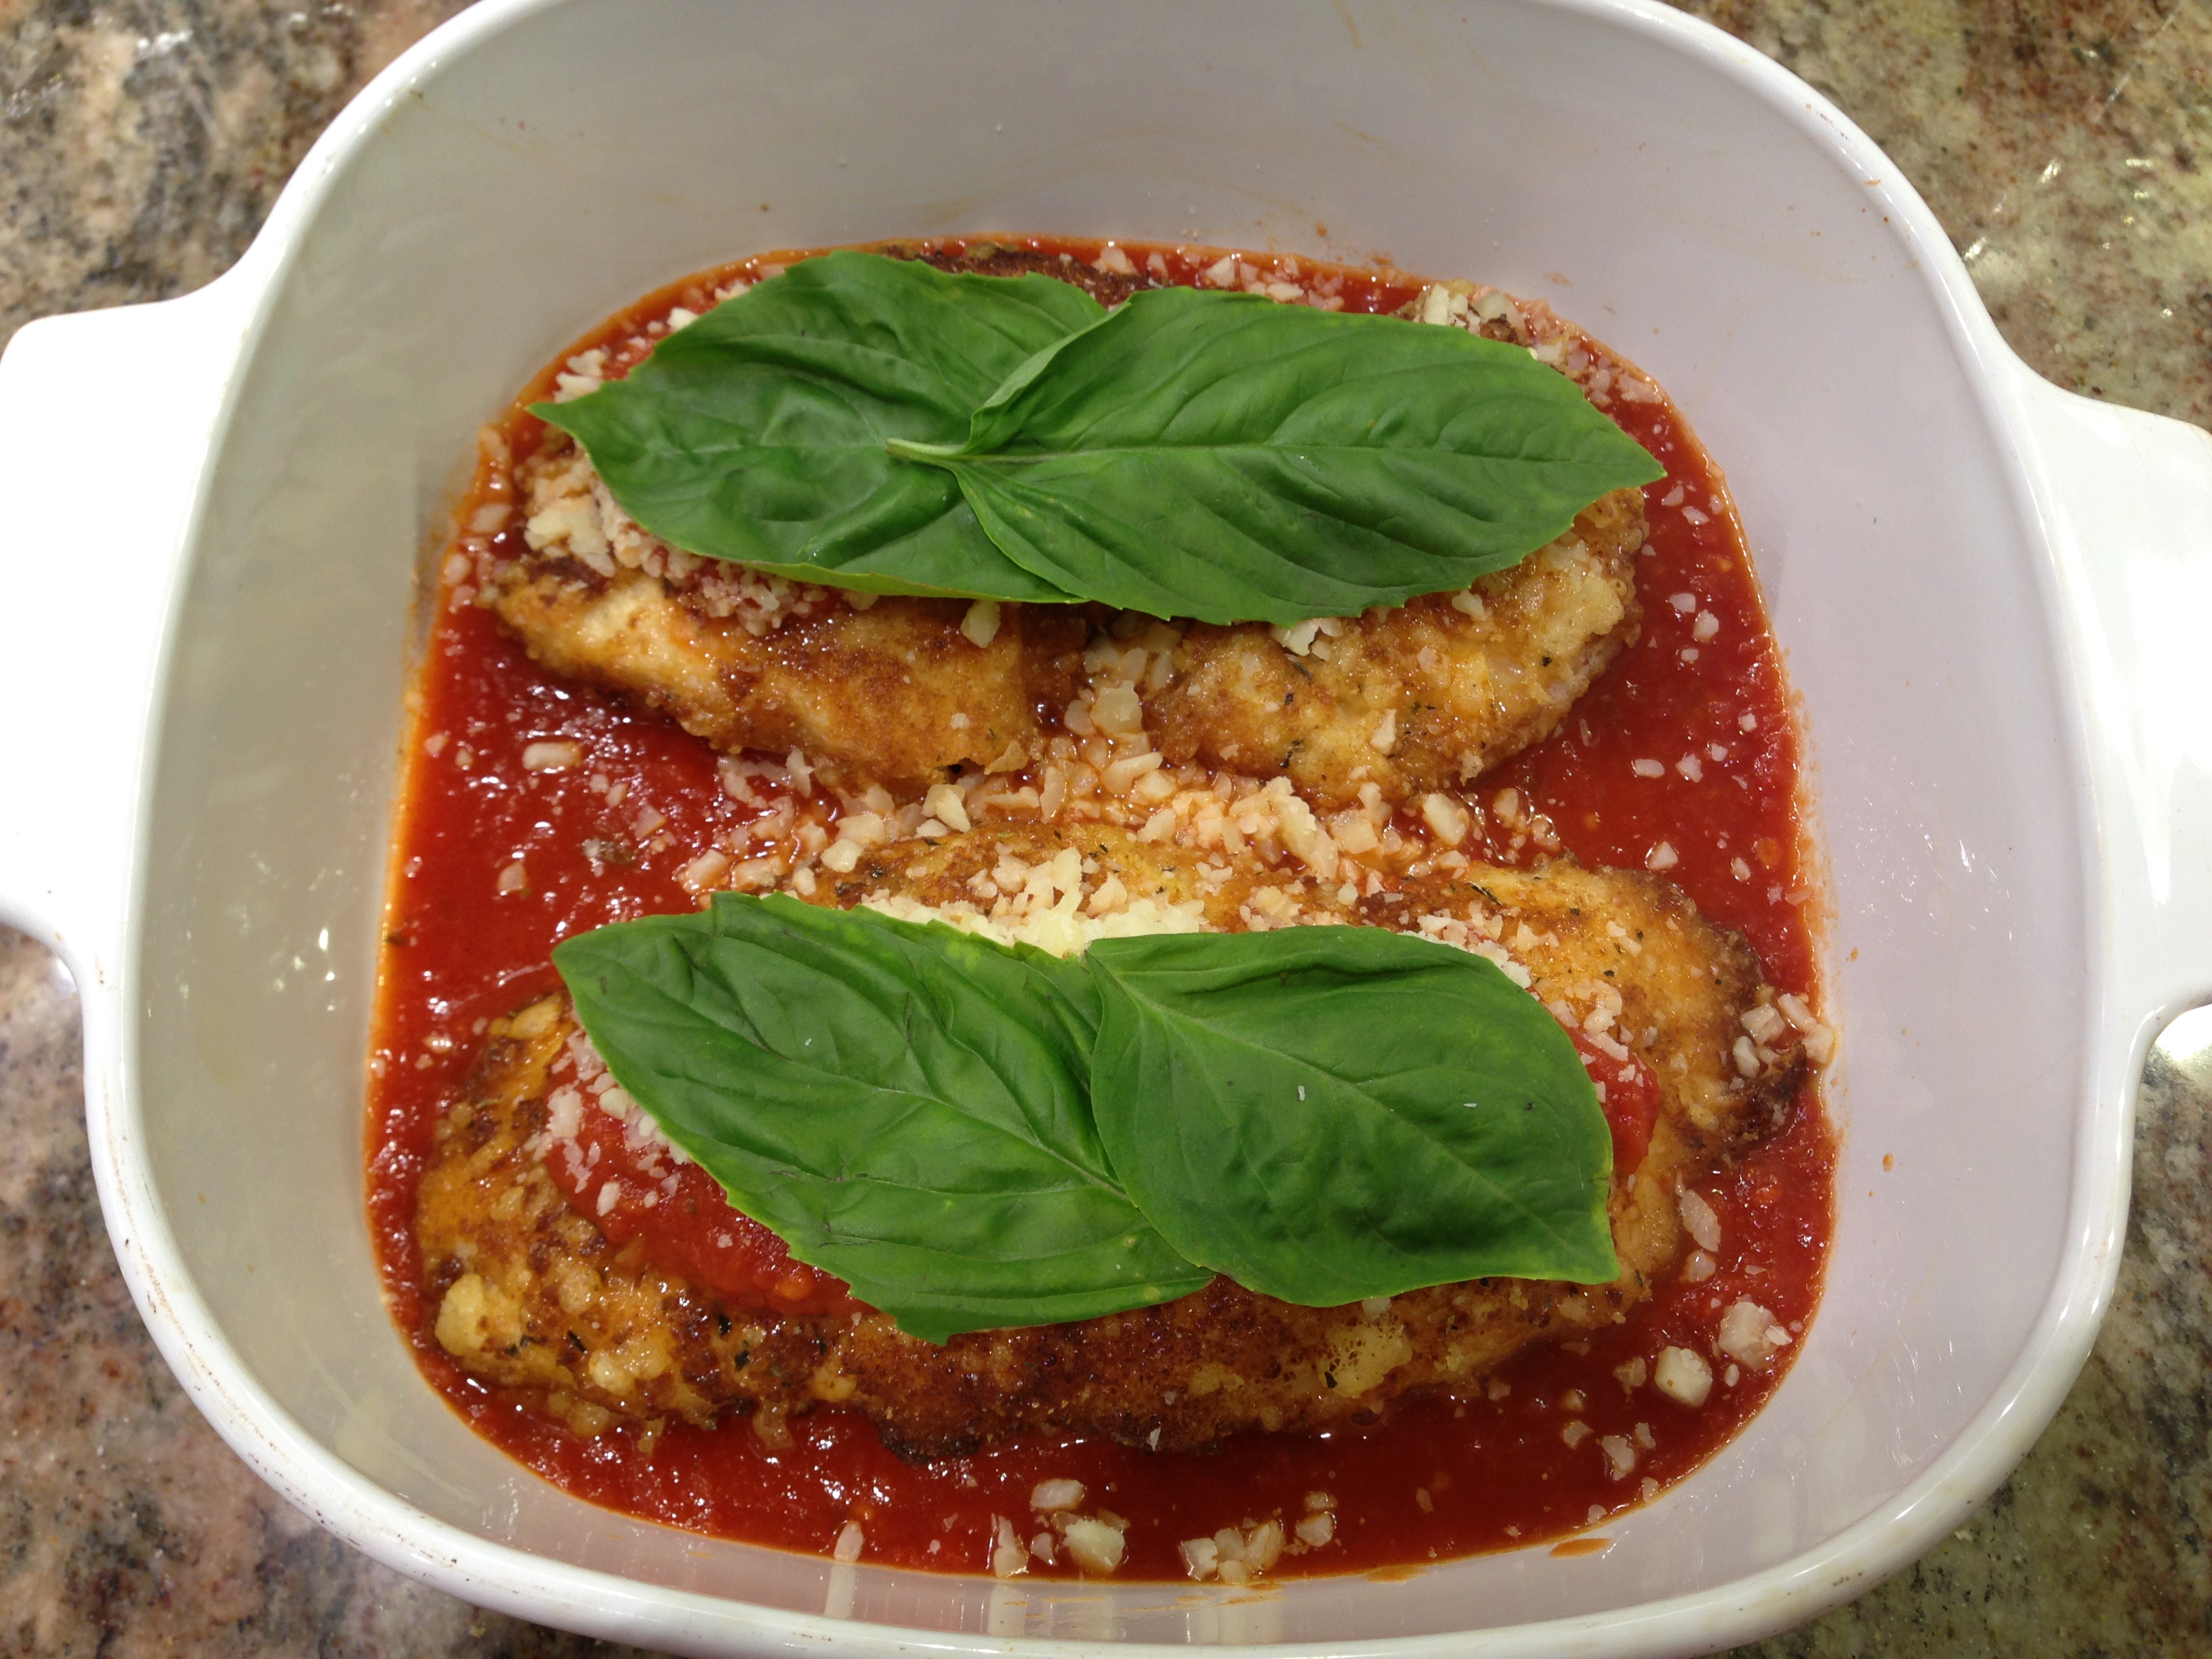
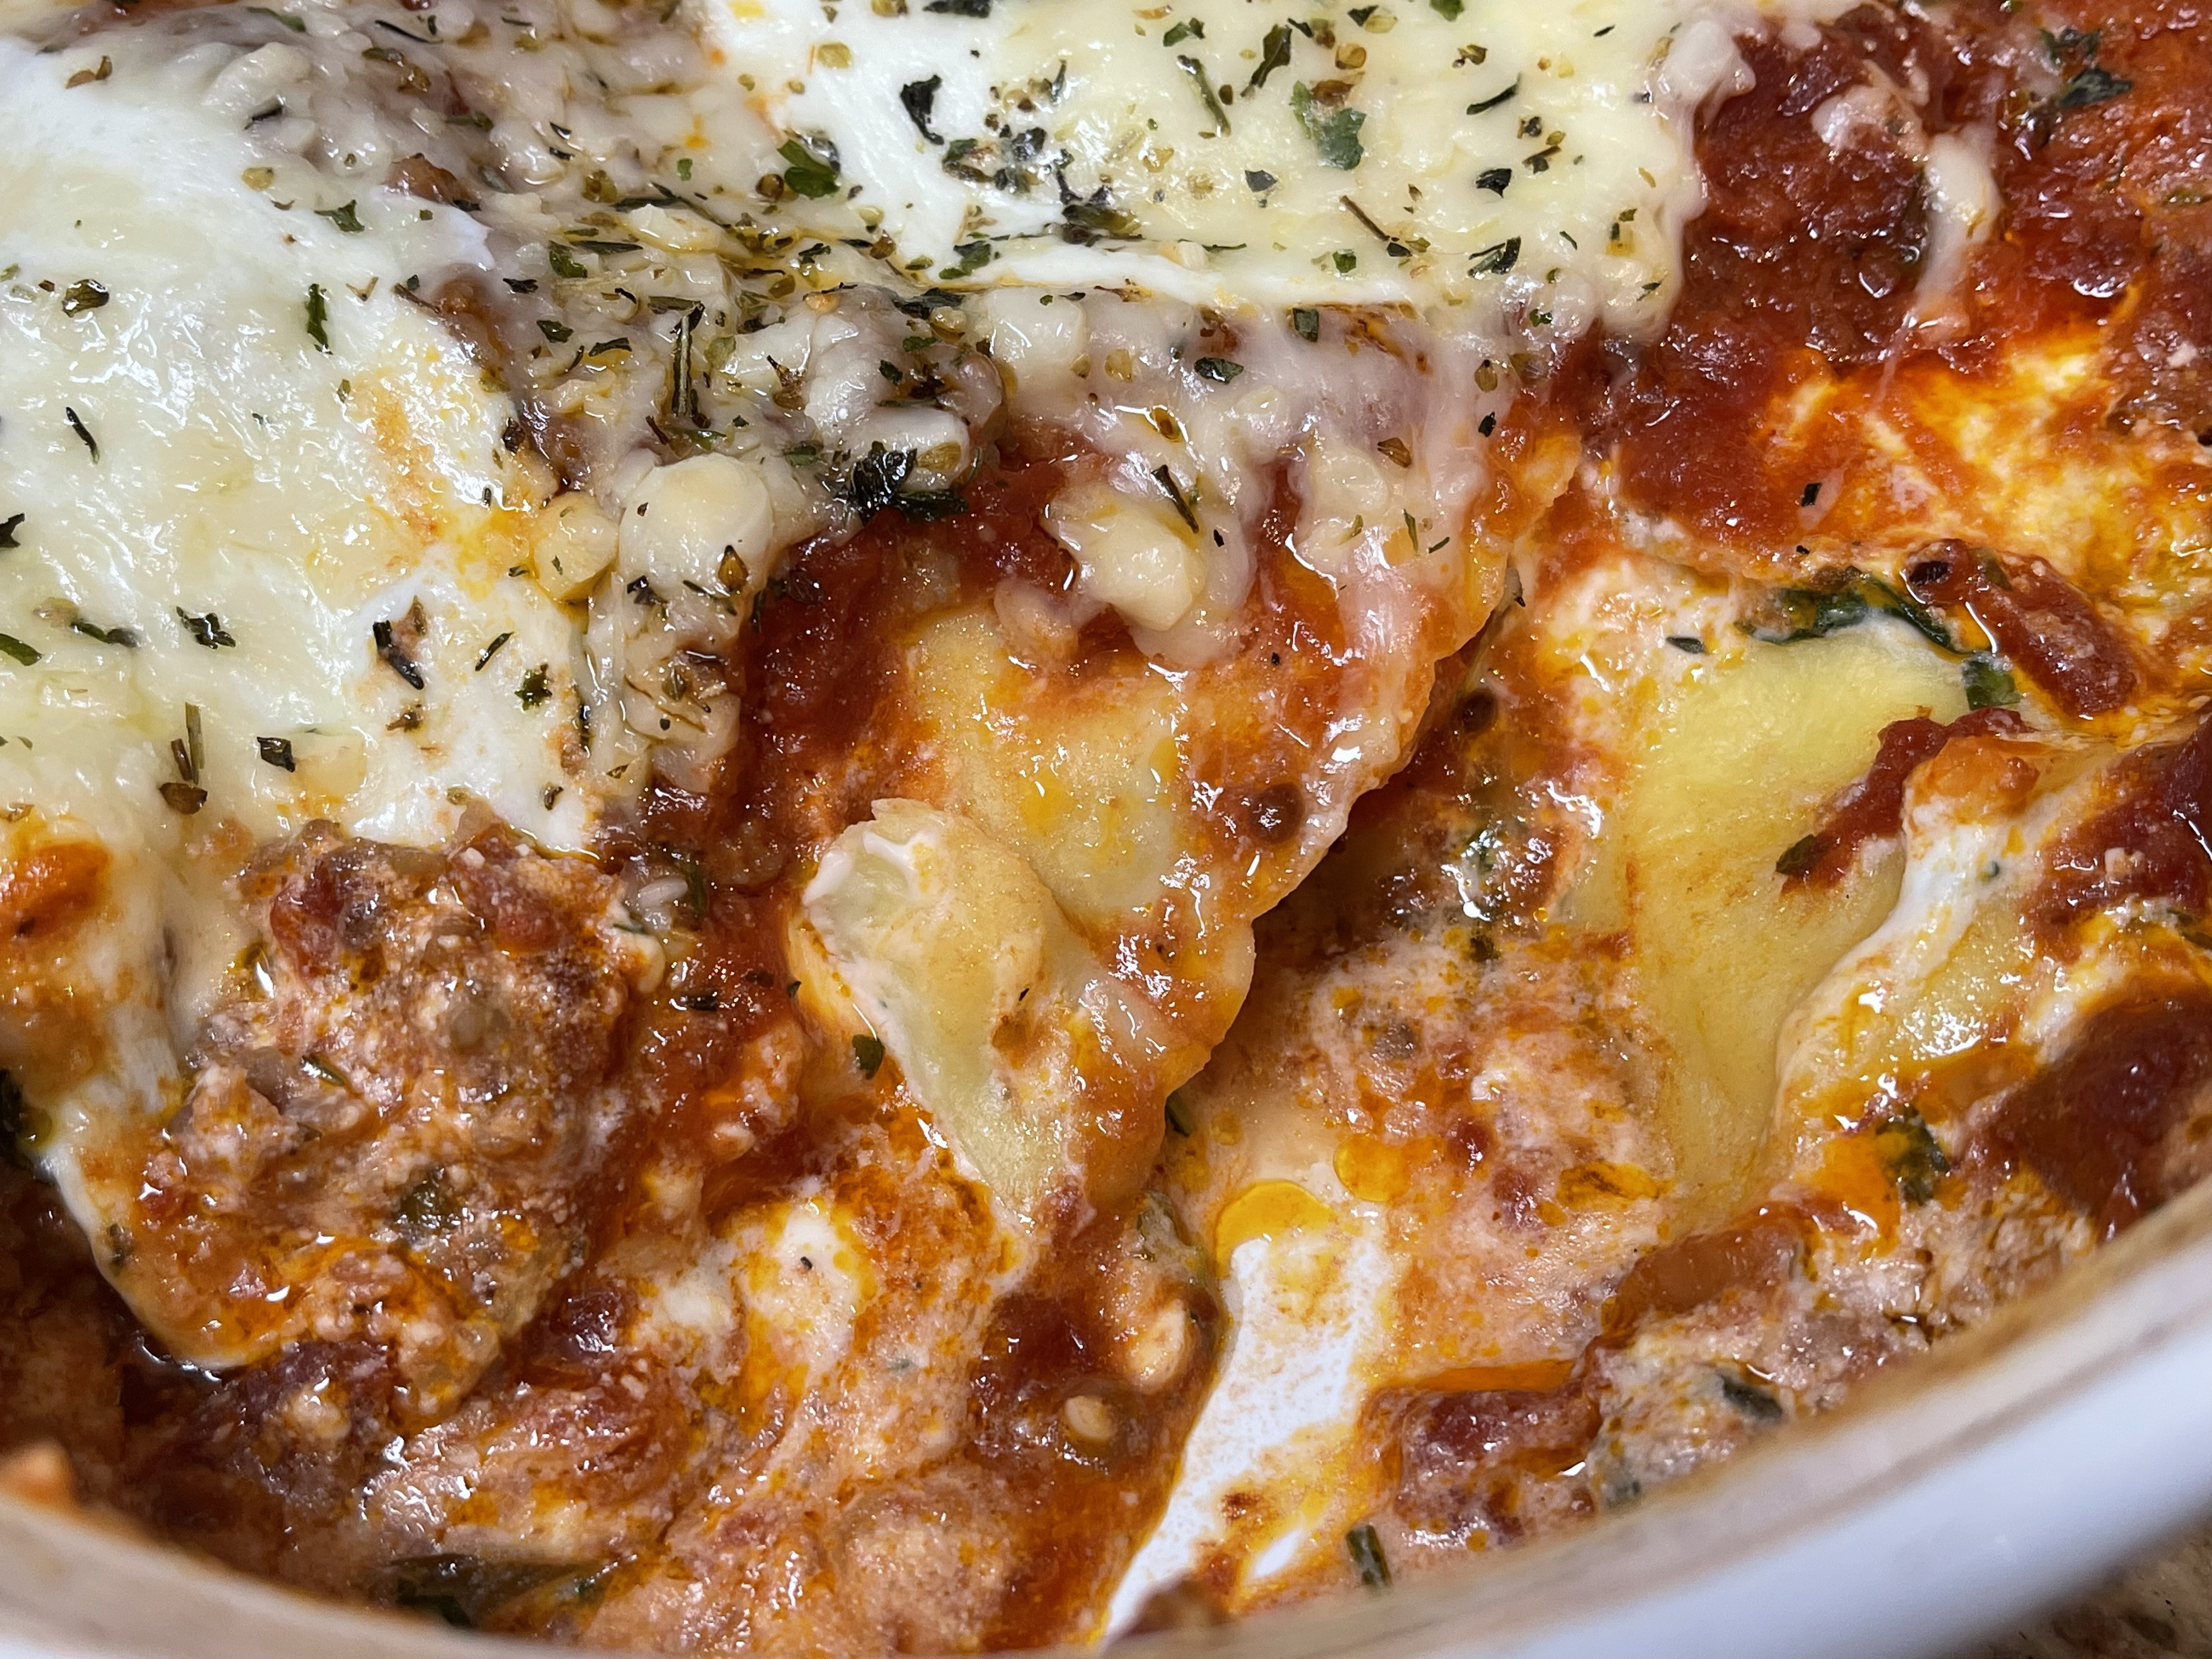
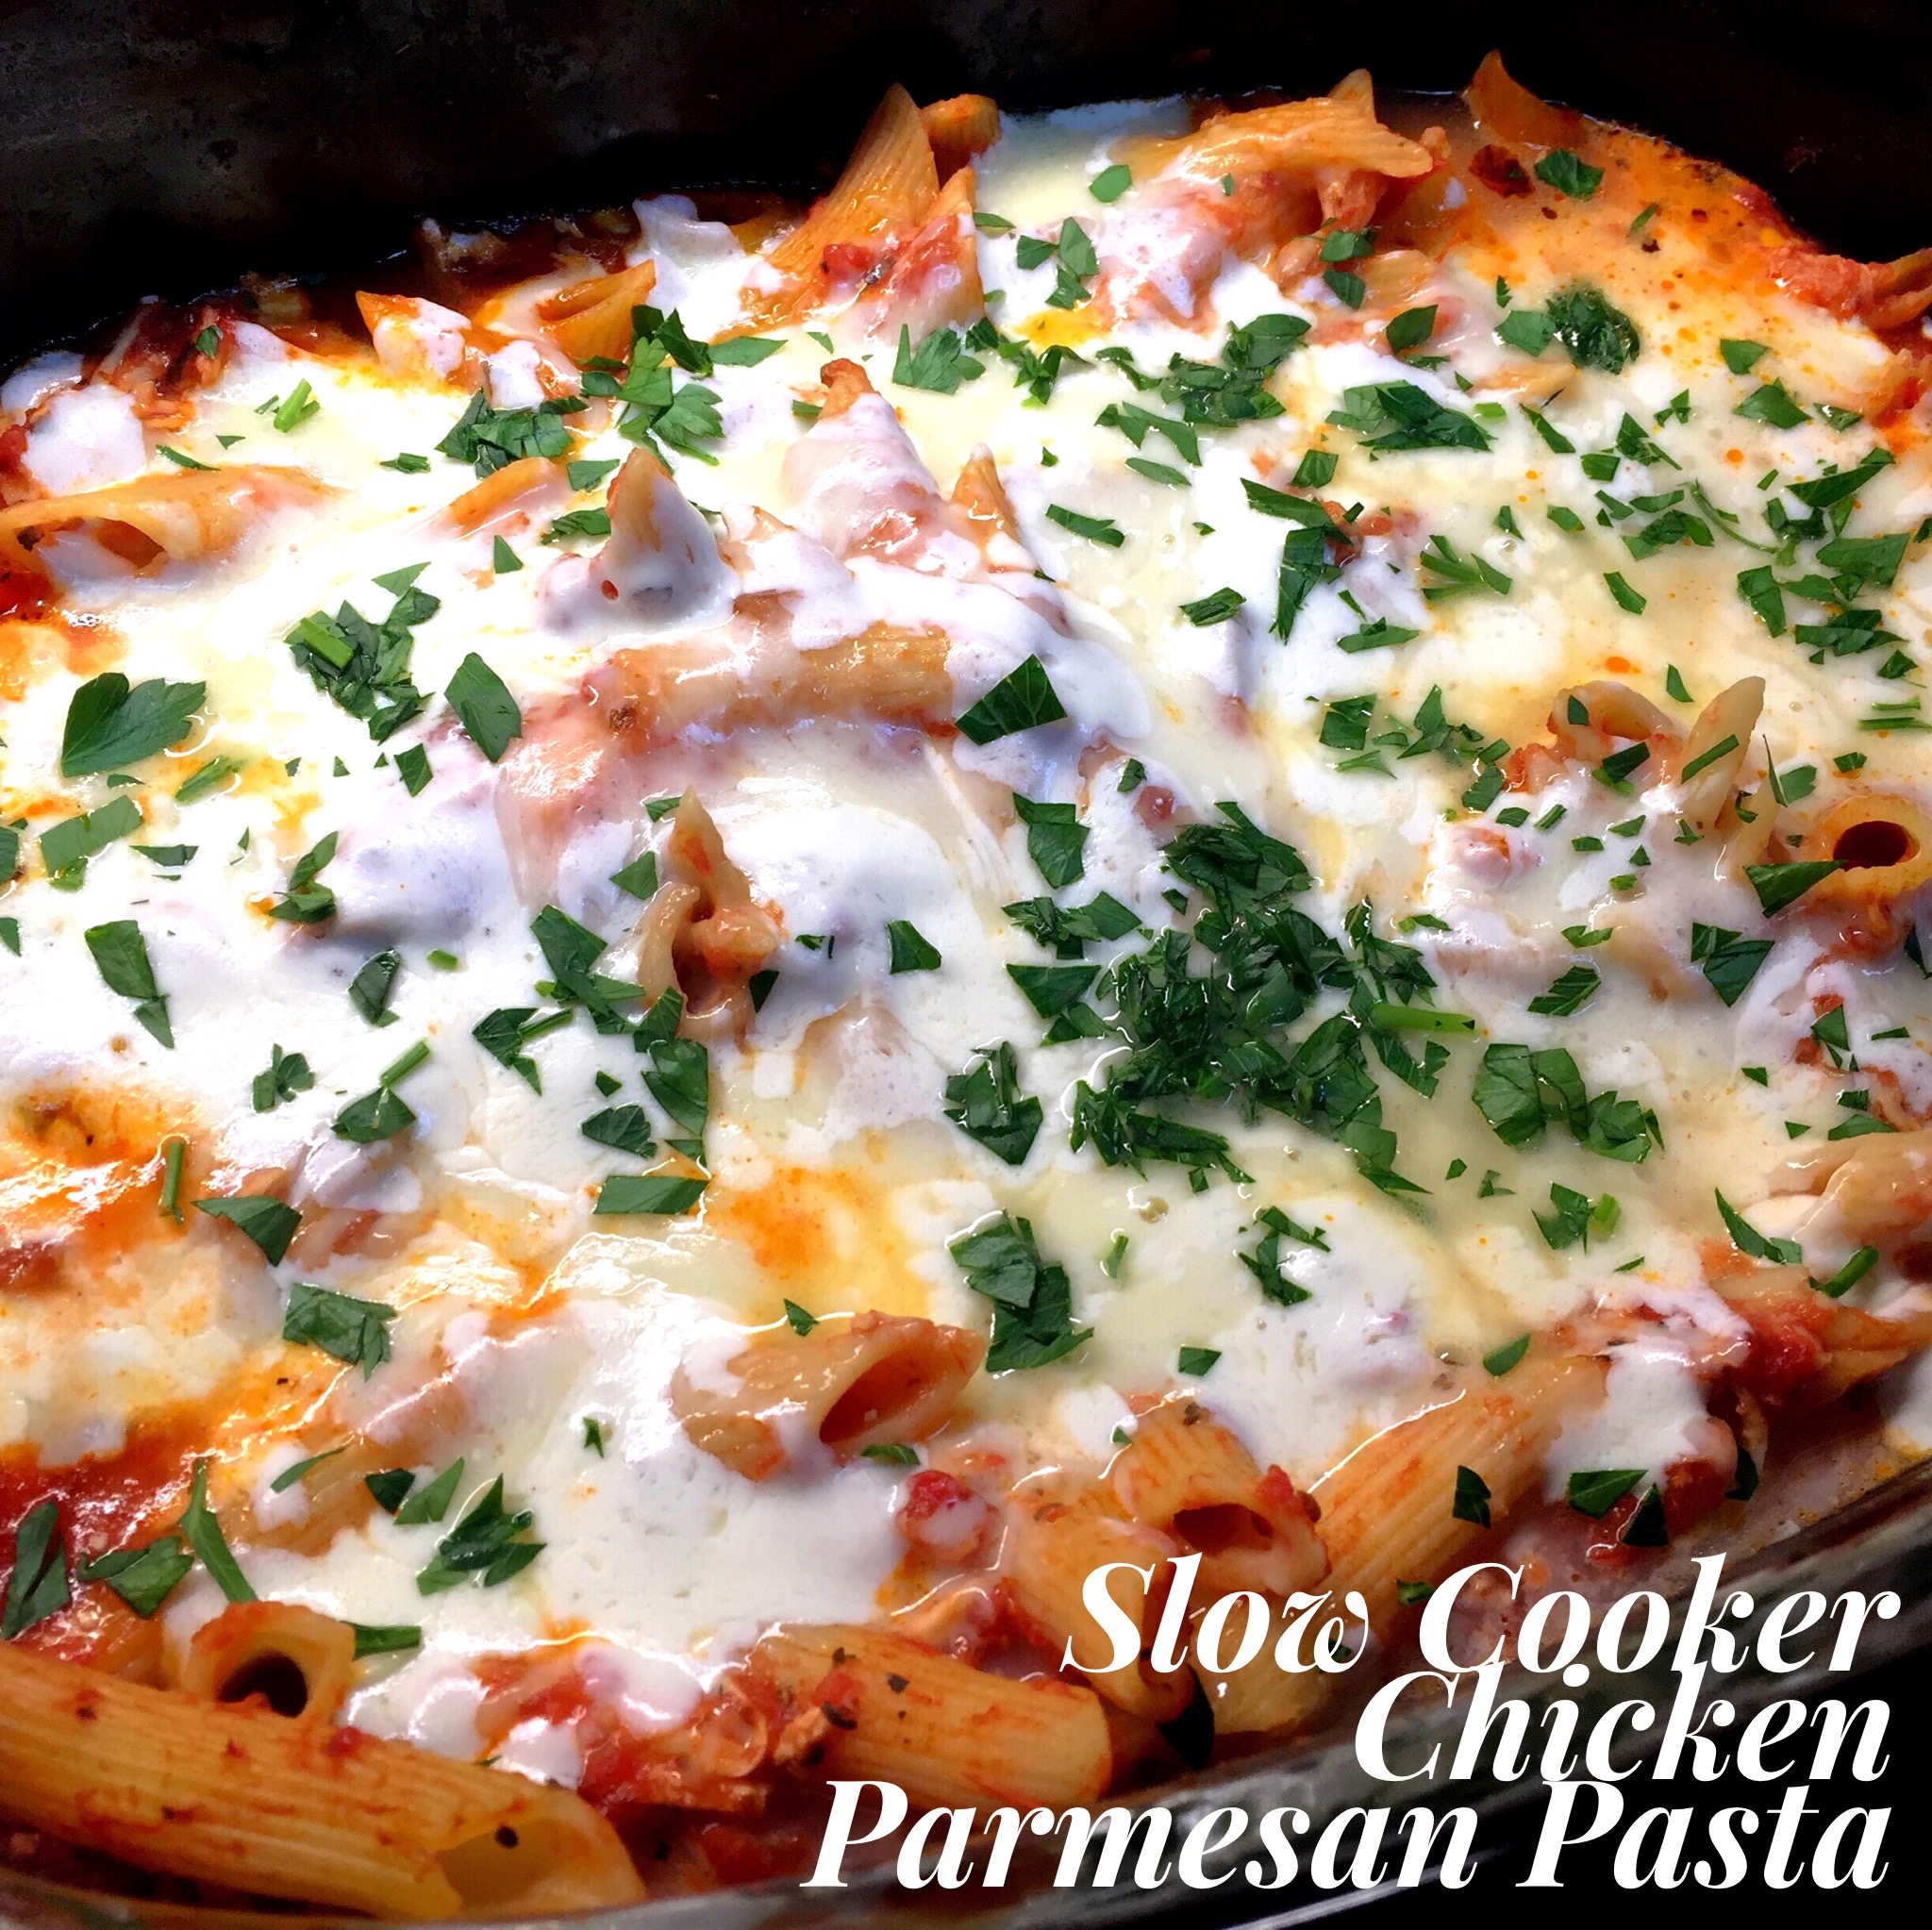
Lately I found myself buying store bought food and doctoring it up. It’s a great way to get a quick meal on the table but with some fresh flavors you don’t often find in simple store bought food. This time I decided to take a package of chicken and mozzarella stuffed ravioli and create a casserole that was simply fabulous. I posted a couple of pictures online and got several requests to post the recipe. So here goes…

Lesson Learned 1 – Use a gourmet ravioli: Although the regular type ravioli (like Butoni) is fine, the type of ravioli I used was much bigger and more flavorful. I used a 9 ounce package of chicken and mozzarella stuffed ravioli that I bought at my local grocery store. 

Lesson Learned 2 – Don’t be afraid to experiment: I found a basic ravioli casserole recipe online and then added some additional agreements. Case in point, the recipe I used call for a 1/2 cup of cottage cheese. I substituted a half cup of whole milk ricotta. The ricotta/cream cheese mixture turned out divine and much better, at least in my estimation, by using the ricotta instead of the cottage cheese. But if all you have on hand is cottage cheese, use it. I also added some Italian seasoning both to the ravioli mixture and then on top of the casserole. And I cooked up some sweet Italian sausage and added it to the marinara sauce. I also added the mozzarella slices on top and that created a great gooey consistency to the casserole. So go ahead, be brave. It is so worth it. 

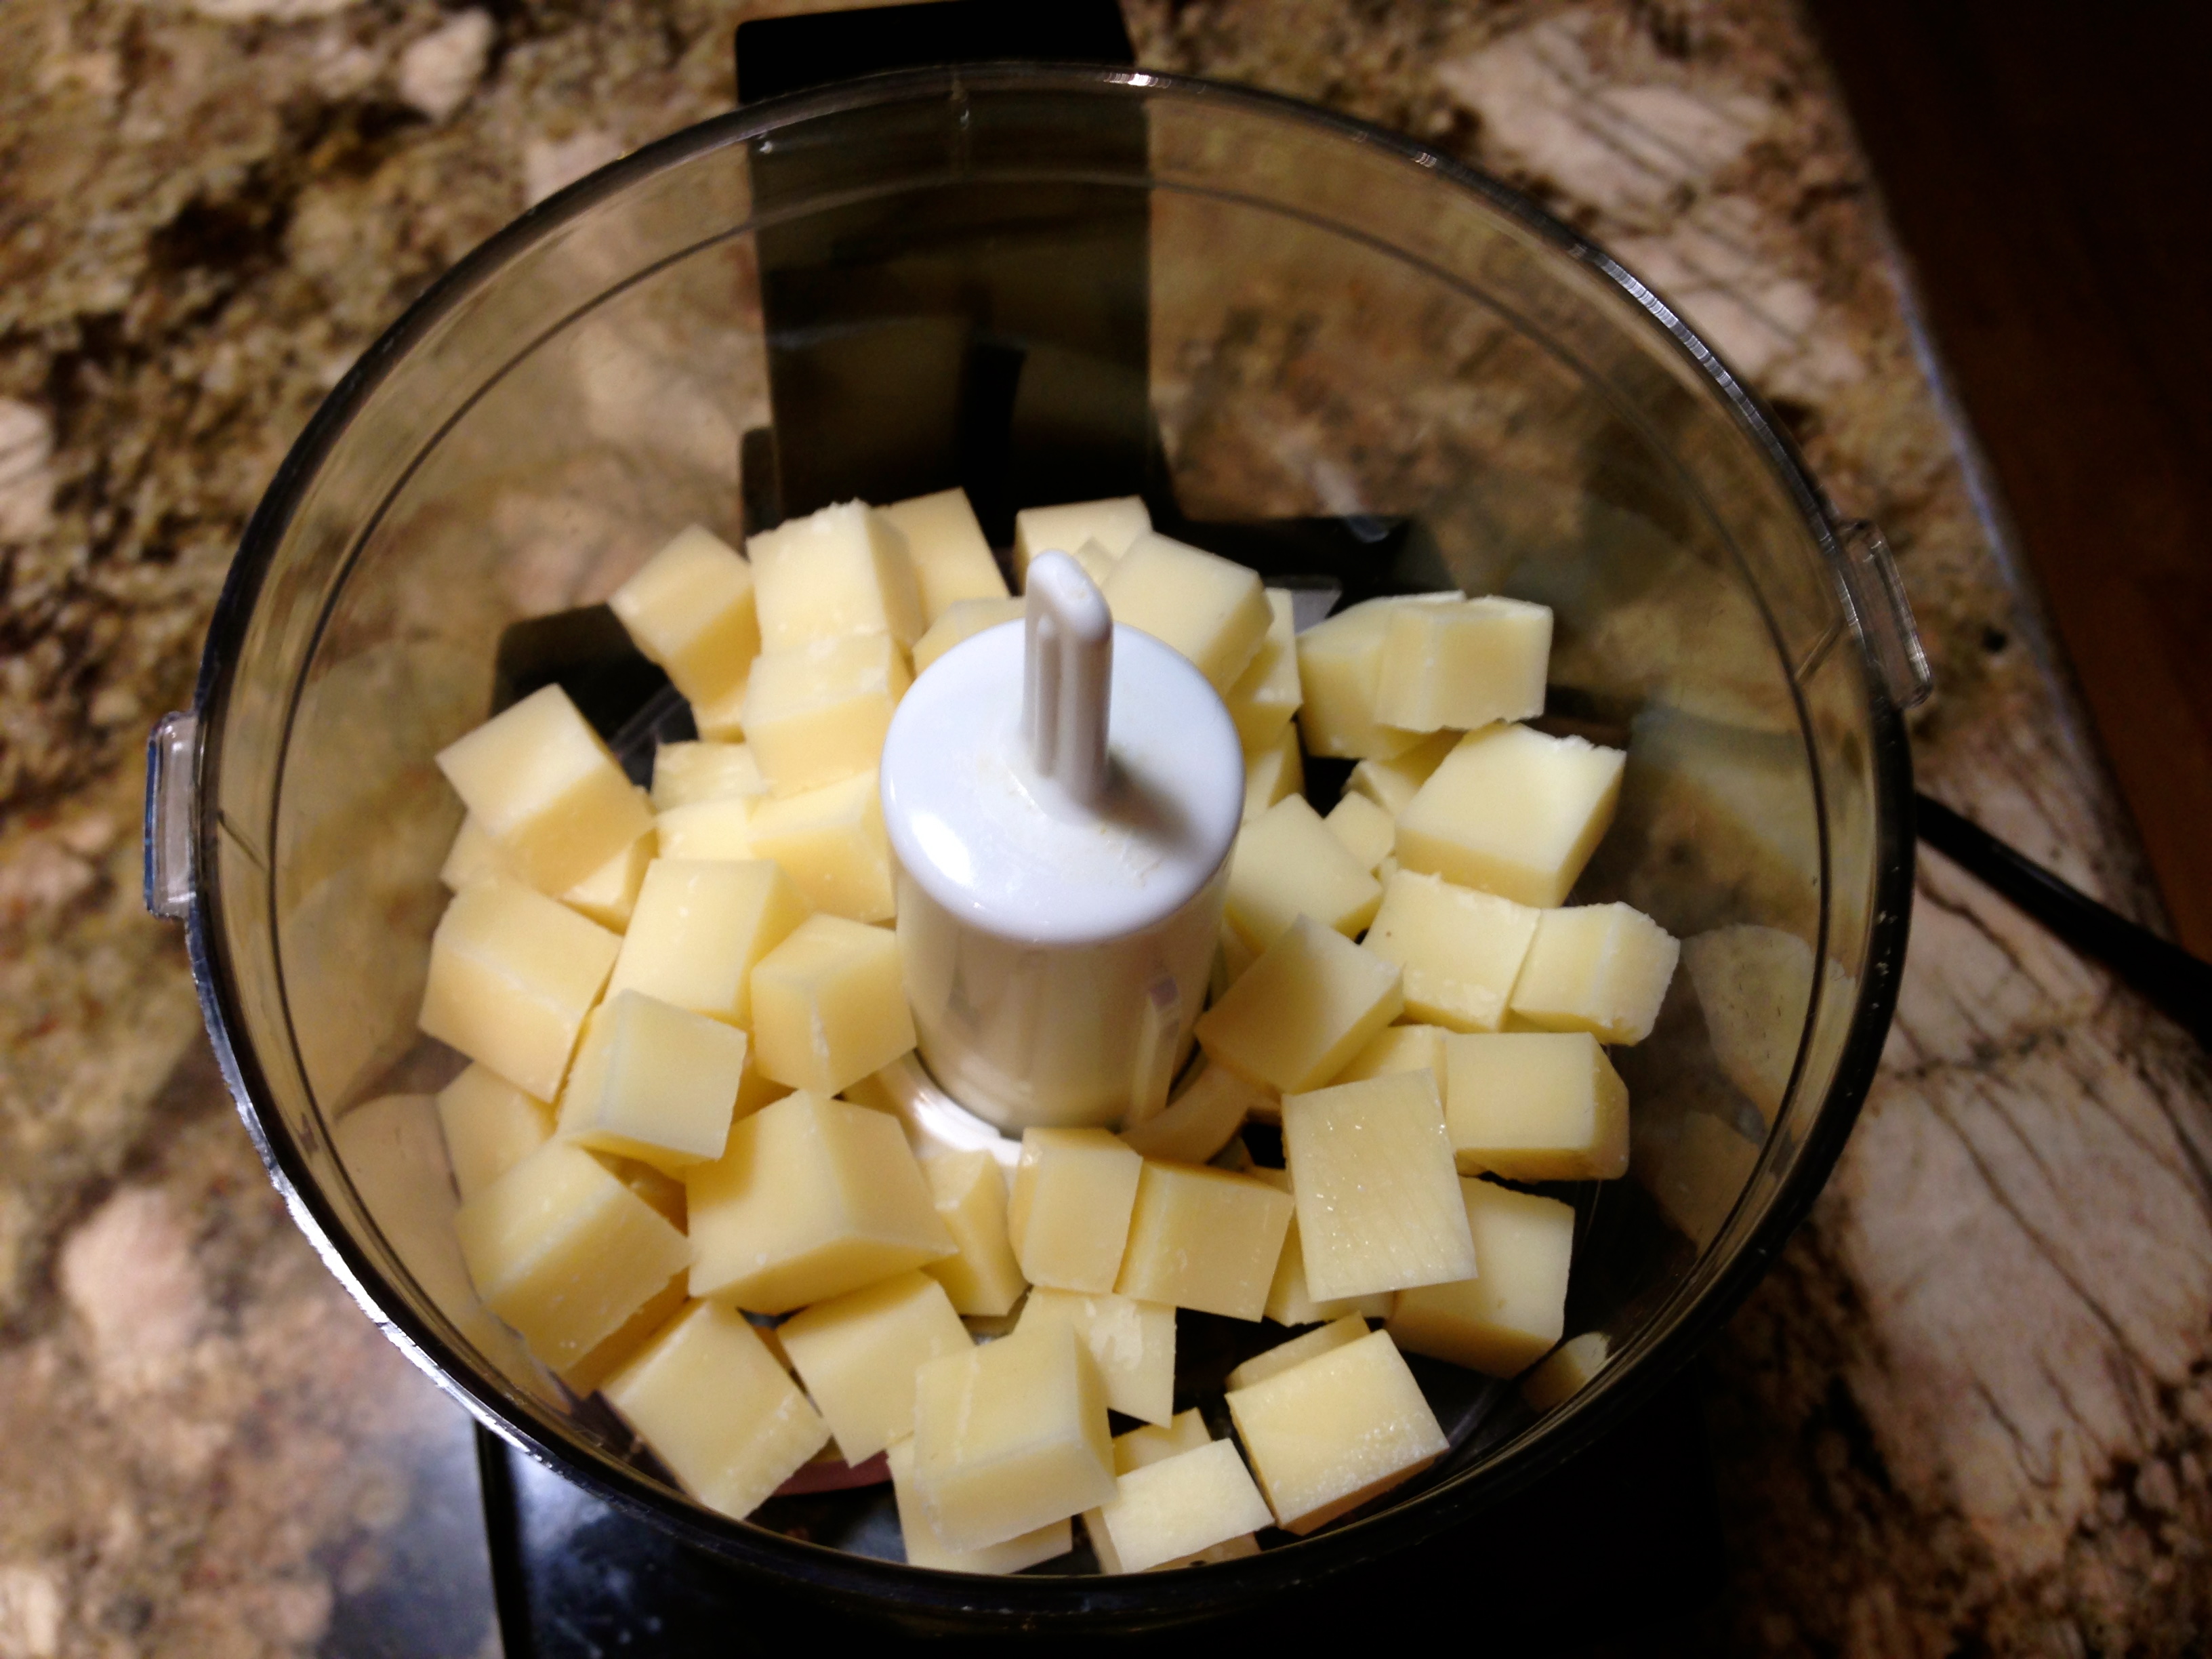
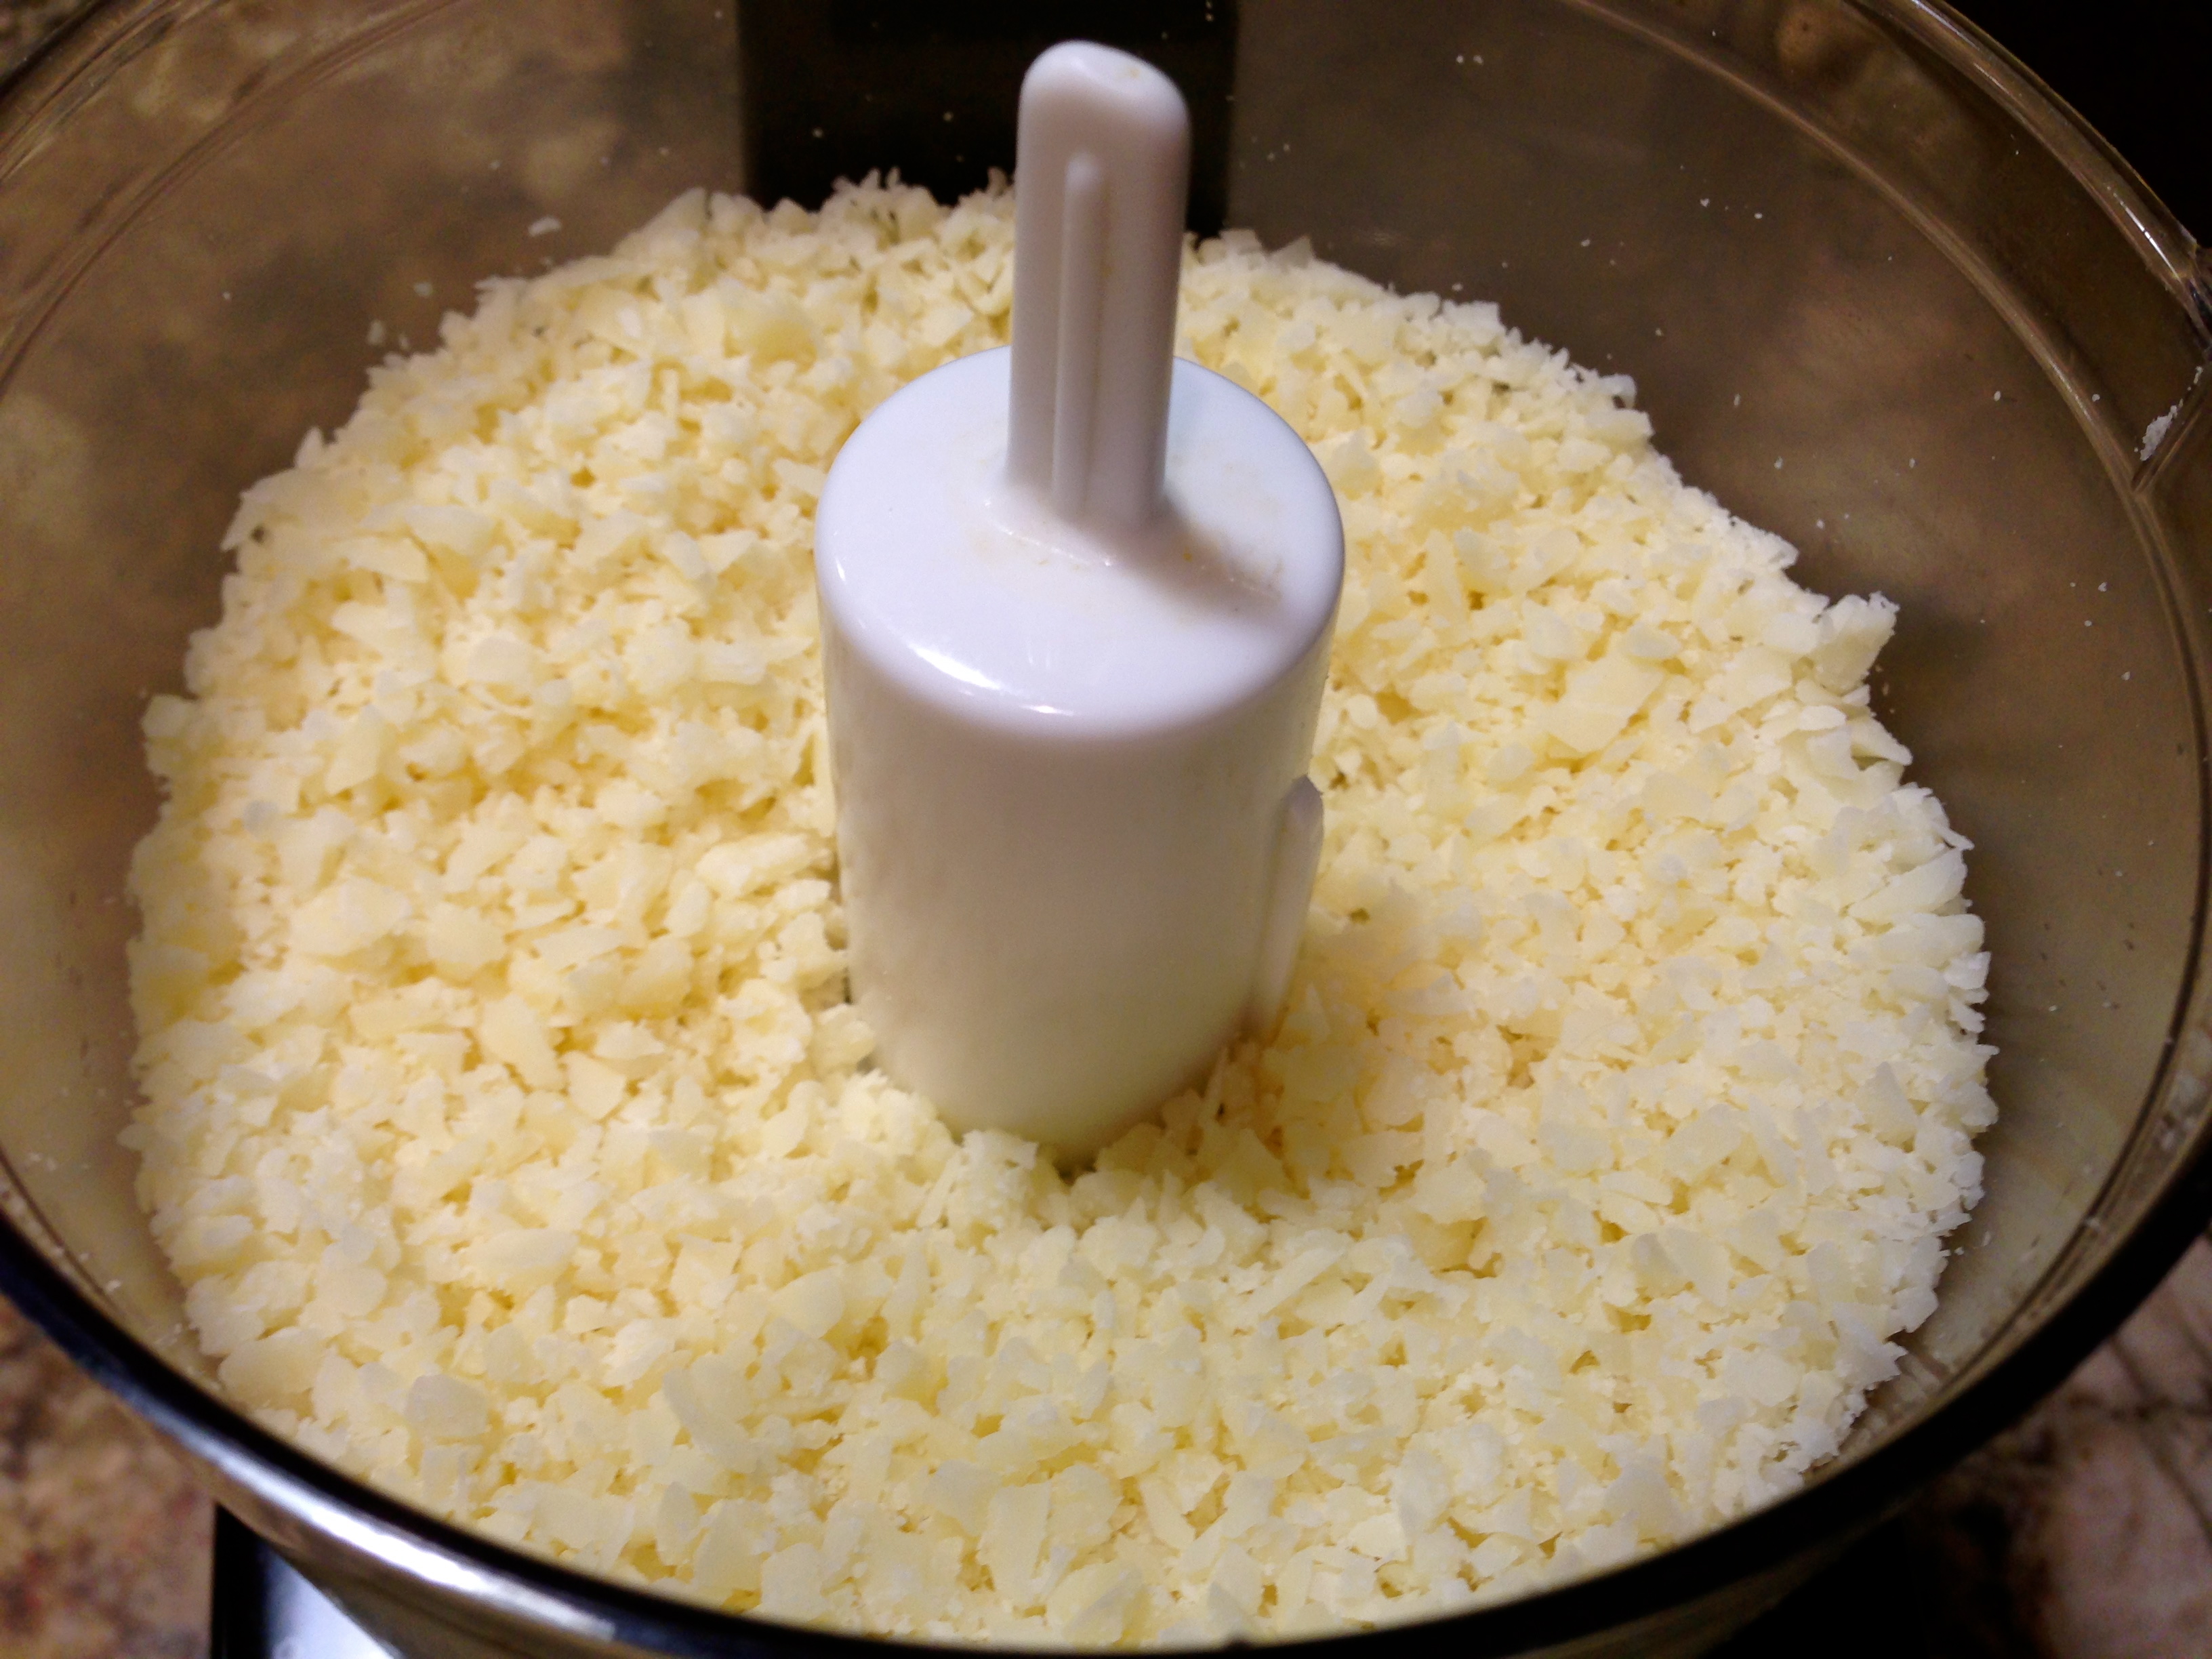
Lesson Learned 3 – Grate your own parmesan: Again, if you can, buy parmesan by the brick and grate it in your food processor. The texture and flavor is so much better.

I was so pleased with how this turned out. I hope you try this recipe. I know you will love it.

Ravioli Casserole...

  • Servings: 6
  • Difficulty: Easy
  • Print

INGREDIENTS:

1/2 pound sweet Italian sausage, cooked 

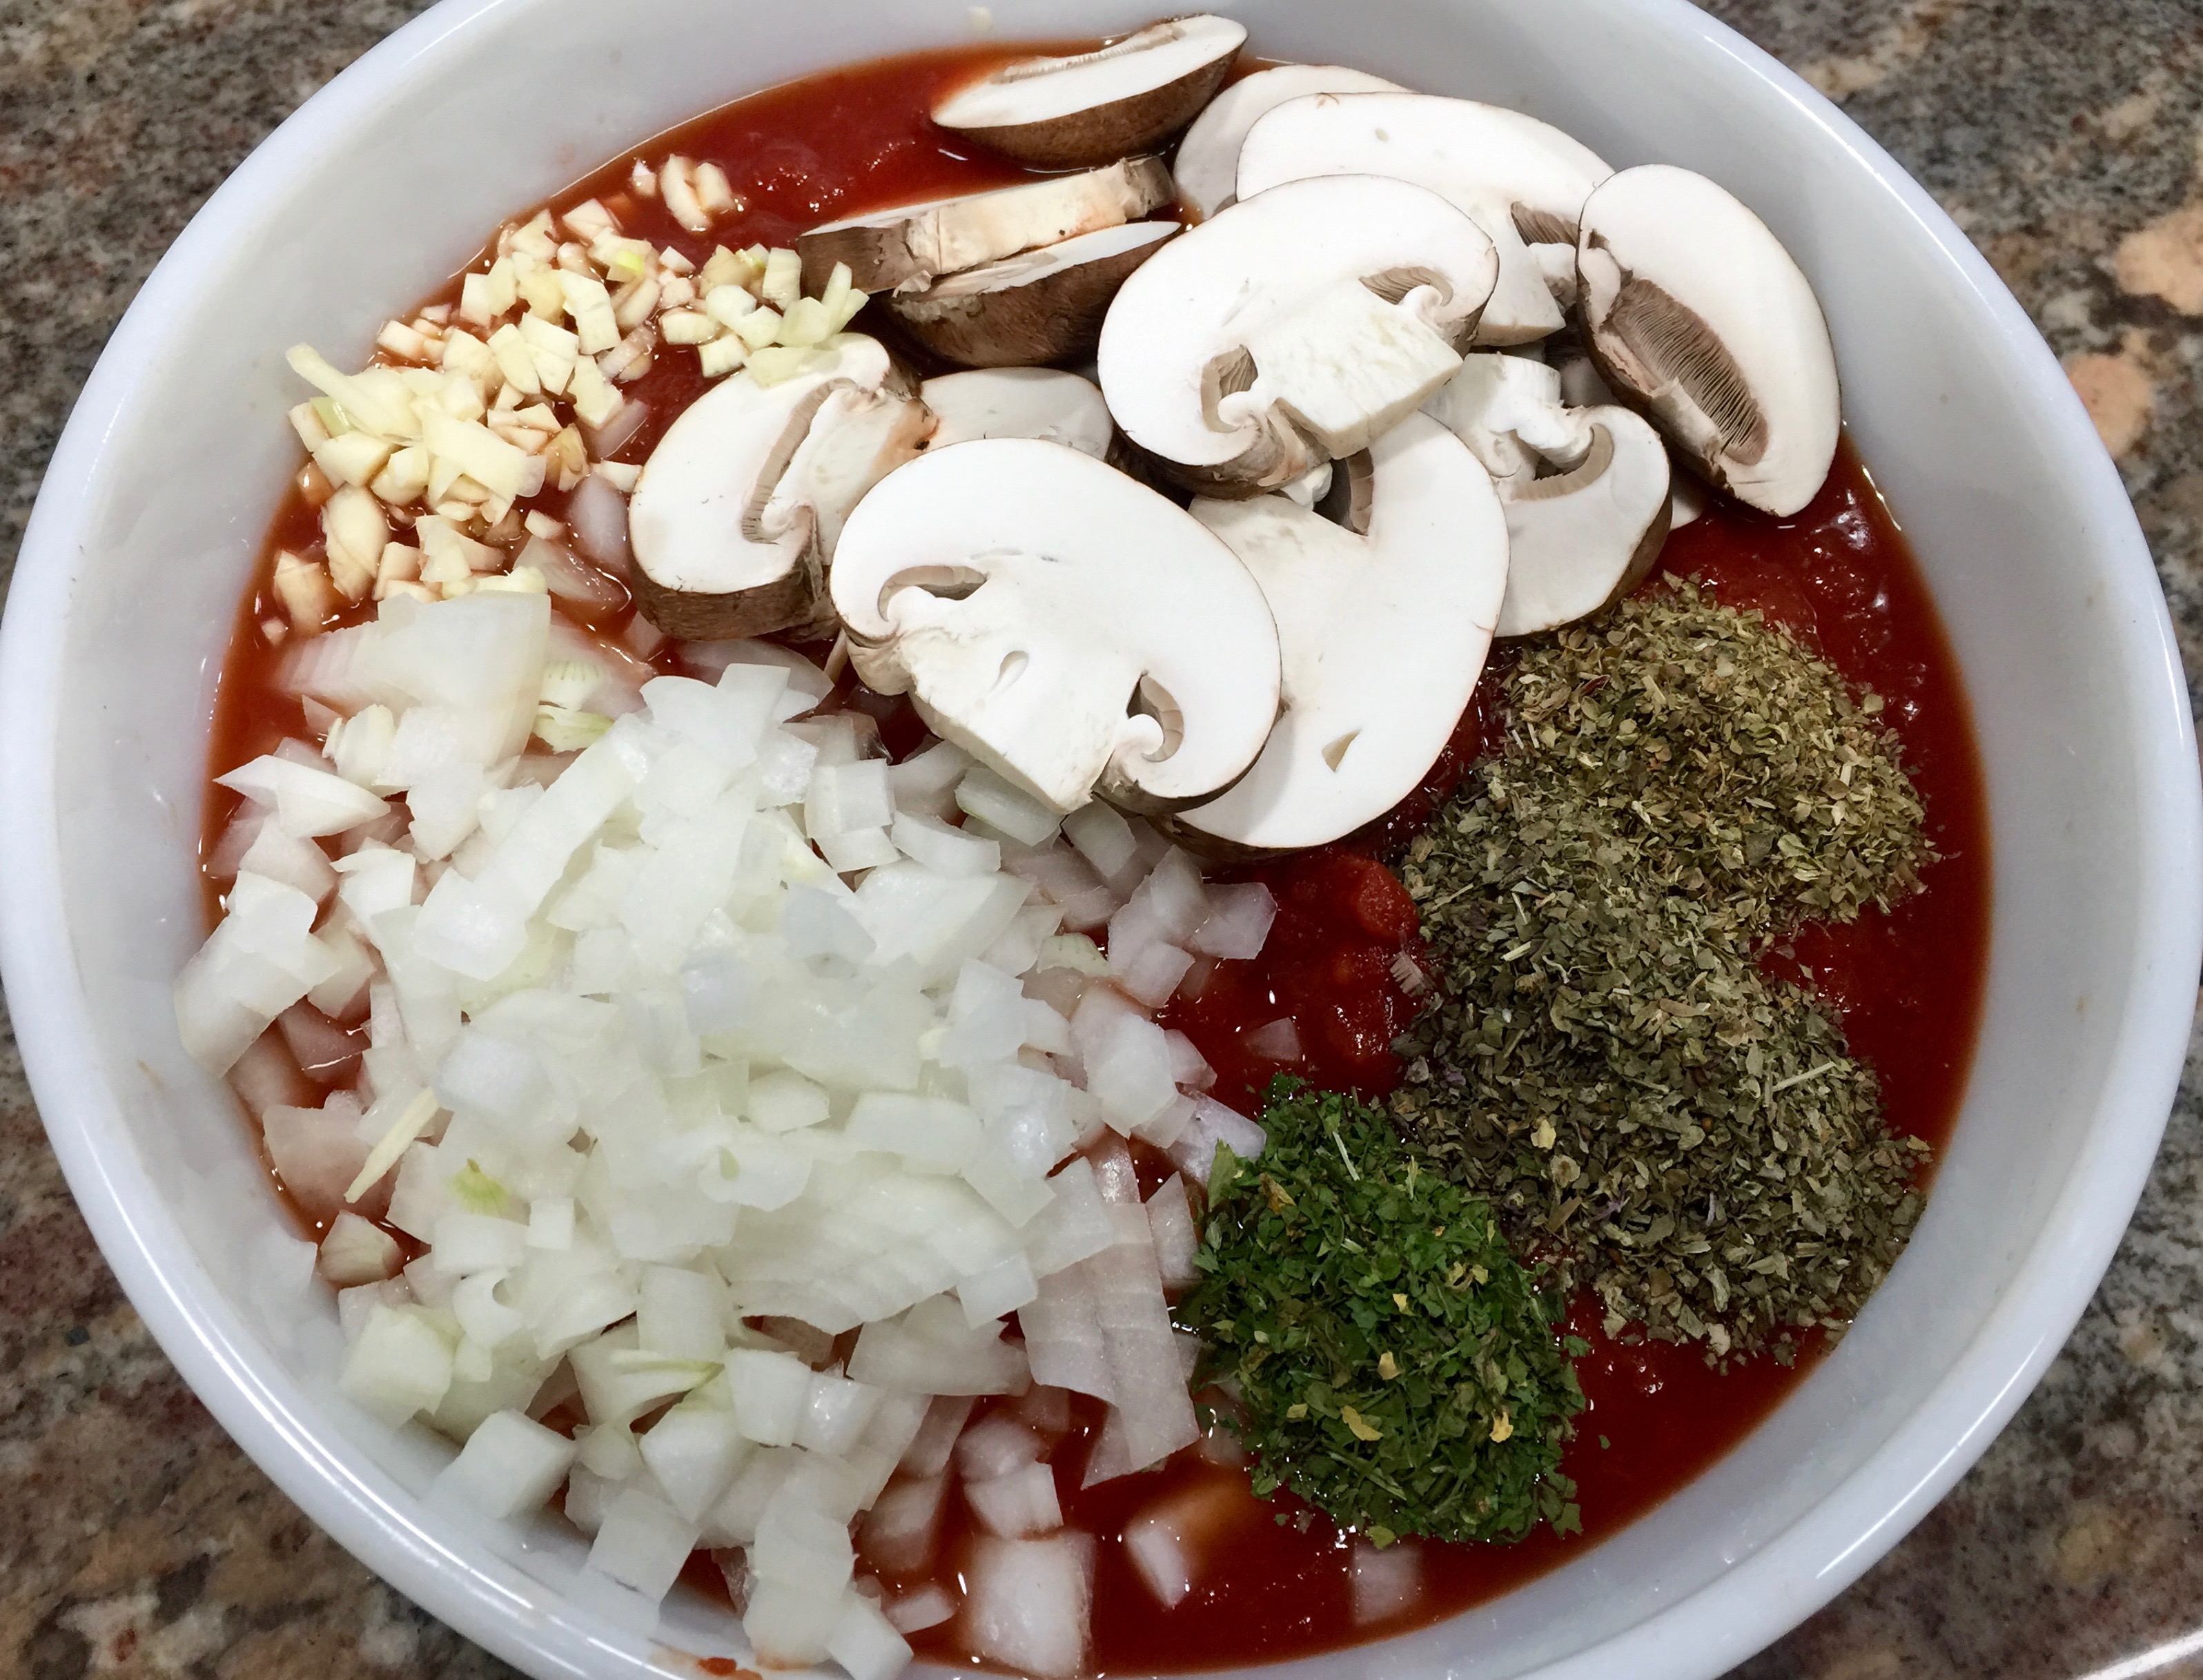
1 28 oz. jar of marinara sauce

1/2 cup whole milk ricotta

4 oz. cream cheese, room temperature

1/8 cup sour cream

1/2 tsp. garlic powder

2 Tbs. fresh flat leaf parsley

2 tsps. Italian seasoning, divided

1 Nine oz. package of gourmet ravioli

Packaged sliced mozzarella, 6 slices

1/3 cup grated parmesan

DIRECTIONS:

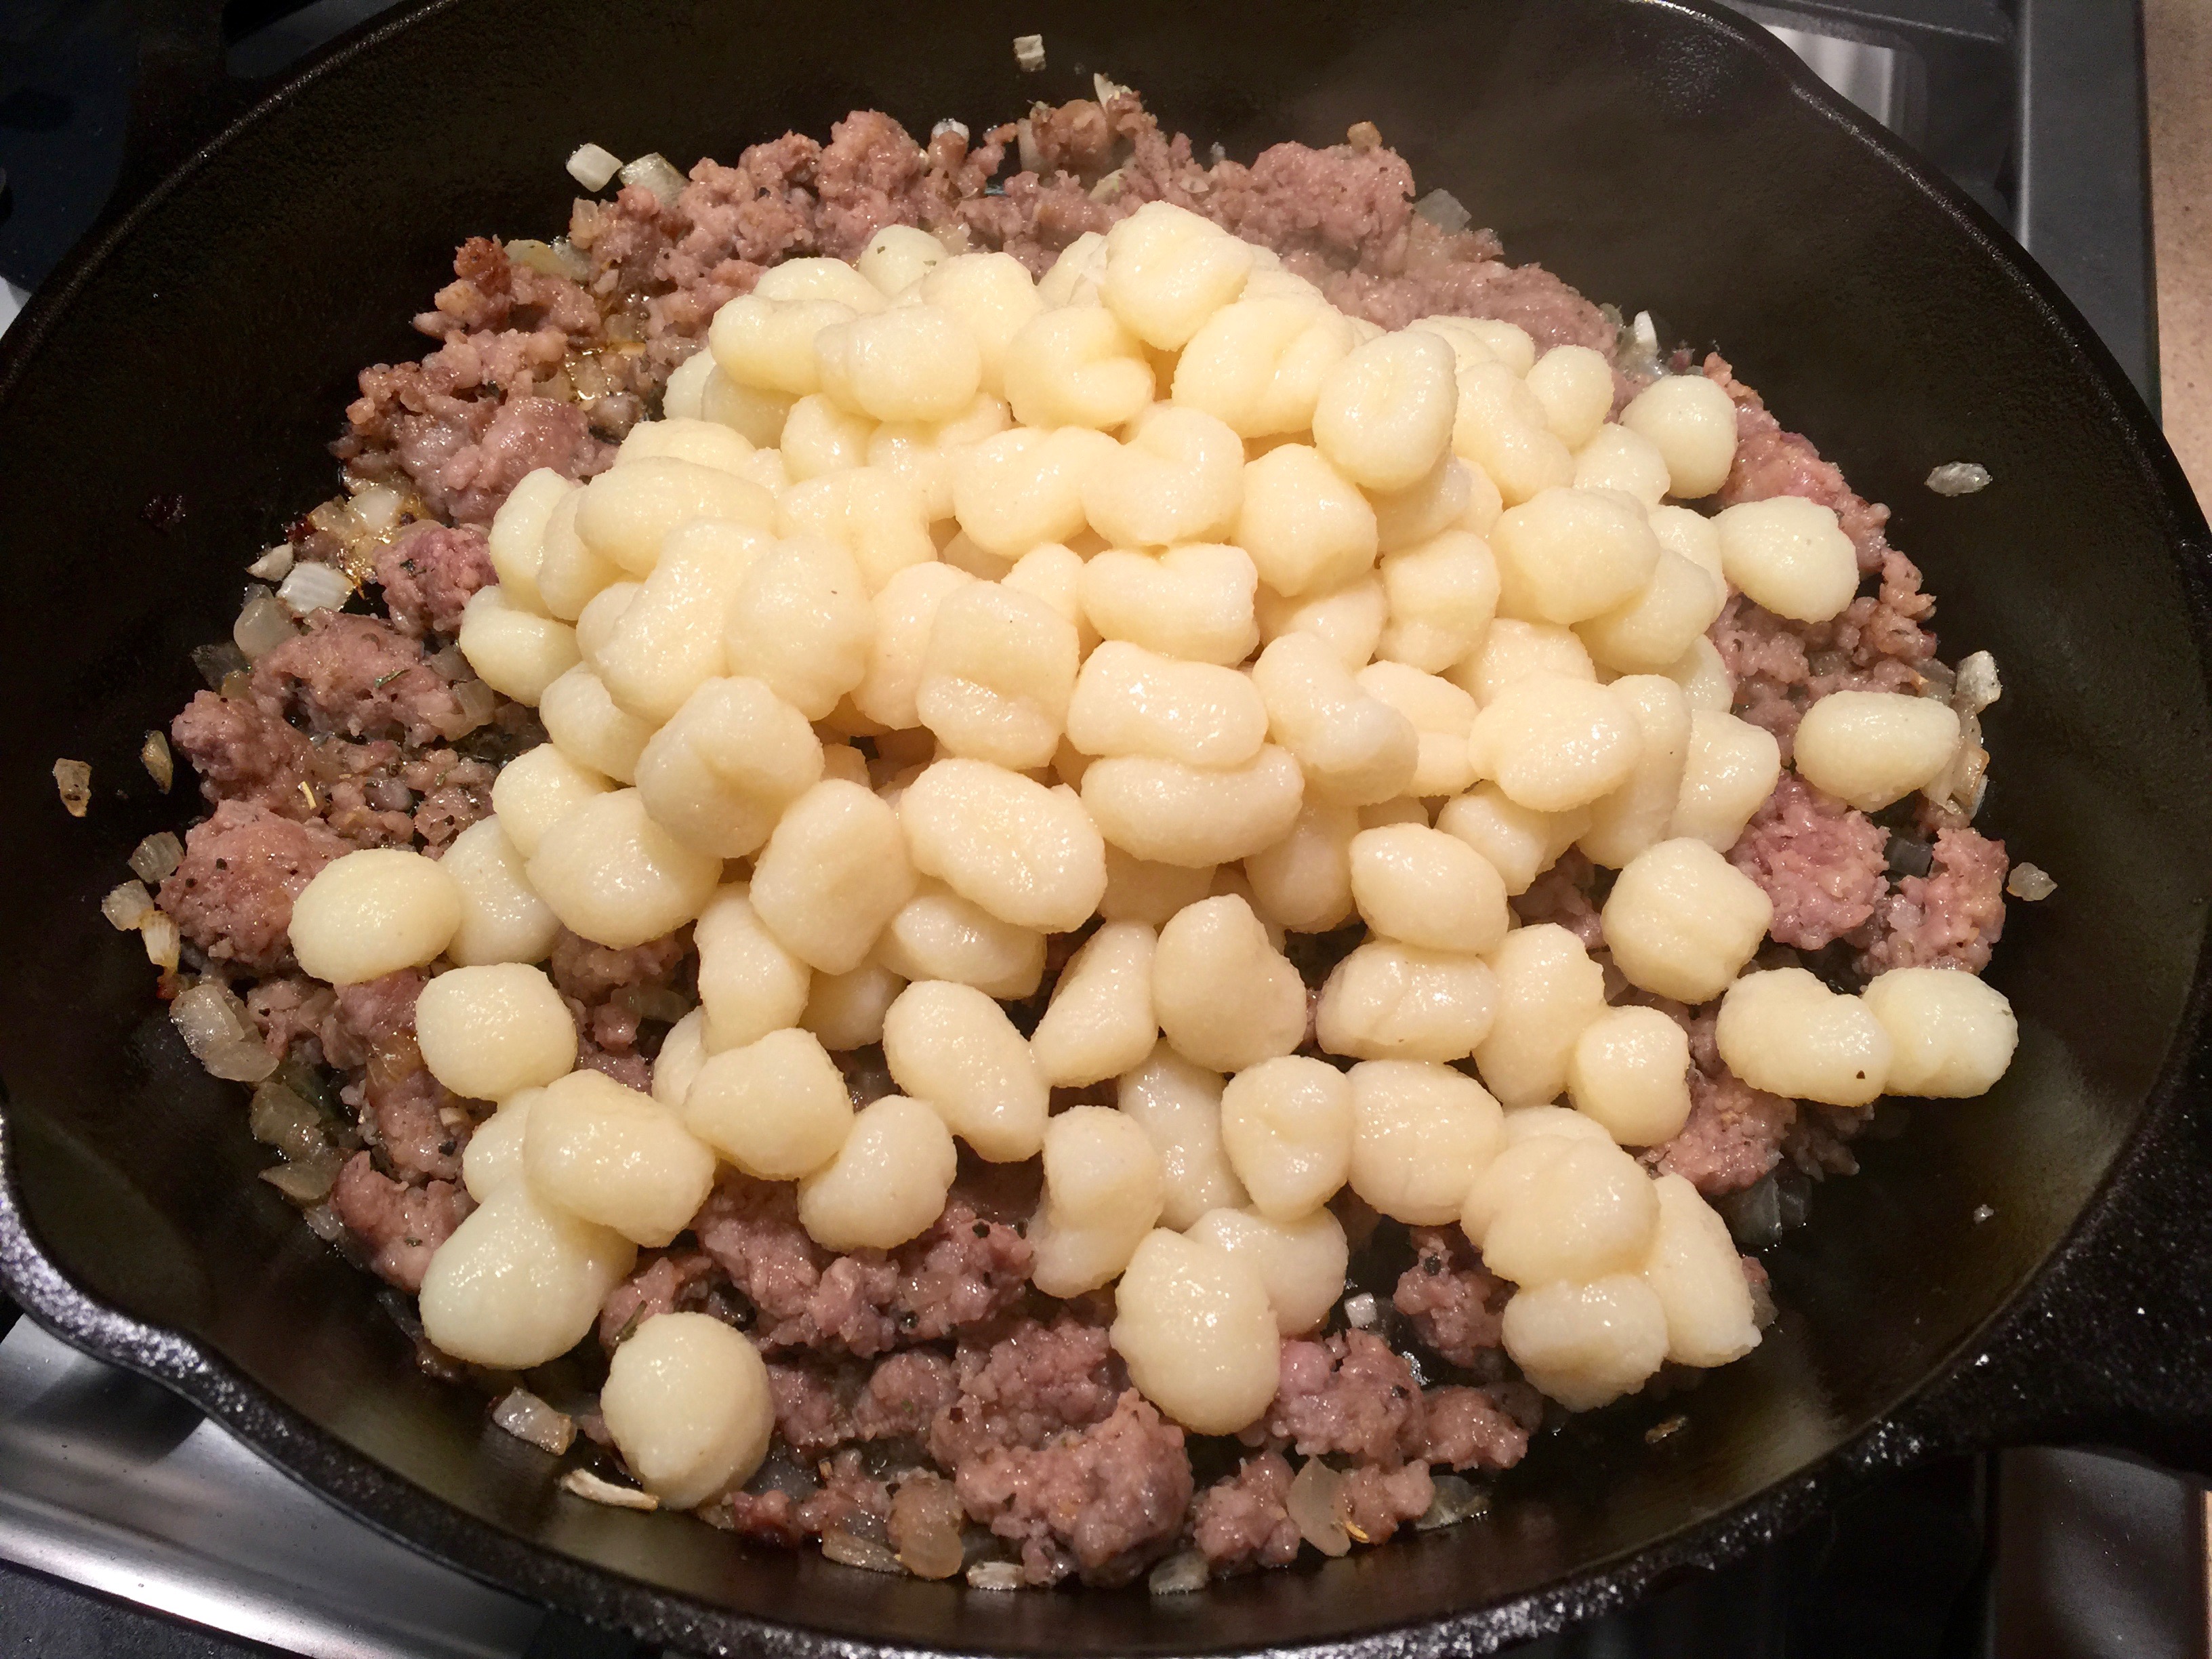
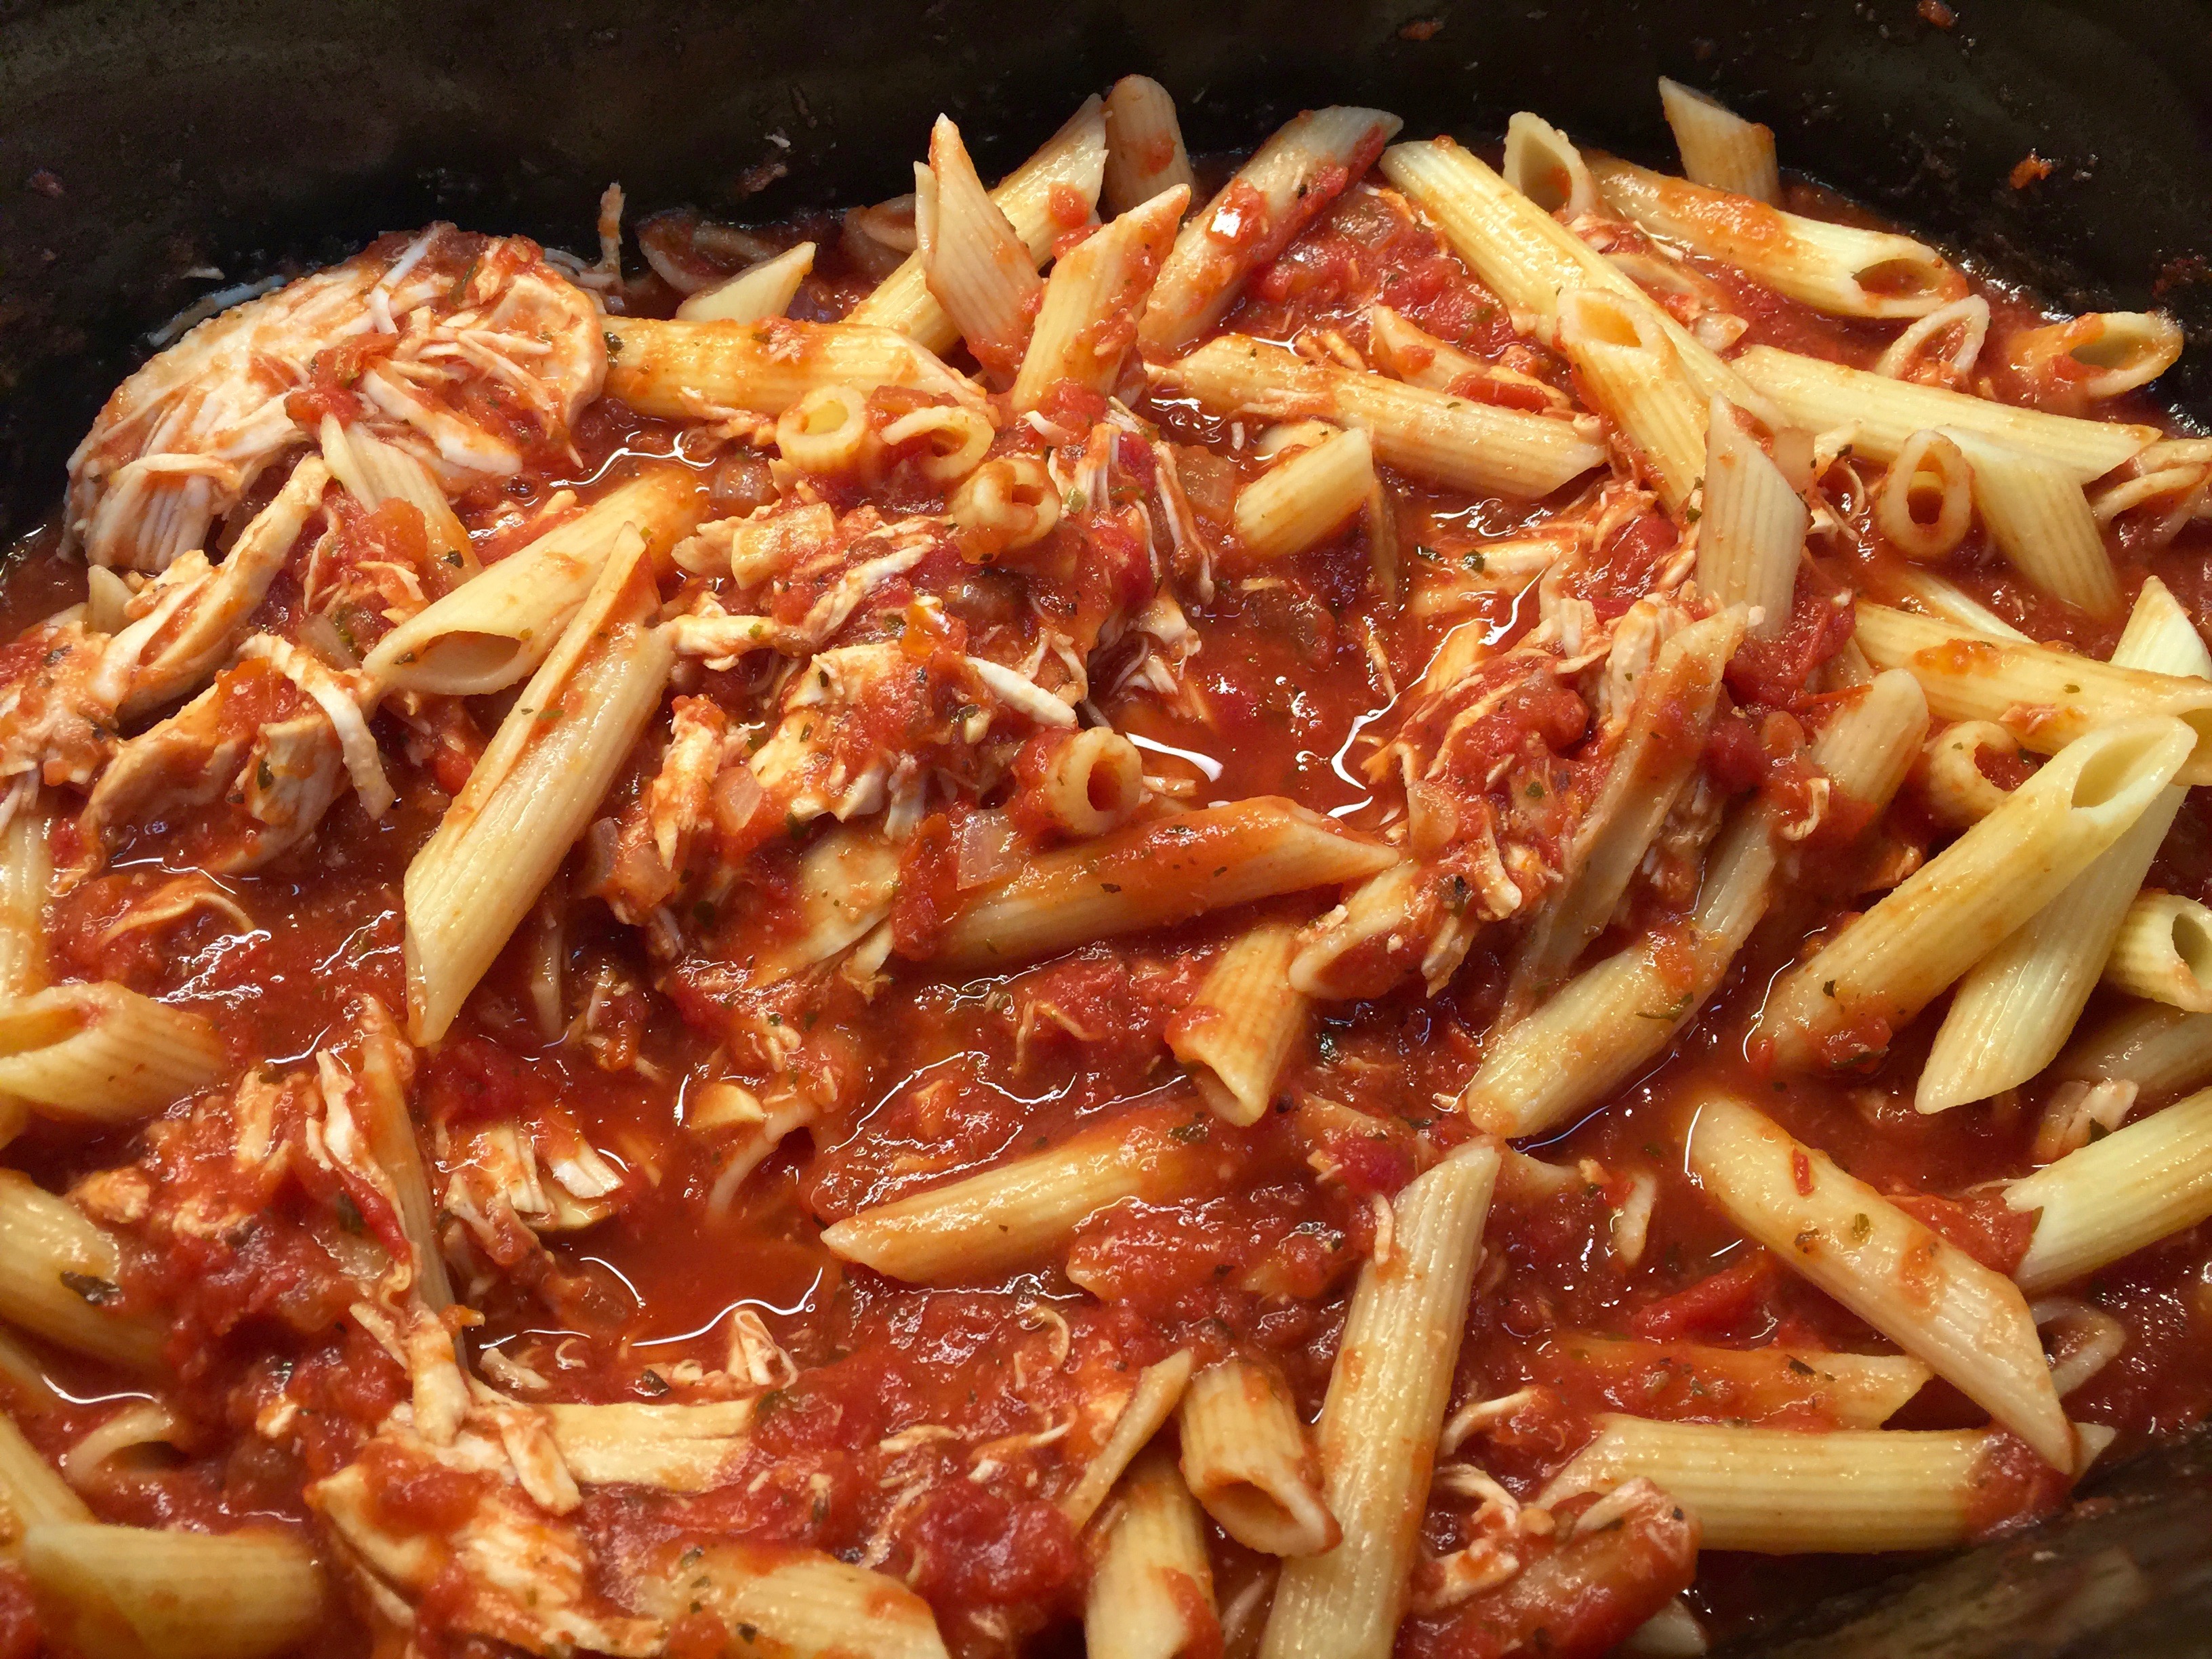
Preheat the oven to 375. Spray a 3 quart casserole dish with cooking spray. In a medium size skillet, cook the Italian sausage. Drain the grease and add the marinara sauce. Bring the marinara sauce to a simmer.

While the marinara sauce is simmering combine the ricotta, cream cheese, sour cream, garlic powder, parsley and 1 tsp. of the Italian seasoning. Stir to combine. Add the ravioli and gently toss it with the ricotta mixture until the ravioli is completely coated. 

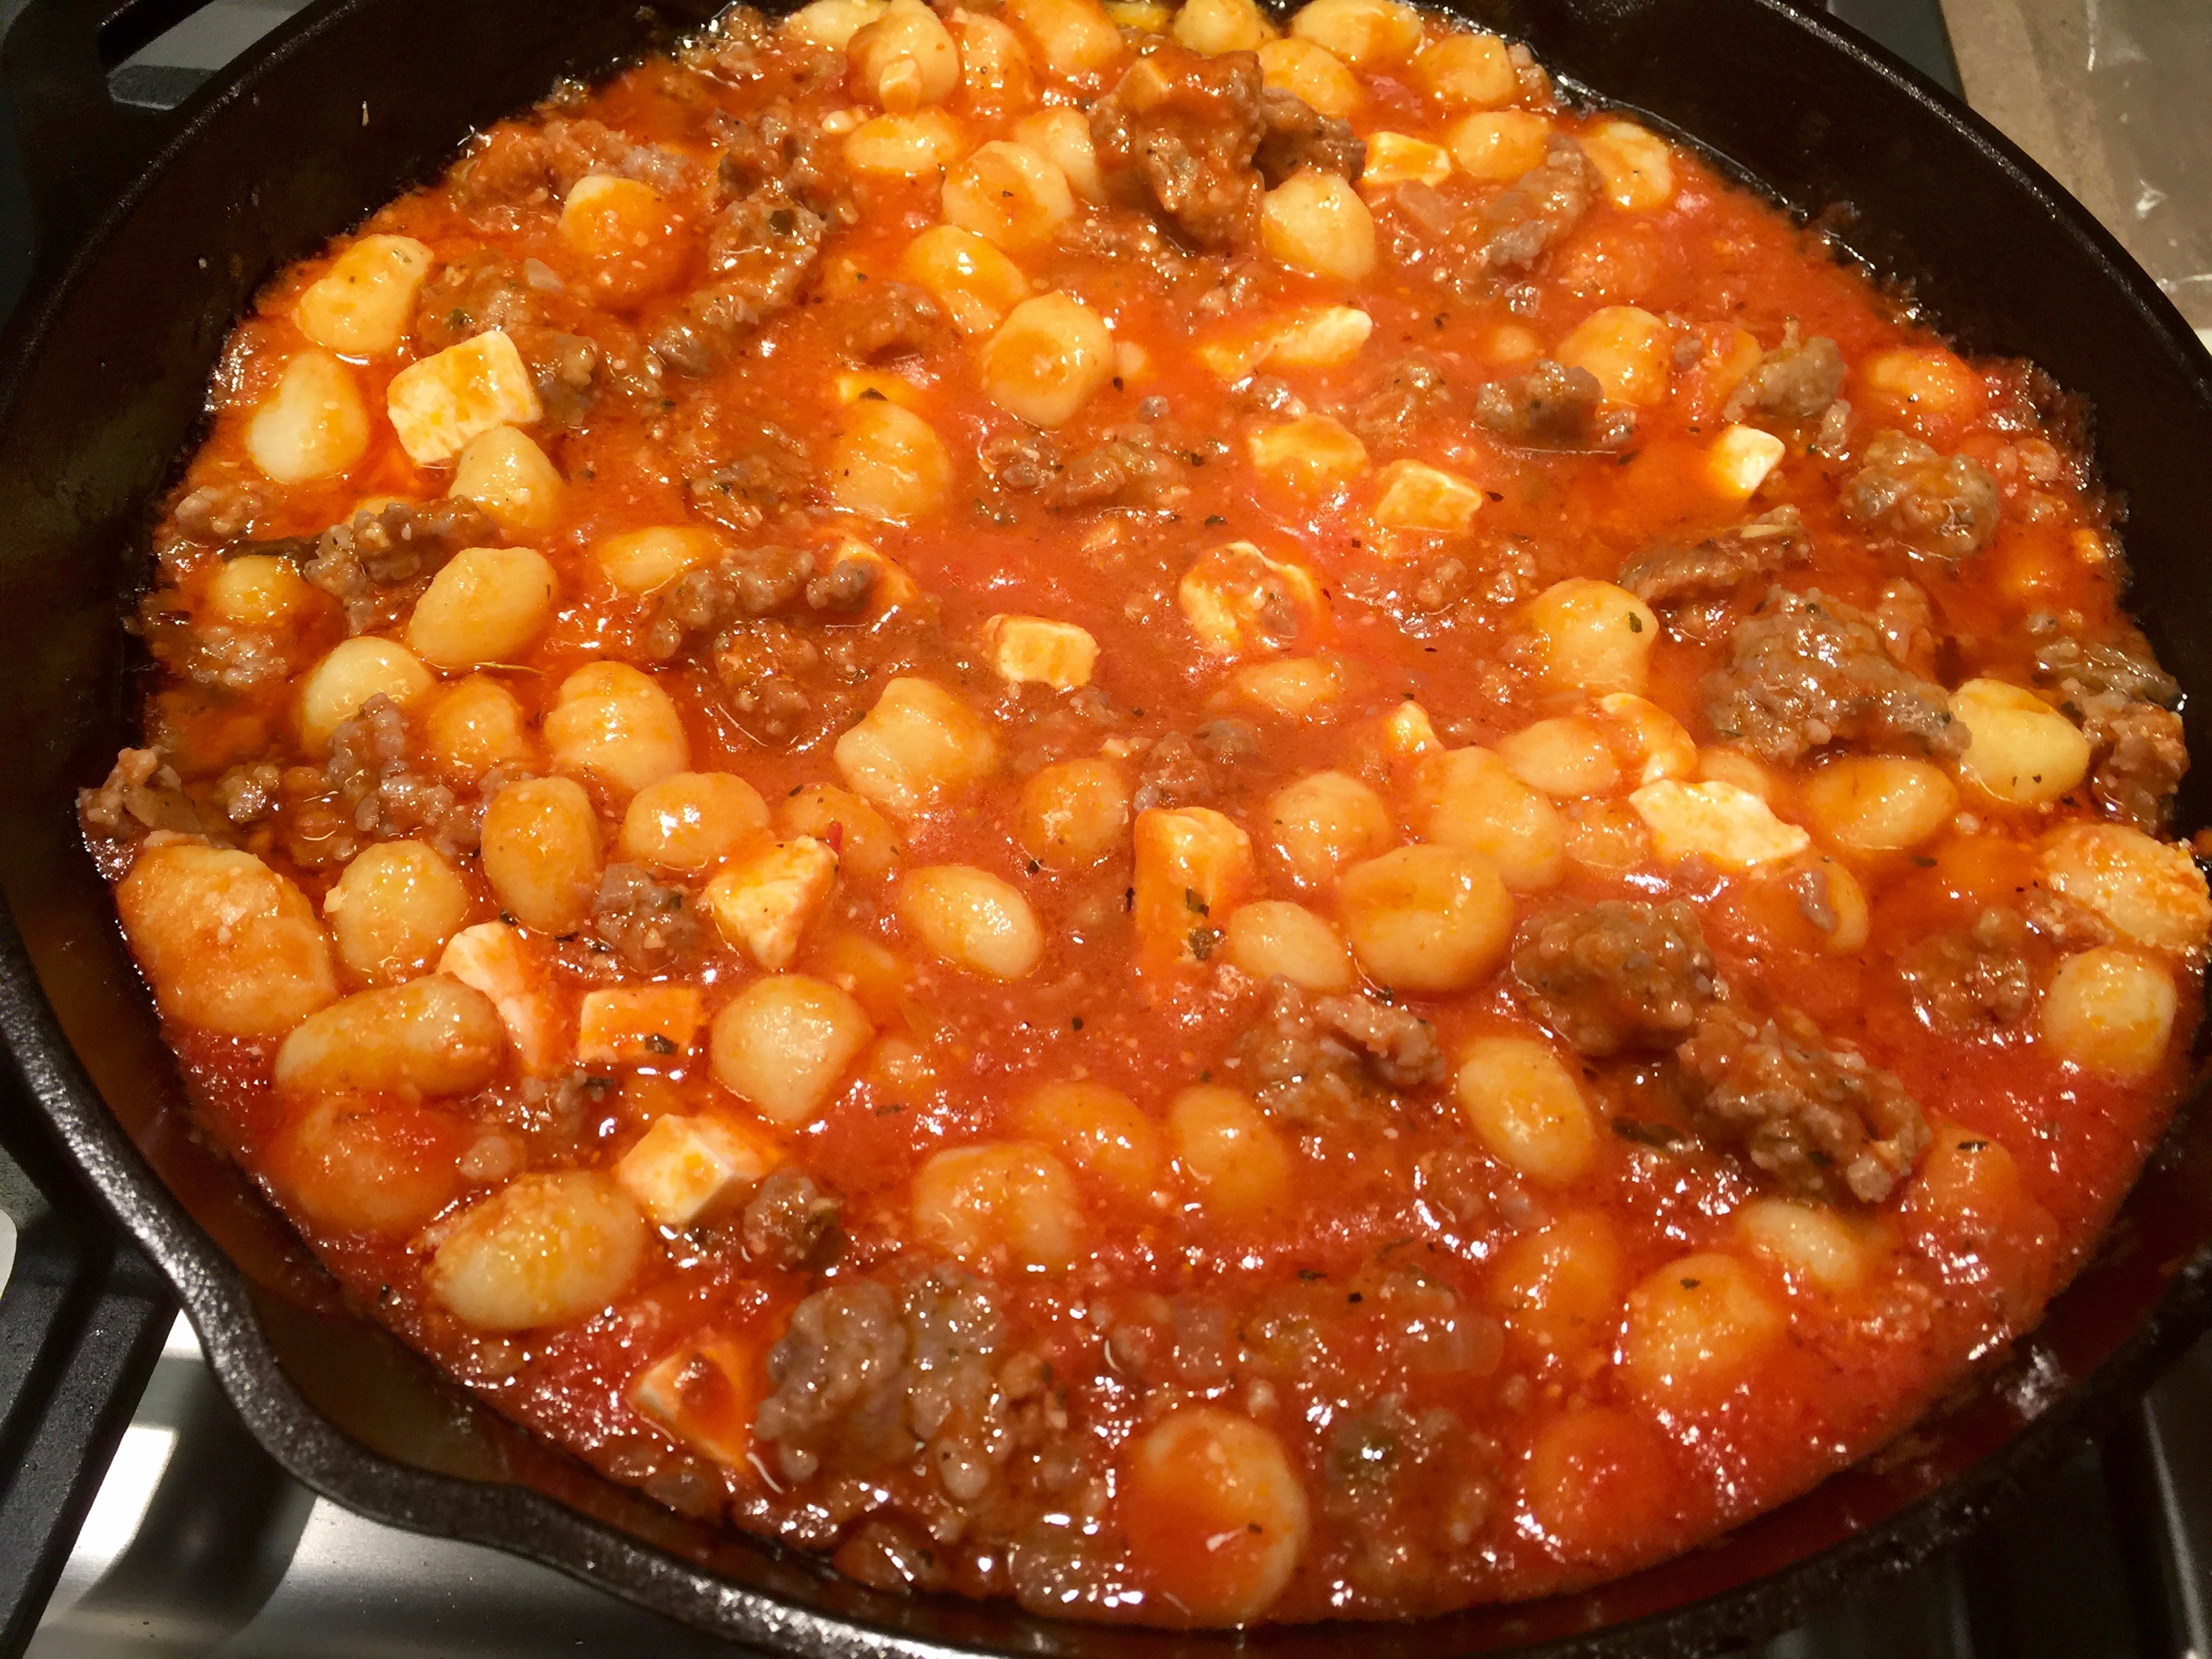
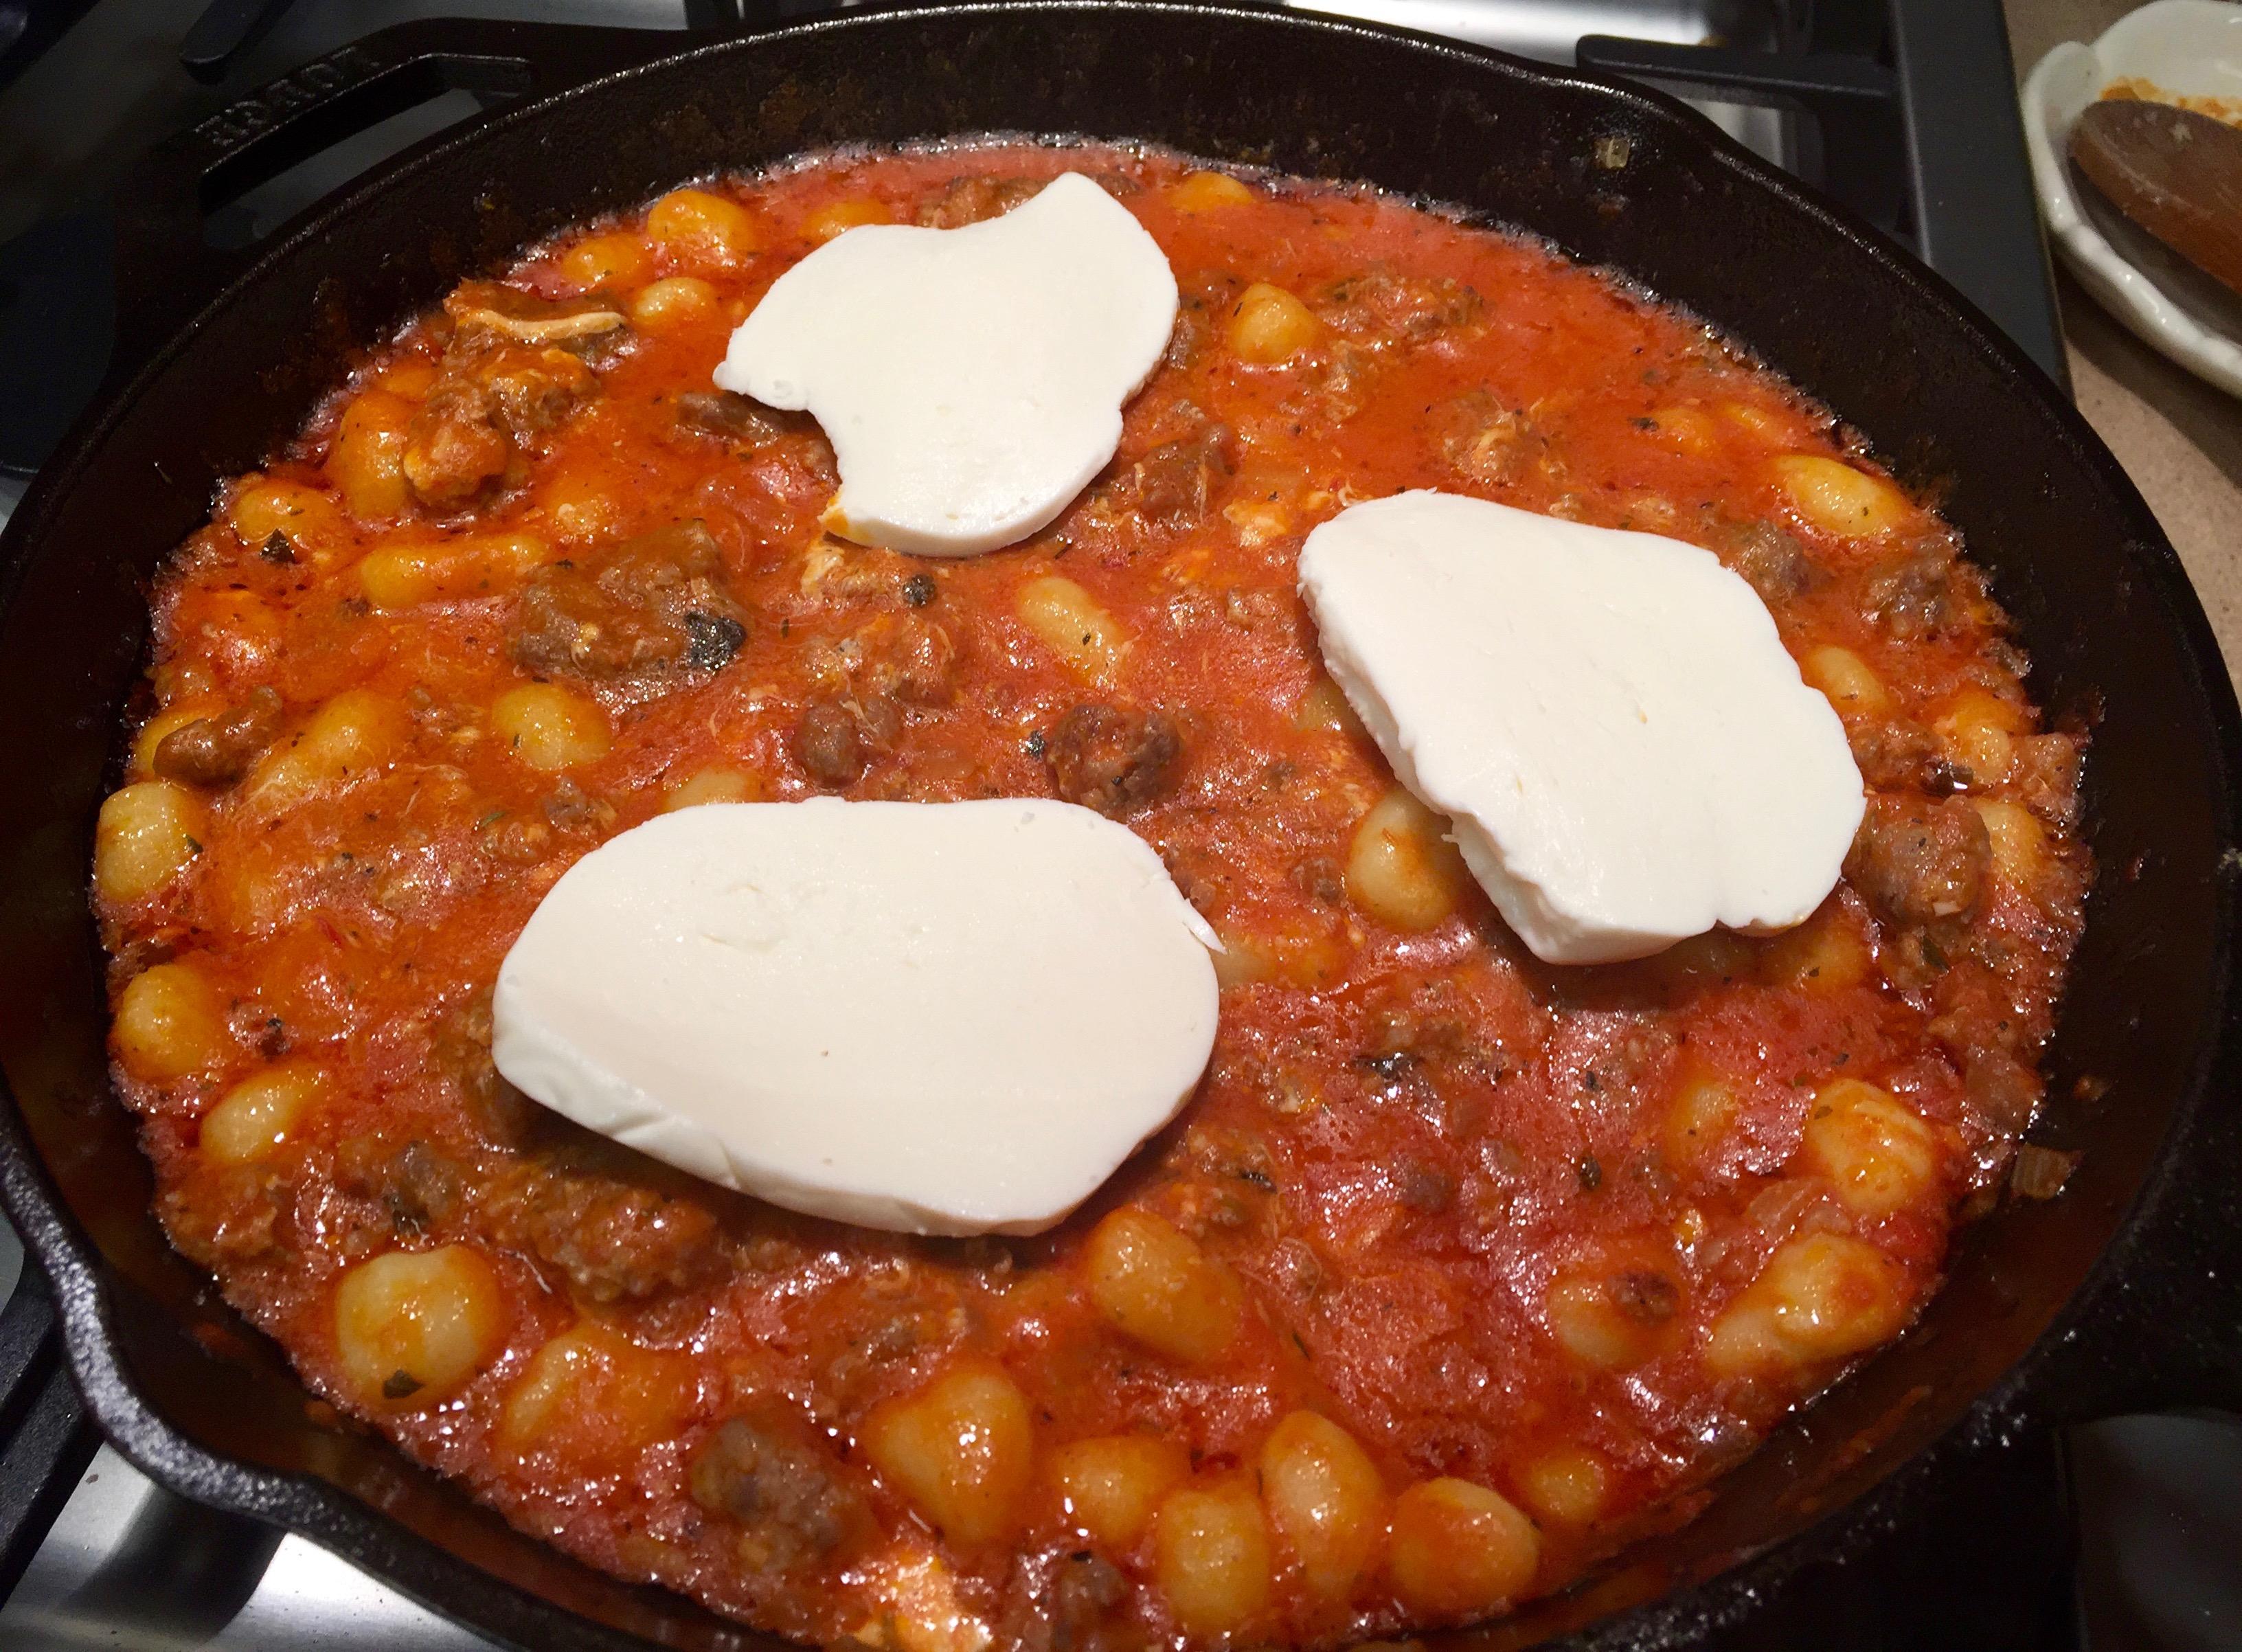
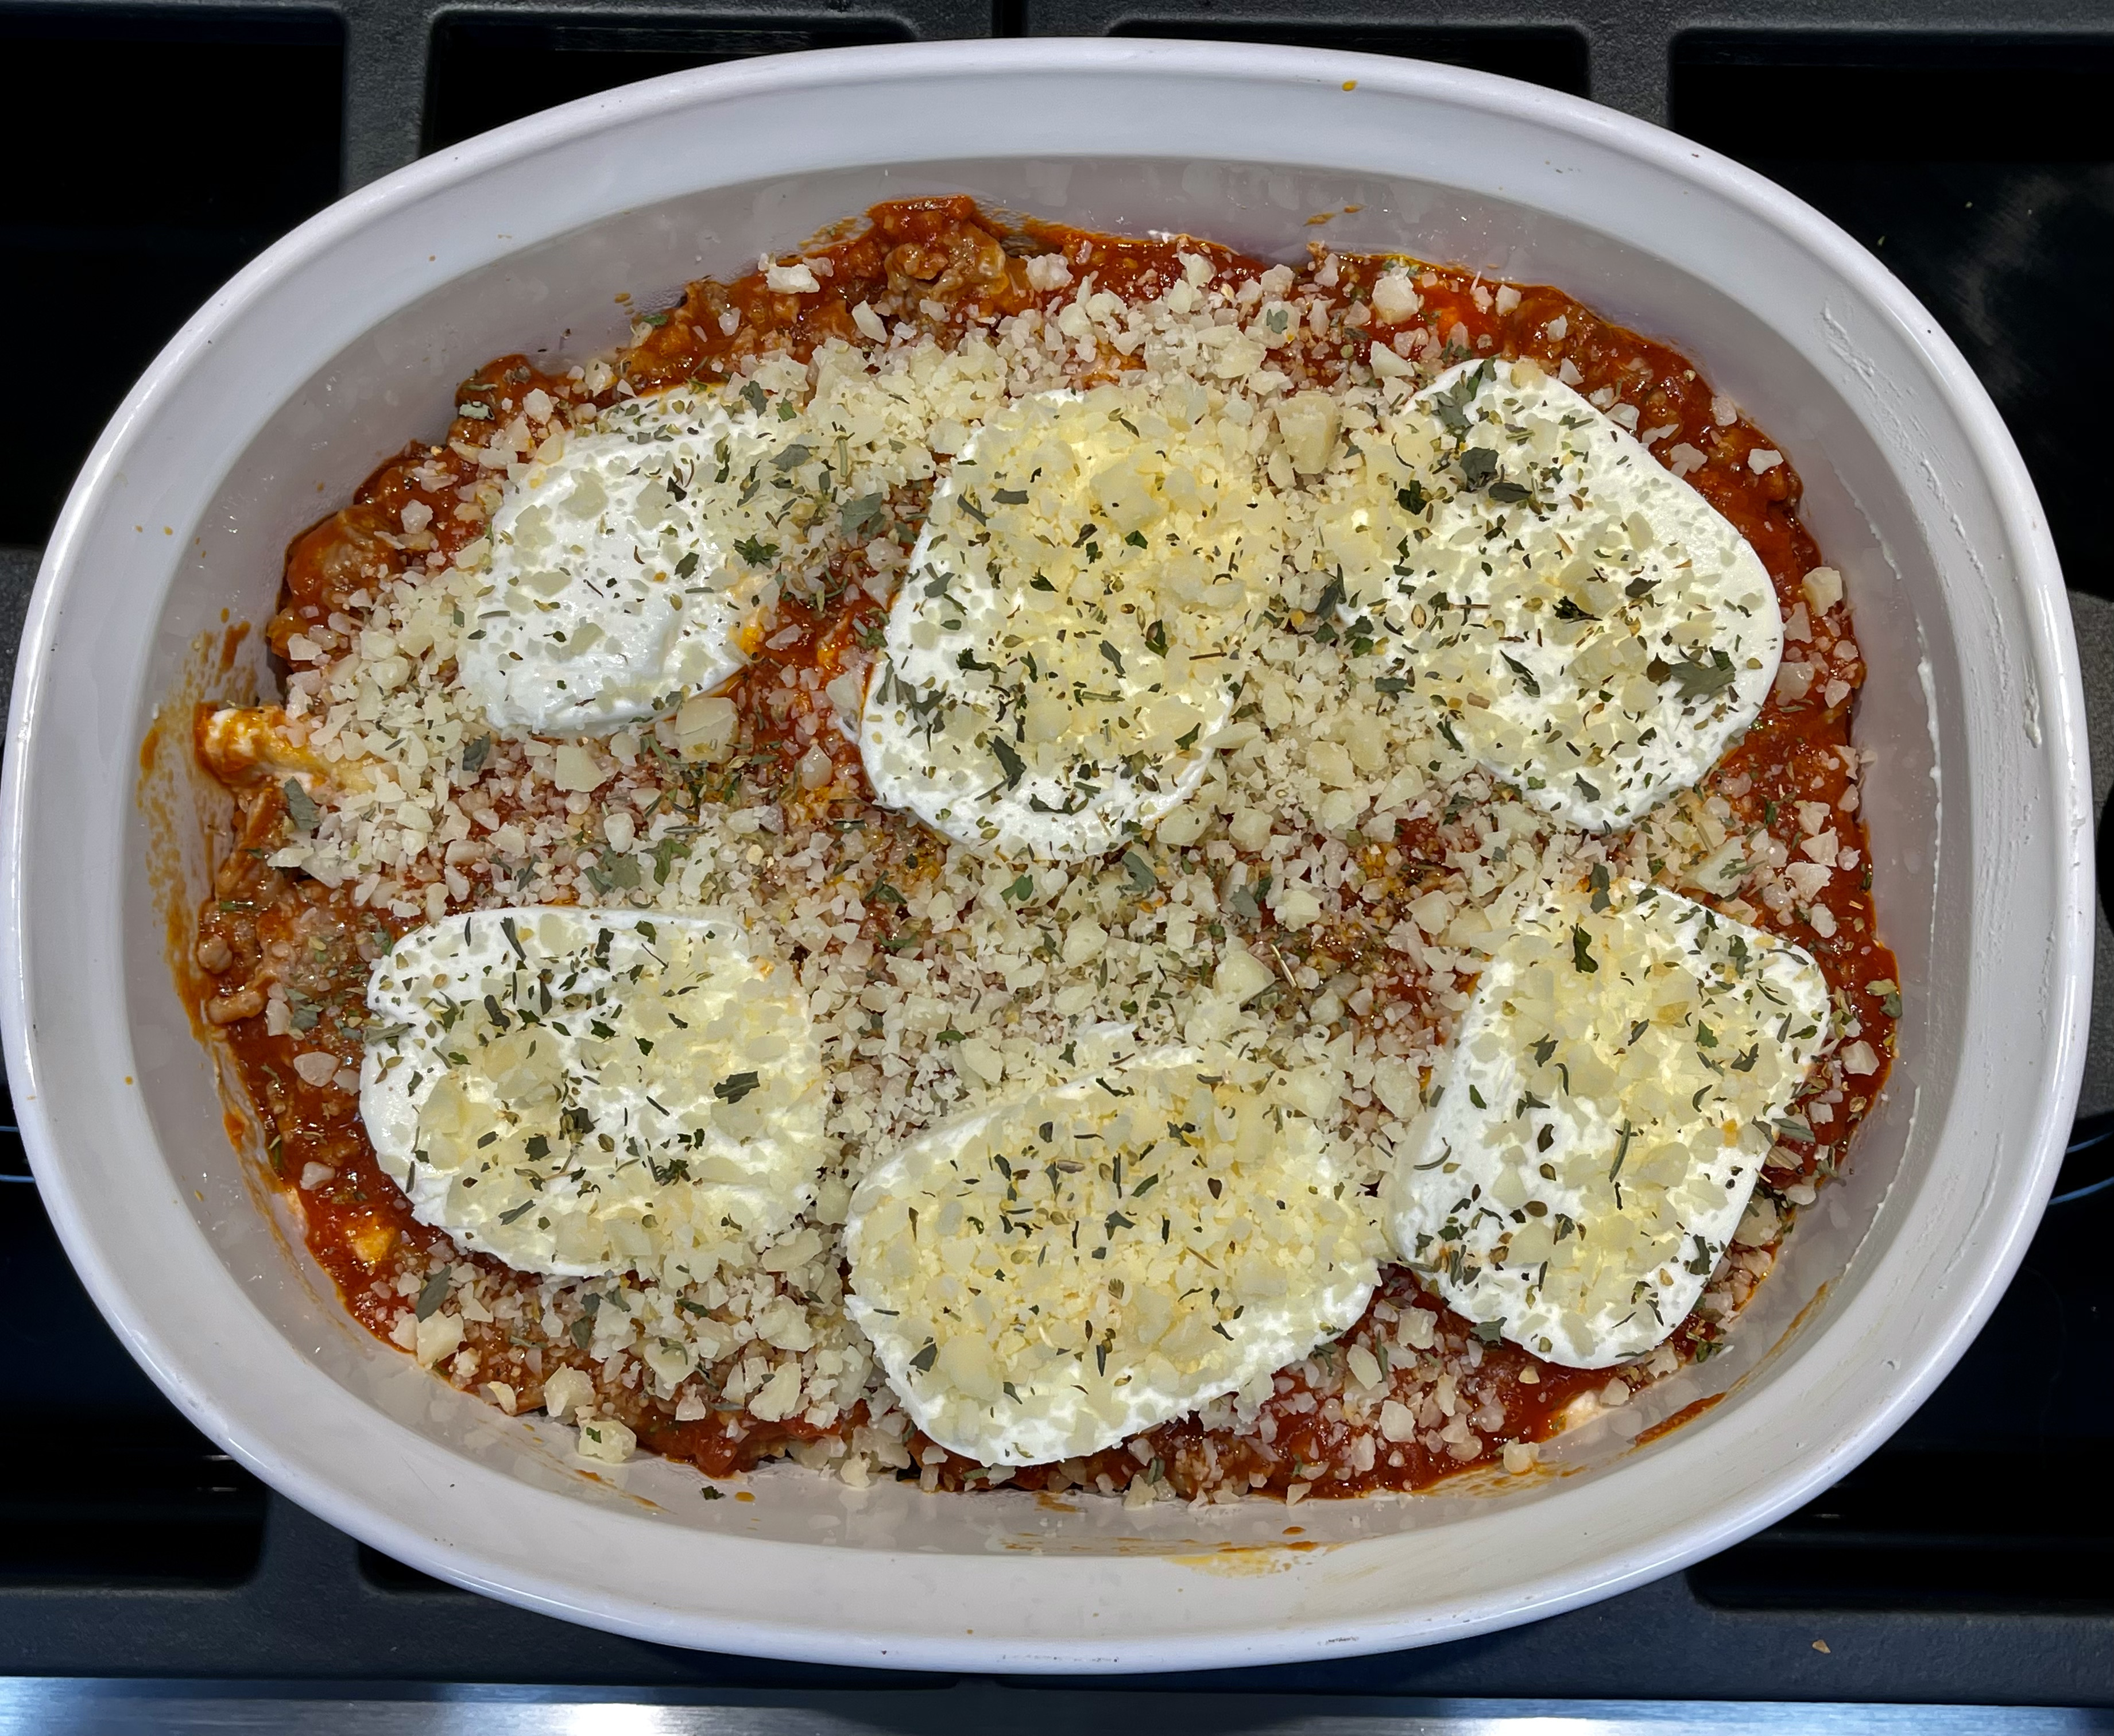
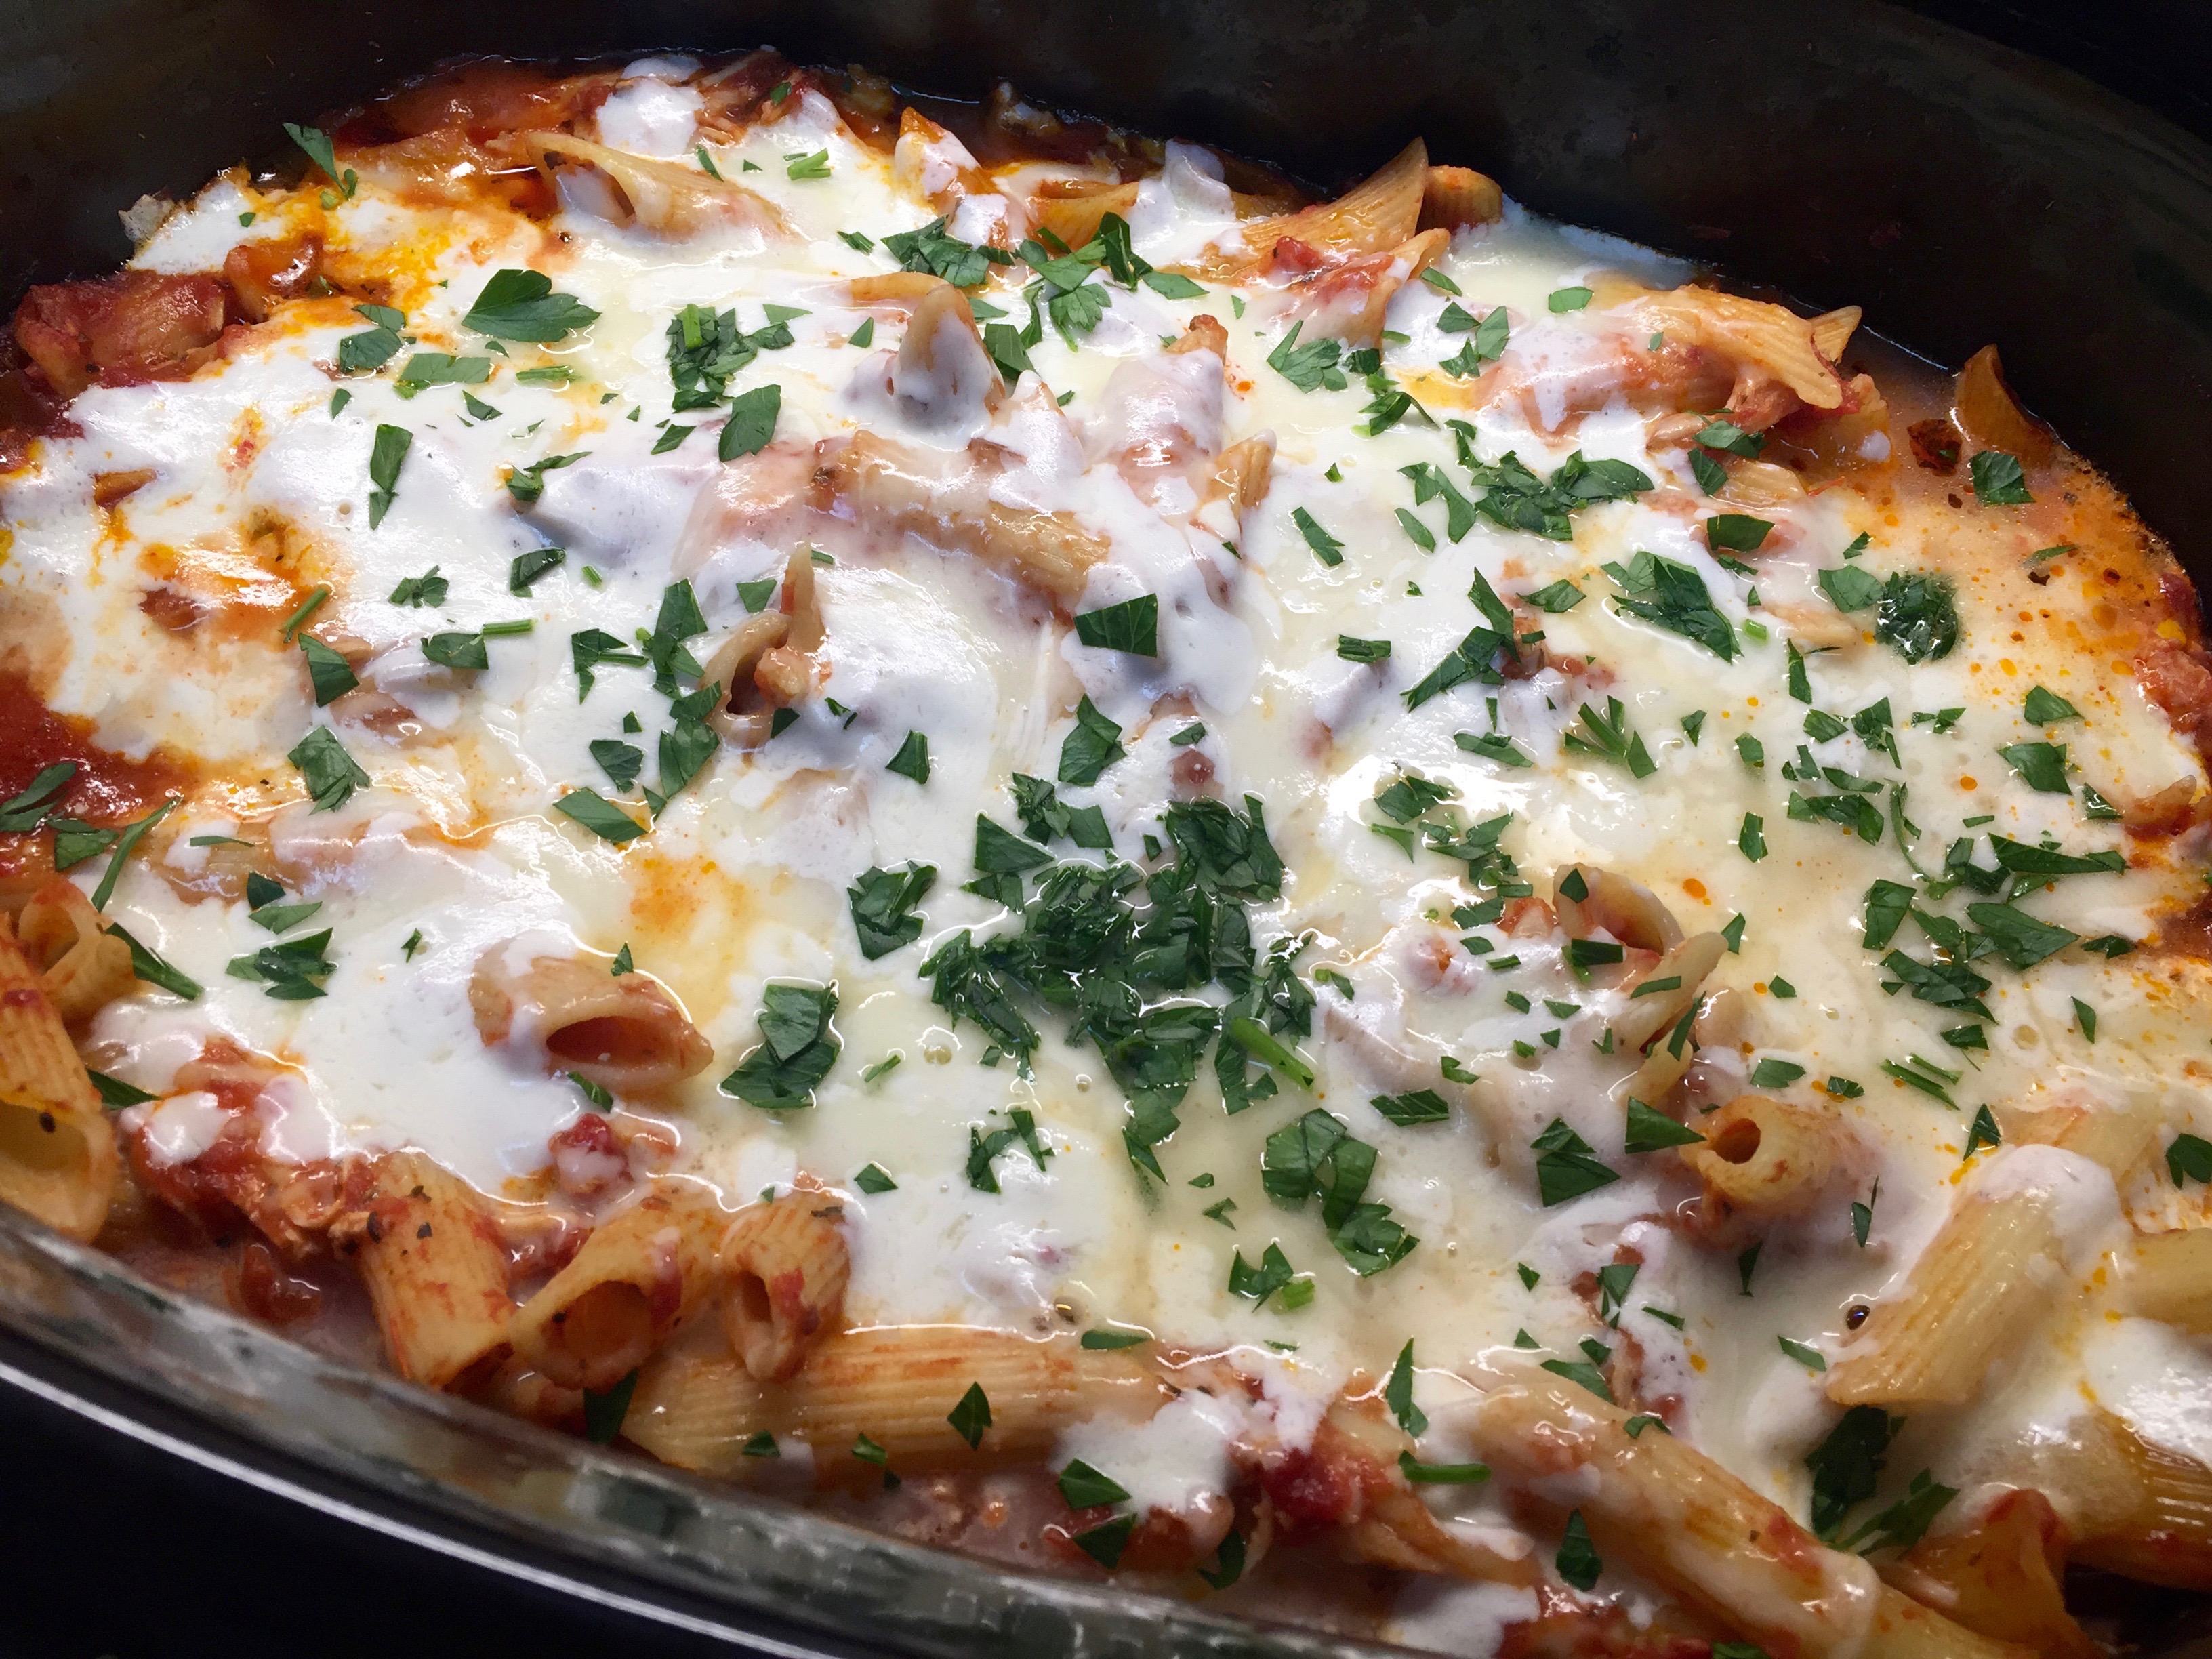
Spread a small portion of the sausage and marinara sauce on the bottom of the casserole dish just to slightly coat it. Spread the ravioli mixture evenly into the dish. Pour the remaining marinara sauce over the ravioli mixture. Place the slices of mozzarella on top of the marinara sauce. Sprinkle the remaining Italian seasoning and grated parmesan over the mozzarella. 

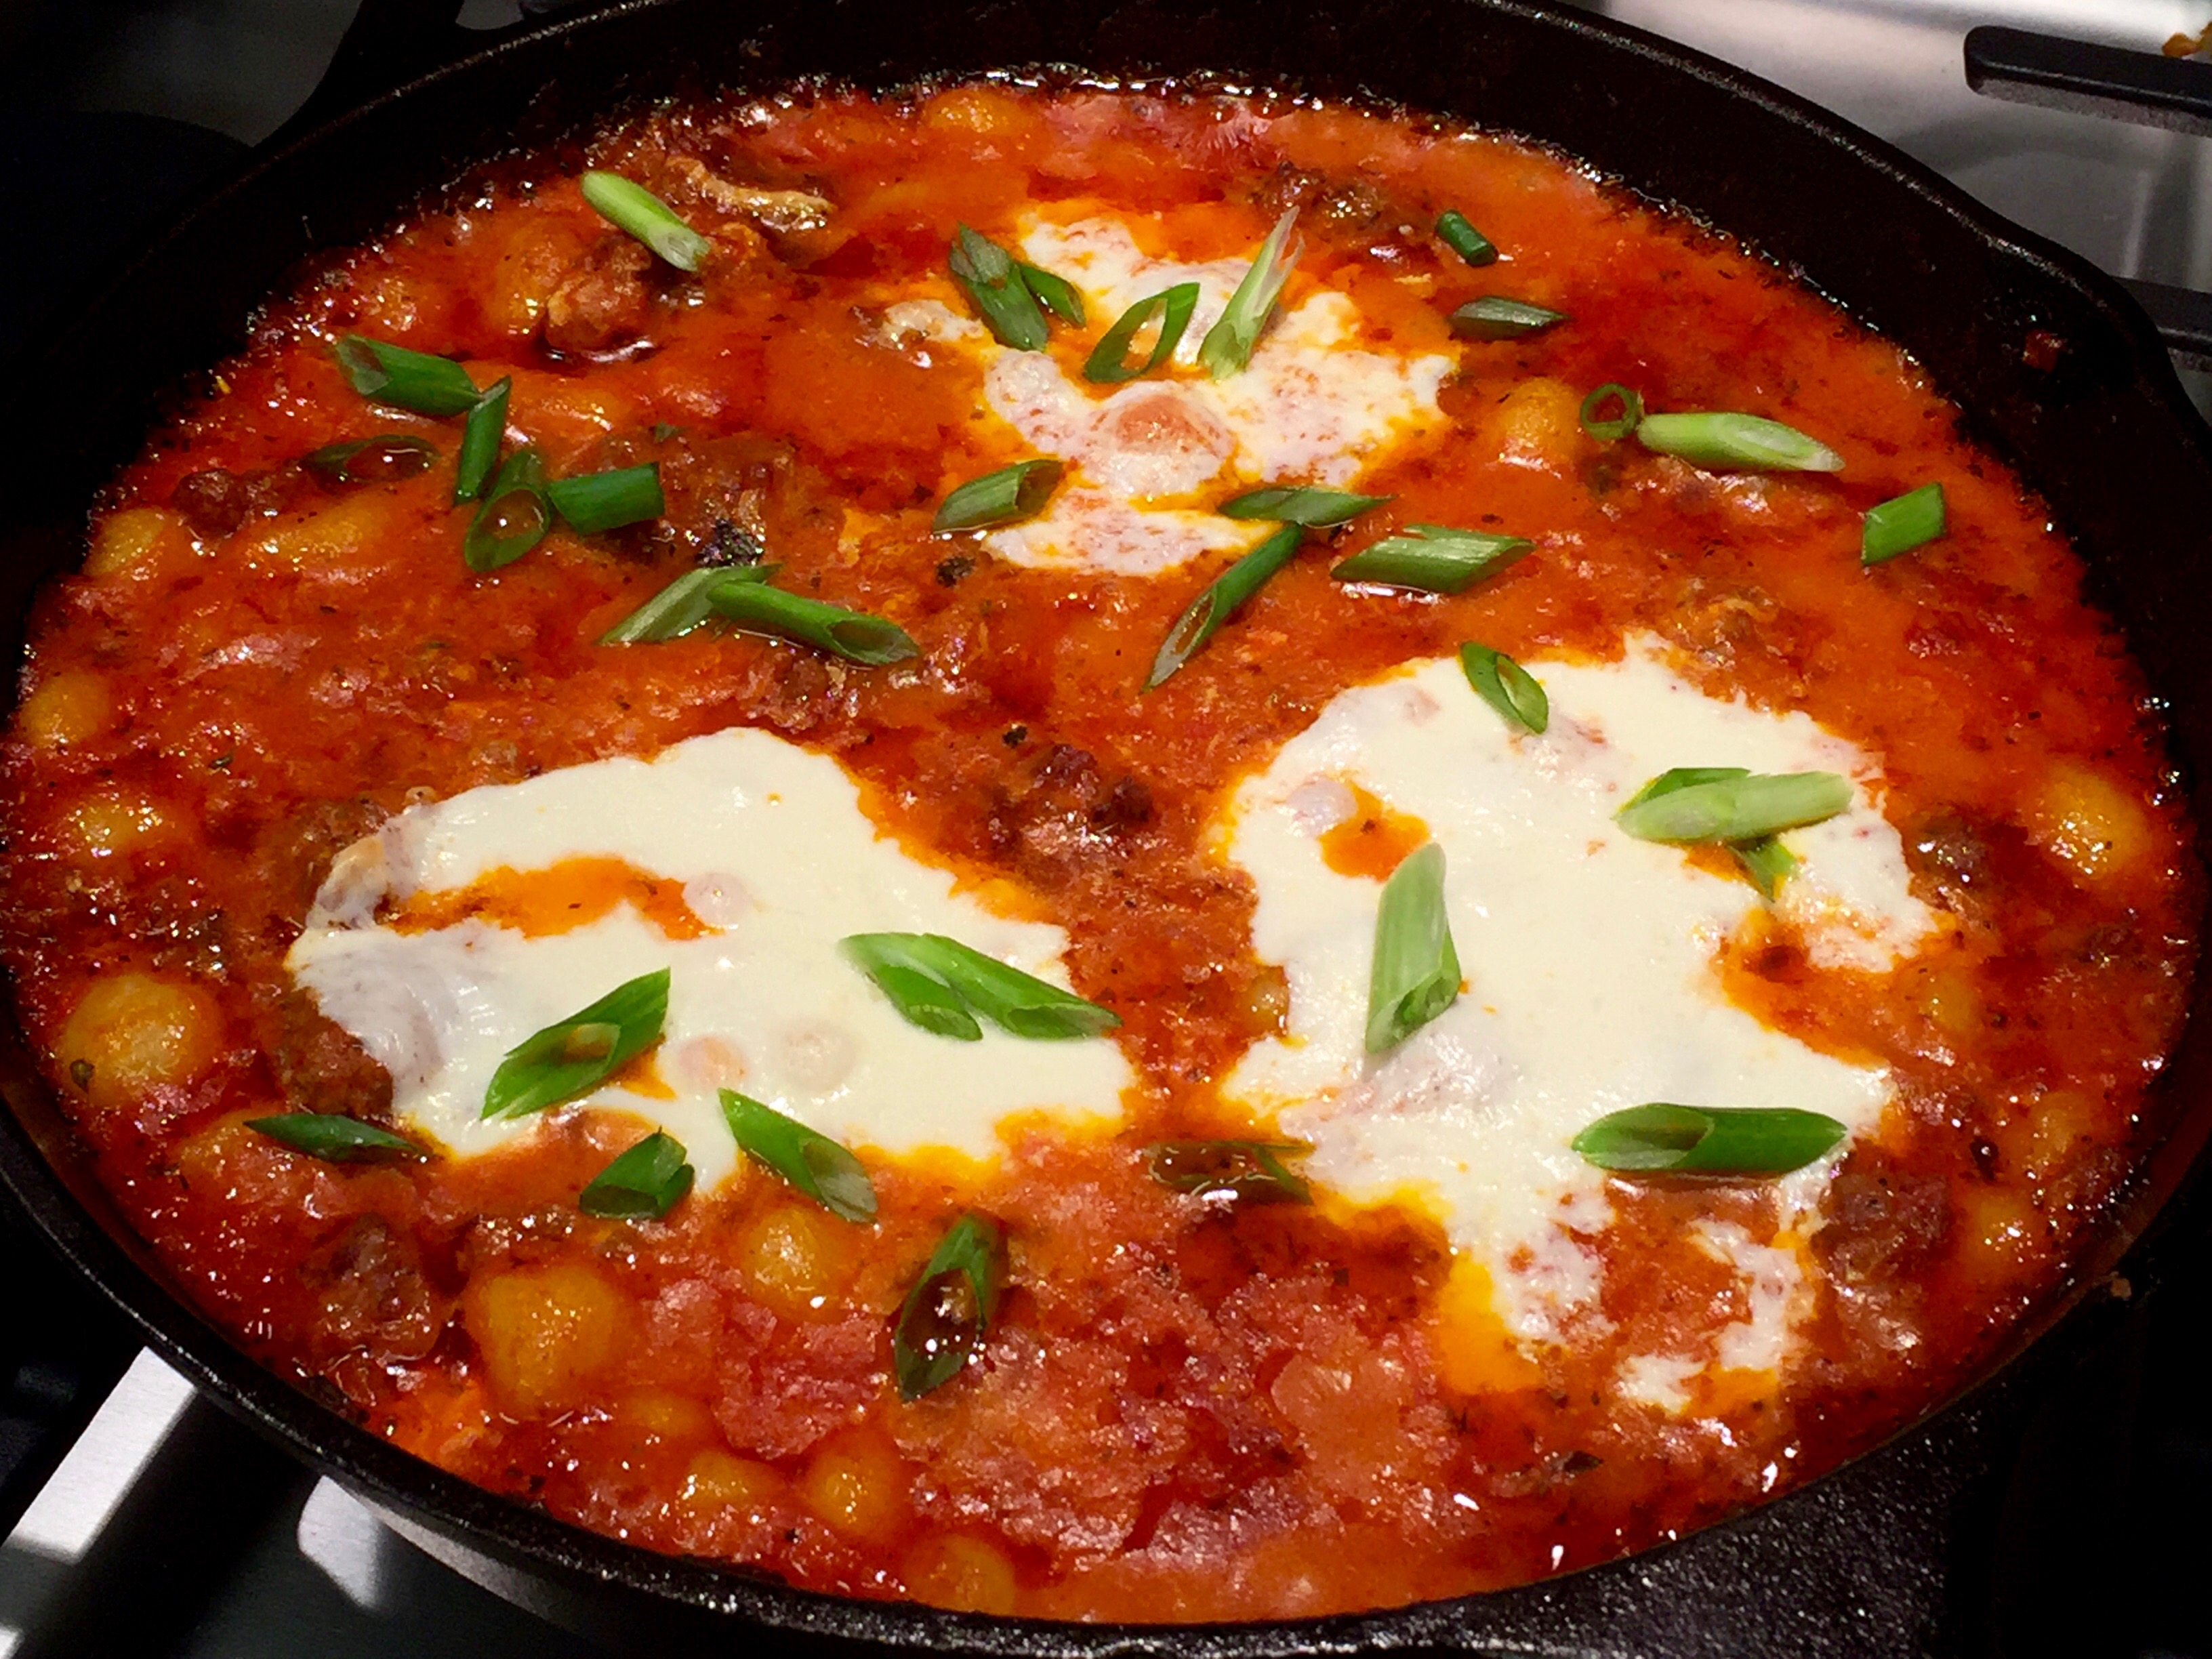
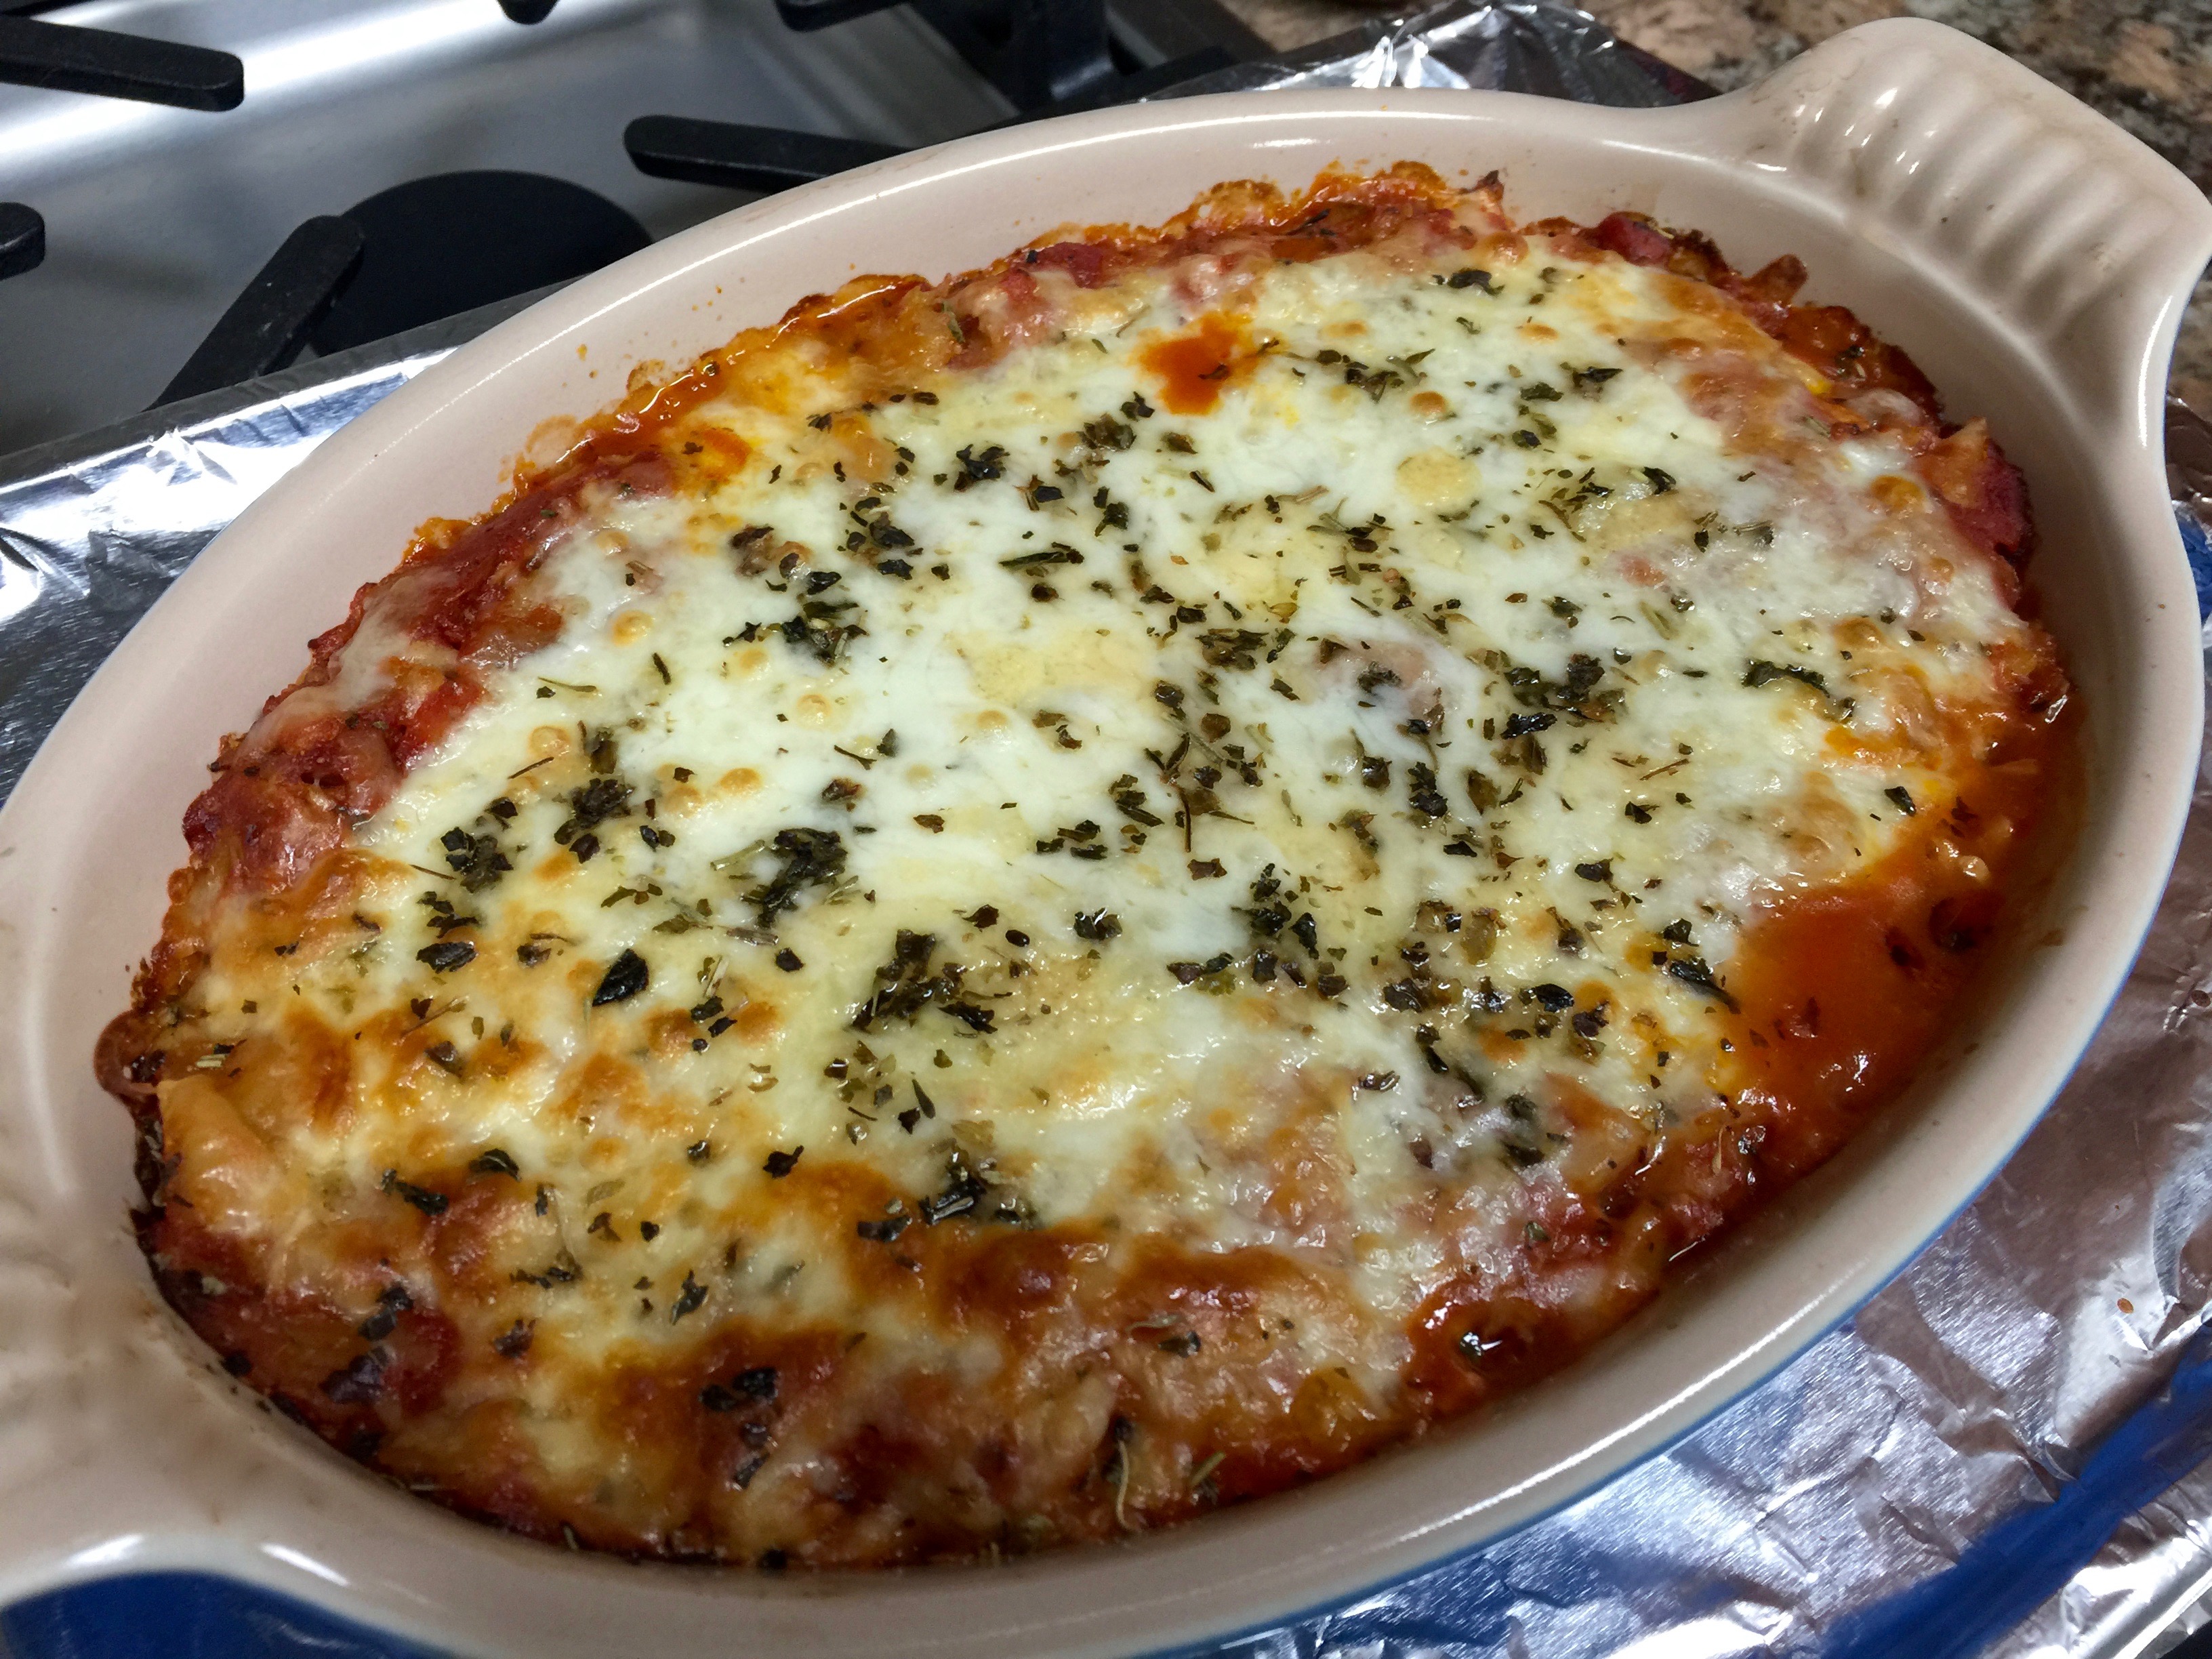
Cover the casserole dish with foil and bake for 35 minutes. (you may want to place the dish on a foil lined baking sheet to prevent any spills on the bottom of your oven). Uncover the casserole and bake for an additional 10 minutes. 

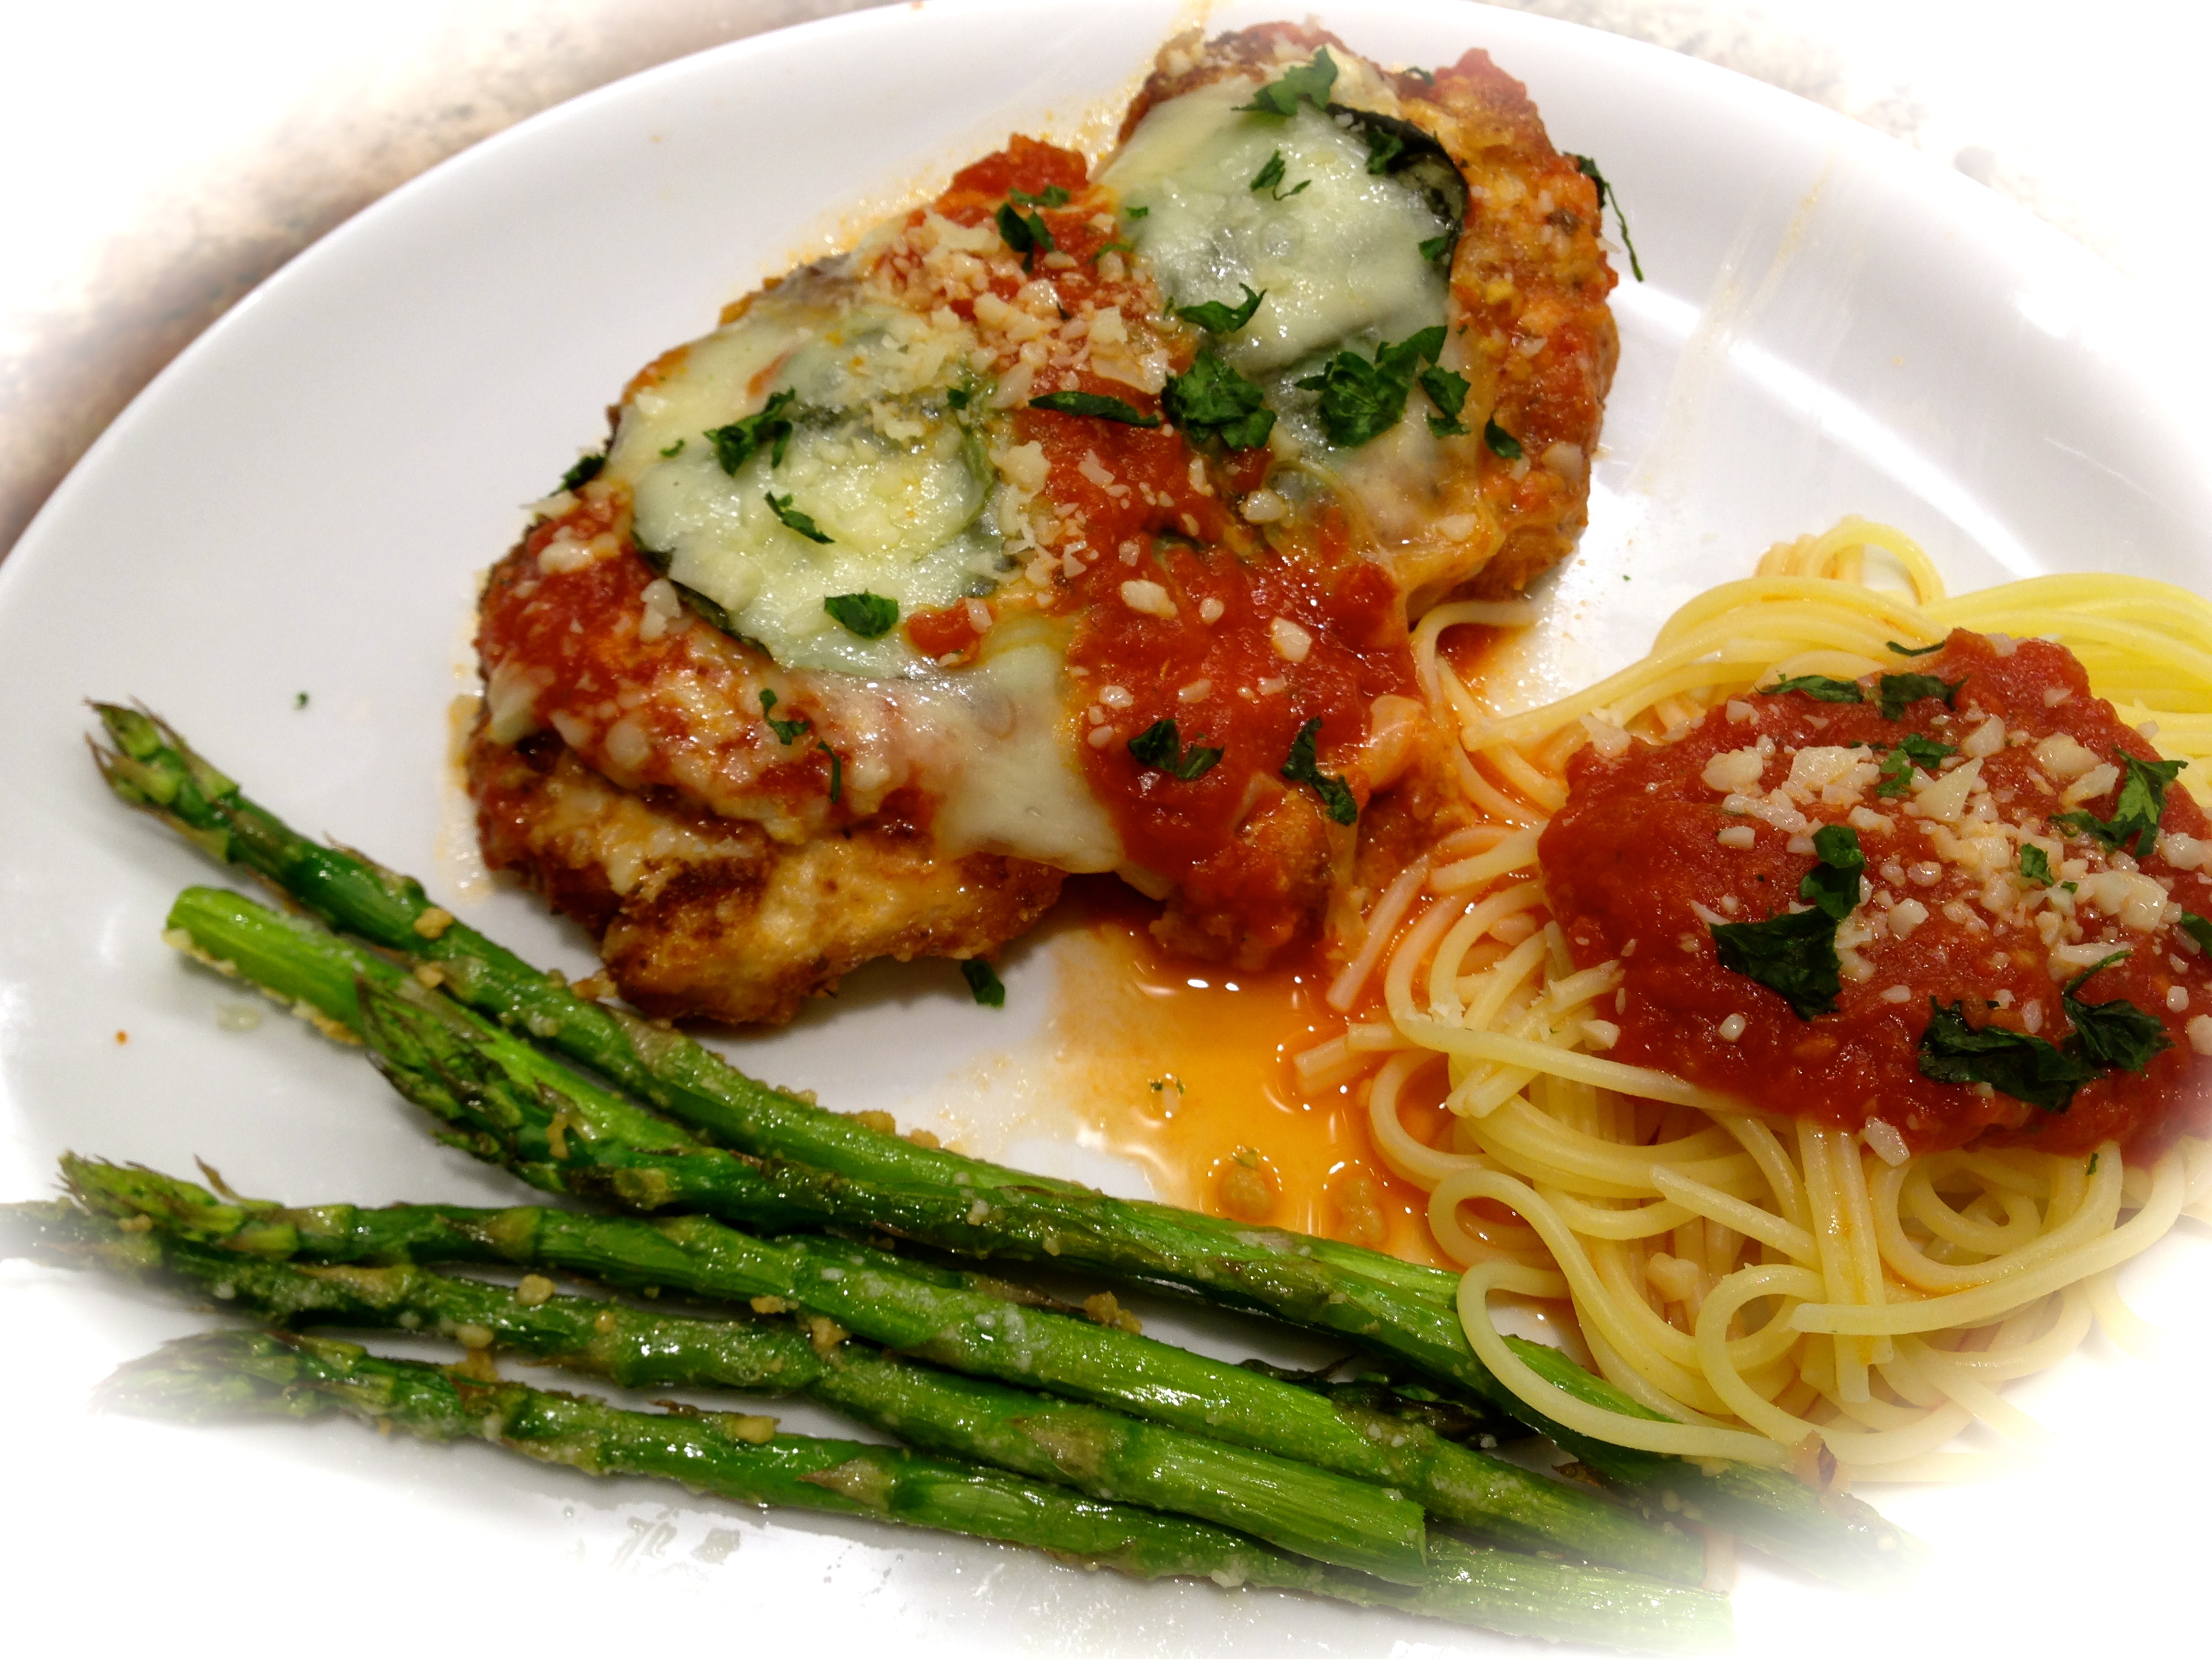
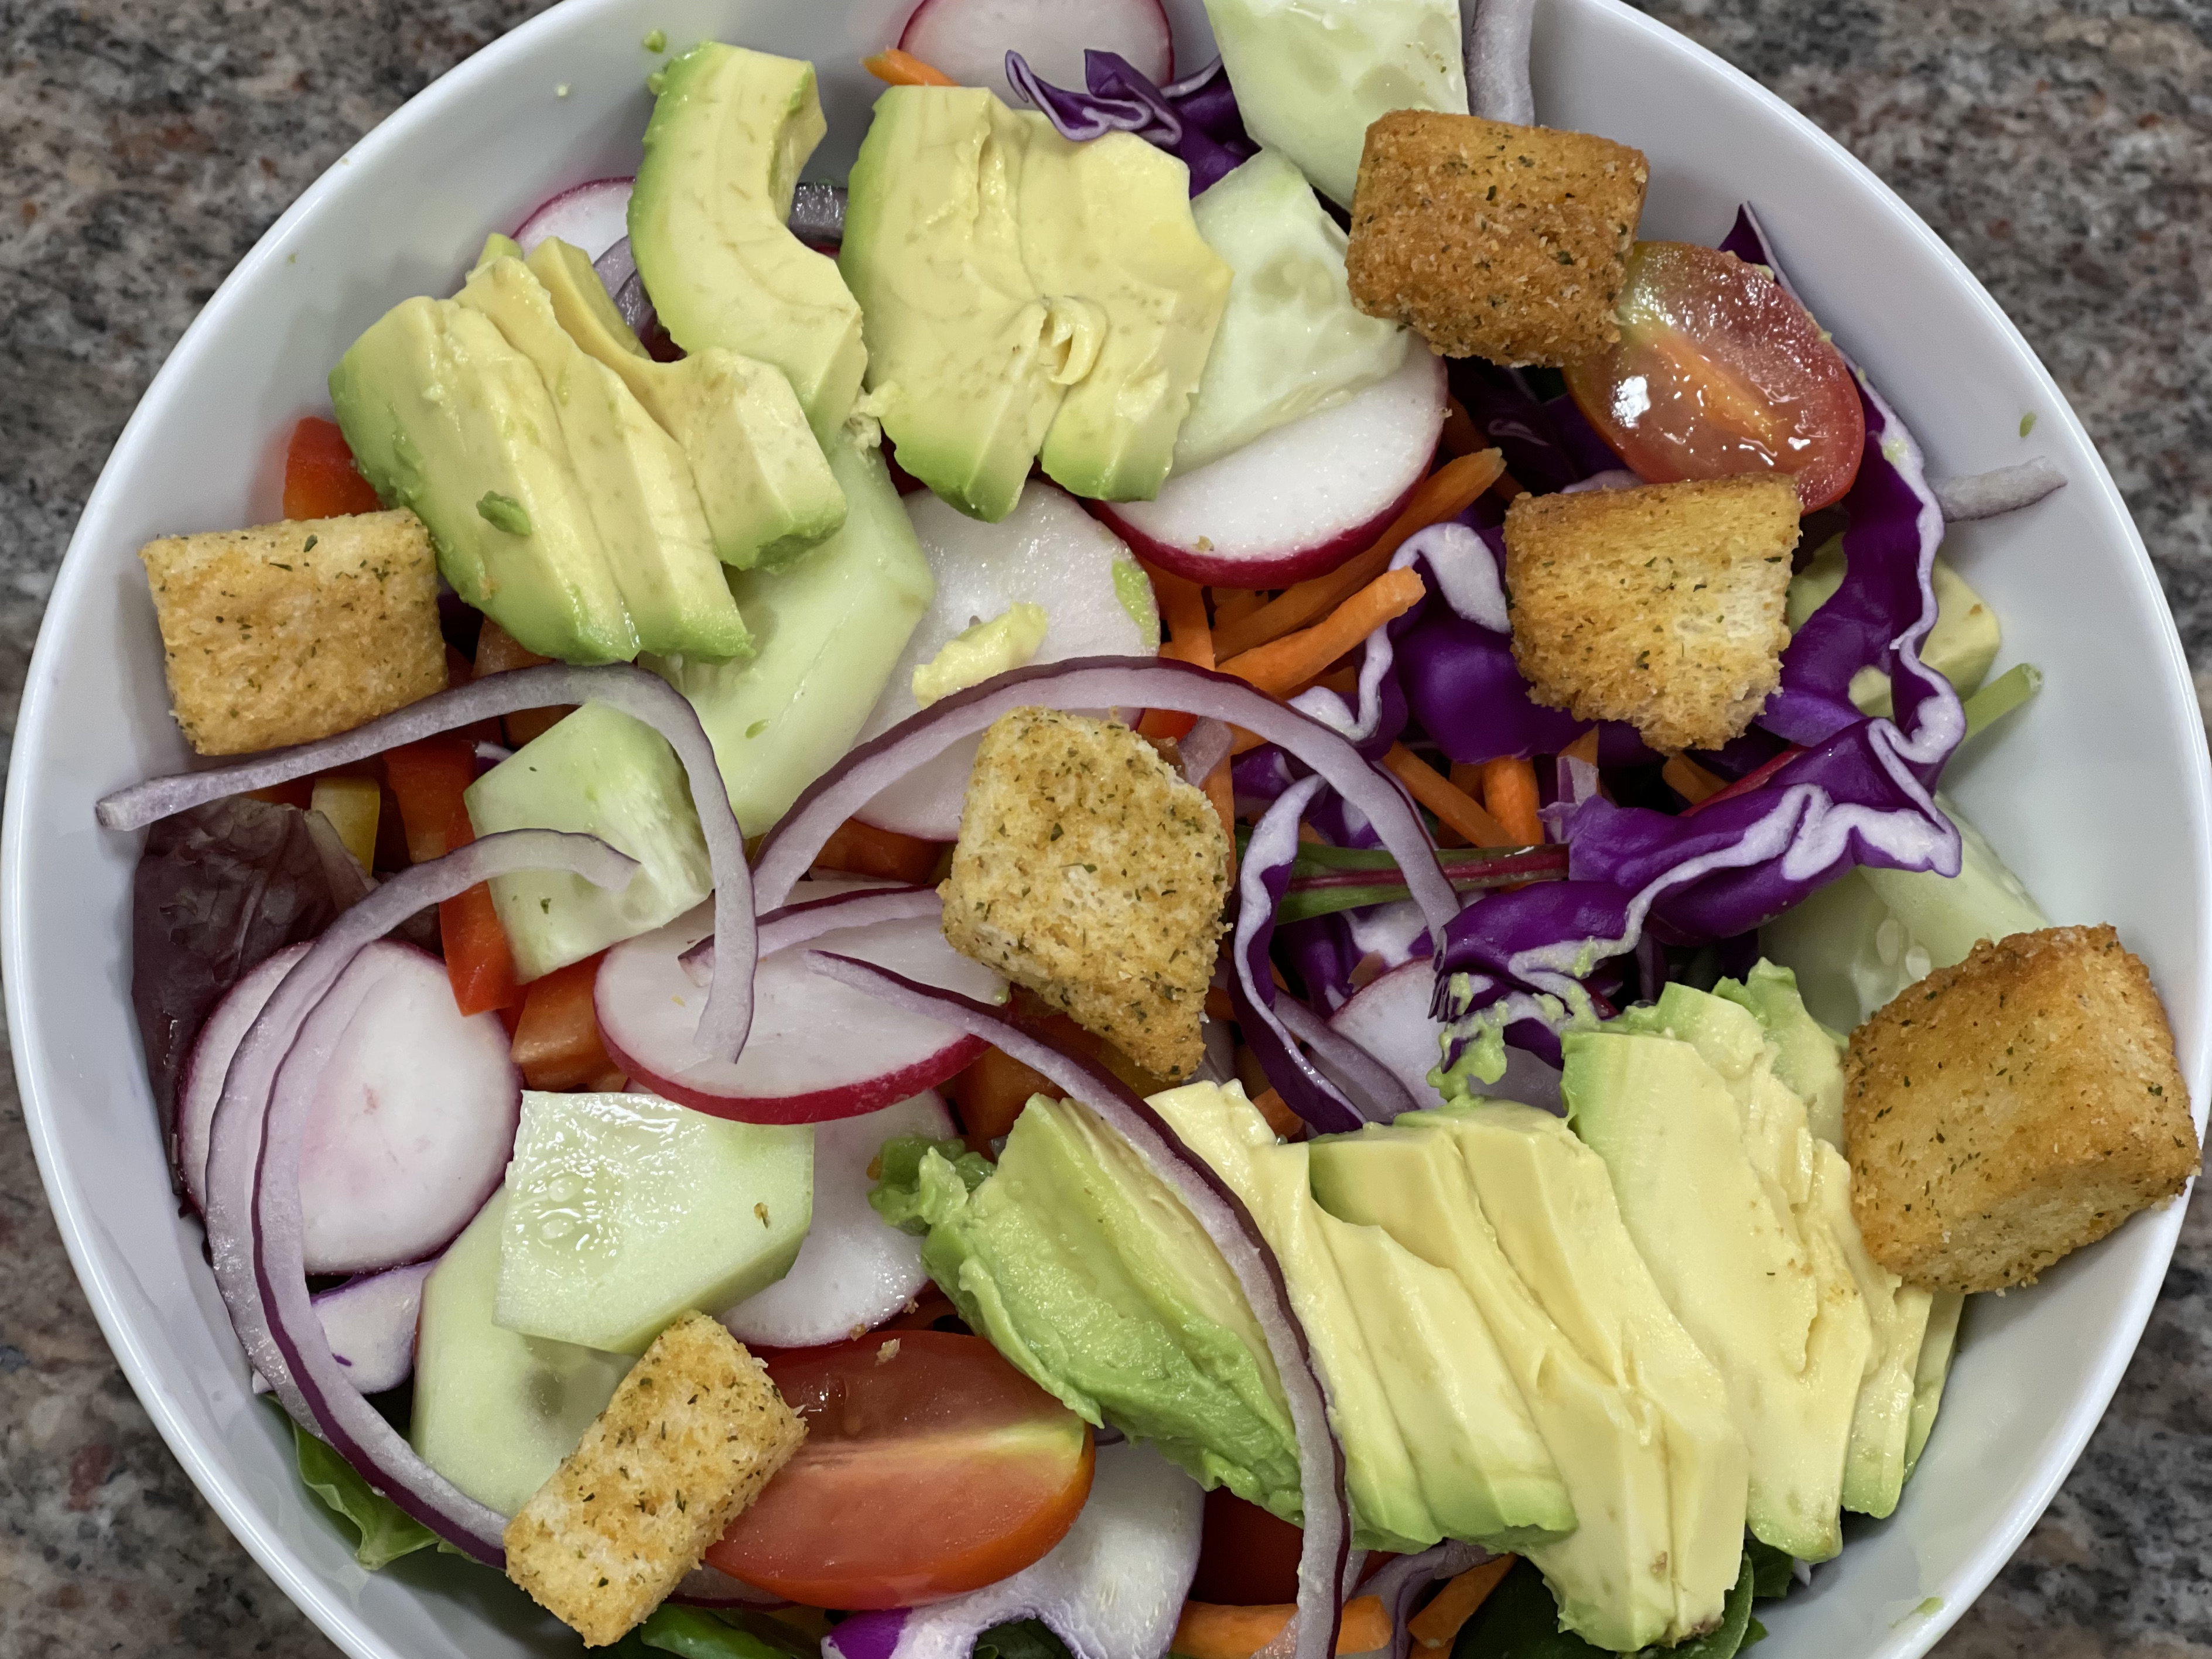
Remove the casserole from the oven and let it sit for 5 minutes. Serve with a side salad and some crusty bread and butter. 


Homemade Pizza Bites…

This recipe came out of a kick I’ve been on lately of cleaning out the ingredients in my refrigerator and pantry. It was lunch time and I wanted something different for lunch but not something huge and filling. I started scrounging around and found I had some ingredients for a basic pizza, minus the pizza crust but I had a loaf of take and bake bread.

The wheels in my brain started spinning and I decided to try using the unbaked take and bake bread baguette loaf, cut it into a couple of 1/2 pieces, top it with my pizza toppings and throw it in the toaster oven. I absolutely could not believe how wonderful it turned out, and so I thought I’d share this very, very simple recipe with you.

These bites are great for a light lunch, a snack, or even a meal. For example, for over a year now some friends of mine and I have been playing cards and games every Monday. Each week we take turns hosting. We got into the habit of making lunch before we started our games and as you can well imagine that got my juices flowing as to how I could use these wonderful friends as guinea pigs for recipes for this blog. I let them know that was my intent and they said they were all in. So, last Monday I made these bites along with a side salad and a crudités plate of mozzarella sticks wrapped in salami and blue cheese stuffed olives. The lunch was a hit.

Mozzarella Sticks Wrapped In Salami And Blue Cheese Stuffed Olives

Simple Side Salad

Sausage Pizza Bites

Pesto and Pepperoni Pizza Bites

The most time consuming thing about this meal was assembling the pizza bites. The wrapped mozzarella and stuffed olives were store bought and there’s nothing to putting together a simple salad. And now, since I’ve had these bites both for a snack and a meal I thought maybe I should write about them.

So, with all that being said, let’s talk homemade pizza bites…

Lesson Learned 1 – Use whatever pizza ingredients you may have on hand: I used pesto, pepperoni, sausage, mozzarella slices and shredded mozzarella, grated parmesan, pizza sauce and Italian seasoning. One thing to be aware of, these bites only need 7-10 minutes to cook so if you add sausage it must be precooked. I thought about adding some green pepper but I didn’t this time. I probably will try it at some point, but I know I’ll need to cut the pieces very small so they at least partially cook. I like green pepper with a crunch on my pizza anyway.

Lesson Learned 2 – Forget measurements: You’ll notice this recipe doesn’t have any type of measurements for the ingredients. What you need will depend on how many bites you make and what ingredients you have on hand. I designed this recipe to be a way to use up ingredients you have laying around in your refrigerator or pantry.

Lesson Learned 3 – Use take and bake bread: The key, at least for me, was the take and bake bread. Take and bake bread is designed to be baked for about 10 minutes so it coincides with the overall baking time of the bites. Using this type of bread gave the bites a beautiful crispy crust which, for me, made it more like a Detroit style pizza which I just love.

Lesson Learned 4 – Make sure you bakes the bites on a wire rack: You want to make the bread nice and crispy. Baking them on a wire rack allows the bottom of the bread to cook and crisp up. Make sure you use a foil lined pan underneath the rack to catch any melted cheese that may run off the bread. That way you won’t have an oven mess that’s hard to clean up.

So give this throw together recipe a try. It only takes a few minutes to make a quick lunch. And if you’re making a bigger batch, count on about 20 minutes to prep them all. I know you’ll just love them. I know I do! Let me know what you think…

Homemade Pizza Bites

  • Servings: Varied
  • Difficulty: Easy
  • Print

INGREDIENTS:

Store bought or homemade pesto

Pepperoni, sliced thin

Mozzarella, slices and shredded

Precooked Italian Sausage

Homemade or Store Bought Pizza Sauce

Unbaked Take And Bake Baguette Bread

Italian Seasoning

Basil Leaves For Garnish, optional

DIRECTIONS:

Preheat oven to 375 degrees.

Cut the take and bake bread into 1/2 inch slices cut on the bias. Top with either pesto or pizza sauce (you’ll probably need about a teaspoon for each slice). Put a slice of mozzarella on each piece of bread, pre-cut to size. Place two pieces of pepperoni on top of the bite that has pesto. Place crumbles of pre-cooked sausage on top of the bite that has pizza sauce. (Of course you can switch them around anyway you like, I’m just explaining what I did).

Top each bite with shredded mozzarella. Sprinkle each bite with some Italian seasoning. Add some grated parmesan over the tops of each slice.

Place each bite on a wire rack with a foil lined pan underneath it. Bake in oven or toaster oven for 7-10 minutes. Garnish each with some fresh basil. Enjoy!

Bread Slices With Pesto And Pizza Sauce

Oven Ready Pesto Bite

Oven Ready Sausage Bite

Parmesan And Garlic Herb Baked Cod…

Fish has become a staple in our household. Years ago I hardly ever made fish – I was too afraid of it and frankly not all that enamored with it. But now it has become a mainstay in our diet. Not only is it good for you but there are also a variety of ways to cook fish that make it super delicious. This recipe is one of those.

I’ve mostly cooked cod, red snapper, halibut, tilapia, trout, swordfish, and salmon. The main kind of fish I cook for me and my husband is salmon. I’ve got cooking salmon down to such a science that if I prepare it a certain way it always comes out perfect. This is a recipe for cod and I am still perfecting my cod prowess. But I made this the other night and it turned out wonderful so now I have a baseline to work from.

So let’s talk Parmesan and garlic herb baked cod…

Lesson Learned 1 – Cod is plentiful, easy to find and a great choice for this type of recipe: Whenever I go to the grocery store I can always get salmon, tilapia (although lately I’ve shied away from this because of everything that has been written about it) or cod. Finding other fish can be iffy for me. Trout is somewhat plentiful, halibut and red snapper are iffy (and halibut is very expensive) and swordfish I normally can only find frozen. But I’m in Colorado and not near the ocean so I’m sure in various parts of the country availability of various types of fish is much different.

I’d like to stop for a moment here and talk about frozen fish. Years ago frozen fish was not very good. The freezing process tended to dry out the fish and so you basically started out with dry fish once it was thawed – not good. Today the flash freezing methods they use keep the fish extremely fresh which makes frozen fish rival fresh fish and at a much better price. So don’t be afraid of frozen fish anymore.

The Herb Mixture

I also found that thawing frozen fish matters. I’ve been in a hurry and just put the frozen fish on the counter to thaw. That tends not to be a recommended process but when you’re in a hurry you do what you can do. But I found that if I thaw the fish in the refrigerator overnight the fish tends not to dry out in the baking process. Now I’m not sure if that’s true or if it’s just me, but I recommend thawing your fish overnight in the refrigerator if you can.

I found a package of six flash frozen 4-5 ounce cod pieces at Whole Foods at a great price. But cod is easy to find just about anywhere and often you can find it fresh. And no matter what way you make it, cod is the type of fish that easily takes on any flavor palate you choose. That’s what makes it so versatile.

One last point – don’t be afraid to let the fish sit outside of the refrigerator a bit before you bake it. I normally let my fish sit out for about one half hour. That way some of the chill is taken out of the fish. I find it bakes better that way.

Lesson Learned 2 – The art of cooking fish: As I mentioned earlier, I used to shy away from fish and one of the main reasons why was the fear of over or under cooking it. And when you have two pieces of halibut that cost over $20 you really don’t want to mess up. But even if you pay much less, cooking fish can be tricky and if you have enough failures you may just say enough is enough. But don’t do that. Once you get the hang of it, you’ll make great fish meals more and more.

If you’re really nervous just keep in mind that baked cod should be cooked to an internal temperature of 155 degrees. To test the temperature just use a food thermometer and stick it in the thickest part of the fish keeping the tip near the center of the filet. I’ve cooked fish enough that I’ve learned to eyeball it by either looking at the sides to see how opaque the color of the fish is or by sticking a fork on the edge to see if it’s flaky. But that skill comes with time and I recommend using a food thermometer if you’re new at it.

And while we’re talking food thermometer I would recommend getting a good one. The more inexpensive ones can work but they can register temperatures incorrectly, especially over time. Invest in a good food thermometer and it will become you’re best friend.

Ready To Go Into The Oven

Lesson Learned 3 – Grate your own Parmesan for this recipe: There is a BIG difference between jarred Parmesan cheese and grating your own. First the quality of the cheese can be much better as you choose what kind of Parmesan wedge you’ll use. Second the consistency is different. Homemade grated Parmesan tends to have slightly bigger pieces, tastes more robust and stands up better to the melting process in the oven. Now I know it takes a little extra time to do it but it is so worth it. I just zip out my little mini food processor, cut my Parmesan into small pieces and let the food processor do the rest. It’s so easy really and so worth it. I always make more than I need and use it for other things. Once you grate your own you may find that you’ve become a Parmesan snob and always grate your own versus buying it in the jar. It wouldn’t surprise me.

And that’s basically it. The recipe I am sharing is for two but you can certainly make more – just increase the amounts for the mayonnaise mixture. Also if you use larger sized filets you’ll need to increase the baking time. I served this with my cinnamon roasted butternut squash, a side salad and some garlic knots. It was a fantastic meal. Try it and tell me what you think!

Parmesan And Garlic Herb Baked Cod...

  • Servings: 2
  • Difficulty: Easy
  • Print

INGREDIENTS:

2 four to five ounce cod filets

1/2 cup mayonnaise

1/2 cup freshly grated Parmesan

1 scallion chopped, including the green parts (you can substitute 2 Tbs. shallots)

1 garlic clove, grated

1 Tablespoon fresh Italian parsley, chopped

DIRECTIONS:

Preheat oven to 375 degrees. Line a baking sheet with foil and spray the foil with cooking spray. Place the cod filets on the foil and set aside.

In a small bowl mix together the remaining ingredients. Spread the mixture evenly over the top of the fish. Bake for 8-10 minutes or until the fish starts to look opaque and will flake.

If you desire the topping to be more browned, at 8 minutes switch the oven to broiler and brown the tops of the fish until lightly golden (not longer than 2 minutes). Remove from oven and serve.


Skillet Breads – Rosemary Parmesan and Cranberry Walnut…

Nothing in this world compares to home made bread. There is something so comforting about it, it creates that feeling of “there’s no place like home” every time you smell it baking in the oven. And bread baking has progressed over the years from a process that took hours to much quicker and easier methods. To date I have made bread the traditional way (letting it rise over and over for hours and baking in a loaf pan), to making bread in an enameled cast iron dutch oven and now this third way of making it in a plain old cast iron skillet.

I’ve made this recipe a few times before I felt I perfected it and I’ll go through all of that in my lessons learned. But bottom line, even with the few blips I encountered I still wound up with wonderful homemade bread. The two versions I’m going to talk about in this blog are Cranberry Walnut Skillet Bread and Rosemary Parmesan Skillet Bread. Two very different varieties but two wonderful breads.

So let’s talk skillet breads…

Lesson Learned 1 – Use rapid rise yeast and make sure it is fresh: I had a jar of rapid rise yeast in my refrigerator and used it the first time I tried to make this bread. It never rose the way it was supposed to (the jar had been in the fridge for quite some time) and the bread wound up “doughy” as if it didn’t have enough air in it. The second time I made the bread I used fresh yeast and their was a marked difference in how much the dough had risen. Also make sure that you use warm but not scolding water when you activate the yeast. Scolding water will kill the yeast but very warm water will activate it.


The picture on the left shows the newly mixed dough. The one on the right shows what the dough will look like after it had risen in the bowl for one hour.

Skillet bread requires the dough to rise twice, once for an hour in the bowl and once for a half hour in the skillet. The picture above shows what the dough should look like after it has risen in the skillet for a half hour.

Lesson Learned 2 – Use only a small amount of olive oil to season the skillet and use good olive oil: What I really like about making bread this way is the crust you get from the cast iron skillet. 
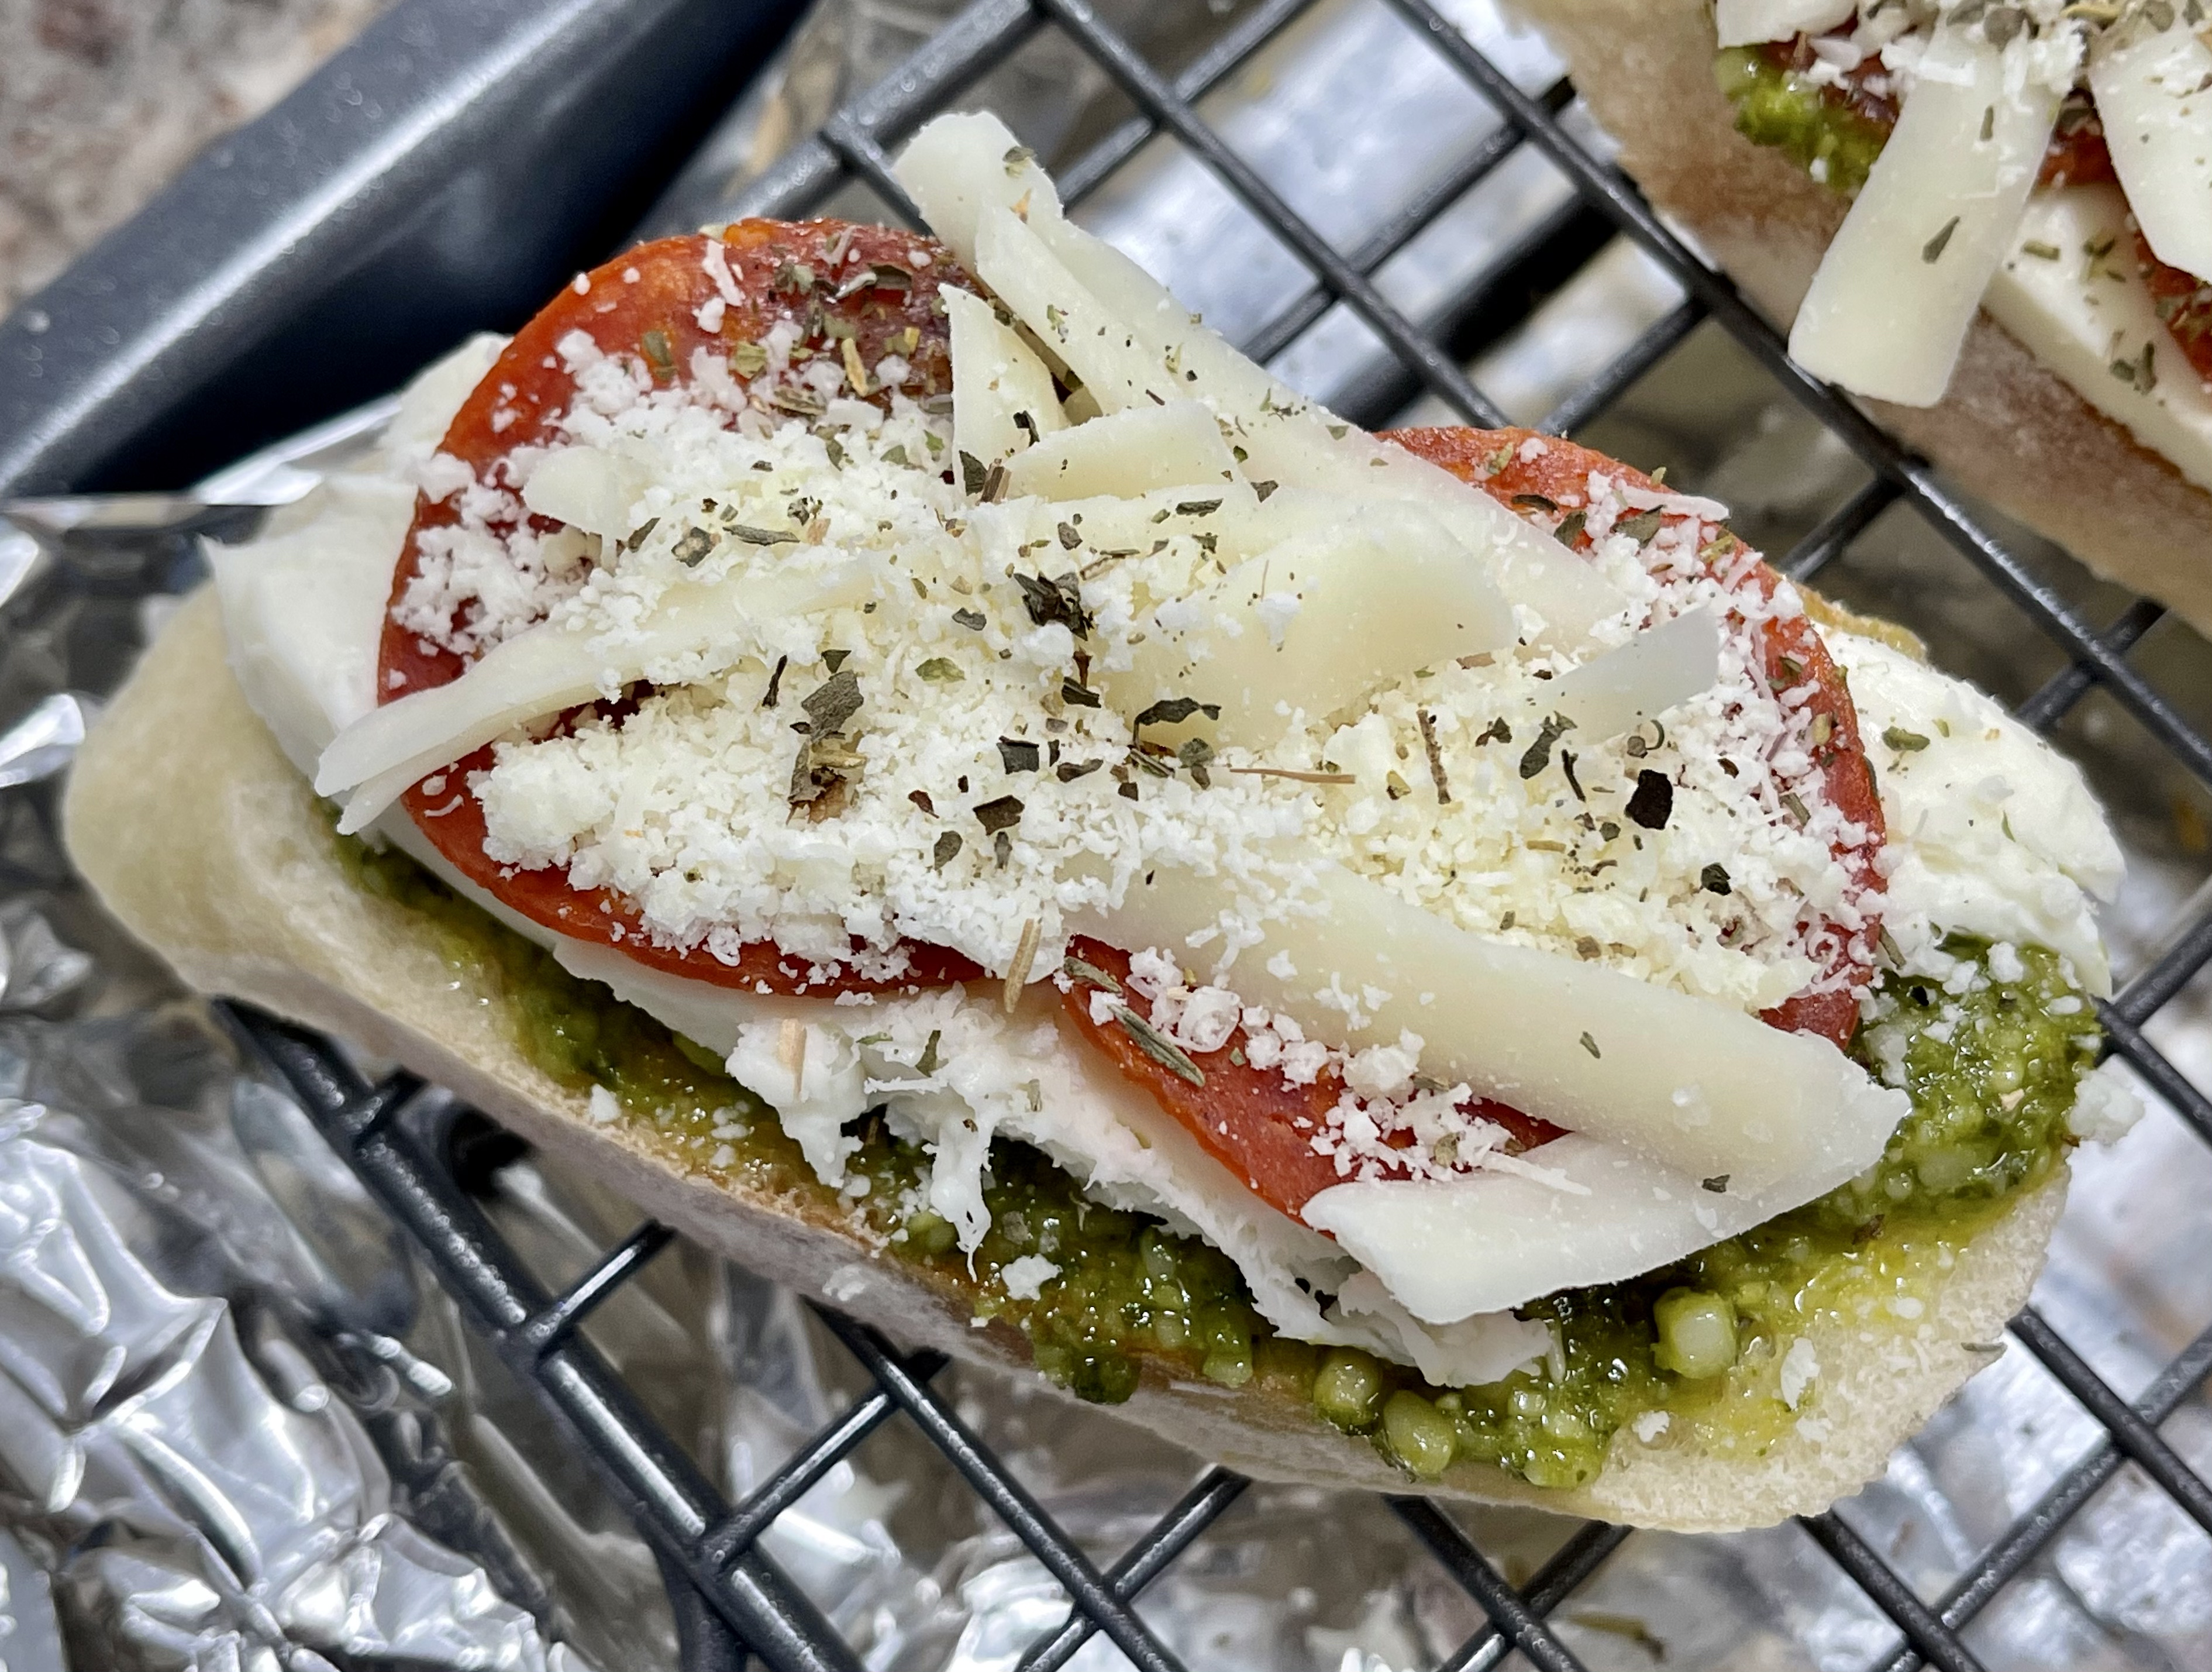
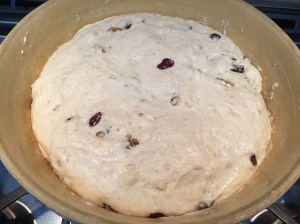
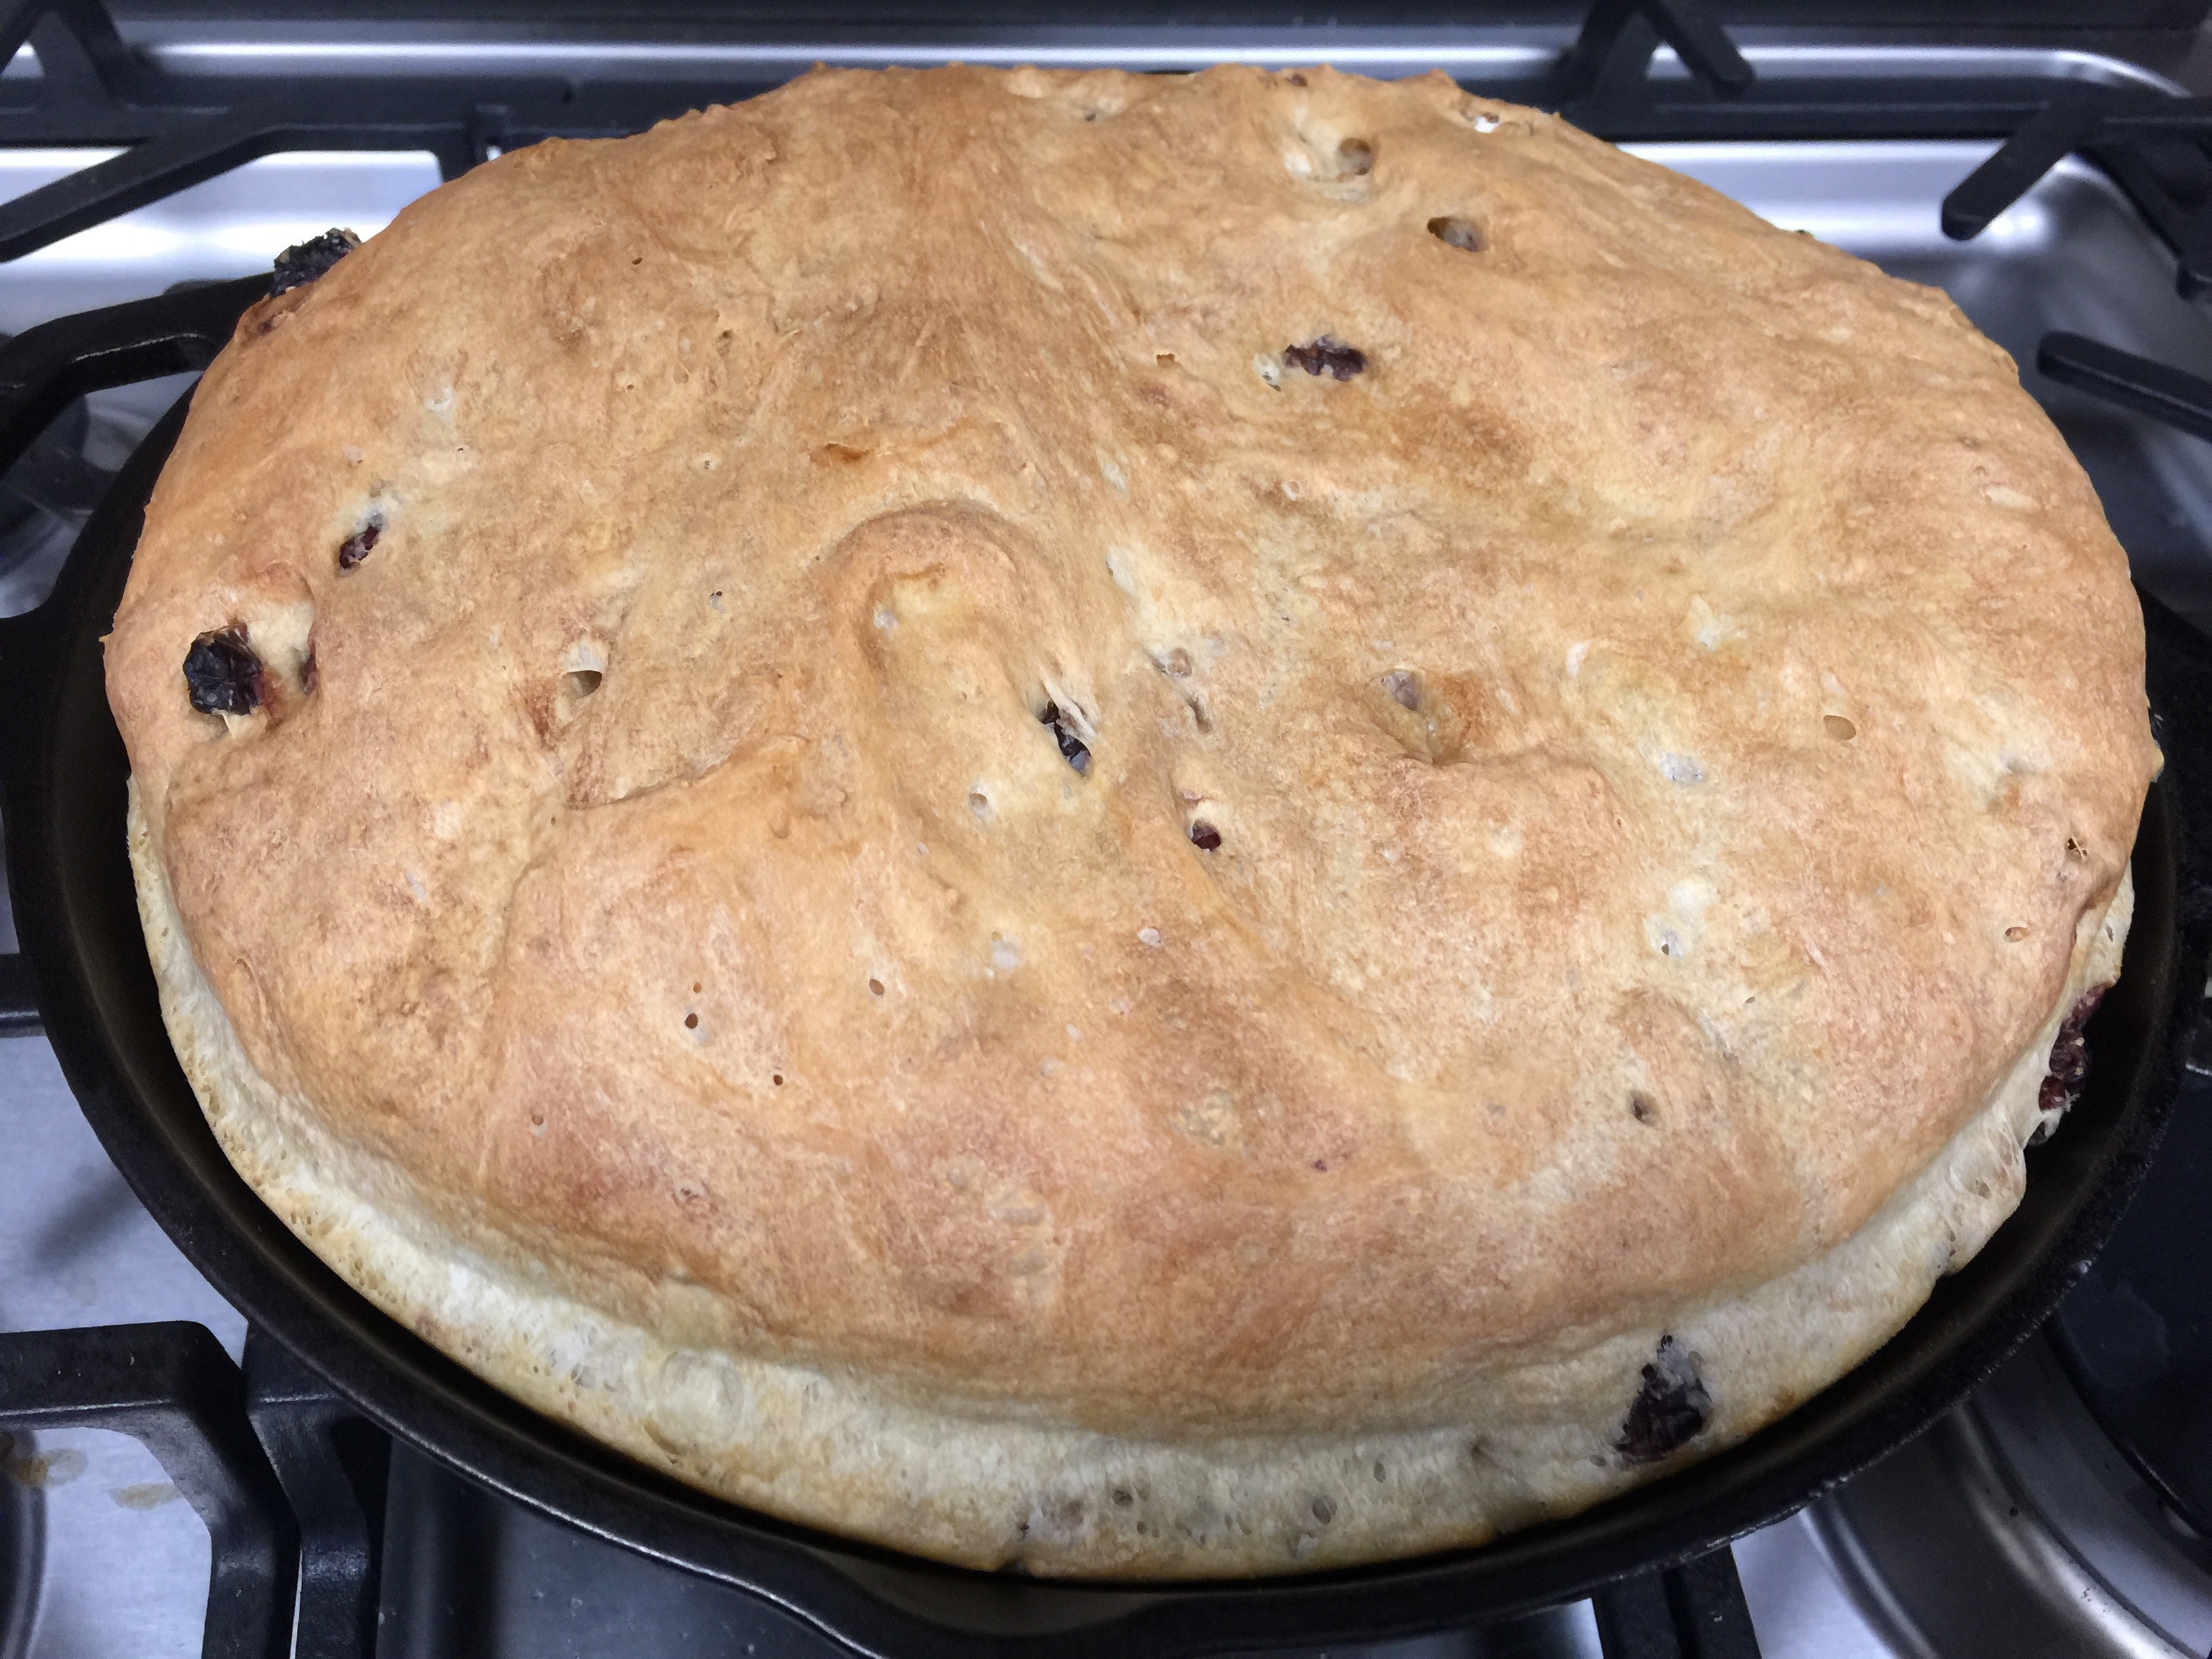
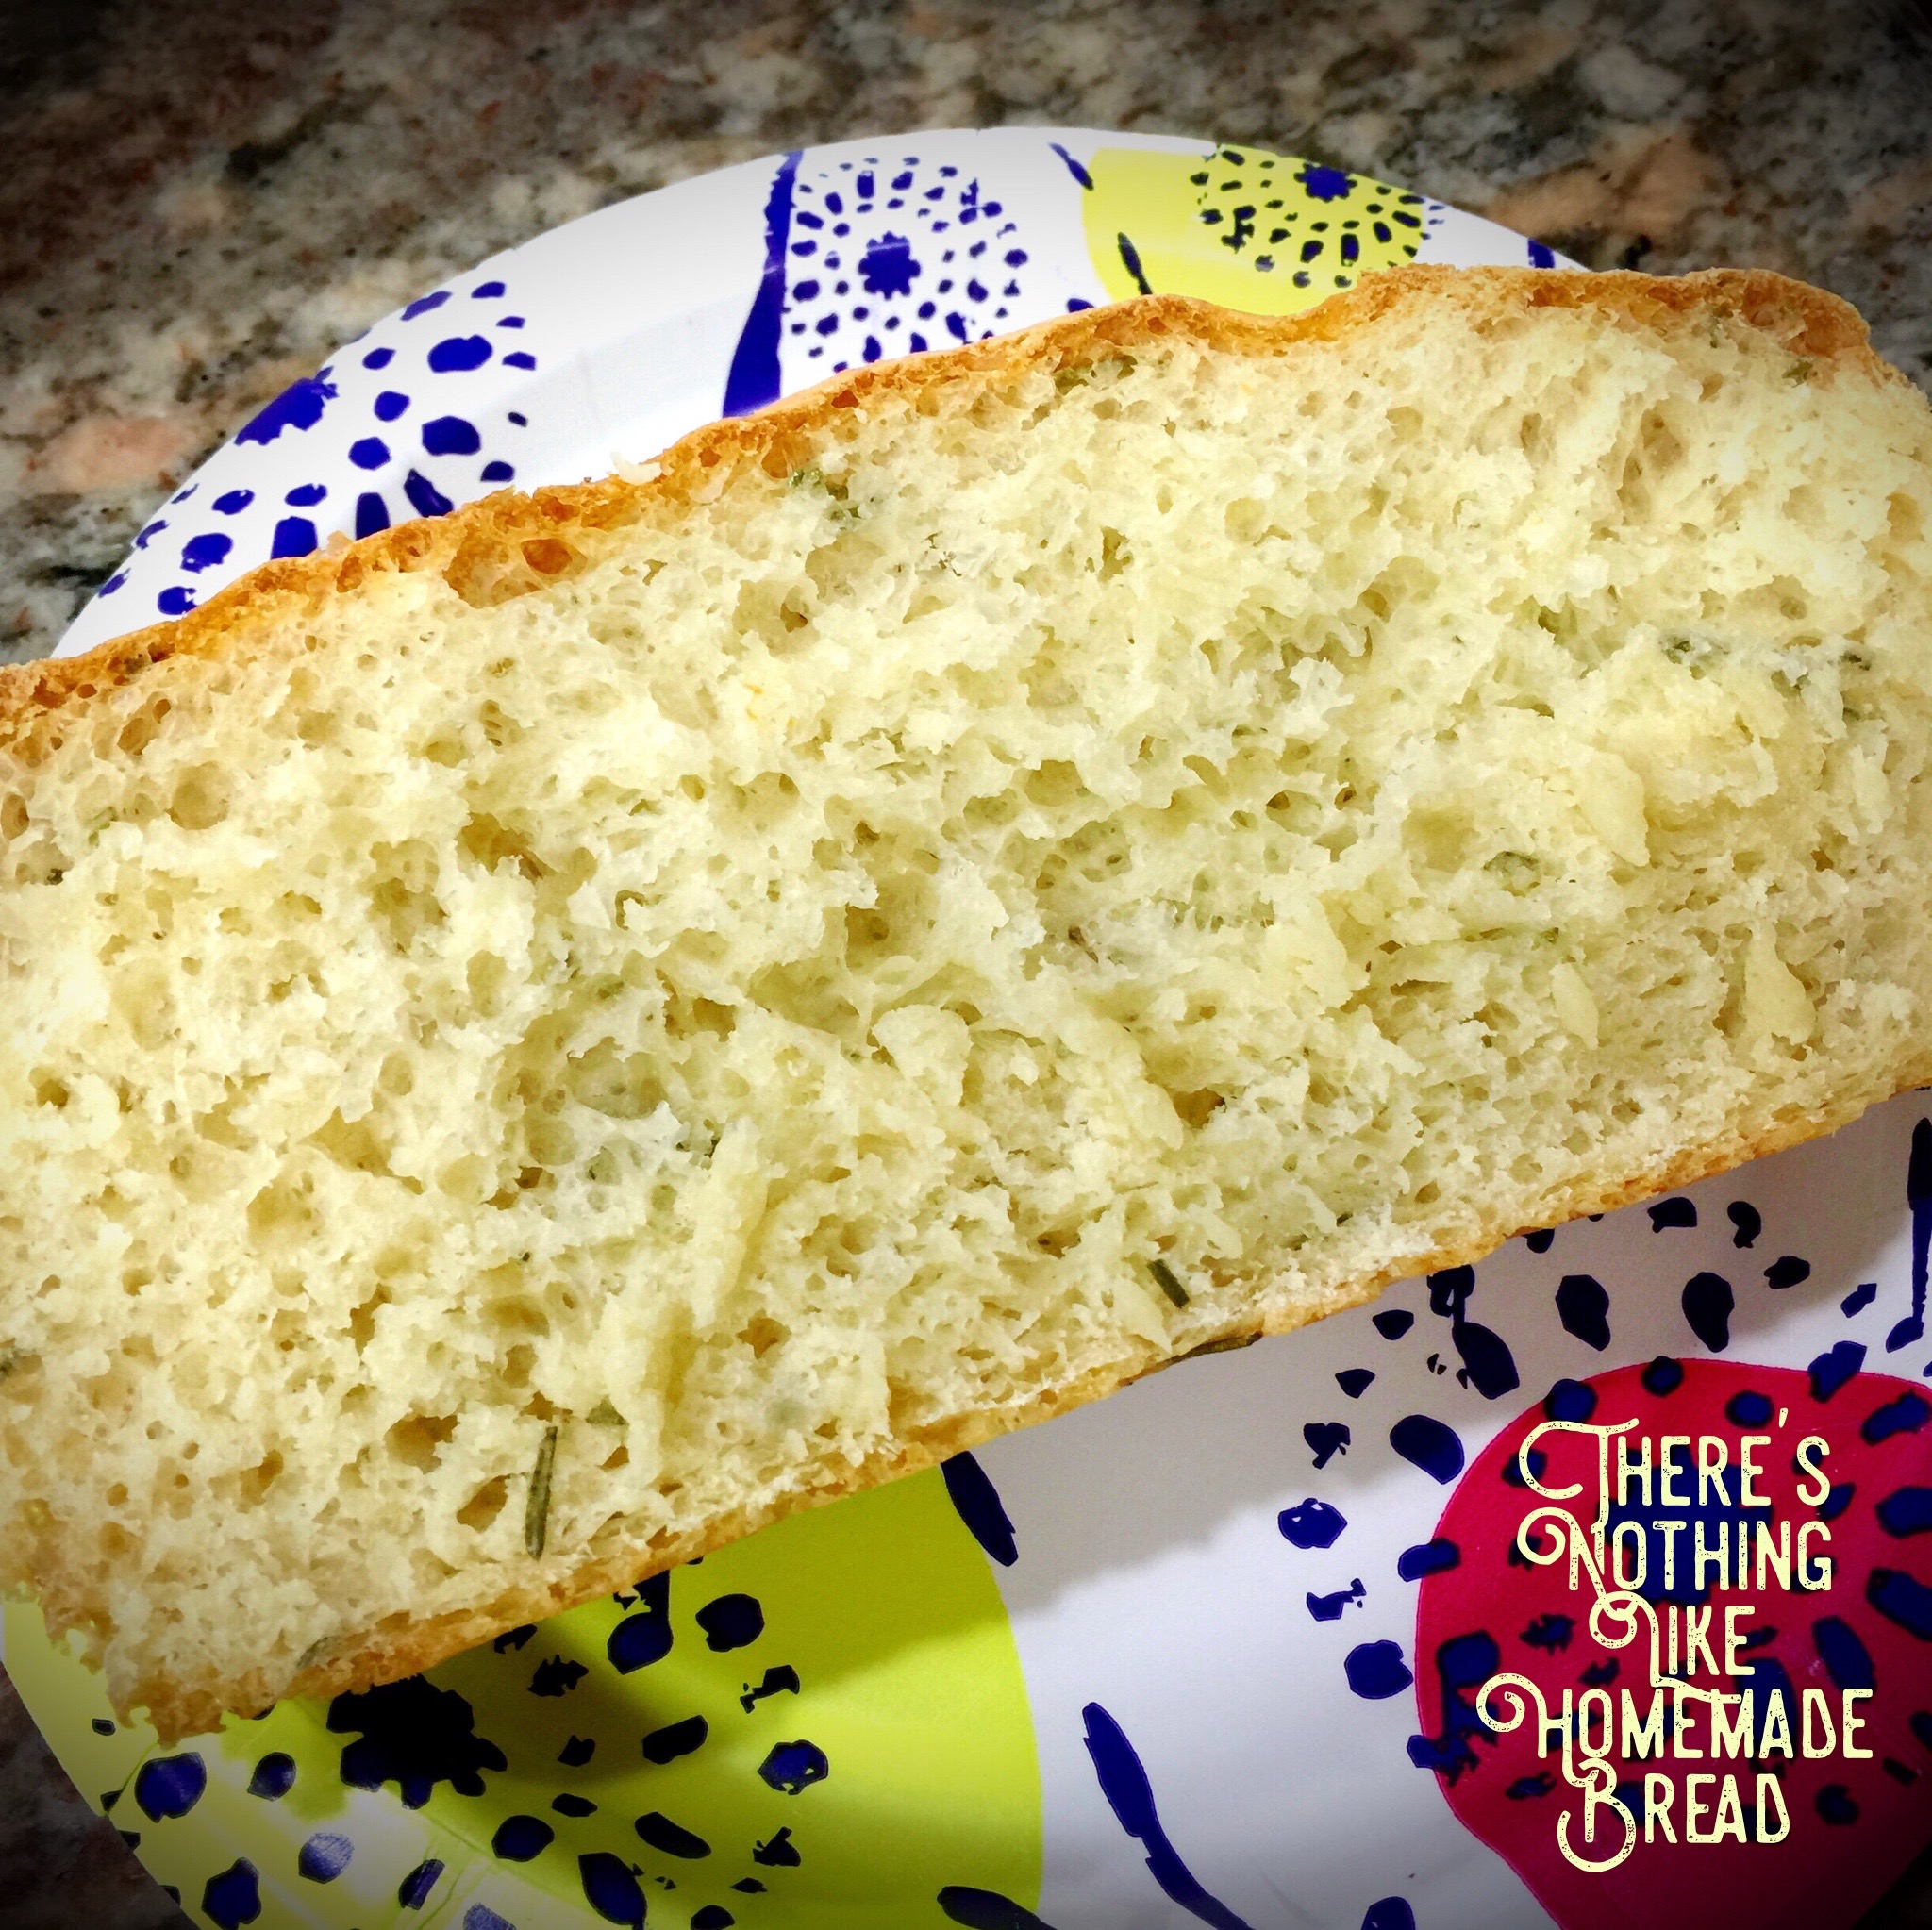
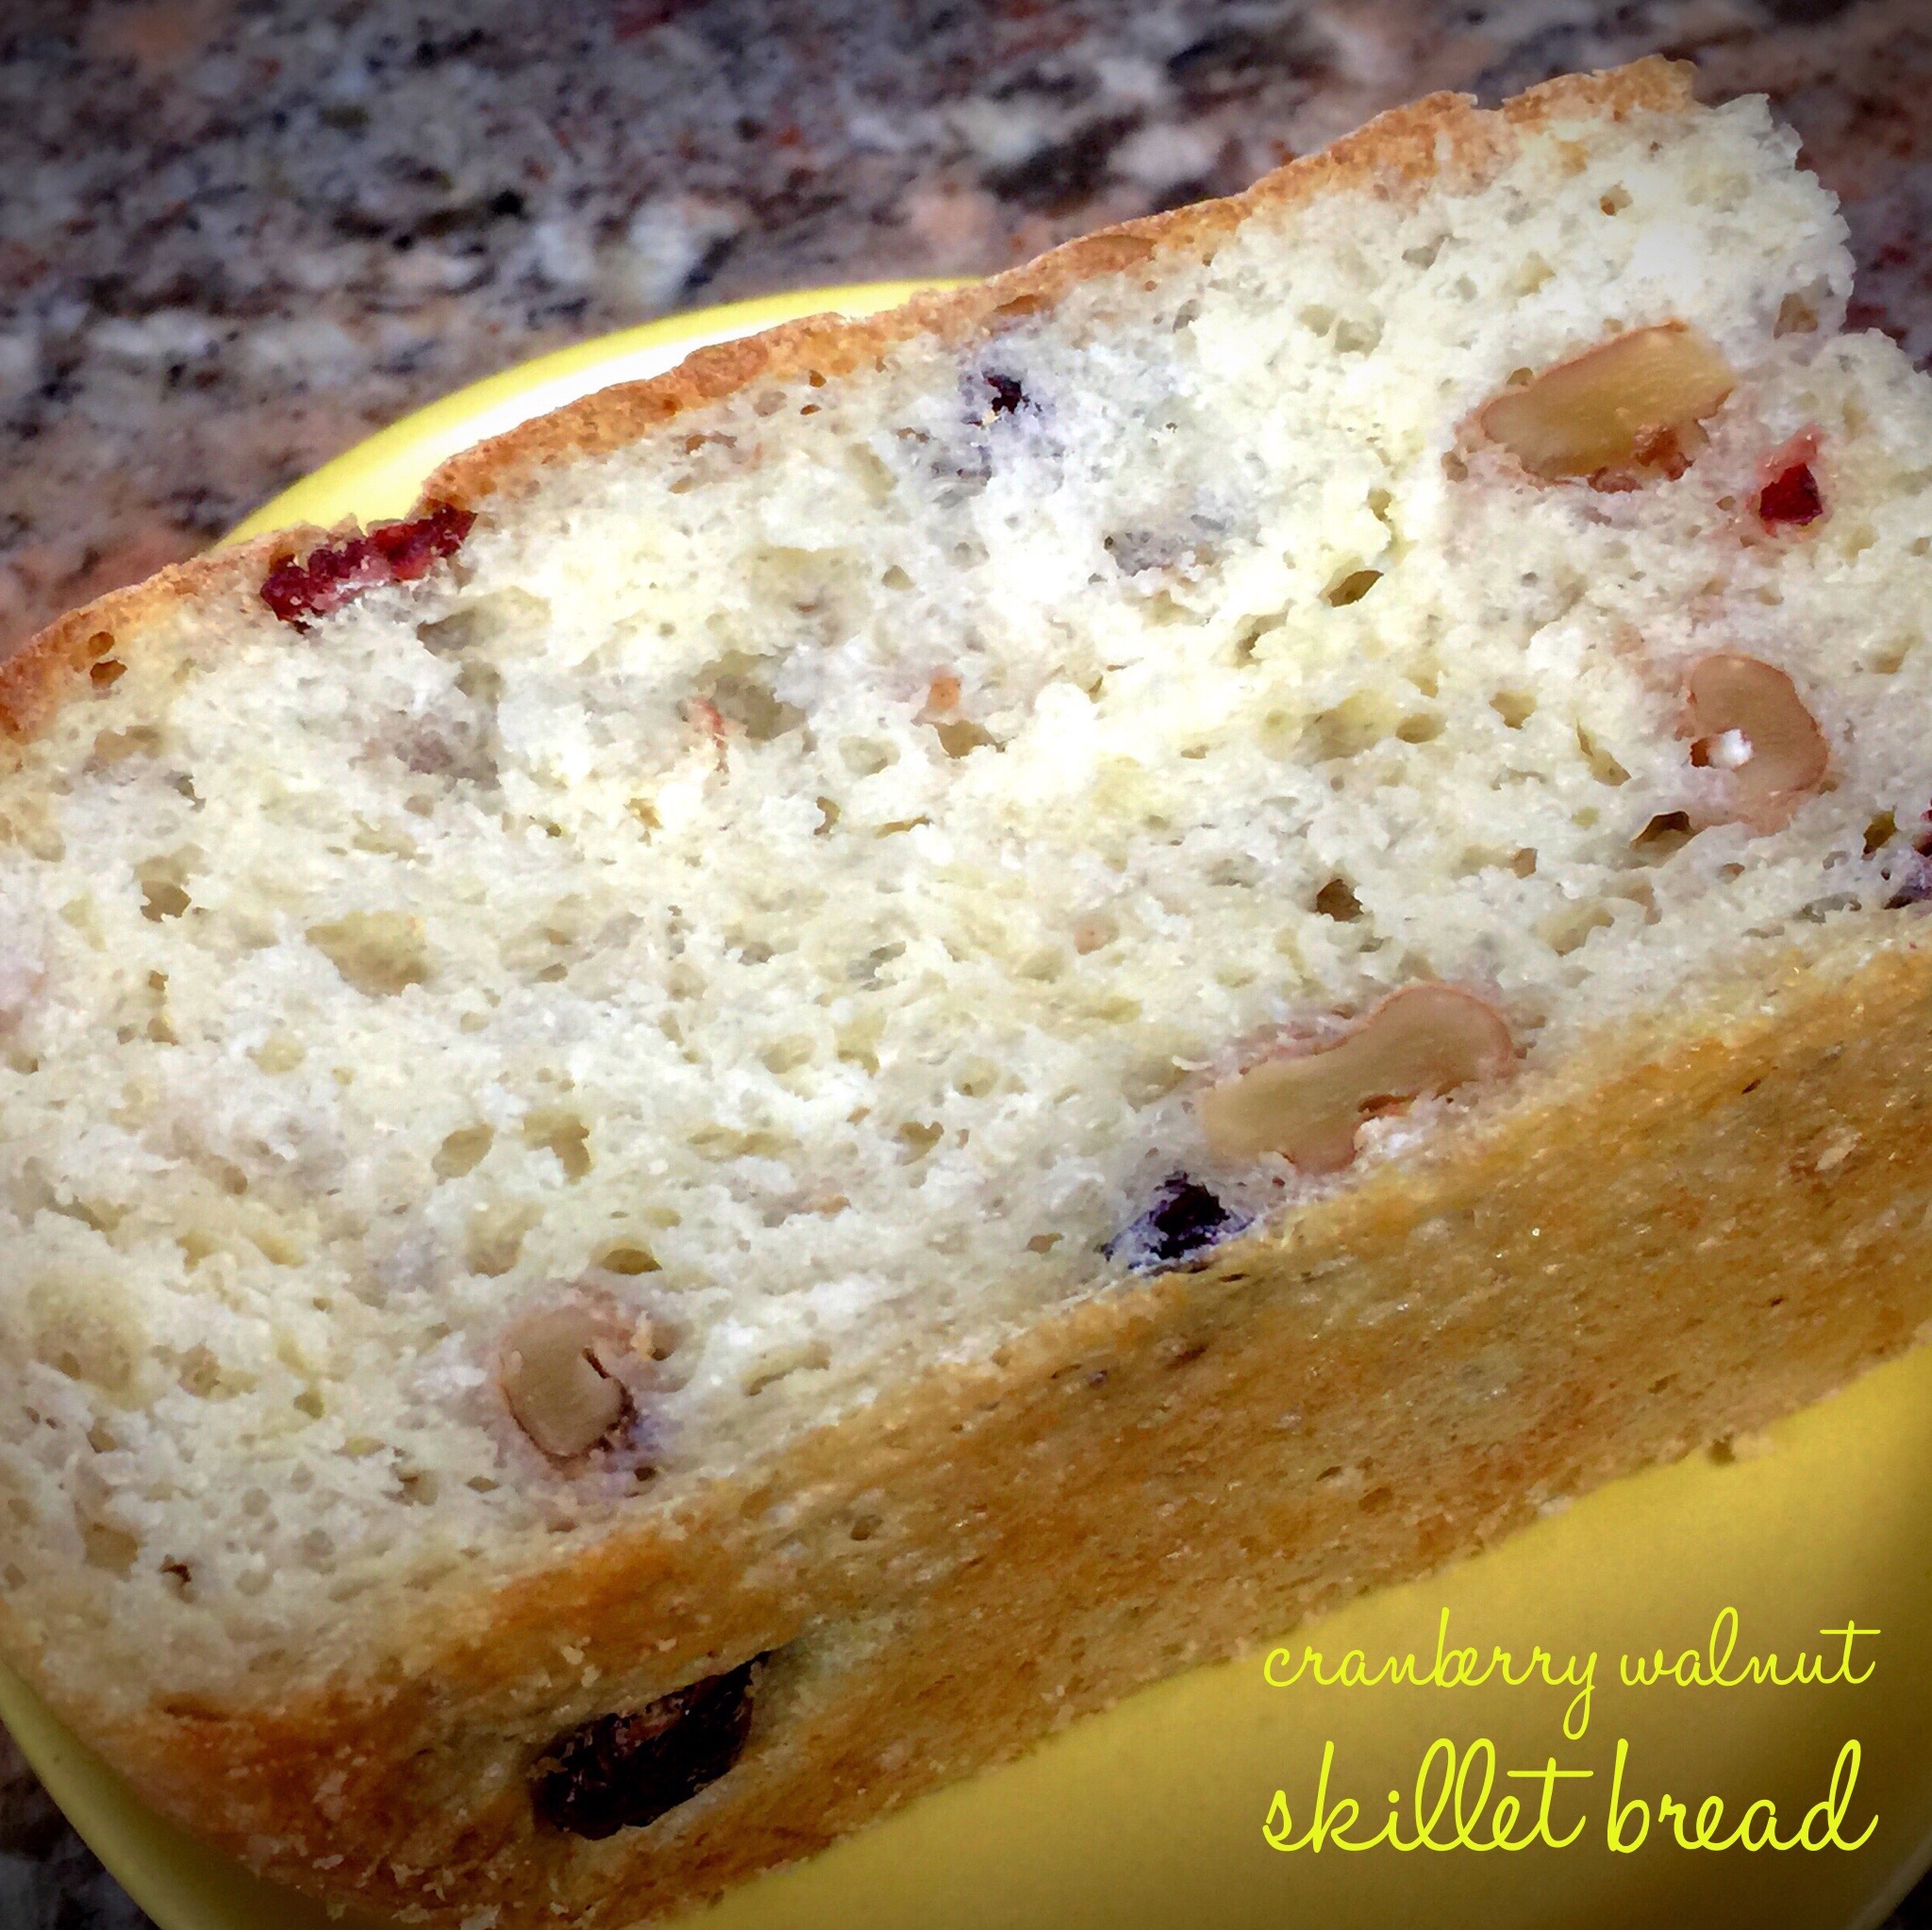
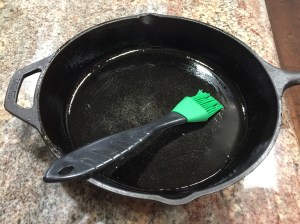
Take a silicone brush and lightly coat the bottom and sides of the skillet. You really don’t want a lot of oil sitting on the bottom. That will give you a greasy crust. And make sure you use a good quality olive oil. I used a garlic infused olive oil when I made the rosemary parmesan bread and a mild flavored premium olive oil for the cranberry walnut bread. If you don’t overdo the oil the crust will have just the right amount of crispiness and will taste heavenly.  Just make sure you use a good olive oil. I prefer the crust in this method compared to the crust you get when using an enameled cast iron dutch oven (in the process you do not oil the pan). That crust, to me, is a little tougher. But don’t get me wrong, both methods produce wonderful bread.

Lesson Learned 3 – Some recipes tell you to cut an “X” in the center (called scoring) of the dough before you put it in the oven – for this recipe DON’T:  I truly don’t think you need to score the bread using this method. When you put bread in the oven it continues to rise and a tension begins to exist between the top formed layer and the softer dough beneath. Scoring is done to assist with the bread rising consistently and predictably during this process.

When I made the rosemary parmesan skillet bread I scored it in the center before I put it in the oven. It created a small crater in the middle of the bread as seen below. It didn’t hurt anything and the bread still turned out fine but I was looking for a more rounded look in the finished product.

When I made the cranberry walnut bread I did not score it in the middle and got more of the rounded look I was wanting.

Lesson Learned 4 – The dough will be very sticky when you go to transfer it into the skillet: I’ve read many versions of how to make this type of bread and most recipes tell you to flour your hands and the dough to successfully transfer it to the skillet. I don’t find that works unless you use a lot of flour and I’m not a big fan of baking a lot of flour into my bread crust.

What I do is take a silicone spatula and work the dough to the edge of the bowl and then quickly move the spatula to get the dough into the skillet. The beauty of this type of bread is that it doesn’t need to look pristine. The more rustic looking the better. And after the dough rises for a half hour in the skillet, many of the imperfections have disappeared. So don’t angst over transferring the dough to the skillet. It’s really pretty simple if you use a silicone spatula.

I couldn’t believe how simple this was to make. The hardest part is letting the dough rise for an hour and a half – the rest is easy. And to me there is nothing like homemade bread. So try one or both of these recipes and let me know what you think…

Skillet Breads - Rosemary Parmesan or Cranberry Walnut...

  • Servings: 12 slices
  • Difficulty: Easy
  • Print

INGREDIENTS:

BOTH BREADS:

1 package instant rapid rise yeast (2 1/4 tsp.)

2 cups warm water

4 1/2 cups all bread flour

1 1/2 tsp salt

Olive oil for the skillet

ROSEMARY PARMESAN BREAD ADDITIONAL INGREDIENTS:

3 Tbs. of chopped fresh rosemary, divided

1/4 cup grated parmesan cheese

CRANBERRY WALNUT BREAD ADDITIONAL INGREDIENTS:

1/2 cup dried cranberries

1/2 cup chopped walnuts

INSTRUCTIONS:

In a large mixing bowl combine the yeast and water. Add half the flour and mix together. Mix in the remaining flour along with either the rosemary or the cranberries and walnuts. If some of the flour is still dry add a little extra warm water until the dough is completely formed.

Cover the bowl securely with plastic wrap and let it rise until doubled in size, about an hour.

Brush some olive oil on the bottom and sides of a cast iron skillet using a silicone brush. Transfer the dough to the skillet and cover loosely with a kitchen towel. Let the dough rise for 30 minutes.

While the dough is rising, preheat the oven to 400 degrees.

After the dough has risen the second time put the skillet in the oven. If making the rosemary parmesan bread, sprinkle some chopped rosemary on the top of the bread before putting it in the oven. For rosemary parmesan bread, after 20 minutes remove the bread from the oven and sprinkle the top with the parmesan cheese. Let the bread bake an additional 20 minutes. For cranberry walnut bread, let the bread bake for 40 minutes straight.

Remove the bread from the oven. Using a spatula, transfer the bread from the skillet to a cooling rack. (This should be very easy but be careful because the skillet will be very hot). Slice and enjoy.

These breads can also be frozen. Cut them into two slice or more pieces. Cover securely with plastic wrap. Put pieces in a freezer bag. Close the bag while trying to eliminate as much air as possible from the bag. Your bread will stay fresh for one month.

Rosemary Parmesan Skillet Bread

SaveSaveSaveSave

SaveSave

SaveSave

SaveSave

SaveSaveSaveSave

SaveSave

SaveSave

SaveSave

SaveSave

SaveSave

SaveSave

SaveSave

SaveSaveSaveSave

SaveSave

SaveSave

SaveSaveSaveSave

SaveSave

SaveSave

SaveSave

SaveSave

SaveSave

SaveSave

SaveSave

SaveSave

SaveSave

SaveSave

SaveSave

Slow Cooker Chicken Parmesan Pasta…

Happy New Year! Here’s to another year of great recipe sharing and the many lessons learned along the road to cooking and baking successes.

More and more I’ve been using my slow cooker and have become increasingly pleased with my results. The slow cooker is such a handy dandy tool and I like some of the things that I’m learning I can do with it.

I love this recipe for a couple of reasons. First, it’s really delicious. Second, it makes a large batch so you can have it as a main dish for a party or freeze a bunch of meals for those nights went you want something good but easy. With a recipe like this, all you need add is a small salad and some crusty bread and you have one heck of a meal.

So let’s talk slow cooker Penne Chicken Parmesan

Lesson Learned 1 – The process for making this meal could not be any easier: The steps to the process are pretty basic.

  1. Prepare the sauce…

Sauce Ingredients

2. Pour a little of the sauce on the bottom of the slow cooker. Add the chicken breasts. Season them with salt and pepper.

Seasoned Chicken Breasts

3. Pour the remaining sauce on top of the chicken breasts and cook on low for 4 hours.

Cook on low for 4 hours

4. Cook the pasta according to package instructions. Remove the chicken breasts from the sauce and shred. Add pasta and shredded chicken back to the sauce and cook for an additional 30 minutes.

Shred the chicken

5. Add parmesan and mozzarella and cook for an additional 30 minutes.

Lesson Learned 2 – The dish makes the best leftovers: I took the leftovers and froze them in meal sized packages. When I wanted to make it I thawed a package and put it in a casserole dish. I added some more parmesan and mozzarella on top and and some Italian seasoning and baked it covered with foil for 45 minutes at 375 degrees. I removed the foil and baked for an additional 5-10 minutes or until the cheese started to turn a nice golden brown. The picture below is how I served the leftovers. The leftovers tasted divine and from the look of them you would never have guessed they were leftovers.

This is an easy, versatile meal – perfect for this time of year when you’re busy trying to manage the holidays. You’ll feel pampered without a lot of work, and who doesn’t like that. Try this and let me know what you think!

Slow Cooker Chicken Parmesan Pasta

  • Servings: 8-10
  • Difficulty: Easy
  • Print

INGREDIENTS:

4 large boneless, skinless chicken breasts

2 – 28 oz. cans of crushed tomatoes

2 Tbs. tomato paste

1 small onion, diced

4-5 large crimini mushrooms sliced

2 cloves garlic, minced

1 Tbs. dried basil

1 tsp. dried oregano

1 tsp. dried parsley

1 pound penne pasta

1 1/2 cups shredded mozzarella

1/4 shredded parmesan cheese

kosher salt and pepper

2 Tbs. fresh italian parsley, chopped for garnish, optional

Cooking spray

DIRECTIONS:

In a large bowl, combine the crushed tomatoes, tomato paste, onion, mushrooms, basil, oregano, and parsley. Stir to combine.

Spray the inside of a 6 qt. slow cooker with cooking spray. Take one cup of the tomato mixture and spread it on the bottom of the crock. Place chicken breasts on top of the sauce. Salt and pepper the chicken breasts. Cover the chicken breasts with the remaining tomato sauce. Cover and cook on low for 4 hours.

Prepare the penne pasta according to package directions. (this step can be done ahead of time and the pasta put into the refrigerator. About 1/2 hour before adding the pasta to the sauce, take it out of the refrigerator to remove the chill – see lessons learned above).

Remove the chicken from the slow cooker and shred using two forks. Add the chicken and pasta back to the slow cooker, cover and cook on low for another half hour. Add the parmesan and mozzarella on top, cover and cook for another 30 minutes.

Serve immediately and garnish with fresh chopped parsley, if desired.

SaveSave

SaveSave

SaveSave

SaveSave

SaveSave

SaveSave

SaveSave

SaveSave

SaveSave

SaveSave

SaveSave

SaveSave

SaveSave

Gnocchi Italiano…

I really try to experiment with meals that are quick and preferably only need one pot. This meal fits the bill to a tee. The most difficult part of this meal is the prep, and I’m a prep kinda gal so I enjoy that to the max!

As I mentioned in an earlier blog, we are remodeling our kitchen and this was the first meal I cooked on my brand new stove. I posted a picture of it online and got a ton of oohs and ahhs… one person commented on how beautiful it looked and wondered if that comment was apropos when referring to a stove – well all I can say is of course it is! Here’s my new baby – hello gorgeous!

my new stove

When we moved to a condo, I told my husband I would never move into a place where I could not have a gas stove or cook top. We moved into the model of the development we’re in and of course they had upgraded appliances in the model. The cook top that was is pictured below…

original cooktop

Although the cooktop was sleek looking, I just could not imagine myself cooking on it. Besides not being gas, I couldn’t get over the fact that it looked like I was cooking on Mickey Mouse! We removed it right away. Someone had lived in this condo before. The builder bought it back from the original owners and upgraded it to the model as there were still a few more buildings in the development plan and they needed to be able showcase what one of the units looked like. As part of the sale negotiations we asked the builder to leave the old gas cook top that had been replaced. We used it until we began the process of remodeling and finding our new stove. This is what we used in the interim:

the old cooktop

Our new stove is an LG. What’s interesting about it is the inside is purple.

The inside of the stove

Supposedly this color provides maximum heat transfer as opposed to a dark interior. I’m not sure that is the case, only time will tell. What I am sure of is I cooked two meals on/in it already and it seems to work perfectly. So I am a happy camper!

Now, let’s get back to the recipe. This meal combines ground sweet italian sausage with mini potato gnocchi, fresh mozzarella an your favorite marinara sauce. It couldn’t be simpler but it is oh so good. So let’s talk gnocchi italiano…

sweet italian sausage
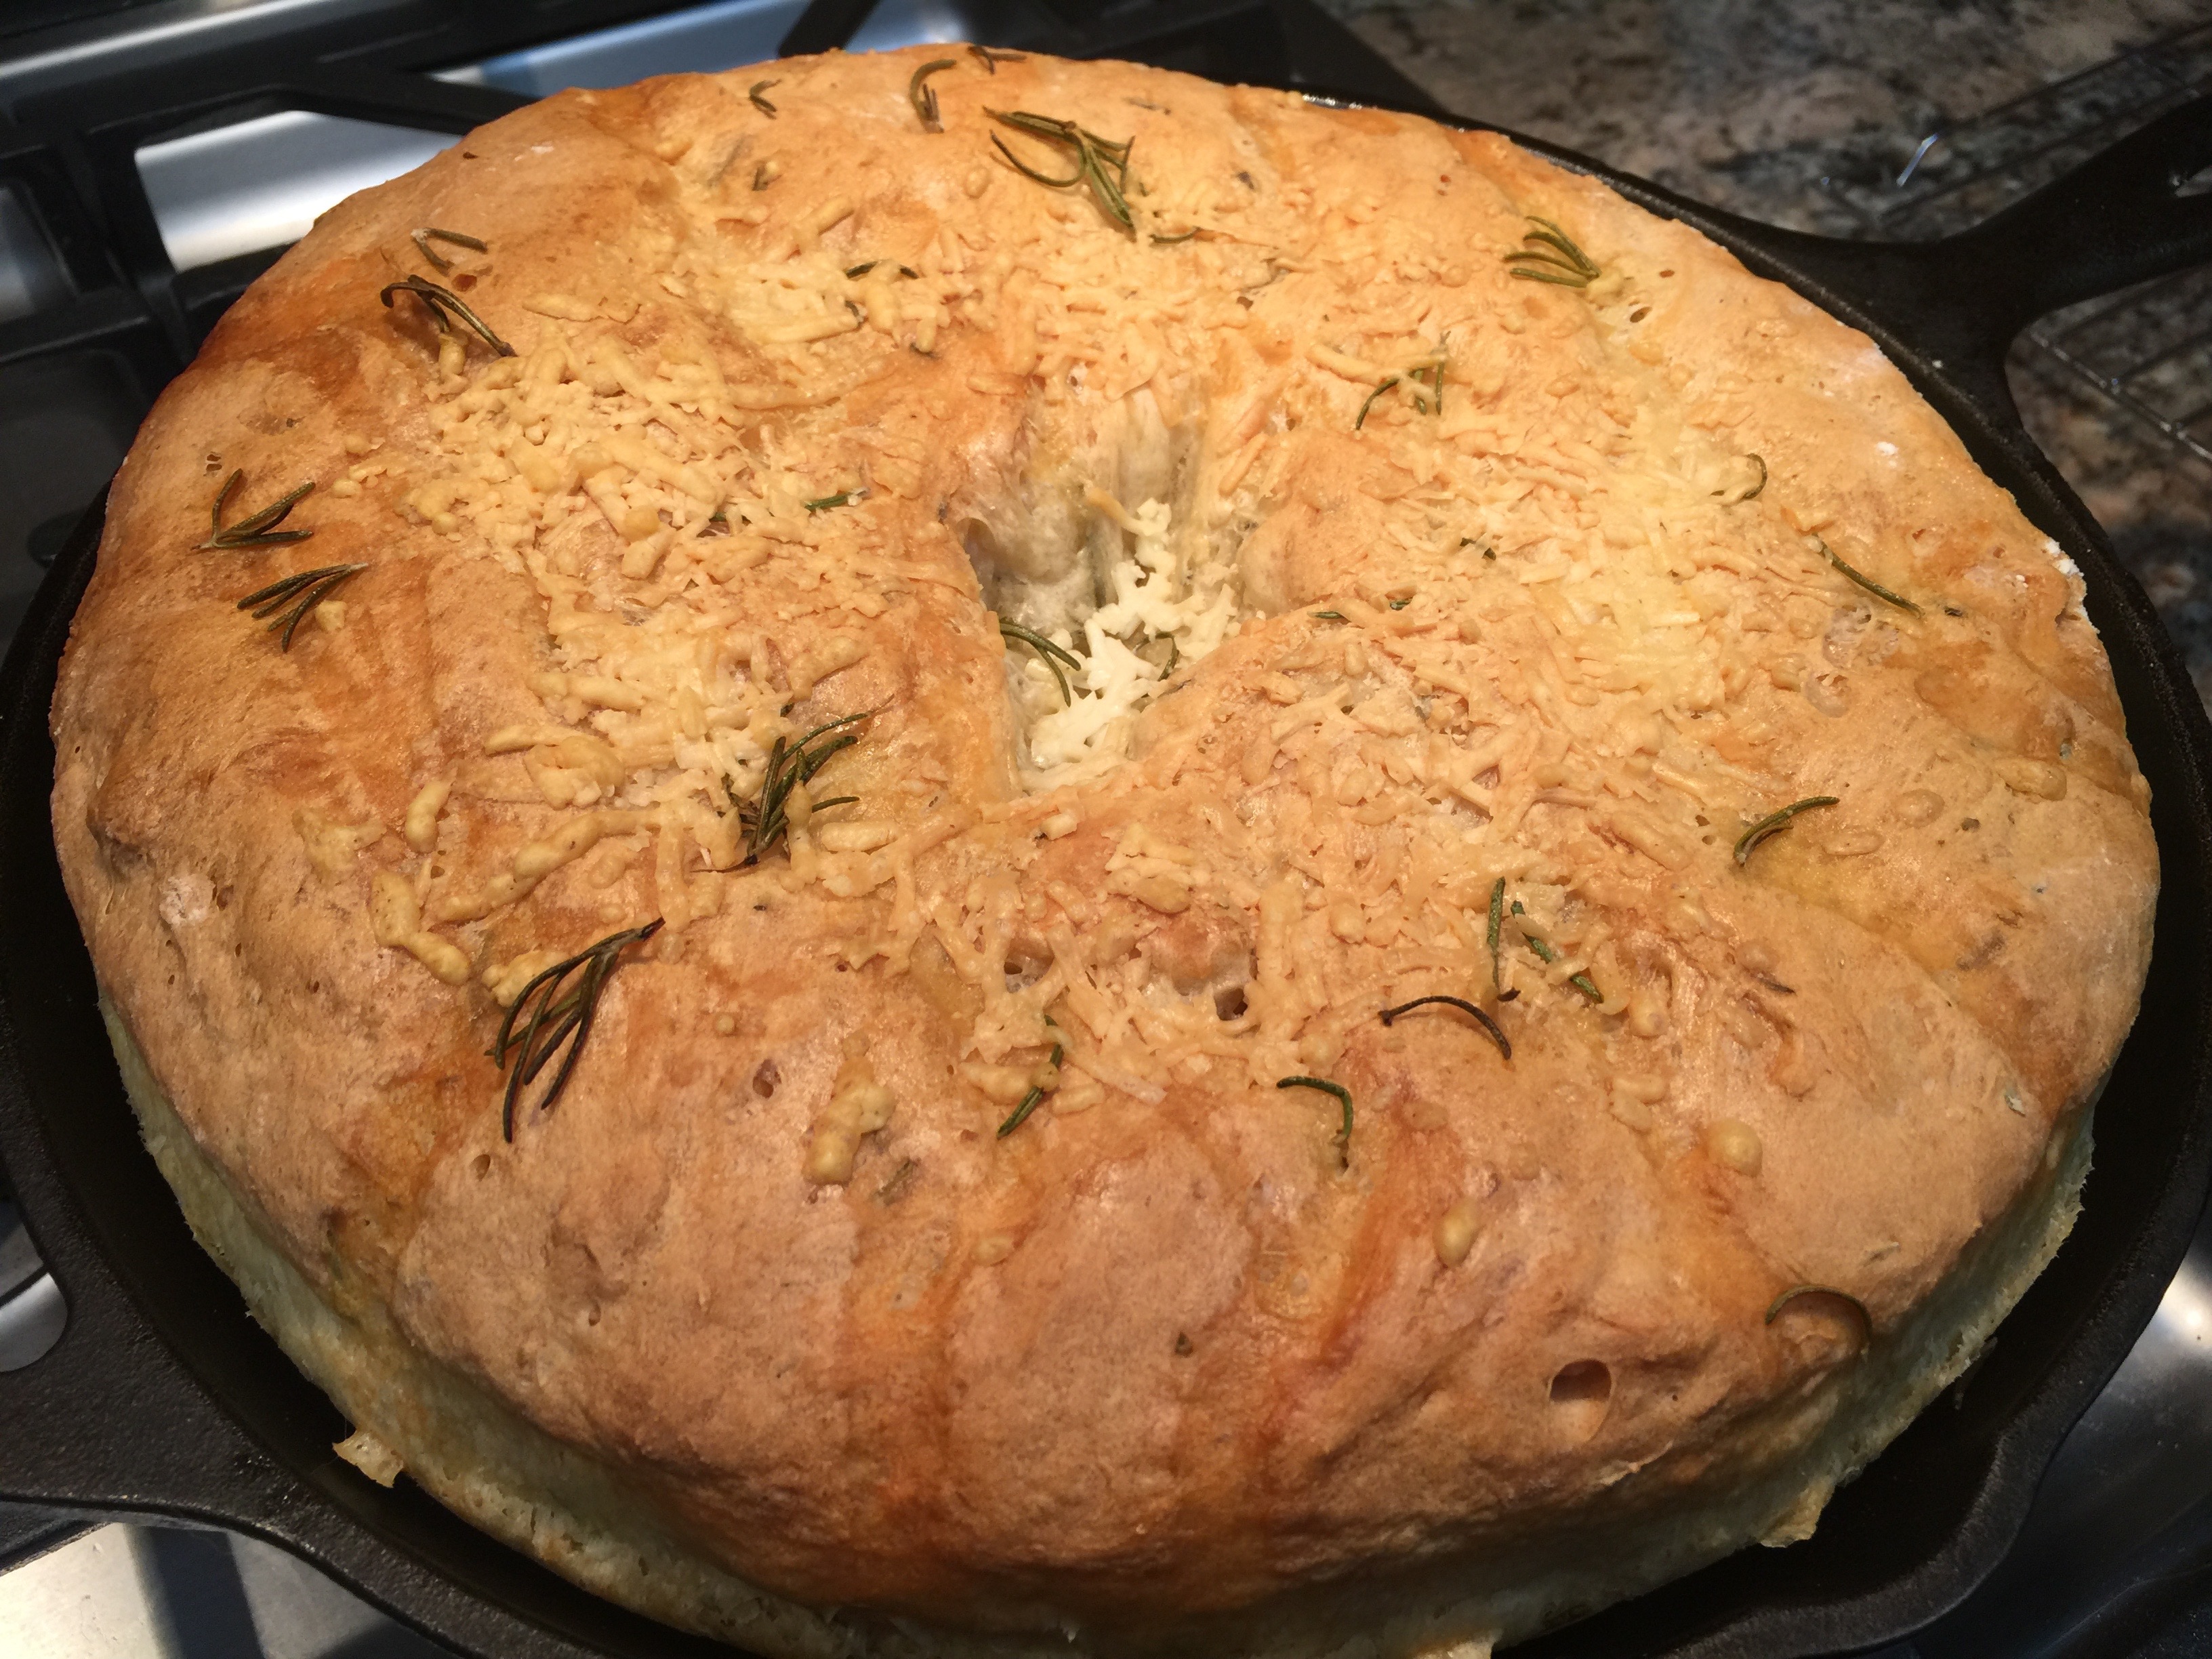
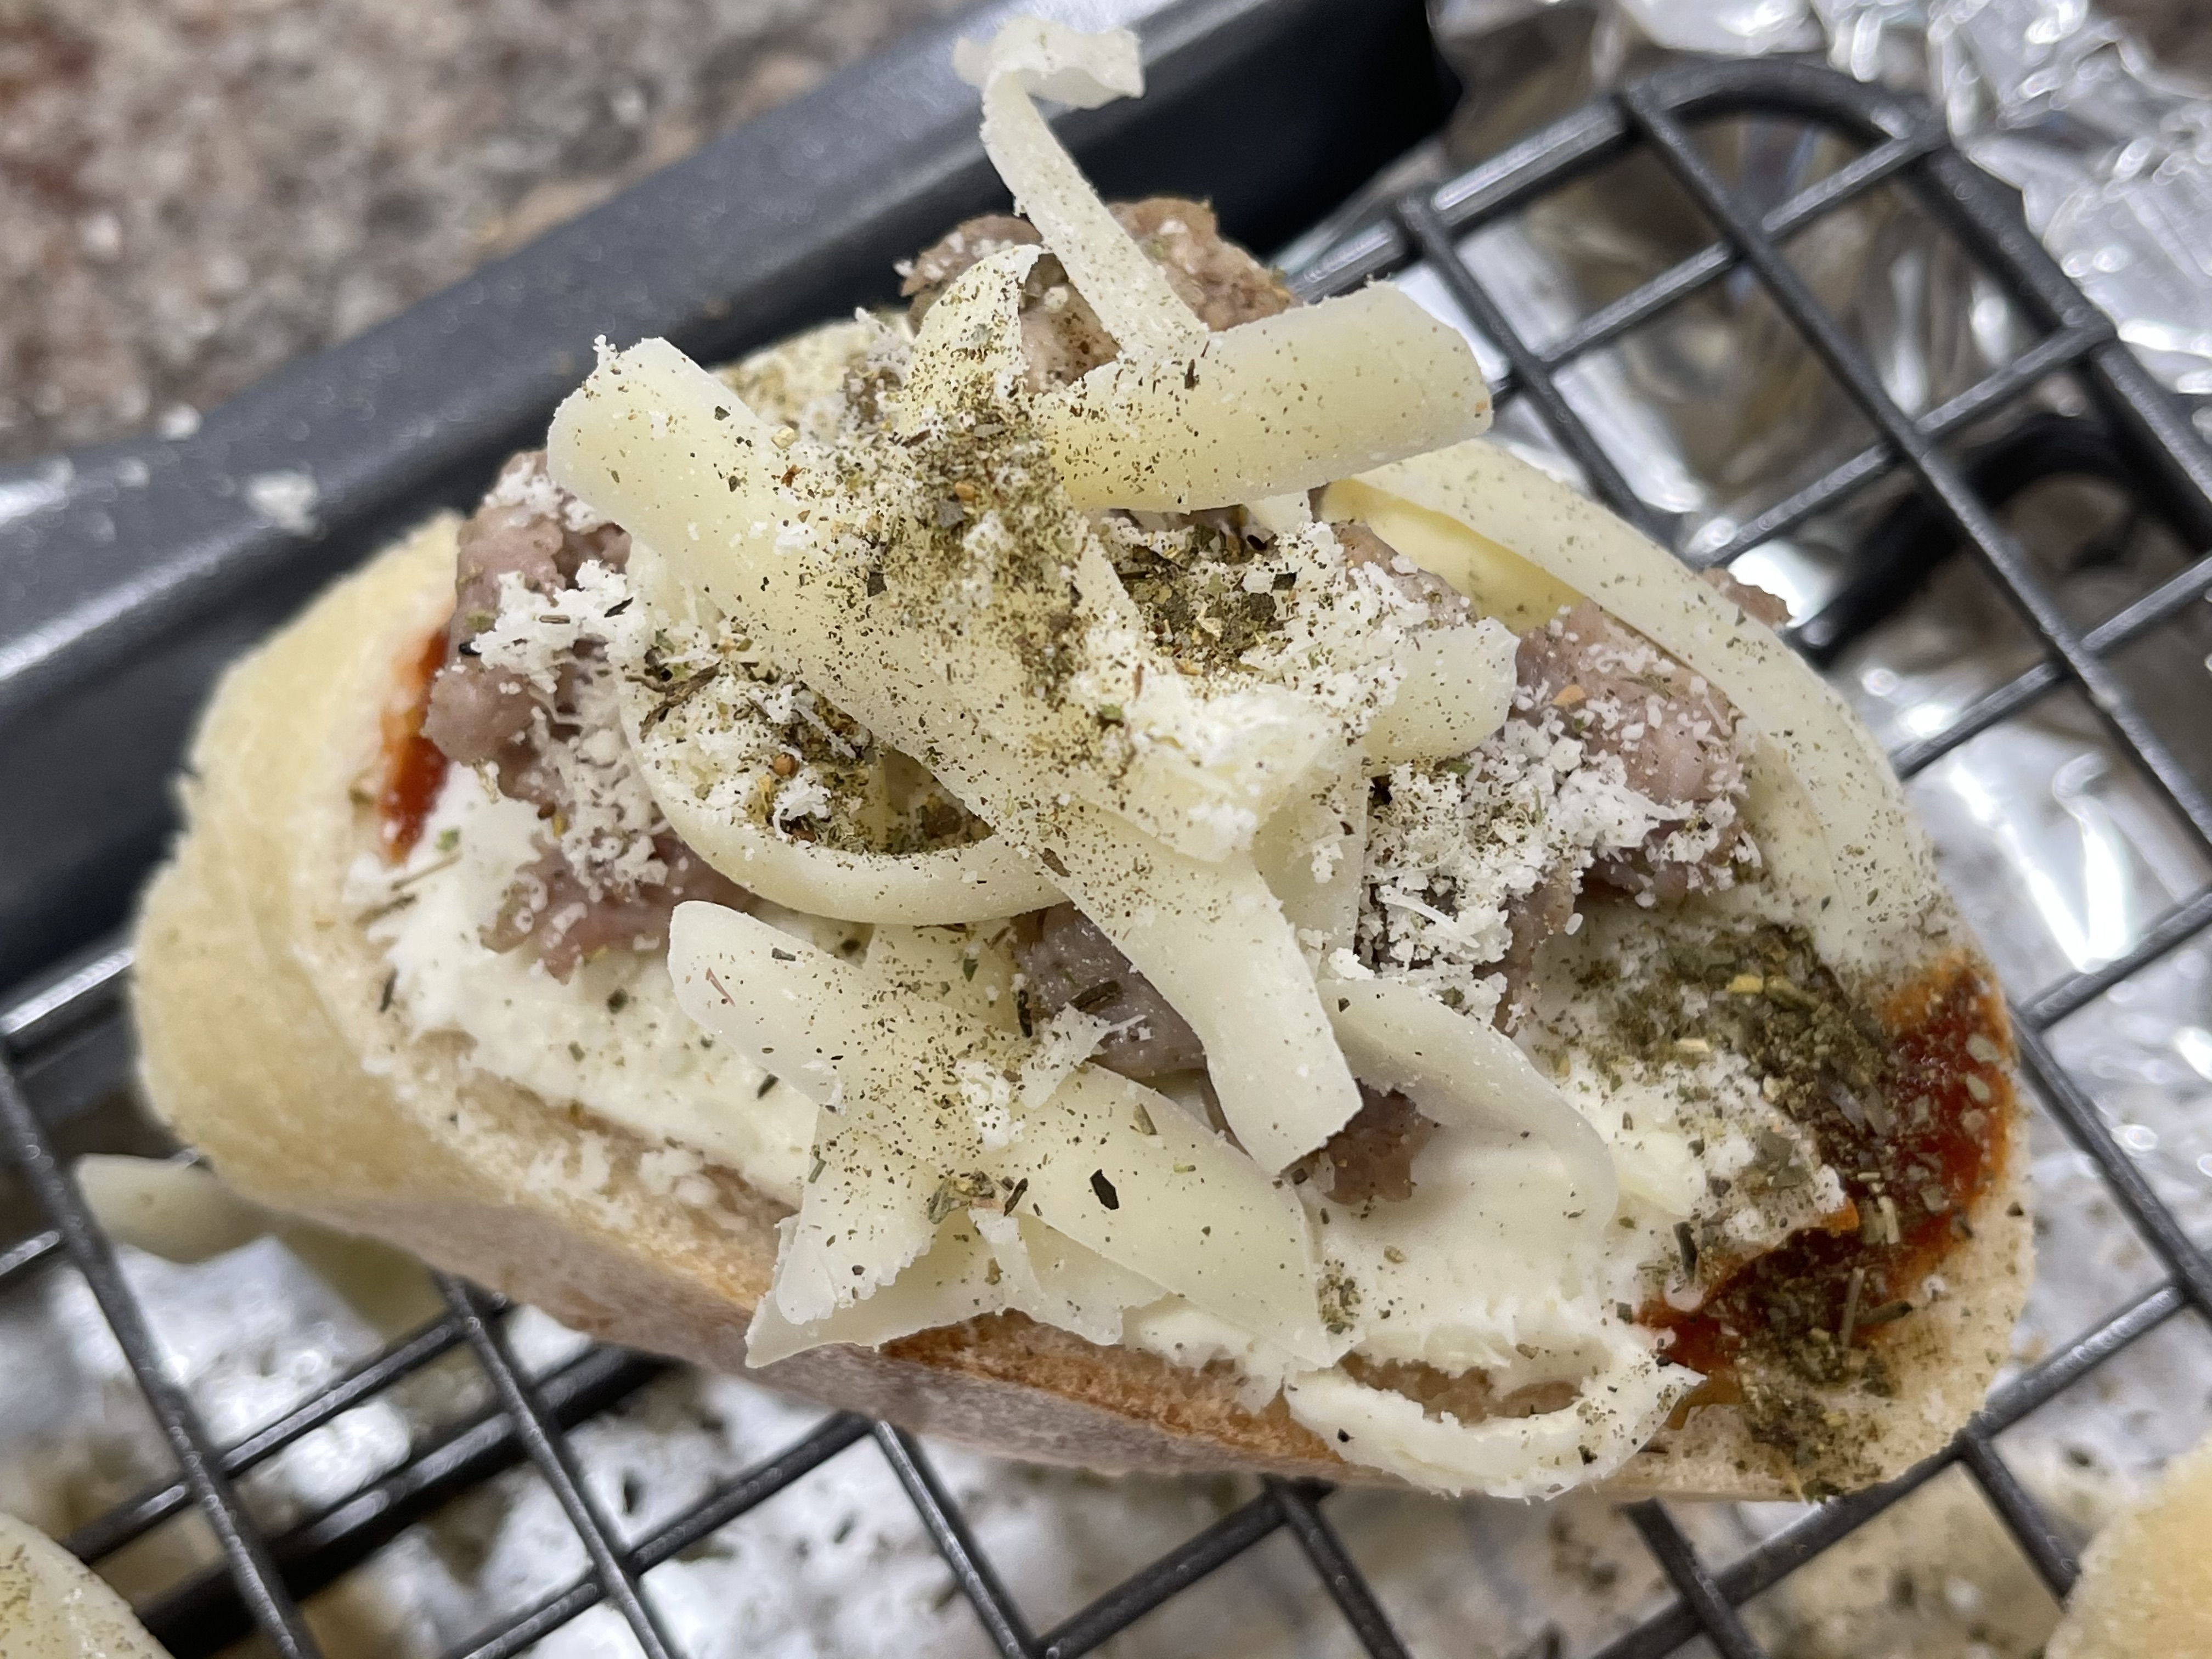
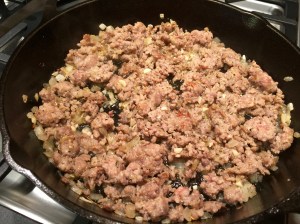
Lesson Learned 1 – I used ground italian sausage but you can also use prosciutto: My husband needs to eat foods that are easy to chew and so I used ground italian sausage. If you choose to use prosciutto, use about 5 thin slices. Add them to the onions once they are translucent and cook them until they are crisp. Then follow the remainder of the recipe as is. I guarantee it will be equally as good.

Lesson Learned 2 – Pay attention to the type of marinara sauce you use: I used a tomato basil sauce. The brand I used was more expensive, but gnocchi and marinara sauce
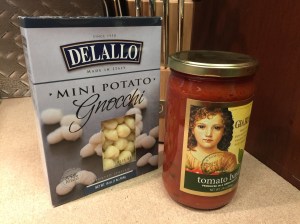
when I looked at the ingredients they were all natural. There were no names that I couldn’t pronounce. Natural and organic foods are much higher in cost. That is unfortunate as I hate to think about all these chemicals we can put in our bodies every day. But heck, before I was born my mother drank and smoked and I’m still here. I guess the idea is why tempt fate. The better you take care of yourself the better your chances are of living a longer healthier life.

This recipe is pretty straightforward so there’s not many lessons learned to share. Start it off on the stovetop, finish it off in the oven, and enjoy an easy, flavorful meal!

GNOCCHI ITALIANO...

  • Servings: 4
  • Difficulty: Easy
  • Print

INGREDIENTS:

Gnocchi Italiano

Gnocchi Italiano

1 small onion, diced

1 Tbs. basil infused olive oil (can use plain EVOO)

1 pound ground sweet italian sausage

2 cloves garlic, minced

1 cup tomato basil sauce

1 one pound package potato gnocchi  (I used the mini sized gnocchi)

1 tsp. italian seasoning

1/8 cup grated parmesan

1/4 lb fresh mozzarella, sliced

Sliced green onions for garnish, optional

DIRECTIONS:

Preheat the oven to 375. In a large oven proof skillet heat the olive oil. Add the onions and cook until translucent. Add the italian sausage and cook through, about 5-7 minutes. Meanwhile, cook gnocchi according to package instructions.

Add the garlic to the cooked italian sausage and let cook until fragrant, about 1 minute. Drain the gnocchi and add to the italian sausage mixture. Stir in the tomato basil sauce, italian seasoning and parmesan. Mix well.

Add the mozzarella slices to the top of the mixture. Place the oven proof pan in the oven and cook until the mozzarella has melted and the gnocchi mixture is bubbly, approximately 15 minutes. Remove from the oven and garnish with green onions. Serve immediately.

Add the cooked gnocchi to the sausage mixture

Add cooked gnocchi to the sausage mixture.

Gnocchi, sausage and sauce mixture.

Gnocchi, sausage and sauce mixture.

Add the mozzarella slices.

Add the mozzarella slices.

Ready to serve

Ready to serve

Gnocchi Italiano

Gnocchi Italiano

Parmesan Crusted Halibut…

My husband and I have been trying to eat fish more regularly and so I’ve been experimenting with various methods of cooking different types of fish. Not all fish are created equal. I have to admit that it can be a little unnerving trying to master the art of cooking fish as it can go from underdone to overdone in the wink of an eye. But this particular recipe is very easy and if you follow the instructions you will have a delicious mouthwatering piece of fish.

Most of the work in this recipe is in the prep (that seems to be a recurring theme for me, doesn’t it). Creating the breading station and preparing the fish is what takes up the most time. But bottom line, within 20 minutes you can go from prep to table and that’s pretty quick. Your side dishes may take more time than it does to make this halibut recipe.

So let’s talk parmesan crusted halibut…

Lesson Learned 1 – Halibut is expensive: Compared to talapia, cod and catfish, halibut can be pricey. The filets I use in this recipe are frozen and between 5 and 7 ounces. They cost about $10 each. So depending on your budget halibut may be a special treat versus a dinnertime staple. I usually buy them when they go on sale at my local supermarket. Every once in a while they go on sale for 20% off and I stock at that time. Halibut freezes nicely so you don’t have to worry about getting it fresh which also tends to be more expensive than frozen. My advice is to check the specials at your local supermarket. Every once in a while halibut goes on sale and that is definitely the time to buy it.

Lesson Learned 2 – Follow the directions in this recipe: Although halibut is more expensive than other types of fish it has a nice meaty texture and is very flavorful if prepared correctly. That is why I cannot stress enough to follow the directions in this recipe. The overall tendency with fish (or maybe it’s just my tendency) is to cook it longer than you should. If you’re not sure it’s done, take a fork and try to flake off the end of one piece. If it flakes (as seen in the picture below) it’s done. Trust me, after you make fish more often you’ll be able to eyeball it to see if it’s done.  You can always put it back in the oven if it’s not but you don’t want to spend $10 for a piece of fish and overcook it.

Parmesan Crusted Halibut

If you’re planning on serving fish to company and are concerned about presentation make sure you are adept at cooking that type of fish so you don’t have to do the fork test. I can’t tell you how many times my husband got a piece of “forked” fish but never minded because he knew it would be cooked appropriately.

My husband absolutely loves this recipe and I think you will too. Try it and let me know what you think…

PARMESAN CRUSTED HALIBUT…

  • Servings: 4
  • Difficulty: Medium
  • Print

INGREDIENTS:

Parmesan Crusted Halibut4 five to seven ounce halibut filets, skin removed

1 extra large egg

1 Tbs. water

1 cup panko bread crumbs

1/2 cup parmesan cheese, grated

1 Tbs. fresh thyme (just take the leaves off the stem – no need to chop them)

1/2 cup all purpose flour

Zest of one lemon (you can cut the remainder of the lemon into wedges and serve with the fish)

2 Tbs. olive oil

DIRECTIONS:

Preheat the oven to 350. Make a three part dredging station. Part 1 is the flour. Part 2 is the egg and water whisked together. Part 3 is the panko, parmesan, lemon zest and thyme combined.

Dredge a filet in the flour on both side. Shake off the excess flour. Dredge the filet on both sides in the egg mixture. Place the filet onto the bread crumb mixture and cover both sides pressing down on each side to ensure the breading adheres to the filet. Repeat this process with the other three filets.

Heat an ovenproof pan (preferably a cast iron skillet) over medium high heat. Once the pan is heated pour the olive oil into the pan and make sure the bottom of the pan is completely coated. The pan is sufficiently hot if the oil smokes. Place the filets into the oil and brown them for 3 minutes. Turn them over and put them in the oven for an additional 5 – 7 minutes depending upon the size of your filets.

Remove the filets from the pan and serve immediately.

Parmesan Crusted Halibut

Parmesan Crusted Halibut


Chicken Parmesan For Two…

Once again this young girl’s fancy turns to a chicken recipe, and this time with an Italian flair. What can you say about chicken parmesan that doesn’t scream delicious. Breaded chicken, marinara sauce, fresh basil leaves, provolone and parmesan cheeses. Sounds like a killer combo to me. And I like my little twist on this recipe, incorporating whole basil leaves under the provolone. This one got a two thumbs up from my husband, so you know it’s got to be good.

Lesson Learned 1 – You need to be organized for this recipe: This recipe has several different steps that can either work like a charm or throw you for a loop. Make sure you prep everything ahead and the process will be a breeze. Preheat the oven, set up the dredging station, grate the parmesan, lay out the basil leaves and provolone slices, have pans ready for the excess marinara and frying the breasts and so on. The key to success here is not only in the ingredients but also in the preparation.

Lesson Learned 2 – Grate fresh parmesan and don’t use the canned stuff: There is a difference. Grated fresh parmesan has a fuller, more robust flavor. It also melts better and tastes less salty. And it’s not that hard to do. I cut small pieces off a brick and put them in my mini food processor. I pulse the processor a few times just to get it started and once it appears the pieces have been broken down I just let the processor go. I guarantee you it’s worth the effort.

IMG_3349IMG_3360


Lesson Learned 3 – Use less marinara sauce than you think: You want to make sure the chicken doesn’t get too soggy. Use only a little bit of marinara in the bottom of the pan and spoon only about a tablespoon on top of it before adding the basil and provolone. Keep the leftover sauce warm on the stove and you can add more to the chicken when you serve it if you like. Or you can do what I did and use it to top a side of spaghetti.

IMG_3398

Lesson Learned 4 – Use fresh basil leaves if at all possible: The fresh basil leaves provide great flavor to the chicken. You can sprinkle the chicken with dried basil if that’s all you have, but fresh is so much better. Top the basil with a slice of provolone and you’re ready to go.

IMG_3404

IMG_3414

Lesson Learned 5 – You can use just one chicken breast for this recipe: I only used one large chicken breast for this recipe. I buy breasts whole with the bone and ribs attached and bone them myself. I halved one of the breasts and it left me with two perfect portions that were 1/2 inch thick. If you have thicker breast meat you’ll need to pound it down to 1/2 inch thick in order for the chicken to cook in the allotted time. Many people shy away from boneless skinless breasts because they think they’re too dry when in actuality they overcook them. Boneless chicken breasts can be very tender and juicy if cooked properly. Follow the allotted time in the recipe and you’ll have great results.

parmcollage

While I was making this my husband said, “Wow, that’s a lot of work.” For someone who enjoys the prep part of preparing a meal, I didn’t find that to be the case. But as I mentioned earlier, you definitely have to be organized when you make this recipe. Get everything ready up front so that all you’ll have to do is move seamlessly between each step of the process.

I’ve written this recipe for two people but it can be easily adaptable to 4 or more. You’ve got to try this and let me know what you think. It’s definitely worth it!

Chicken Parmesan For Two…

  • Servings: 2
  • Difficulty: Medium
  • Print

INGREDIENTS:

1 large boneless chicken breast, halved and pounded to 1/2 inch thick (if needed)

1 cup of flour

1 cup of bread crumbs, plain or seasoned

1 Tbs. italian seasoning

1 Tbs. garlic powder

1 cup of grated parmesan, halved

1 egg

Splash of milk

1 small jar of marinara sauce

4 large basil leaves

2 slices of thinly sliced provolone

Canola oil

DIRECTIONS:

Preheat the oven to 350 degrees. Set up a dredging station for the chicken with 3 separate dishes (I use paper plates for two of them and that works just fine). Combine the flour, garlic powder and italian seasoning on one plate. In a rimmed dish, beat the egg and milk together. Combine the bread crumbs and half the grated parmesan on another plate.

Dredge both sides of a chicken breast in the flour. Dip the breast into the egg mixture coating both sides. Dredge the breast in the bread crumb mixture and set aside. Follow the same process with the second chicken breast.

In a large skillet heat the canola oil until it looks shimmery. Use enough canola oil so that when the chicken is added it sizzles around the chicken. Add the chicken breasts and cook for 3 minutes on each side. Once done on both sides, place the chicken breasts on paper towels to absorb the excess oil.

Lightly coat the bottom of a baking dish with marinara sauce. Arrange the chicken on top of the sauce. Put a tablespoon of marinara over the each breast. Sprinkle the remaining grated parmesan on top of both breasts. Top each breast with two large basil leaves and place a provolone slice over the basil.

Bake the chicken for 15-20 minutes. Serve.

IMG_3446

IMG_3443

Serving Suggestion: chicken parmesan with garlic roasted asparagus and spaghetti


Balsamic Parmesan Roasted Cauliflower

As I’ve mentioned may times before, I am a big fan of Pinterest especially as it comes to finding recipes. What I like about the site is one’s ability through “pins” to access websites that might not come to the top of a Google search, so you’re basically connecting with little known sites that you may never have found otherwise. And I have found these sites to be great resources for information and new ideas  for the kitchen.

So as I was browsing Pinterest the other day I came across the pin for a recipe called balsamic parmesan roasted cauliflower. It was pinned from the website http://www.kidneybuzz.com. Now doesn’t balsamic parmesan roasted cauliflower sound divine? And since I’m always looking for new ways to roast vegetables I just had to give the recipe a try.

When I evaluate recipes I look for a few simple things. First, are the directions clear – second, is it easy to prepare – third, can you be successful the very first time you make it, and fourth, did the recipe tell you everything you needed to know (as I find quite often recipes do not – especially where chefs-in-training are concerned). So here is my rating and lessons learned making this recipe:

Rating: C- with the potential for an A. I have never been so psyched to make a recipe and been so disappointed. I’m getting to the point though where I am starting to trust my own instincts versus just doing what is written. After some interesting lessons learned I would try this recipe again, as I do believe it has the potential to be an “A” rated recipe.

Balsamic Parmesan Roasted Cauliflower

Balsamic Parmesan Roasted Cauliflower

Lesson Learned 1: This recipe called for cooking the cauliflower from 20-30 minutes at 450. I will tell you right now if you do that you will have limp overcooked cauliflower. I’ve roasted cauliflower before and never over 400. But I thought, ok, I’ll compromise. I’ll roast it at 425. Big mistake!! The cauliflower came limp and overdone. I like my roasted vegetables to have some crispness to them. If you like them limp then cook them longer. In my opinion (and I roasted rather large florets) 15 – 20 minutes max at 400 is my recommendation.

Lesson Learned 2: This recipe does not tell you how to roast with balsamic vinegar, and that can be tricky. The proportions are perfectly fine, but you need to make sure that the cauliflower is primarily coated and not the pan. Otherwise you will have a sticky, gooey hard to clean mess because (unless this is different in high altitude) balsamic vinegar doesn’t evaporate as the recipe suggests, it burns especially in any concentrated amounts. That’s why I say make sure the cauliflower is covered in it and you don’t leave a puddle of it in your pan. If you do, clean up will be a nightmare (and in my opinion they should tell you these things in a recipe). I would also either spray your pan with cooking spray or line it with foil so that any balsamic that does not “evaporate” can be easily cleaned.

Lesson Learned 3: Tossing the cauliflower half-way through the cooking process is a must. That way you will get an even caramelization and the cauliflower won’t looked burnt. So, toss half-way through and don’t add the vinegar and cheese until the last five minutes.

Lesson Learned 4: Obviously this was not a recipe that turned out well the first time making it. I overcooked it and wound up with a gooey mess in my pan. That being said, it still had an interesting flavor, almost sweet. So I am definitely going to try this again as I think it has great potential.

I hope my lessons learned help you have more success the first time you try this recipe. I plan to continue to play with it until I get it right. When I do I will either update this blog or post a new one referencing this. I am a big fan of roasted vegetable but you have to get the cooking time and temperature just right, otherwise you have a limp burnt mess.