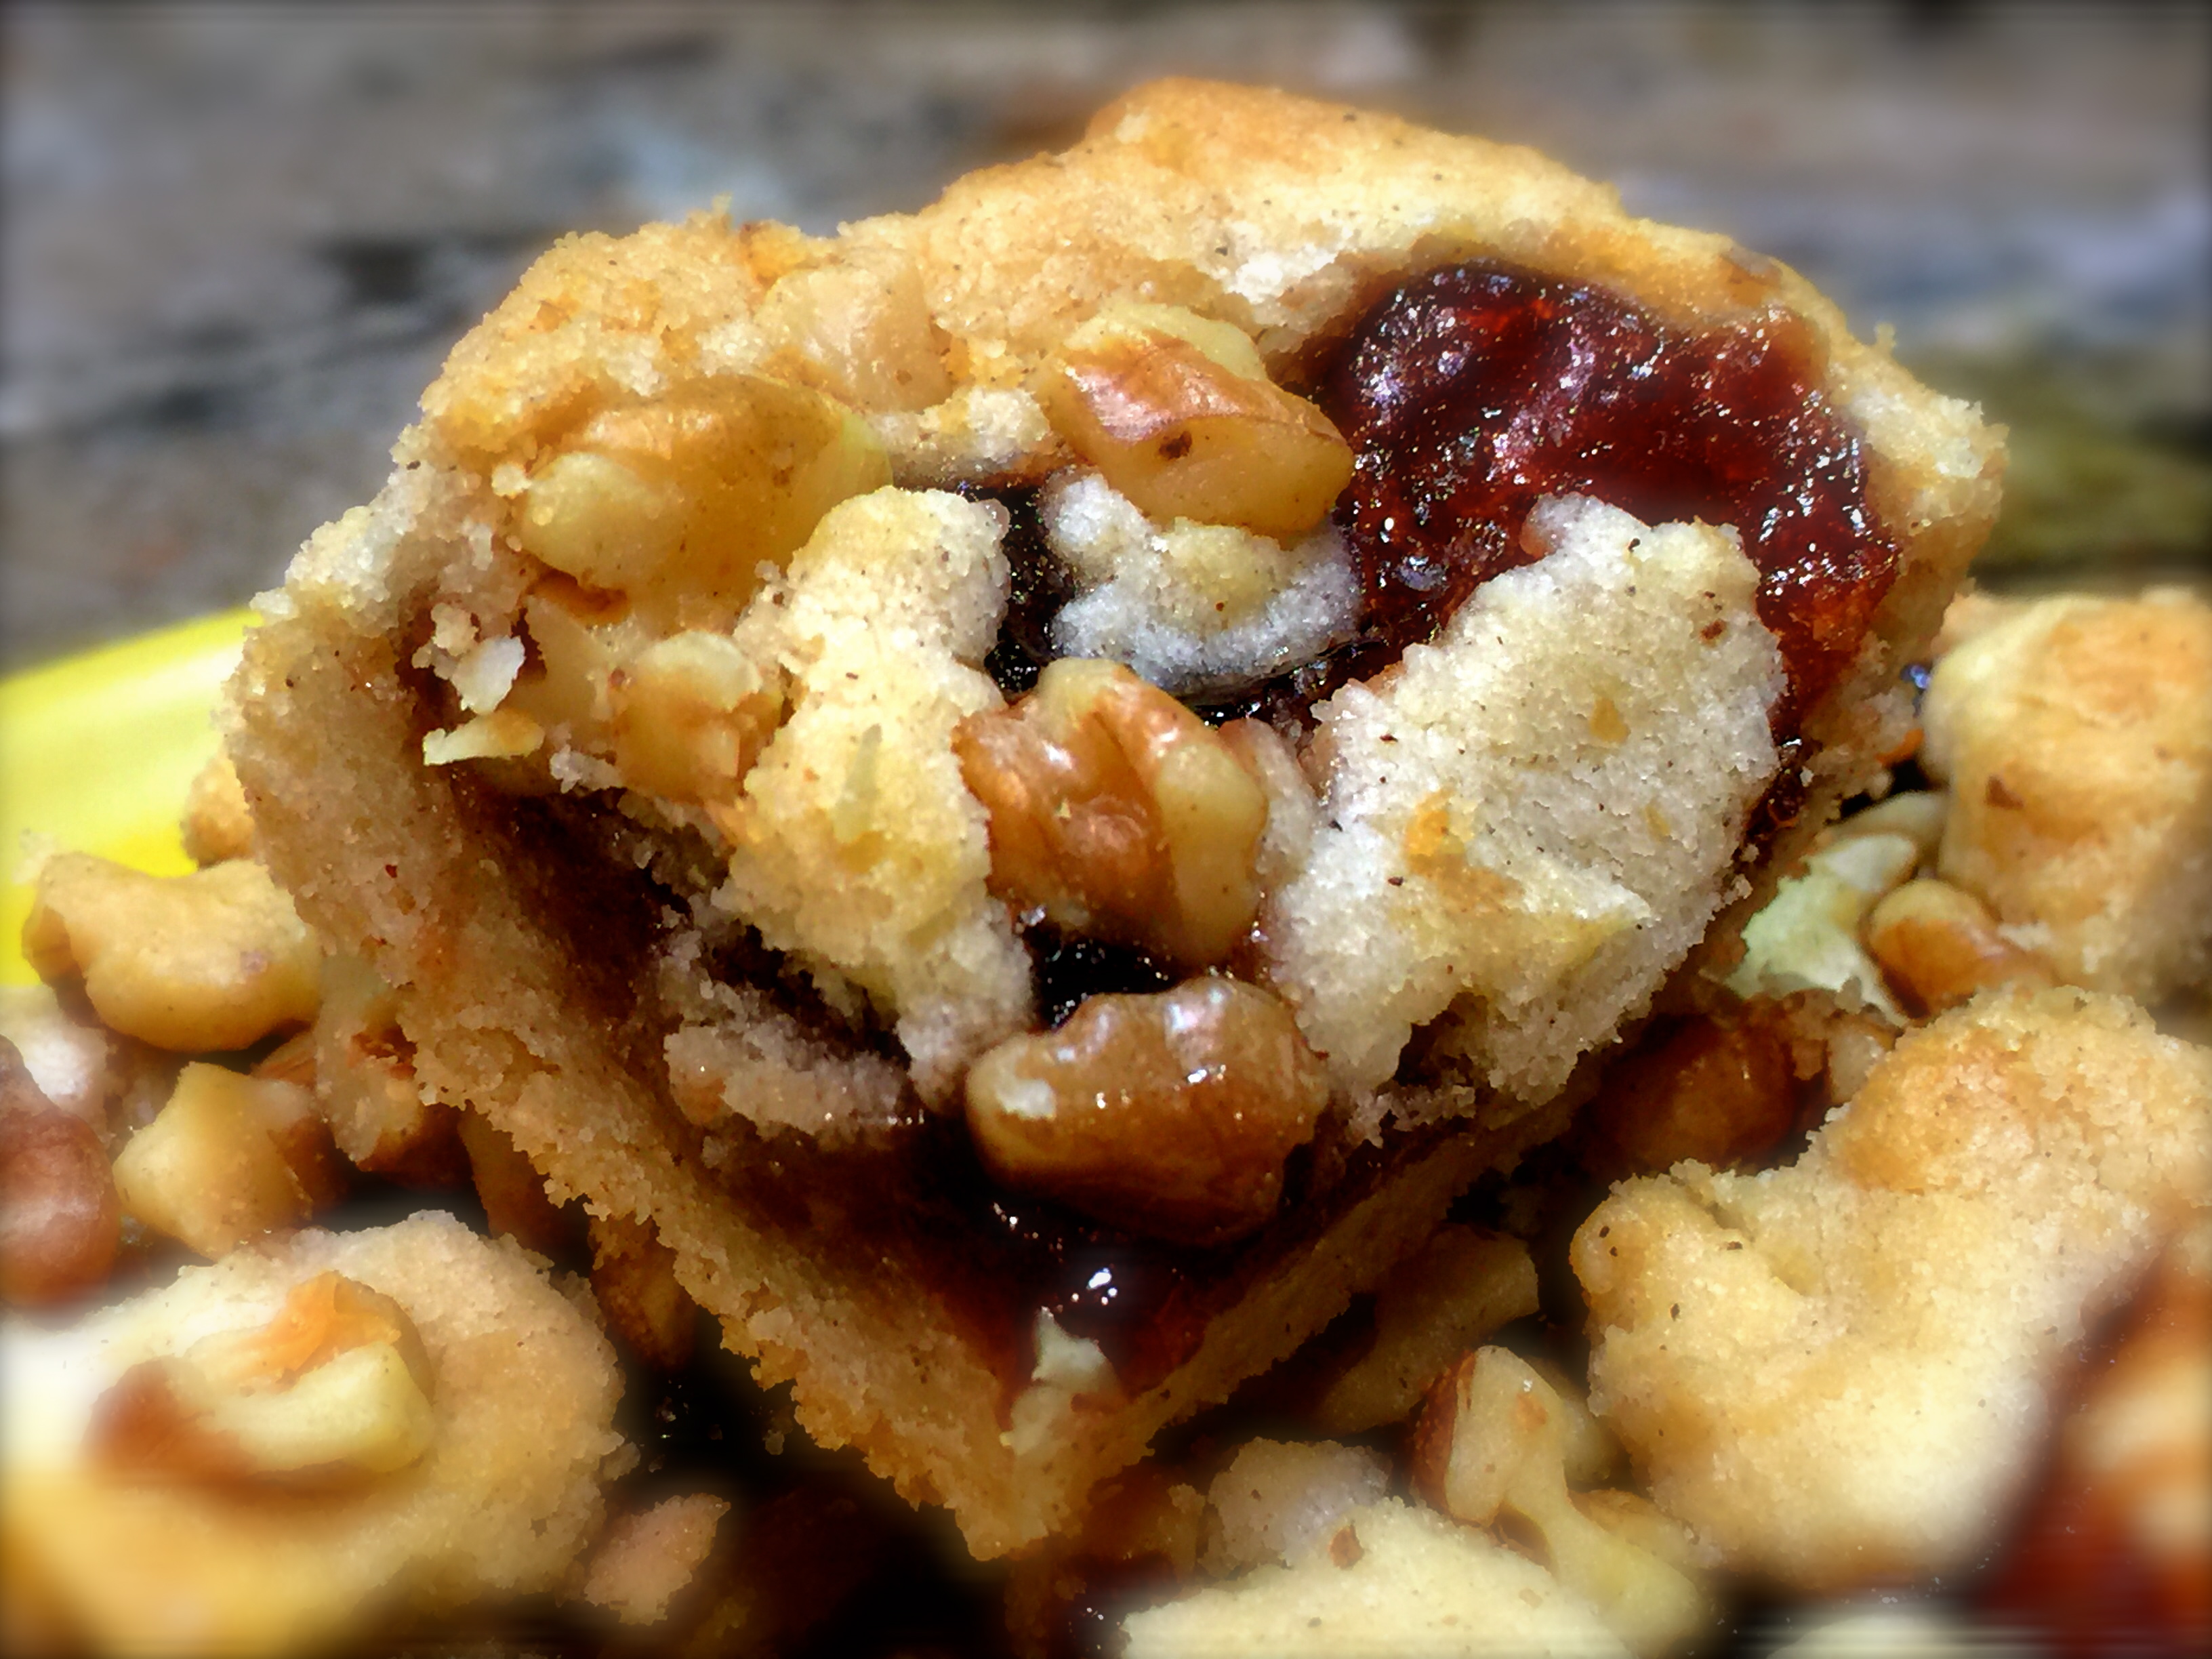
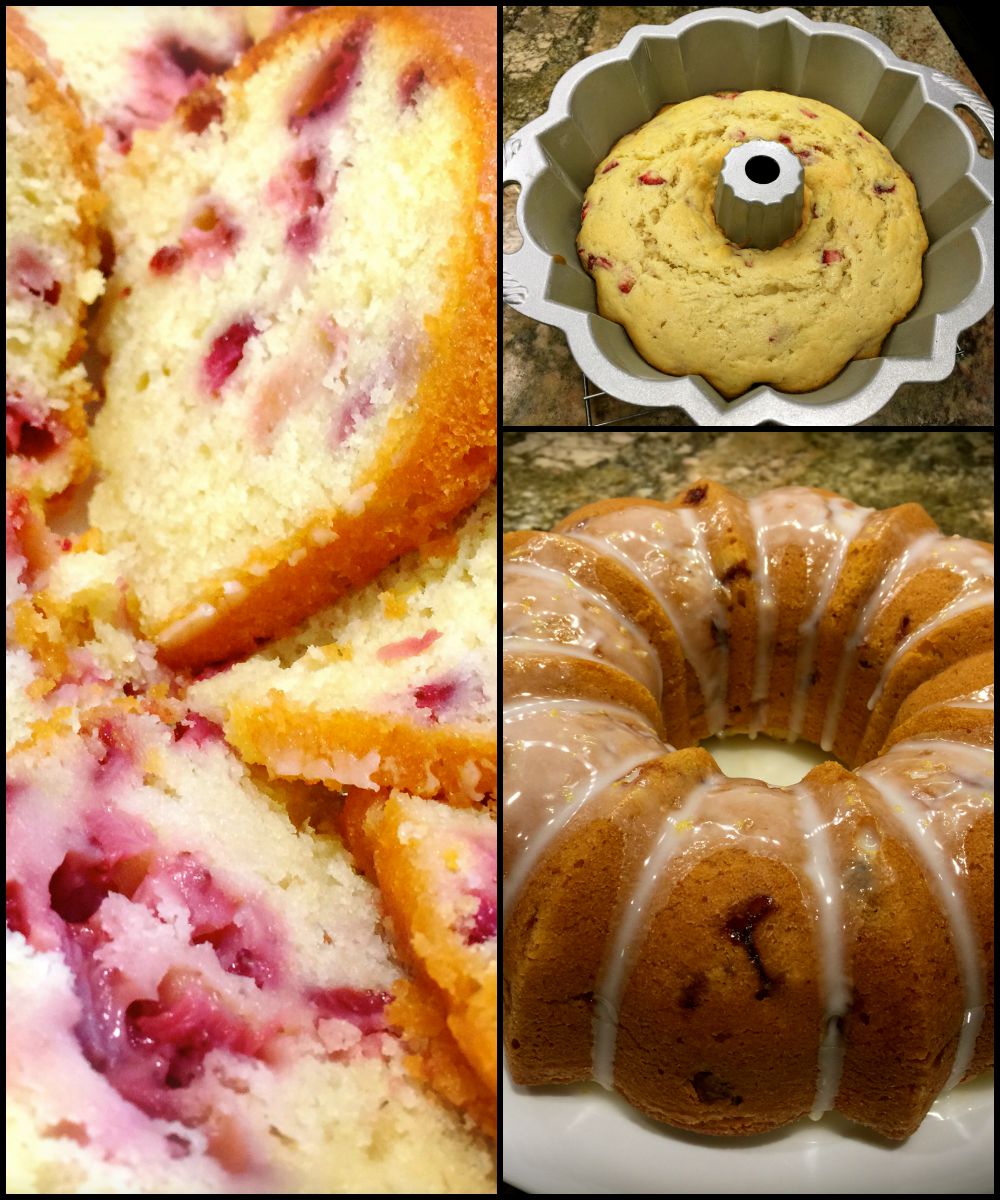
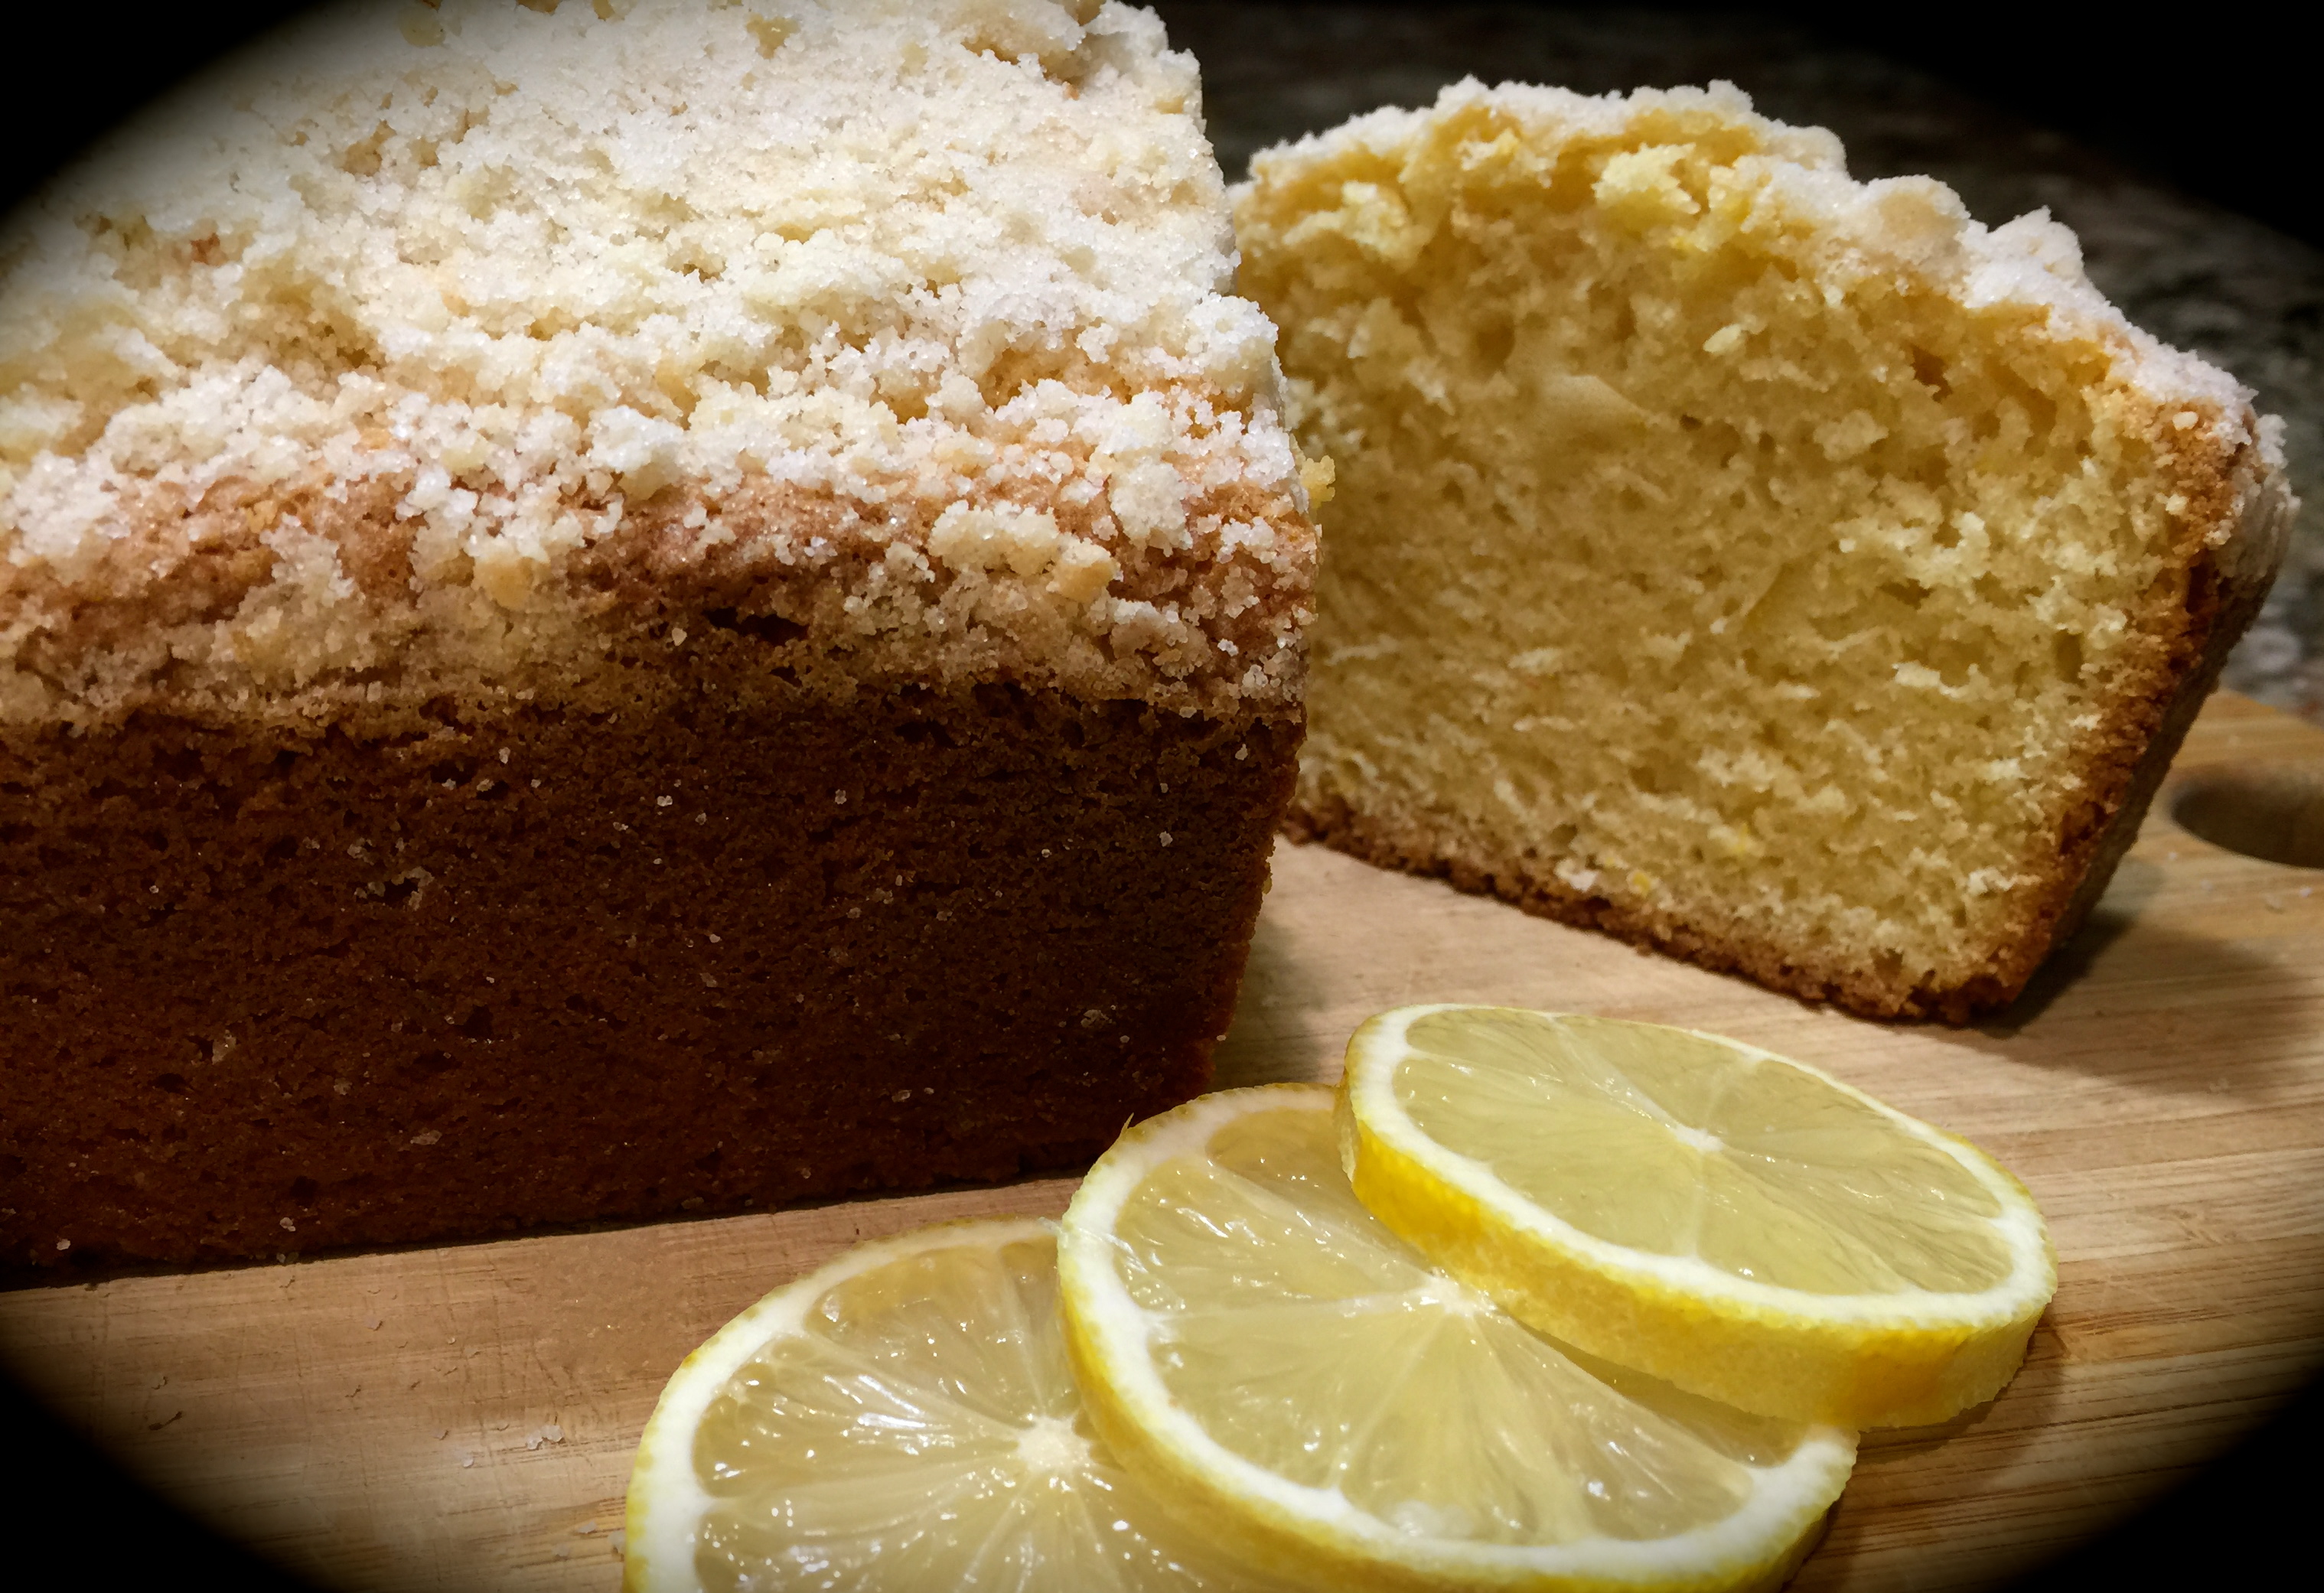
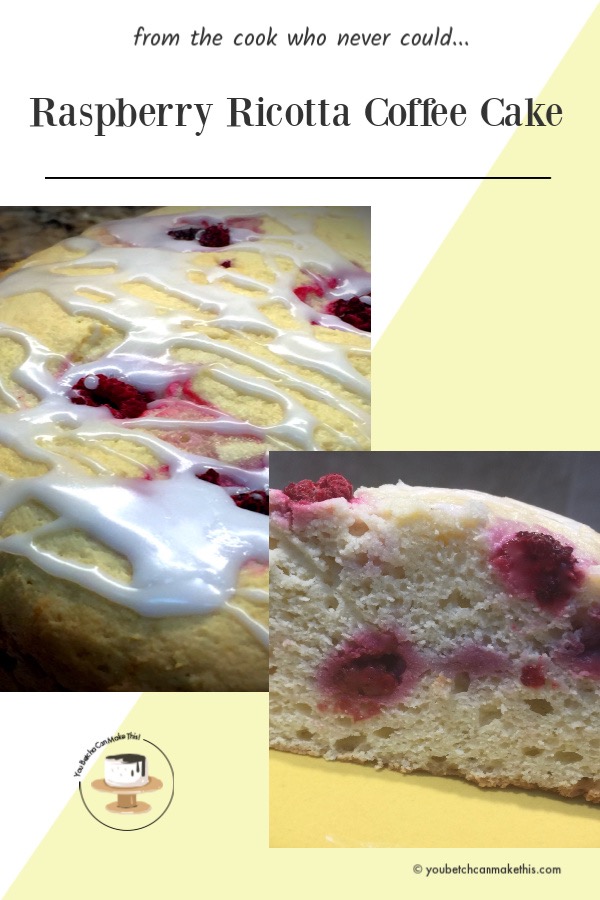
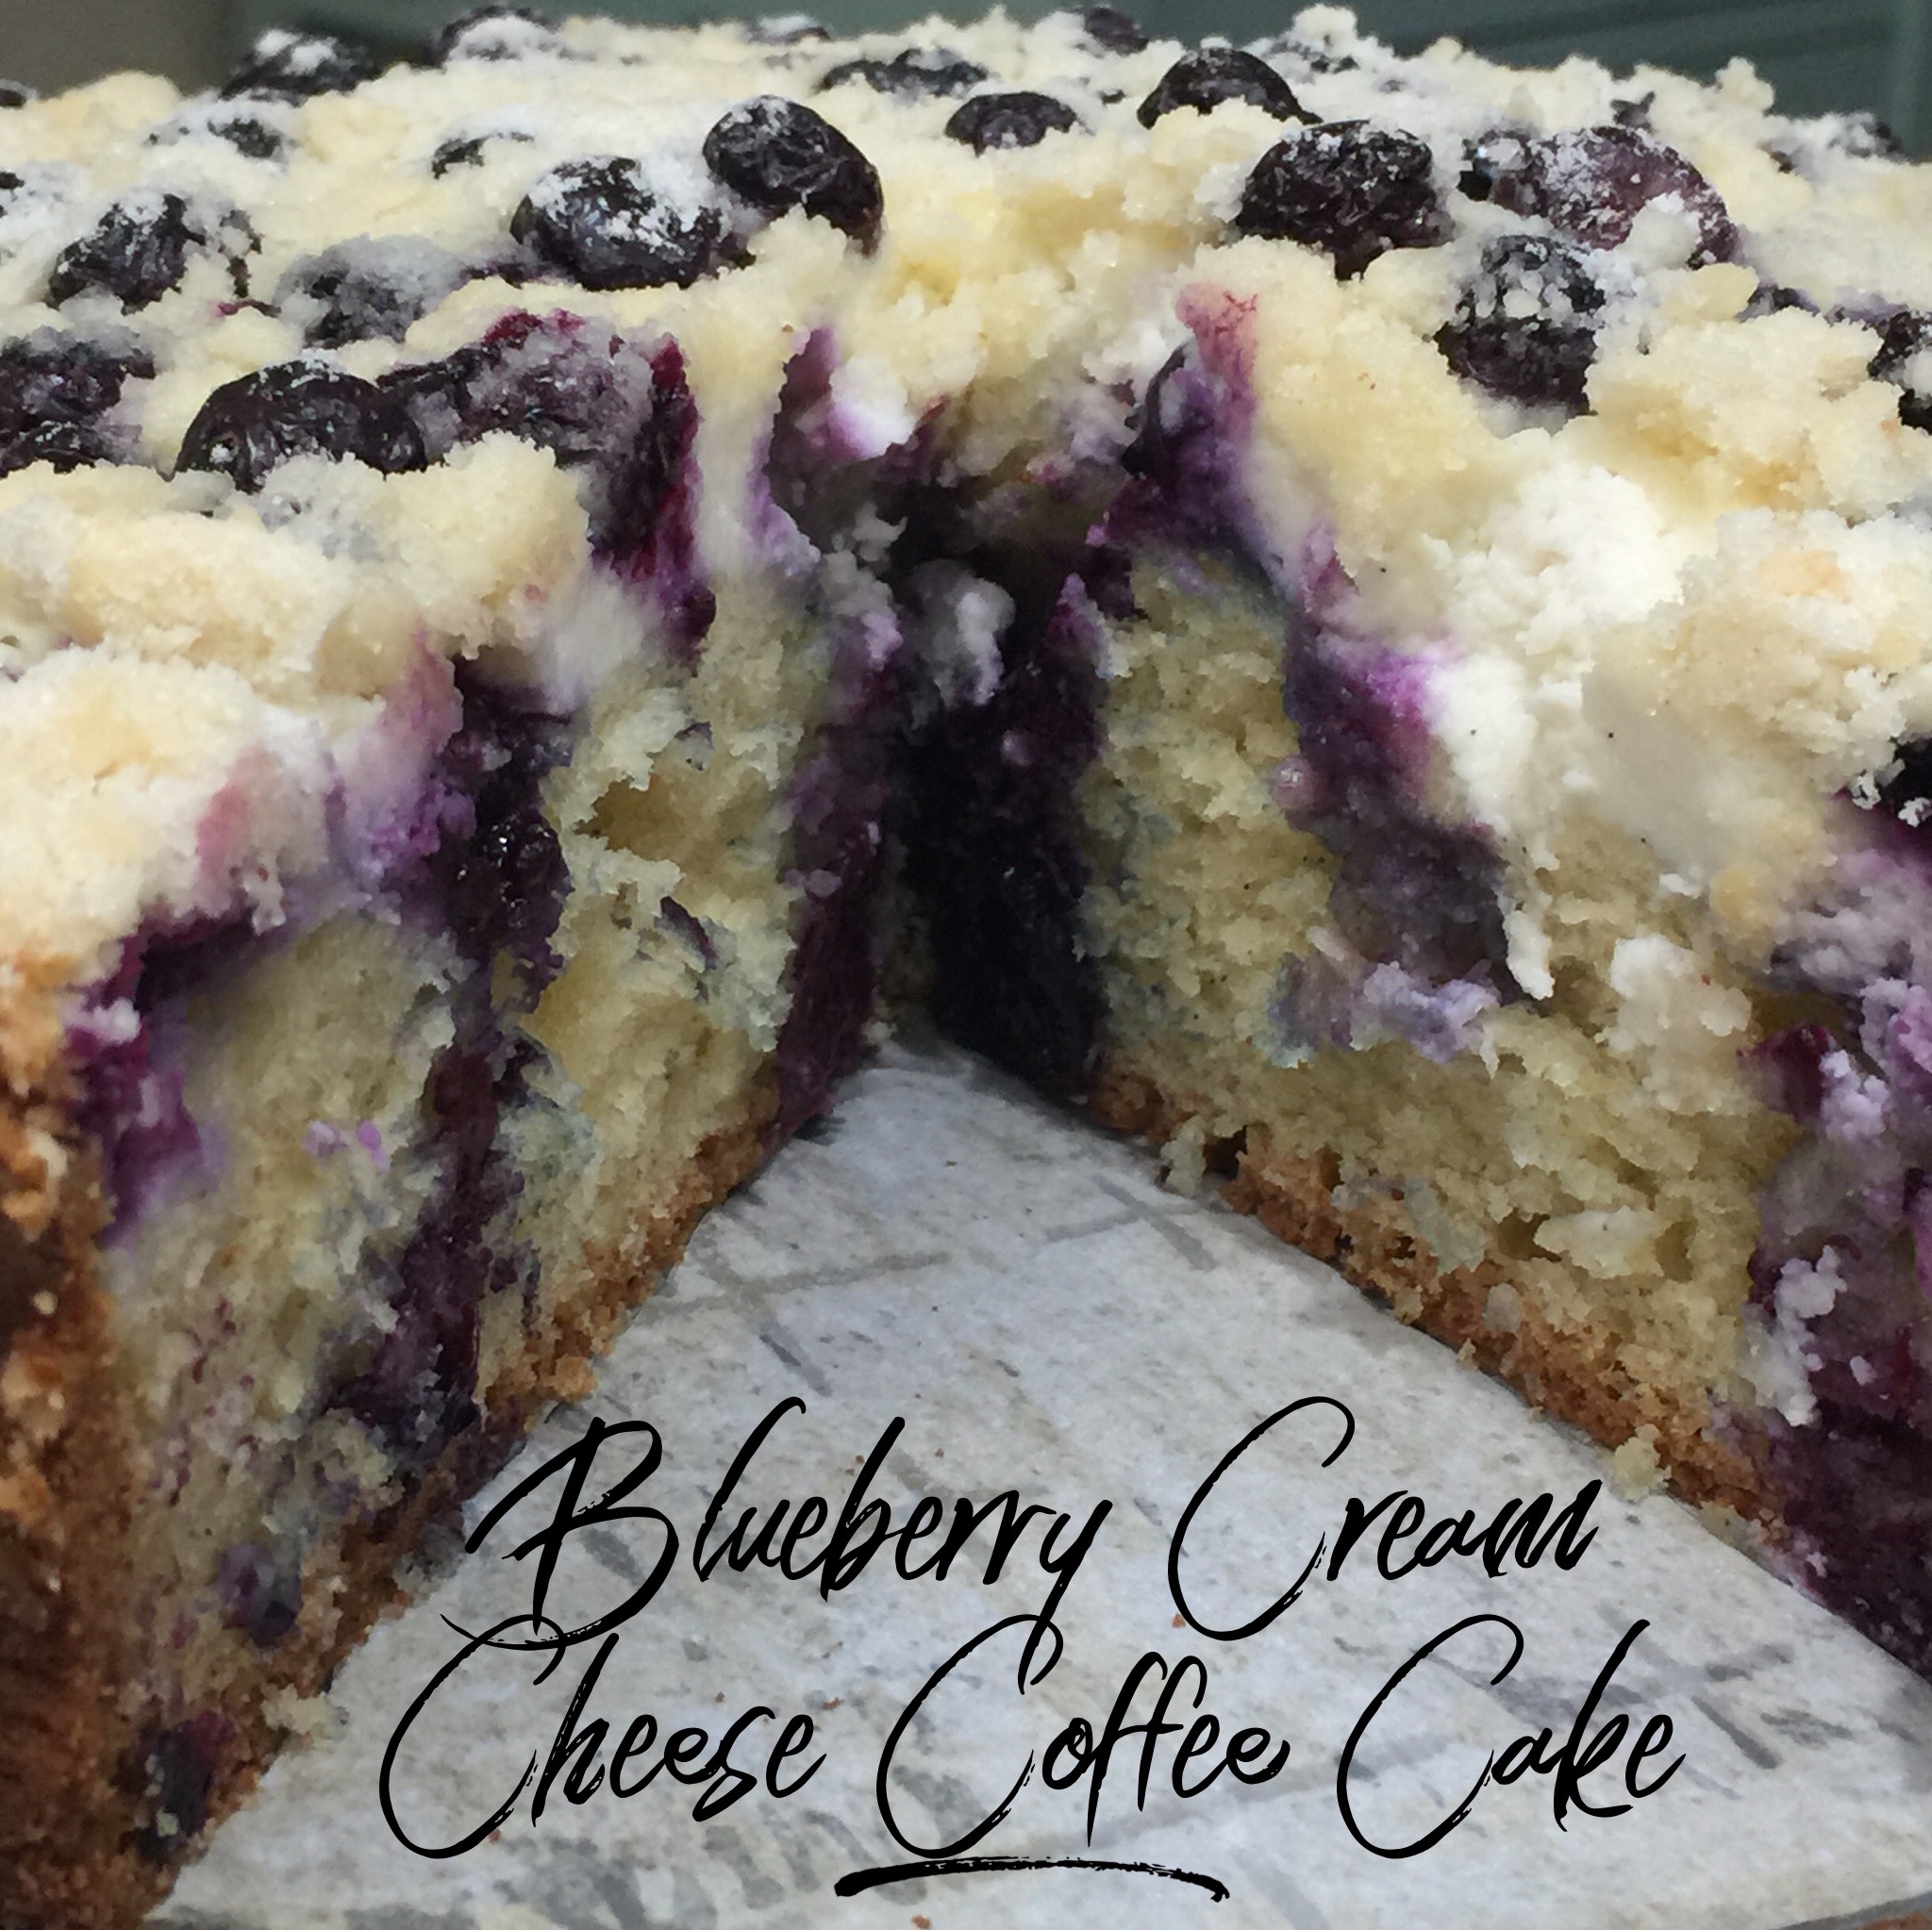
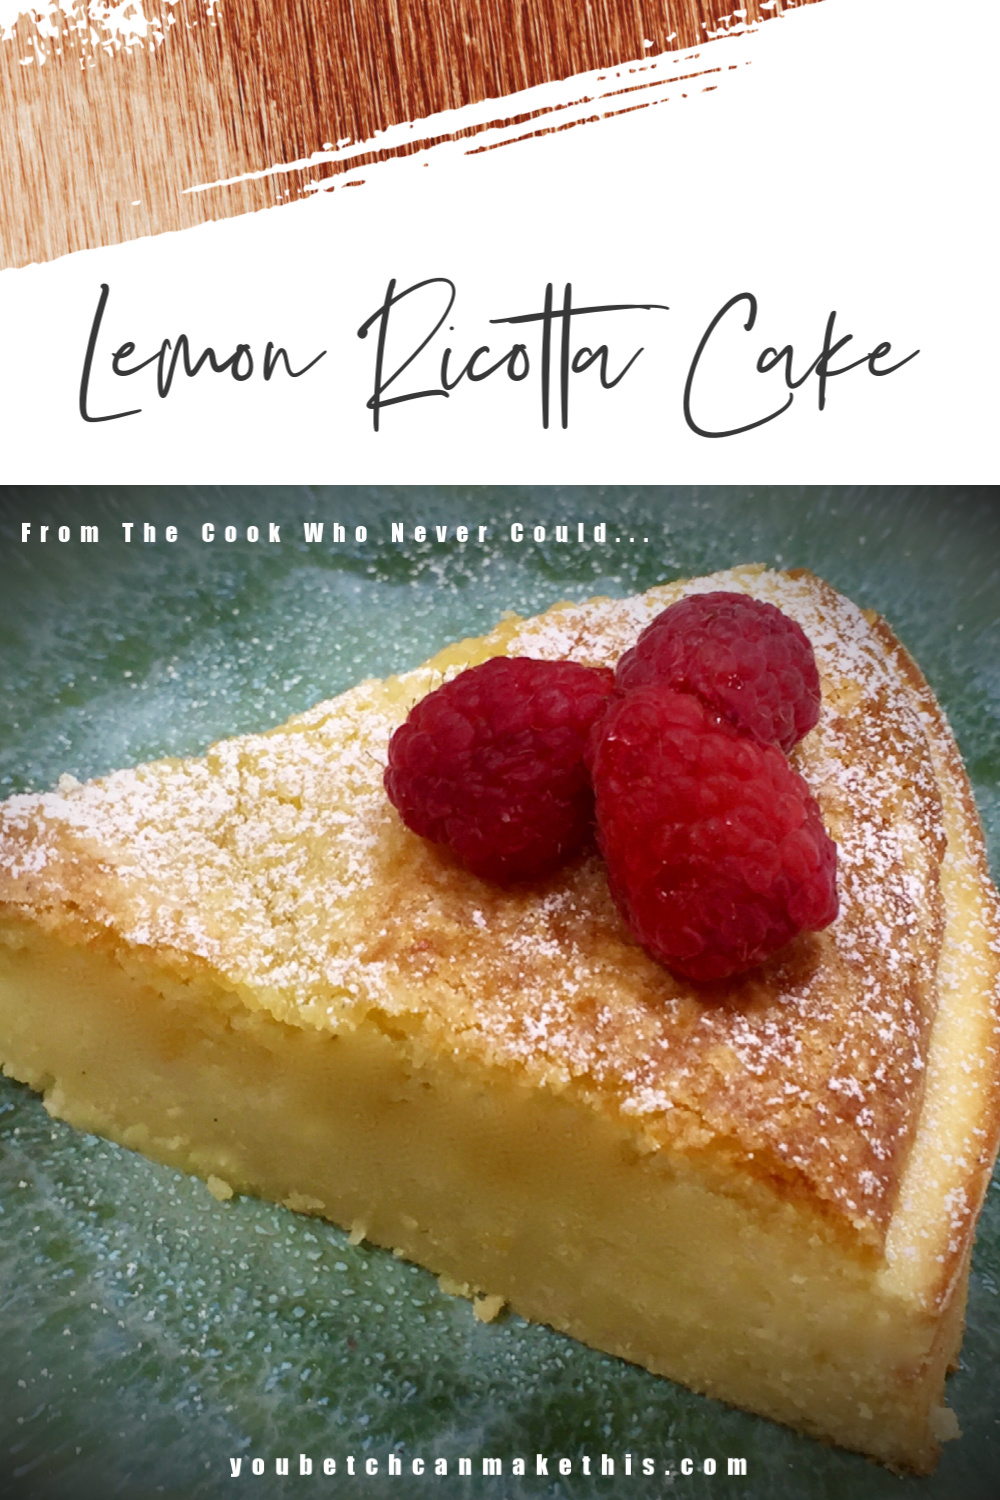
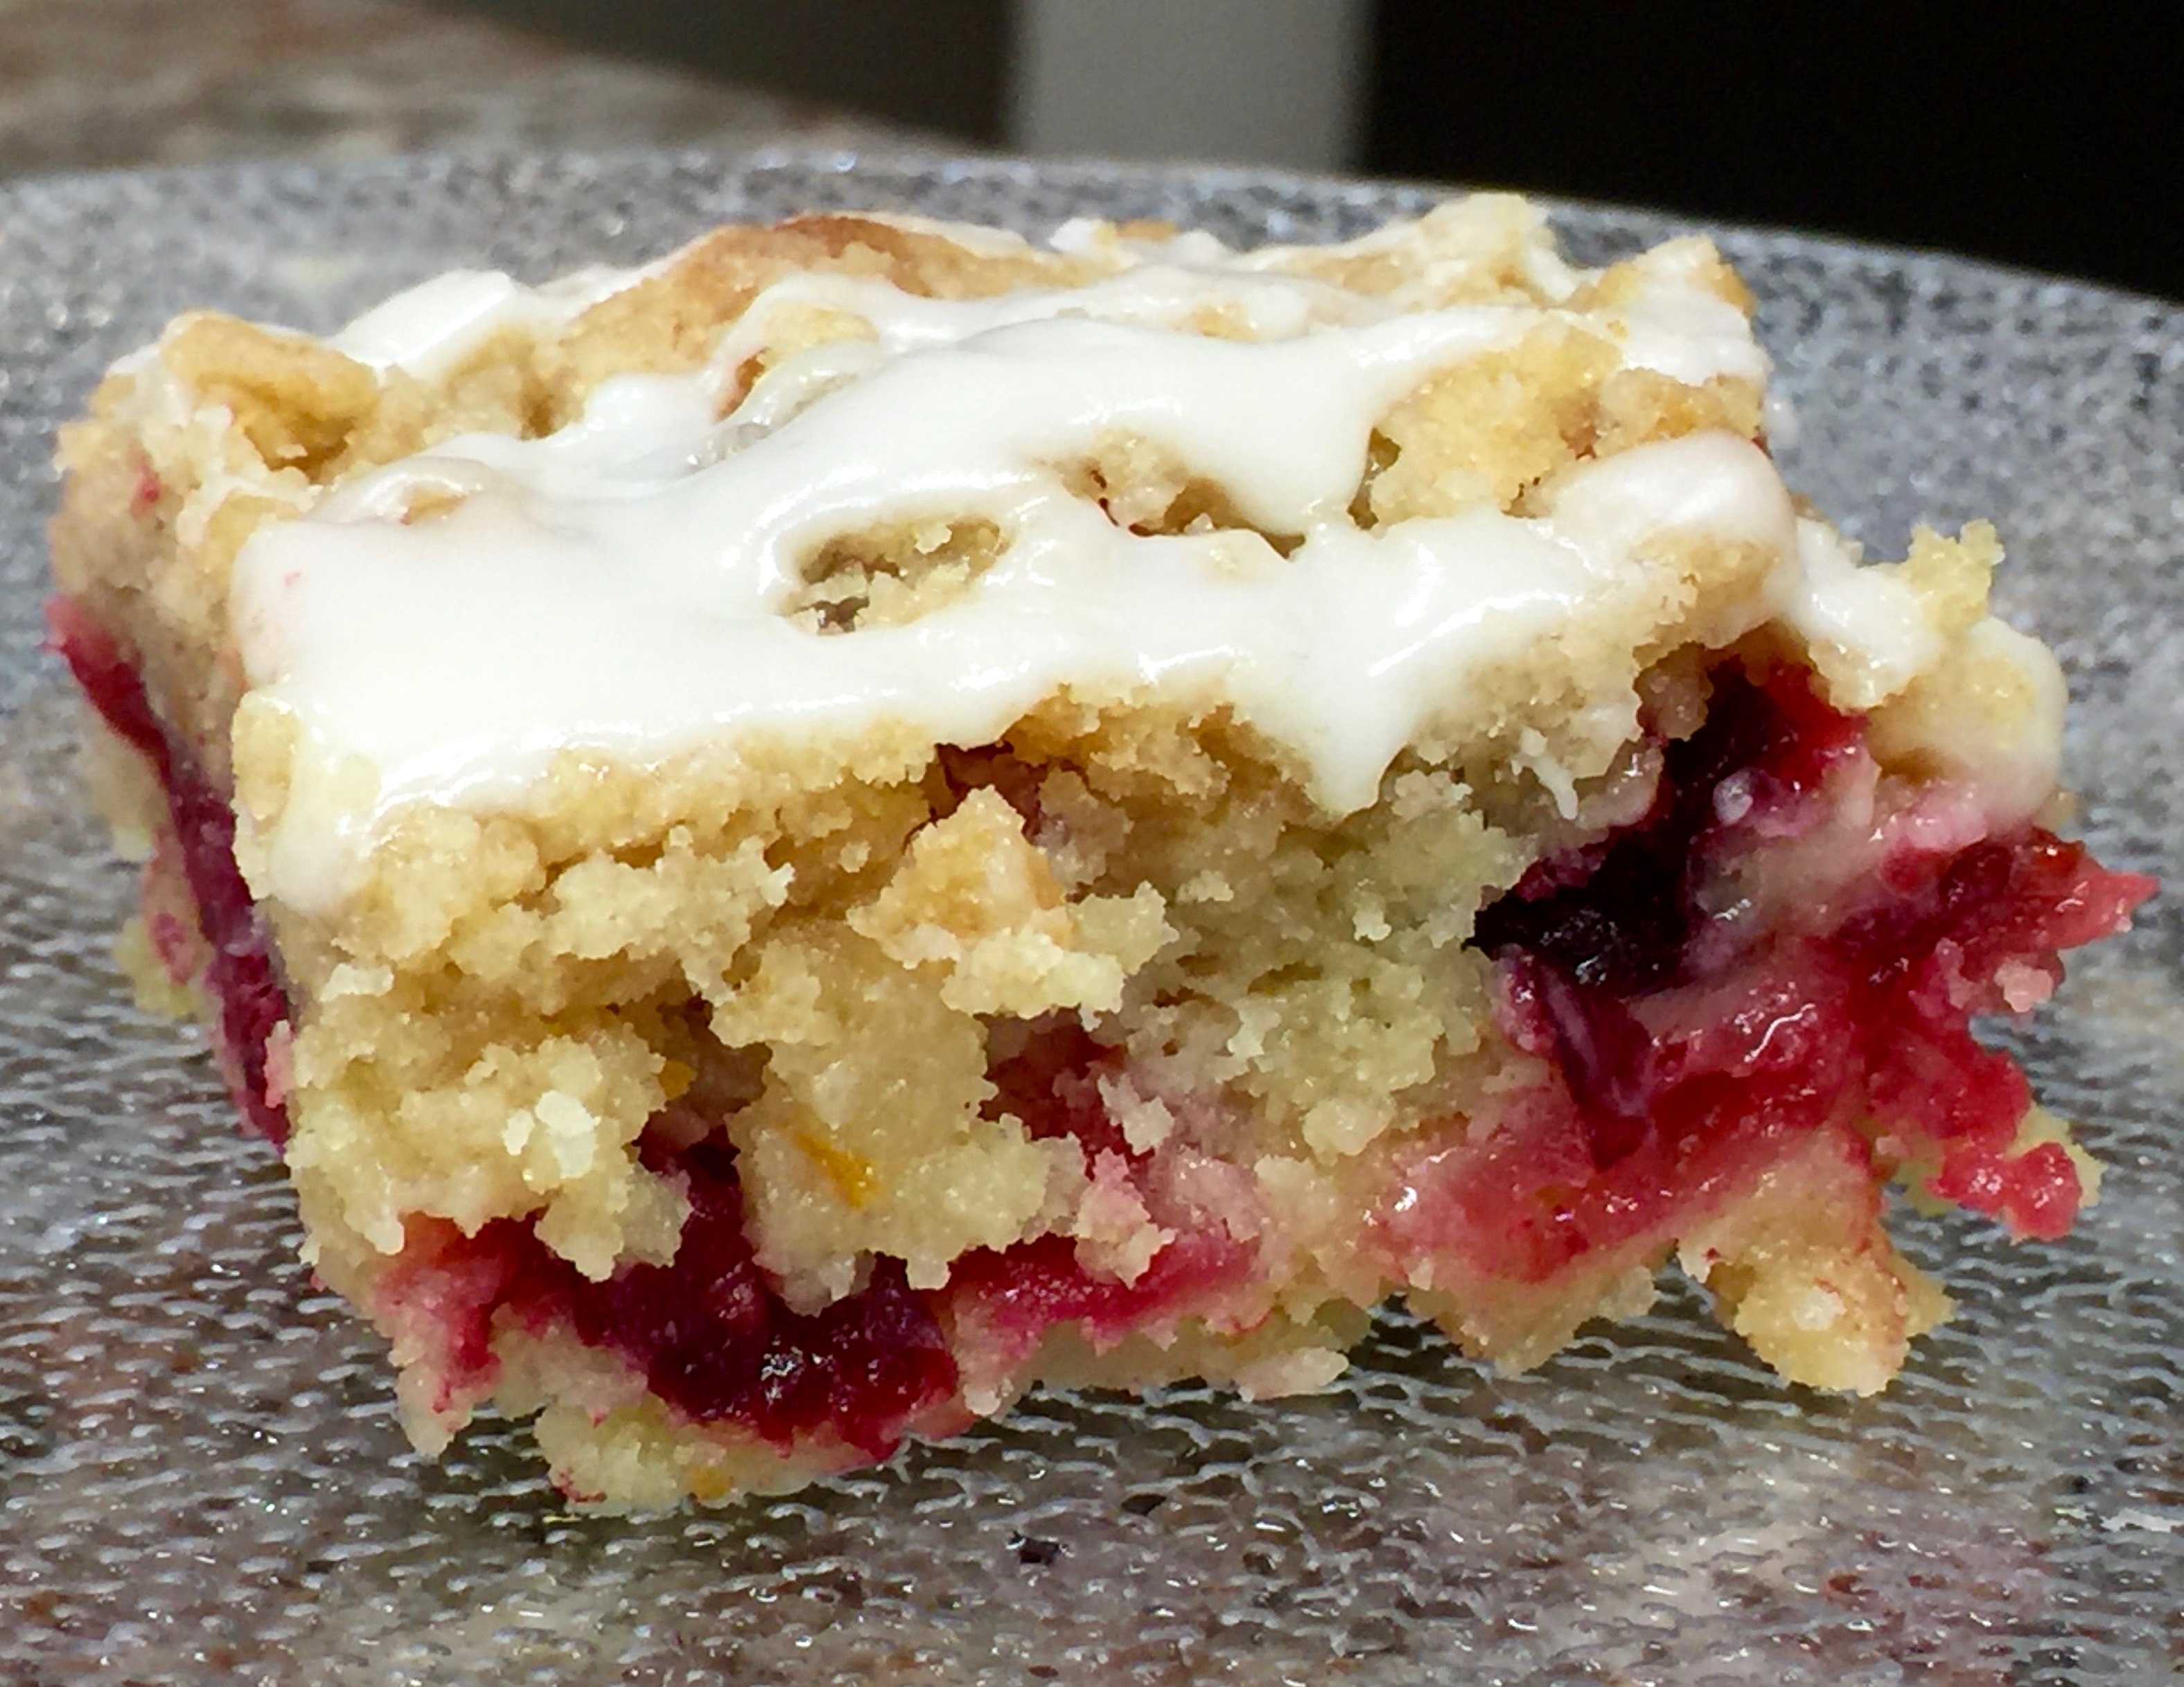
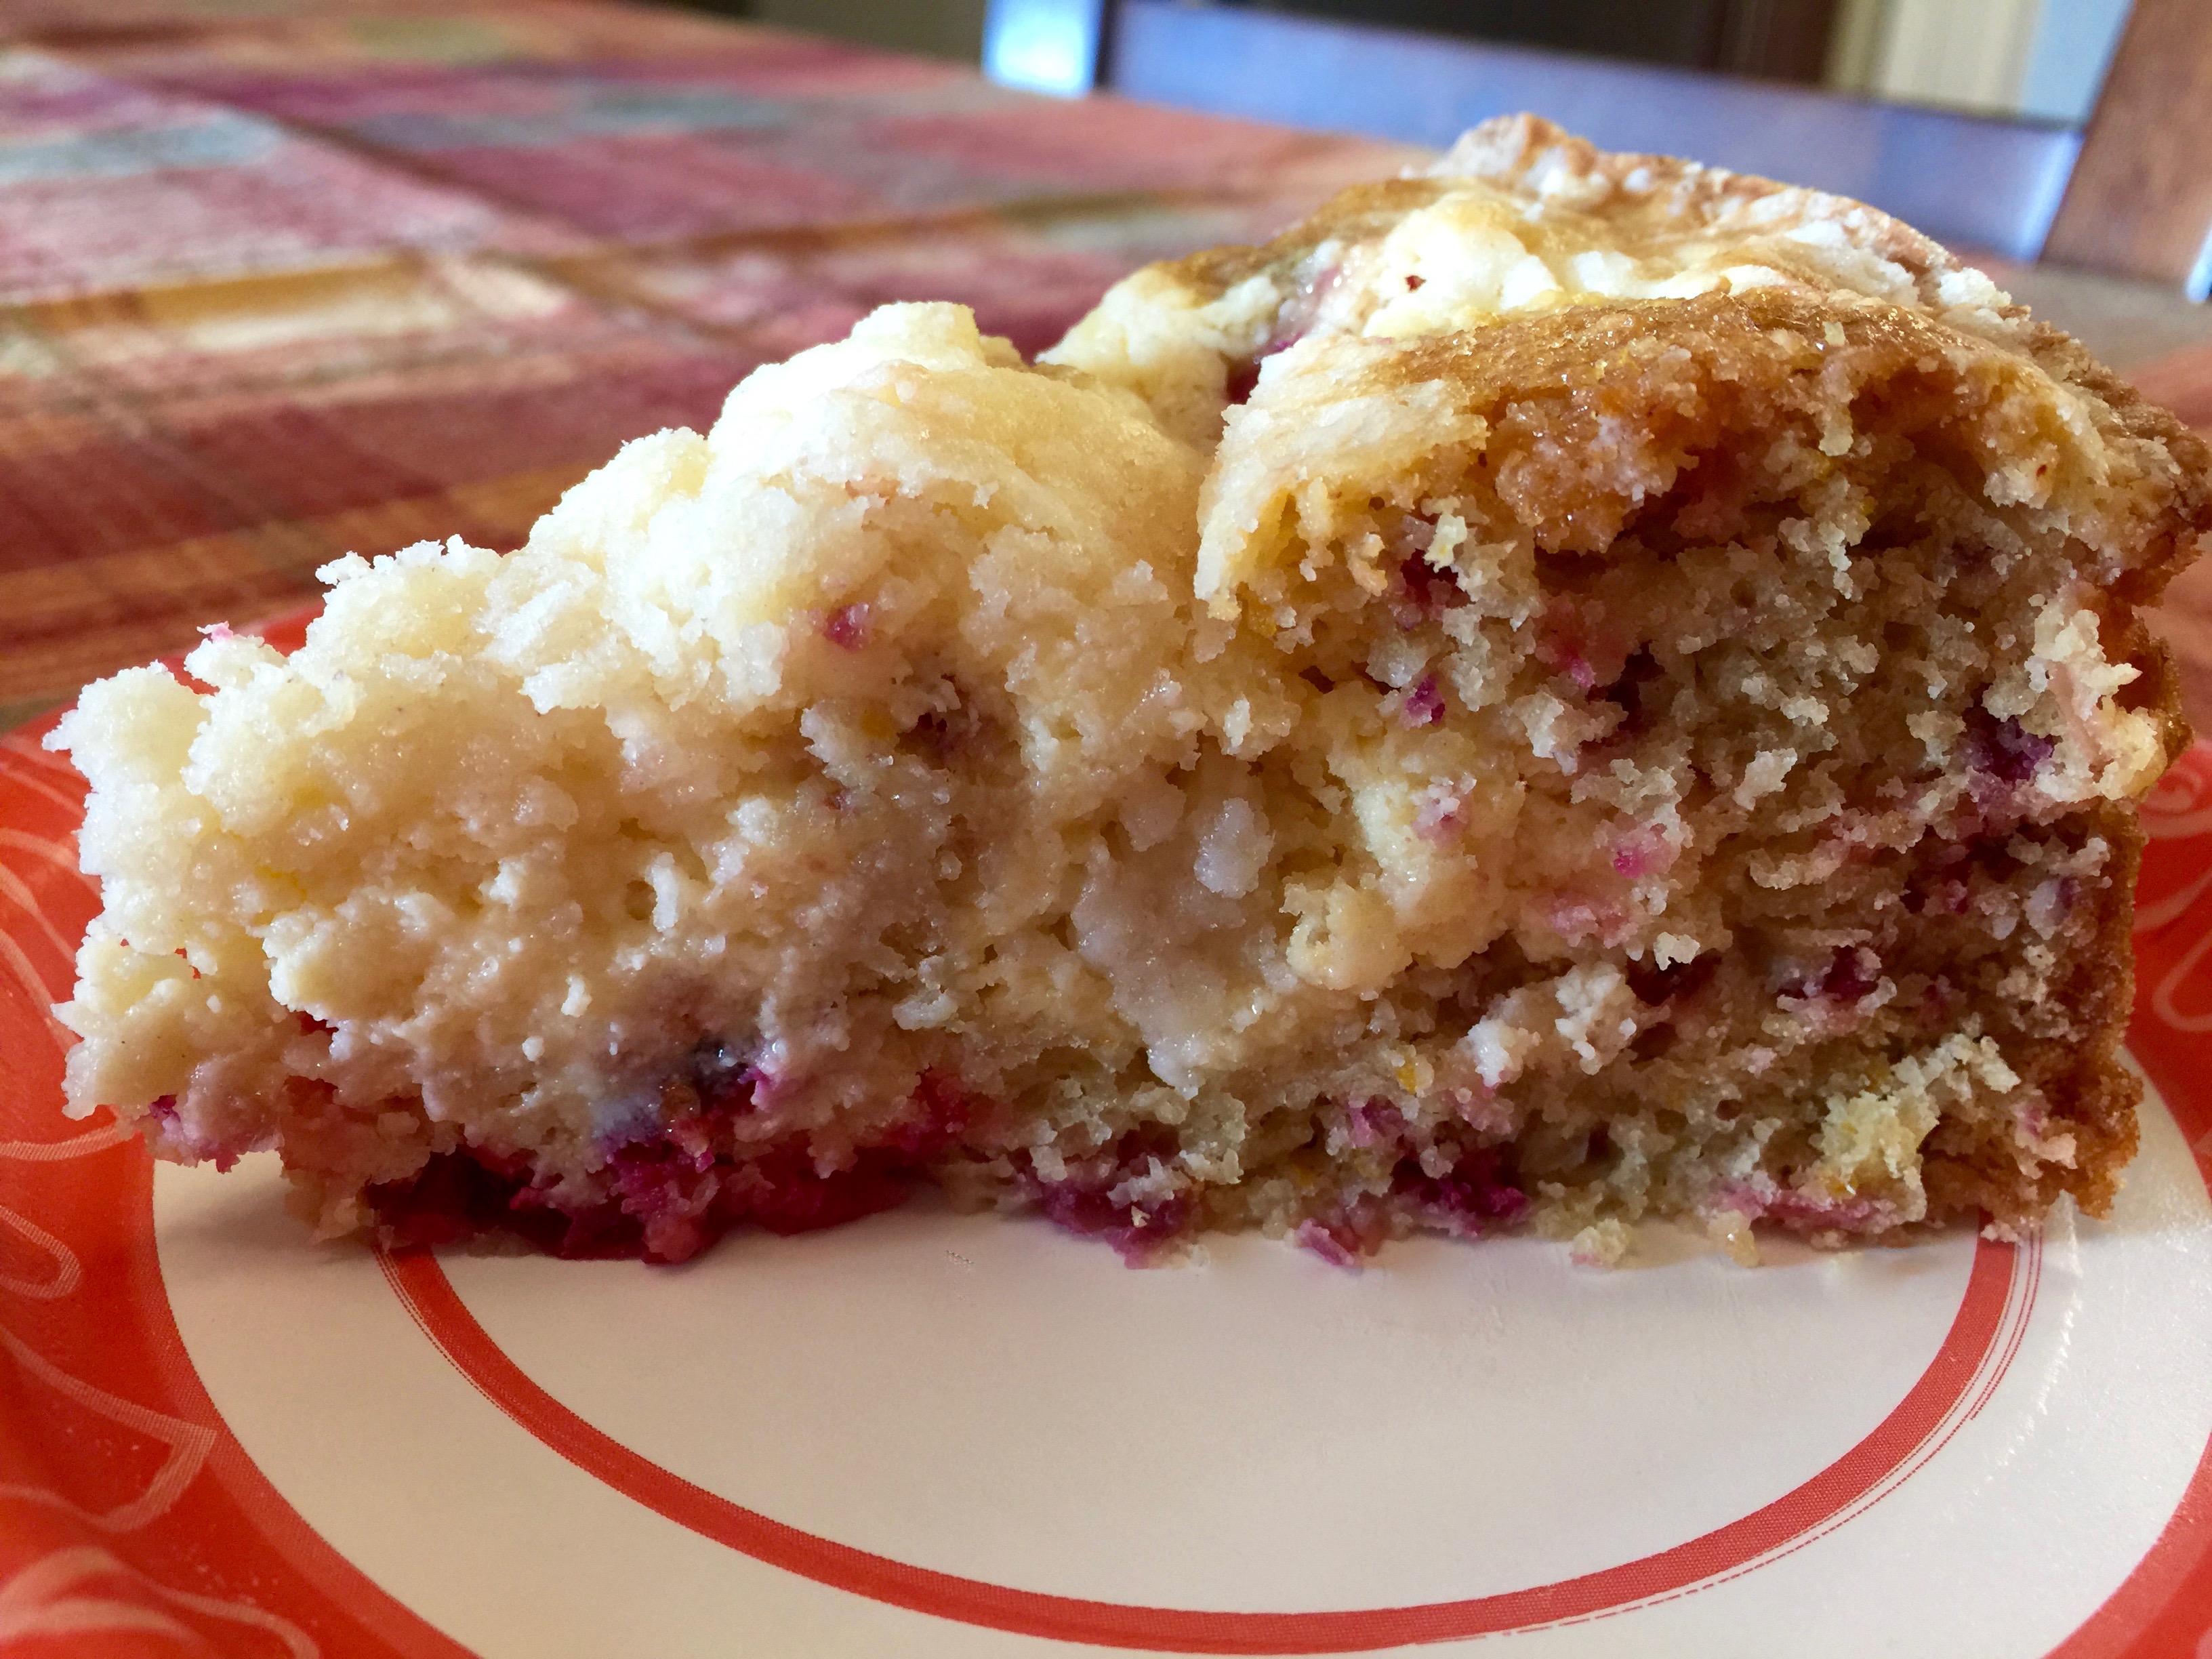
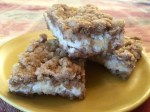
There’s nothing like the taste of a good coffee cake with your morning cup of Jo, or at least that’s how I feel. And I am particularly fond of baking with raspberries. Not only are they colorful but I also like their tartness which I feel balances the sweetness of a cake batter beautifully.
My husband is a sweets fanatic. He’s one of those that can eat sweets and not put on a pound, although I have to say he’s also very good at moderating what he eats. So I guess I can’t fault him for being good about what he eats and still including sweets in his diet.
Because of his sweet tooth, I like experimenting with things I bake to see what will interest him the most. This recipe got a thumbs up from him (with qualifications regarding the amount of raspberries which I will explain in lessons learned) and will definitely be something that I make again and again.
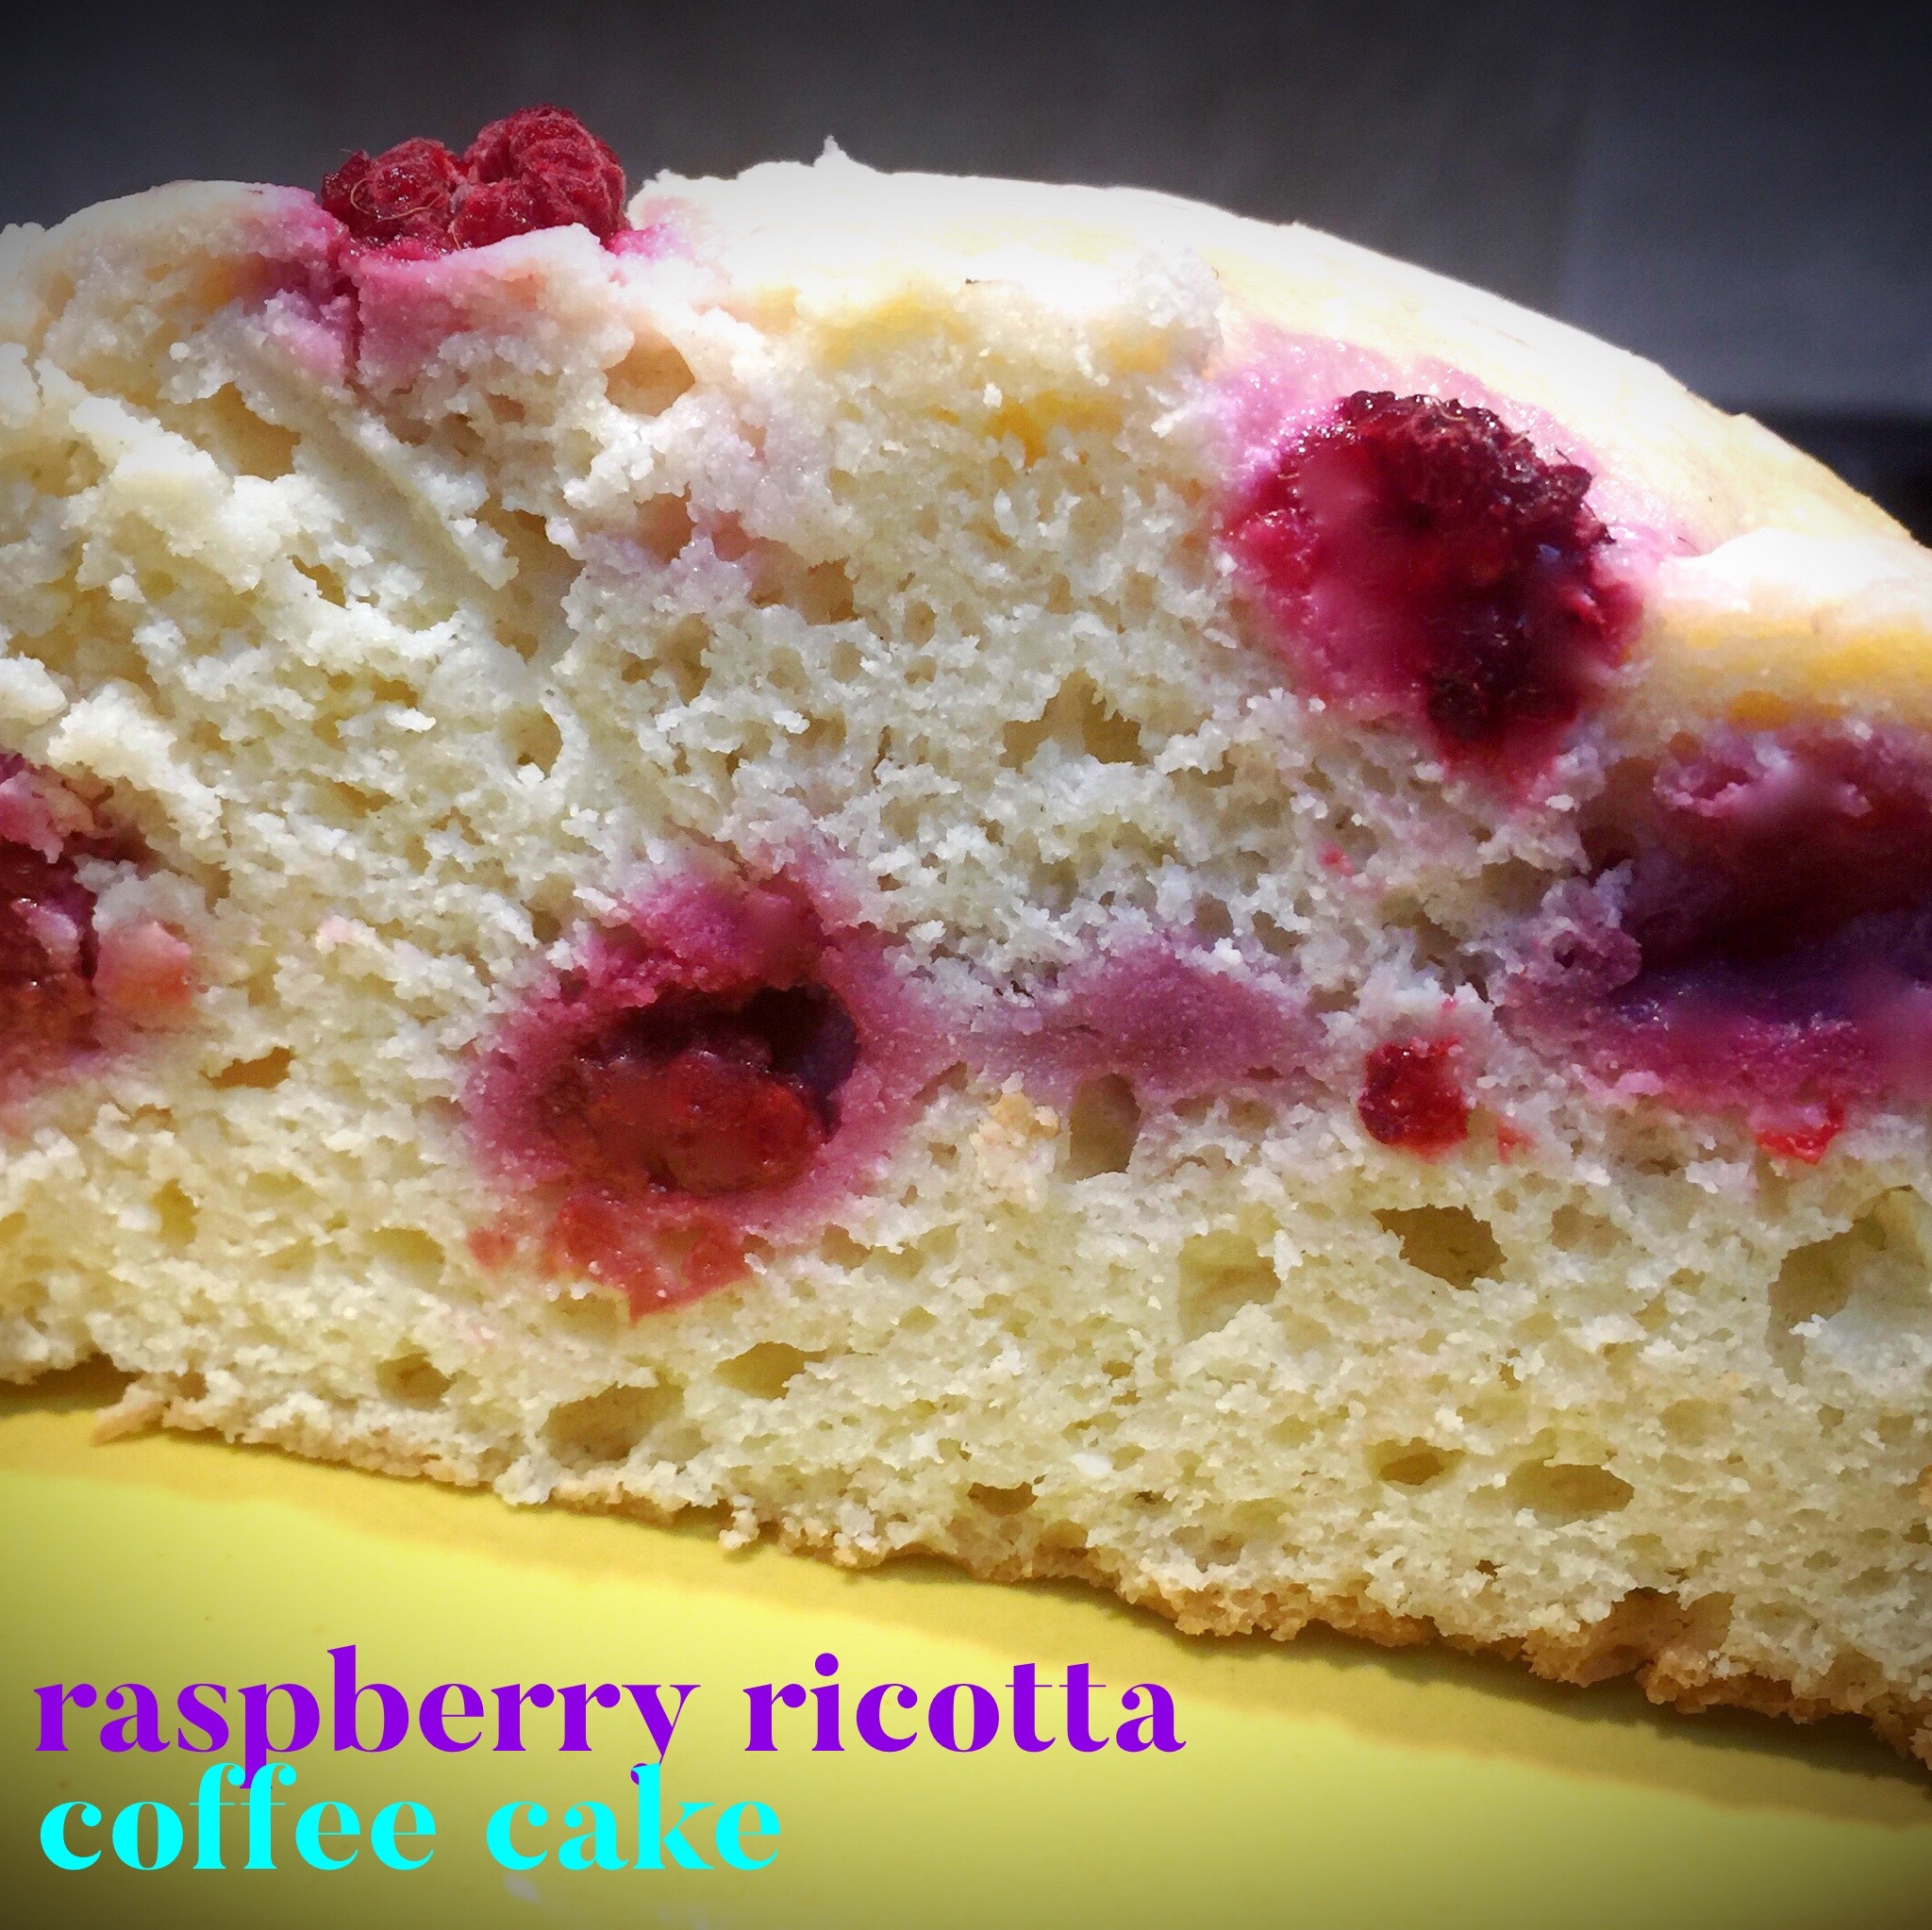
So let’s talk Raspberry Ricotta Coffee Cake…
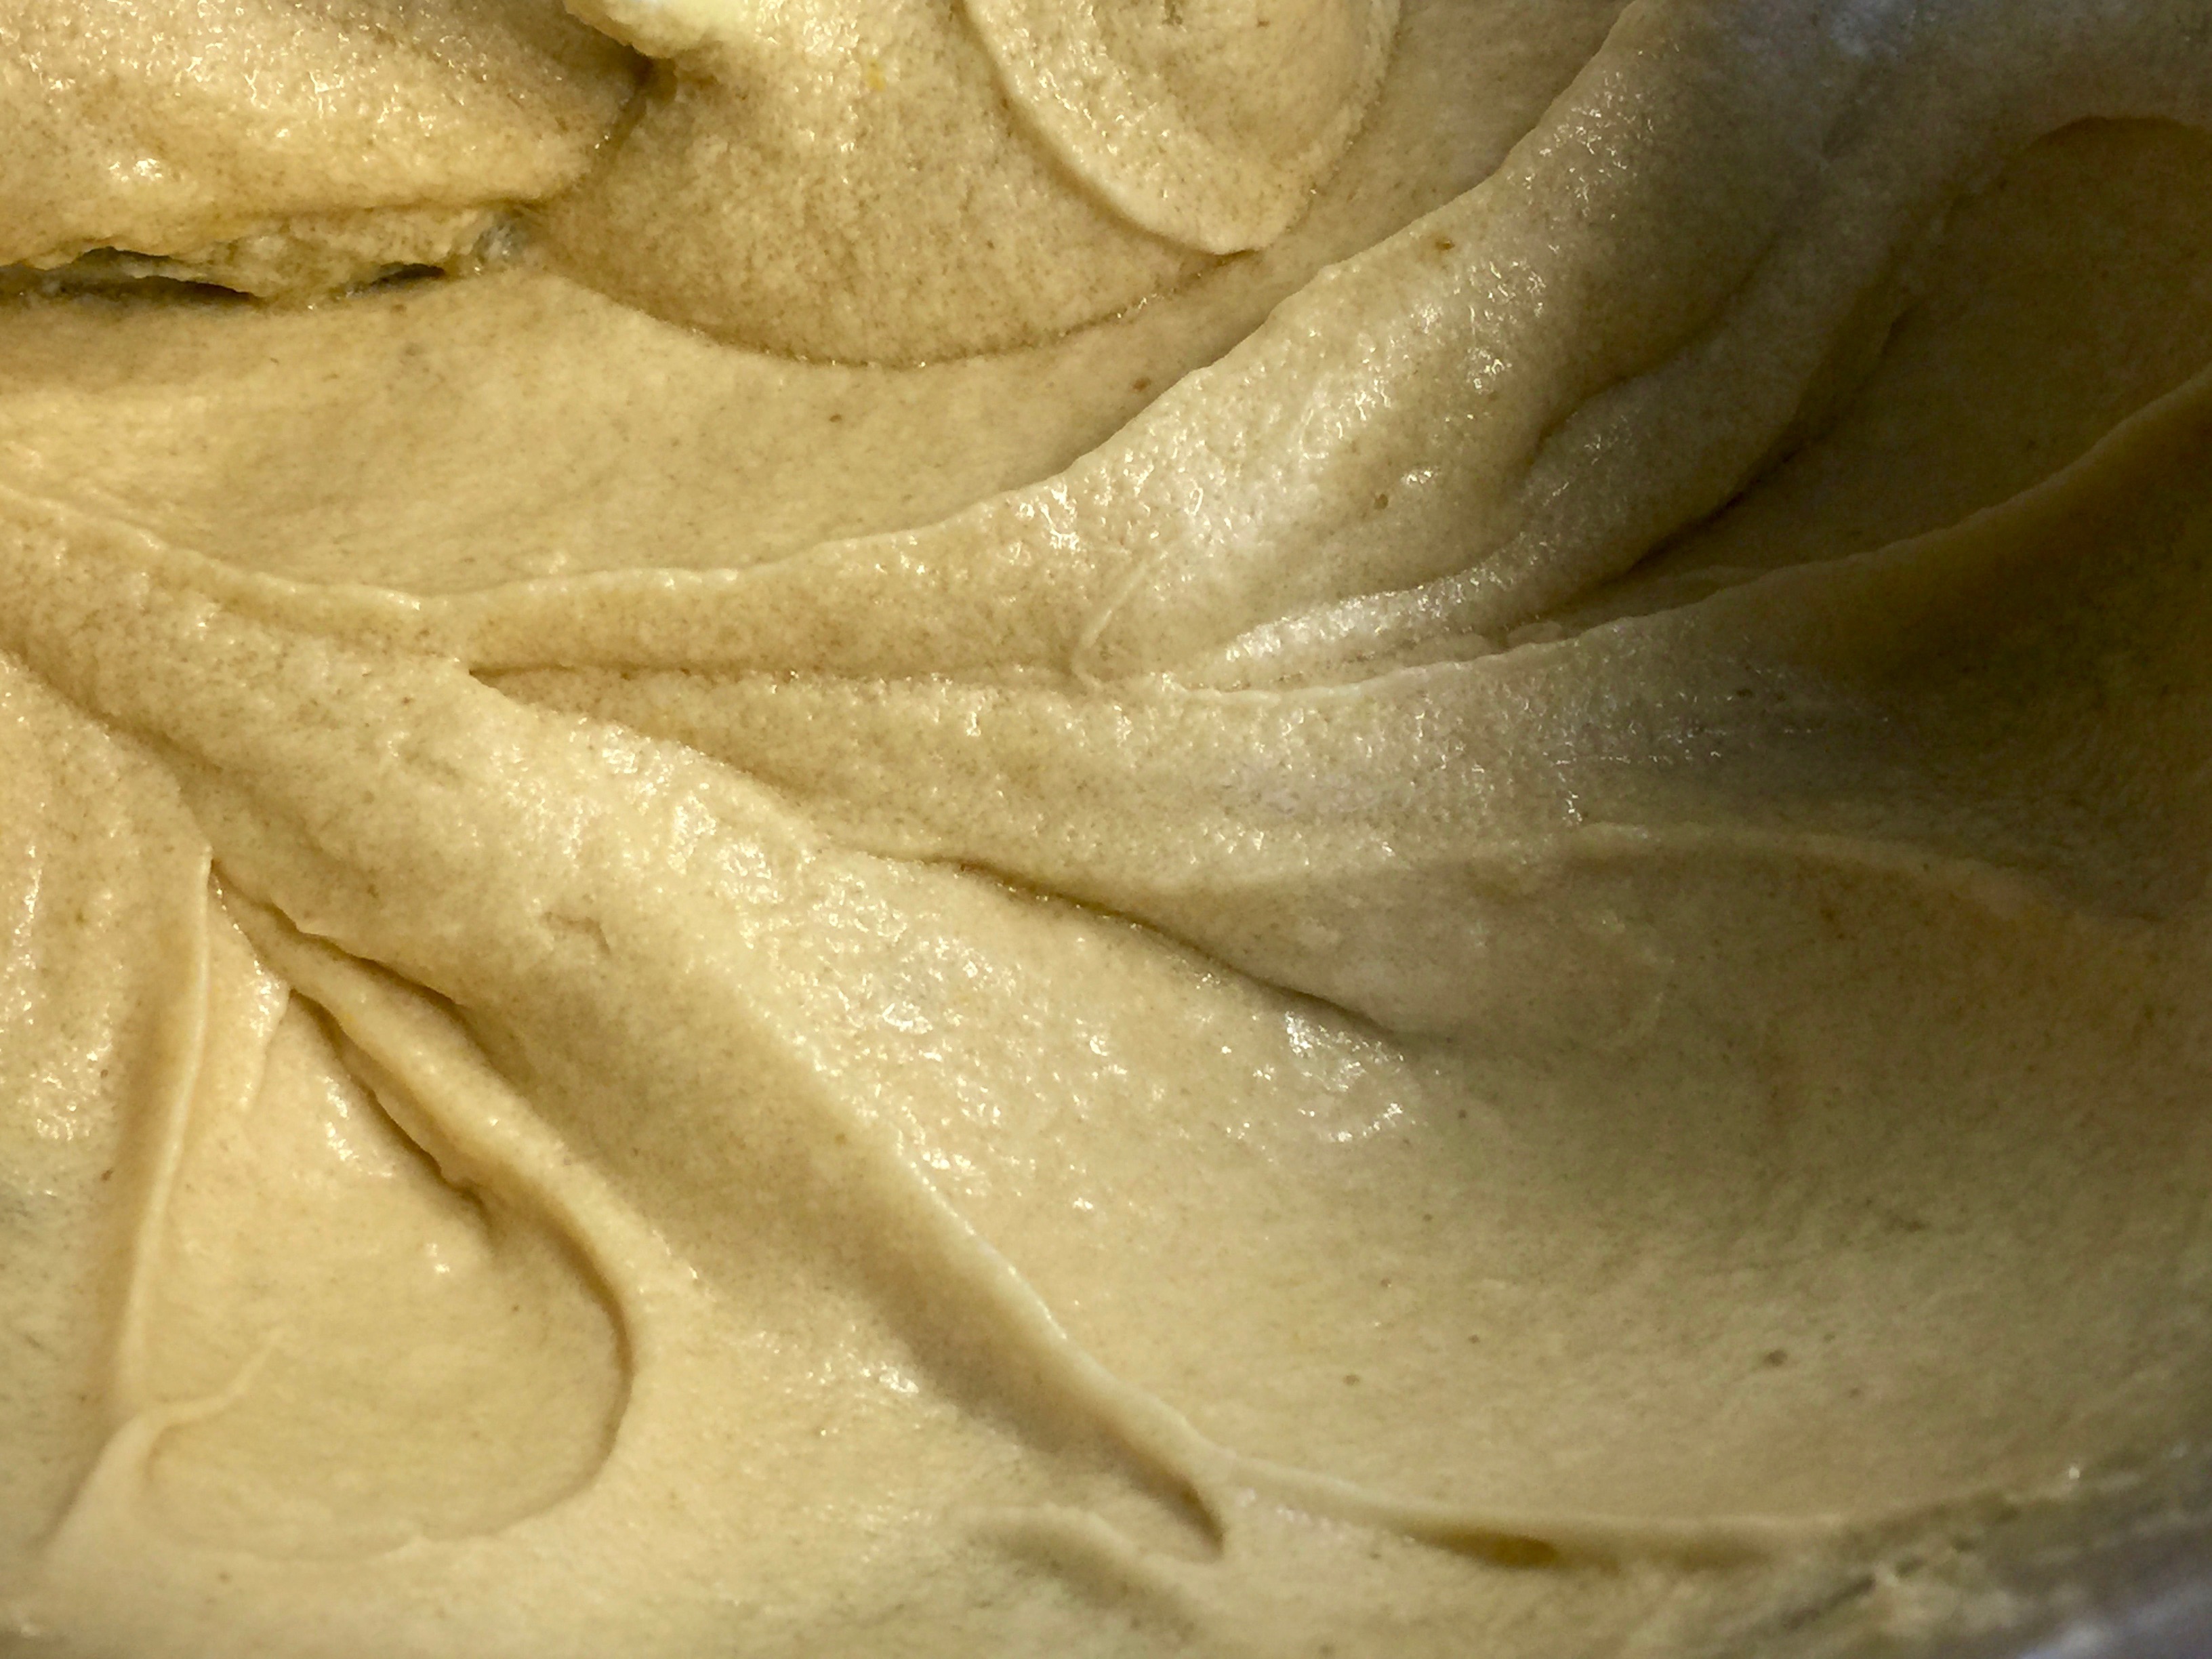
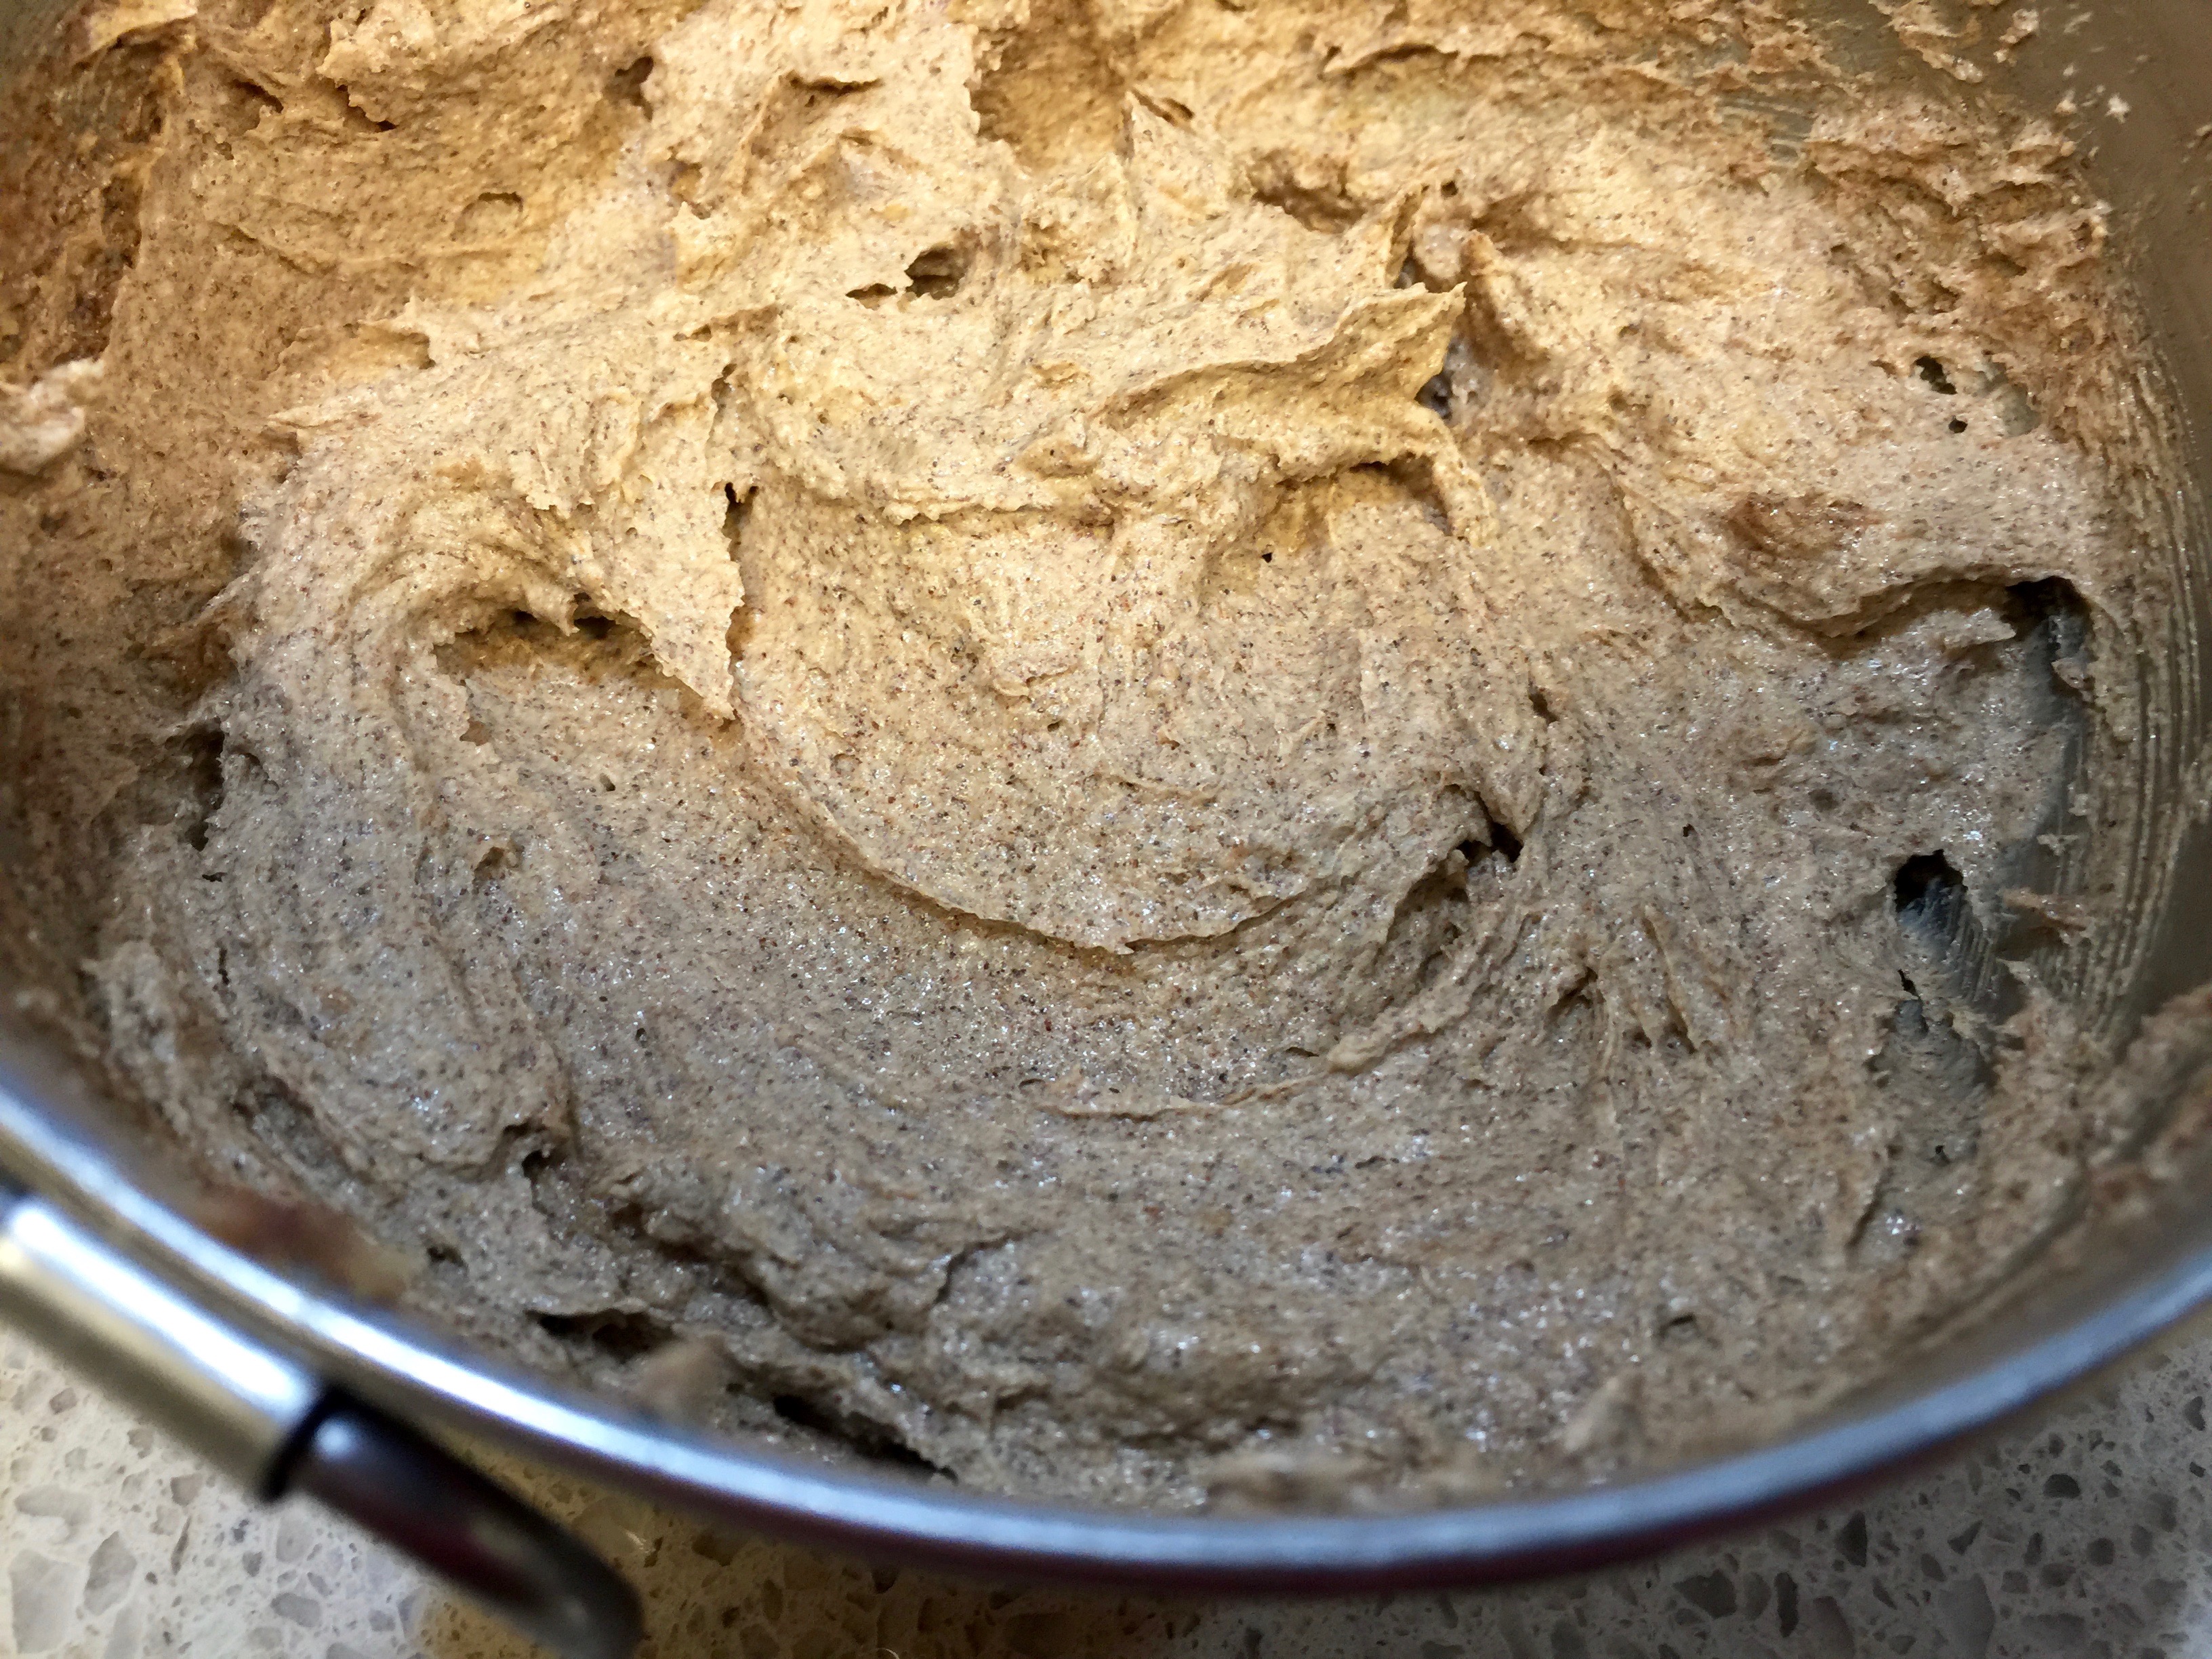
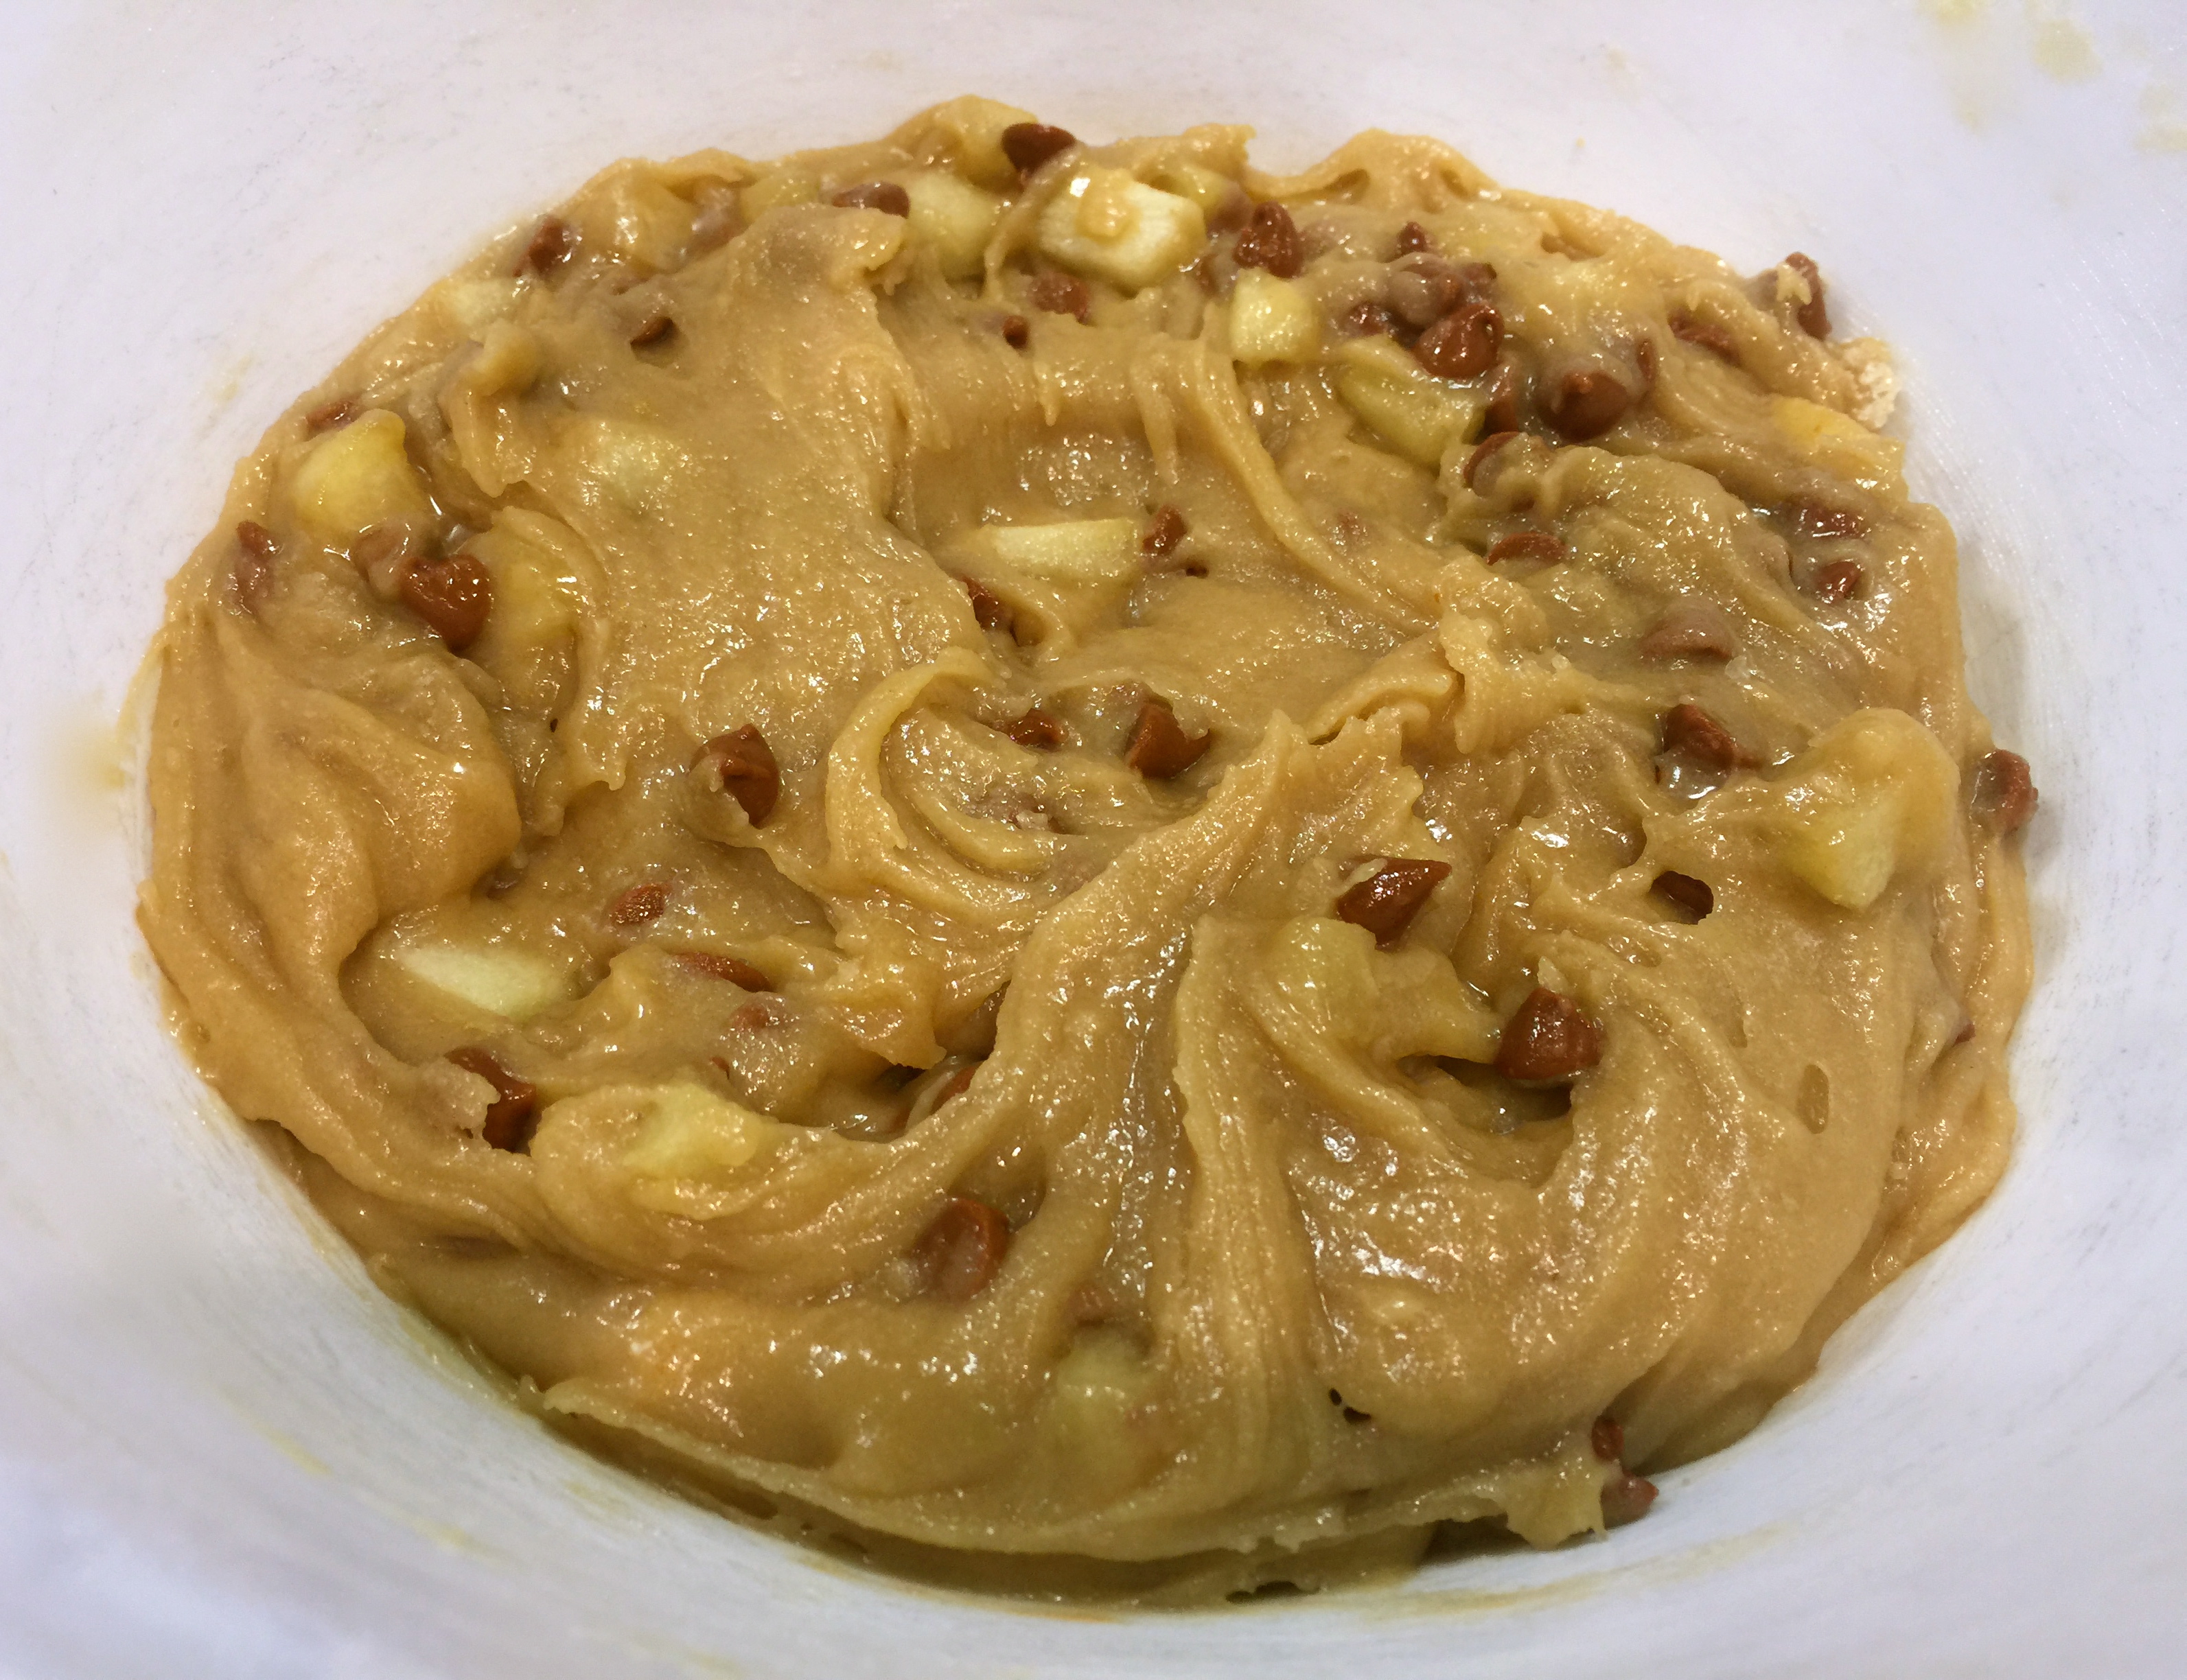
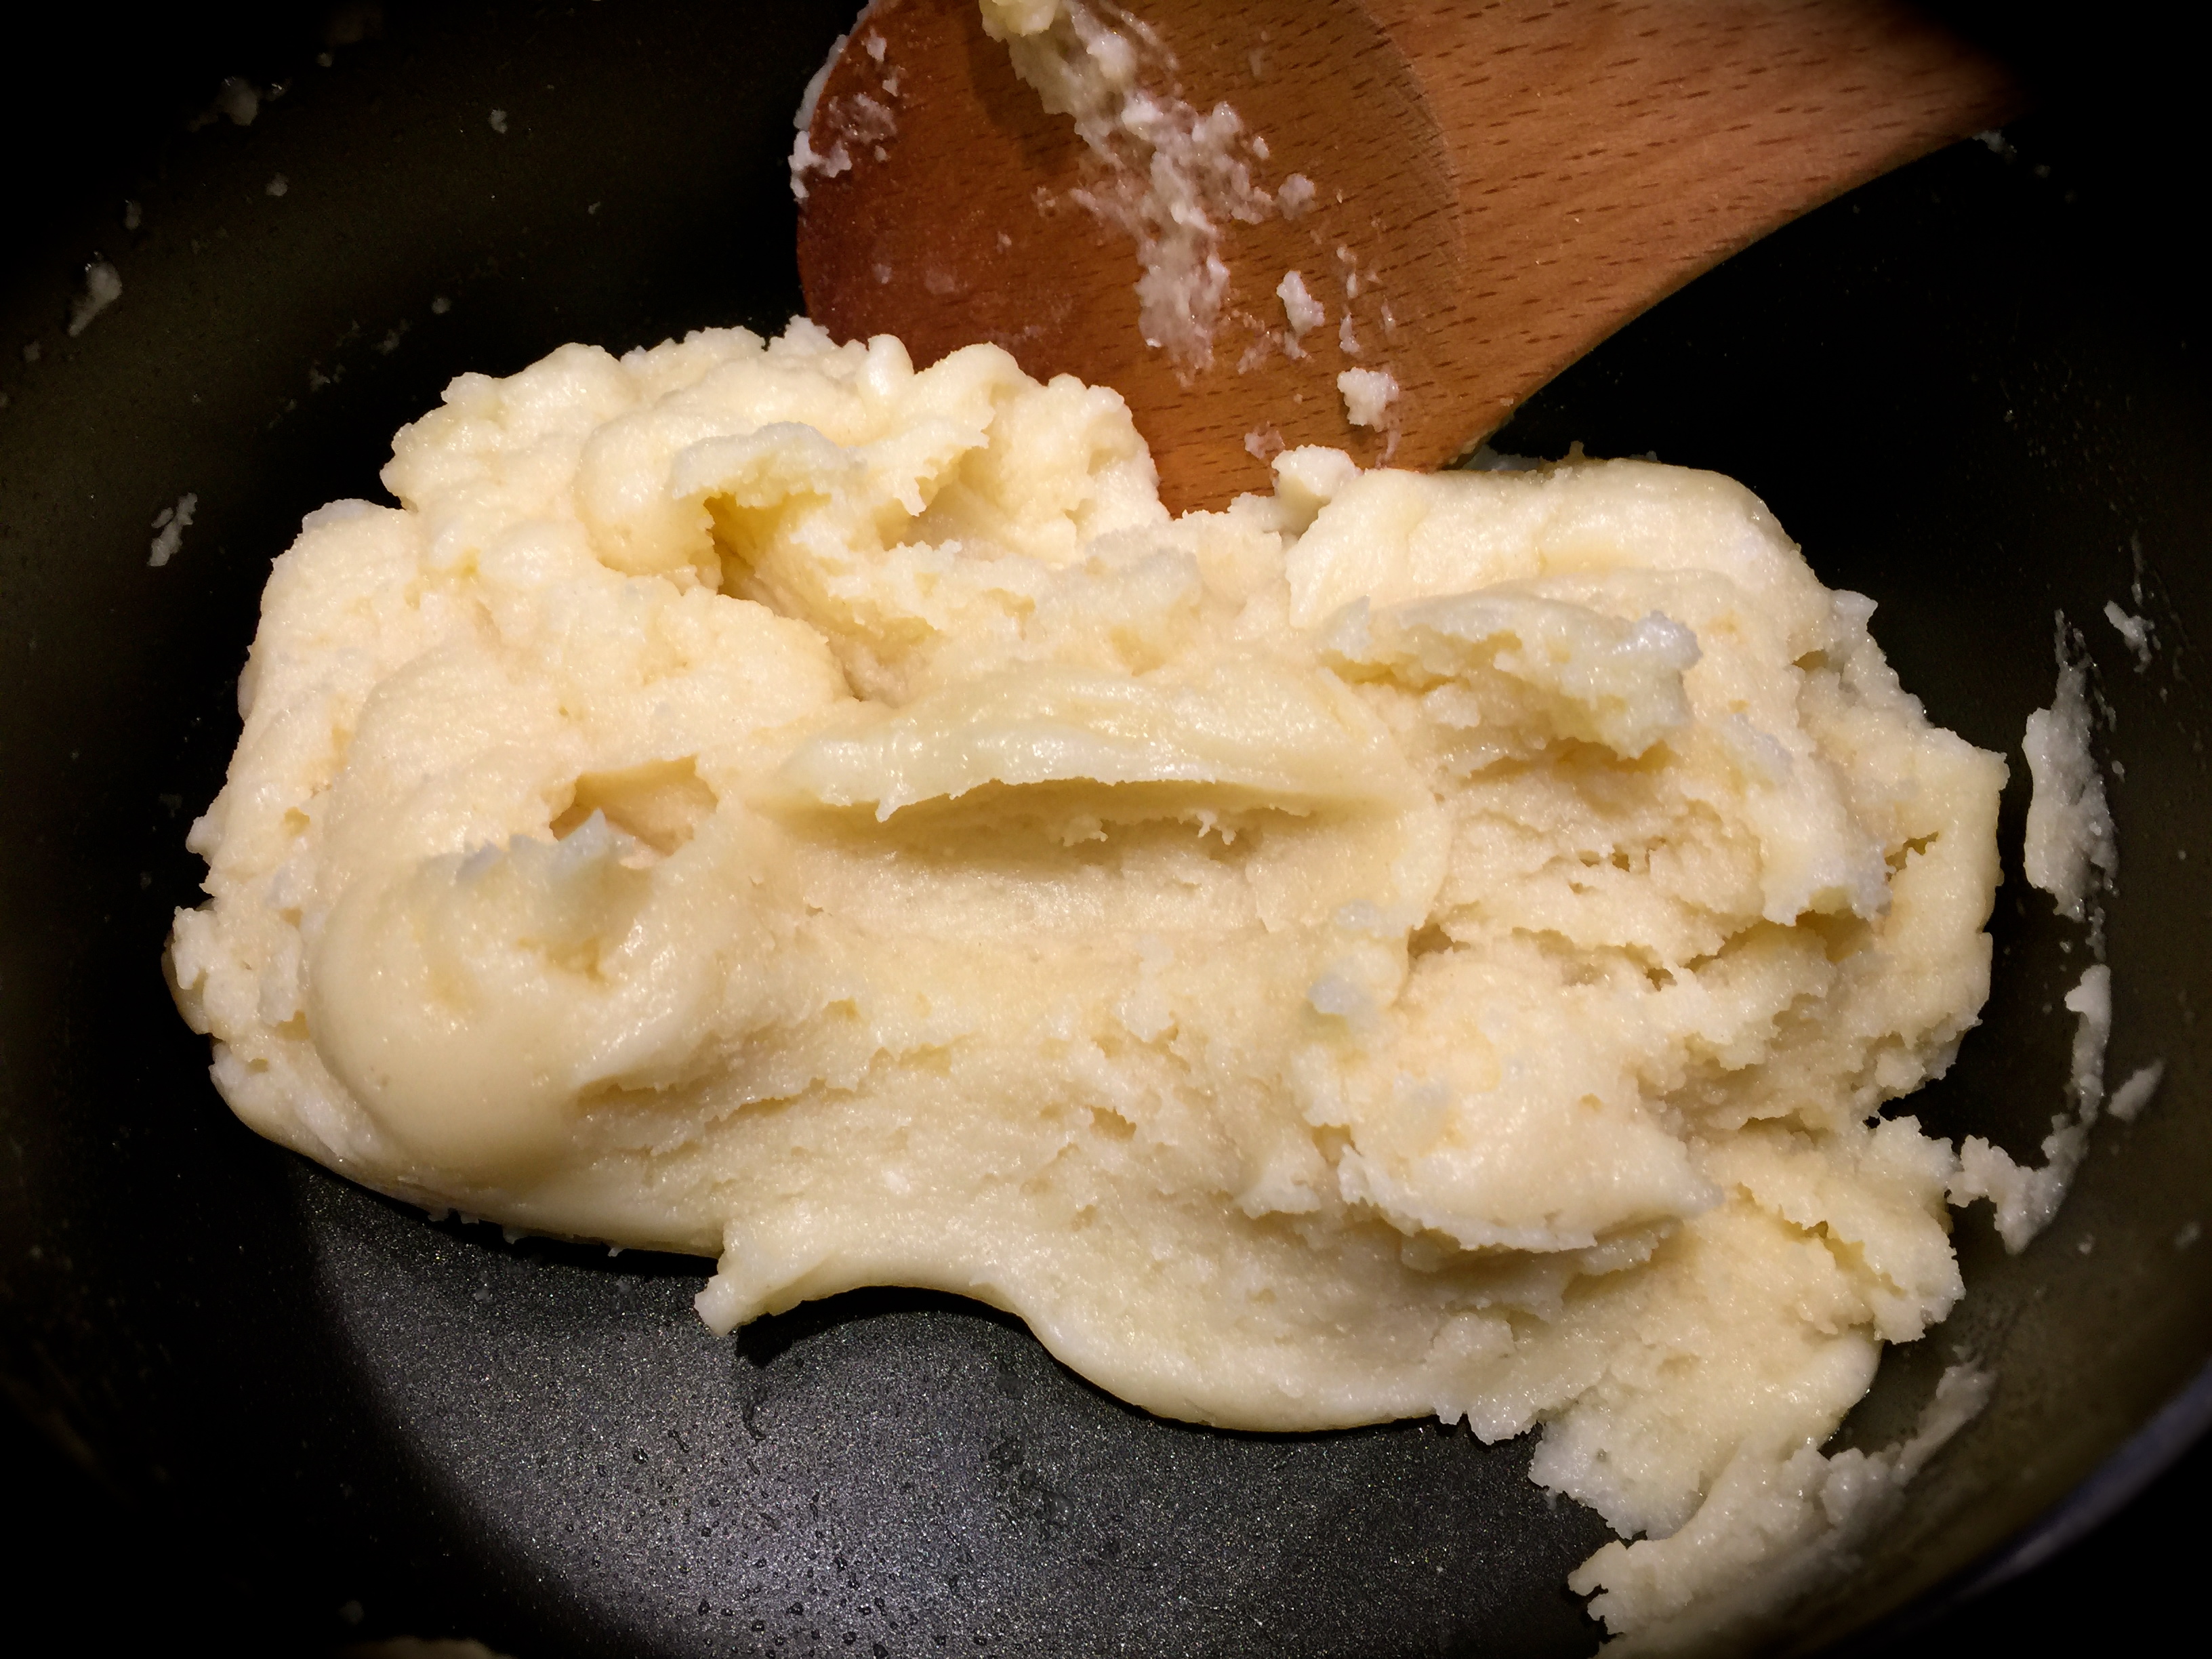
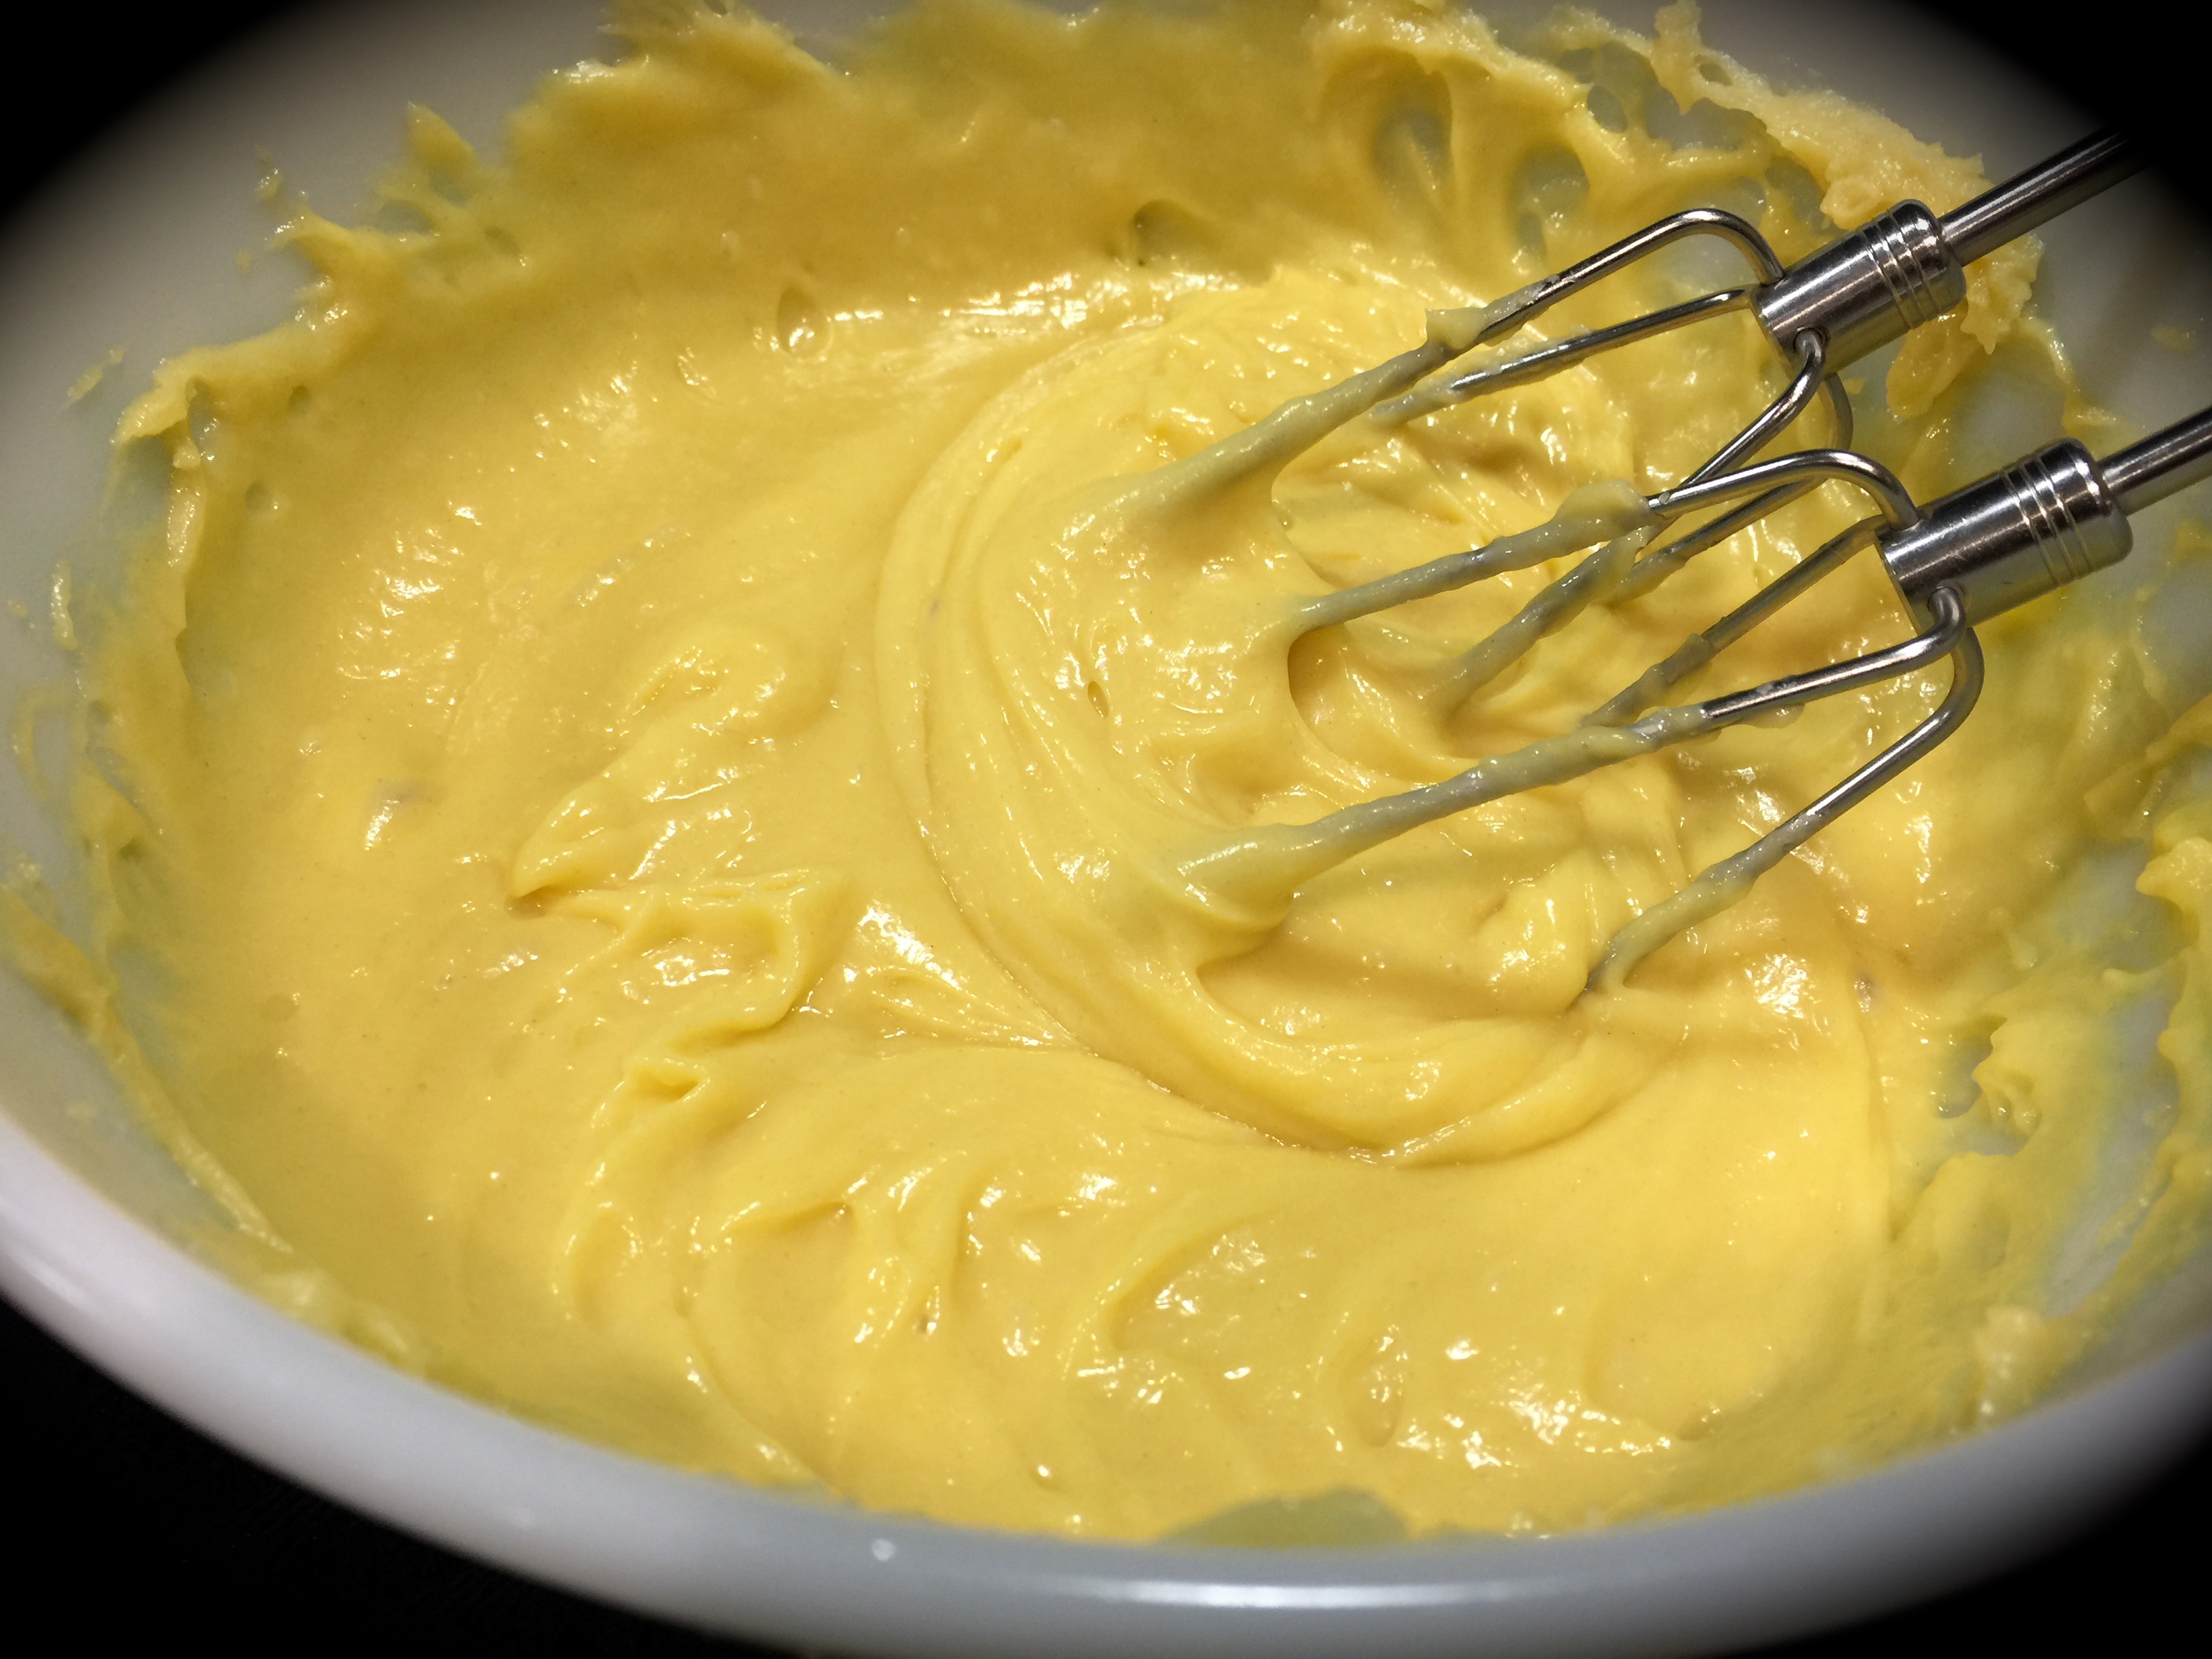
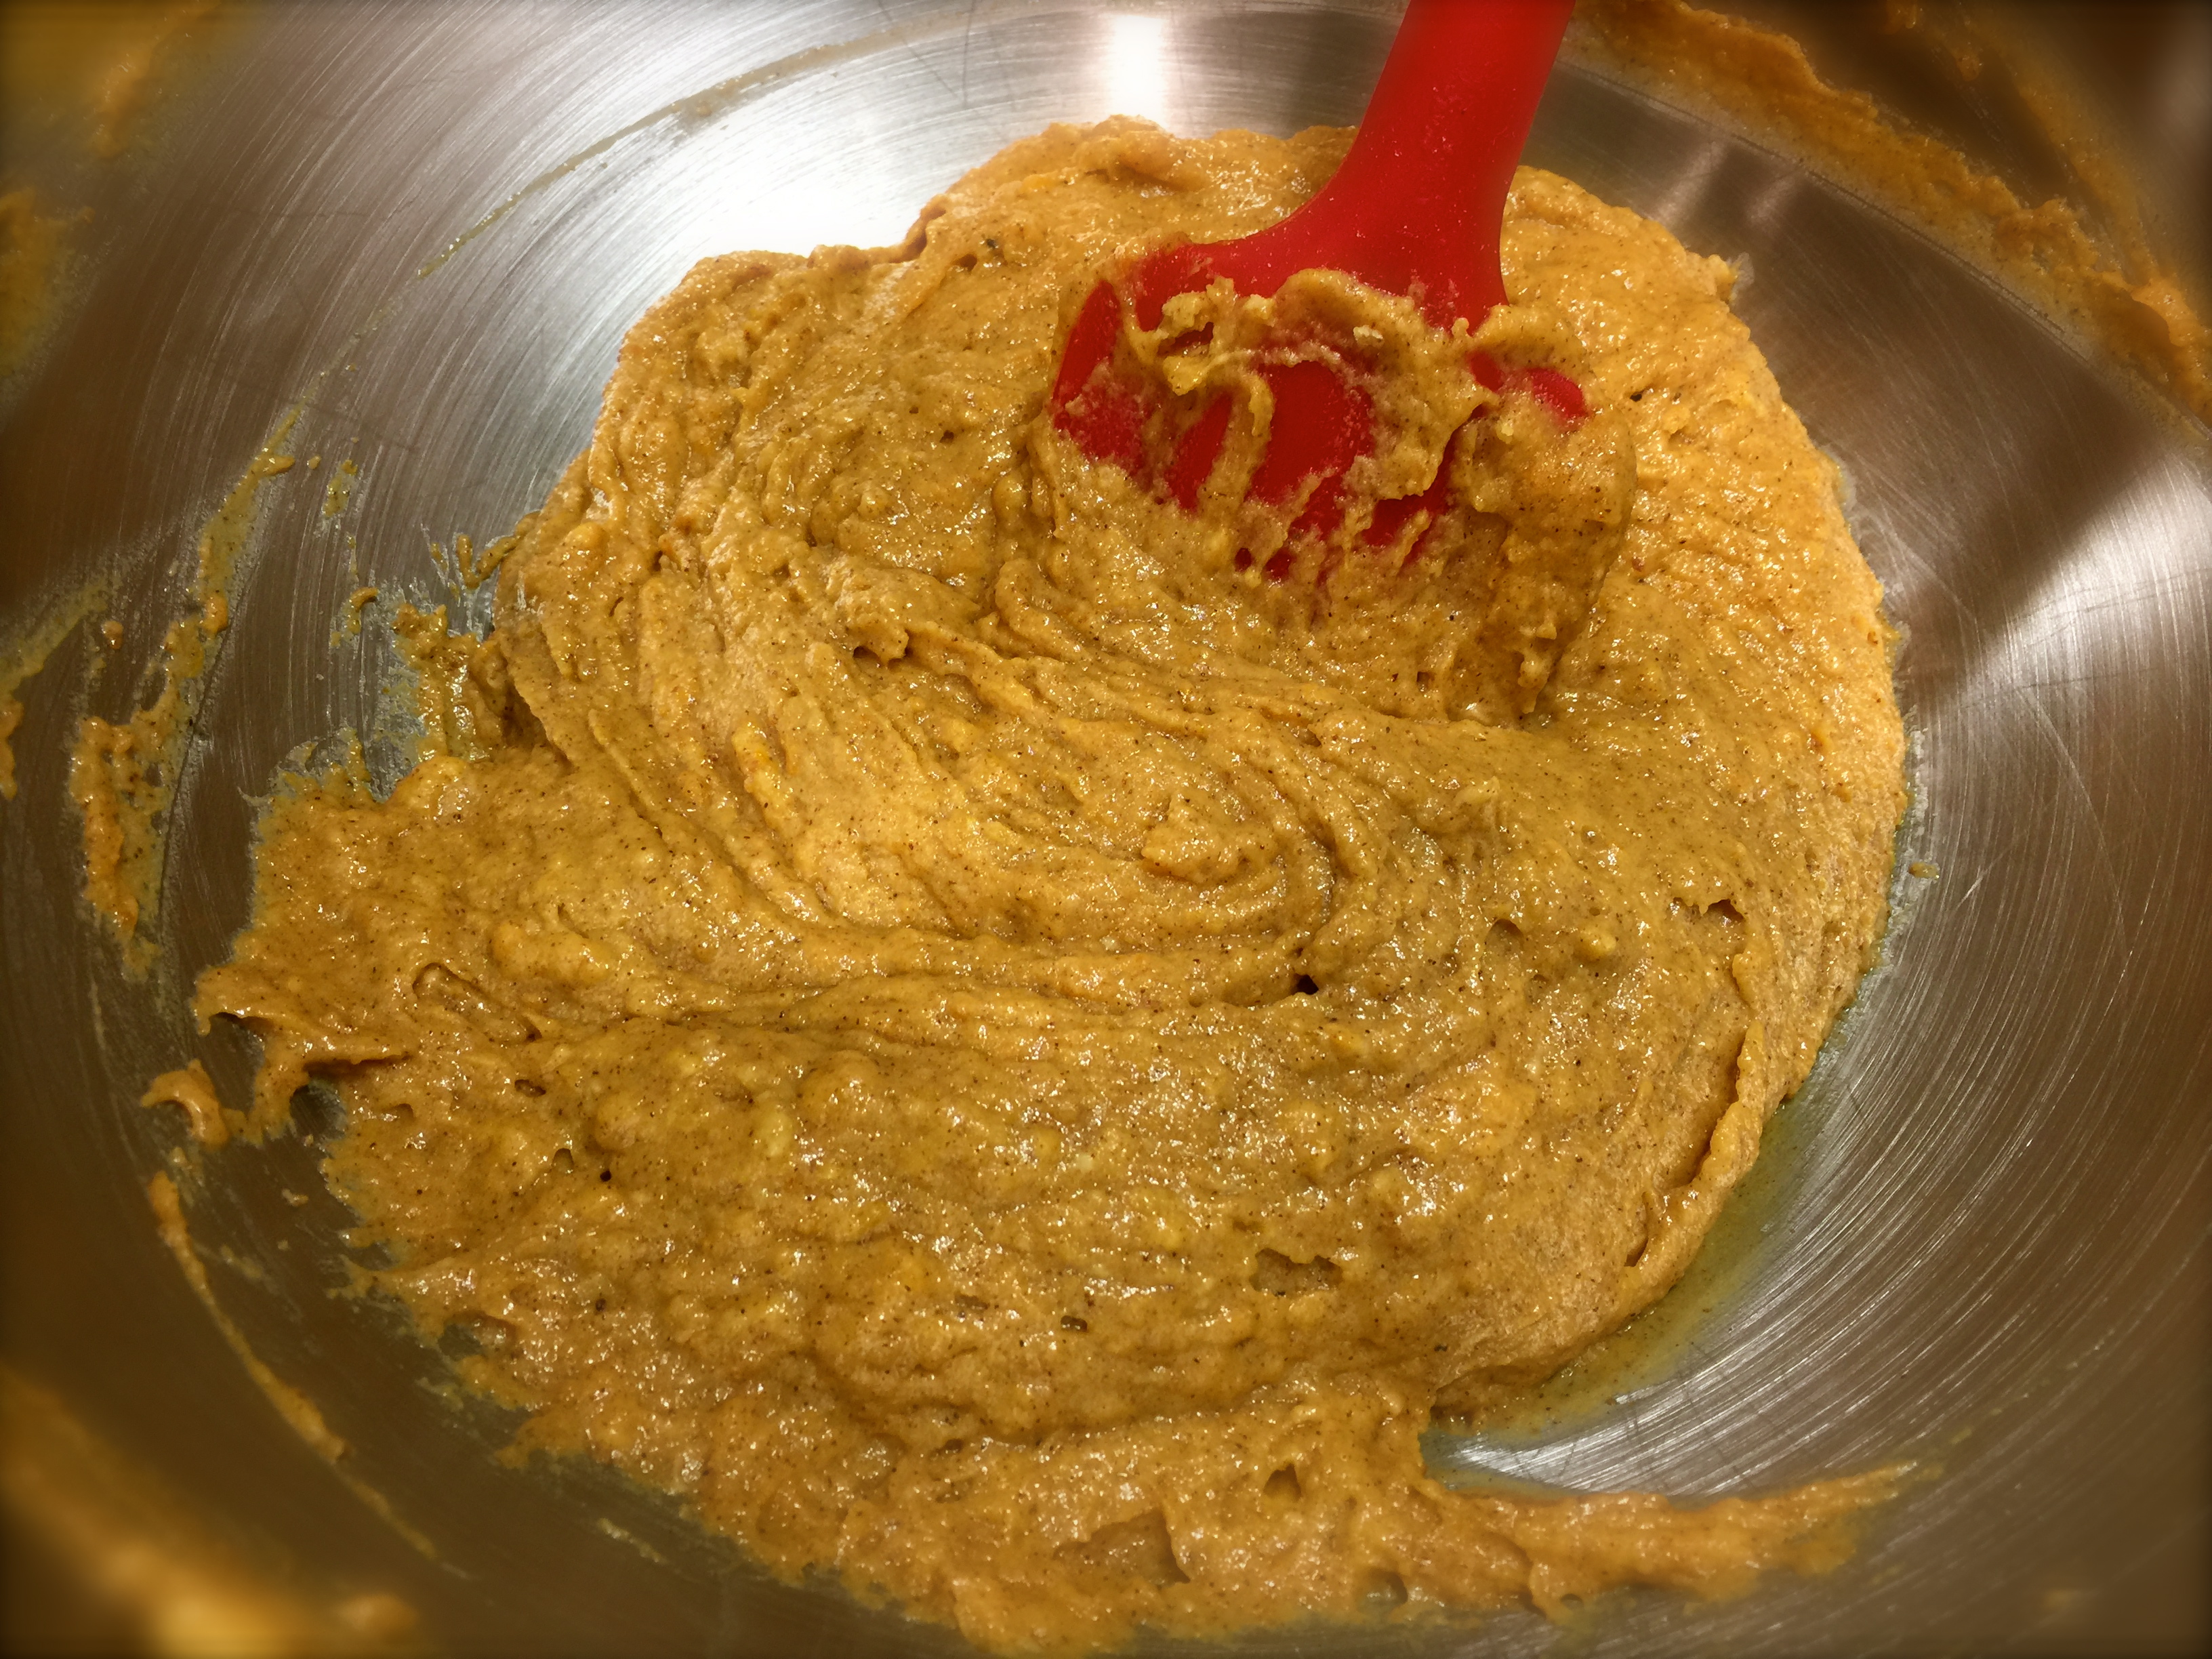
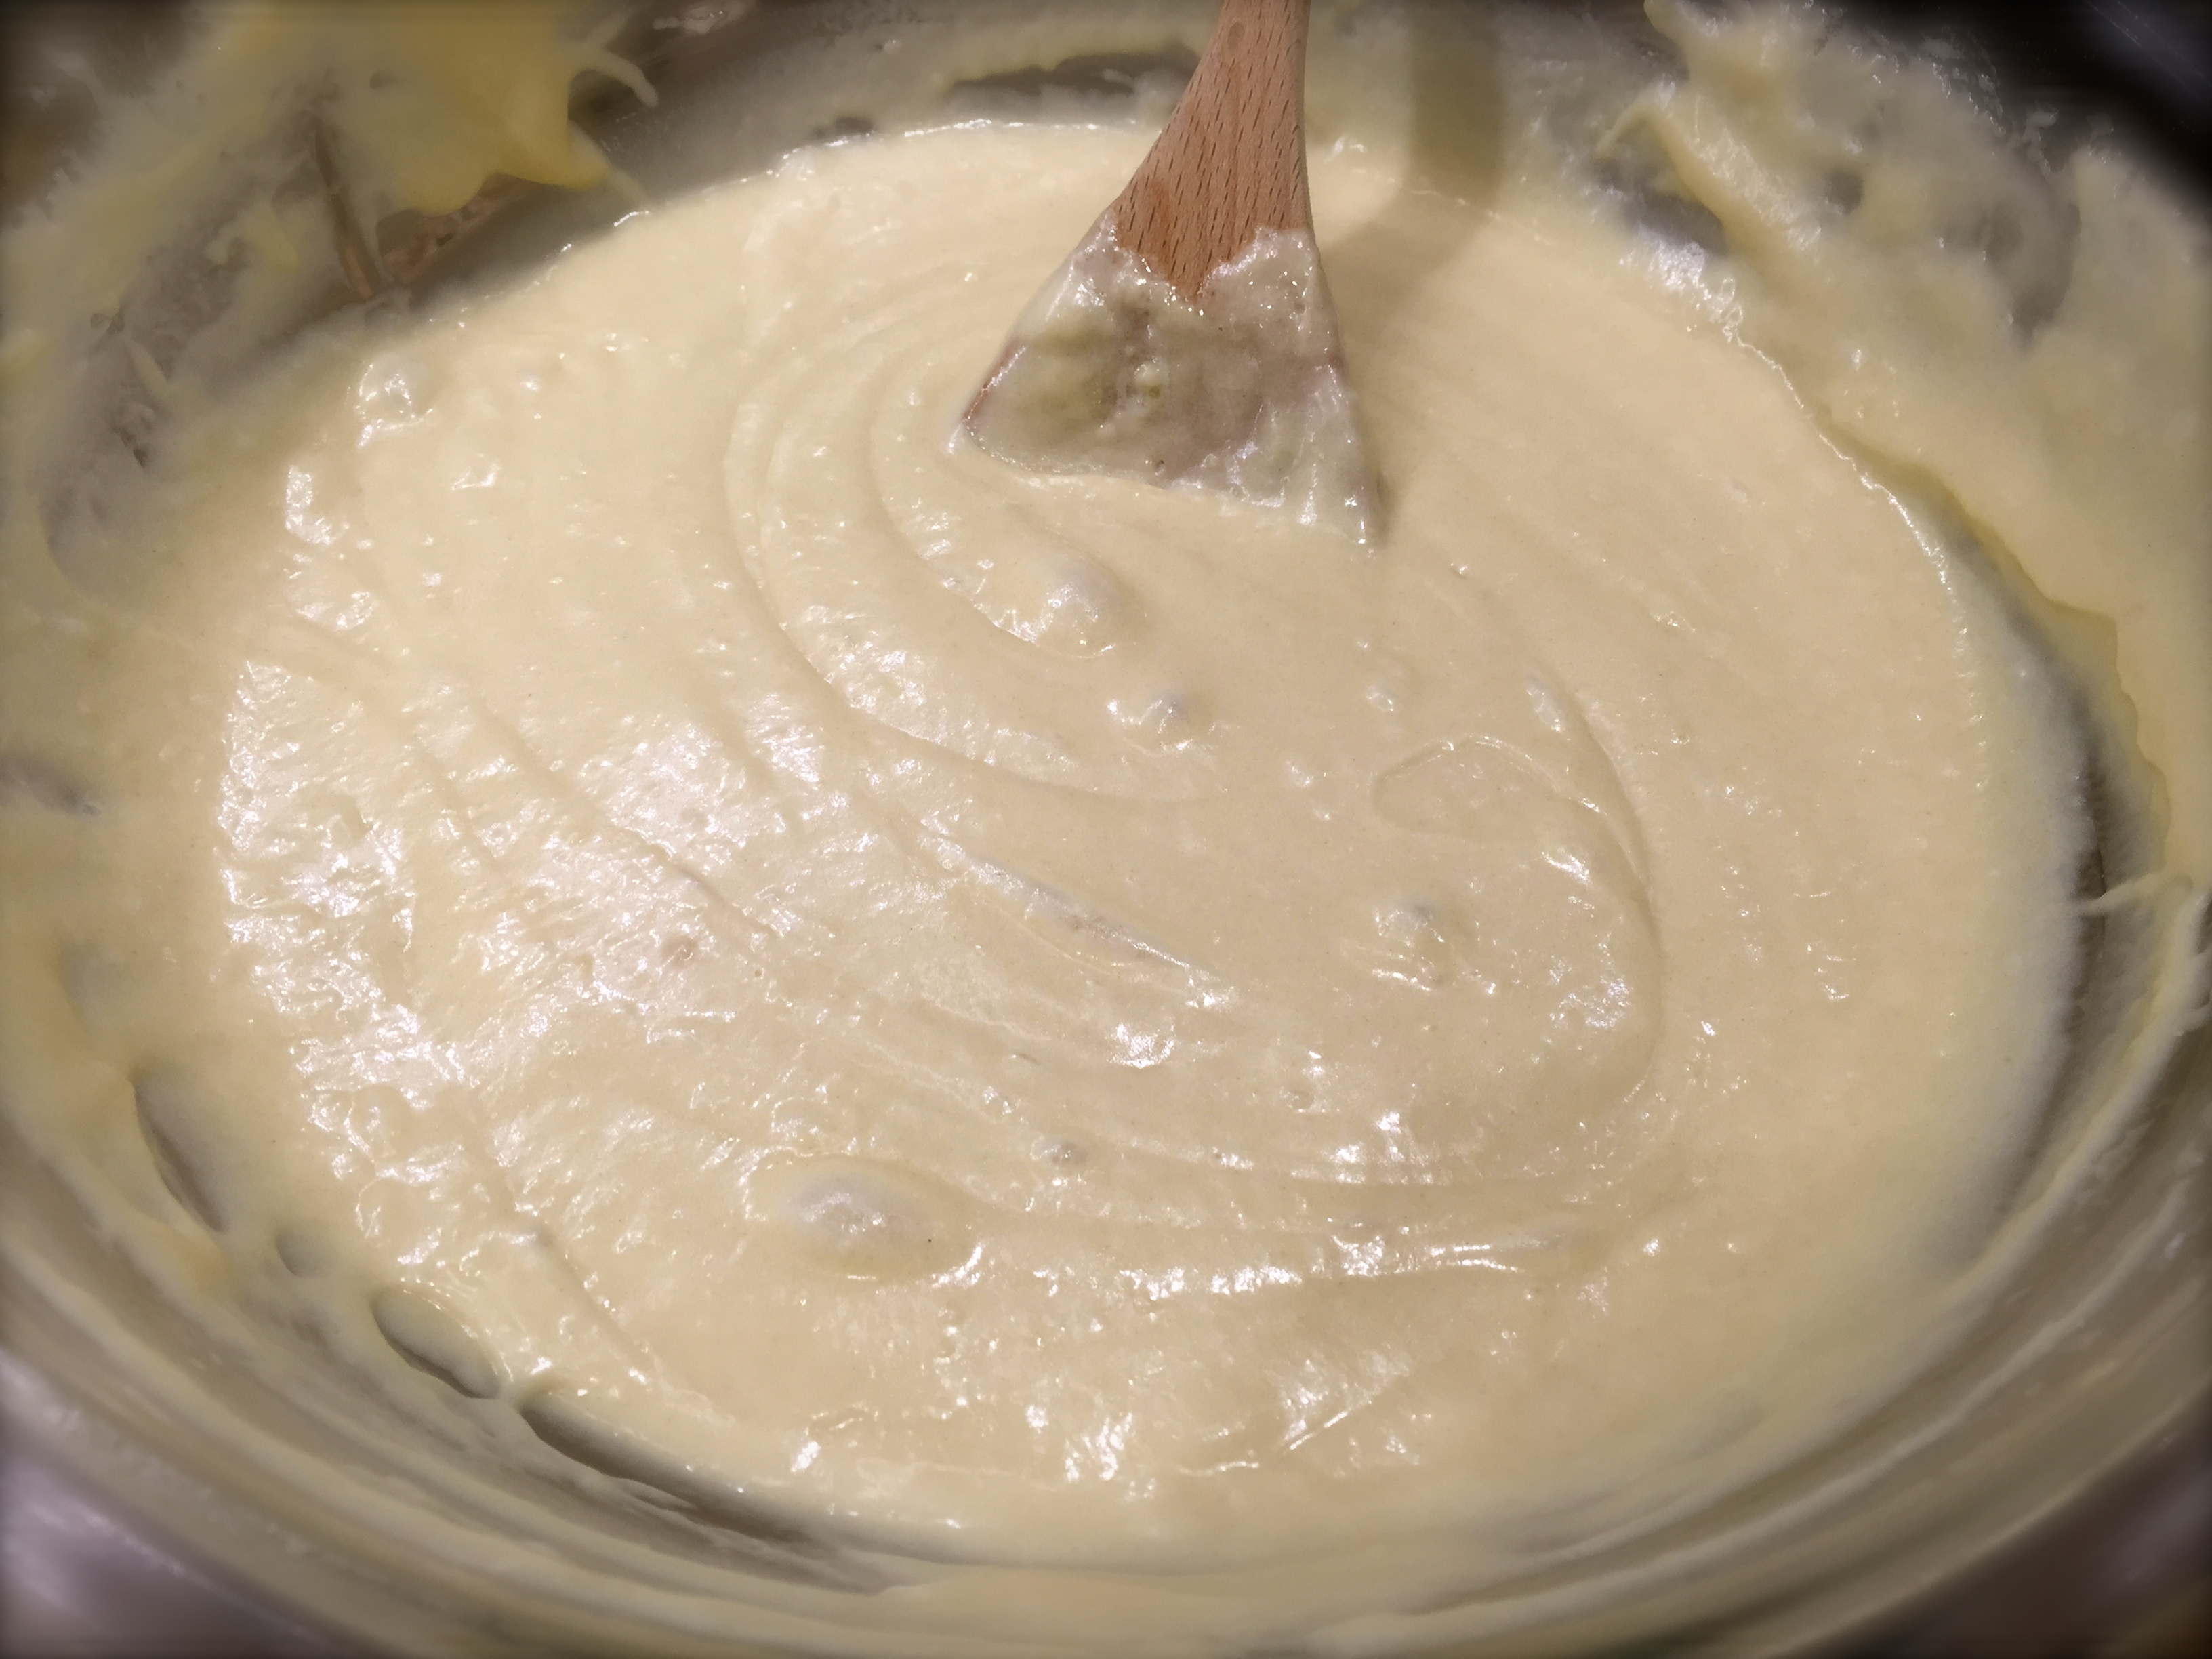
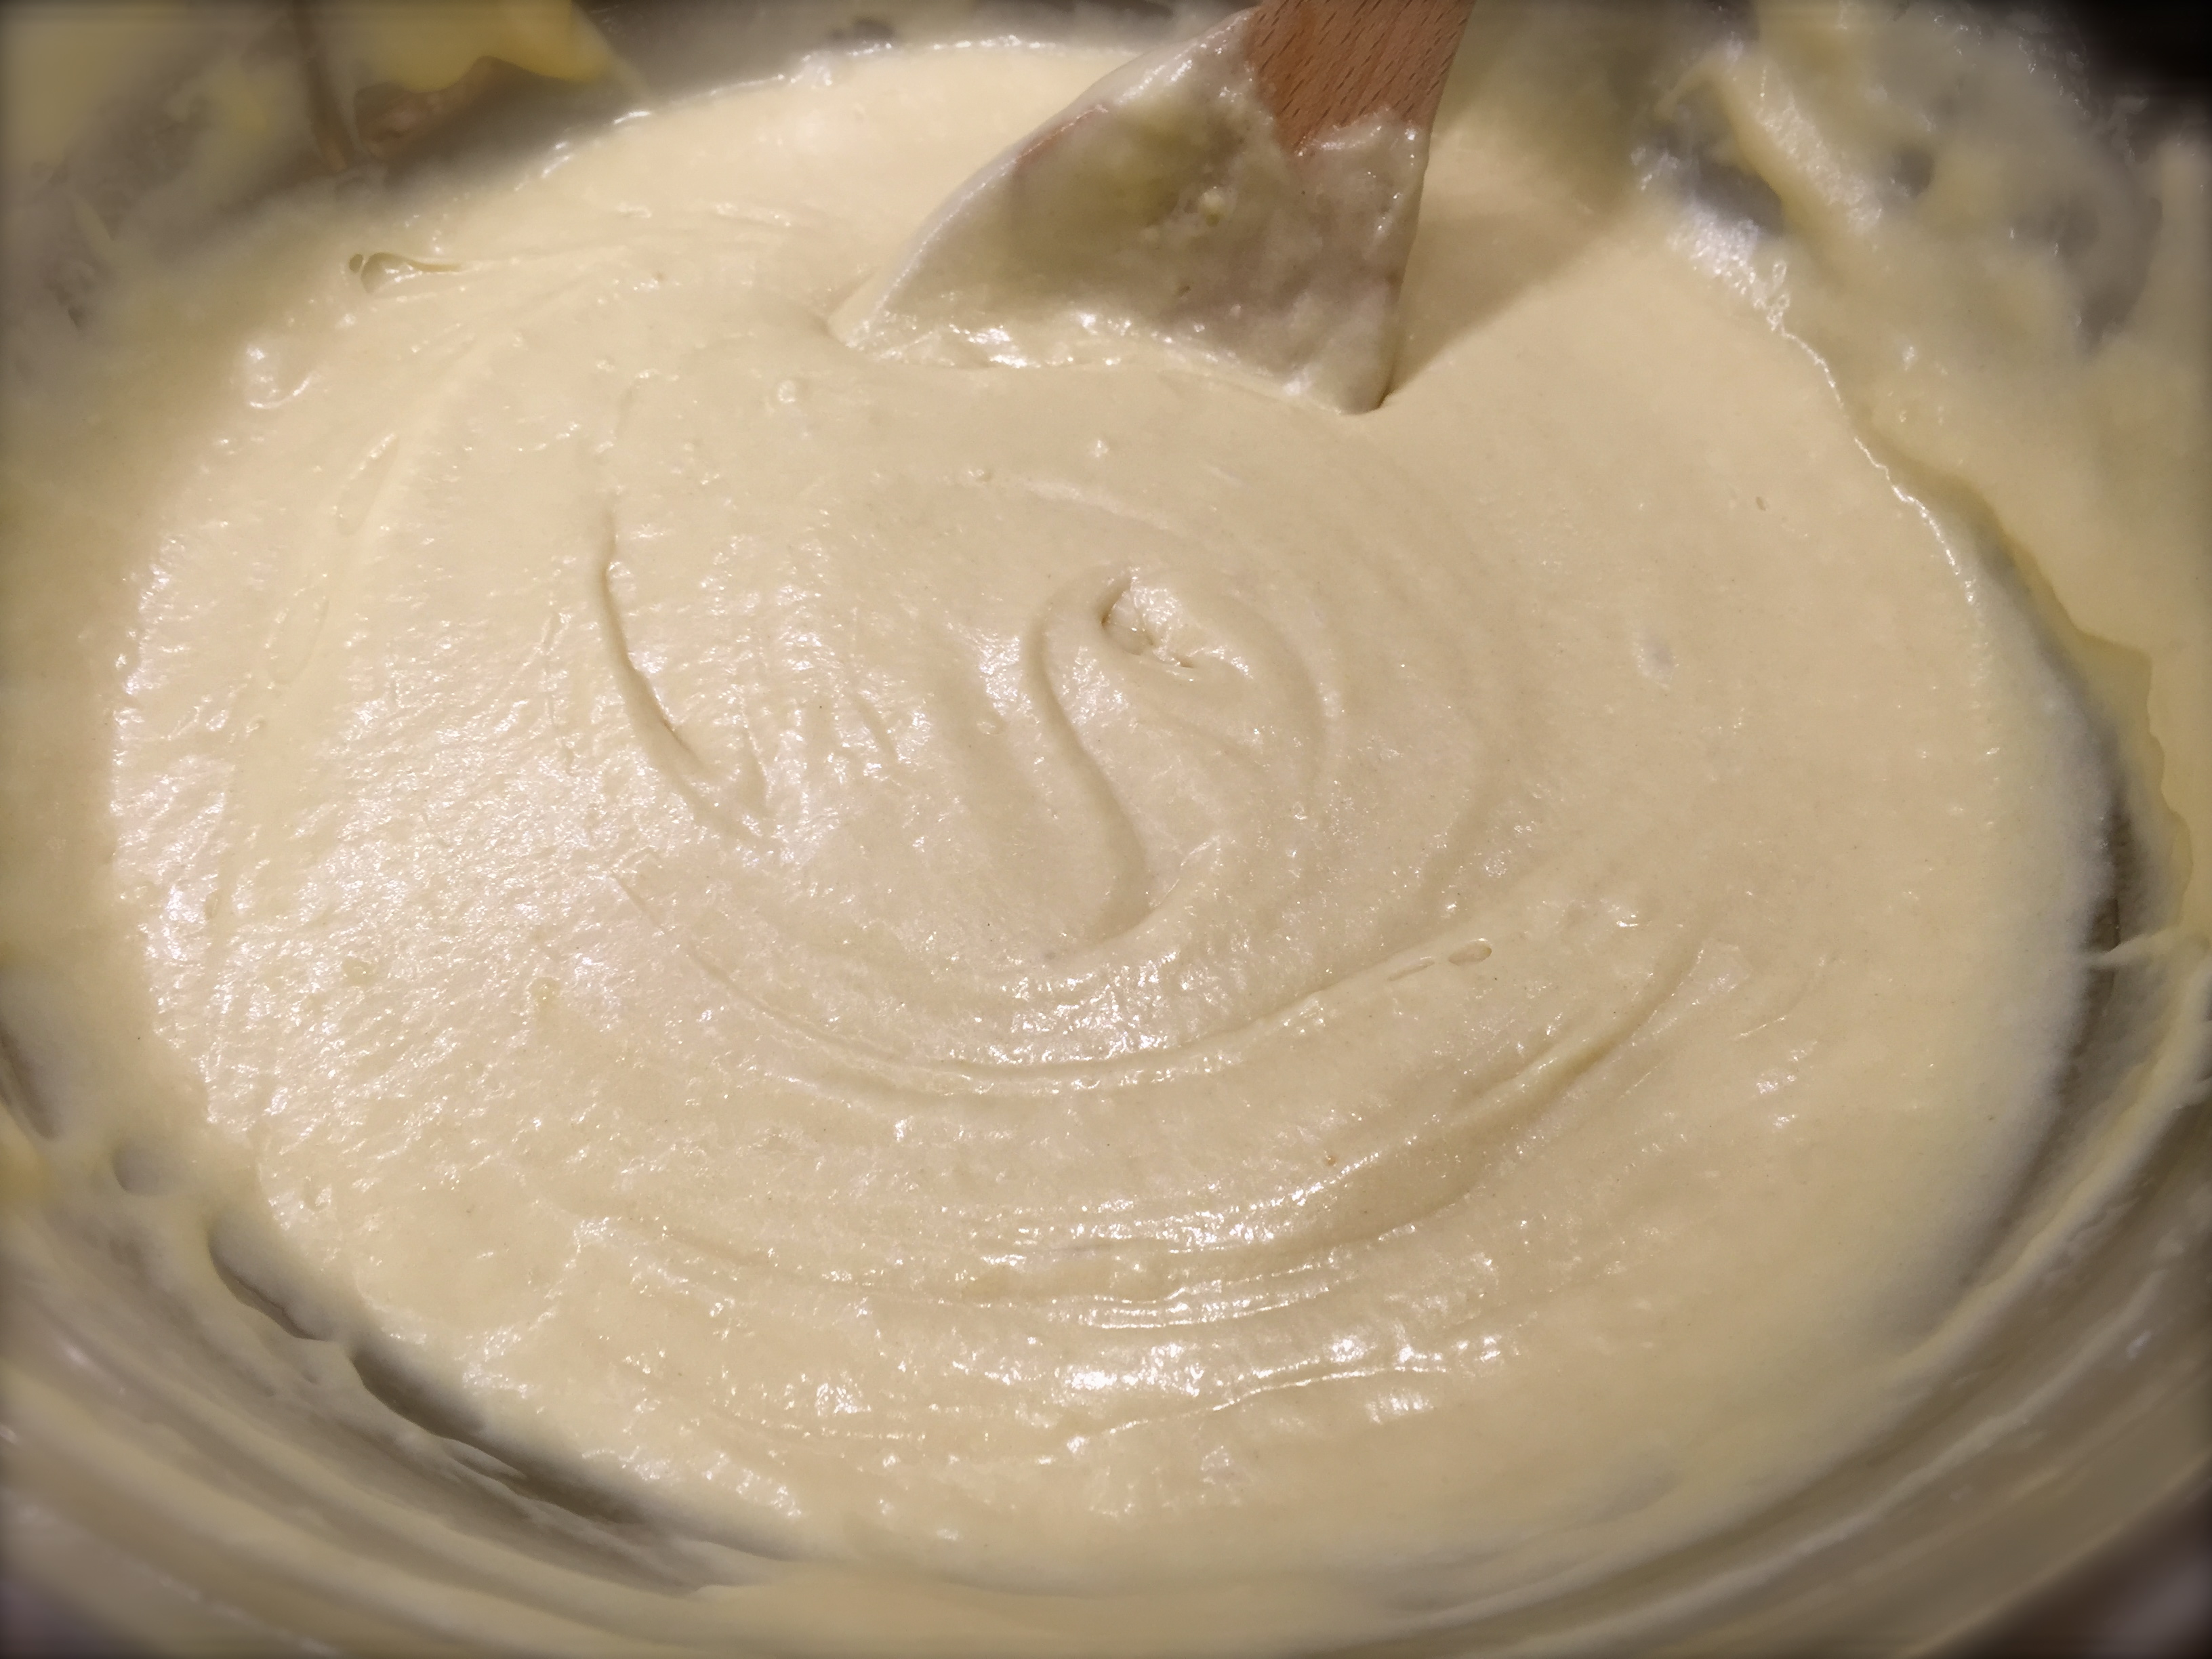
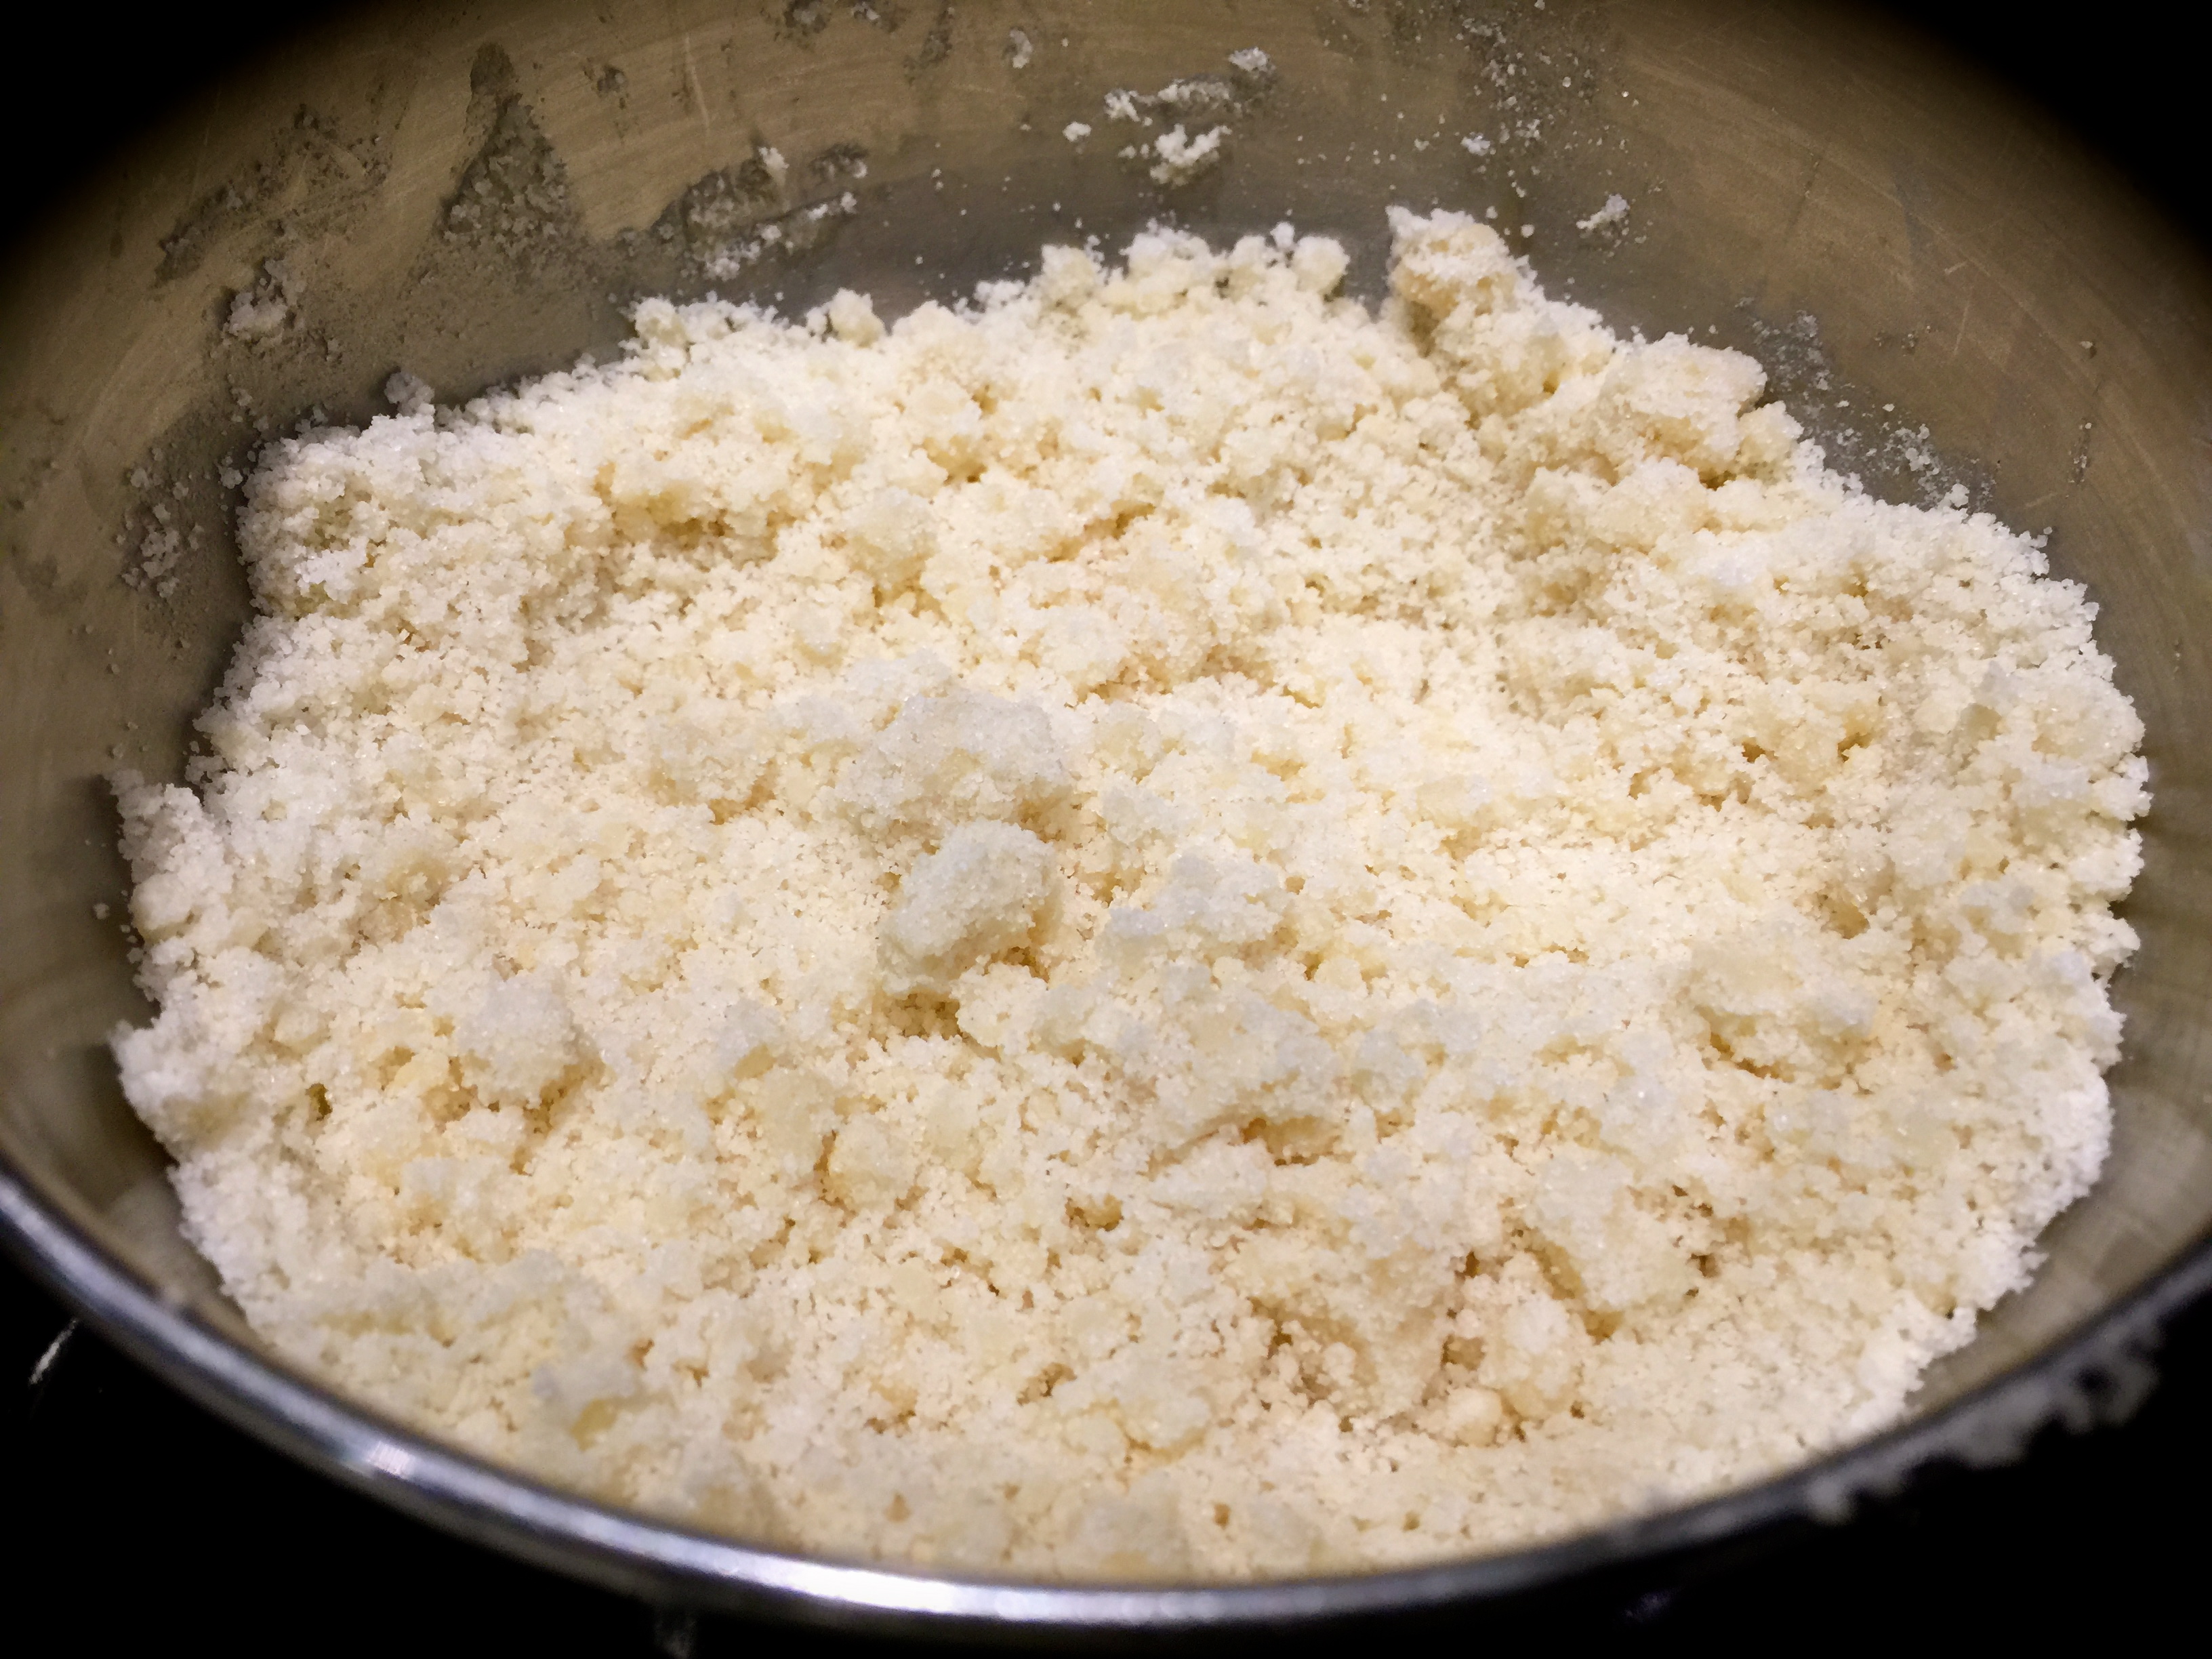
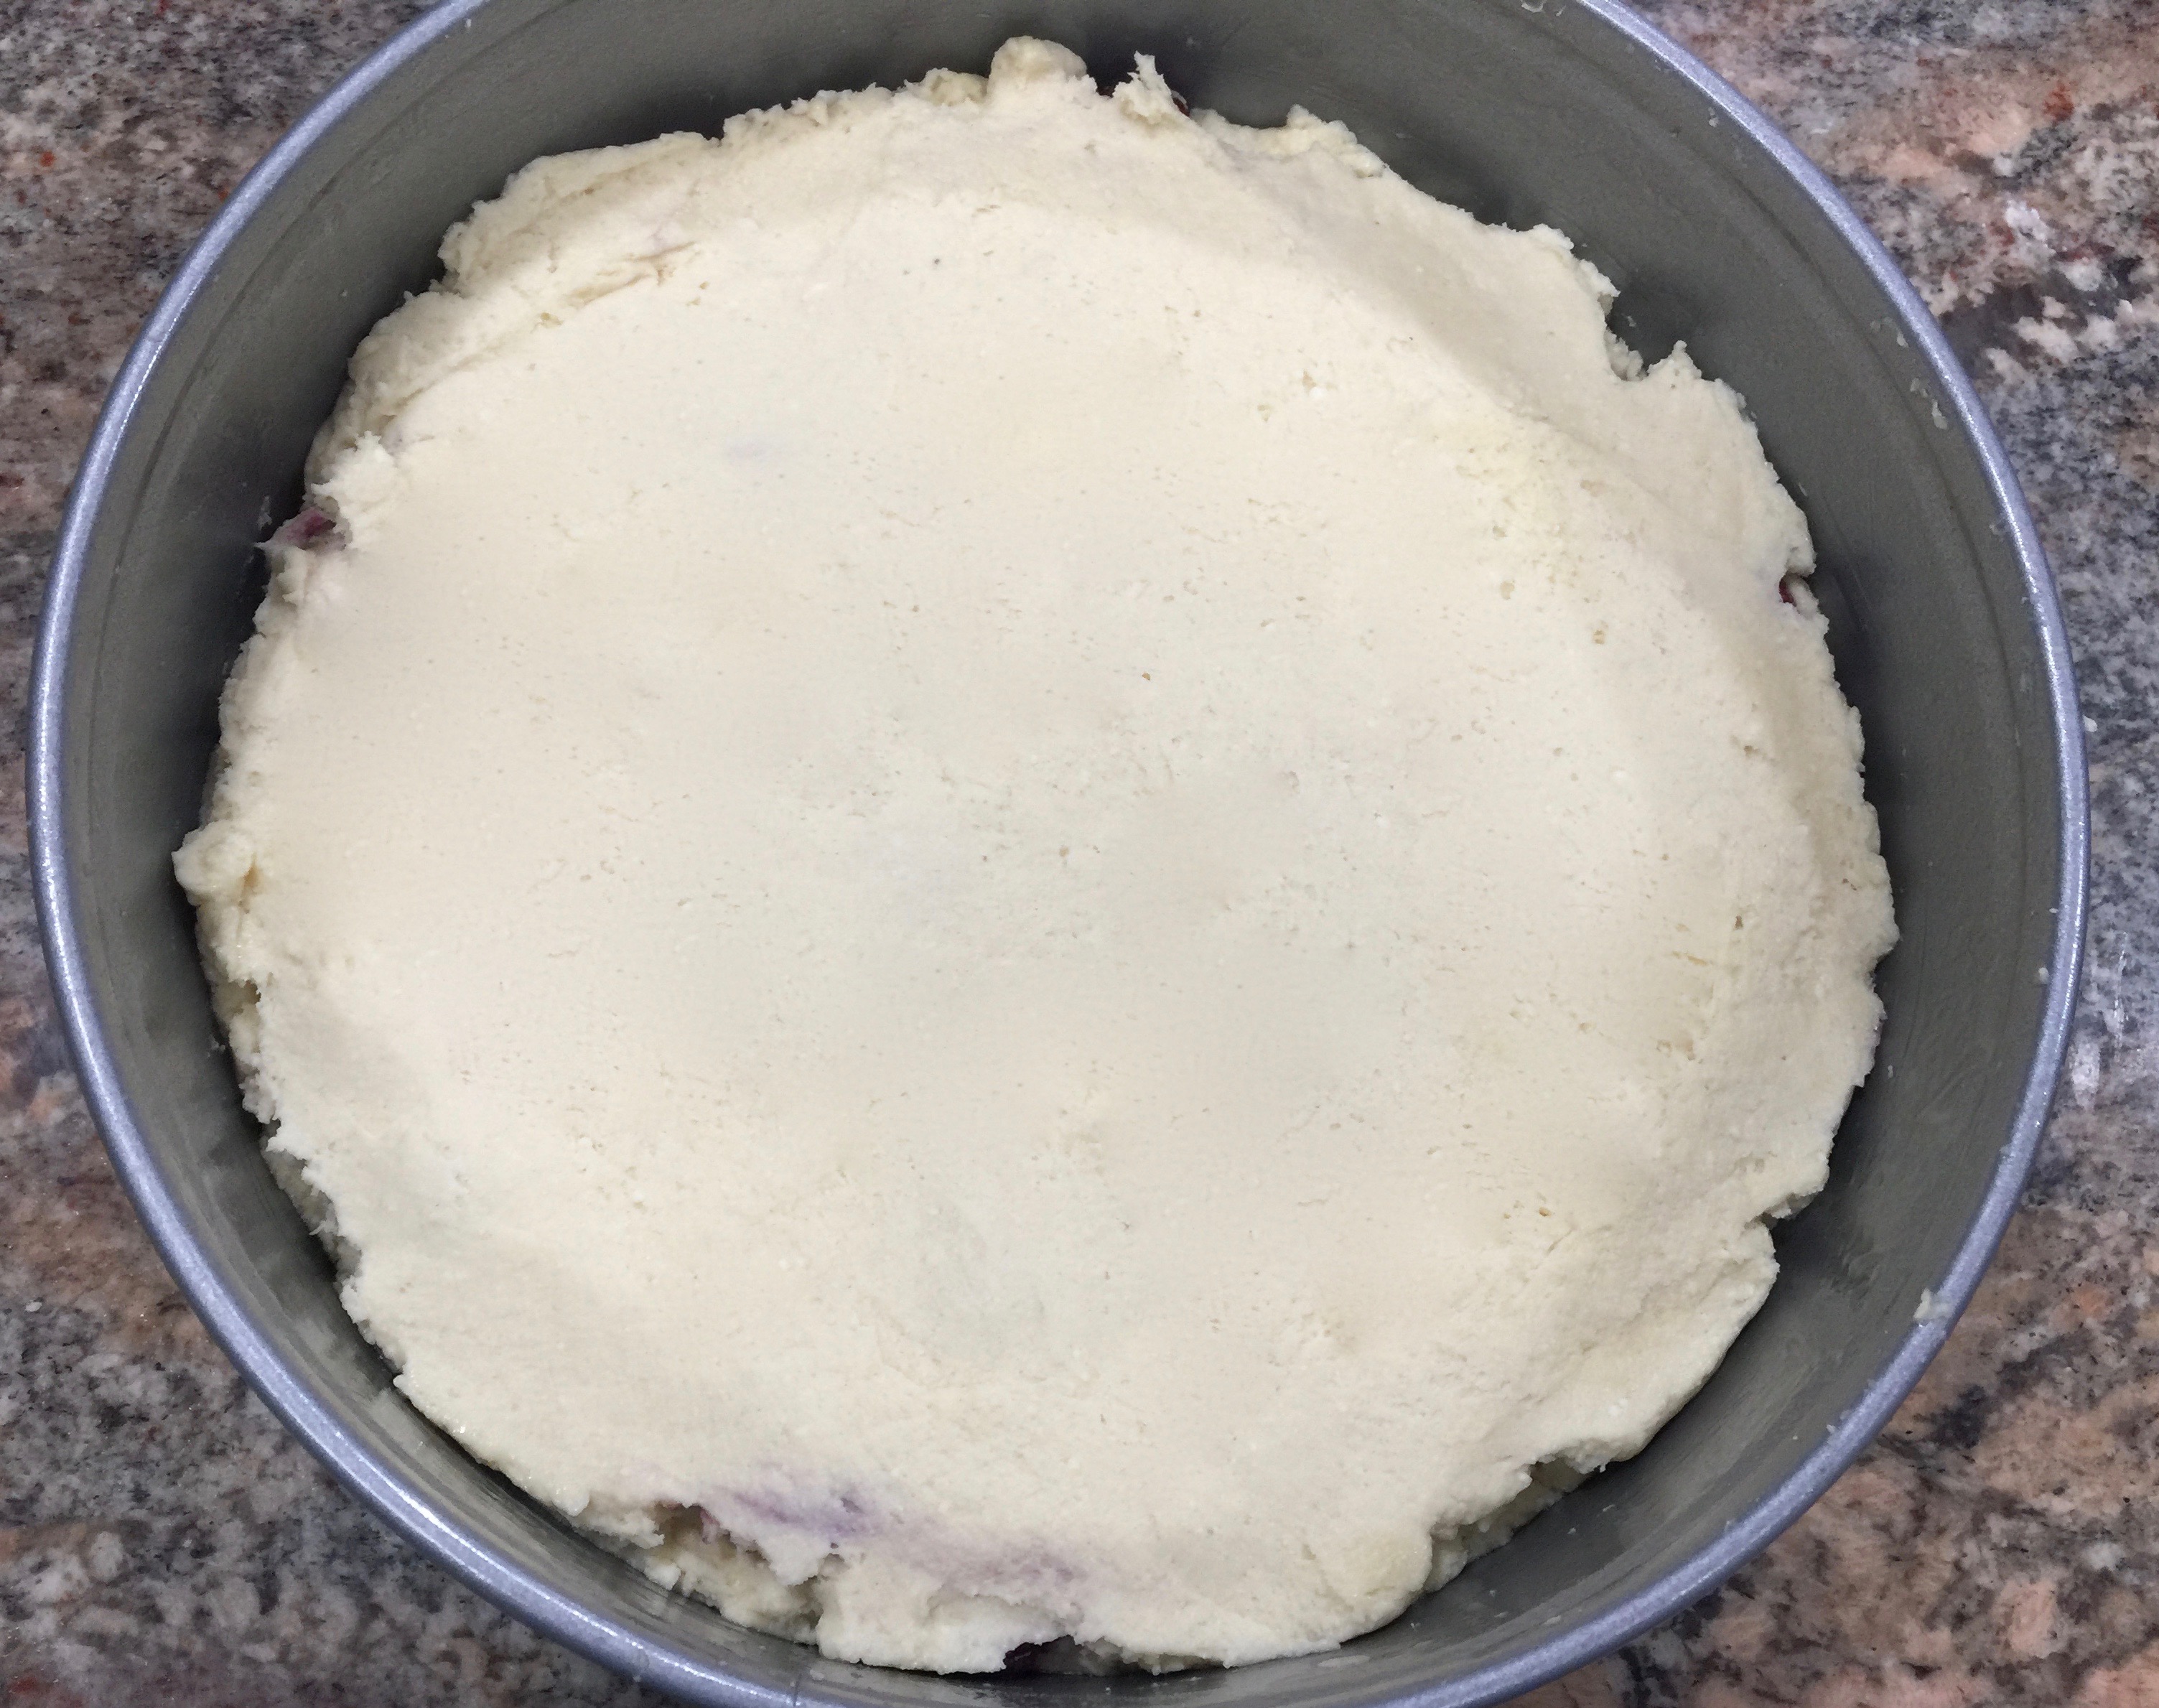
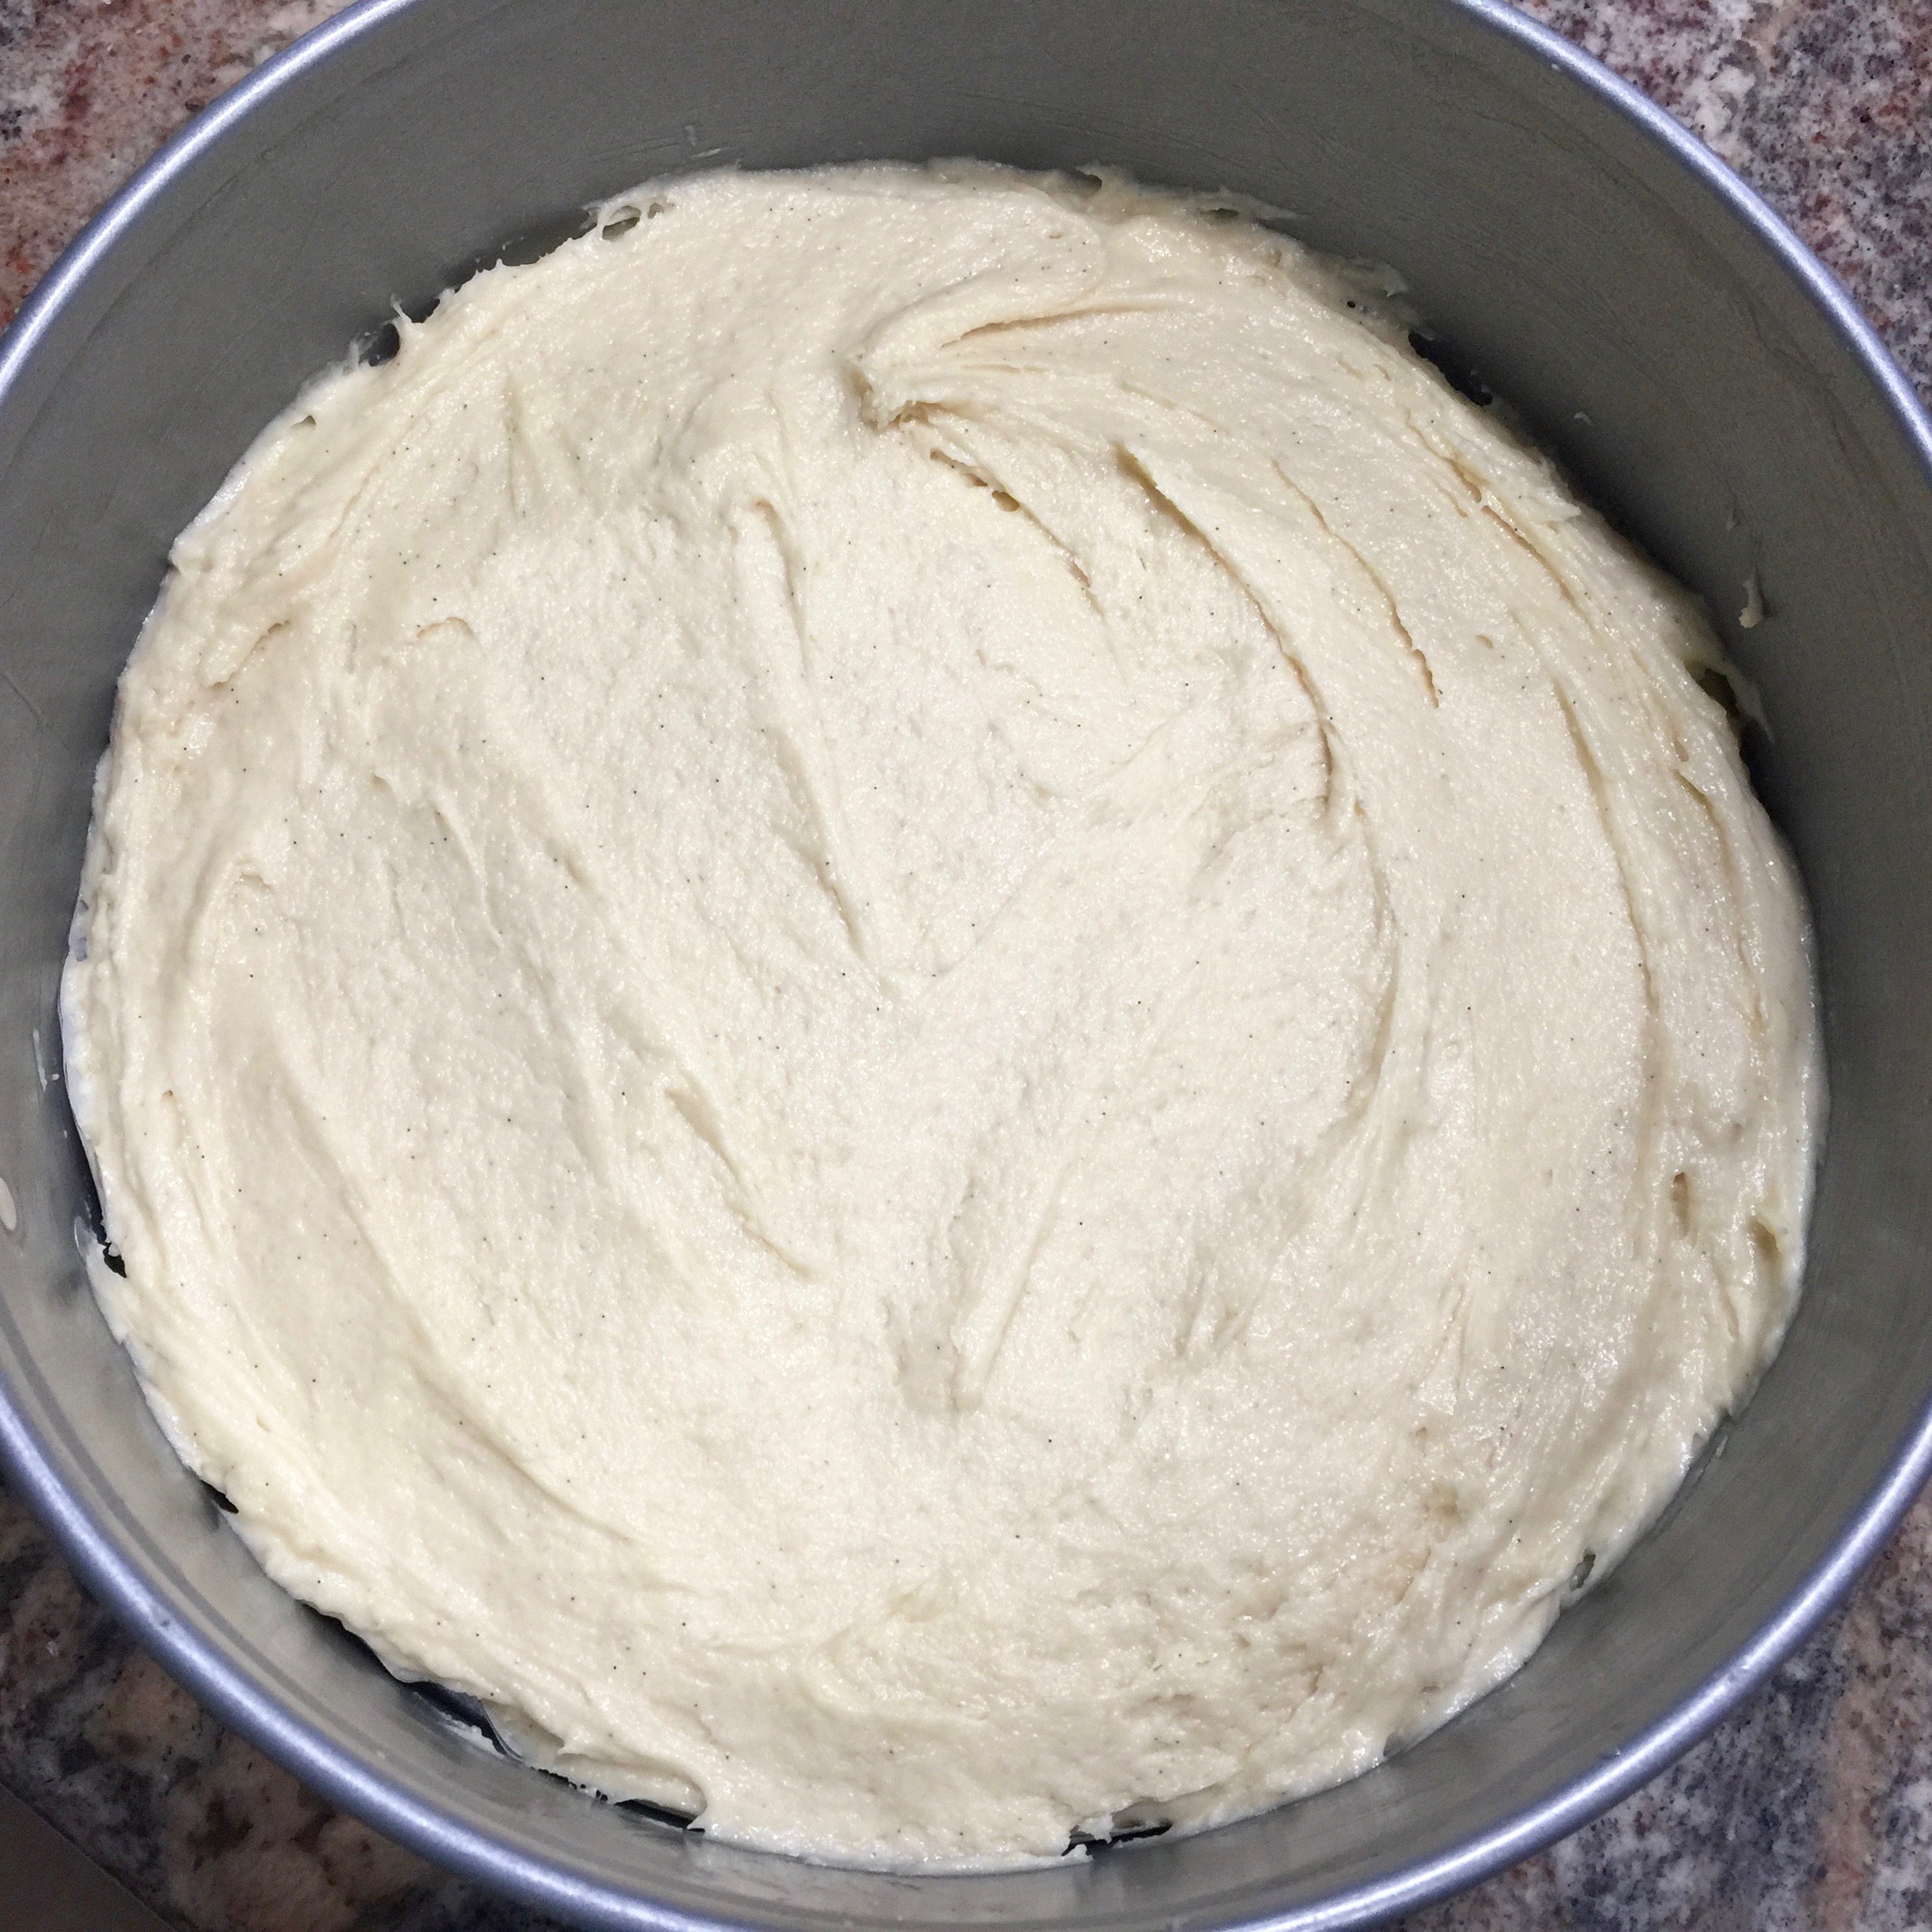
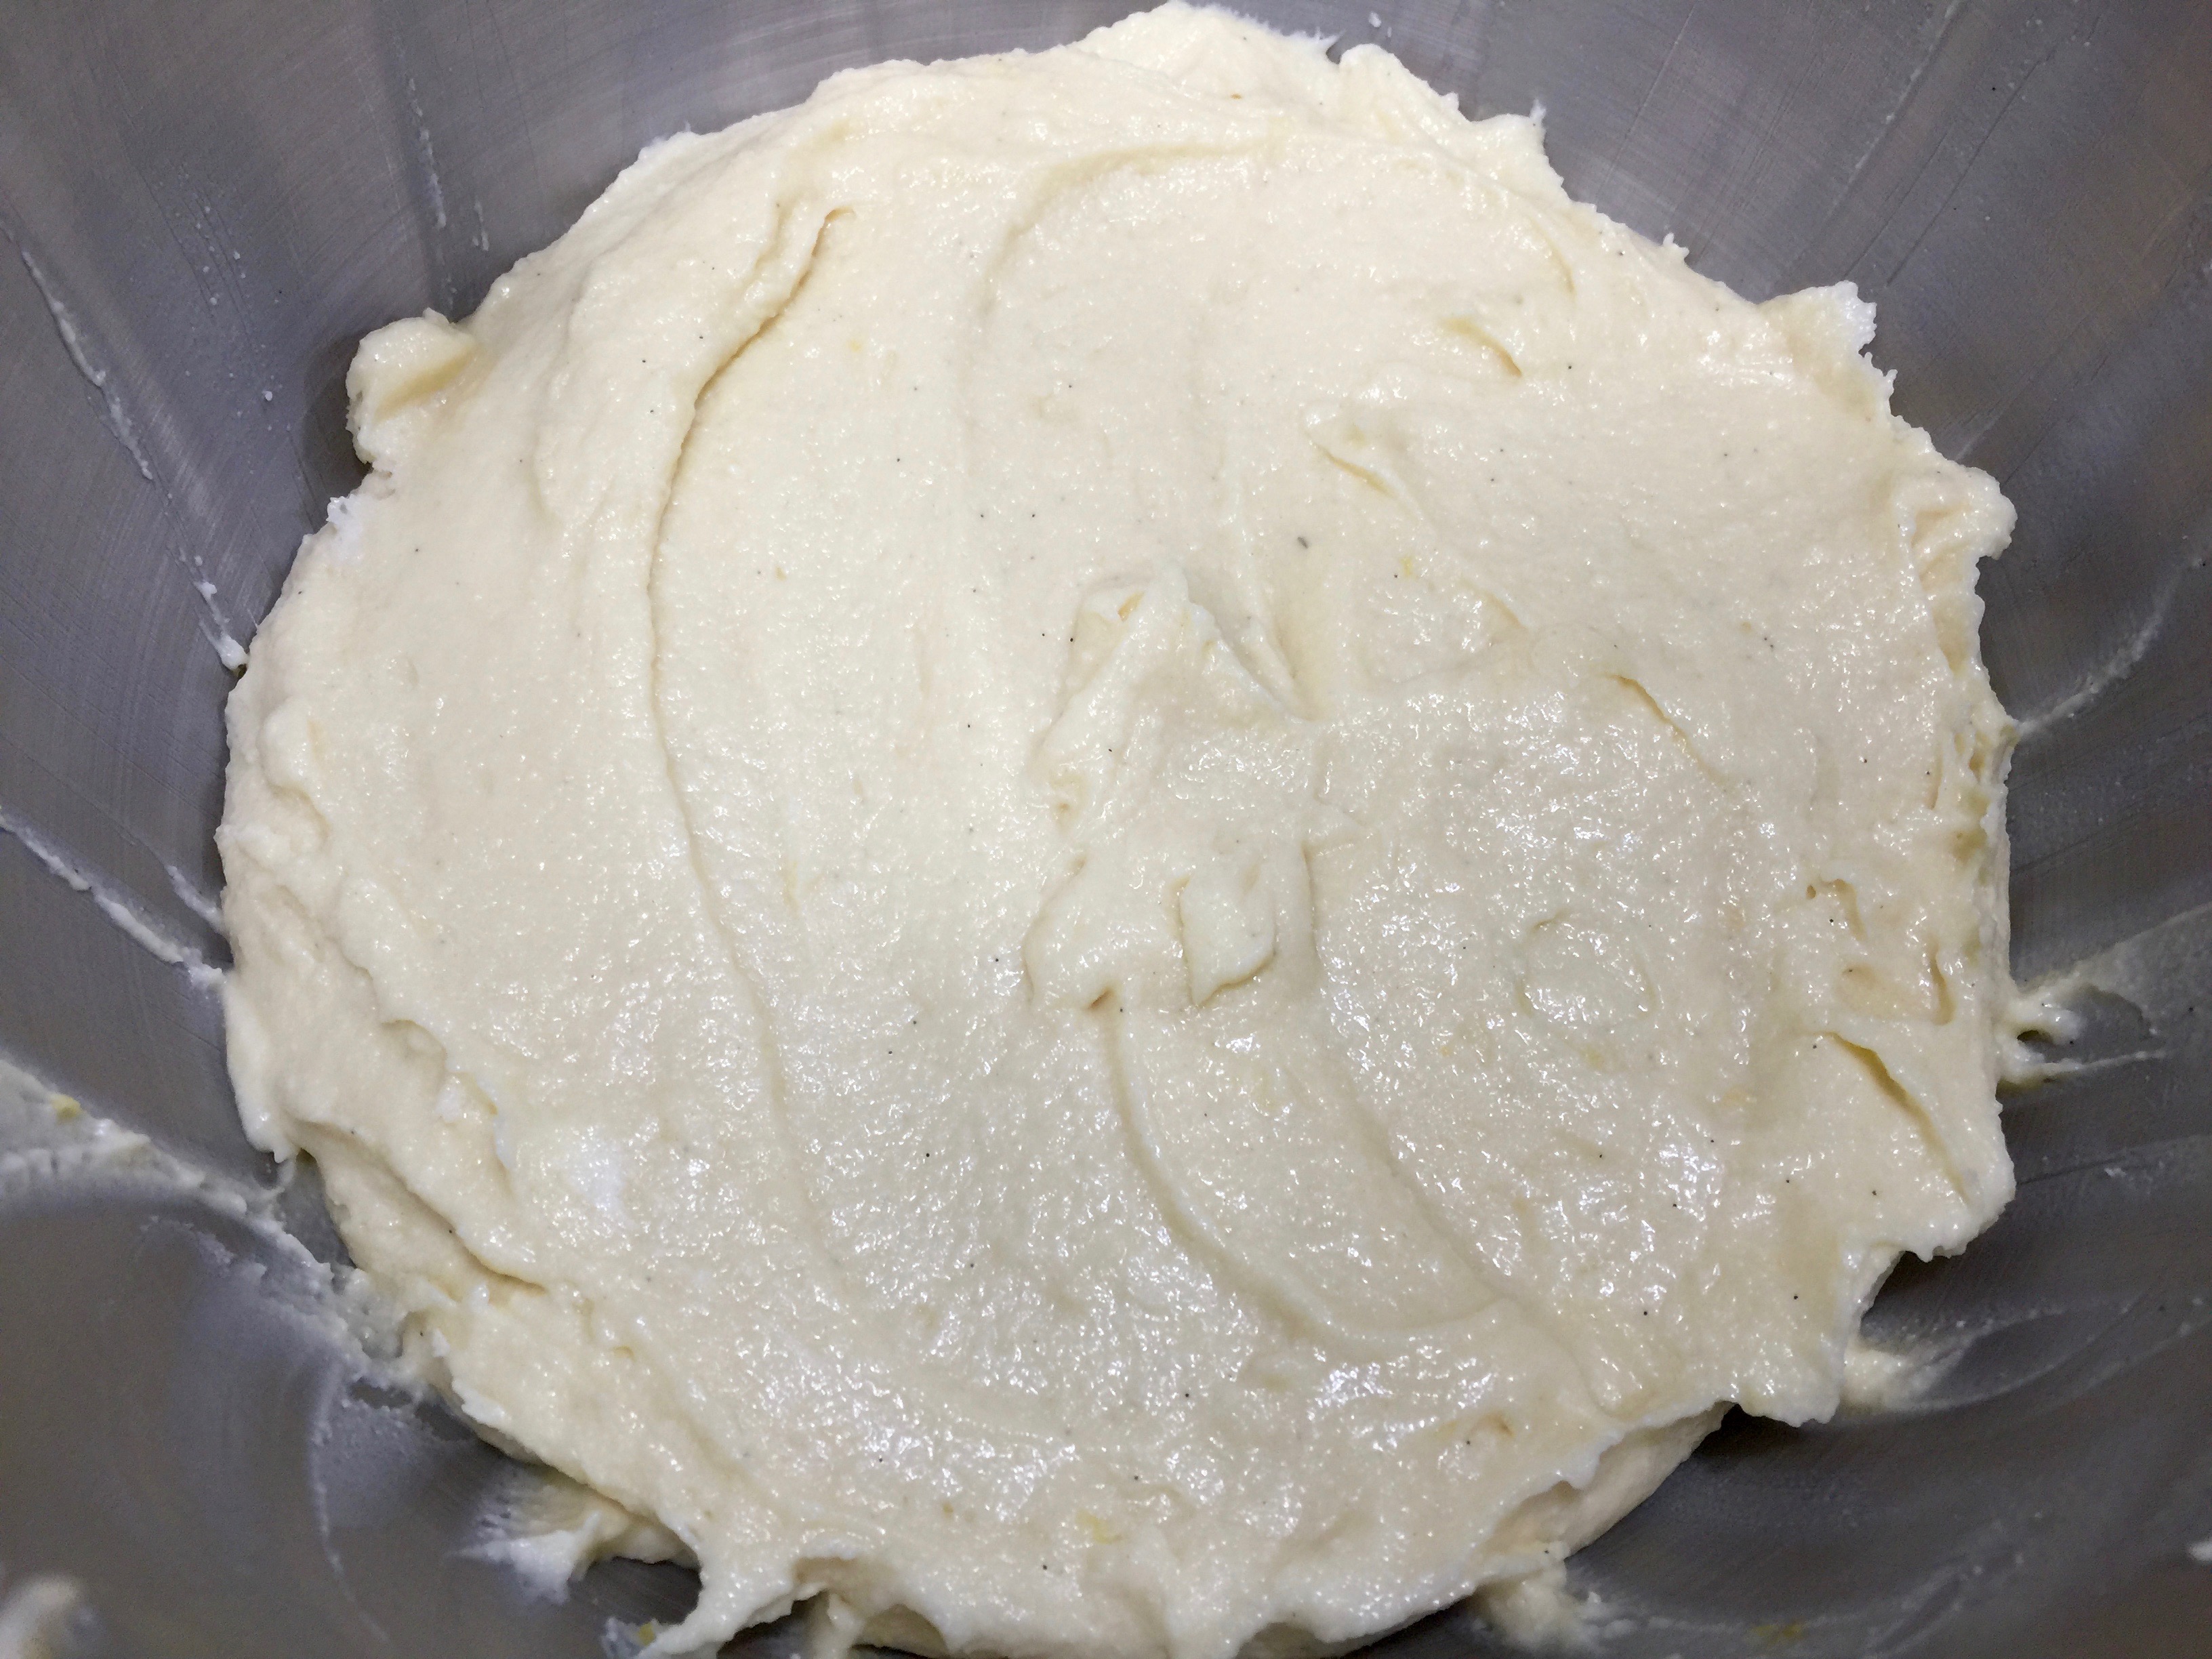
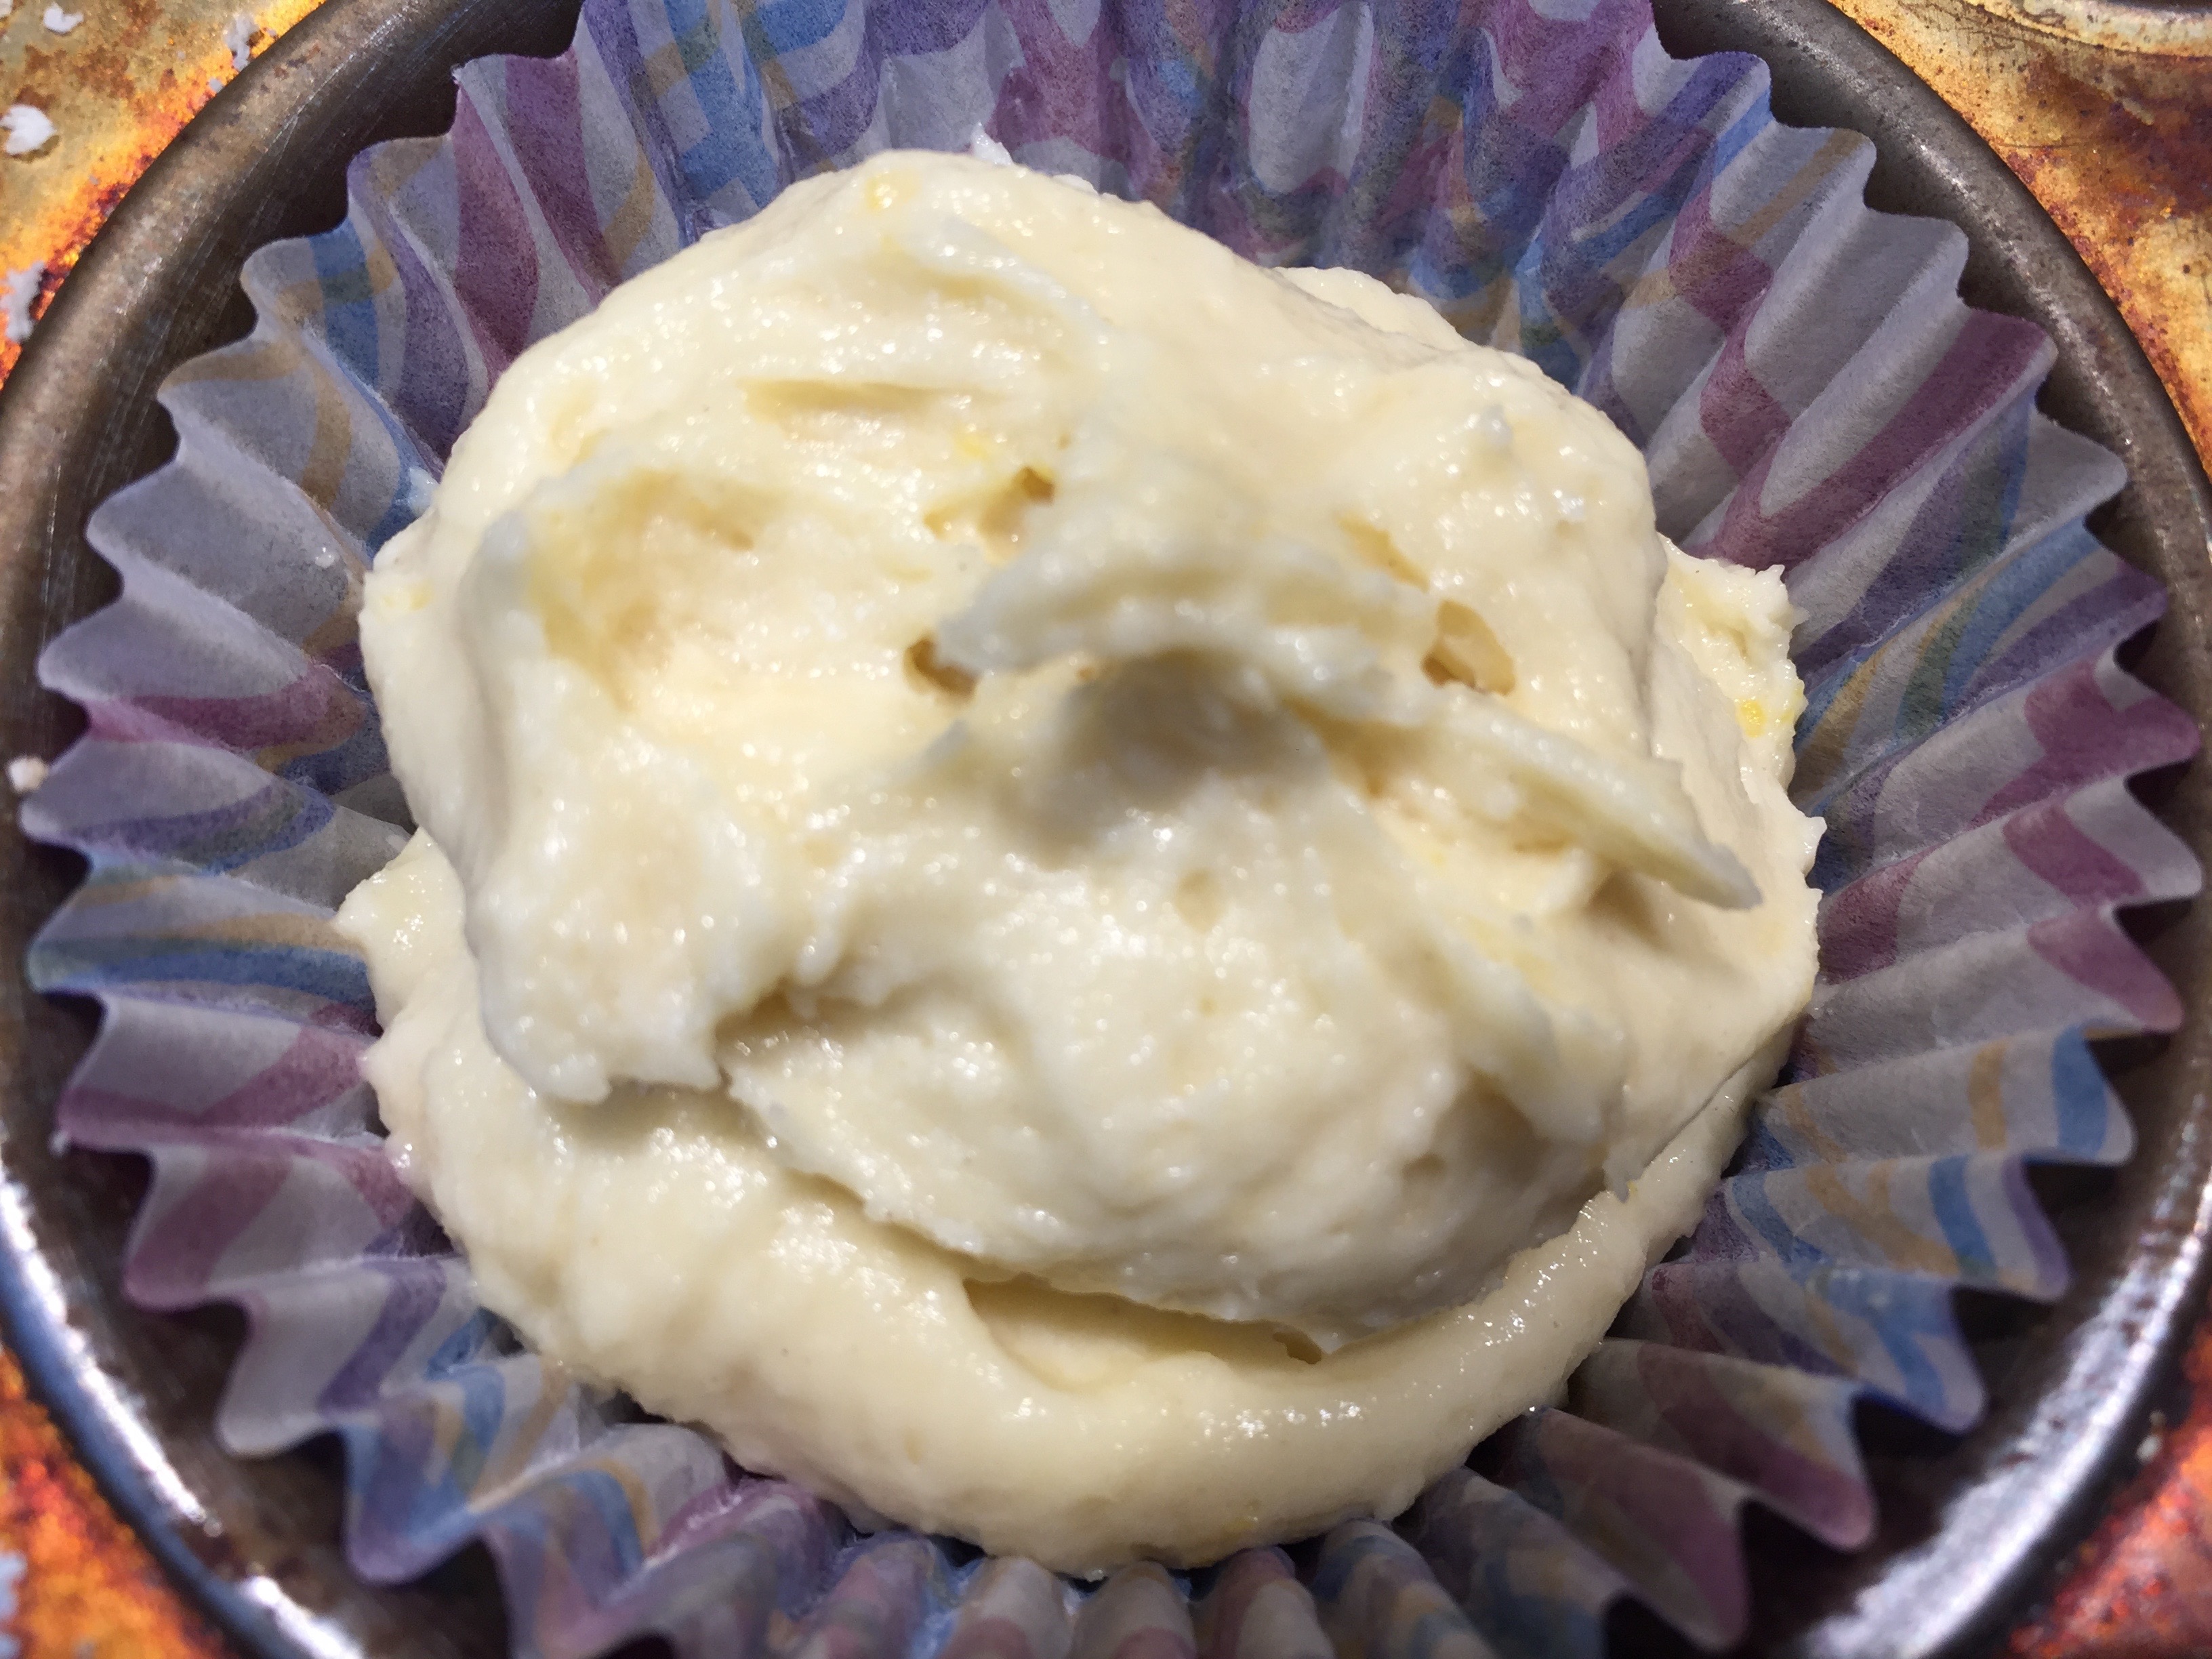
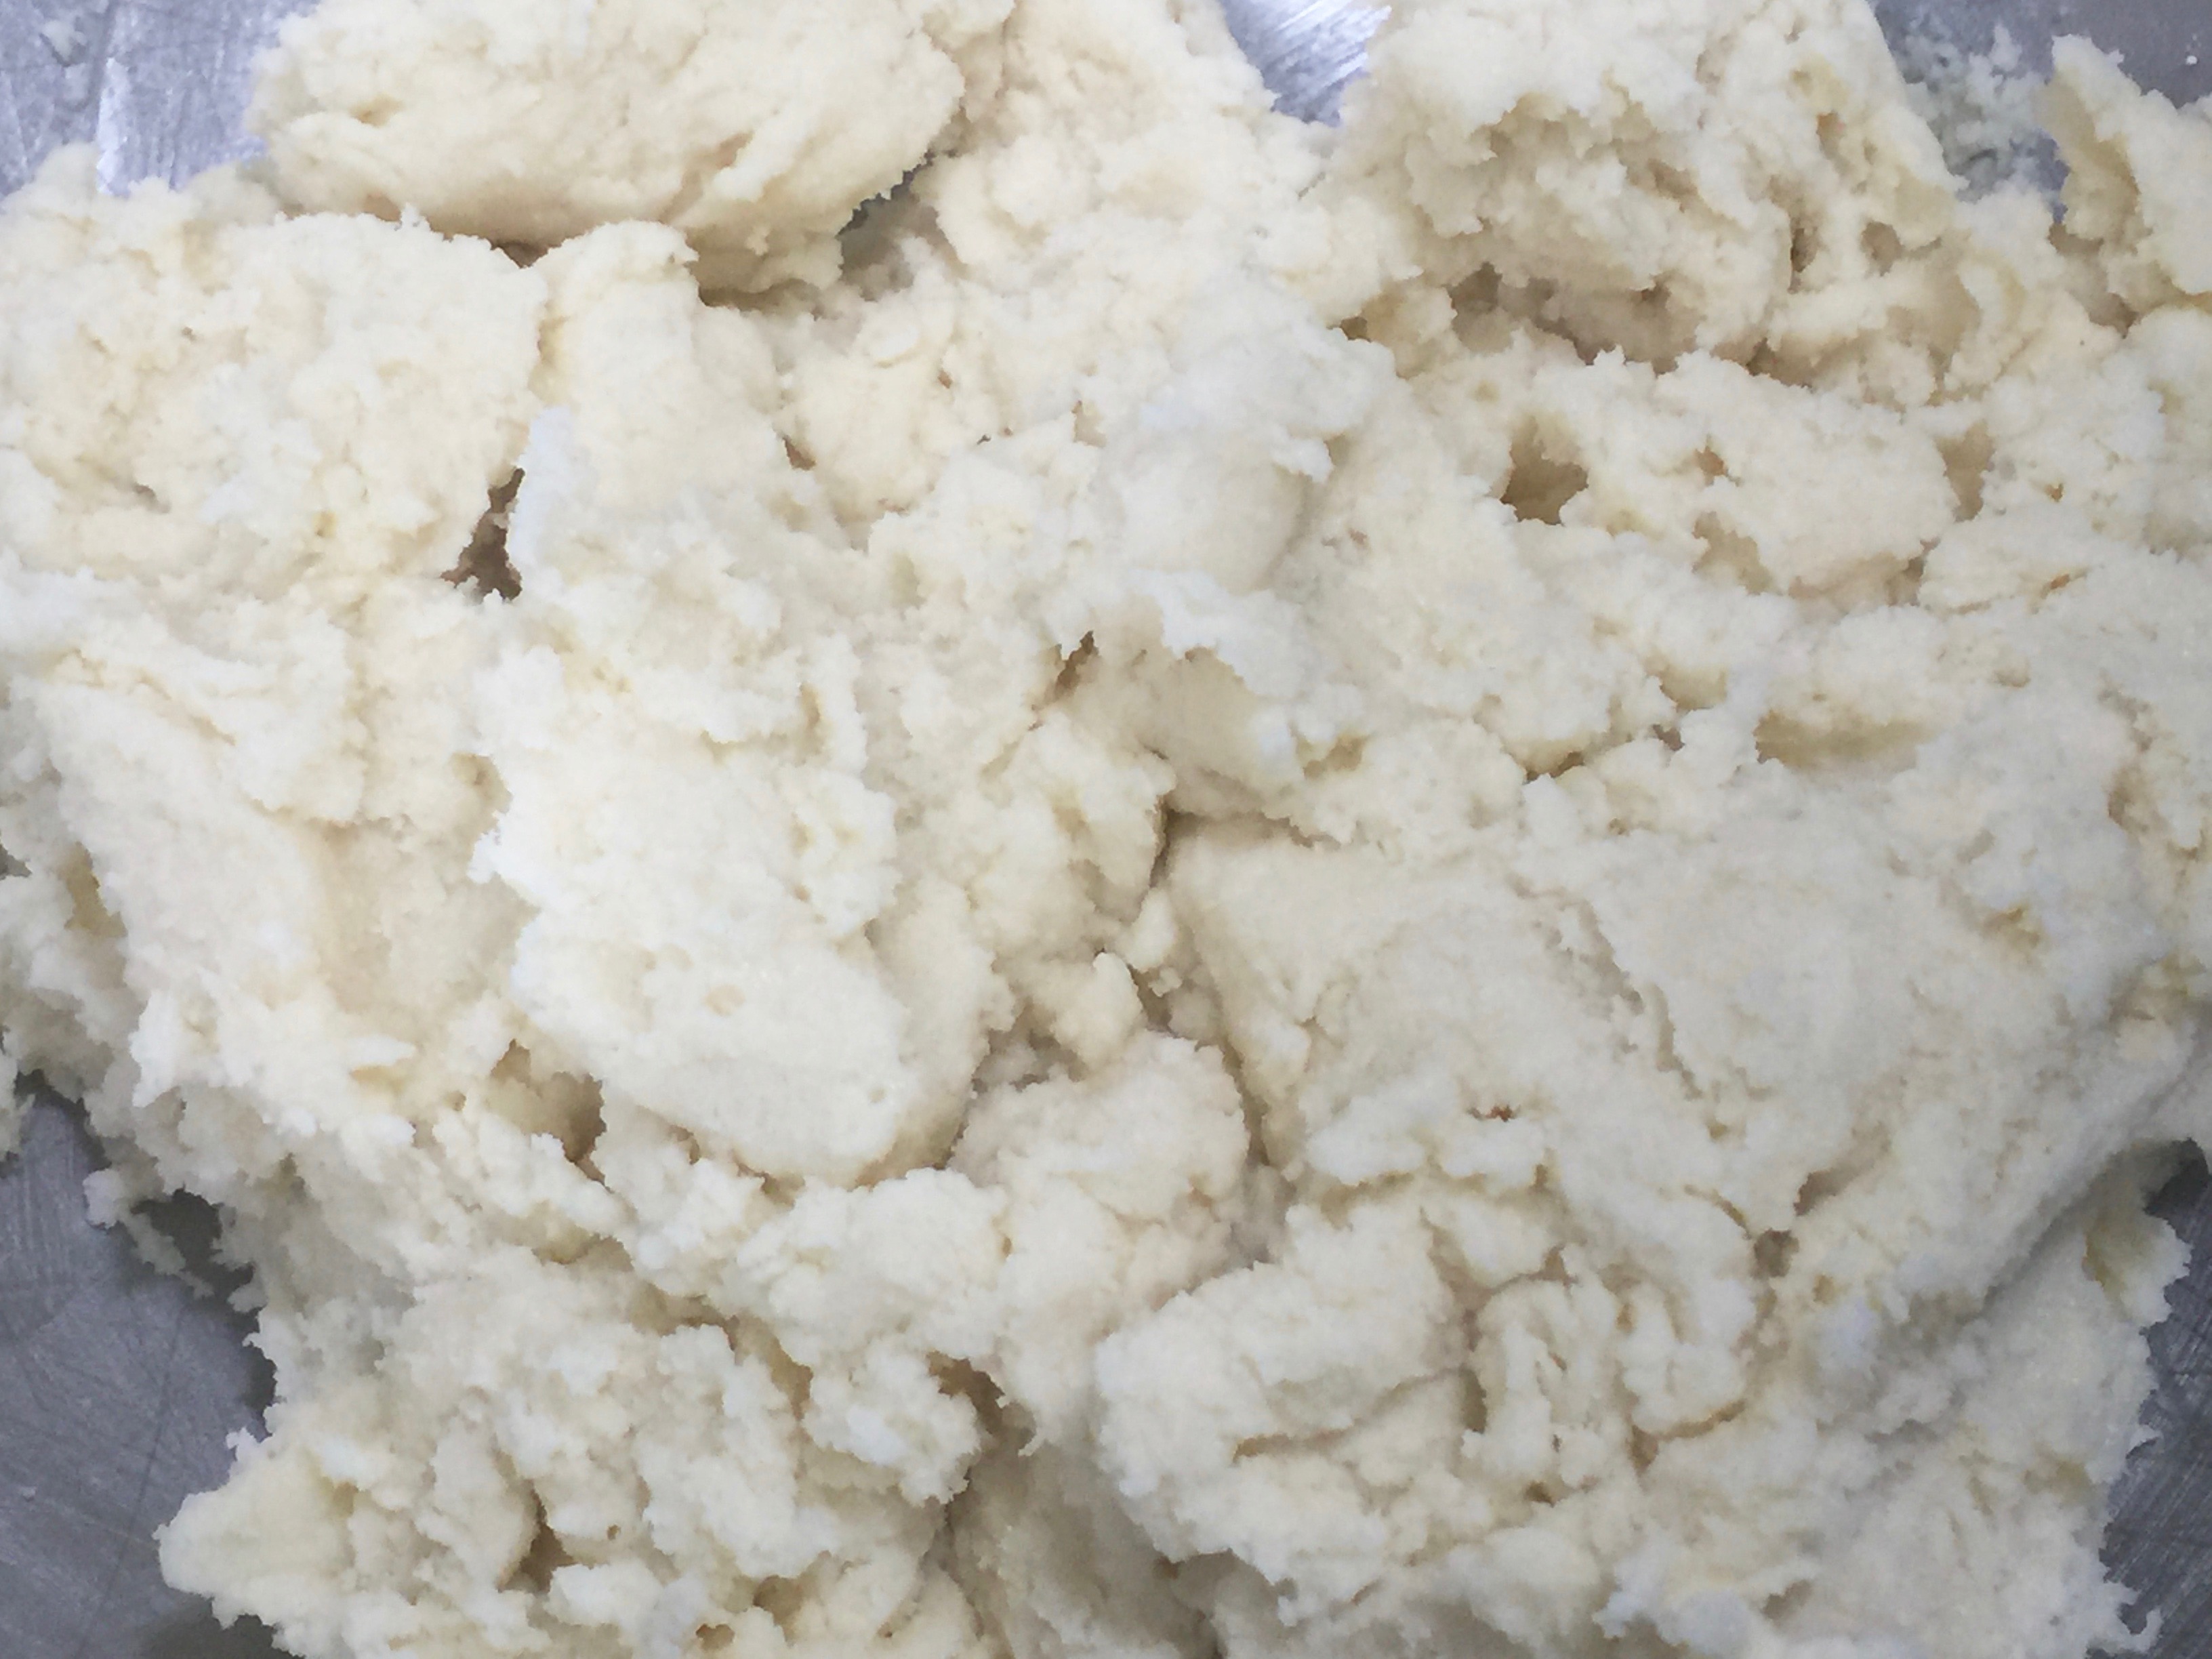
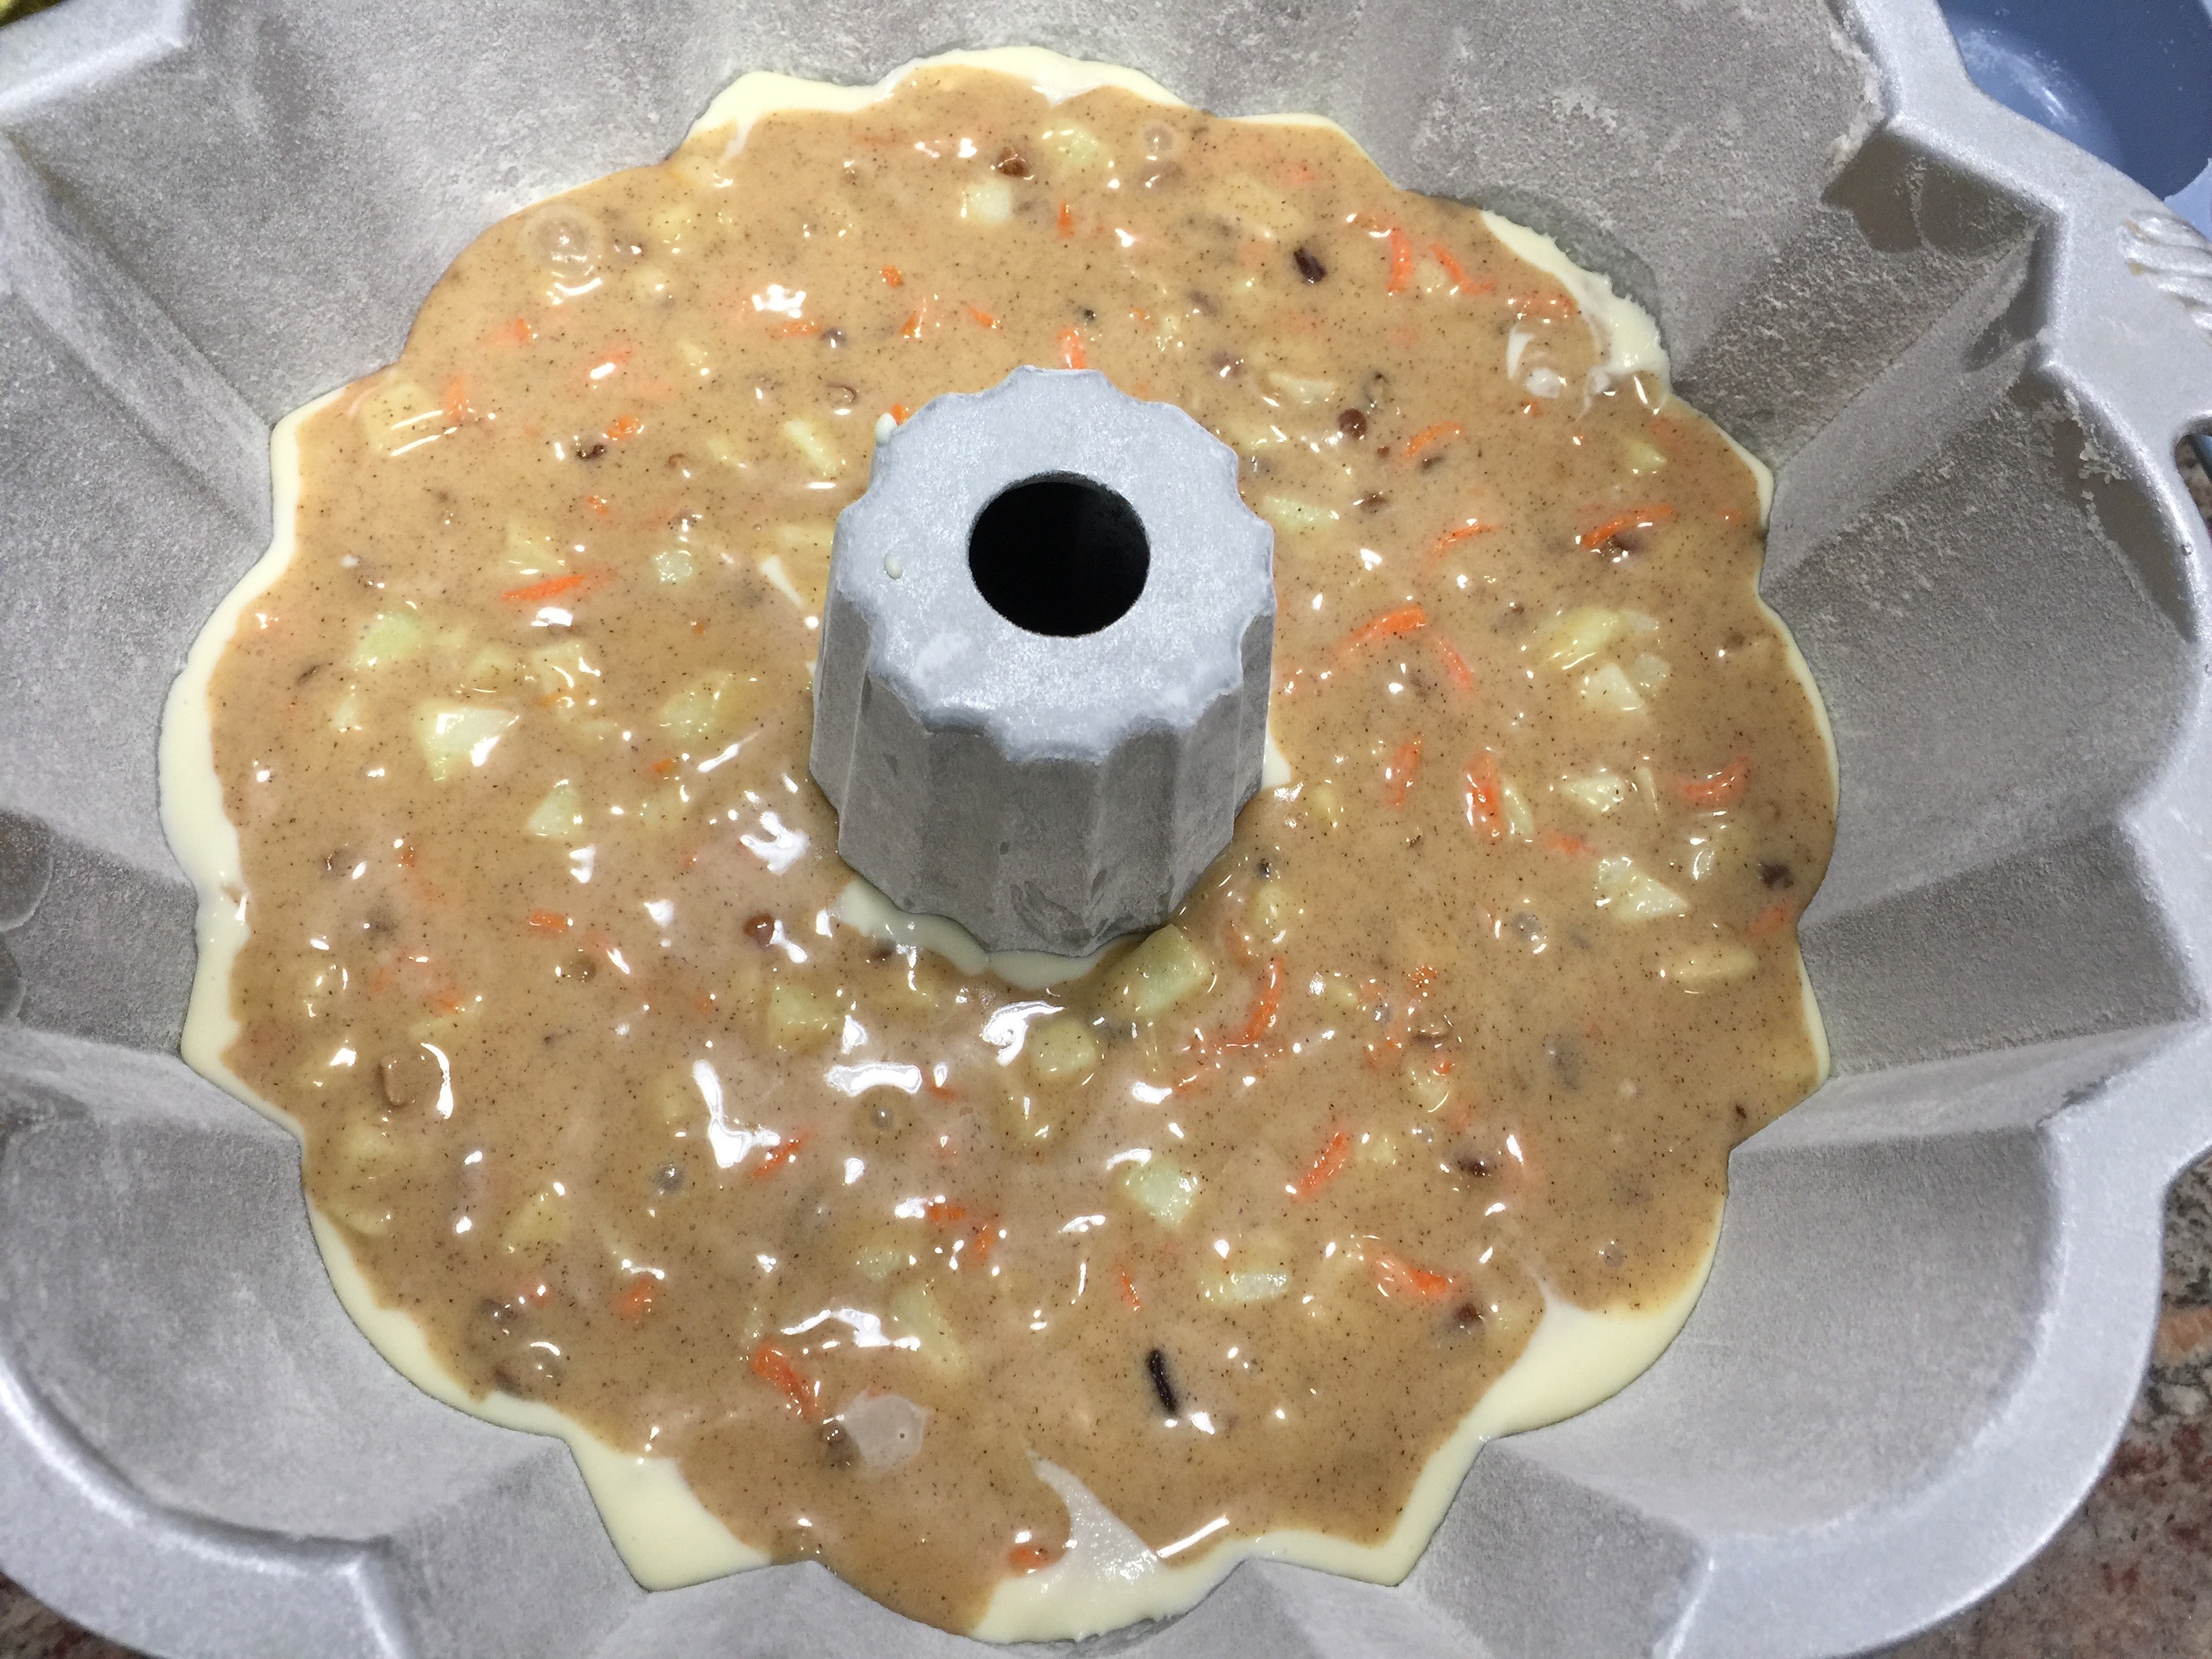
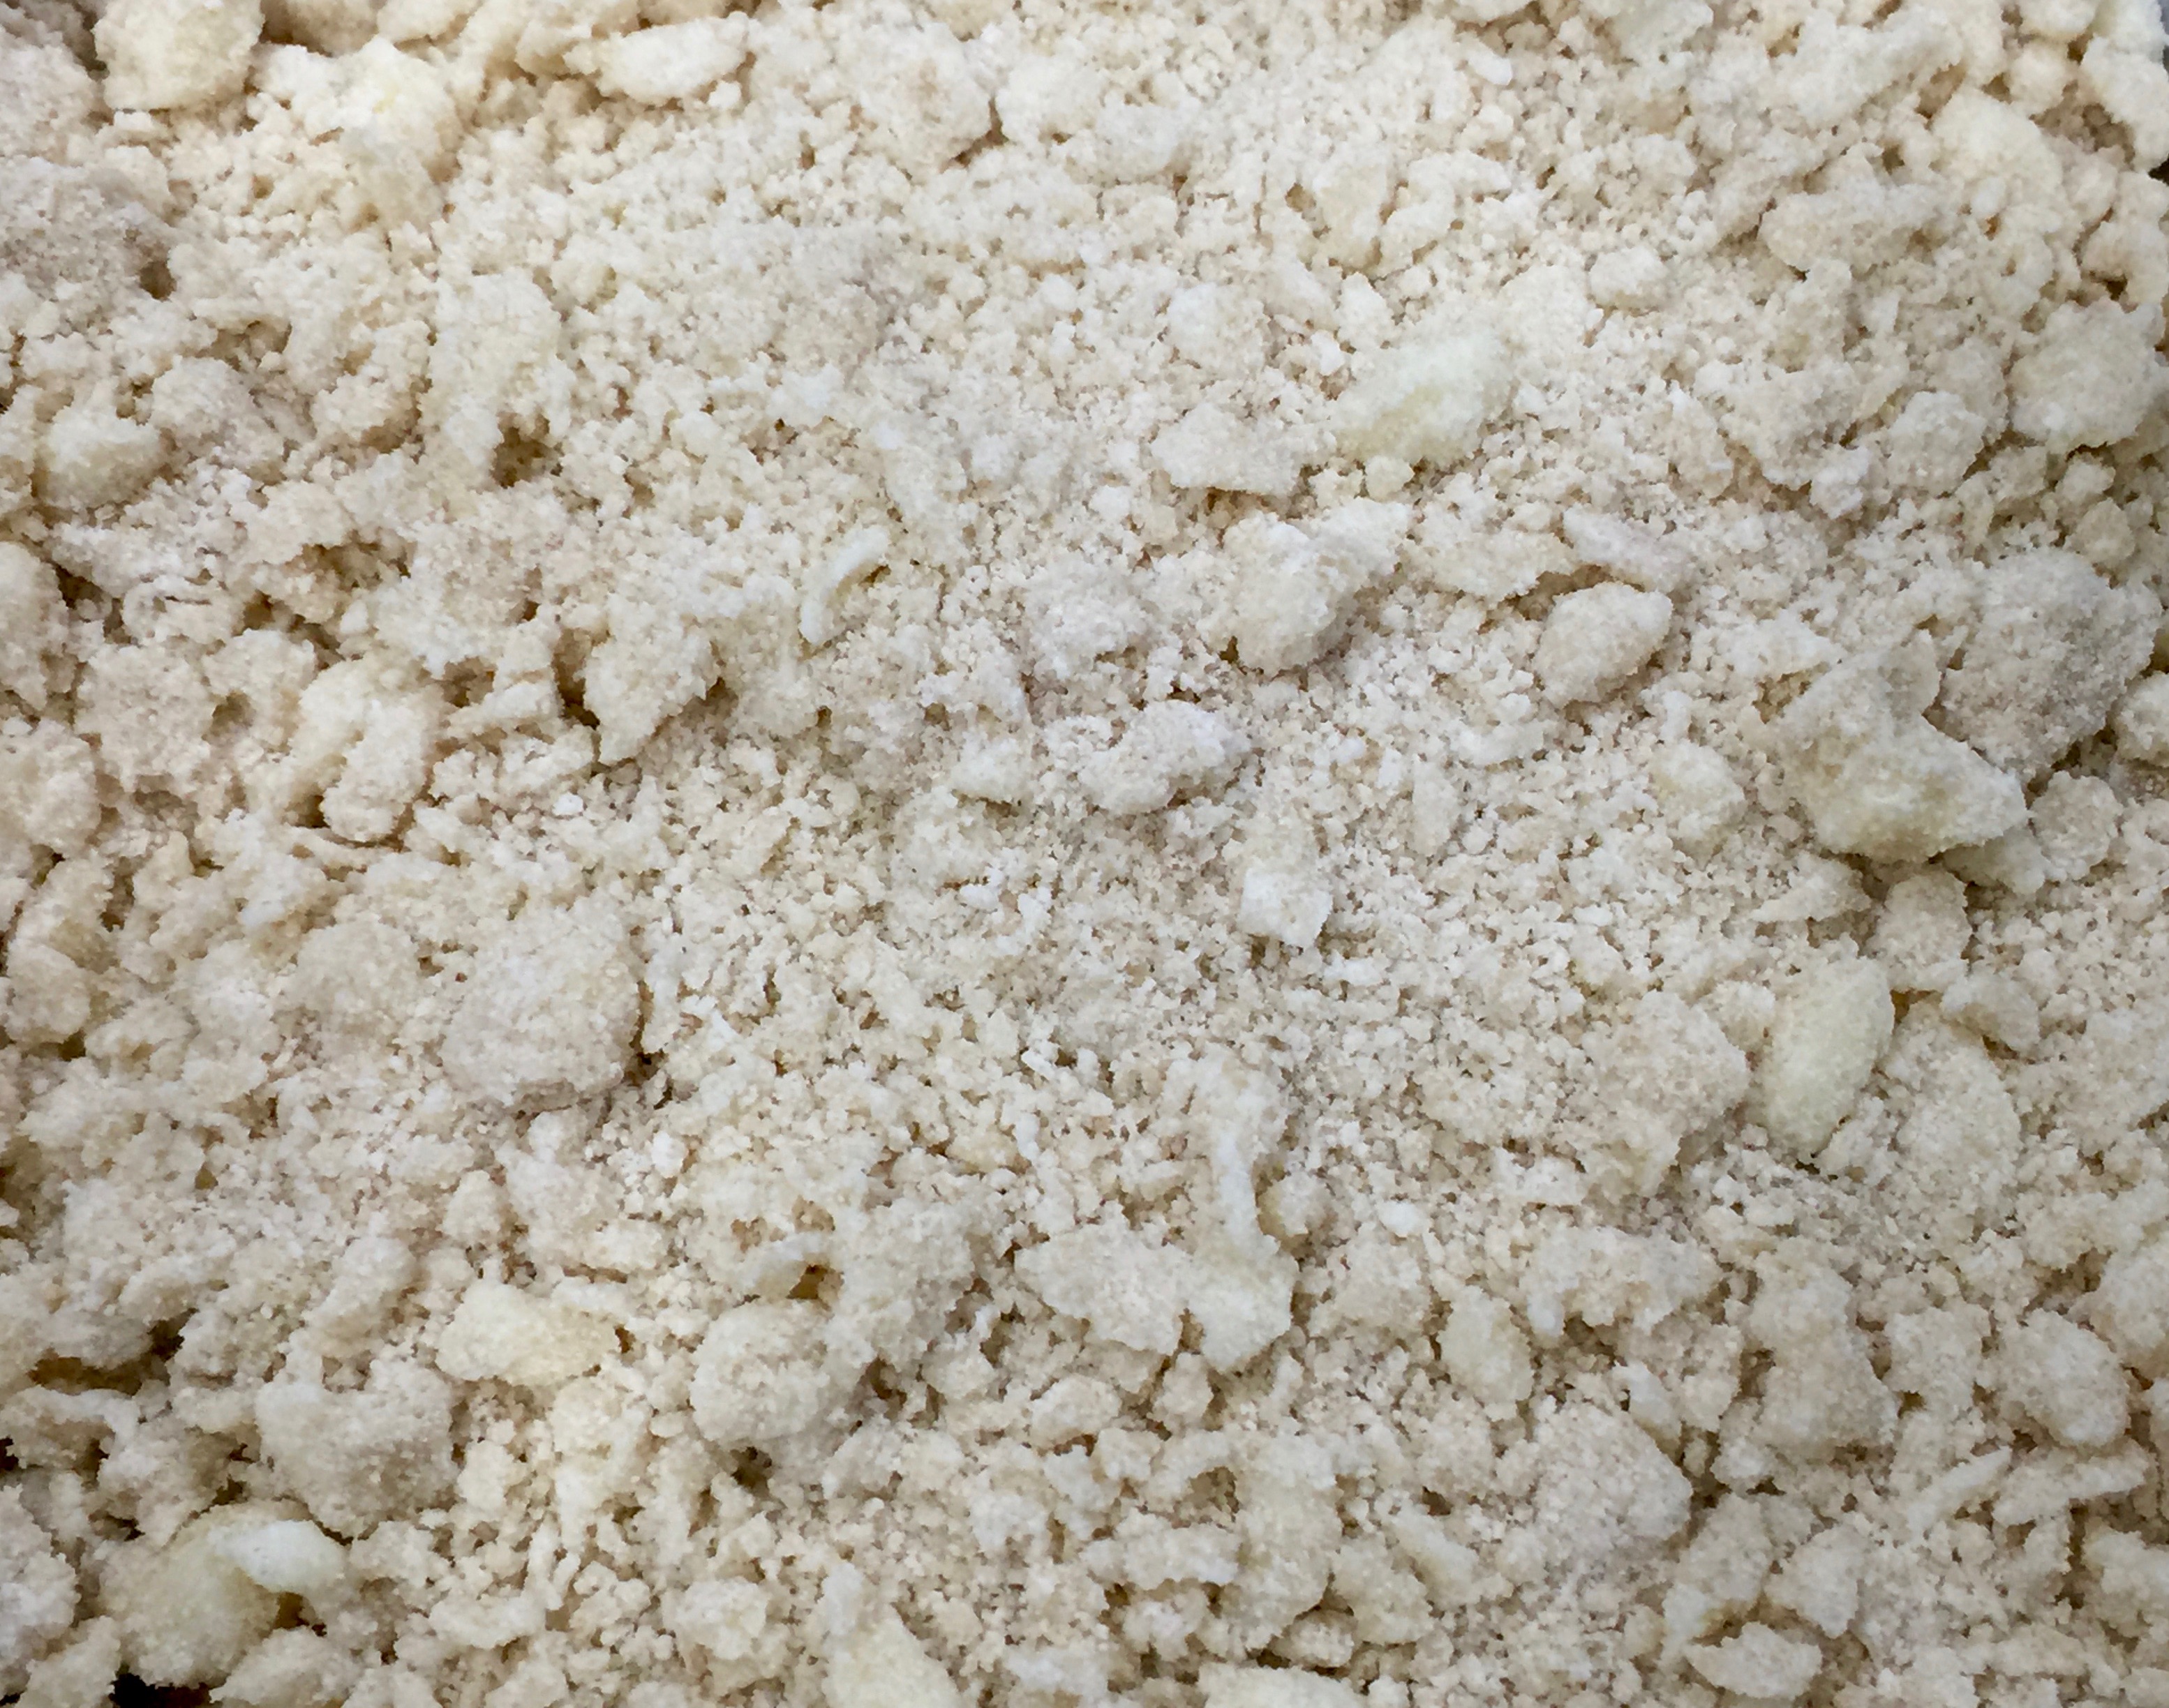
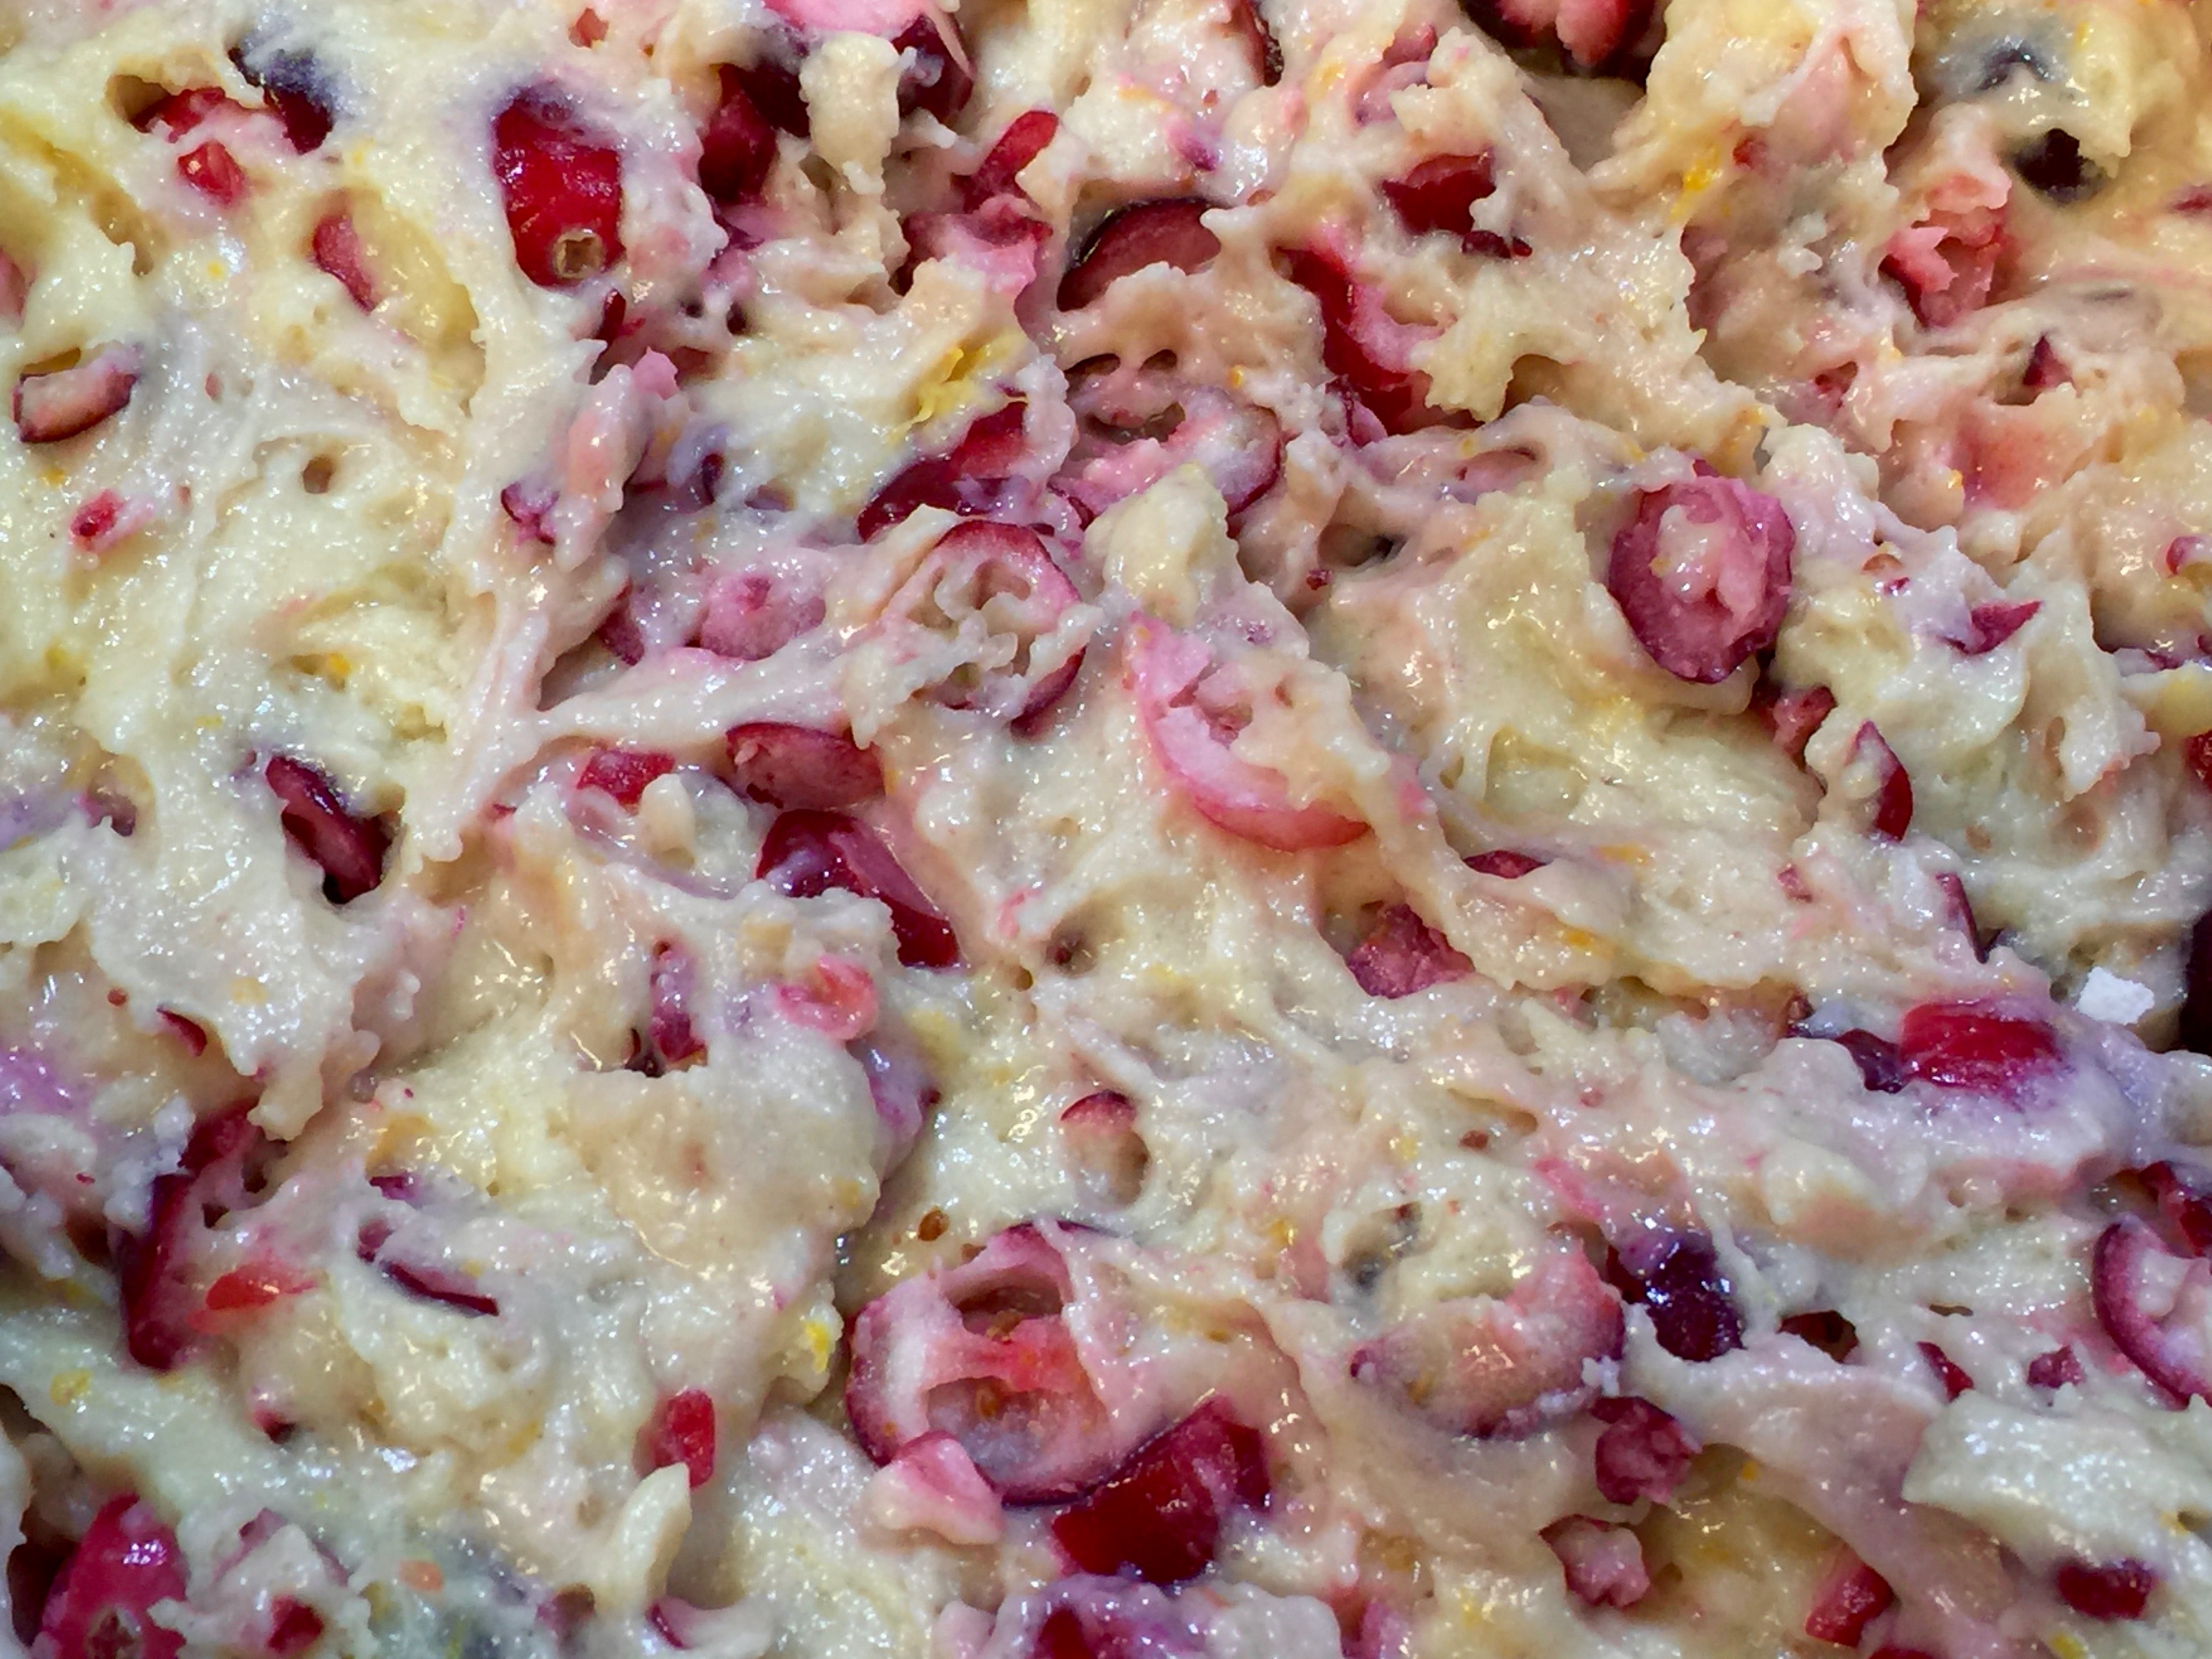
Lesson Learned 1 – The batter in this recipe is thick: And I mean VERY THICK. I have to say I was a little surprised at how thick the batter was. I feared the cake would be a dried out mess, but I was wrong. I think the ricotta cheese, the cheese used in this recipe, makes the batter thicker but also makes the cake light and moist. I was pleasantly surprised.
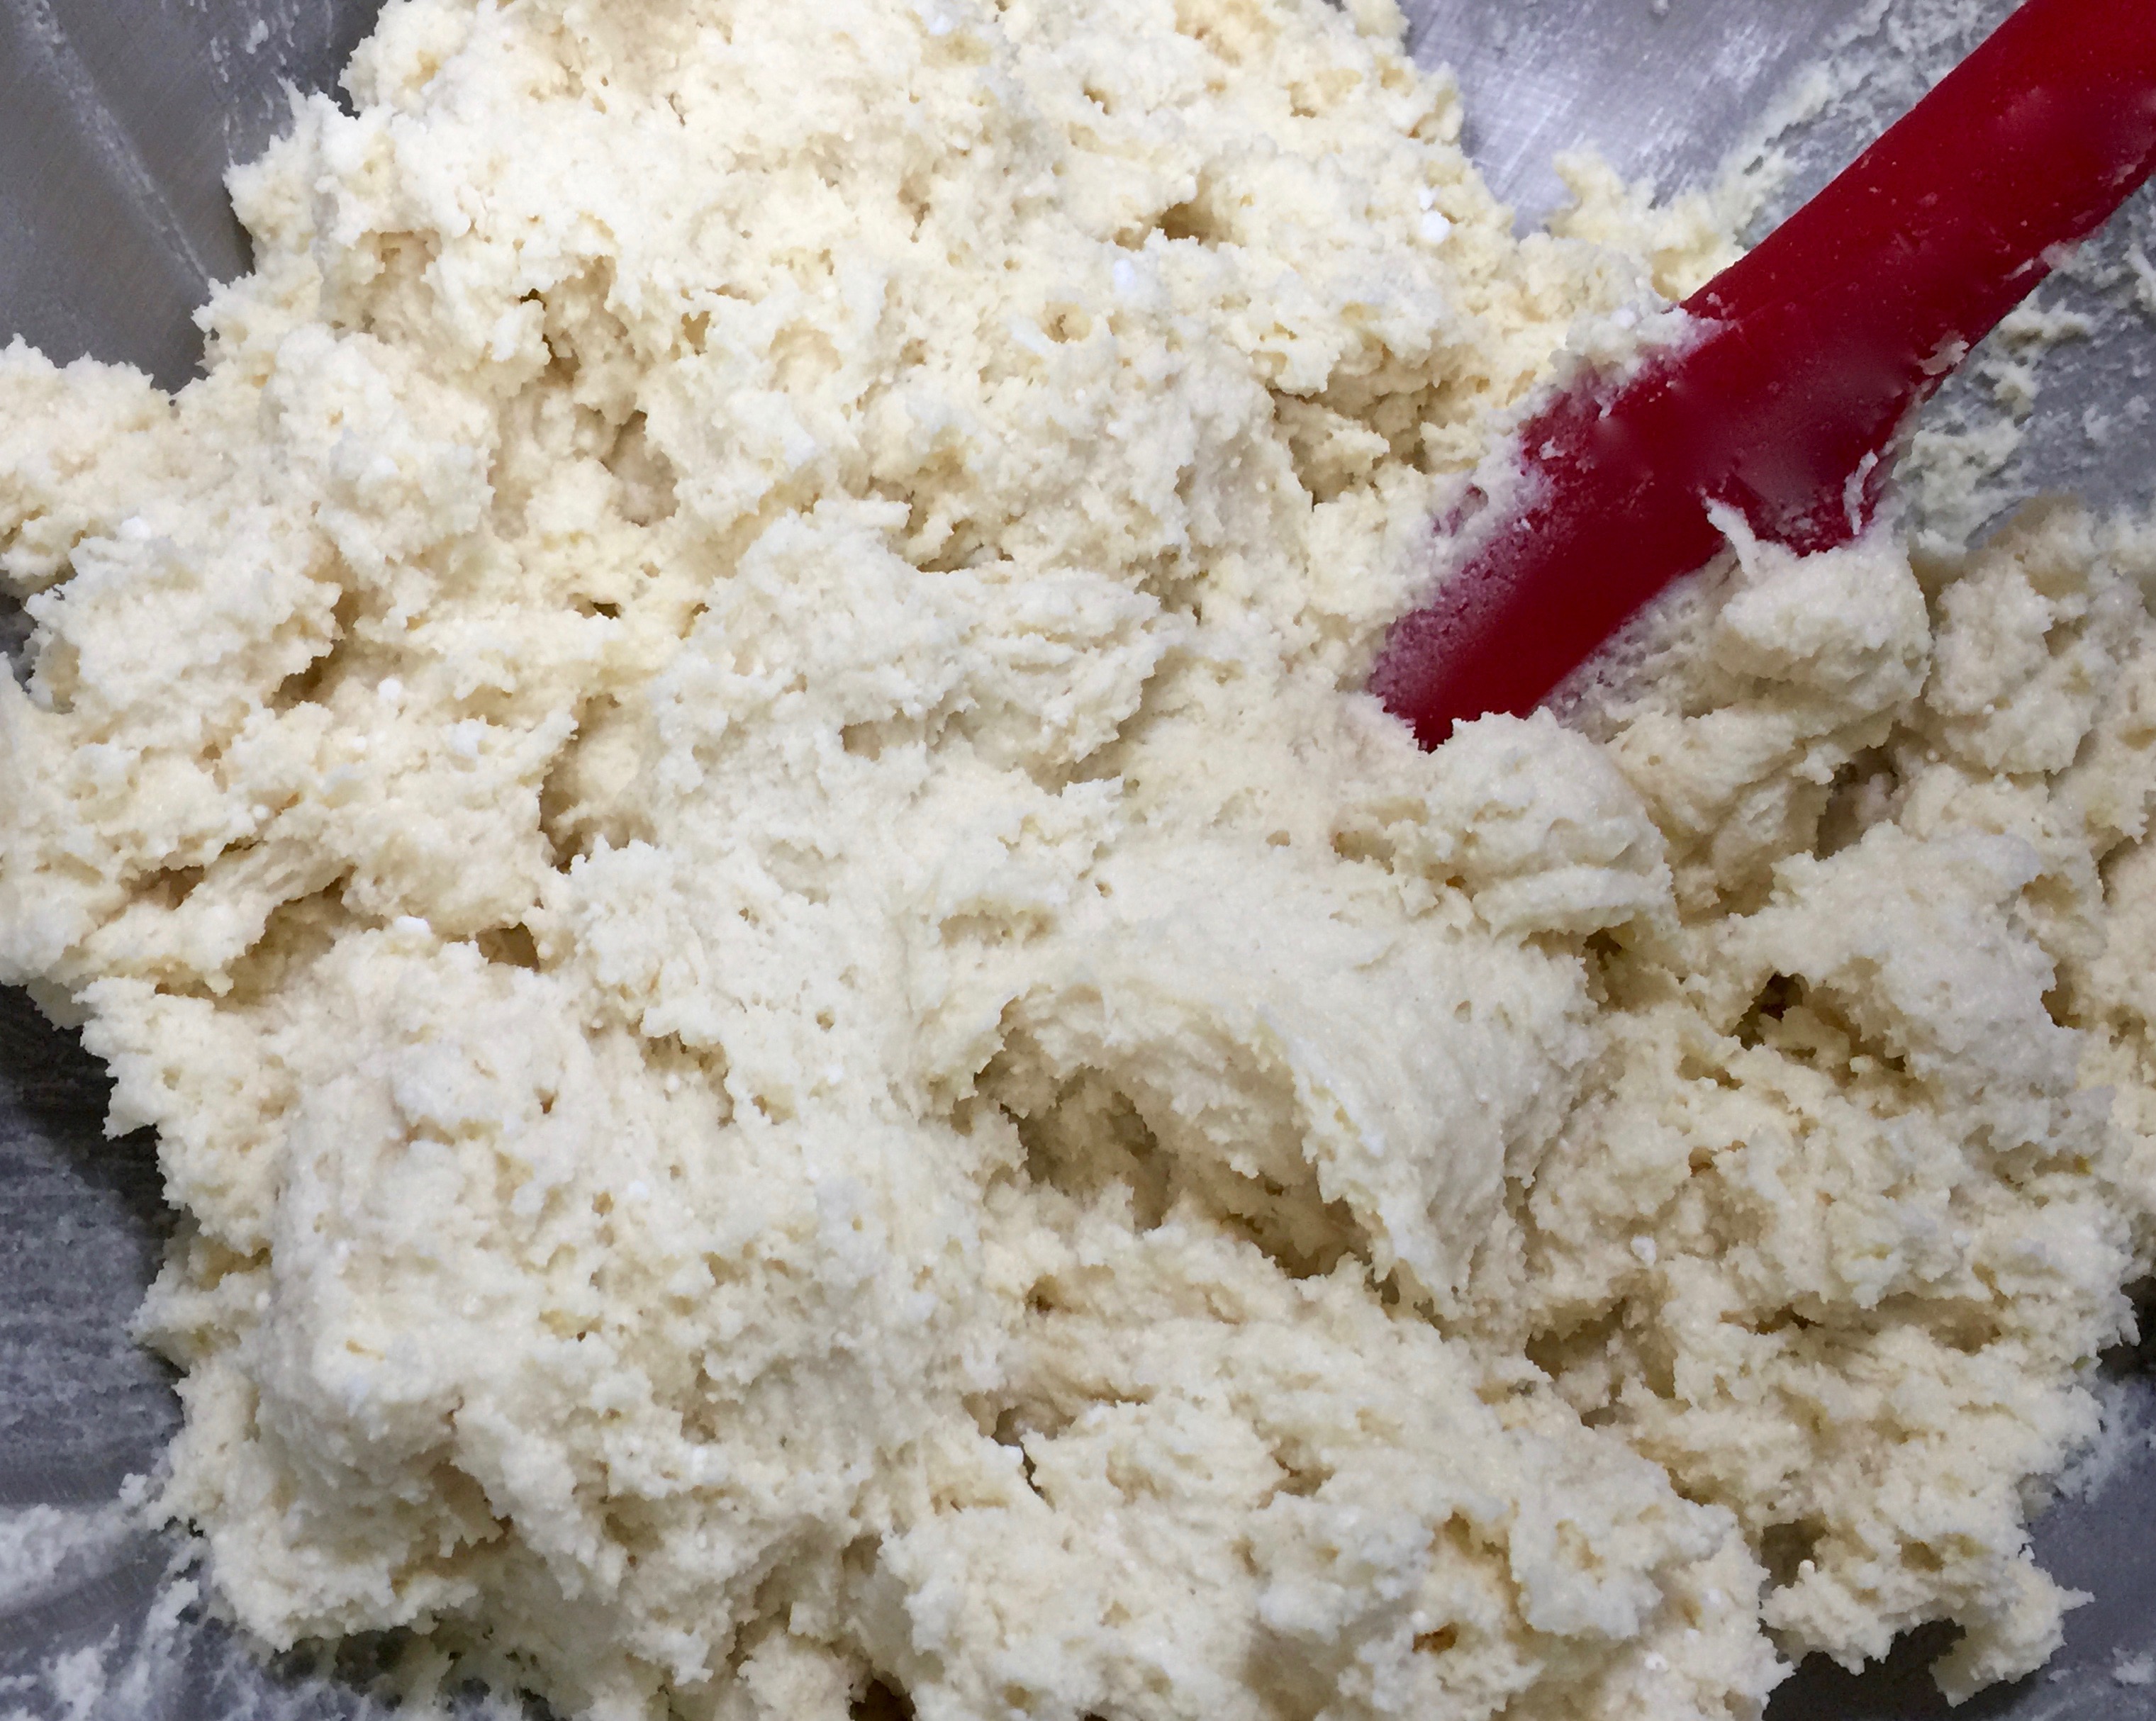
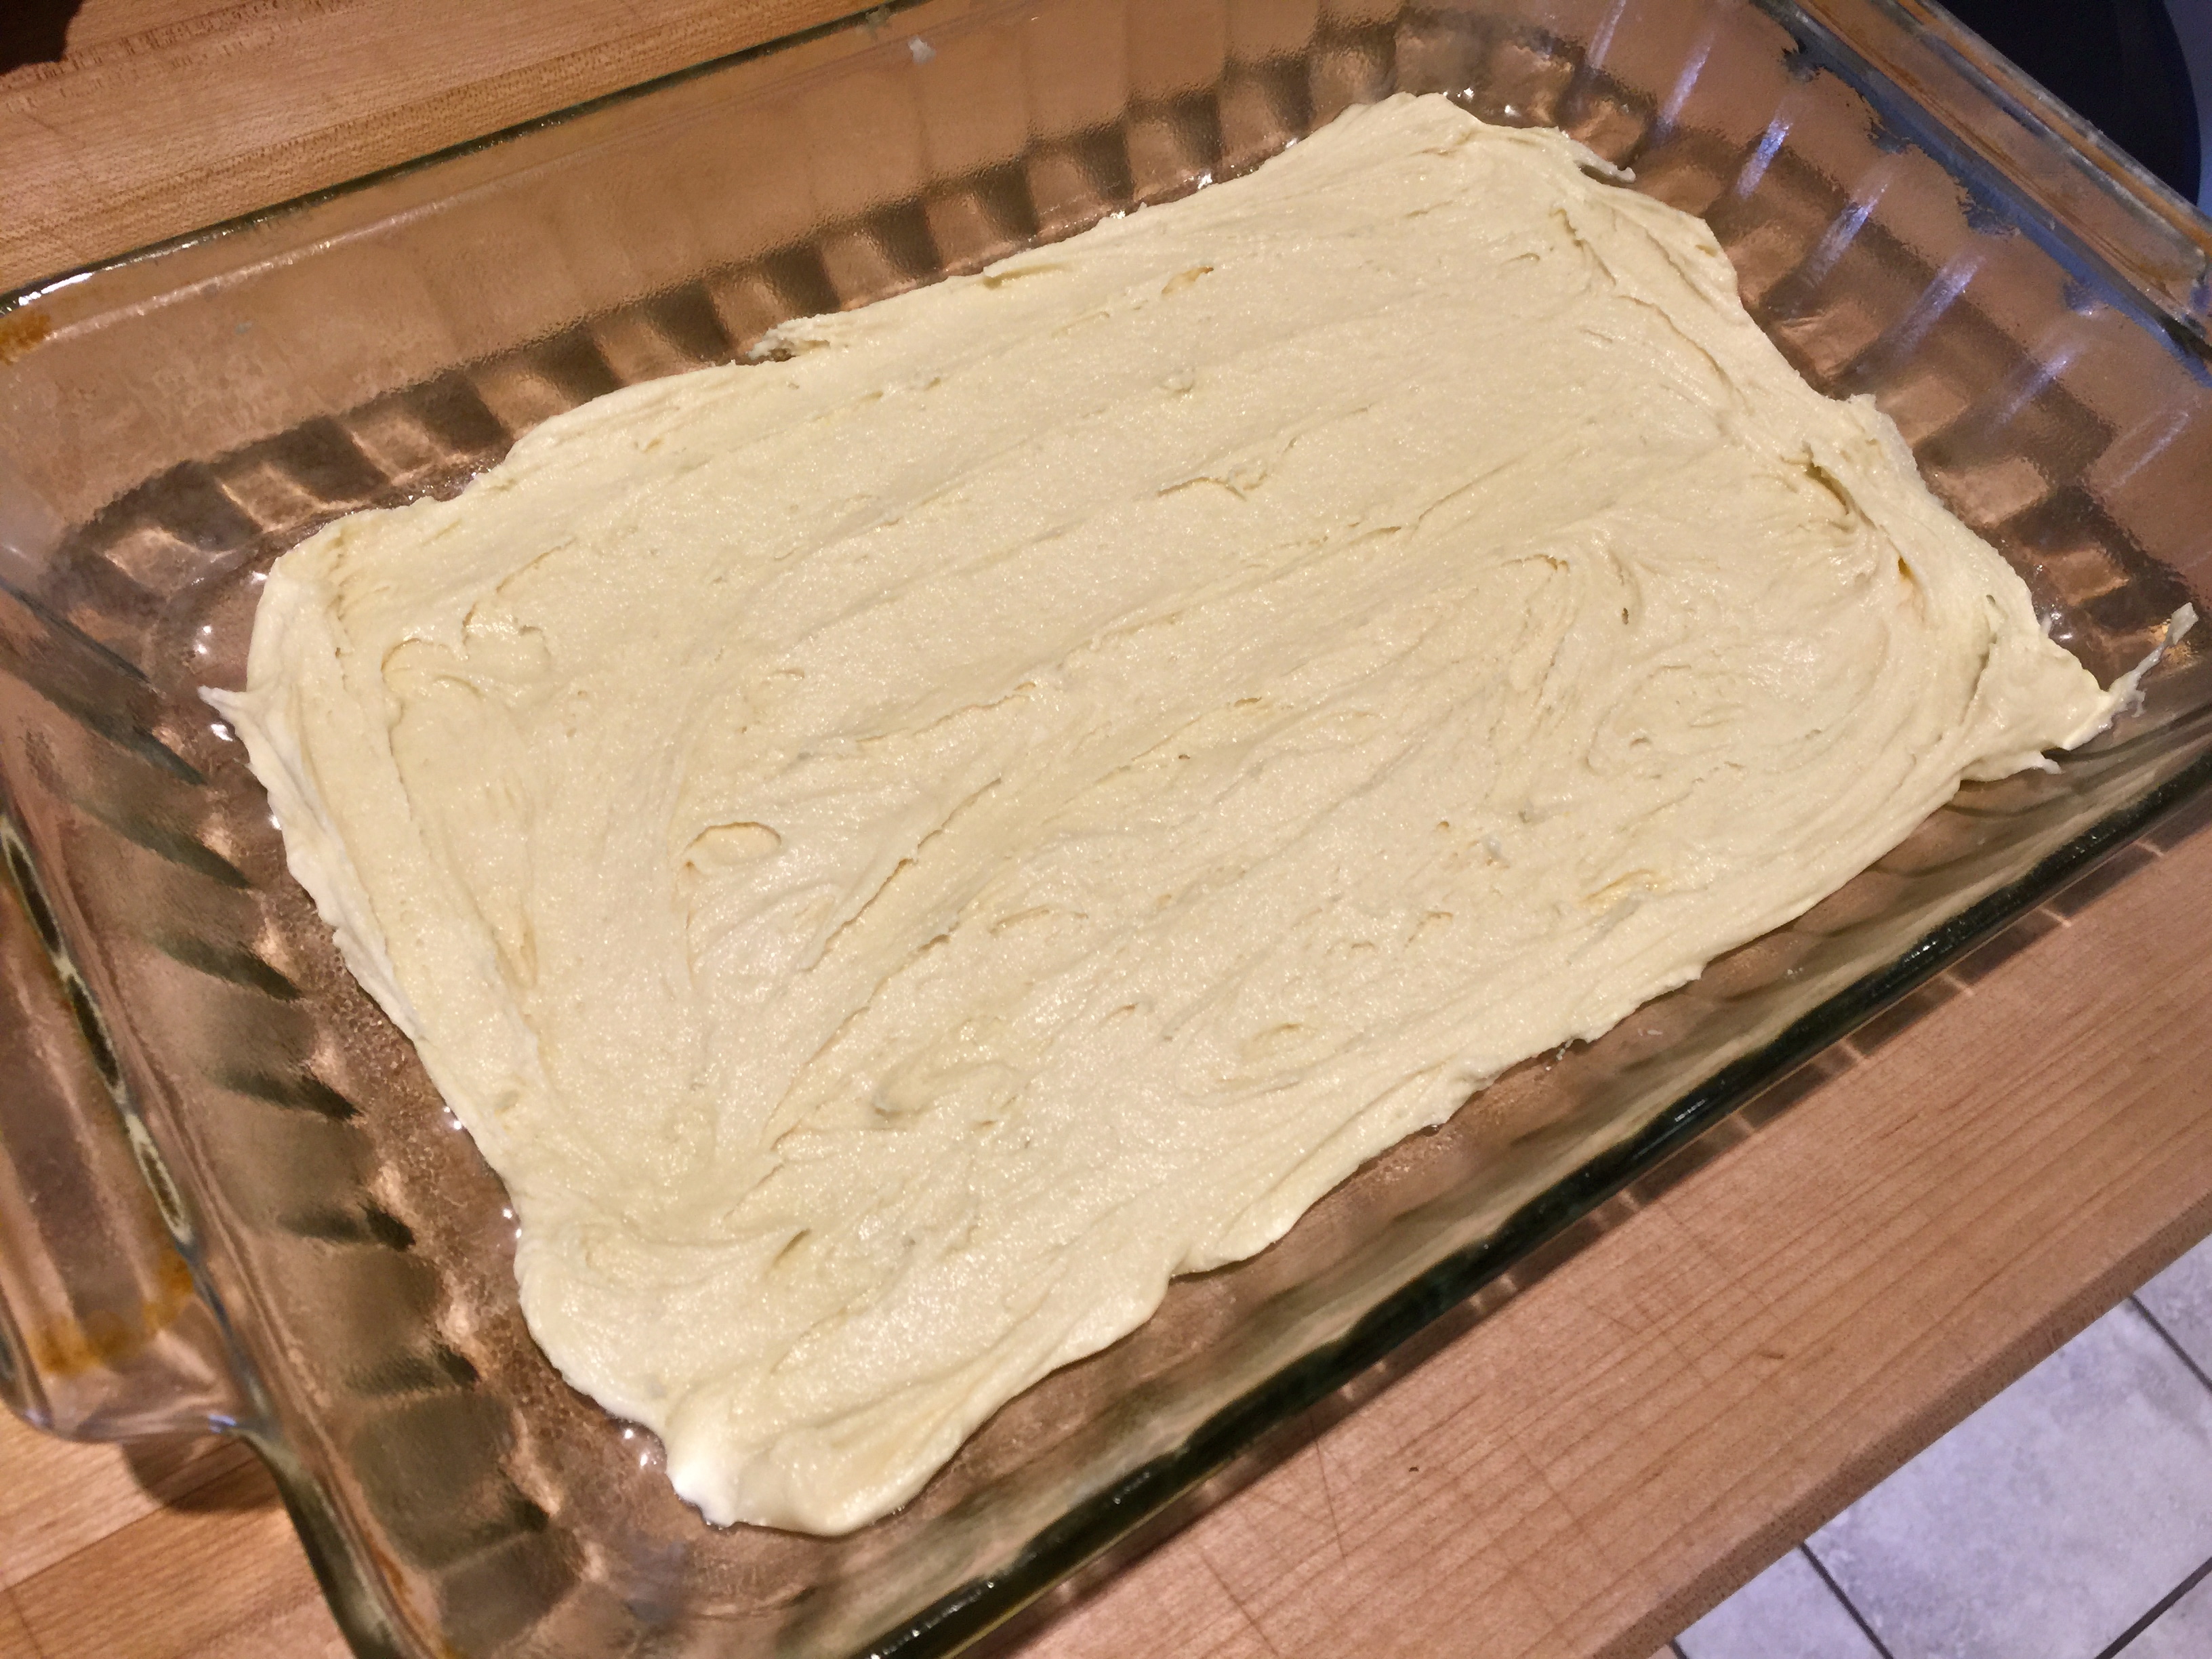
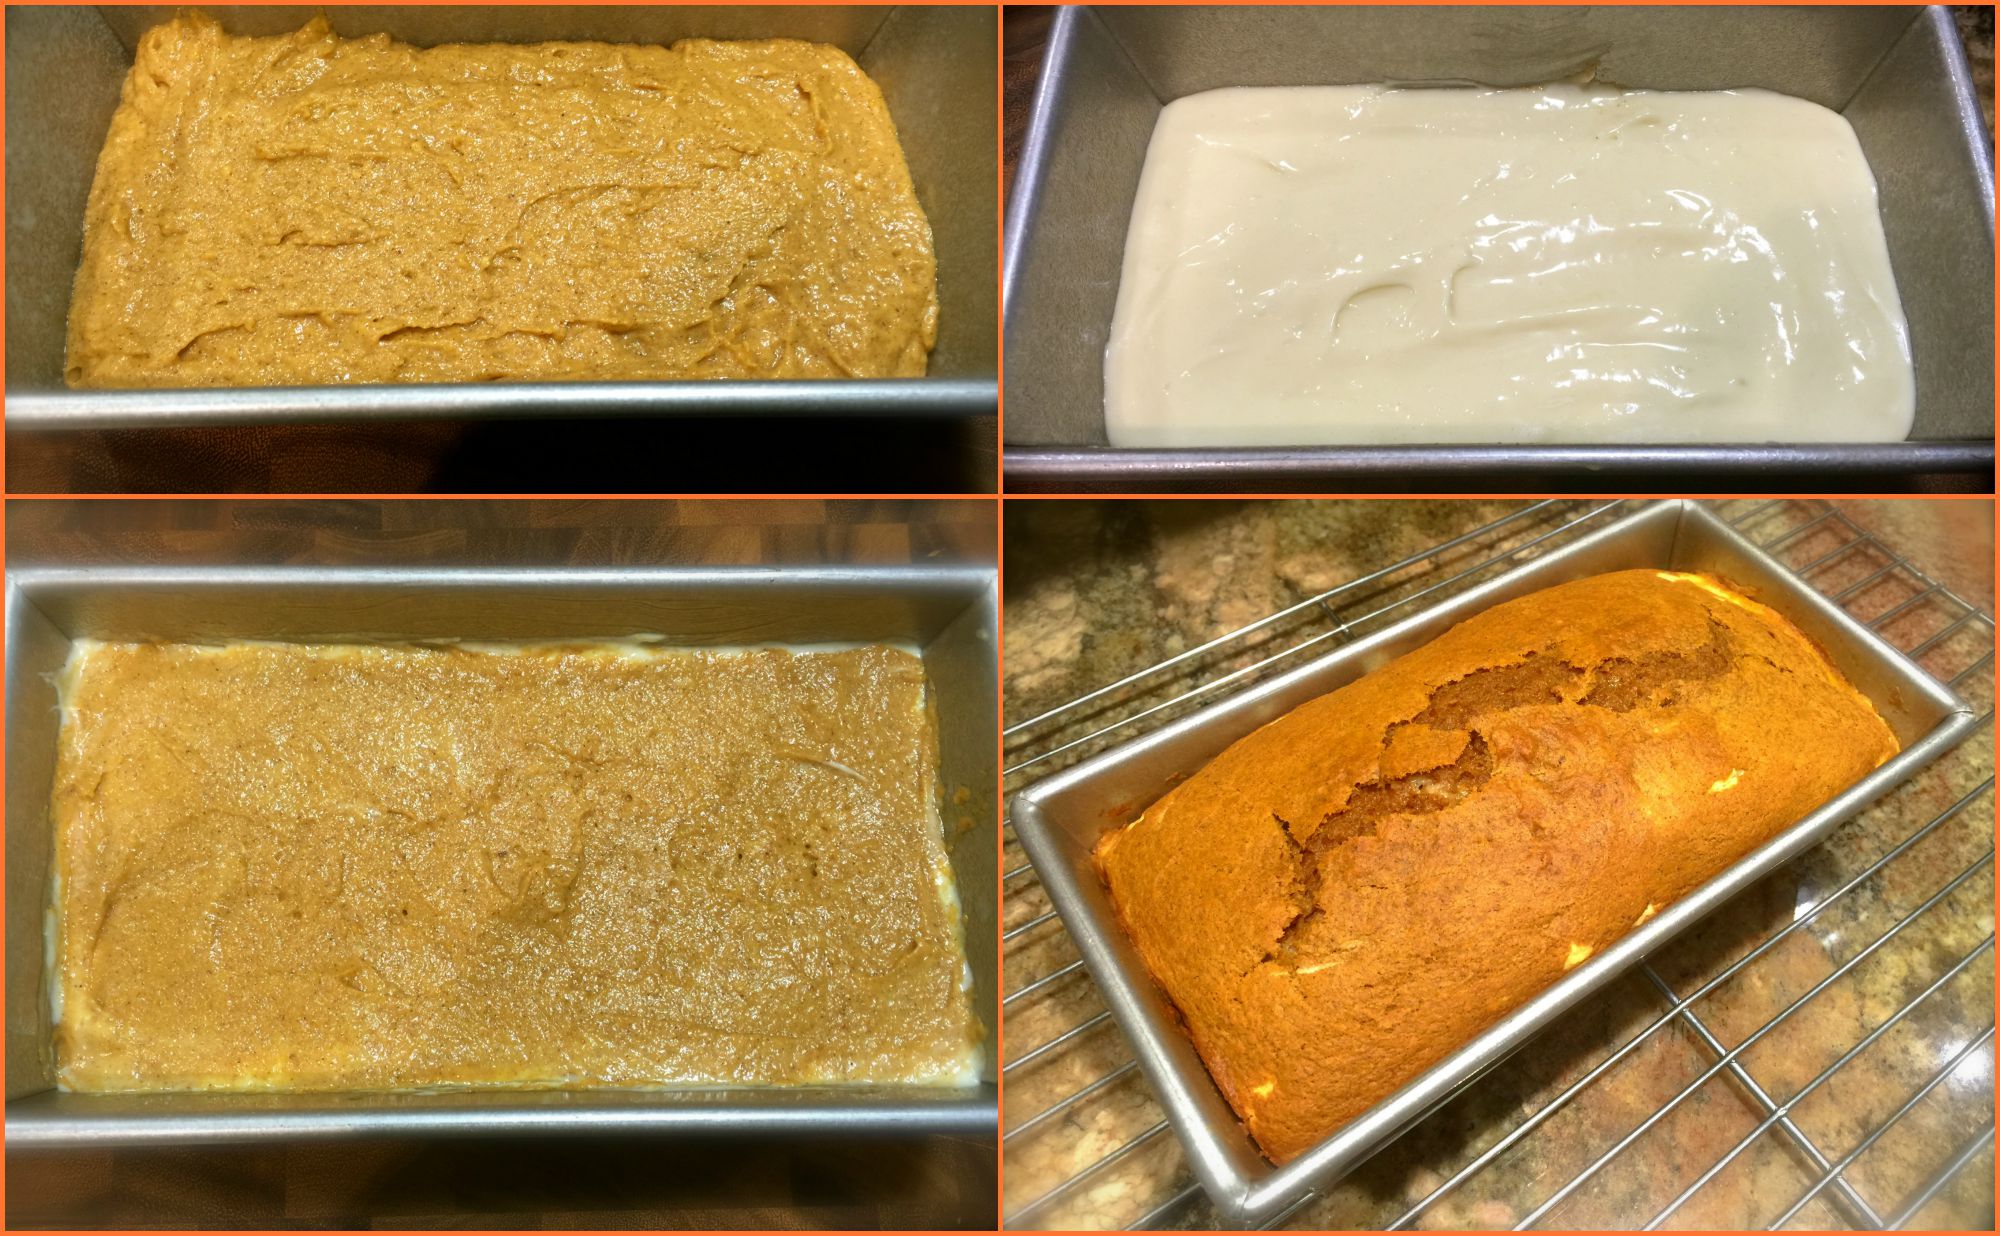
The Thick Batter
Working with batter like this can be a challenge. This is the kind of recipe where you layer part of the batter in the pan, add the raspberries and then cover them with the remaining batter. I recommend you make this division close to half and half and here’s why. I had a hard time smoothing out the batter, especially the top layer. You will need as much batter as possible to get the job done. Dividing the batter in half did the trick.
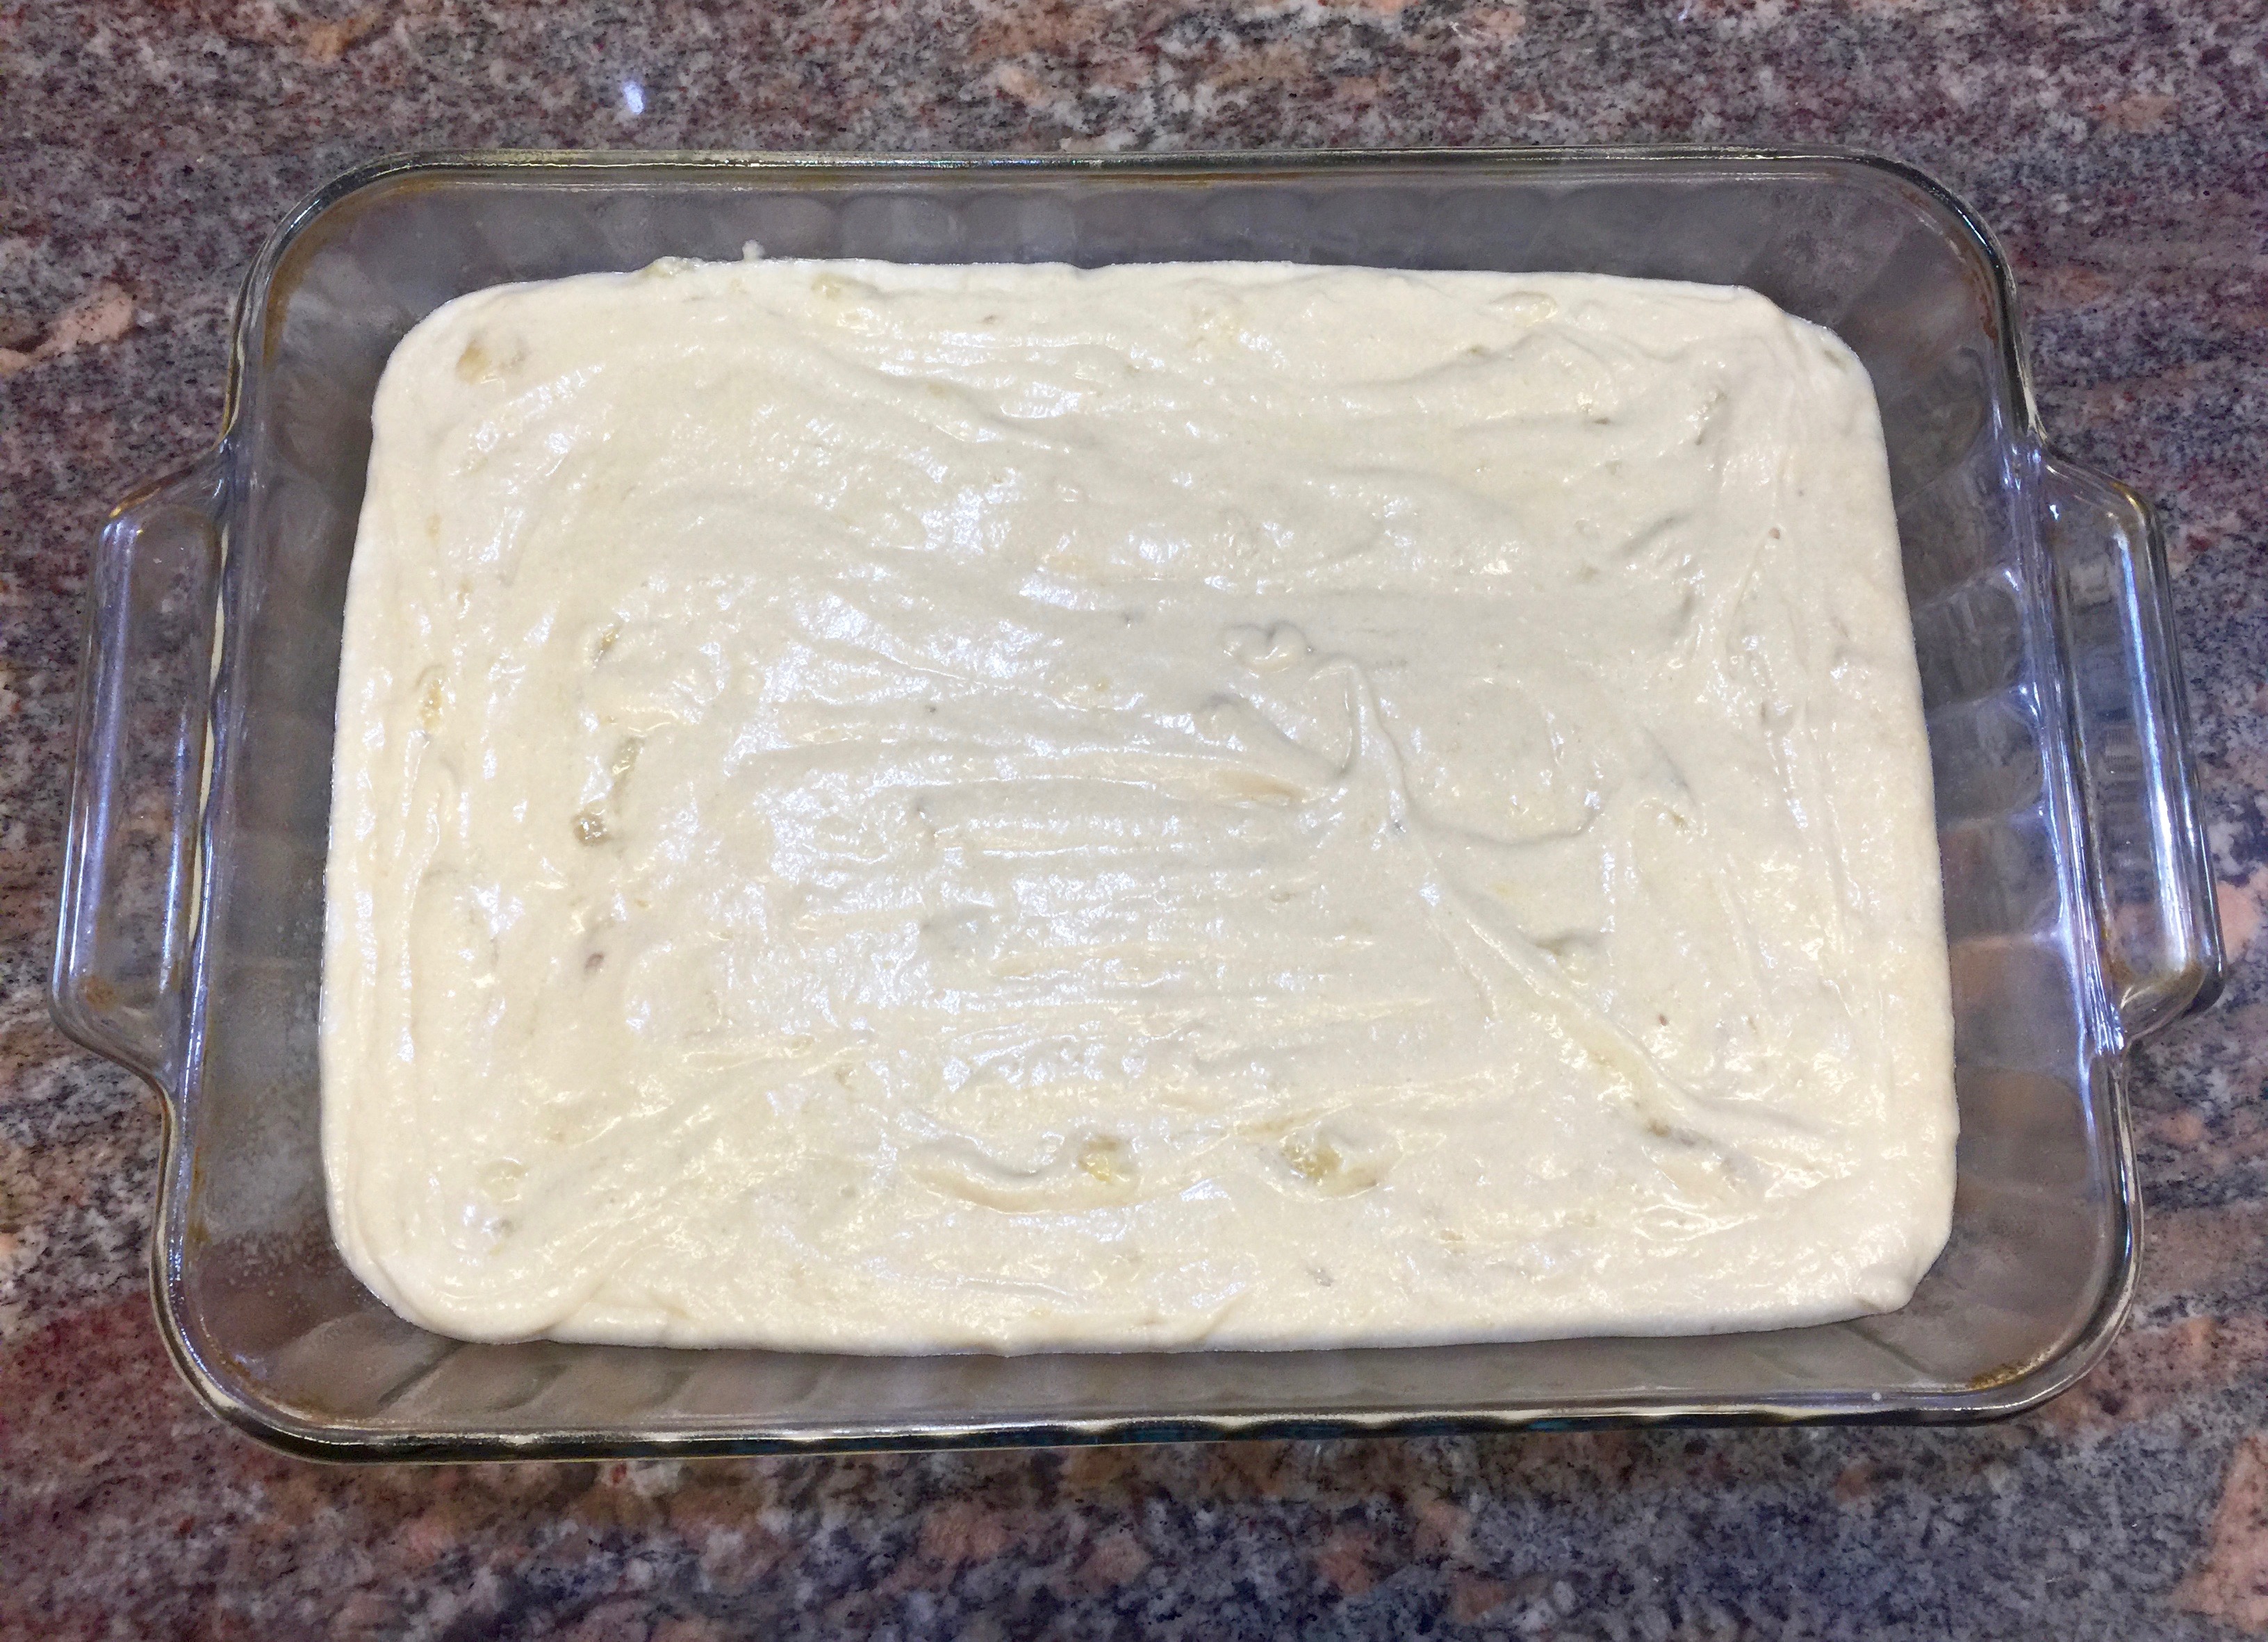
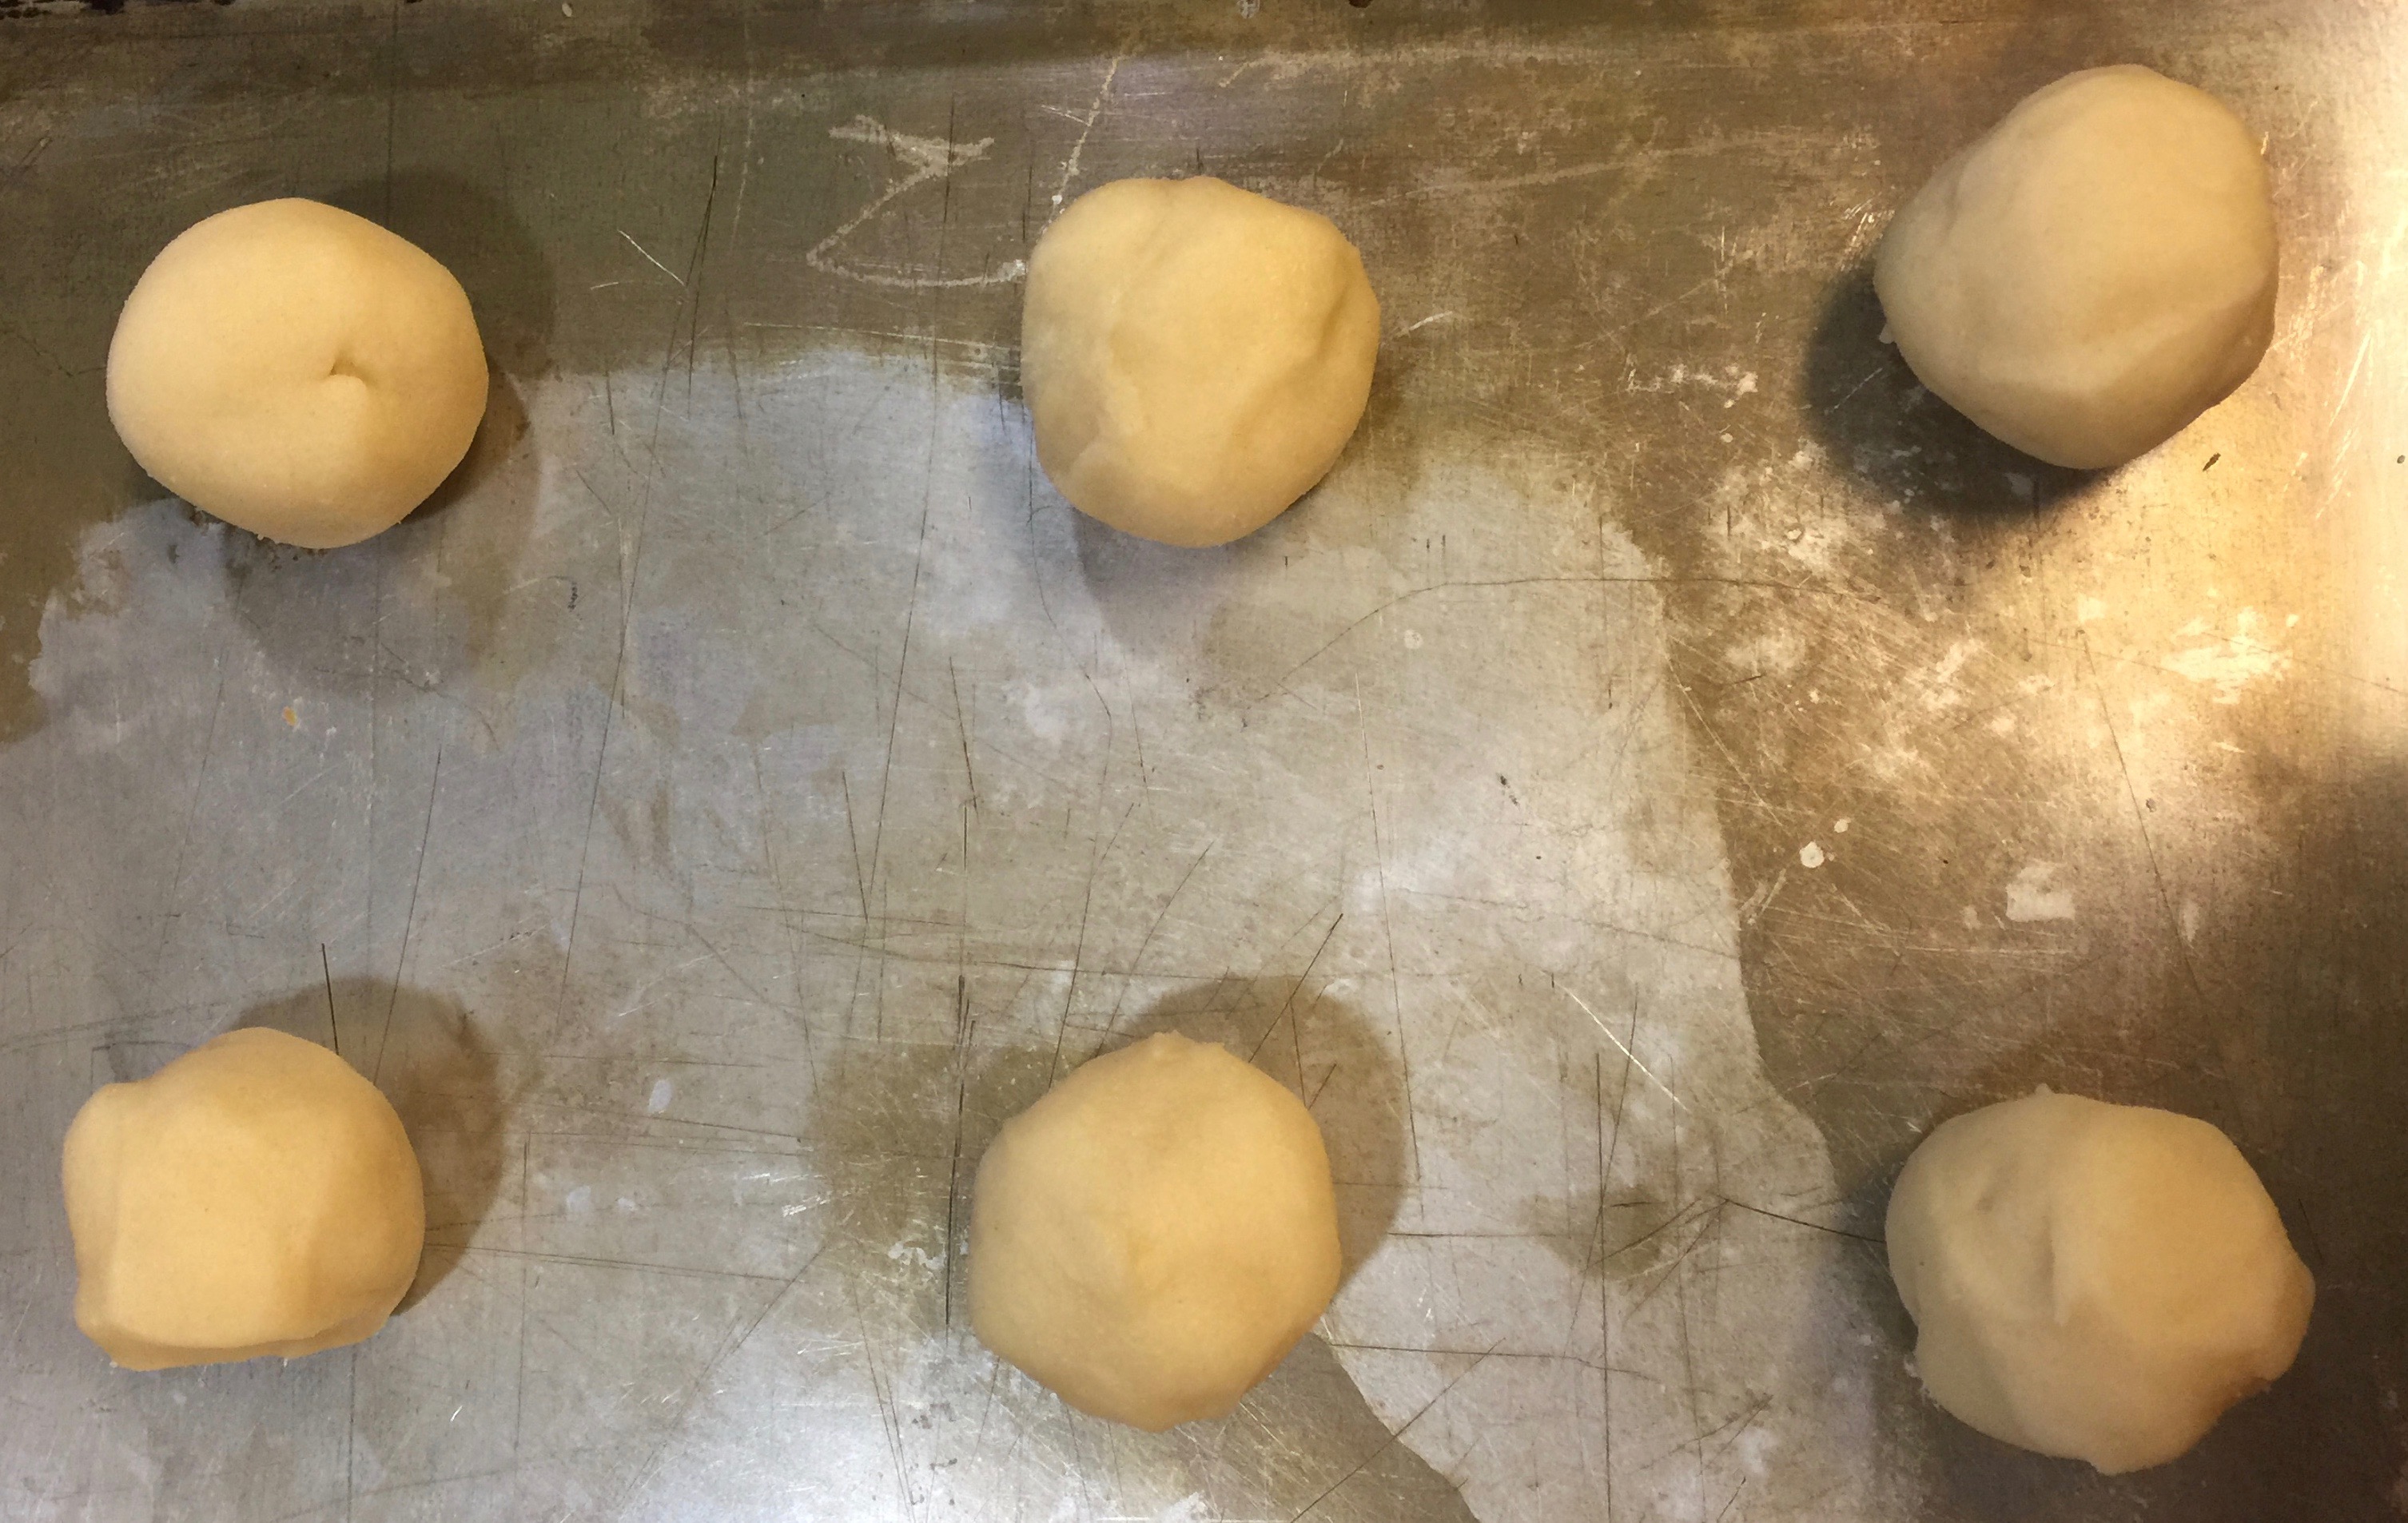
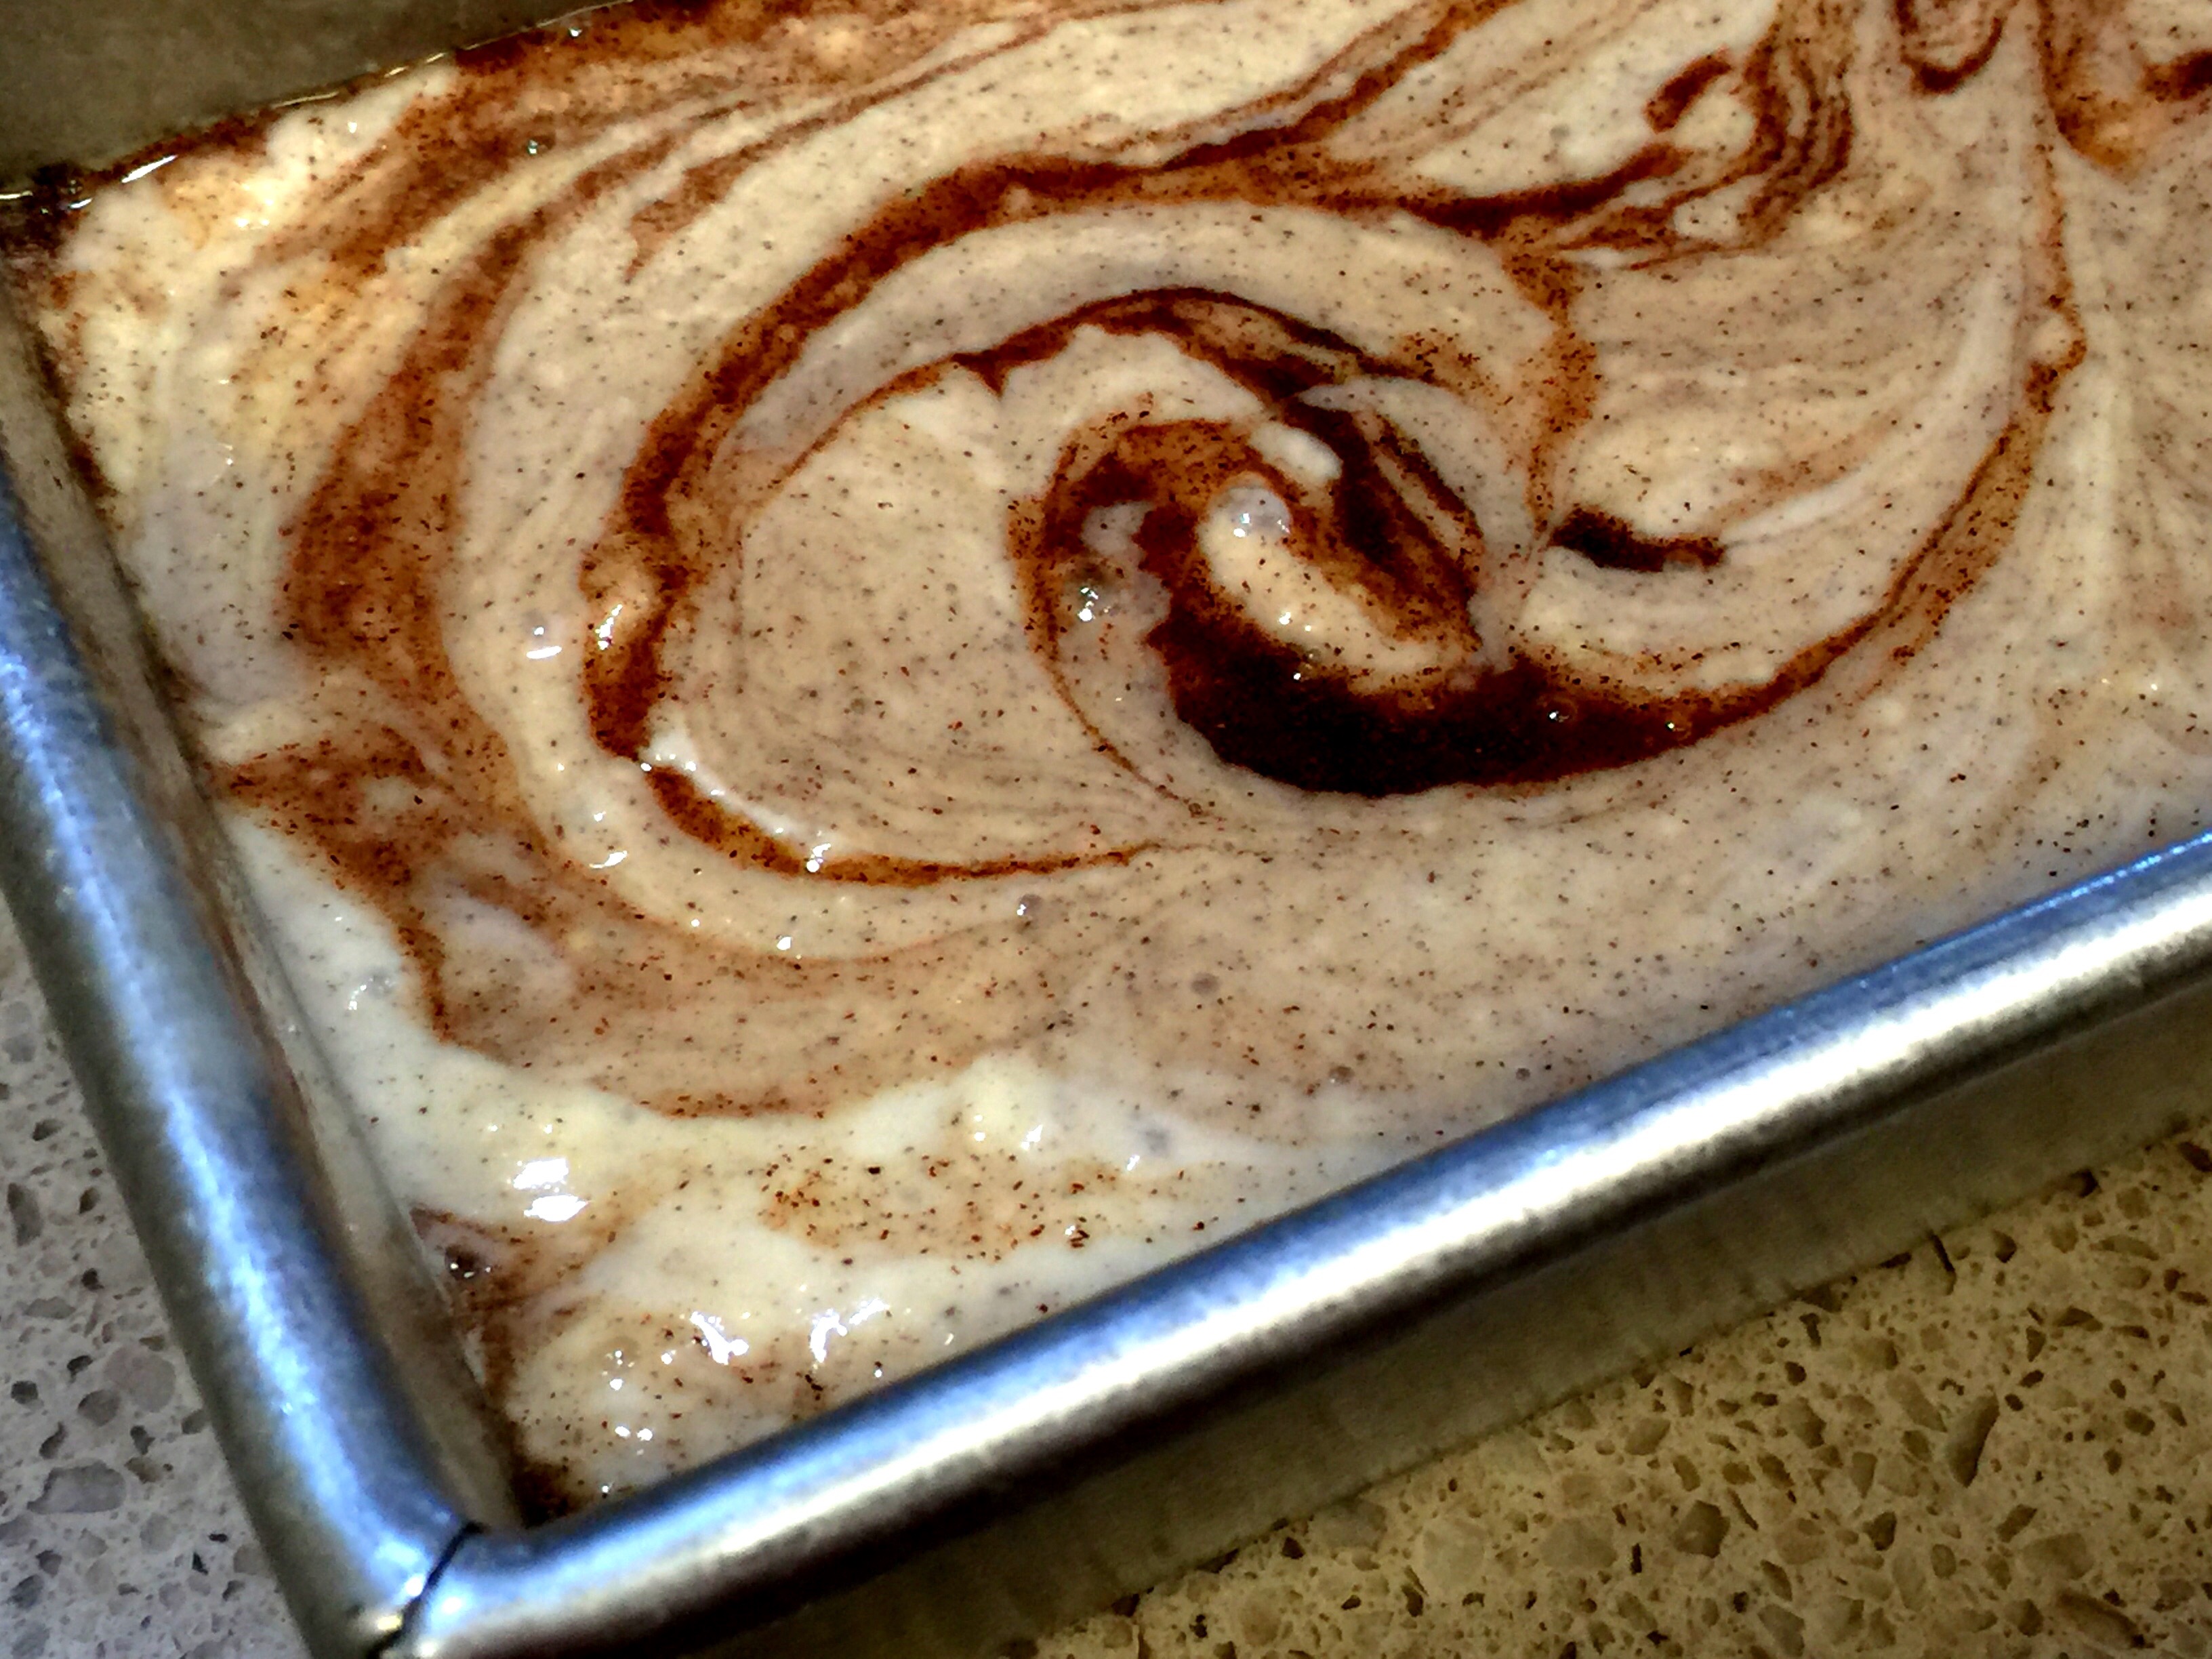
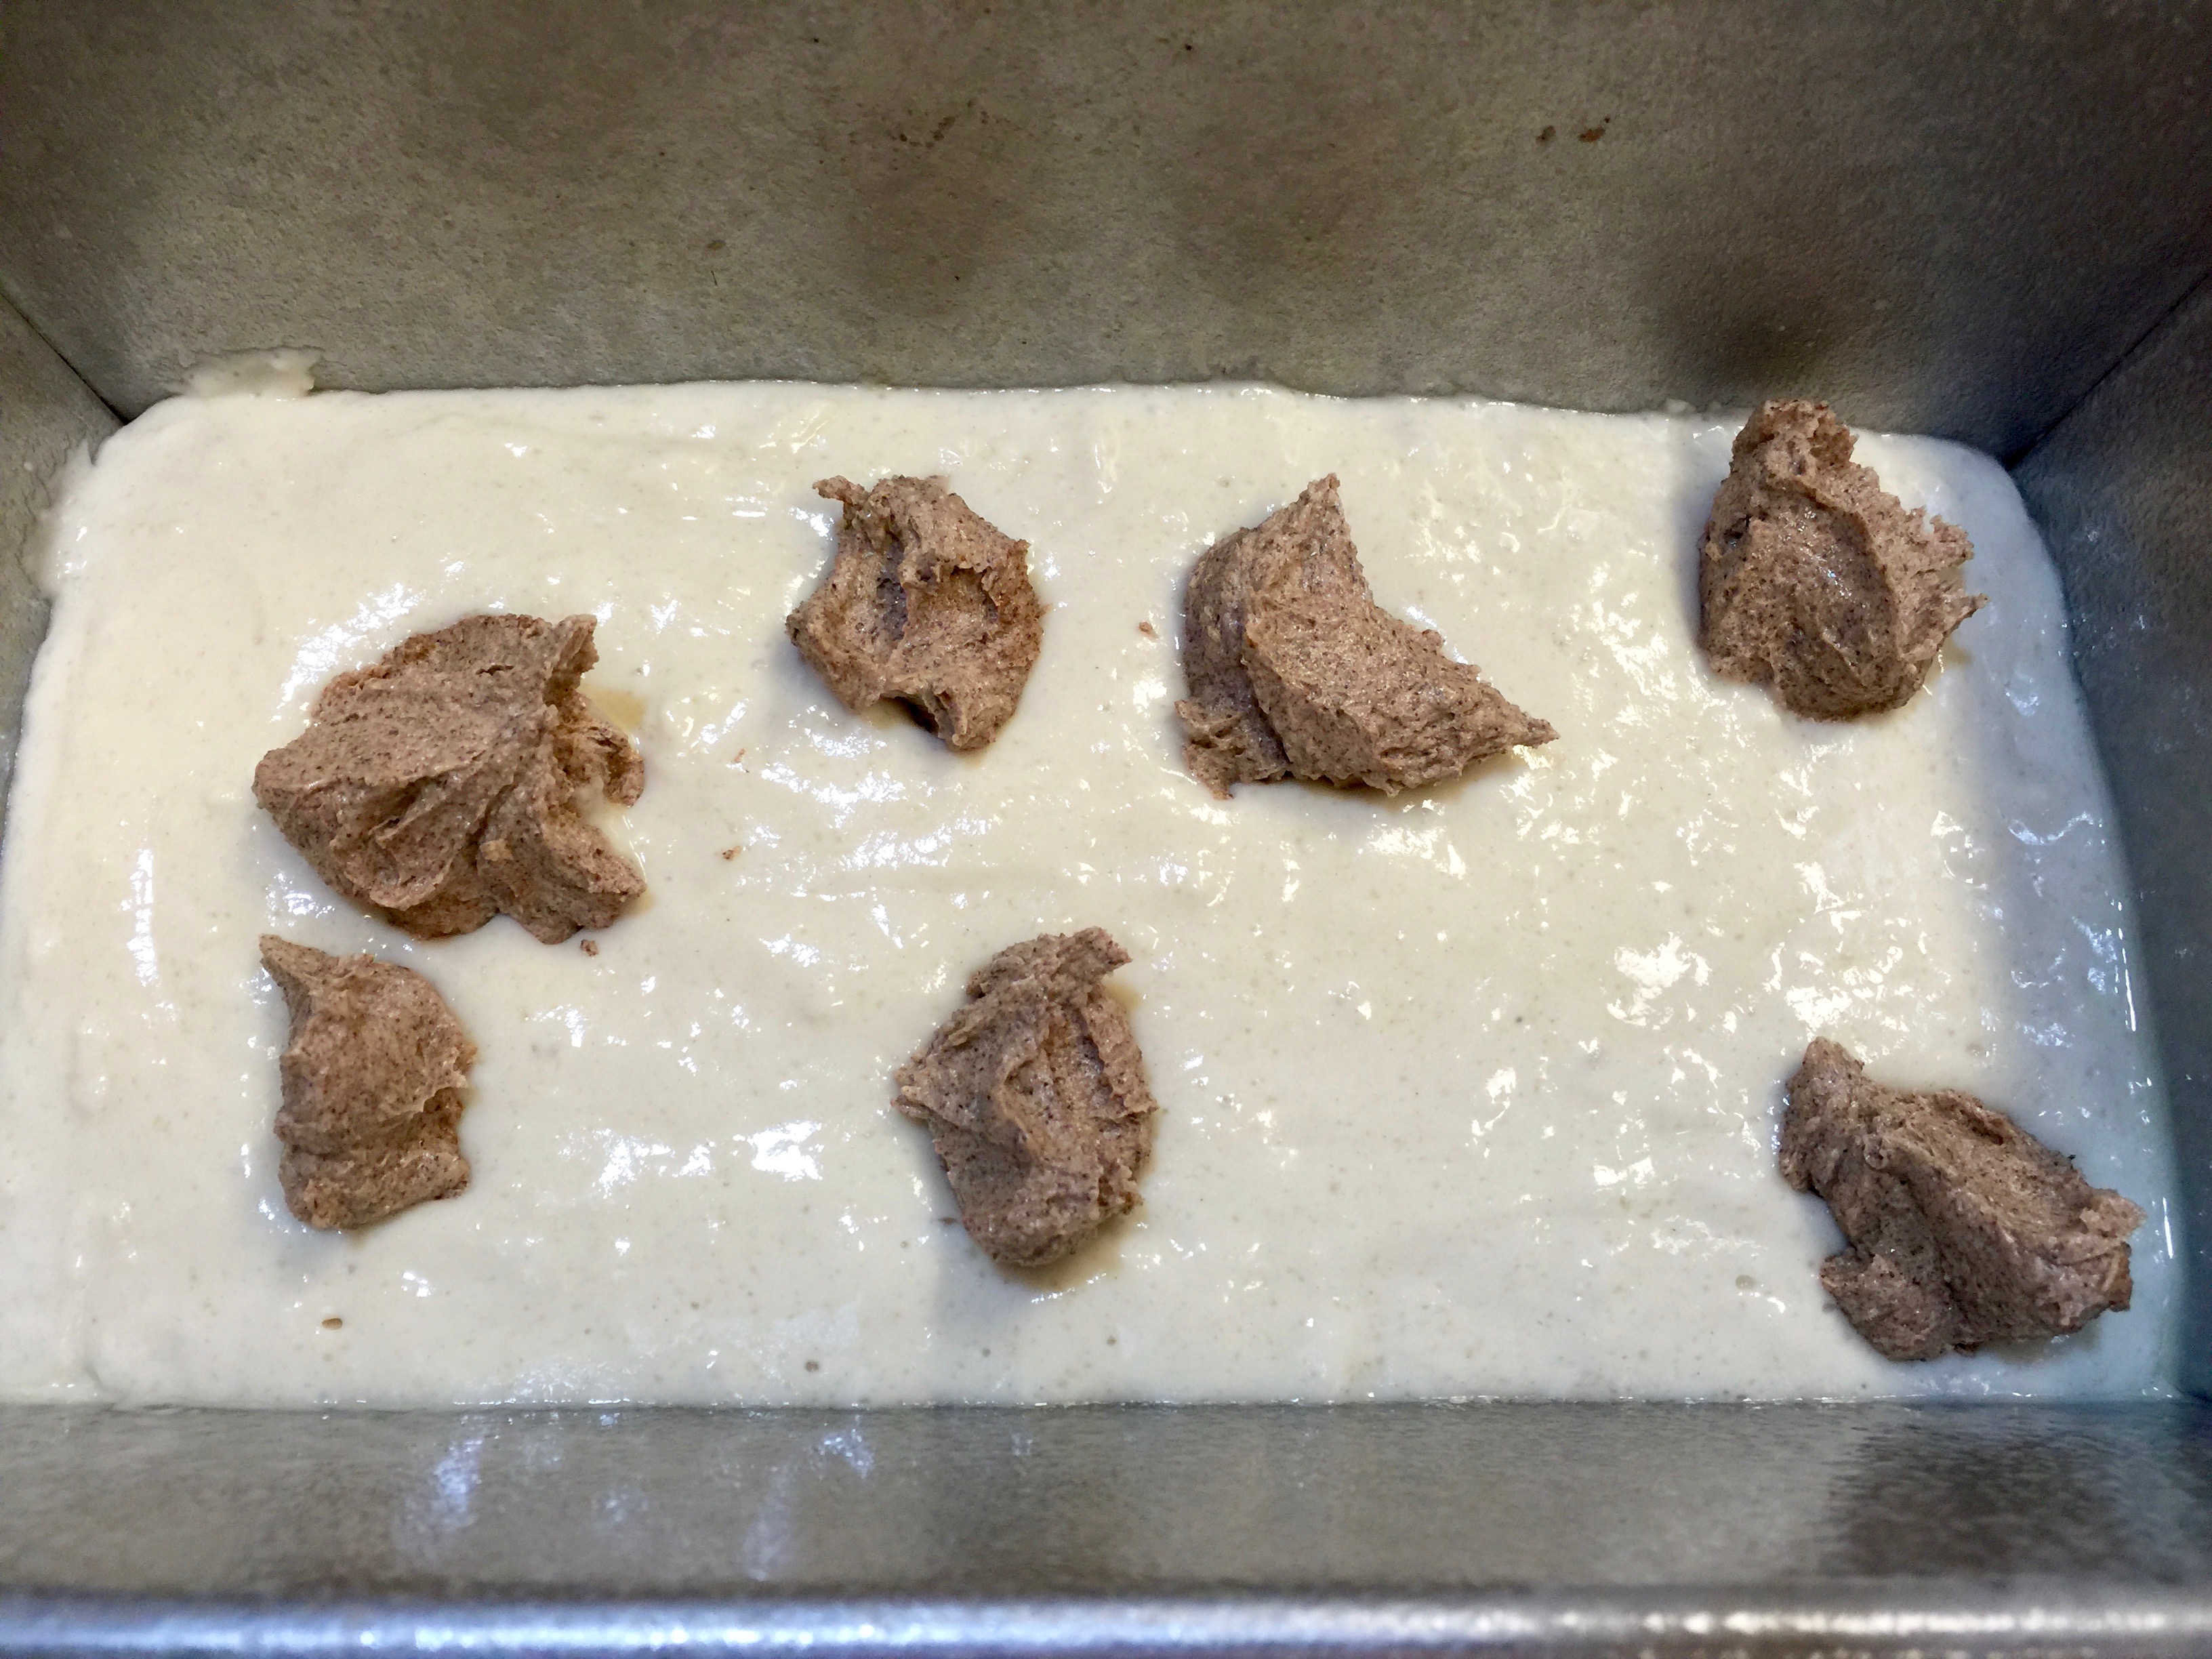
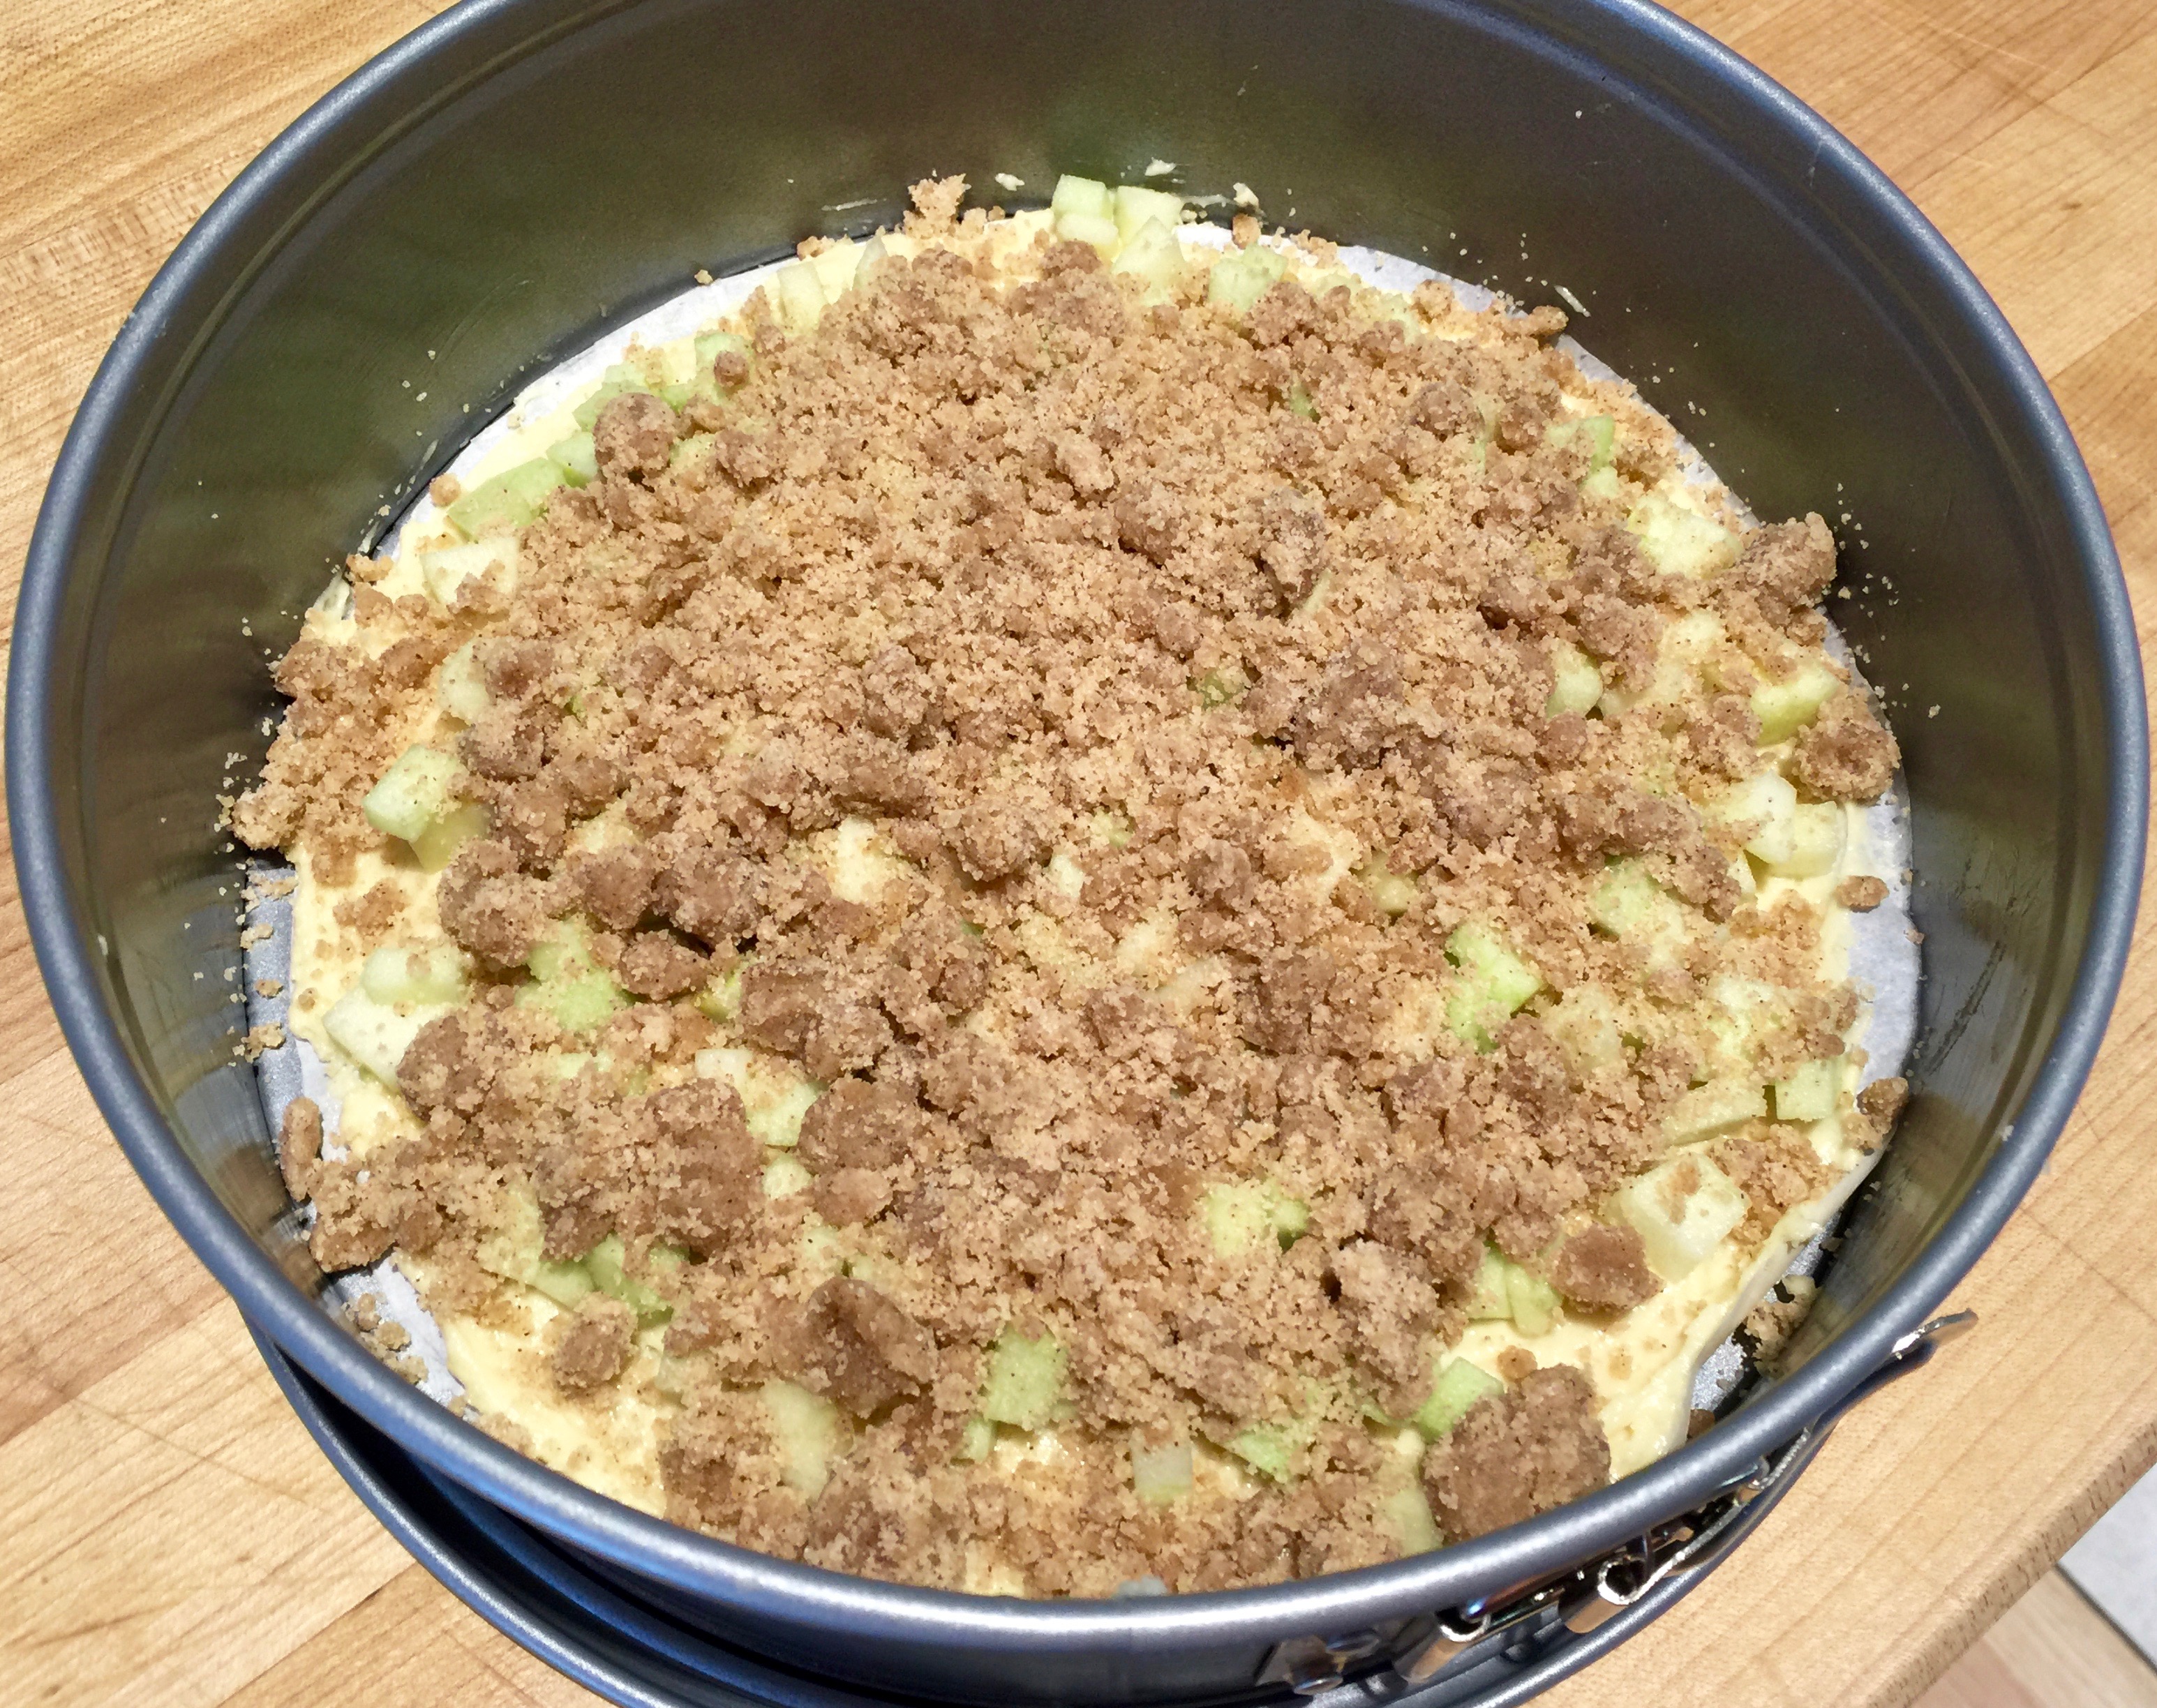
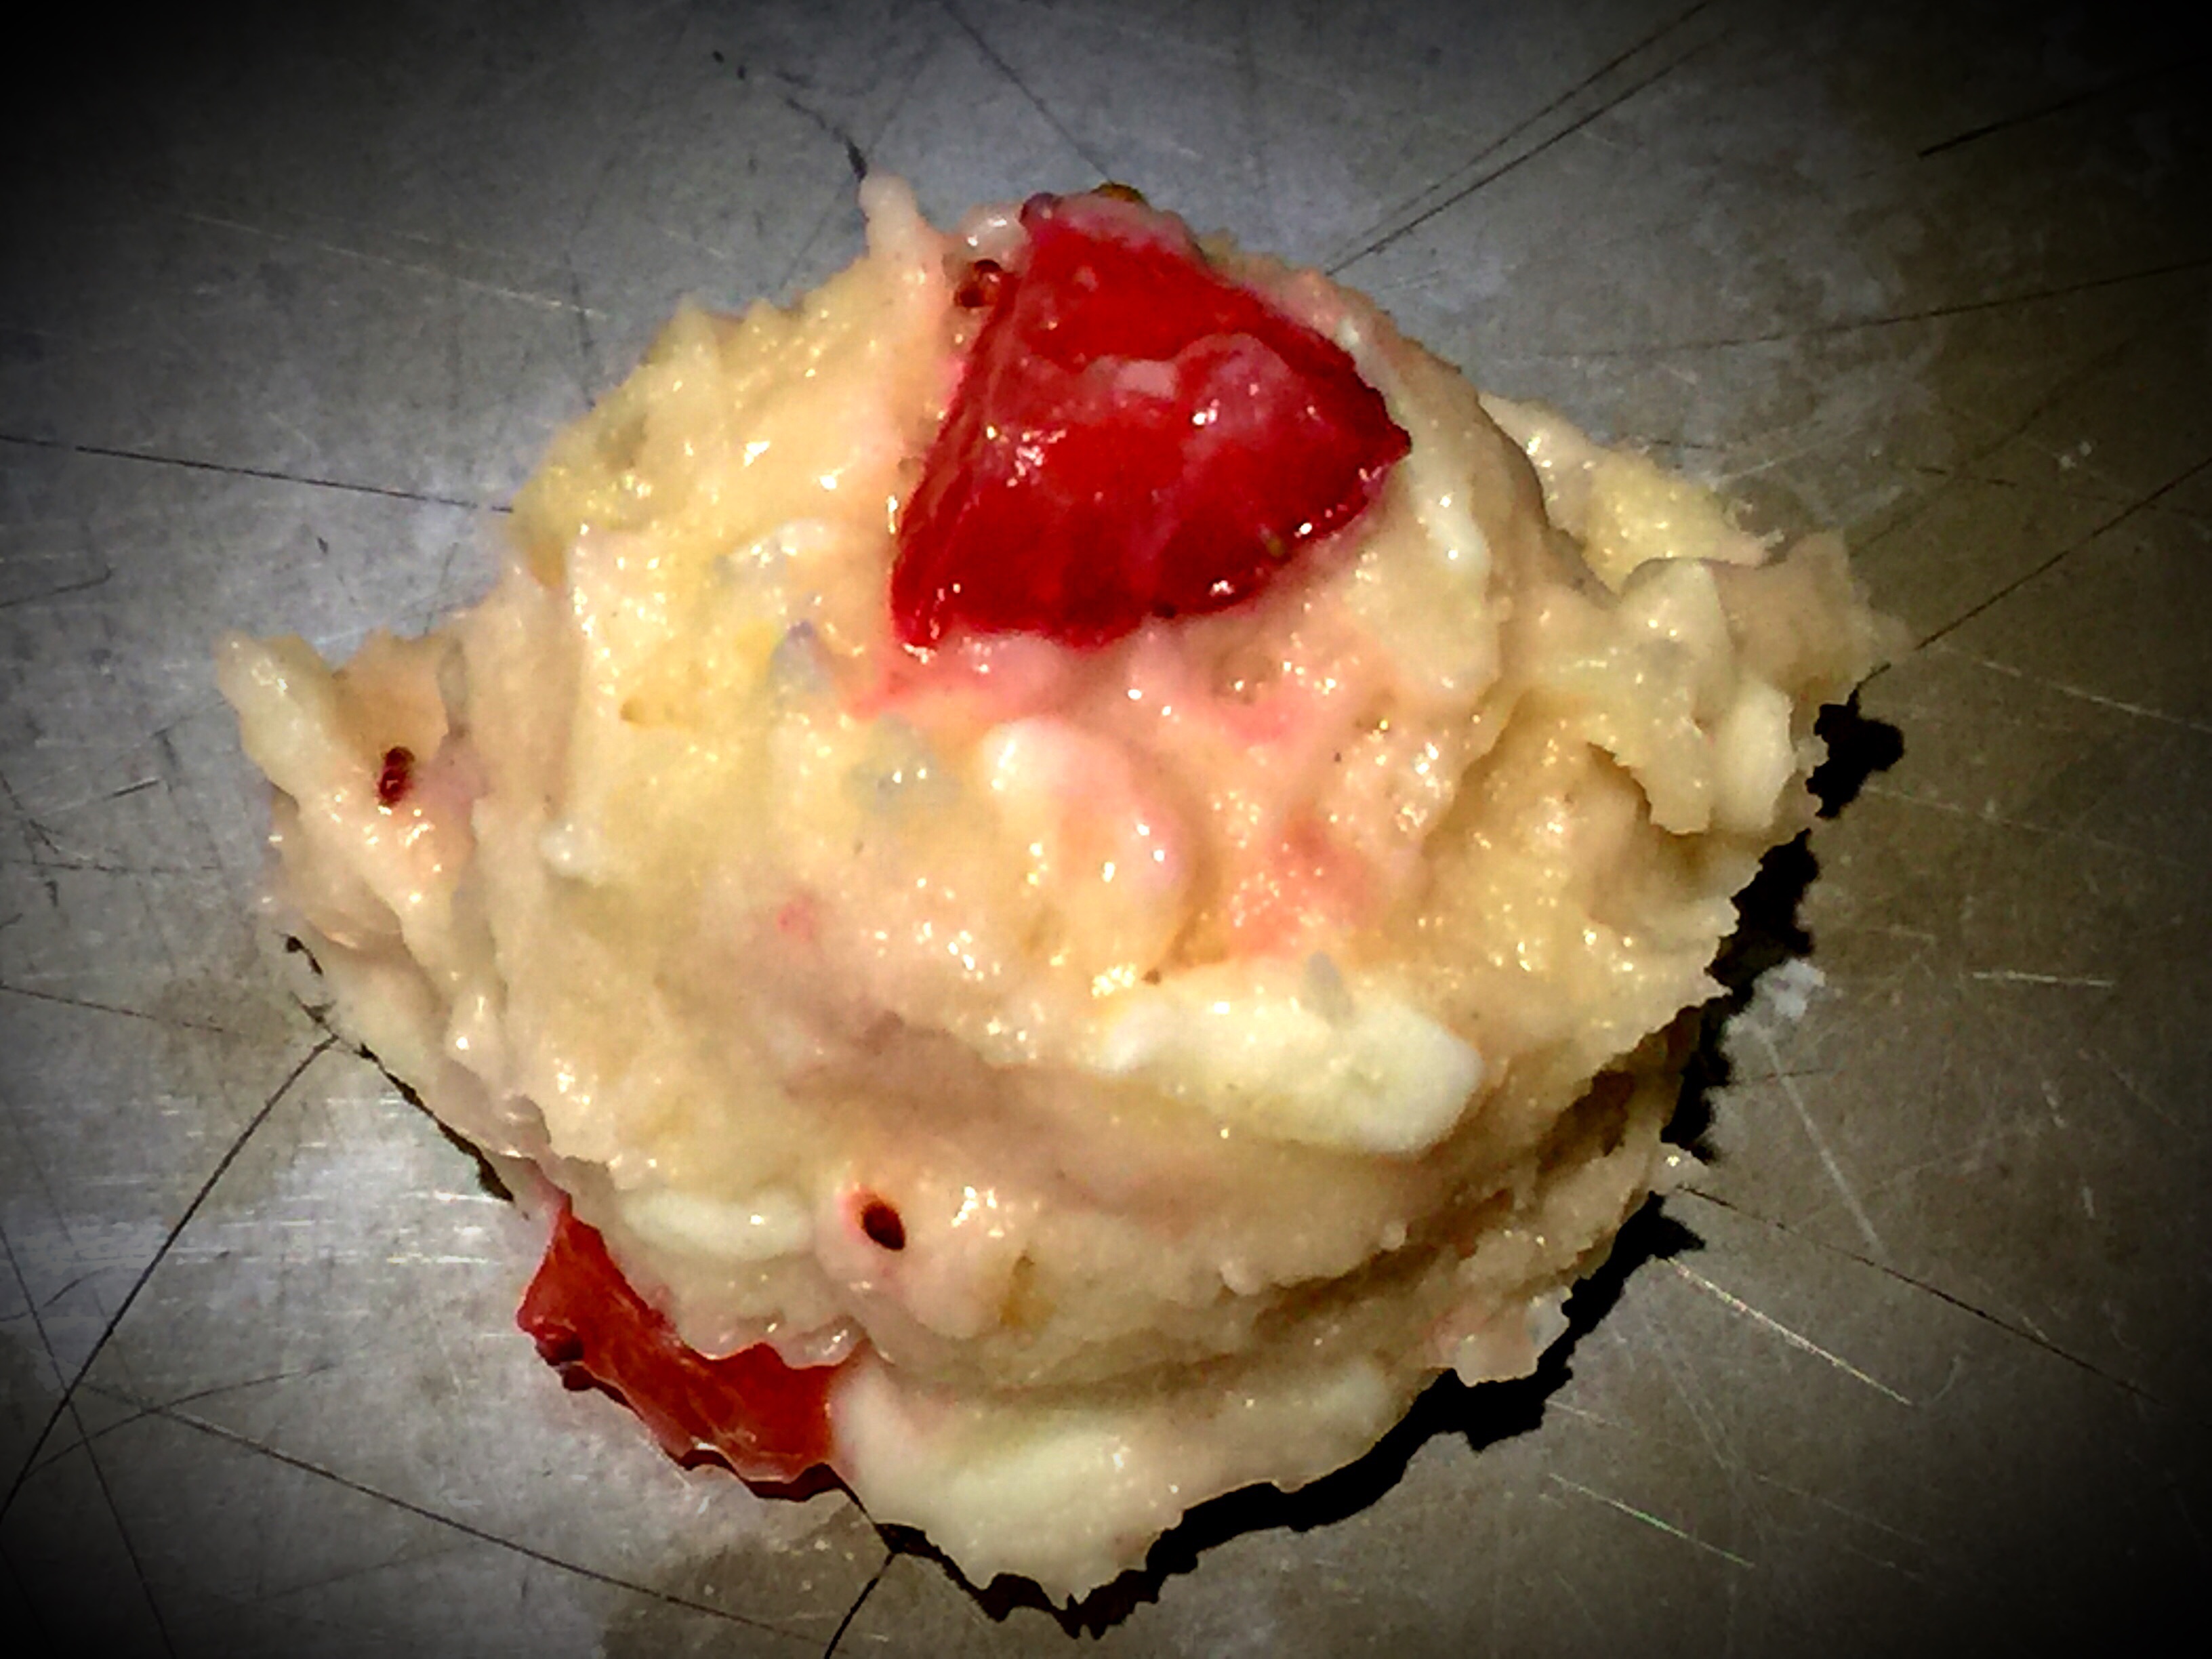
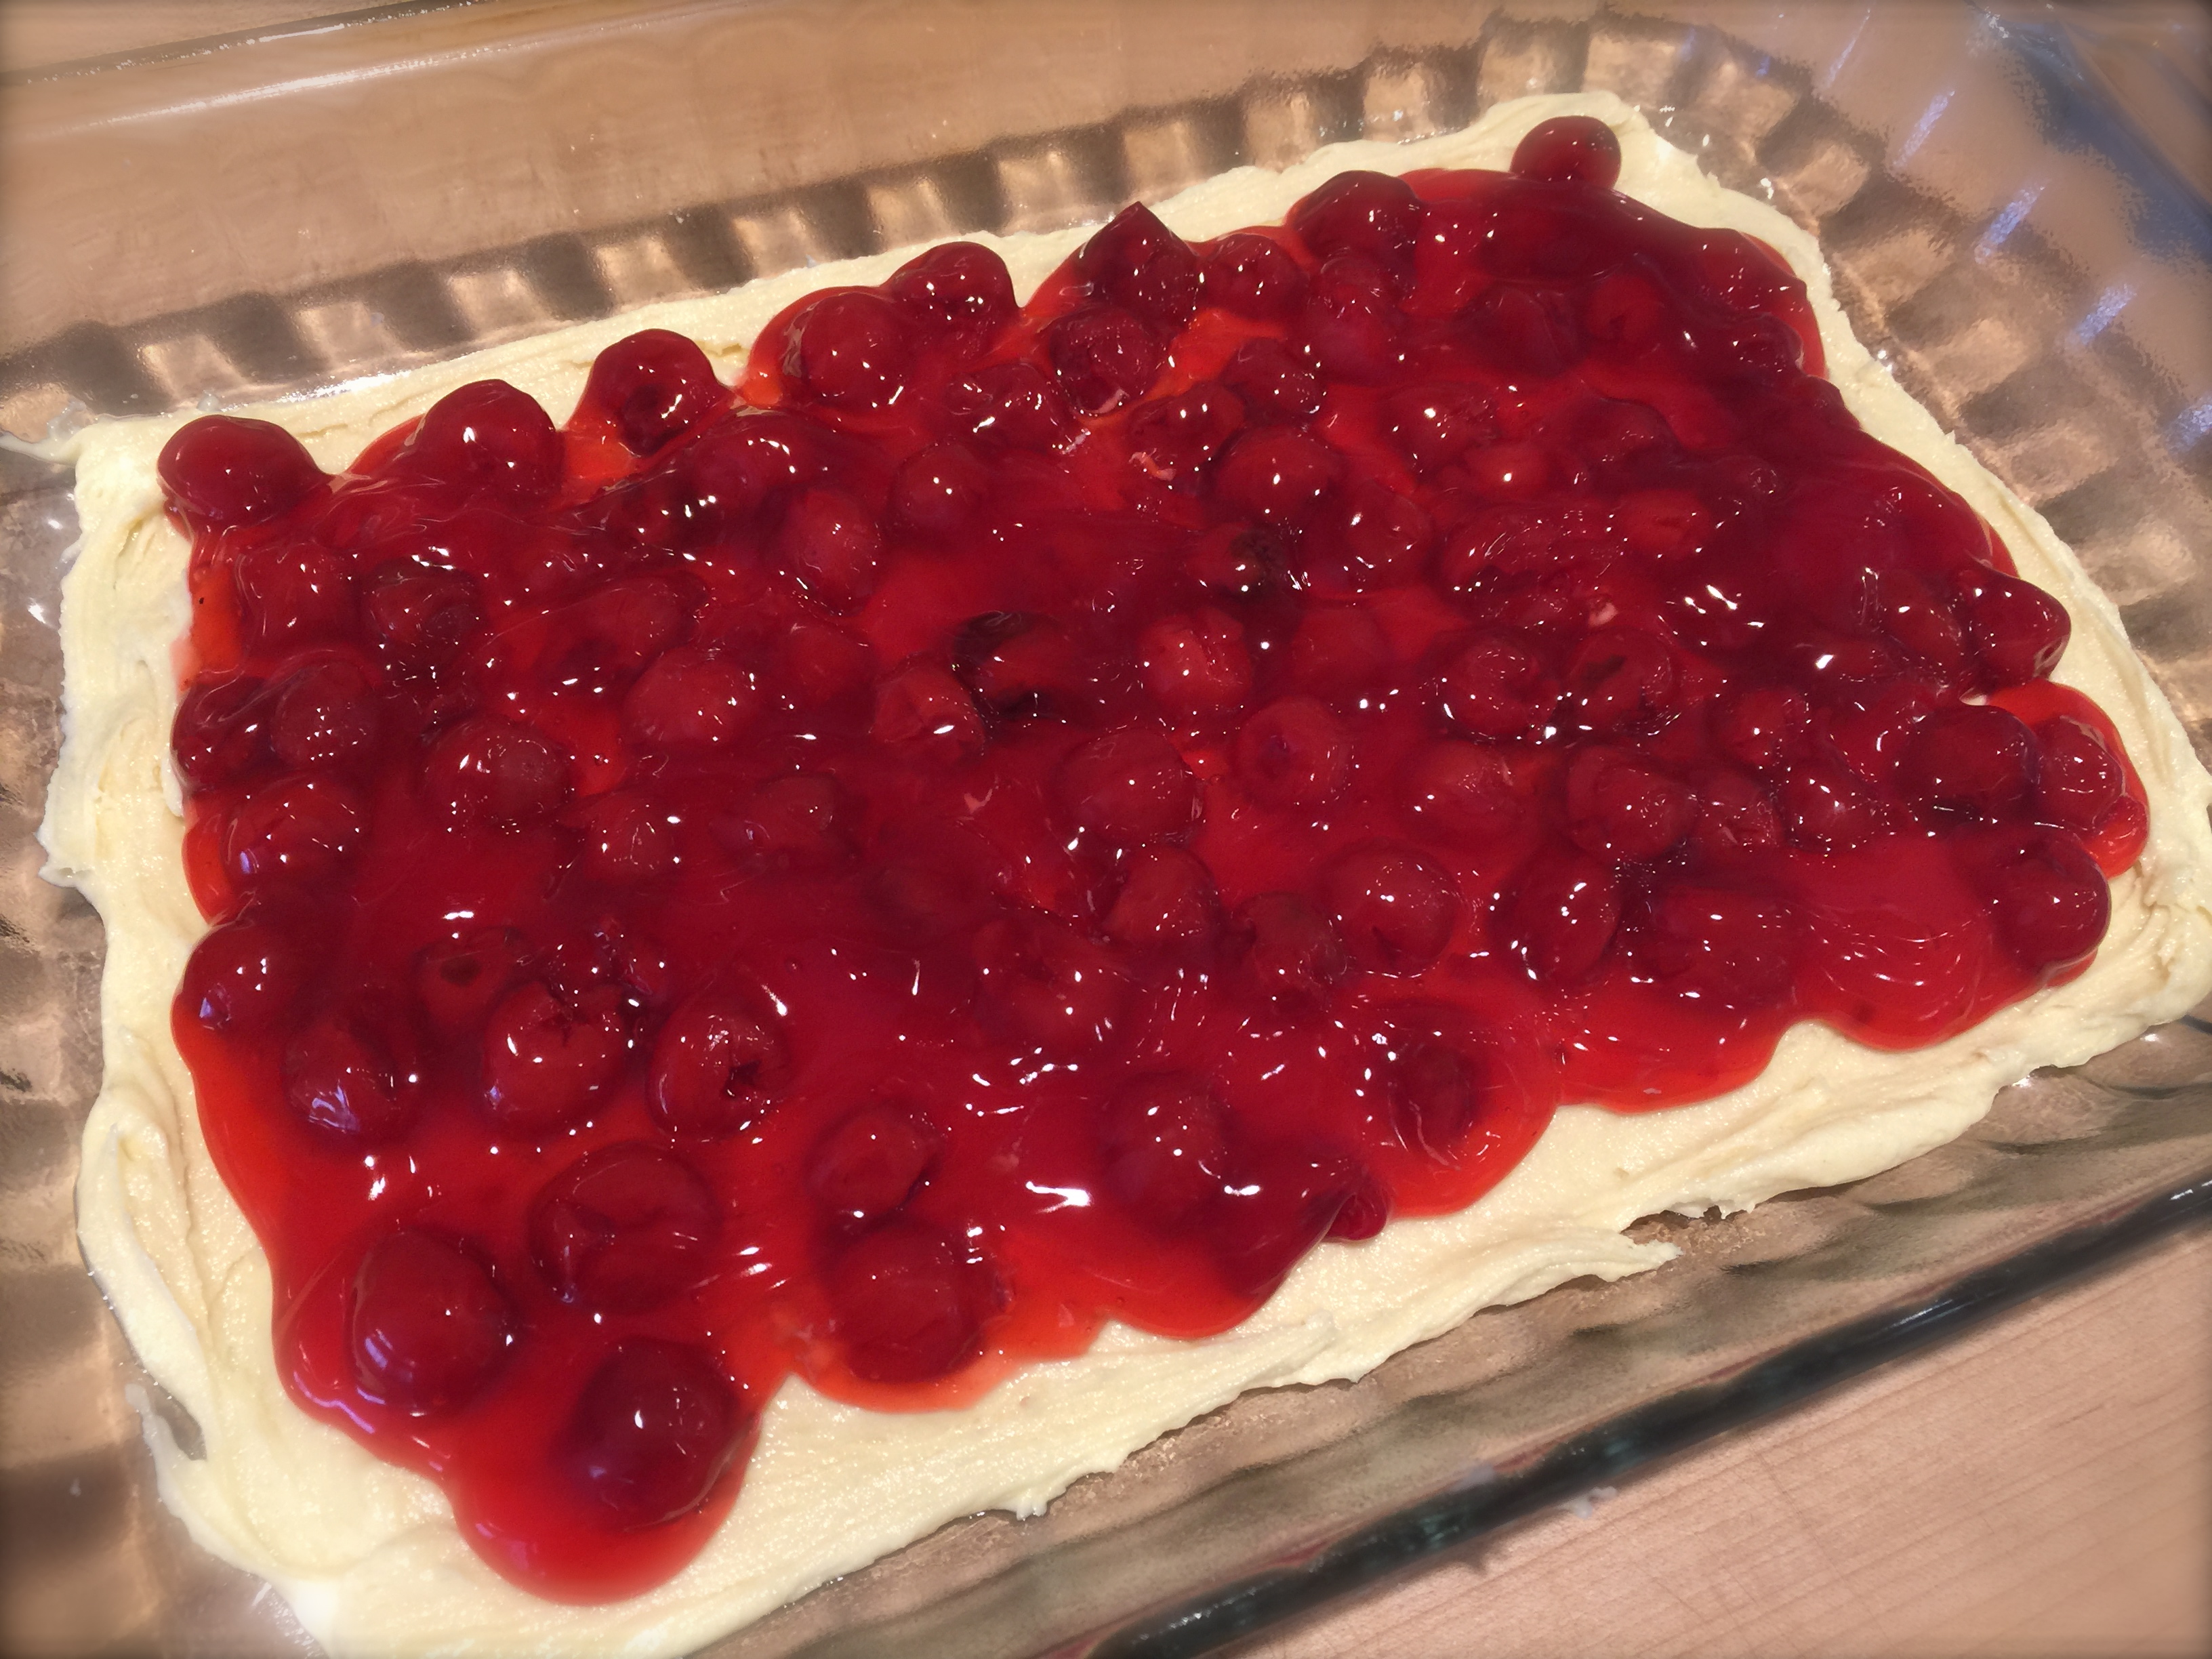
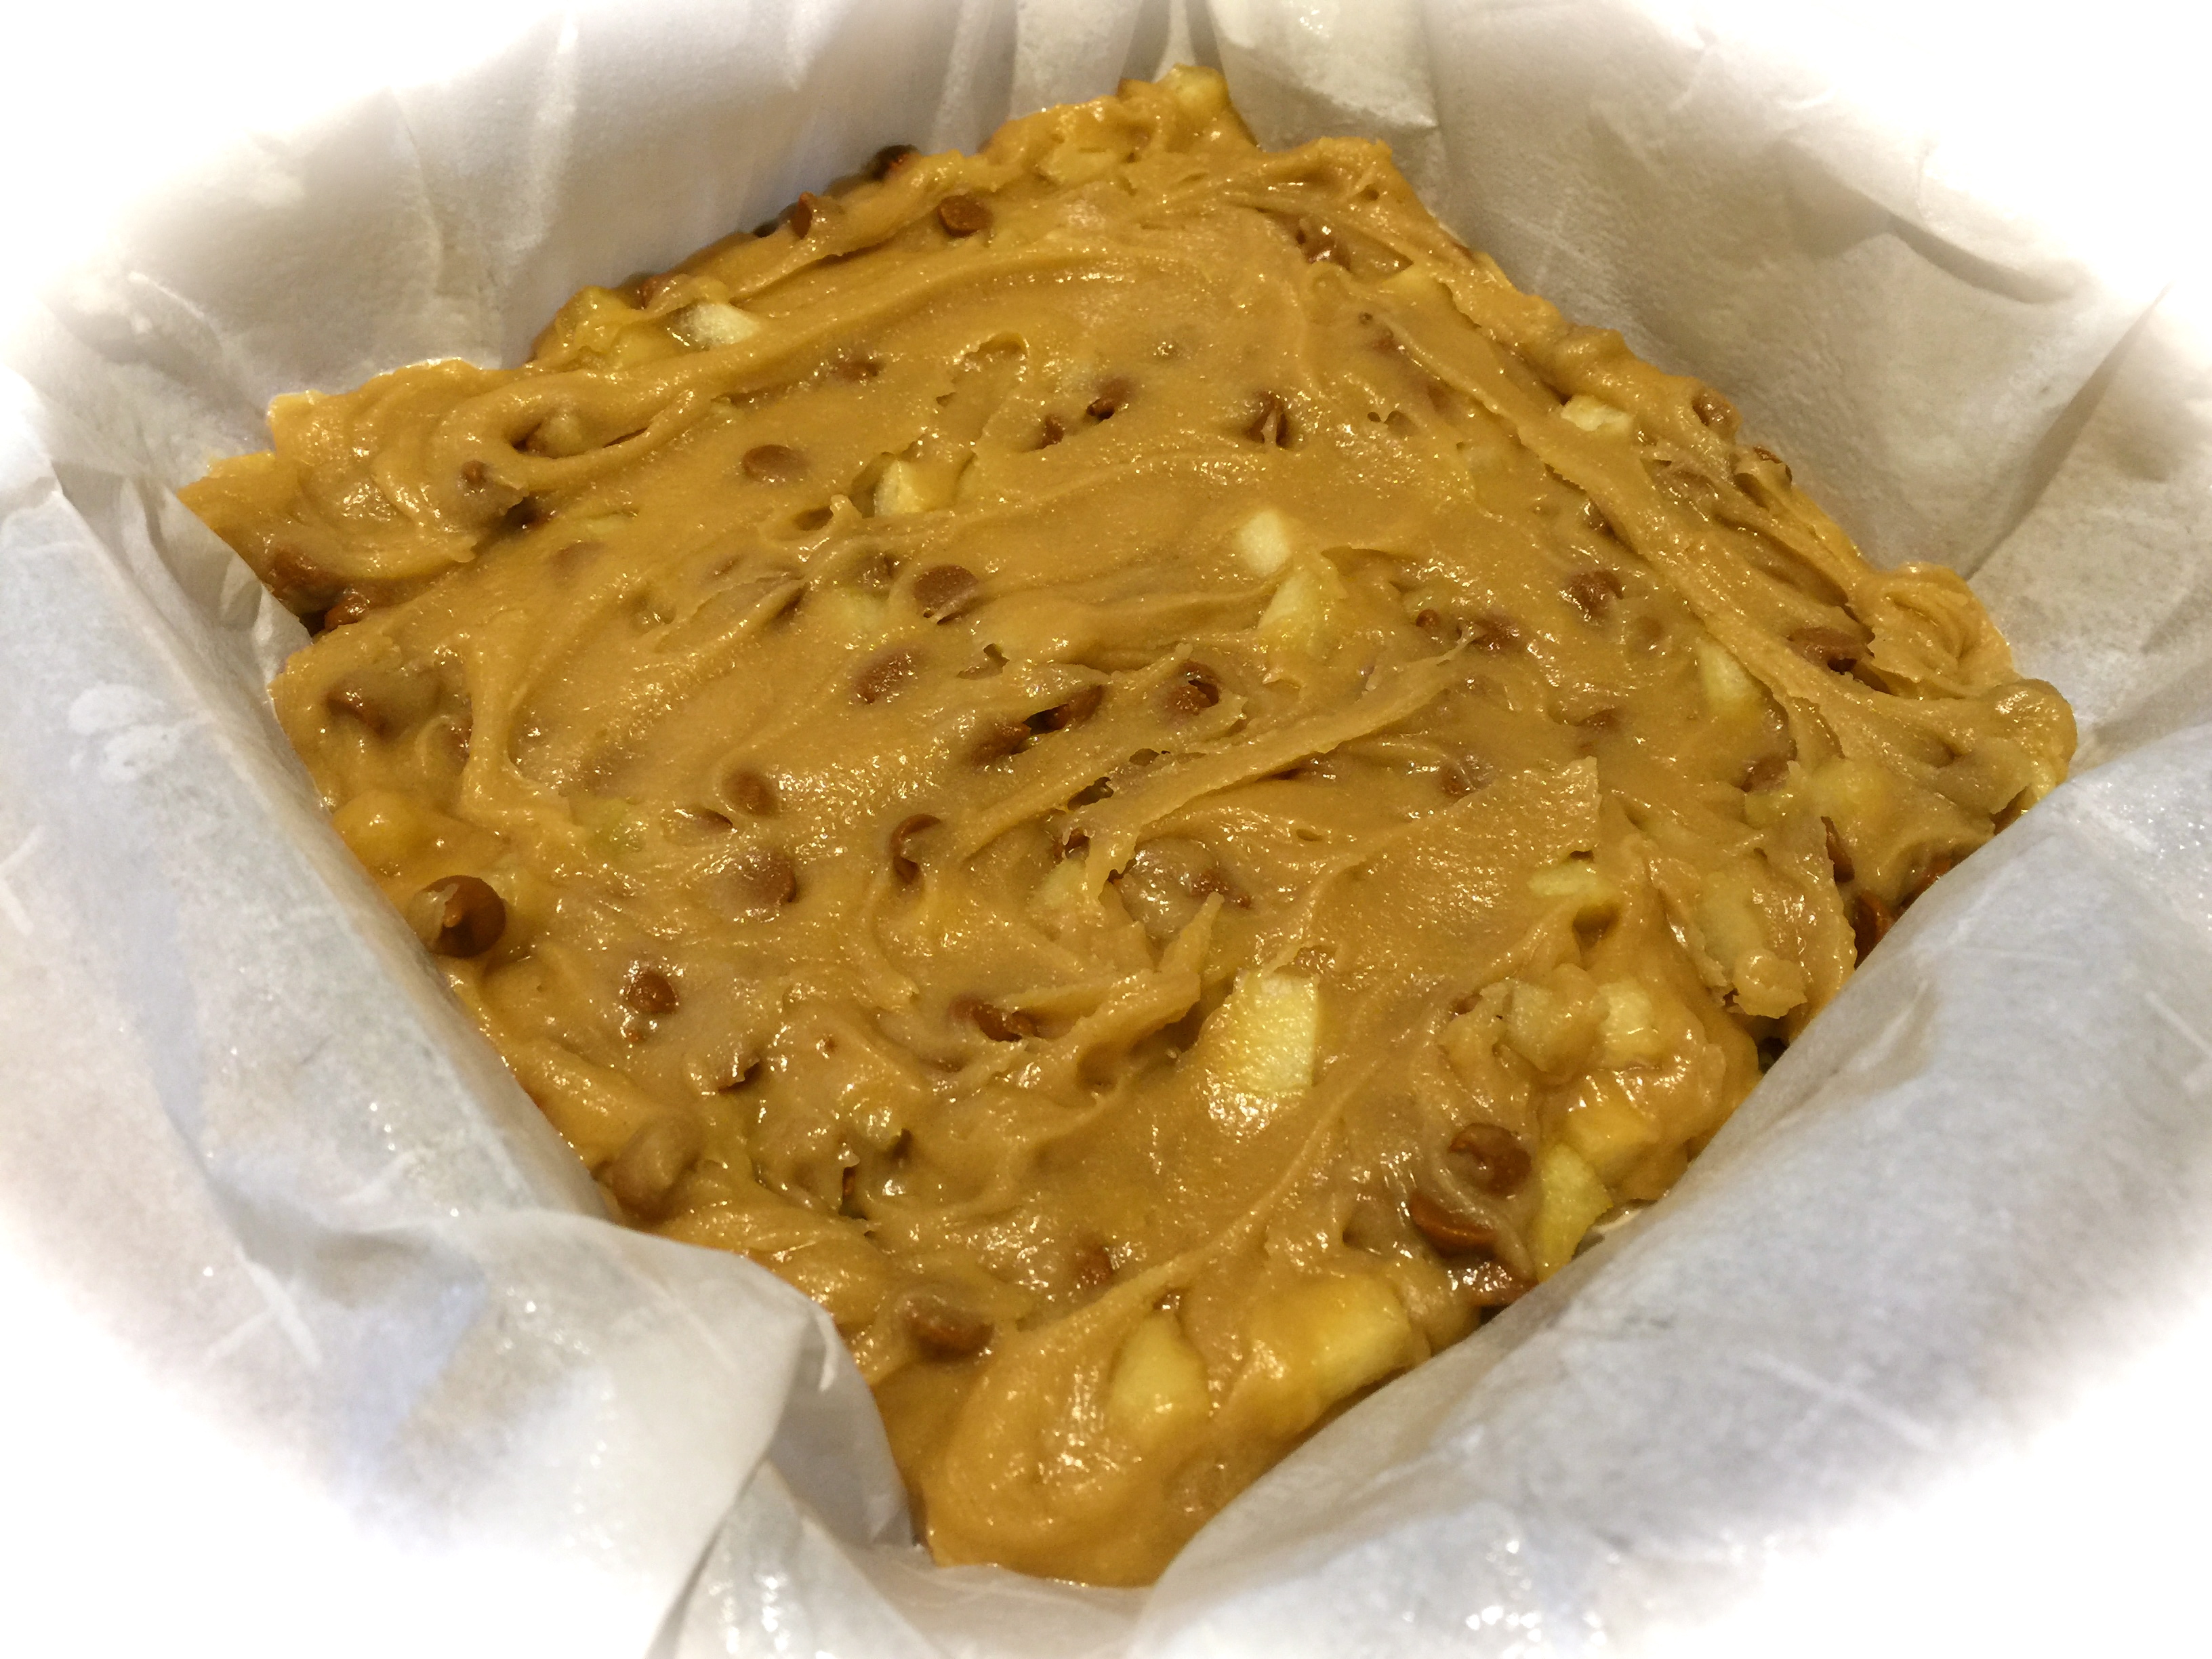
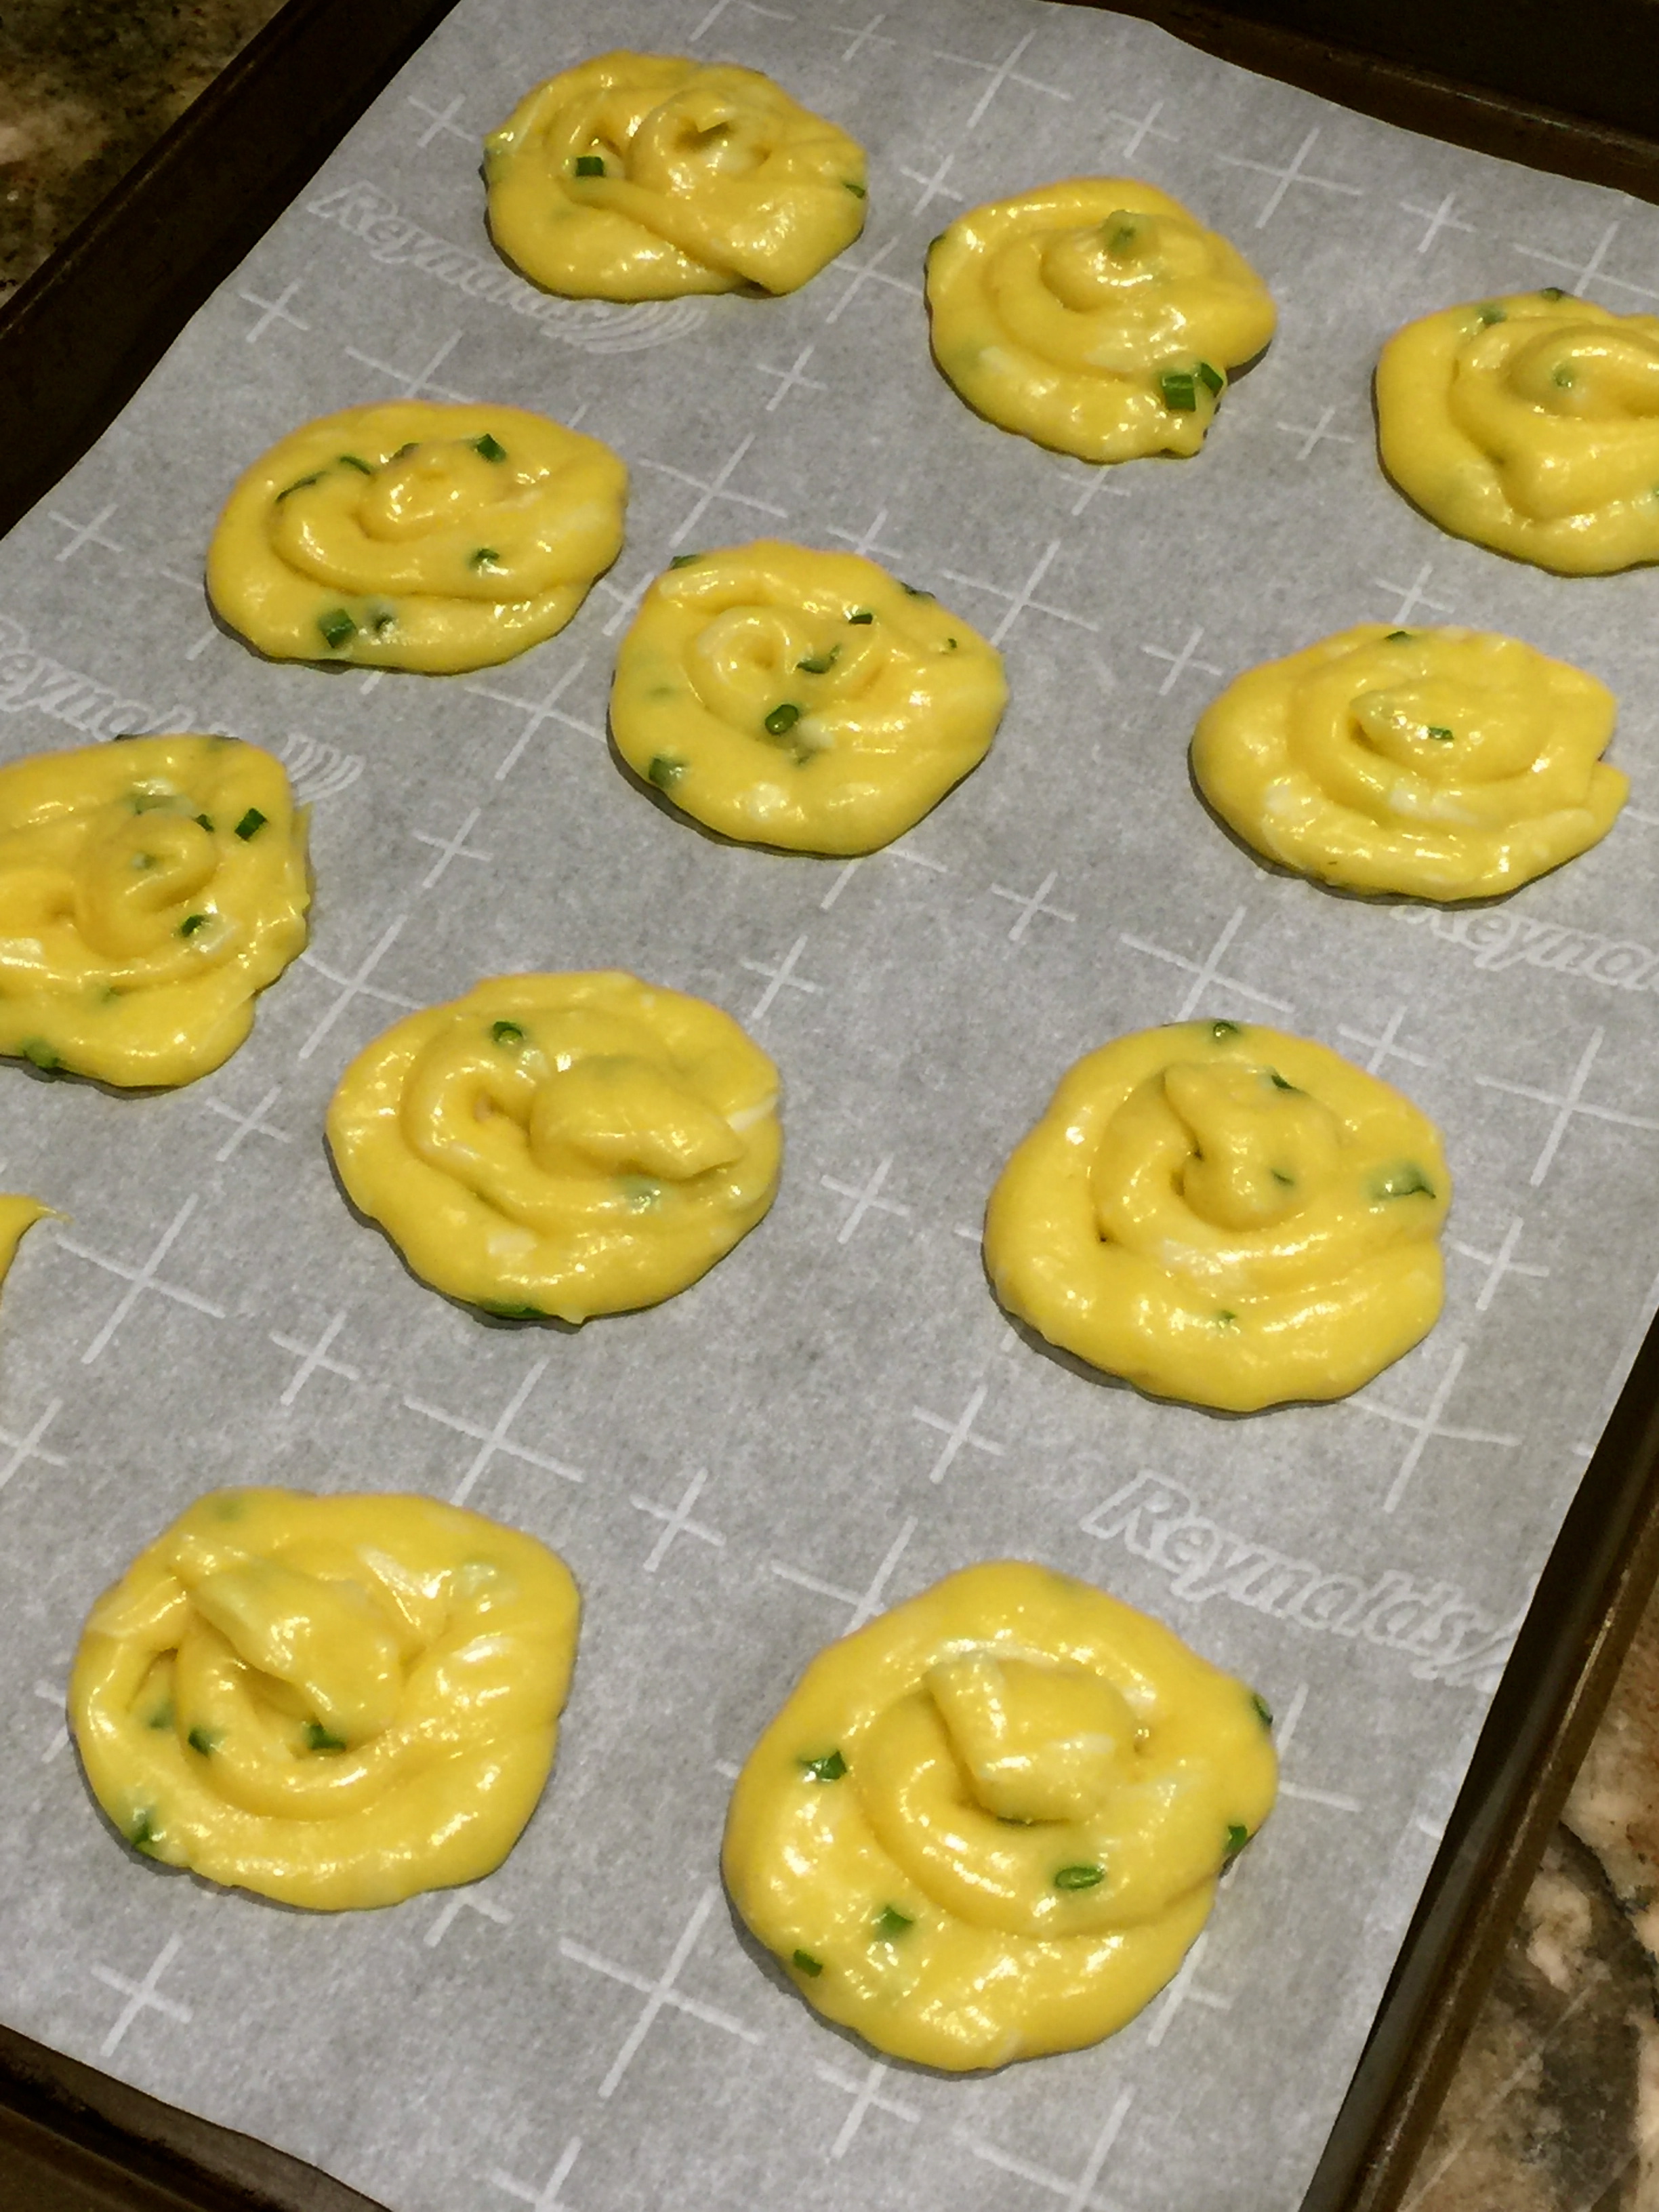
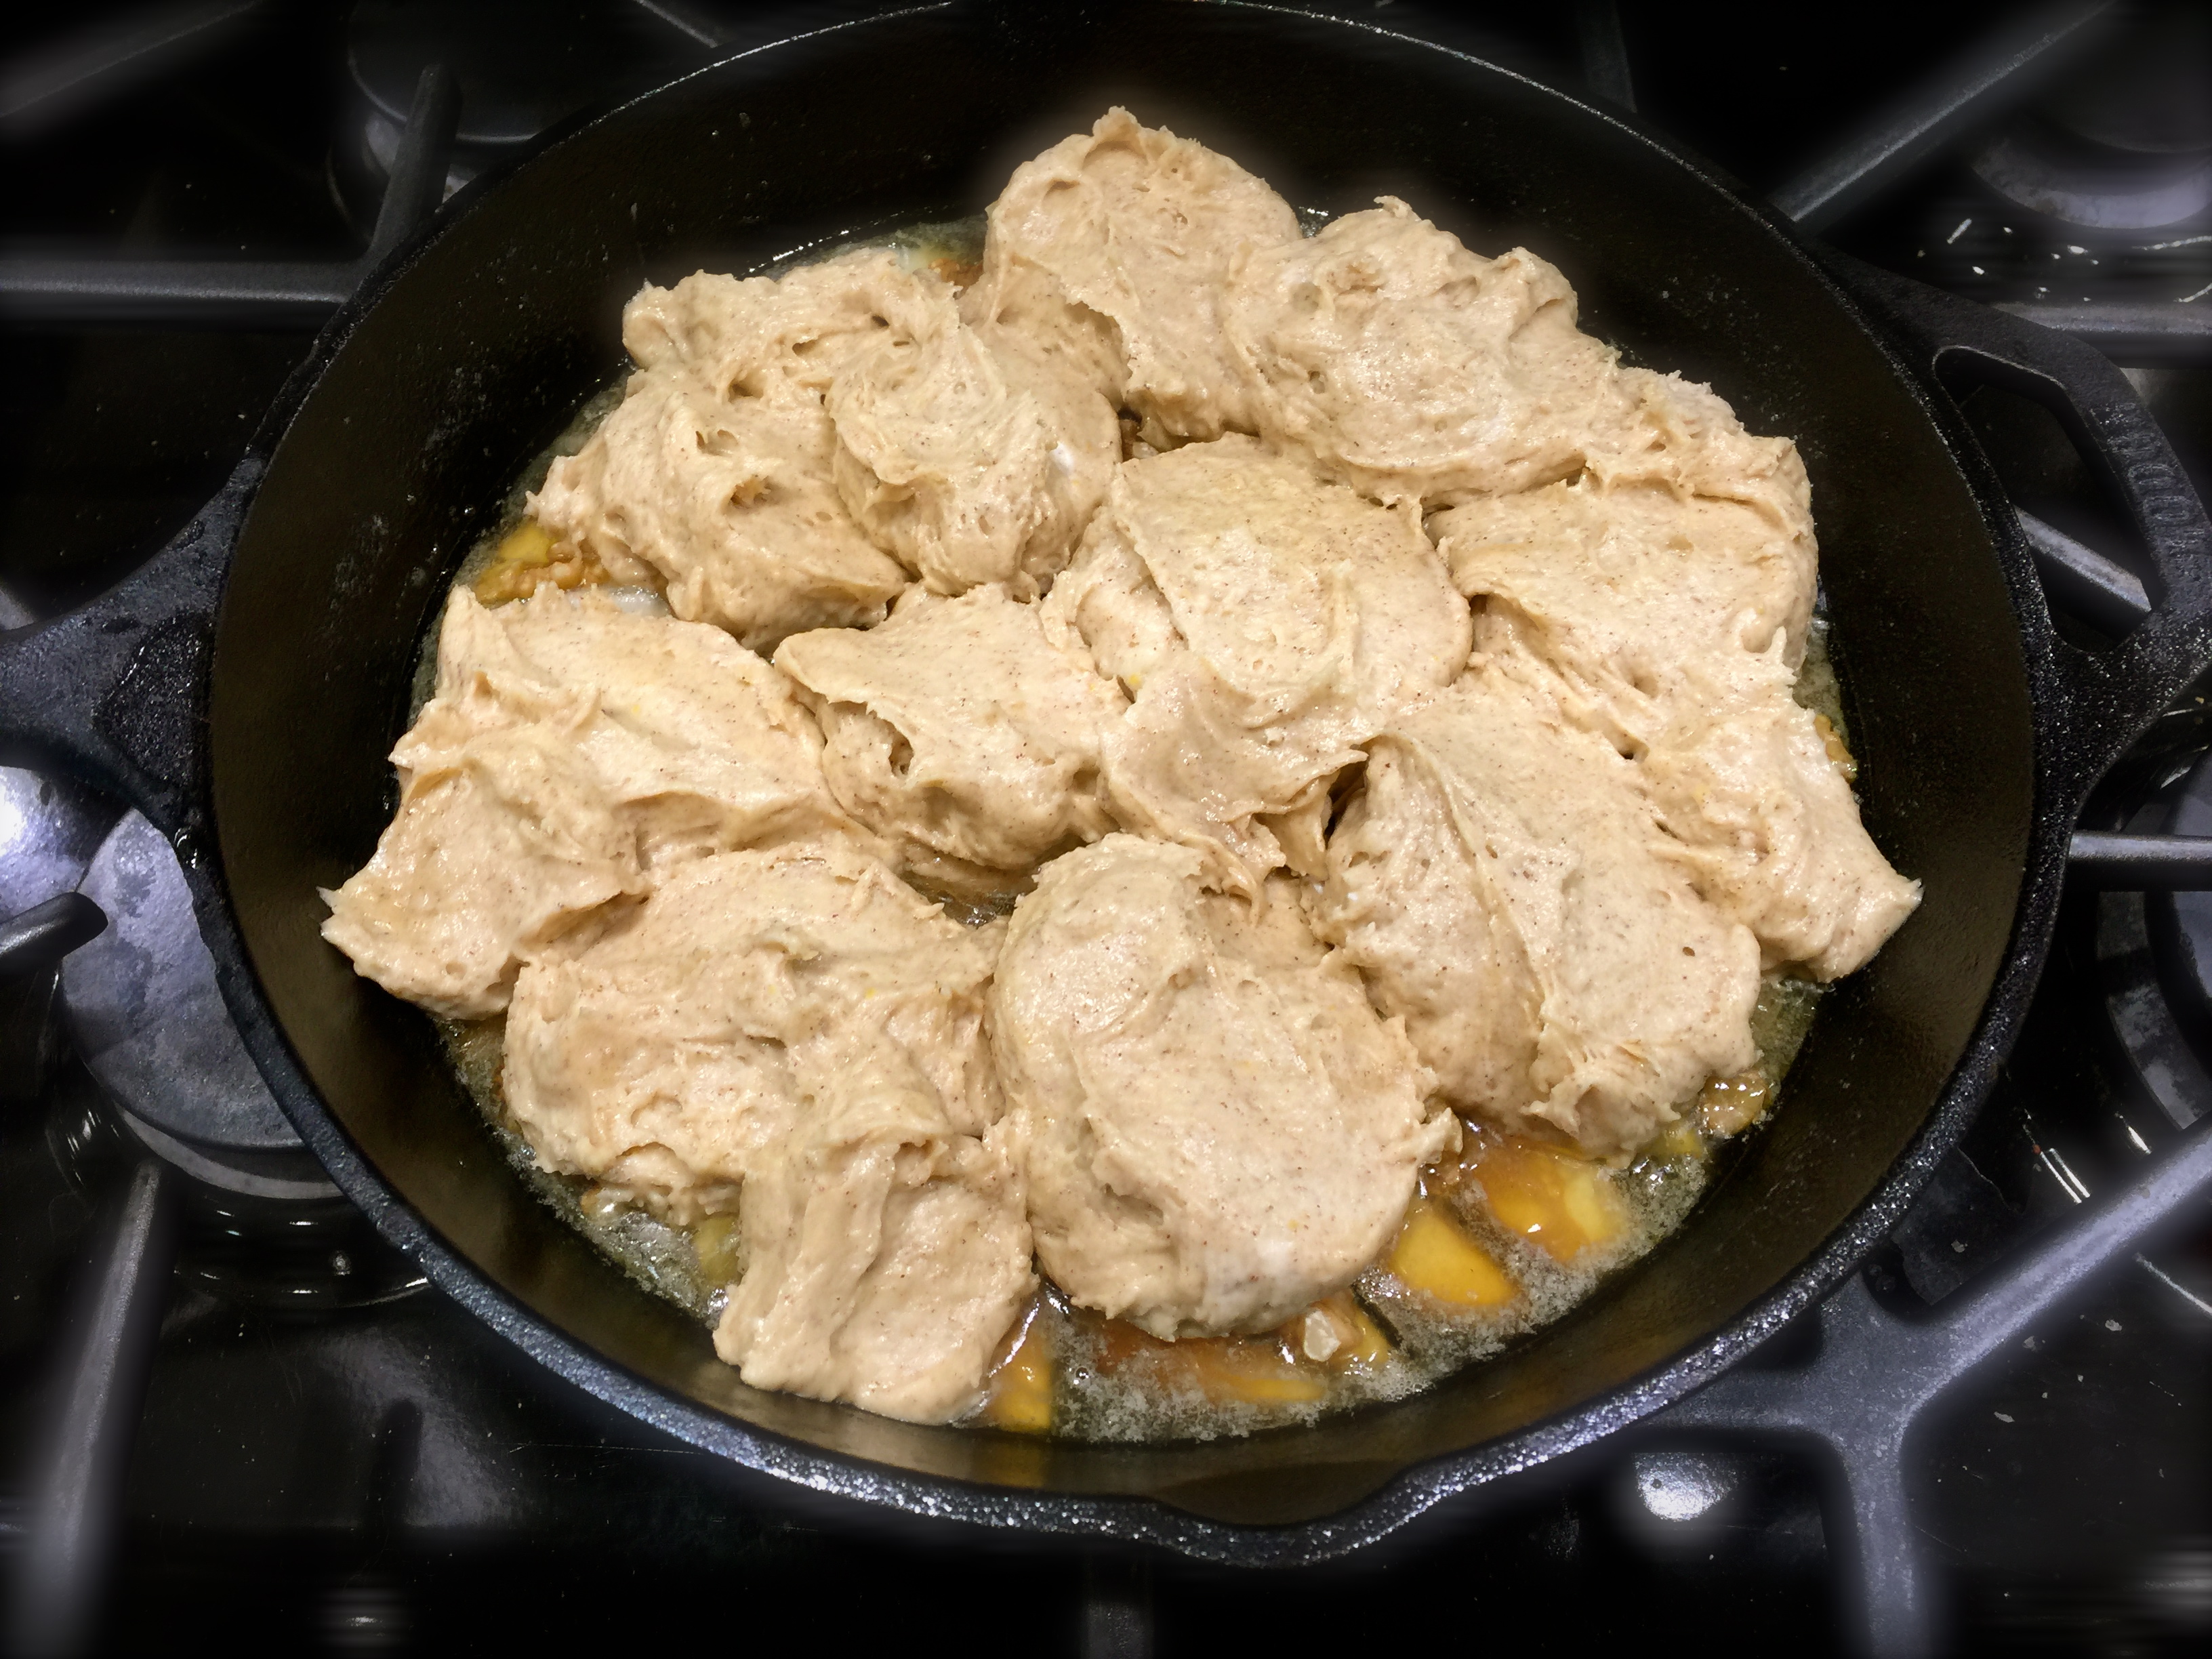
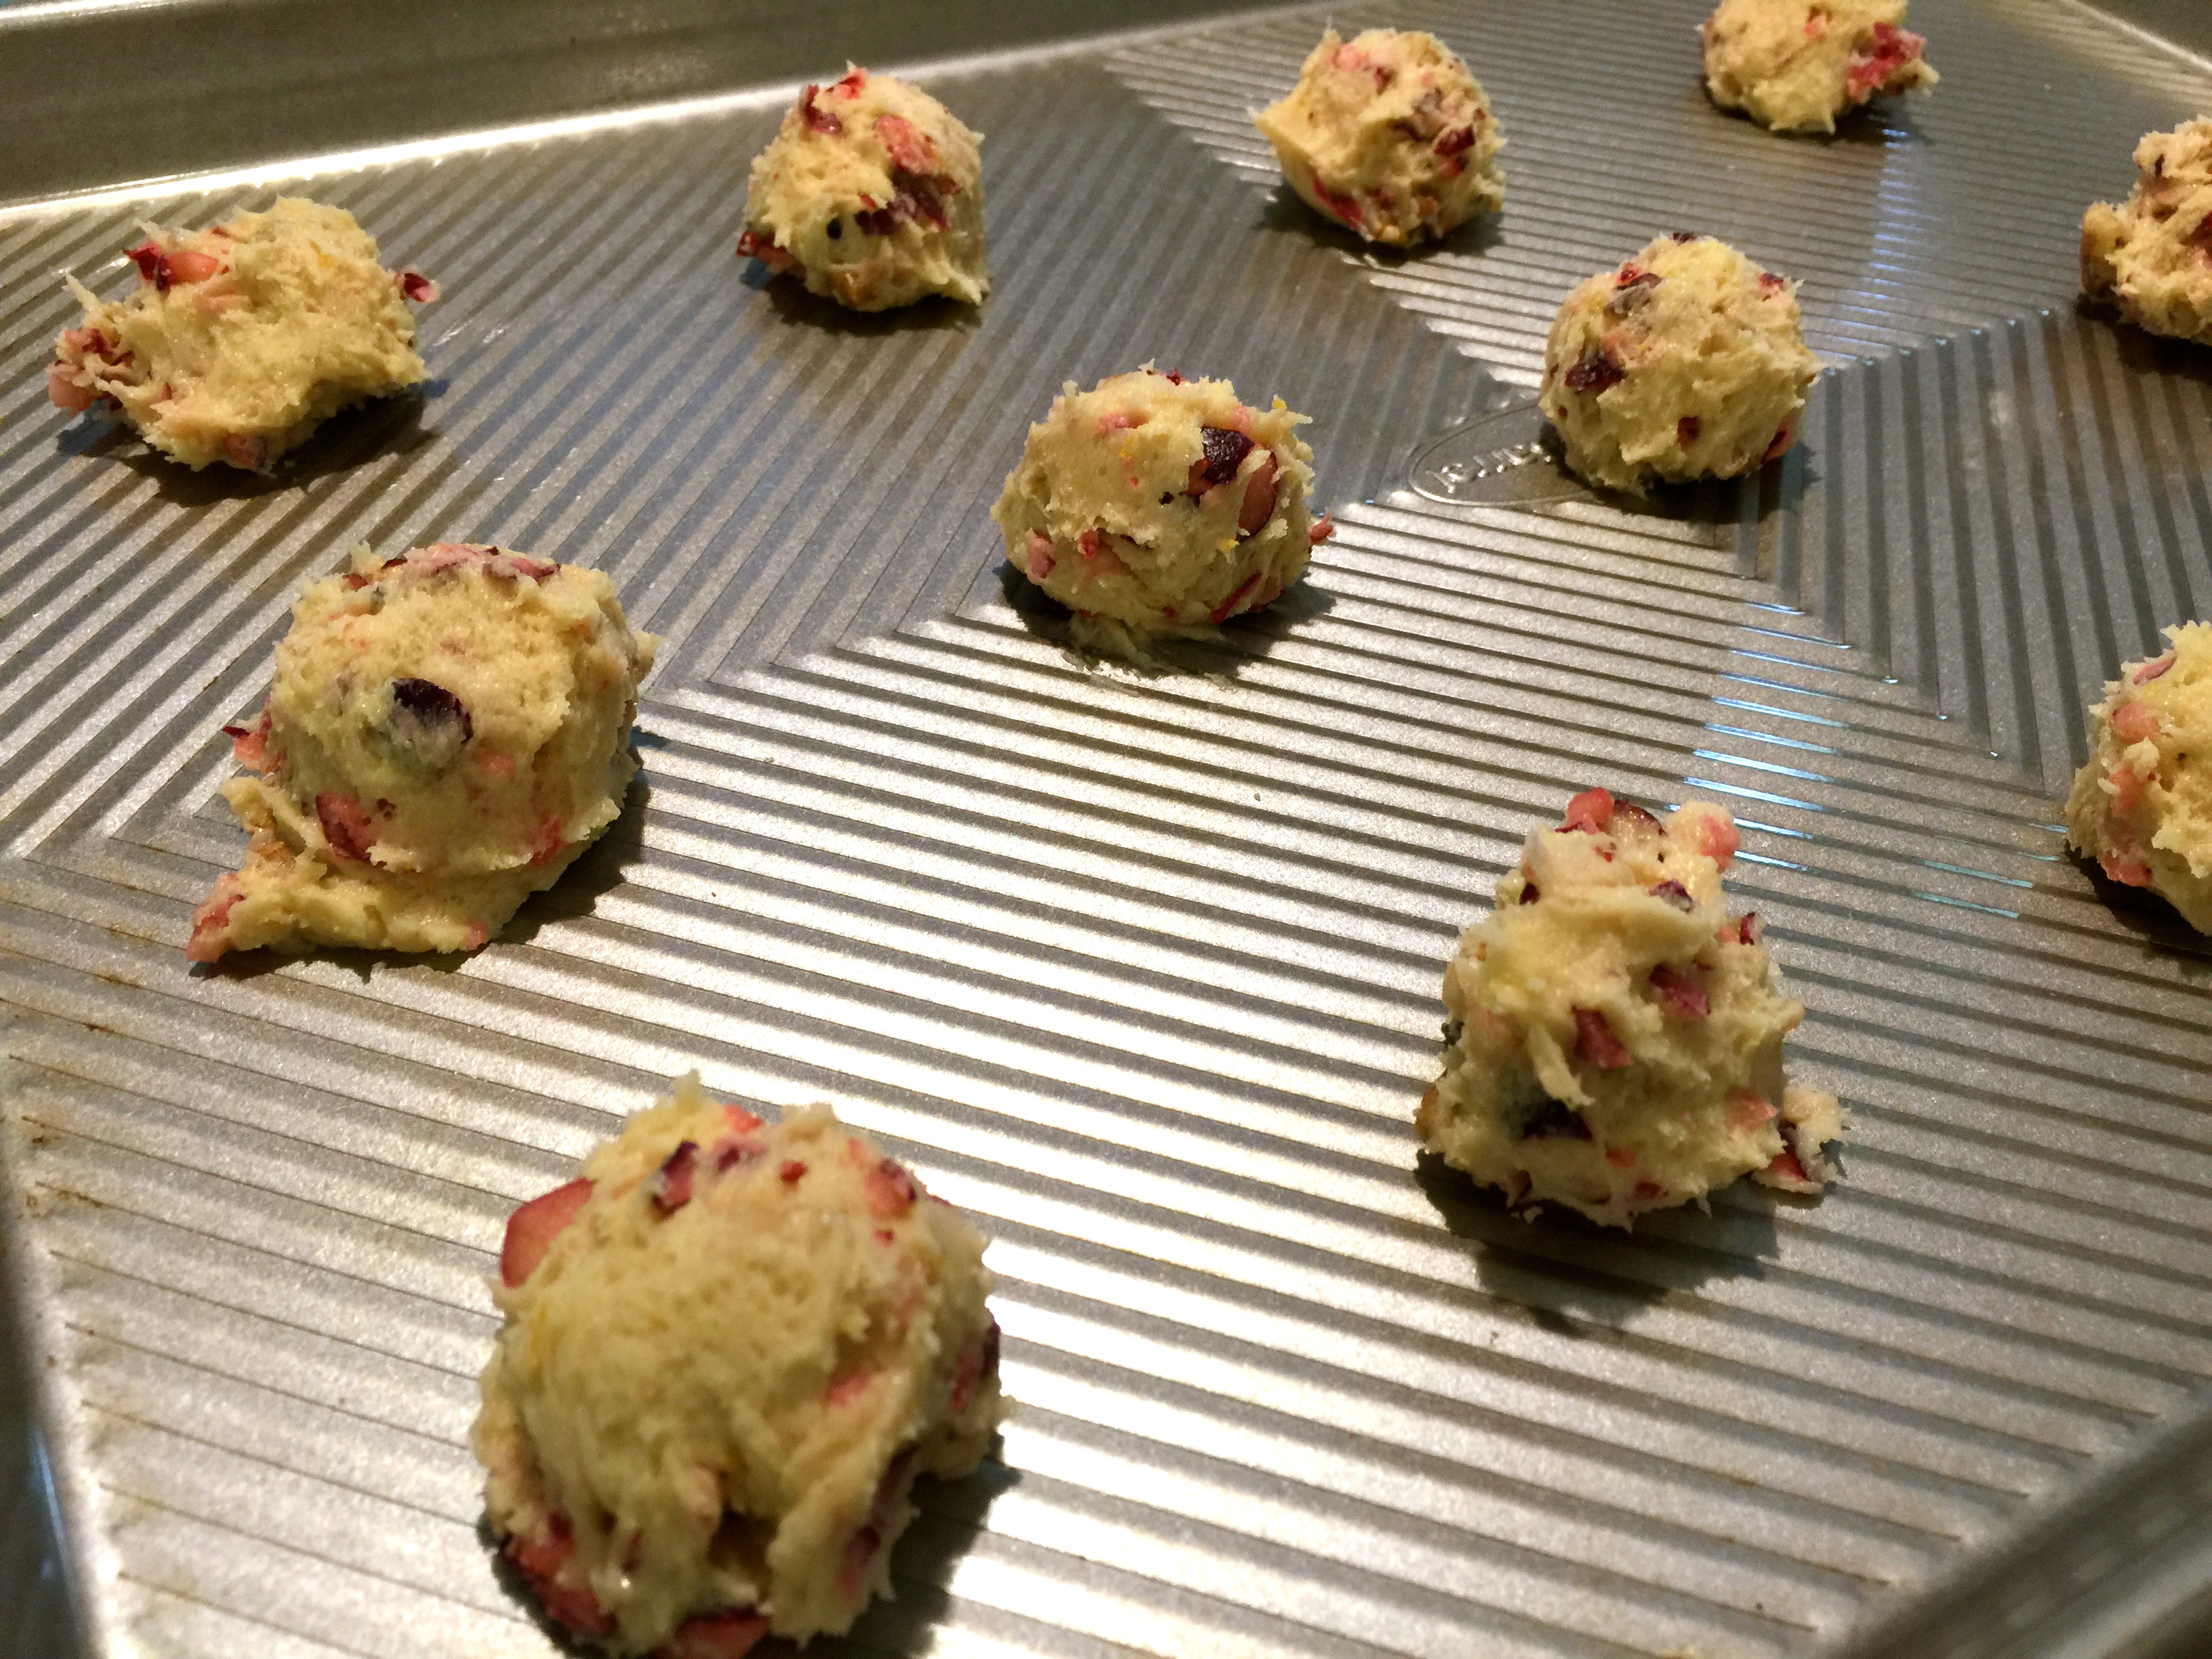
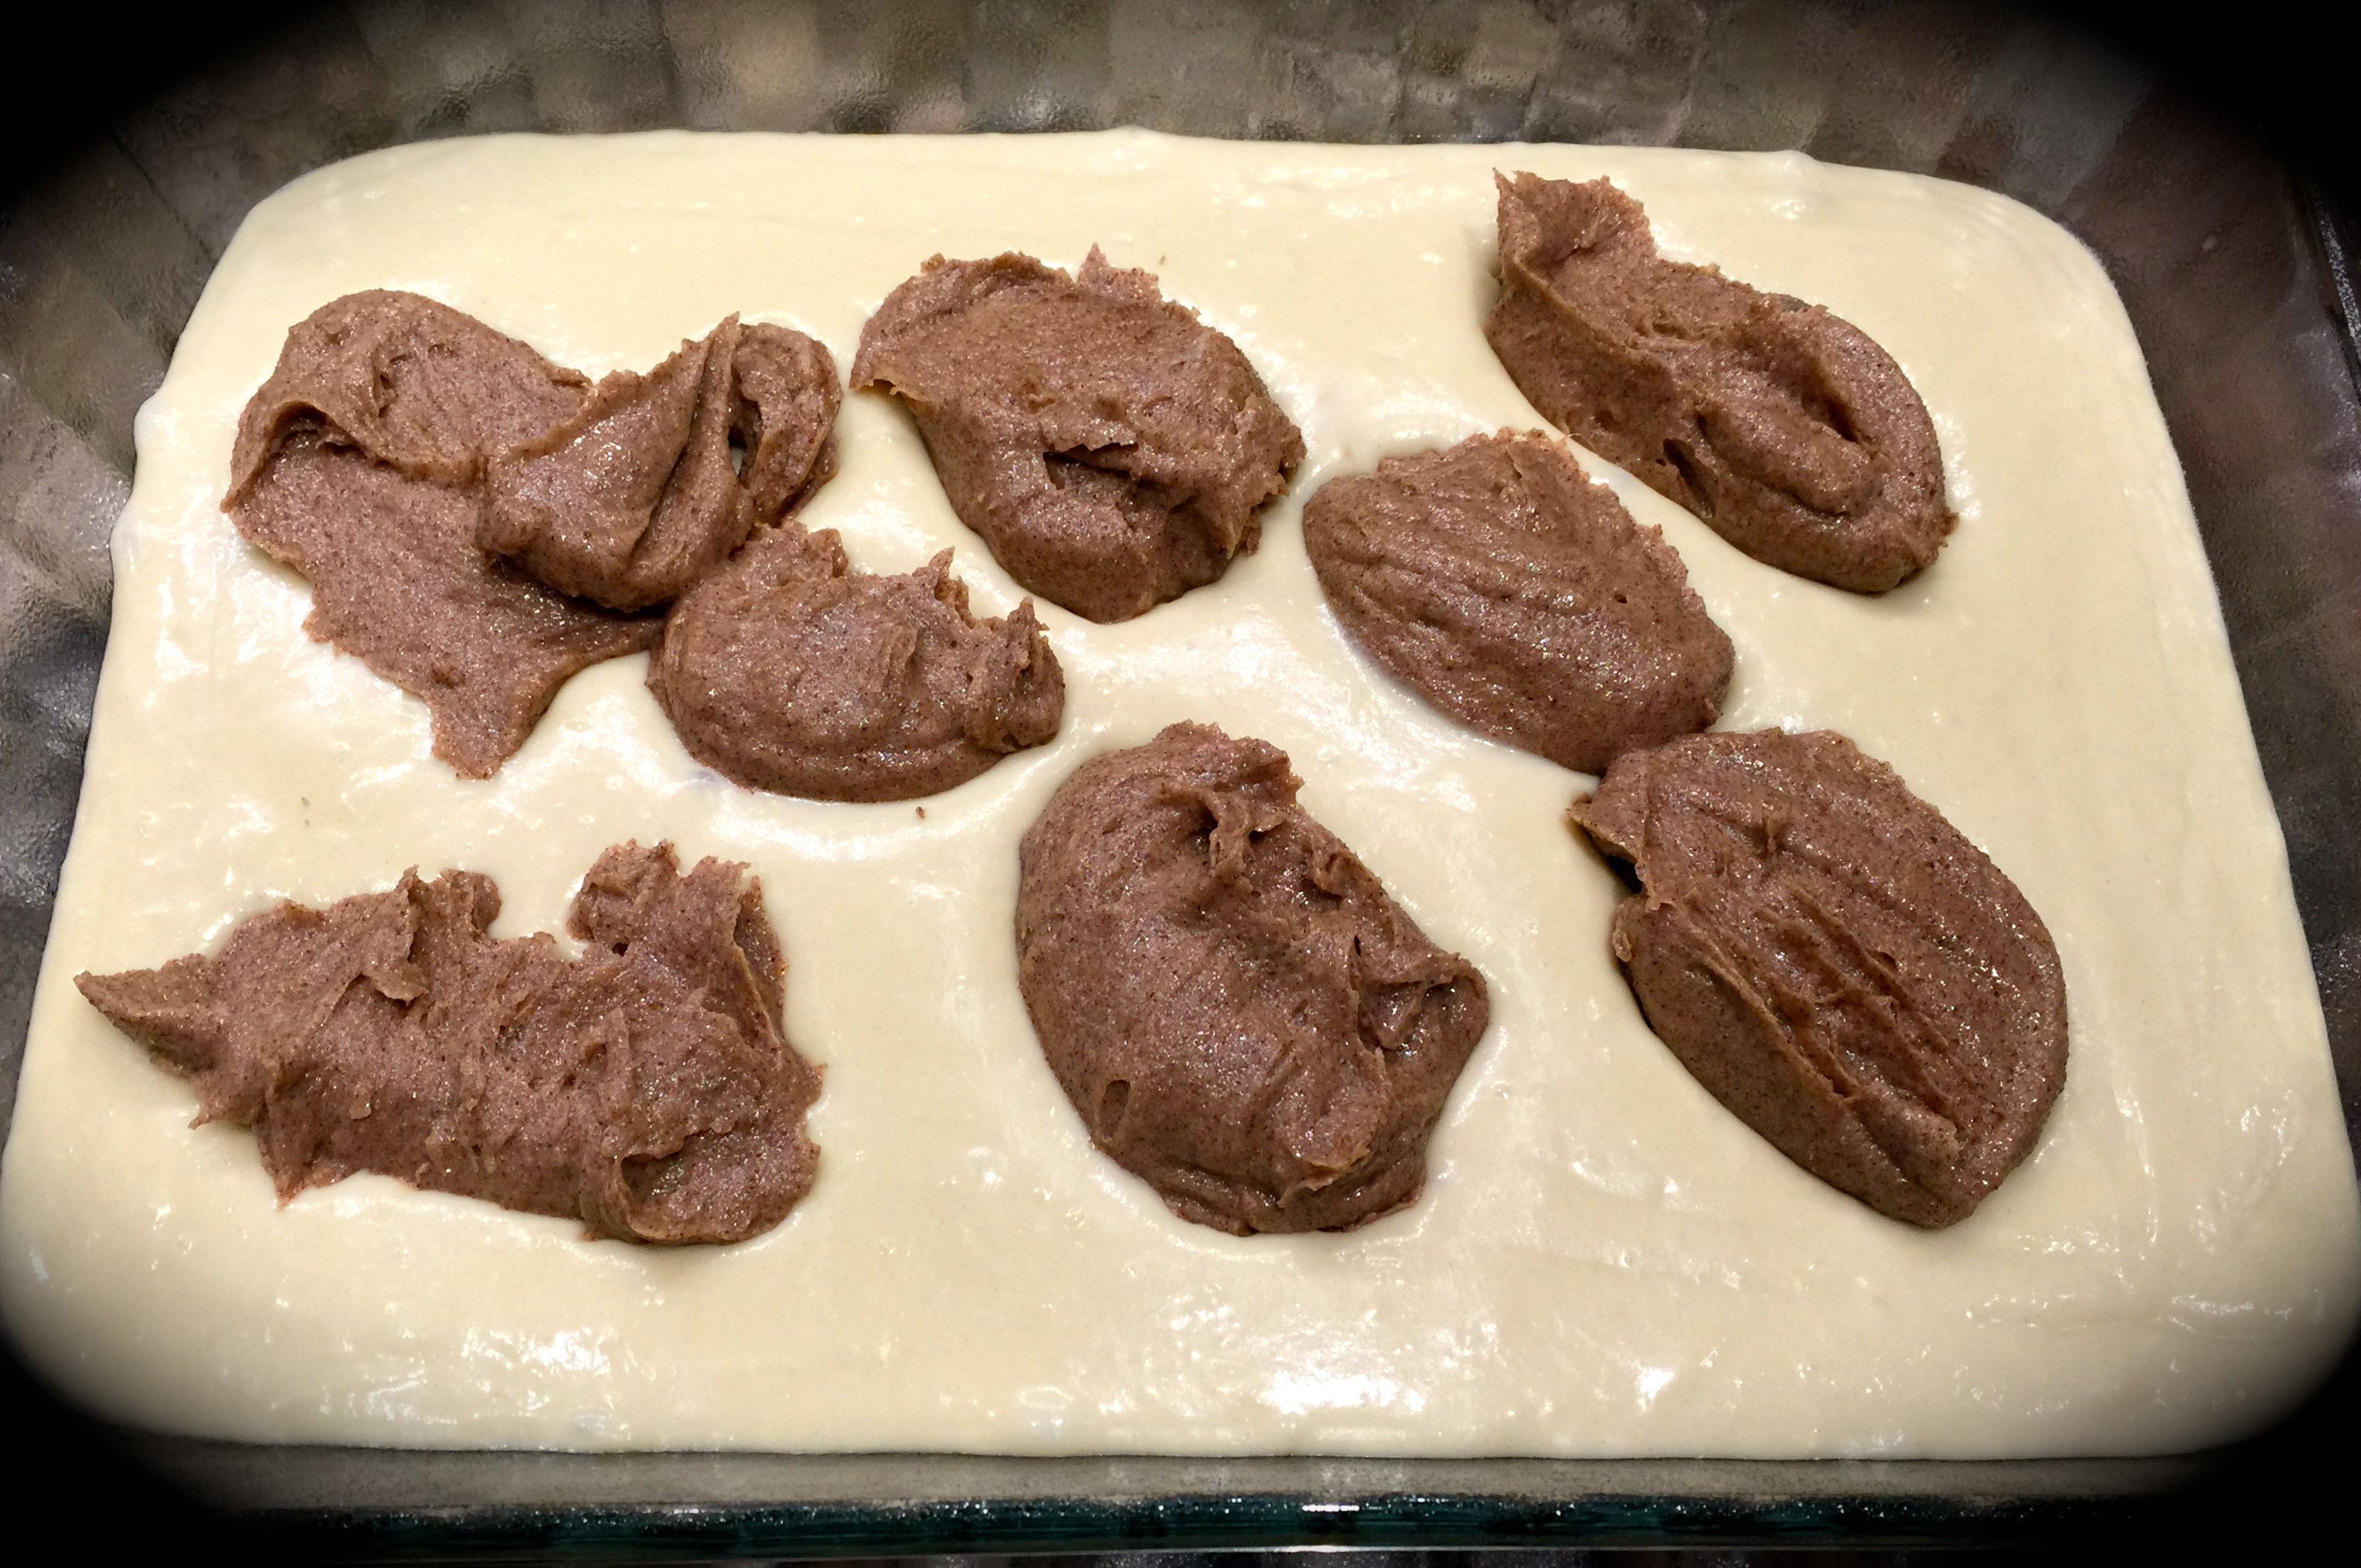
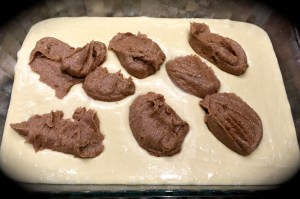
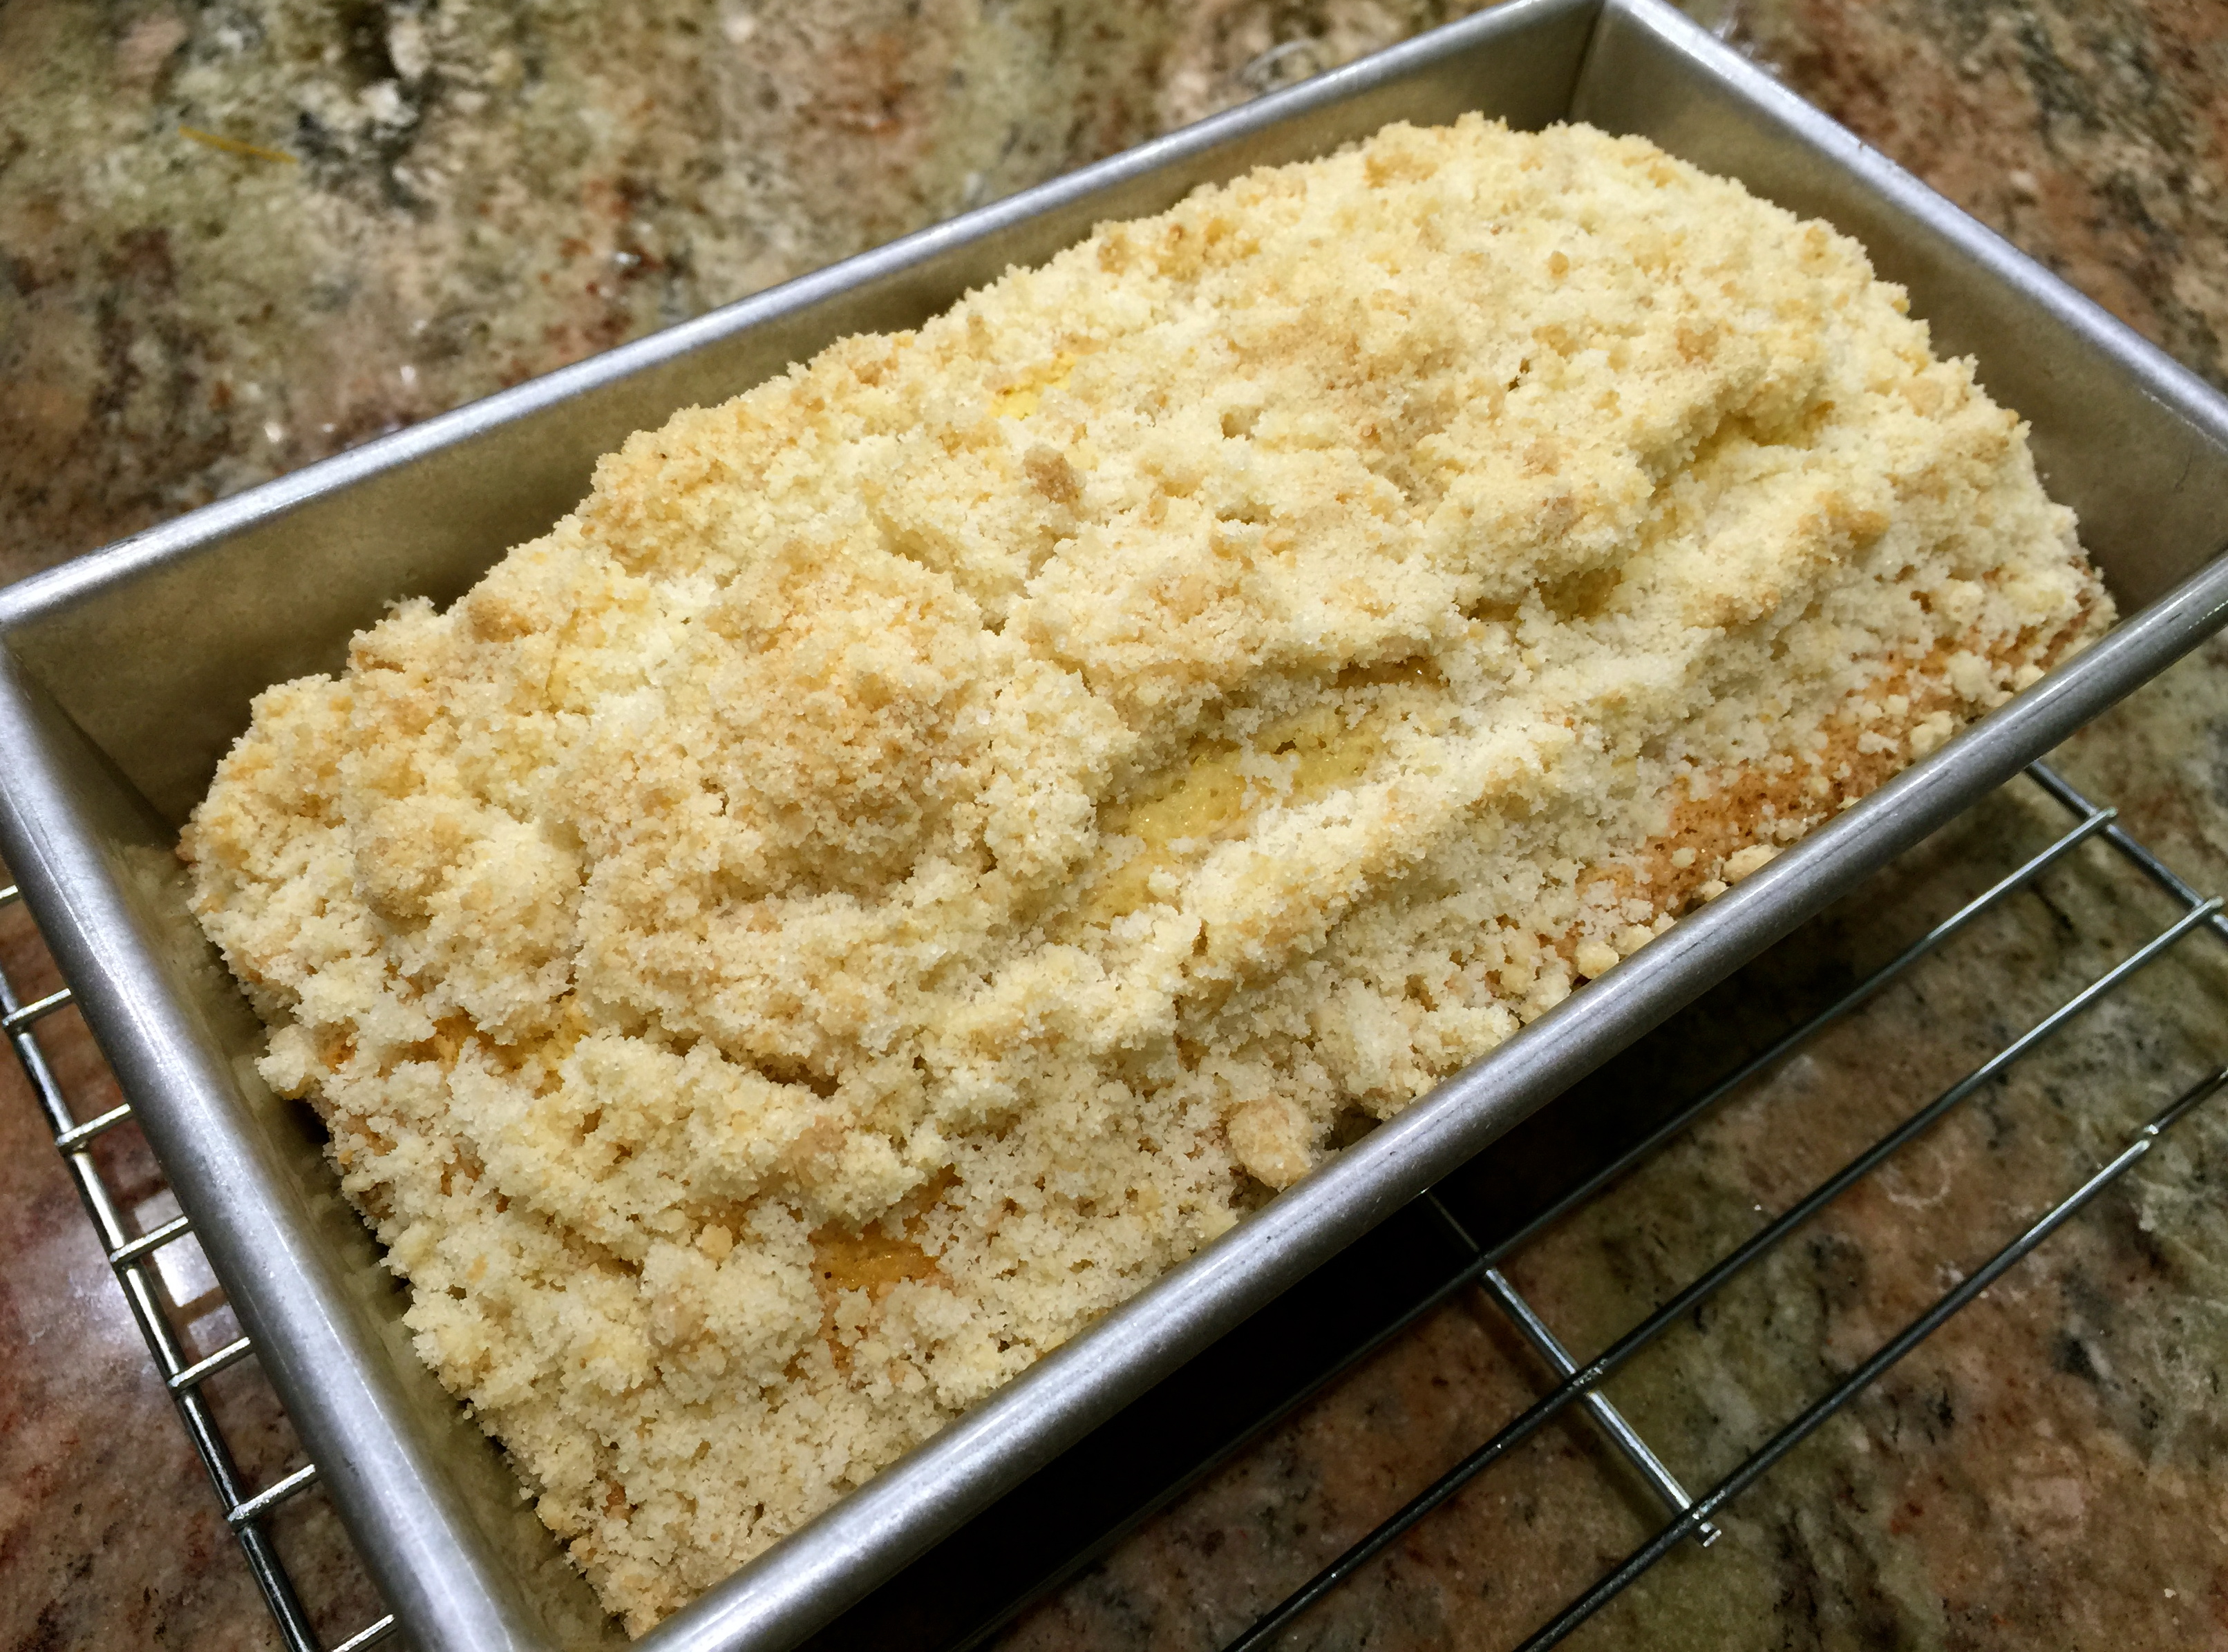
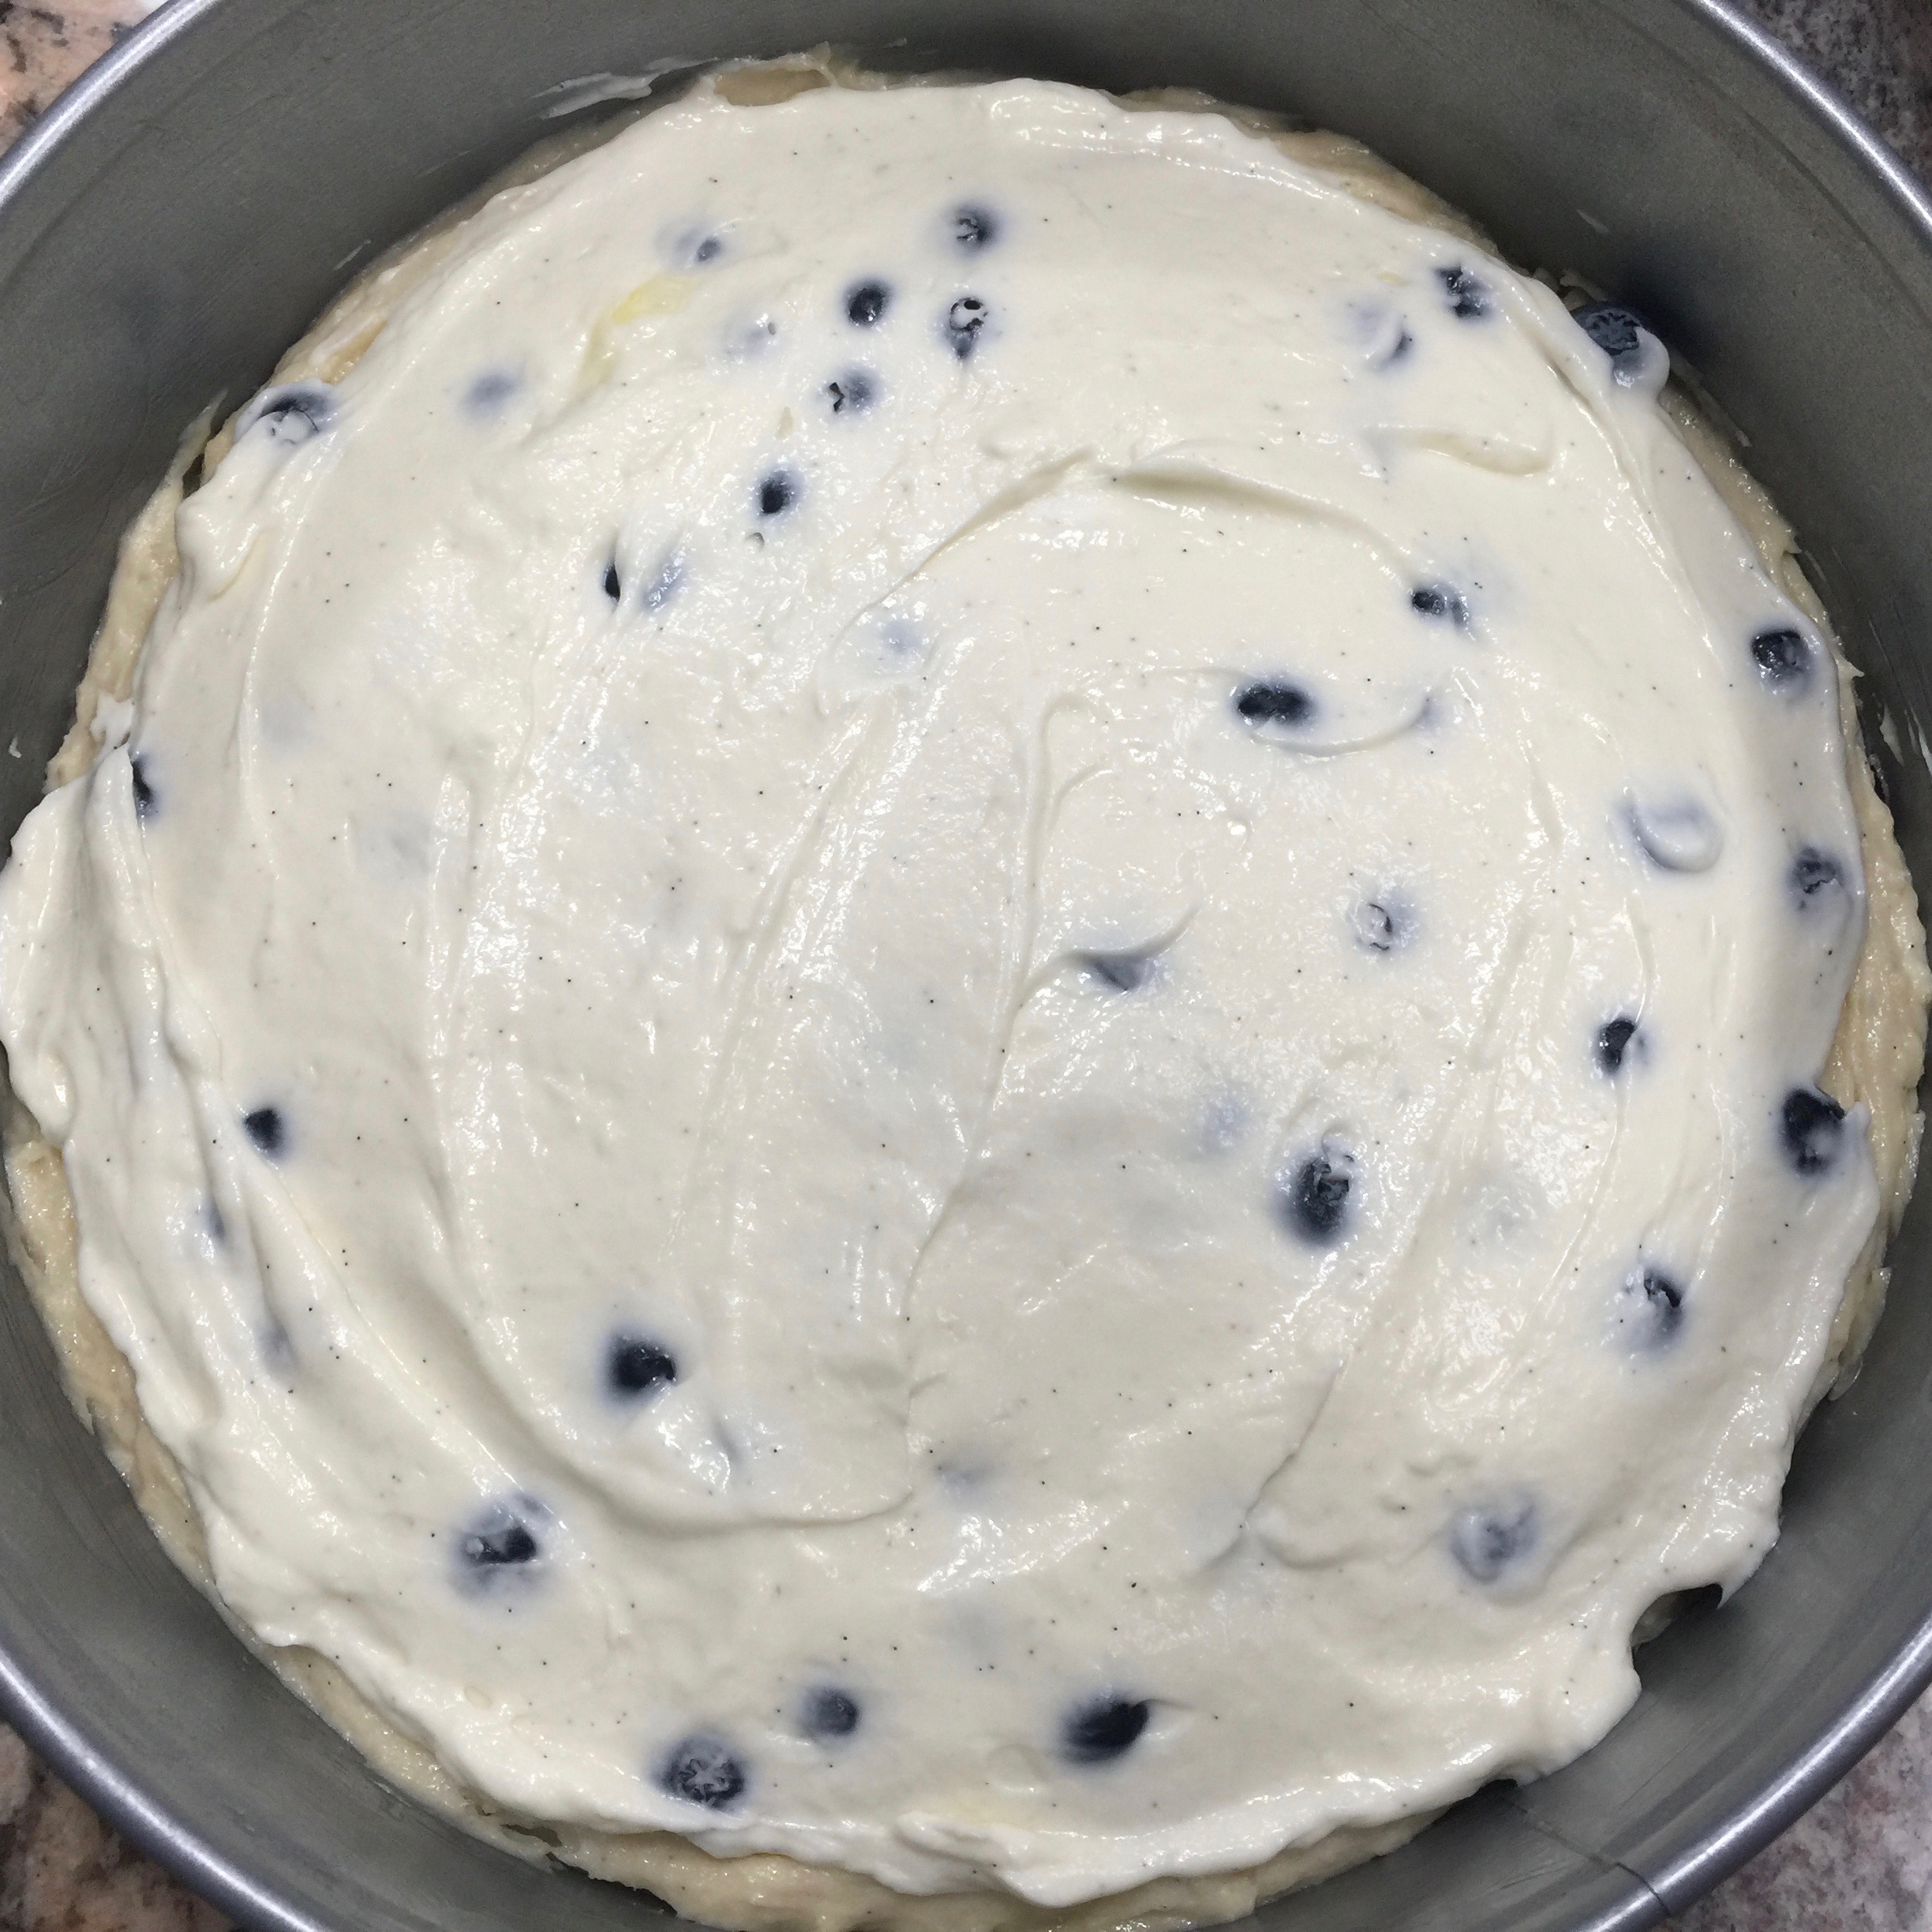
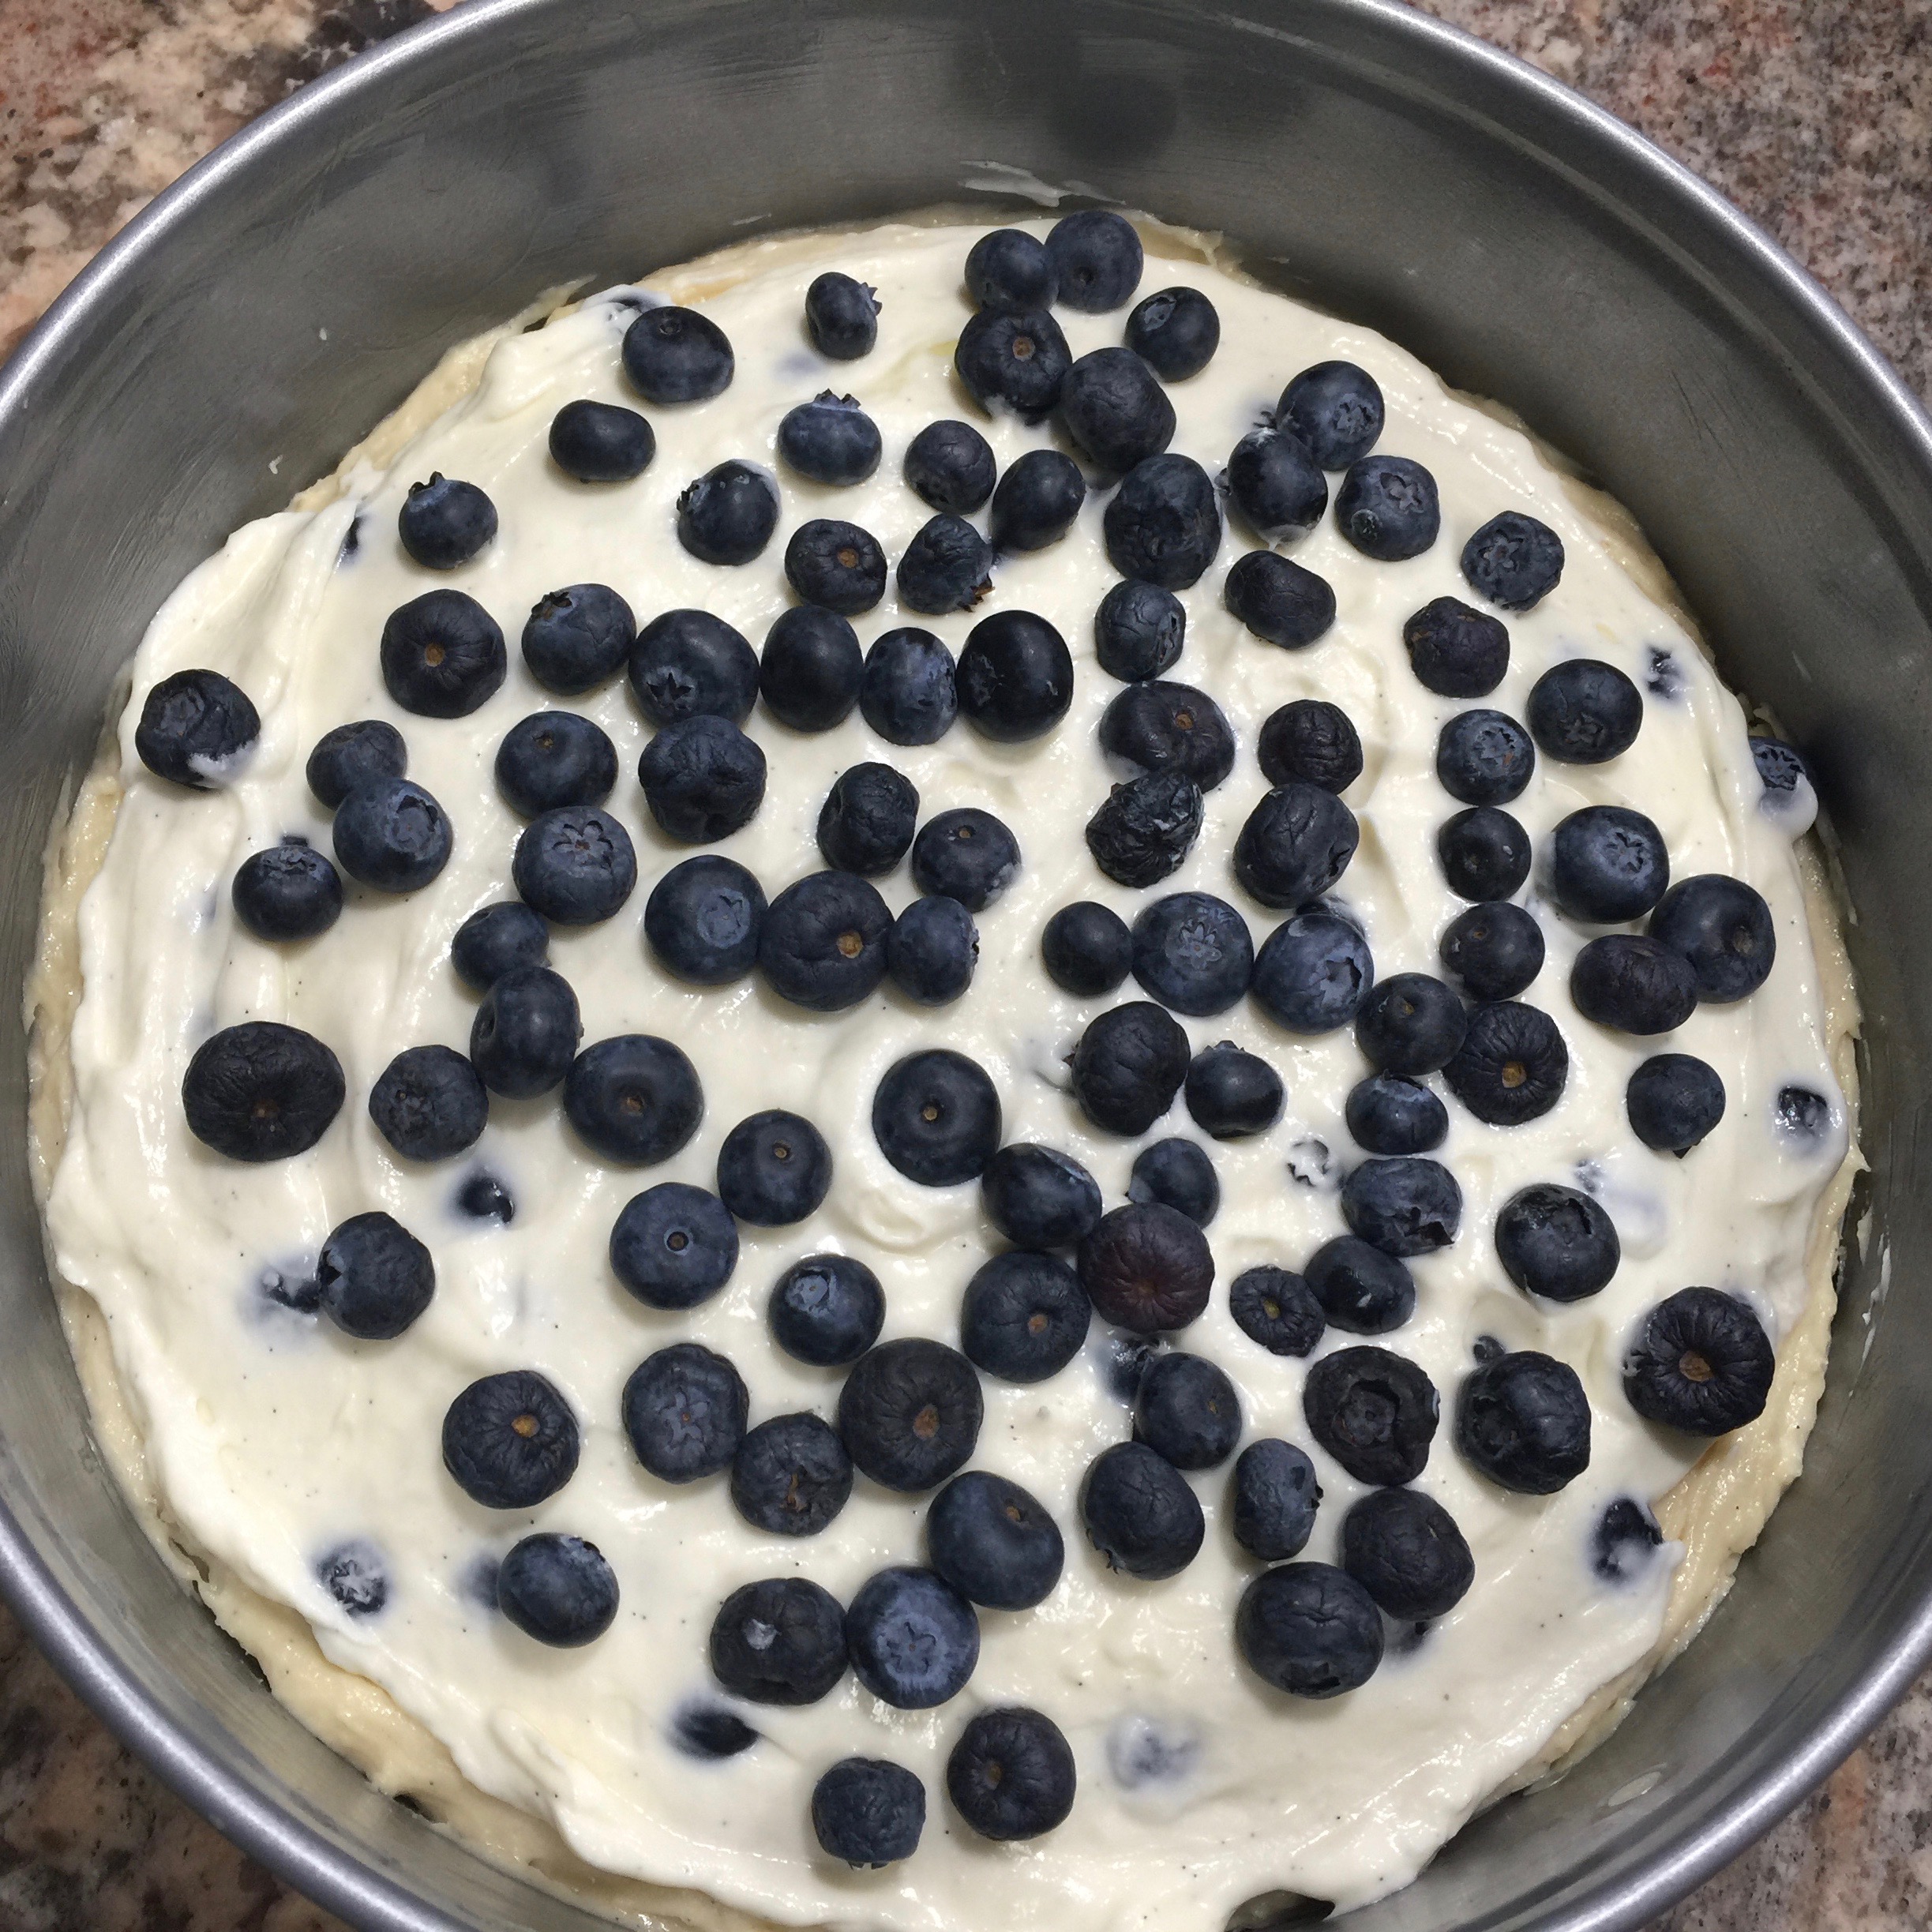
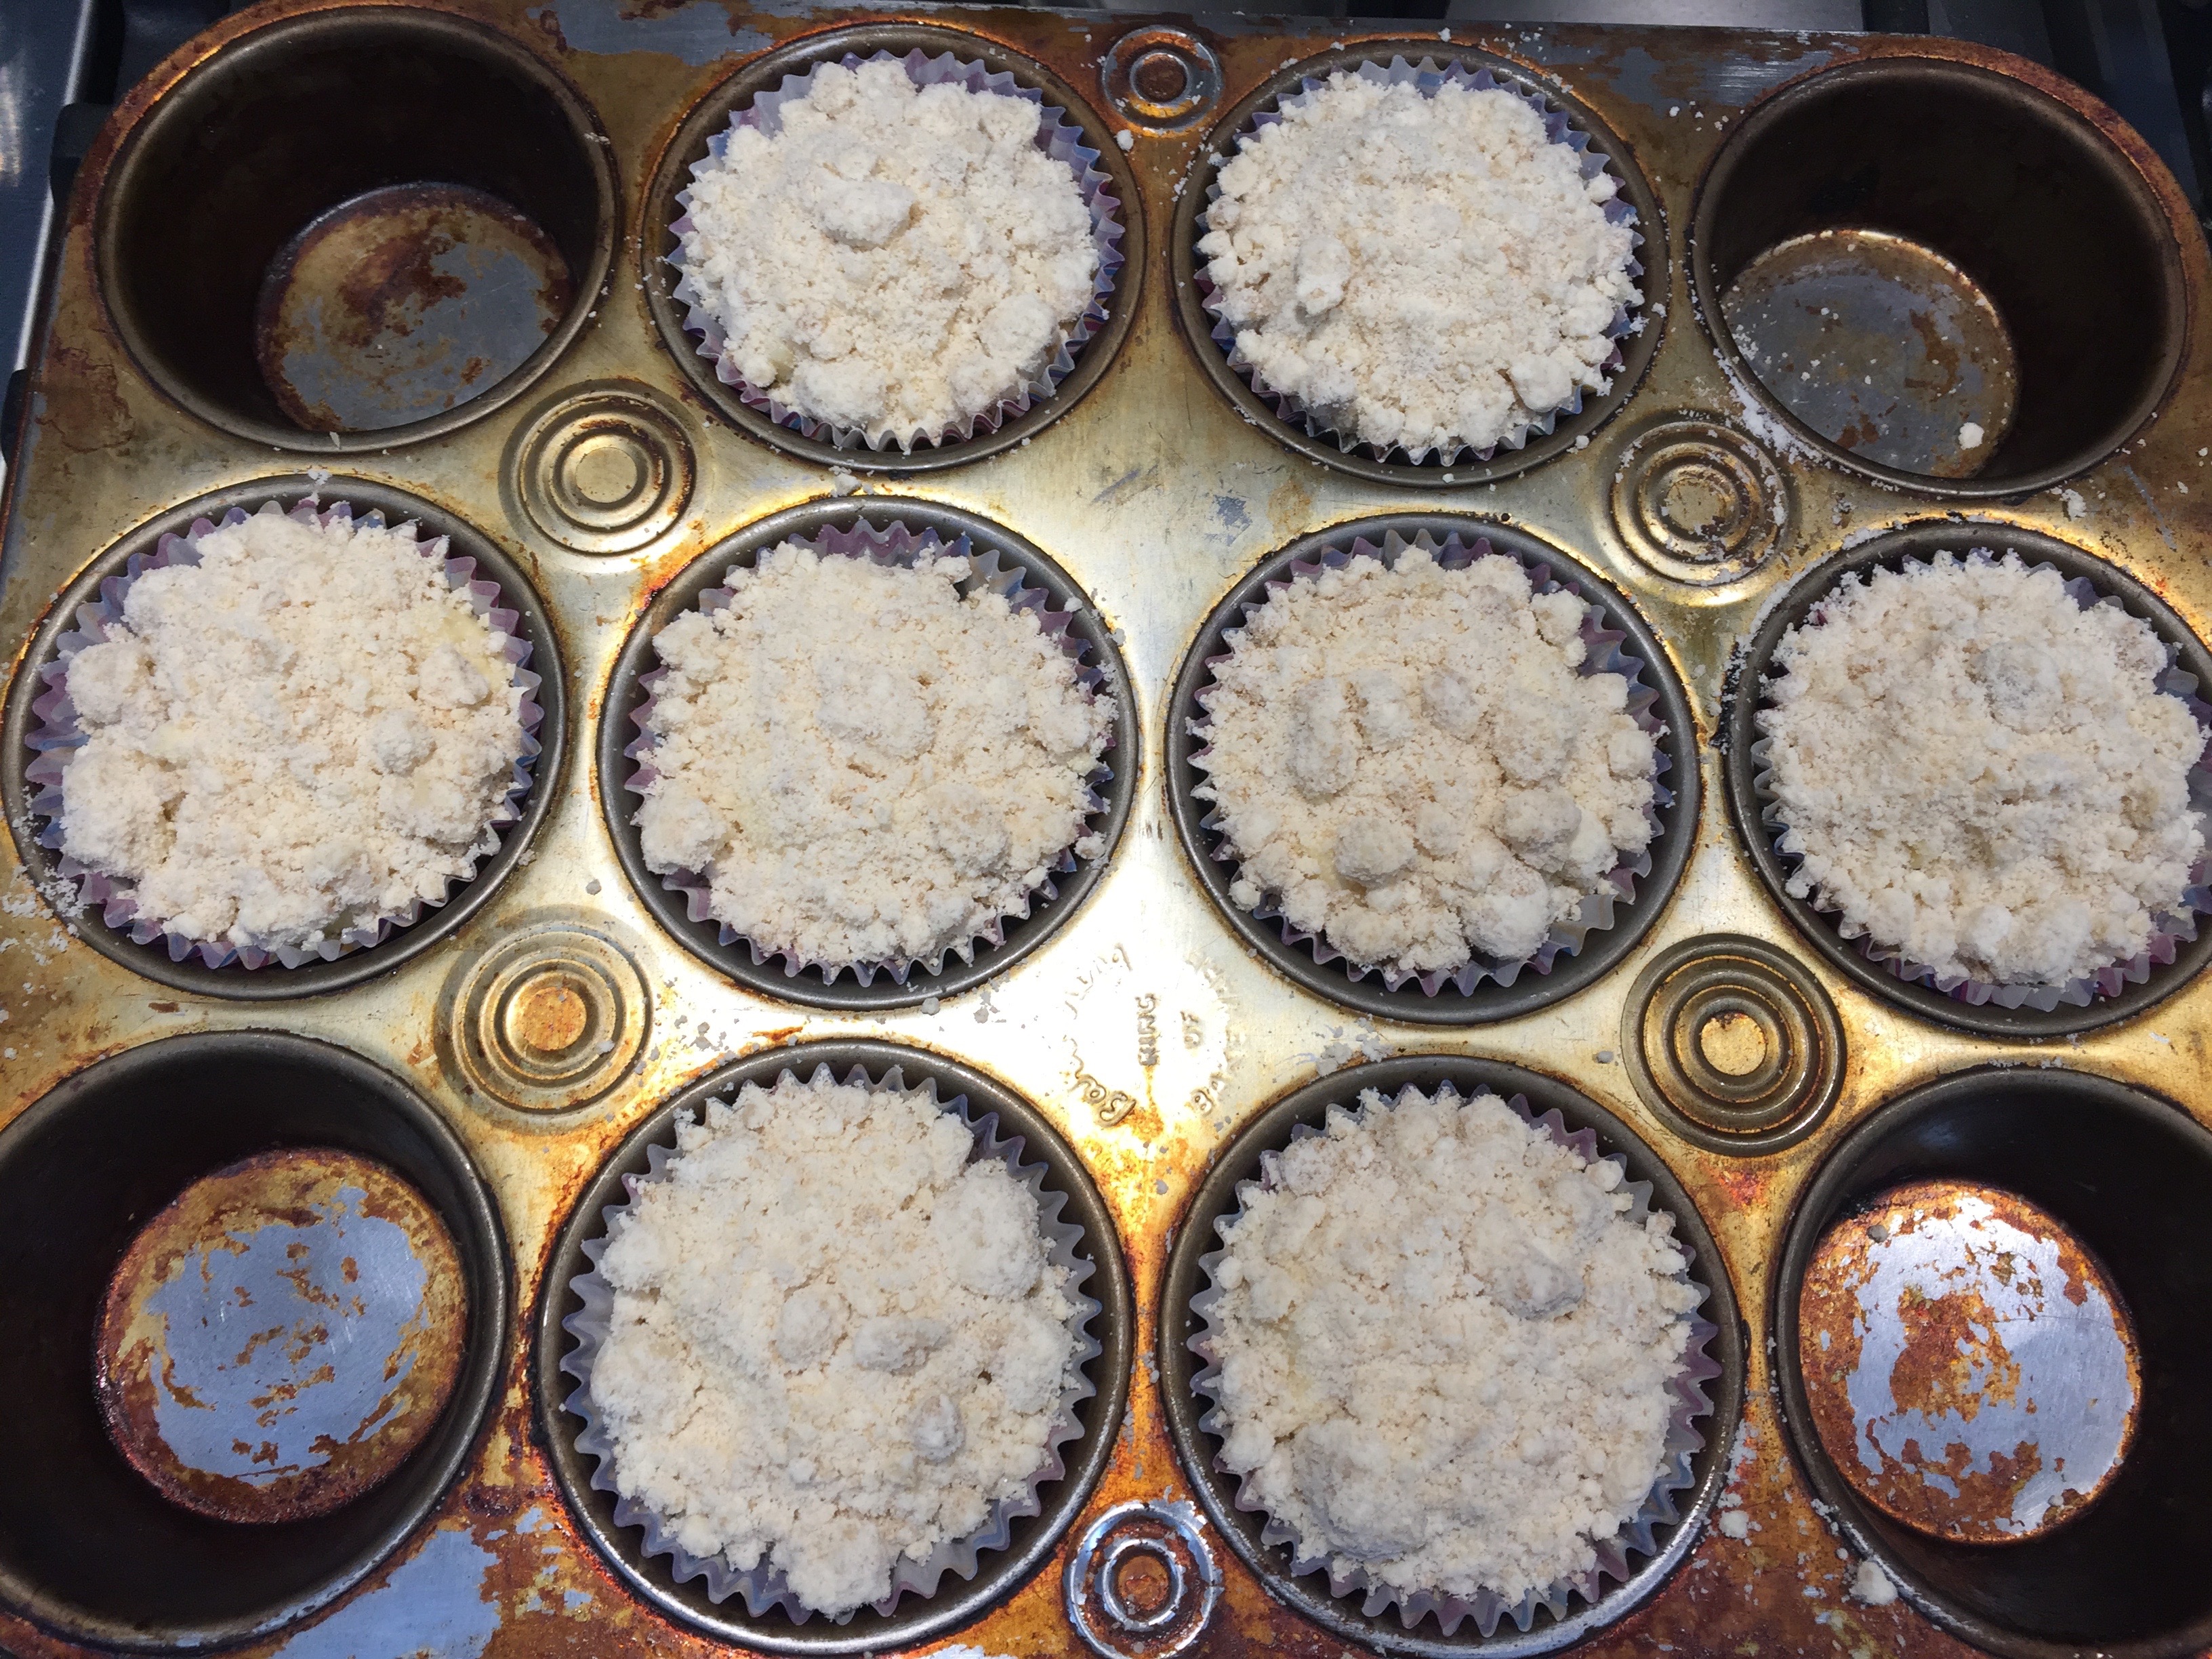
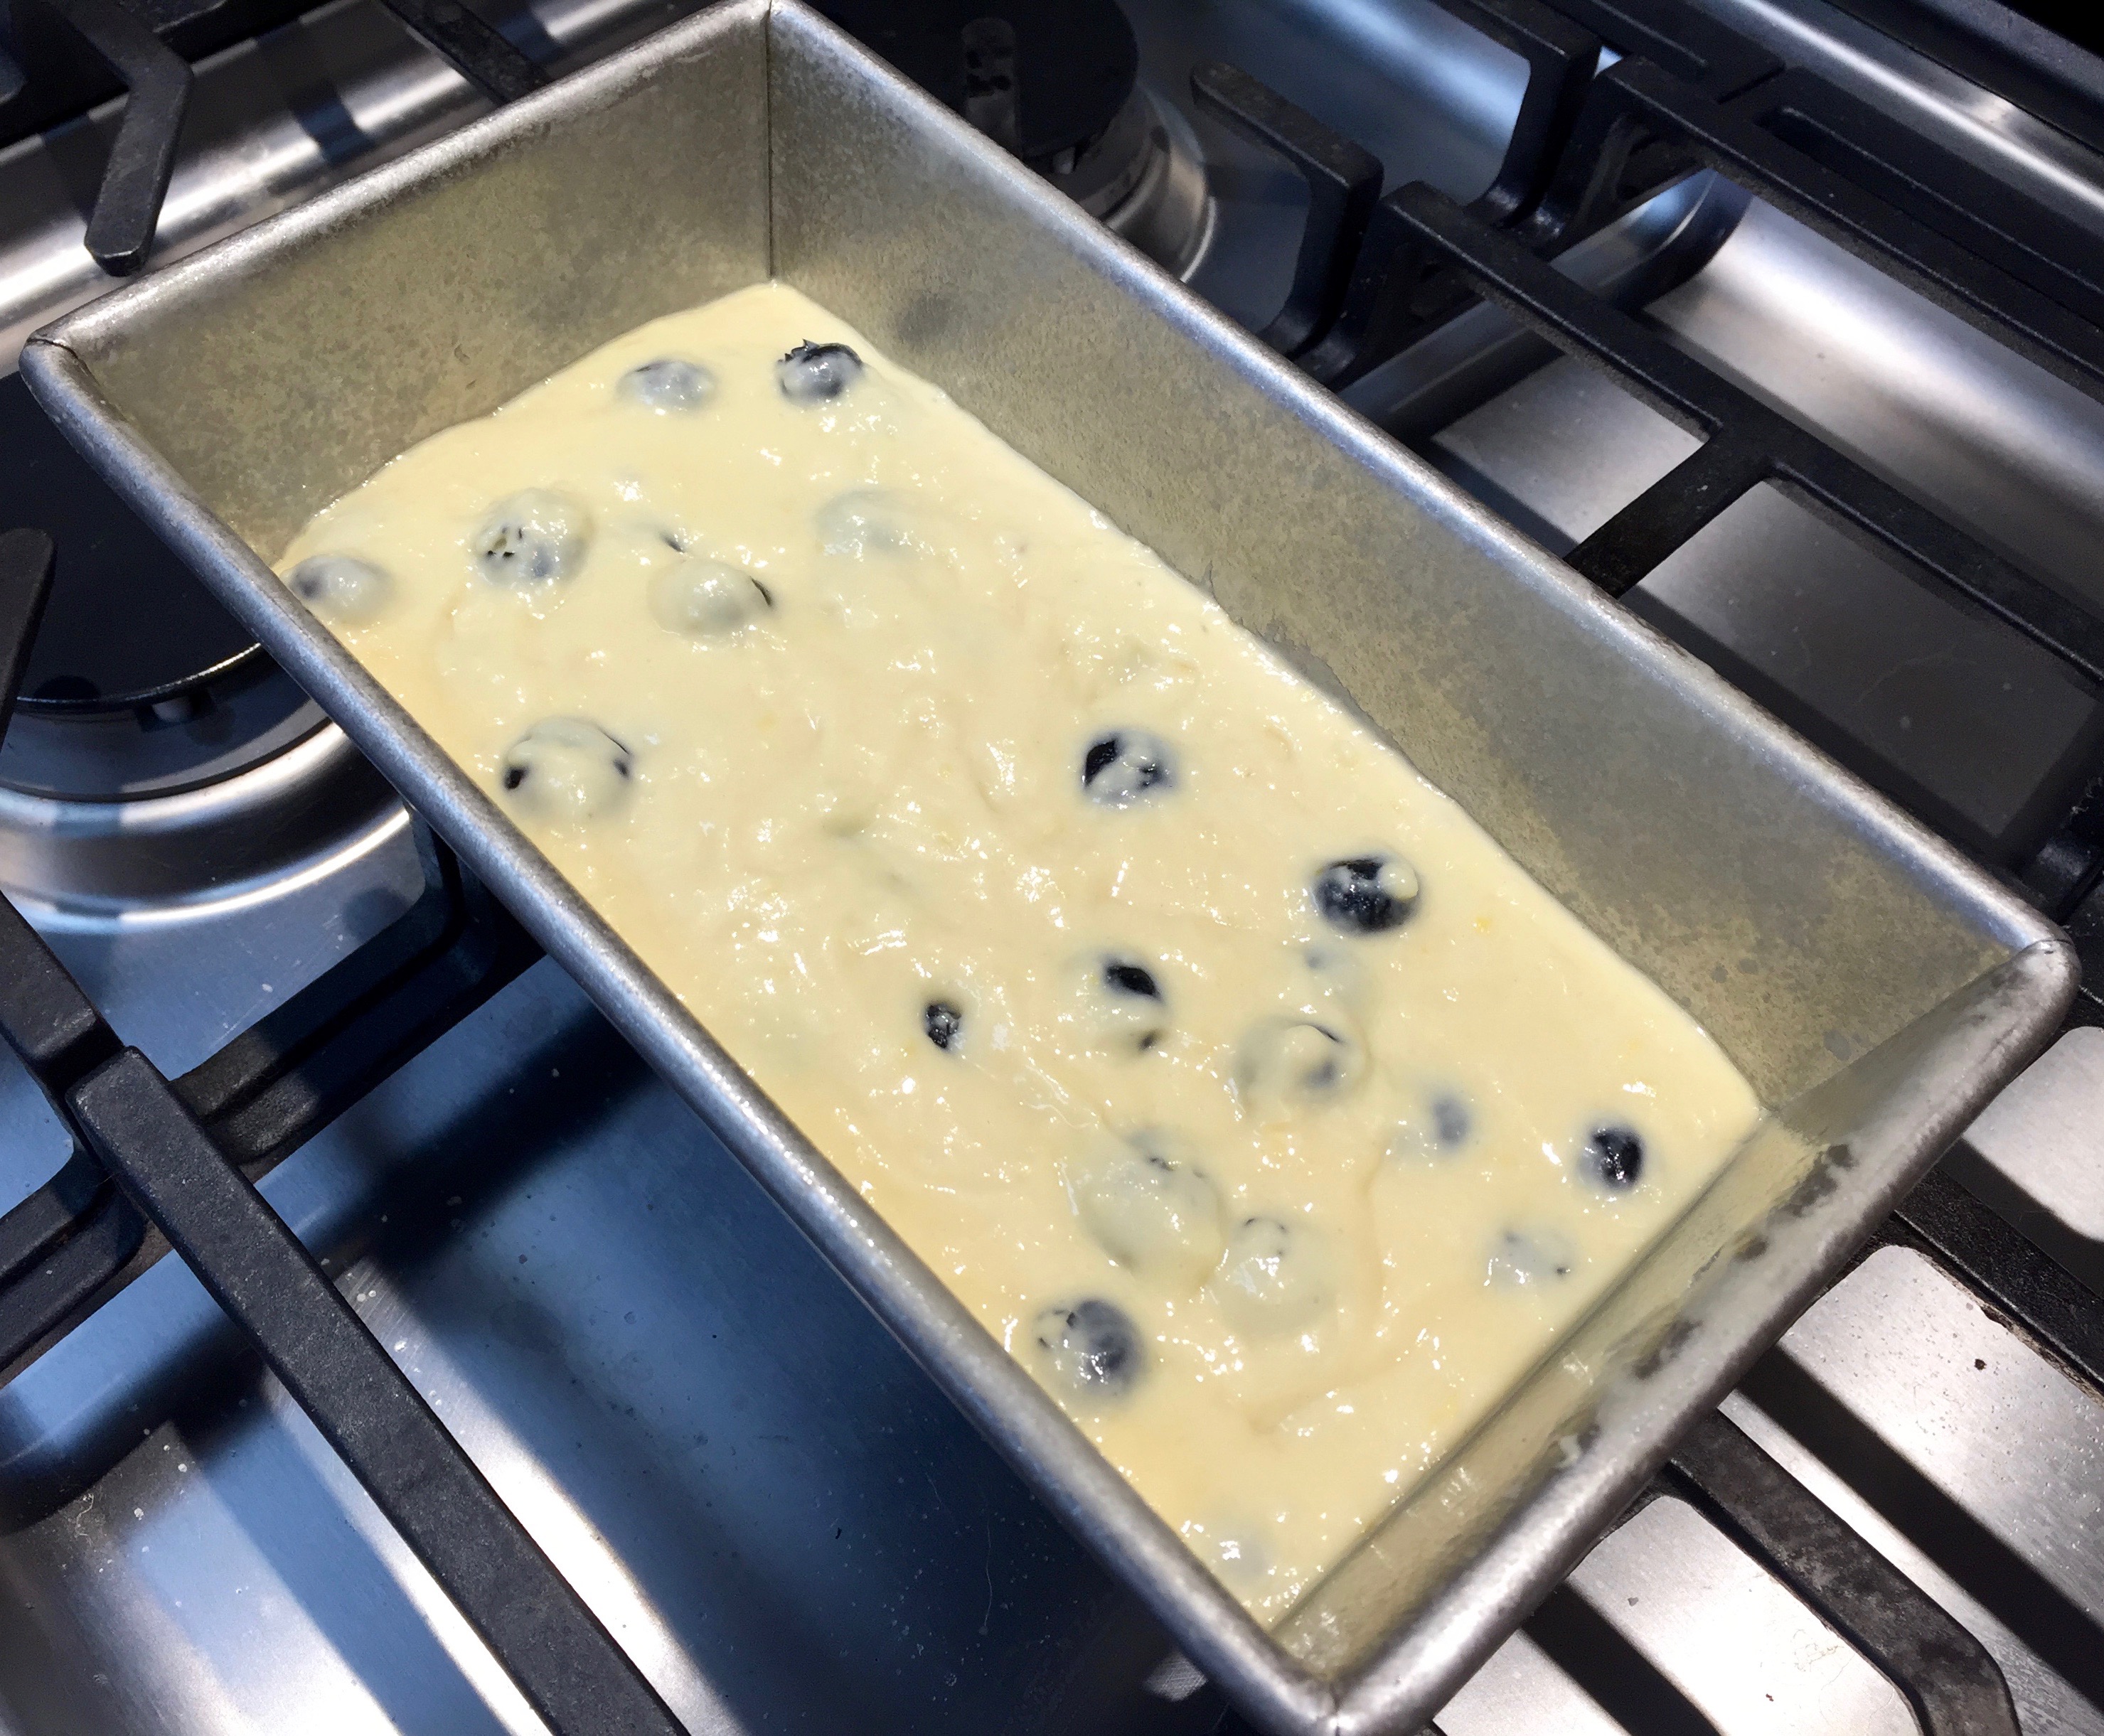
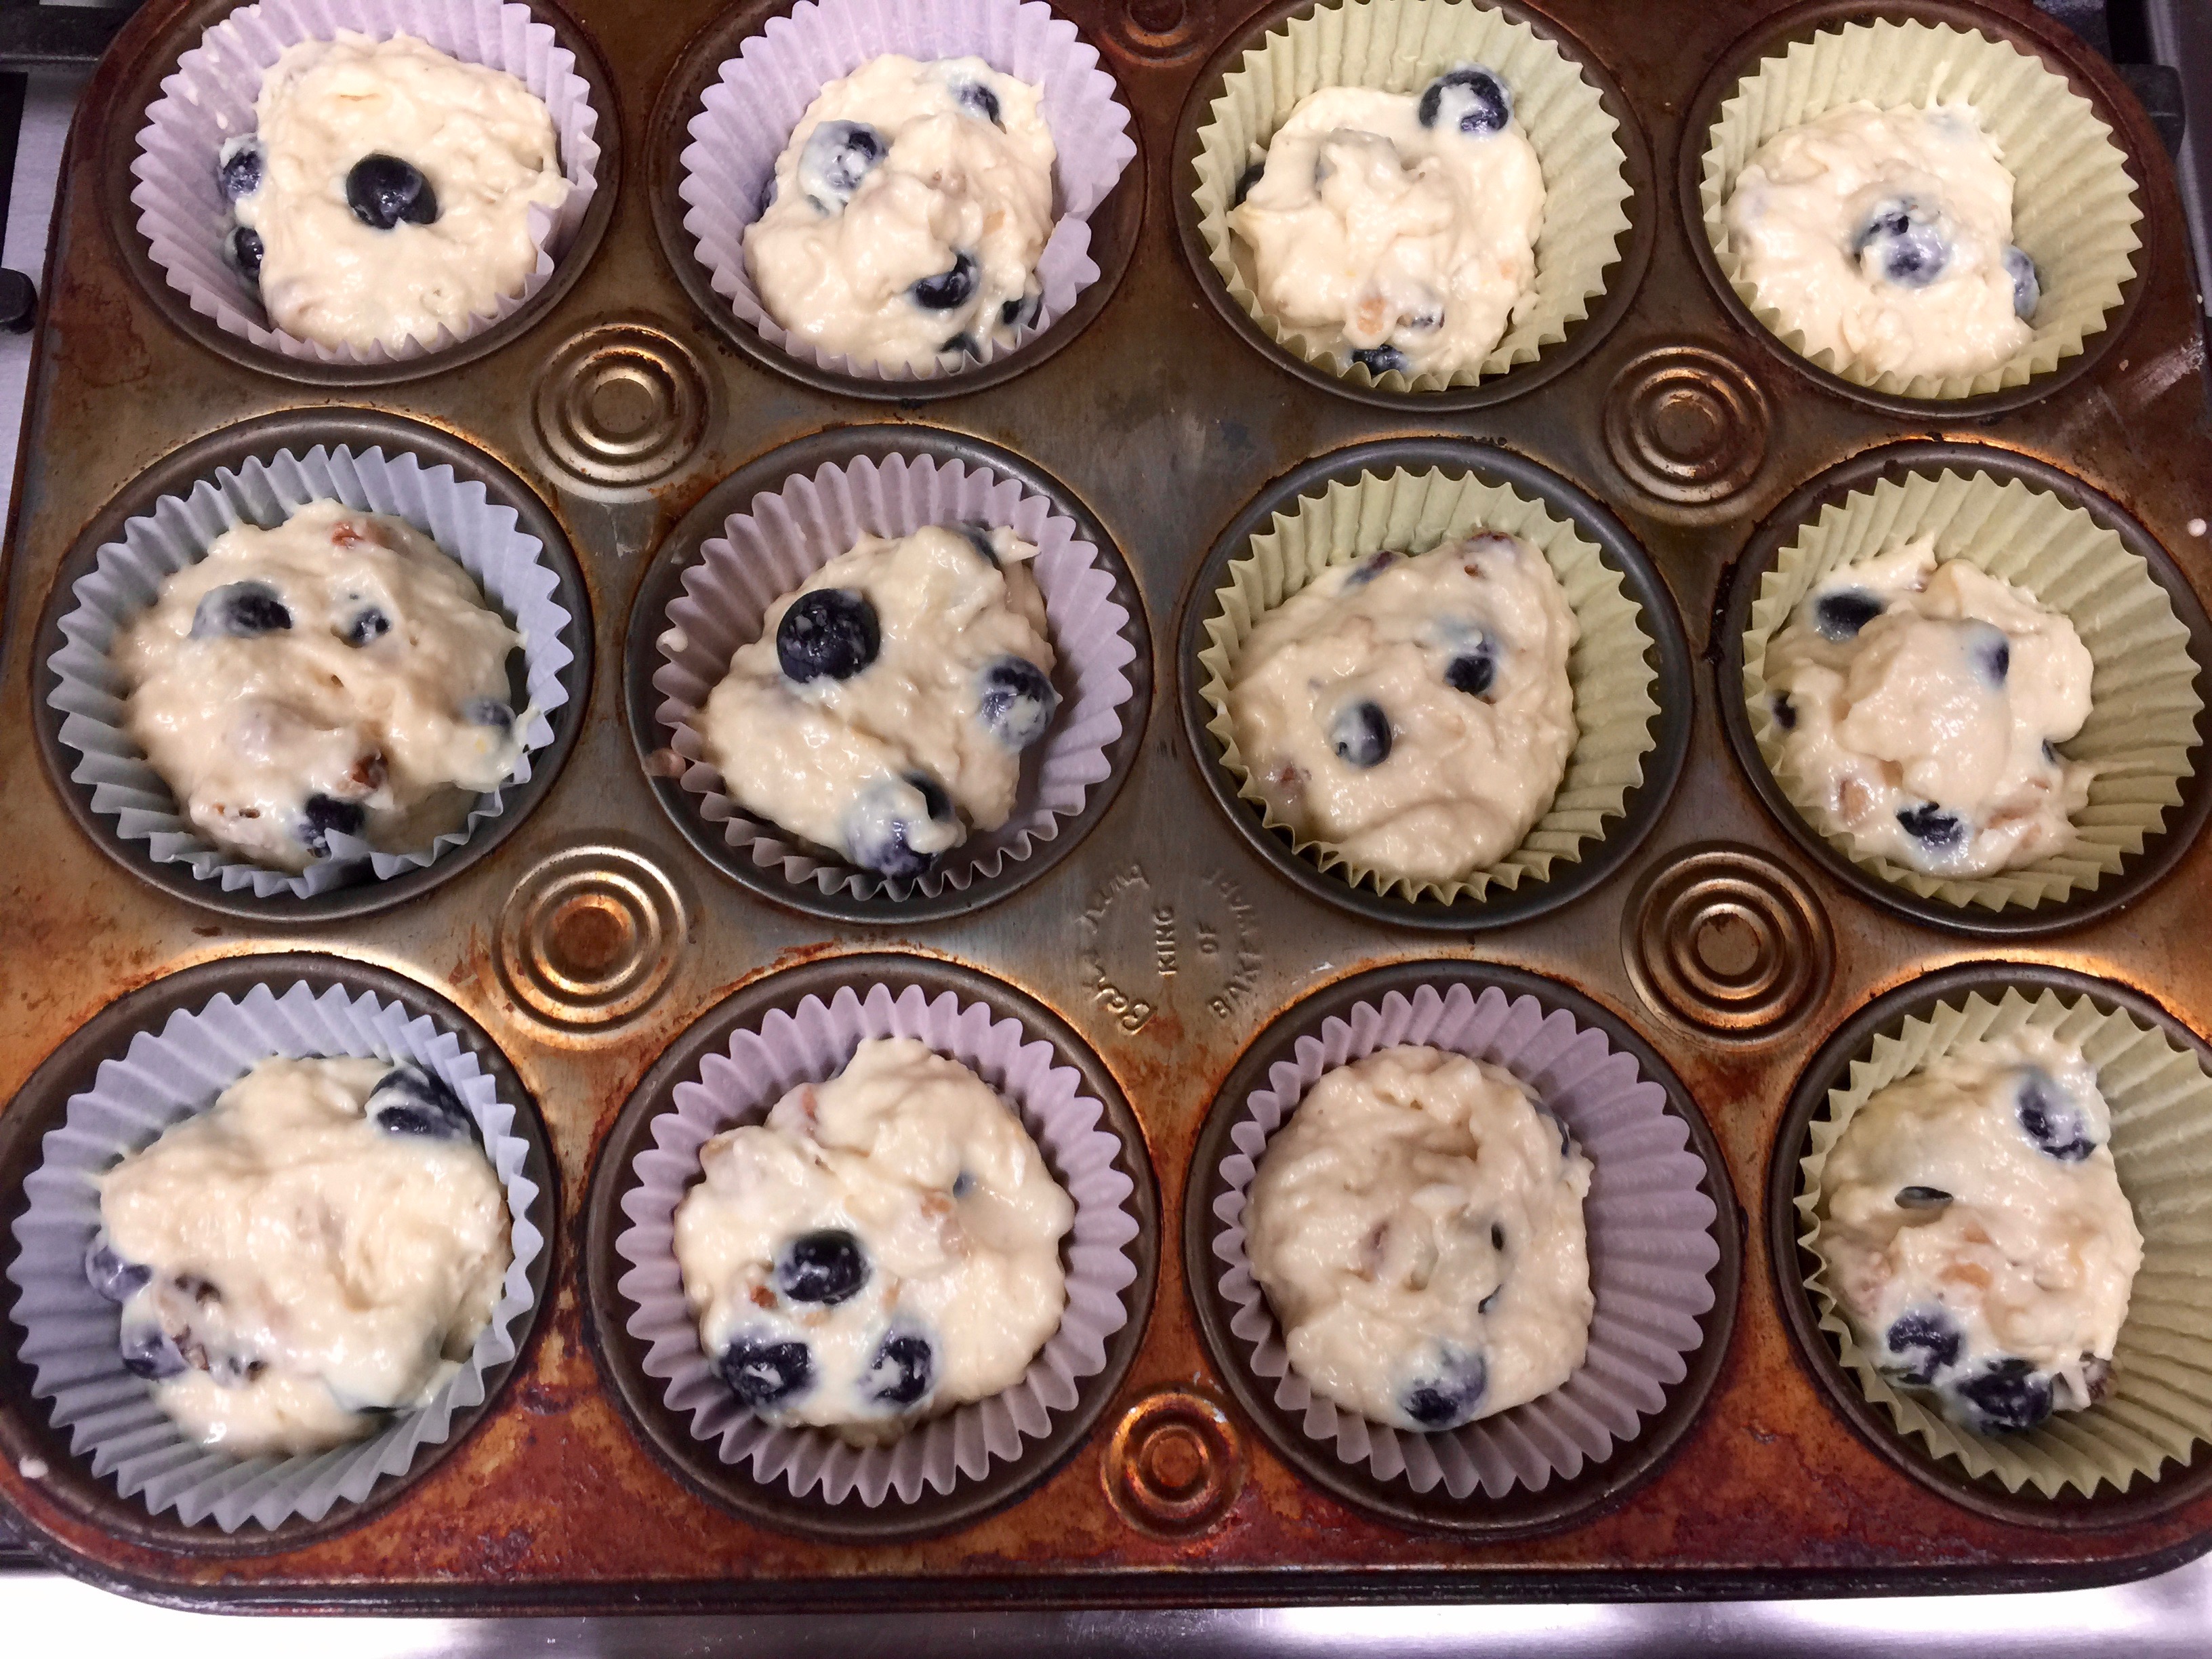
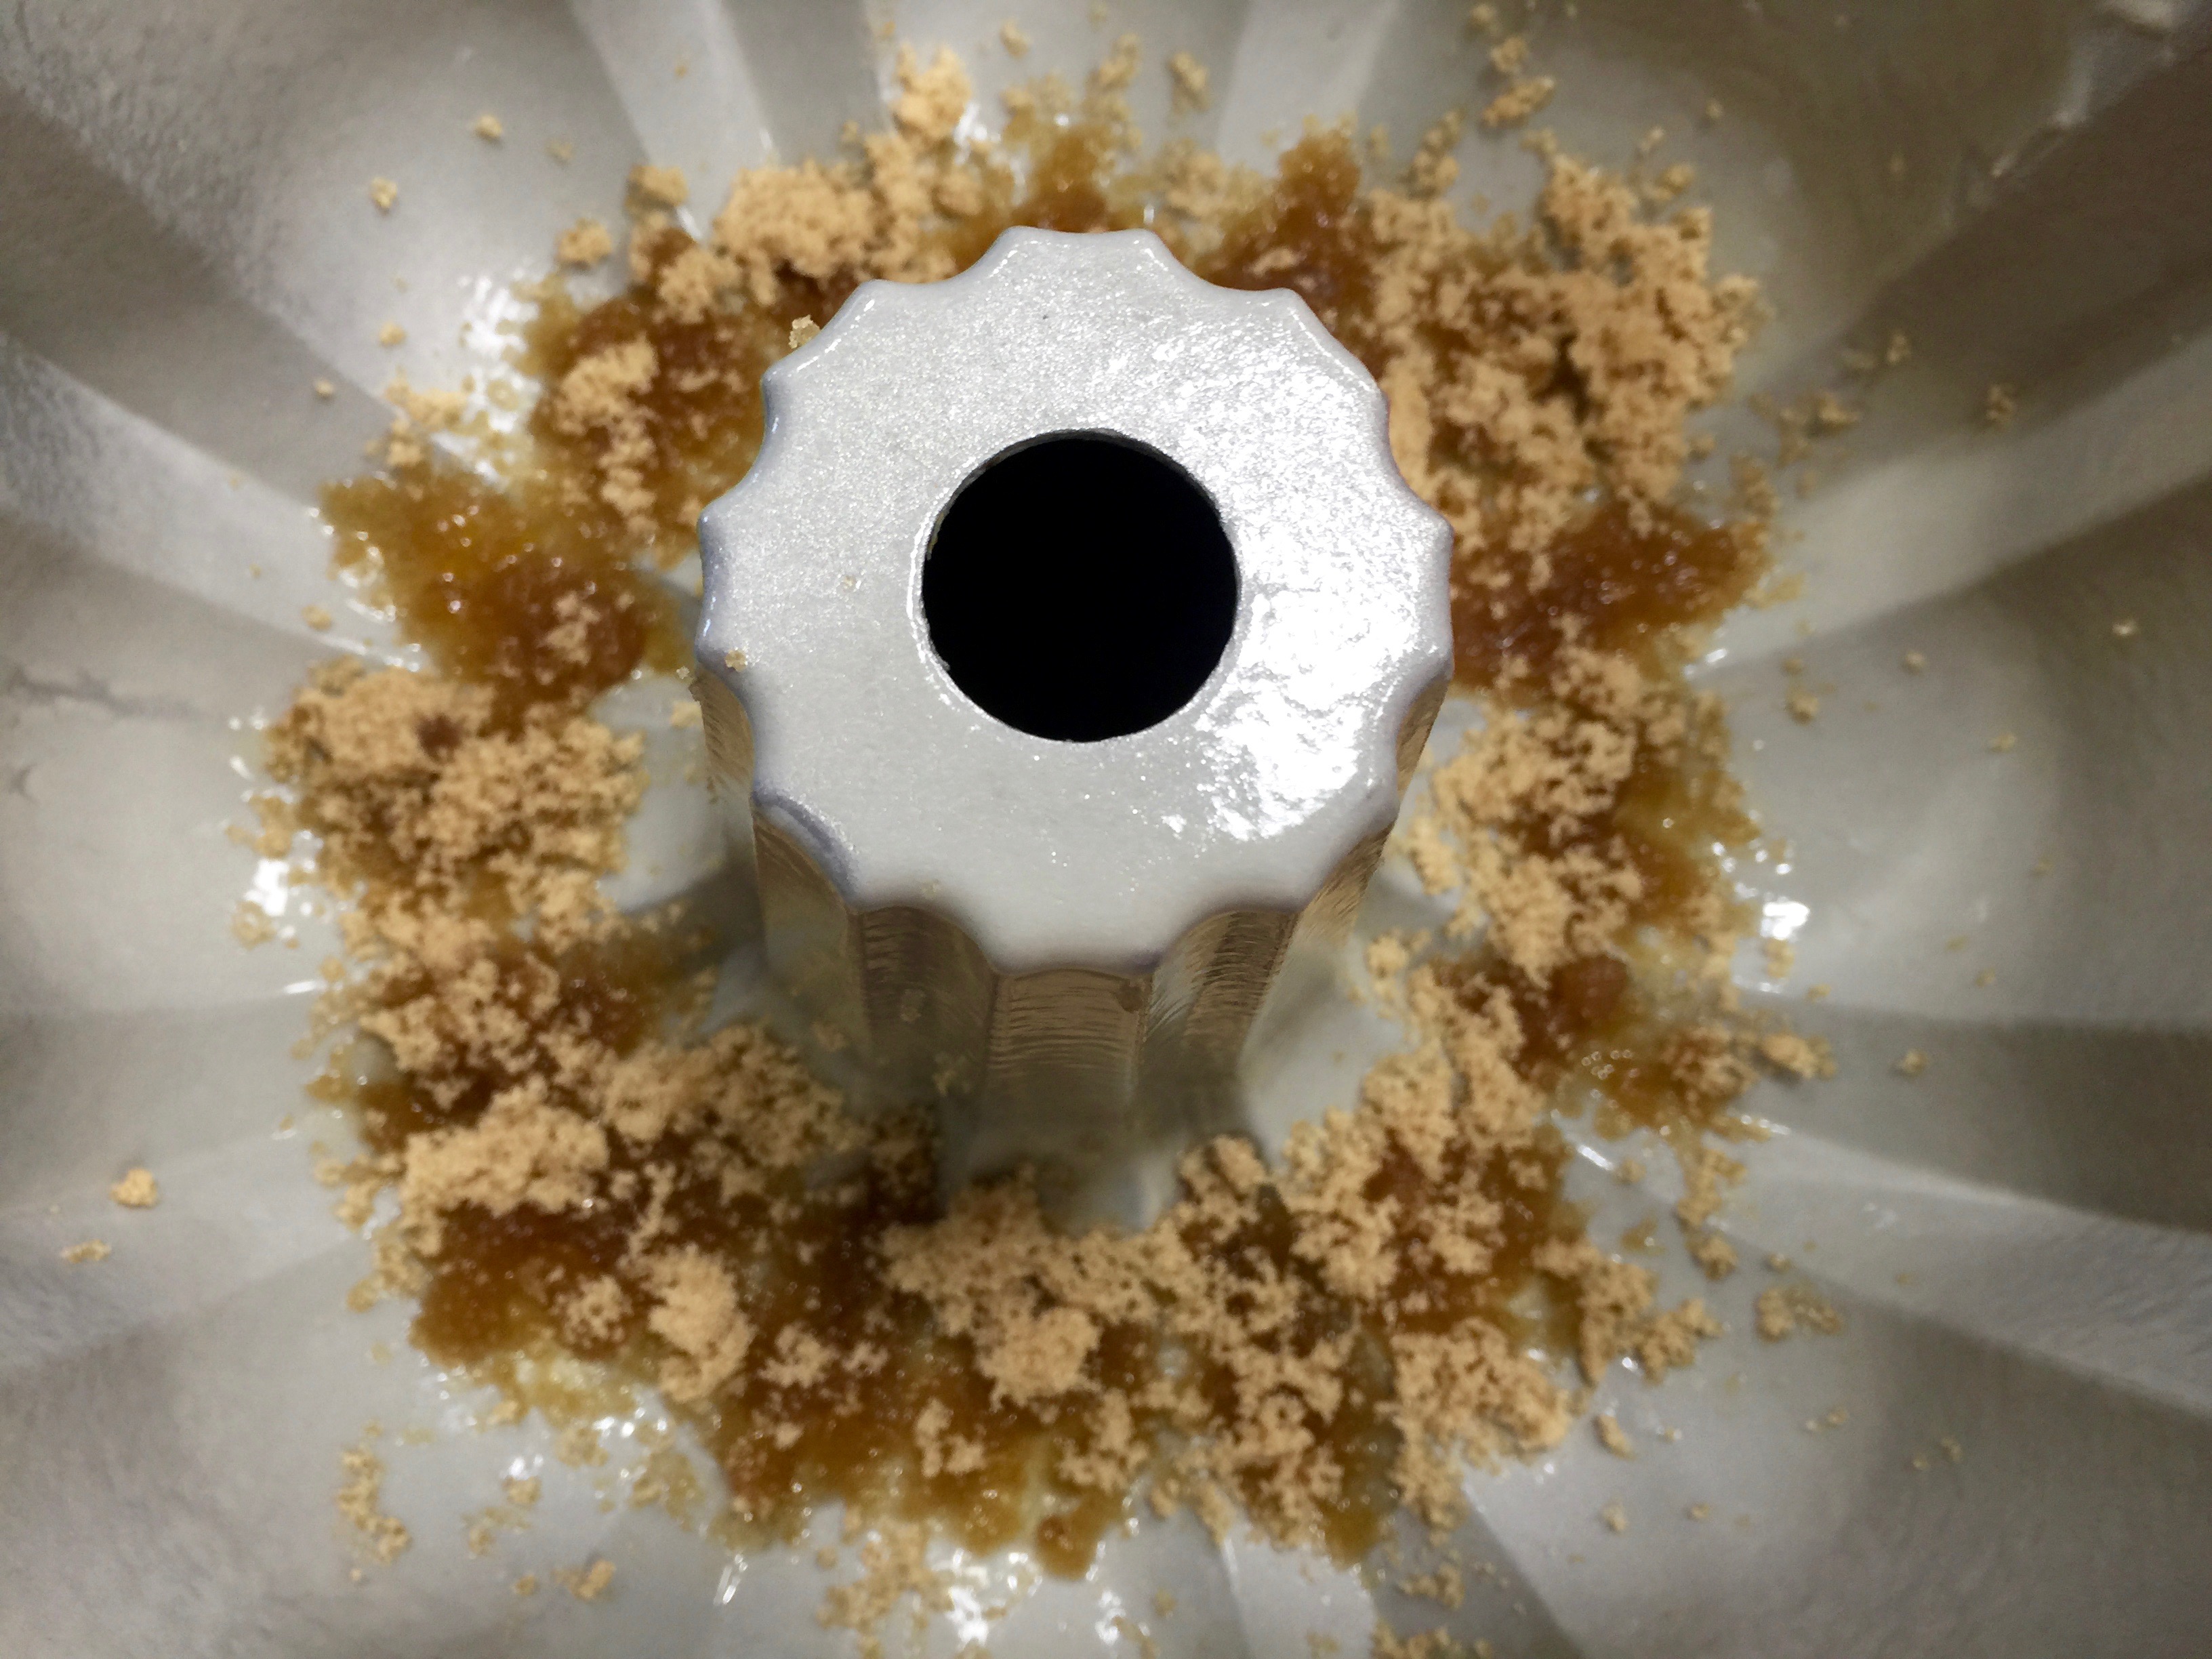
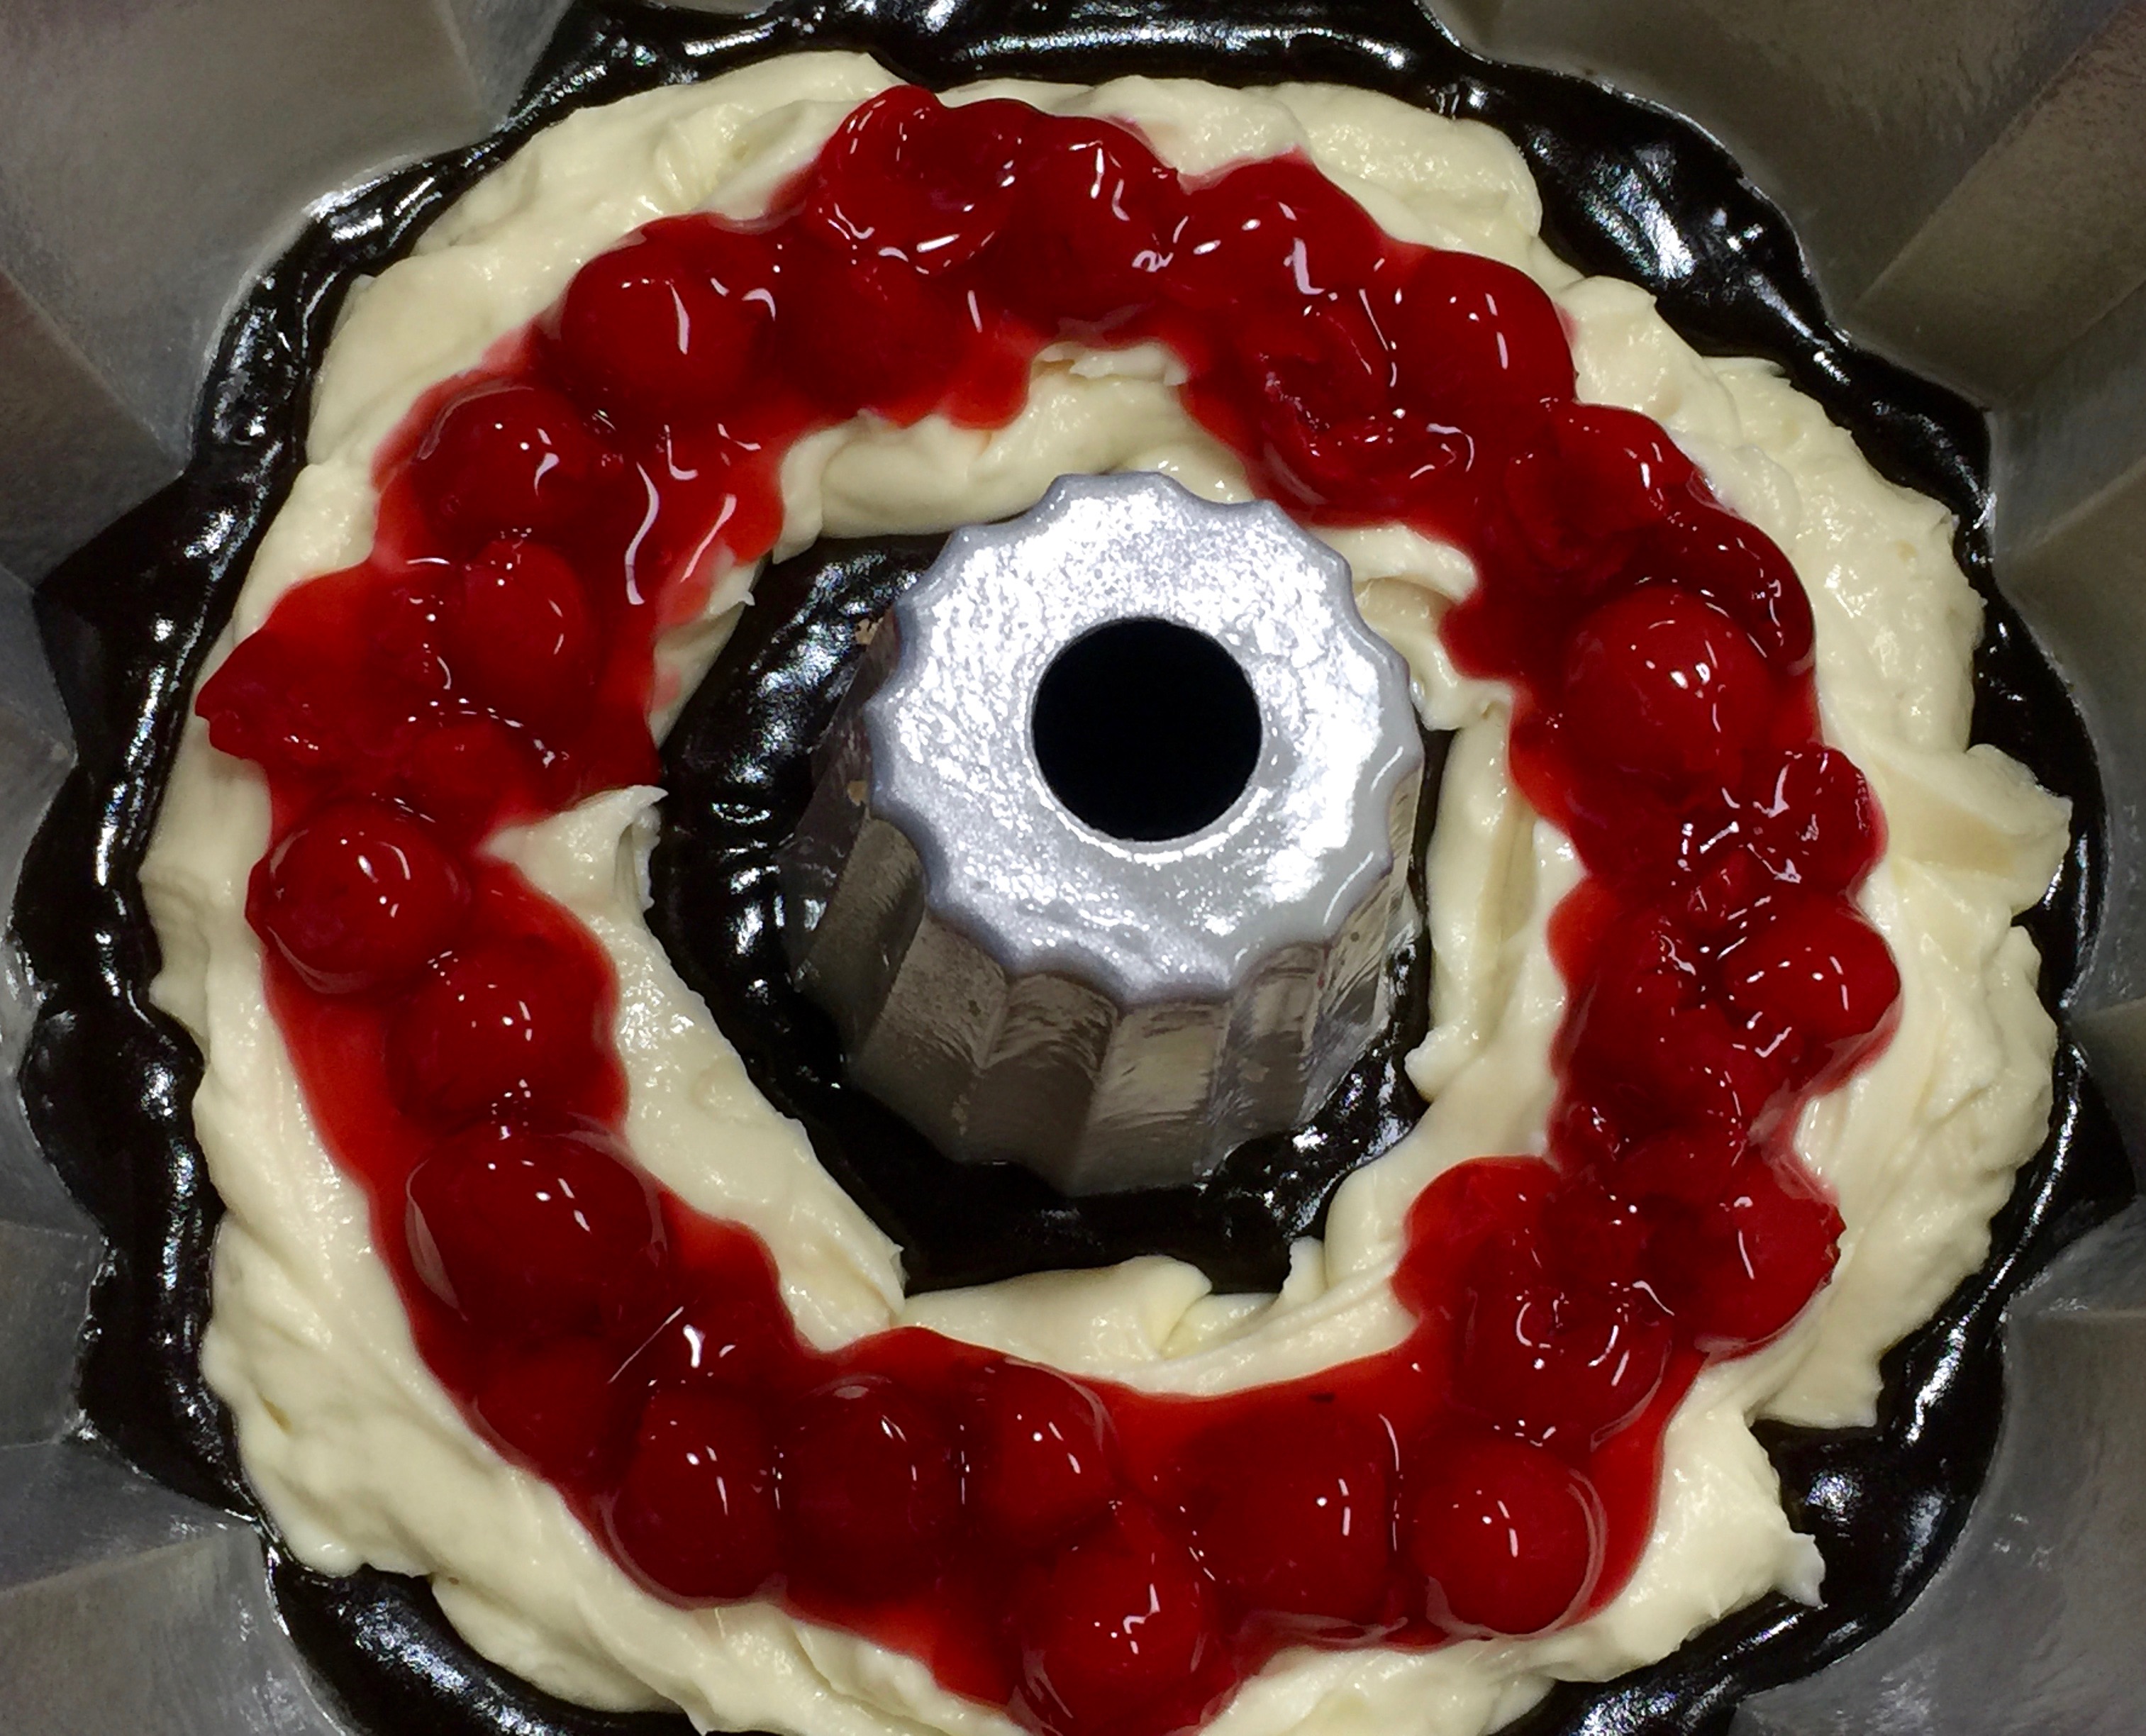
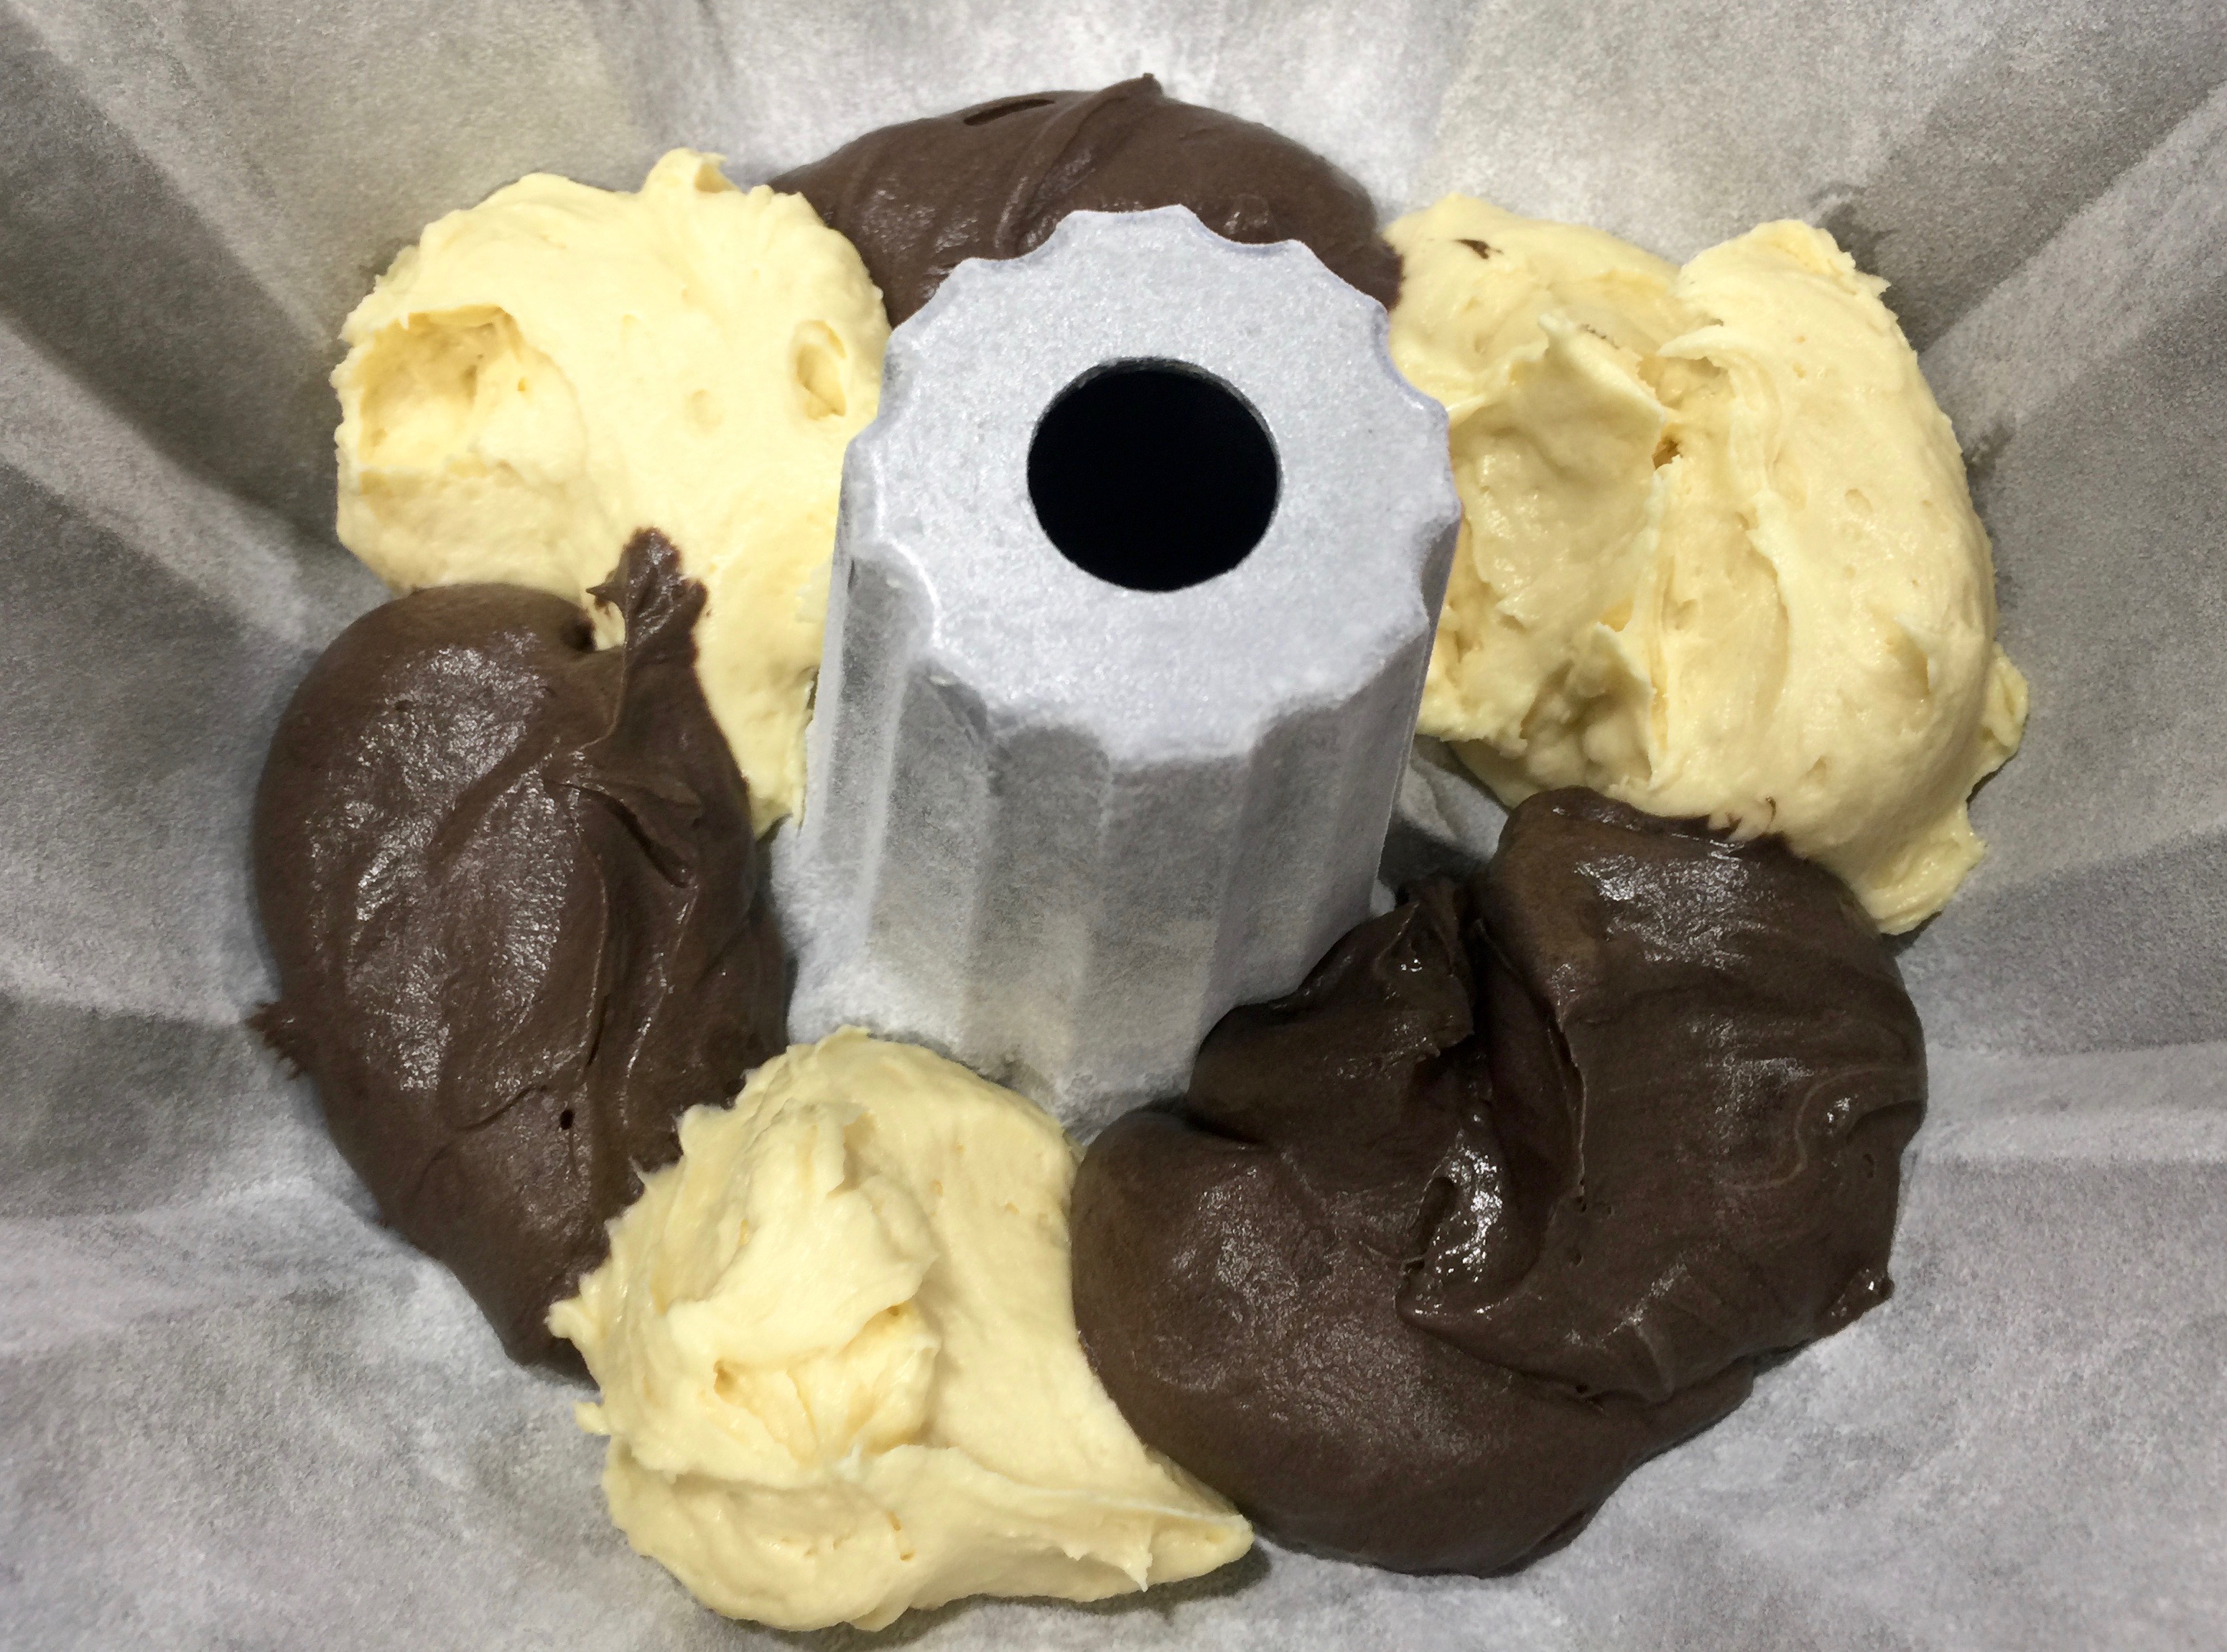
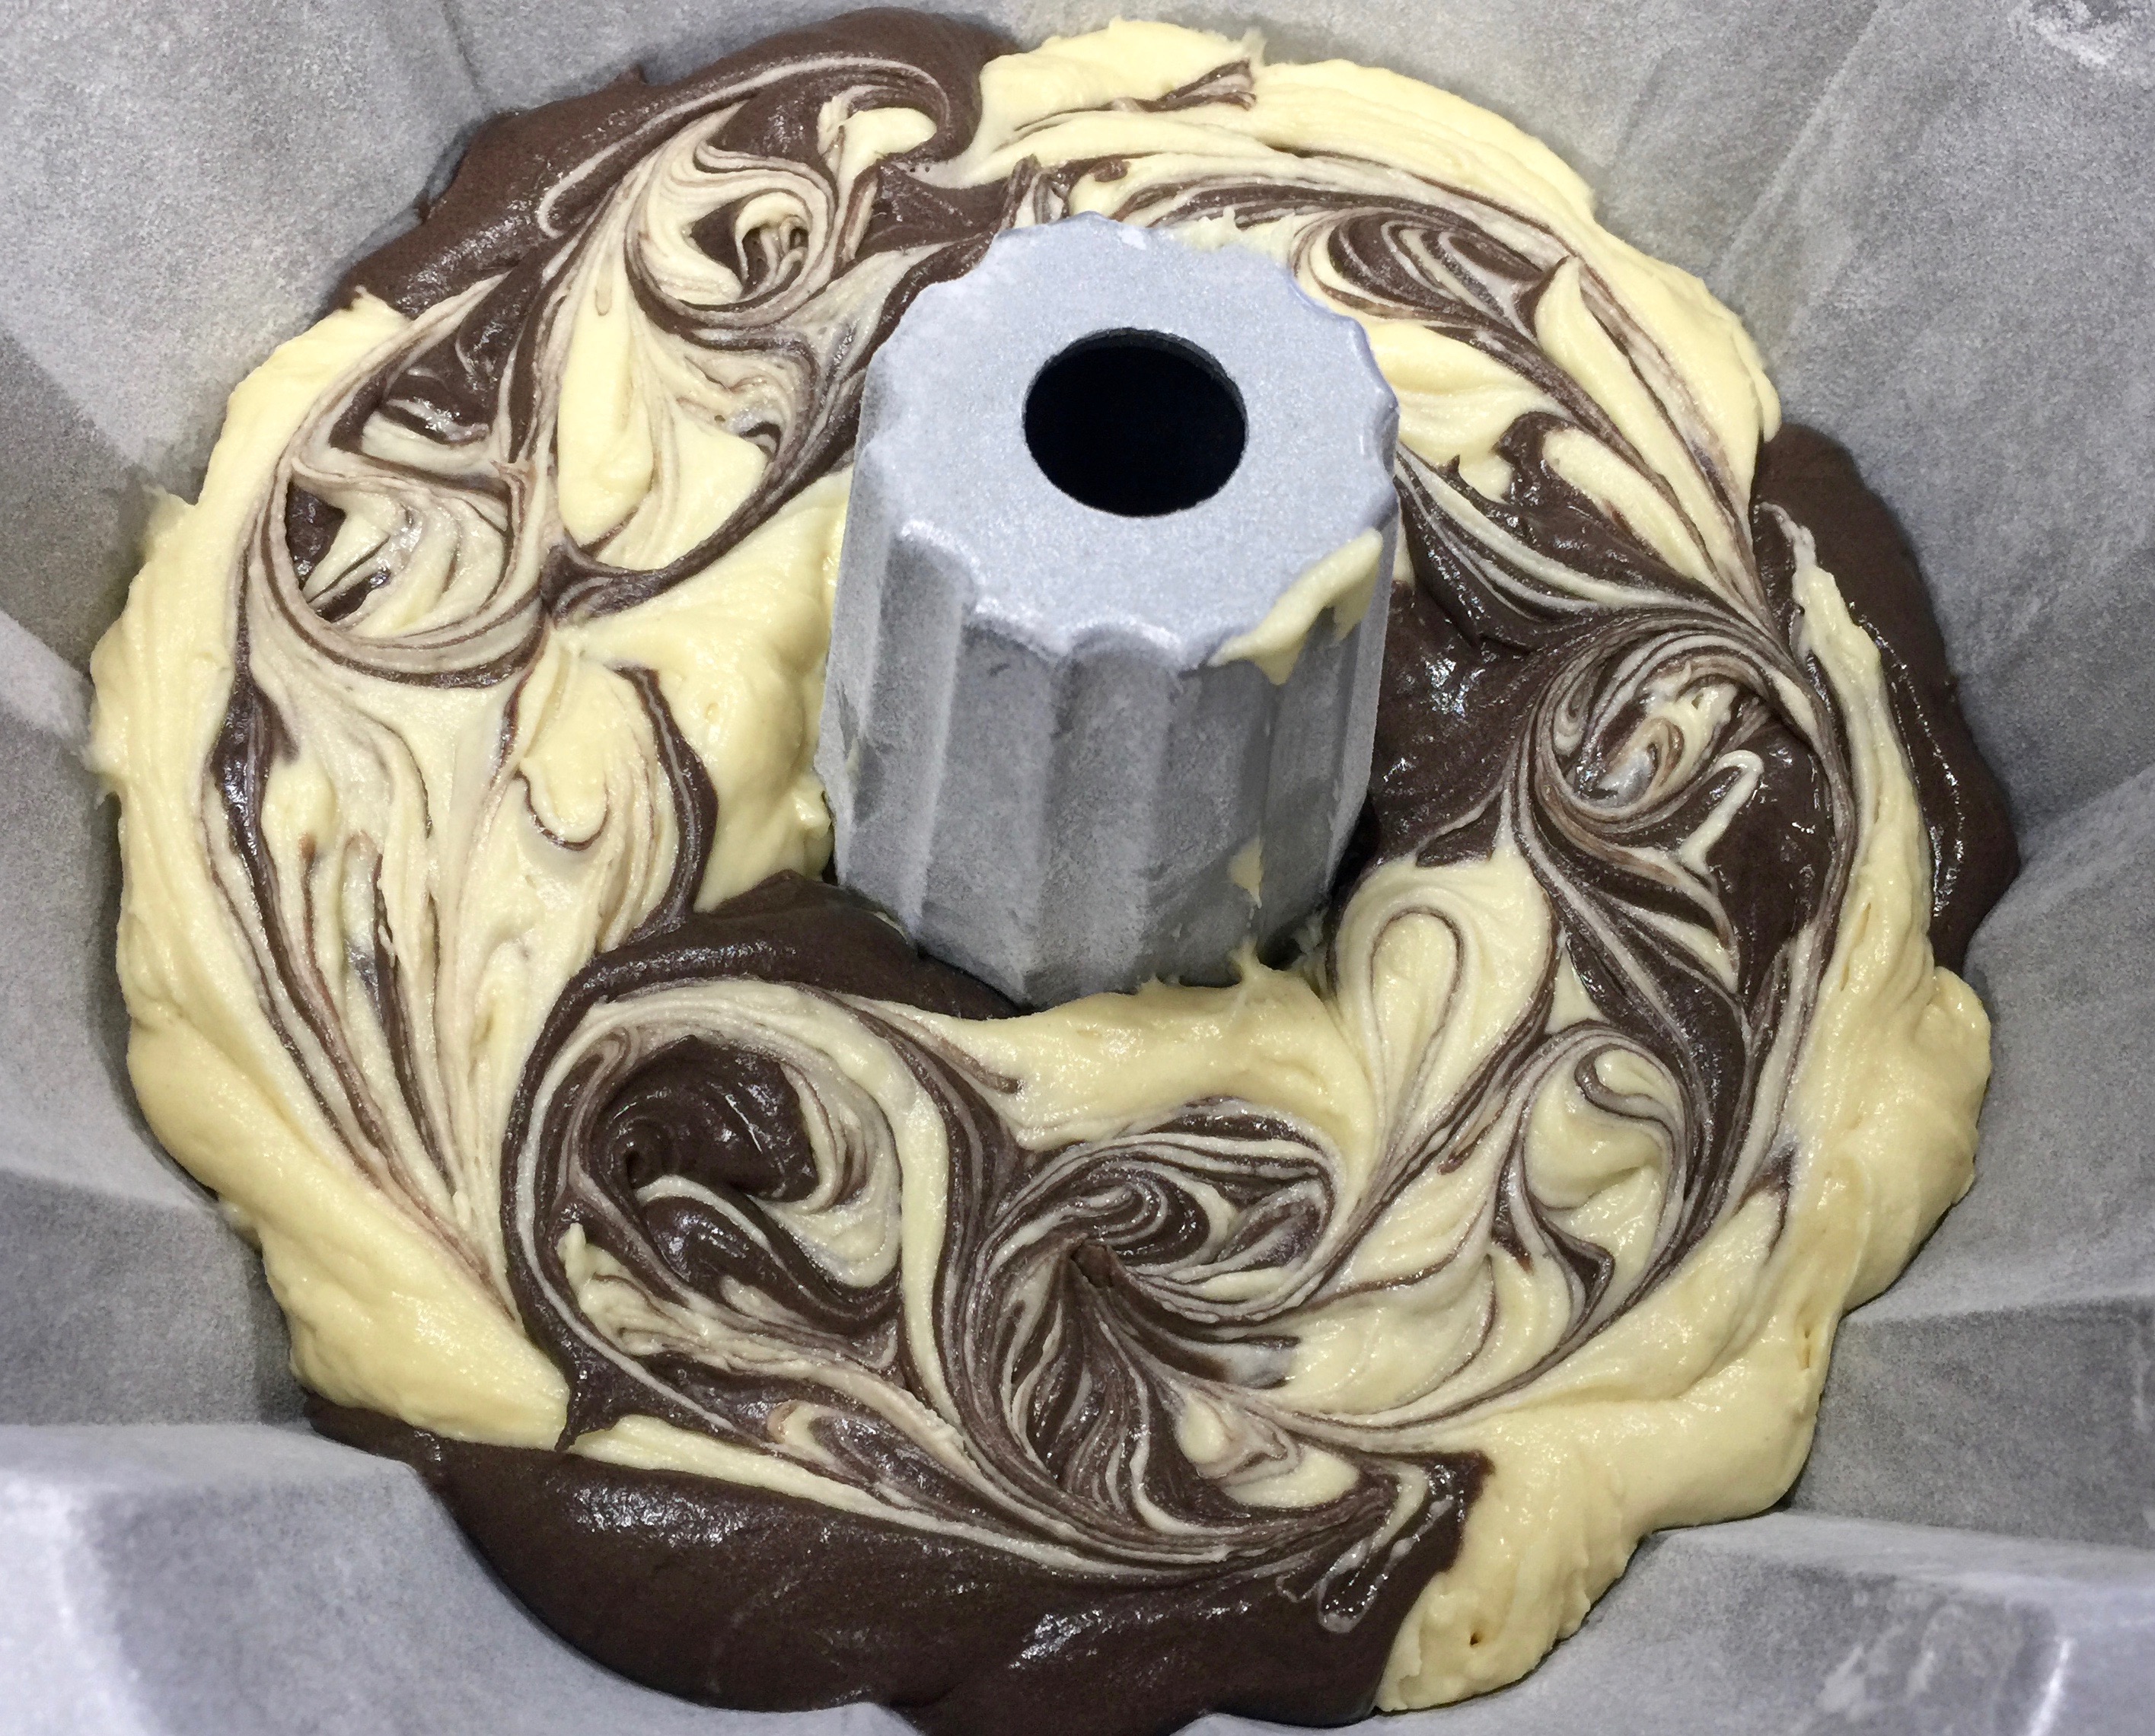
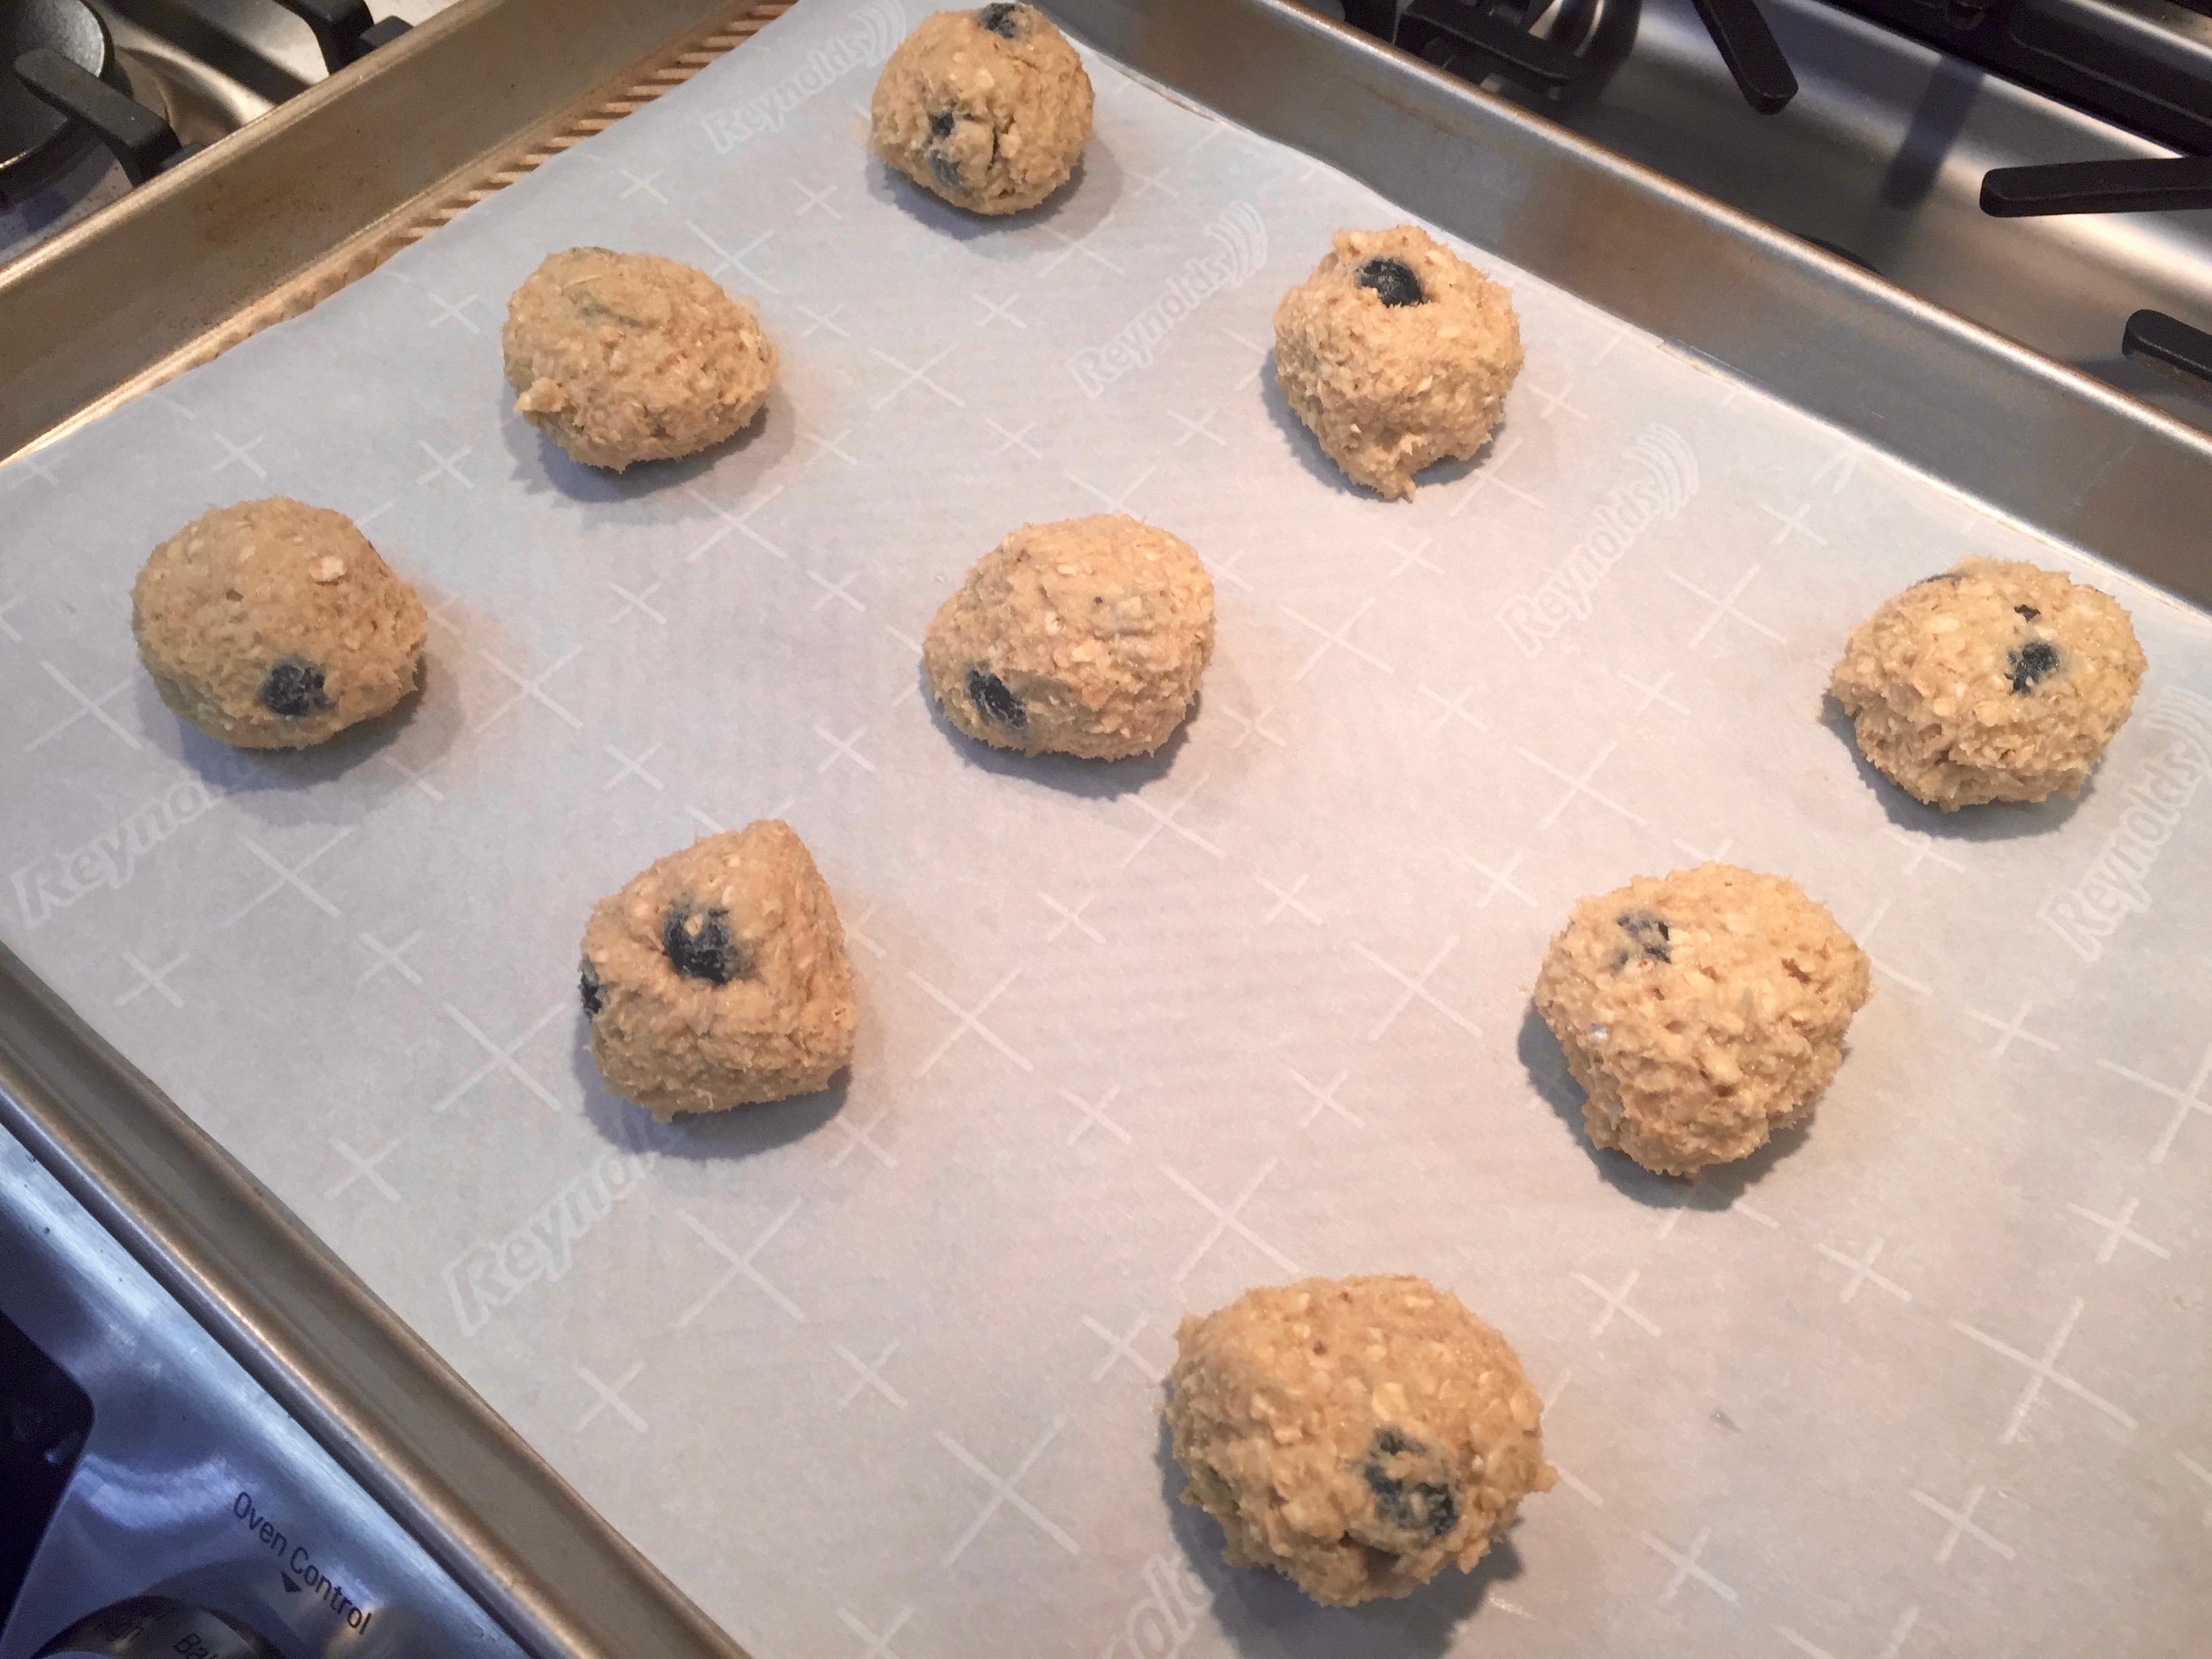
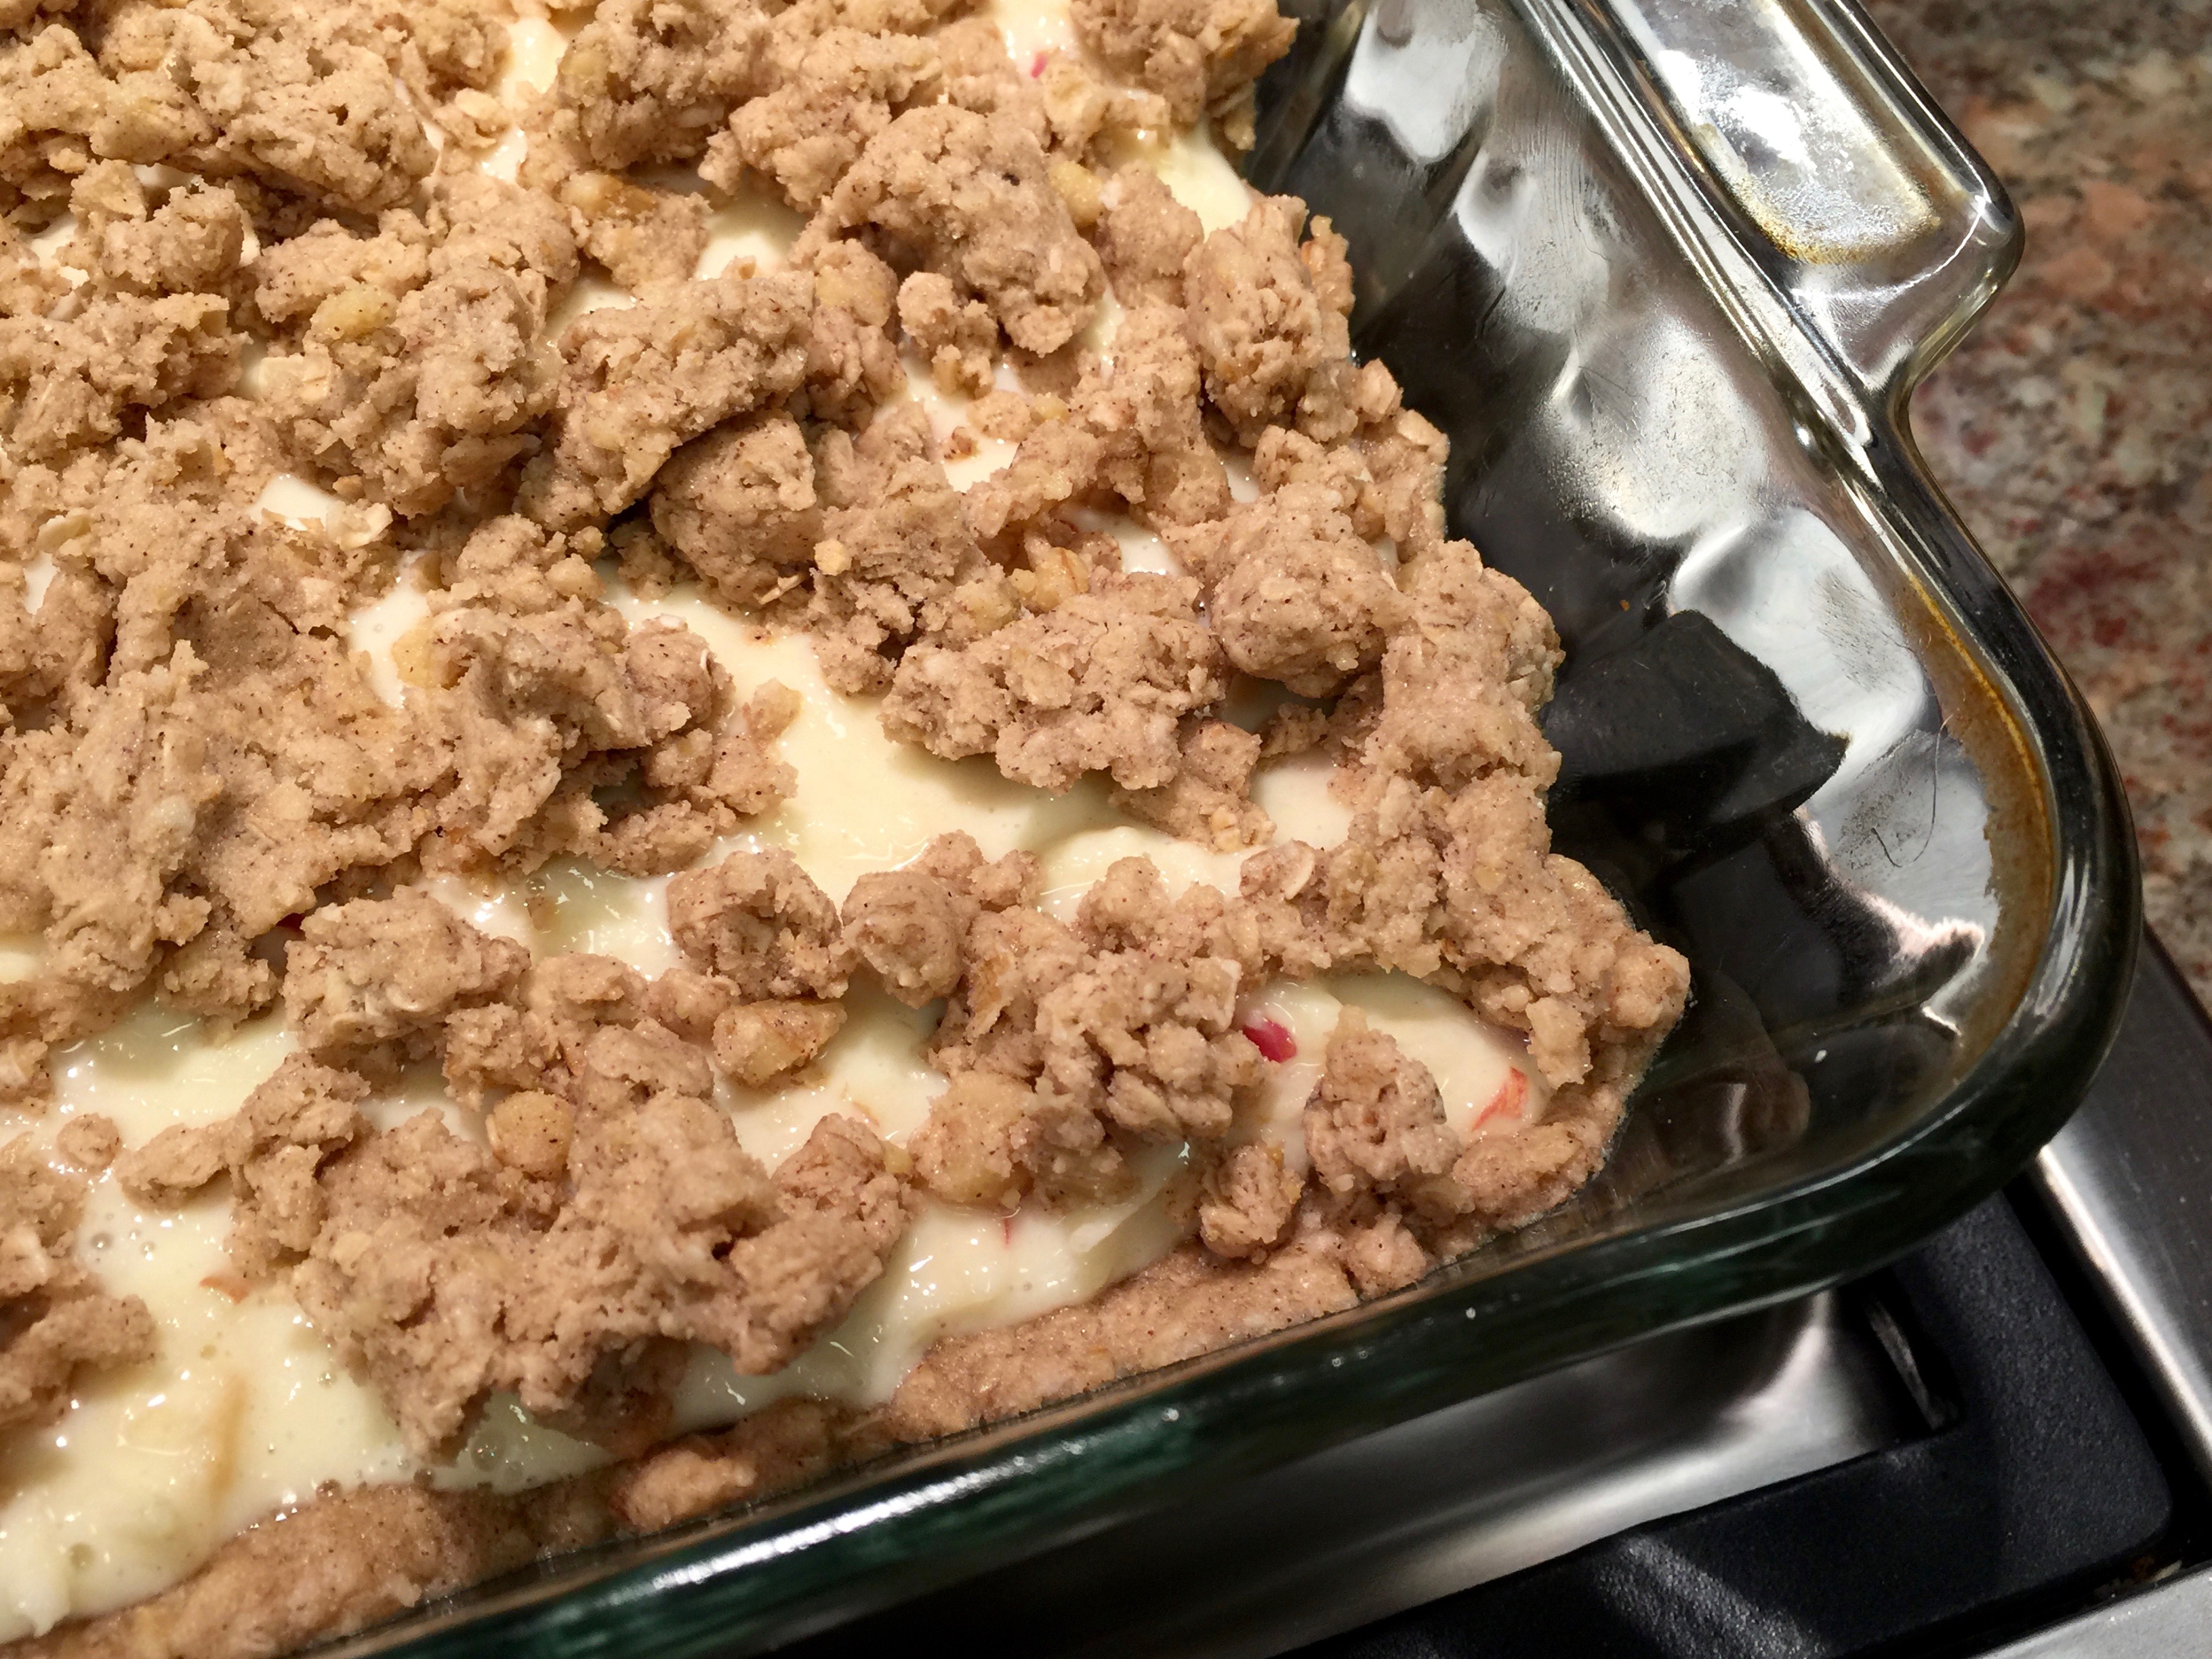
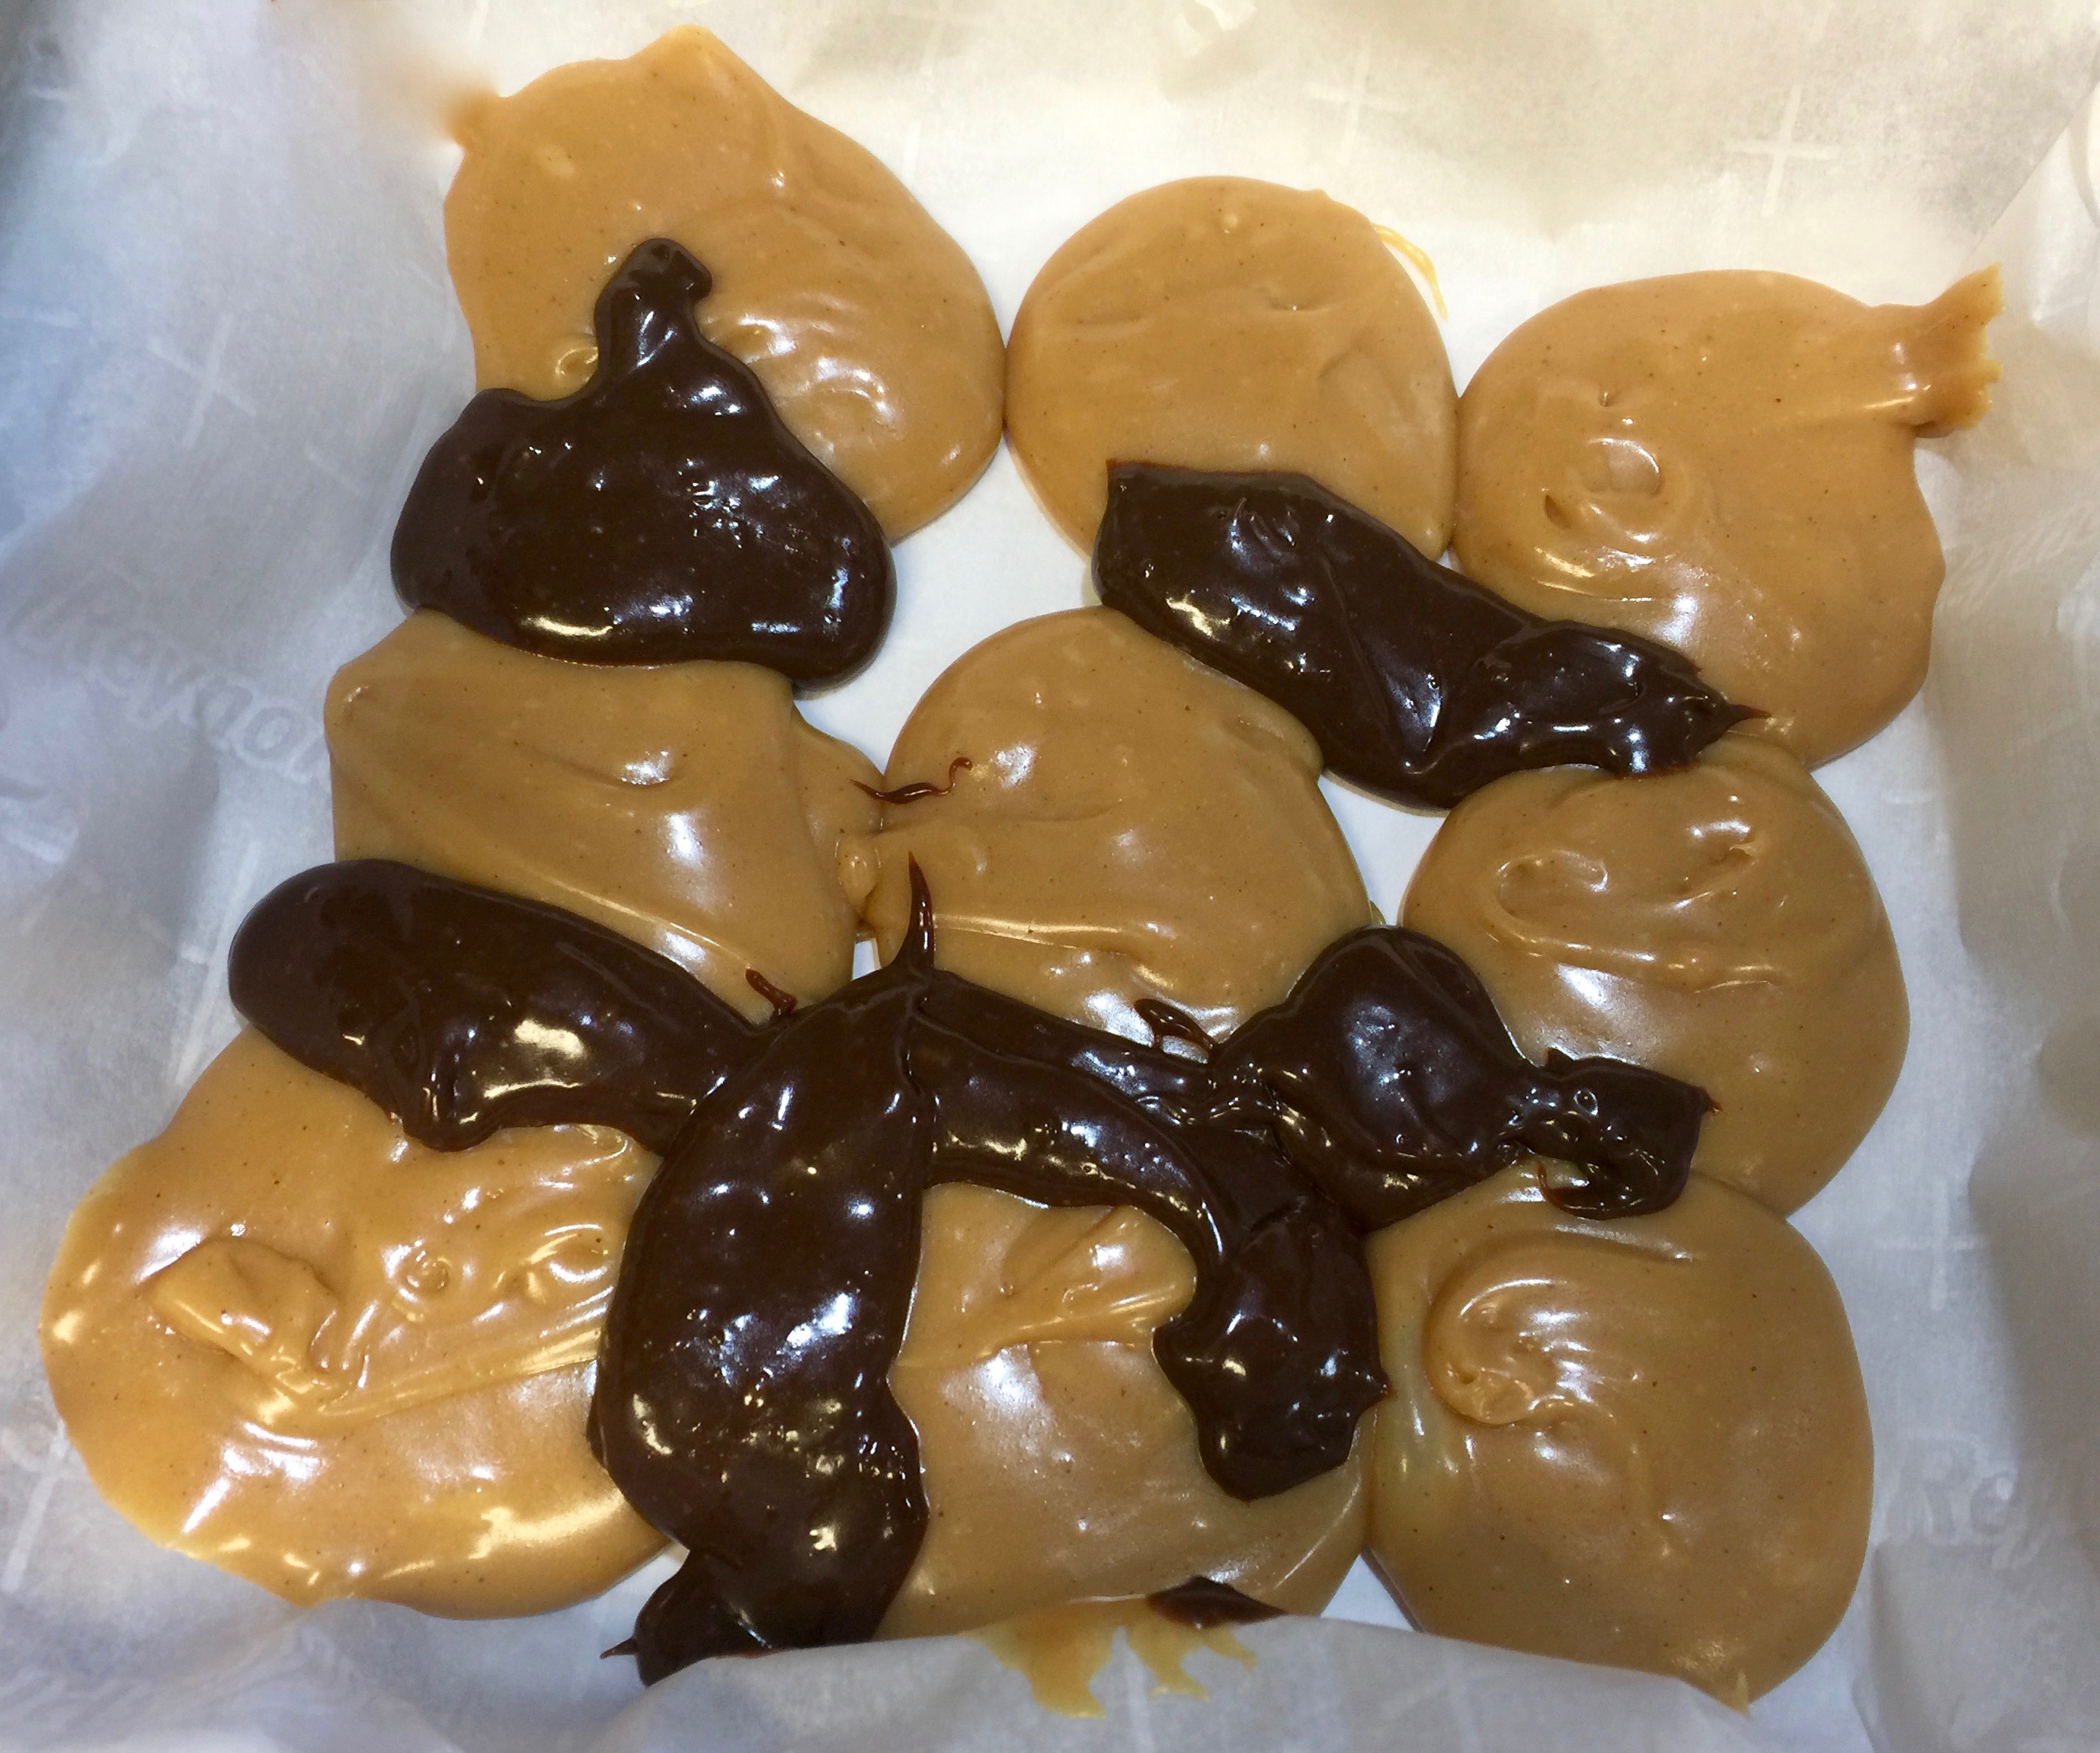
I recommend taking the batter for the top layer and putting it in clumps all over as seen in the picture below:
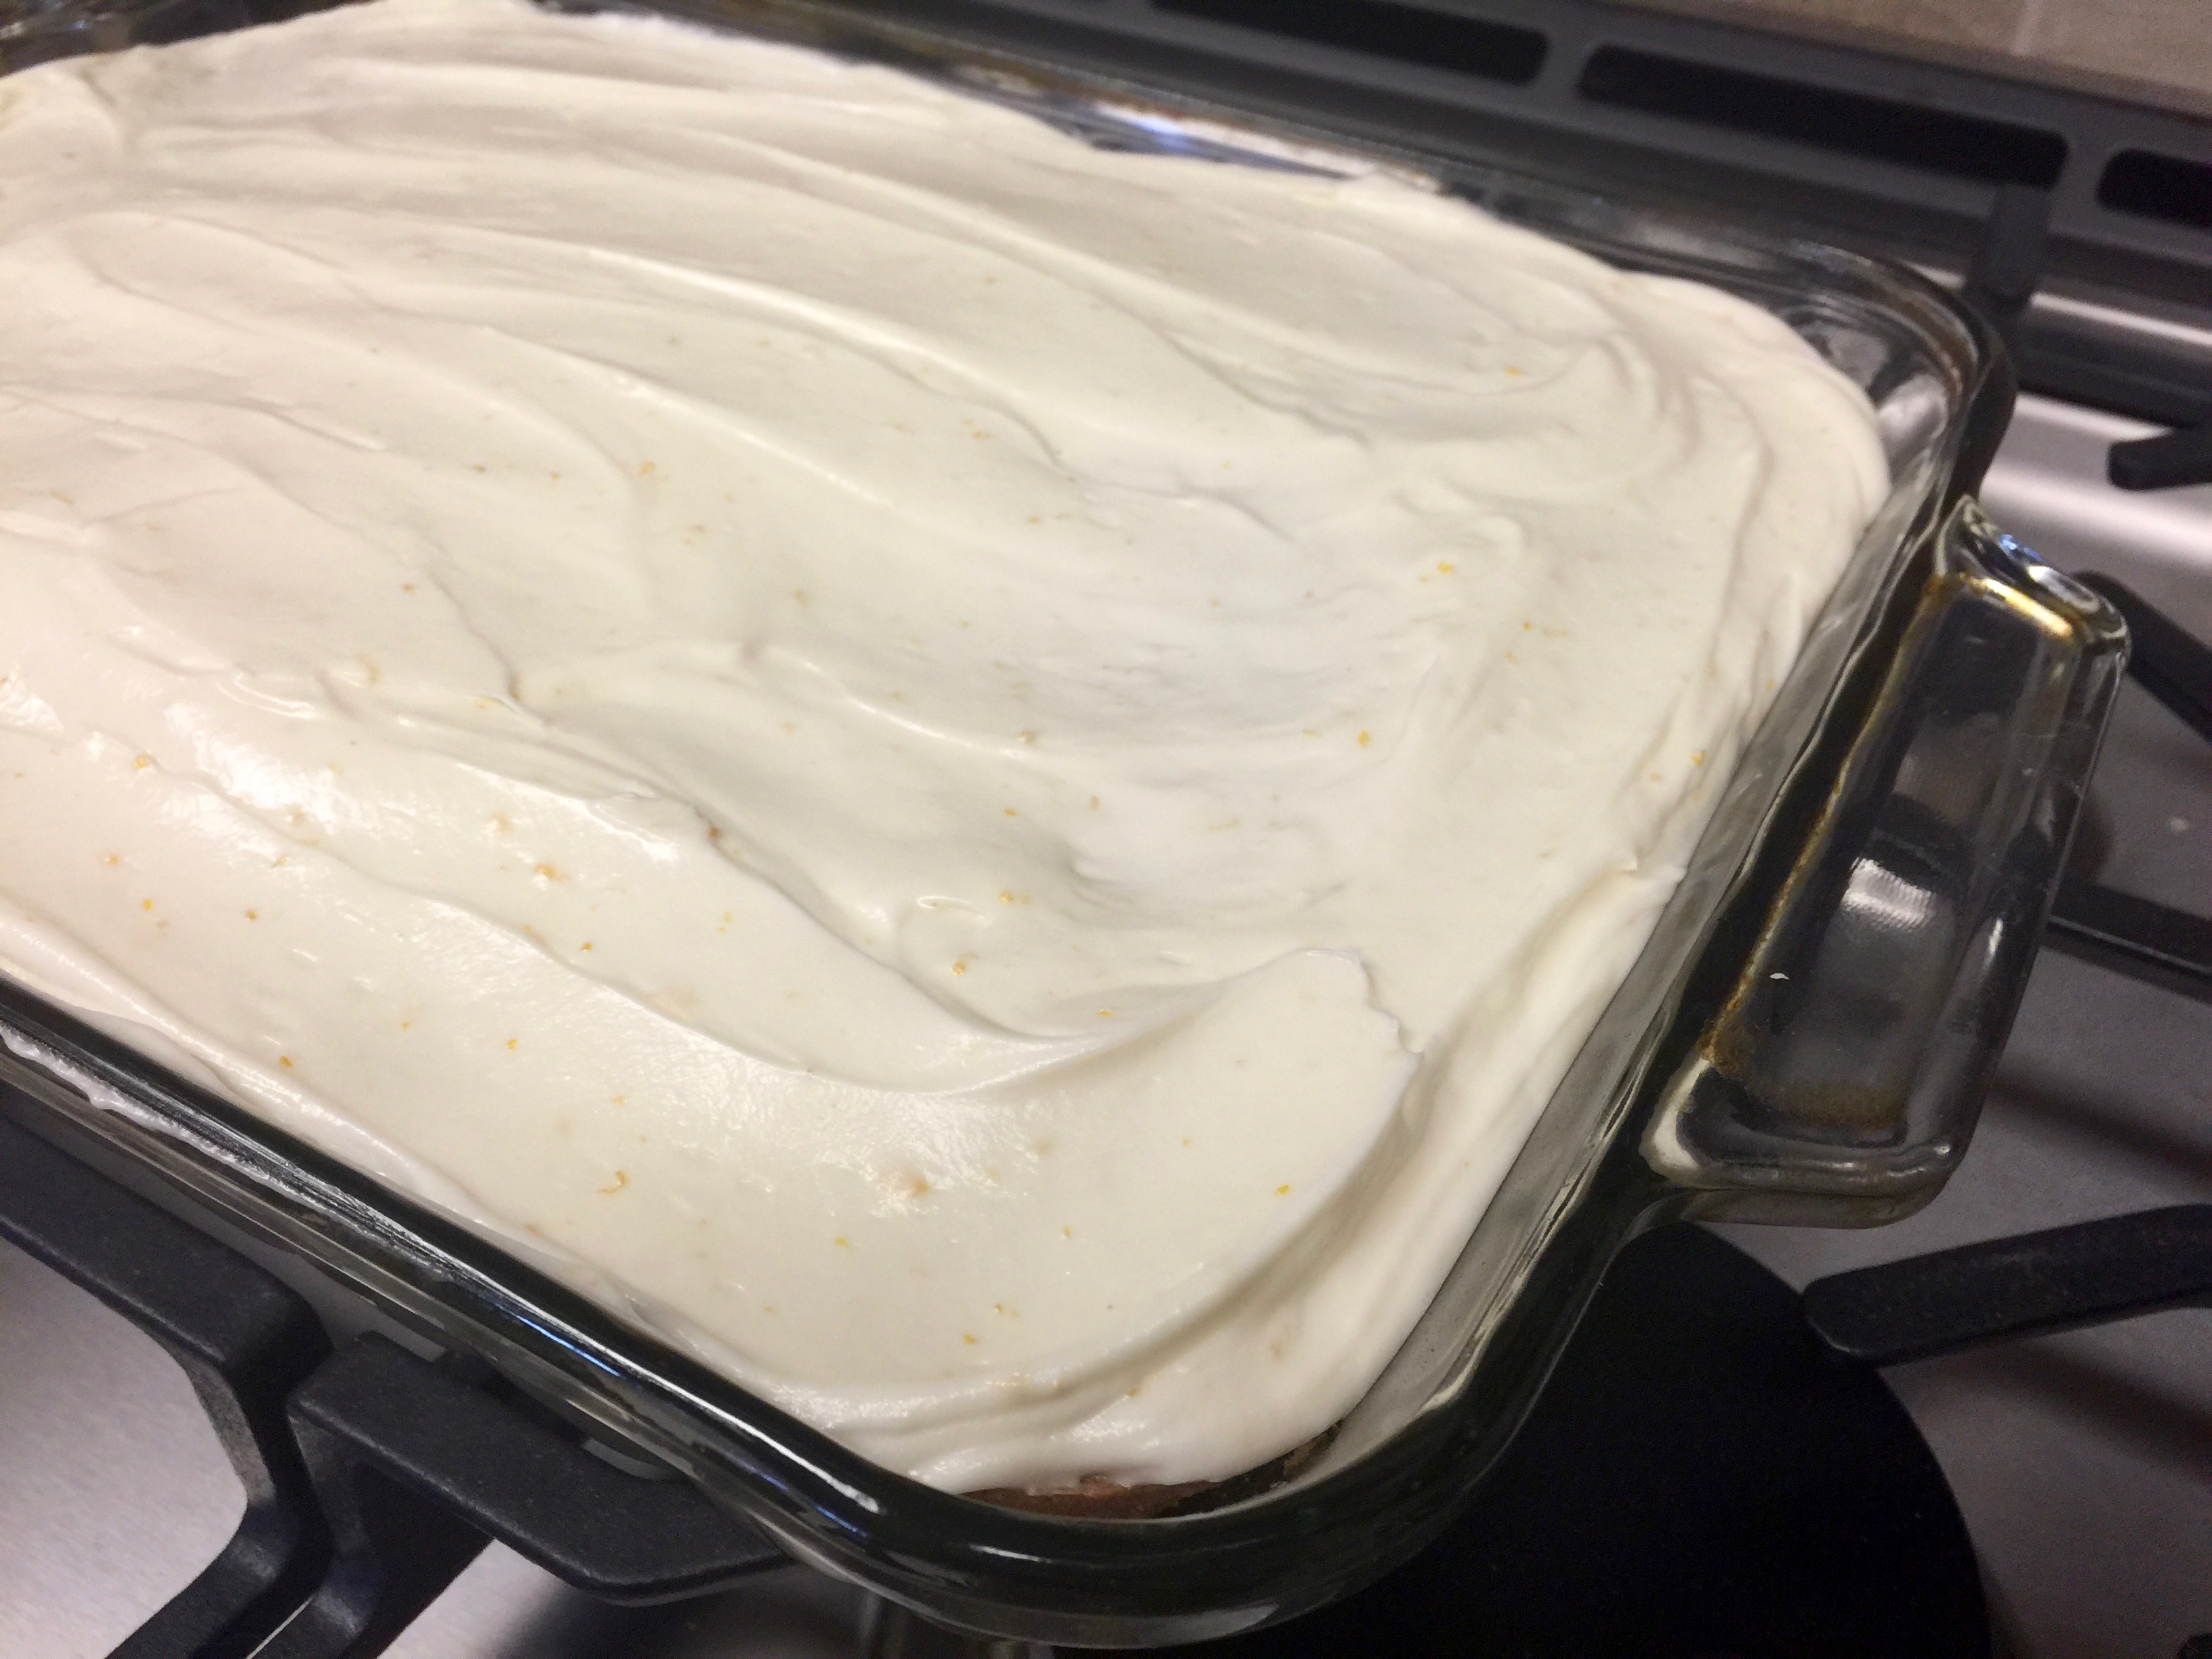
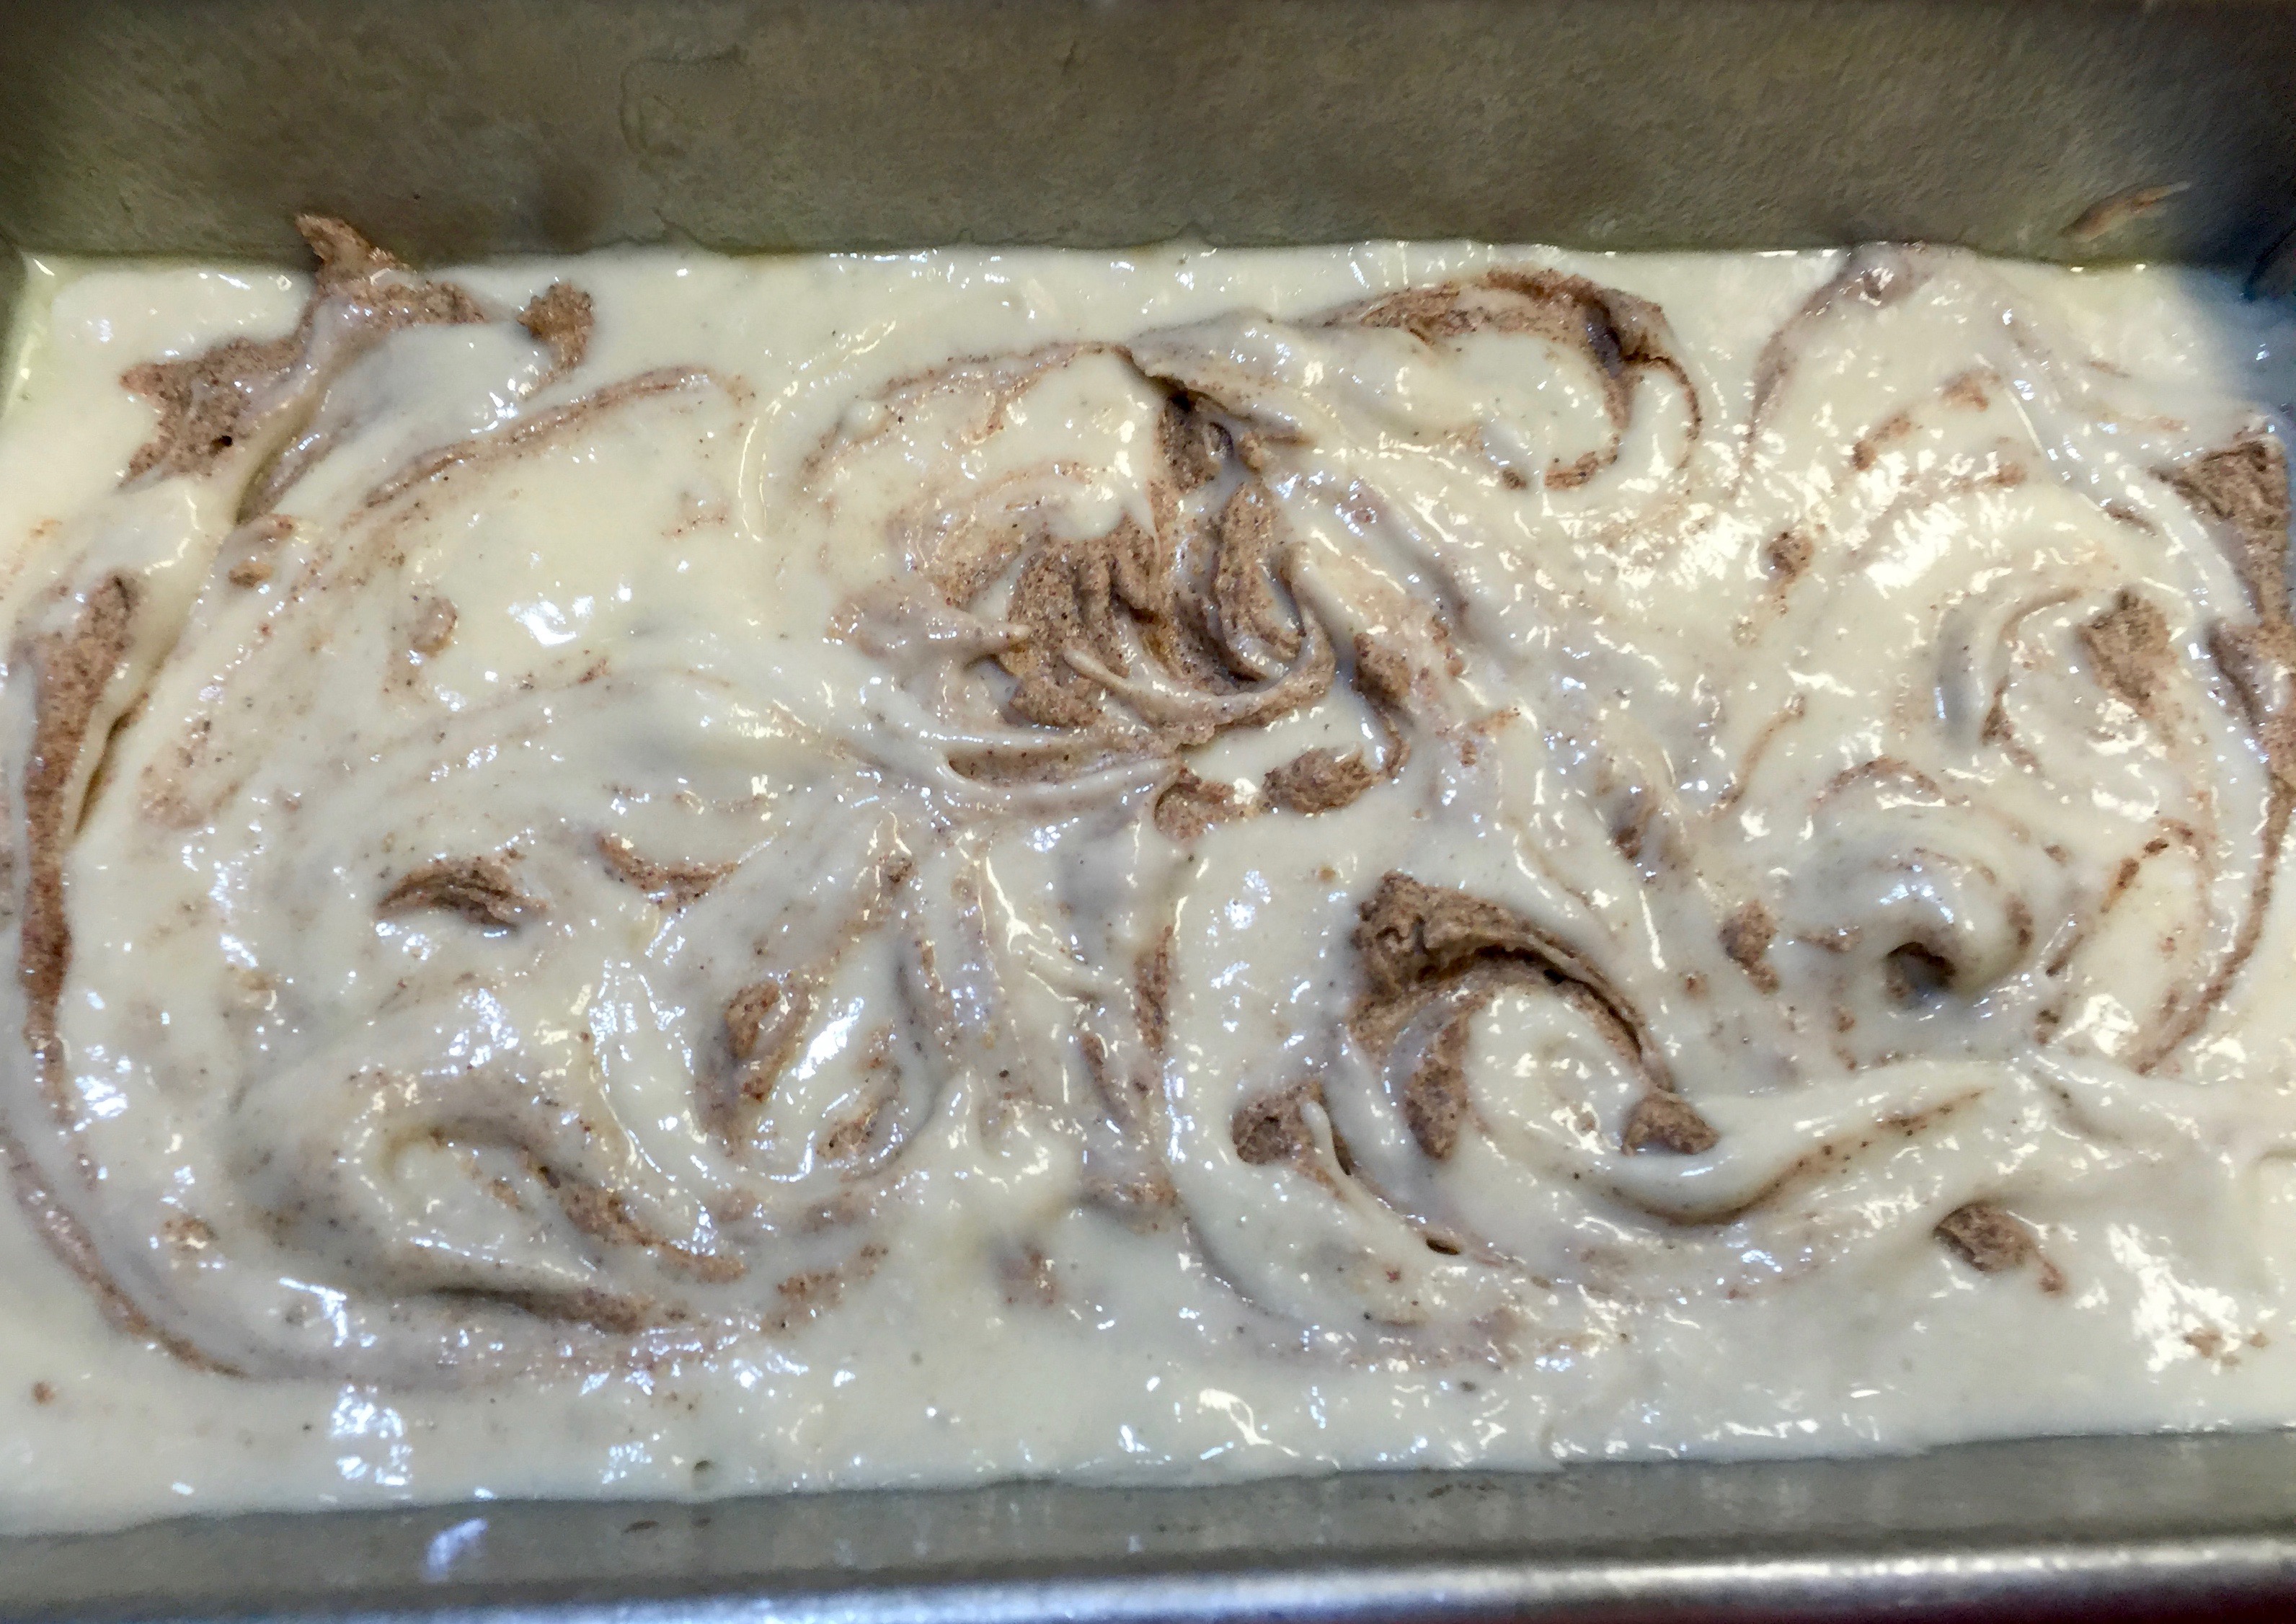
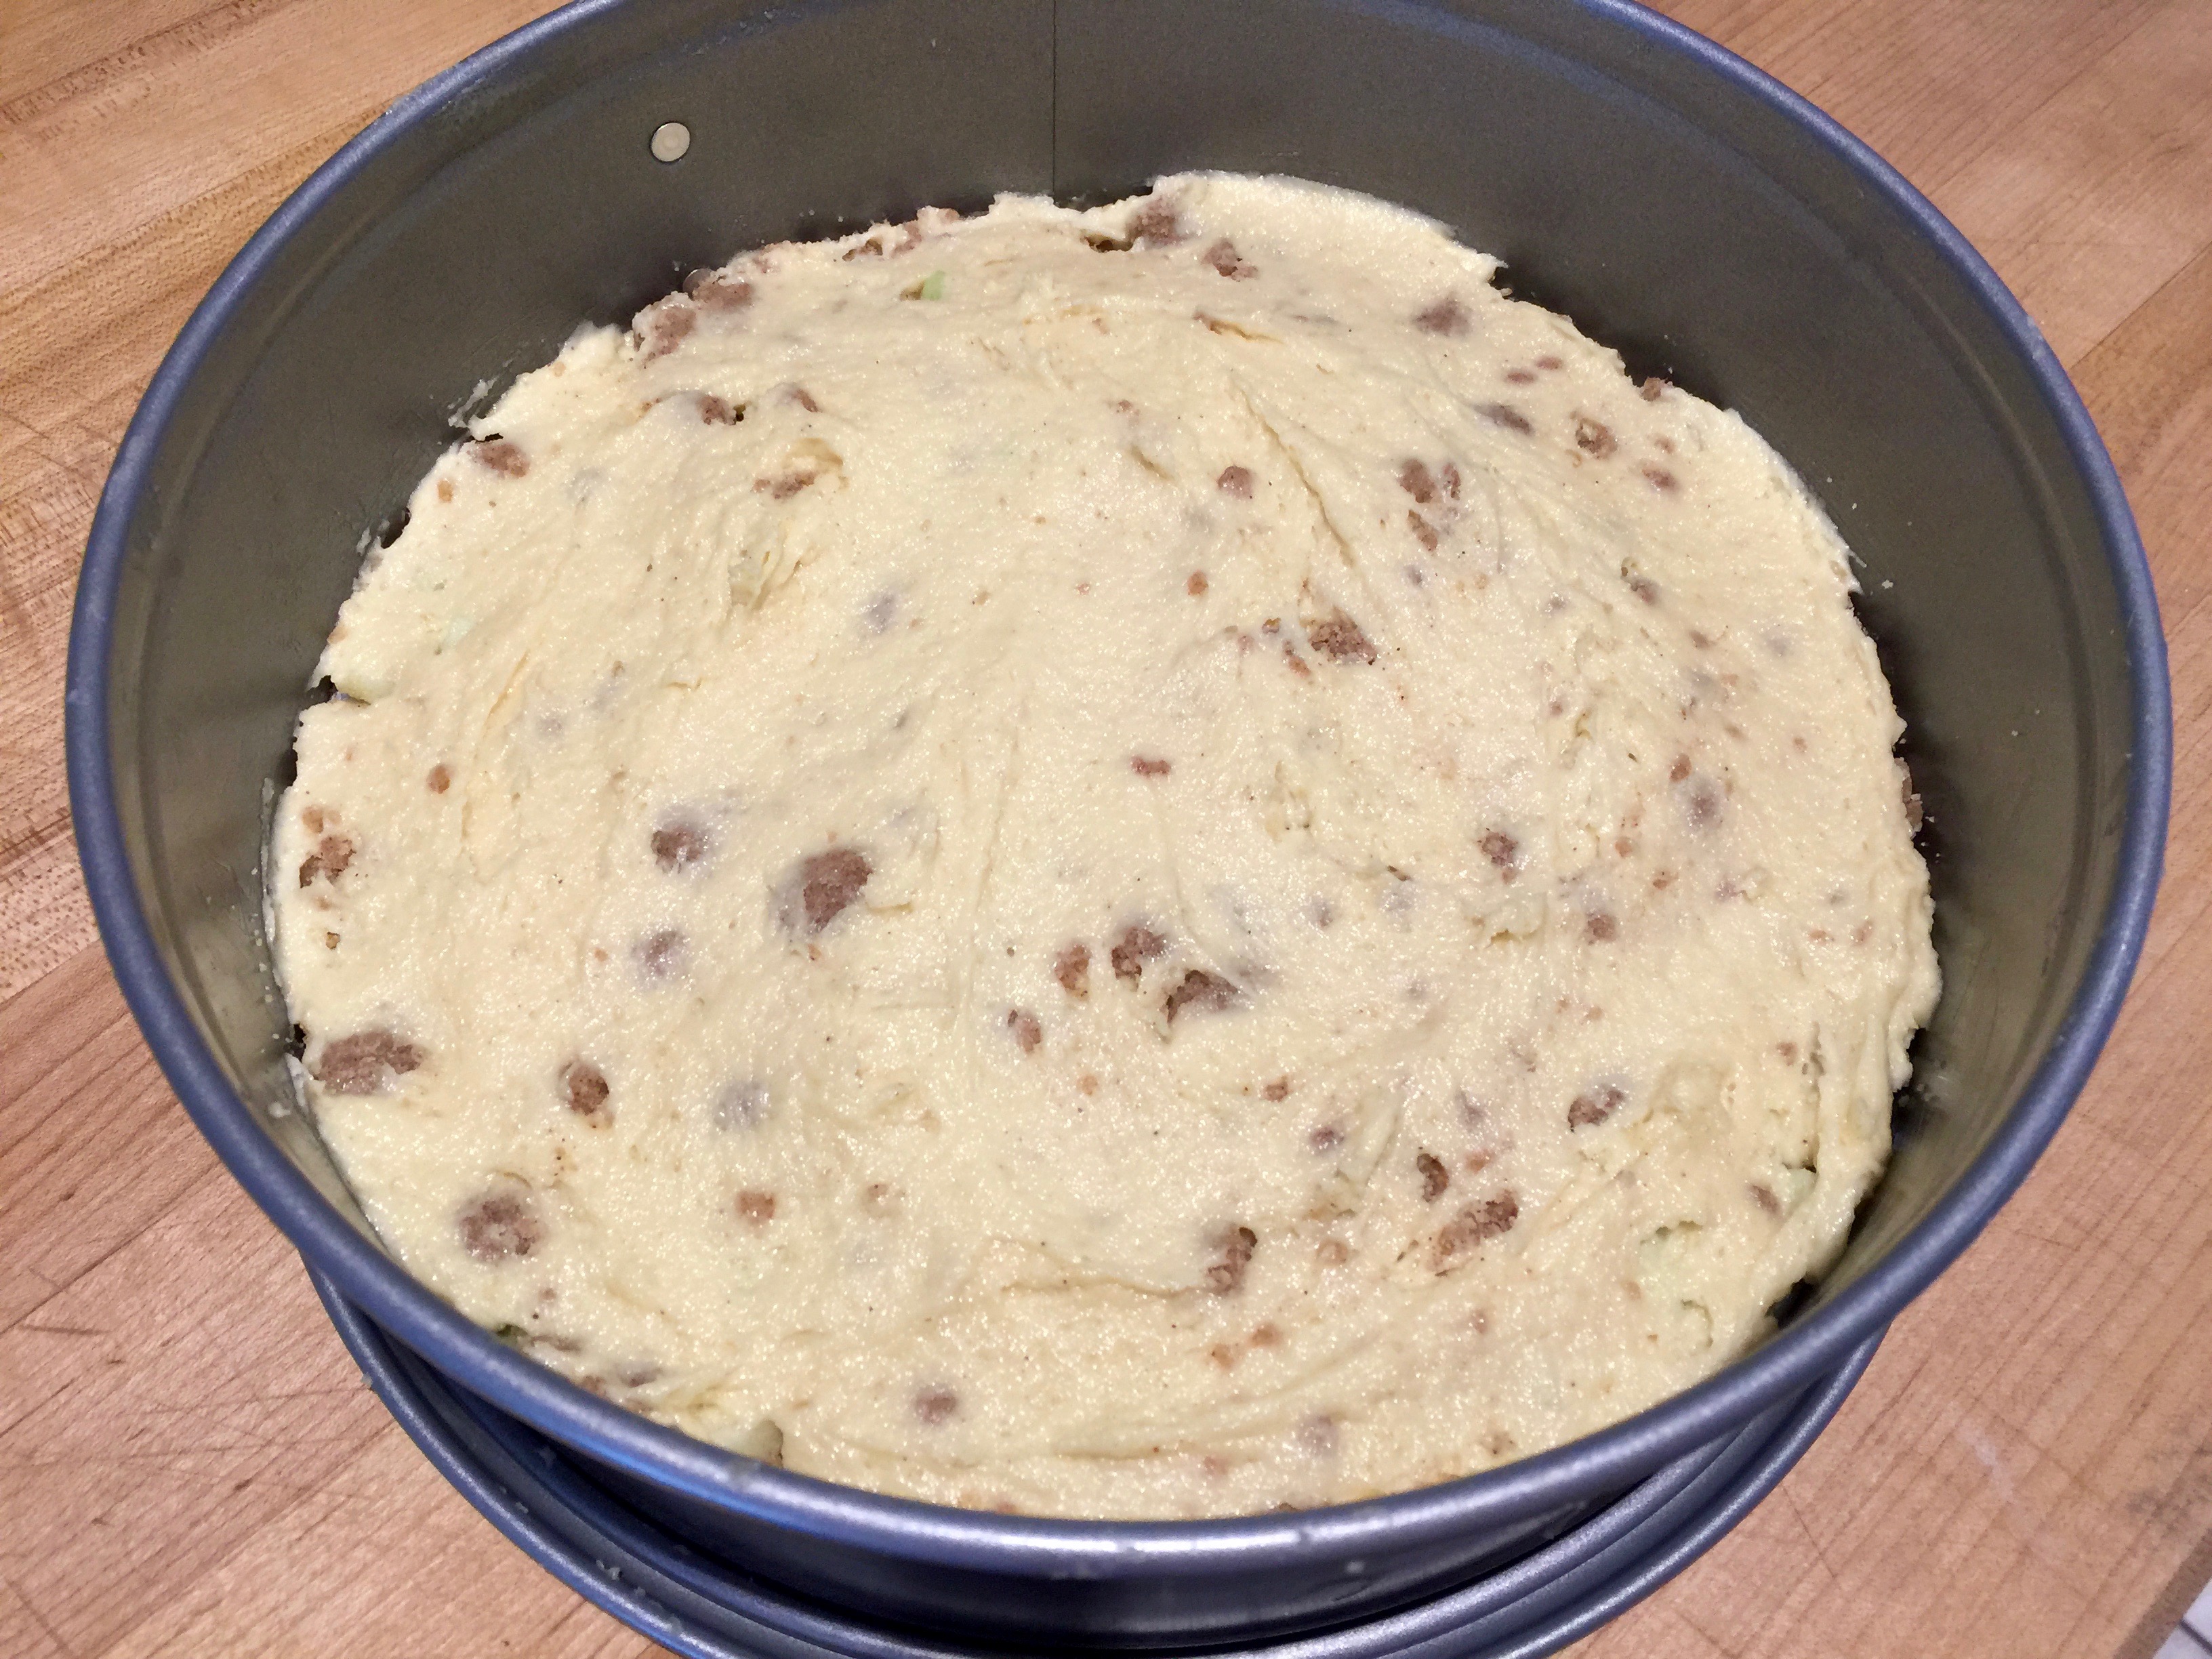
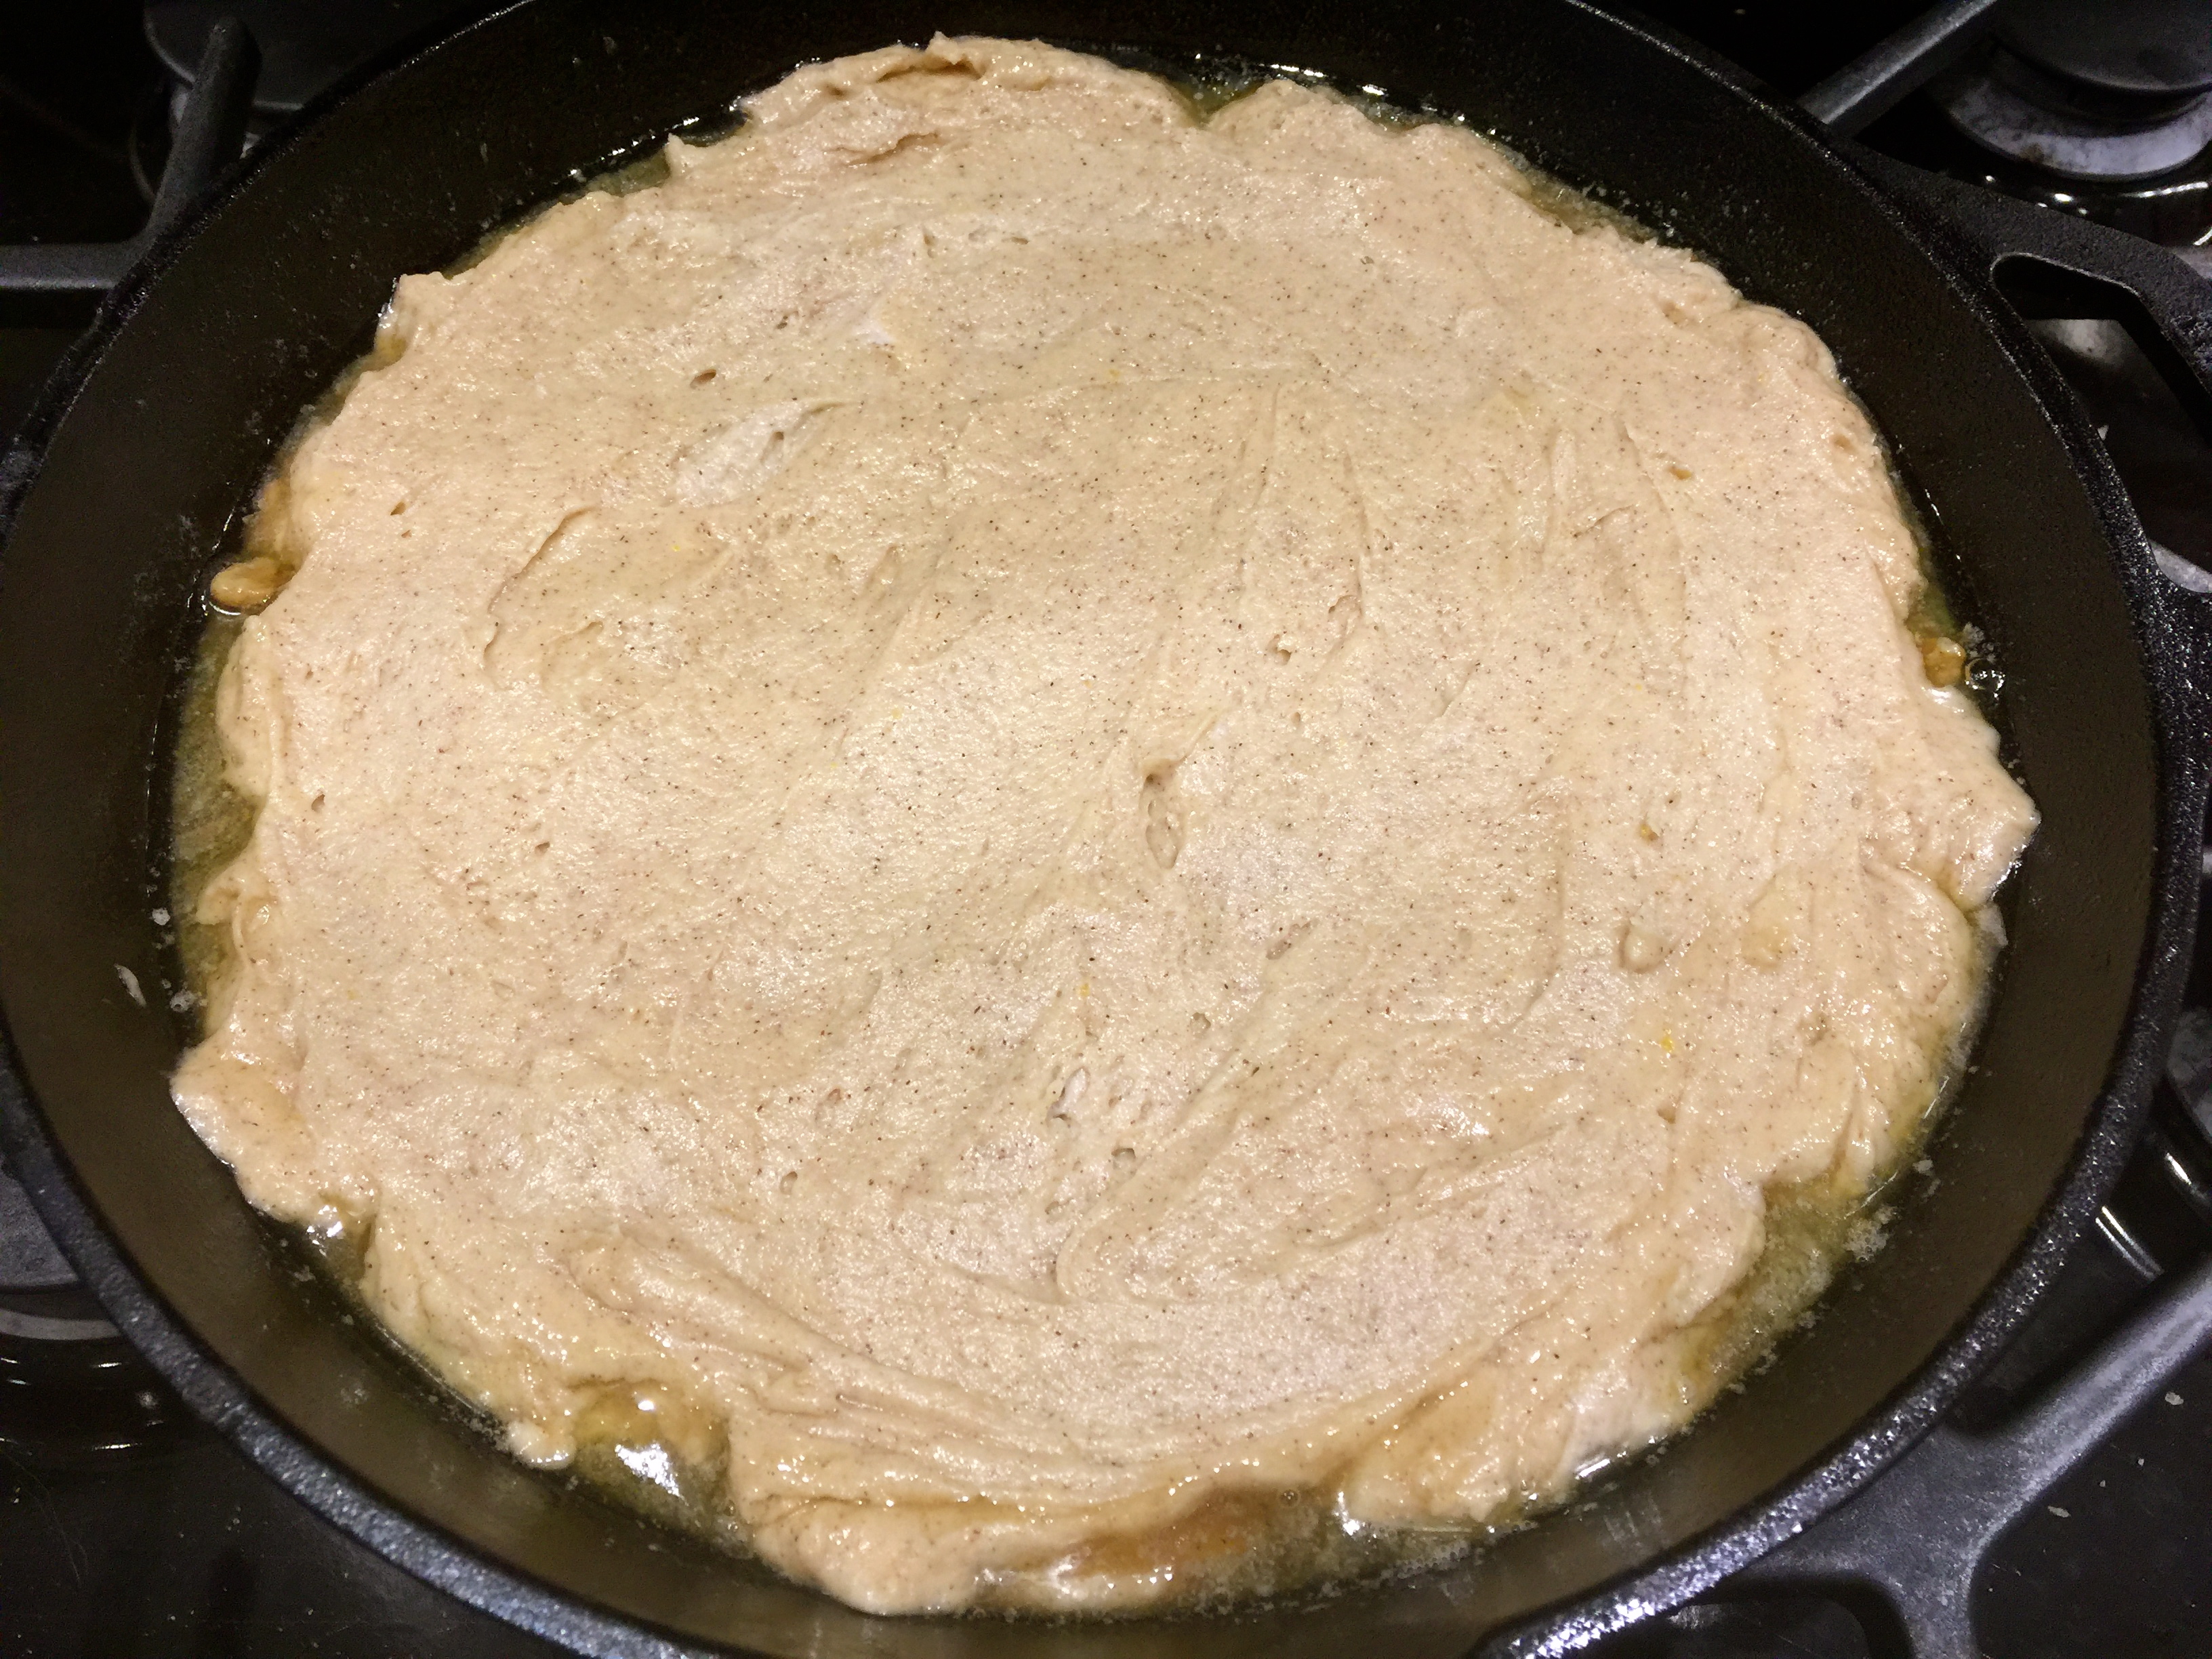
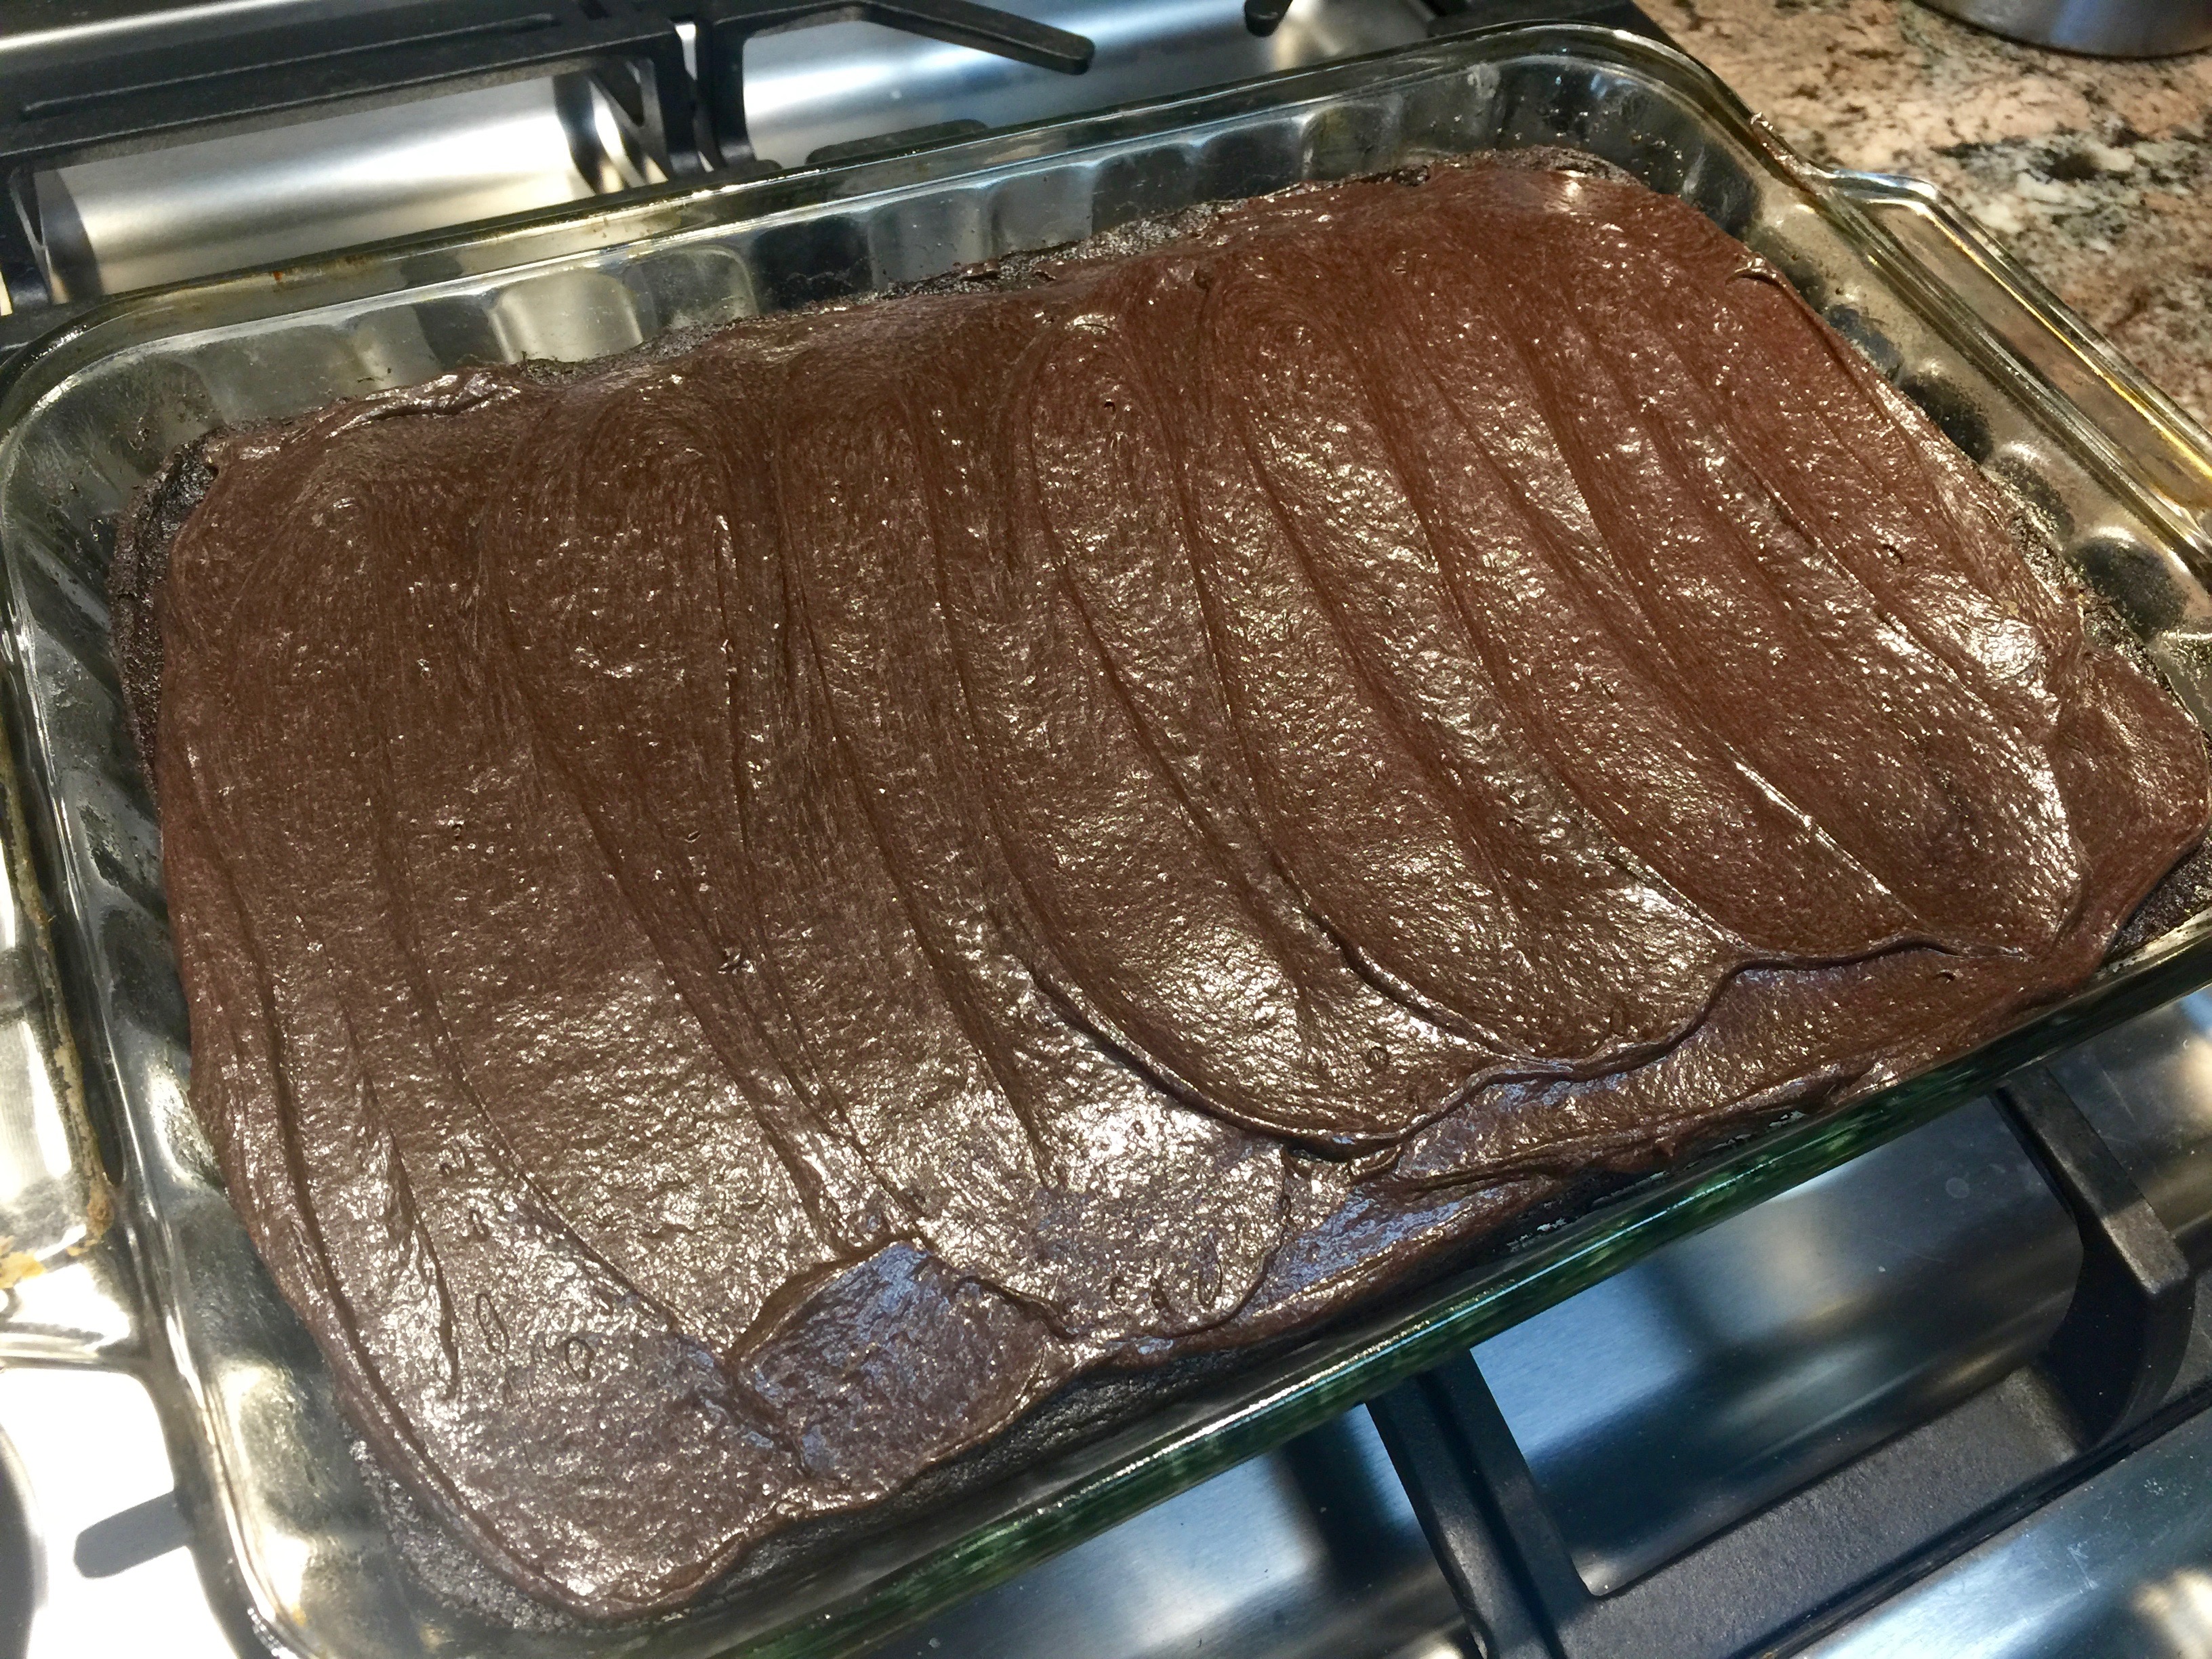
That way it will help in the spreading out process. But even with this, spreading was still a little bit of a challenge. The raspberries underneath did not want to stay in place while I was attempting to smooth out the batter. Finally I just decided to wash my hands thoroughly and use my hands to press the batter down and out. That seemed to work a little better. Once the top was sufficiently covered I used my frosting spreader tool and smoothed out the top as seen below:
It really helped to start off with the clumps of batter spread out as much as possible over the top. I highly recommend you do that. Although getting it spread out was a little bit of a challenge it was much easier with the batter in various places versus trying to work from just one place.
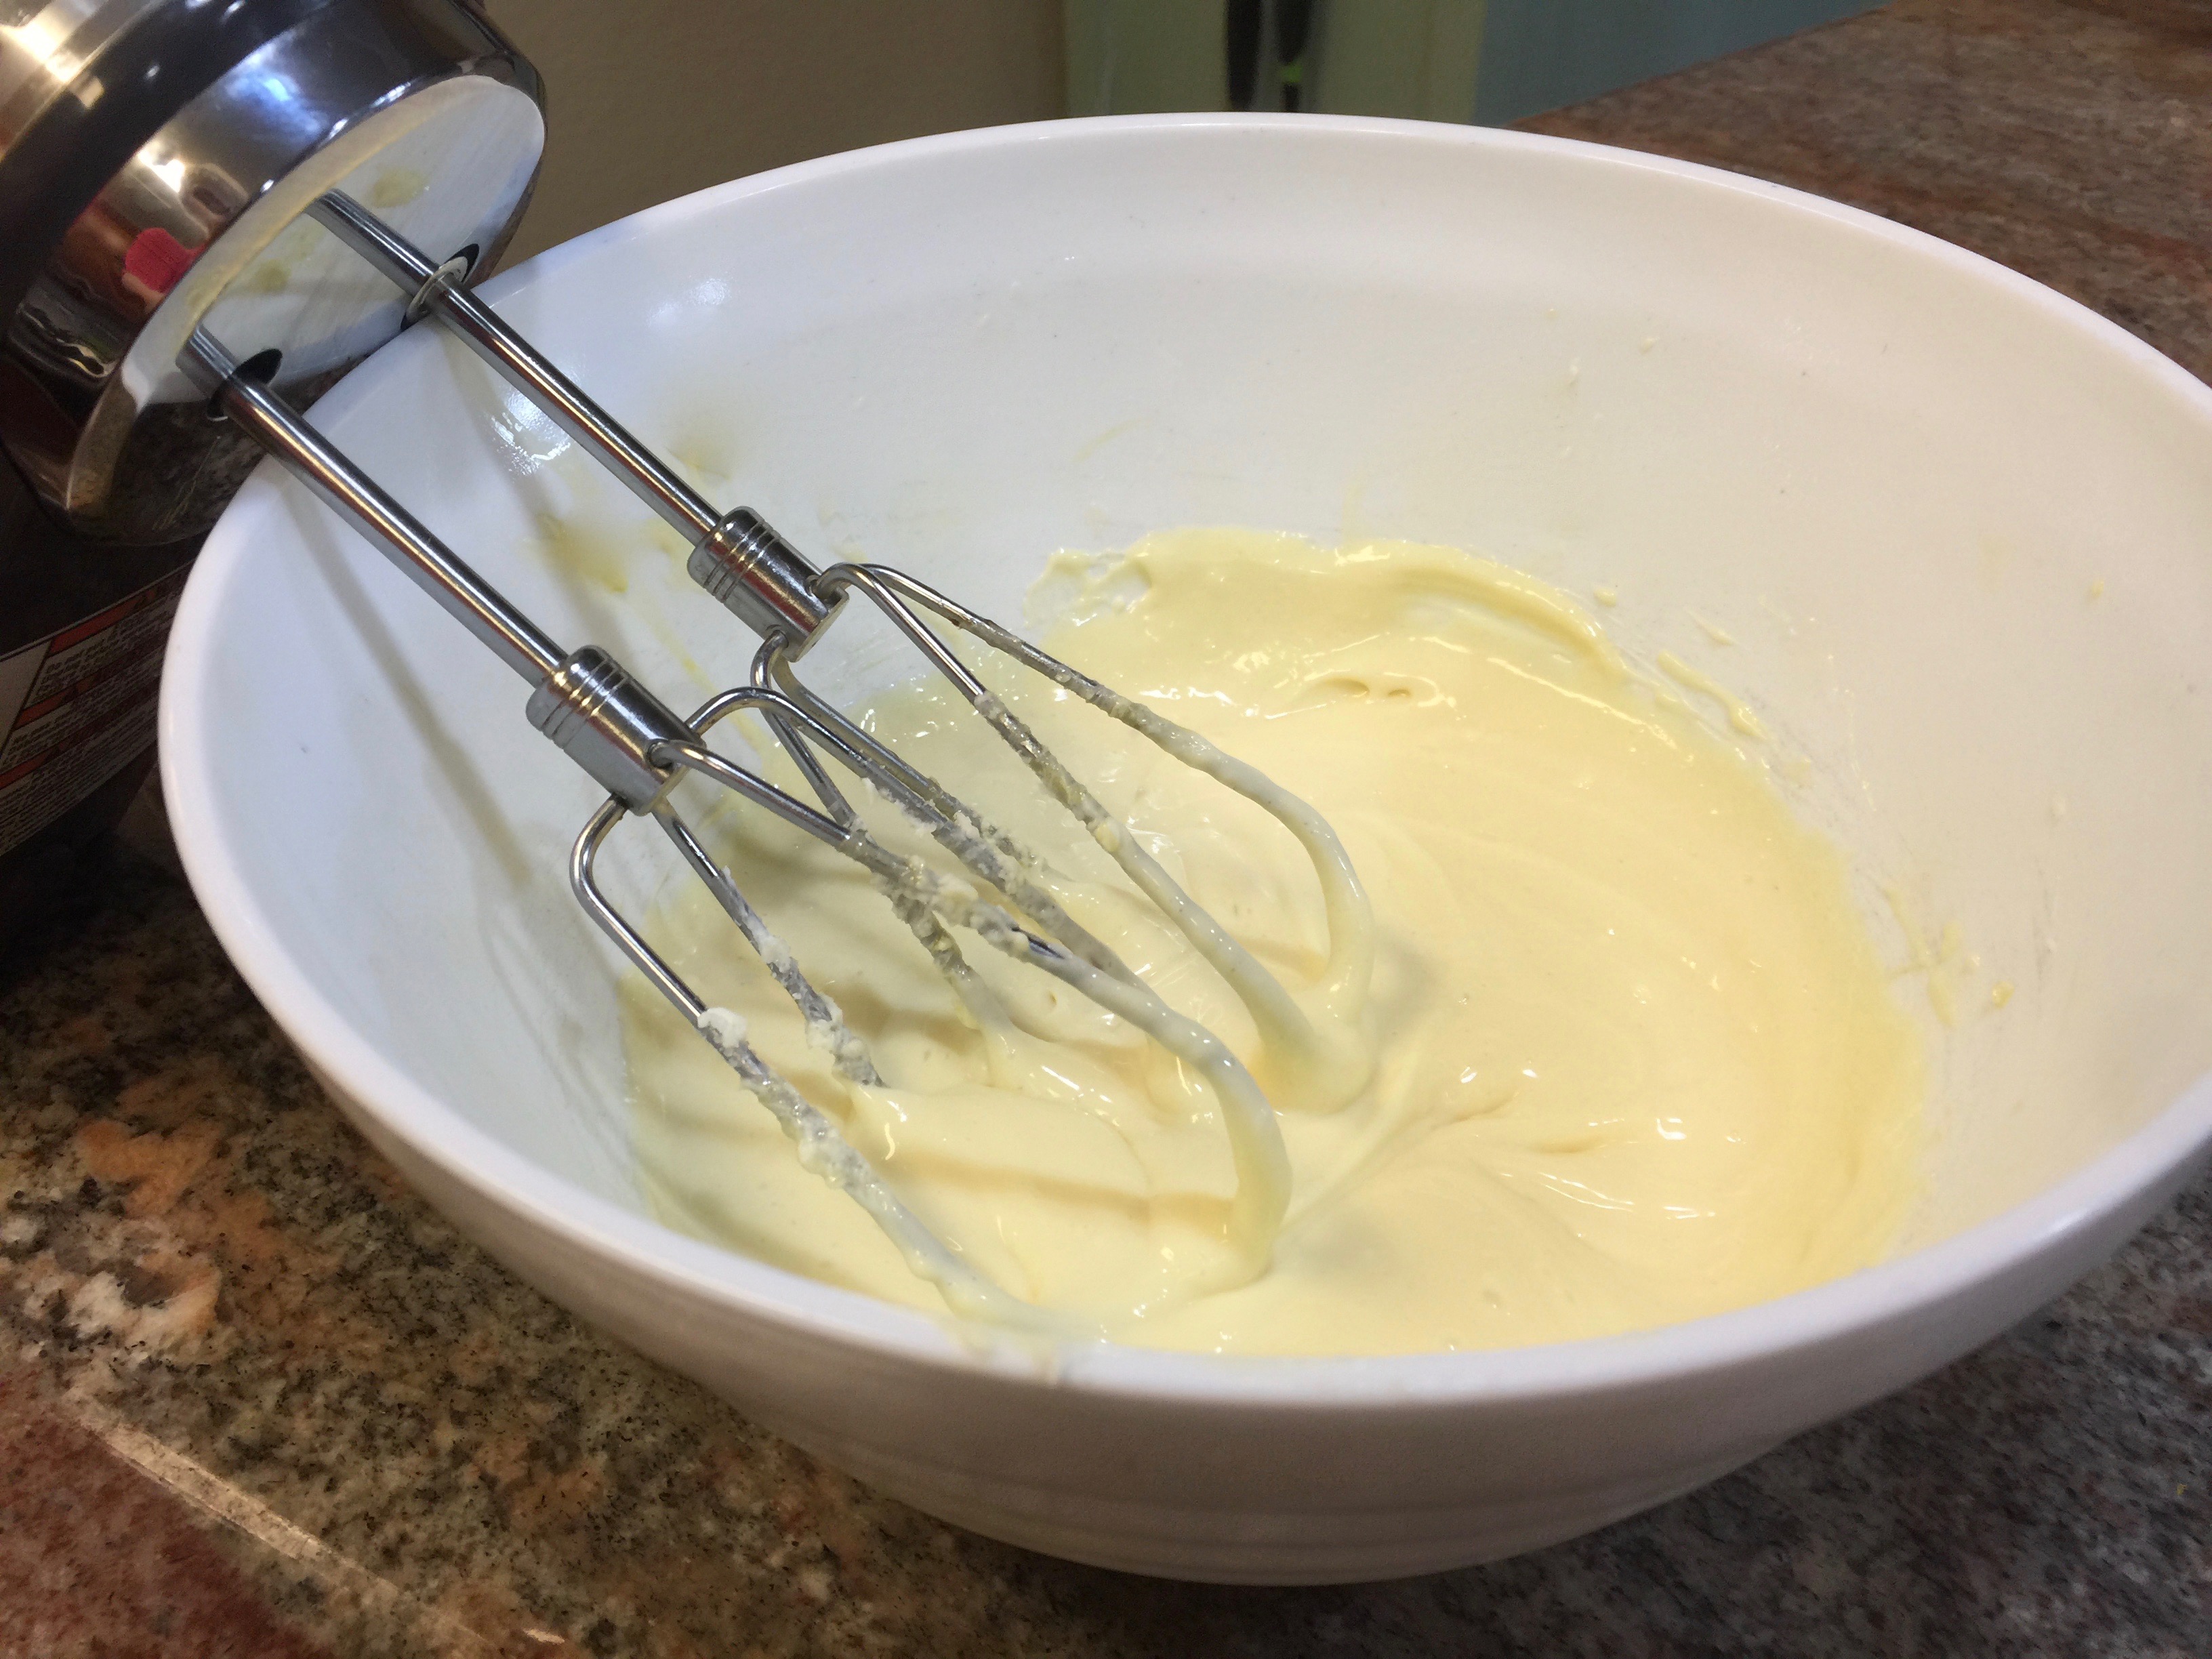
Also make sure you use a stand mixer for the recipe. A hand mixer won’t work with the thickness of this batter. And mix the batter on low, otherwise you might face burning out the motor on your mixer. Yes, the batter is that thick, but no problem when you mix it on low.
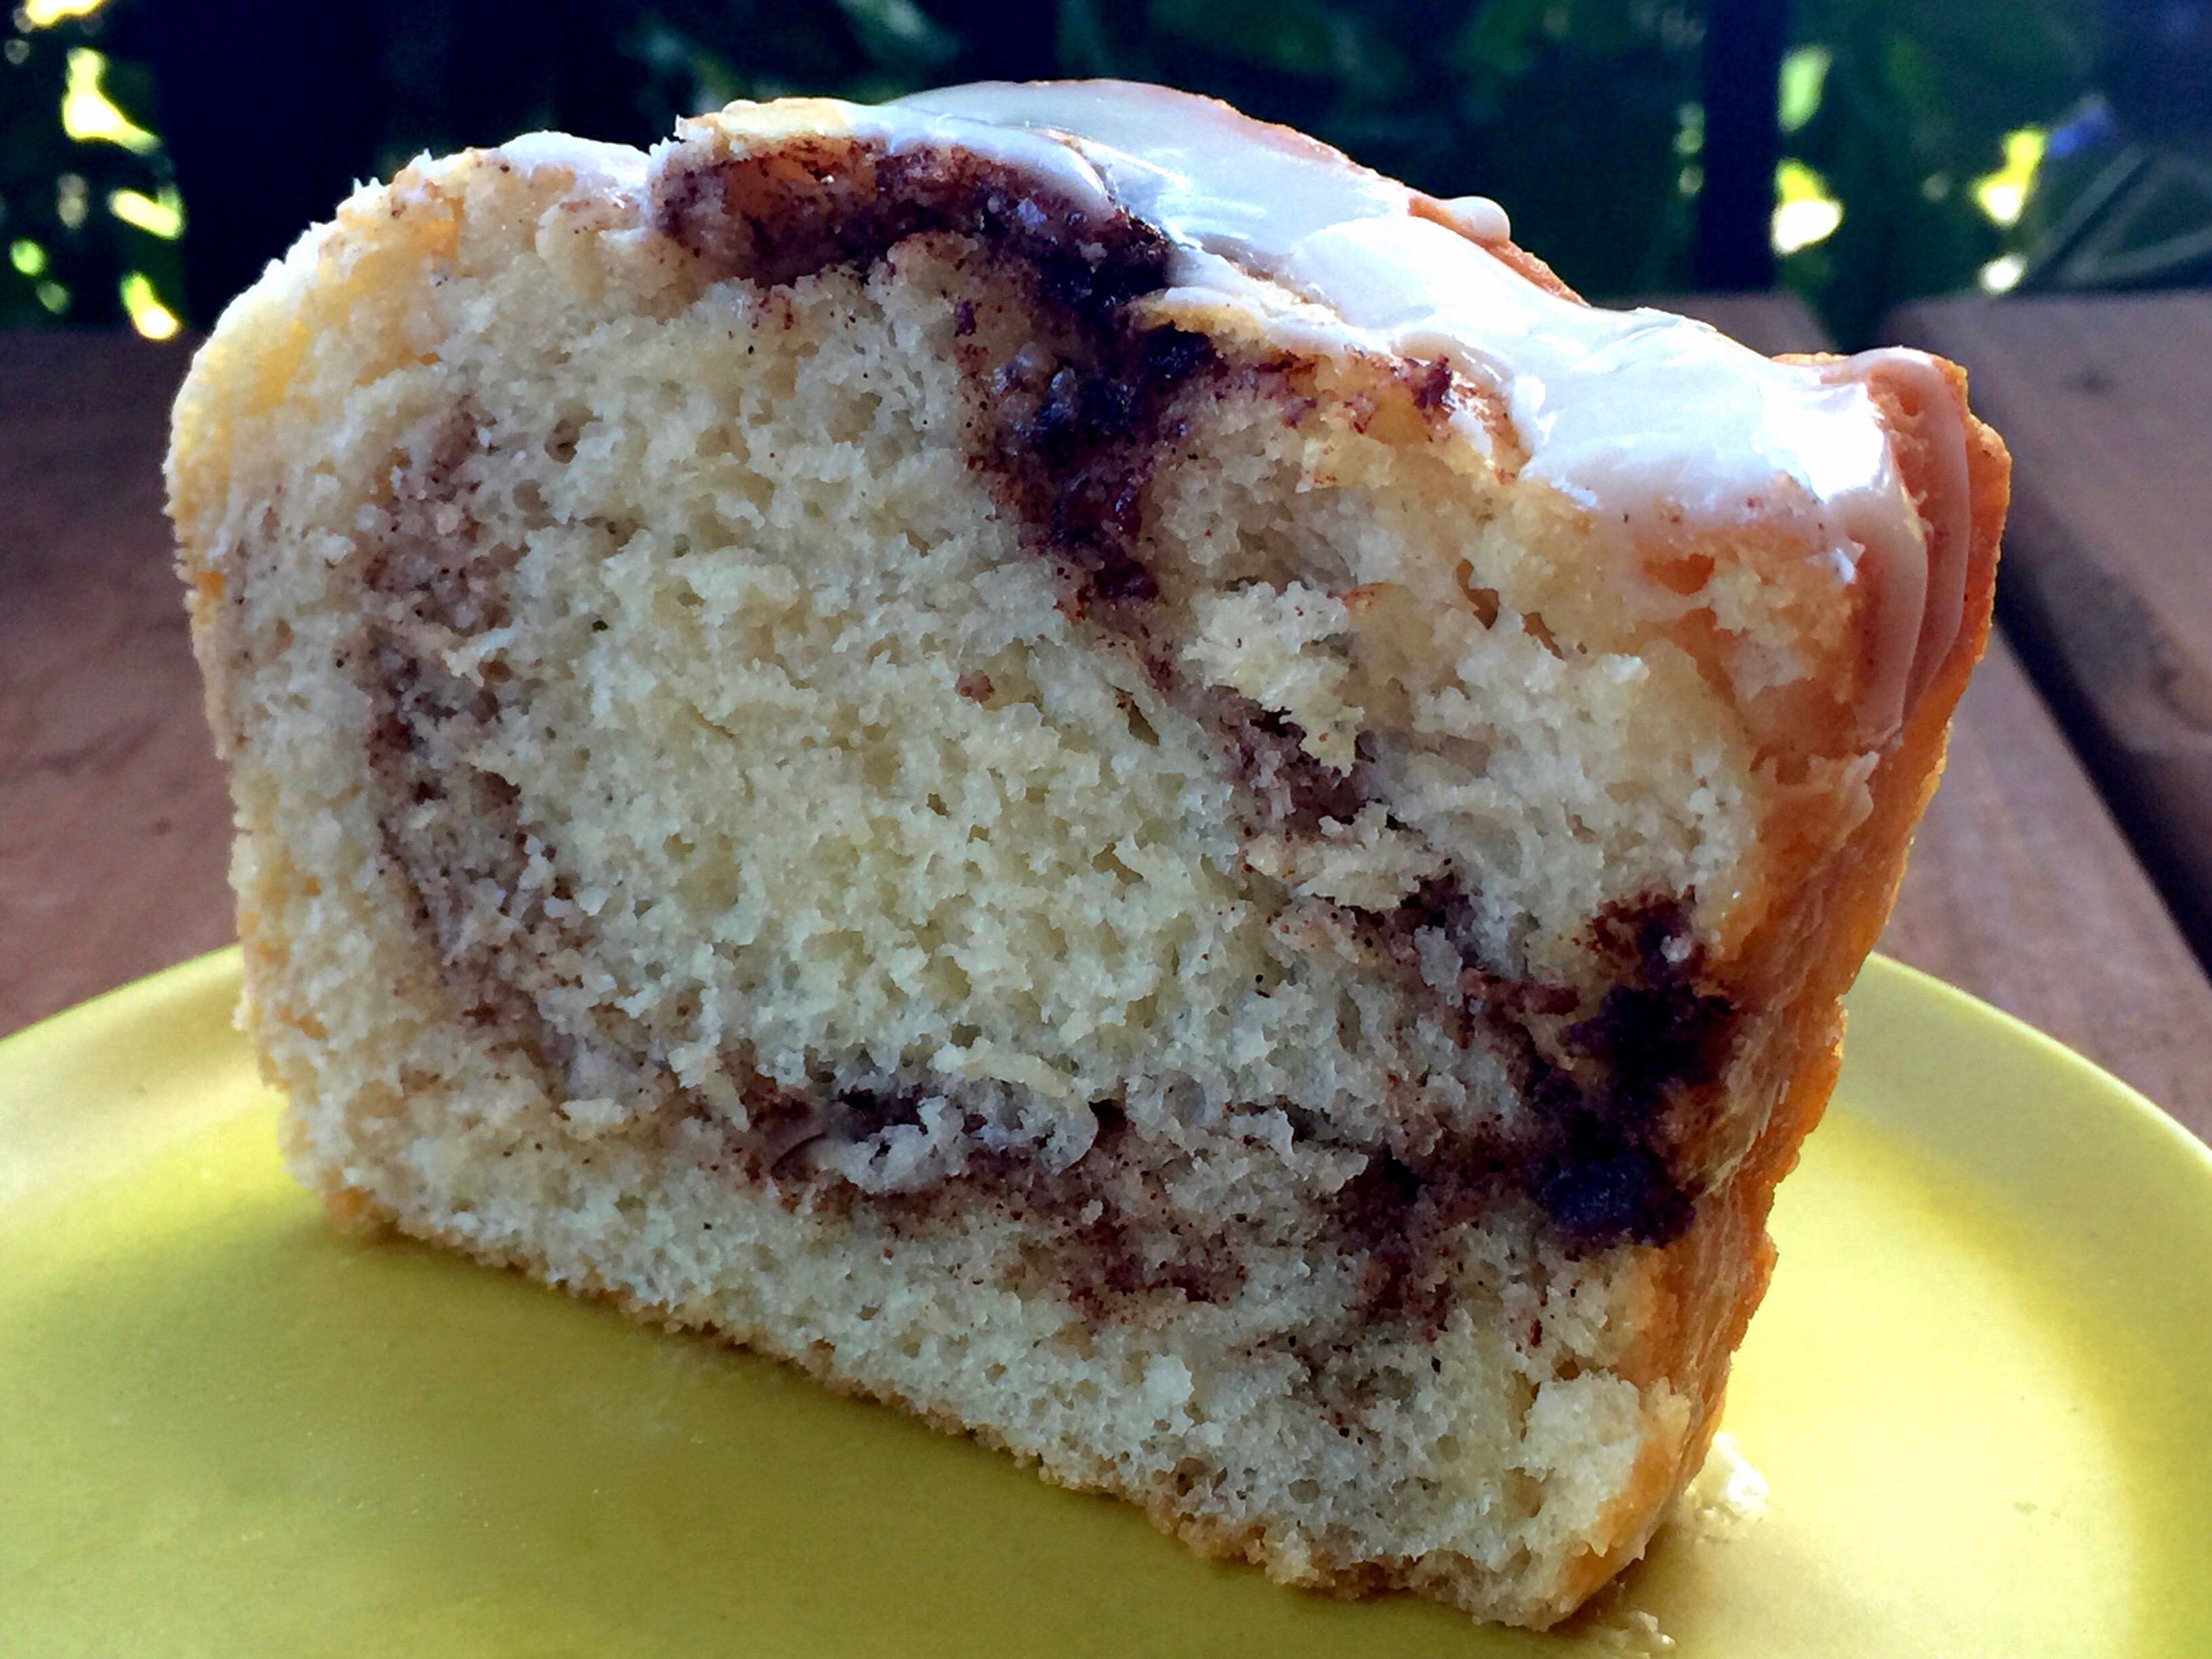
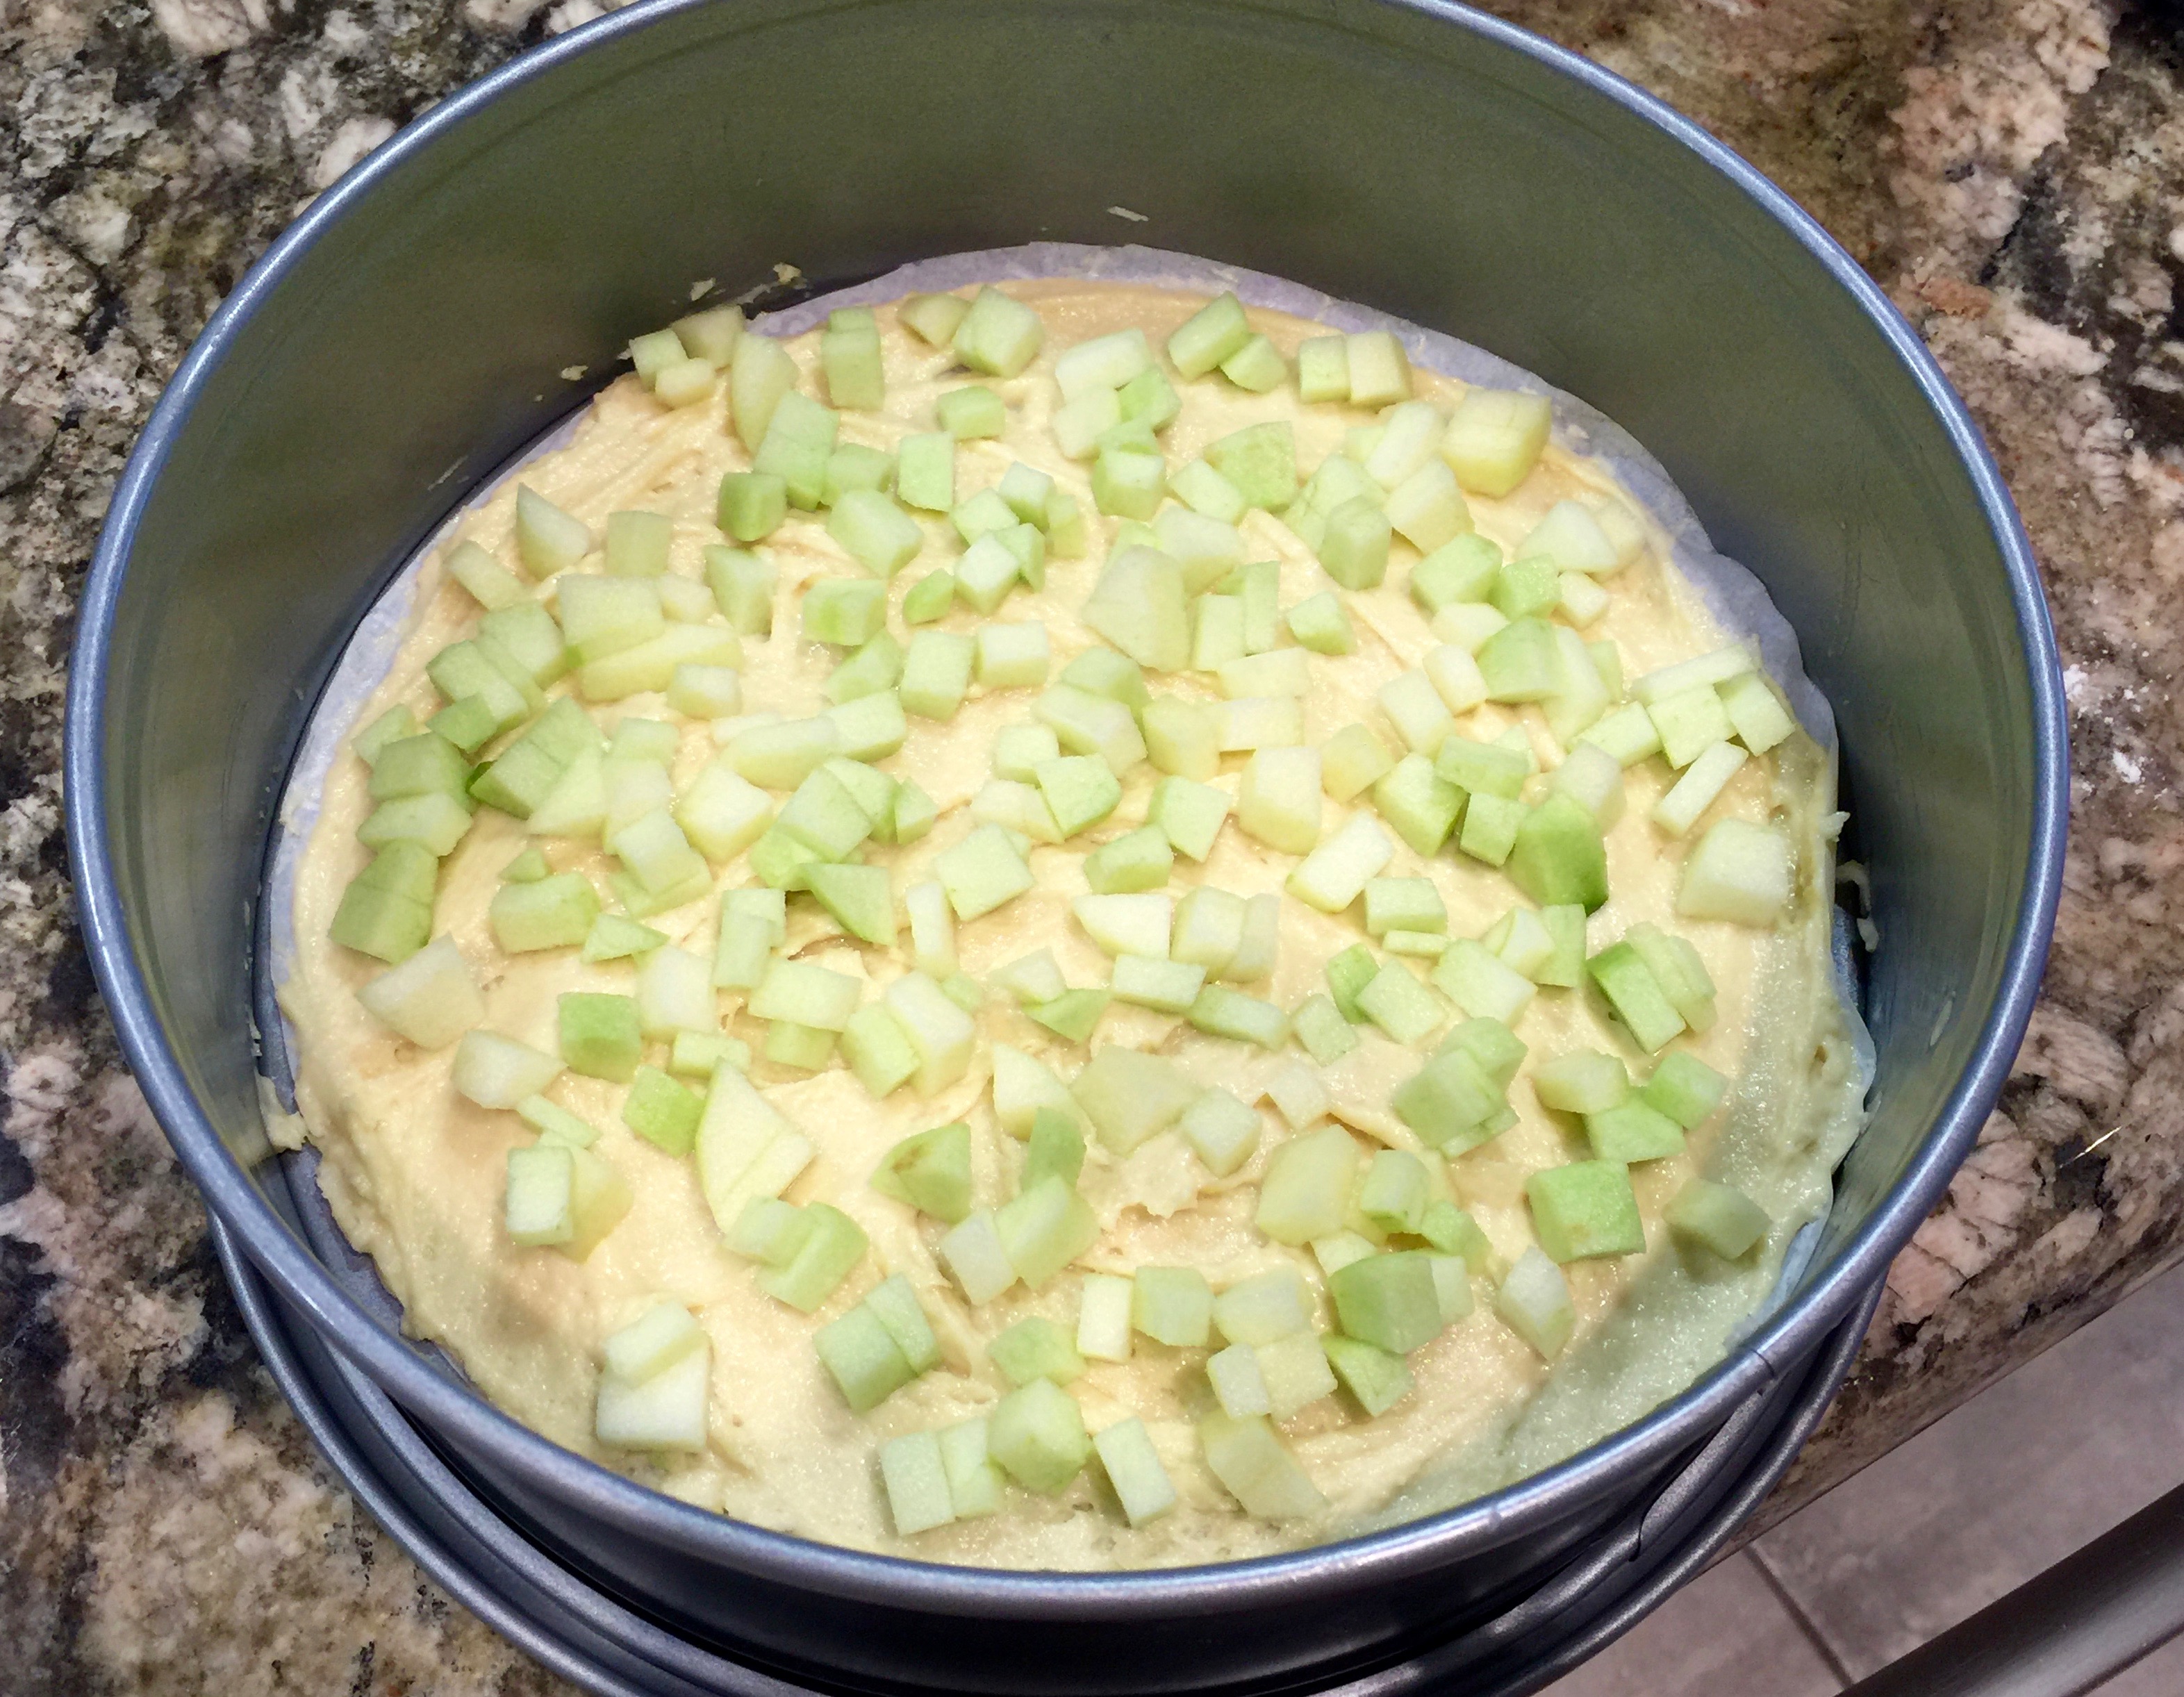
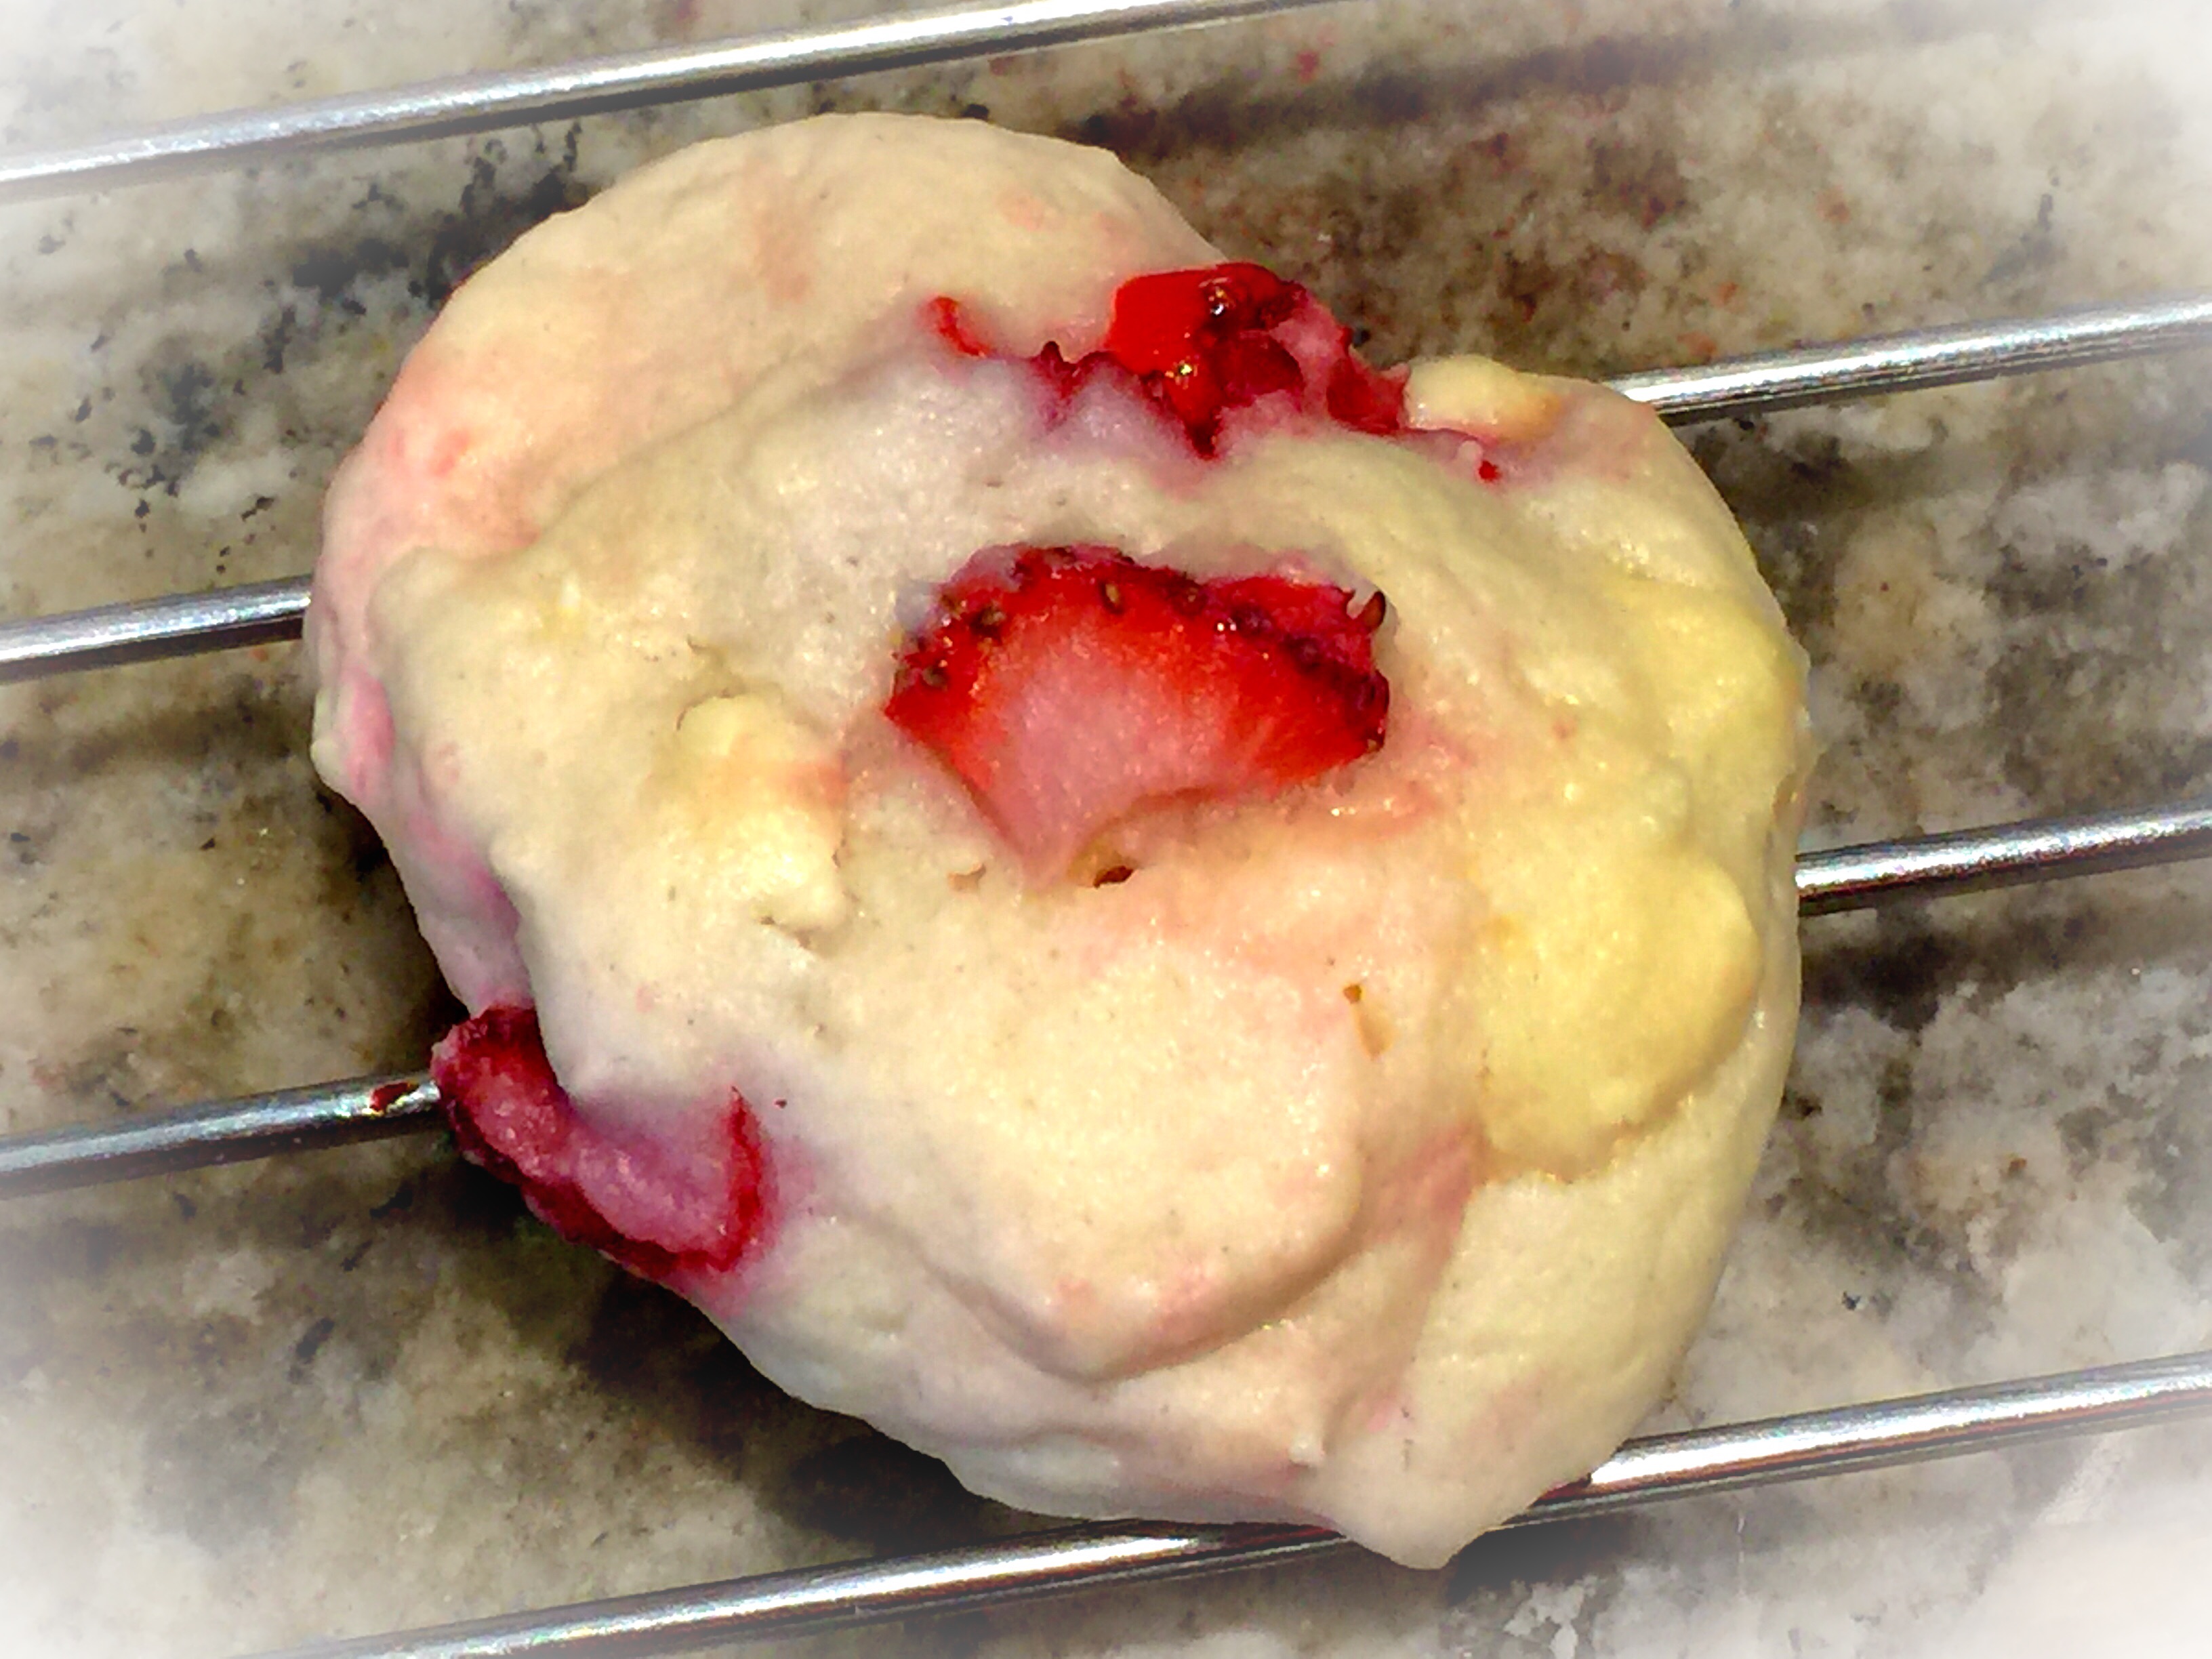
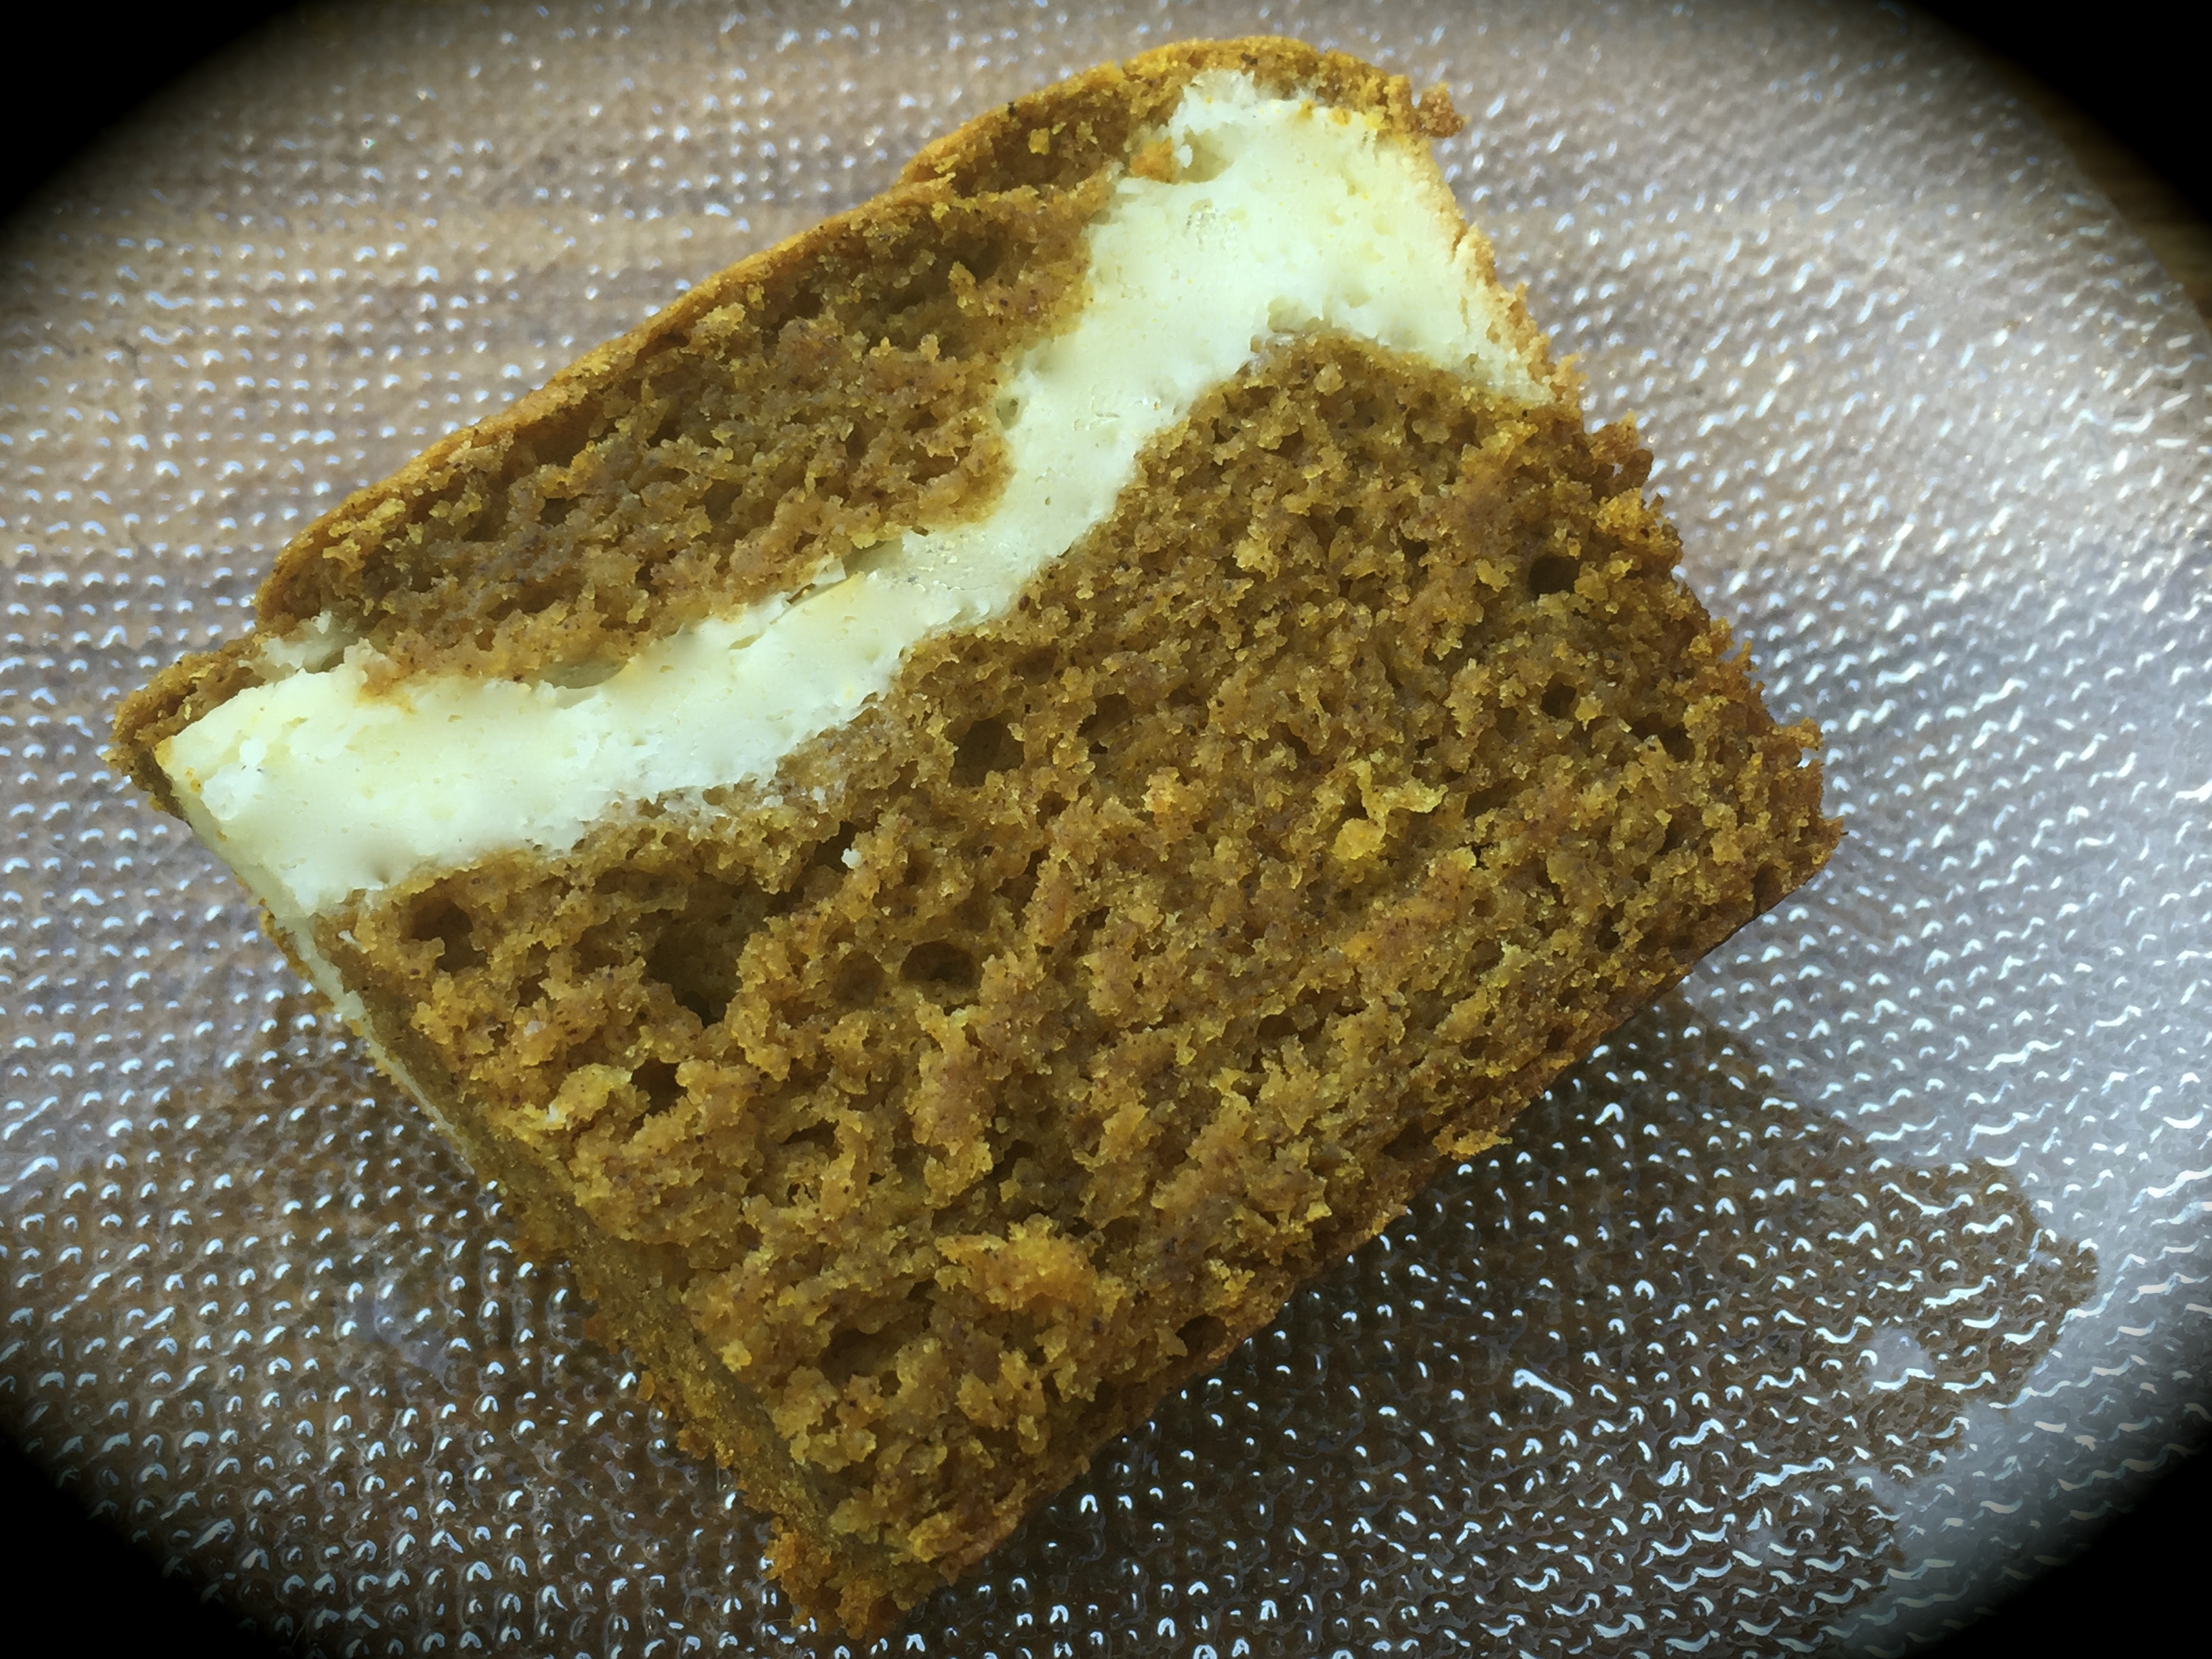
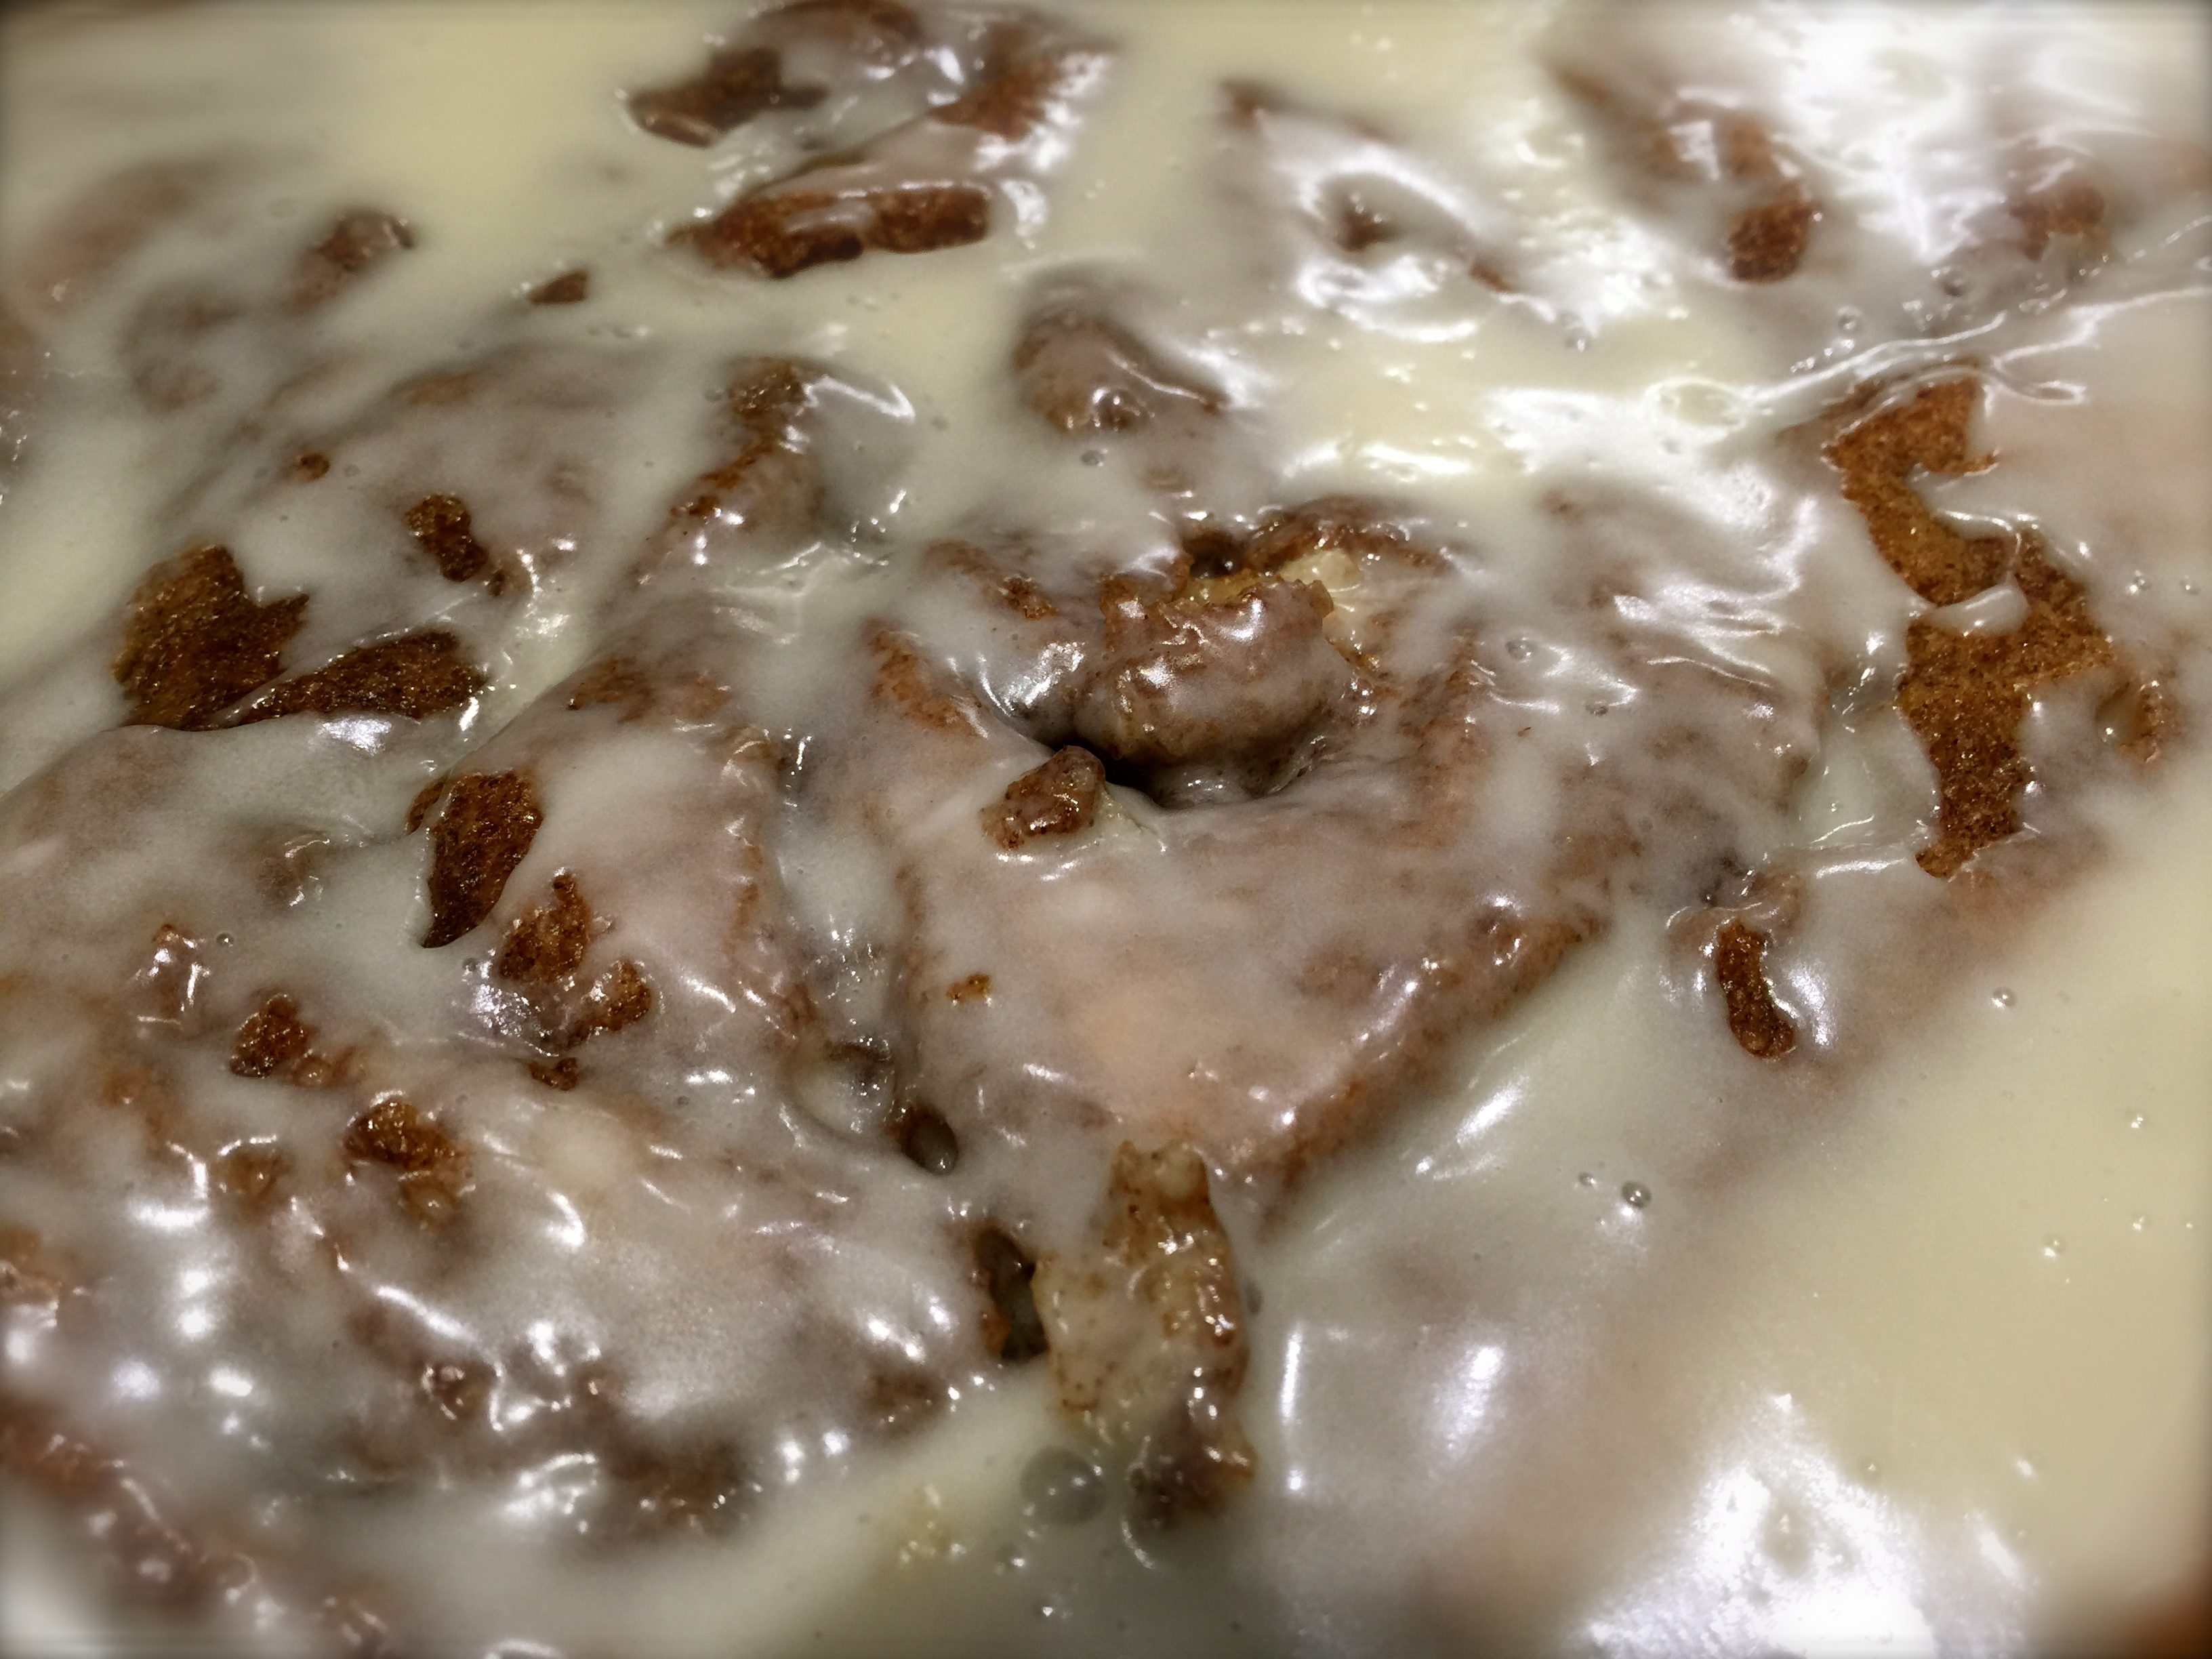
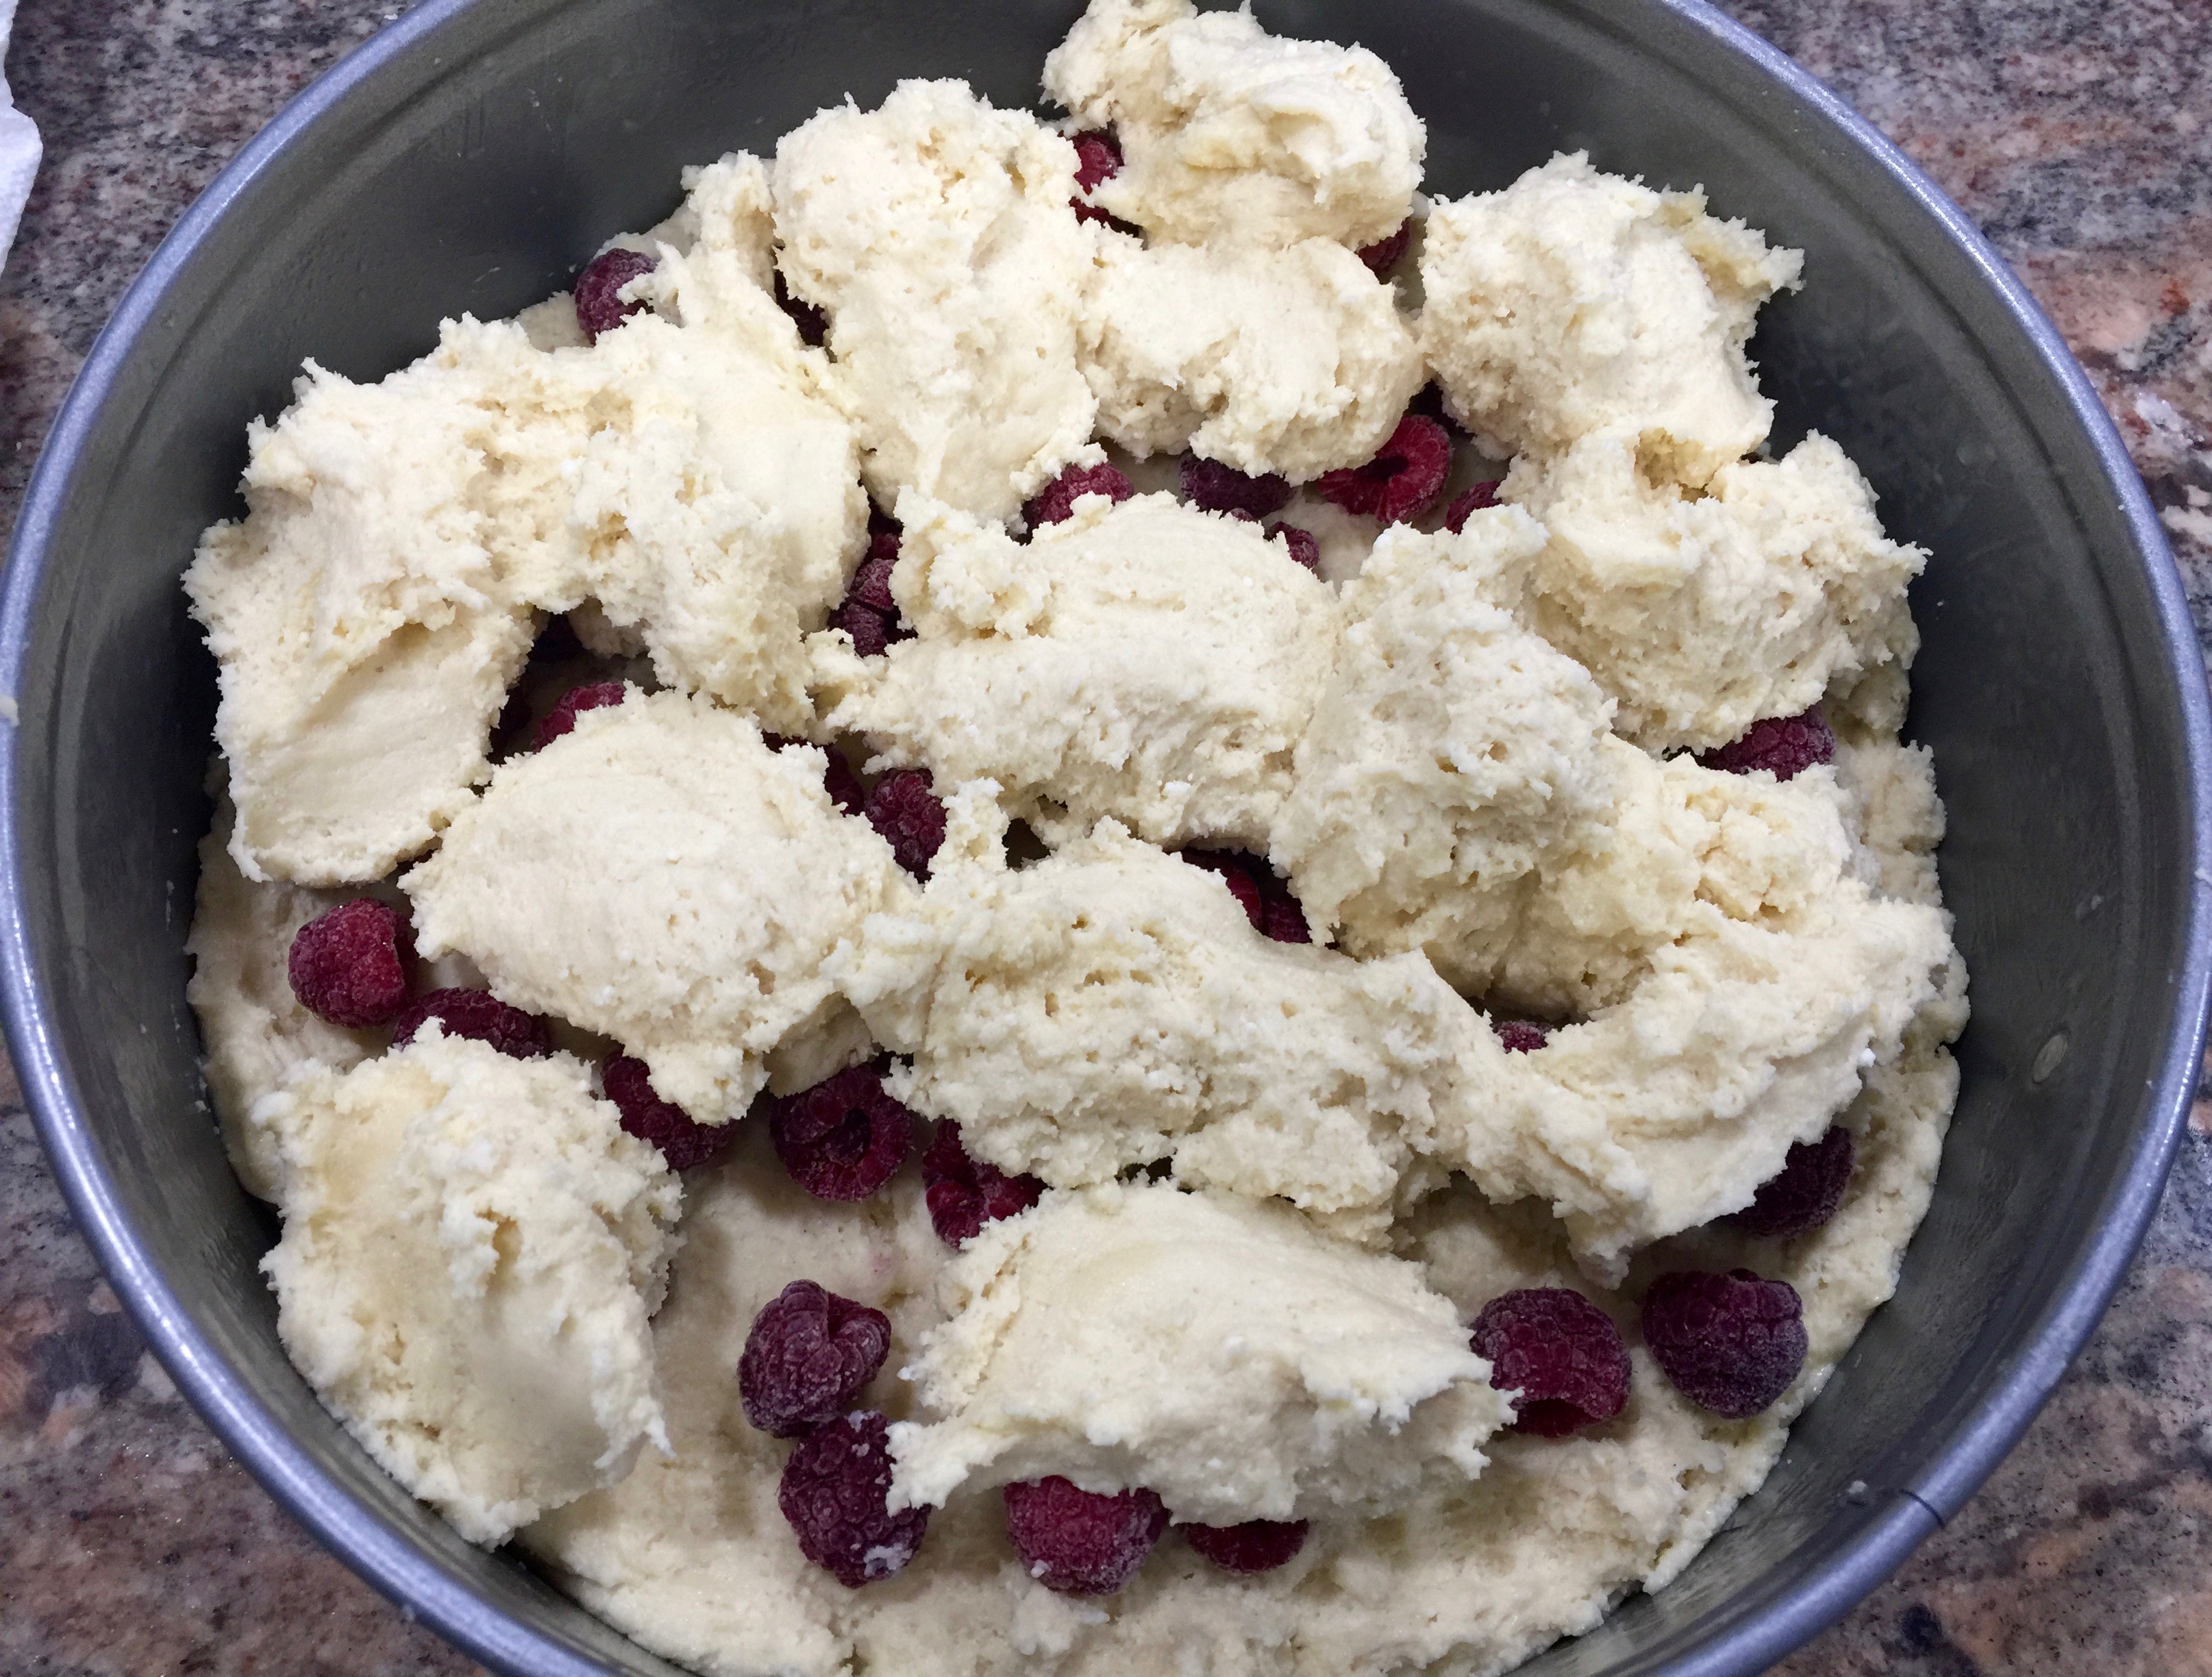
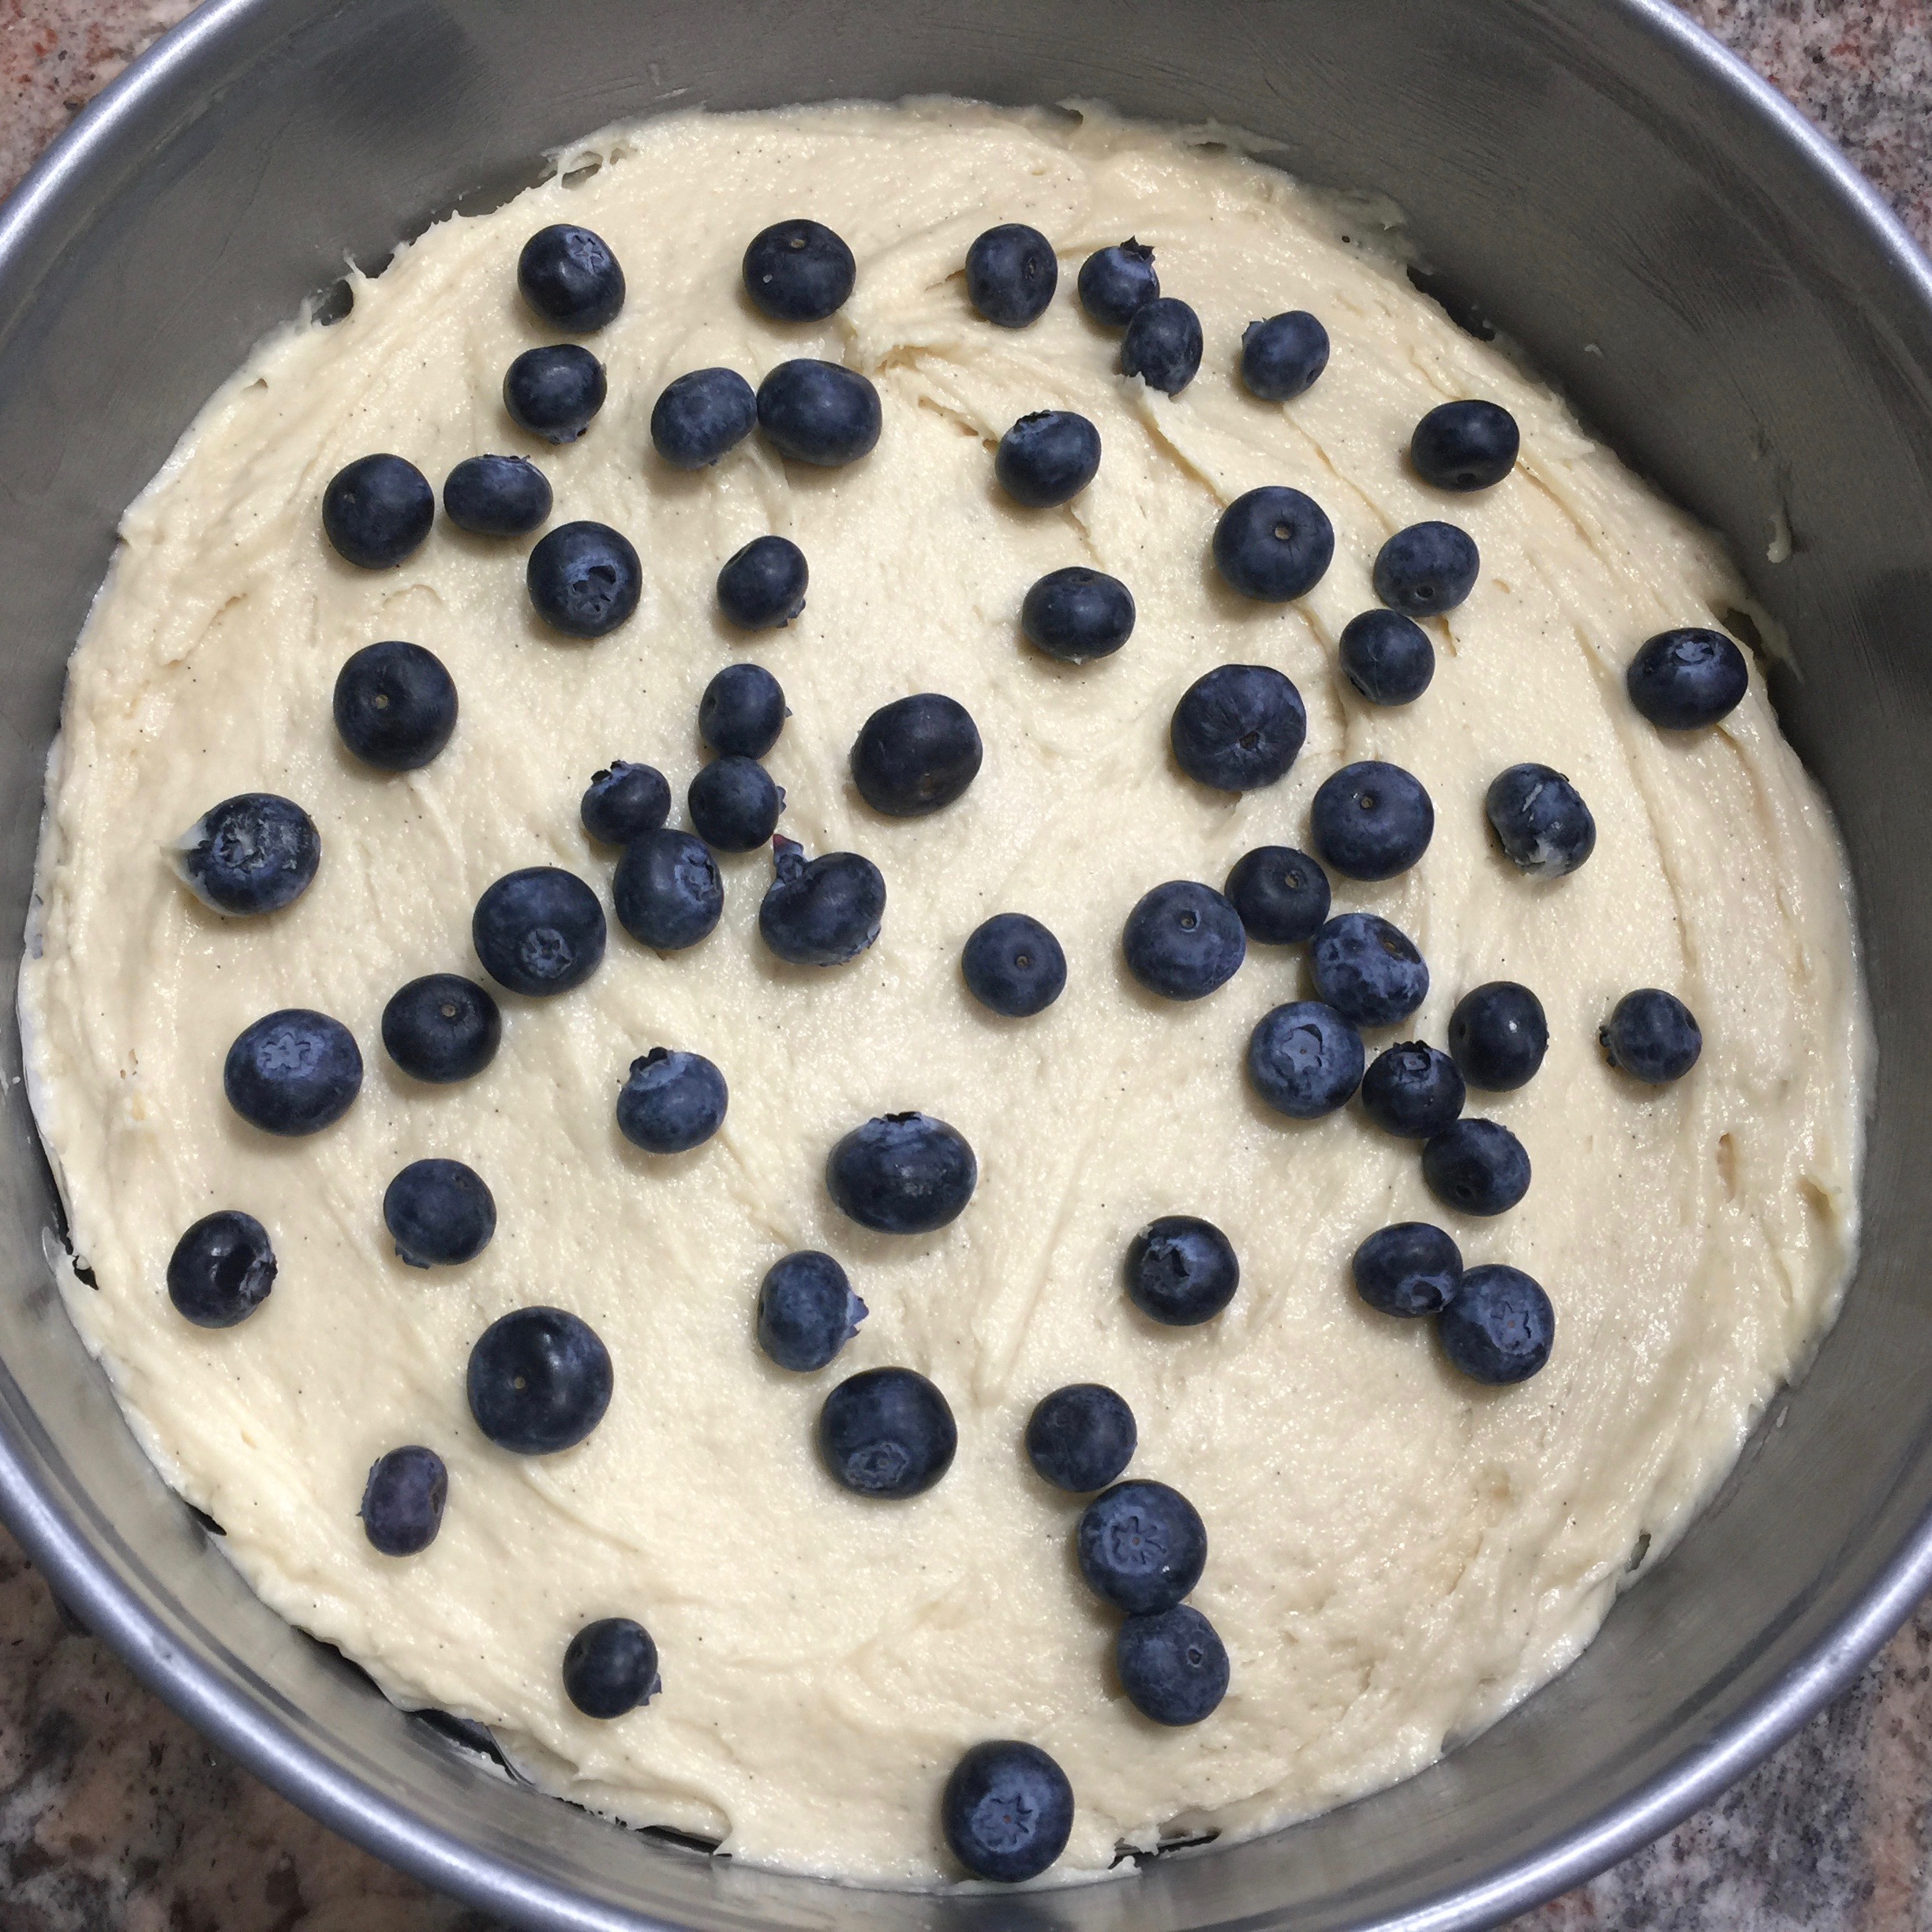
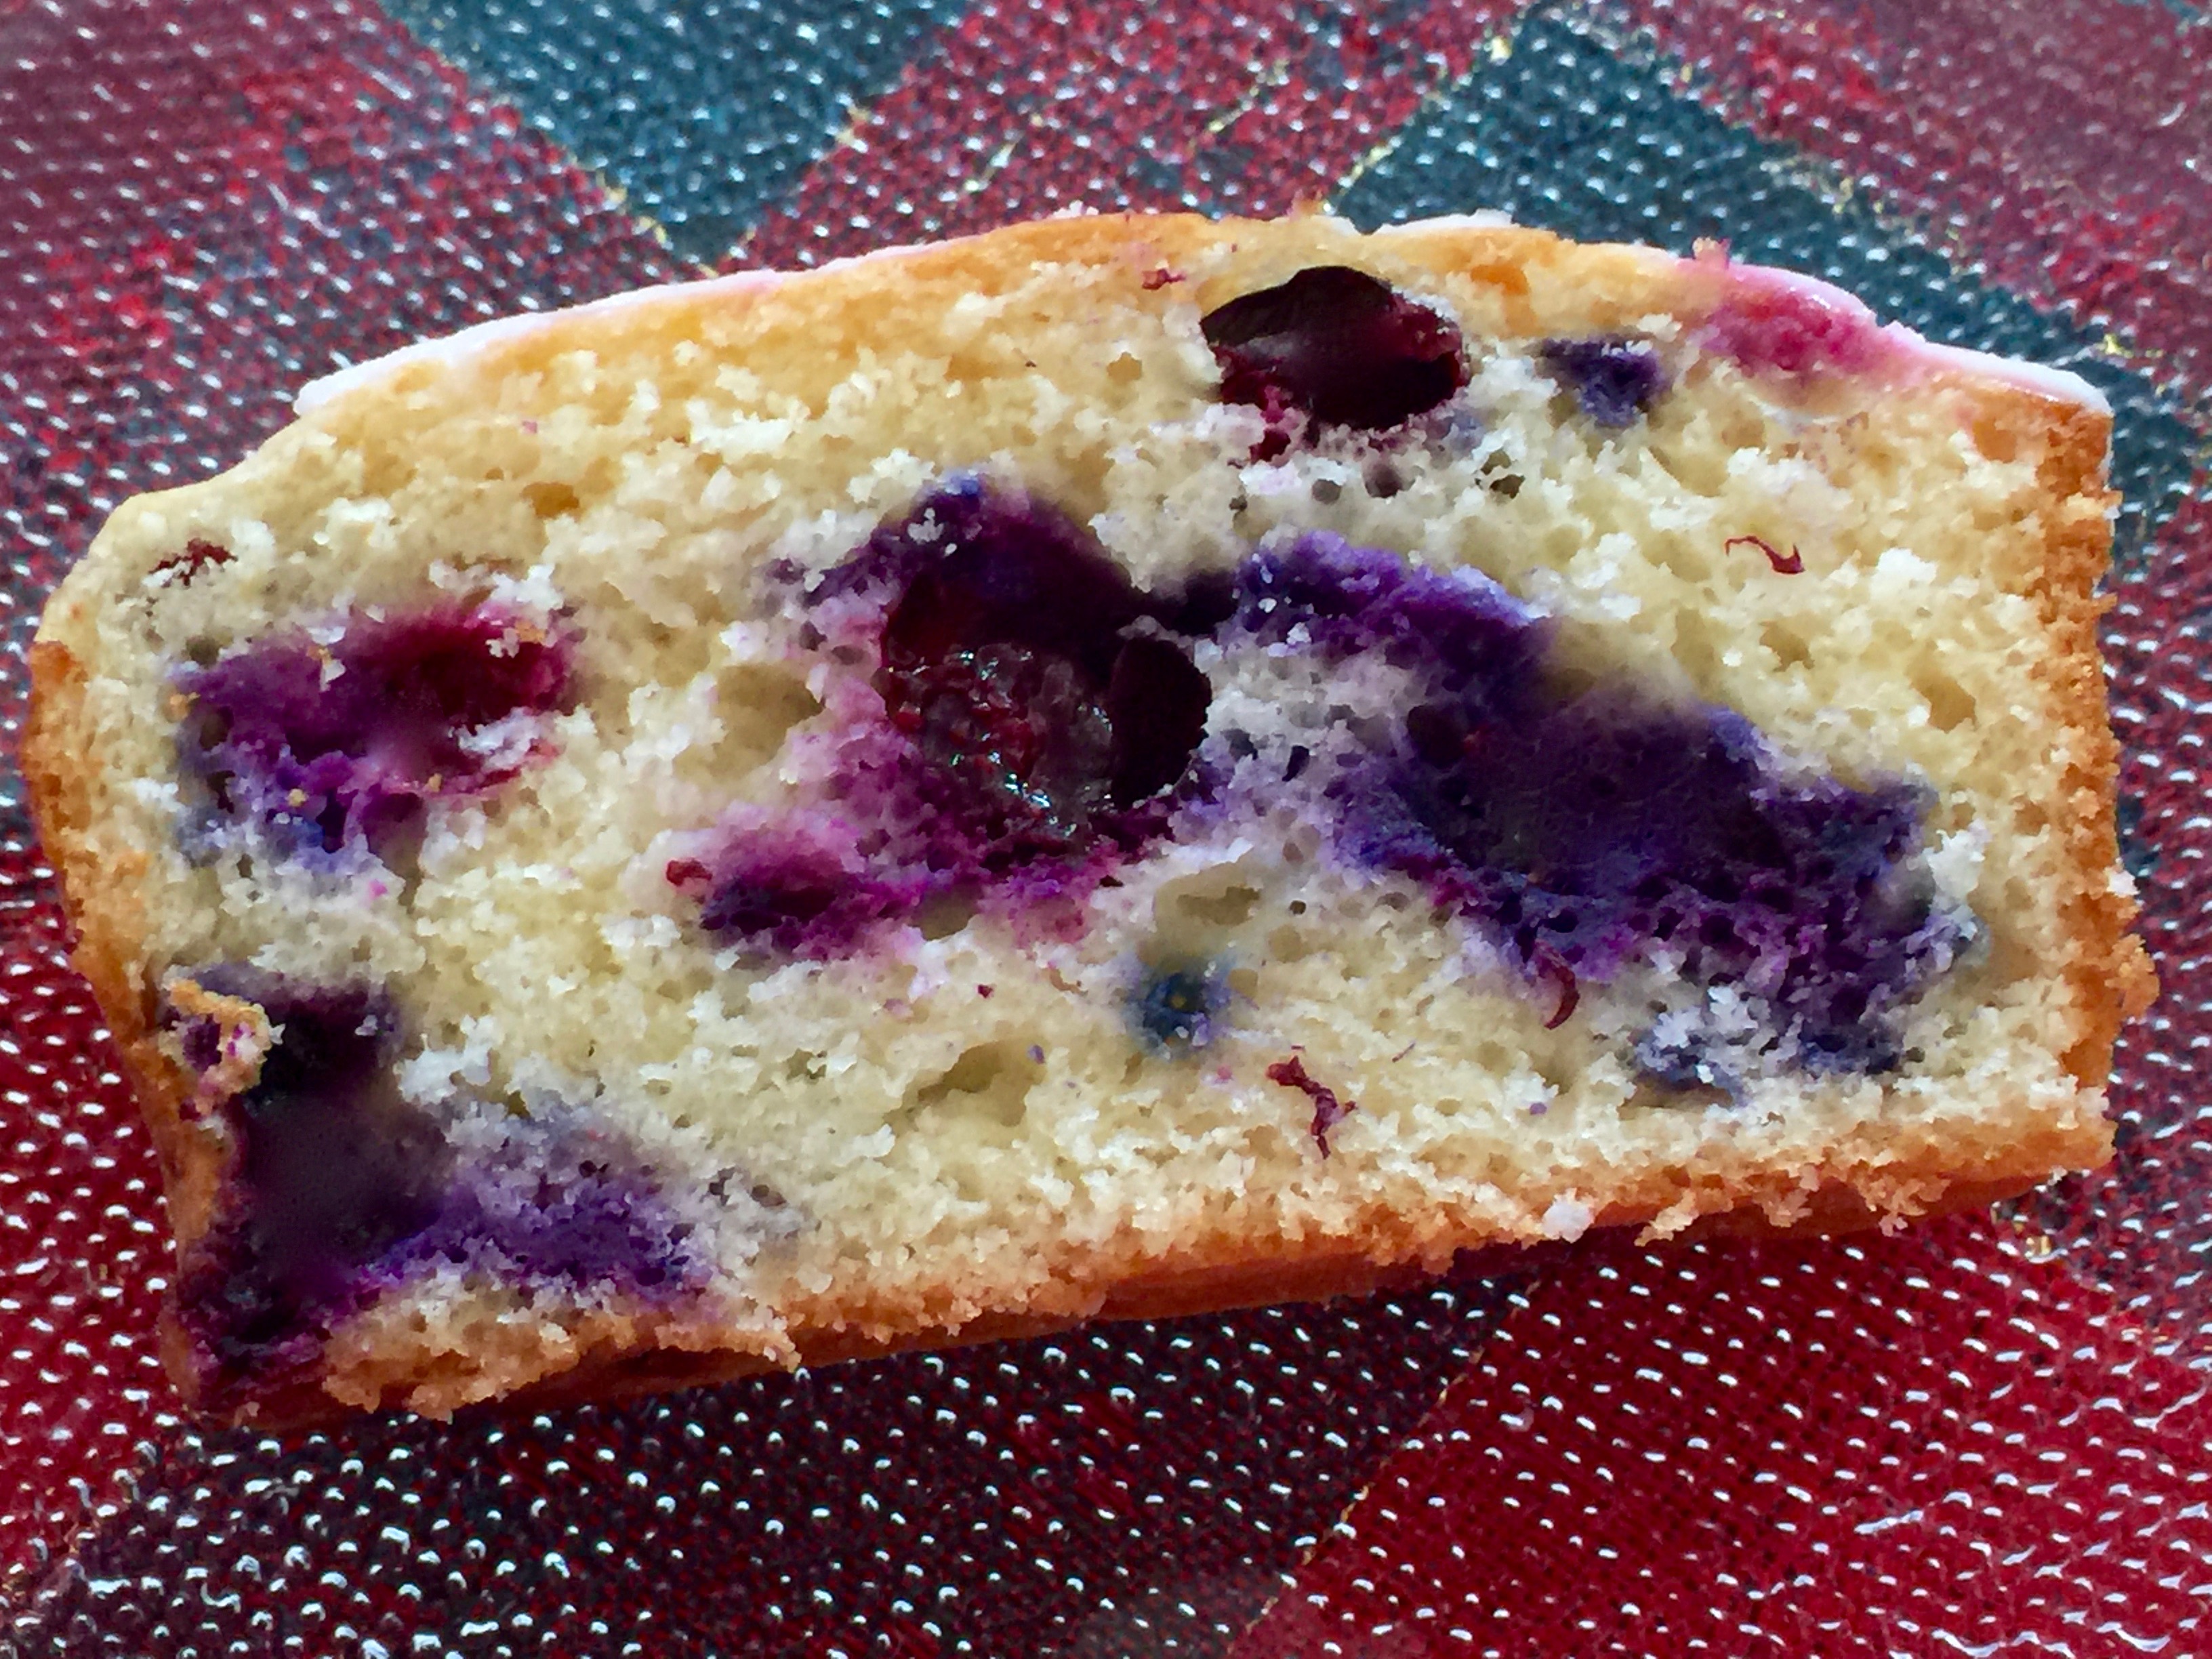
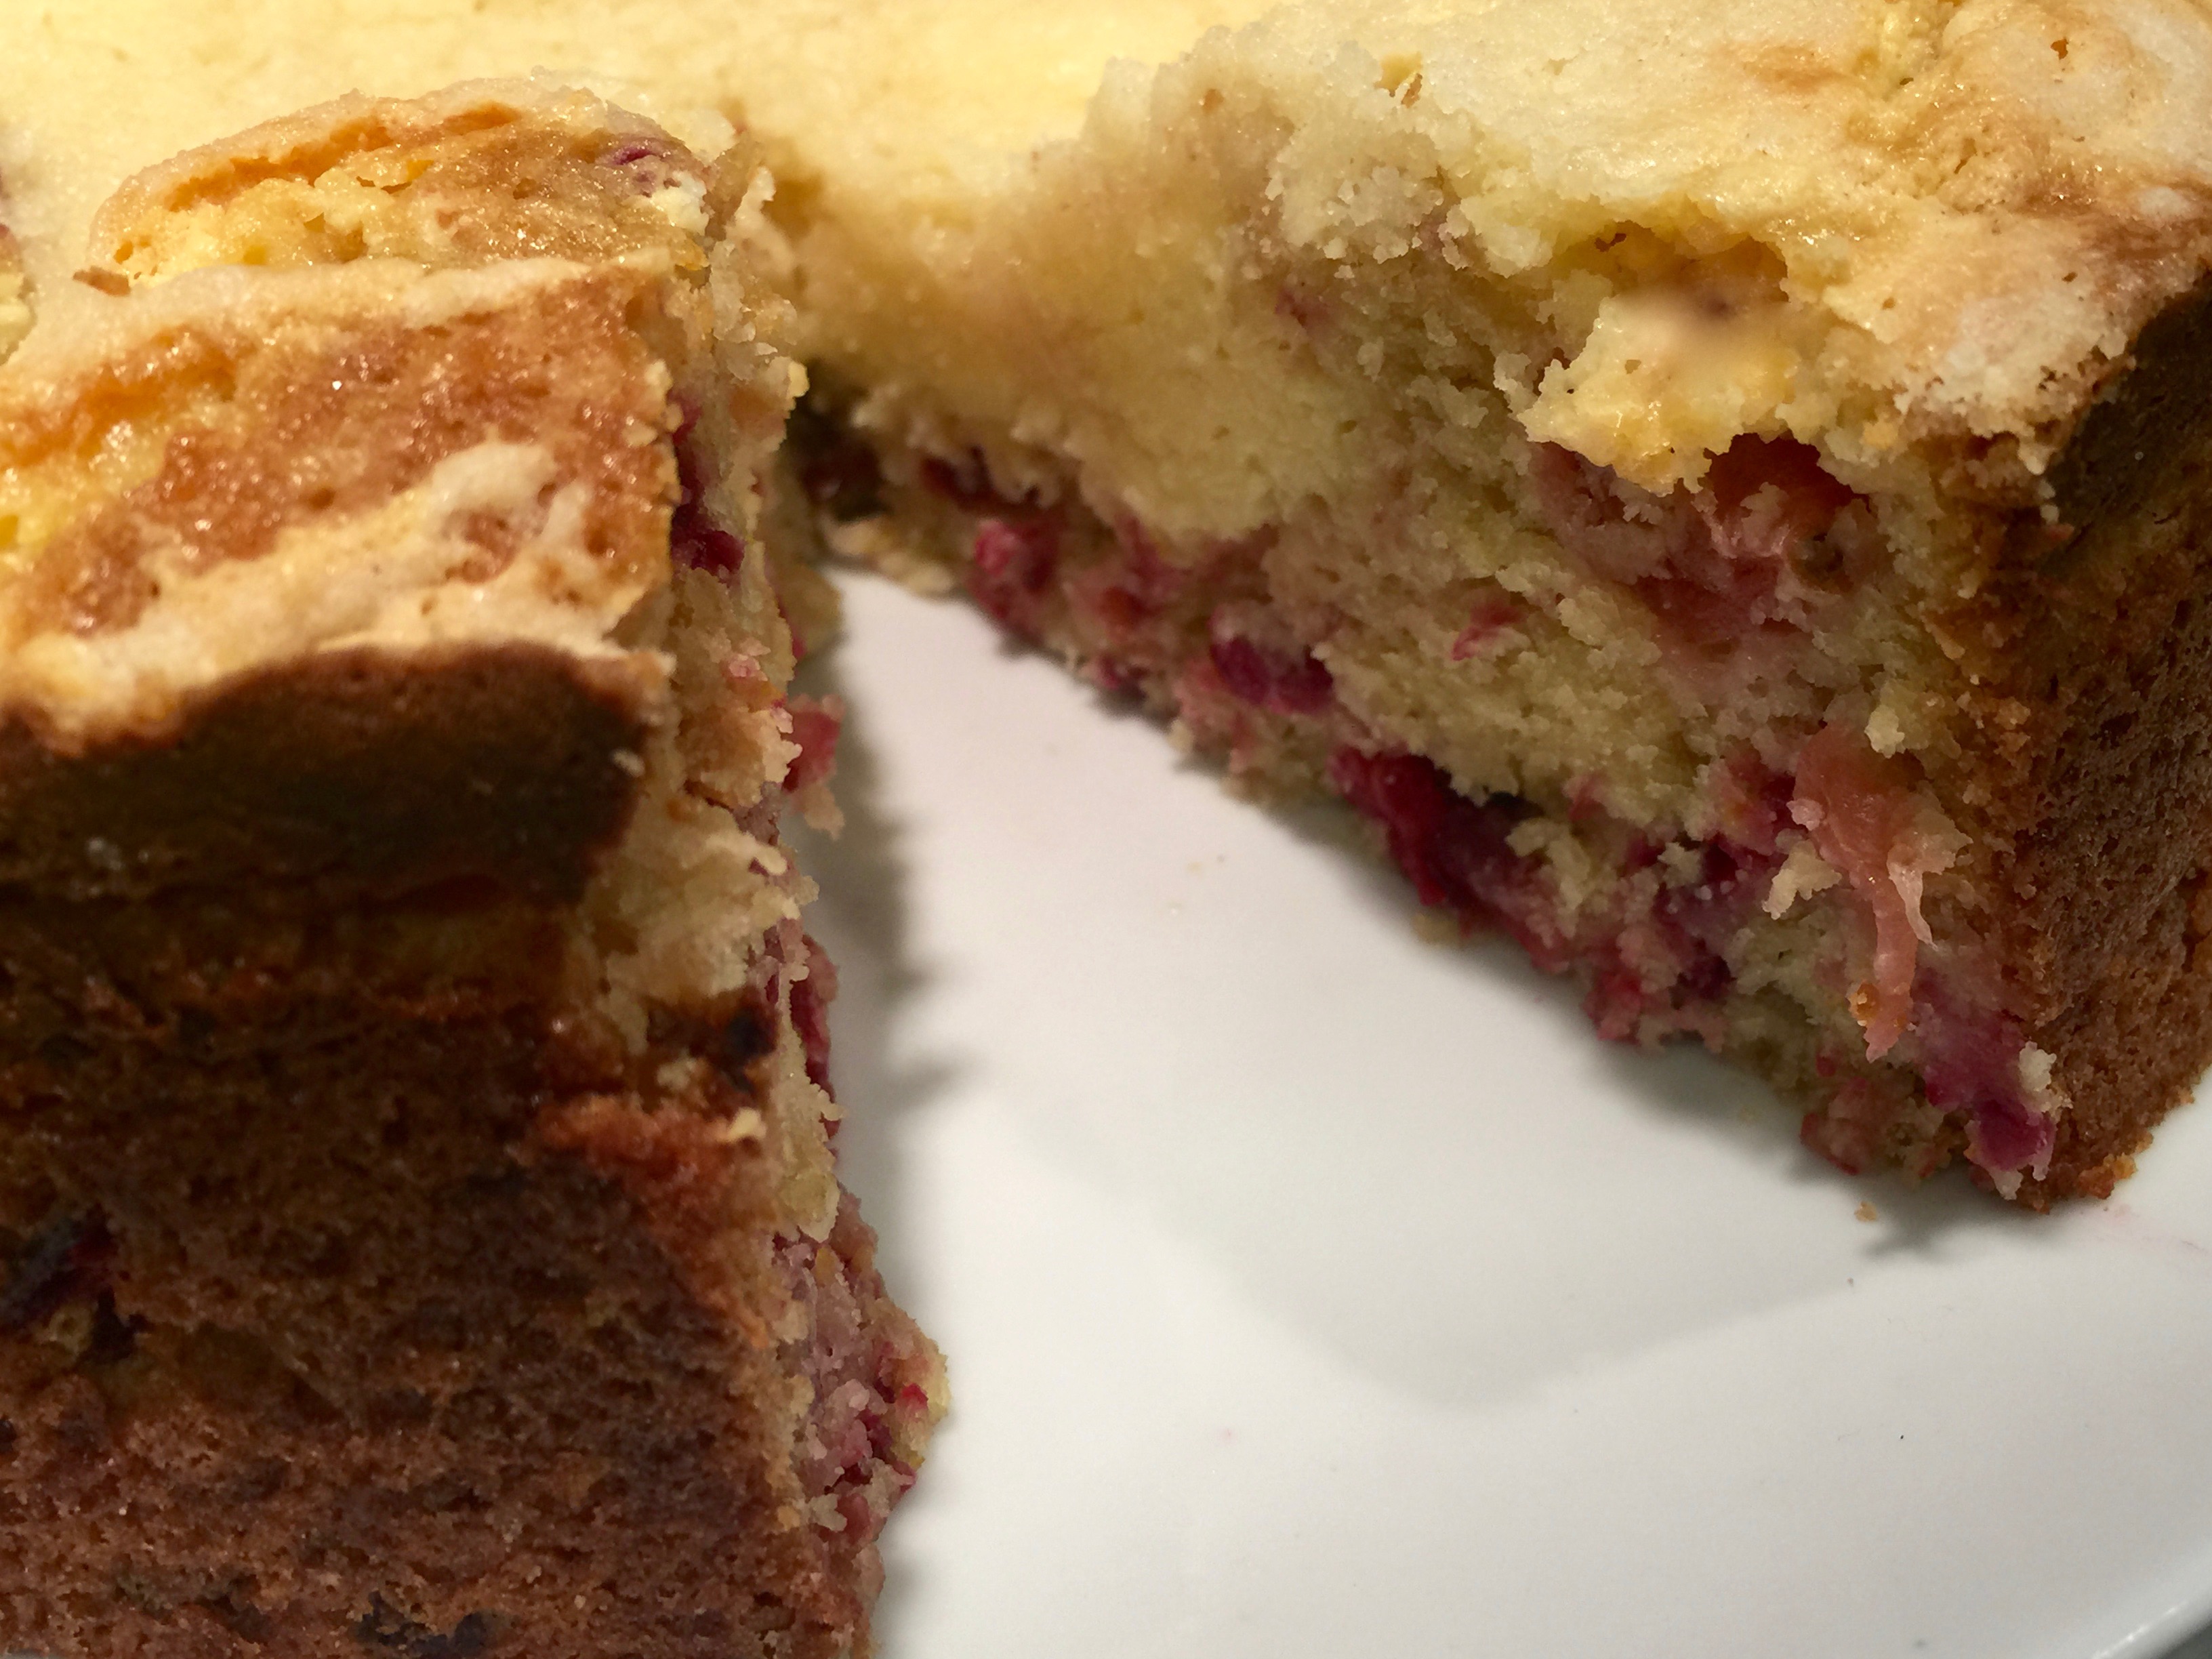
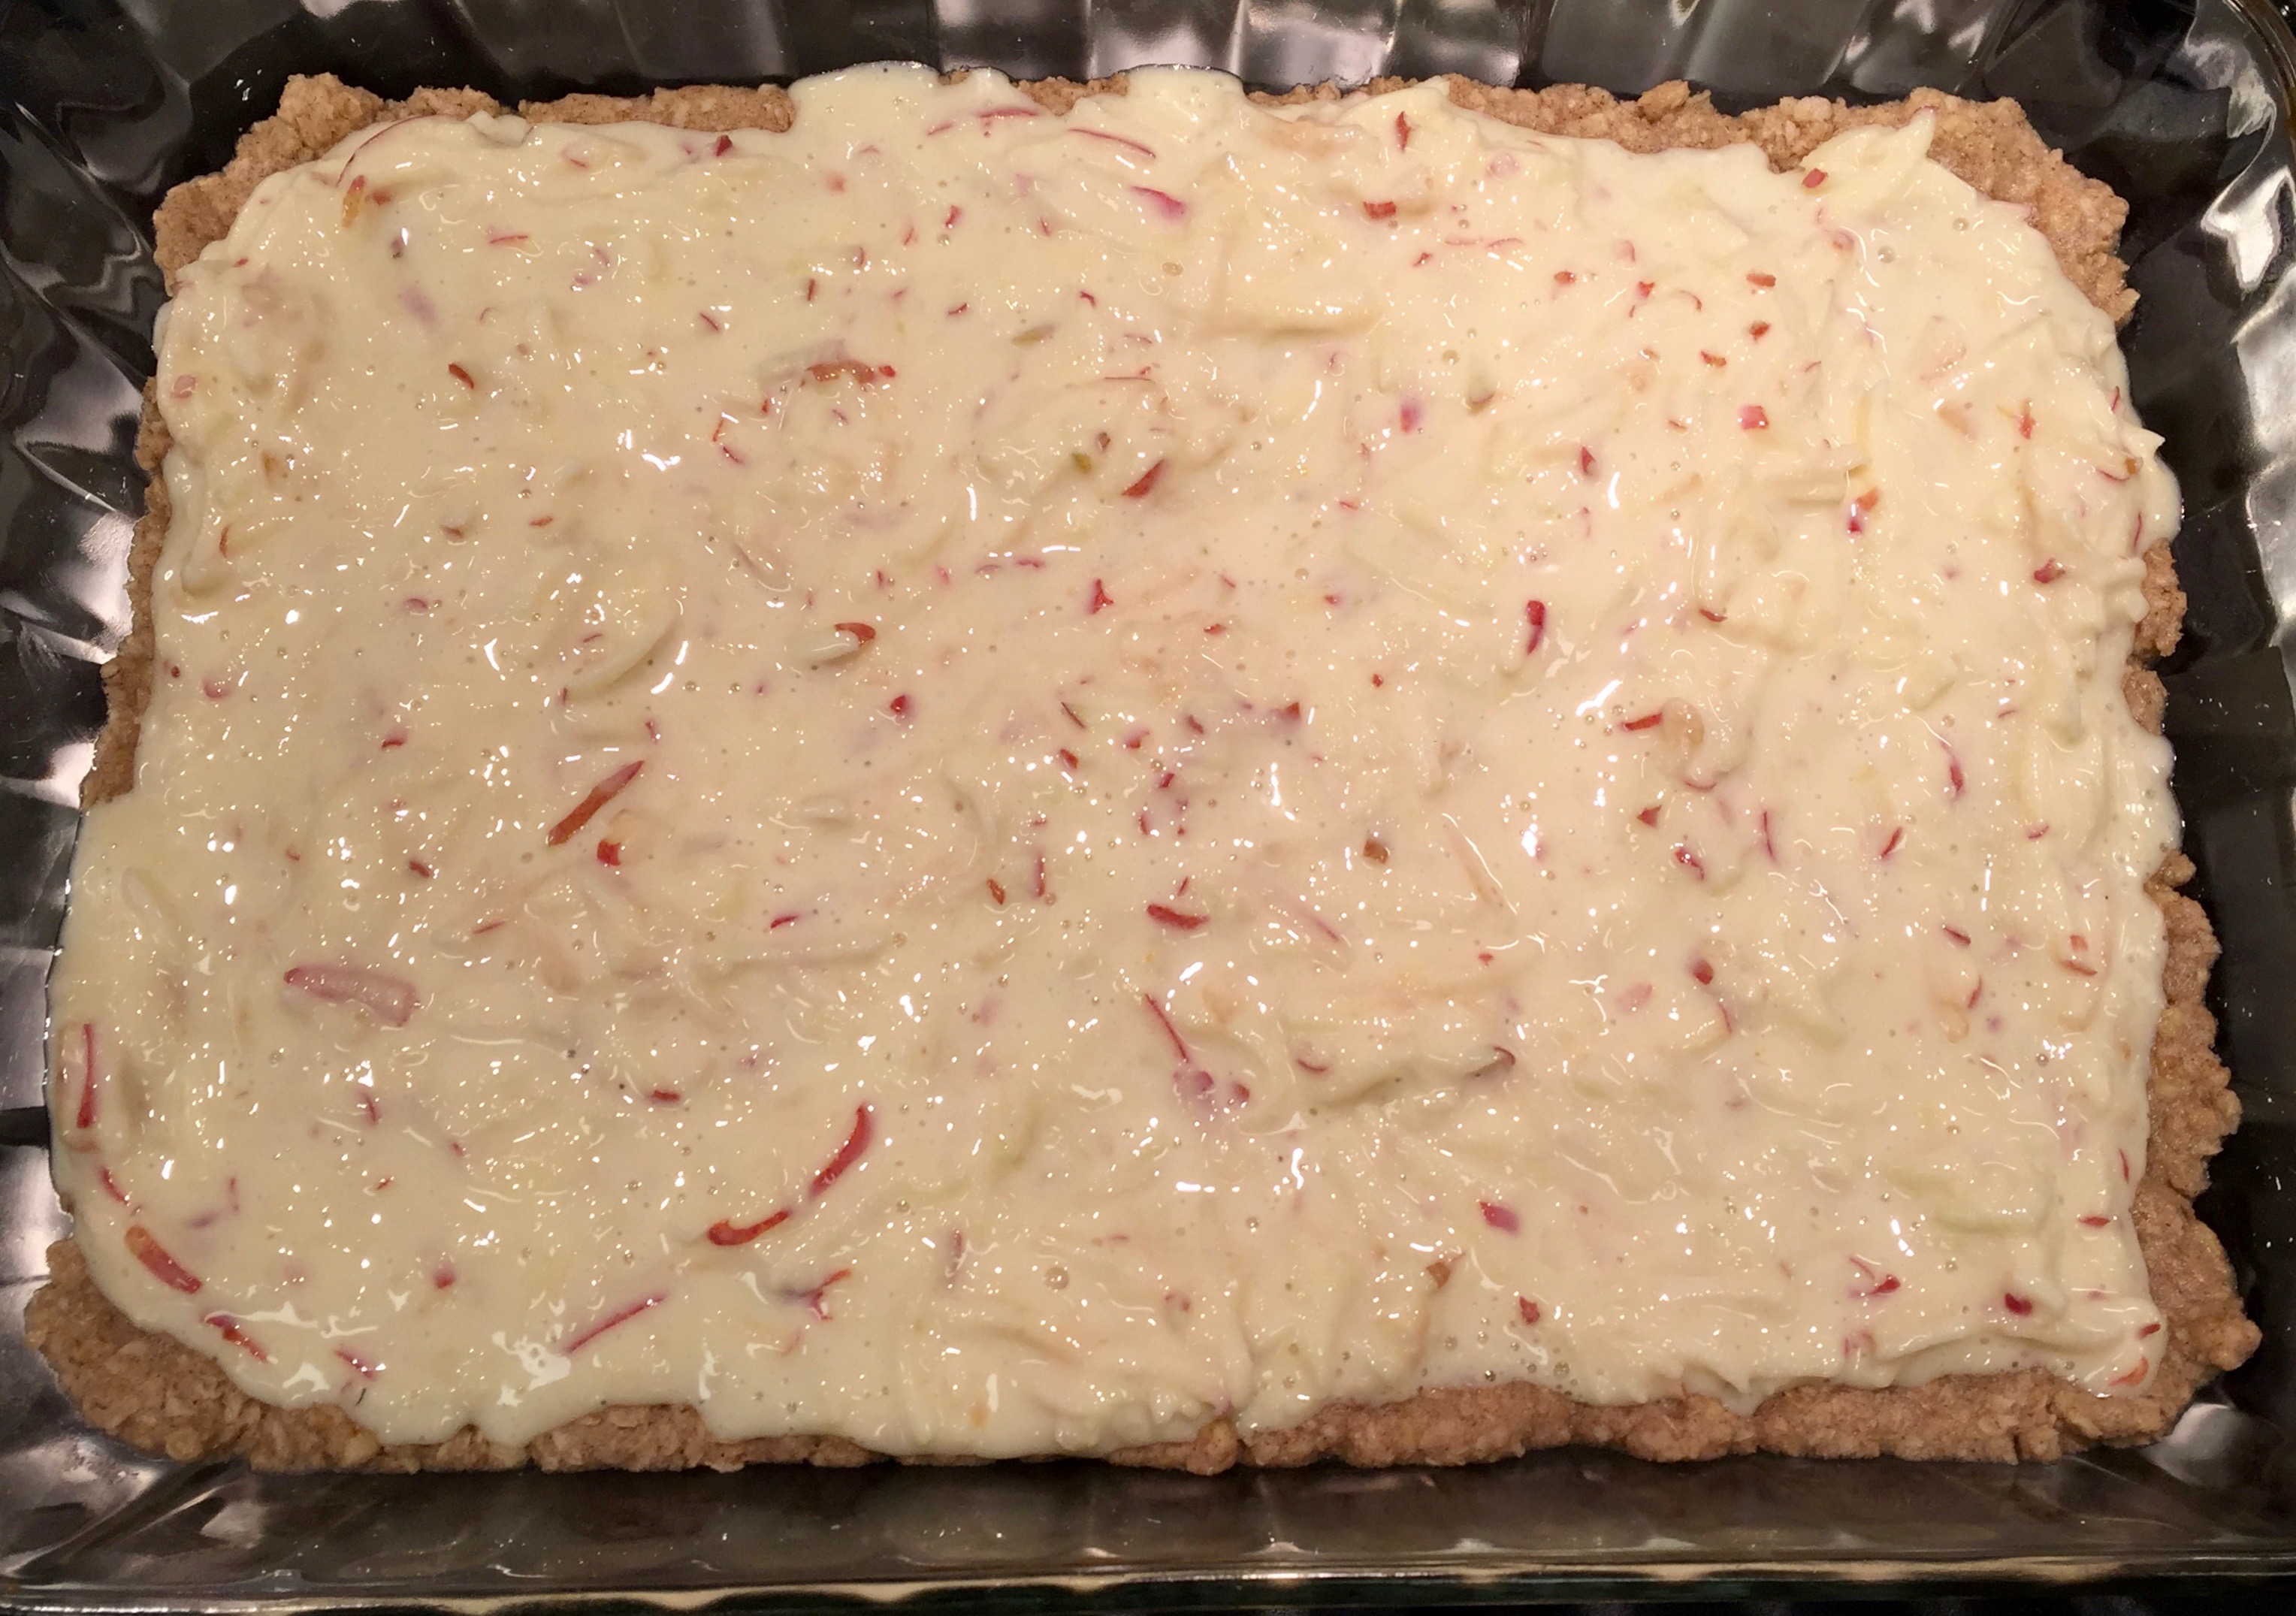
Lesson Learned 2 – Really cover the center of the cake with raspberries: The recipe I based this on called for a heaping cup of raspberries, using 2/3 for the center and 1/3 for the top. In doing that the center of the cake looked like the picture below:
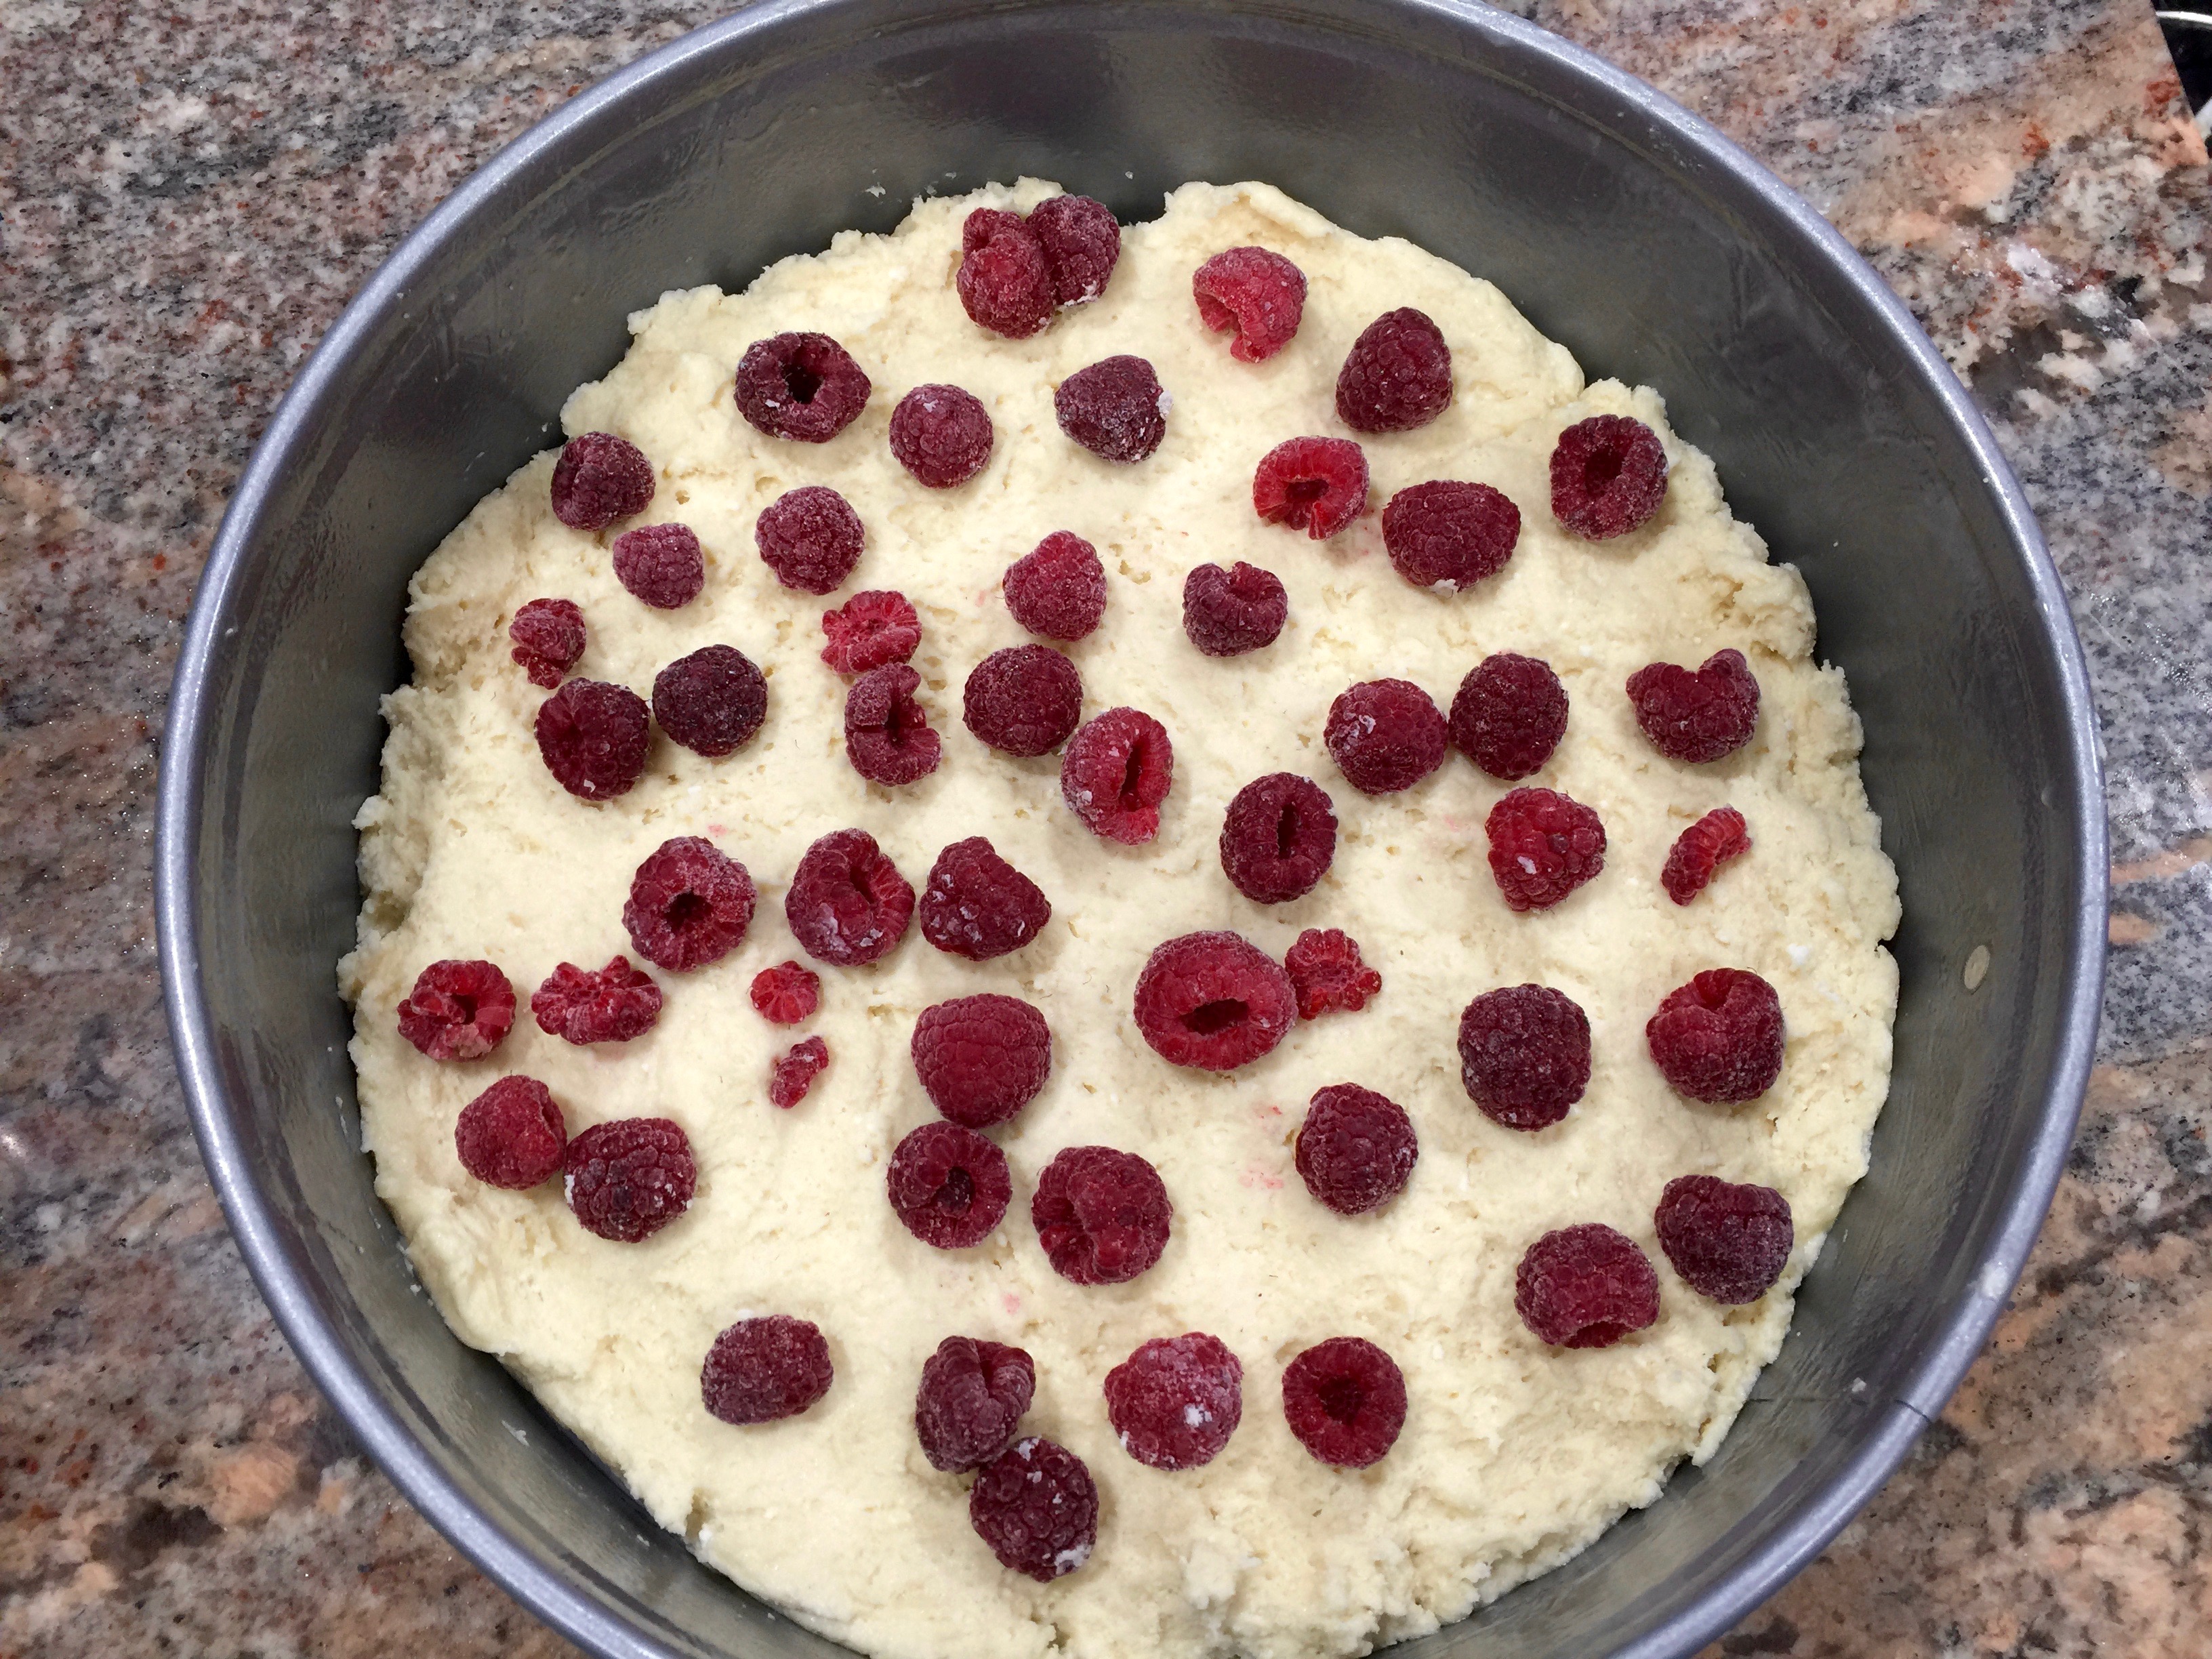
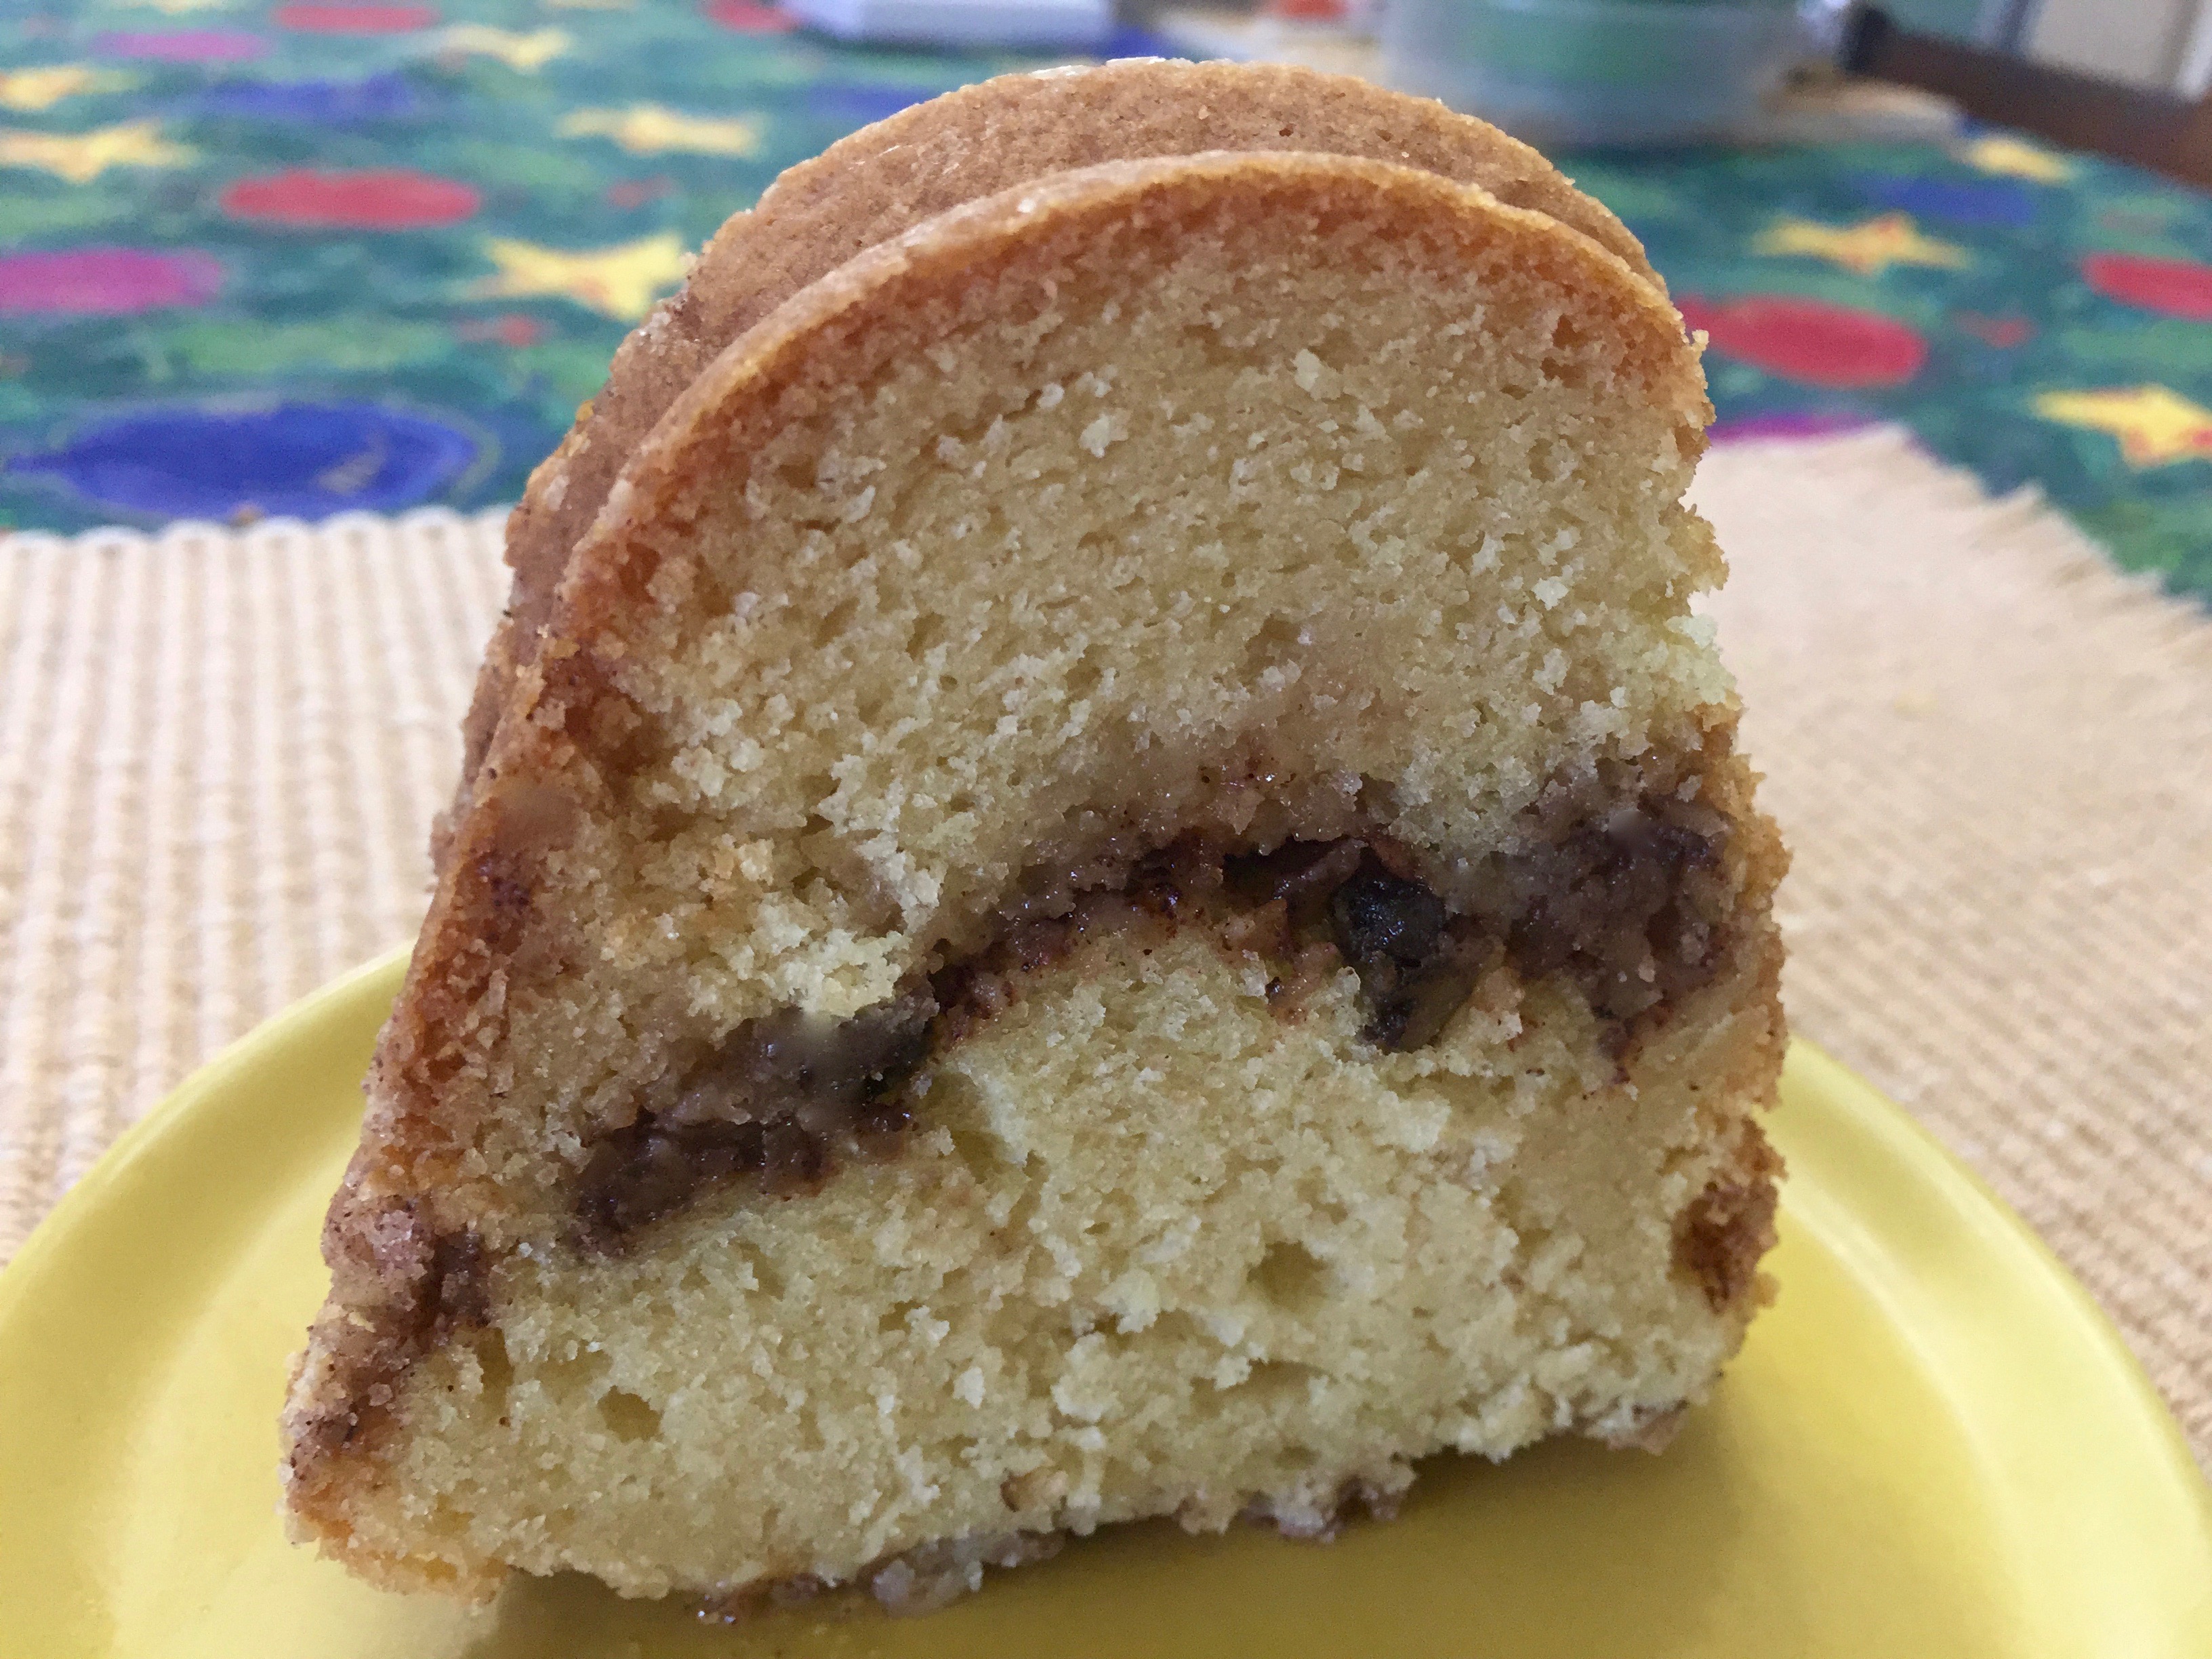
The Center Of The Cake
This was not nearly enough raspberries. Once the cake was baked it seemed like there were only a few raspberries in the center. Some slices did have a few more, but some seemed to have hardly any. Next time I make this I will add even more raspberries – so at this point I will recommend a heaping cup and quarter of raspberries with the greater majority being placed in the middle layer of the cake. The raspberries are what give the cake a special taste – that great balance of tart and sweet – and I felt they should be more predominant in the cake. Baking it this way the cake turned out fine – but I will definitely add more raspberries the next time.
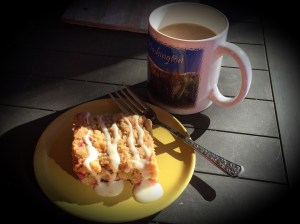
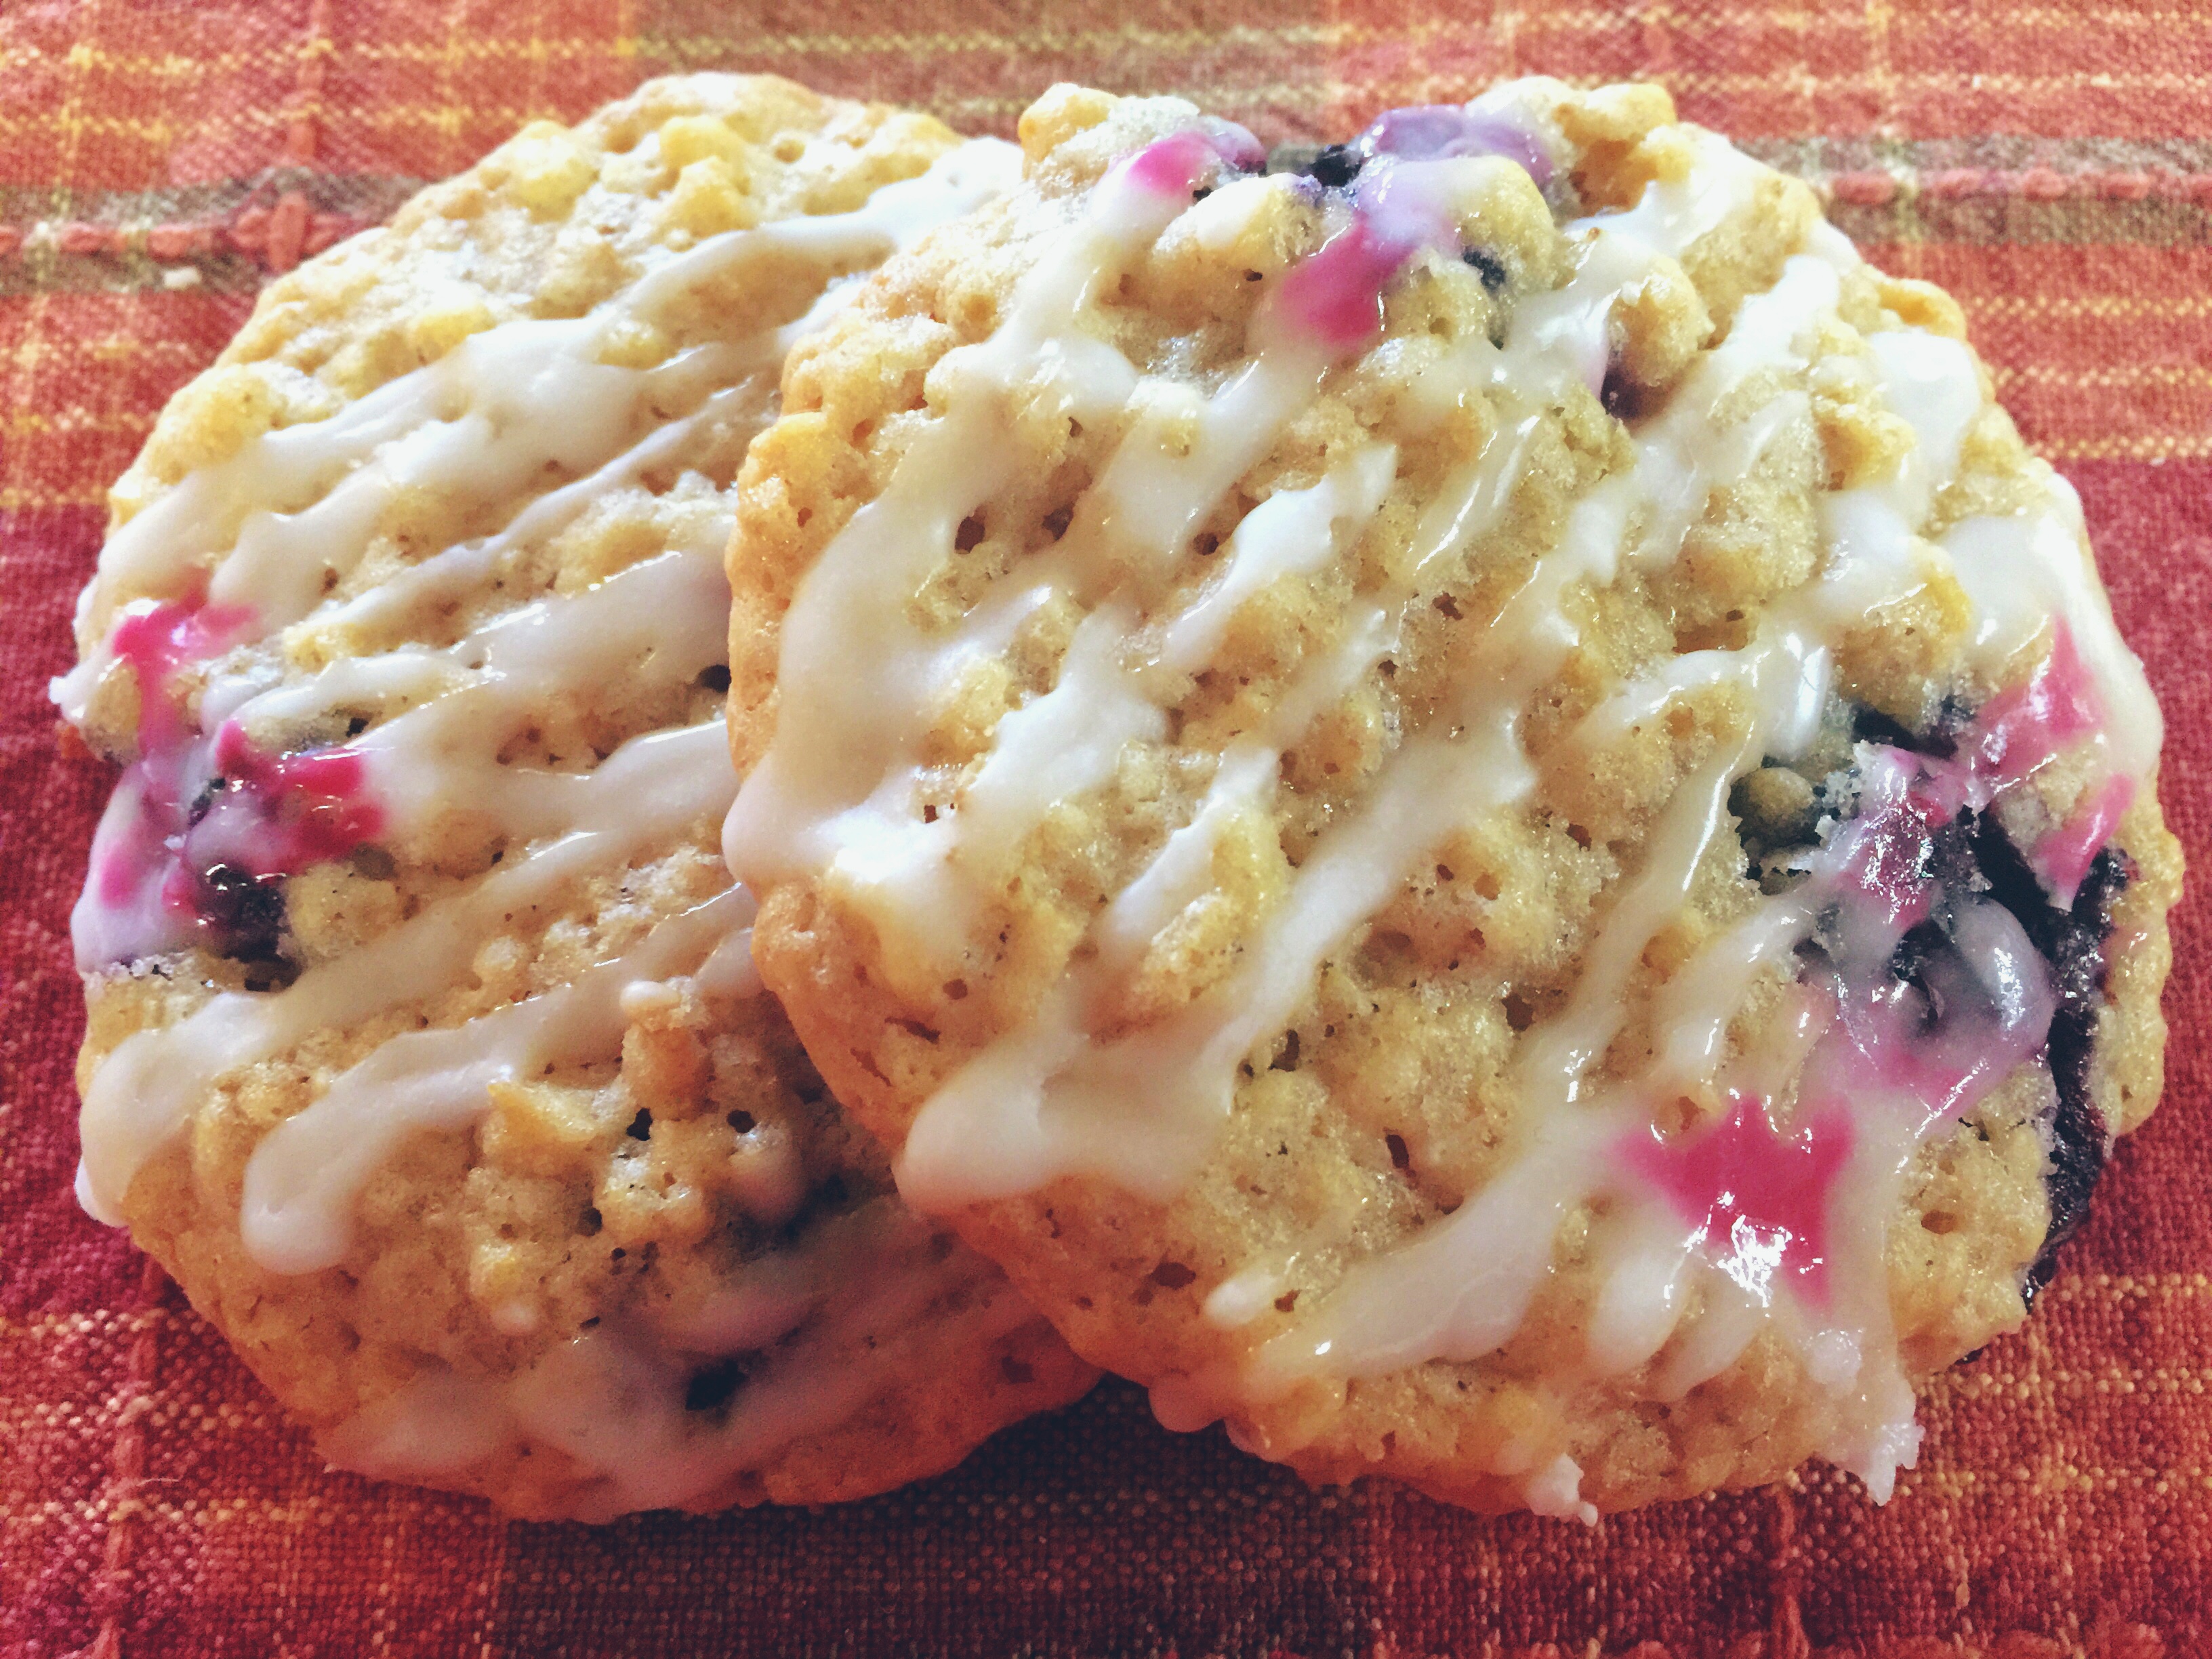
Lesson Learned 3 – Try adding a dollop of Cool Whip on the cake: My husband discovered this on his own. He thought the Cool Whip was a great addition to the cake. And yes, of course, you could always make some fresh whipped cream, but if you’re in a hurry a little Cool Whip will do just fine and will send the flavor over the top.
Lesson Learned 4 – The valuable lessons I’ve learned: Since the very beginning of writing this blog I’ve used the tag line “From The Cook Who Never Could…” and that, for a long time time, was so very true of me. I never had success in the kitchen because, first of all, I had no frame of reference. My mother was not a cook. Her idea of a meal was to overcook meat, have some kind of potato with it and open a can of corn or peas. Mind you, I am not knocking my mother here. She was a working mom at a time when most women were still staying at home and she had to figure out how to balance a job on the night shift with a husband and two children at a time when hardly anyone else was doing it. My dad helped a little, but his specialty was making bacon and eggs and oatmeal (he normally was in charge of the breakfast detail). So there was not a lot of opportunities for me to learn about cooking at home.
Once I became interested in cooking I found the hardest thing for me was bouncing back after my failures. I always expected things to turn out perfectly the first time and when they didn’t I blamed it on my lack of skills and became very disheartened. It’s only as I got older and began to really learn about the art and science of cooking and baking that I became much more forgiving of myself when things did not turn out as planned.
There is always something you can learn when you cook or bake something. And I hope you know that even the best of cooks don’t always get it perfect the first time around. That’s a lesson I learned the hard way. So even with this recipe, when the concentration of raspberries was not what I would have wanted, I realized the cake in itself was still quite good and not a failure. It just needed, in my estimation, a little improvement.
Don’t make my mistake and blame yourself or your skills if something does not turn out the way you planned the first time. And certainly don’t give up on yourself. Use what you learn and continue to improve your skills. It’s all part of the process.
So I hope you make this one – and I will write the recipe adding more raspberries. It’s a lesson I learned making this cake – one of many lessons I am sure I’ll continue to learn in the future. Enjoy!
Raspberry Ricotta Coffee Cake...
INGREDIENTS:
Coffee Cake:
1/2 cup unsalted butter, room temperature
3/4 cup granulated sugar
2 eggs, room temperature
1 tsp. vanilla
2 cups flour
2 tsp. baking powder (1 tsp for high altitude)
1/2 tsp. salt
1/2 tsp. baking soda
1 1/4 heaping cups of frozen raspberries
15 oz. whole milk ricotta cheese
Baking spray with flour
Glaze:
1/2 cup powdered sugar
1 tsp. almond extract
1 – 2 Tbs. milk or water
DIRECTIONS:
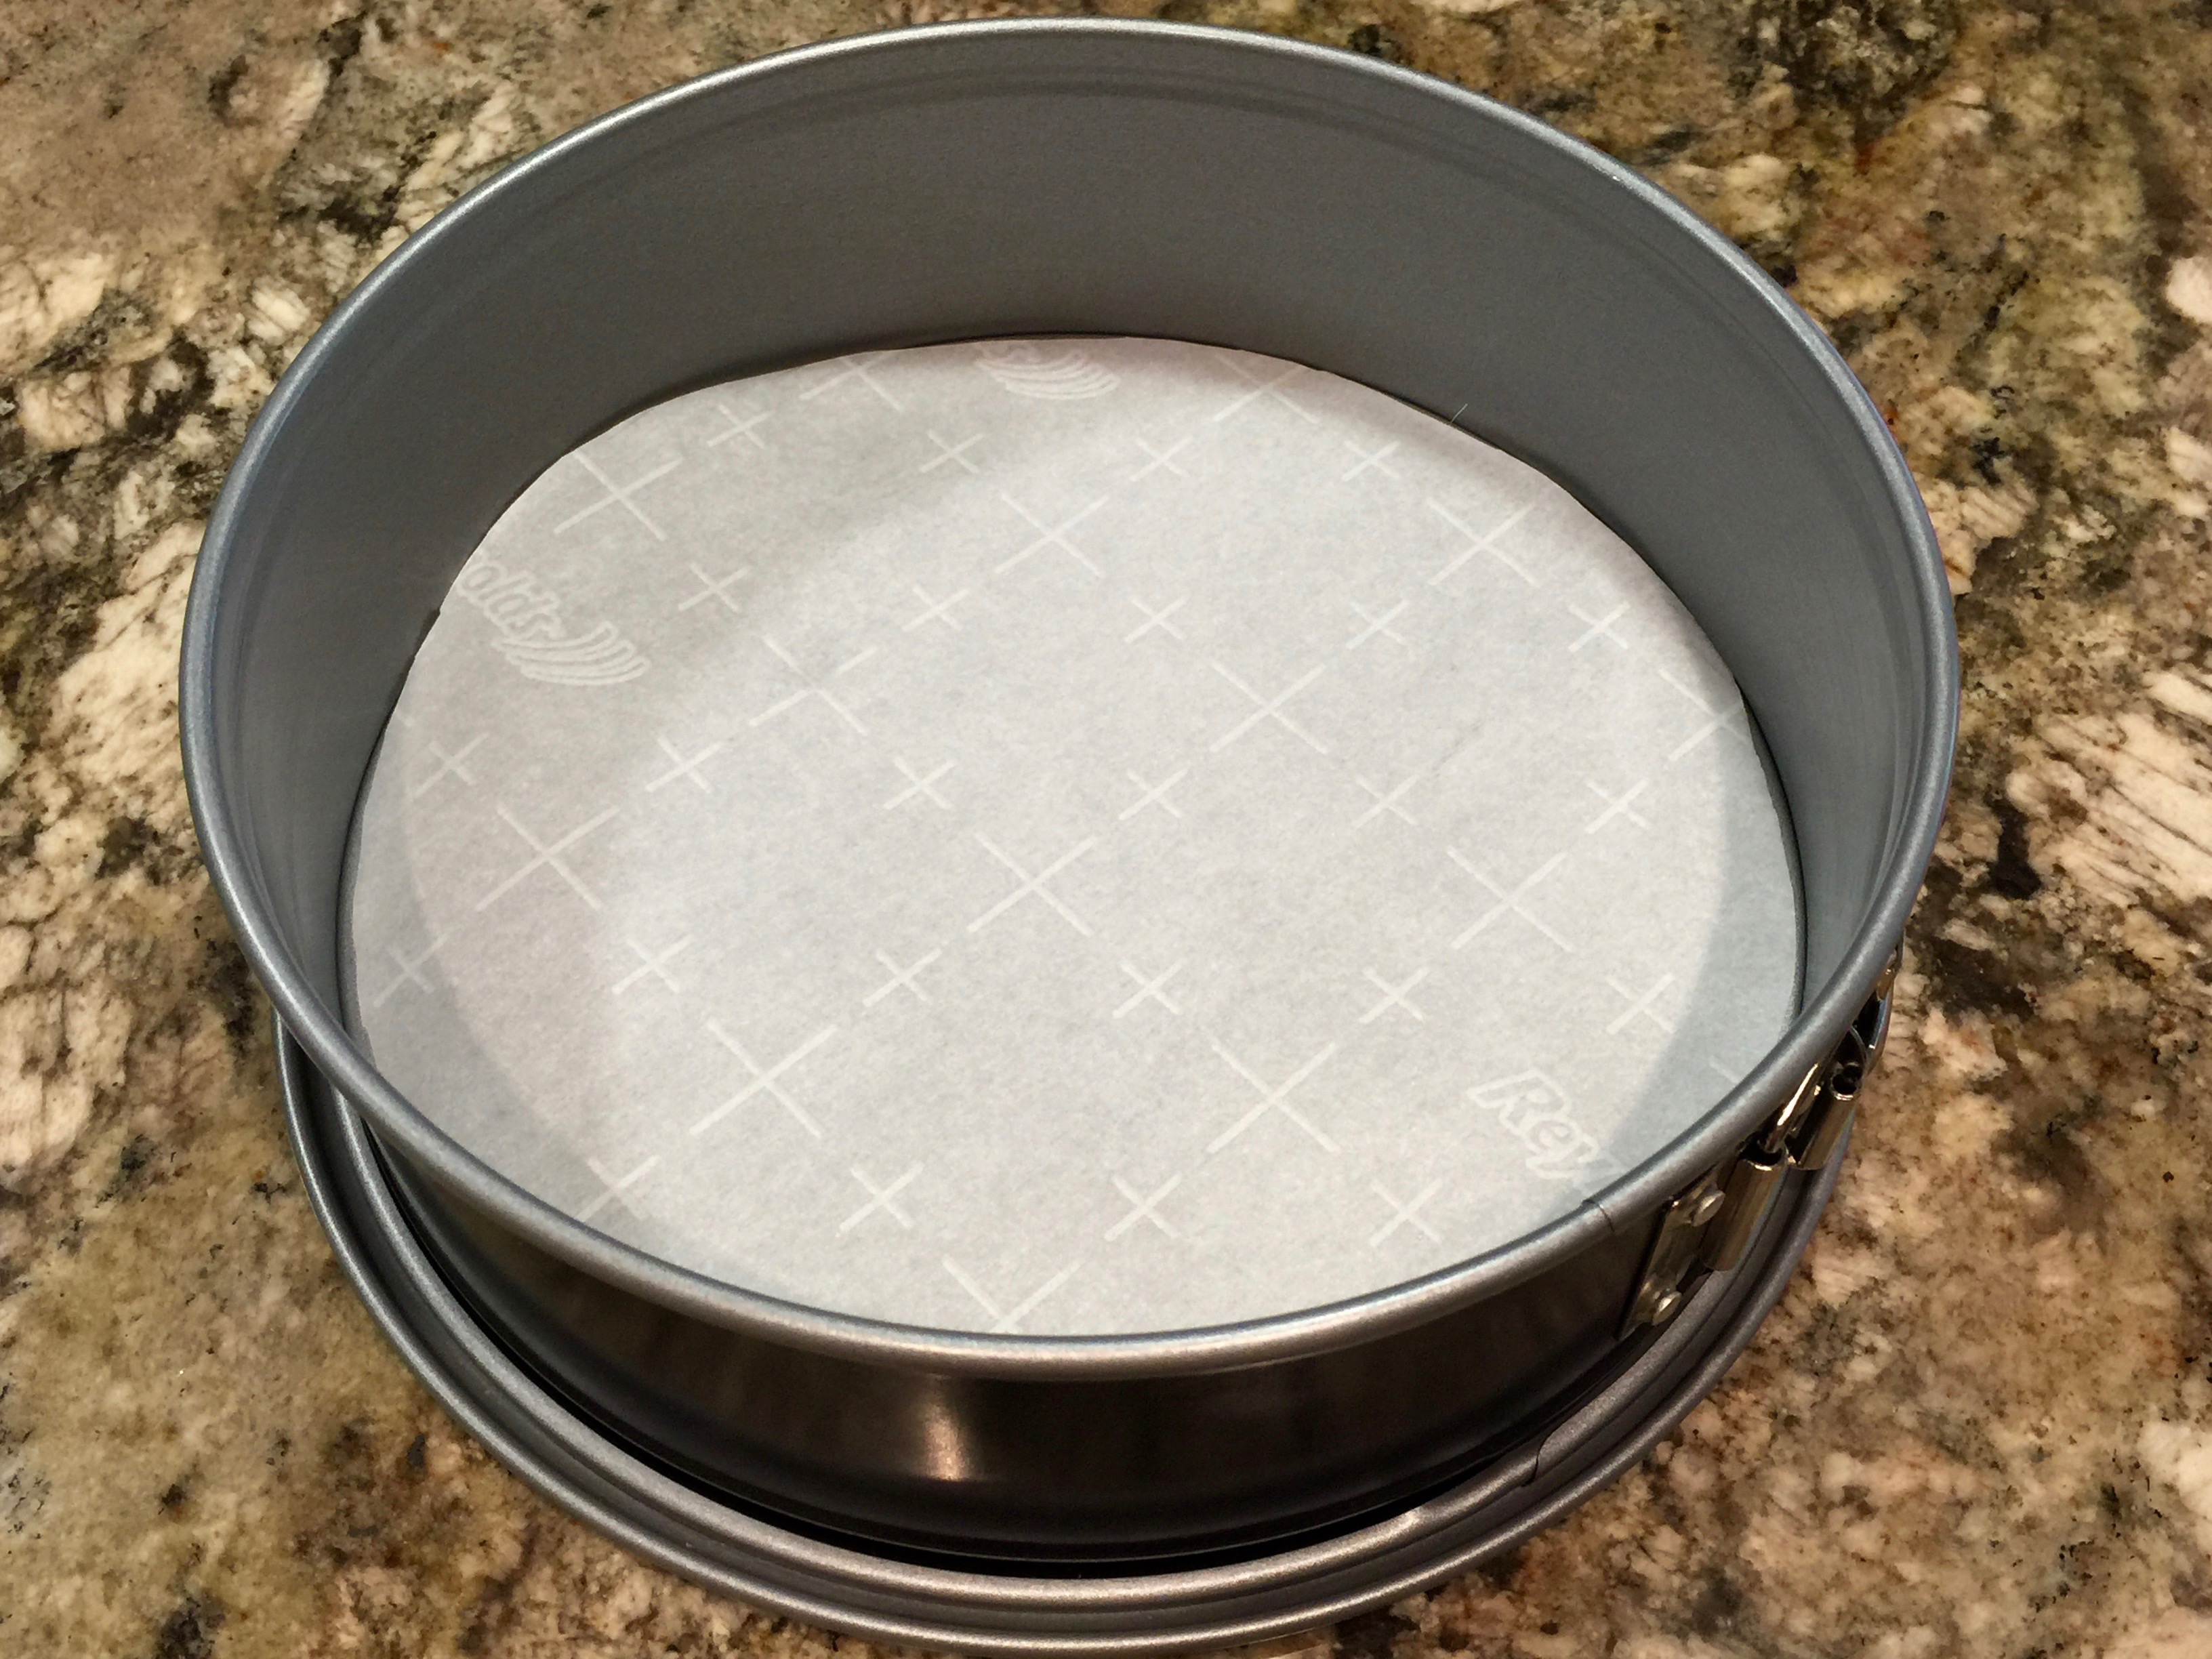
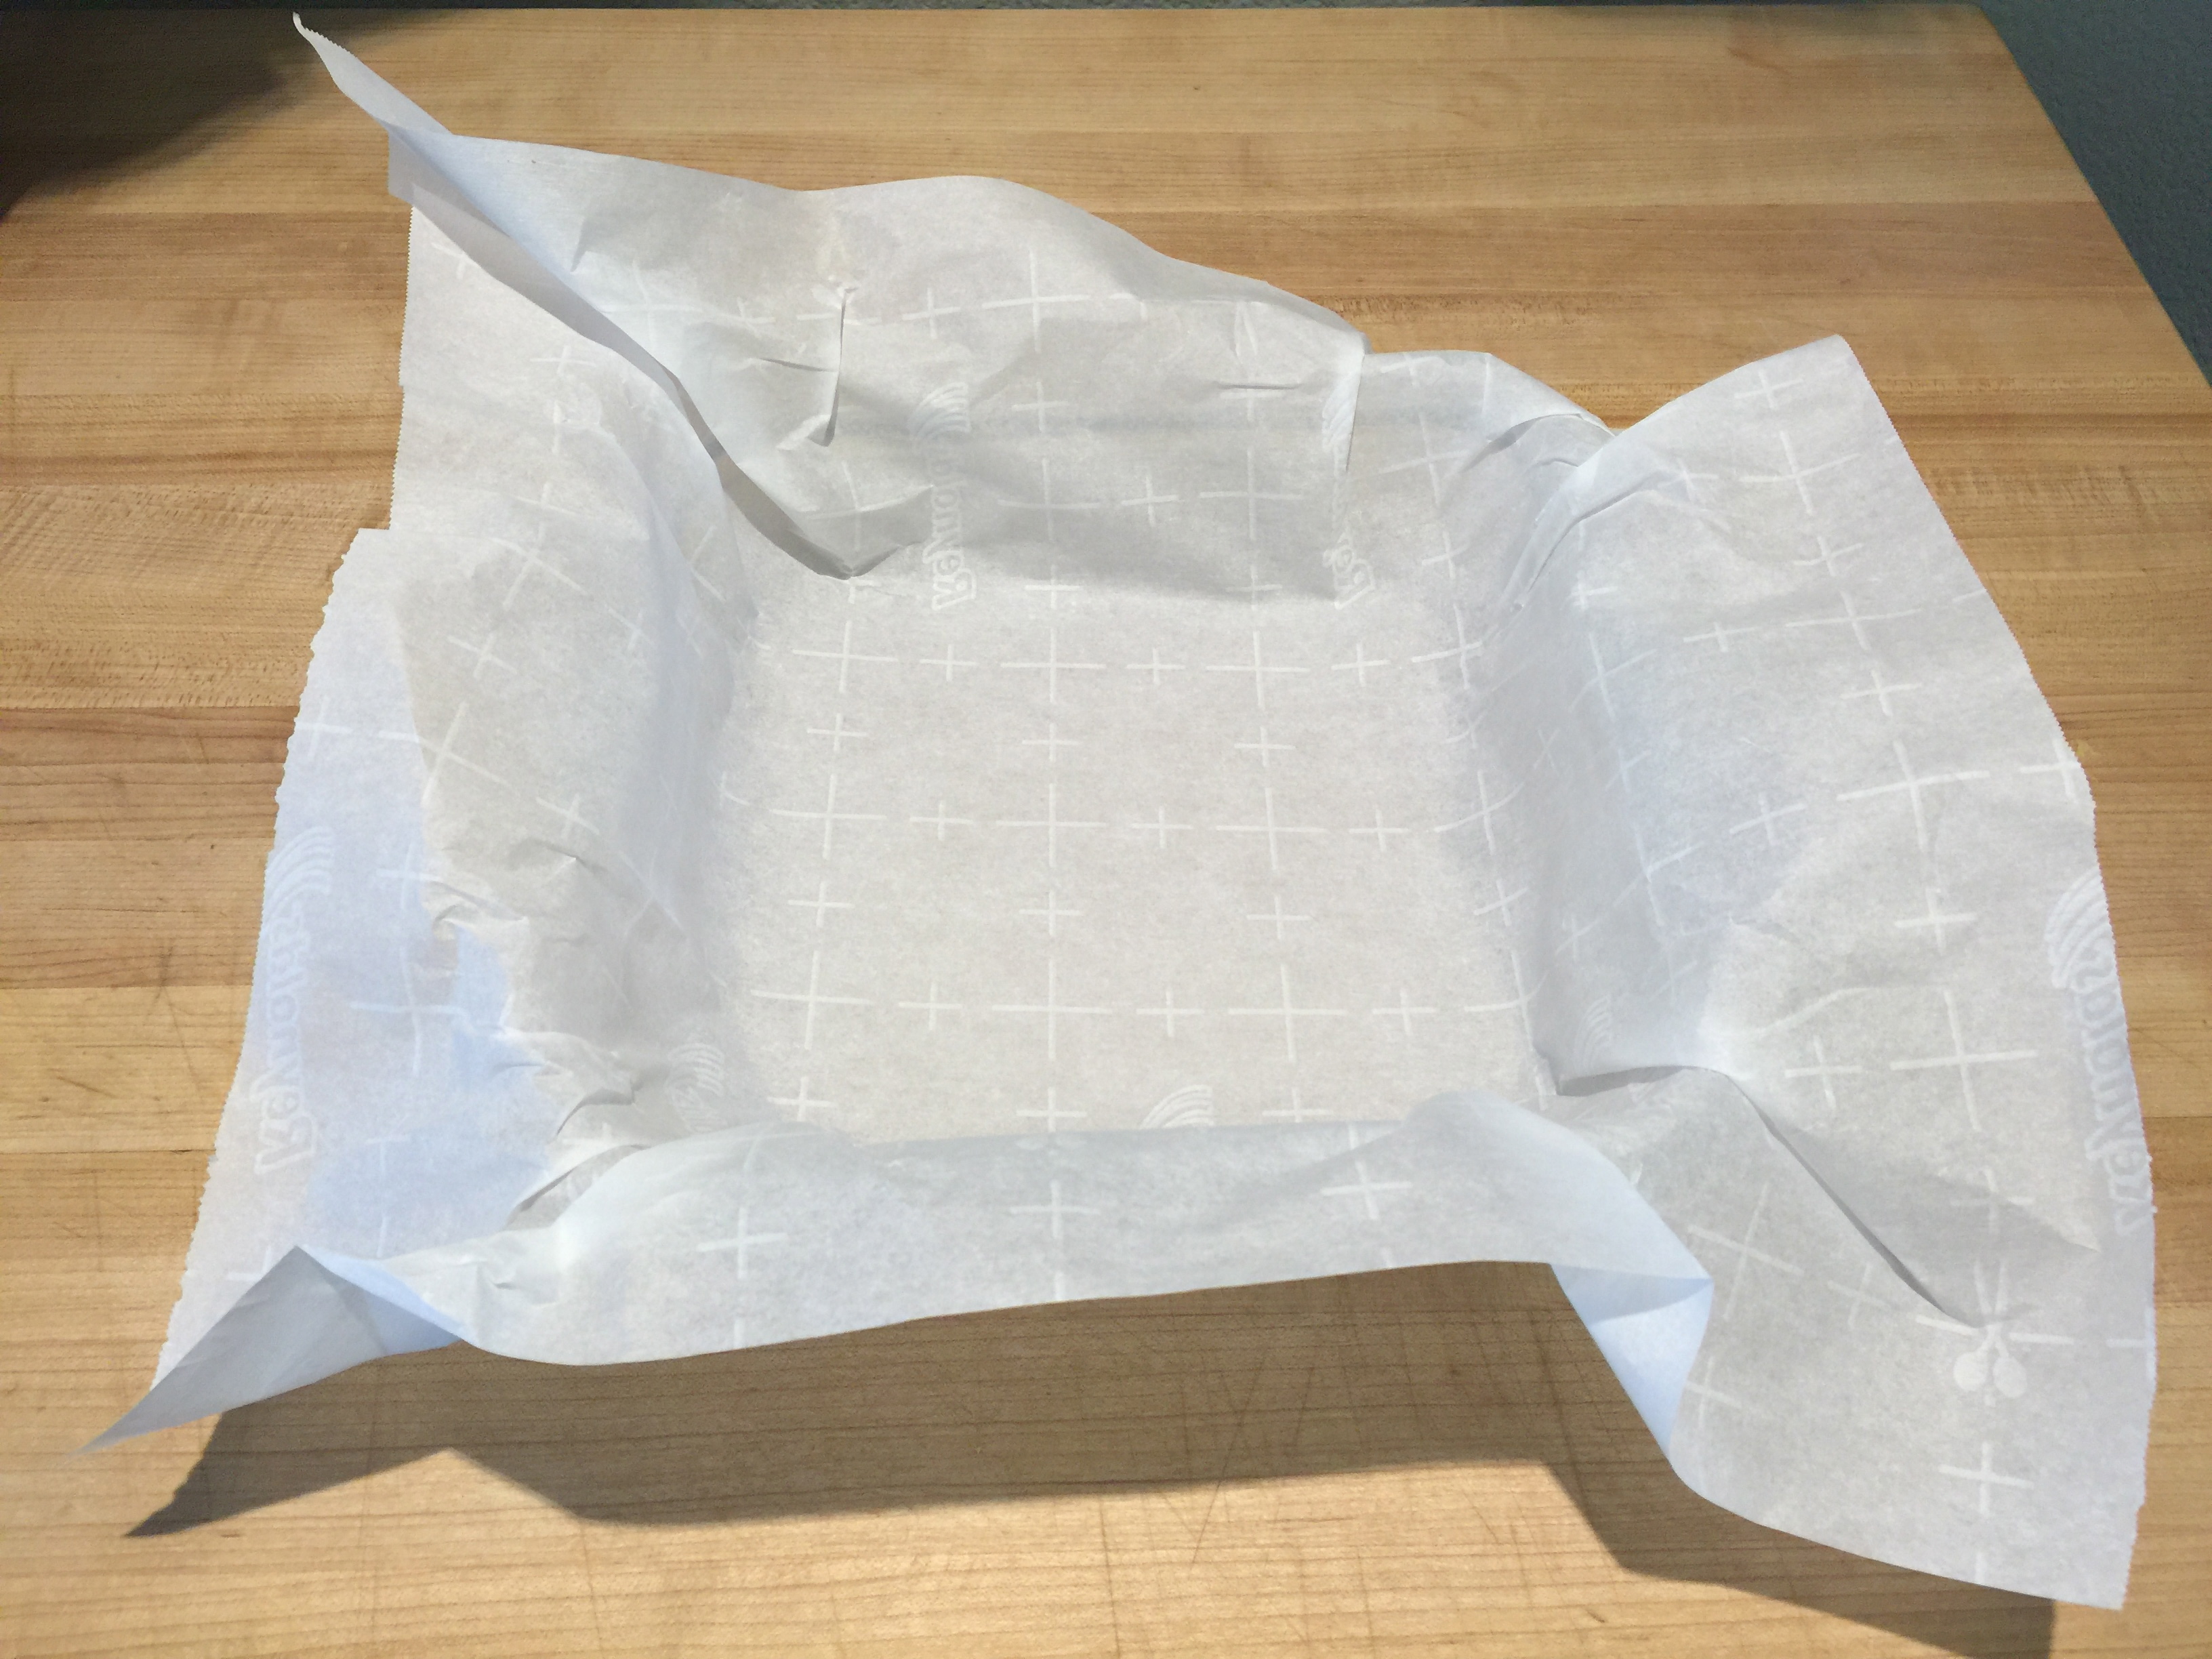
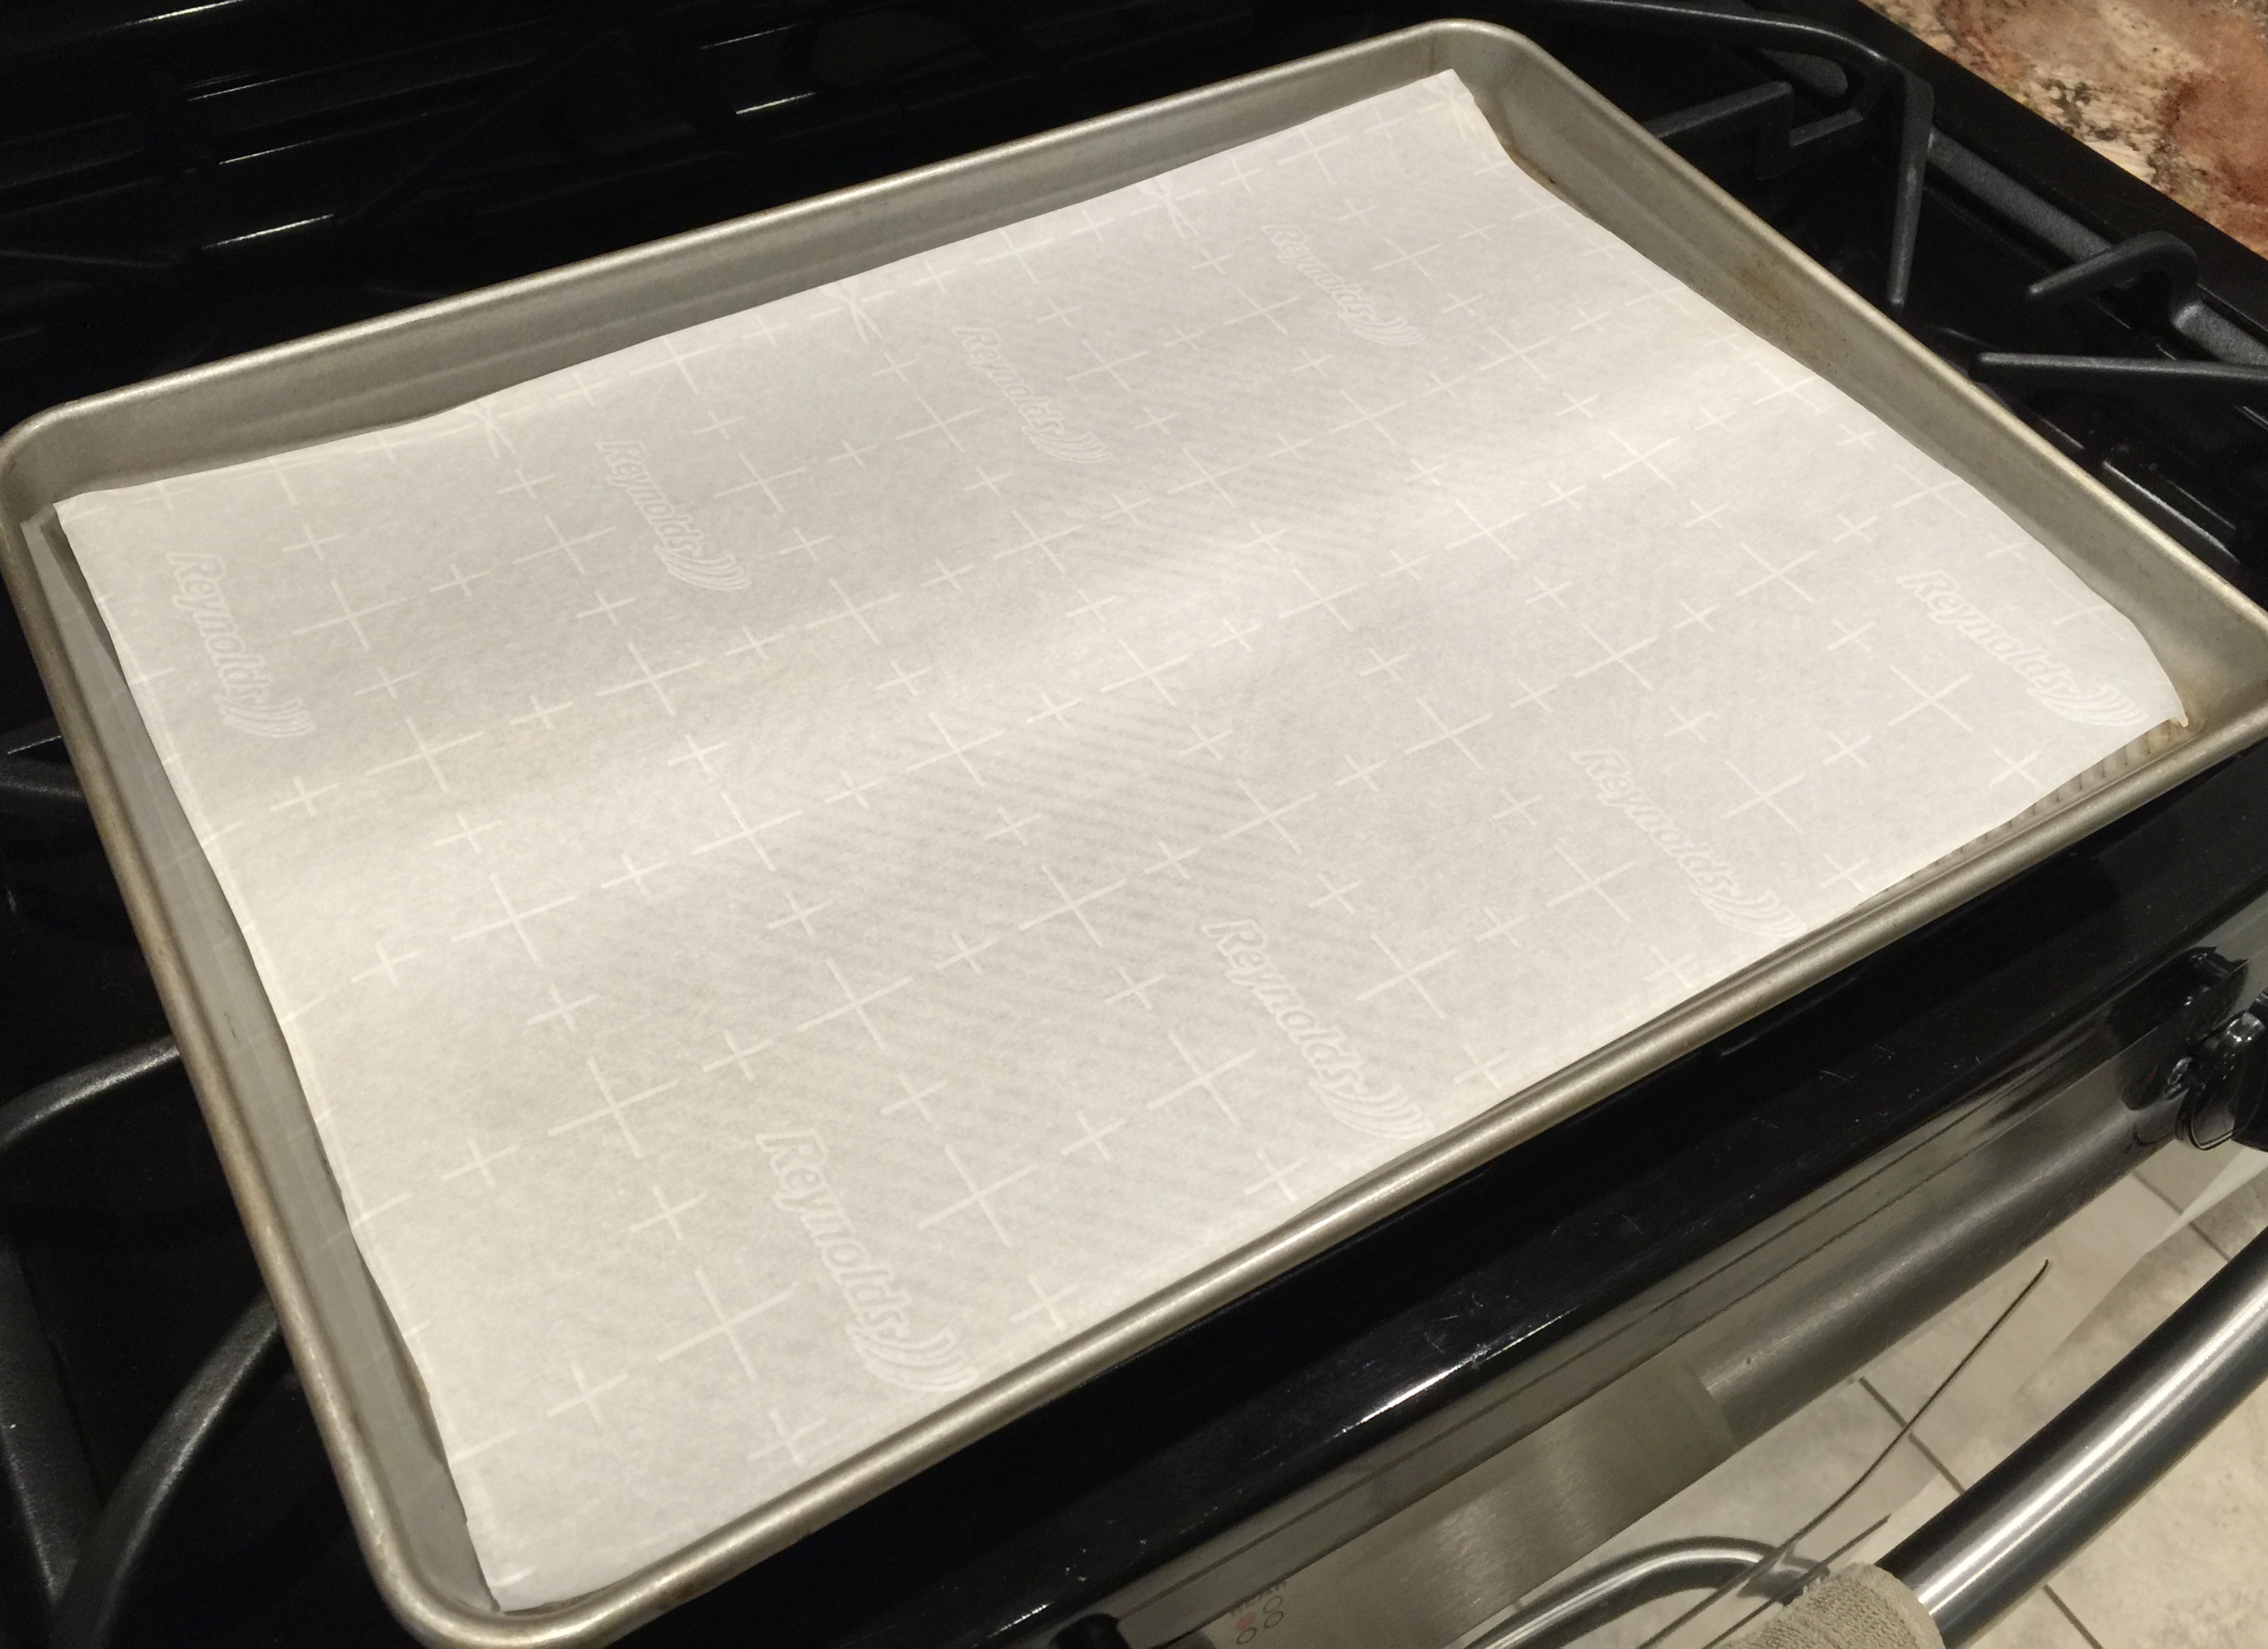
Preheat oven to 325 (350 for high altitude). Line the bottom of an 8 inch springform pan with parchment paper. Set aside.
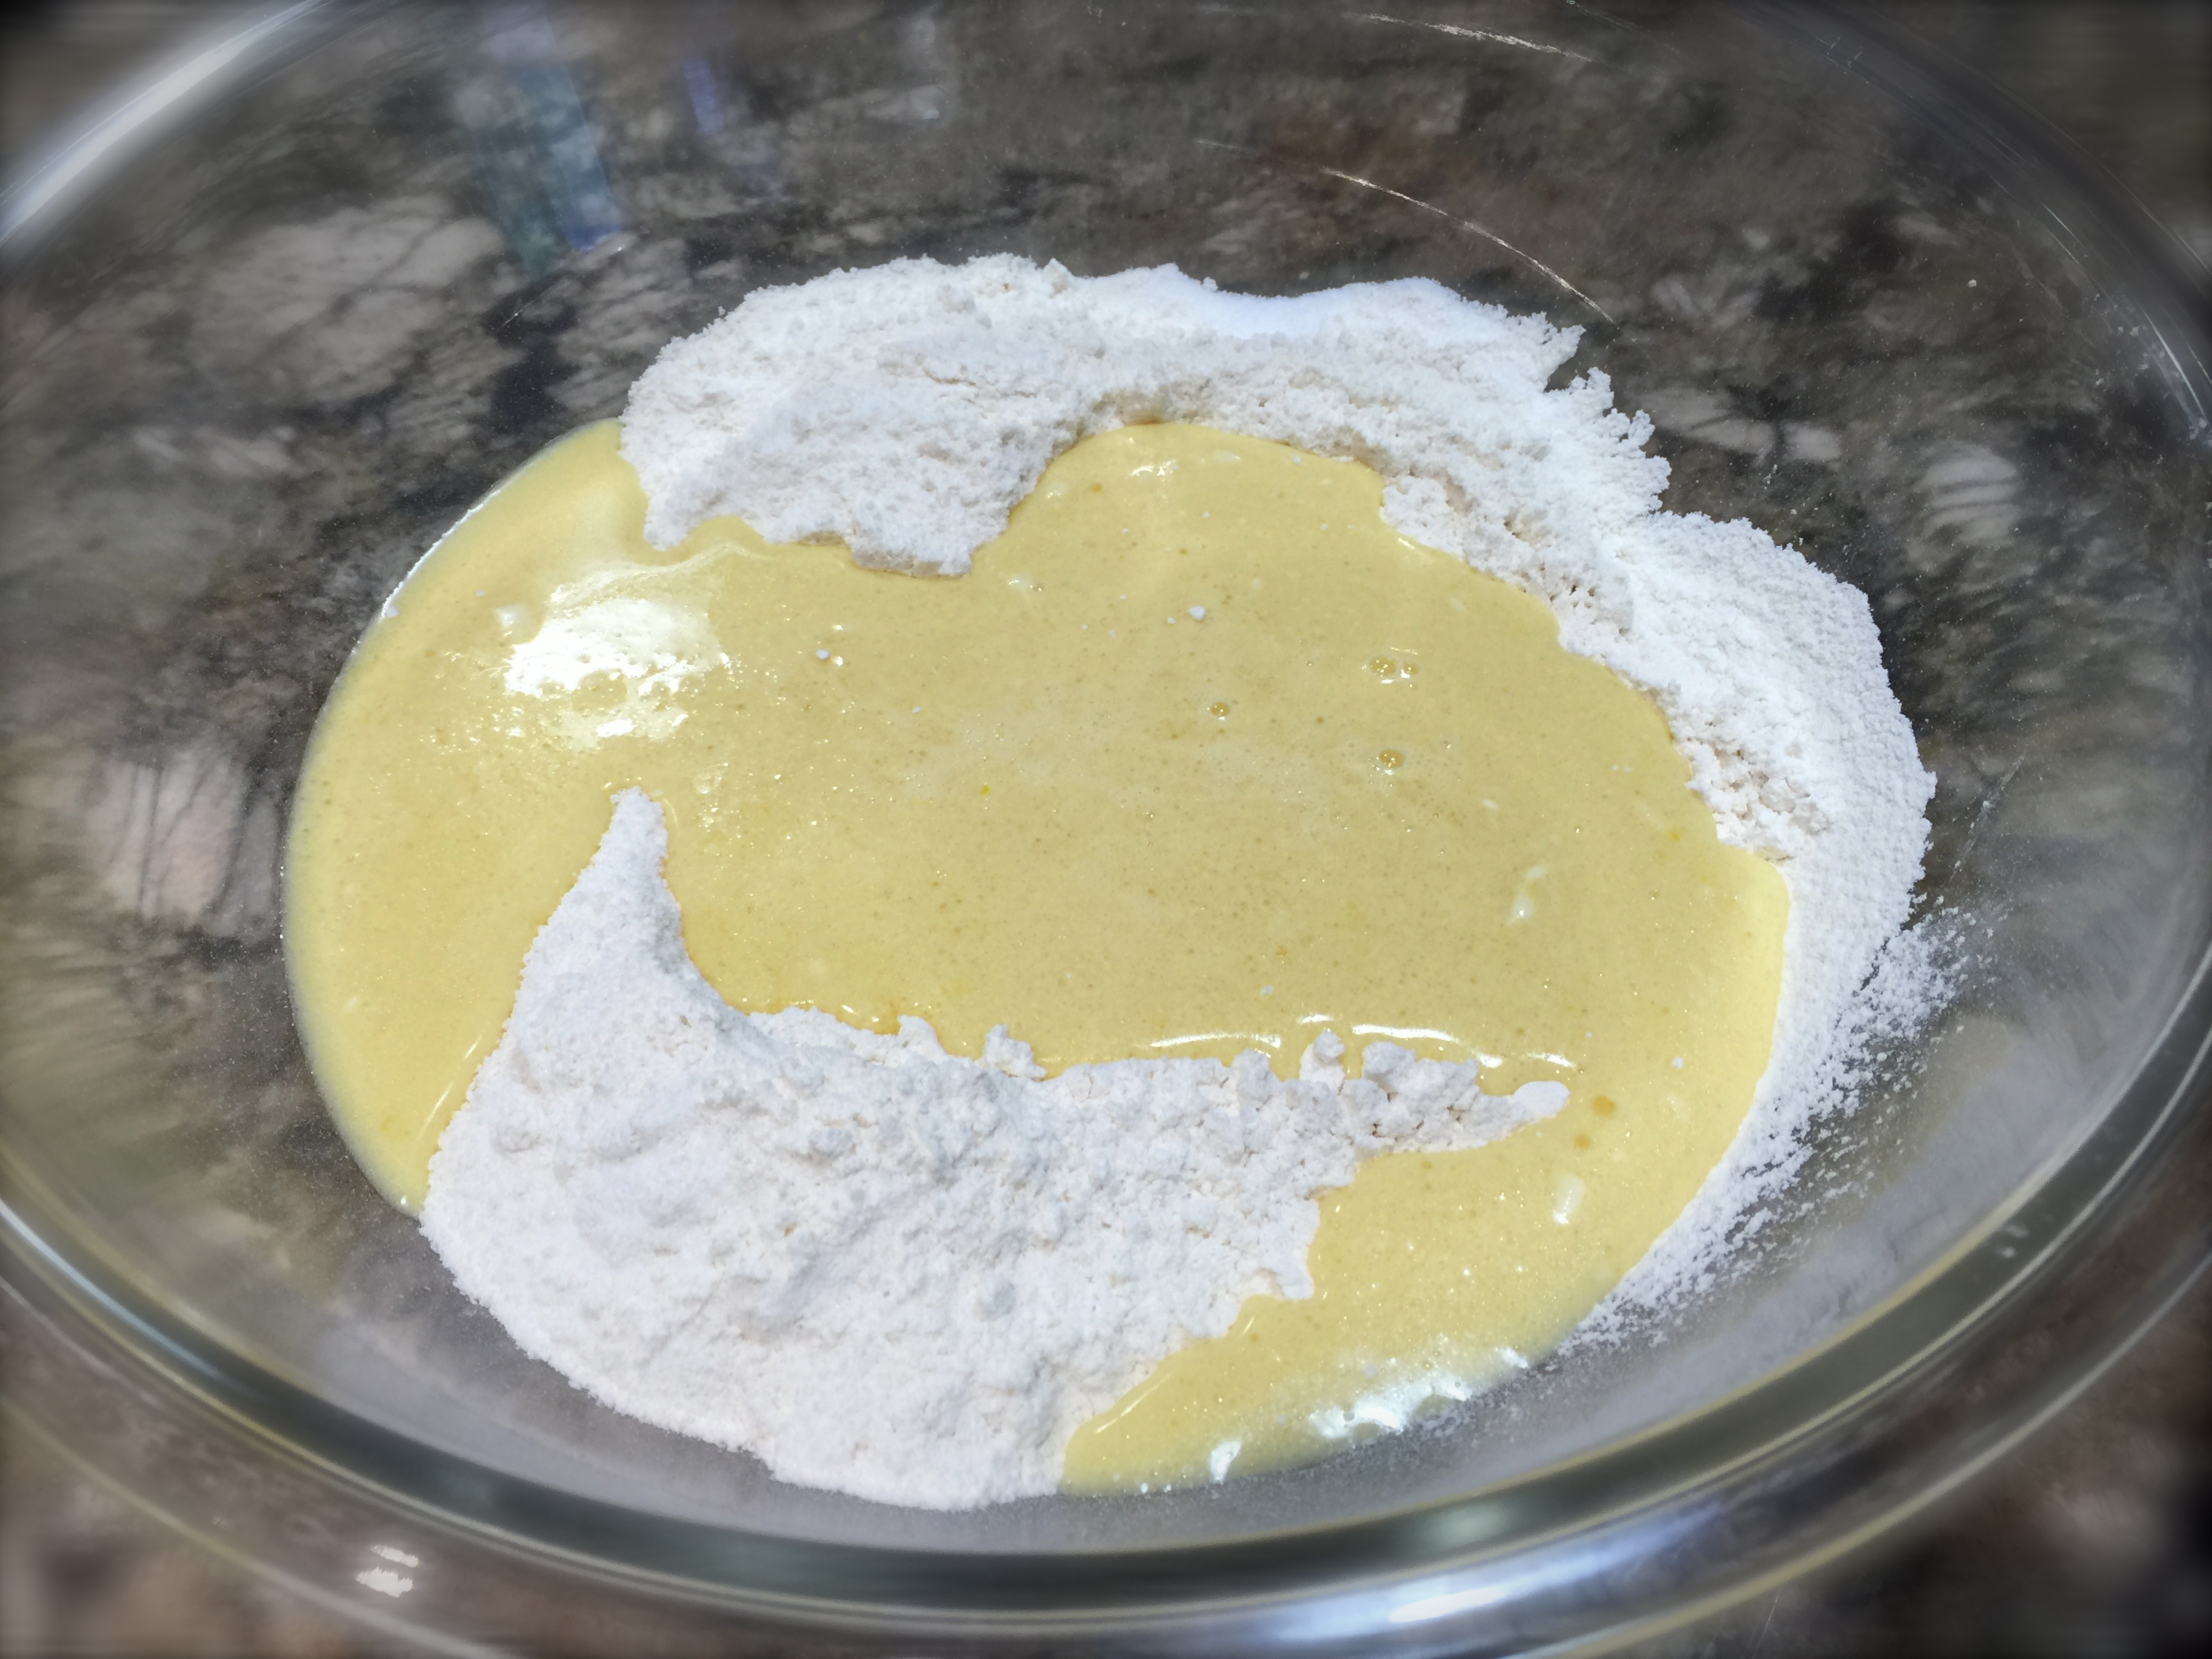
In a small bowl combine the flour, baking powder, salt and baking soda. Whisk to combine. Set aside.
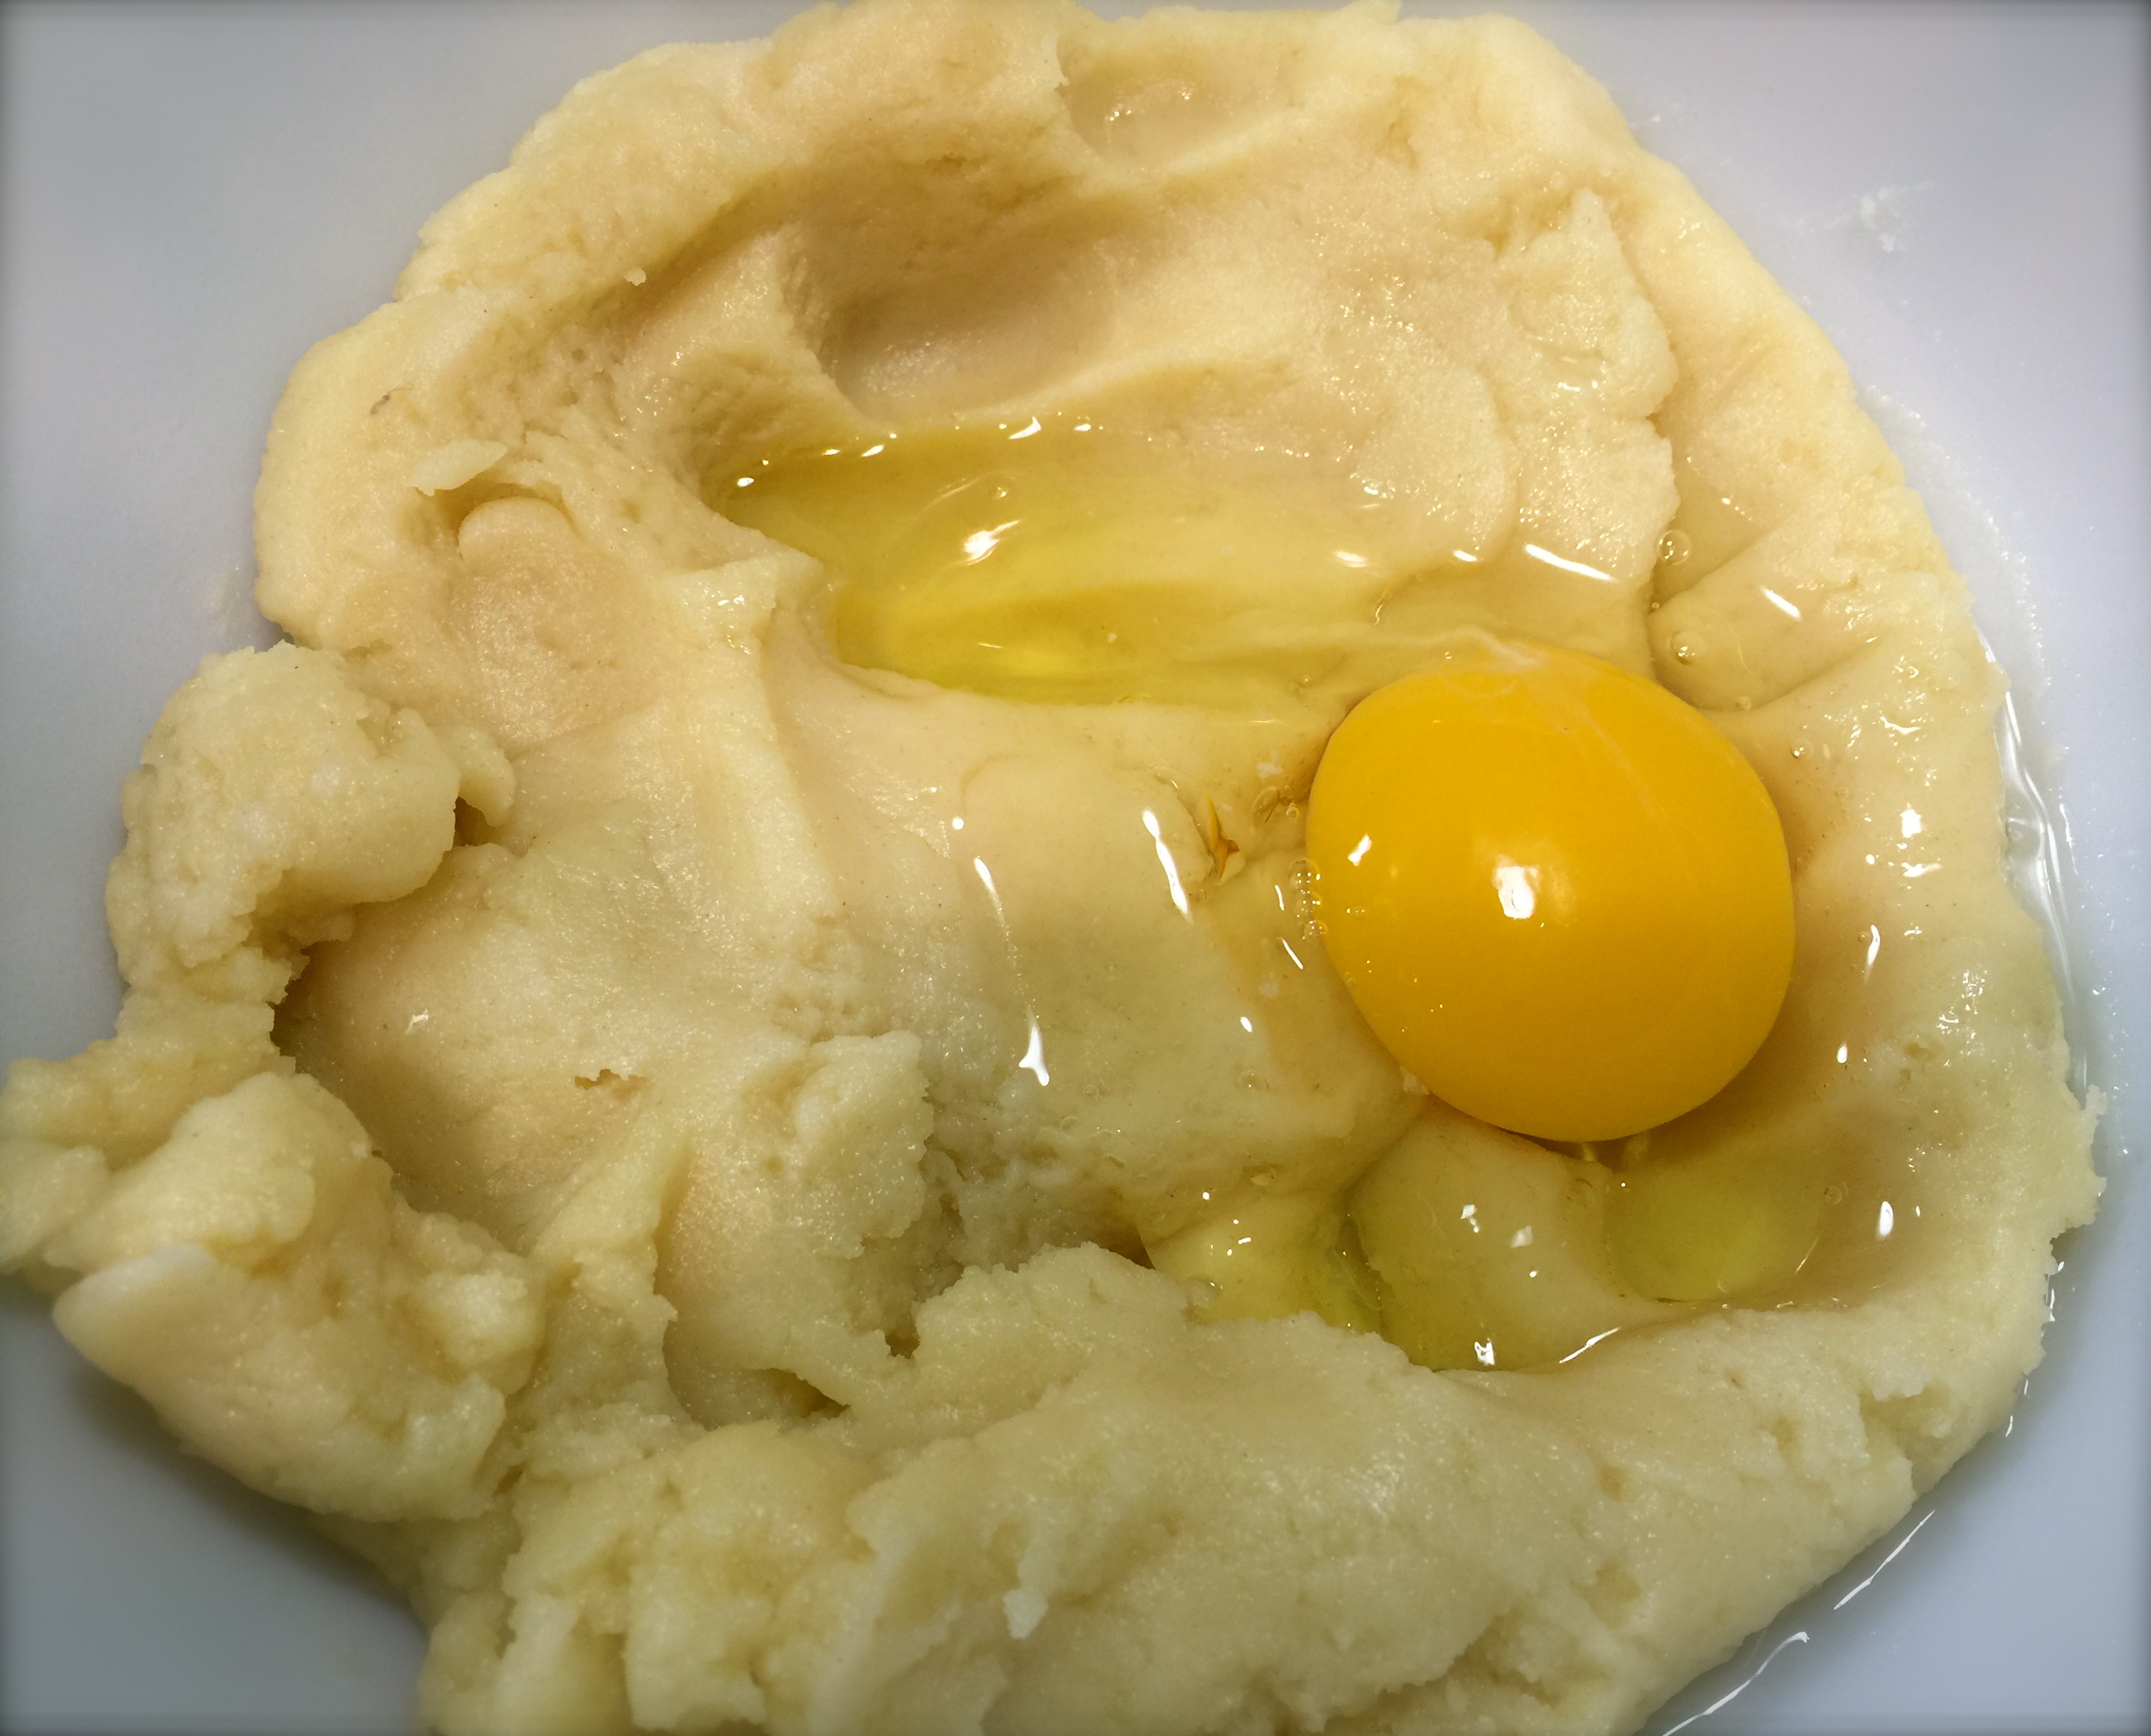
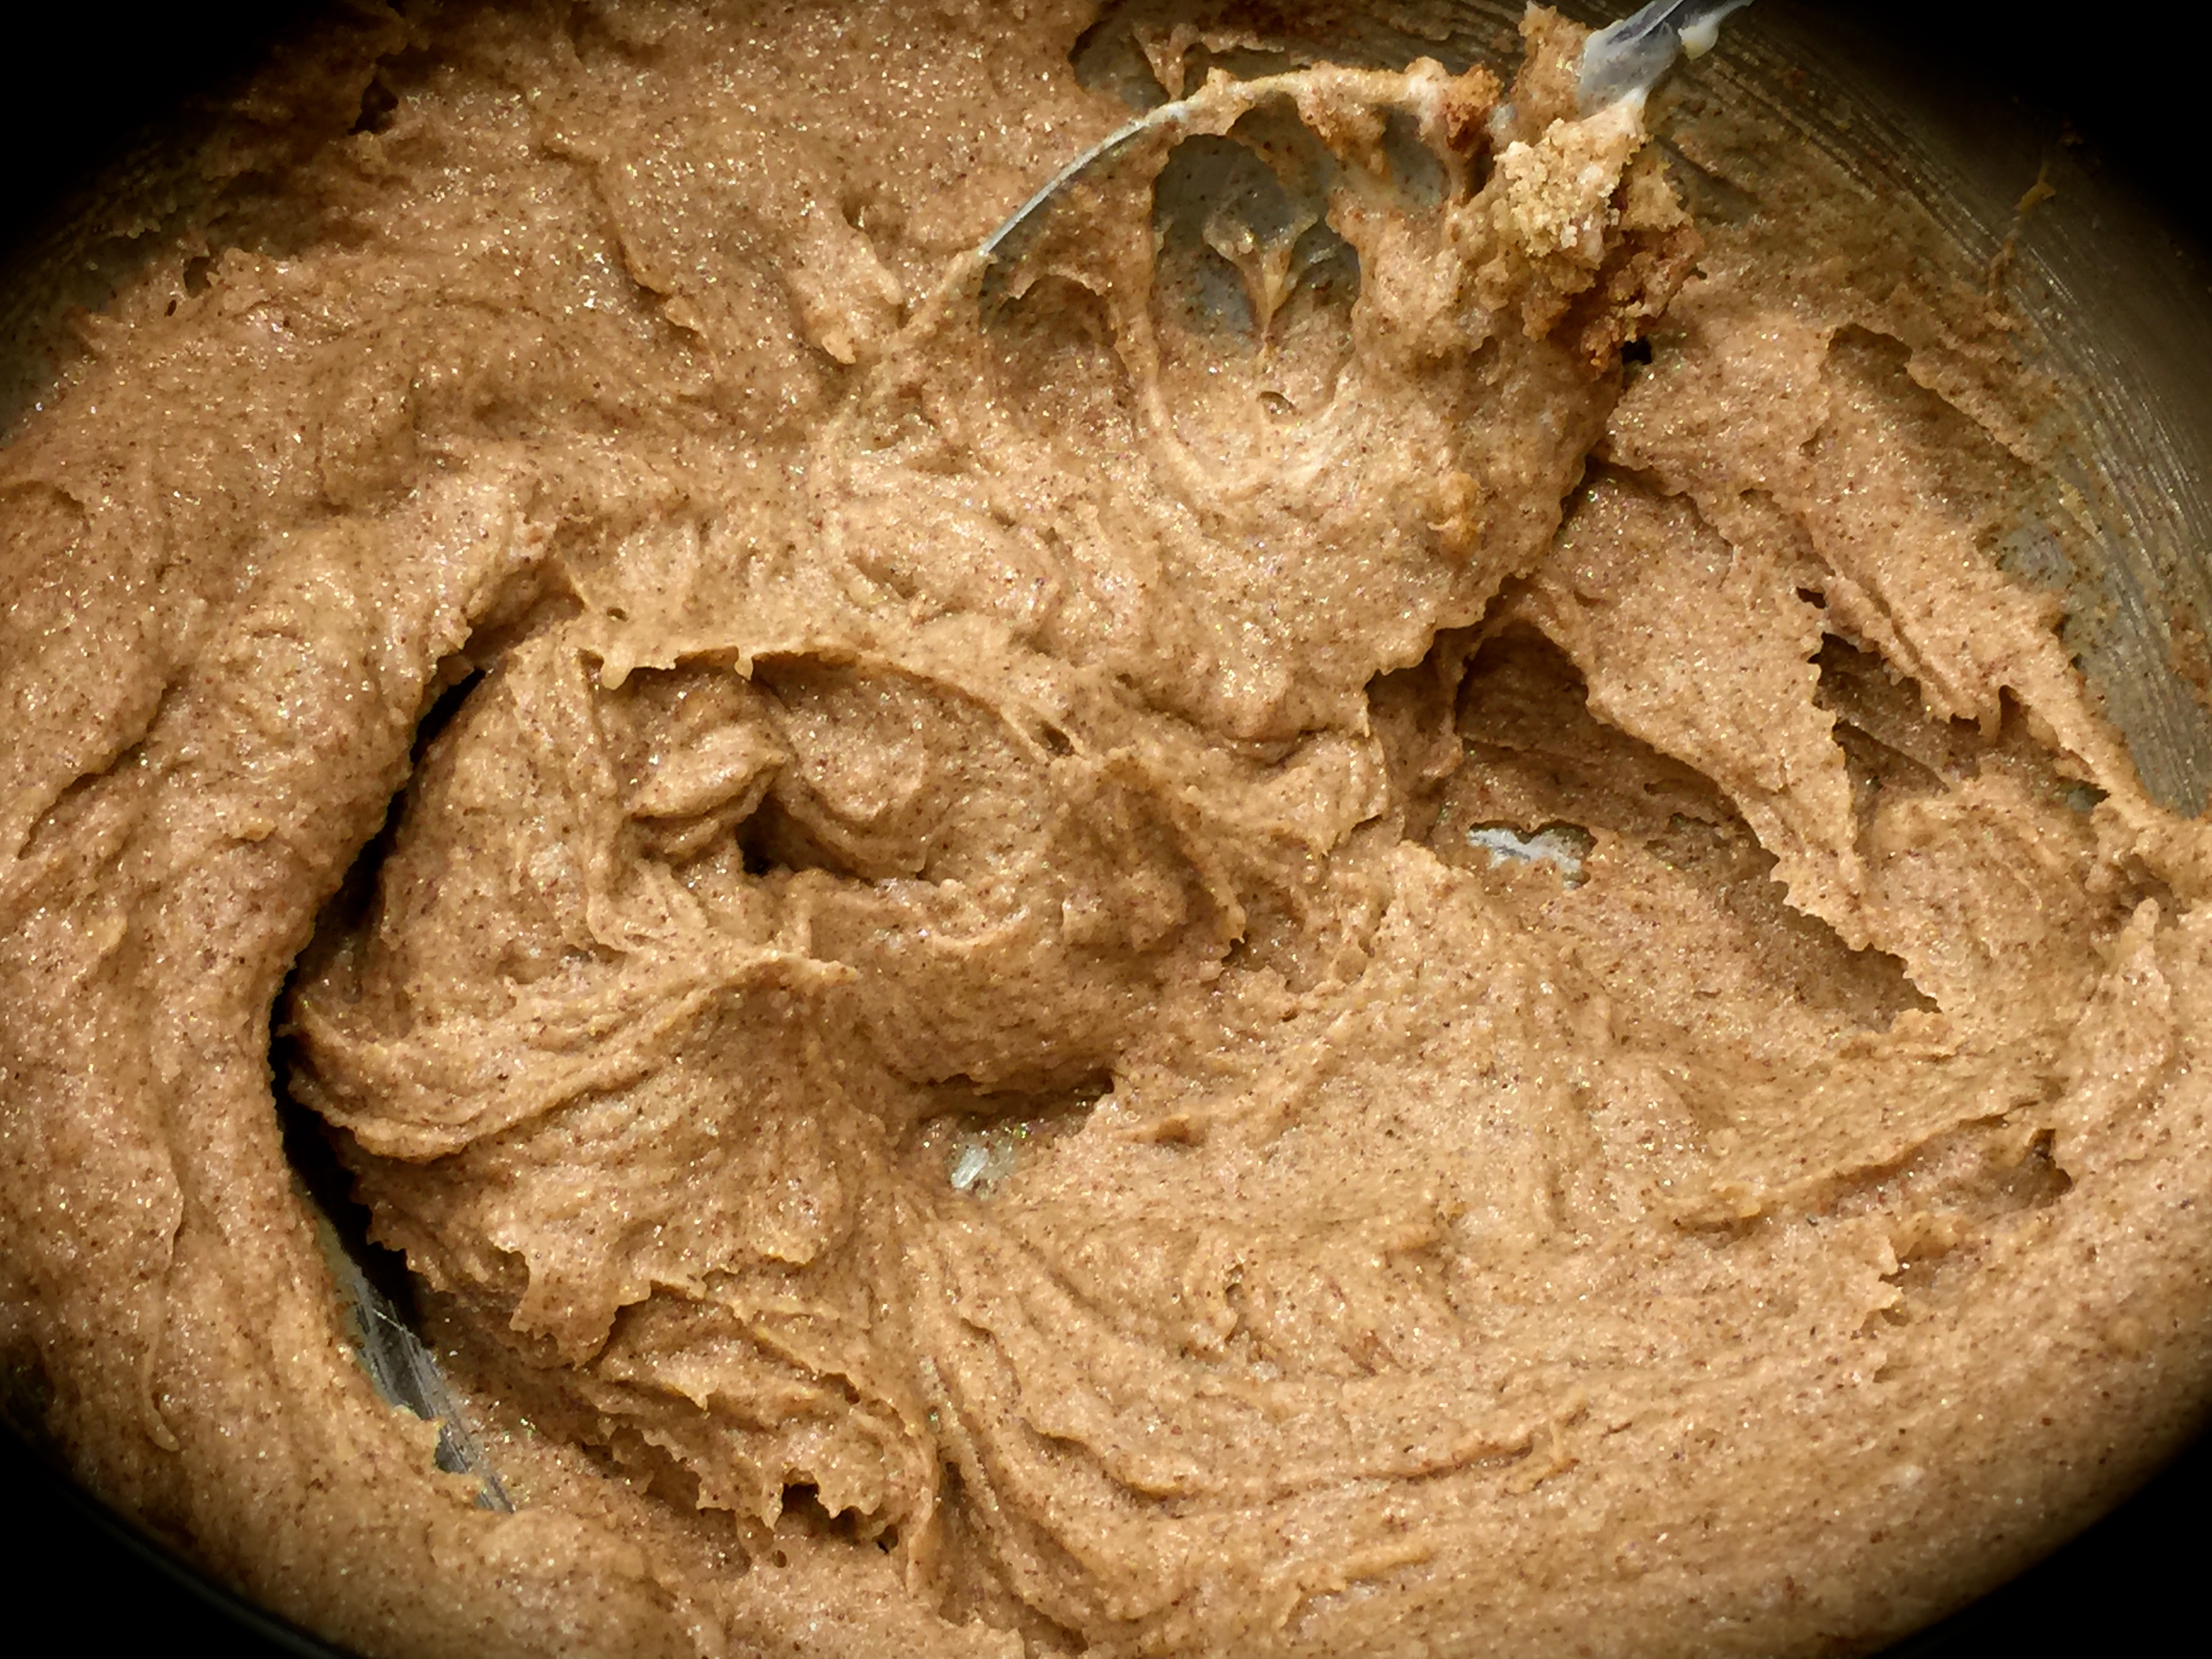
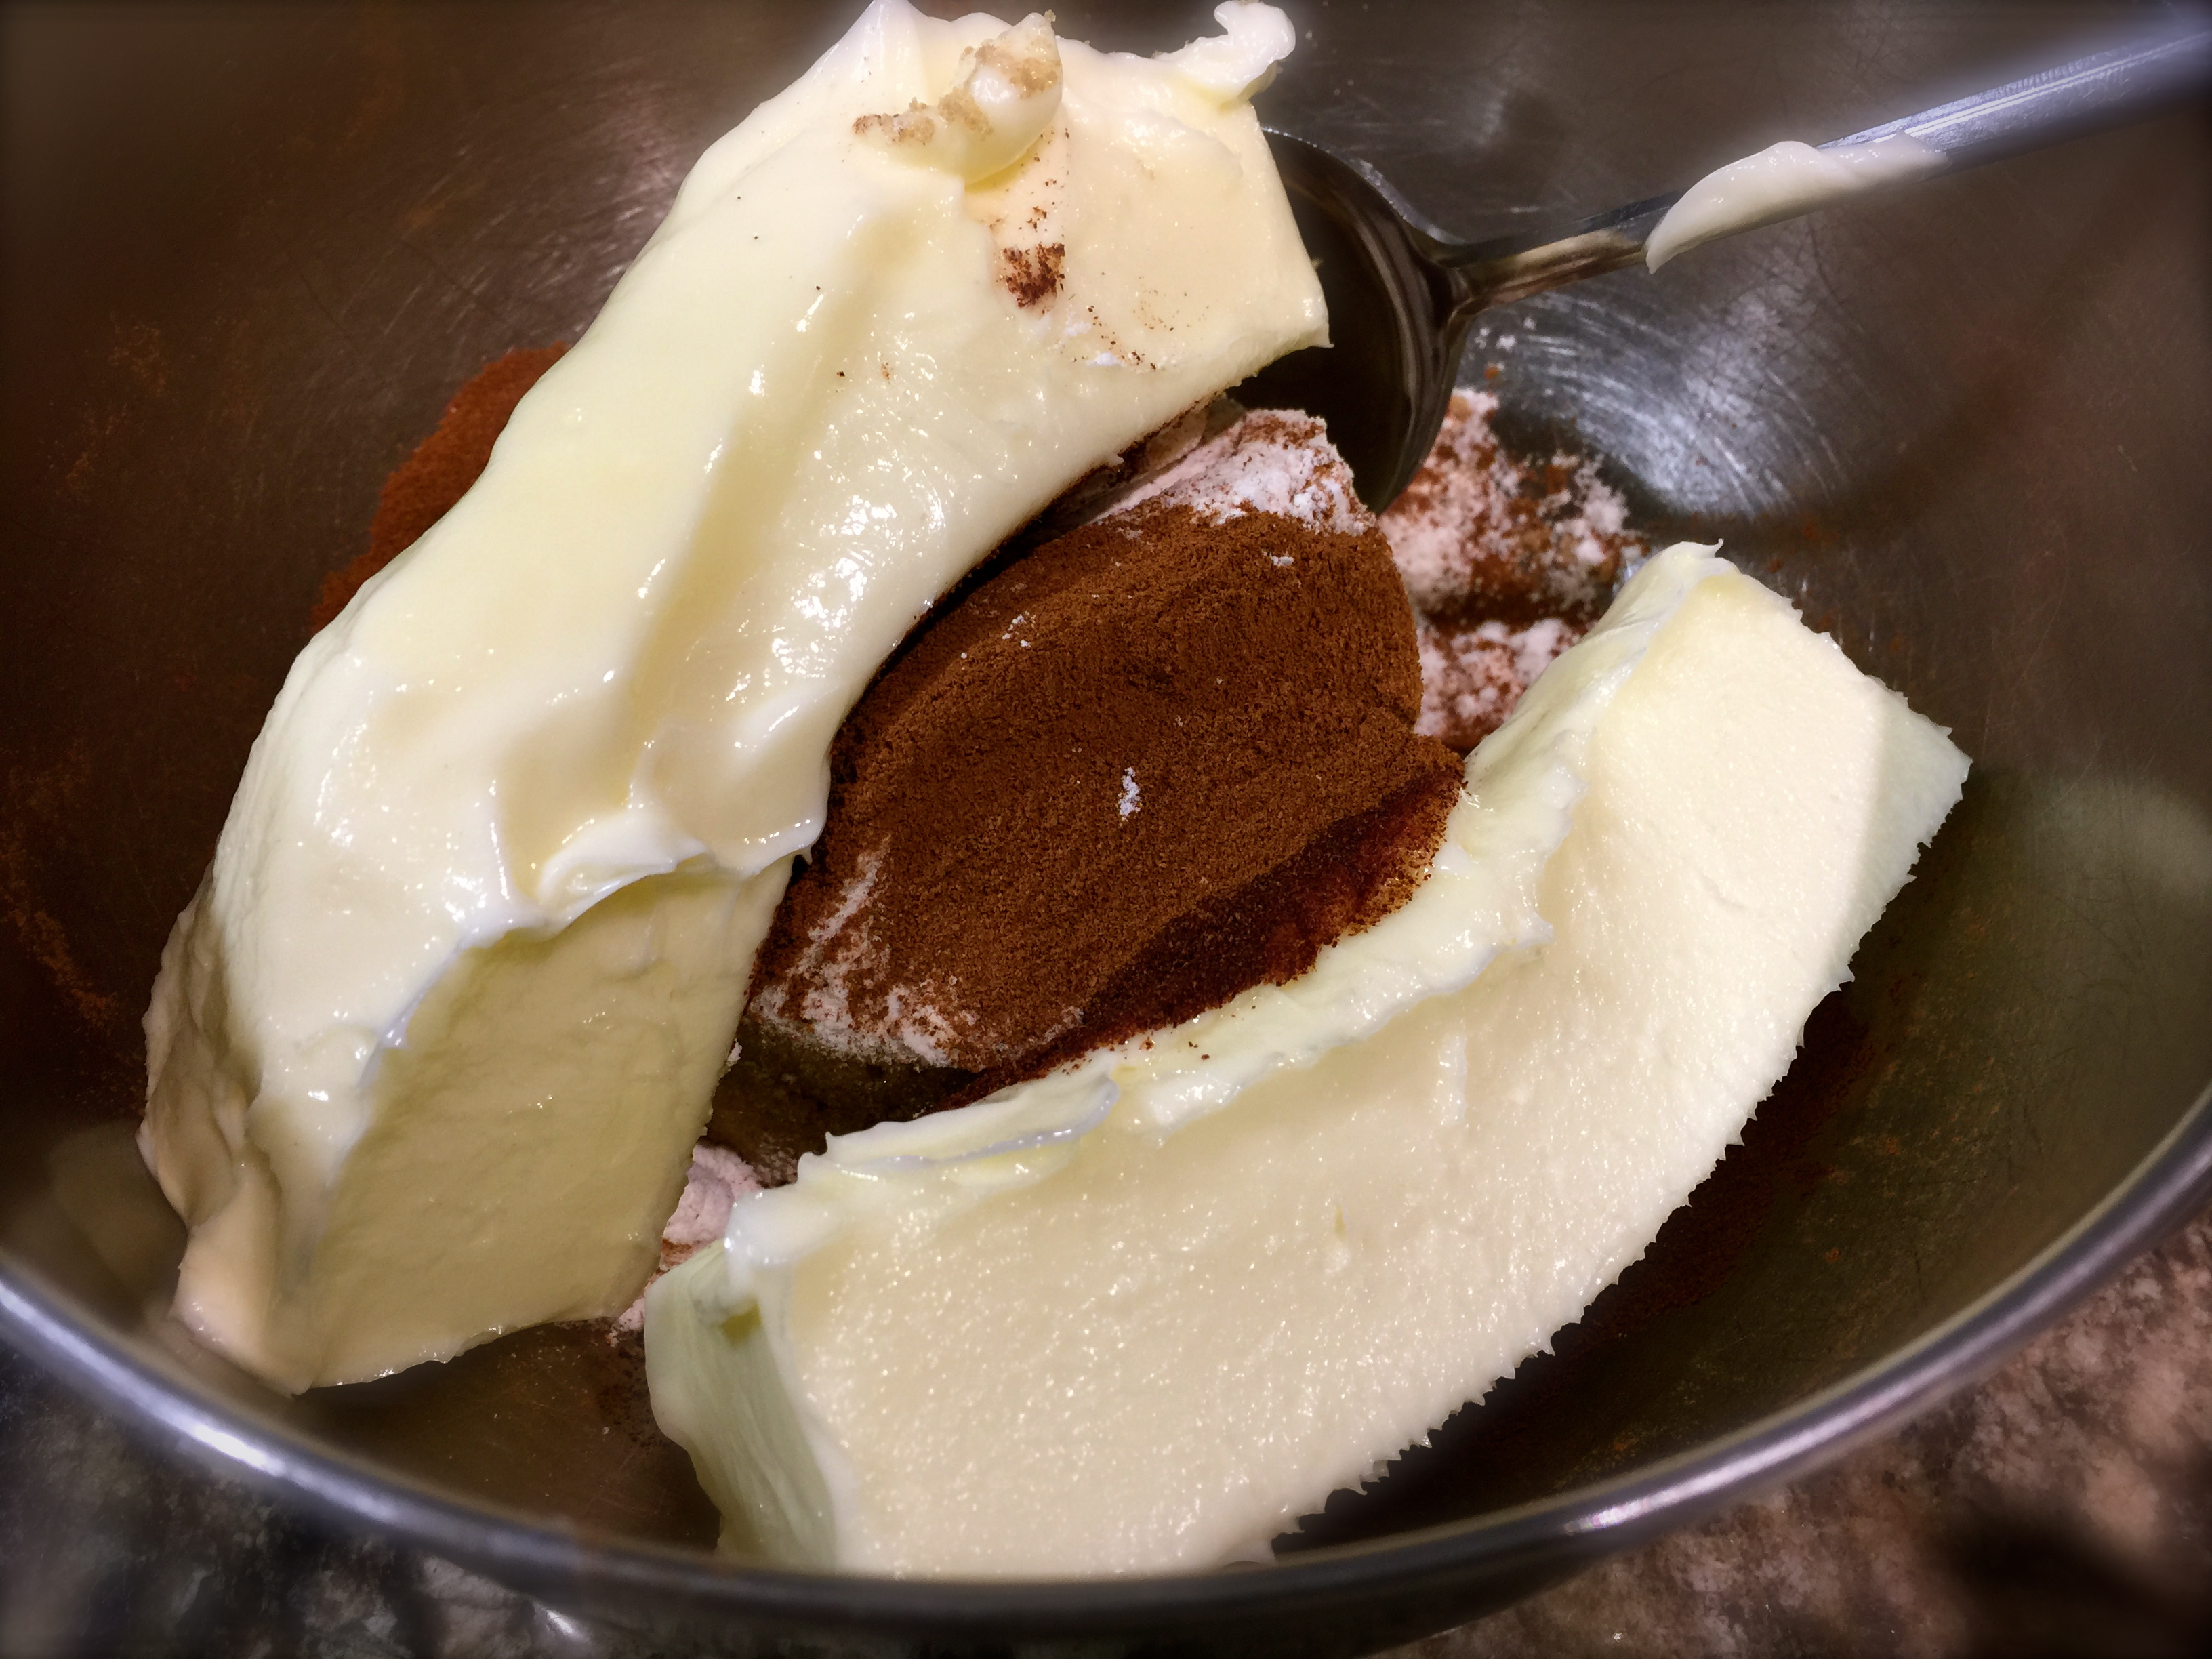
Using a stand mixer, beat the butter and sugar until light and fluffy (several minutes). Add the eggs one at a time and beat until well incorporated. Add the vanilla and beat to combine.
Add 1/3 of the flour mixture and beat on low until incorporated. Add 1/2 of the ricotta and blend until smooth. Add another 1/3 of the flour and beat on low until incorporated (due to the thickness of the batter it is important to only beat this on low). Add the remaining ricotta and blend until combined. Beat in the remaining flour on low until incorporated. Make sure the batter is well mixed.
Spray the springform pan with the baking spray. Pour in 1/2 of the batter and smooth out around the pan. Add 1 heaping cup of frozen raspberries and arrange evenly over the top. (If the top doesn’t look sufficiently full of raspberries add a little more from what you have remaining).
Spoon out the remaining batter in clumps over the top of the raspberries. Spread the batter out to cover the top. (NOTE: If using a spreader becomes too difficult, thoroughly wash your hands and use them to press the batter down and out). Smooth out the batter to evenly cover the top of the pan.
Take the remaining frozen raspberries and using your hands press them down across the batter on top.
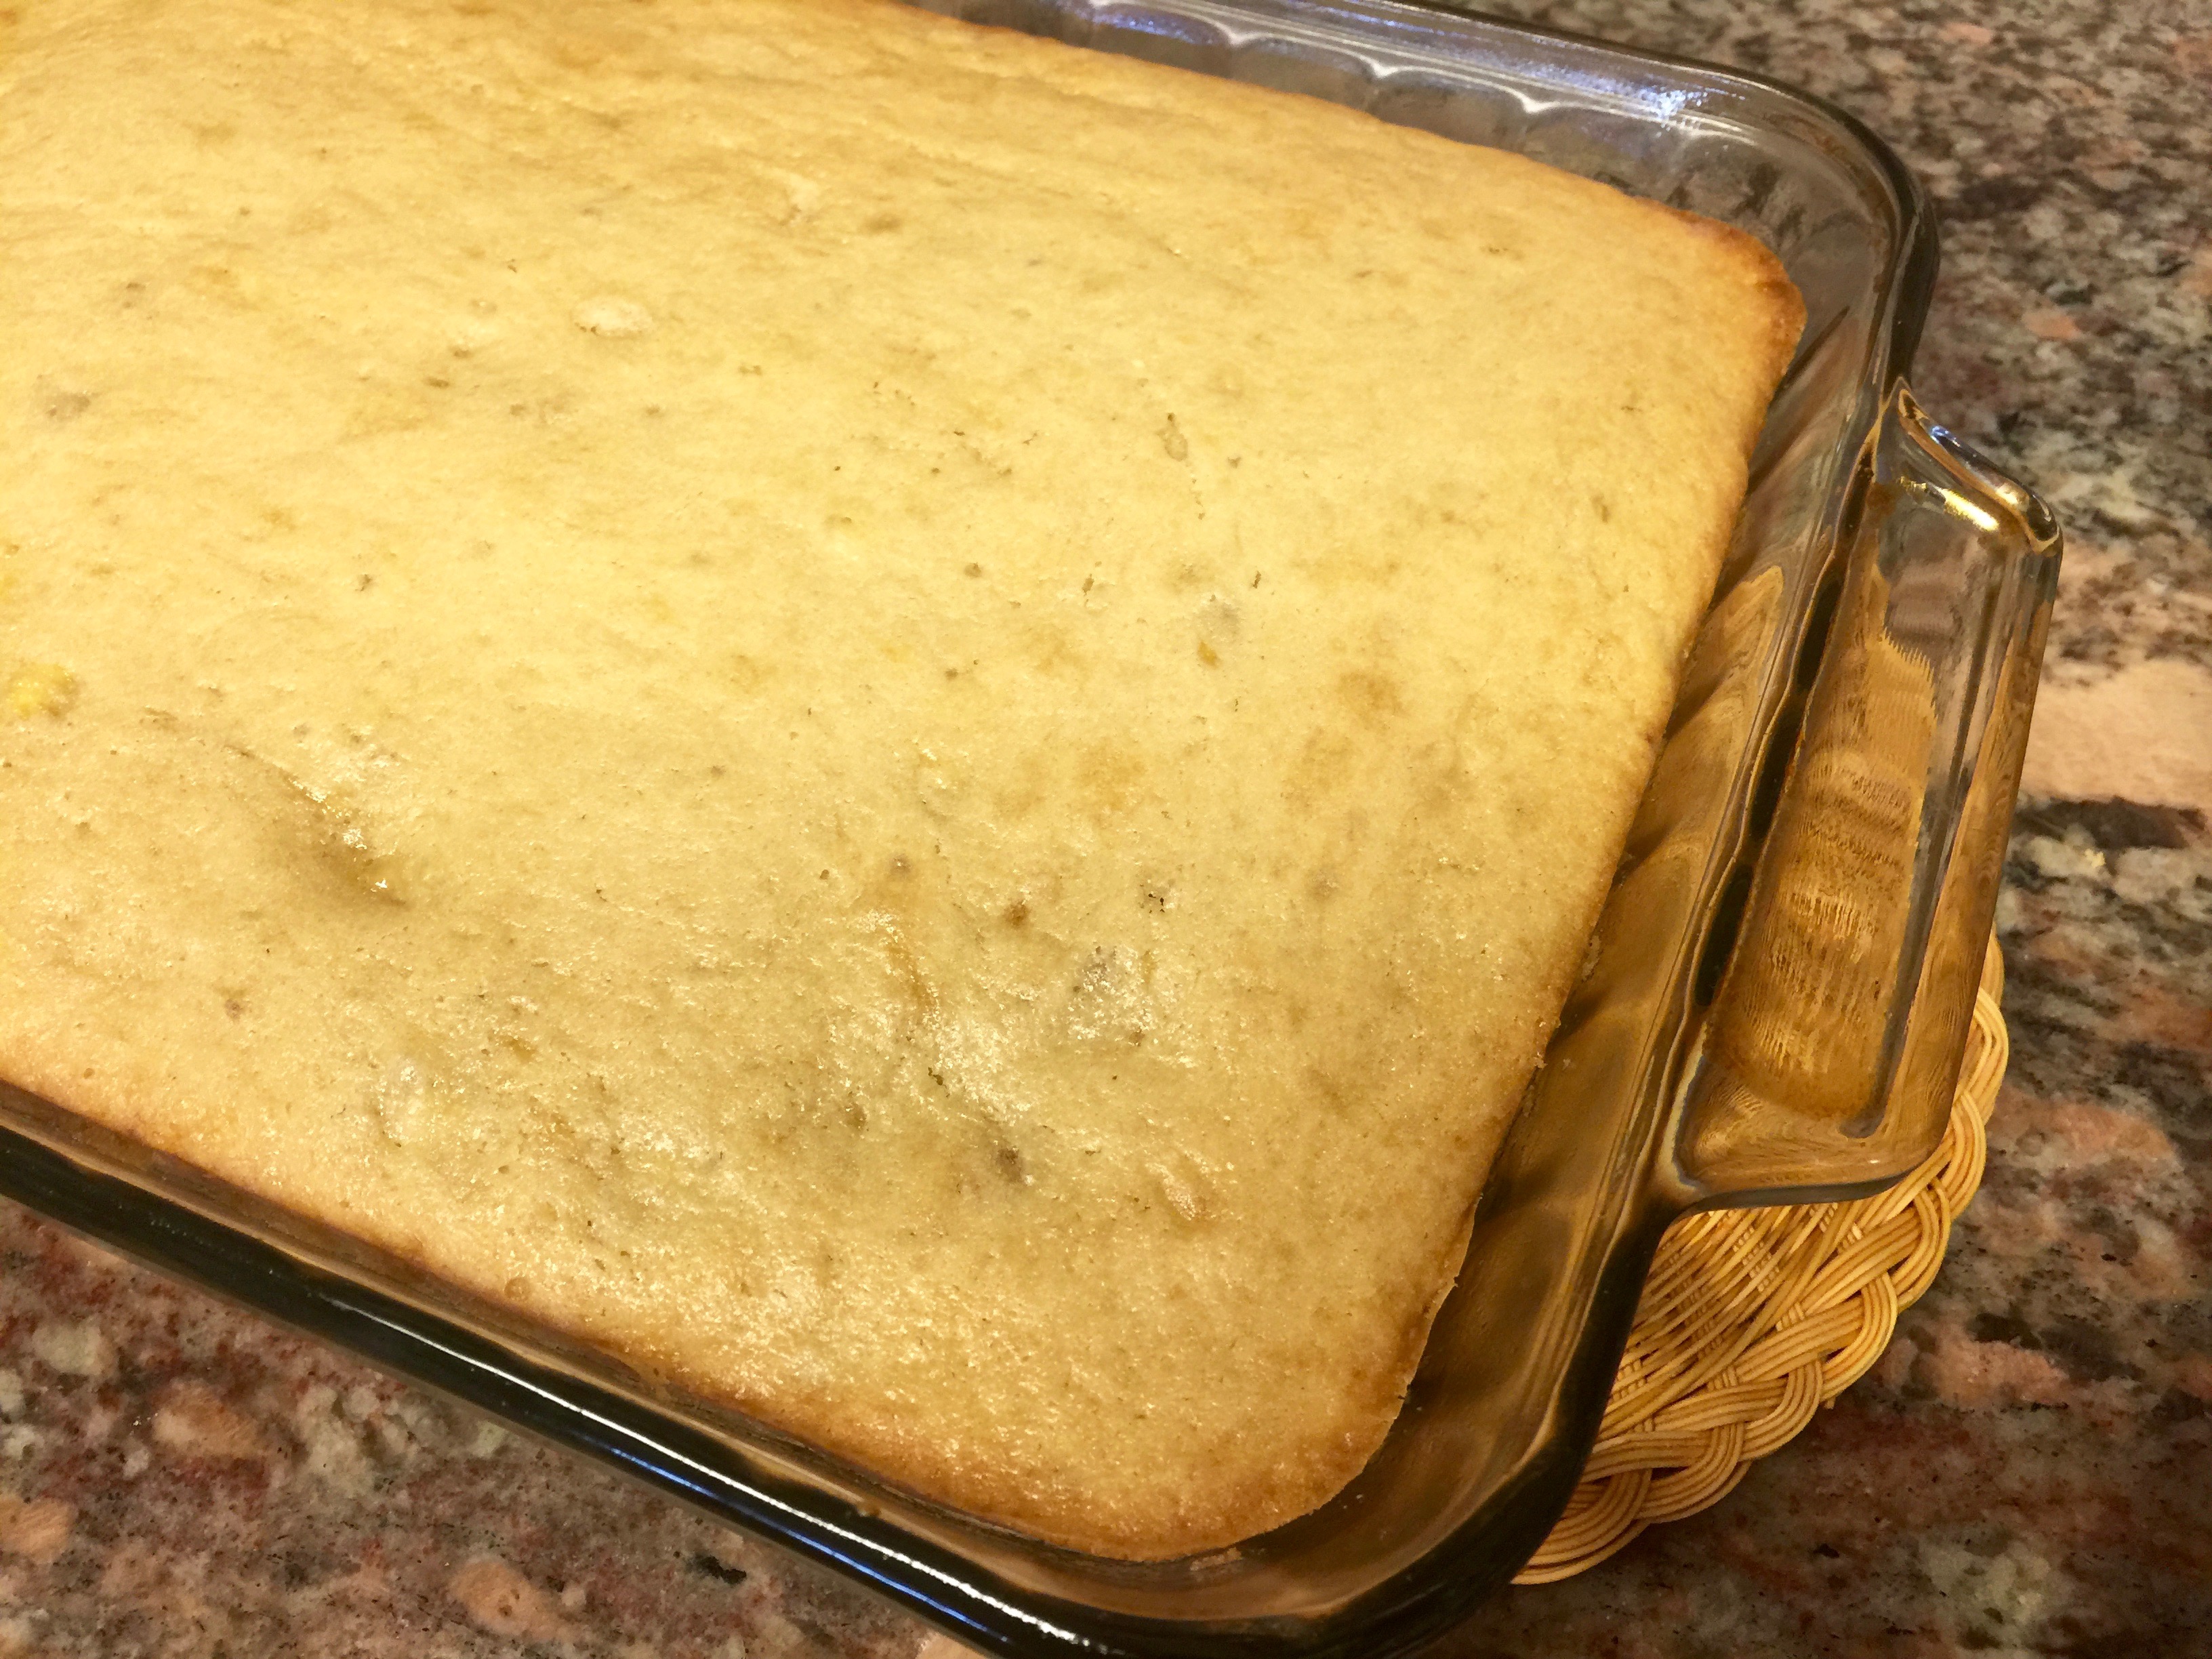
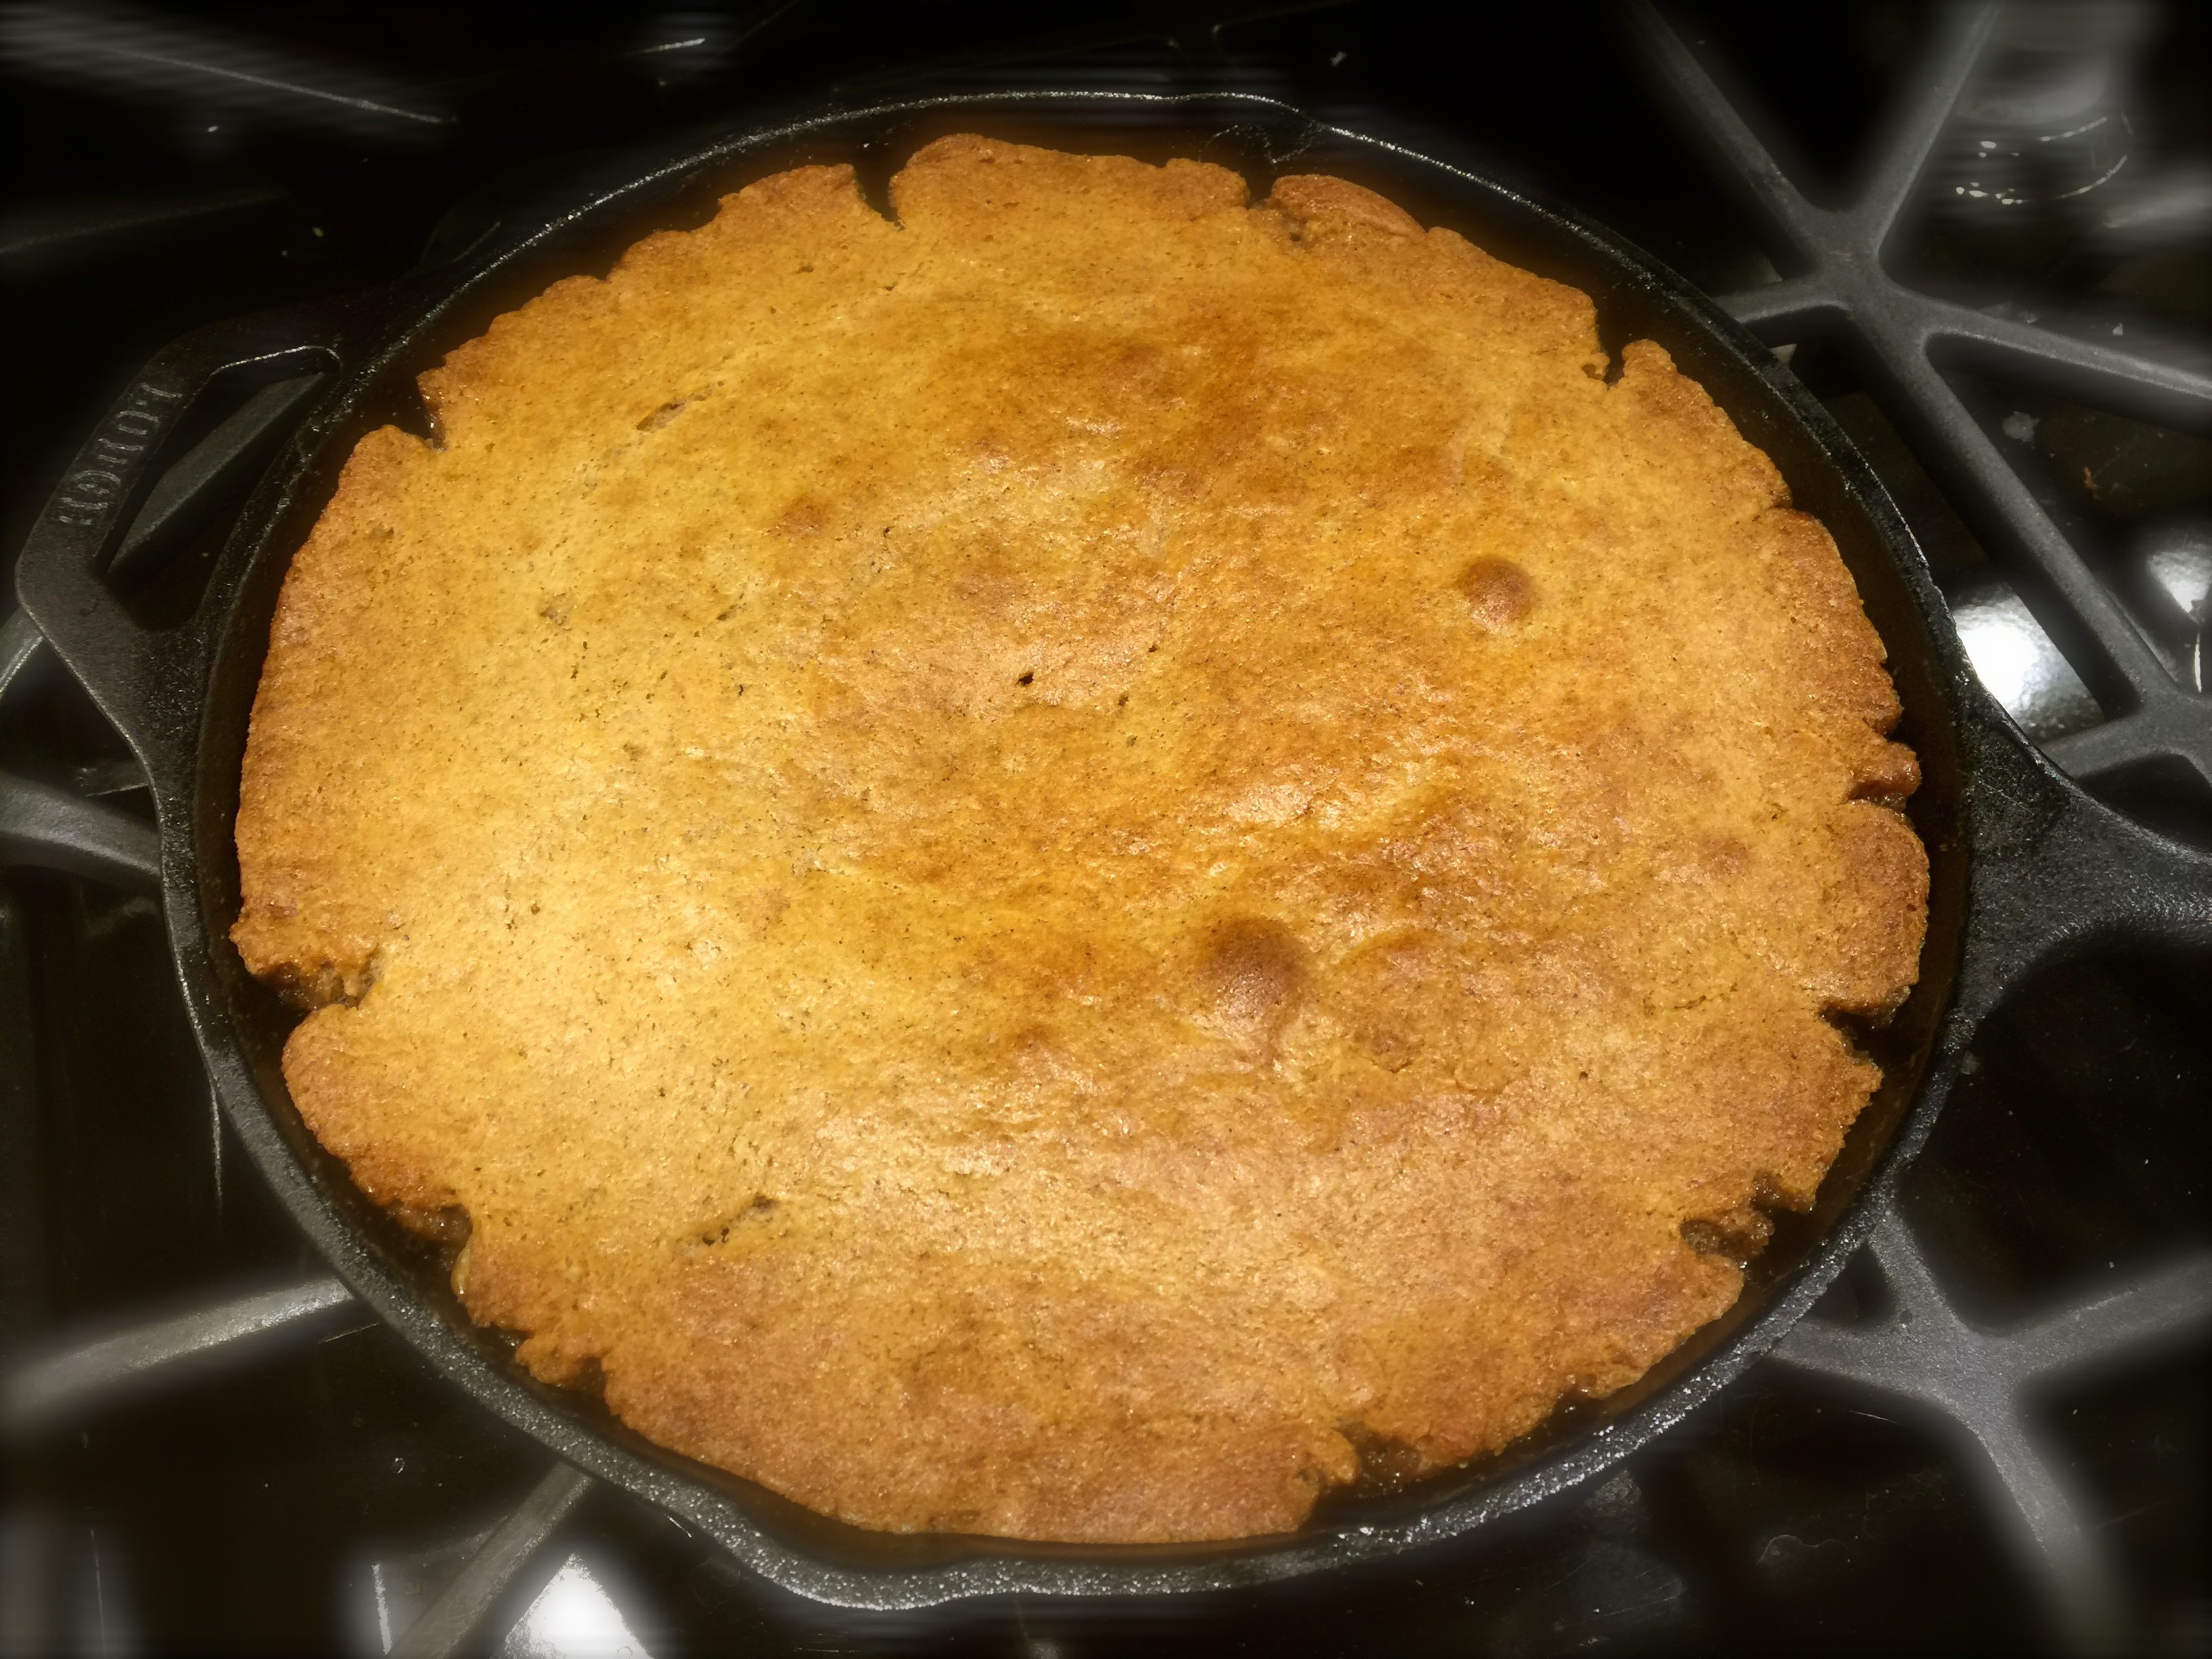
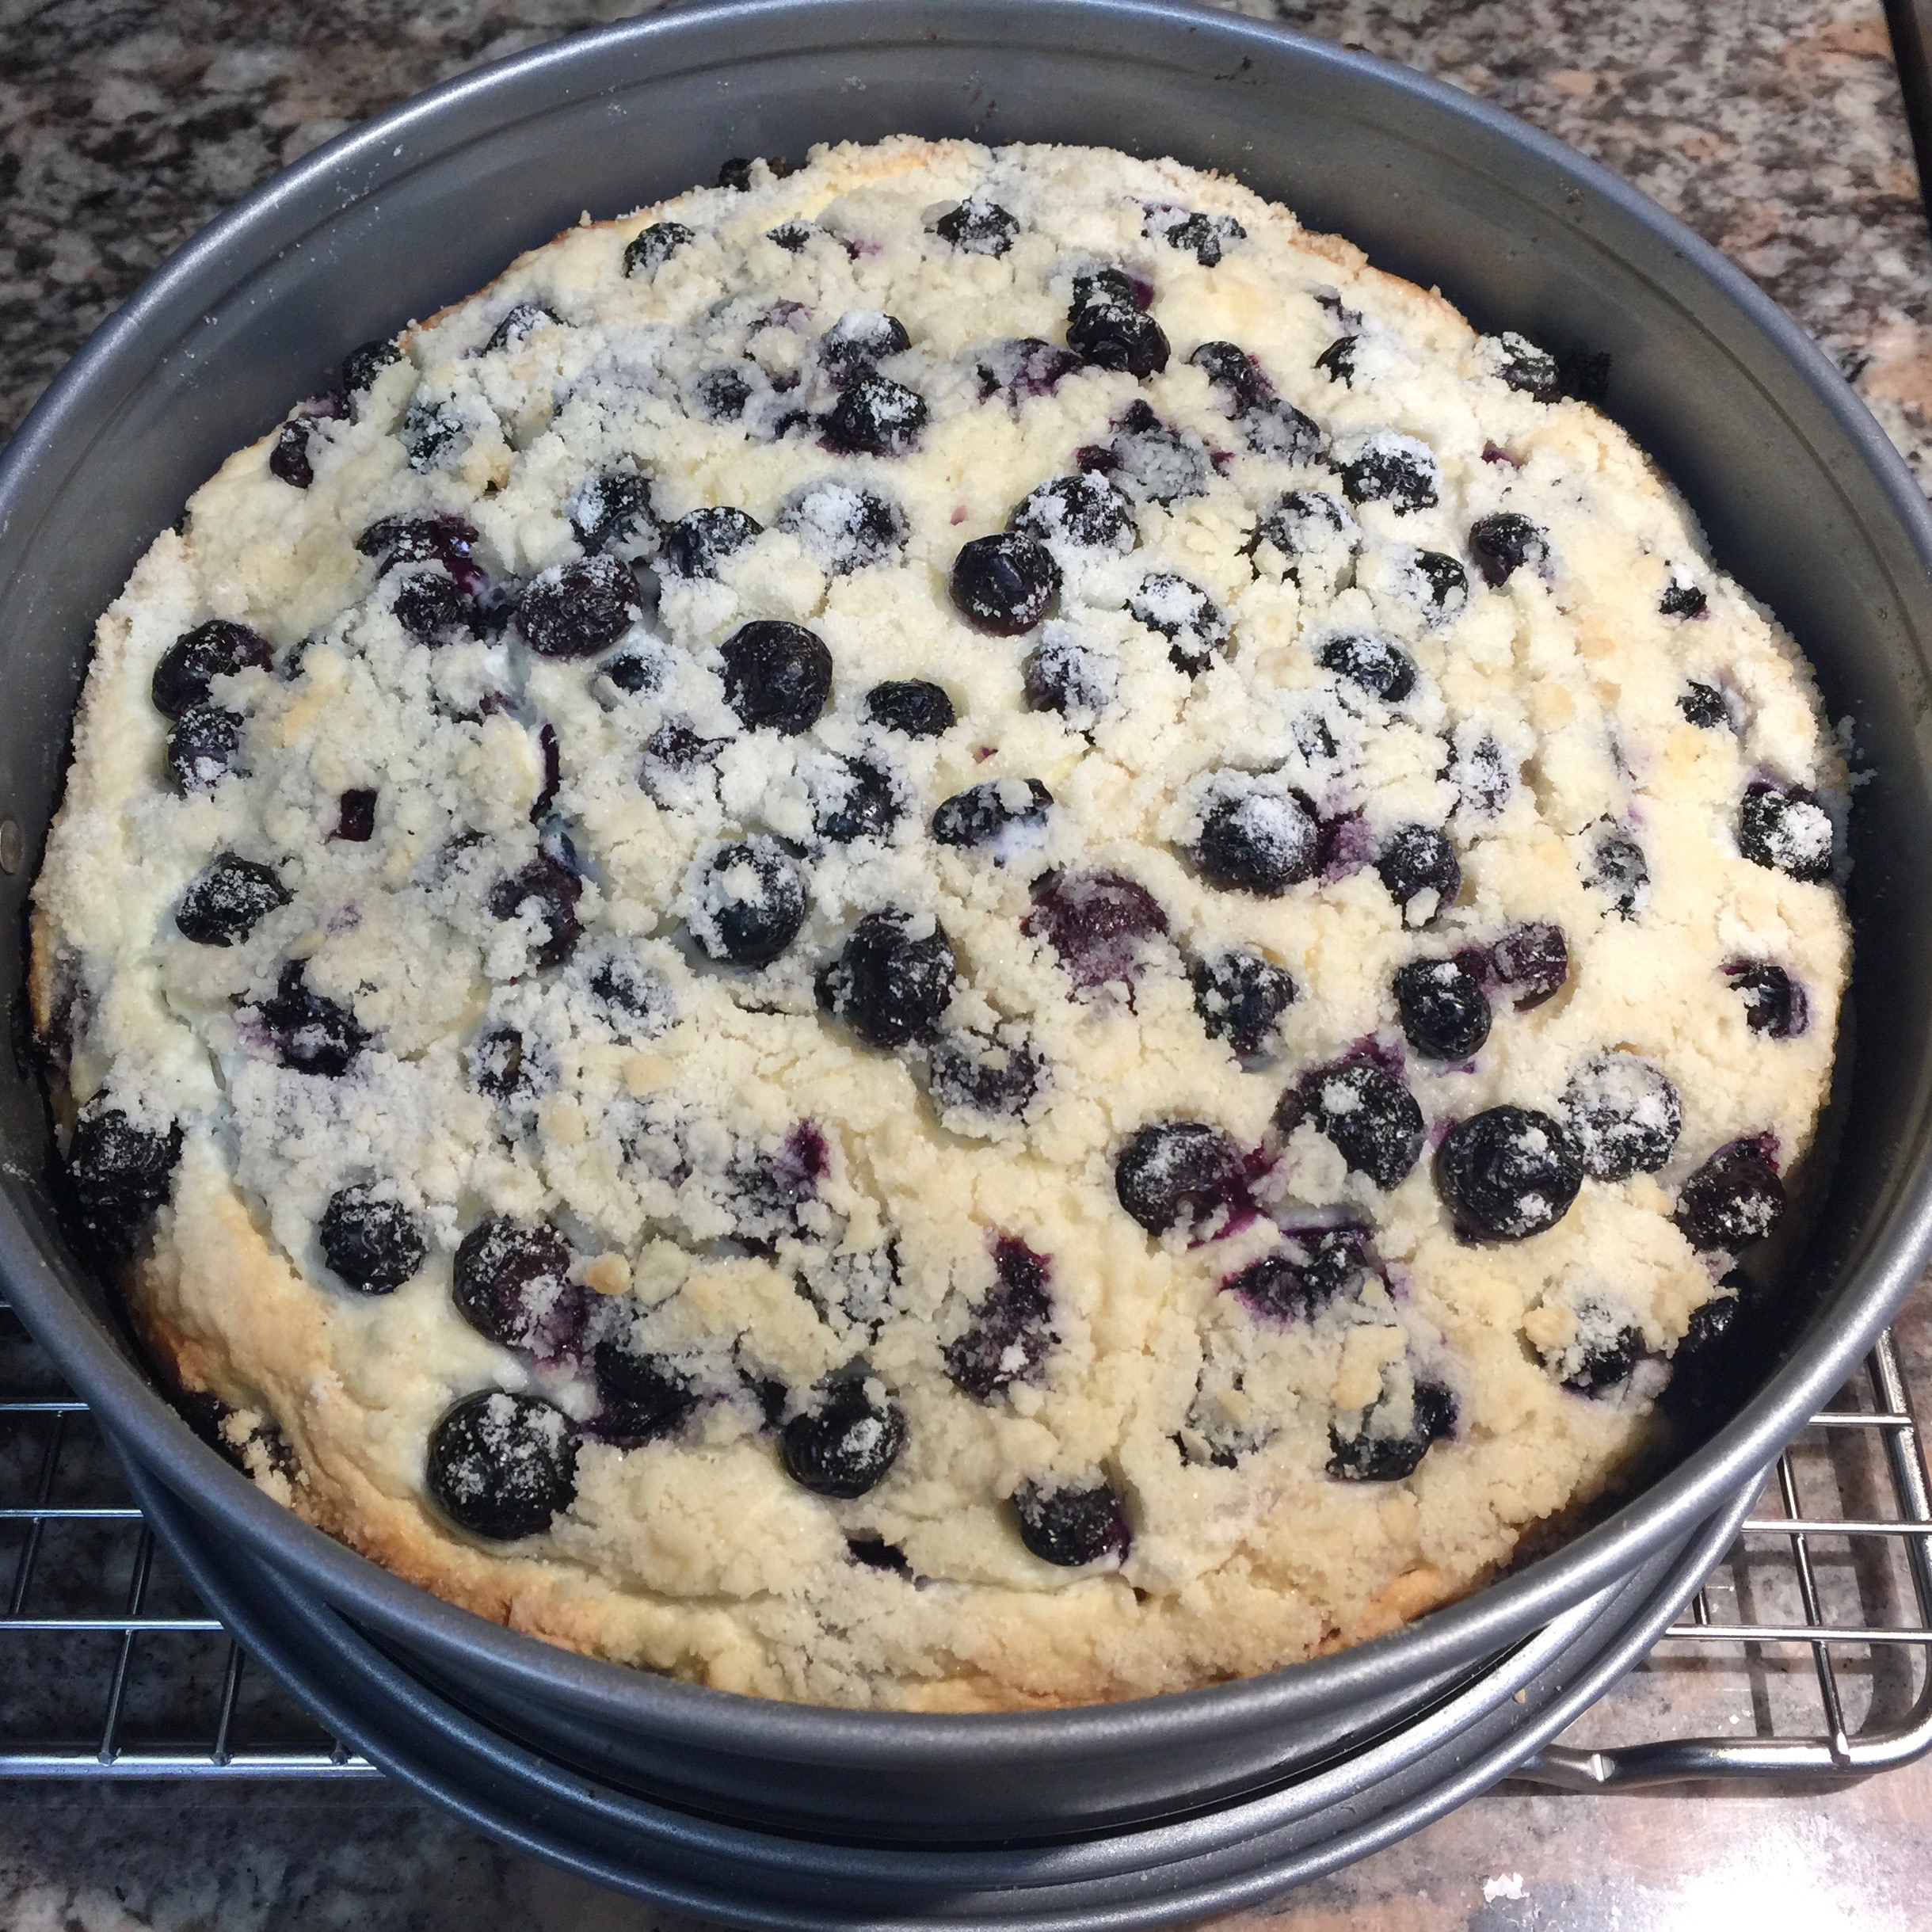
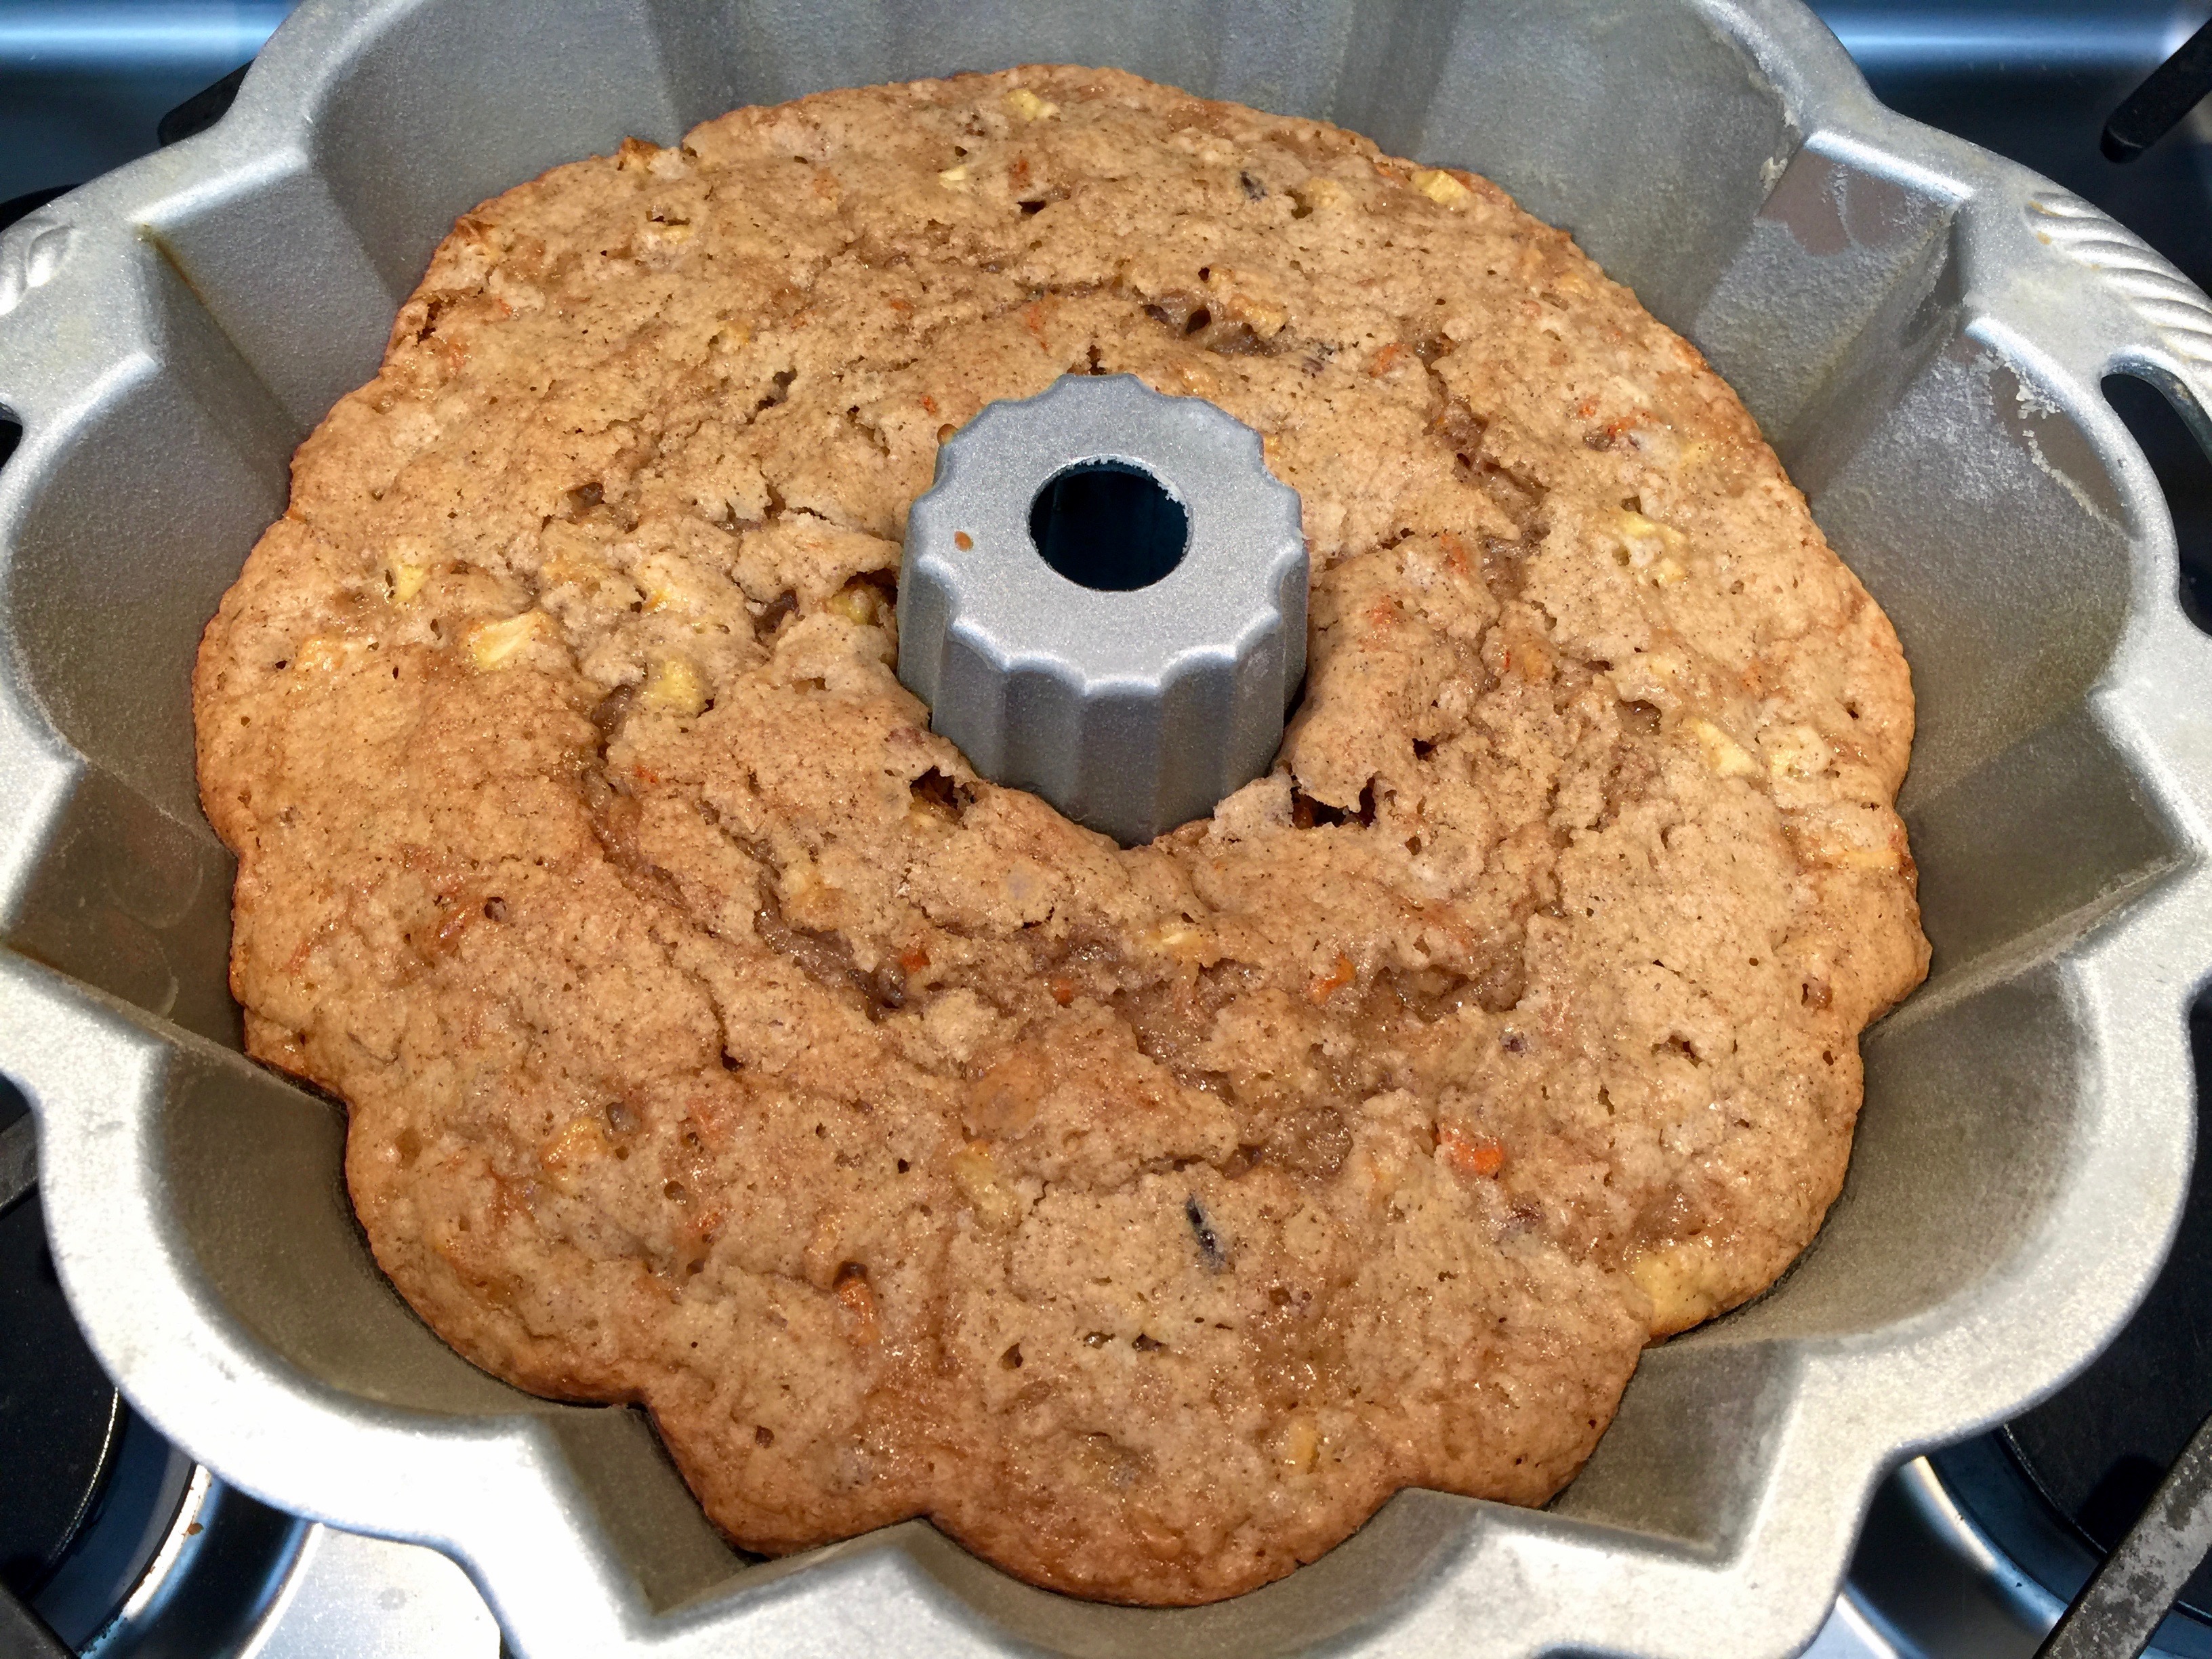
Bake for 60-75 minutes or until the top is lightly browned and a toothpick inserted in the center comes out clean.
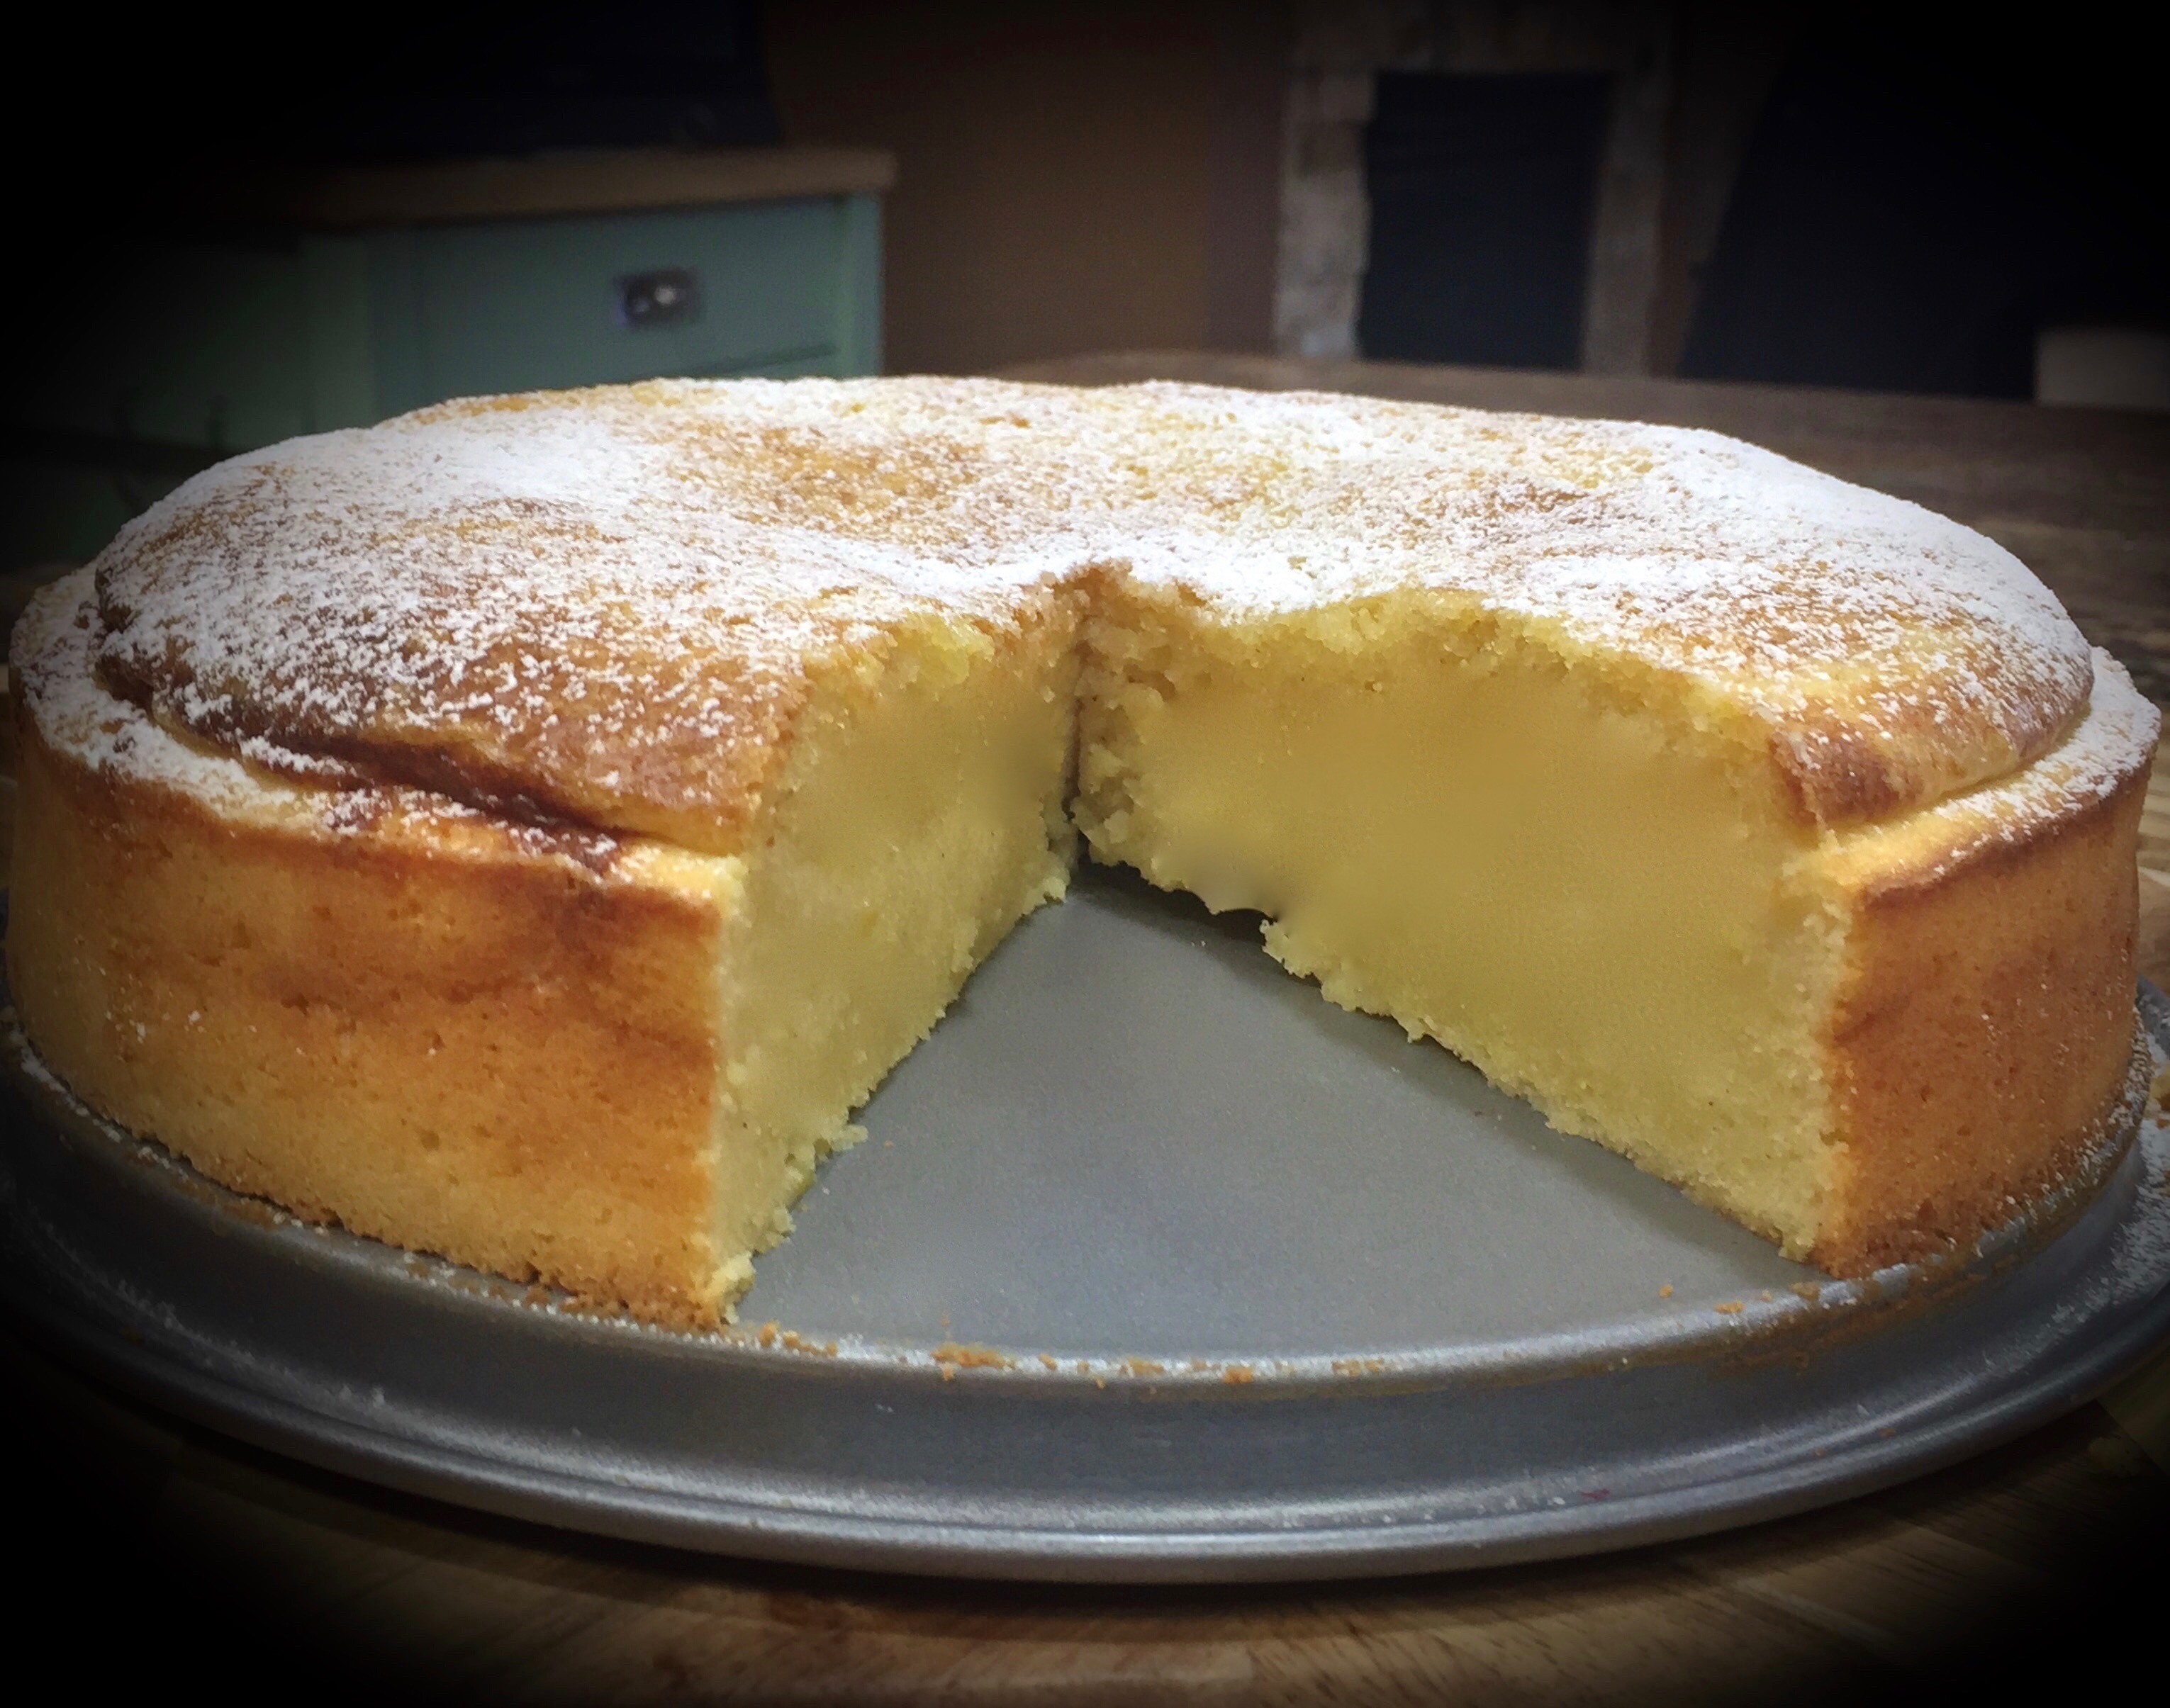
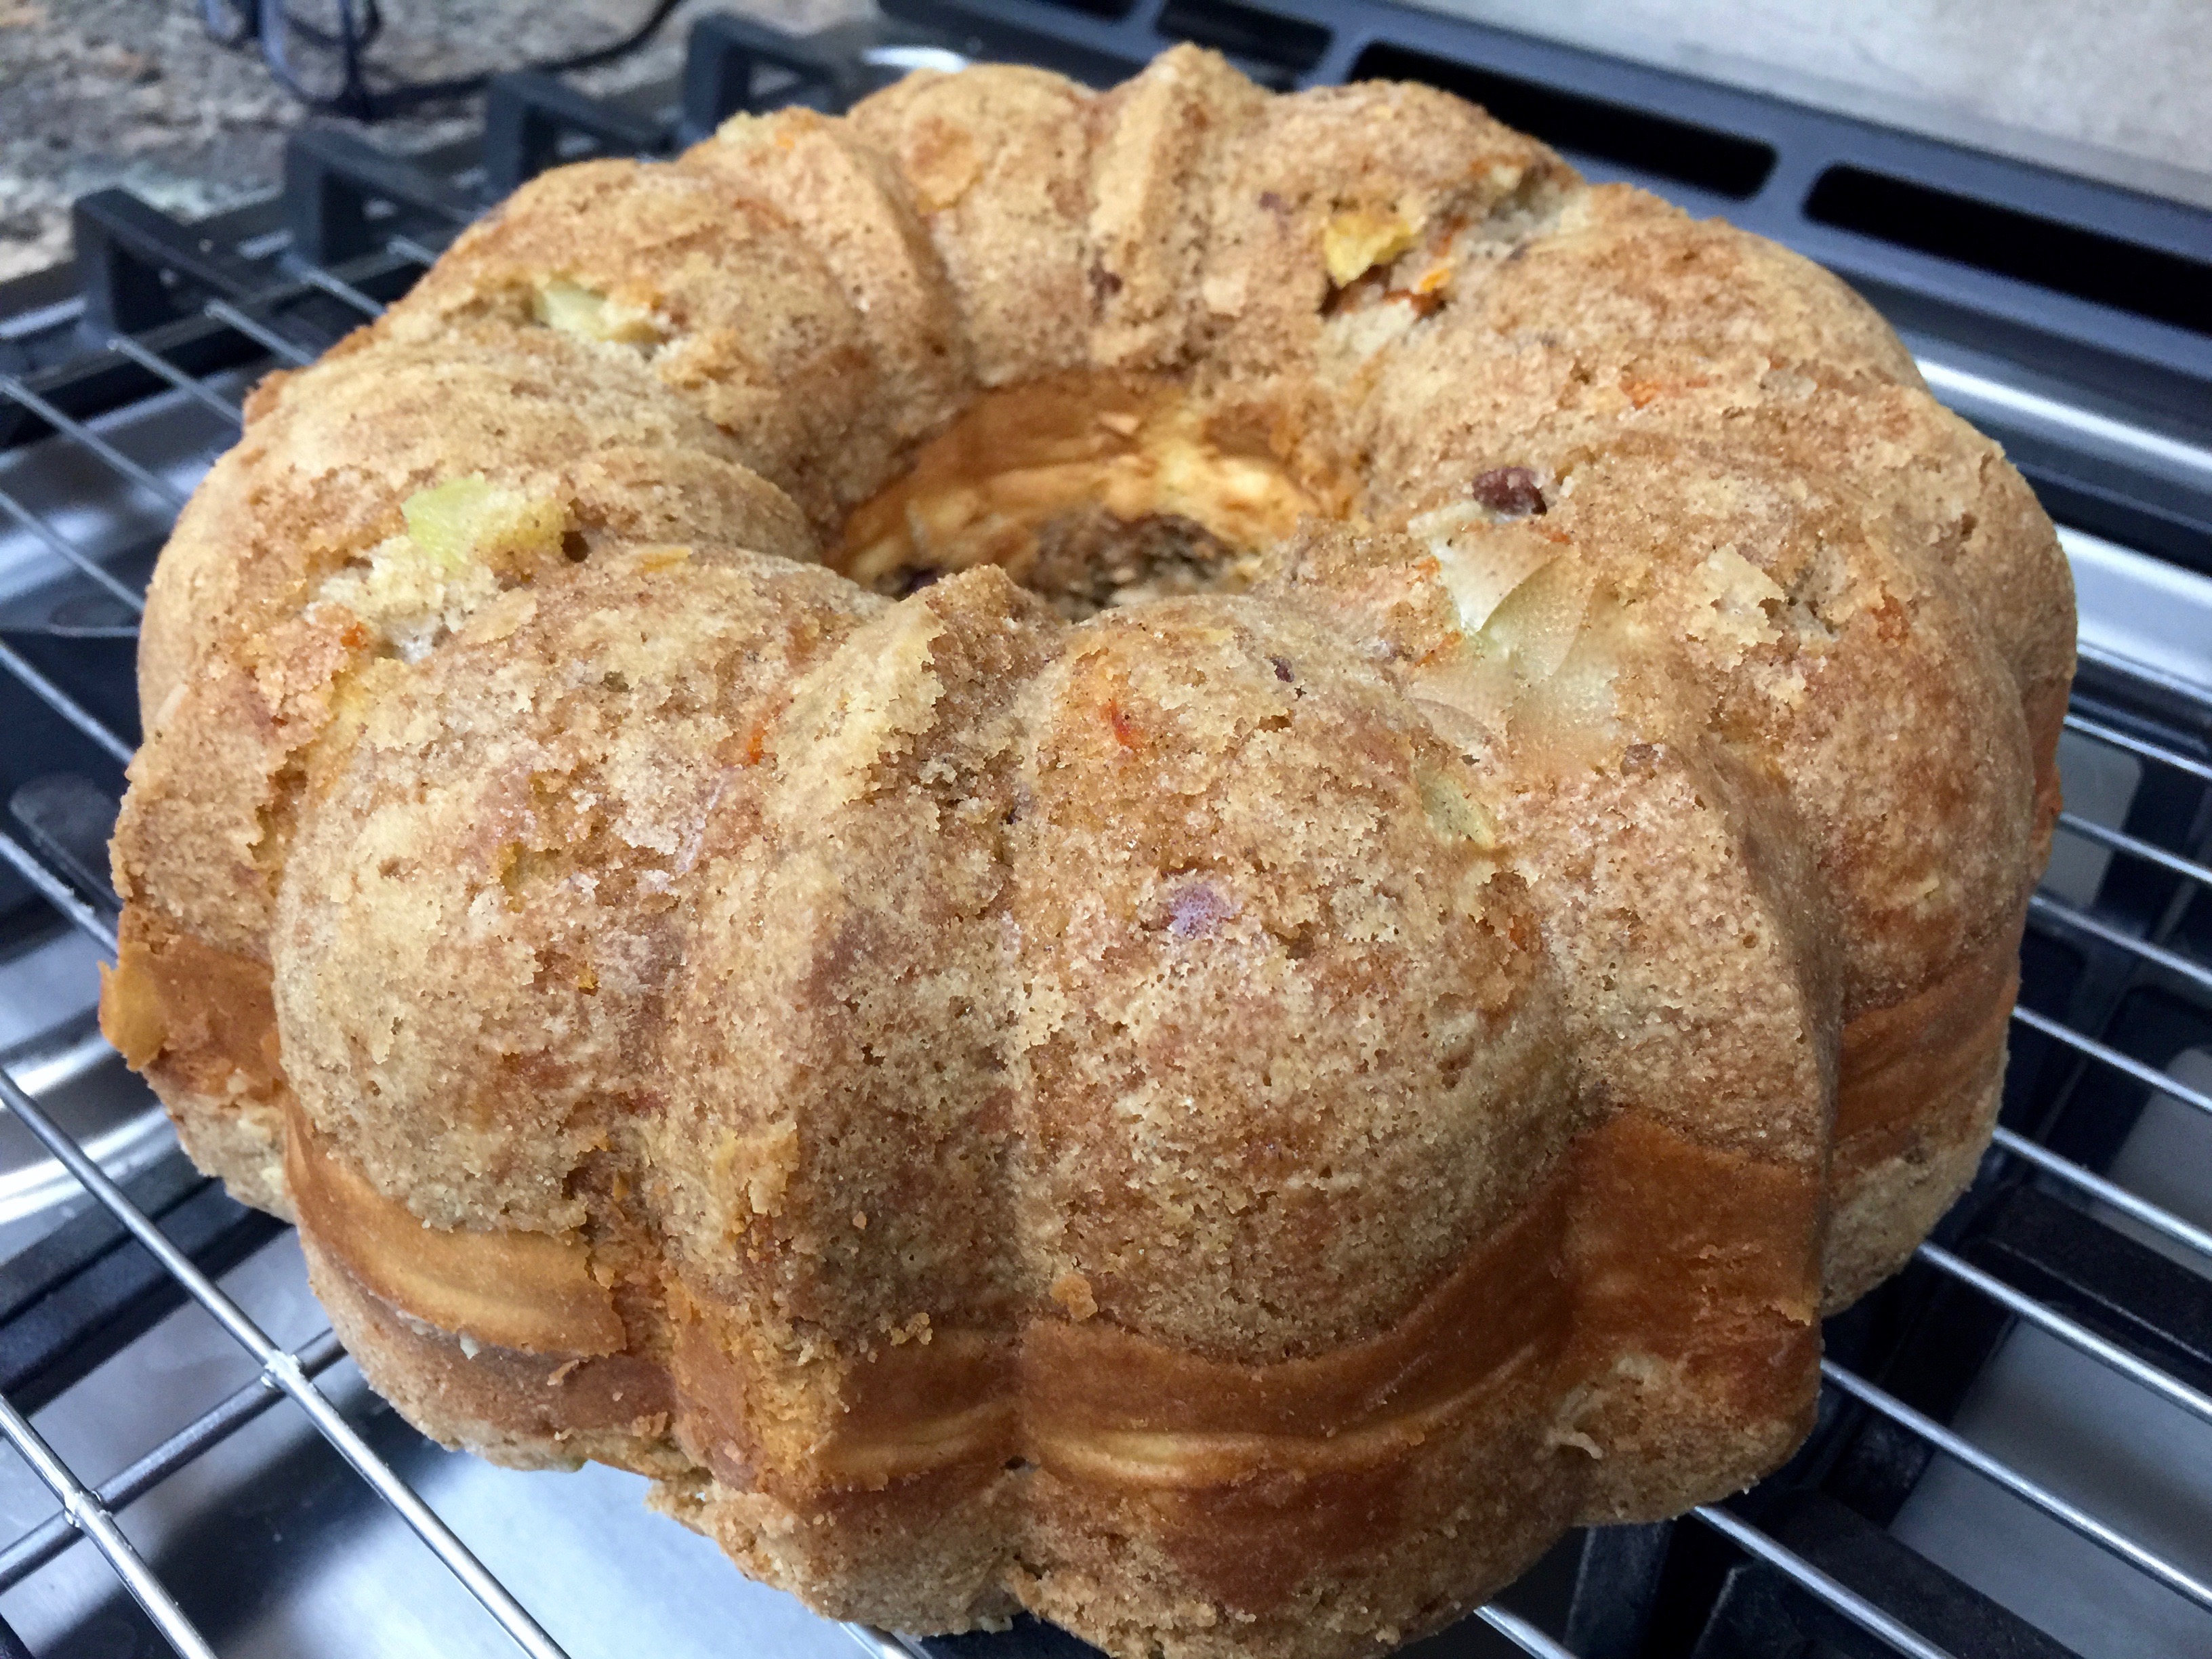
Cool at least 20 minutes before removing the cake from the pan.
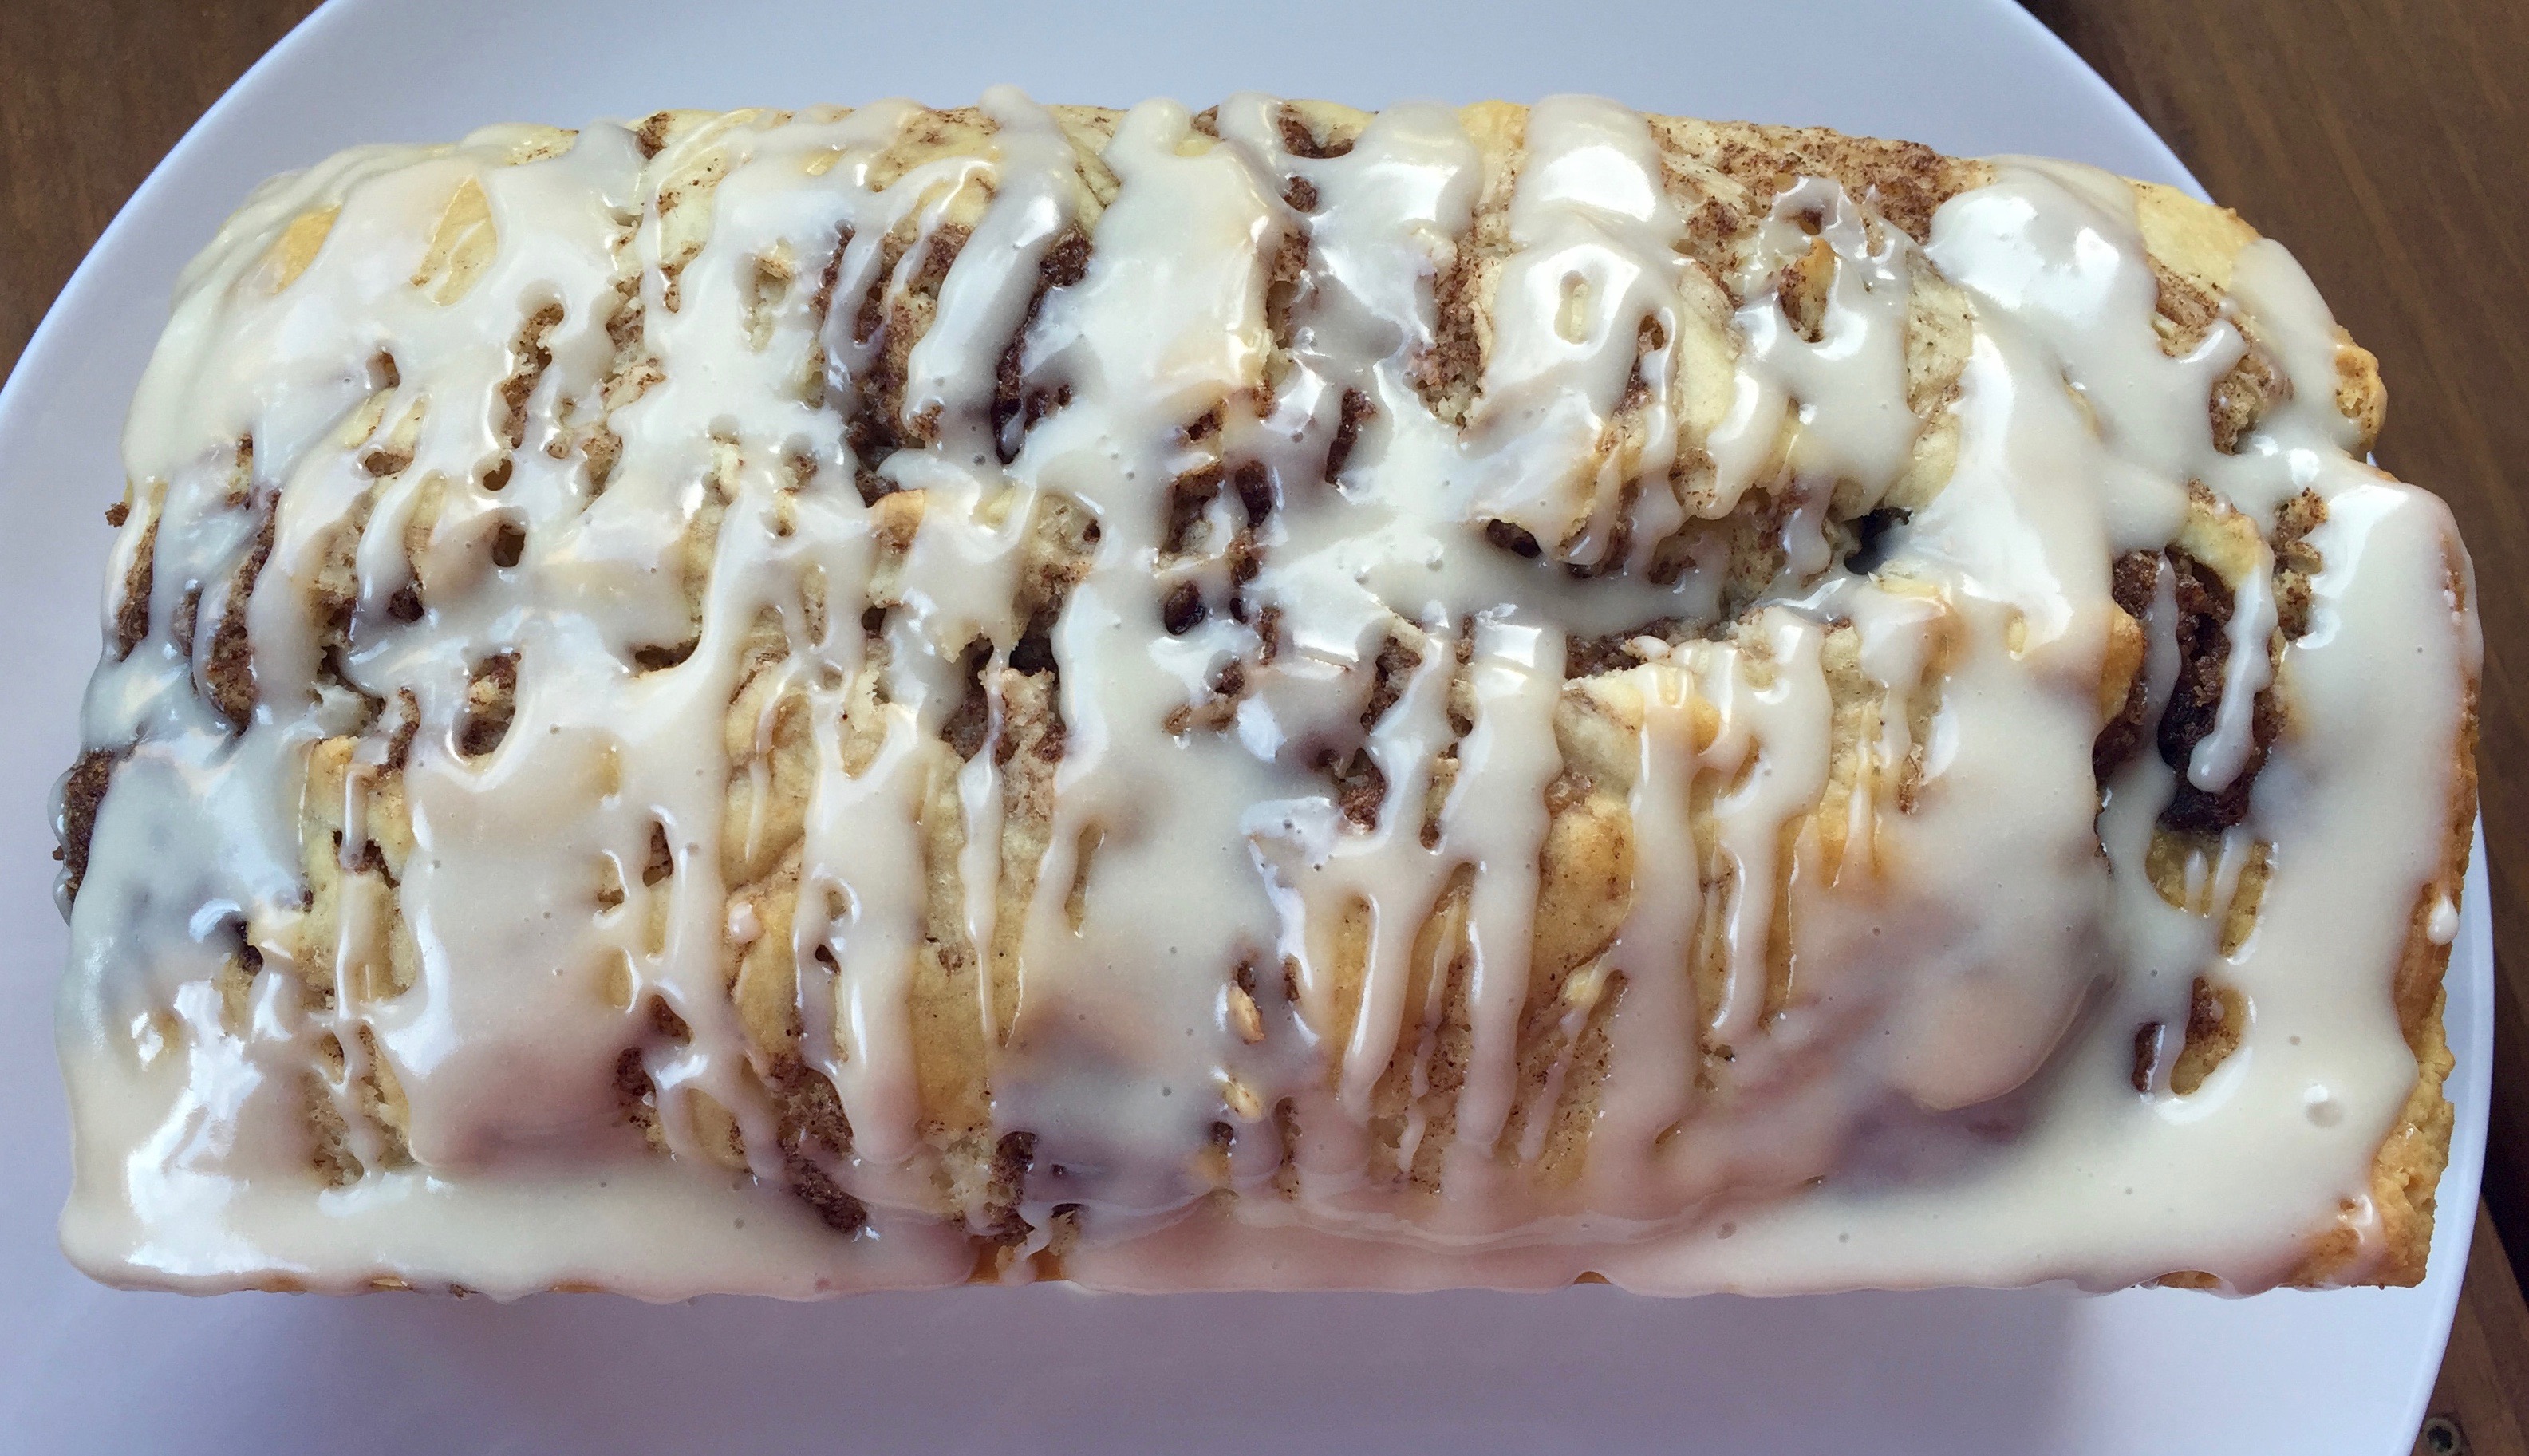
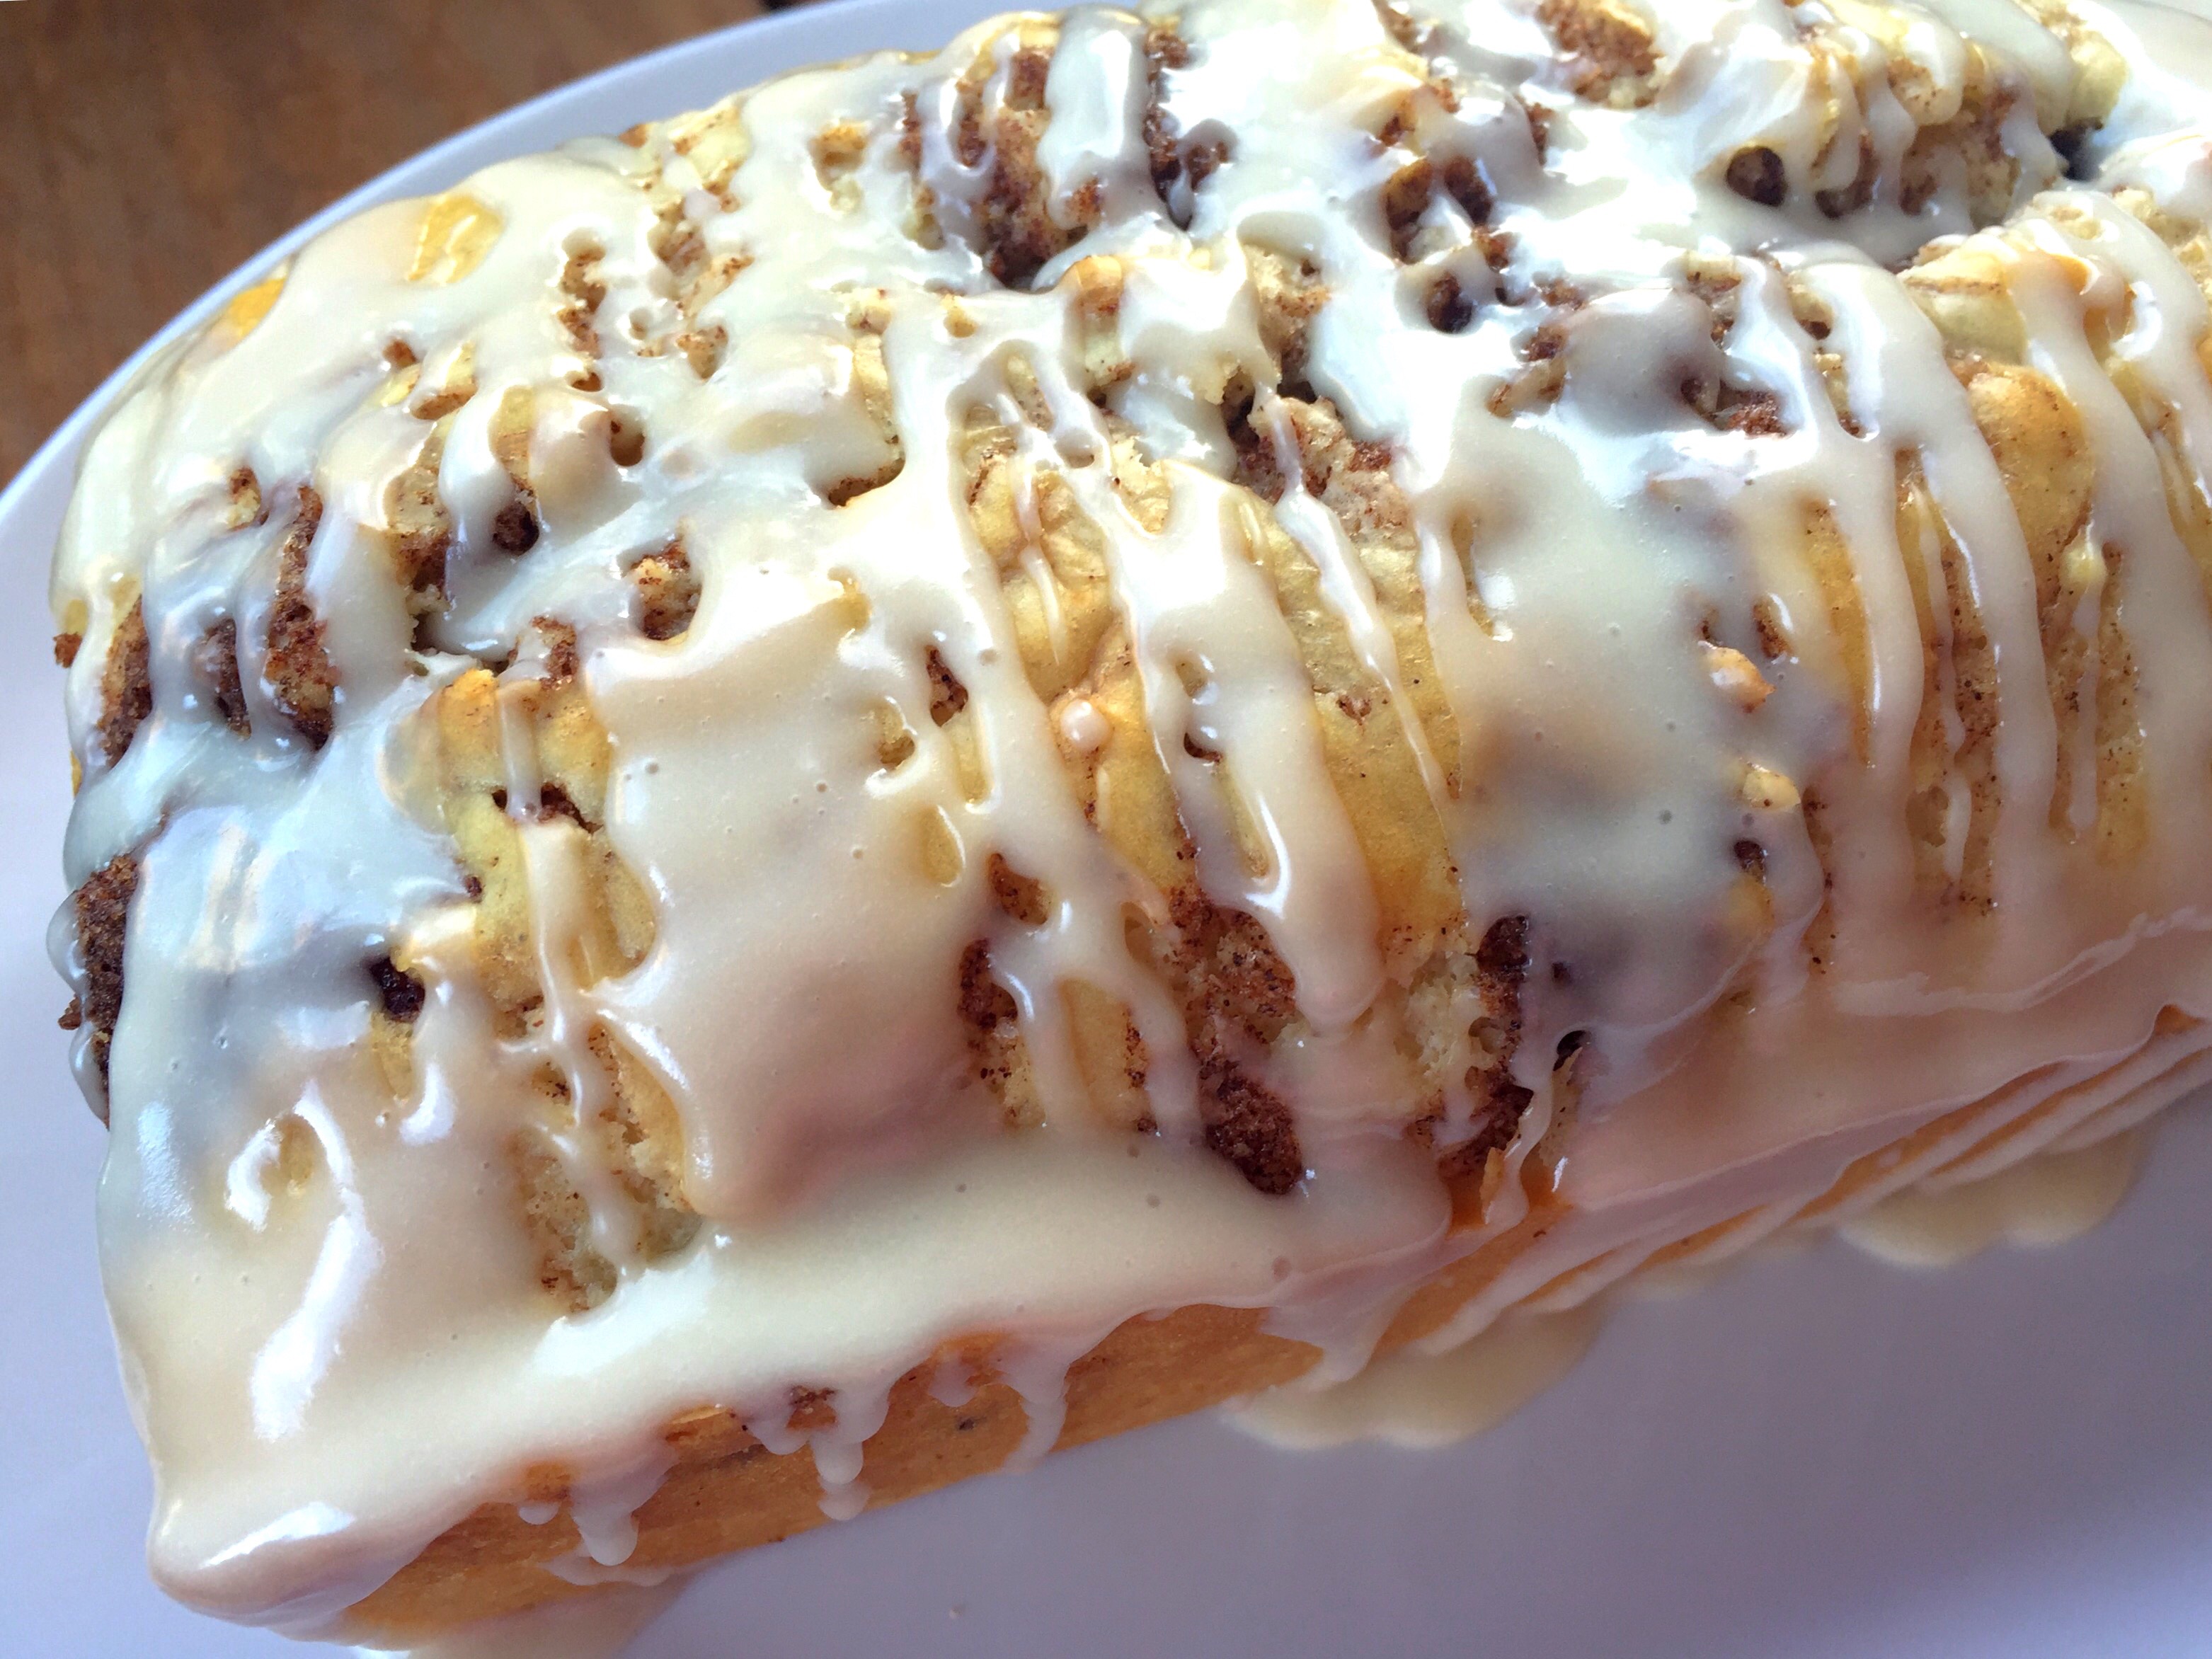
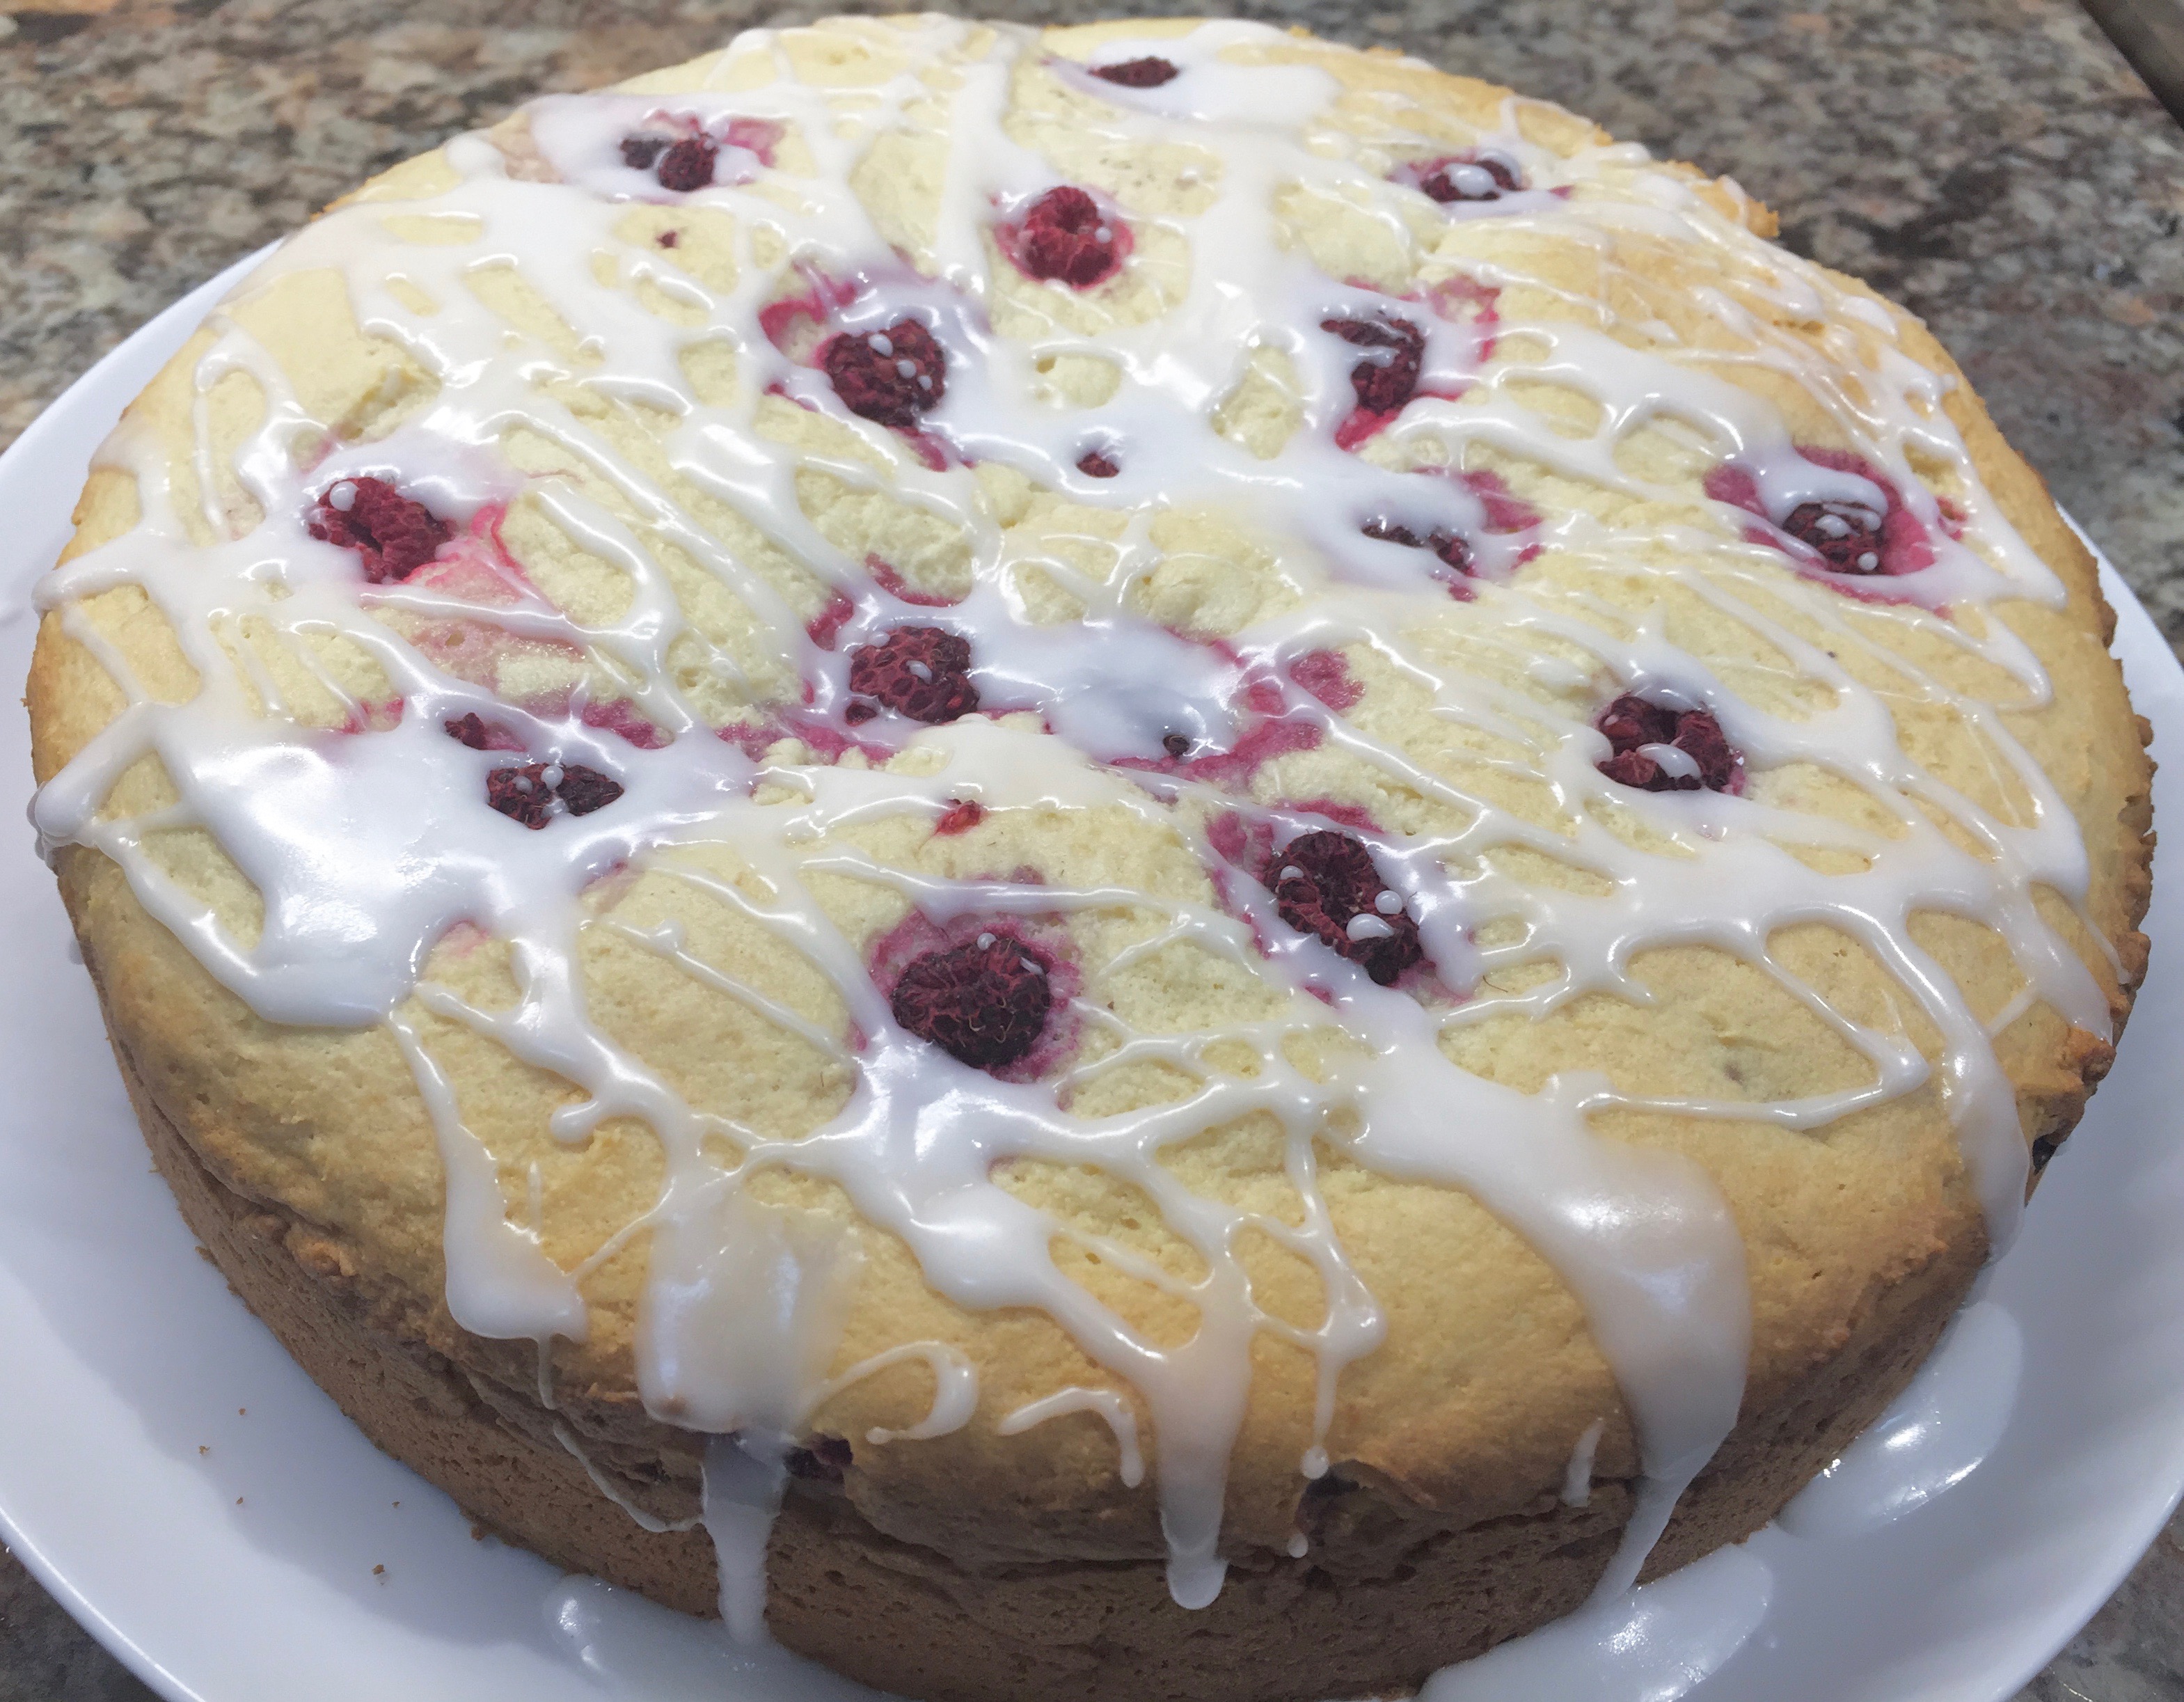
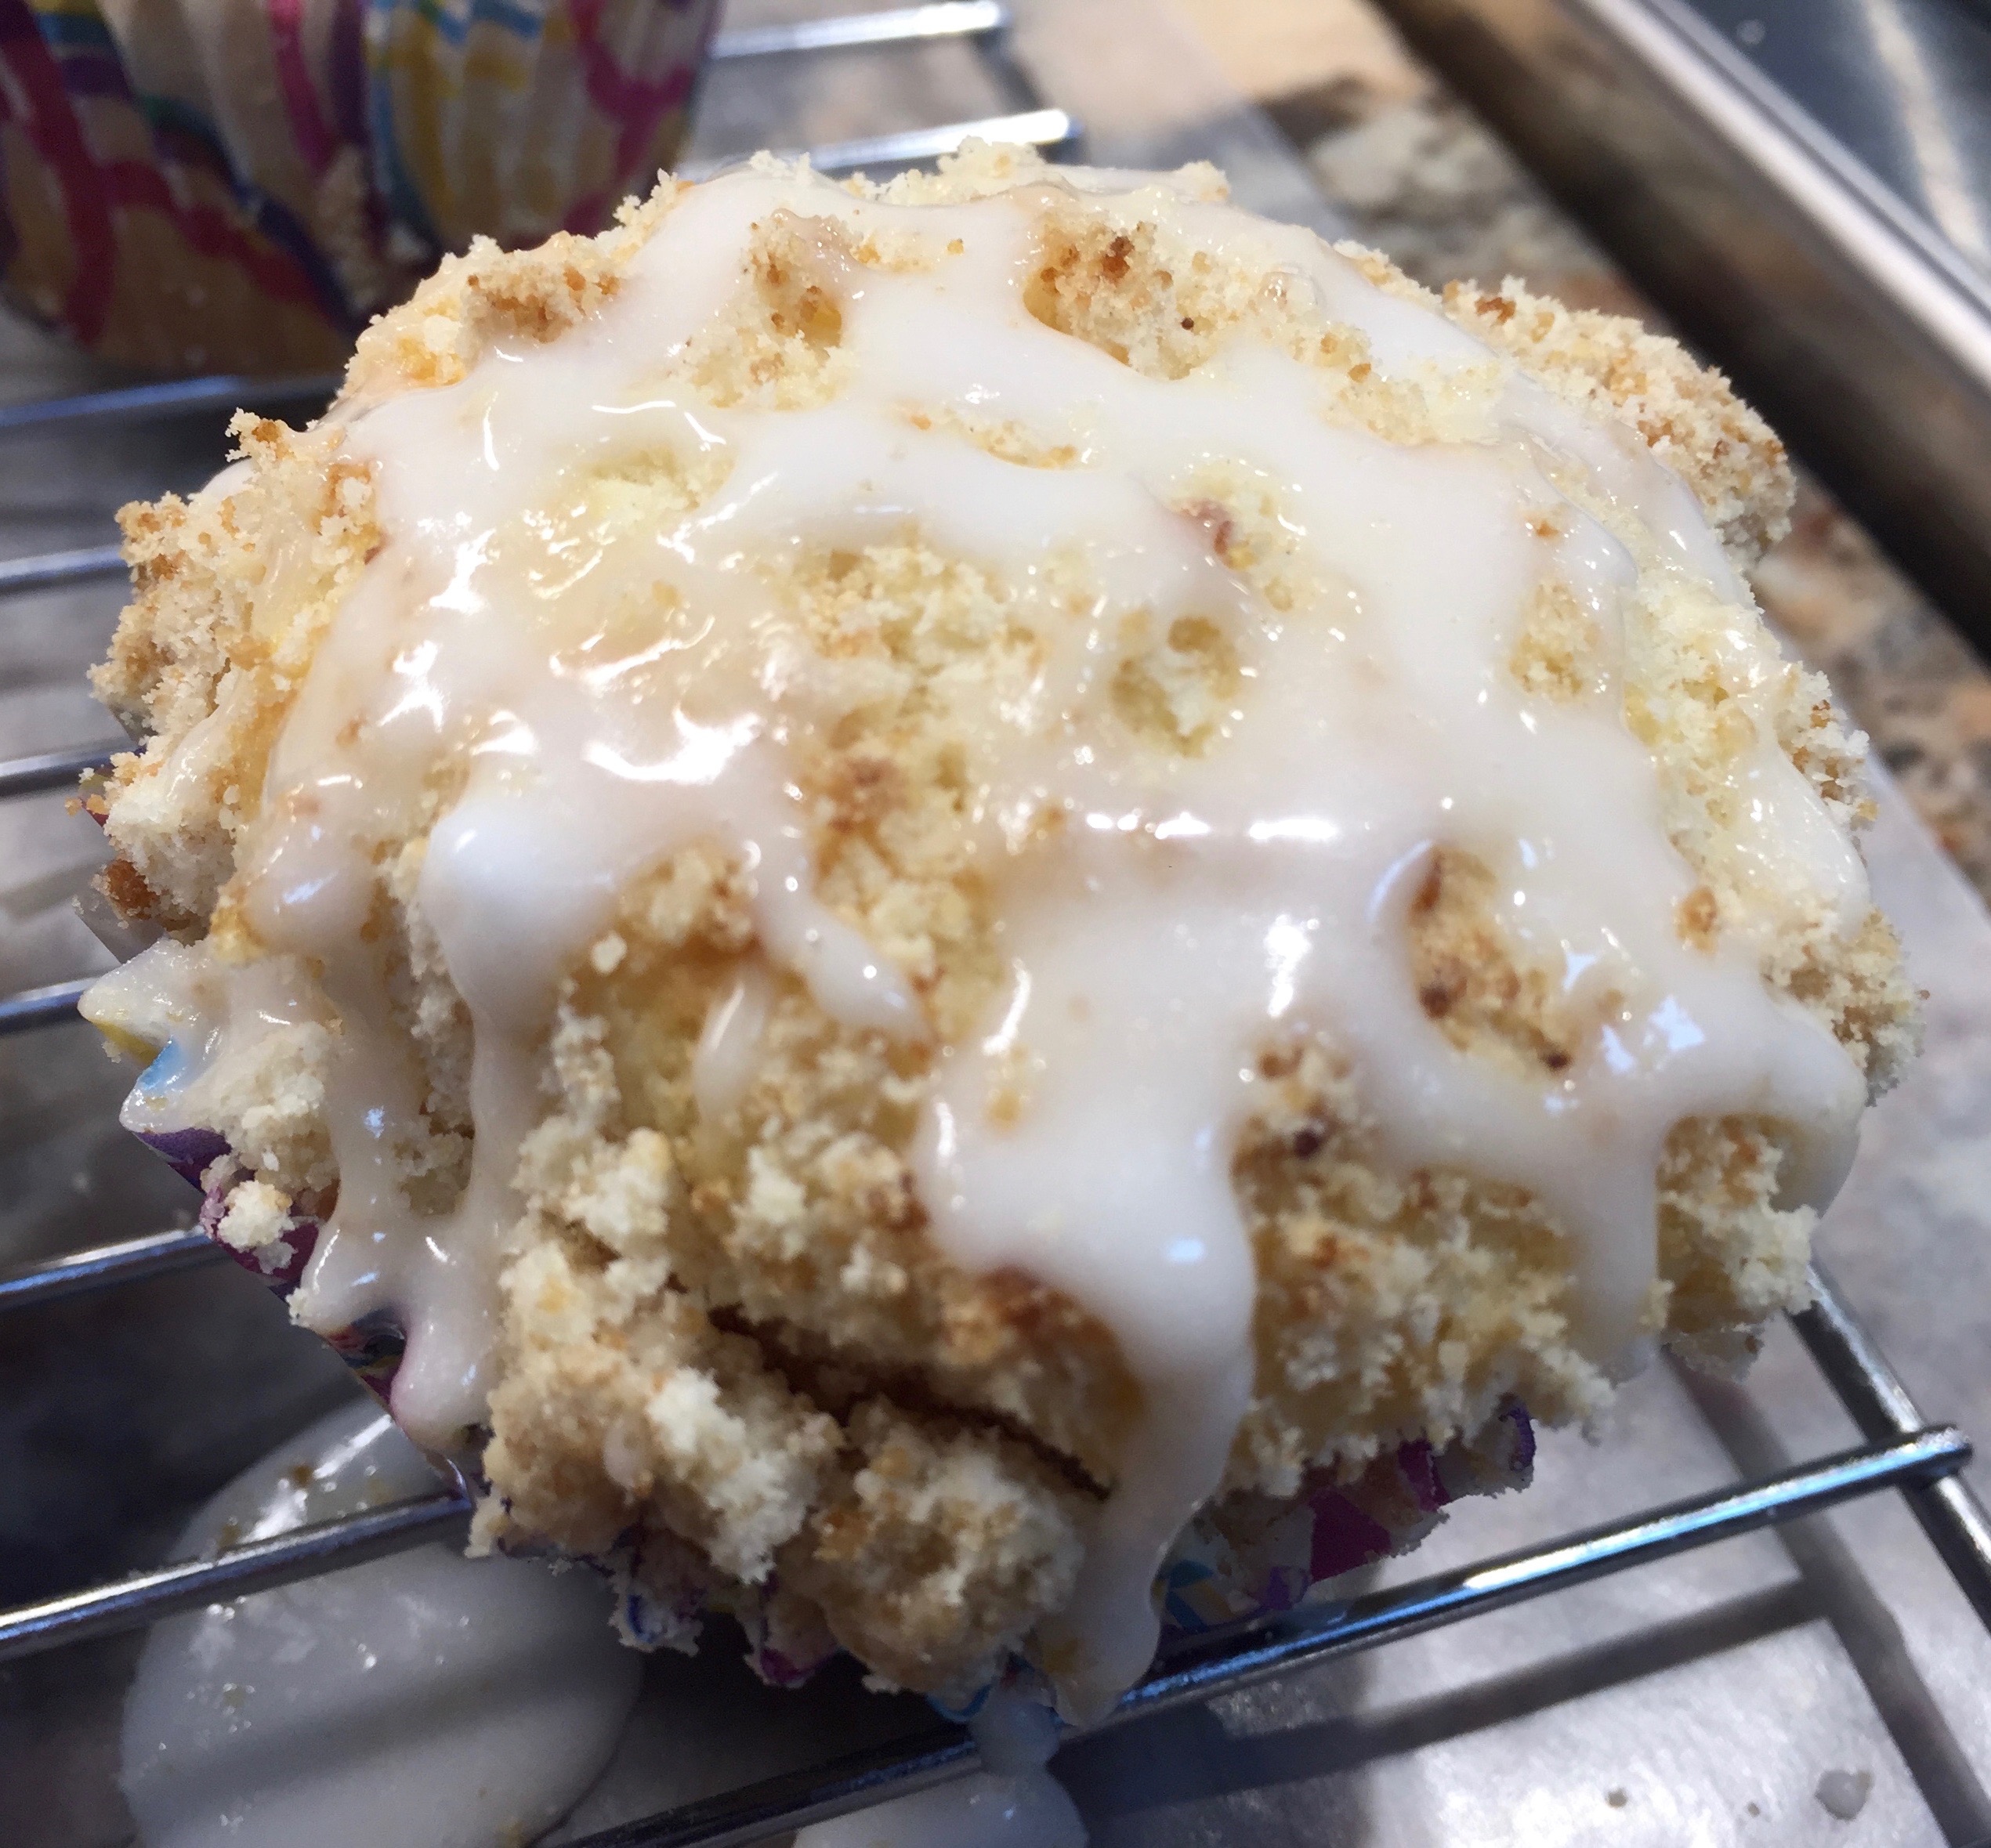
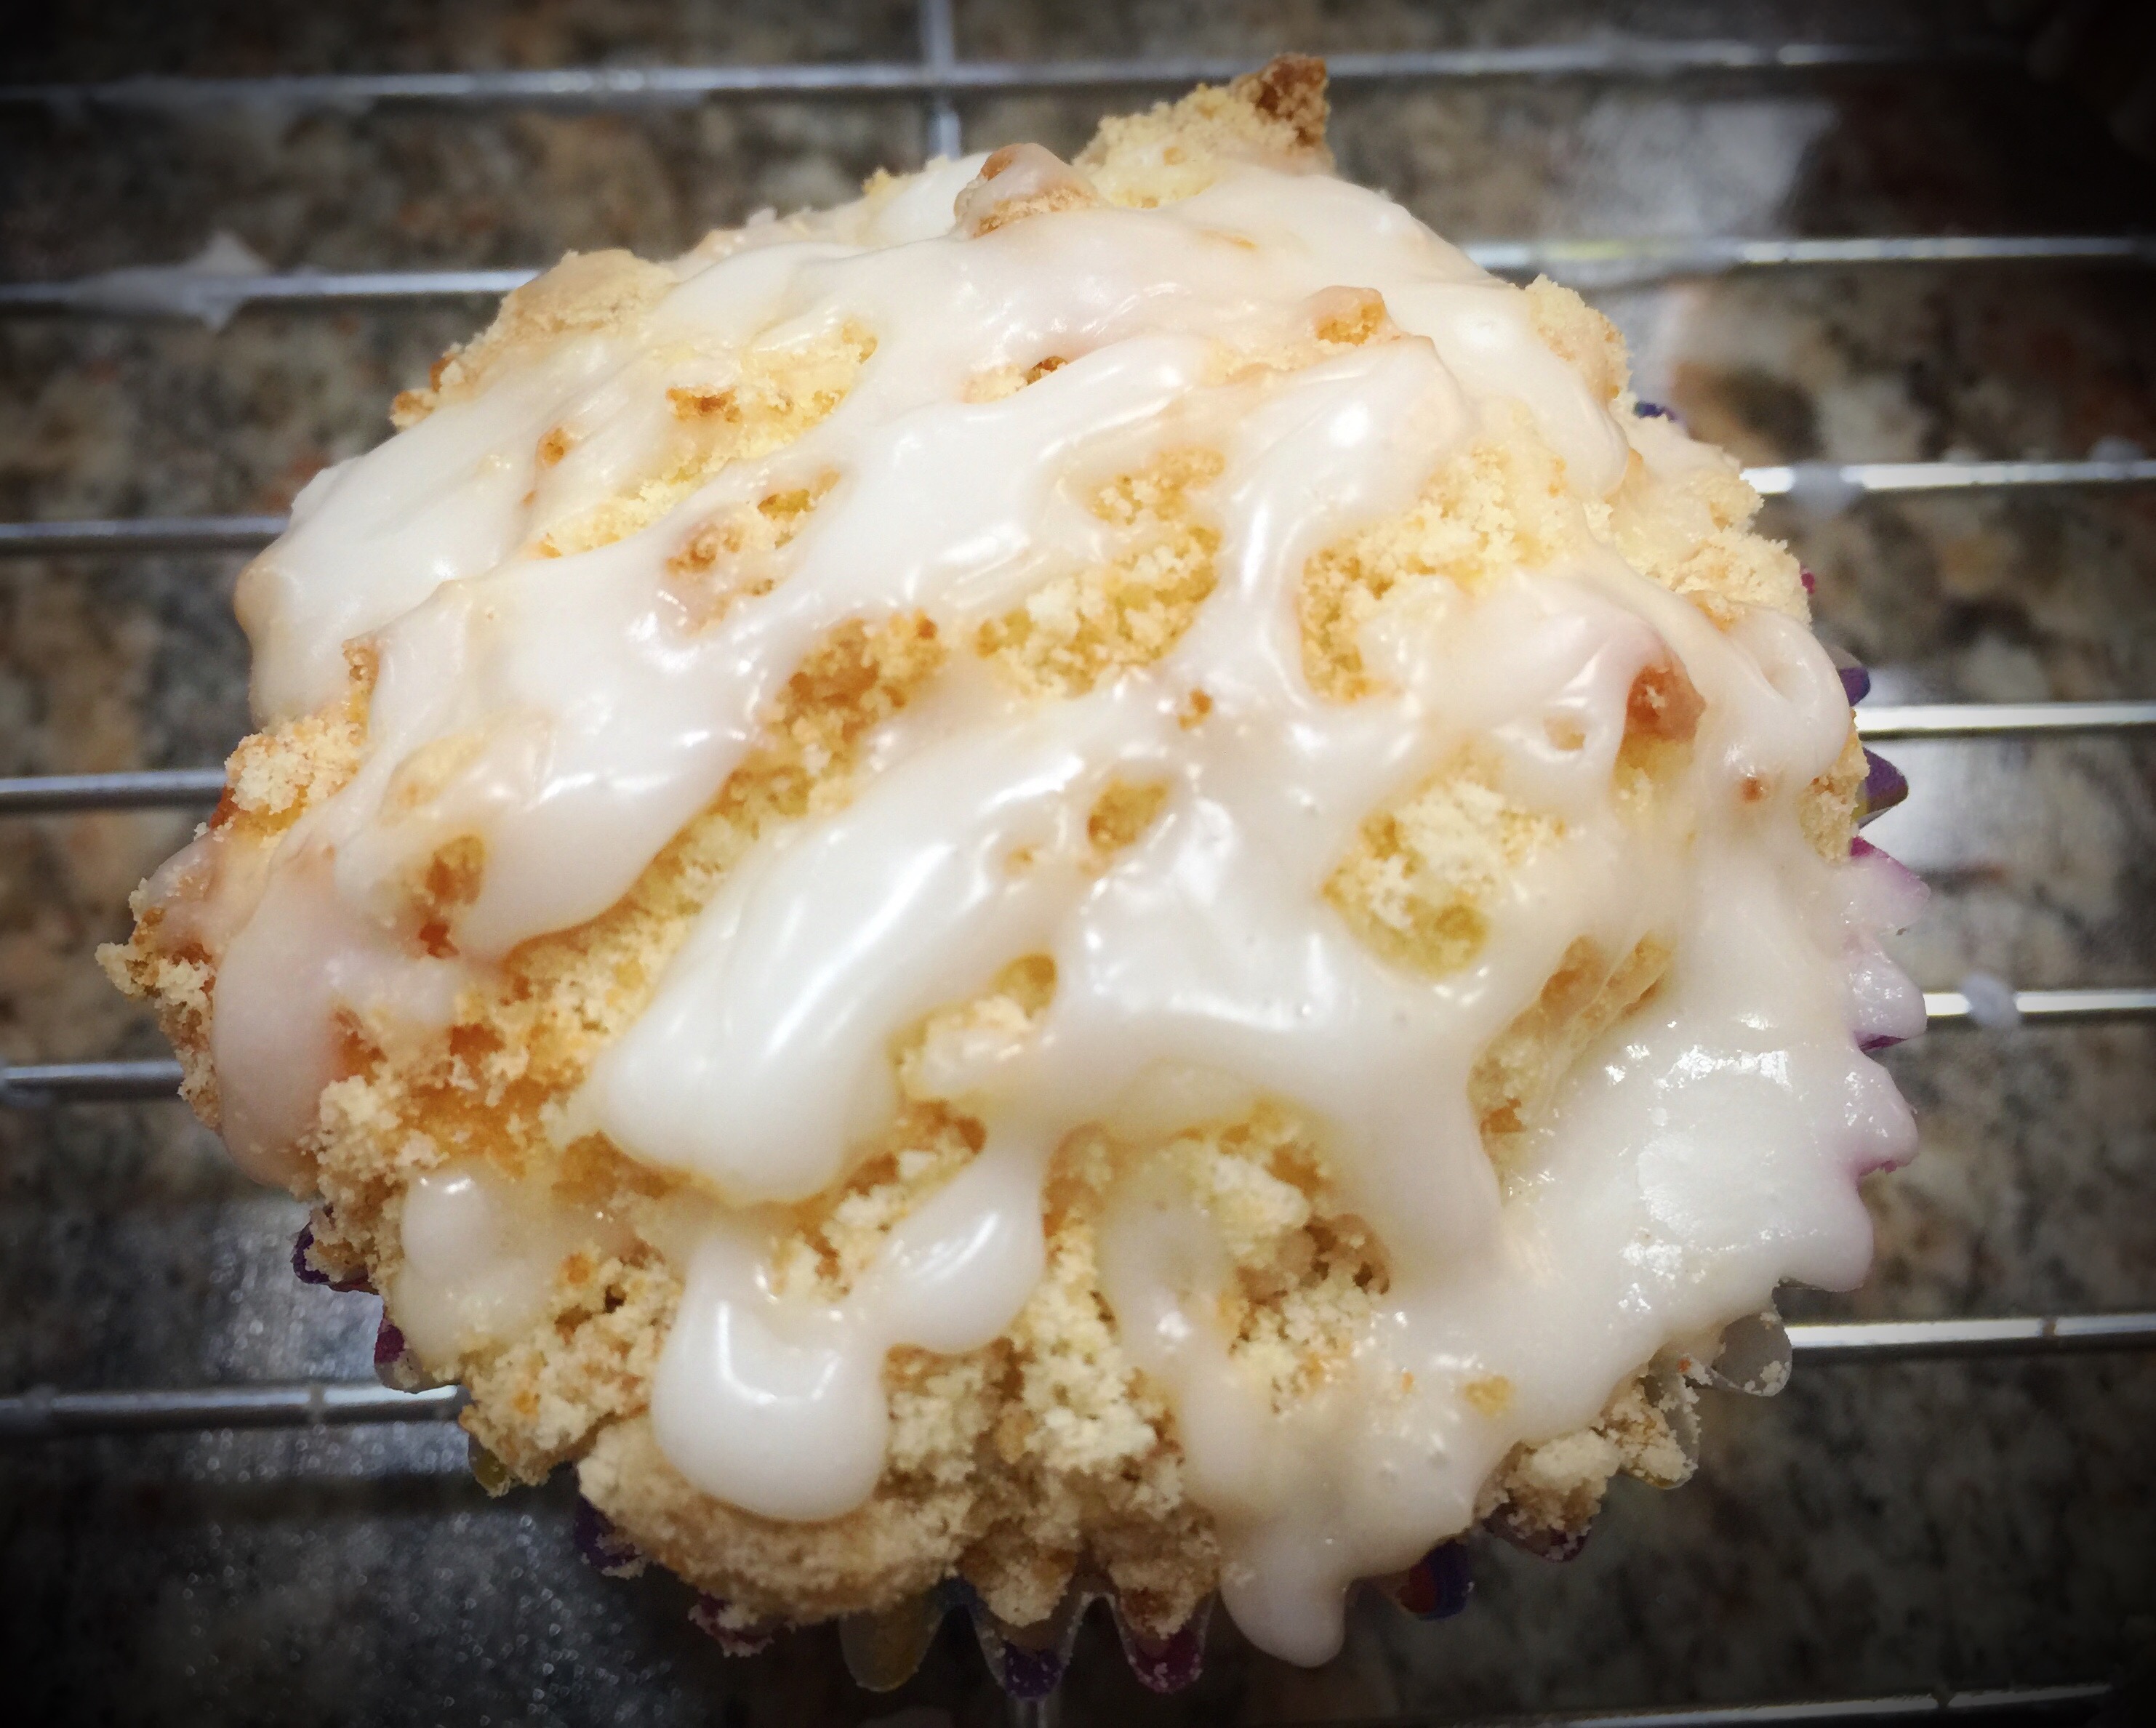
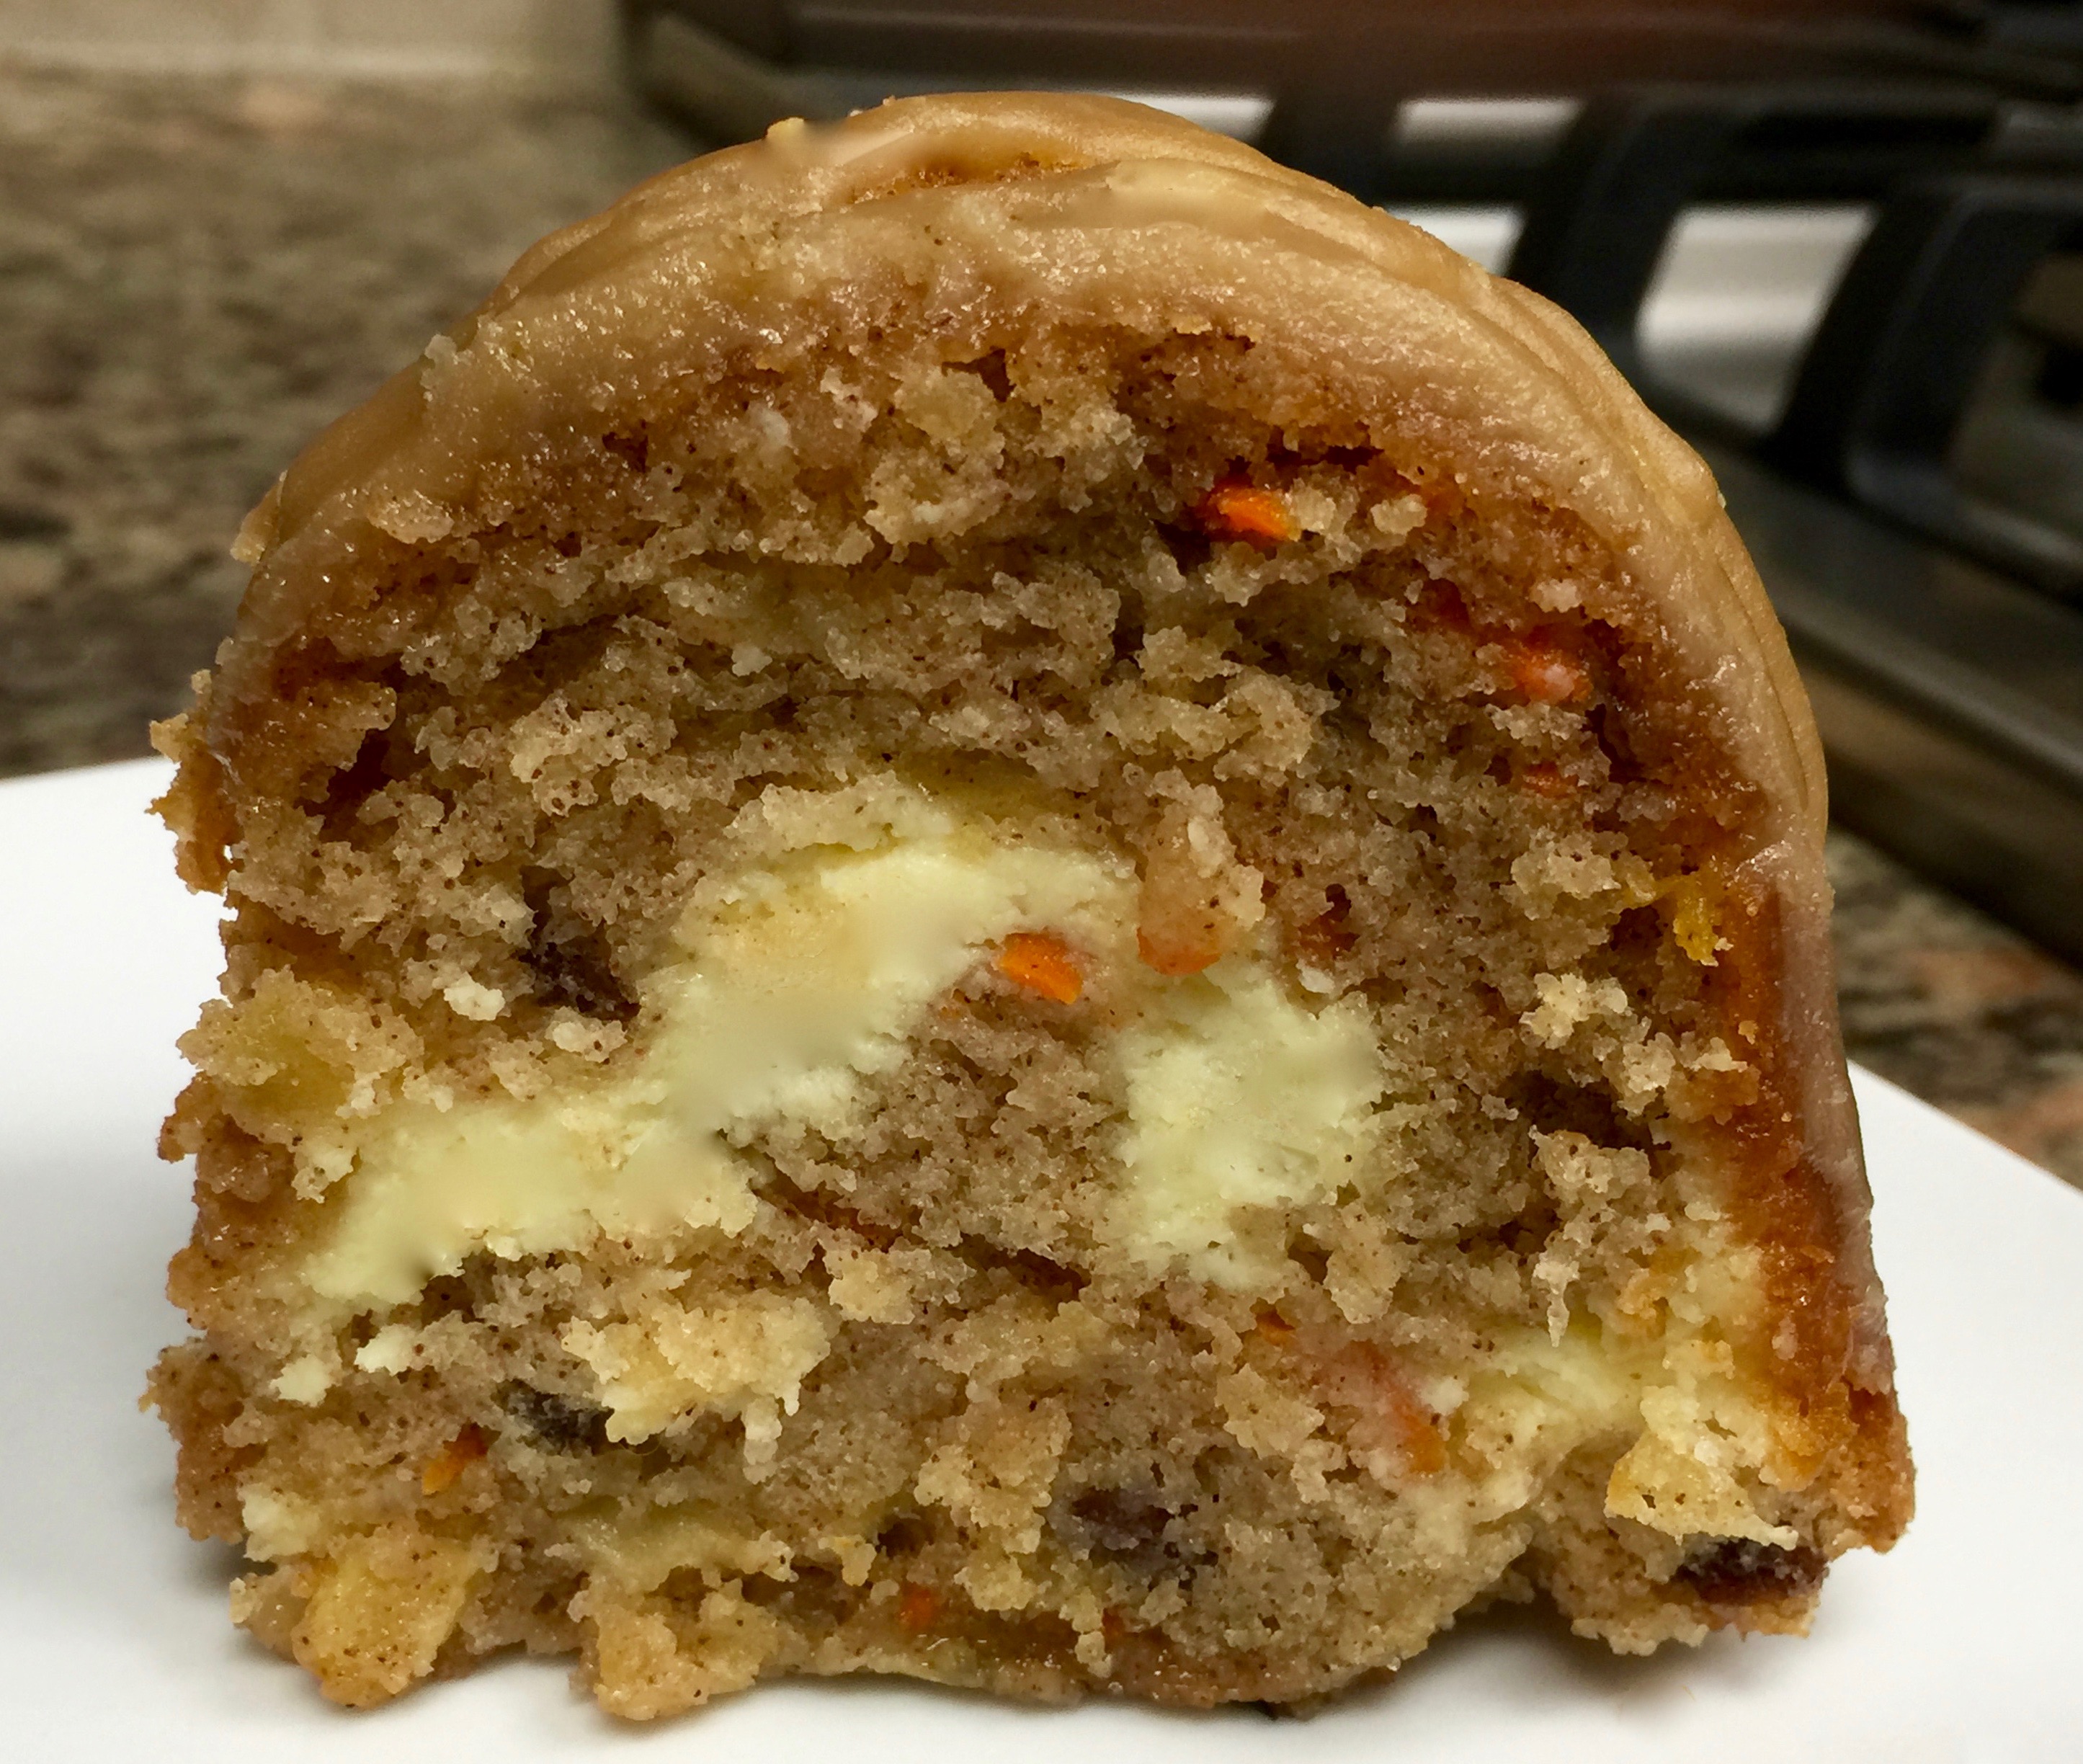
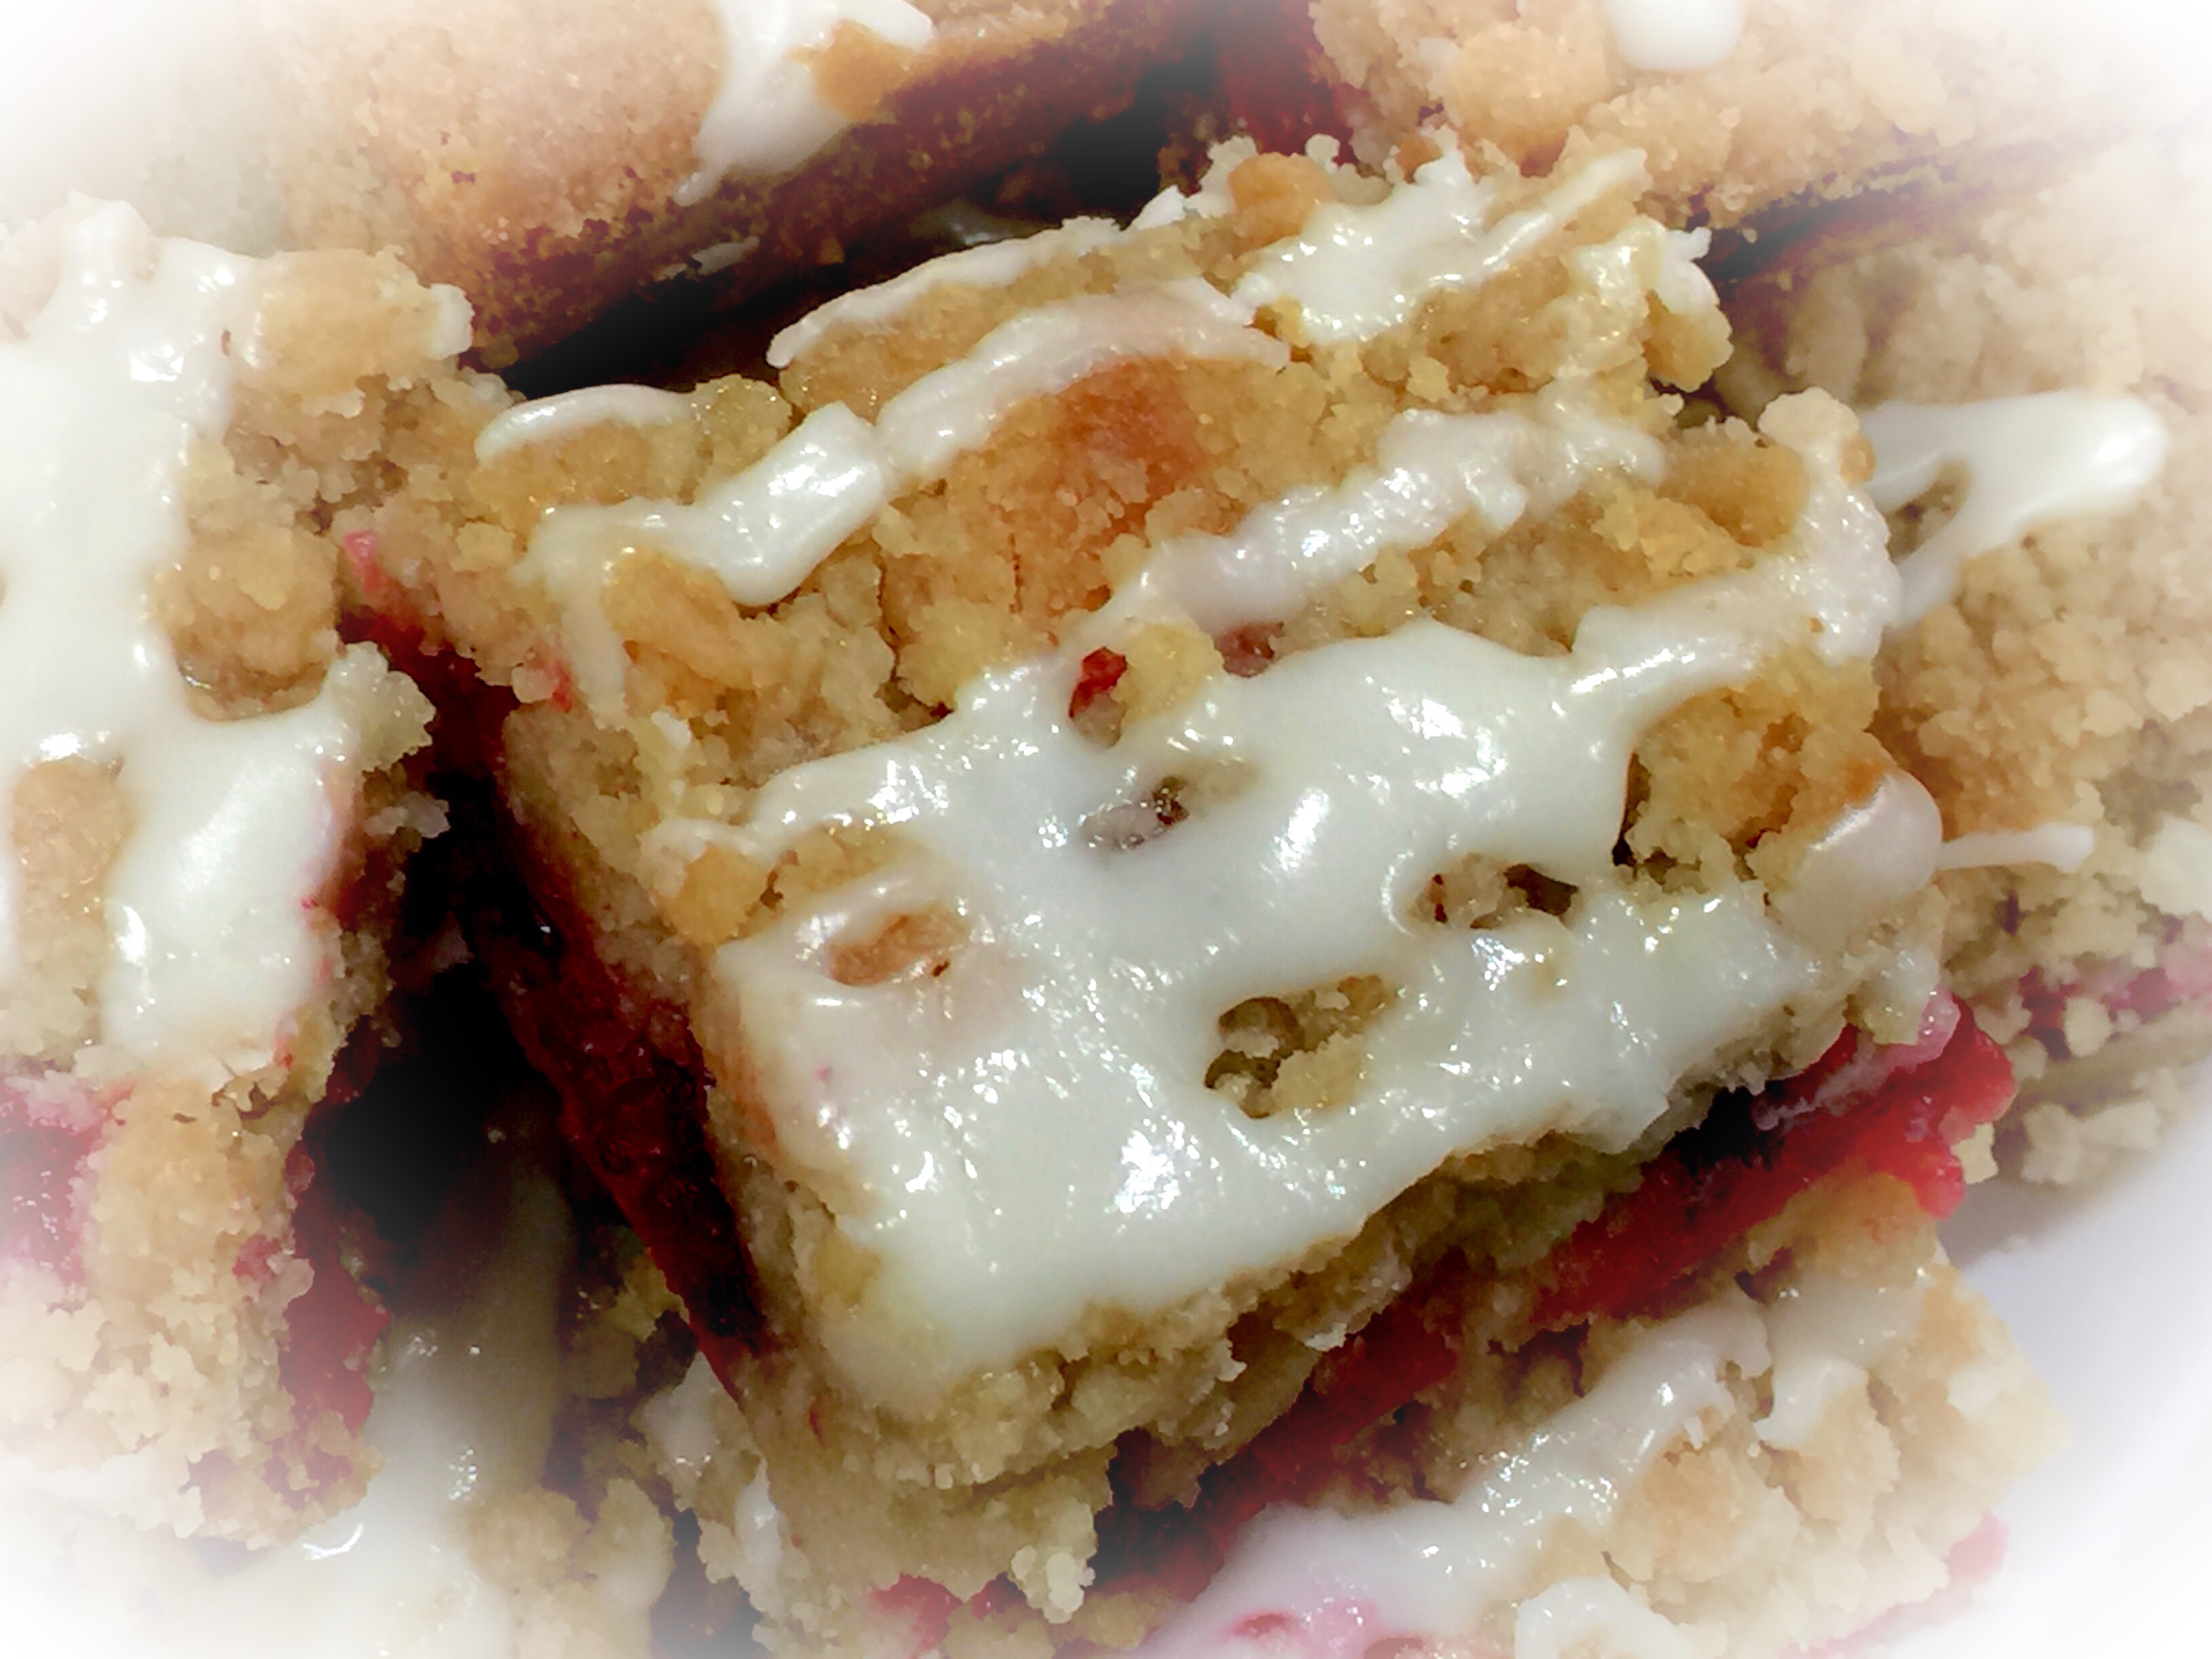
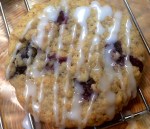
Once cooled drizzle the glaze over the top. Make the glaze by combining the powdered sugar with the almond extract and milk or water. Use one tablespoon of liquid initially and check the consistency of the glaze. If the glaze it too thick add more liquid.
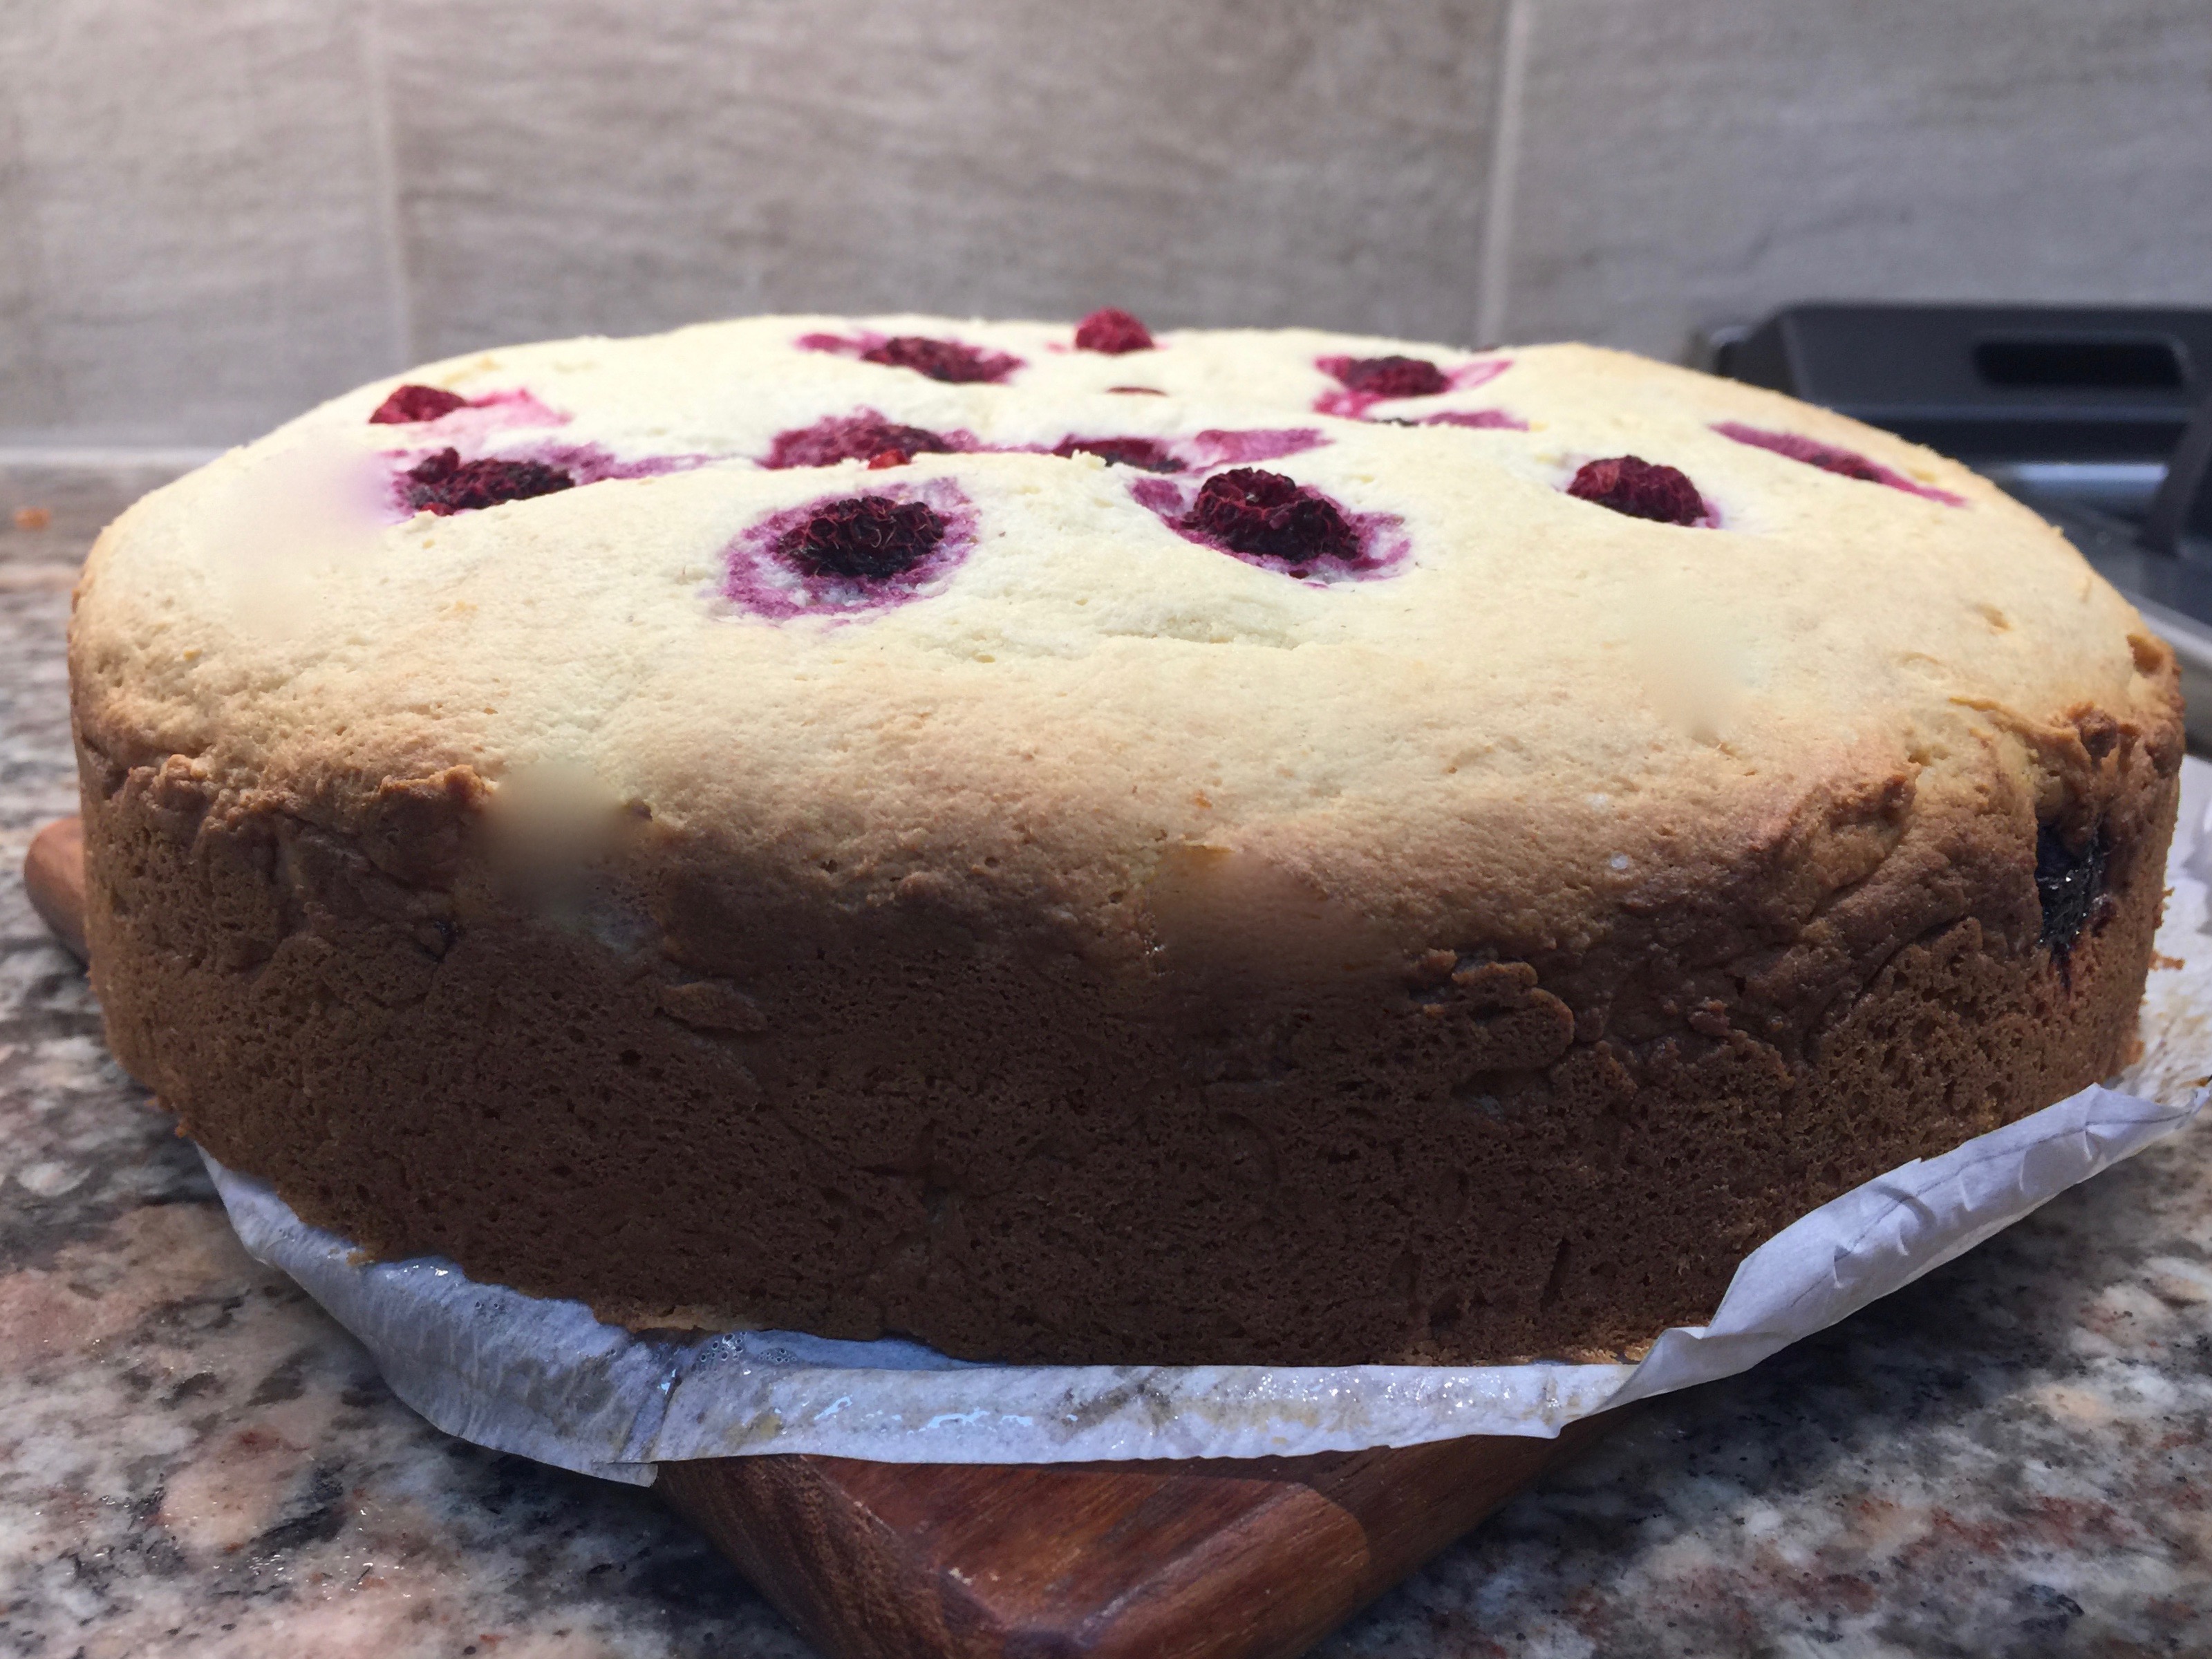
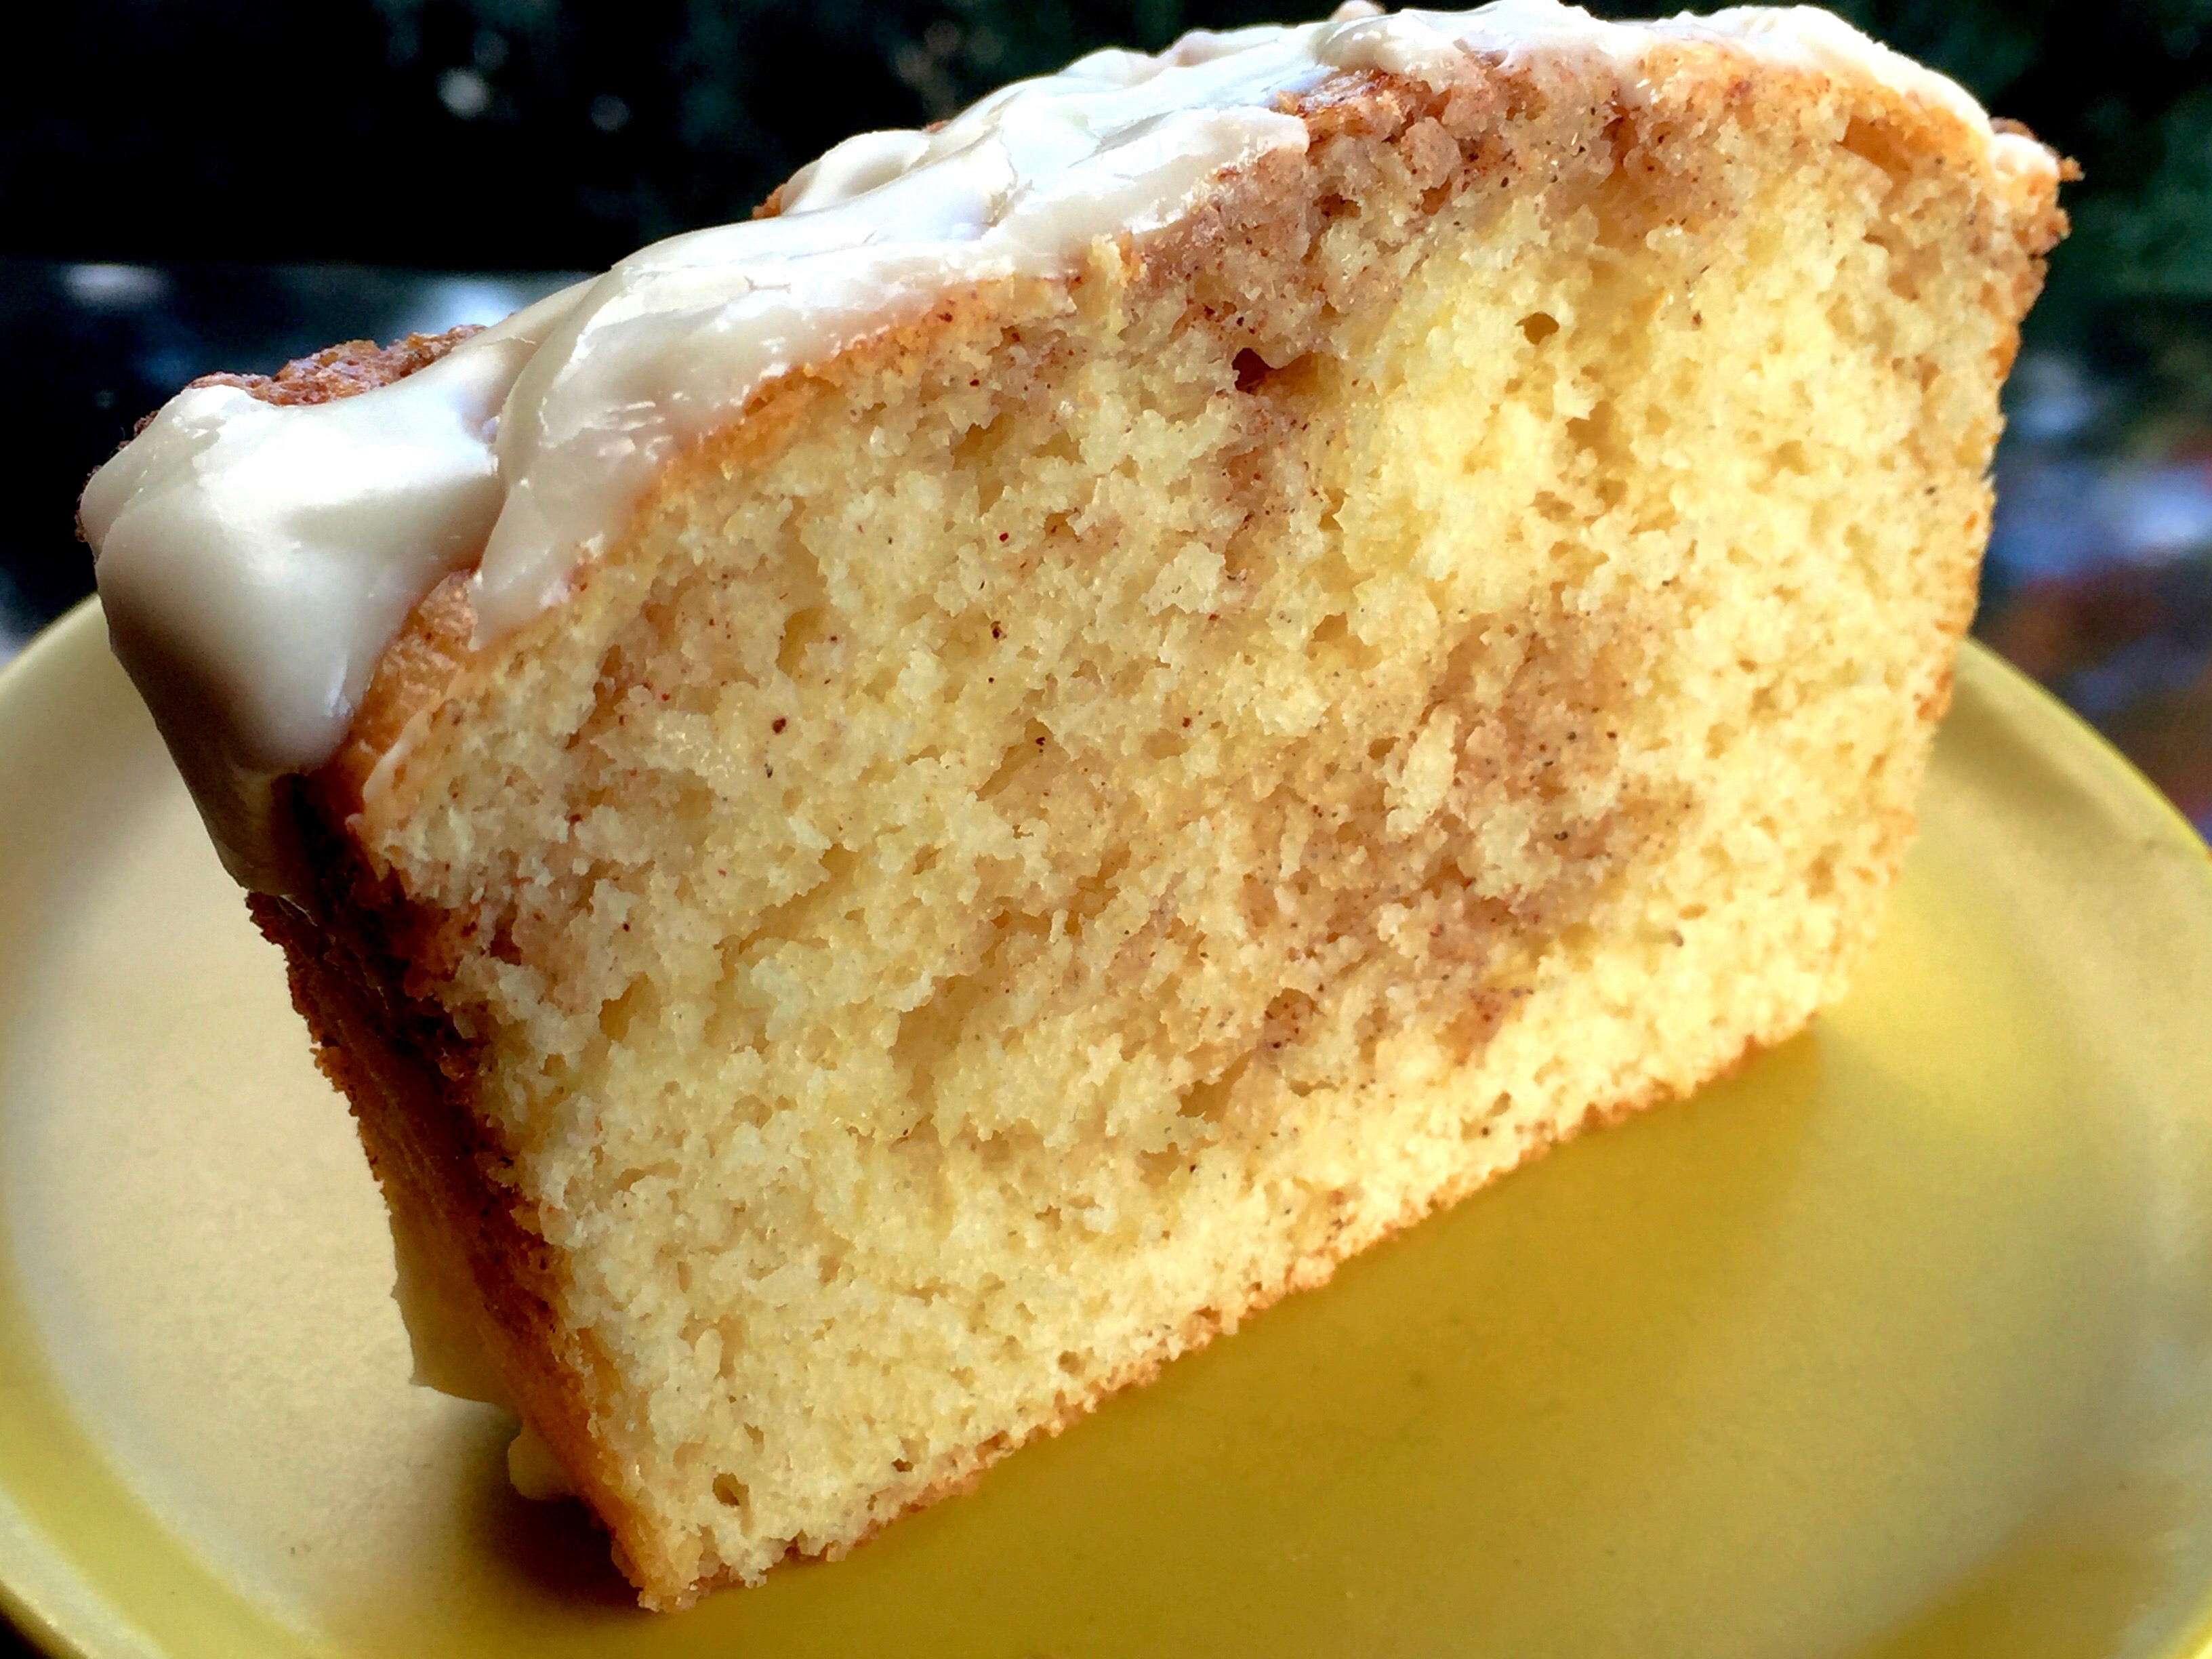
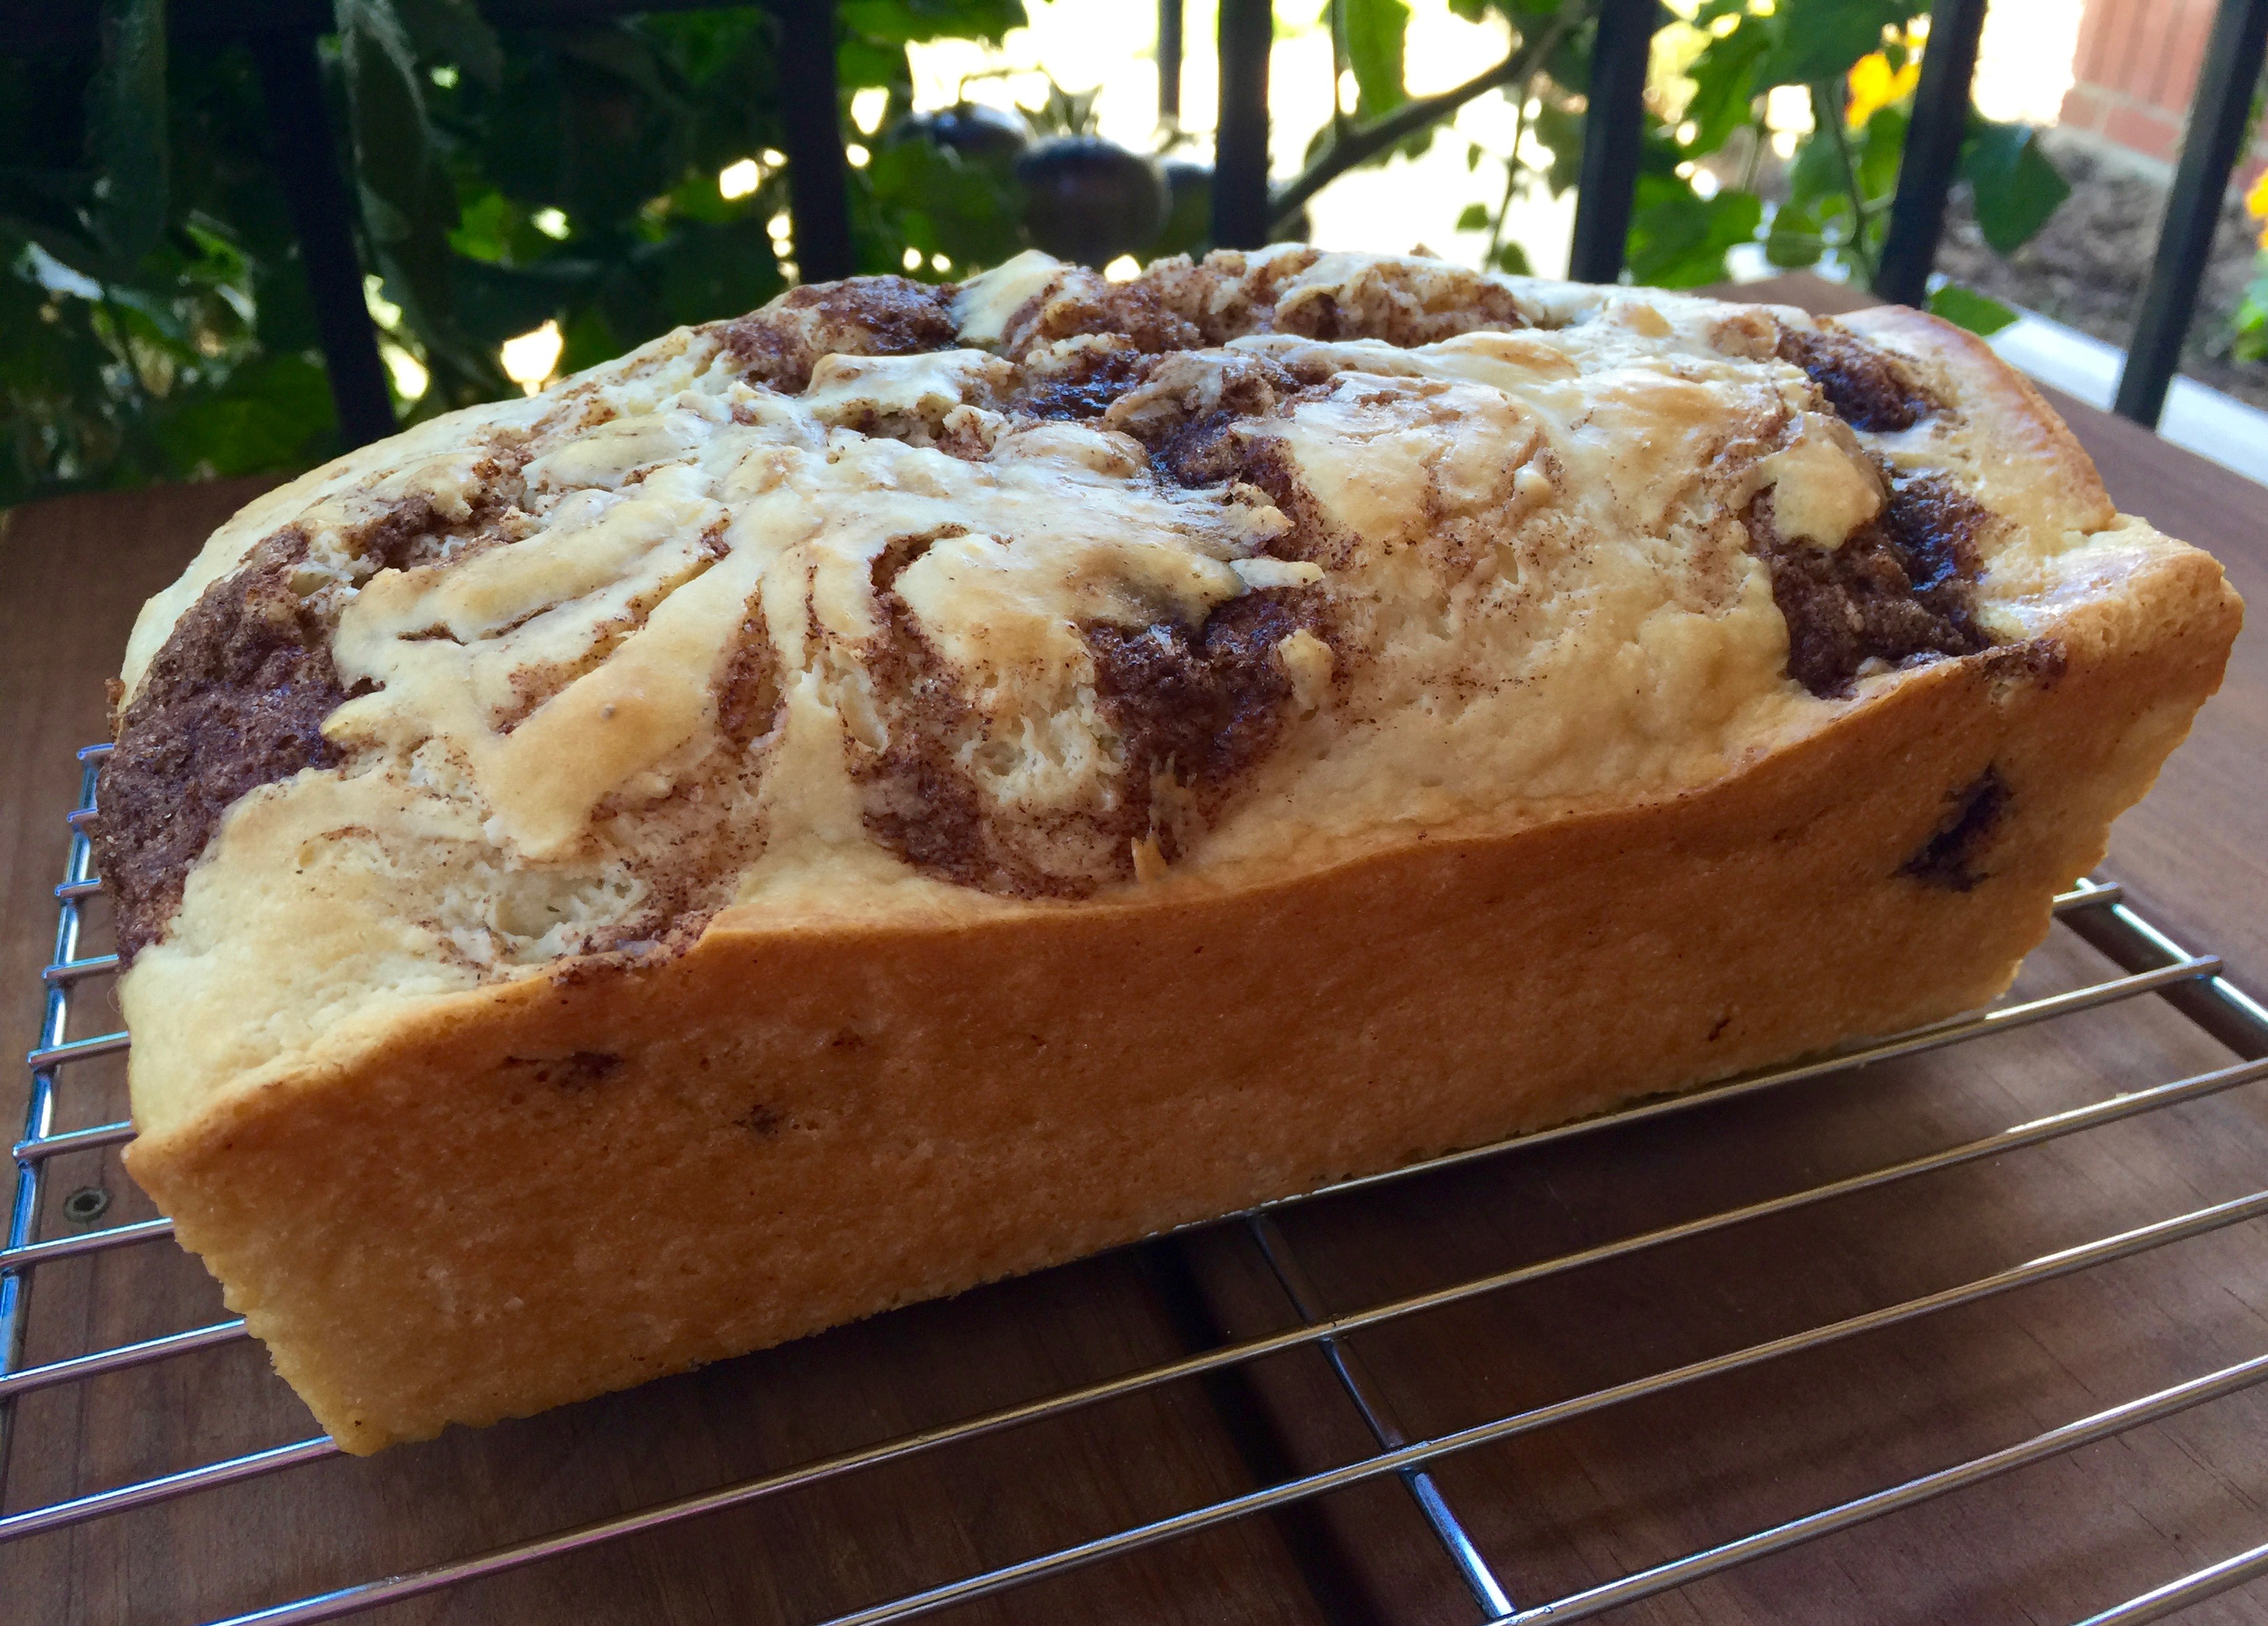
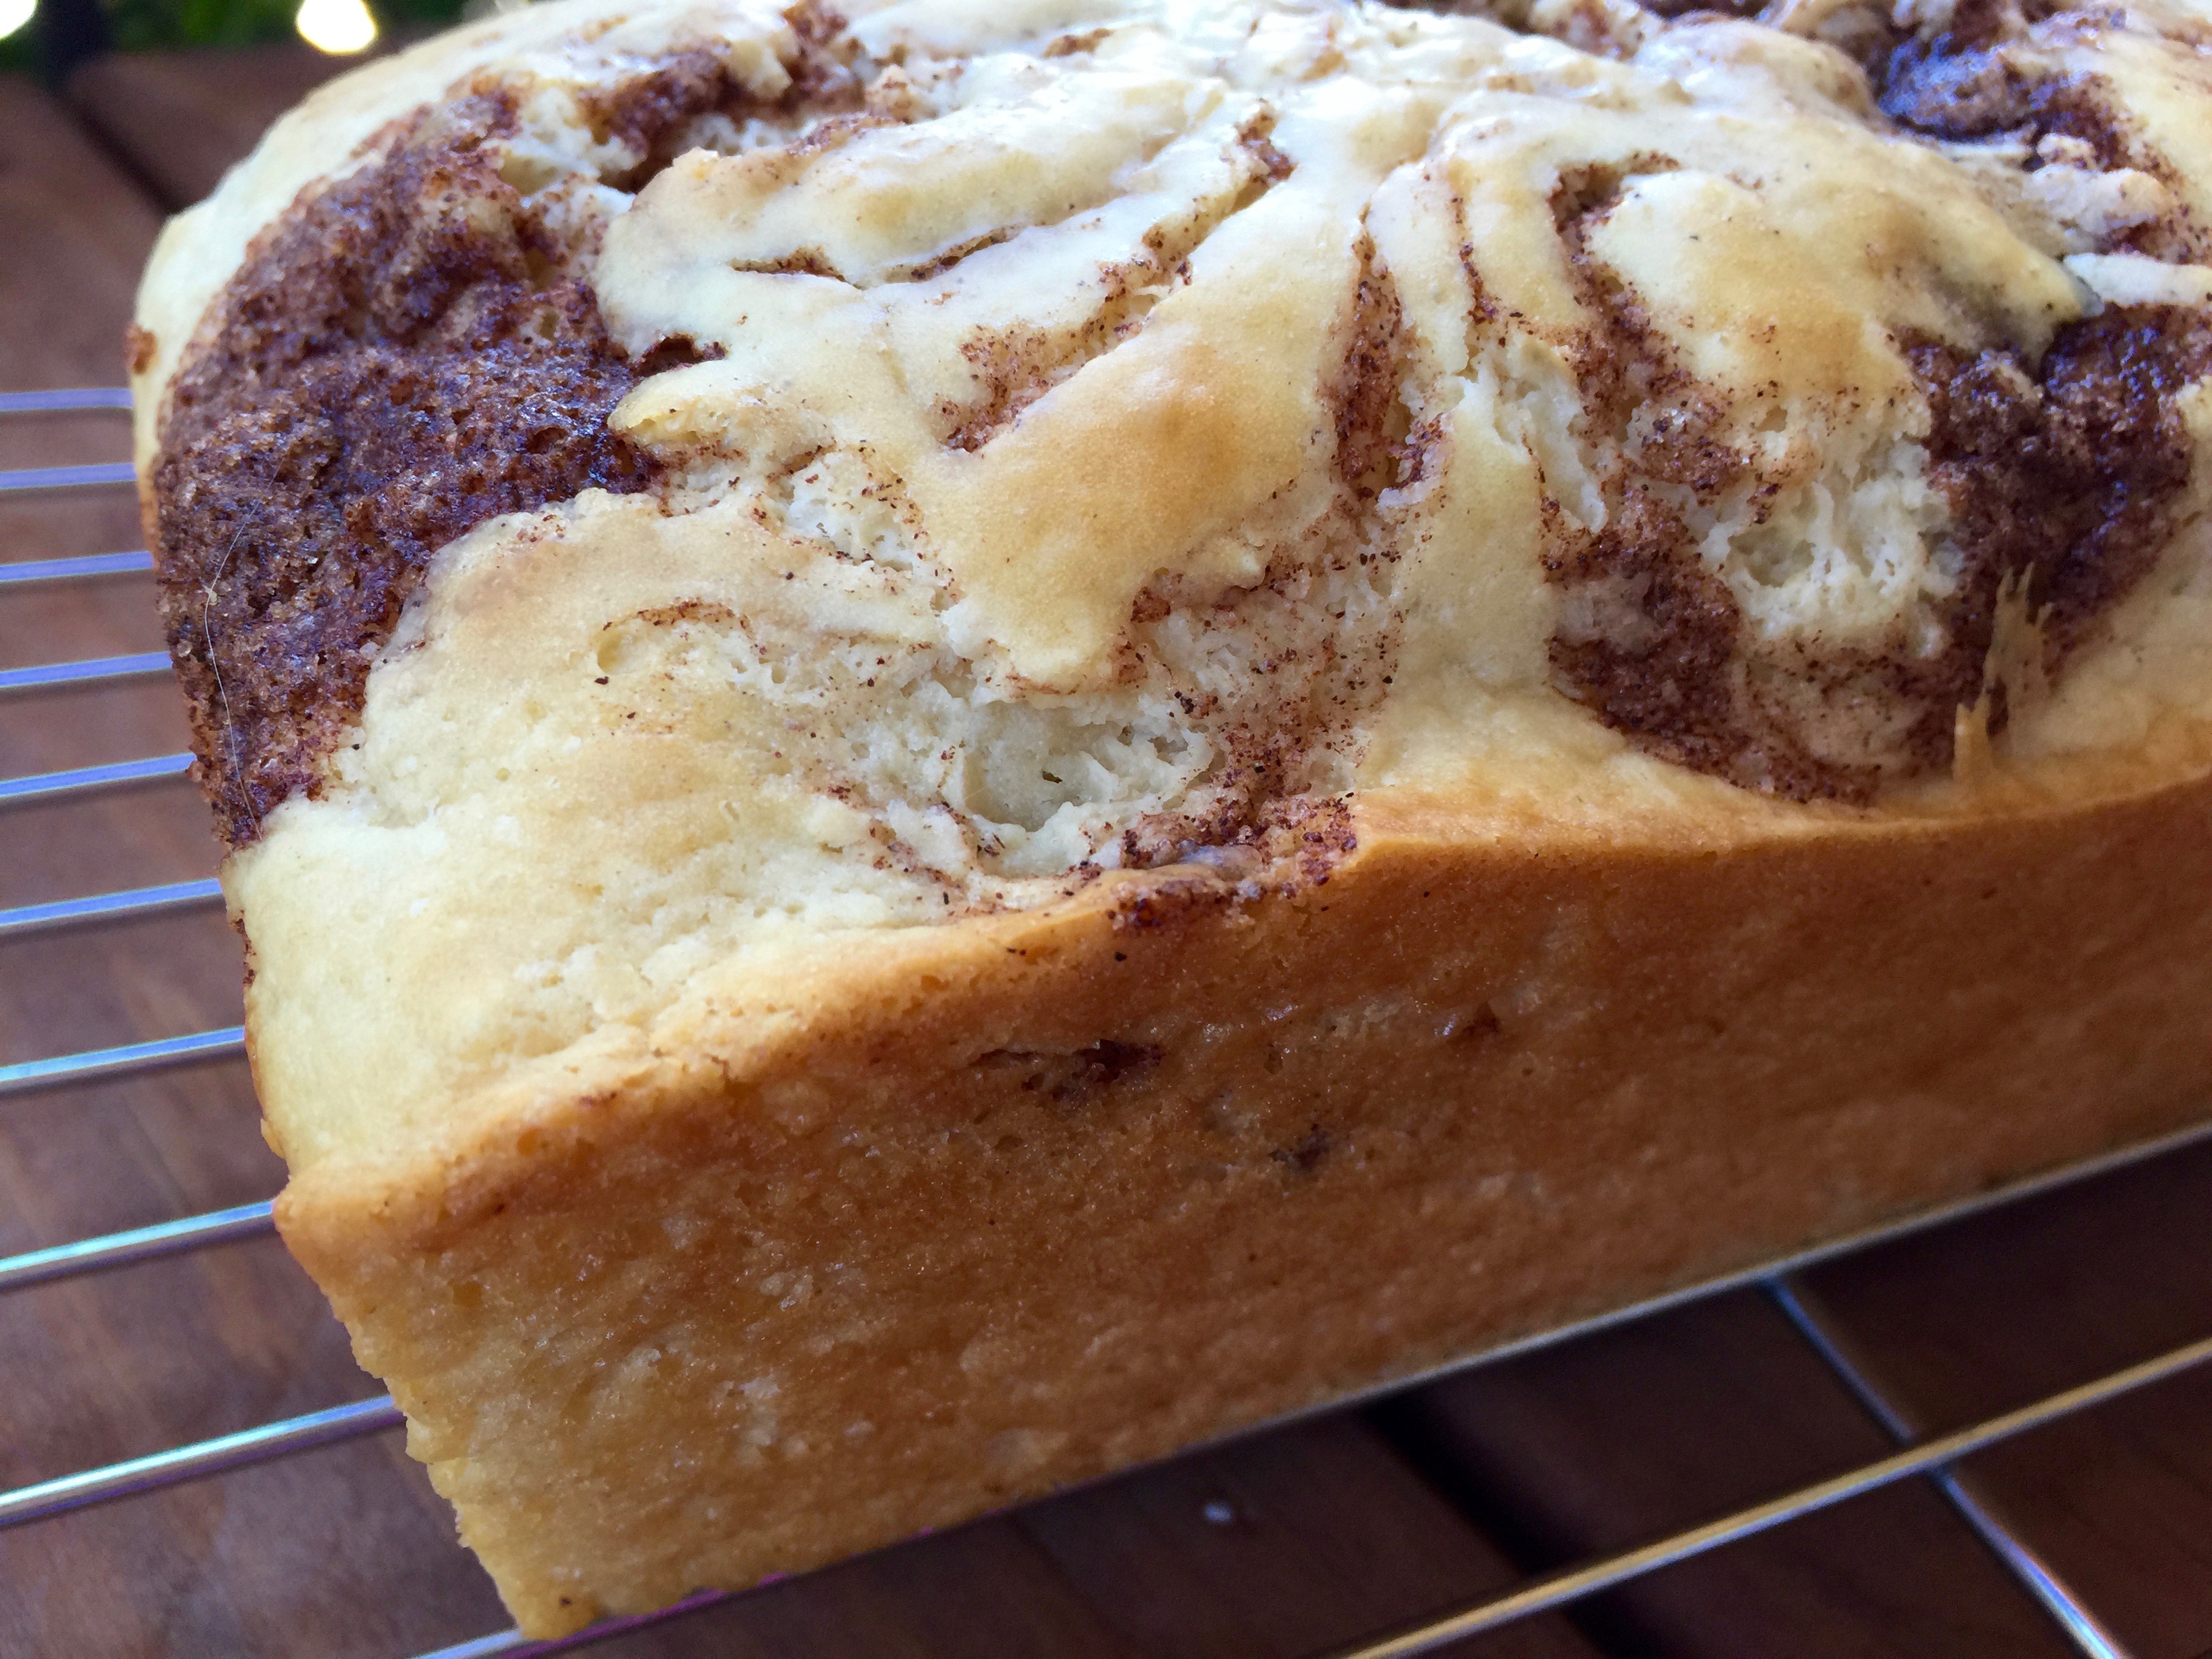
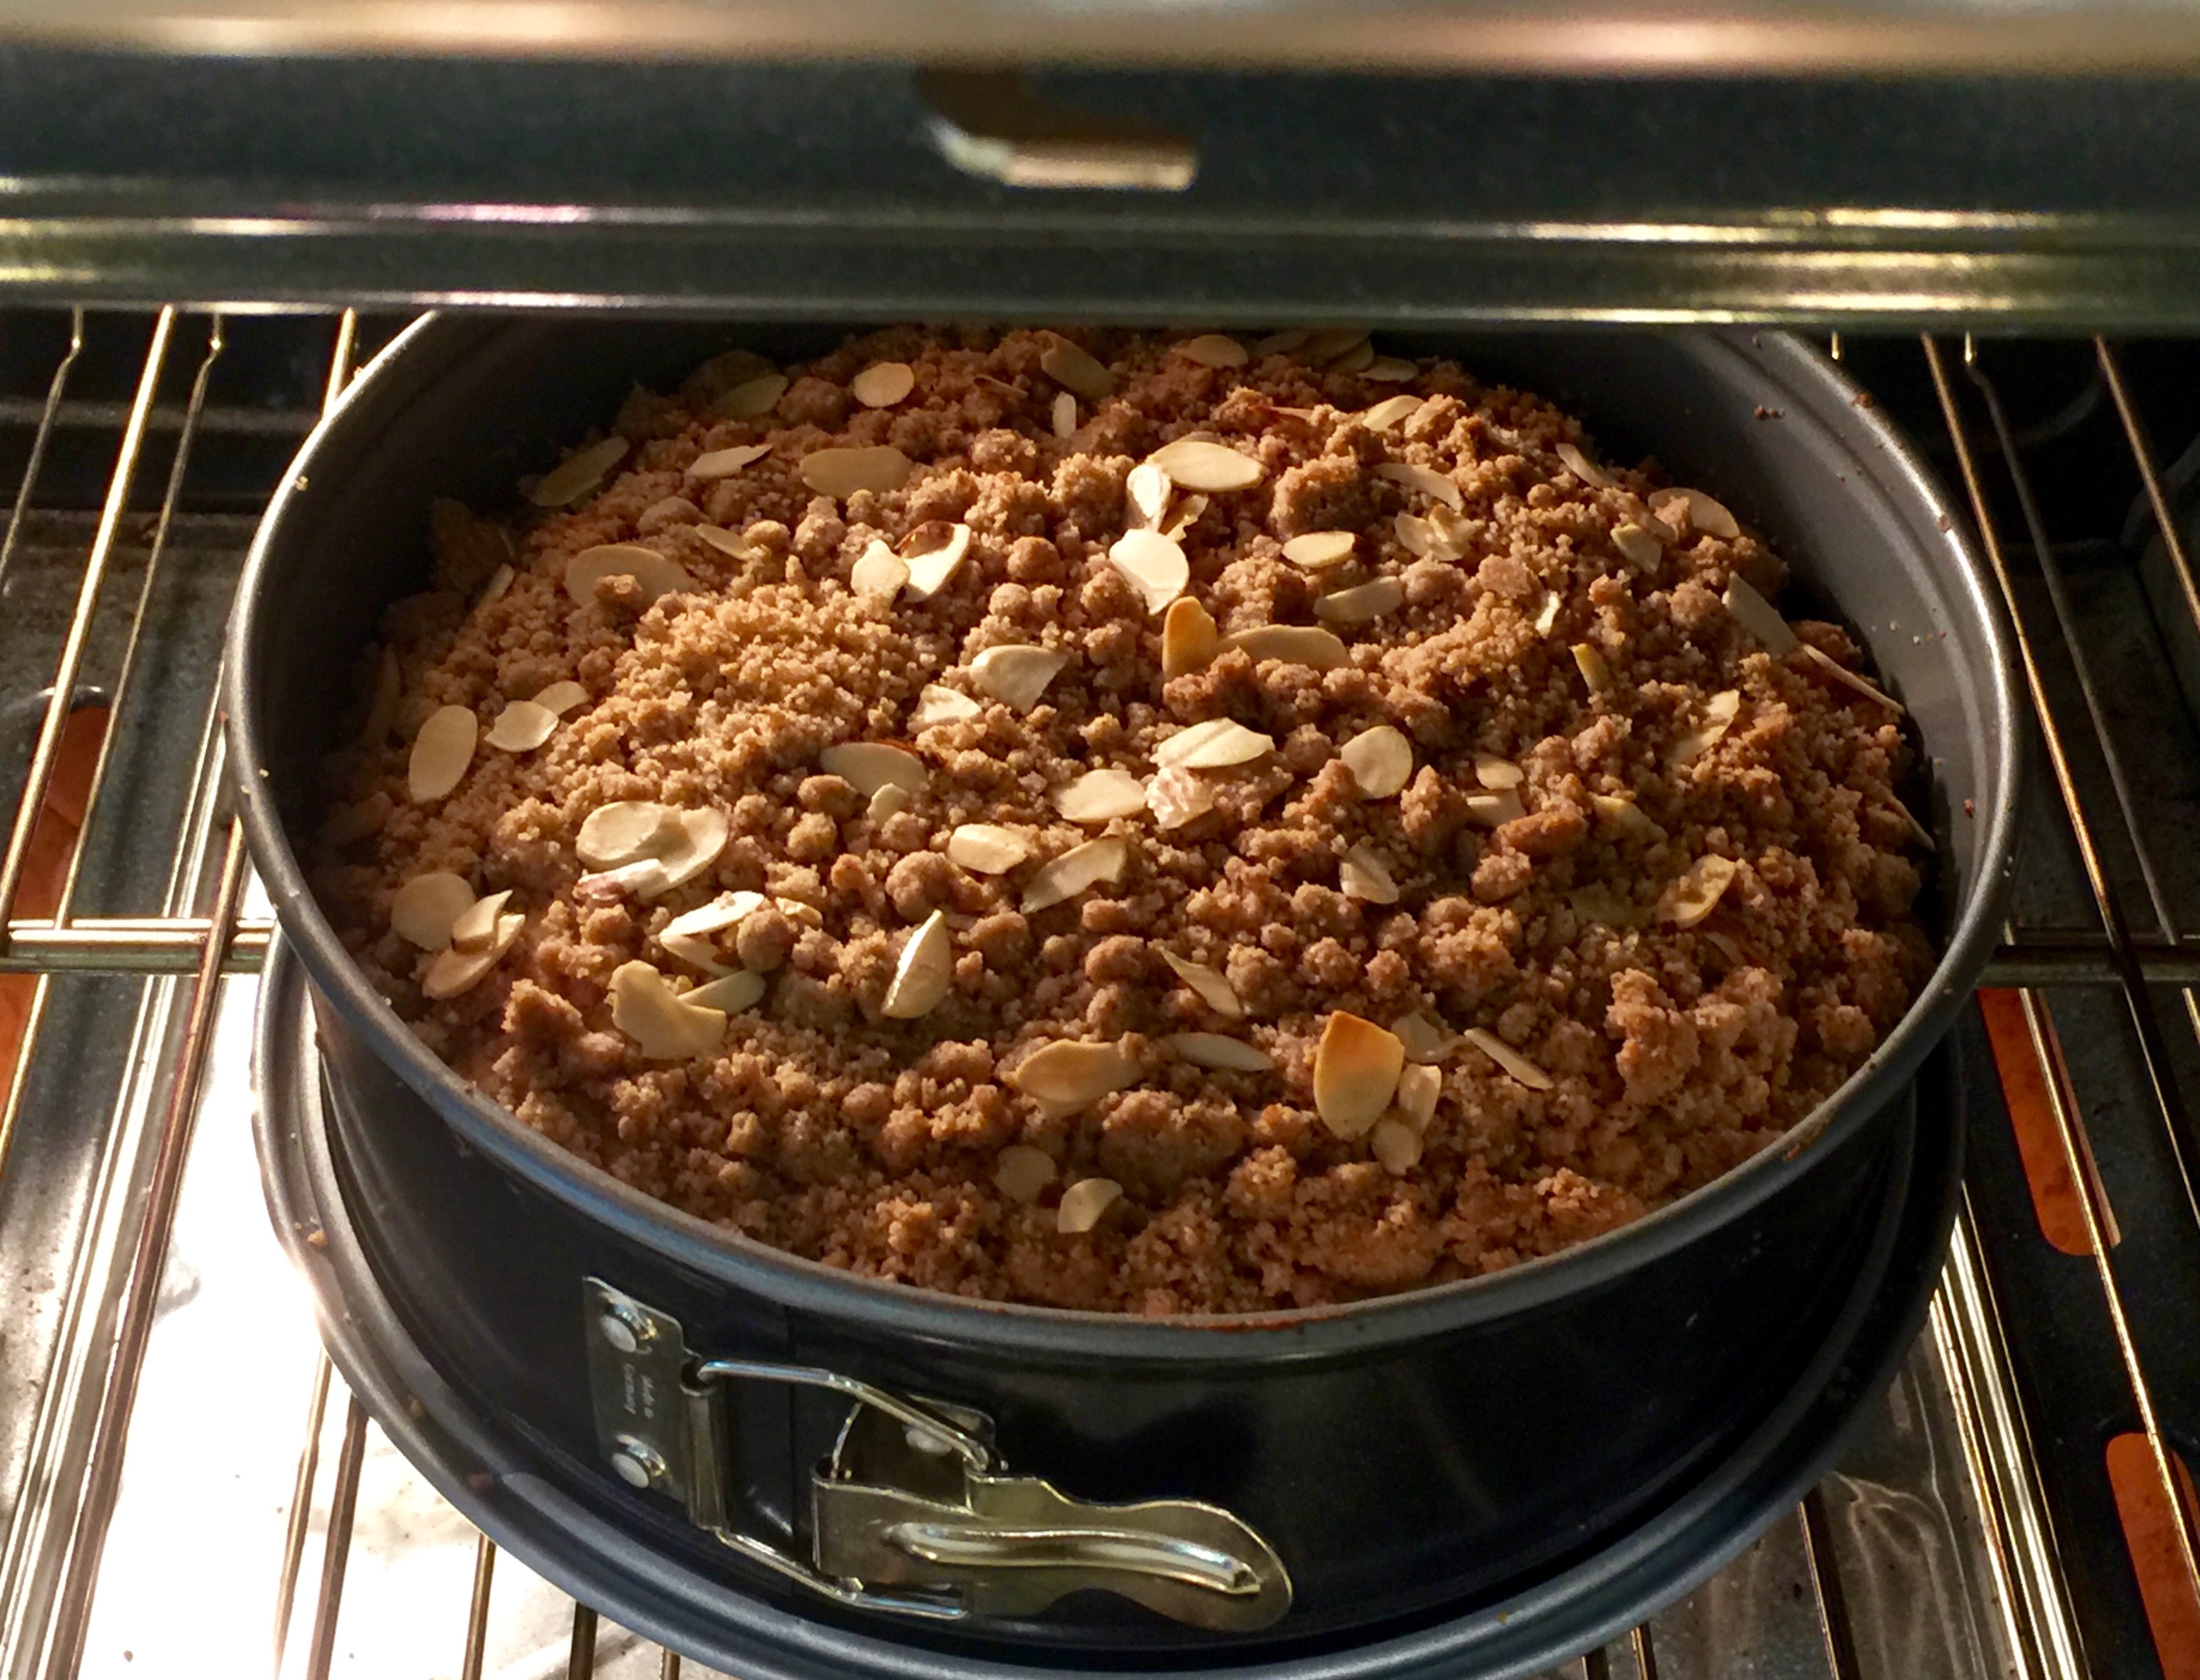
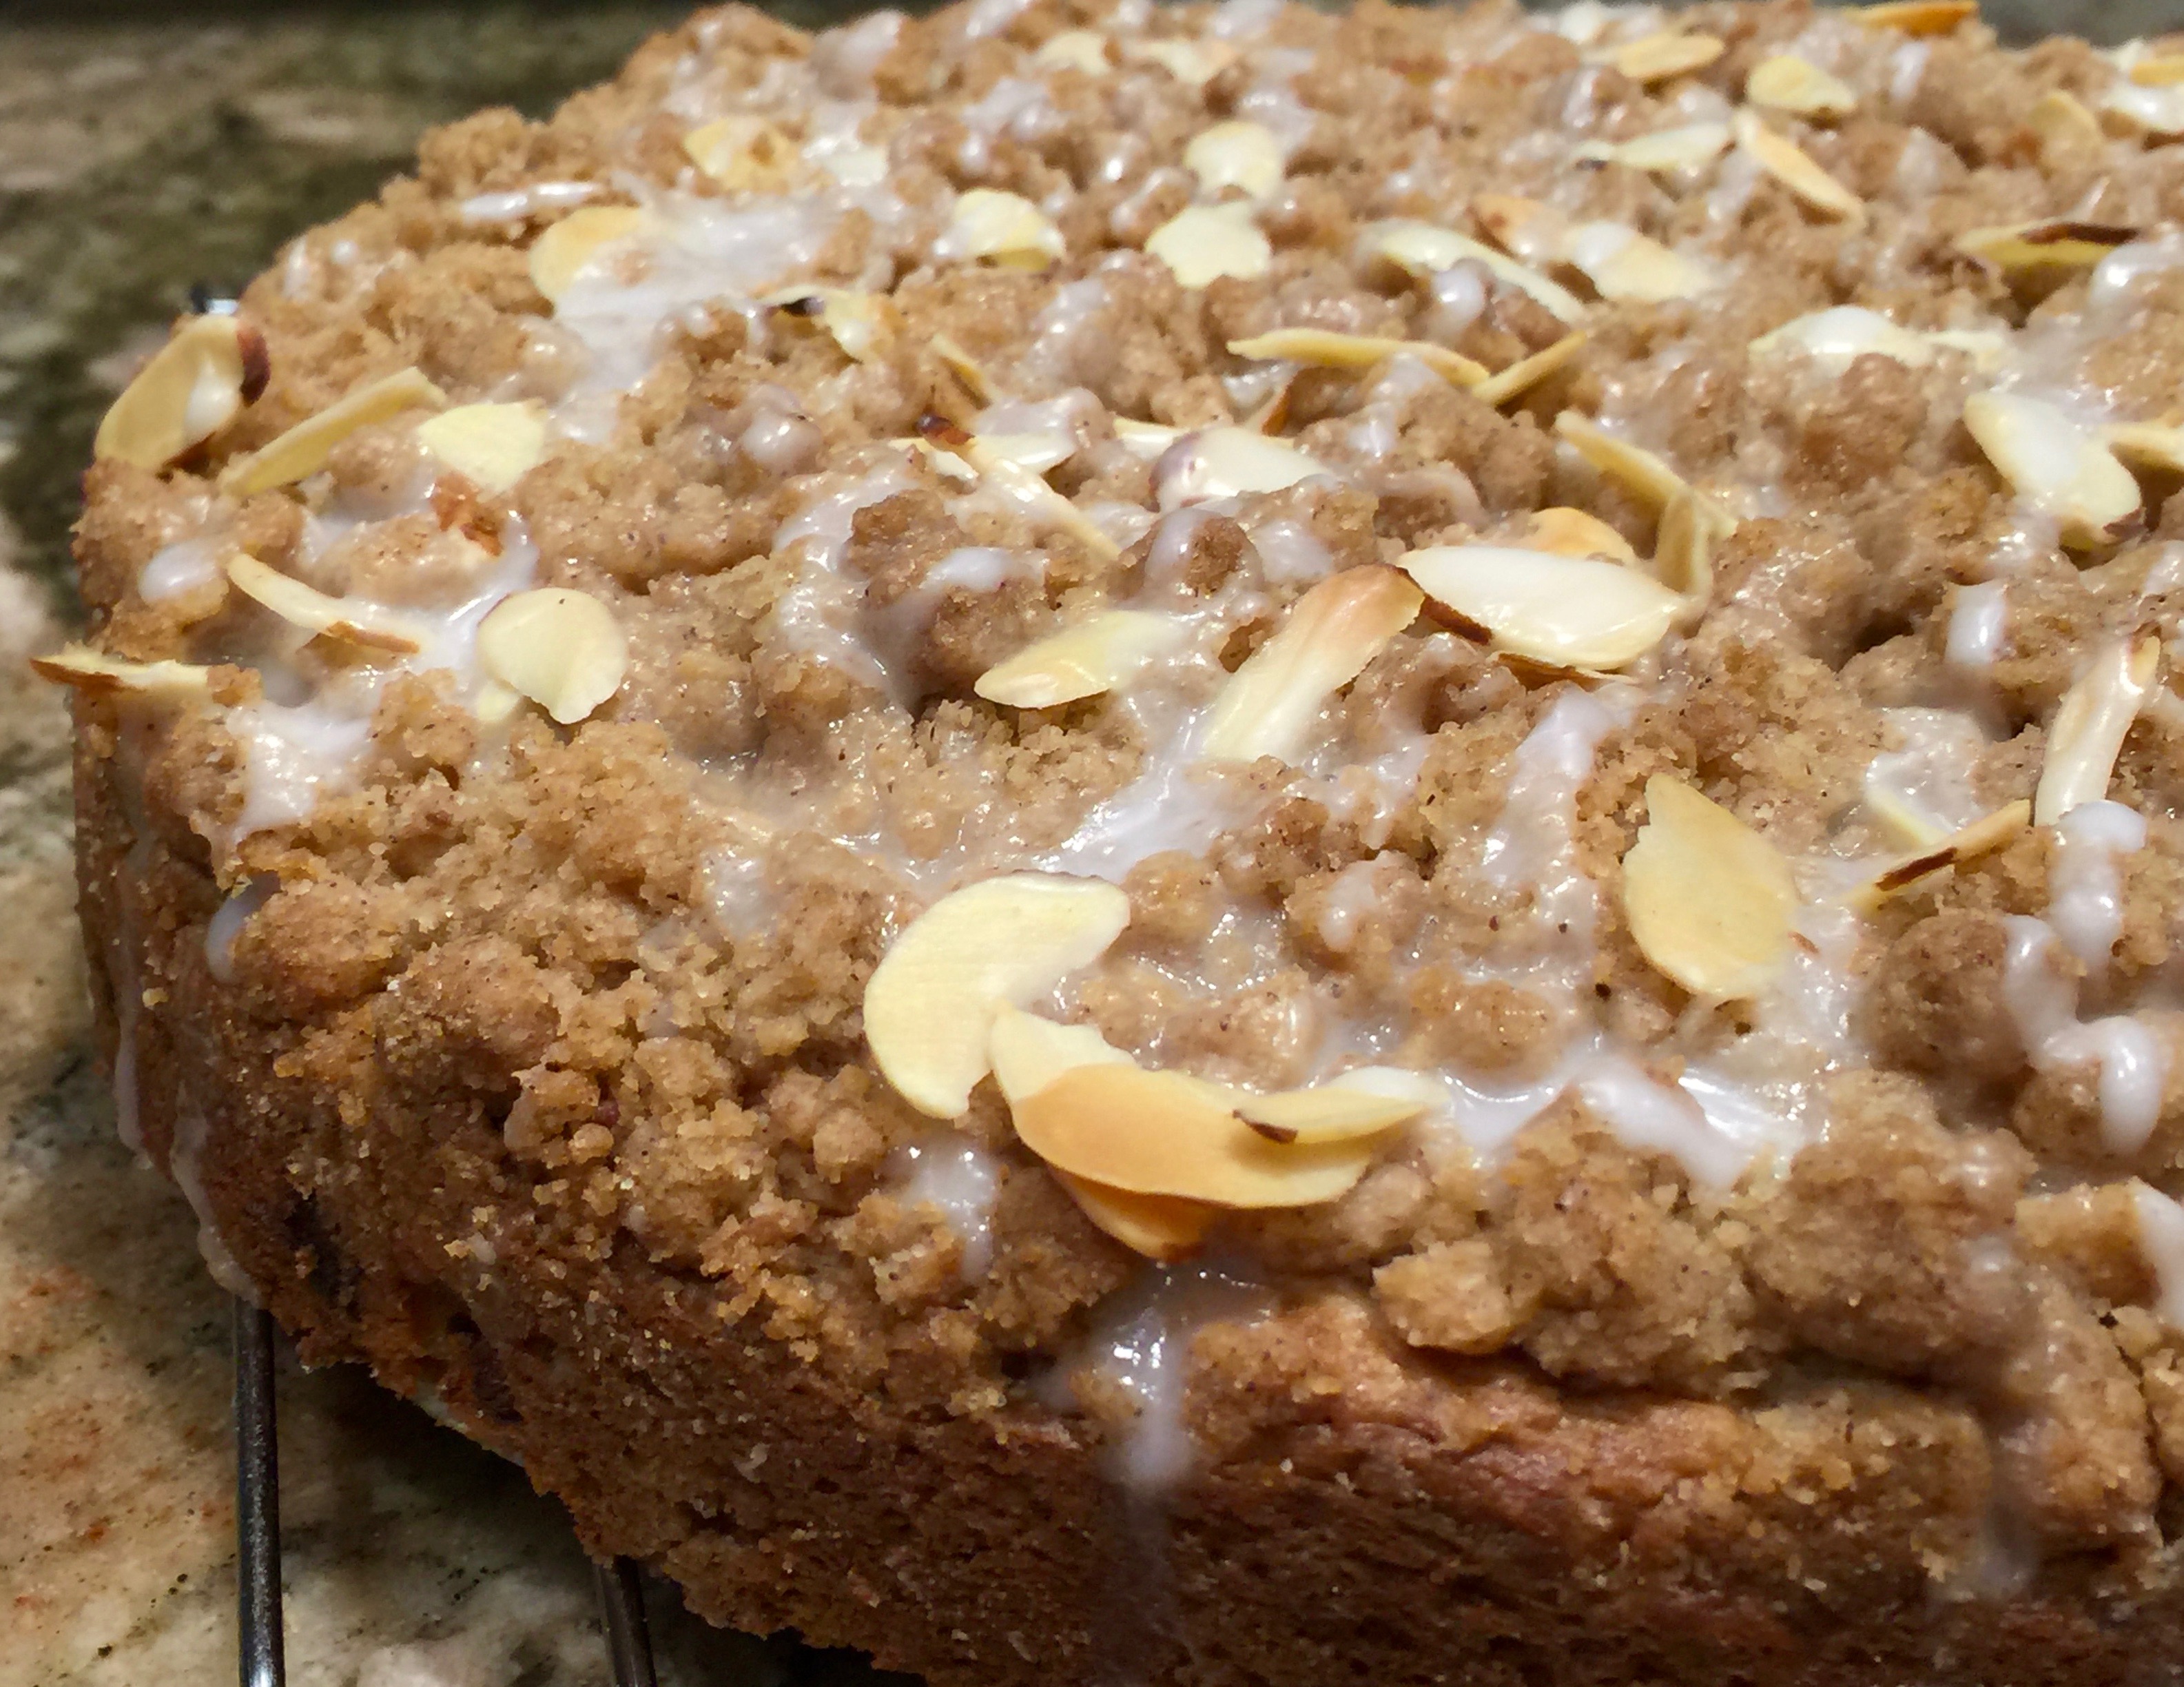
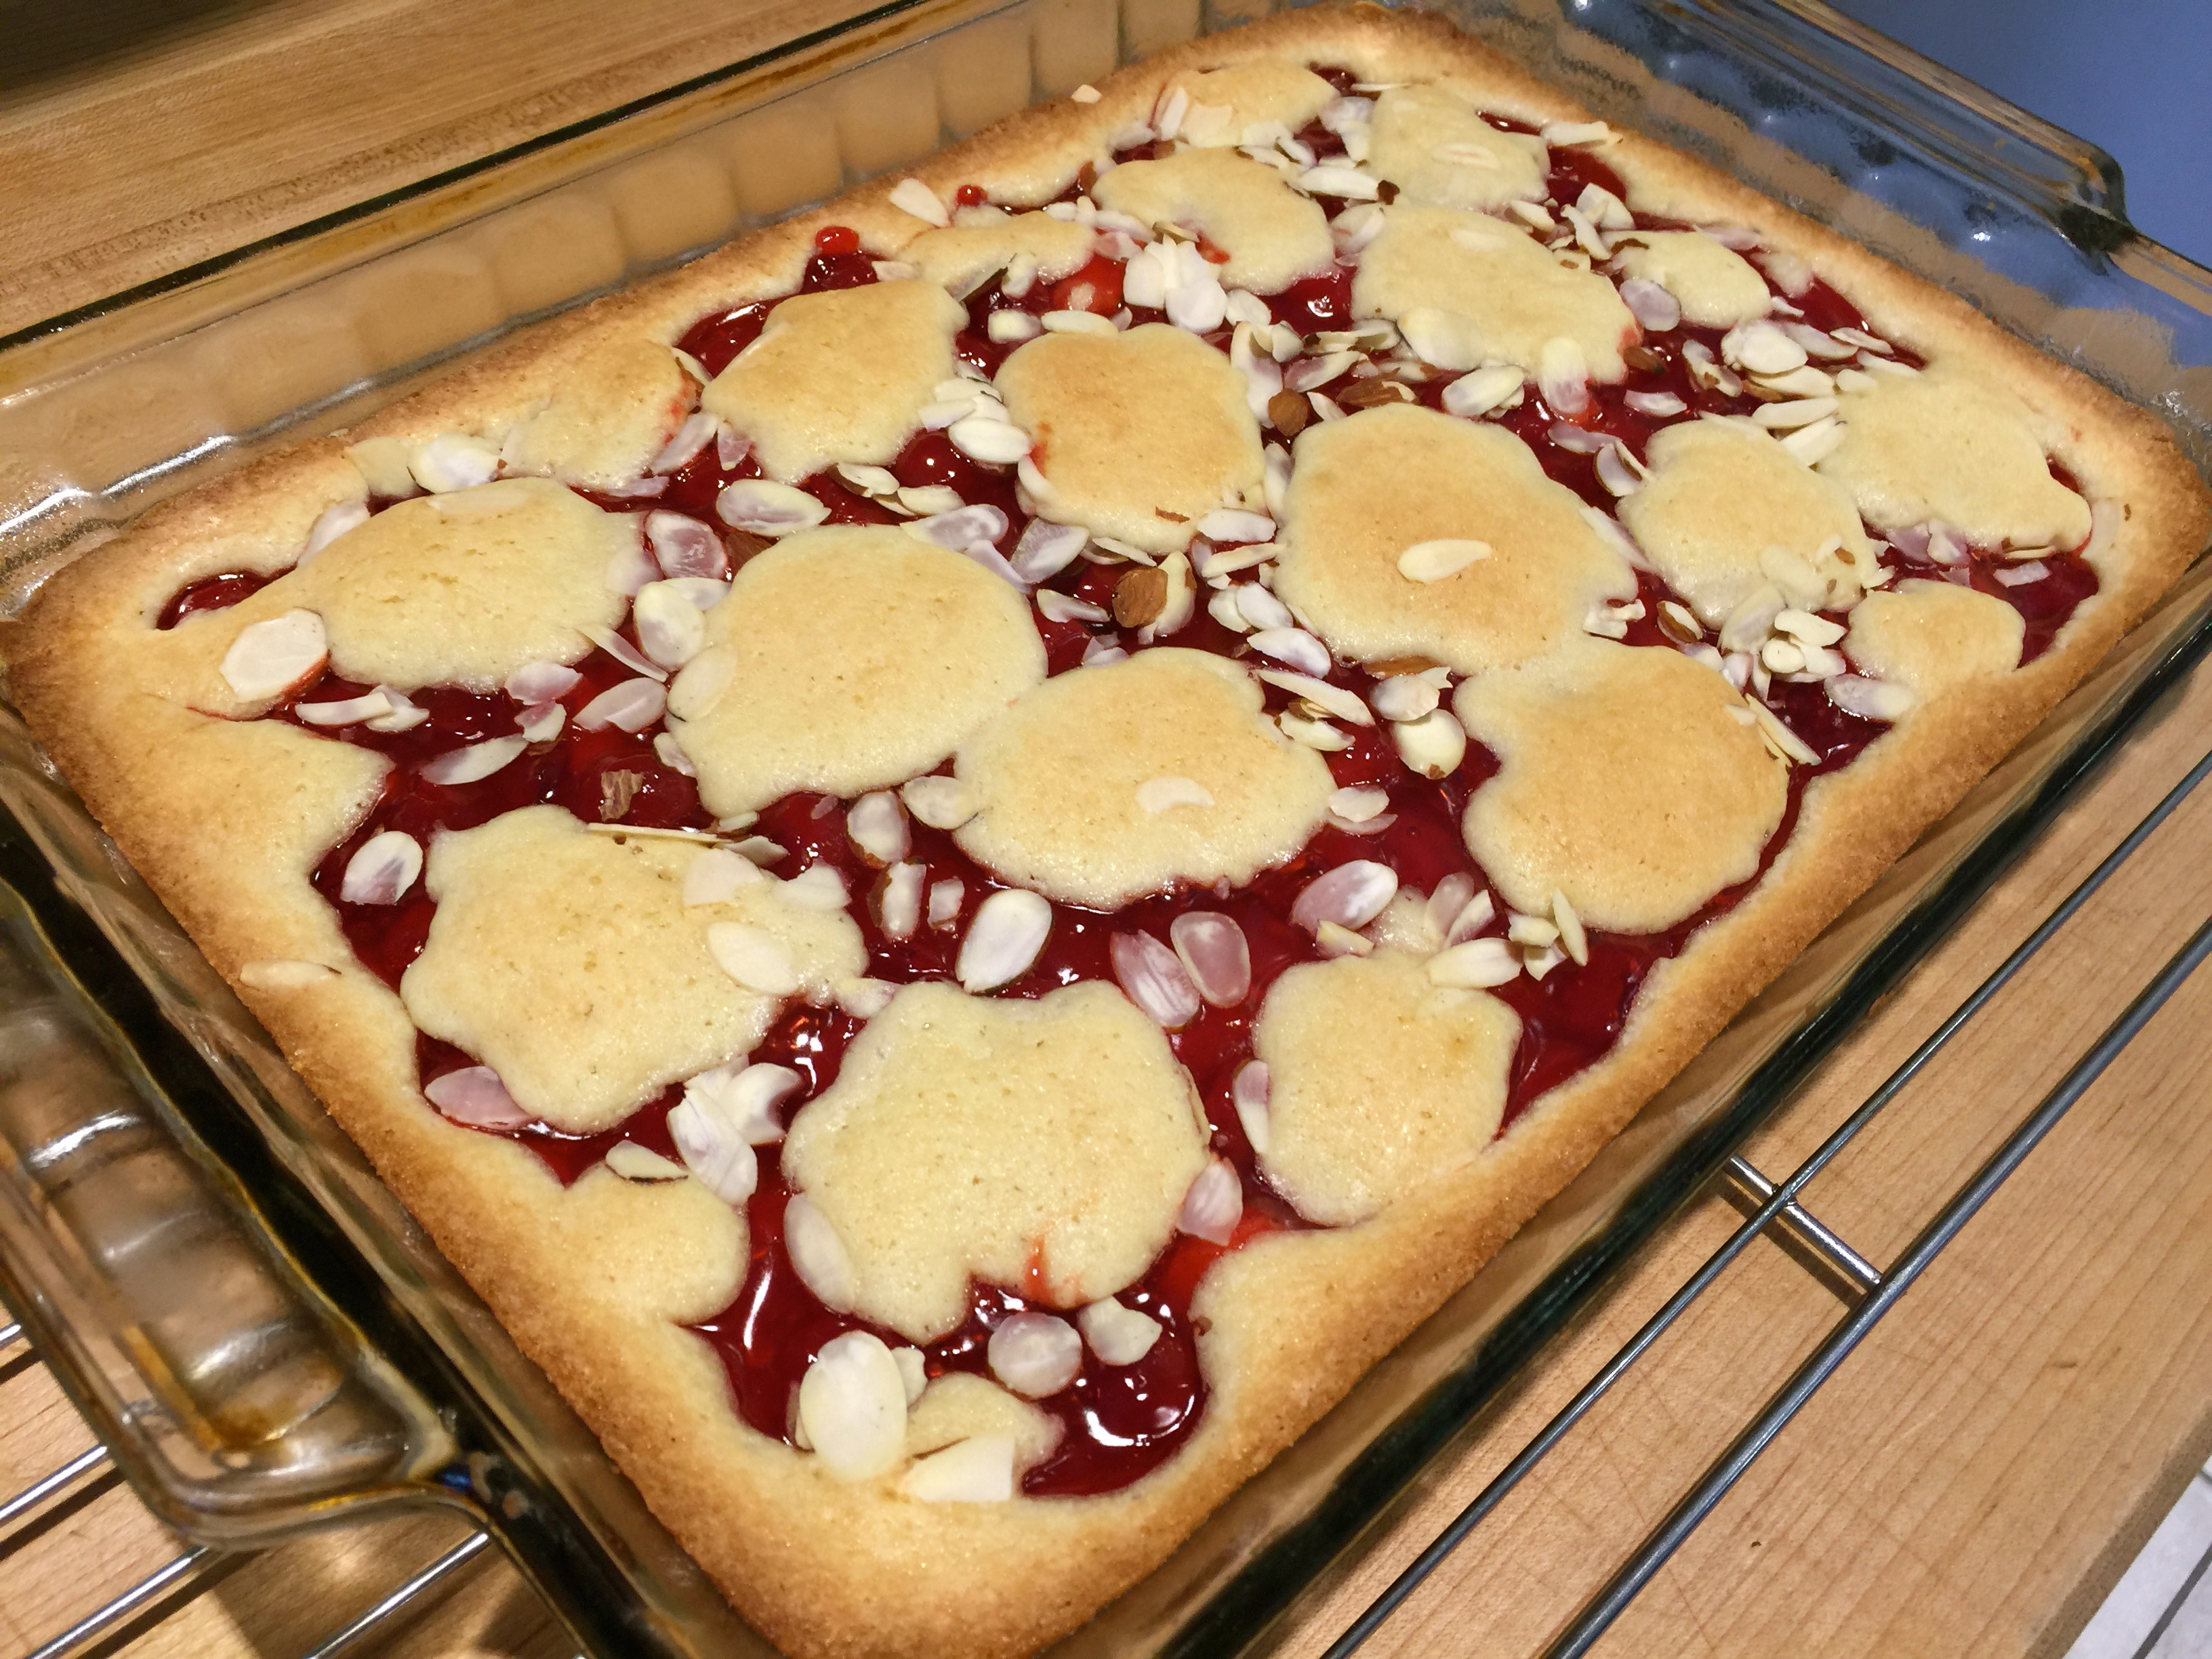
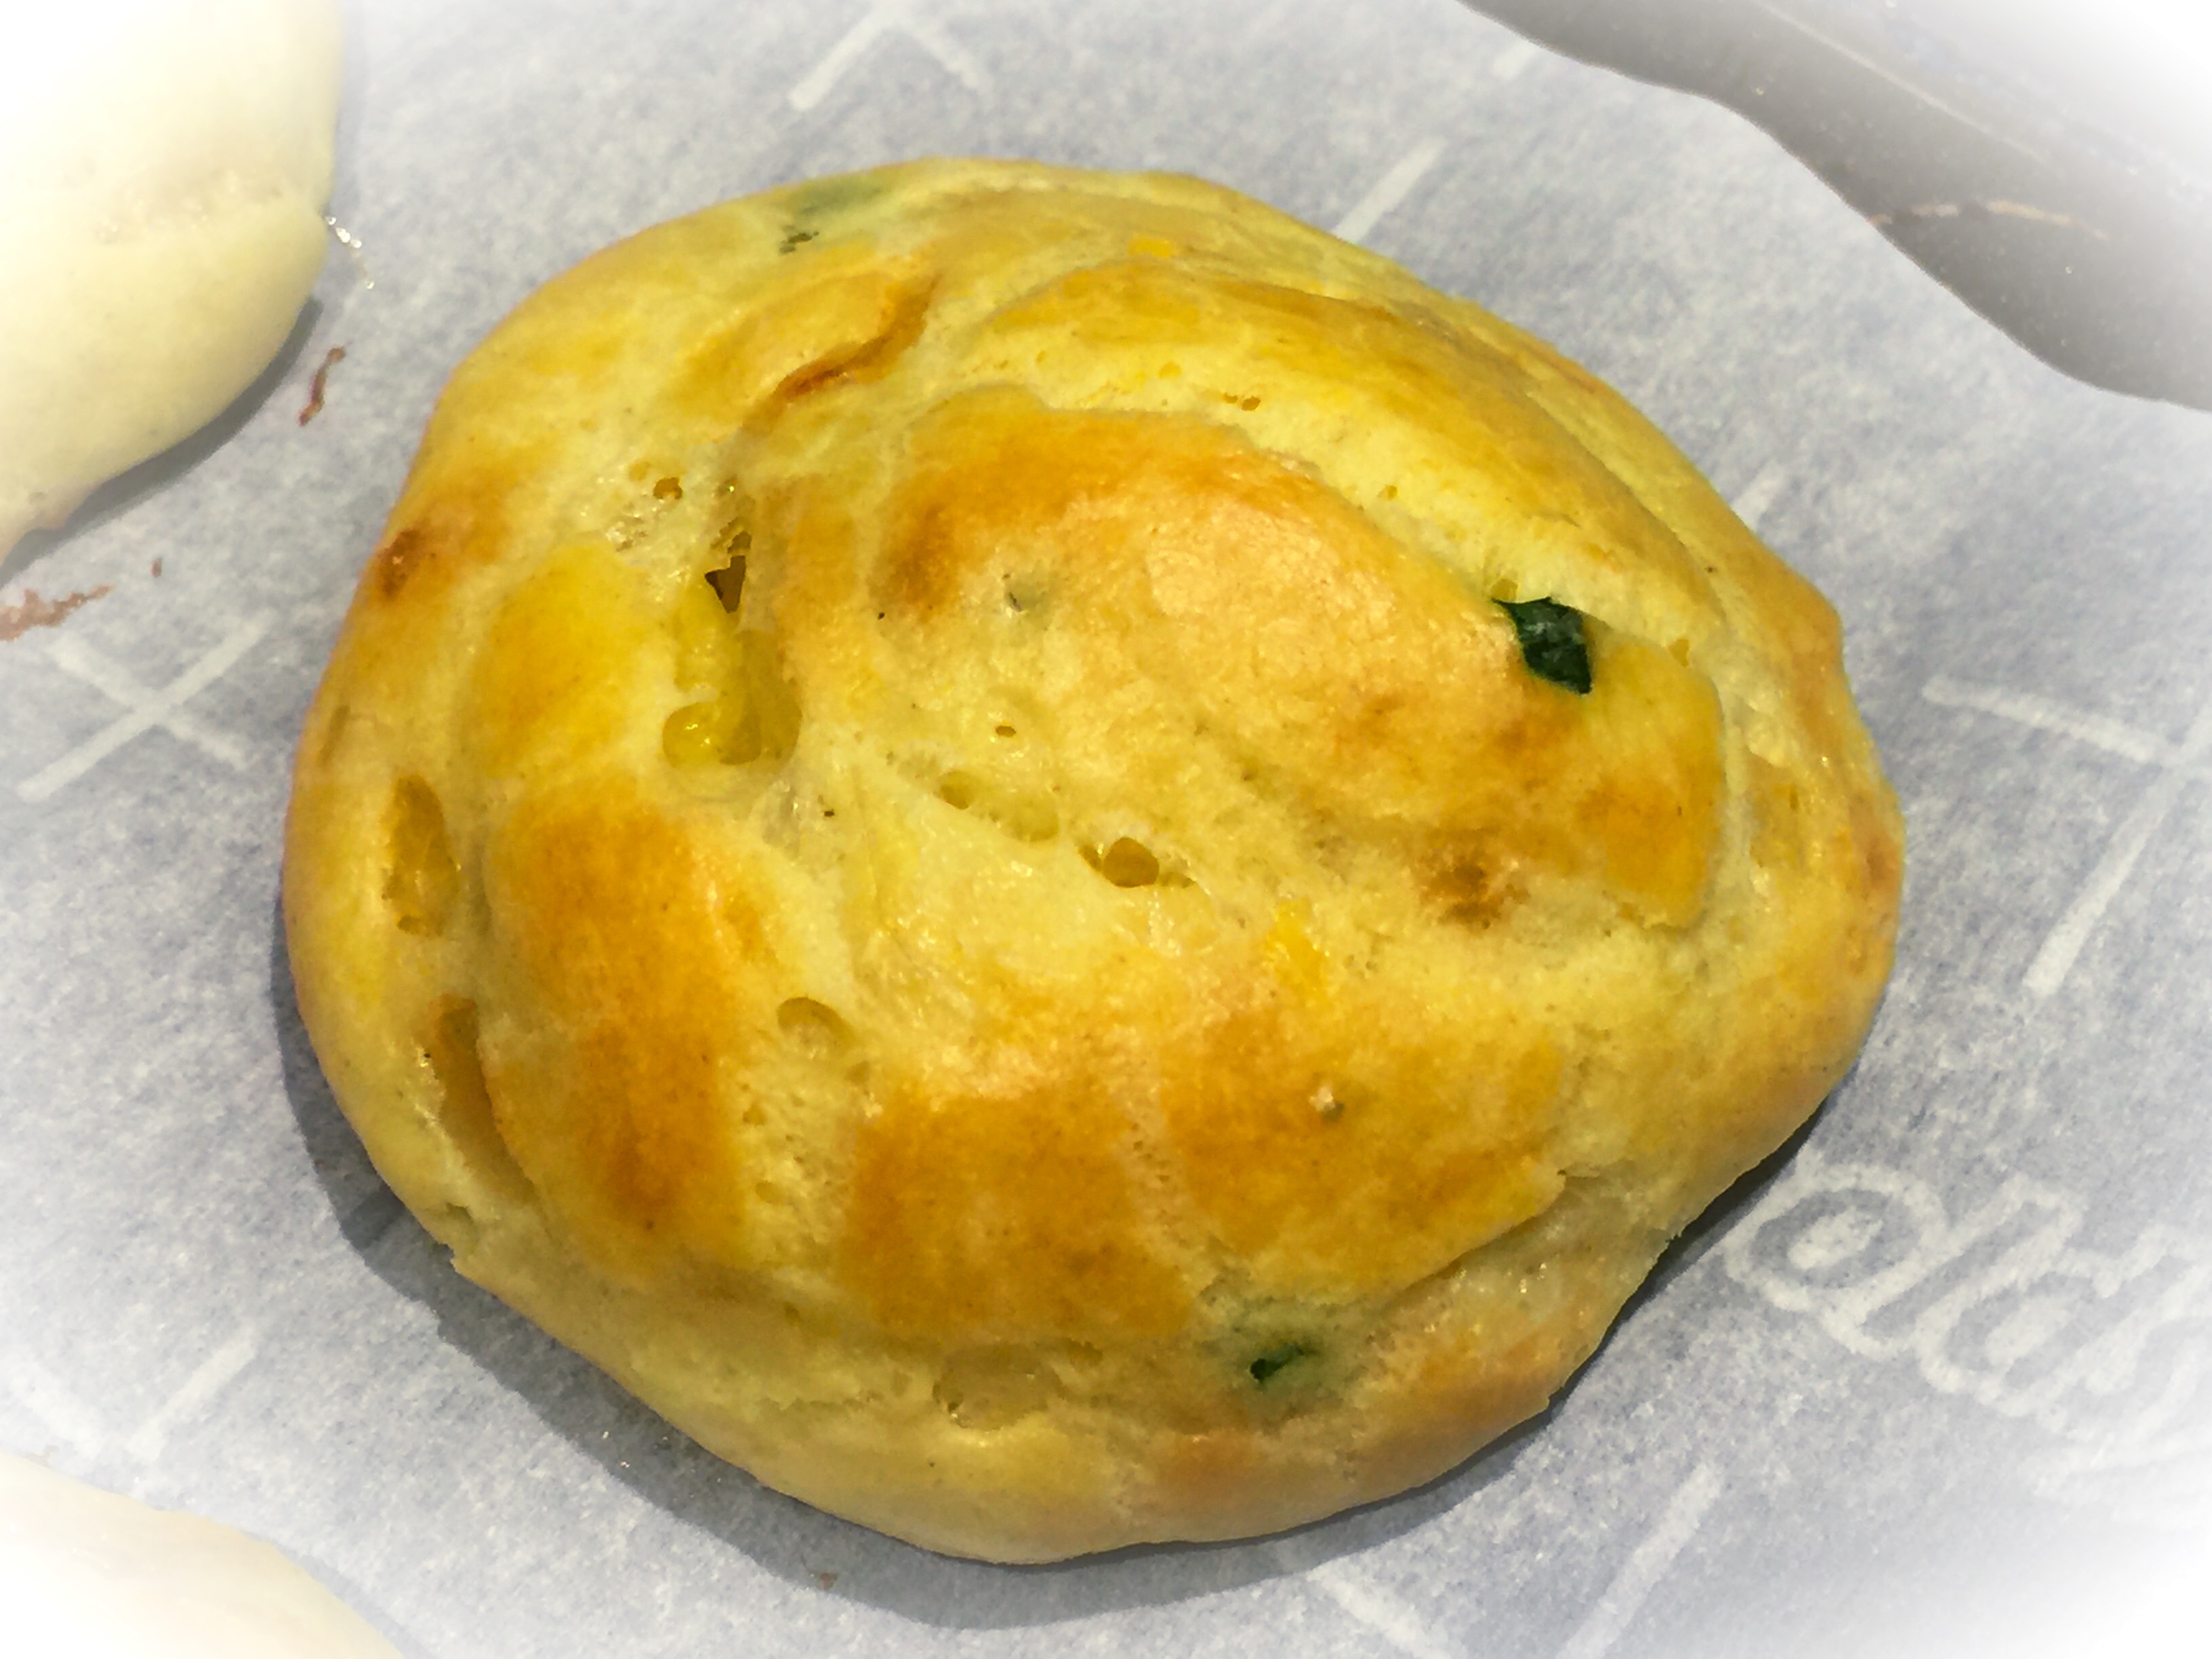
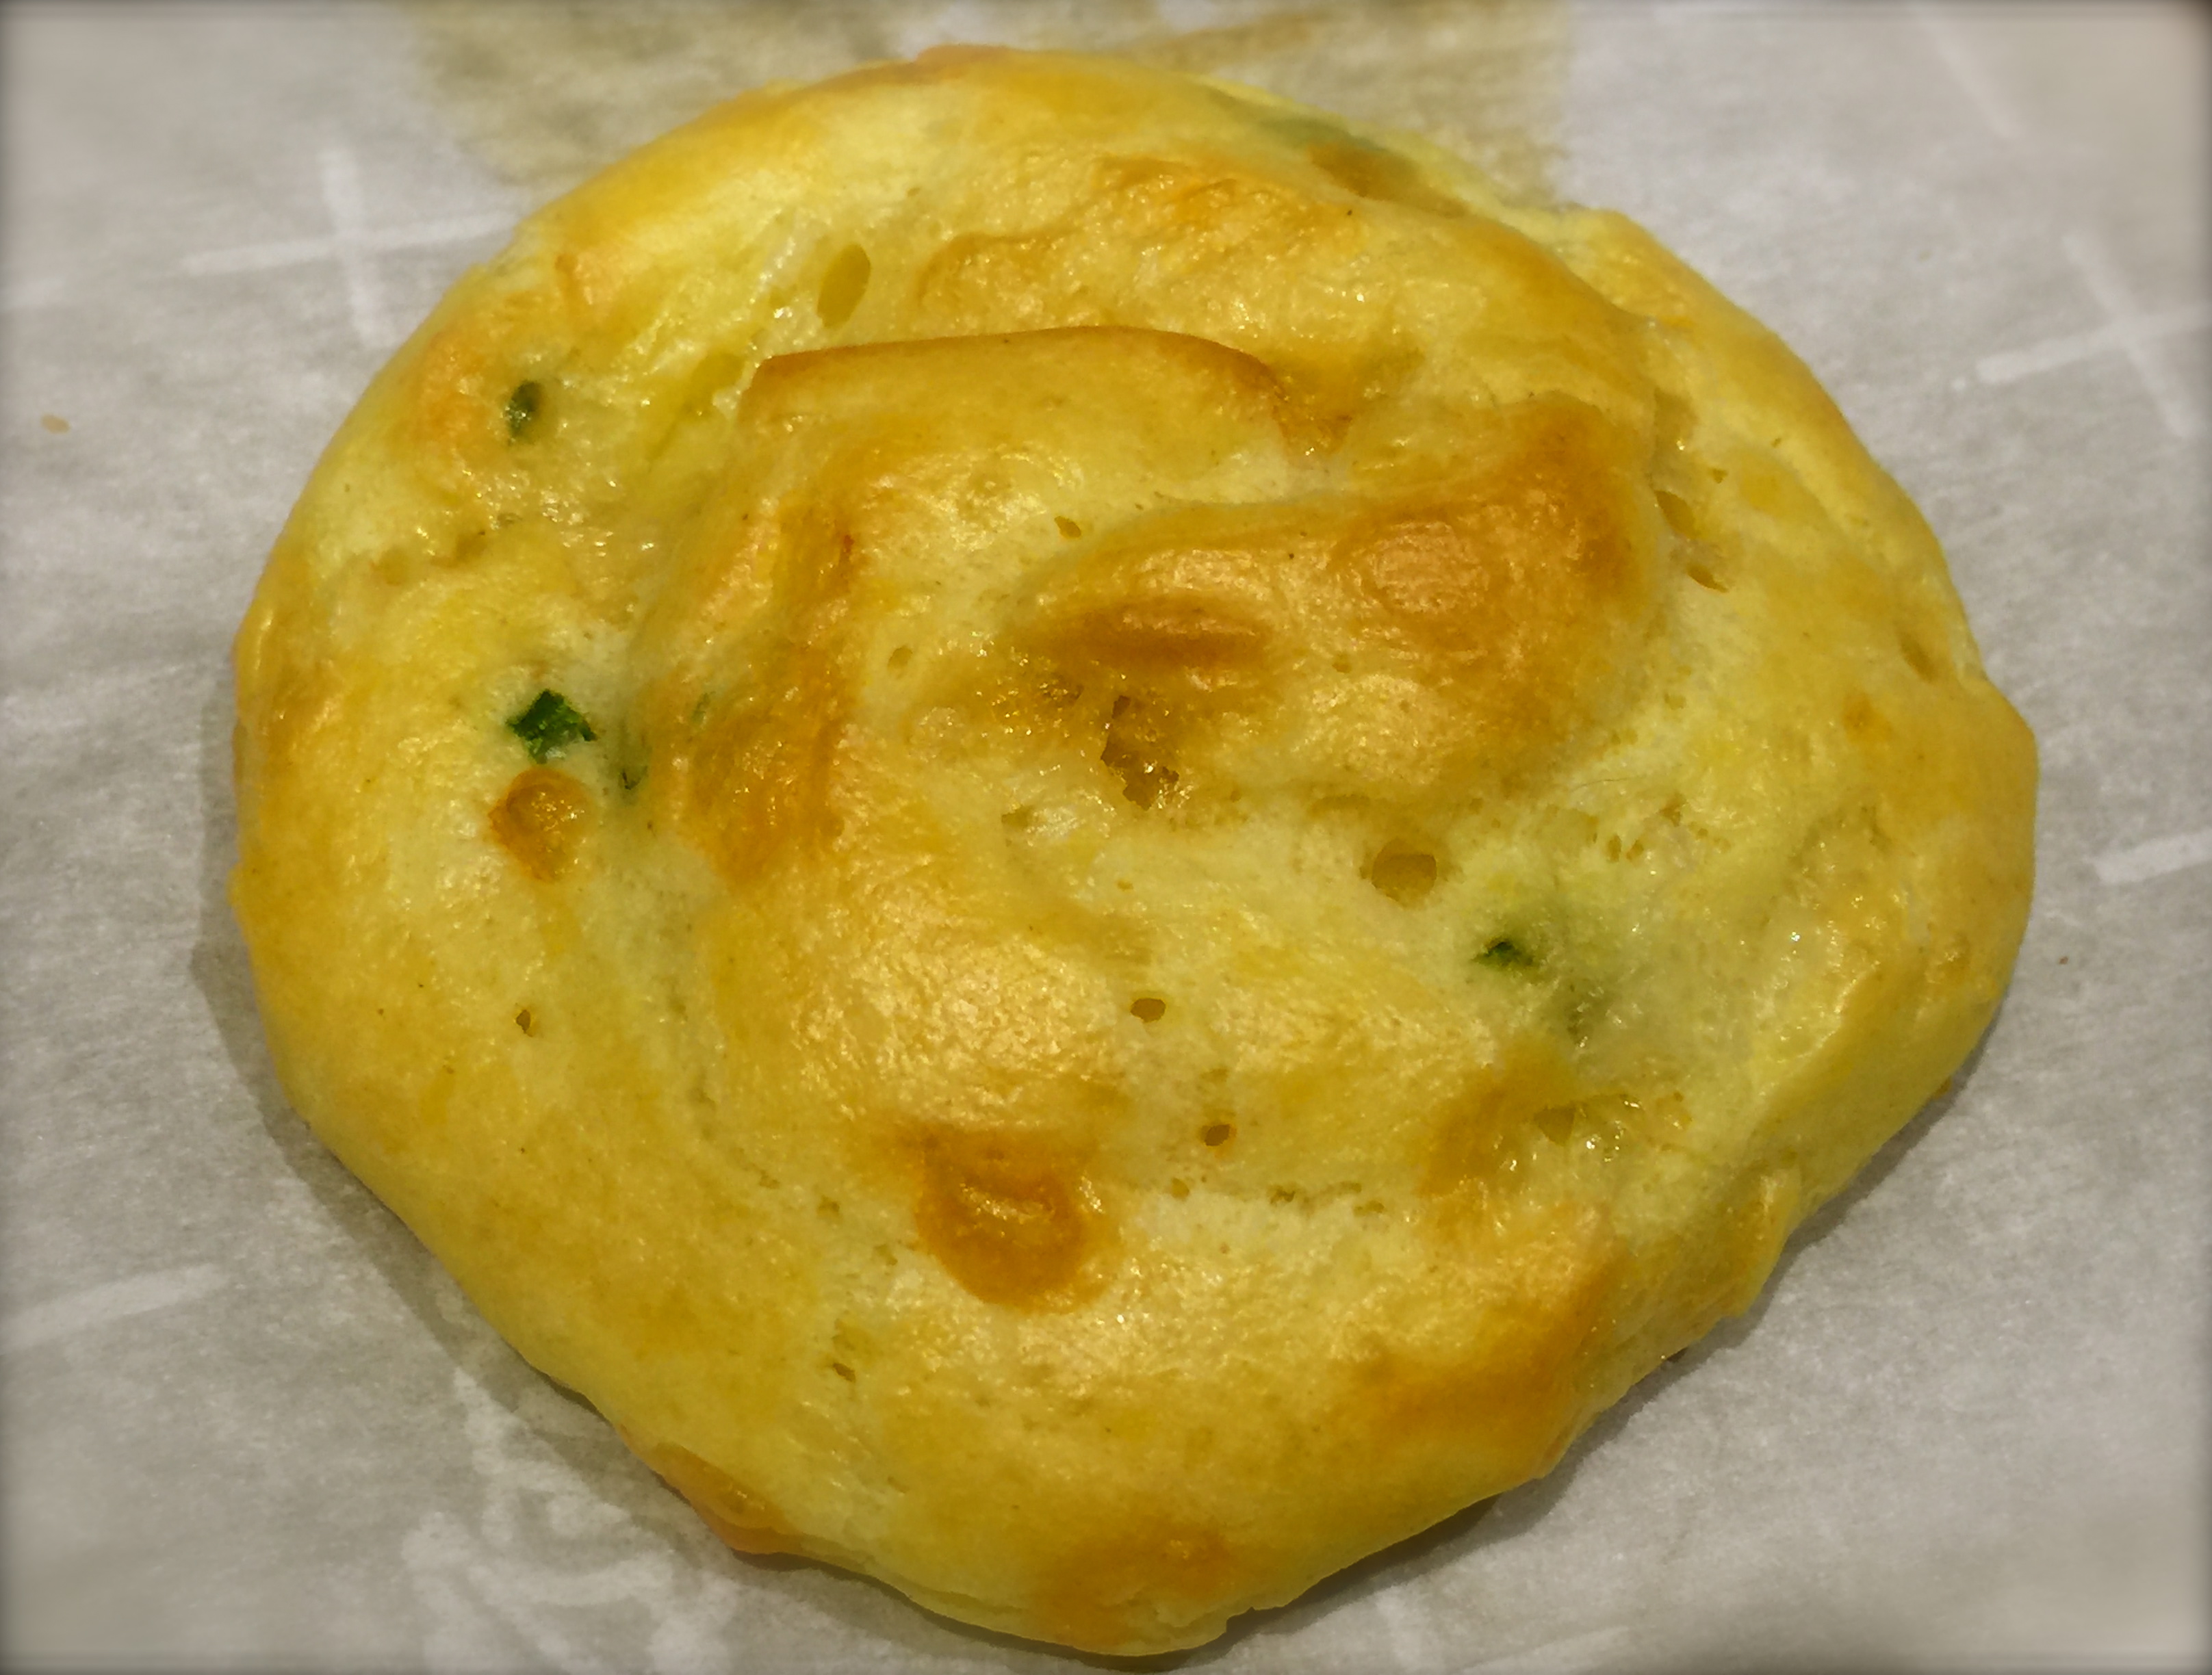
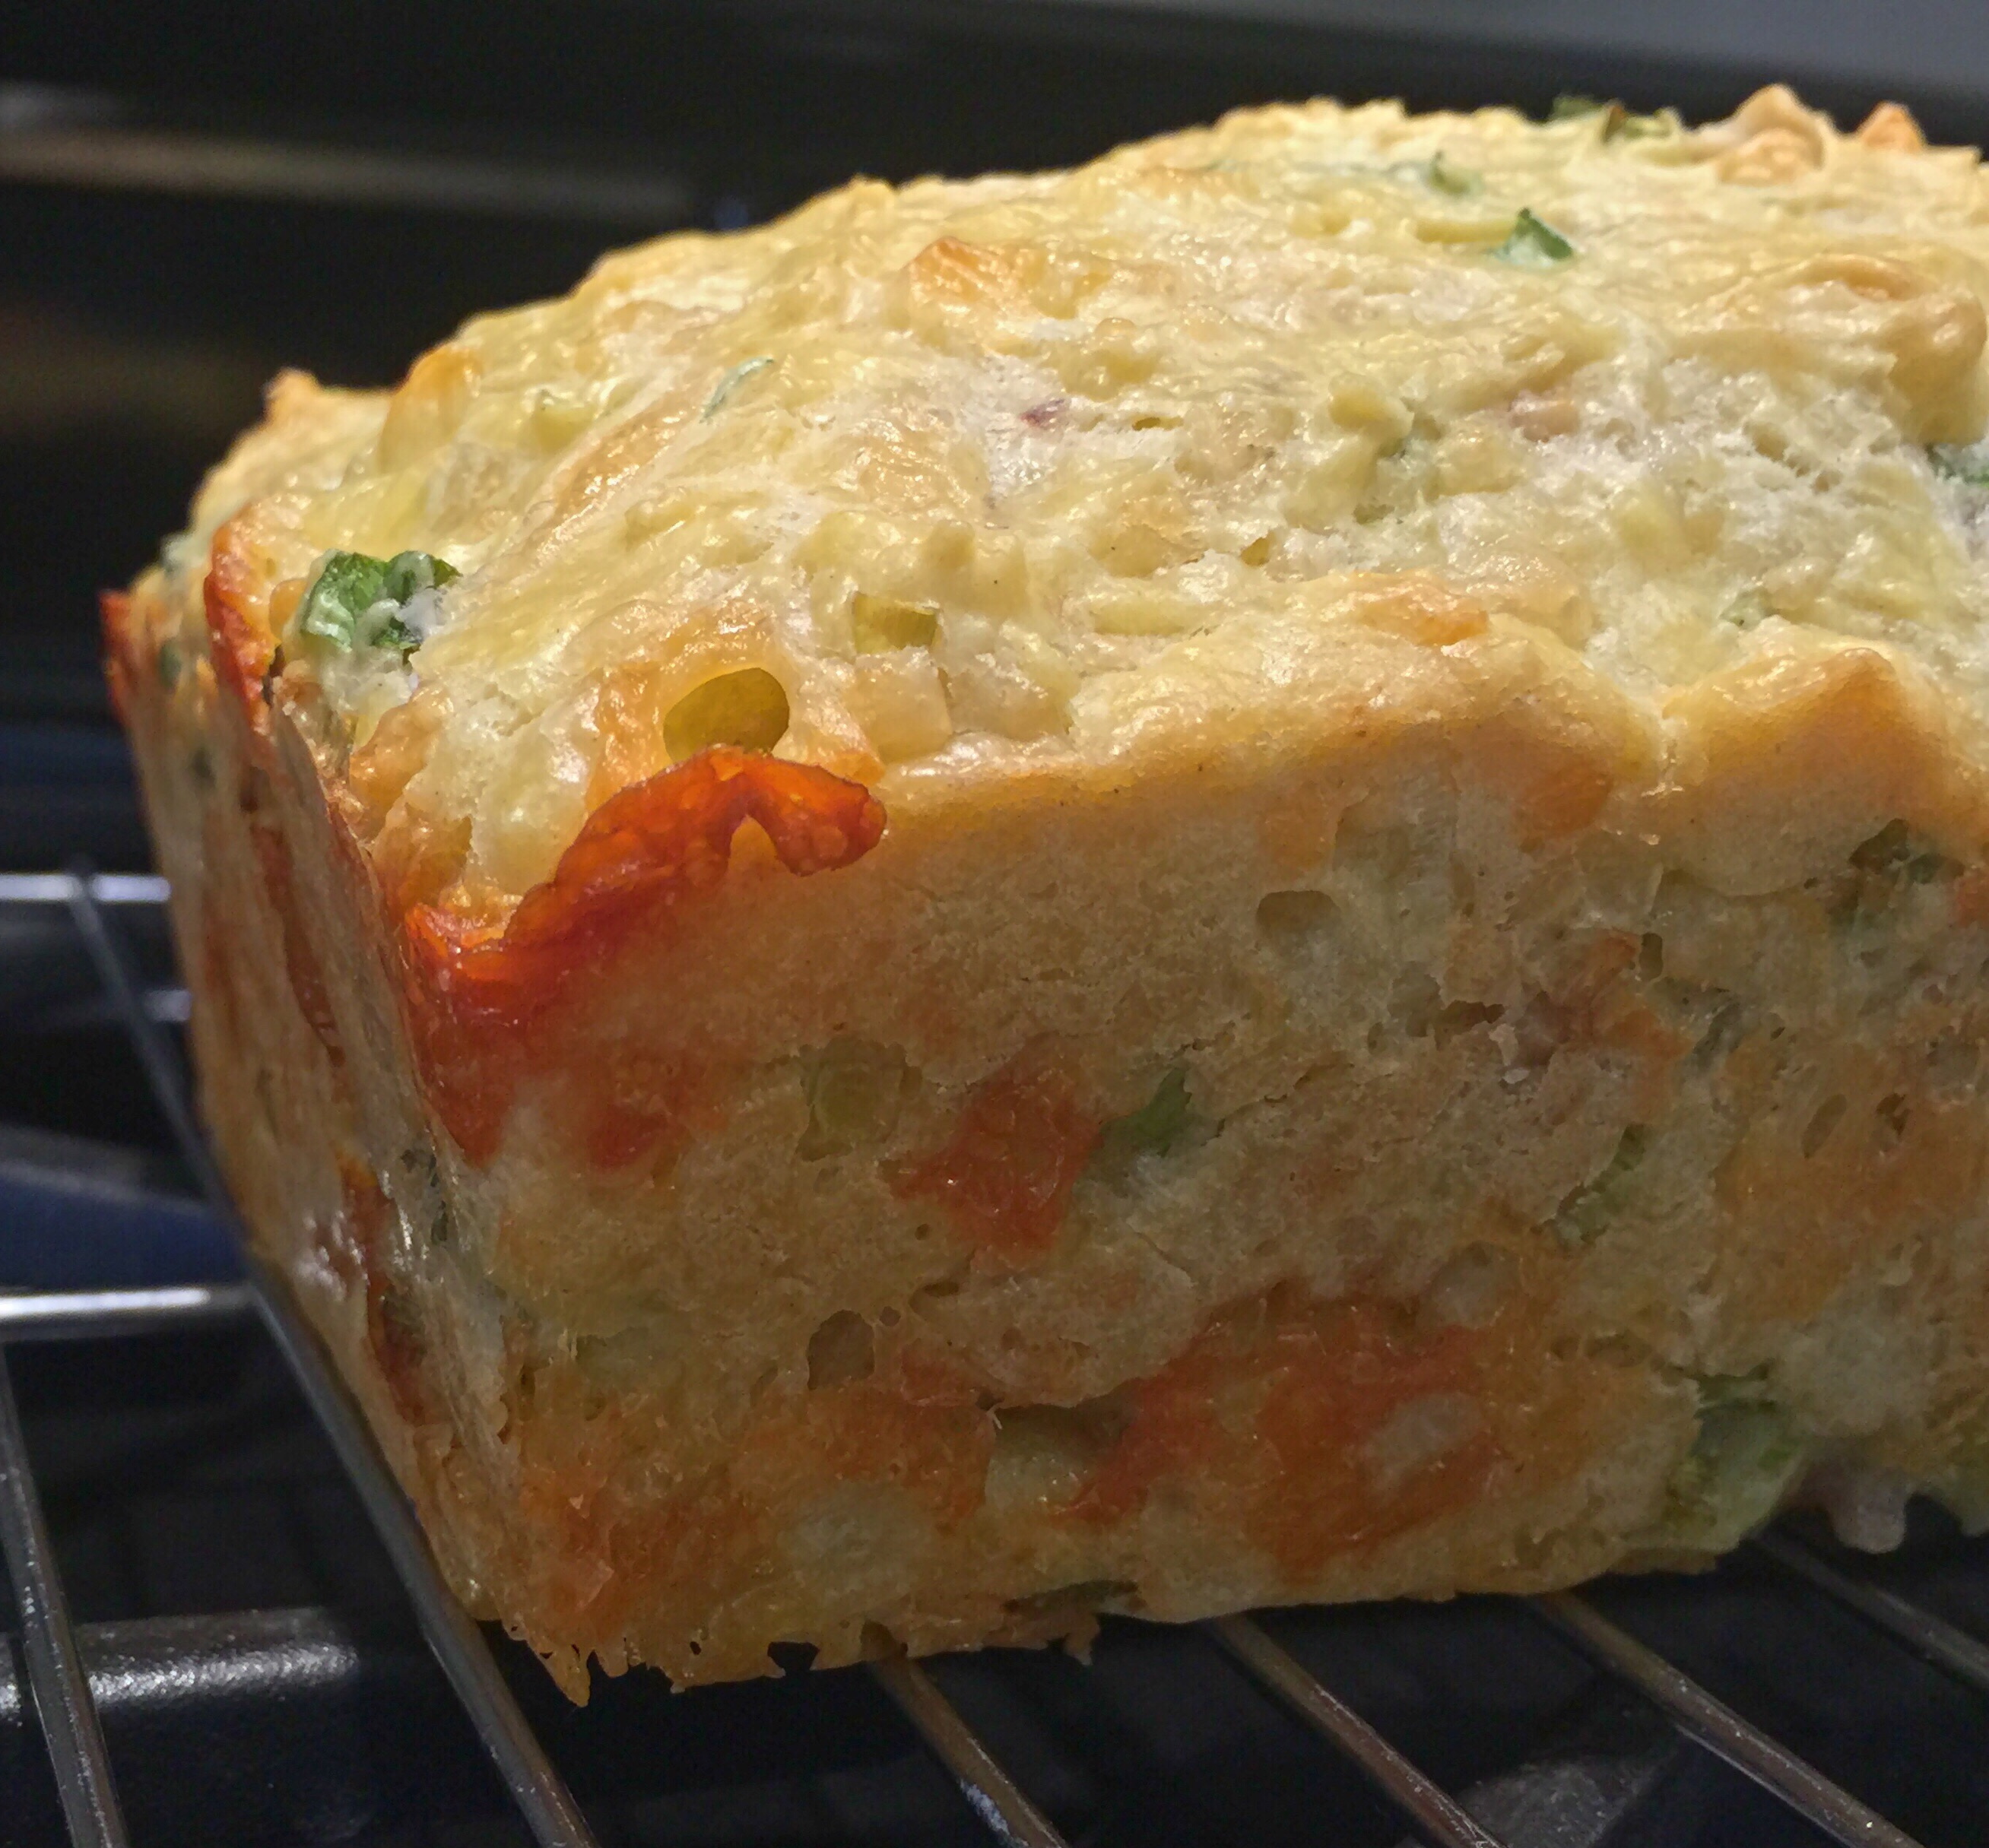
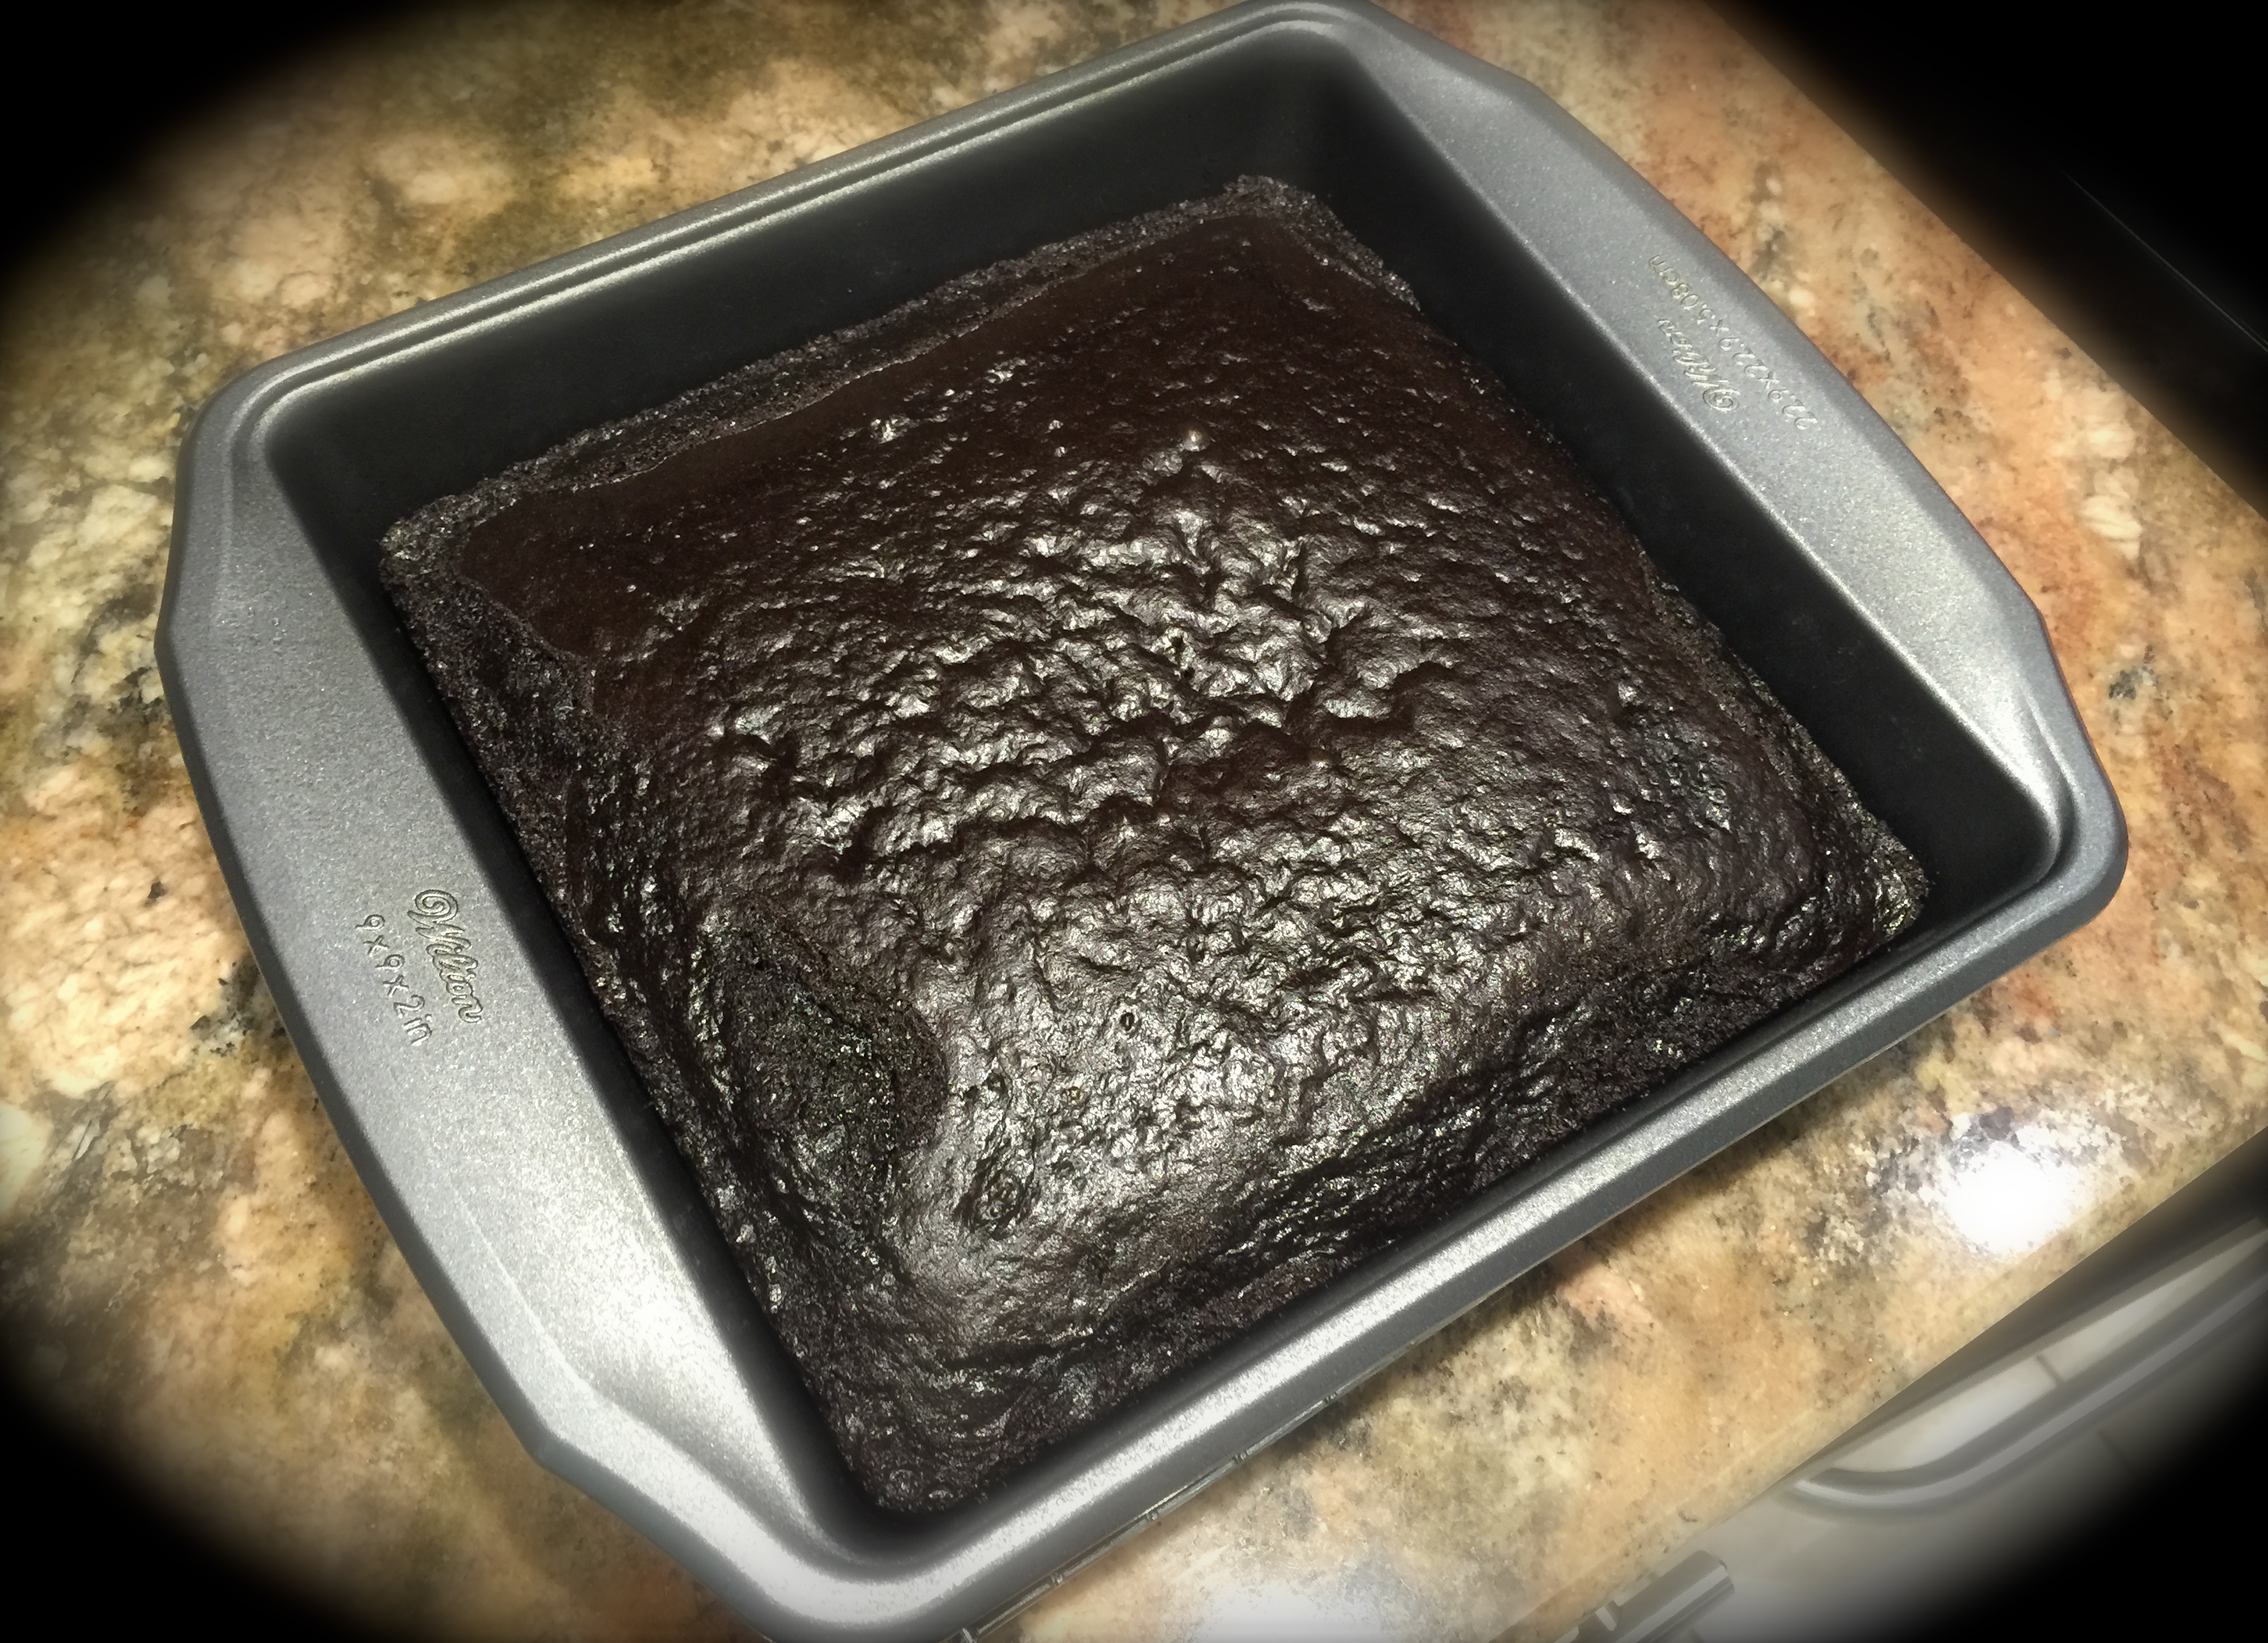
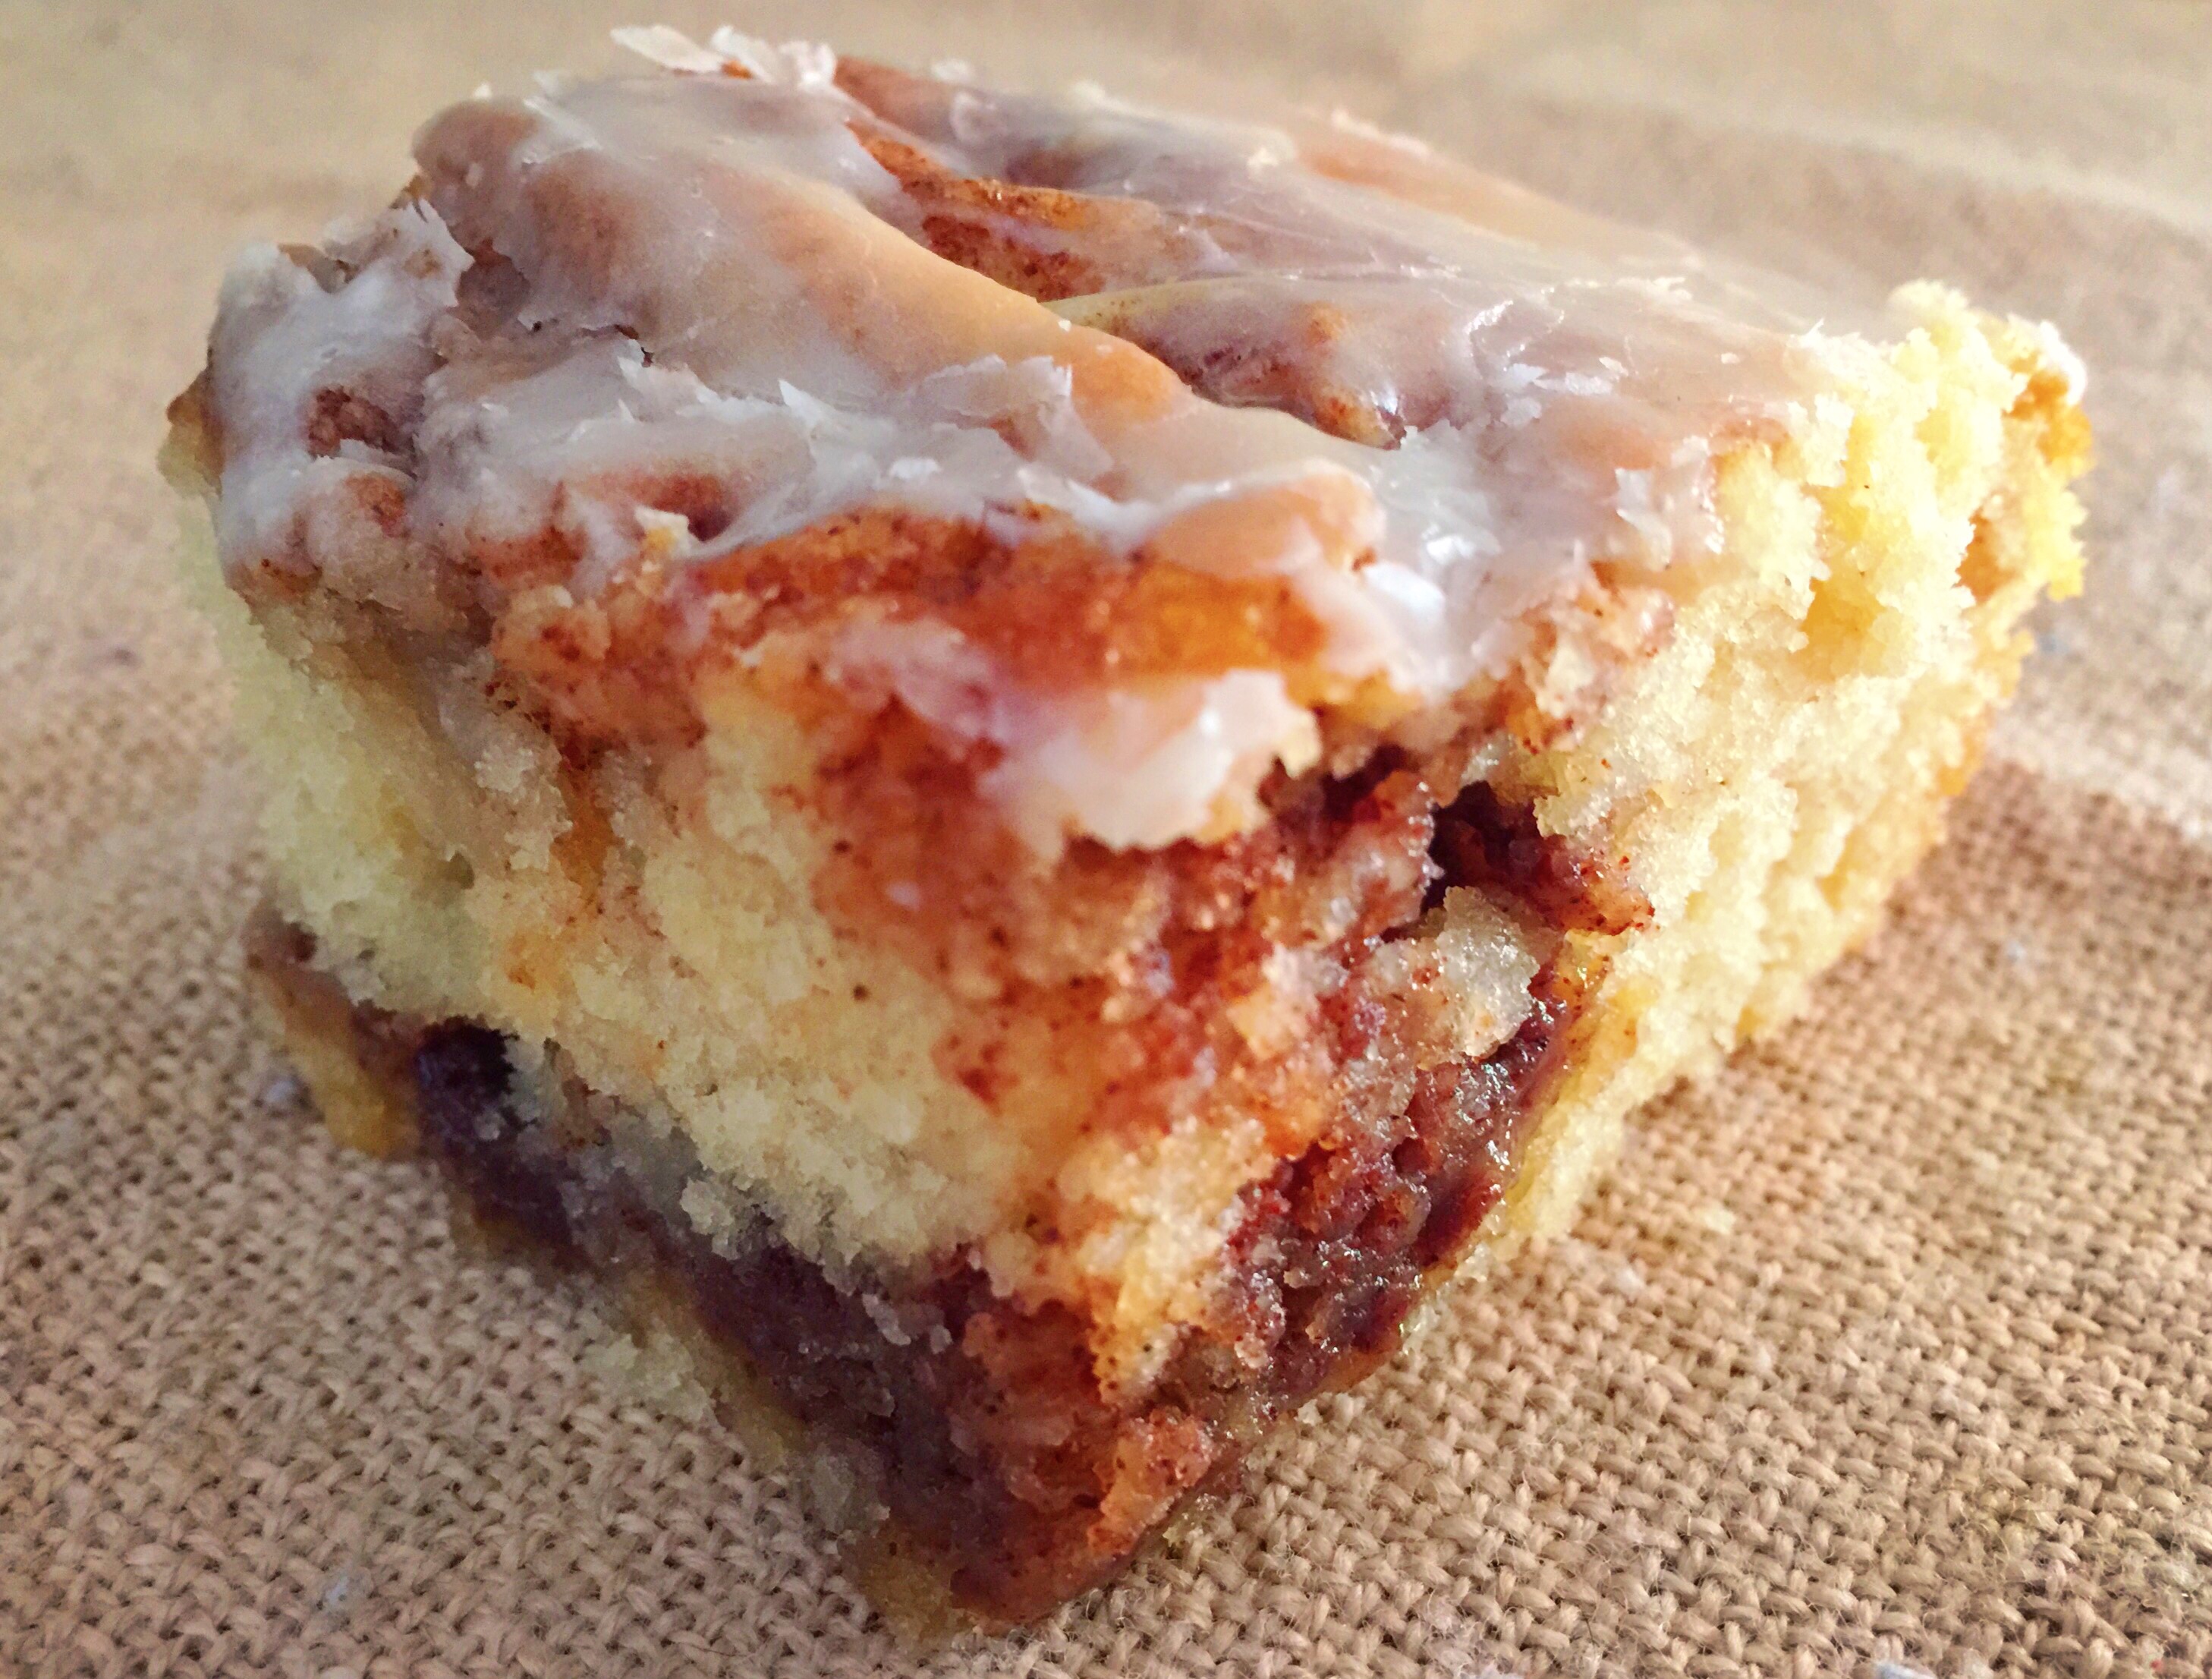
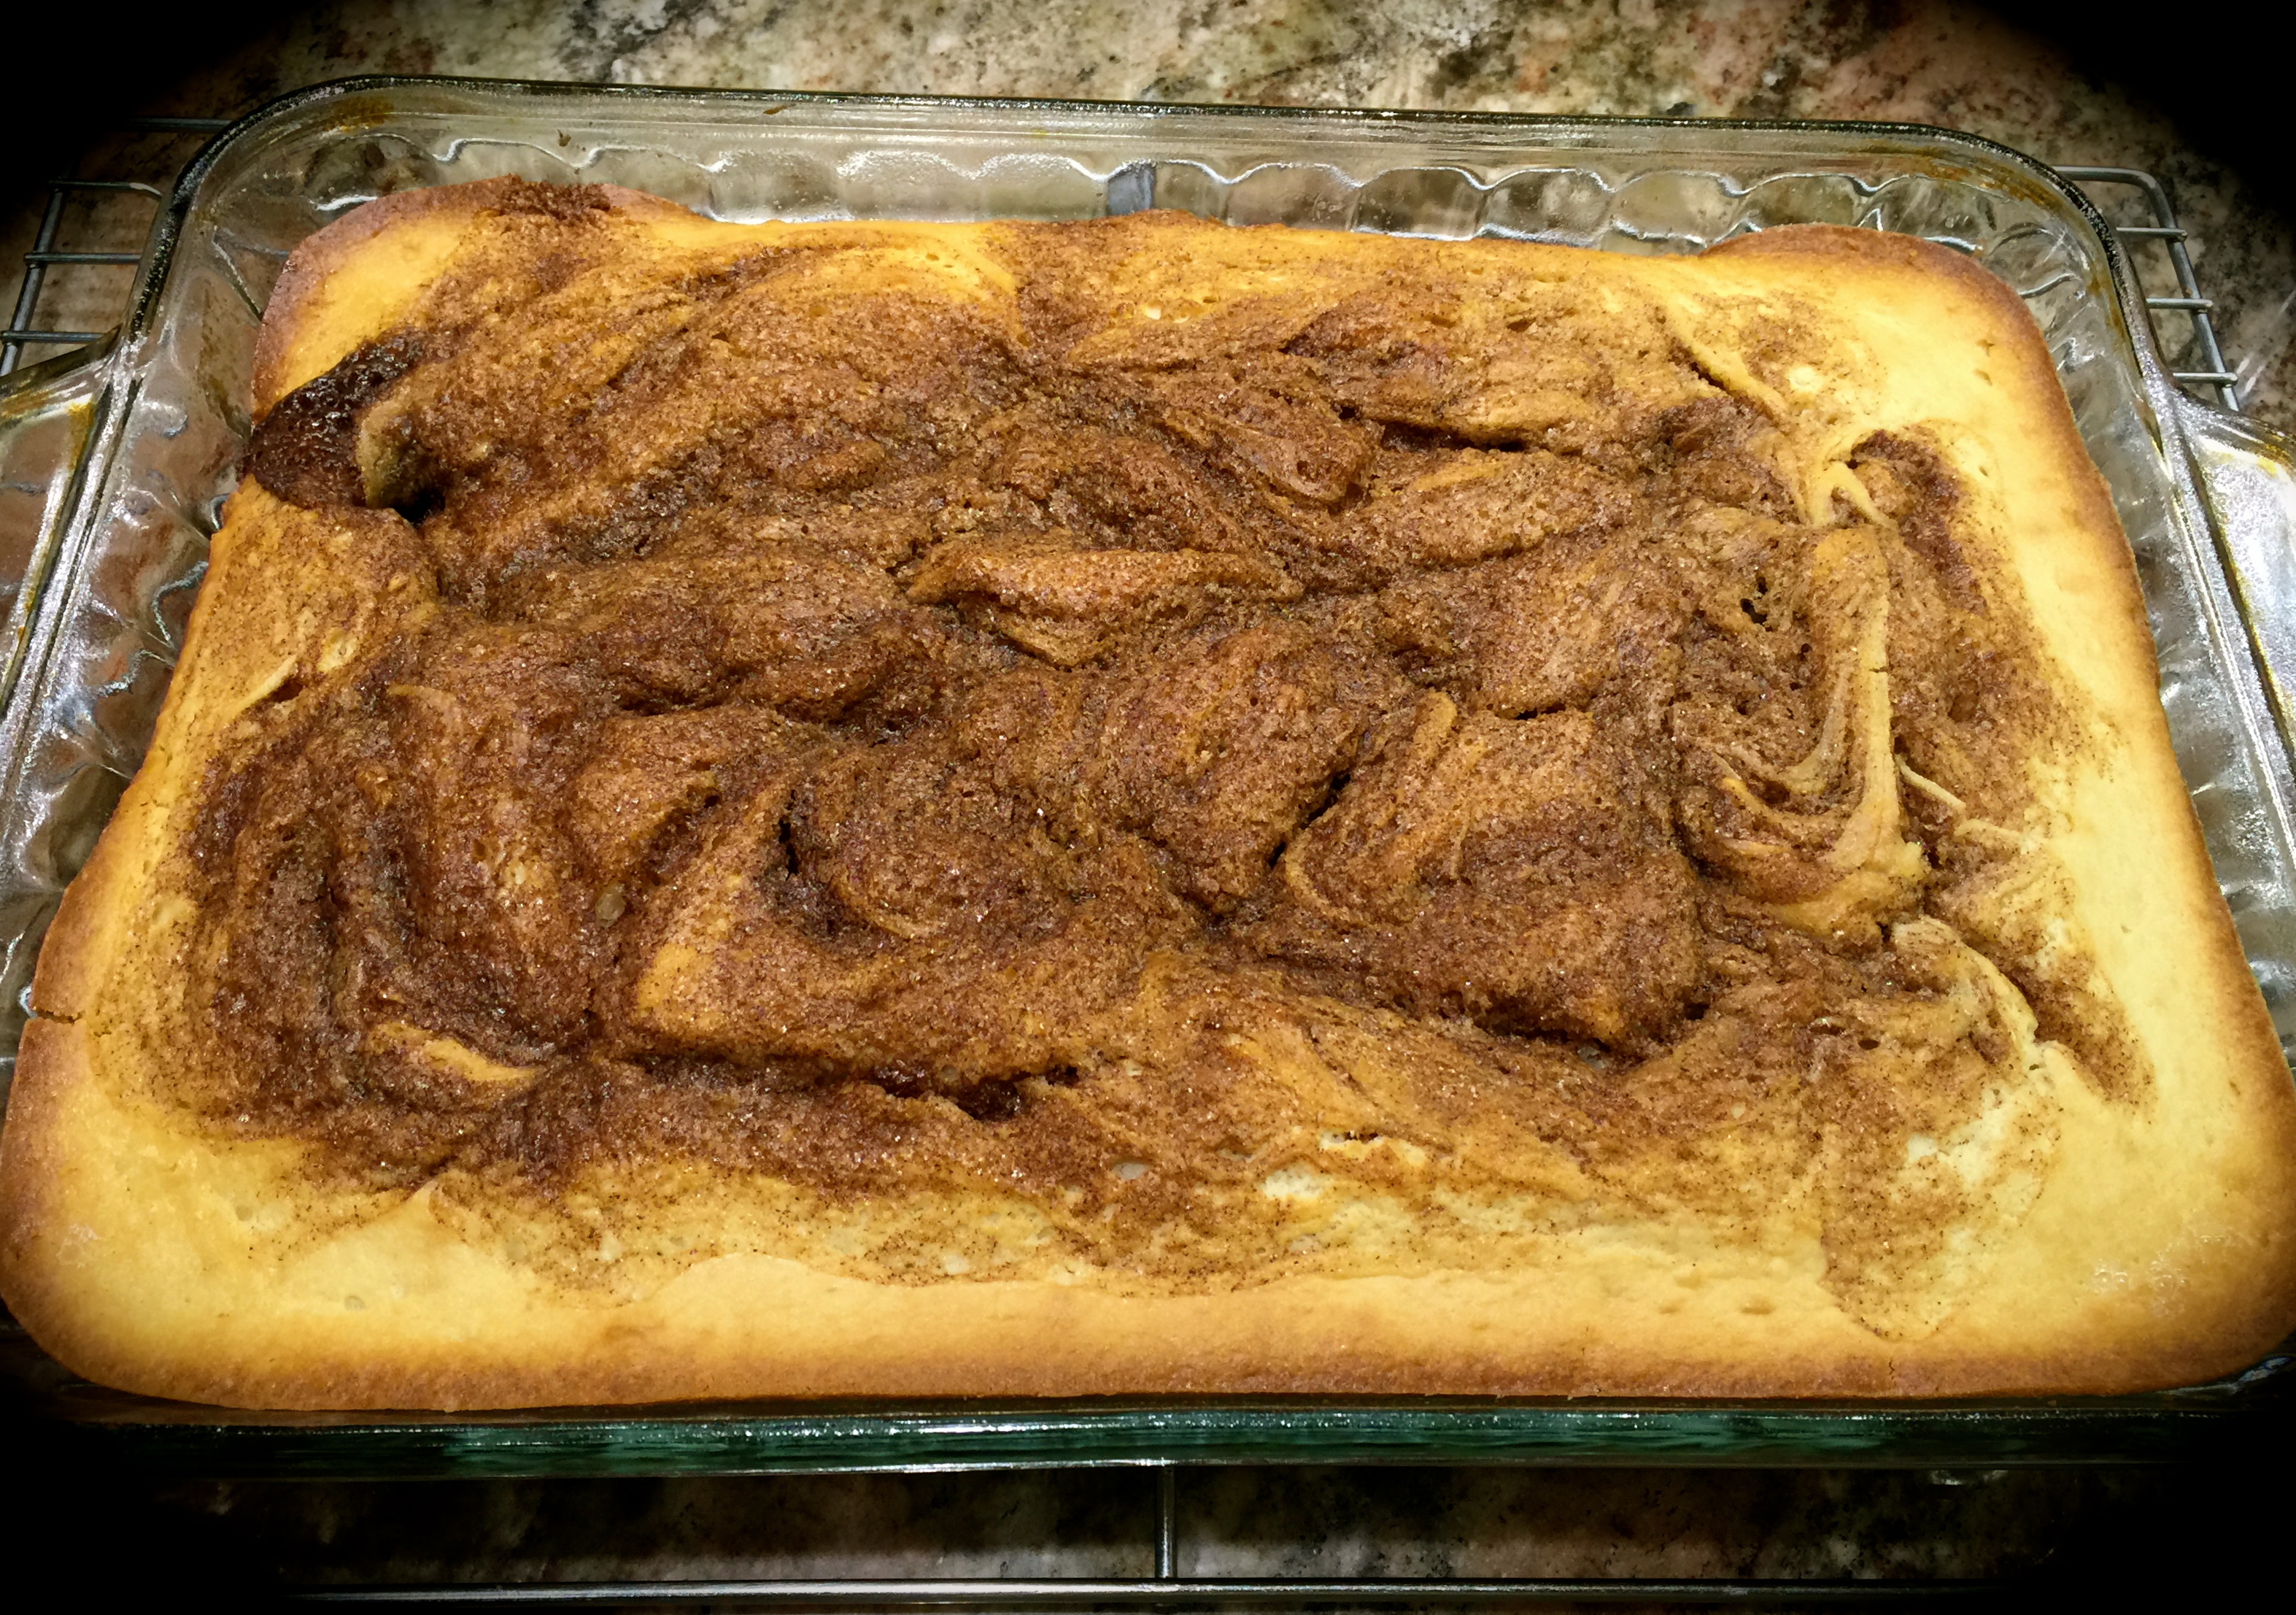
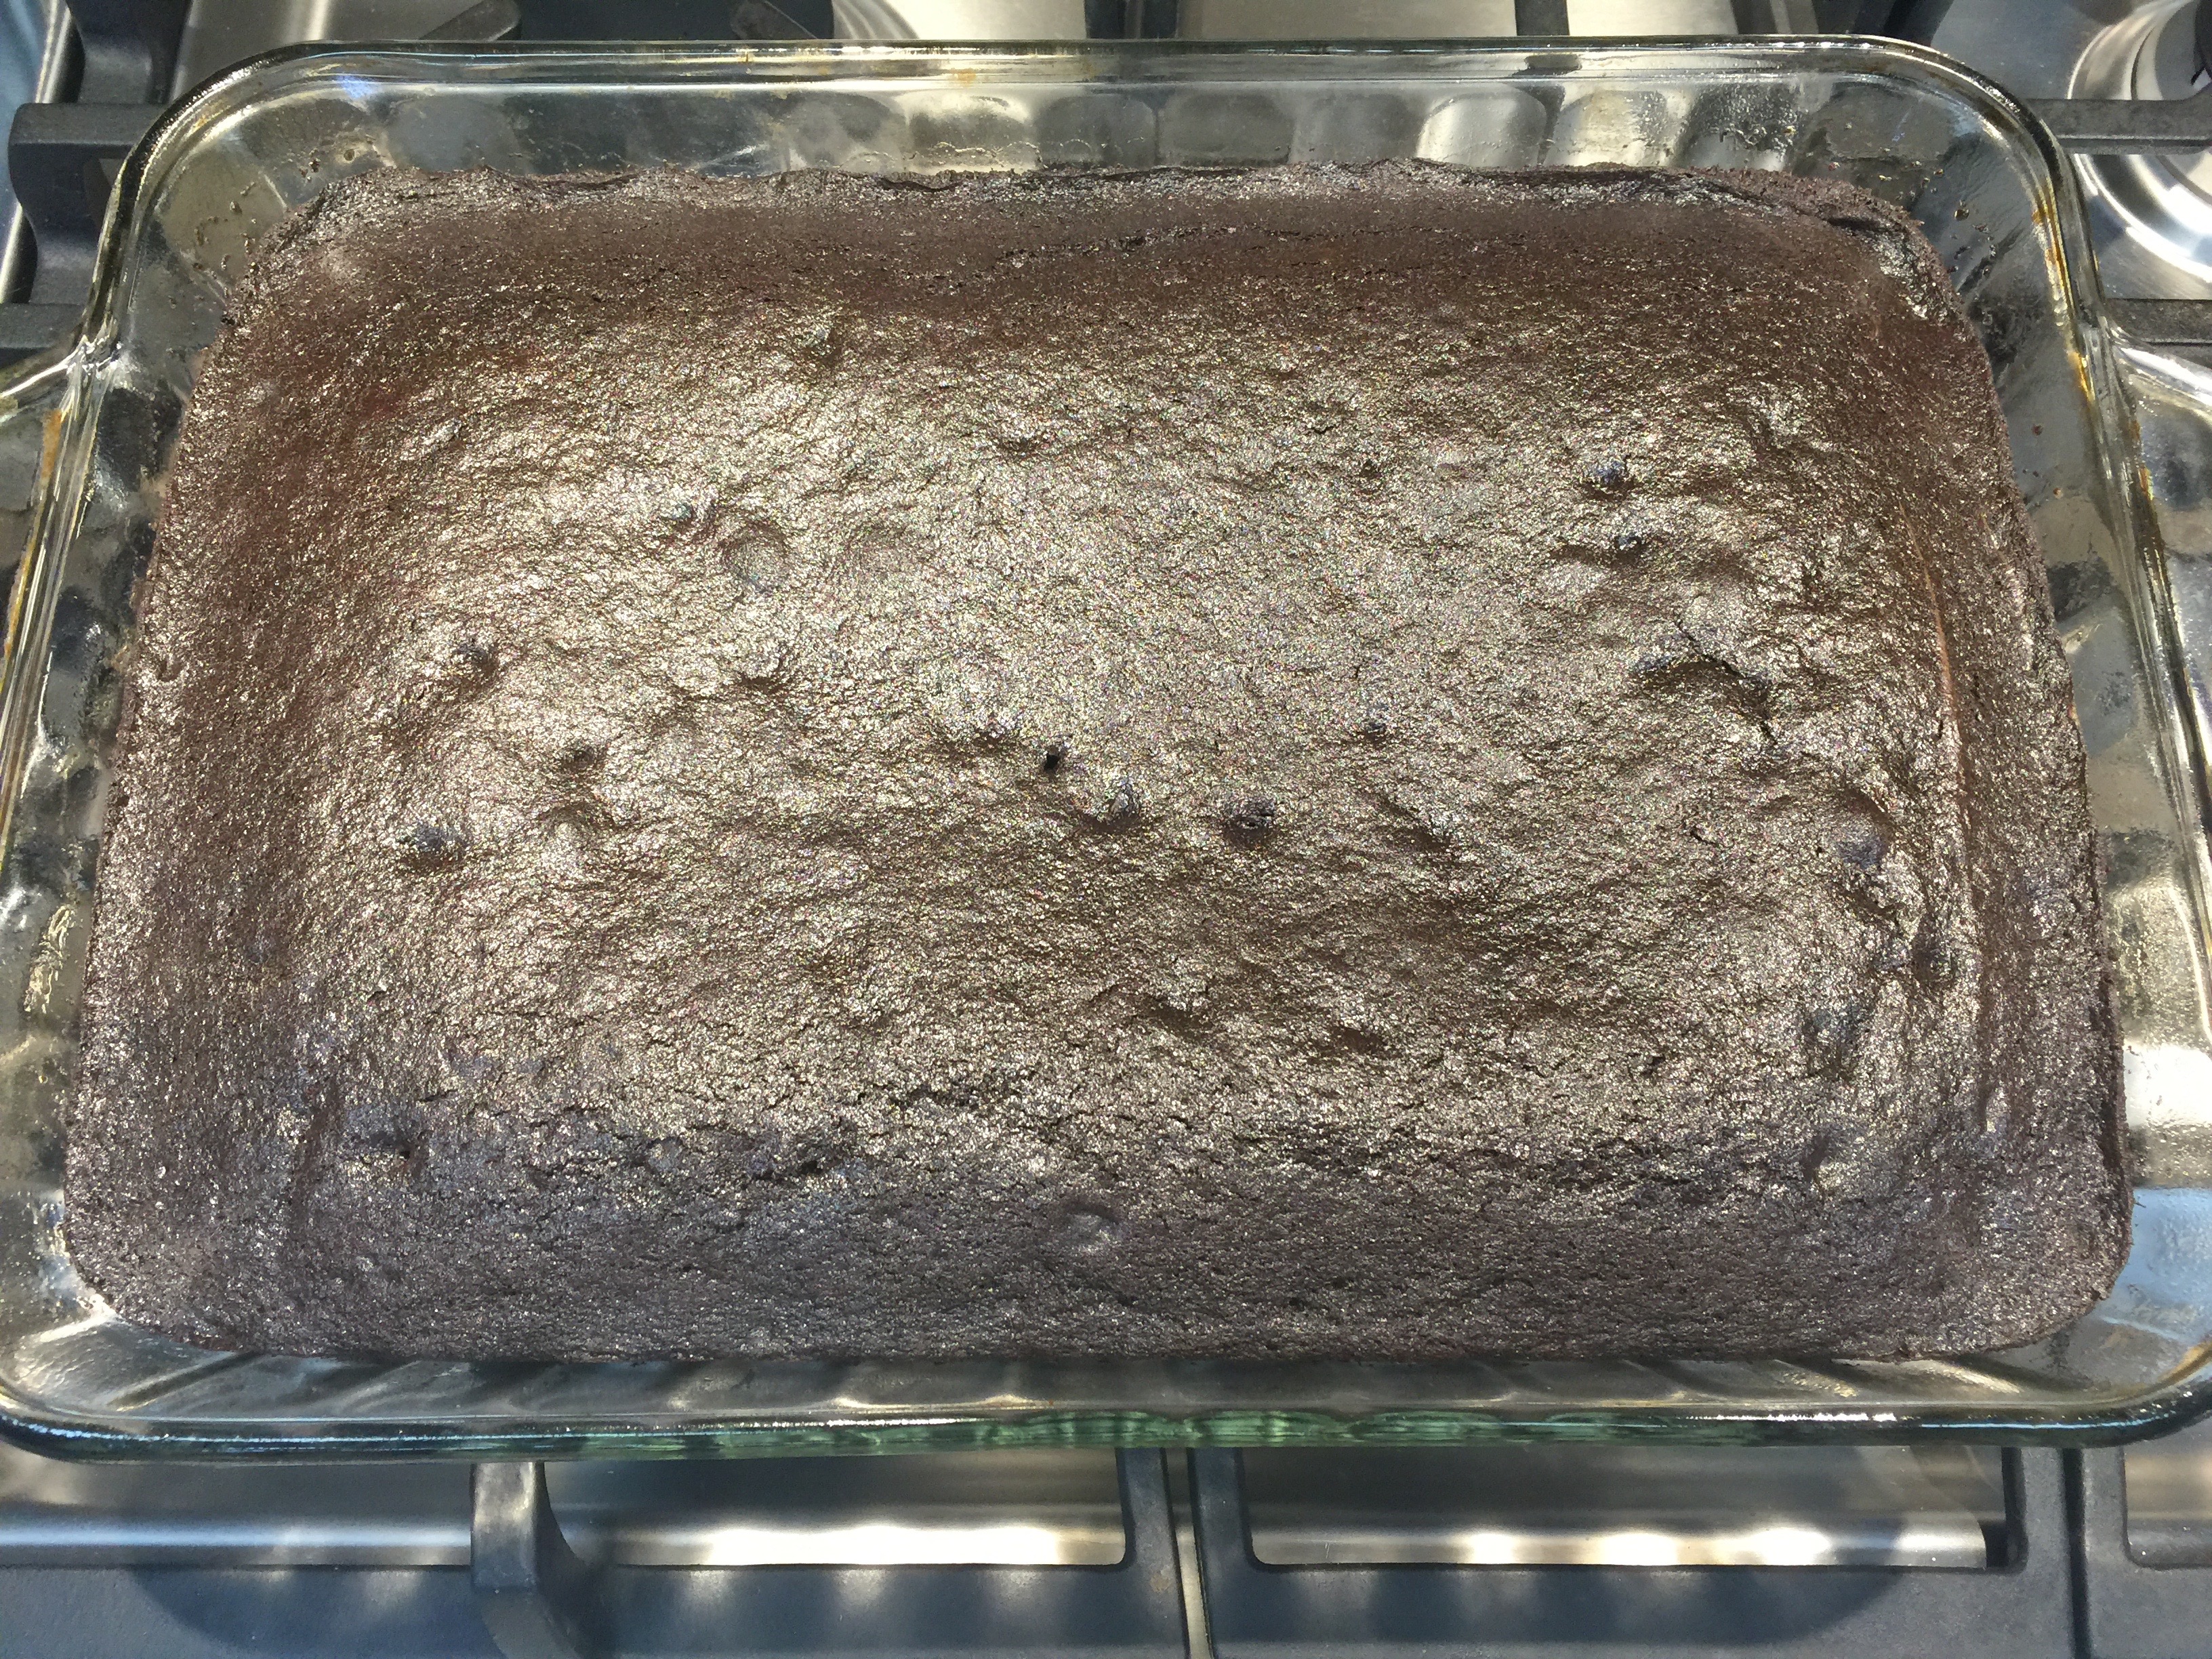
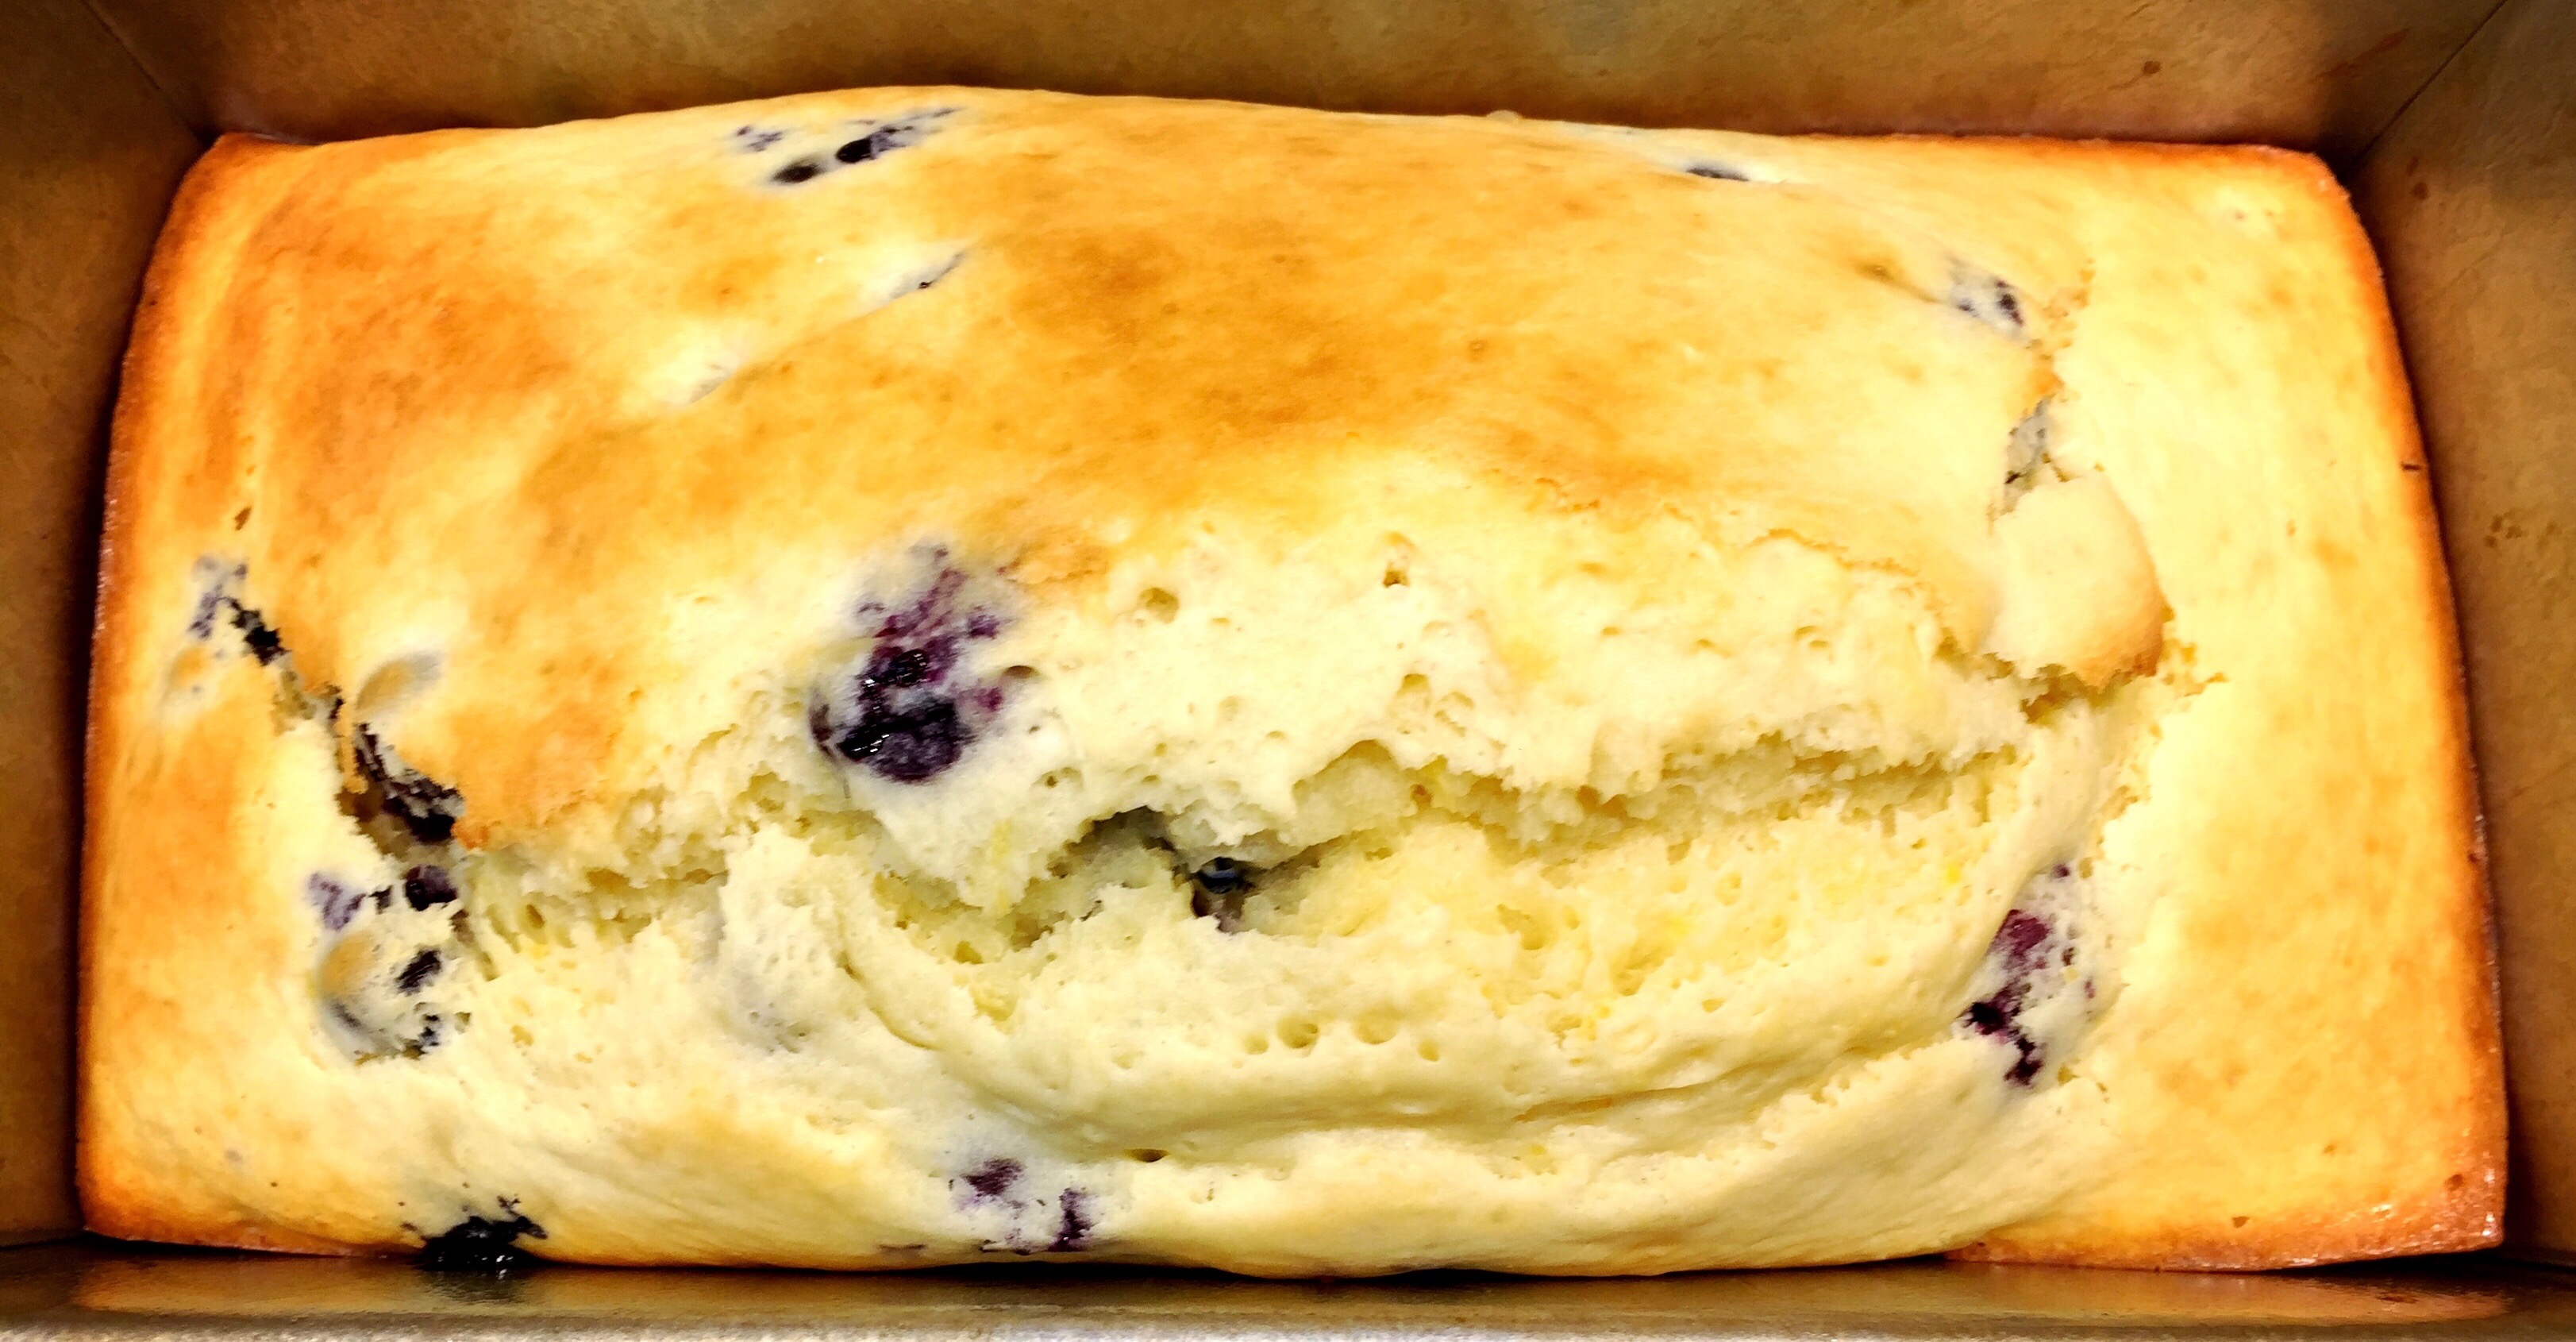
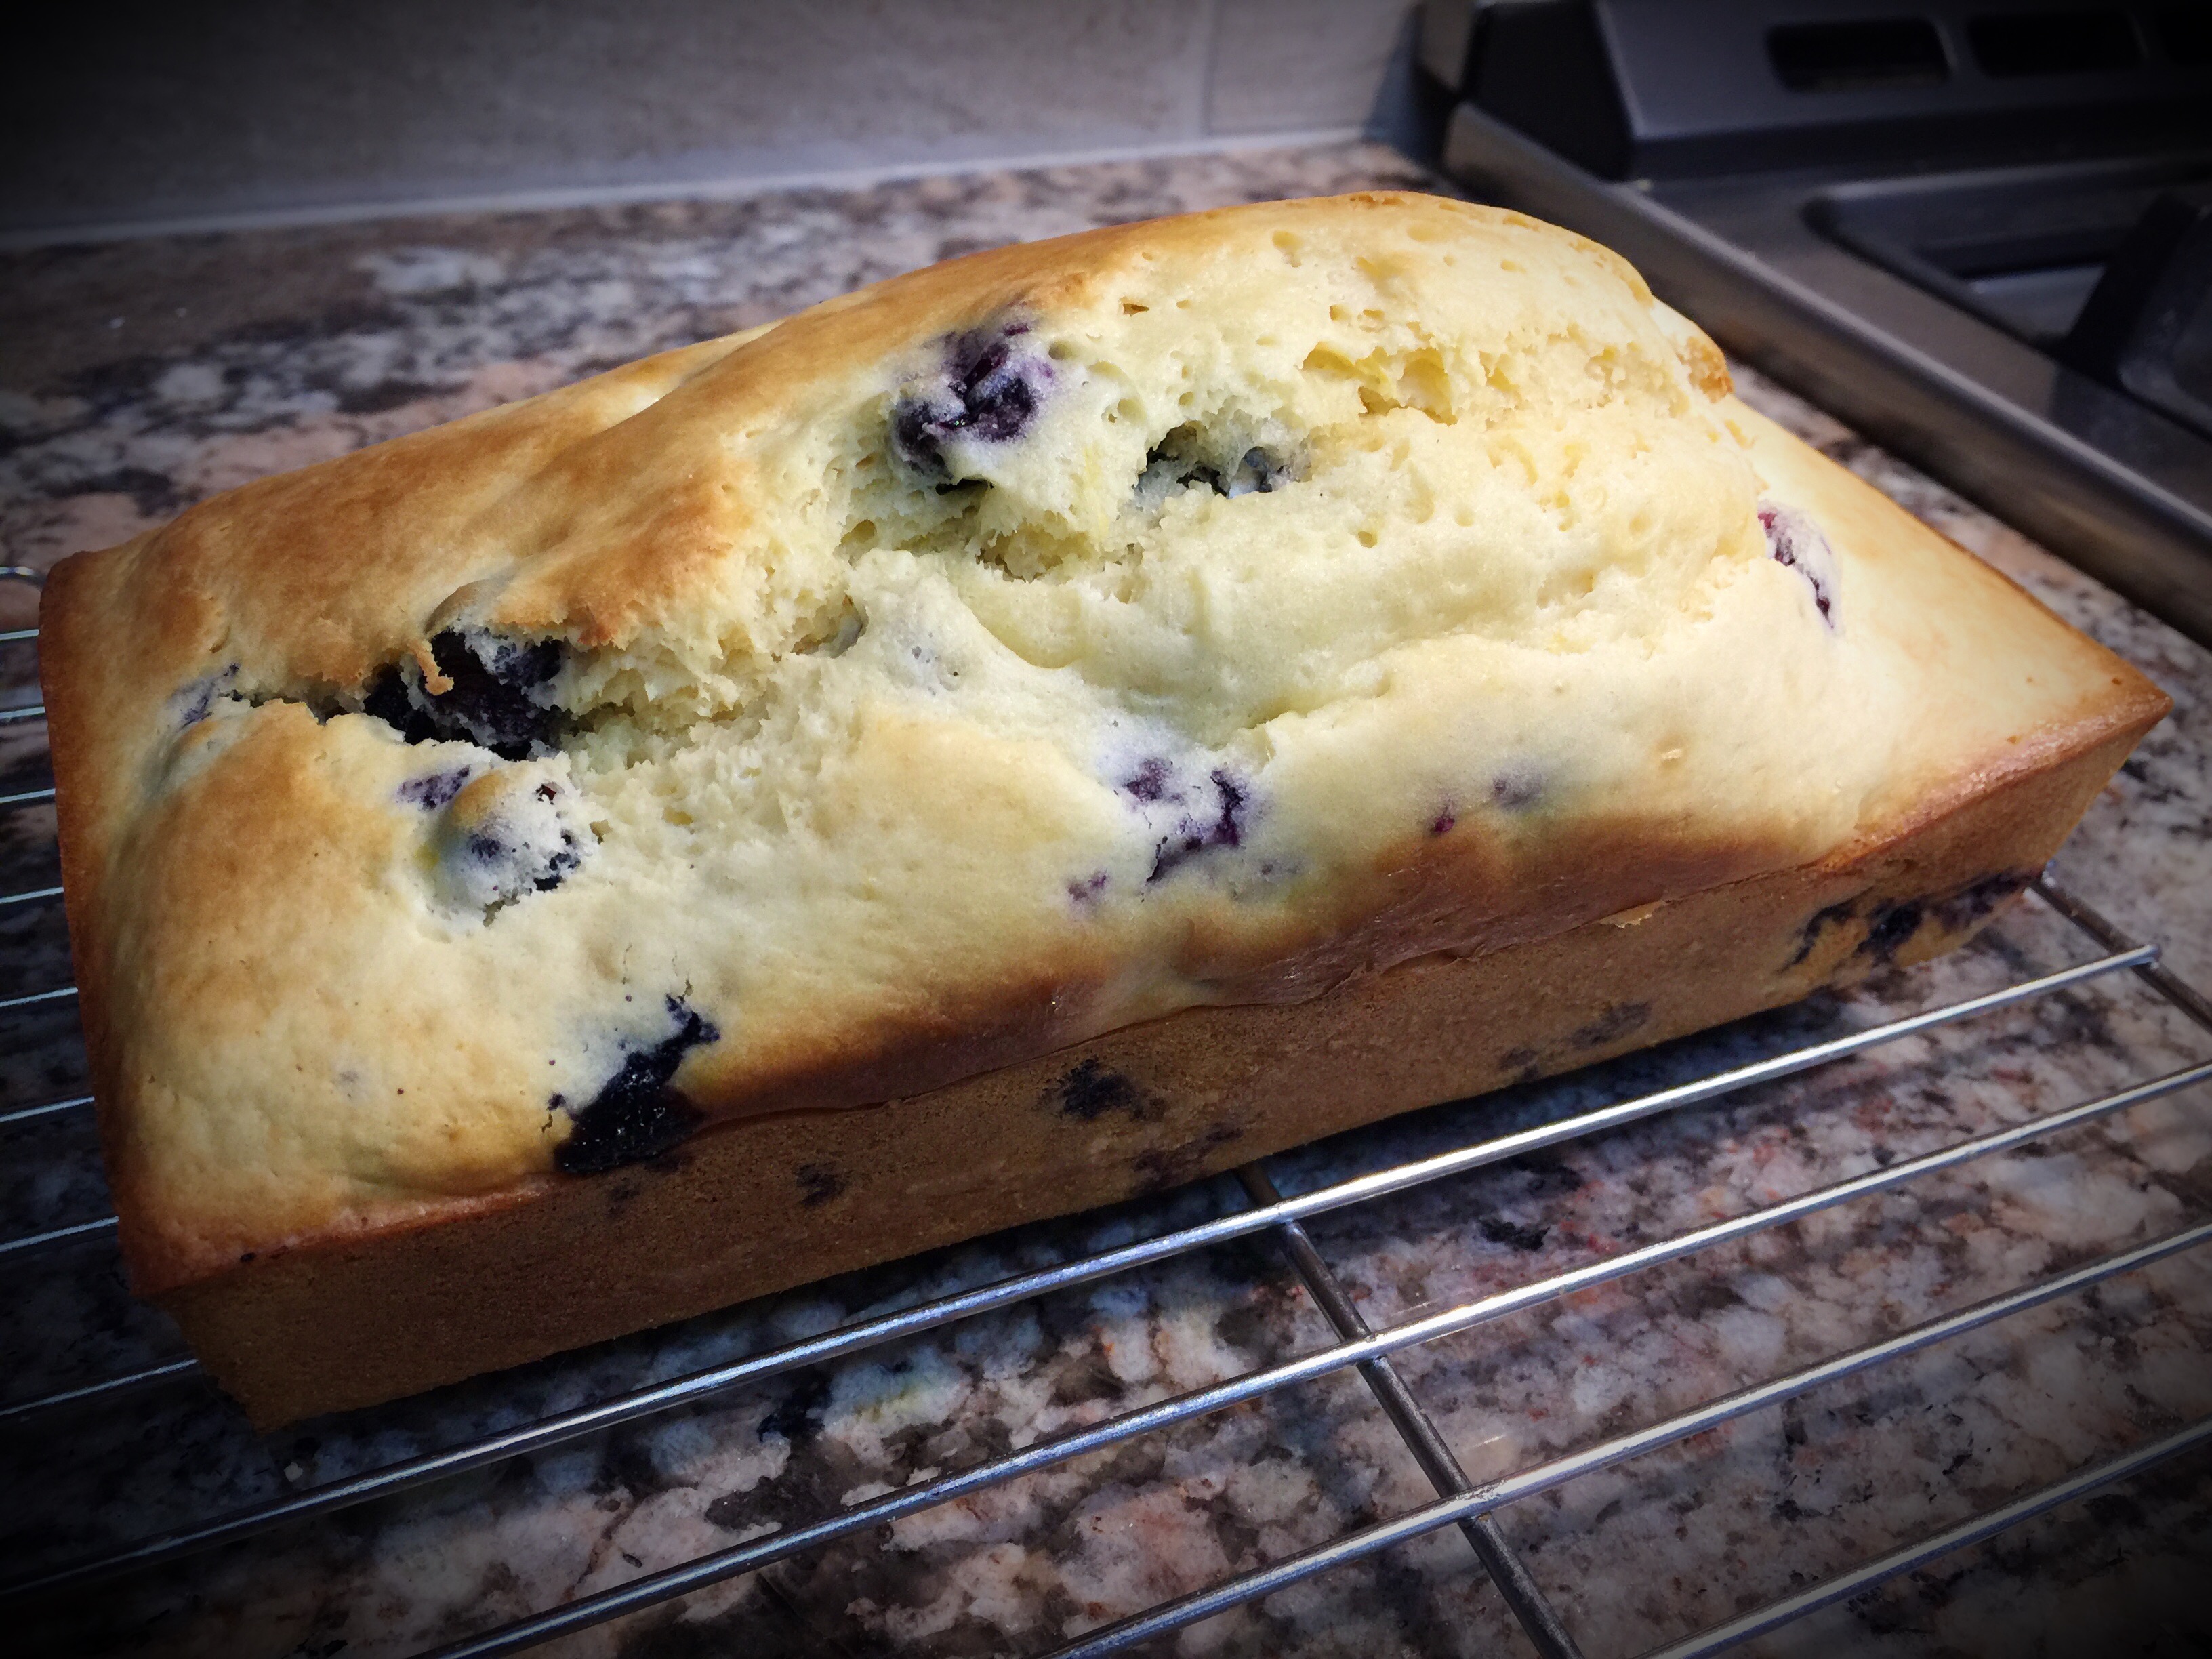
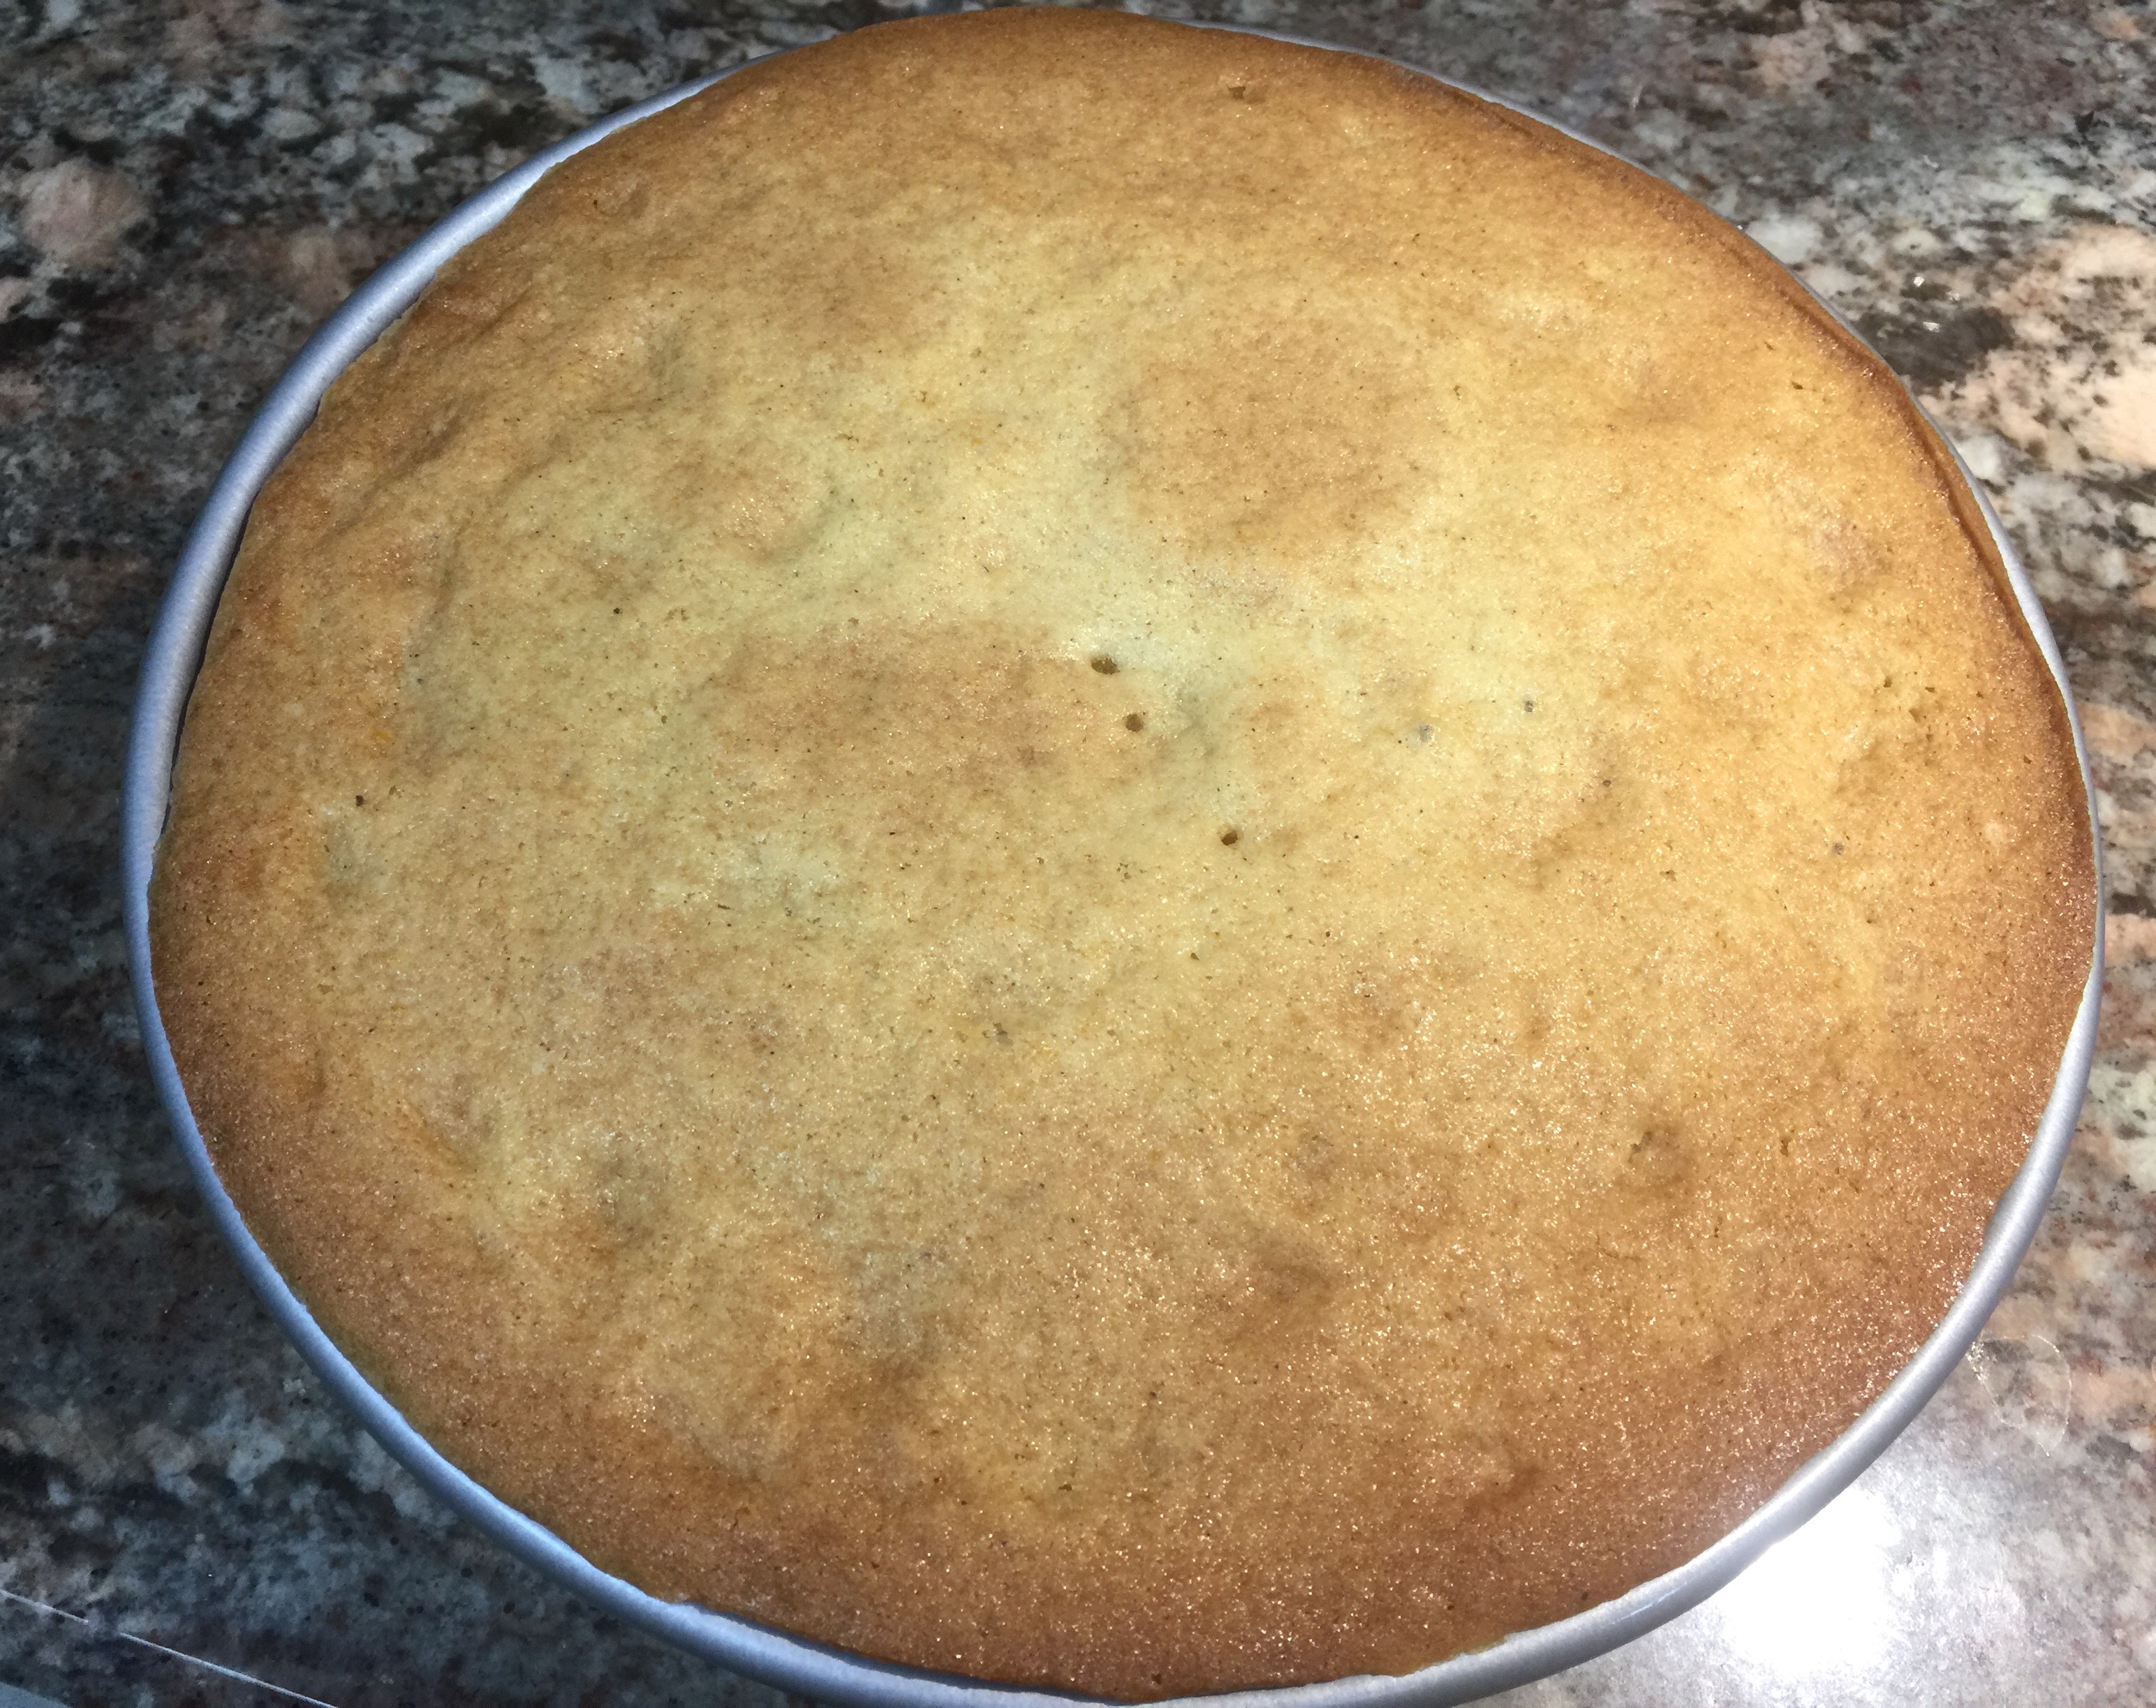
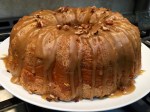
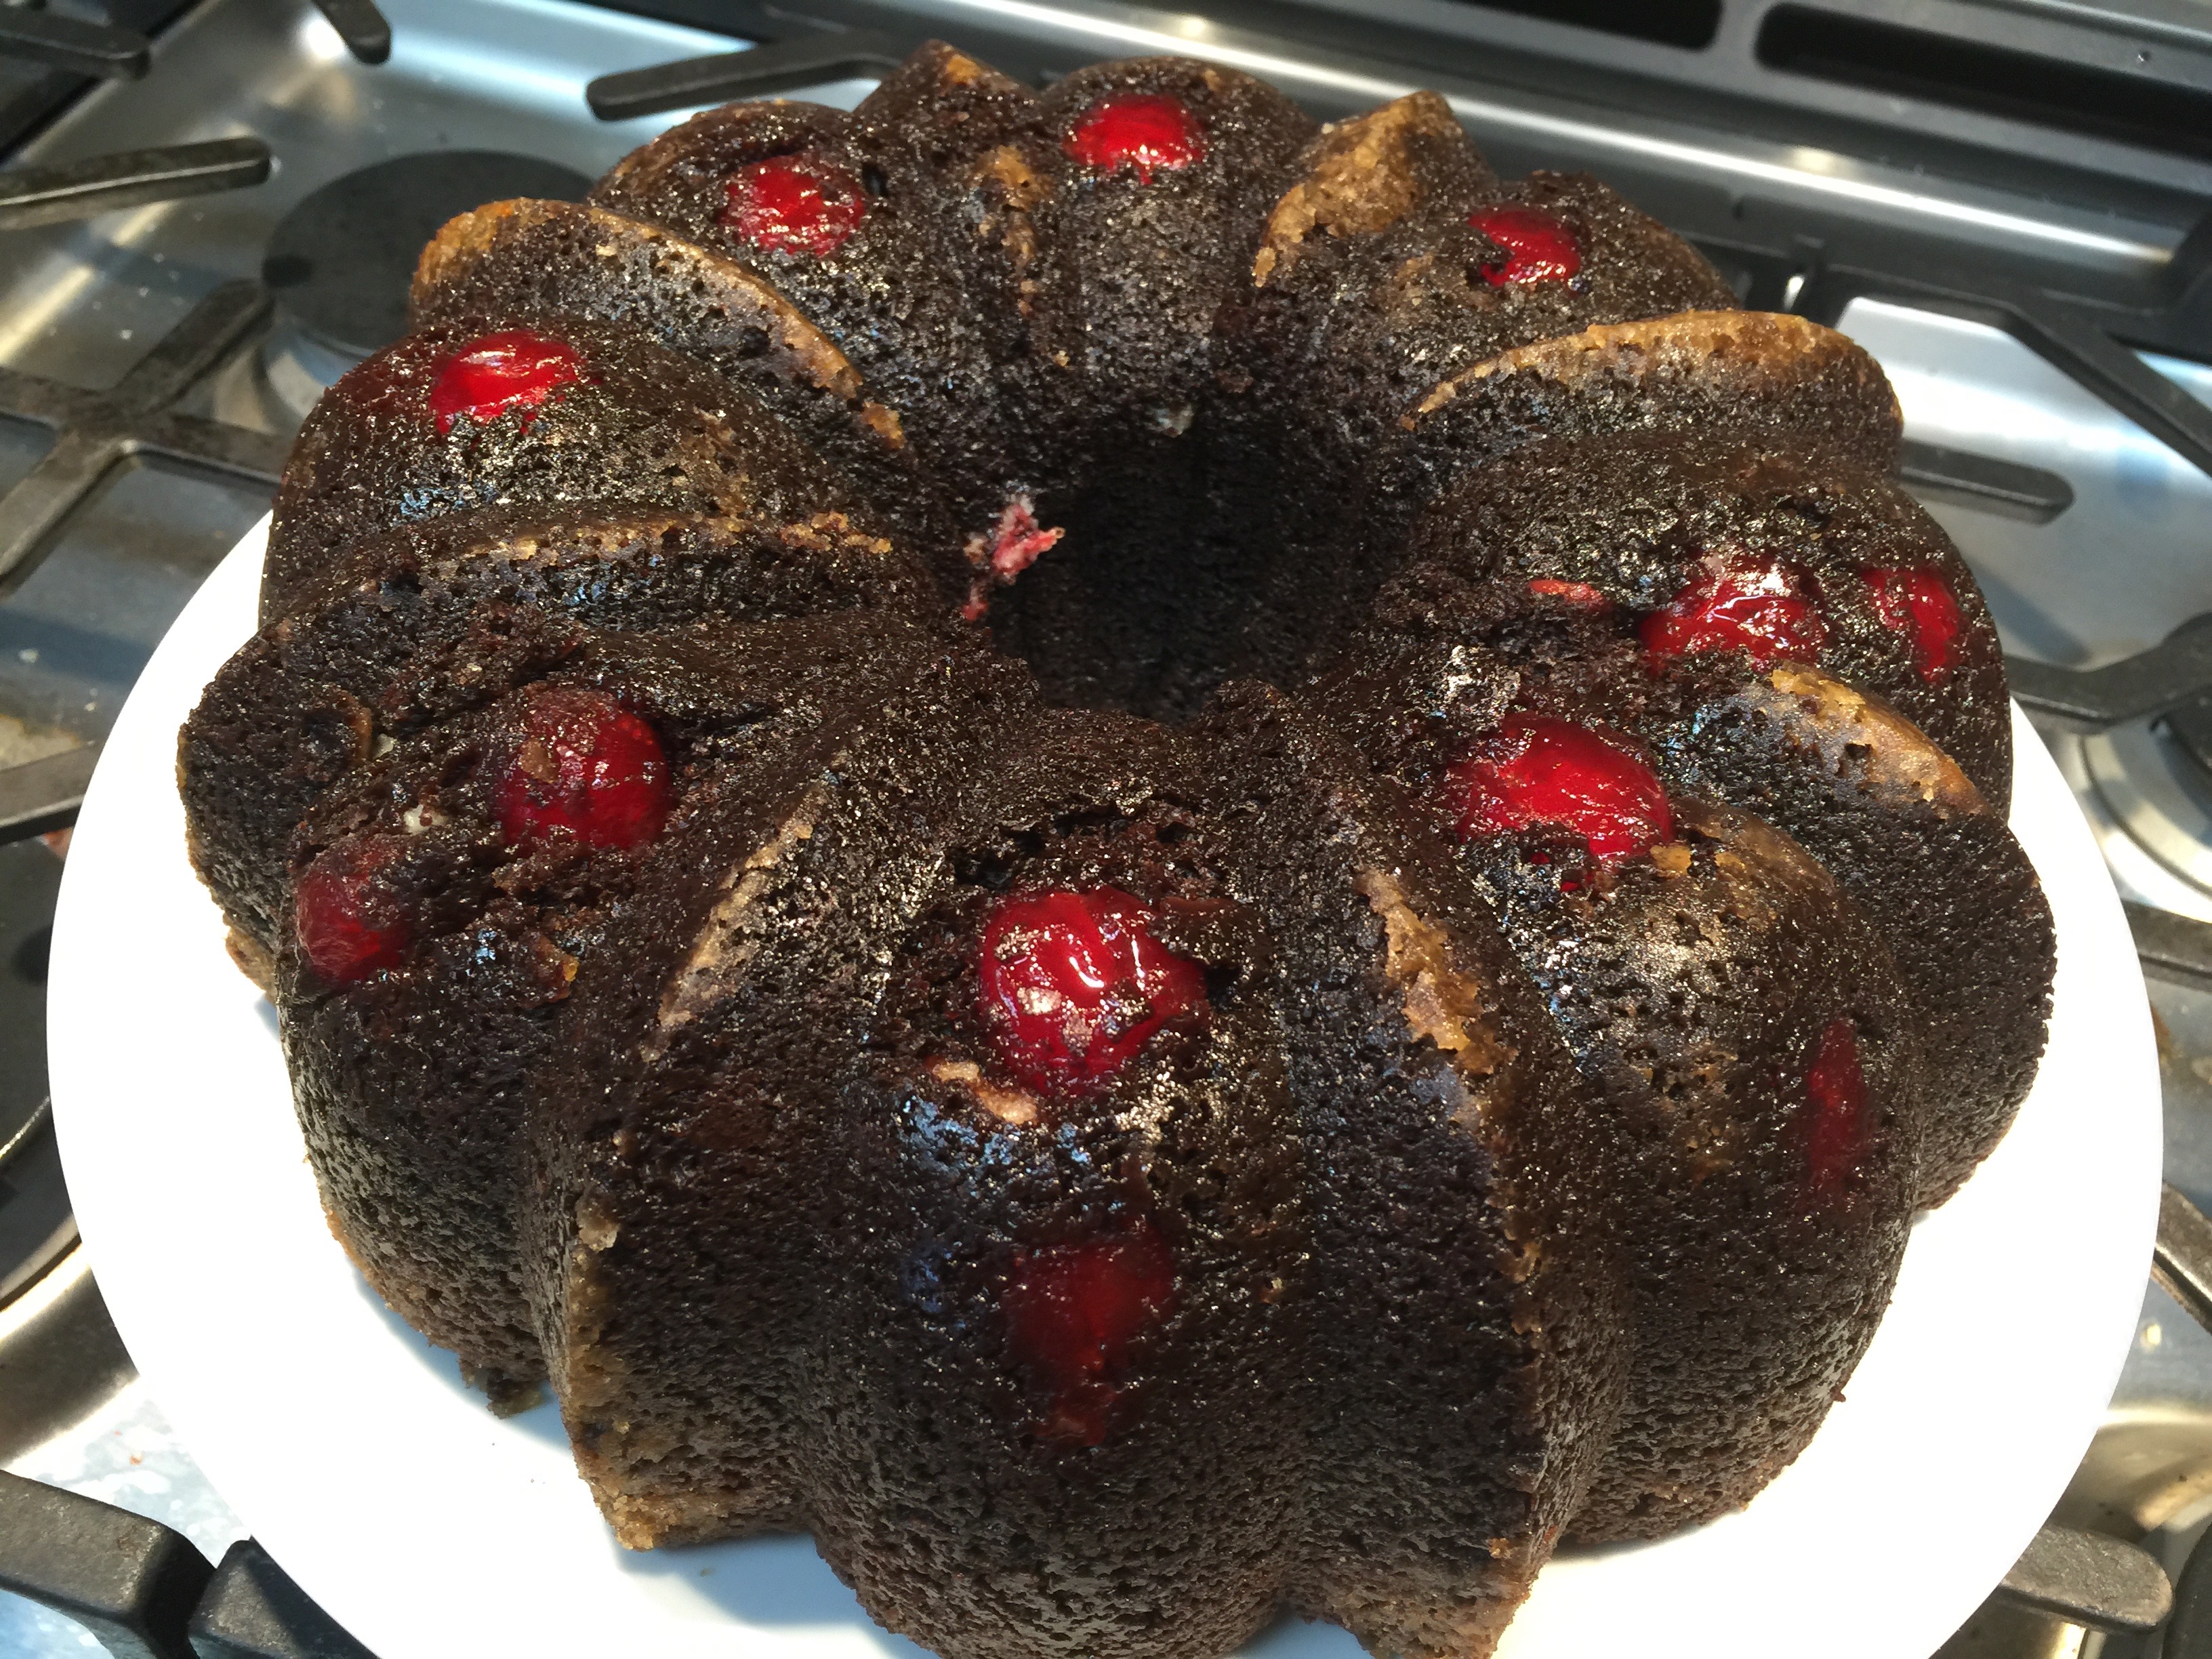
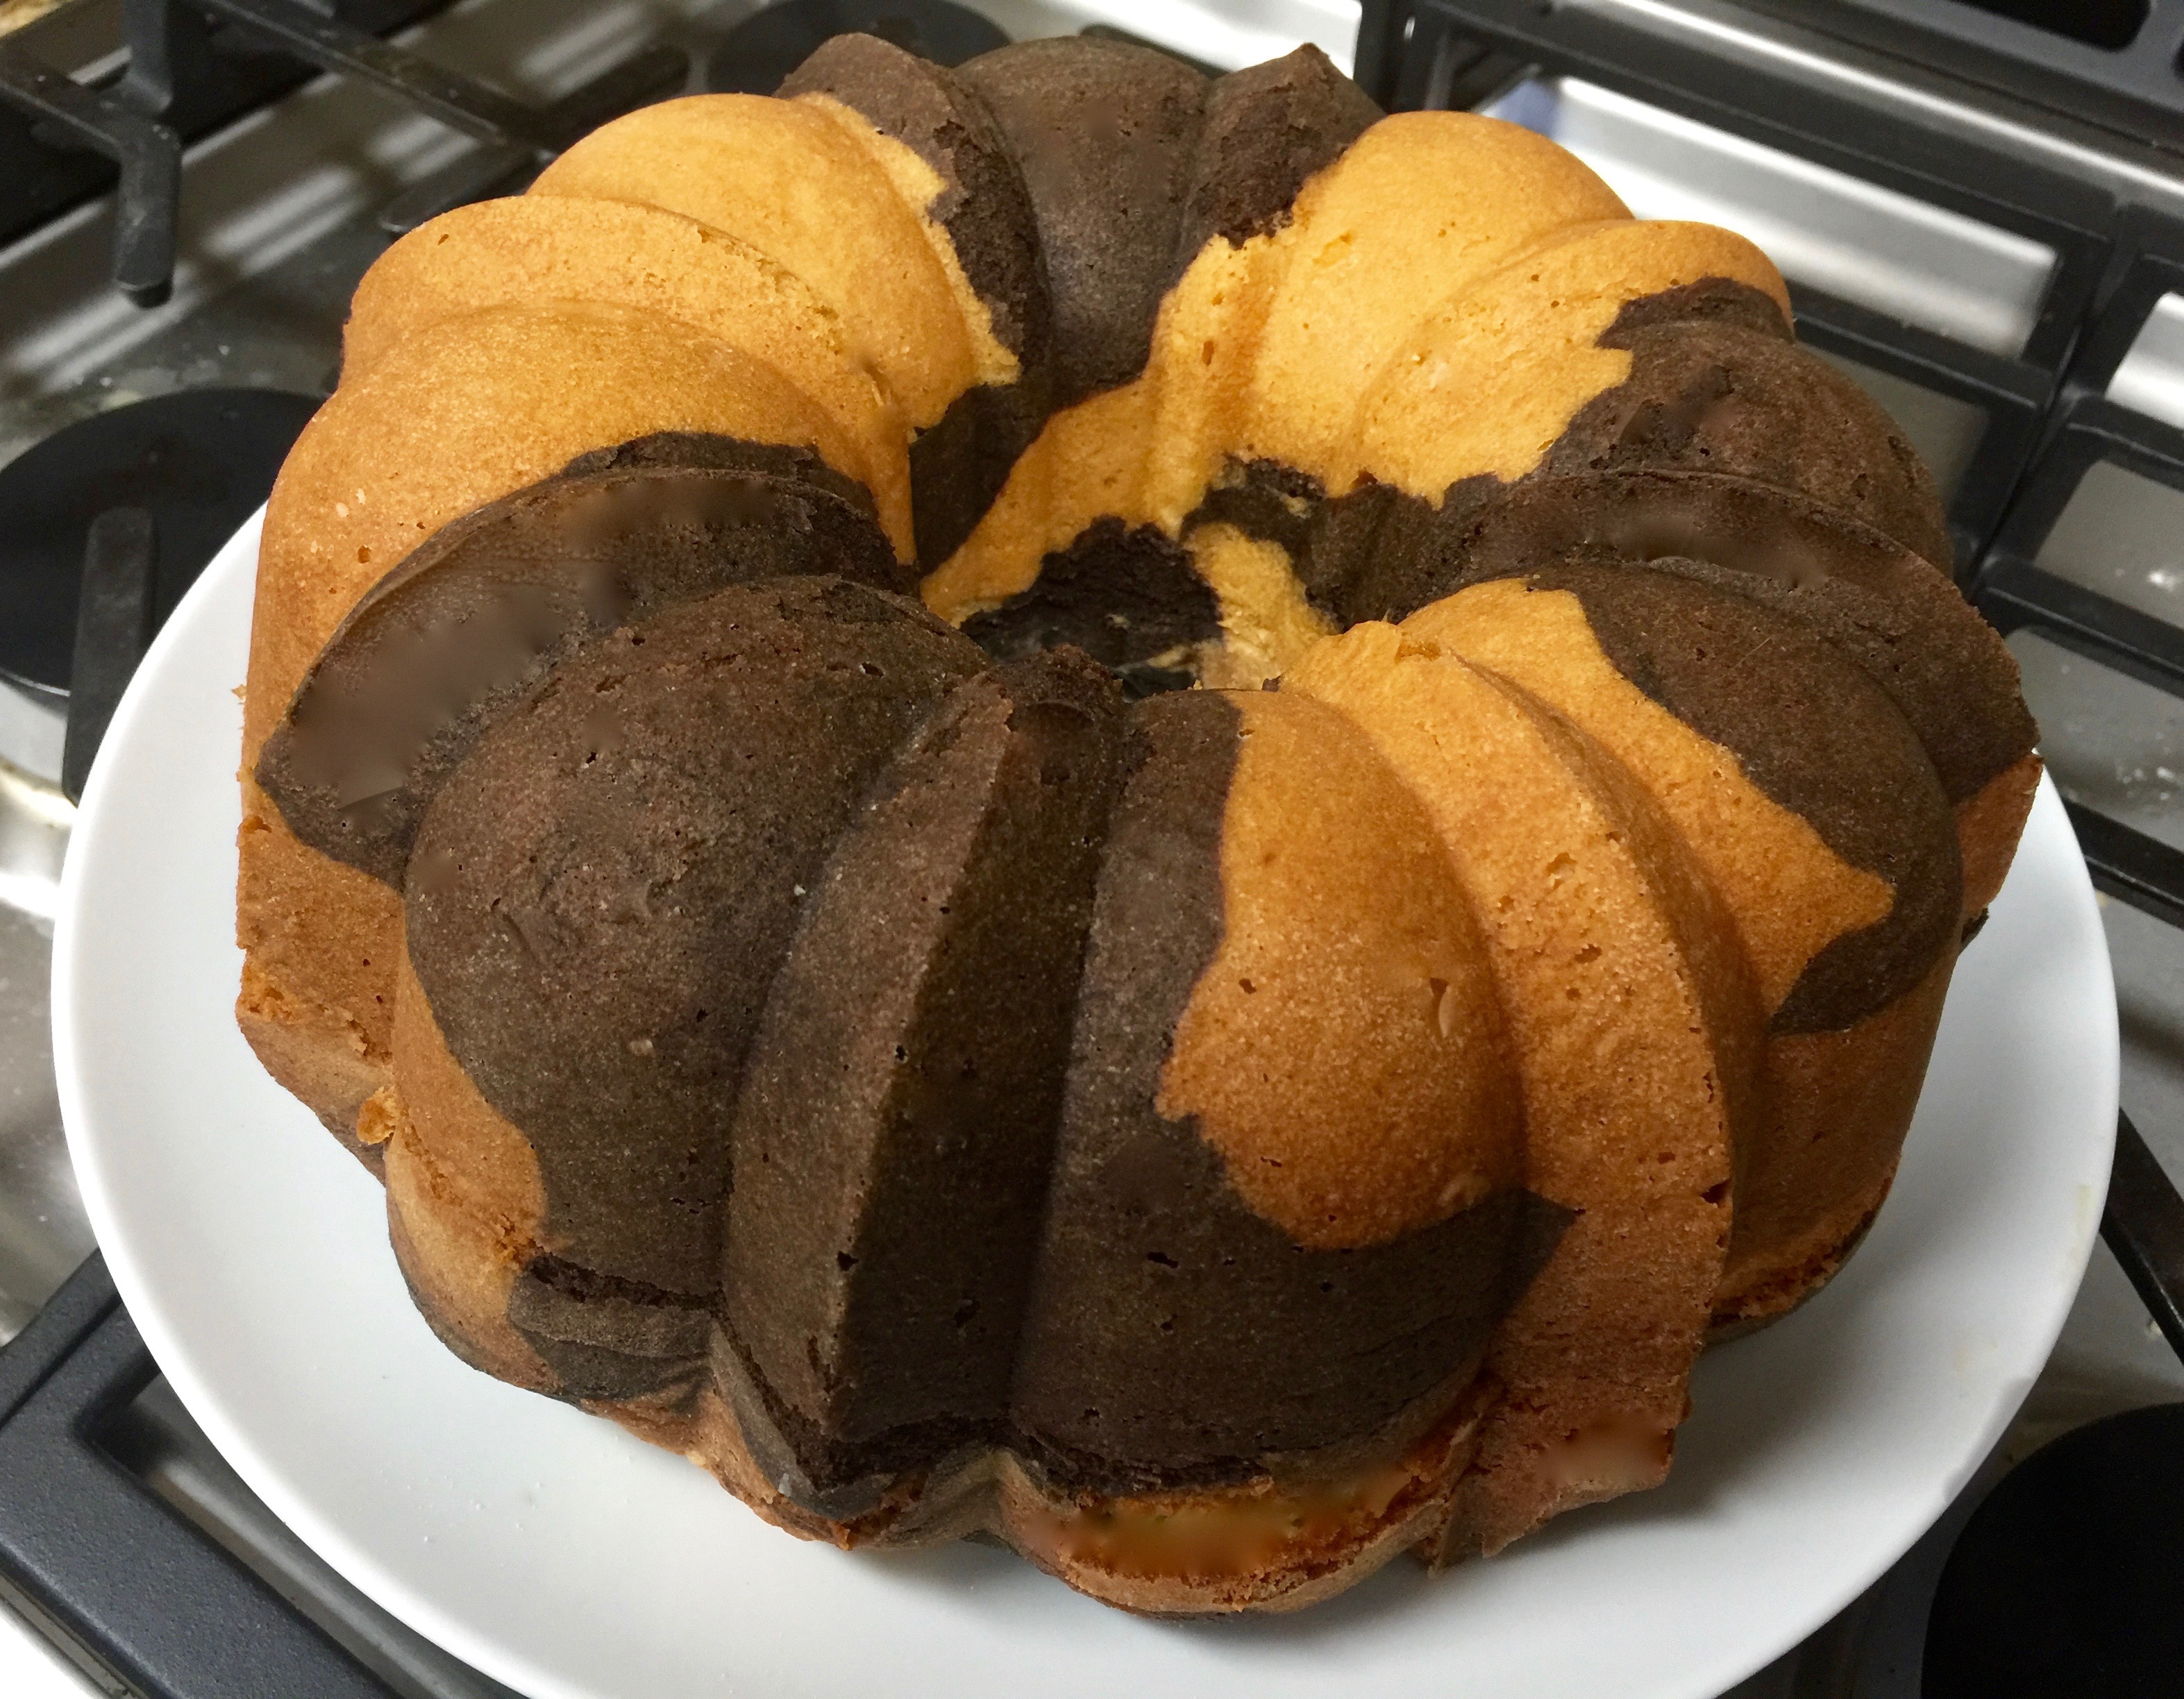
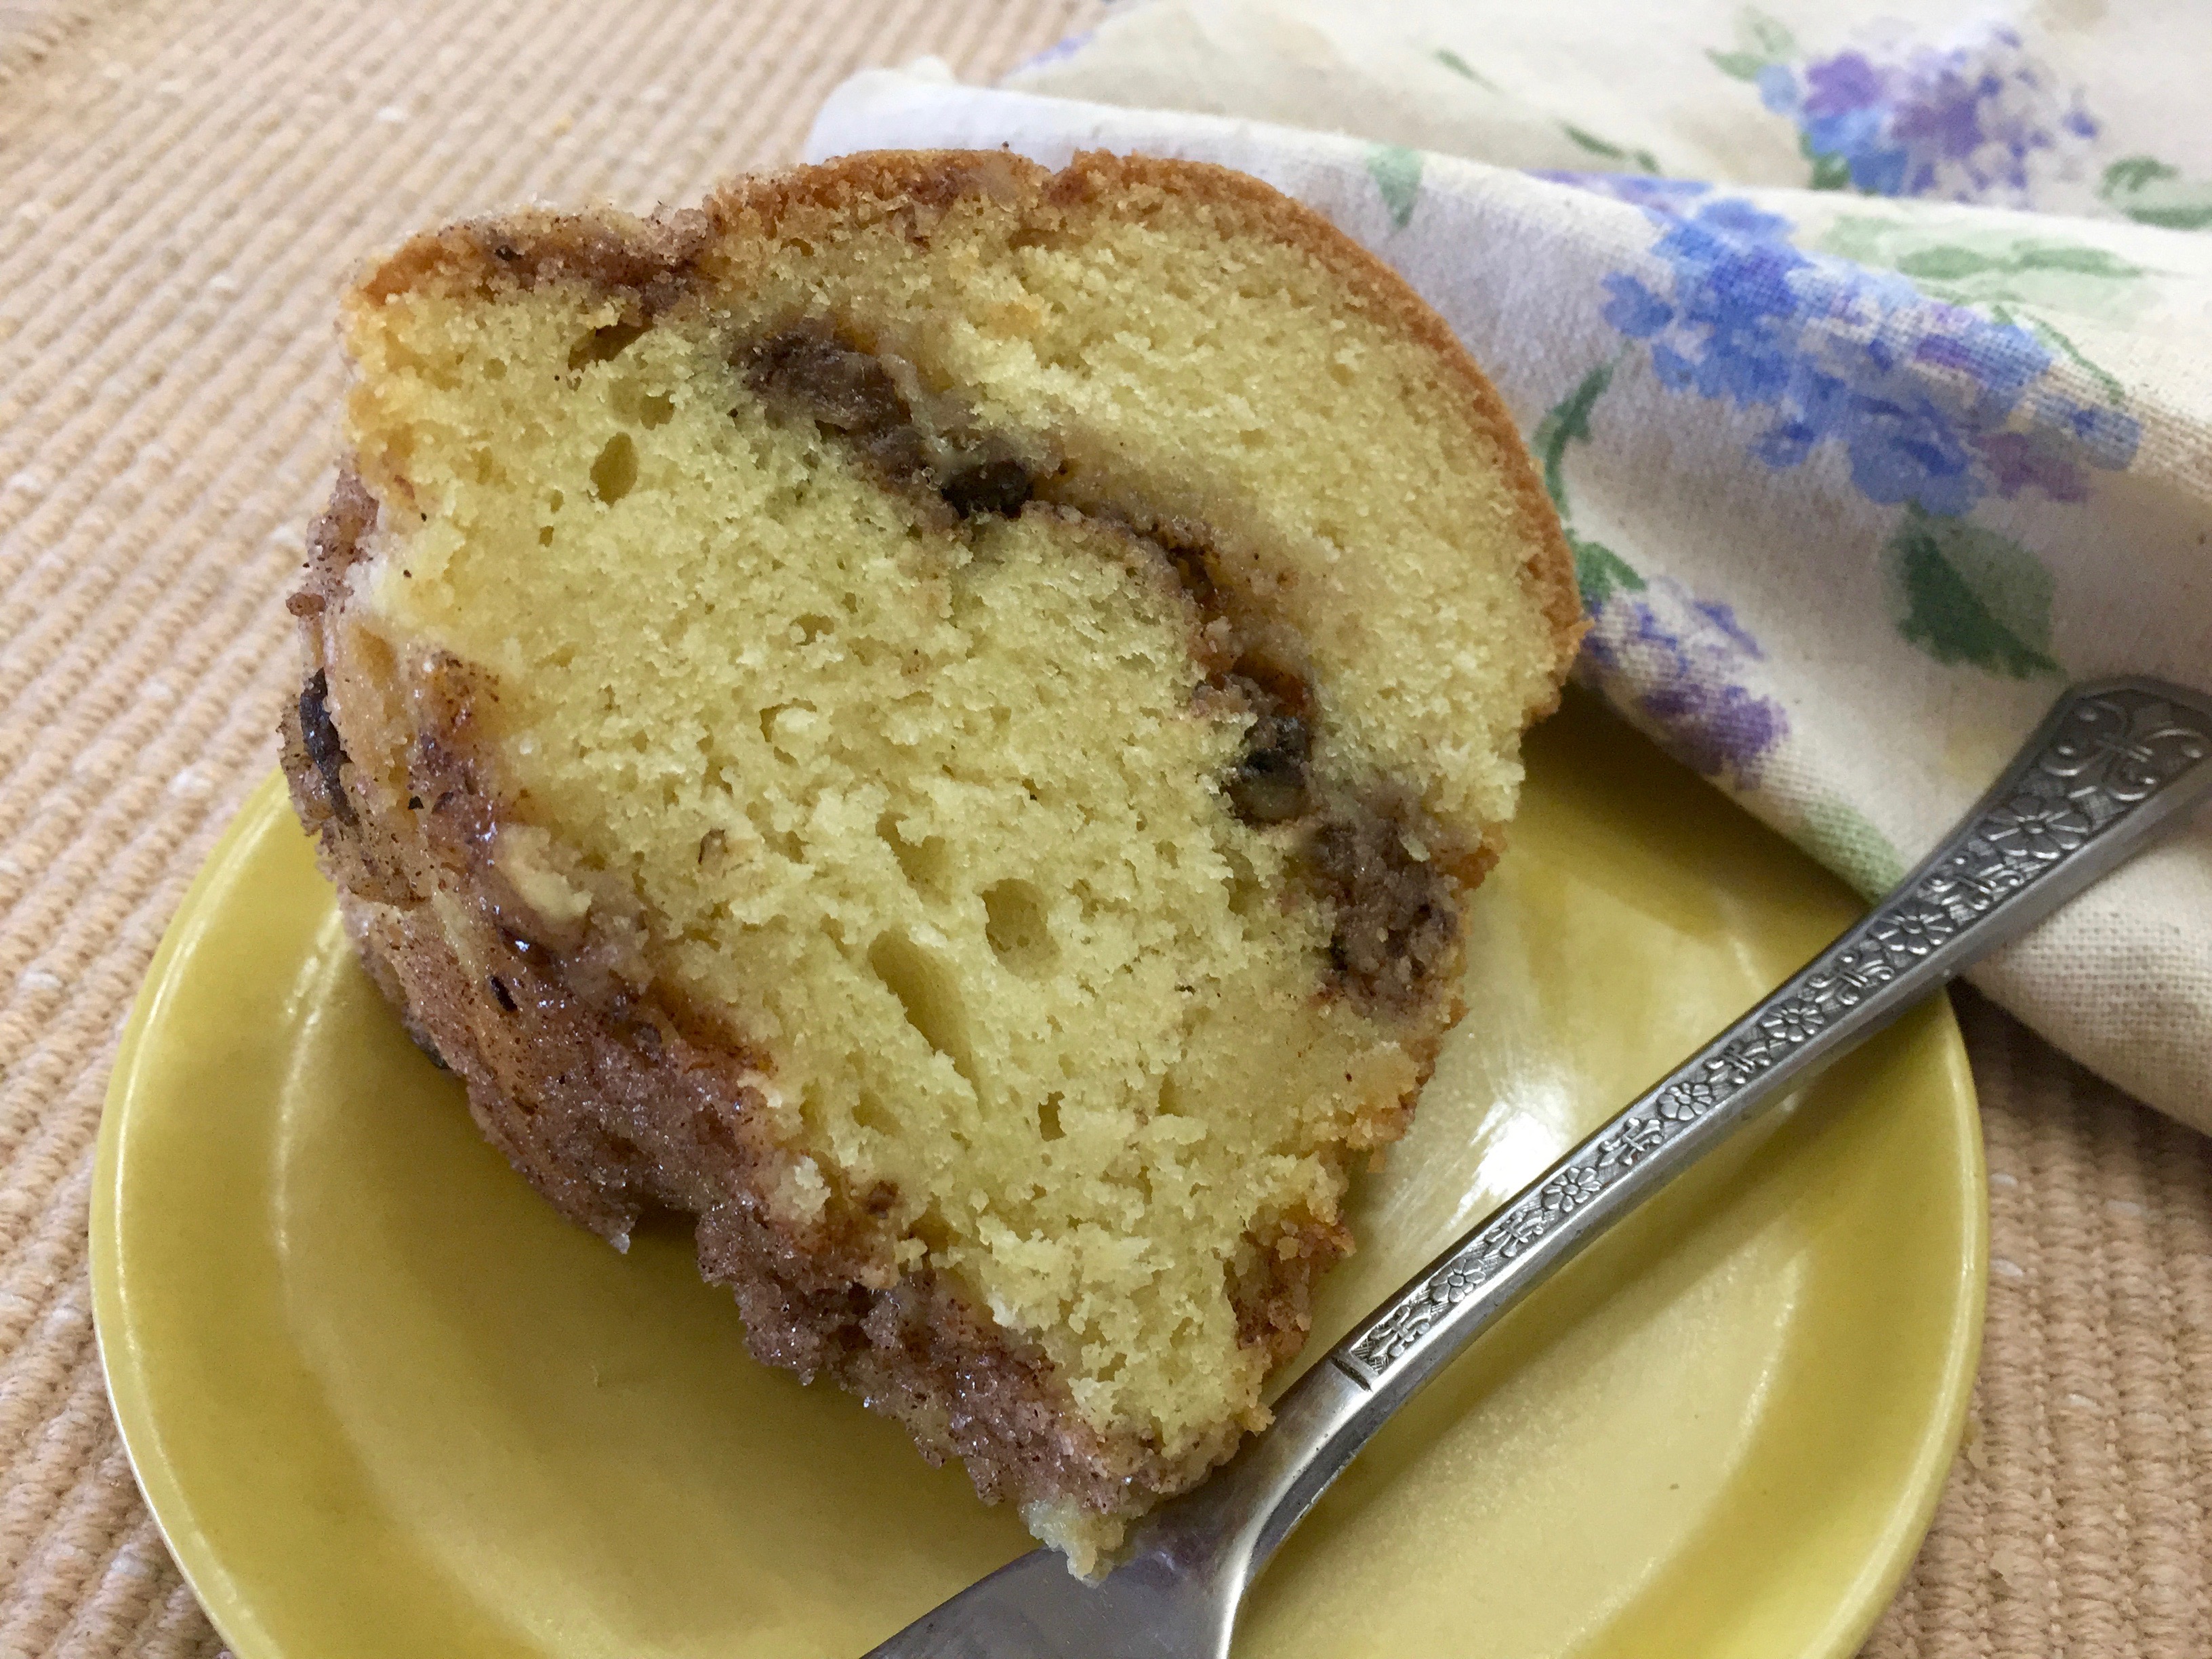
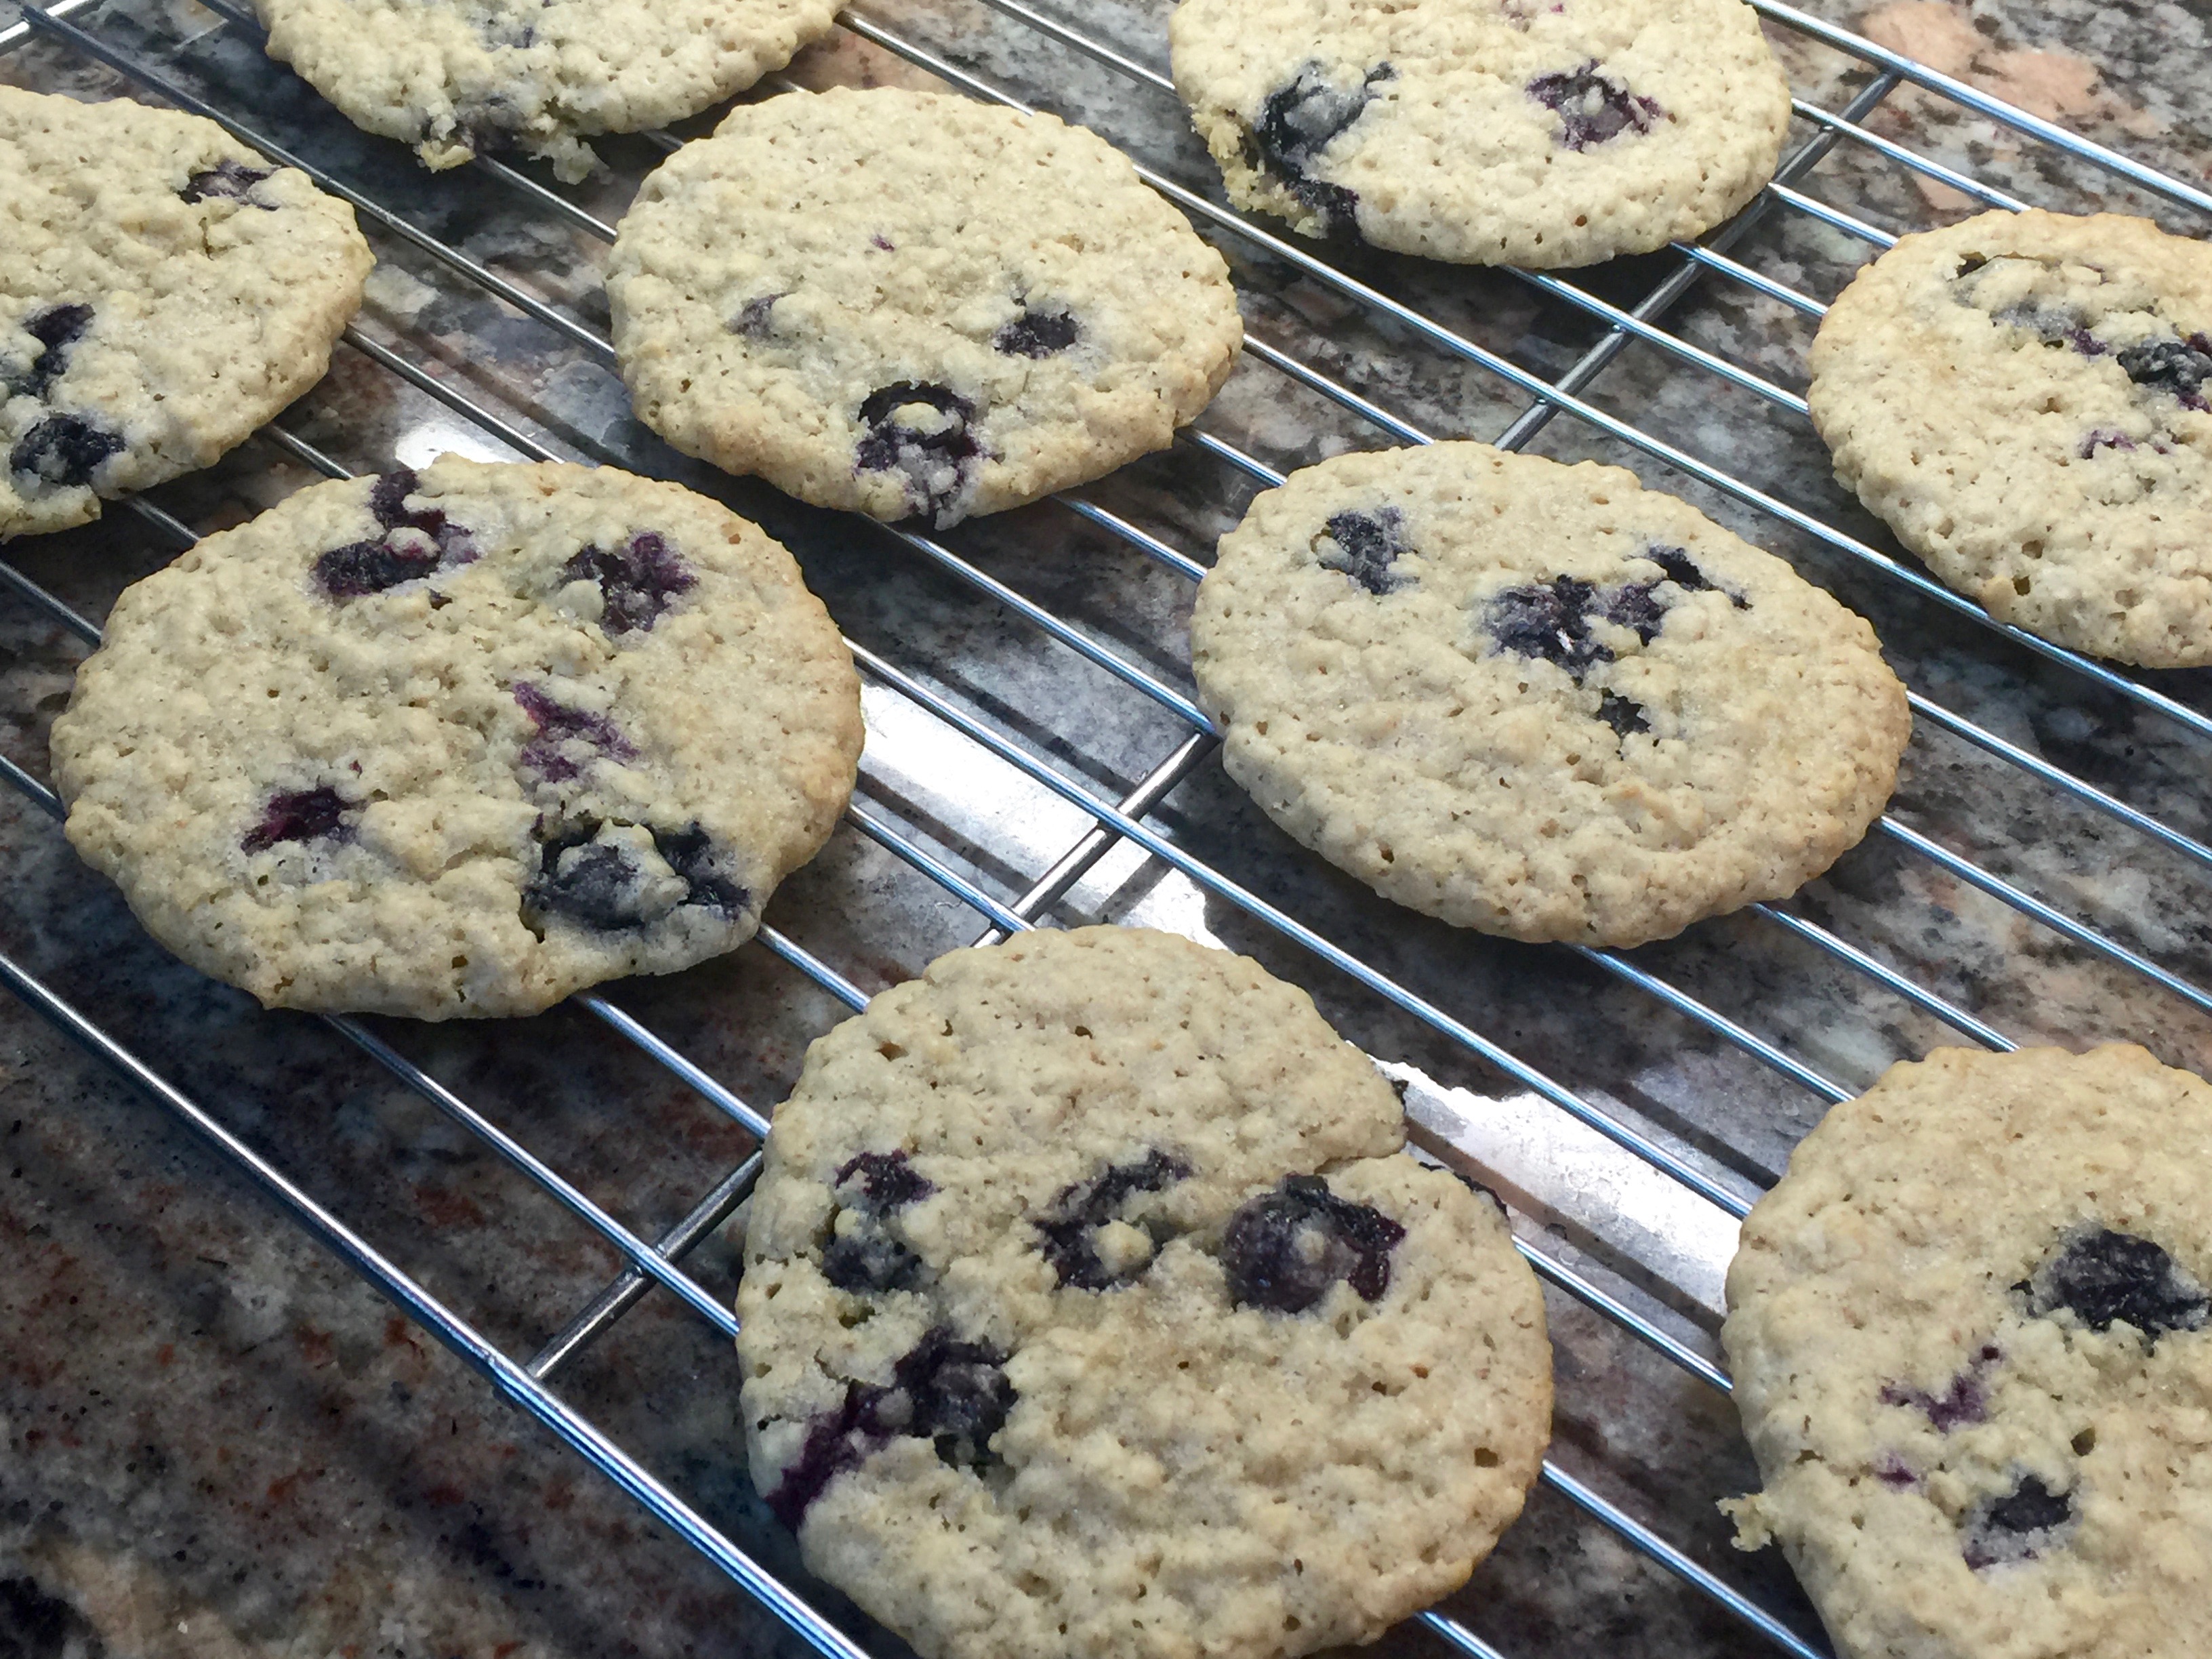
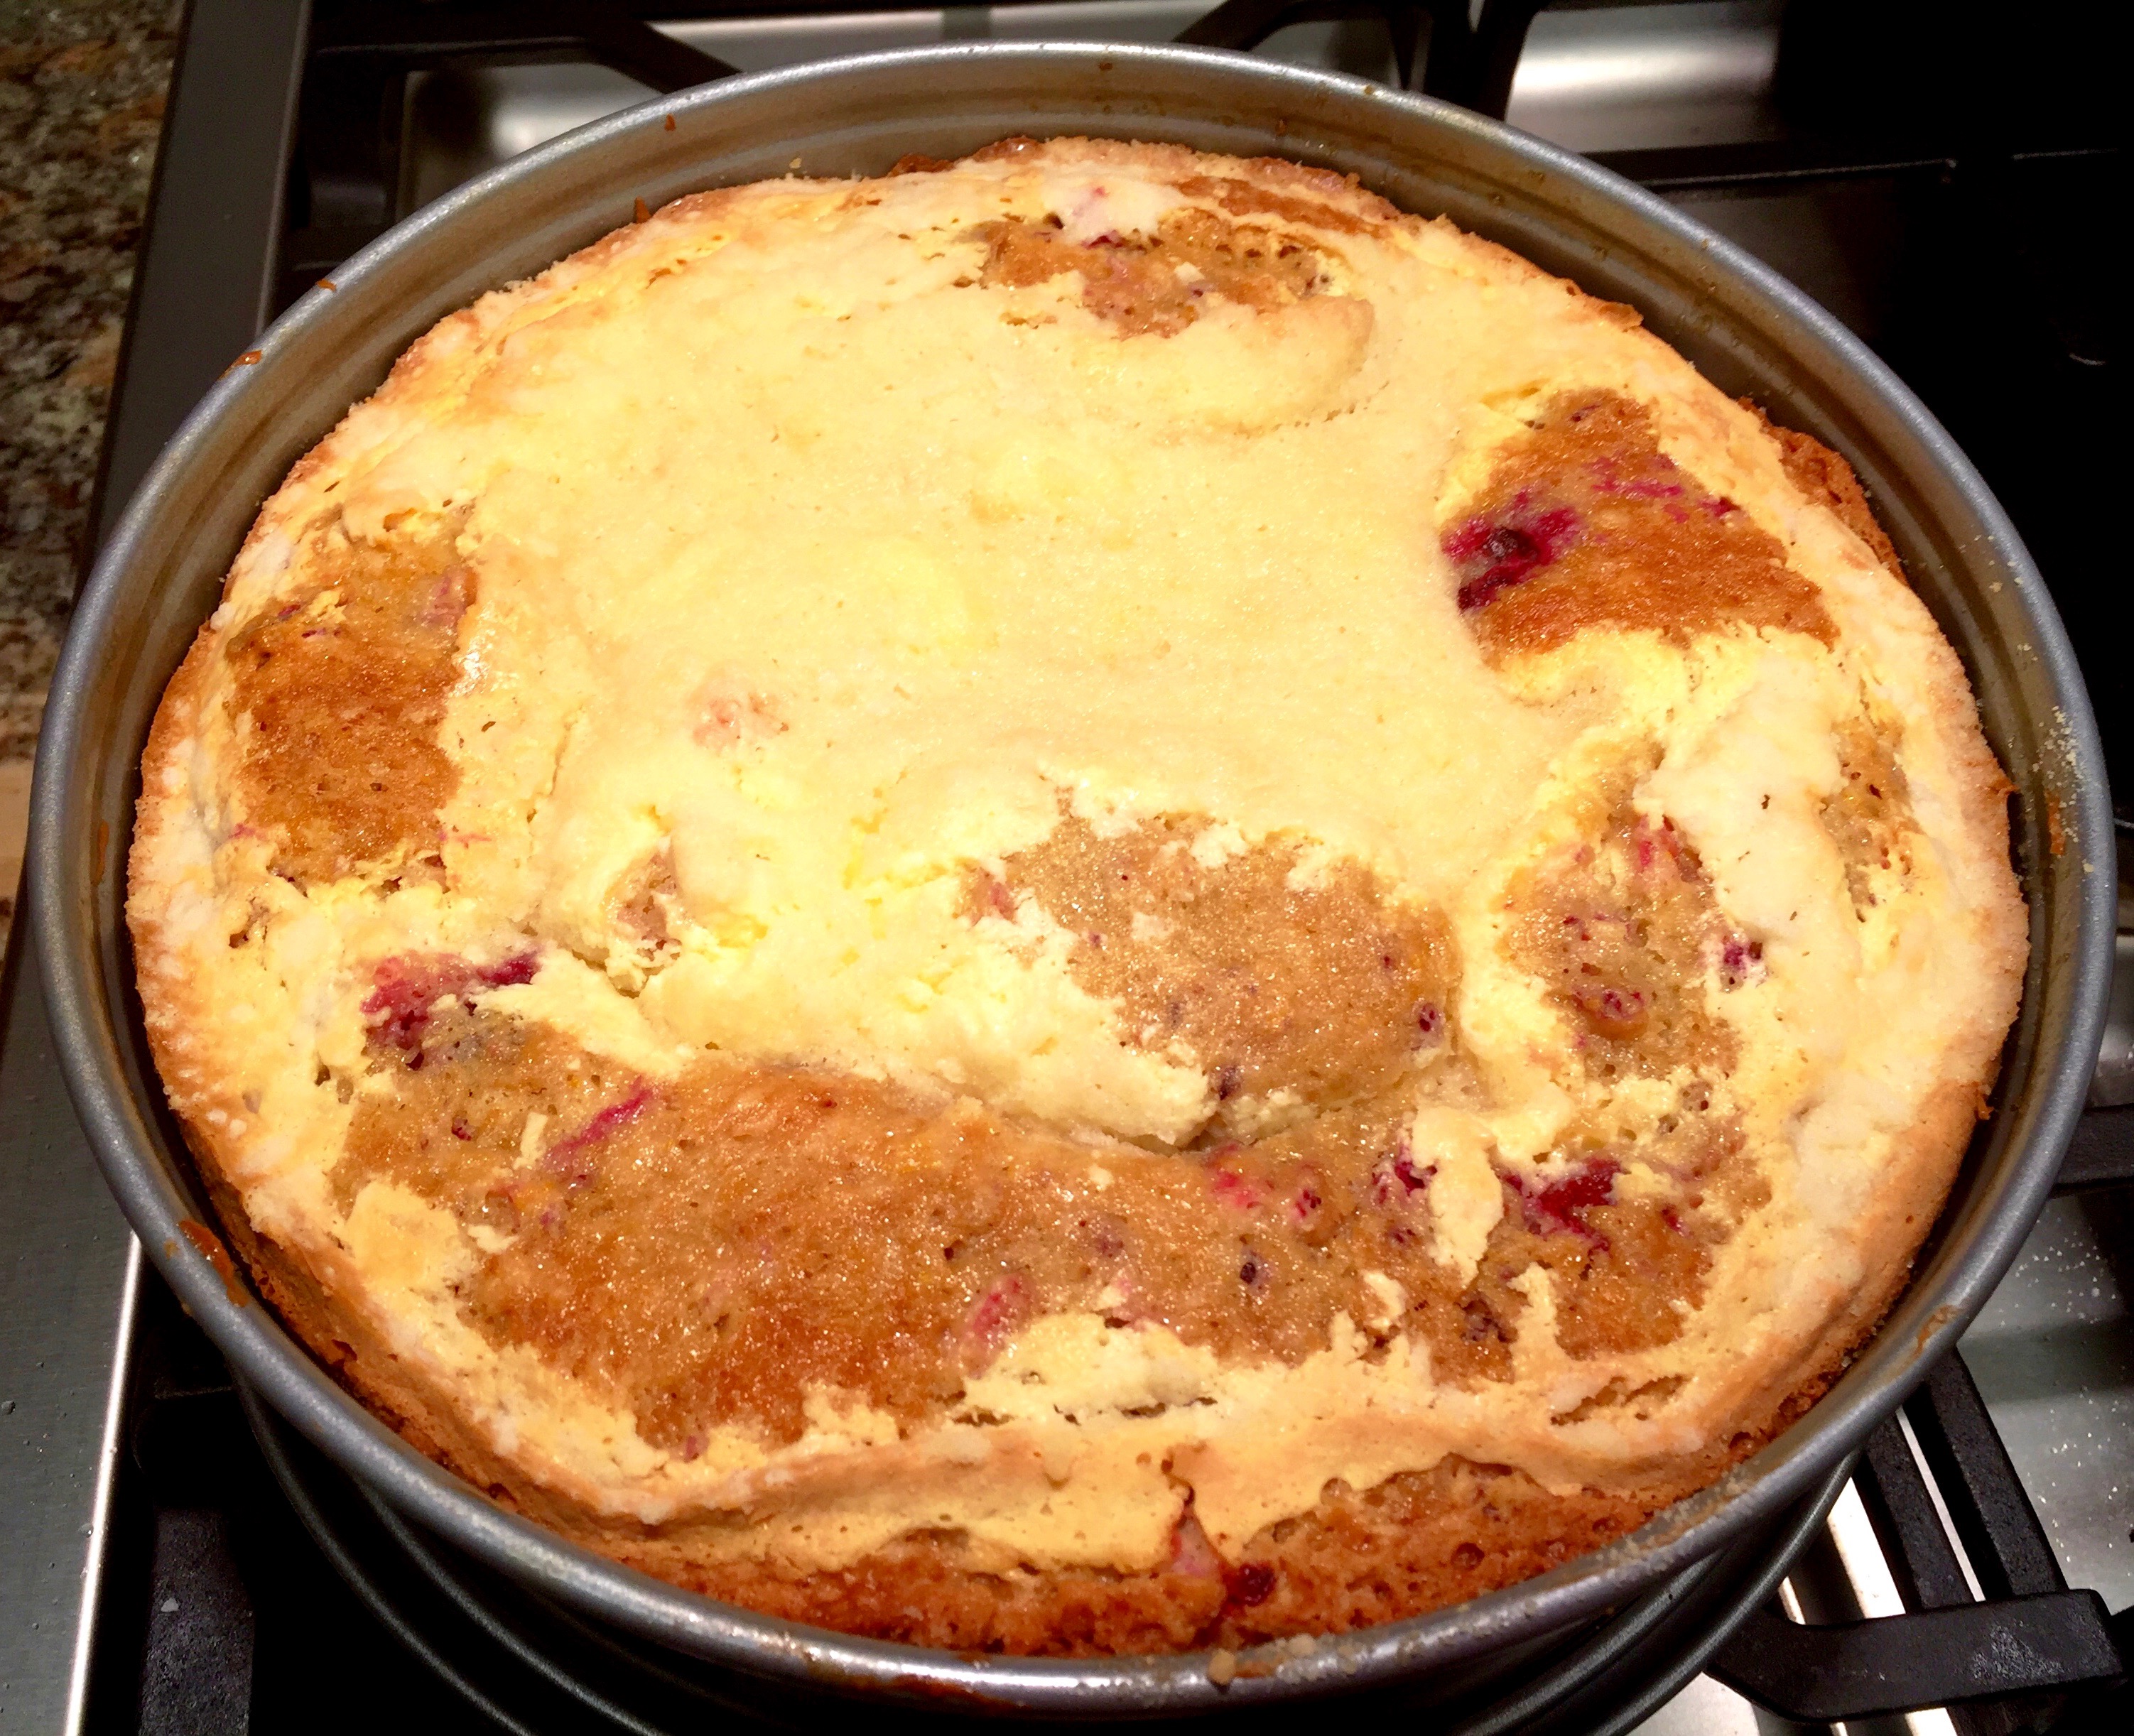
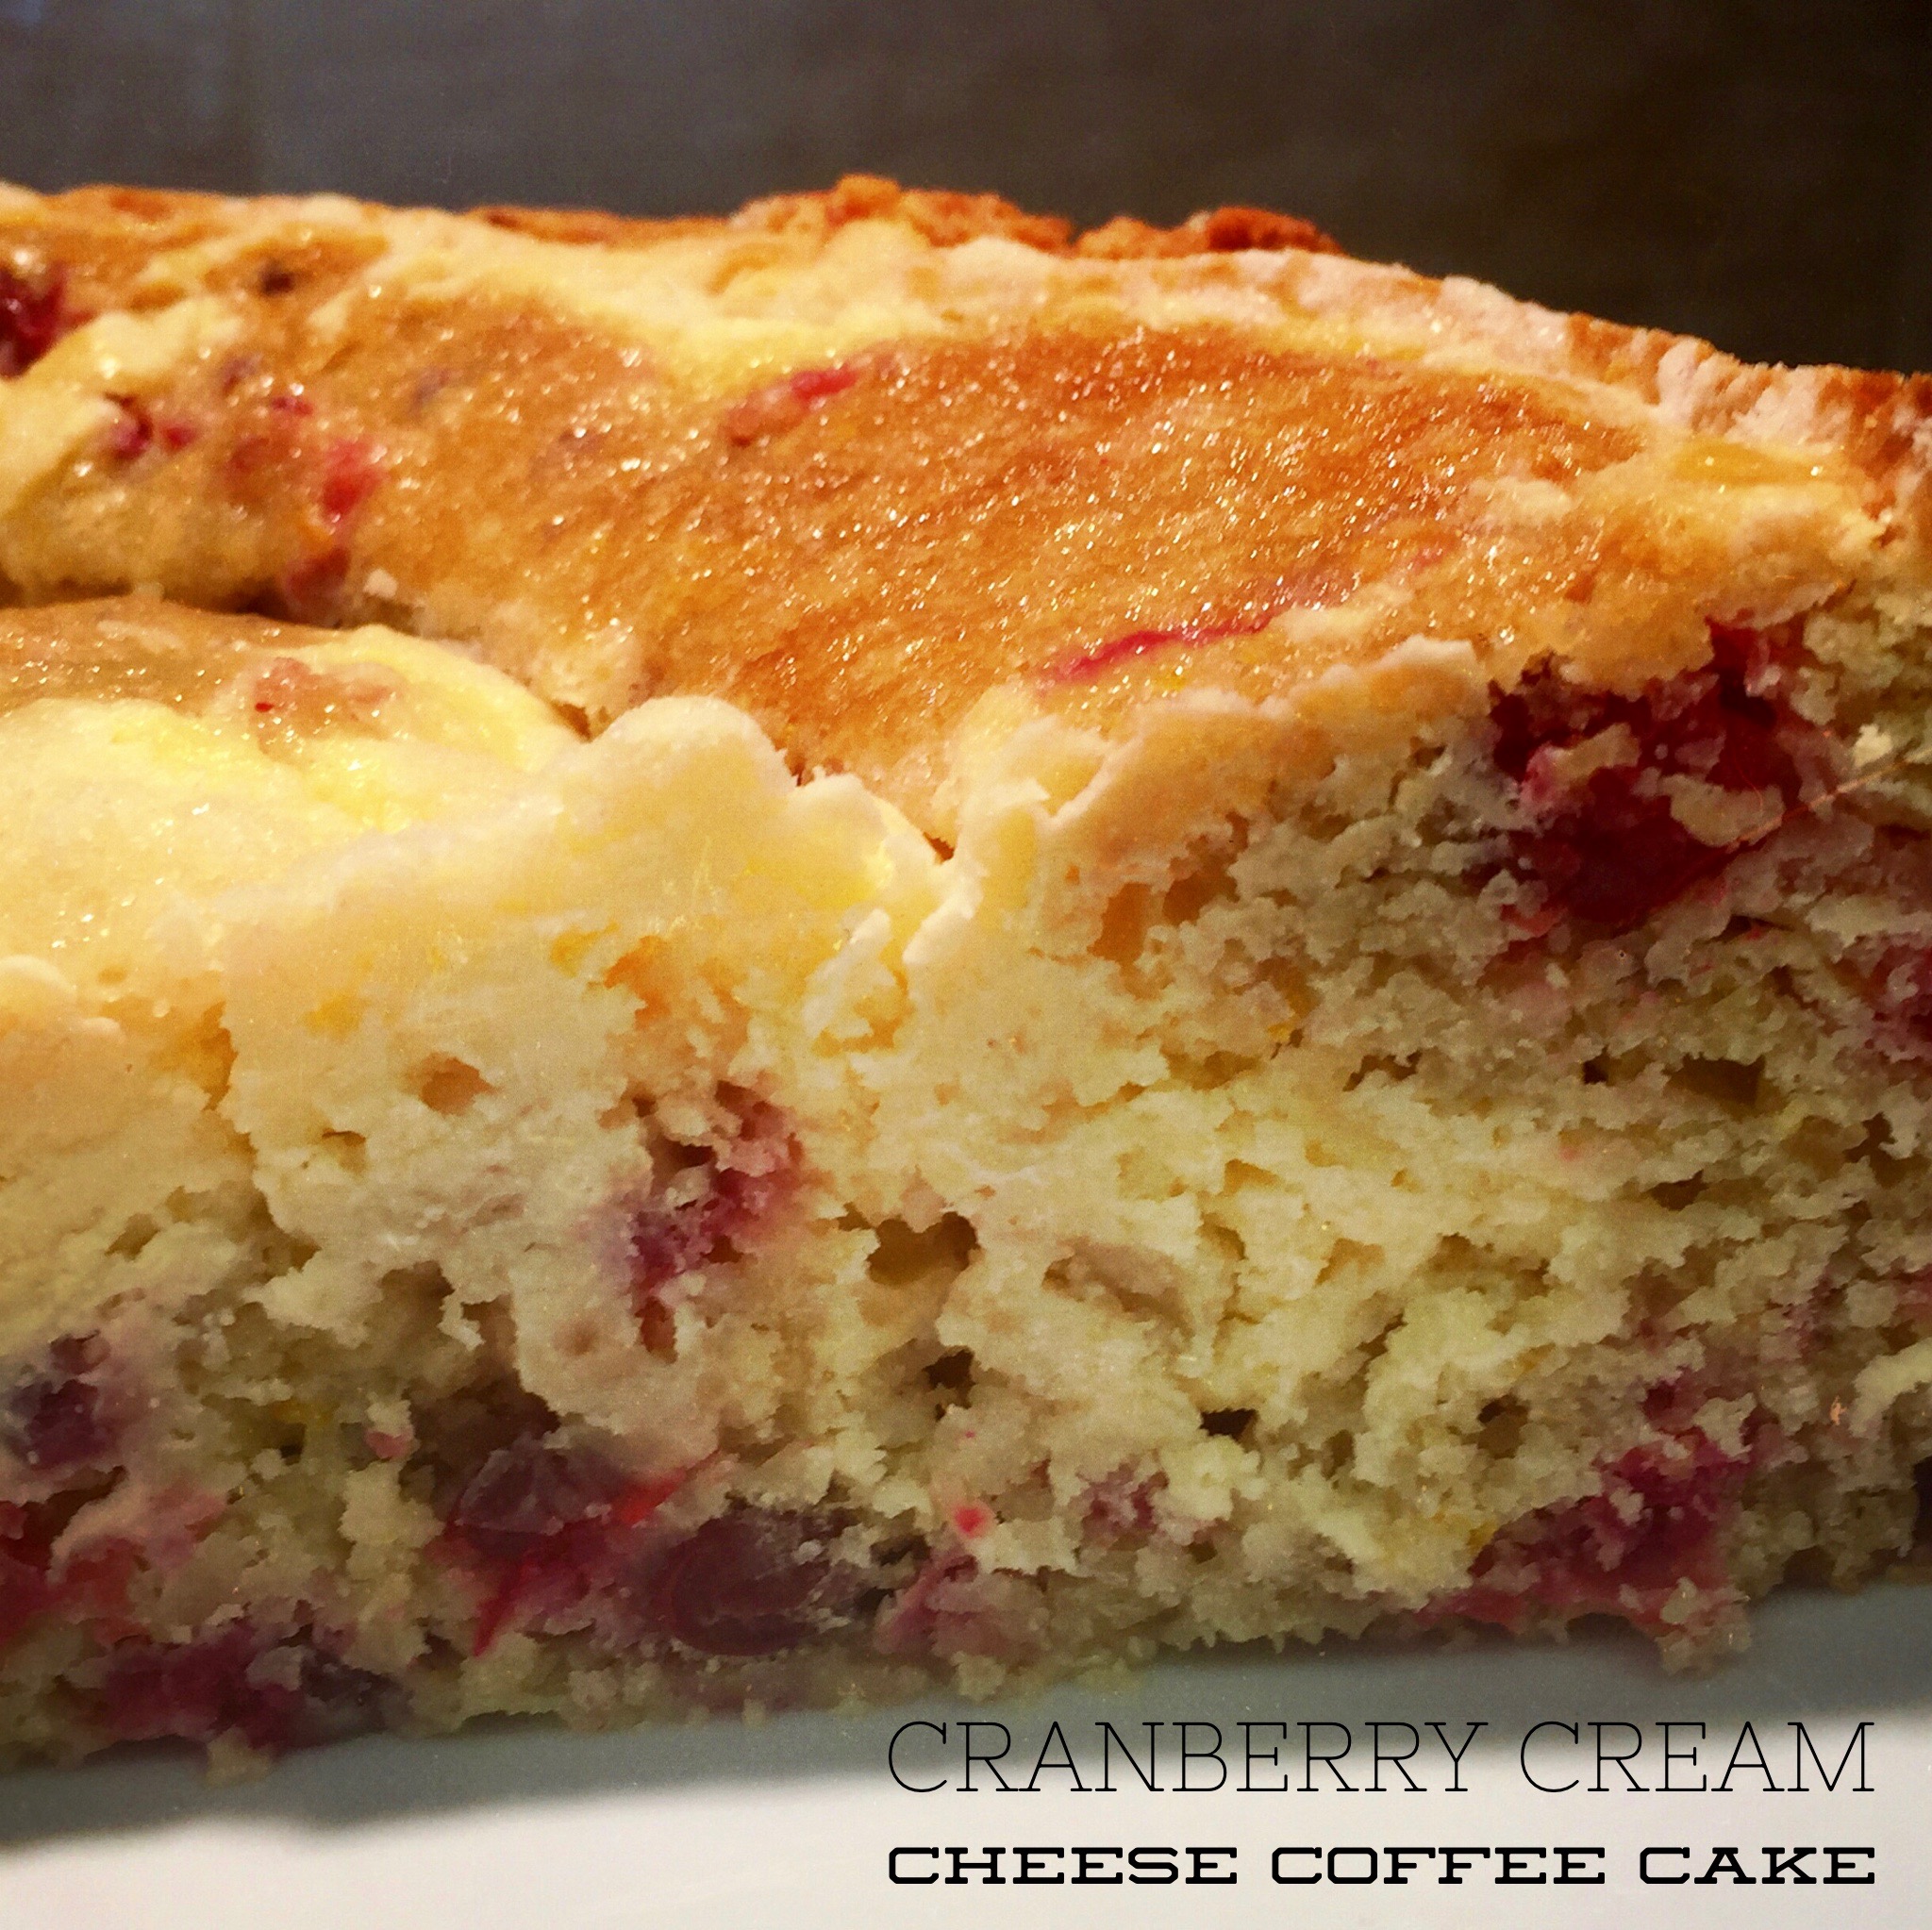
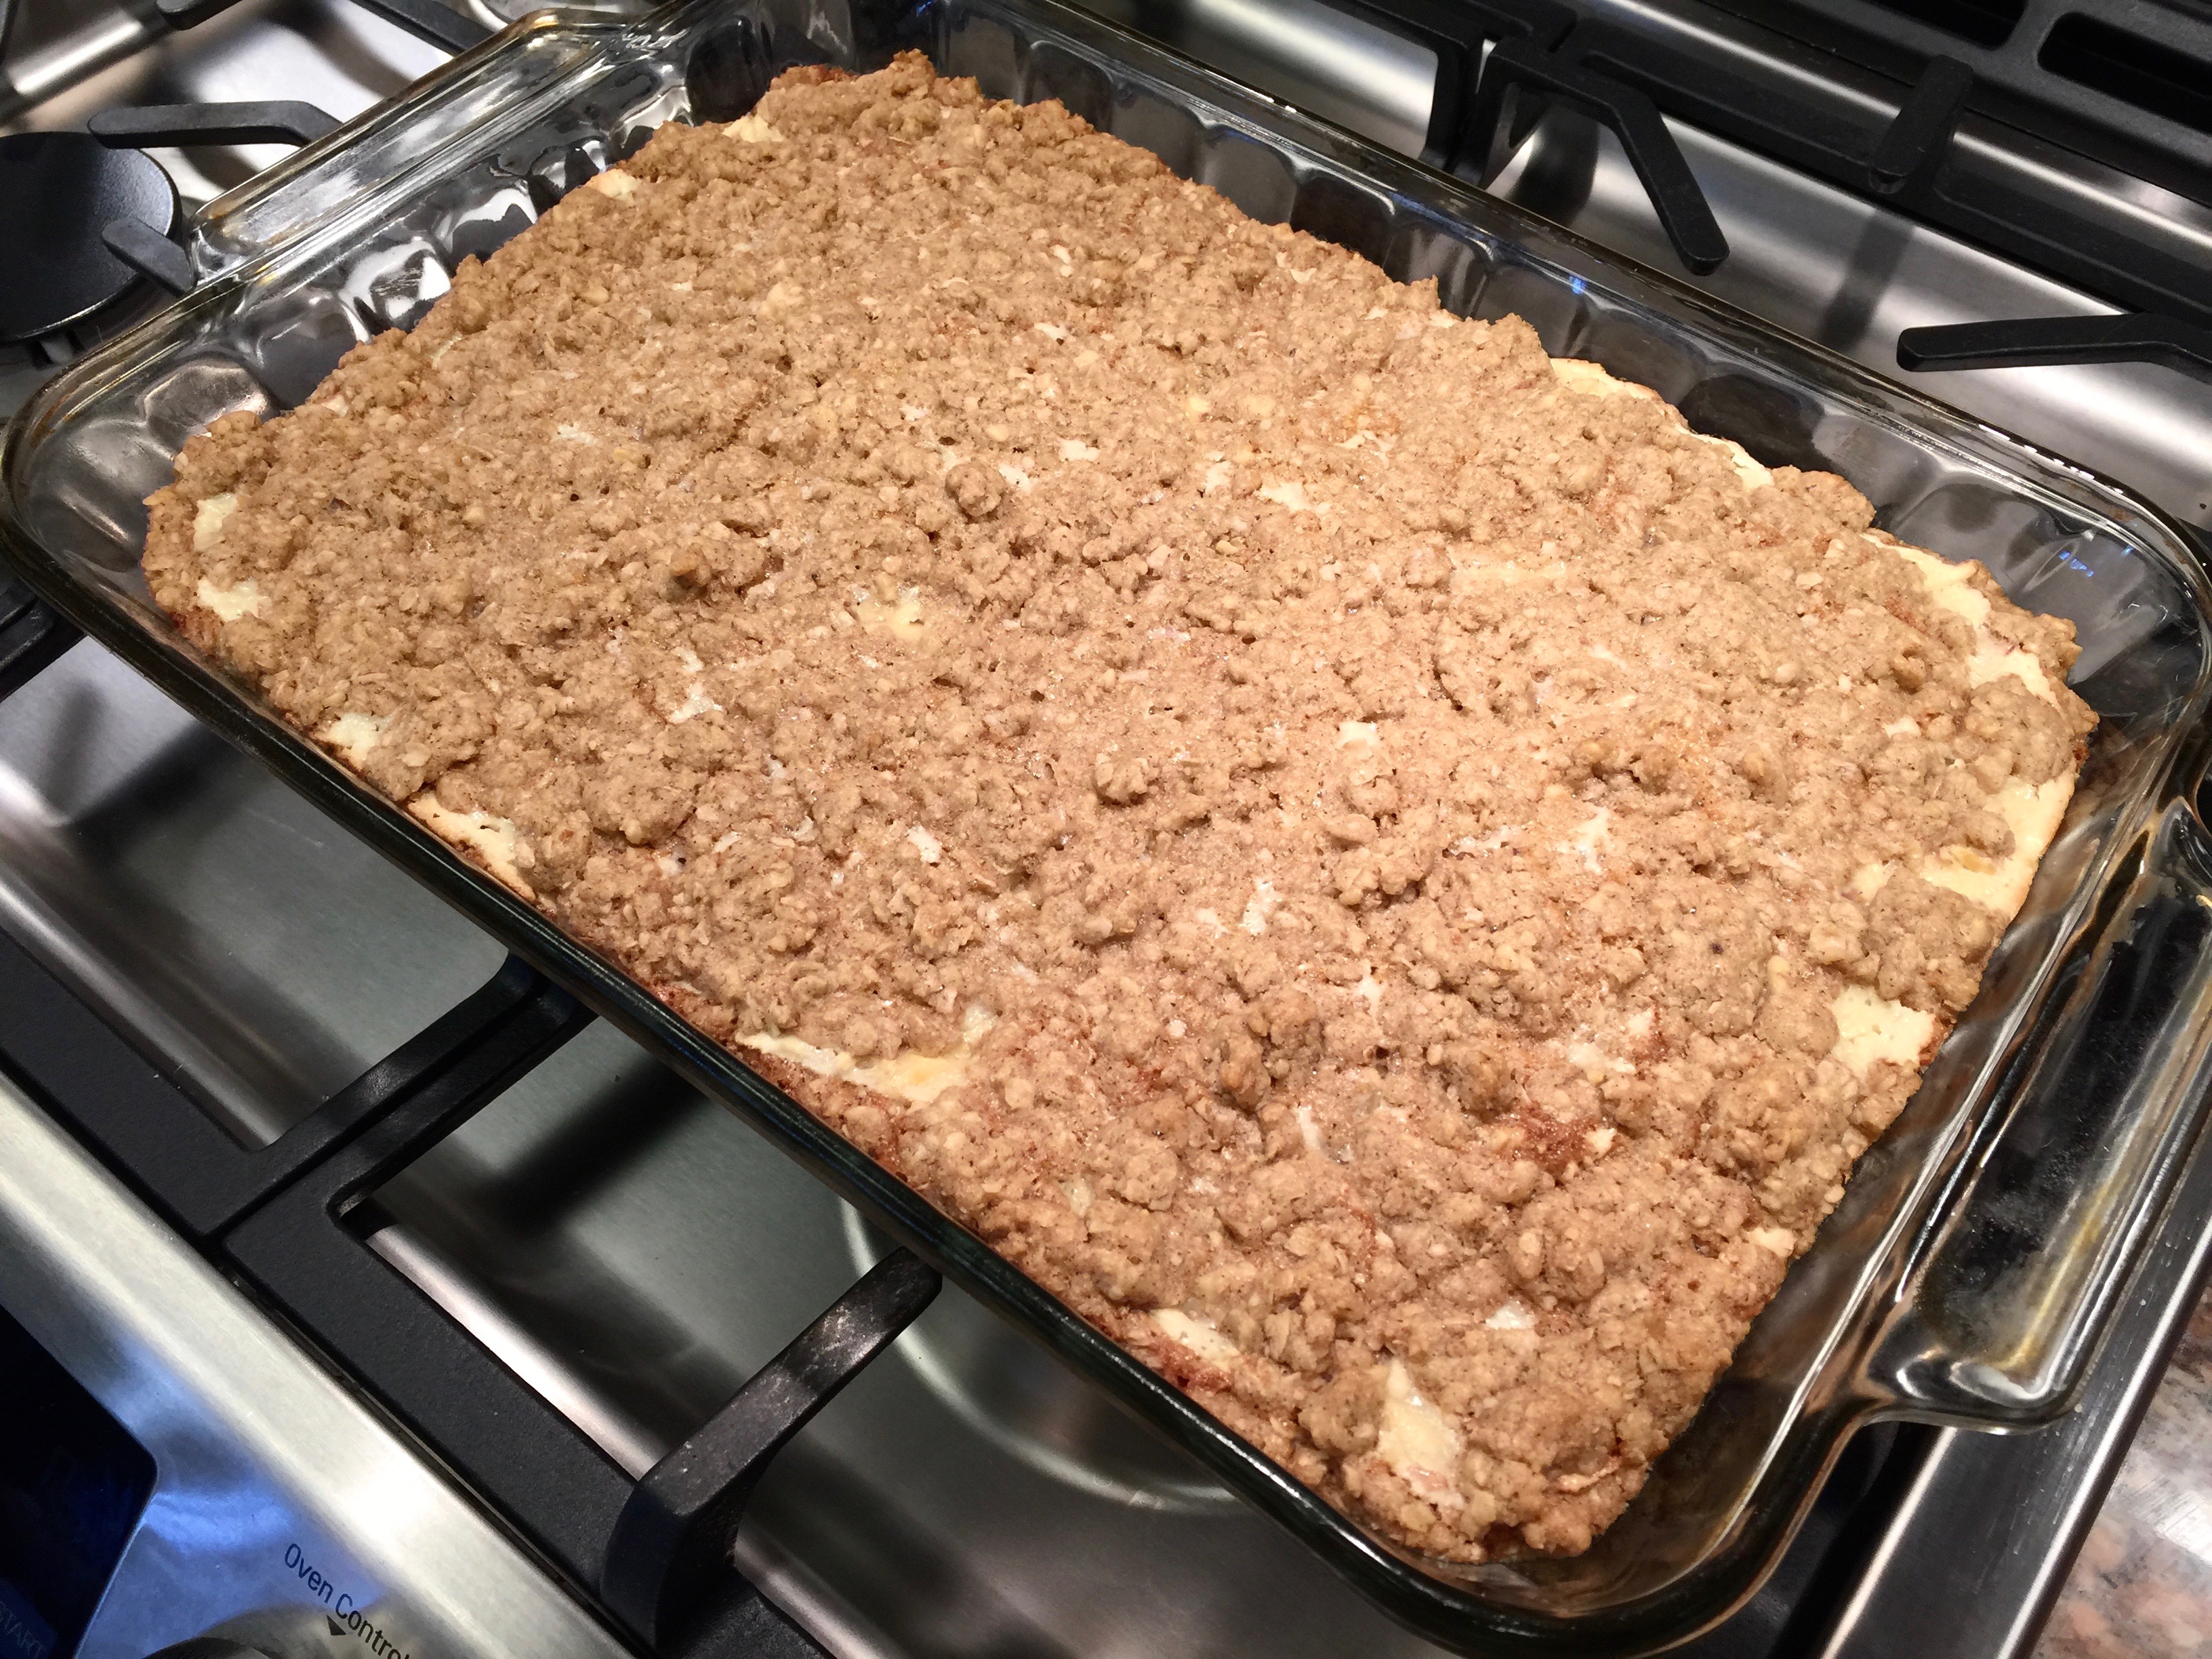
Cake Right Out Of The Oven


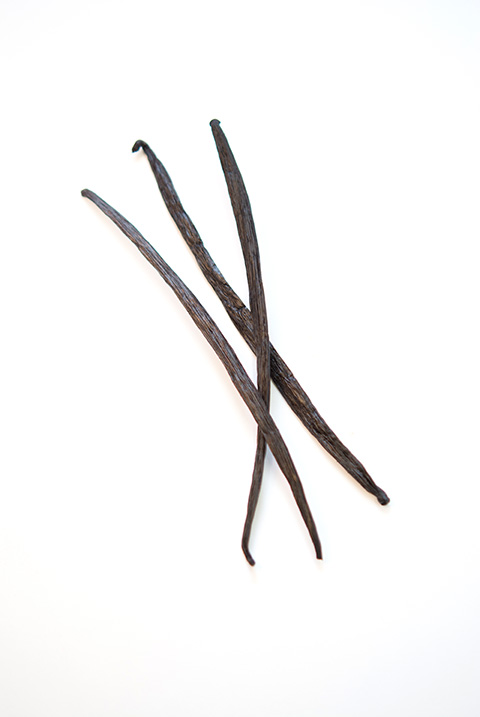
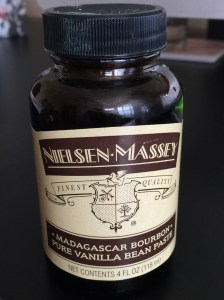 Lesson Learned 4 – Try using vanilla bean paste: I was made aware of vanilla bean paste during a cooking class and I love it. I don’t use it all the time as a jar can be quite expensive ($20 or so) but in dishes where I want a richer vanilla flavor I use the paste. I wouldn’t use it for making cookies but for cakes or custards it adds much more depth of flavor. It measures just like vanilla extract (a teaspoon for a teaspoon) but it gives a much richer vanilla flavor than extract. If you can afford it try it sometime.
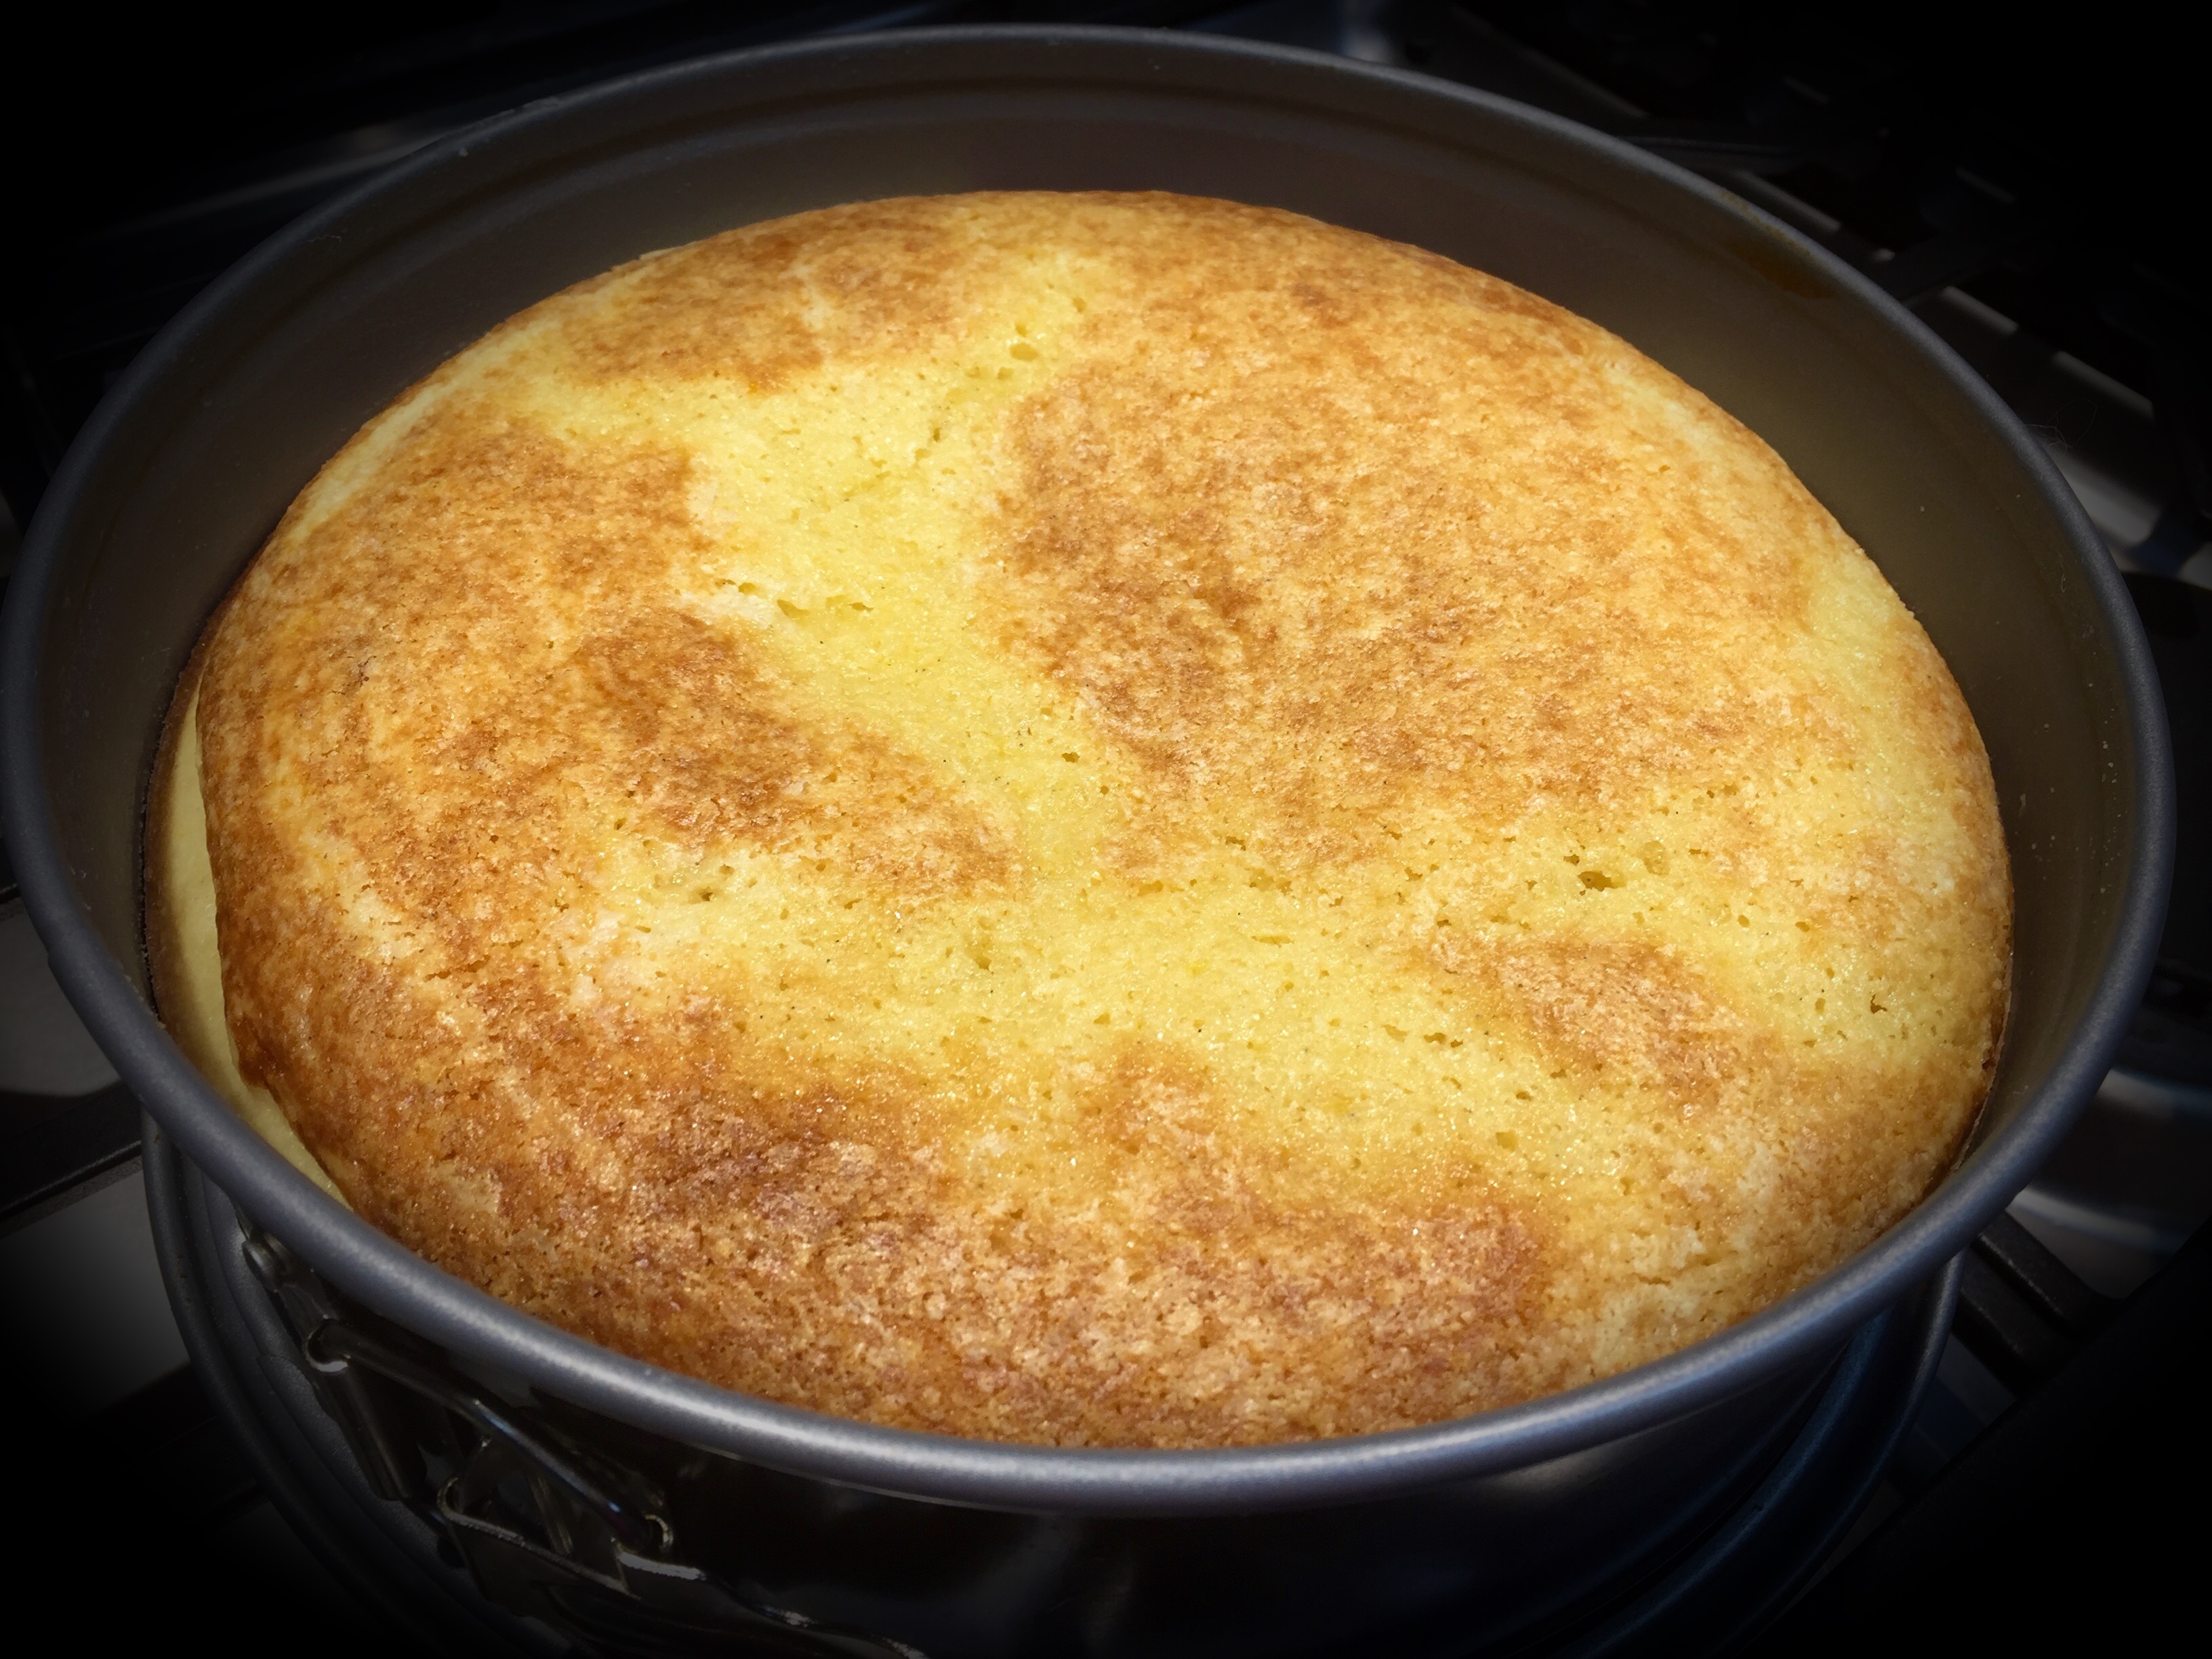


 2 cups flour
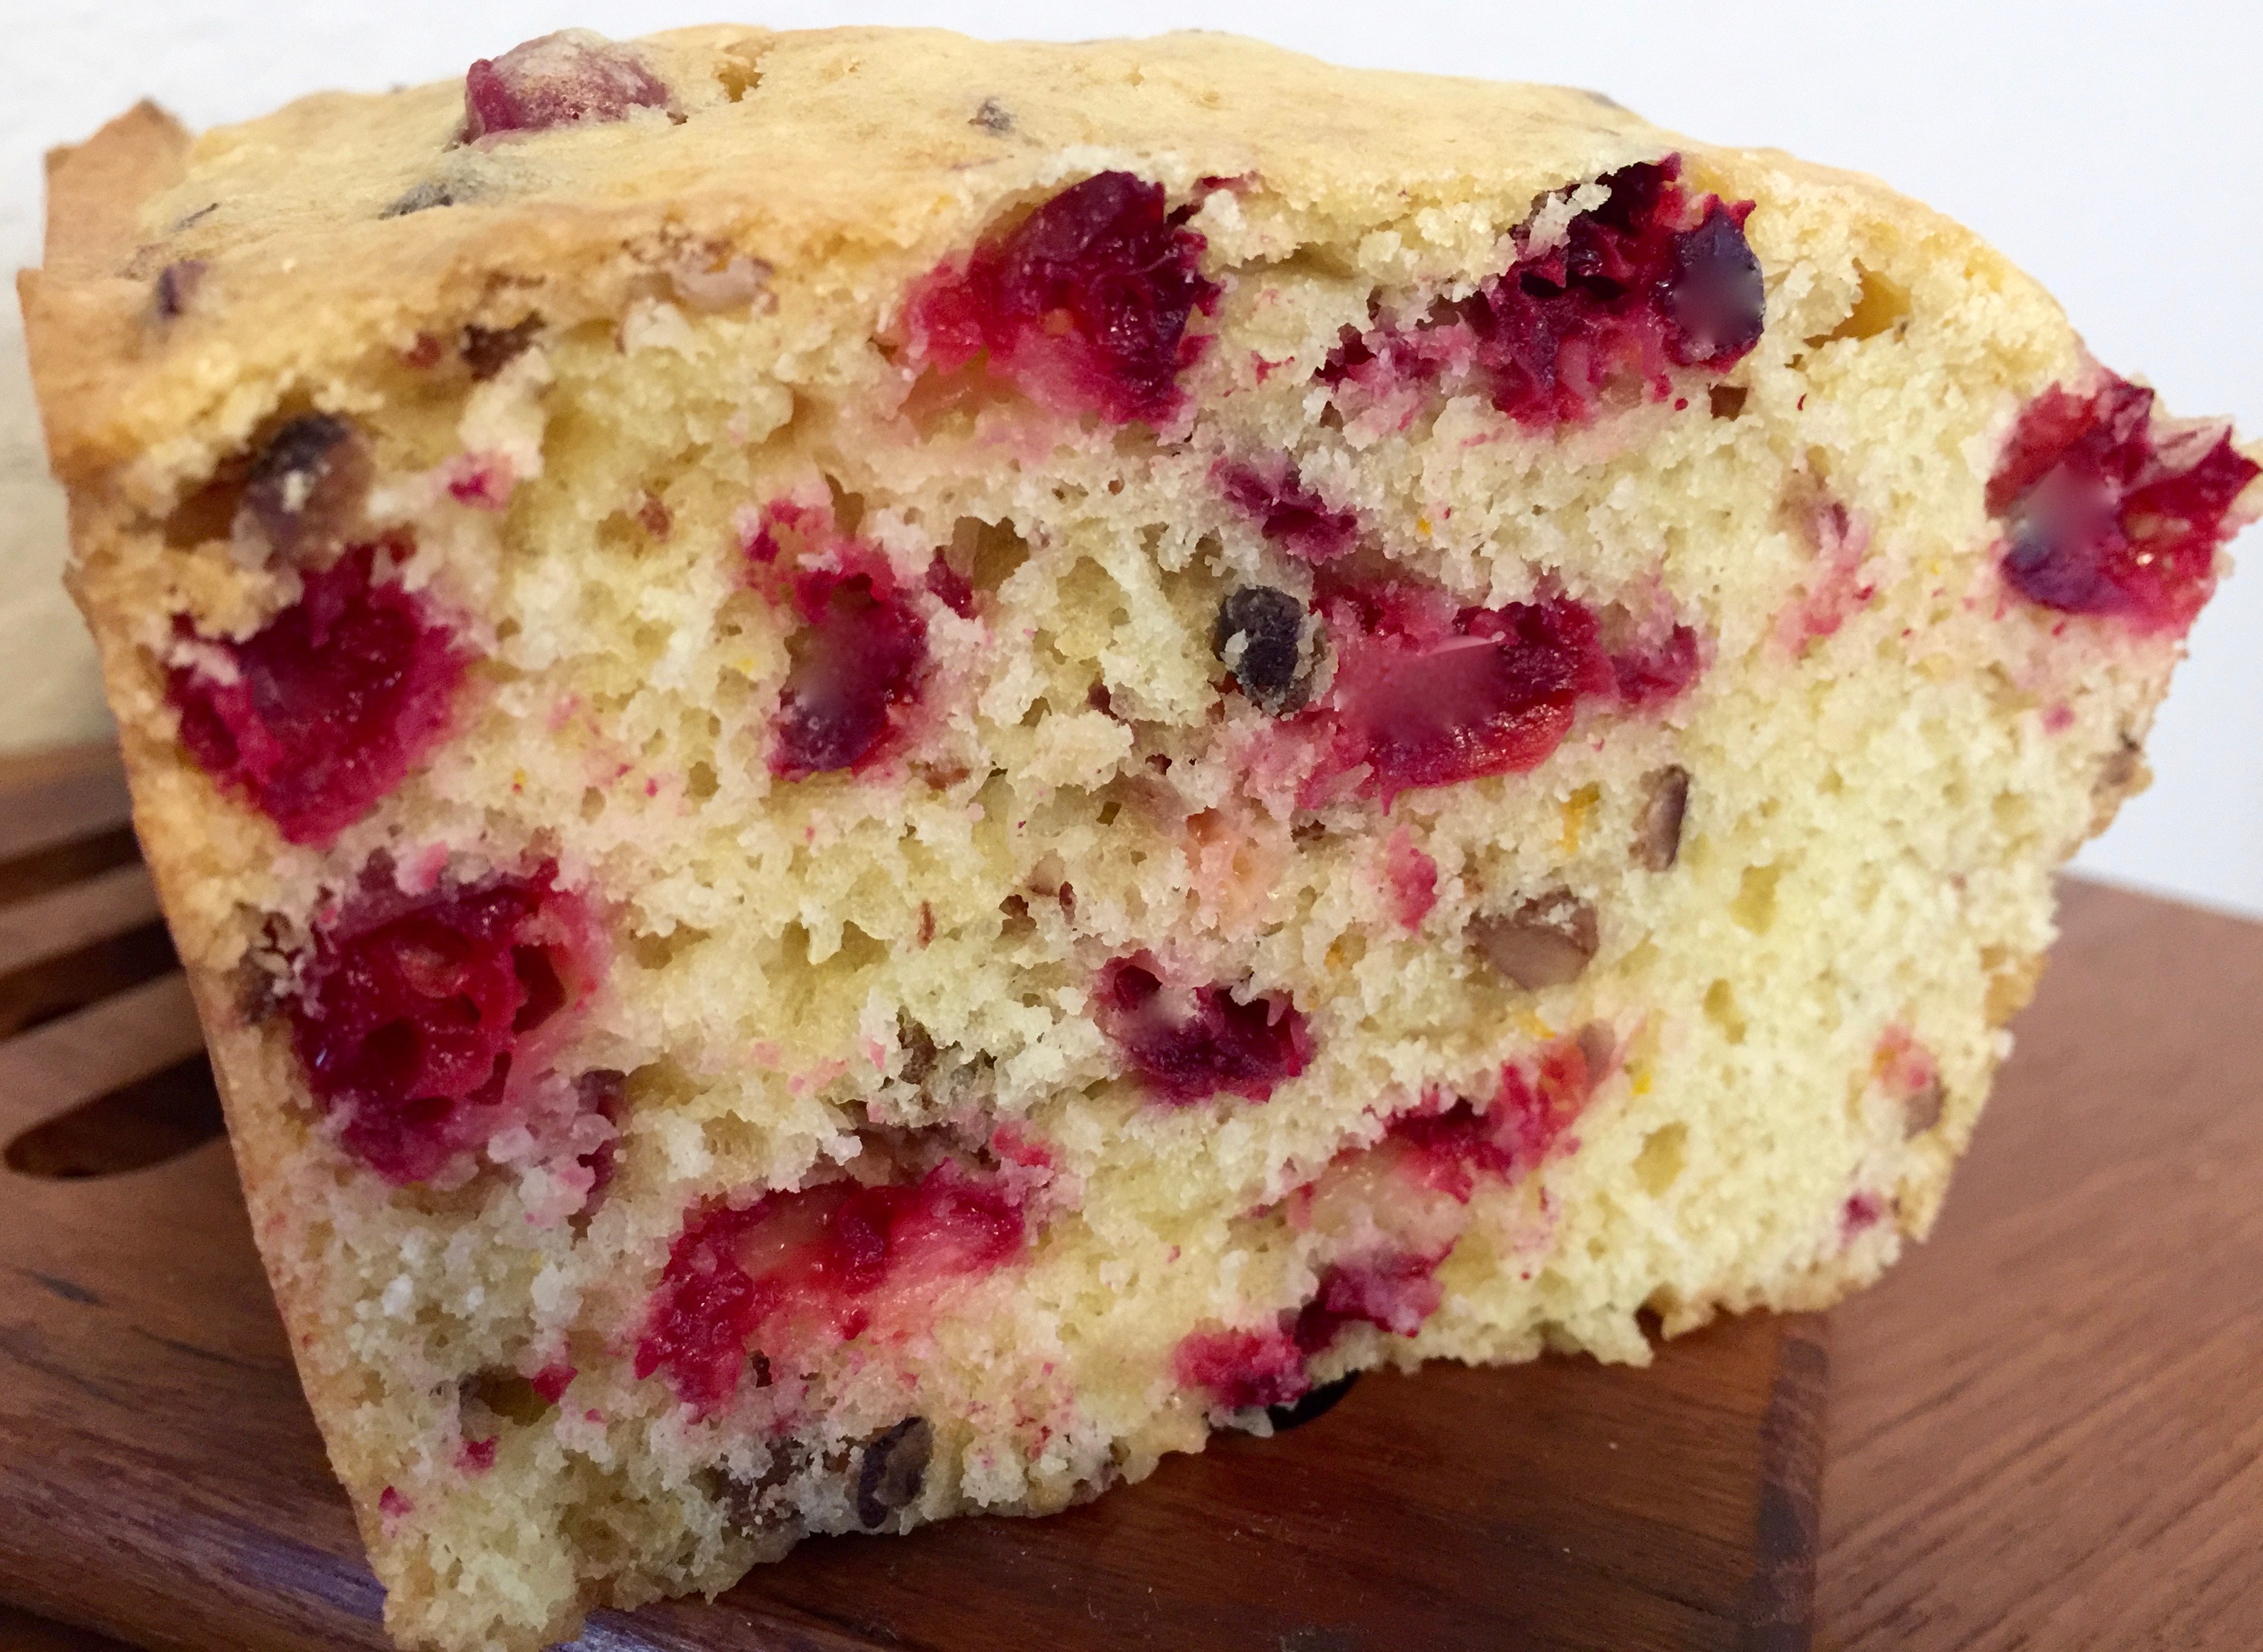

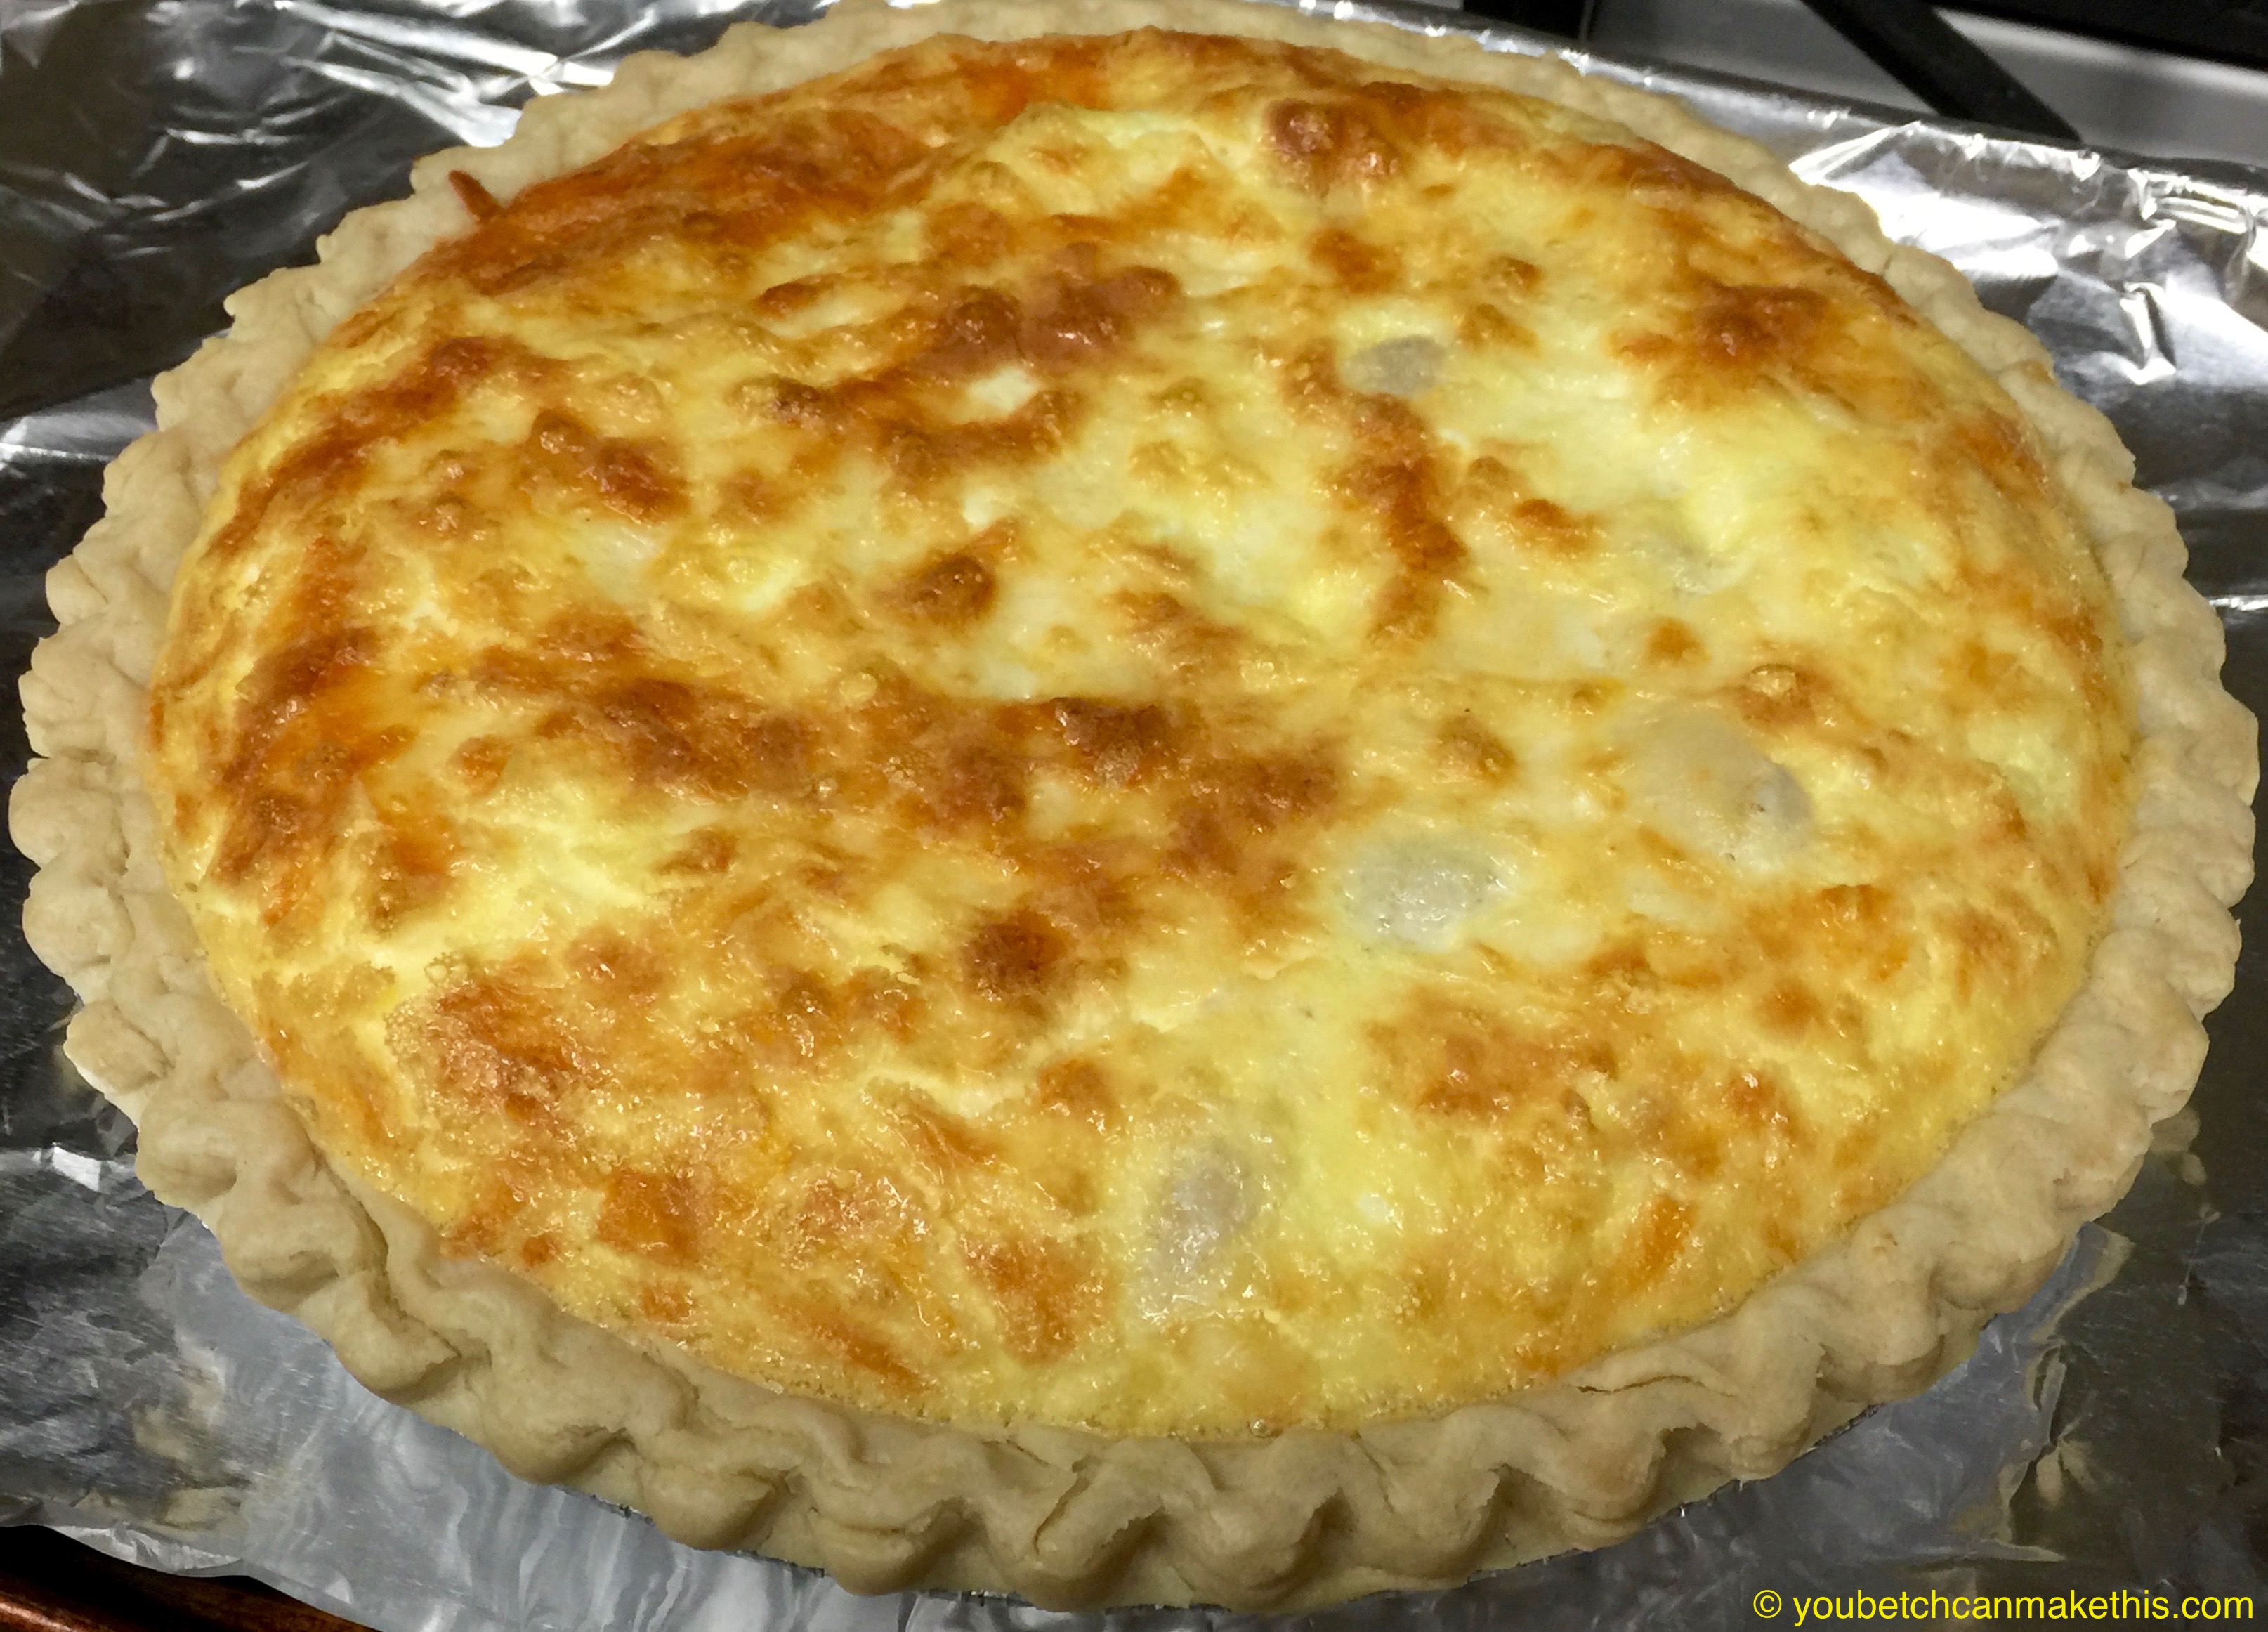
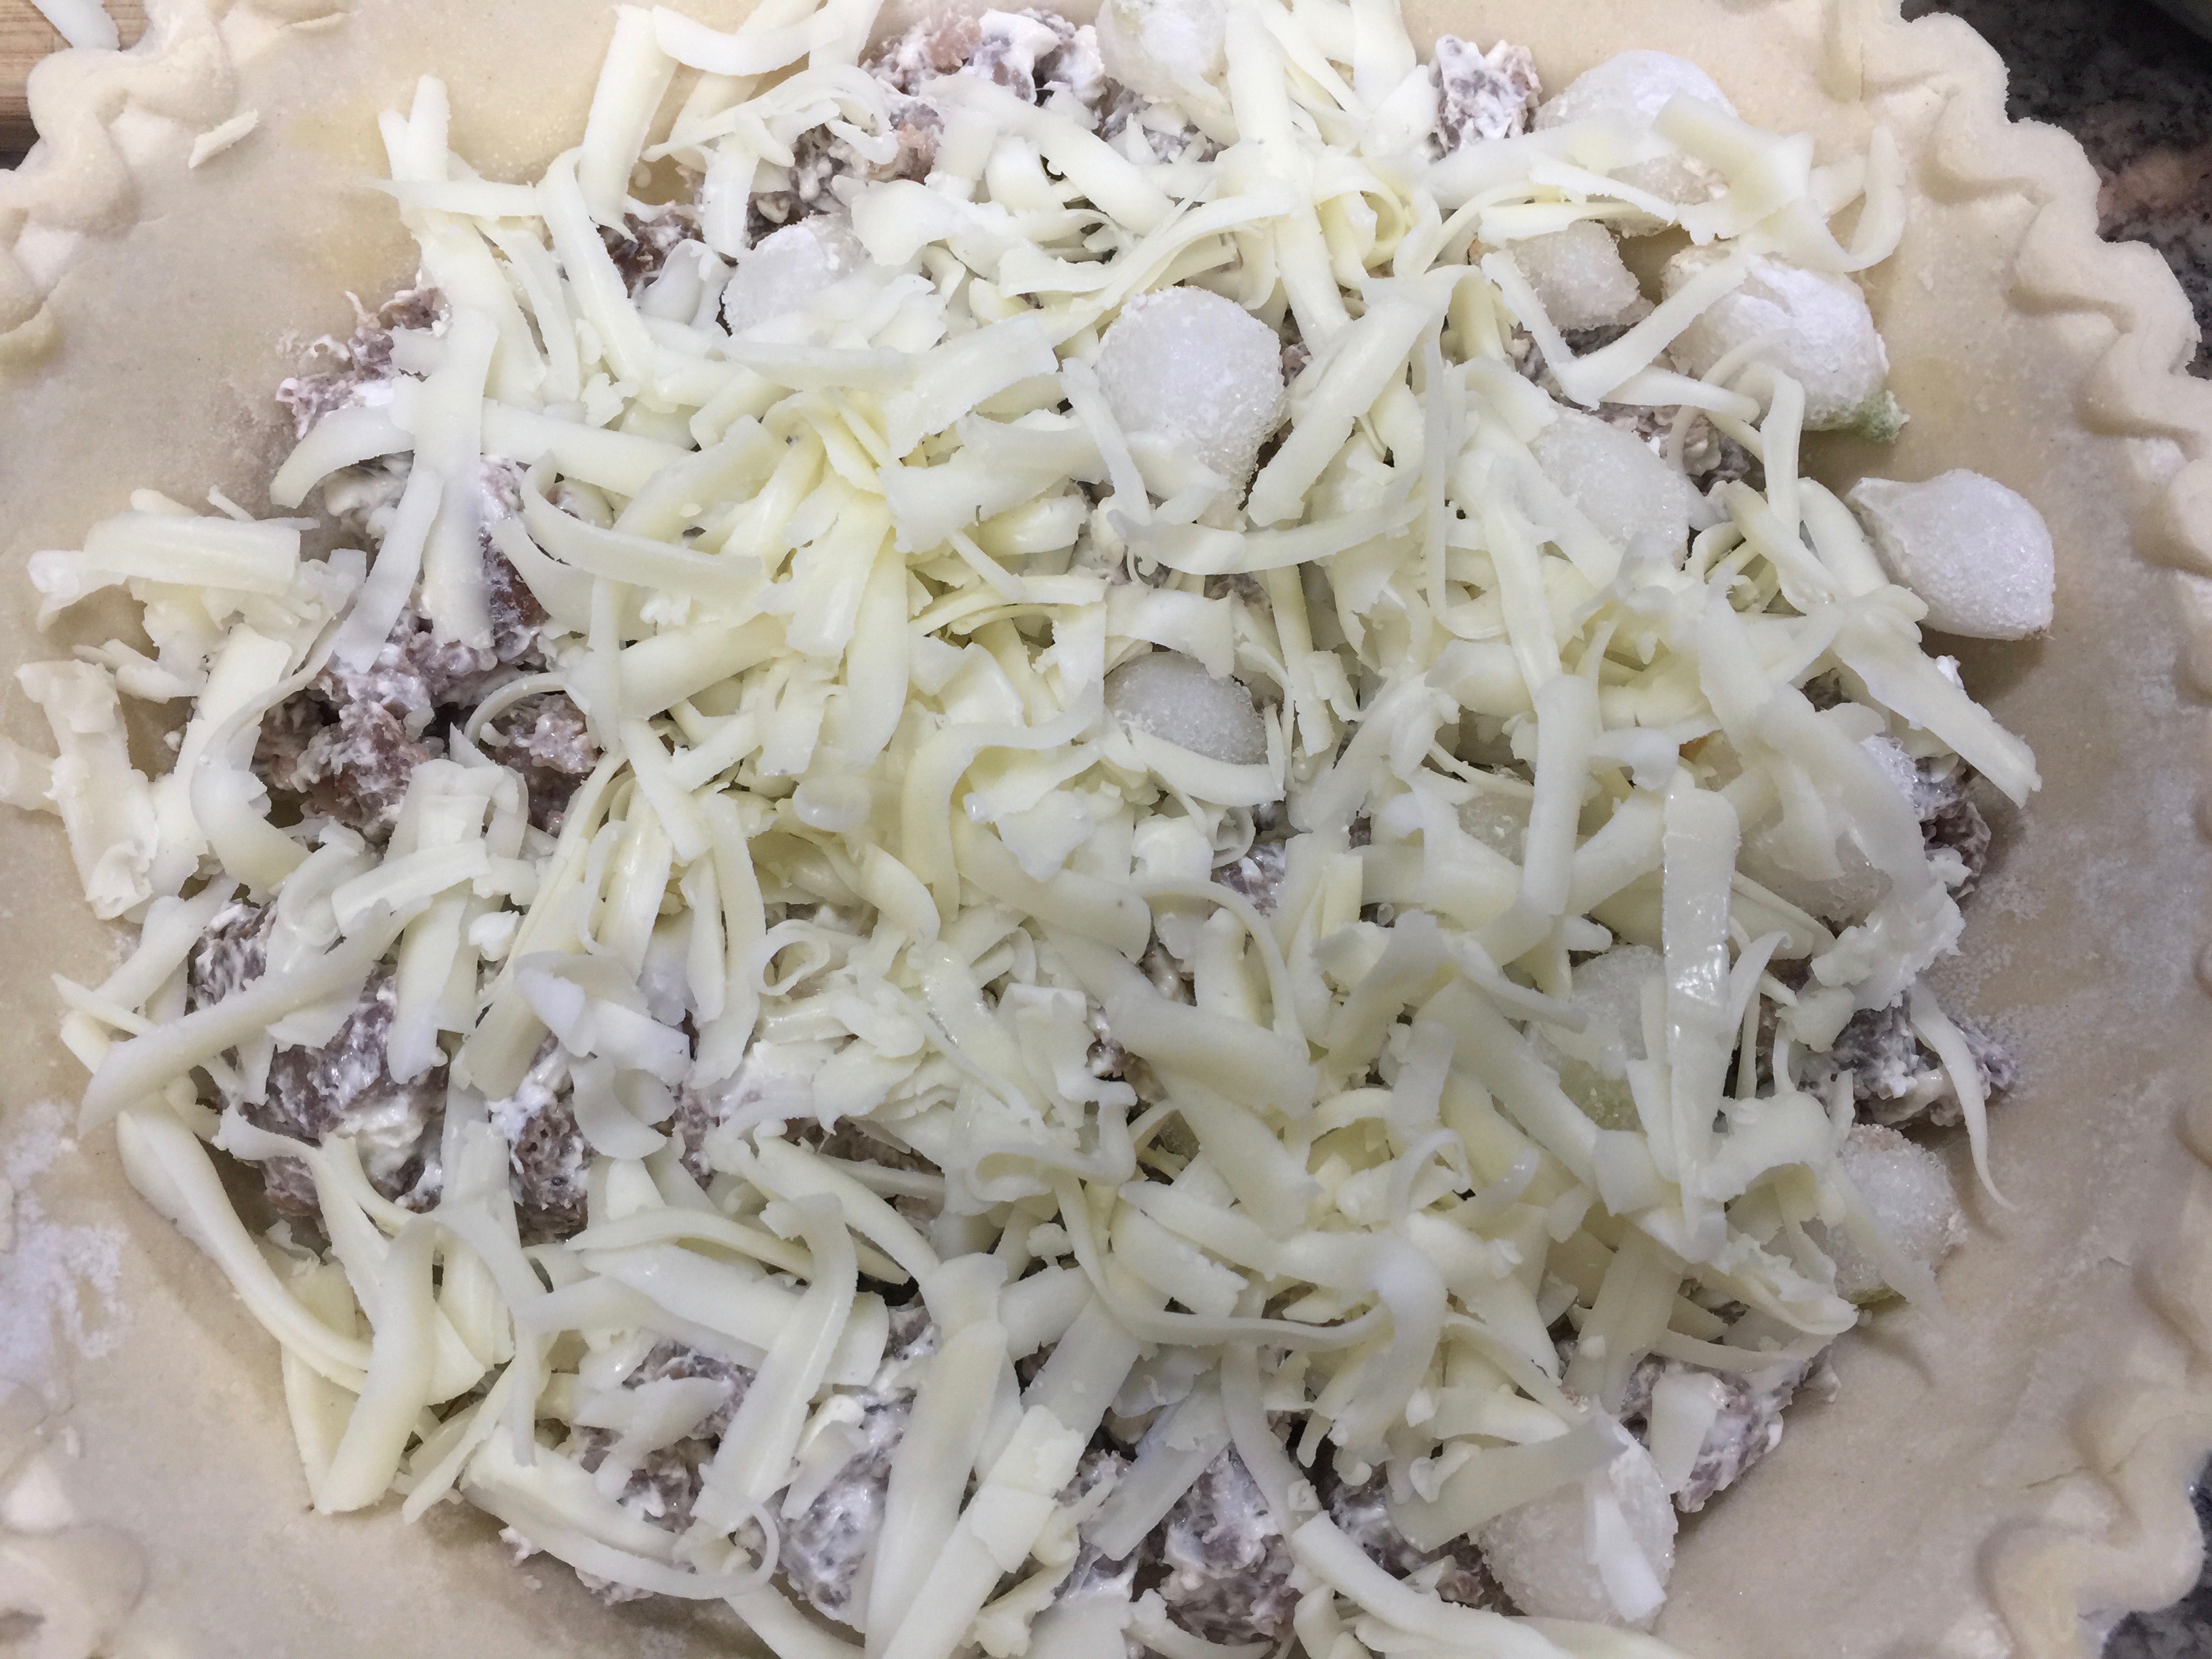
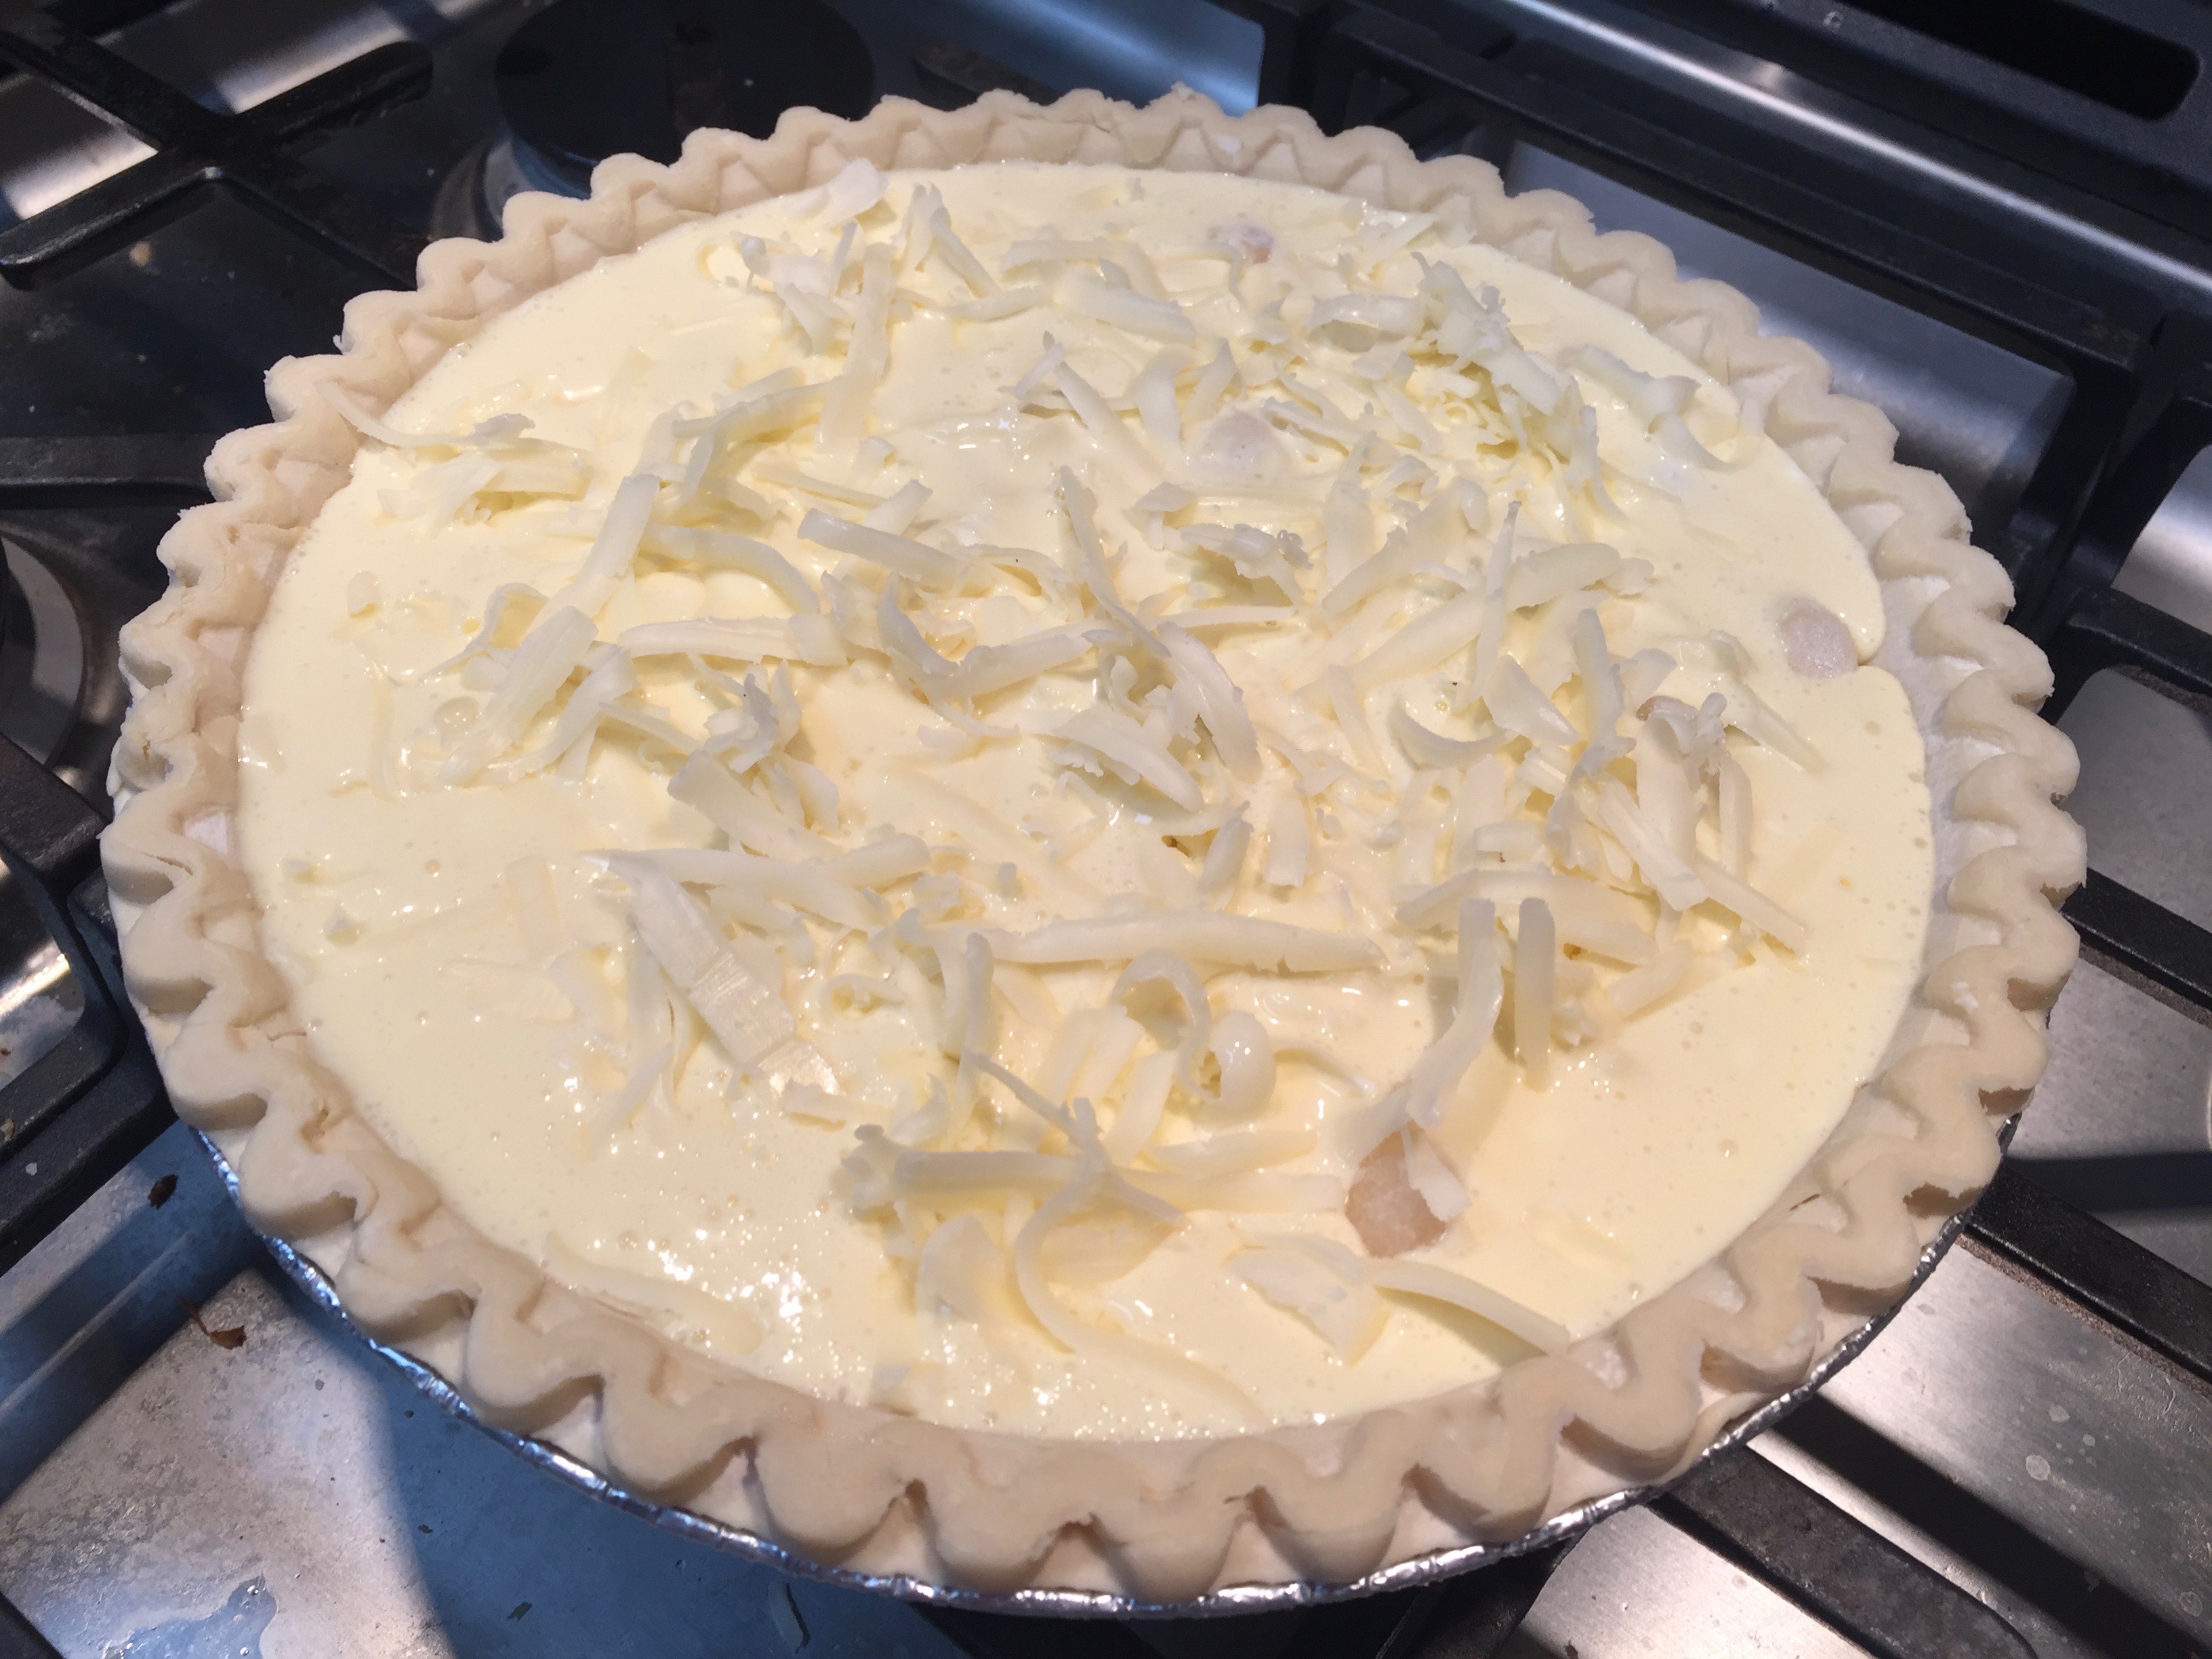
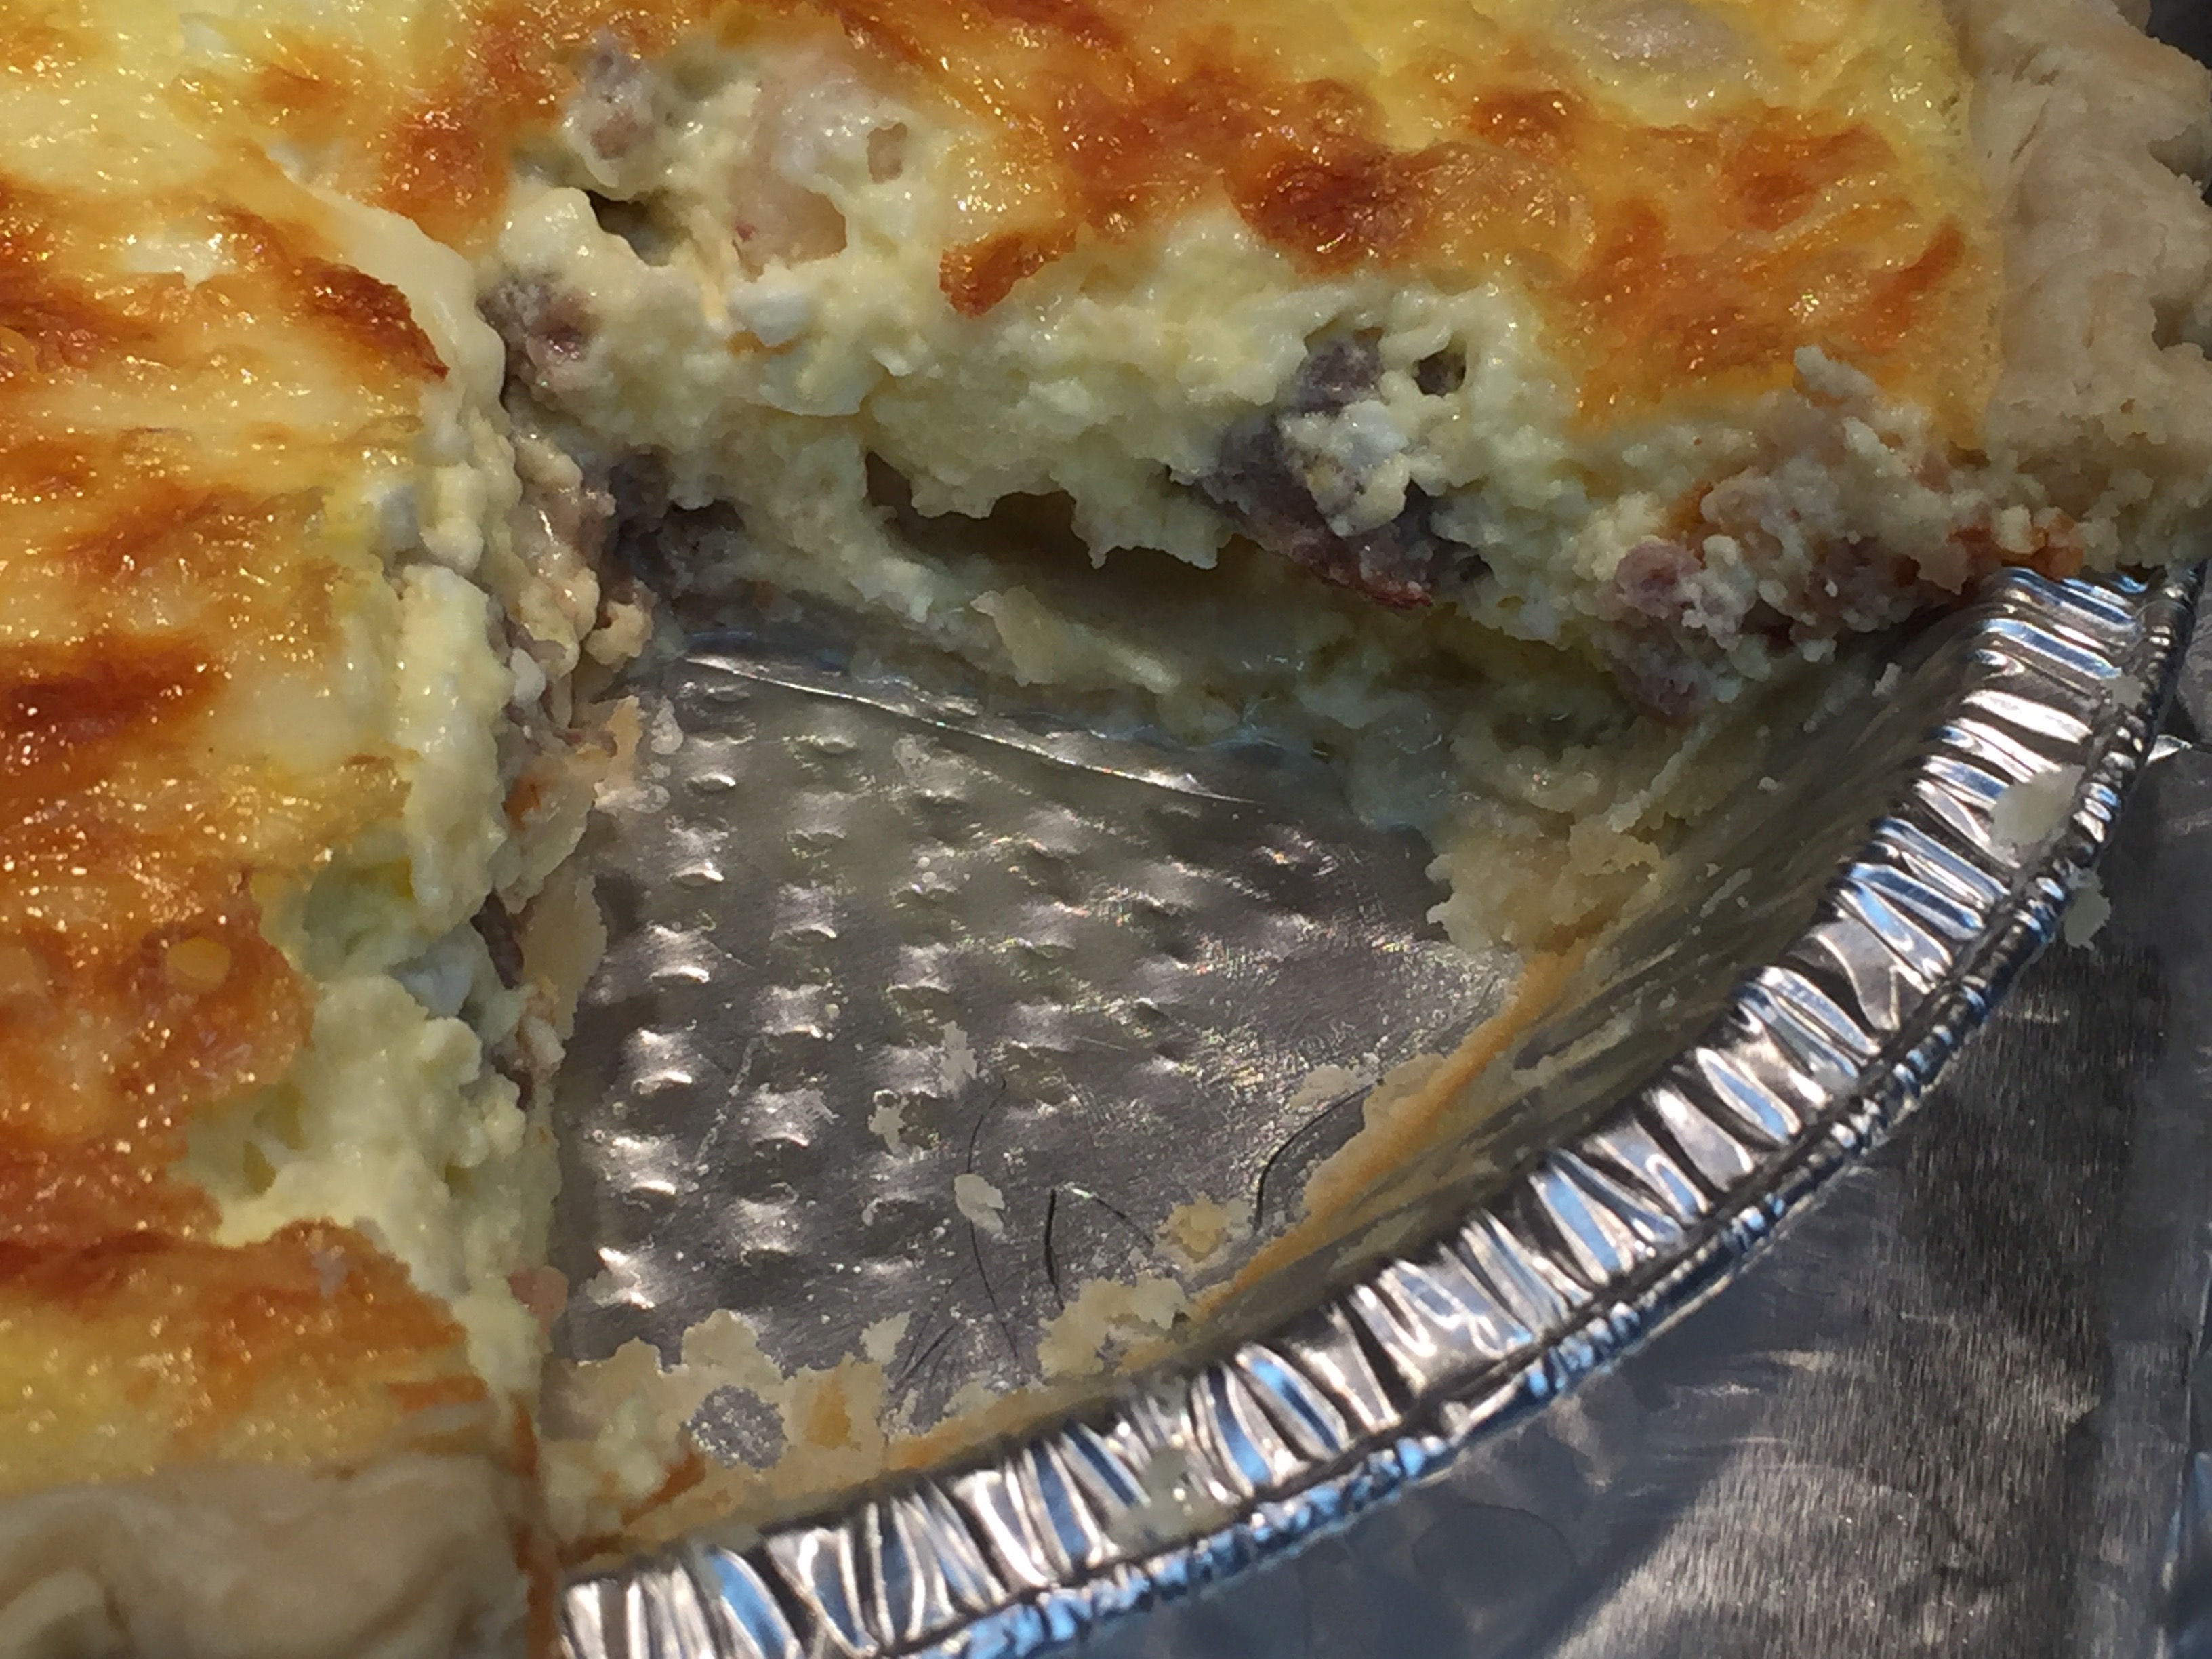
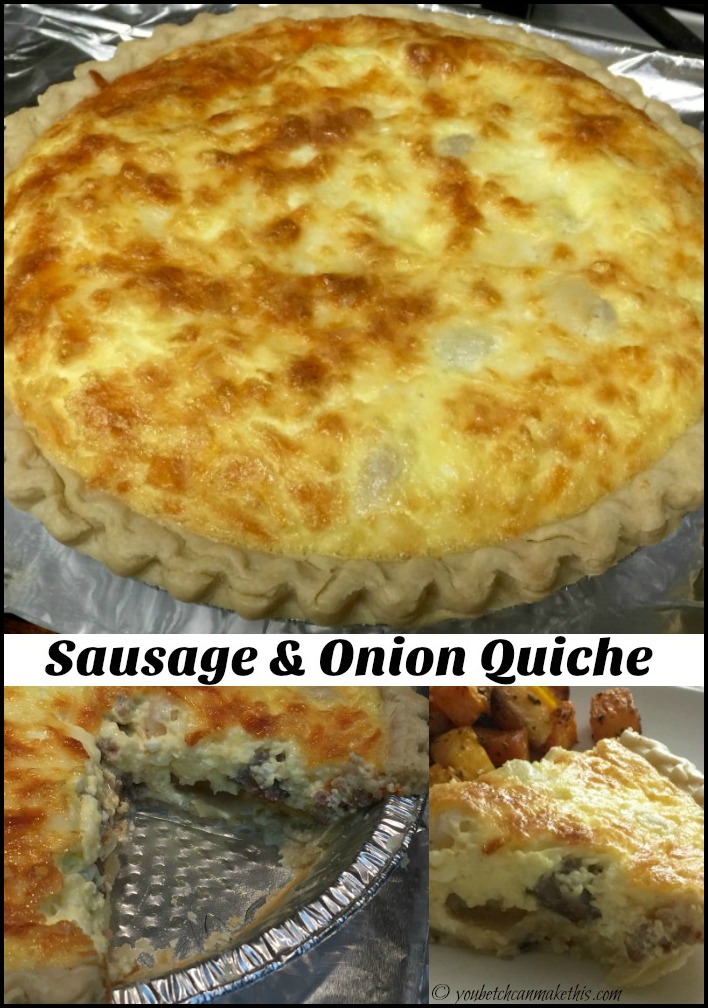
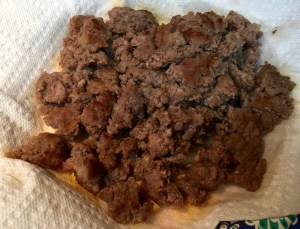 Lesson Learned 2 – Cook the breakfast sausage until you see only a little light pink: Remember the quiche is going to bake for an hour so the sausage will continue to cook during that time. I like to cook my sausage first, mix it with the cream cheese and let it sit a little before I put it in the pie crust. I normally use that time to put the egg mixture together.
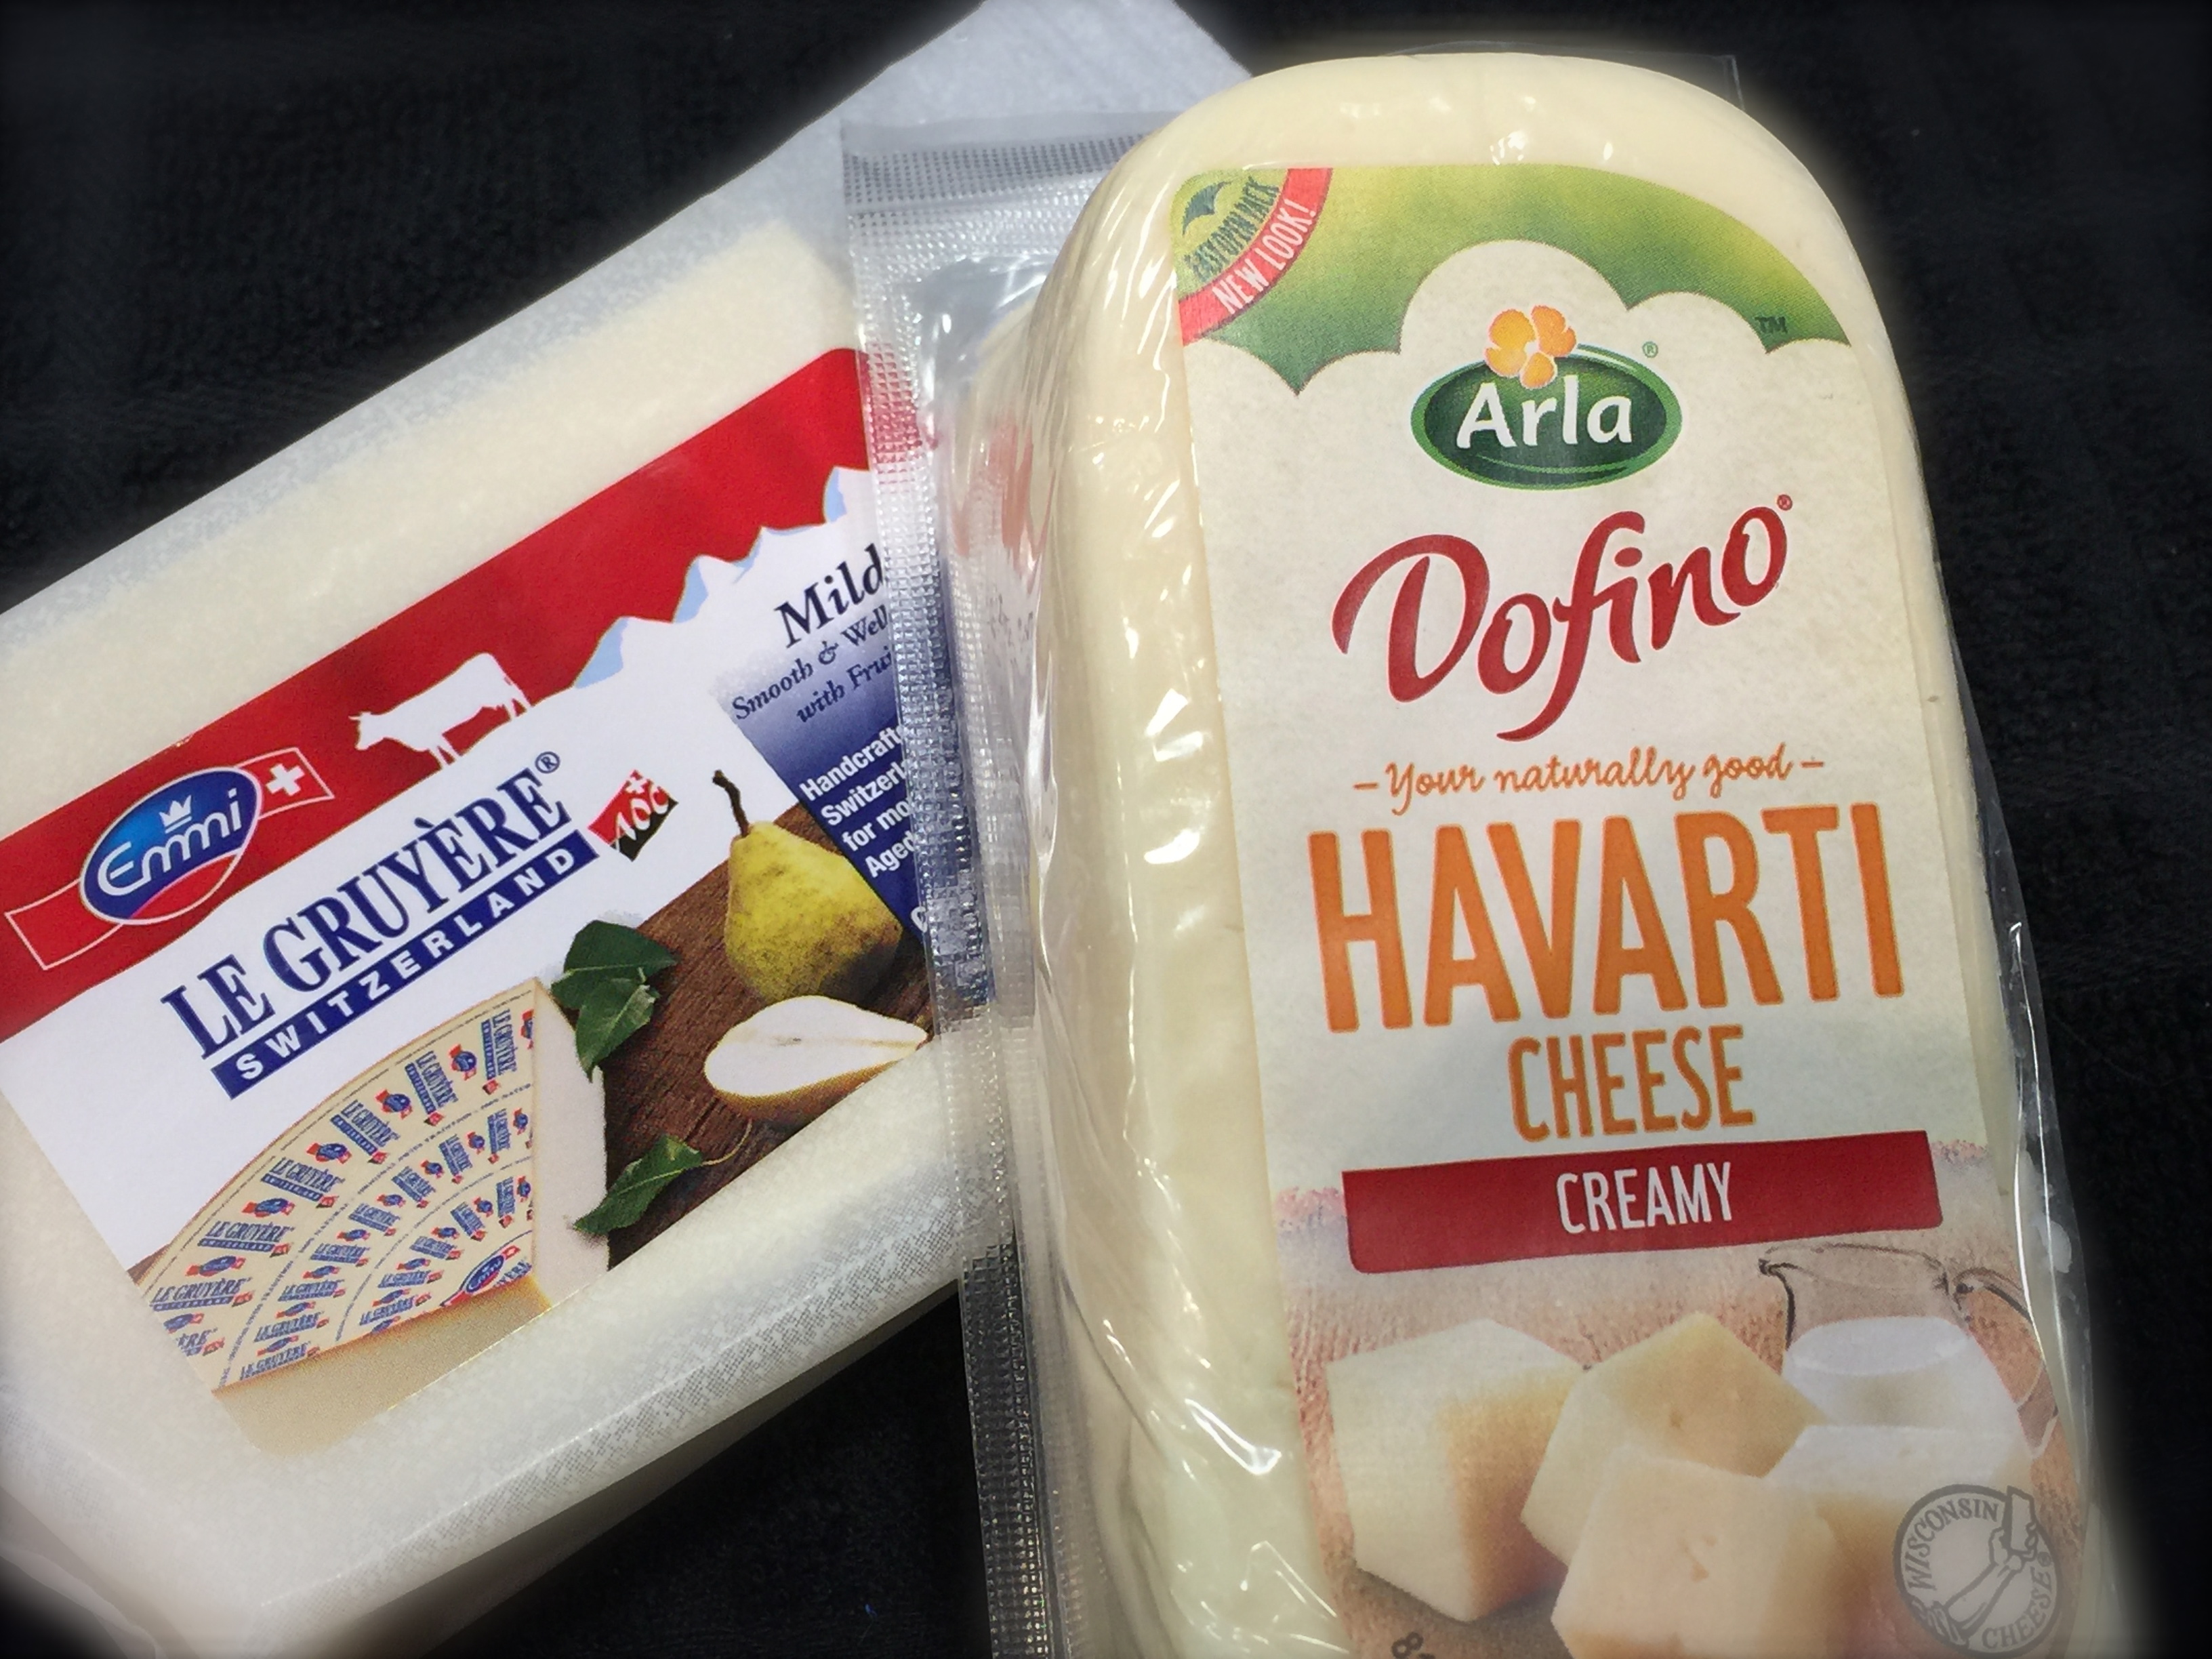
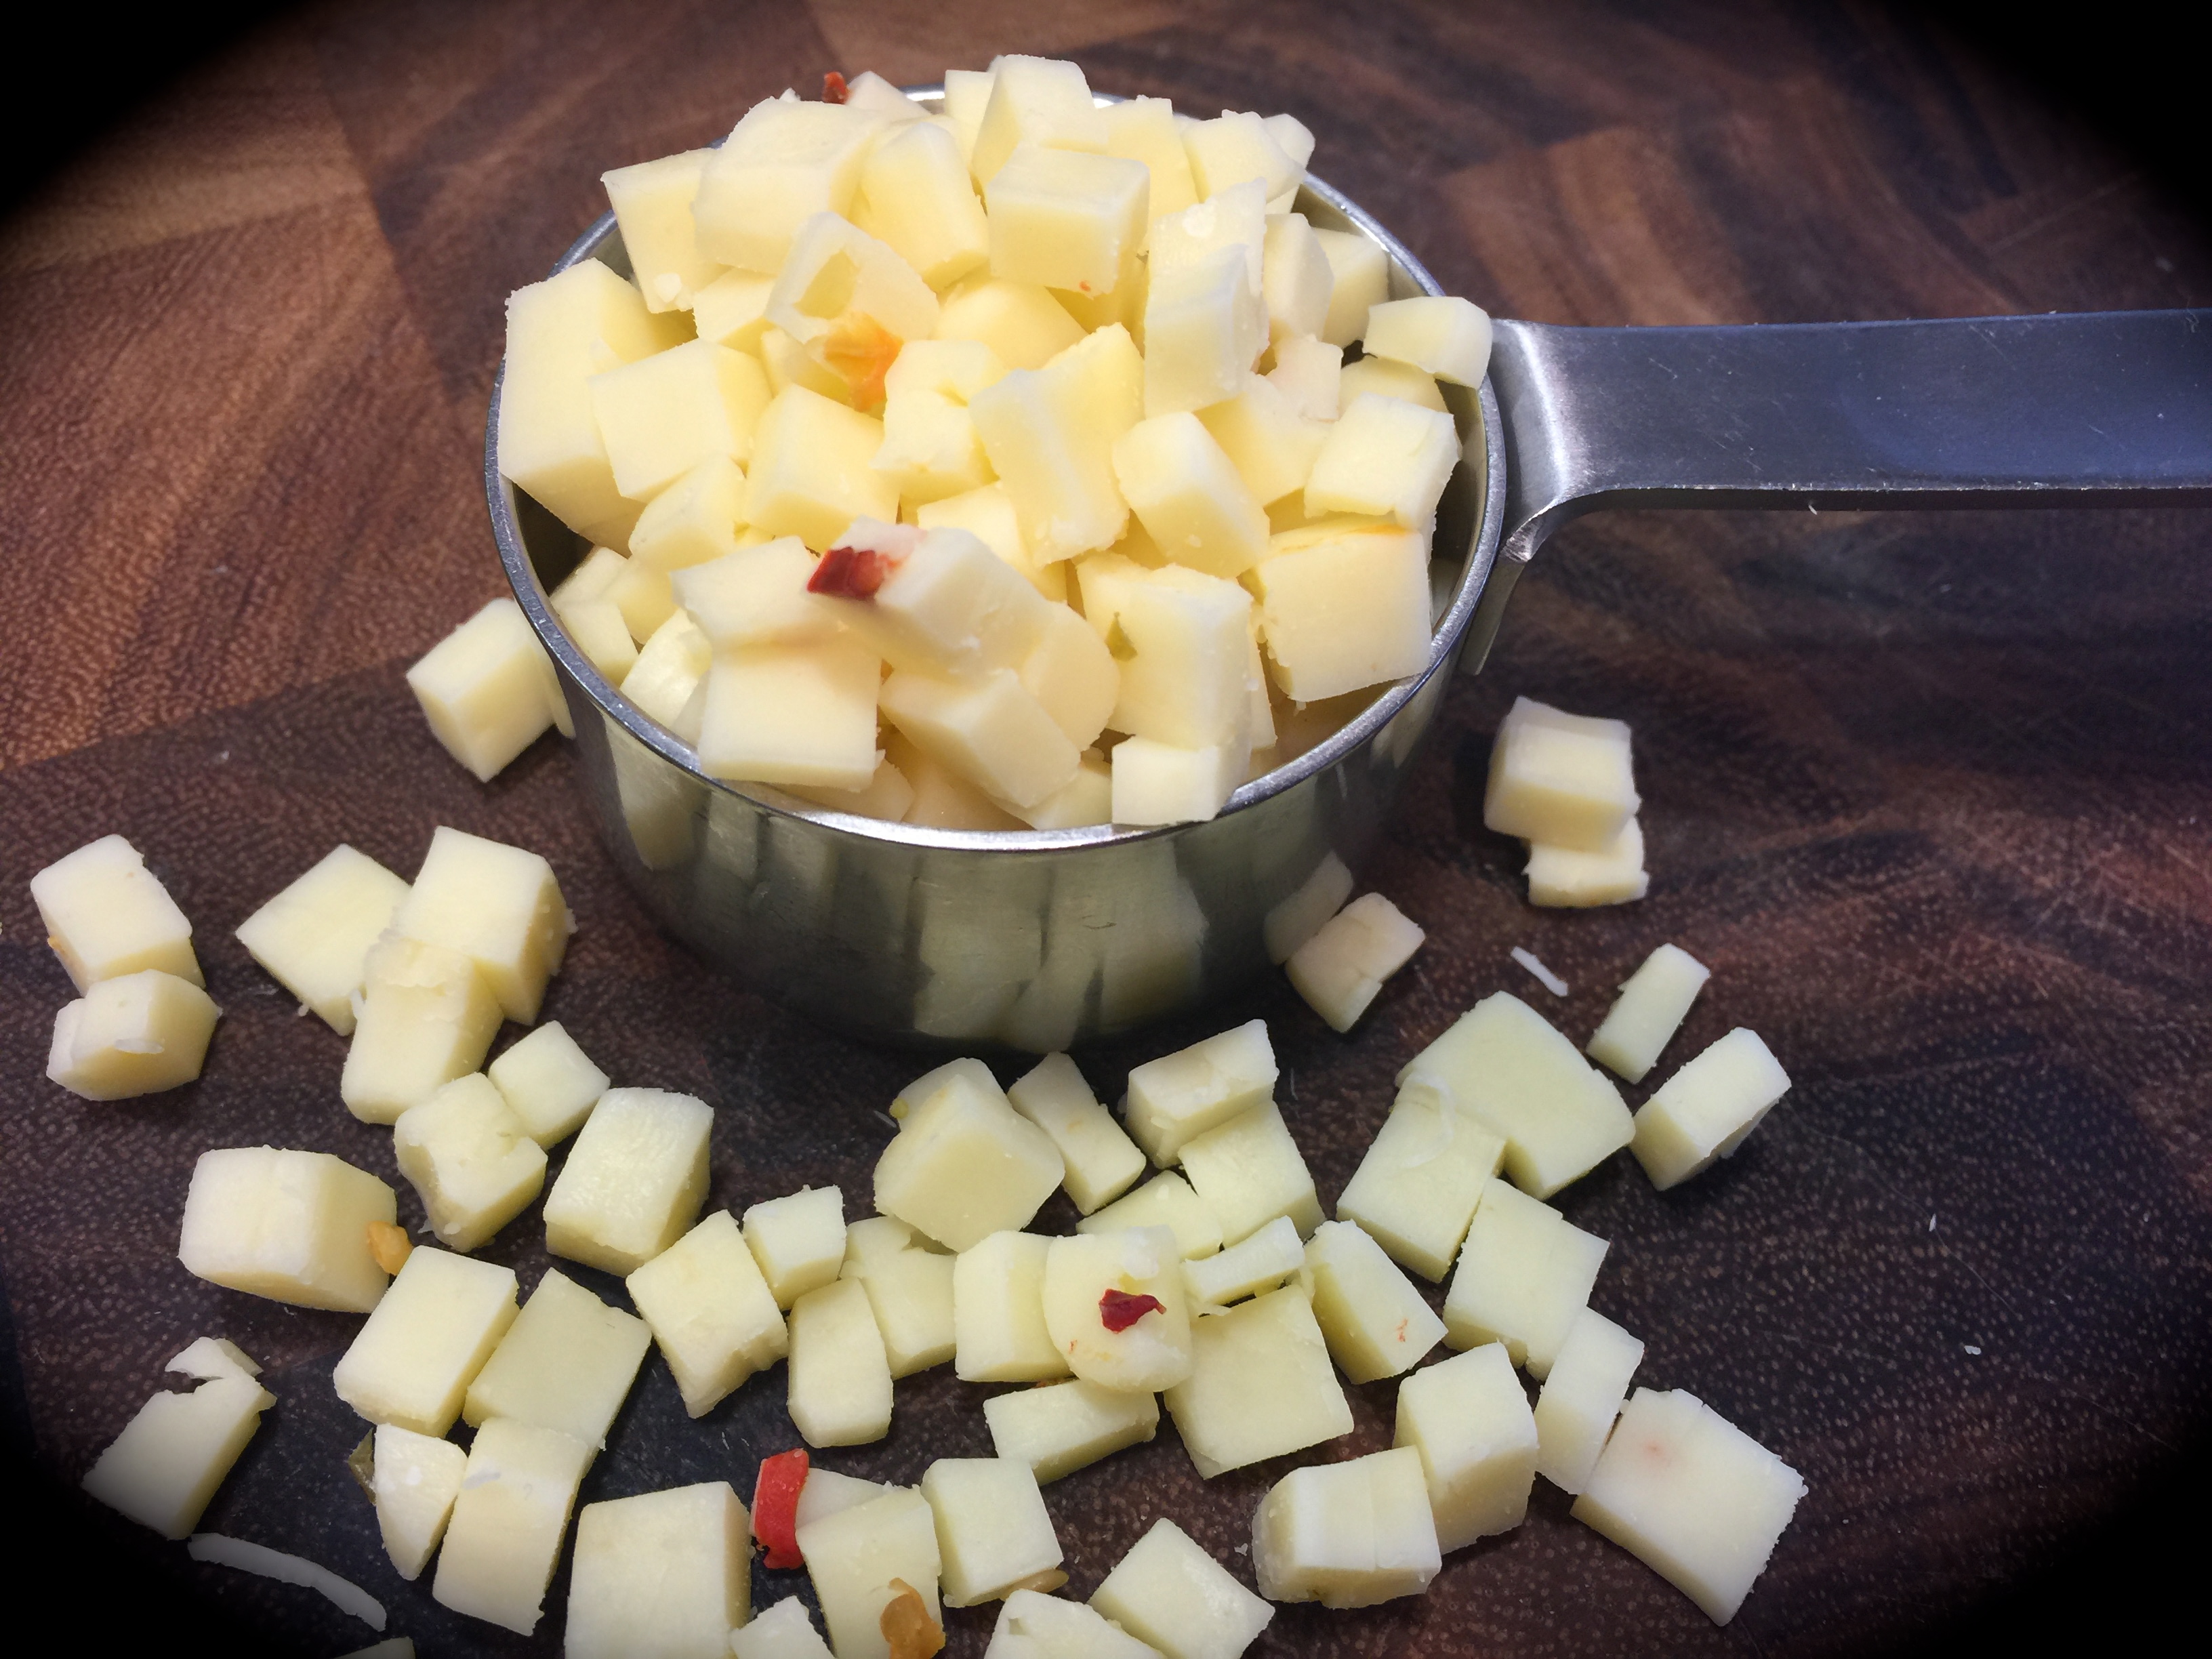
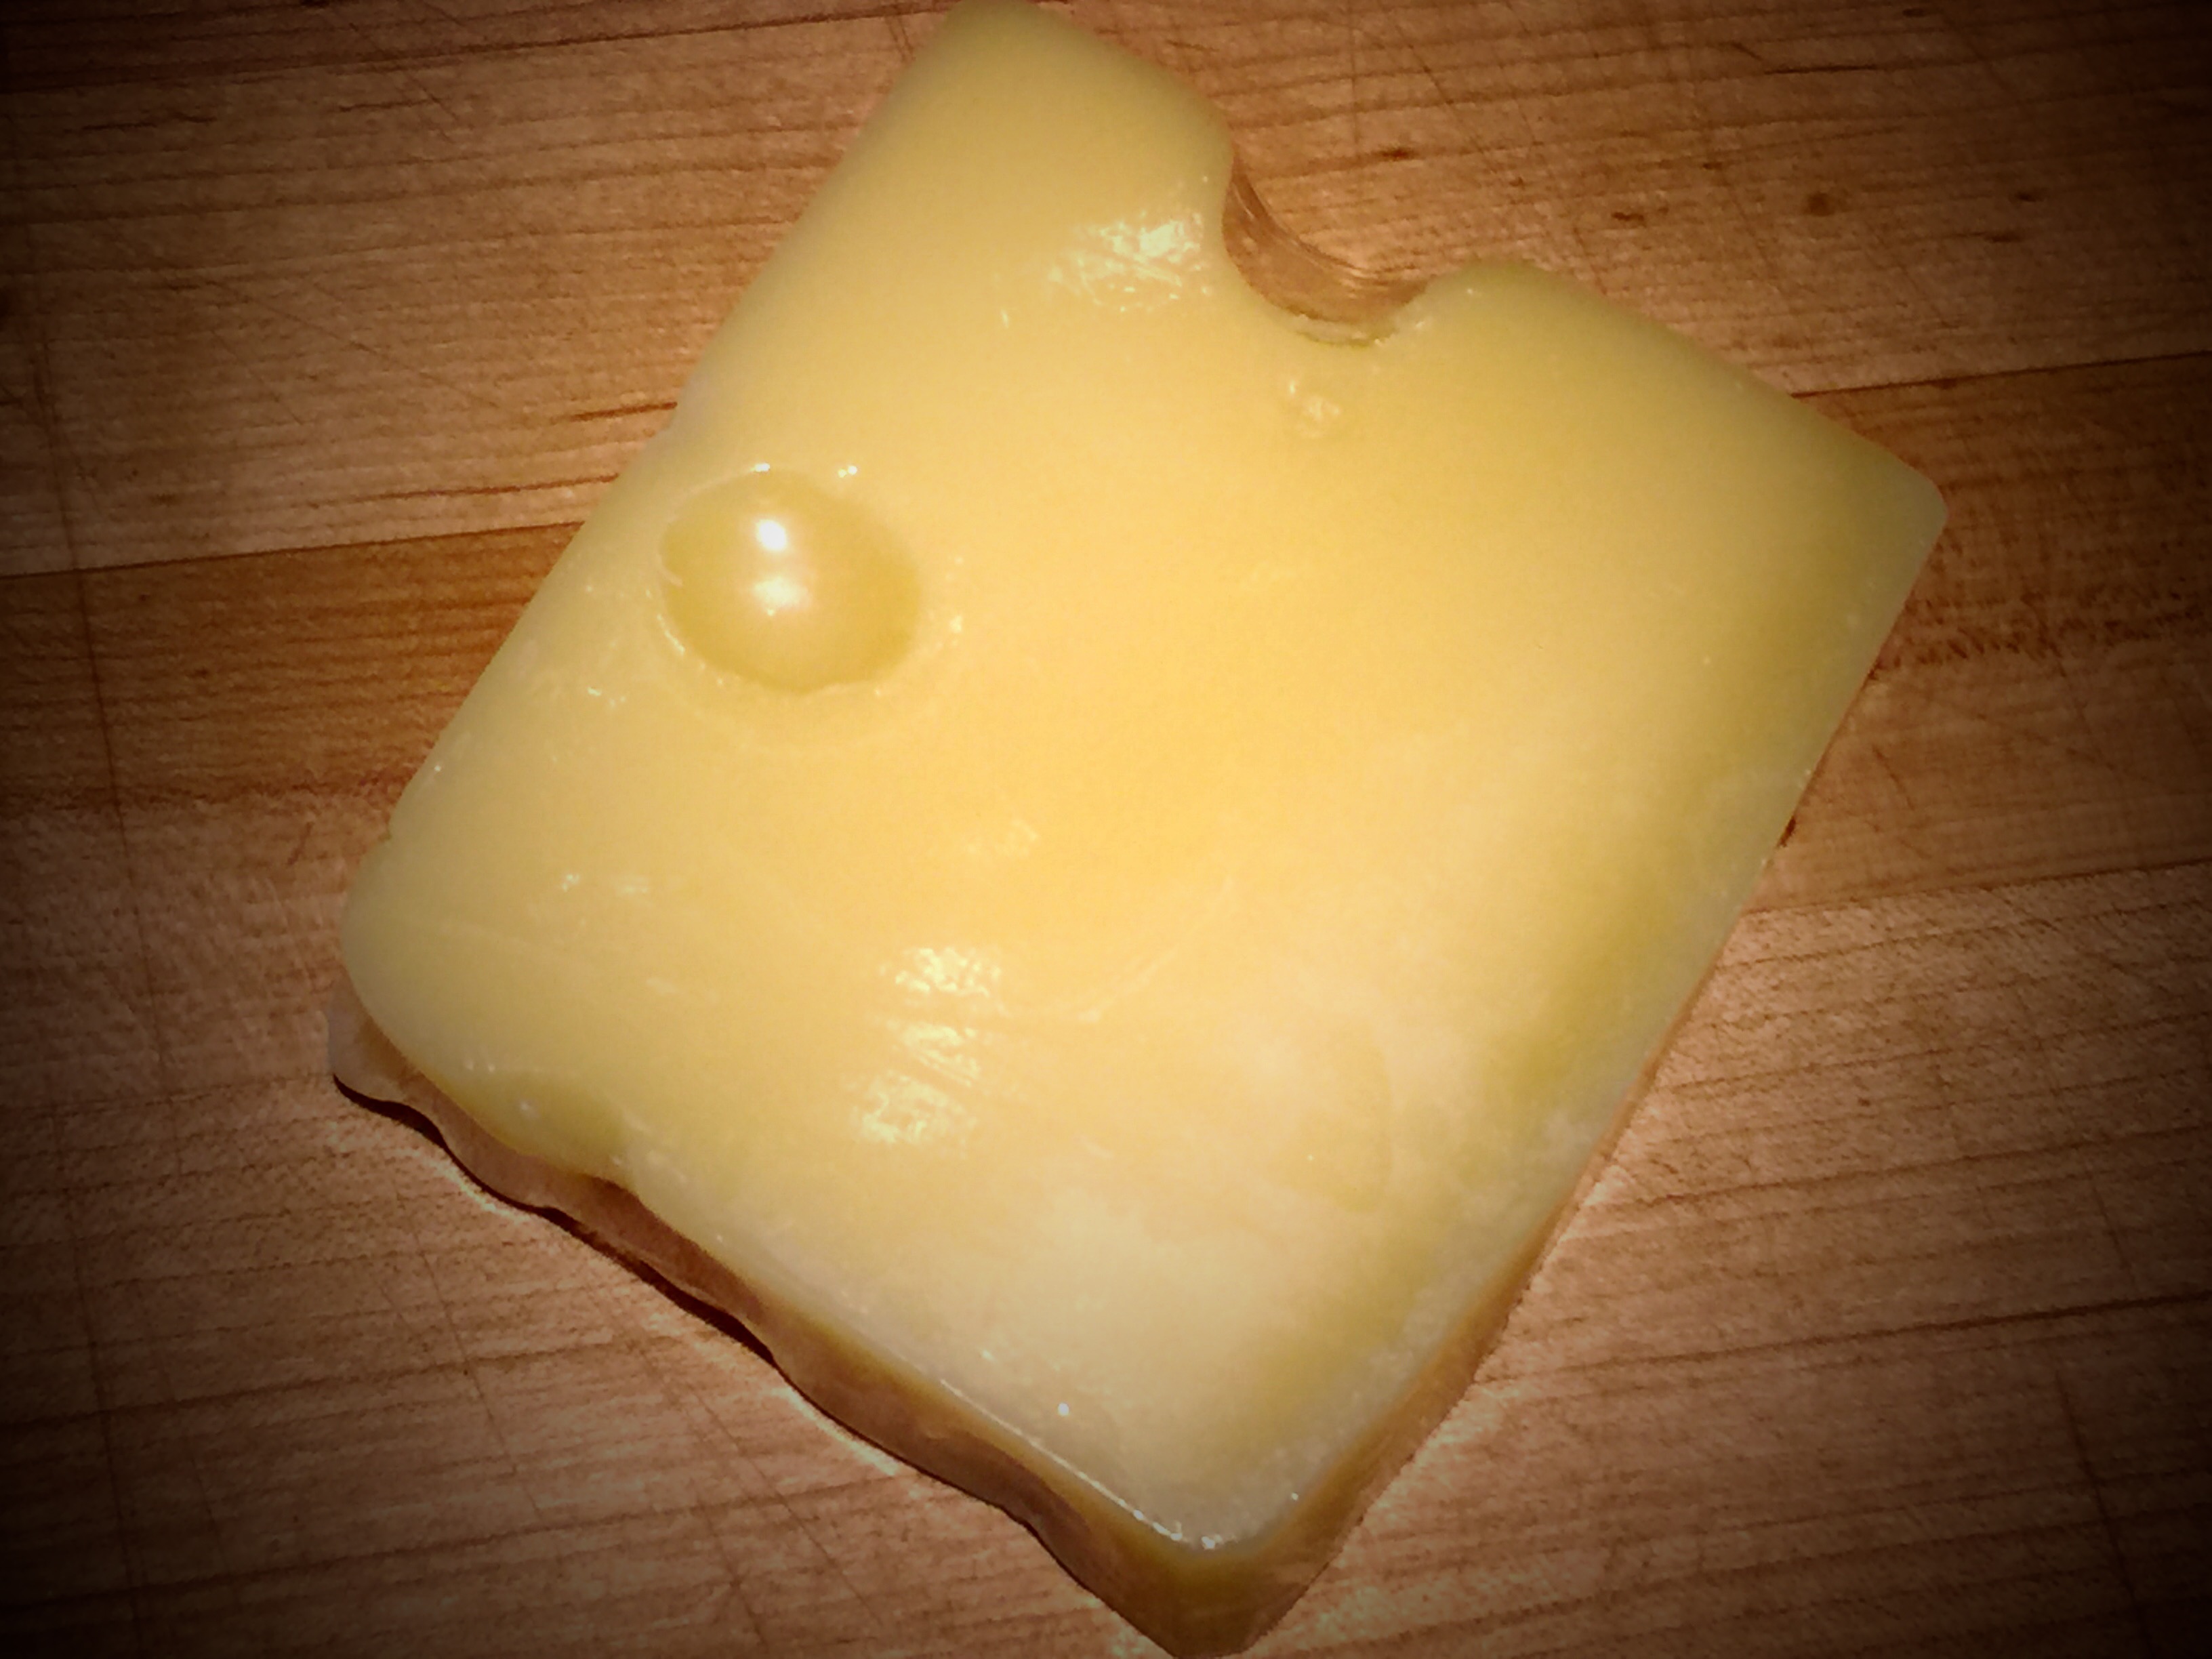
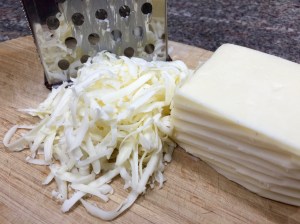 Lesson Learned 4 – Use a good melting cheese: You can use a wide variety of melting cheeses in a quiche. I like this particular recipe because it pairs a little cream cheese with another melting cheese. I used muenster in this recipe but you can also use cheddar, gruyere, swiss, or mozzarella. That’s the beauty of making a quiche. The choice is yours!
 1 9 inch frozen pie crust

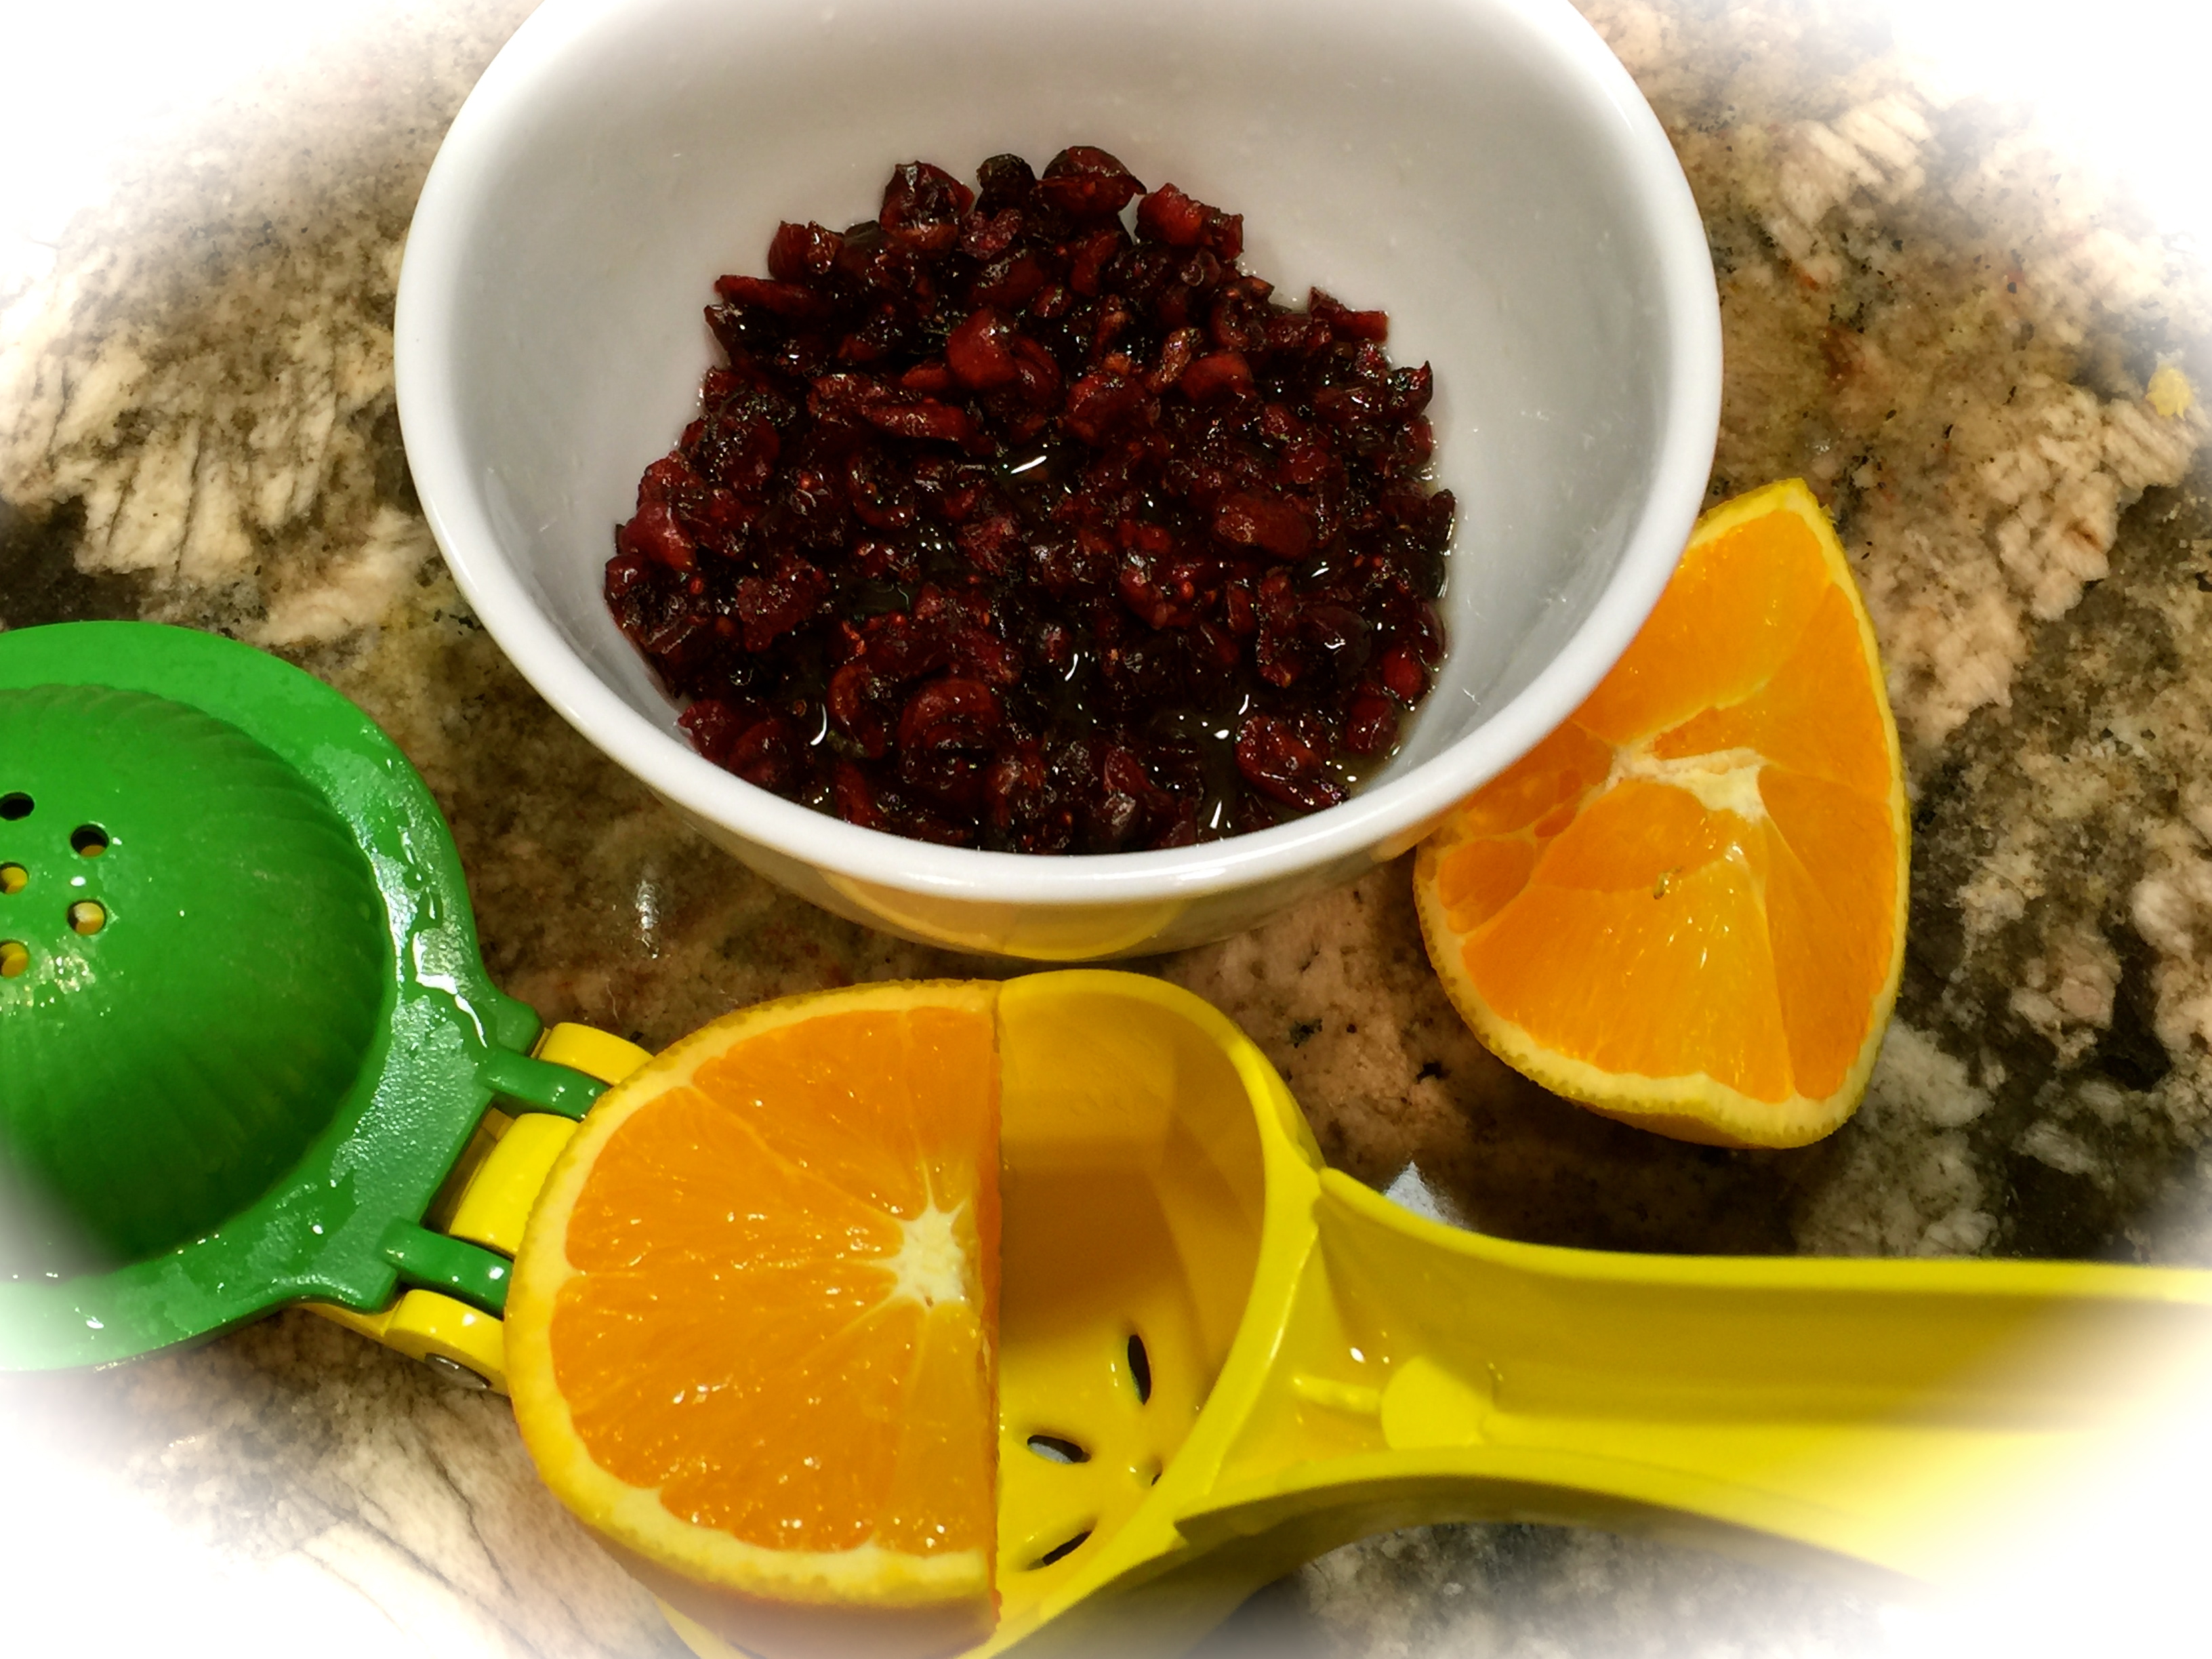
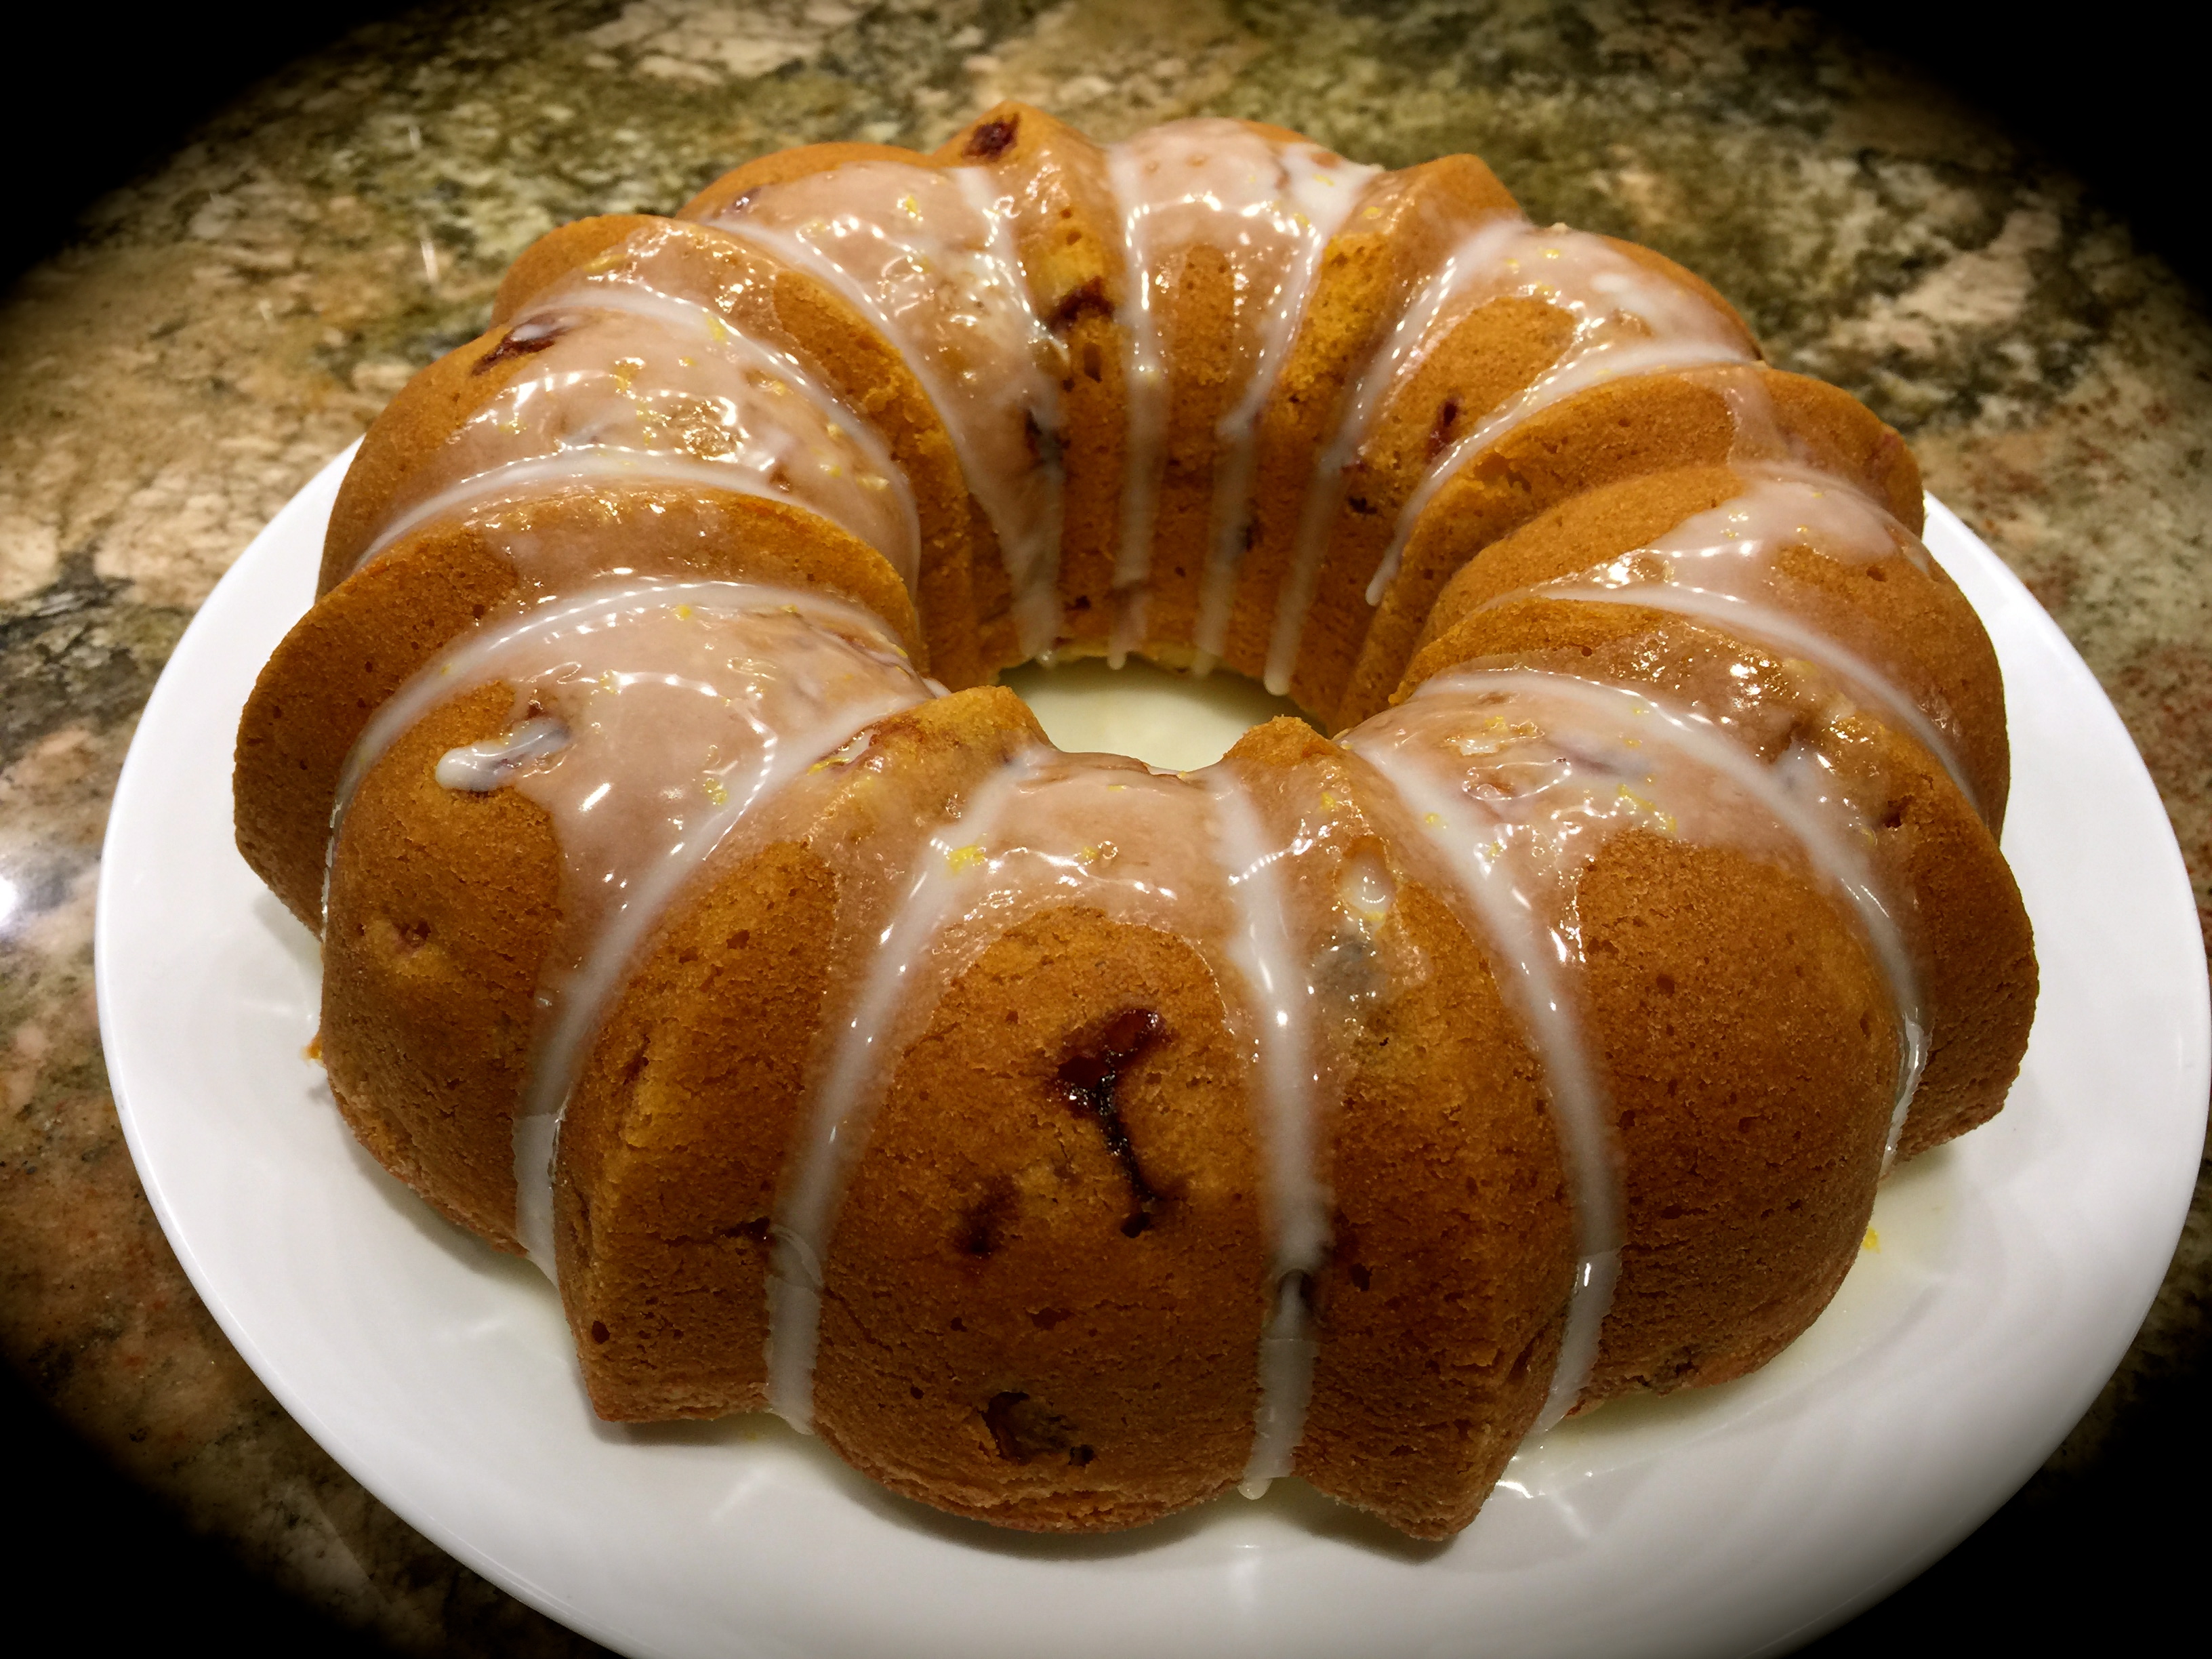
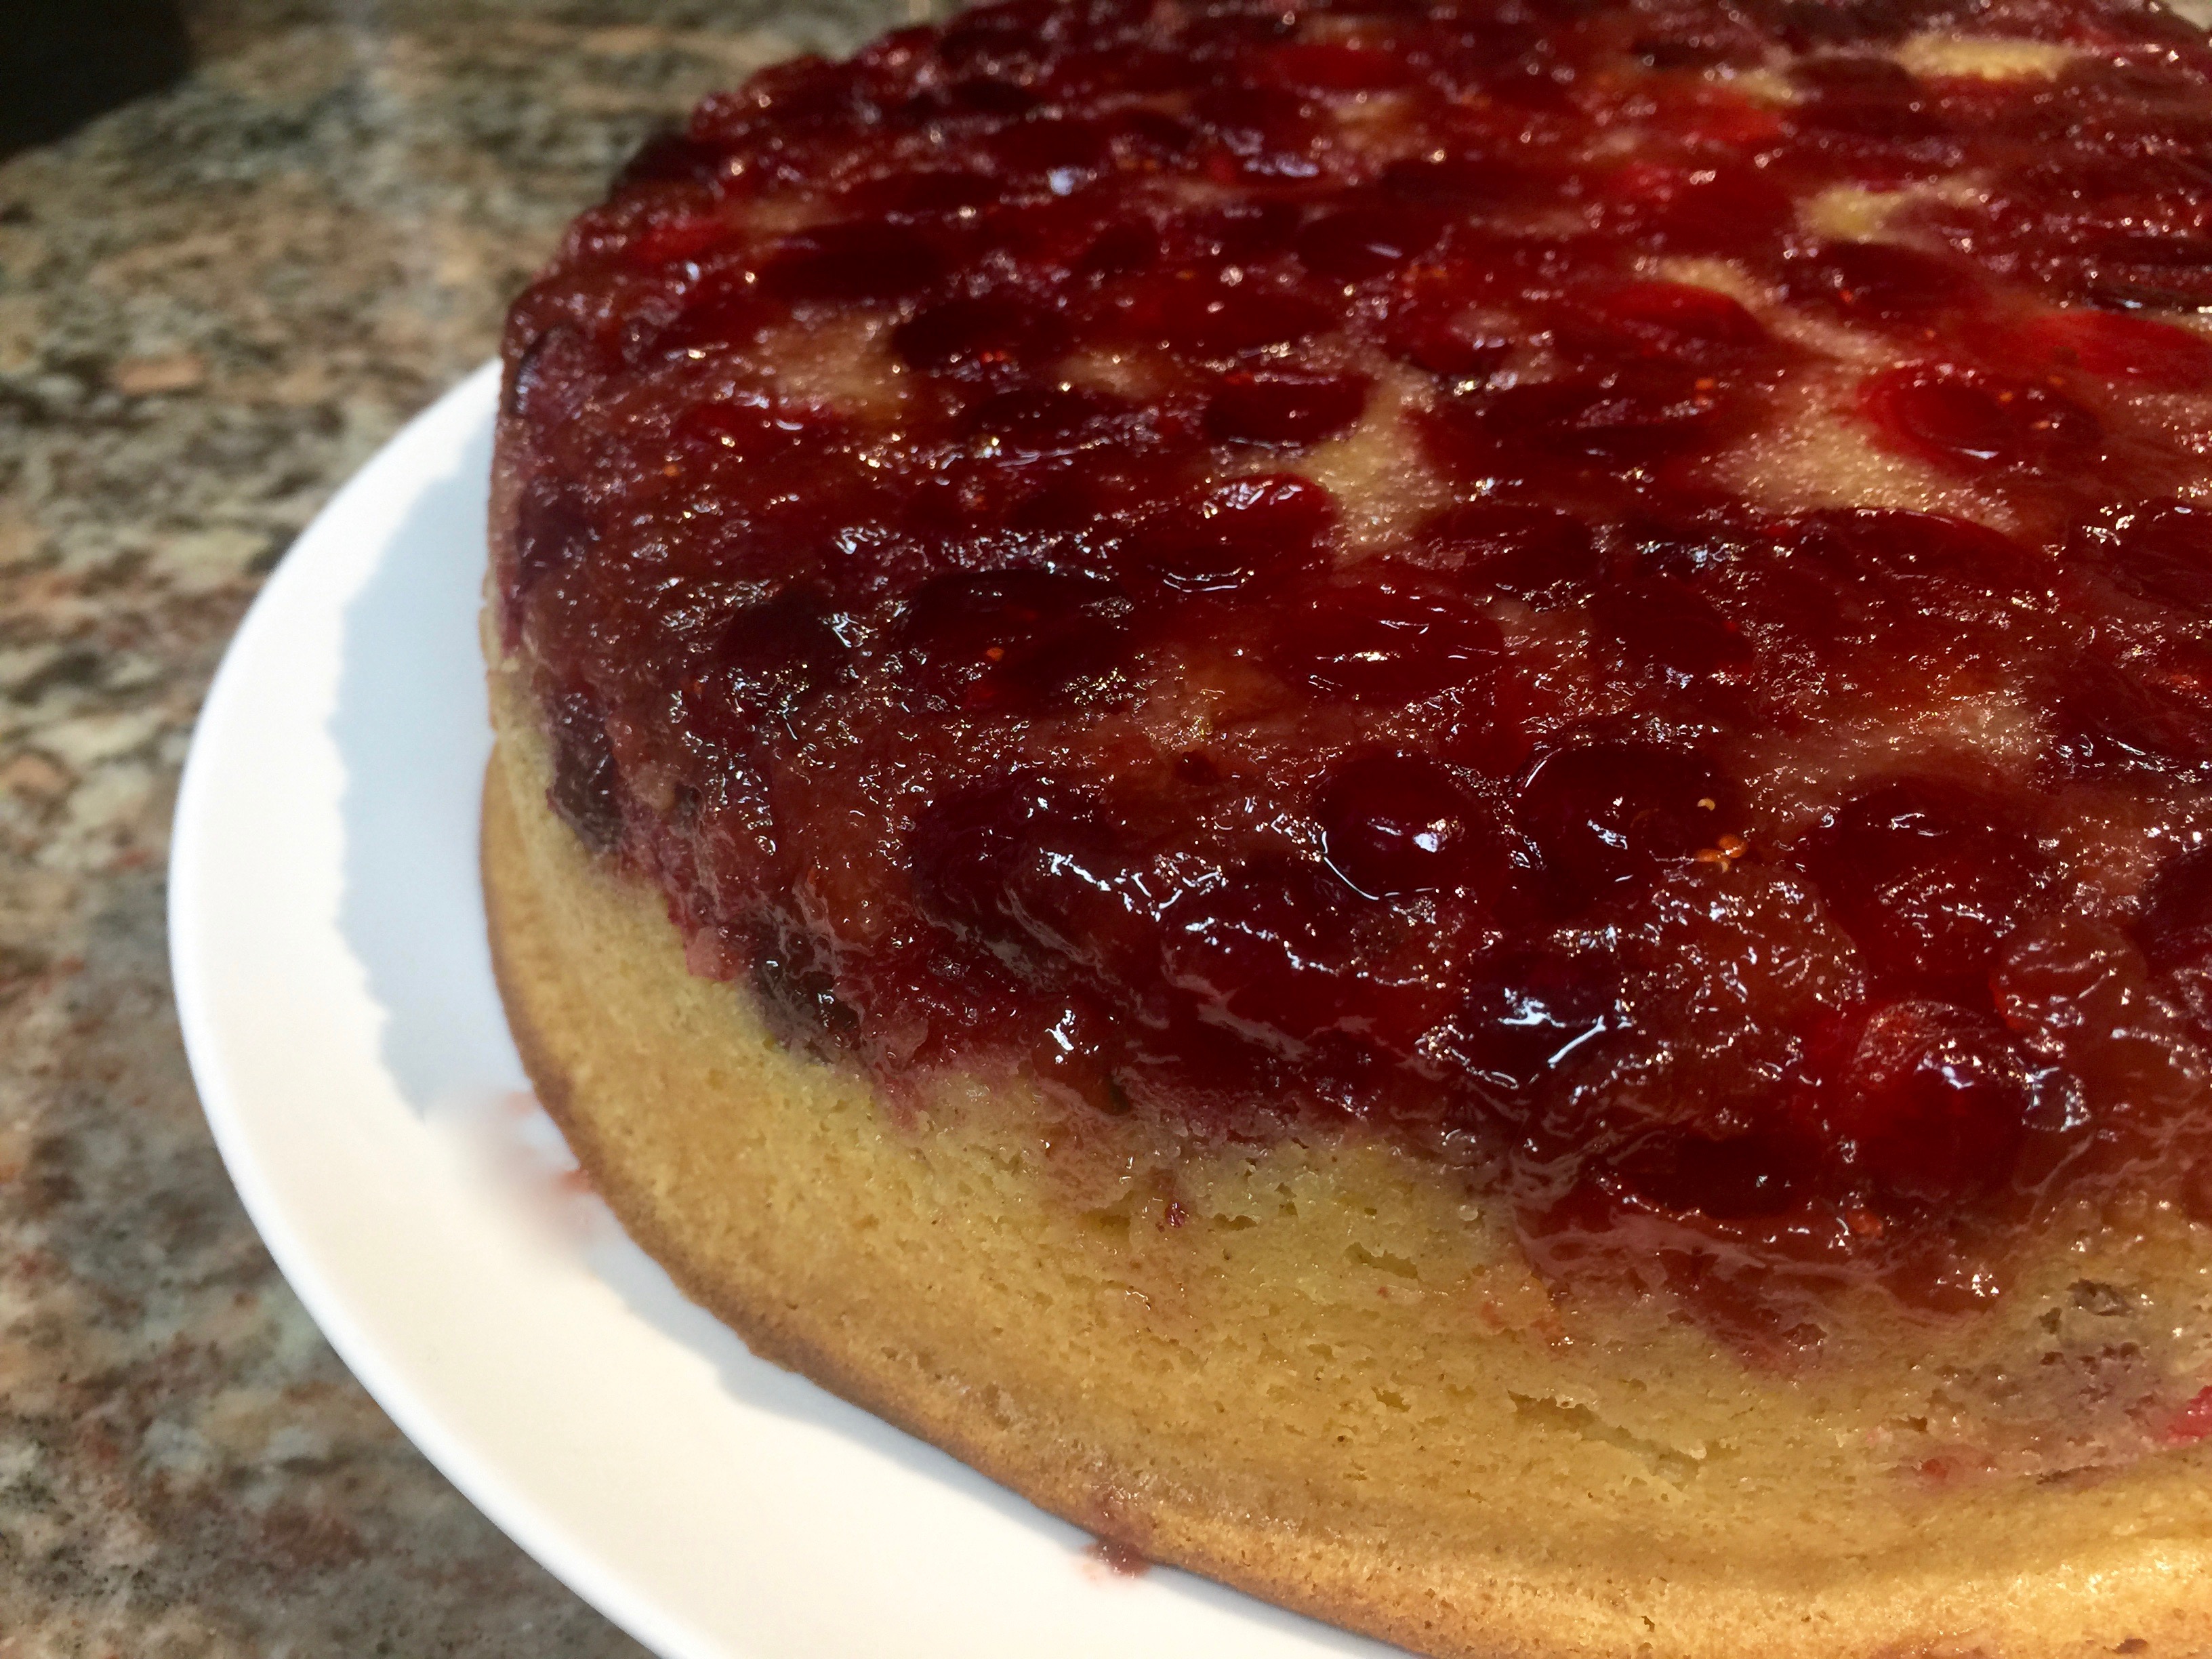
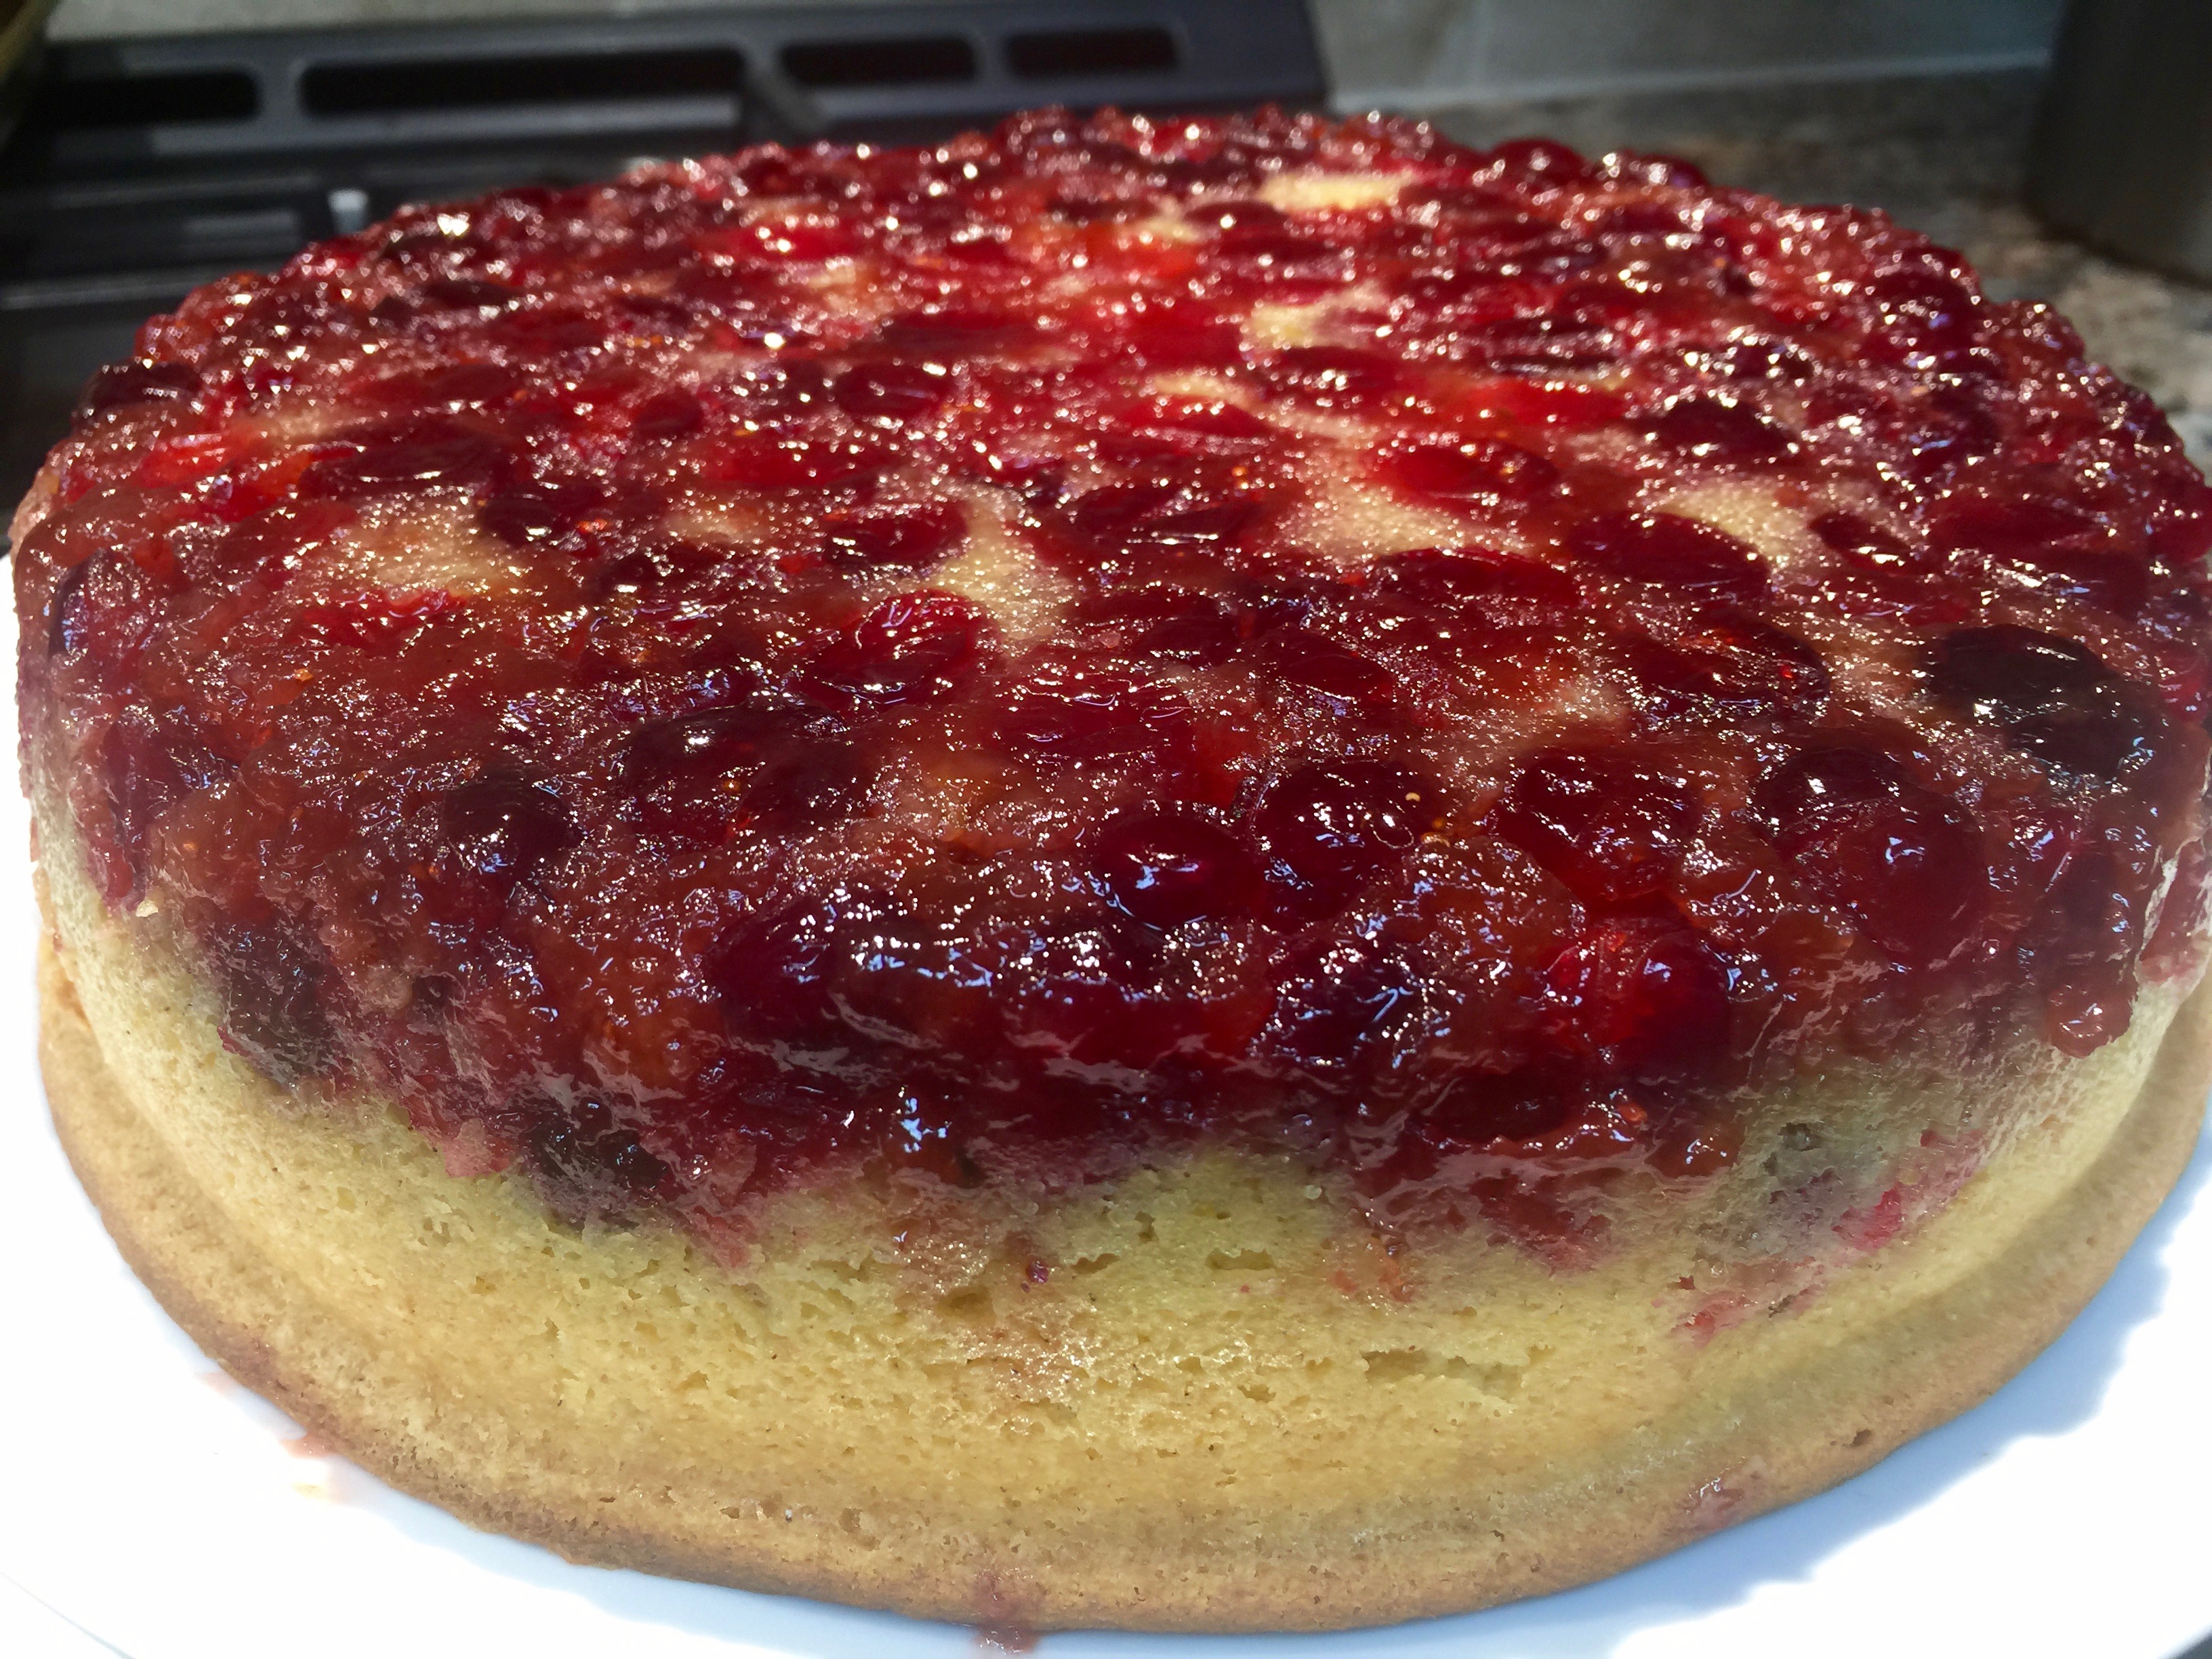
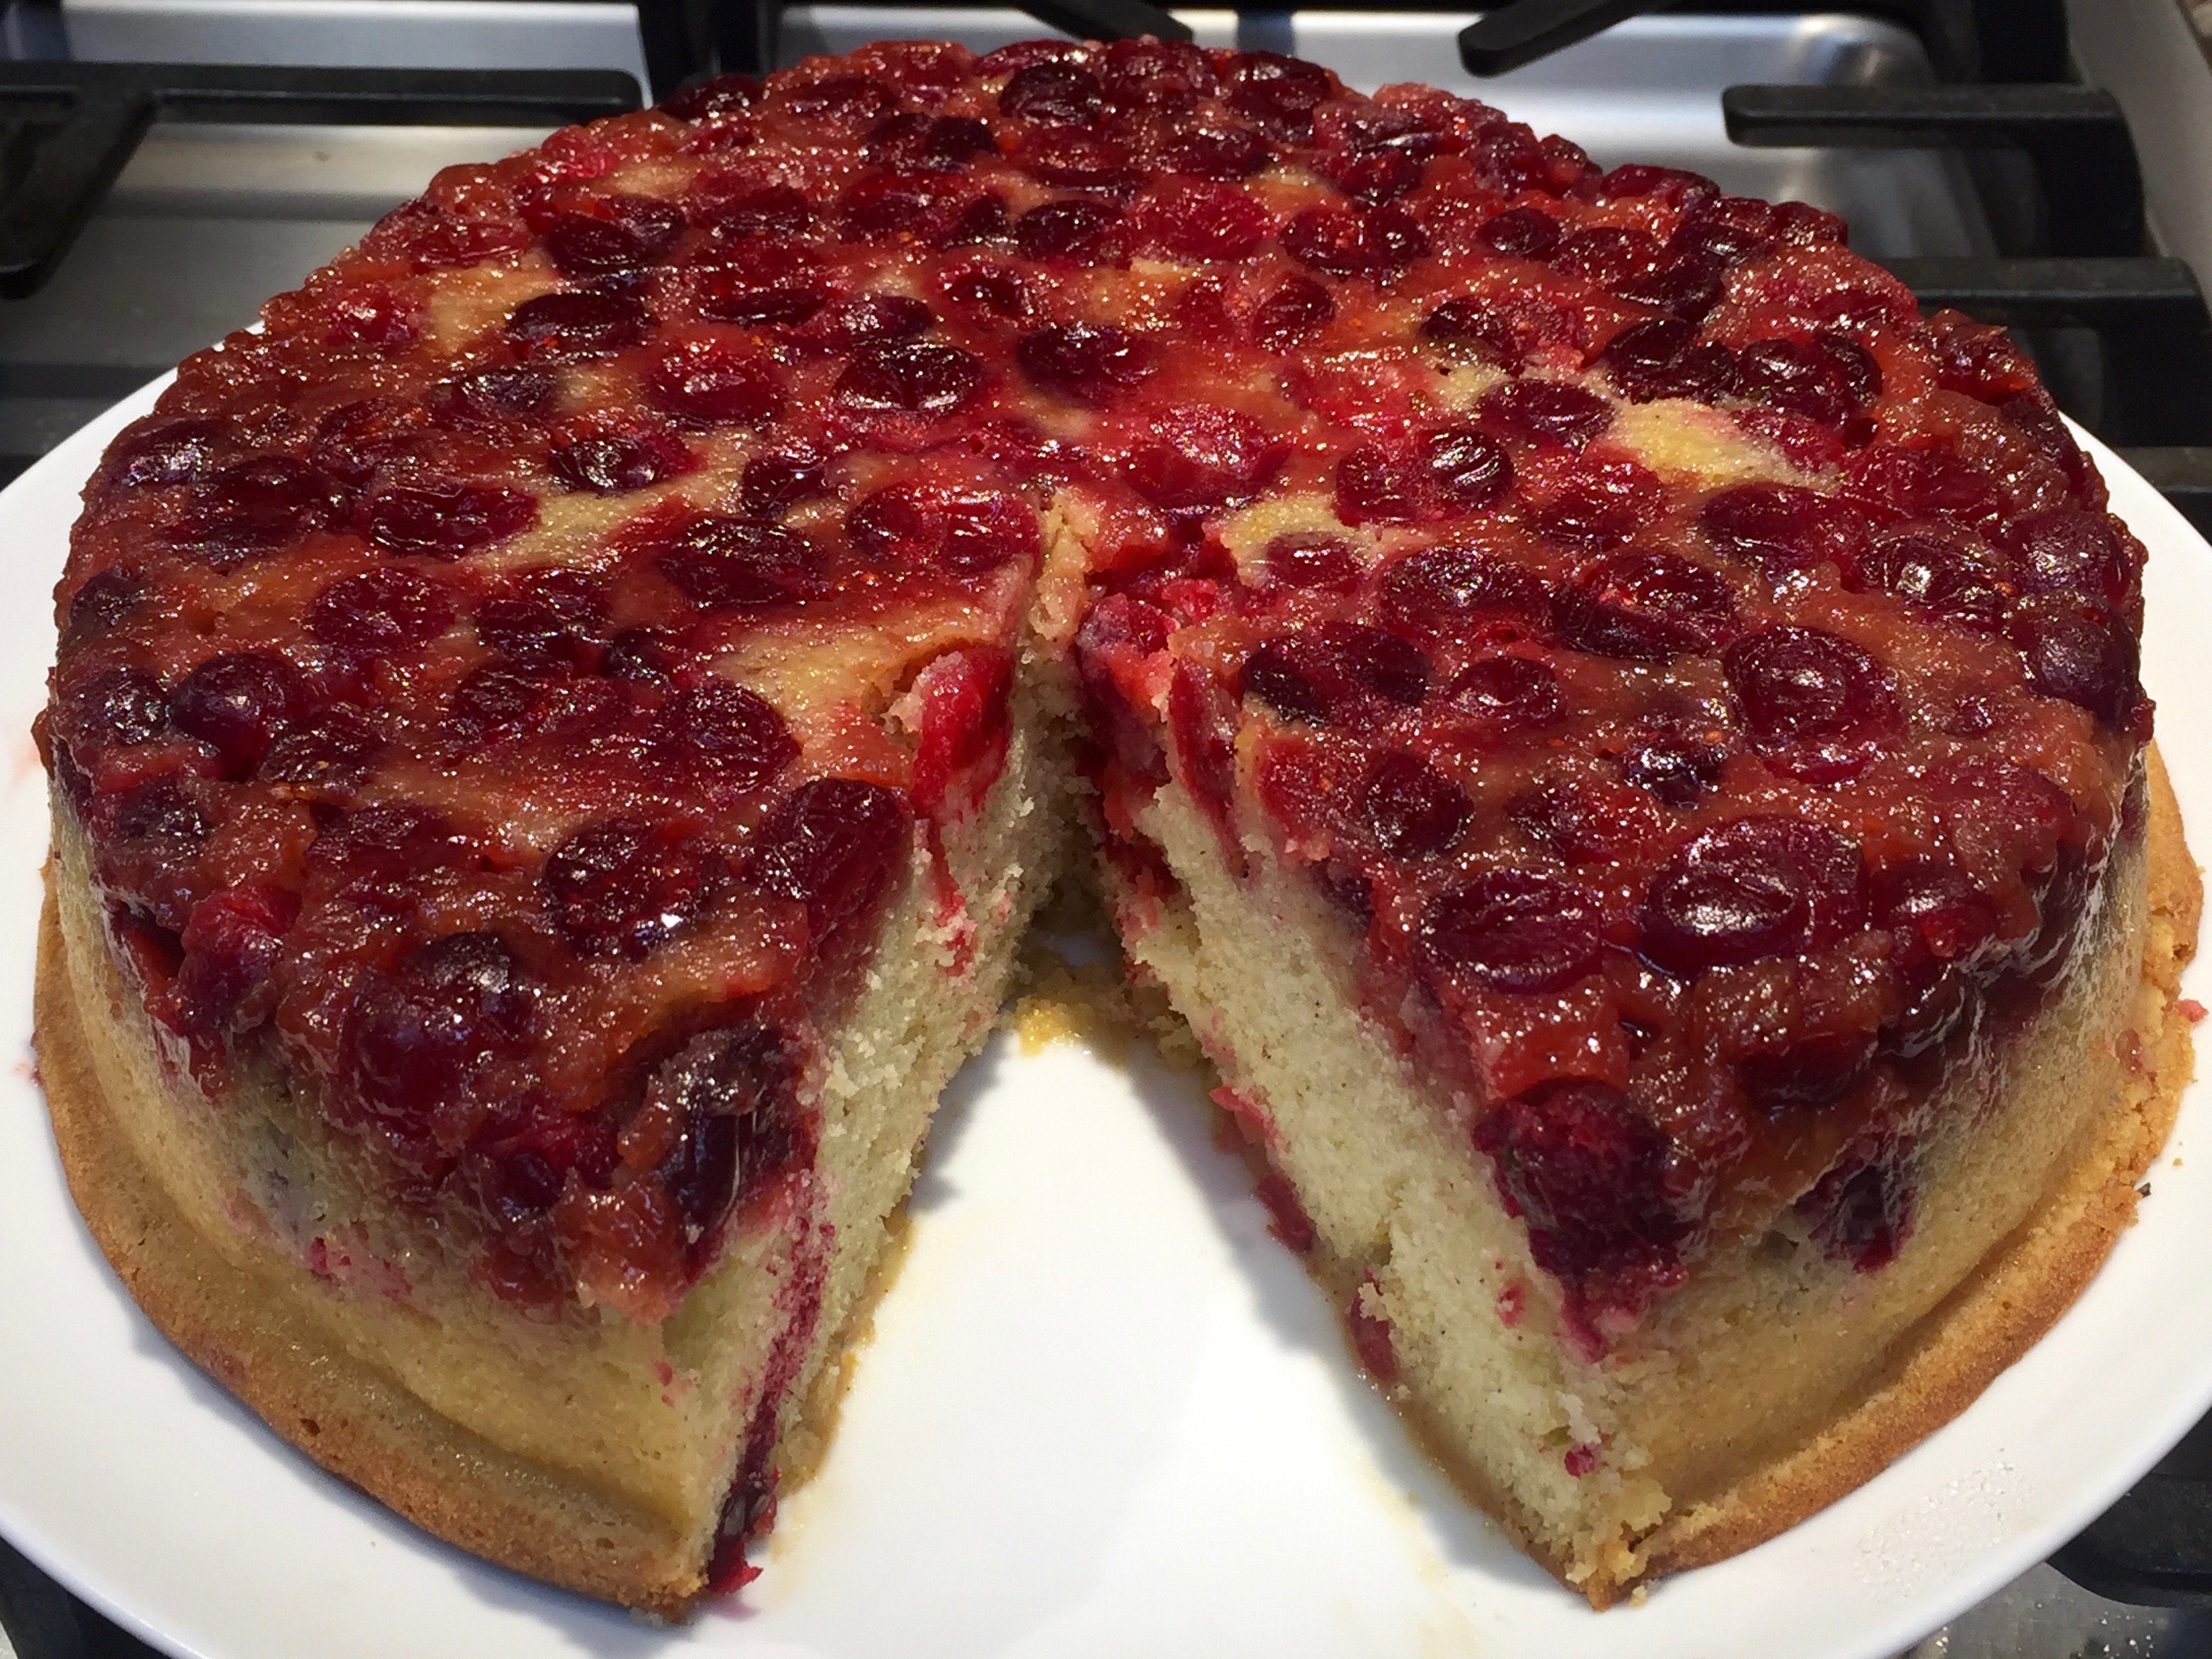
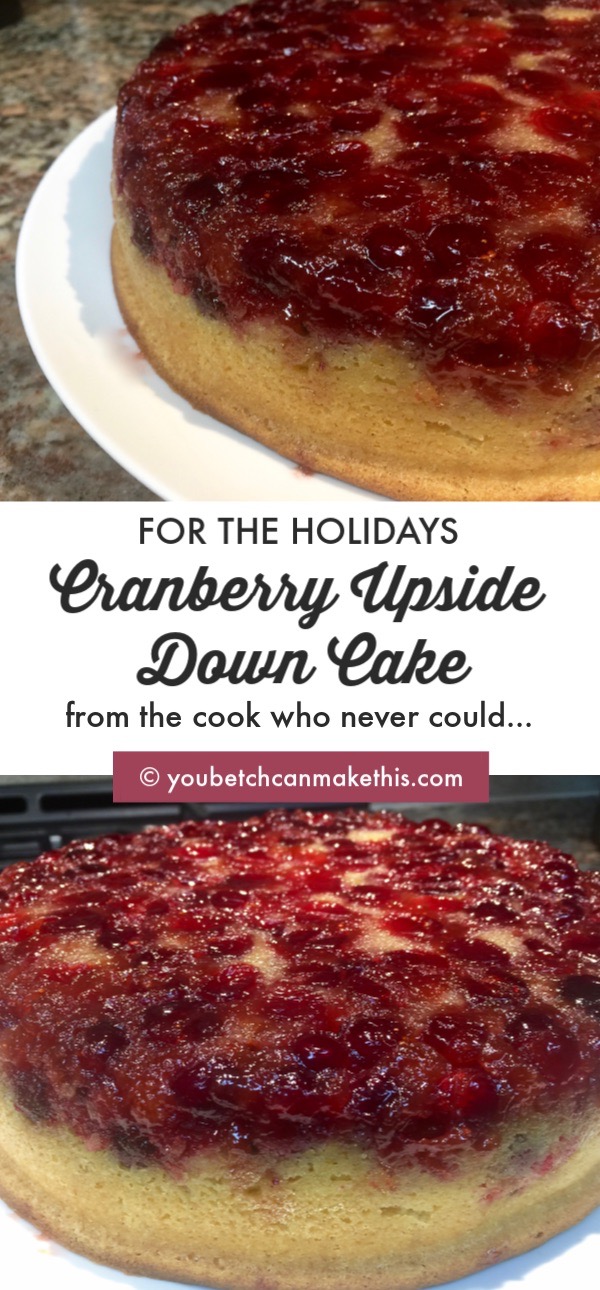
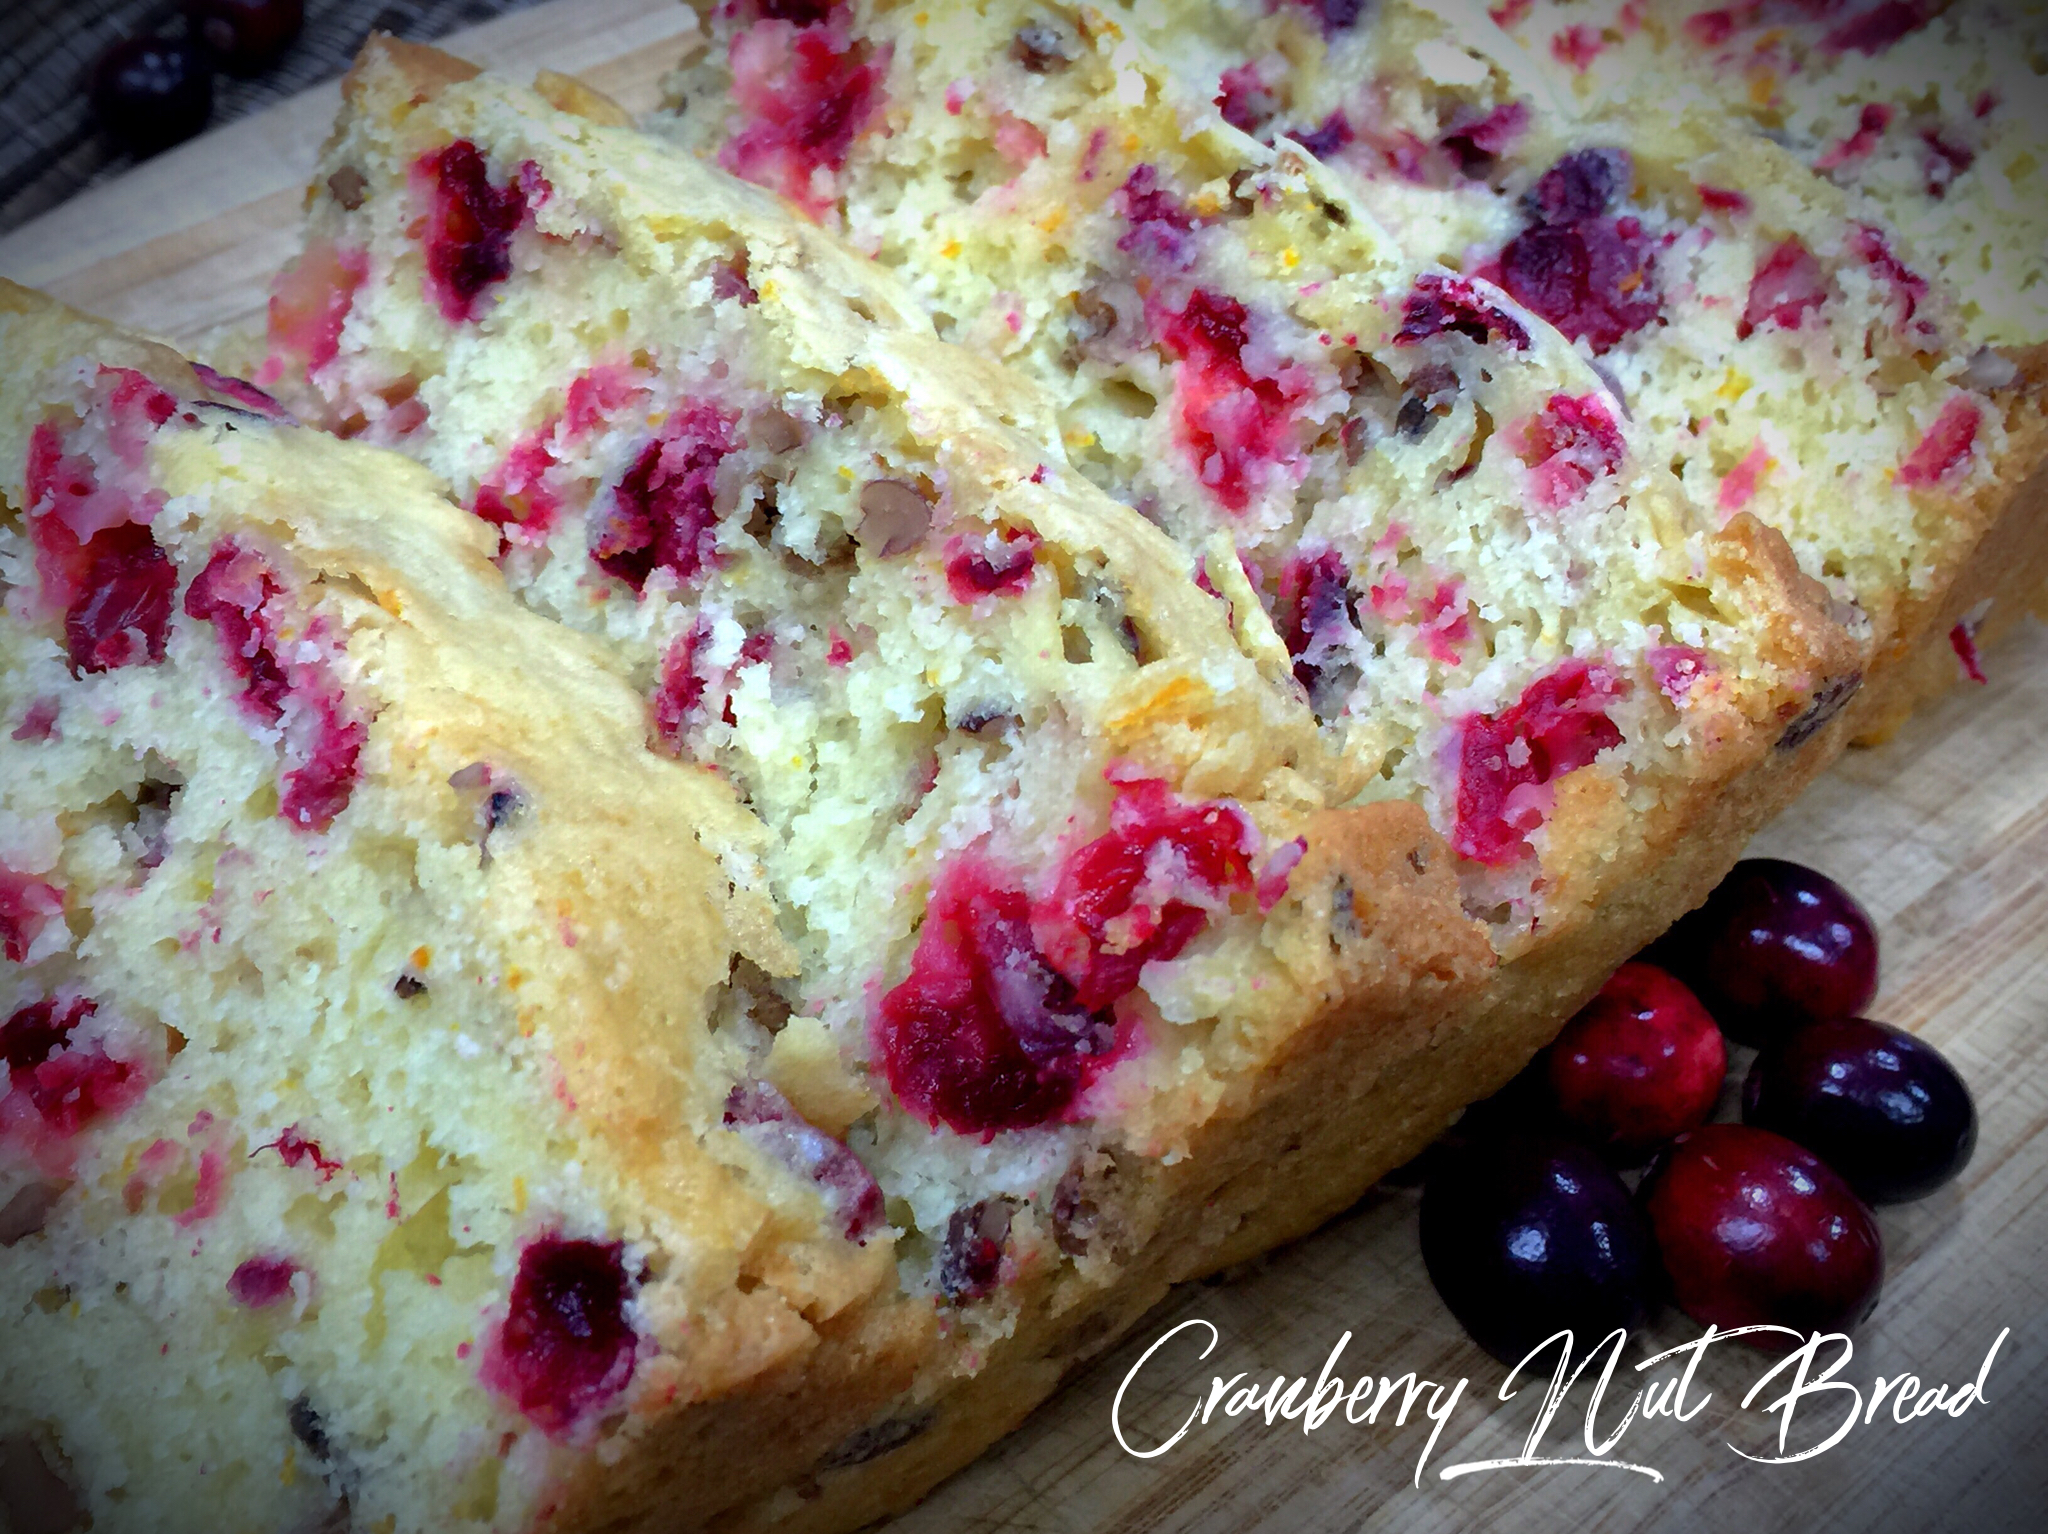
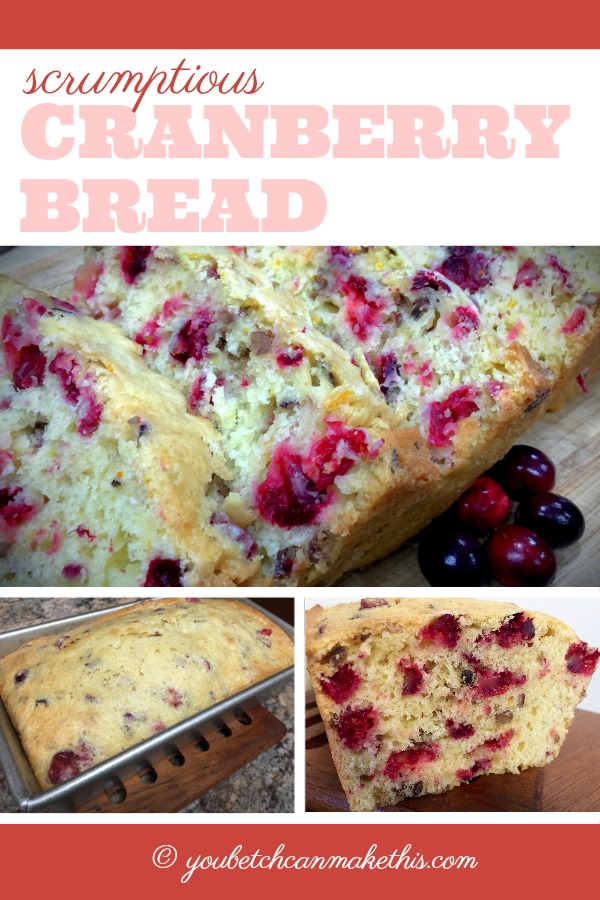
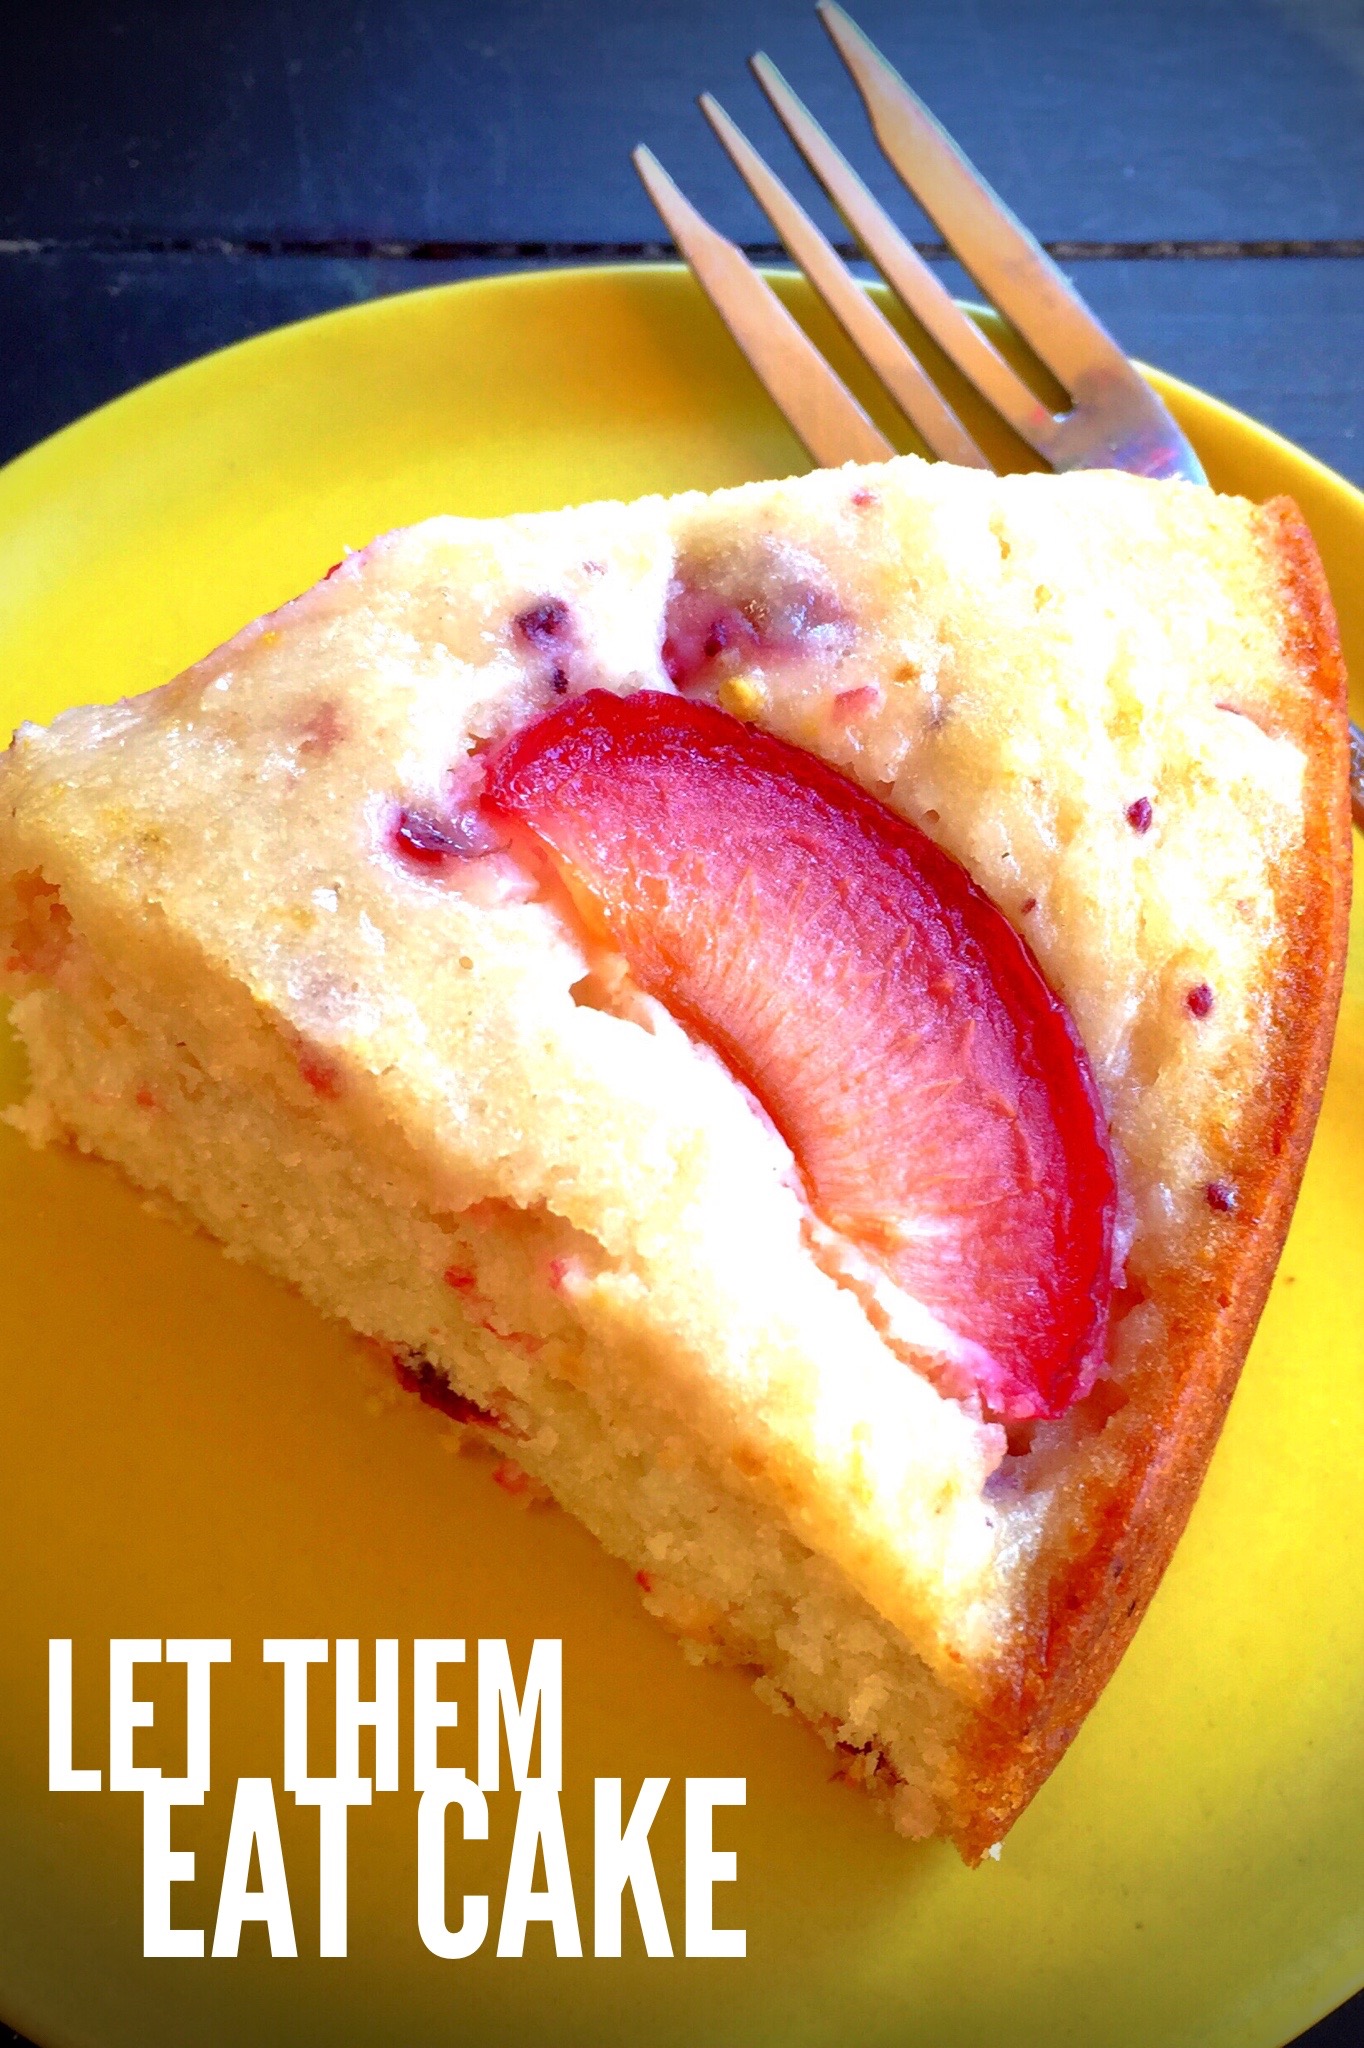
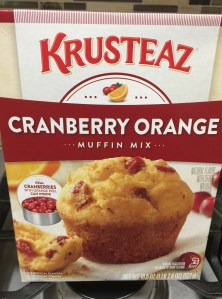 Well, that is what this recipe is all about. I wish I could take credit for this but I can’t. I was at the grocery store looking for something to make, like a quick bread or muffins and I picked up this box of Krusteaz Cranberry Orange Muffin Mix. I looked on the back of the box to see if I could use this to make a quick bread and lo and behold on the bottom right hand corner was the recipe for this cake. All it required was a few extra ingredients, namely almond extract and fresh plums. The picture of the cake looked so good I just had to try it. Needless to say, it was fabulous and very easy to make so I felt I had to share it with all of you. Nobody has to know that this cake is semi-homemade.
 Lesson Learned 2 – Create the plum arrangement you want on top of the cake on a paper plate first: I found I had to play with the plums a little to create the arrangement I wanted. You don’t want to be doing that on top of the batter. I took a dinner size paper plate and created my plum arrangement on that. When it came time to put the plums on top of the batter I simply moved them from the plate to the cake just like I arranged them. It was a piece of cake, no pun intended!
 1 box Krusteaz Cranberry Orange Muffin Mix
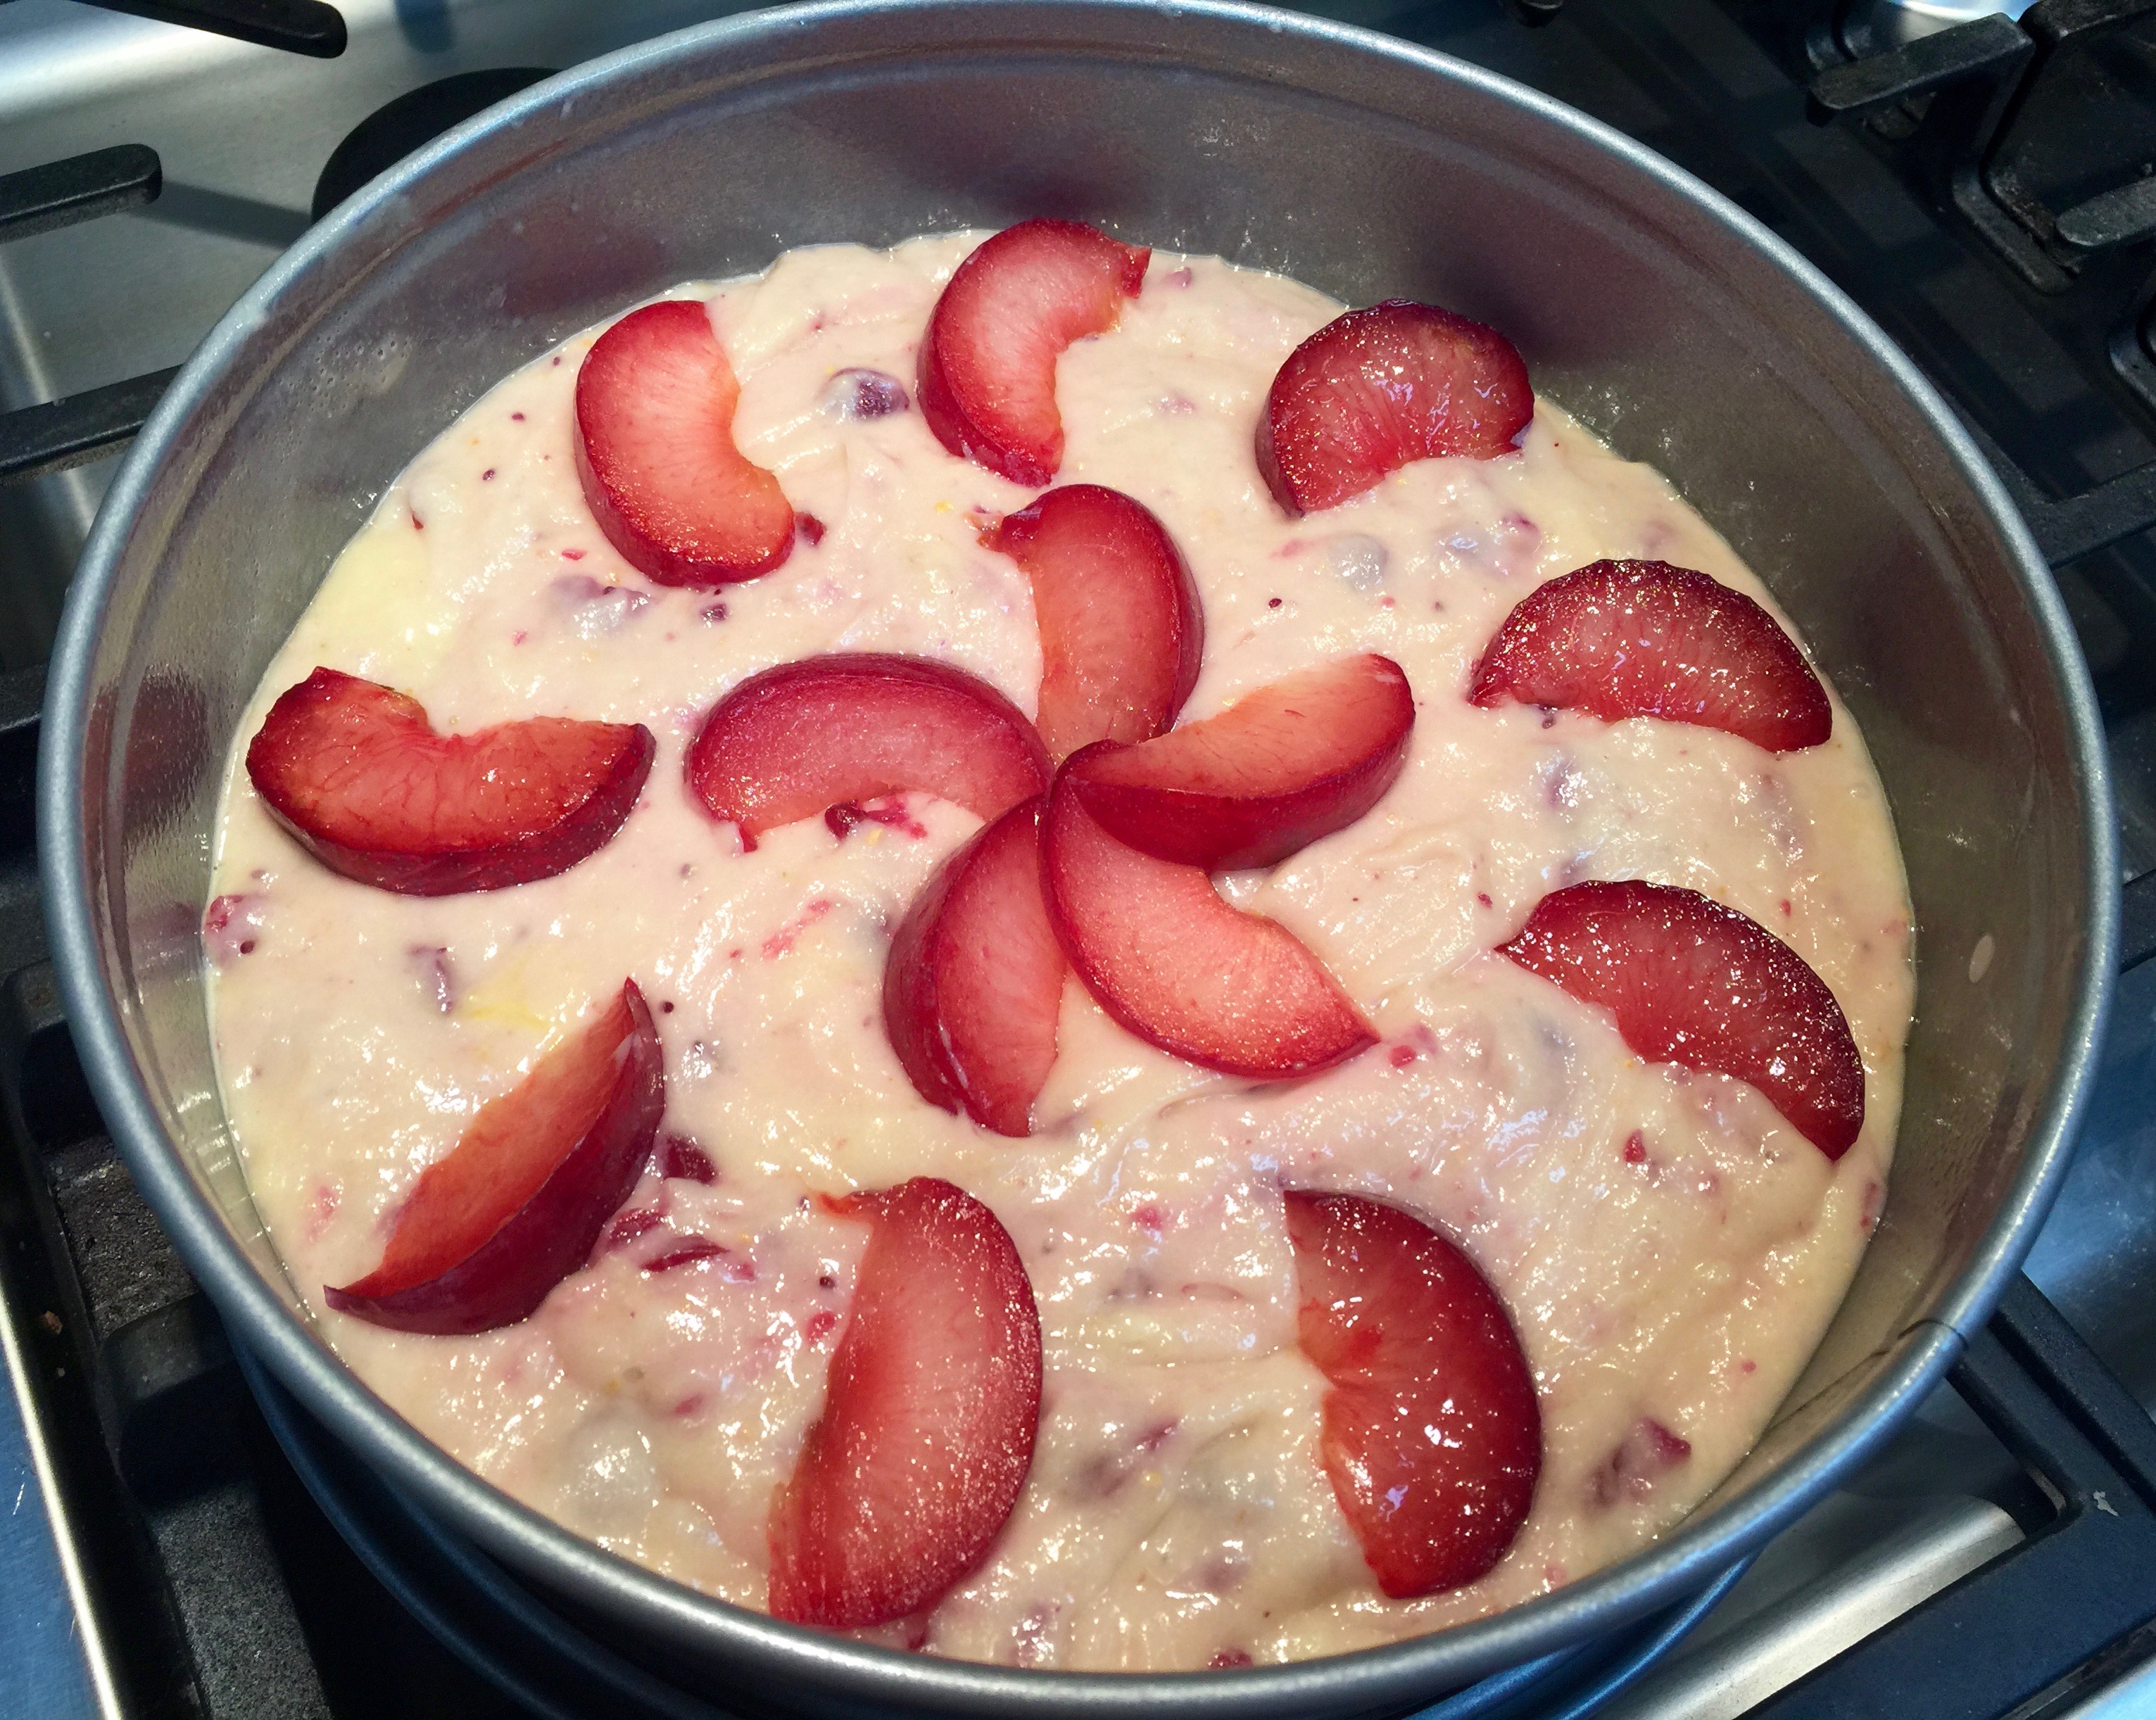


 1 8 oz. package of cream cheese, room temperature
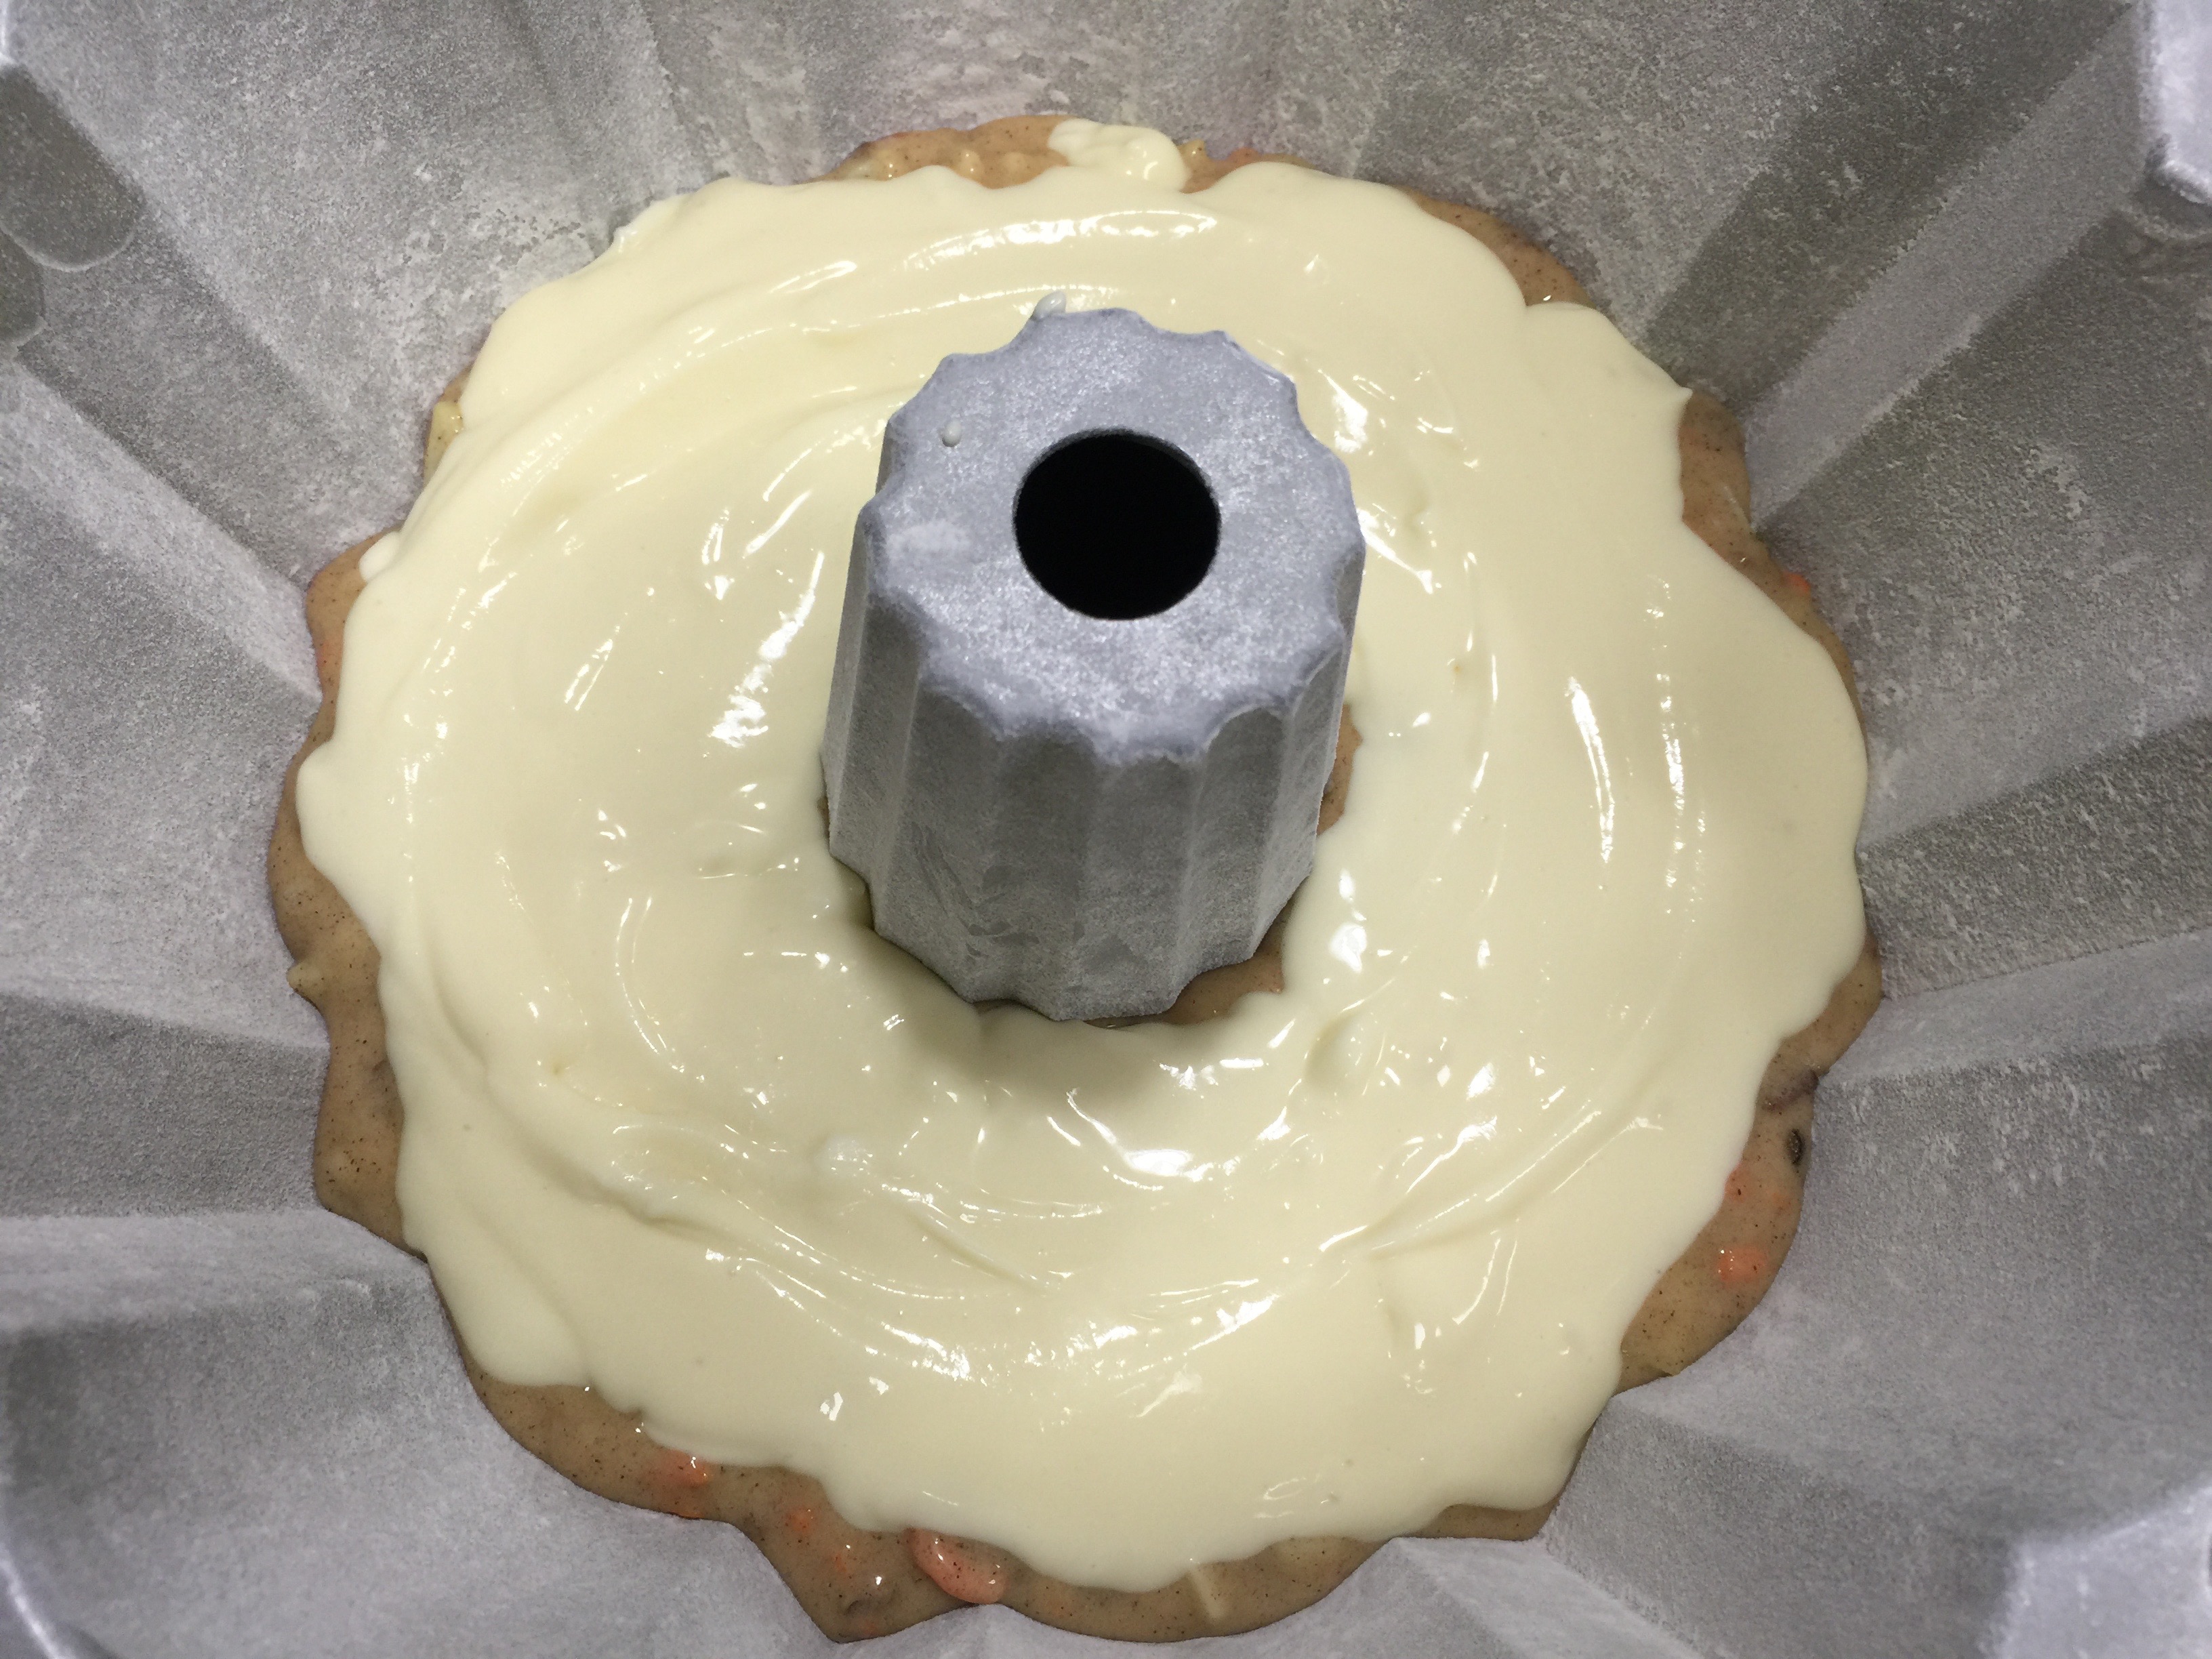


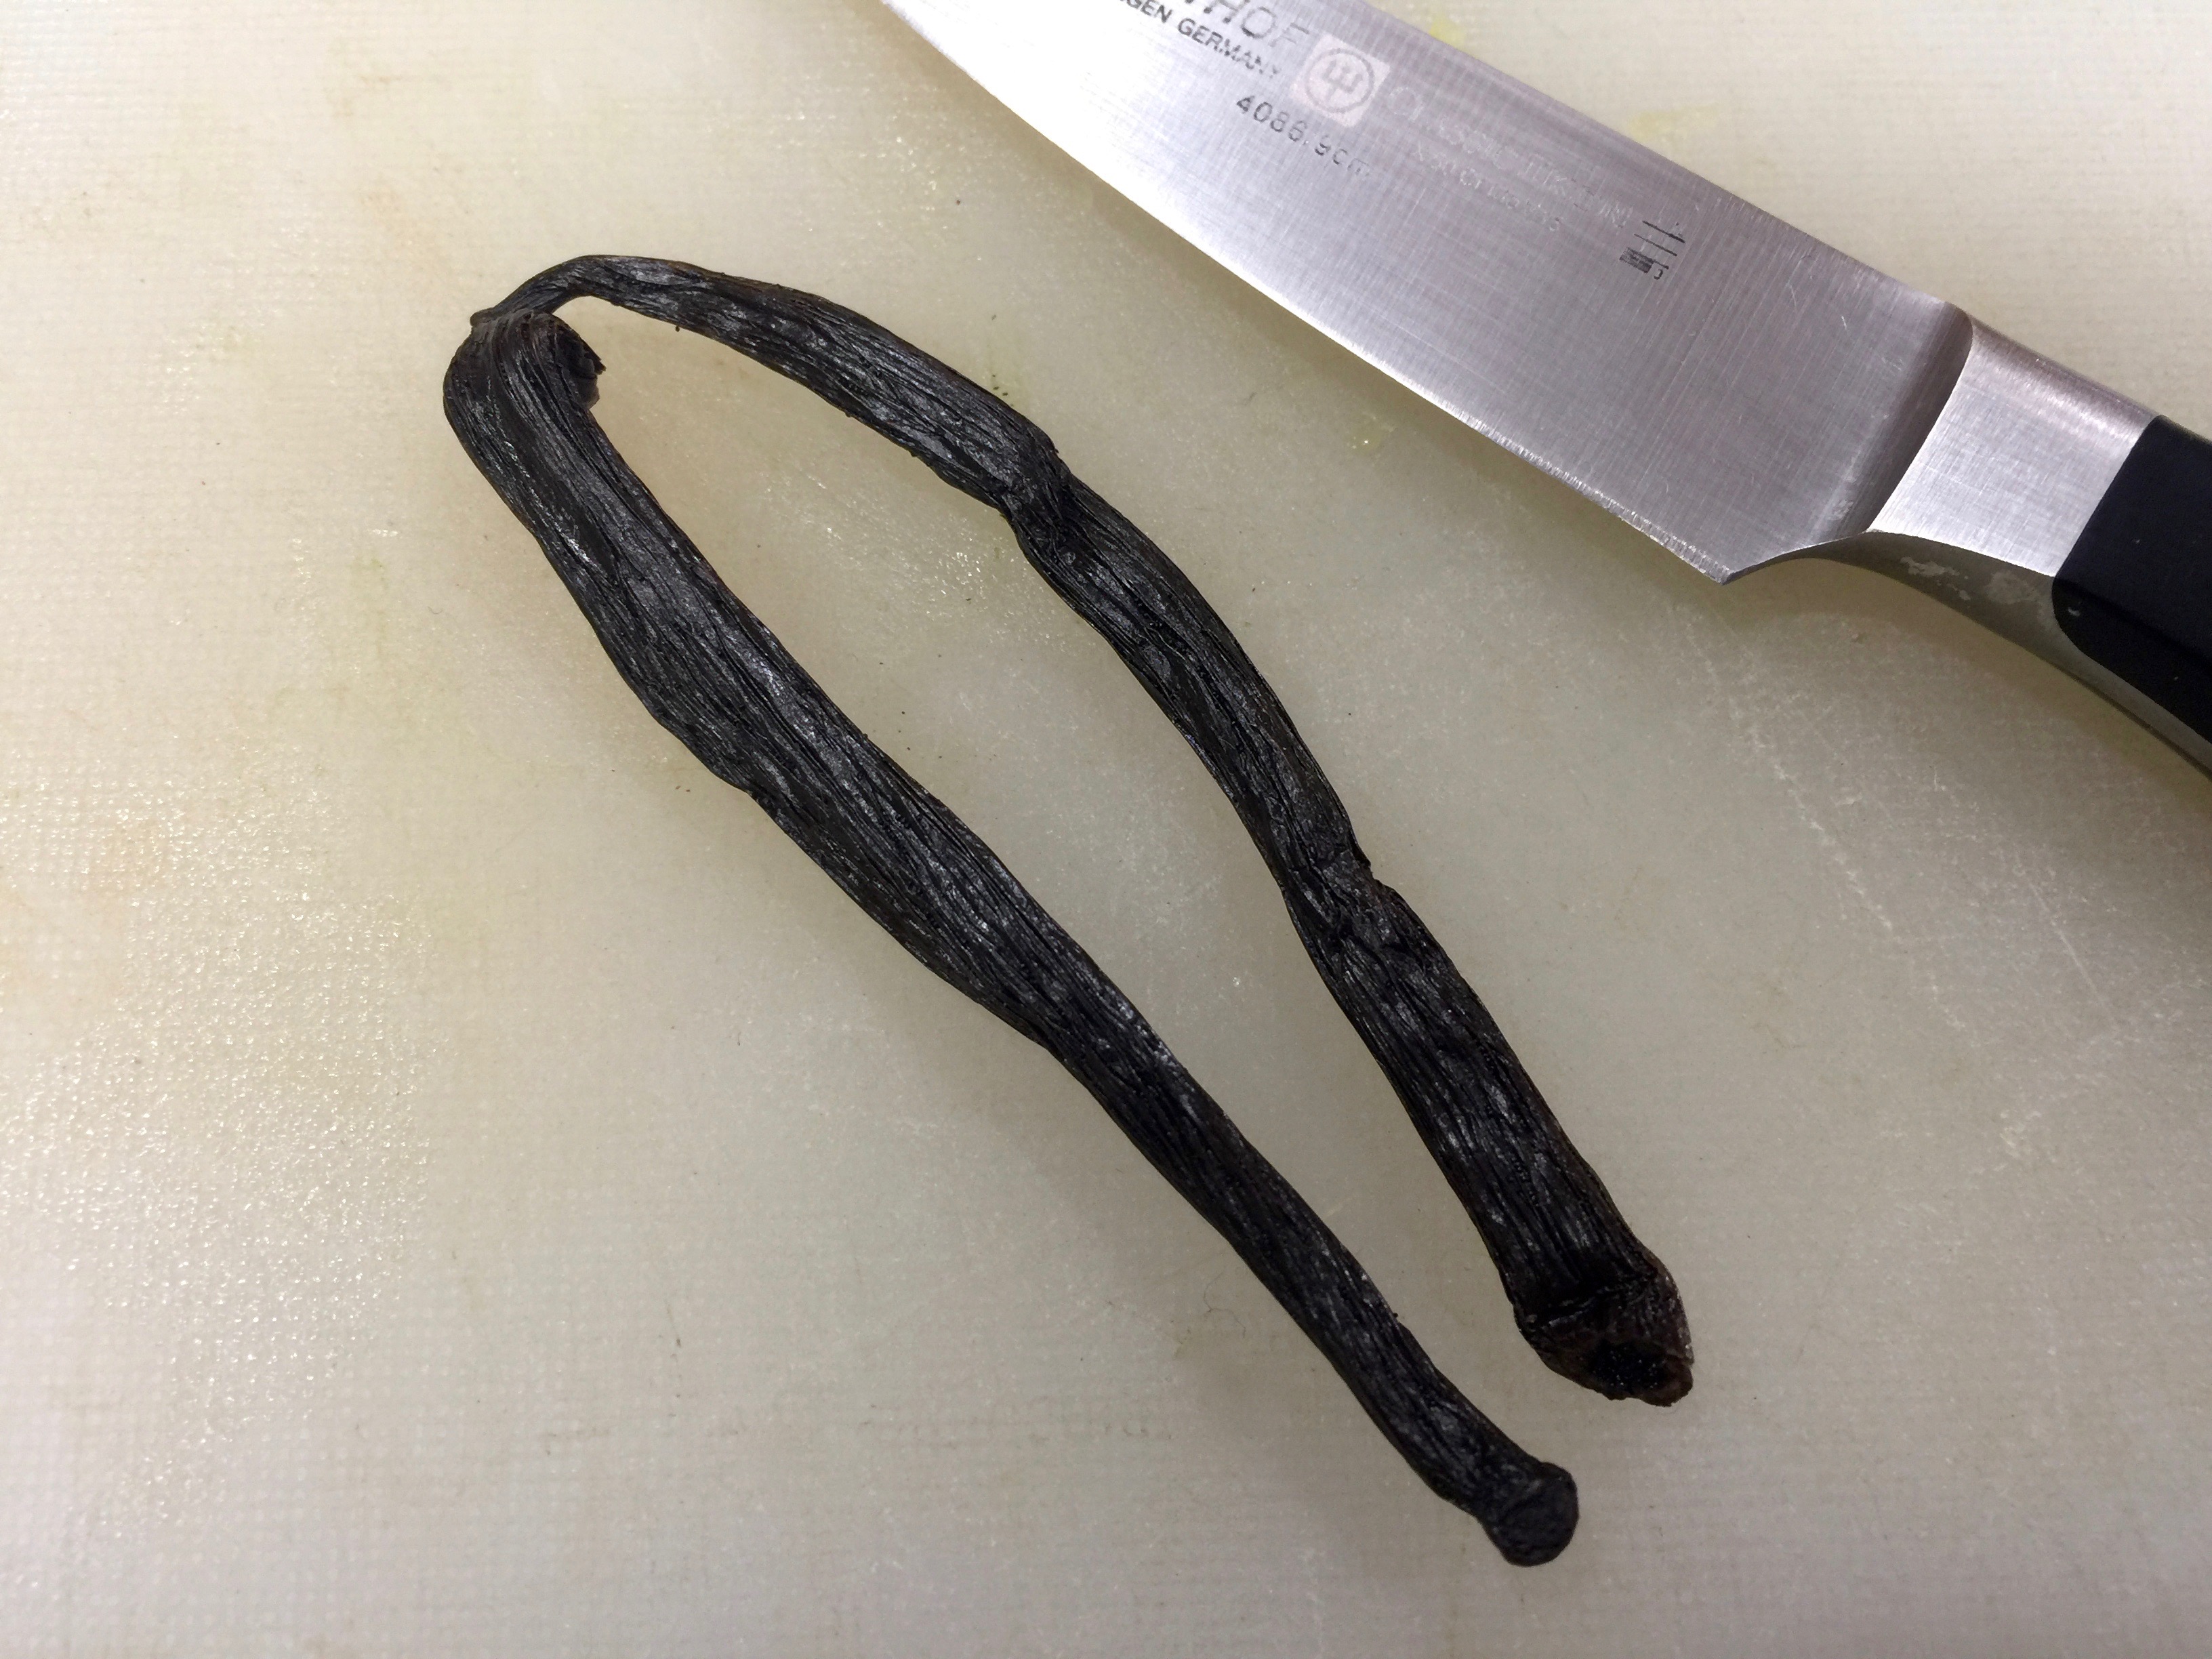
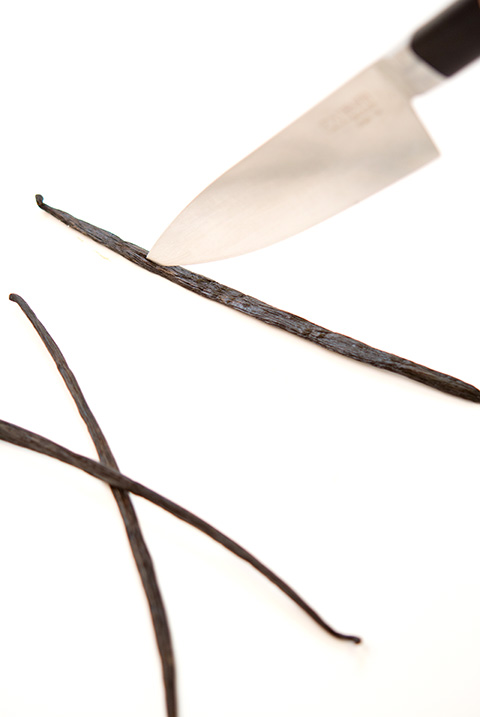
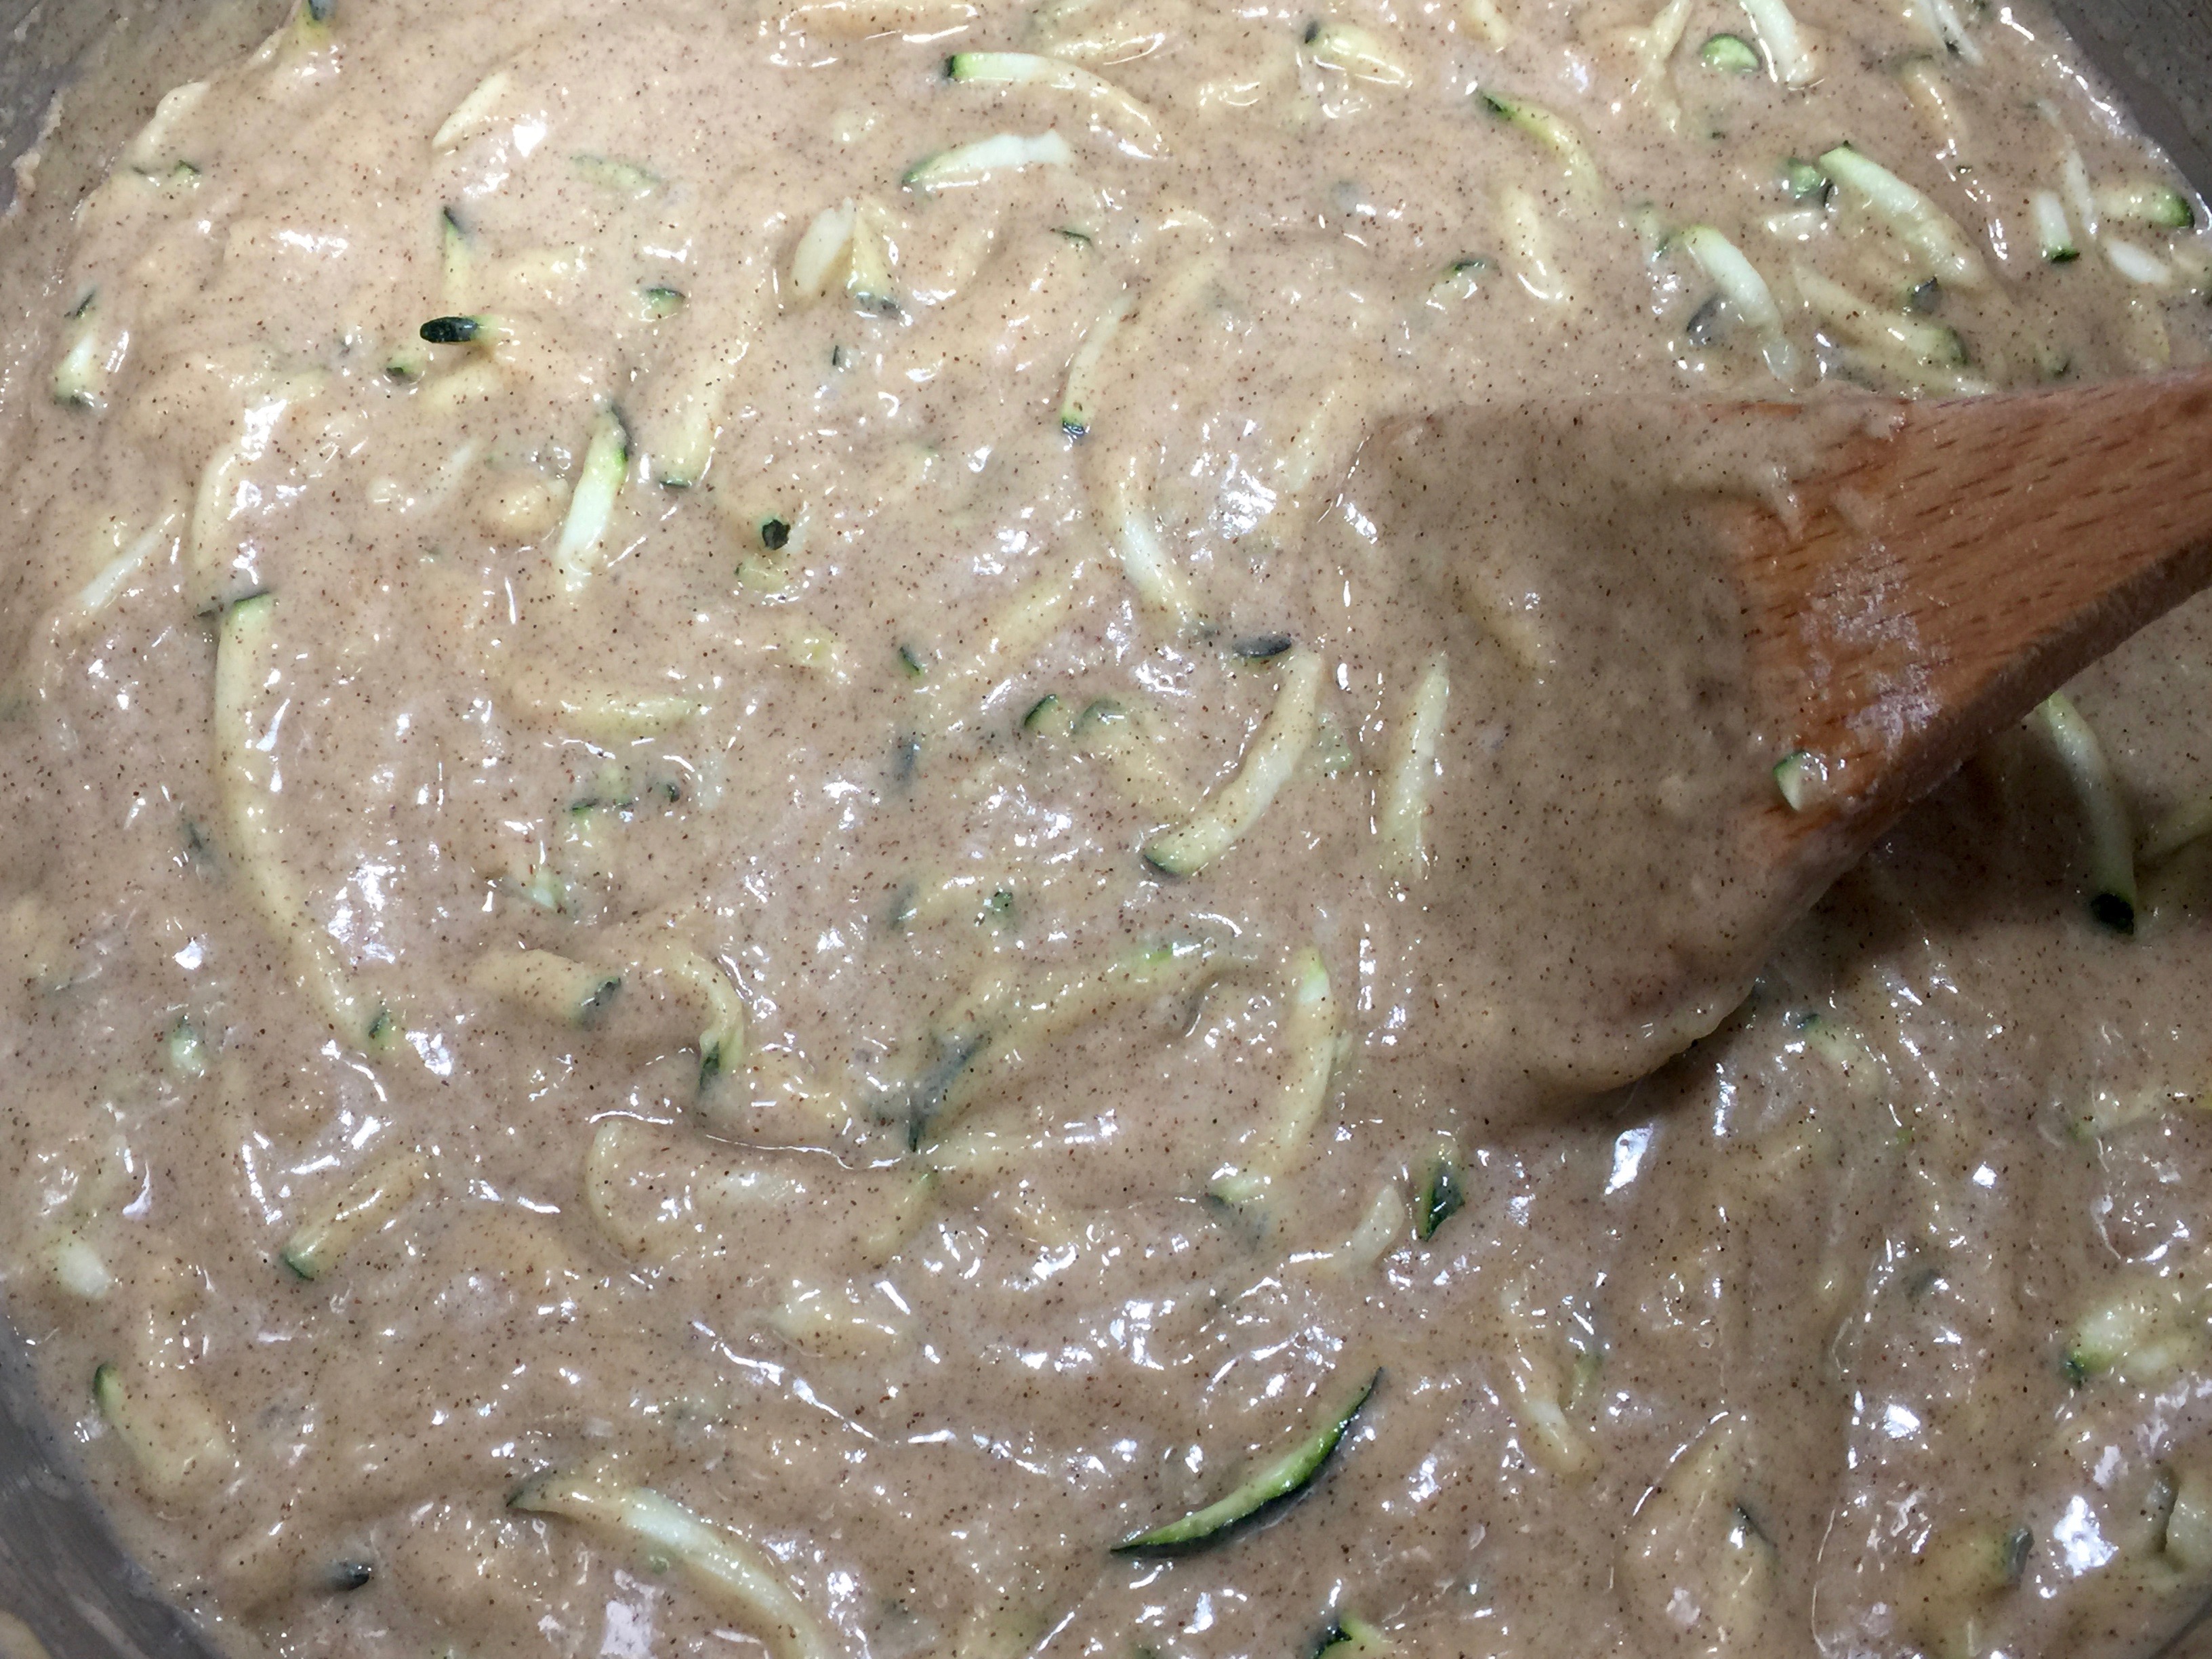
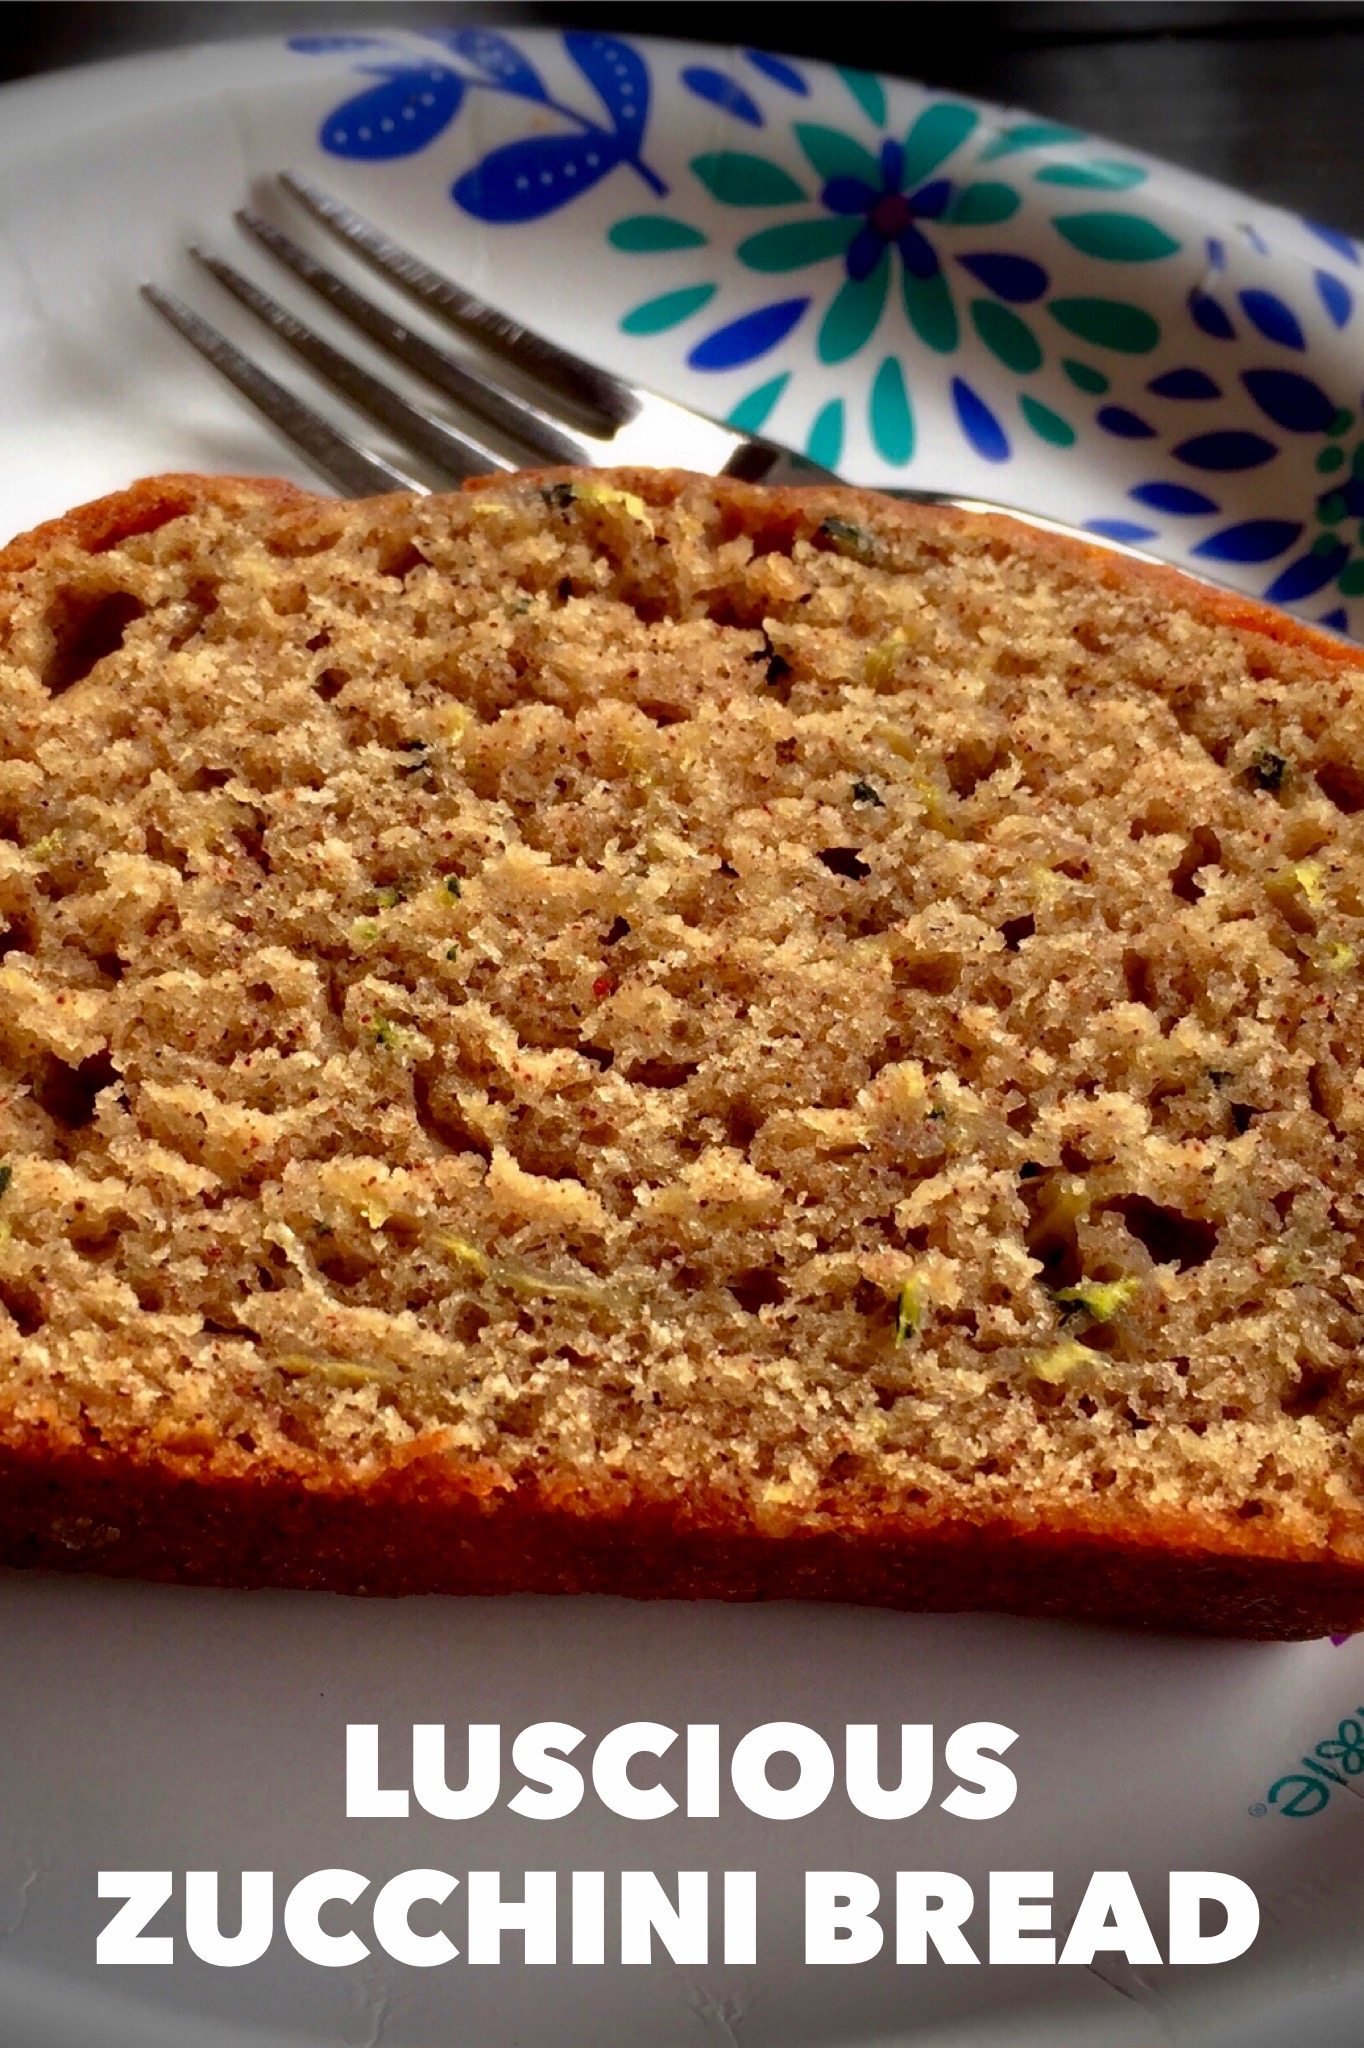
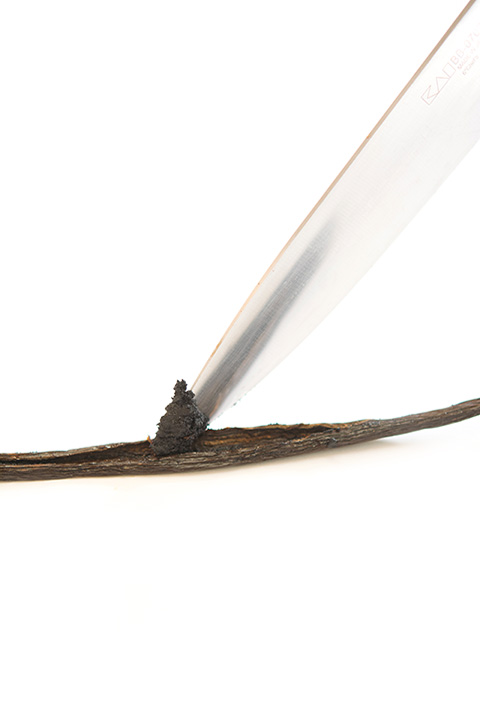 A whole vanilla bean will give you the equivalent of approximately one teaspoon of vanilla extract. Adding this to the two teaspoons of vanilla already in the recipe and it gives a wonderful but not over powering vanilla flavor to the zucchini bread. And that’s what makes it so luscious.
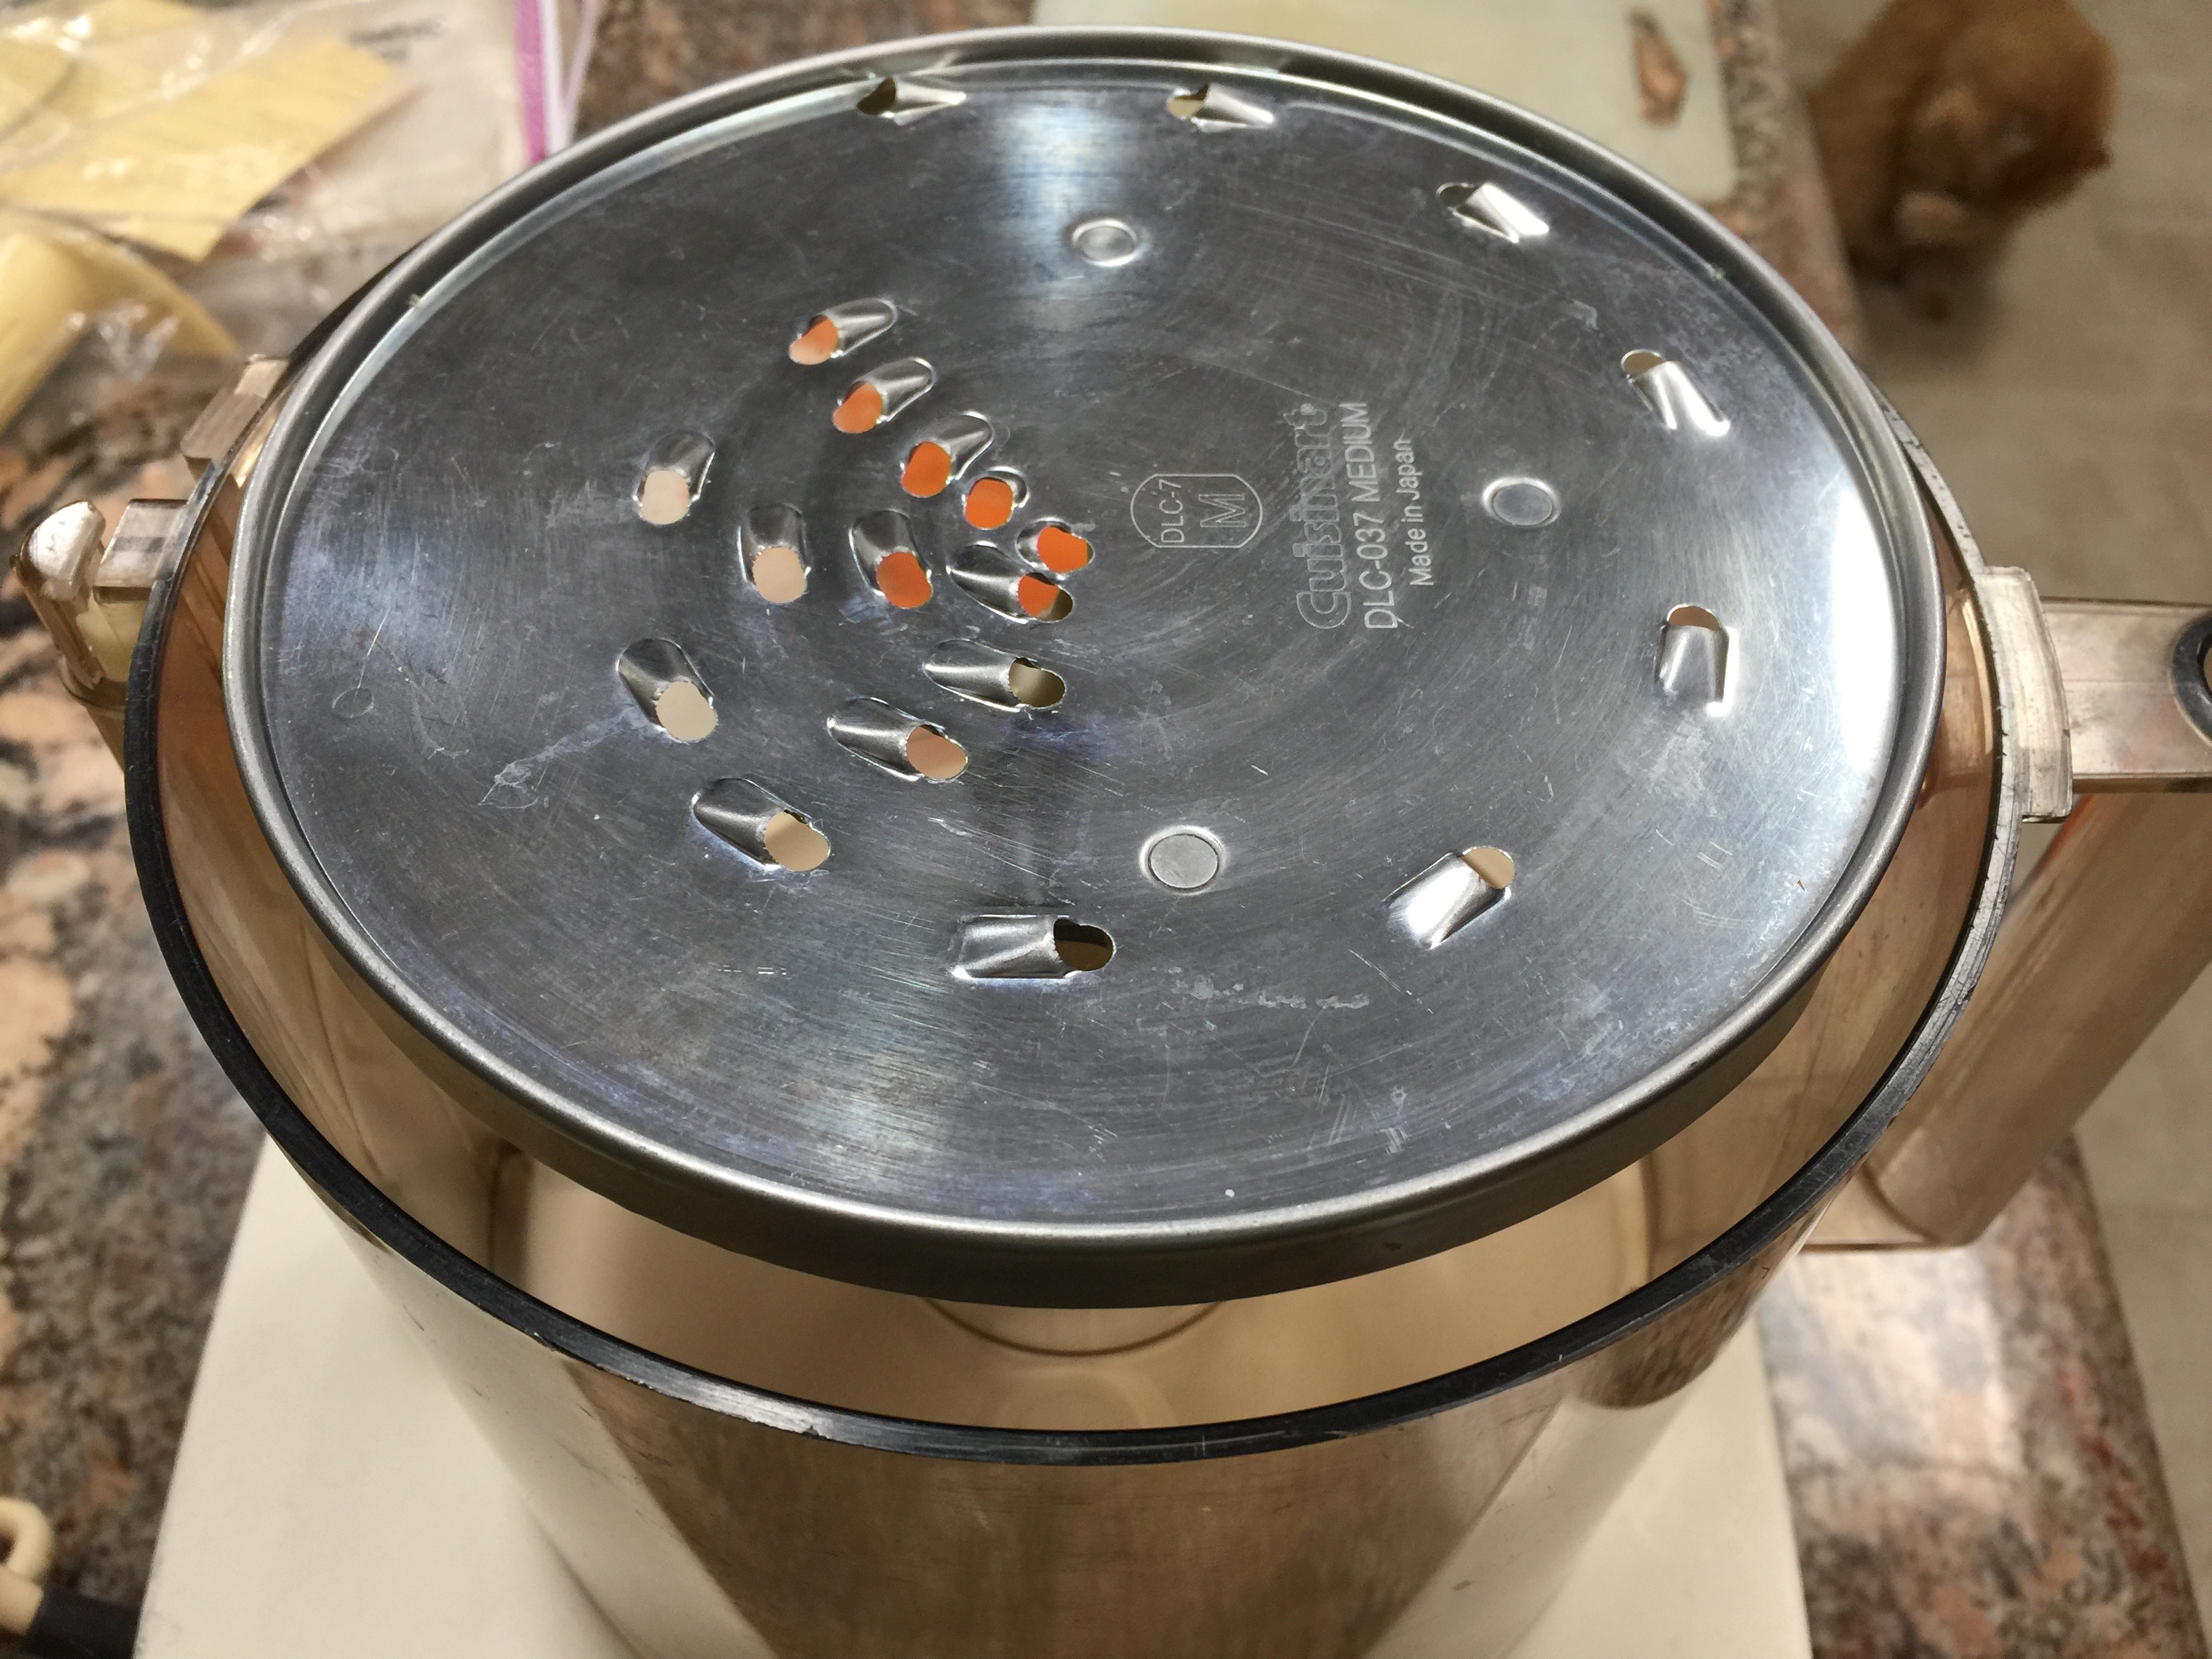
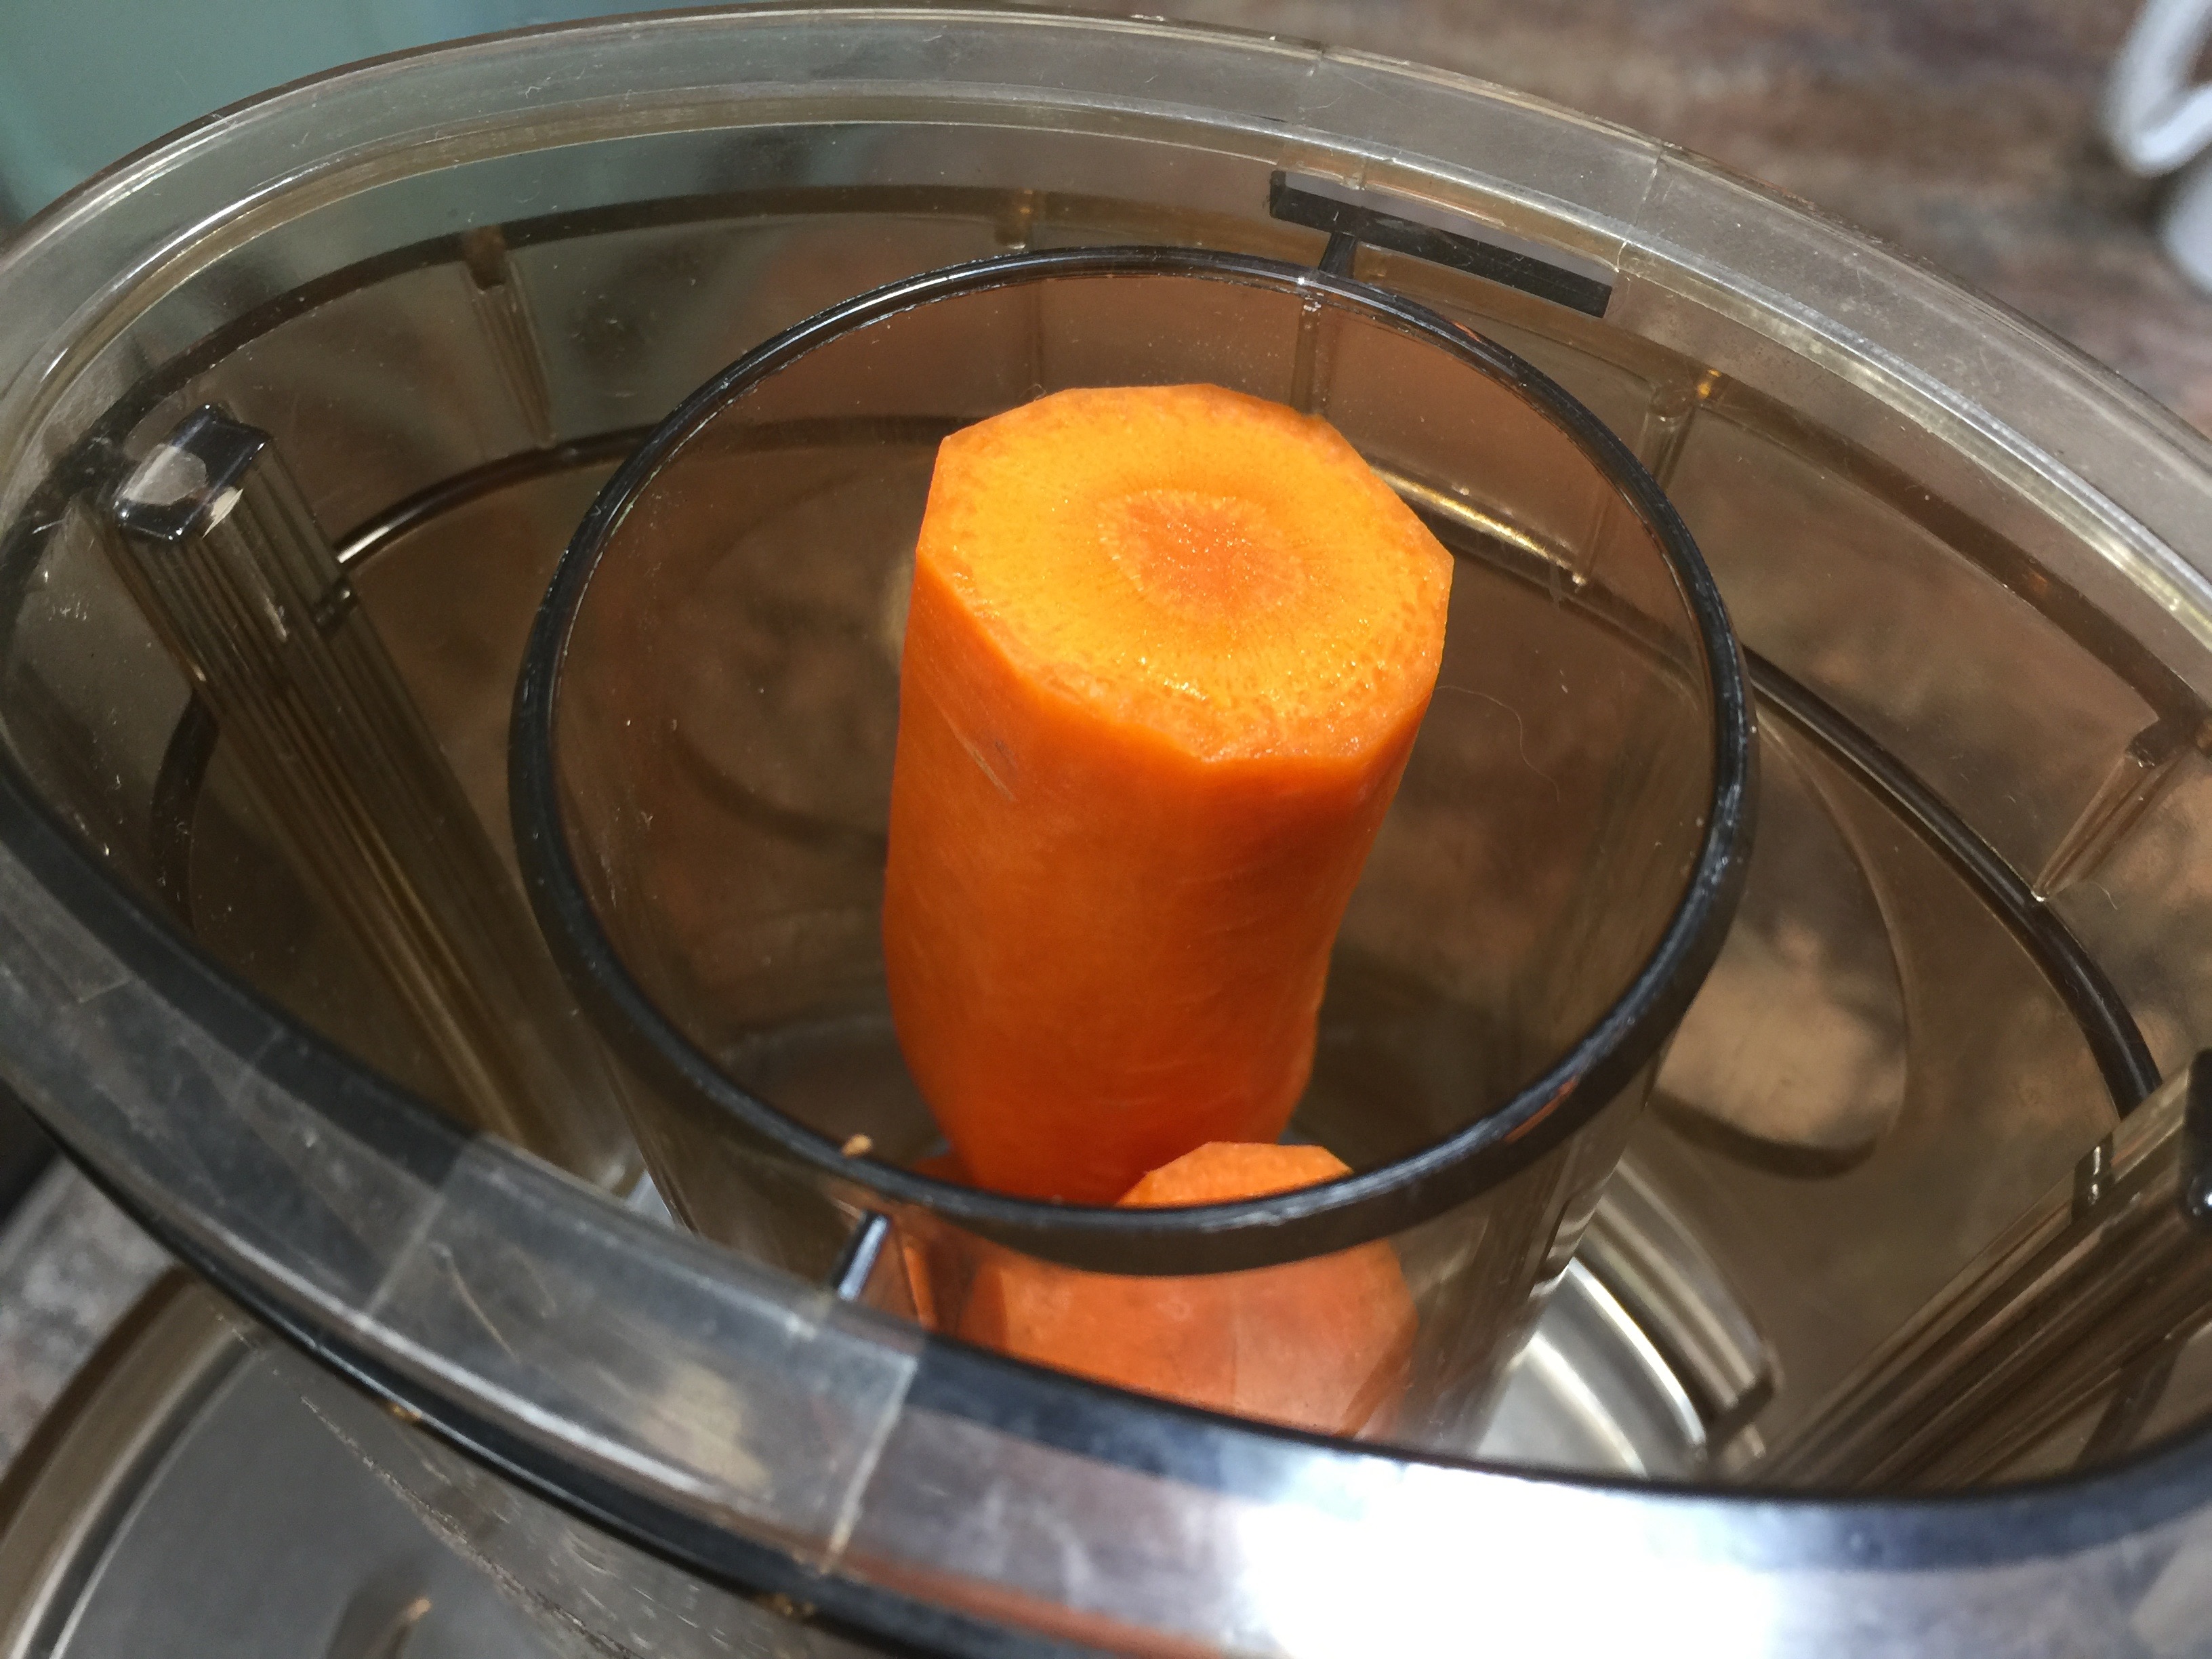
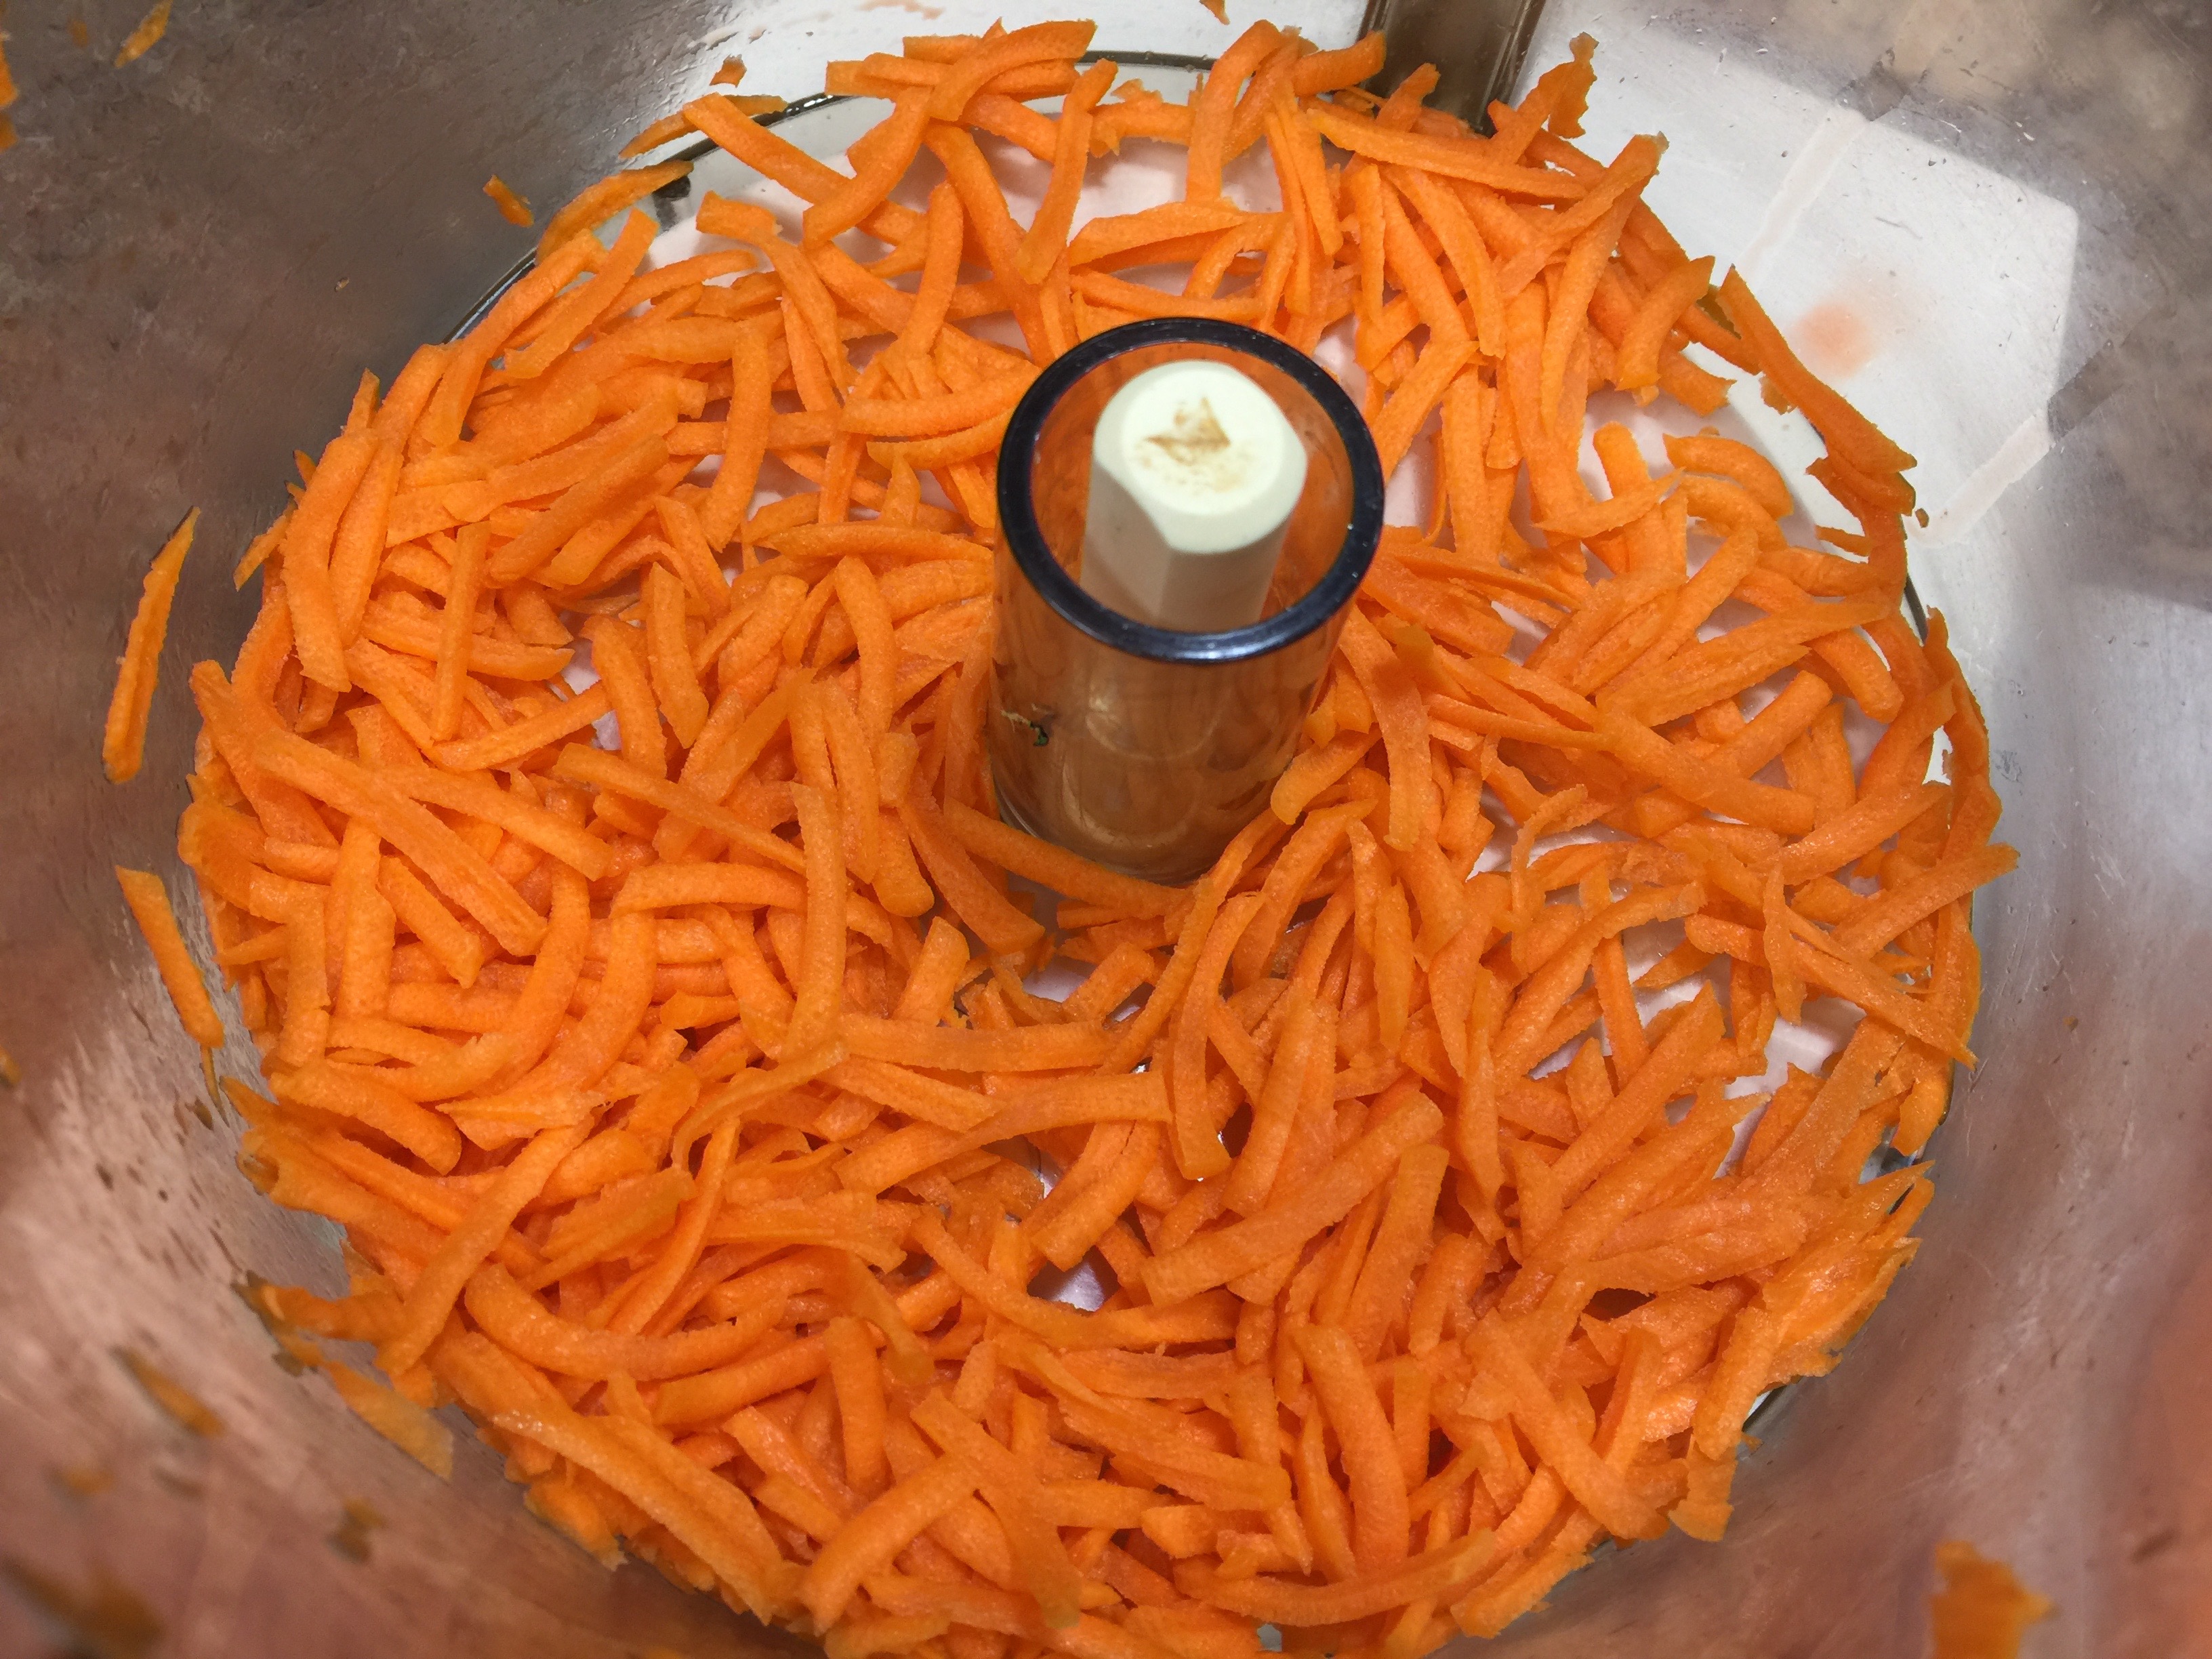
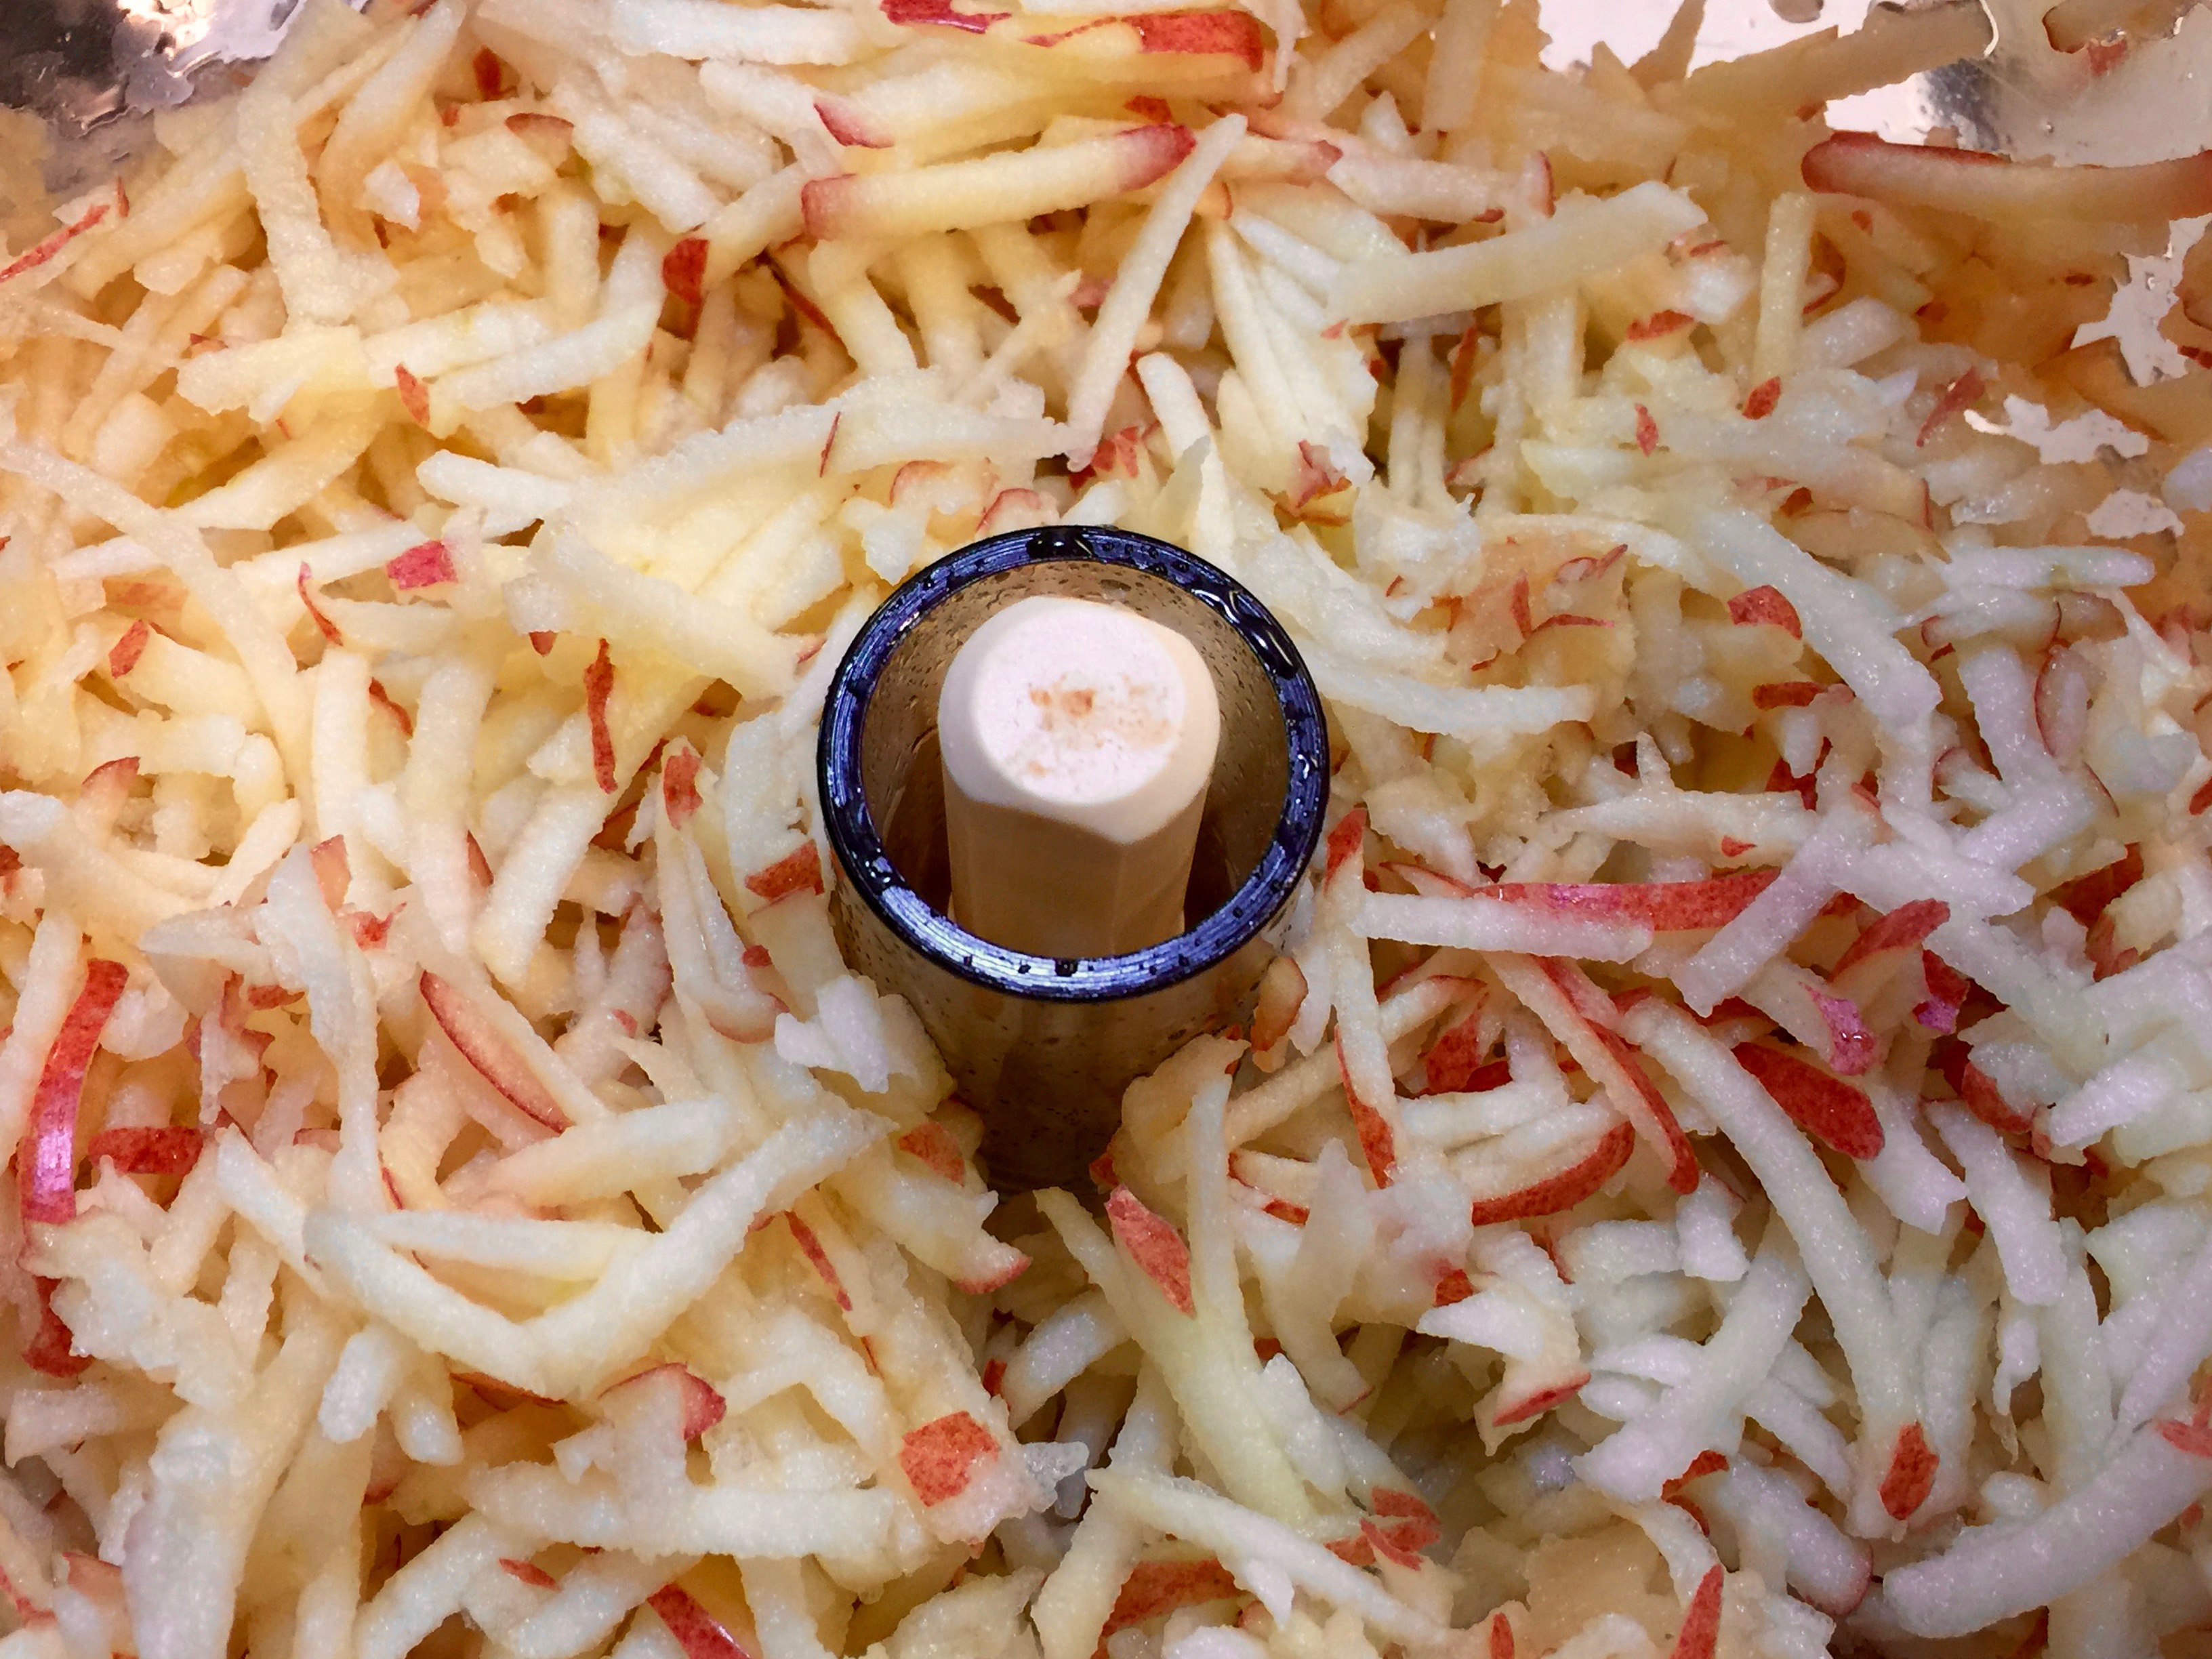
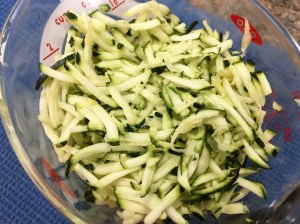 Lesson Learned 2 – Use a food processor to shred the zucchini: Although you can use a box grater, a food processor is a faster and easier way to shred the zucchini for this recipe. One medium to medium-large size zucchini will give you the two cups needed to make the bread. The food processor shreds the zucchini to just the right size so there are small strands in the bread. You don’t want to the zucchini shreds to be too big. They are designed to add moisture to the cake without providing any noticeable flavor. Also, make sure to pat down the zucchini shreds in your measuring cup. You want them slightly compacted.

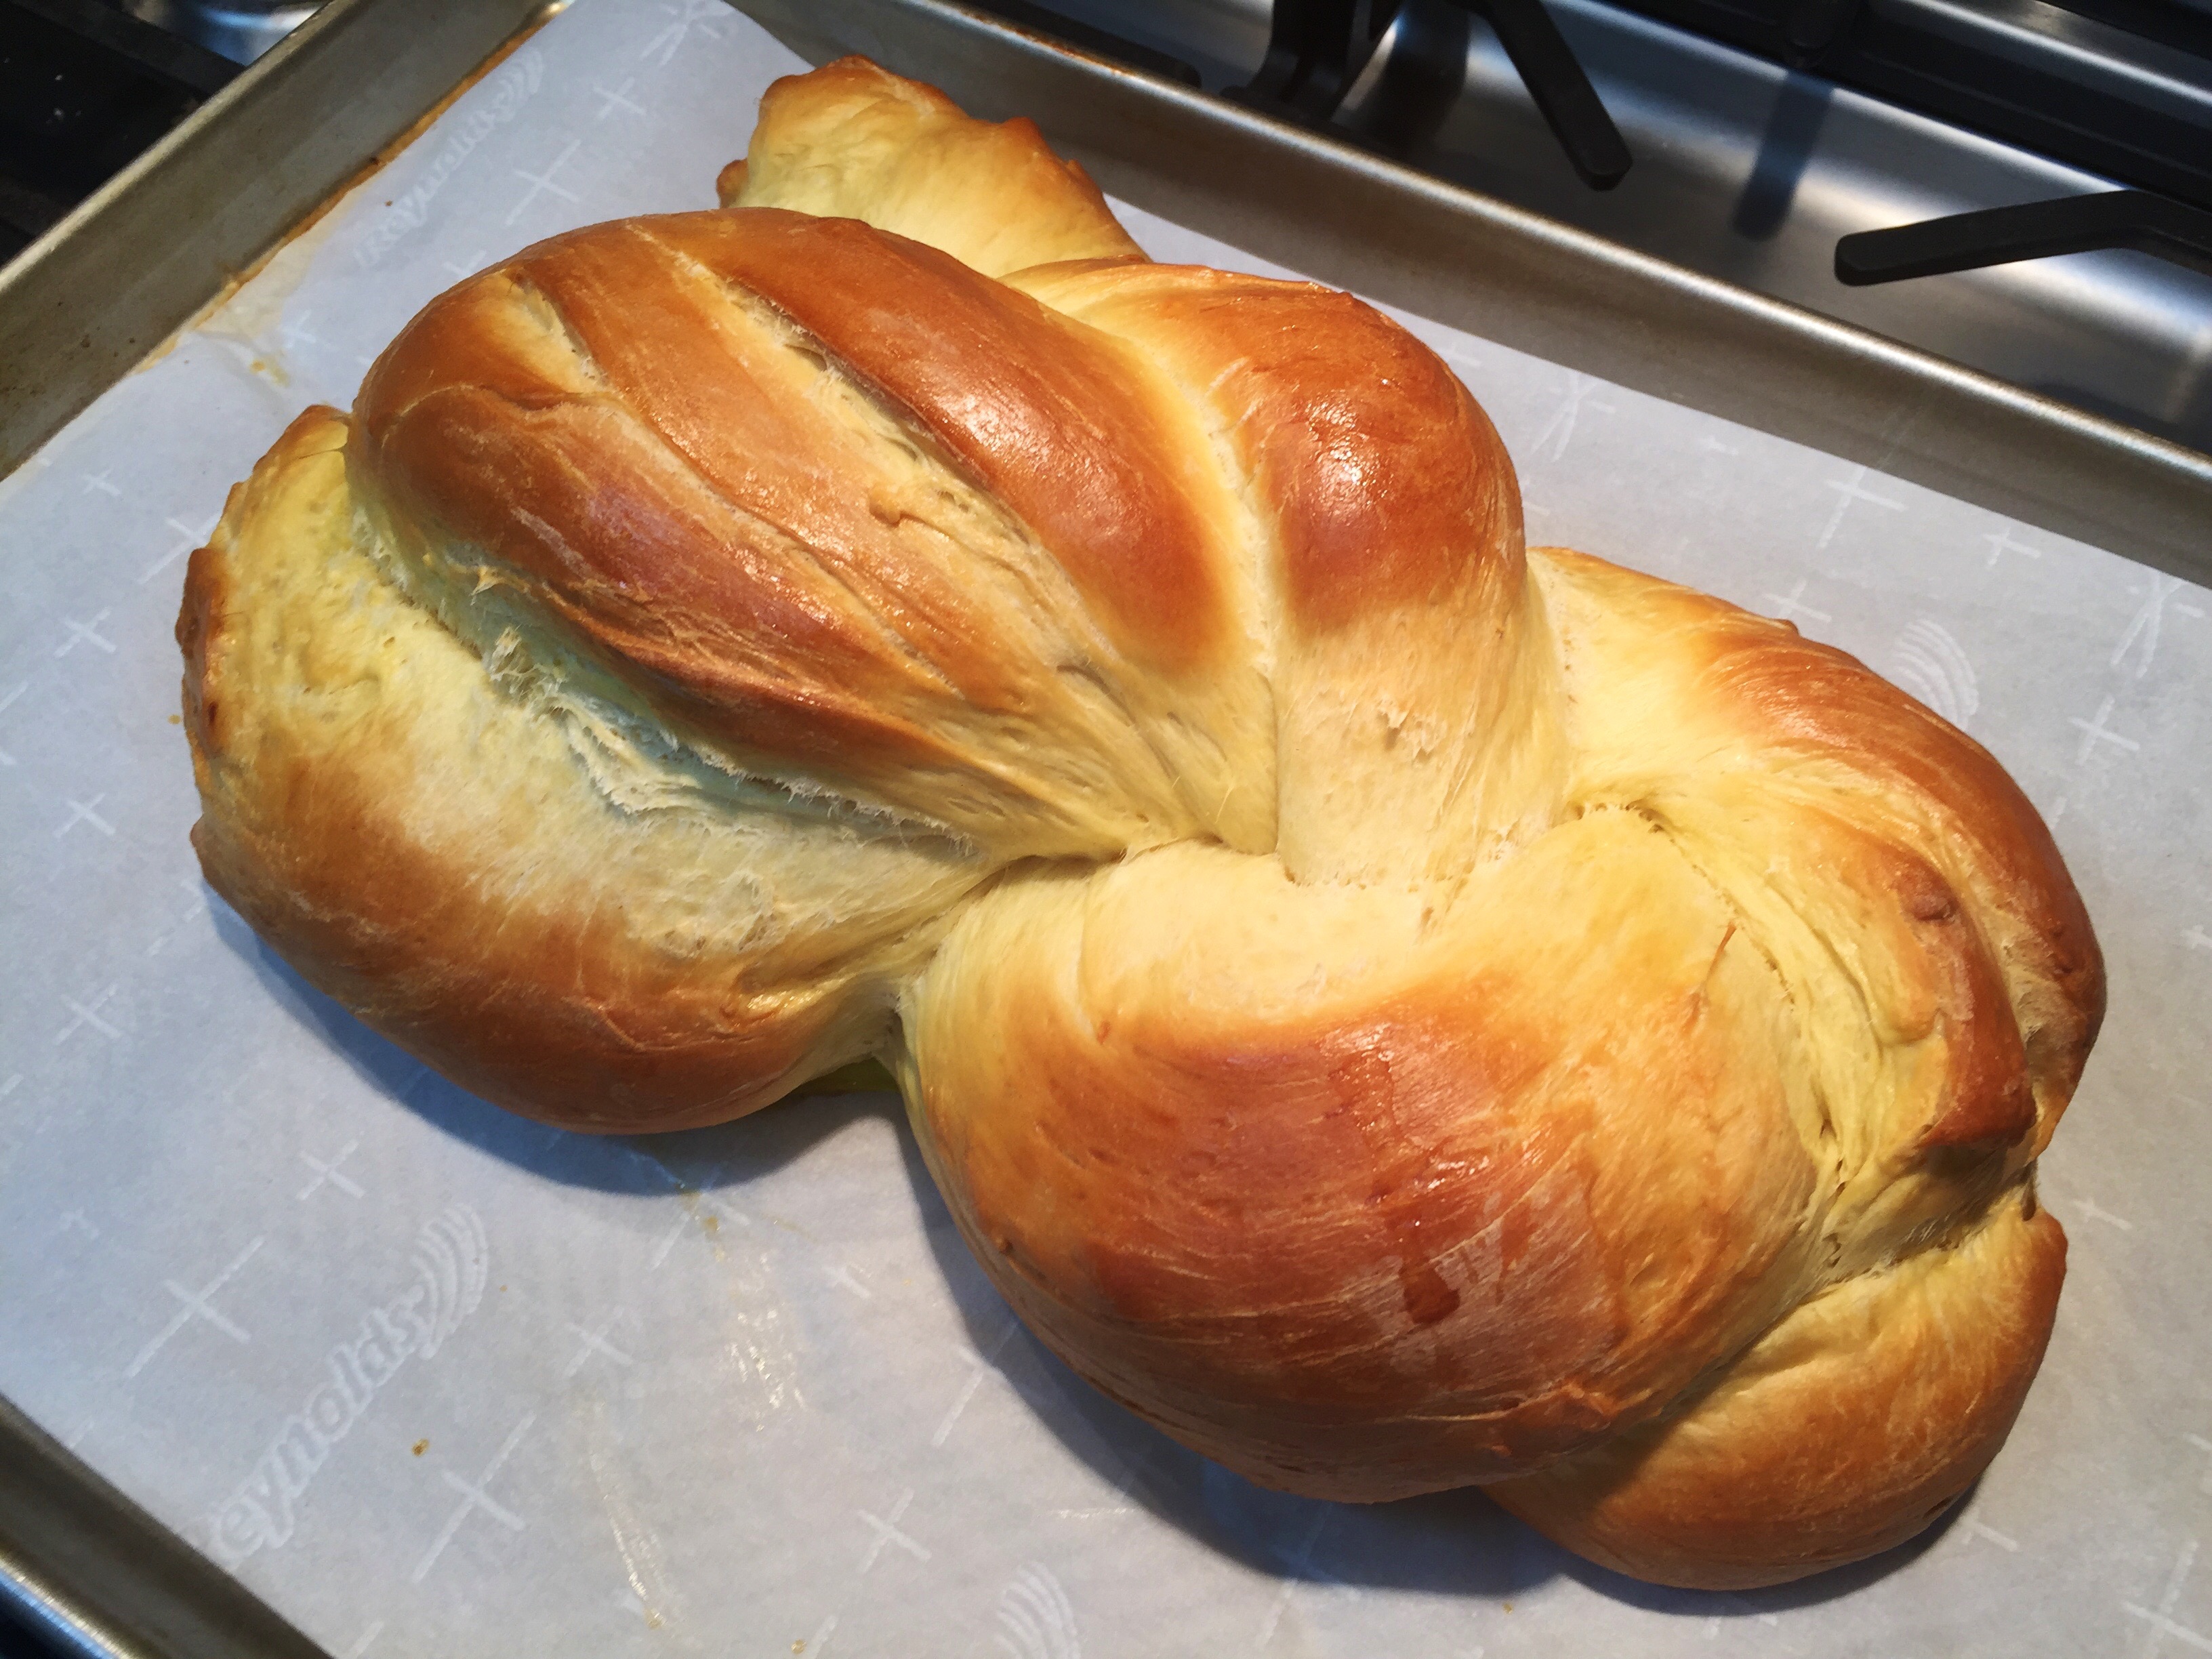
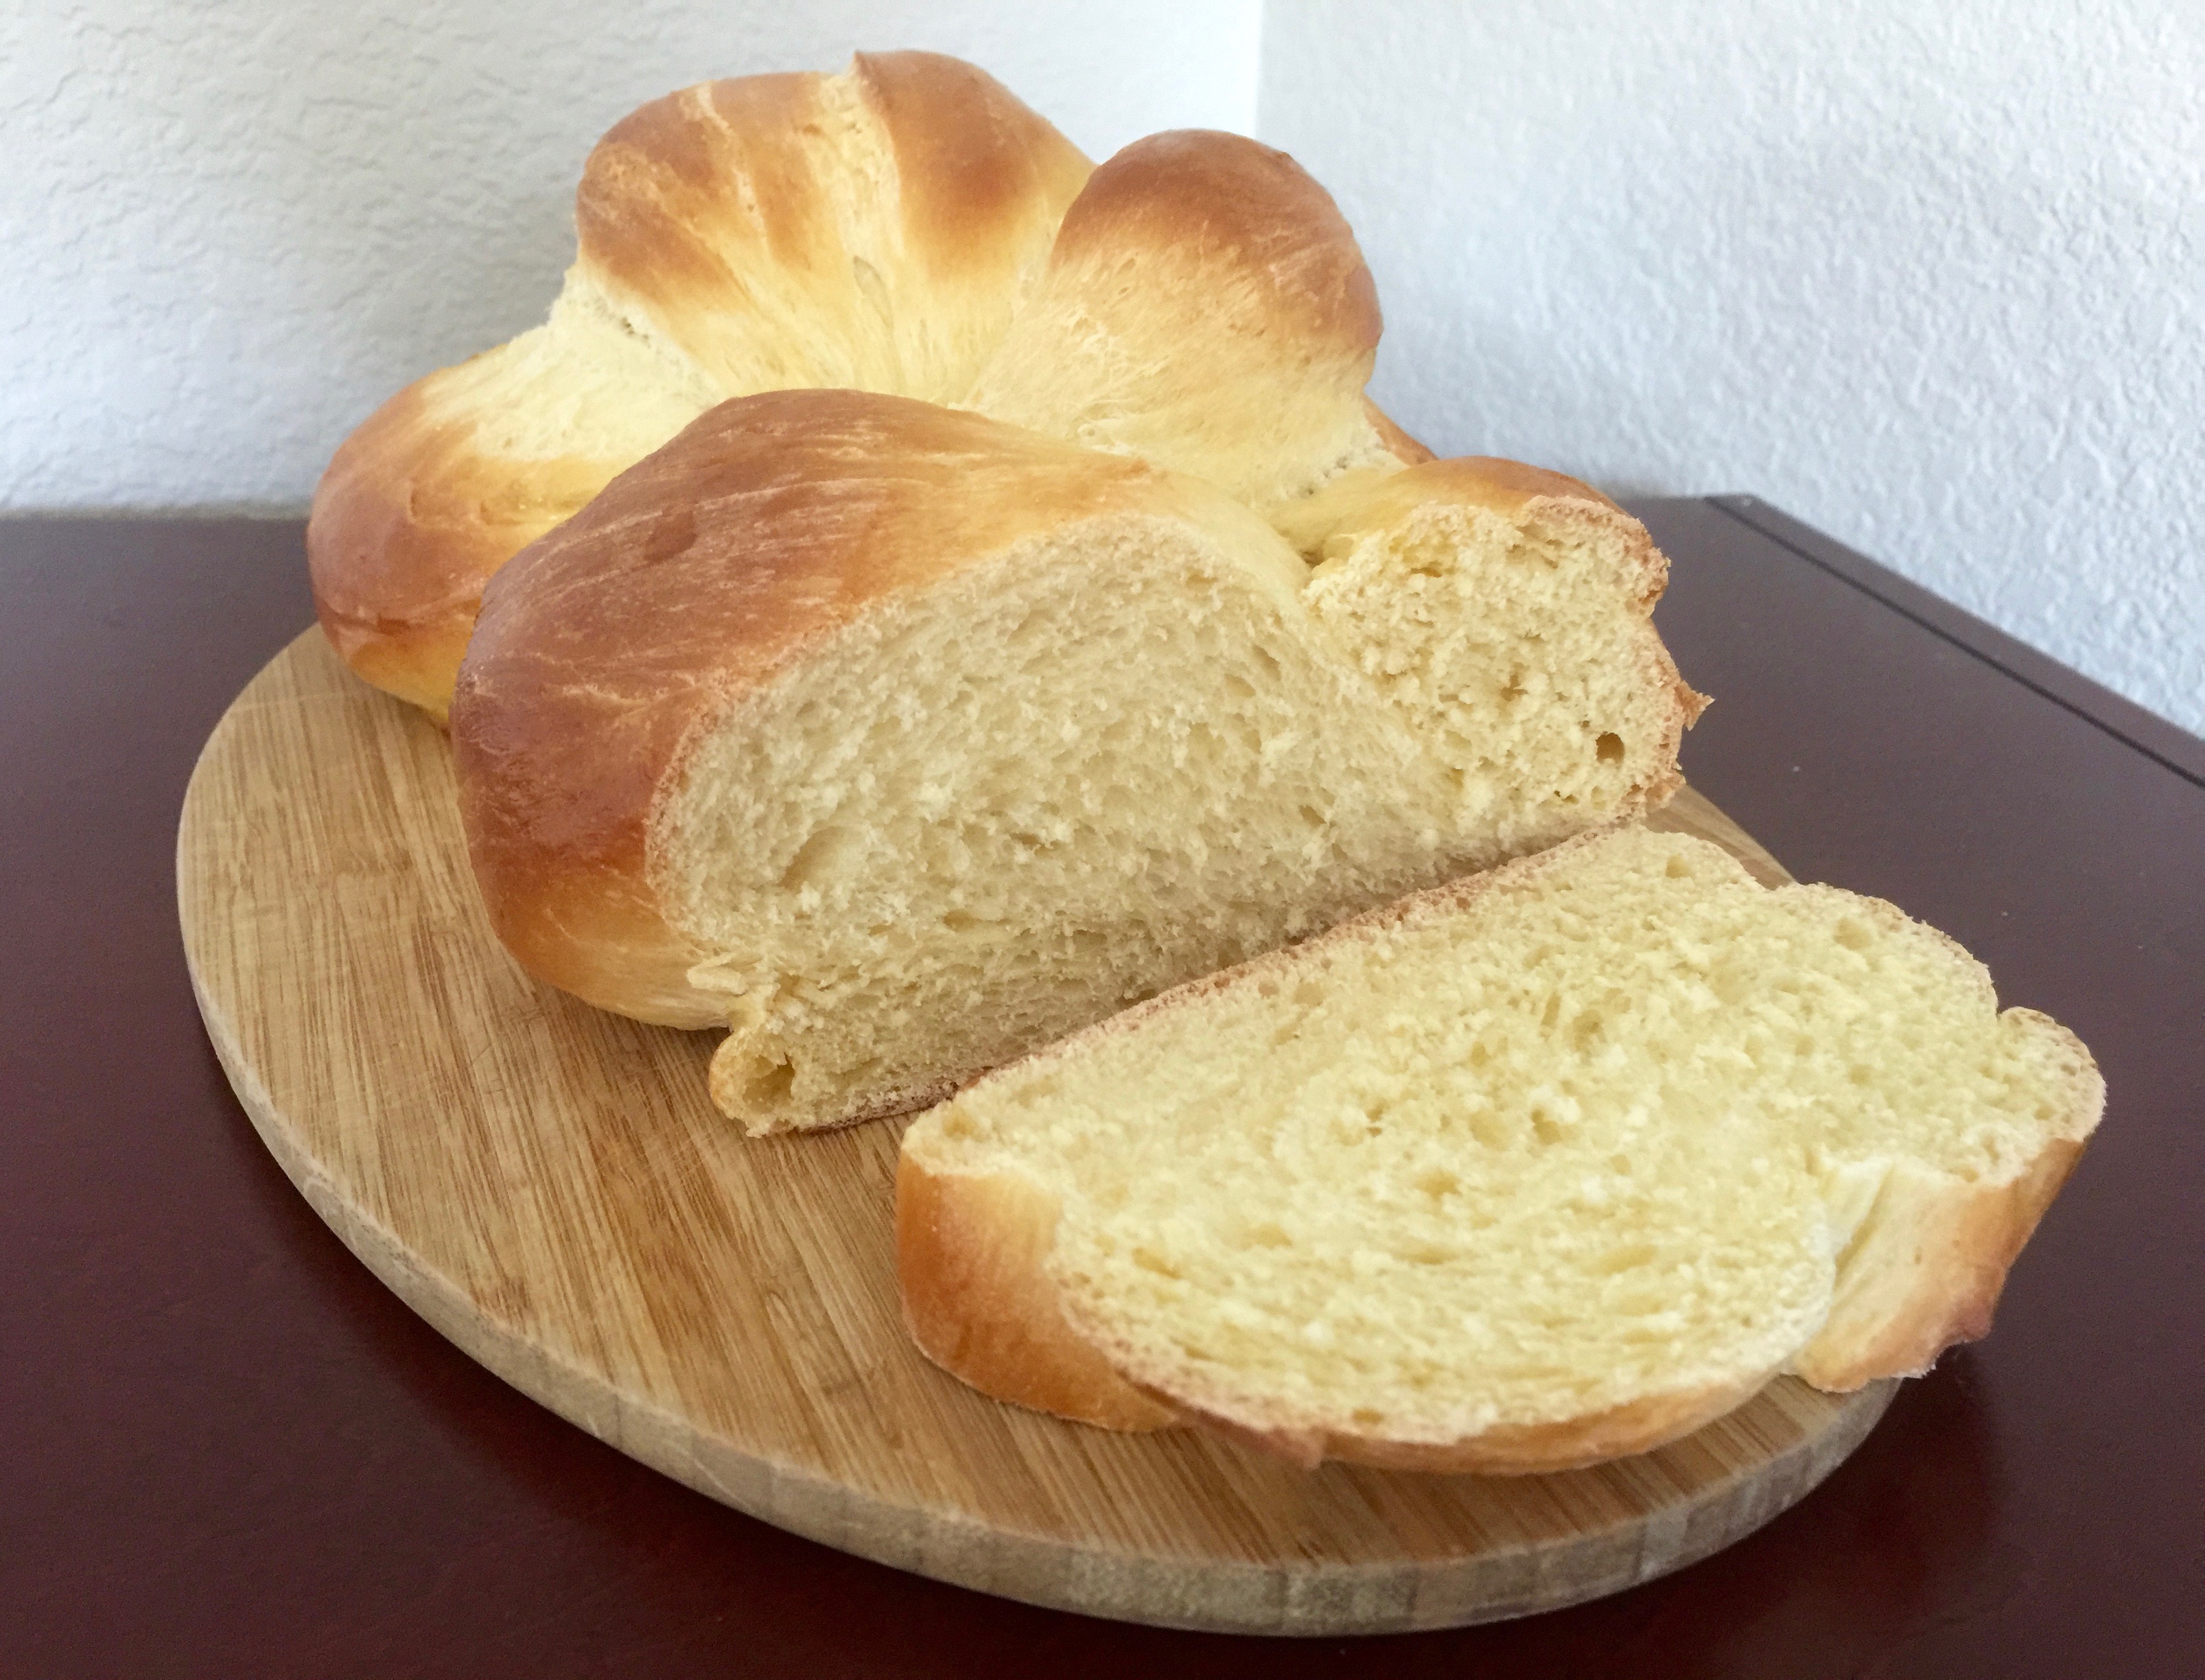
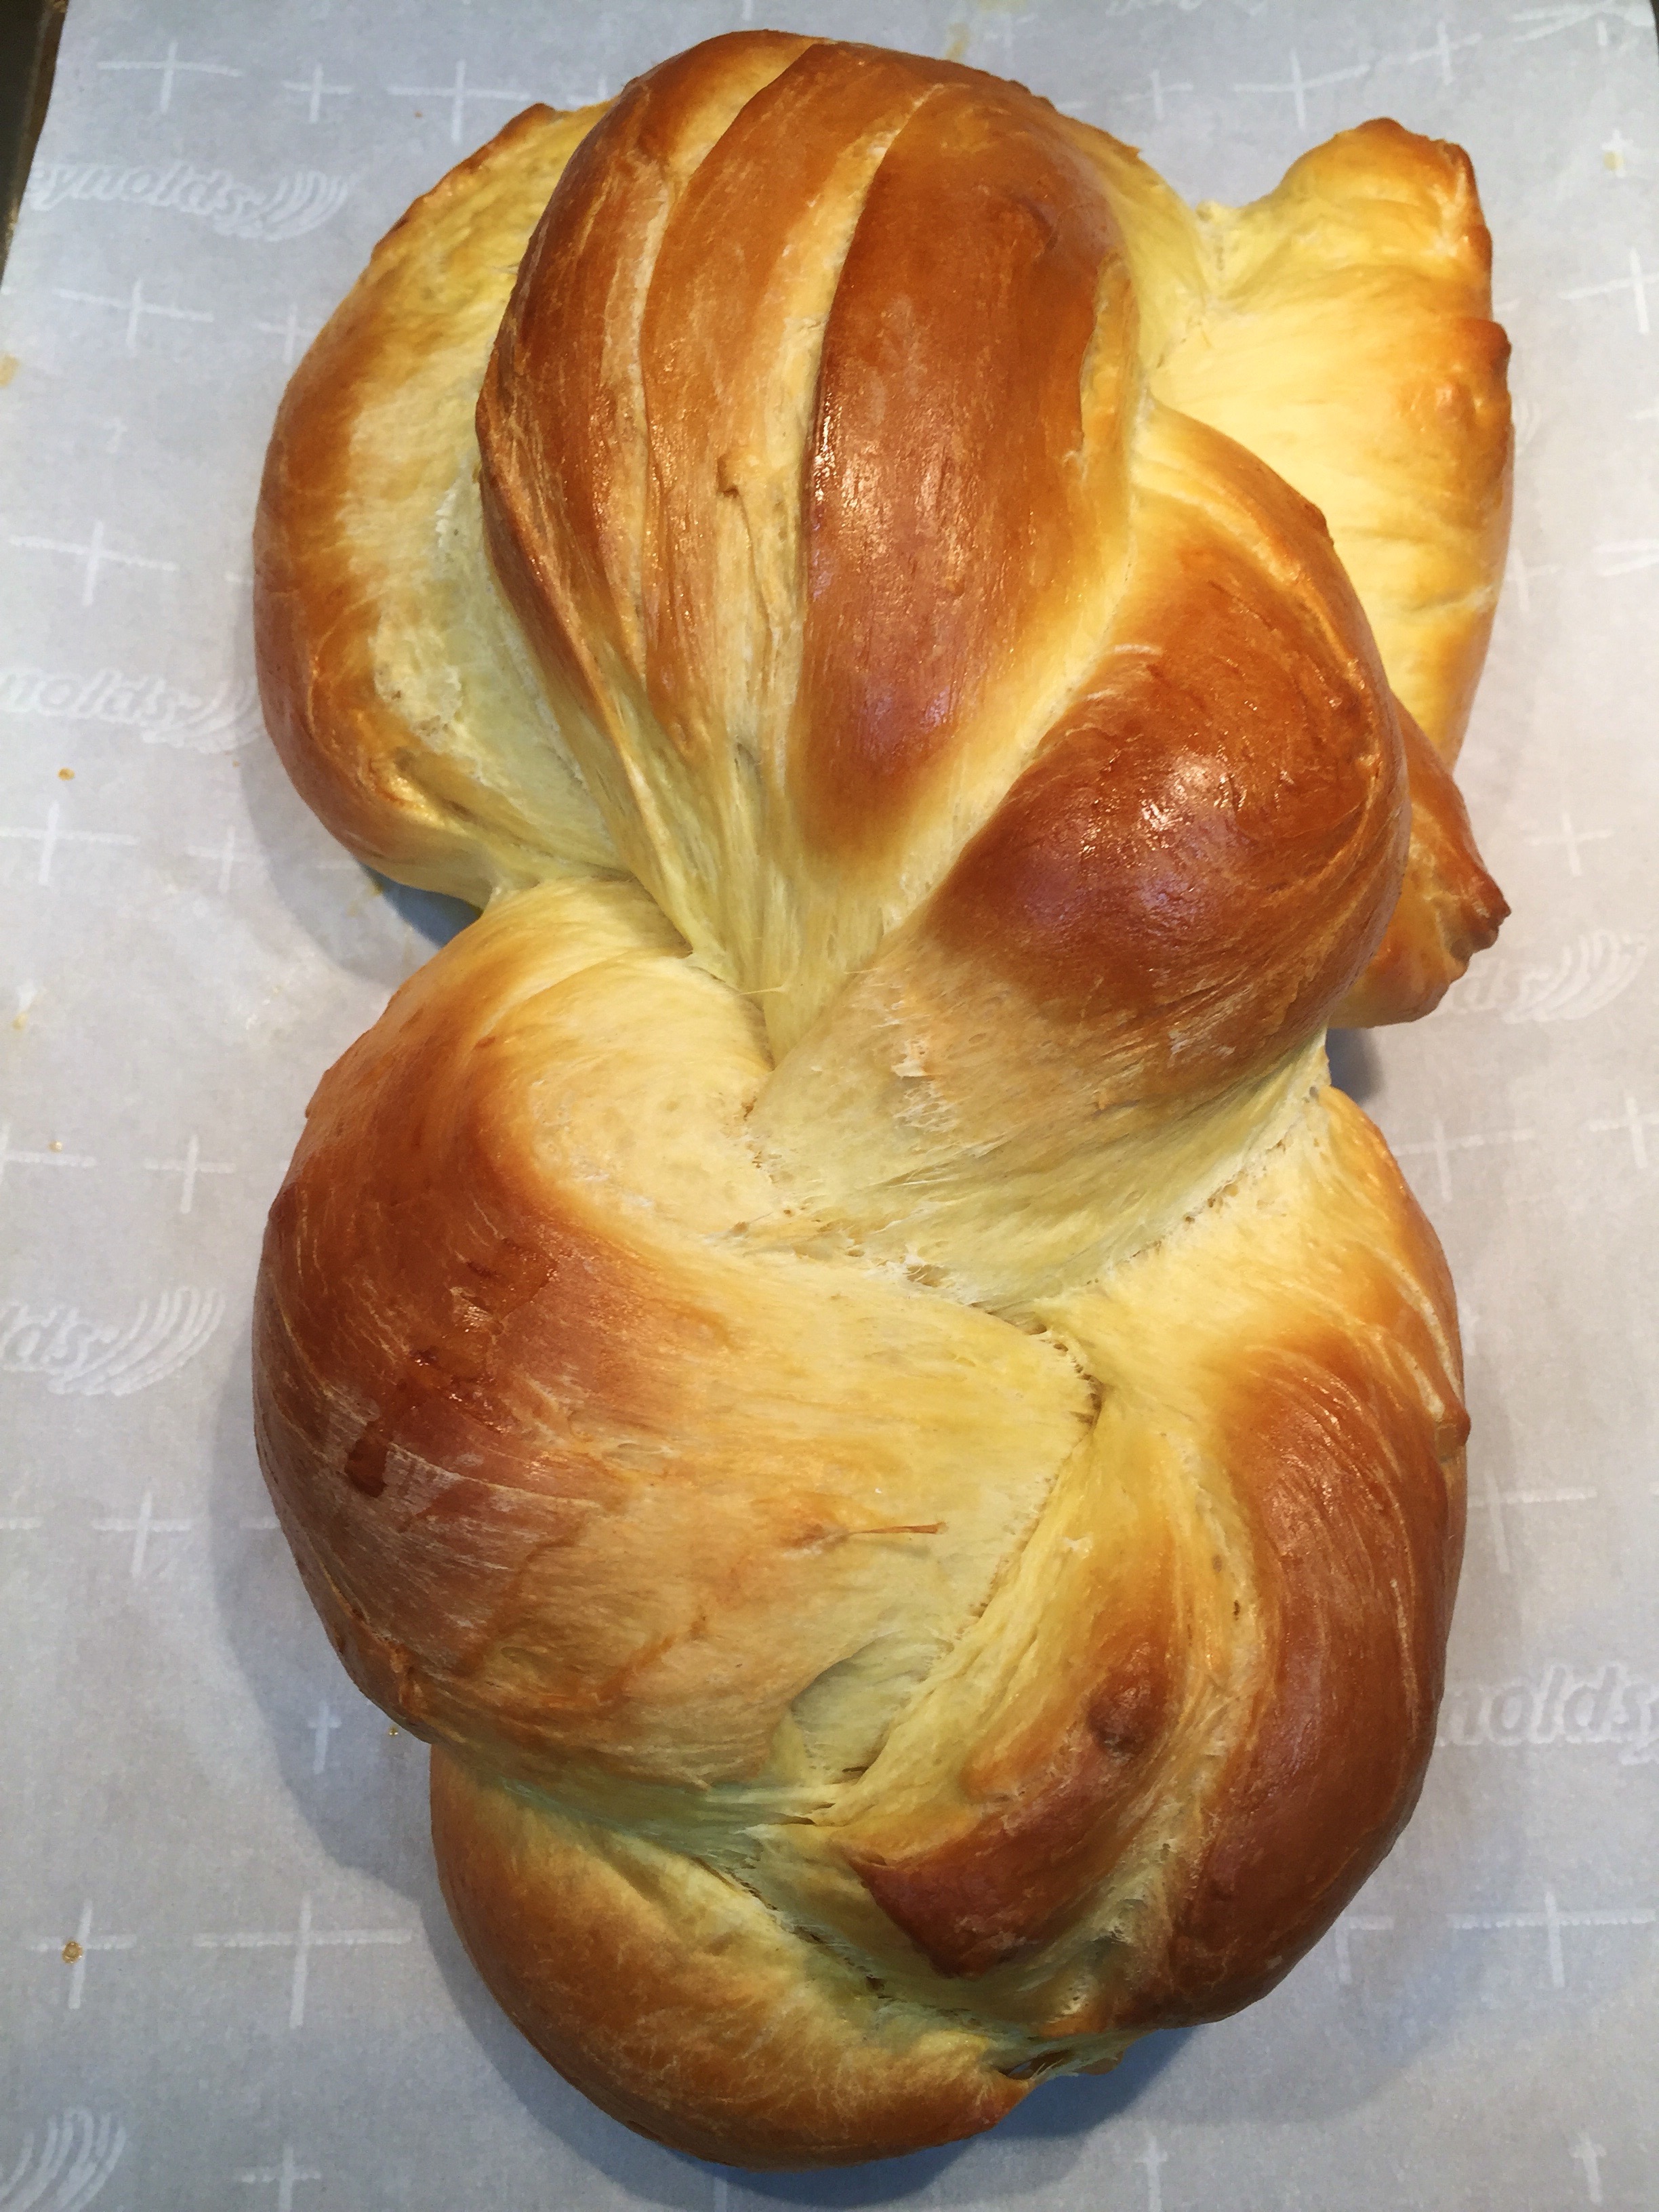
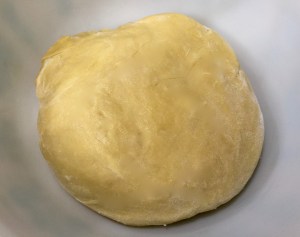 Lesson Learned 1 – Learning how to know when the glutens in the dough have been developed properly: This was the biggest take away for me from the cooking class I attended. I learned you can underdeveloped, develop and overdevelop the glutens in your dough. Underdeveloped glutens will give you a heavy dense dough that may fall in on you when you bake your bread. Overdeveloped and your bread will be too dry.
 Lesson Learned 5 – You can separate your dough into as many strands as you want for braiding: I did a traditional 3 strand braid. You braid it just like you braid hair. The picture to the right shows my strands. In hindsight I should have made the bottom one thinner and all the strands more even in size. In the end it really didn’t hurt anything as you leave the braided bread to rest on a parchment paper lined cookie sheet for at least an hour and the dough rises and sort of fills itself in.


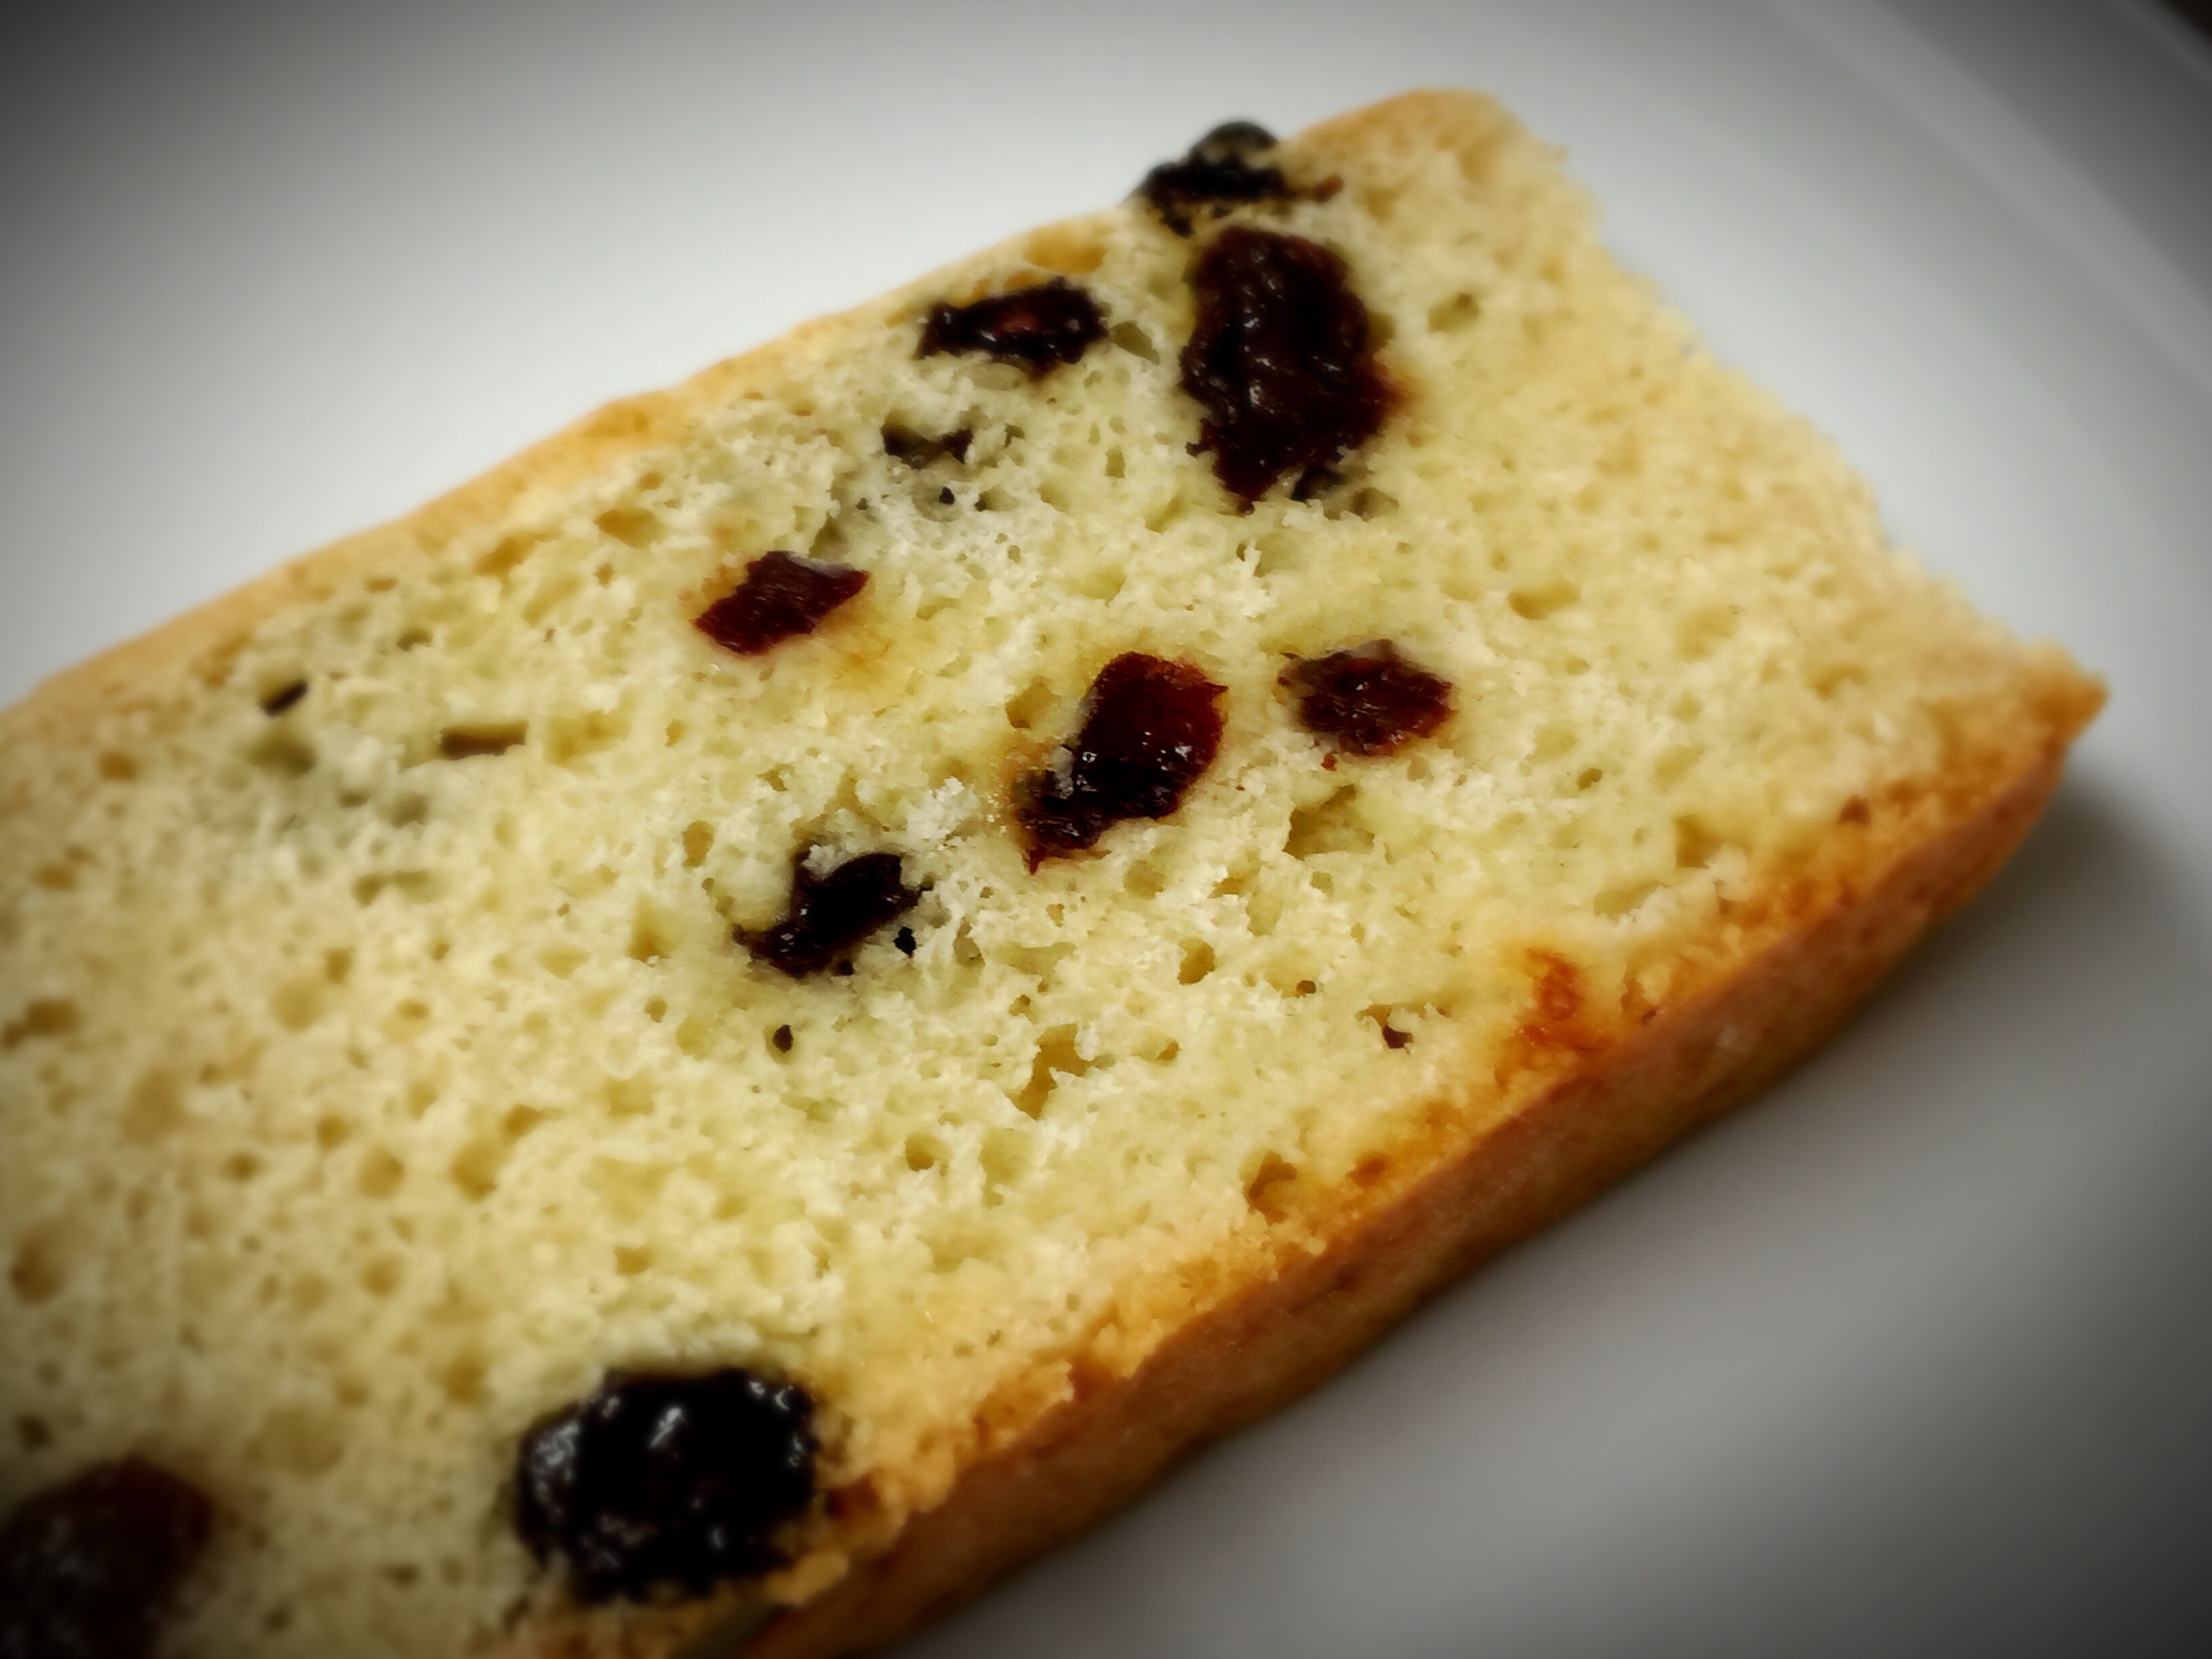
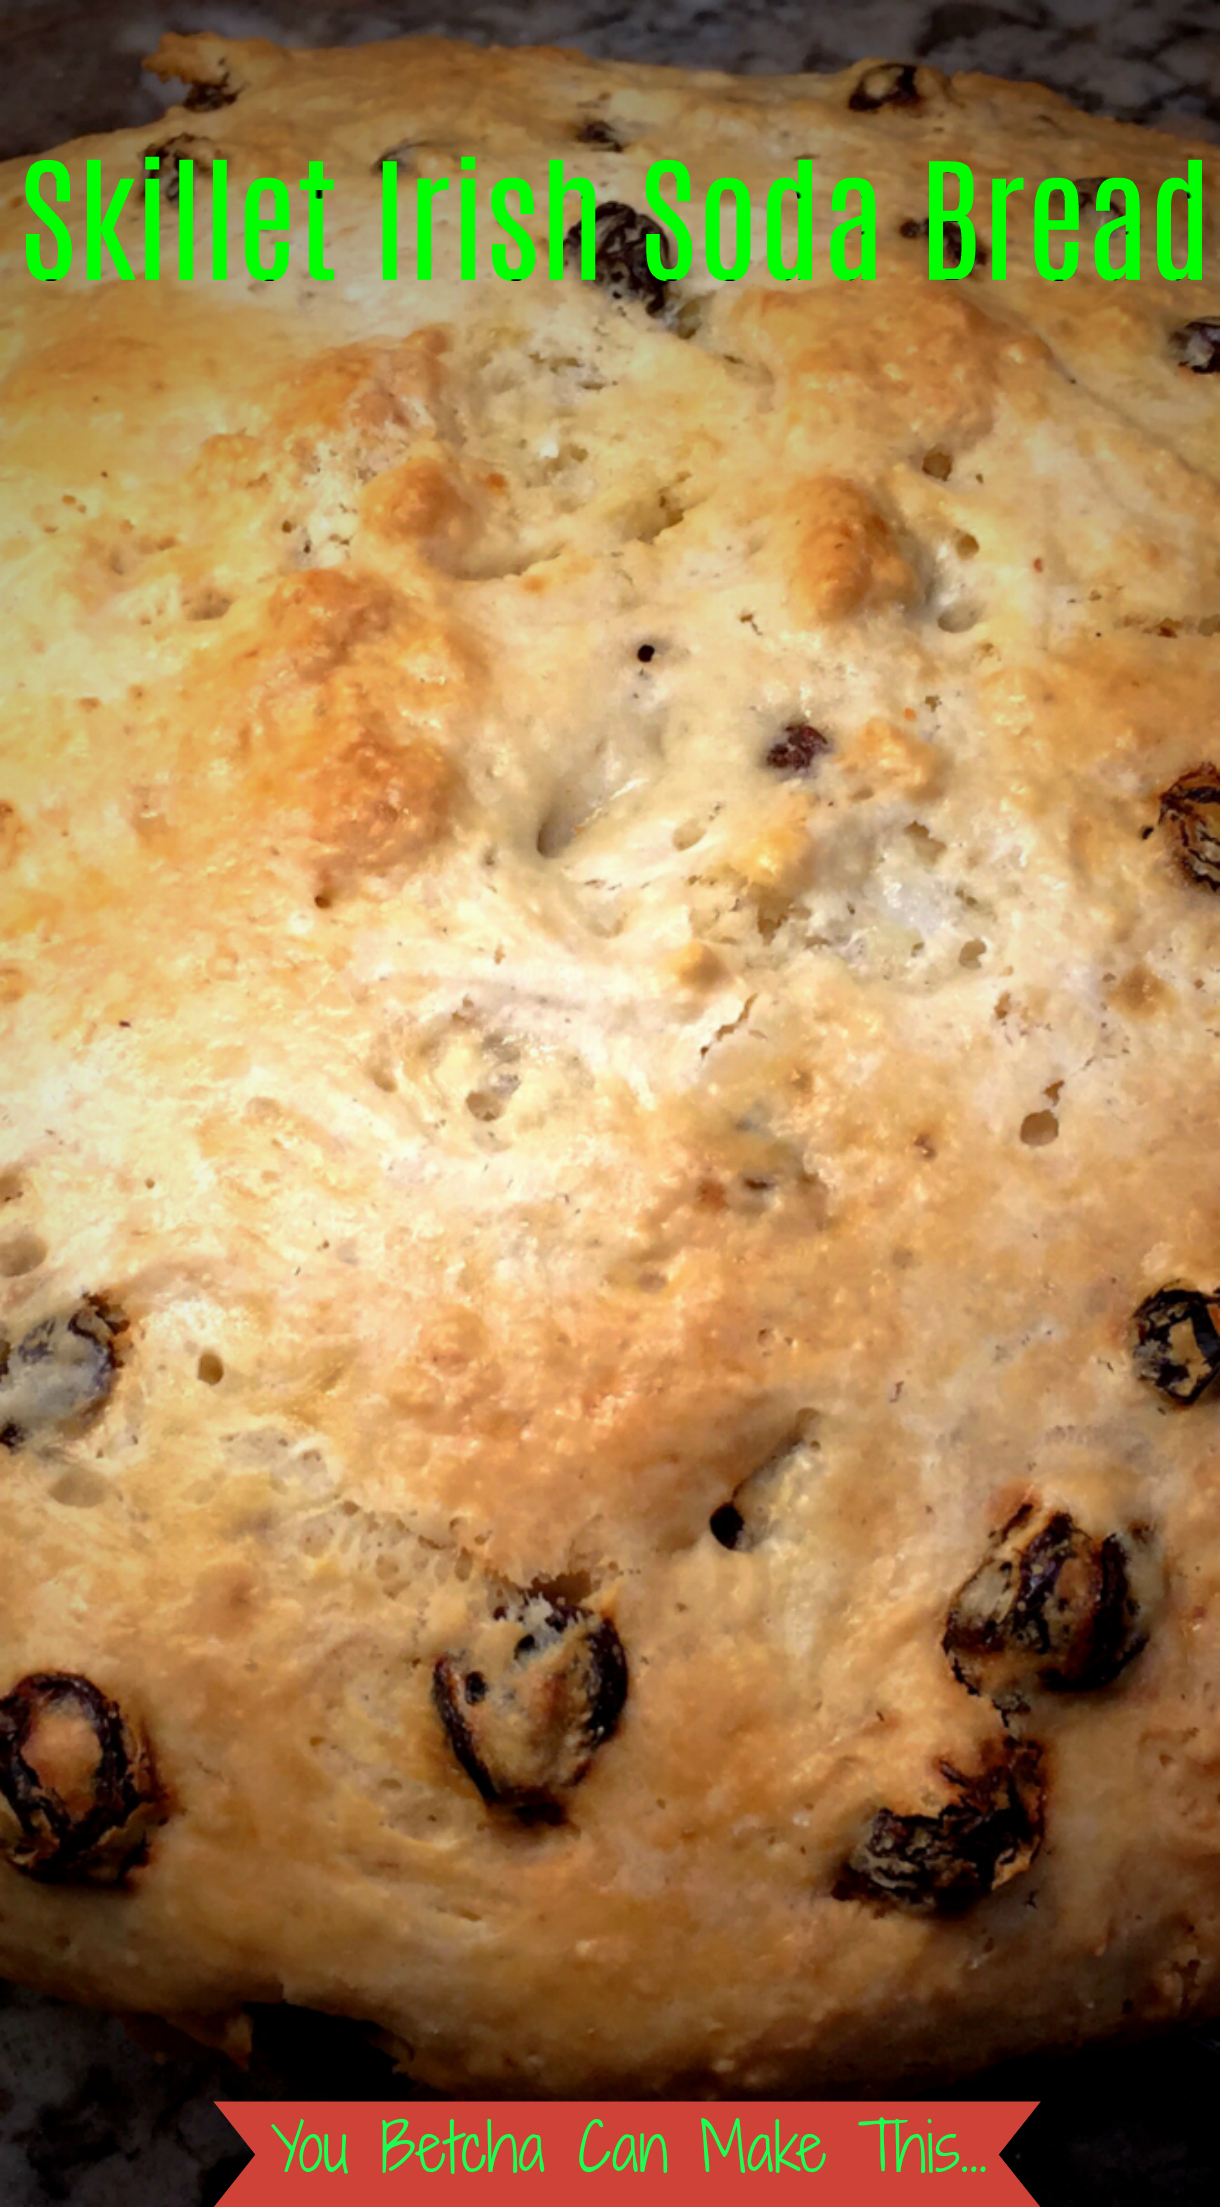
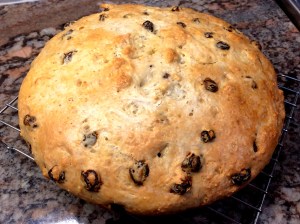 I’ve tasted many iterations of soda bread over the years and, to be honest, most of them were less than stellar. There was only one other time that I can remember having fabulous soda bread. That was when I was working at the Chicago Park District and one of my co-workers, Carol Diver, brought some to work. Carol was Irish through and through with an infectious laugh and a heart as big as all outdoors. And her soda bread was to die for. Unfortunately Carol is not longer with us and I’d never asked her for her soda bread recipe. But from then on, her soda bread was the standard to which I held all others. As time went on none would ever compare, until now.


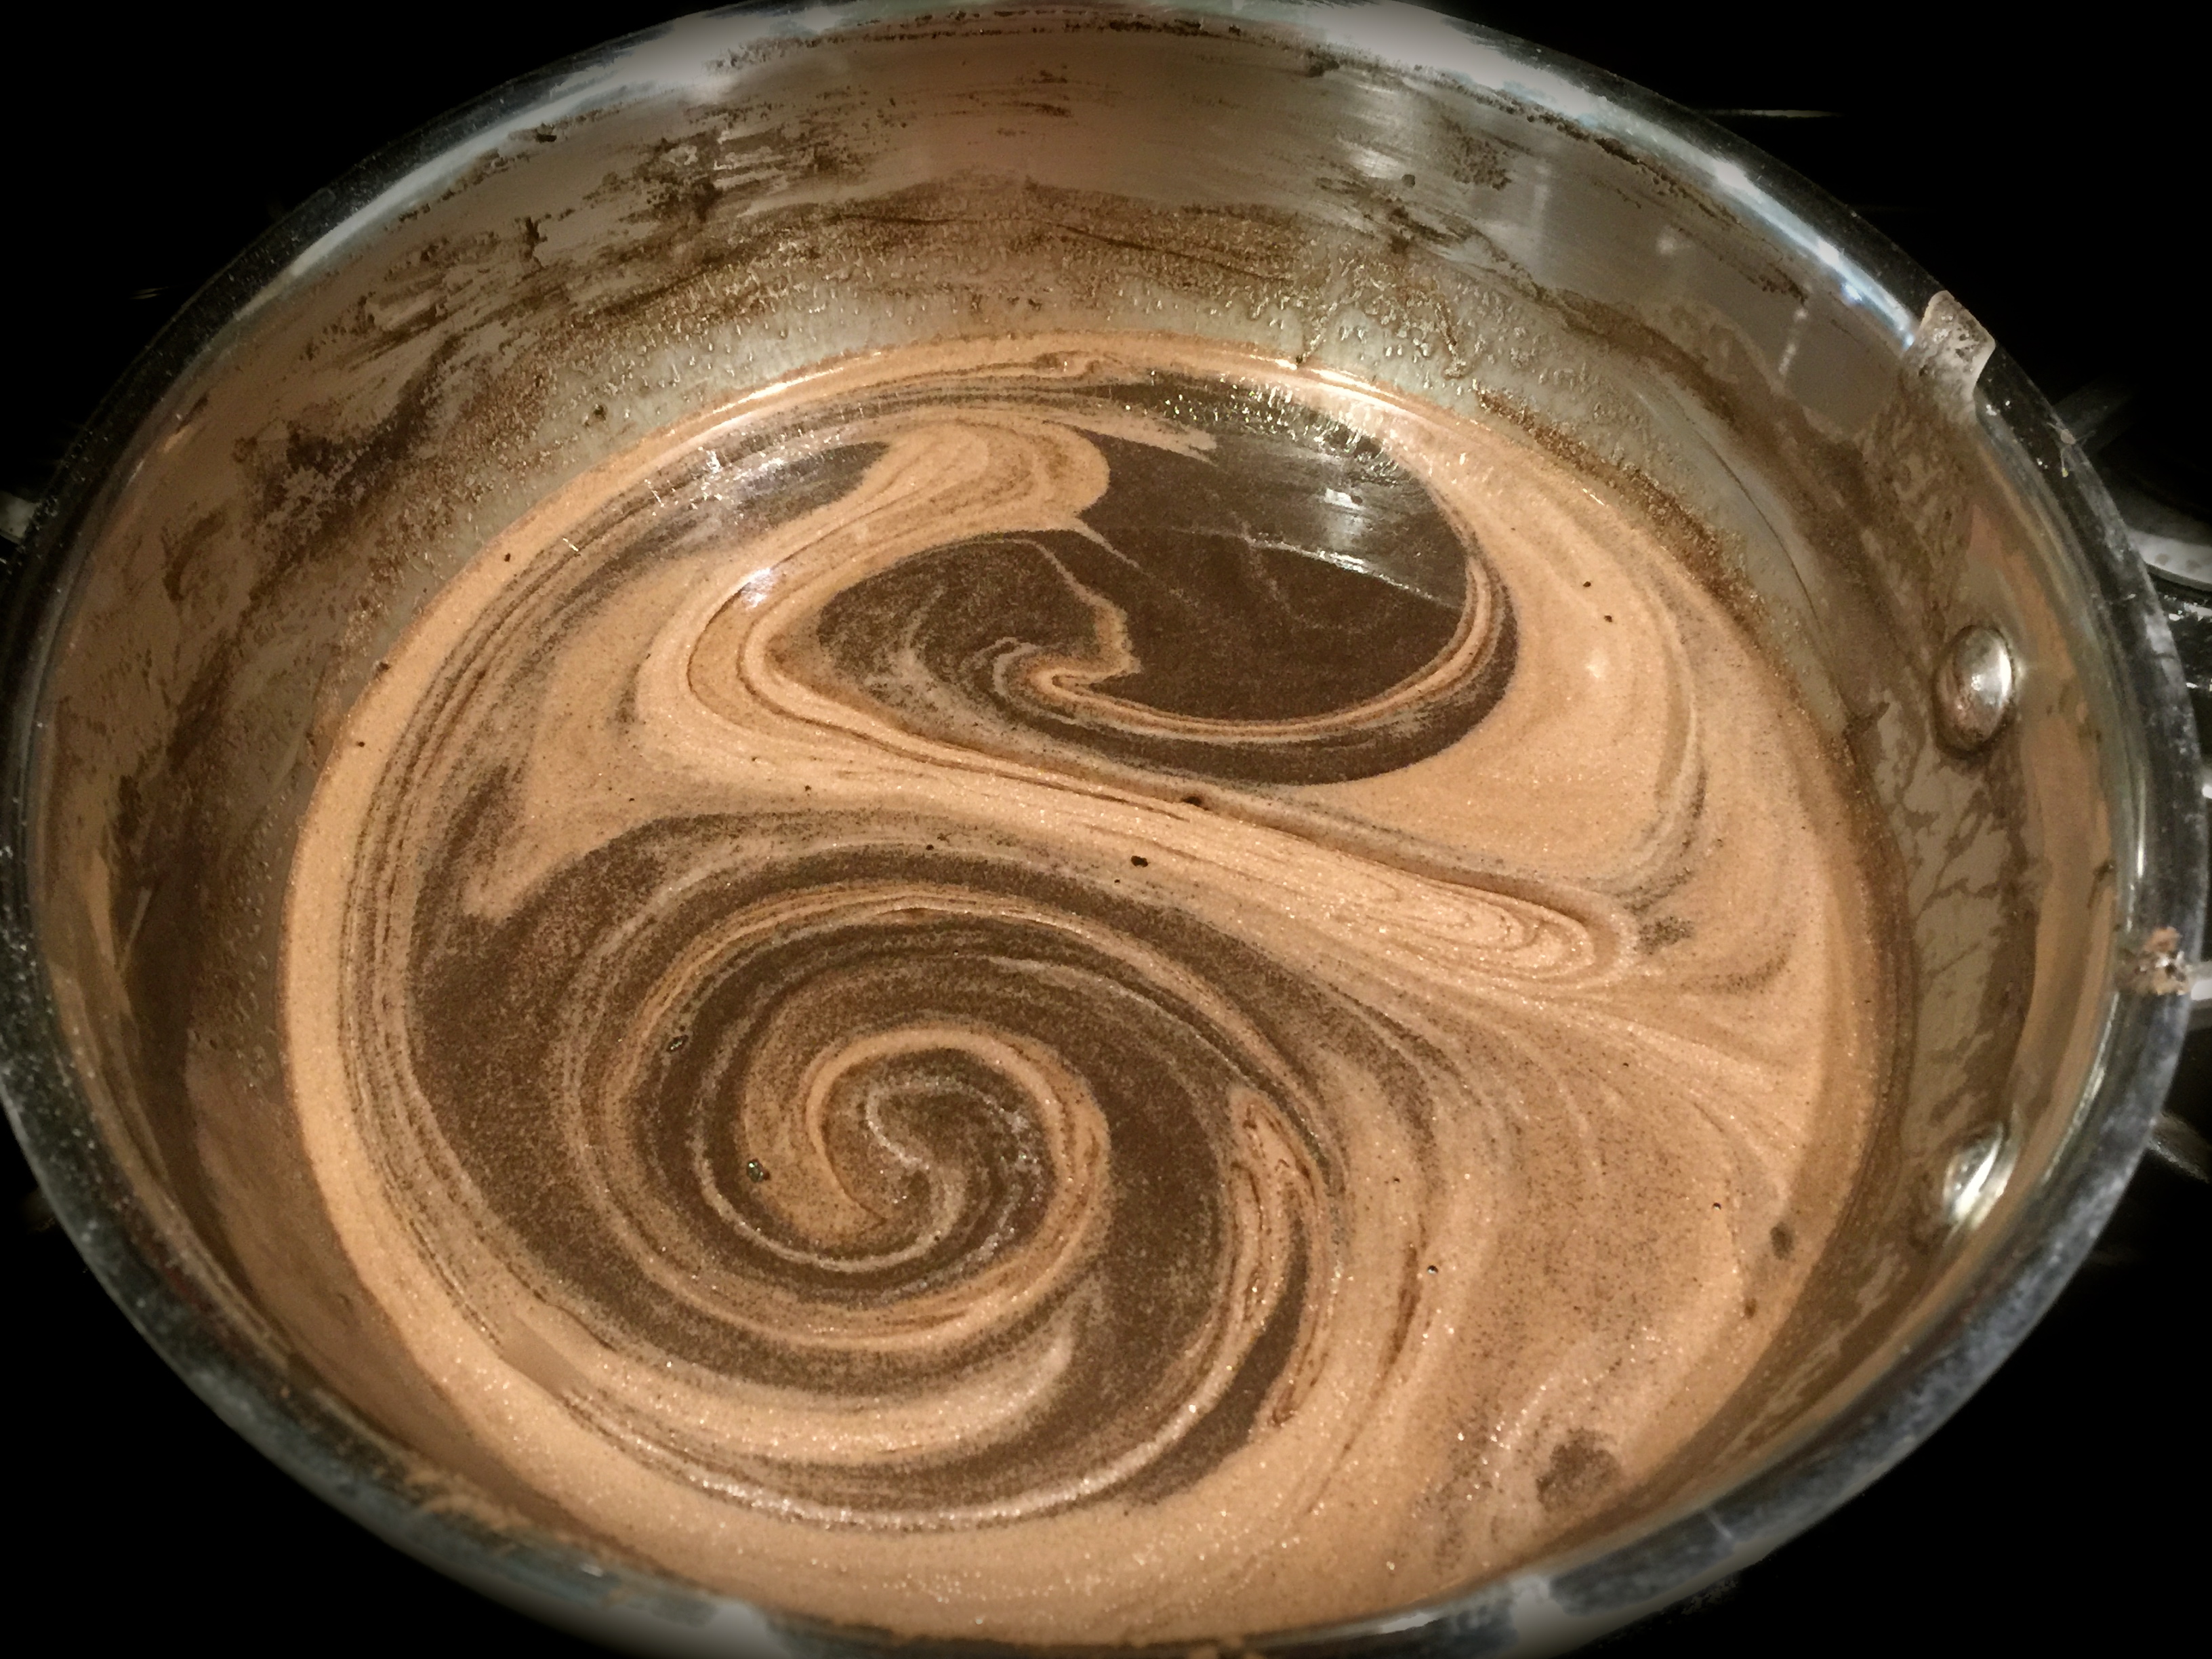
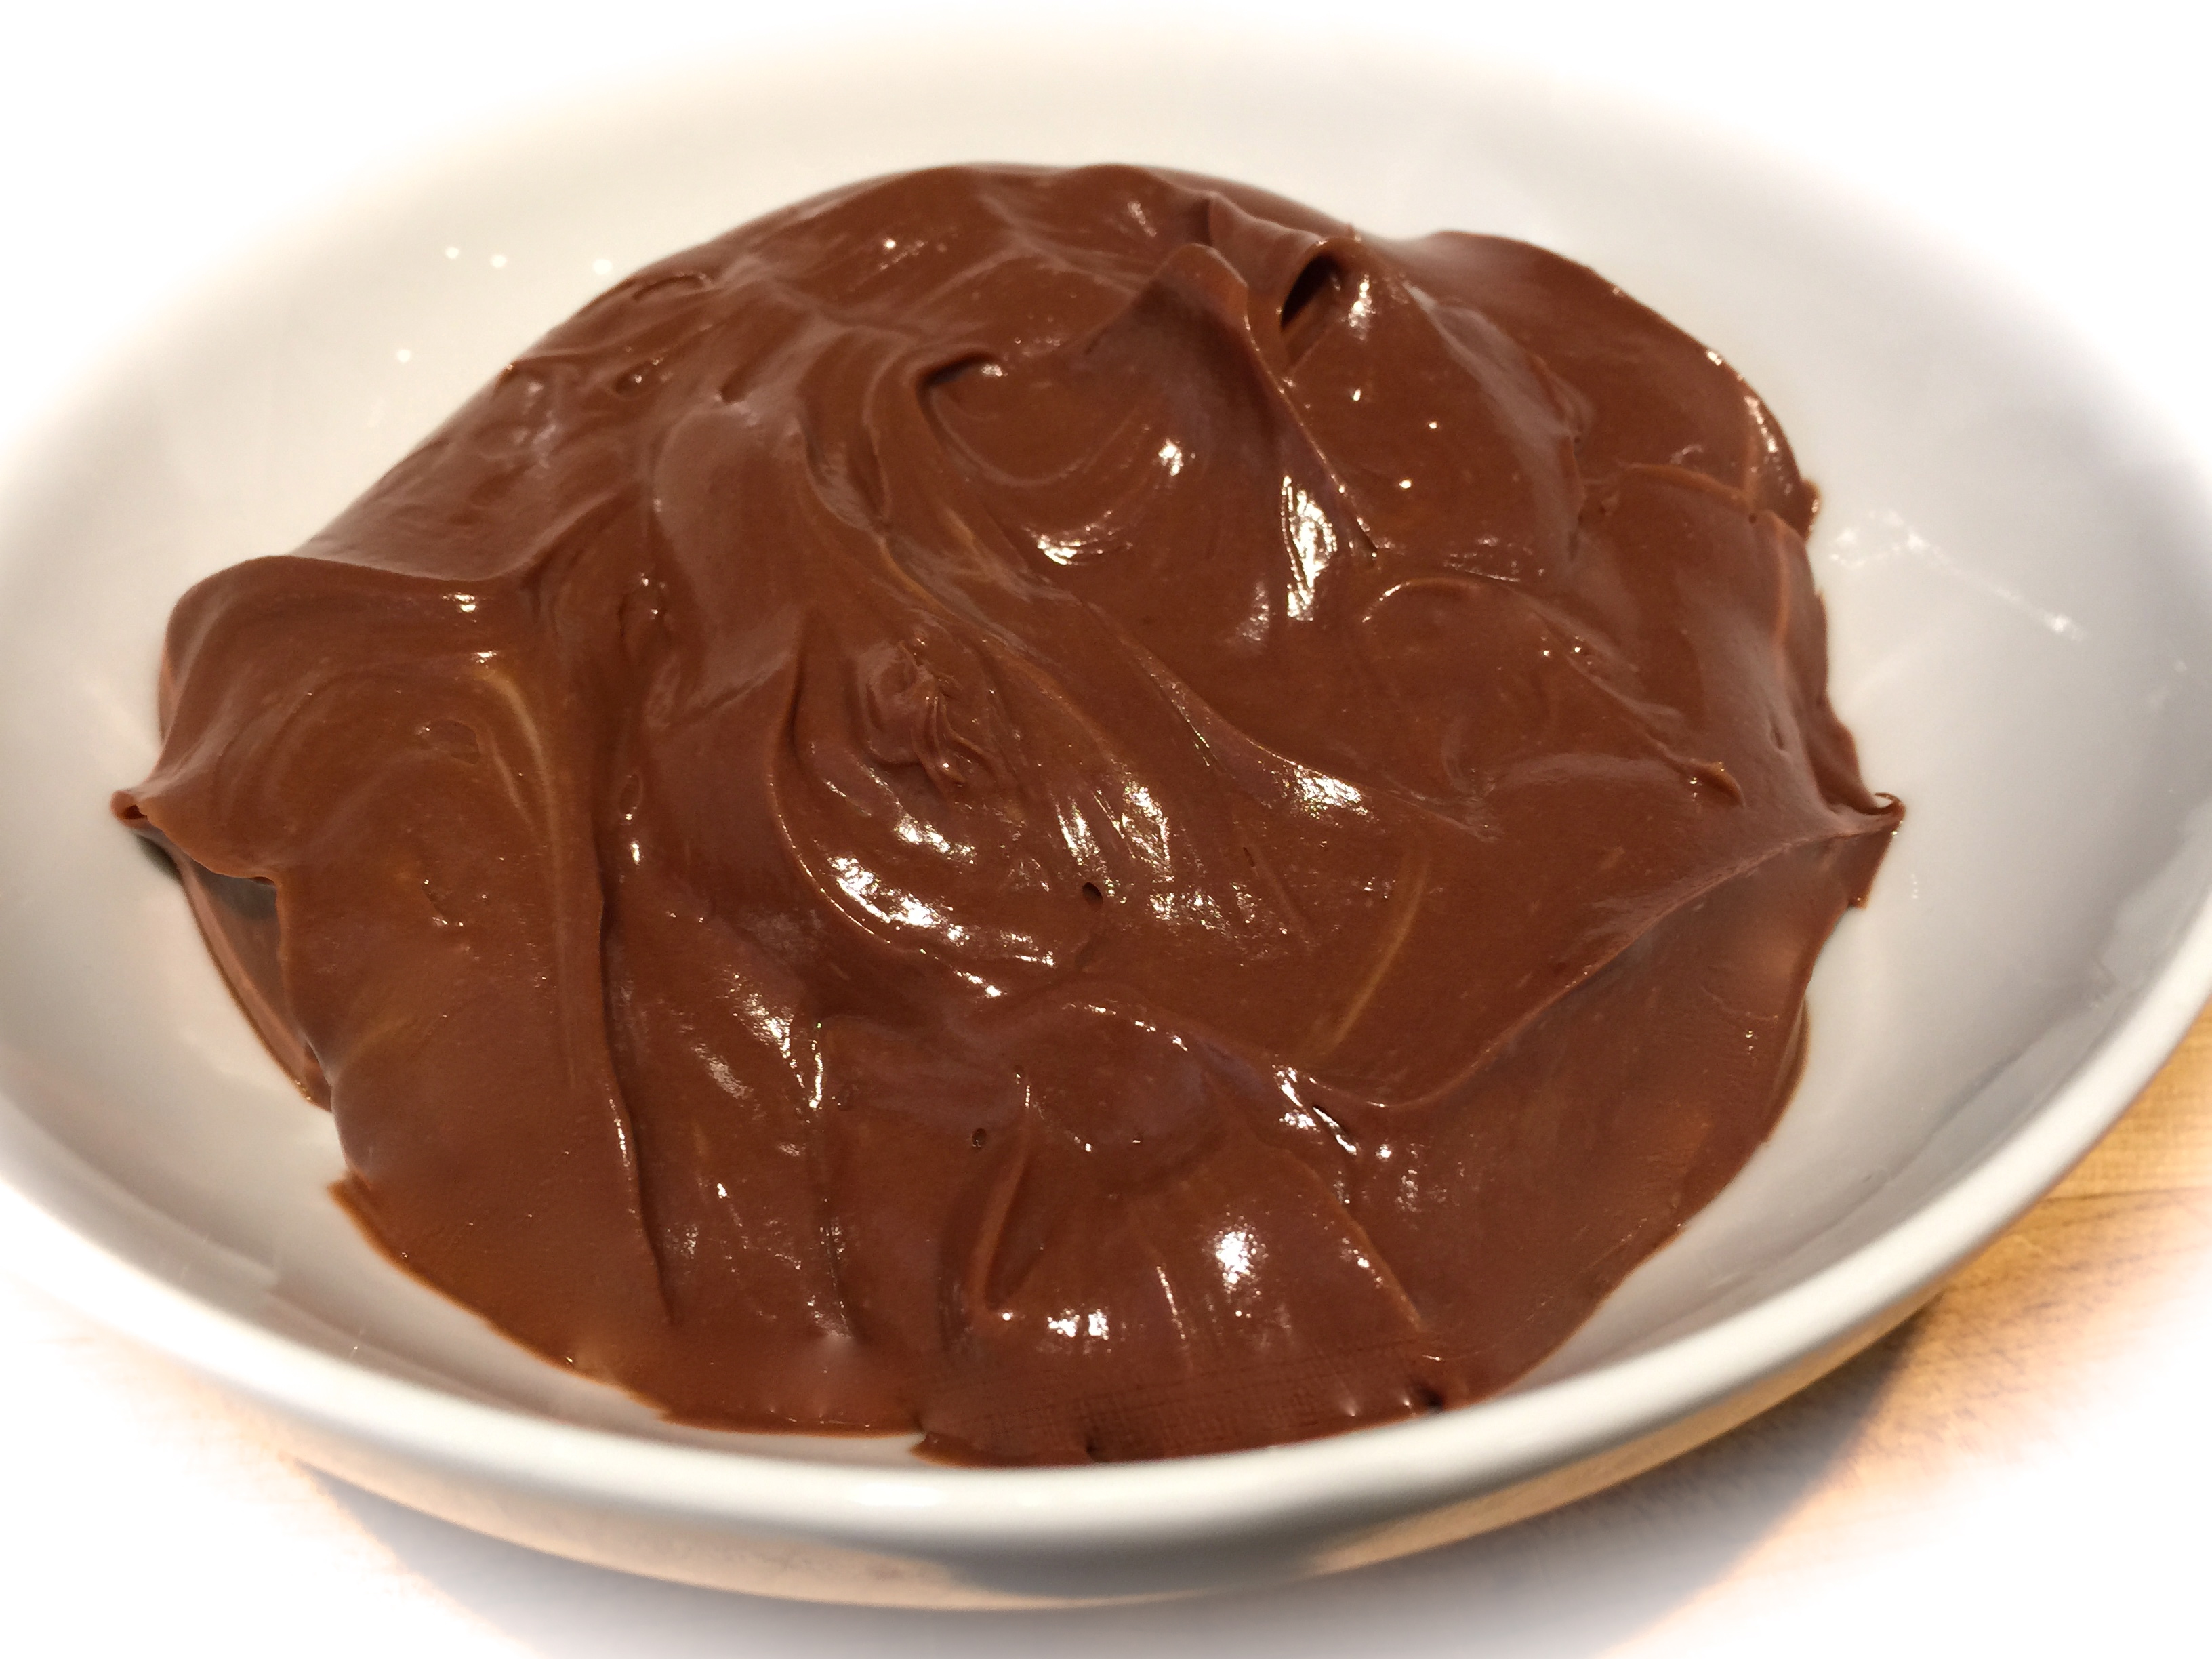
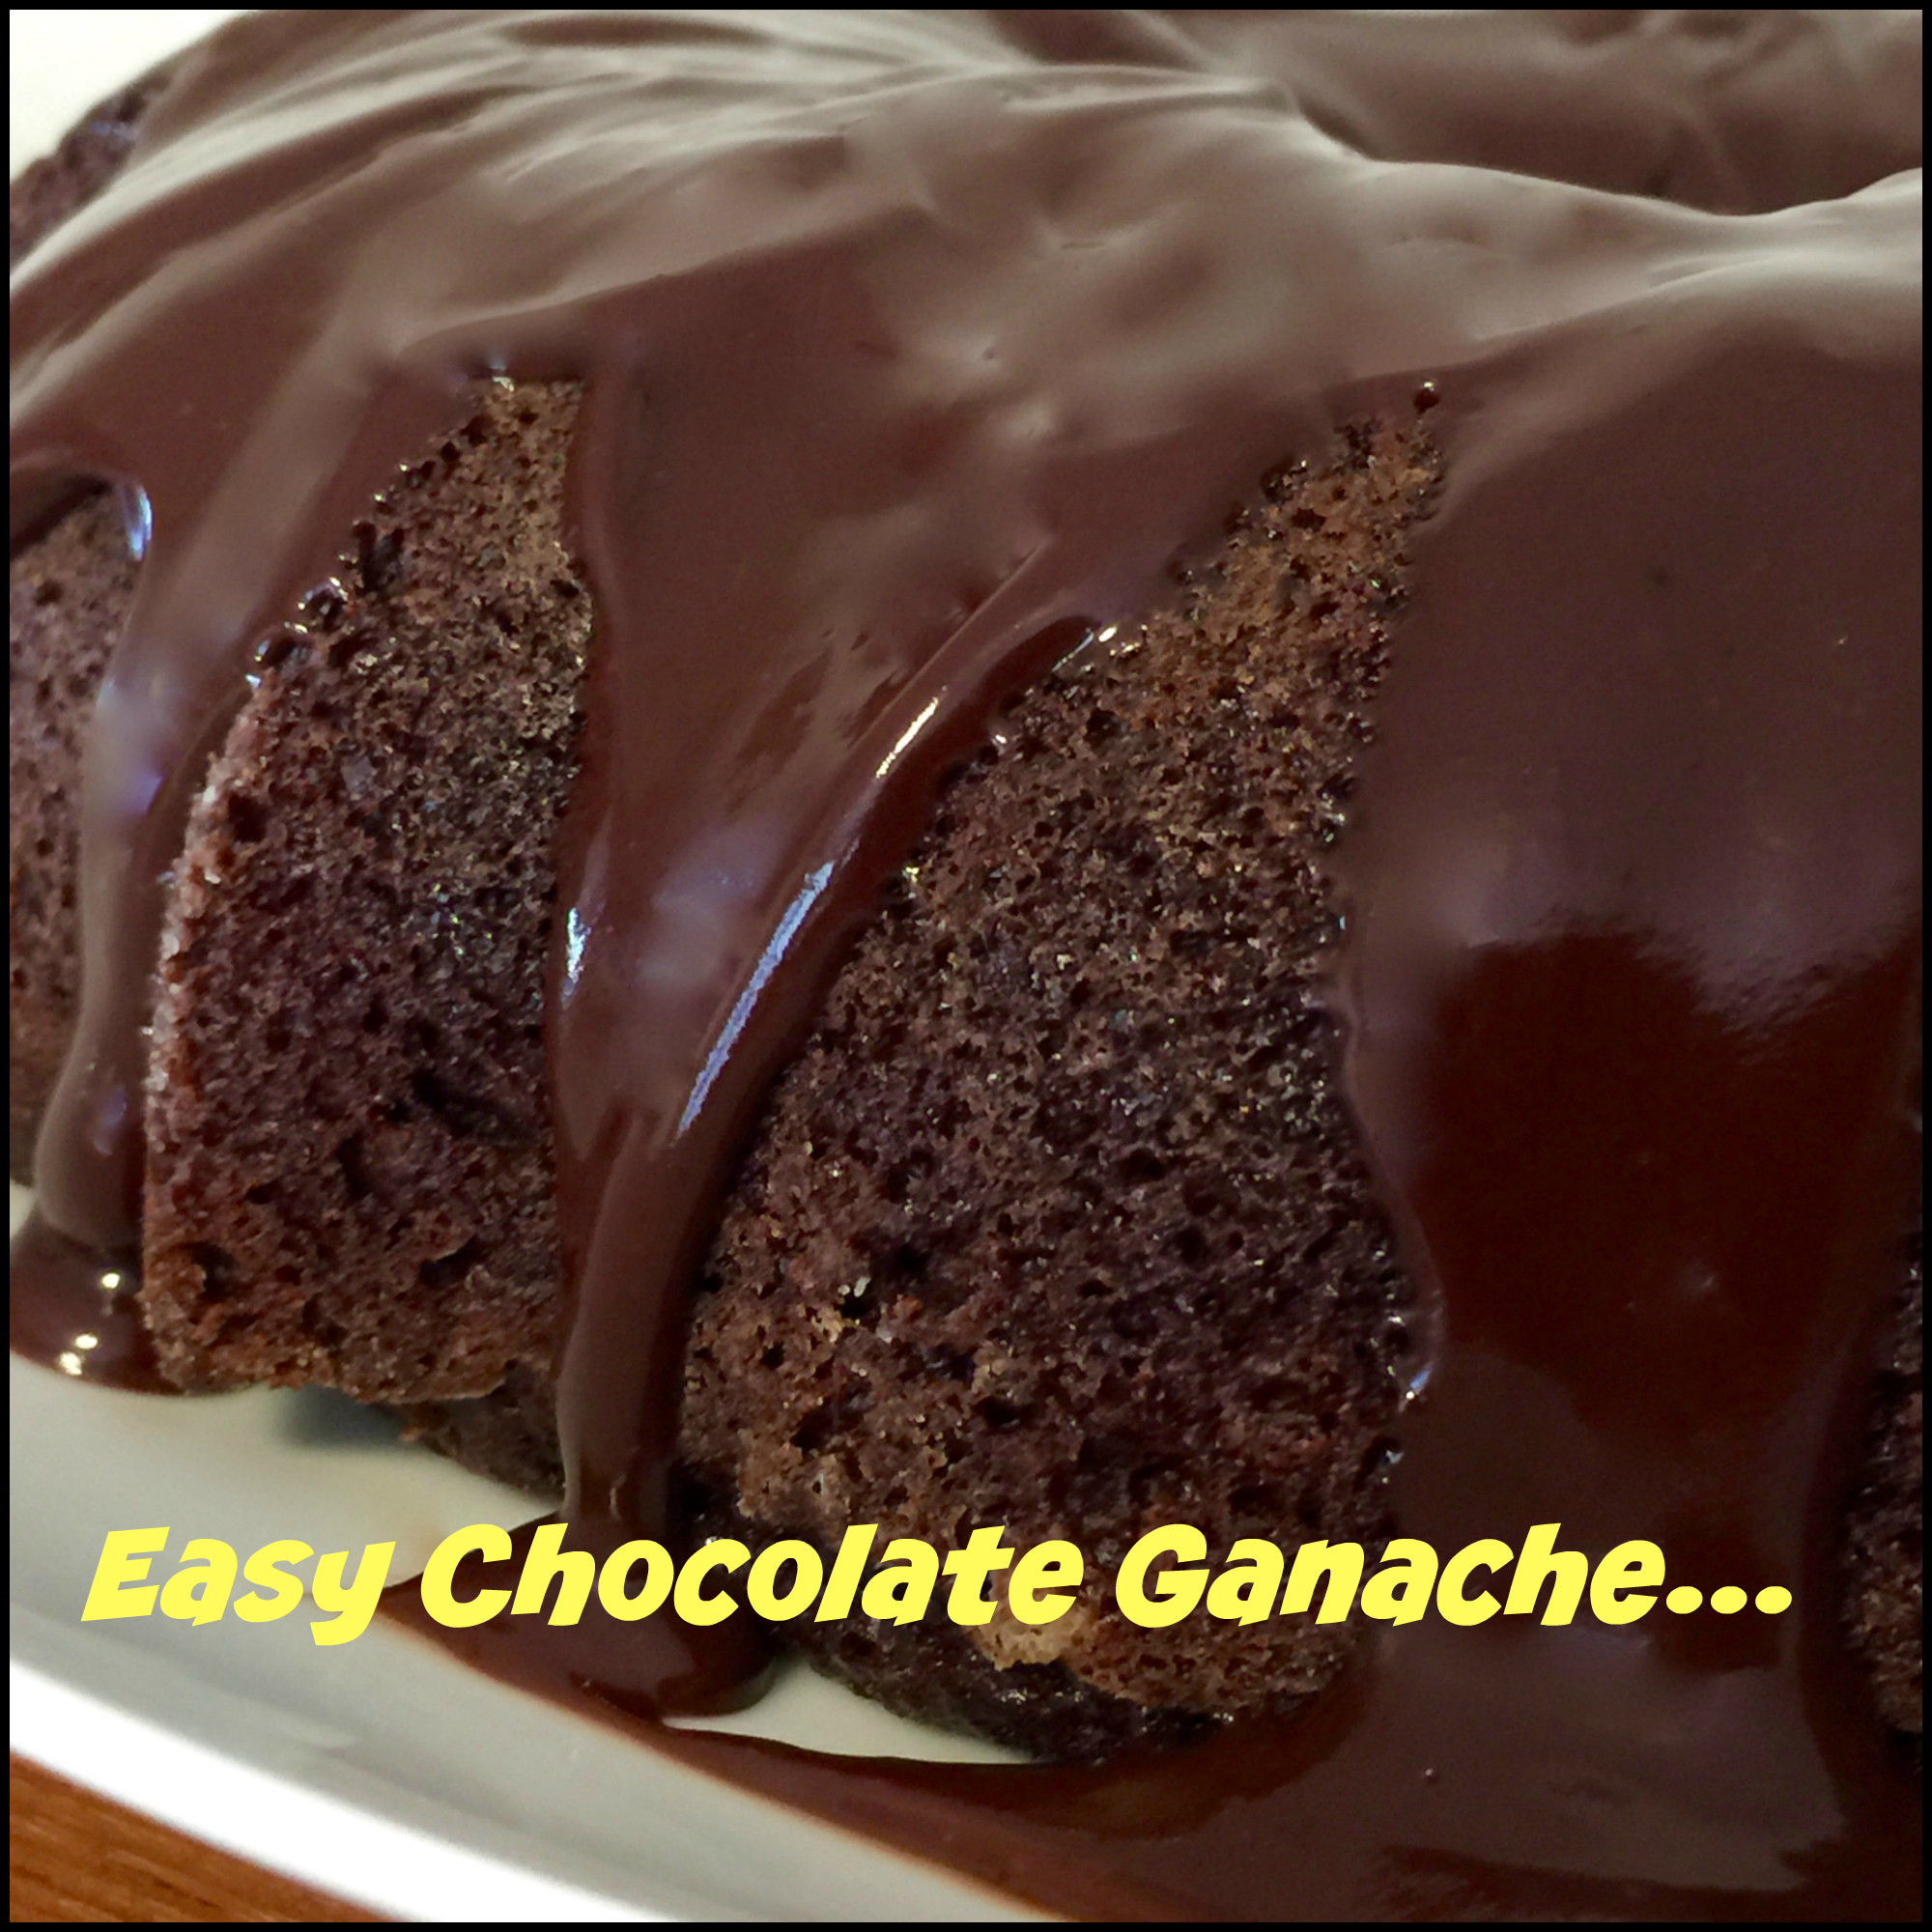
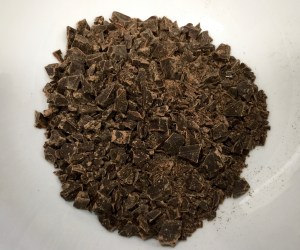 Lesson Learned 1 – There are many ways to make ganache: I am going to share with you the simplest way. The ratio is easy to remember 1:1. Use as many ounces of heavy cream as semi-sweet chocolate. It couldn’t be easier.
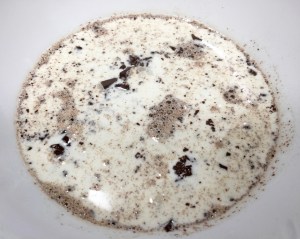
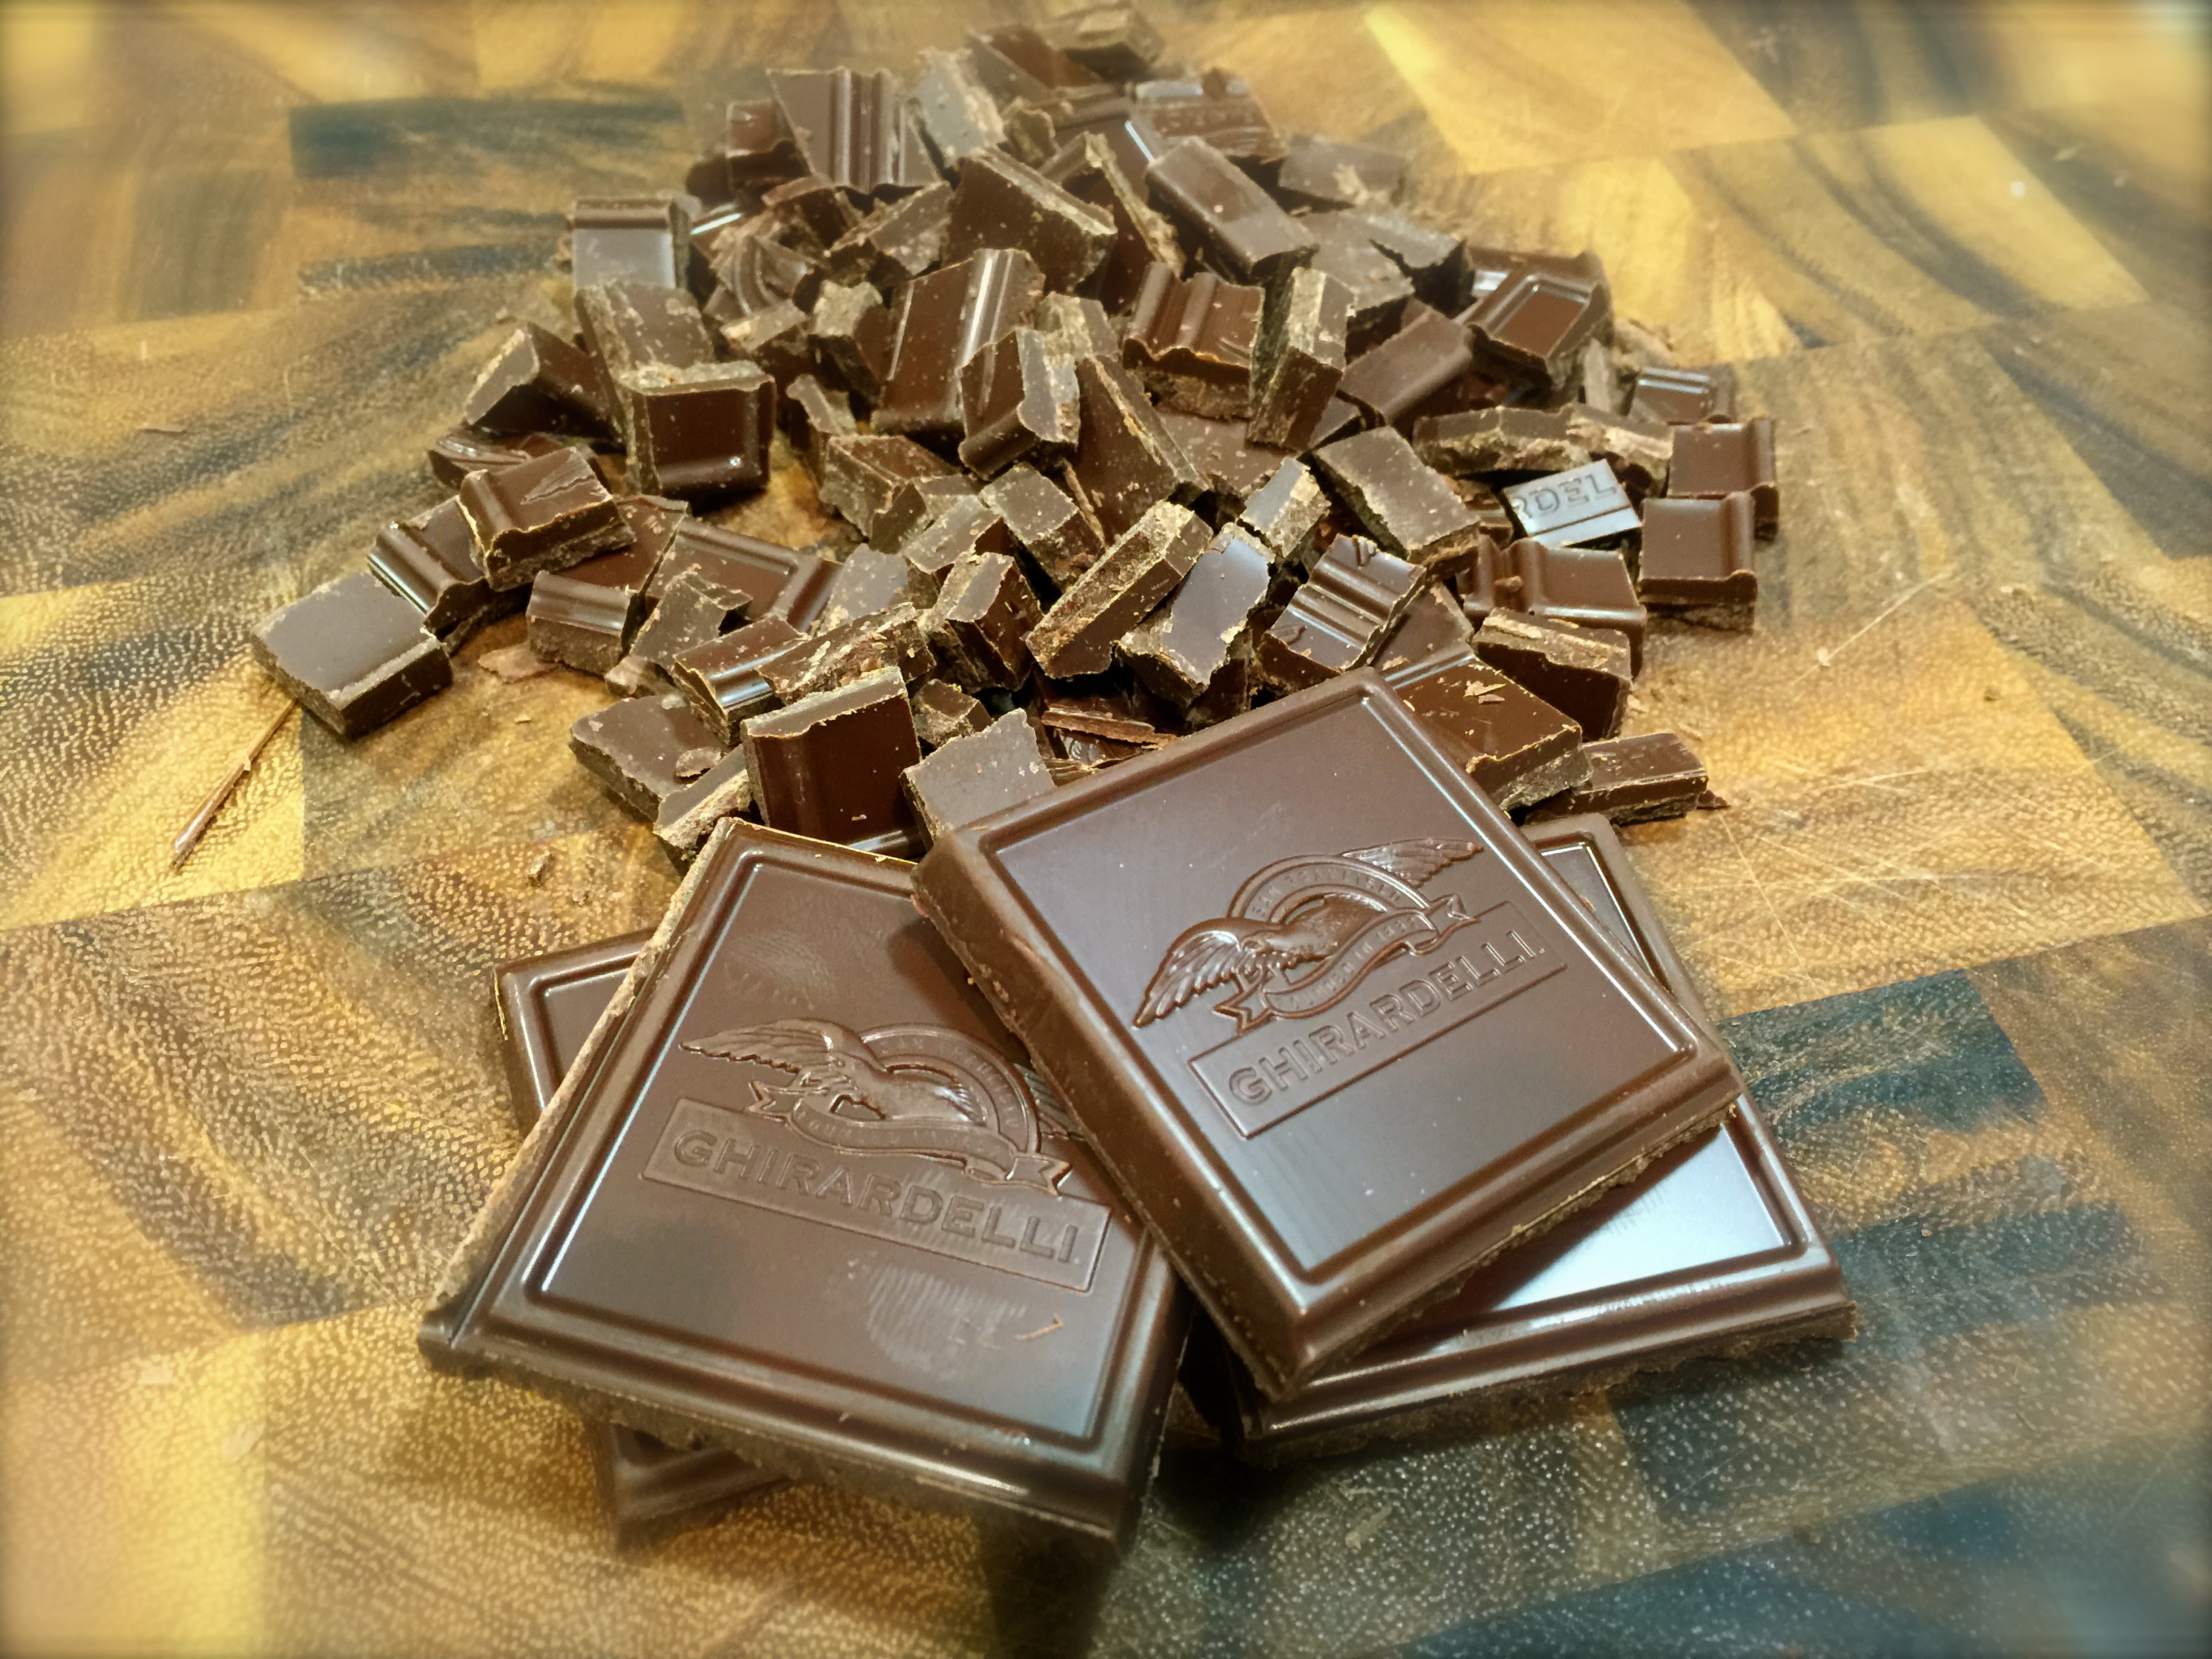
 4 ounces semi-sweet chocolate squares cut into small pieces
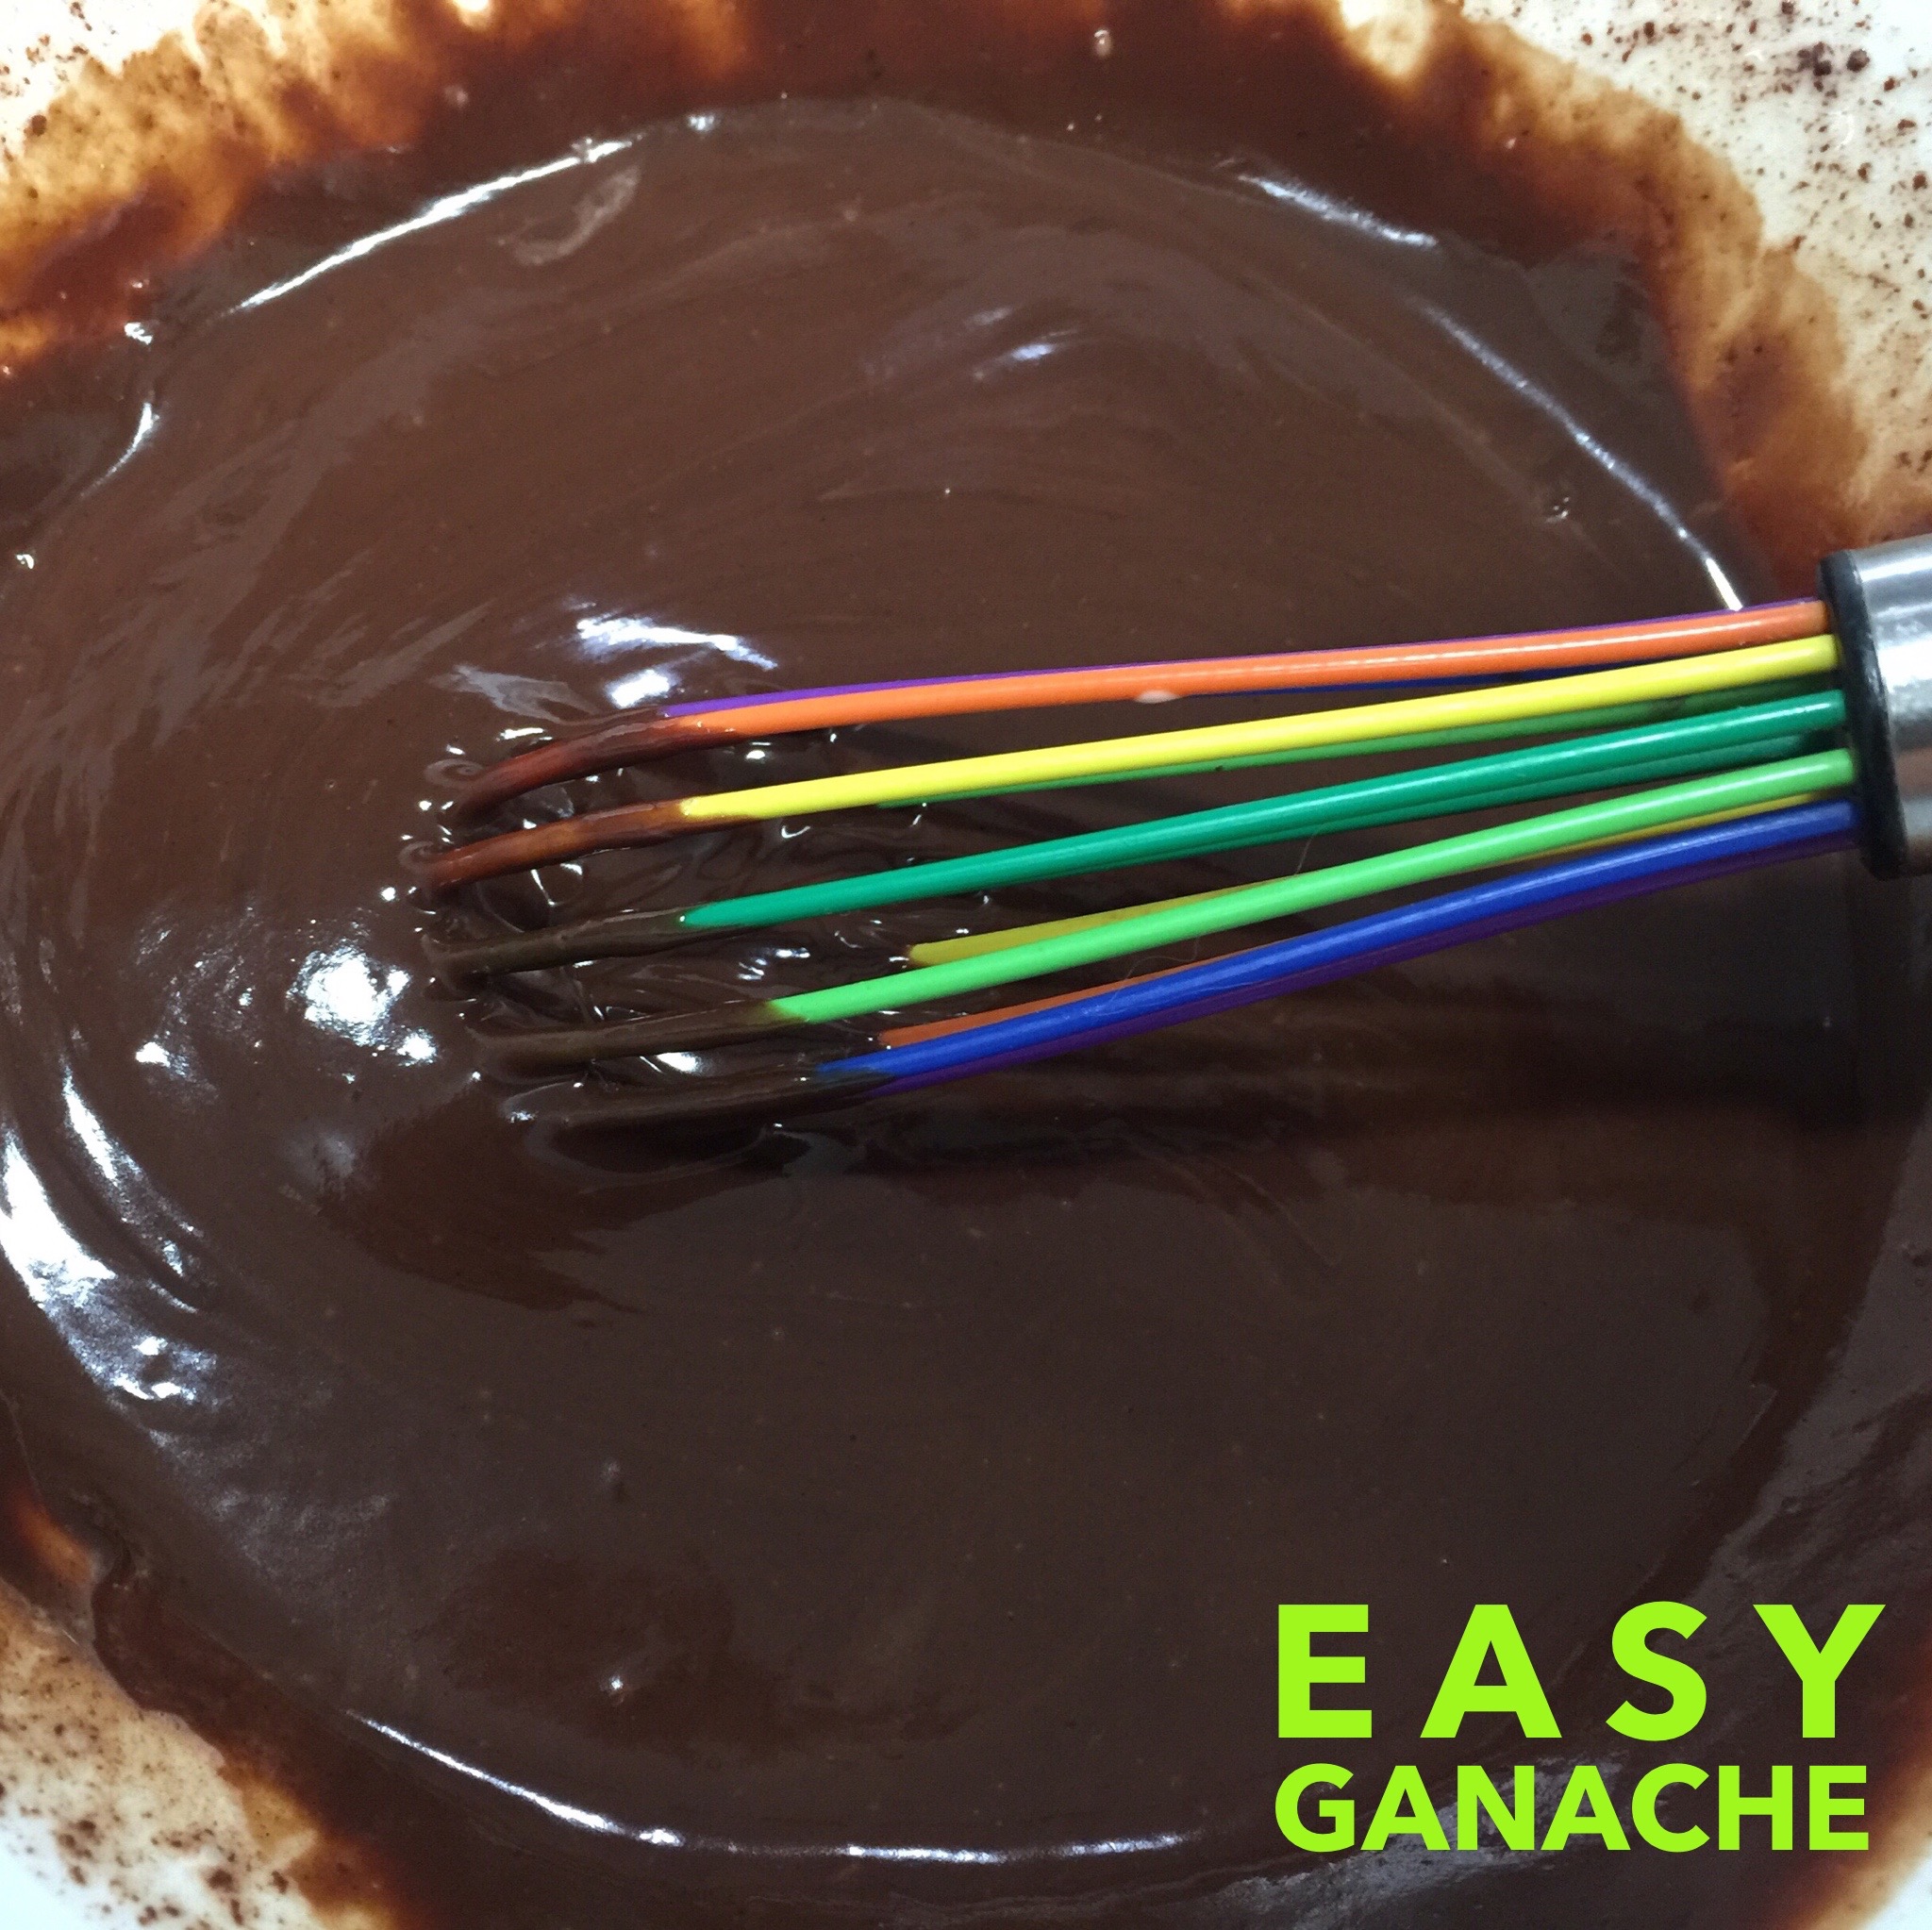

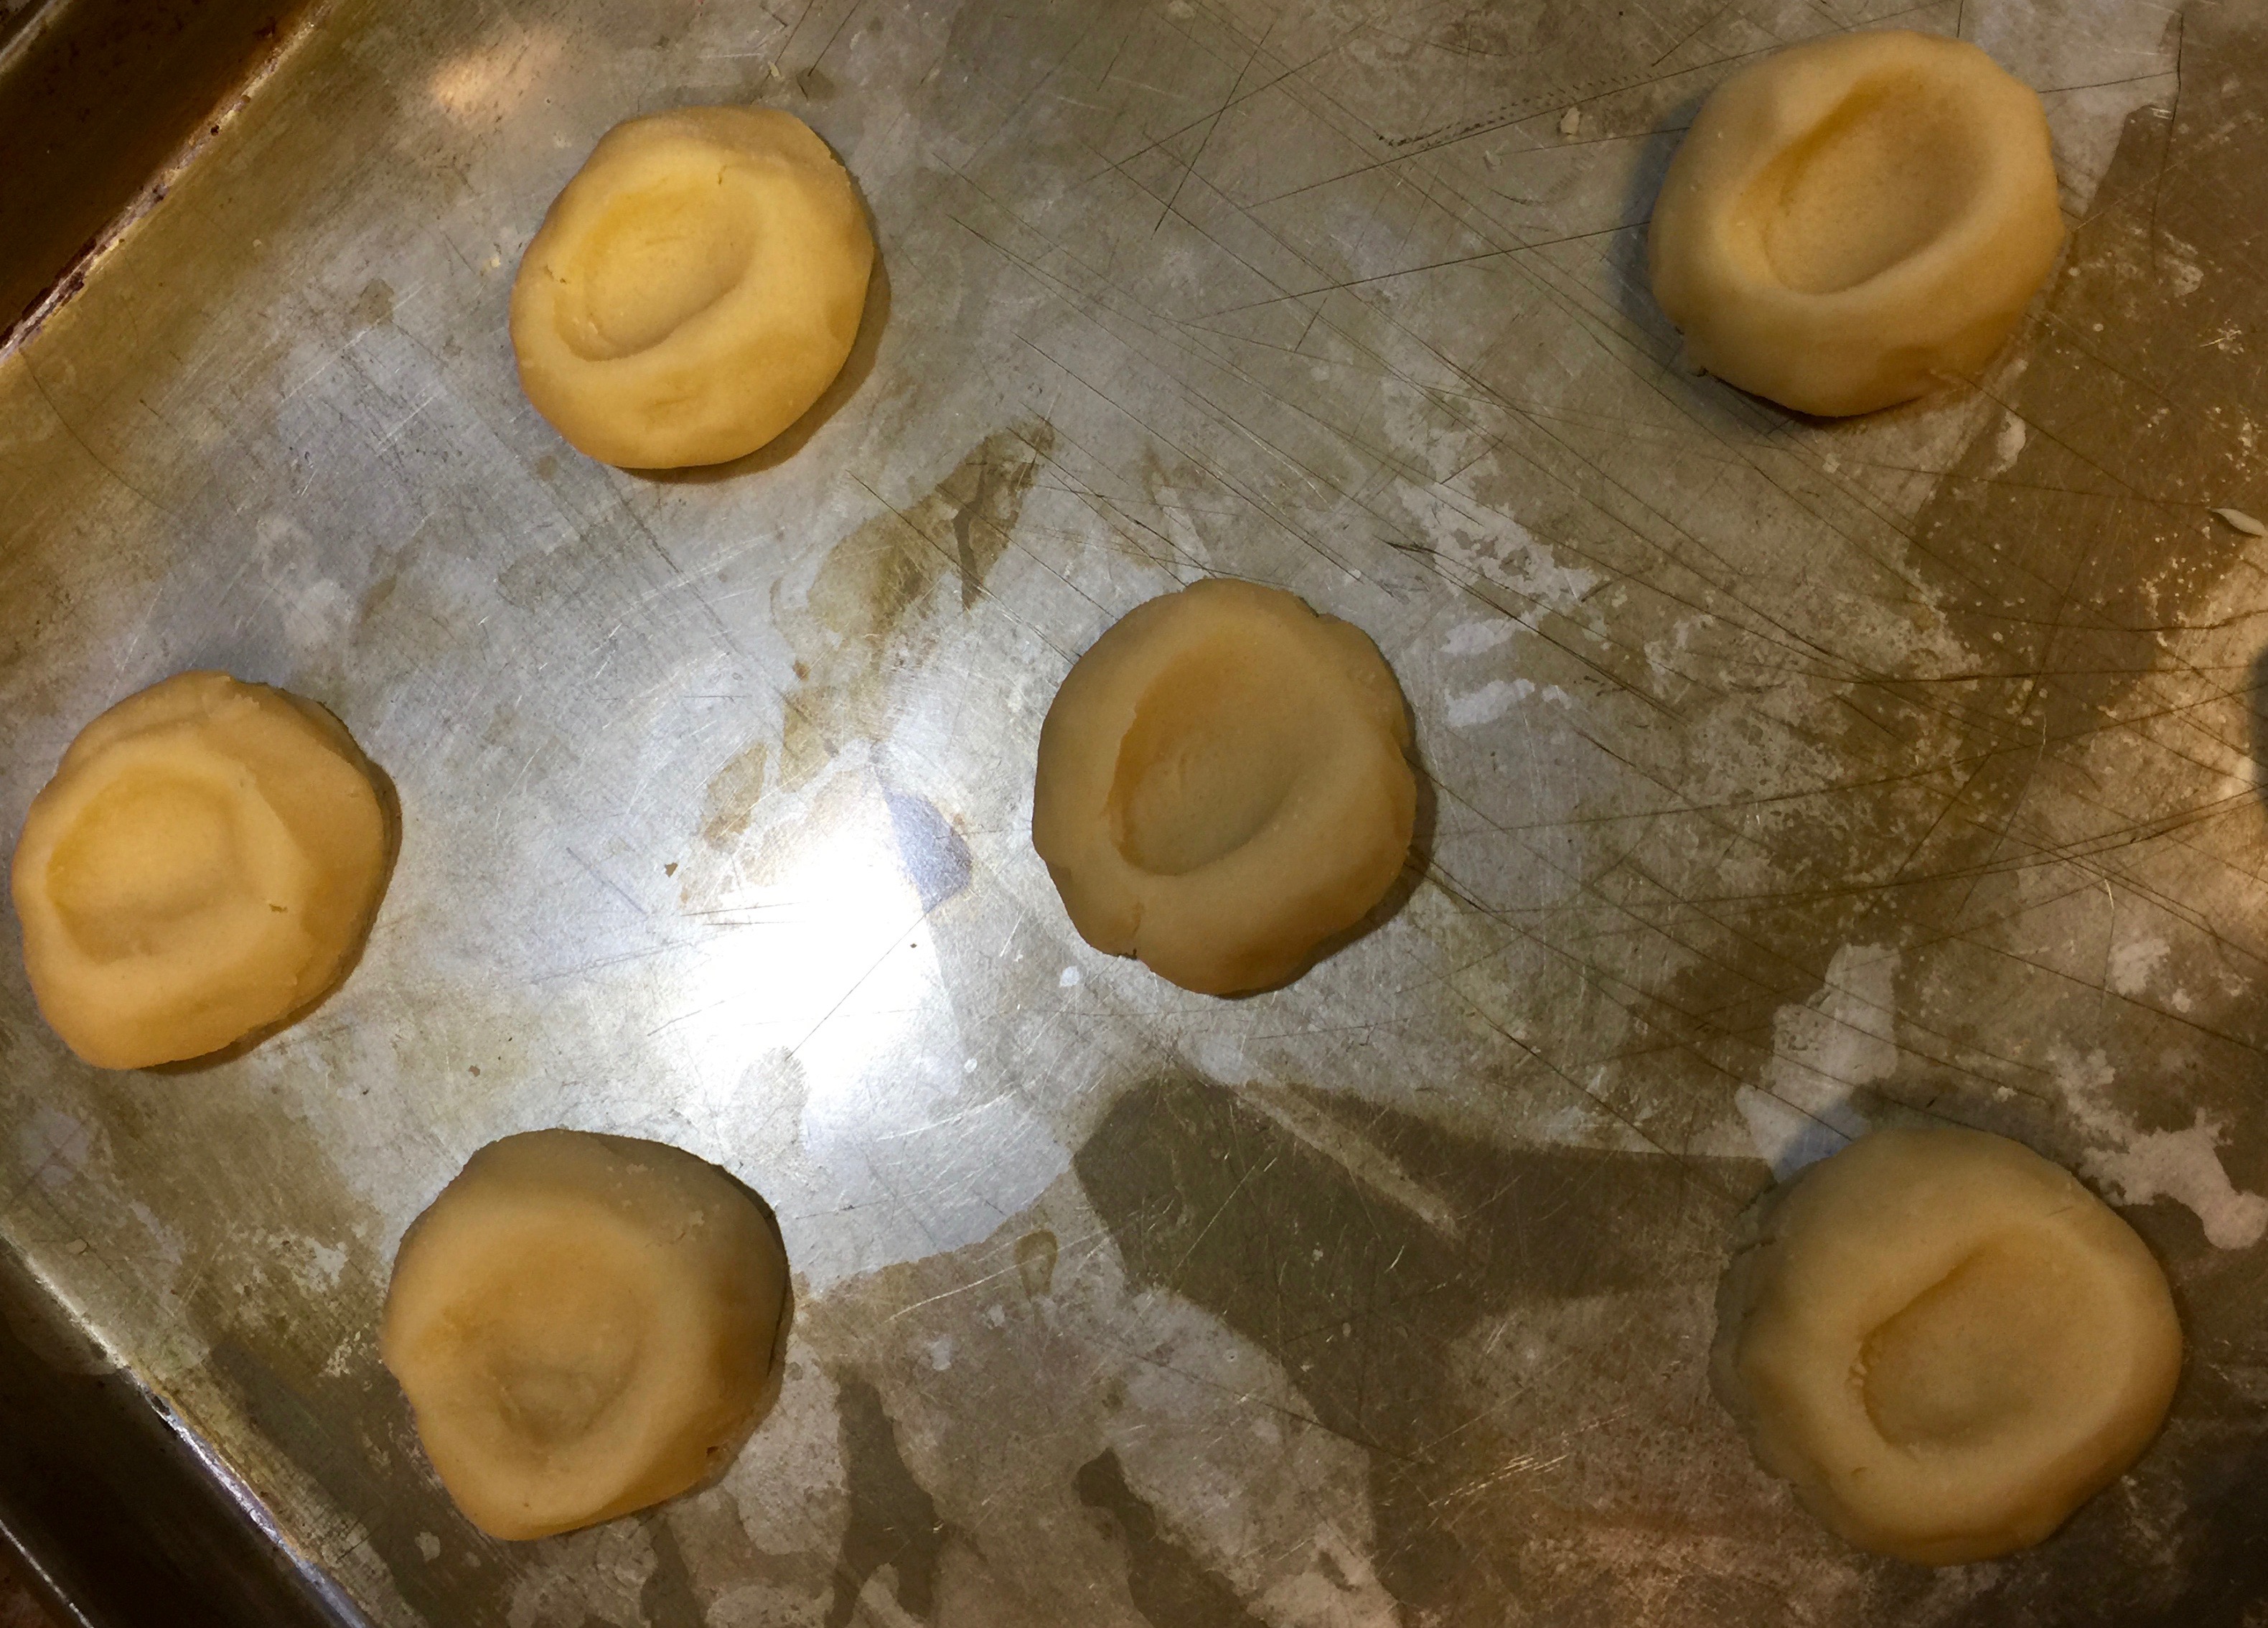
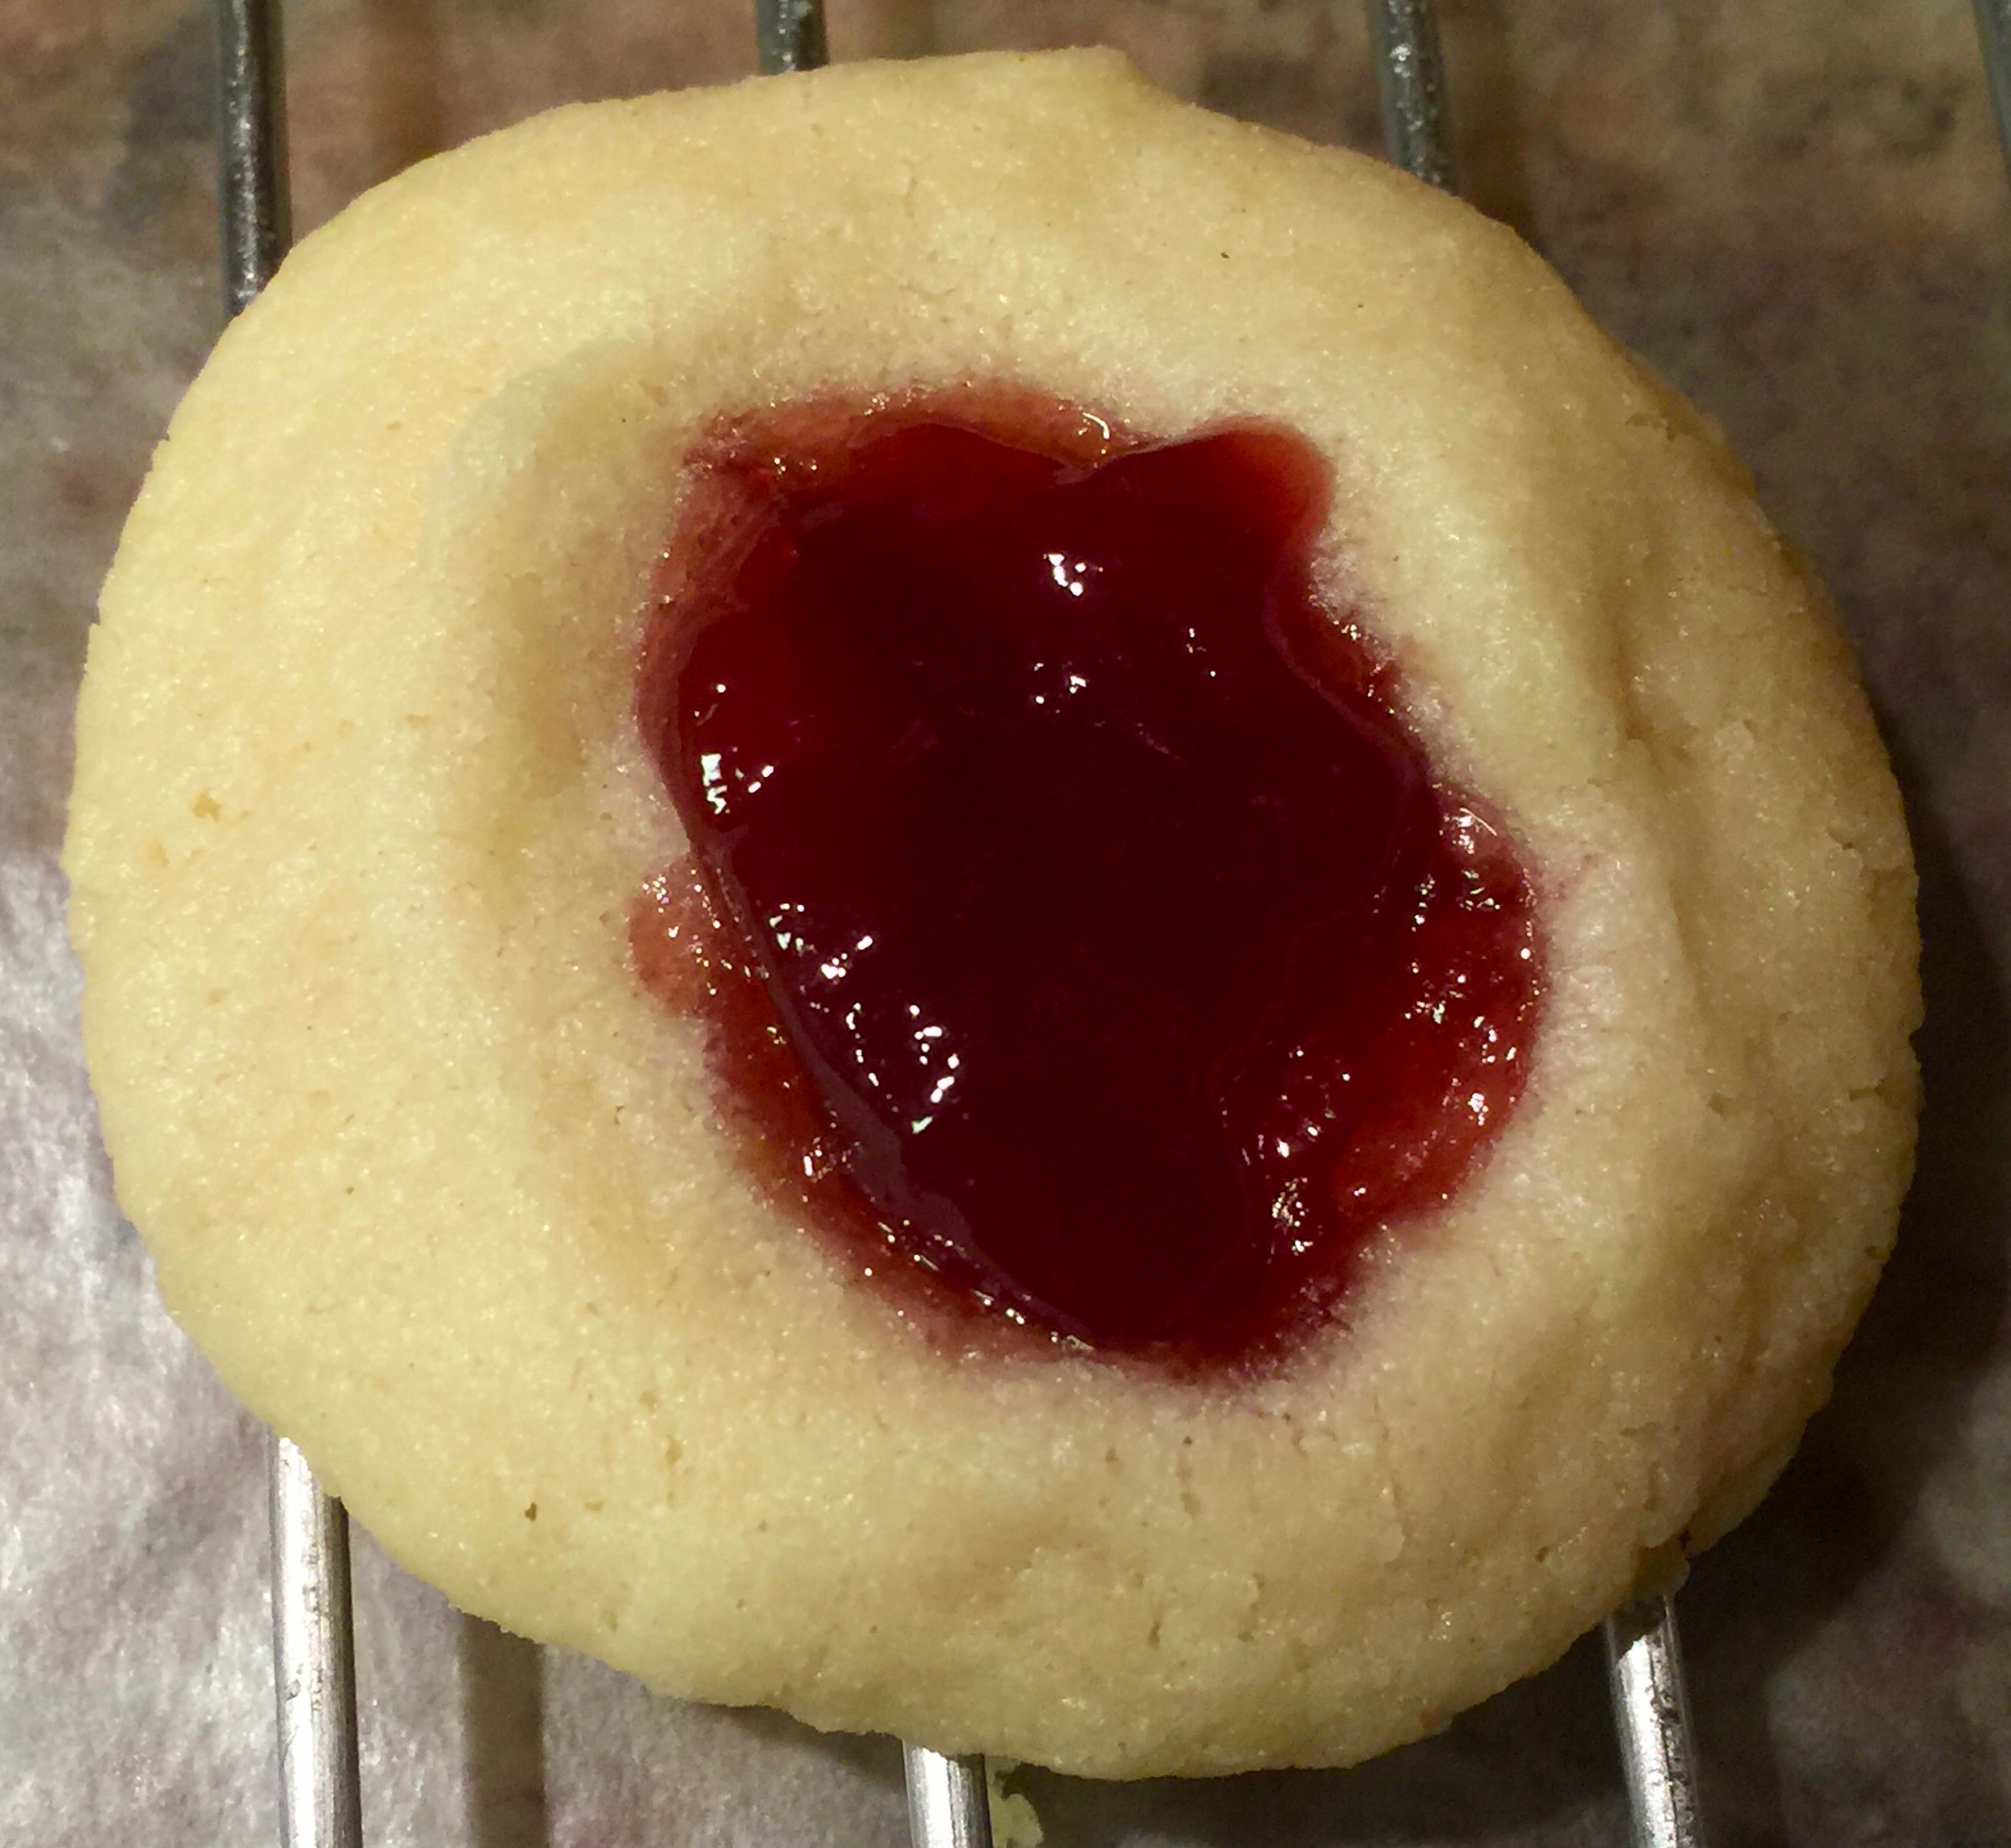
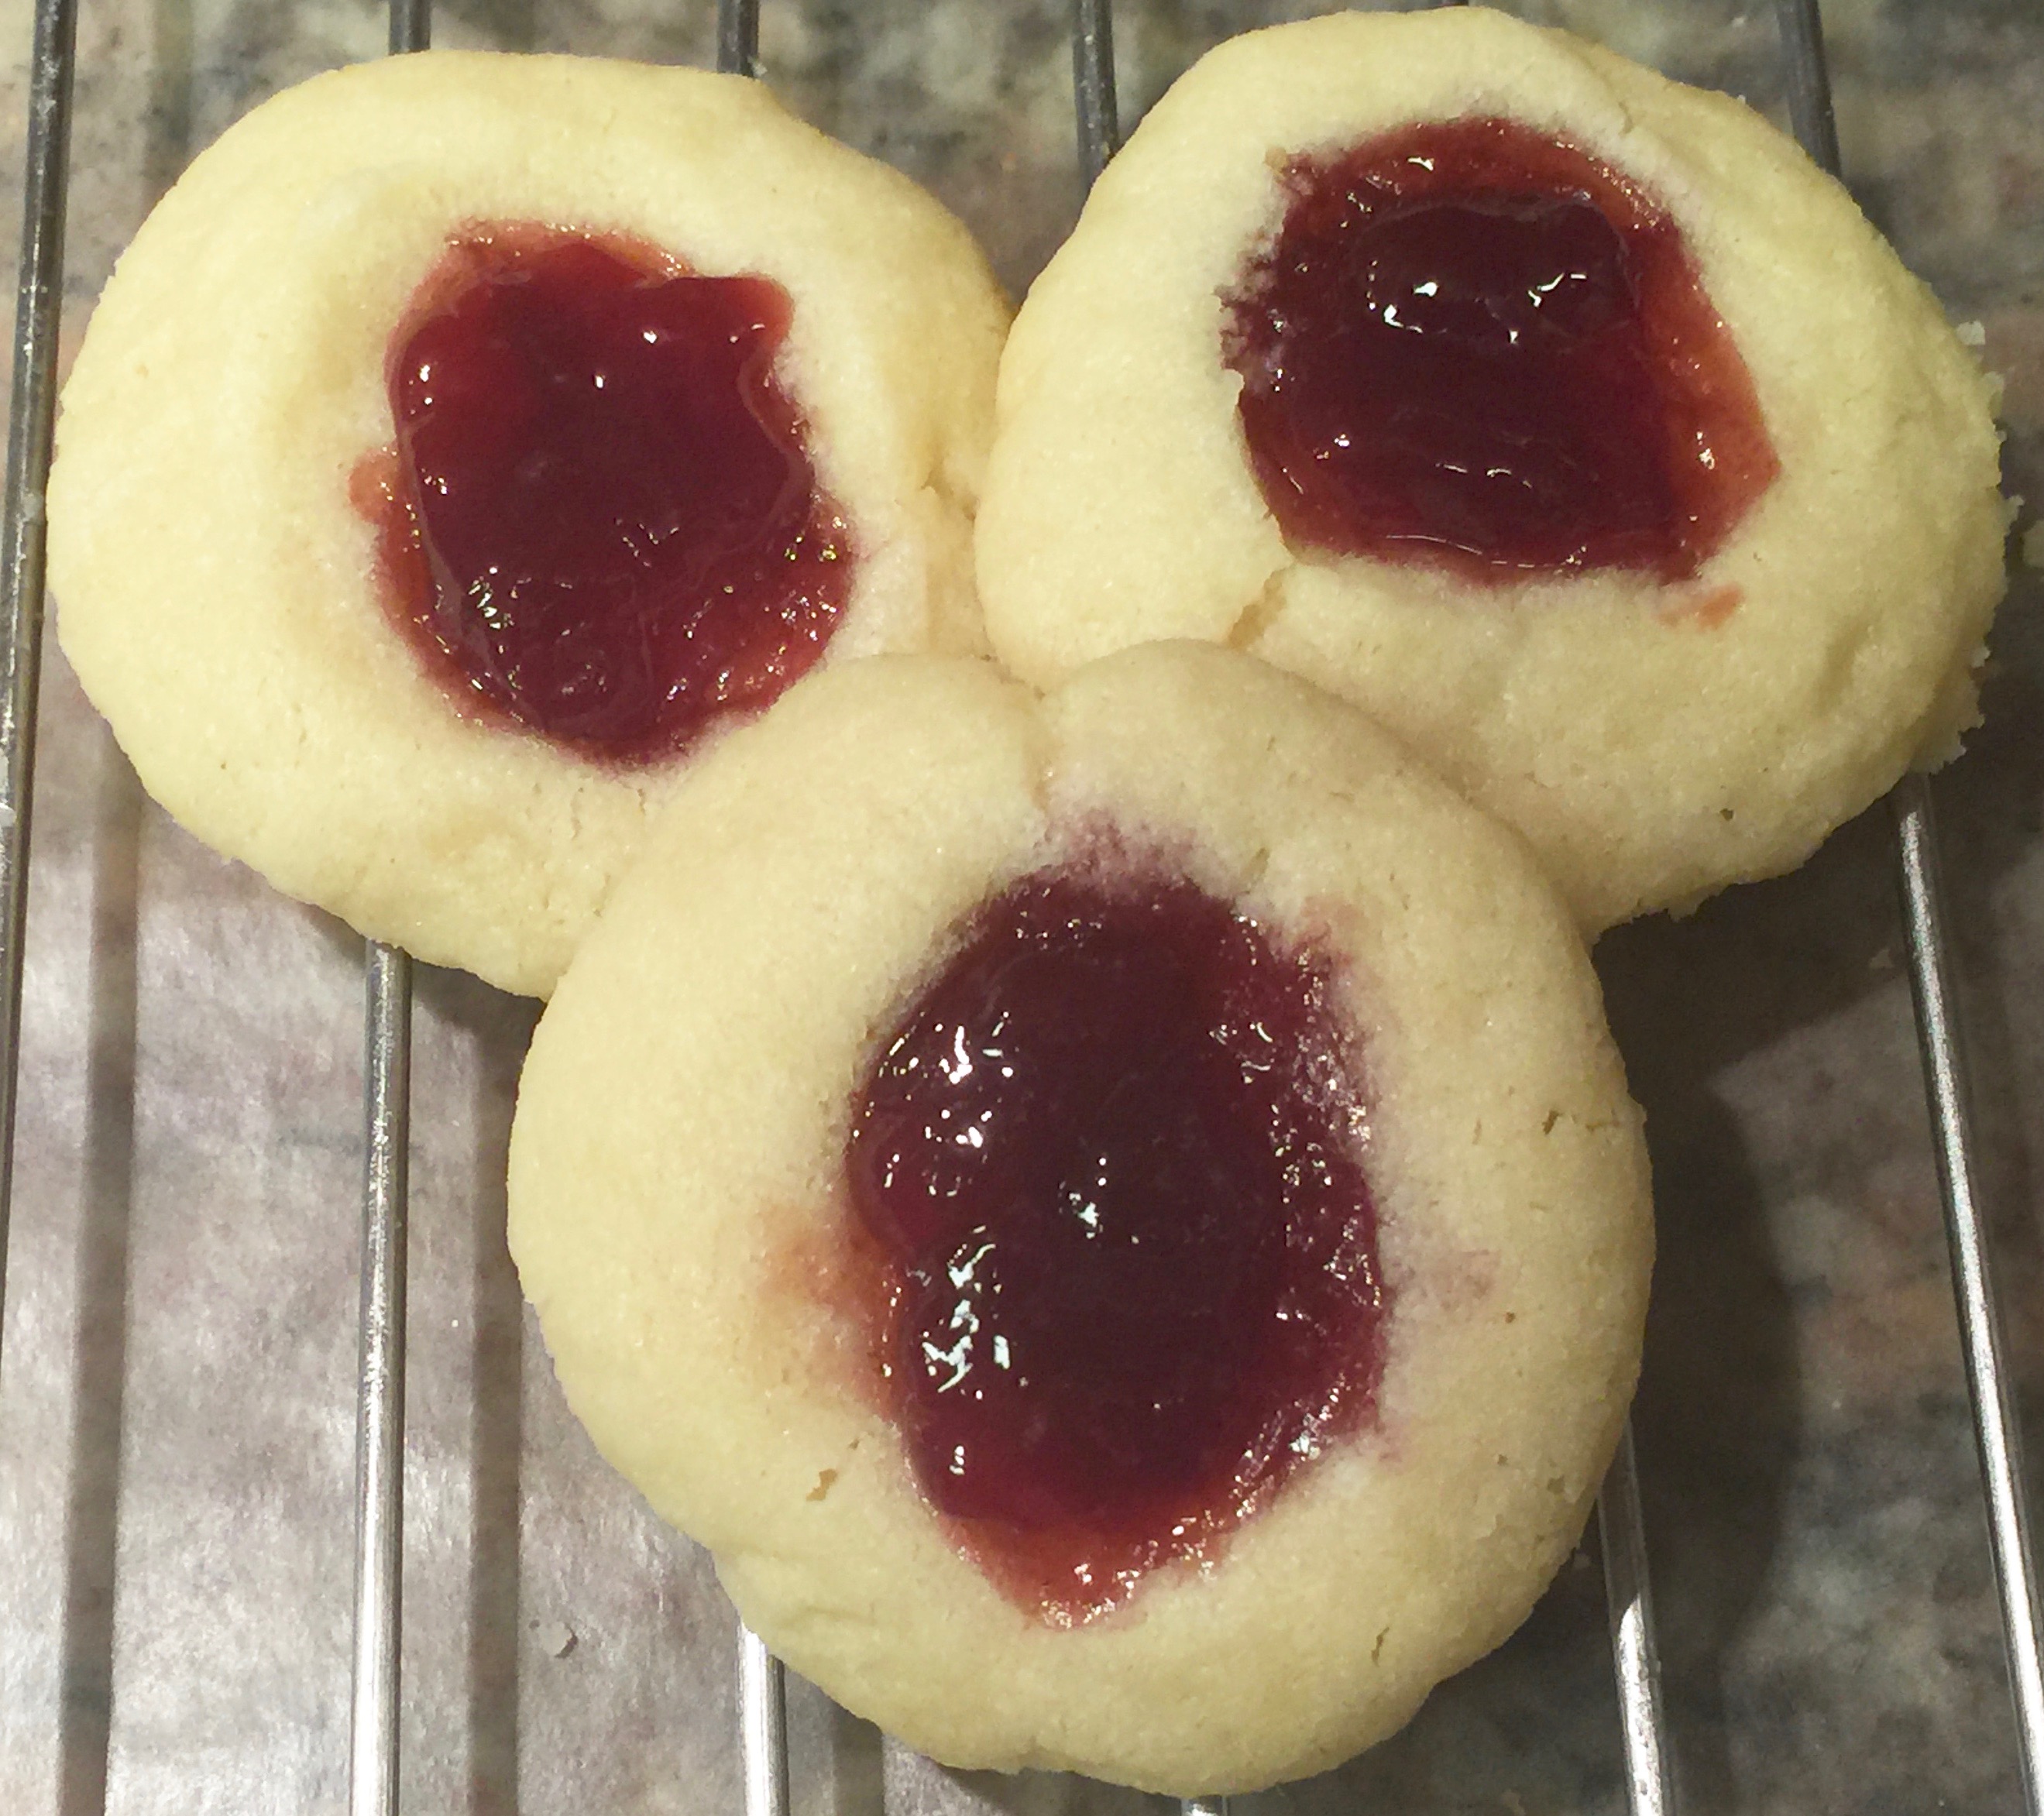
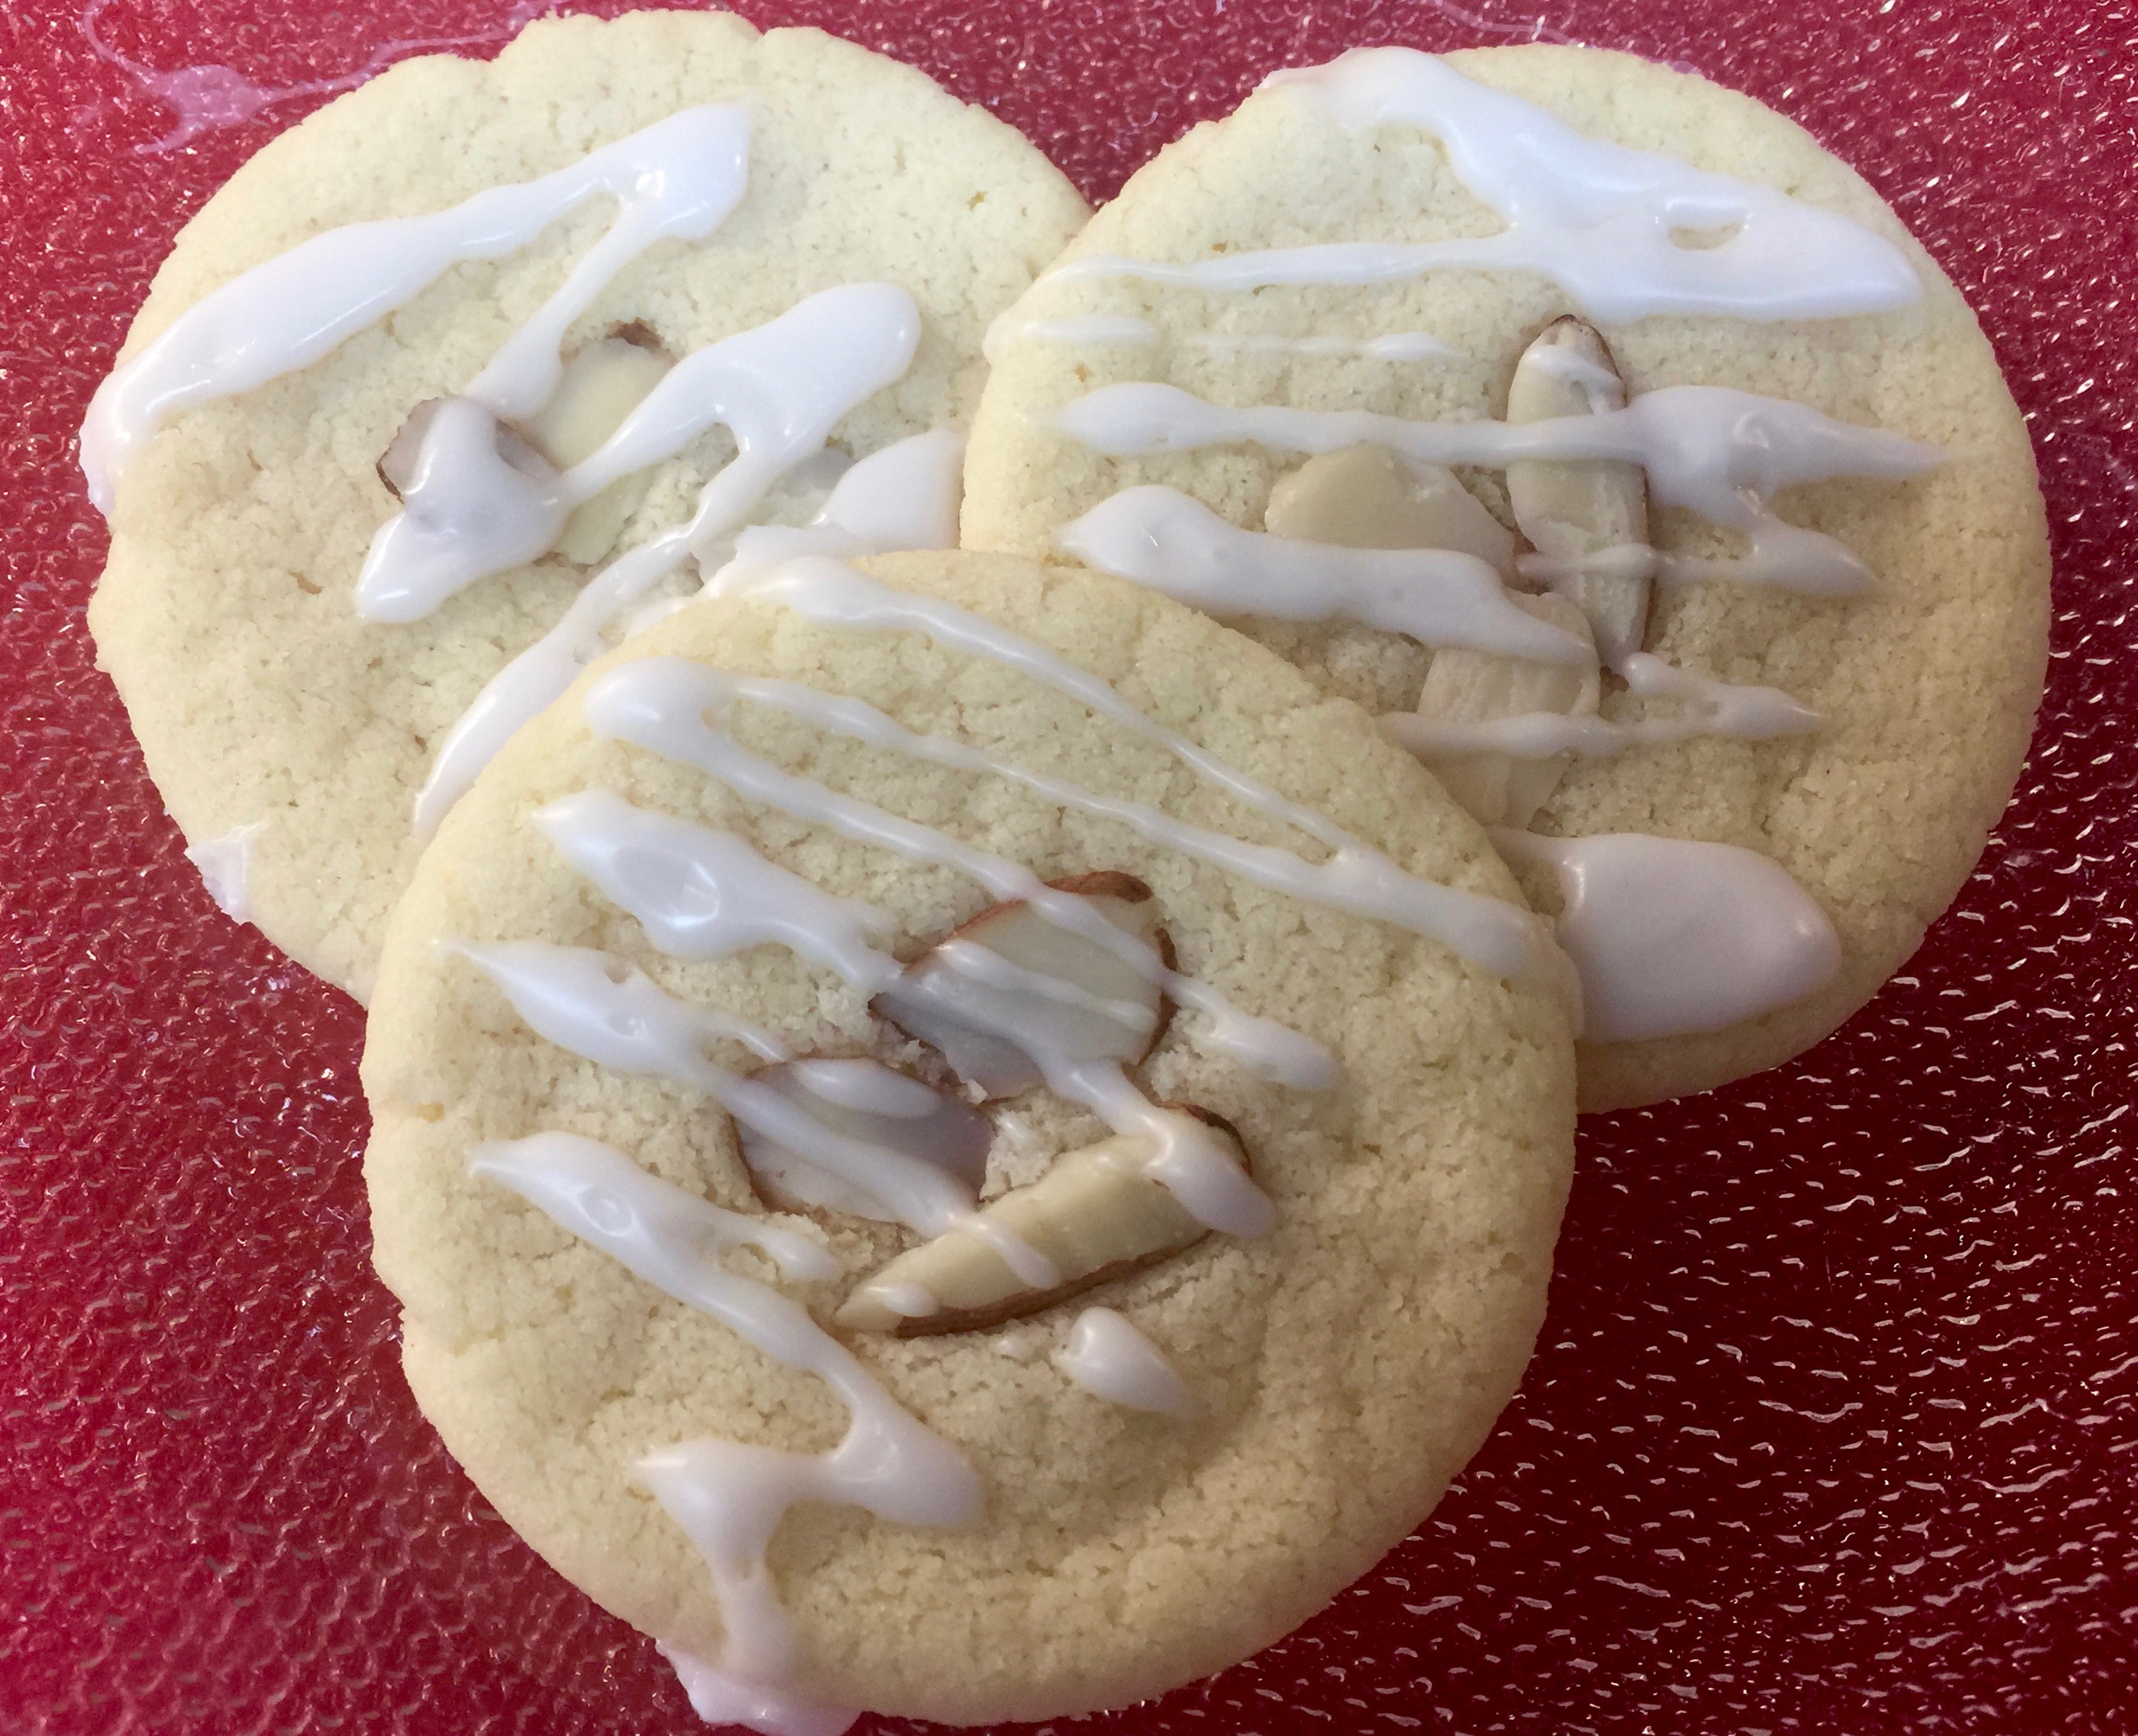
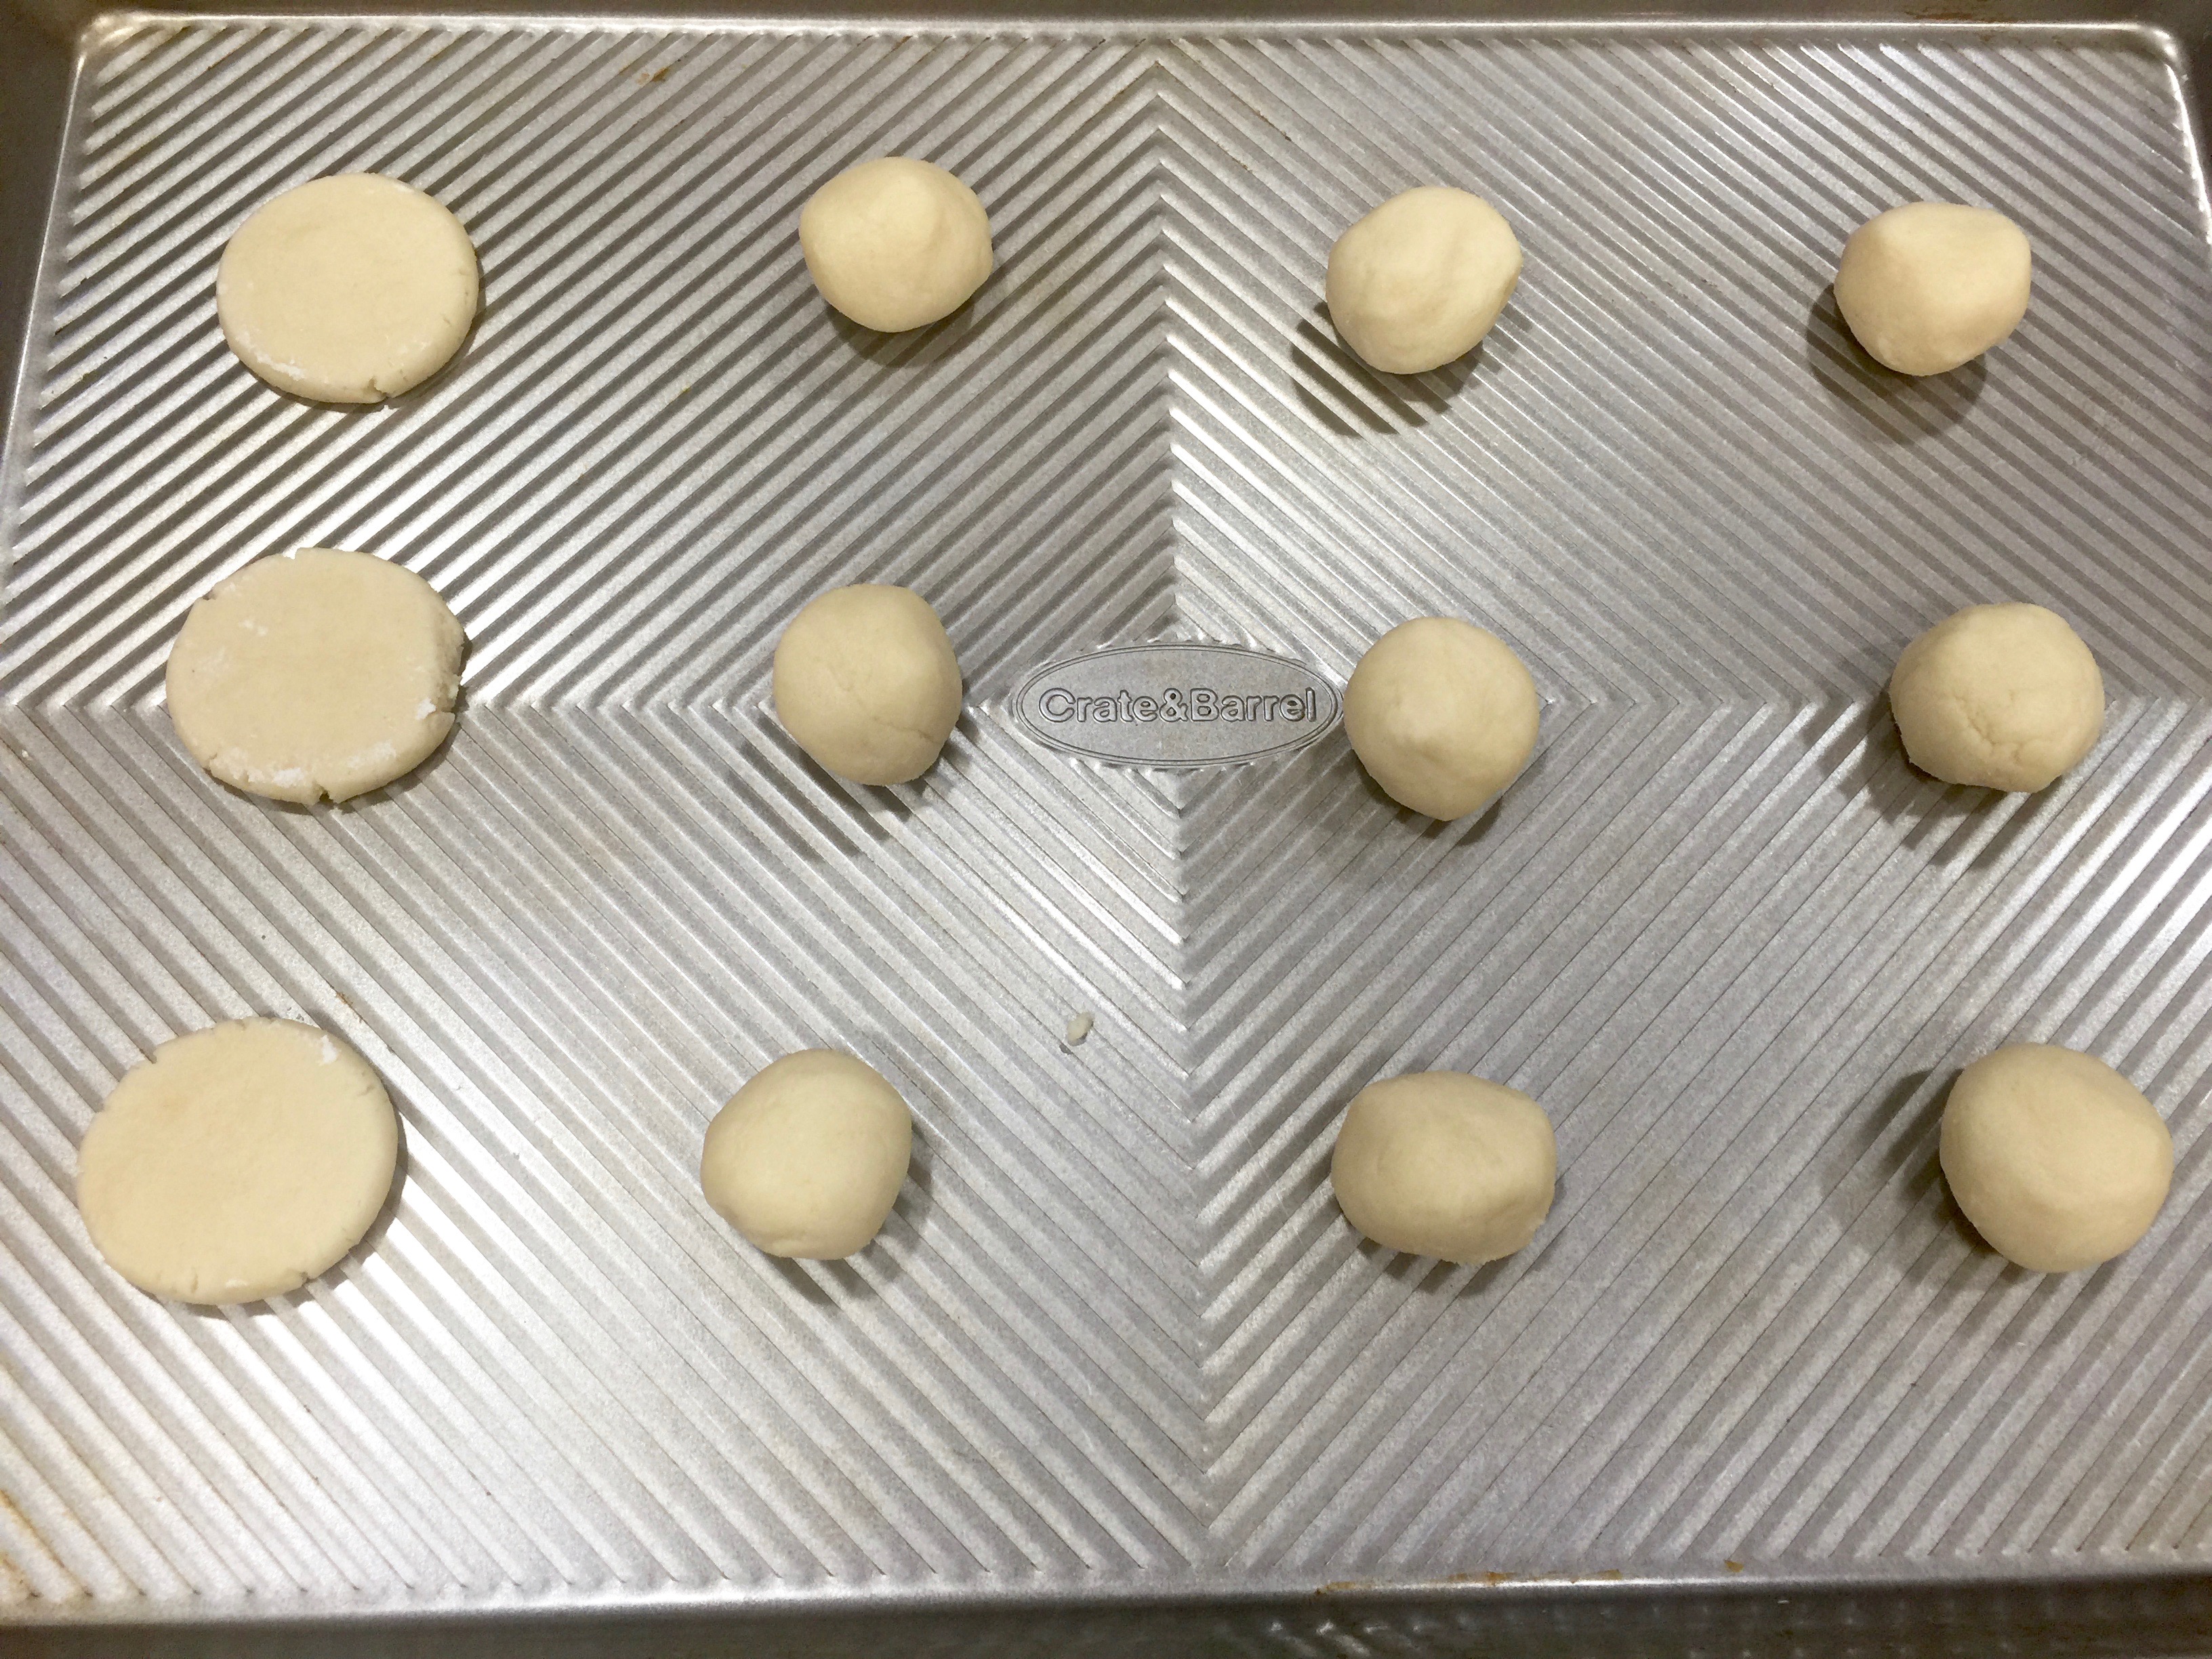
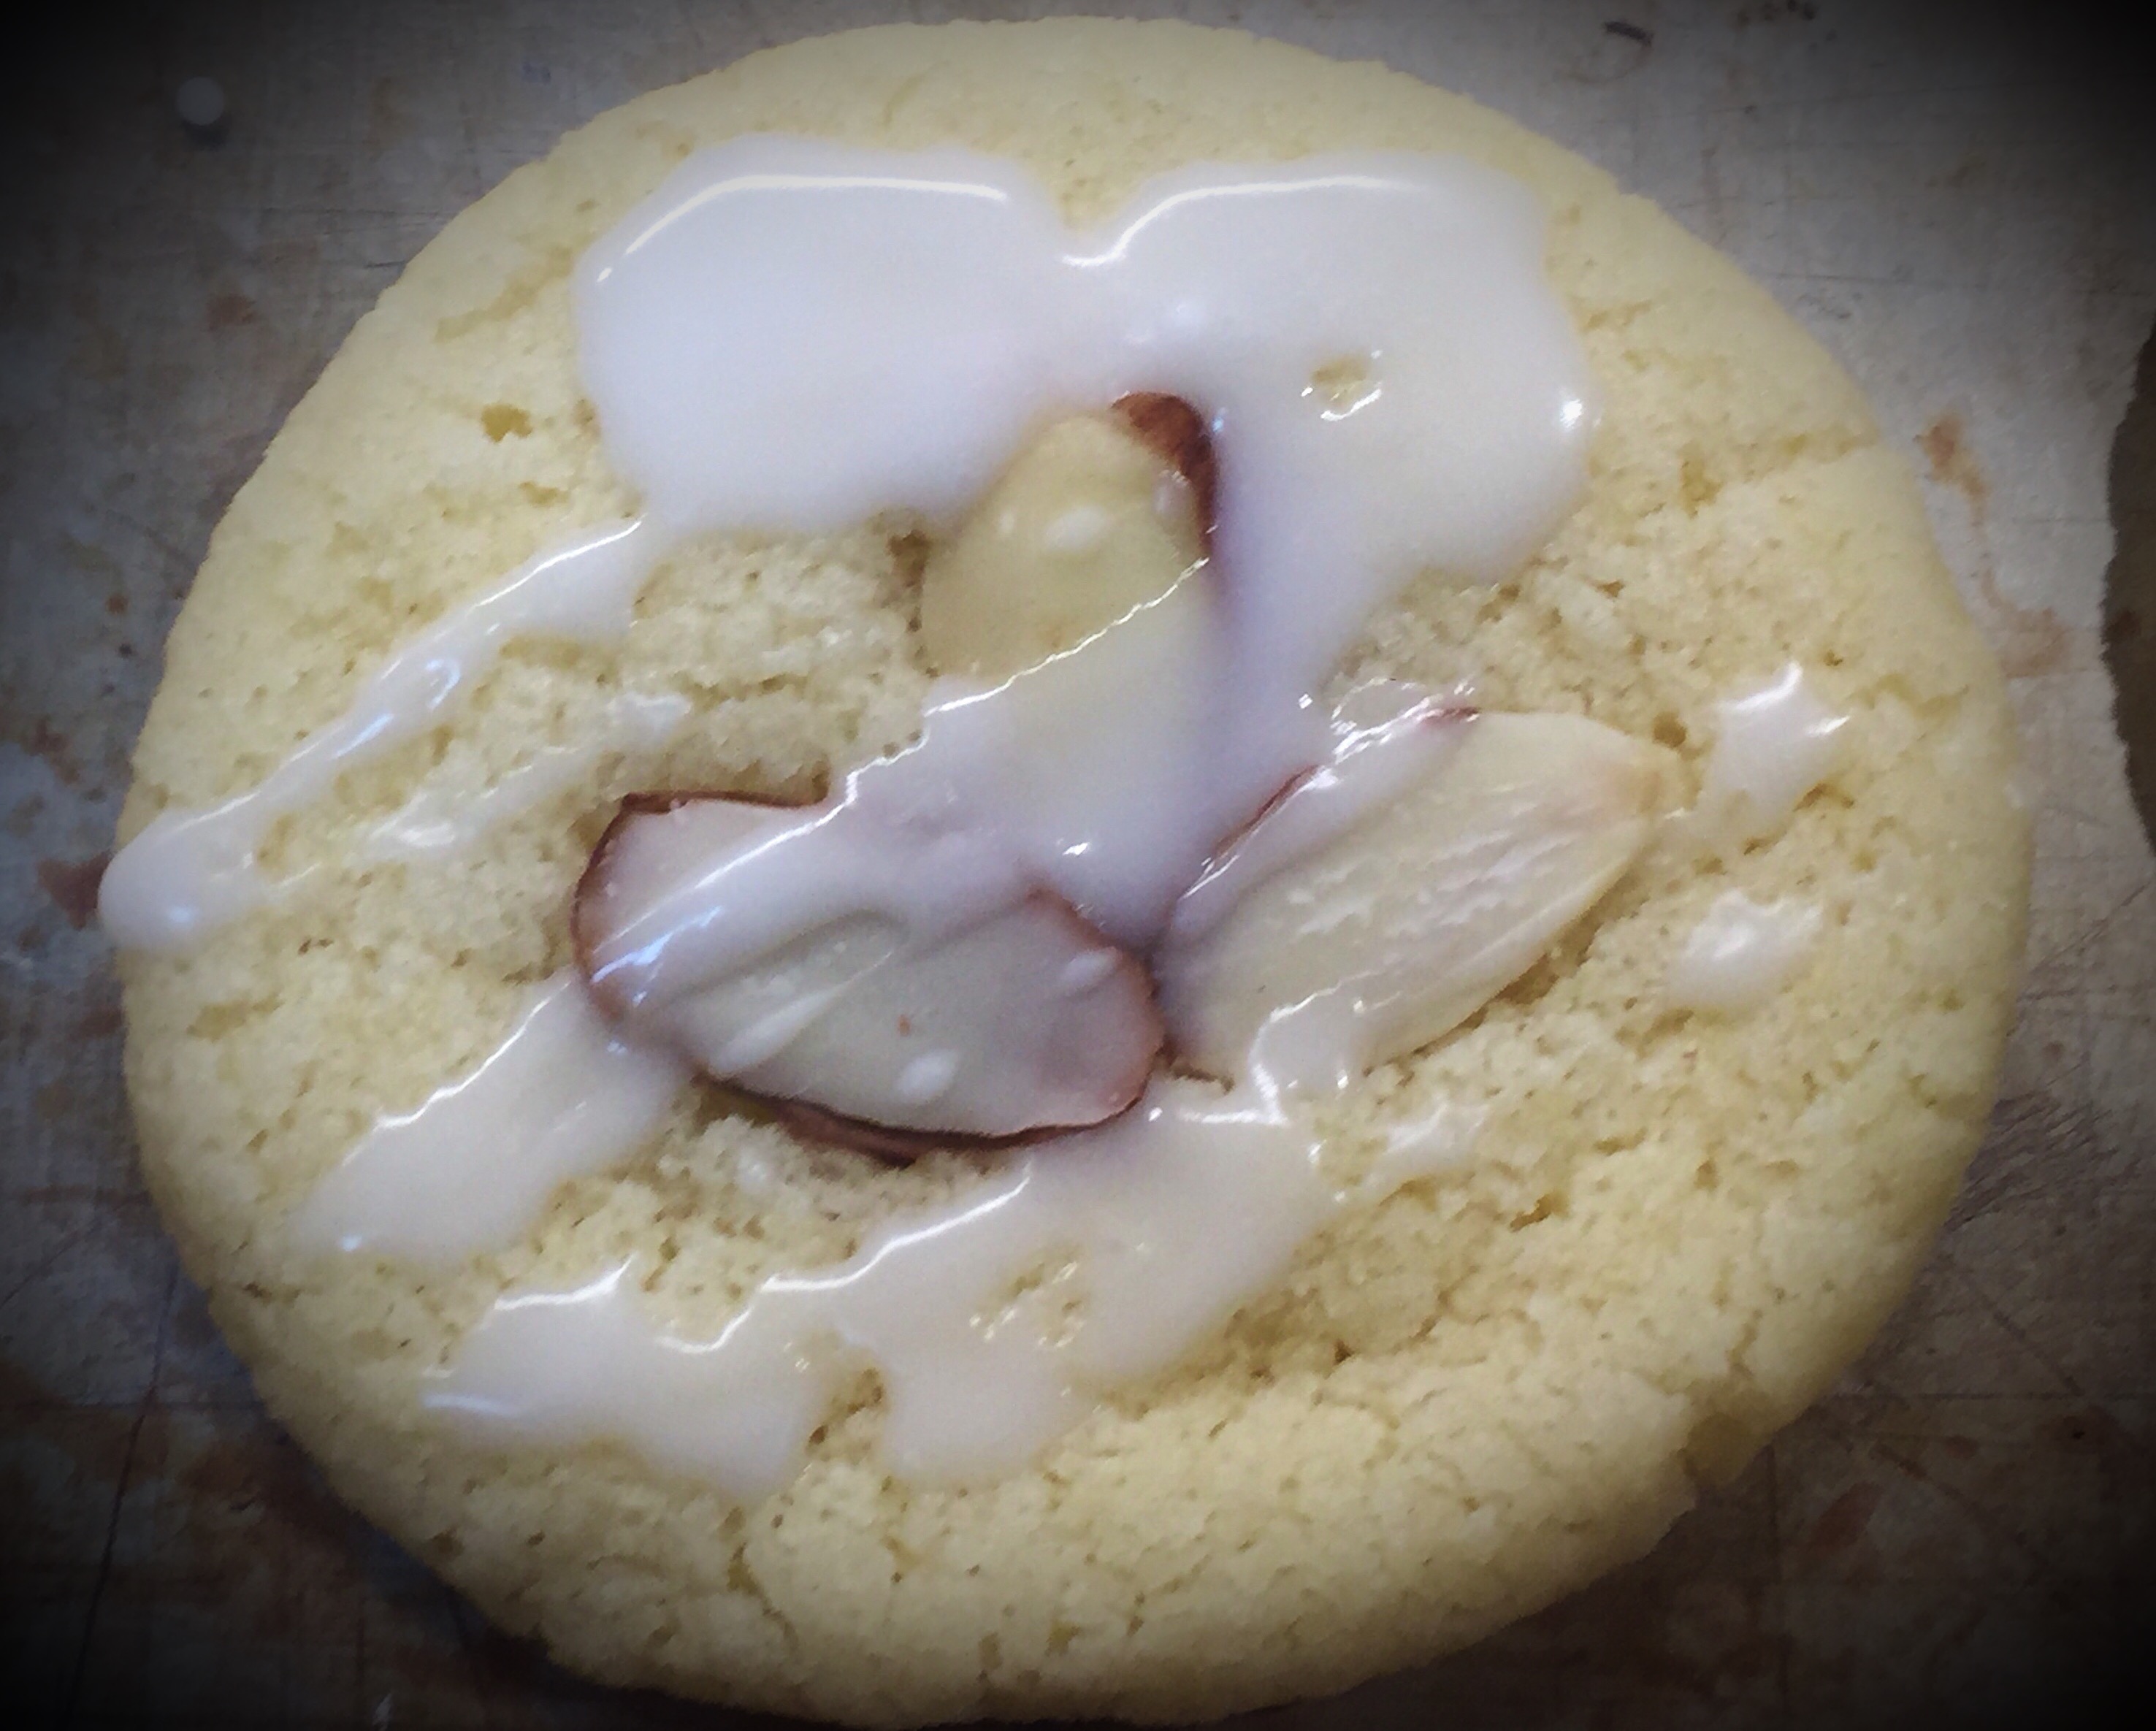
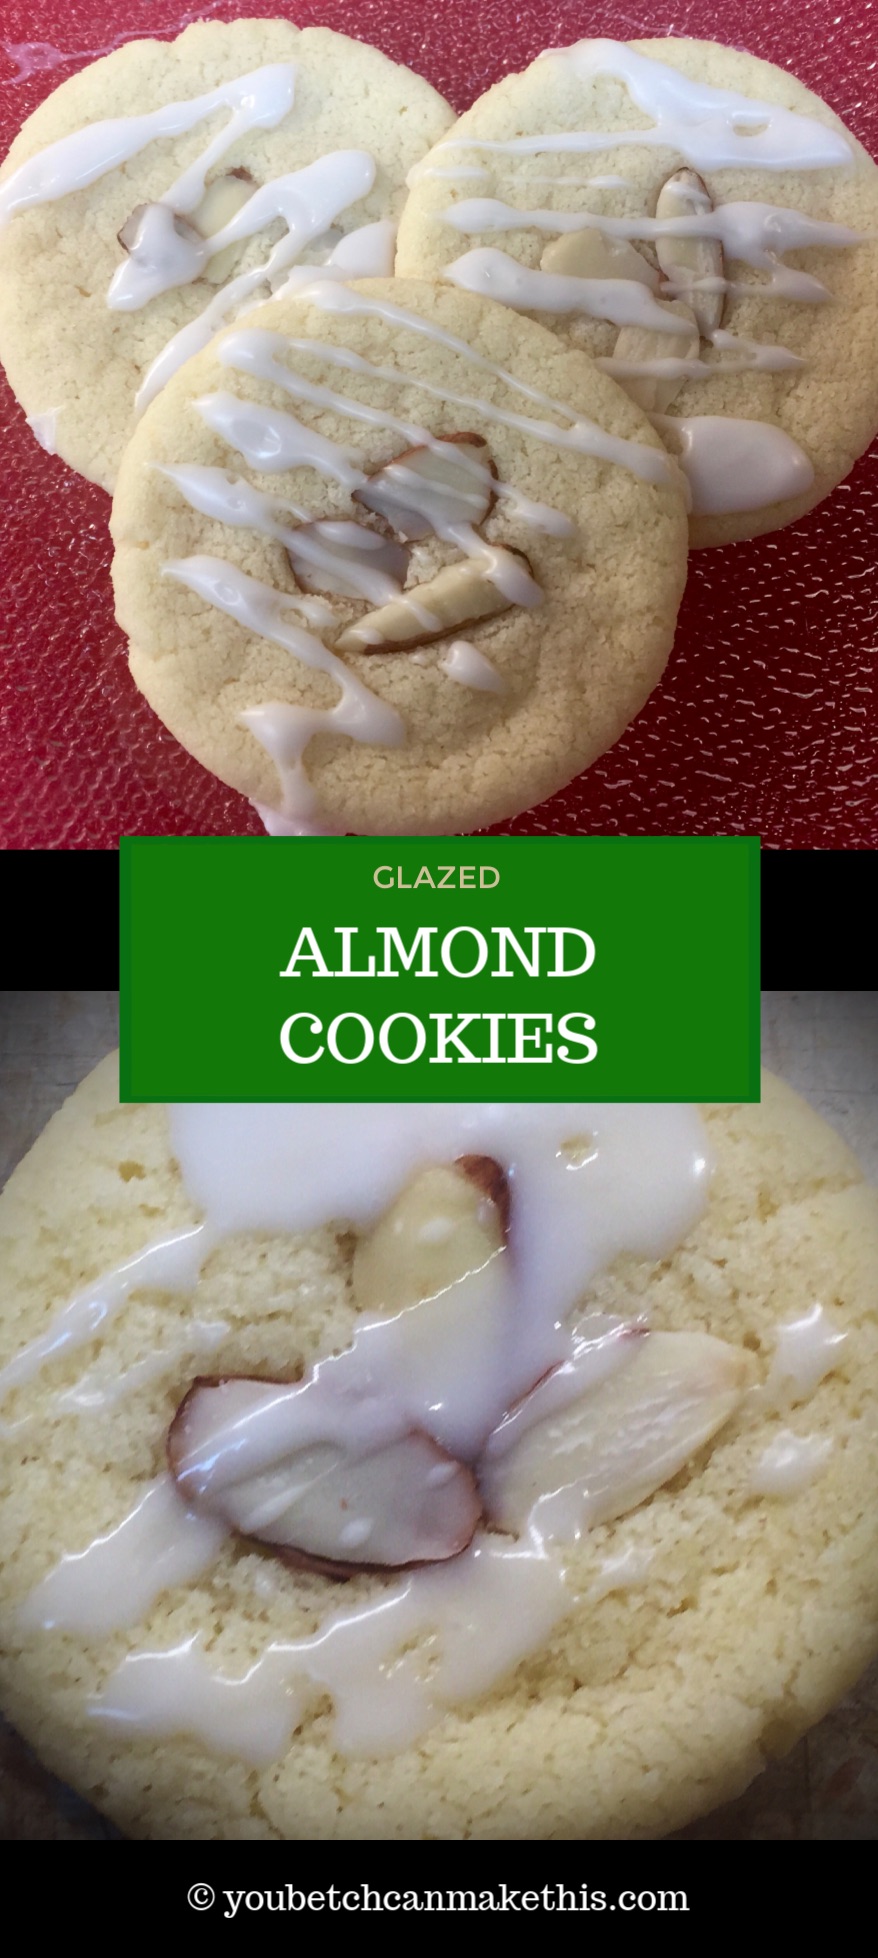
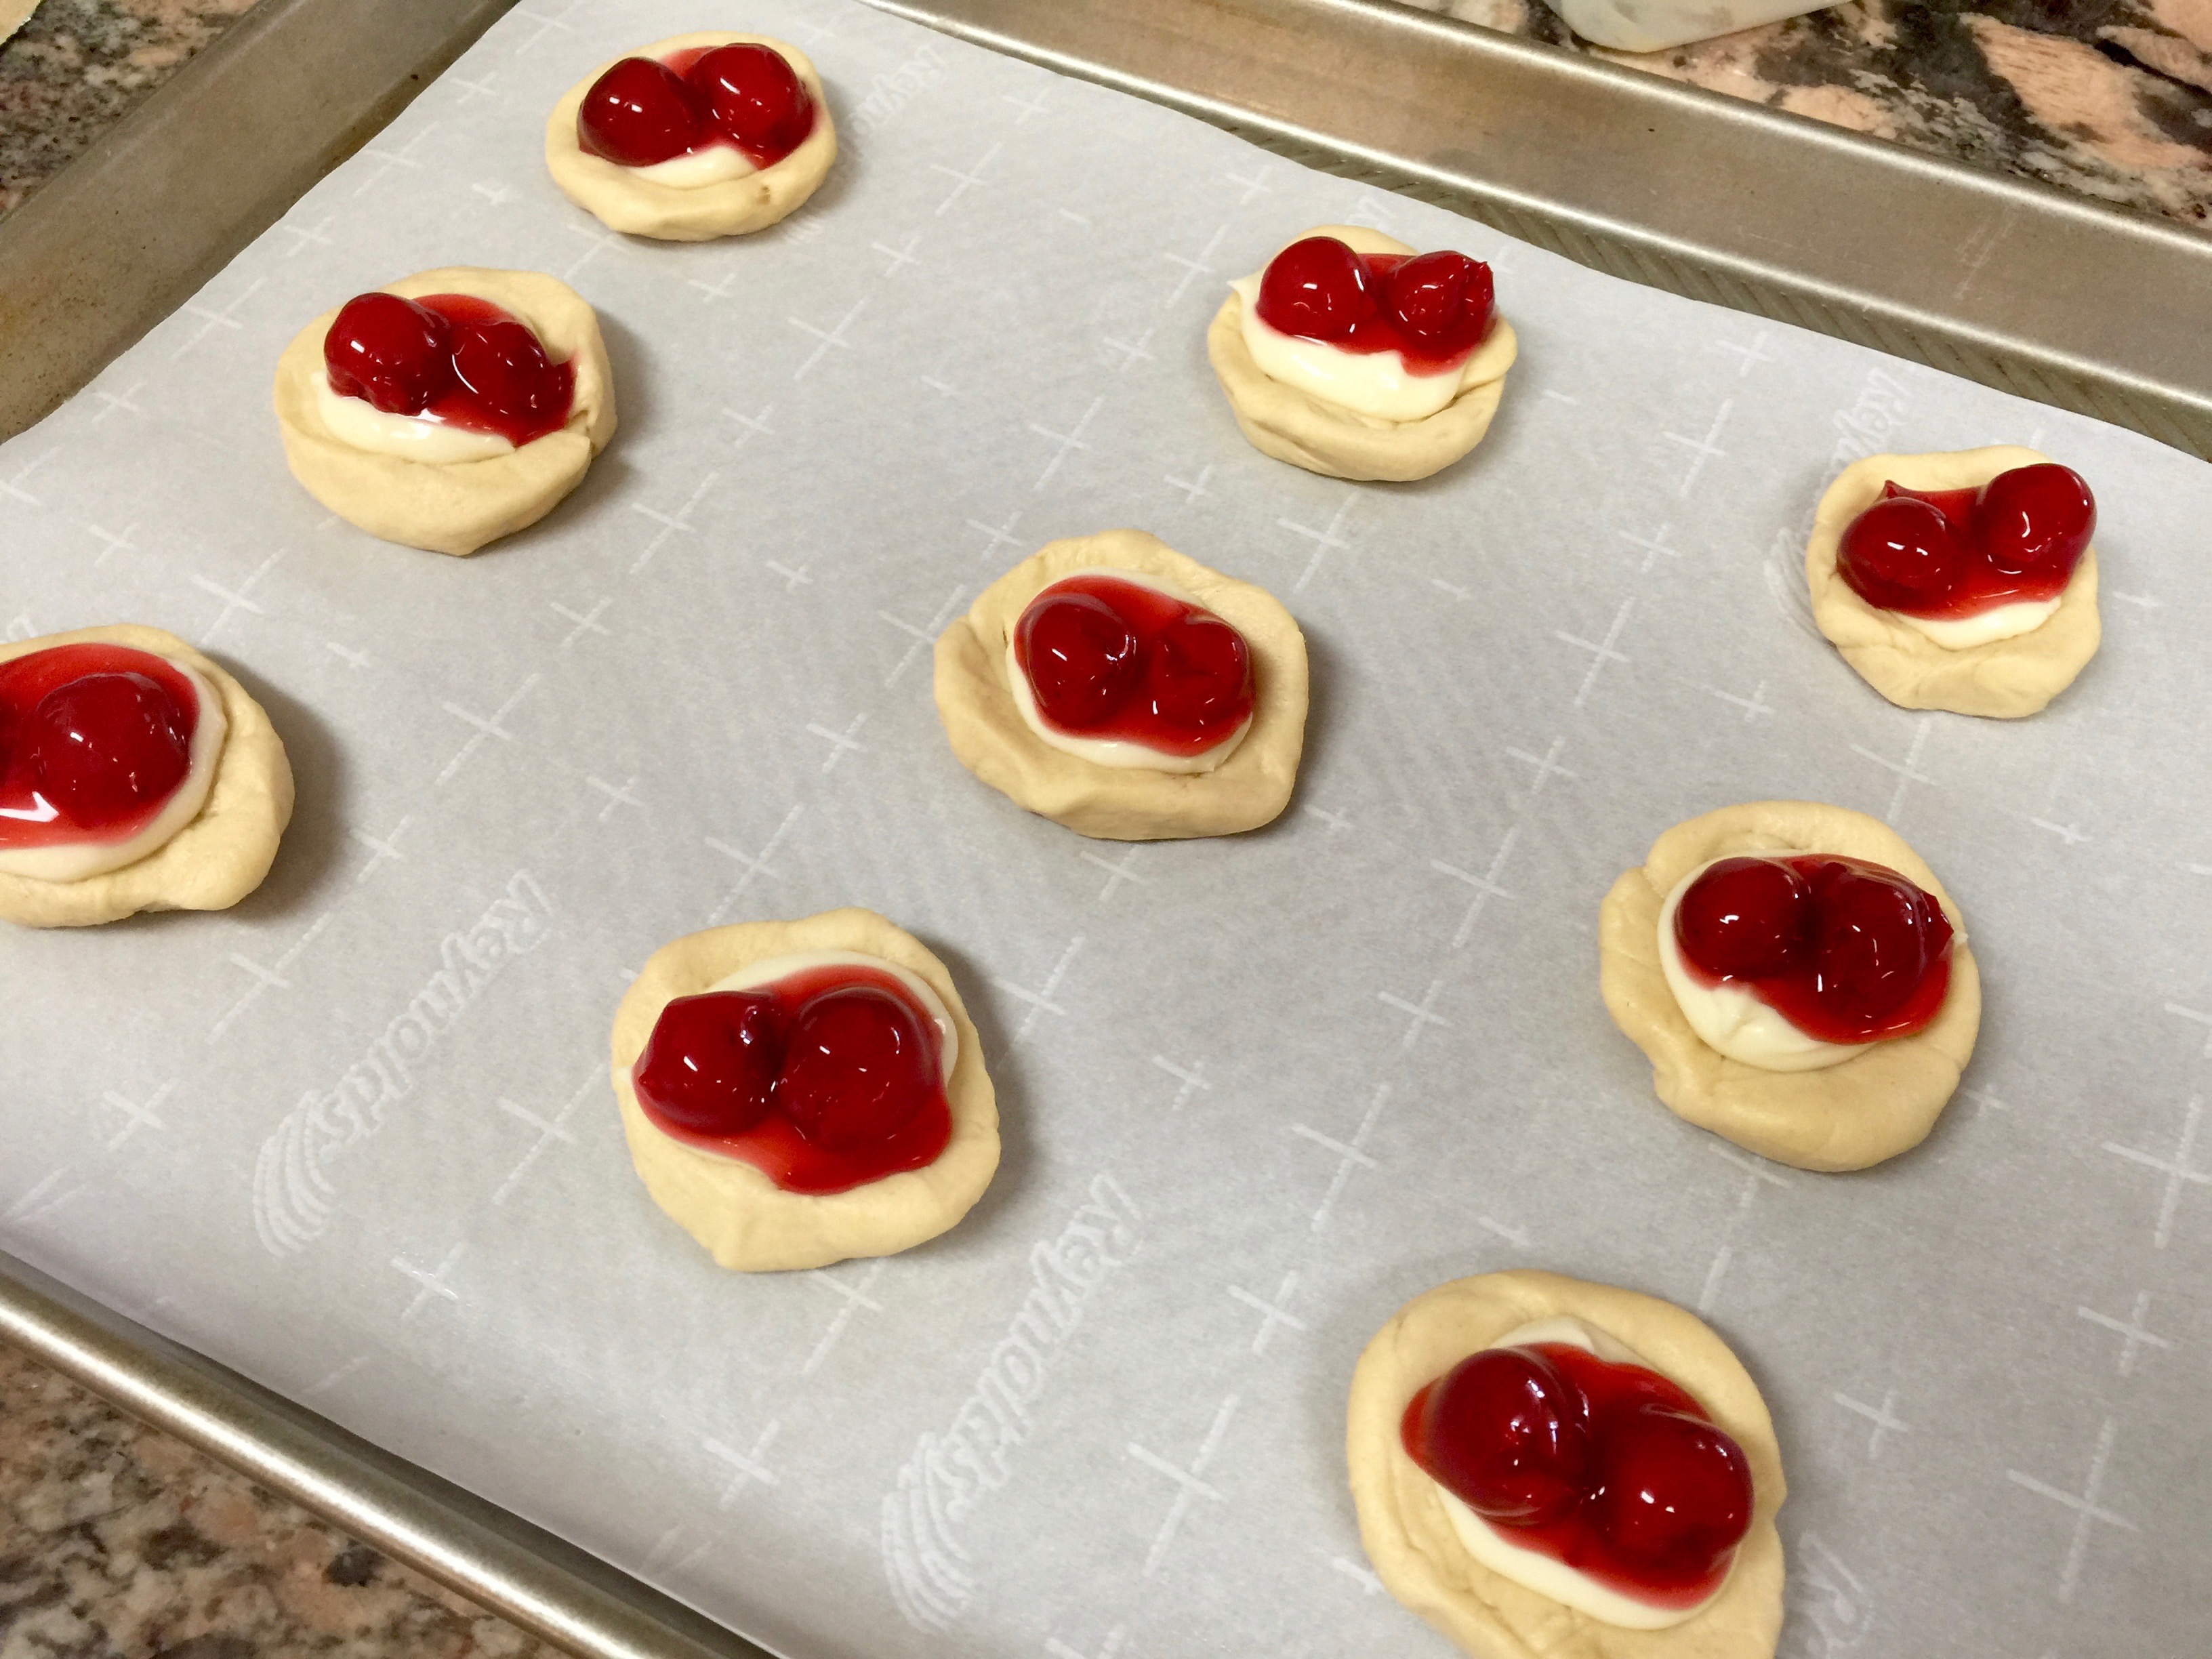
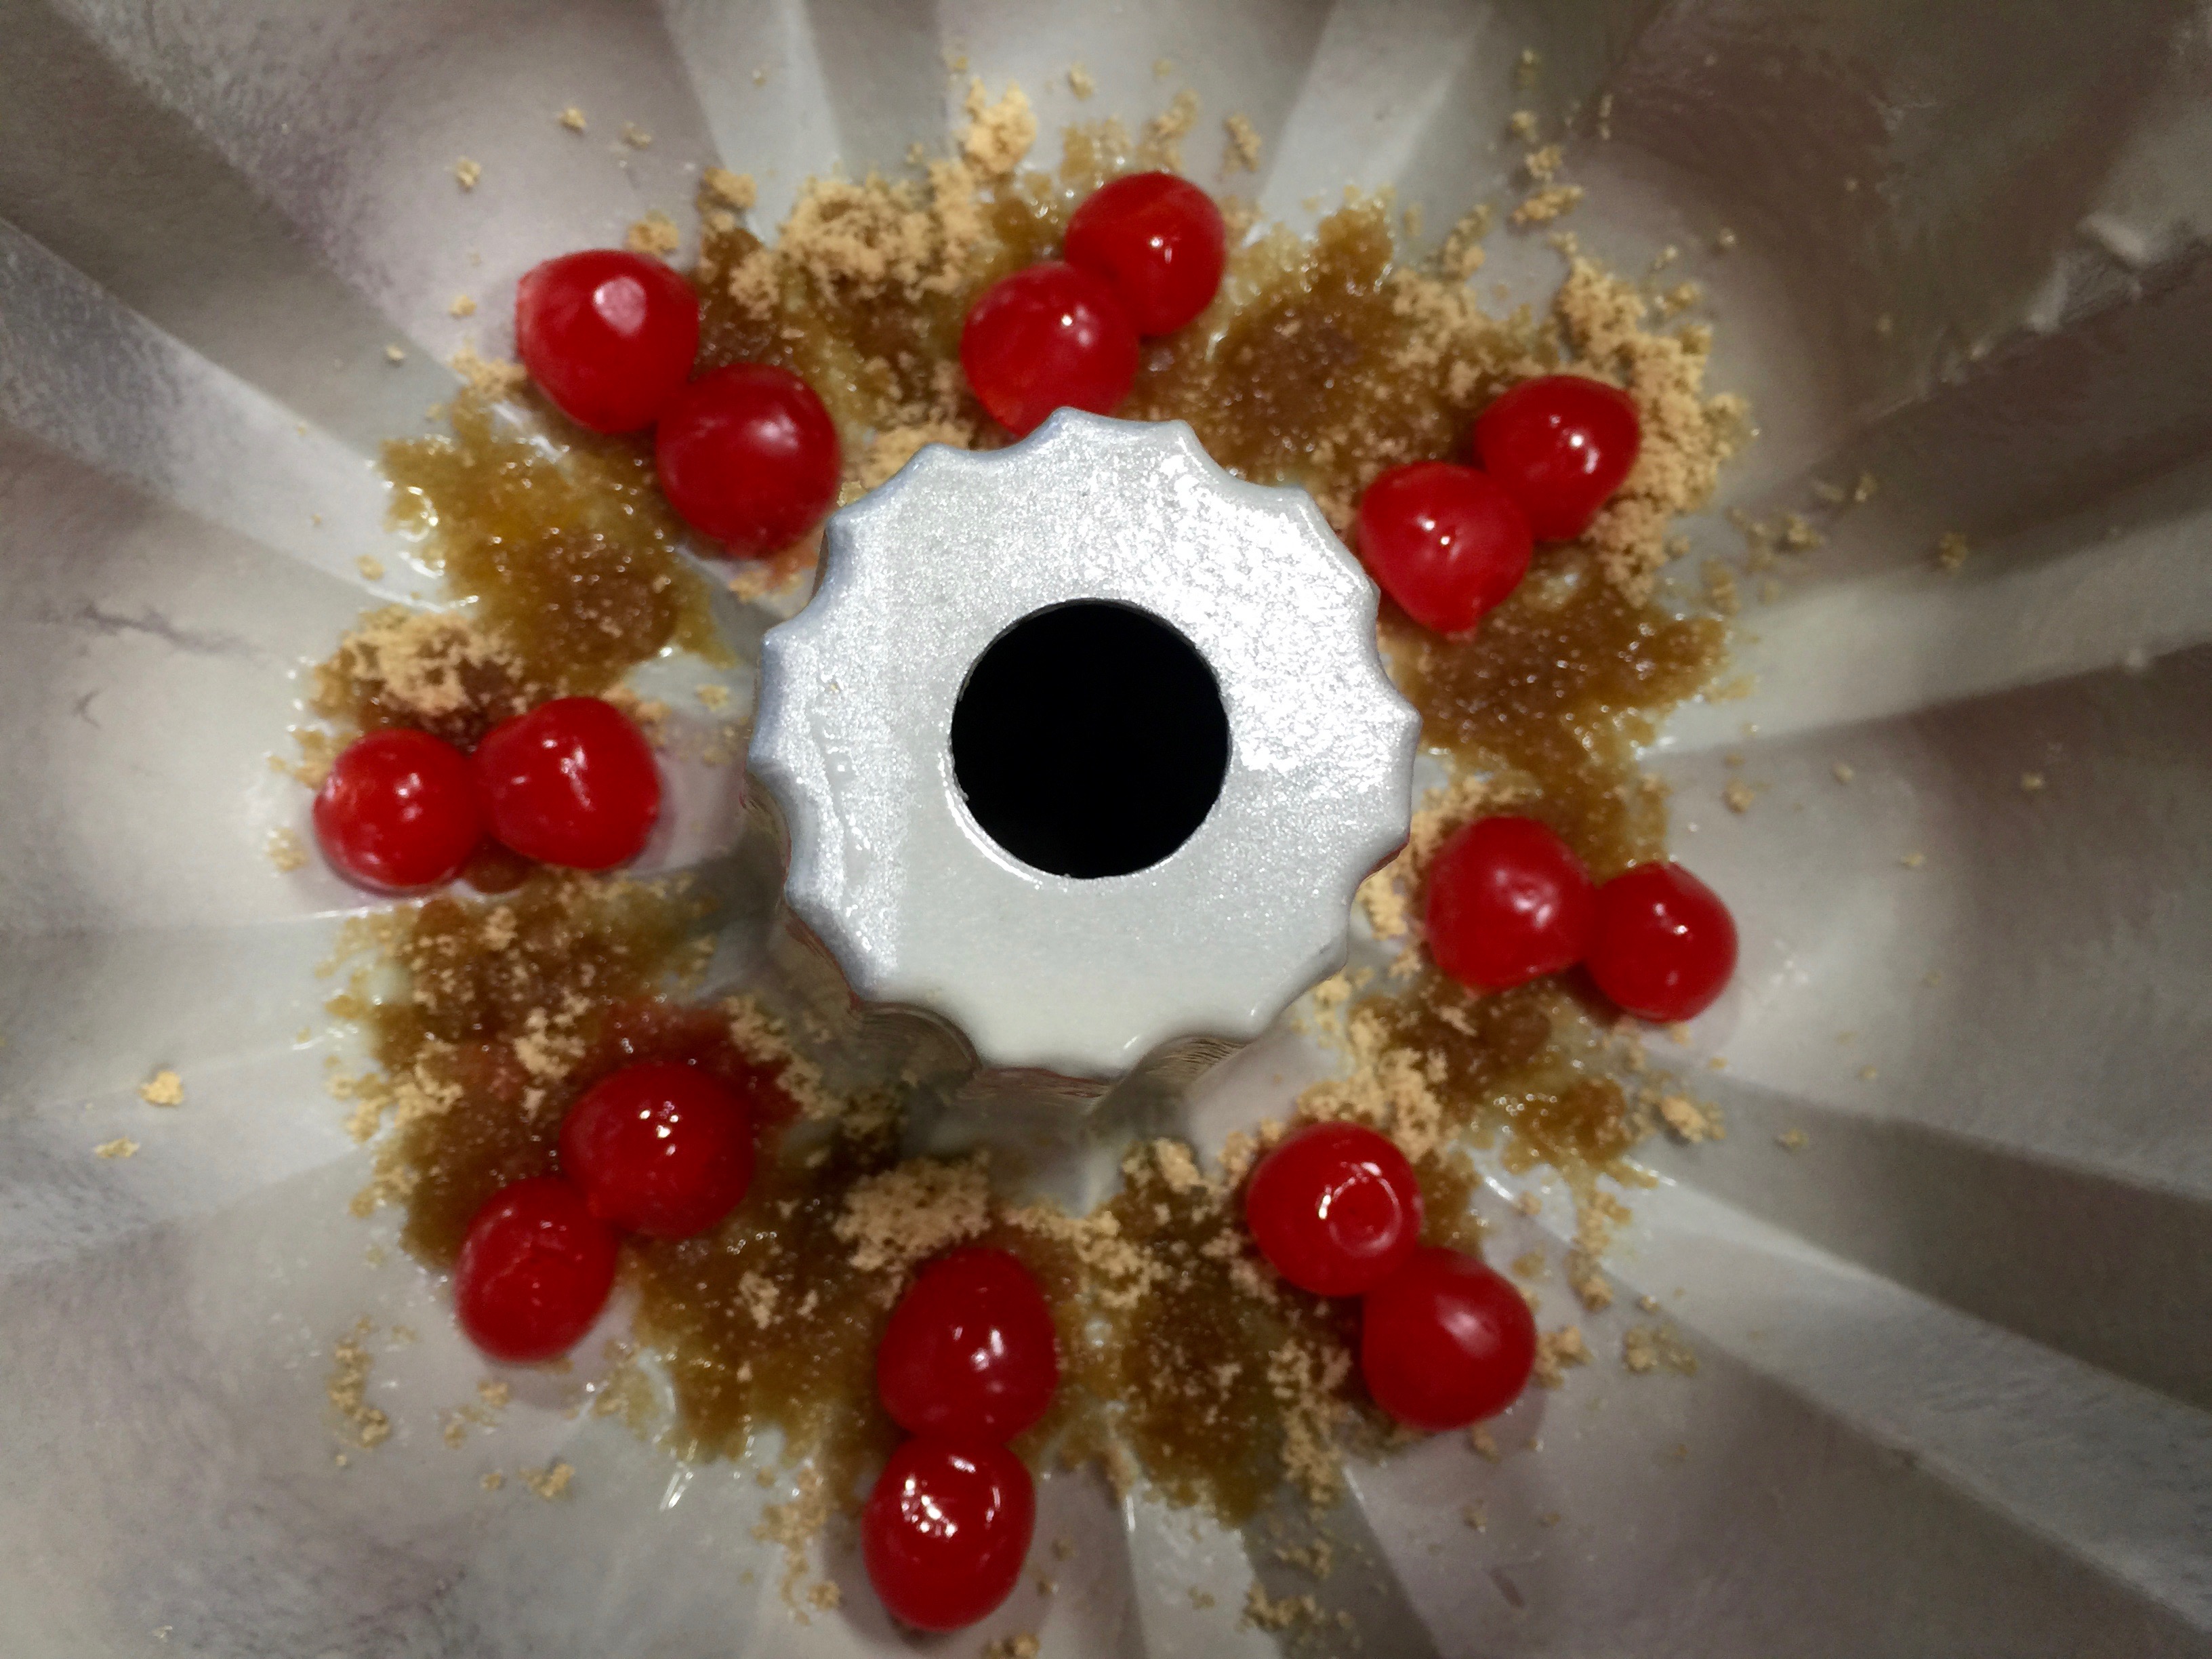
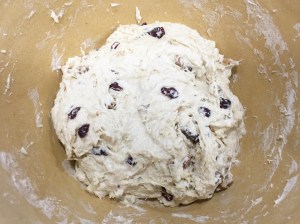
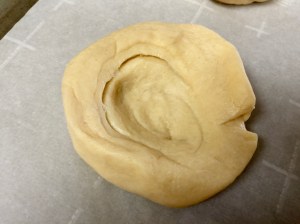 Lesson Learned 1 – Working with the refrigerator dough: Using this kind of dough is very convenient but you do have to work it a little bit. I cut the pieces along the pre-perforated edges as best I could (I wound up with 9 rounds and I should have only had 8 if I followed the perforations exactly – oh well…) and rolled each piece into a ball. I flattened each piece with my hand and then used my thumbs to create a crater inside the dough. The crater is important because that’s where you put the cream cheese and cherries. Making the crater as deep as possible helps to prevent the cherries from falling off. But don’t worry, if they do once you pull them out of the oven just use a small spoon to push them back on top. Once they cool they will stay put.
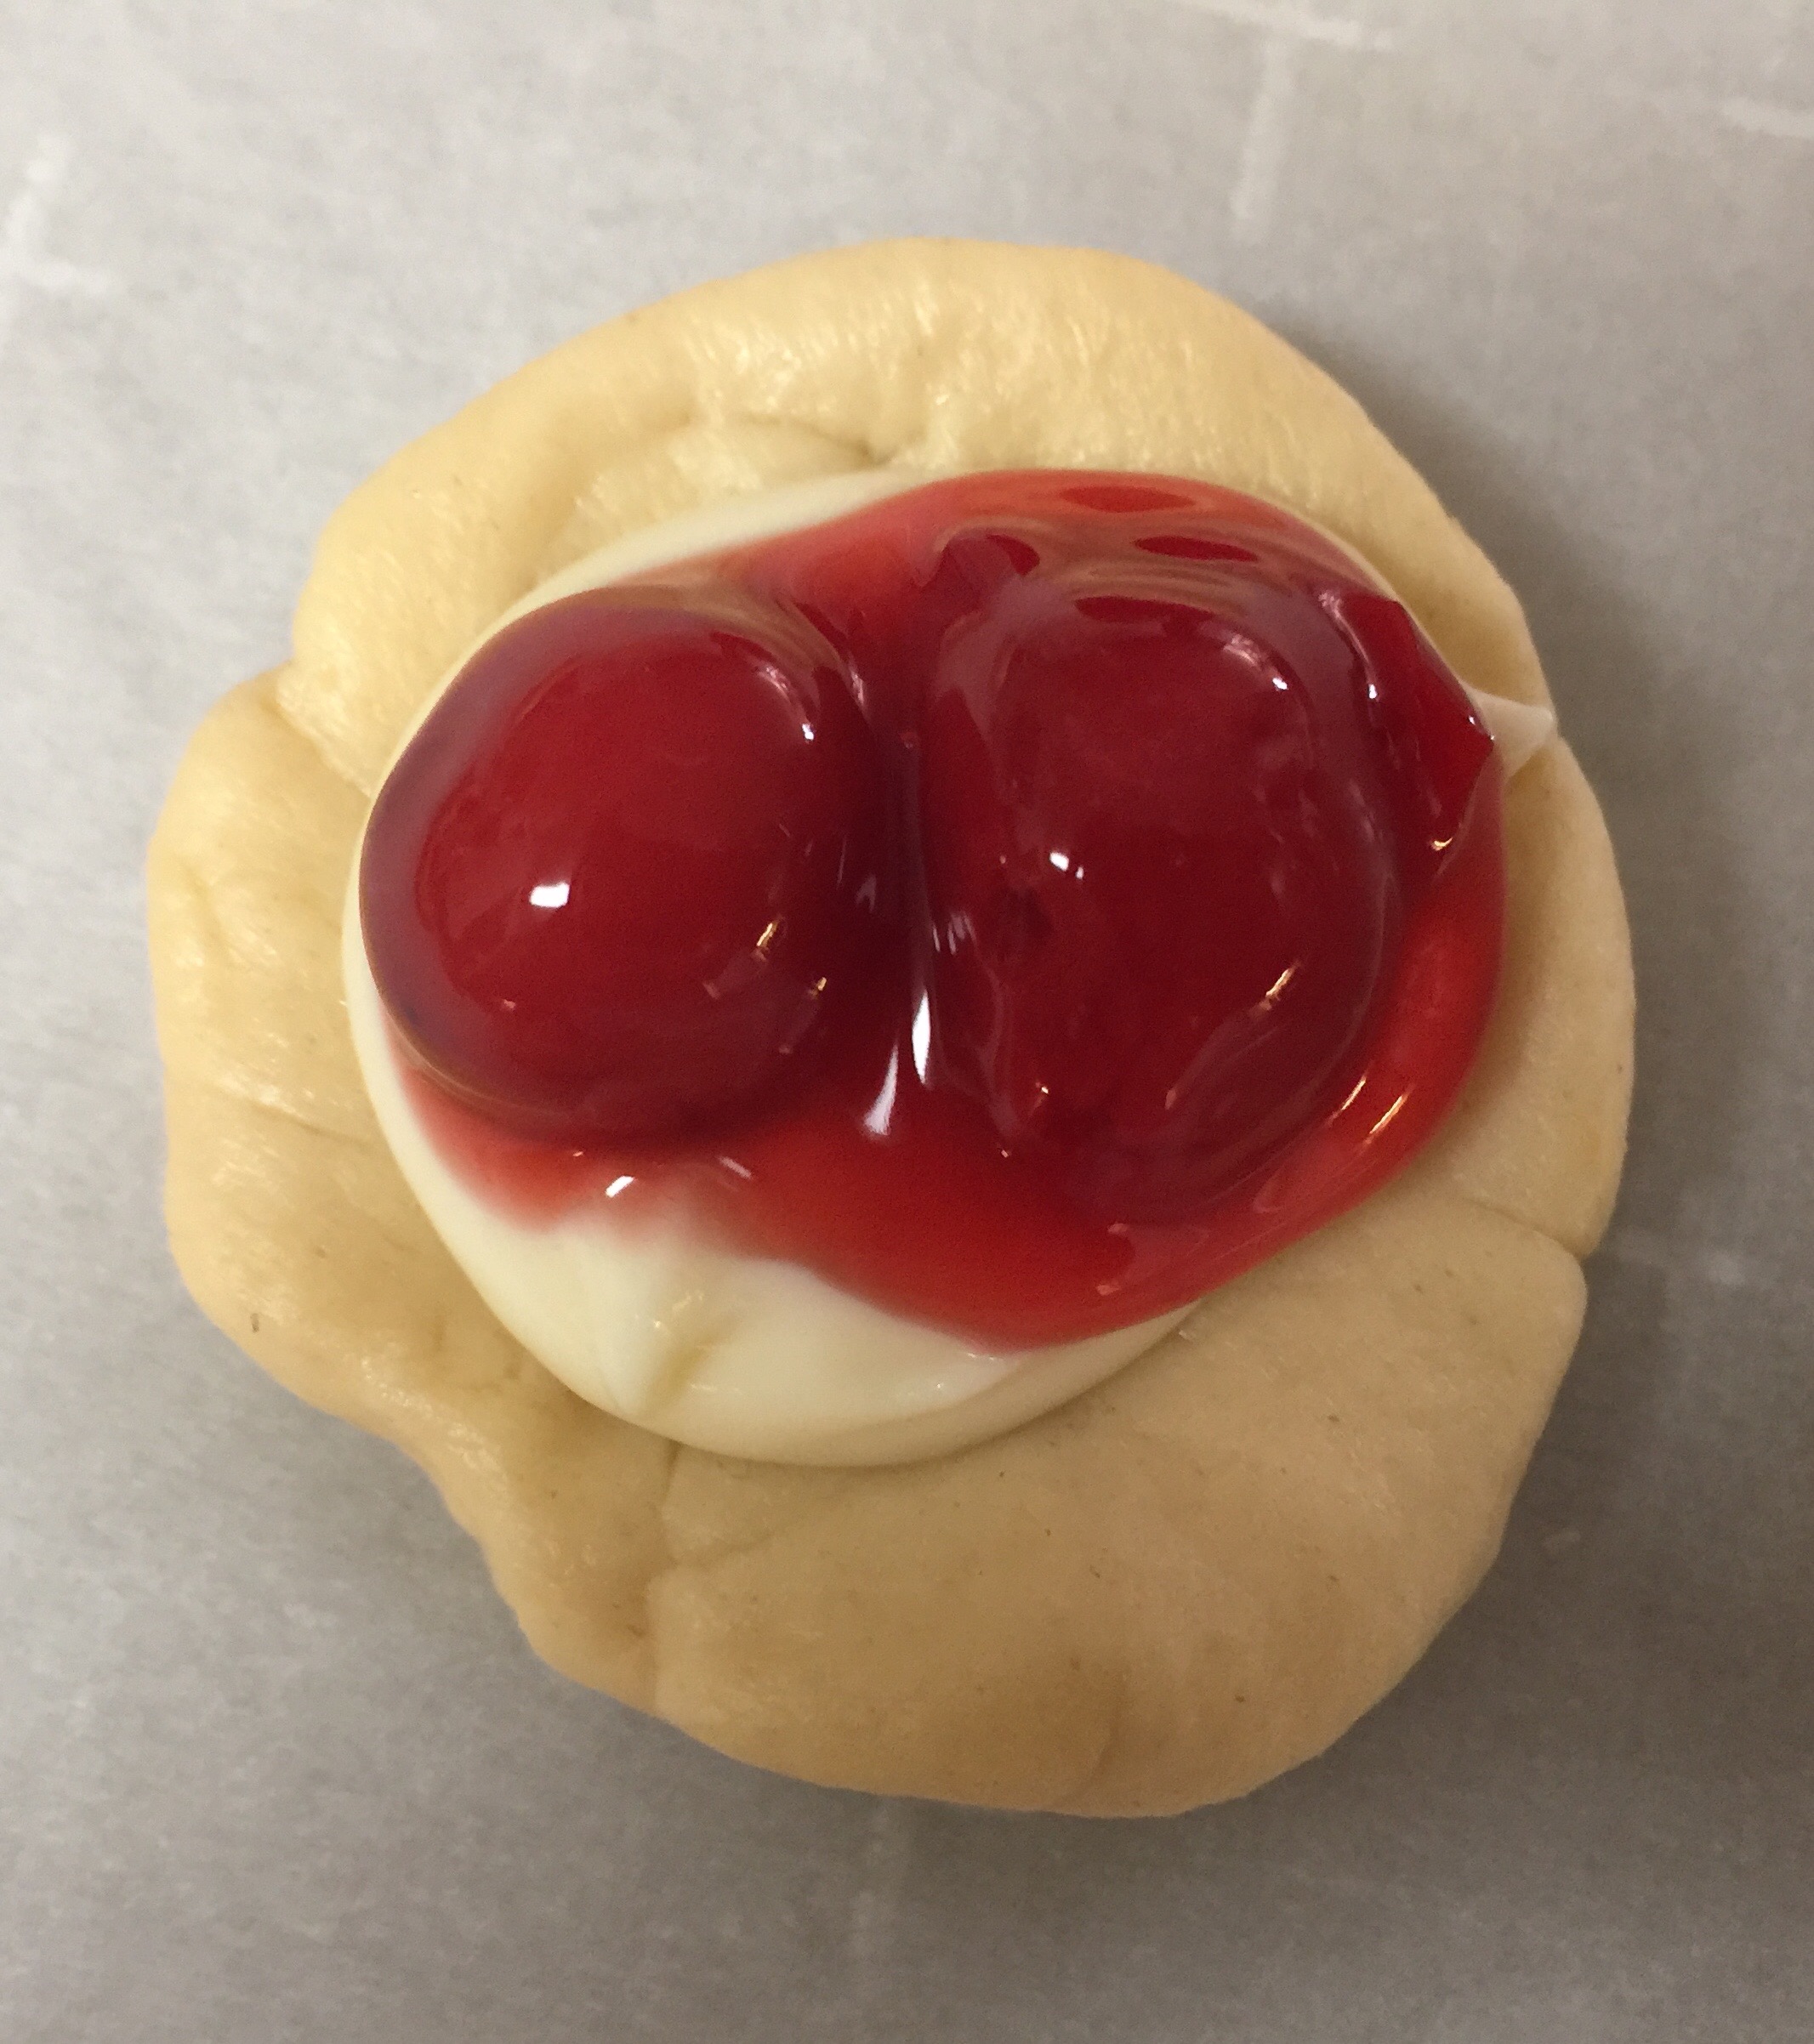
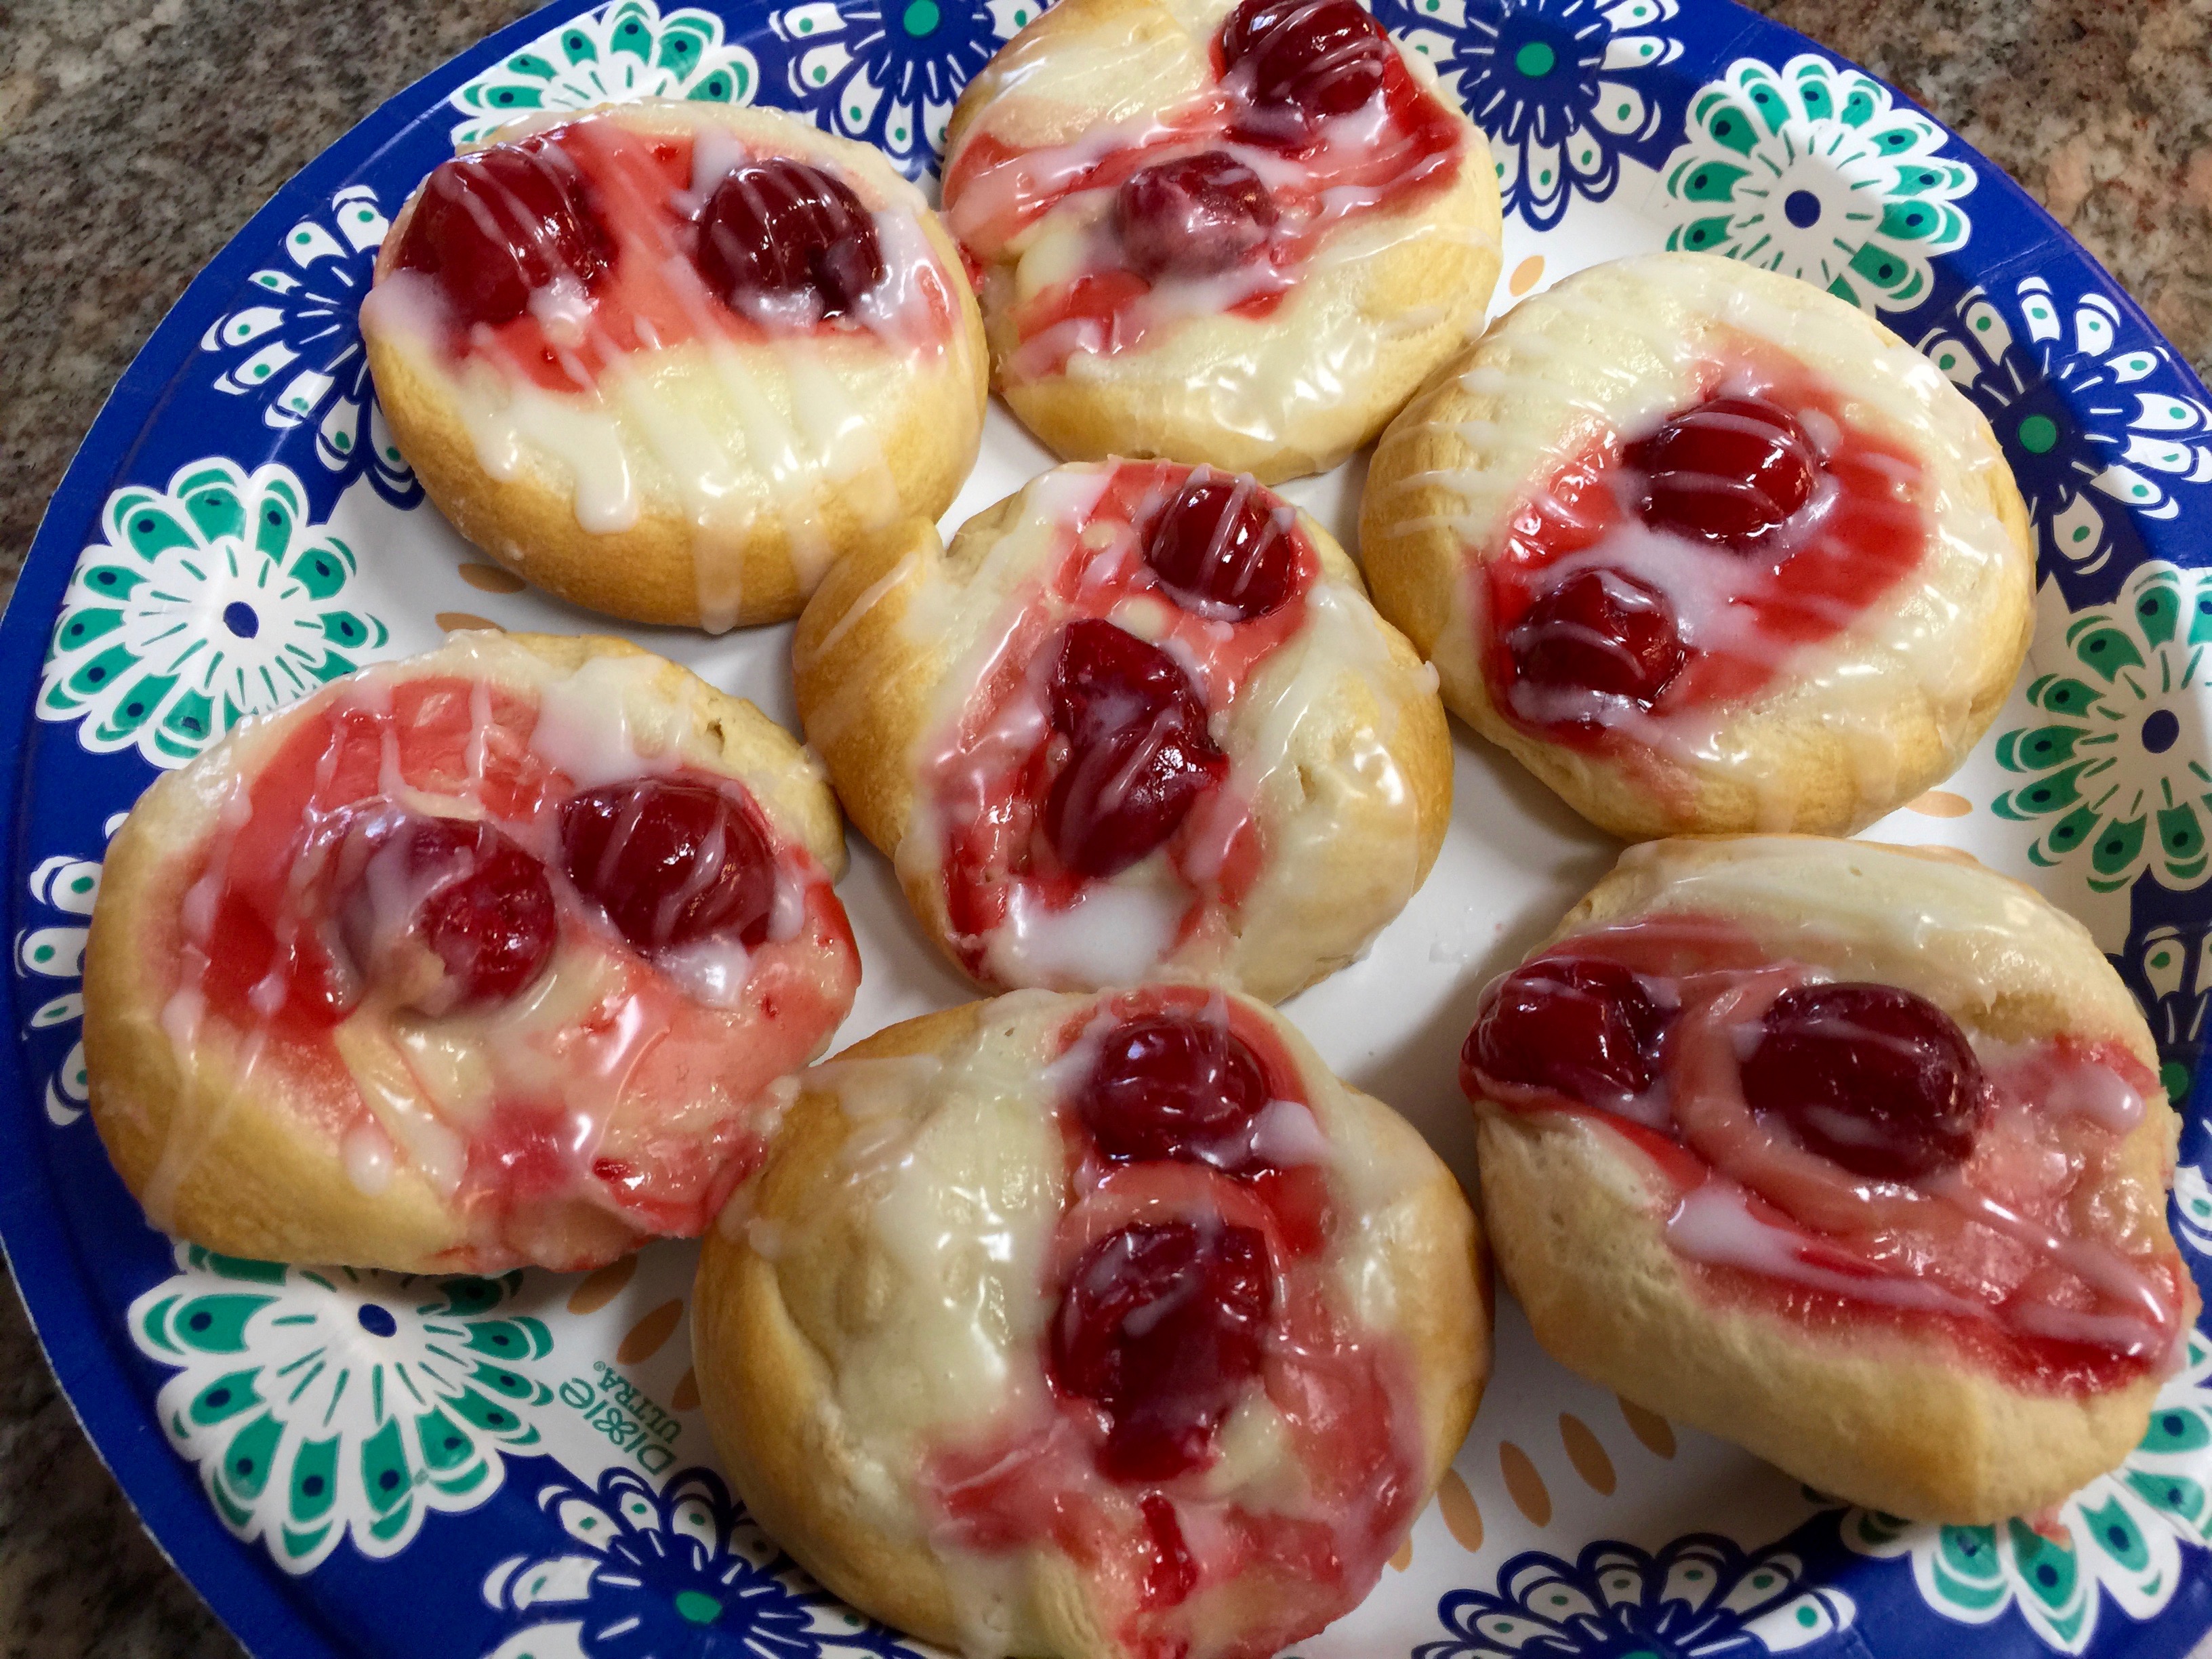

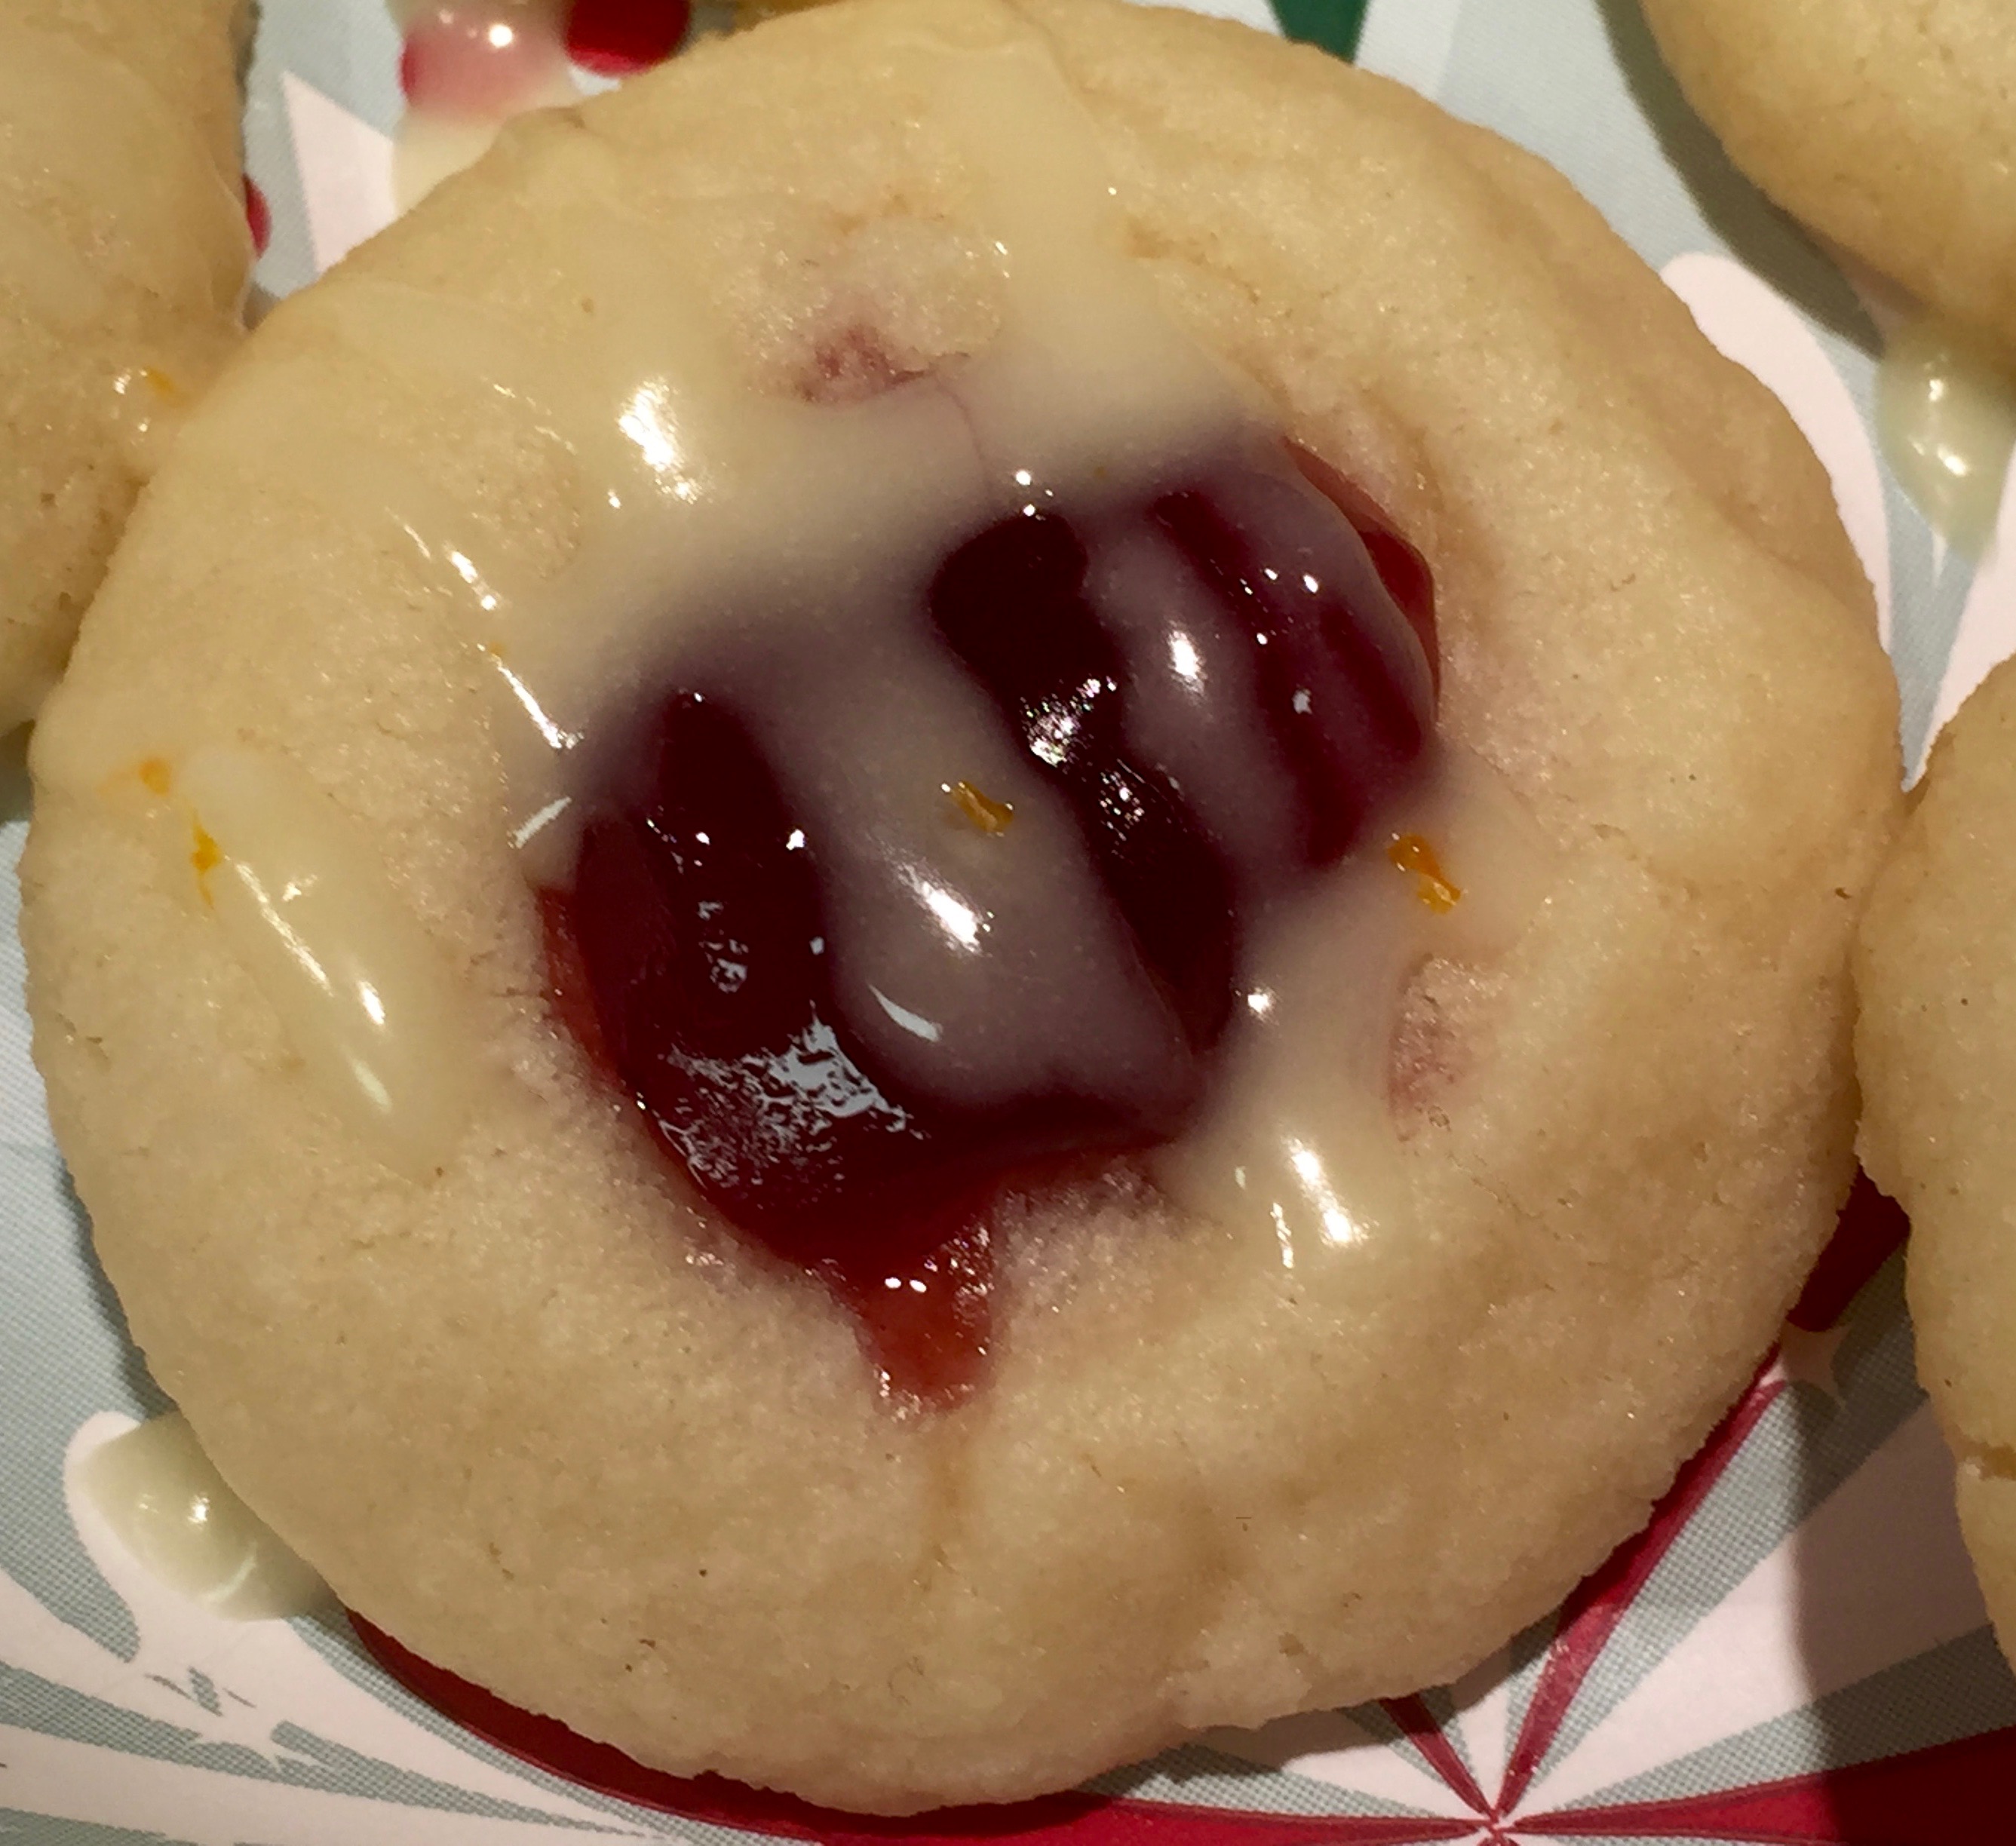
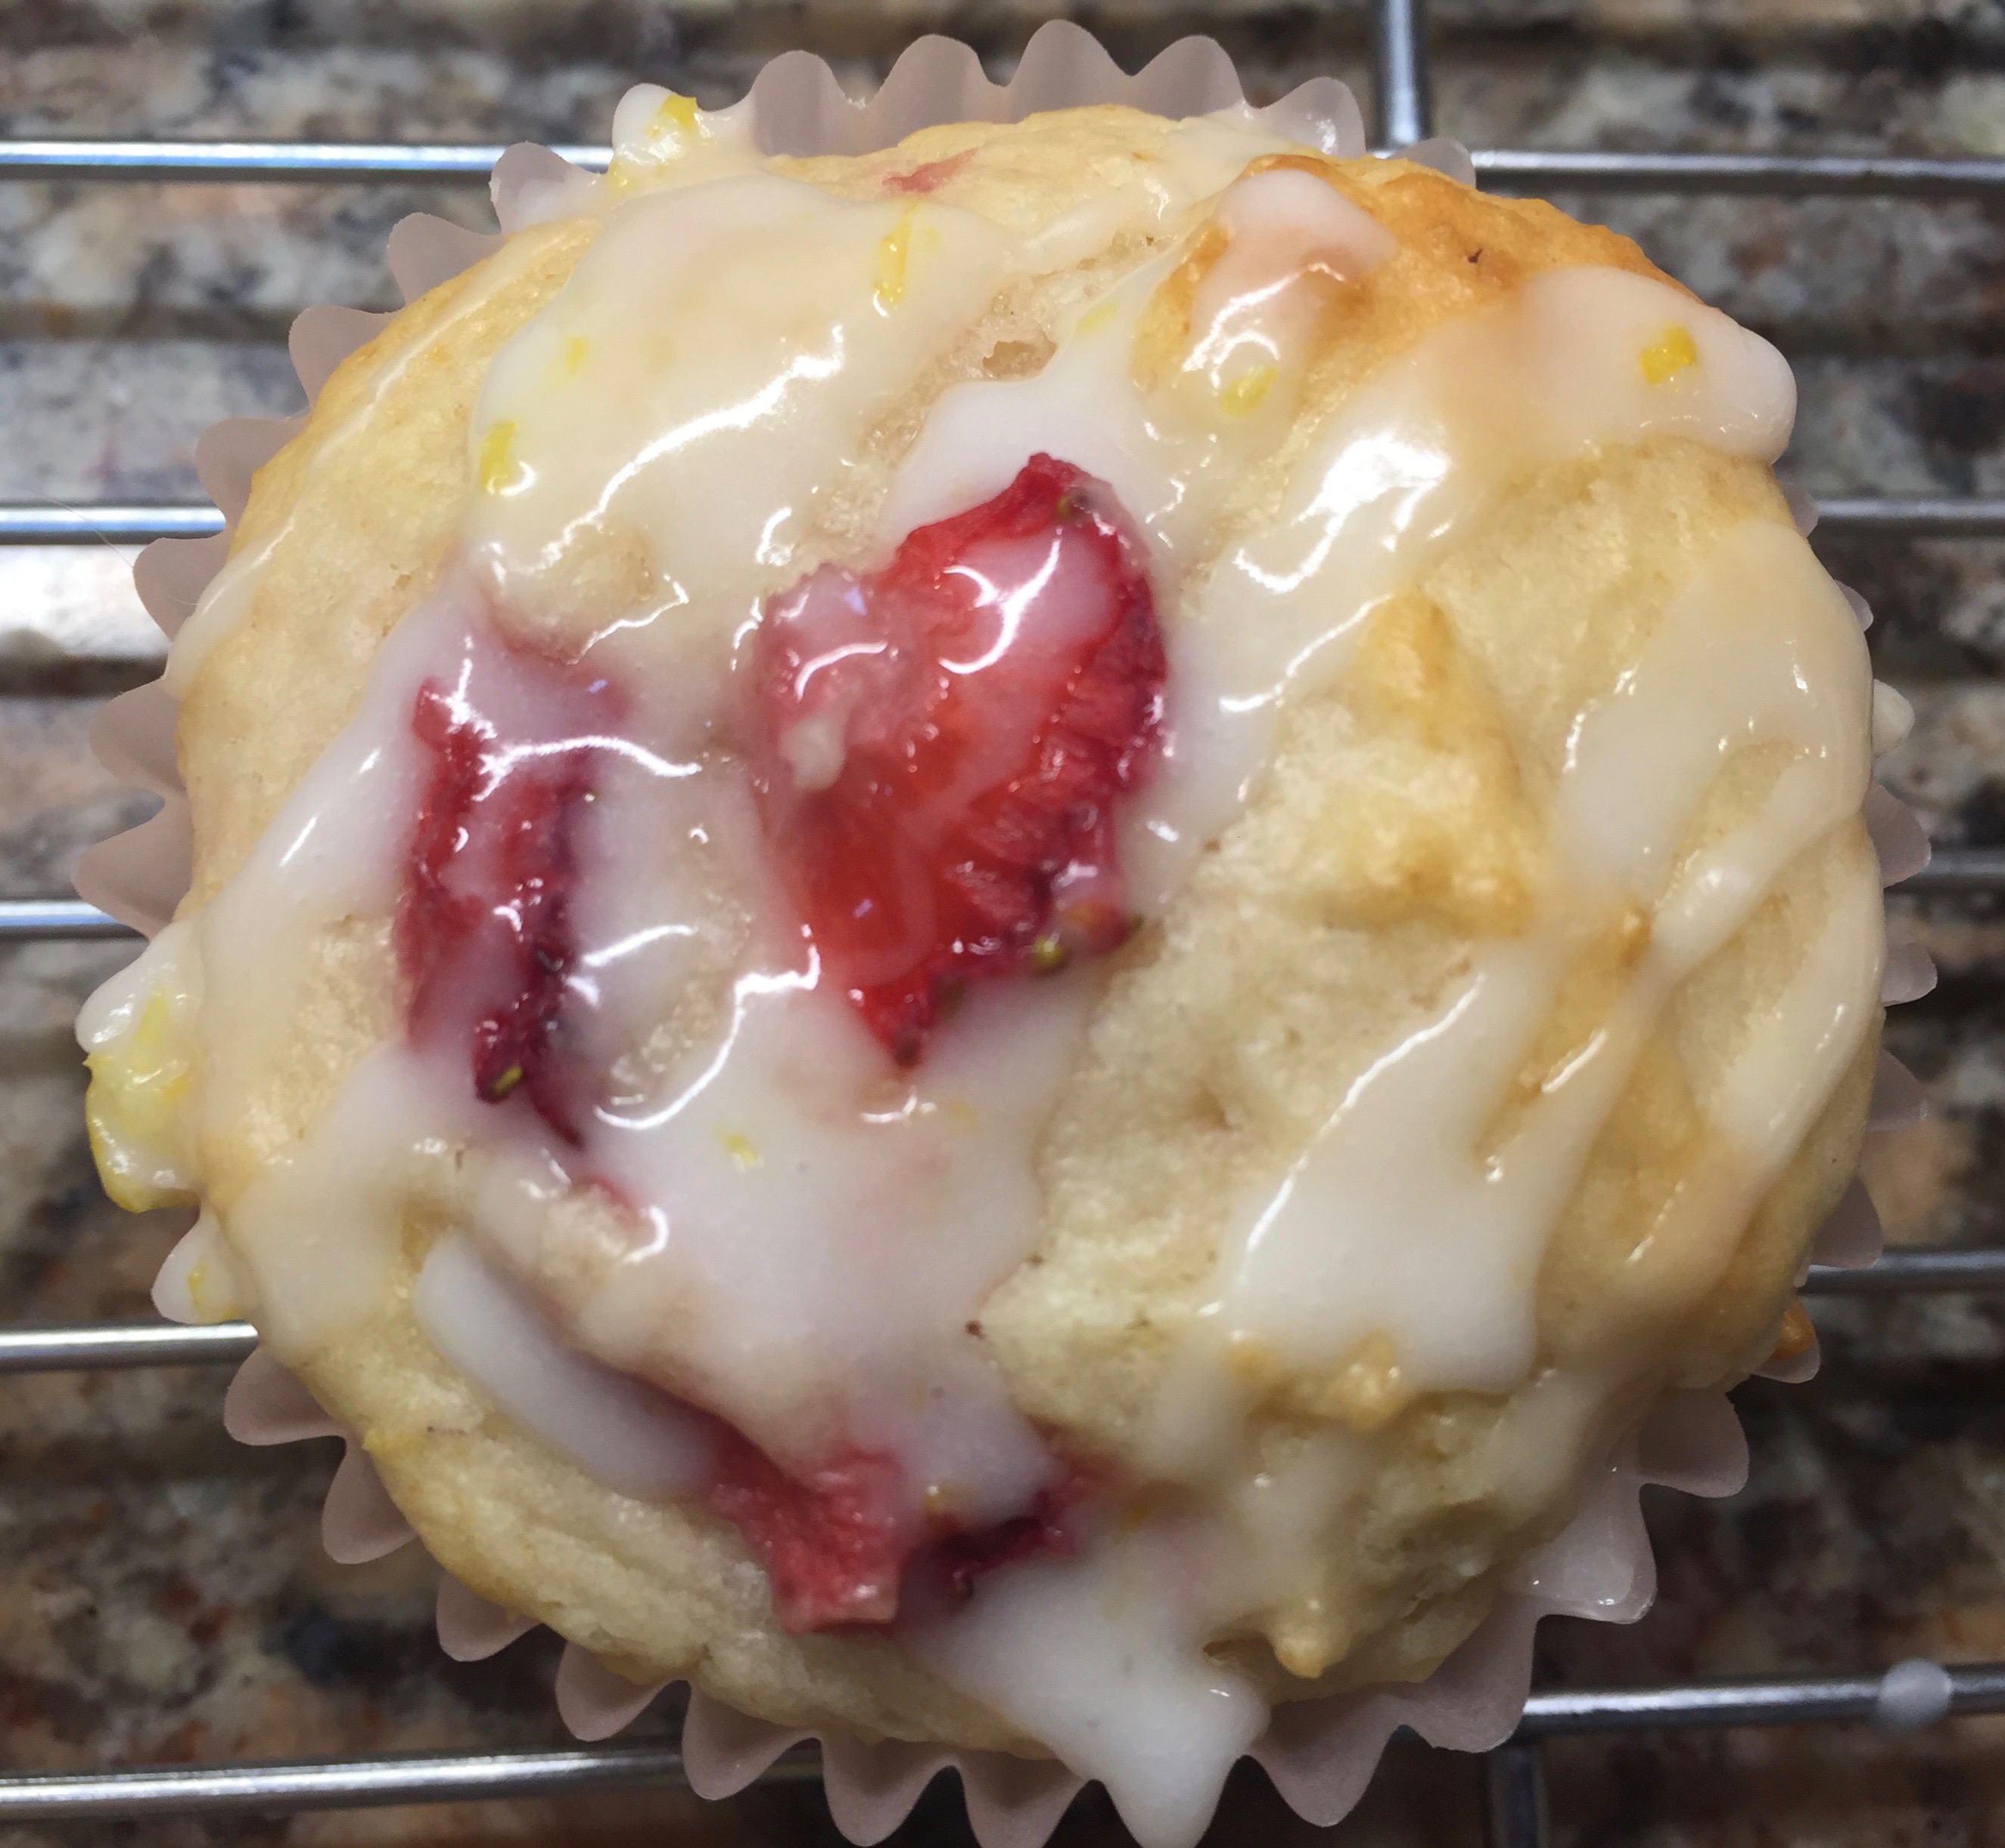
 Lesson Learned 2 – Making the glaze: Making glaze for any type of cake or pastry couldn’t be easier. All it requires is some confectioners sugar, some liquid and perhaps some sort of additional flavoring. You can use water, milk, or heavy cream for your liquid and you can use a little extract, juice or zest to enhance the flavor of the glaze. More often than not I use milk as the liquid and in this particular recipe I used a little vanilla extract to enhance the flavor.
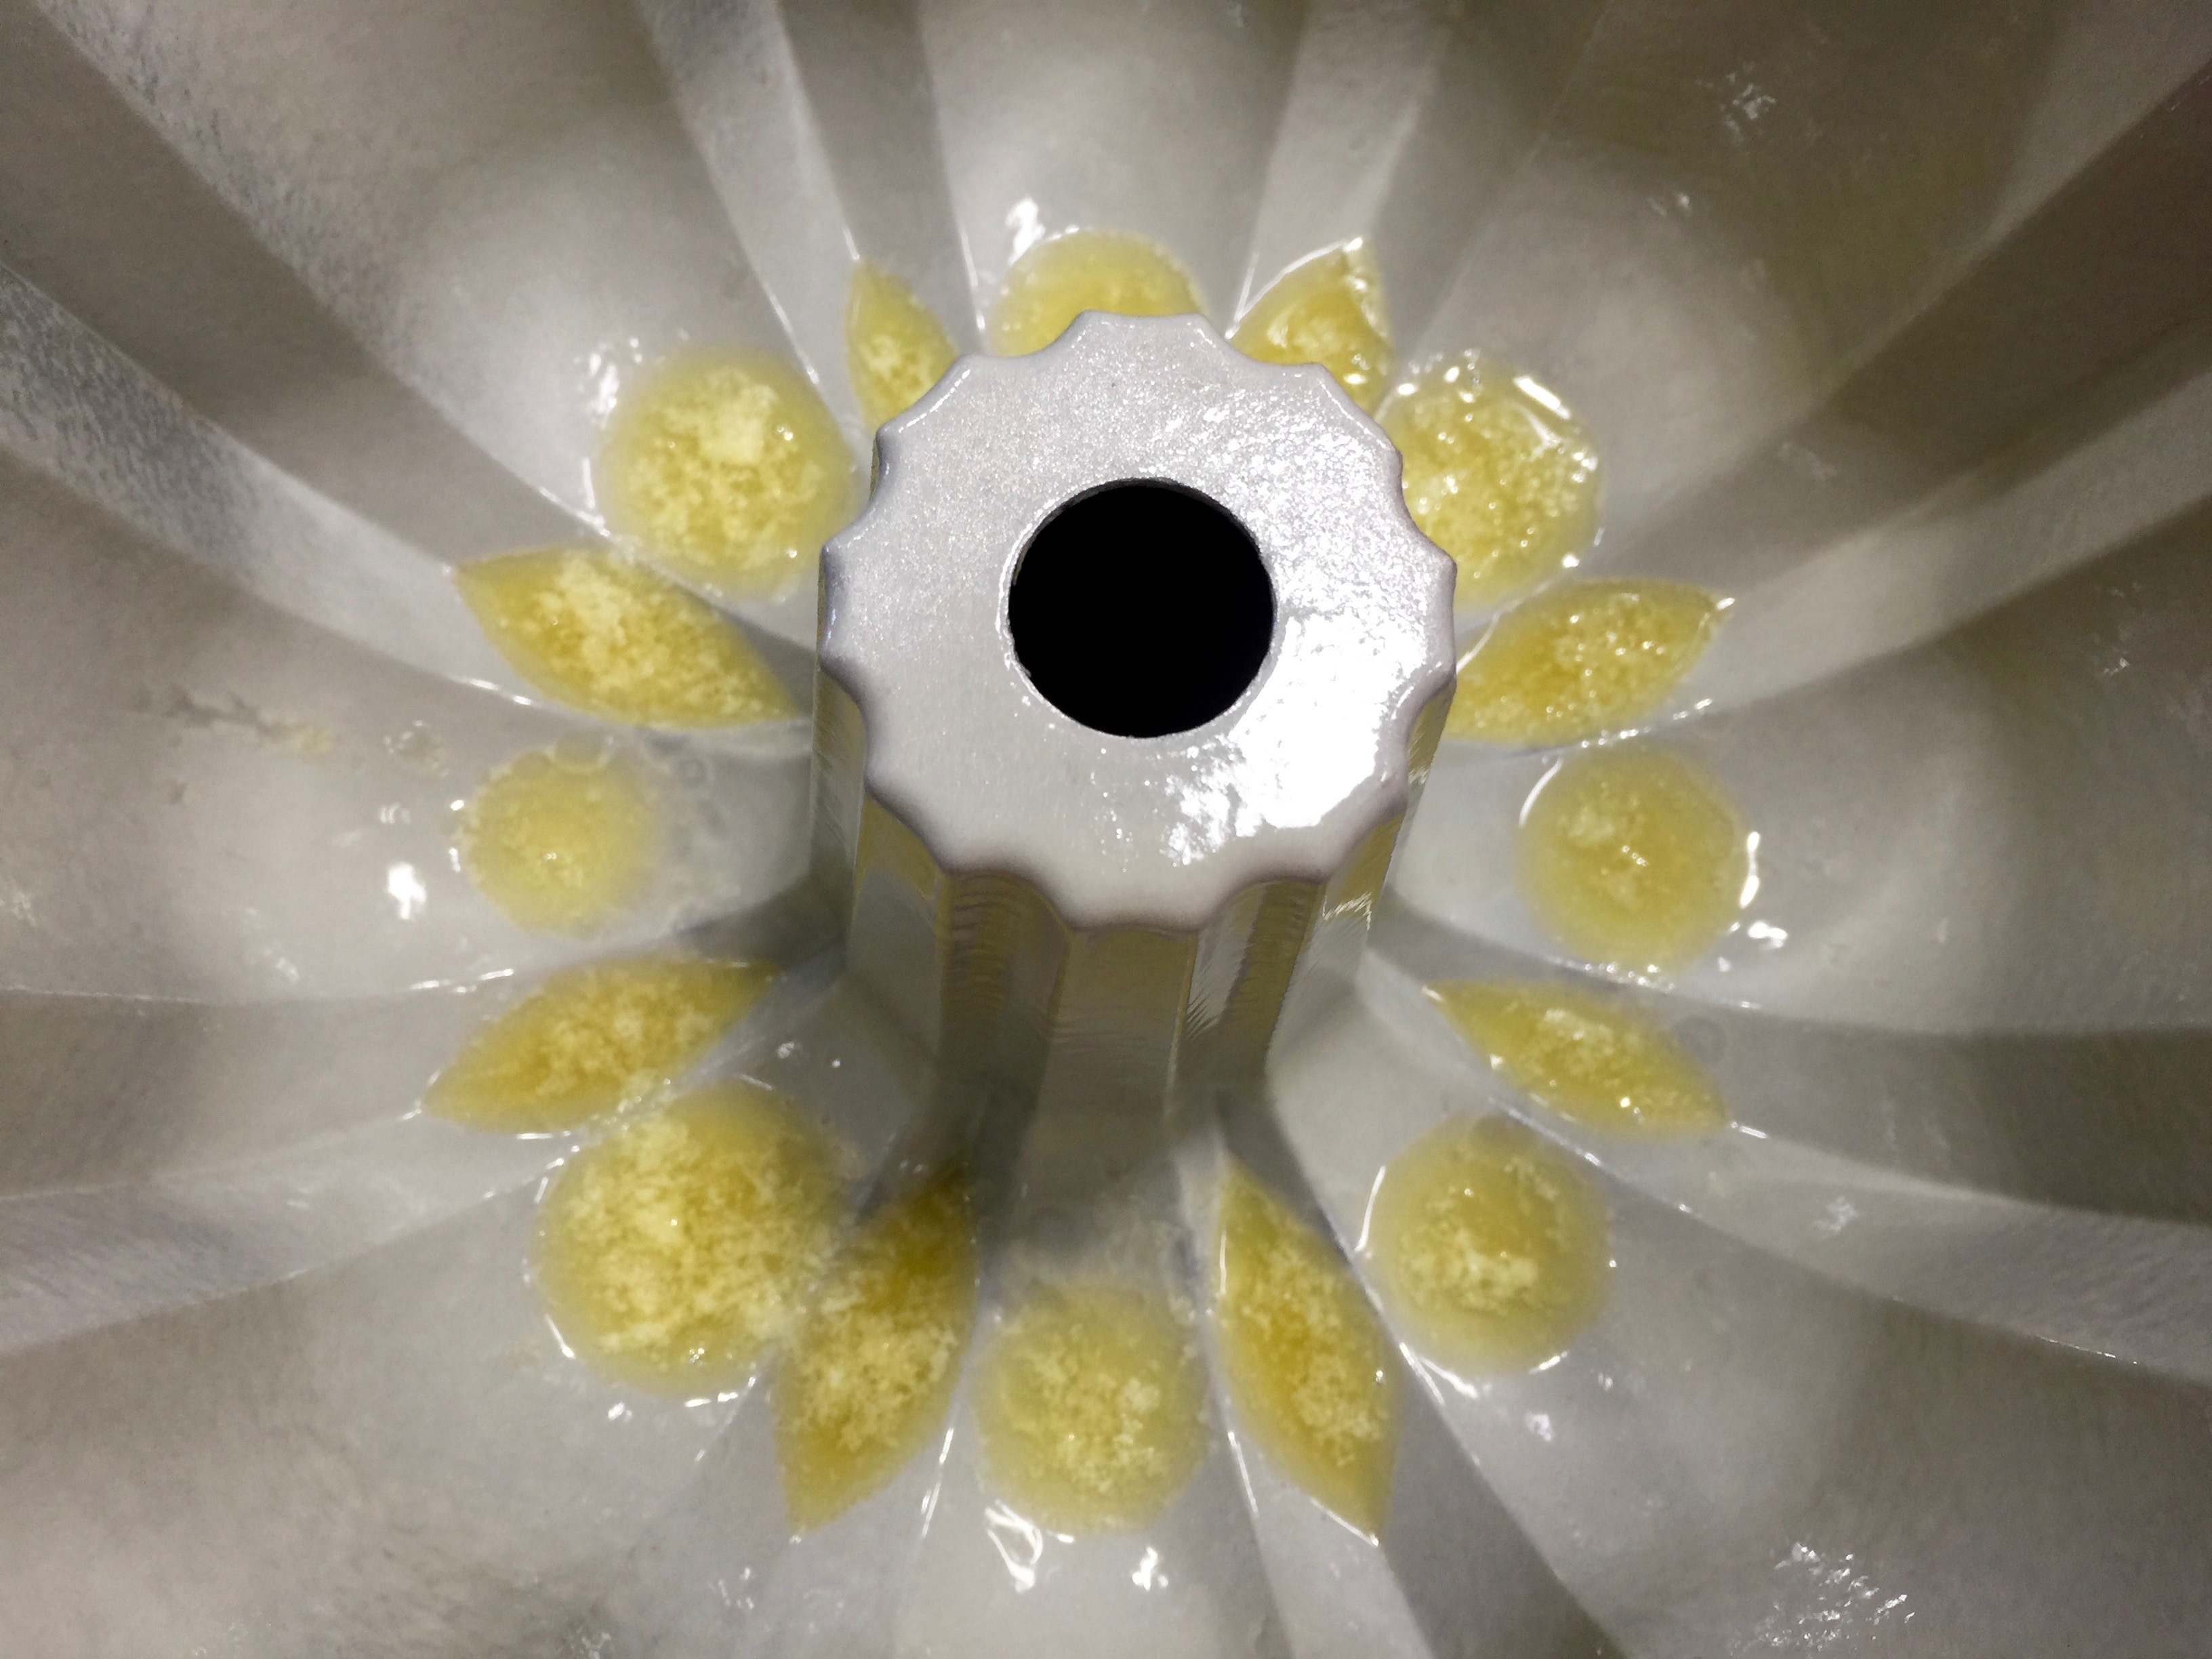


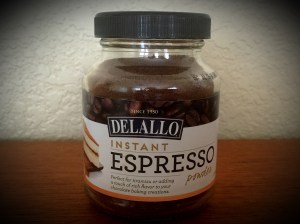 Lesson Learned 4 – Use instant espresso powder to enhance the flavor of the chocolate: In any recipe that includes chocolate I’d recommend adding at least a quarter teaspoon of espresso powder. It brings out the chocolate flavor so much more. Try making a chocolate recipe without it and then make the same recipe with it. You’ll be amazed at how much it enhances the flavor of the chocolate.

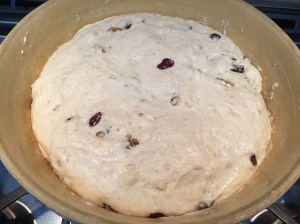
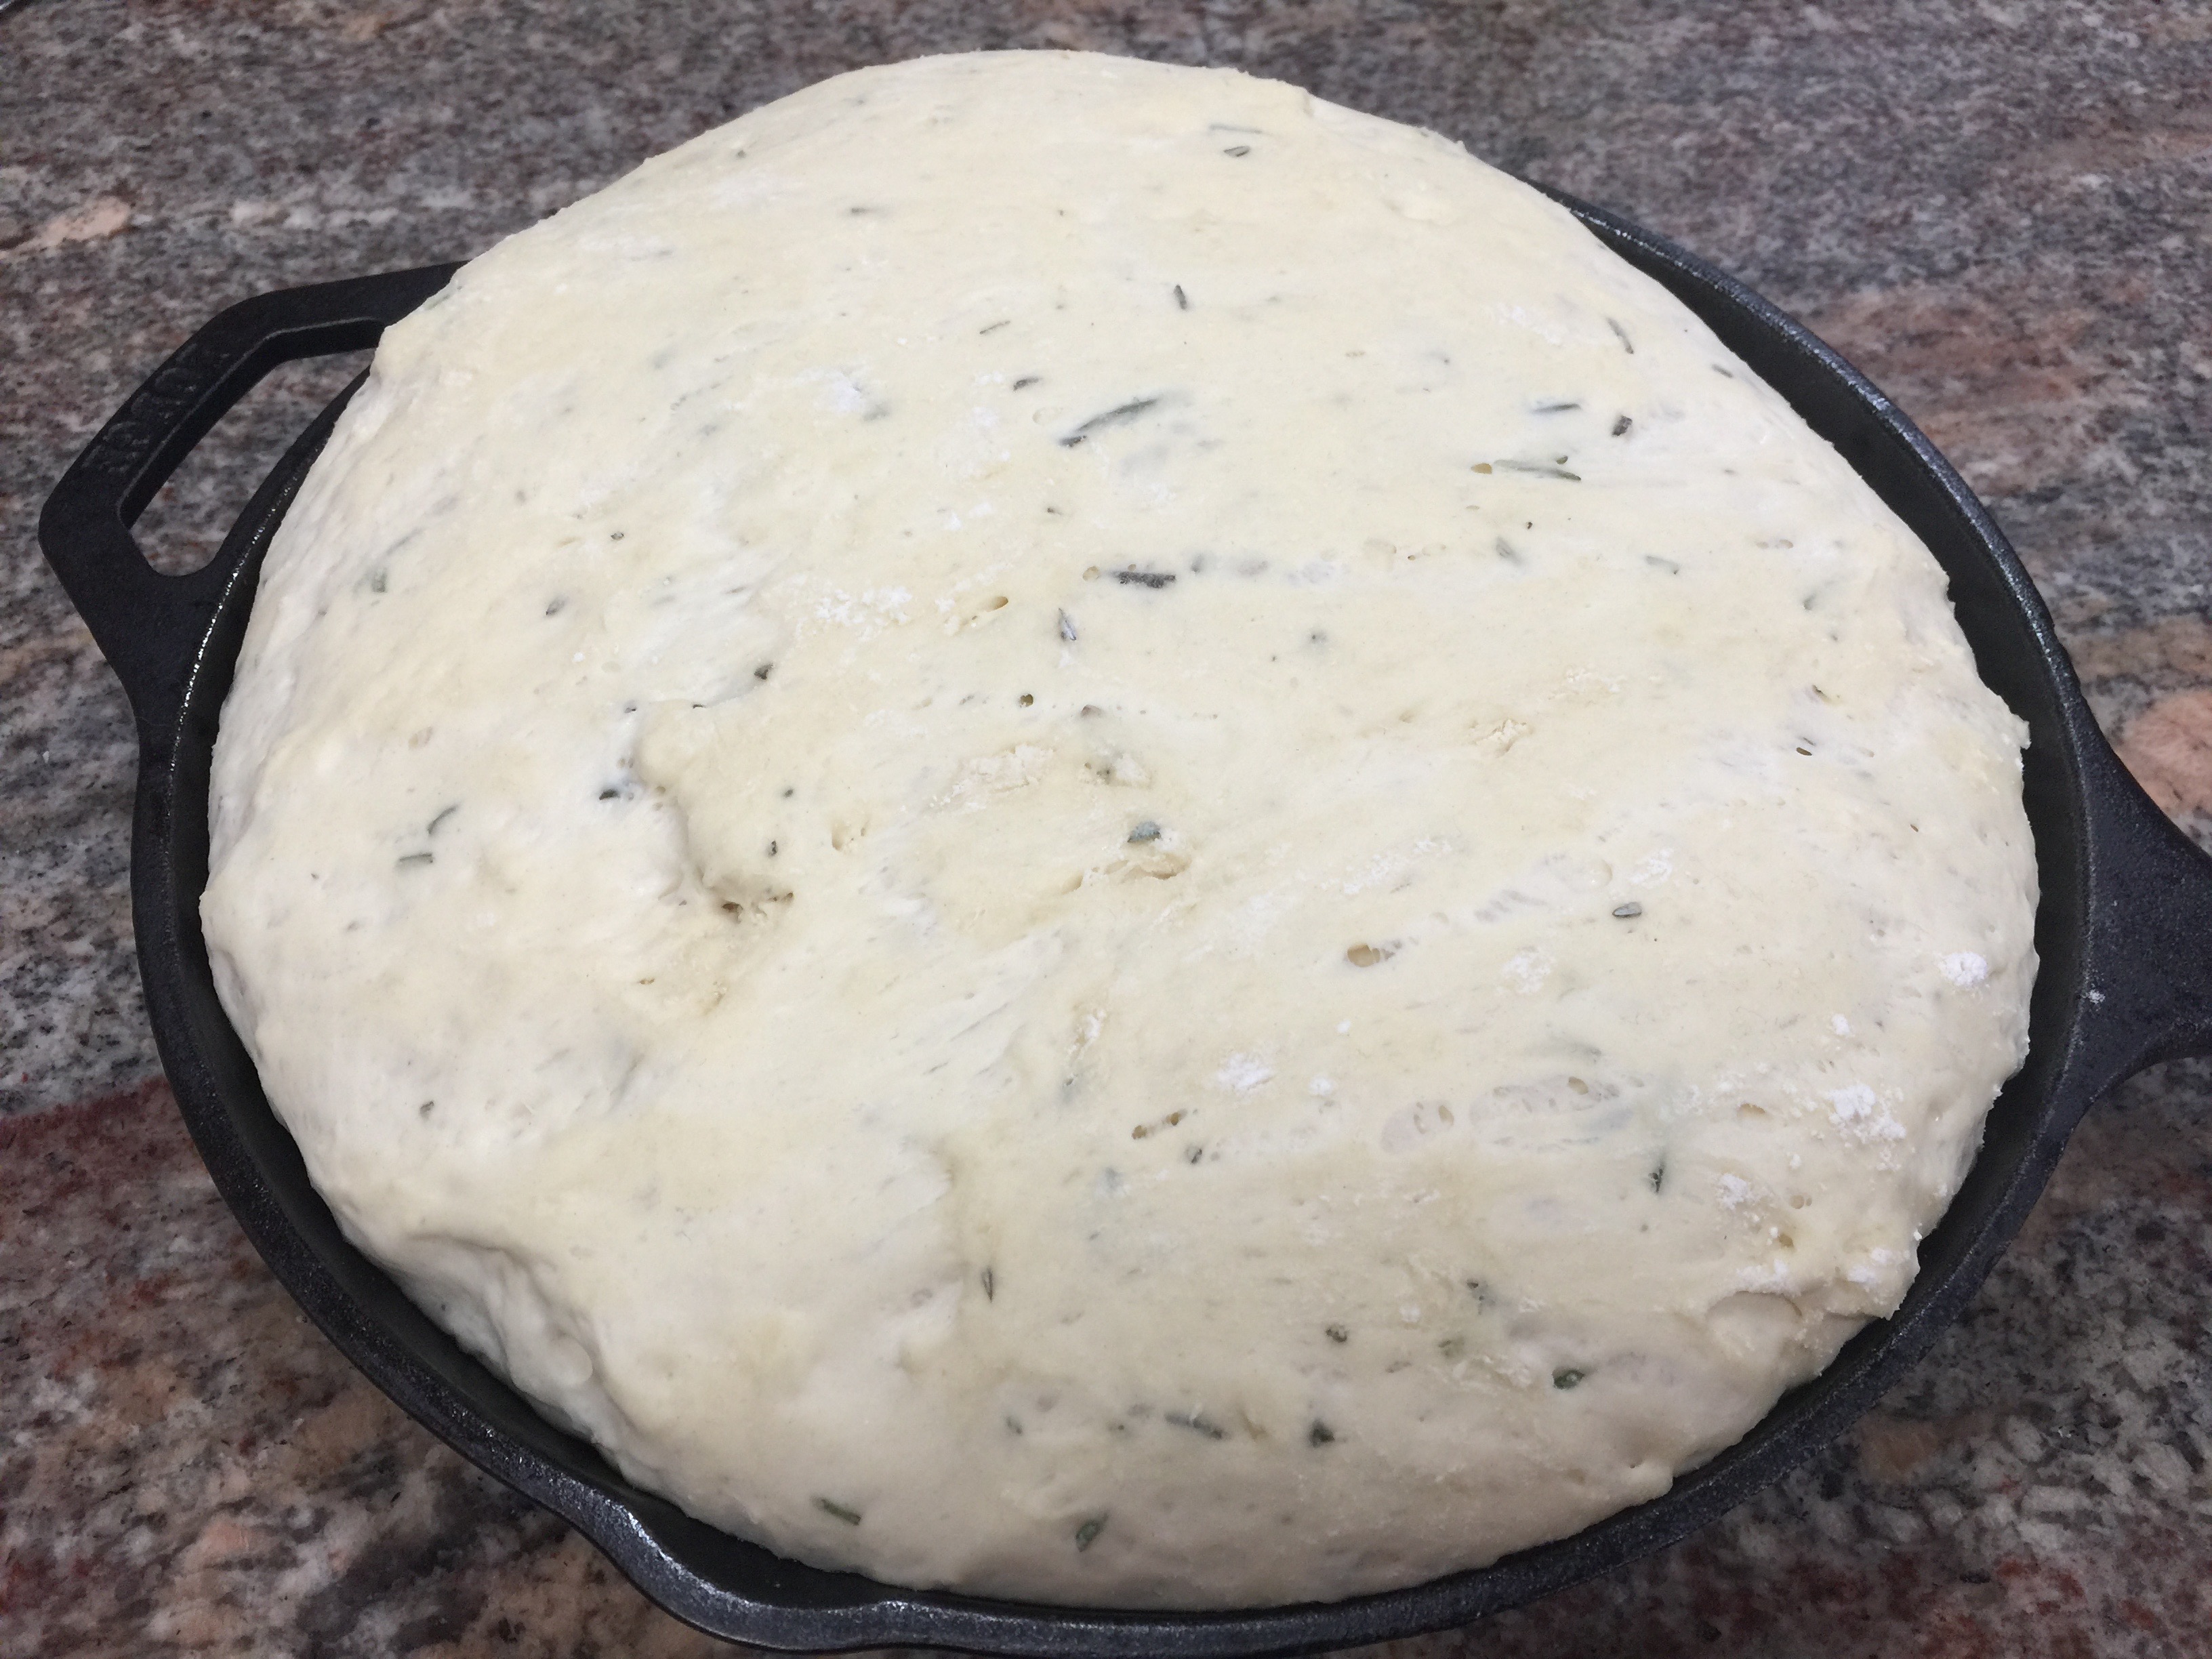
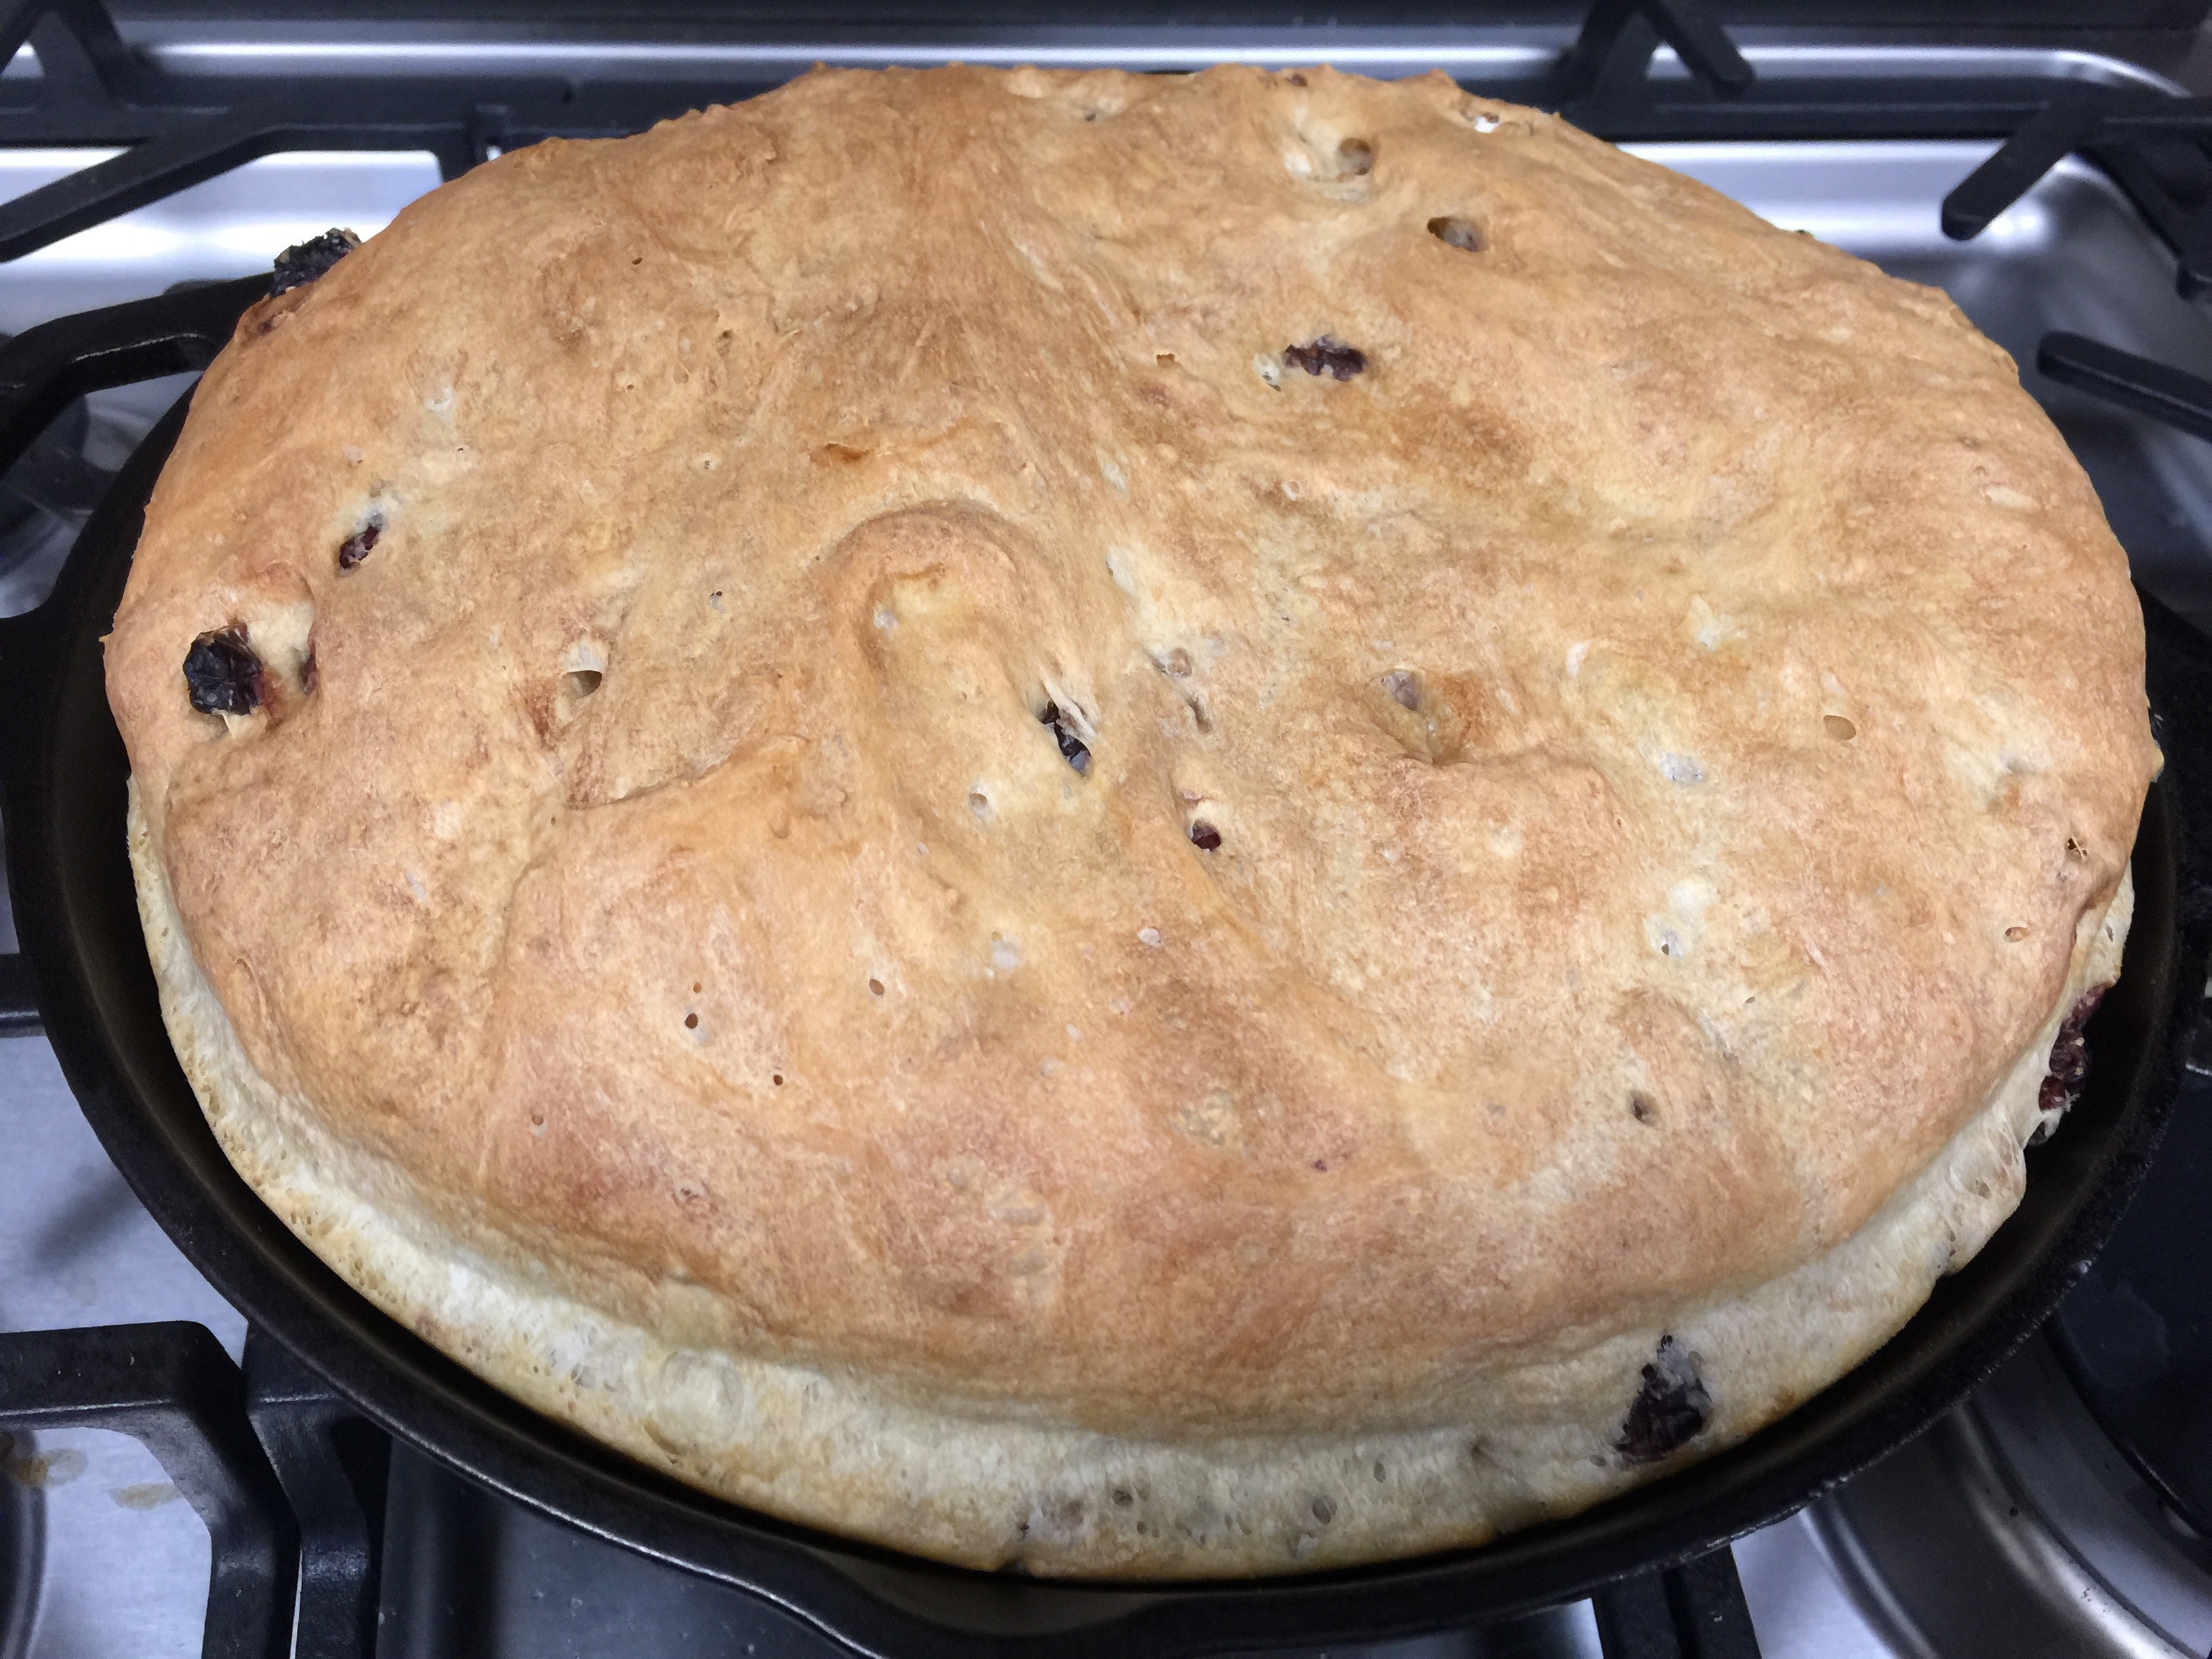
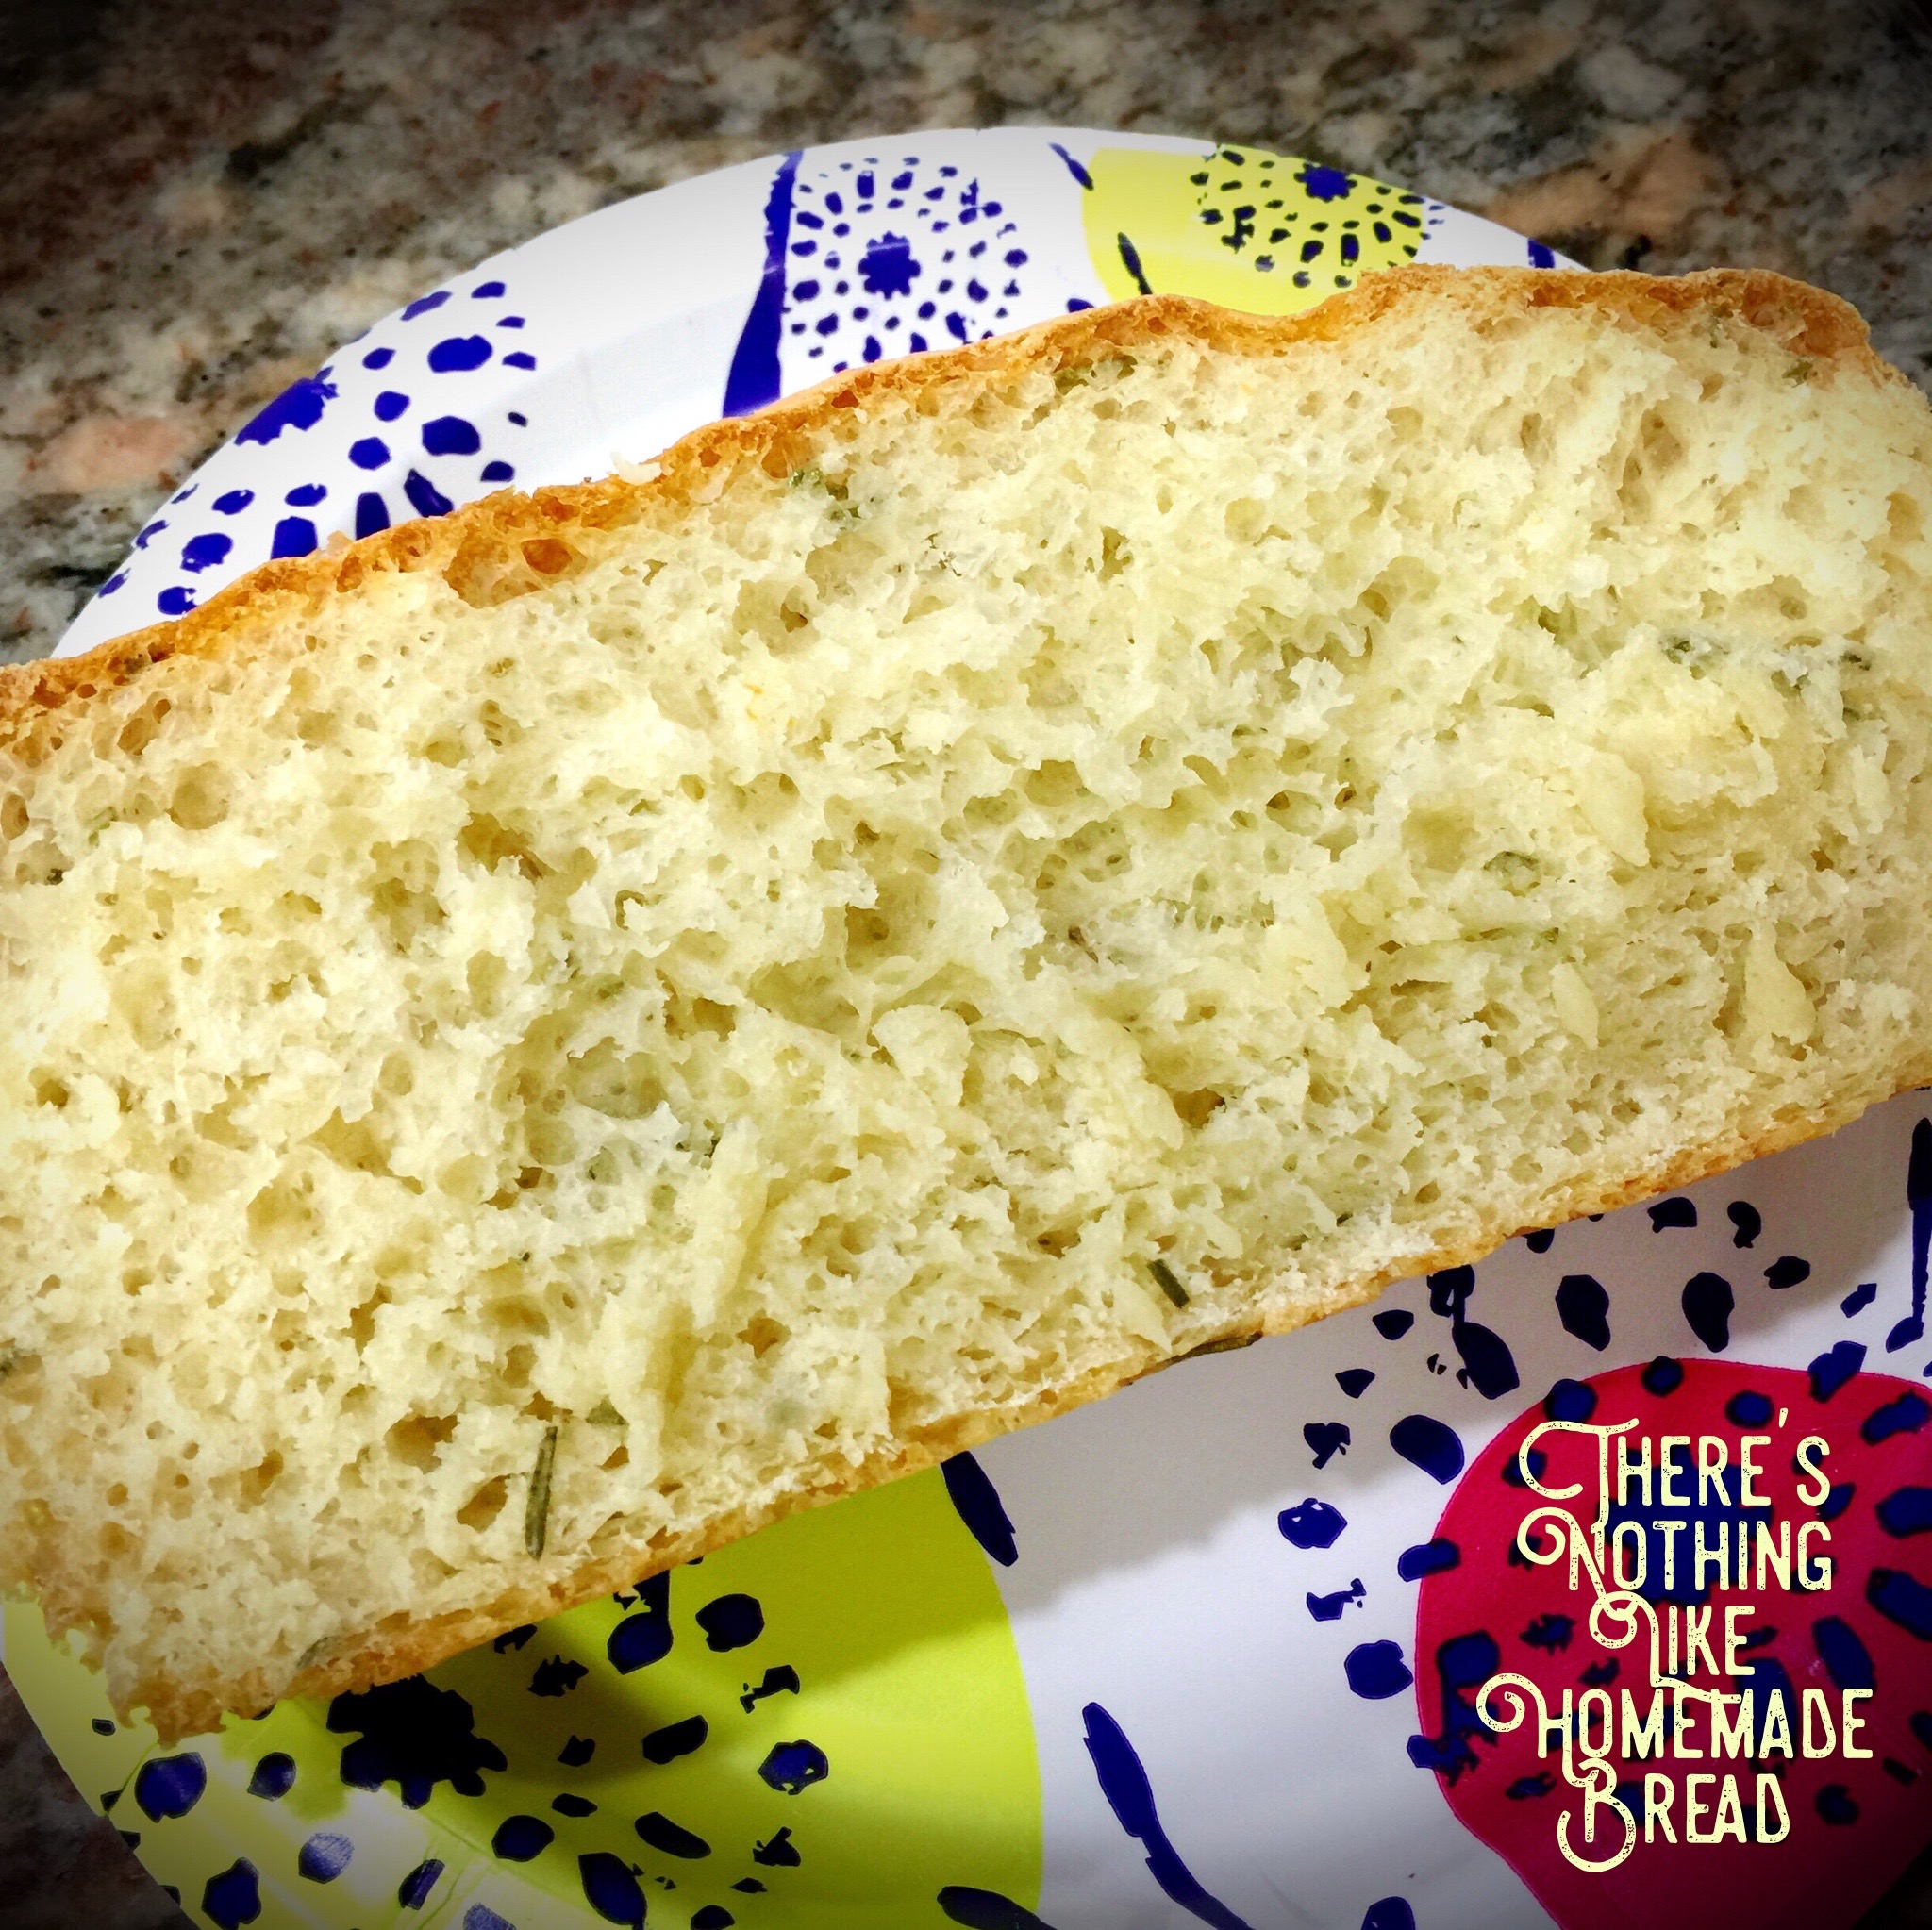
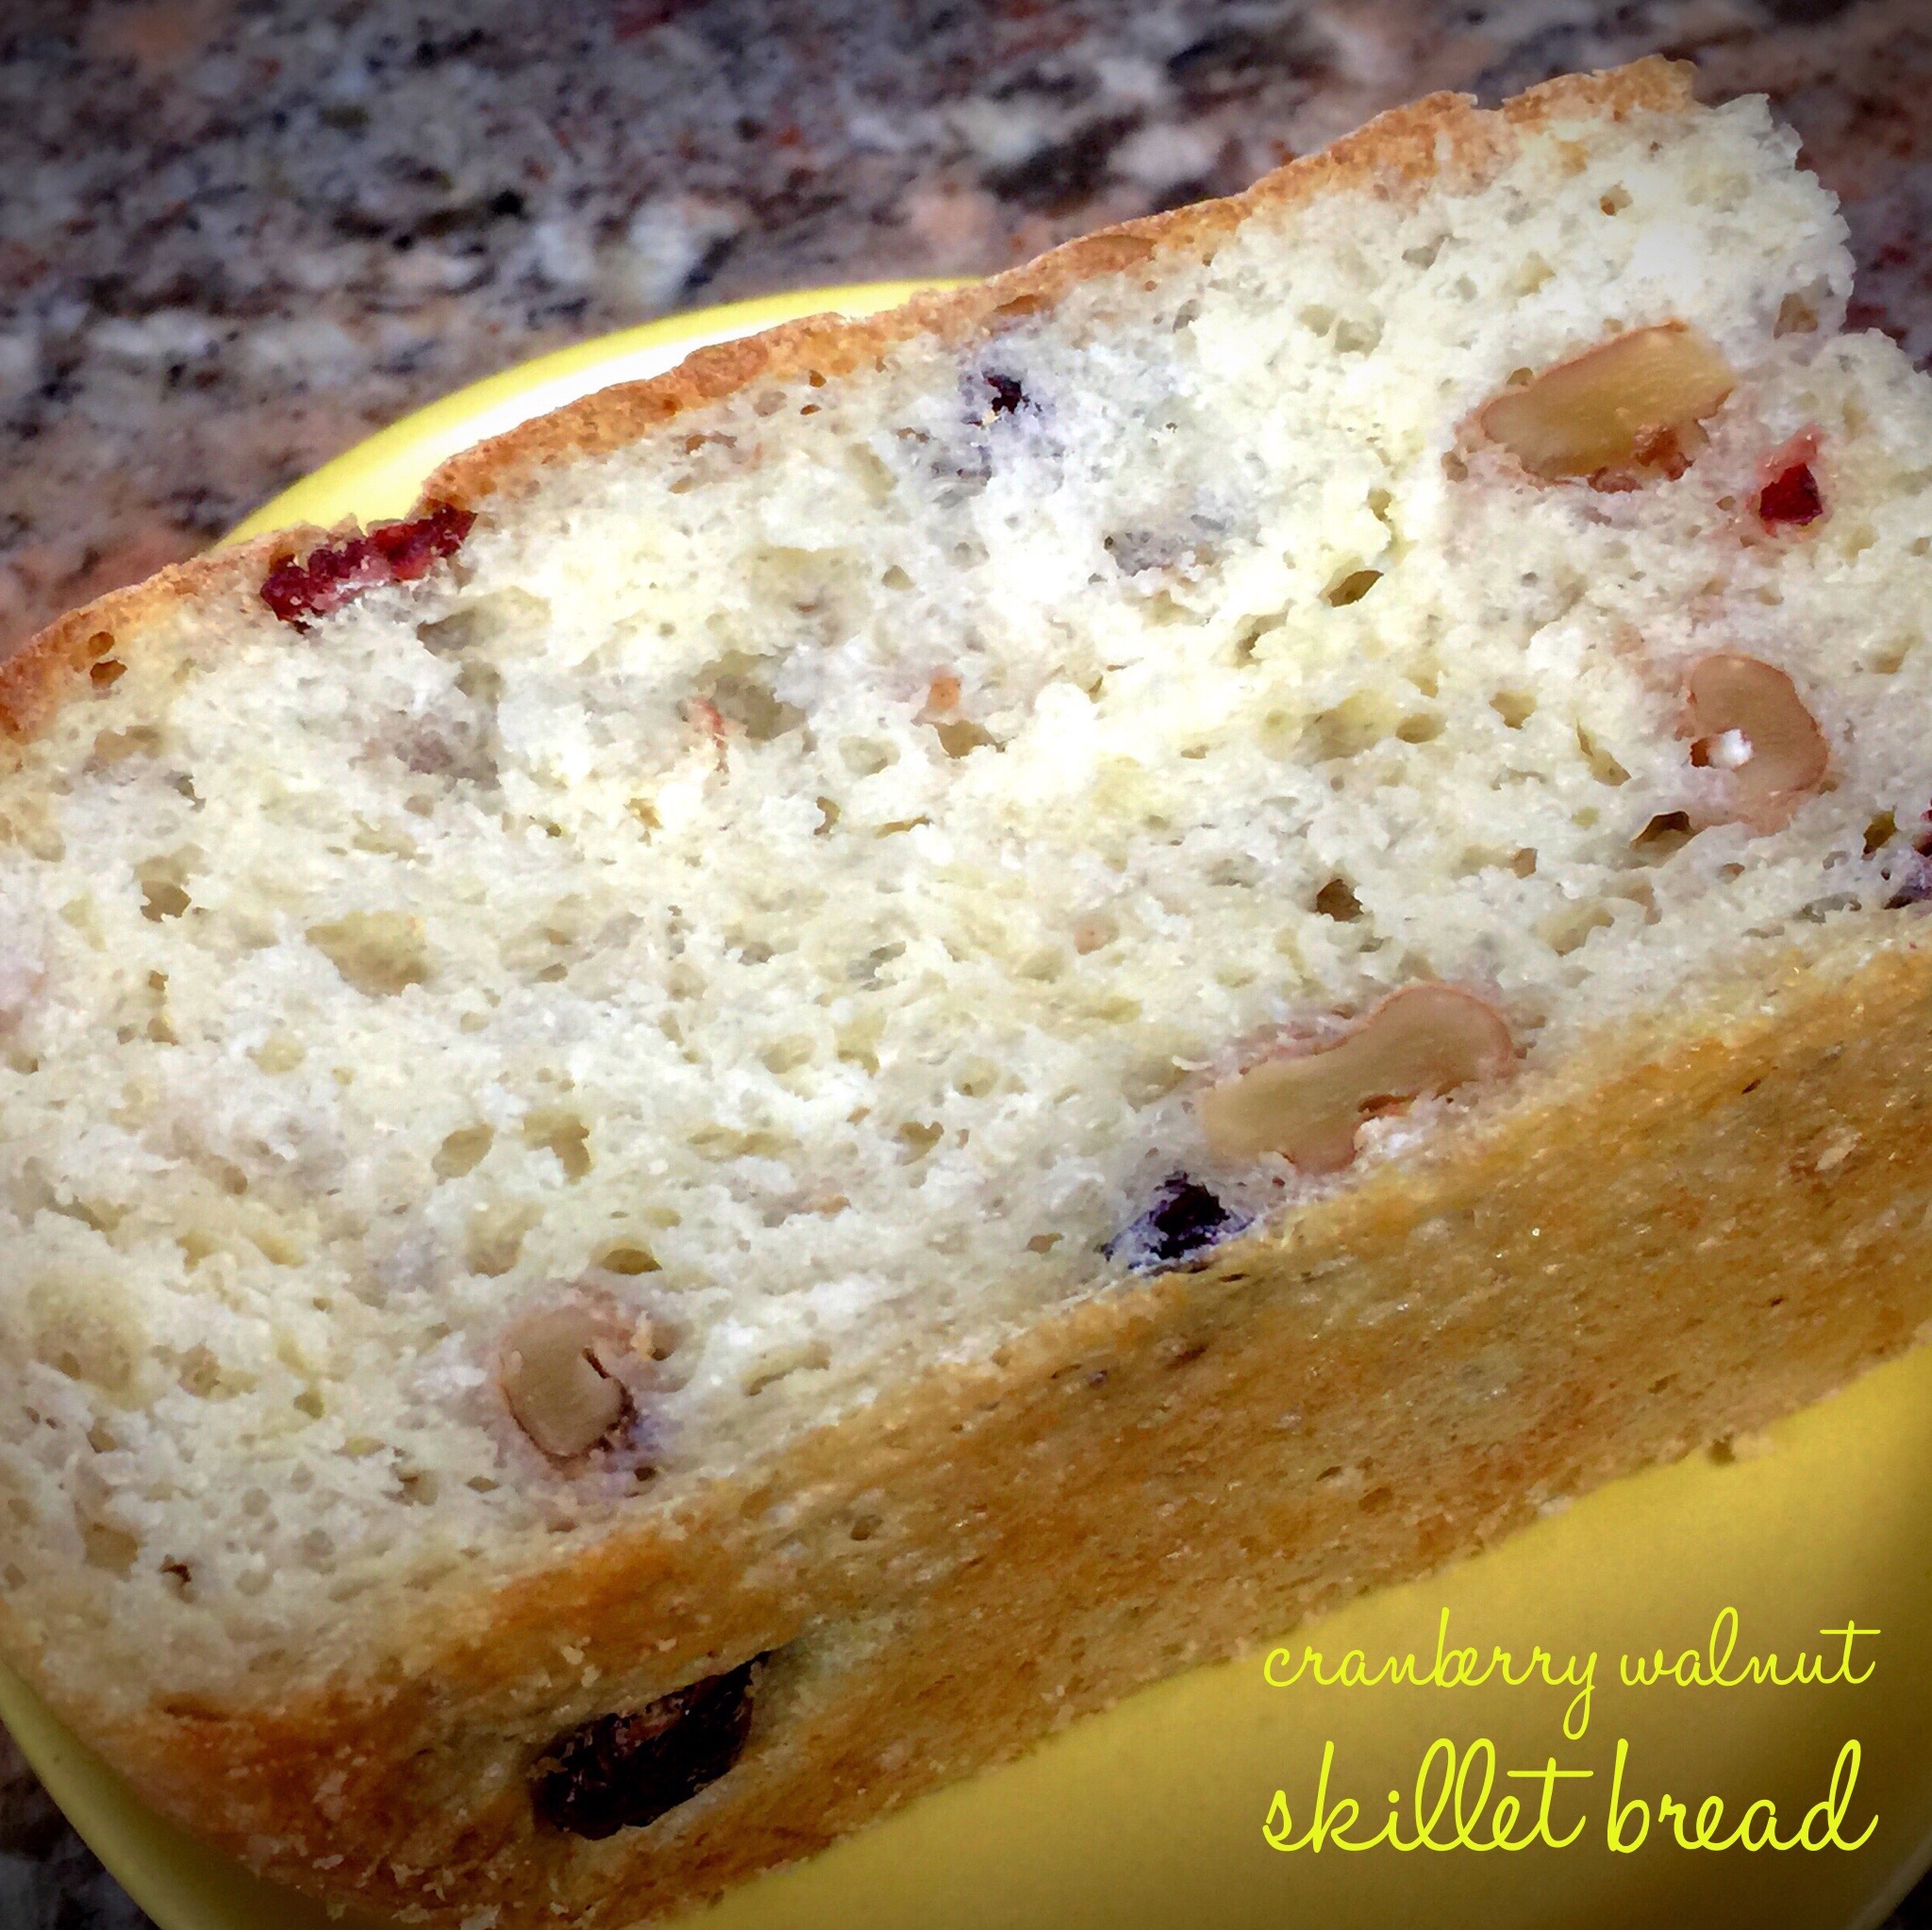
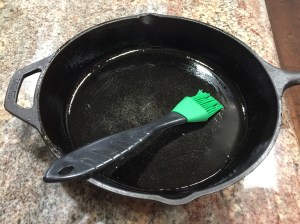 Take a silicone brush and lightly coat the bottom and sides of the skillet. You really don’t want a lot of oil sitting on the bottom. That will give you a greasy crust. And make sure you use a good quality olive oil. I used a garlic infused olive oil when I made the rosemary parmesan bread and a mild flavored premium olive oil for the cranberry walnut bread. If you don’t overdo the oil the crust will have just the right amount of crispiness and will taste heavenly. Just make sure you use a good olive oil. I prefer the crust in this method compared to the crust you get when using an enameled cast iron dutch oven (in the process you do not oil the pan). That crust, to me, is a little tougher. But don’t get me wrong, both methods produce wonderful bread.
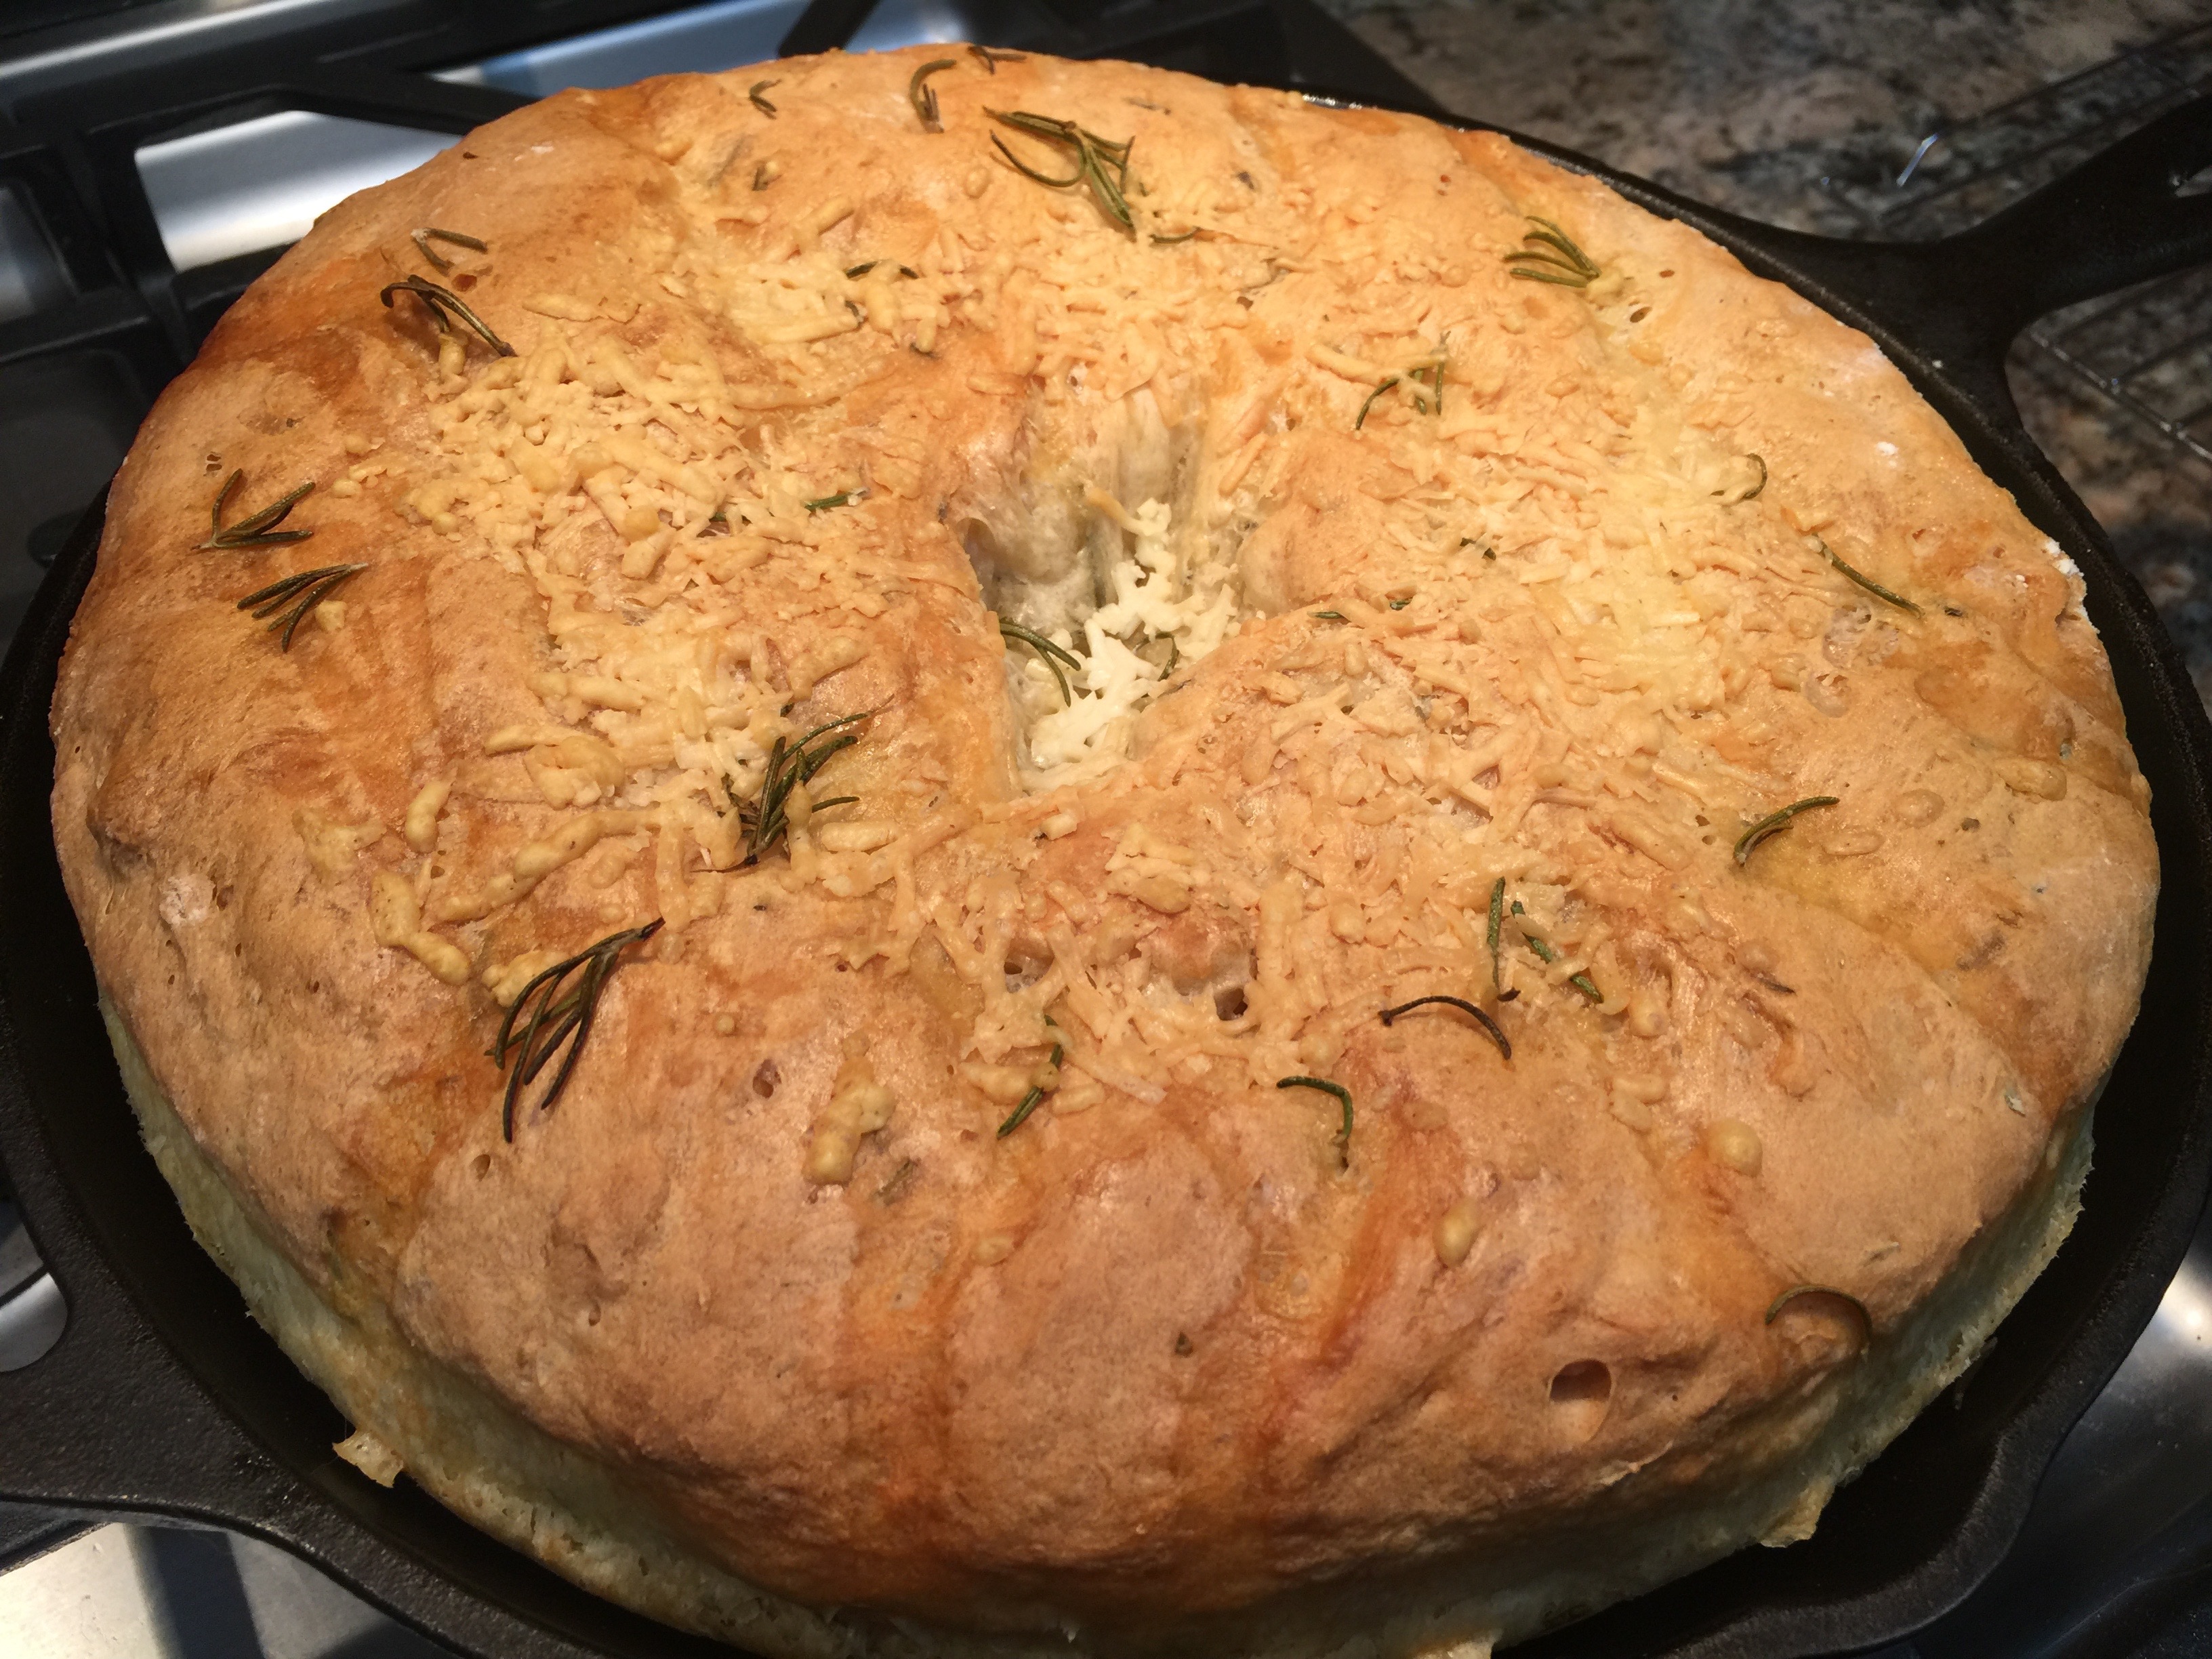

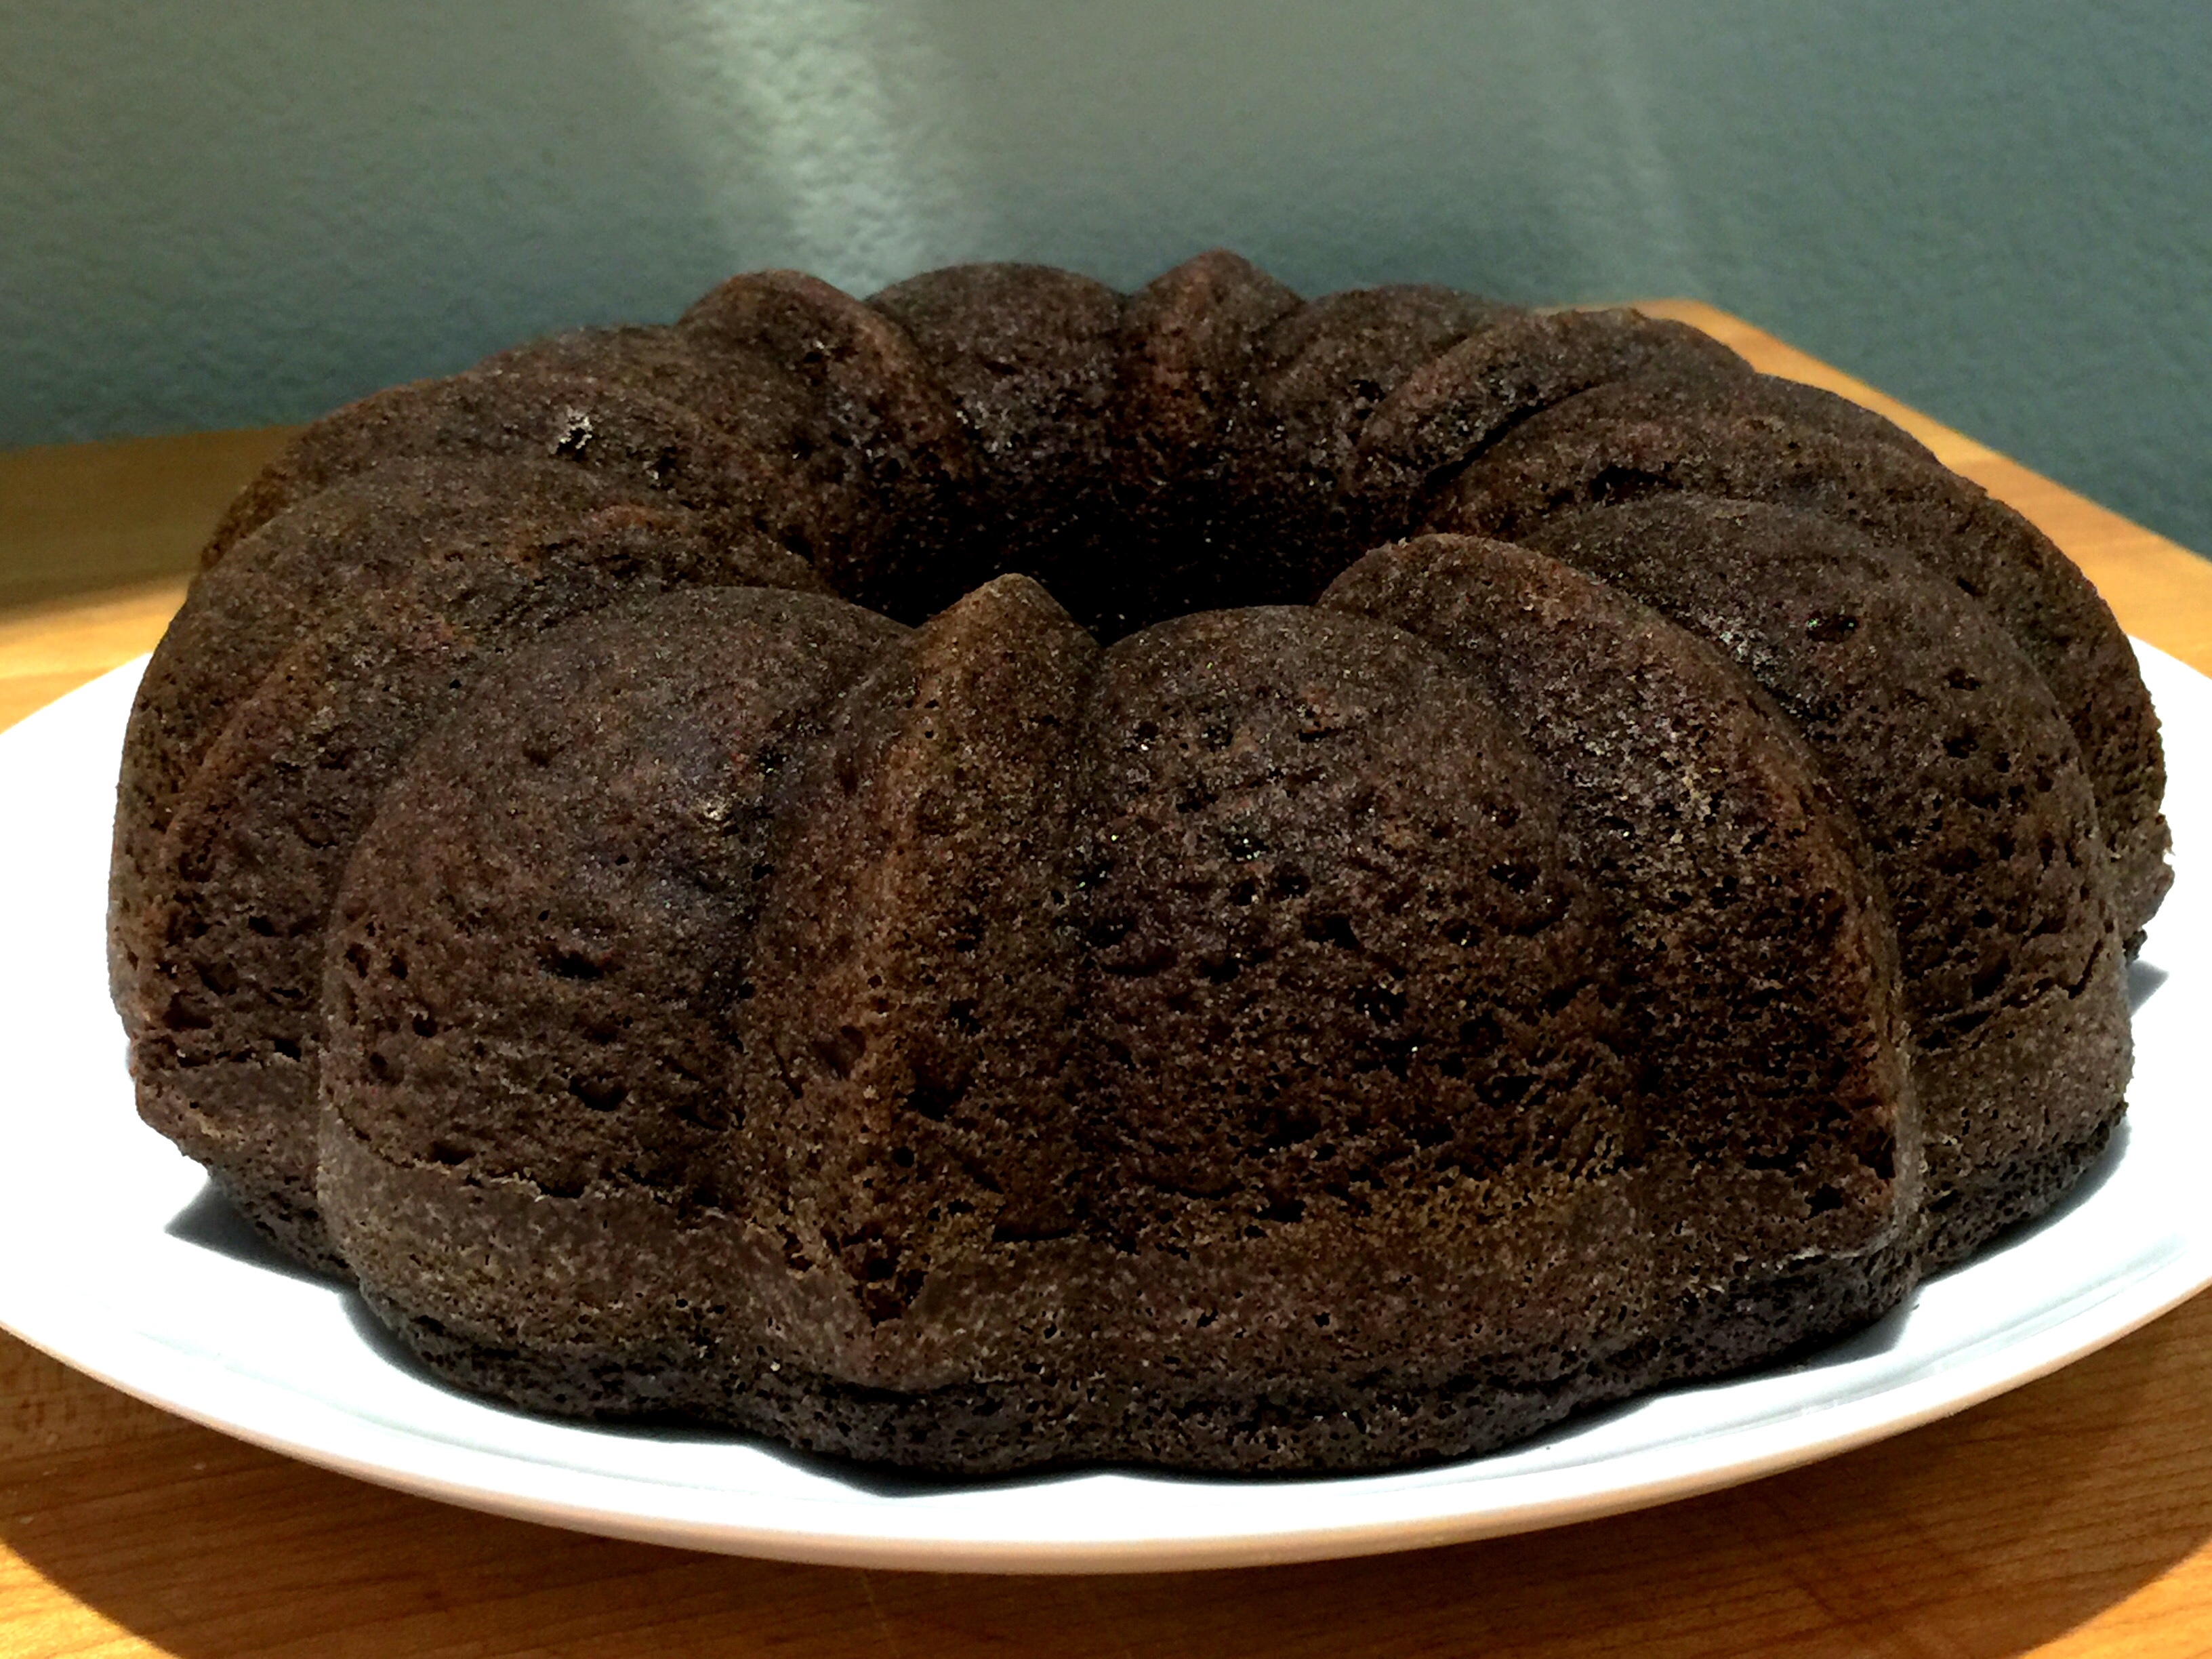
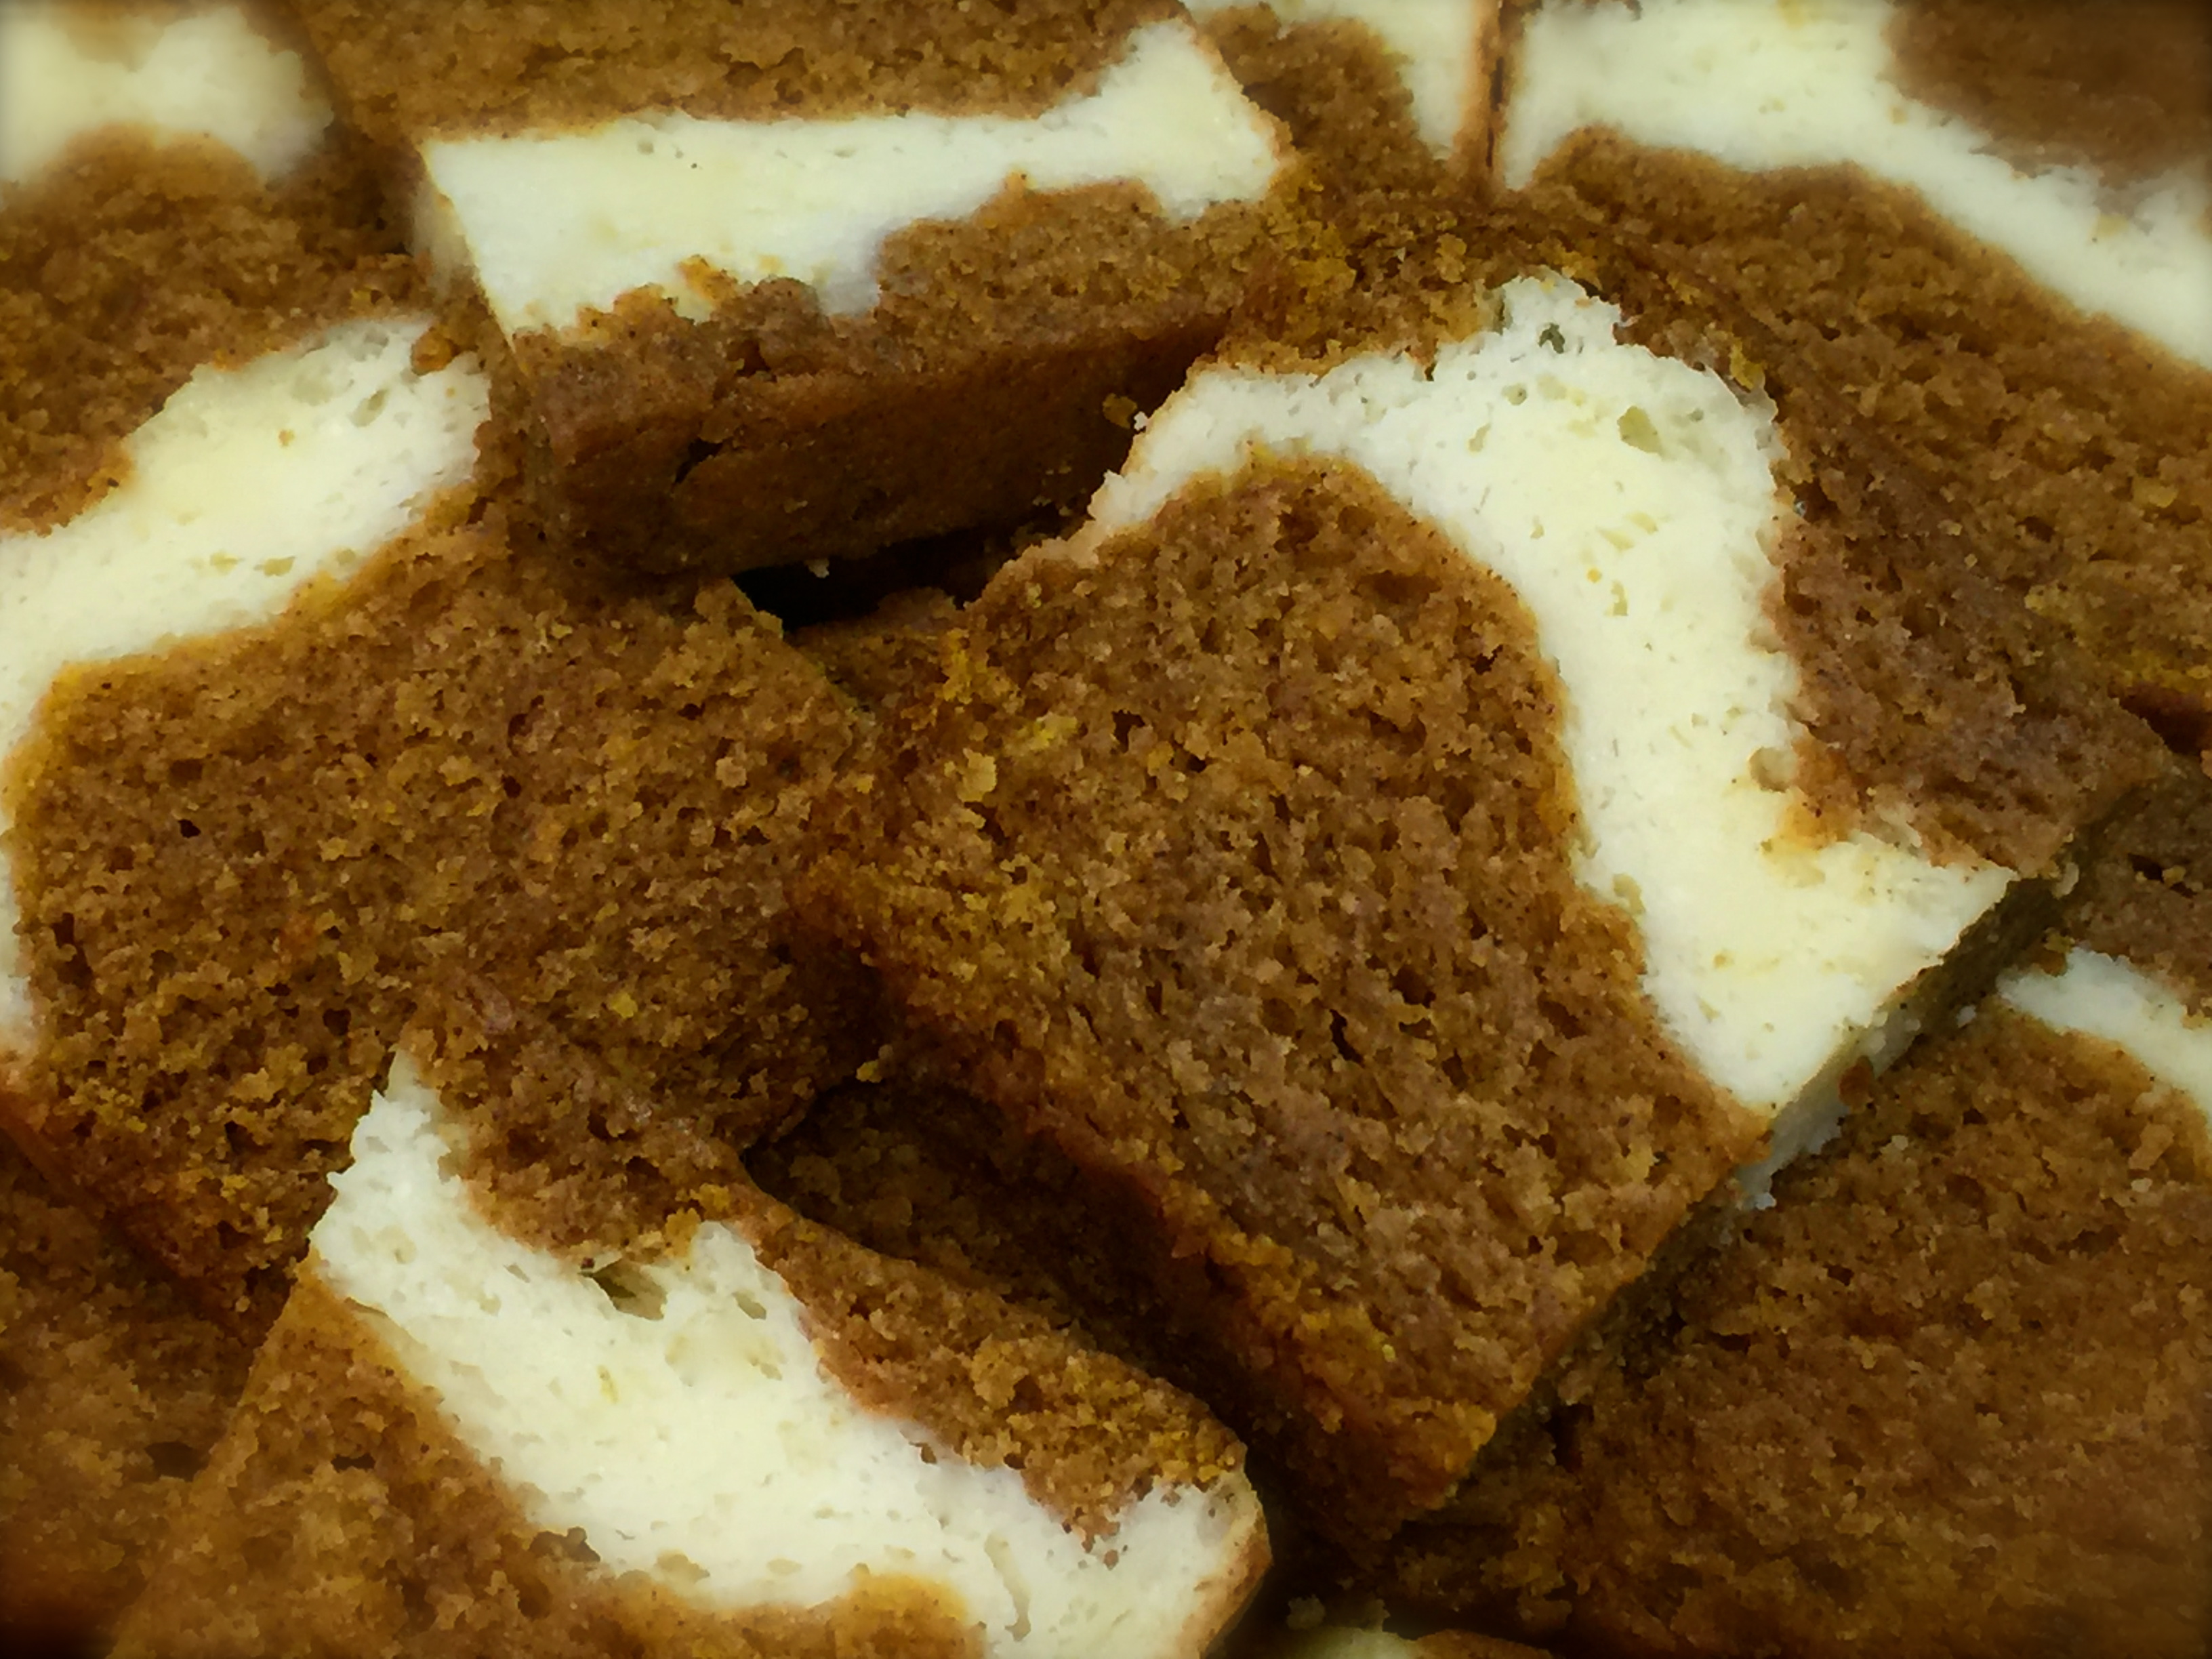
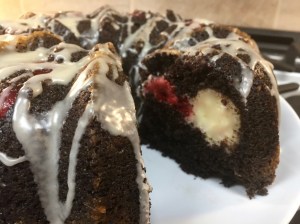
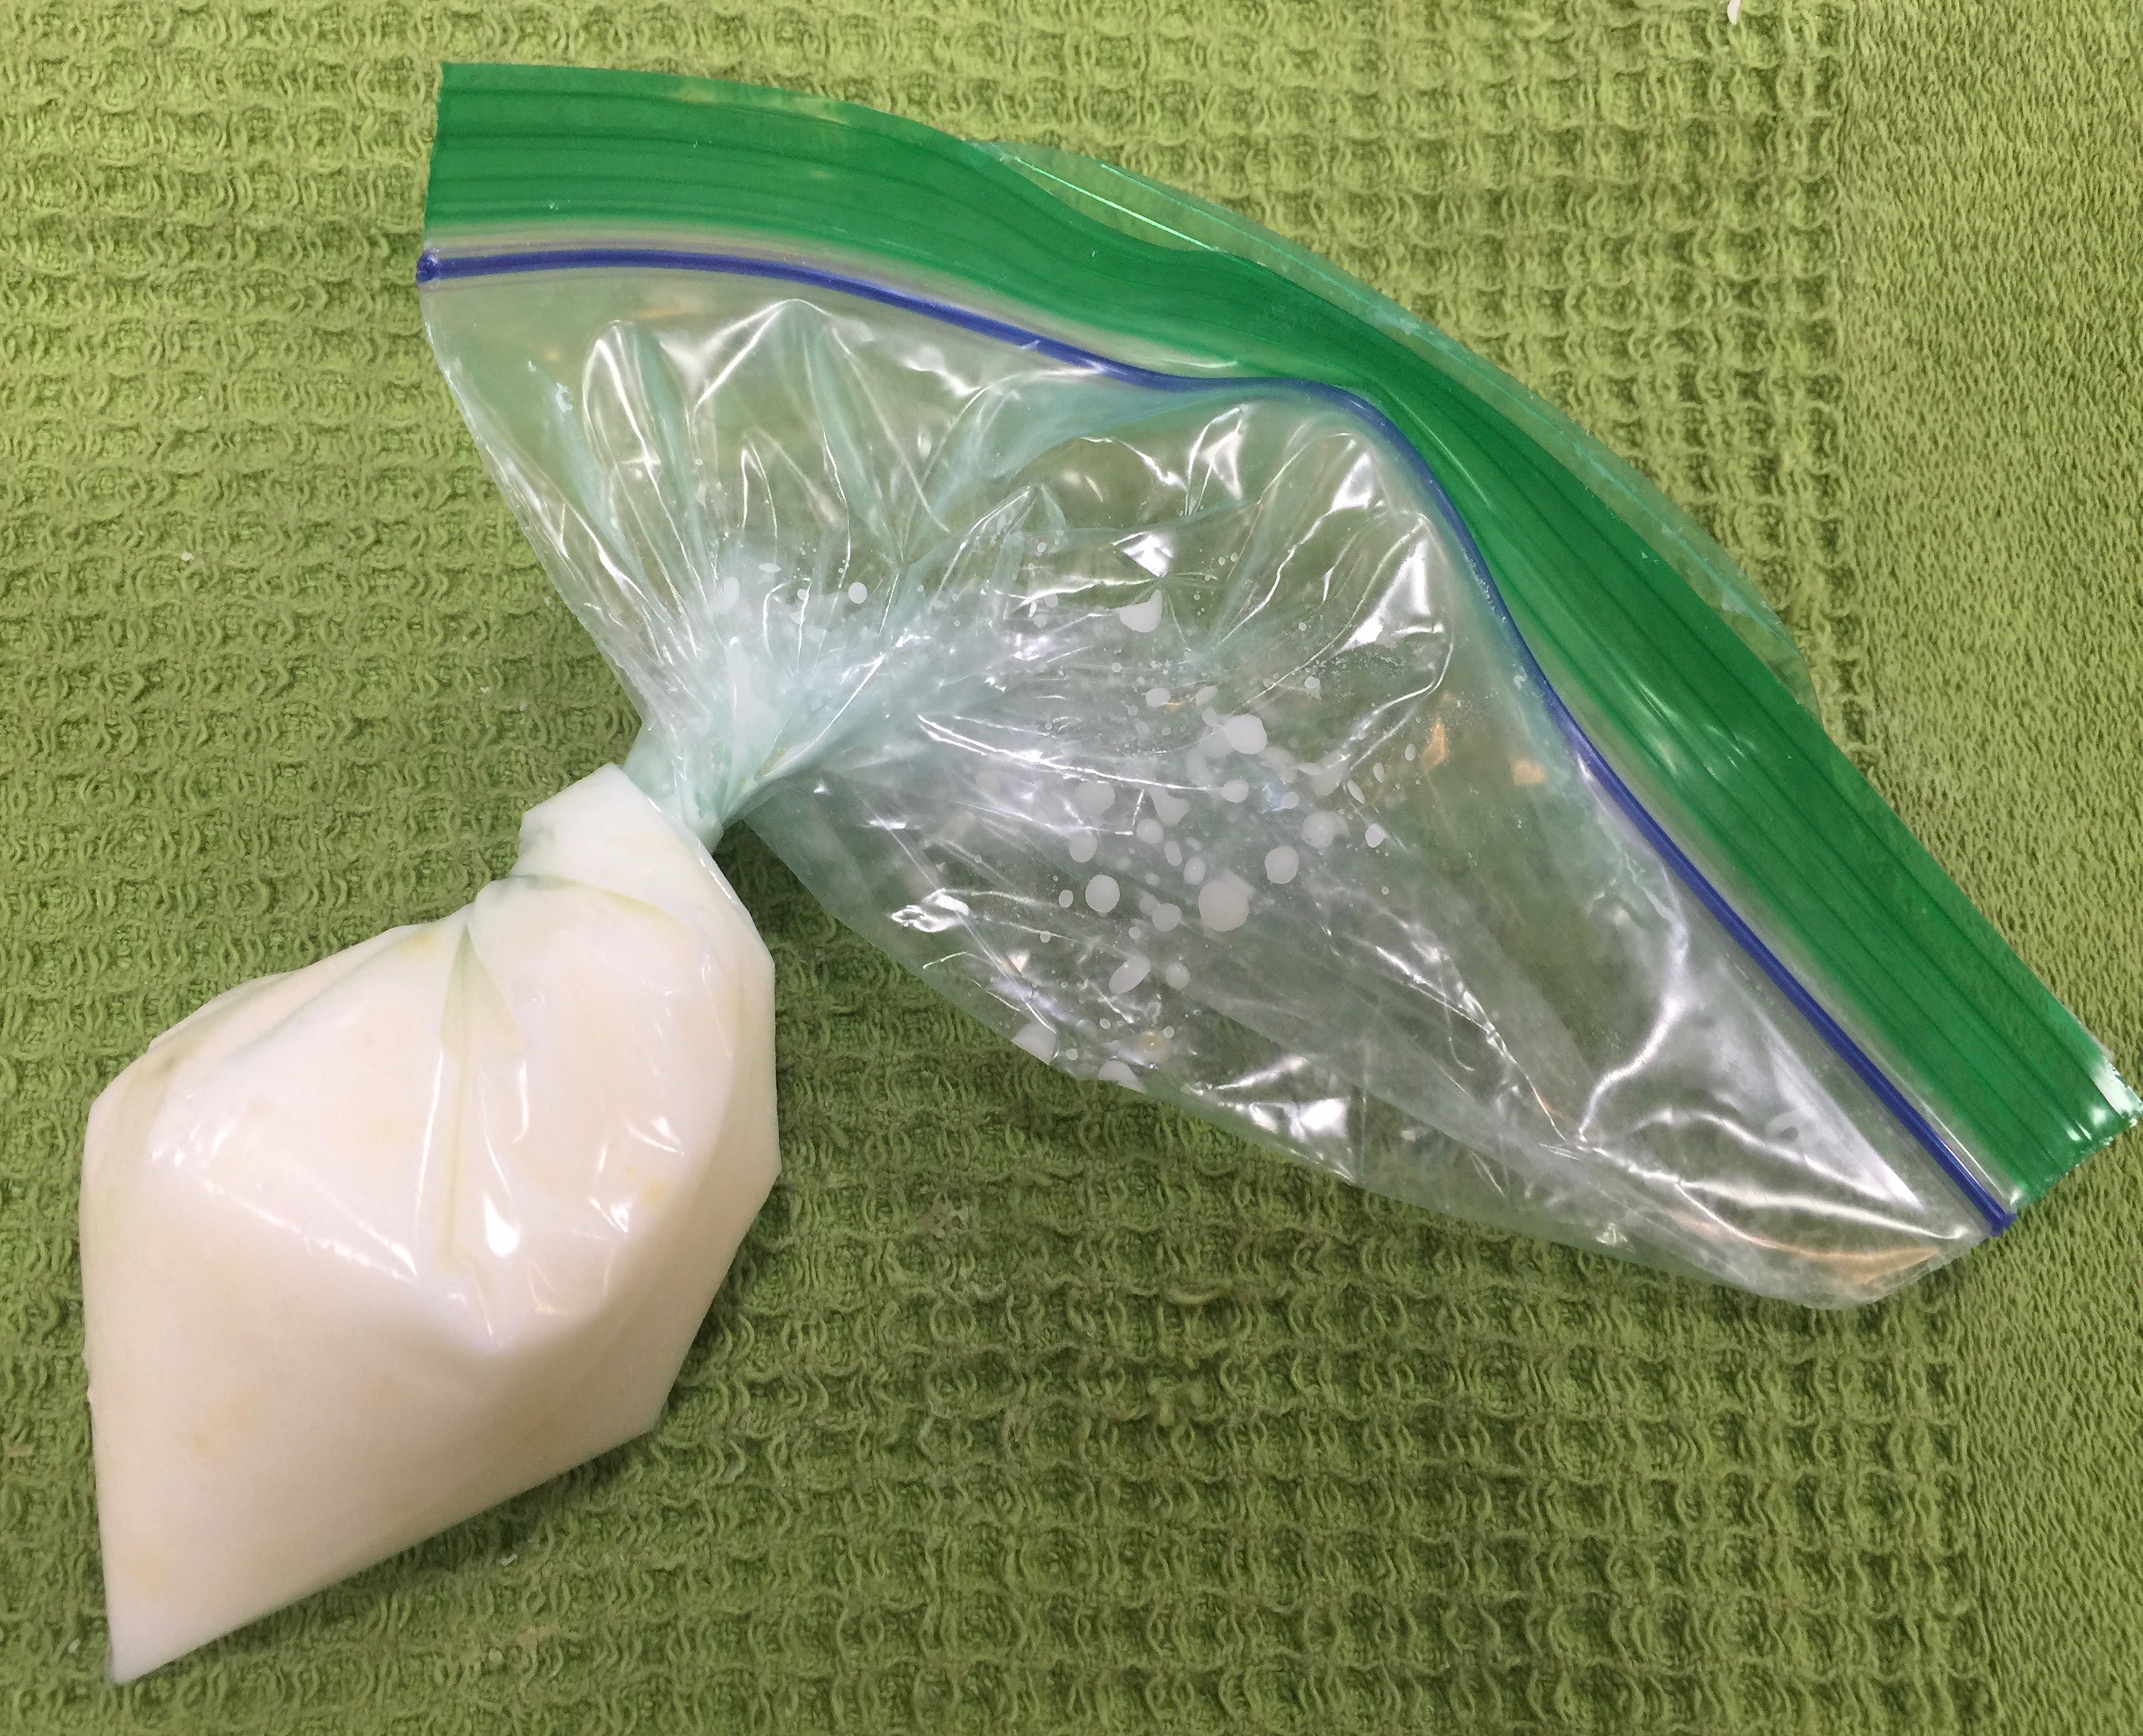
 Lesson Learned 3 – This cake freezes beautifully: This recipe produces a large cake that really only stays fresh for a couple of days. If you’re not making it for a party or to bring to work I suggest you take what you don’t think you’ll eat in a couple of days and freeze it. I wrapped mine in 2-slice portions. Make sure you wrap the pieces tightly in plastic wrap and then put them in a freezer bag(s). Let as much air out of the freezer bag as you possibly can. By doing this you’ll have fresh moist cake for a month!
 3/4 cup chopped walnuts


 I would also time the process and not leave it up to your memory. You will actually see the mixture double in size and become more thick when you beat it for that length of time. That’s what you’re looking for. Be careful. Don’t try to shortcut this part of the process. If you do you will be left with a somewhat flat coffee cake.

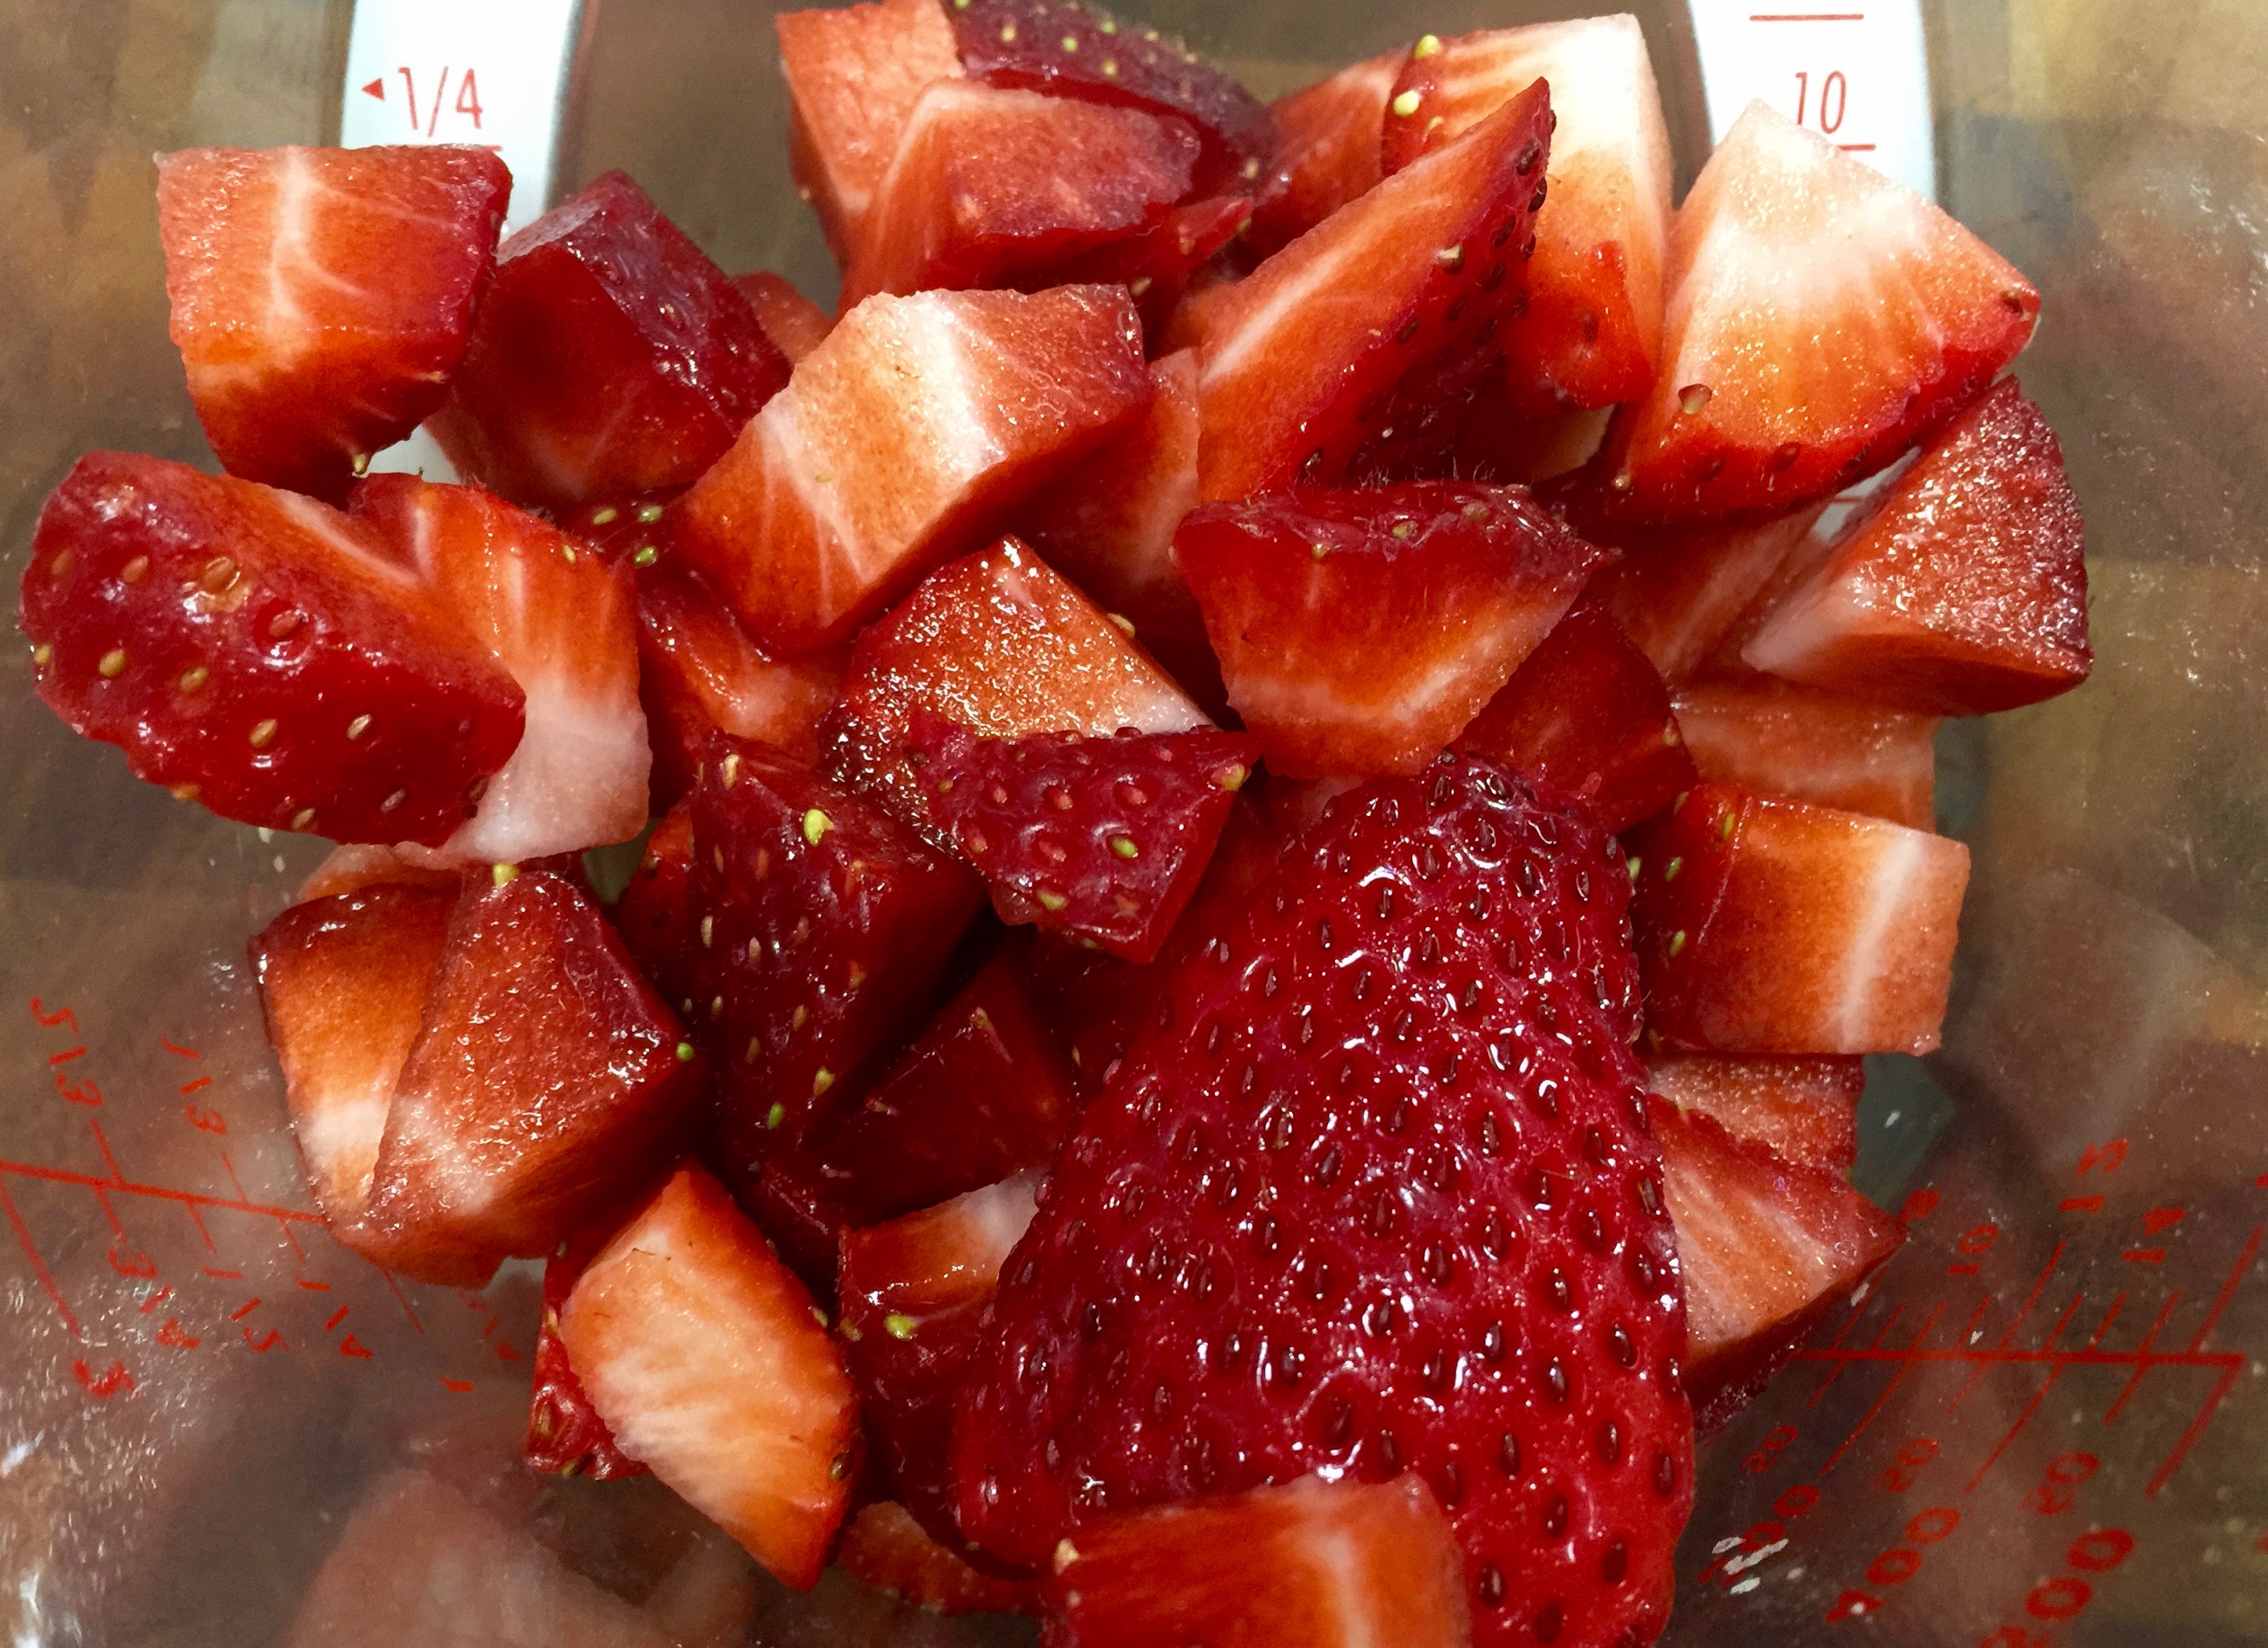
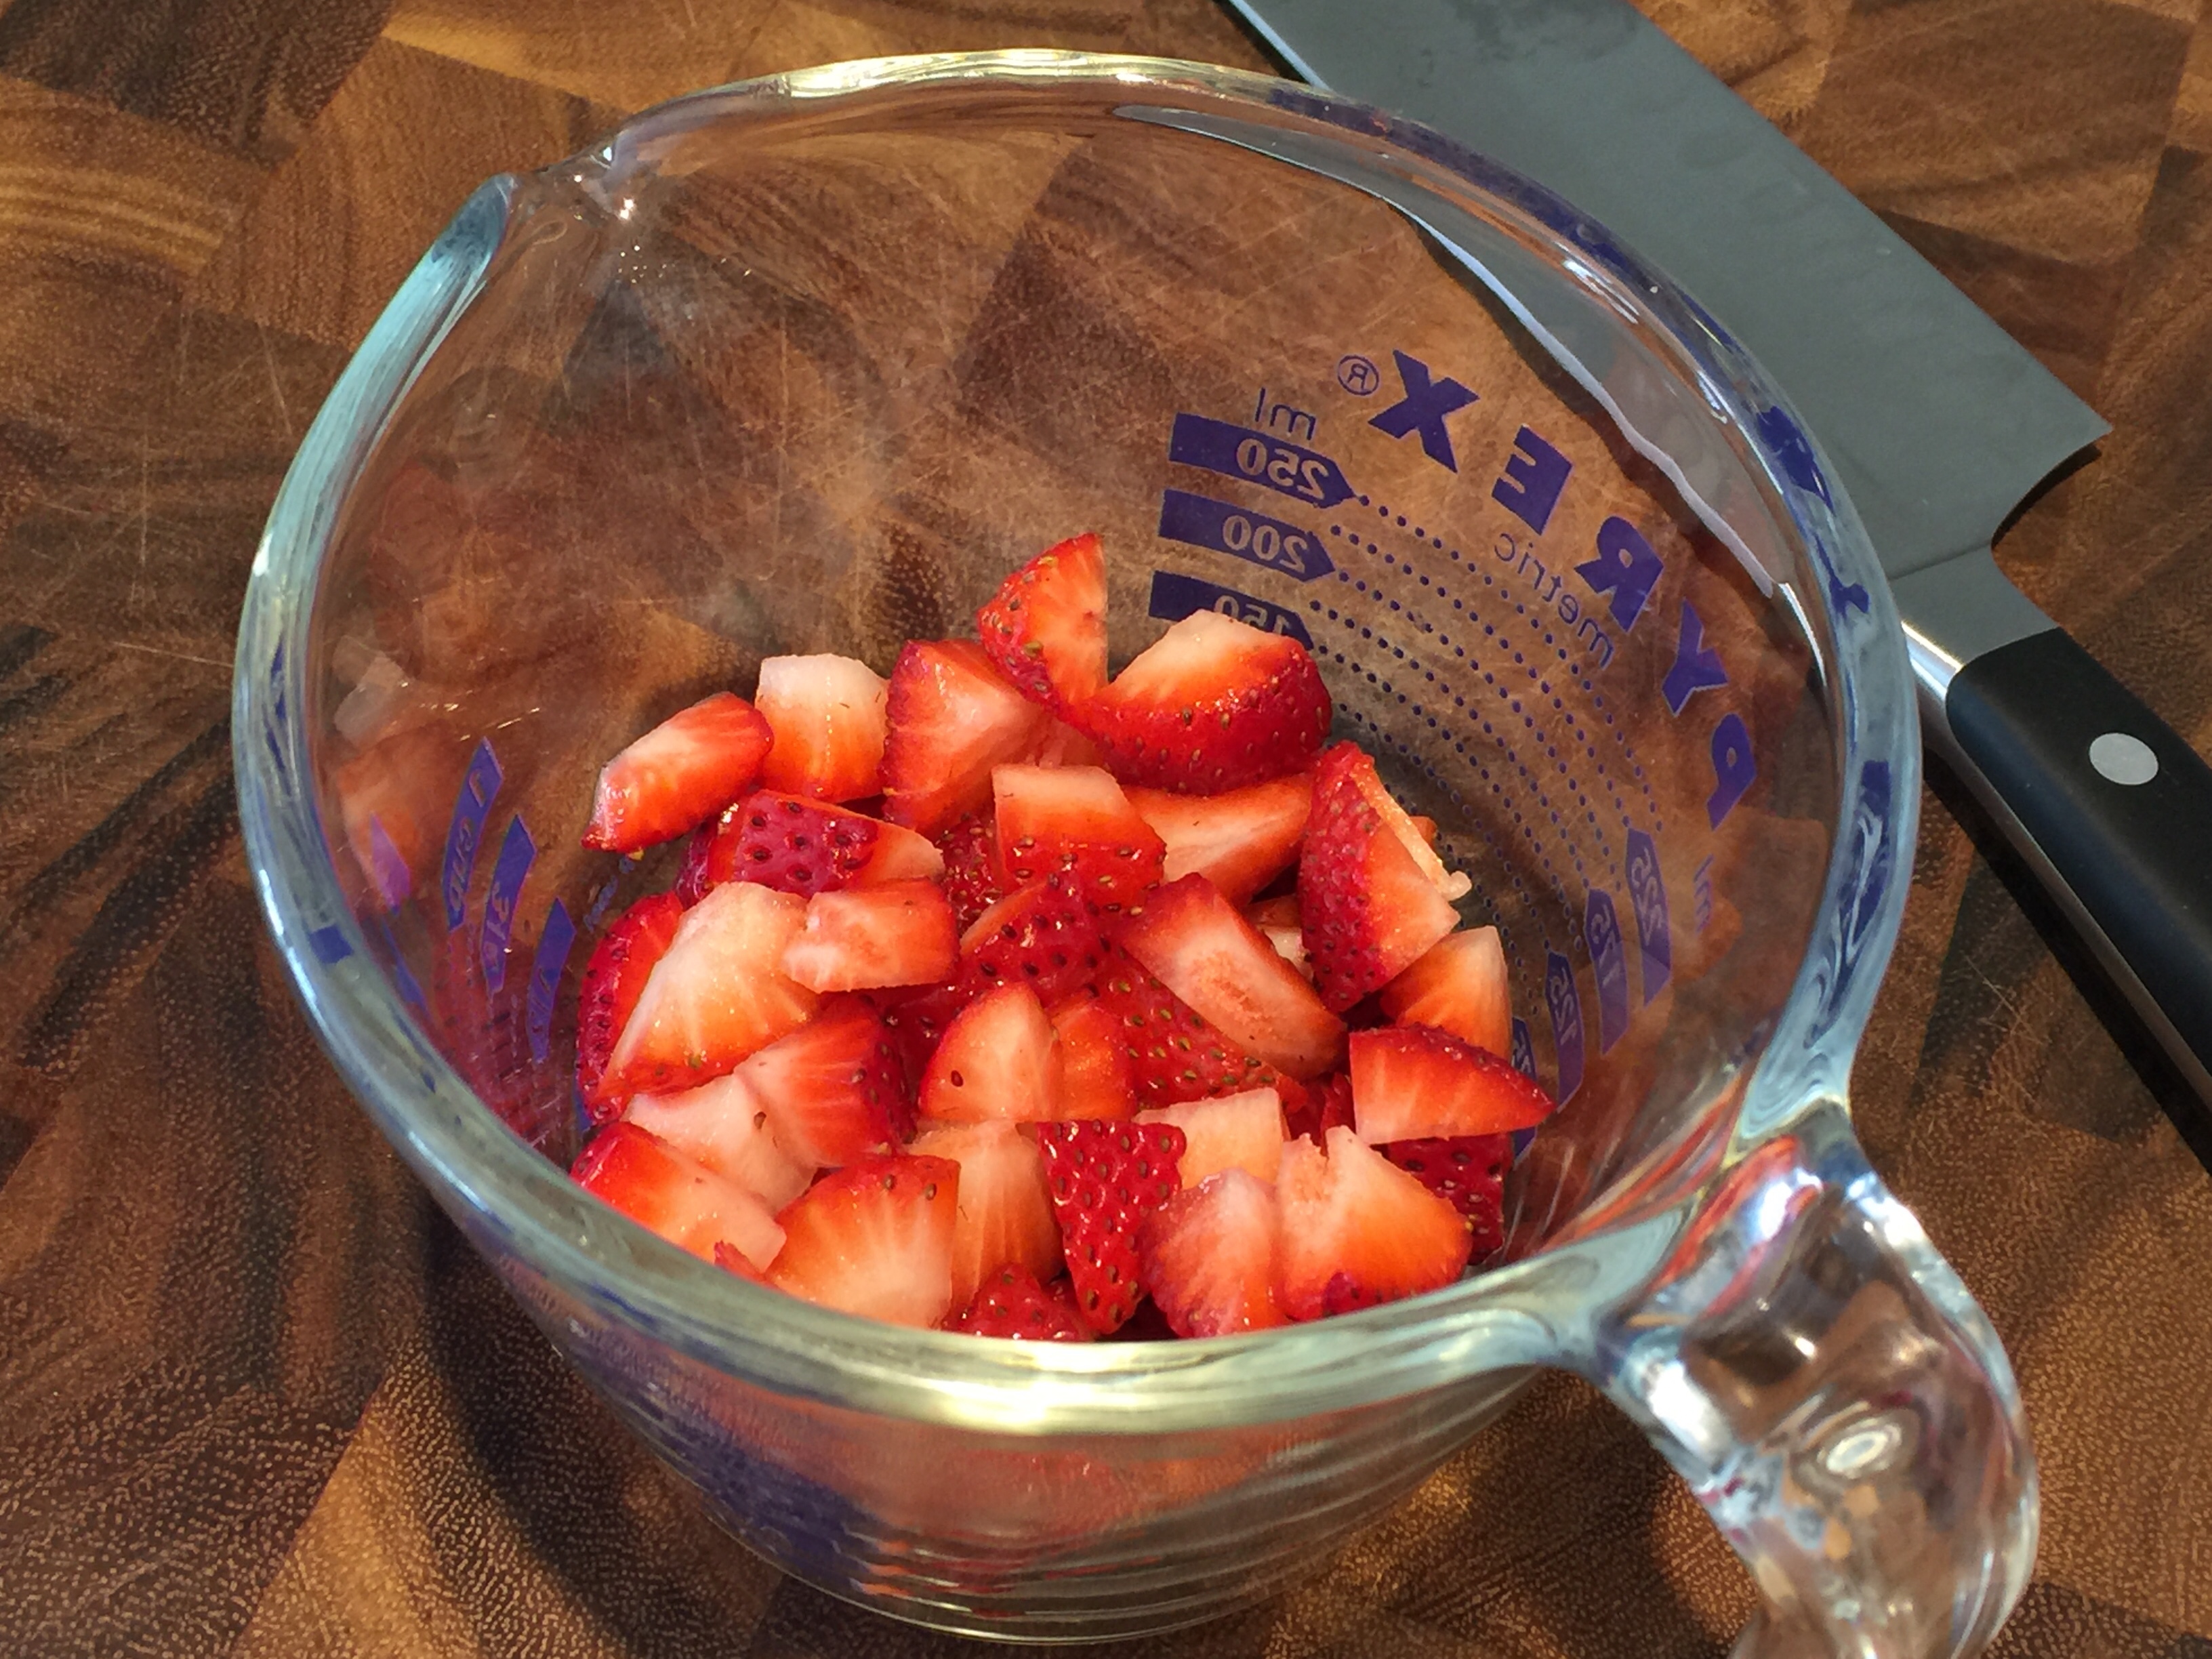
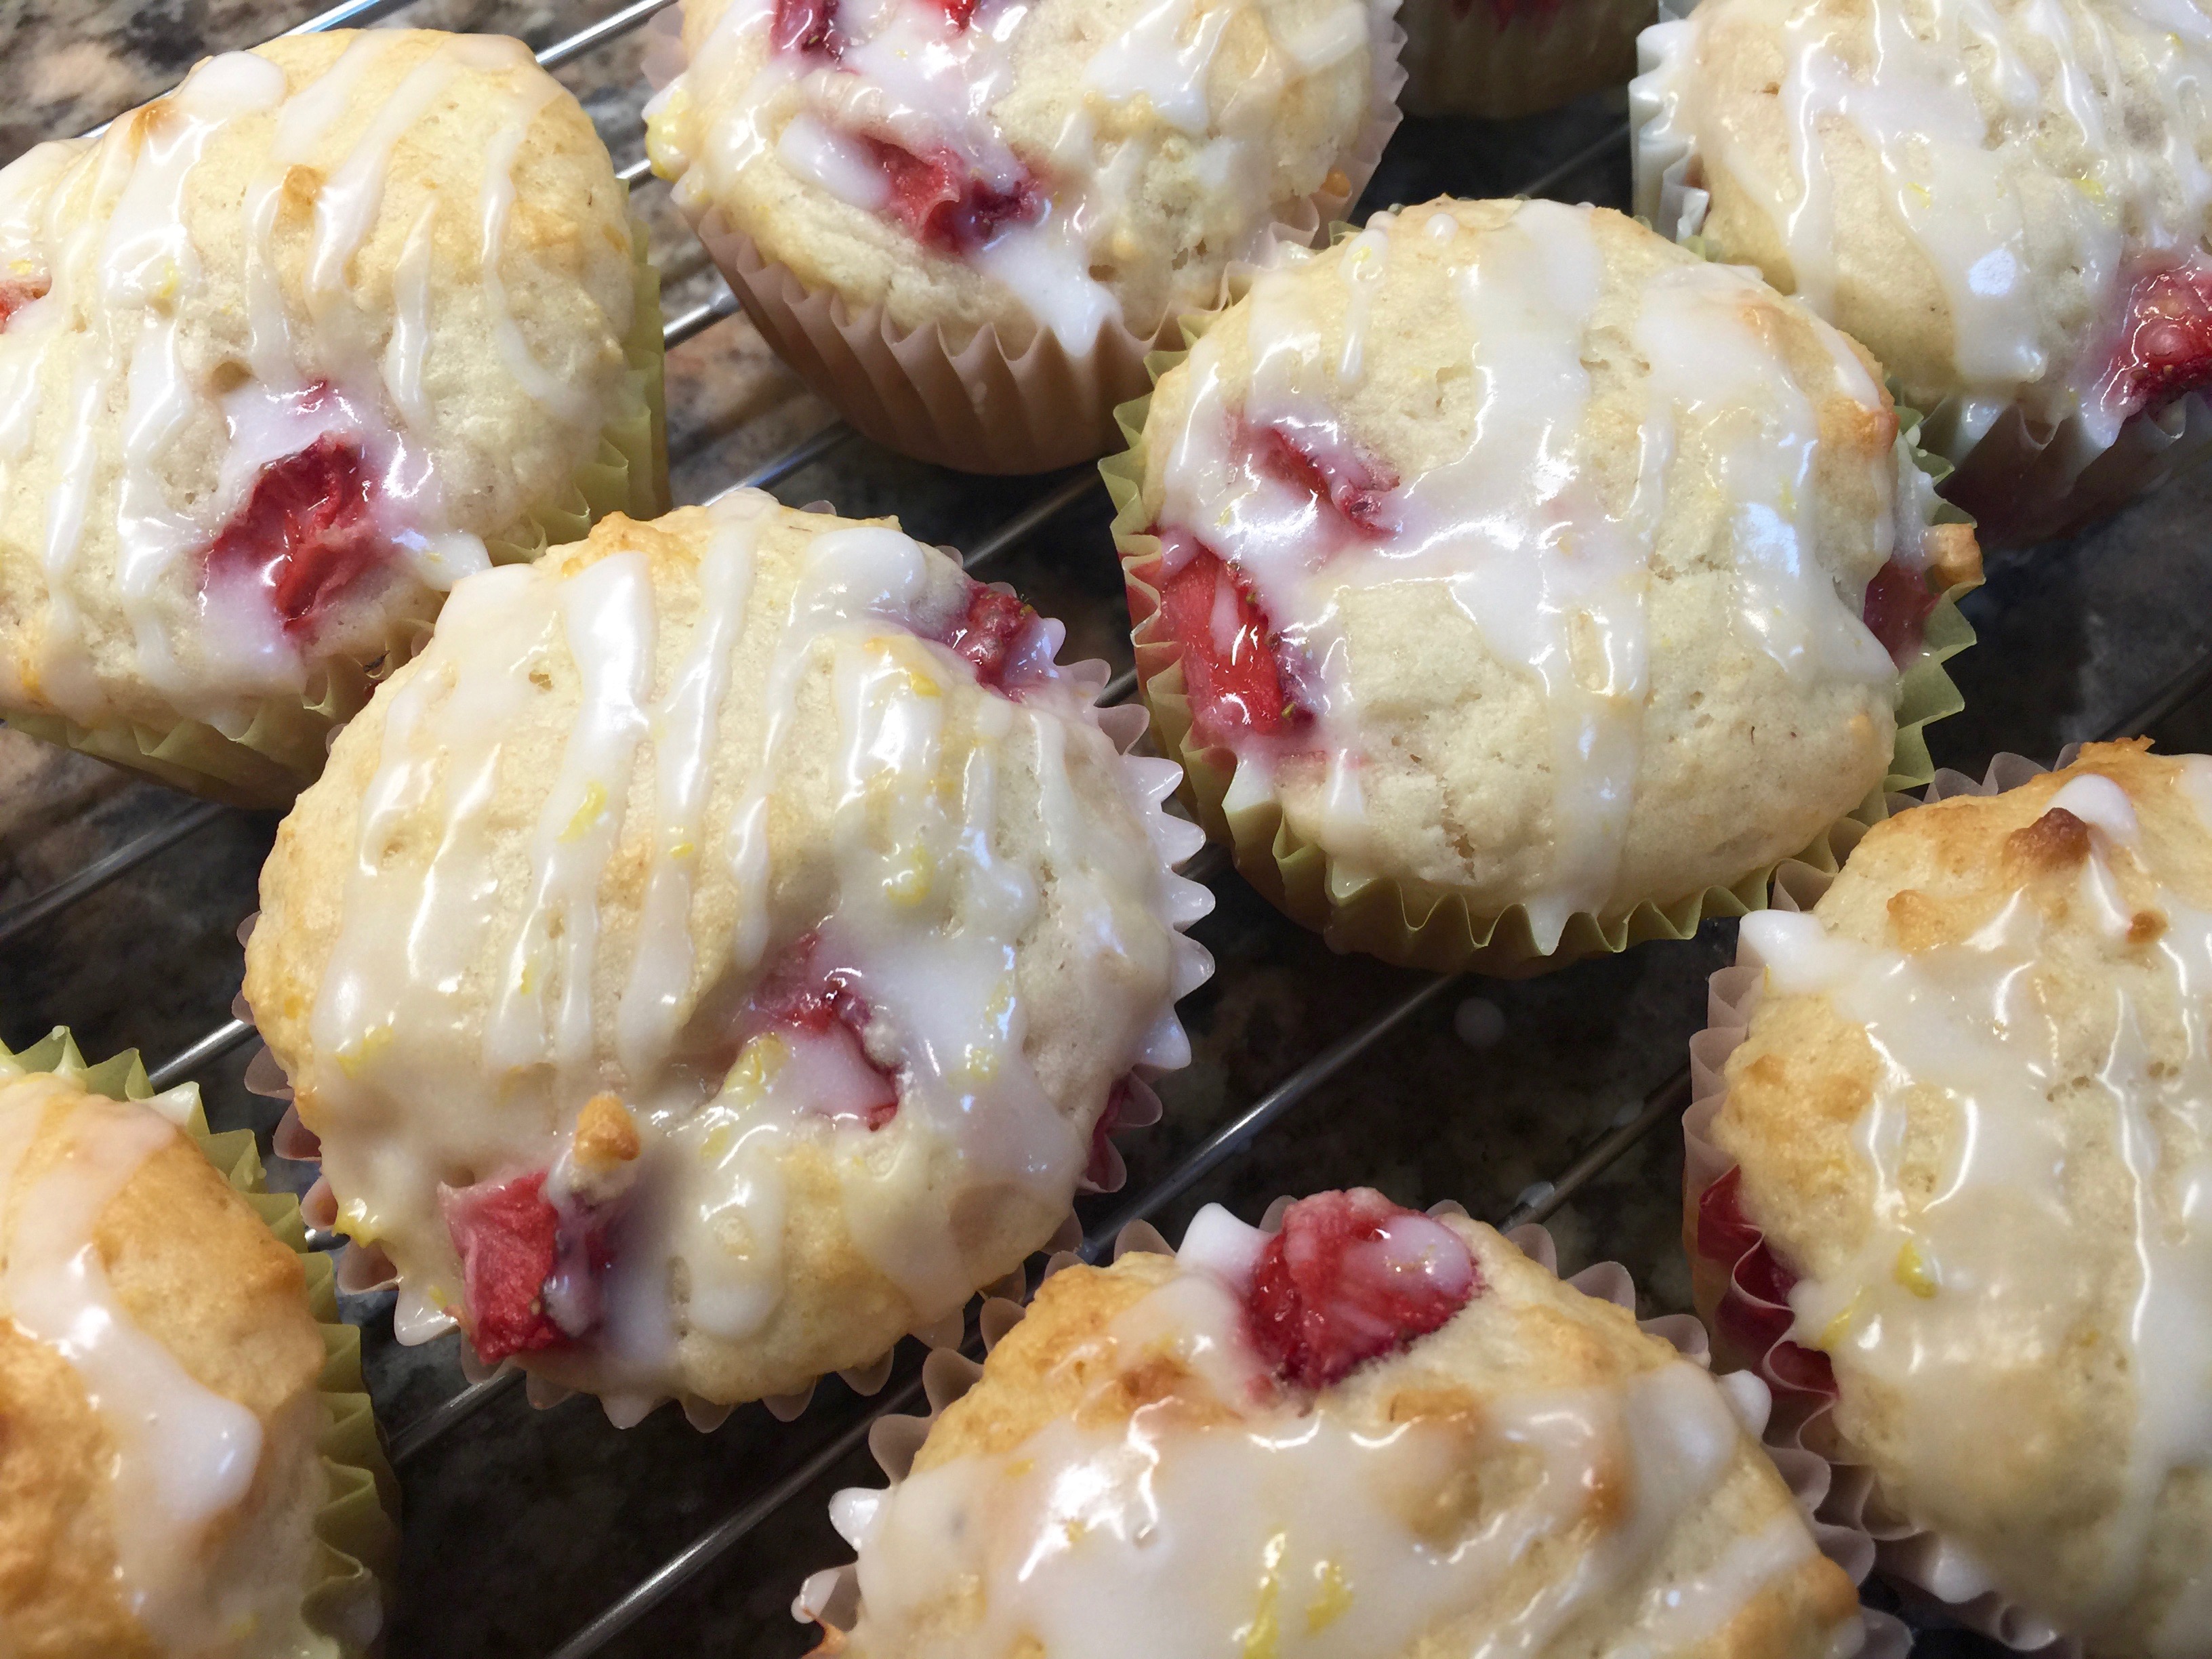
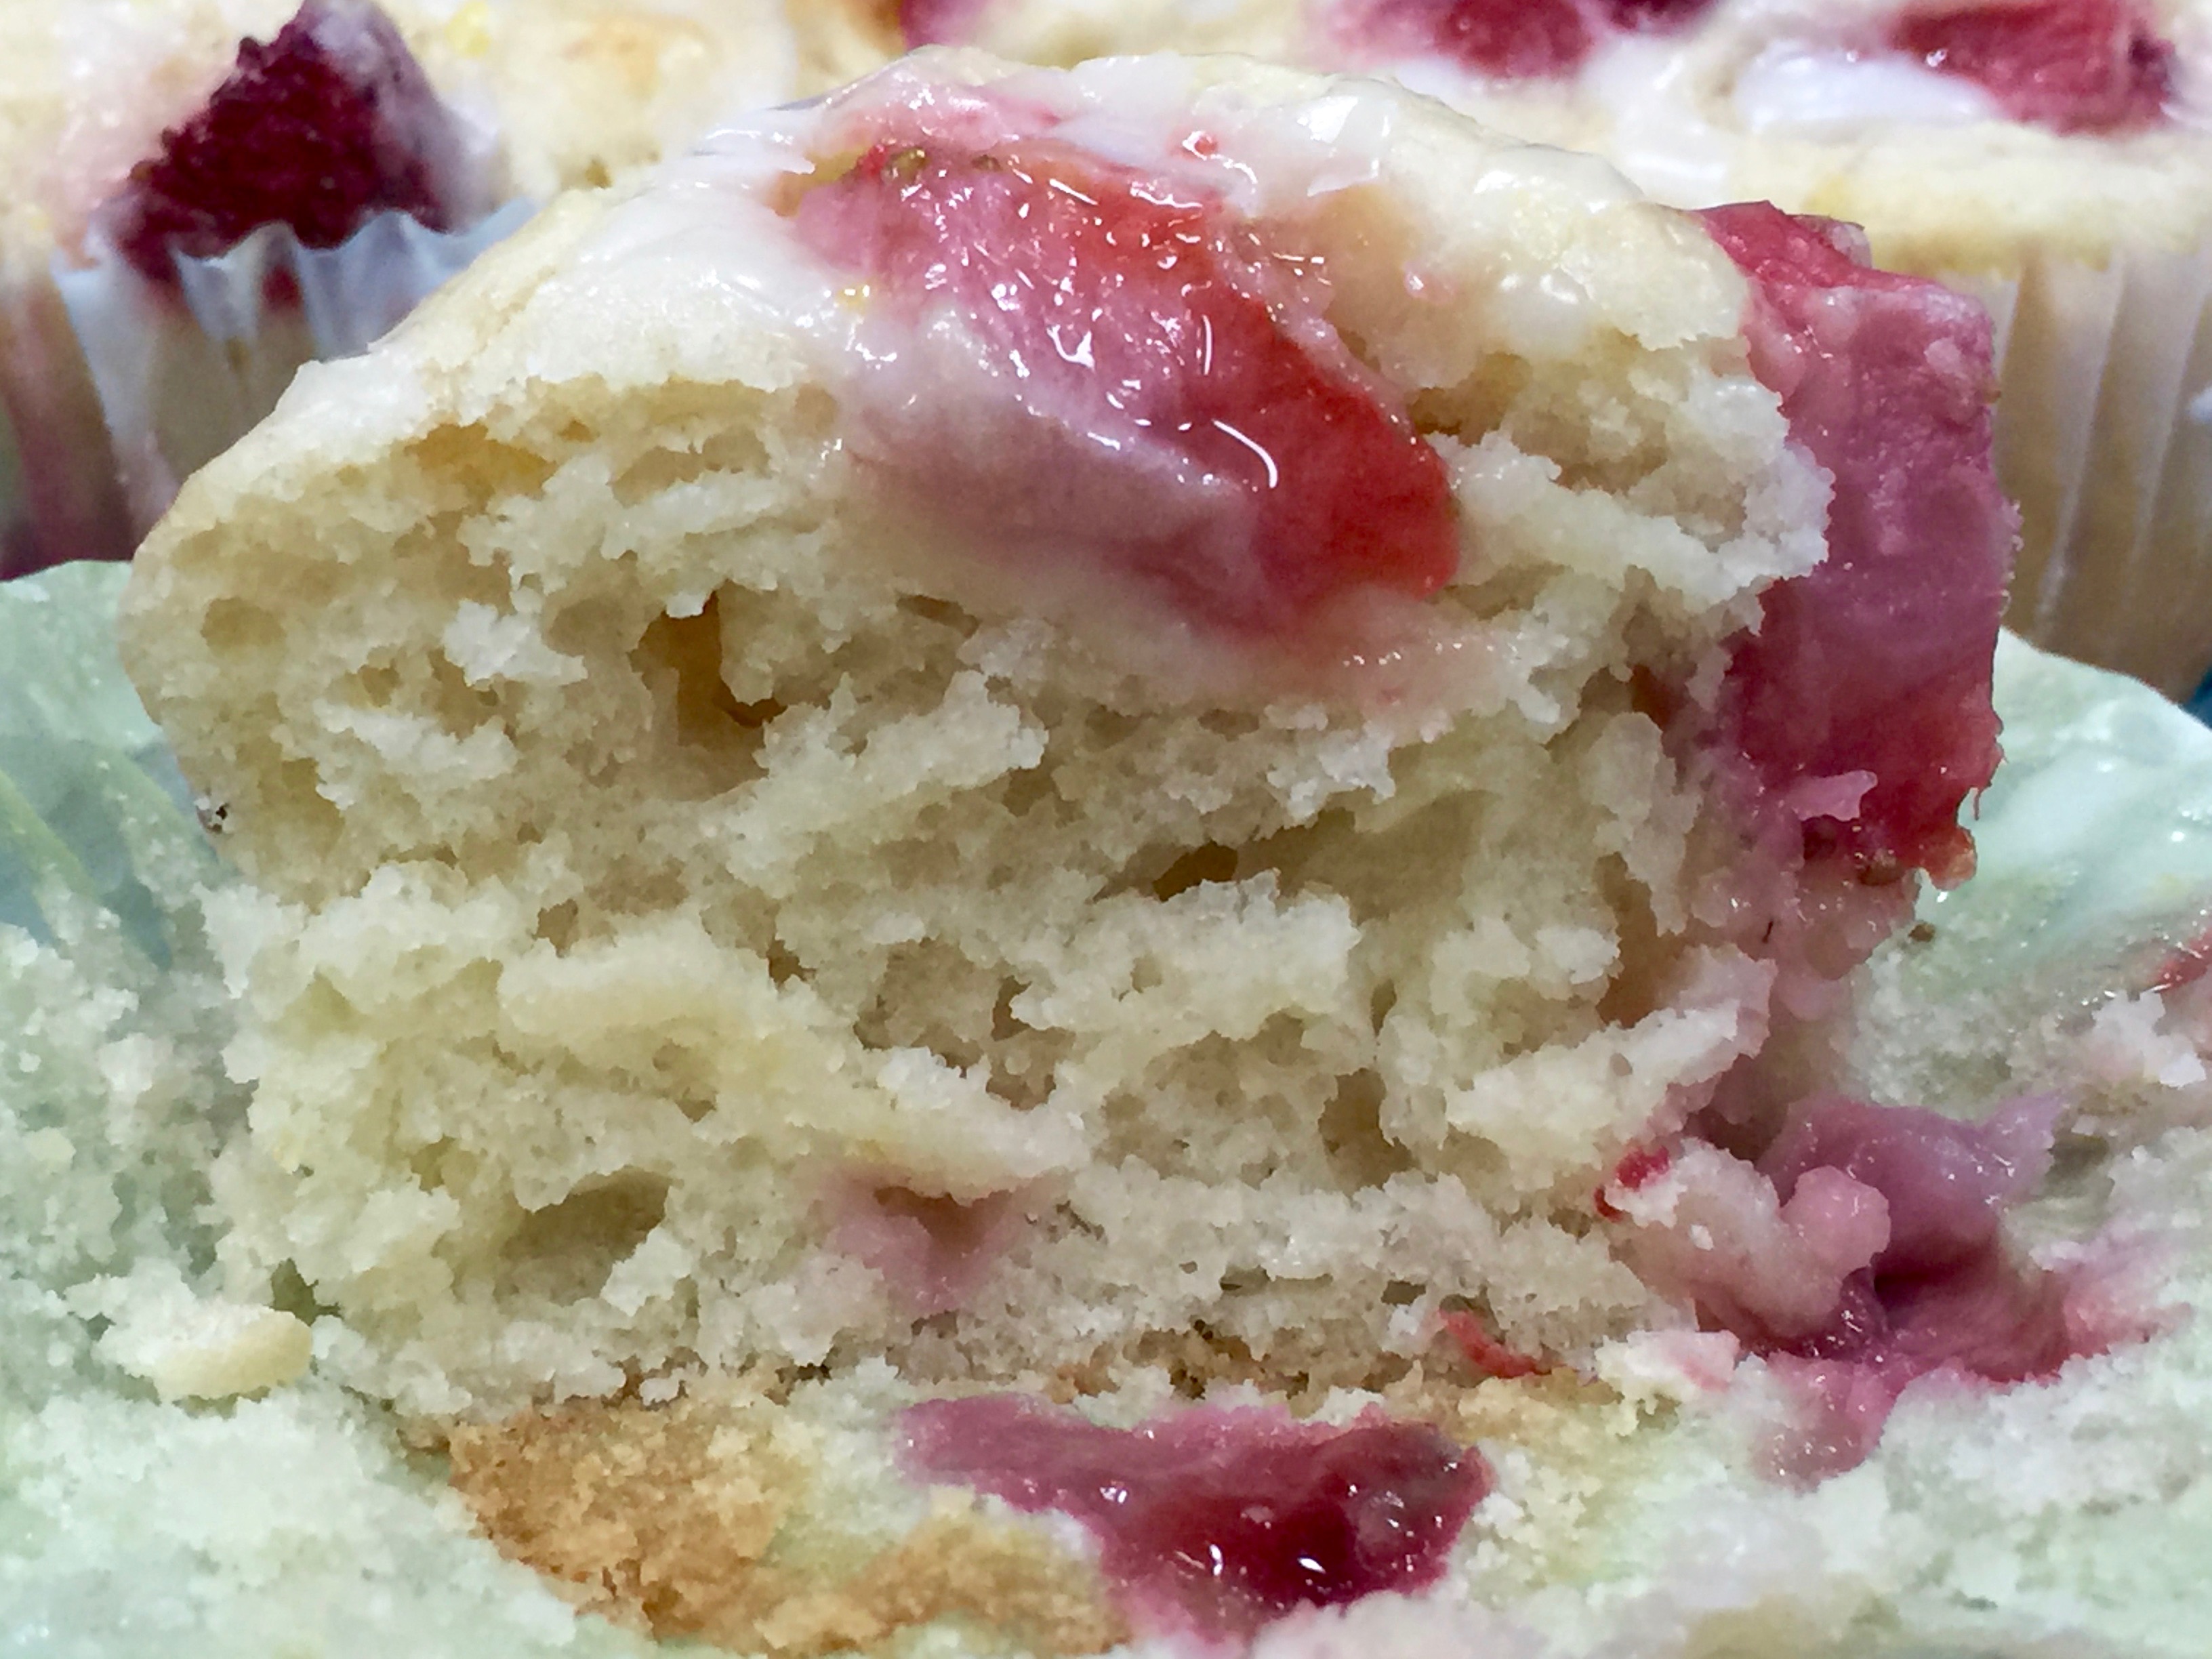
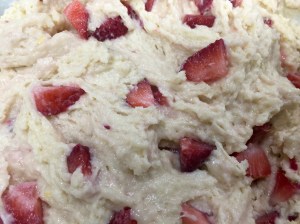 Lesson Learned 2 – The batter will be thicker than you think: I was surprised at how thick the batter was in this recipe. But the combination of a thick batter and strawberries creates the perfect balance for a moist and flavorful muffin. All the magic happens in the oven, so don’t worry about how thick the batter is.
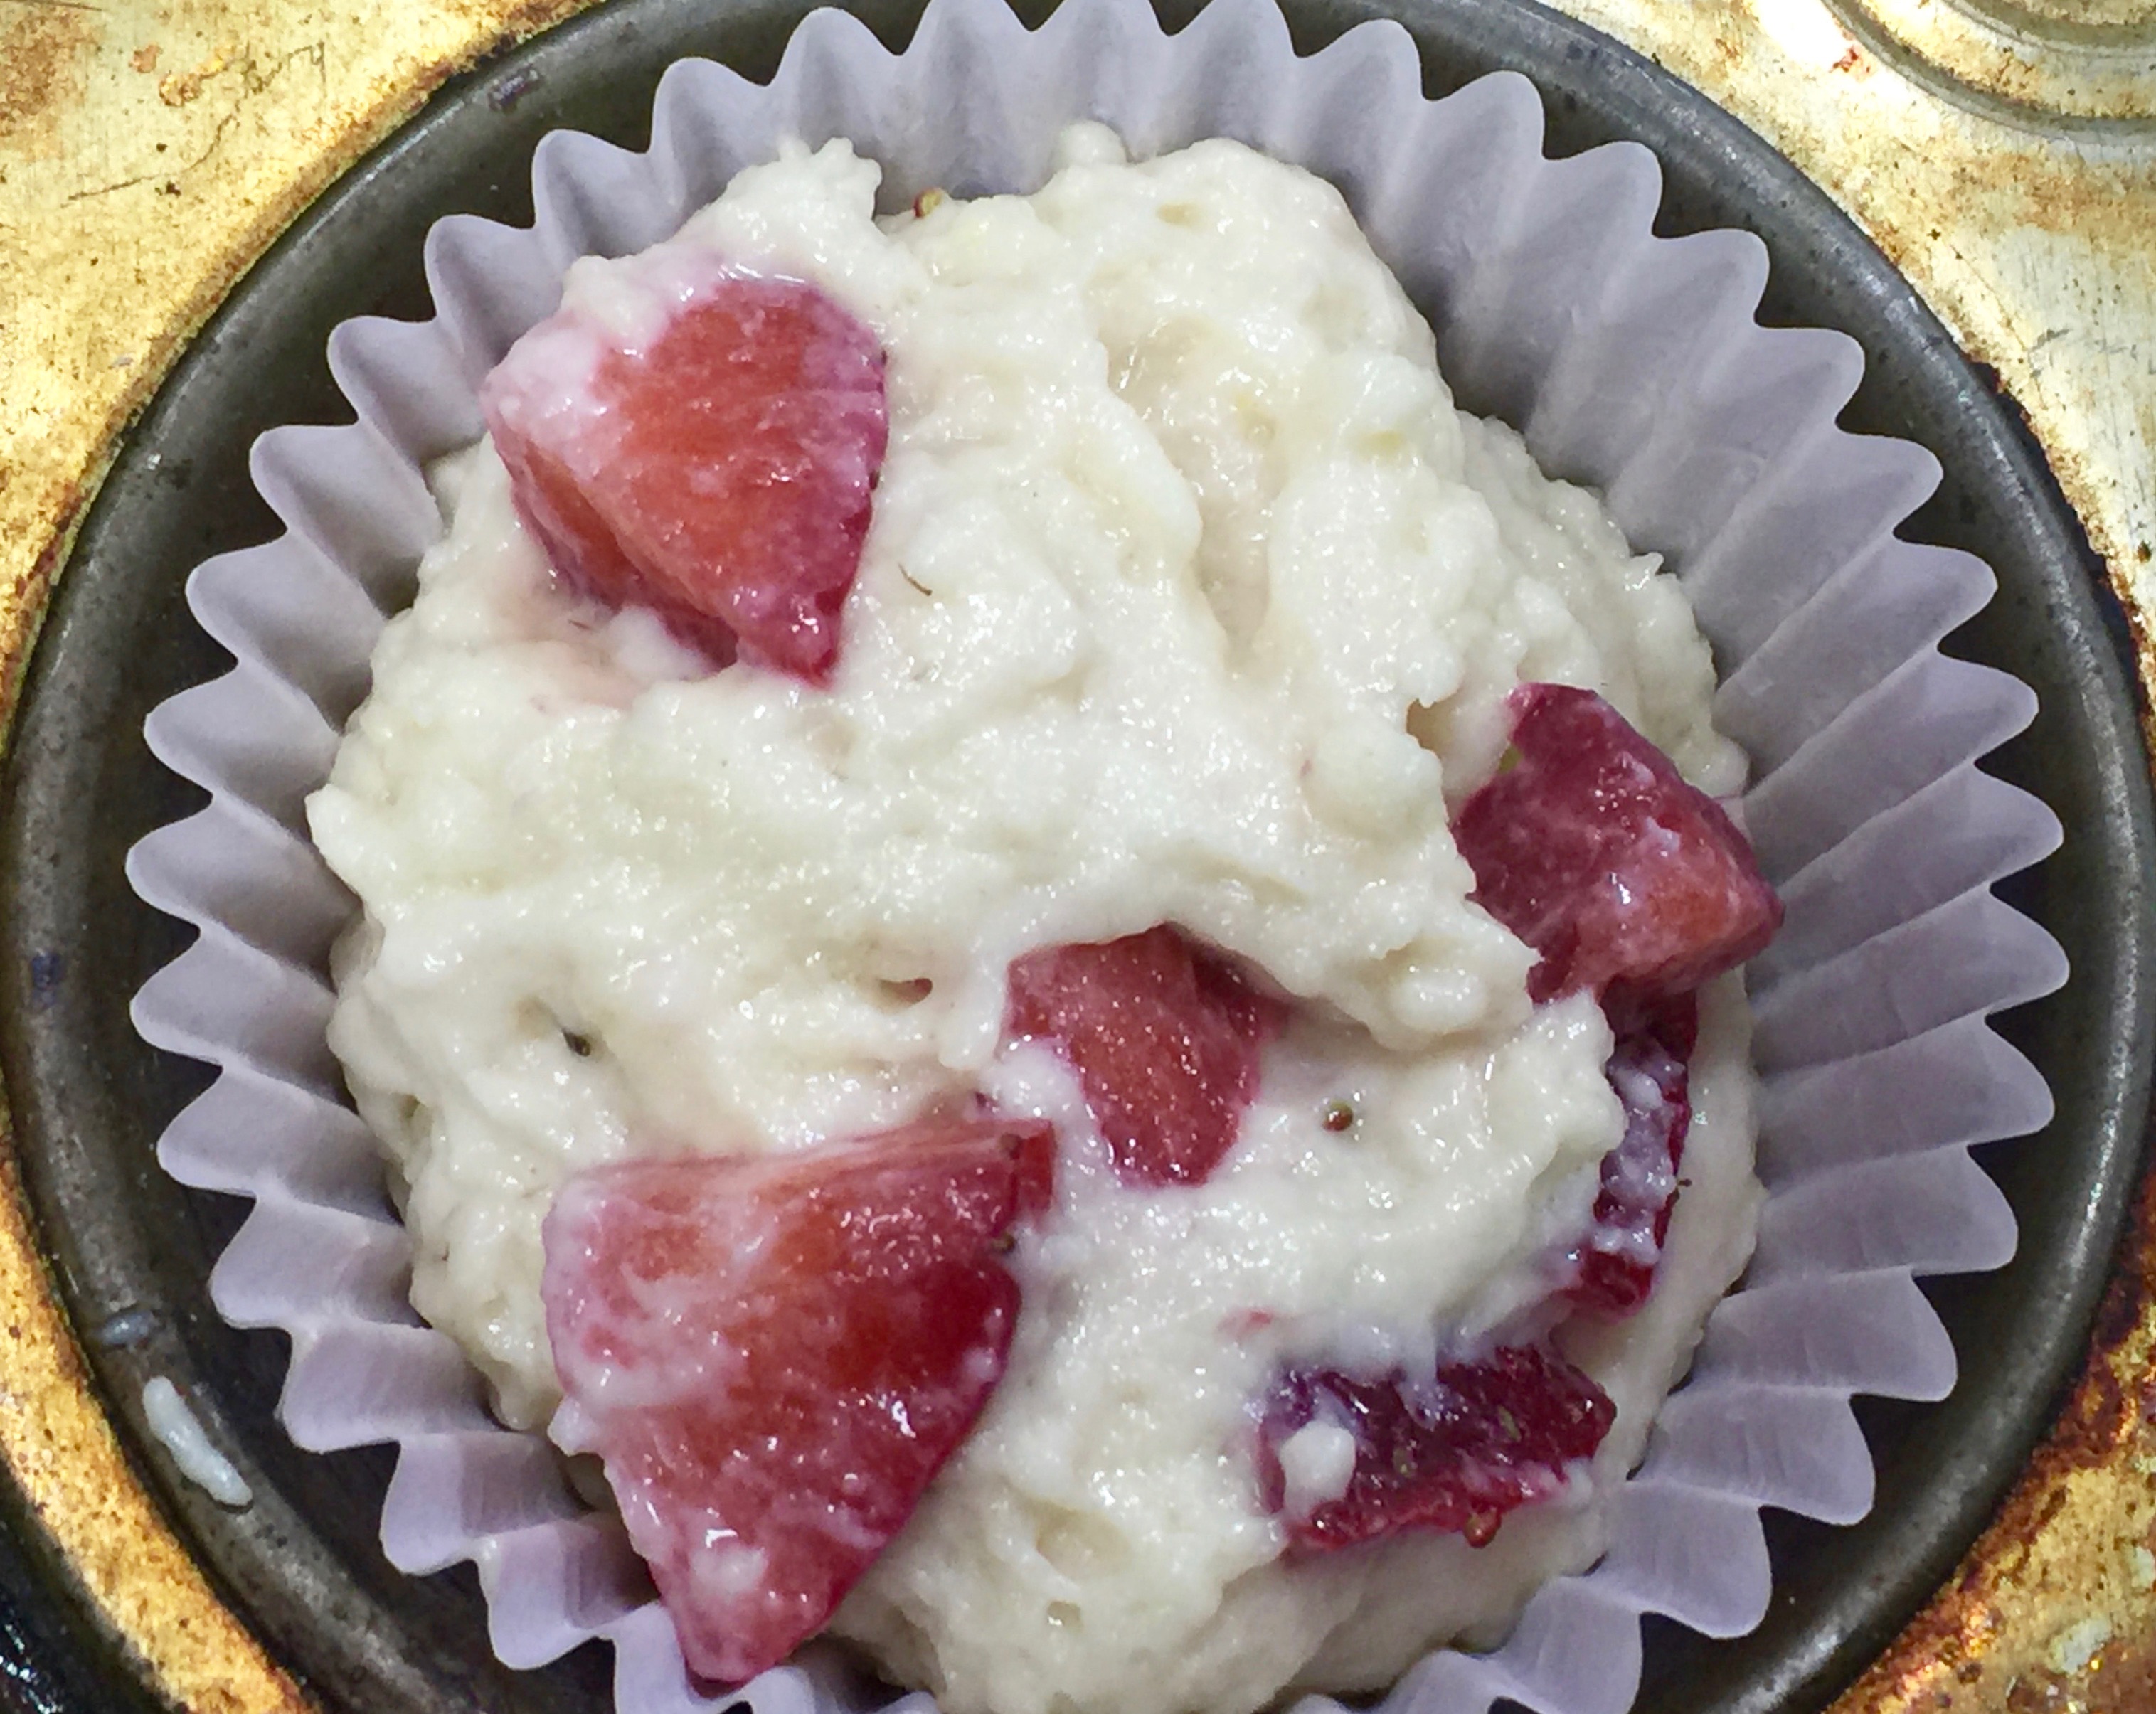
 2 cups flour
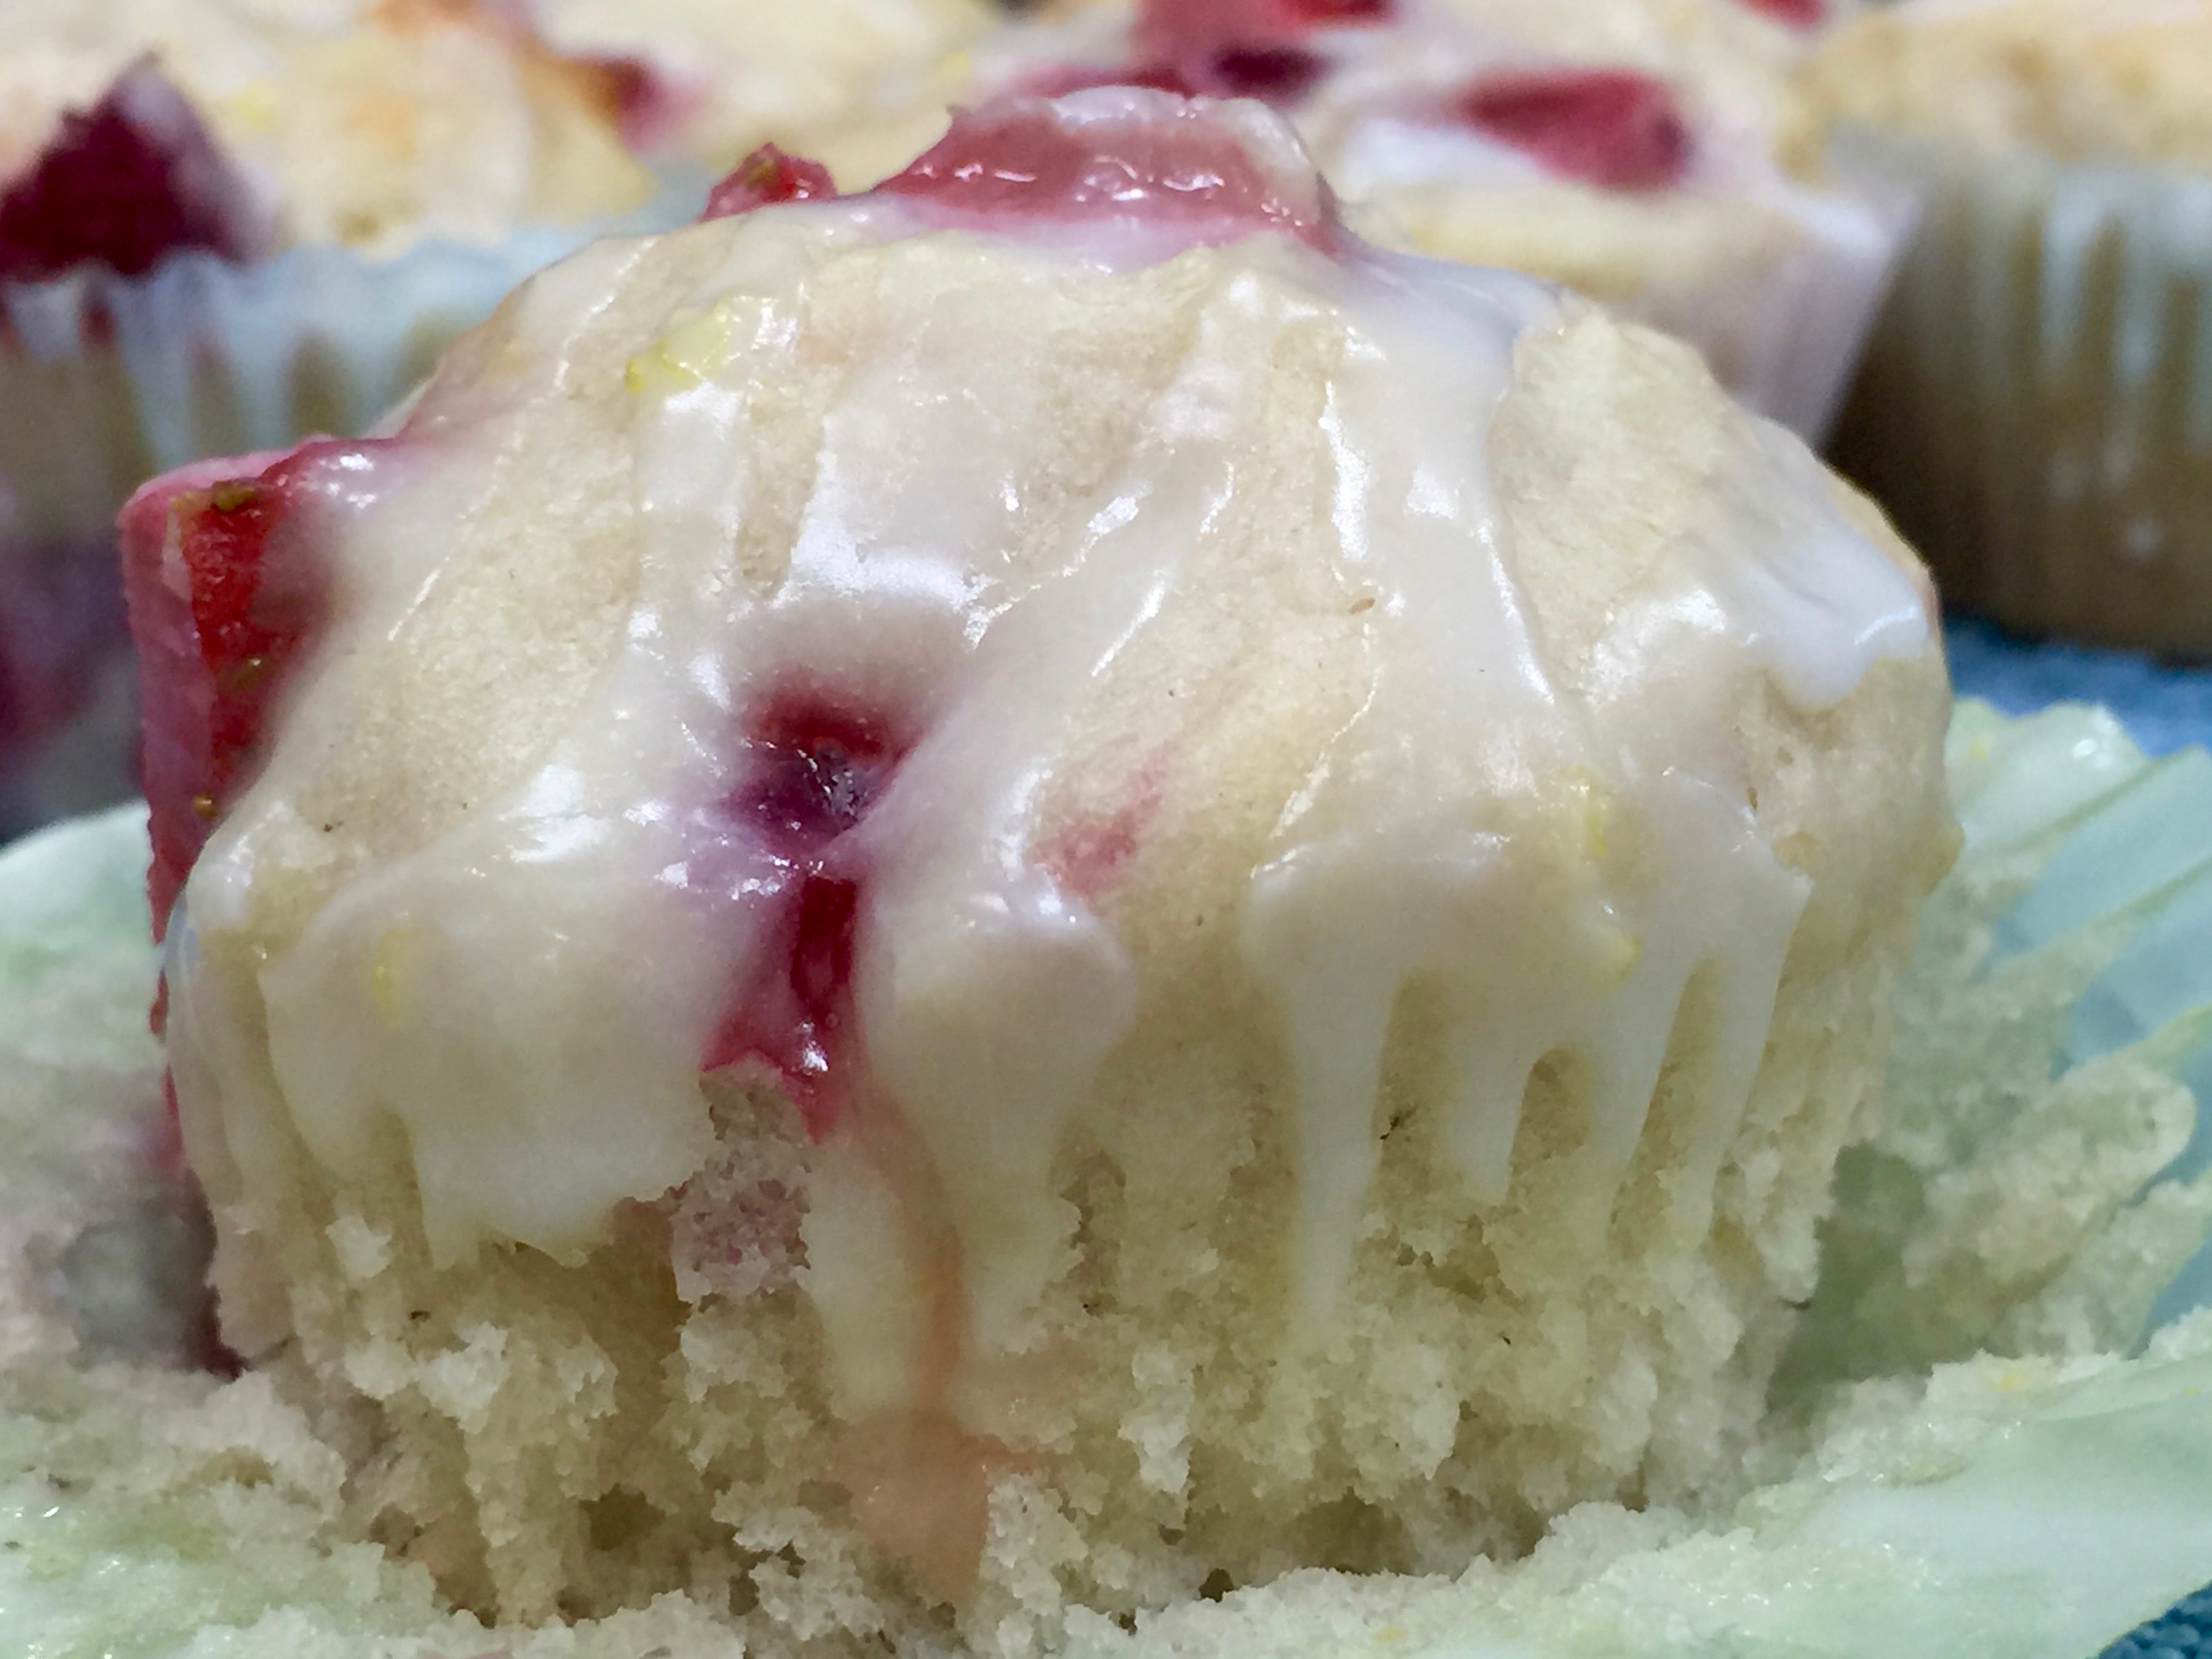

 INGREDIENTS:


 1/2 cup semi sweet chocolate chips
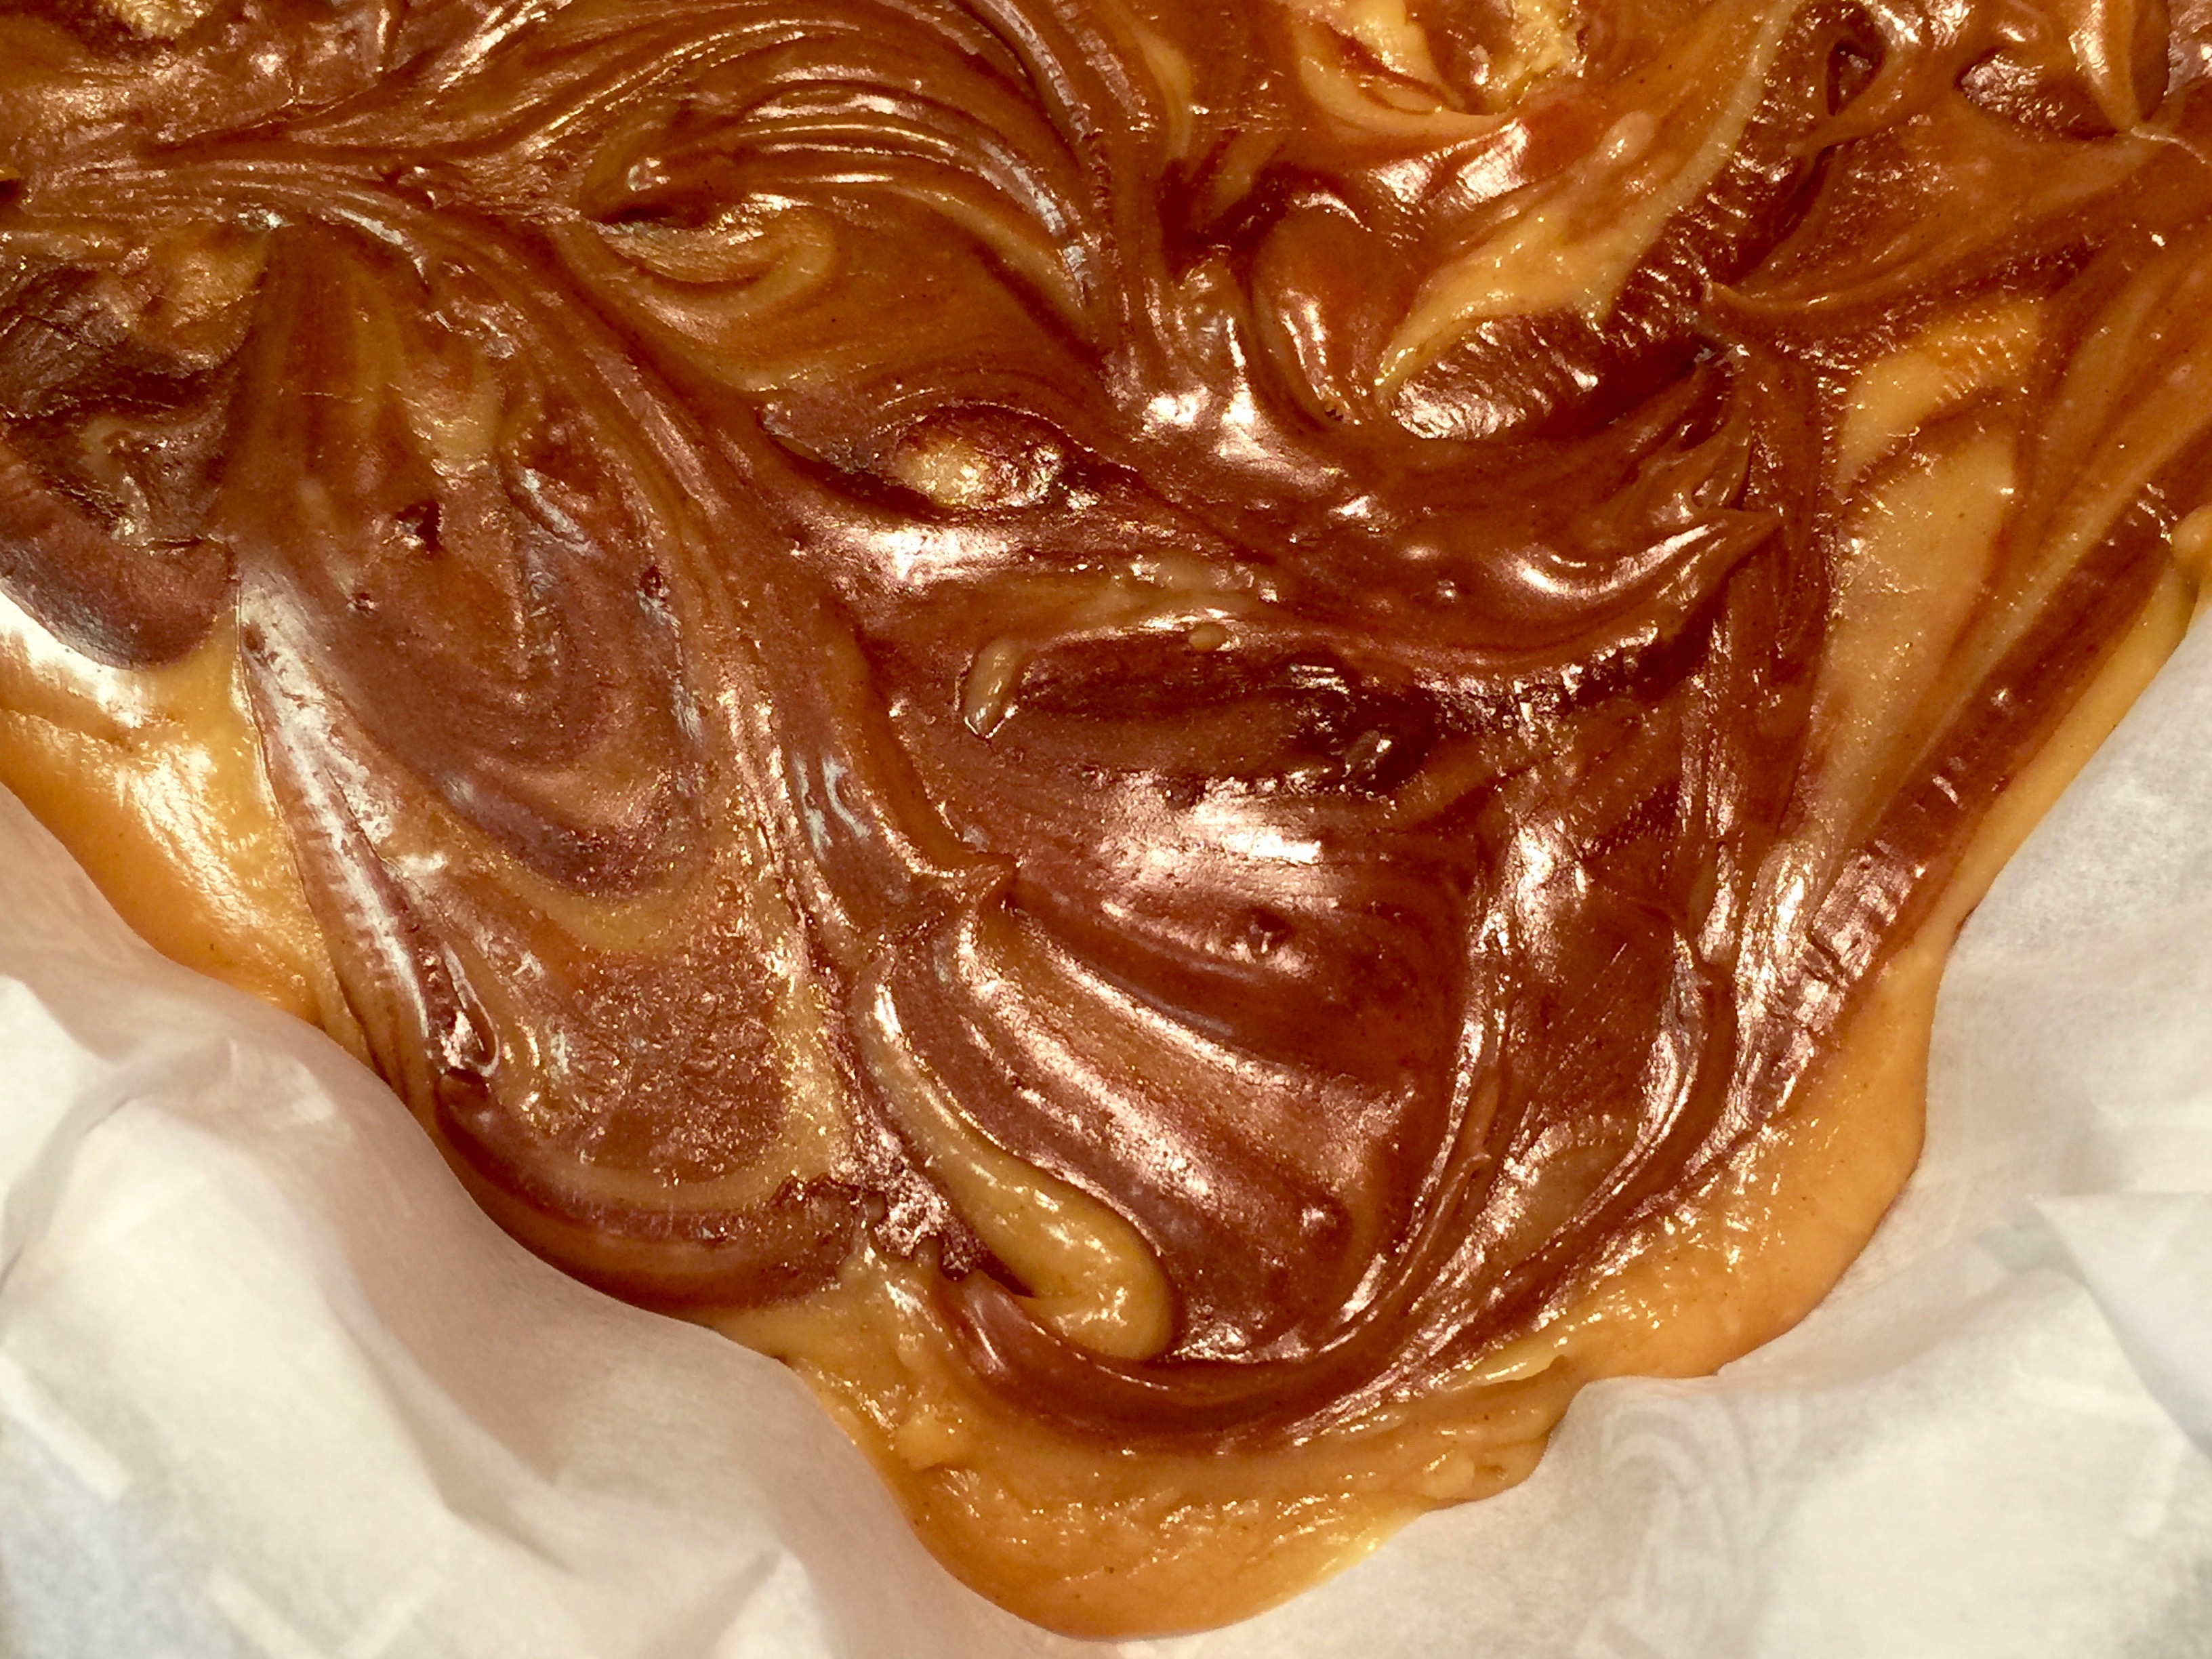


 Lesson Learned 1: Make sure your bananas are really ripe: and by really ripe I mean the peels are really dark, dark brown as in the picture to the right. You don’t want a lot of yellow on your banana skins and you definitely don’t want any green. Most of the time the bananas you buy in the store are under ripe, mainly green and yellow. Those bananas have not reached their full peak of flavor. The skins need to look pretty dark. As the banana ripens it releases more sugar and becomes more flavorful. And as they ripen the skins turn darker. If you want the best tasting cake you need to use bananas with dark skins.