No one will deny that we are currently living in unprecedented times. With the country being ravaged by the coronavirus and people scrambling to figure out how to shelter at home without losing their minds, it comes as no surprise that many people are turning to cooking. Cooking (and eating) has always been associated with comfort. And at this point in time we need all the comfort we can get.
We are under a stay at home order here in Colorado so venturing outside can only be done for essential things, like going to the grocery store. When I last visited my grocery store I found it fascinating that the baking isles were heavily picked over. It was hard to find flour or eggs. I laughed when I saw there were hardly any boxed cake mixes on the shelves. And try to find flour tortillas – well I guess people are indulging their taste for Mexican food during quarantine.
I’ve been trying to limit my trips to the store as much as possible so sometimes I buy larger containers of things that will last a longer period of time. The other day I was planning on making some stuffed shells (that recipe soon to be posted) and so I purchased a large container of ricotta cheese. I did not anticipate the amount I would have left and began thinking about how I could use the remaining ricotta. And this is how I used it…

So let’s talk lemon ricotta cake…
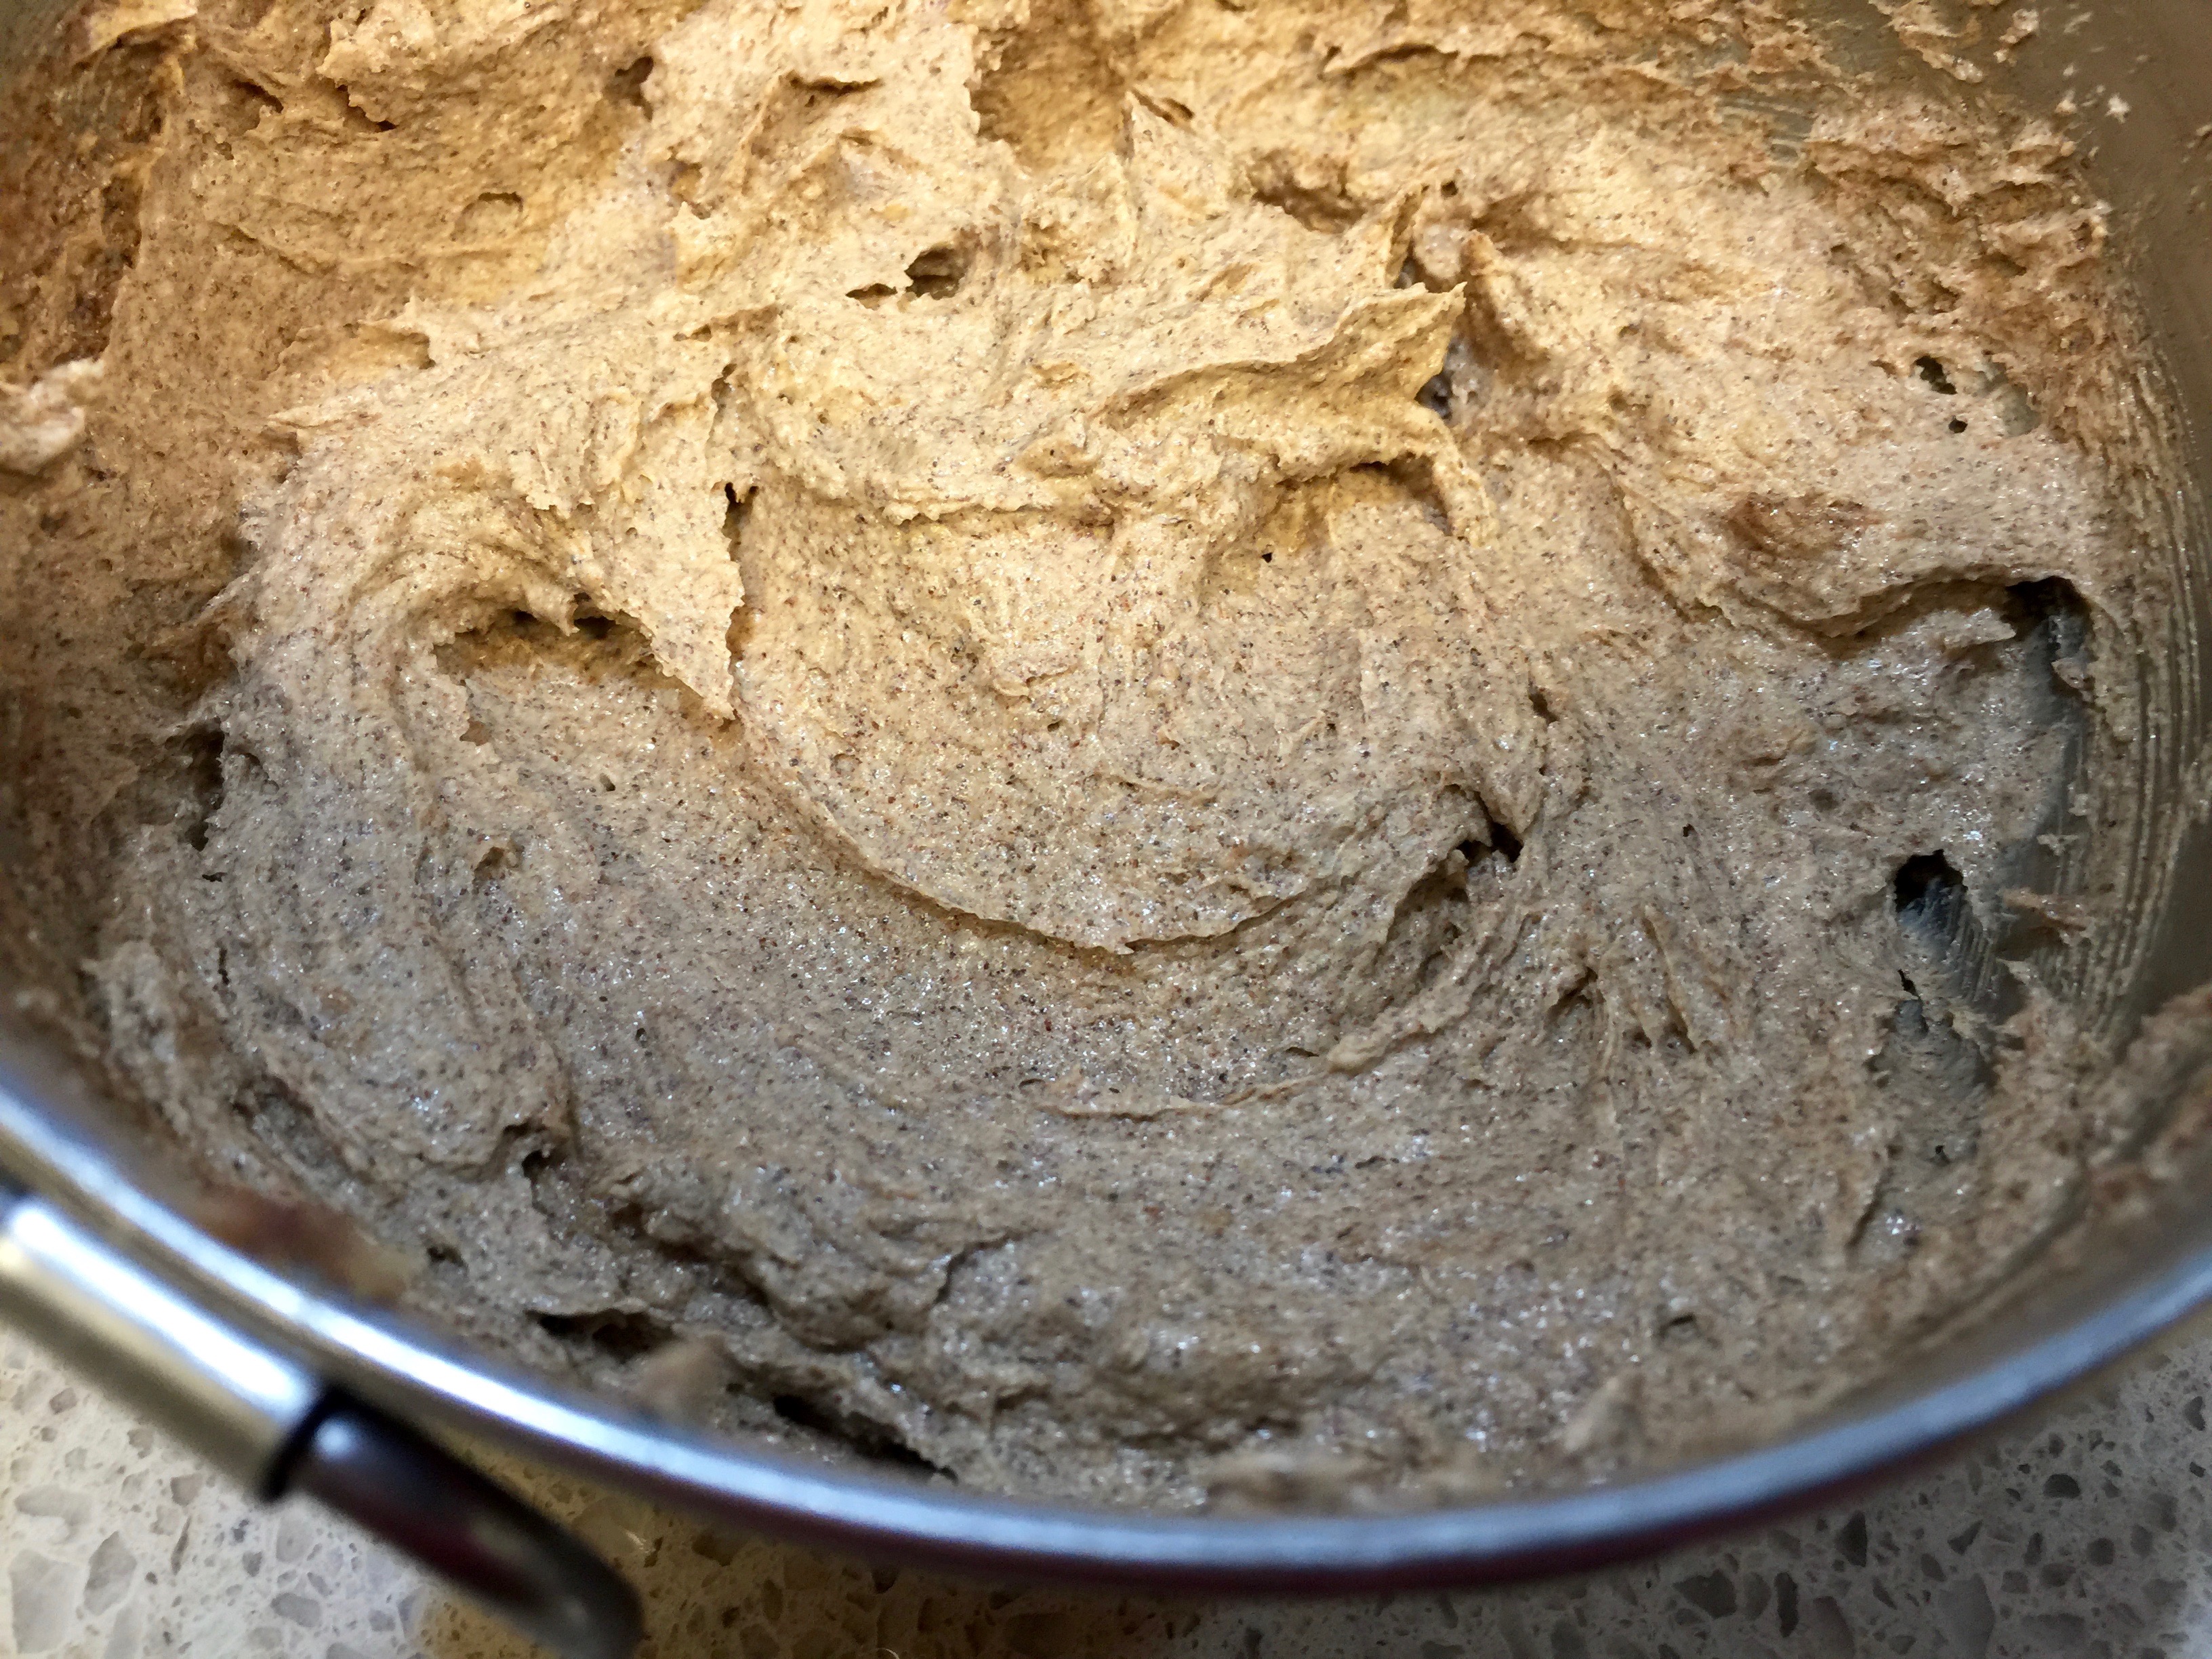
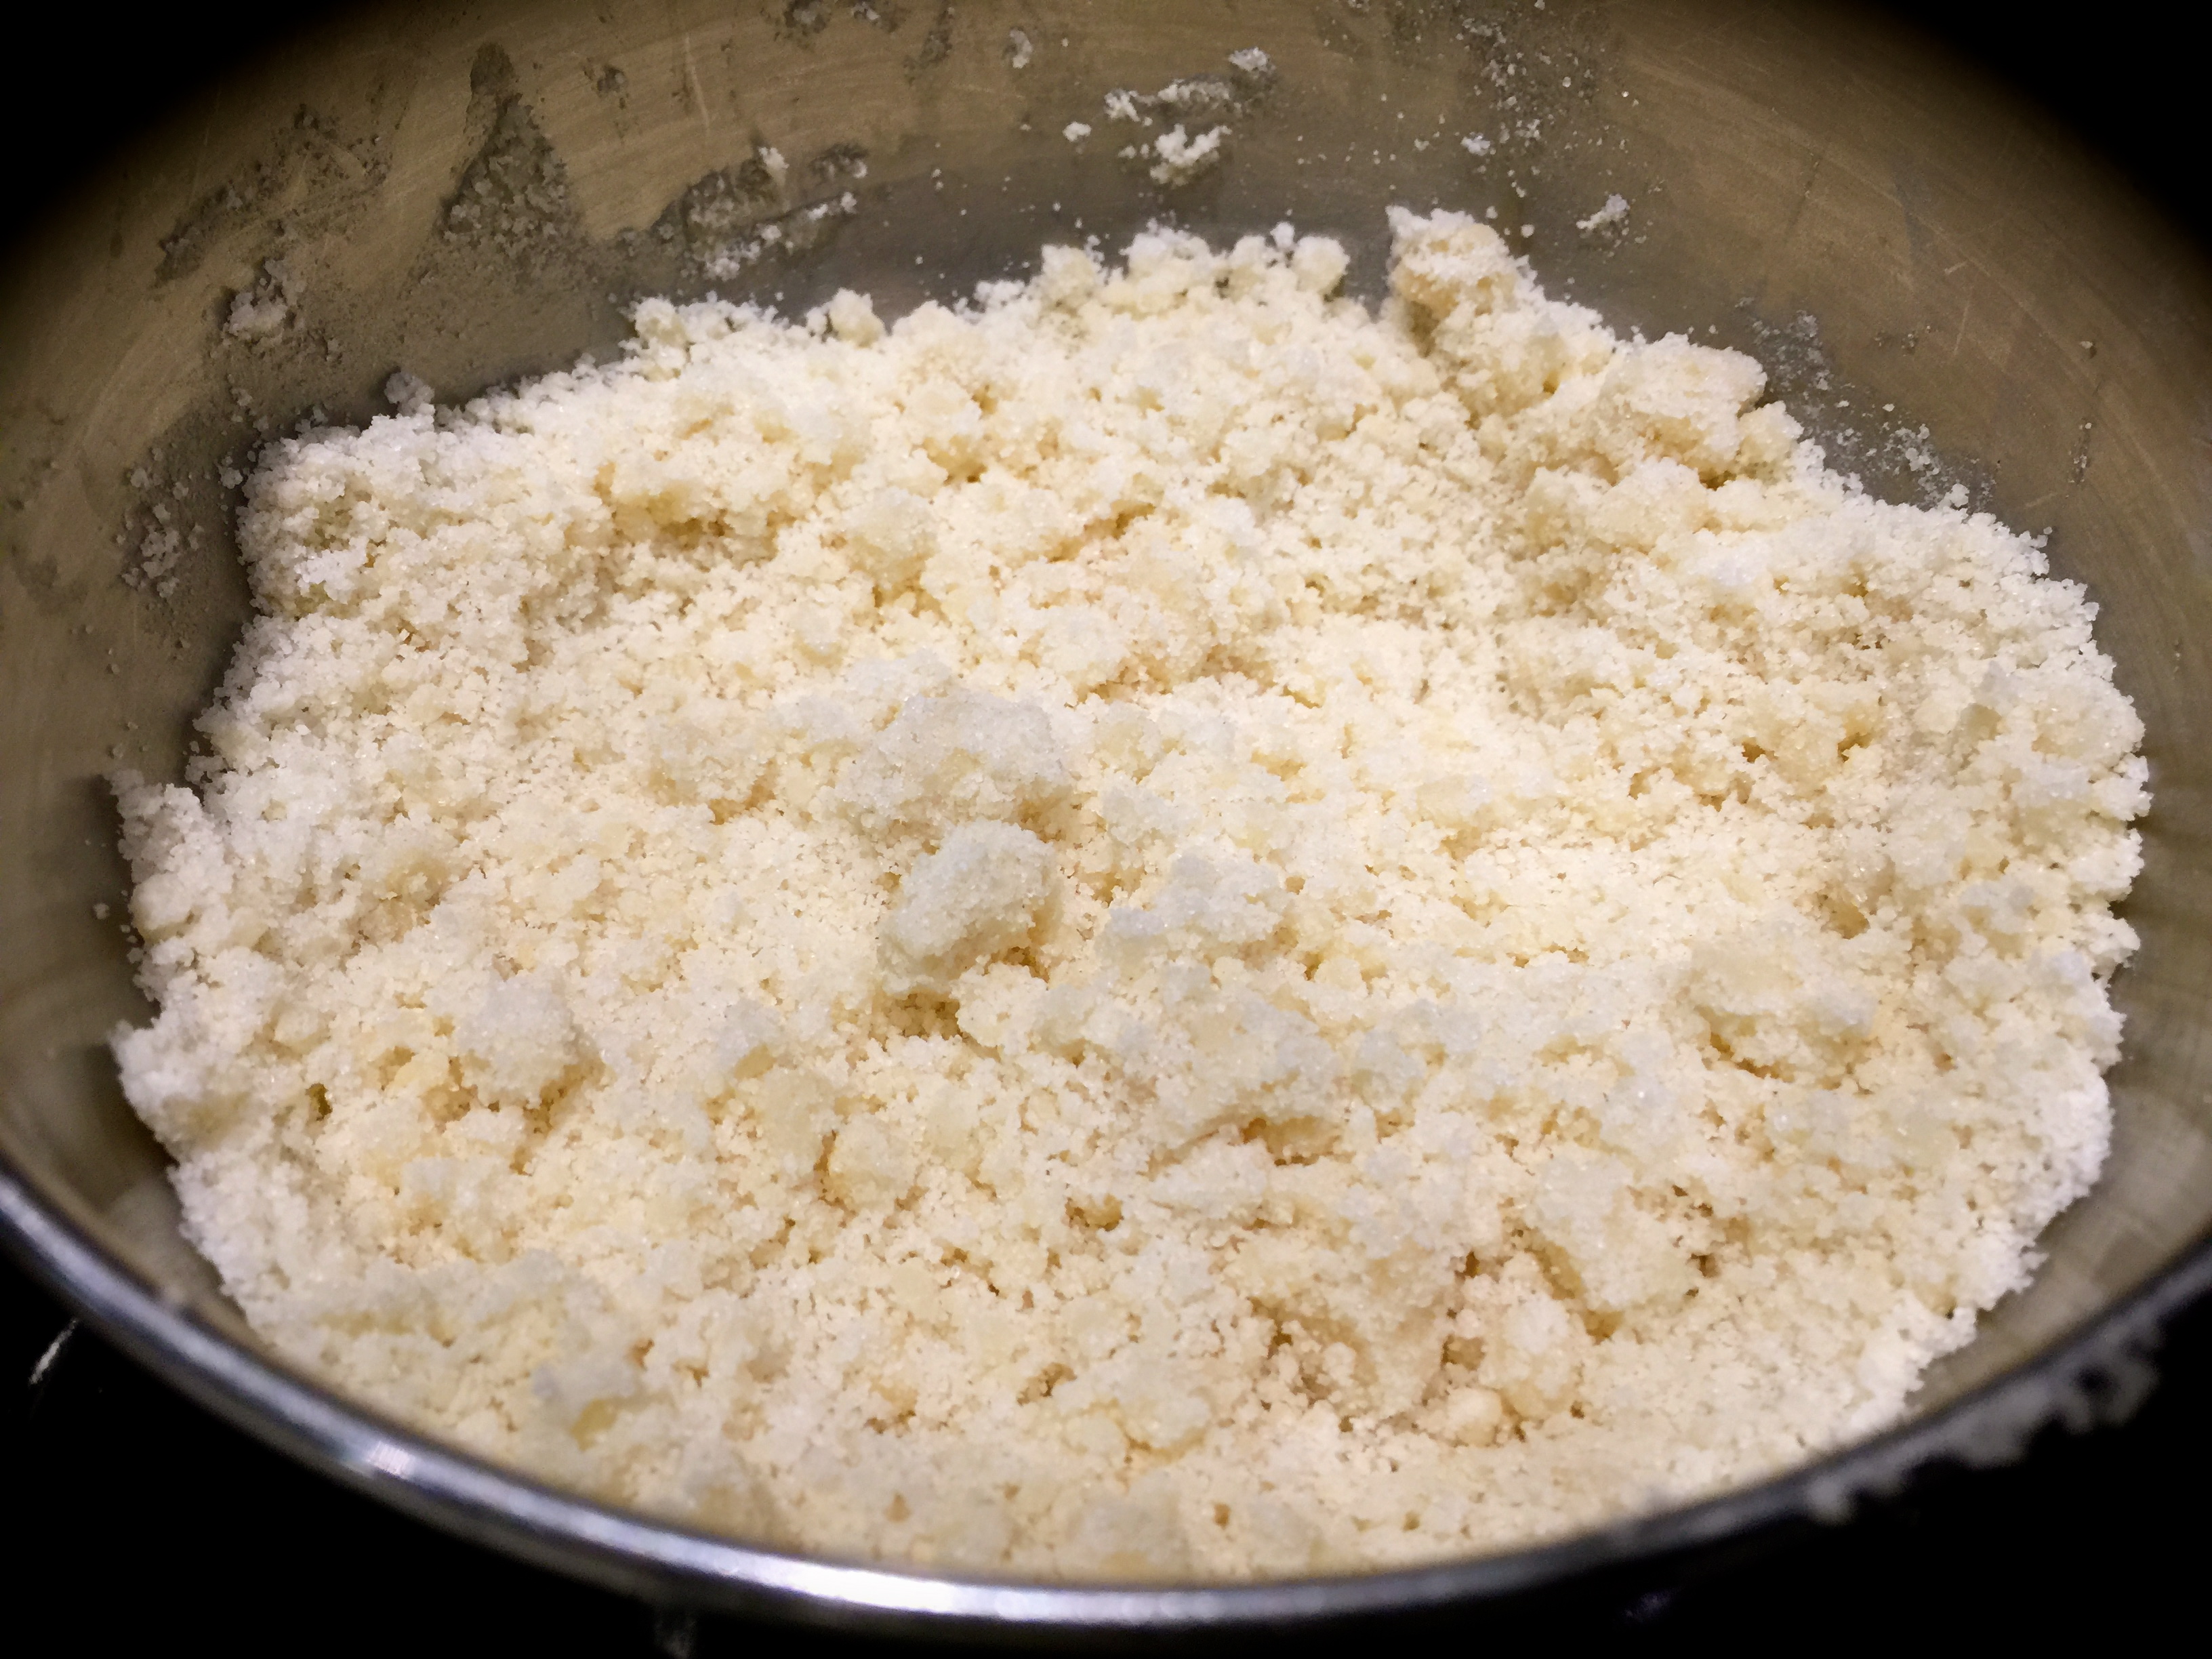
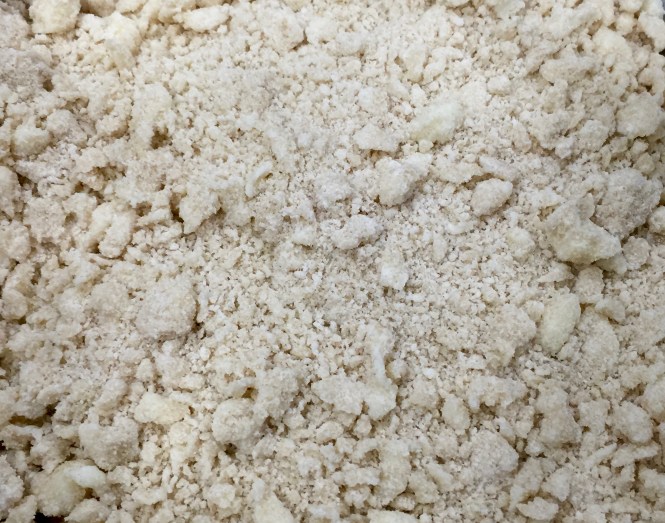
Lesson Learned 1 – Beat the ricotta into the butter/sugar mixture really well: Ricotta is rather thick and when using it in baking it can cause lumps unless you beat it well. I found that using whole milk ricotta is the best for this cake. Make sure you beat the mixture for at least 3 minutes or until you see the mixture is smooth and creamy. Also make sure you scrape the sides and bottom of the the mixing bowl. I found when using a stand mixer that a very small portion of ingredients tends to clump right at the very base of the beater. Don’t forget to scrape there as well.

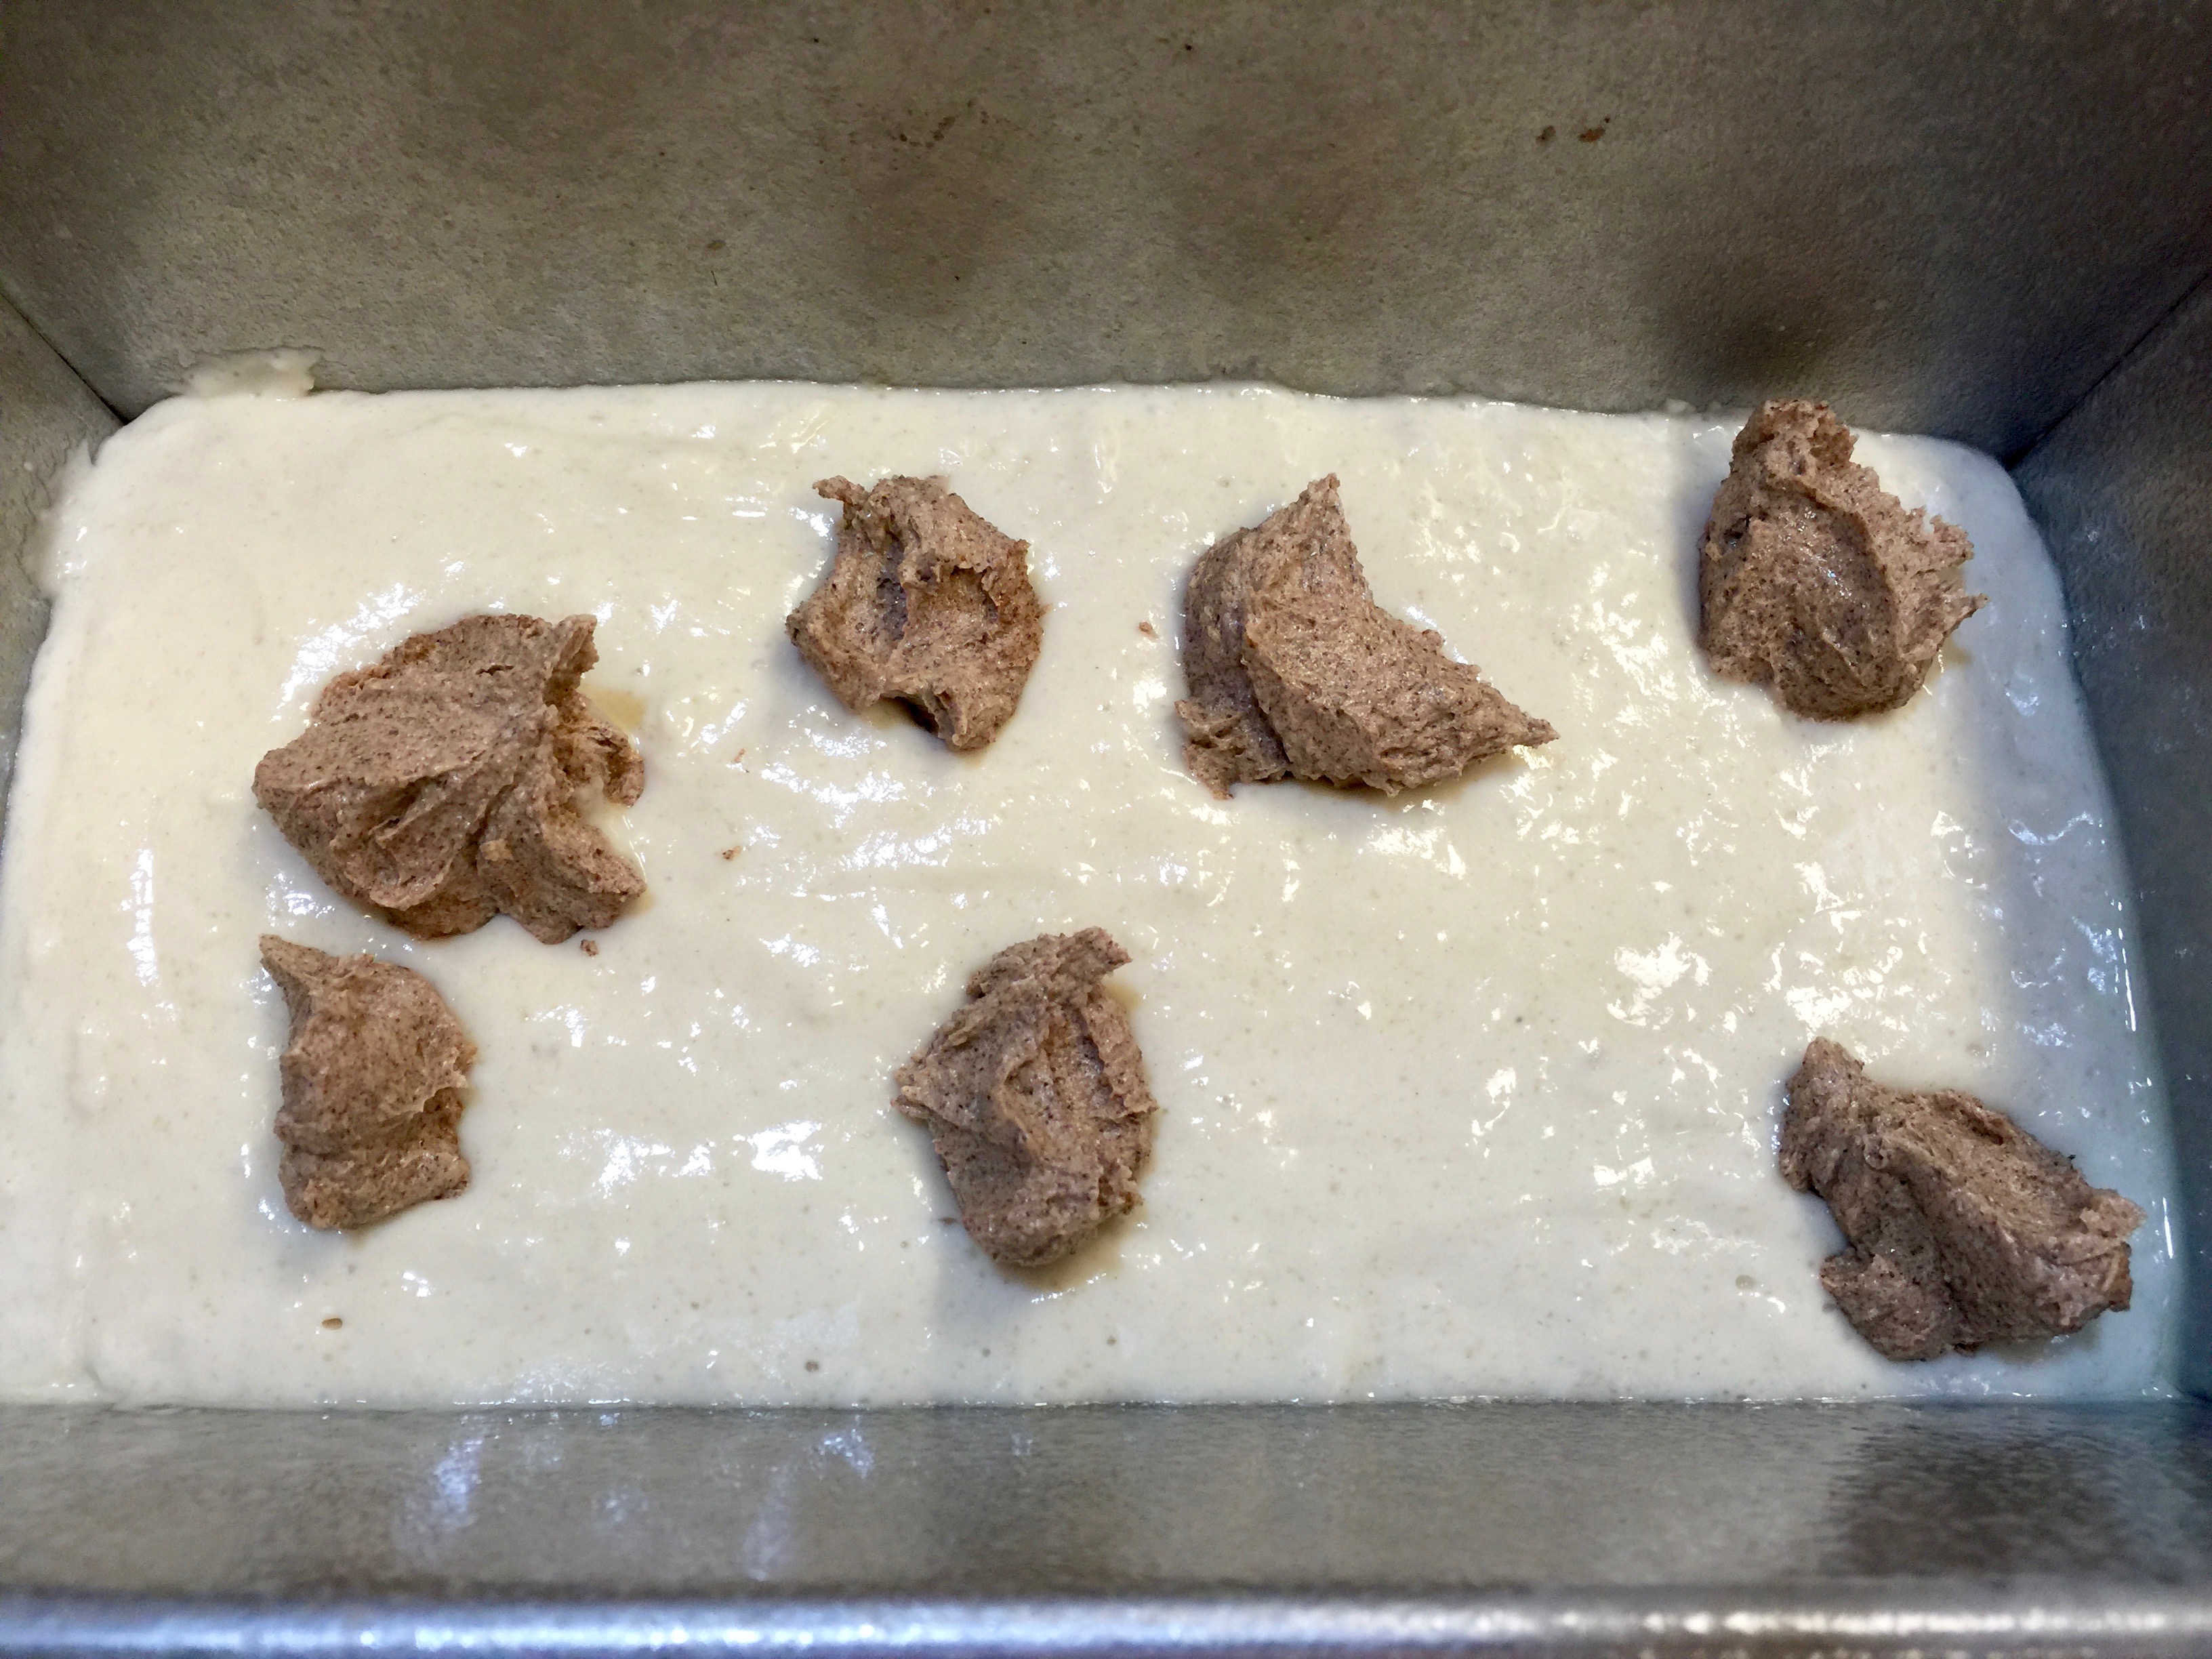
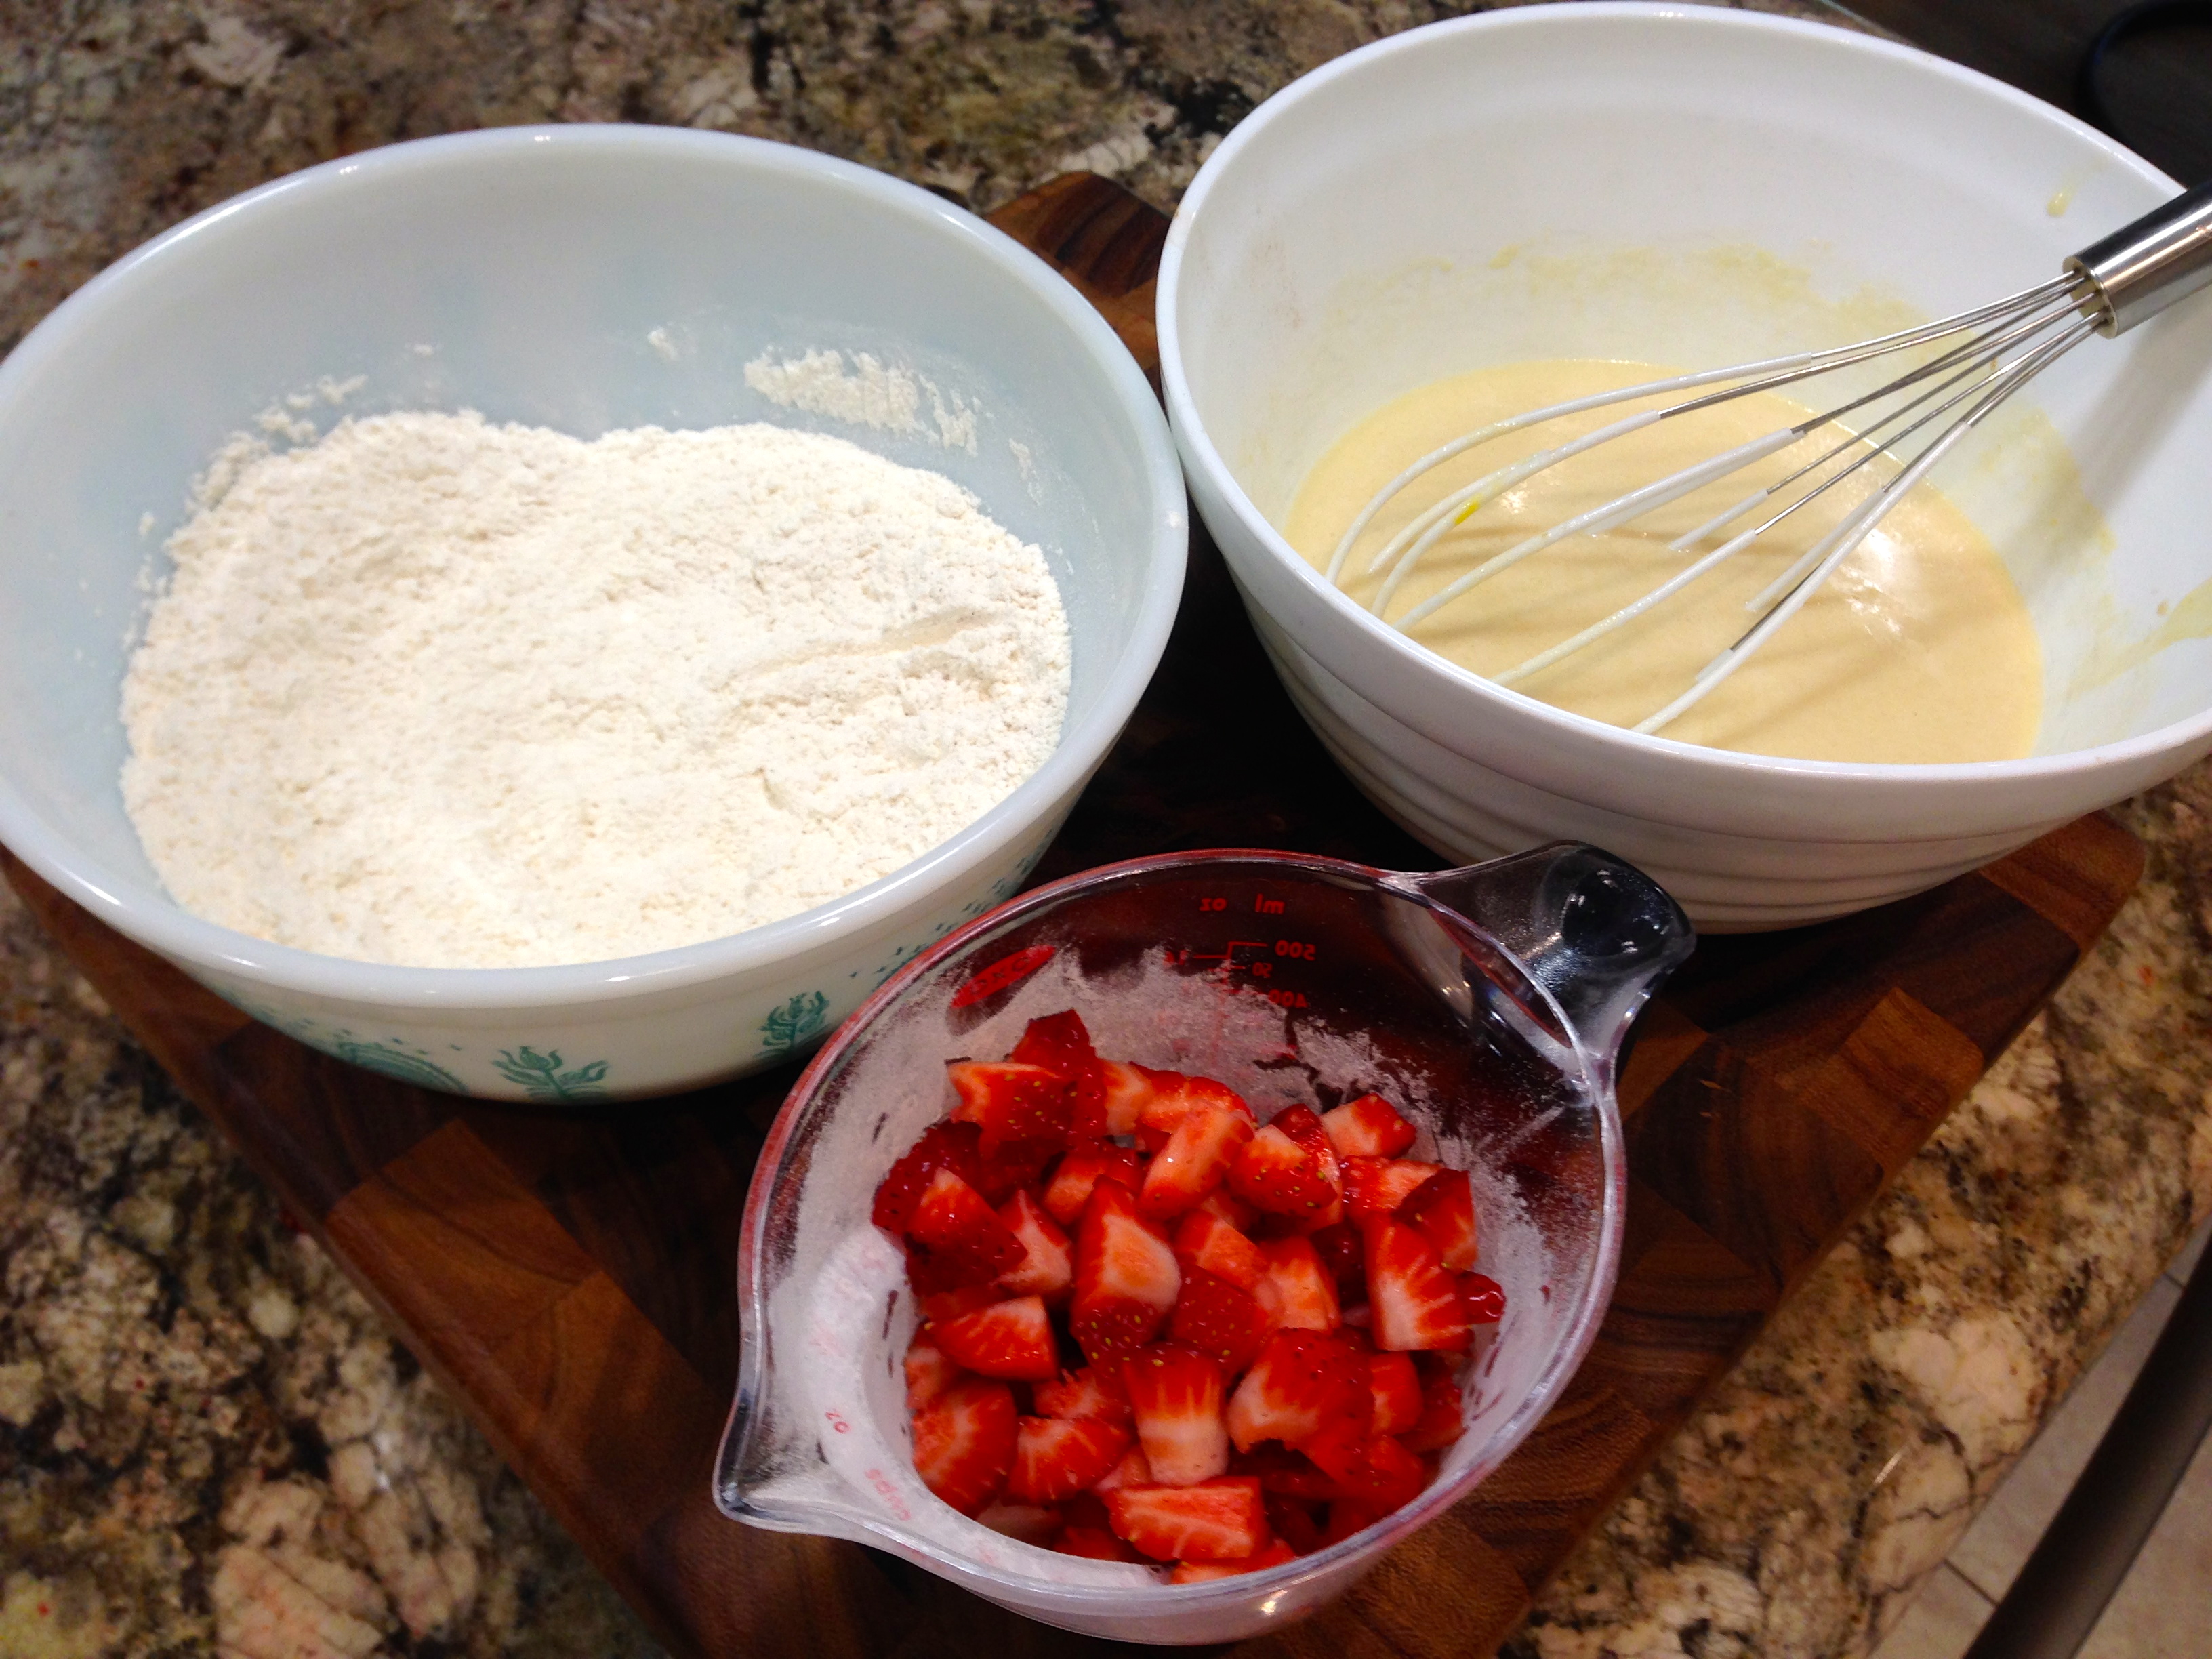
Well Mixed Ricotta Batter
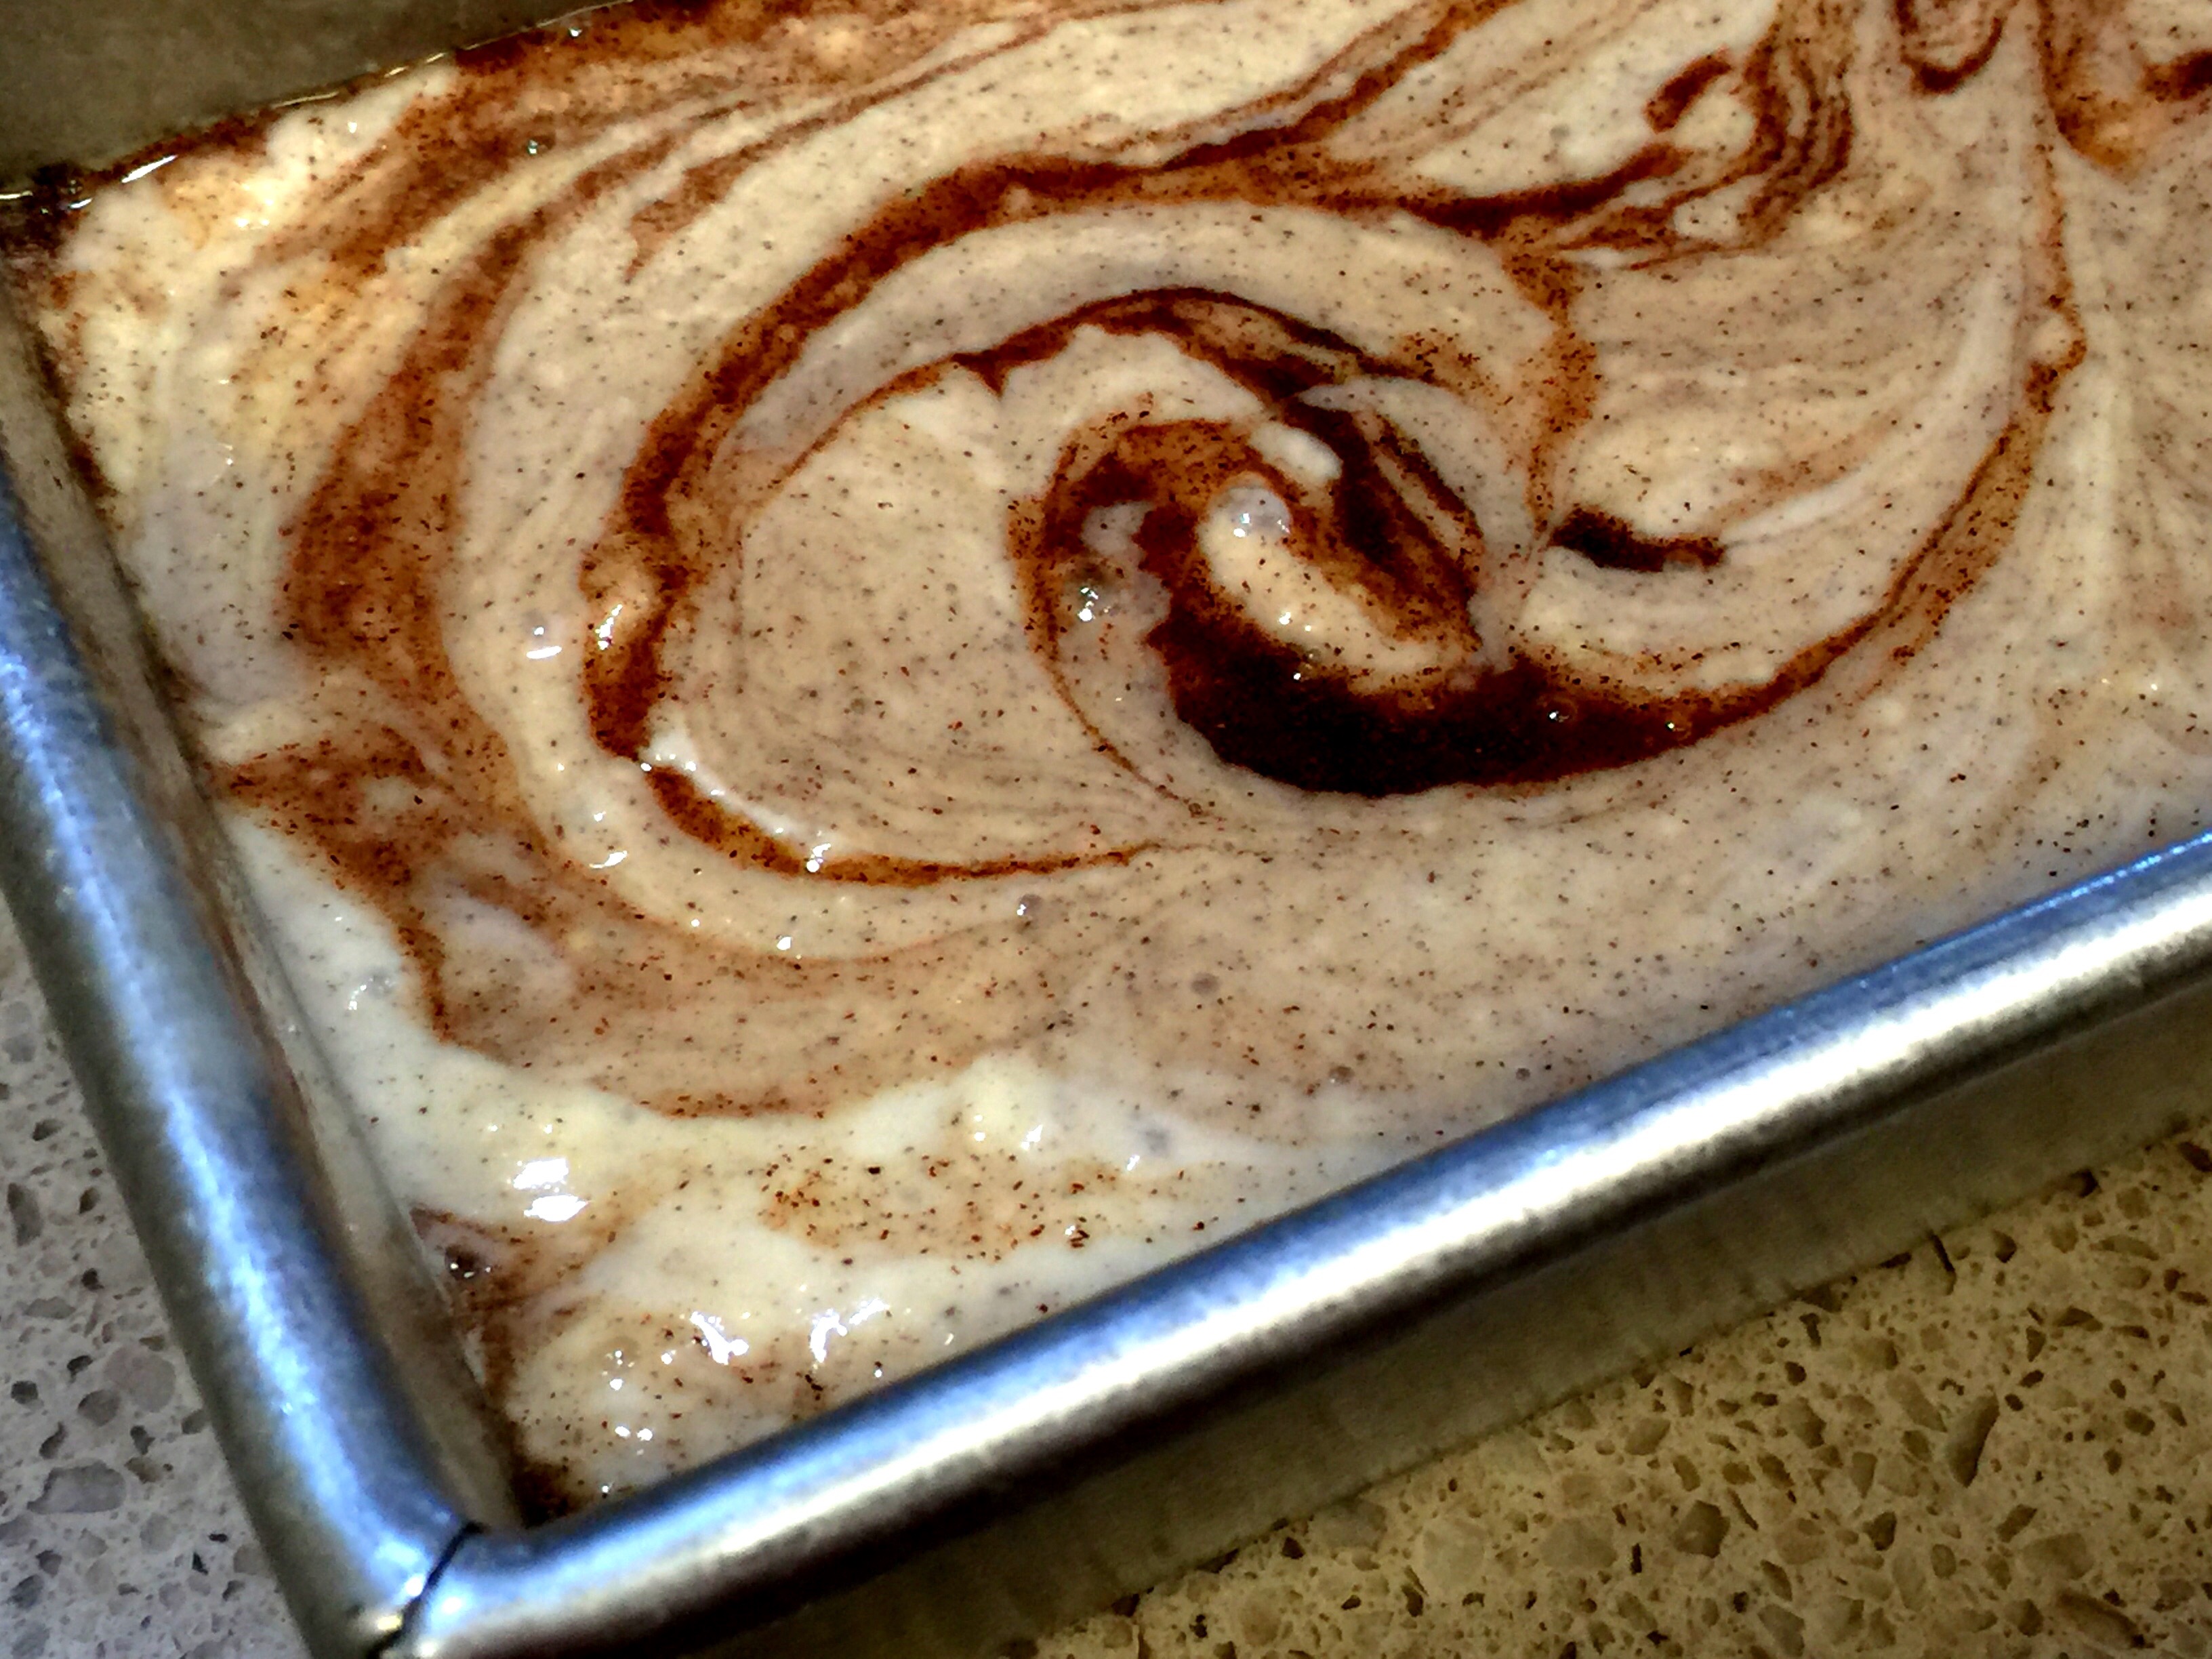
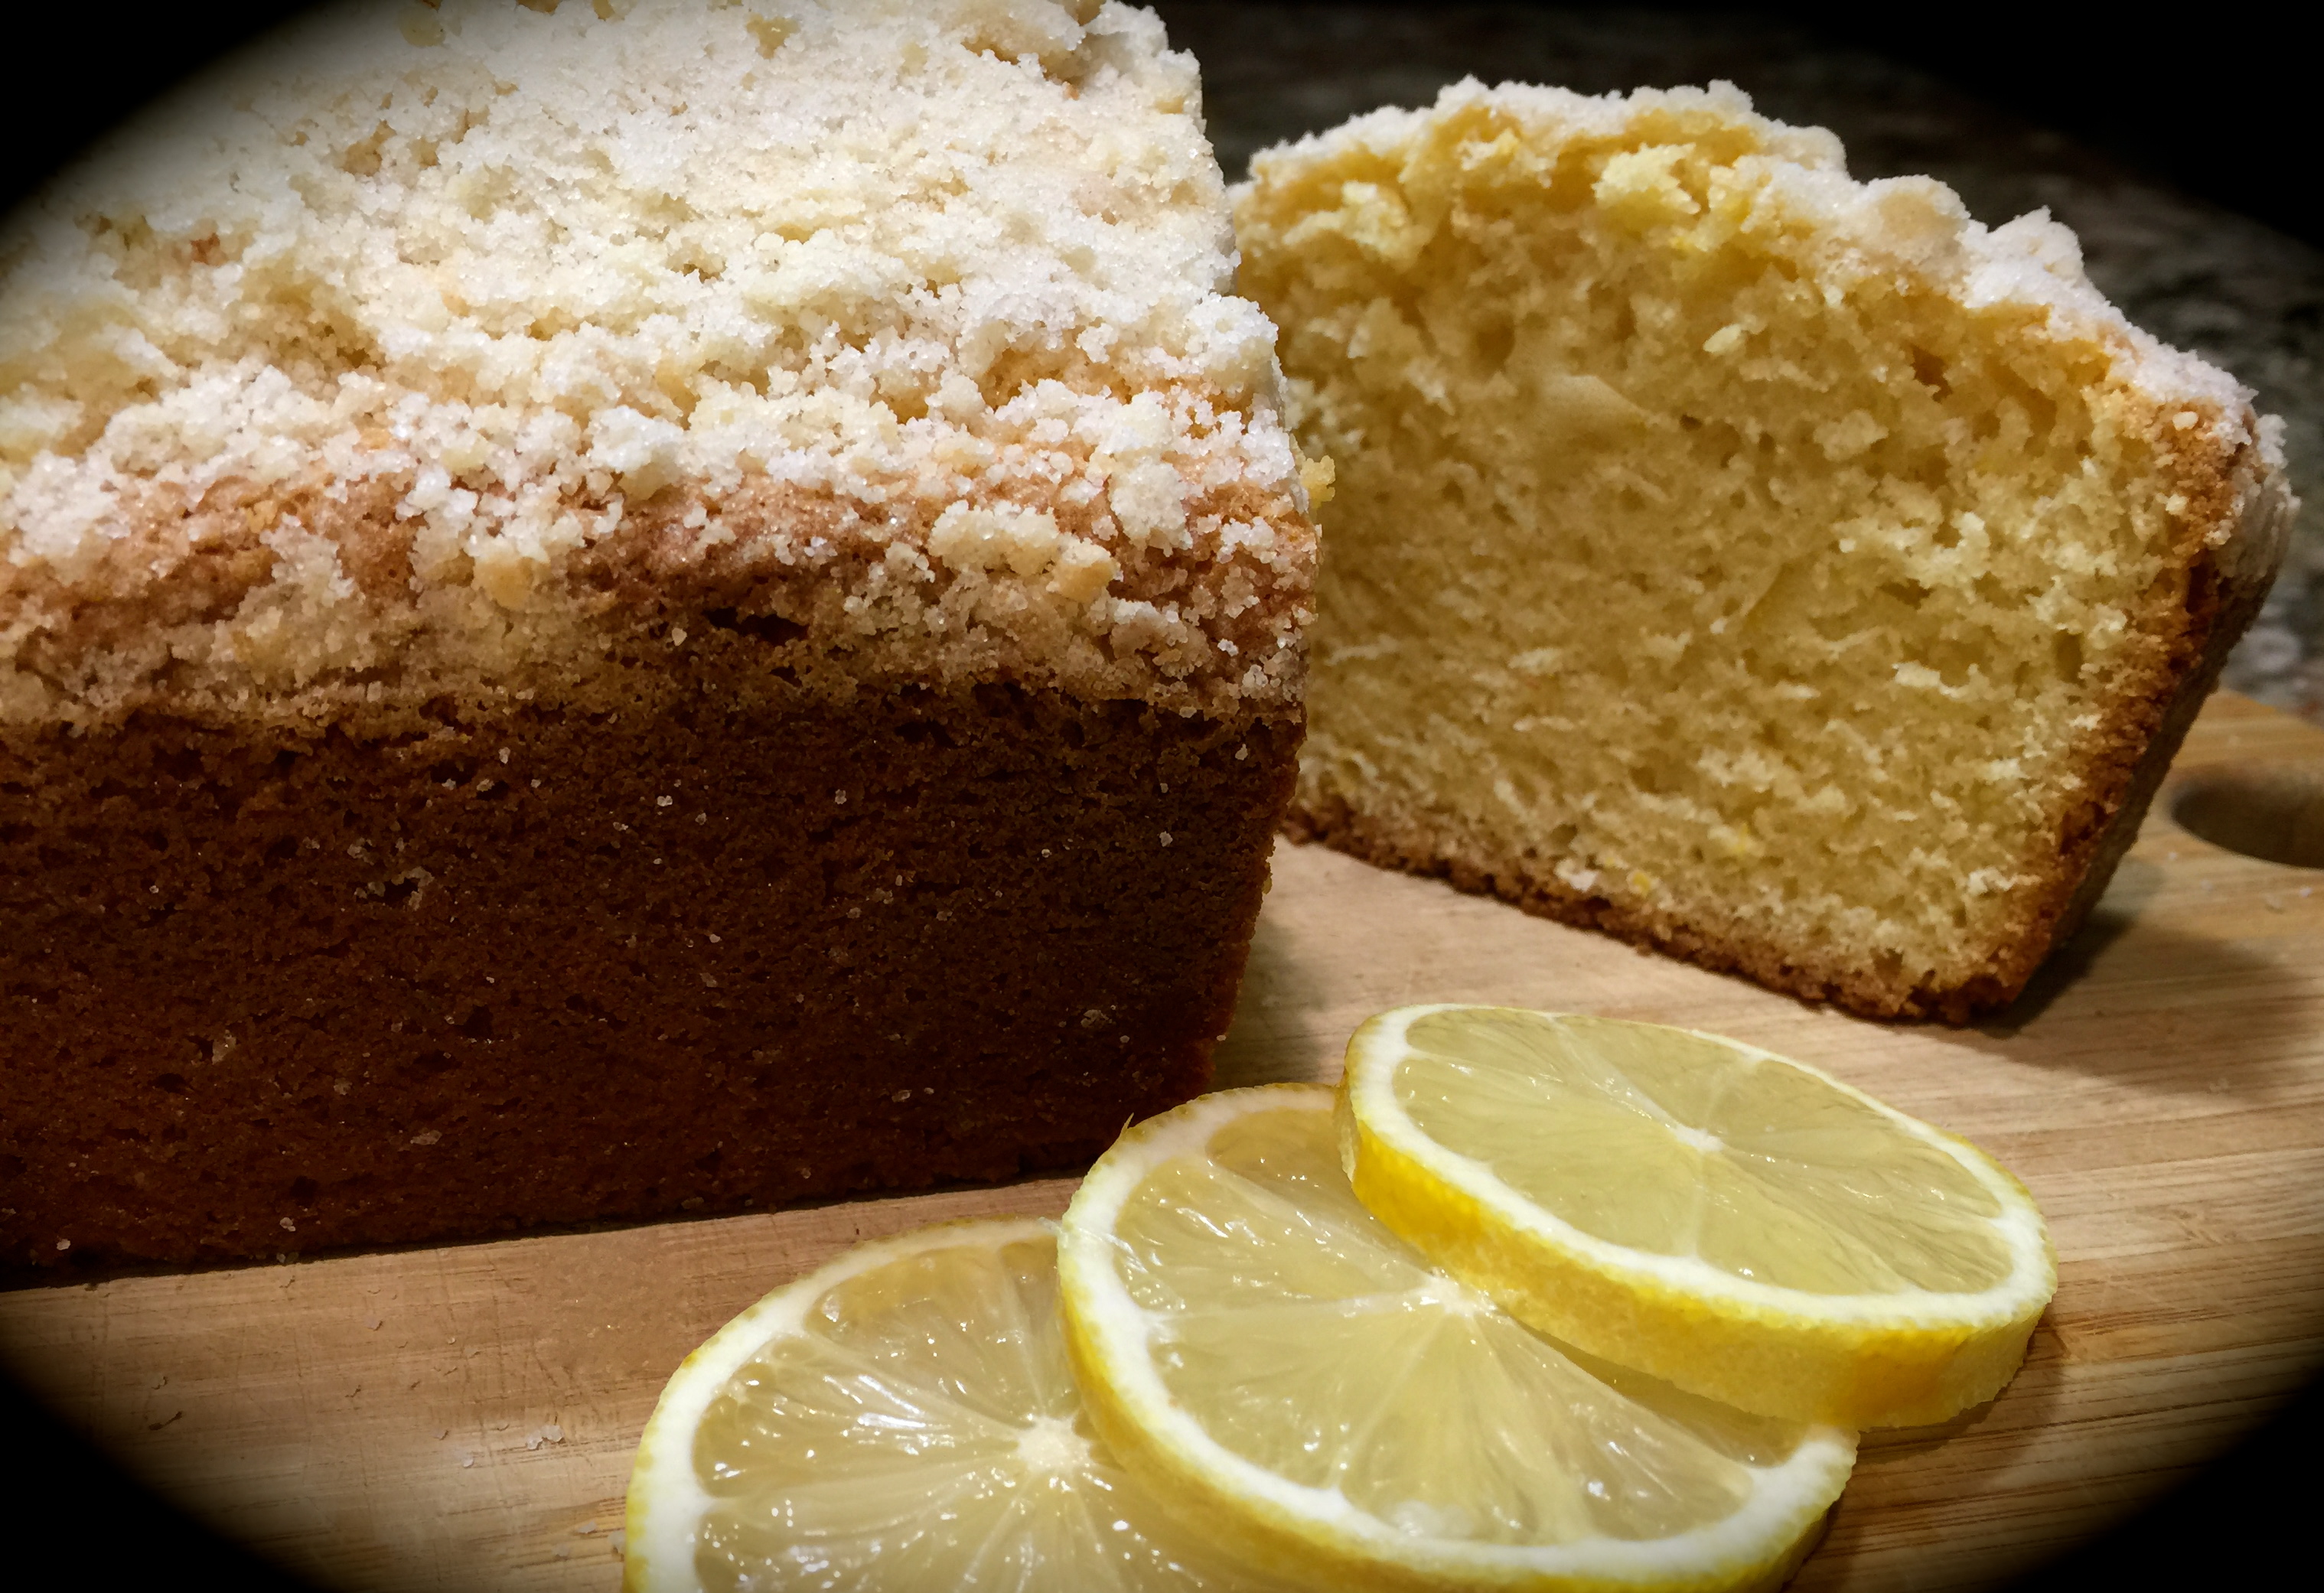
Lesson Learned 2 – Grease the sides and bottom of a spring form pan with butter and dust it with powdered sugar: I read about this trick online and it is a great way to add some additional sweetness to the outside of the cake. Even though you use 1 1/2 cups of sugar in this recipe the cake does not taste overly sweet. The lemon juice and zest balance out the sweetness quite nicely.
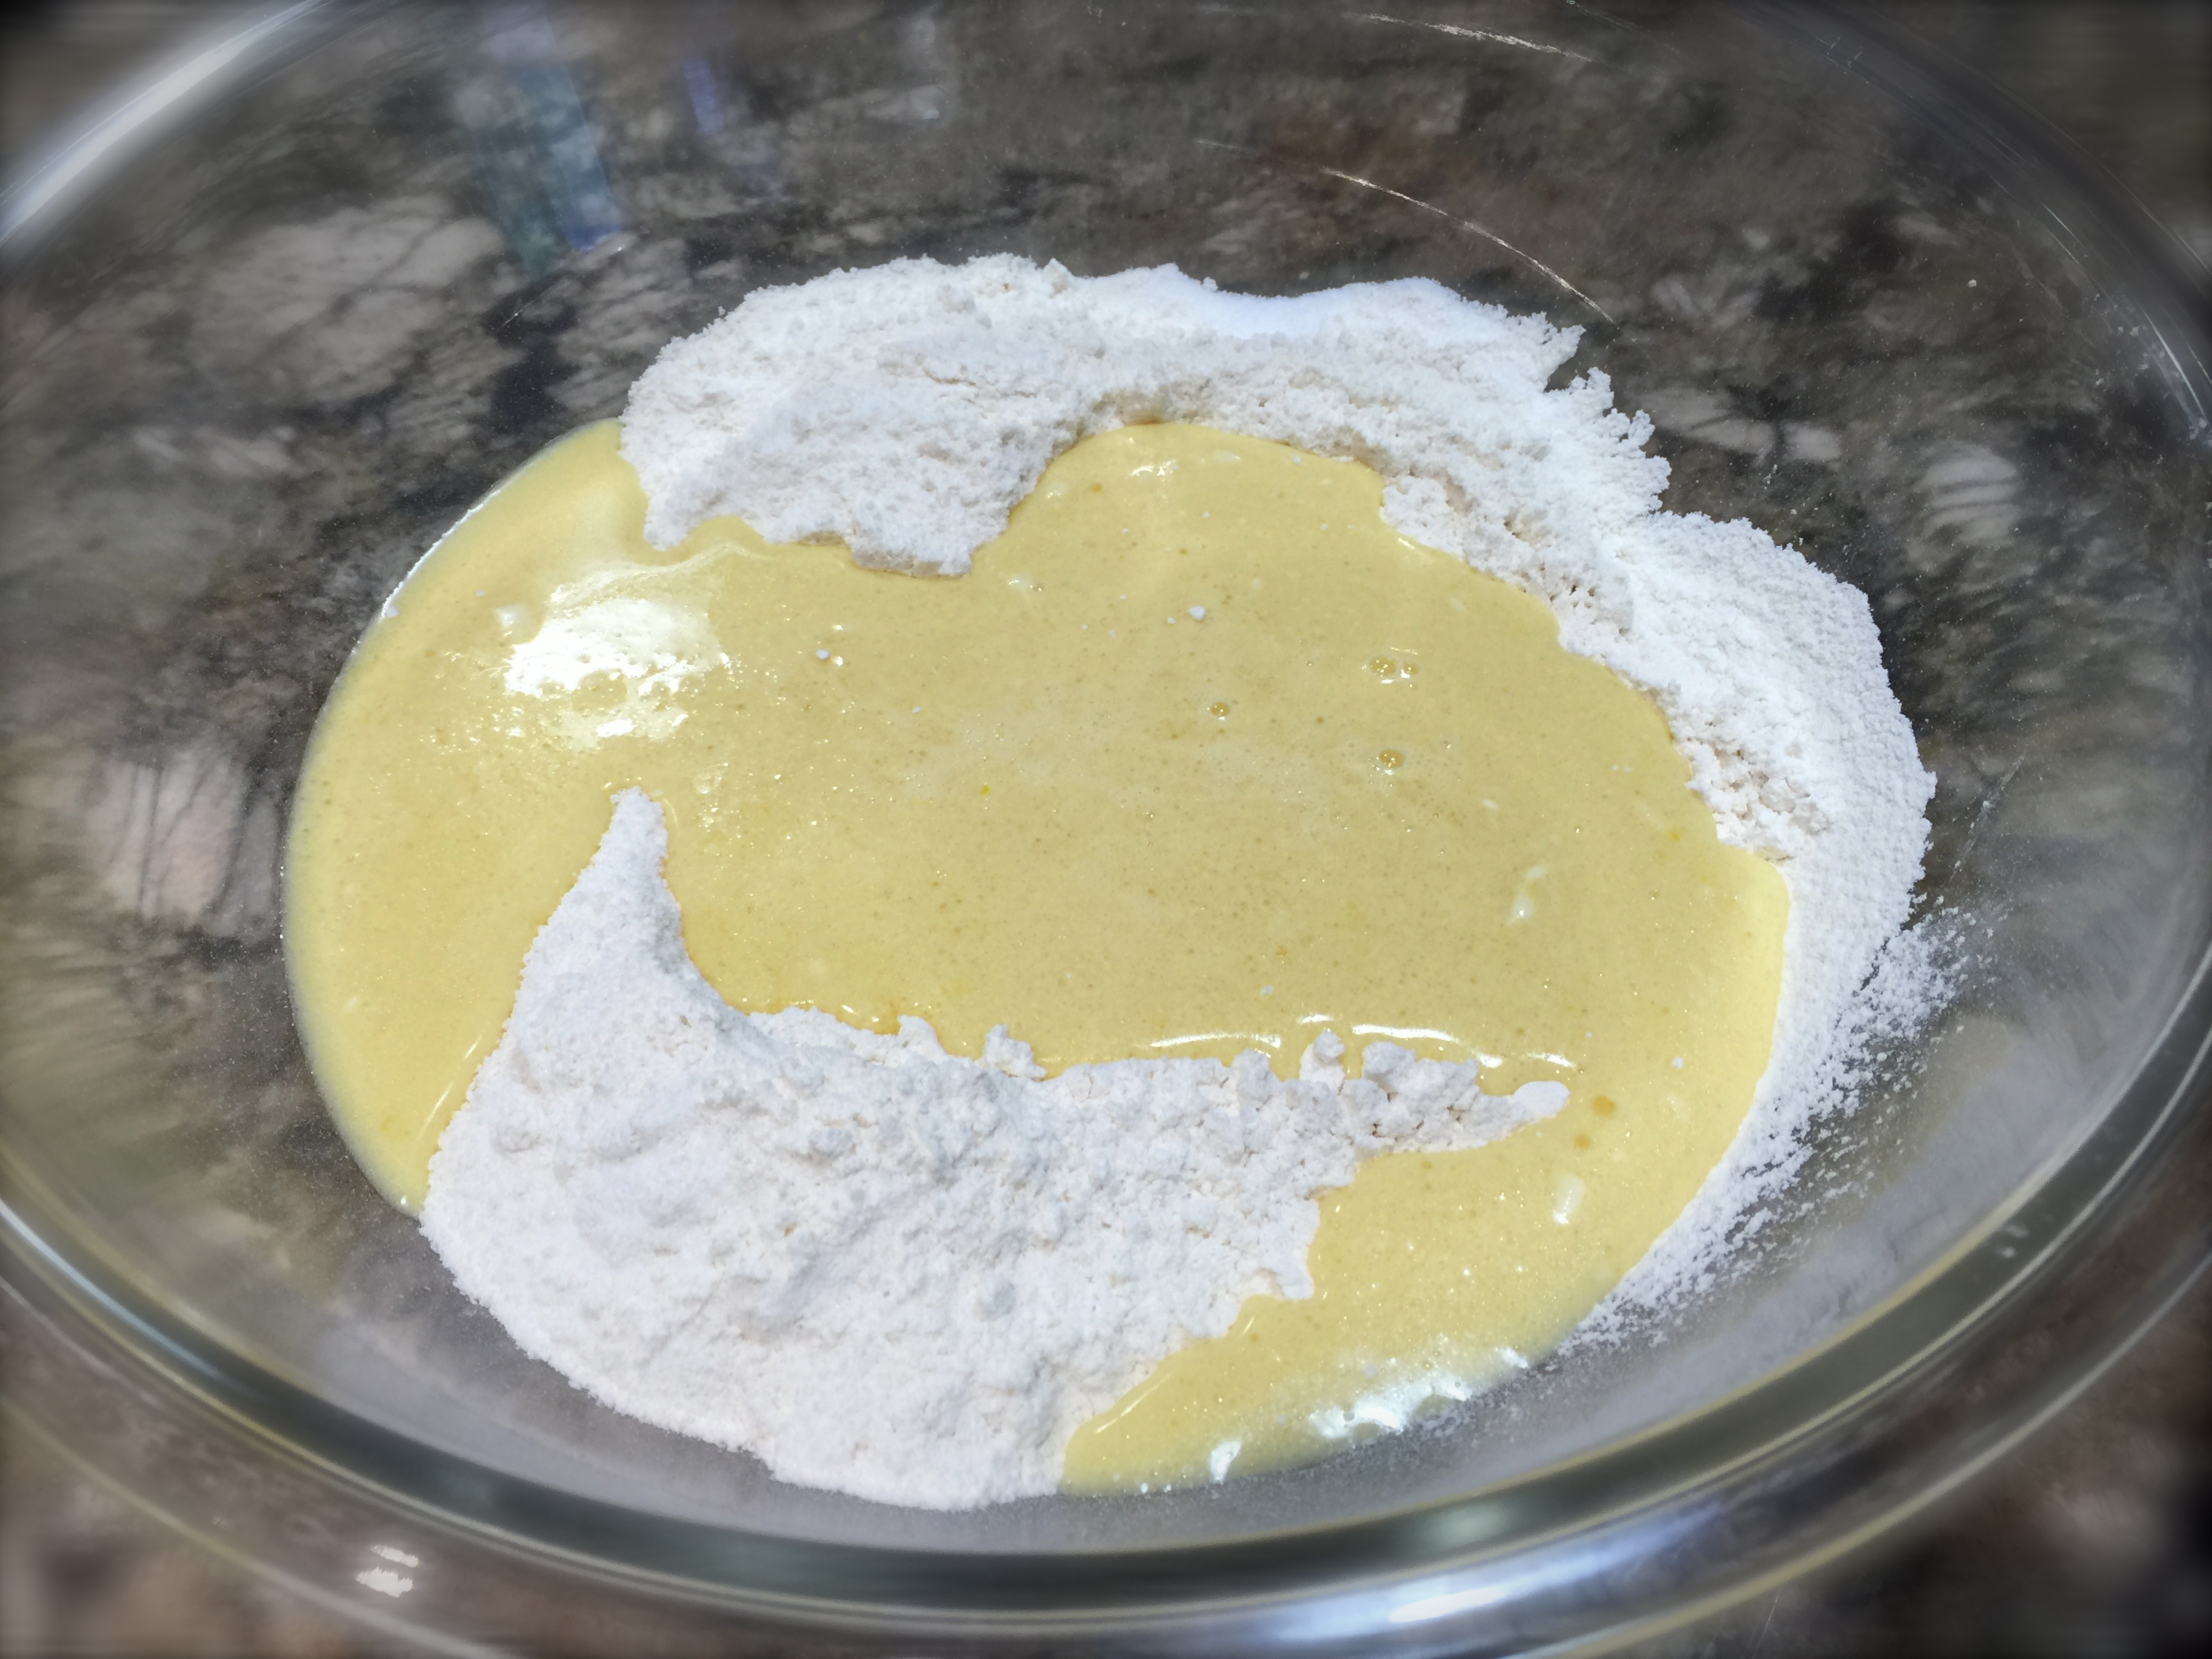
Lesson Learned 3 – Don’t make the mistake I made: Every cook makes mistakes, even the most adept ones. I went about making this cake the way I normally bake or cook, prepping all of the ingredients first and then following the process. I did really well until I put the batter in the prepared pan and then realized I didn’t incorporate the baking soda into the batter. UGHHH!
In my mind I had three choices – 1: Start all over again (which I did not want to do) 2: Bake the cake without the baking soda (baking soda is a leavening agent that makes the cake rise so I didn’t want to do that) or 3: Figure out a way to incorporate the baking soda (it was only a half of a teaspoon so I sprinkled it all over the top of the batter and mixed it in with a spoon stirring it well but being careful not to touch the sides or bottom of the prepared pan. To my amazement it worked beautifully). So keep in mind that even the best of cooks need to improvise when they make a mistake. Not all fixes turn out as well as this one did. I was lucky this time.
 Lesson Learned 4 – Try using vanilla bean paste: I was made aware of vanilla bean paste during a cooking class and I love it. I don’t use it all the time as a jar can be quite expensive ($20 or so) but in dishes where I want a richer vanilla flavor I use the paste. I wouldn’t use it for making cookies but for cakes or custards it adds much more depth of flavor. It measures just like vanilla extract (a teaspoon for a teaspoon) but it gives a much richer vanilla flavor than extract. If you can afford it try it sometime.
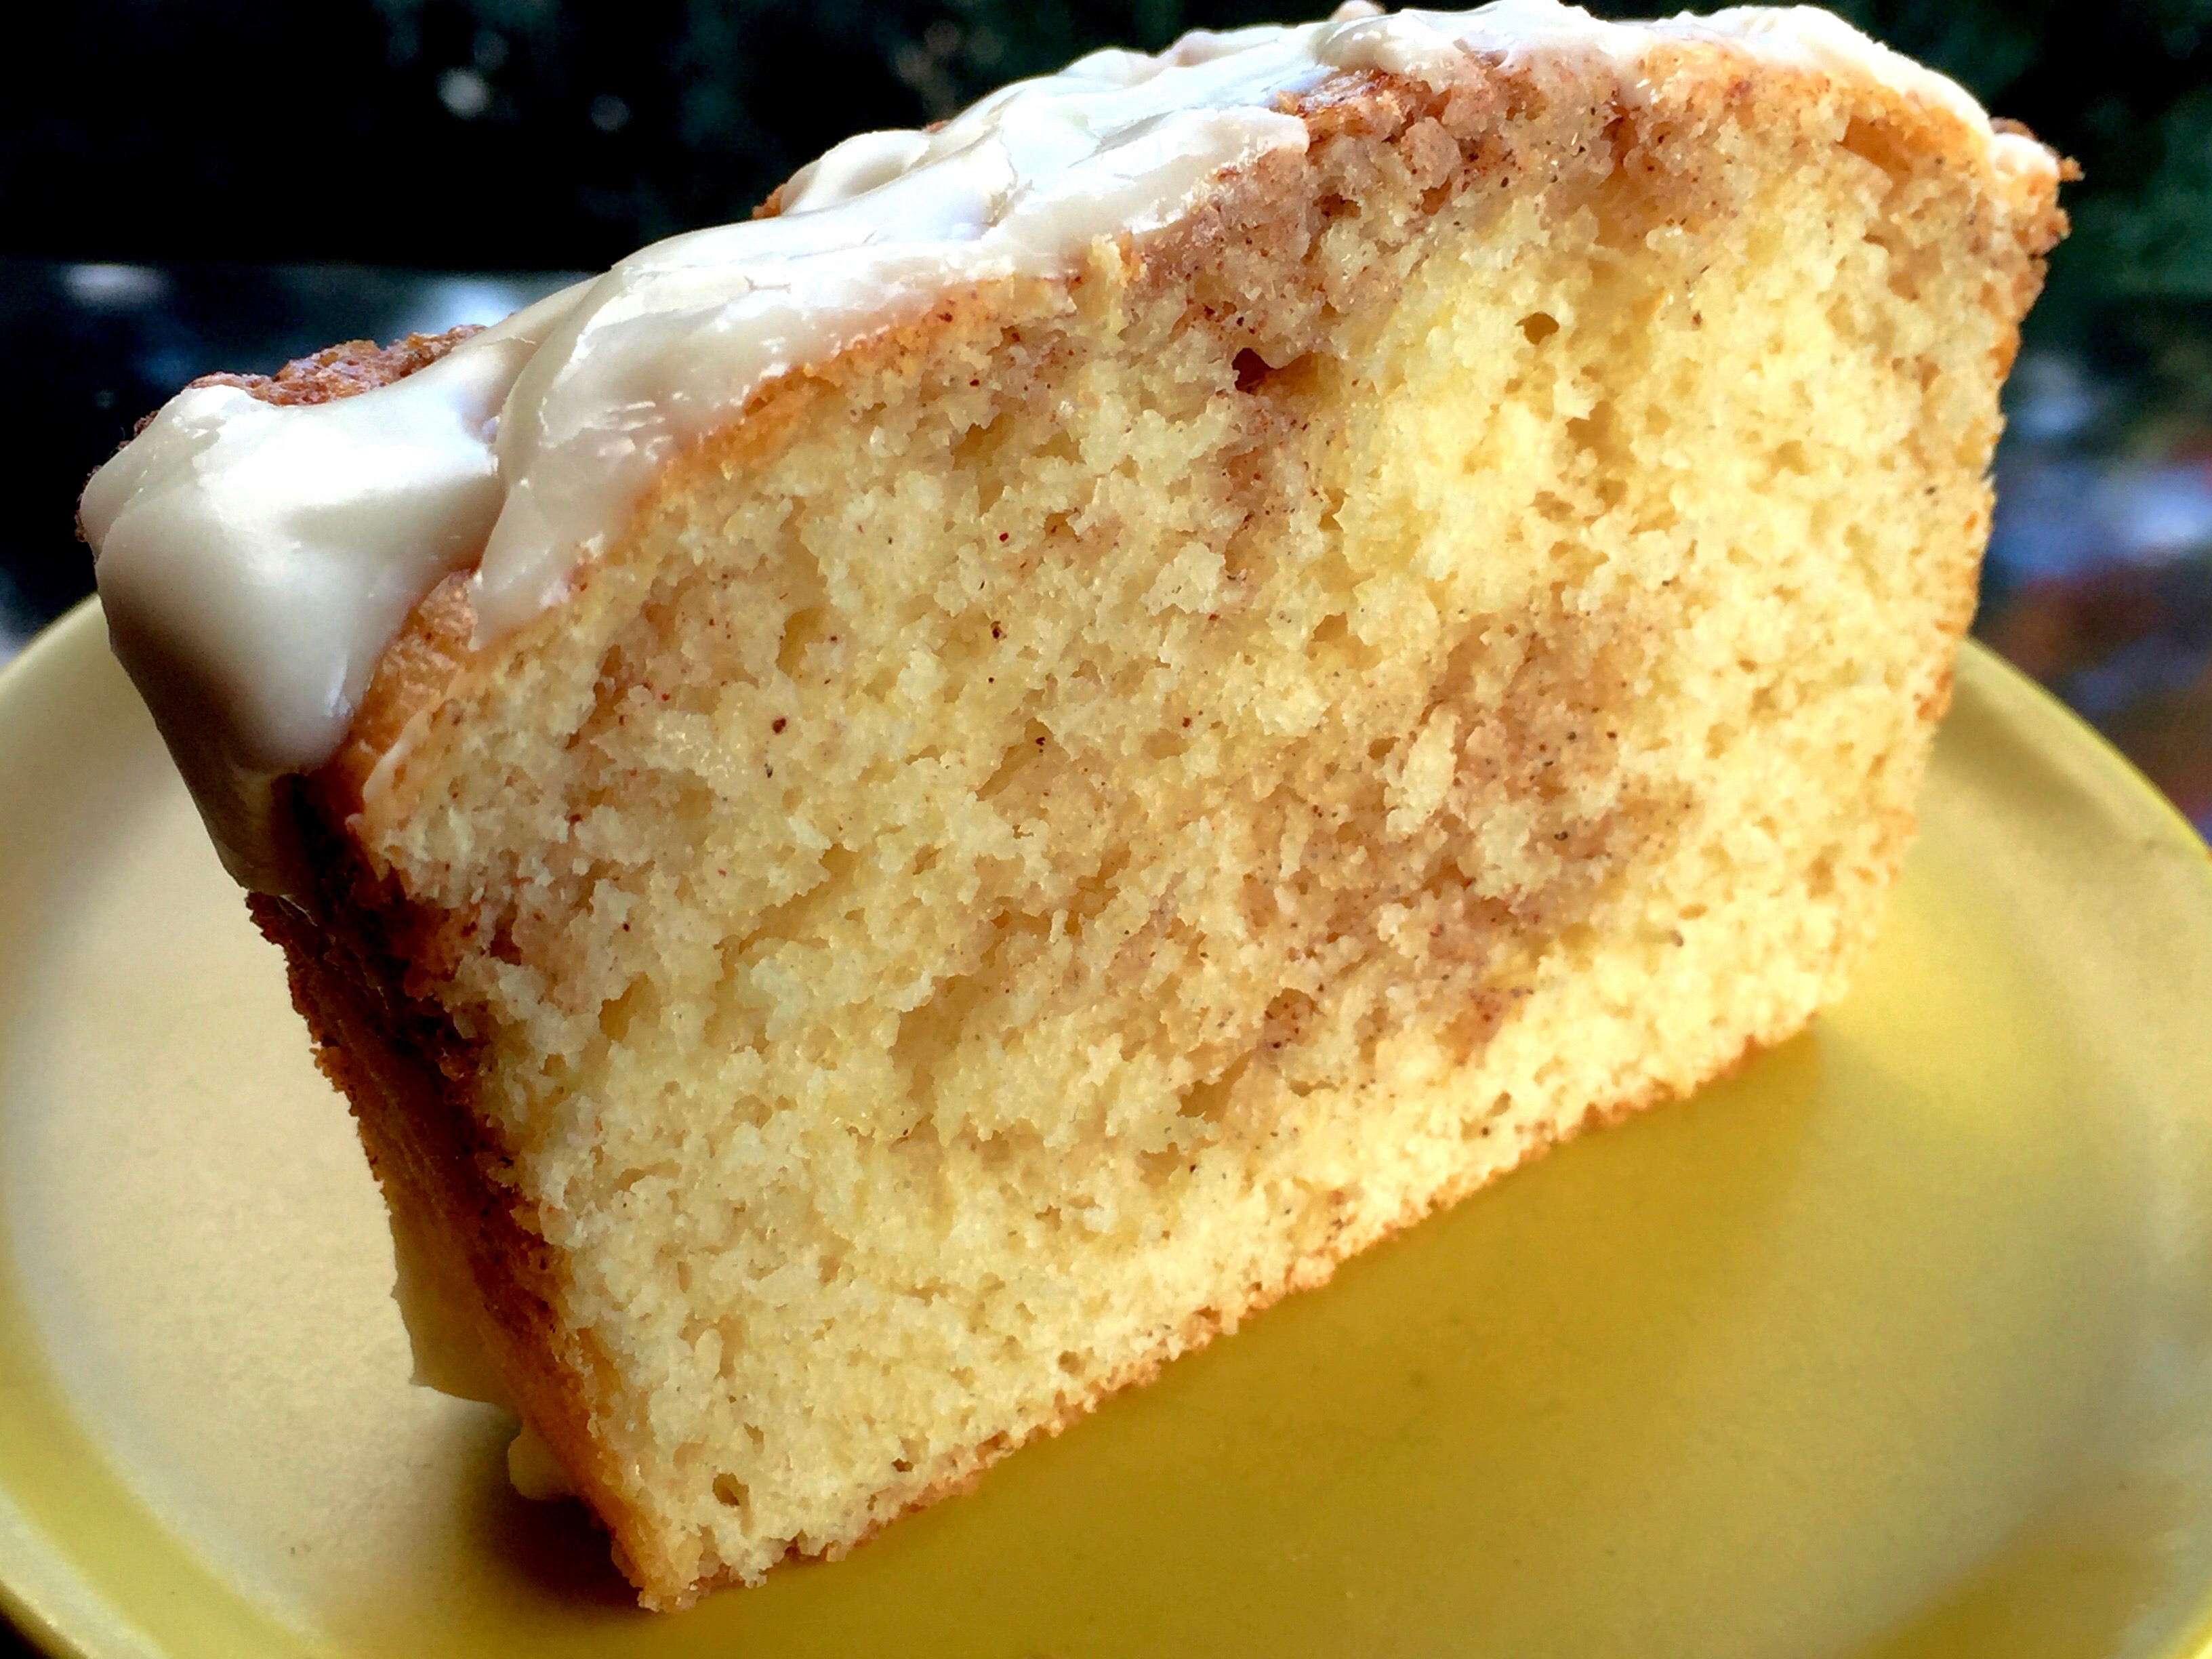
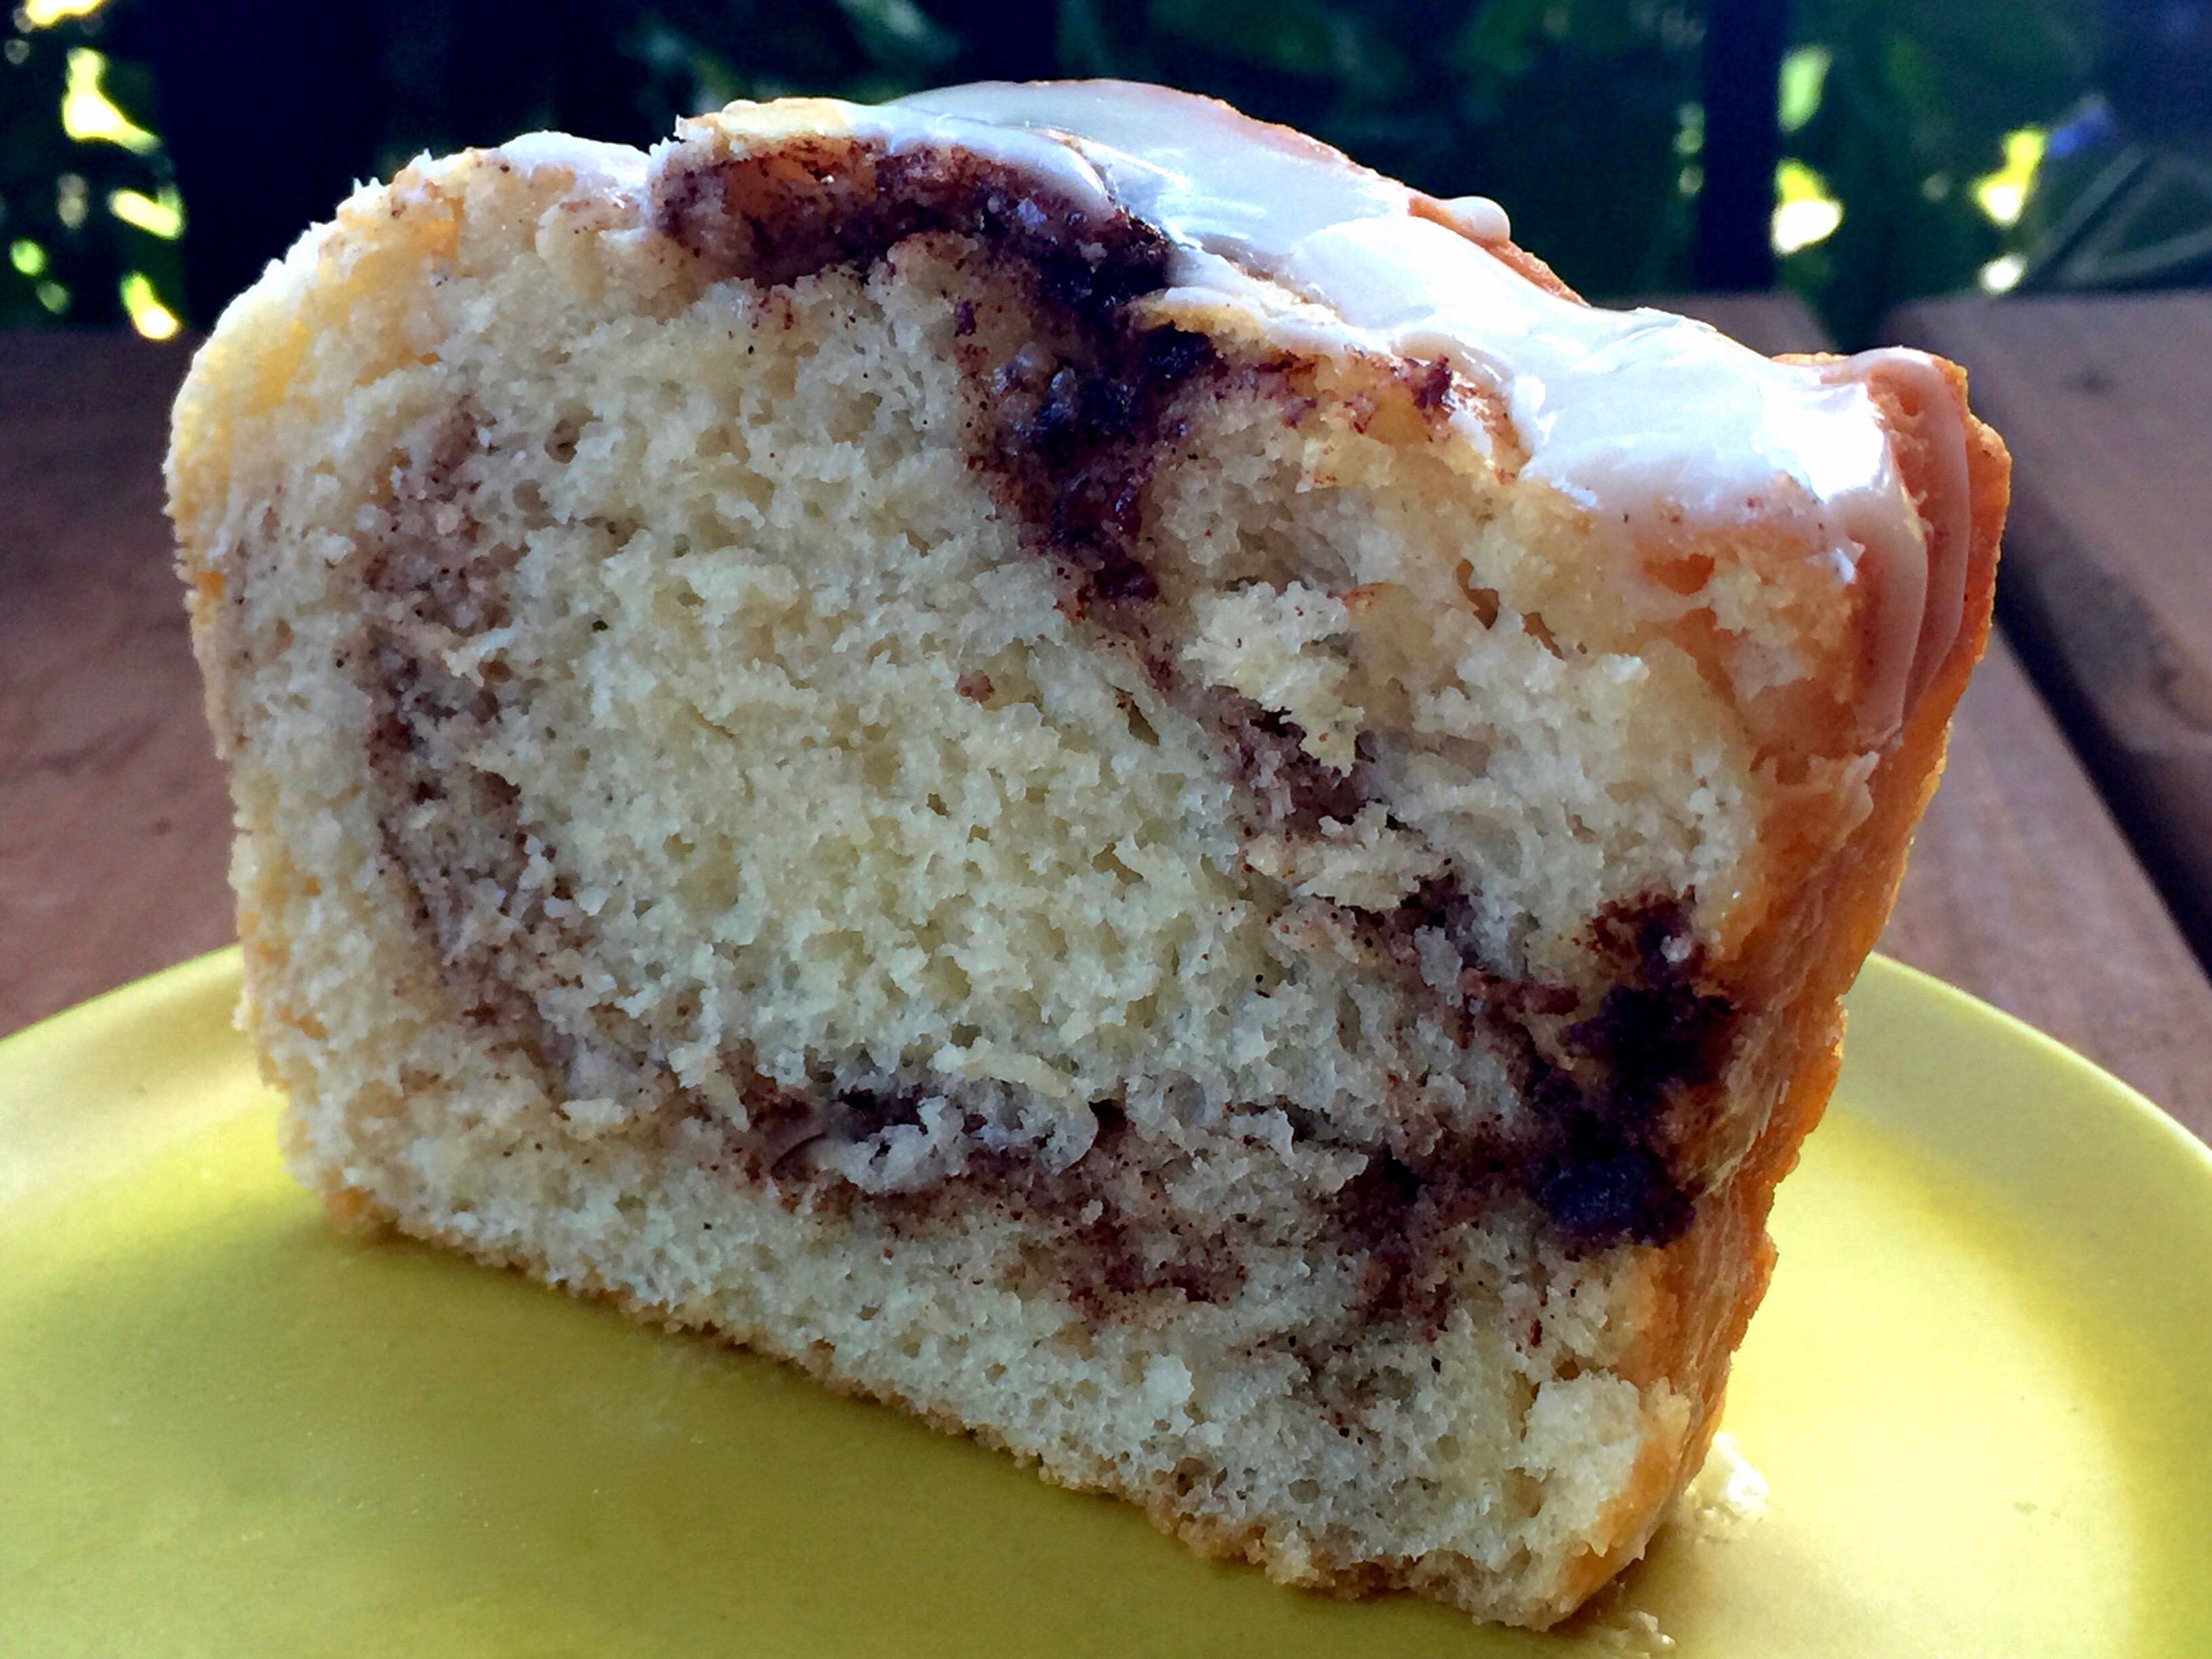
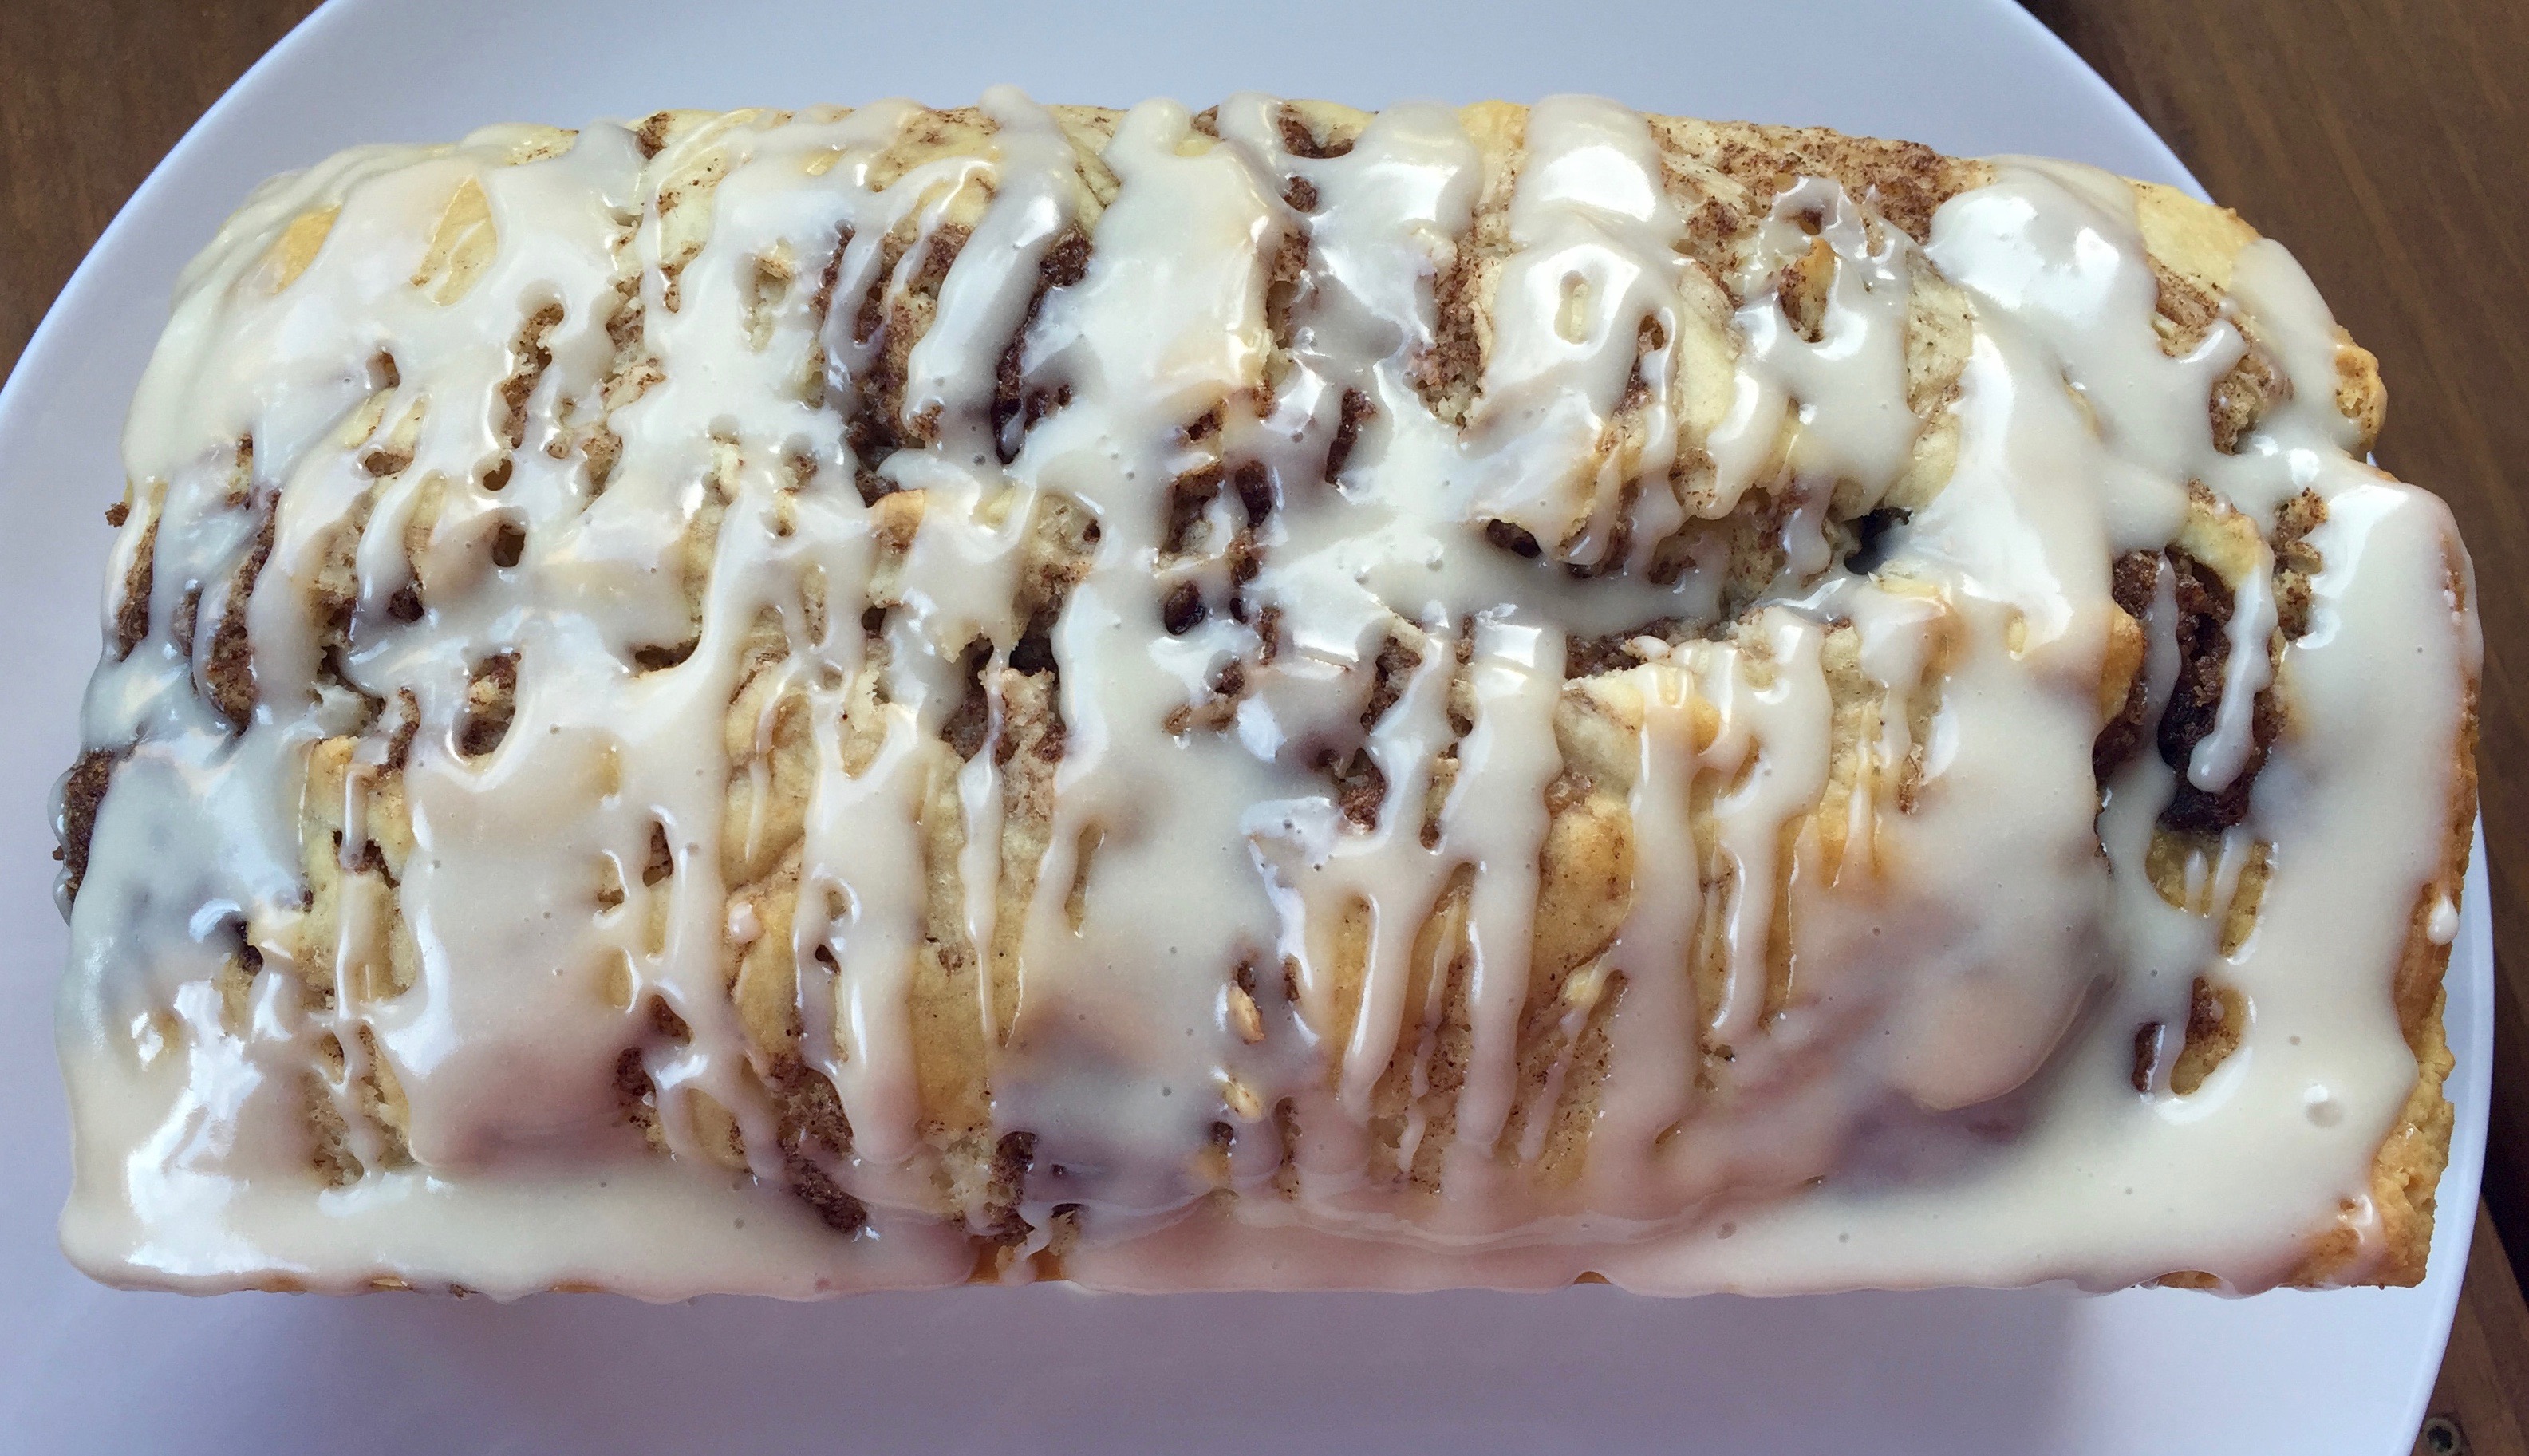
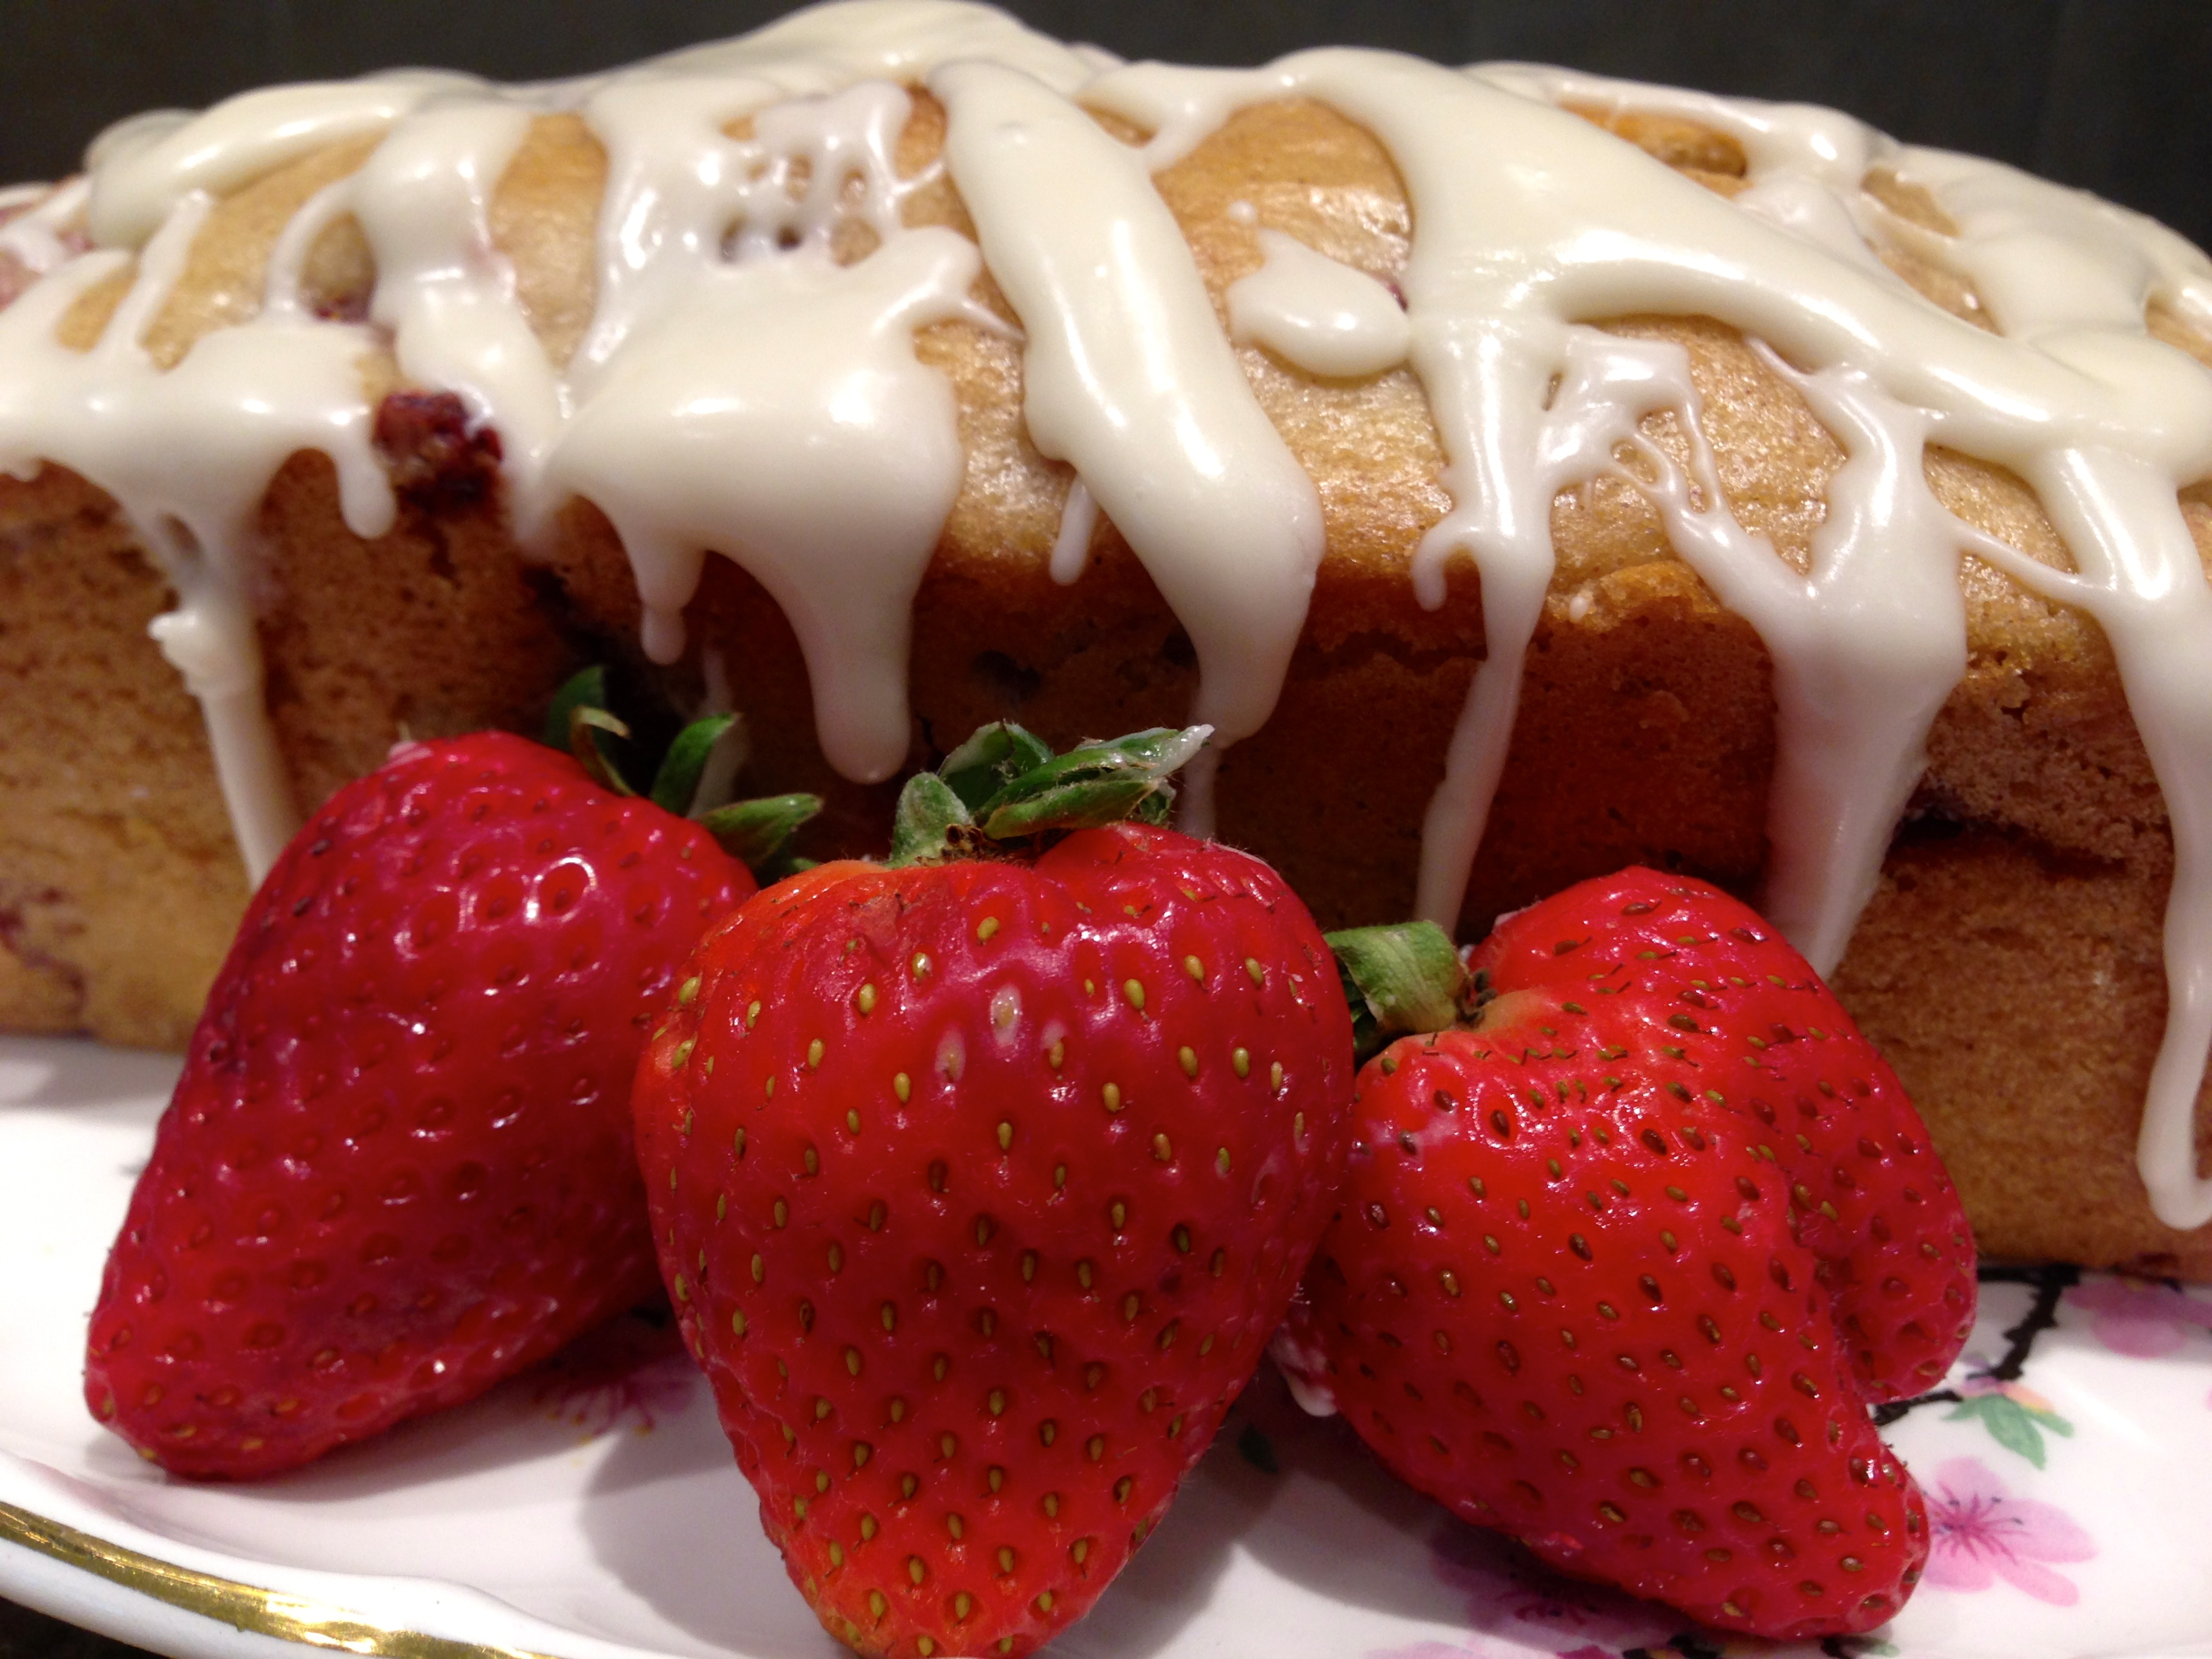
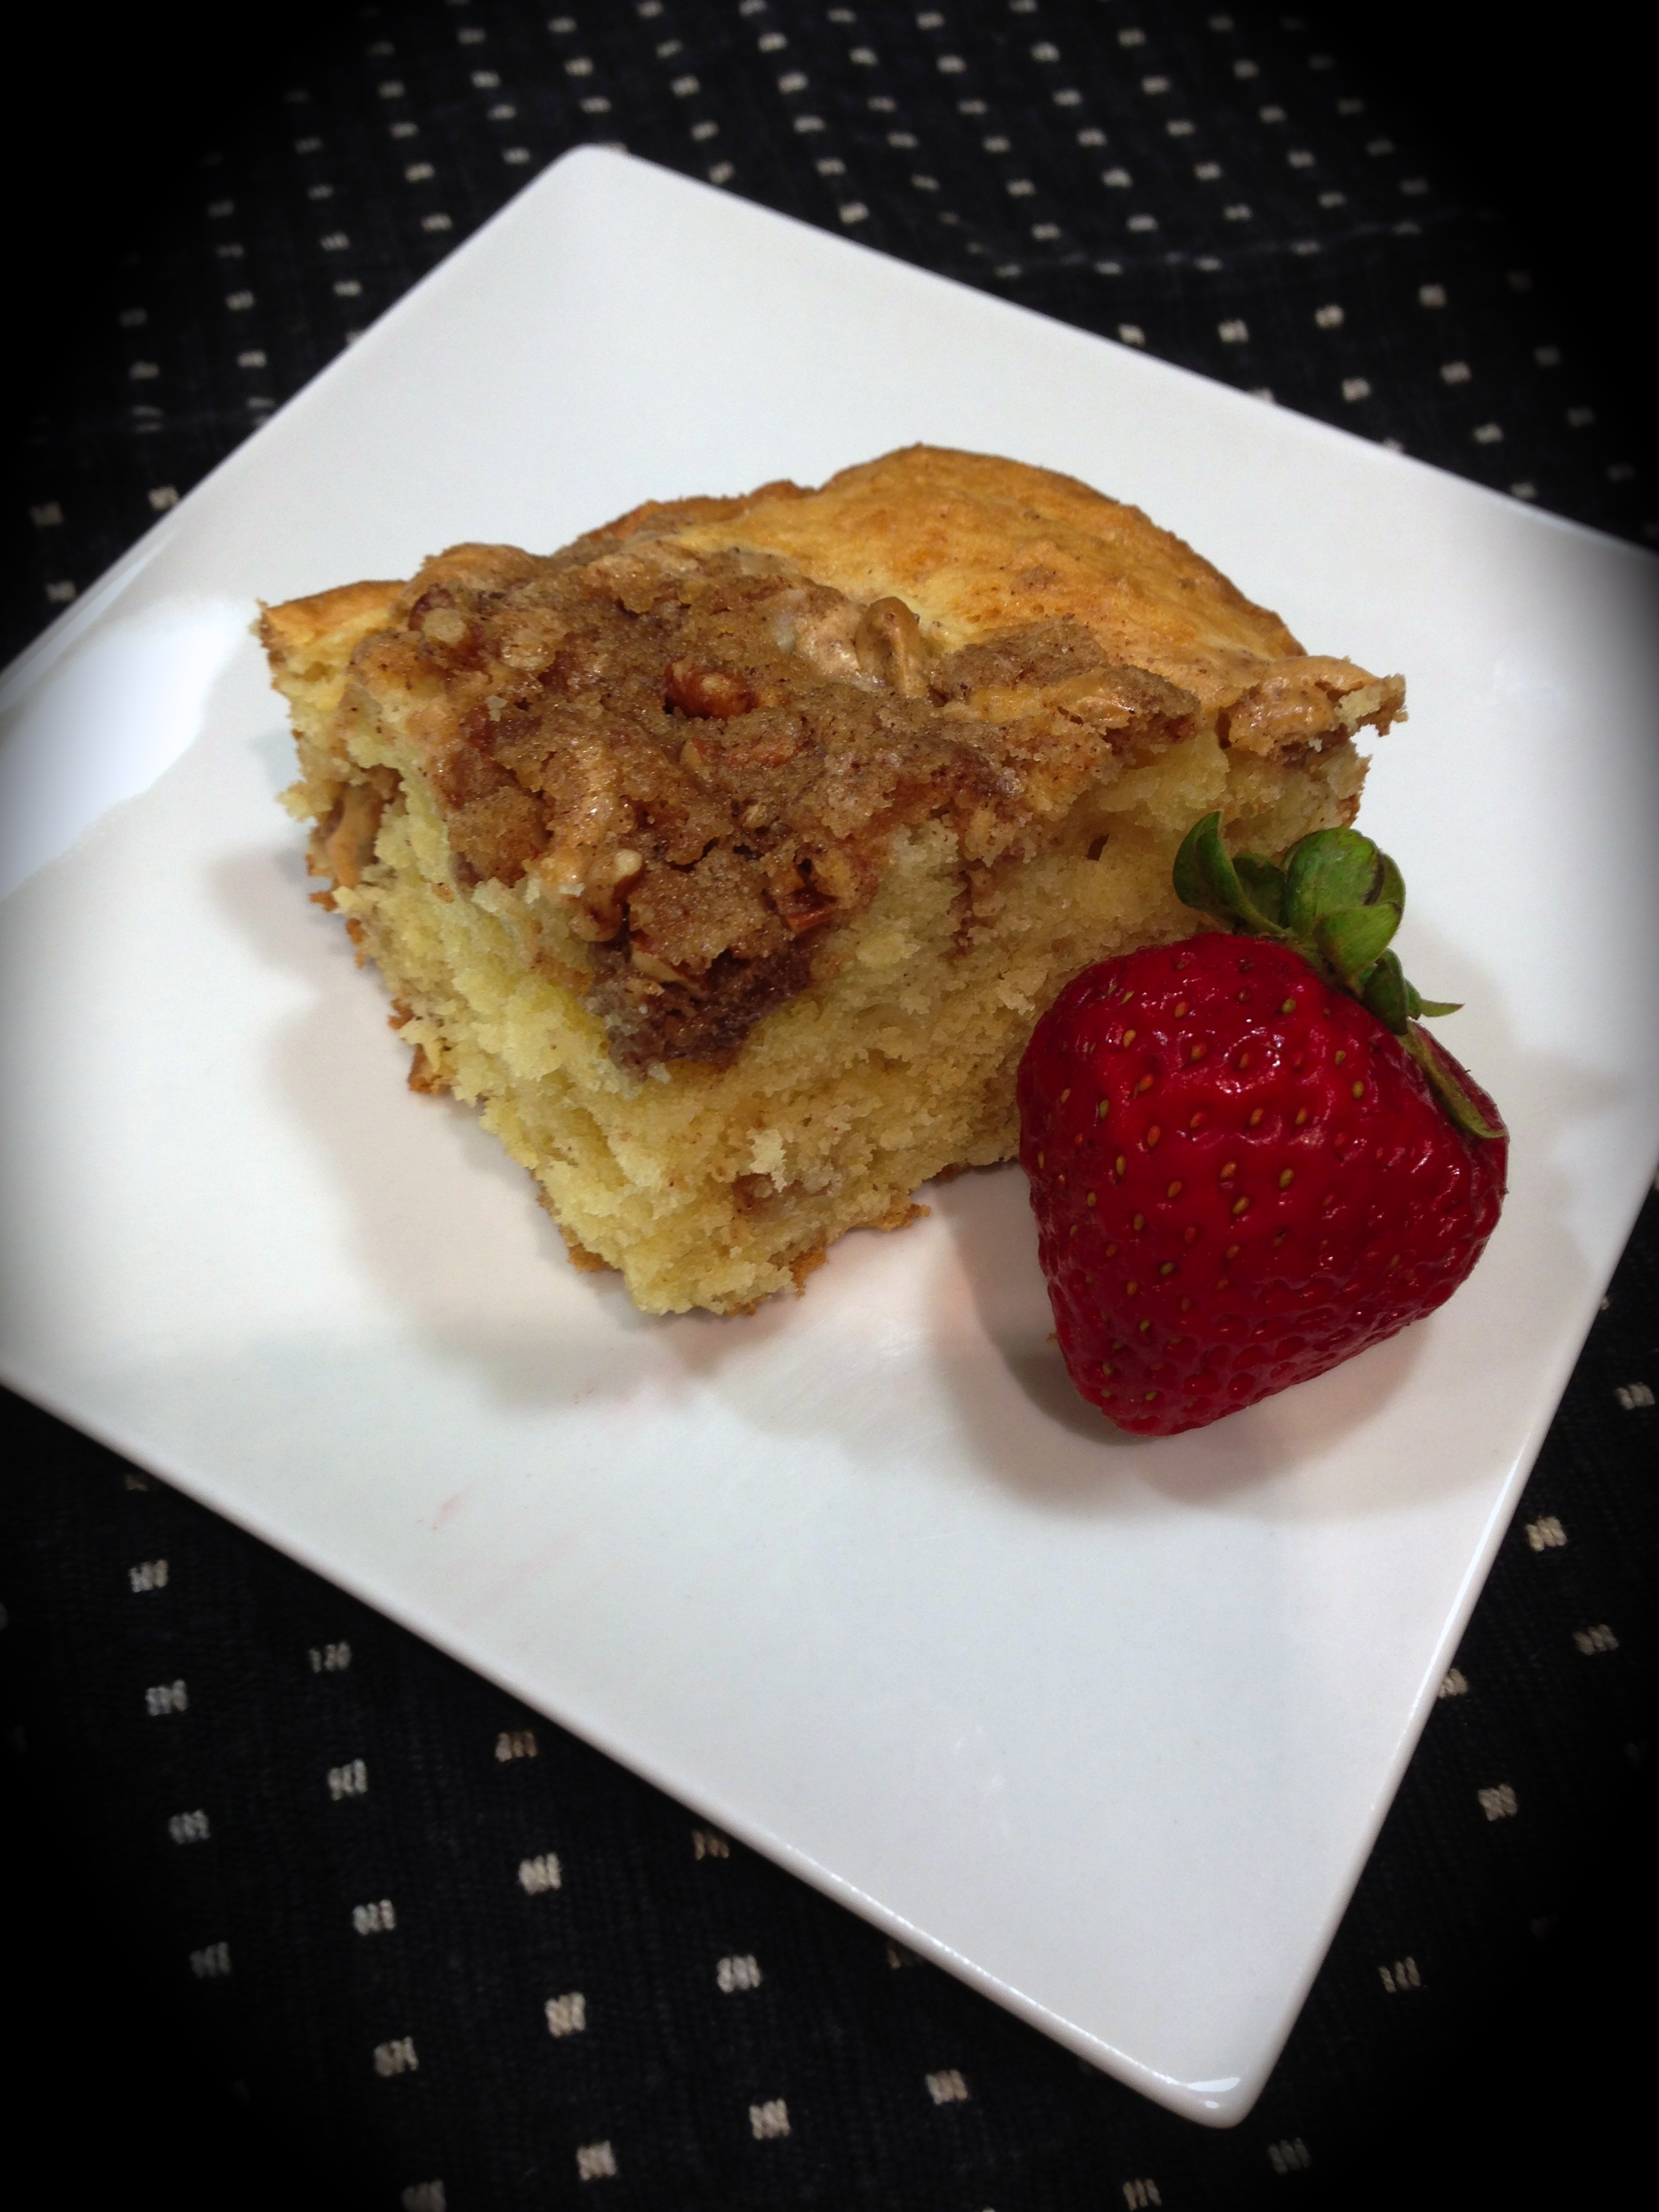
And that’s it. Making the cake is very easy. The cake is creamy and not overly sweet. It’s great as a dessert or a breakfast treat. I know you will enjoy this one…
Lemon Ricotta Cake...
INGREDIENTS:
3/4 cup butter, room temperature
1 1/2 cups sugar
15 ounces whole milk ricotta cheese
3 large eggs, room temperature
1 tsp. vanilla bean paste (or vanilla extract)
1 large lemon, juiced and zested
1/2 tsp. baking soda
1/2 tsp. salt
1 1/2 cups flour
Powdered sugar for dusting the pan and the top of the cake
DIRECTIONS:
Preheat oven to 350 degrees. Grease a spring form pan with butter and dust the bottom and sides with powdered sugar. Set aside.
Using a stand mixer (you can use a hand mixer) cream together the butter and sugar until light and fluffy, about 3 minutes. Add the ricotta cheese and mix until smooth and creamy, at least 3 minutes or more.
Mix the eggs in one at a time. Add the vanilla, lemon zest and lemon juice. Mix to combine. Stir in the baking soda and salt. Add the flour and mix until just combined (you can add all the flour in at once).
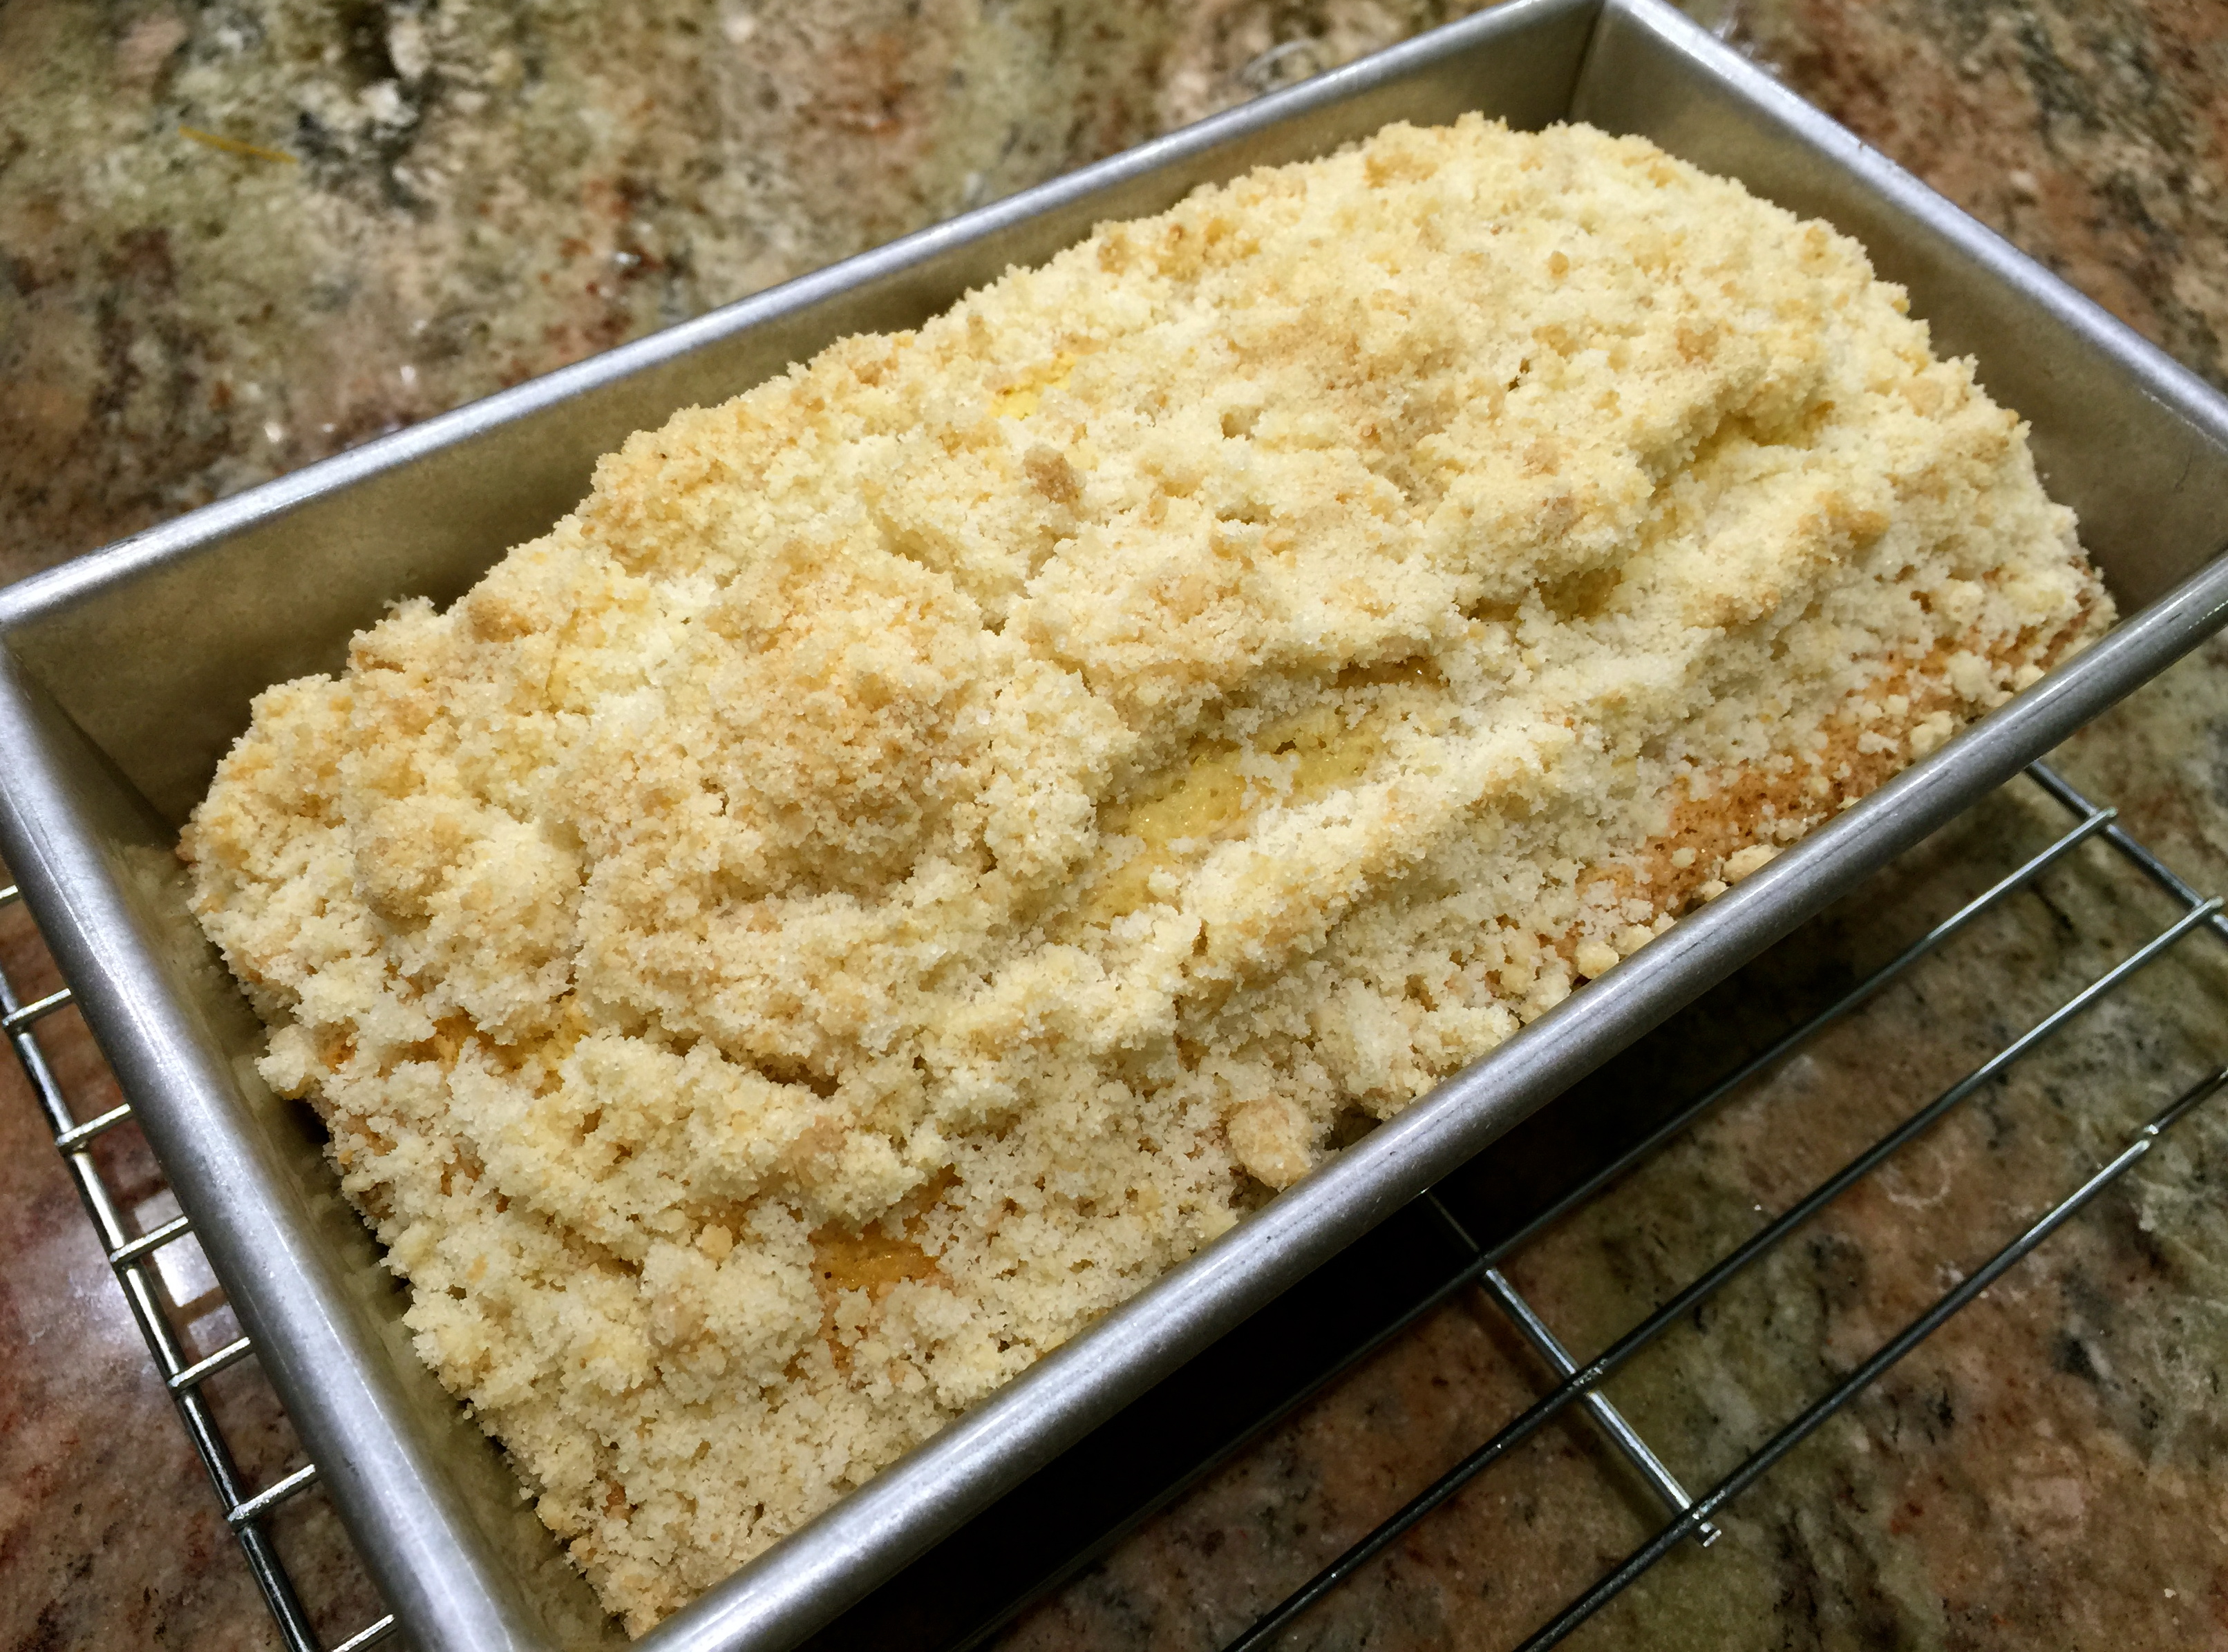
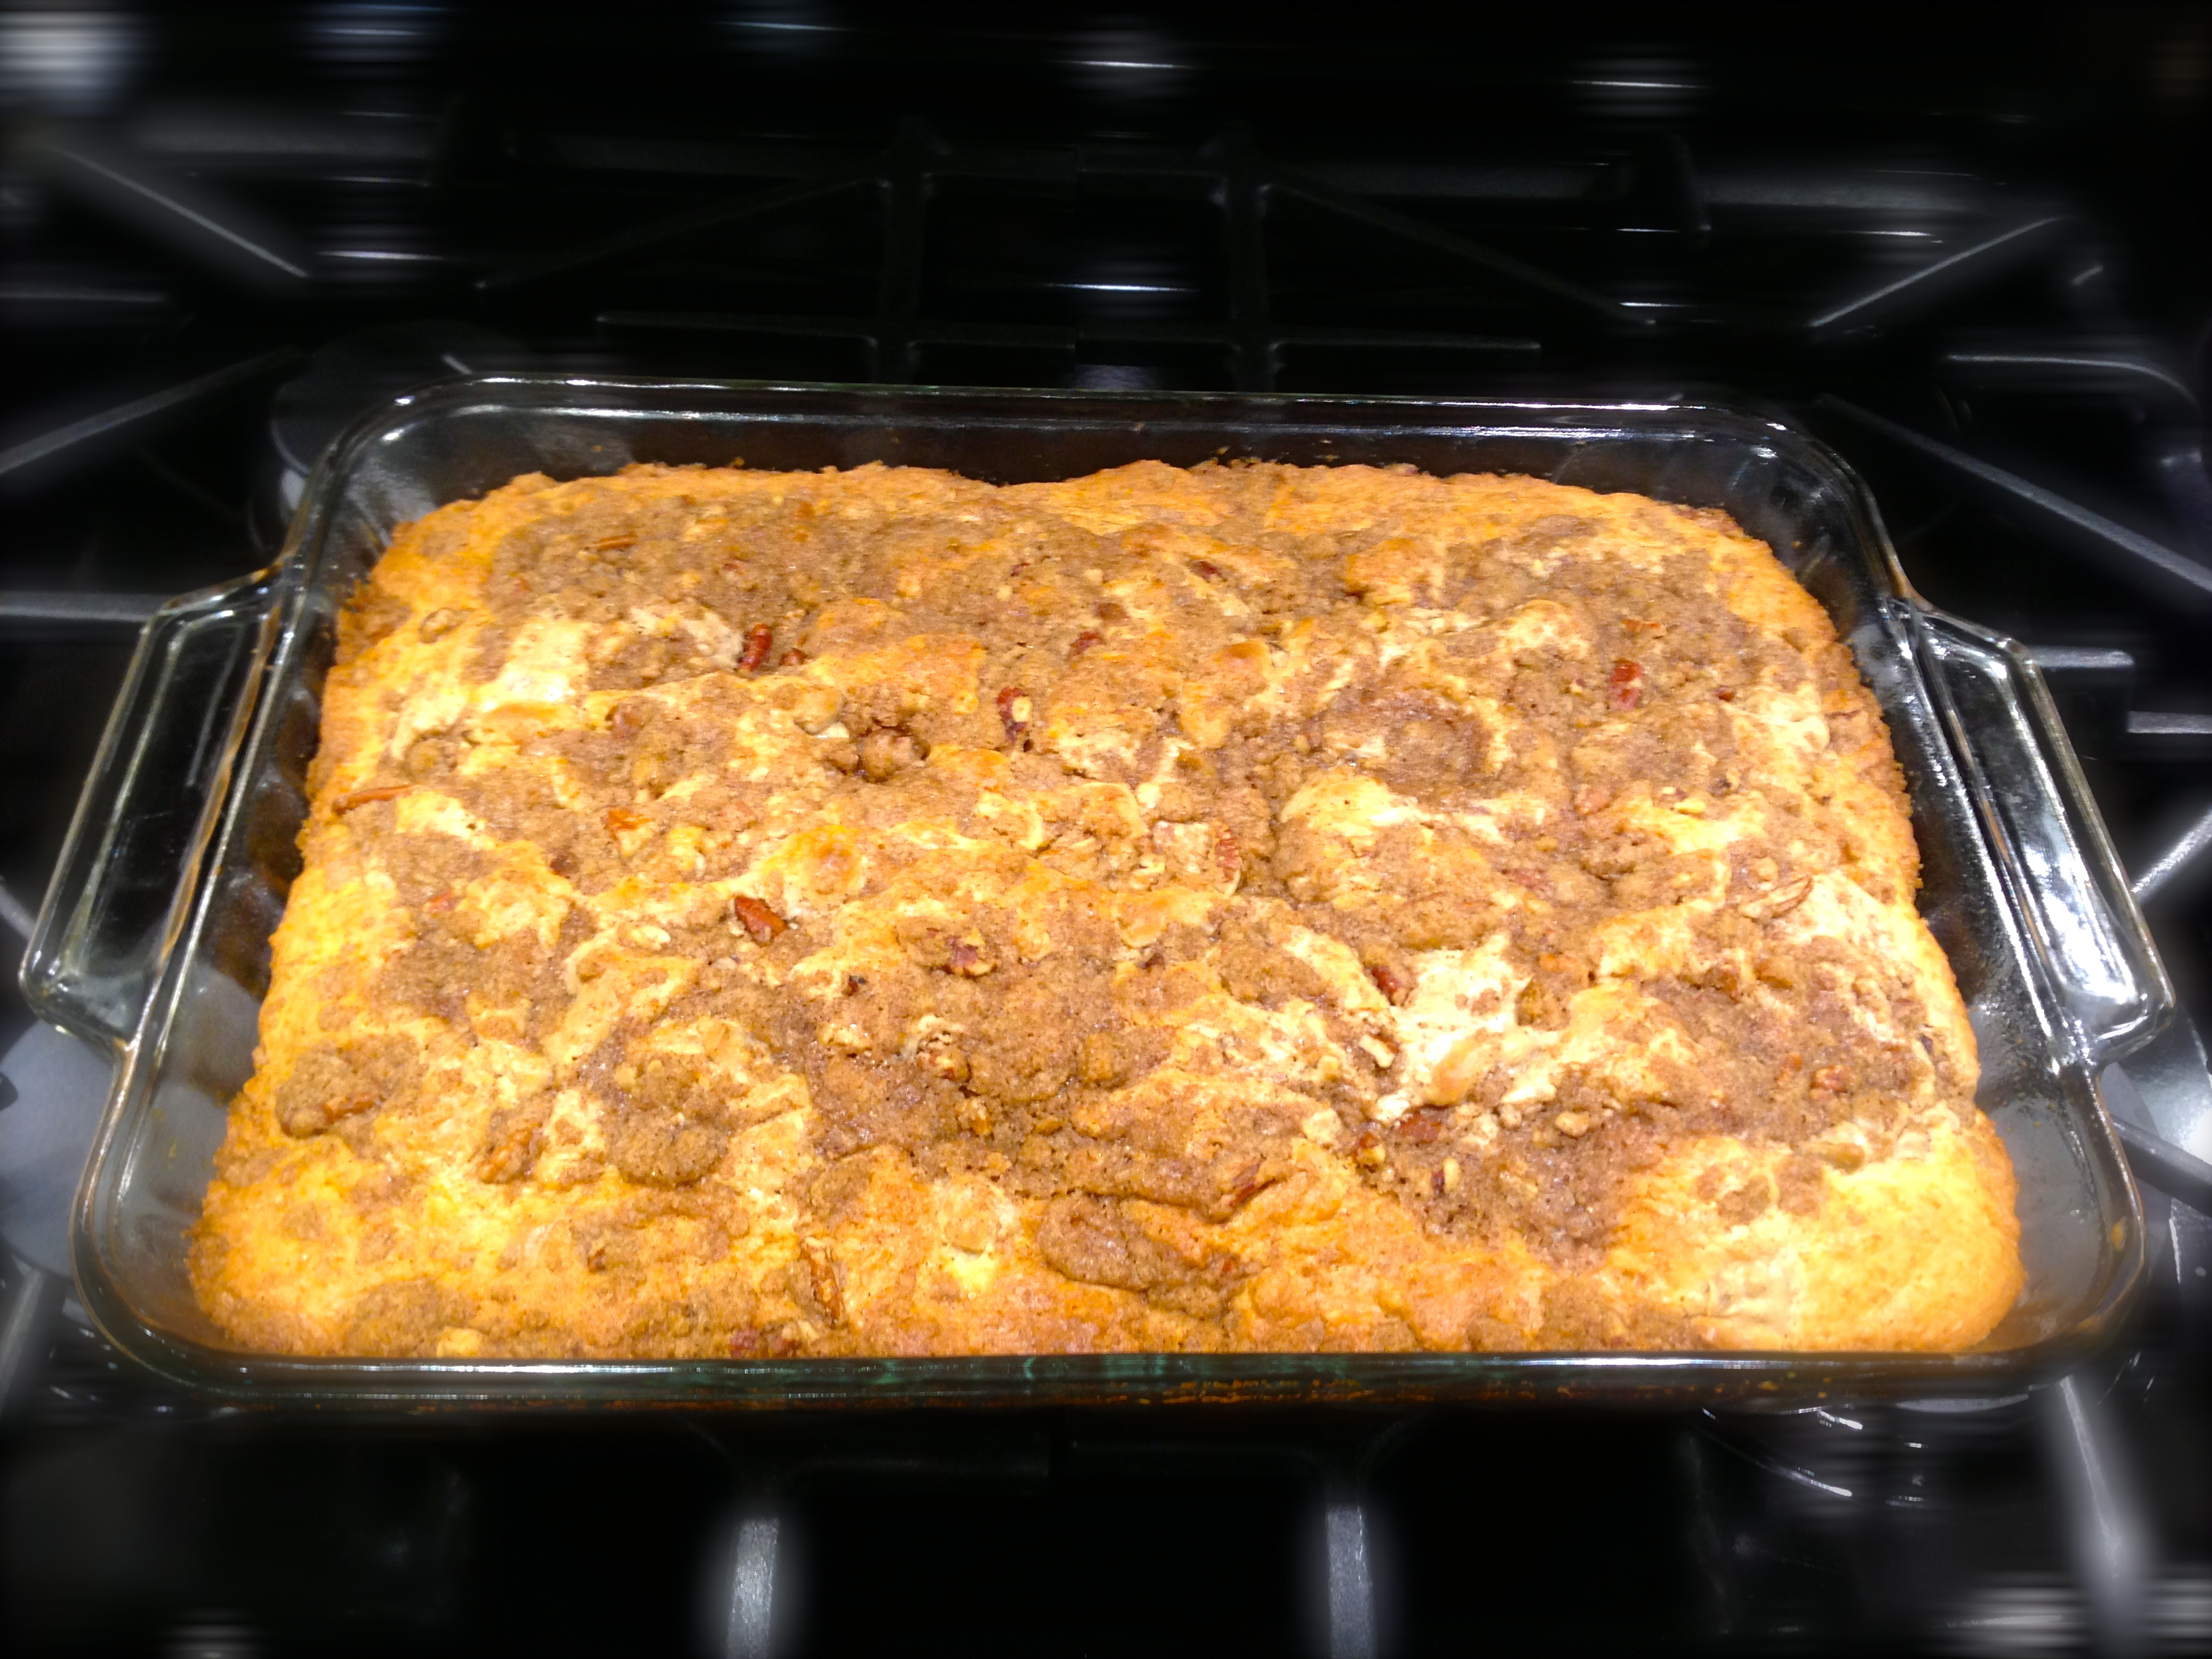
Pour the batter into the prepared pan. Bake for 45-50 minutes or until a toothpick inserted in the center of the cake comes out clean. Let the cake cool in the pan for at least 15 minutes before removing it from the pan. Let the cake cool completely before dusting it with powdered sugar.

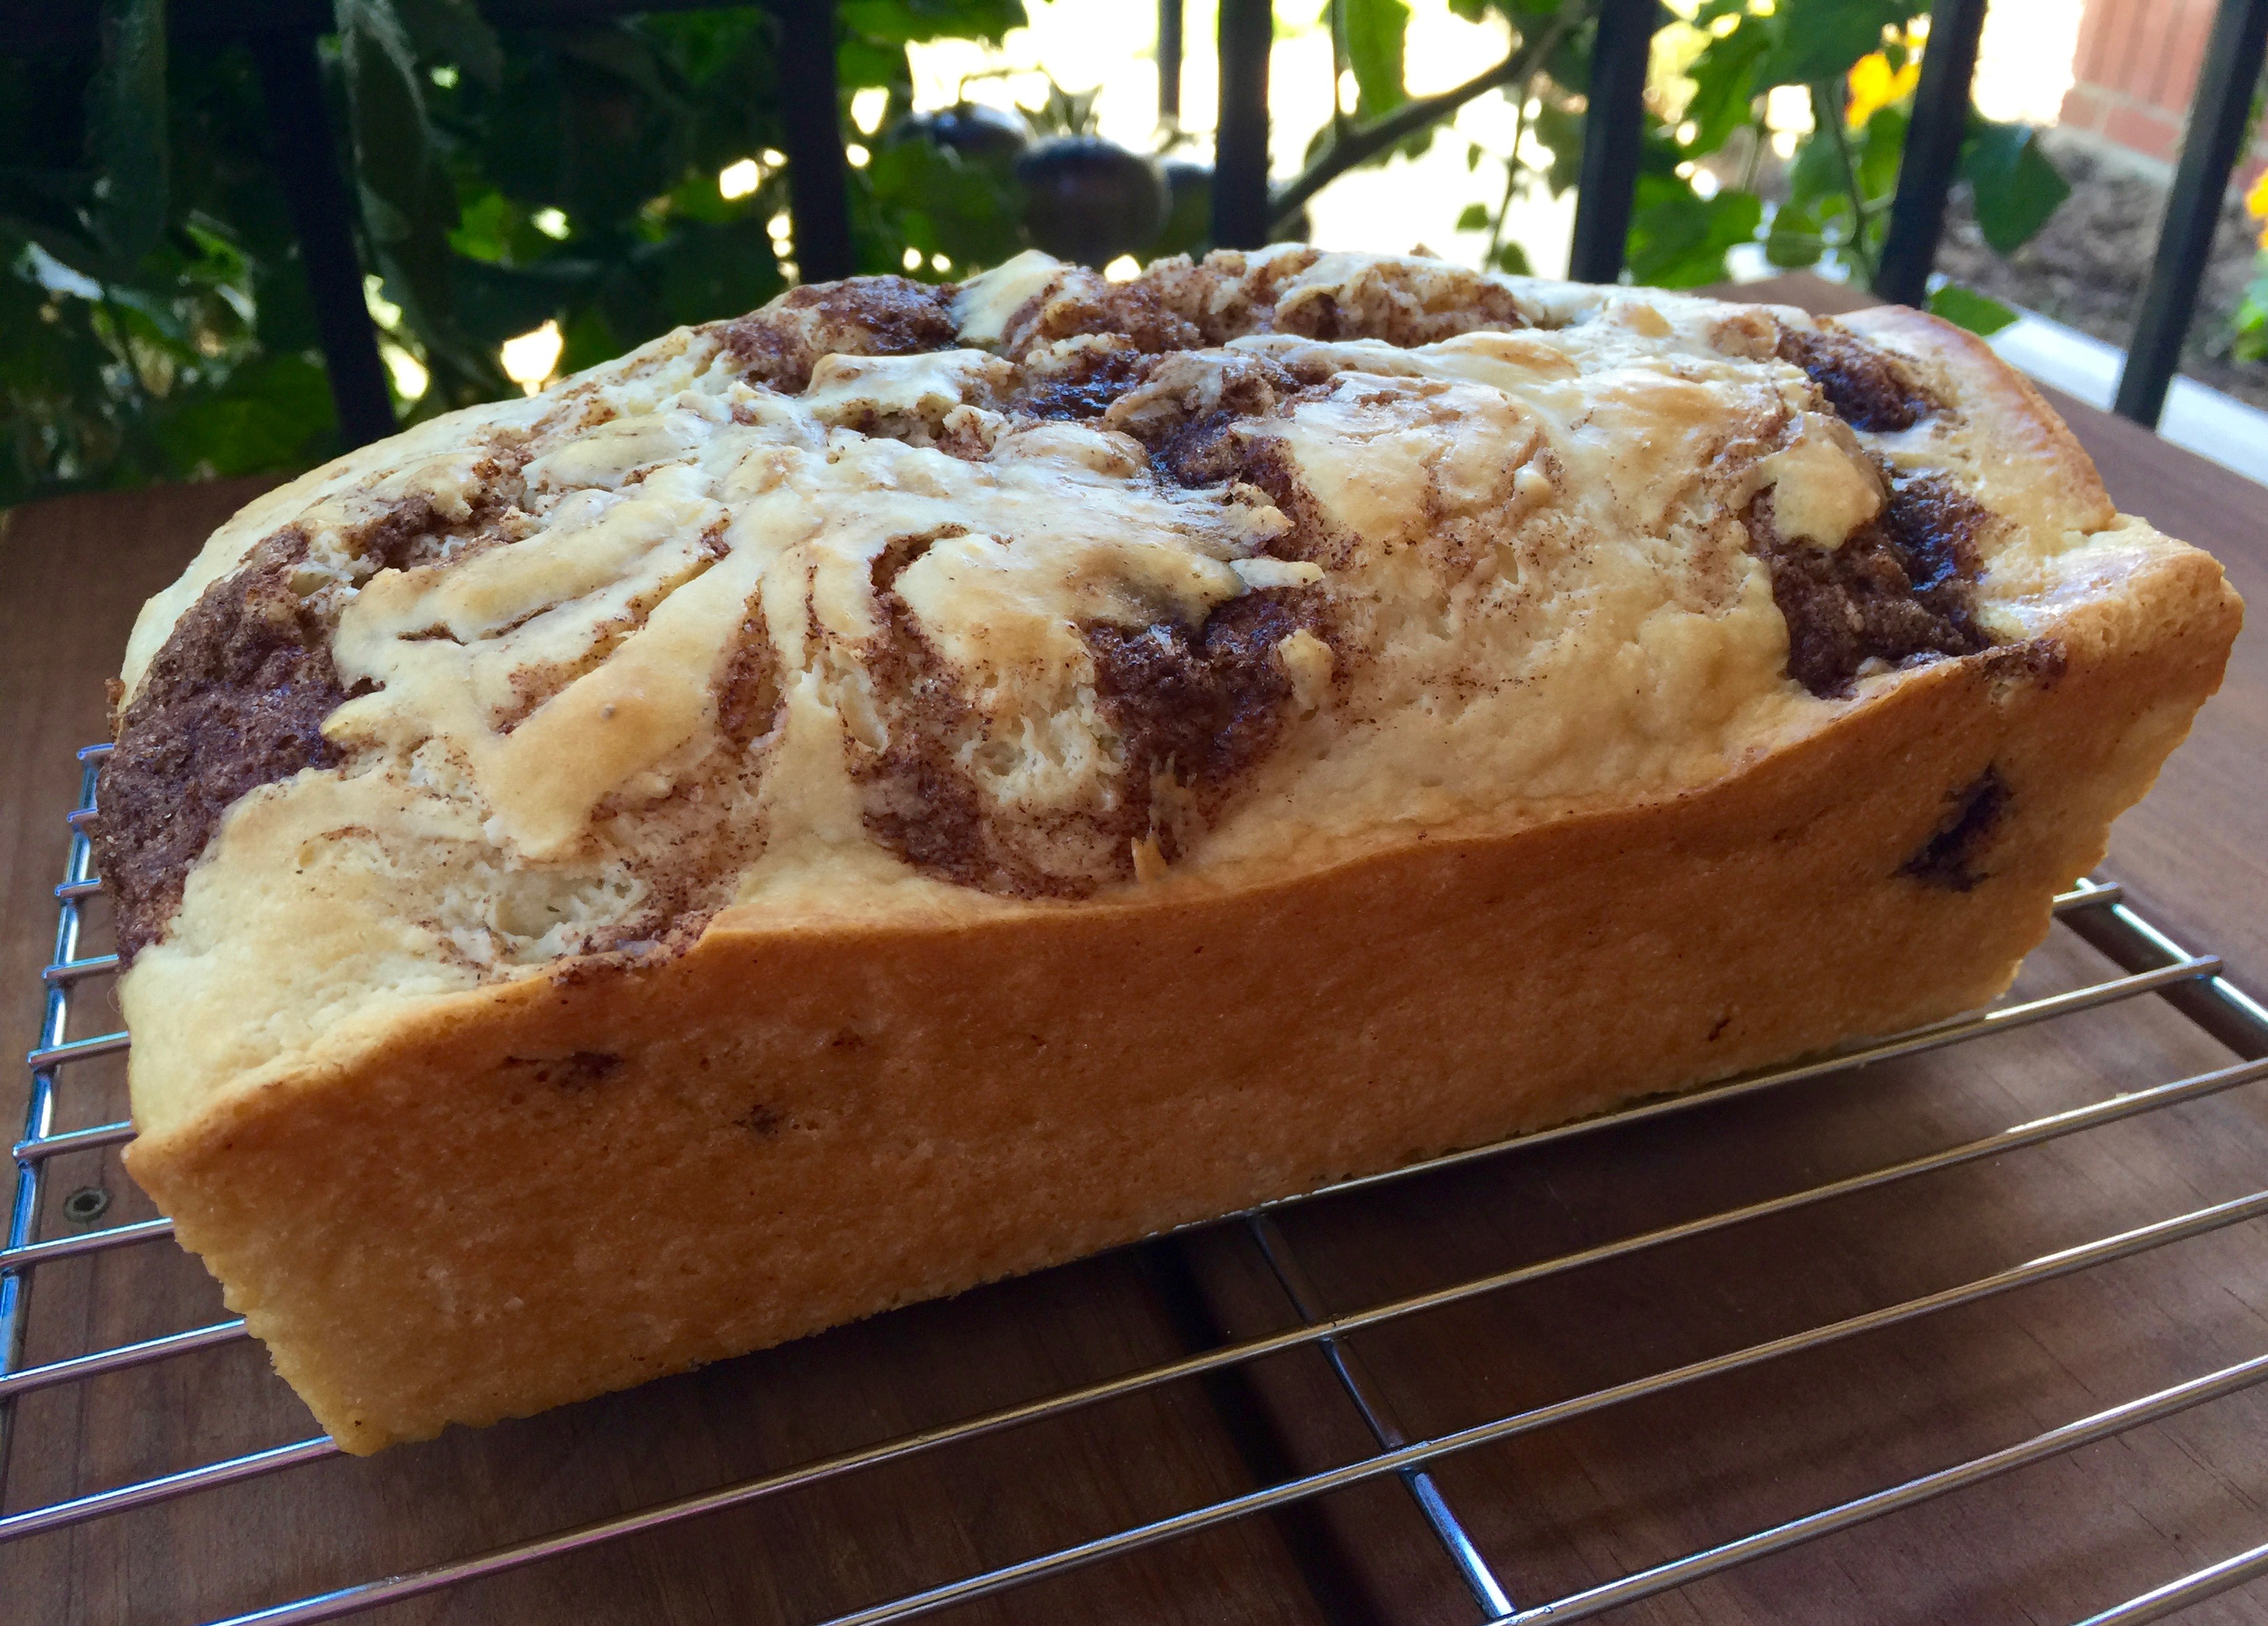
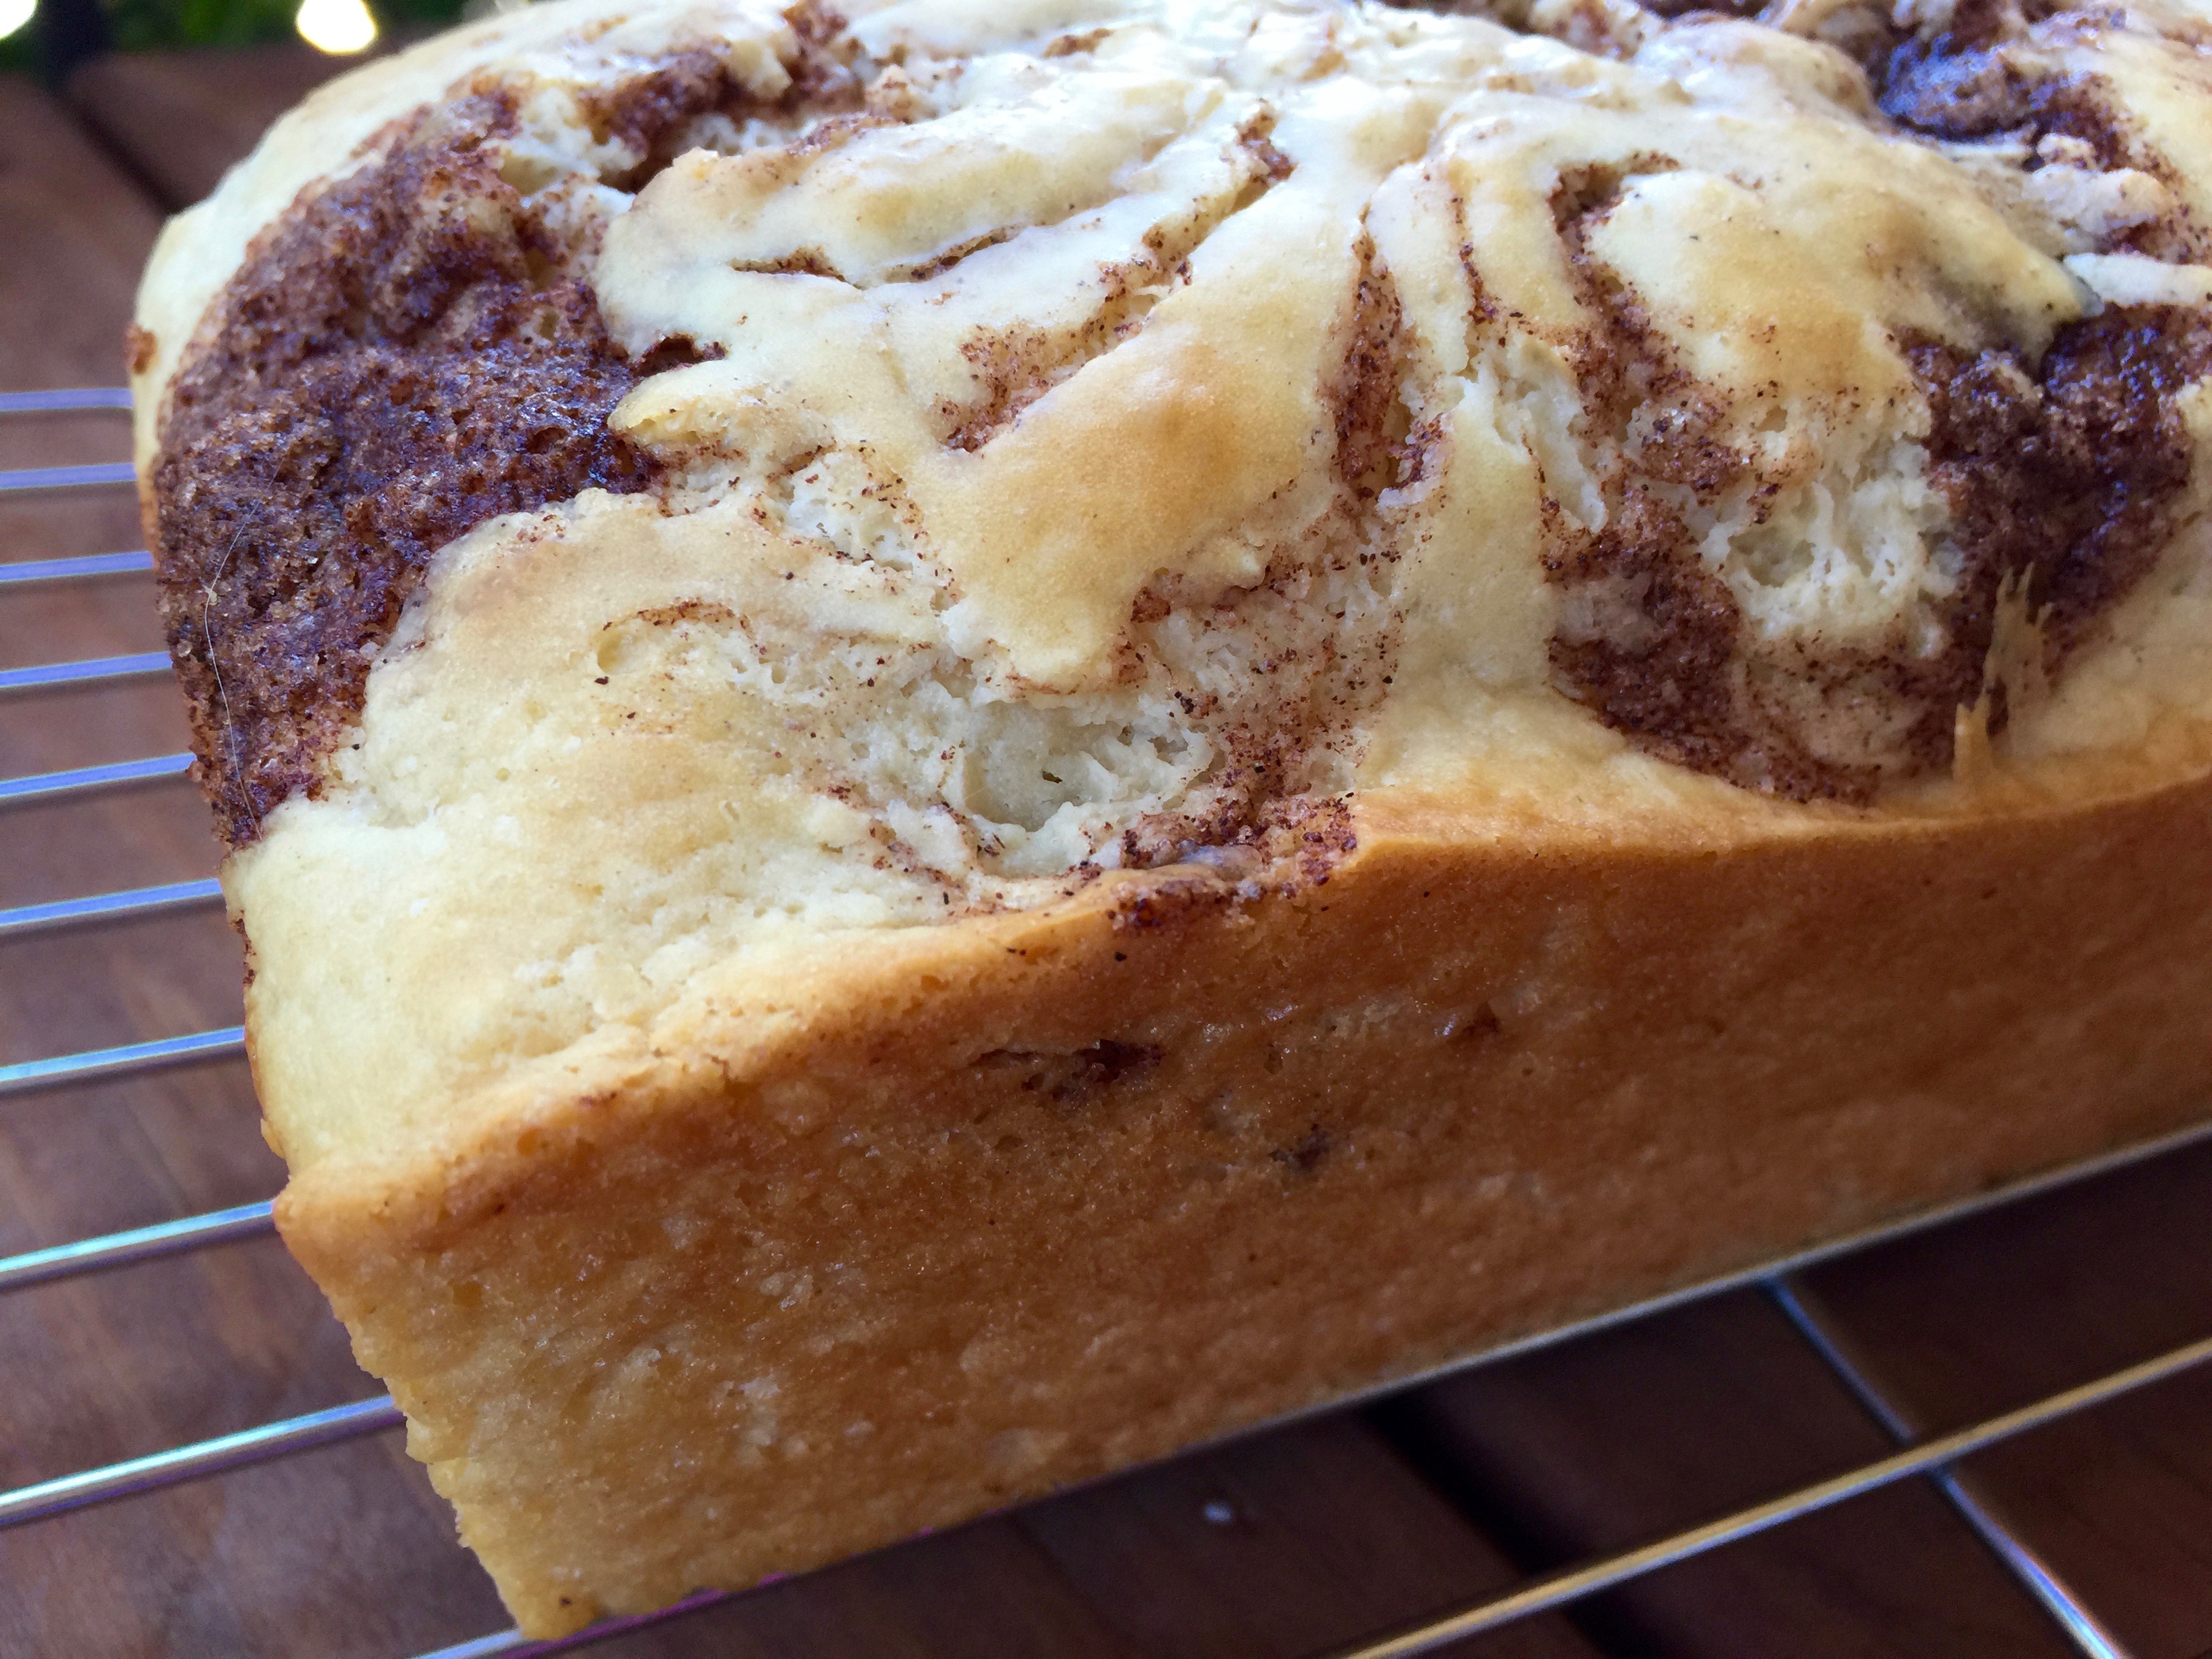
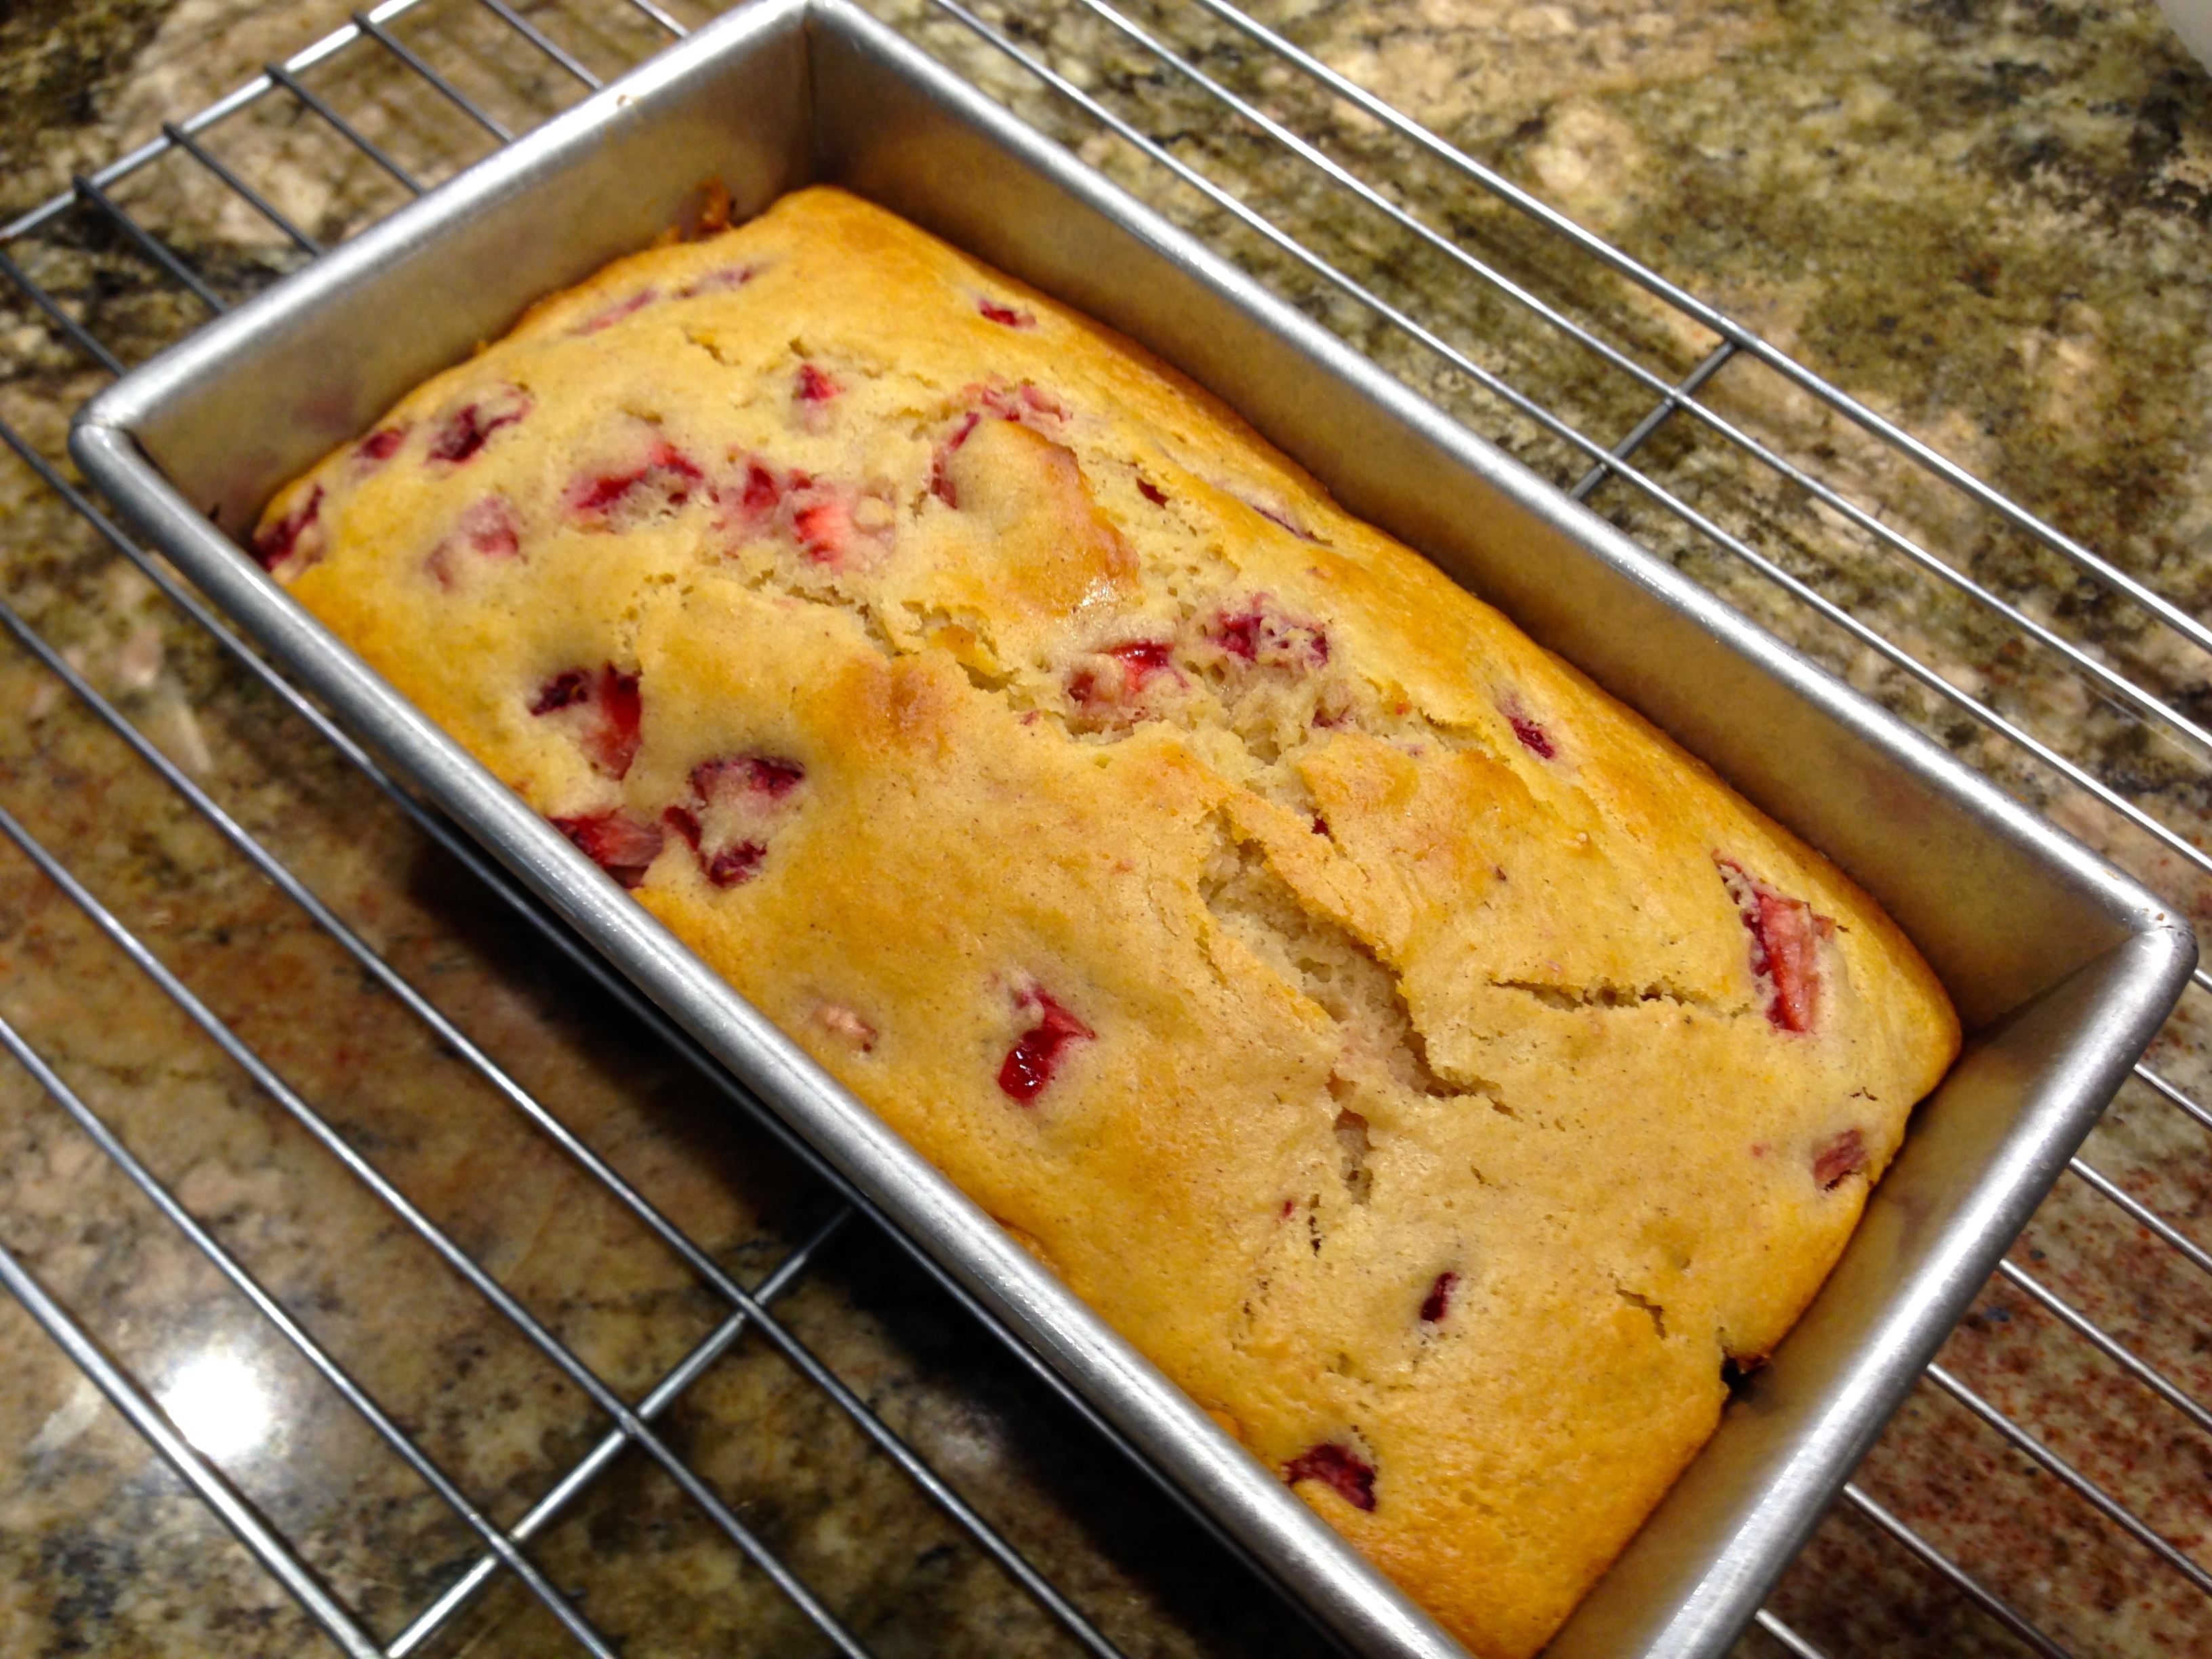
Right Out Of The Oven


 2 cups flour


 I would also time the process and not leave it up to your memory. You will actually see the mixture double in size and become more thick when you beat it for that length of time. That’s what you’re looking for. Be careful. Don’t try to shortcut this part of the process. If you do you will be left with a somewhat flat coffee cake.


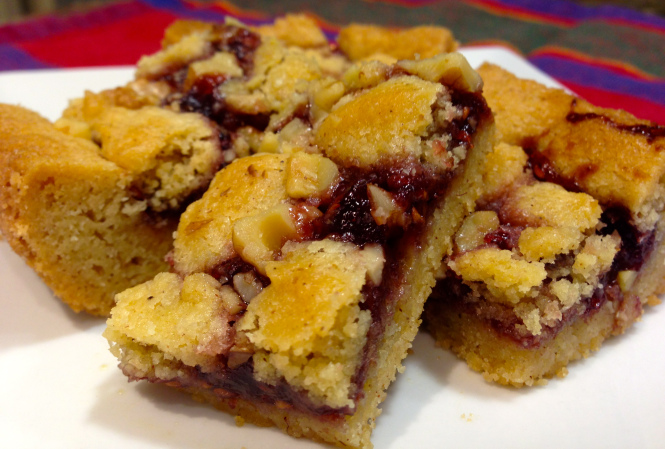
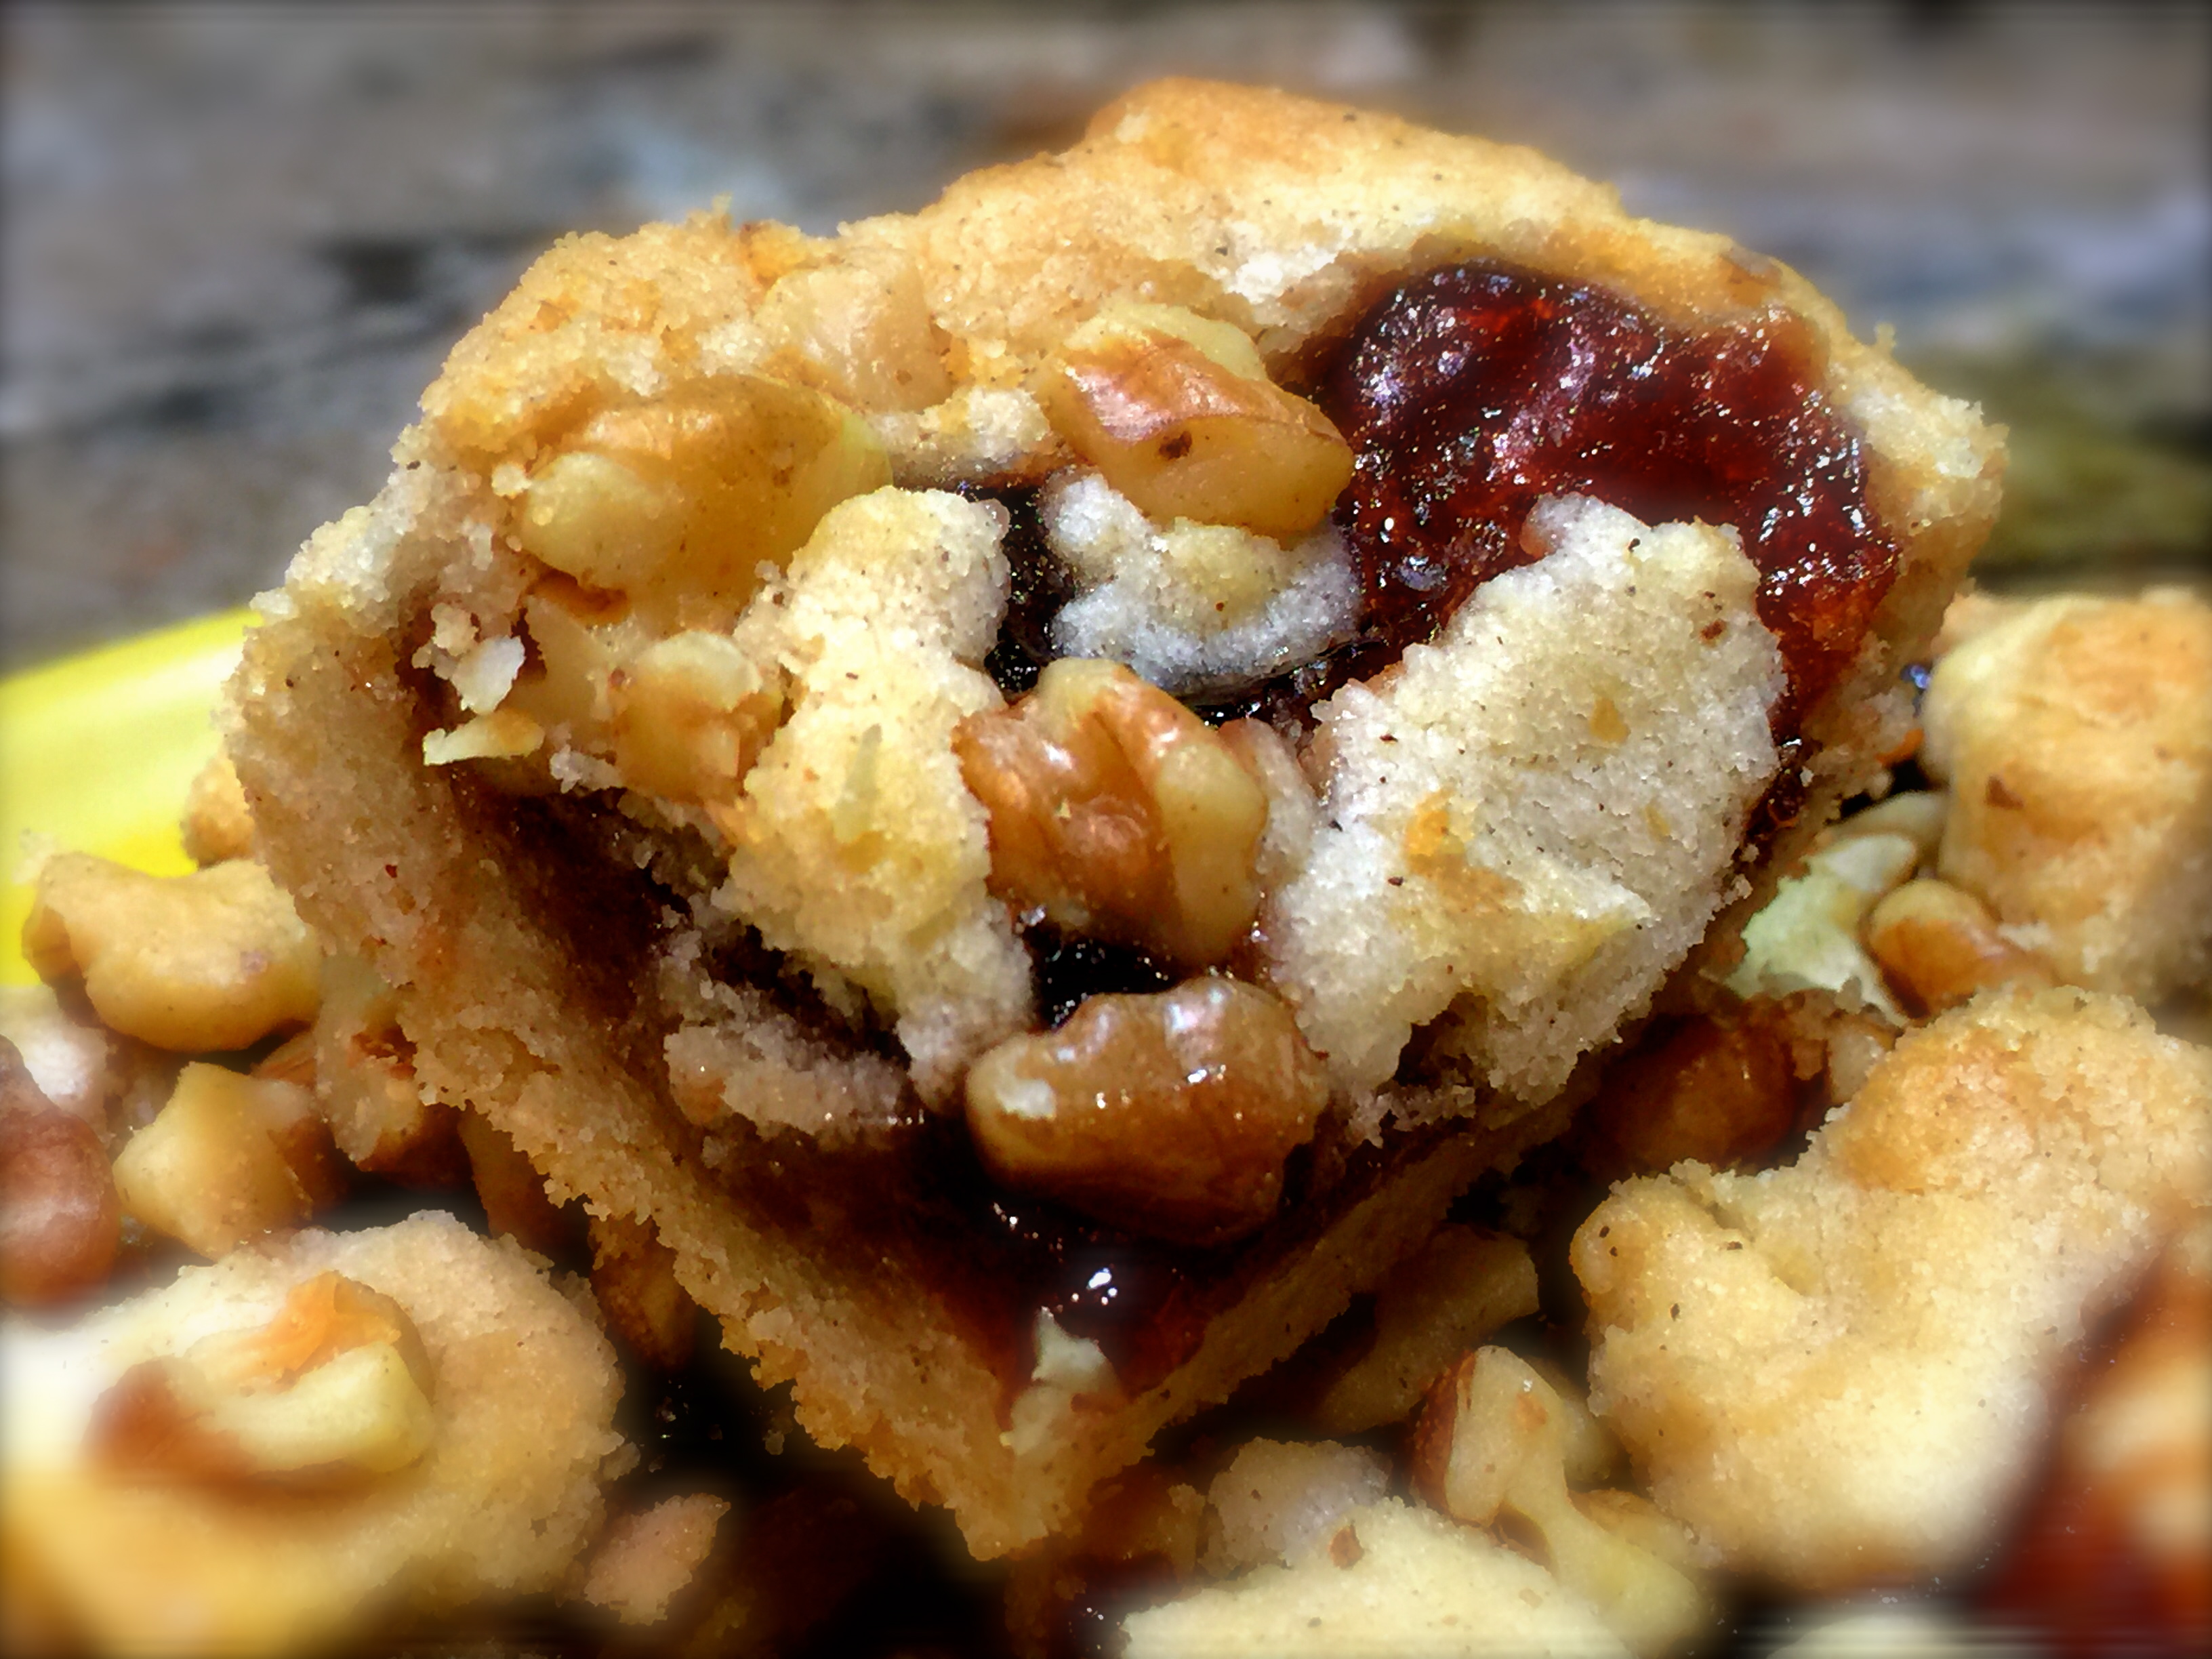
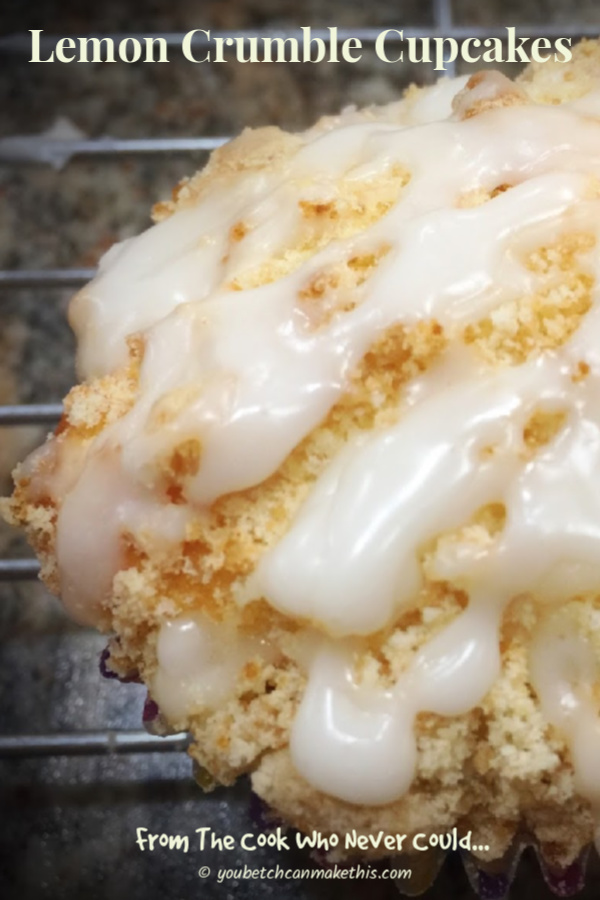
 The ingredients in the recipe are a little unusual. For instance, you don’t use any eggs just butter and lemon juice – you use powdered sugar in place of granulated sugar – and you mix the flour with cornstarch. Sounds a little strange but the result is what, as a child, I called sand cookies. And although sand cookies doesn’t sound very appetizing, it was my term for cookies that literally melt in your mouth. The combination of ingredients in this recipe creates a melt in your mouth consistency that is amplified when you ice them with the lemon frosting. All I can say is yummo!
 Lesson Learned 1 – Make sure you chill the dough: The consistency of the dough is not like most cookies – it will be softer and stickier. It’s important for the dough to chill in order to form the cookies and bake them off. Divide the dough in half and make two eight inch logs. Cover the logs in plastic wrap and refrigerate for up to two hours. My dough was nice and firm after an hour and a half, so check your dough at that point to see if it is ready to go.
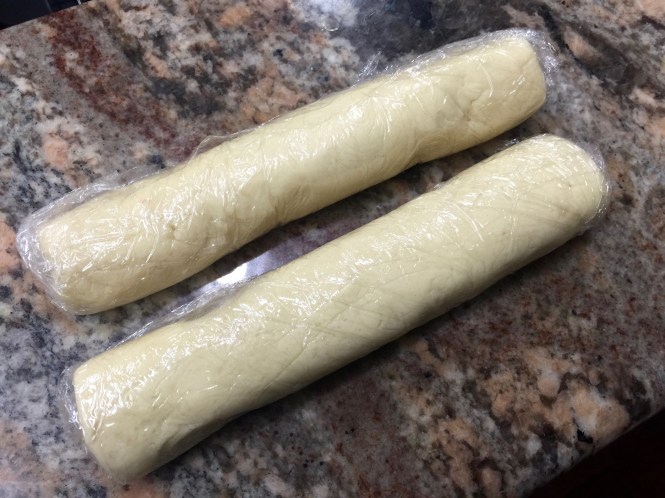


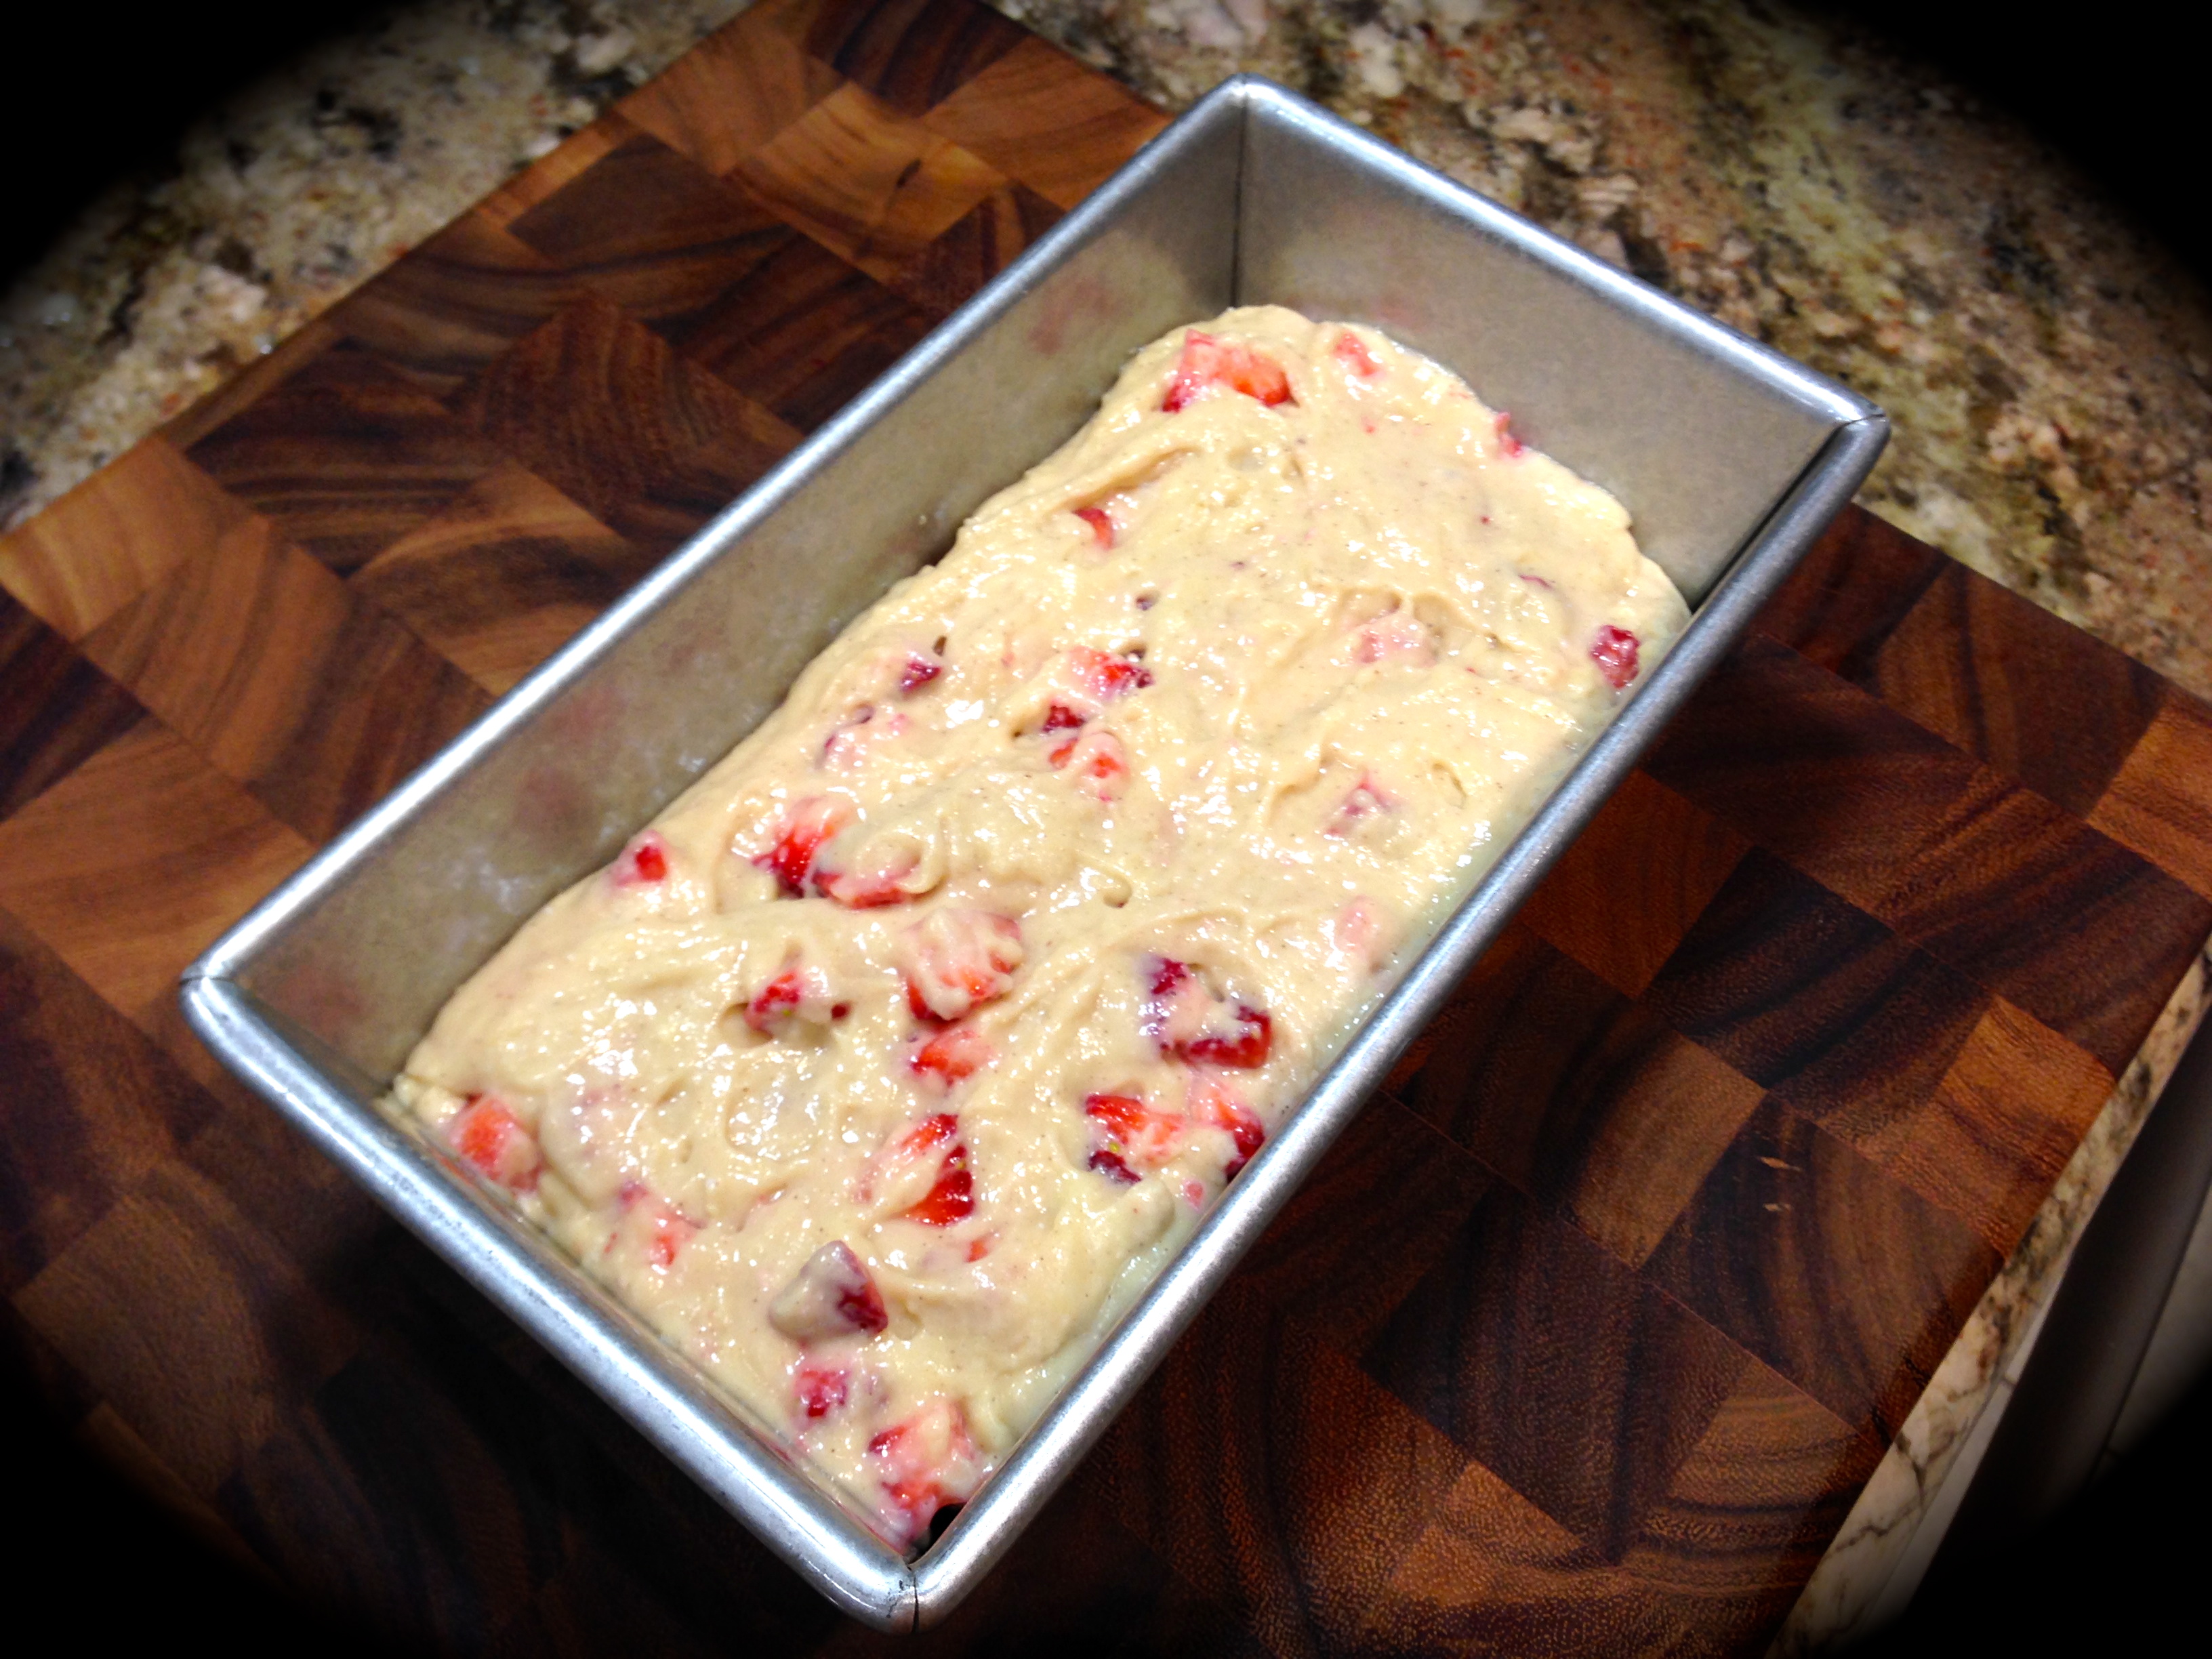
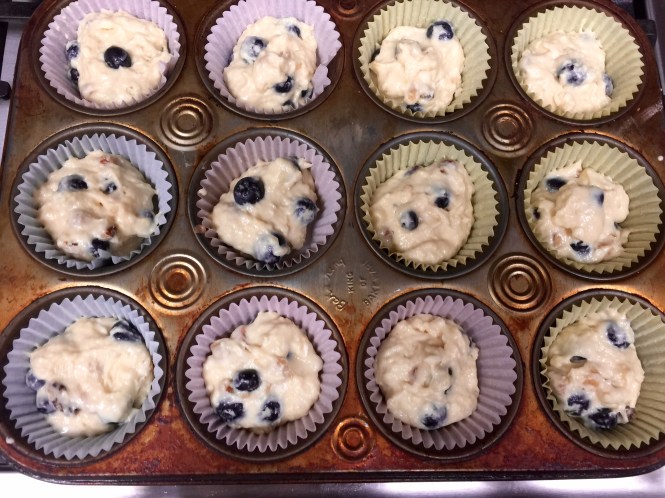
 Lesson Learned 2 – The batter will be thicker than you think: I was surprised at how thick the batter was in this recipe. But the combination of a thick batter and strawberries creates the perfect balance for a moist and flavorful muffin. All the magic happens in the oven, so don’t worry about how thick the batter is.


 2 cups flour