Glazed Almond Cookies…

Every year when I bake cookies for the holidays I try one new recipe. I’ve been making cookies for so many years and have countless choices but I always like to experiment with at least one new recipe while I decide what others in my arsenal to make. A few recipes I make every year because they are just my classics. But there are others I switch out or switch around and I always add one new variety to the bunch. This is my new cookie for 2018.

Most of the cookies I make are pretty traditional with straightforward processes. This one varied a little and tested my ability to problem solve. But once I figured it out I was good to go. So I recommend you read my lessons learned carefully   because if you do you’ll be successful right out of the gate. And just in case you’re wondering these cookies taste divine and are well worth the little extra attention you need to pay to them.

So let’s talk glazed almond cookies…

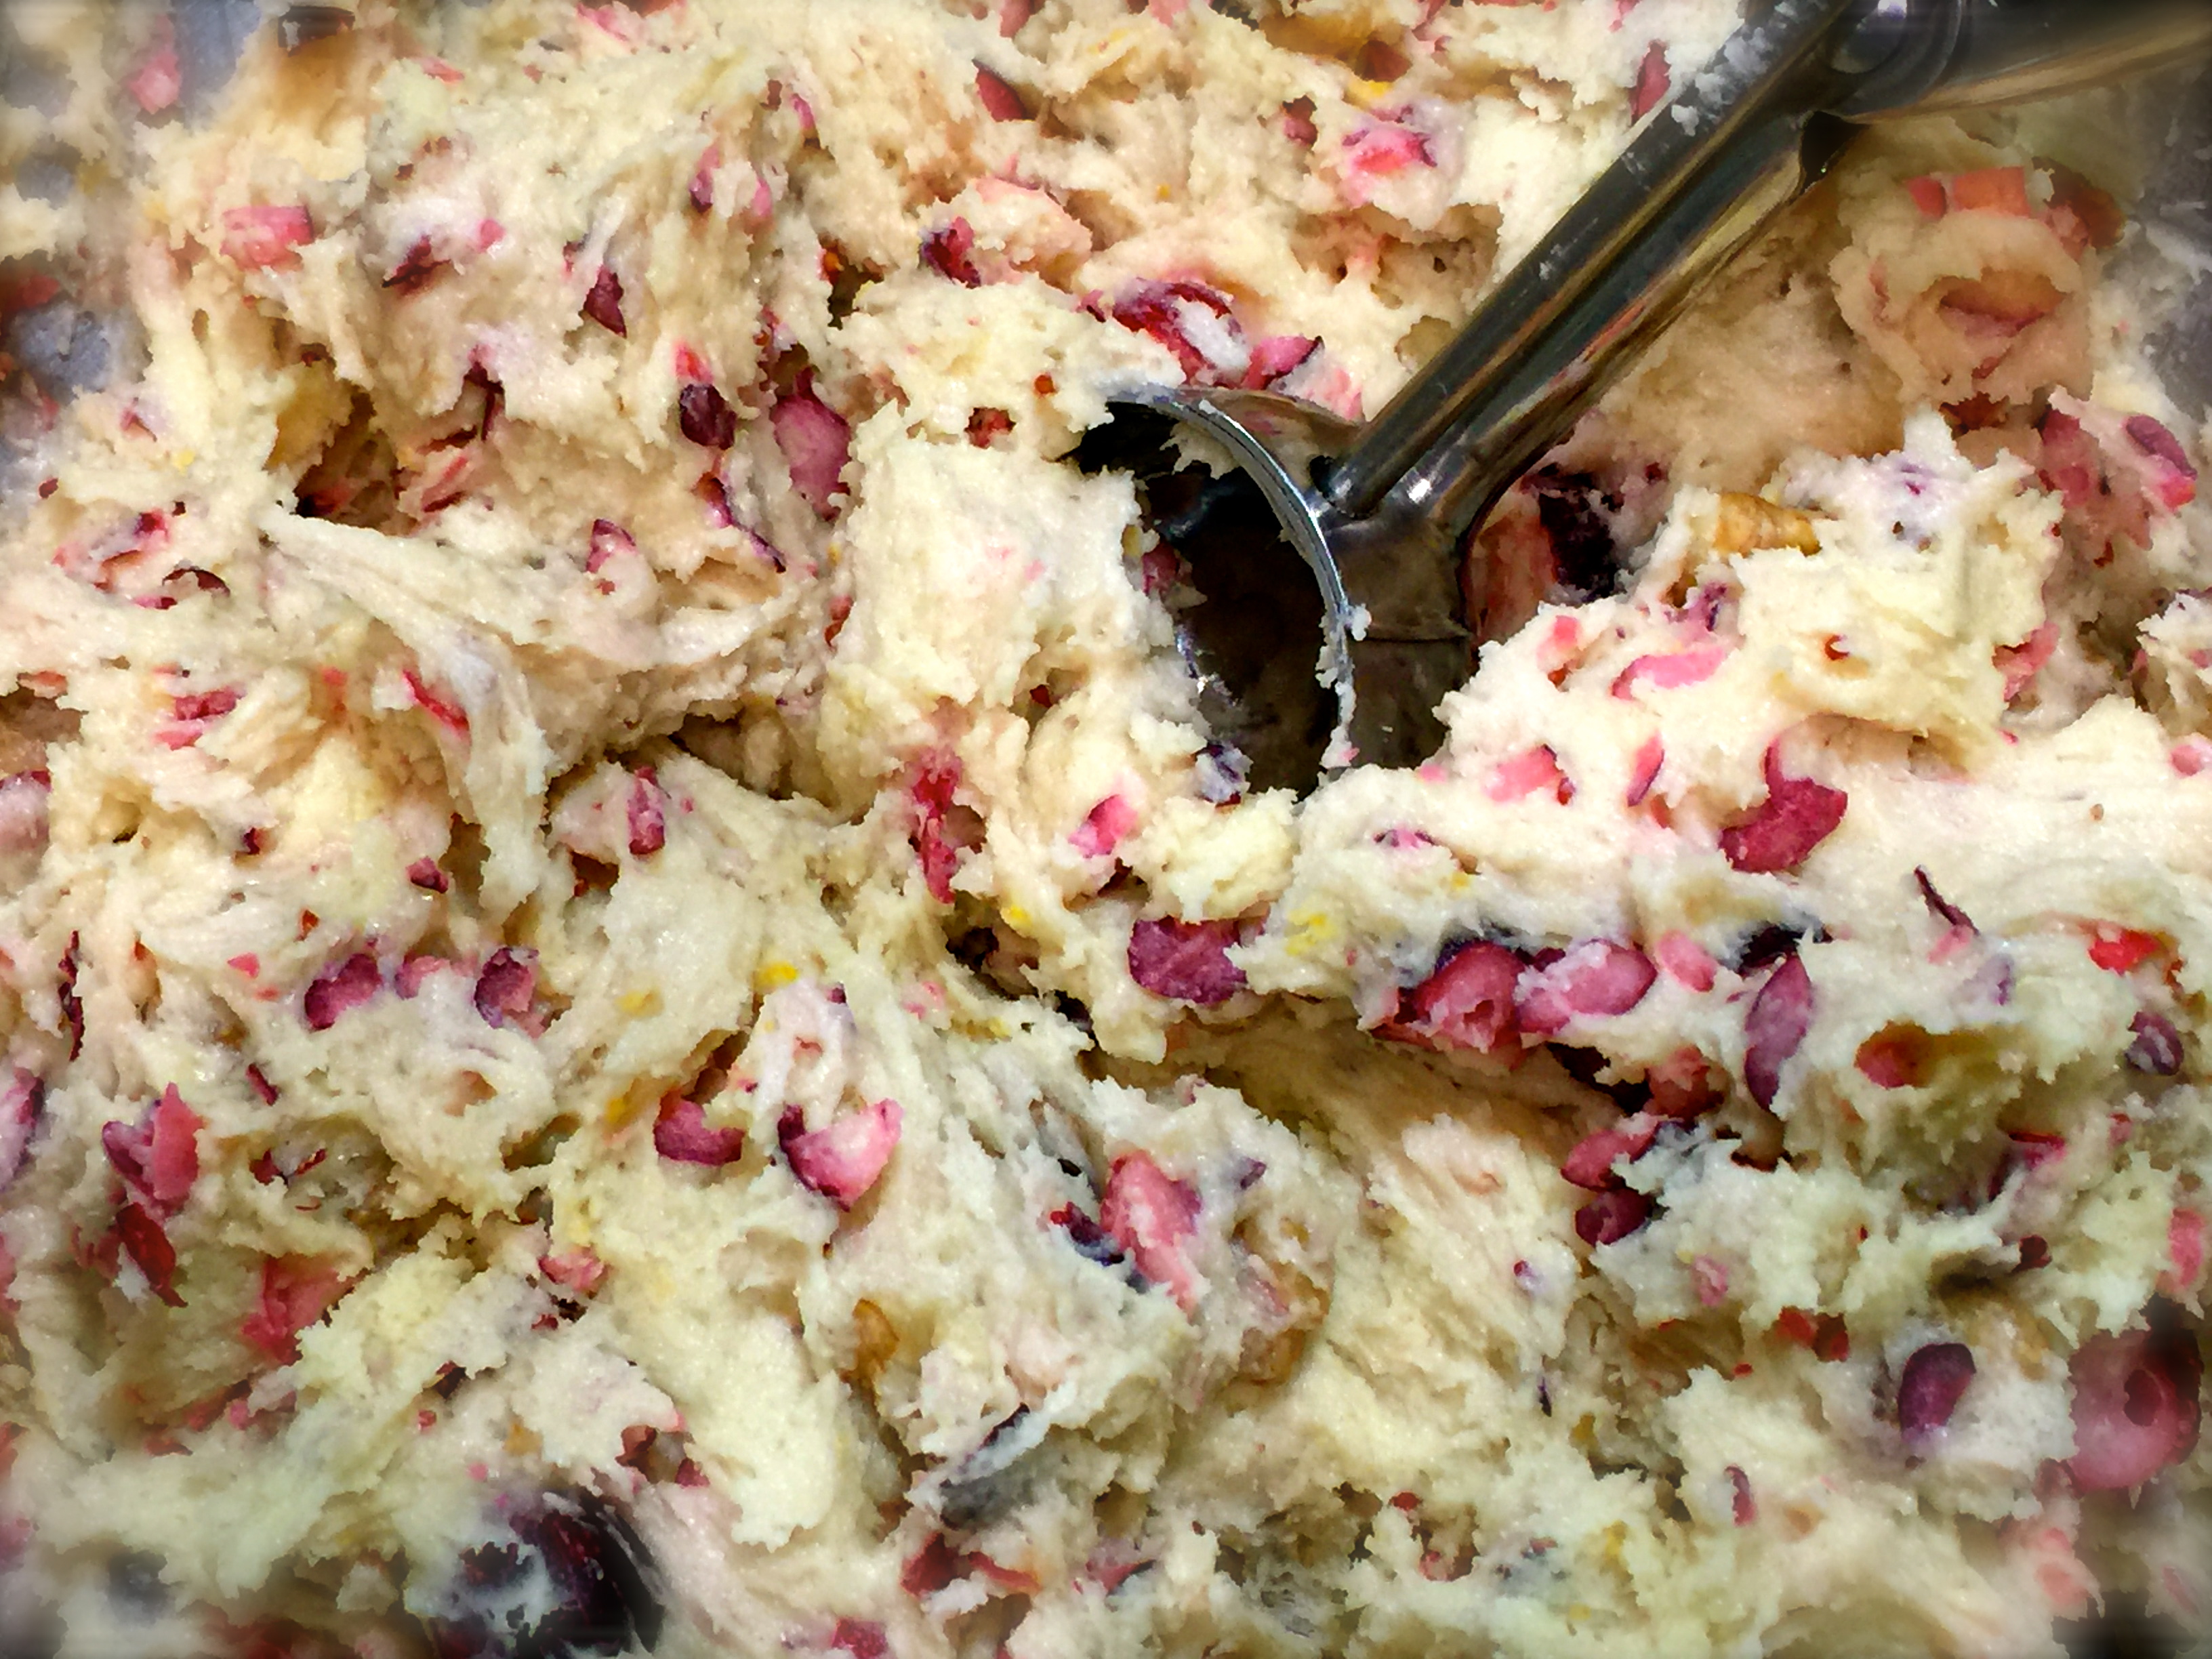
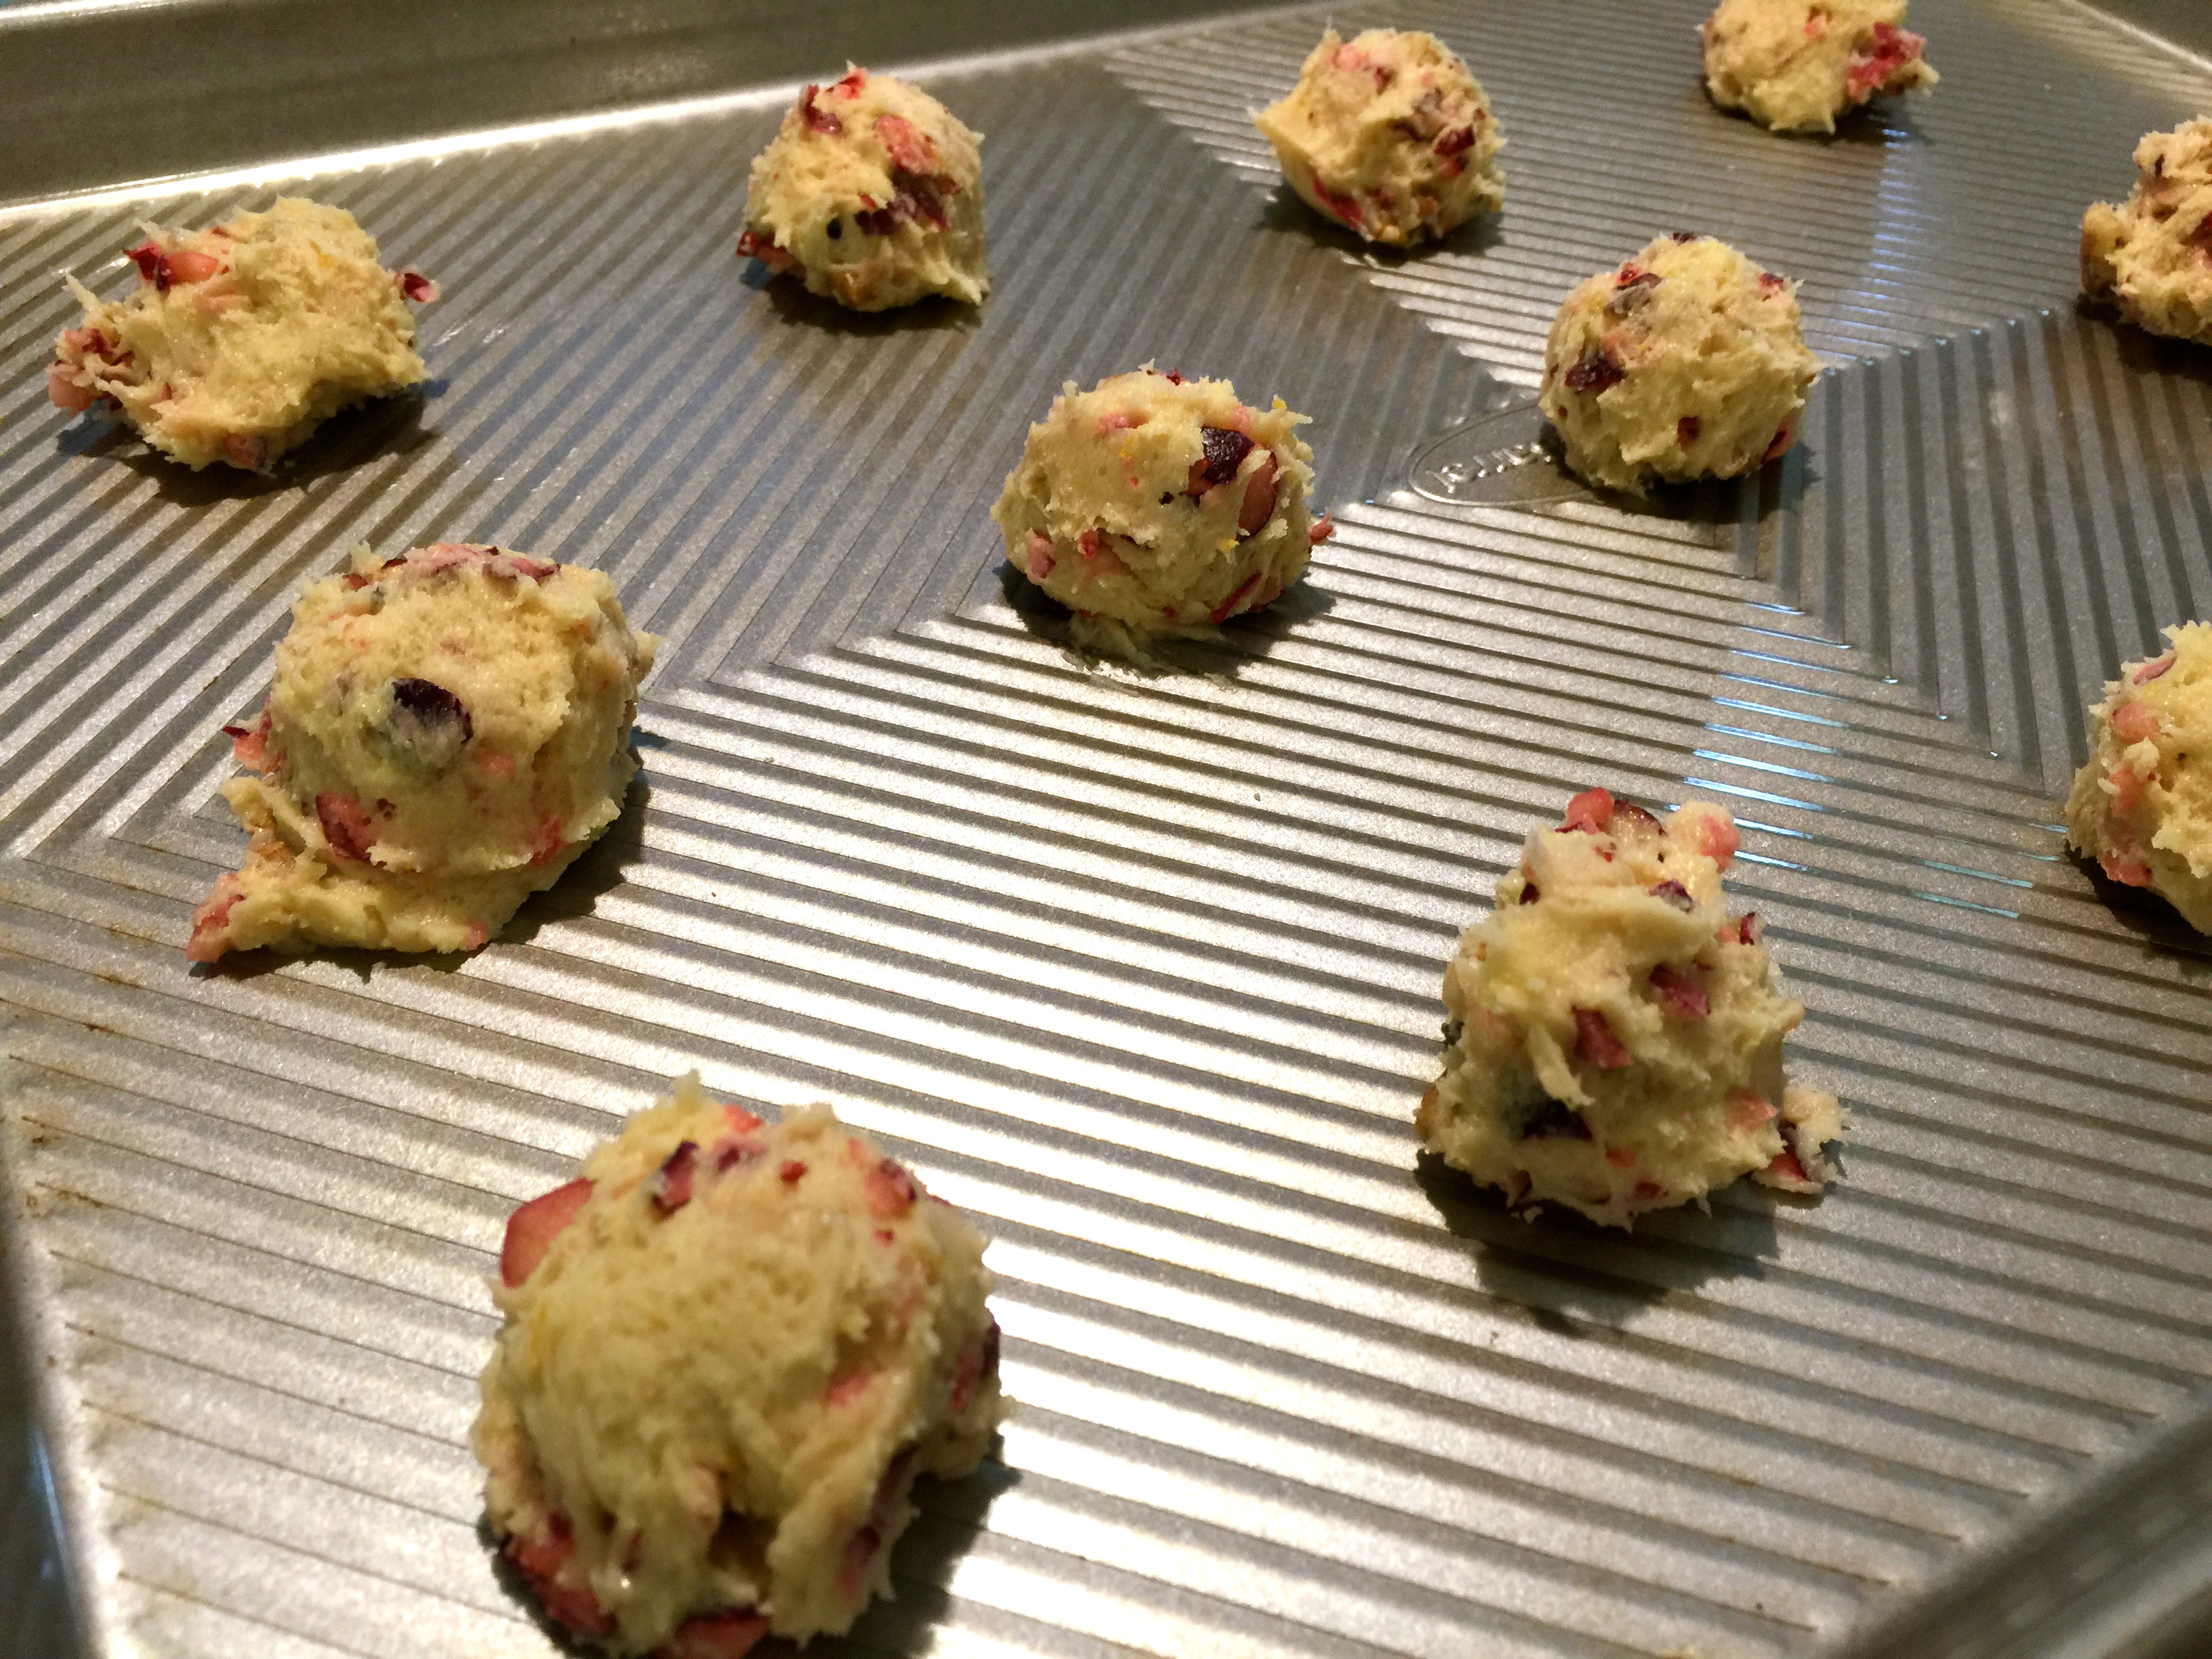
Lesson Learned 1 – This recipe does not use any eggs: I know, I thought it was strange too but don’t worry the combination of ingredients works. You’ll find the dough looks a little different than most cookie dough – sort of like mashed potatoes (see the picture below). That’s ok – that’s what the dough needs to look like.

Lesson Learned 2 – You MUST use parchment paper on your cookie sheet: I have a professional grade non stick cookie sheet and found I still needed to use parchment paper. The cookies did not stick to the sheet, that’s not why parchment paper was necessary. The challenge arose when I tried to place the sliced almonds on top which I will address in another lesson learned. Just make sure you use parchment paper regardless of whether you’re using a non-stick sheet or not.

Lesson Learned 3 – I discovered the best process for prepping the cookies to go in the oven: With this recipe you roll the dough into small balls and then flatten the balls. I found the easiest way to do this was to roll the cookies all at once and then flatten them with the bottom of a tumbler glass. By doing this I was able to not only have a smooth flowing process but also was able to make the cookies a uniform size by using the bottom of the glass as a guide for pressing out the dough. Keep in mind that you’ll need a little bit of flour on hand to dust the bottom of the glass. I placed about 1/4 cup of flour on a small plate and dusted the bottom of the glass regularly. Sometimes the cookies stuck to the bottom of the glass but I was able to peel them off easily because of the flour. Once I had the cookies all flattened I dusted off any residual flour that was on them with a pastry brush.

Lesson Learned 4 – How to make the almond slices stick to the cookies: This is the rub! It’s not as easy as you might think… I found the best way to make the almonds stay on the cookies is to put them directly on the dough the very second they came out of the oven and before transferring them to a wire cooling rack. If you wait any longer they won’t stick. So as soon as you take these cookies out of the oven have the almonds ready. Place them on top of the cookie and gently press them into the cookie. That way as the cookie cools it bonds around the almond slices.

That is also why you want to have your cookie sheets lined with parchment paper. The first batch I made I took the cookies off the sheet, transferred them to a cooling rack and then tried to put on the almond slices. As I pressed them down into the cookie, the bottom of the cookie went slightly through the gaps in the cooling rack so when I took the cookies off the rack they no longer had flat bottoms and the cookies wobbled. Also by that time the cookies had cooled enough that the almonds did not stick. Ugh… When you press the almonds onto the cookie while they’re still on the baking sheet they are still warm enough, the parchment paper prevents them from sticking to the sheet as you press down and you still maintain a flat bottom.  It took me my first failed batch to figure this out.

Also I found if some of the slices were a little loose or did not want to stick, when I applied the glaze and let the glaze set on the cookie, the glaze acted as a binder and the almonds stayed on the cookie. So you really have two ways to secure the almonds. But first try putting them on while the cookies are still hot. That’s the best way.

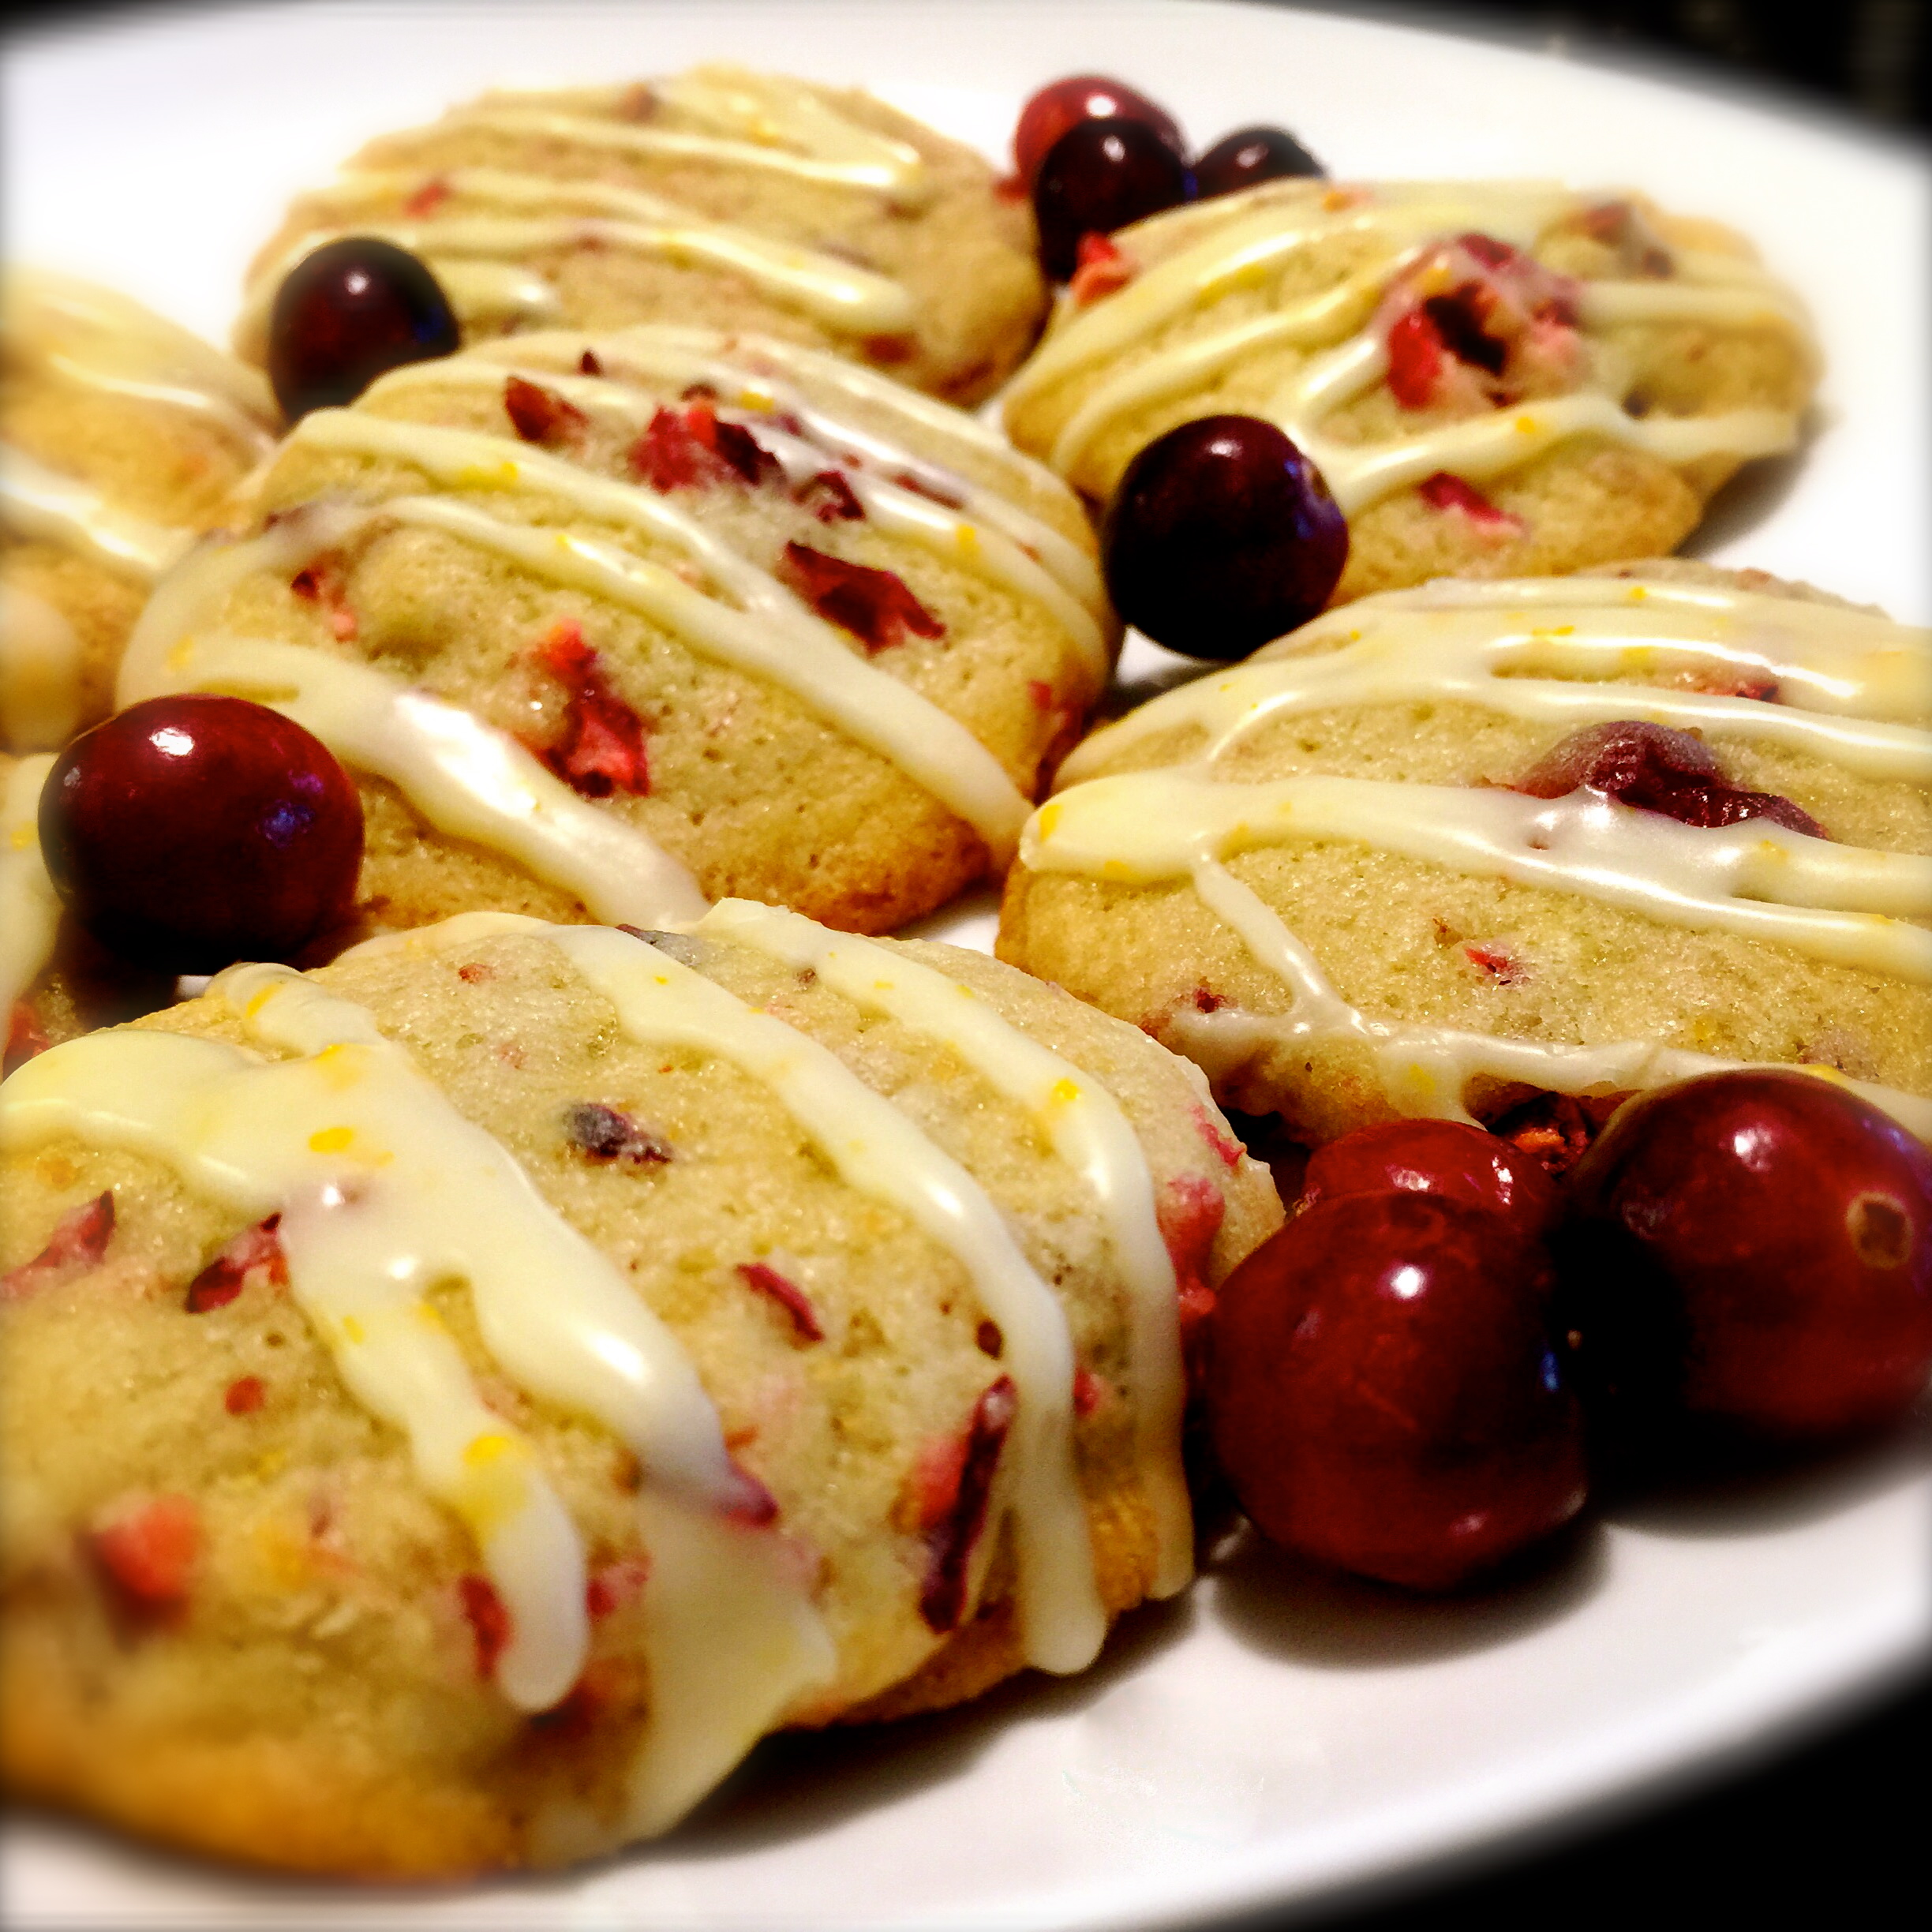
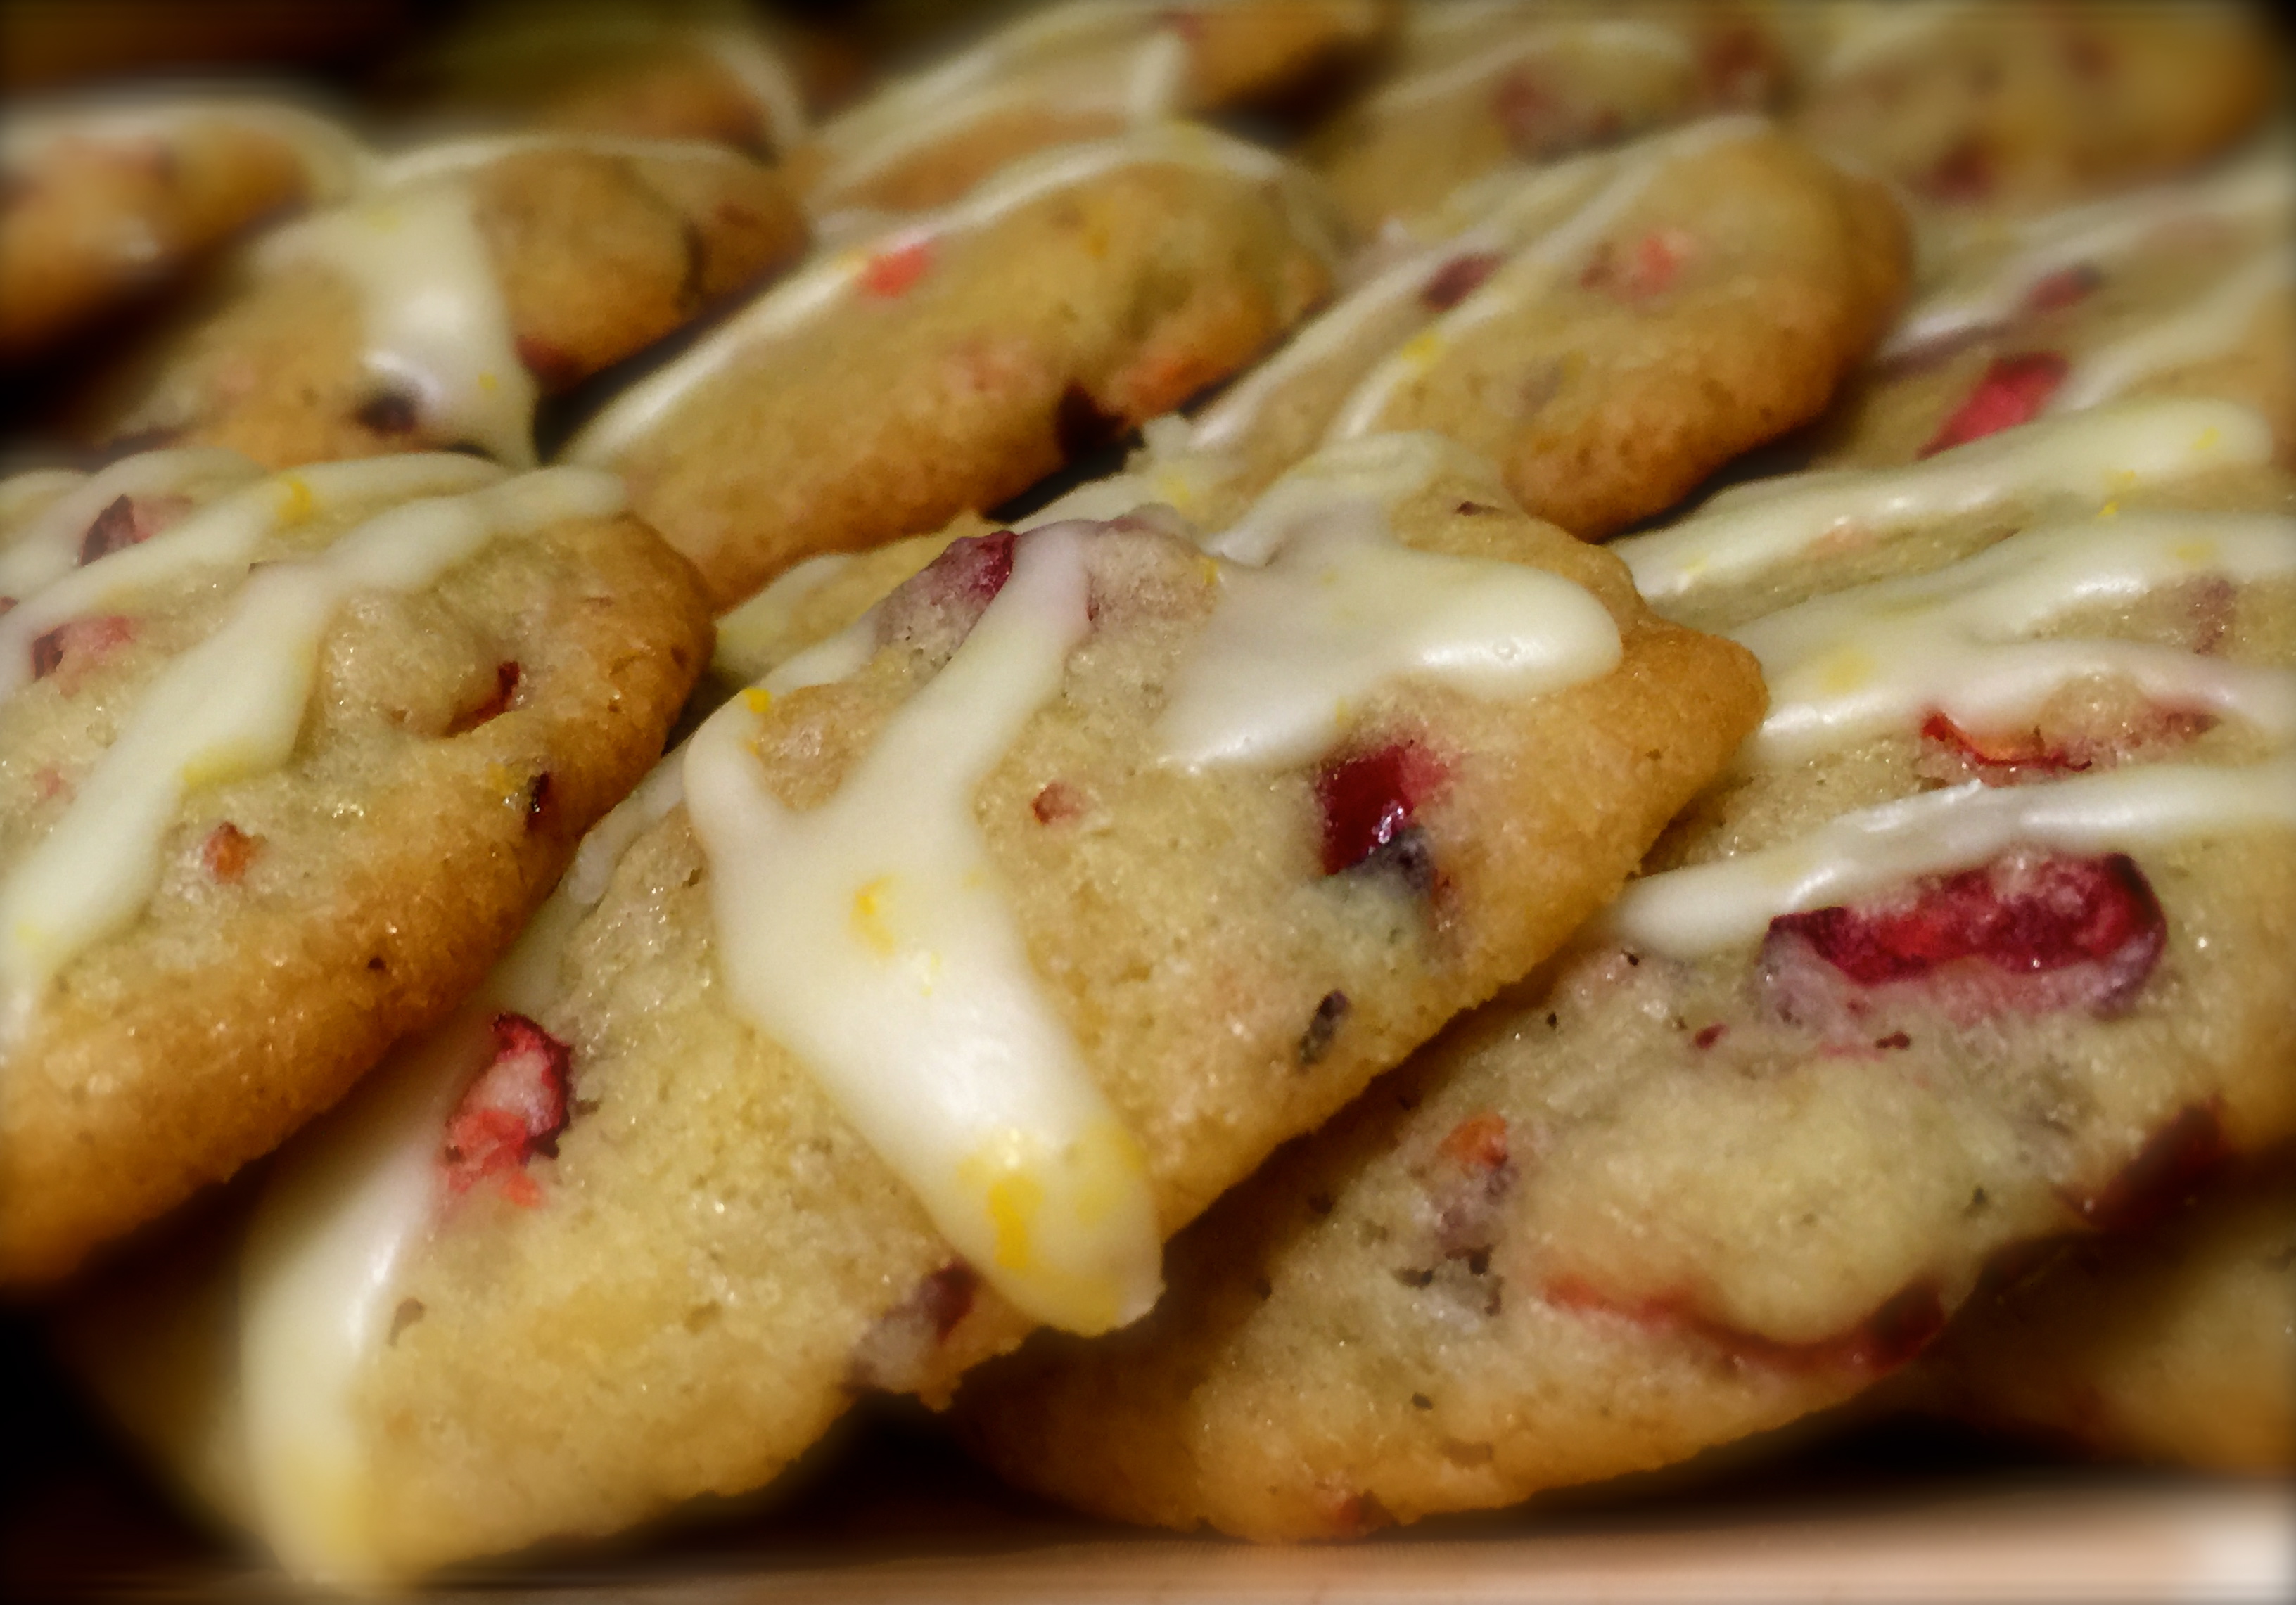
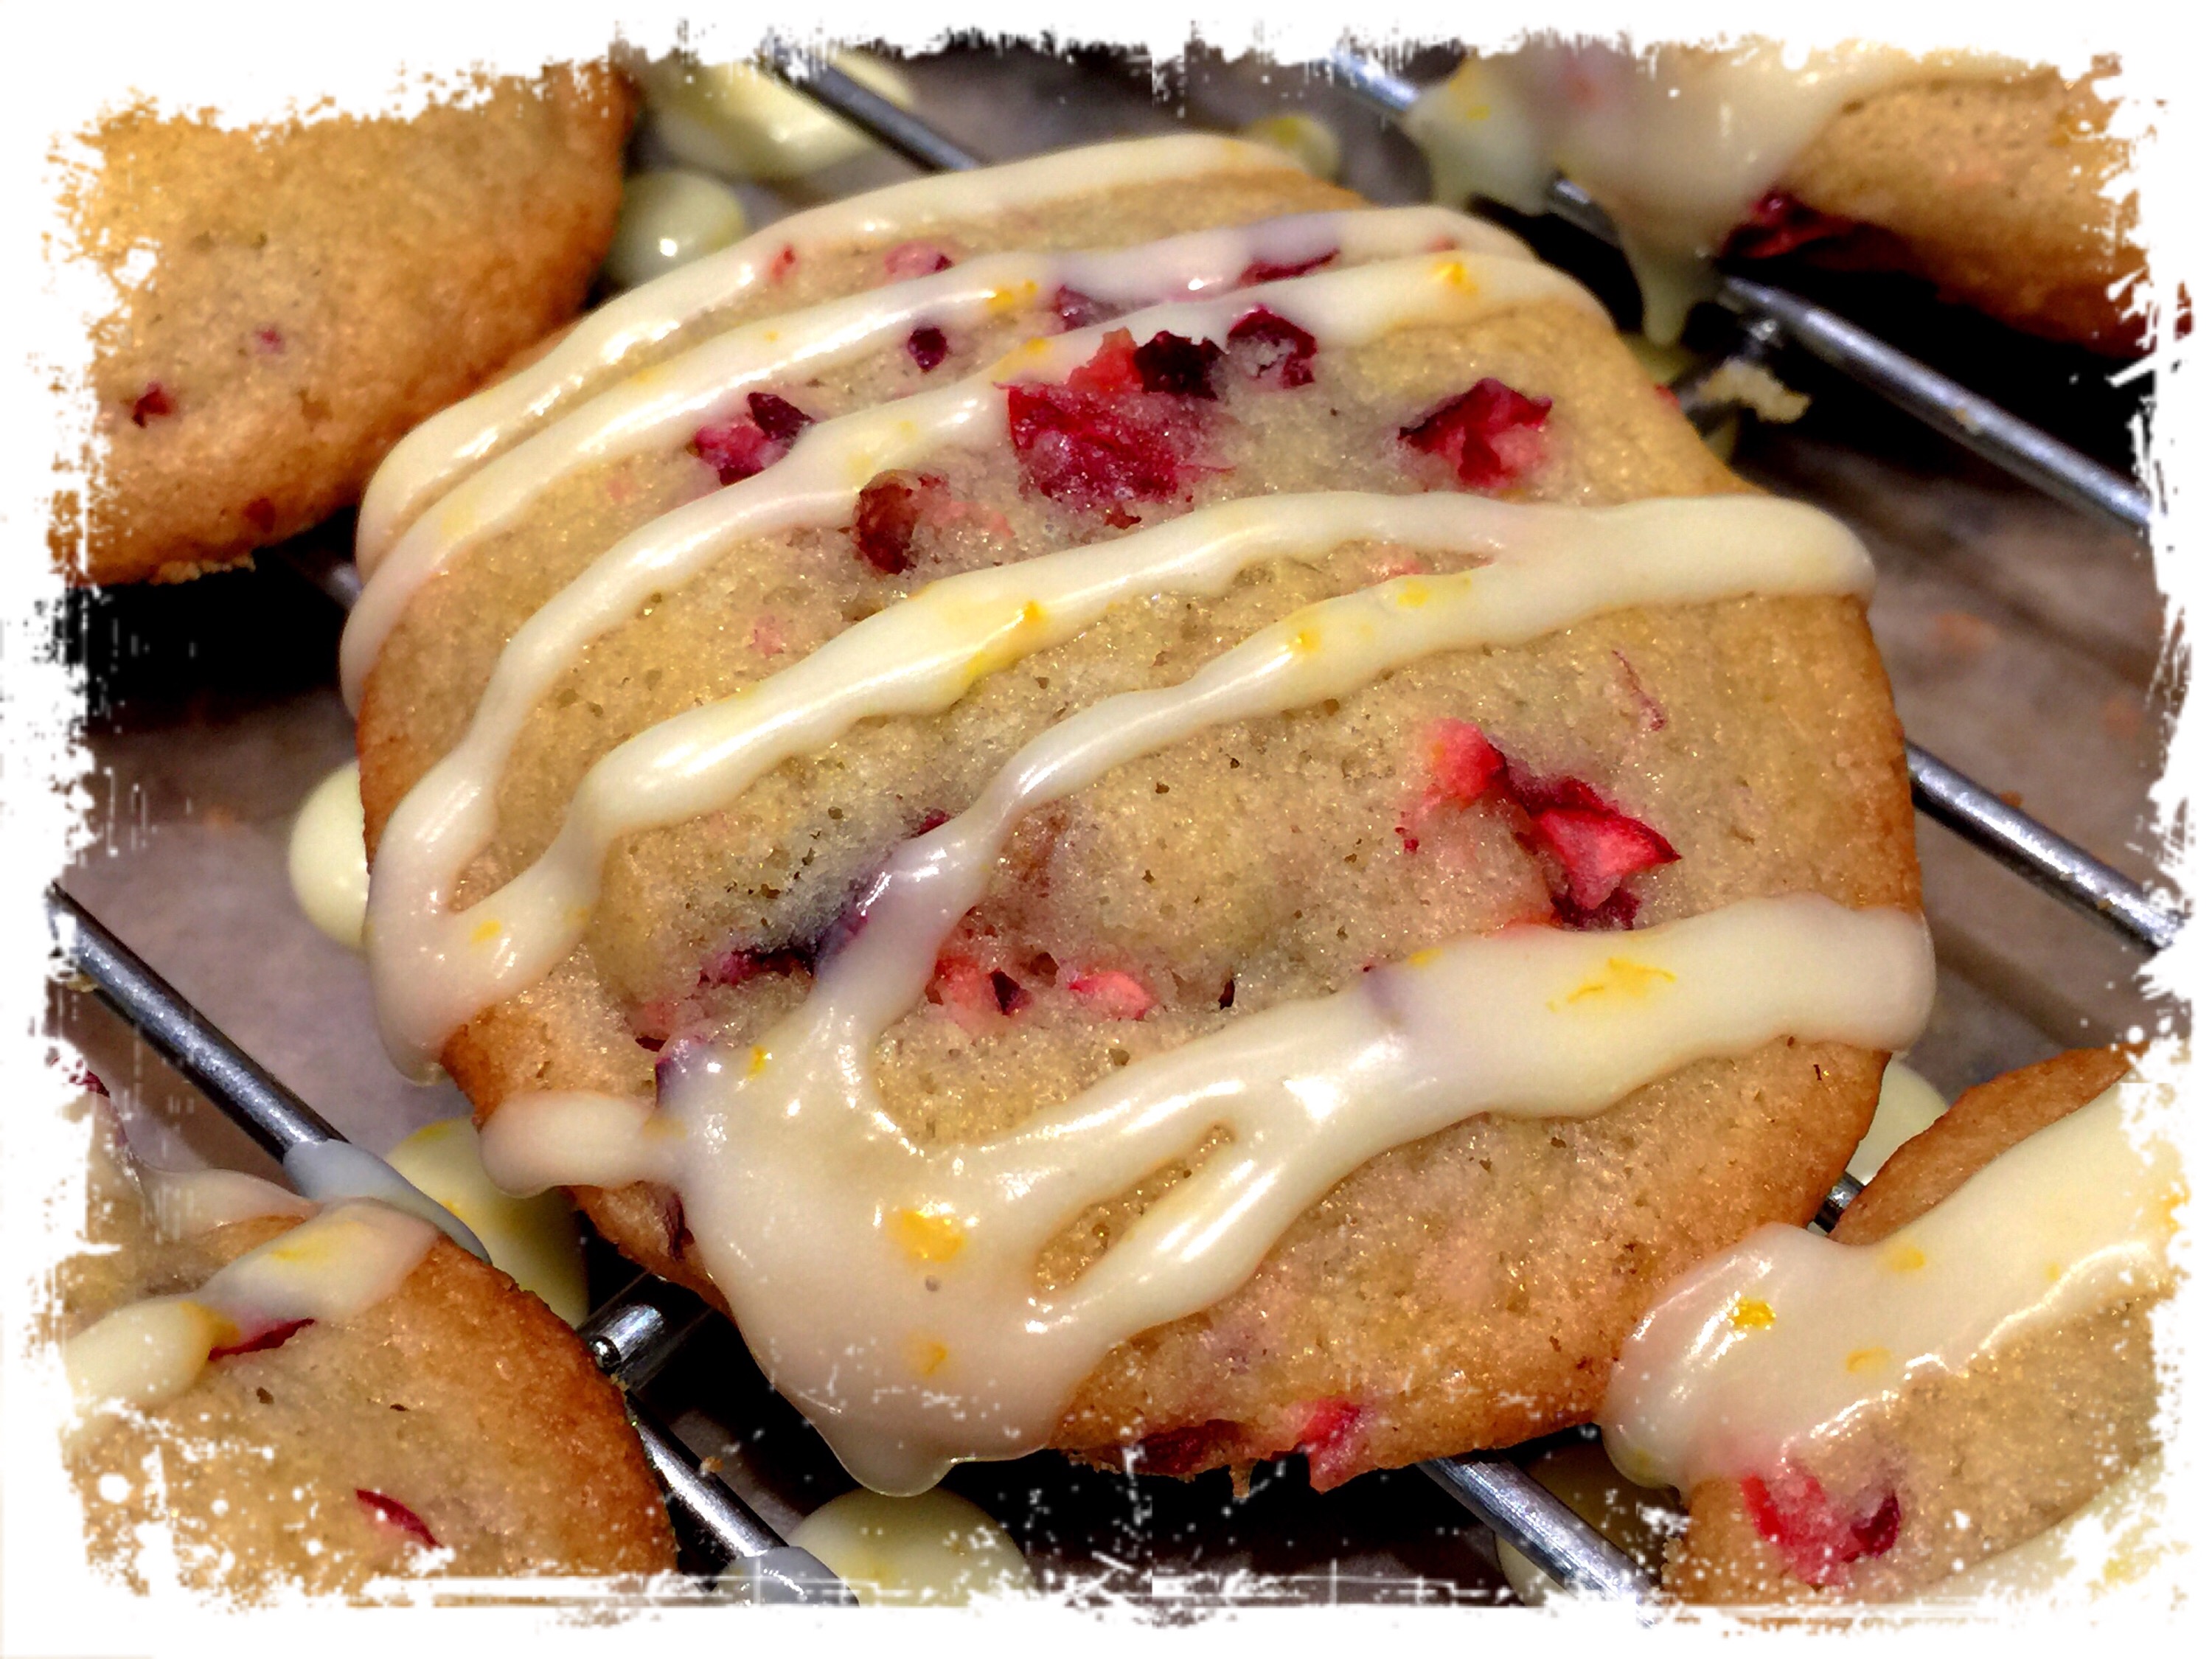
Lesson Learned 5 – Glaze the cookies on a wax paper lined cookie sheet: Place your cookies on the lined cookie sheet and then with a teaspoon drizzle the glaze over the top of the almonds. Not only does it create a rustic look but also helps to secure the almonds on top of the cookie. Once the cookies are glazed put the baking sheet in the refrigerator for about 10-15 minutes to let the glaze harden. Then you can serve them or freeze them. The glaze has a wonderful almond flavor that accentuates the almond flavoring in the cookie. In the end you have one delicious and festive looking cookie!

Glazed Almond Cookies...

  • Servings: Approximately 3 Dozen
  • Difficulty: Medium
  • Print

INGREDIENTS:

Cookie Dough

1 cup unsalted butter

3/4 cup sugar

1 tsp. almond extract

2 cups flour

1/2 tsp. baking powder

1/4 tsp. salt

Glaze

1/2 cup confectioners sugar

1 tsp. almond extract

3 teaspoons water

DIRECTIONS:

Preheat the oven to 400 degrees. Line cookie sheets with parchment paper. Set aside

In a stand mixer, mix together well the butter, sugar and almond extract.

In a separate bowl combine the flour, baking soda and salt. Whisk to combine.

Add the flour mixture to the butter mixture only a couple tablespoons at a time until fully incorporated before adding more.  Otherwise the flour will not incorporate fully into the dough.

Roll the dough into small one inch balls. Dust the bottom of a glass tumbler with flour and flatten each ball. (You will need to dust the bottom of the glass frequently). Bake for 7 minutes only . Although the cookie may not look done, it is. Do not remove the cookies from the baking sheet and immediately take a few sliced almonds and press them into each cookie. Once you’ve finished putting the almonds on top of the cookies transfer them to a wire cooling rack to cool.

After the cookies have cooled mix the glaze ingredients together. With a teaspoon, drizzle the glaze over the cookies. Put the cookies in the refrigerator for about 10-15 minutes to allow the glaze to set. Serve or freeze.


My Best Holiday Cookie Recipes…

Ever since I can remember I’ve made cookies for the holidays. My mother started me out when I was in high school (I think she wanted to transition the job to someone else) and the rest is history. As you can imagine I’ve had many successes and failures over the years but I’ve also developed a short list of my all-time favorite cookie recipes. And that is what this blog is all about – sharing my favorites with you. Just click on the pictures and they will link you to my recipes. I hope you enjoy them and make all of them. I guarantee you, they will all be a big hit.

The first cookie I’ve made for as long as I can remember and it’s stayed tried and true through several decades – the Nestle Toll House Chocolate Chip Cookie recipe. There is no better chocolate chip cookie recipe and I’ve tried a lot of them. I was having coffee with a friend the other day and we both agreed that if you’re going to make chocolate chip cookies this is the only recipe to use. And every year it has been my tradition to begin holiday baking by making these cookies. The cookie dough is divine (admit it, you eat this cookie dough), the cookie is to die for and they freeze beautifully so you can enjoy them for several weeks. I’m including the link to this recipe below the picture.  Making Toll House Chocolate Chip Cookies means Christmas to me.

Chocolate Chip Cookies

Here’s the link to the recipe: allrecipes.com/recipe/174864/original-nestle-toll-house-chocolate-chip-cookies/

I love all of the cookies in this blog but I definitely have my favorite. In my estimation nothing beats my iced cinnamon chip cookie. The tartness of the cinnamon combined with the sweetness of the cookie topped with a cinnamon cream cheese frosting is as good as it gets. The challenge with making these cookies is finding cinnamon chips. My local grocery stores used to carry them but not anymore, so I have to order them online. But they’re so good it’s totally worth it. If you try any of these recipes, try this one. It is my absolute favorite!

Cinnamon Chip Cookie

Iced Cinnamon Chip Cookie

The iced cinnamon cookie recipe displaced my next cookie recipe as my all time favorite. For many years it was my triple chocolate brownie cookie. If you love chocolate, this is definitely the cookie for you. The three kinds of chocolate, the brownie-like consistency of the cookie and the semi-sweet chocolate drizzle are simply to die for. I make this cookie every year and it’s alway a hit.

Triple Chocolate Brownie Cookie

I also love my iced cranberry orange walnut cookies. The combination of cranberry and orange just screams the holidays to me. I love the tartness of fresh cranberries combined with the flavor of orange and the sweetness of the cookie dough. Add some walnuts and you have a killer combo! These cookies look festive and are easy to make. Drizzle them with some glaze and you have a holiday delight!

Iced Cranberry Orange Walnut Cookies

No respectable holiday cookie compilation would be complete without something that looks and tastes like peppermint. These cookies fit the bill. My peppermint twist kisses cookies not only boast the holiday colors but also bring together that great holiday combination of peppermint and chocolate. These cookies tastes divine and dress up any holiday cookie tray.

Peppermint Twist Kisses Cookie

And my last favorite is technically not a cookie, it’s fudge. I tried making fudge last year and could not believe how easy it was. This fudge brings together the classic combination of chocolate and peanut butter for a delightful holiday treat.

Chocolate Peanut Butter Fudge

Home made cookies make great holiday gifts. Just put a few of them into a holiday bag, tie with some festive ribbon, and you’ve got a gift that’s better than most anything you can buy. Enjoy making them, enjoy eating them, enjoy sharing them.

I’d like to take this opportunity to thank everyone who checks out my blog. I hope the recipes are fun and the information helpful. I wish you, your family and all of your friends a very Merry Christmas and a Happy New Year! And in the immortal words of Tiny Tim, “God Bless Us, Everyone!”

SaveSave

SaveSave

SaveSave

SaveSave

SaveSave

SaveSave

SaveSave

SaveSave

SaveSave

SaveSave

SaveSave

SaveSave

SaveSave

SaveSave

SaveSave

SaveSave

SaveSave

SaveSave

SaveSave

SaveSave

SaveSave

SaveSave

SaveSave

SaveSave

SaveSave

SaveSave

SaveSave

SaveSave

Frosted Lemon Cookies…

Are you ready for a little Summer melt in your mouth goodness? Well here’s something that fits the bill. During the dogs days of summer you want something light, cool, refreshing… and these tasty morsels are like have a glass of lemonade in a cookie.

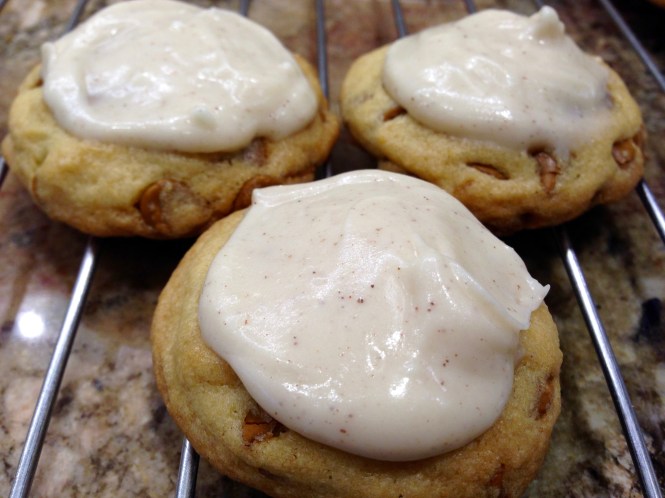
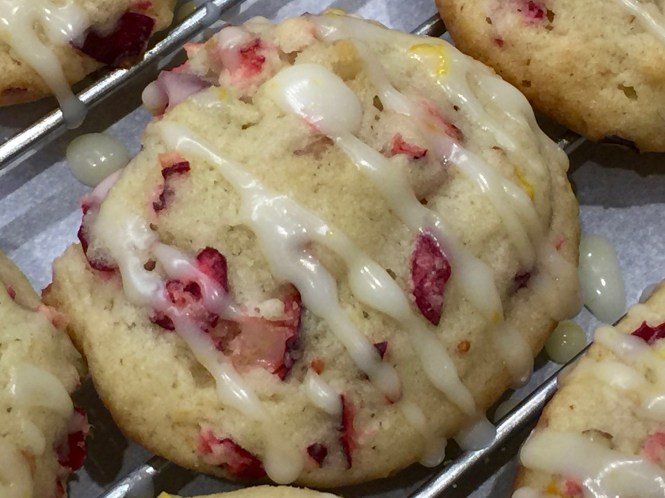
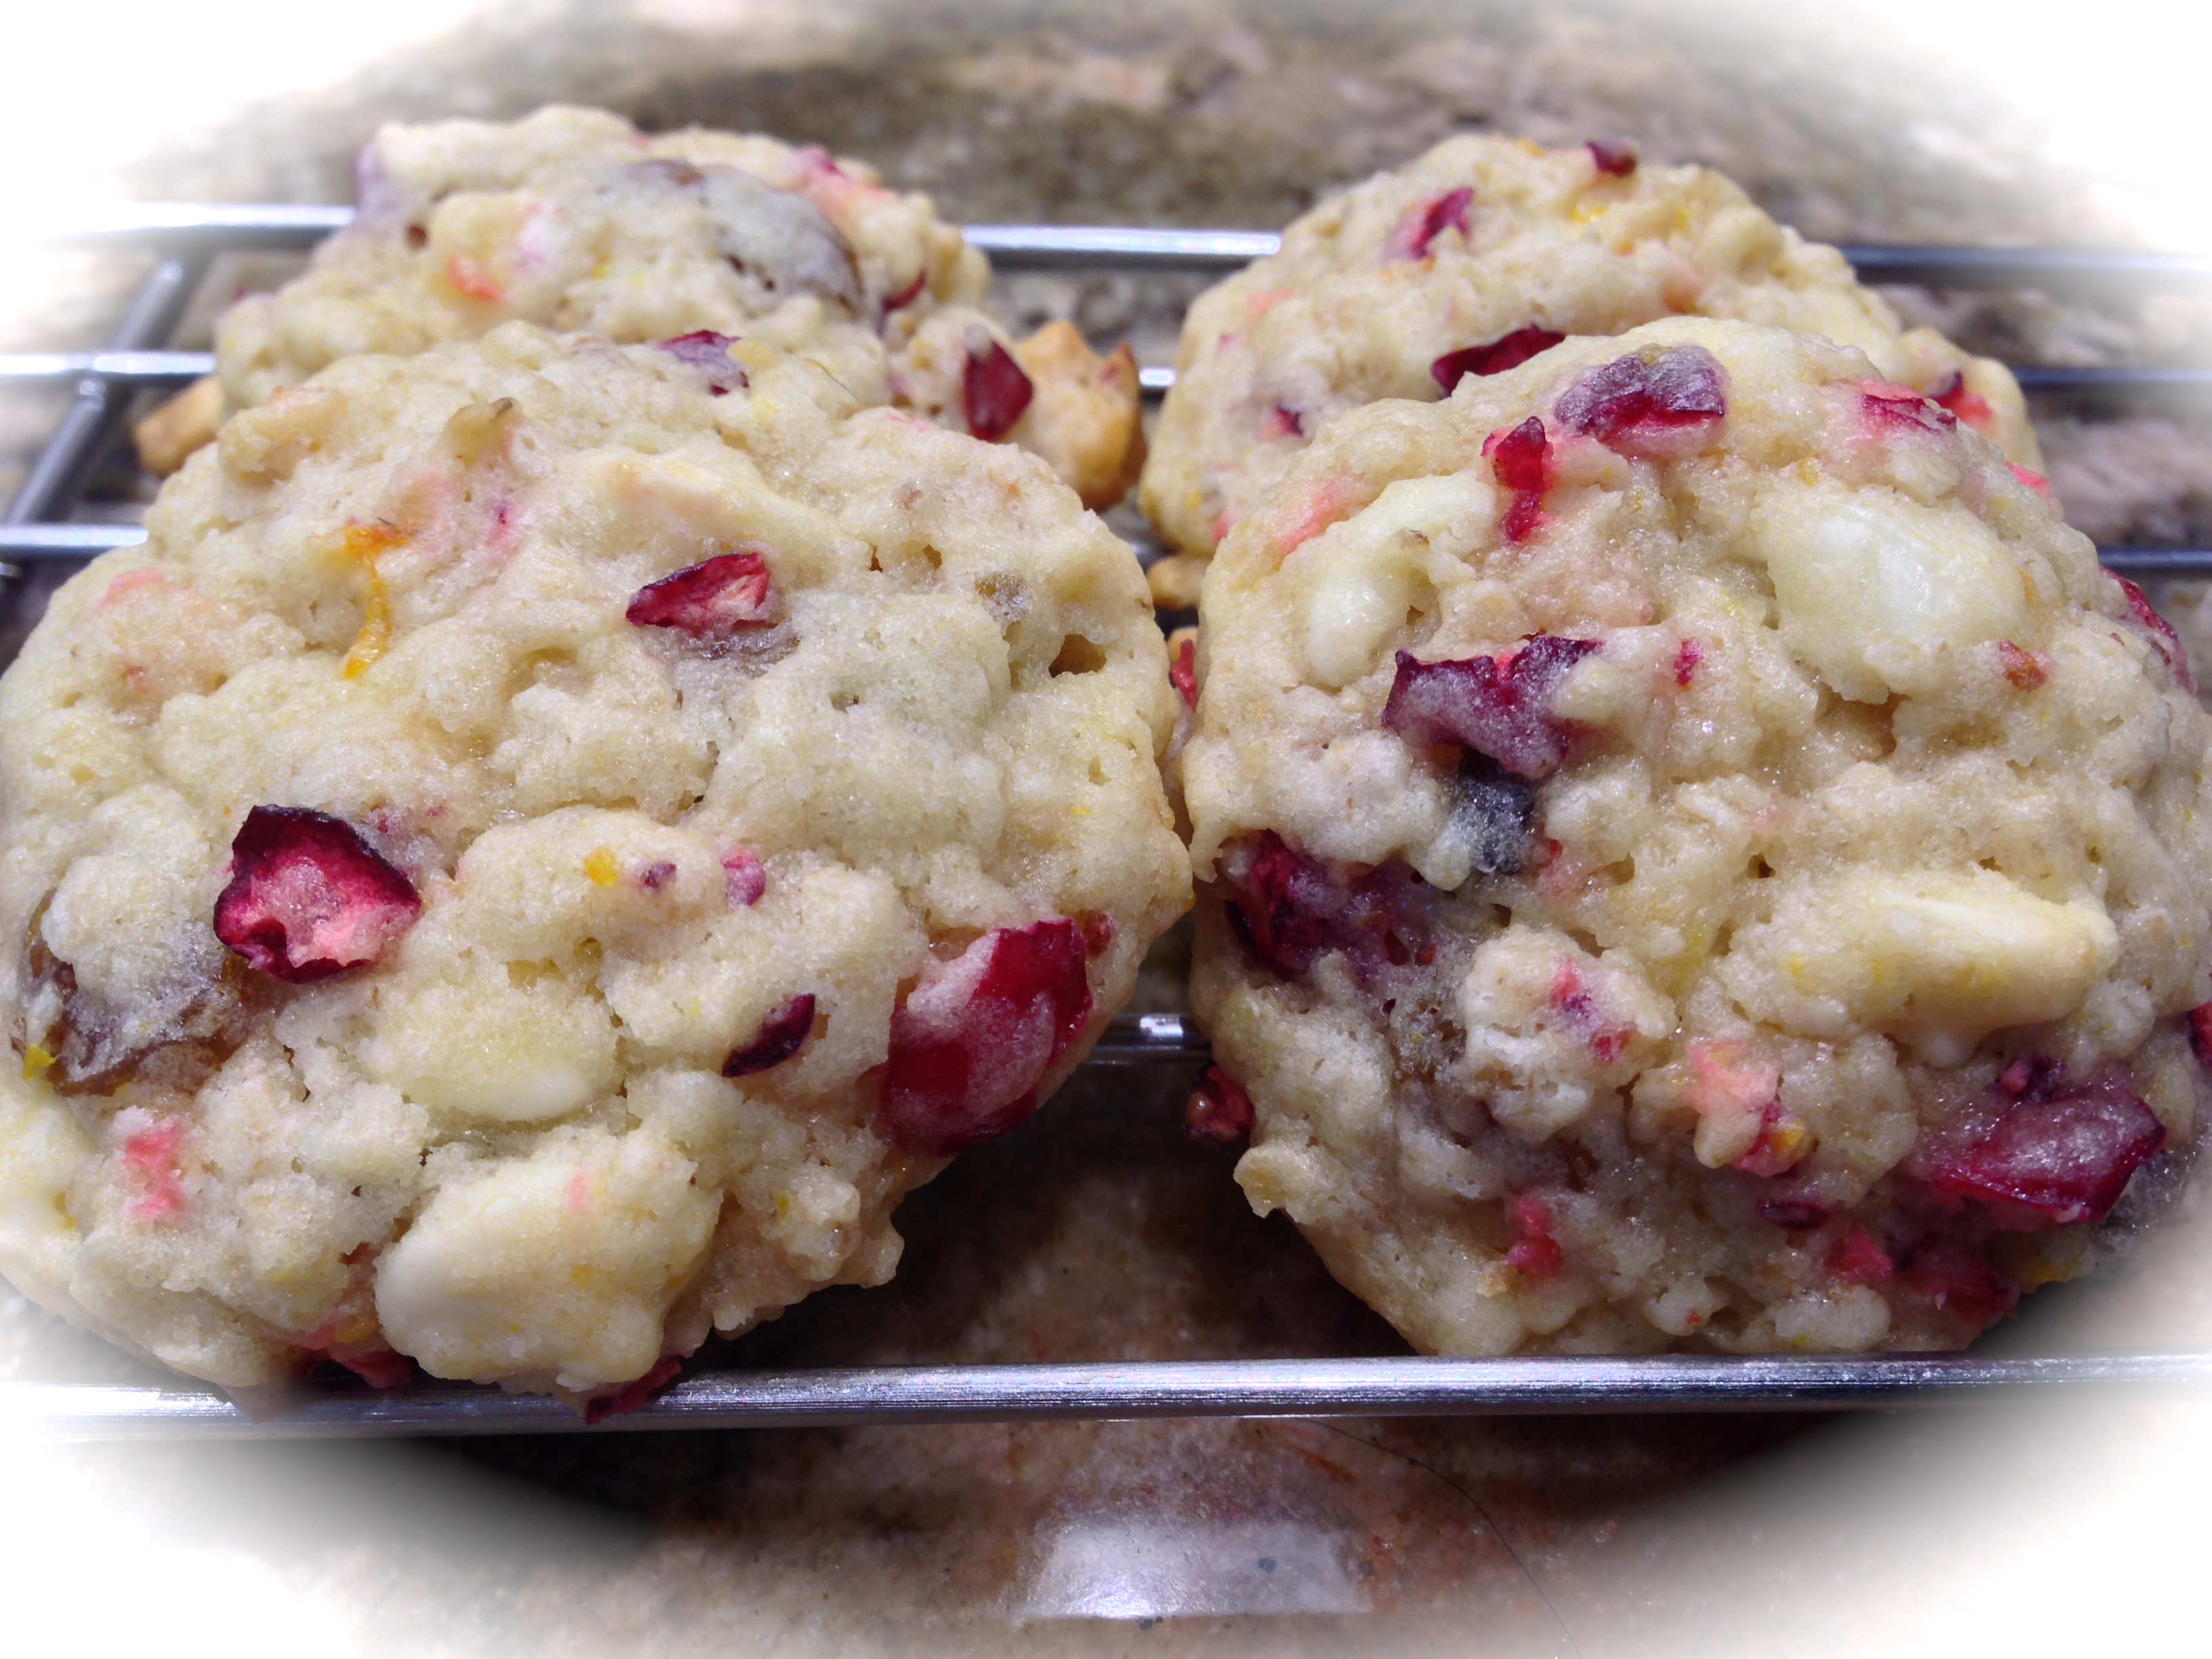
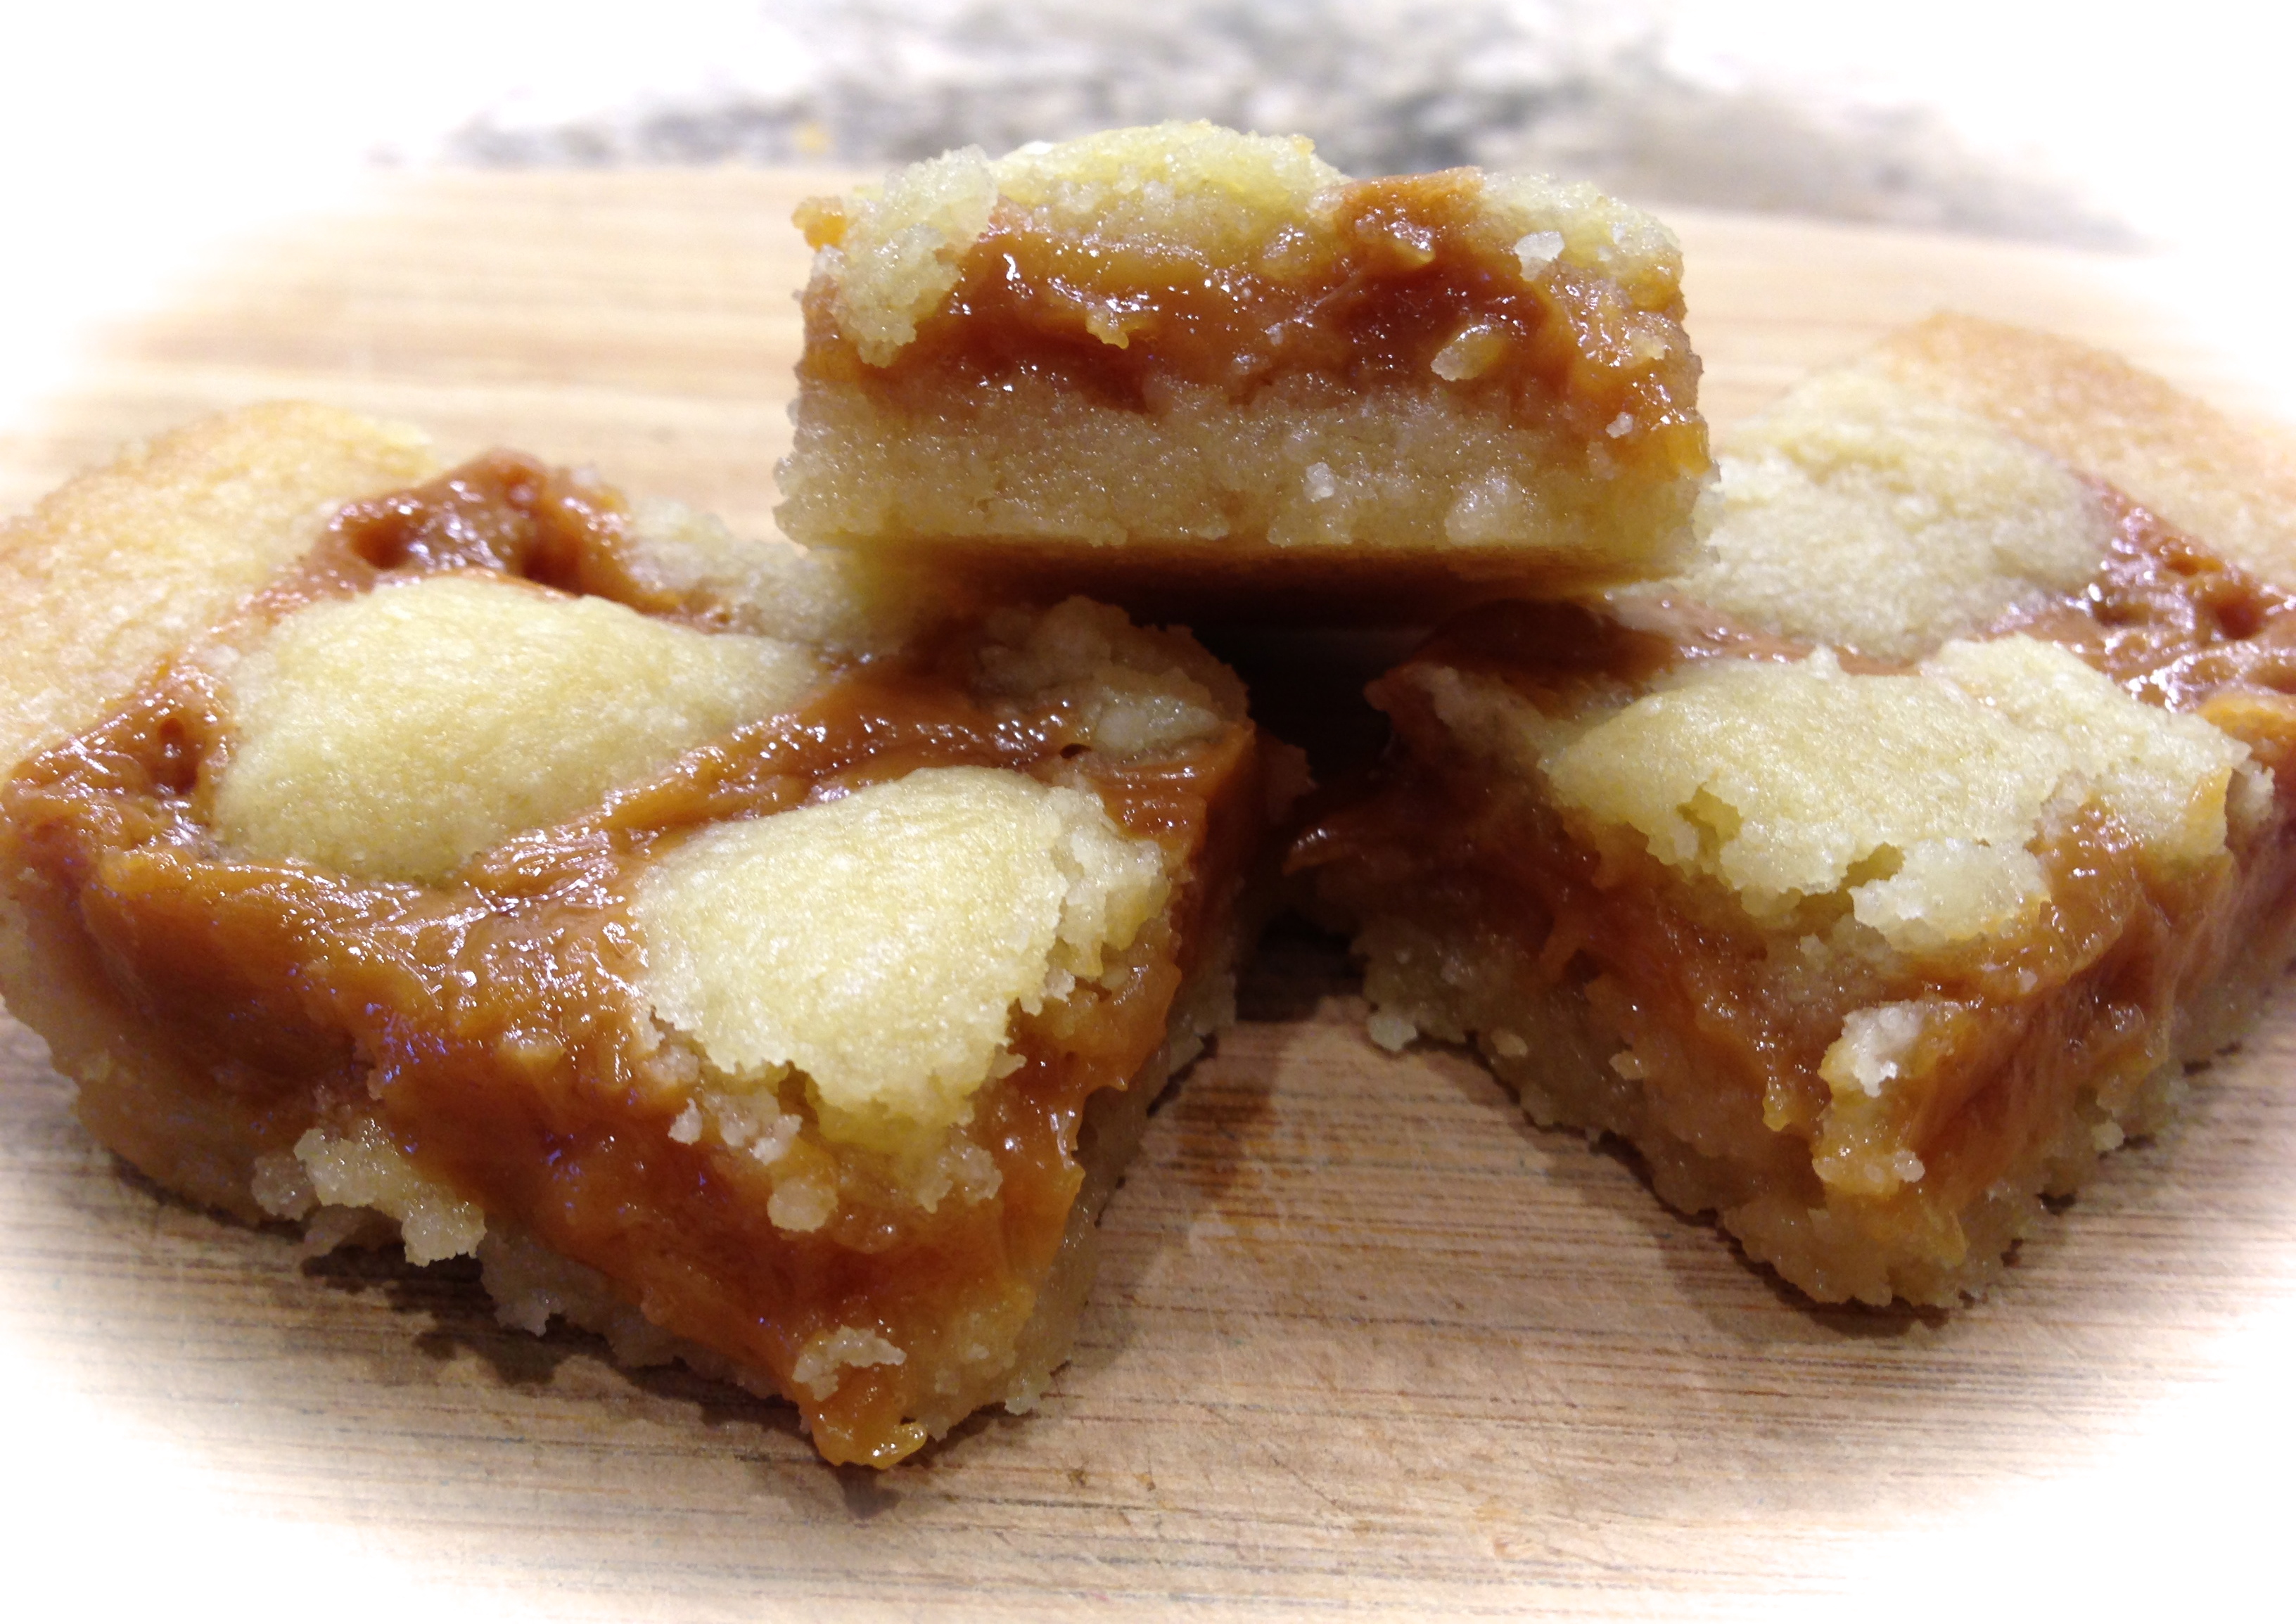
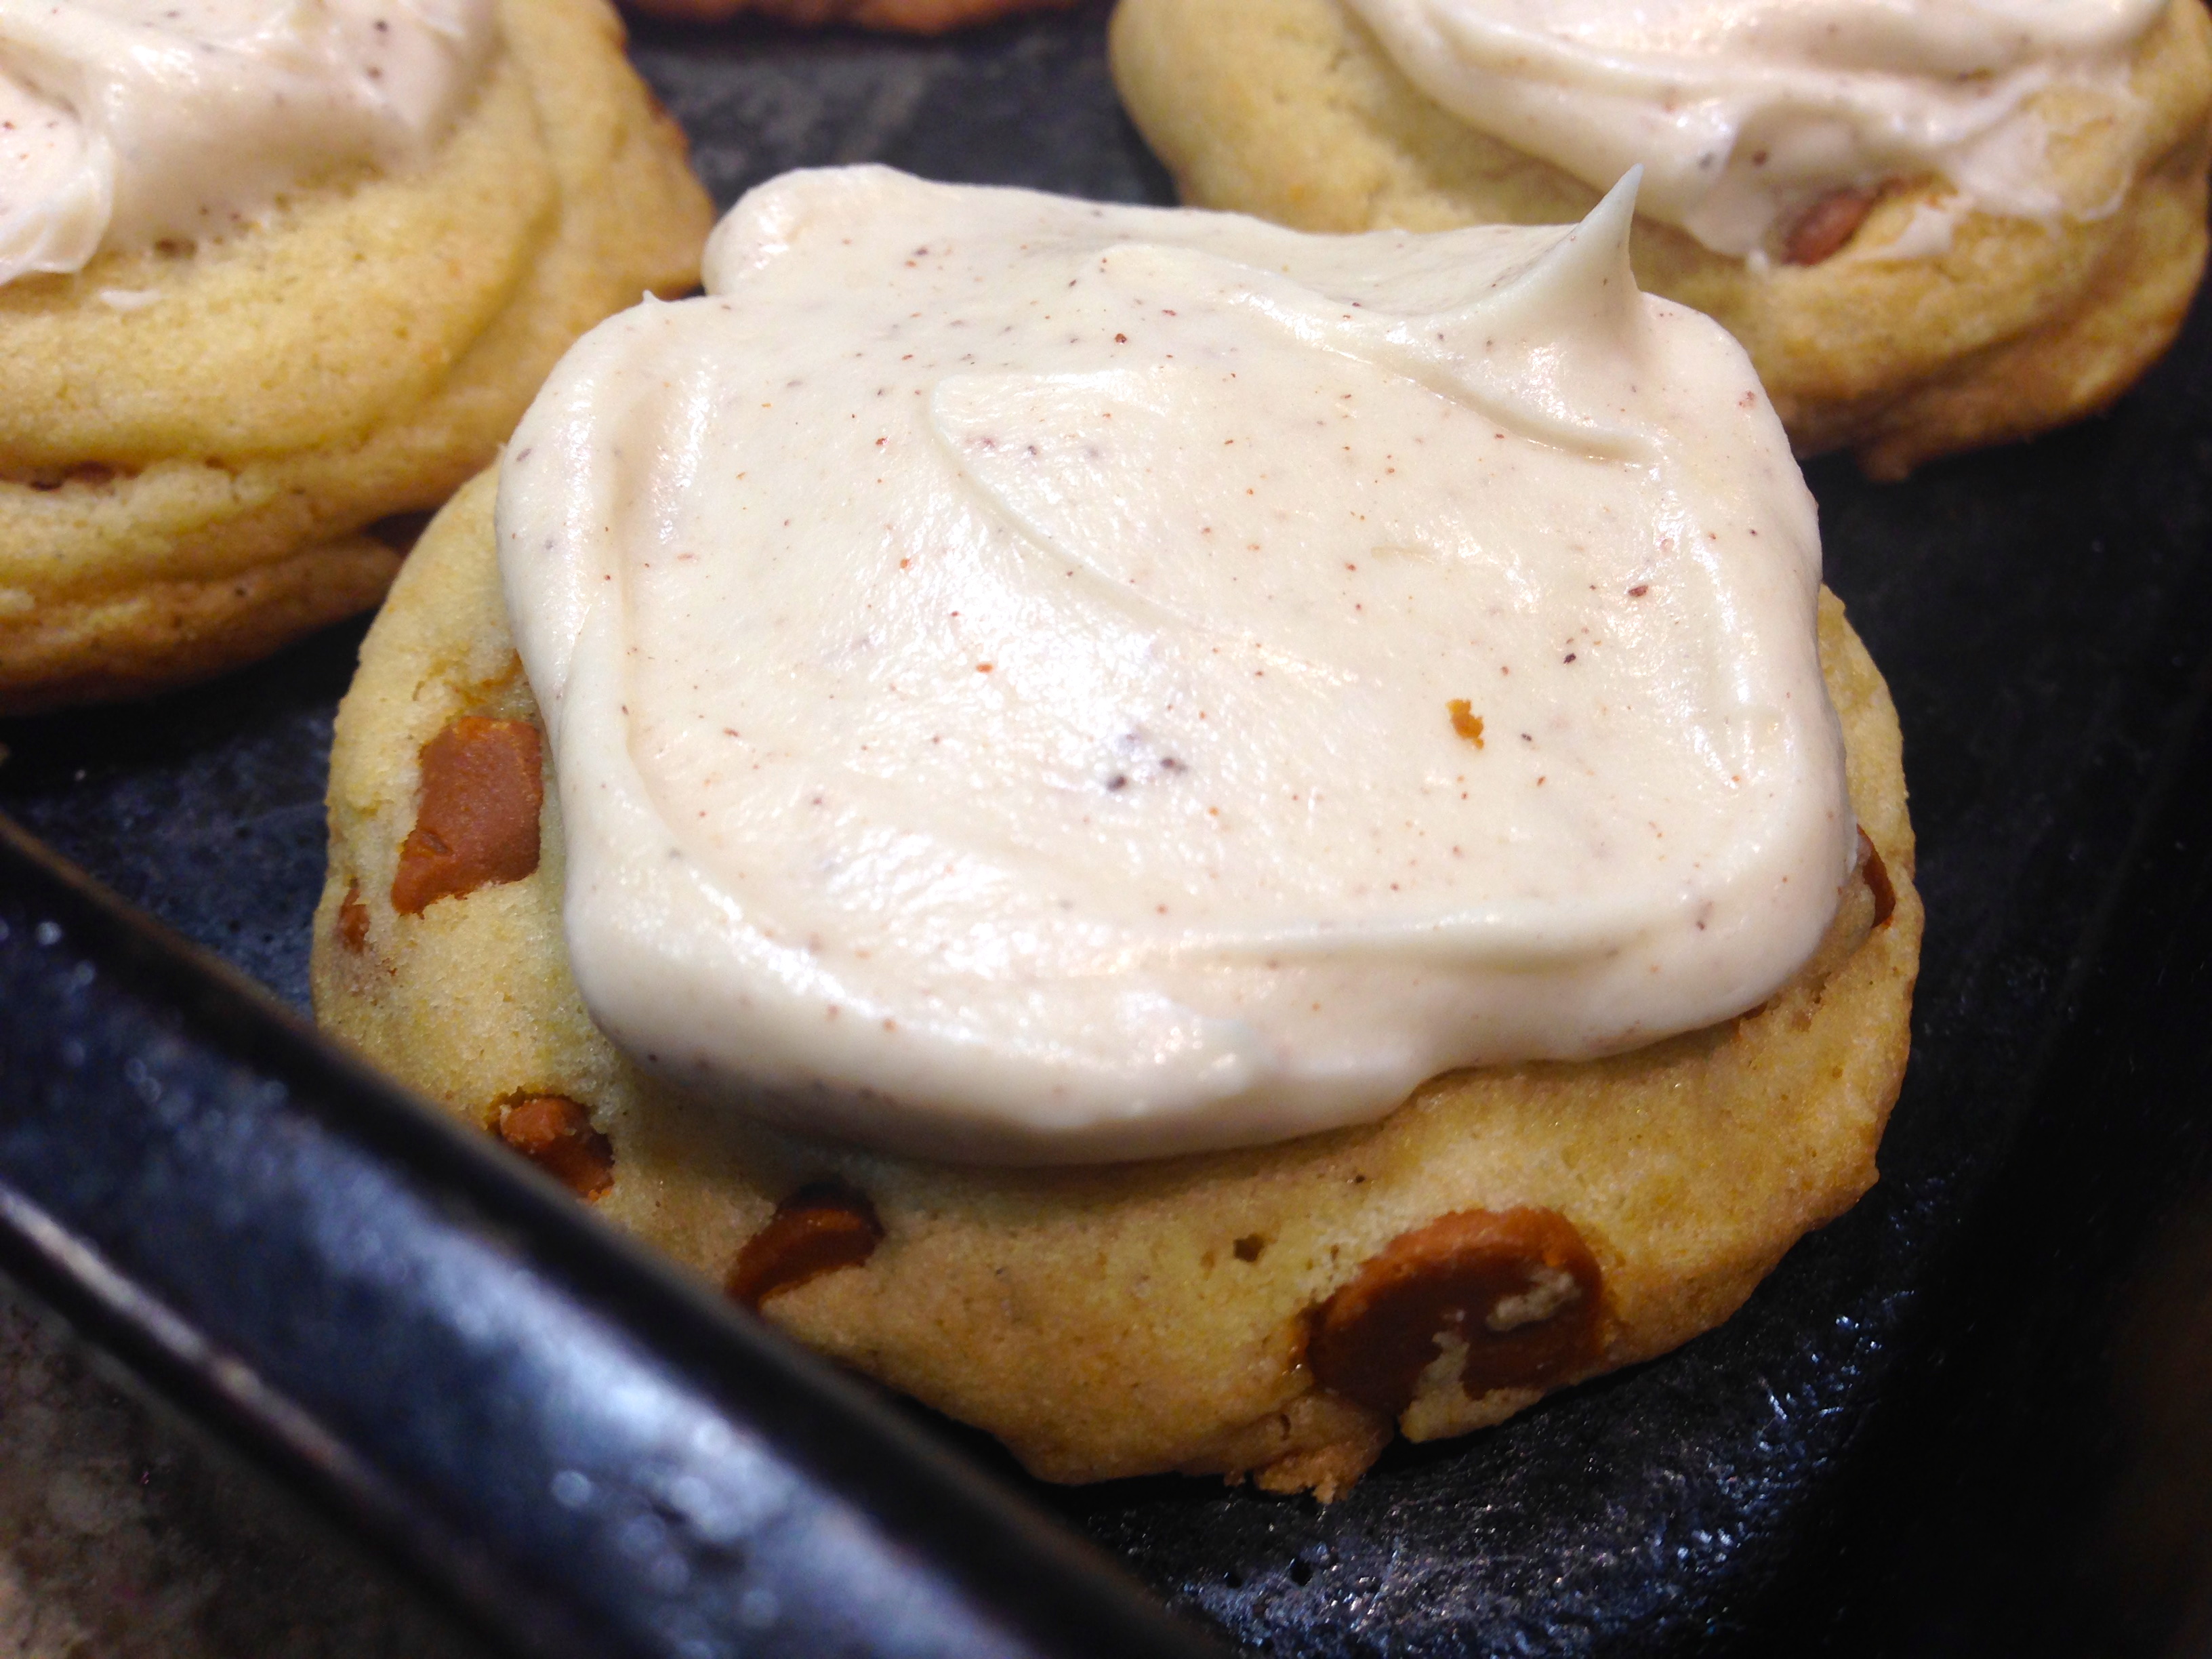
The ingredients in the recipe are a little unusual. For instance, you don’t use any eggs just butter and lemon juice – you use powdered sugar in place of granulated sugar – and you mix the flour with cornstarch. Sounds a little strange but the result is what, as a child, I called sand cookies. And although sand cookies doesn’t sound very appetizing, it was my term for cookies that literally melt in your mouth. The combination of ingredients in this recipe creates a melt in your mouth consistency that is amplified when you ice them with the lemon frosting. All I can say is yummo!

So let’s talk iced lemon cookies…

Dough log
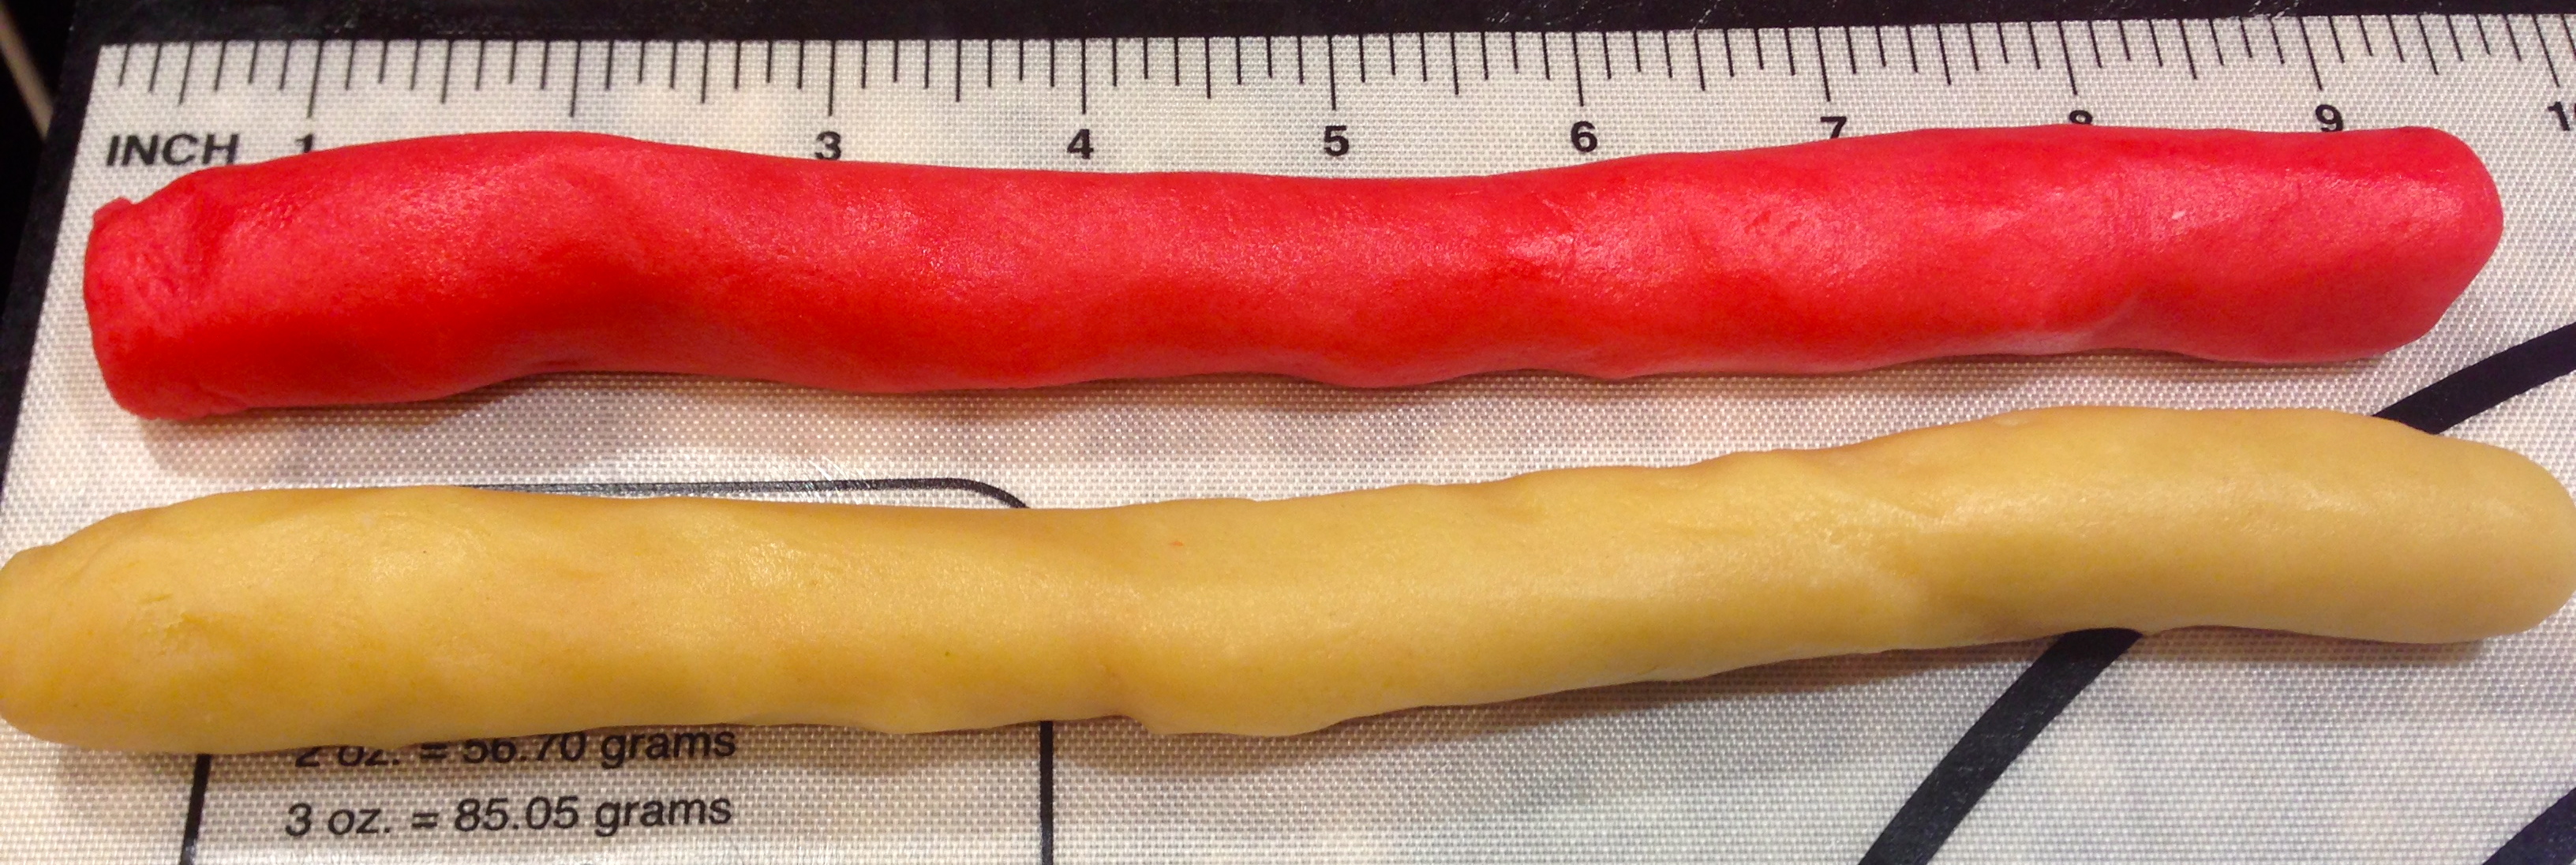
Lesson Learned 1 – Make sure you chill the dough: The consistency of the dough is not like most cookies – it will be softer and stickier. It’s important for the dough to chill in order to form the cookies and bake them off. Divide the dough in half and make two eight inch logs. Cover the logs in plastic wrap and refrigerate for up to two hours. My dough was nice and firm after an hour and a half, so check your dough at that point to see if it is ready to go.
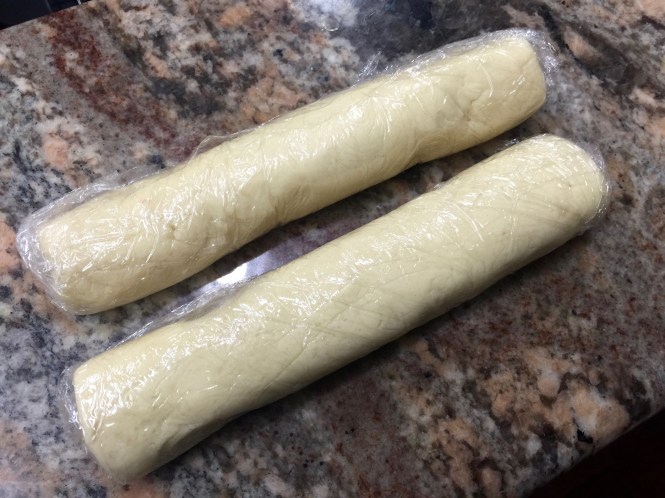
Dough logs

These cookies do not have a lot of binding ingredients (there is some butter but no eggs) and so they are more delicate than others. Basically that is what gives them their melt in your mouth consistency. So when they are still warm they can easily break apart. Be very careful when removing them from the baking sheet to the cooling rack. Also be careful when icing them. You can have a love-hate relationship with these cookies. You love the consistency as they flake apart in your mouth but they can also do that in your hand if they are not handled with care. Just take your time with them. These cookies are worth all the care you can give!

Lesson Learned 3 – Chill the cookies once you’re done: I found the best way to enjoy these cookies is when they have a slight chill. The flavor is so light and with the chill it creates a cooling Summertime treat sensation. You’ll find that you can’t eat only one of these flavorful bite size morsels. I guarantee they will be a hit!

Lesson Learned 4 – I used yellow food coloring in the frosting: I used yellow food coloring in the frosting but it’s not necessary. I found it gave the cookies that special look and we all know we eat with our eyes first. I used 3 drops and it created this beautiful lemony color!

Frosted Lemon Cookies...

  • Servings: 4-5 dozen
  • Difficulty: Easy
  • Print

INGREDIENTS:

3/4 cup unsalted butter, room temperature

1/3 cup powdered sugar

1 tsp. fresh lemon juice

1 1/4 cup flour

1/2 cup cornstarch

FROSTING:

1/4 cup unsalted butter, room temperature

3/4 cup powdered sugar

1 tsp. lemon zest

1 tsp. fresh lemon juice

3 drop yellow food coloring, optional

DIRECTIONS:

In a medium bowl beat together the butter and sugar until combined. Beat in the lemon juice. In another bowl whisk together the flour and corn starch. Gradually beat the flour mixture into the butter/sugar mixture until combined.

Divide the dough in half and shape into two 8 inch logs. Cover the dough with plastic wrap and refrigerate until firm – approximately 1 1/2 – 2 hours.

Preheat the oven to 350 degrees.

Unwrap the dough and cut it into 1/4 inch slices. Place slices 1 inch apart on an ungreased cookie sheet. Bake for approximately 10-12 minutes.

Gently remove the cookies from the pan onto a cooling rack. Cool completely.

For the frosting, beat together all of the ingredients. Spread over the cookies. Chill and serve.

Ready to go into the oven

Icing the cookies


SaveSave

SaveSave

SaveSave

SaveSave

SaveSave

SaveSave

SaveSave

SaveSave

SaveSave

SaveSave

SaveSave

SaveSave

SaveSave

Glazed Blueberry Oatmeal Cookies…

Lately I seem to be on a “sweets” kick with my posted recipes and even though I do have some savory ones in the queue I moved this one to the top simply because it it just too good. Many of you know that I bake a variety of cookies at Christmas time so normally during the year I don’t venture a lot into cookie making. But I had to try this one and it was so good that my husband would not even let me give any away. I had to freeze them so he could eat them all.

When I make cookies over the holidays I have an unwritten rule that I try one new recipe every year and phase out one recipe. That way I always experiment and I keep the cookie making manageable. I am definitely adding this recipe to the 2017 list but will still have to find another recipe to be the “new” one since technically this one is no longer new. But I am really excited about the recipe.

The thing that I love the most about this cookie is how the tartness of the blueberries balances out the sweetness of the cookie. I also like how simple this recipe is to make, you can do it with a hand mixer and a wooden spoon. But there are some specific things you need to be aware of when you make them that will help you be successful so let’s get right into my lessons learned…

Lesson Learned 1 – Be gentle when mixing the blueberries into the dough: You don’t want the blueberries to break. If they do you will wind up with blue cookies. So be careful when folding them into the dough. Do that at the very end. I also suggest adding the blueberries in a couple of batches. The dough is pretty dense and if you pour the blueberries in all at once chances are you won’t get them incorporated into all of the dough and wind up with some cookies without blueberries. Fold them in carefully and in a couple of batches and you should be just fine.

The Cookie Dough

Lesson Learned 2 – These cookies really spread: Don’t roll the dough in too big of a ball as these cookies really spread. And make sure you have enough room between each one so they don’t bake on top of one another. I would roll them into about a 1 inch ball and put two inches between each ball on the baking sheet.

Give the cookies room to spread

Lesson Learned 3 – Remember blueberries stain: Blueberries are wonderful but they will stain and when they do it is virtually impossible to get rid of the stain. So here are a couple of tips to prevent any staining. First line your baking sheet with parchment paper. That helps in two ways. These cookies are very gooey and will stick to your baking sheet. Not a problem with parchment paper. Also when blueberries bake they pop and the parchment paper prevents them from staining your baking sheet.

Also be careful when you are cooling the cookies and the blueberries may still be “leaking”. I cooled mine on a wire rack and then transferred them to a paper plate. That way I didn’t have to worry about staining any dishes as well.

Lesson Learned 4 – These cookies take a long time to bake: On average these cookies take about 14 minutes to bake depending upon how big you make them. In my first batch I rolled the dough into somewhat larger balls and that batch took about 20 minutes to bake (keep in mind I also live in high altitude and everything takes longer to cook here). Once I got the size of the balls down pat it took anywhere from 14-16 minutes, which is a lot for a cookie. You know the cookie is done when you see it begin to lightly brown around the edges. The center of the cookie may still look pale, but that’s ok. Don’t over bake this cookie. If you do you the cookies will be way too crunchy.

Lesson Learned 5 – Let the cookies somewhat cool on the baking sheet: These cookies will be very loose when you take them out of the oven. If you immediately try to put them on a cooling rack the cookies will break apart. Give them about 4-5 minutes to cool on the baking sheet before you put them on the cooling rack. The cookies will need to set a little before you can move them. Don’t worry about doing this. Since your baking sheet will be lined with parchment paper the cookies won’t stick and will transfer easily to the cooling rack once they’ve had a chance to set.

I can’t say enough about how delicious these cookies are. I know if you make them they will become a household staple. You’ve got to try these cookies. And as always, please let me know how they turned out for you. Enjoy!

Glazed Blueberry Oatmeal Cookies...

  • Servings: 2 Dozen
  • Difficulty: Medium
  • Print

INGREDIENTS:

1 1/2 cups flour

1/2 tsp. baking powder

1/2 tsp. salt

1 cup unsalted butter, room temperature

1 cup light brown sugar

1 cup sugar

2 eggs, room temperature

2 tsp. vanilla

3 cups quick cooking oats

1 cup blueberries

GLAZE:

1 cup powdered sugar

juice of one small lemon

DIRECTIONS:

Preheat the oven to 350 degrees. Line your baking sheets with parchment paper and set aside.

Whisk together the flour, baking powder and salt. Set aside. In a large bowl cream together the butter and sugars. Beat thoroughly until very creamy. Beat in eggs one at a time. Beat in the vanilla.

With a wooden spoon add the flour mixture to the butter mixture and stir to combine. Add the oats and stir to combine. Last fold in the blueberries in a couple of batches being careful not to break the blueberries.

Roll the dough into one inch balls and place on the baking sheet, leaving approximately two inches between each ball.

Bake for 14 minutes or until the edges start to turn brown (the center of the cookie may still look light and that is ok). Remove the cookies from the oven and let them set on the baking sheet for 4-5 minutes. Remove the cookies from the baking sheet to a wire rack to finish the cooling process.

Combine the ingredients for the glaze. You may find you need a little more powdered sugar depending on how thick you want the glaze. If the glaze is too thick add a little more lemon juice until you get the desired consistency. Drizzle the glaze over completely cooled cookies and let the glaze harden. Store cookies in an air tight container or freeze them.

Glazed Blueberry Oatmeal Cookies

Holiday Raspberry Walnut Bars…

Sorry I haven’t posted for a while. The holidays have been crazy and I haven’t had my usual time to experiment in the kitchen. But to keep in the tradition of trying to post at least once a week, I am going to share a cookie recipe from back in the day.

This is a reprint of a blog I did a couple of years ago. It is such a great holiday recipe that I wanted to give it some prime time, especially now that I have more readers and subscribers. I guarantee you, you cannot go wrong with this recipe. It will be a hit in your holiday cookie baking arsenal!

Raspberry Walnut Bars

Raspberry Walnut Bars

There’s a lot of reasons for this recipe being so popular. First, and probably foremost, it looks so darn delicious. Second, and not known by those requesting the recipe, it is sinfully easy to make. And third, the recipe turns out perfect first time, every time. I can’t take credit for the recipe, it was one I found a few years ago, I simply can’t remember where I found it. So up front I apologize to whomever I am not giving credit to for the actual recipe.

Lesson Learned 1: The hardest thing about this recipe is preparing the pan. The recipe calls for lining a 8 inch square pan with parchment paper allowing some overhang on both sides. Trying to keep parchment paper from popping back out of the pan when you allow for overhang can be tricky. I found the easiest way to make the parchment paper behave is to take two heavy cans of anything and weigh down the paper in the pan while making the dough. That way when it’s time to spread the dough out on the bottom the paper has been somewhat trained and doesn’t jump around as much.

Lesson Learned 2: It is important to follow the directions of using the parchment paper, having the overhang and spraying the parchment paper with cooking spray. I can’t image what you would wind up with if you didn’t. But if you take the time to do it, it comes out of the pan easily and absolutely nothing sticks to the parchment paper.

Lesson Learned 3: This recipe gives you plenty of dough so don’t worry about using it to fill up the bottom. It says to use two thirds of the dough for the crust and one third to dot the top. I found that gave me way too much dough for the top. You need a lot less dough to dot the top then you think, so don’t be afraid to use more than two thirds of the dough for the crust.

Lesson Learned 4: Avoid the temptation to use too much raspberry jam. A nice even thin coat is all you need. Stick to the amount called for in the recipe.

Lesson Learned 5: Depending on how many bars you want to give out, you may have to make this recipe a couple of times. You can make the bars big or small, but the most you’ll probably get out of this recipe is 24 small bars.

I guarantee these bars will be a hit with your family and friends. You simply must try them!

Raspberry Walnut Bars…

  • Servings: 24 Small Bars
  • Difficulty: Easy-Medium
  • Print

INGREDIENTS:

Non stick baking spray

1 3/4 cups flour

1/2 tsp. kosher salt

1/2 tsp. ground cinnamon

1/8 tsp. nutmeg

3/4 cup unsalted butter, room temperature

1 cup sugar

2 large egg yolks

1 tsp. vanilla

2/3 cup raspberry jam

1 cup chopped walnuts

DIRECTIONS:

Preheat oven to 350. Line an 8 inch square baking pan with parchment paper leaving an overhang on both sides. Spray the parchment paper with cooking spray. (I do this right before I am ready to put the dough into the pan).

In a medium bowl whisk the flour, salt, cinnamon and nutmeg. Set aside. Beat the butter and sugar until fluffy. (This does take a little time, most people do not do this thoroughly enough so make sure to take the time to make the mixture fluffy). Beat in the egg yolks and vanilla. Gradually add the flour mixture until combined. Do not over mix. Transfer two thirds of the dough into the prepared pan and press down evenly. Spread the jam on top. Crumble the remaining dough and dot it over the jam. Sprinkle the top with the walnuts. Bake until golden 35-45 minutes. Cool completely in the pan. (this is very important).

Holding both sides of the parchment paper, lift out of the pan, transfer to a cutting board and cut into rectangles. Store in an airtight container at room temperature for up to 5 days.

Raspberry Walnut Bars

Iced Cranberry Orange Walnut Cookies…

It’s cranberry season, my favorite time of year. I love cooking and baking with cranberries. Their tartness adds zip to both sweet and savory recipes. I especially like them in cookies. I think they balance out the sweetness in cookie recipes and add a festive flavor.

Now need I mention that it is also getting very close to holiday baking season, and every year I try out at least one new cookie recipe. I saw a version of this recipe in an Allrecipes magazine and tweaked it not only from an ingredient perspective but also to adapt it to high altitude baking.

High altitude baking can be tricky and unless you purchase a cookbook specifically written for high altitude baking you are most likely using ingredient amounts designed for sea level. The higher the altitude the lower the air pressure which makes it difficult for the baker. Baking depends on specific interactions of various ingredients such as flour, leavening, fats and liquid. Those interactions change with a change in air pressure. And to make matters worse, baking at 3,500 feet is different from baking at 5,000 feet and as you continue to rise in elevation the trickier it gets. I live at a 5,000 feet and have done a lot of research into how to adapt recipes for that elevation and still have some baking failures. But the more you do it, the better you get at it. The additions to this recipe are specifically designed for baking these cookies at 5,000 feet. I played around with the ingredients and I nailed it! But since many of you are probably at sea level I will use sea level amounts as the base and note what needs to be changed for high altitude.

IMG_8408Lesson Learned 1 – Use the juice from fresh oranges: Fresh ingredients are always the best. This recipe requires both orange zest and juice. Don’t take the easy way out and use bottled orange juice. Plus take a look at the amount of sugar in your orange juice. It’s crazy the amount of sugar there is a most juices. It can be anywhere from 10 to 30 grams. That’s a lot of sugar. Use fresh juice. Any small way that you can control the amount of sugar in anything you make is a good thing.

Cookie batter and scoopLesson Learned 2 – Use a cookie scoop to ensure even amounts of cookie dough: When I was growing up most cookie recipes would say drop the dough in rounded teaspoons or tablespoons onto the cookie sheet. That wasn’t very precise and you want to make sure you can, to the best of your ability, make each cookie the same size. That way every cookie will bake evenly versus having some baked and others raw or burnt.

These days you can purchase what looks like a small ice cream scoop to make the cookie dough virtually the same size on your baking sheet. Working with them can be a little tricky so here is a helpful hint: spray the inside of the scoop with baking spray before scooping any dough. That way the dough will release more easily. I found that even with using baking spray the scoop gets pretty gummed up after scooping out a dozen or so cookies. Once you’ve filled your baking sheet, put your dirty scoop into a glass of warm water. When you’re ready to scoop out more dough, take a paper towel, wipe the inside clean and spray it again. This may sound like a lot of work but the results are evenly sized, evenly baked cookies.

Cooking dough on the baking sheet

Lesson Learned 3 – How to glaze cookies: I’m not a professional baker nor do I have some of the tools that professional bakers have namely pastry bags and decorator nozzles. When I glaze cookies I put the glaze in a plastic bag, work it into one of the bottom corners, twist close the top of the bag and snip the corner where the glaze settled. Voila, a home made pastry bag! Here are a couple of helpful hints for glazing cookies and working with a homemade pastry bag:

  1. Open the plastic bag and put it in a tall drinking glass, spreading the bag open as widely as you can inside the glass. Now you have an easy way of pouring the glaze into the bag and both of your hands are free to do this.
  2. Snip only a very small portion off of one of the corners of the bottom of the bag. That way you’ll have a manageable stream of glaze when decorating your cookies.
  3. Put a sheet of wax paper under a cooling rack and put your cookies on the cooling rack before glazing. That way clean up will be a breeze.
  4. Just free flow the glaze over your cookies. You can do each cookie individually or do one long strip back and forth over a row of cookies. Have fun with it.
  5. Let the glaze set before storing them. Touch the glaze and if feels firm then you’re ready to store them.

These are fabulous cookies and perfect for a holiday get-together. You really should try these and let me know what you think. Enjoy!

Iced Cranberry Orange Walnut Cookies

  • Servings: 4 dozen cookies
  • Difficulty: Easy
  • Print

INGREDIENTS:

Cookie Dough:Iced Cranberry Orange Walnut Cookies

2 sticks unsalted butter, softened

1 cup sugar (minus 1 Tbs. for high altitude)

1/2 cup firmly packed brown sugar (minus 3/4 Tbs. for high altitude)

1 egg, room temperature

1 tsp. orange zest (1 large orange will give you the zest and juice you need)

2 Tbs. orange juice (plus 2 Tbs. for high altitude)

2 1/2 cups flour (plus 2 Tbs. for high altitude)

1/2 tsp. baking soda

1/2 tsp. salt

1 1/2 cups chopped fresh cranberries

3/4 cup chopped walnuts

Glaze:

1/2 tsp. orange zest

3-4 Tbs. orange juice

1 1/2 cups powdered sugar

DIRECTIONS:

Preheat oven to 375. Cream together butter and sugars. Beat in egg until thoroughly combined. Add zest and juice and combine.

In a separate bowl sift together flour, baking soda and salt. Add in batches to the butter/sugar mixture and mix until combined. Stir in the cranberries and walnuts by hand.

Drop dough in rounded tablespoons (the cookie scoop will do this perfectly for you) two inches apart onto an ungreased cookie sheet. Bake for 12 – 14 minutes (mine baked in 13 minutes – sea level baking on average takes less time). Transfer the cookies to a wire rack to cool.

For the glaze: combine all ingredients together. Drizzle glaze onto the cookies. Let the cookies stand until the glaze has set and then store.

Iced Cranberry Orange Walnut Cookies

IMG_8456

Iced Cranberry Orange Walnut Cookies

Peppermint Twist Kisses…

For many, many years the holidays have meant cookie baking time for me. And over the years I’ve made a wide range of cookies. About five years ago I established a goal of making at least one new cookie recipe each holiday season. The result has been a definite shift in the tried and true cookies I make each year. And it’s nice to see an evolution in my cookie baking.

This blog is dedicated to one of the two new cookie recipes I made this year. Being that I work part time at Crate and Barrel I’ve been really challenged in making my goal of one new post a week during the holiday season. The other recipe (a recipe for oatmeal butterscotch cream cheese bars – also an excellent one) I will try to get posted within the next few days, especially for my readers who may not have started their baking yet.

This blog will also serve as a one stop shop for some of my other favorite cooke recipes. I’ll provide a picture, name and the link to each below since I’ve blogged about them already. Look through them and see what might work for you. I guarantee you, they are all delicious.

I made the peppermint twist cookies this year because I decided not to make spritz cookies and I wanted something on my cookie plates that had the colors of the holiday season. This is a delightful cookie and the combination of peppermint and chocolate truly is indicative of the holidays. It’s easy to make, colorful and delicious. Need I say more.

Recipe Rating – A: This is a flavorful, colorful cookie that will brighten up your holiday cookie platter. Just make sure your family doesn’t raid the bag of kisses before you bake the cookies like my husband did. They are a necessary part of making this cookie special.

Lesson Learned 1 – Rolling out the cookies: This is definitely the most intricate part of making the cookies. Keep in mind that you will be combining to logs of dough into one so make sure the logs are thin enough. Once you have divided the dough and colored half of it with red food coloring, you need to chill the dough for at least an hour. Then divide each half of the dough into 4 equal parts and roll one of each color into a log 9 inch log. I have a silicone baking mat that was great to use in this process as it had measurements in inches on the top of the mat that helped guide me through rolling out the logs into the appropriate length.

Roll each color of dough into 9 inch logs...

Roll each color of dough into 9 inch logs…

Once you do that, you need to loosely braid them together and roll them into a single log. This will elongate the log about an inch or two. Remember you want the circumference of the combined log to be as thick as each individual log.

IMG_2228

Once you’ve rolled both pieces into a single log cut them into pieces approximately 1 1/8 inches thick. (Once I cut the first piece I used it as a guide for cutting the others)

IMG_2237


Take each individual piece and roll it into a ball and place on a cookie sheet.

IMG_2224


You will need to flatten each ball slightly with the bottom of a glass before putting them into the oven. That is definitely the hardest part of making these cookies.

Lesson Learned 2- Make sure you unwrap the chocolate kisses ahead of time. You only have a short window of opportunity to place the kisses on the cookies once they come out of the oven. Make sure you have them unwrapped so that you can get them on quickly. Then DON’T TOUCH THEM. The warm cookie will cause the kisses to get very soft and they need to reset to retain their shape.  Once the cookies have cooled slightly I put them on a baking sheet and stick them in the freezer for a few minutes to get the chocolate to set a little quicker.

These cookies are fun to make, colorful, flavorful and will brighten up any holiday cookie tray. Enjoy!

IMG_2245


Peppermint Twist Kisses…

  • Servings: 3 Dozen Cookies
  • Difficulty: Easy
  • Print

INGREDIENTS:

1 cup unsalted butter at room temperature

2/3 cup sugar

2 egg yolks

1 tsp. peppermint extract

1 tsp vanilla extract

2 1/2 cups flour

1/2 tsp. salt

Red food coloring

36 chocolate kisses (1 bag will give you more than enough)

DIRECTIONS:

In a large mixing bowl cream butter and sugar. Add the egg yolks one at a time and blend. Add the extracts and mix well. Combine the flour and salt. Gradually add the dry ingredients to the wet ingredients. Mix well but do not over mix. Divide the dough in half. Tint one half of the dough with the red food coloring. Wrap both halves individually in plastic wrap and refrigerate for at least one hour.

Preheat the oven to 350 degrees. Divide each half of each dough into four equal portions. Shape each portion into a 9 inch log. Place one red log next to one white log and gently twist them together to create on swirled log. (see picture above). Gently roll both together to create one log. Cut each log into pieces approx. 1 1/8 inches thick. Roll each segment into a ball and place on an ungreased cookie sheet. Flatten each ball slightly with the bottom of a glass.

Bake at 350 for 10-12 minutes or until the edges are lightly browned. Press chocolate kisses into the center of each warm cookie. Remove to a wire rack and let cool. (once slightly cooled you can put the cookie on a flat sheet into the freezer for a few minutes to help the kisses set faster).

IMG_2250


QUICK GUIDE TO OTHER HOLIDAY COOKIES: (just click on the title underneath the picture)


The Elves Are In The Kitchen…

Cranberry Oatmeal Cookies

Cranberry Oatmeal Cookies

It’s December 3rd. There’s a winter storm warning, clouds are ominously thickening overhead, the temperature is dropping and so naturally my thoughts are turning toward holiday baking. Making holiday baked goodies is something I’ve done since I was in college. It started out as somewhat of a lark and has now turned into a hard-and-fast holiday tradition. The cookies have to be made somewhat early these days as a batch needs to be shipped to my aunt in Chicago, but making and freezing cookies is just as good as having them fresh. The challenge is deciding what the 2013 cookie menu will be?

There are a few things I know I cannot fool around with, these cookies must be made every year – no questions asked. Namely they are the chocolate dipped sugar cookies, the chocolate chip cookies and the triple chocolate brownie cookies. Over the past couple of years another cookie has almost worked it’s way into must-have tradition status, the cranberry oatmeal cookie.  It is quickly becoming a real favorite with family and friends. My personal favorite has not quite yet  caught on, that is the raspberry walnut bars but I’m sure before long it will become a holiday staple as well. And every year there is an unwritten law that at least one new cookie recipe must be attempted. That’s the law and it must be obeyed!

So with the weather promising that tomorrow will be a day indoors, it’s time to start baking – but before that comes the planning. What will the cookie gift plates consist of this year? At this point a preliminary list has been developed. It is always up for adjusting, except for the big must-have three, but it provides a starting point for the cookie onslaught. So here it is, the unveiling of the preliminary 2013 holiday cookie list (with more additions or exclusions to follow):

Chocolate Dipped Sugar Cookies

Chocolate Dipped Sugar Cookies

THE BIG THREE: (can you see a chocolate theme going on here?)

THE PRELIMINARY MENU:

THE ON-THE-FENCE MENU:

  • Peanut Butter Blossom Cookies
  • Spritz Cookies
  • Any Other Cookie Recipe I See As I Skim Pinterest or Facebook

So there you have it.  It took me two hours and two different grocery stores to amass all of the ingredients I’ll need but at least I have a solid plan for tomorrow, snow or no snow.  As I continue on my holiday baking journey I will post pictures of the cookies along with the recipes and any lessons I’ve learned along the way while making them. Up to this point, the biggest lessons I’ve learned deal with how to adjust these cookie recipes for high altitude. I won’t share those tips unless you ask for them. With over 30 years of making some of these cookies I’d say I have many of them down pat. Some I personally like more than others and I’ll share those opinions along the way. One thing never changes, though, and that is the joy of this time of year and the fun that I have making holiday cookies.

Raspberry Walnut Bars

Raspberry Walnut Bars