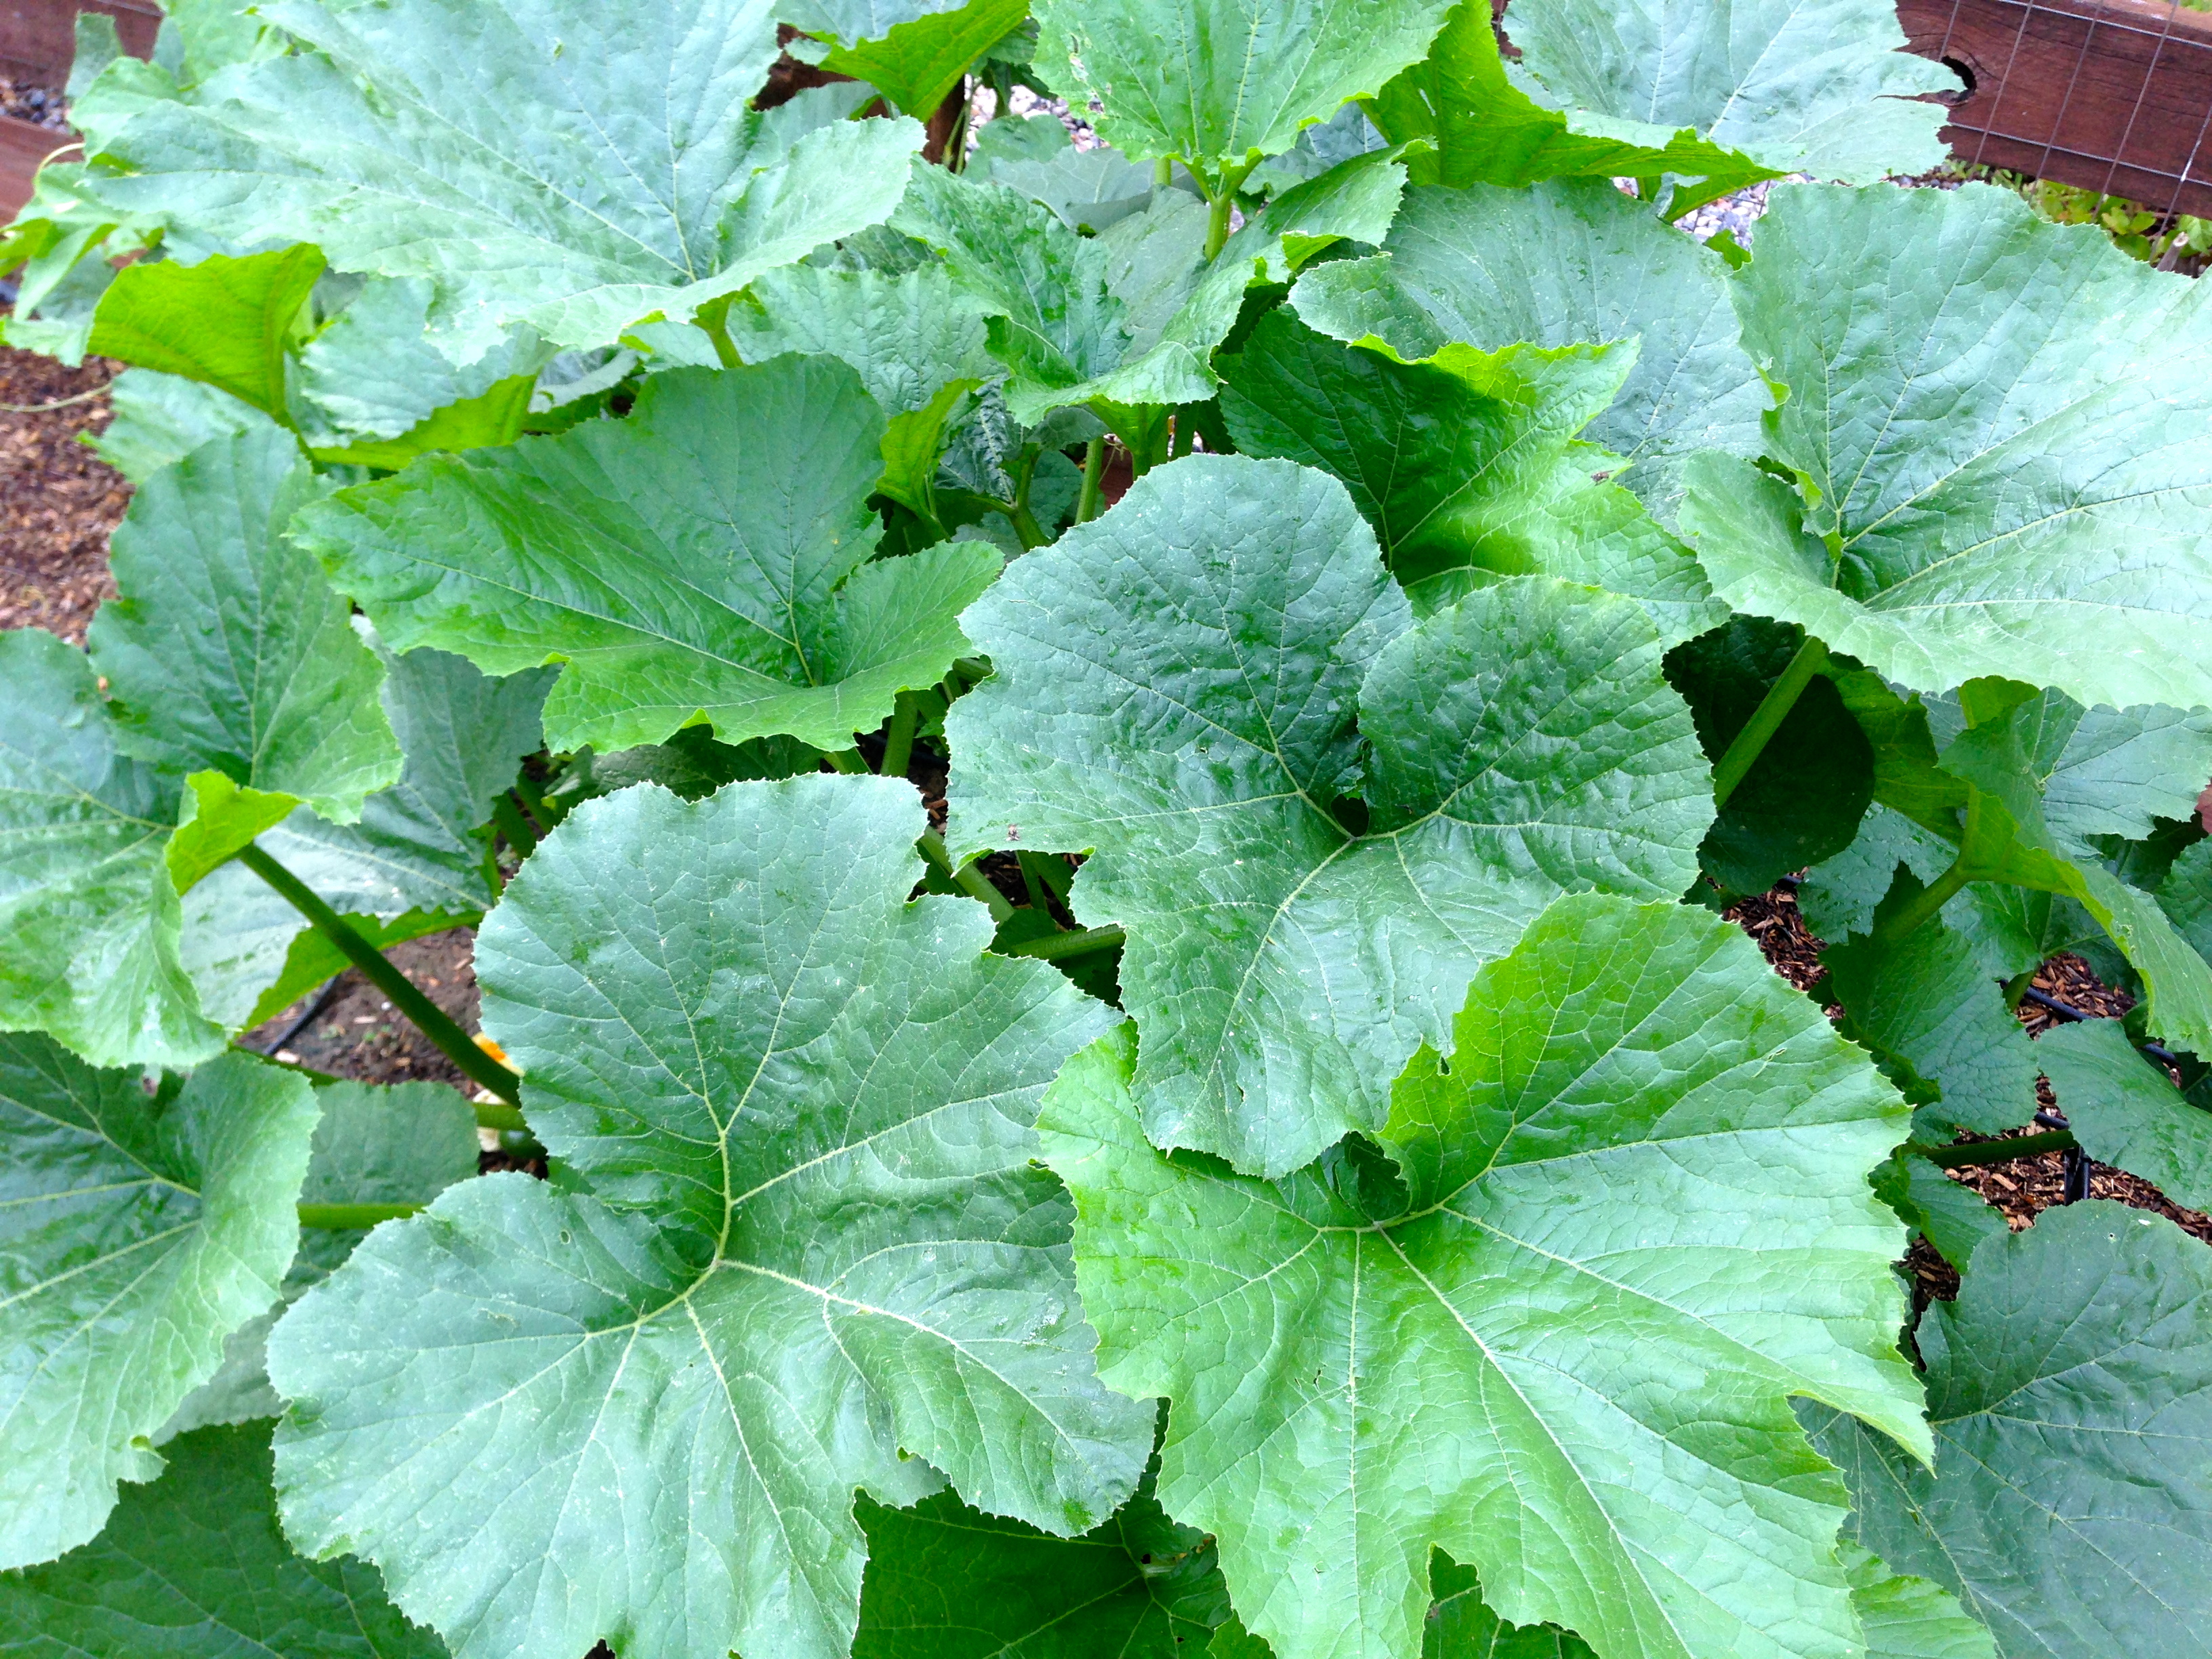
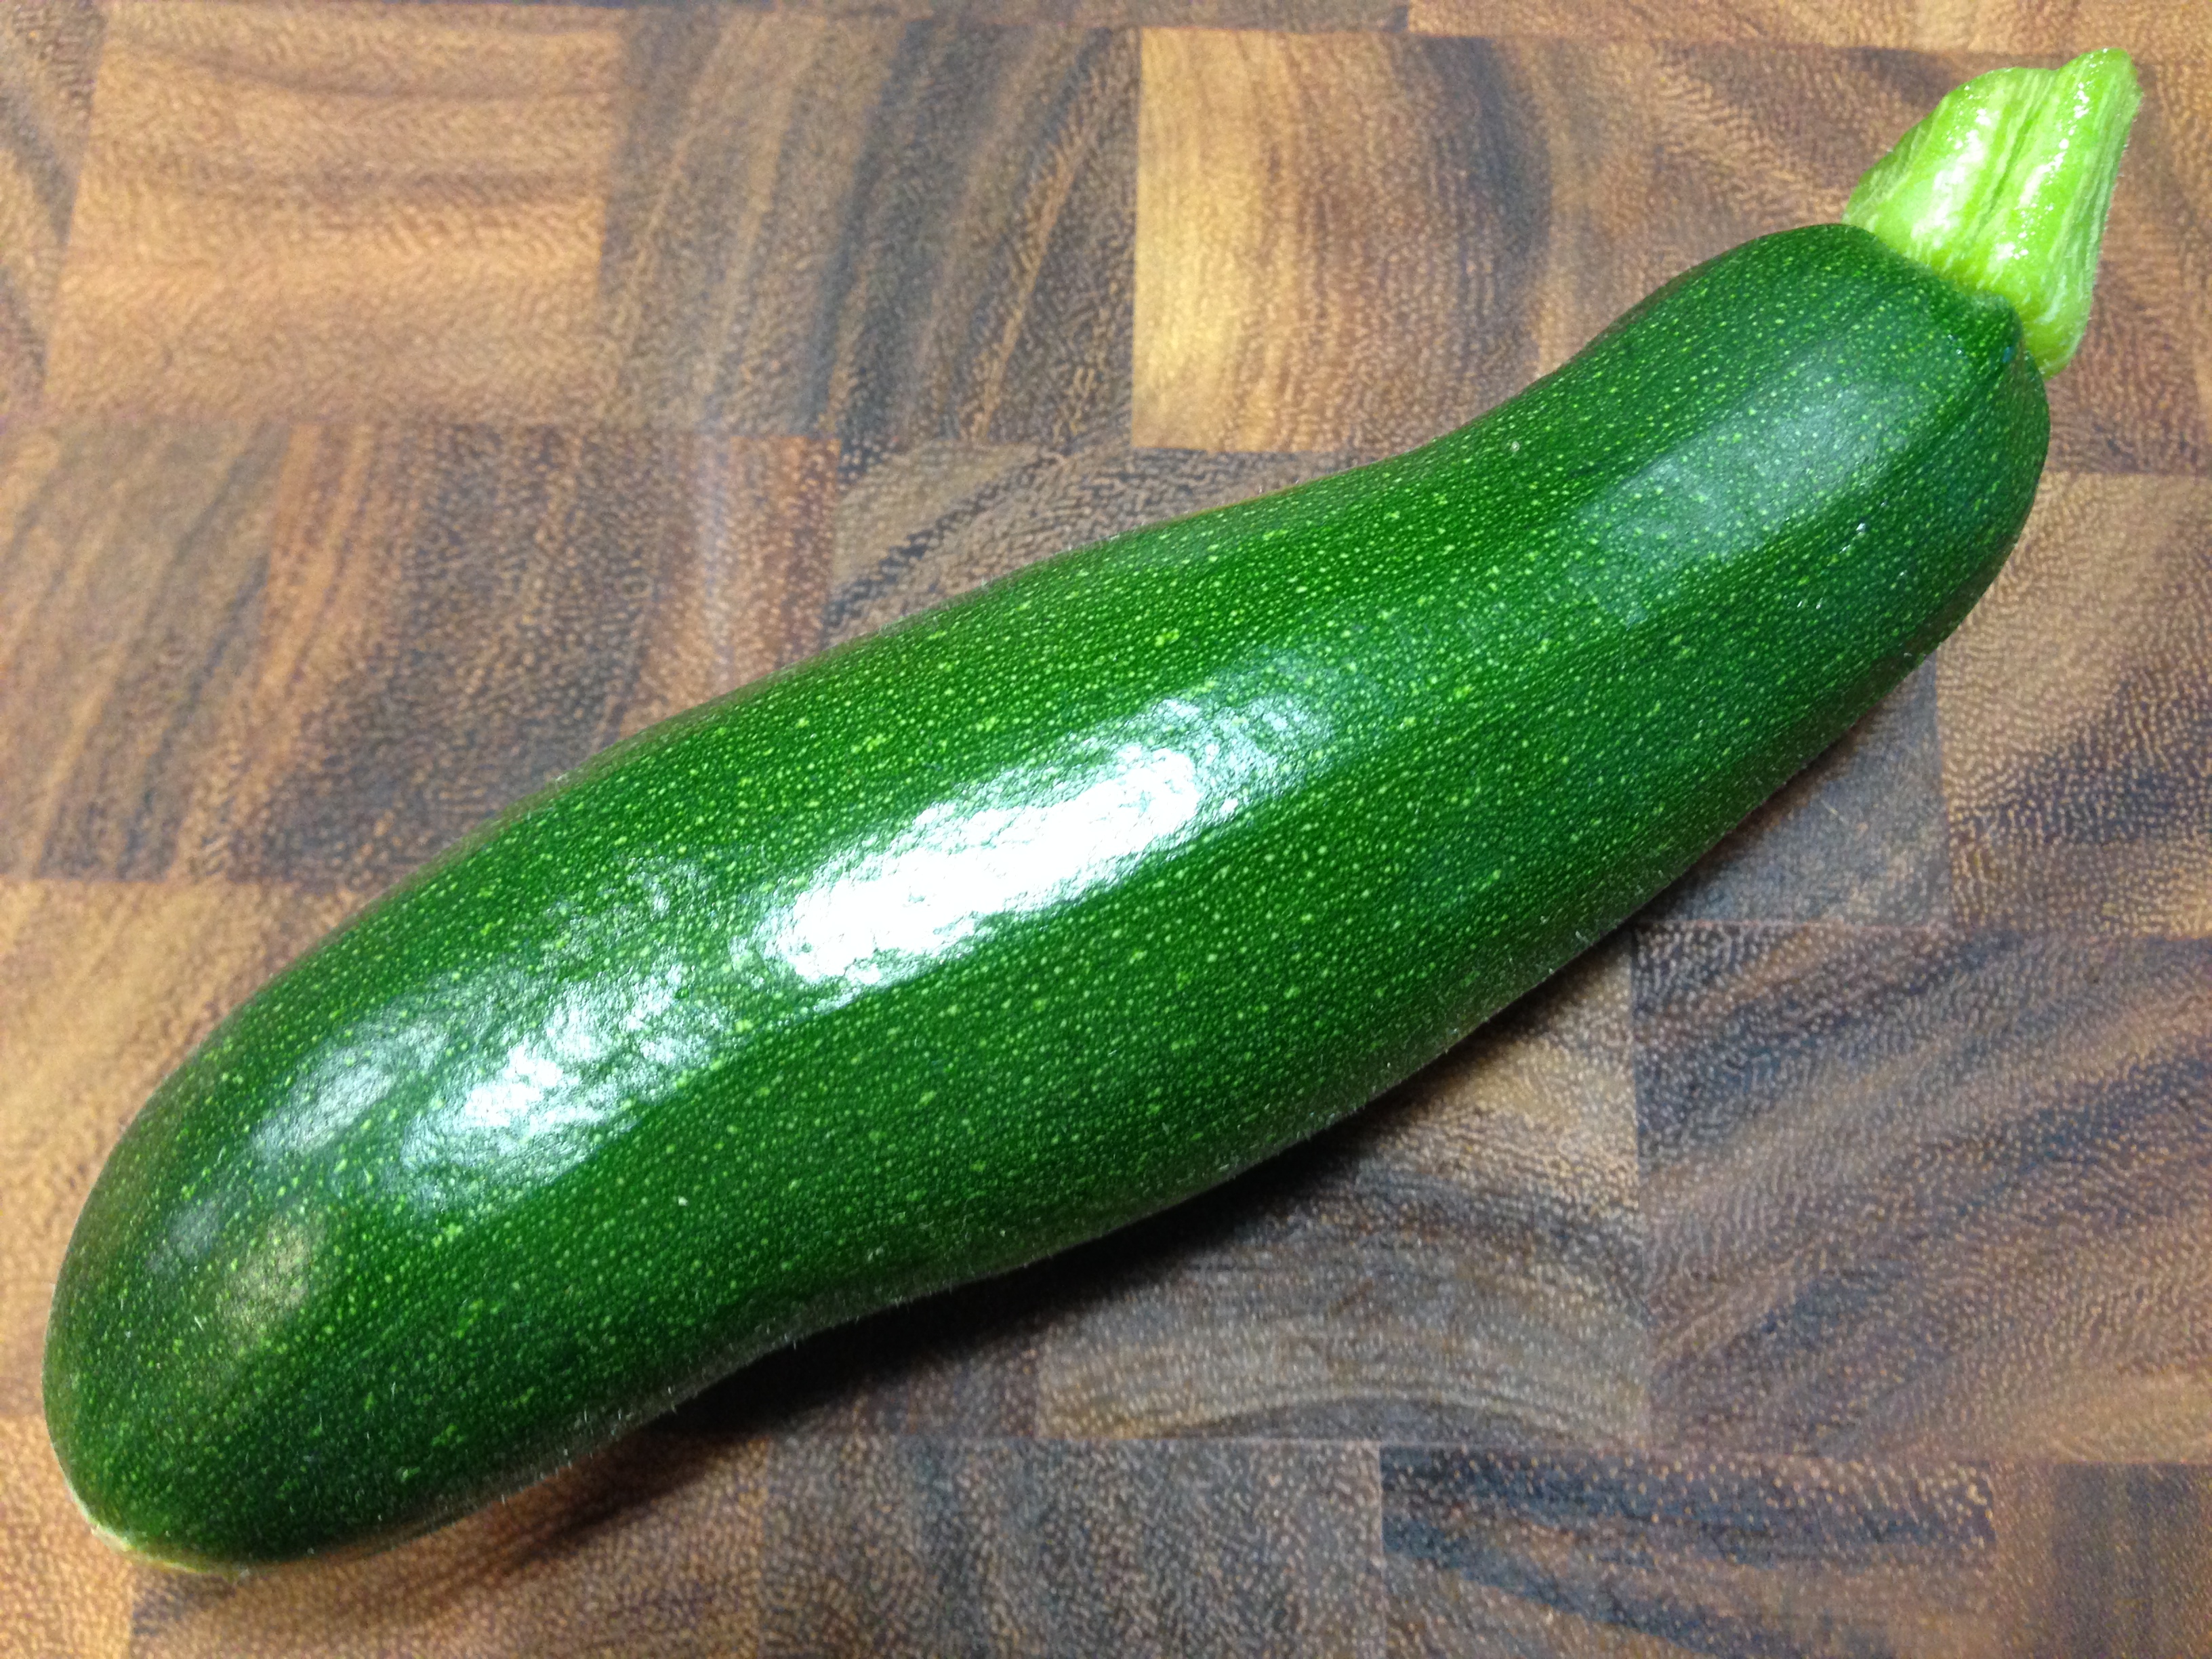
I guess at this point you can probably tell that I’ve been a little fixated on zucchini recipes and with good reason. The zucchinis just keep coming and coming. Every day it seems I’m harvesting two to three new zucchinis. Last year my zucchini plant (I only have one as I have limited space in my garden) hardly produced anything. This year my plant is producing prolifically. Go figure. Mind you, I am not complaining. The challenge is to determine ways to use all this zucchini as I won’t let any go to waste. I know I can give them away if I need to, but most of my neighbors are looking to give their zucchini away as well. Some have even gone to the lengths of just leaving them on neighbor’s door steps. The whole neighborhood must be over run. So my challenge – how can I not only use my zucchini but also make it exciting when having it several times a week.
 The latest recipe I tried was a side dish. Those are probably the easiest recipes to find. This recipe came off of a website that featured 35 different zucchini recipes and I always like to one stop shop. This one seemed relatively easy and so I thought I’d try it. The original recipe called for paring zucchini with yellow squash and I think that would have been perfectly fine, but I had so much zucchini that I wanted to use and so I just skipped the yellow squash. I did add some mushrooms that I had and that worked very well (I always seem to have mushrooms in my refrigerator). My point is that this recipe is adaptable and I am all for adaptable. Bottom line, this is an easy recipe to prepare and it’s actually quite good. I had some issues with how the recipe was written and I will share those in my lessons learned.
Recipe rating: B+ – most of my issues came from how the recipe was written as I am a stickler for detail and how to achieve success the first time you make something. In my experience even the best of recipes are seldom tried again if they can’t be done well the very first time. These days everyone is so busy that recipe success the first time around is just about a given for making a recipe again. This one had one critical piece of information missing that, in my estimation, made the dish look great as well as taste great.
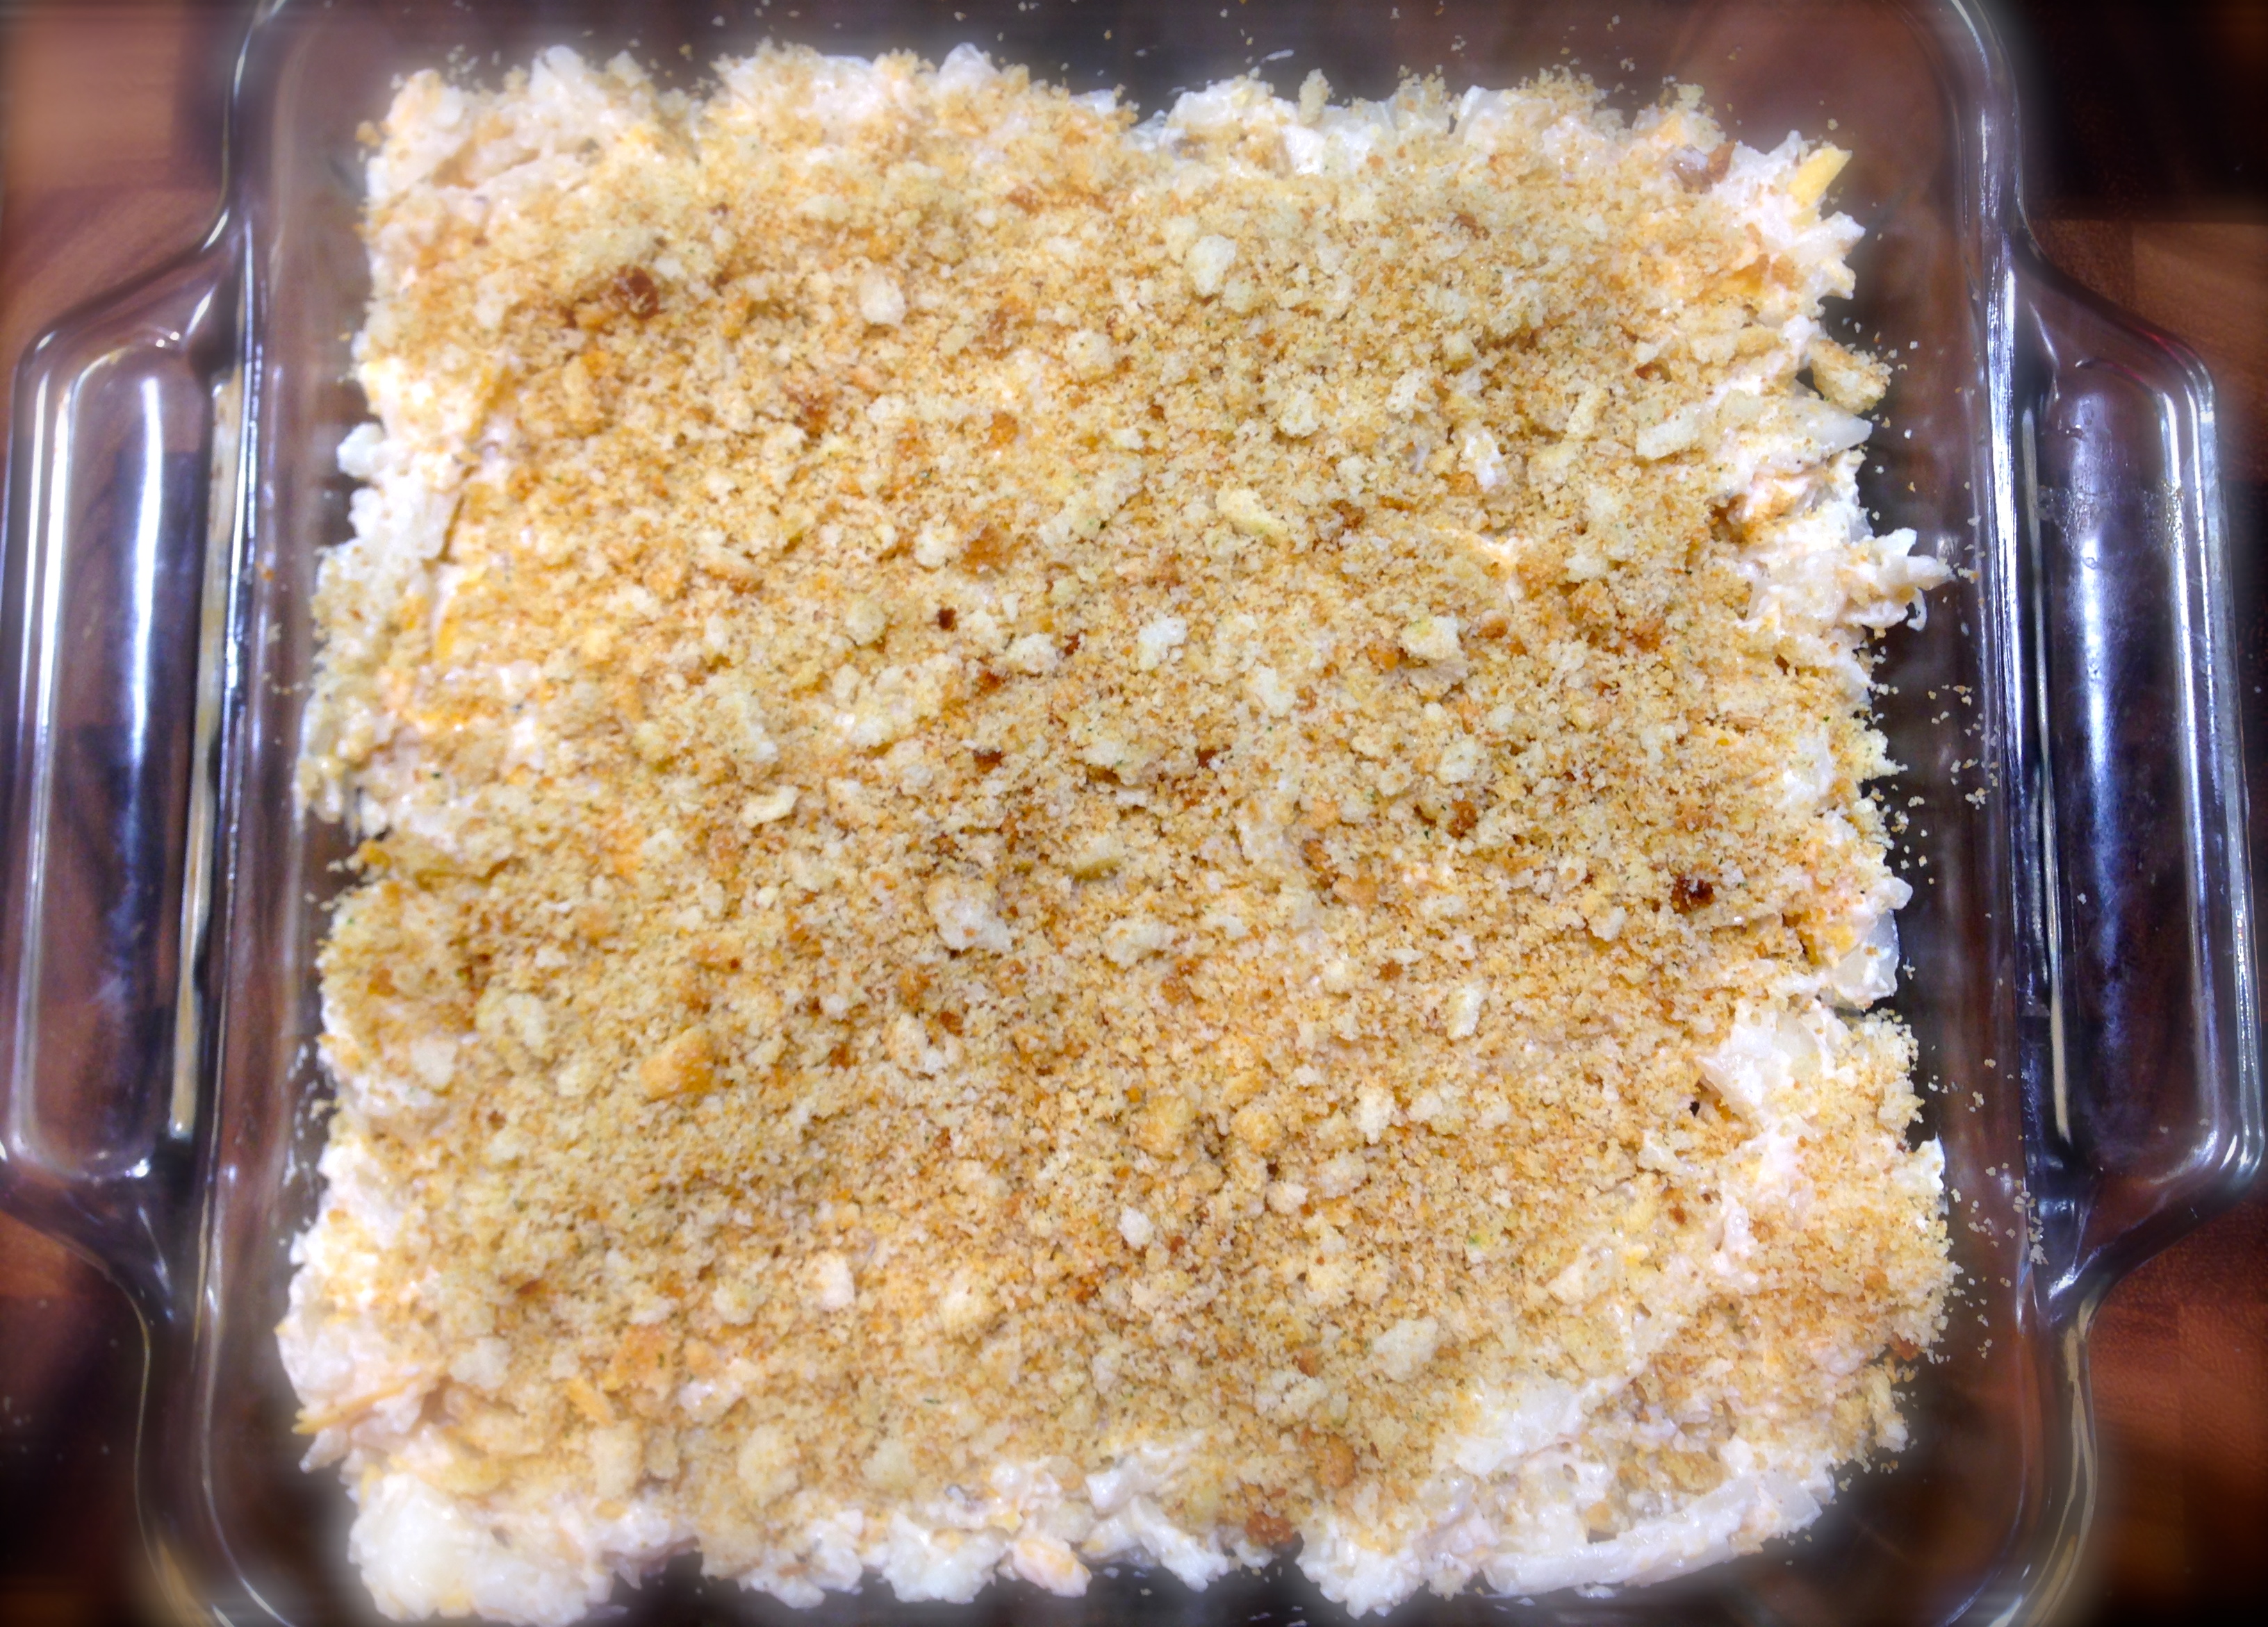
 Lesson Learned 1 – prepping ahead: The beauty of this recipe is that it can be prepped ahead and put into the oven when needed. I prepped all of the ingredients about an hour ahead of time and simply covered them in plastic wrap and put them into the refrigerator. The only other thing I did was to take it out of the fridge about 15 minutes before putting it into the oven to take the chill off. Right before putting it in the oven I topped it with some additional cheese. I am thinking this is something that can be prepped in the morning and then finished off when you get home from work – a nice little advantage especially for a busy day.
Lesson Learned 2 – use fresh herbs whenever possible: The original recipe called for 1/2 teaspoon of dried thyme. I have thyme growing in my garden and I used that. You always need to add more of an herb if it is fresh, so I substituted 1 teaspoon of fresh thyme and I felt it gave the side dish a great flavor boost.

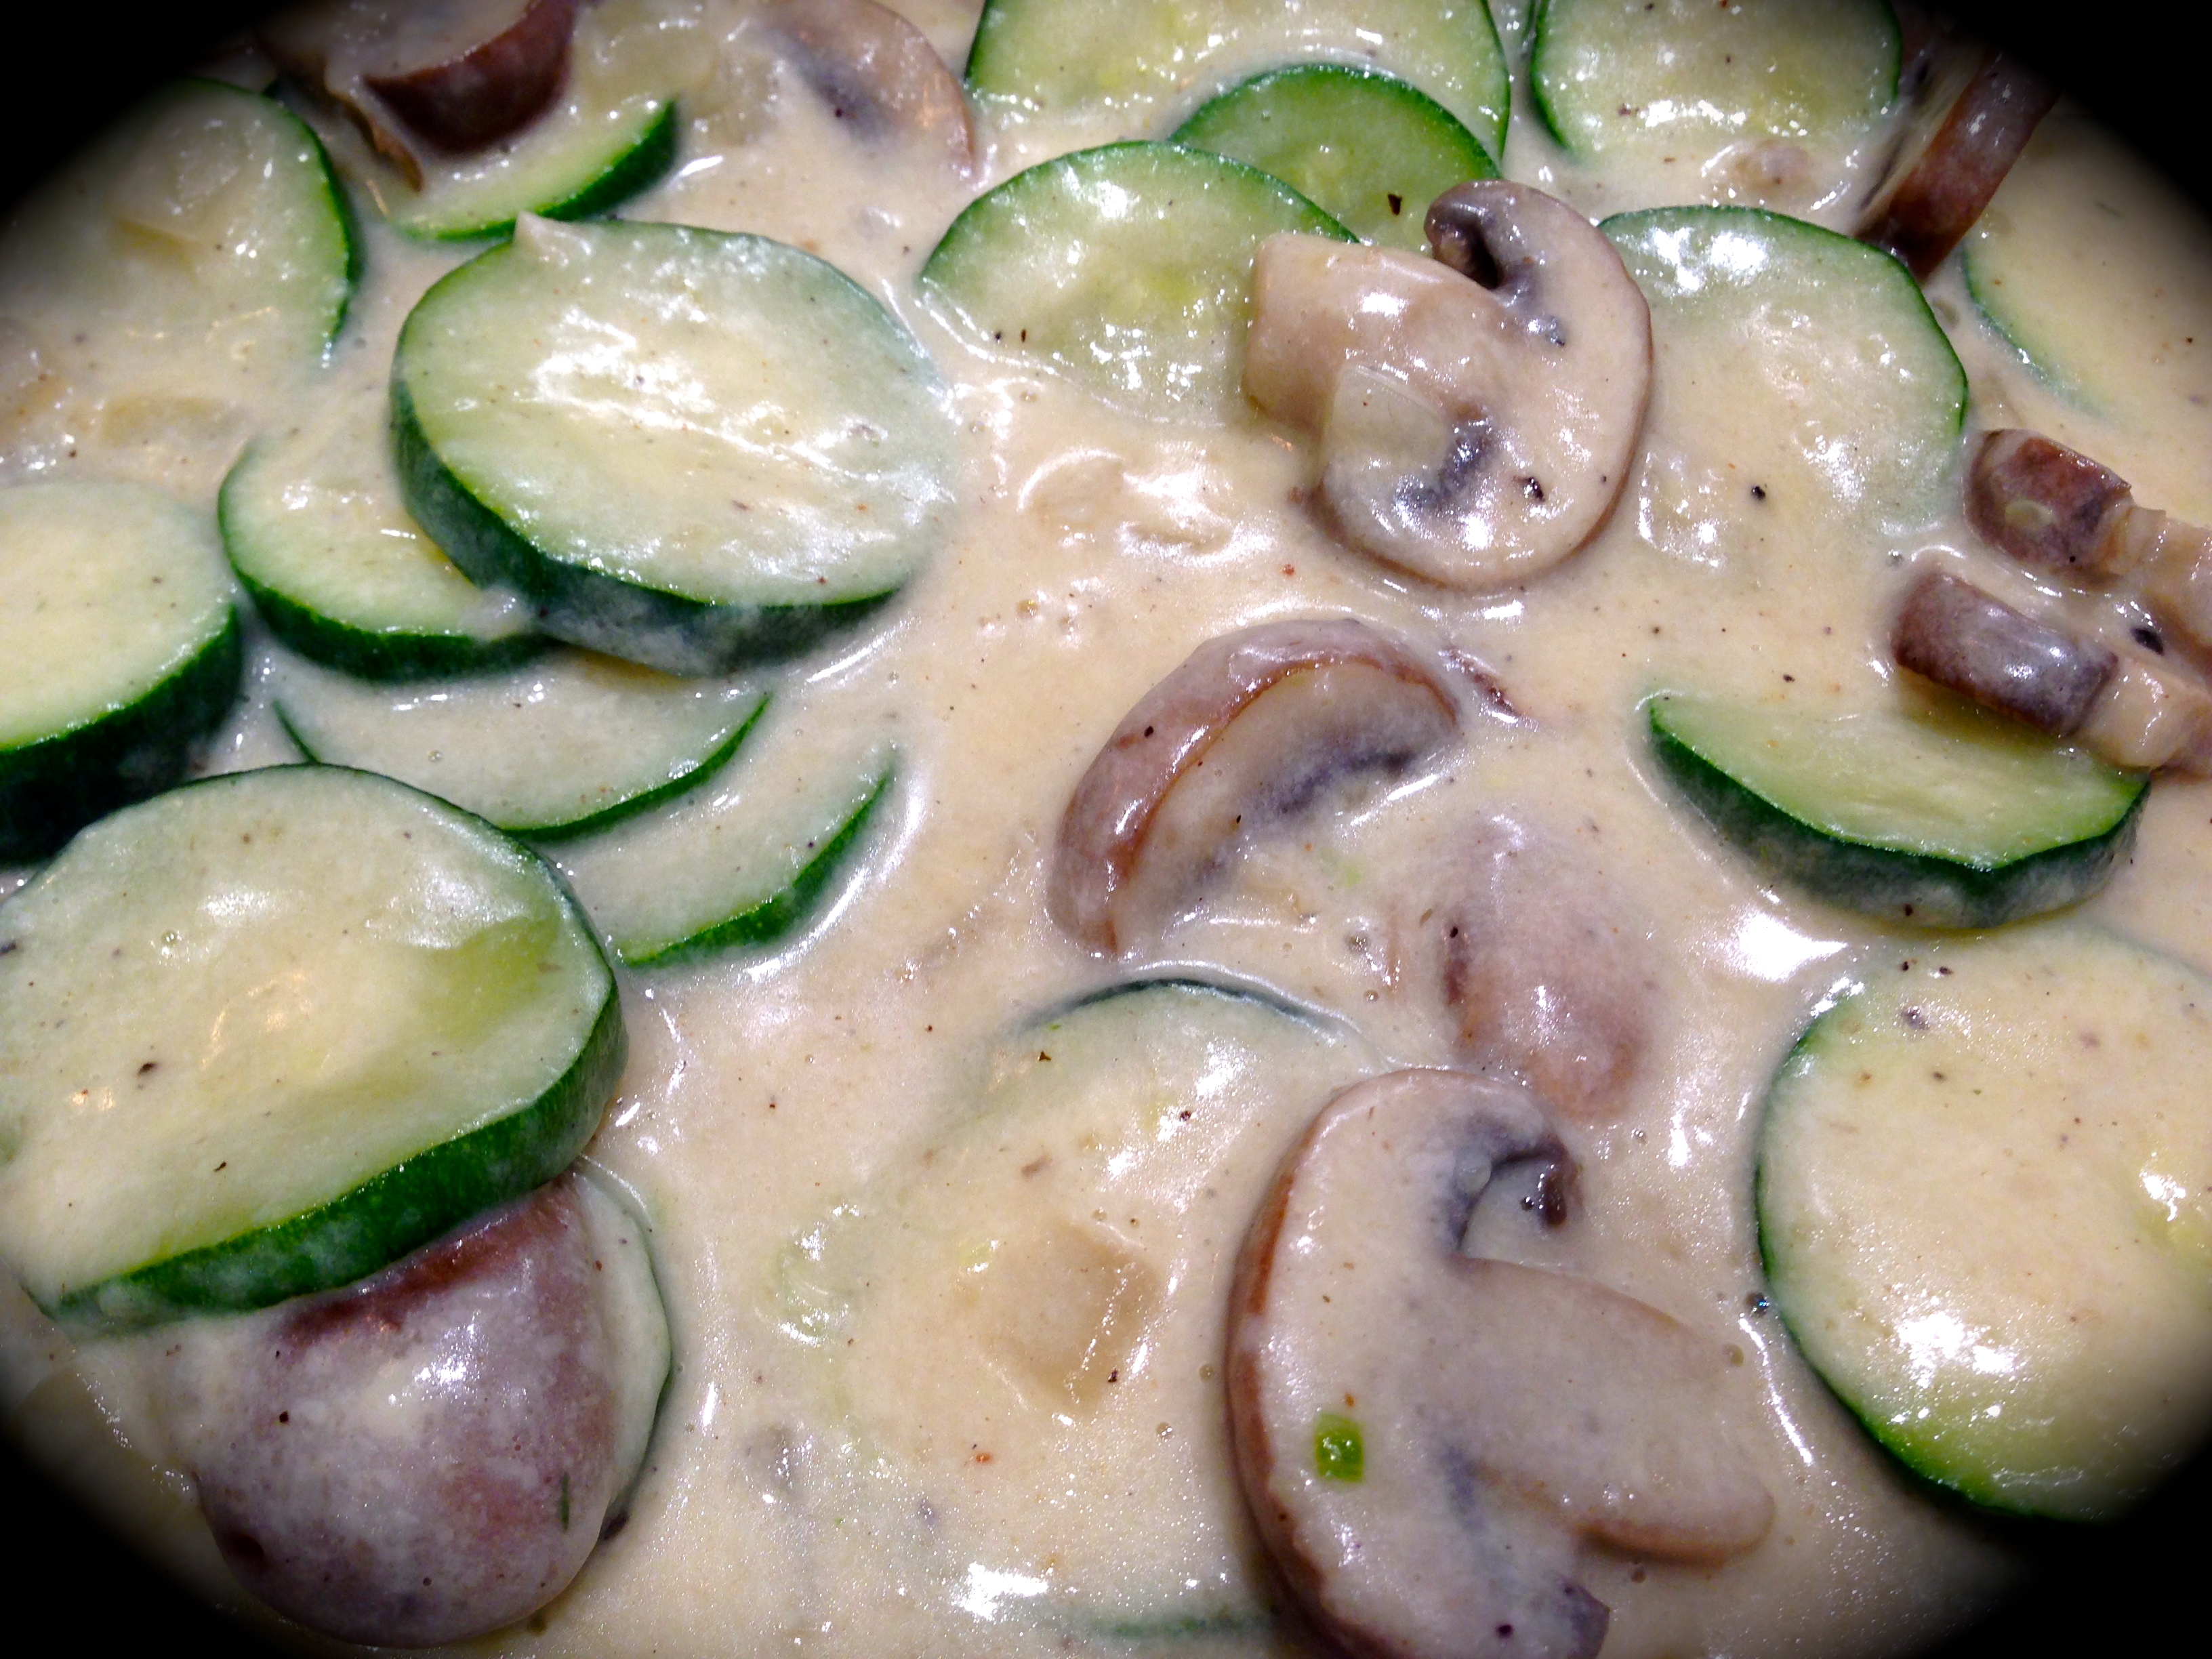
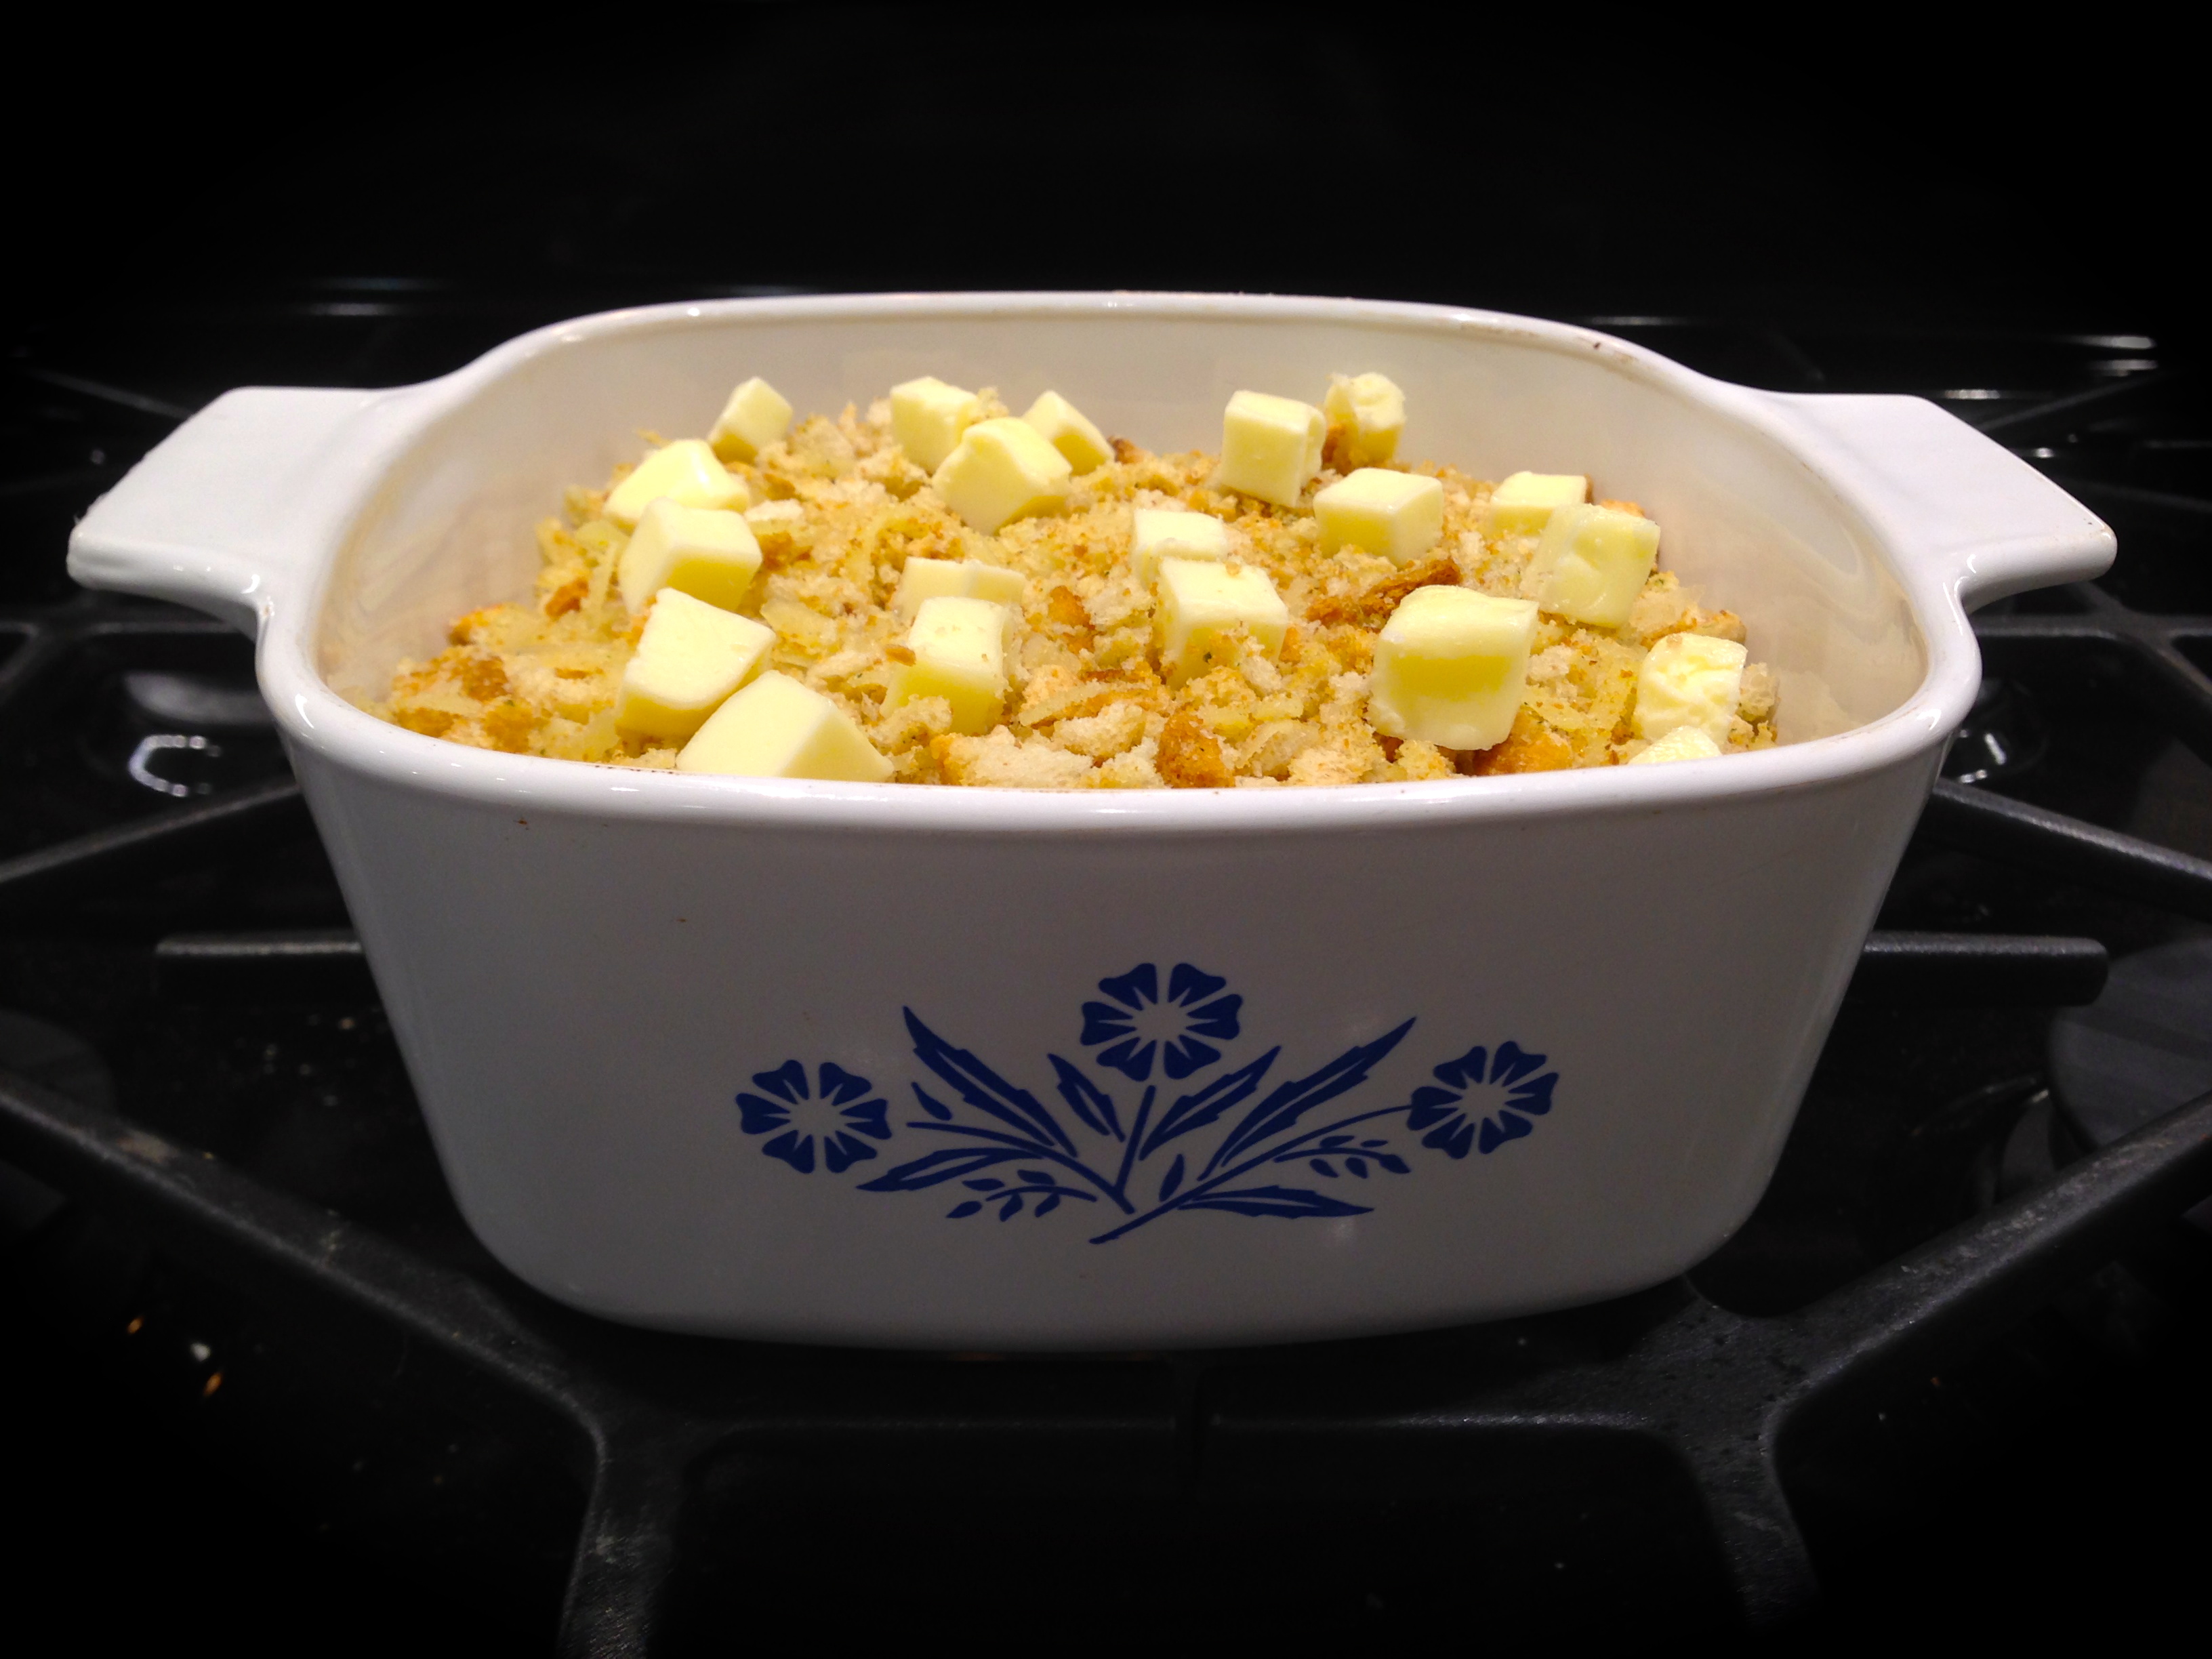
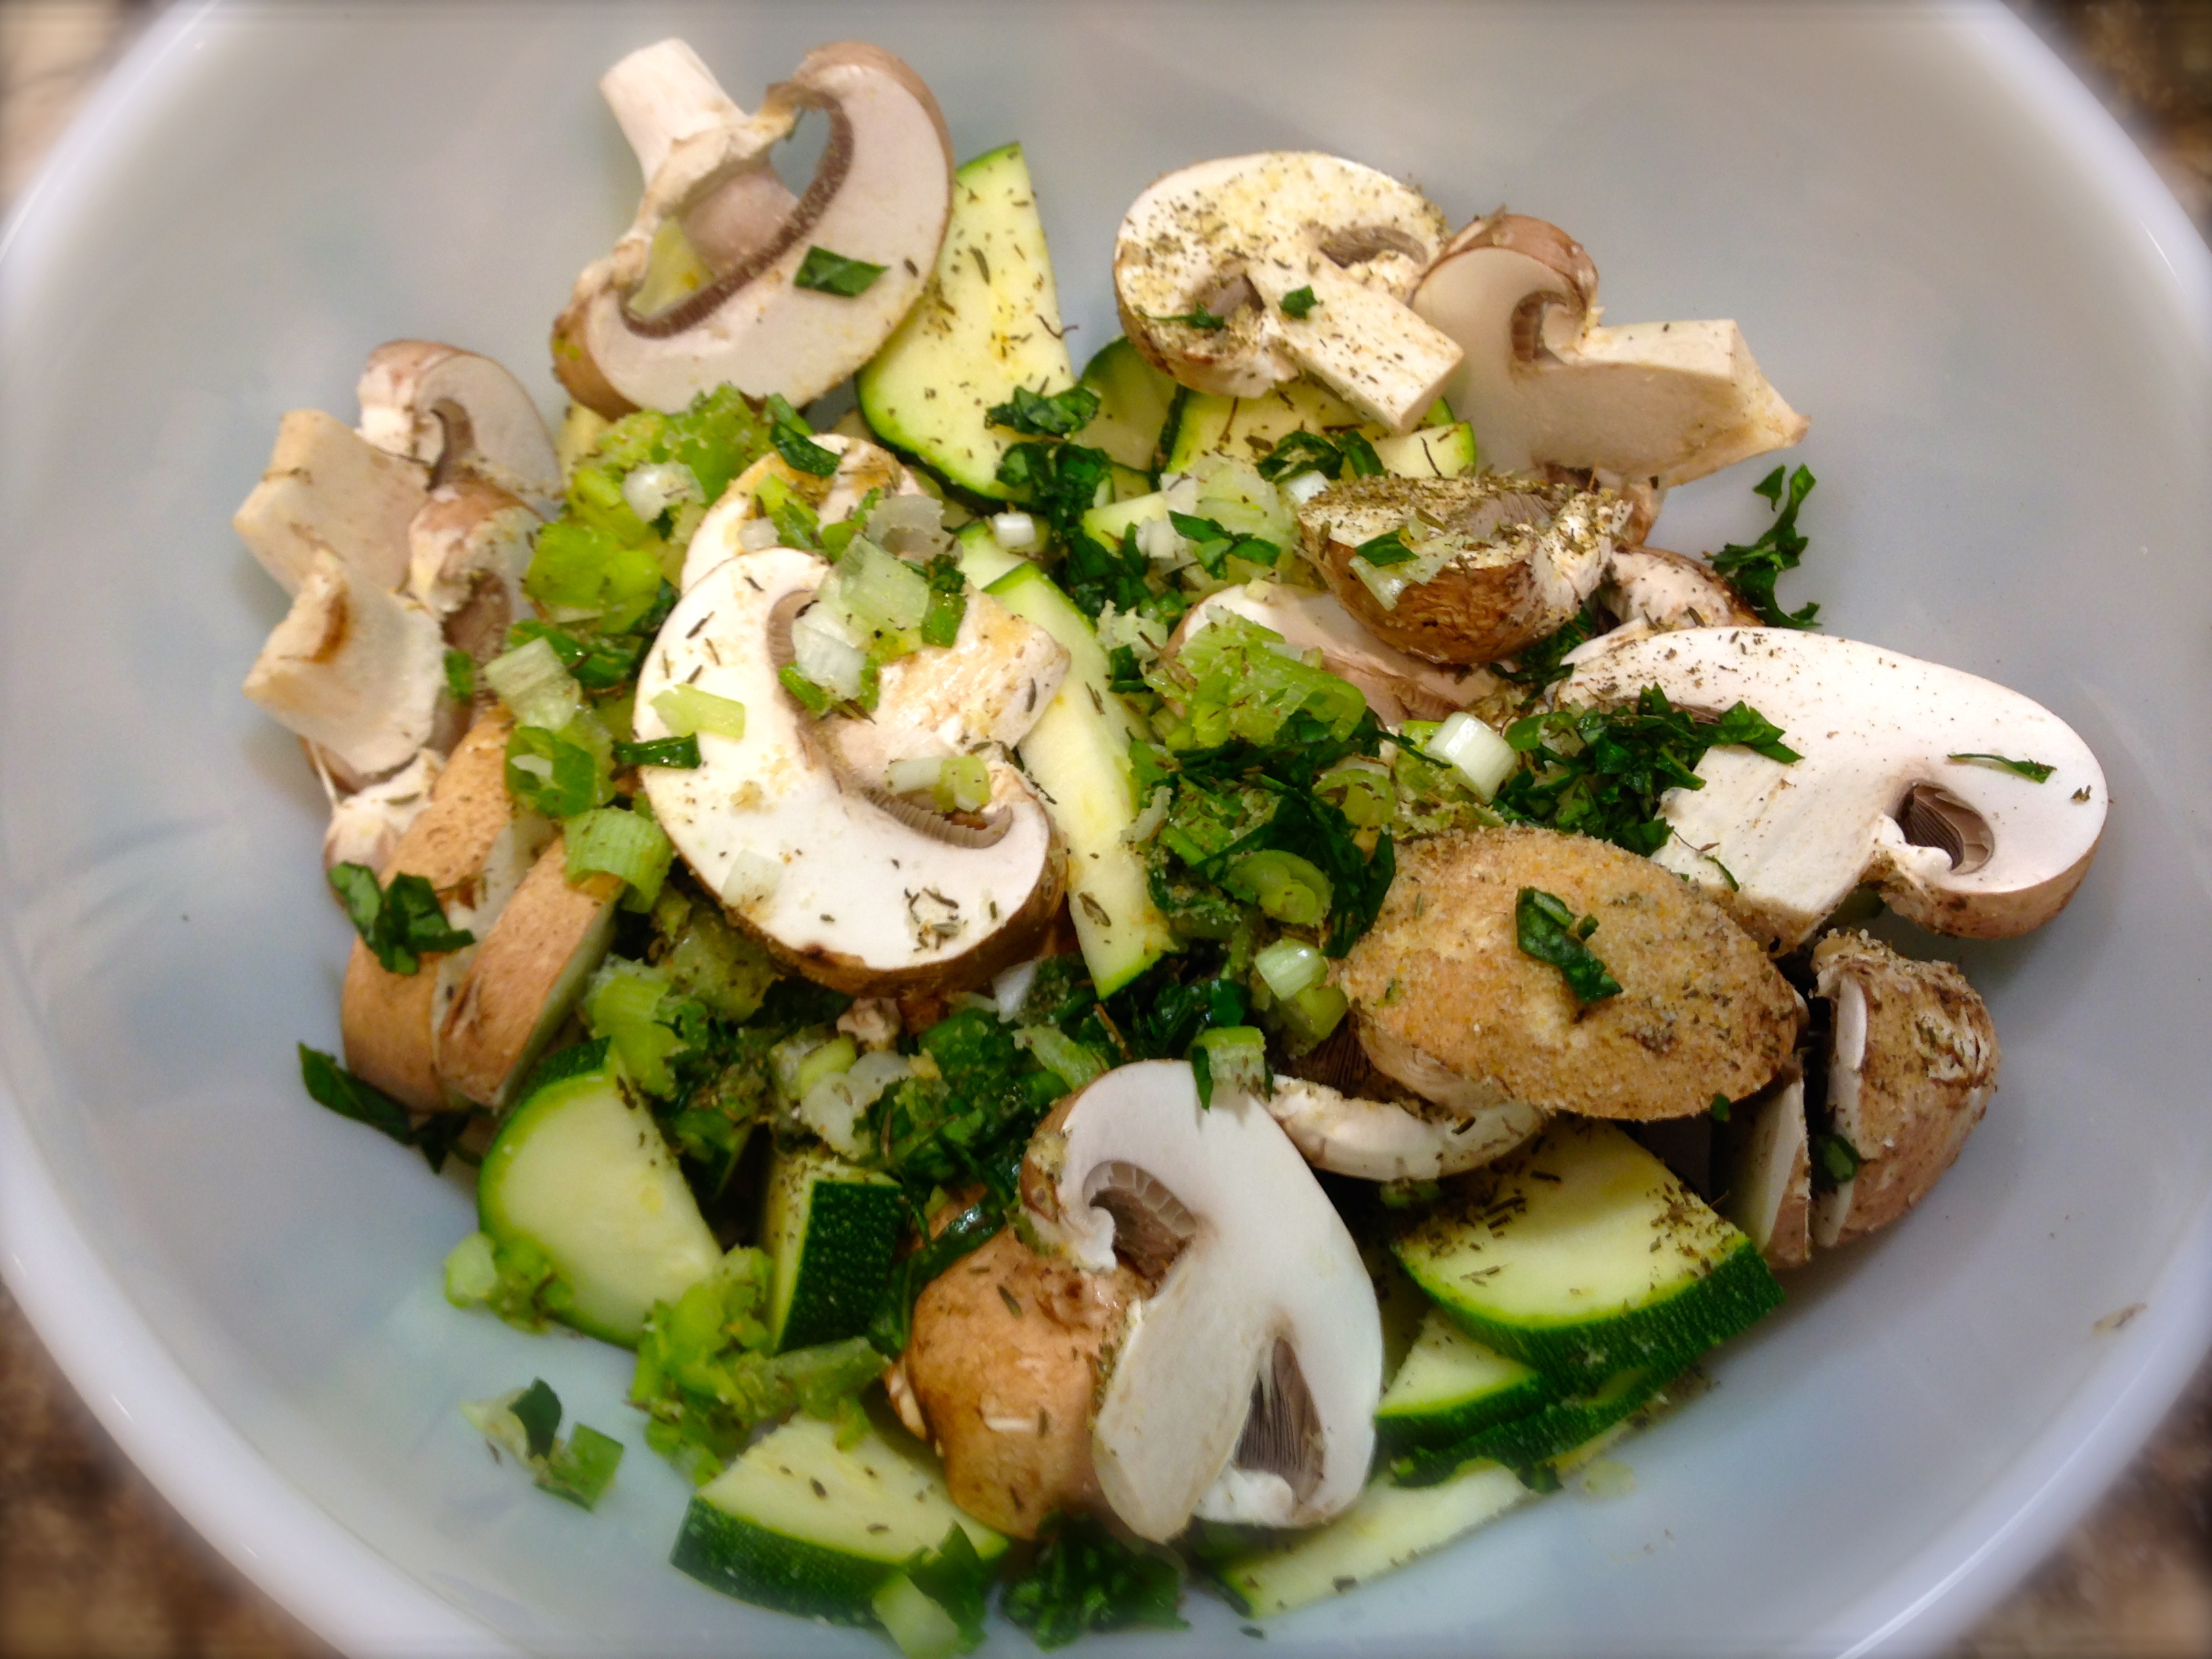
Ready to go into the oven
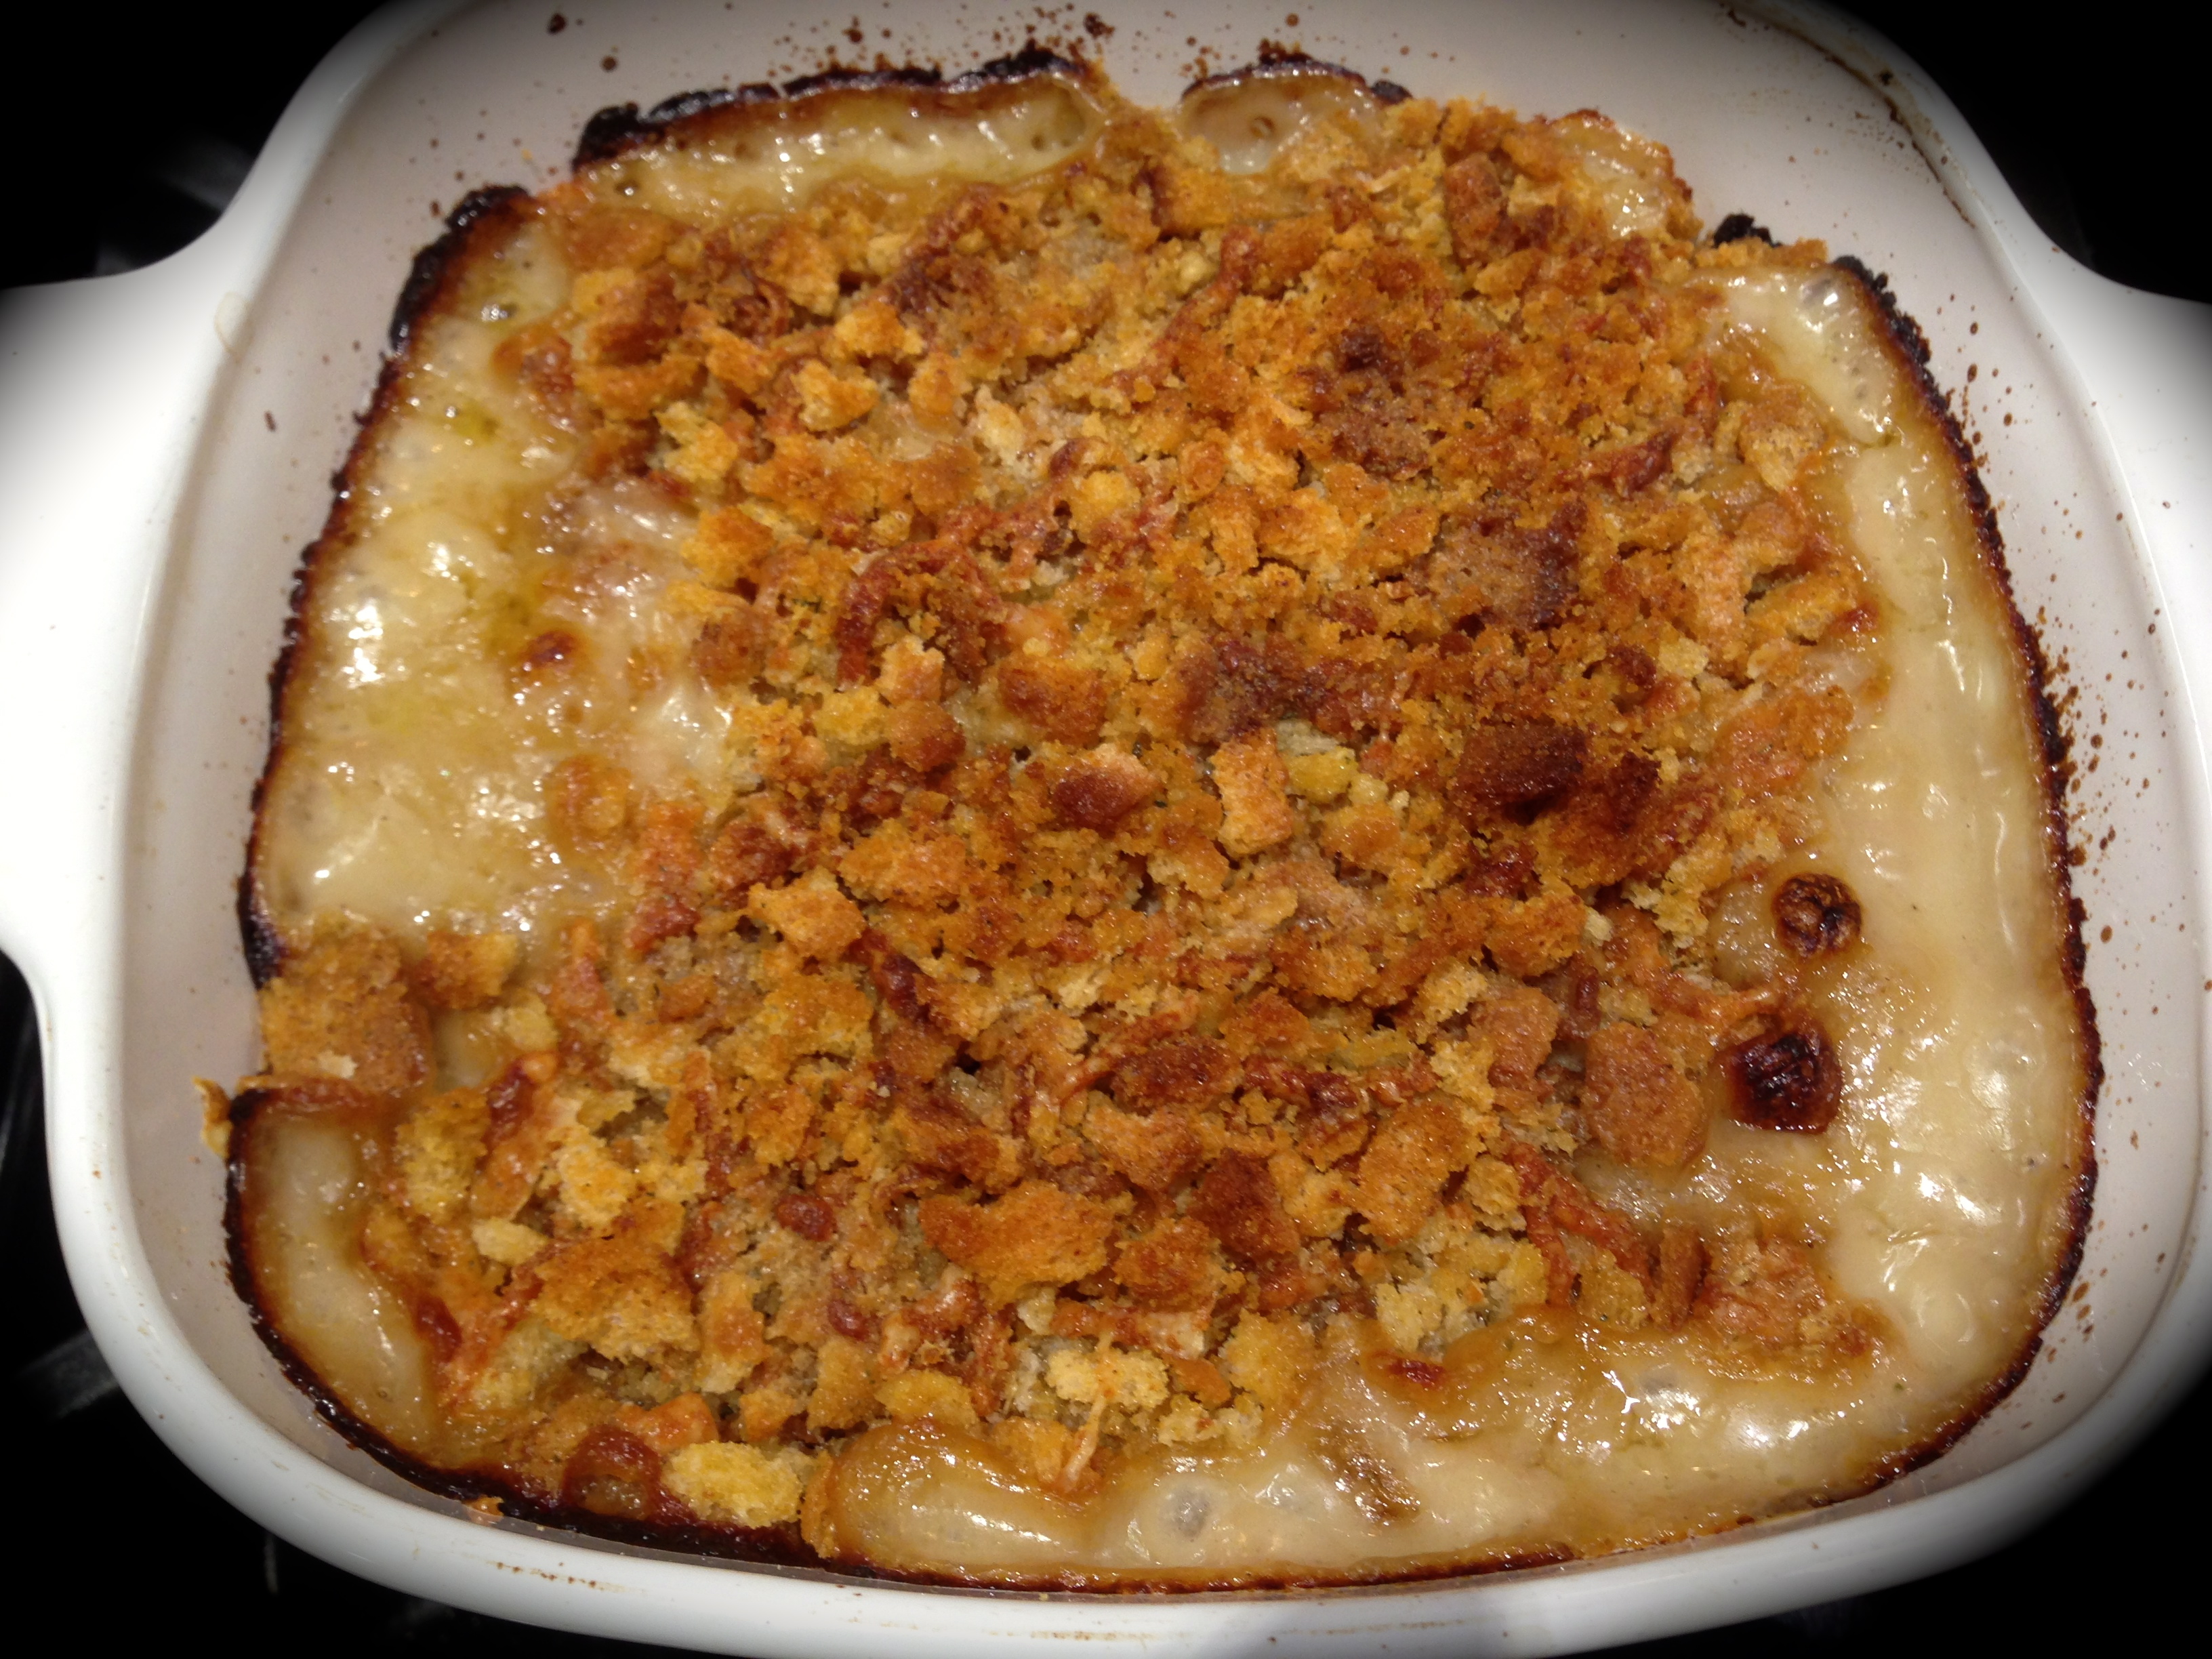
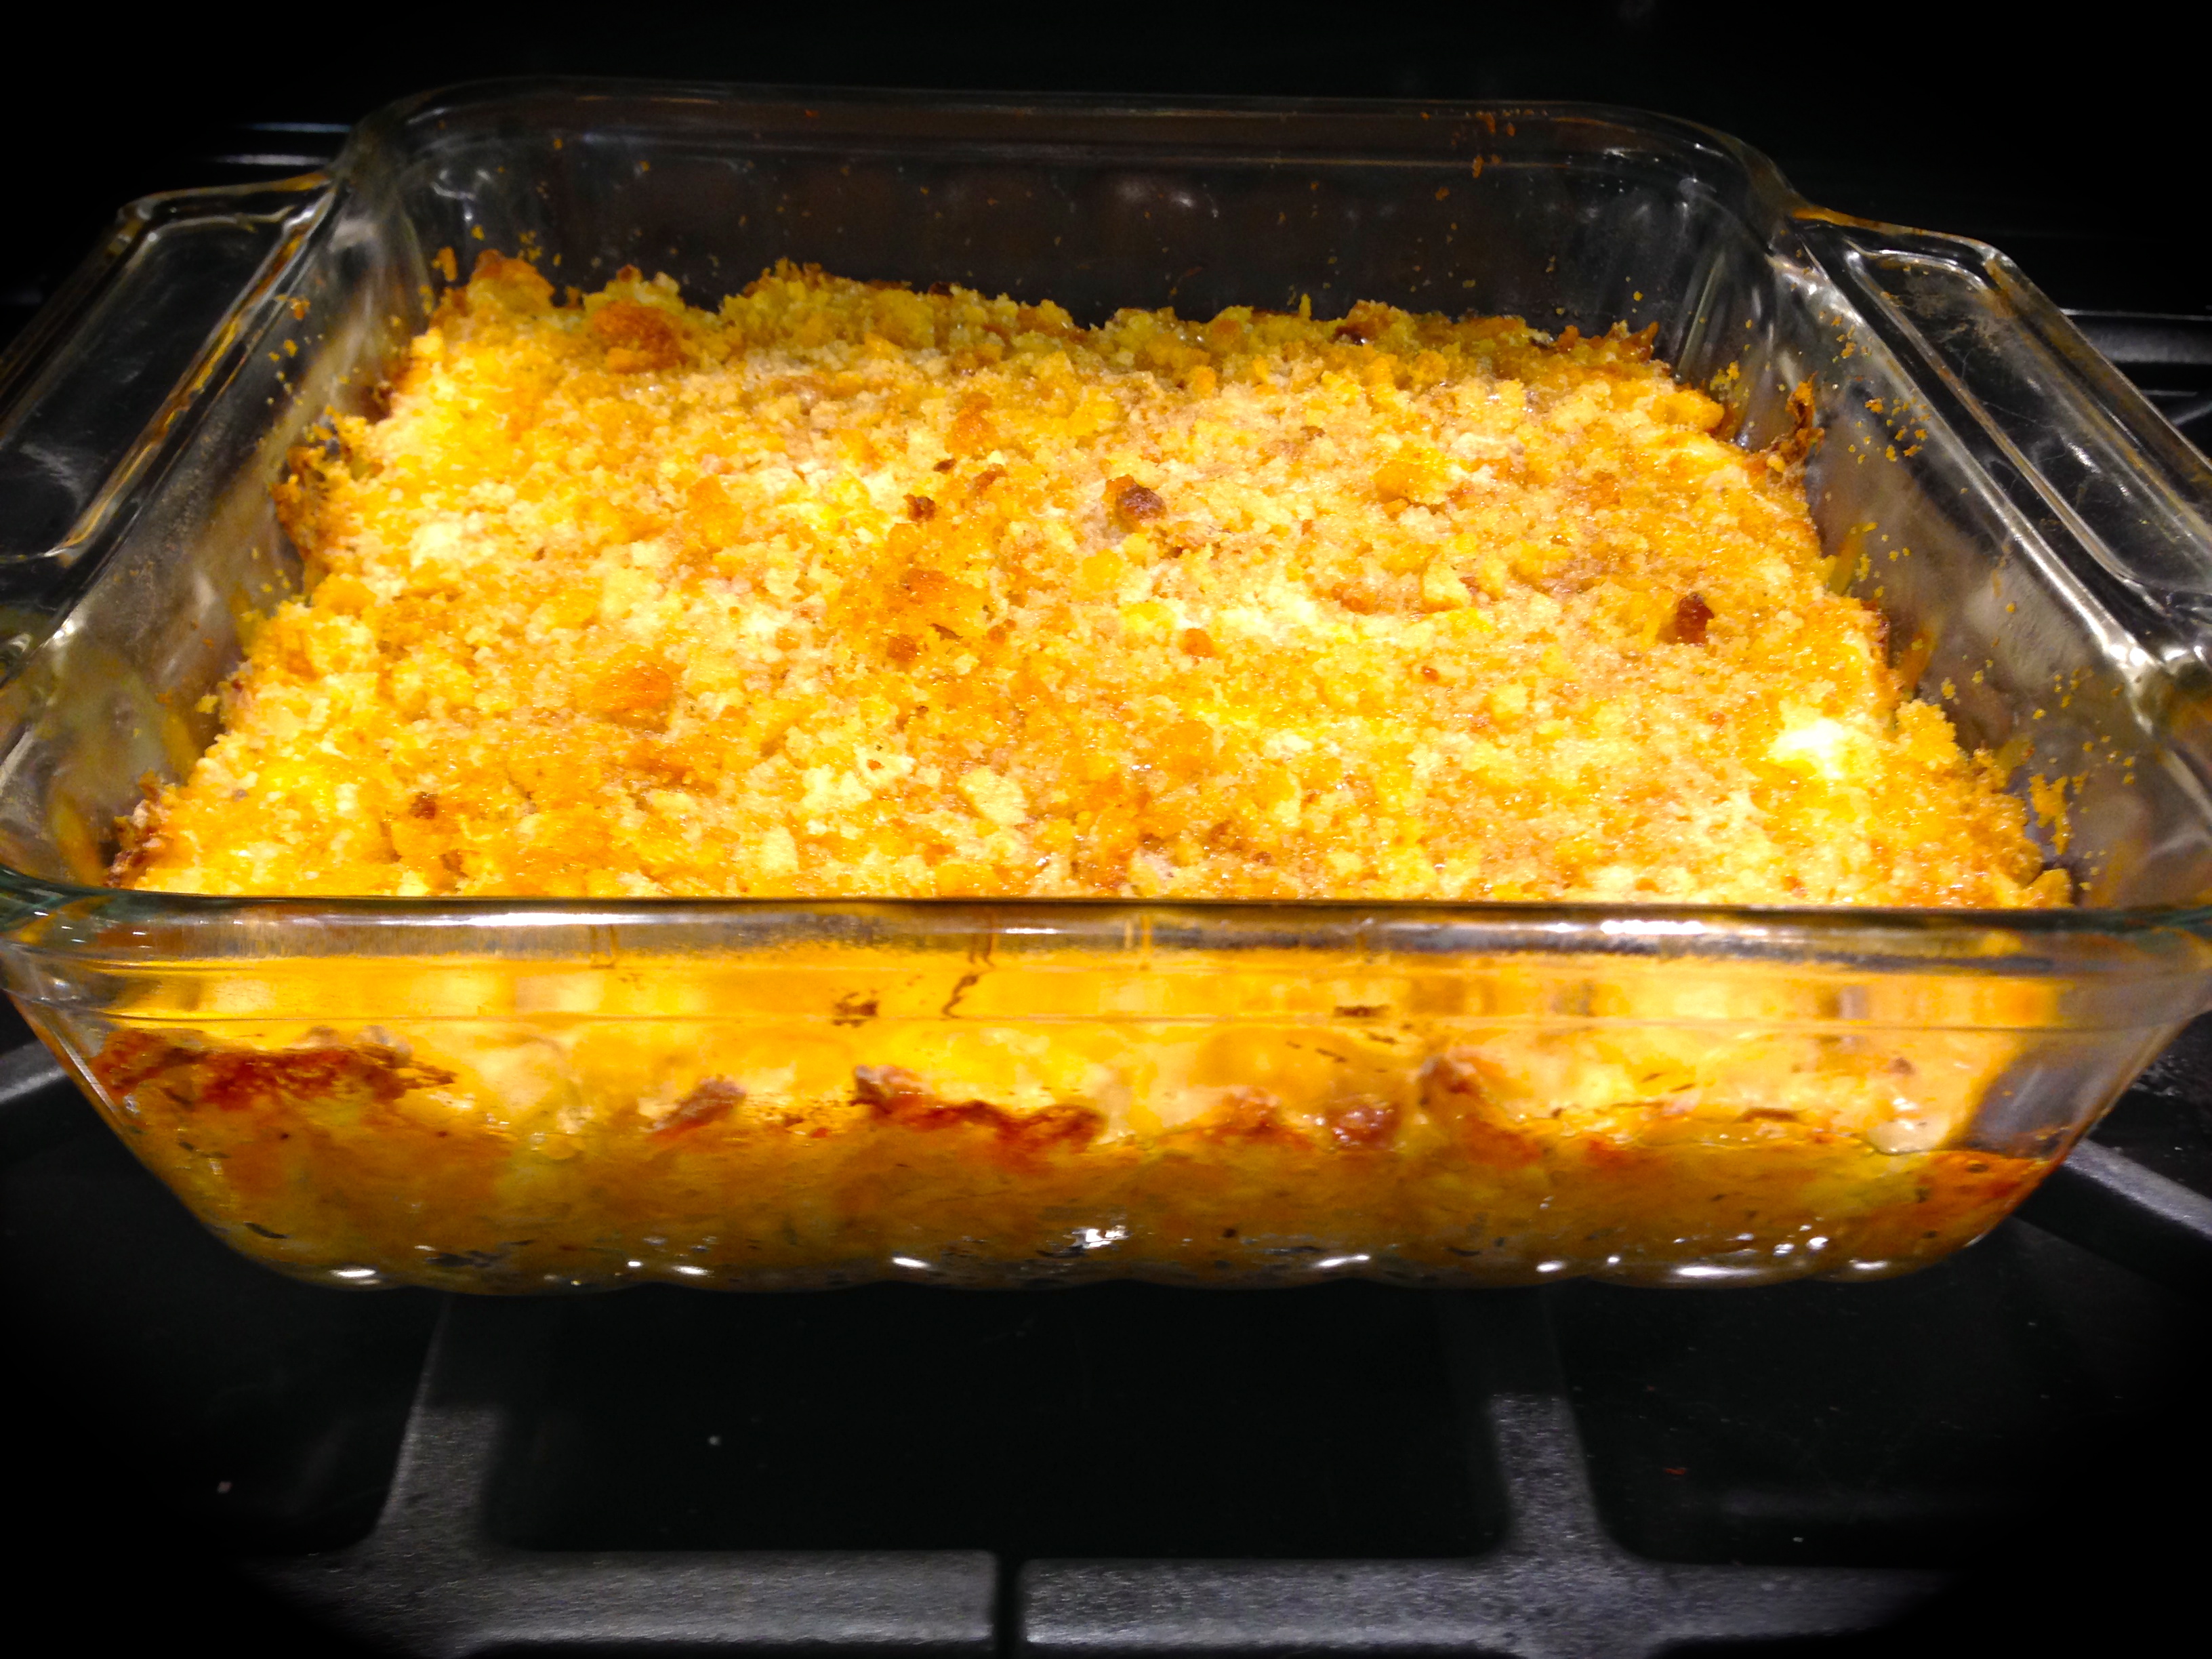
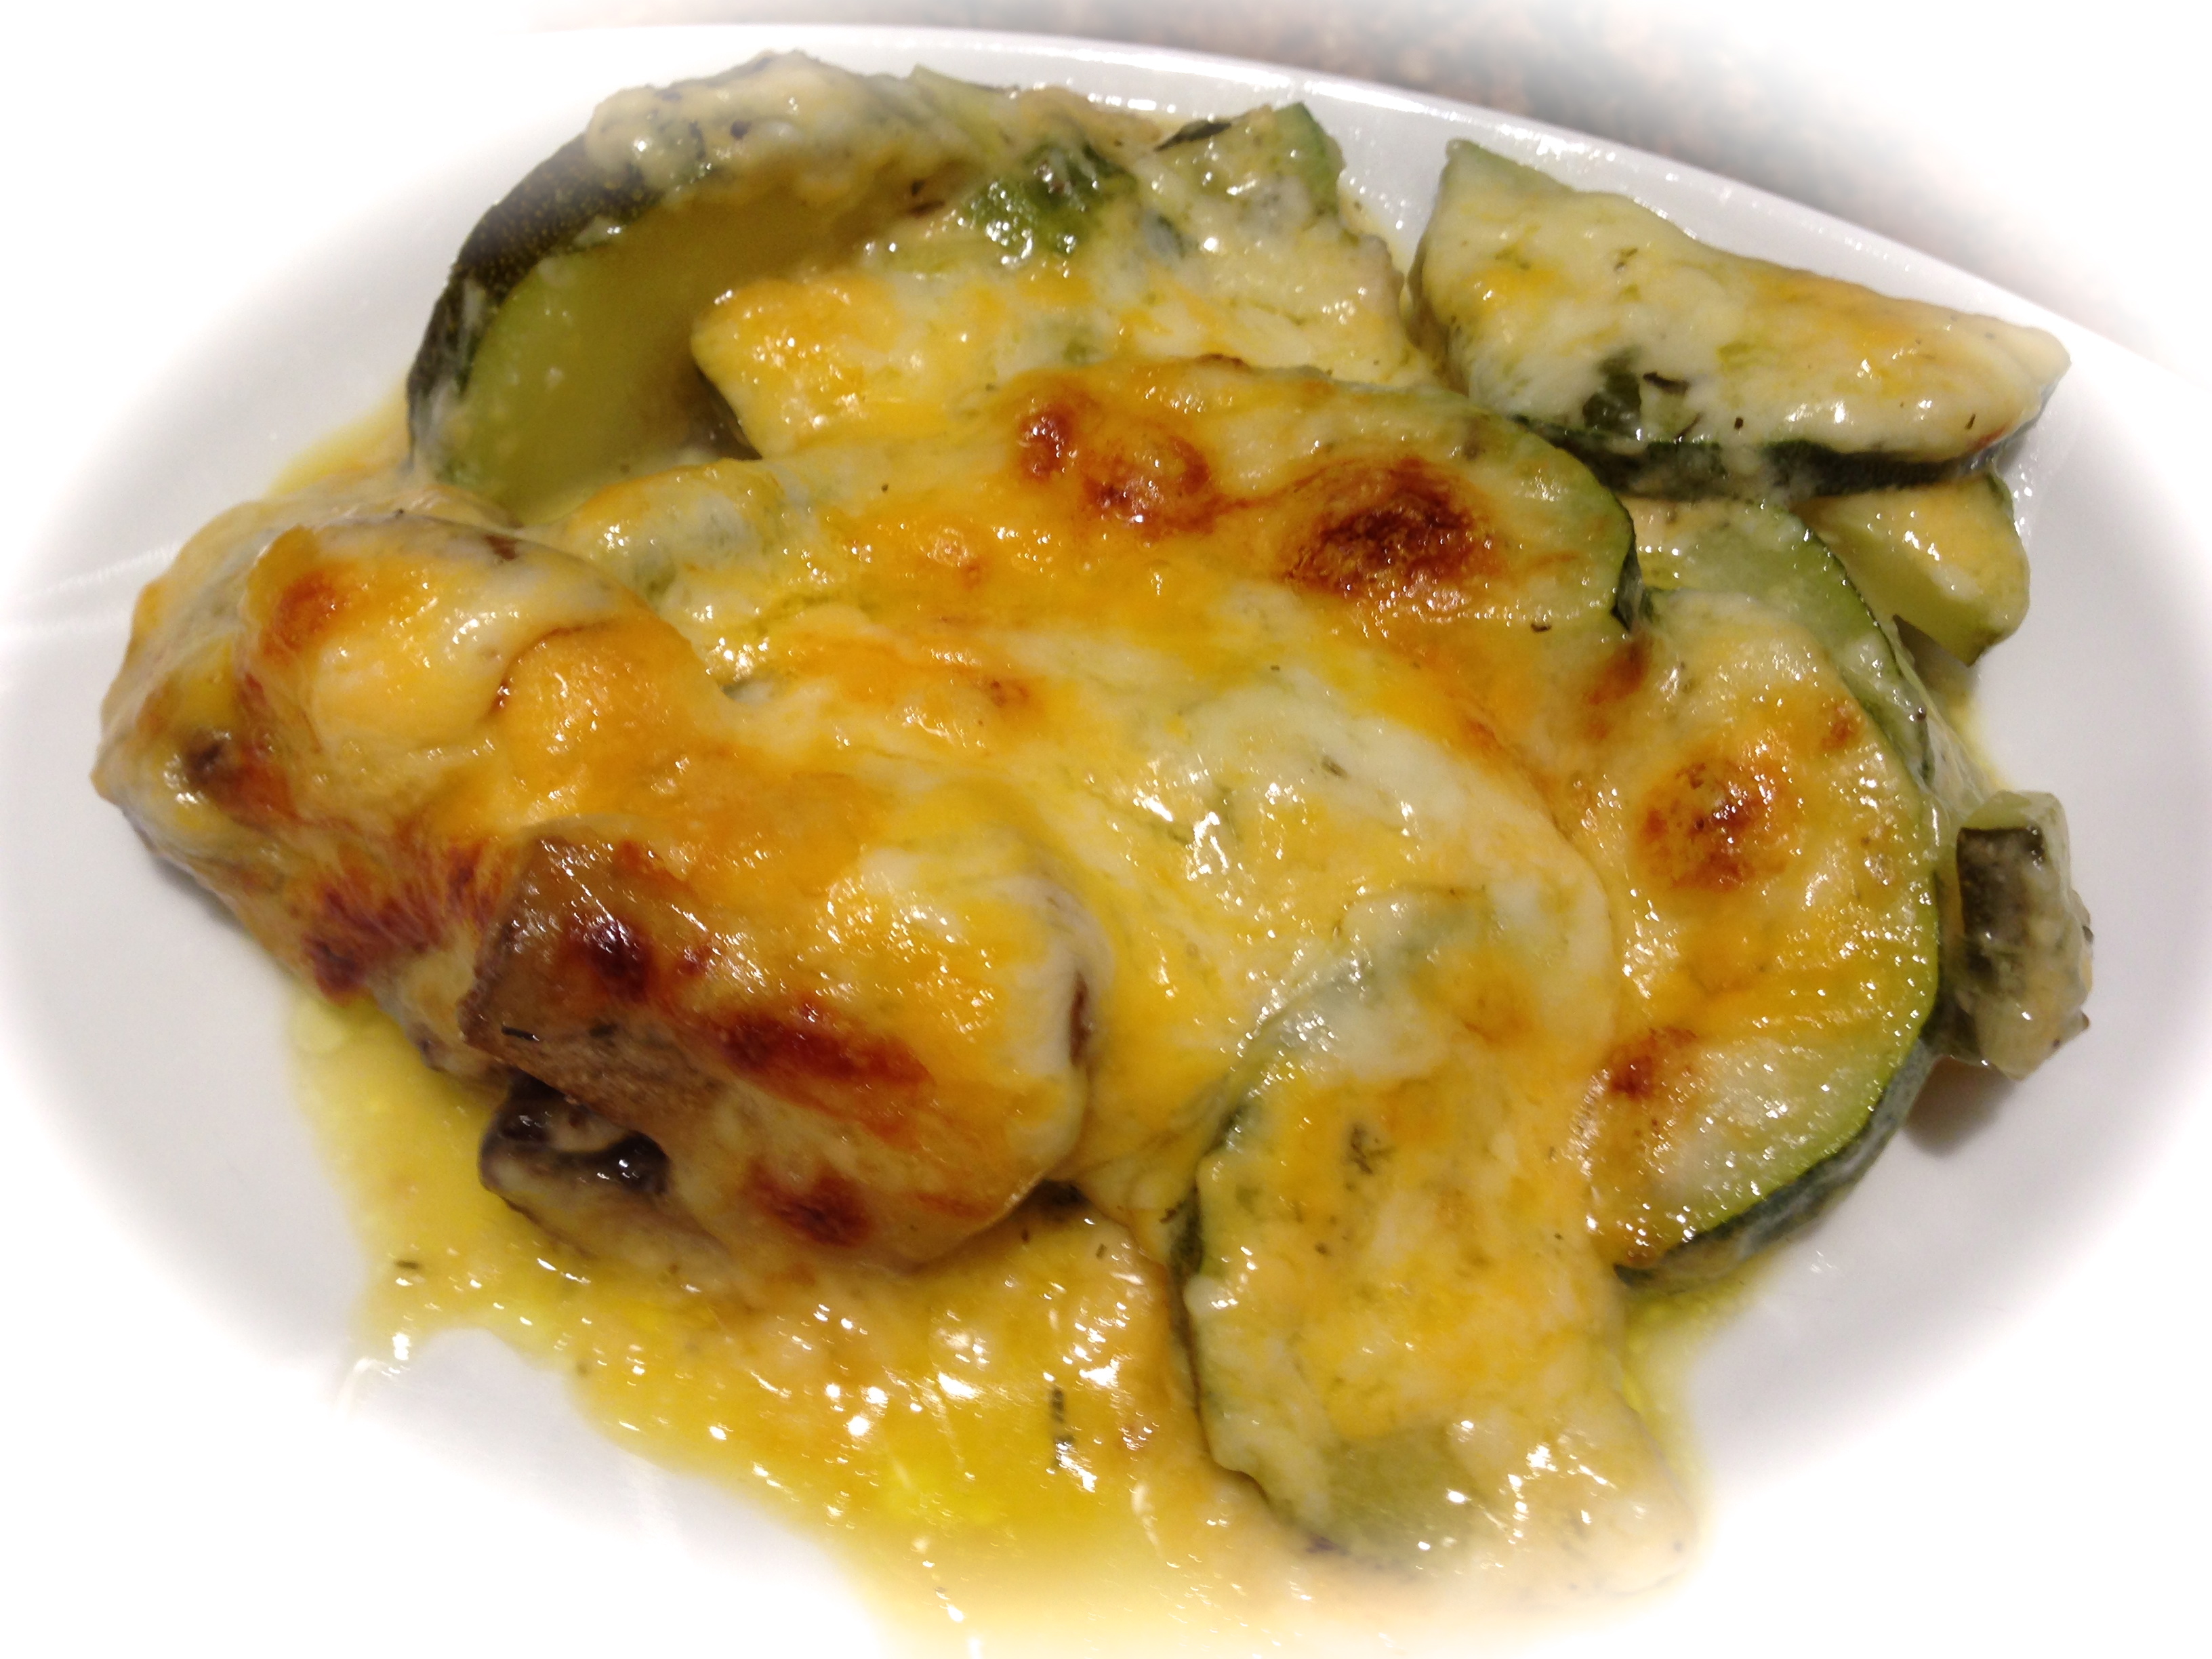
Lesson Learned 3 – you eat with your eyes first: How often have you heard someone say, “Oh that looks delicious!” When you think about it, it’s really a sort of oxymoron since something can only taste and not look delicious. But the truth of the matter is we eat with our eyes first. If something looks great, we automatically assume it will taste great. And this is probably my biggest bug-a-boo with the original recipe. That recipe called for baking the ingredients uncovered for 25-30 minutes then adding the remaining cheese and baking it for an additional 10-15 minutes. I would never have gotten the rich color on the cheese by doing that. What I wound up doing is putting the dish under the broiler for the last 5 minutes thereby getting those nice brown bits of color on the cheese. If I had not done that, the top would’ve just looked gooey white. Getting the browning from the broiler, in my estimation, makes the dish look much more inviting. Believe me, it did not look nearly as inviting when I followed the directions in the original version of the recipe. At 350 degrees you would have to cook the cheese much longer to get it to brown on top.
I realize that my rant about using the broiler may be very picky, and it probably is. Don’t let that deter you from trying this recipe. It’s a great way to use up some of that extra zucchini and I’m pretty sure it will be a family pleaser as well.

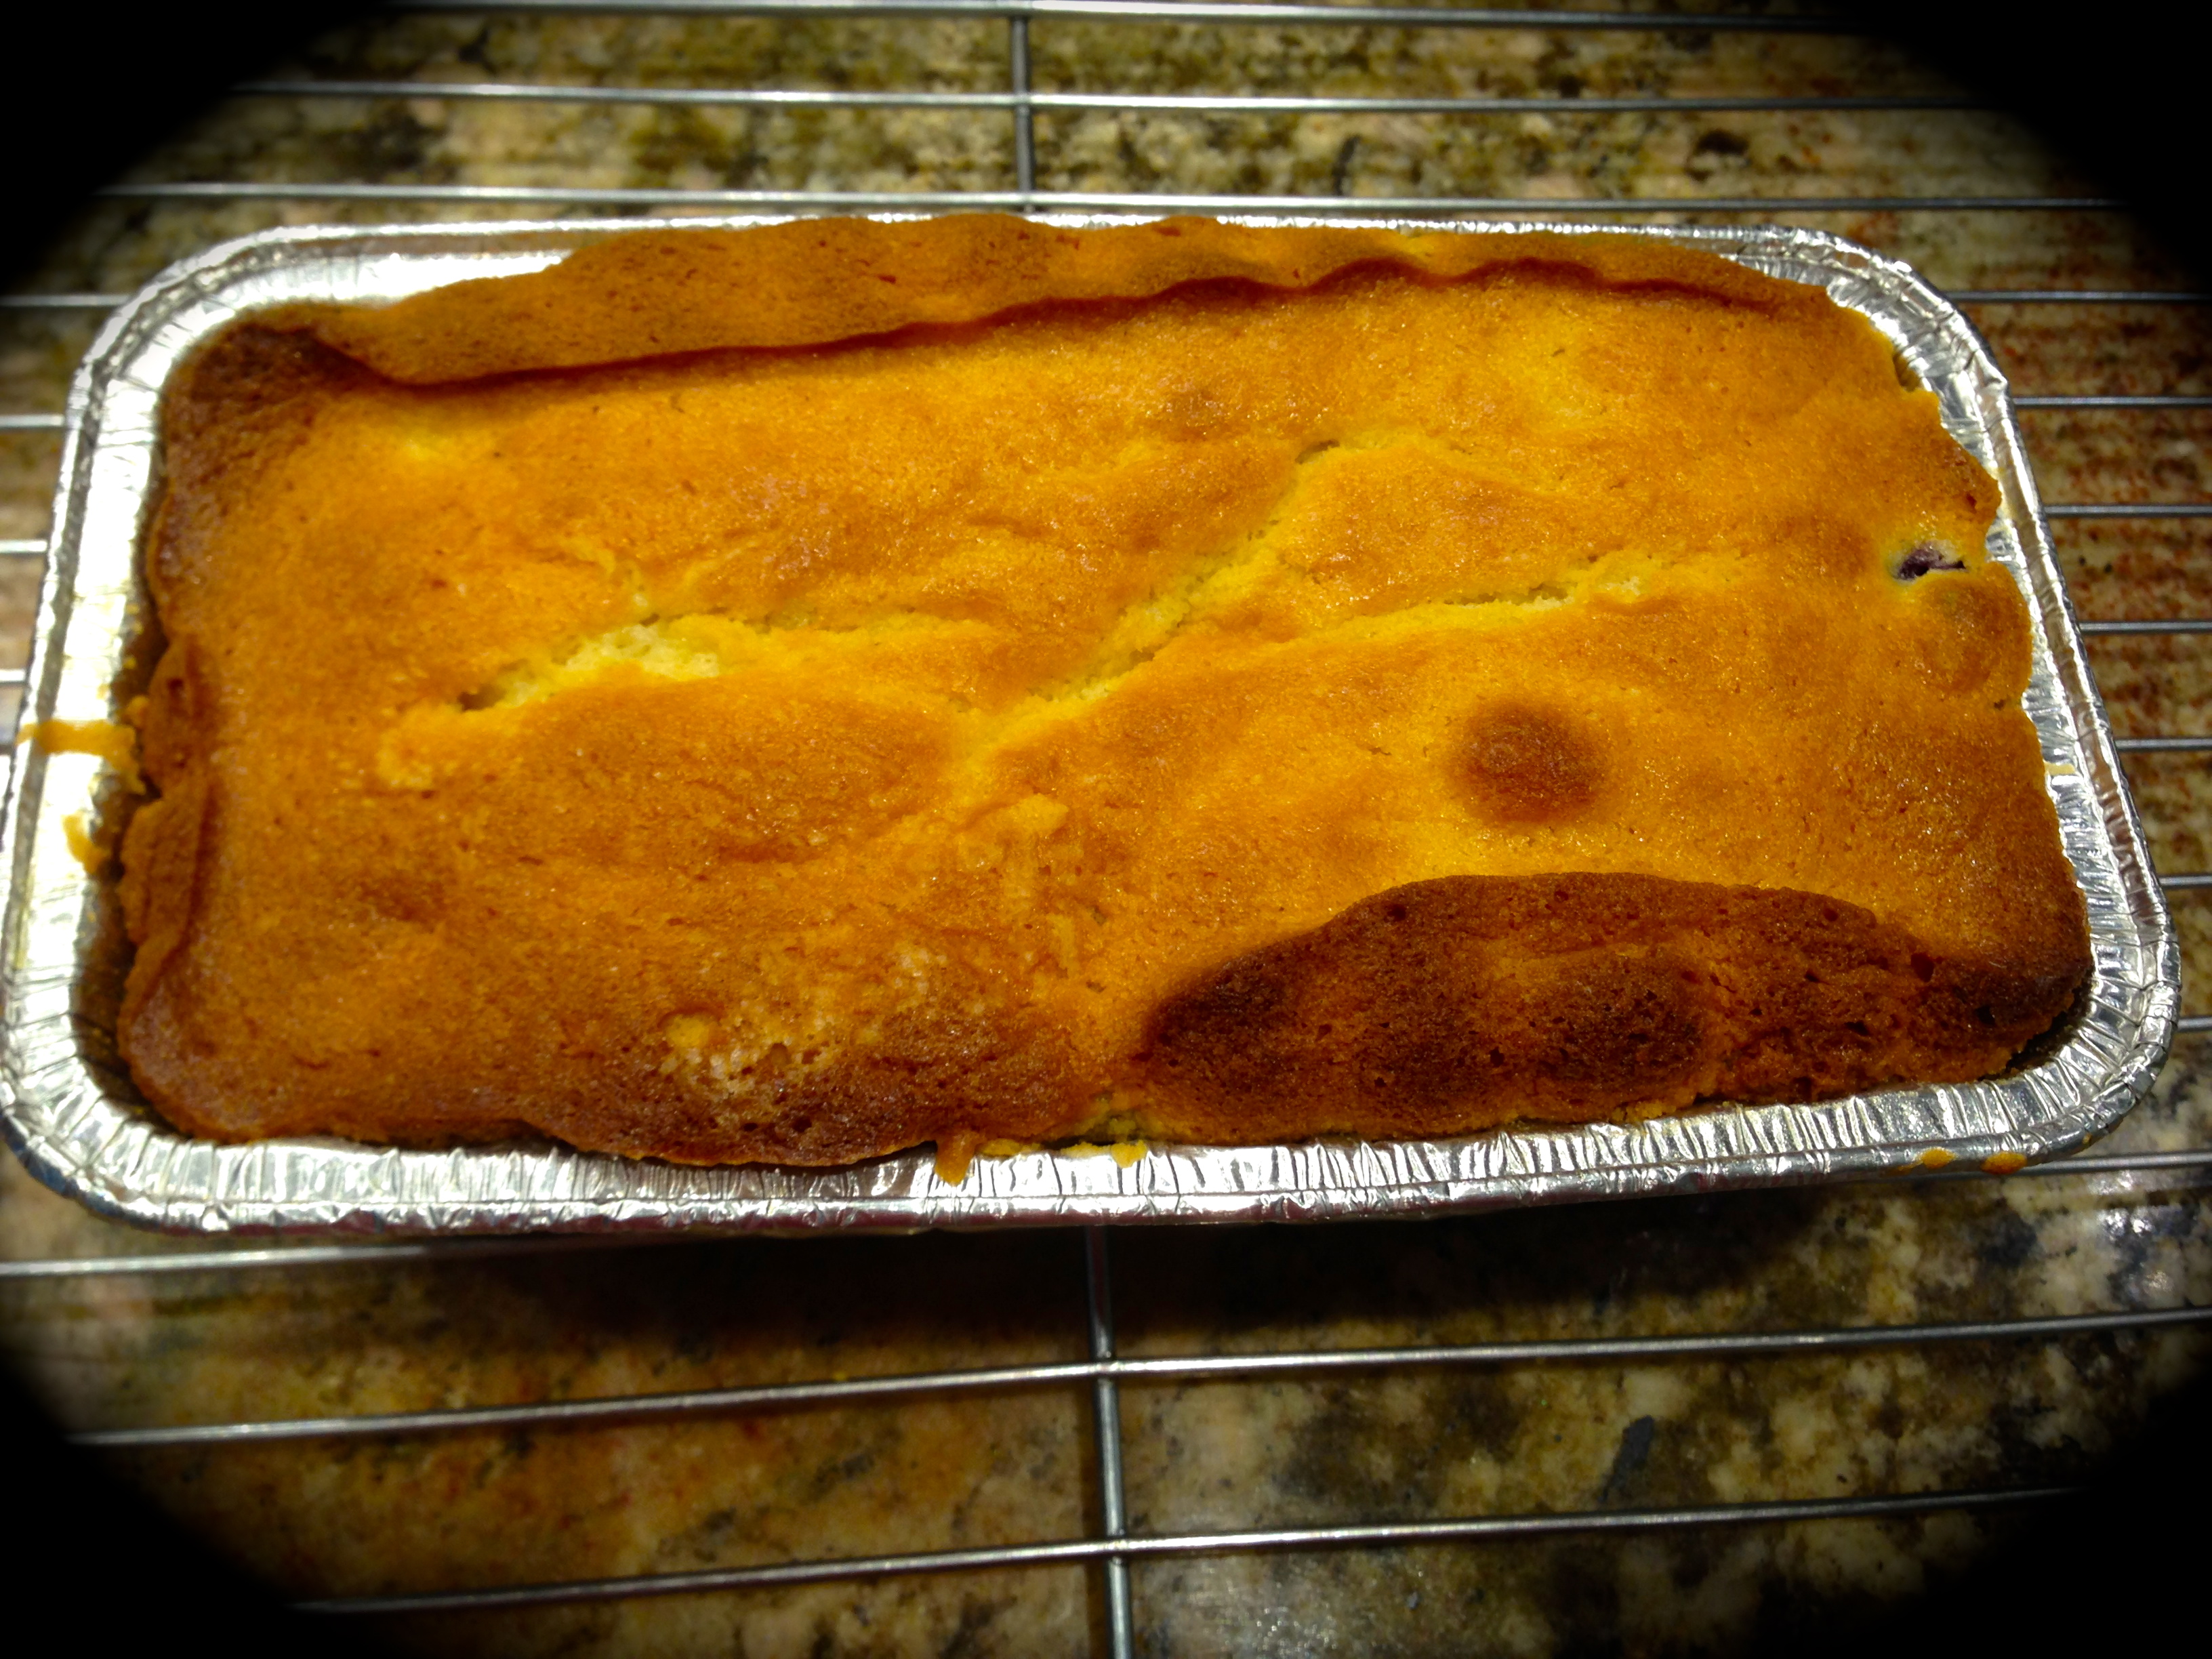
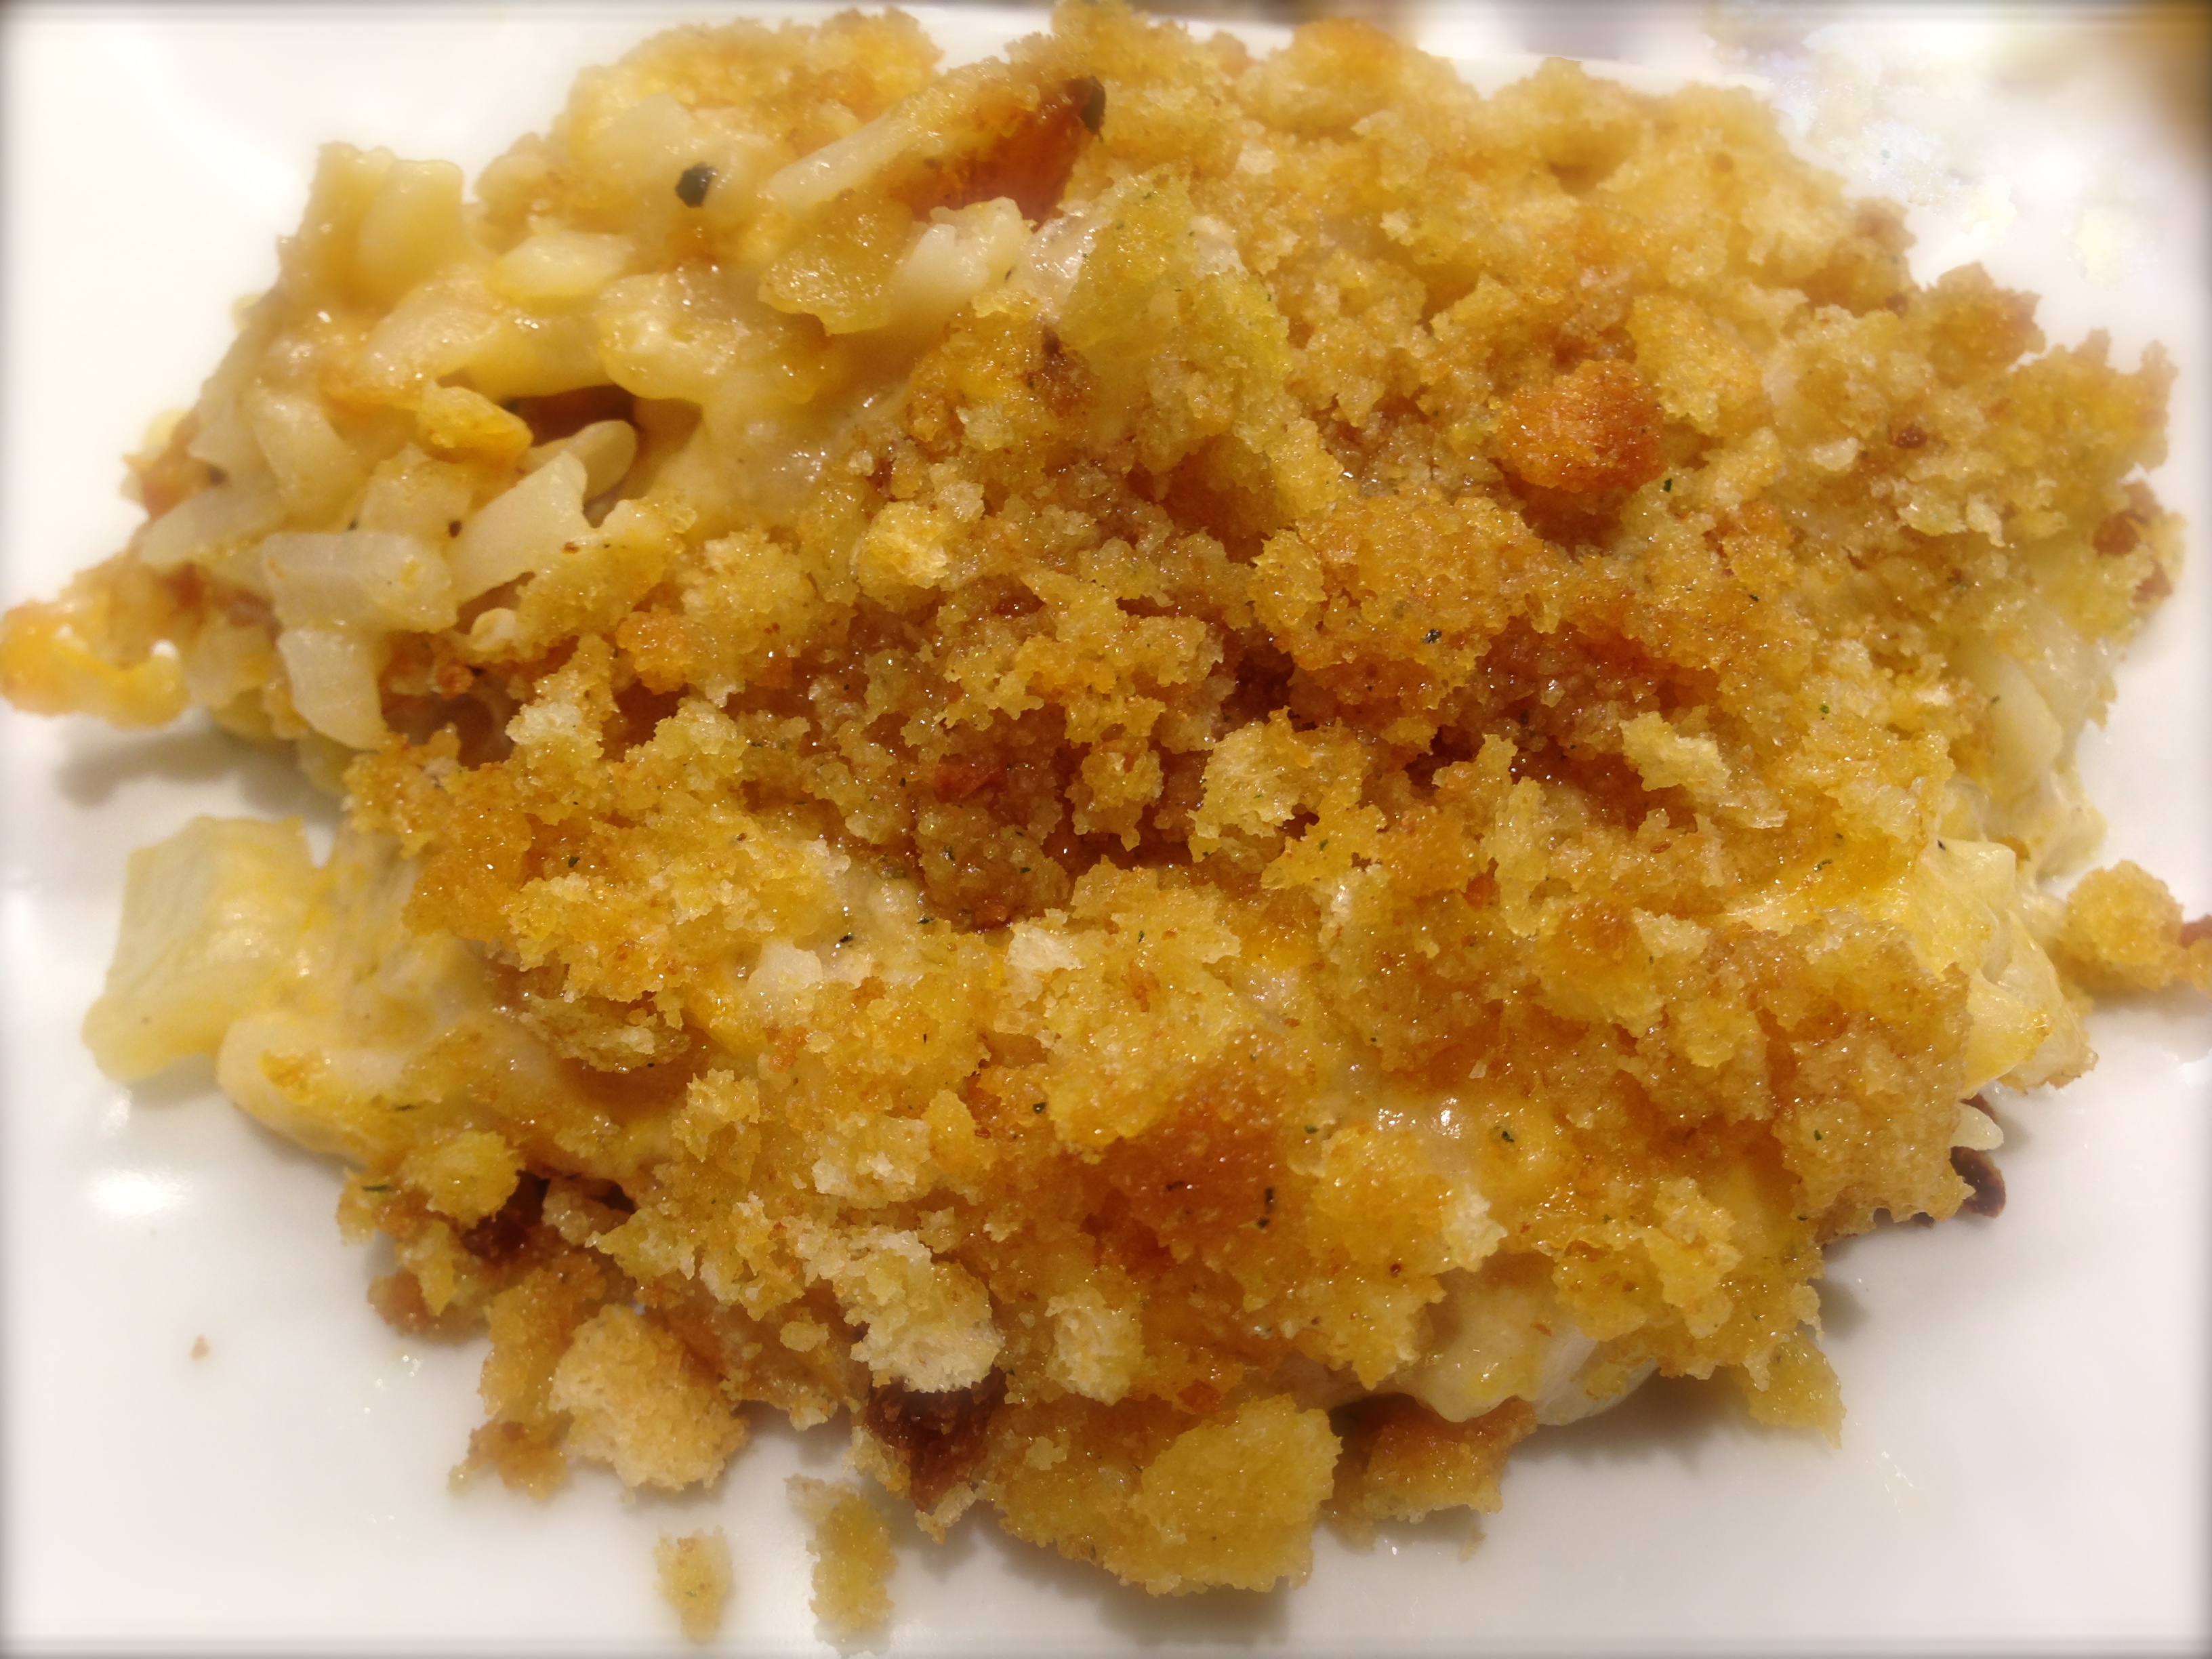
Right Out Of The Oven
Cheesy Zucchini Mushroom Bake
INGREDIENTS:
4 medium zucchini
4-6 ounces of baby portobella mushrooms sliced
3 Tbs. chopped fresh basil (this can be adjusted depending upon personal taste)
2 green onion spears thinly sliced (white and green parts)
1 tsp. fresh thyme chopped (1/2 tsp. dried thyme)
3/4 tsp. garlic powder
1 cup cheese, divided (I used a combination of mozzarella and pizza cheese – you can use more cheese if you like, I think I actually used 1 1/2 cups of these cheeses all total)
1/2 cup parmesan, divided
salt and pepper to taste
DIRECTIONS:
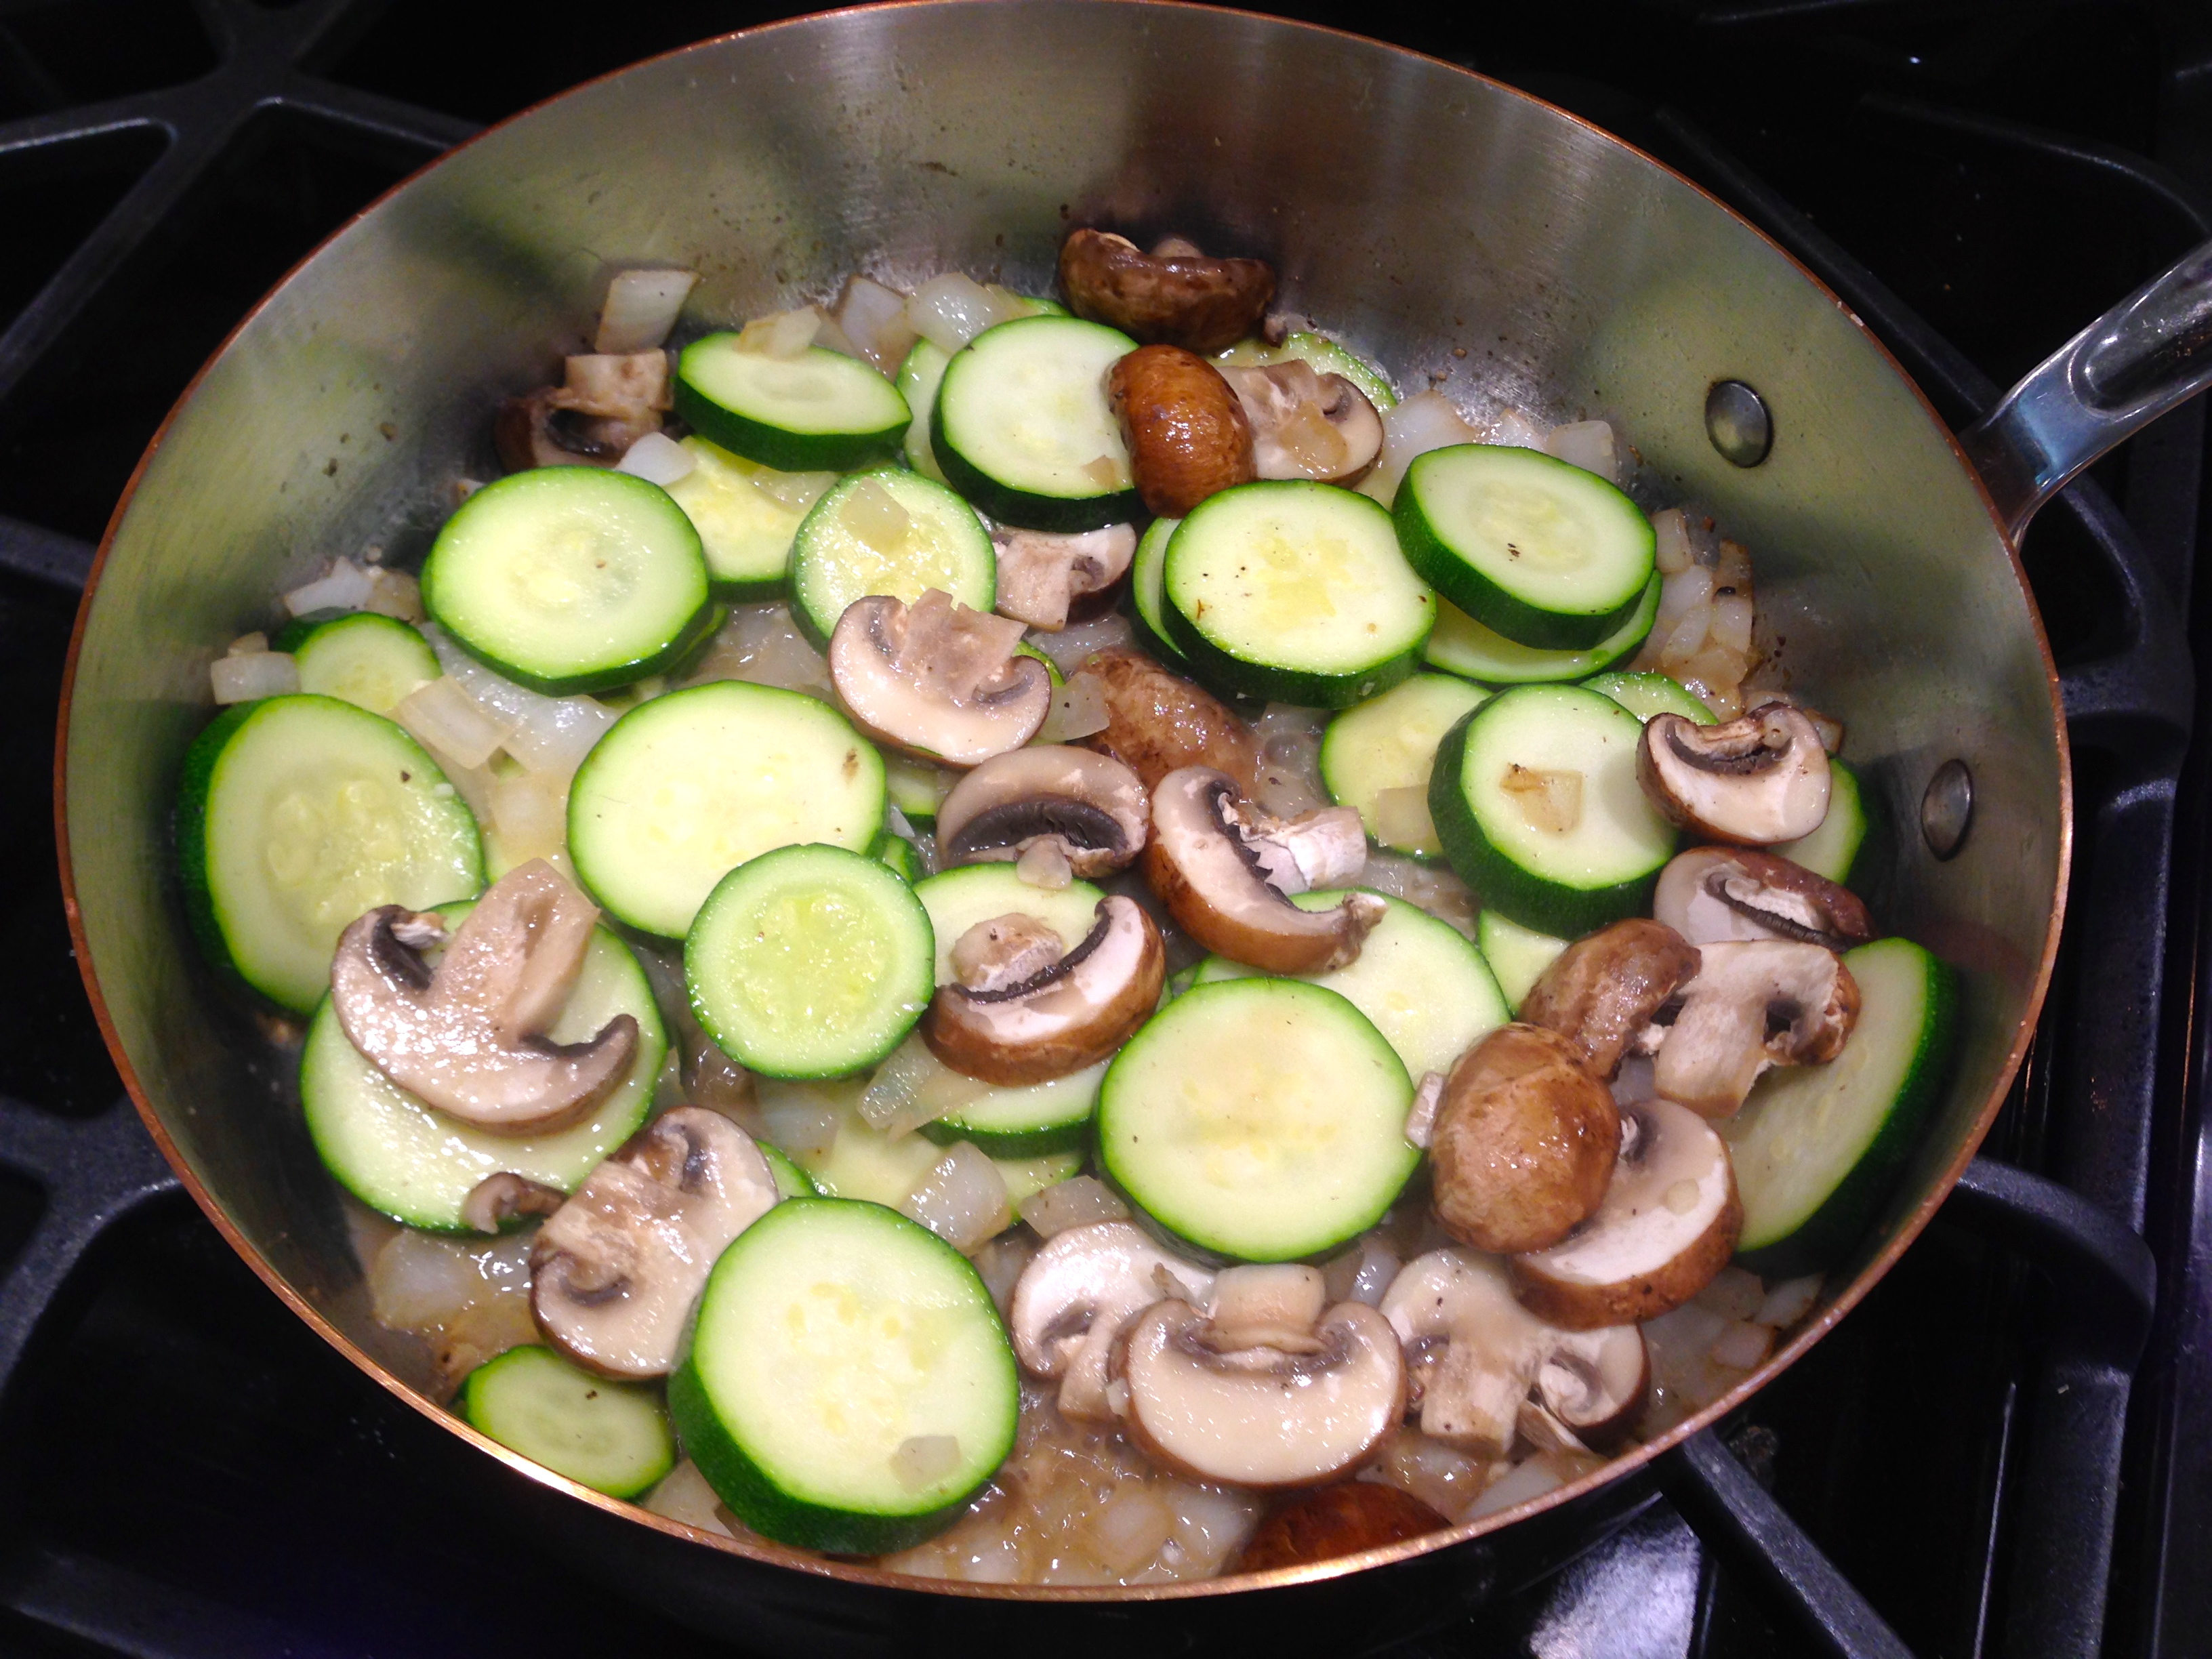
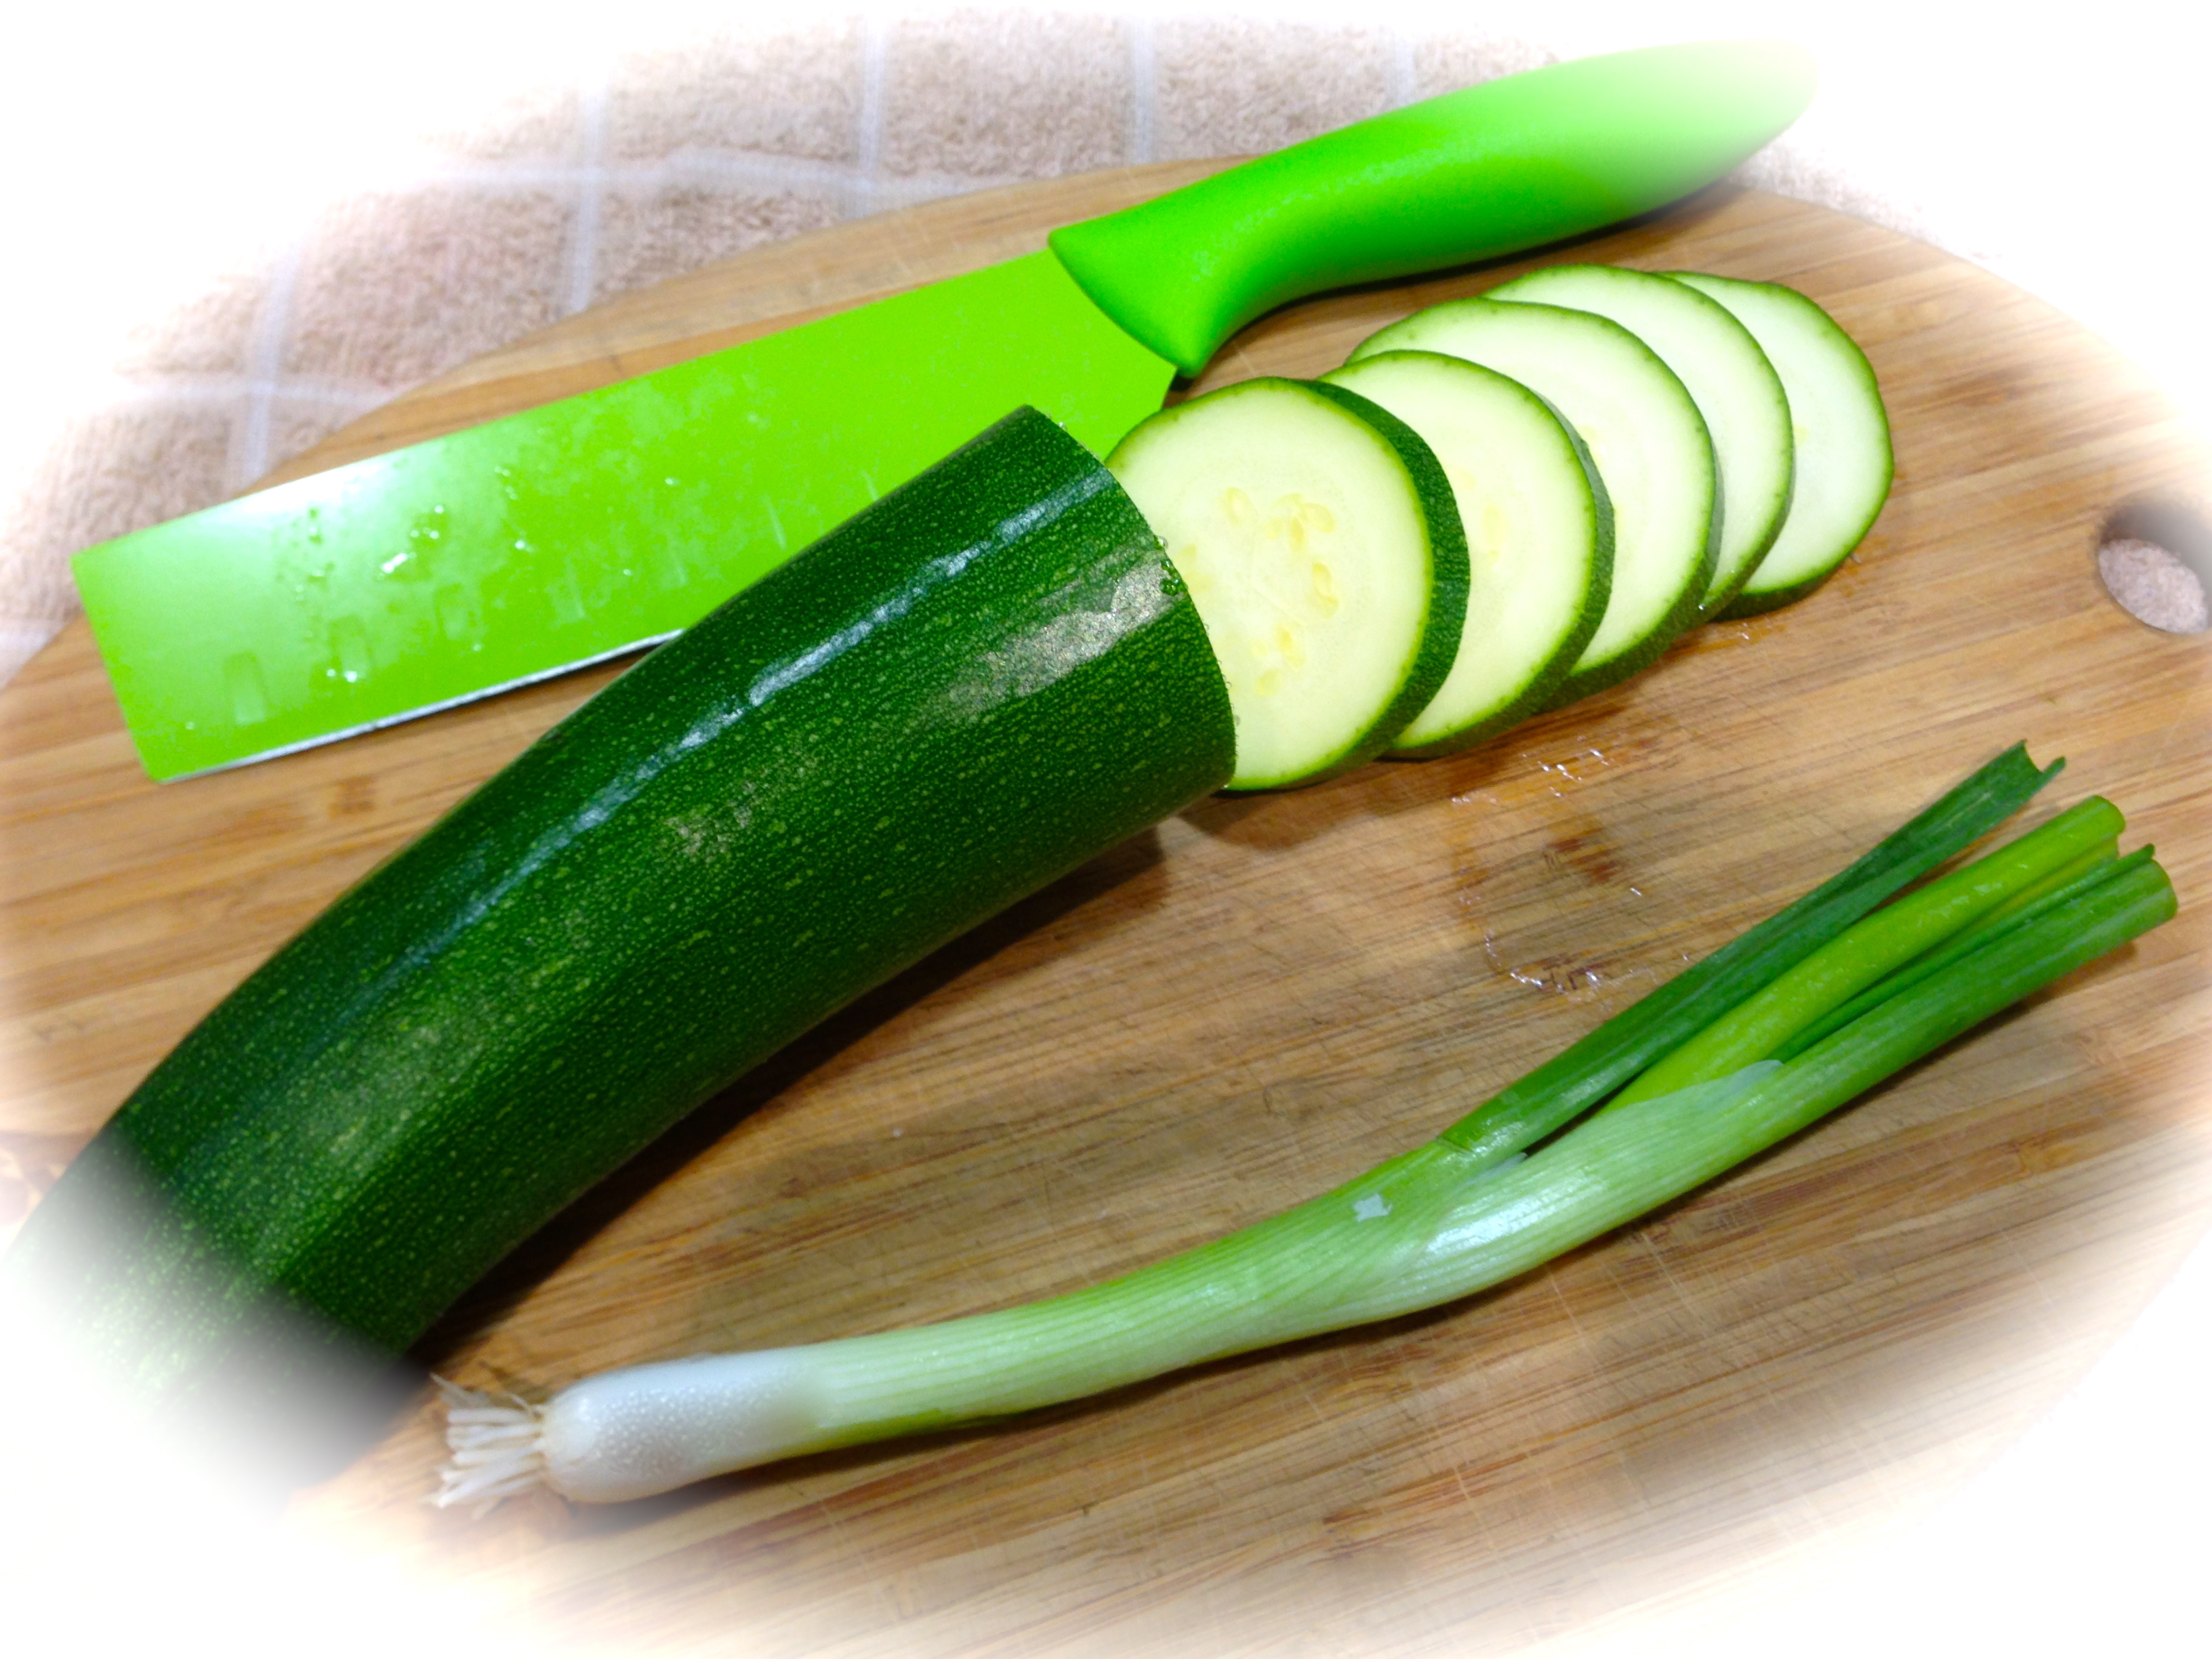
Preheat the oven to 350 degrees. Wash and cut the zucchini into half moons. Slice the mushrooms into thick slices. Finely chop the basil. Thinly slice the green onions. Chop the fresh thyme.
Combine the sliced squash, mushrooms, basil, onion, thyme garlic powder and half of each of the cheeses. Stir carefully to combine all of the ingredients making sure that the cheese and herbs are well distributed. Season with salt and pepper. Put the mixture in an 8 x 8 baking dish that has been sprayed with cooking spray. (At this point I added a little more cheese on the top). Bake uncovered for 25 minutes.
Take the dish out of the oven and sprinkle with the remaining cheese. Let bake for an additional 5 – 10 minutes then place casserole under the broiler for the last 5 minutes. Let stand for a few minutes and serve.
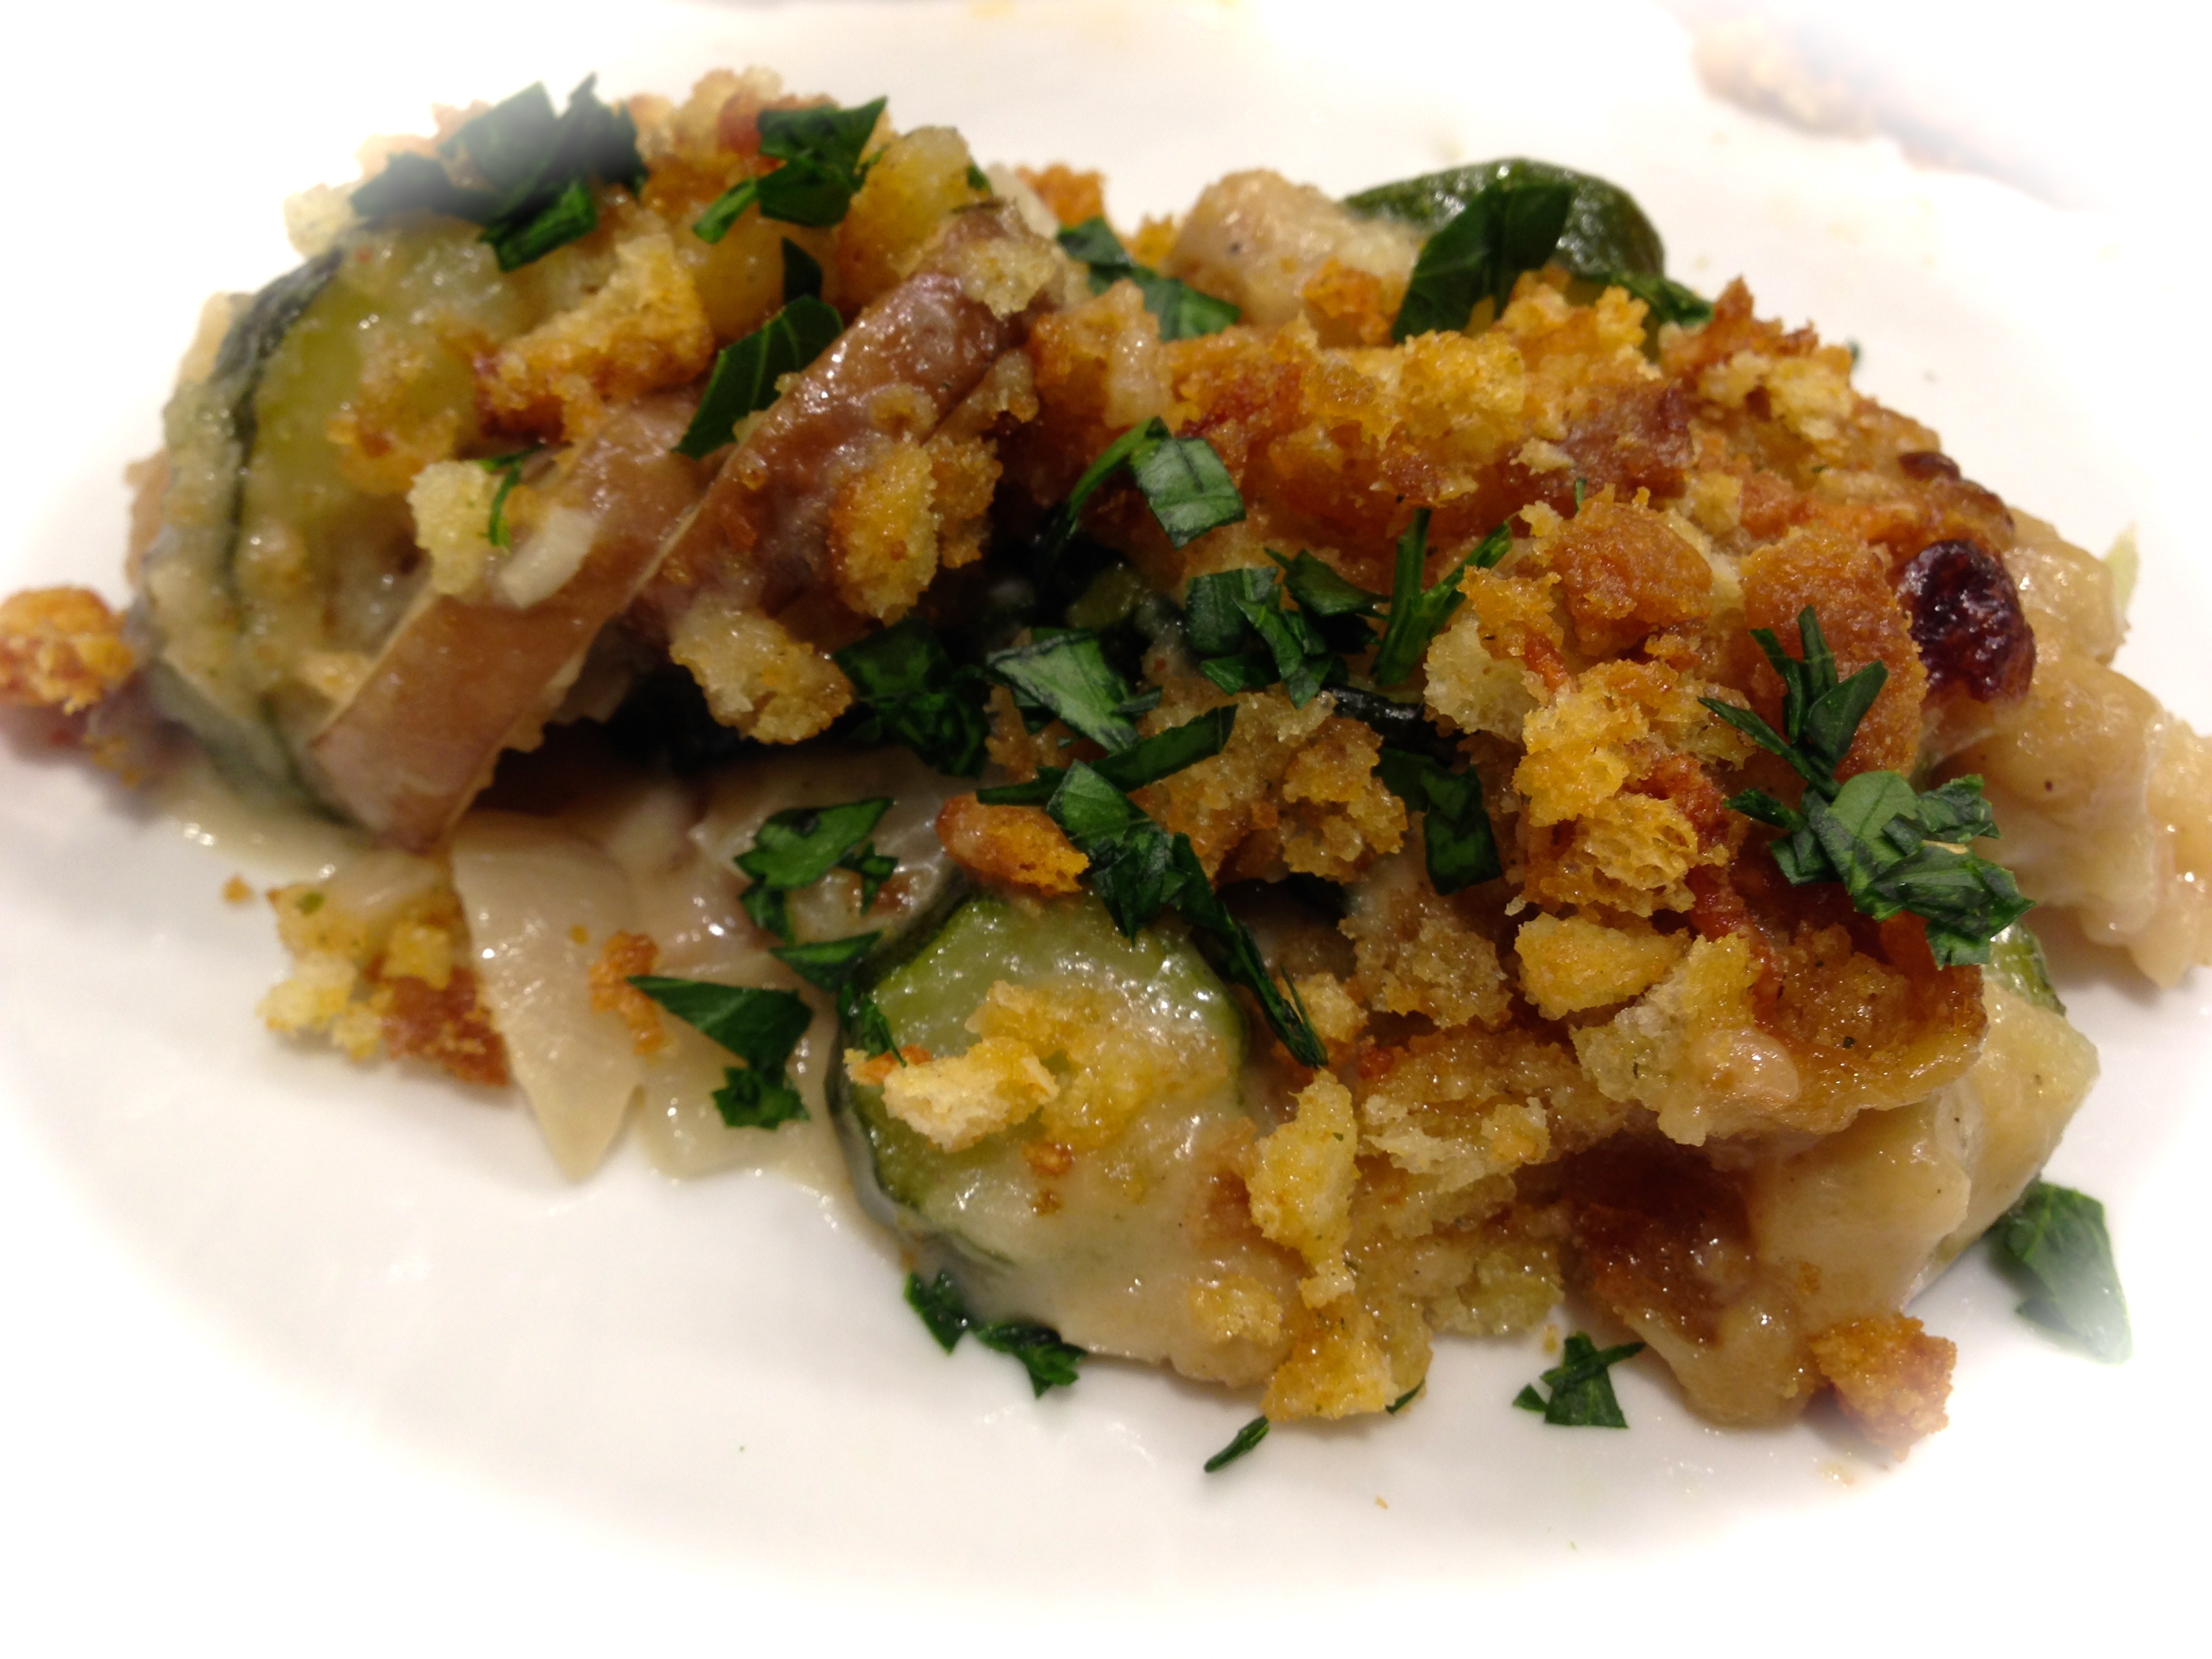
Cheesy Zucchini Mushroom Bake
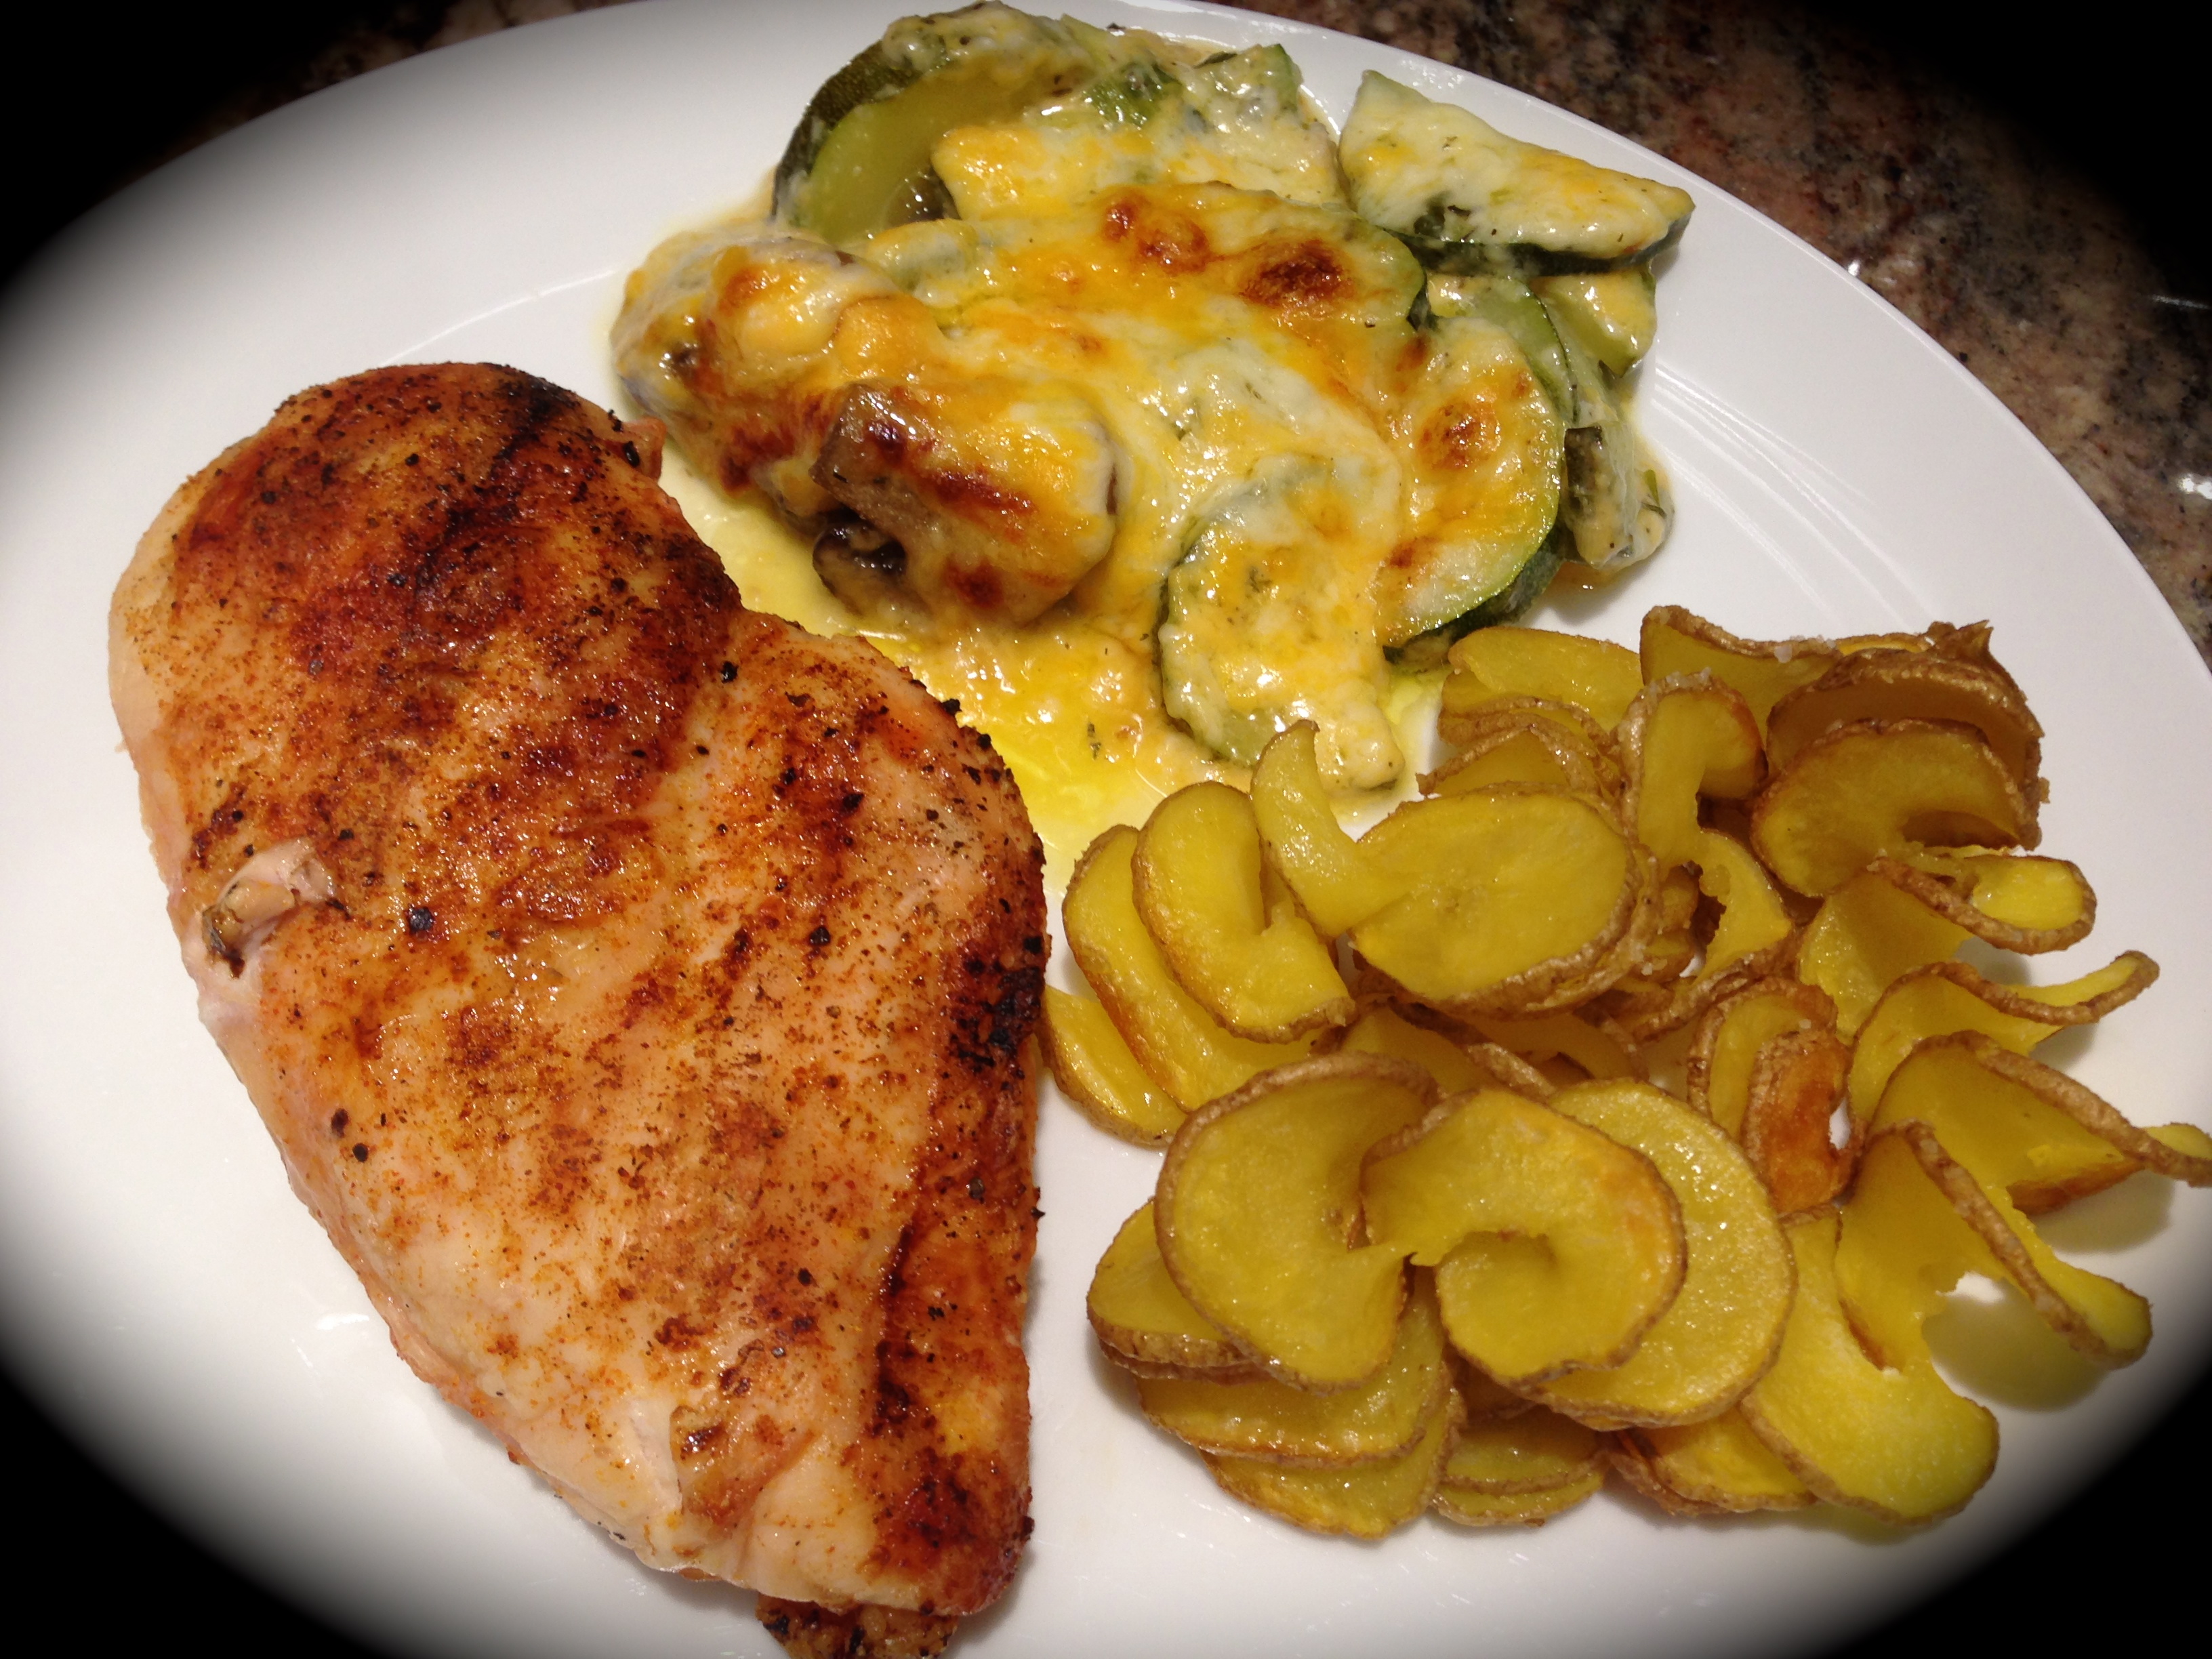
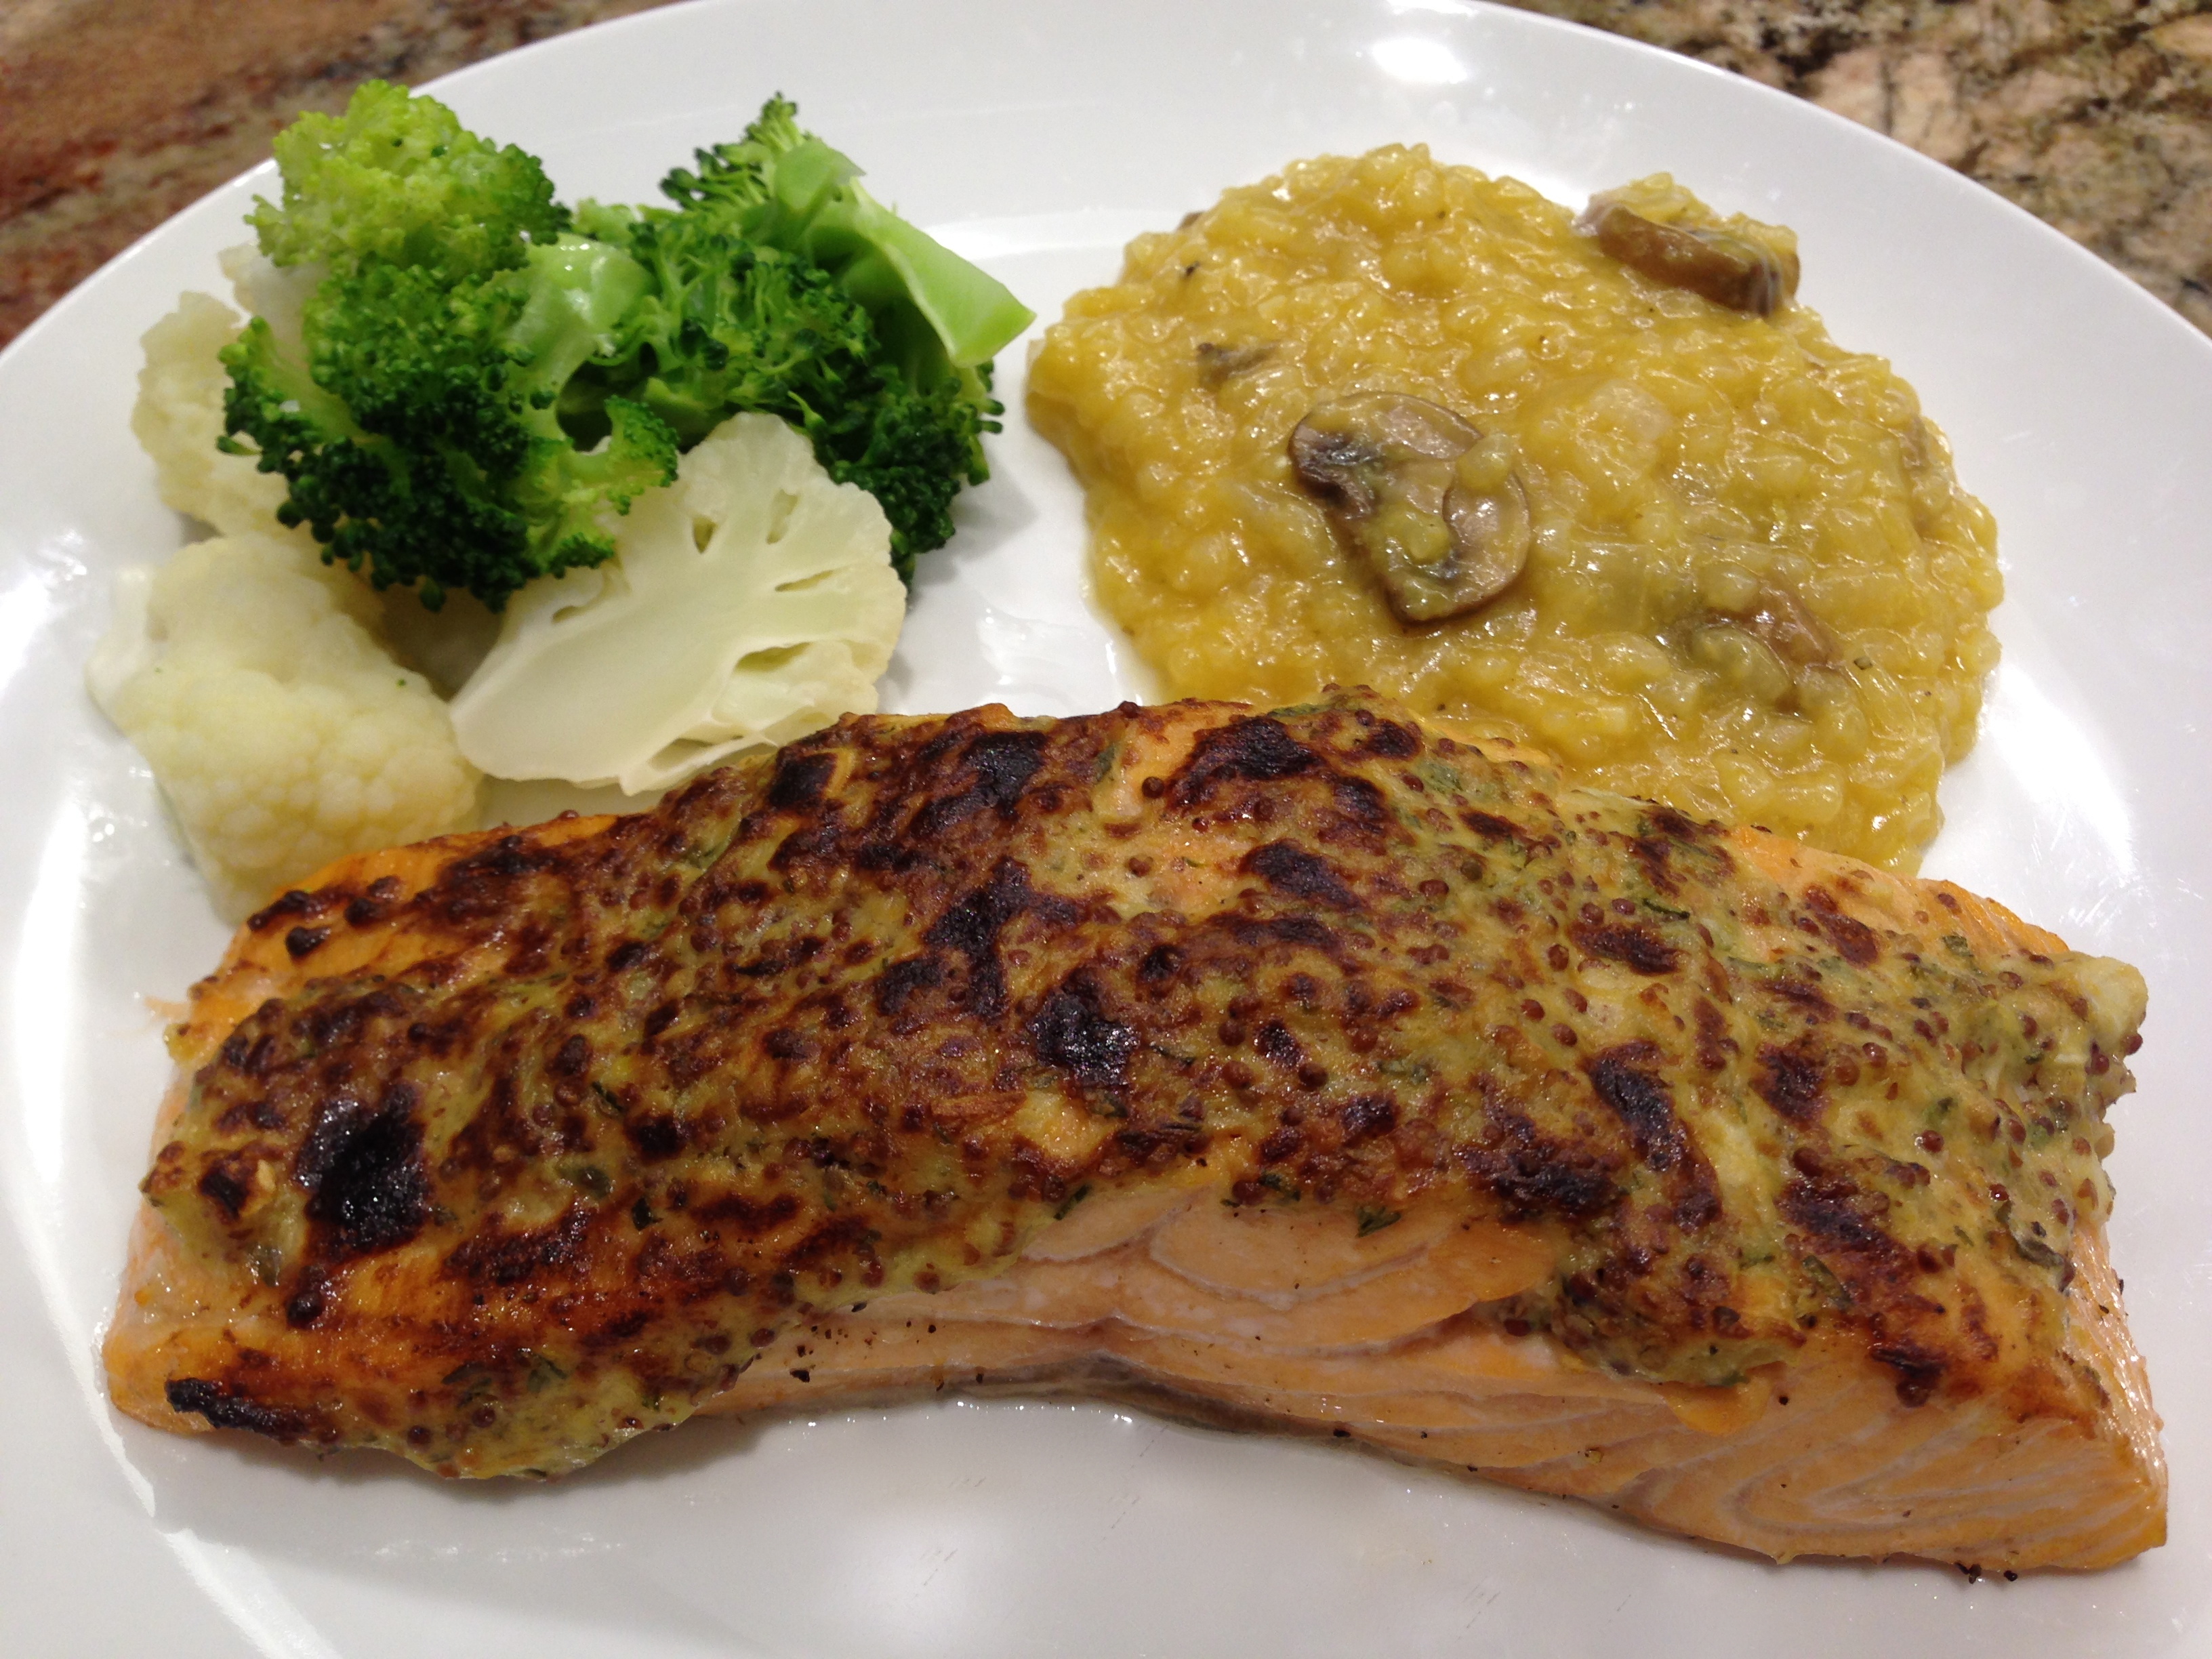
Serving Suggestion: With Grilled Chicken Breast and Oven Baked Potato Chips