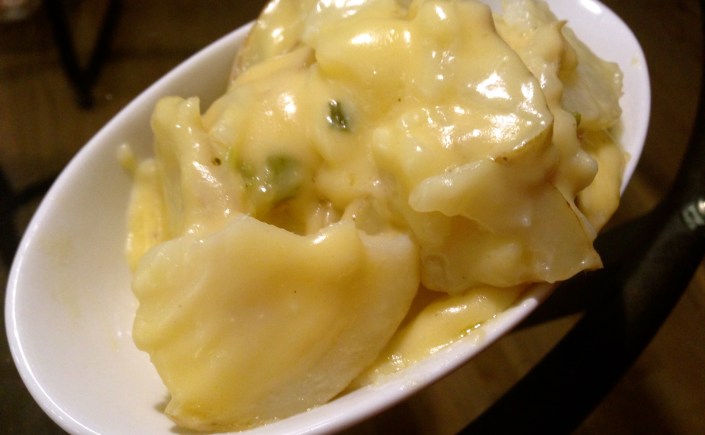
Cheesy Potato and Green Onion Casserole…

For years I bought boxed potatoes to make potato casseroles to accompany a meal. The boxes contain a sleeve of freeze dried potatoes that look like petrified potato chips with a pouch of powdered cheese and flavorings, depending upon what kind you purchased (scalloped, au gratin, sour cream and onion, etc). To that you add some butter, water and milk, mix the conglomeration together and bake it in the oven. I never really thought about it, I just did it for the convenience of it all. NEVER AGAIN!

In previous blogs I’ve mentioned how over time I’ve begun to realize that there are many things you can easily make from scratch versus buying them pre-prepared at the grocery store. Things like applesauce, cranberry sauce, rouxs, pickles, soups, gravies, macaroni and cheese – the list can go on and on. The point is when you make something from scratch you control what goes into it. You control the sugars and sodium. You control the color naturally versus using dyes to achieve the desired affect. I’ve never made anything from scratch that included ingredients I could not pronounce much less spell, but I see them all the time on the packages at the grocery store.

I think we’ve come to believe that in the name of convenience it is ok to use prepackaged pre-prepared foods. And I am not one to point a finger at them, I’ve used them all my life. I guess what I’m trying to say here is that as I’ve become more adept in the kitchen I realize how easy it is to make things from scratch and in the end how much better that is for you. Don’t worry, I am not a purist. I’m sure in the name of convenience I will use a pre-prepared item myself from time to time. But more and more I’ve moved away from them and haven’t noticed a big difference in the time it takes to make certain things. Hence this recipe I am about to share.
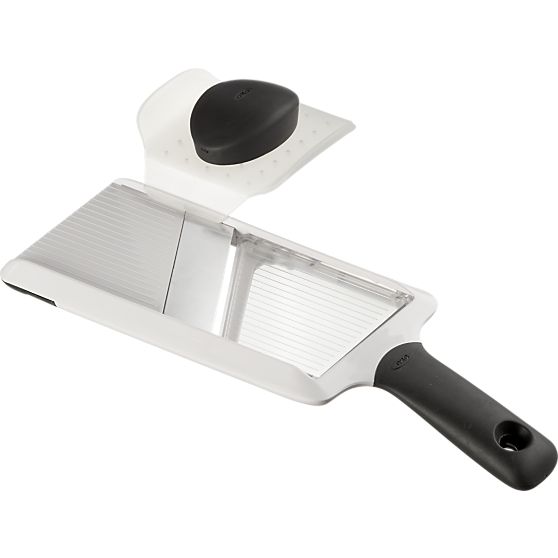
oxo-hand-held-mandolineWhat makes this recipe so easy to make is a simple tool known as a mandolin slicer. There are tons of varieties out there, and the one in the picture to the right is what I use. When I publish something like this I always have to use the disclaimer that I work at Crate and Barrel. We carry a few varieties of mandolin slicers and this one is pretty affordable. I like it because it gives you a couple of different slicing widths, works well and it has the hand protector. But you can get a mandolin slicer just about anywhere and they can range in price from being extremely cheap to very expensive. If you invest in one, just make sure you at least get one that has some sort of hand protector.

One thing I have to stress here – if not used properly a mandolin slicer can be VERY DANGEROUS. You can slice a piece of your finger off just as easily as a piece of potato if you are not careful. Even with a hand guard you have to be very mindful when using one. The blades on these slicers are very sharp and before you know it, if you are not careful, you can really hurt yourself. So always use a mandolin slicer with the utmost care.

That being said, it is a great tool for quickly slicing things like potatoes, carrots, onions, etc. and getting even slices all the time. The key to success in this potato casserole recipe is the thin evenness of the potato slices. A mandolin slicer can give you that in no time flat (see the picture below). It would take much longer to do this by hand and the discs would not be nearly as precise in width.  So let’s talk a little bit about the lessons I learned developing this recipe.
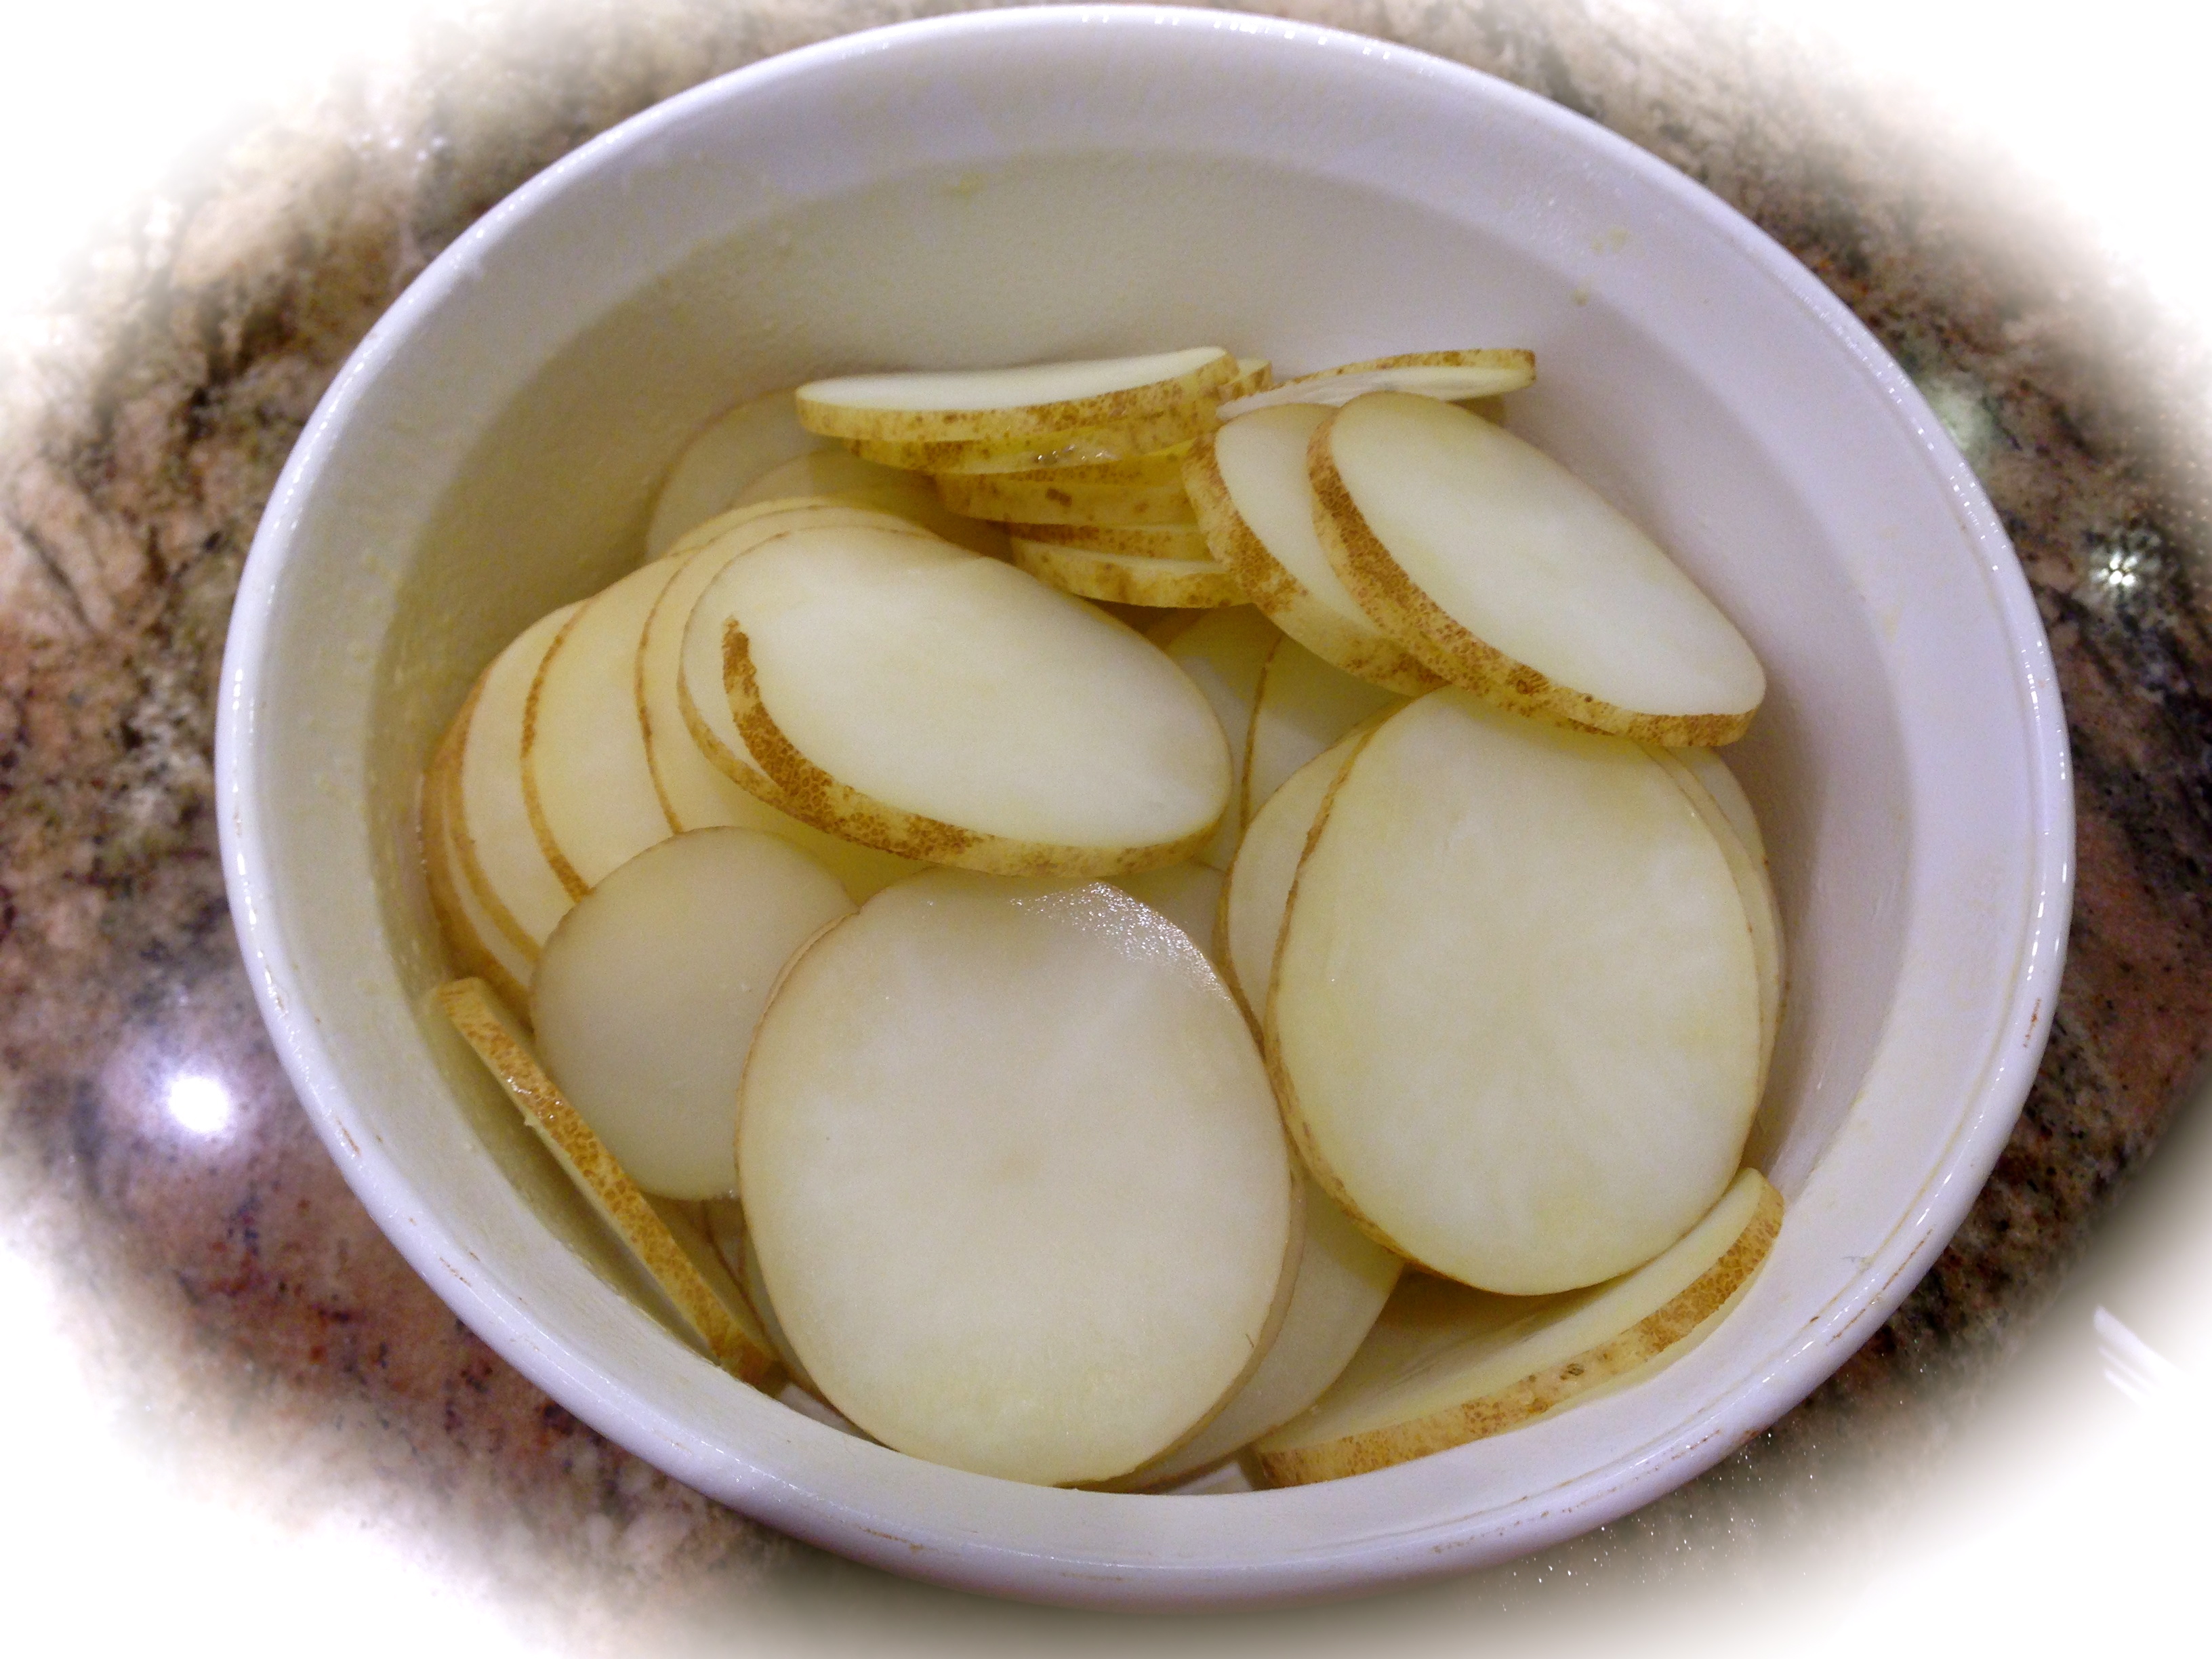
IMG_2270

Lesson Learned 1 – Always use the mandolin slicer with the utmost care: I can’t help it, this just bares repeating. You won’t believe how easy it is to hack off a chunk of skin with this device. Please be careful using it. But when you use it safely, you will be amazed at how quickly you can produce nice even sized pieces of whatever you are slicing.

Lesson Learned 2 – This recipe is adaptable to a wide variety of cheeses: Normally some sort of cheddar cheese is a staple for this recipe. But over the holidays I had a disc of brie that I’d bought to make a holiday appetizer and I just mixed some of the remaining brie with the cheddar. Divine is all I can say about that. Gruyere is also a good cheese to use as well. Any good melting cheese or combination of compatible melting cheeses will do.

And speaking of melting cheese, don’t use prepackaged grated cheese. Those cheeses have an ingredient in them that keeps the grated pieces from sticking together. That ingredient also makes those cheeses difficult to melt. Grate the cheese yourself. You’ll get a much better consistency and much better flavor
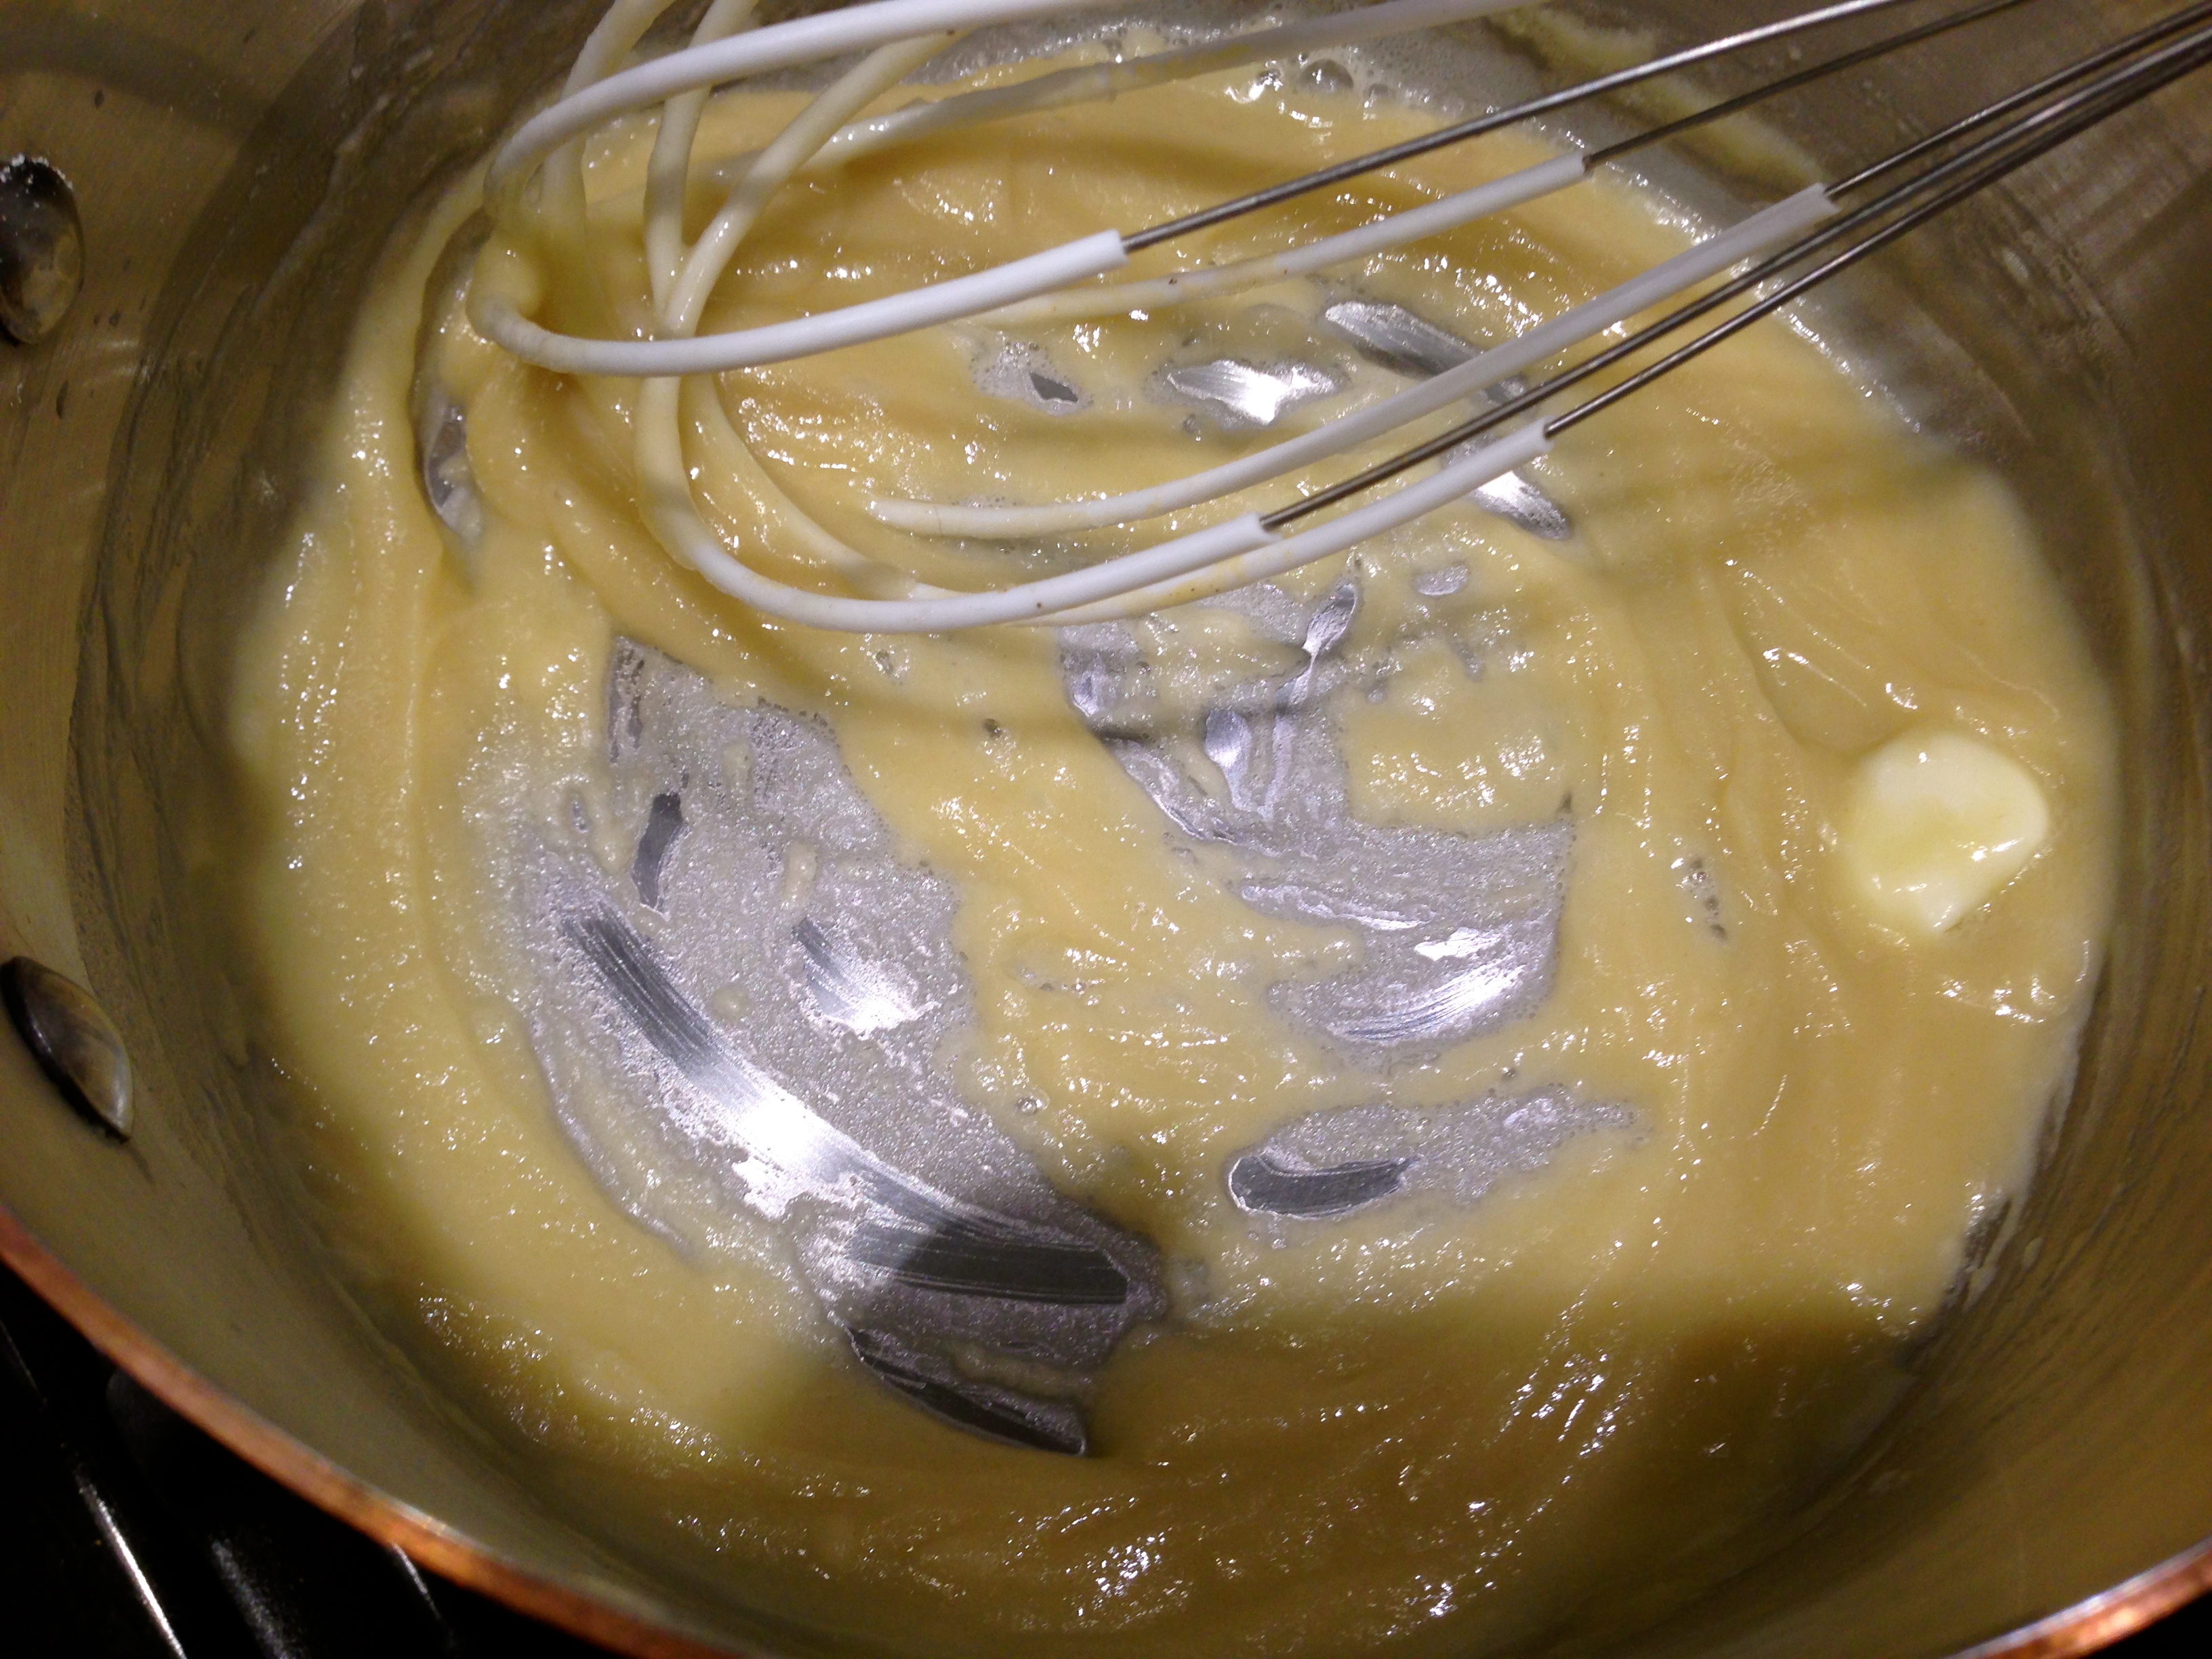
The consistency of a roux

The consistency of a roux

Lesson Learned 3 – The formula for making any roux: Making a roux is the key to almost any homemade sauce or gravy. And you won’t believe how easy it is. All you have to do is remember one simple formula: equal parts butter and flour. This particular recipe uses three tablespoons of butter and 3 tablespoons of flour to create the roux. The amount you use can vary based on the size of the recipe. But remember it is always equal parts of each. The picture on the left shows what the consistency should look like, almost that of a thick, creamy paste.

I could not believe how simple this was to make and so much better than the boxed varieties. Play around with this one to see if you can create the flavor of cheese sauce you prefer the most. Right now I’m a cheddar and brie girl so that is how I am writing the recipe. But don’t be afraid to experiment with this one. I promise anything you do will be so much better than the boxed version of what you make. Enjoy!
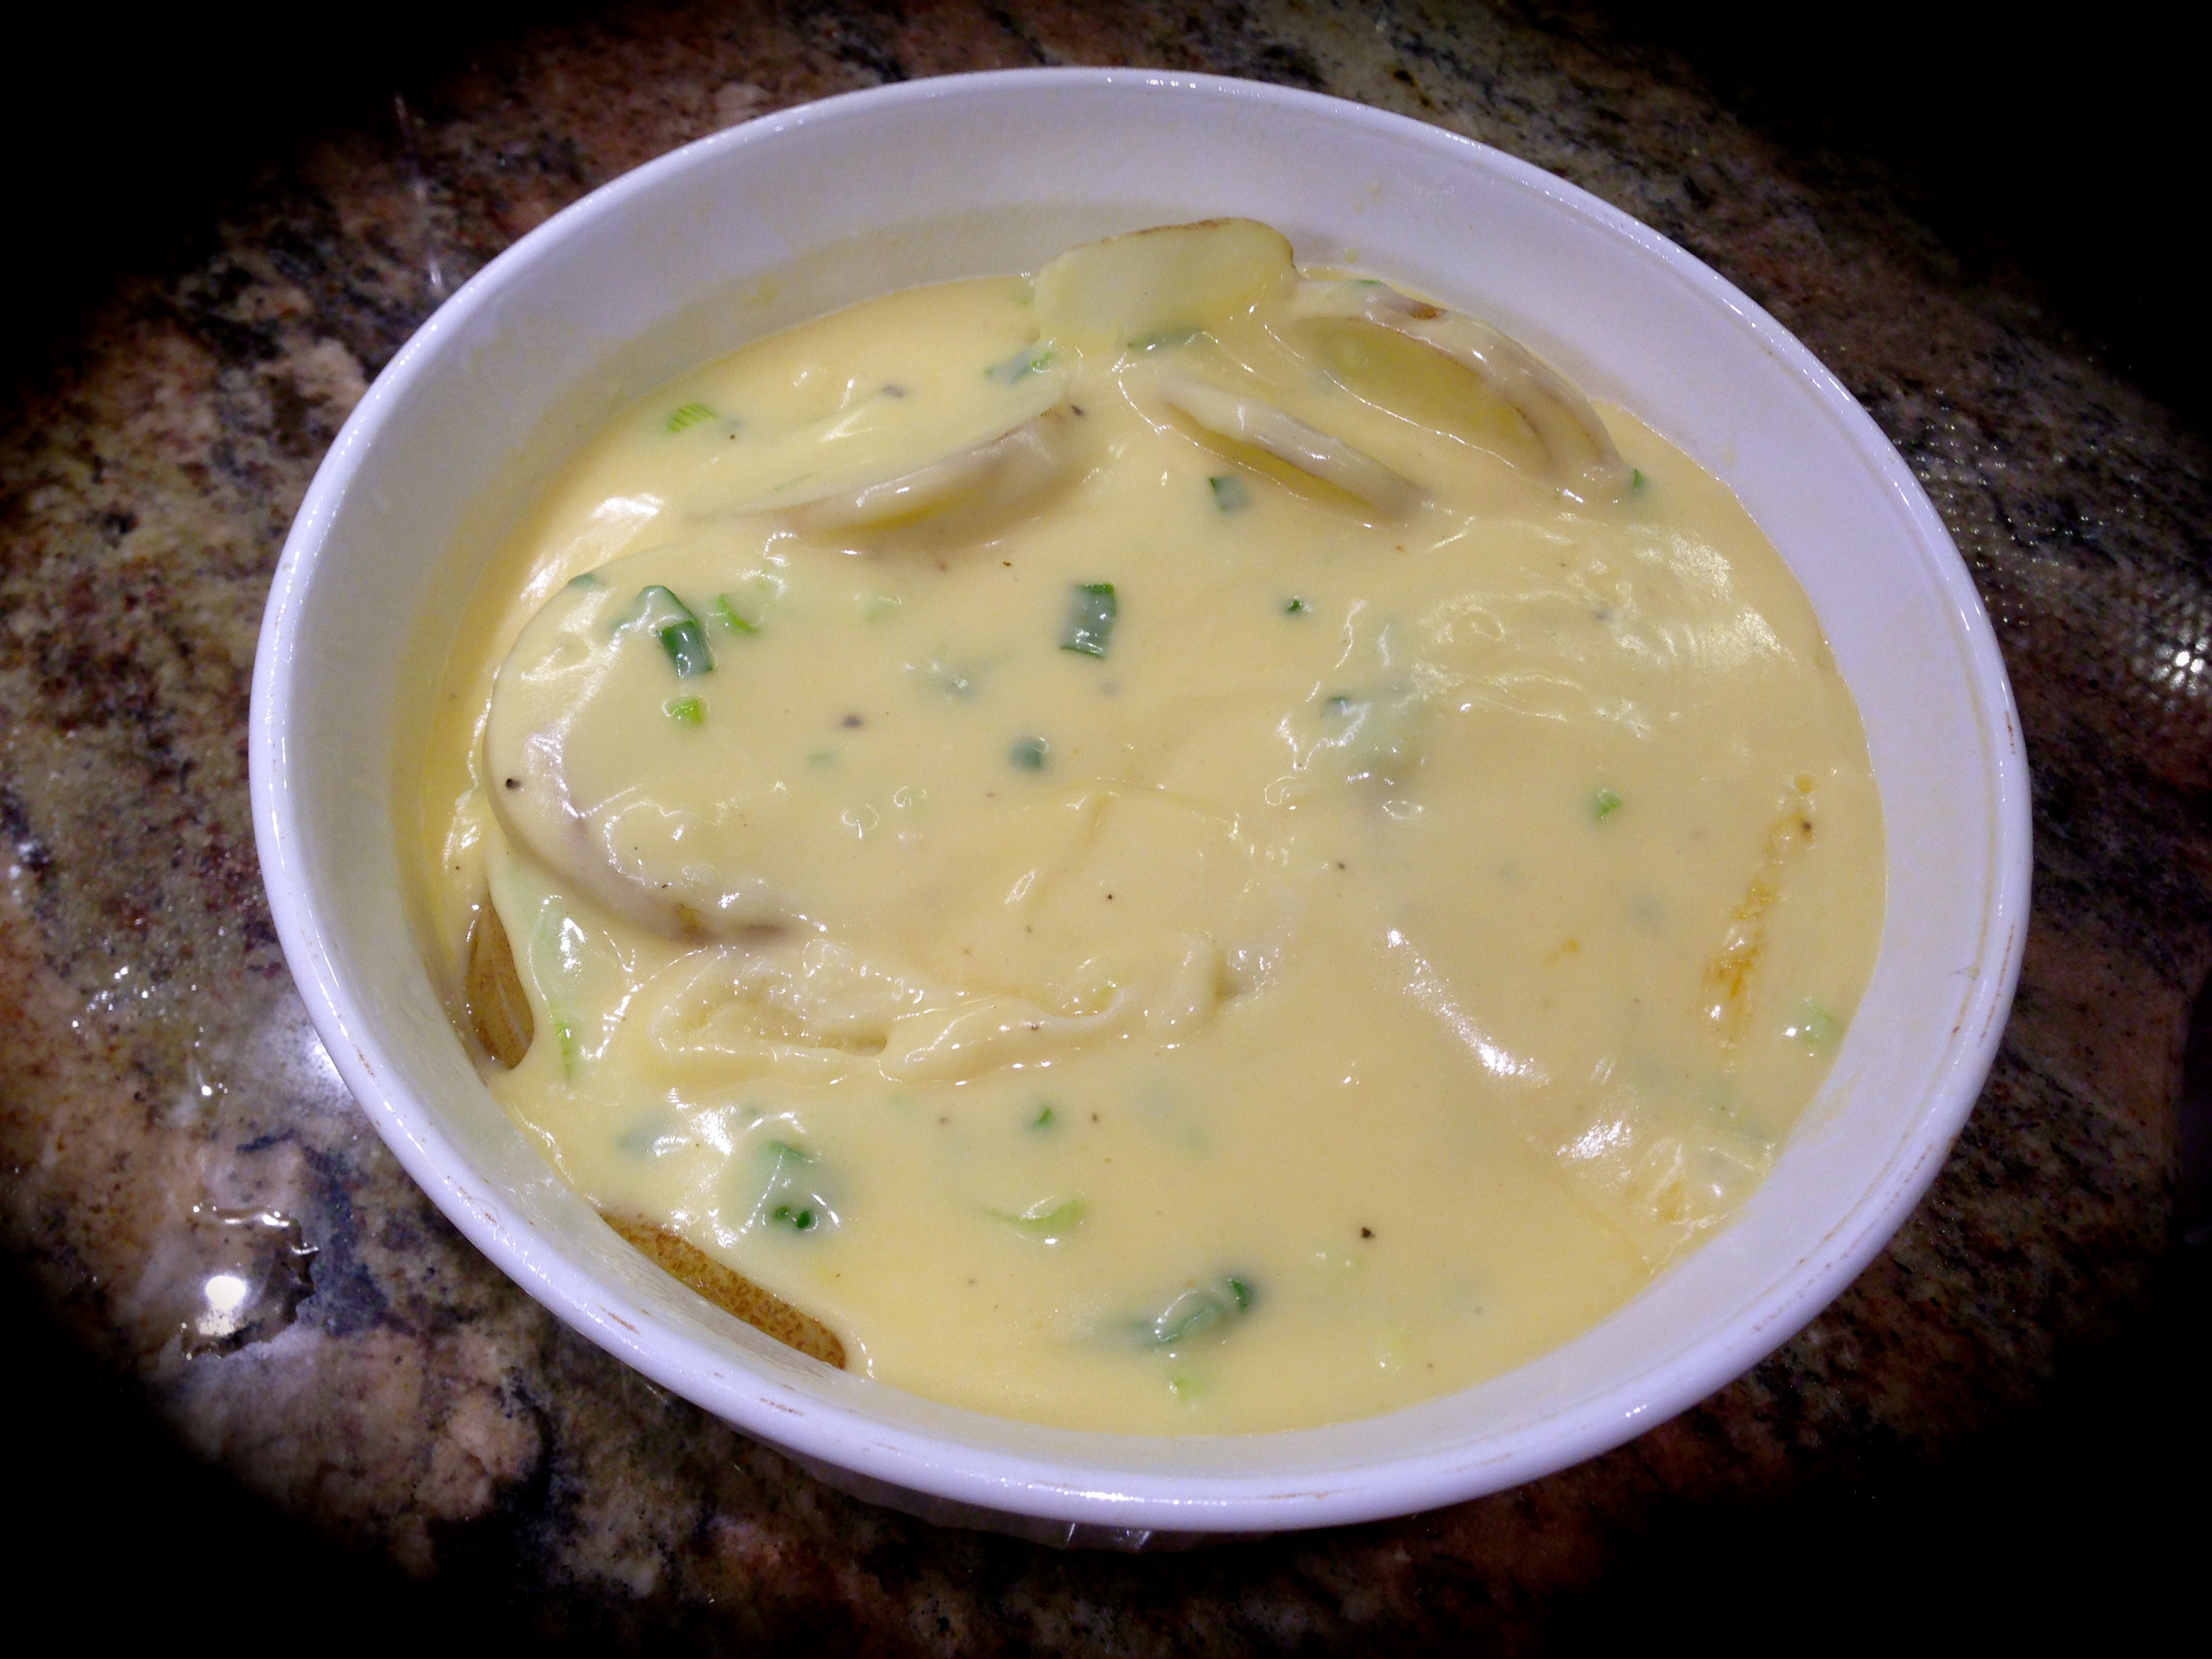
Ready to pop into the oven...

Ready to pop into the oven…

Cheesy Potato and Green Onion Casserole…

  • Servings: 4
  • Difficulty: Easy
  • Print

INGREDIENTS:

2-3 large white russet potatoes, unpeeled

3 Tbs. butter

3 Tbs. flour

3-4 green onions, diced (use the green parts of the onion as well)

2 cloves garlic

1 tsp garlic powder

1 1/2 cups milk

1 cup grated cheddar cheese

1/2 cup brie cheese, cut into small pieces

Salt and pepper to taste

DIRECTIONS:

Preheat the oven to 375. Remove the skins from two cloves of garlic and drop them in a pot of cold water. Bring the pot of water to a boil on the stove, making sure the water is well salted. While the water is heating, cut the russet potatoes into 1/8 inch slices and put them in a bowl of cold water so they do not begin to brown. Slice the green onions and set aside. Grate the cheddar cheese and cut the brie into small pieces. Set both of them aside.

Once the water is boiling, put the potato slices in the water and cook them for about 5 minutes or until they just begin to soften.  When the potatoes begin to soften, gently remove them from the pan, drain them and pat them dry removing as much excess water as possible. Remove the discard the garlic cloves.

In a saucepan under medium heat, melt the butter. Add the flour and stir for about a minute until the mixture becomes a creamy paste (make sure to cook for about a minute so that there will be no flour taste). Add the milk and raise the heat to medium high. Once the milk begins to bubble you will notice it starting to thicken. Keep stirring the milk until it becomes thick. Once it thickens, add the garlic powder and cheeses. Stir until the cheeses are completely melted. Add the green onions and combine. Taste the mixture and add salt and pepper as needed. Remove the mixture from the heat.

Place the potatoes in a 1 1/2 quart casserole dish that was sprayed with cooking spray. Pour the cheese mixture over the potatoes. Bake at 375 for 50-55 minutes or until the potatoes are cooked through. For a finishing touch, at the end place the casserole dish under the broiler for a minute or two to brown the cheese.
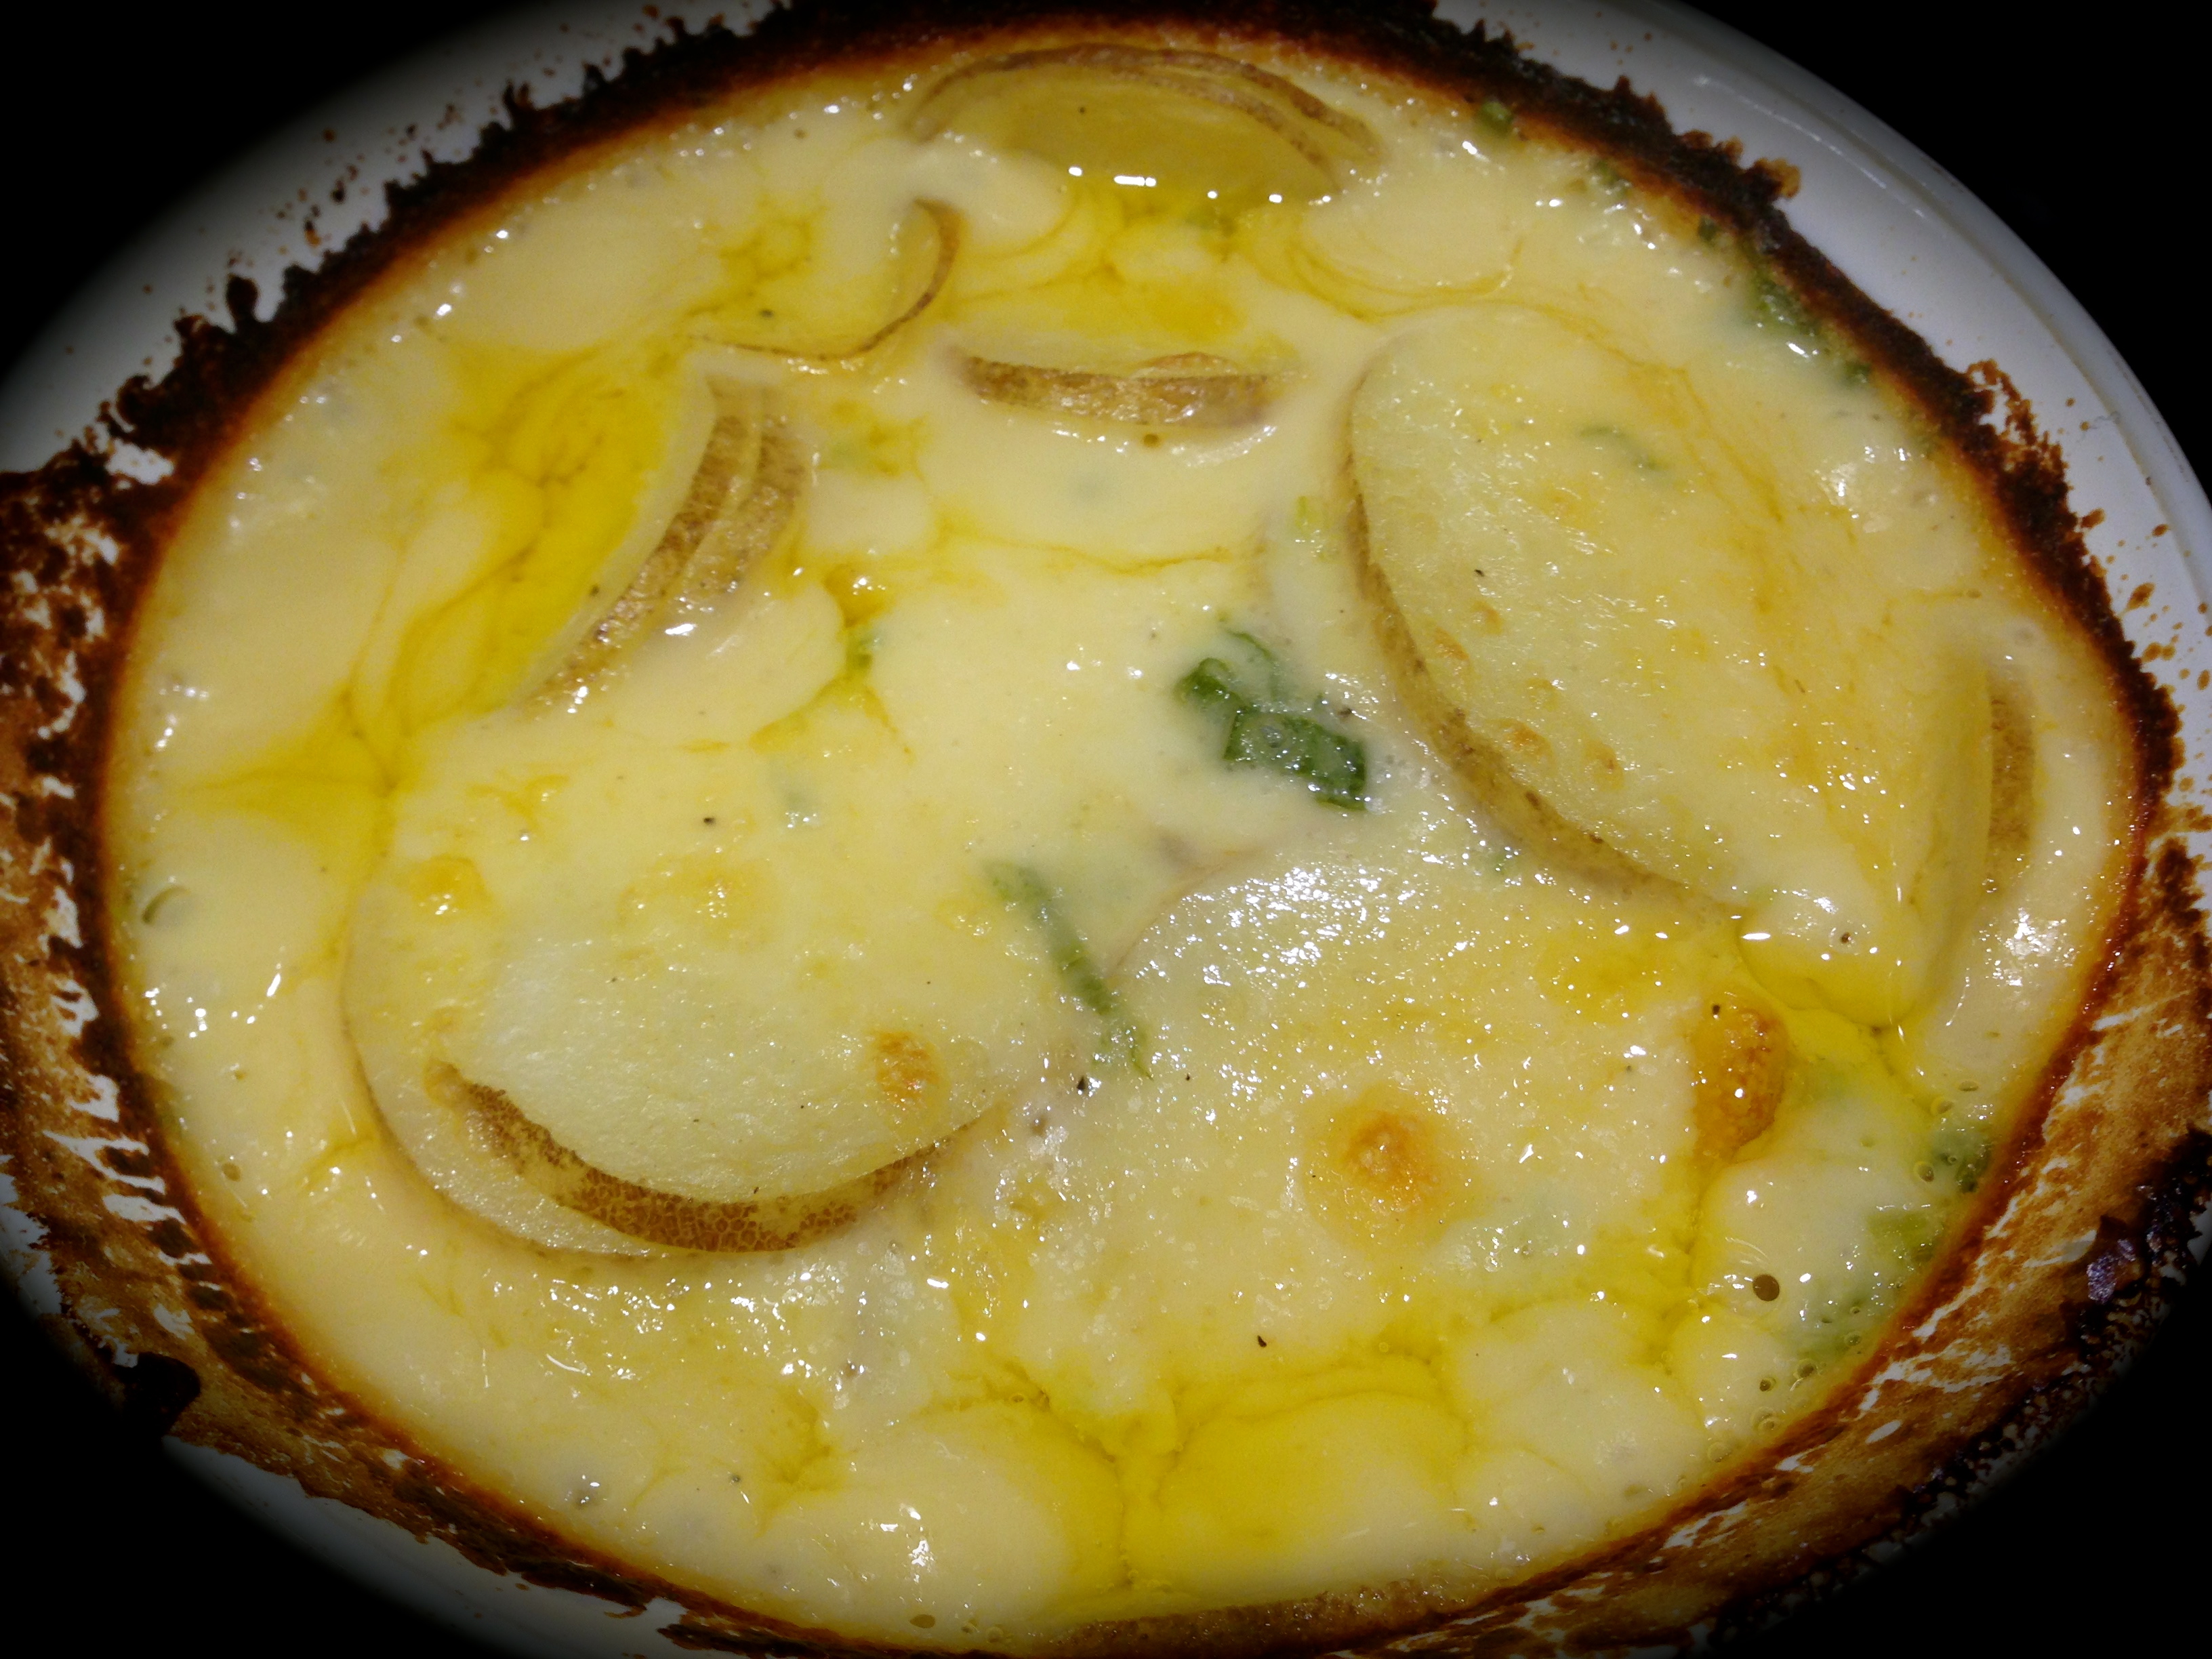
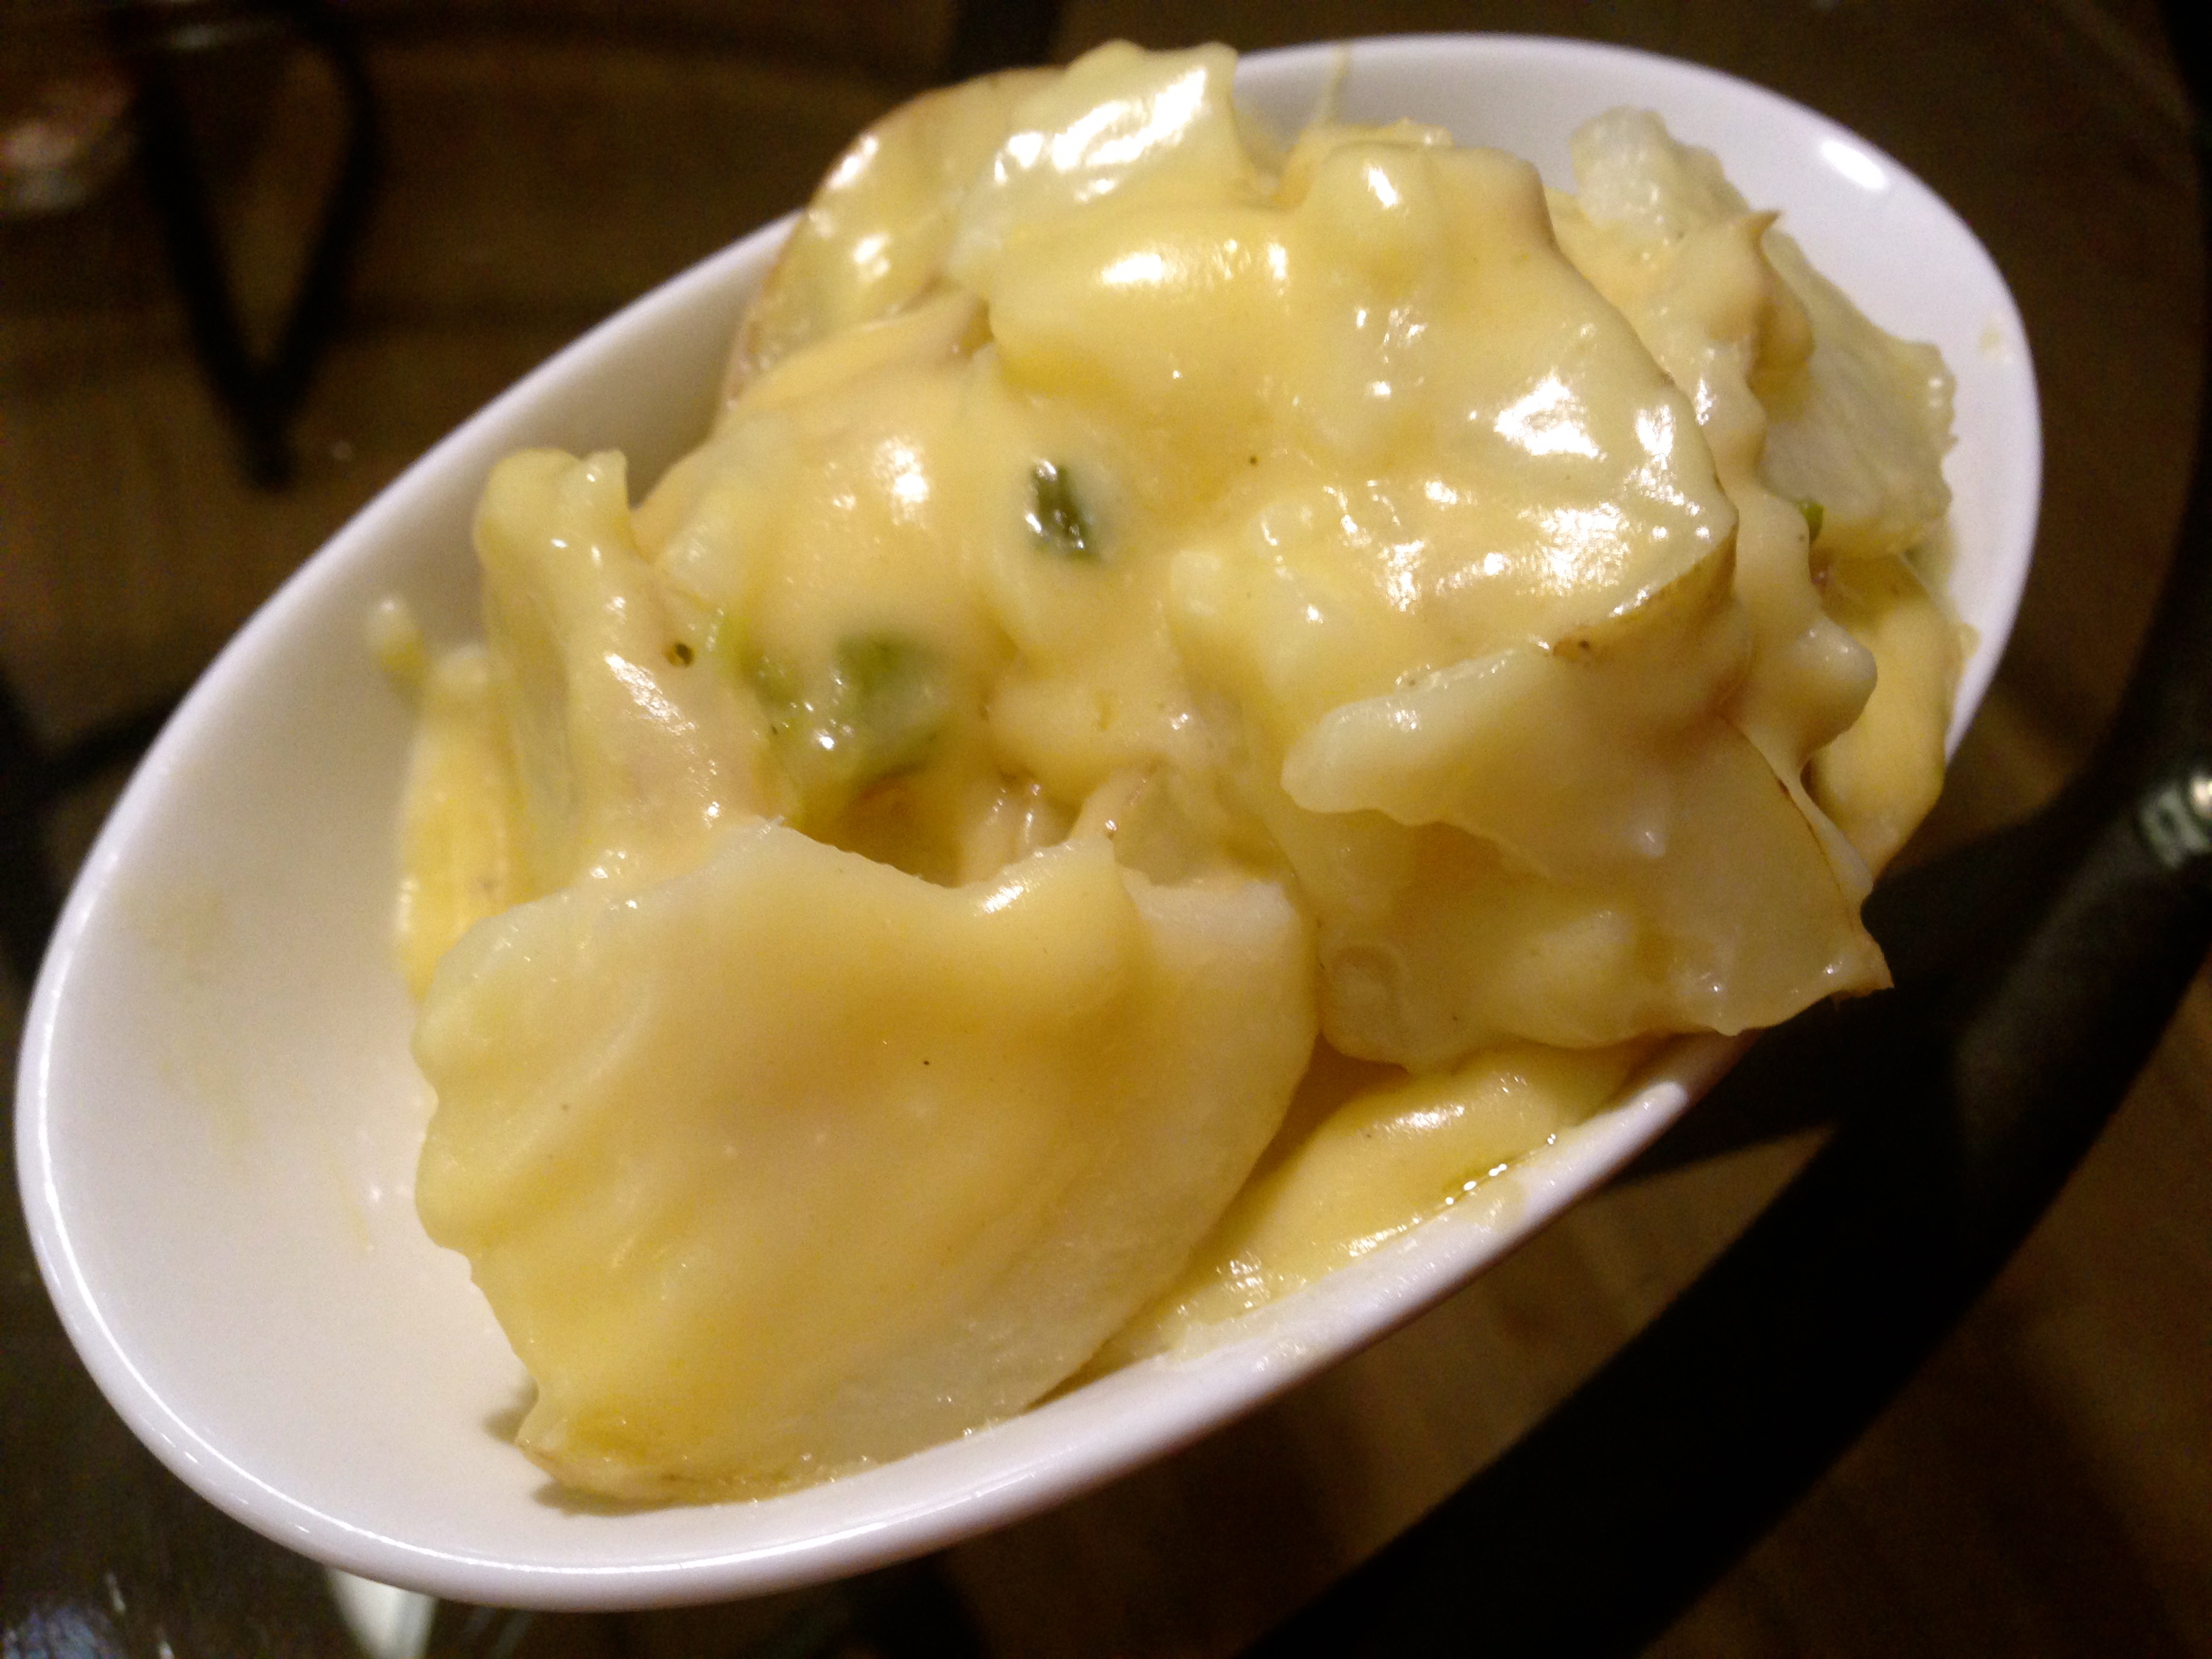
IMG_2291

IMG_2308

Turkey Pot Pie…

For some reason I am not a big fan of having turkey on Thanksgiving but I LOVE having turkey  on  Christmas Day. This year we had three guests for Christmas dinner and that precipitated making a whole turkey versus just a turkey breast. I had plenty of practice over this past year making bone-in turkey breasts but I never really had a lot of luck making a whole turkey, that is until this year…

I found two tricks that finally rendered me a perfectly cooked bird. One, making sure that the bird was completely defrosted (and I found it takes longer than what is written which is one day in the refrigerator for every four pounds –  plus the importance of removing the guts as soon as possible so you don’t harbor an ice ball in the cavity) and second to roast it at 350 when conventional wisdom says to roast the bird at 325. Needless to say, my bird turned out perfectly this year – the very first time I’ve ever done a whole turkey the right way. So if you are struggling with making a whole turkey, have faith. It only took me several years to finally get it right!

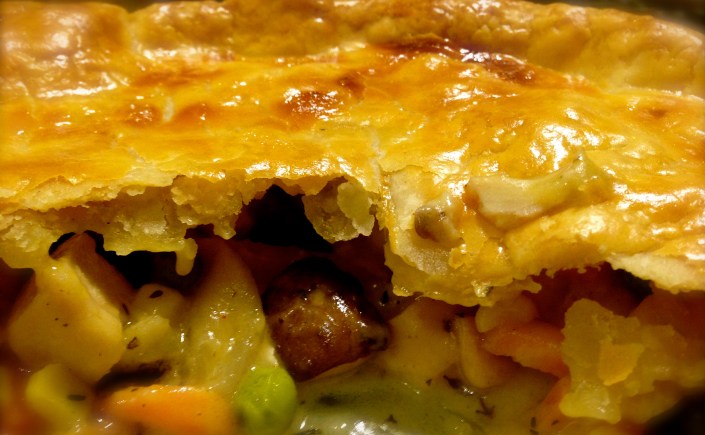
But, this blog is not about roasting a turkey. It’s about what you can do with the leftovers. And for me, one of the best comfort food recipes you can make with leftover turkey is turkey pot pie. And believe me, you will have greater success making this than learning how to roast the perfect turkey.

IMG_2584


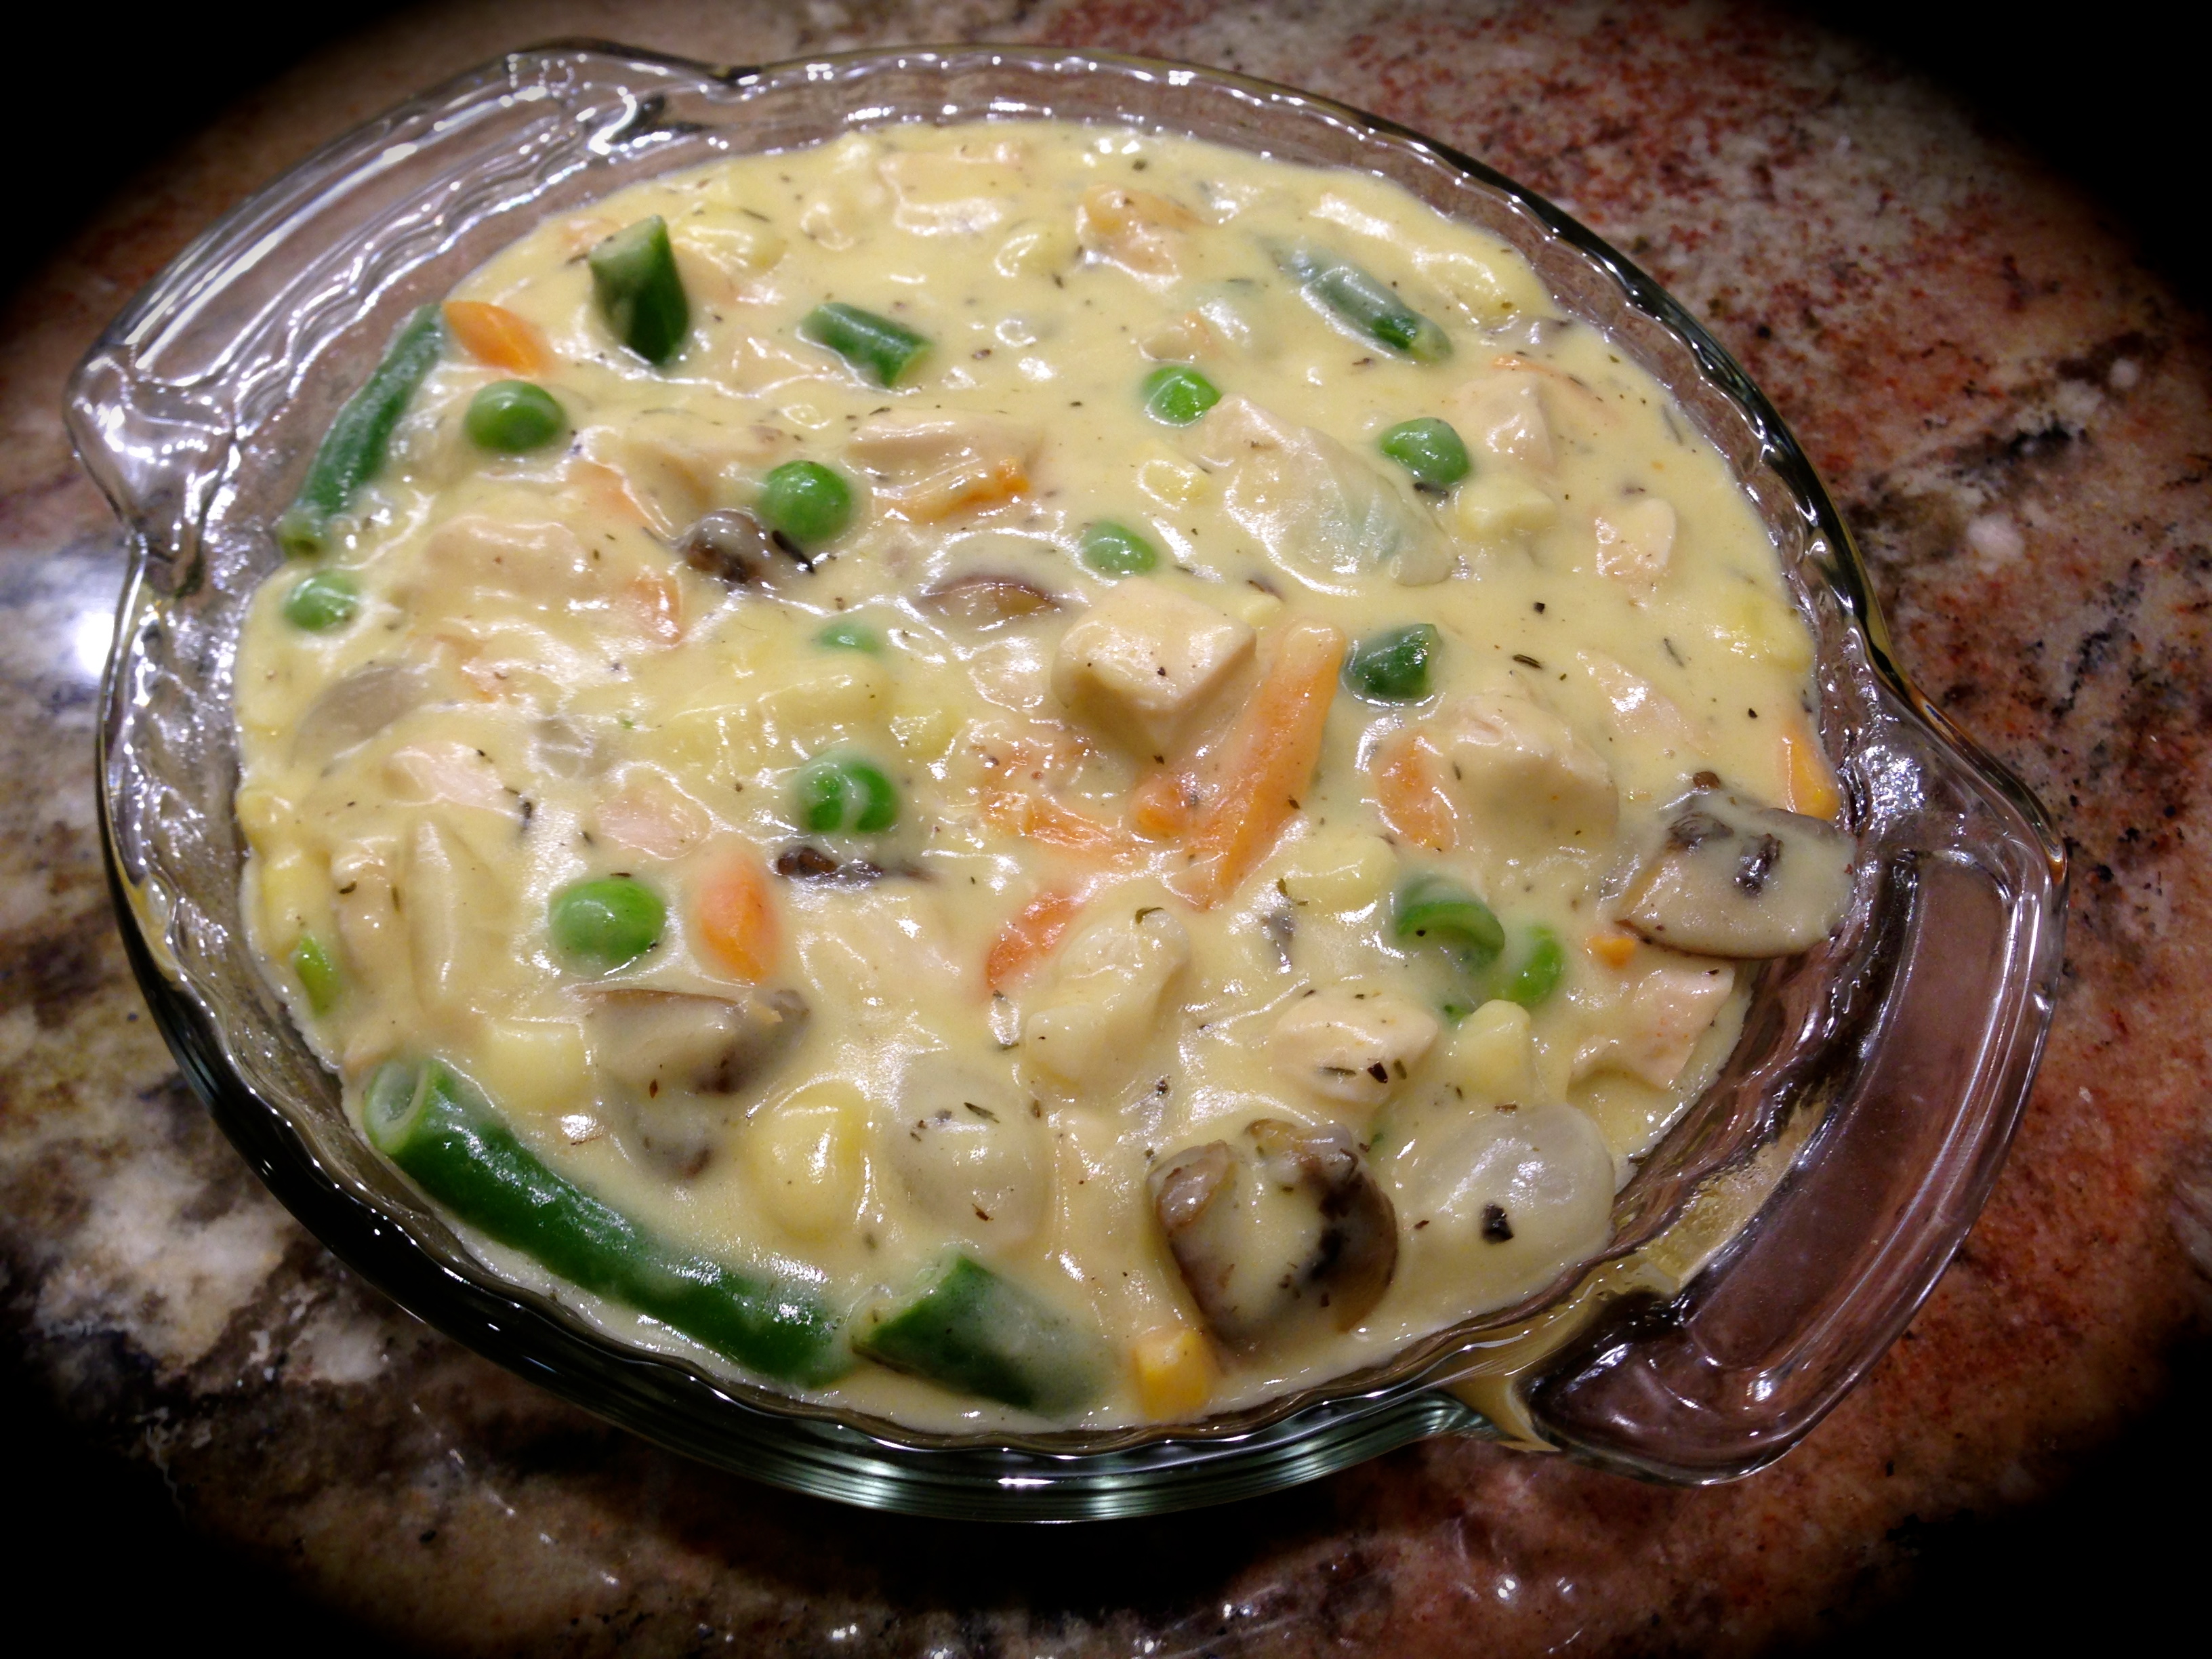
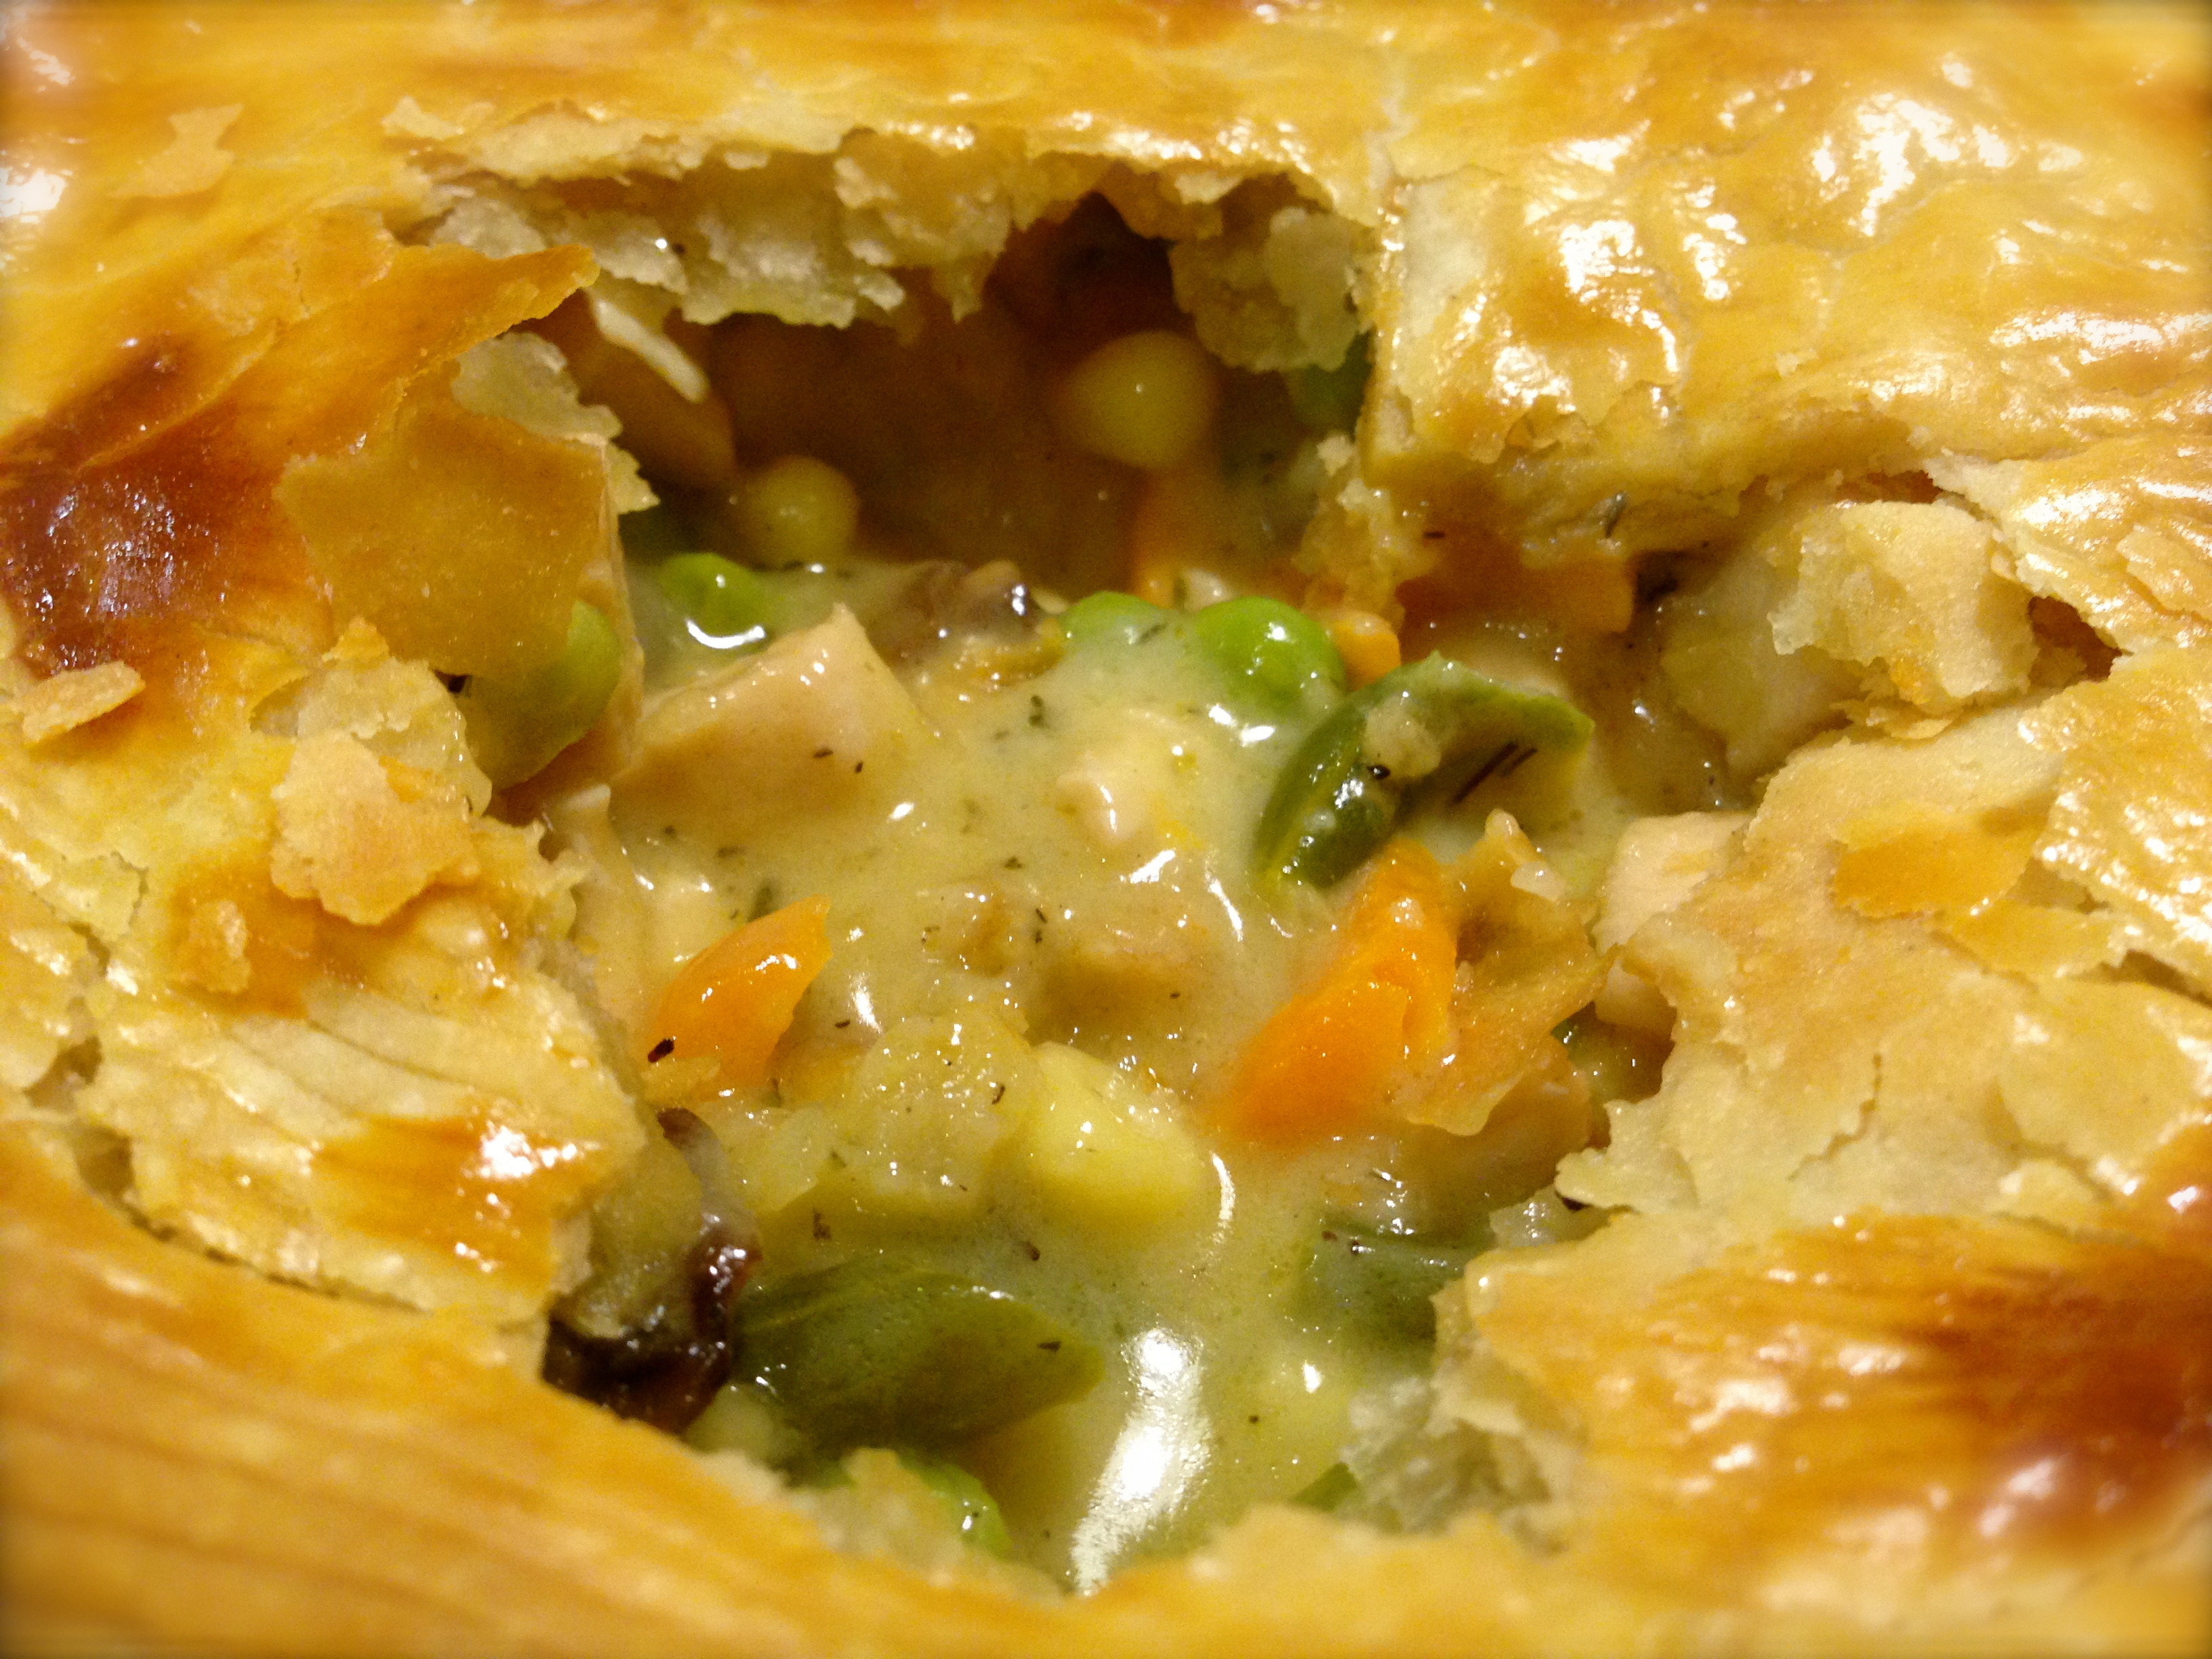
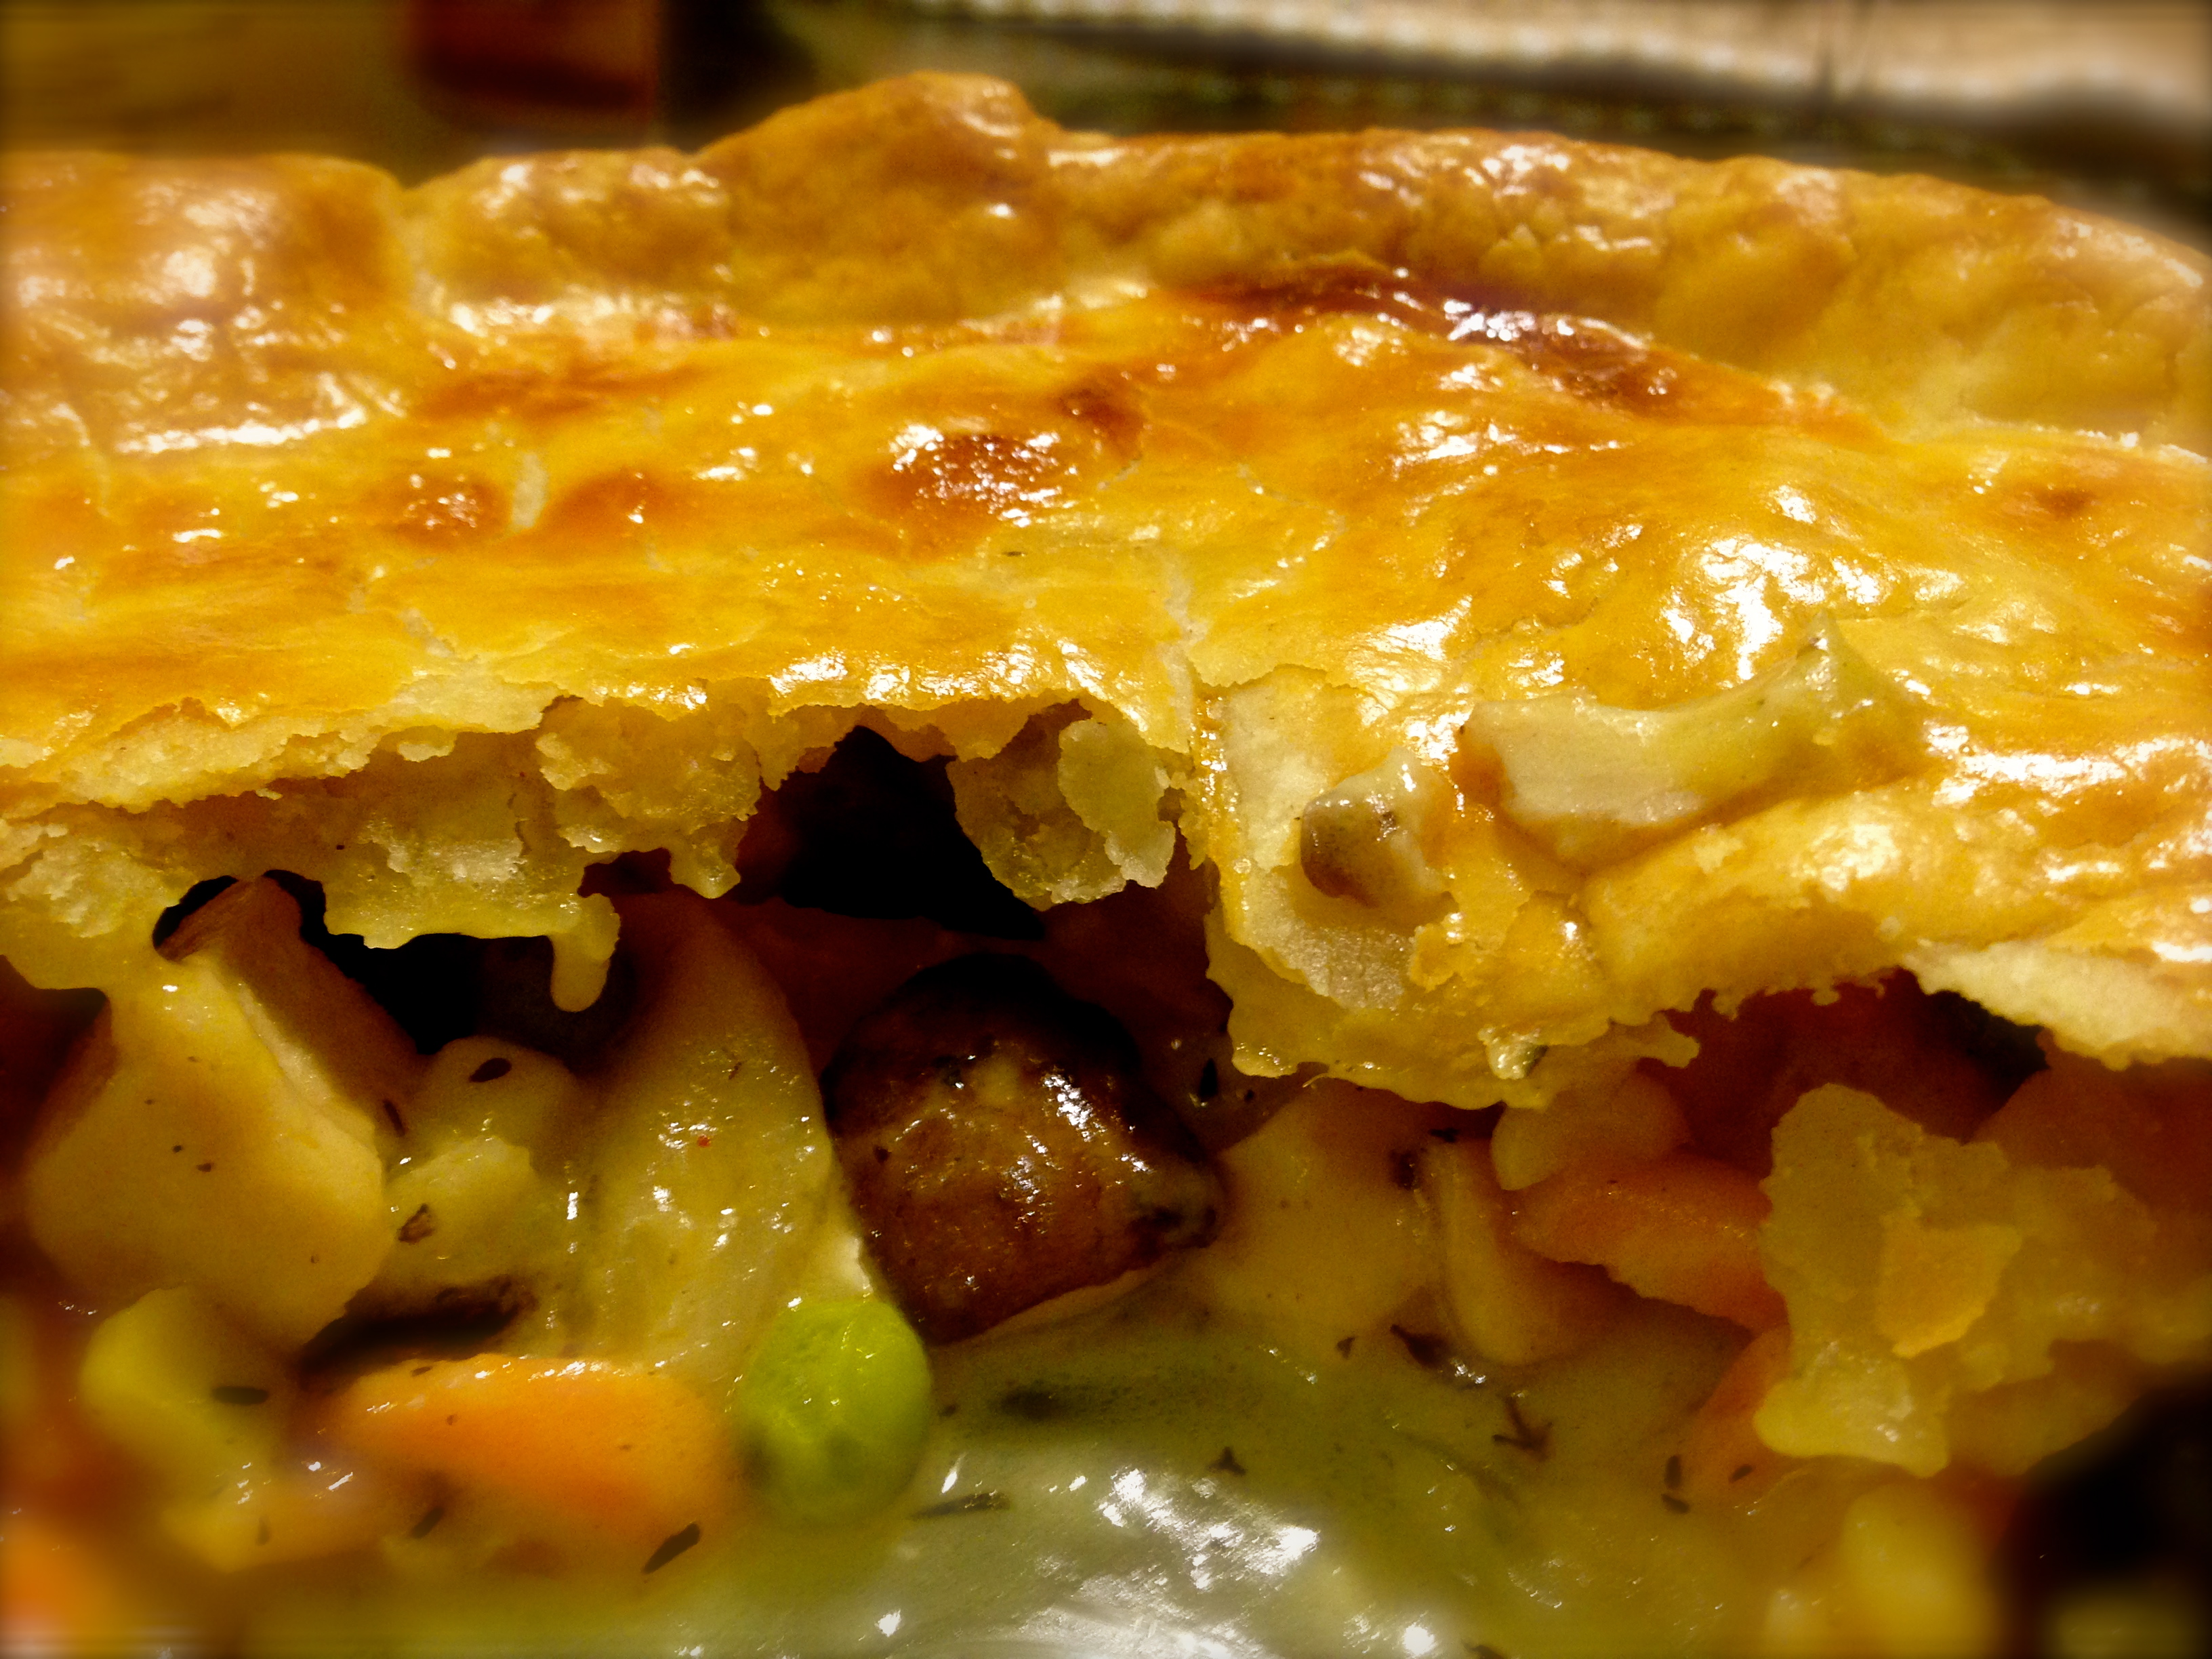
I like this recipe because you can use just about anything you have leftover in it. I had some mushrooms that I cut up and sautéed and had a bag of frozen vegetables that had green beans, corn, peas, carrots and celery. But you can use frozen peas and carrots, or a broccoli cauliflower medley – really any bag of frozen veggies you have will do the trick. It really takes no time to put together the filling and within 25 minutes after that you have a delicious meat pie that no one will ever consider a leftover. Here are some lessons I learned while making this recipe:

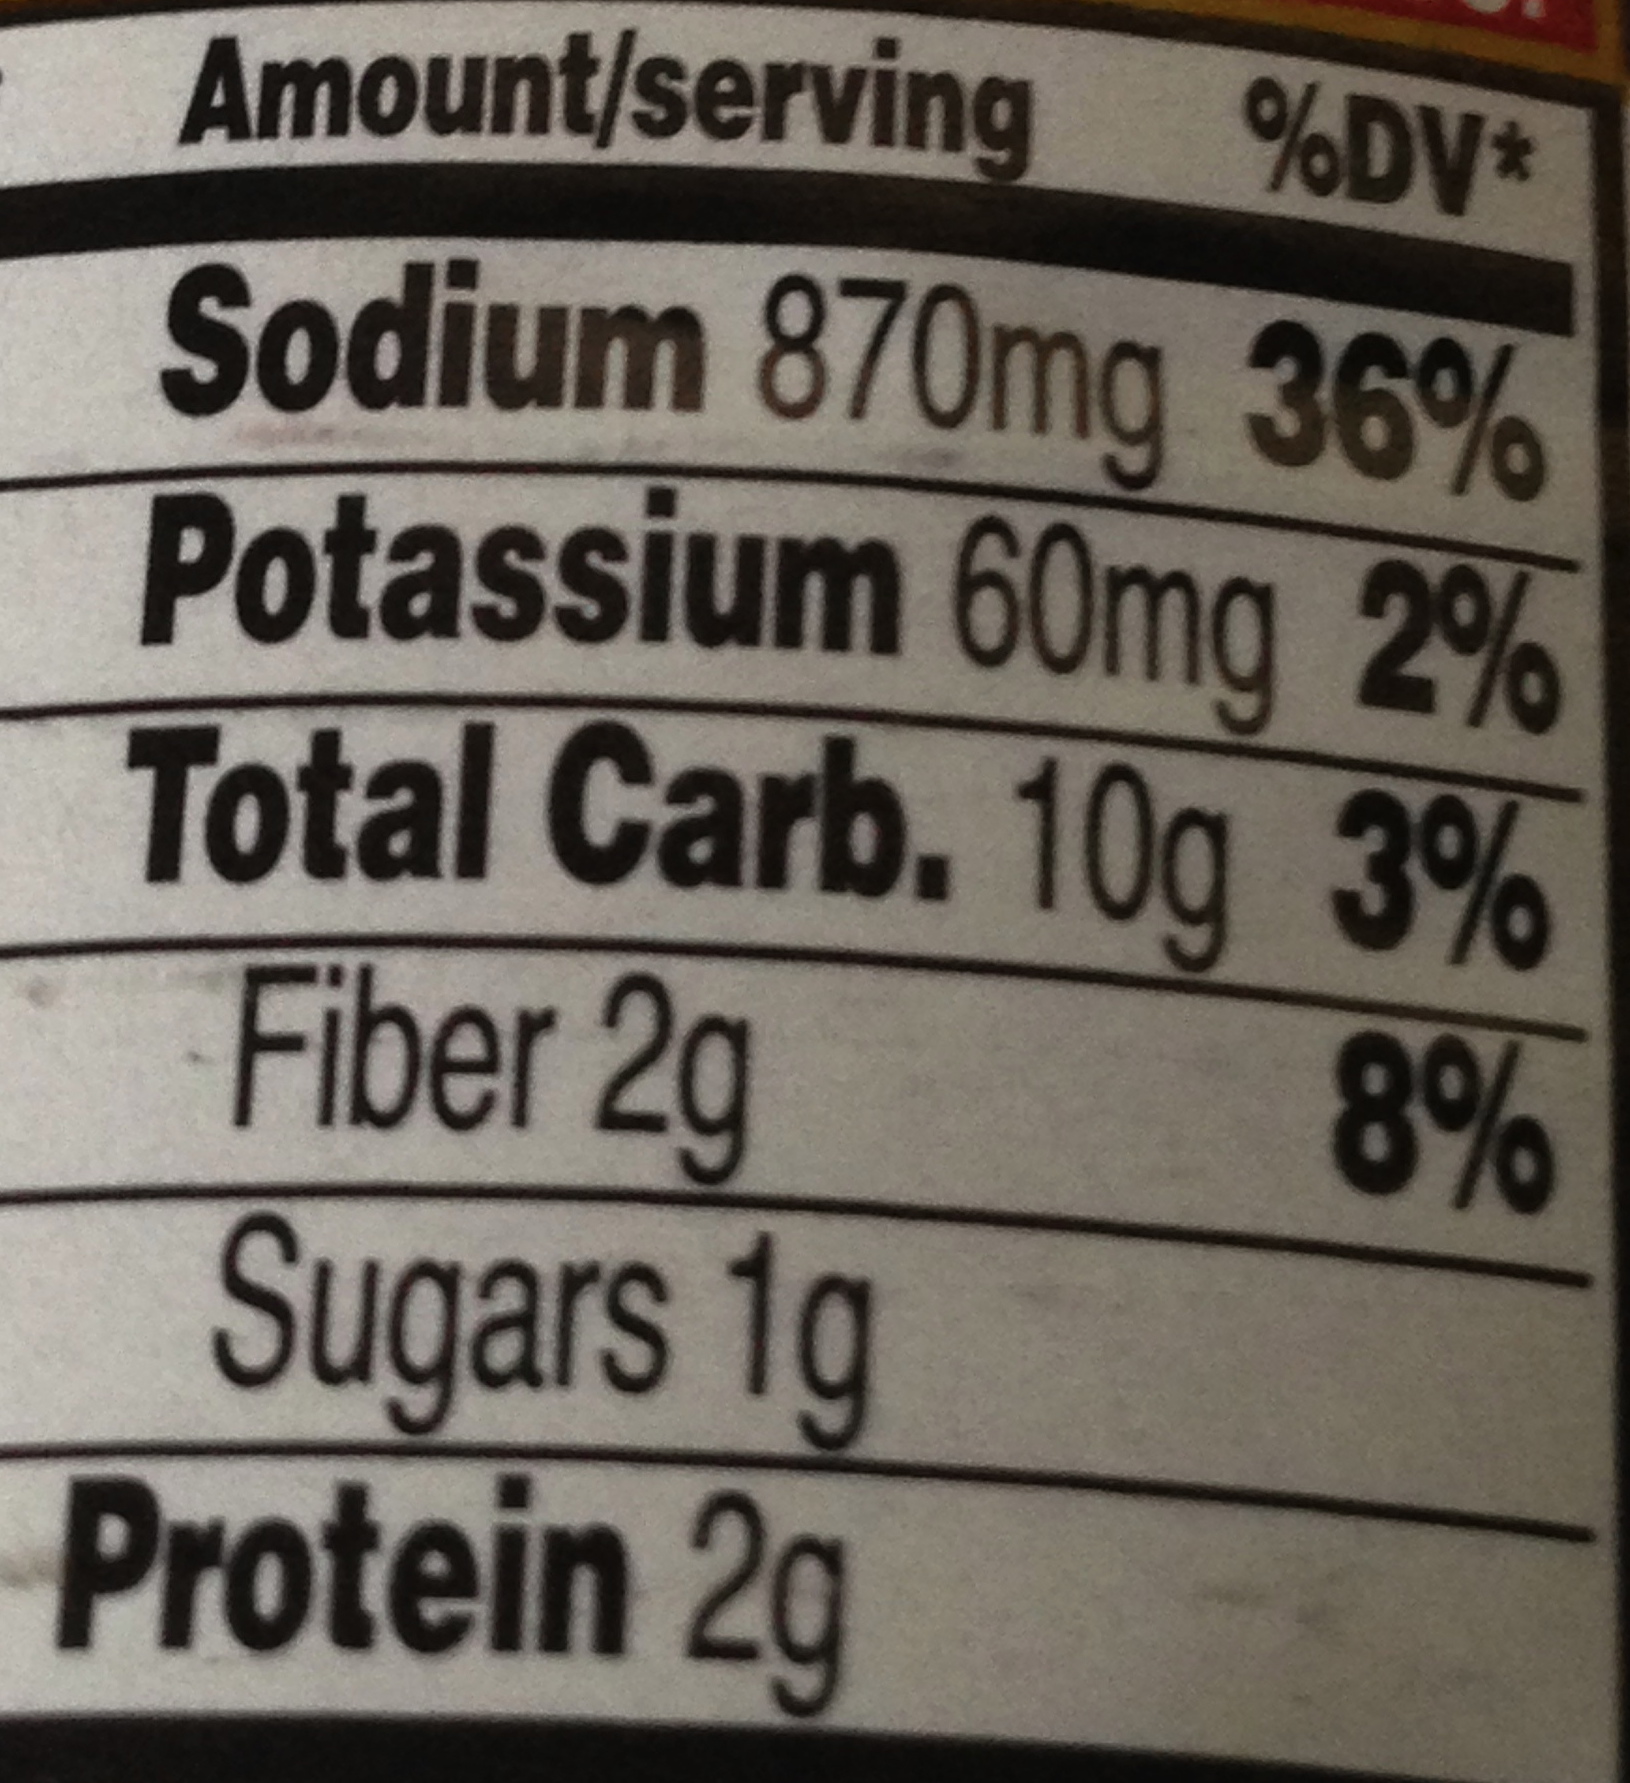
Image 1Lesson Learned 1 – Don’t take the easy way out and use canned soup for the filling: Have you ever read the labels of many canned soups? The amount of sodium in them is unbelievable. Don’t get me wrong, I am not a proponent of no salt, but when you use processed foods sodium is used as a preservative as well as a seasoning. It is so easy to make the filling from scratch and you can use unsalted chicken stock which has only 5% sodium in it versus the 36% sodium you get in a canned soup! That’s a big difference.

One thing I learned as I became more adept in the kitchen is how easy certain things are to make that I had been, out of habit and lack of knowledge, using previously as pre-prepared or processed. True sometimes they can be very convenient, but when you look at what you may be putting into your system on a regular basis it makes you take pause. Making a simple roux and using unsalted chicken stock creates the same creaminess and flavor as a canned soup, and I would venture to say it gives even greater flavor. I also know that time is a factor for most people and therefore convenience is important. But believe me, in this case, making a simple roux and using unsalted chicken stock takes no time and in the end is much better for you.
IMG_2498

Lesson Learned 2 – If you really want convenience, use prepackaged pie crusts: I am still in the process of mastering the homemade pie crust but must admit that part of my reluctance to do so is based on the fact that the ones you can by pre-made are so darn good. If you are a purist, then make your own pie crust. There are tons of recipes out there to choose from. But for me, I like the convenience of the pre-made dough. The trick is to let the dough come to room temperature before using it. Don’t just let it sit in the fridge and then pull it out and use it. Let it sit on the counter for about an hour and the dough will not only be easier to work with but also will give you the best results.

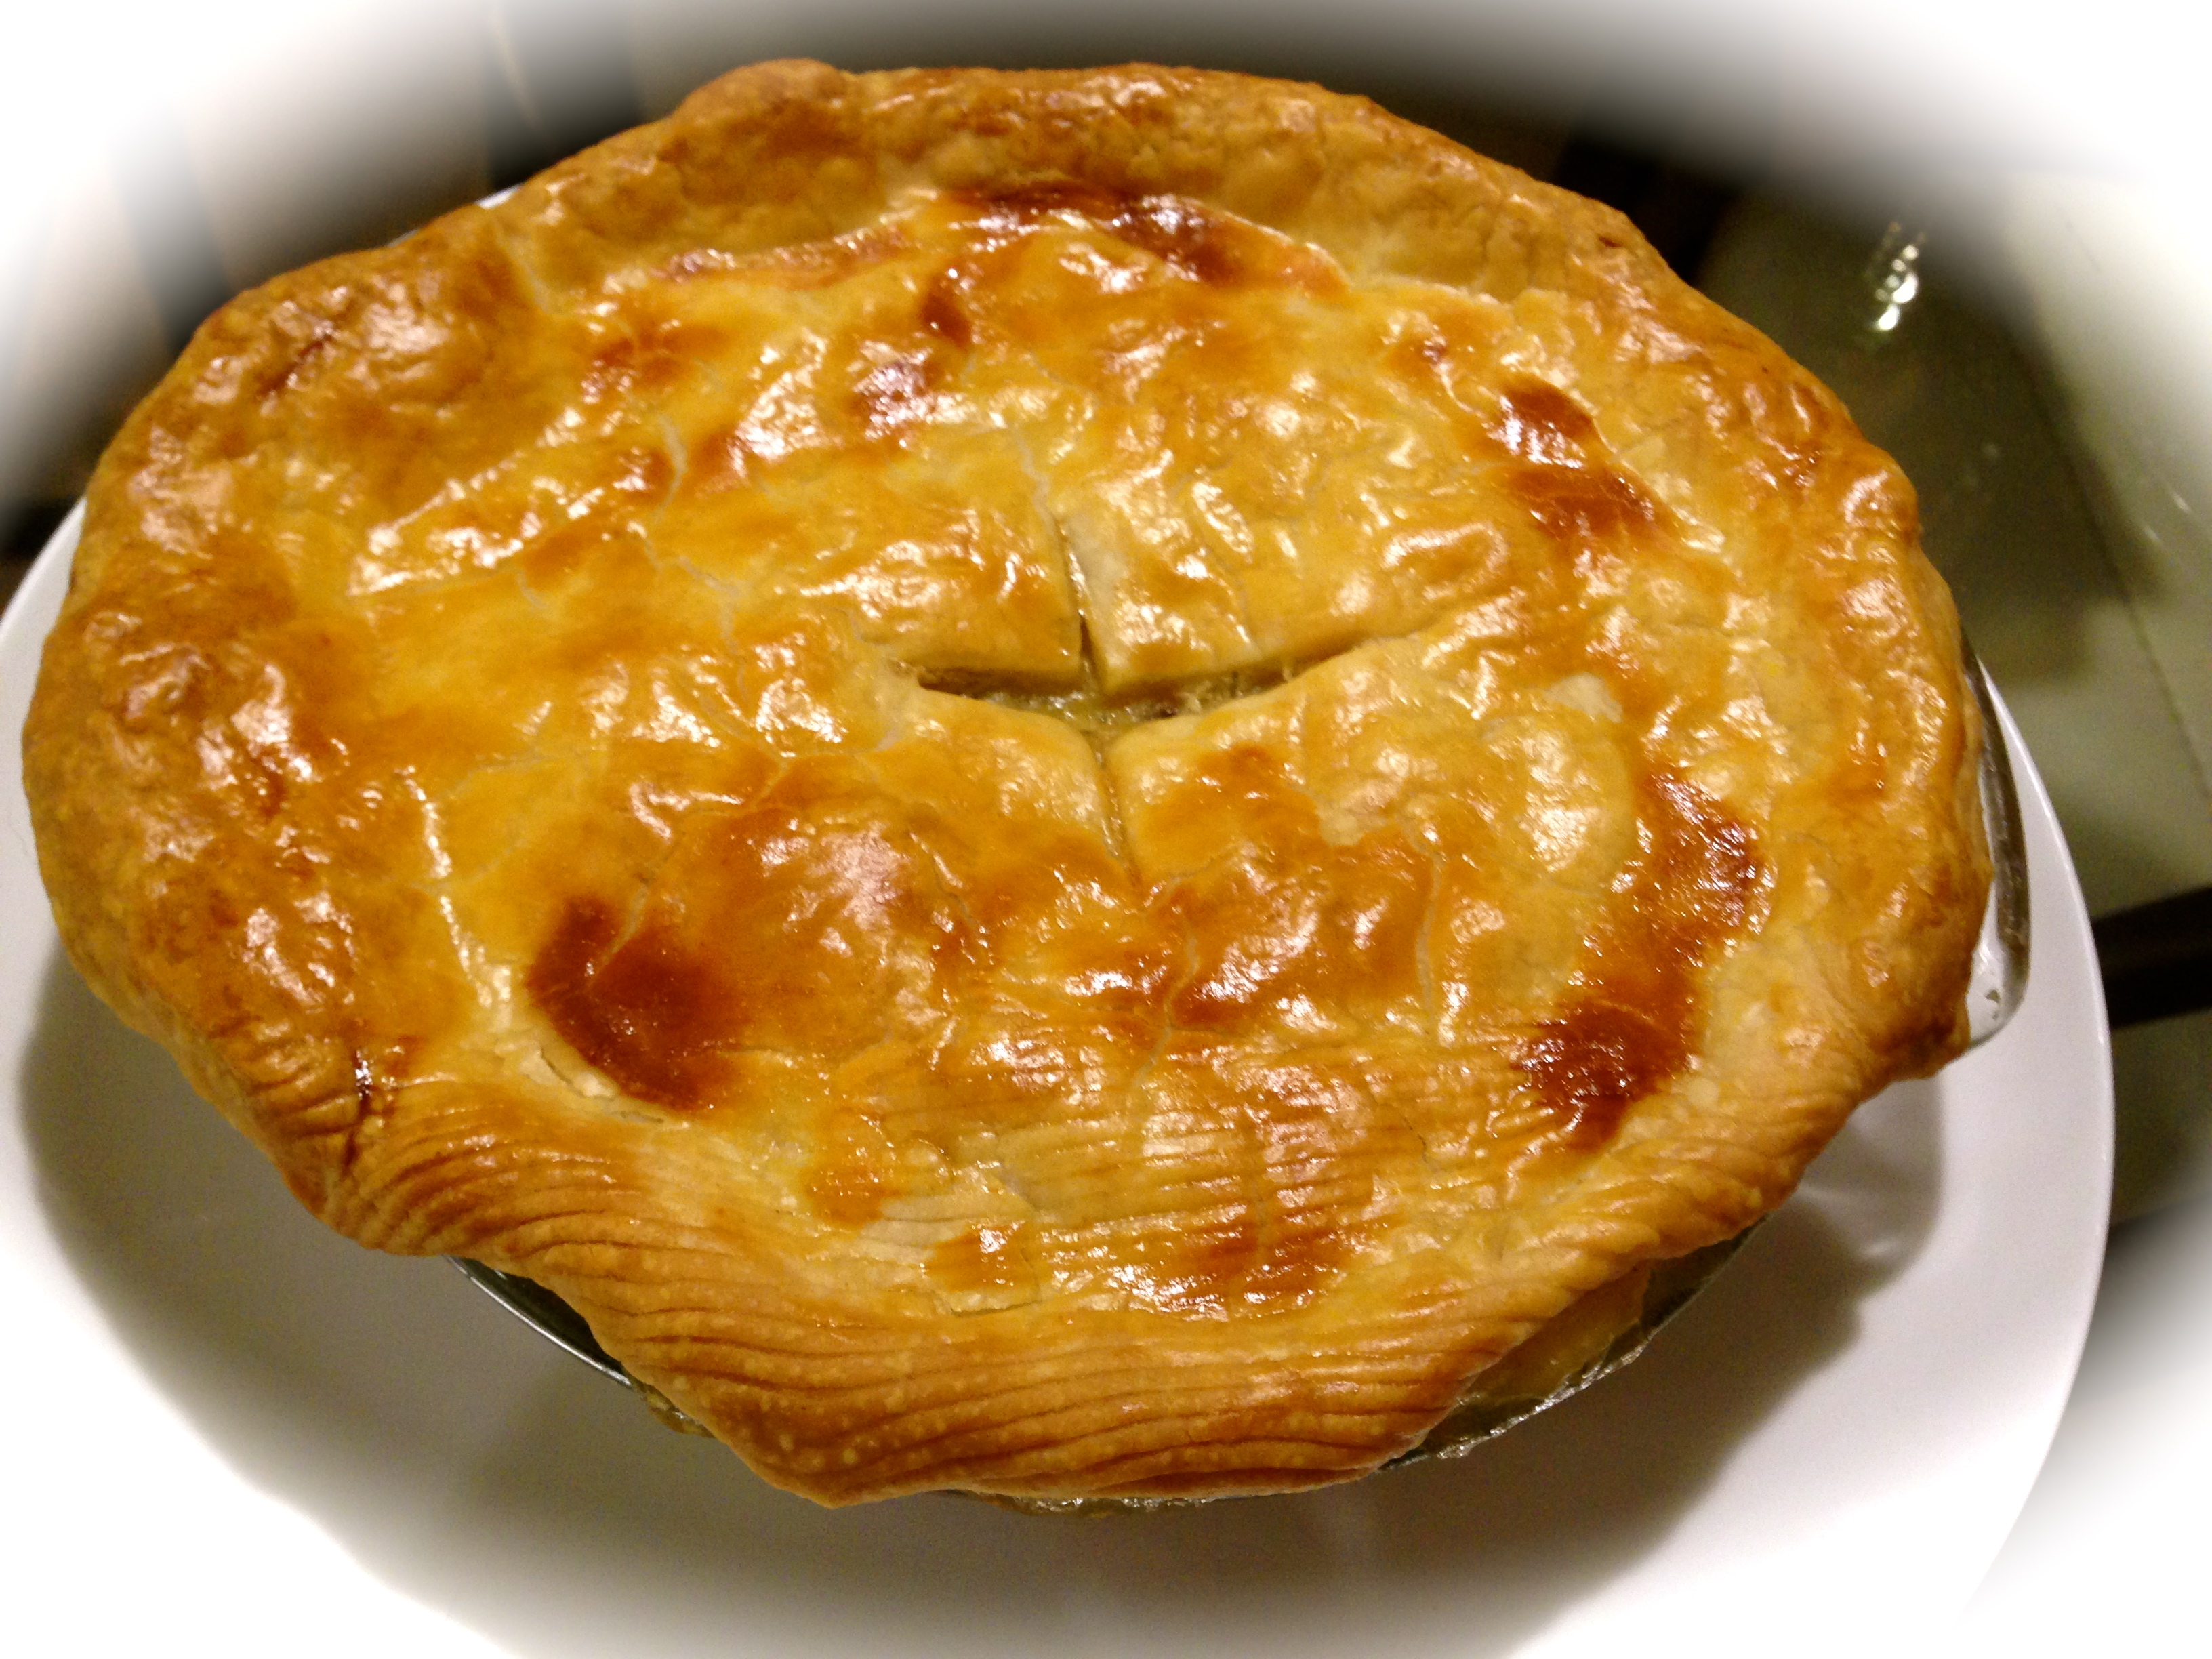
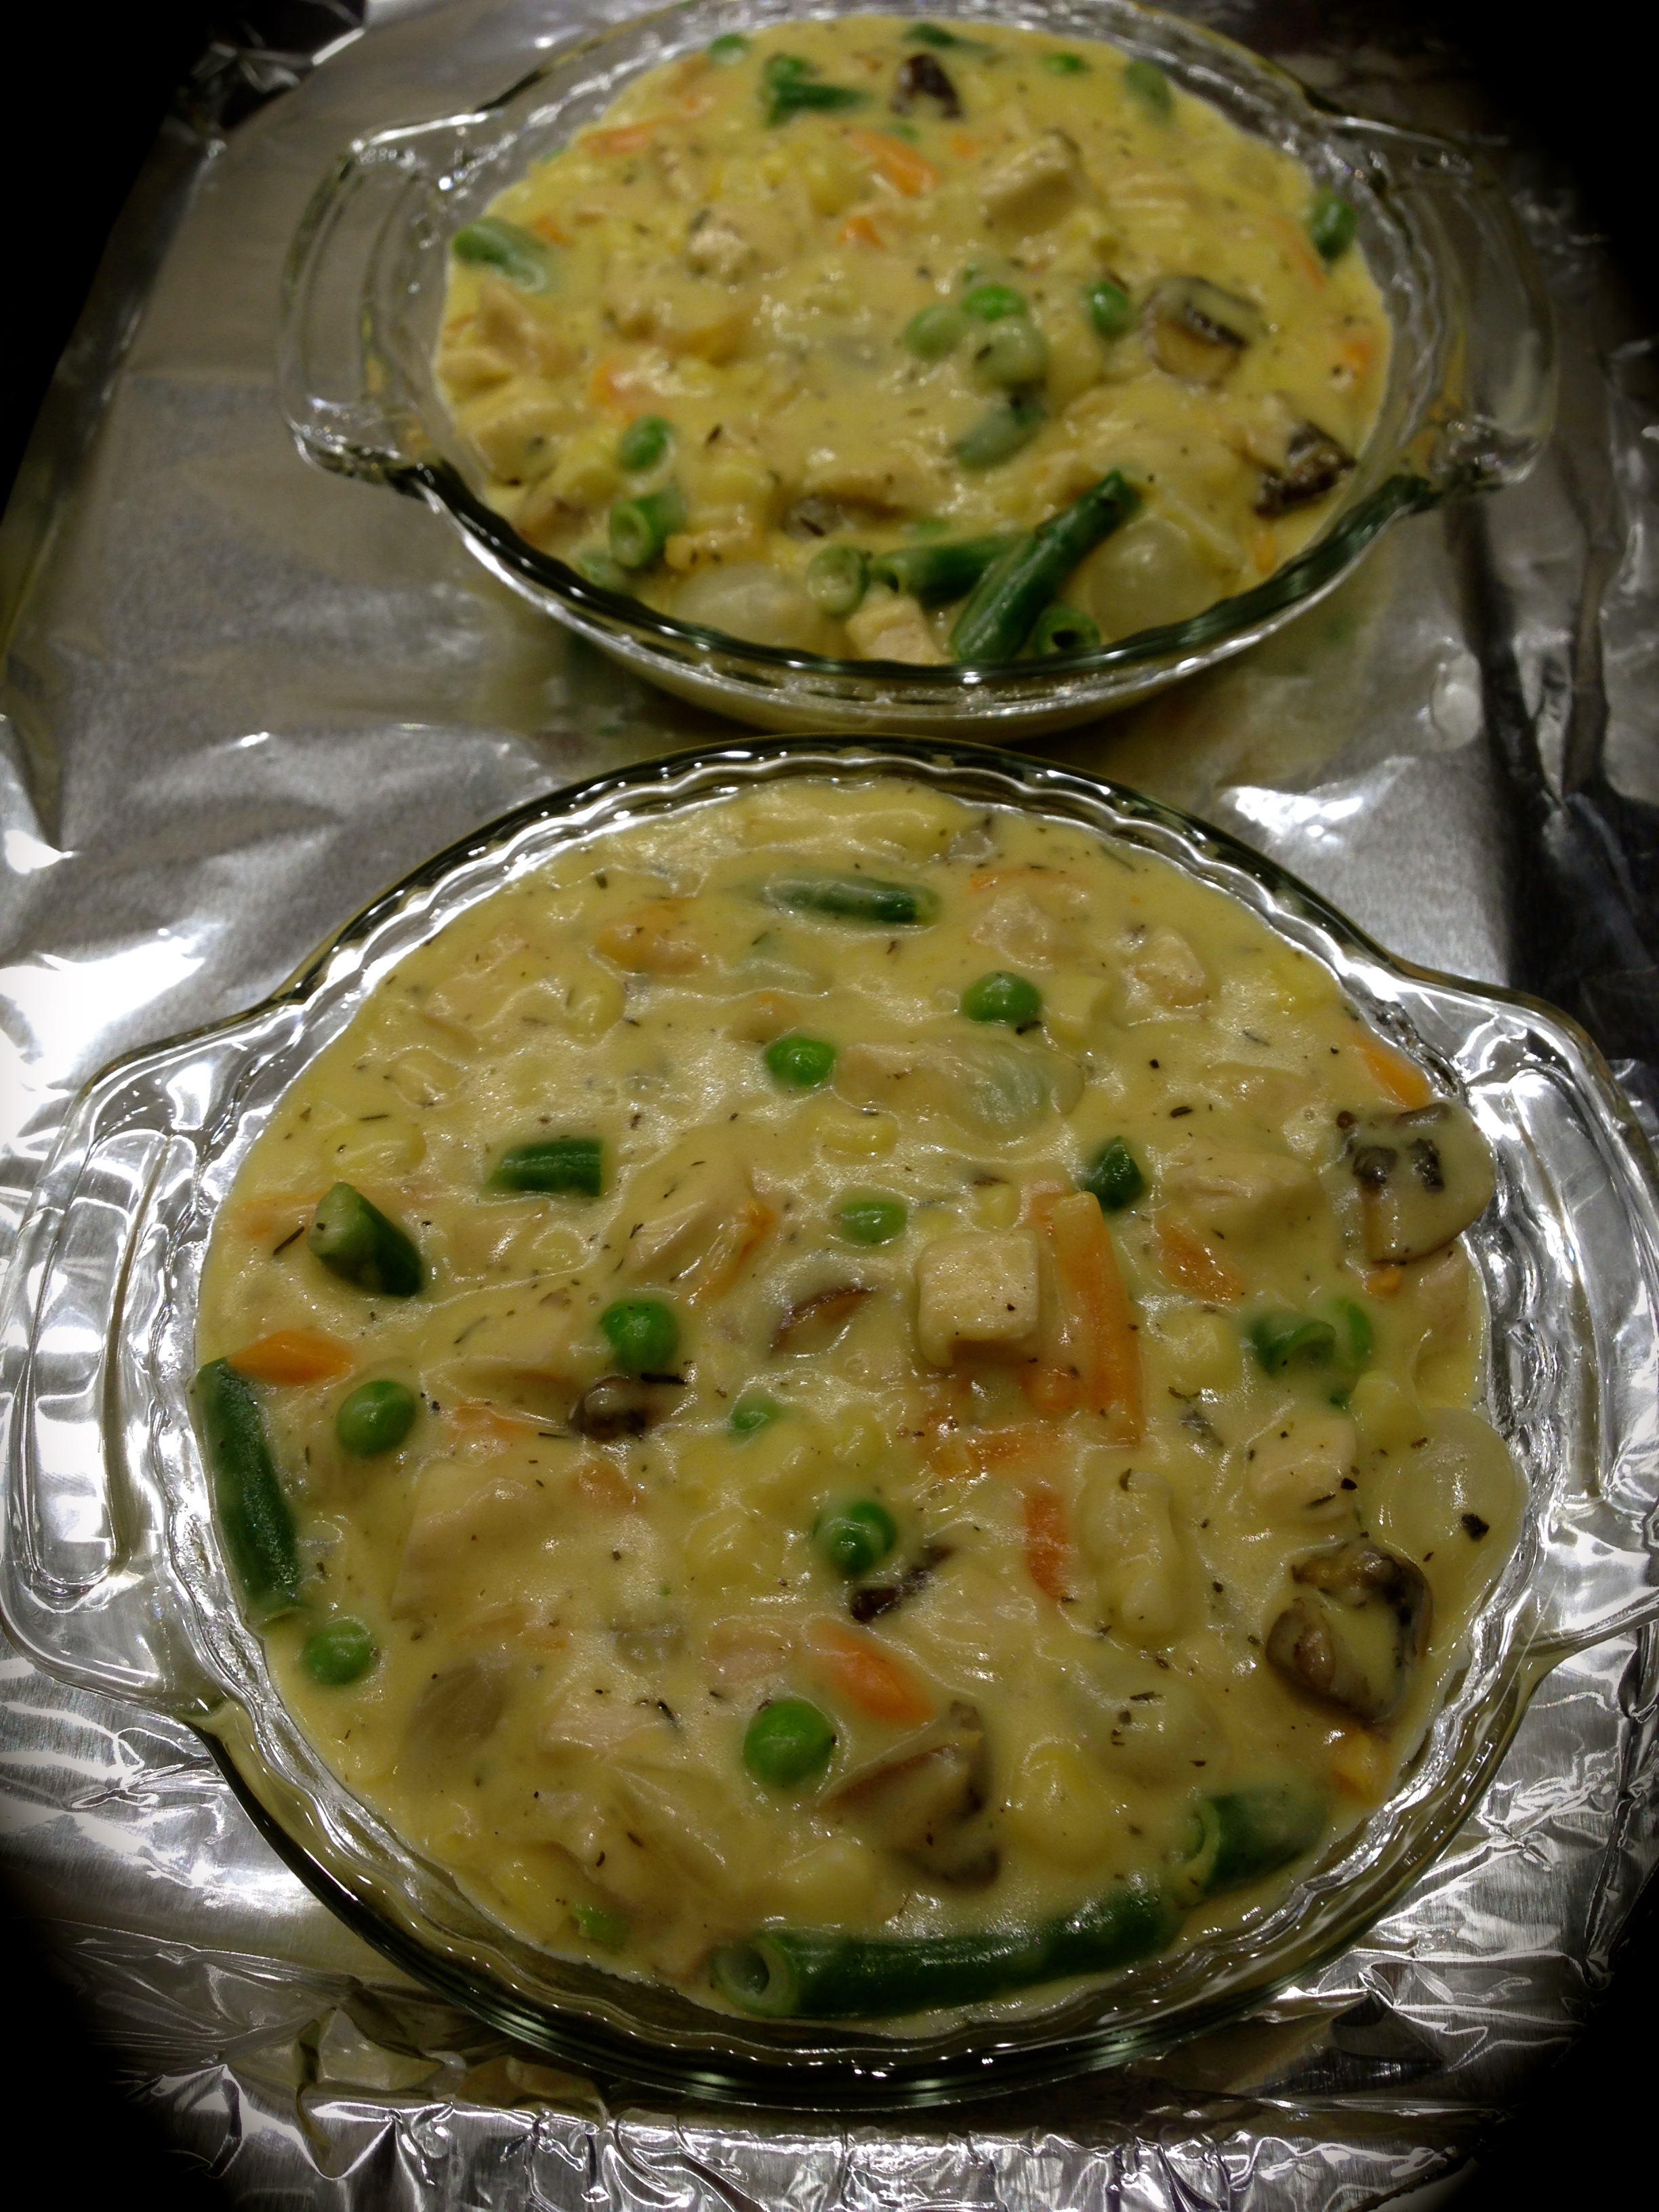
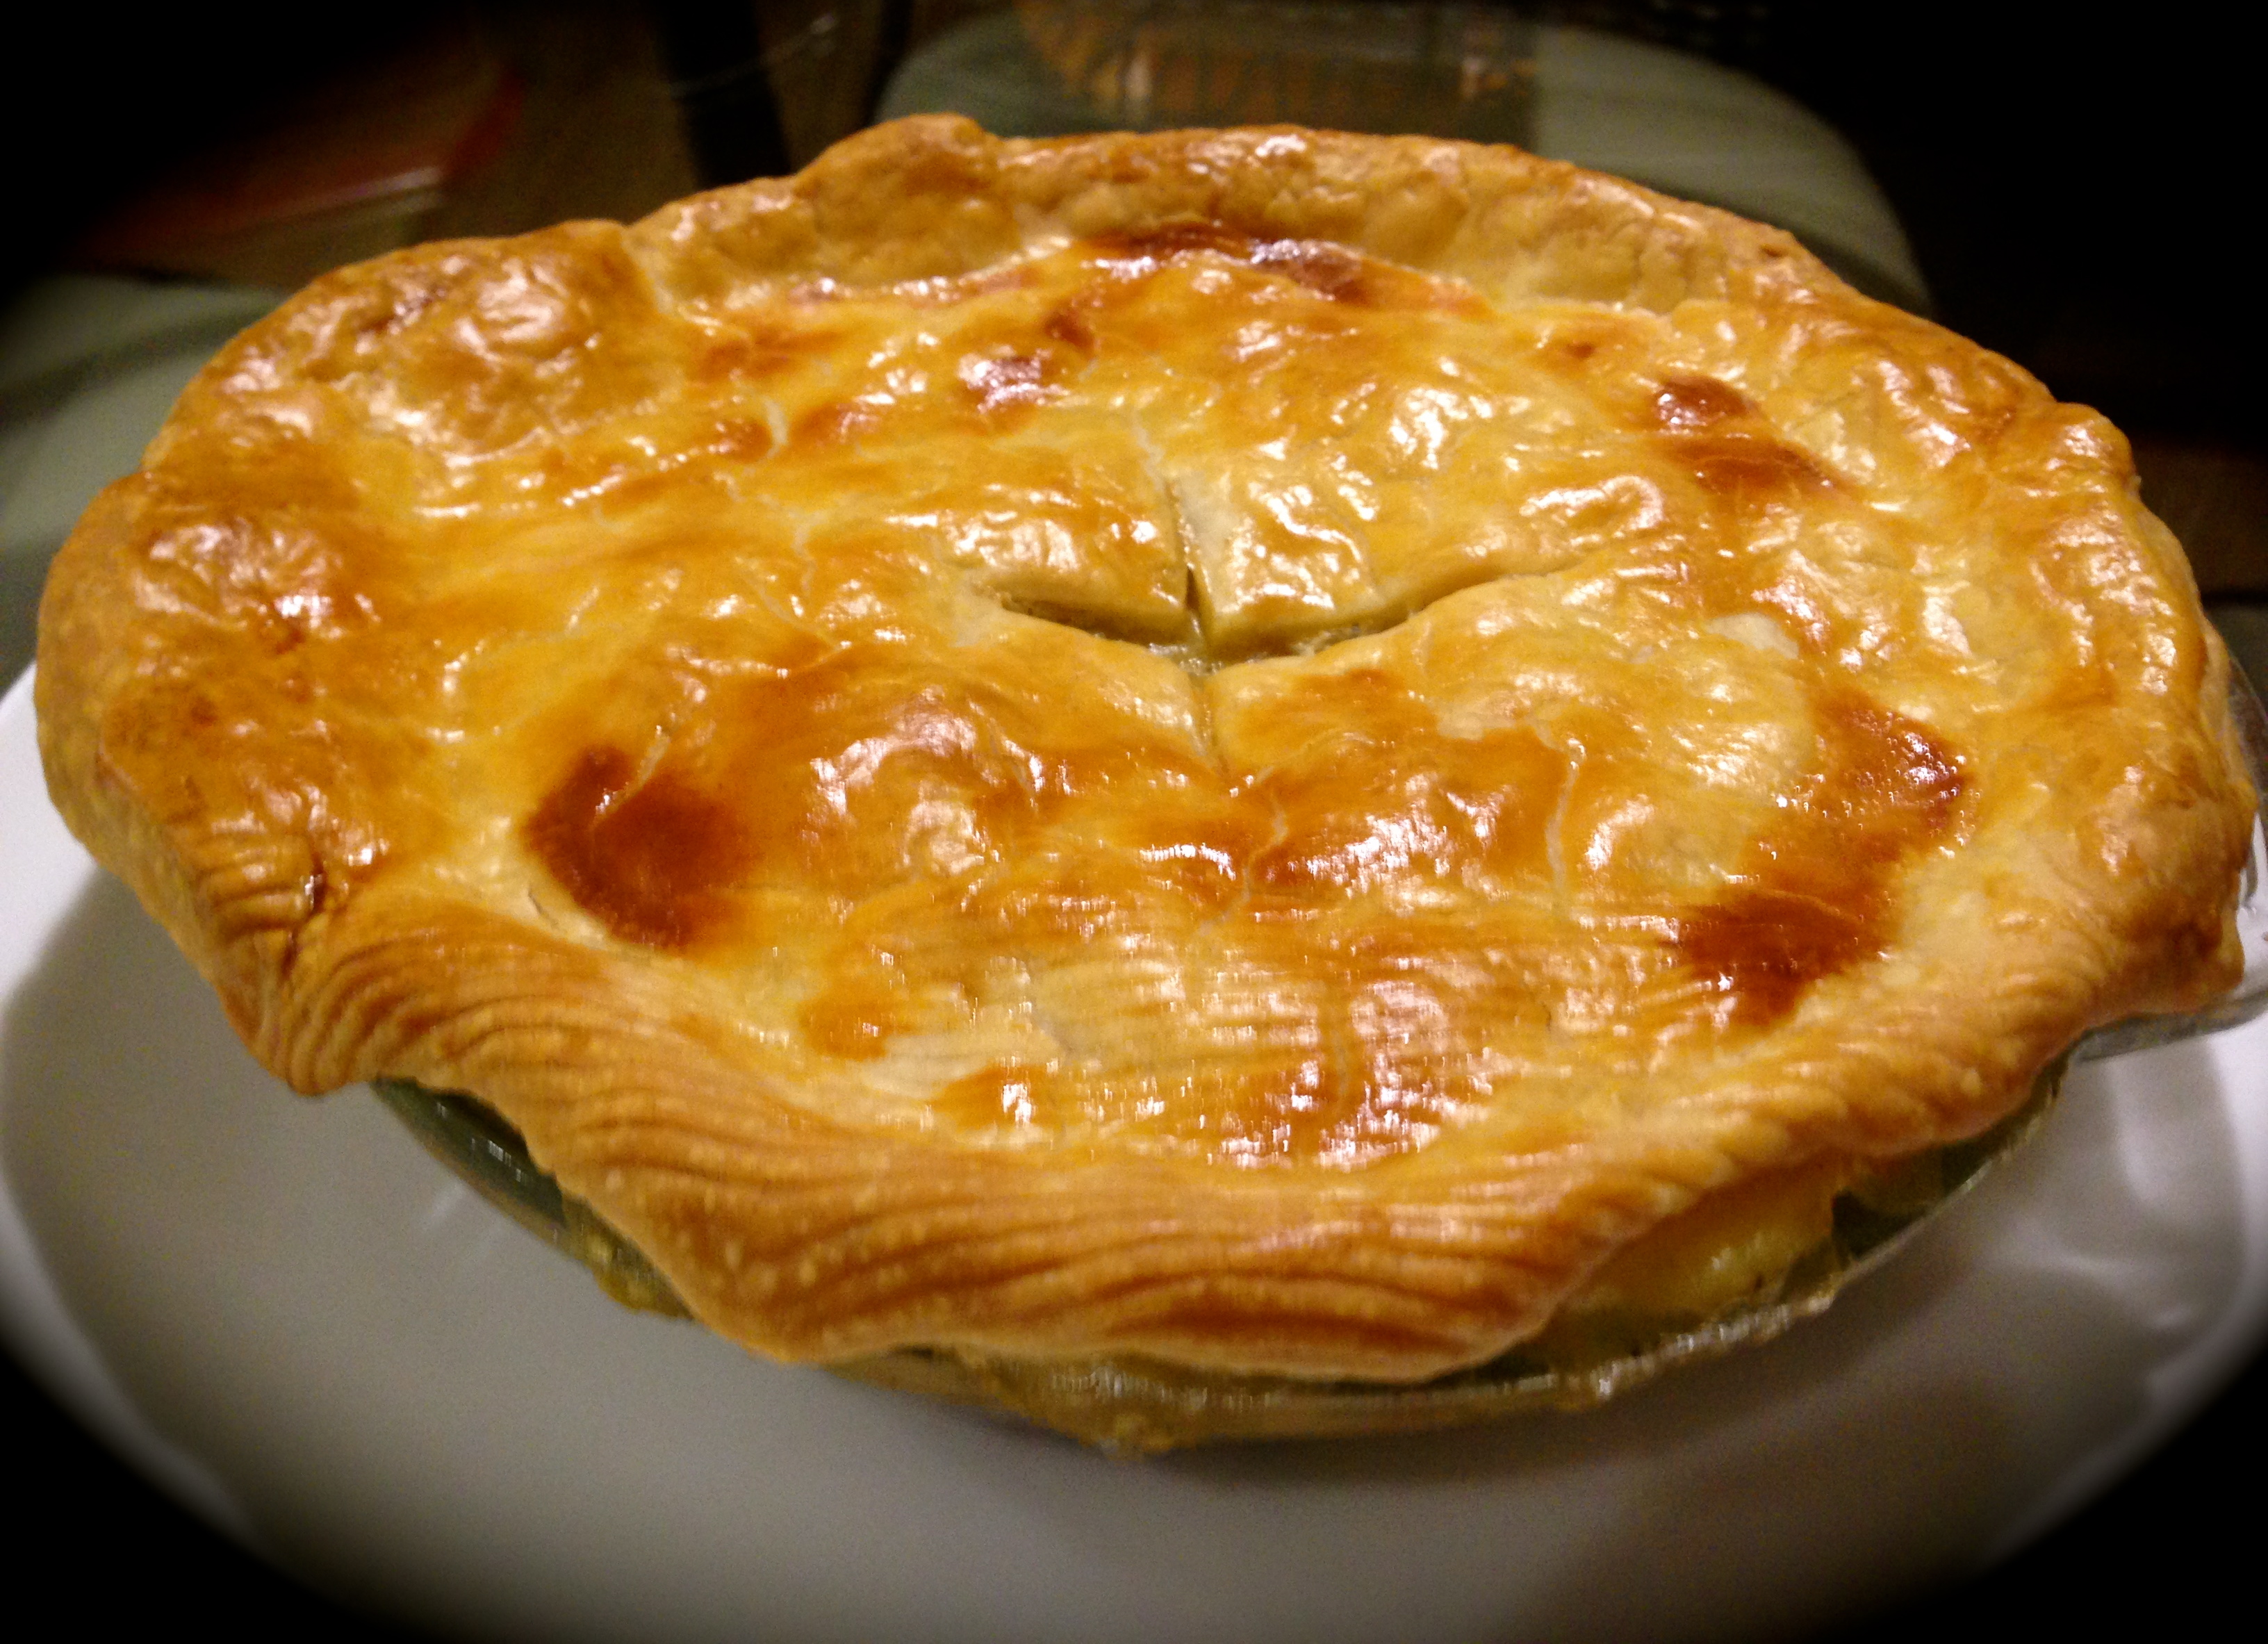
Lesson Learned 3 – Working with pie crust dough: I unrolled the pie crust dough and put my pie dish on top of it.  I used small individual pie plates six inches in diameter and 1 1/2 inches deep (I had to use both pieces of dough), and cut out a piece of dough that was one inch longer than each dish all the way around. Don’t be fooled into thinking your pie crust needs to look pretty. Once you have the filling in the dish, put the pie crust on top, fold the edges under and crimp them. Cut a couple of slits in the center to let out the steam. Be prepared, you will probably have some mixture dripping out of the sides while it cooks. That is the beauty of the pot pie. What I did to mitigate the mess was to put both dishes on a foil lined baking sheet that was sprayed with cooking spray. That way any dripping during the cooking process did not stick to the baking sheet or prevent me from removing the dishes from the baking sheet.
This is a pretty basic recipe and one most cooks, even the novice ones, can master the first time around. And it is so darn good. I like the idea of making individual pot pies, but you can also adapt this recipe by putting it all into a 10 inch cast iron skillet and topping the skillet with the pie crust. Then you’ll have one big pie that you can proportion out.

IMG_2510

Turkey Pot Pie…

  • Servings: 2
  • Difficulty: easy
  • Print

INGREDIENTS:

3 cups diced cooked turkey

1/2 tsp. dried sage or poultry seasoning

1 tsp. sweet paprika

3 – 4 Tbs. butter

3 – 4 Tbs. flour

I 16 ounce bag of frozen vegetables, a vegetable medley preferred

1 cup pearl onions, frozen or jarred

2 cloves garlic, minced

2 cups low sodium chicken broth

1 cup heavy cream

I package store bought pie crusts

1 egg, slightly beaten with a dash of water

Salt and freshly cracked black pepper to taste

DIRECTIONS:

Preheat the oven to 375 degrees. In a large deep pan melt 3 tablespoons of butter. Add the pearl onions and frozen vegetables and cook until tender, about 3 minutes. Add the garlic, paprika and sage. Cook until fragrant, about 1 minute. (At this point look at the amount of butter you have in the pan. If there is hardly any, add another tablespoon and melt it. Just make sure you use equal parts of butter and flour). Sprinkle the flour all throughout the pan and whisk it with the vegetable mixture for about a minute. Add the chicken stock and stir until it starts to thicken. (You will notice it thickening once it begins to get hot and bubbly. If it does not thicken, you can always add an additional amount of a little flour and water whisked together to get it to thicken). Once it has thickened, add the heavy cream and turkey and stir to combine. Season with salt and pepper as needed. Take the mixture off of the heat.

Lightly flour your counter and unfold one pie crust disc. Place a 6 x 1 1/2 inch individual glass pie pan on the crust. Cut the crust so that the edges are 1 inch longer than the outer edges of the pan. Repeat this process with the second piece of dough and pie pan.

Spoon the prepared filling into each pie pan. Place the dough over the top of each pan, tucking the excess edges under themselves. Crimp the edges with your fingers.  Whisk together the egg and water and brush the crusts evenly with the egg wash. Using a sharp knife cut two vents in the center of the crust.

Place the pie plates on a baking sheet that is lined with foil and sprayed with non-stick cooking spray.  Bake for 25-30 minutes or until the inside mixture is bubbly and the crust is golden brown.

IMG_2501

IMG_2521

IMG_2508

IMG_2533

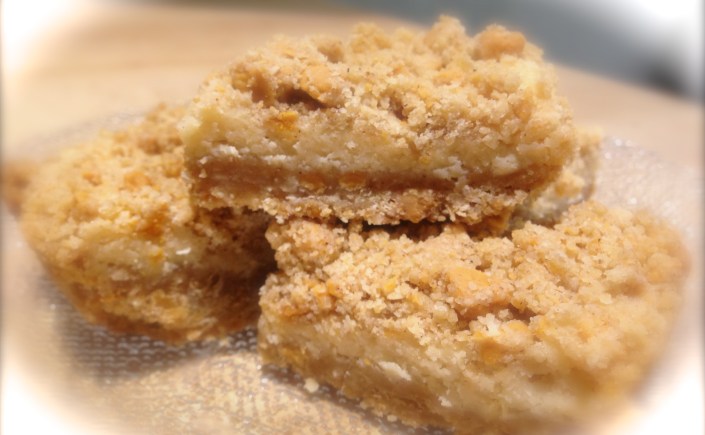
Oatmeal Cream Cheese Butterscotch Bars…

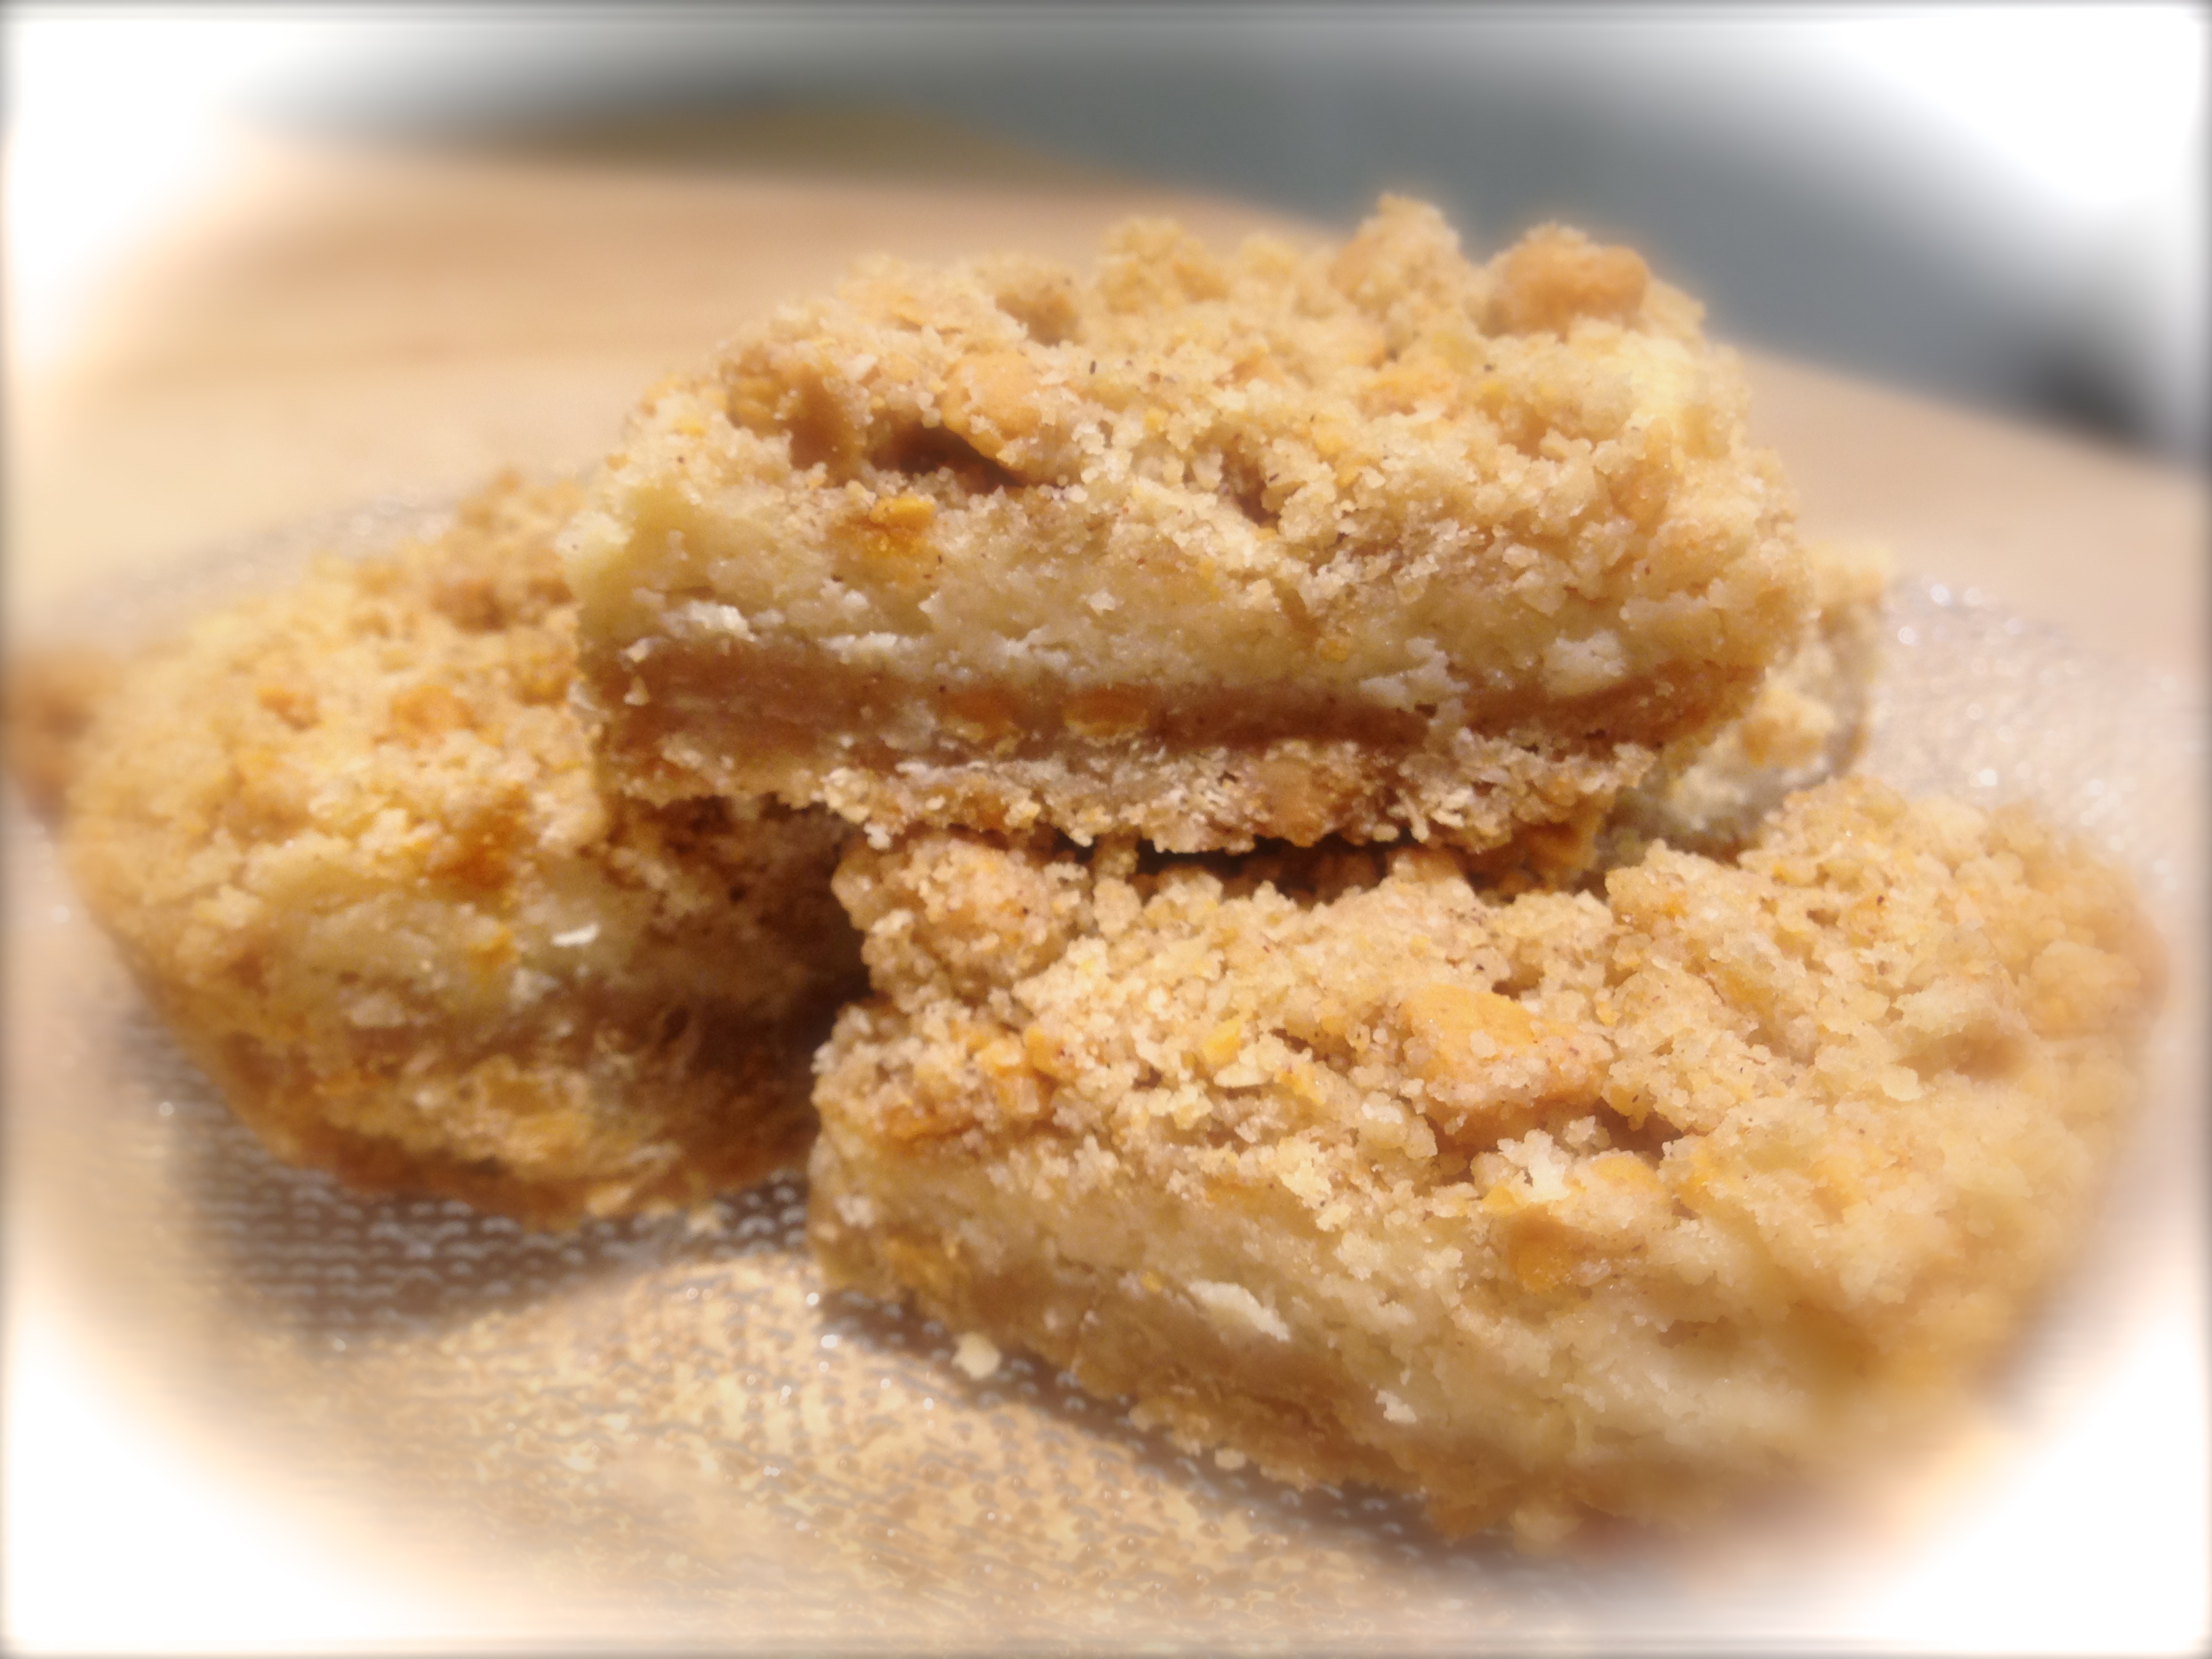
I have a goal every holiday season of making at least one new cookie recipe. This year I was adventurous and I made two new varieties. One new cookie was peppermint twist kisses and the other, which quickly has become my husband’s favorite, was oatmeal cream cheese butterscotch bars. The past few years I’ve ventured away from some of the more traditional holiday faire and tried more unique types of cookies. Last year, my iced cinnamon chip cookies became a big hit replacing the more traditional chocolate chip cookie in look and flavor. This year my peppermint twist kisses not only gave the look of the holiday but also provided the flavor combination of peppermint and chocolate. Yum!

This recipe is a great melding of oatmeal, cream cheese and butterscotch. It’s not all that difficult to make and it tastes divine. I found I had to buy two bags of butterscotch chips as my husband attacked the first bag when it was in the refrigerator leaving me barely enough to make the bars. Beware those elves that steal the chips before the cookies are made!

For about a year I have been chronicling recipes I’ve made and giving them my rating and lessons learned. As I look back on these recipes there’s hardly a one that has a rating below an A minus. So I’ve decided not to do recipe ratings anymore as I promise to bring you only A and A plus recipes. I will definitely continue my lessons learned, as I know how appreciative I am to learn tips and tricks ahead of time that will make me more successful in the kitchen, especially when trying a recipe for the first time.

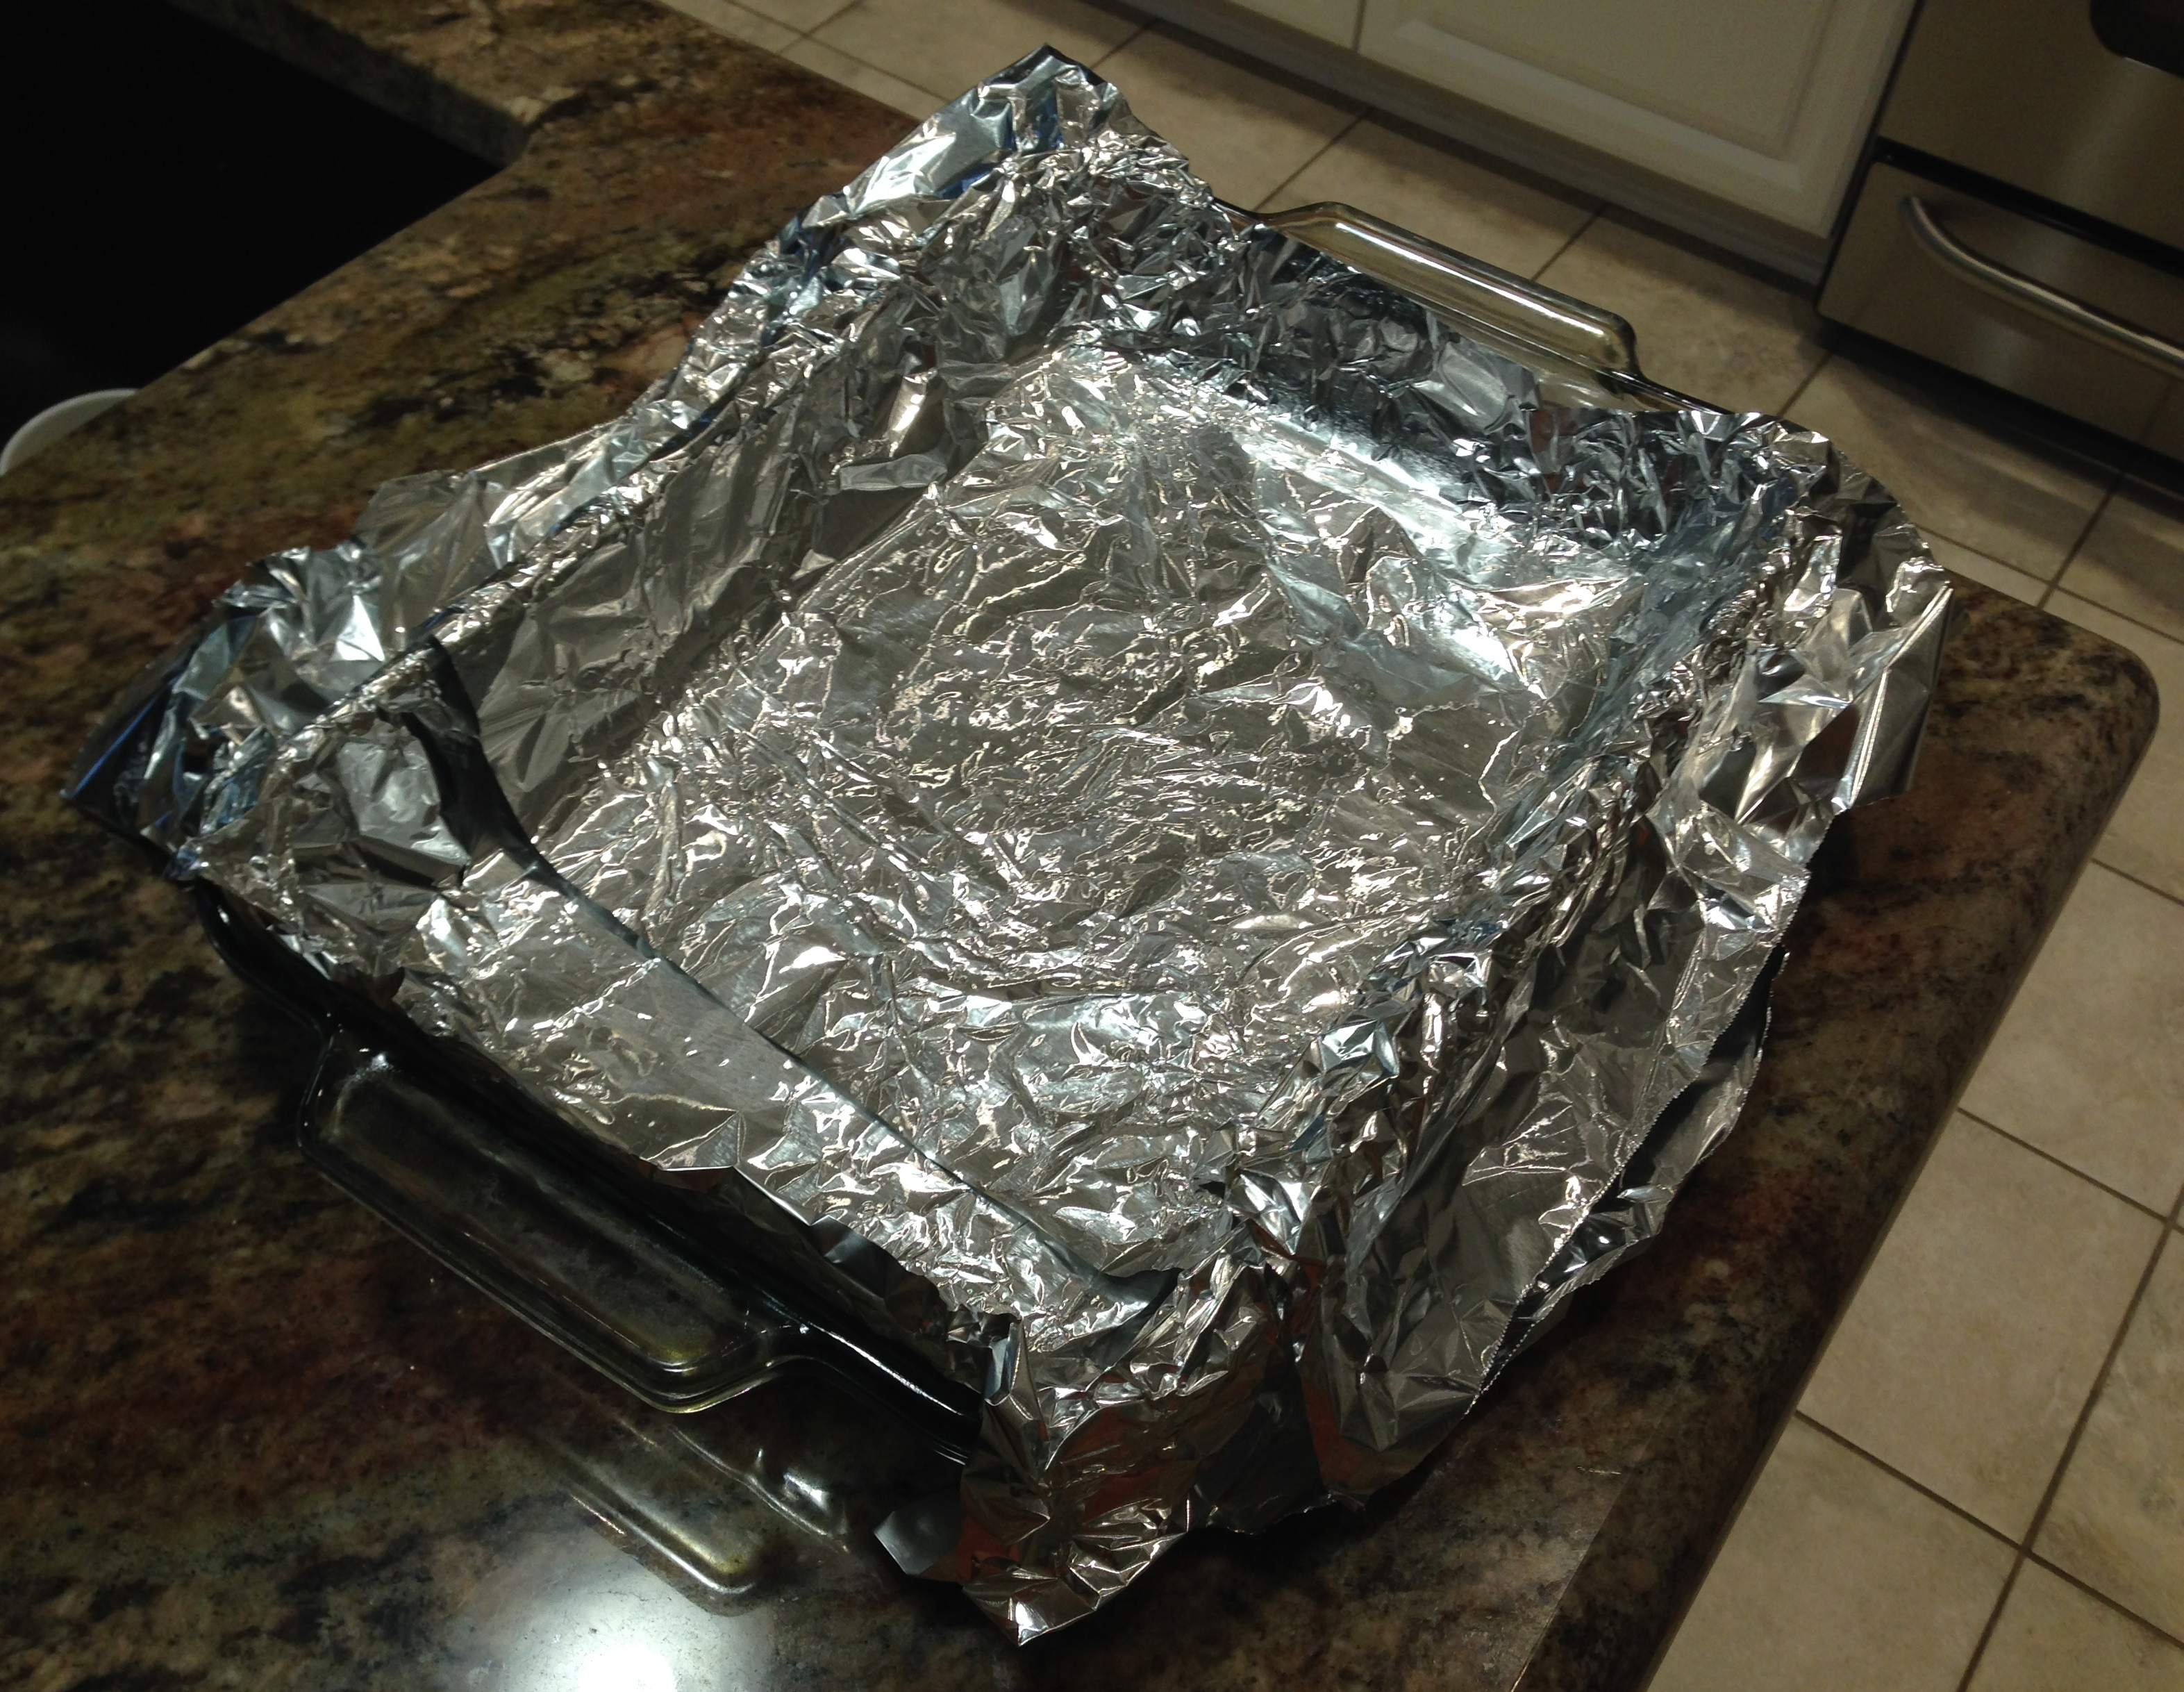
Line the pan with foil and let it overlap the sides to create handles...

Line the pan with foil and let it overlap the sides to create handles…

Lesson Learned 1 – Preparation is key to this recipe: Prepping the pan appropriately is key to the success of this recipe. You need to line a 9 x 13 inch pan with a couple of pieces of foil. Make sure the foil overlaps on the long sides of the pan to serve as handles when you lift out the bars. Grease the foil lightly, and wait until the pan is completely cool before lifting the bars out and cutting them (more on that below). If you do that, you will have absolutely no problem removing them from the pan.

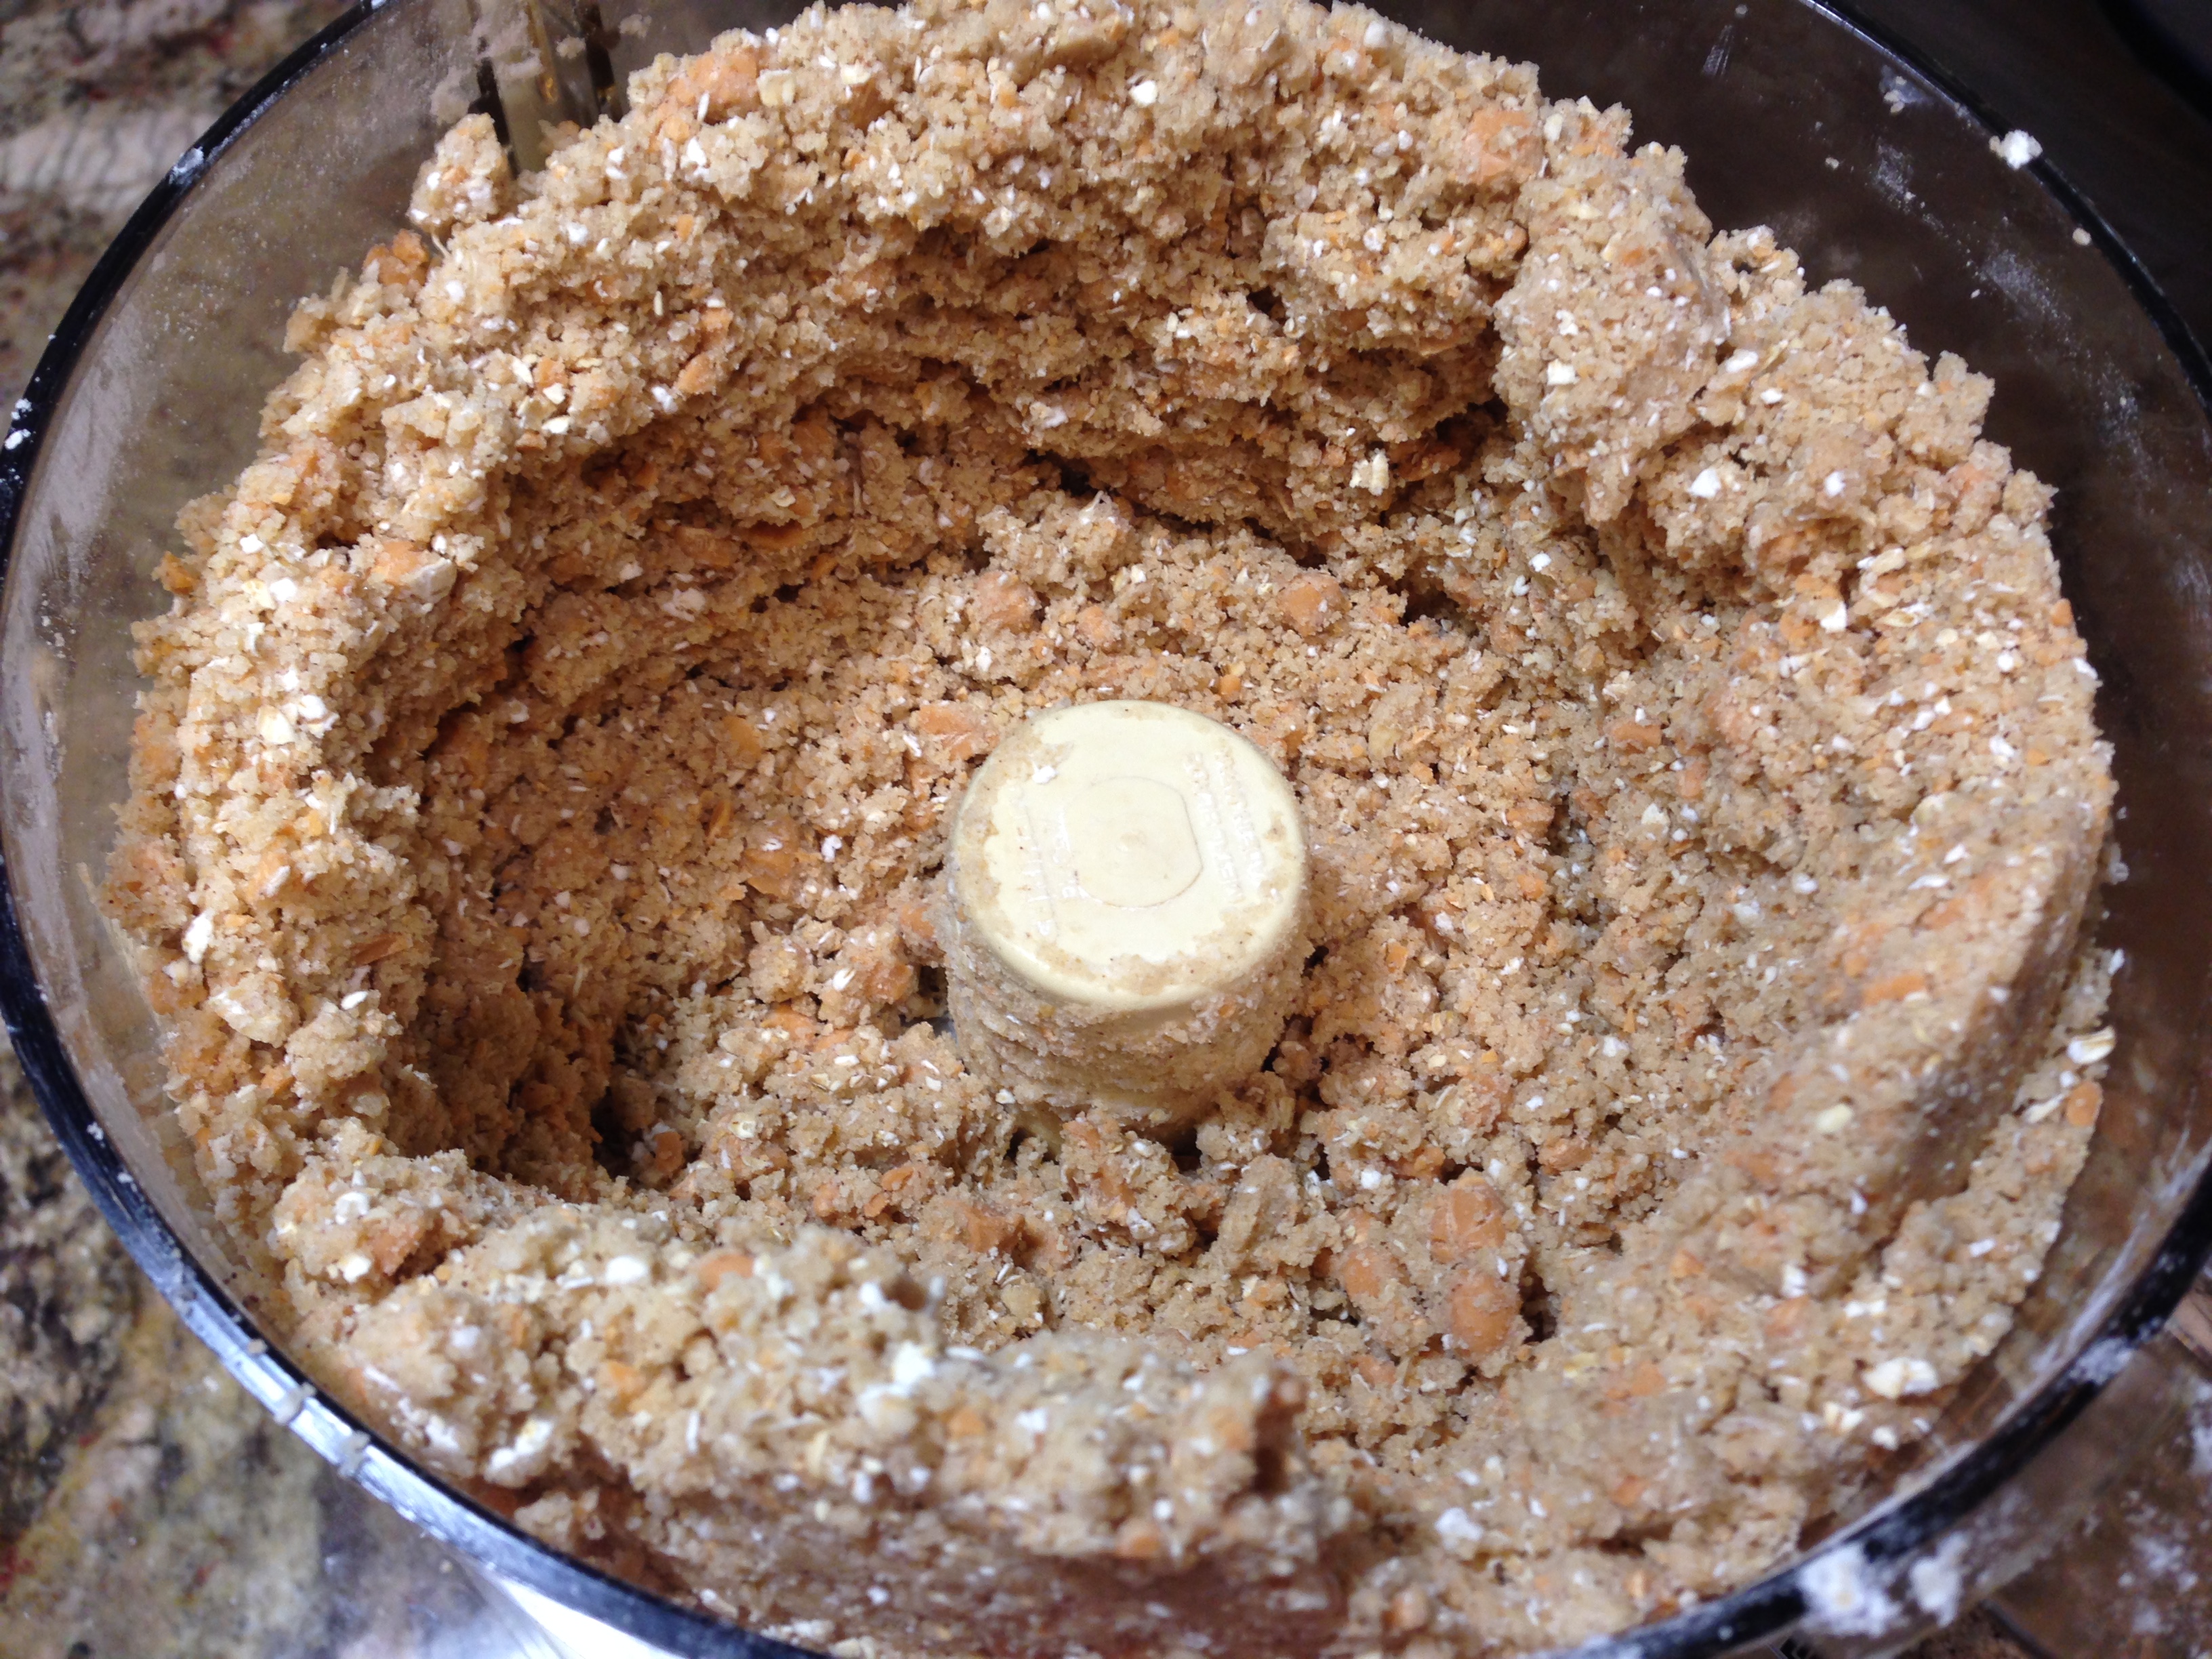
Lesson Learned 2 – You don’t need a stand mixer to make these cookies: For those of you that don’t have a stand mixer, never fear – you don’t need one to make this recipe. The bottom of the bars and the crumb topping are one in the same mixture and are made in a food processor. IMG_2403The filling can be made with a hand mixer. Personally I preferred making the crumb mixture in the food processor. I think the pulsing action of the food processor blends the butter with the sugars more completely creating a perfect crumble. The texture should resemble what you see in the picture to the right. I would not recommend trying to make the crumble by hand. I also have to admit it felt weird not using my stand mixer to make the bars, but it was a delightful departure from the usual way of making cookies.

Lesson Learned 3 – Let the pan cool and chill the bars before attempting to cut them: This is critical. The ingredients need to completely set before cutting and the only way to do that is to let them cool. Once the pan was slightly cool I covered it loosely with foil and put it out in the garage. The winter temperatures here in Colorado make it easy to use the garage as a cooling station. I don’t recommend this for warmer climates. If you live in one, let the pan cool on a cooling rack in the kitchen and then put it in the refrigerator once the pan is cool to the touch. Leave the pan in the refrigerator until the bars have completely cooled.

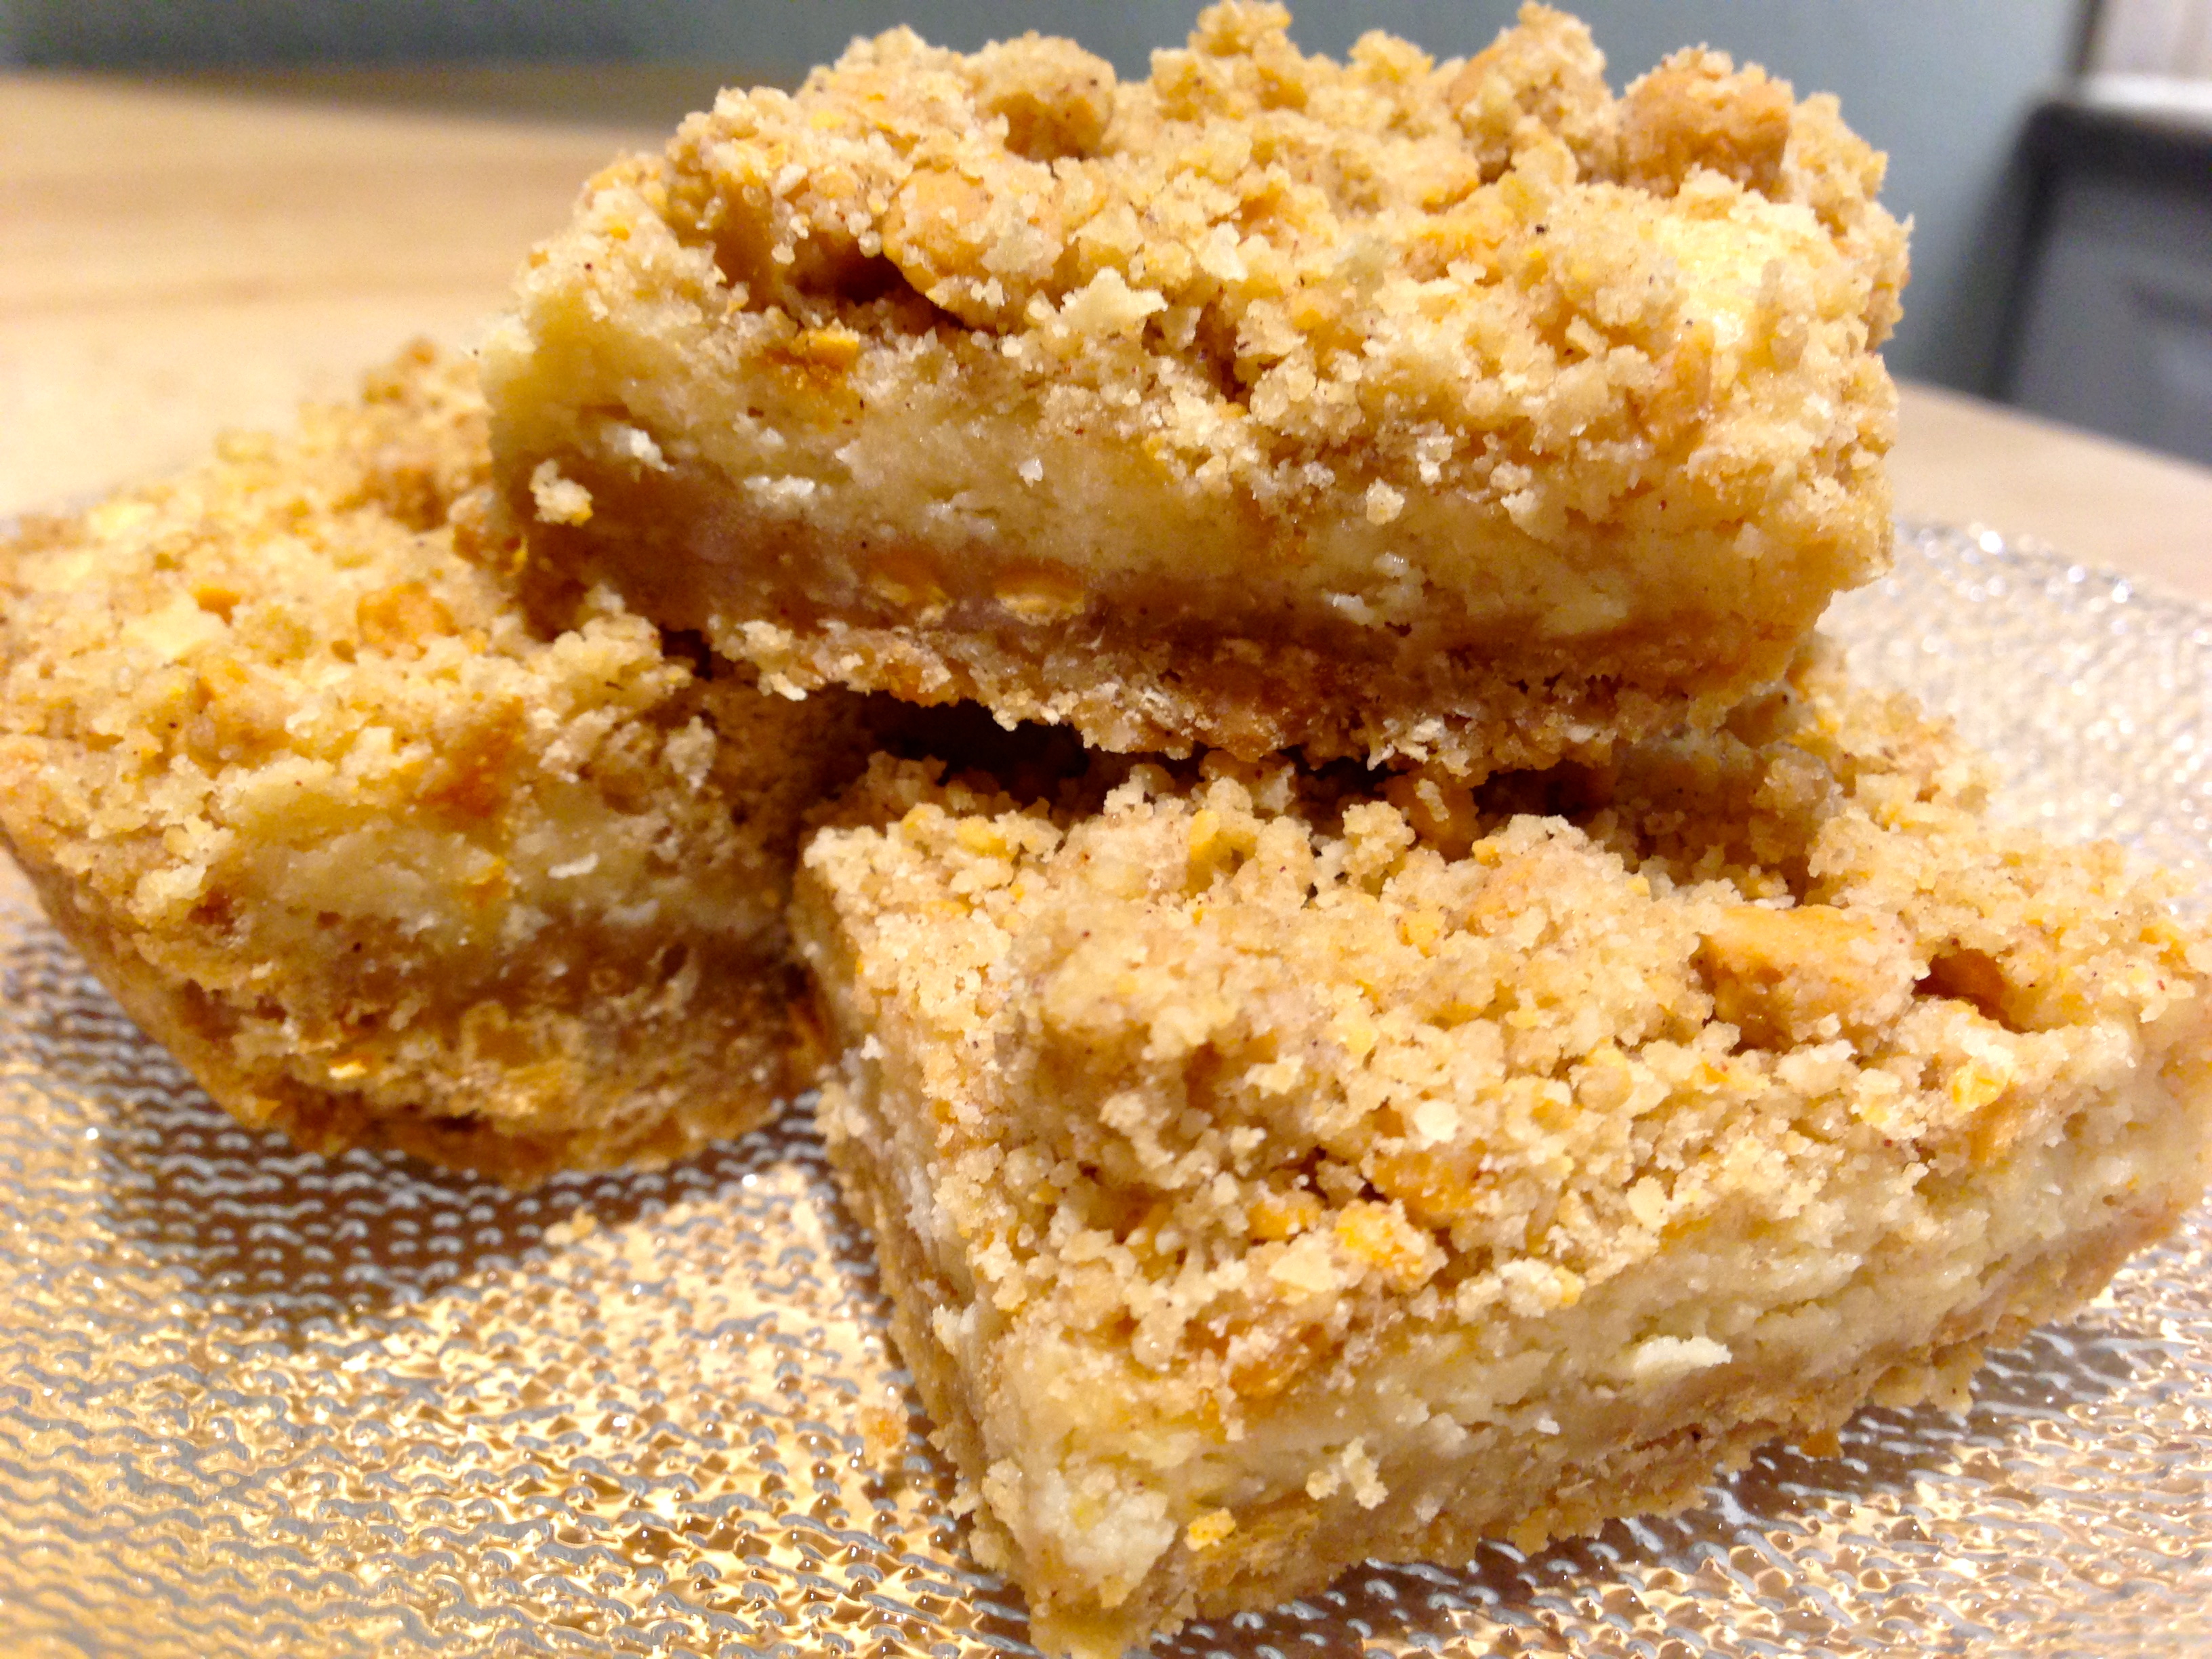
Although this recipe may look difficult it is really quite easy, and definitely worth it. This recipe has become my husband’s new holiday favorite. I think you will enjoy it too!

Oatmeal Cream Cheese Butterscotch Bars…

  • Servings: 36
  • Difficulty: Easy
  • Print

INGREDIENTS:

2 sticks room temperature butter cut into small pieces

2 cups flour

1 1/2 cups quick cooking oats

3/4 cup firmly packed brown sugar

1 tsp. cinnamon

1 bag butterscotch chips (11 ounces)

I package cream cheese, softened (8 ounces)

1 can sweetened condensed milk (14 ounces)

1 lemon zested and juiced

1 tsp. vanilla extract

DIRECTIONS:

Preheat oven to 350 degrees. Line a 9 x 13 pan with foil making sure the foil overlaps the side of the pan to create handles for easy removal. Grease the foil lightly.

Combine flour, oats, and brown sugar in a food processor. Pulse to combine. Add the butter, cinnamon and butterscotch chips. Pulse until the mixture clumps when pressed between your fingers. Press half of the mixture in an even layer into the bottom of the prepared pan.  Bake until slightly golden and set approximately 12 – 15 minutes.

With a hand mixer beat until smooth the cream cheese, condensed milk, lemon juice and zest and vanilla. Spread the mixture evenly over the cooled oatmeal mixture. Sprinkle the remaining oatmeal mixture on the top. Bake until top is golden, approximately 40 minutes.

Cool and chill before cutting. Use the foil handles to remove the bars from the pan and place on a cutting board. Cut into squares.

IMG_2432 2

IMG_2438

Peppermint Twist Kisses…

For many, many years the holidays have meant cookie baking time for me. And over the years I’ve made a wide range of cookies. About five years ago I established a goal of making at least one new cookie recipe each holiday season. The result has been a definite shift in the tried and true cookies I make each year. And it’s nice to see an evolution in my cookie baking.

This blog is dedicated to one of the two new cookie recipes I made this year. Being that I work part time at Crate and Barrel I’ve been really challenged in making my goal of one new post a week during the holiday season. The other recipe (a recipe for oatmeal butterscotch cream cheese bars – also an excellent one) I will try to get posted within the next few days, especially for my readers who may not have started their baking yet.

This blog will also serve as a one stop shop for some of my other favorite cooke recipes. I’ll provide a picture, name and the link to each below since I’ve blogged about them already. Look through them and see what might work for you. I guarantee you, they are all delicious.

I made the peppermint twist cookies this year because I decided not to make spritz cookies and I wanted something on my cookie plates that had the colors of the holiday season. This is a delightful cookie and the combination of peppermint and chocolate truly is indicative of the holidays. It’s easy to make, colorful and delicious. Need I say more.

Recipe Rating – A: This is a flavorful, colorful cookie that will brighten up your holiday cookie platter. Just make sure your family doesn’t raid the bag of kisses before you bake the cookies like my husband did. They are a necessary part of making this cookie special.

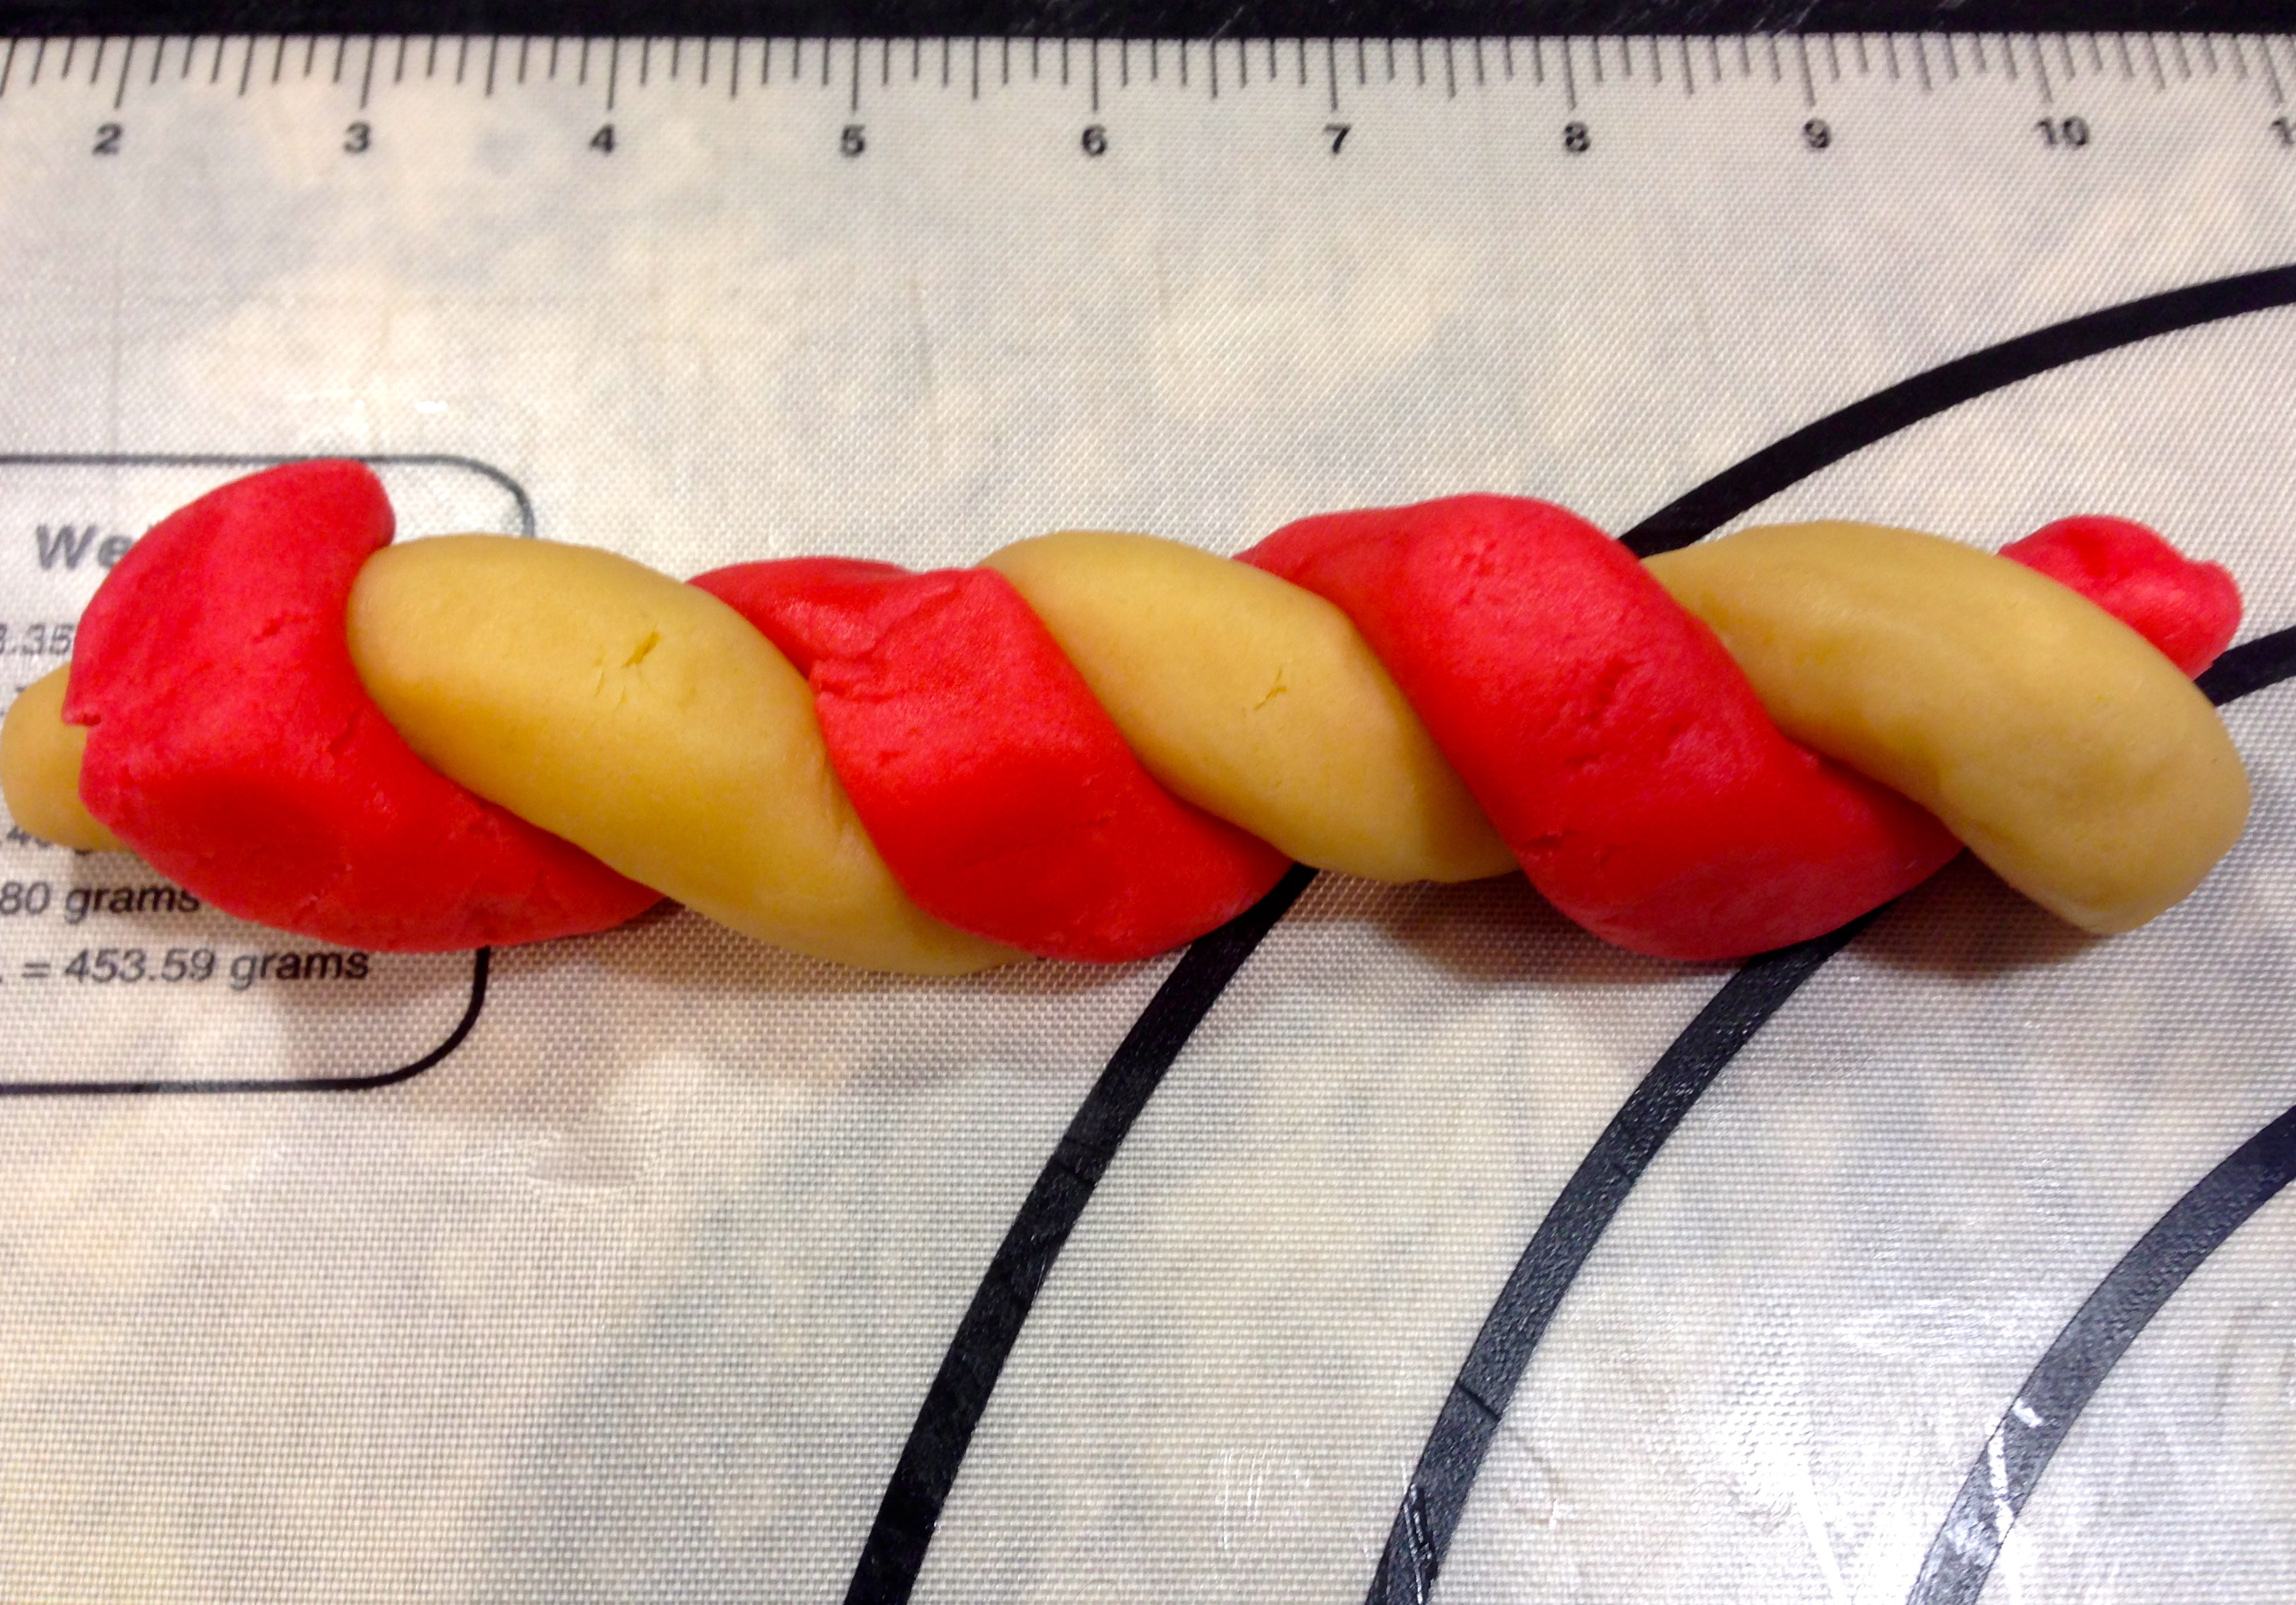
Lesson Learned 1 – Rolling out the cookies: This is definitely the most intricate part of making the cookies. Keep in mind that you will be combining to logs of dough into one so make sure the logs are thin enough. Once you have divided the dough and colored half of it with red food coloring, you need to chill the dough for at least an hour. Then divide each half of the dough into 4 equal parts and roll one of each color into a log 9 inch log. I have a silicone baking mat that was great to use in this process as it had measurements in inches on the top of the mat that helped guide me through rolling out the logs into the appropriate length.

Roll each color of dough into 9 inch logs...

Roll each color of dough into 9 inch logs…

Once you do that, you need to loosely braid them together and roll them into a single log. This will elongate the log about an inch or two. Remember you want the circumference of the combined log to be as thick as each individual log.

IMG_2228

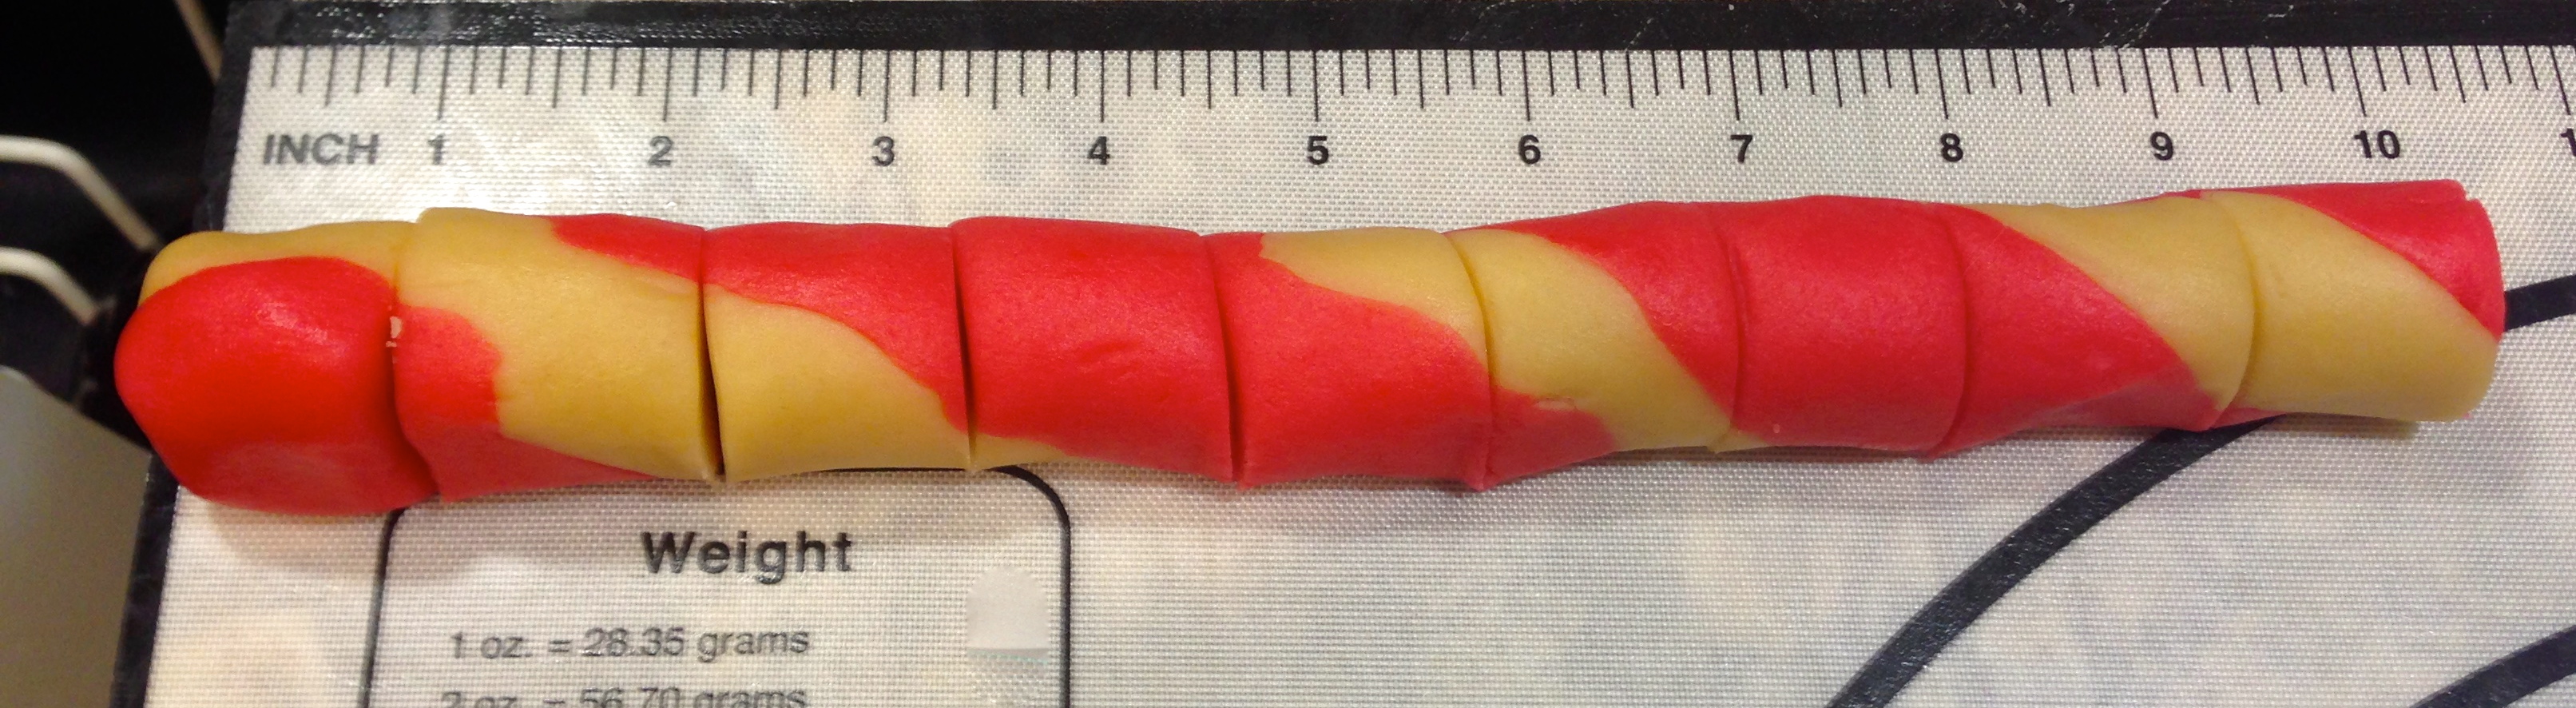
Once you’ve rolled both pieces into a single log cut them into pieces approximately 1 1/8 inches thick. (Once I cut the first piece I used it as a guide for cutting the others)

IMG_2237


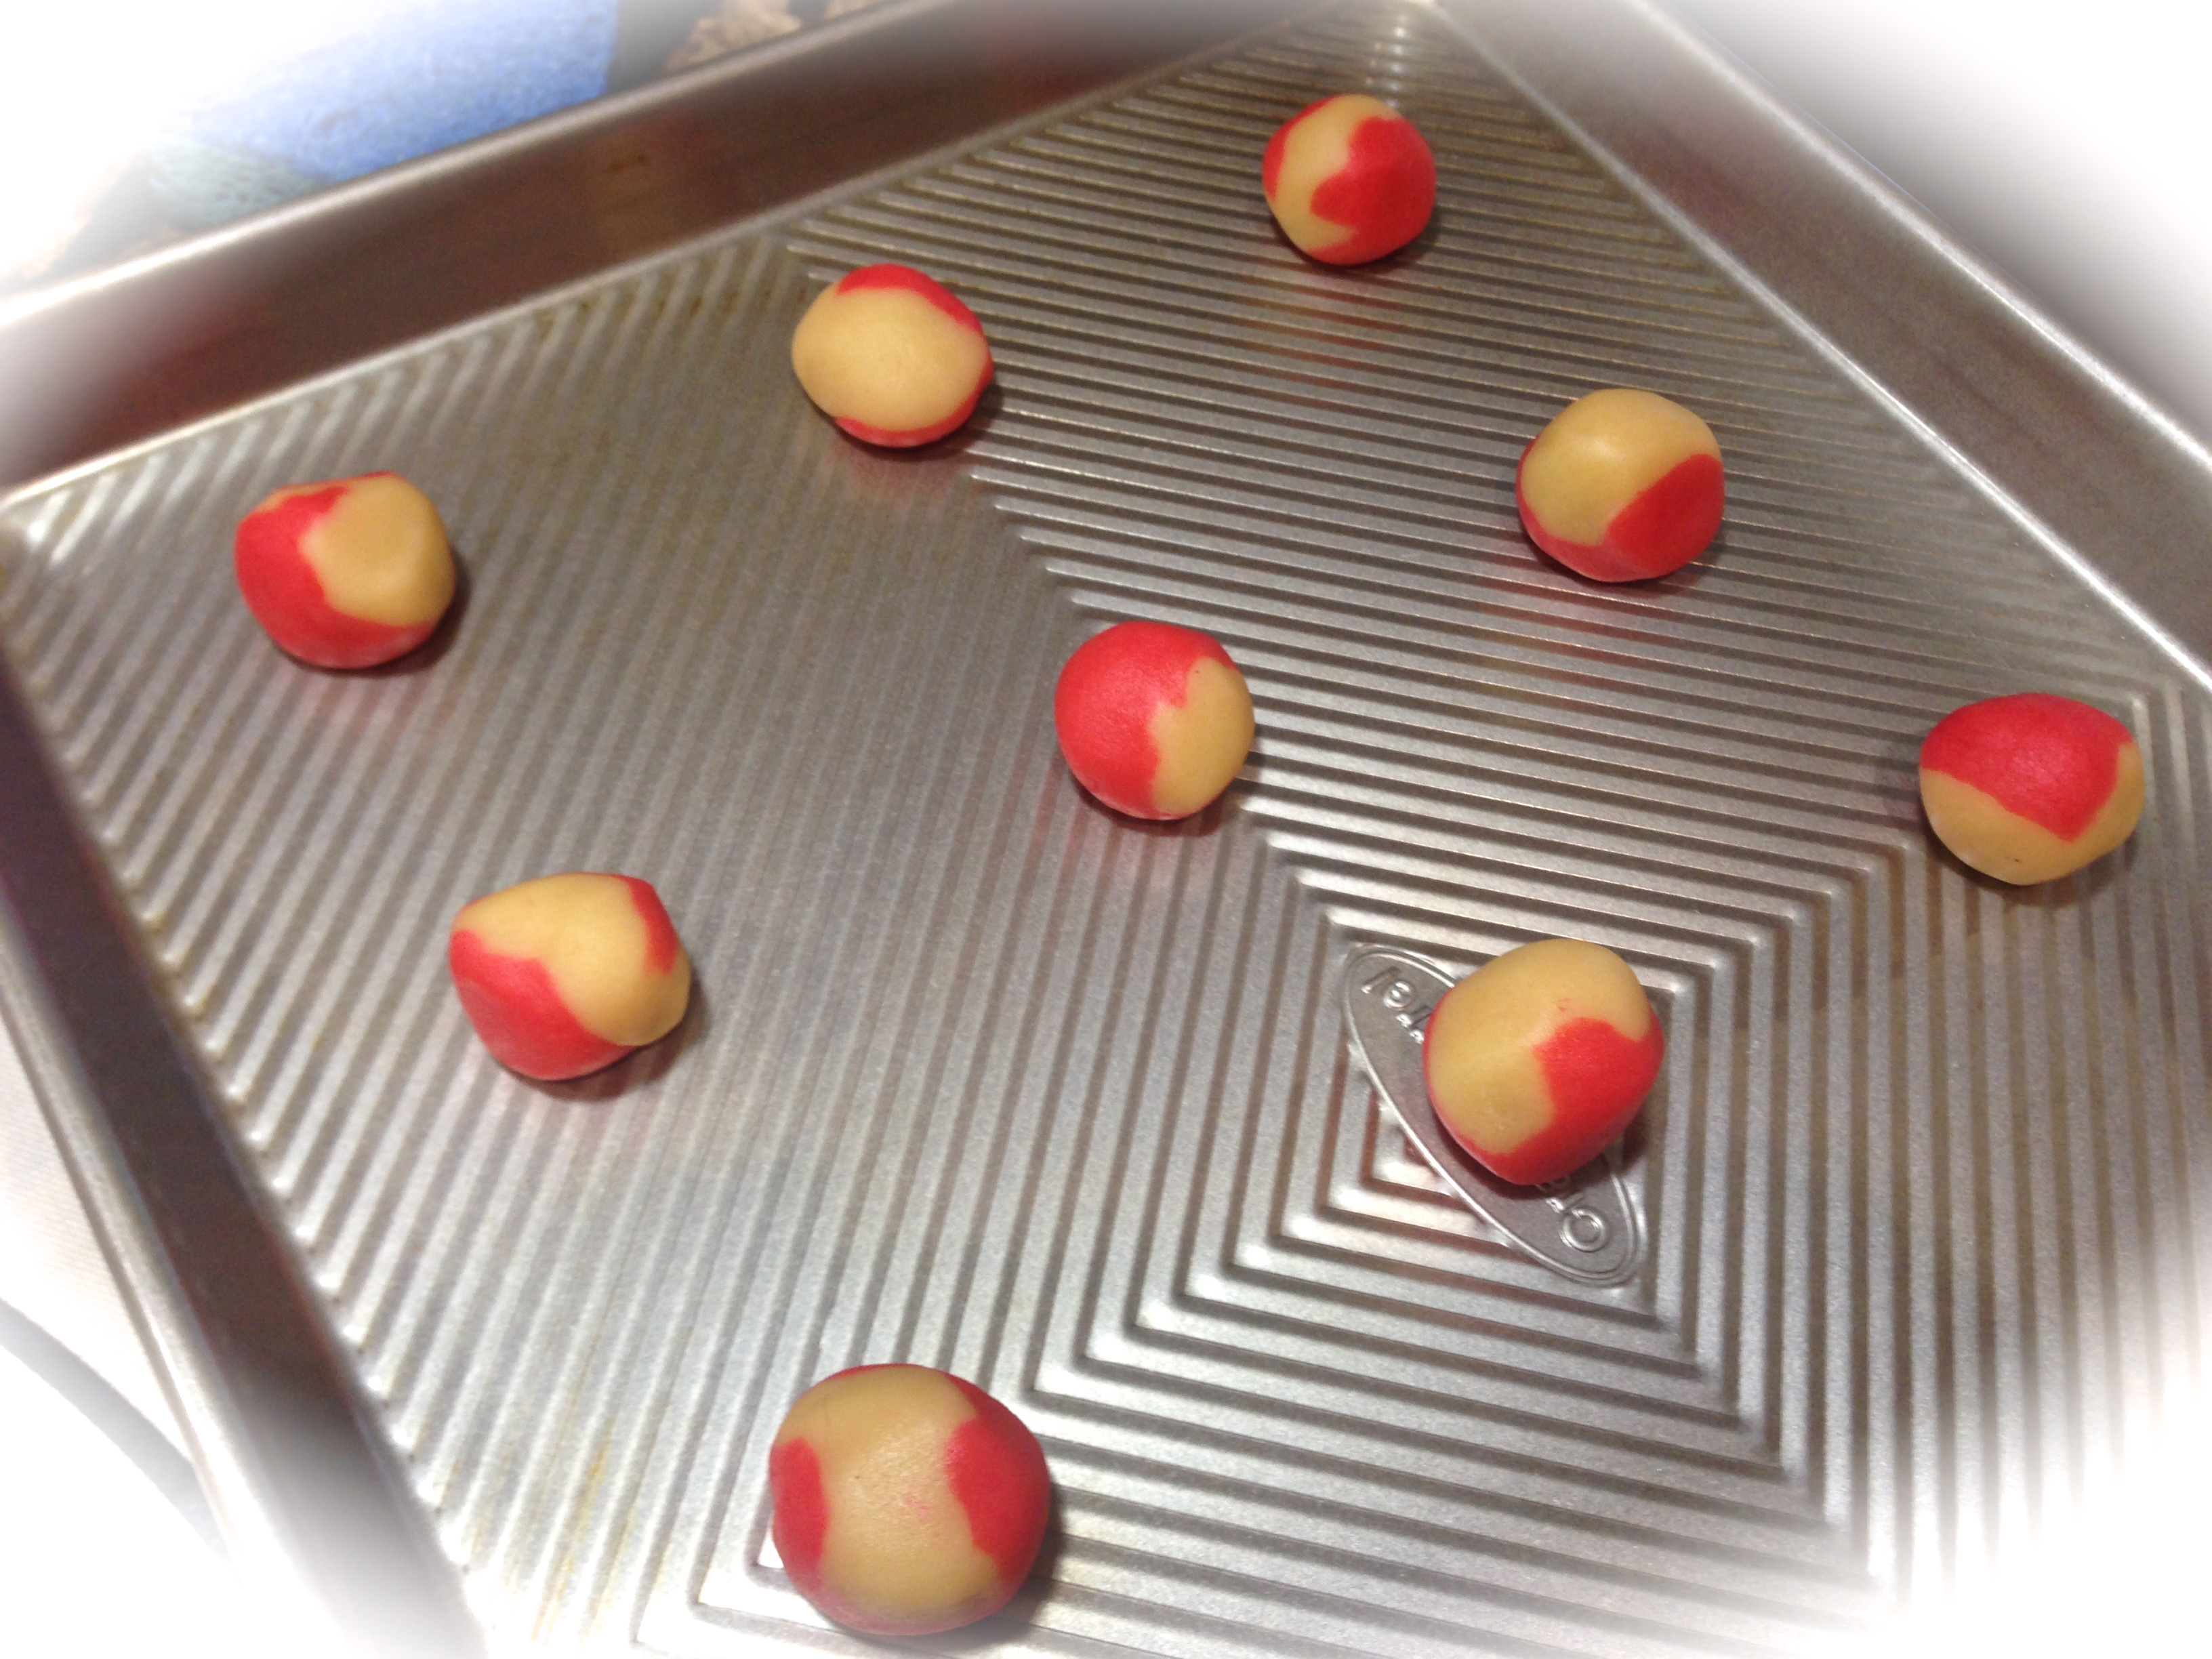
Take each individual piece and roll it into a ball and place on a cookie sheet.

IMG_2224


You will need to flatten each ball slightly with the bottom of a glass before putting them into the oven. That is definitely the hardest part of making these cookies.

Lesson Learned 2- Make sure you unwrap the chocolate kisses ahead of time. You only have a short window of opportunity to place the kisses on the cookies once they come out of the oven. Make sure you have them unwrapped so that you can get them on quickly. Then DON’T TOUCH THEM. The warm cookie will cause the kisses to get very soft and they need to reset to retain their shape.  Once the cookies have cooled slightly I put them on a baking sheet and stick them in the freezer for a few minutes to get the chocolate to set a little quicker.

These cookies are fun to make, colorful, flavorful and will brighten up any holiday cookie tray. Enjoy!

IMG_2245


Peppermint Twist Kisses…

  • Servings: 3 Dozen Cookies
  • Difficulty: Easy
  • Print

INGREDIENTS:

1 cup unsalted butter at room temperature

2/3 cup sugar

2 egg yolks

1 tsp. peppermint extract

1 tsp vanilla extract

2 1/2 cups flour

1/2 tsp. salt

Red food coloring

36 chocolate kisses (1 bag will give you more than enough)

DIRECTIONS:

In a large mixing bowl cream butter and sugar. Add the egg yolks one at a time and blend. Add the extracts and mix well. Combine the flour and salt. Gradually add the dry ingredients to the wet ingredients. Mix well but do not over mix. Divide the dough in half. Tint one half of the dough with the red food coloring. Wrap both halves individually in plastic wrap and refrigerate for at least one hour.

Preheat the oven to 350 degrees. Divide each half of each dough into four equal portions. Shape each portion into a 9 inch log. Place one red log next to one white log and gently twist them together to create on swirled log. (see picture above). Gently roll both together to create one log. Cut each log into pieces approx. 1 1/8 inches thick. Roll each segment into a ball and place on an ungreased cookie sheet. Flatten each ball slightly with the bottom of a glass.

Bake at 350 for 10-12 minutes or until the edges are lightly browned. Press chocolate kisses into the center of each warm cookie. Remove to a wire rack and let cool. (once slightly cooled you can put the cookie on a flat sheet into the freezer for a few minutes to help the kisses set faster).

IMG_2250


QUICK GUIDE TO OTHER HOLIDAY COOKIES: (just click on the title underneath the picture)


Chicago Style Deep Dish Pizza…

I was born and raised in Chicago. In fact, I spent most of my life there. And I know that quite often if someone says they are from Chicago you eventually find out they lived in one of the adjoining suburbs. But not me. I was born on the South Side, raised in Brighton Park went to college in Illinois and moved to the North side when I got my job with the Chicago Park District. I lived on the North Side in the Lake View area until we moved from Chicago in 1999.

I live right outside of Boulder, Colorado now and although this is God’s country there are certain things I will always miss about Chicago. I miss the various modes of transportation in Chicago, especially cabs. I miss the diversity of Chicago, it doesn’t really exist here to the same degree. And I miss the food in Chicago – the restaurants are beyond compare and often within walking distance of where you live.

I think two of the hallmark foods associated with Chicago are hot dogs and pizza. There are strict rules you must follow when preparing and eating these culinary delights and are they ever worth it. Every once in a while I get such a taste for a Chicago-style hot dog or some deep dish pizza. You just can’t find anything comparable here.

IMG_1958

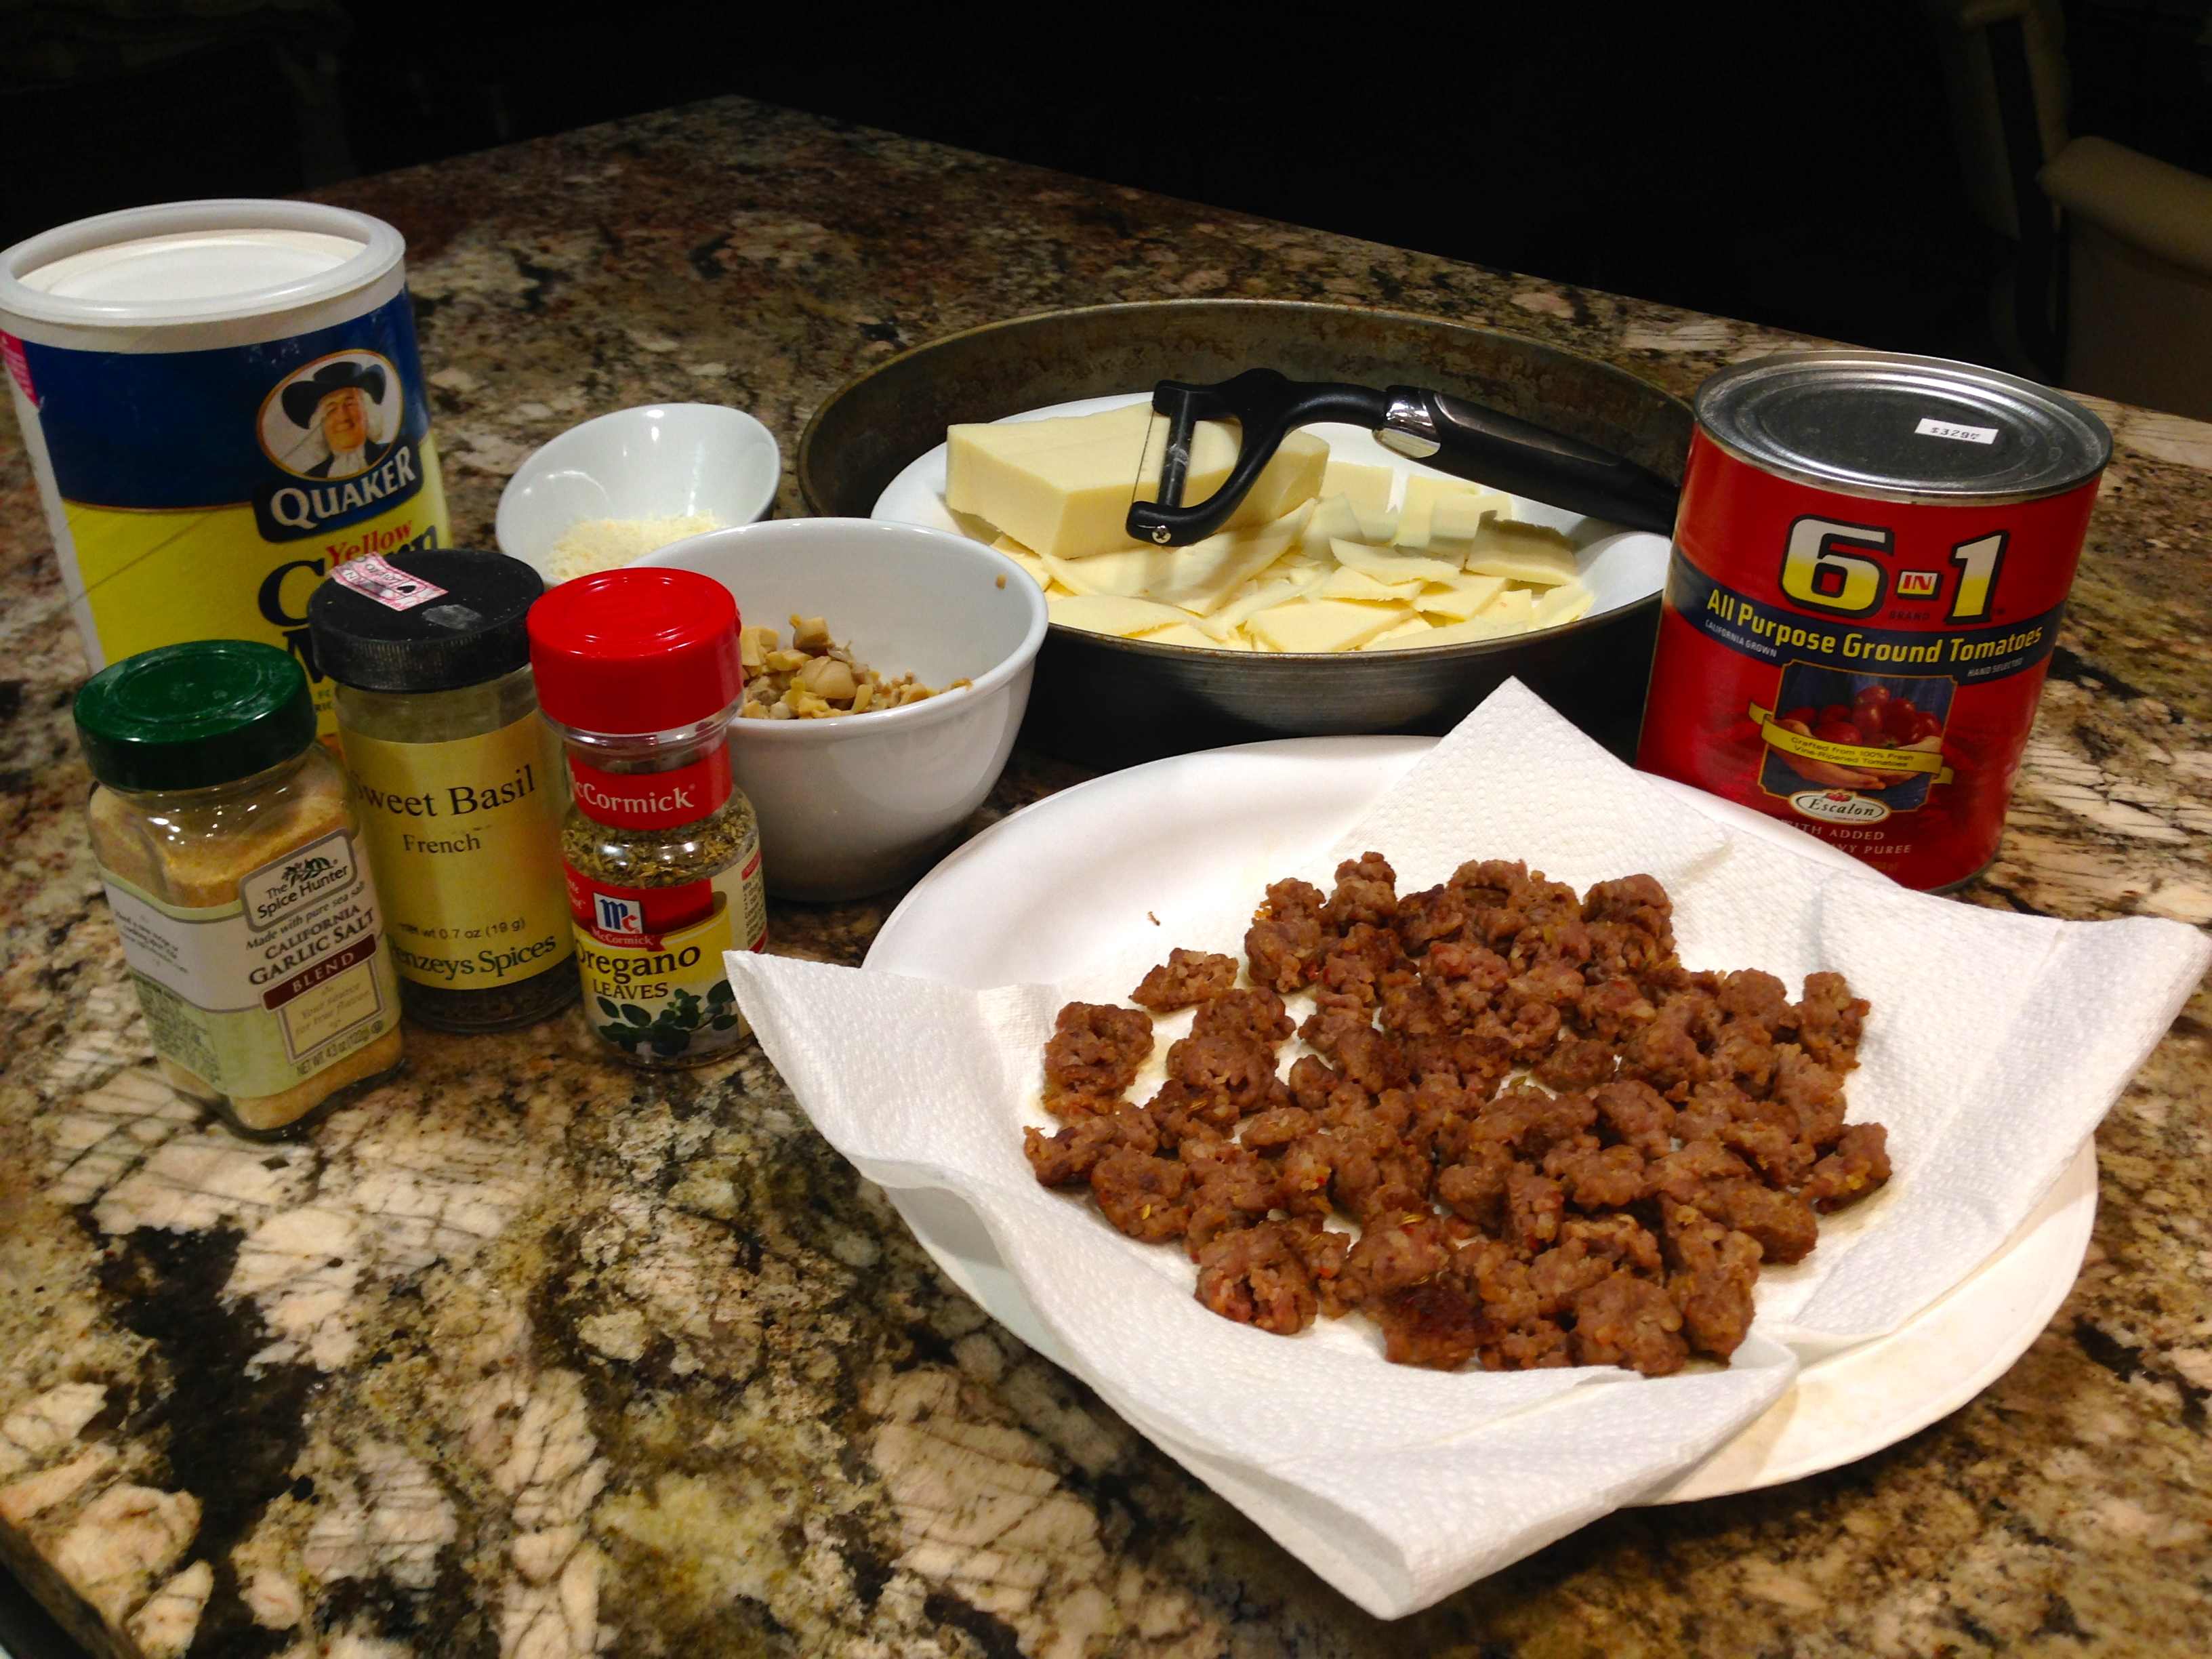
Pizza Ingredients…

So it was to our delight when a friend of ours emailed us and said he saw online the recipe for deep dish pizza from one of the most renowned pizza parlors in Chicago. The recipe was published by a disgruntled employee. It’s my understanding that it was only online for a short time, but time enough for some to grab hold of it. Our friend was one of them and he emailed the recipe to us.

We’ve made this several times and each time we get better at it. And beyond compare, this tastes exactly like the pizza we used to get in Chicago. So it is my pleasure to share it with you and also to give you my lessons learned after making it for several years.

RECIPE RATING: A++++++ If you love Chicago style deep dish pizza you will LOVE this. We could not believe how good it was when we first made it. Nor could we believe how it tasted exactly like the pizza we used to get at one of the most well known pizza establishments in Chicago. I won’t name it so that I can share the recipe with you. This pizza is to die for! You simply must try it.

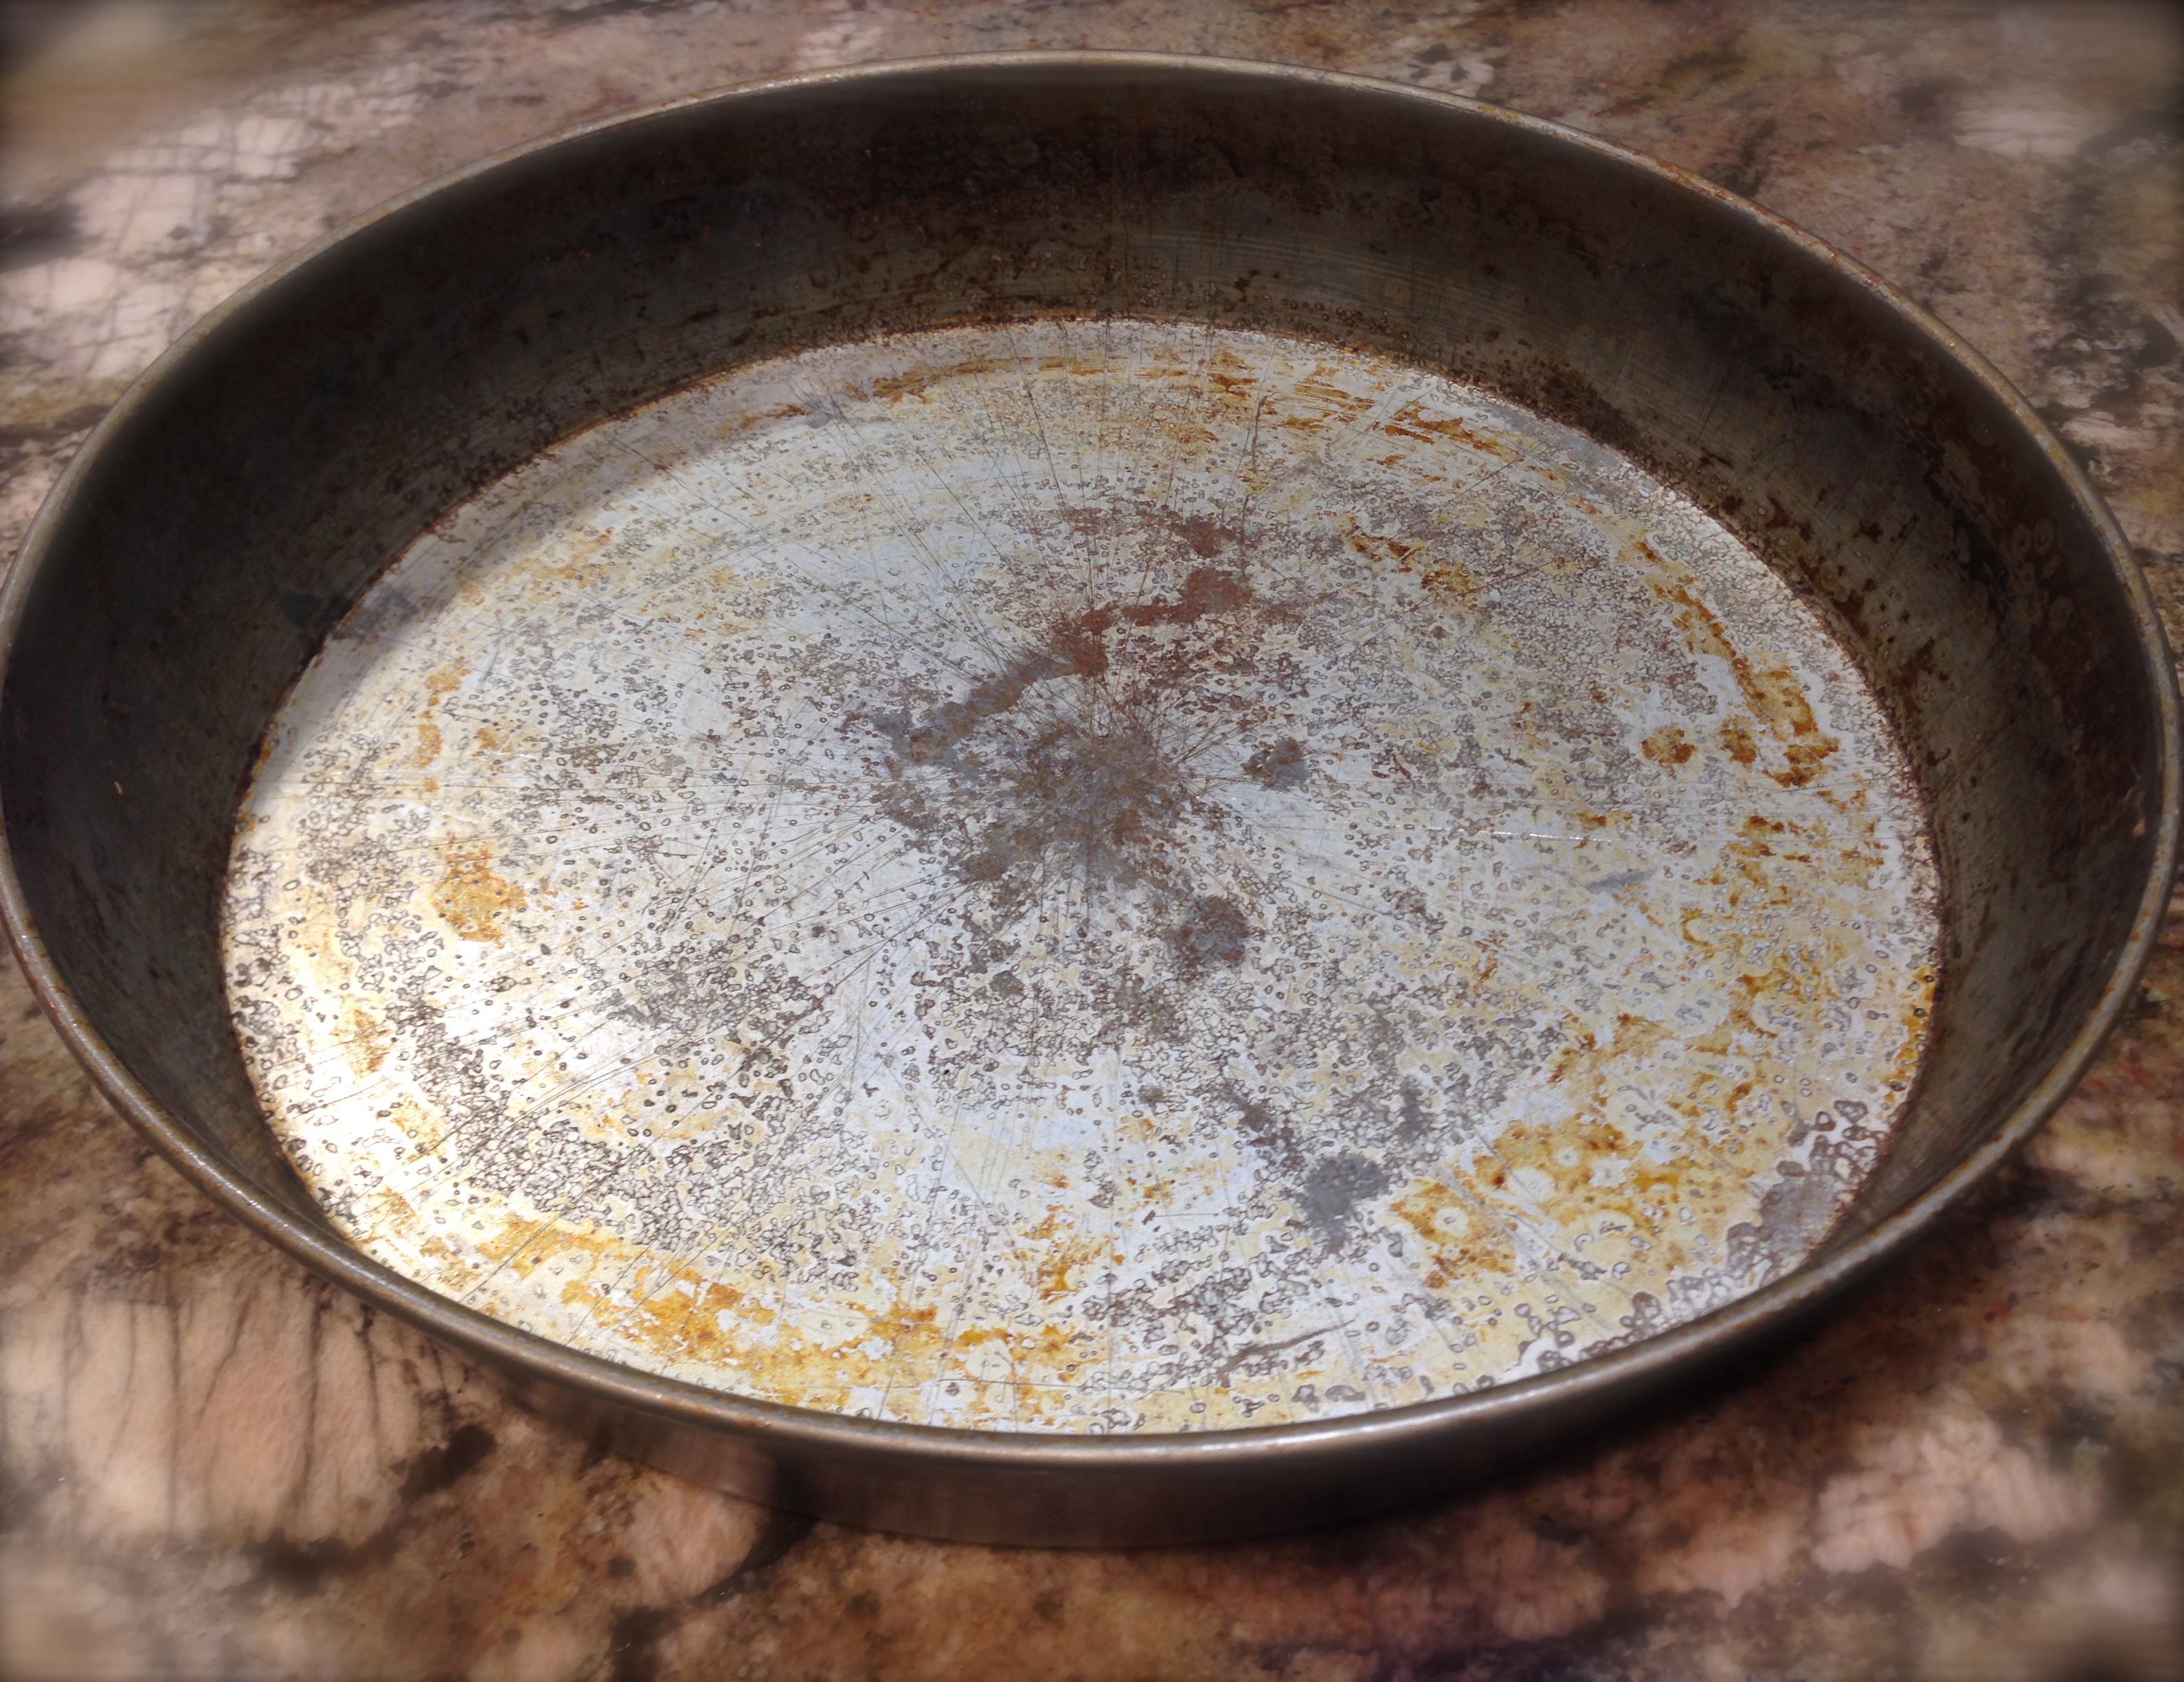
IMG_1953Lesson Learned 1 – Invest in a deep dish pizza pan: We use a pizza pan that is twelve inches in diameter by 2 1/2 inches tall. It is the perfect size for this recipe, crust and all. When you get it, make sure you season it before you use it. If the pan does not come with seasoning instructions, just go online and look up how to season a pizza pan. Our pan is so well seasoned that the pizza pops right out. This type of pan is a must for this pizza recipe.

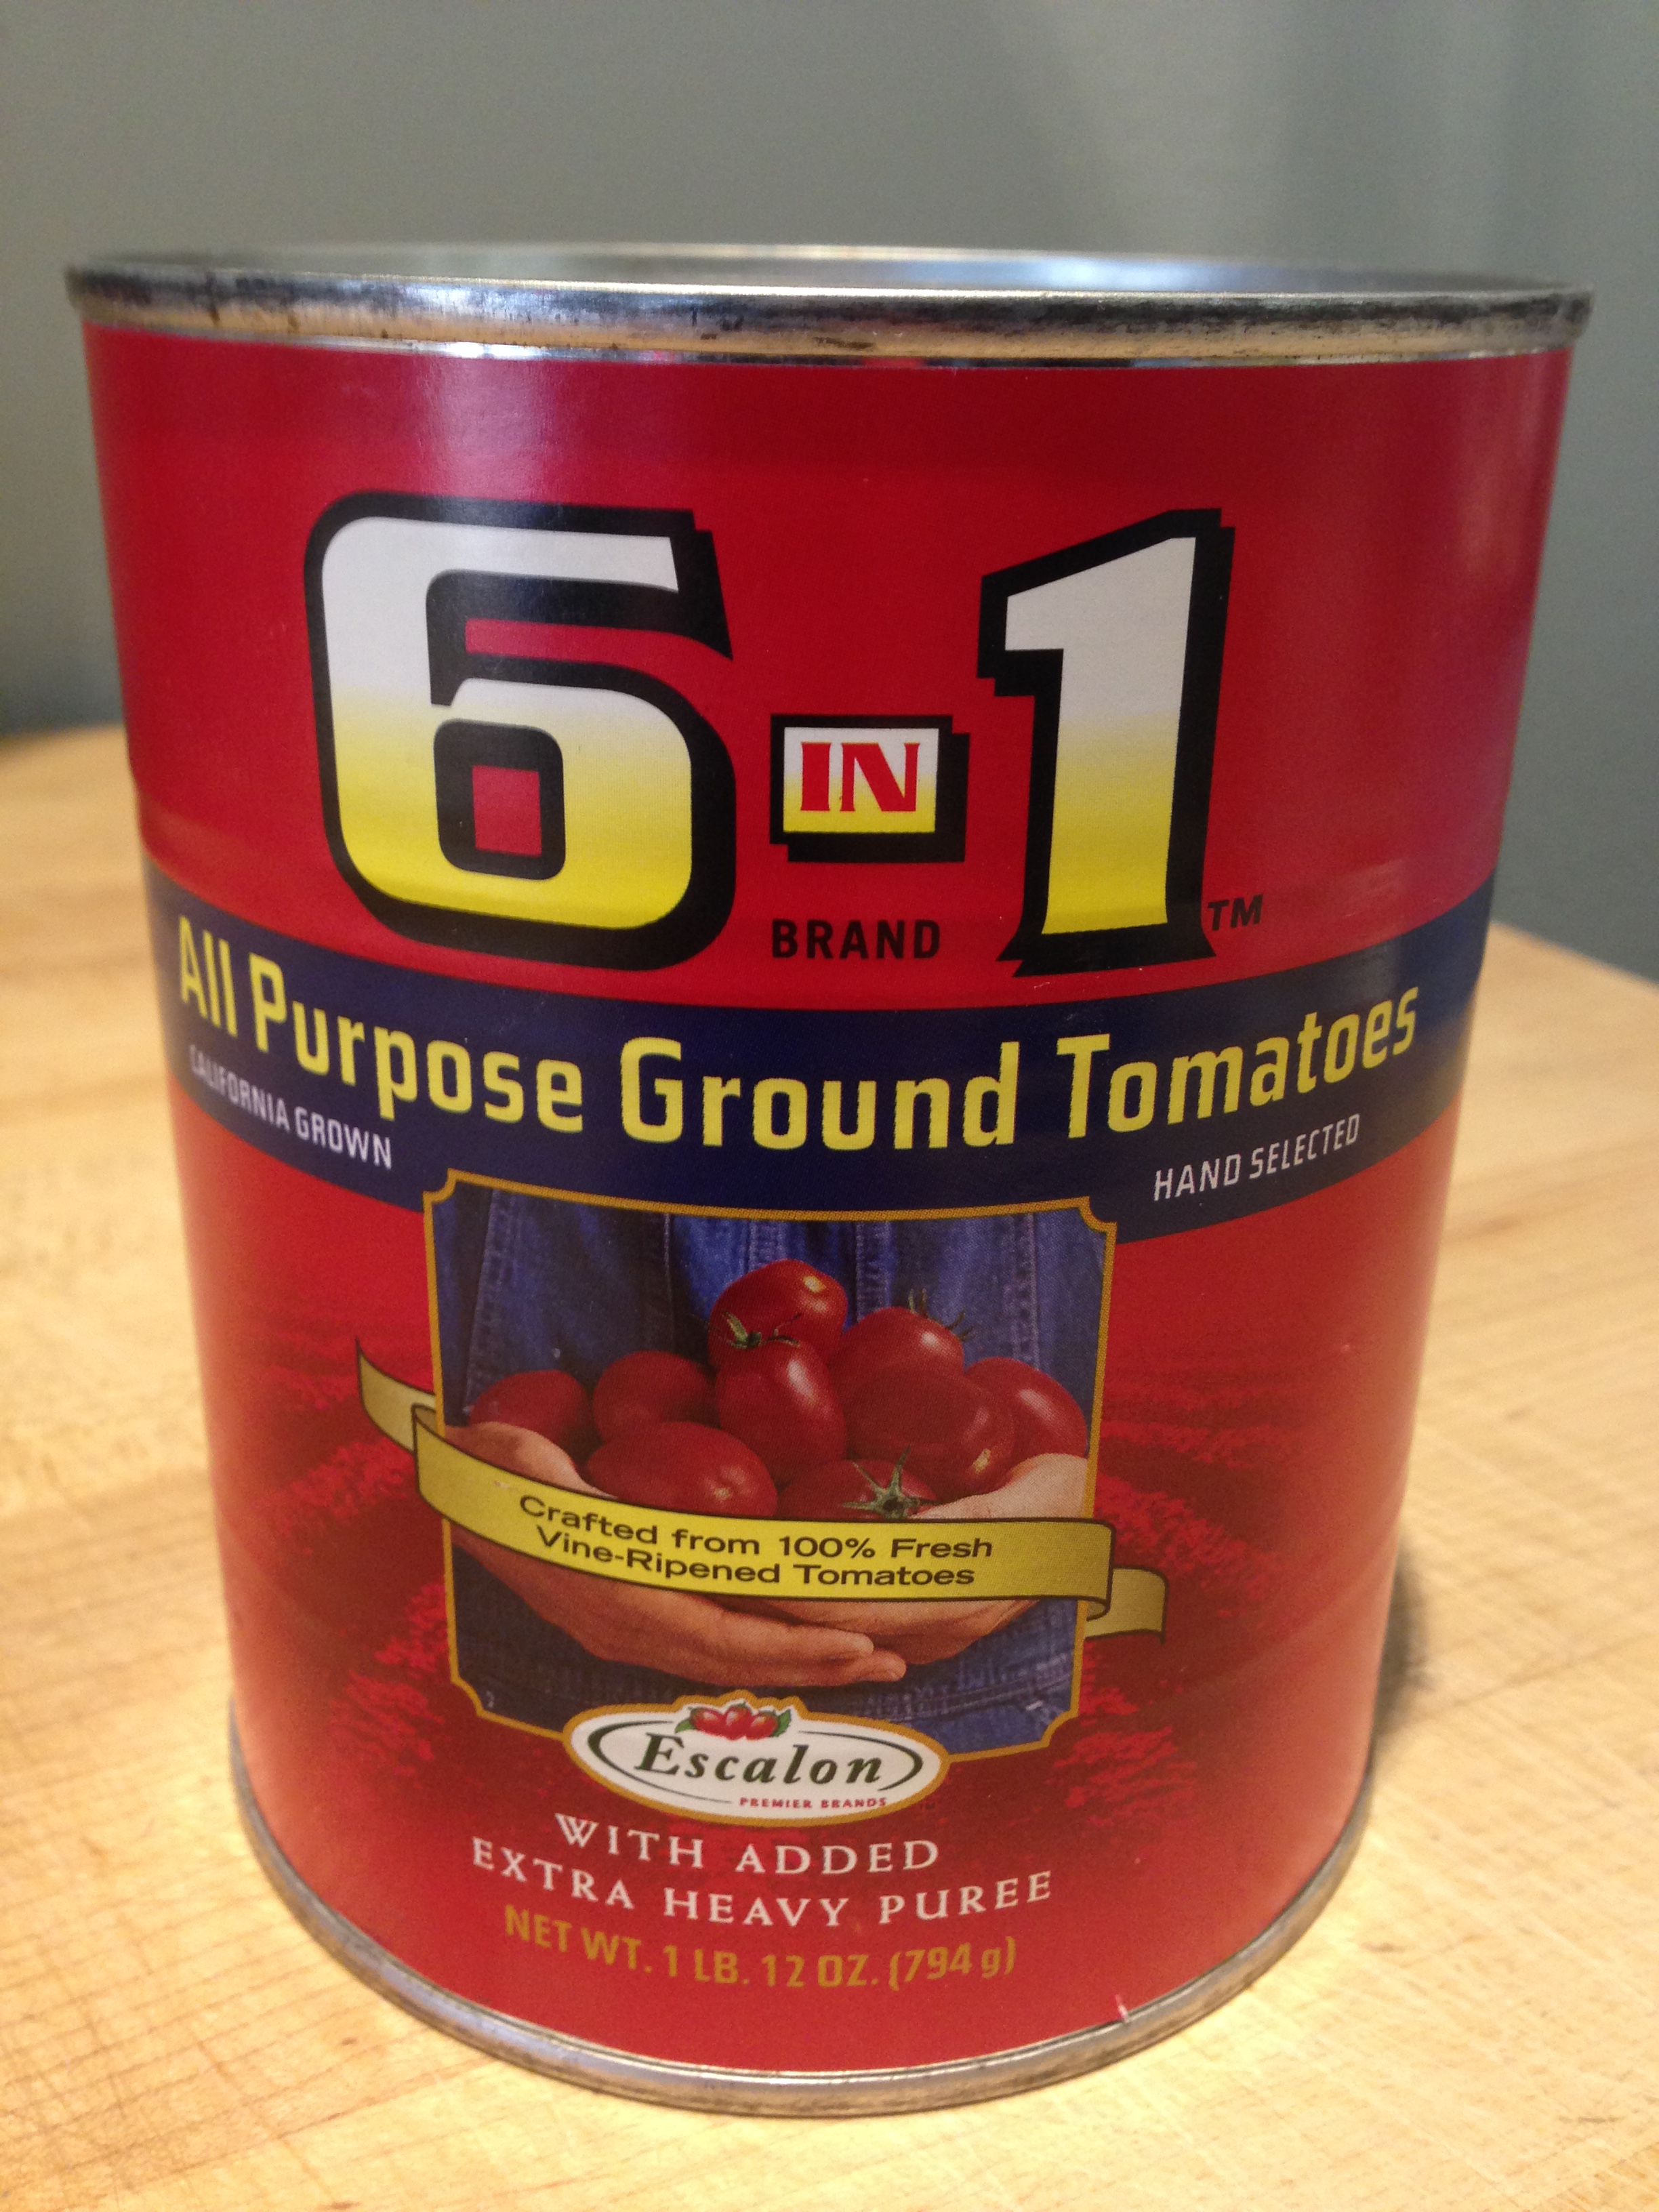
IMG_2454Lesson Learned 2 – Follow the recipe down to the letter: If you want the pizza to taste like Chicago style pizza, you cannot stray from the basic ingredients. The only culinary license you have are the “toppings” so to speak. By that I mean will it be only a cheese pizza, sausage and mushroom, will you add green peppers or olives? That you can choose. But the basics must remain the same. One of the key ingredients is the sauce (or gravy as the true Italians call it). There is a very specific brand of sauce you must use and, at least out here in Colorado, it is not available in local grocery stores. It is called 6 & 1 All Purpose Ground Tomatoes with added extra heavy puree. For those of you living in Colorado you can find it at Valentes Italian Deli in Westminster. For my Chicago friends, I am sure if you have an Italian Deli near your home they will have it. The owner of Valentes told me that people drive from four different states to pick up cases of this stuff. And you must use only this. Otherwise you will not get the consistency or flavor that you want. Regular canned tomatoes from the grocery store are too watery for this recipe. 

Lesson Learned 3 – Be patient: you may find that it will take a couple of times to master this recipe. Our challenge was the crust and getting it so that it wasn’t too thick. Eventually we figured out how to roll it out so that we had very little adjusting to do when fitting it into the pan. For us, making the dough was easy but getting it to fit in the pan and not be too thick was the challenge. All I can say is that this recipe is definitely worth the trial and error for putting it together, especially if you love Chicago style deep dish pizza.

Anyone who has ever lived in Chicago or loves Chicago style deep dish pizza will love this recipe. Feel free to pass it on. It’s a great way to get great Chicago pizza no matter where you live. Enjoy, and I’d love to hear from you once you’ve made this!

Chicago Style Deep Dish Pizza

  • Servings: 8
  • Difficulty: Medium/Hard
  • Print

INGREDIENTS:

1 cup water

1/3 cup oil (80% corn oil/20% extra virgin olive oil)

1 packet quick rise yeast (only if using the dough the same day, otherwise regular yeast)

1 Tbs. sugar

1/4 tsp. cream of tartar

3 cups bread flour

1/4 cup corn flour or corn meal (if using cornmeal sift before combining with bread flour) plus extra to sprinkle on the bottom of the pizza pan

1/2 tsp. garlic salt

1/2 tsp. dried oregano

1/2 tsp. dried basil

Sliced mozzarella, enough to cover the bottom of the pizza (do not used packaged grated mozzarella)

1 28 oz. can of 6 & 1 All Purpose Ground Tomatoes (see picture above)

Grated Romano and Parmesan blend (enough to cover the top of the pizza)

Other pizza ingredients: (if using sausage or pepperoni precook until 75% done – ingredients like green peppers, mushrooms, etc., cook and add as dry as possible so as not to make the crust soggy)

DIRECTIONS:

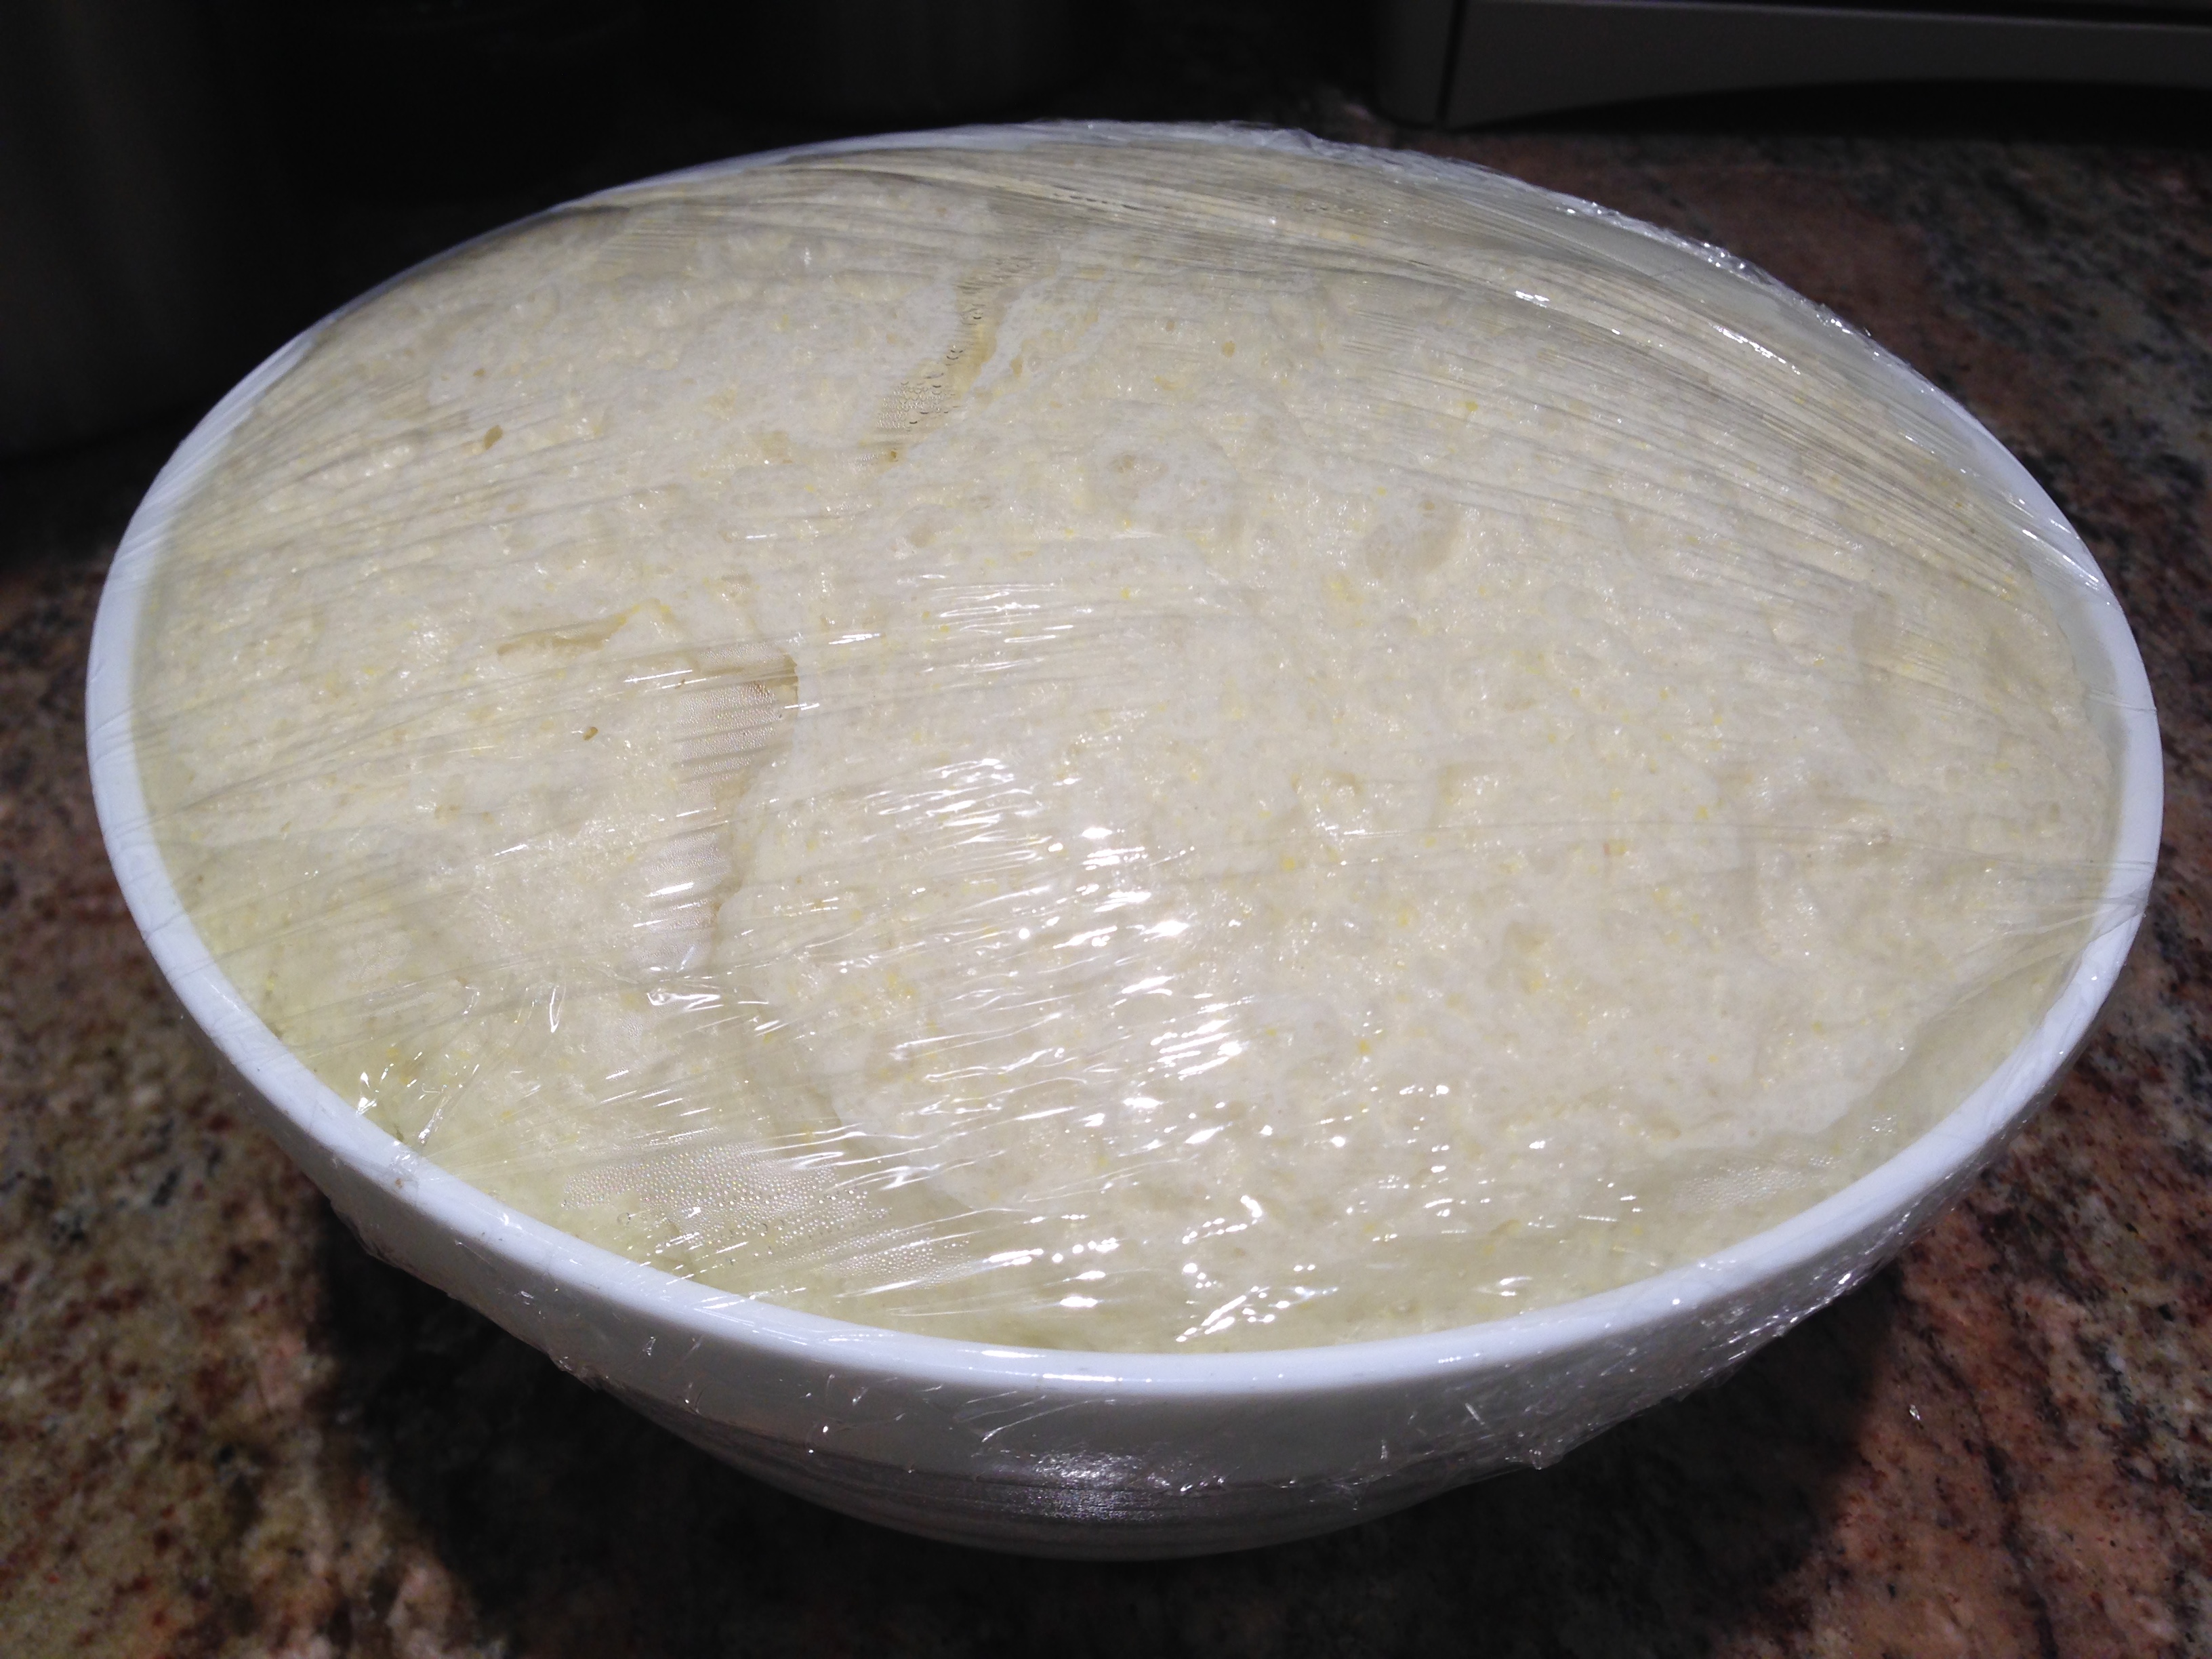
In a large bowl combine water (temp. no higher than 115 degrees for quick rise yeast), yeast, sugar and cream of tartar. Whisk until dissolved. Stir in oil. Combine flour and cornmeal and mix with yeast until consistency of dough is no longer sticky. Remove from bowl and knead. (I use my stand mixer with the dough hook and knead for about 4 minutes – if you don’t have a stand mixer knead by hand for about 10 minutes). Roll the dough into a ball and very lightly coat the outside of the dough with oil. Place the dough in a large bowl, cover with plastic wrap and a dishtowel and let rise for a minimum of 4 hours (or overnight if not using quick rise yeast).

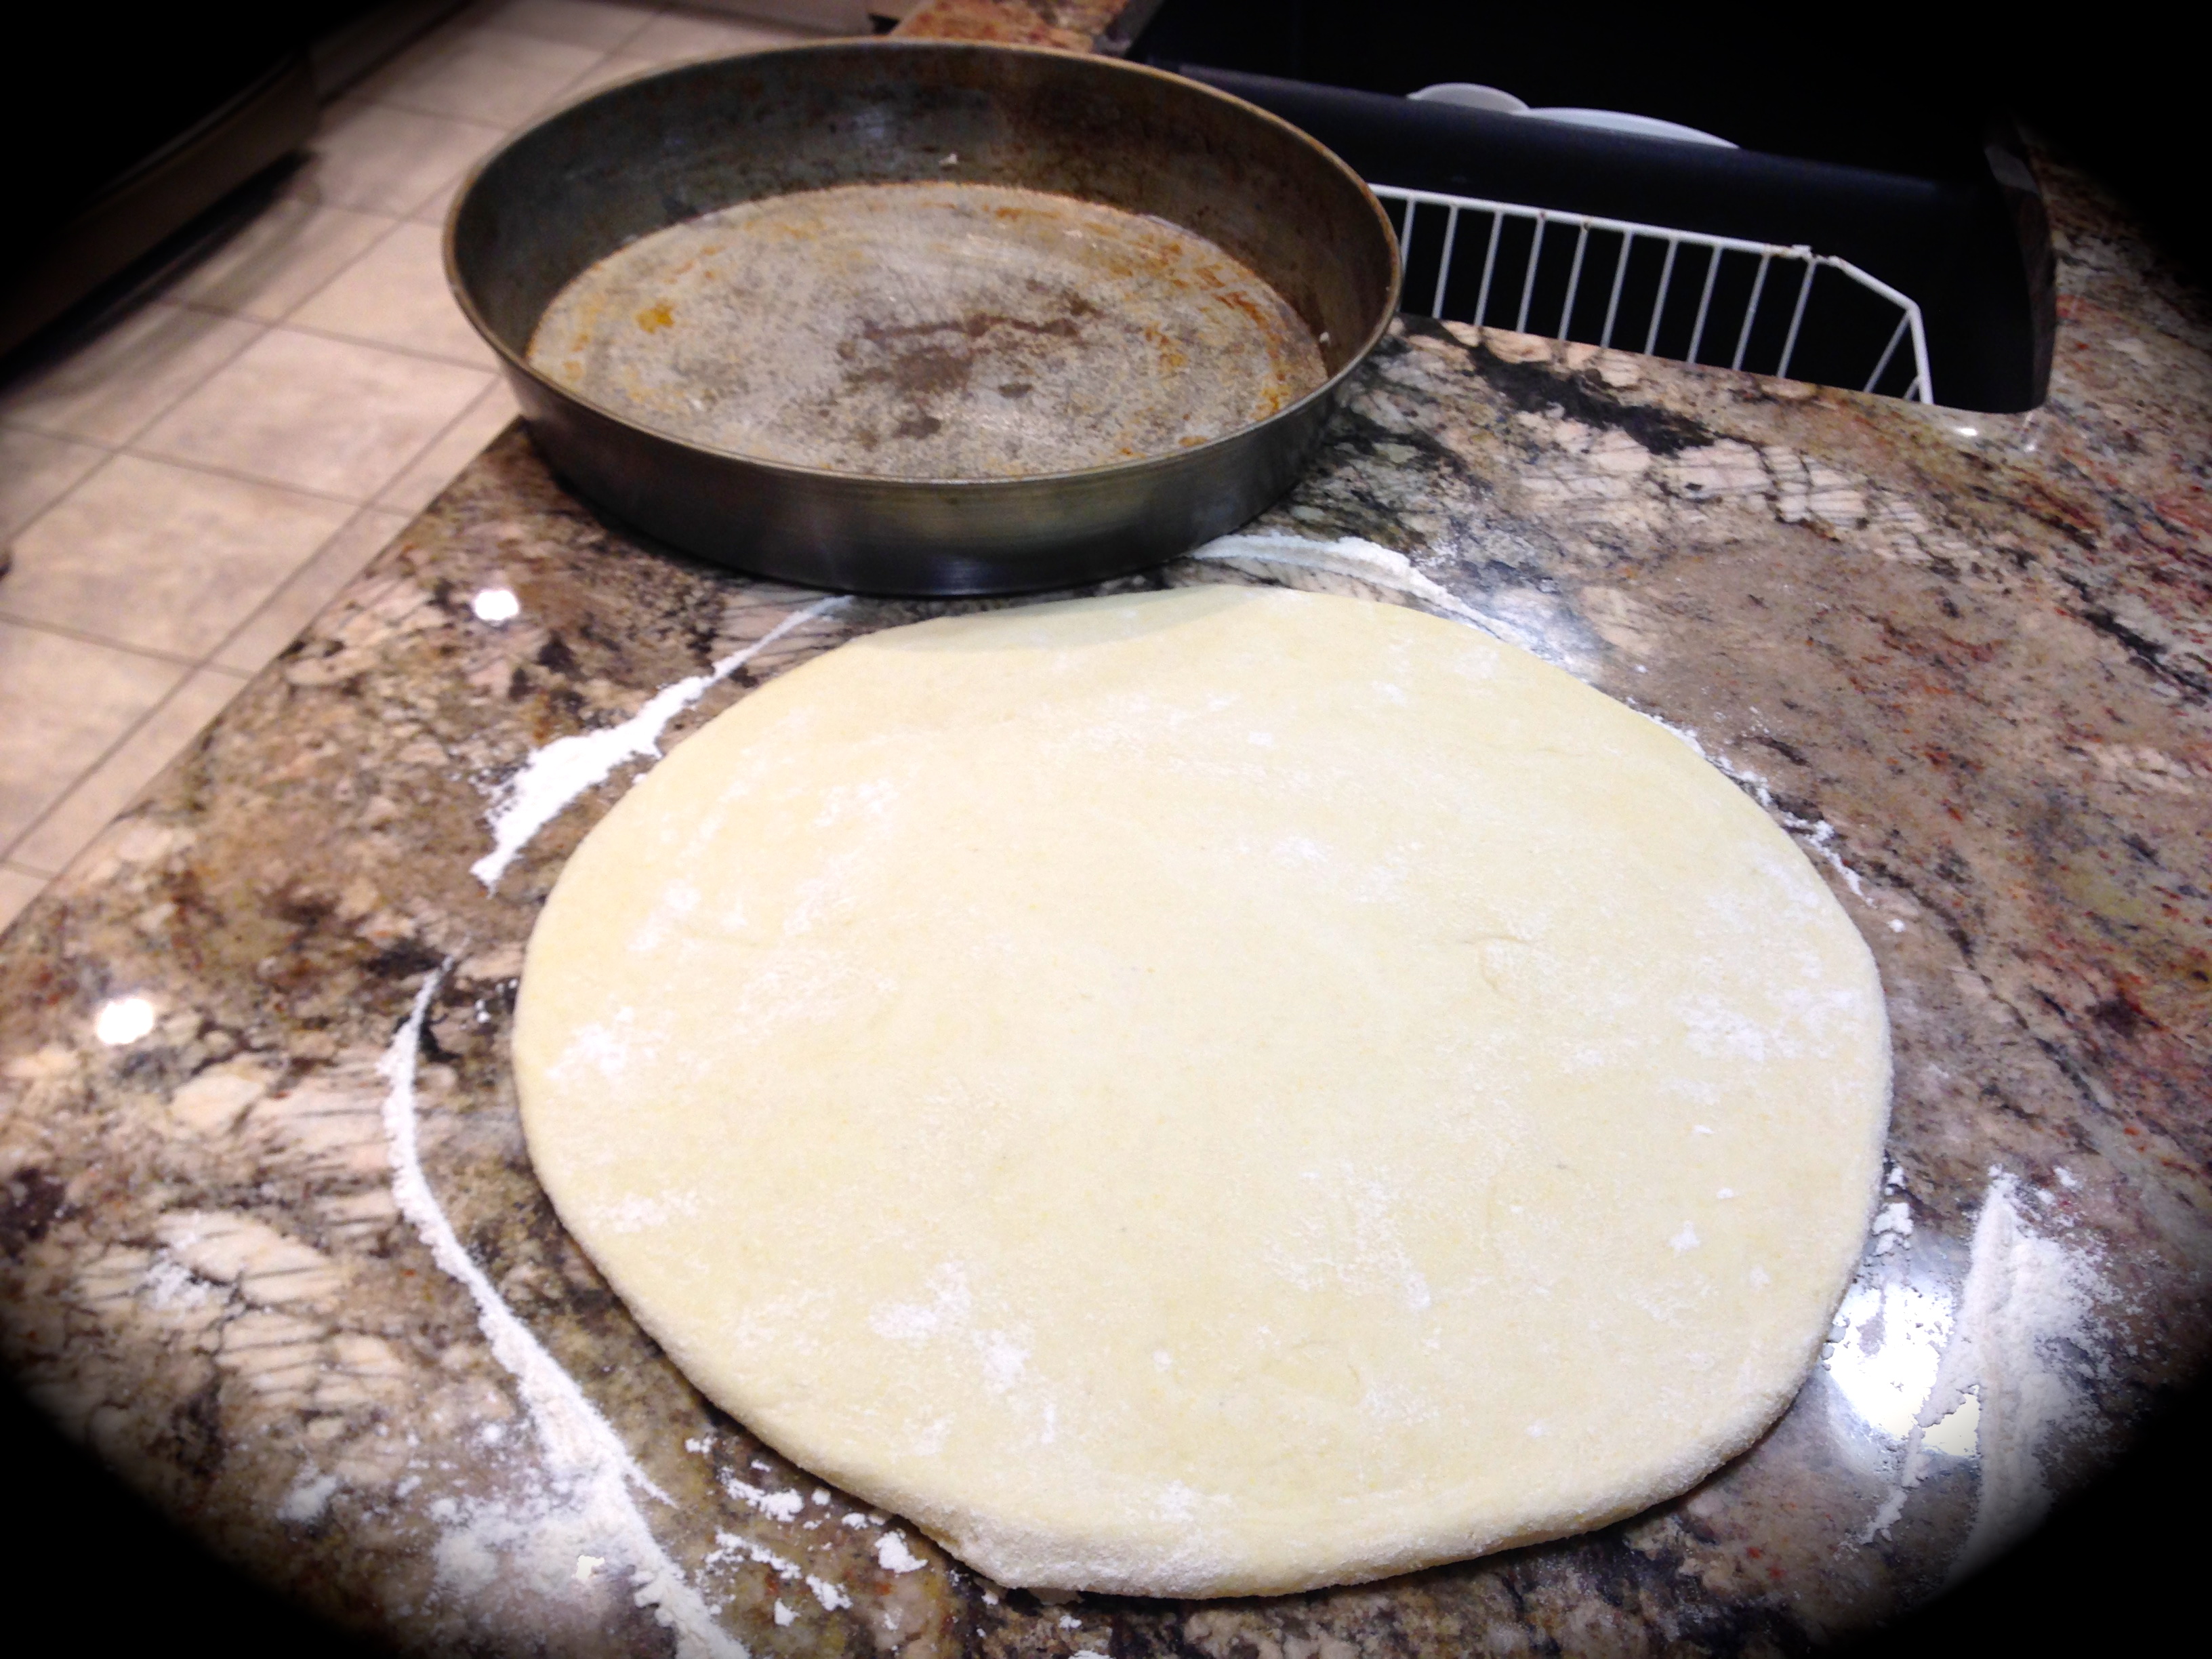
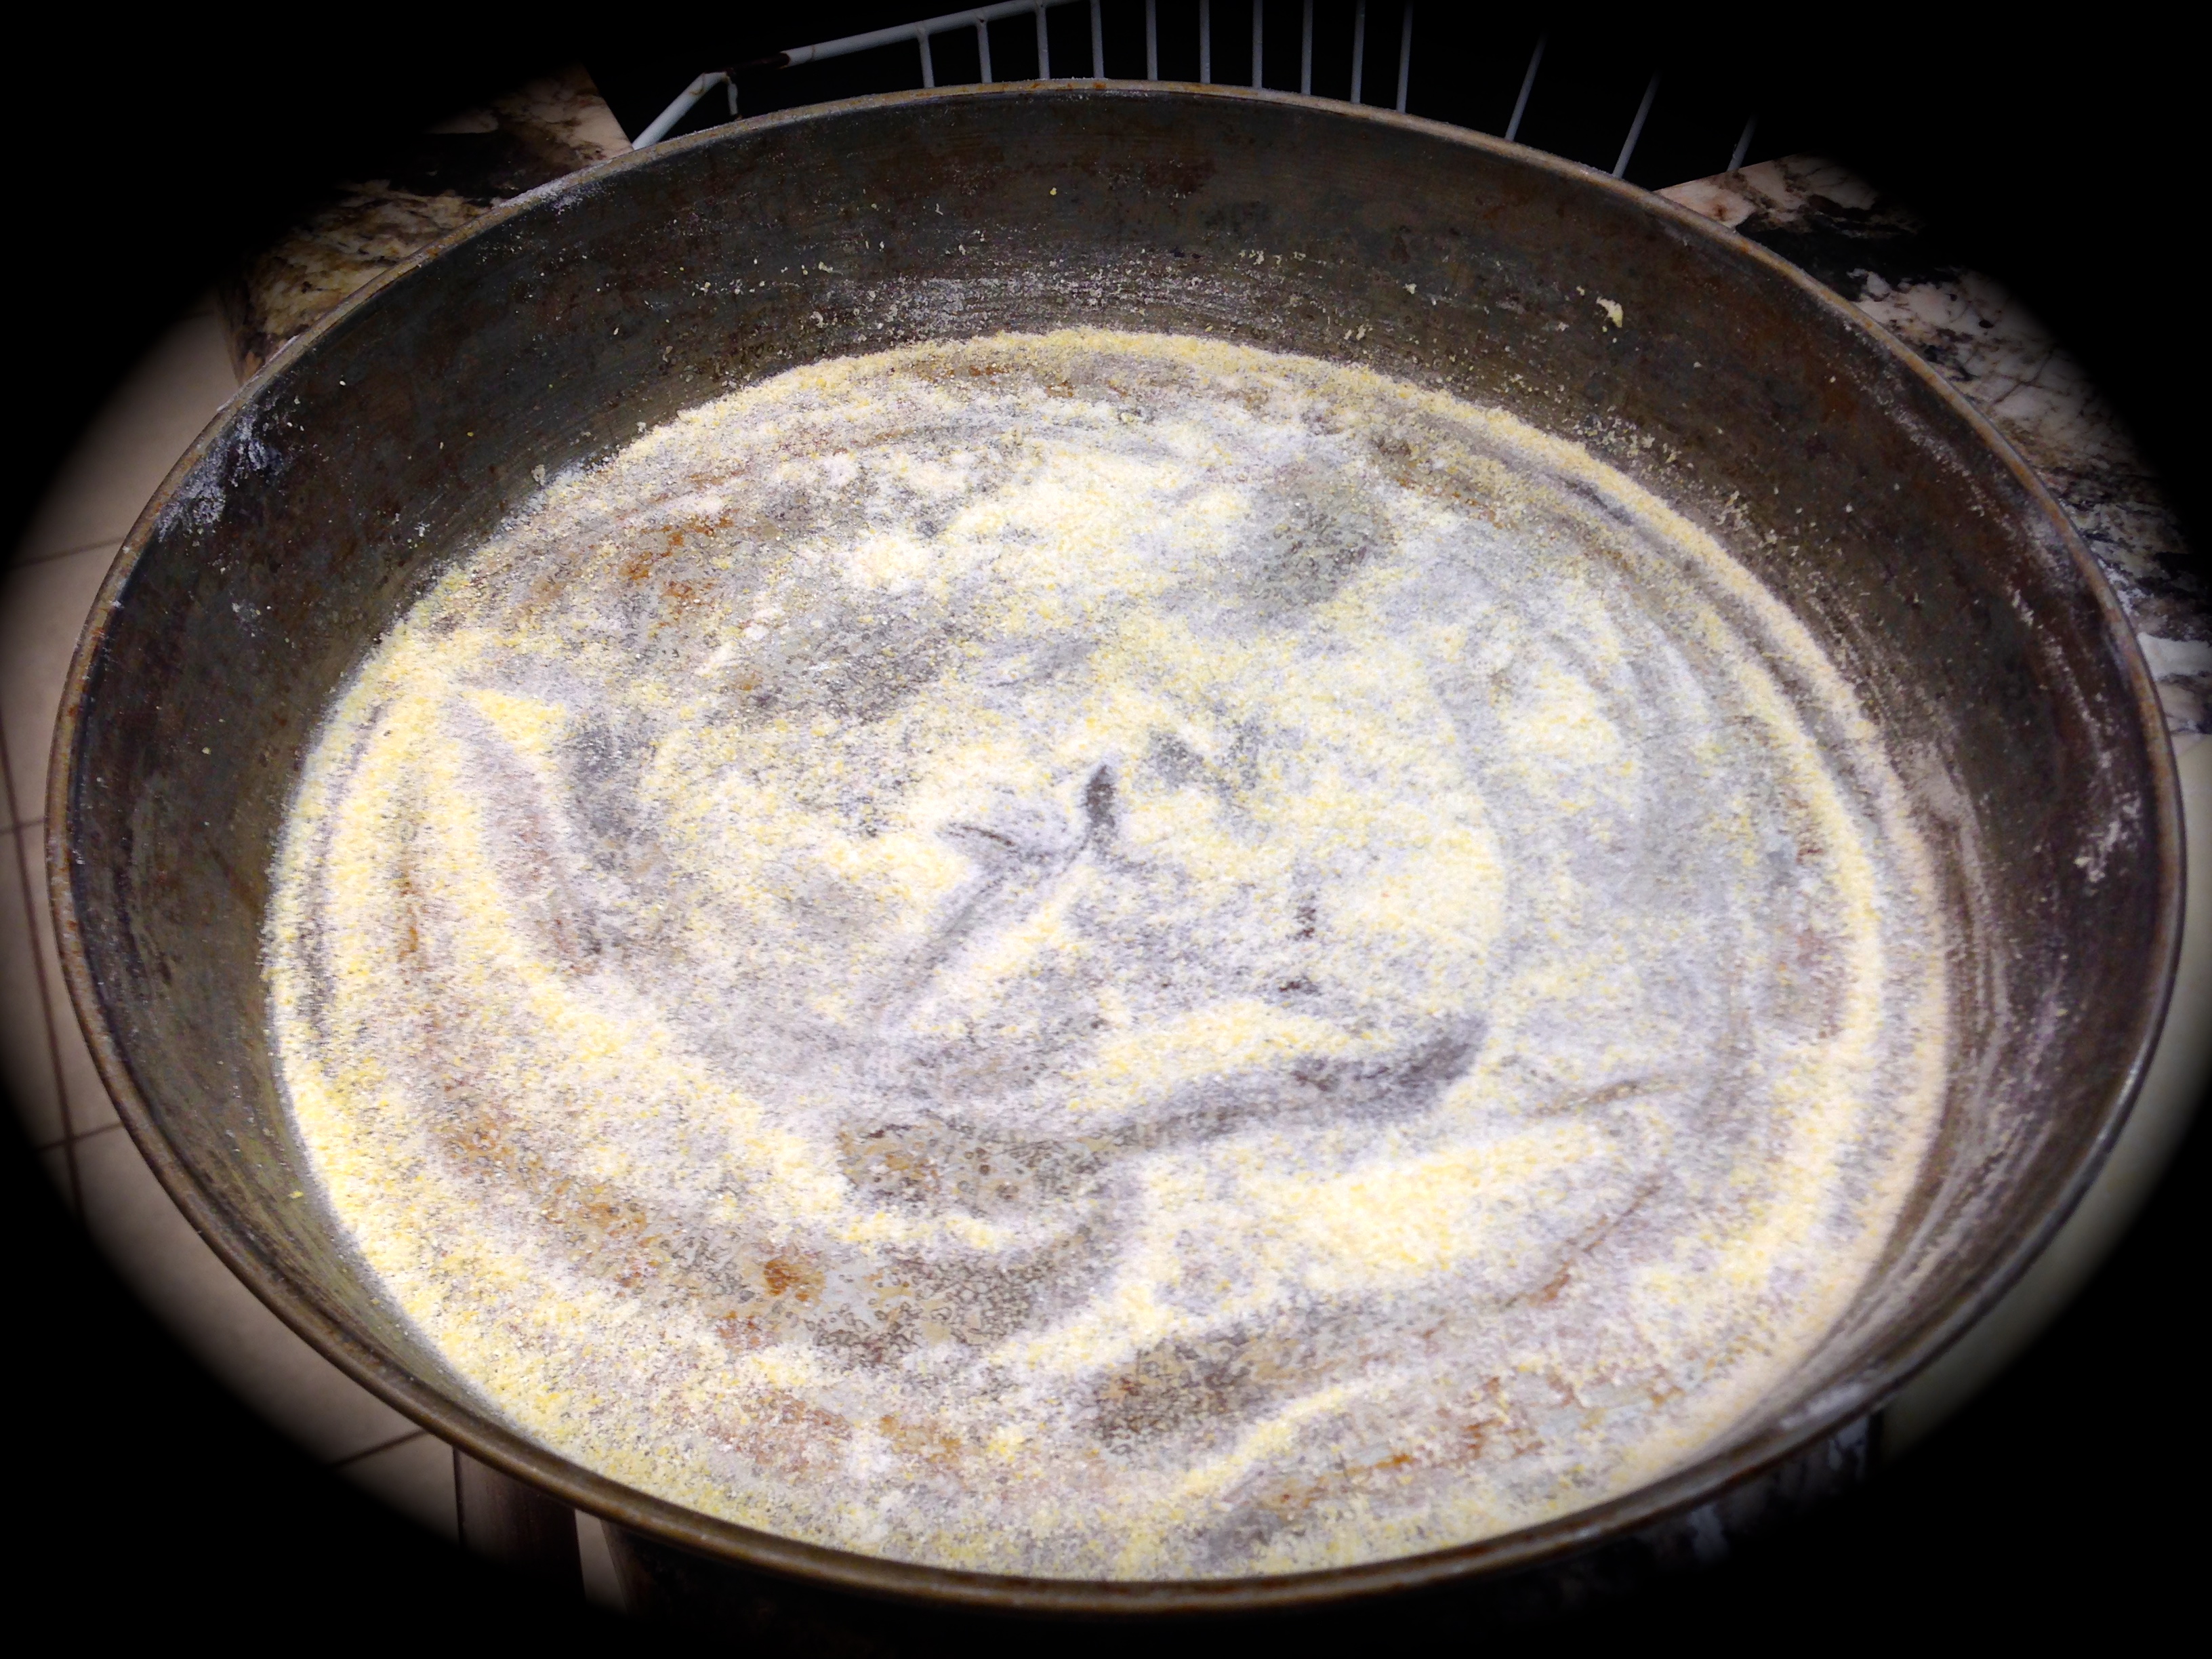
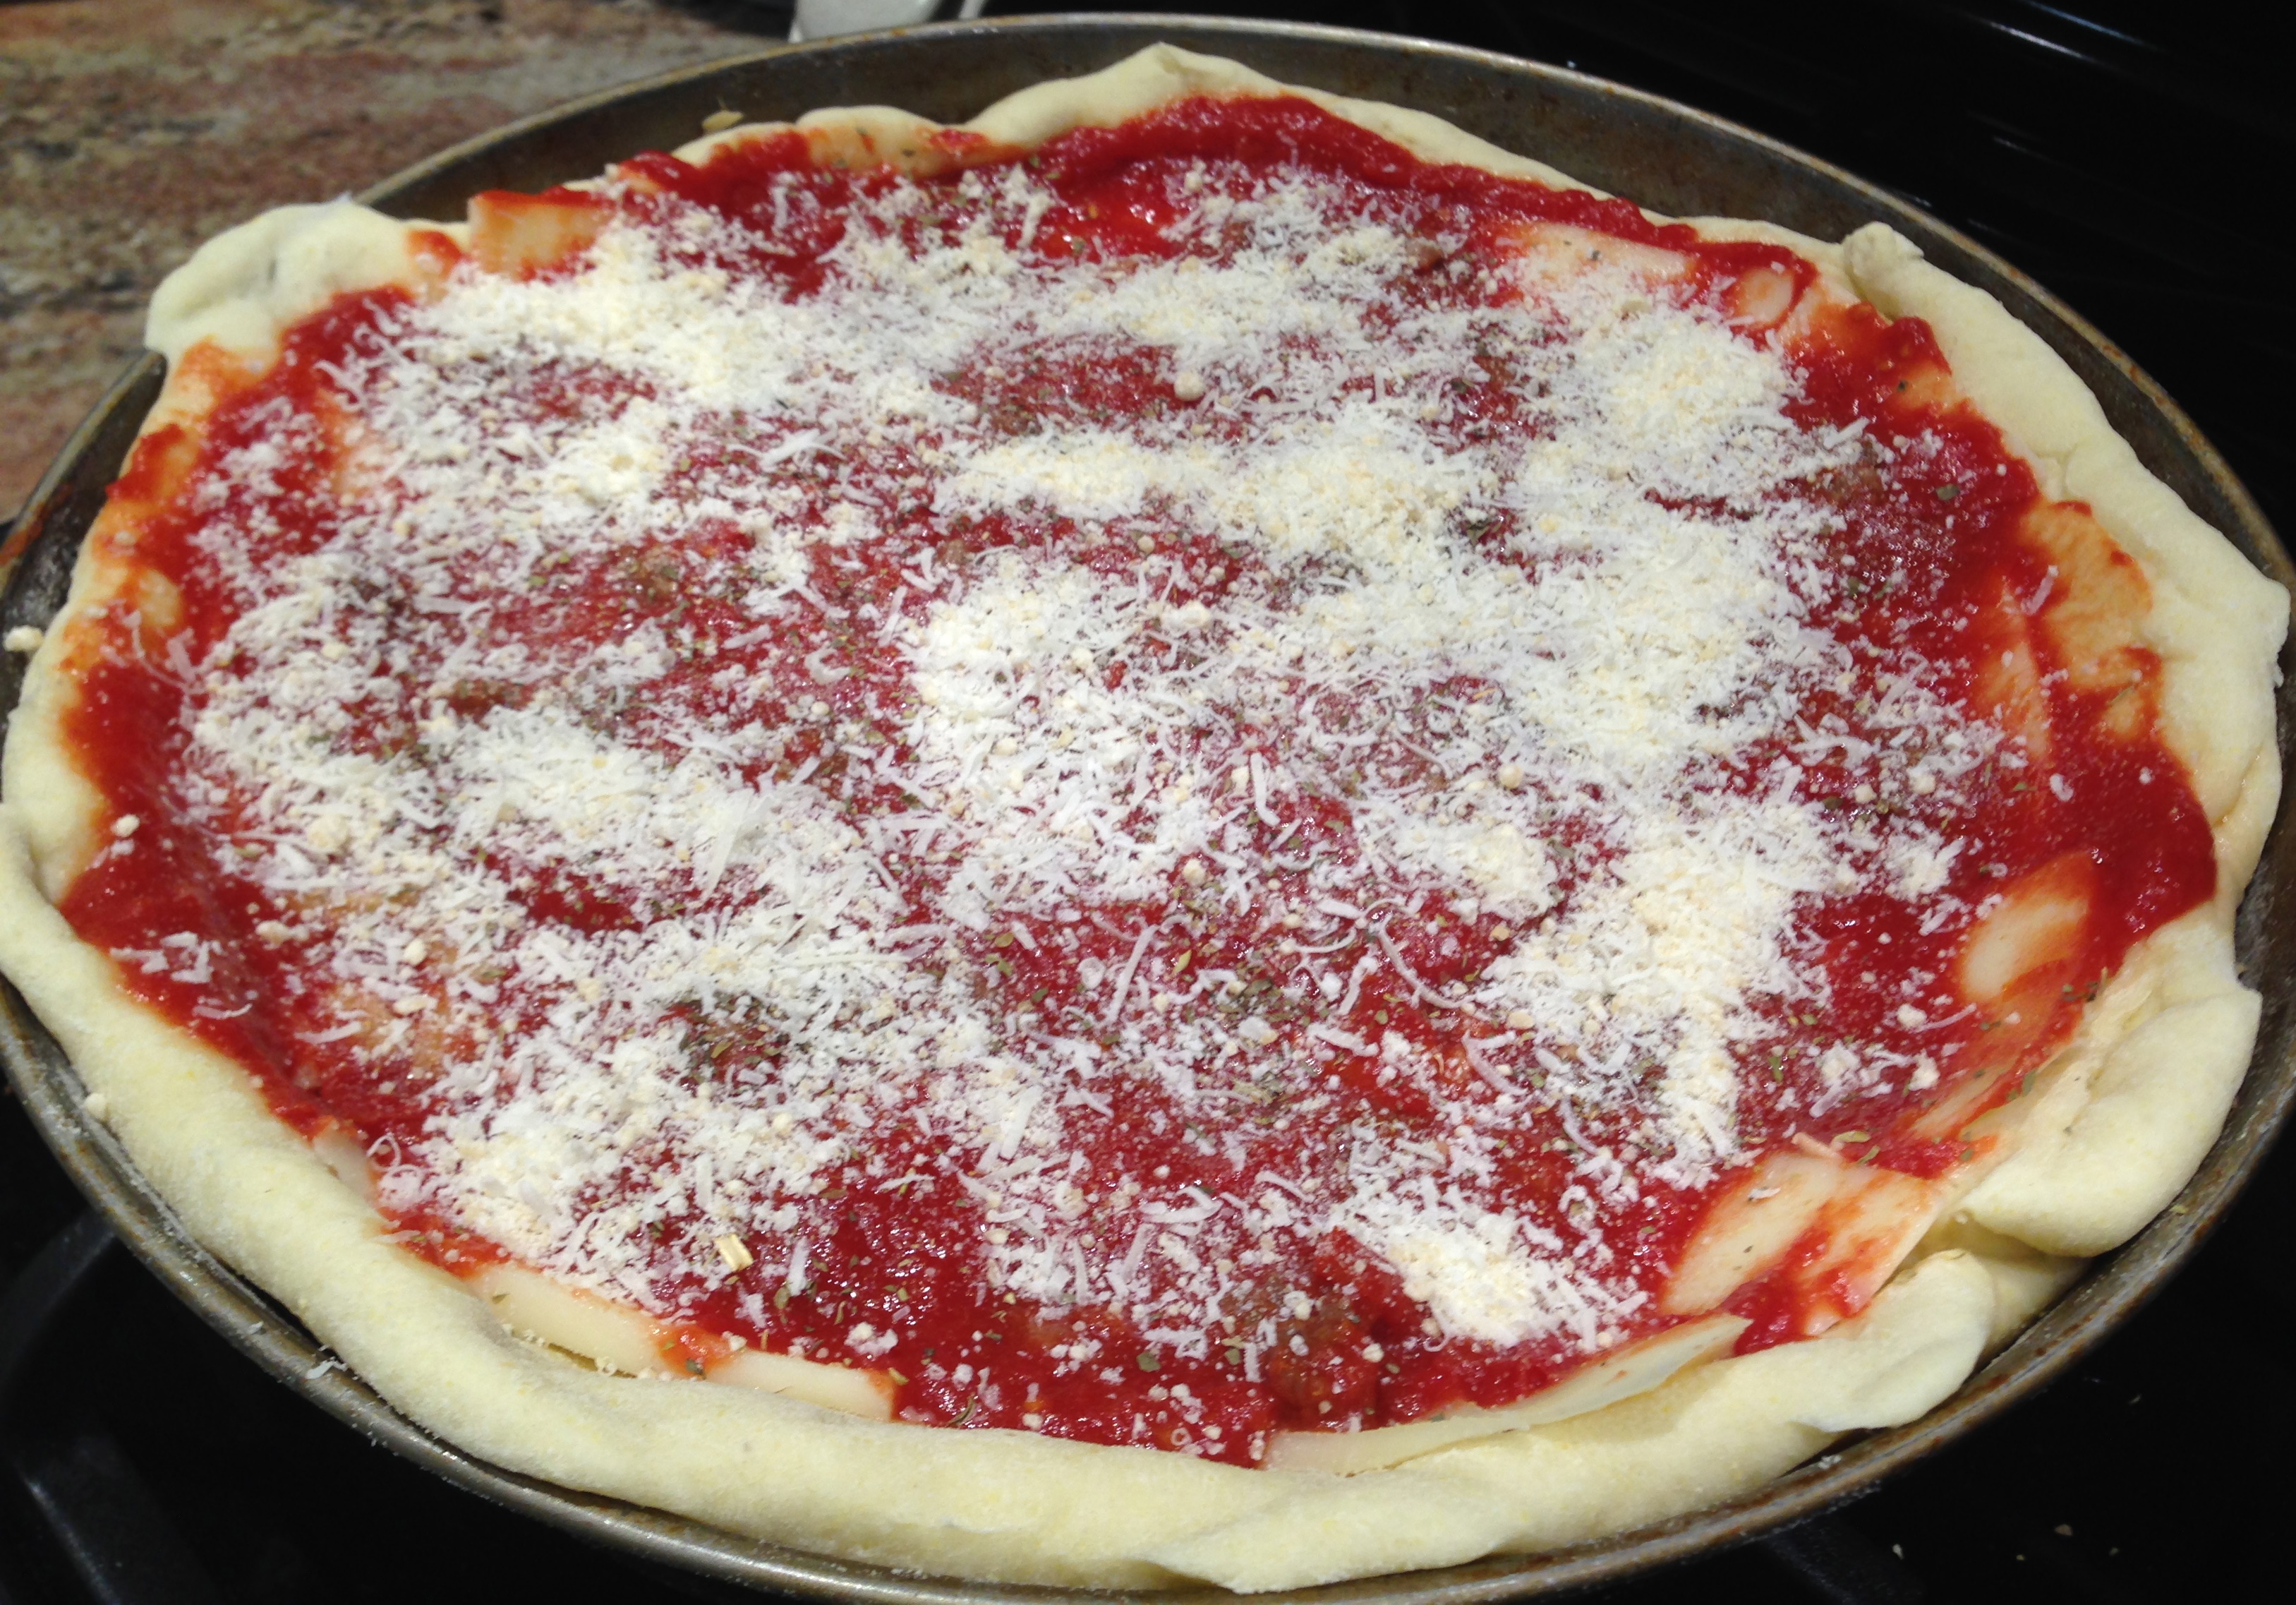
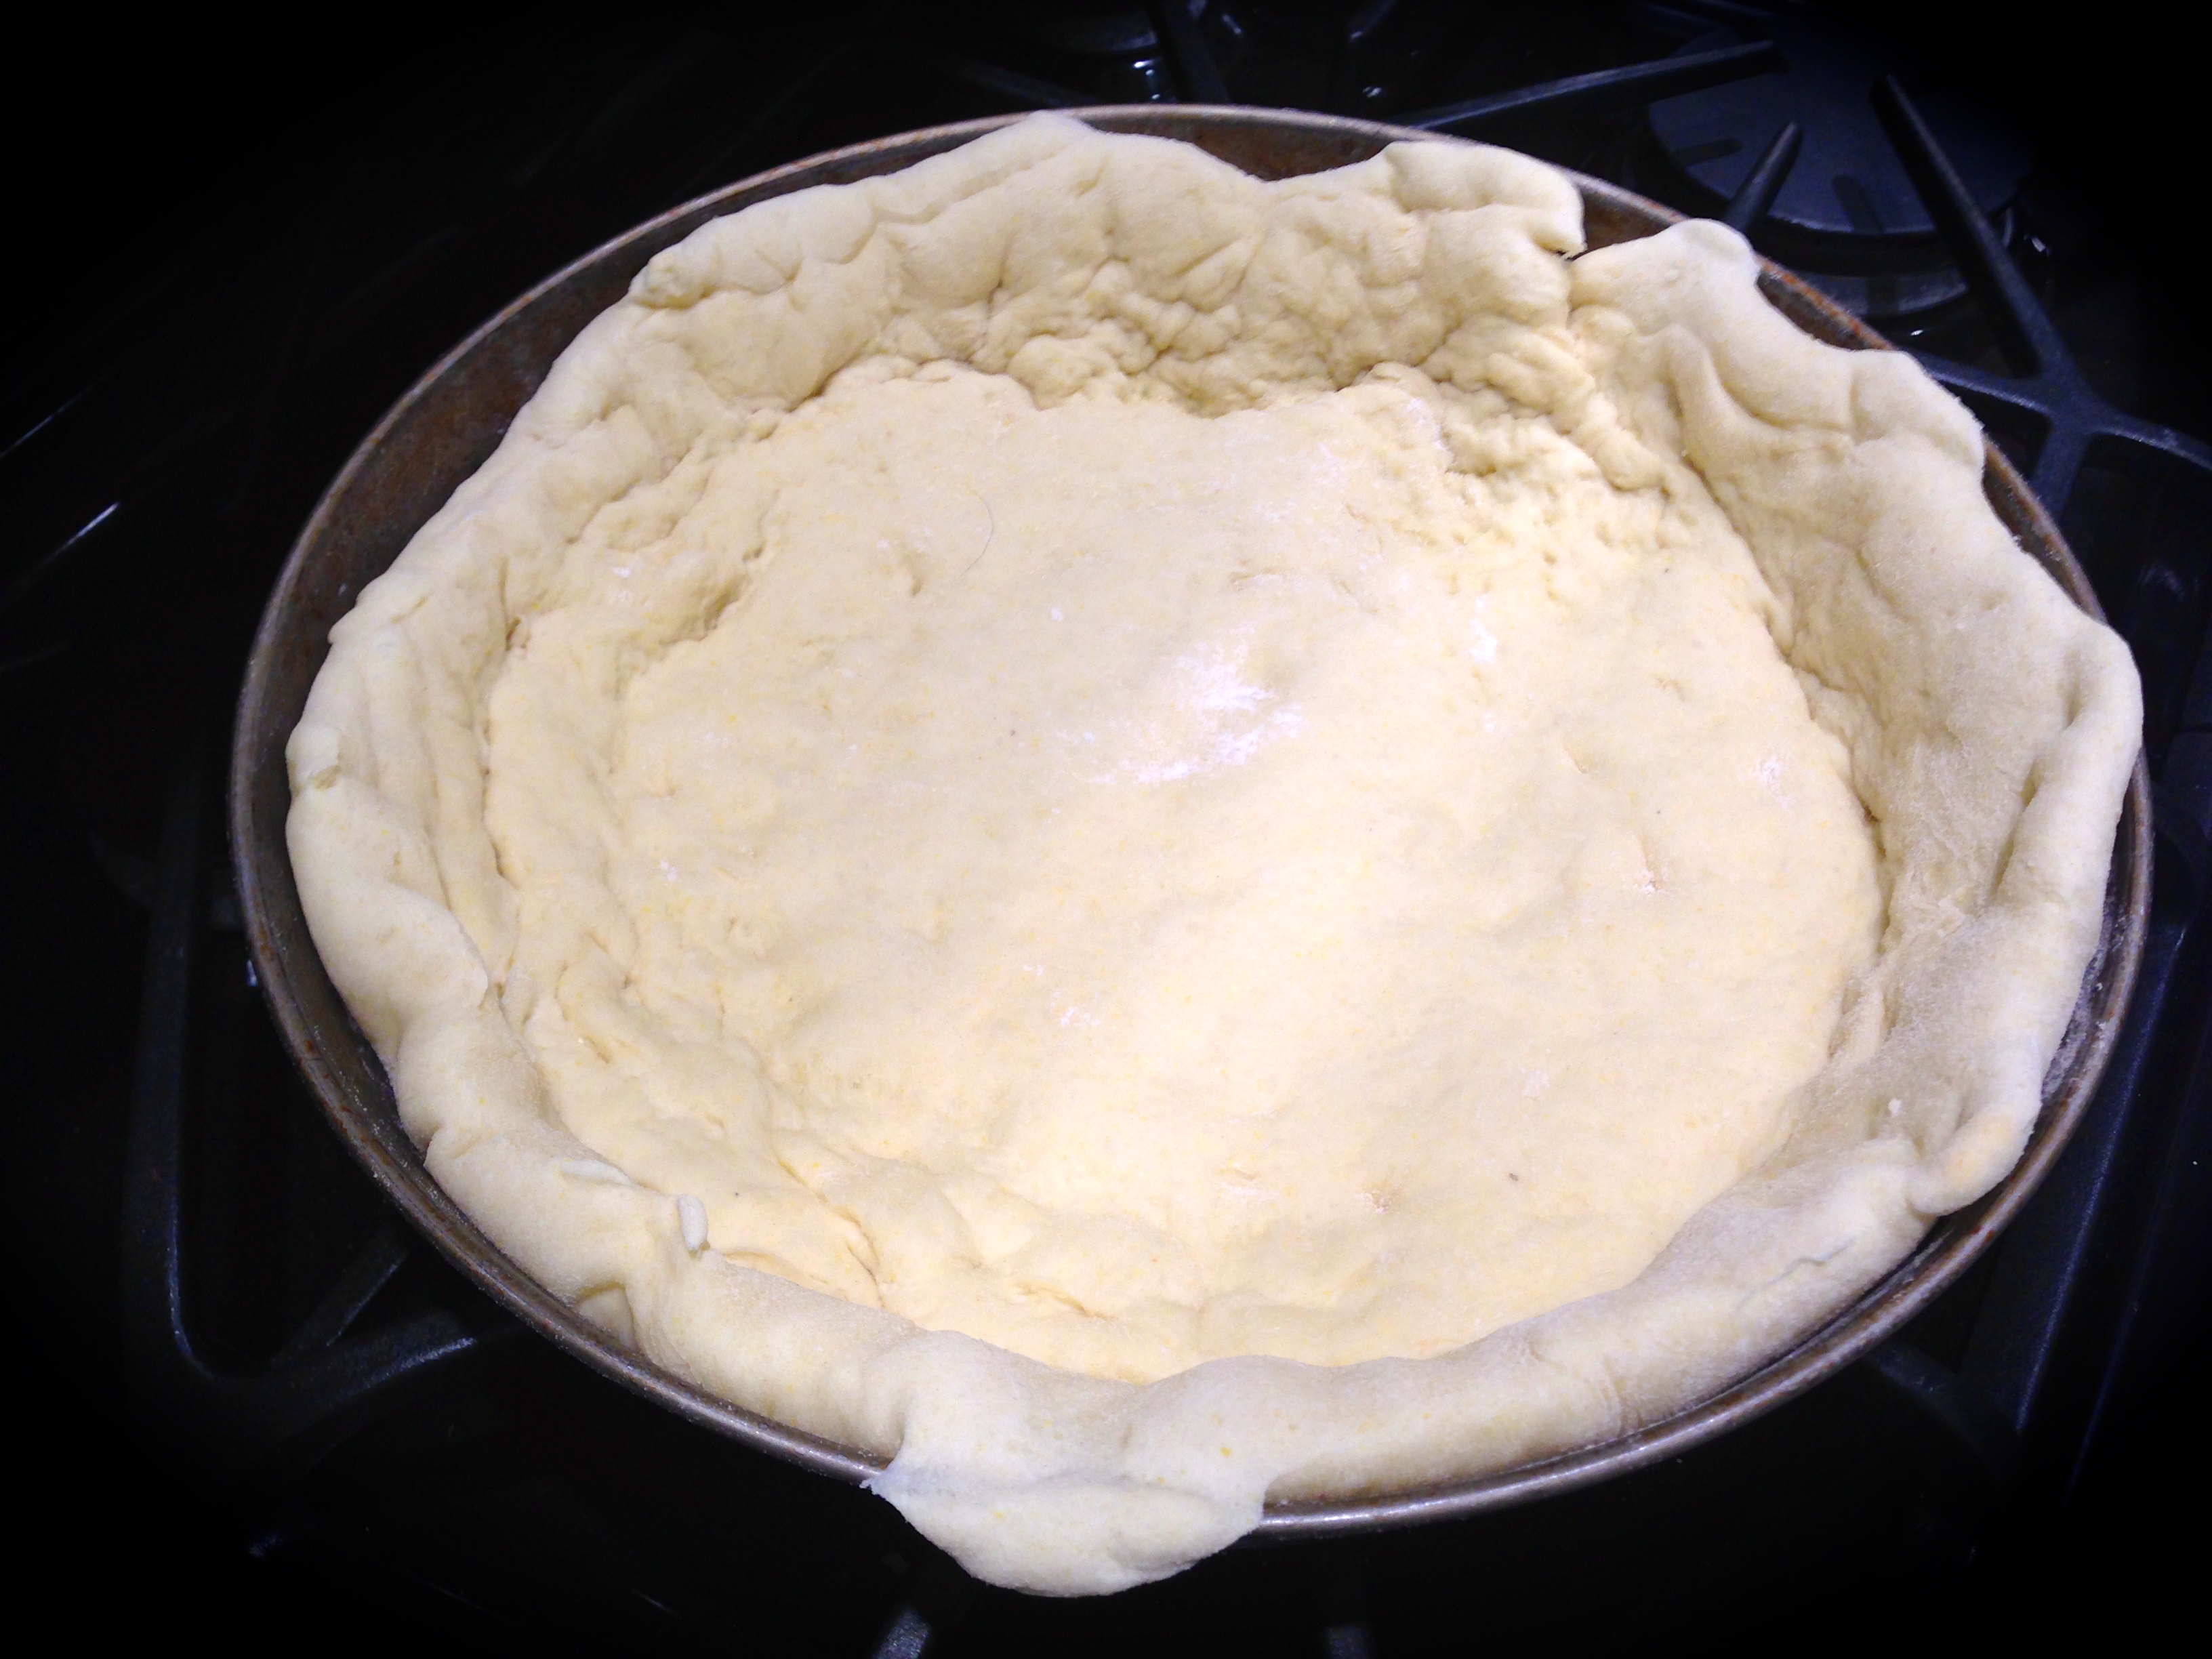
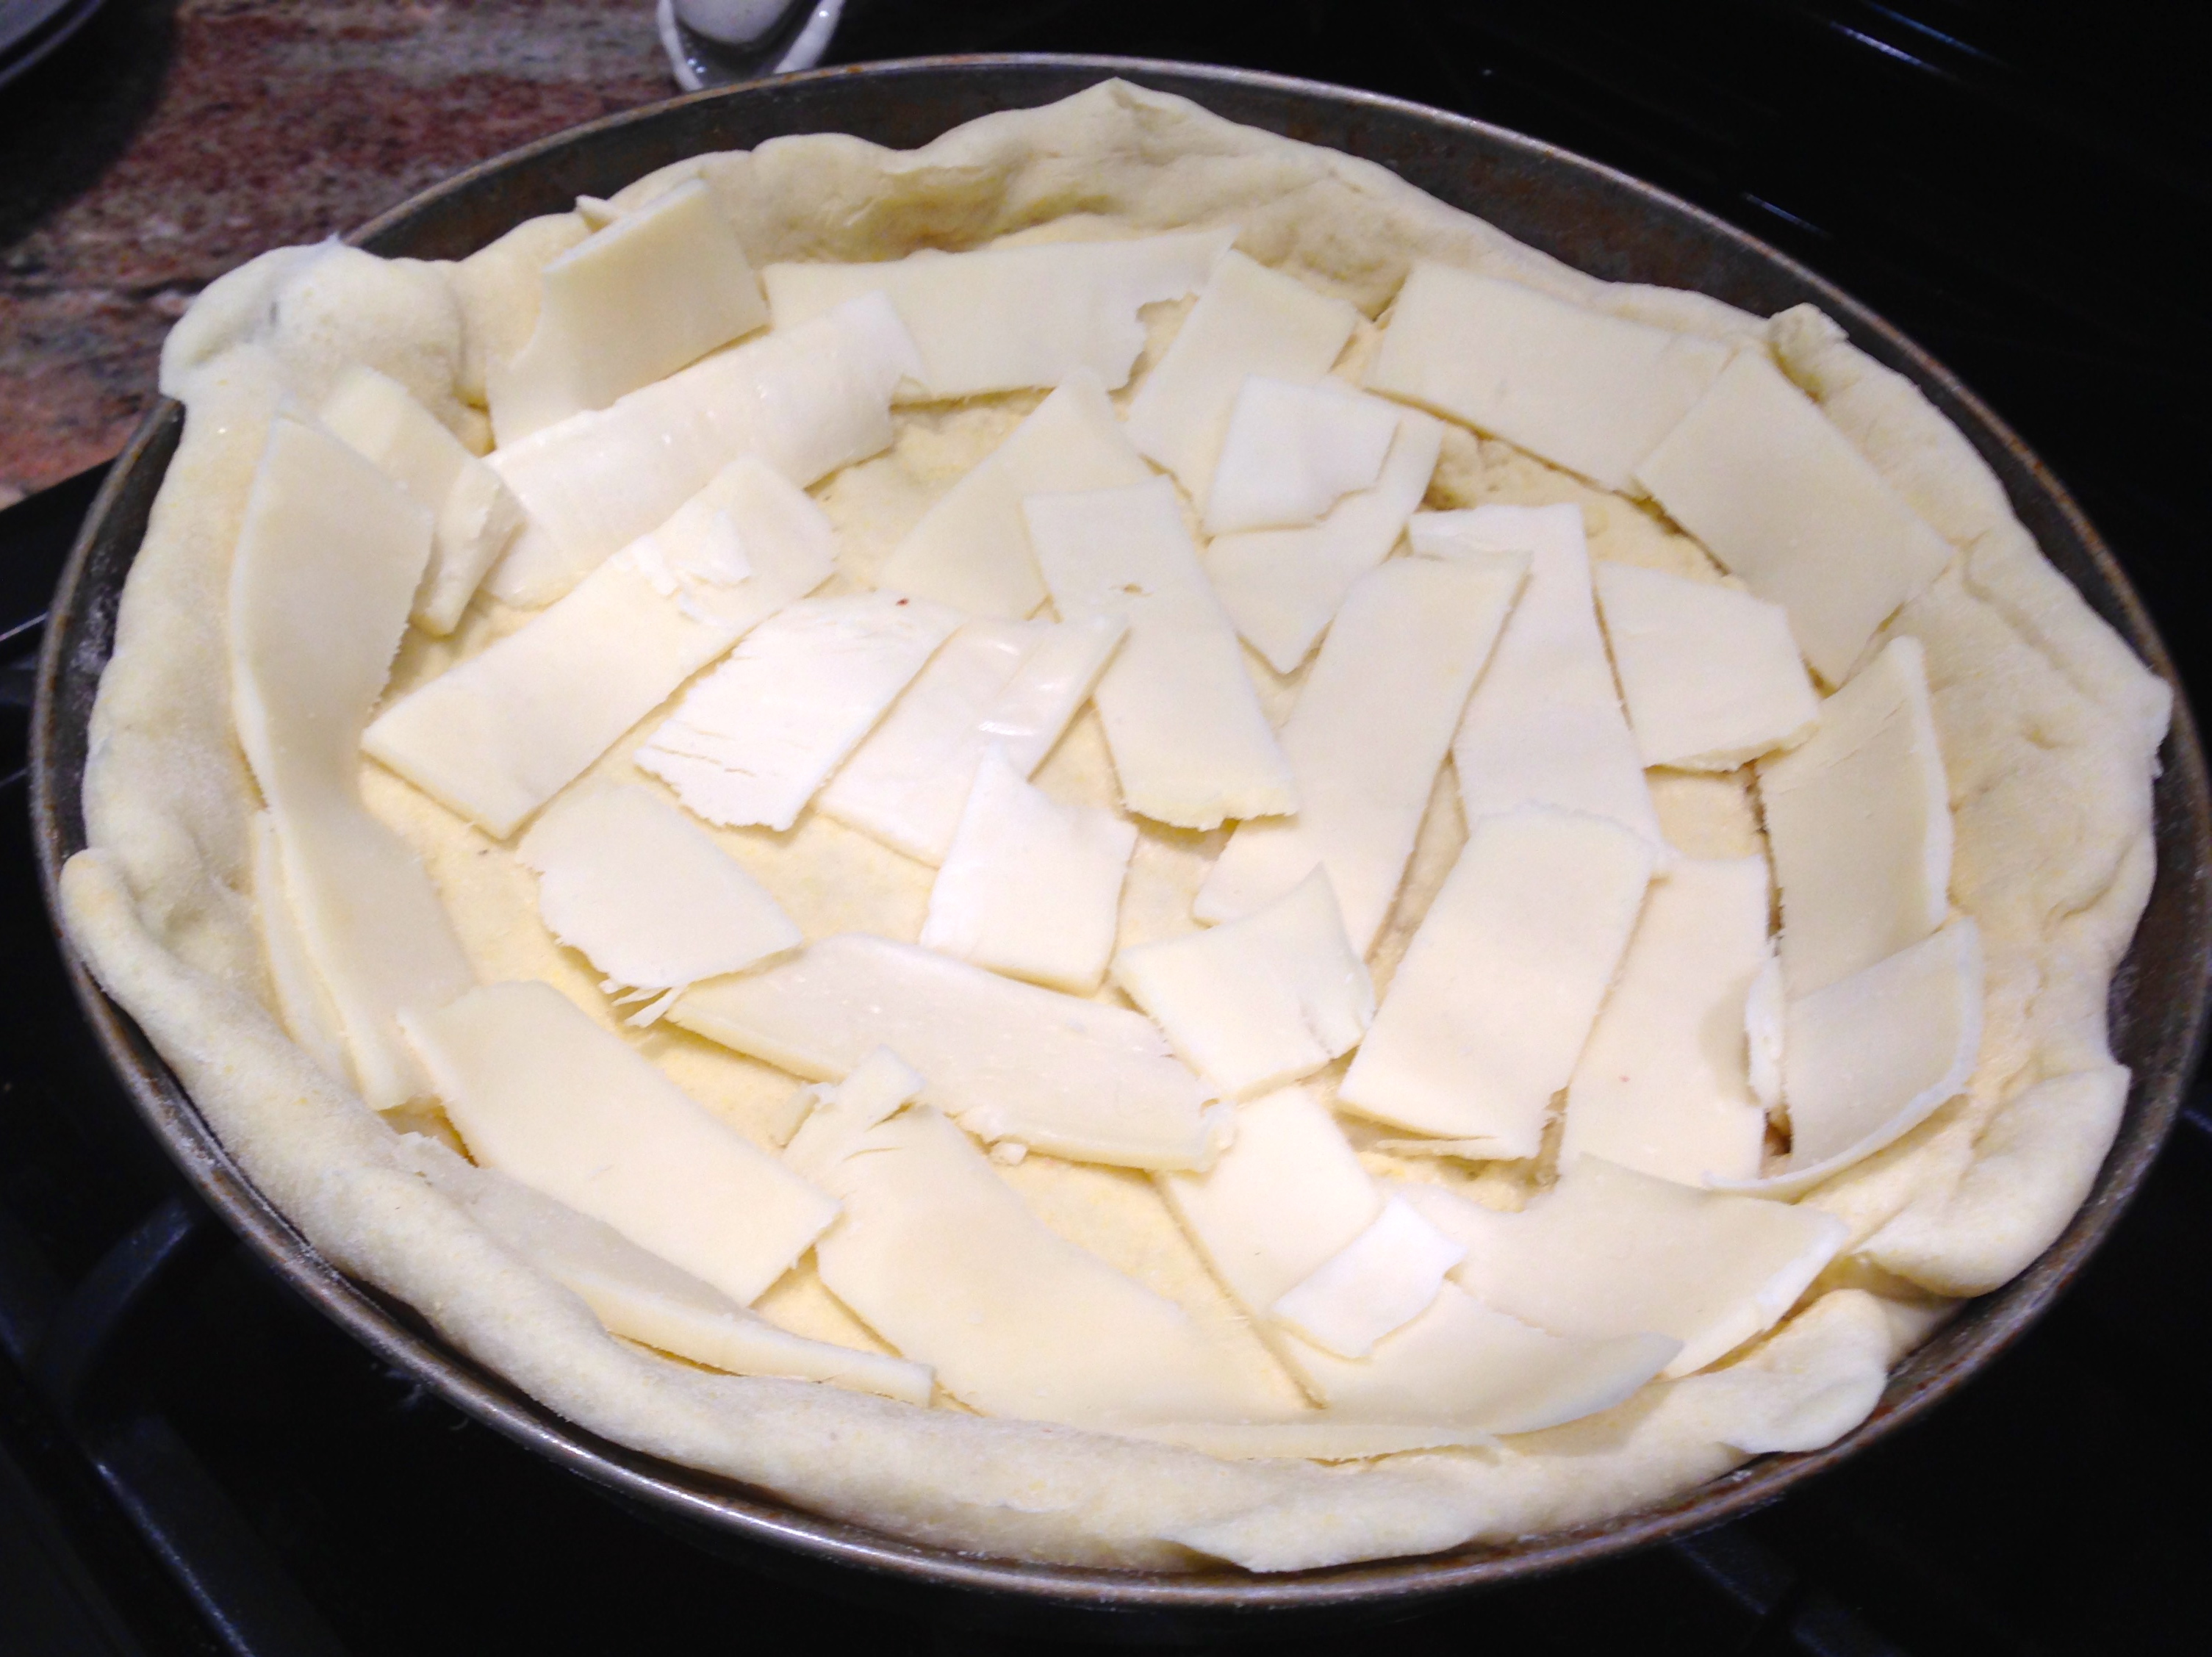
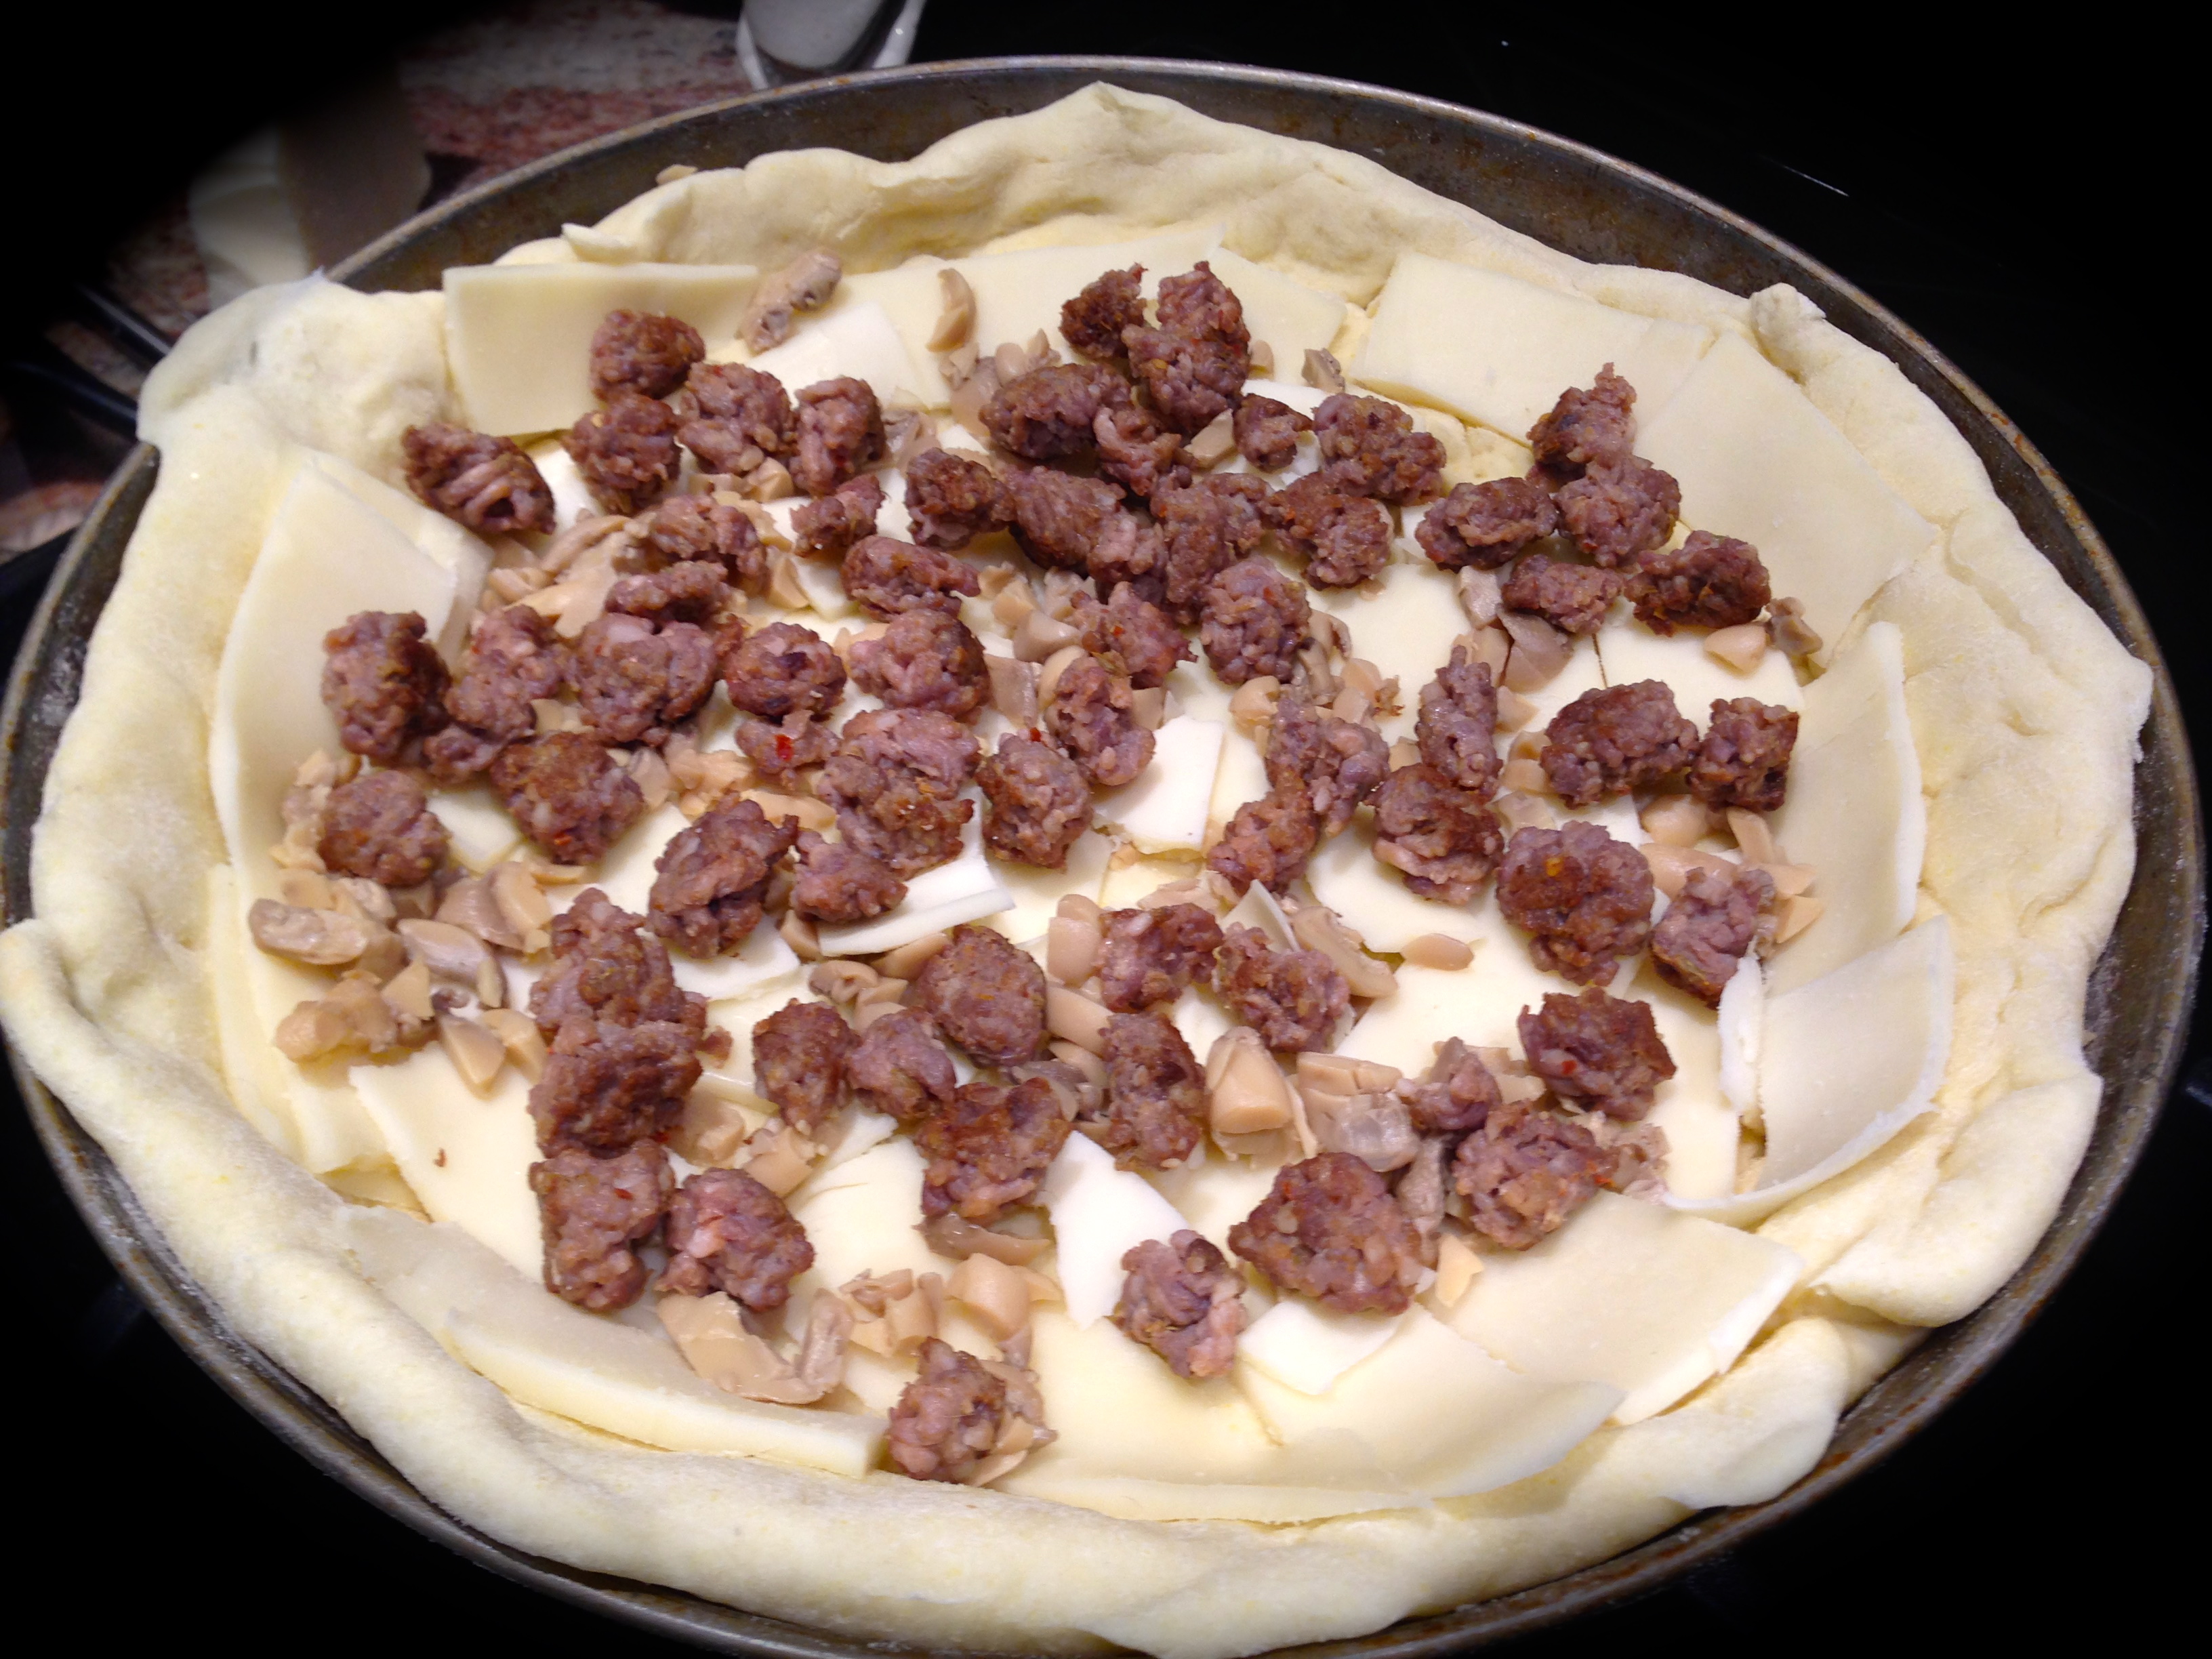
Preheat oven to 450 degrees. Coat a 12 inch by 2 1/2 inch pizza pan with butter and sprinkle lightly with cornmeal. Punch down dough (it will rise quite a bit) and roll it out on a lightly floured surface to allow for 1/4 inch of dough all over the pan including the walls of the pan. Arrange the dough in the pizza pan. Place dough in the oven for 5 minutes. Remove the pan from the oven and cover the dough with mozzarella slices. Top with other ingredients (sausage, mushrooms, etc.) and top with the ground tomatoes. Lightly sprinkle with oregano, garlic salt and basil. Top with the Romano/Parmesan blend. Place back in the oven and continue baking for about 25 minutes.

Turn off the oven. Remove the pan from the oven and let rest for 5 minutes on the stove and then put the pan back in the cooling oven for about 5 minutes. (this is necessary for the pizza to set).

Slice and enjoy!

The dough will rise quite high...

The dough will rise quite high…

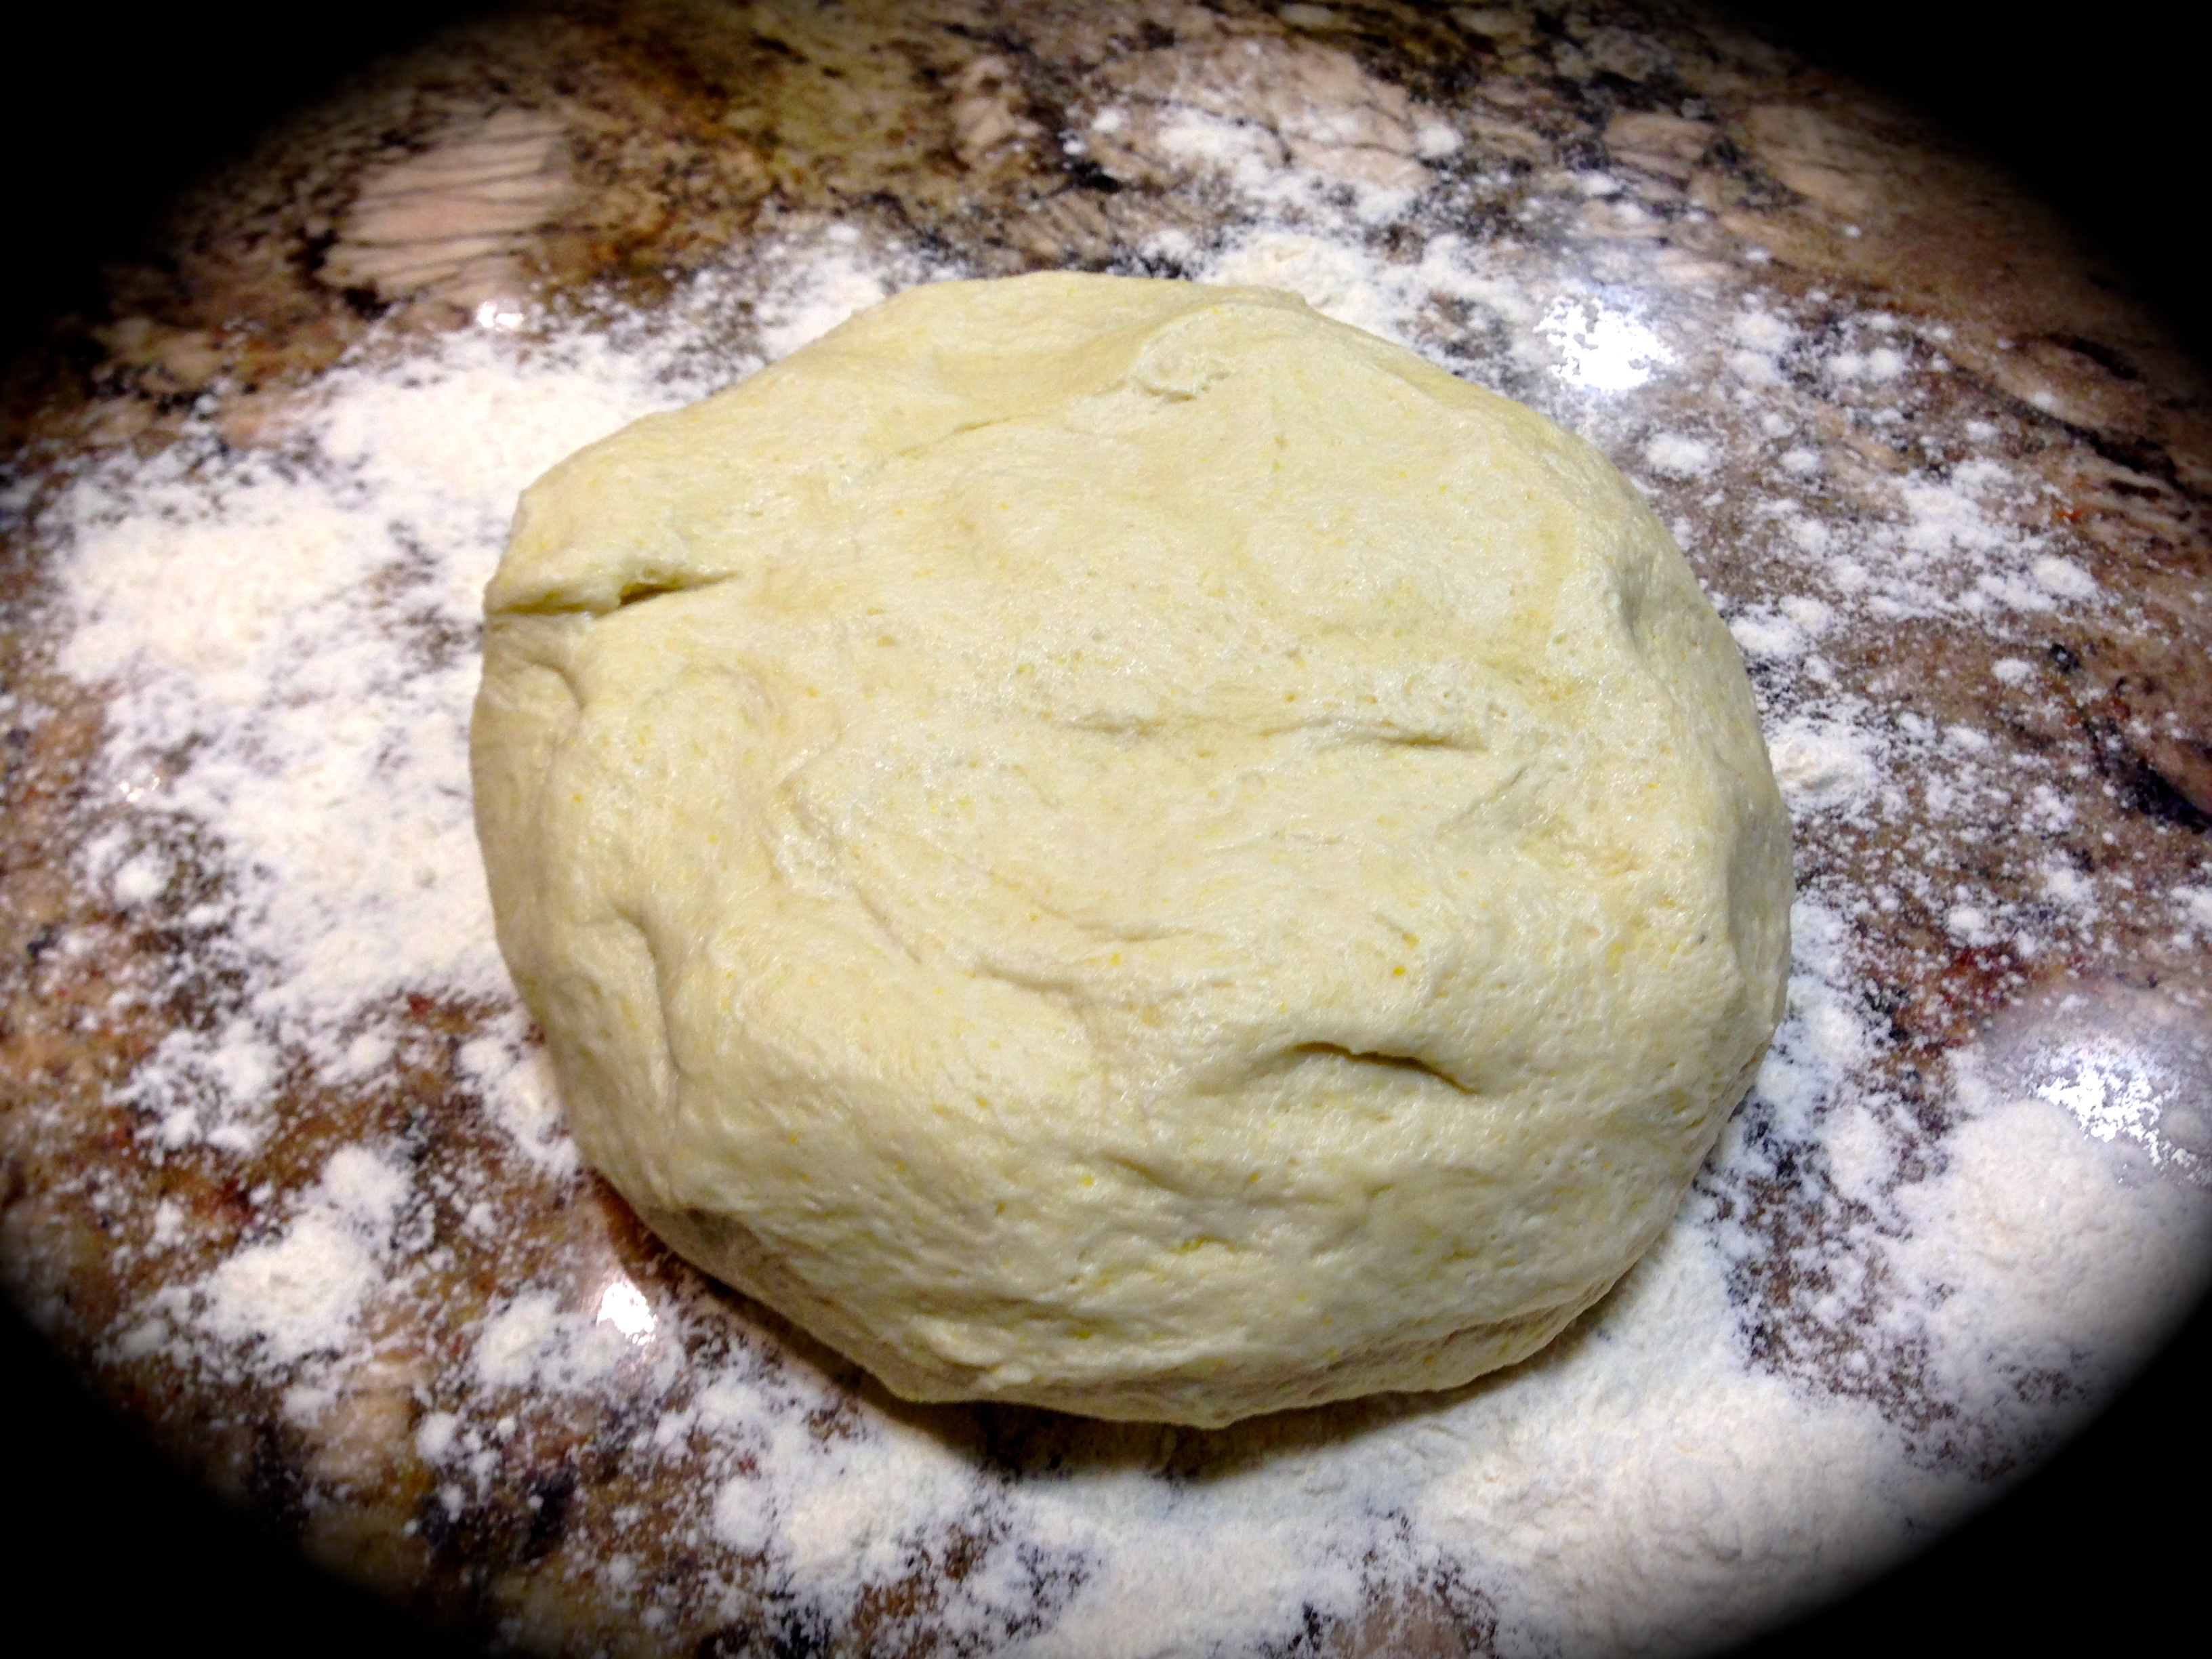
The pizza dough...

The pizza dough…

Roll out the dough to a quarter of an inch to cover the bottom and sides...

Roll out the dough to a quarter of an inch to cover the bottom and sides…

Dust the bottom of the pan with cornmeal...

Grease the pan with butter and dust the bottom with cornmeal…

Arrange the dough in the pan (it doesn't have to be pretty)...

Arrange the dough in the pan (it doesn’t have to be pretty) and cook for 5 minutes…

After baking crust for 5 minutes, top with mozzarella slices...

After baking crust for 5 minutes, top with mozzarella slices…

Add your preferred ingredients (we used sausage and mushrooms)

Add your preferred ingredients (we used sausage and mushrooms)

Top with sauce, seasonings and parmesan/romano mixture...

Top with sauce, seasonings and parmesan/romano mixture…

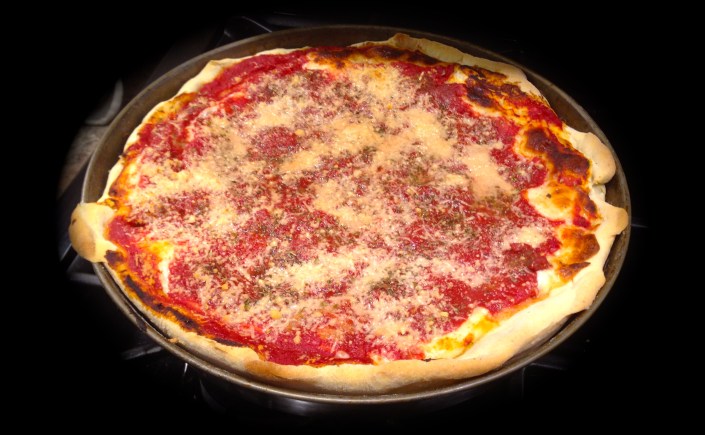
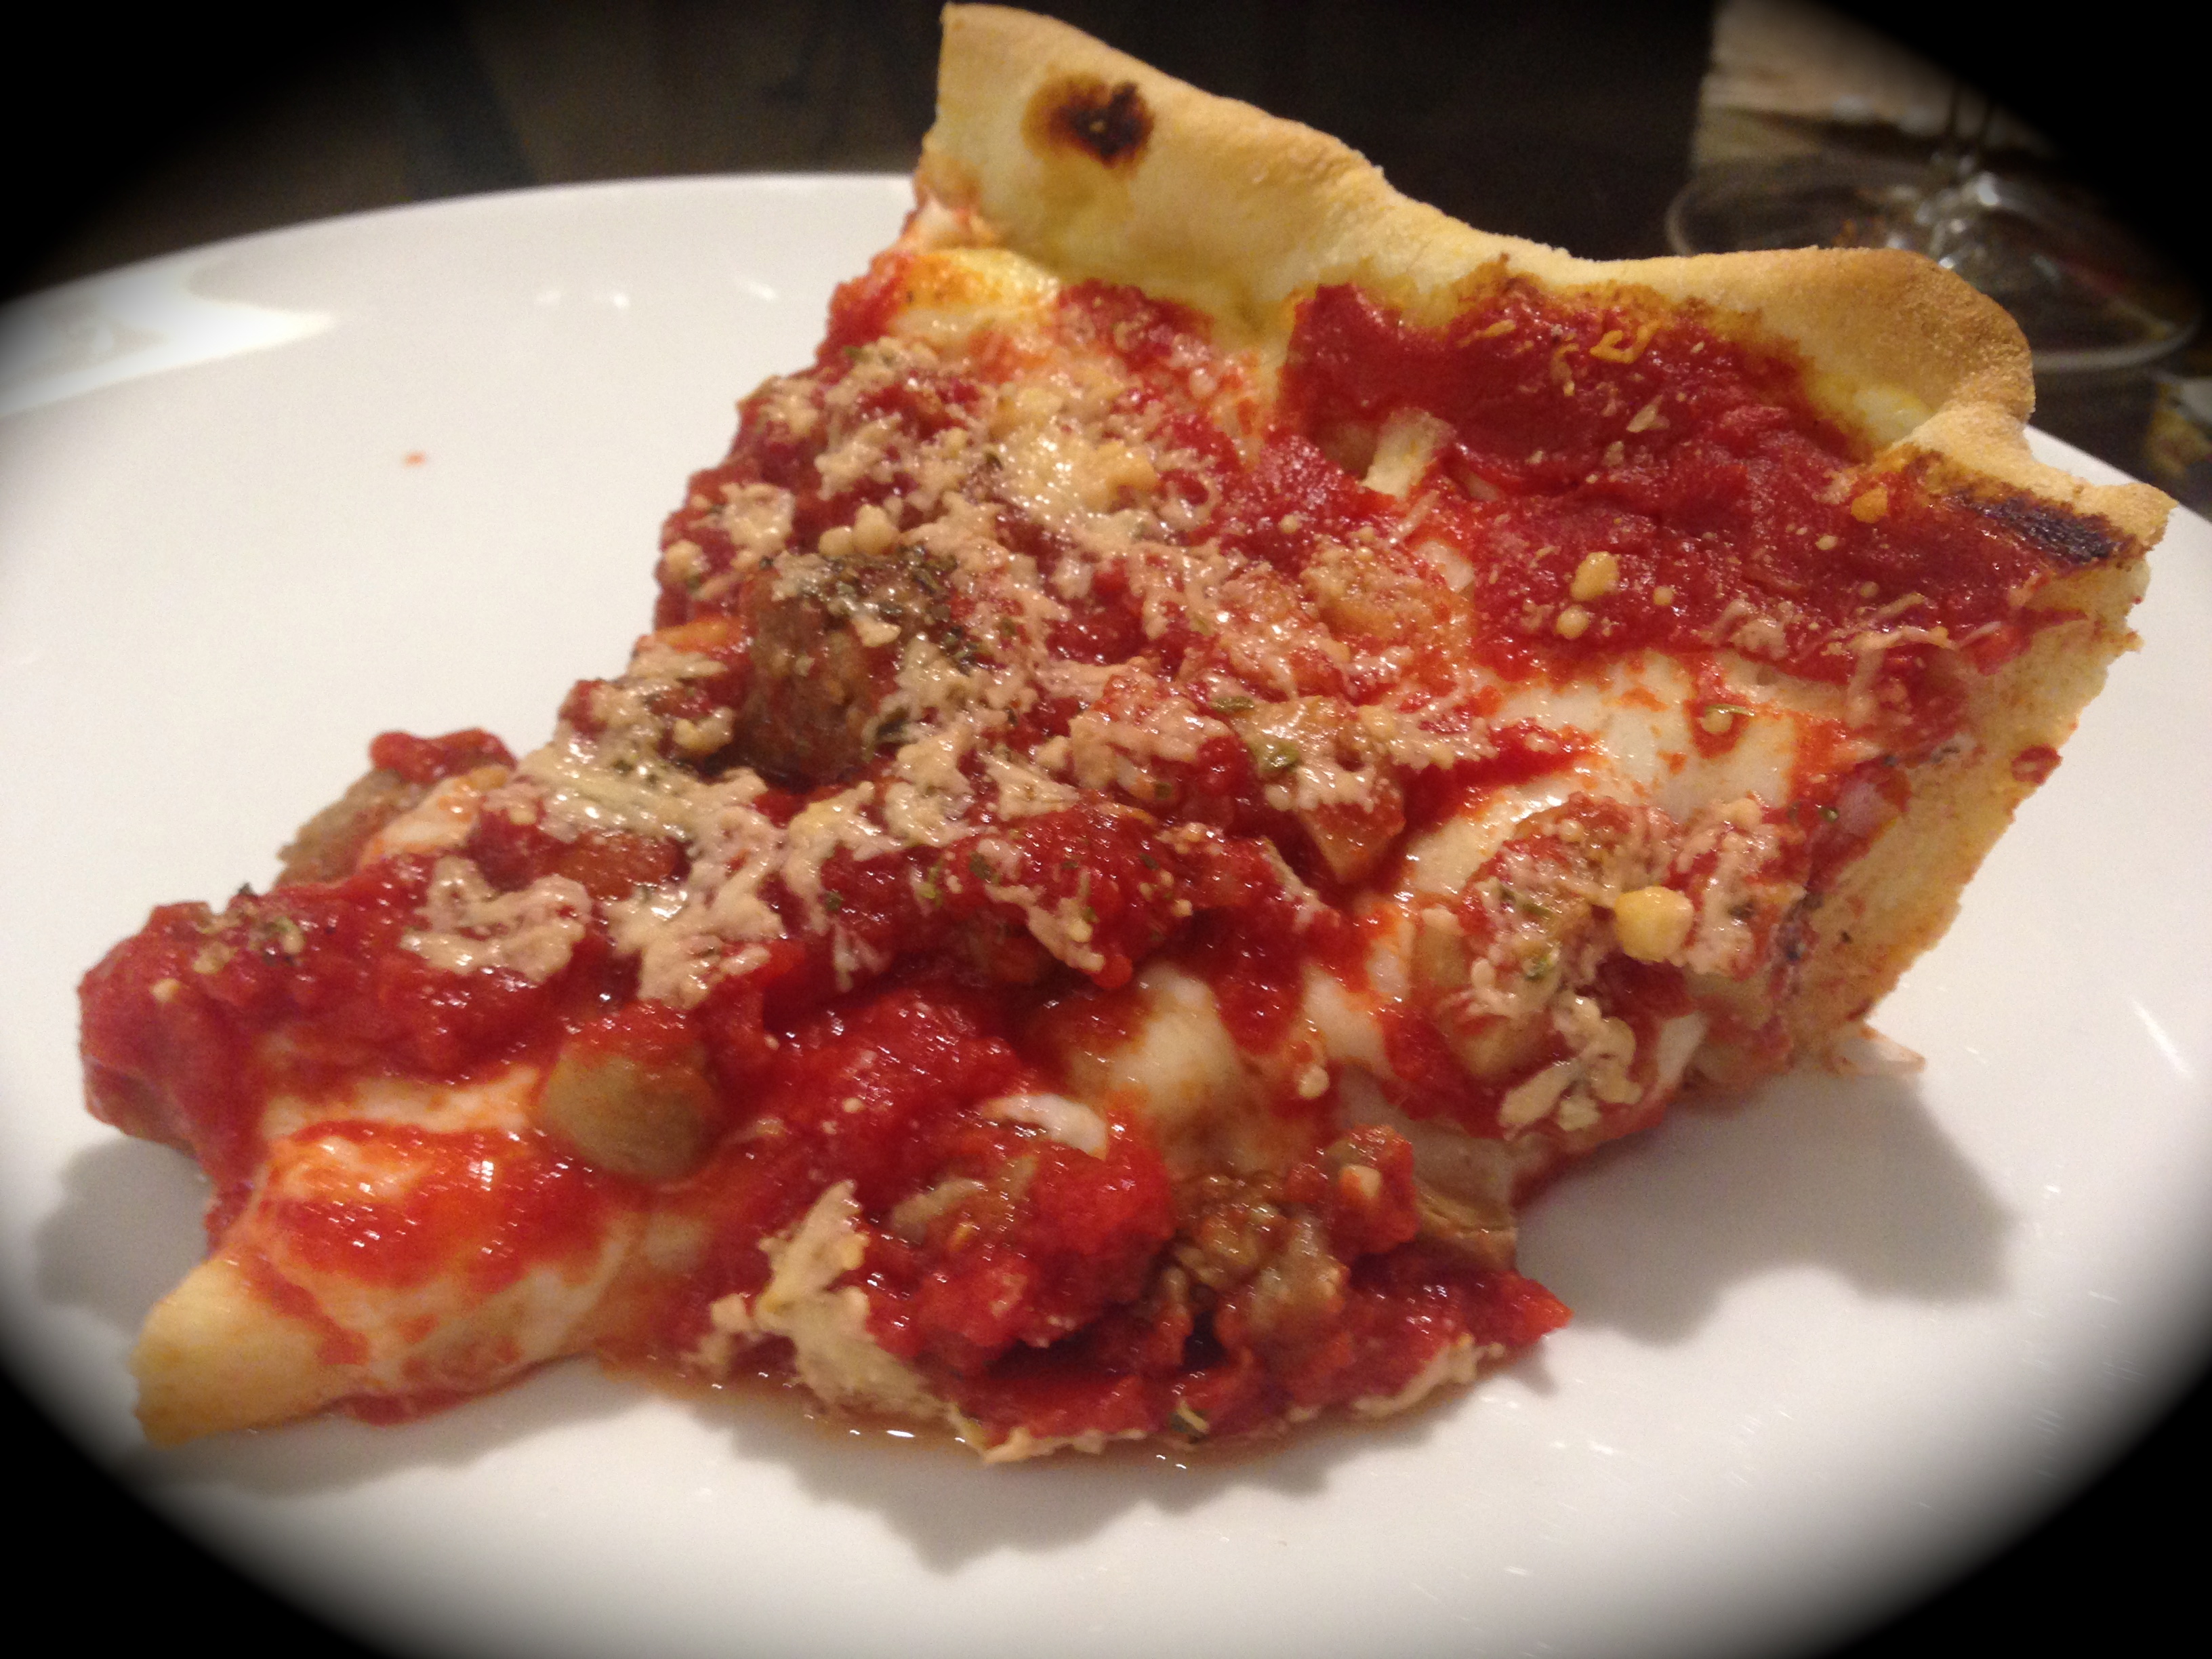
Chicago-style deep dish pizza

Chicago-style deep dish pizza

Chicago style deep dish pizza

Enjoy a slice tonight…