The Fourth of July is less than a week away and that normally means outdoor parties and lots of barbecuing – hamburgers, hot dogs, chicken wings and ribs. And quite often if Mother Nature decides to rain on your parade, you’re left with a conundrum of how to get that great barbecue taste without using the grill – especially for those ribs. Fear no more. I have a great recipe that can be made all year round. This recipe provides great barbecue flavor without the use of a grill (if you so choose).
My oven baked barbecue ribs are made in the oven and finished off either on a stove top grill, broiler or outdoor grill. I guarantee you, you’ll think these cooked on the grill the whole time. The trick to getting that barbecue flavor without cooking on the grill is pretty simple, liquid smoke. And cooking the ribs low and slow in the oven keeps them moist and tender. Try this recipe and you’ll enjoy barbecue ribs all year long!
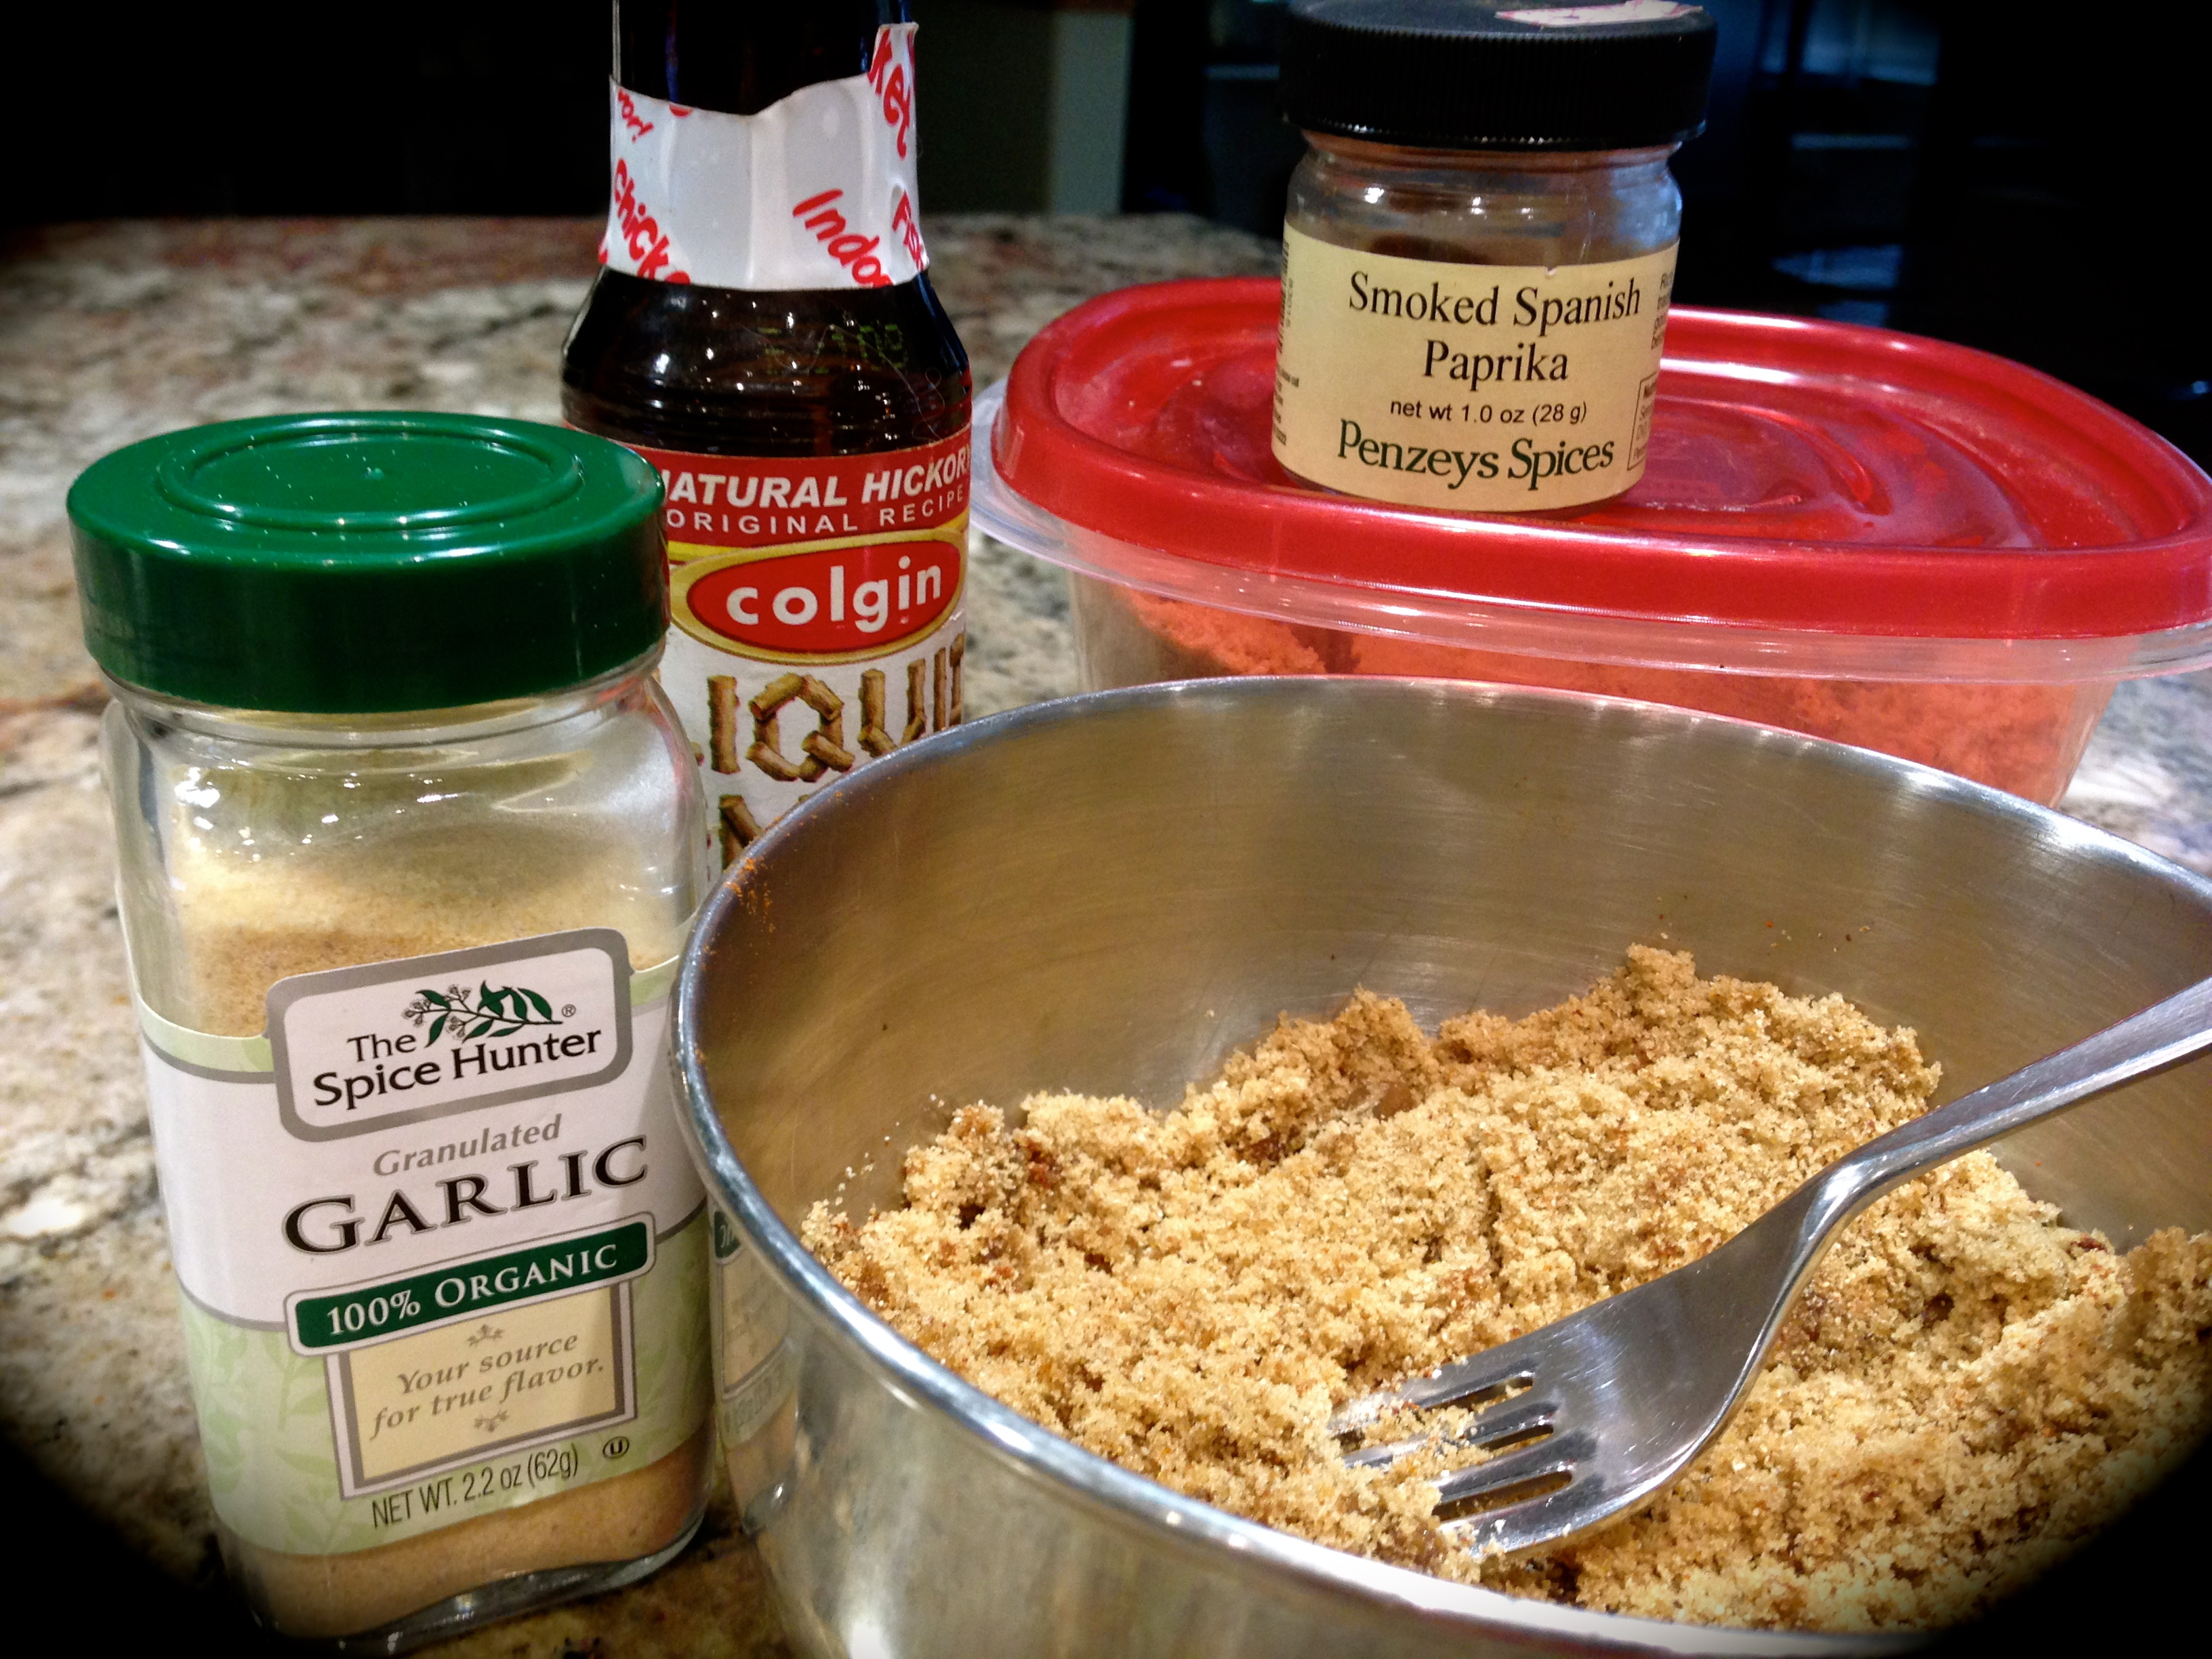
Rub Ingredients
Lesson Learned 1 – Less is more with liquid smoke: Liquid smoke is what gives the rub for these ribs that barbecue flavor. But be careful because it can be an overpowering ingredient. I get pretty heavy handed with it because I love a heartier flavor and smell, but be aware that might not be your preference. I would try 2-3 drops initially with the rub ingredients. After mixing all the ingredients together take a test whiff. If you cannot smell smokiness or you want more smokiness then add a little more. I use about 6-8 drops but I would not recommend it for everyone initially, especially if you’ve never used liquid smoke before. You can always add more.
You can also brush the ribs with liquid smoke before applying the rub. This will give them an even deeper smoky flavor. Either way be careful until you are comfortable with the amount of liquid smoke that is right for you to use.
Lesson Learned 2 – Peel off the tough membrane that covers the bony side of the ribs: You may not readily see it but you will know it’s there when you try to eat the ribs. I am referring to the tough membrane that covers the bones. I’ll warn you up front, it can be a challenge to remove it. For me, there are times it comes off easily and other times I have to fight with it. Take a sharp paring knife and start at the large end of the bones. Insert the paring knife between the membrane and the bones working it back and forth until you get enough membrane that you can easily grab. You can also use the end of a spoon or kitchen sheers to loosen the membrane. First try and loosen the membrane all the way across the top. Then begin pulling it downwards over the bones until you’ve removed it.
If you buy your ribs at a butcher shop you can ask the butcher to do this for you. Some butcher shops do this automatically before putting the ribs in the meat case. Make sure you ask the butcher if the membrane has been removed. If it hasn’t have the butcher do it for you. That should be an expected service. If you buy your ribs prepackaged you’ll have to do this yourself. Can you leave it on? Certainly, but you will get a crispy tasteless substance on the bottom of your ribs. If you encounter a stubborn membrane just leave it on. You don’t have to eat it. It’s just a slight nuisance when you’re eating your ribs.
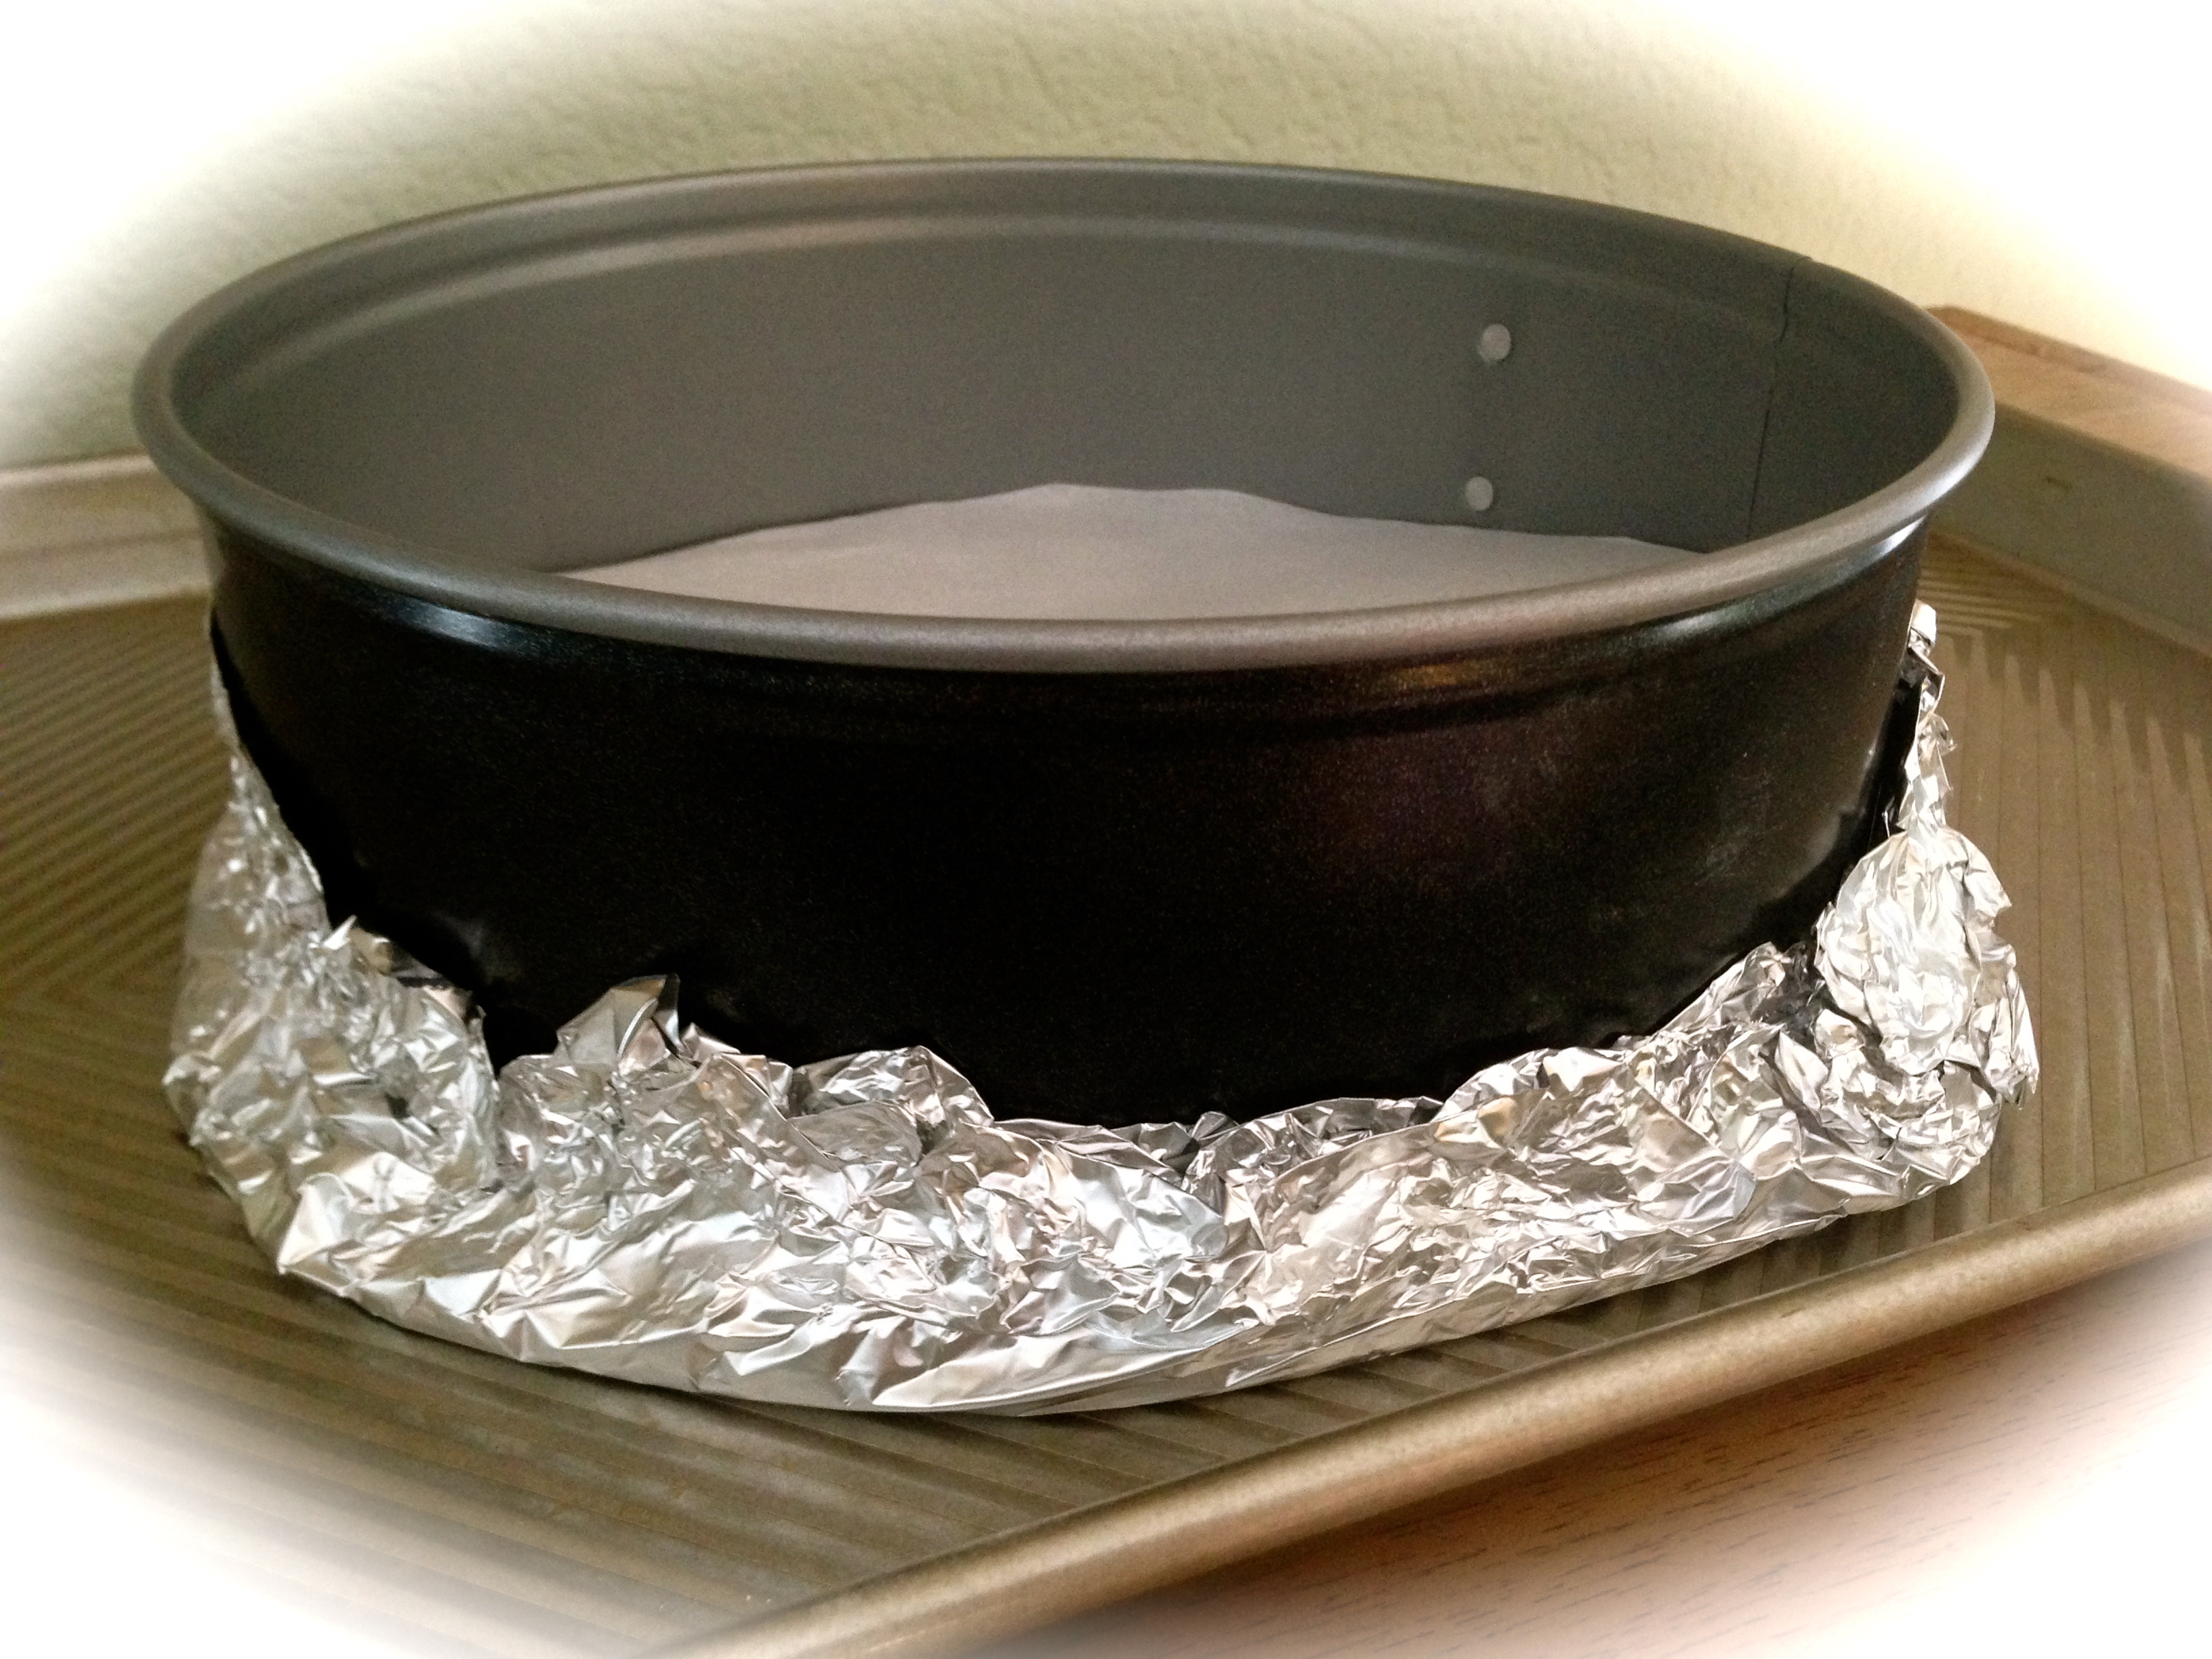
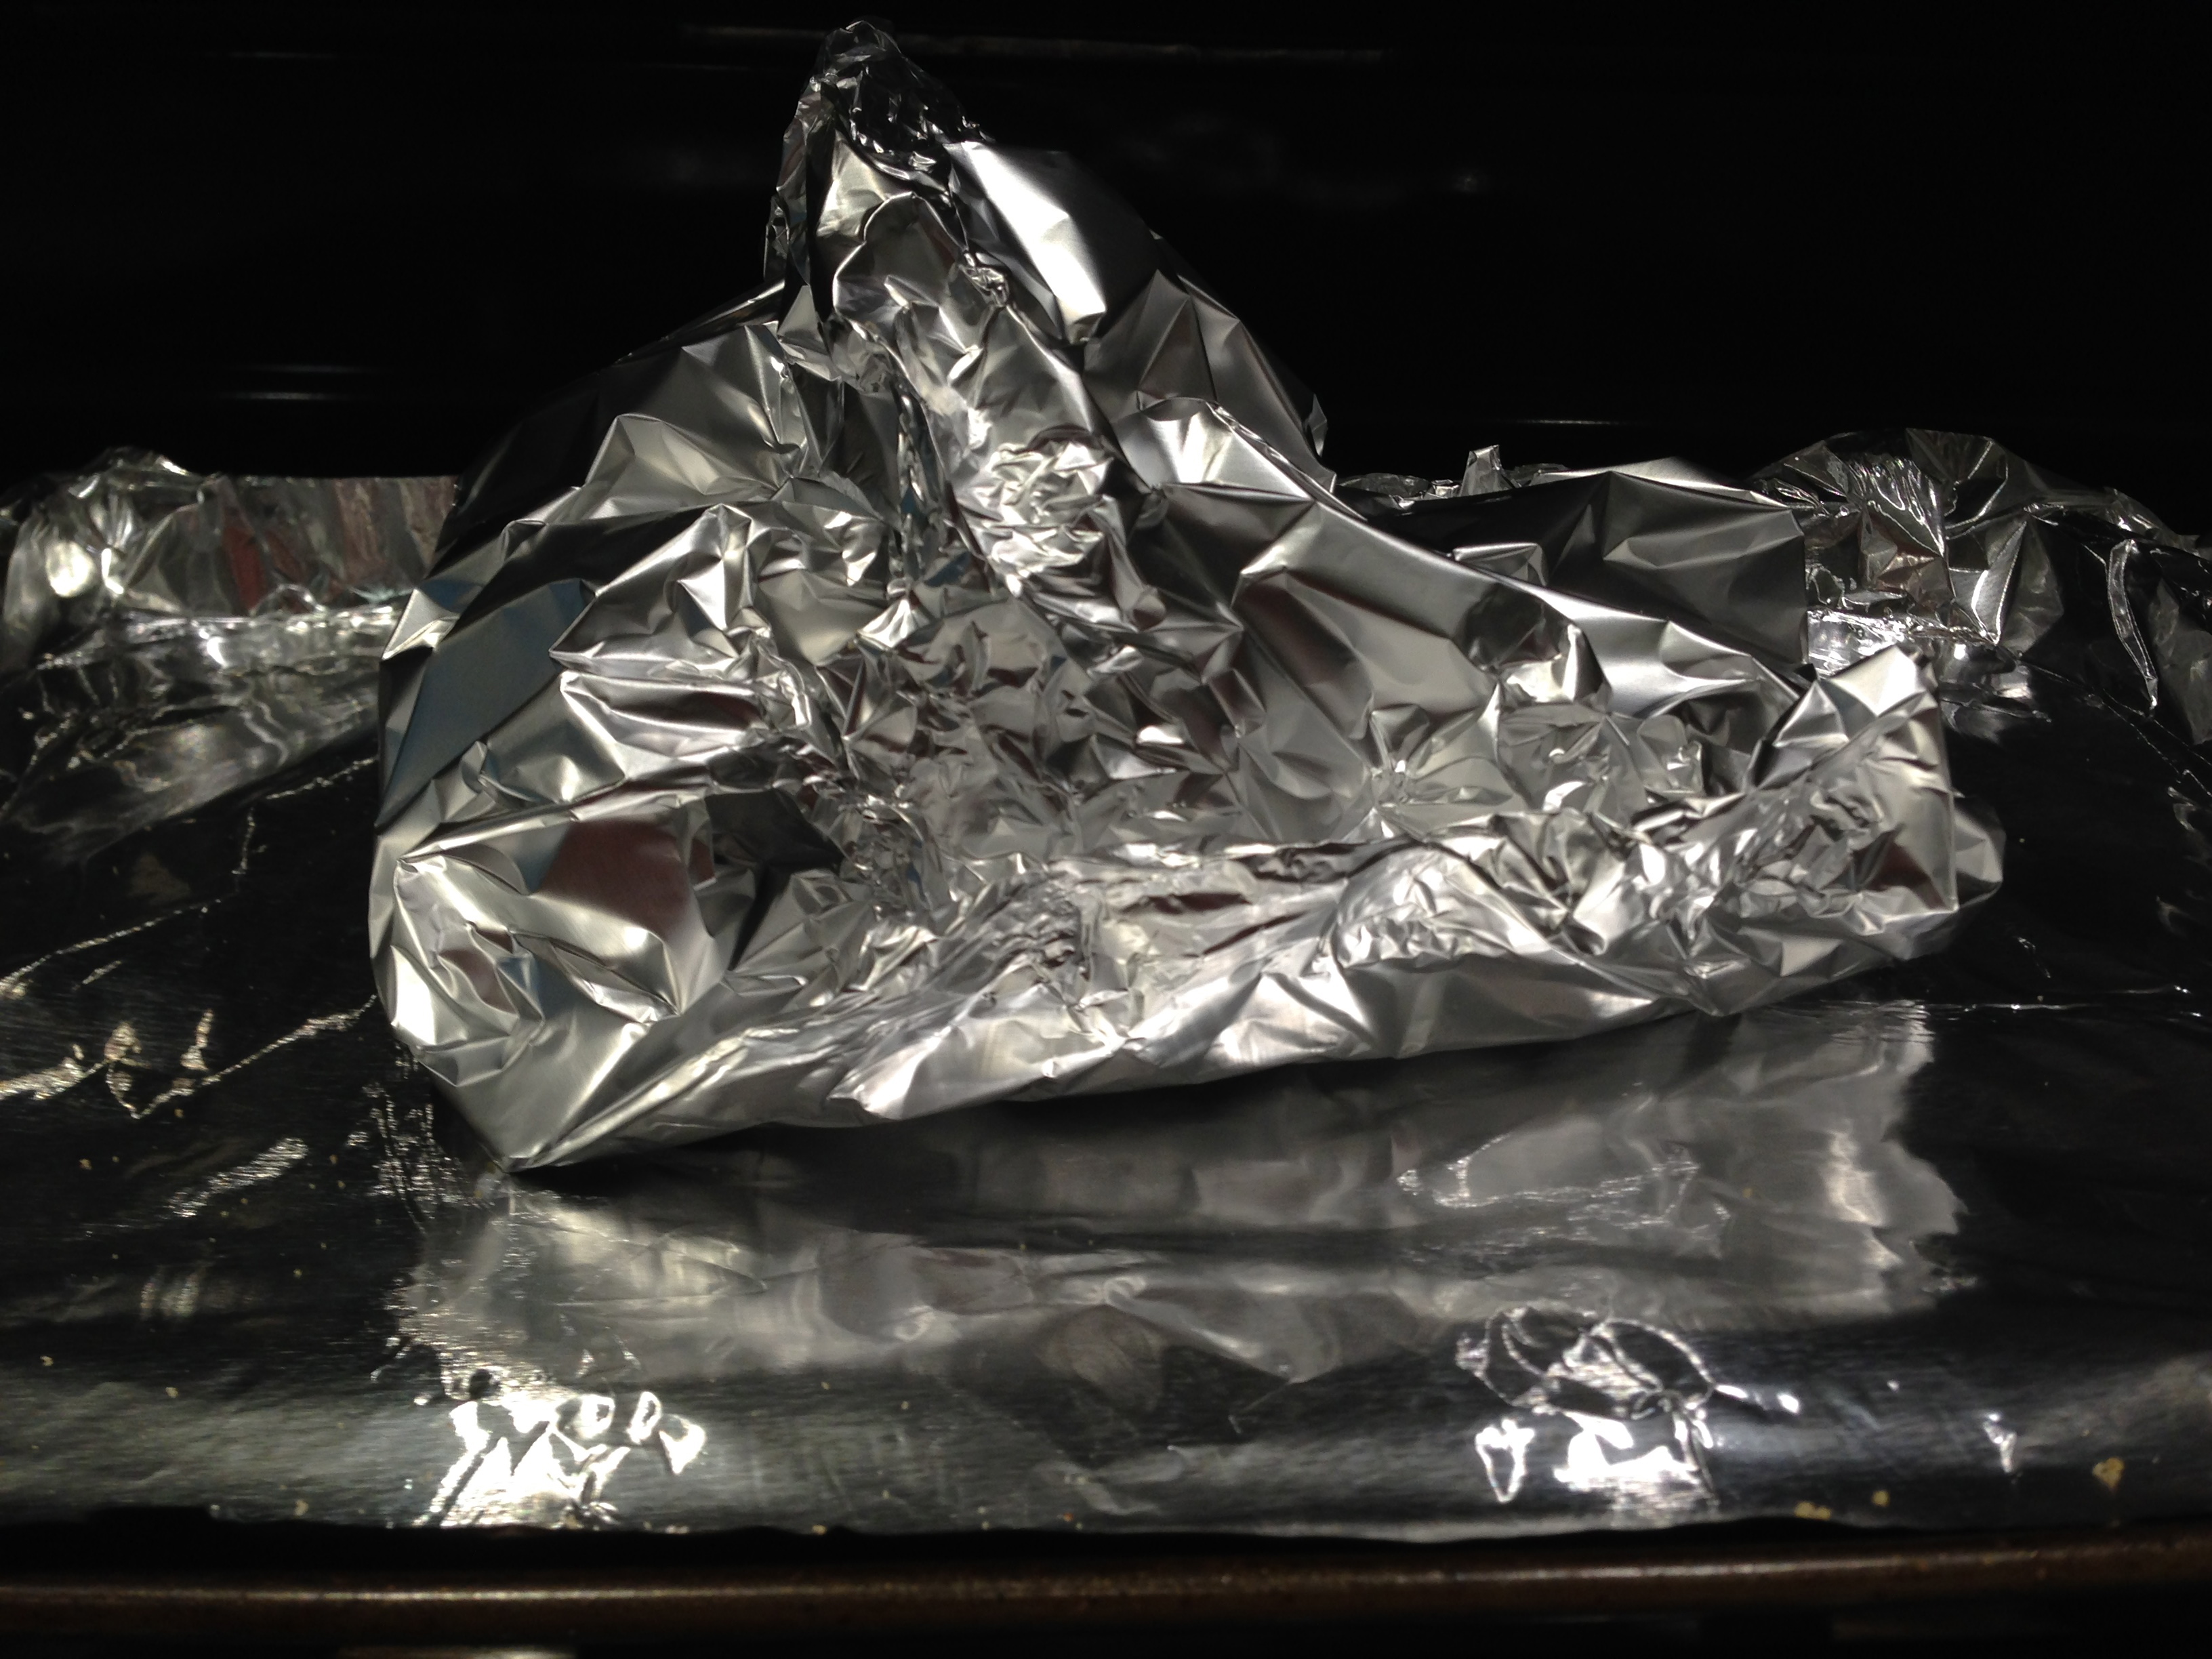 Lesson Learned 3 – Foil is your best friend while making this recipe: Besides making the foil packet for the ribs I recommend you also line the jelly roll pan you bake them on with foil. That way if any liquid leaks out of the packet it will not burn into your pan. Remember you are working with a brown sugar rub, and if the brown sugar leaks out it will create a baked on nightmare. If you line your pan with foil clean up is a breeze.
Lesson Learned 4 – You have three ways to finish off this recipe: Once you remove the ribs from the oven you can either finish them off on a grill, under the broiler or on a stove top grill. I always finish mine off on the grill because I have a gas grill and it’s easy to use on short notice. If you finish them off under the broiler or on a stove top grill remember to protect your pans. Either use foil (if you’re finishing them off under the broiler) or cooking spray if you’re finishing them off on a stove top grill. At clean up time you’ll be glad you did.
Oven Baked BBQ Ribs…
INGREDIENTS:
4 lbs. of pork ribs
3/4 cup brown sugar
Liquid Smoke, to taste (I use 6-8 drops)
1 Tbs. paprika
1 Tbs. garlic powder
Your favorite barbecue sauce
DIRECTIONS:
Preheat the oven to 300 degrees. Peel the tough membrane off the back side of the ribs (see lessons learned above). Mix together the brown sugar, liquid smoke, paprika and garlic powder. Apply the rub to both sides of the ribs.
Lay ribs on a sheet of foil (with substantial overlay) shiny side out and meat side down. Lay another layer of foil on the top of the ribs. Join the top and bottom pieces of foil together and crimp. Crimp the edges all the way around the ribs facing up. Line a jelly roll pan with foil. Place the ribs packet(s) on the foil lined pan.
Bake for 2 – 2 1/2 hours or until the meat starts to shrink away from the bone. Remove from oven. If using a grill, during the last half hour of oven baking light your grill and get it up to a temperature not exceeding 375 degrees. (If using a grill you might leave the ribs on for a little less time than if using a broiler. You don’t want the ribs to burn). If using a broiler, set it on high with the oven rack a good 10 – 12 inches from the heat source.
Place ribs on the grill bony side up. Brush on the sauce. Cook for a couple of minutes. Turn the ribs over. Brush on sauce. Cook for another couple of minutes. Take off the grill and serve.
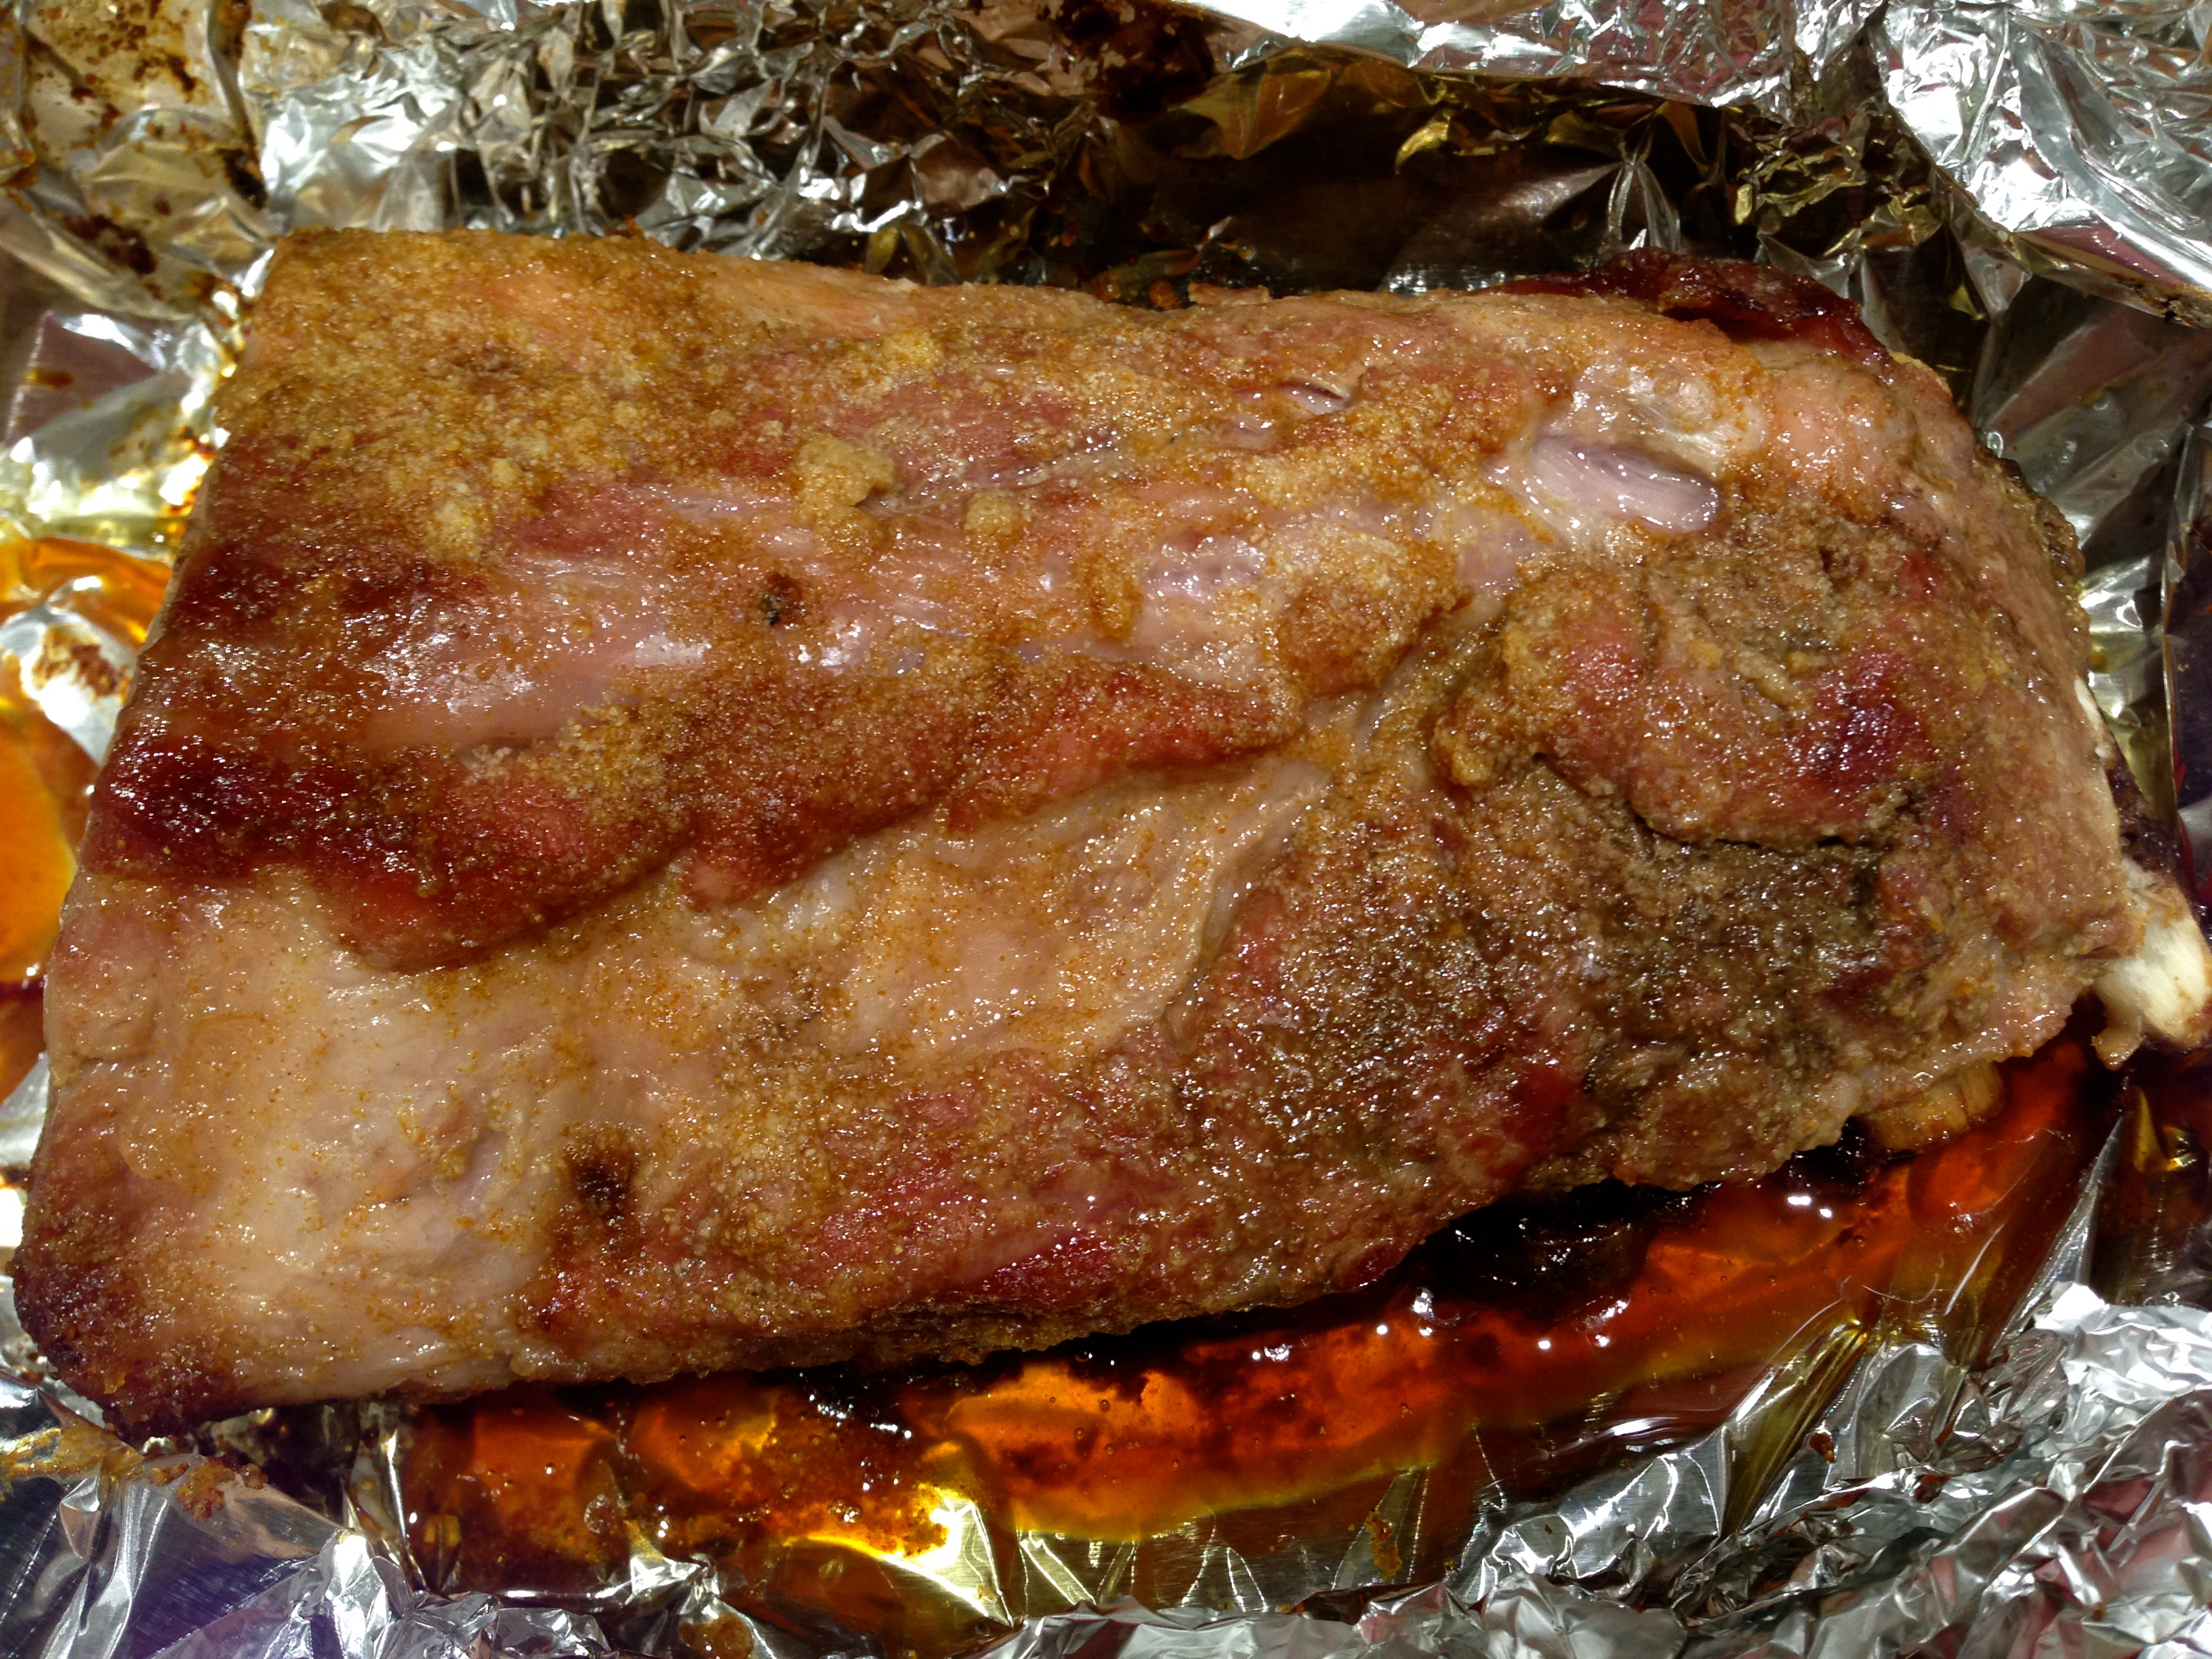
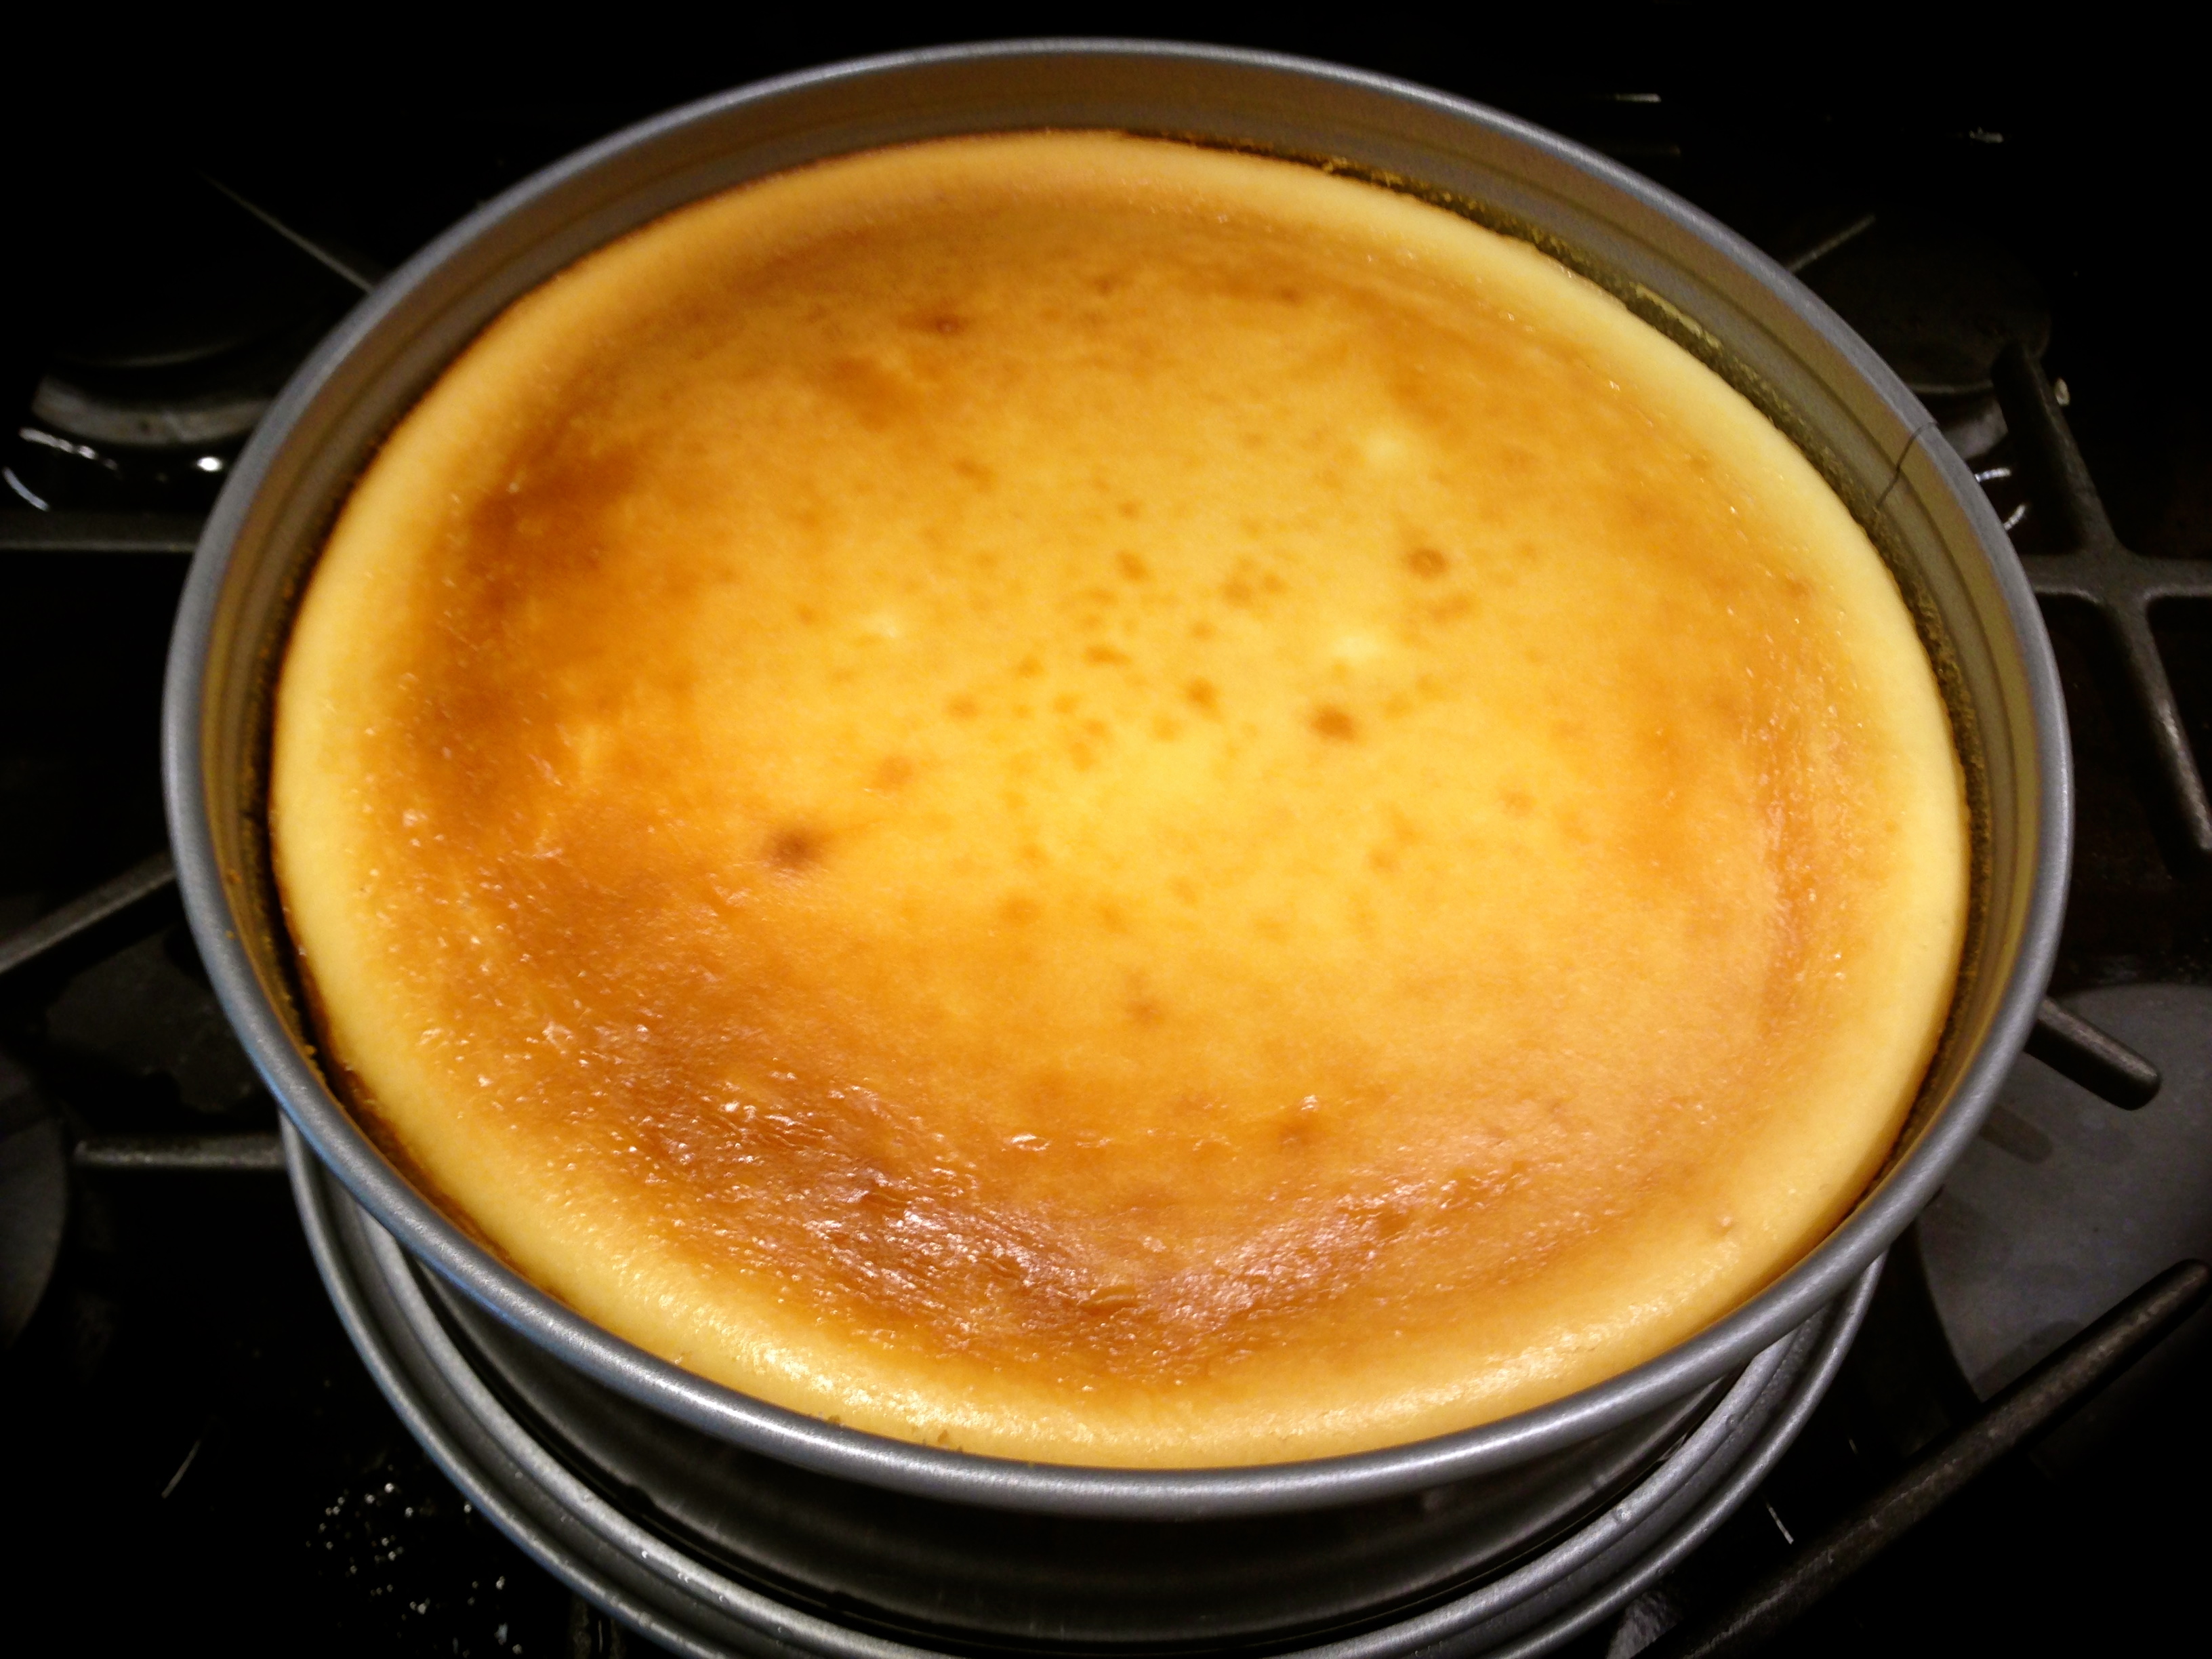
The Ribs Right Out Of The Oven
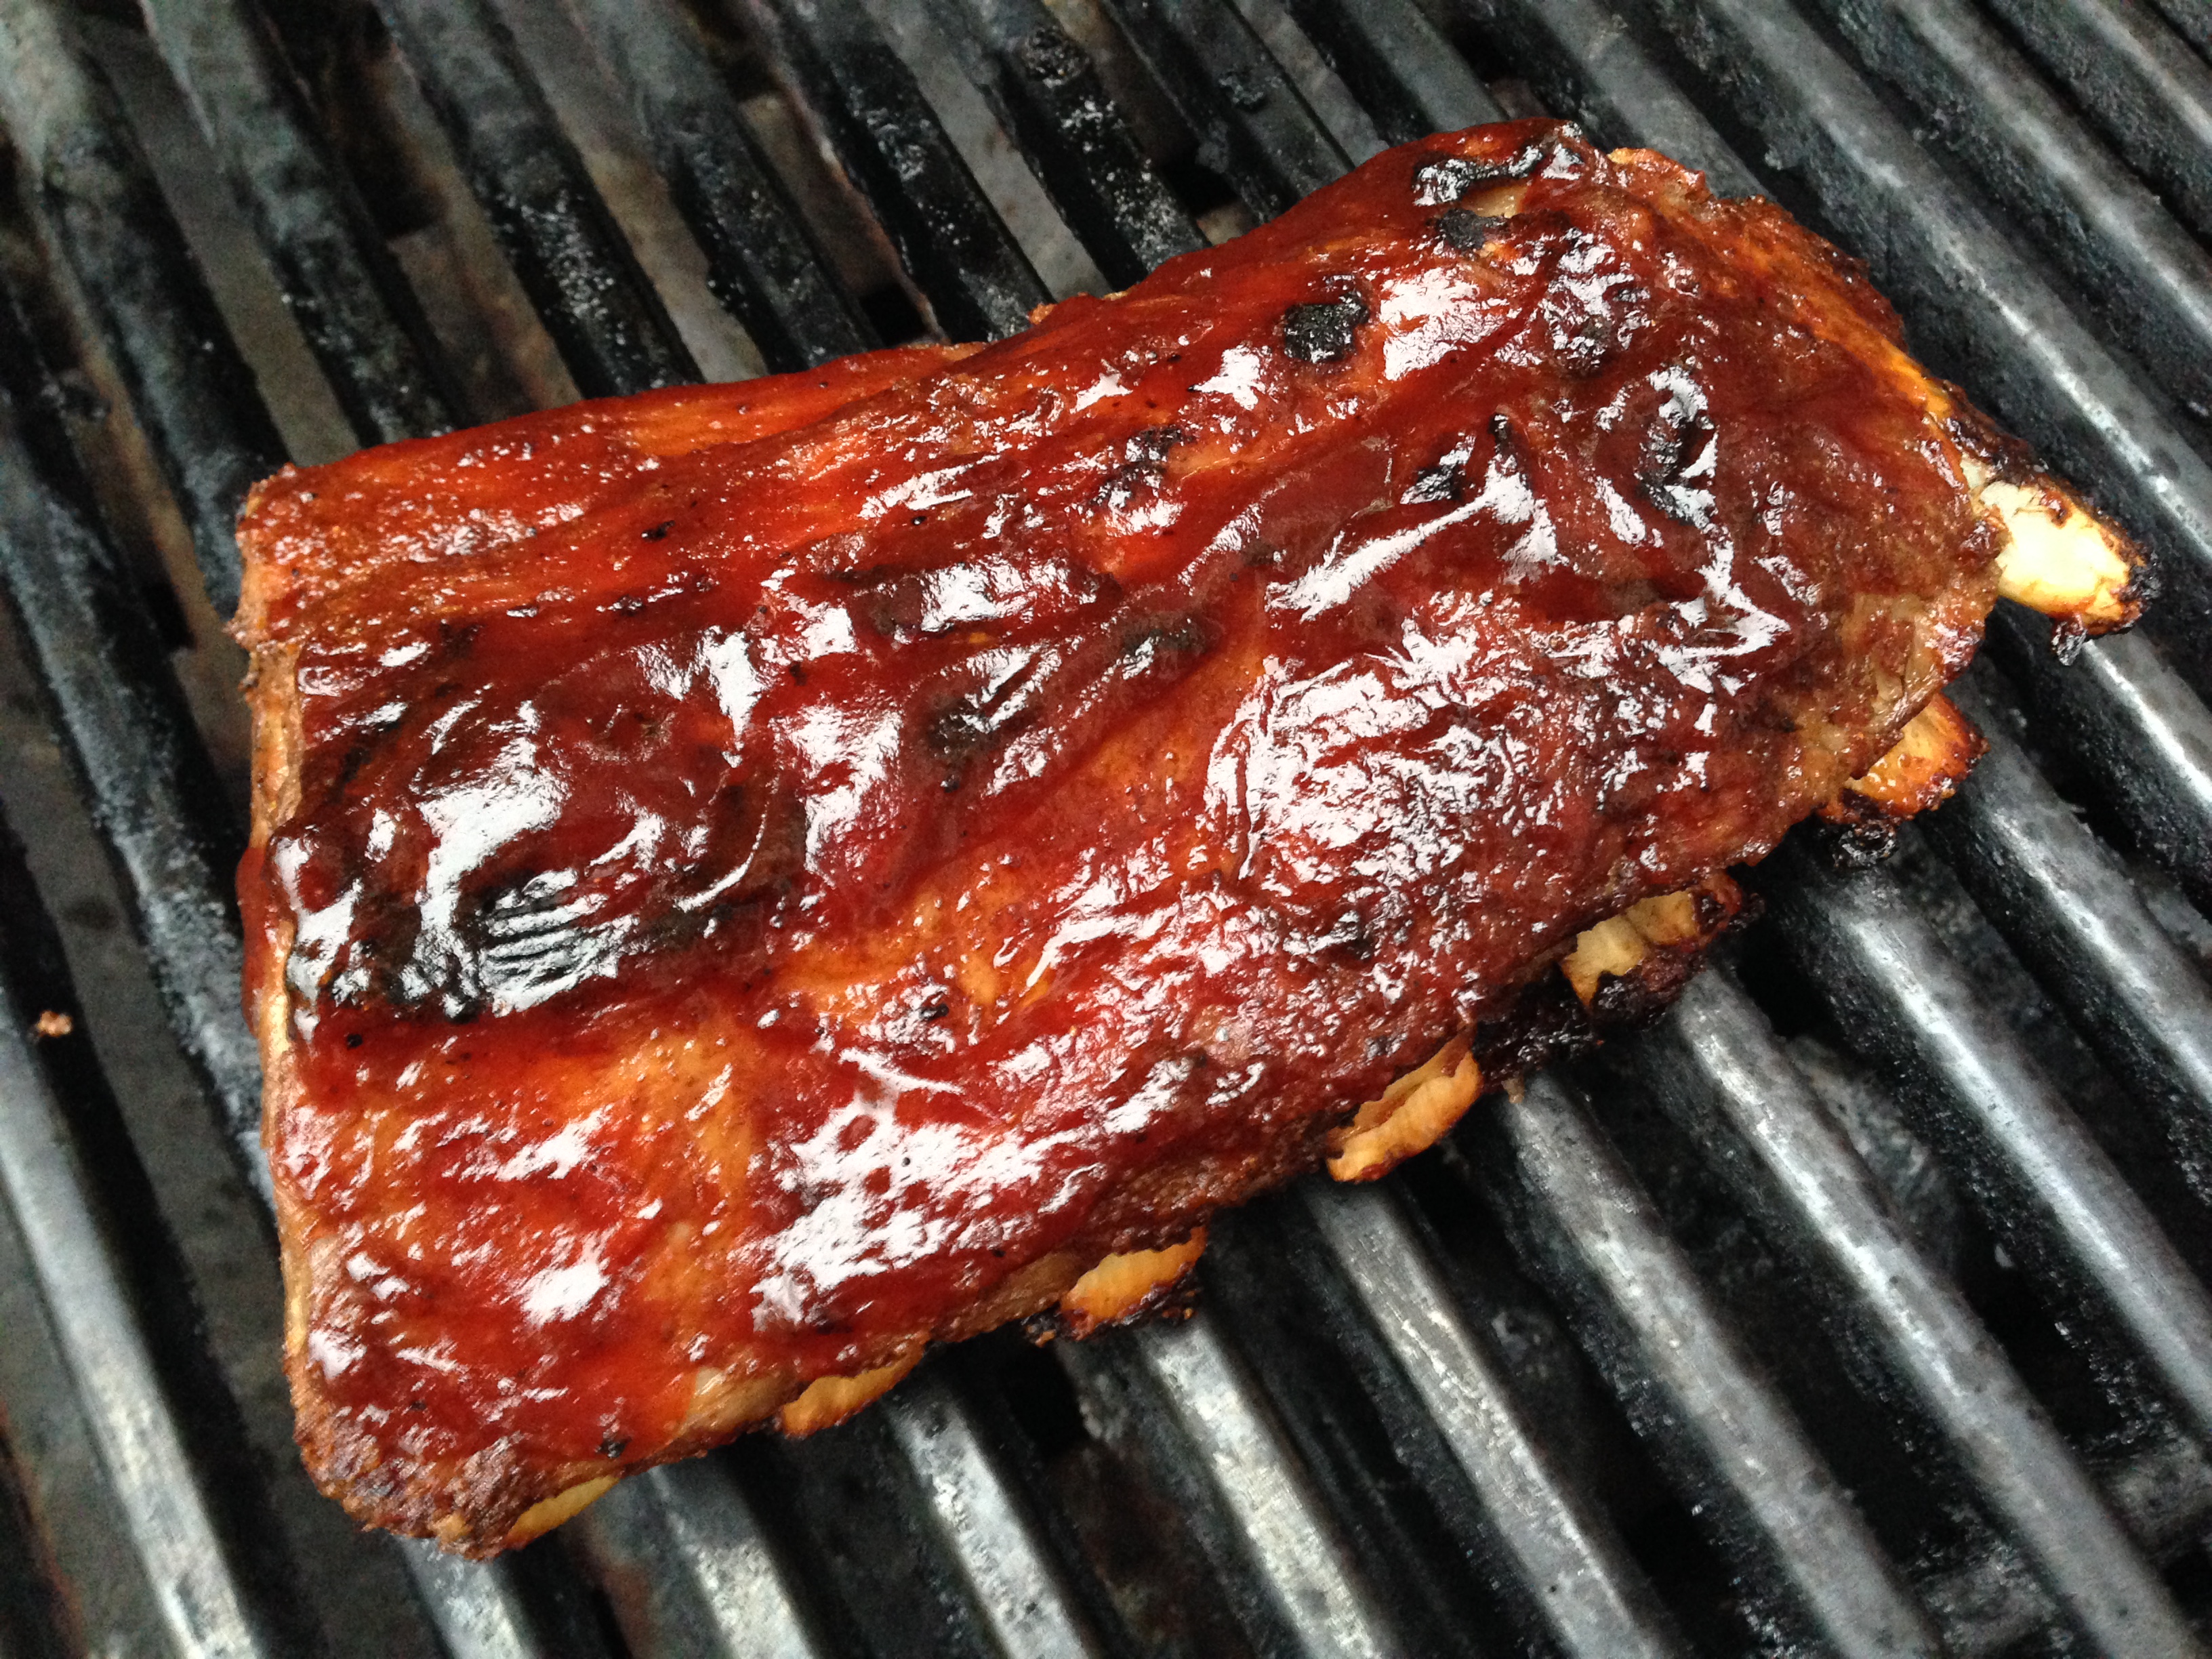
Oven Baked BBQ Ribs