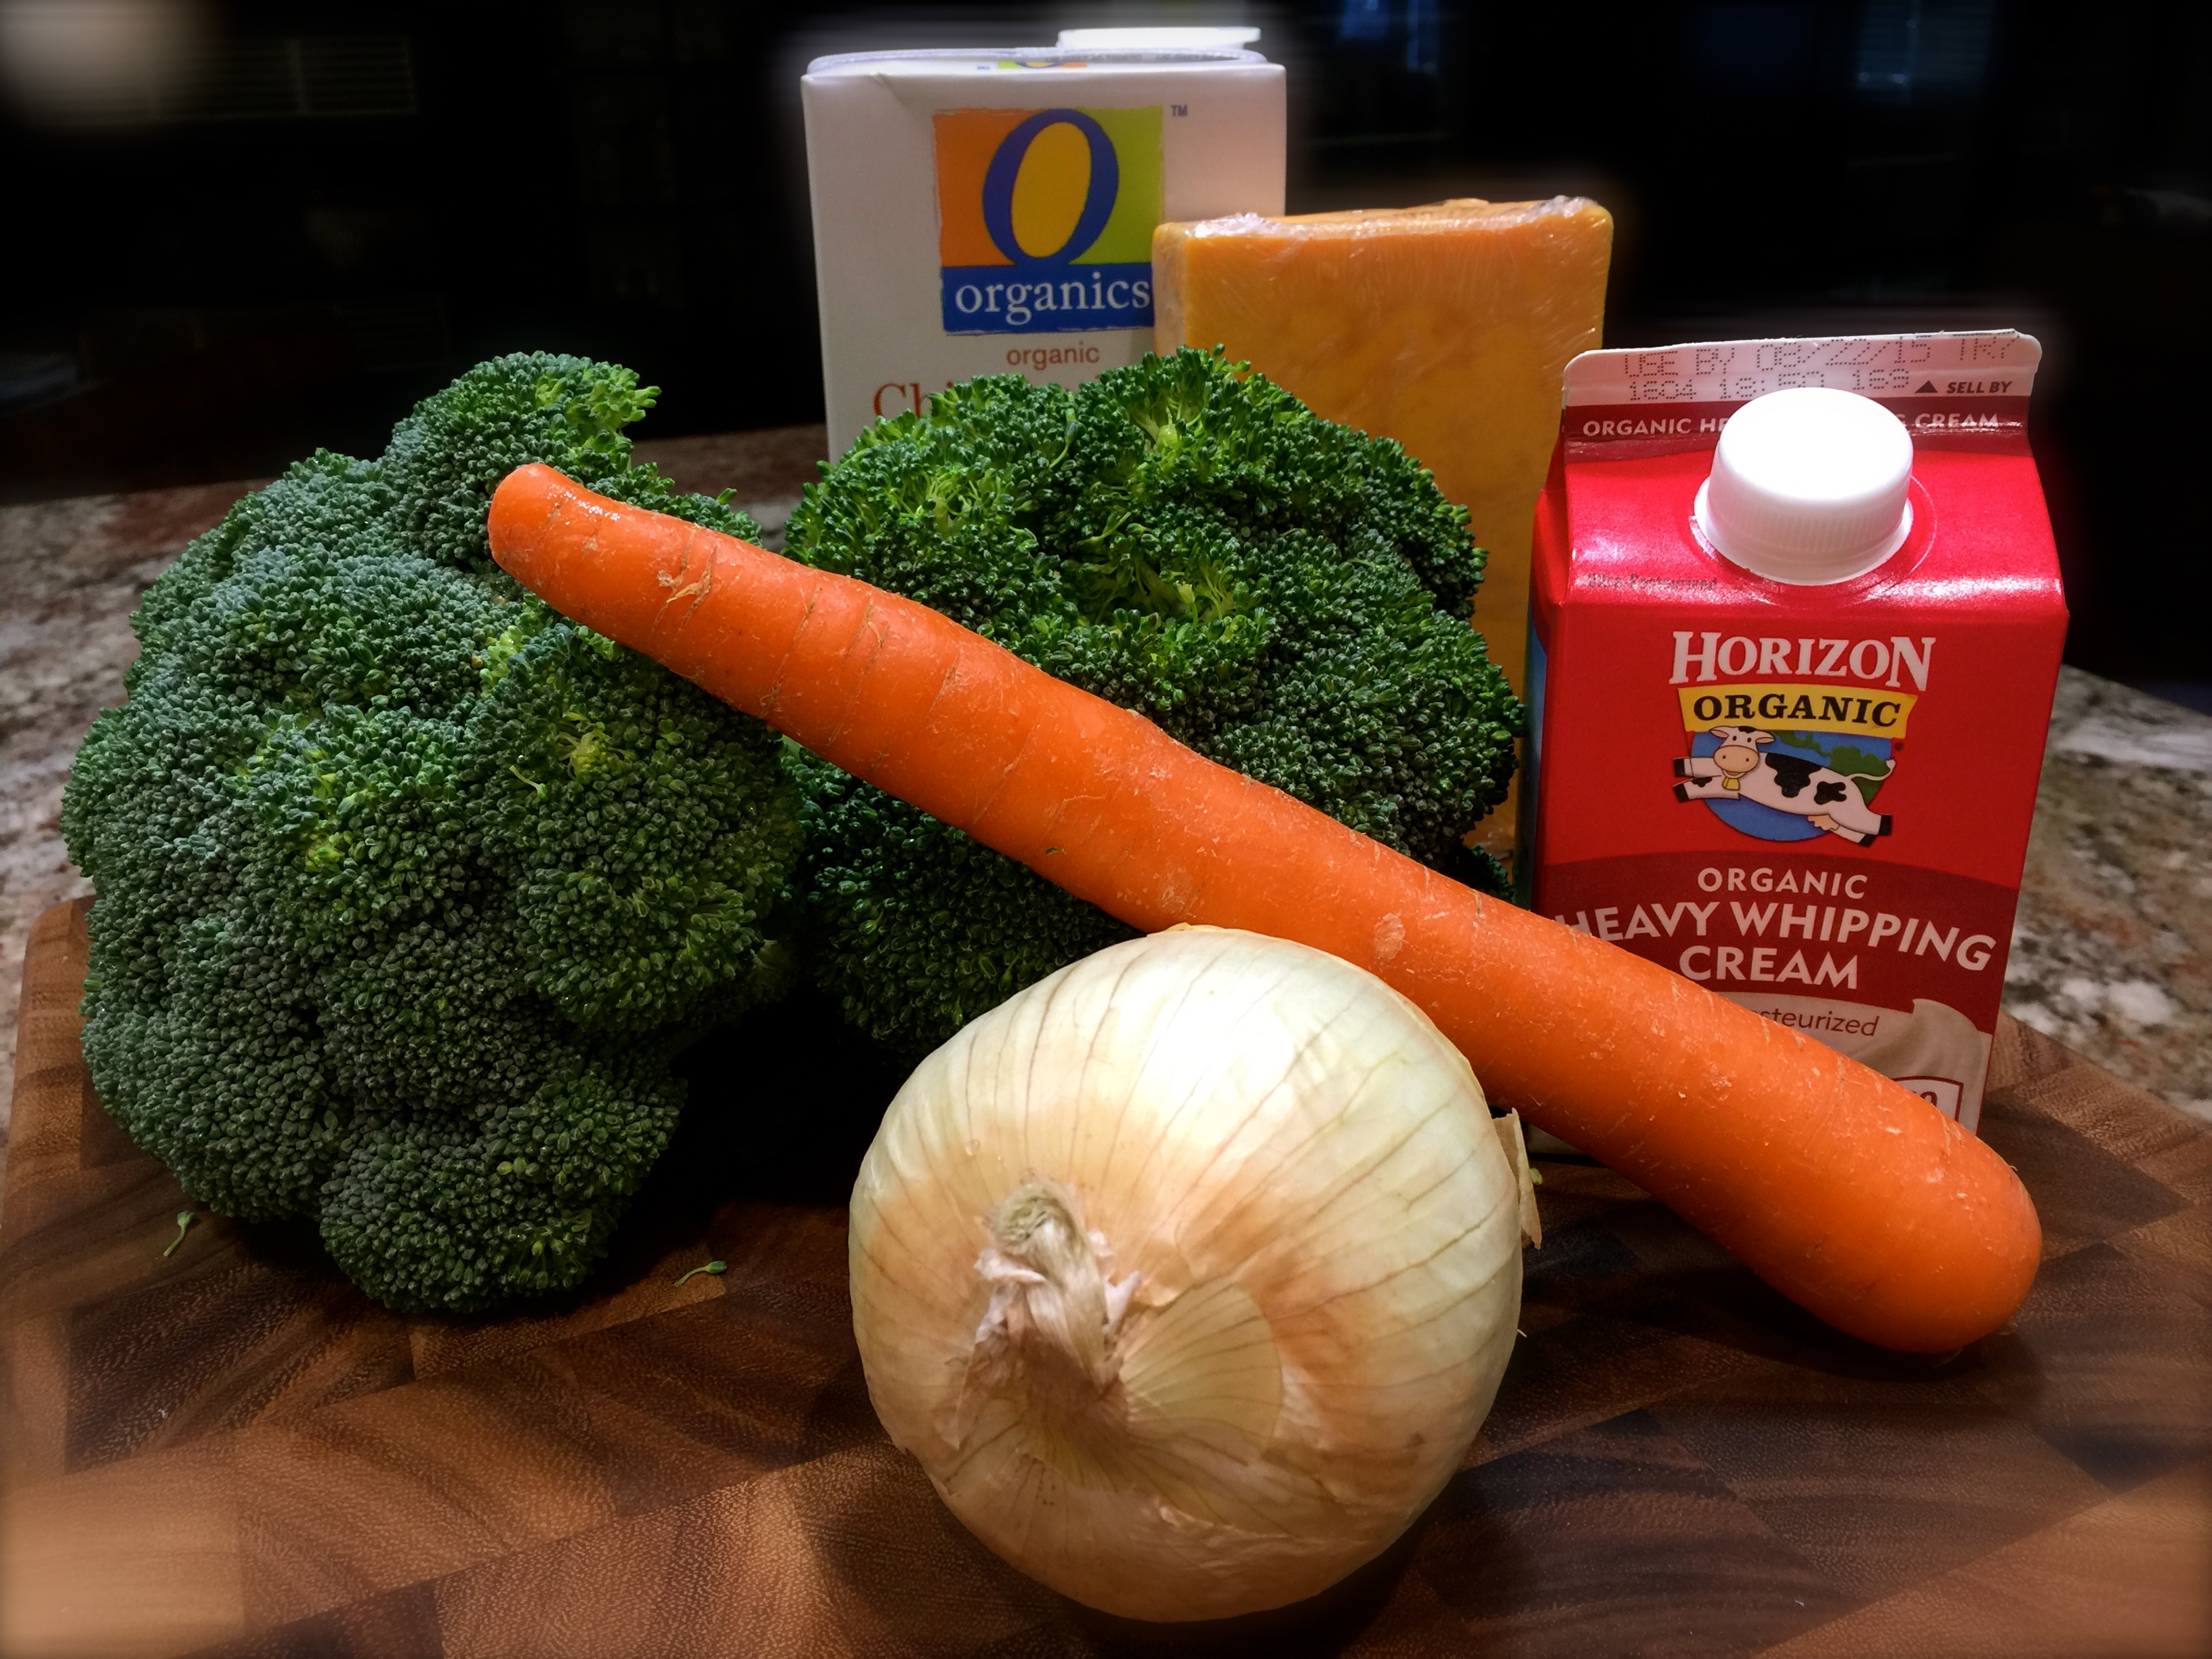
Broccoli Cheddar Soup…

Soup Ingredients...

Soup Ingredients…

Even though we are in the midst of summer I still get cravings for soup. Now I have to admit I normally only make a home made chicken and dumpling soup (my mom’s recipe that I’ll post in the Fall) but this time I decided to venture into trying something different. I researched various versions of broccoli soups and decided I wanted to do a broccoli and cheddar combination.

I like this recipe for a variety of reasons. First it is absolutely delicious – second, it’s so easy to make, and third it freezes well so you can have some now and save some for later. So let’s talk about making broccoli cheddar soup…

Slice Vegetables
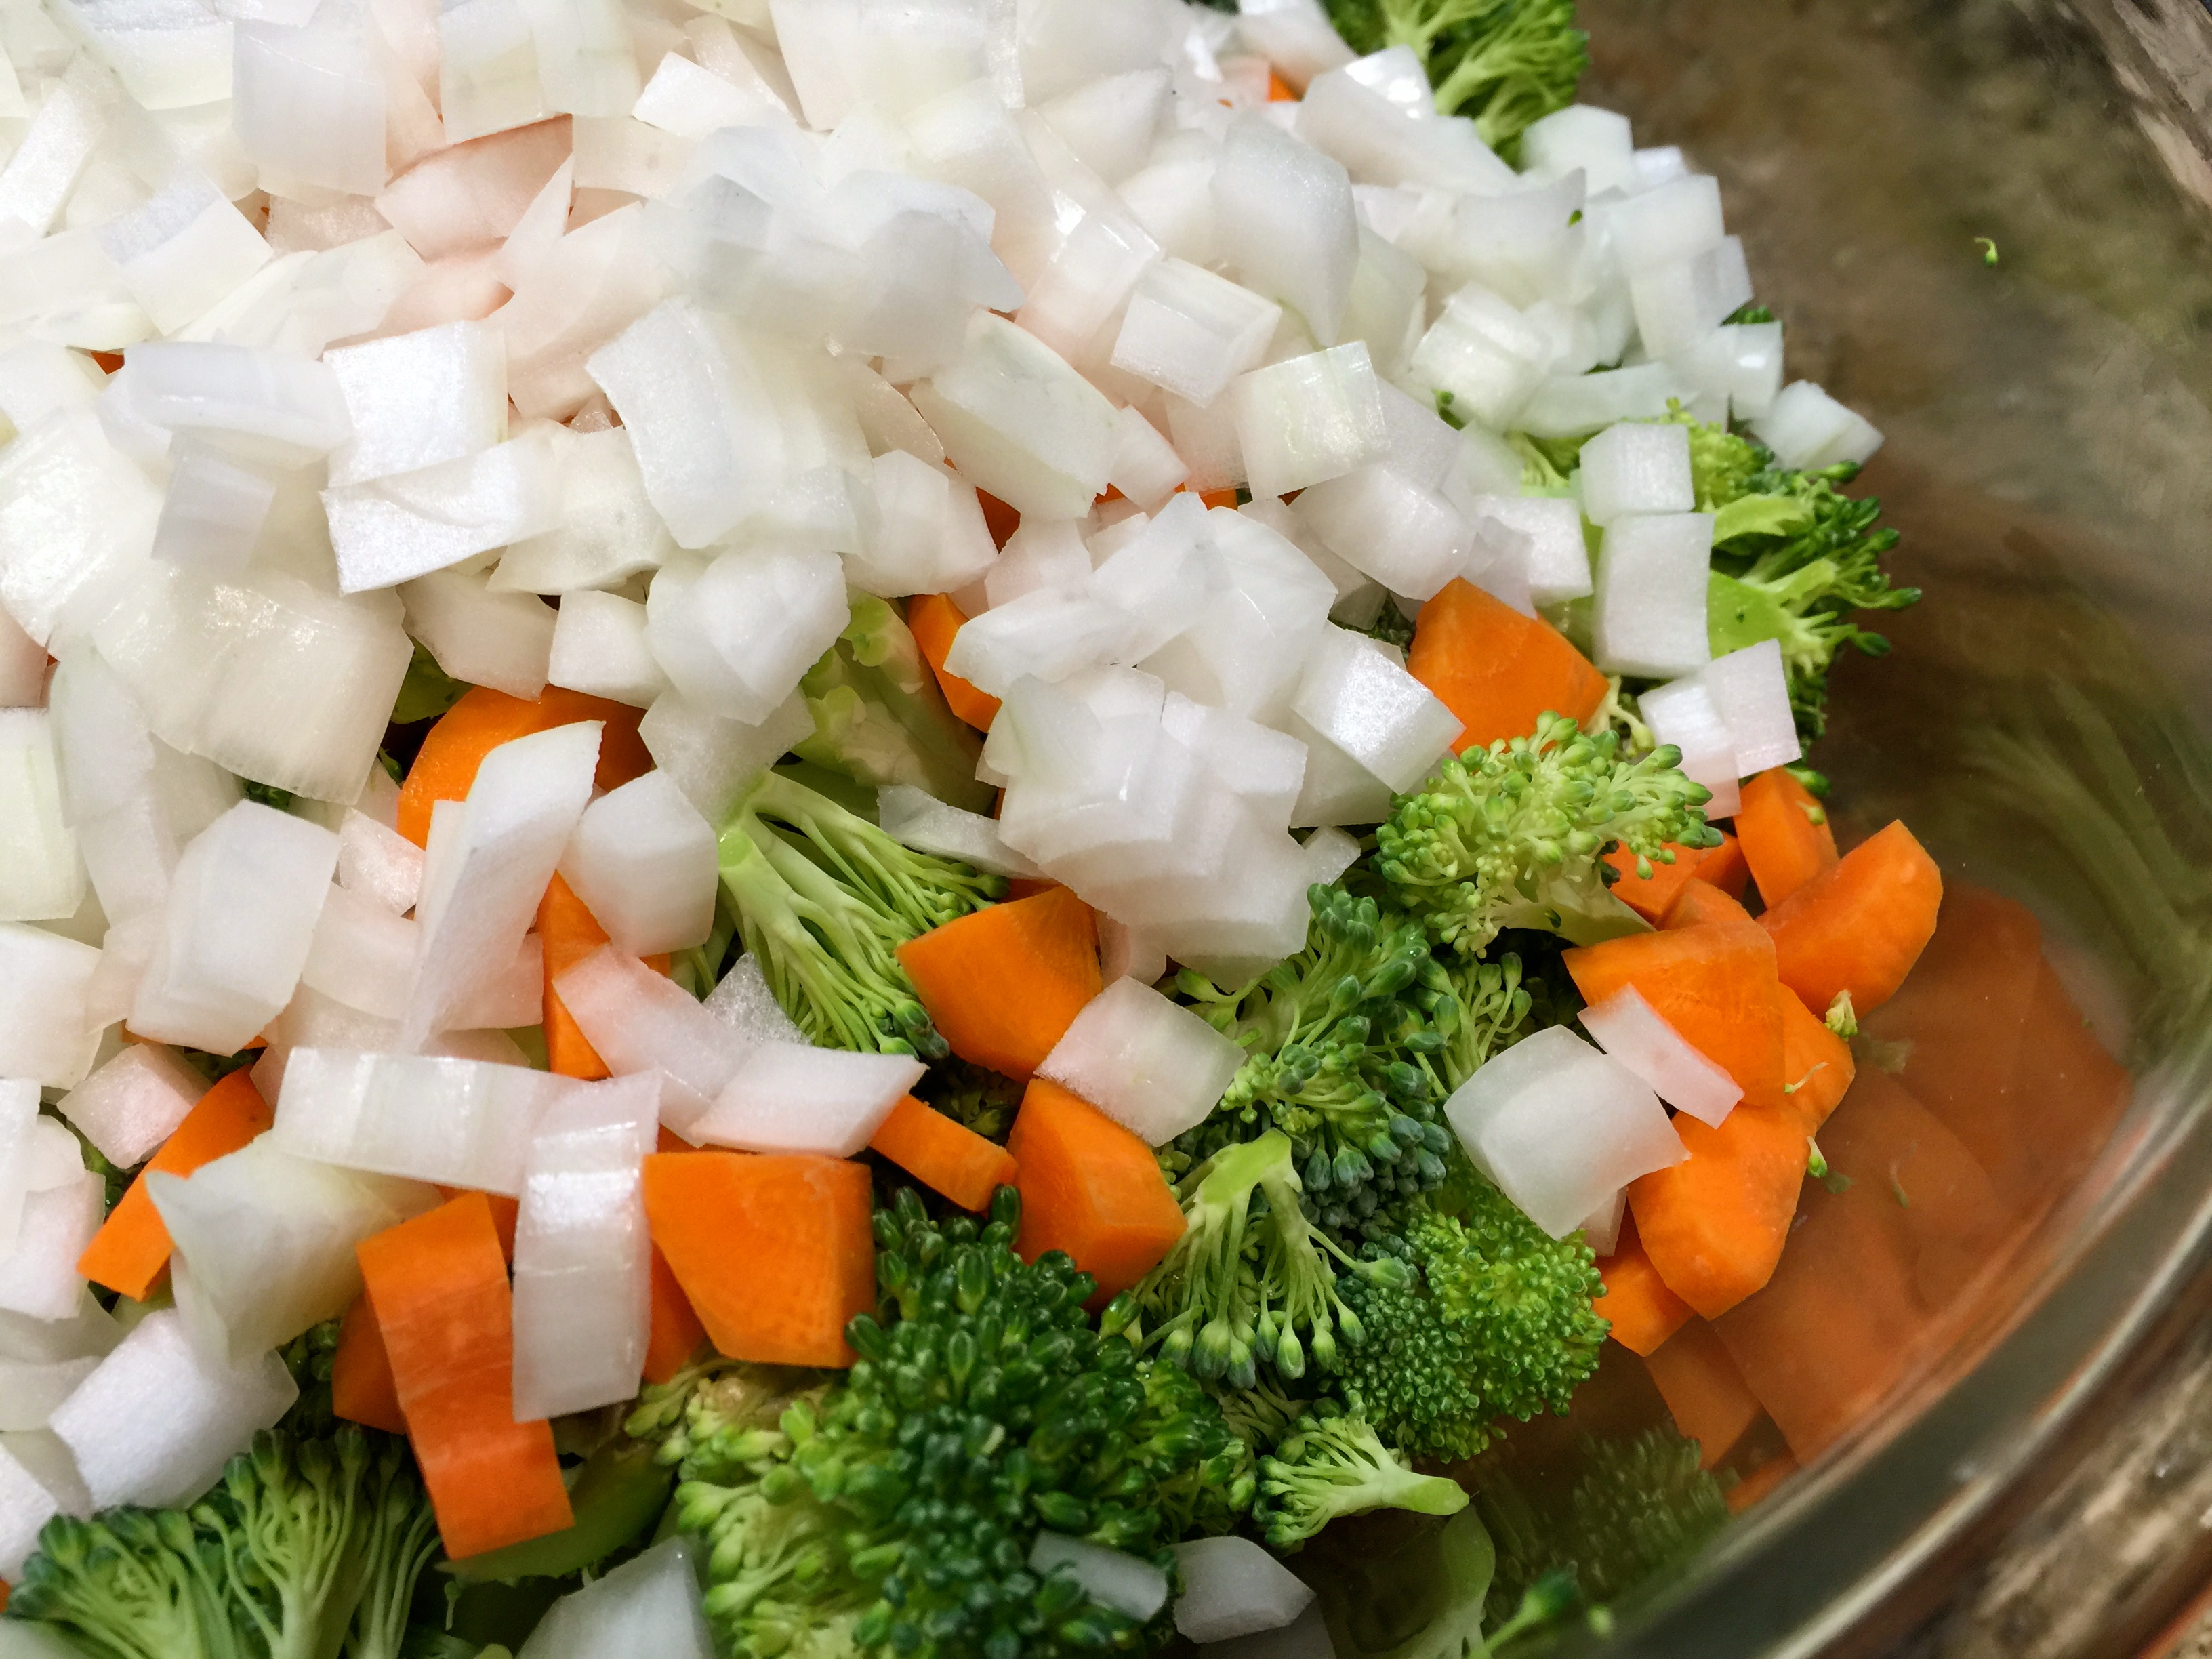
Lesson Learned 1 – Use all of the broccoli but cut the pieces small: Most often people tend to discard the broccoli stalks and they actually provide great flavor especially when making the soup. So when you are cutting up the broccoli cut up the stalks as well. Be careful to cut the stalk into small pieces. They are obviously more dense than the florets and will take longer to cook if you leave them in large pieces. The smaller you cut them the less time you will have to cook them.

The same goes for the carrot. I took a pretty big thick carrot, halved it and then quartered it before slicing it. Carrots are also pretty dense and the smaller you cut them the faster they’ll cook. The nice thing about this recipe is you can chop everything up and put it in one big potl. You sauté everything at the same time and that makes it easy.

Lesson Learned 2 – You may have to use both flour and cornstarch to thicken the soup: I know it sounds strange – but it worked. Once the vegetables sautéed in butter for about 5 minutes I added the flour and cooked it down with the vegetables for about a minute. You need to do this for two reasons: 1 – so you remove the “floury” taste from the flour, and 2 – So you won’t have any lumps when you add the liquid.

Before Adding Cornstarch...

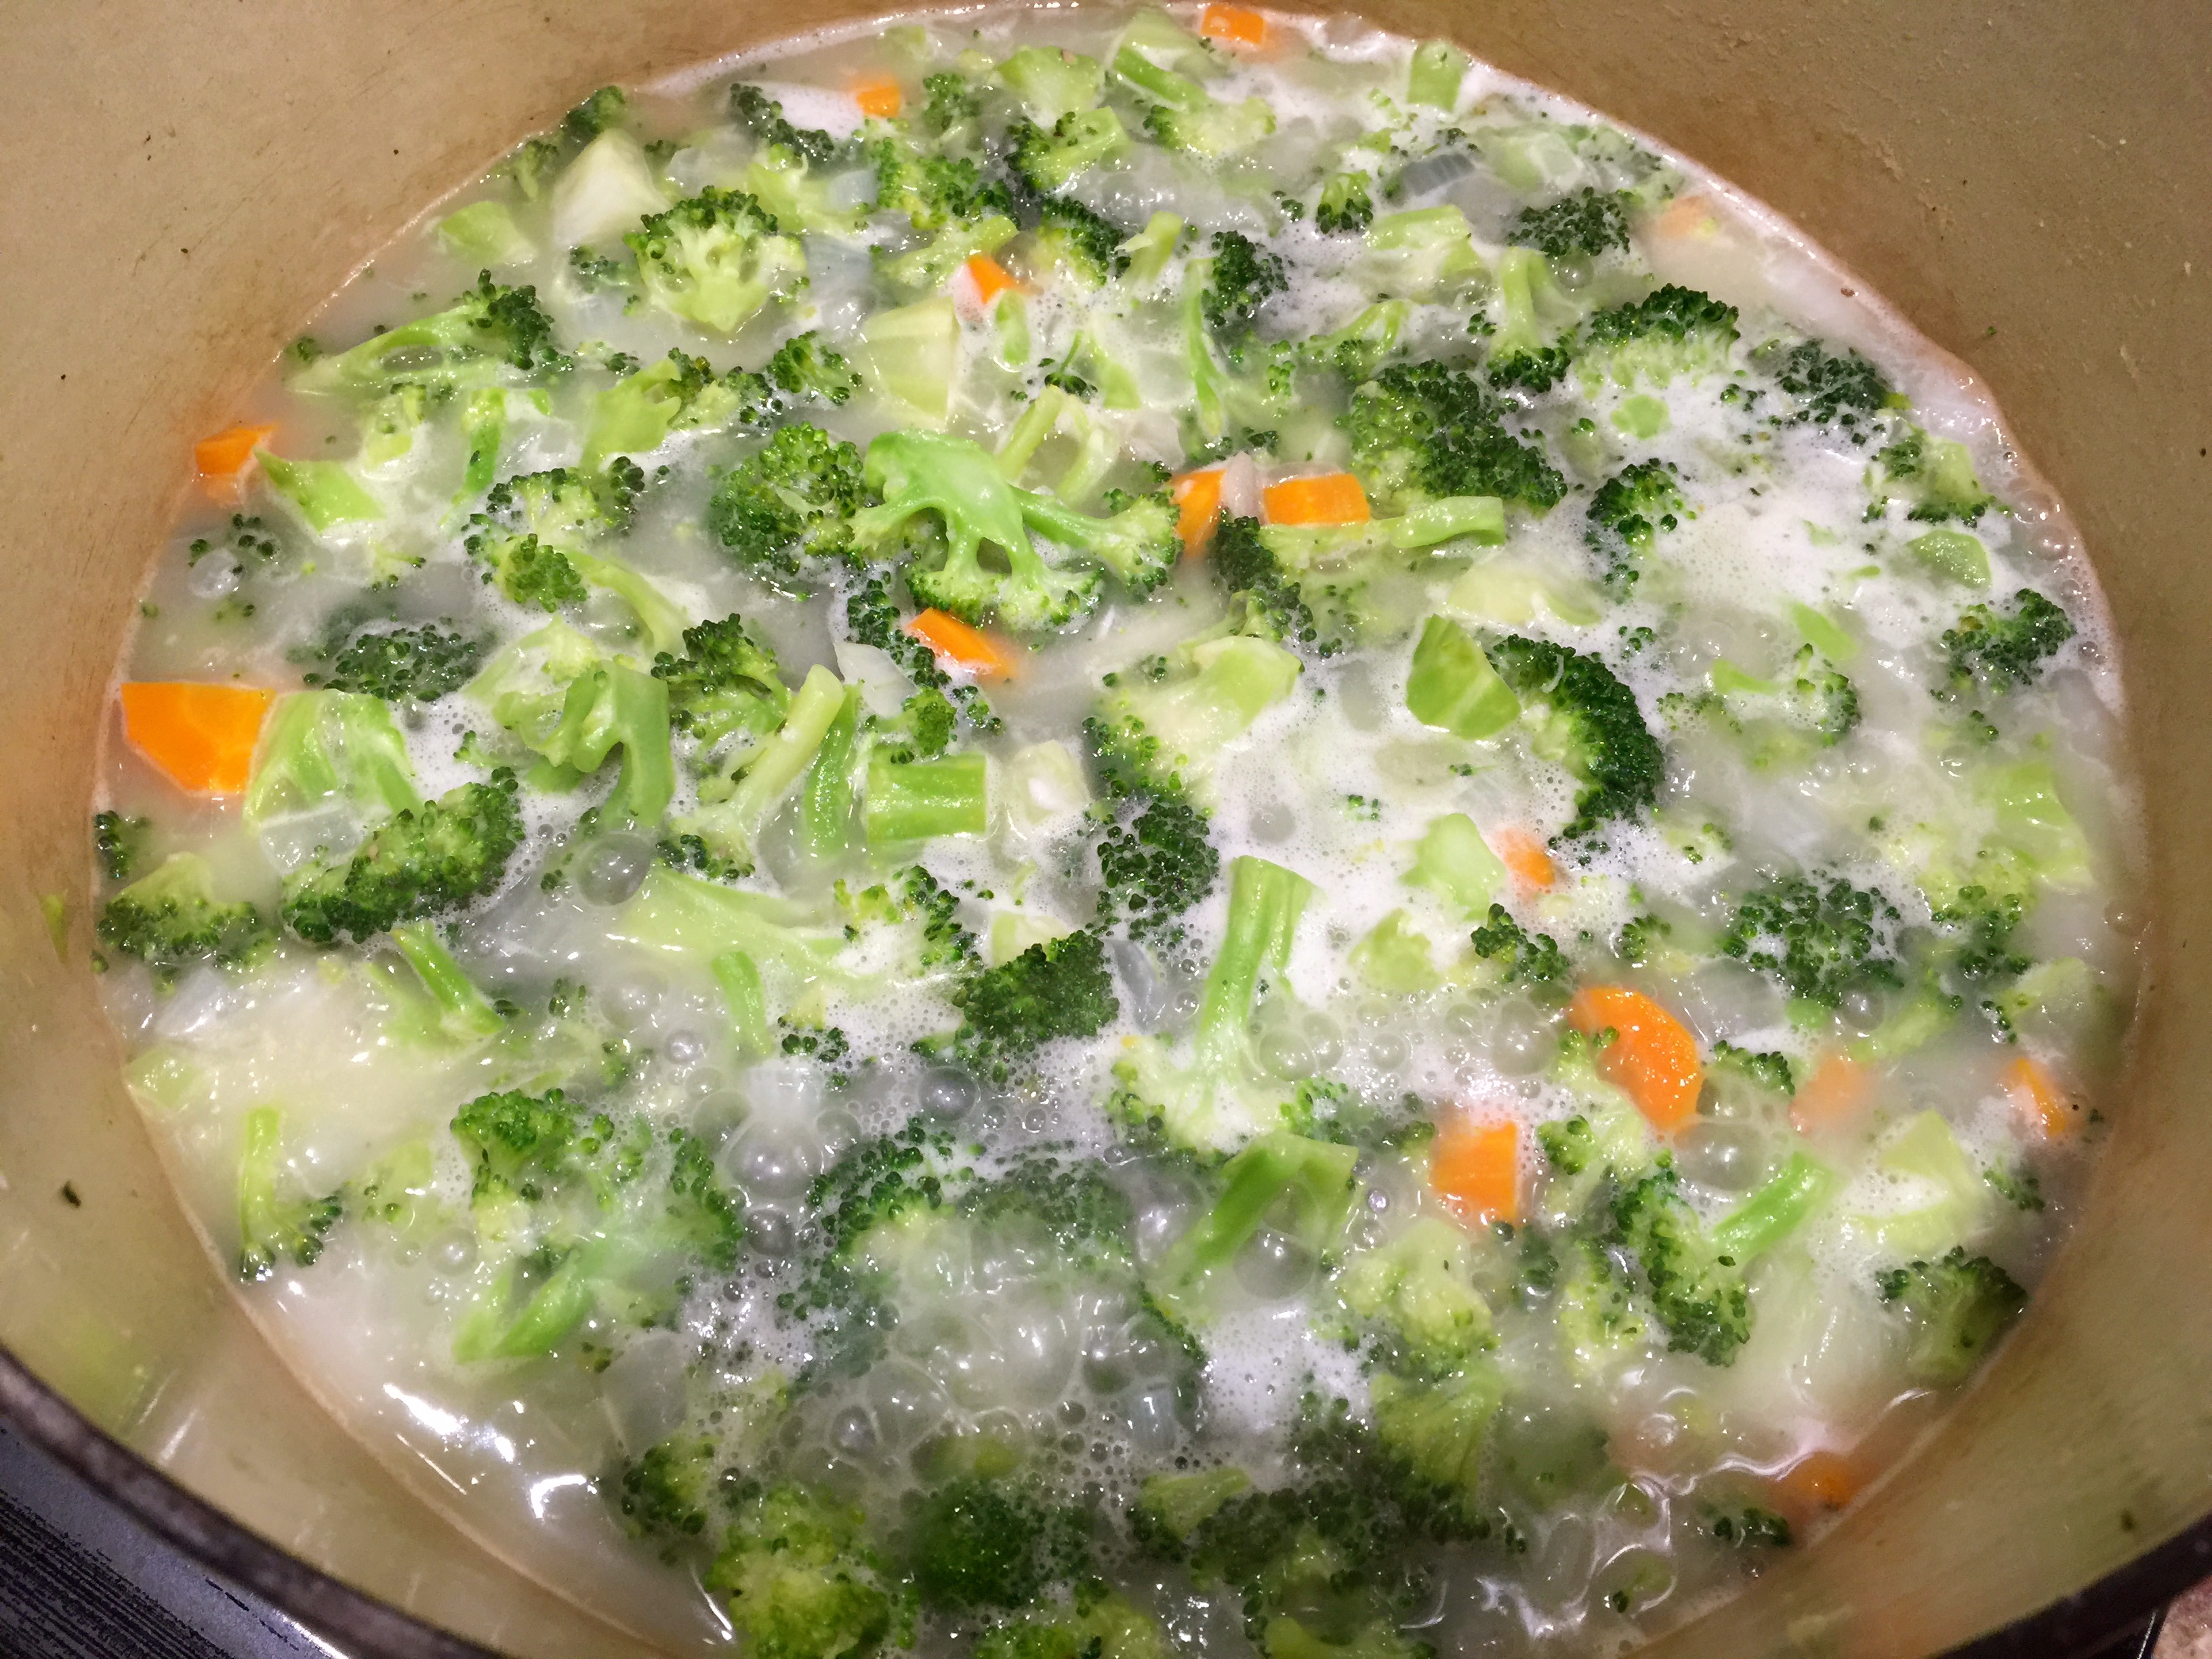
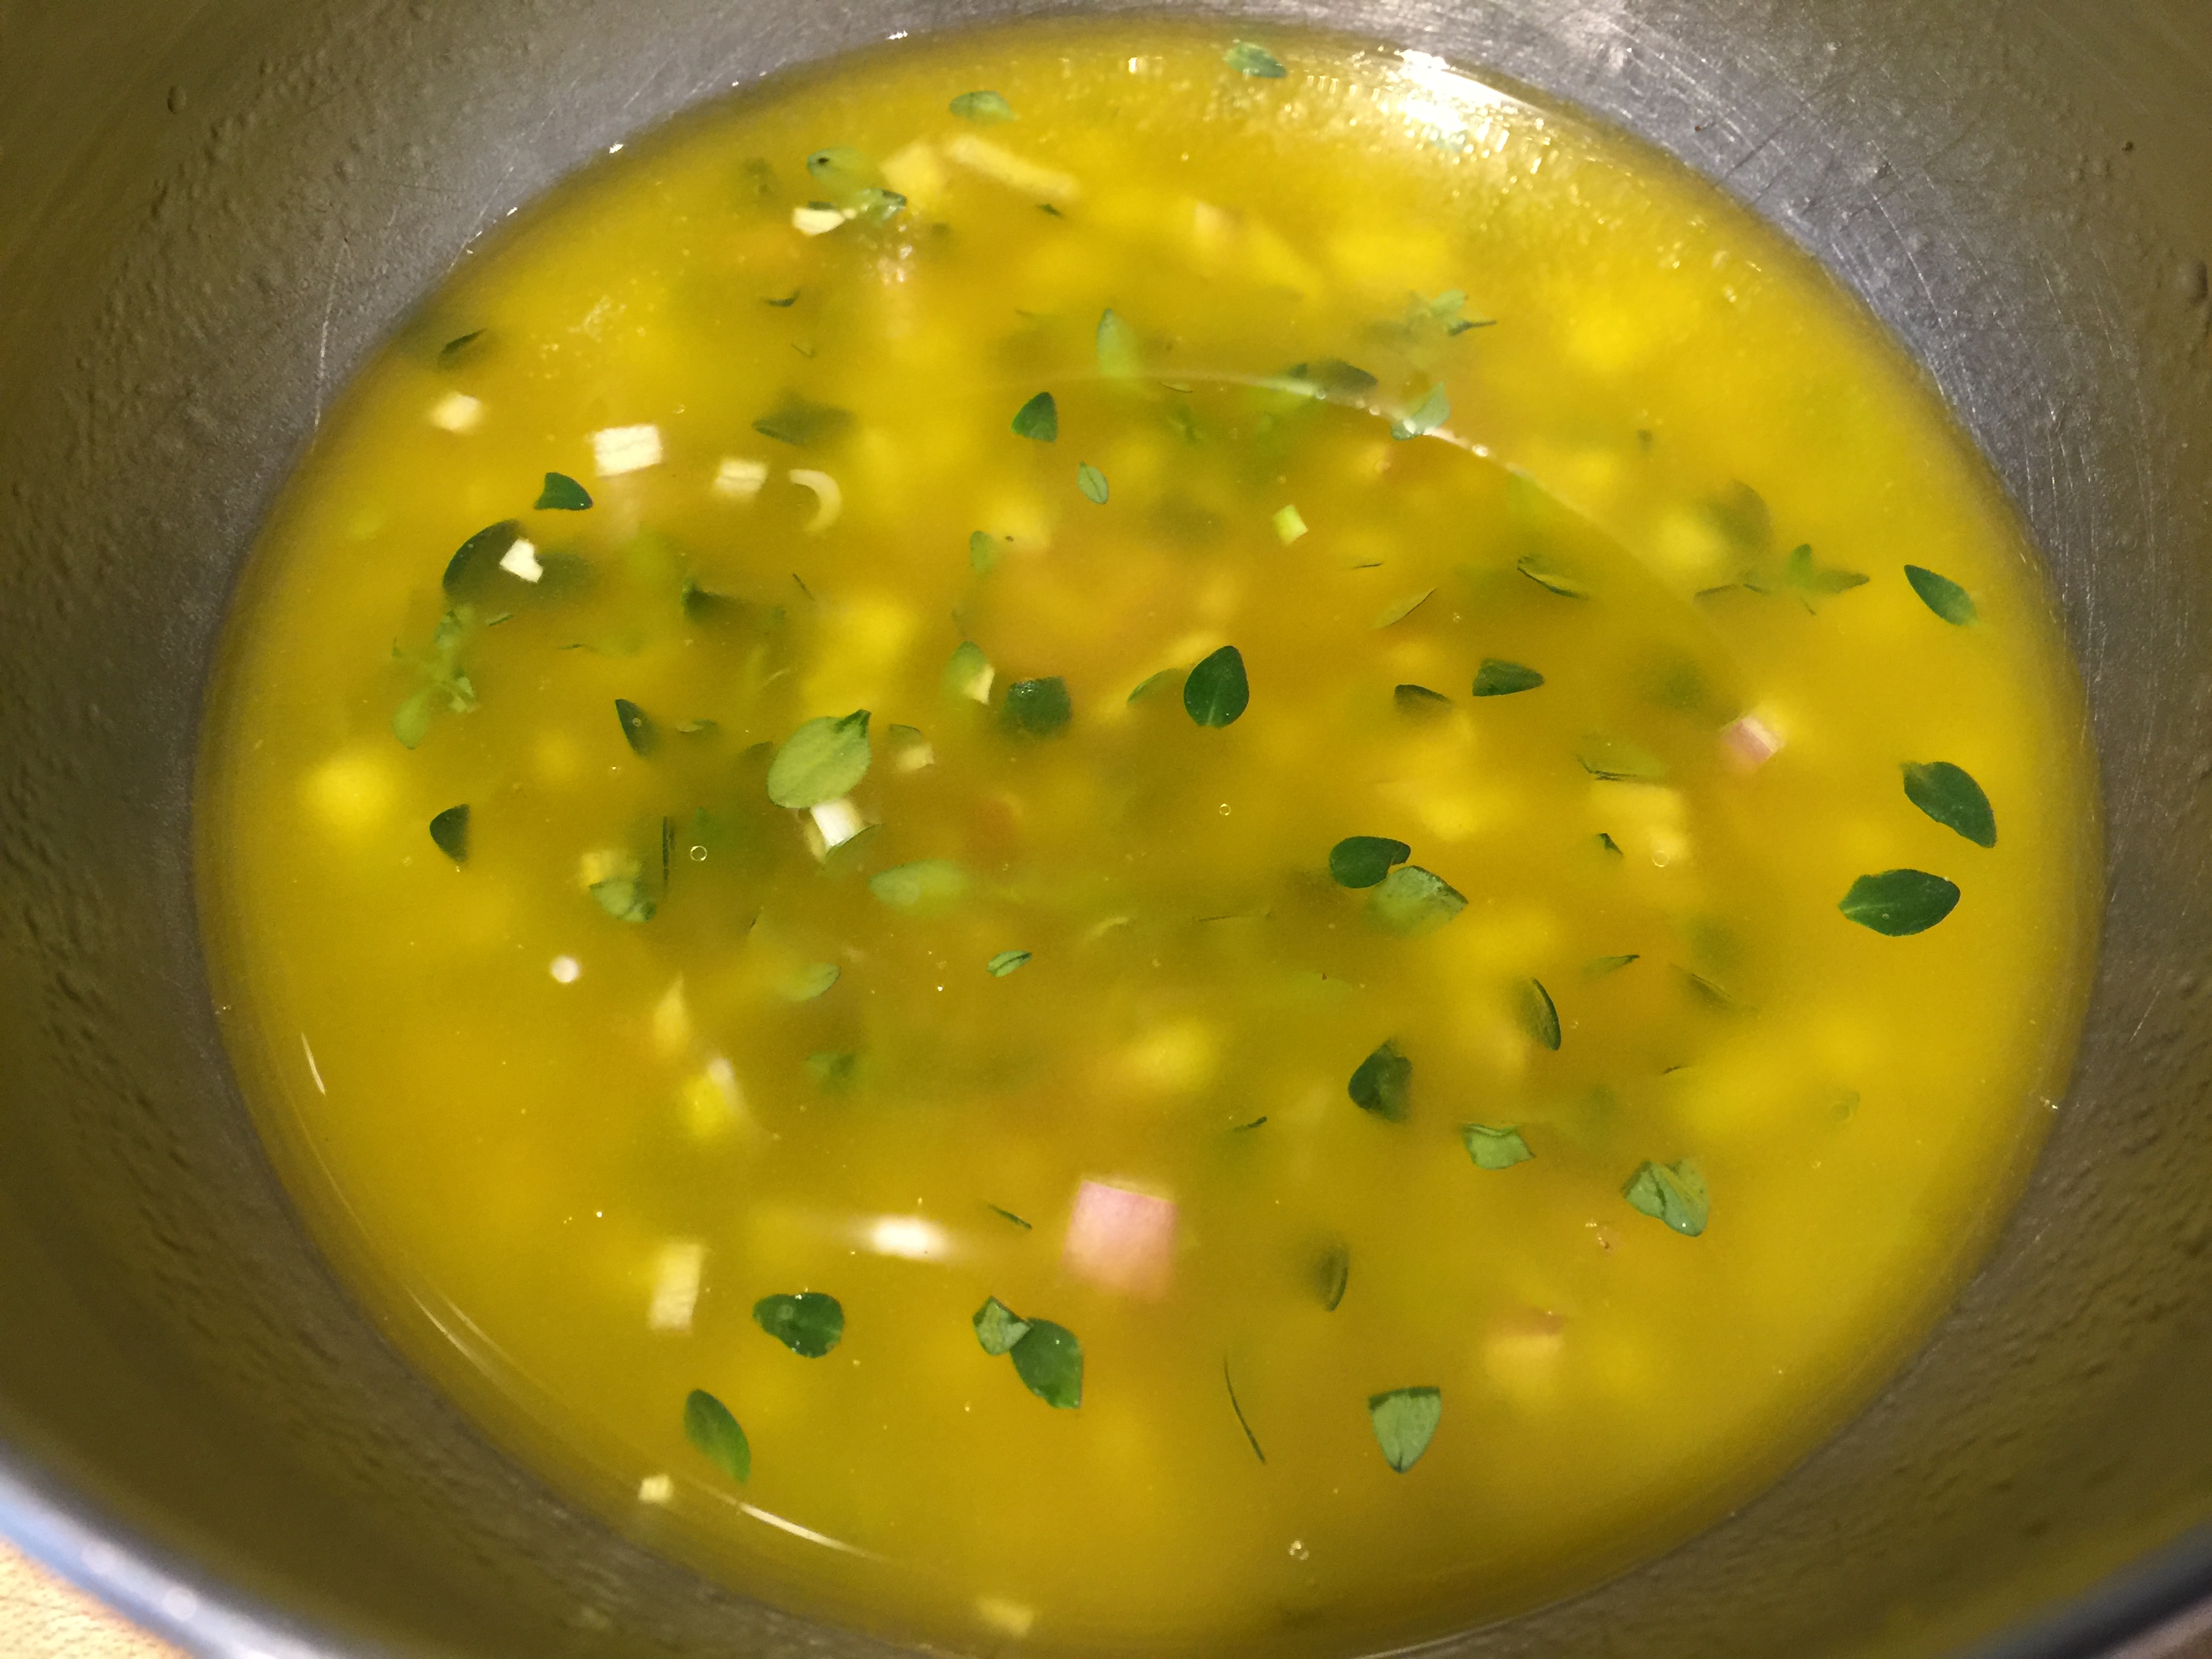
Before Adding Cornstarch…

After I cooked the flour with the vegetables I added the chicken broth (this was before I added the stock). As I was simmering everything the liquid seemed a little too light and runny as you can see from the picture on the right. So I added the stock and then systematically added some cornstarch mixed with stock to the soup to thicken it. I wound up using 3 tablespoons of each but added them in three separated batches. That way I could control how thick the soup was getting. You may find you are happy with the consistency you get by just using the flour. But if not, you can always added the cornstarch in small doses until you get your desire consistency. I would make sure to add some stock. I found that by adding one cup it gave the soup a richer color and enhanced the flavor.

A couple of tips: Give the first cornstarch and stock mixture a little time to thicken the soup before you add more. The heat of the soup activates the cornstarch, but it takes a couple of minutes. Be patient. If after a couple of minutes you are not happy with the thickness add a little more. And, just remember, do not add cornstarch to the pot all by itself. You have to mix it with liquid and then add it in liquid form. Otherwise you’ll get lumps. I found a 1:1 ratio of cornstarch to liquid works best. Just make sure the cornstarch is completely mixed into the liquid before you add it (I stick my finger in and swish it around to make sure there’s not a pile of cornstarch on the bottom of the measuring cup). I could have mixed the cornstarch with water but since I had the stock, why not continue to add more flavor.

After Adding Cornstarch...

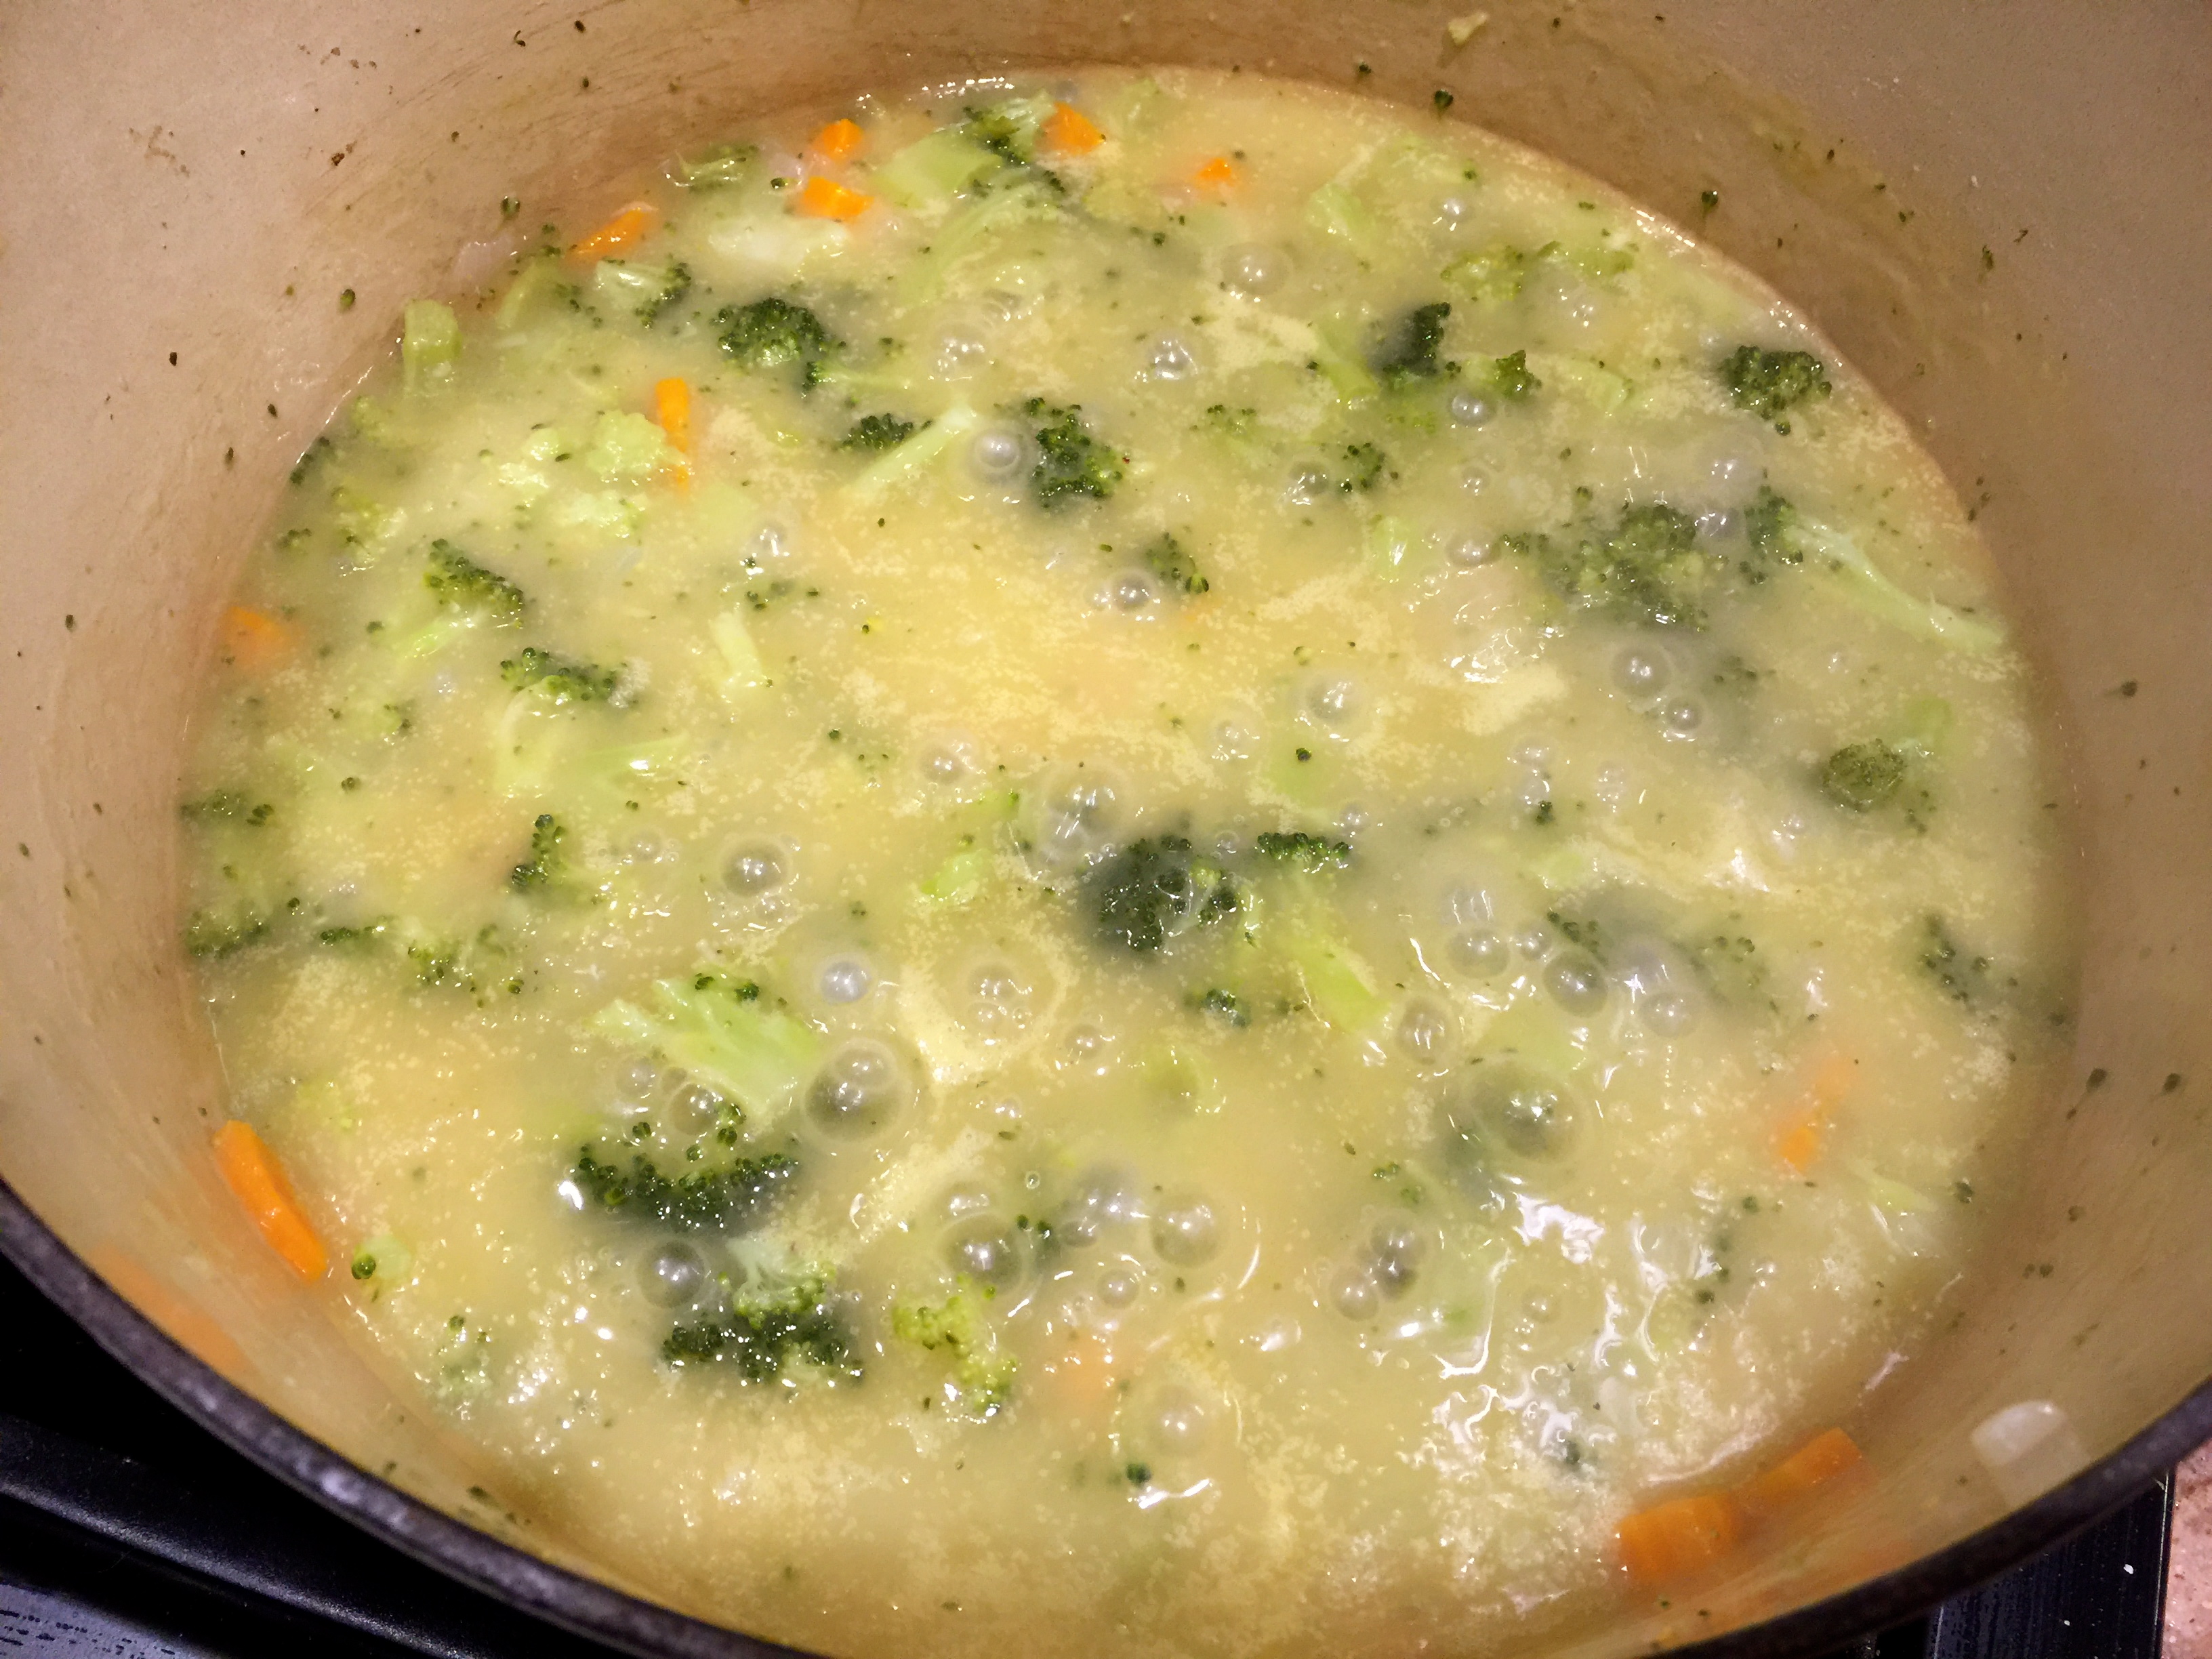
After Adding Stock And Cornstarch…

Lesson Learned 3 – Use an immersion blender to puree the soup: Unfortunately I do not have an immersion blender (but I think it will be on my shopping list), so I used my blender to puree the soup. You can also use a food processor as well. I had to puree the soup in several batches using the blender. An immersion blender allows you to puree in the pot you’re cooking in and that’s much more convenient. But if you don’t have one, a blender or food processor will do the trick. They just require a little more effort.

So here’s the recipe. I hope you enjoy it!

Broccoli Cheddar Soup…

  • Servings: 6-8
  • Difficulty: Easy
  • Print

INGREDIENTS:

4 Tbs. Butter

1 1/2 – 2 pounds fresh broccoli, cut into small pieces including the stems

1 large onion chopped

2 large cloves of garlic, minced

1 carrot, diced

4 Tbs. flour

3 cups of chicken broth

1 cup of chicken stock

1/2 cup heavy cream

2 cups shredded sharp cheddar cheese

Kosher salt and freshly ground black pepper, to taste

3 Tbs. cornstarch mixed with 3 Tbs. stock, used as needed or not at all

DIRECTIONS:

Melt the butter in a large pot over medium high heat. Add the broccoli, onion, and carrot. Add some salt and pepper. While vegetables are cooking mince the garlic over the pot using a zester and combine with the vegetables. Cook until the onions start to look translucent, approximately 5-7 minutes.

Add the flour to the vegetables and stir for about a minute or until the flour begins to look blonde in color. Add the broth and stock and bring to a boil. Reduce the heat and simmer uncovered until the vegetables are tender, about 20-25 minutes. Check the consistency of the soup during this time. If it appears too runny pour in 1 Tbs. of cornstarch thoroughly mixed with 1 Tbs. of stock. Add more if needed. It should take no more than 3 Tbs. of each to reach a nice thick consistency. Simmer until all the vegetables are tender.

Using an immersion blender, puree the soup. Add the cream and cheddar cheese. Stir until the cheese has completely melted.

Broccoli Cheddar Soup

Basic Basil Pesto…

If you grow herbs like I do, by about now you have a boat load of basil. Basil is one of my favorite herbs to grow. There’s just something so satisfying about growing it – I just can’t explain it. But when you get massive amounts, what’s the best way to use it? The answer it simple – make pesto!

I’m sure most of you have a favorite pesto recipe. Mine is pretty basic but I’ve found that by keeping it that way I can be more creative when I actually use it. From pizza to pasta to sandwiches and the like, basil pesto is an excellent accompaniment to just about any dish. So here’s my lessons learned and recipe – would love if you would share yours!

Basil LeavesLesson Learned 1 – The hardest part of making pesto is preparing the basil leaves: Picking them off the plant and washing and drying them are probably the most labor intensive part of making pesto. If you have a salad spinner, I recommend using that to remove the excess water once the leaves are washed. Unfortunately I don’t have one so I have to lightly squeeze them between paper towels. You don’t want to have a lot of water in your pesto so it is important to remove the excess. And make sure you CHECK FOR BUGS! We are not the only species that likes basil. Once when I was cleaning my leaves I found a “thousand legger” in with the leaves. So make sure you check. I don’t think you’ll want to put a bug in the food processor!

All Ingredients In the Food ProcessorLesson Learned 2 – The amount of garlic and olive oil you use is strictly personal preference: I like my pesto garlicky and thick. Some only like a hint of garlic and a runnier pesto. Determine what you like by easing into it. I use two whole cloves of garlic for 4 cups of leaves. Start with one clove if you’re not sure. With the olive oil, only put half the amount or 1/4 cup in the food processor to start. You can drizzle in more as the leaves are processing until you get the desire consistency. Only once did I use the full 1/2 cup of oil. That was the first time I made pesto, and I found it to be too runny. Now I start with 1/4 cup and drizzle some olive oil into the processor until I reach my desired consistency depicted in the picture below.

Lesson Learned 3 – Be careful about adding salt: Romano and Parmesan cheese are naturally salty. I would taste the pesto before you add any salt. I seldom add salt because the cheese seems to provide the flavor I want.

Lesson Learned 4 – Pesto freezes very well: I’ve heard that some people take ice cube trays and fill them with pesto so they can have individual servings whenever they need them. I tend to put mine in a few small containers and freeze them. That way I can chop off what I need at the time and put the rest back in the freezer or use it up all at once. I’ve had pesto in airtight containers last up to a year in my freezer.

Basil Pesto

Basic Basil Pesto

  • Servings: 12-20
  • Difficulty: Easy
  • Print

INGREDIENTS:

4 cups loosely packed basil leaves

2 cloves garlic

1 small shallot, cut into pieces

3 TBS. pine nuts

1/4 – 1/2 cup olive oil

1/2 cup grated romano or parmesan cheese

salt, if desired

DIRECTIONS:

Wash basil leaves and remove excess water. Place the basil, shallot, pine nuts, cheese and 1/4 cup oil in a food processor. Process, stopping to scrape down the sides of the food processor at least once. Check the consistency of the pesto. If too thick, drizzle in more oil while processing until the pesto reaches the desired consistency.

Use or freeze. If not using immediately, store in an airtight container in your refrigerator or freezer.

Basic Basil Pesto

Grilled Marinated Zucchini…

It’s that time of year again when zucchini plants start to produce like gang busters. Last year was an epic year for zucchinis in my garden. I was taking two to three zucchinis off the plant daily. This year my plant is not doing as well, but I anticipate getting at least a few. And even if you don’t grow them yourself, there’s a good chance your neighbors will be ringing your doorbell asking you to take a few off their hands. So whether you grow them, share them or simply get them at a farmer’s market, zucchinis are versatile and can be used in both savory and sweet recipes.

The recipe I am going to share today is simple but produces a very flavorful grilled zucchini.

Zucchini MarinadeLesson Learned 1 – Patience is key: The hardest part about this recipe is making sure you marinate the zucchini for a minimum of 3 hours. You can even marinate the zucchini overnight if you like. Just put the zucchini in a plastic bag, pour the marinade over it, close the bag and refrigerate. I turned the bag over every hour or so just to redistribute the marinade. I grilled my zucchini after it had been marinating for 4 hours and it was delicious. 

Lesson Learned 2 – Don’t eliminate the sugar in the marinade: I know we all are trying to limit our intake of sugar these days, but don’t skip it here. When I tasted the marinade before I put some sugar in it was too tart. The sugar balances out the tartness of the vinegars and lemon and gives you a nice well rounded flavor.

Marinate In A Plastic BagLesson Learned 3 – Shallot verus onion: I recommend using a shallot in this marinade because it’s milder but still gives you that infusion of onion flavor. You’ll appreciate that especially when you finish off the grilled zucchini with a drizzle of the marinade.

Lesson Learned 4 – Grill or grill pan: The beauty of this recipe is that it can be done either on an outdoor grill or on a grill pan on top of the stove. Either way you’ll get those gorgeous grill marks and the same wonderful flavor. This time I cooked them on my gas grill, but I’ve also made these on top of the stove as well. This recipe is quick, easy and a great way to use that summer zucchini bounty!

Zucchini Cooking On The Grill

[recipe: title=”Grilled Marinated Zucchini” servings=”4″ time=”4 1/2 Hours Including Prep” difficulty=”Easy”]

INGREDIENTS:

1 Tbs. red wine vinegar

2 Tbs. white wine vinegar

1/2 tsp. lemon zest

2 Tbs. fresh lemon juice

1 tsp sugar

1 large garlic clove, minced

1 shallot, minced

1 Tbs. chopped fresh thyme leaves (I used a strain called lemony thyme)

1/3 -1/2 cup olive oil (I used garlic infused olive oil), taste after using 1/3 cup and add a little more if necessary

2 medium zucchini trimmed and sliced diagonally

Salt and pepper to taste

DIRECTIONS:

Whisk the vinegars, lemon zest and juice, sugar, garlic, shallot and thyme in a bowl. Gradually mix in the oil. Salt and pepper to taste. Spoon a couple of tablespoons of the marinade into a small dish, cover and refrigerate.

Slice the zucchini diagonally and put it in a gallon size plastic bag. Add the rest if the marinade and gently squeeze the bag to distribute the marinade evenly over the zucchini. Close the bag and refrigerate for at least 3 hours, turning the bag over occasionally in the refrigerator during the marinating process.

Place zucchini on the grill over medium high heat. Turn after 4 minutes. Keep the zucchini on the grill for an additional 4 minutes. Transfer the zucchini to a serving dish. Drizzle with the remaining marinade and serve hot.

[/recipe]

Check out two of my other favorite zucchini recipes on this site: Double Chocolate Zucchini Bread and Zucchini Mushroom Gratin. Enjoy those zucchinis!

Grilled Marinated Zucchini

Herb Roasted New Potatoes…

As you can imagine, I check out a lot of food blogs to see what others are making. I am impressed by the skill and creativity I see in a lot of them. And I say to myself, why can’t I be like that? But I am who I am, and what I make is based on my upbringing, my tastes, and sometimes even an adventurous spirit. But by and large, I am a pretty simple cook who likes to make simple things and be very successful at doing so.

Don’t get me wrong, my palate has matured over the years and I now enjoy many things I never would have dreamed of eating when I was younger. But when push comes to shove I’m basically a meat and potatoes girl (as is reflected by my recipes). So this recipe will come as no surprise.

Herb Roasted New PotatoesI like this recipe both for it’s simplicity and its flavor. Plus during the summer months I grow a lot of herbs and am always looking for ways use my fresh herbs in recipes. So this one fits the bill. I used my flat leaf parsley and lemon thyme as well as garlic to provide the aromatics. I love the added boost of the lemon thyme, but if you don’t have it or can’t find it, you can achieve the same affect by adding some lemon wedges to the roasting process. All in all, the hardest part of this recipe was making sure I didn’t slice the potatoes all the way through but just deep enough so they would fan out slightly. The rest was a breeze.

Lesson Learned 1 – Know your oven: I researched similar recipes to mine and many of them suggested baking the potatoes for an hour at 350. That would never work for me. At high altitude you often have to set your oven temperature higher and cook things longer. I set my oven temperature at 375 and for the last ten minutes cranked it up to 400. Next time I make this recipe I will start at 400 degrees and check the potatoes after 45 minutes. For me, I am thinking that 400 degrees for an hour will be optimum. At sea level, I would suggest starting at 375 and checking the potatoes for doneness at 45 minutes. If they are not done, make a decision from there whether to cook them longer at the same temperature or to crank up the oven.  Keep in mind the size of the potatoes matter. New potatoes are small but can still vary in size and that will affect the roasting time. The larger the new potatoes the longer the roasting time. Check your potatoes at 45 minutes and plan for at least an hour. That way you won’t go wrong.

Sliced New PotatoesLesson Learned 2 – Don’t throw out the garlic: I recommend using a full head of garlic when roasting the potatoes (you can even use more if you like). You don’t need to peel it, just cut off a small portion of the top. It will not only provide a delightful aromatic during the roasting process, but will also give you sweet soft garlic cloves that you can either spread directly on bread or use with butter to make a garlic herb butter that’s great for making garlic bread. You get that extra added benefit with this recipe.

If you  like rich, creamy potatoes infused with an herb and garlic flavor, this recipe is for you. Let me know what you think about the recipe after you make it.

Herb Roasted New Potatoes…

  • Servings: 4
  • Difficulty: Easy
  • Print

INGREDIENTS:

2 pounds new potatoes, scrubbed

1/4 cup olive oil (I used garlic infused olive oil)

2 Tbs. melted butter

1 Large head of garlic, top trimmed

1 – 2 Tbs. chopped flat leaf parsley

4 – 6 sprigs lemon thyme (if using regular thyme cut up half a lemon into wedges and add)

Salt and freshly cracked black pepper

DIRECTIONS:

Preheat oven to 375 (for high altitude 400 degrees). Melt the butter and add the olive oil to it. Cut slits into the potatoes being careful not to slice them all the way through. Place the potatoes in a roasting pan (I lined my with foil, but that is discretionary). Put the garlic head in the middle of the potatoes. Baste the potatoes and garlic with half of the butter/olive oil mixture. Sprinkle the potatoes with the chopped parsley and place the thyme sprigs in between the potatoes. Sprinkle with salt and pepper.

Half way through the roasting process baste the potatoes with the remaining butter/olive oil mixture. Check the potatoes for doneness at 45 minutes. If they do not appear to be almost fork tender raise the temperature of the oven to 400 degrees and roast at least an additional 15 minutes or until the potatoes are fork tender. Serve immediately.

Ready To Go Into The Oven

Herb Roasted New Potatoes

Herb Roasted New Potatoes