I was in search of somewhat quick comfort food meal that was a little bit out of our ordinary faire. My husband suggested trying to make meatballs with ground chicken and I took it from there.
 I’d never made meatballs with anything other than ground beef so I was interested to see how they would turn out. They were fabulous, but I have to admit they still tasted like a regular old meatball to me. It was fun experimenting with a different spin on meatballs and the meal was absolutely divine with very little fuss.
So let’s talk chicken meatballs in cheesy tomato cream sauce…
 Lesson Learned 1 – Although in the end they may taste similar, working with ground chicken is different than working with ground beef: Because ground chicken is leaner you have to be careful how you mix it and how much you cook it. Otherwise you will be stuck with dry, tasteless meatballs.
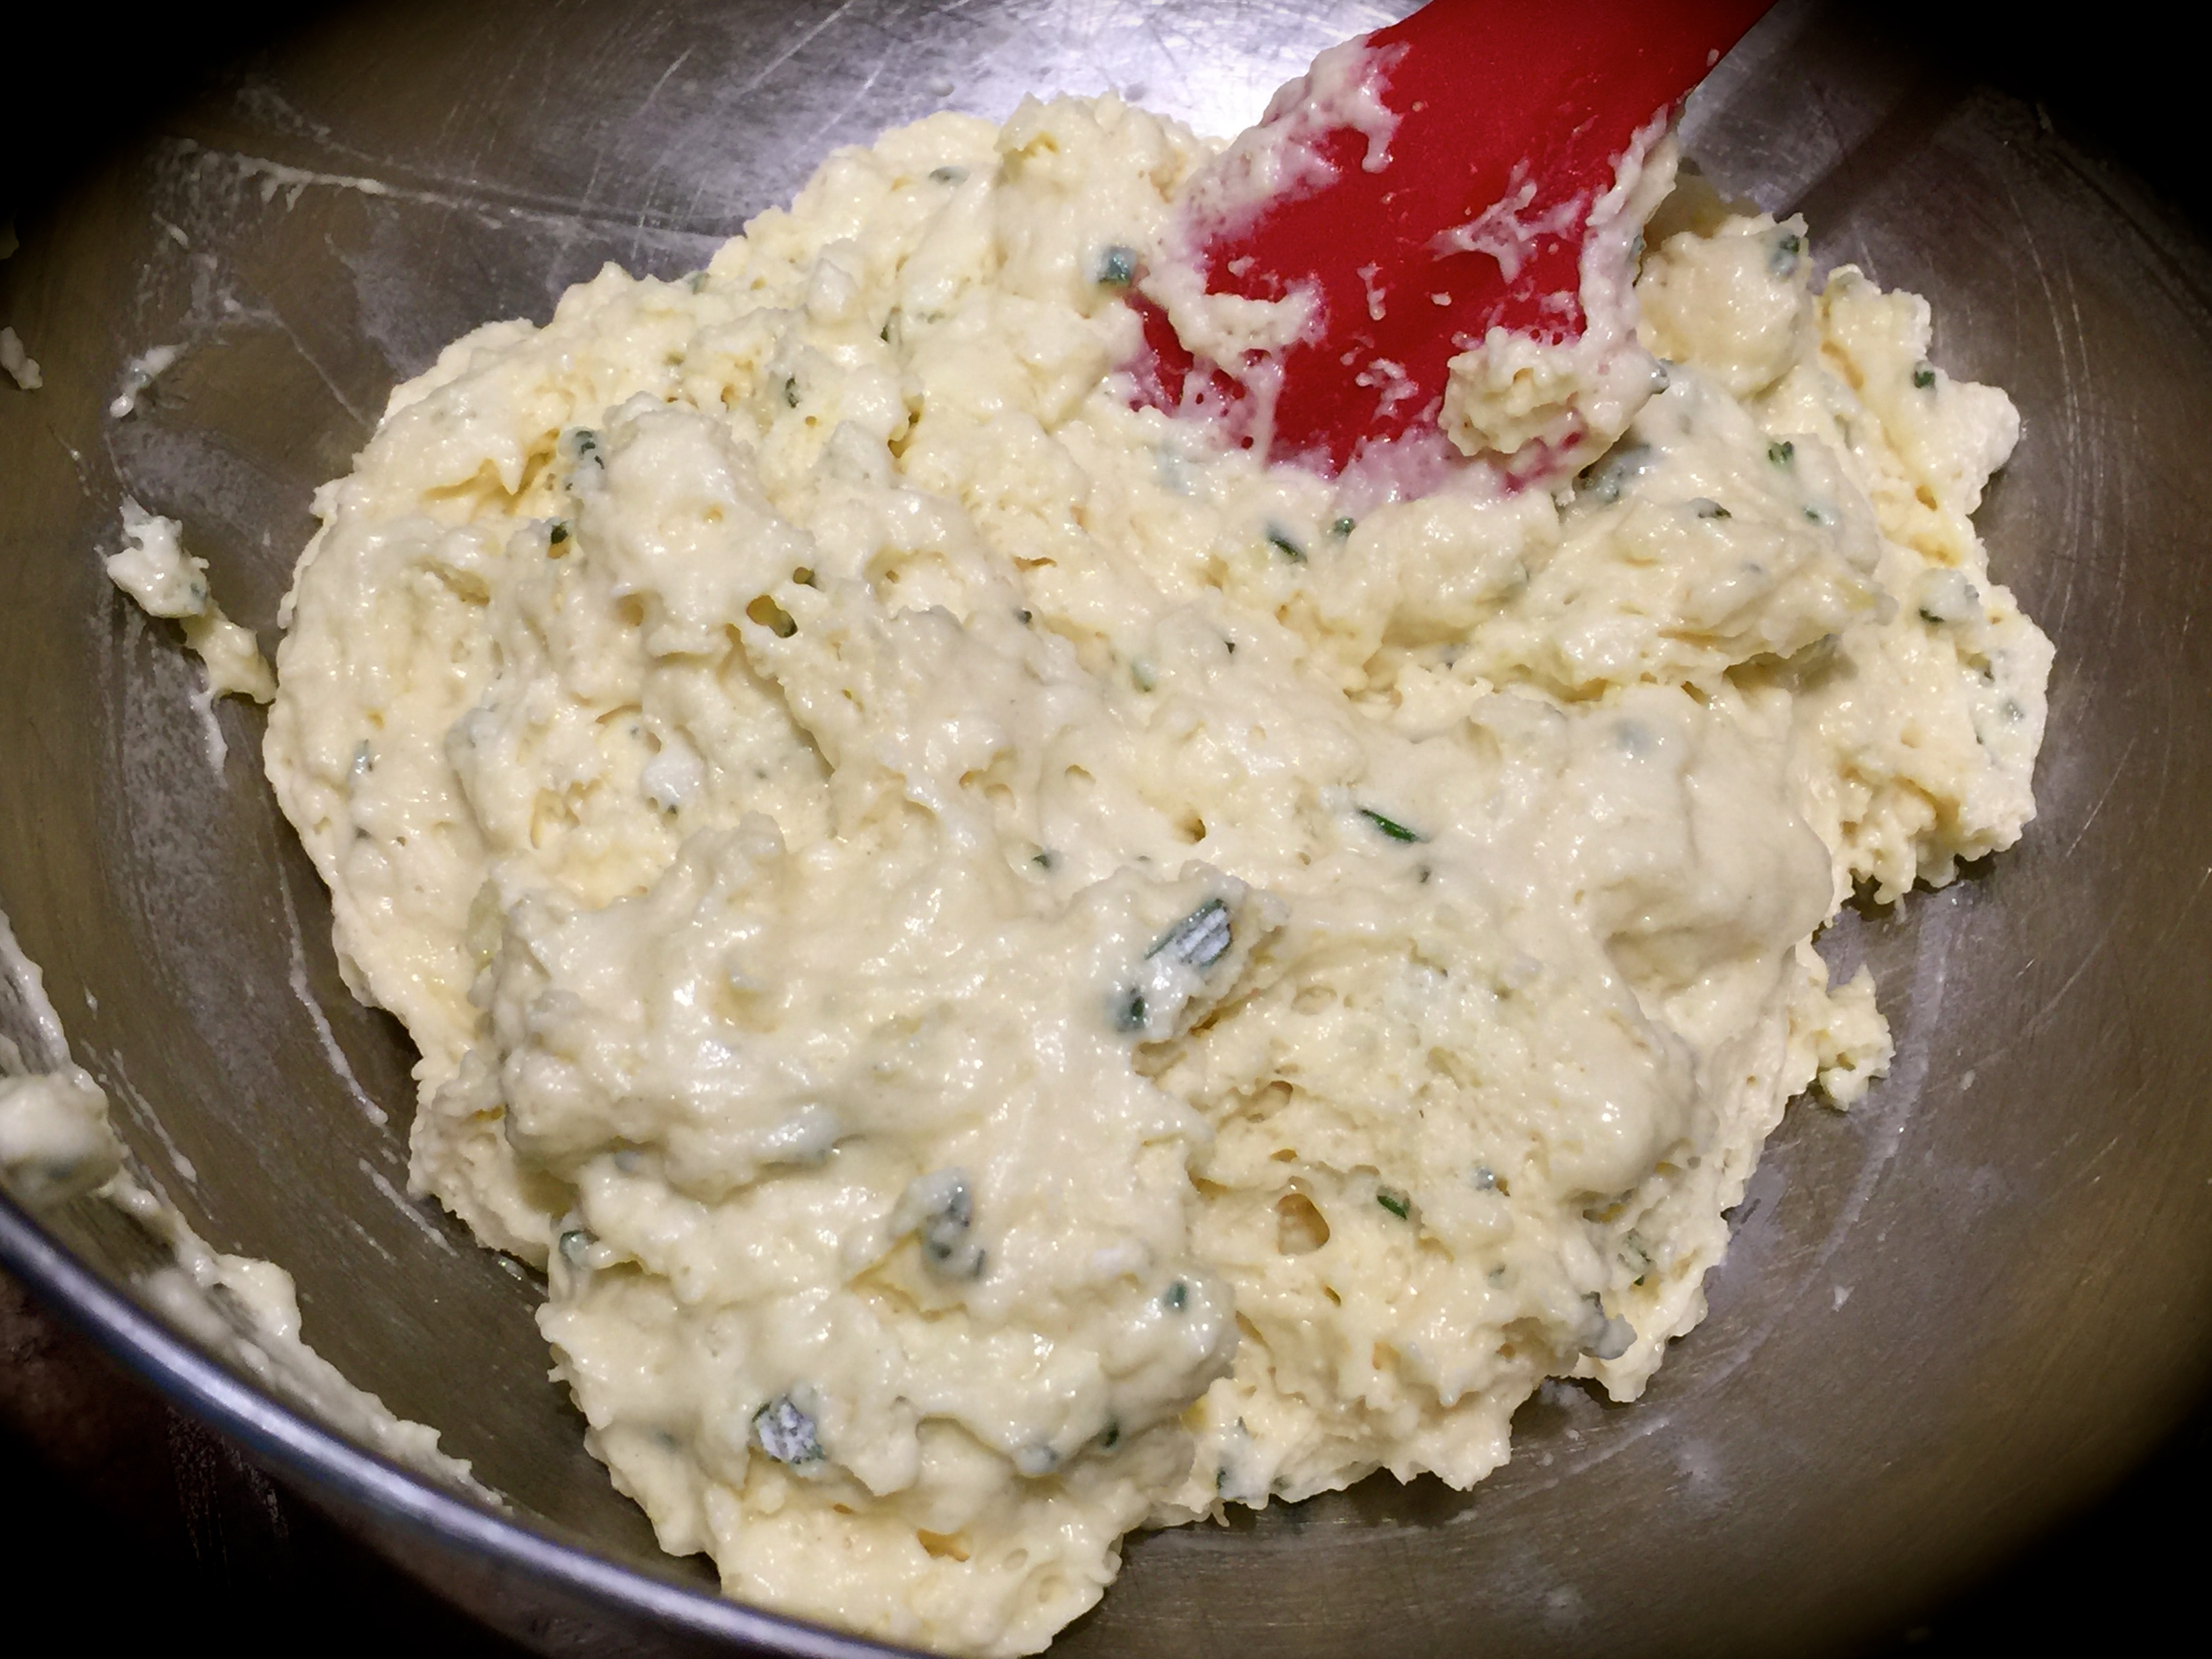
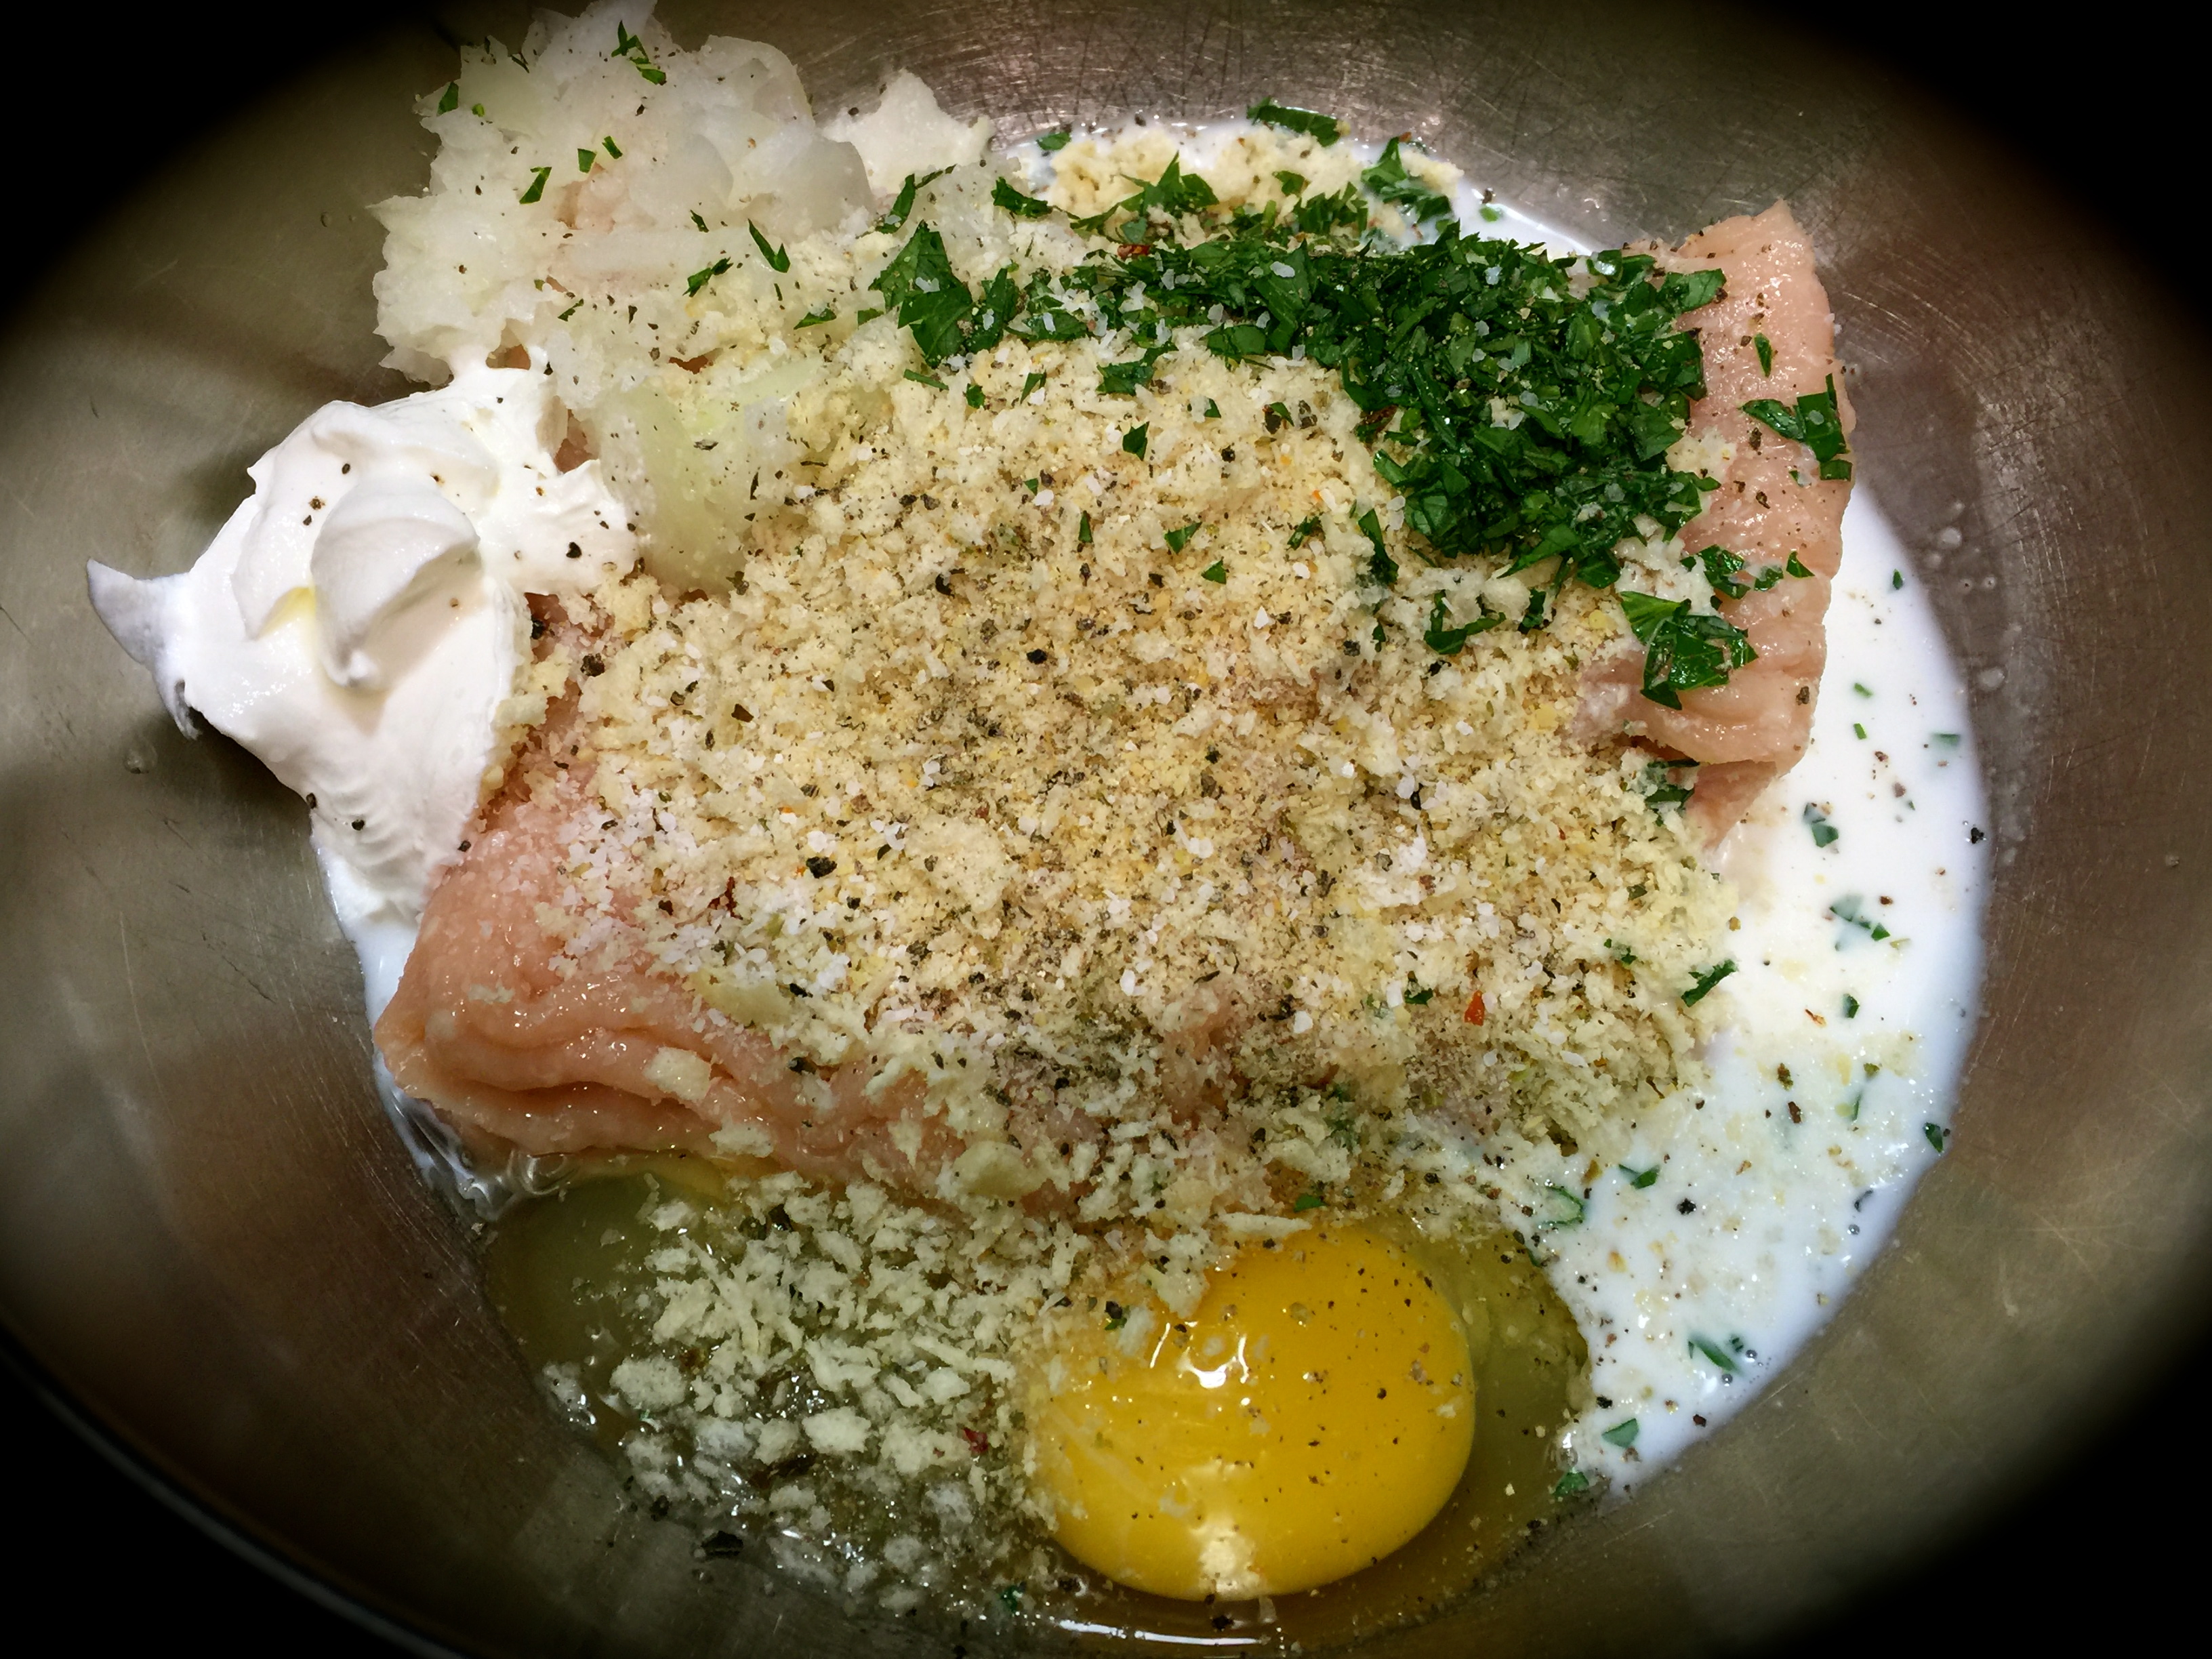
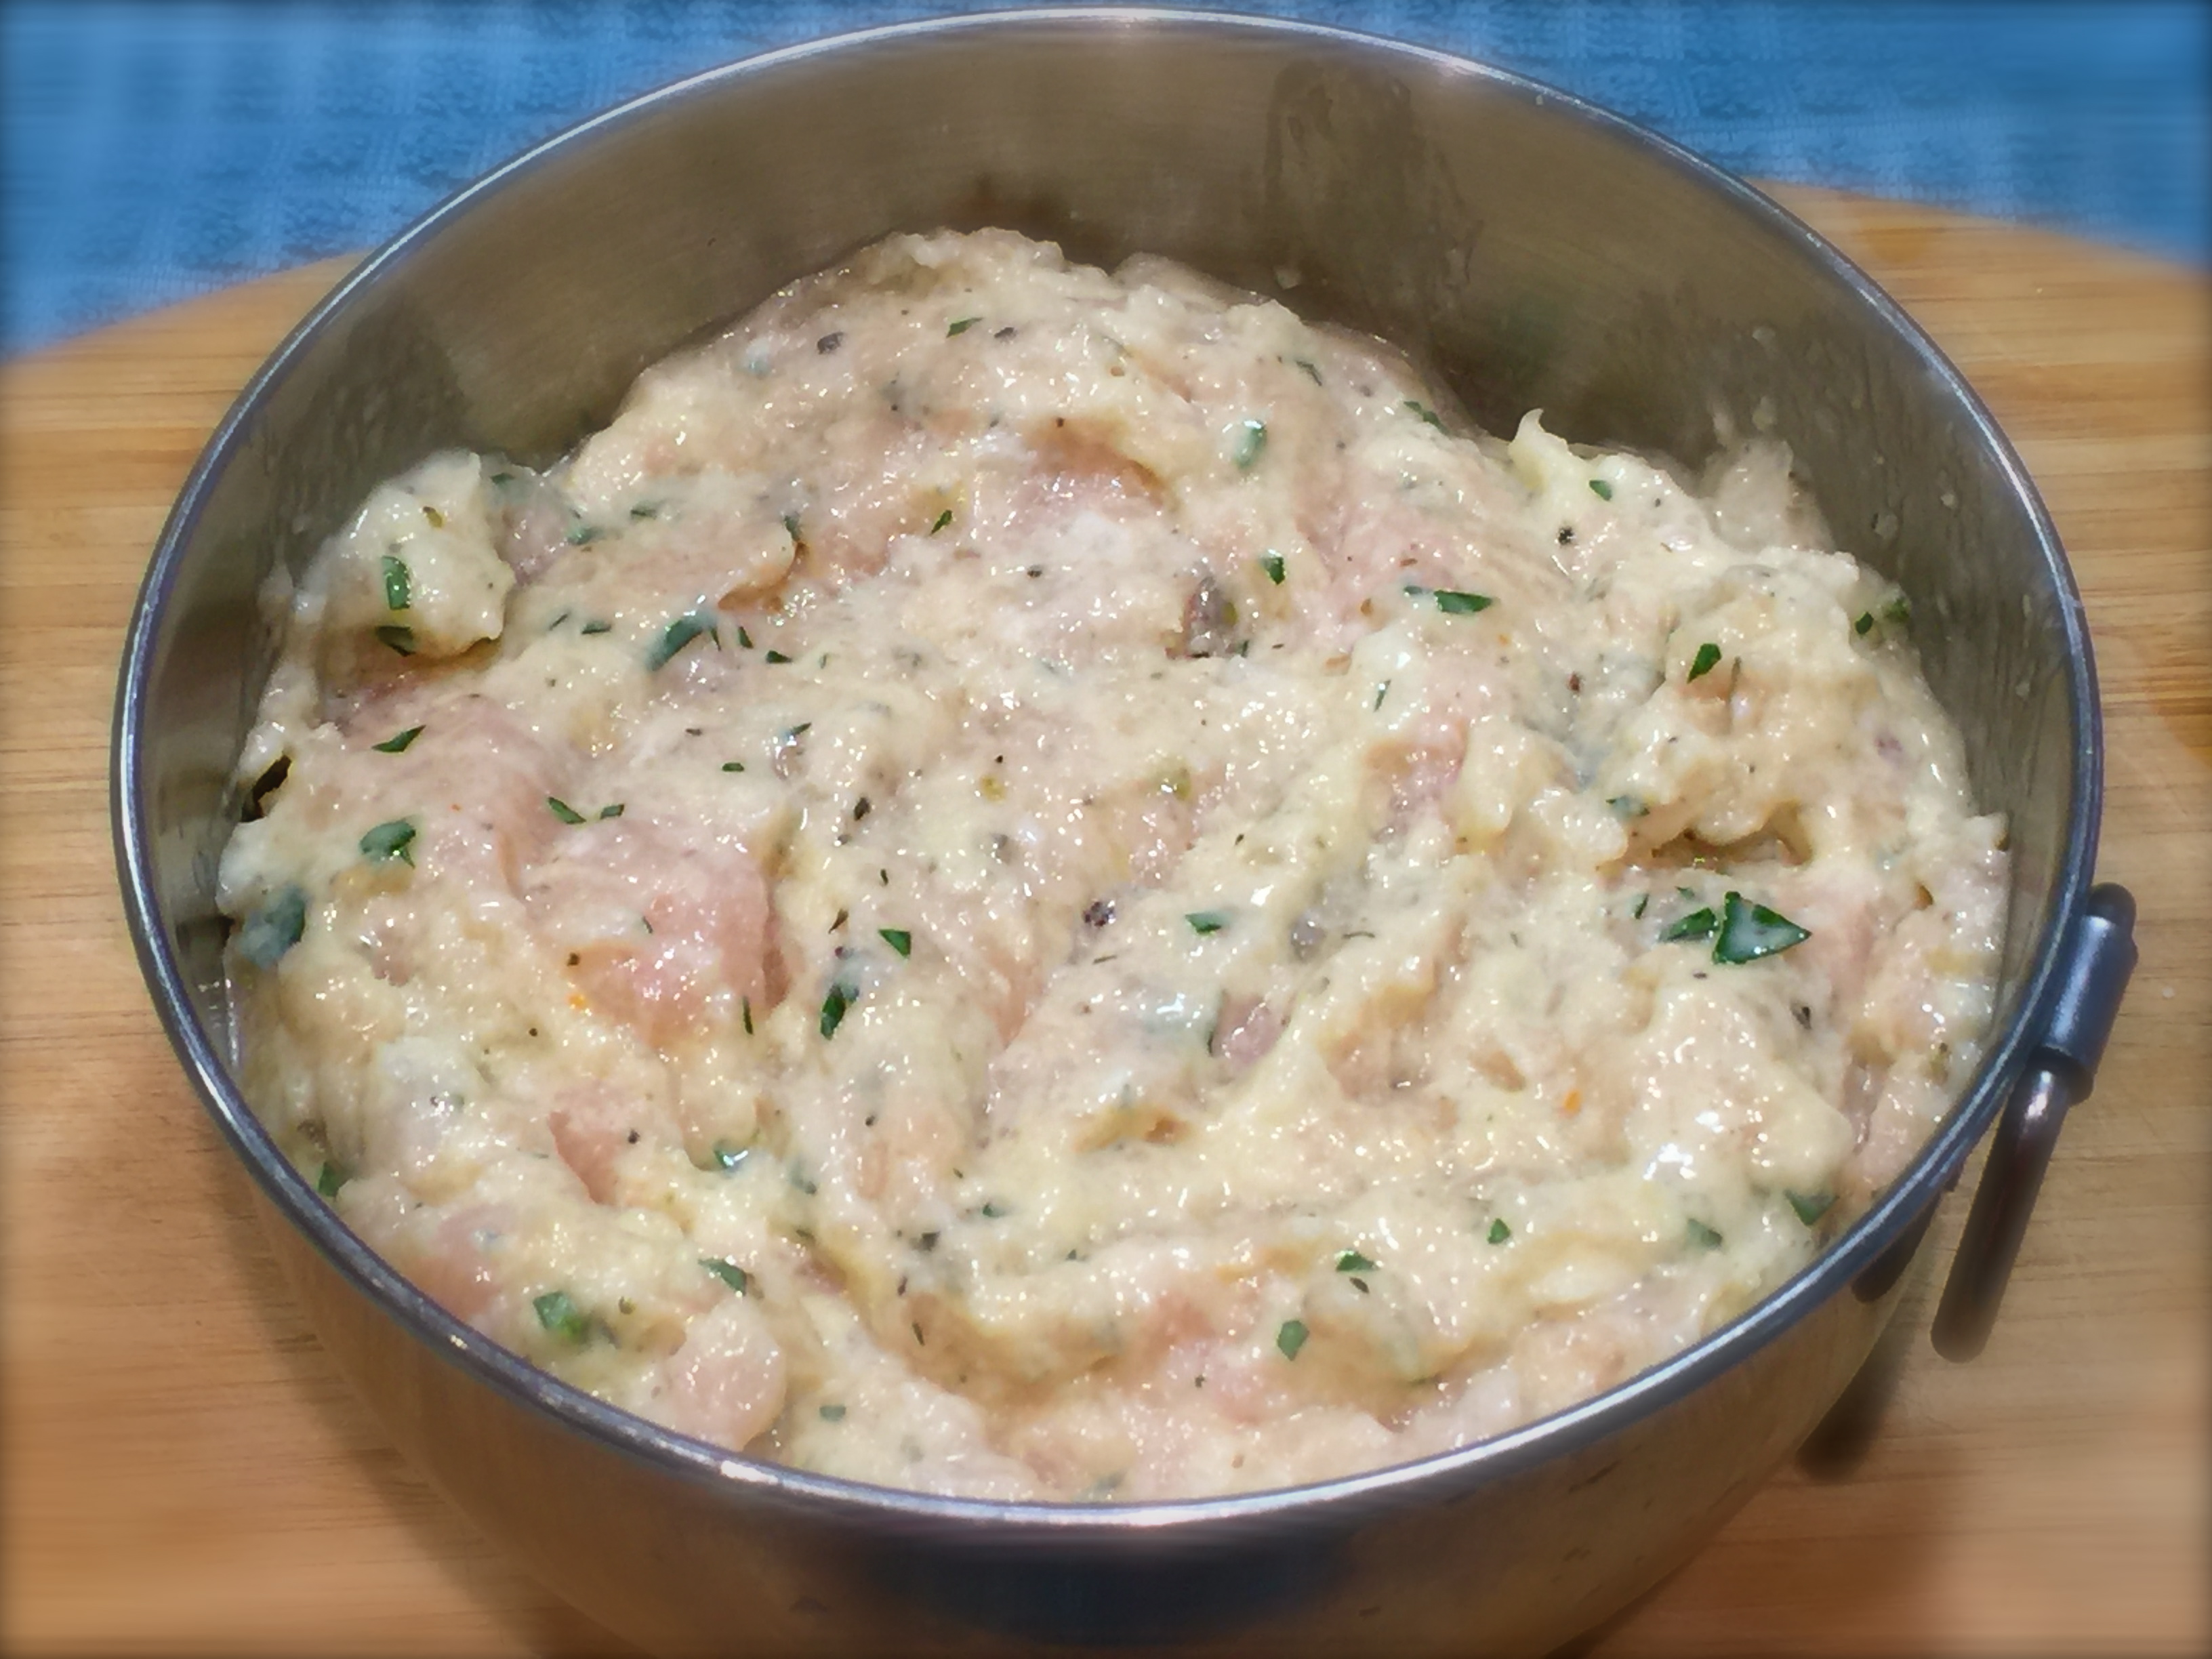
First of all, to keep the mixture moist I added a tablespoon of sour cream and 1/4 cup milk along with an egg. I will warn you now, the mixture will be very moist as seen in the picture to the left. I started out with 1/2 cup of panko bread crumbs and wound up adding about 1/4 cup more. Keep in mind you do want the mixture to be very moist, probably more moist than you think. Although it seemed a little strange at first, this consistency produced tender, juicy meatballs.
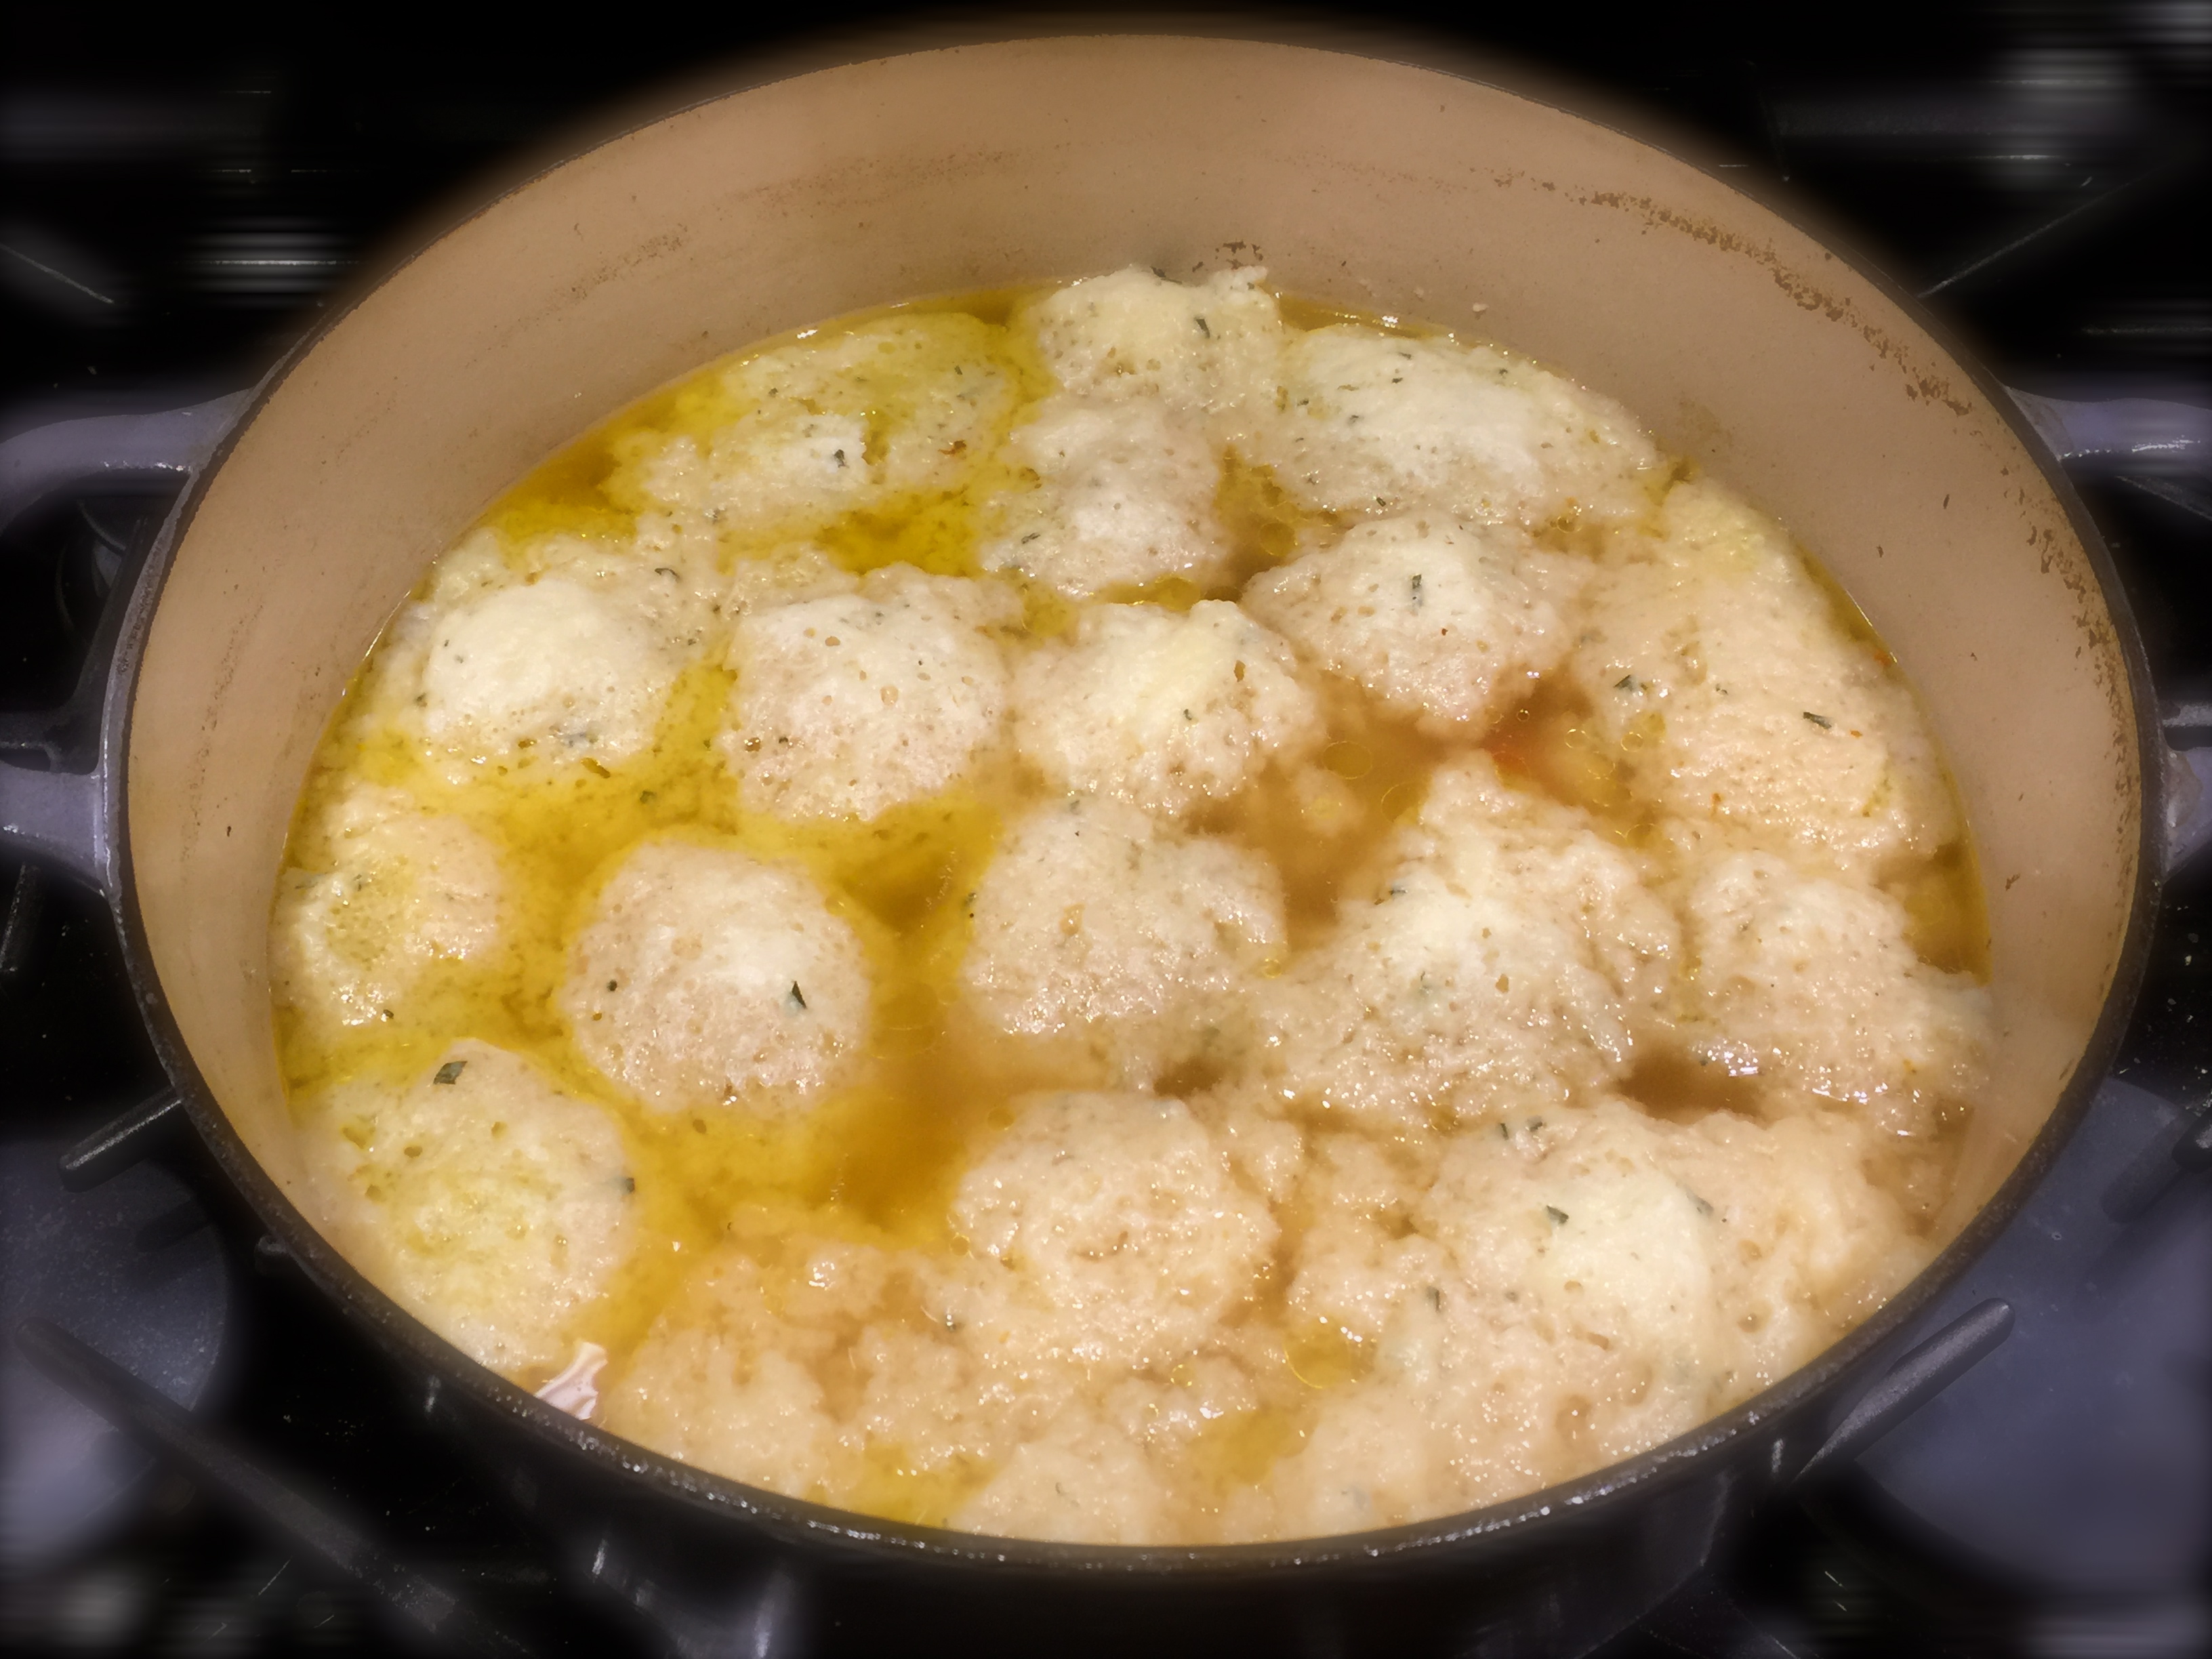
You also want to make sure you don’t overcook the meatballs. I formed the meatballs using a well rounded teaspoonful of the mixture and rolling them in my hand. I arranged them on a pan lined with foil and sprayed with cooking spray. They went under the broiler for about 6 minutes and then I cooked them through in the simmering tomato sauce. The pictures below show the meatballs before and after going under the broiler. There appears to be only a slight difference. You put them under the broiler to “set” them so when you take them out they are only somewhat cooked. But trust me, the tomato sauce will do the rest of the work and you’ll have fabulous and tender meatballs in the end.
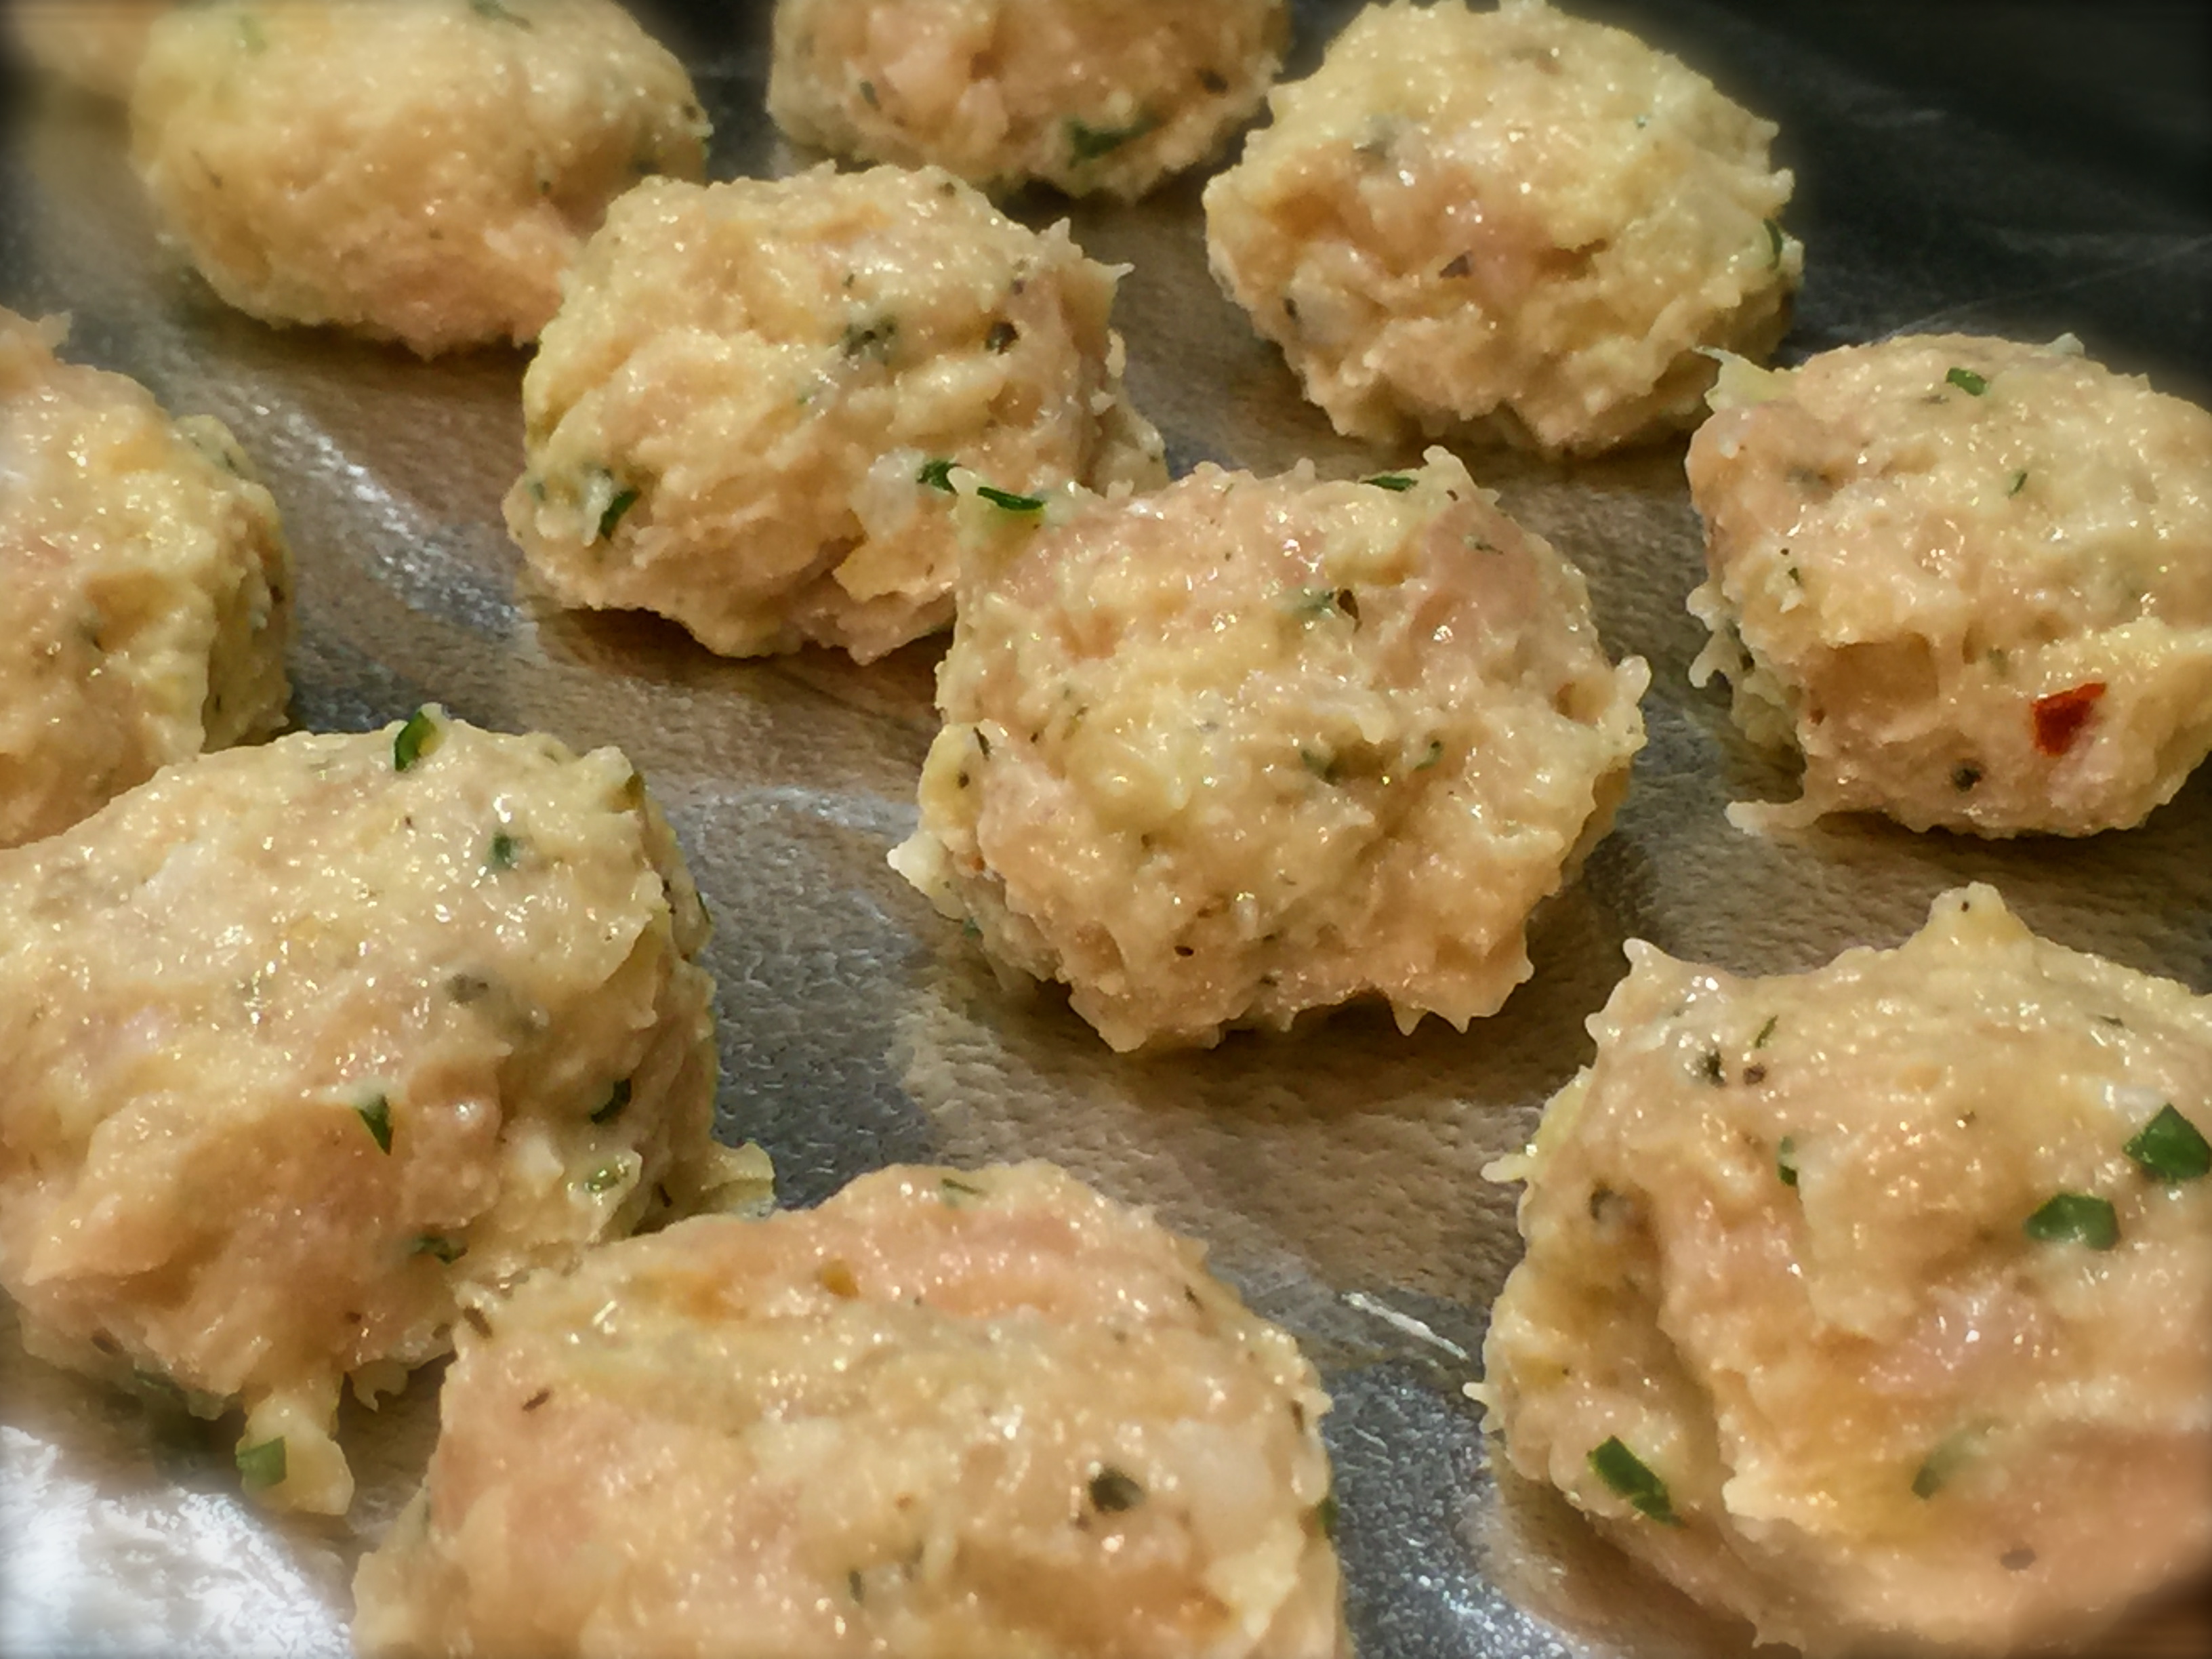
Meatballs Before Going Under The Broiler
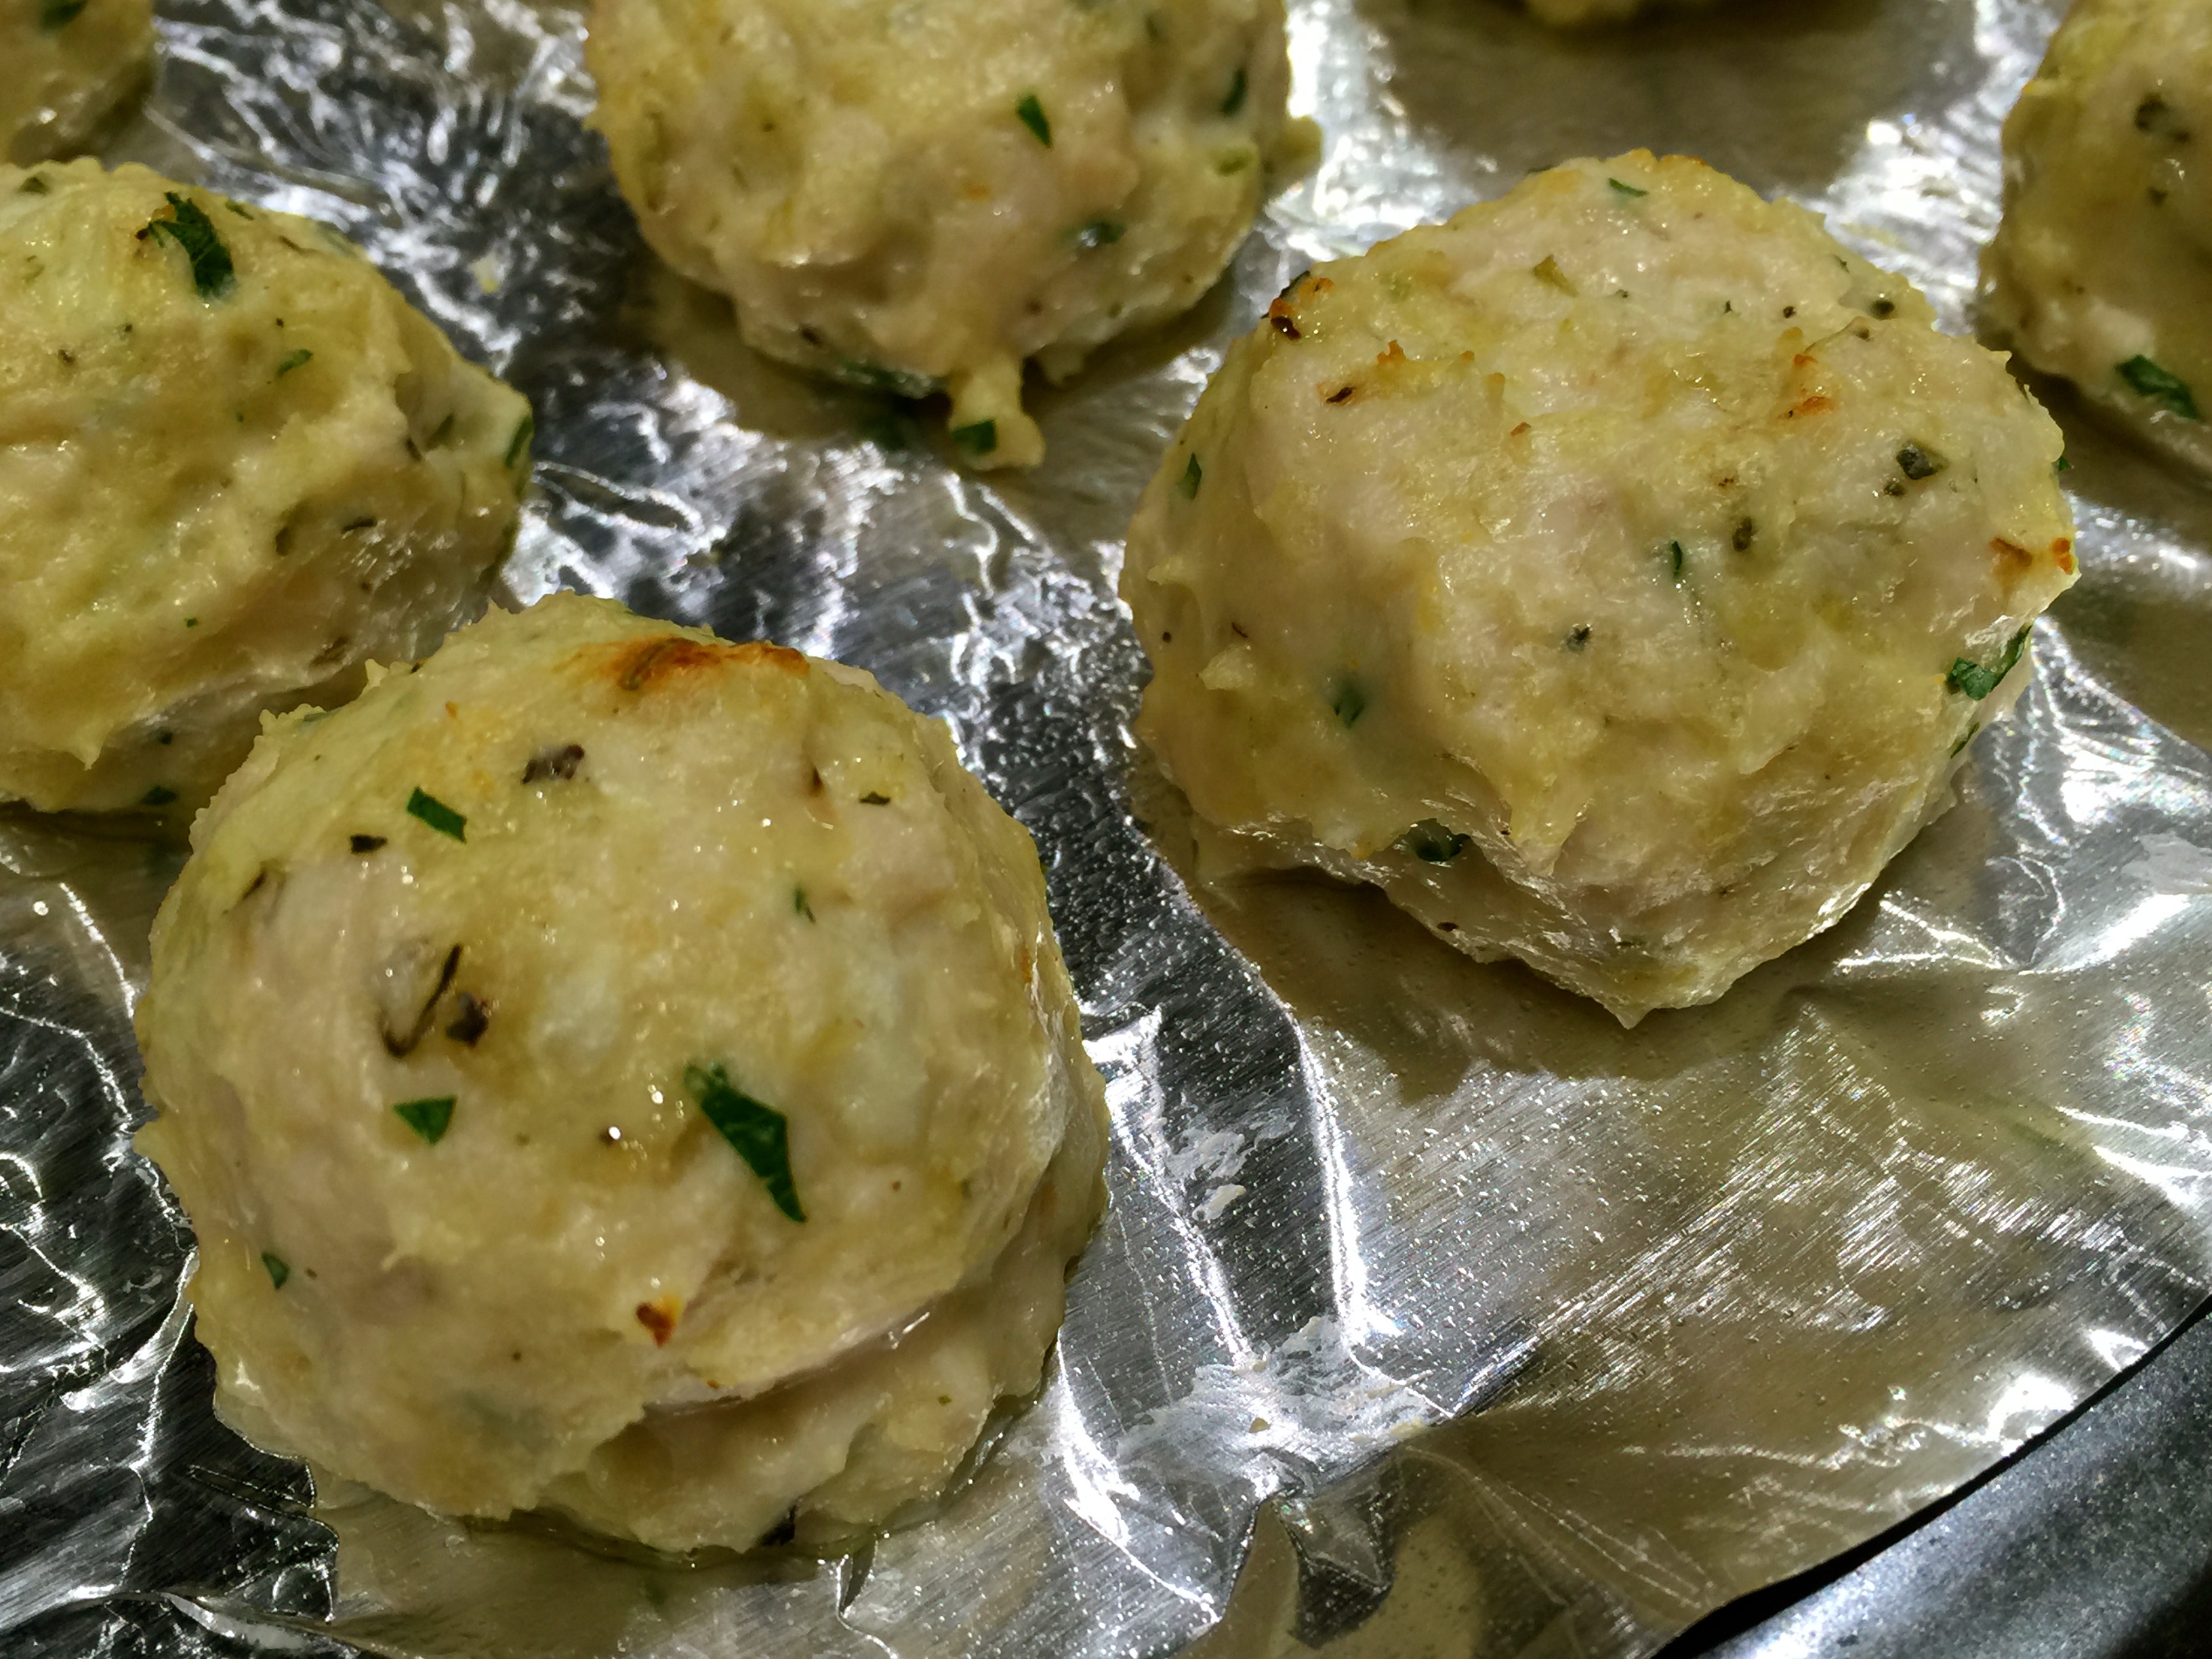
How The Meatballs Should Looking Coming Out From Under The Broiler
Lesson Learned 2 – Use good ingredients: I always remember Ina Garten saying that you need to use good ingredients in order to have the best outcome. I am especially referring to the tomato sauce you use. With this particular recipe I used a tomato basil sauce. Now you may turn up your nose on “organic” but I actually spent time reading the labels on many sauce jars and was surprised by some of the ingredients in them. I finally settled on a little known organic brand that had only fresh clean ingredients and no chemical sounding names. It was a little more expensive, but I felt good about what I was eating and the sauce was divine. It’s your choice. I just get a little uncomfortable putting ingredients into my body that I cannot even pronounce.
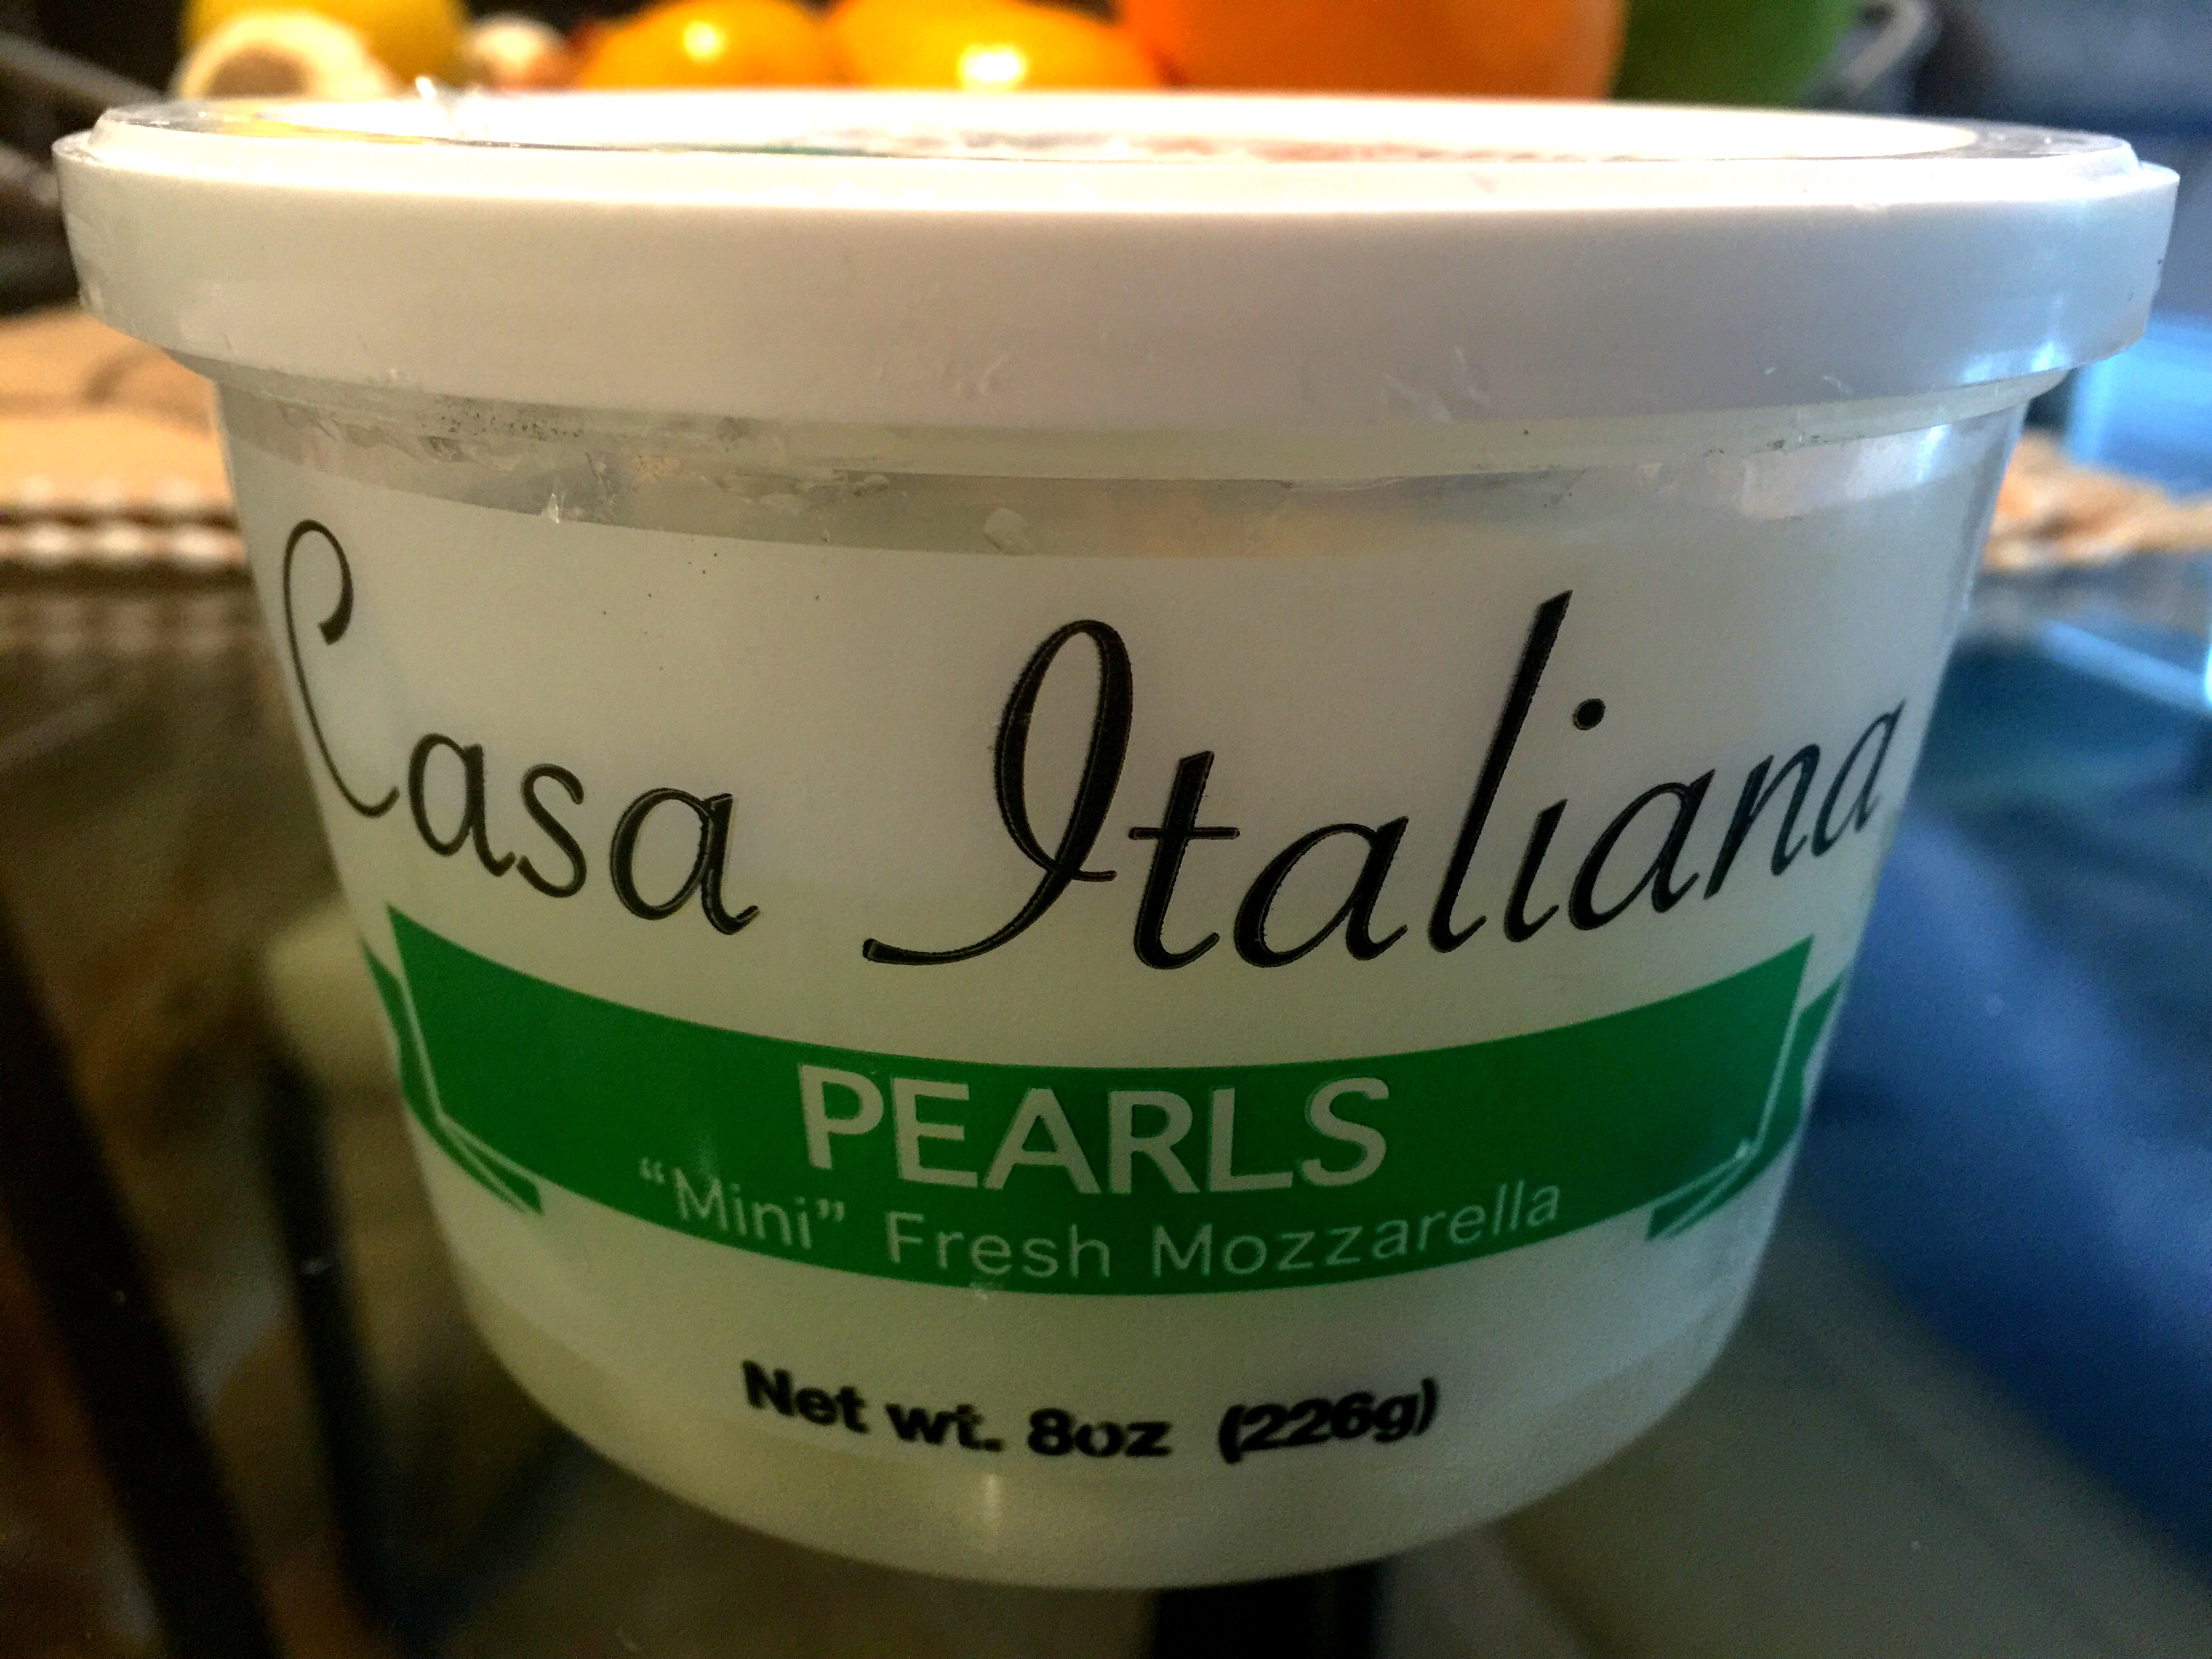 Lesson Learned 3 – Use only a small amount of mozzarella pearls: I was happy to discover that you can buy mozzarella in a size called “pearls”. They are much smaller than mozzarella balls and just the perfect size for this recipe.
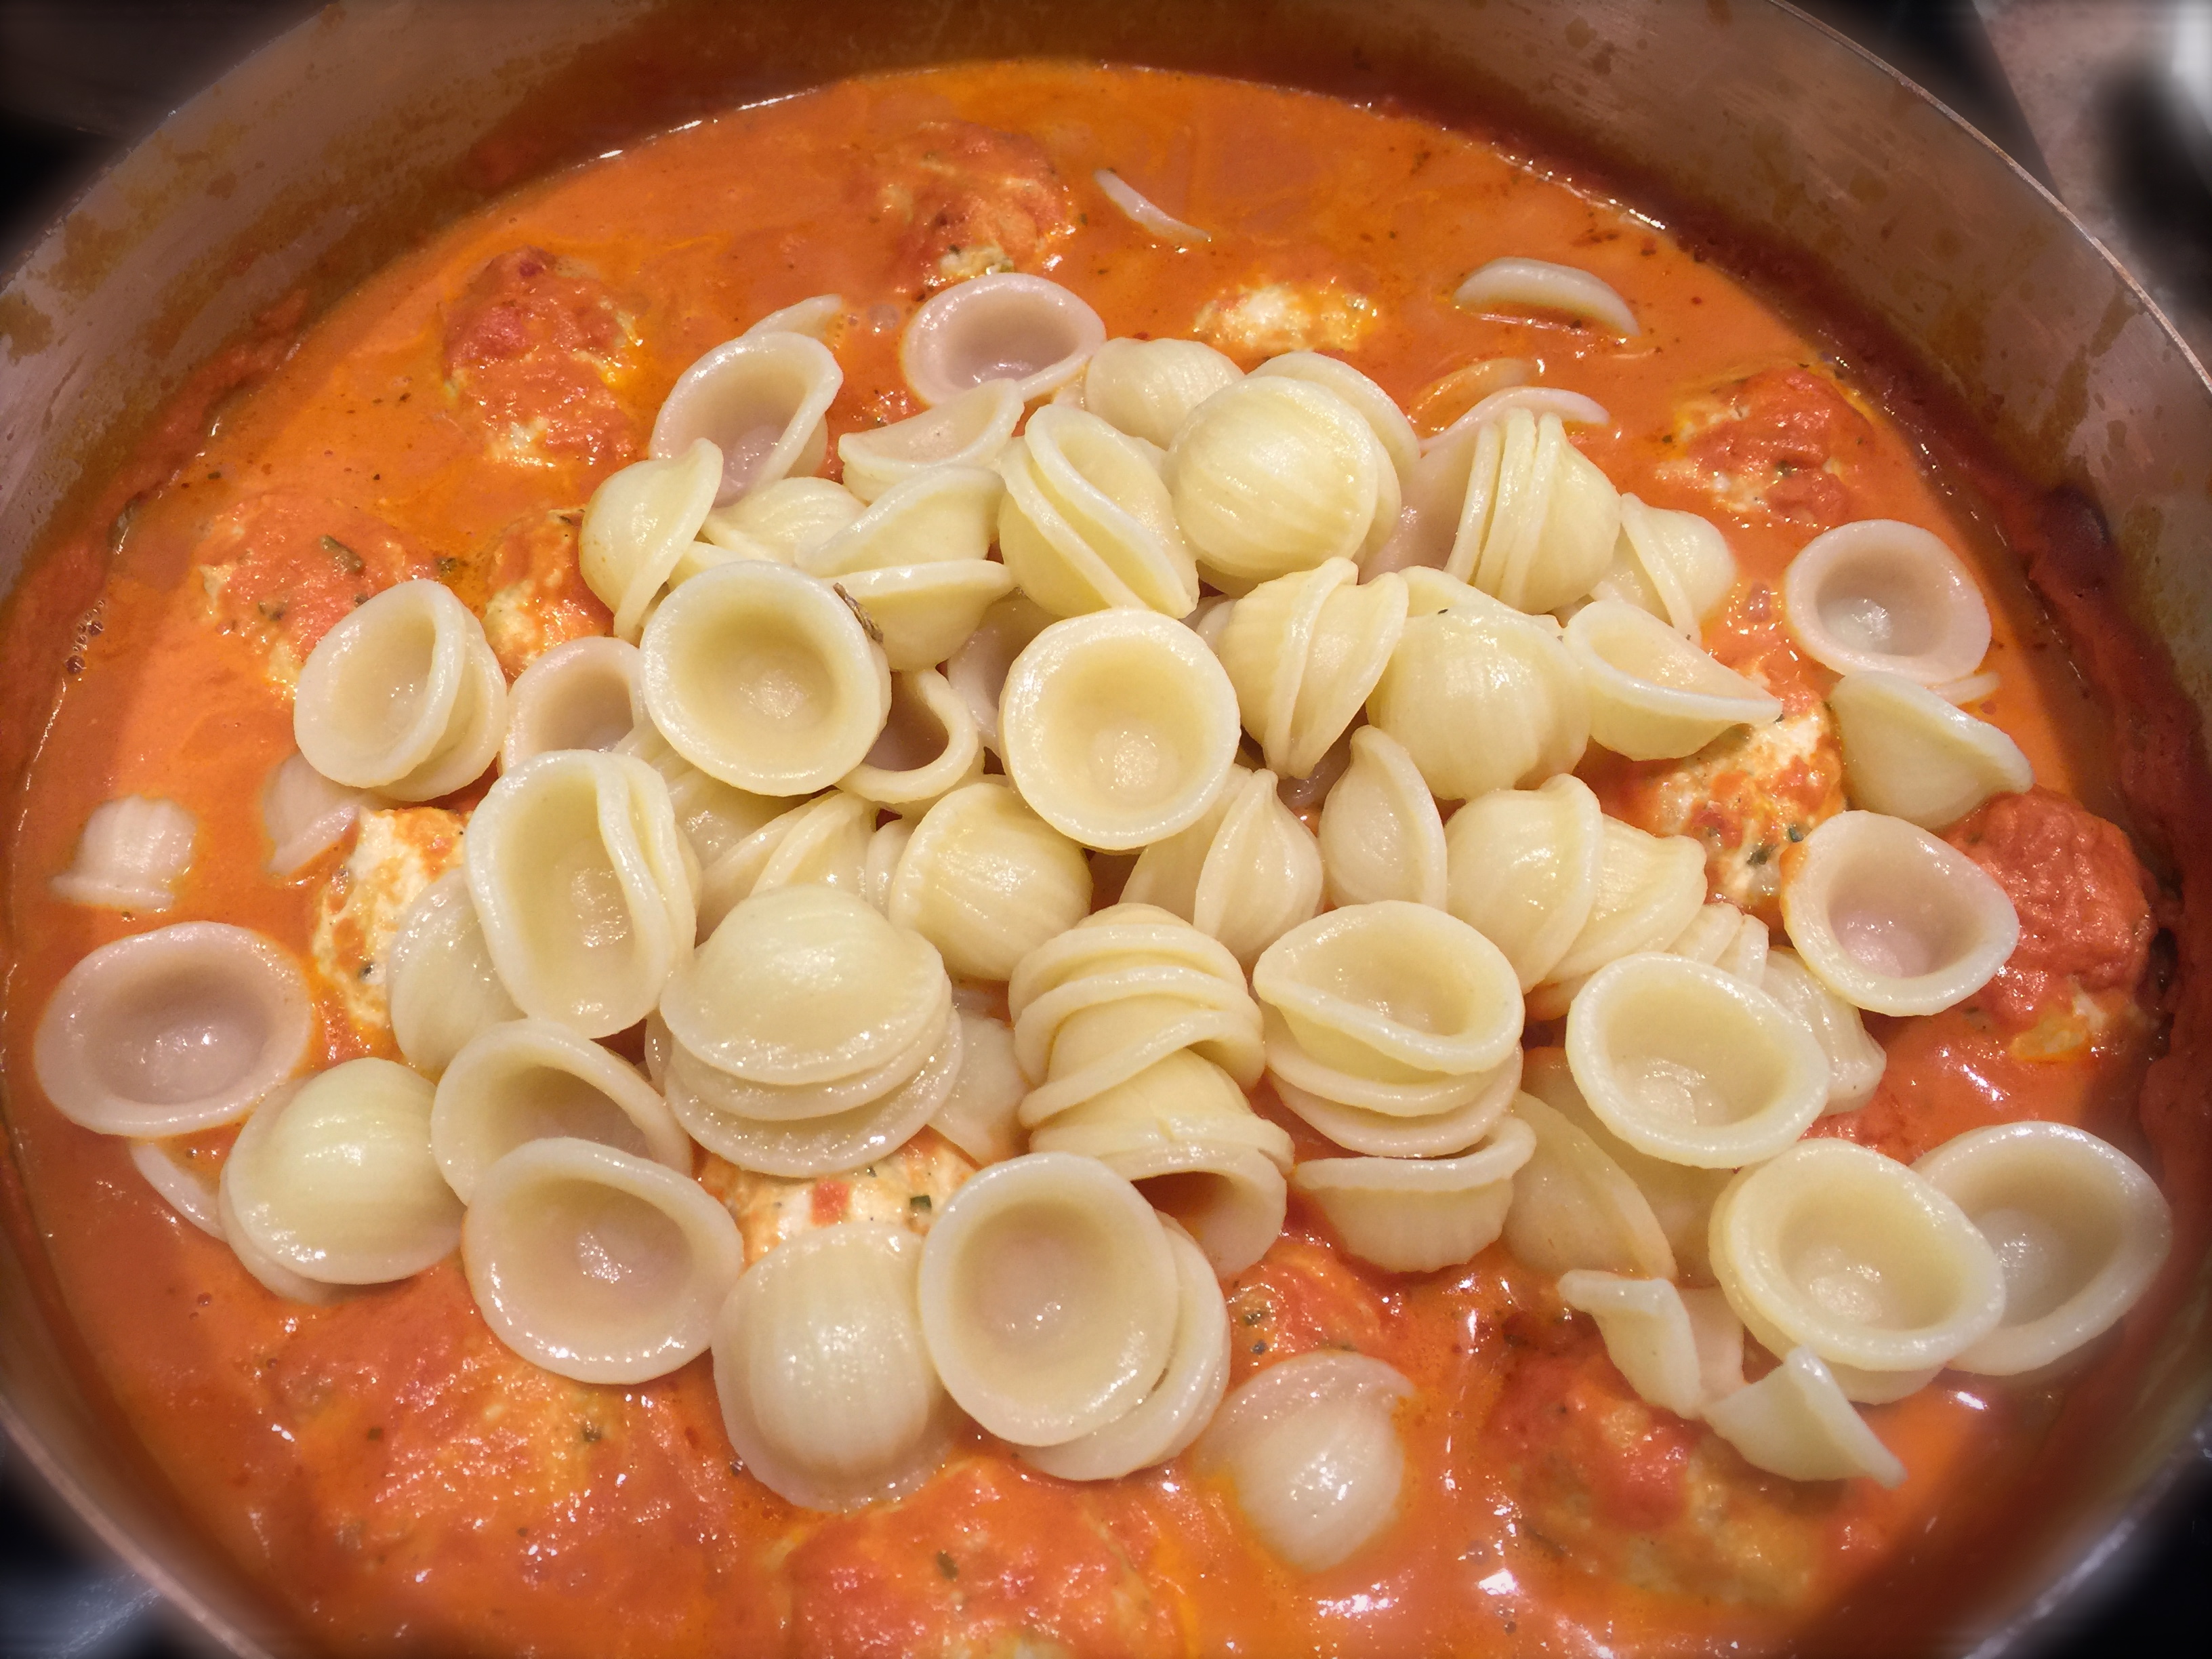
You may think you want to put in more than what is called for in the recipe but I would advise against it. Too many mozzarella pearls and your sauce will get overly thick and gloppy. You want the flavor of the mozzarella and a slight texture of melted stringiness in the cheese. In this case a little goes a long way. If for some reason you add too much and your sauce gets too thick, simply add some of the pasta water to the pot to thin the sauce. Or you can use chicken broth and get the same result.
You can find mozzarella pearls in the dairy case next to the fresh mozzarella. This was quite a find for me as I can envision using them in a lot of other recipes.
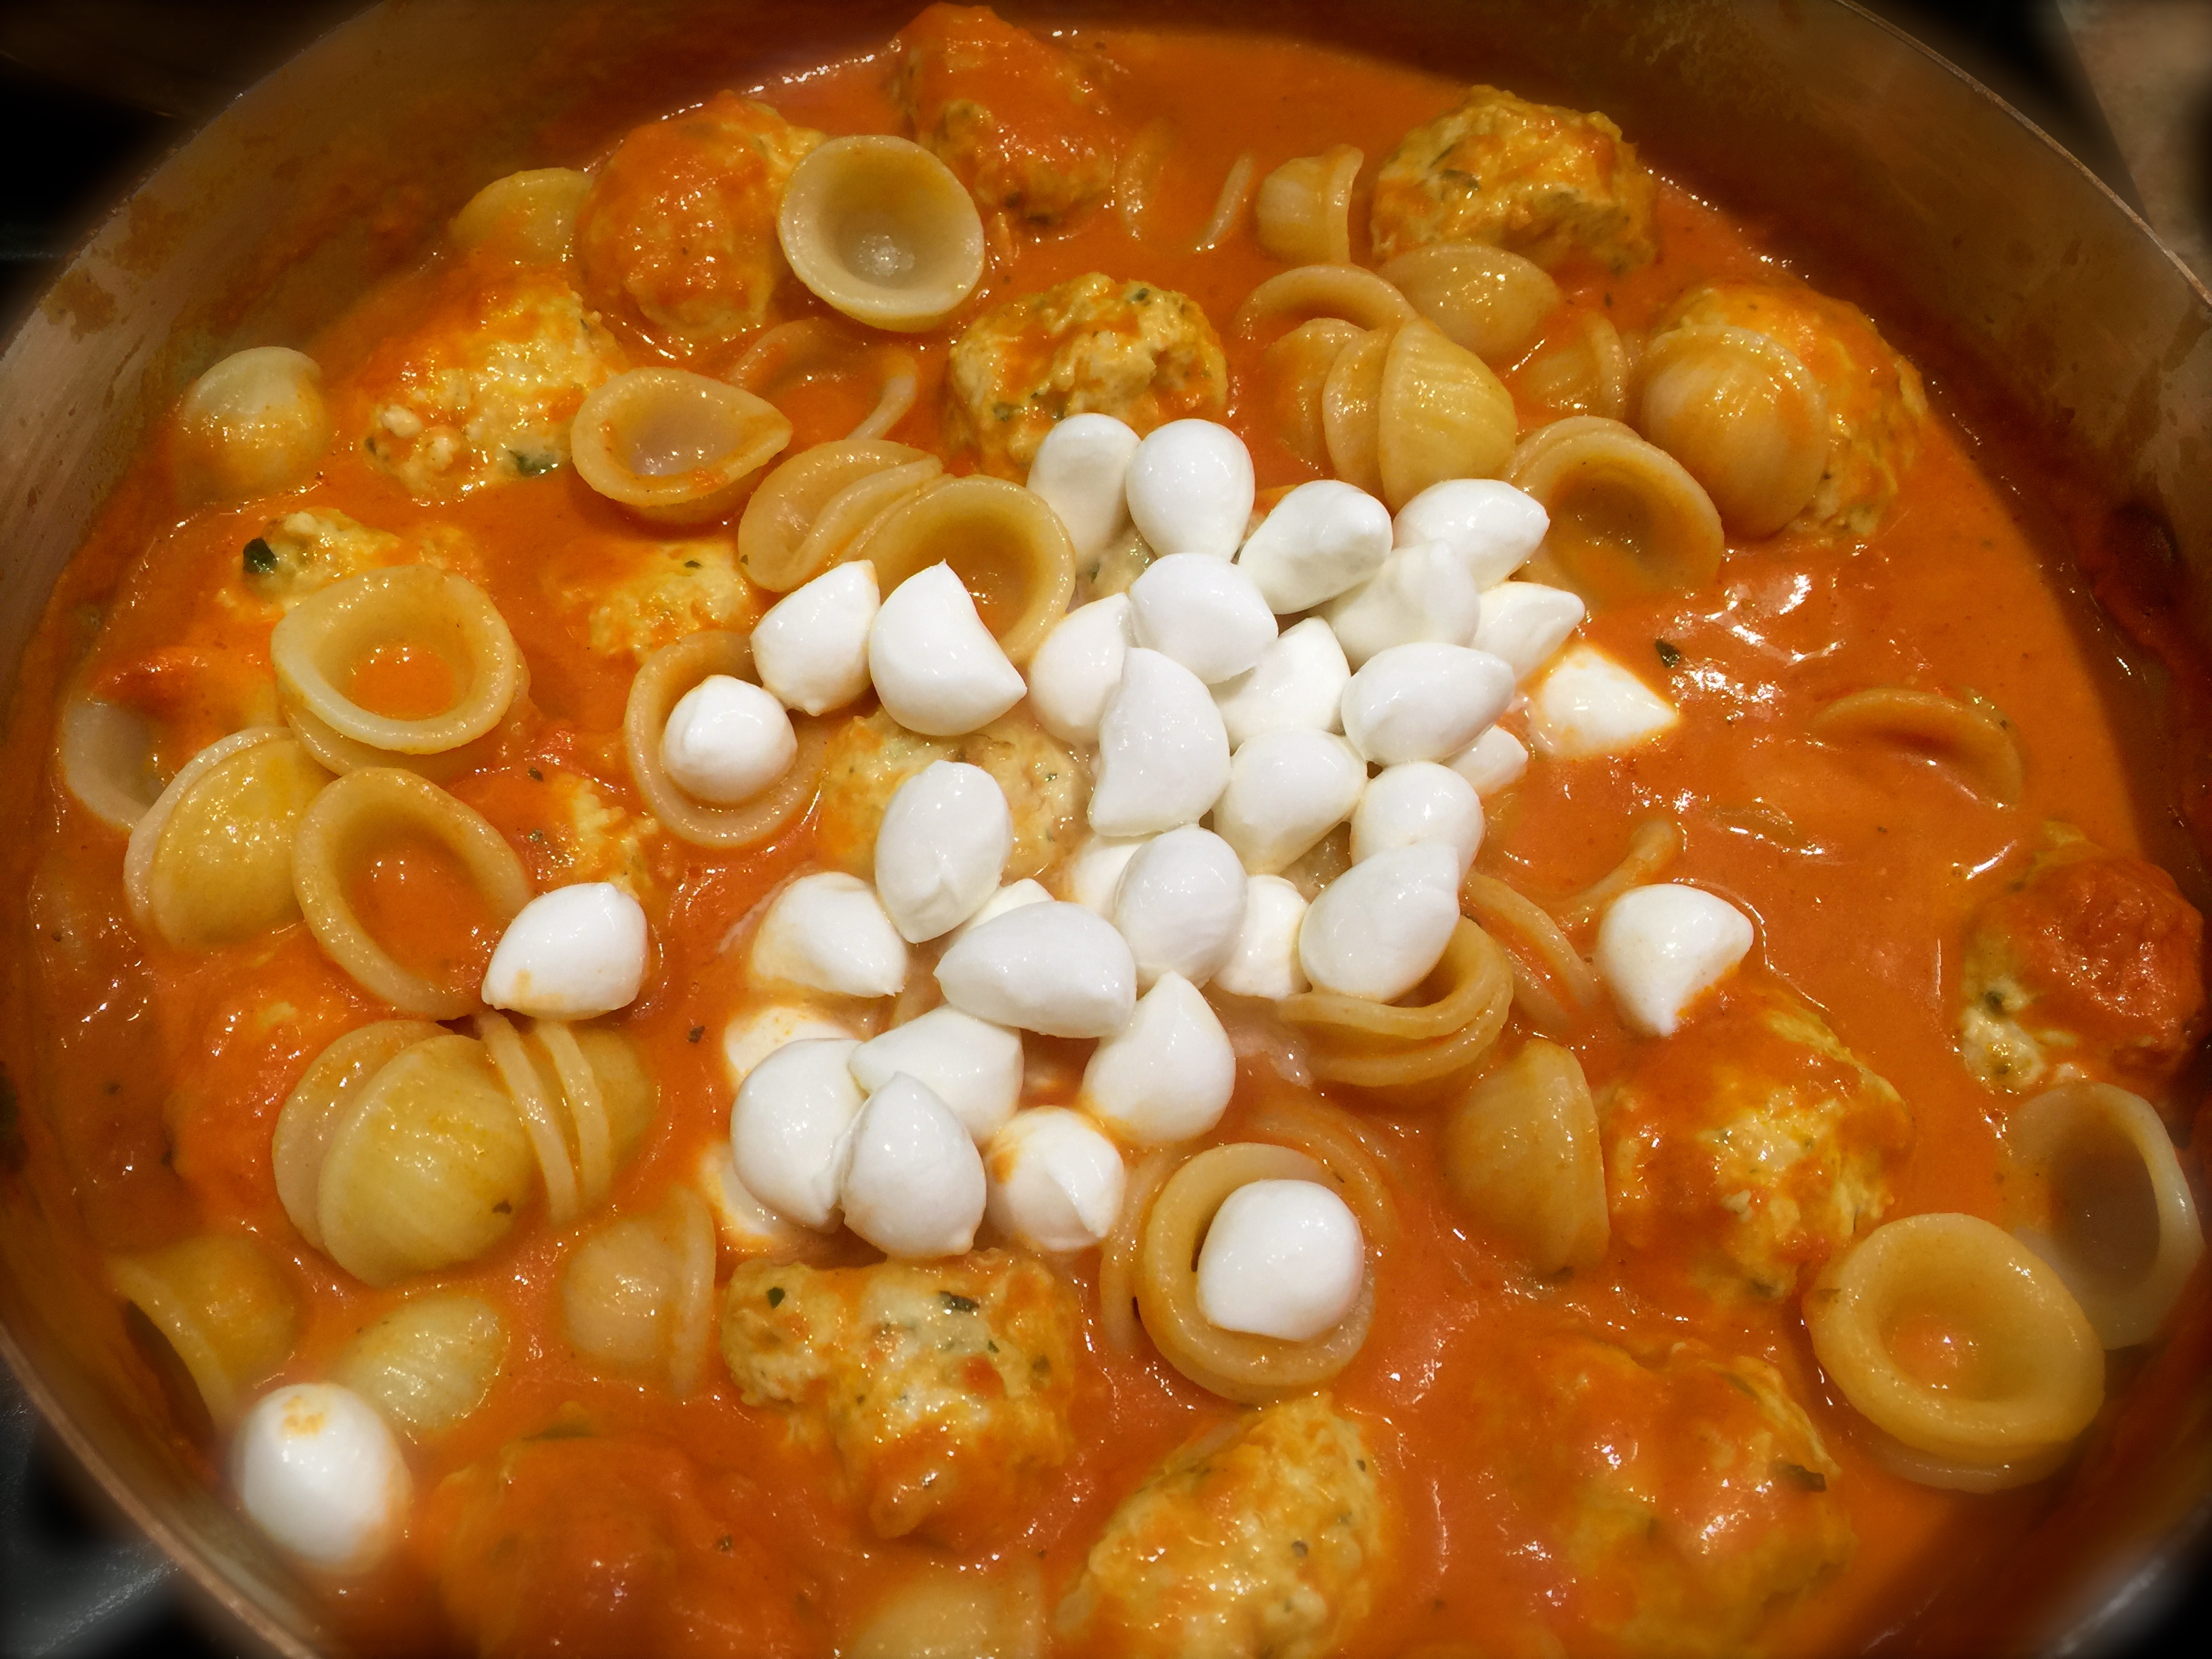
Mozarella Pearls Added To The Sauce
The biggest part of the work in this recipe is assembling the meatballs. If you are pressed for time prepare the mixture the night before. It takes no time to roll them up and put them under the broiler. The rest is basically adding them to the sauce, heating the sauce while cooking the pasta and adding the mozzarella at the end. My husband gave a two thumbs up to this recipe, so you know it has to be good!
Chicken Meatballs In Cheesy Tomato Cream Sauce…
INGREDIENTS:
1/2 – 3/4 cup italian style panko bread crumbs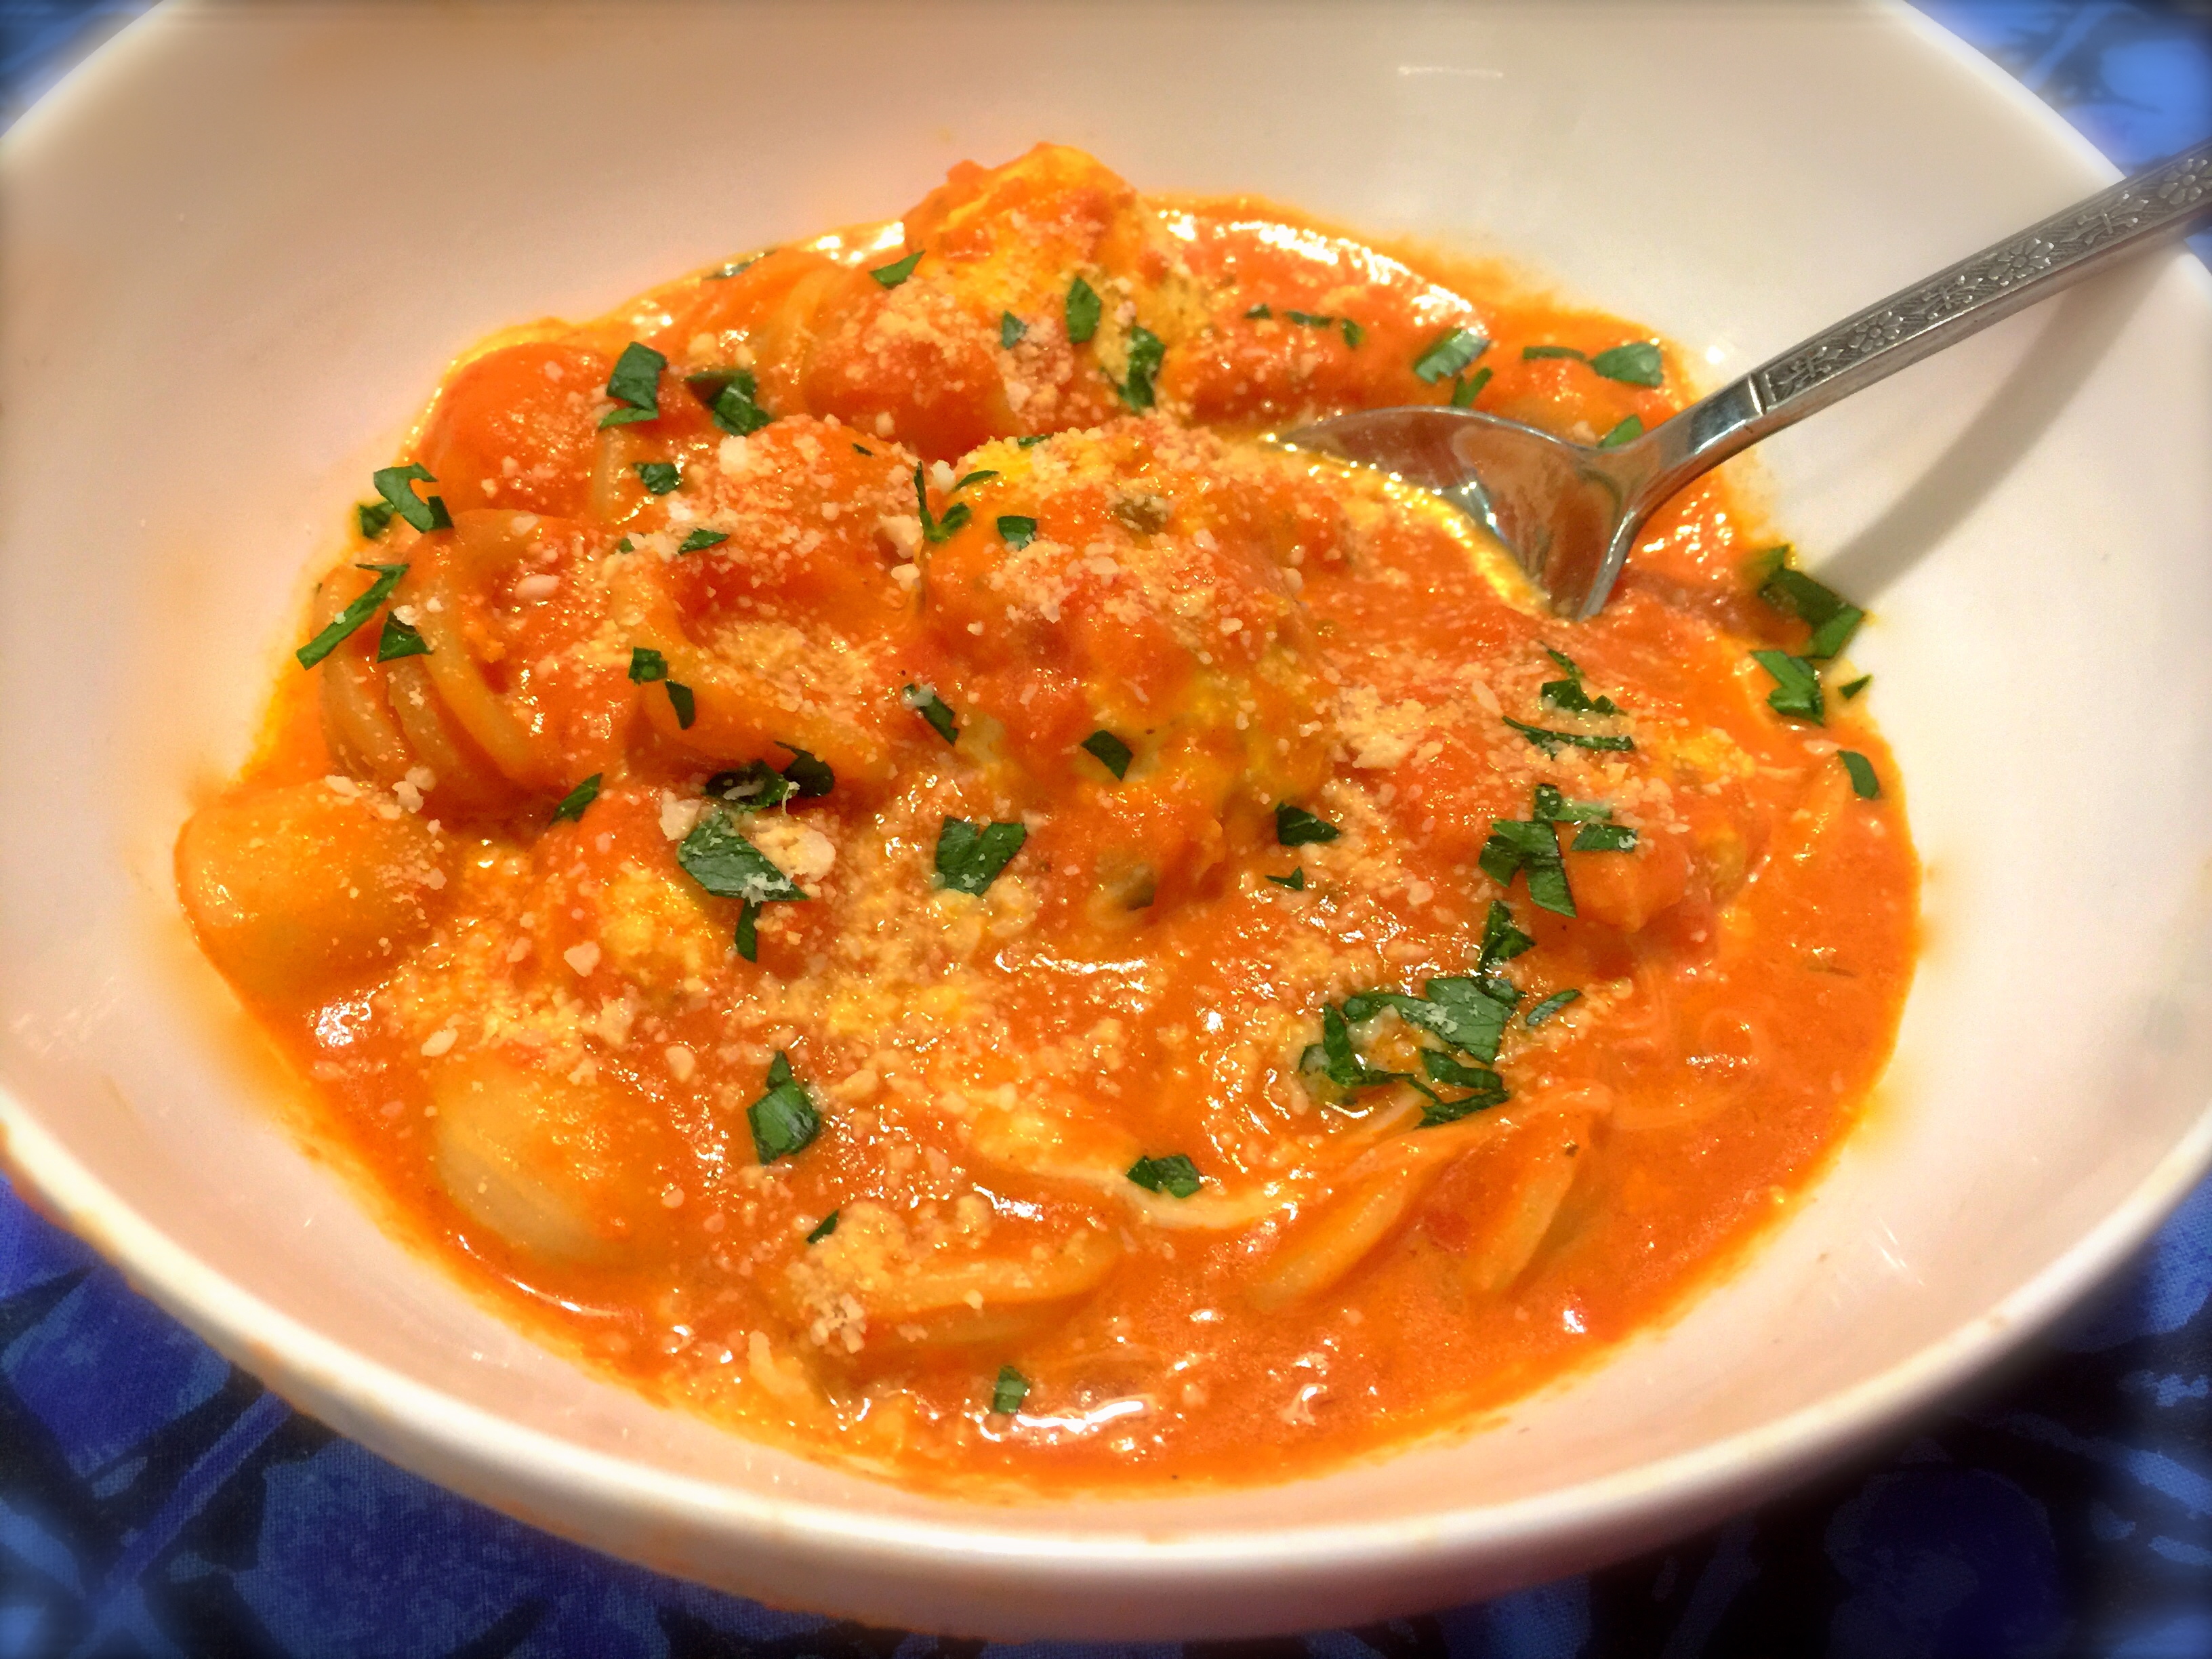
1/4 cup whole milk
1 lb. ground chicken
1 egg
2 Tbs finely grated onion
1 Tbs. fresh parsley, minced
1 Tbs. sour cream
1/2 tsp. kosher salt
1/4 tsp. freshly cracked black pepper
2 cups pasta (I used a pasta called orecchiette)
Pasta water, if necessary to thin out the sauce
1 jar organic tomato basil sauce
1 Tbs. tomato paste
1/2 cup heavy cream
1/2 cup mozzarella pearls
Fresh parsley or basil, chopped for garnish.
DIRECTIONS:
For the meatballs: Set your oven rack in the center of the oven and put the broiler on high. In a large bowl combine 1/2 cup panko, milk, chicken, egg, onion parsley, sour cream, salt and pepper. The mixture will be very moist. If too moist add a little more panko being careful not to make the mixture too dry. Take rounded teaspoonfuls of the mixture and roll into meatballs approximately one inch thick. Spray a foil lined pan with cooking spray and arrange the meatballs on the pan. Broil the meatballs for 5-6 minutes until very lightly golden.
Cook the pasta according to the package instructions. While the pasta is cooking put the tomato sauce in a deep pan, and heat. Once the sauce is warmed through add the tomato paste and stir until combined. Add the cream and simmer for a few minutes. Add the meatballs and simmer for an additional five minutes. Add the cooked pasta to the sauce. Add the mozzarella pearls and stir until melted. If pasta sauce is too thick, add some of the pasta water to thin it.
Sprinkle with fresh herbs and serve immediately.
Chicken Meatballs In Cheesy Tomato Cream Sauce…