Homemade Baked Beans…

Labor Day is around the corner. Time for some of those last of the season summer parties. And what’s a summer party without baked beans?

I have to admit, I never made baked beans from scratch before. It was so easy just to open a can and warm it up. But like anything else, when you make something from scratch you control the ingredients, especially the important ones like sugars and salt. Next time you’re in the grocery store pick up a can of baked beans and read the ingredients. You’ll see things like water, sugar, some sort of thickener, salt, acetic acid, citric acid, natural flavors… (what the heck are natural flavors anyway)? And if you look carefully, chances are the salt content is simply off the charts. So anytime you can make something homemade it’s just so much better.

I have to admit I was surprised at how easy these were to make and I controlled what went in them.

Baked Beans

So let’s talk about homemade baked beans…

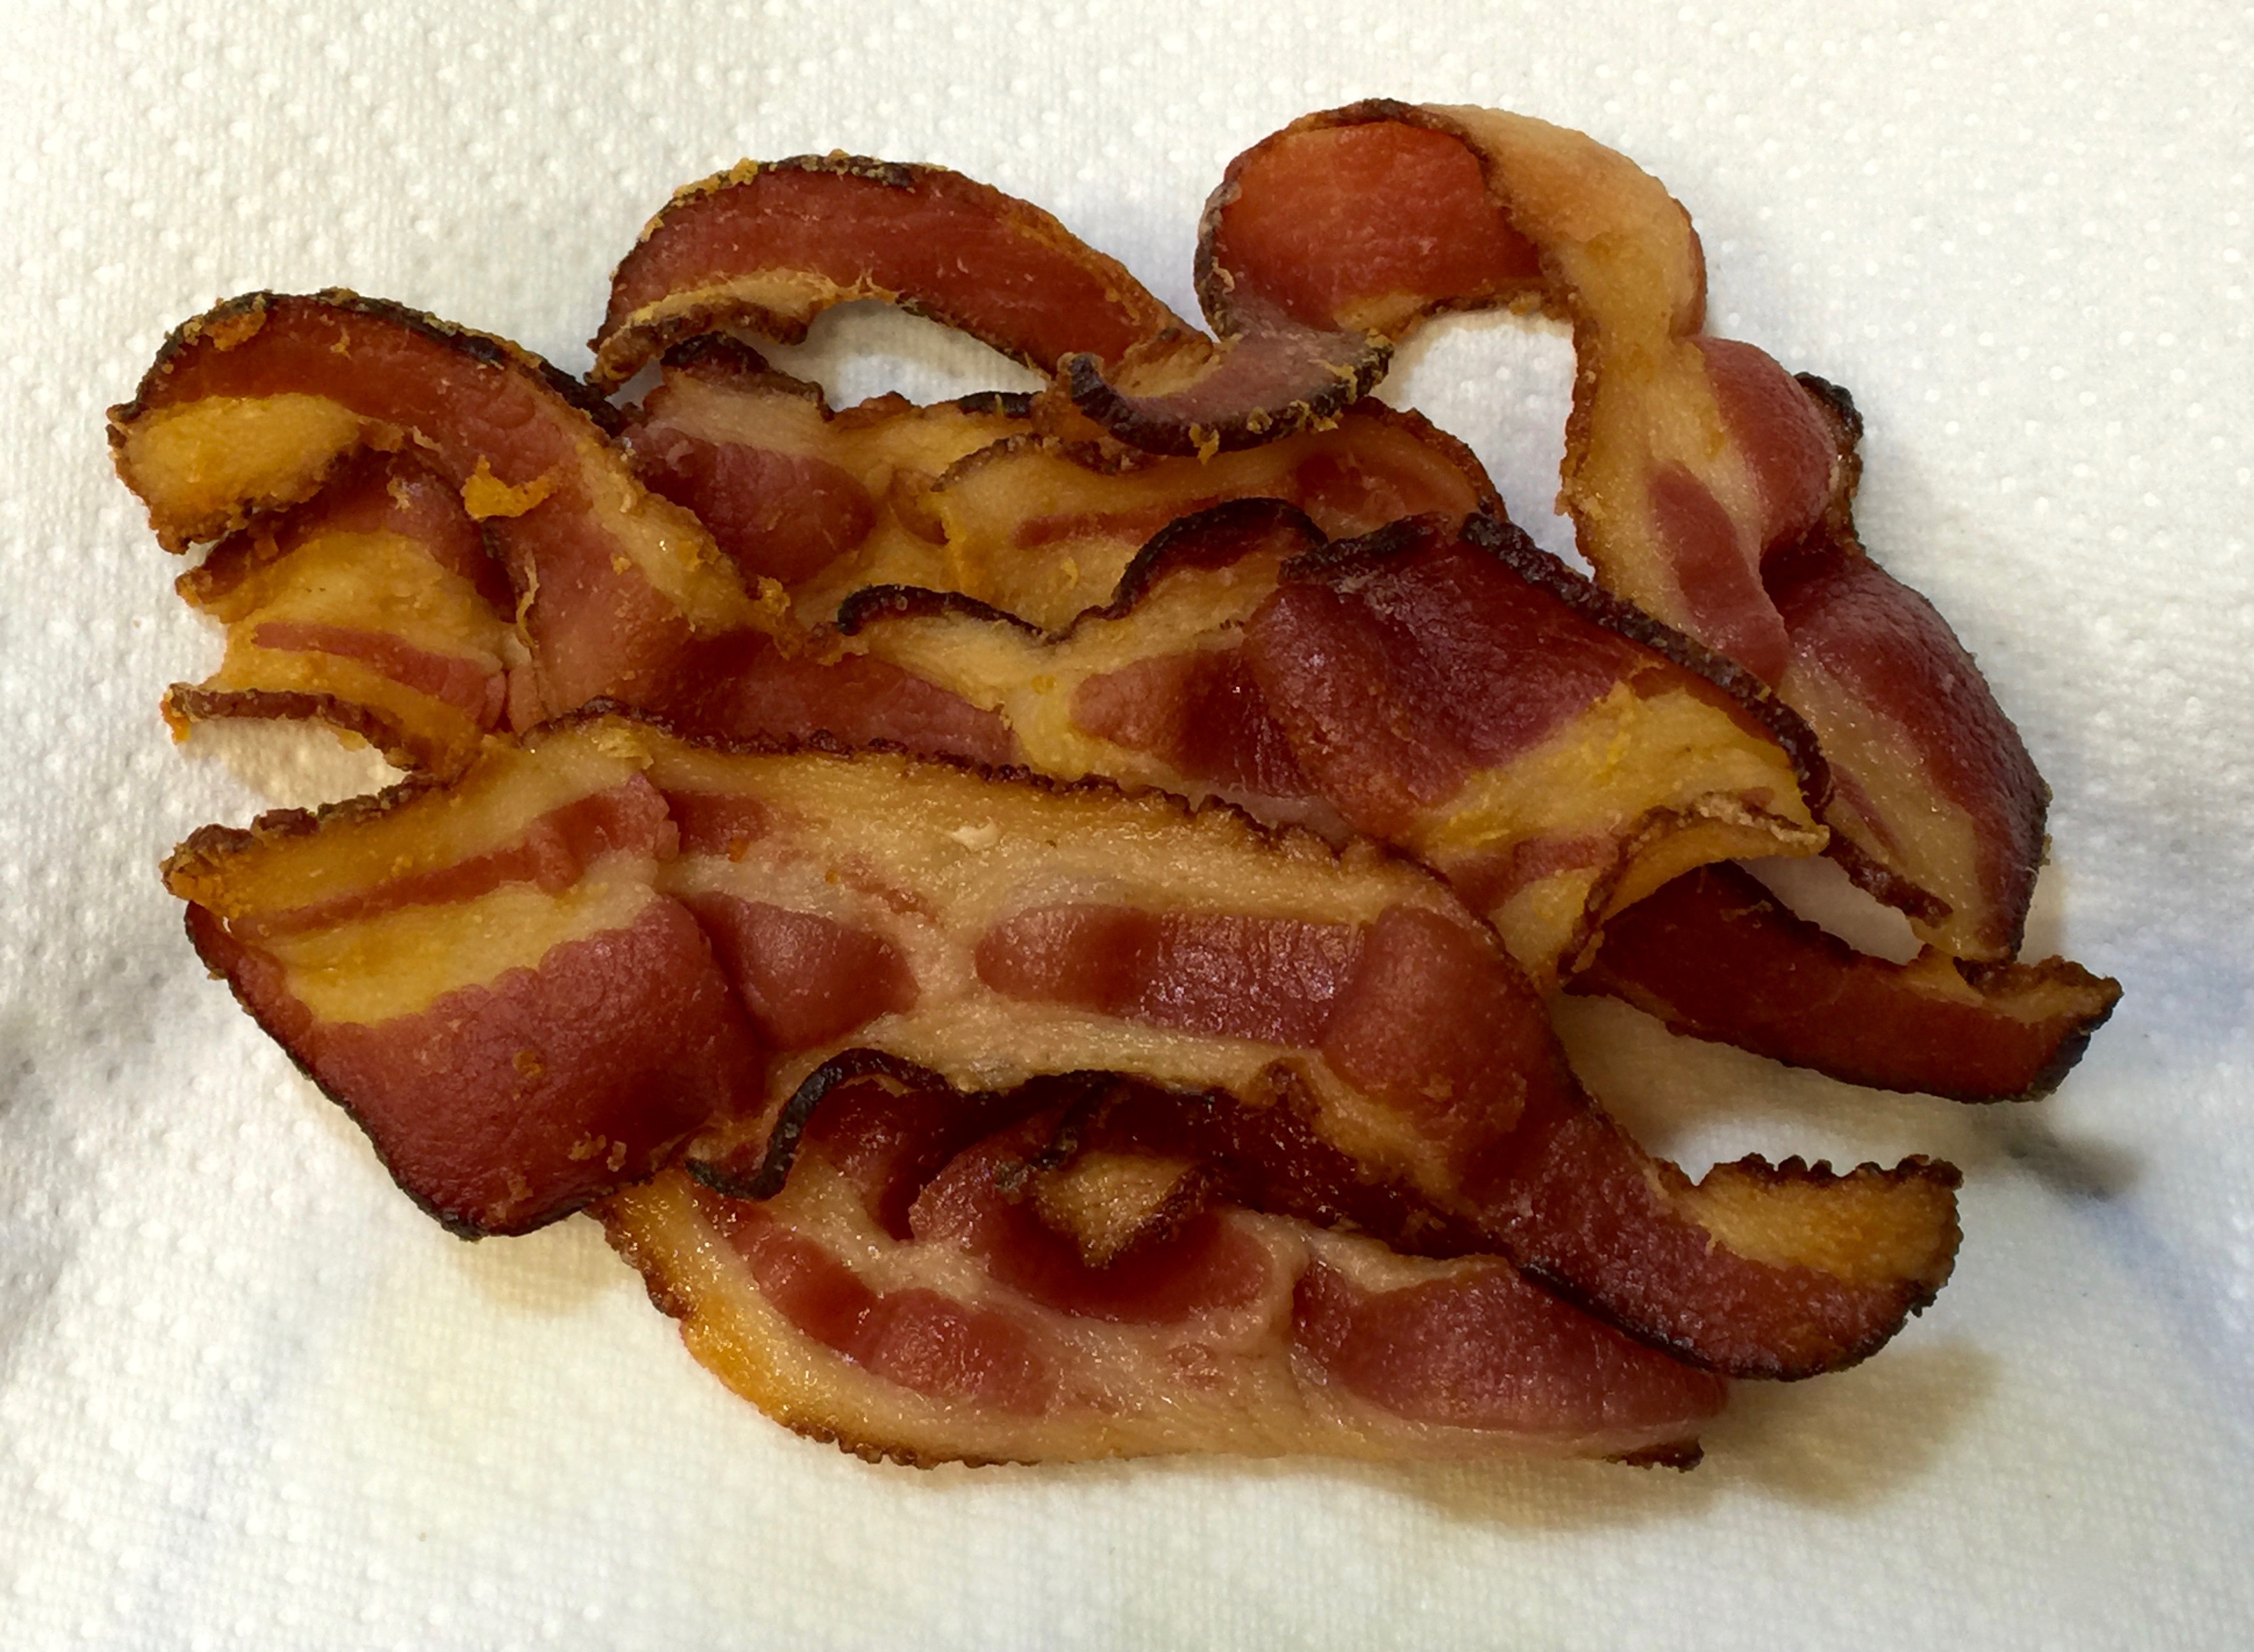
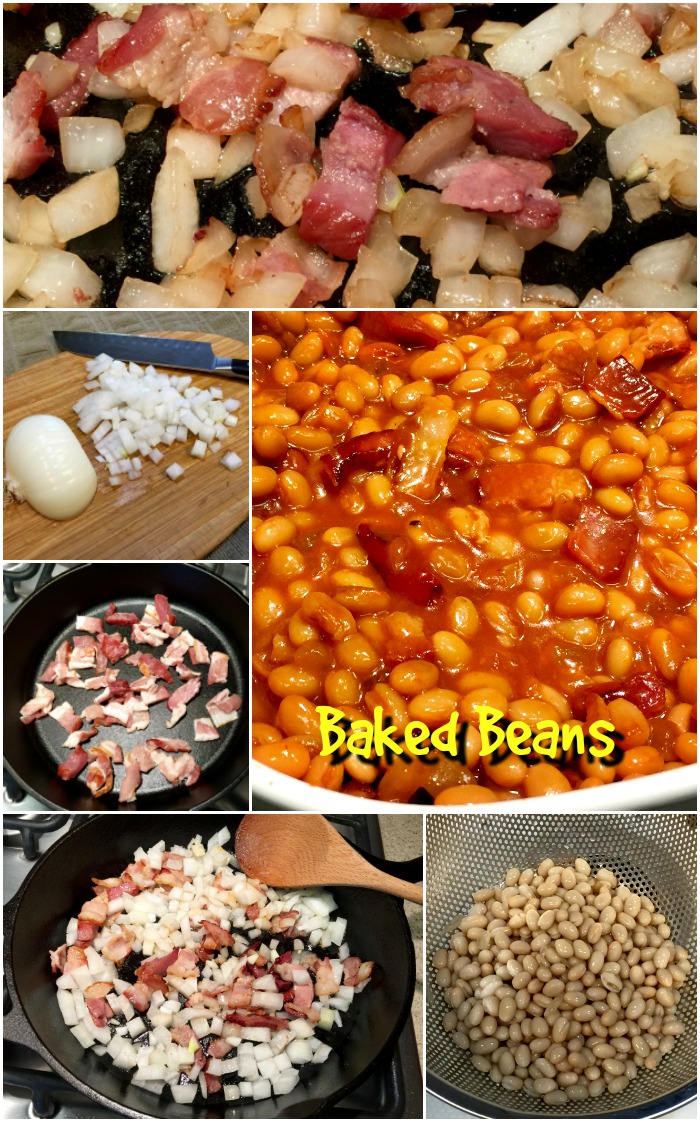
Lesson Learned 1 – Use thick cut bacon in this recipe: Since the bacon gets cooked a lot in this recipe (once on the stove and then again in the oven) I recommend a thick cut bacon especially if you want it to be clearly visible in the beans. I found a package of bacon pieces at Trader Joes and it was perfect for this recipe. The pieces were all from thick cuts and slabs and there were some pieces that were almost all pork and no fat. I used probably the equivalent of 3-4 slices of bacon in this recipe and it turned out great.

Lesson Learned 2 – Drain and wash one of the cans of beans: Beans in a can are packed in a lot of salt and your baked beans will wind up too salty if you put the liquid in from both cans. It’s best to drain one of the cans of beans and rinse them with water before you add them to everything else.

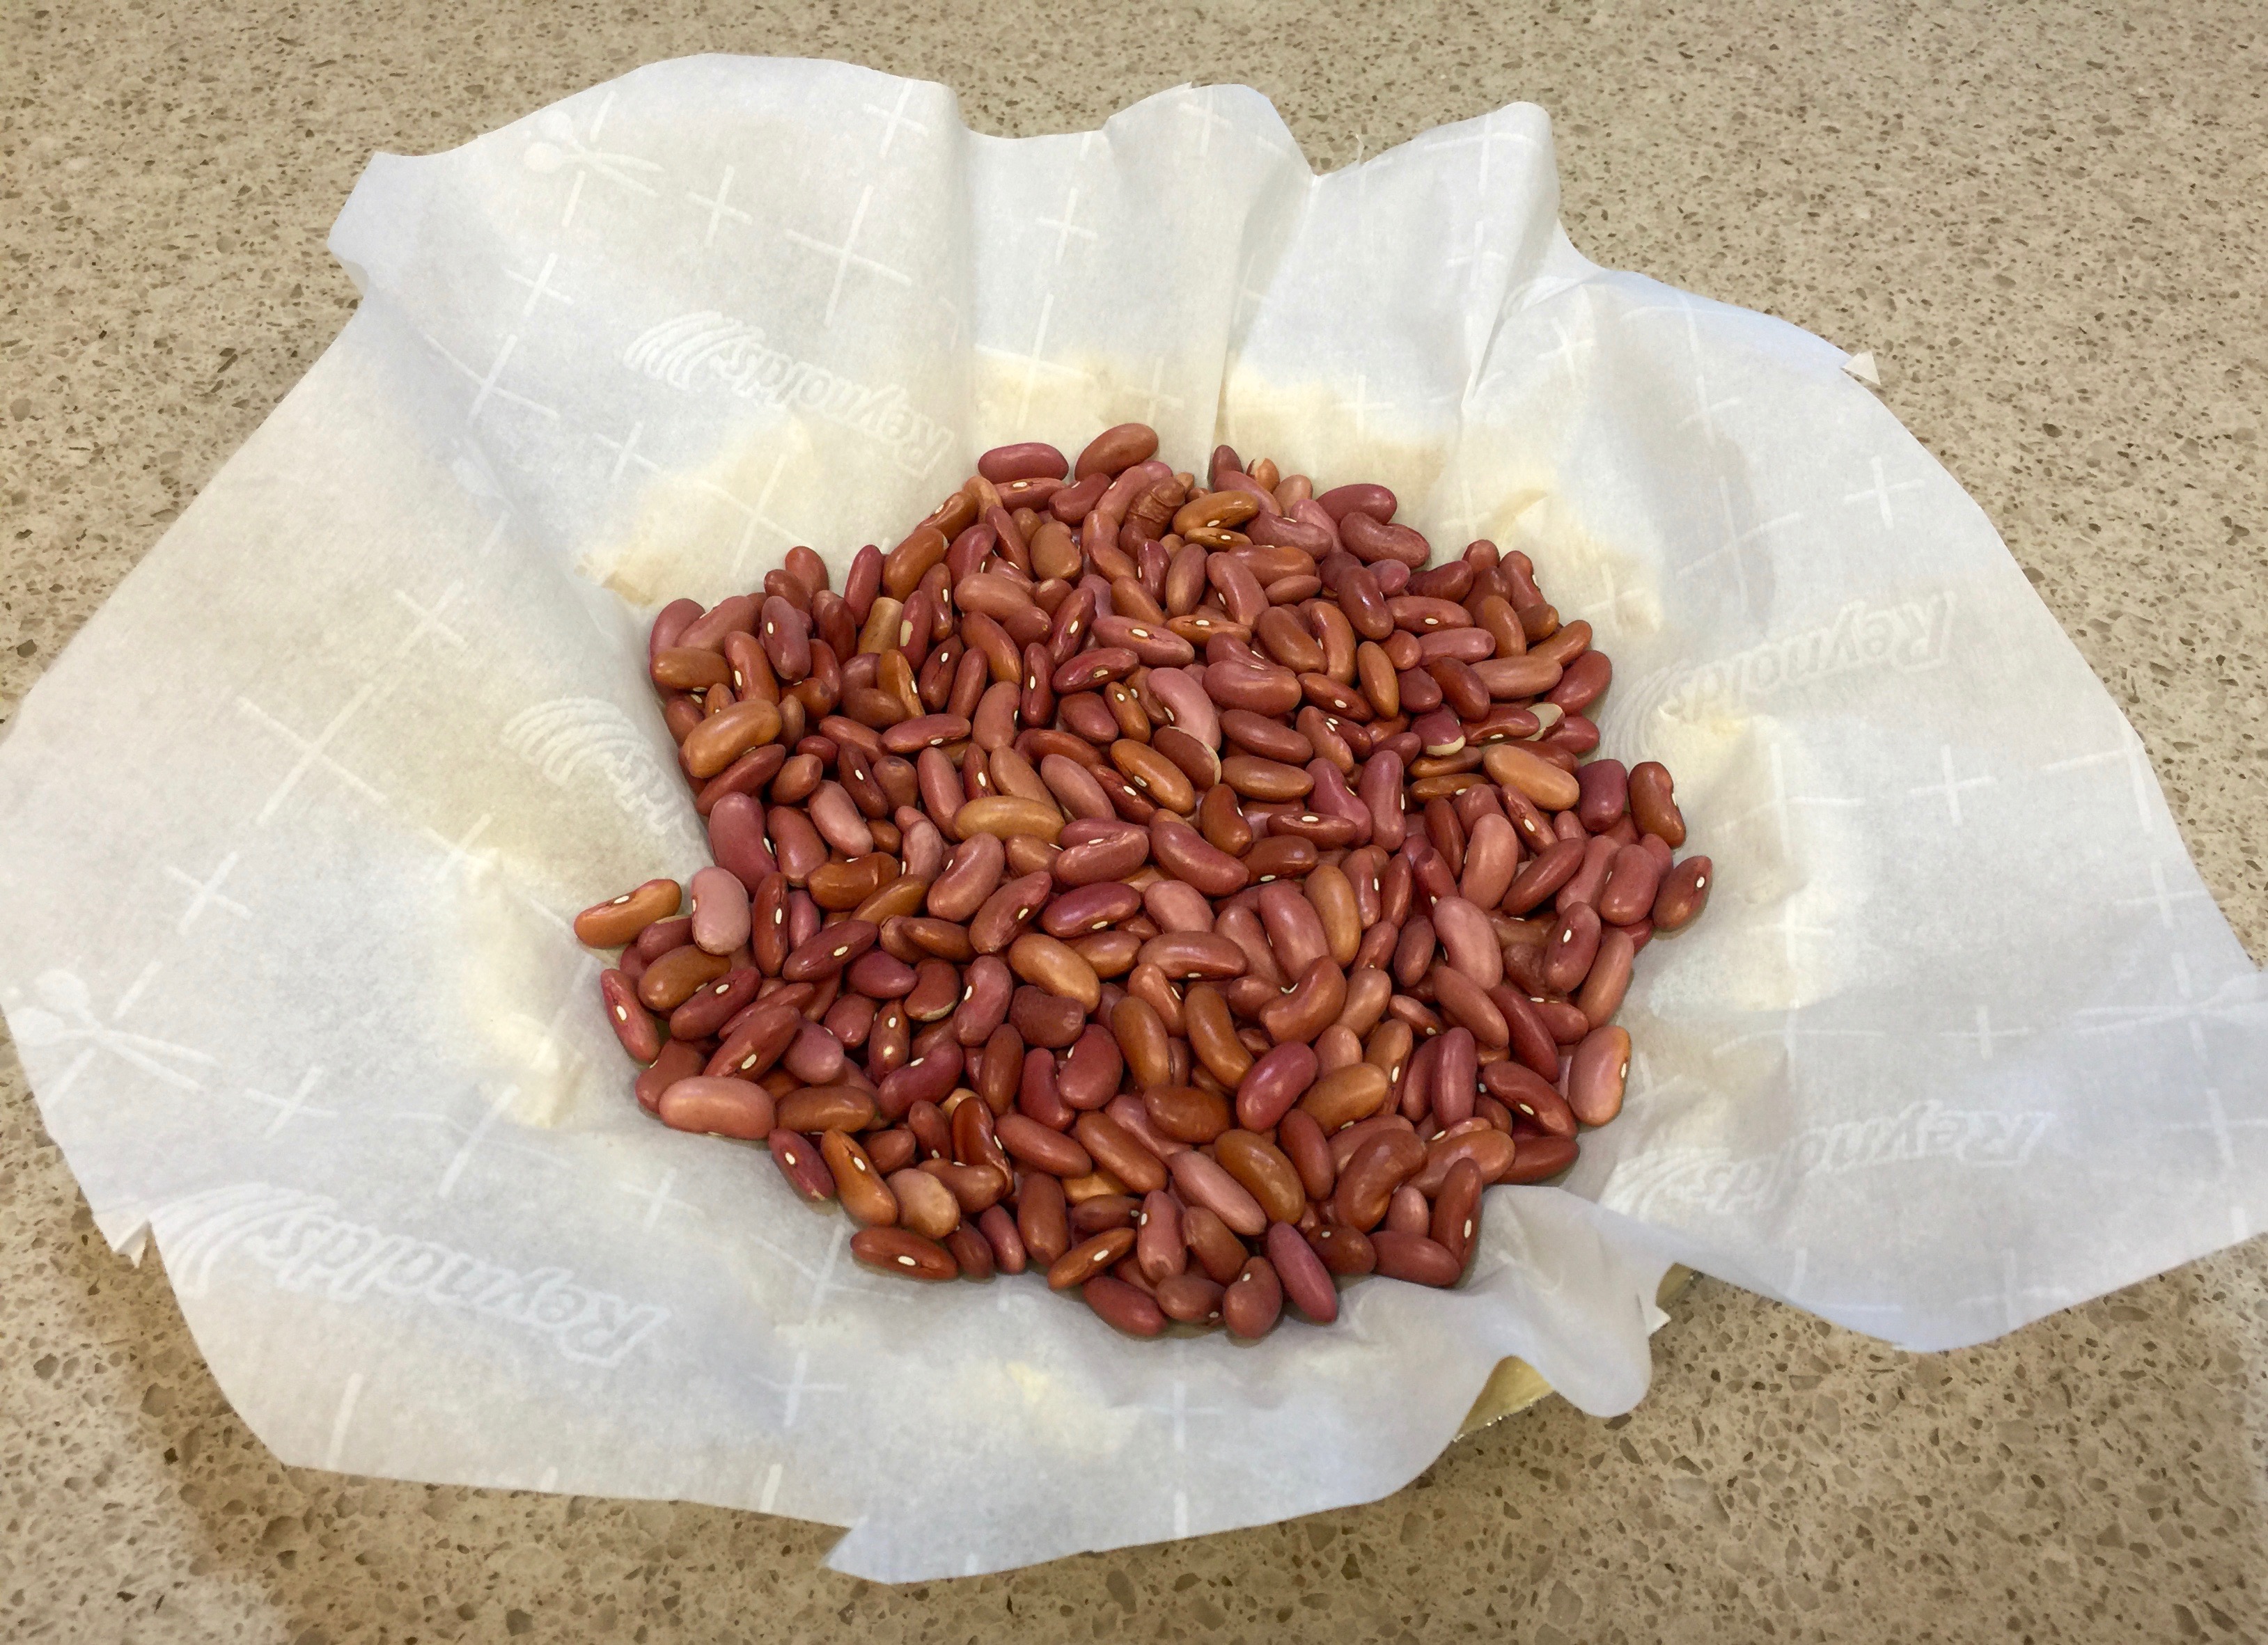
Lesson Learned 3 – You can choose from a wide variety of beans: I used navy beans in my recipe but you can use Great Northern, cannelloni or white beans as well. Just remember to drain and rinse one can of them.

Lesson Learned 4 – Don’t be afraid to experiment with ingredients: These days when I make something I study several recipes and more often than not concoct a version of my own that I will like. For example, most recipes I found suggested using dark brown sugar, which is really just light brown sugar with added molasses. I didn’t have dark brown sugar but I had light brown sugar and I had molasses. I used that and I think the flavor was richer because of the purity of the ingredients. I also added some liquid smoke to give the beans that bar-b-que smell and flavor. It worked out beautifully.

After I made this recipe I thought I would probably not post it on this site as I wondered who would get excited about something as mundane as baked beans. Well, I posted a picture of them on Facebook and got so much feedback that I felt an obligation to post the recipe. And that’s so me. Sometimes the recipes I think will get the least attention get the most. I hope you enjoy this one!

HOMEMADE BAKED BEANS...

  • Servings: 6
  • Difficulty: Easy
  • Print

INGREDIENTS:

Homemade Baked Beans4 slices thick cut bacon in large chunks

1 medium onion, chopped

2 15 ounce cans of navy beans

1/3 cup ketchup

1/3 cup light brown sugar, firmly packed

2 Tbs. dark molasses

1 Tbs. dijon mustard

1 Tbs. apple cider vinegar

2 Tbs. Worcestershire sauce (can add more to taste)

A couple of dashes of liquid smoke (be careful it is potent)

Salt and pepper, to taste

DIRECTIONS:

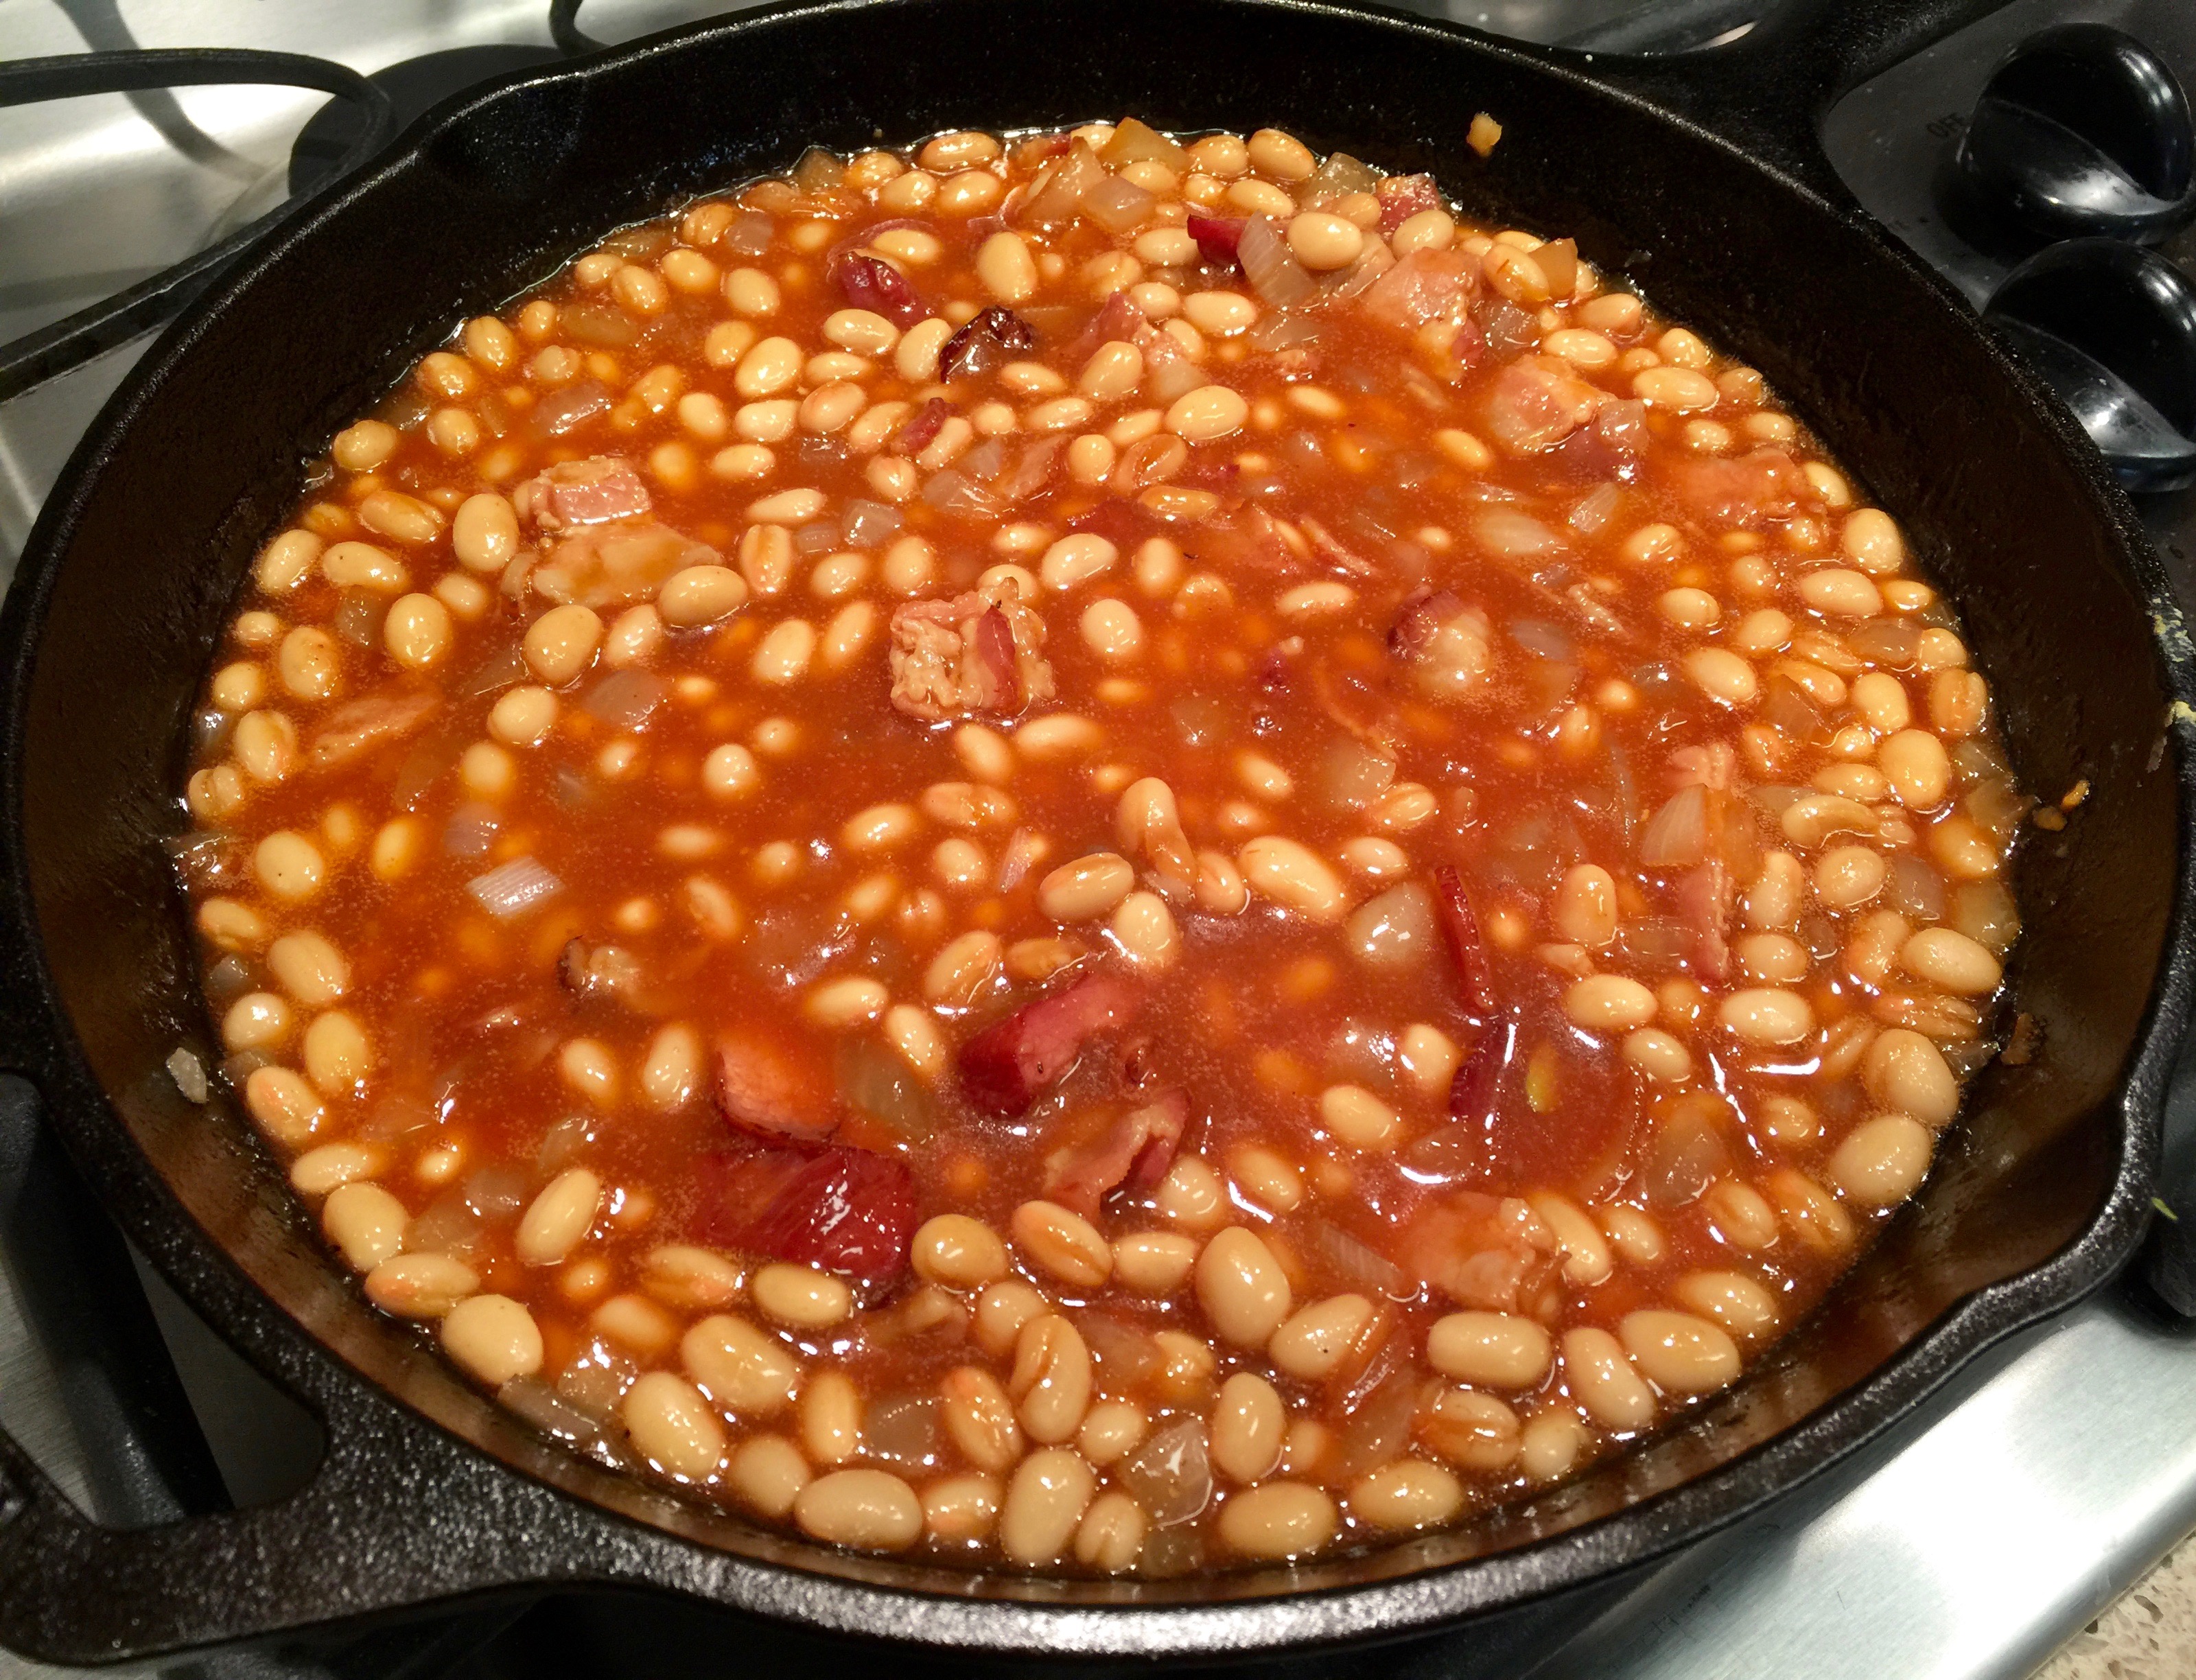
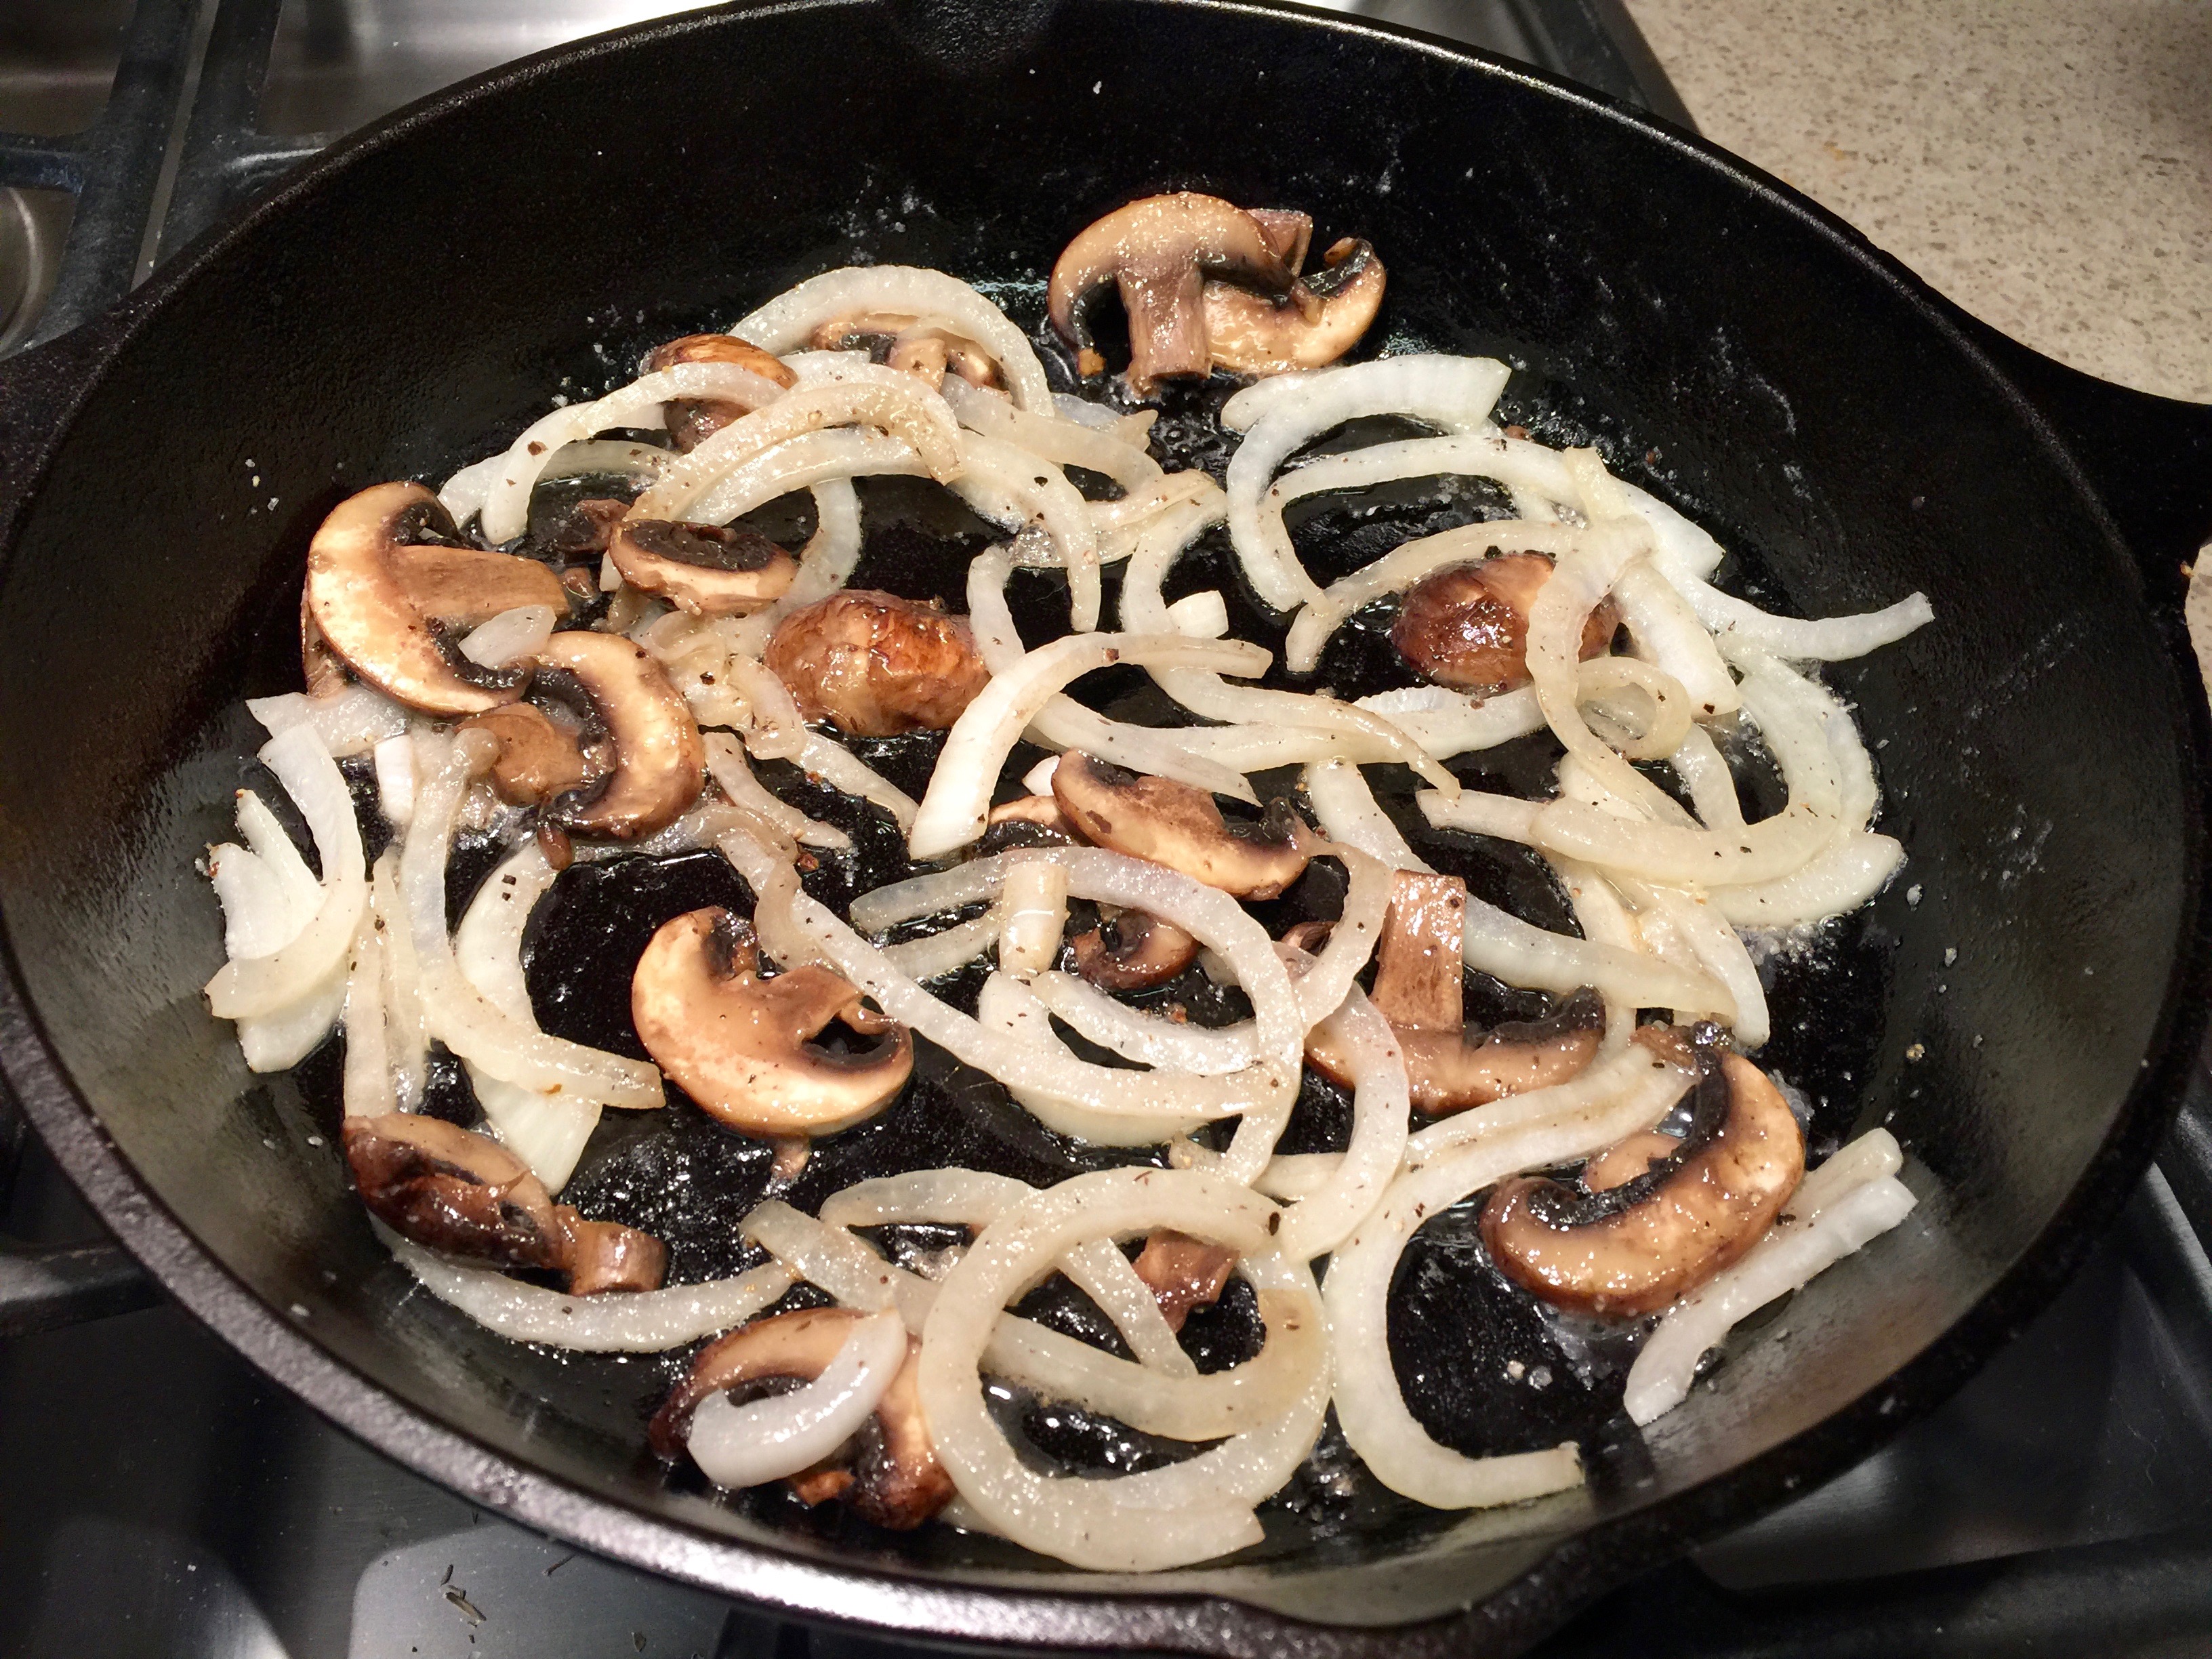
Preheat oven to 350 degrees. Put the bacon pieces in a large high edged skillet and cook until the bacon is slightly crisped. Add the onions and cooked until slightly caramelized. Add one can of beans with the liquid. Drain and rinse the other can of beans and add to the mixture.

Add the ketchup, brown sugar, molasses, mustard, vinegar, worcesterhsire sauce and liquid smoke. Stir until completely combined and simmer for a couple of minutes. Salt and pepper to taste.

Transfer the mixture to a 1 1/2 quart baking dish. Bake uncovered until thick and bubbly, approximately 50 -60 minutes. Serve warm.

Homemade Baked Beans

Homemade Baked Beans

Whatever You Like Quiche…

Quiche is a great way to clean out your refrigerator. It seems you can add whatever you like to a basic quiche recipe and get a fantastic entree. Whether it be meat, vegetables, herbs or  a combination of any or all of them, you can always come out with a great meal.

I’ve added many things to quiche like broccoli, carrots, peas, spinach, pearl onions, cauliflower, ham, chicken – it just seems the combinations are endless. So last week I looked in my refrigerator and I had some bacon, butternut squash cubes and chives and I thought, ok quiche!

There are a few things you need to think about in order to have a perfect quiche. But it’s not hard and once you figure it out your quiche will turn out perfect every time. I have a full proof recipe for the custard/egg part, it’s the crust and what you add to the filling that you need to think through. So, let’s talk about making quiche…

Beans used for blind baking a pie crustLesson Learned 1 – Whether you use a home made or store bought pie crust you need to blind bake it: Blind baking means you partially bake the pie crust before adding the custard mixture to it. That way the crust does not wind up soggy. The procedure is rather simple. Now I’ve mostly used store bought pie deep dish pie crusts. I take the crust out of the freezer and with a fork make some prick marks all over the bottom and sides of the crust being careful not to stick the fork all the way through the dough. This helps keep the dough from rising too much during the baking process. In order to ensure it stays flat I also cover the crust with parchment paper and weigh down the parchment paper with some uncooked beans I keep in mason jar in the pantry just for this purpose. You can also use pie weights. You can find those in most any store. Whatever you use, make sure the bottom and side are weighted down.

Bake the crust for about 20 minutes and then remove the parchment paper and weights and bake for another 10 – 15 minutes. If you use beans you may see a little moisture on the bottom of the crust after you remove the parchment paper. No worries, the moisture will be gone when you bake the crust for the additional 10-15 minutes. The blind baking process is done when the crust is just starting to turn brown.

If you use a home made crust you should set it up in a pie plate and then put it in the freezer for about 30 minutes before you do the blind baking. You want the dough to be a little stiff when it goes into the oven.

Cooked Butternut SquashLesson Learned 2 – To precook or not precook your ingredients before adding them to the egg/custard mixture: This is where you may have to learn by trial and error. Some ingredients you can just add but others need to either be cooked or partially cooked before you put them in the batter. I mentioned I decided to make a bacon, butternut squash and chive quiche. Bacon needs to be fully cooked, drained and cooled before adding it to the batter. The squash, if cut in small pieces about 1/2 inch square, can be cooked until the edges are just slightly turning soft and then drained and cooled before adding it to the batter. Chives you can just chop and drop in. I cooked the bacon first and then I cooked the squash in the bacon grease until it just started to soften. The result was perfectly cooked squash when the quiche was finished.

Bacon, cooked, drained and cooled

With cauliflower I found that if I cut the florets into bite-sized pieces I can just add them to the batter and I get perfect al dente pieces when the quiche is done. Carrots you will need to cook. I just add frozen pearl onions and they turn our perfectly. If you decide to use diced onion you will need to cook them. Ham is generally precooked so you can just cube it and add it. Spinach should be wilted and drained. Mushrooms should be cooked to release their moisture and drained. So you see, not one size fits all when it comes to adding ingredients to the egg/custard mix. But I know you’ll get the hang of it.  Just remember, you don’t want hot things or a lot of moisture going in to the egg/custard mixture.

Lesson Learned 3 – Let the quiche rest for about five minutes after you take it out of the oven: By doing this you give the custard a change to get a little firmer and the quiche will be easier to cut. Resist the temptation to cut it right away, no matter how great it looks!

Bacon, Butternut Squash and Chive Quiche

BACON, BUTTERNUT SQUASH AND CHIVE QUICHE...

  • Servings: 6
  • Difficulty: Easy
  • Print

INGREDIENTS:

1 nine inch frozen deep dish pie crust

2 cups filling ( I used 1 1/2 cups butternut squash, 1/2 cup bacon chopped and  2 Tbs minced chives)

2 cups good melting cheese, grated  (I used jarlsberg)

4 large eggs

1 cup milk

1/2 cup heavy cream

1/2 tsp. salt

DIRECTIONS:

Preheat the oven to 350. Prick the bottom and sides of the frozen crust with a fork. Cover with parchment paper and weigh down with beans or pie weights. Bake in the oven for 20 minutes. Remove from the oven, take off the parchment paper and weights and bake the crust for another 10-15 minutes or until it just starts to turn brown. Remove from oven and let cool.

Prepare the filling while blind baking the crust. Cook the bacon until crisp. Drain on paper towels and cut into pieces when cooled. Cut the squash into half inch squares and saute in the bacon grease. Remove the squash when it just starts to soften and drain on paper towels. Mince the chives.

In a large bowl crack 4 eggs and slightly whisk to break the yokes. Add the milk, cream and salt and whisk thoroughly. Add your filling and stir to combine.

Put half the cheese on the bottom of the pie crust. Pour in the filling. Put the other half of the cheese on top of the filling.  Place the dish on a foil lined baking sheet. Bake in the oven at 350 for 40-45 minutes. Let stand for five minutes. Slice and serve.

Bacon, Butternut Squash and Chive Quiche

 Bacon, Butternut Squash and Chive Quiche

Meatballs With A Surprise Inside…

My “Best Ever Meatballs” is my go-to recipe for an hors d’oeuvre but I wanted to experiment with a meatball recipe that could serve as a entree and not an appetizer. I definitely wanted them to taste differently from the appetizer version and I also wanted to have some fun with them. So I decided to make these meatballs and I think they’ll be my go-to entree recipe.

This is a great recipe for a variety of reasons. I love it because the meatballs are easy to make, they’re delicious, they cook quickly, the cheese inside is a delightful surprise and it makes great leftovers! I have to say I cheated when I made these, I used pre-made mashed potatoes instead of making them from scratch. But by doing that I could have dinner on the table in 30 minutes. So it was worth the short cut.

So let’s talk meatballs with a surprise…

ground beef mixtureLesson Learned 1 – It doesn’t take many ingredients to make the meatballs flavorful: basically you’re mixing the meat with an egg yolk, some panko, minced onion, worcestershire sauce and dijon mustard – that’s it. Combined with the cheese inside and the beef gravy you get flavorful meatballs without a lot of work! The key is to make sure you combine all of the ingredients but not over work the meat. If you do you’ll have tough meatballs and you don’t want that.

Cheese Inside the MeatballLesson Learned 2 – A little bit of cheese goes a long way: You can use any kind of good melting cheese in the center of your meatballs. I chose one called Buttrekase, a cheese that originated in Switzerland and now produced in Wisconsin. It’s American name is “butter cheese” although it has no butter in it. It melts luxuriously and has a mild buttery flavor. This was a perfect choice for these meatballs.

You will get approximately 15 meatballs out of one pound of ground beef. You don’t want your meatballs to be too big, maybe an inch to an inch and a half in diameter. Make sure you cut pieces of cheese that are small enough to support a meatball that size. Then just take the meat mixture and wrap it around that cheese, pressing the meat together to try to minimize any holes. But don’t worry if cheese leaks out when you bake them. There will still be more inside.

Lesson Learned 3 – Don’t over bake your meatballs:  Although the meatballs look large, remember that there is a good amount of cheese inside them. So I would not bake them any longer than 15-18 minutes. Keep in mind you will also be simmering them for a few minutes in the gravy once you take them out of the oven, so they have plenty of time to get cooked through.

The amount of meatballs you get with a pound of ground beef.

This has got to be one of the easiest recipes ever and produces a great meal in a short amount of time. I love topping a mound of mashed potatoes with these meatballs and then drizzling the beef gravy on top. Add a sprinkling of fresh cut flat leaf parsley and you’ve got a meal that looks as good as it tastes. Enjoy!

MEATBALLS WITH A SURPRISE INSIDE...

  • Servings: 4
  • Difficulty: Easy
  • Print

INGREDIENTS

(For The Meatballs)

1 pound 93% lean ground sirloin

2 Tbs. minced onion

1 egg yolk

3 Tbs. panko bread crumbs

1 Tbs. worcestershire sauce

1 tsp. dijon mustard

4 oz. good melting cheese (I used Butterkase cheese)

Chopped flat leaf parsley for garnish

(For The Sauce)

4 – 6  cremini mushrooms, sliced

1 small onion sliced

2 cloves garlic, minced

3 Tbs. unsalted butter

2 1/2 cups beef stock, divided and unsalted

2 Tbs. corn starch

2 Tbs. ketchup

2 Tbs. worcestershire sauce

Salt and pepper to taste

DIRECTIONS:

Heat the oven to 400 degrees. Line a lipped baking sheet with foil and spray with cooking spray.  Cut the cheese into about 15 small pieces. Combine onion, egg yolk, minced onion, bread crumbs worcestershire sauce and mustard until well combined. Add the ground beef and mix until just combined.

Divide the ground beef mixture into about 15 equal sized pieces. Flatten each piece, add a piece of cheese into the center and roll the meat around the cheese sealing it to the best of your ability.

Bake 15-18 minutes. While the meatballs are baking, make the sauce.

Melt the butter in a large skillet. Add the onions and mushrooms and cook until tender (5-8 minutes). Add the garlic and cook until fragrant (approx. 1 minute). Pour all but 1/4 cup of the beef stock into the pan. Mix the remaining stock with the cornstarch, making sure that the cornstarch is completely absorbed into the stock. Add that to the pan along with the ketchup and worchestershire sauce. Cook until thick. Salt and pepper to taste.

Take the meatballs out of the oven and add them to the sauce. Simmer them in the sauce for about 3 minutes. Serve warm.

Cooked onions and mushrooms

Simmer Meatballs In The Sauce

Meatballs With A Surprise

Meatballs With A Surprise Inside