I was intrigued by the idea of a cinnamon roll-type bread and who doesn’t love the smell of cinnamon wafting through the house especially on a crisp cool Fall day? I have to admit, though, that I made this recipe twice with two very different ways of adding the cinnamon sugar filling. I definitely discovered my preference which I will share later in the blog.
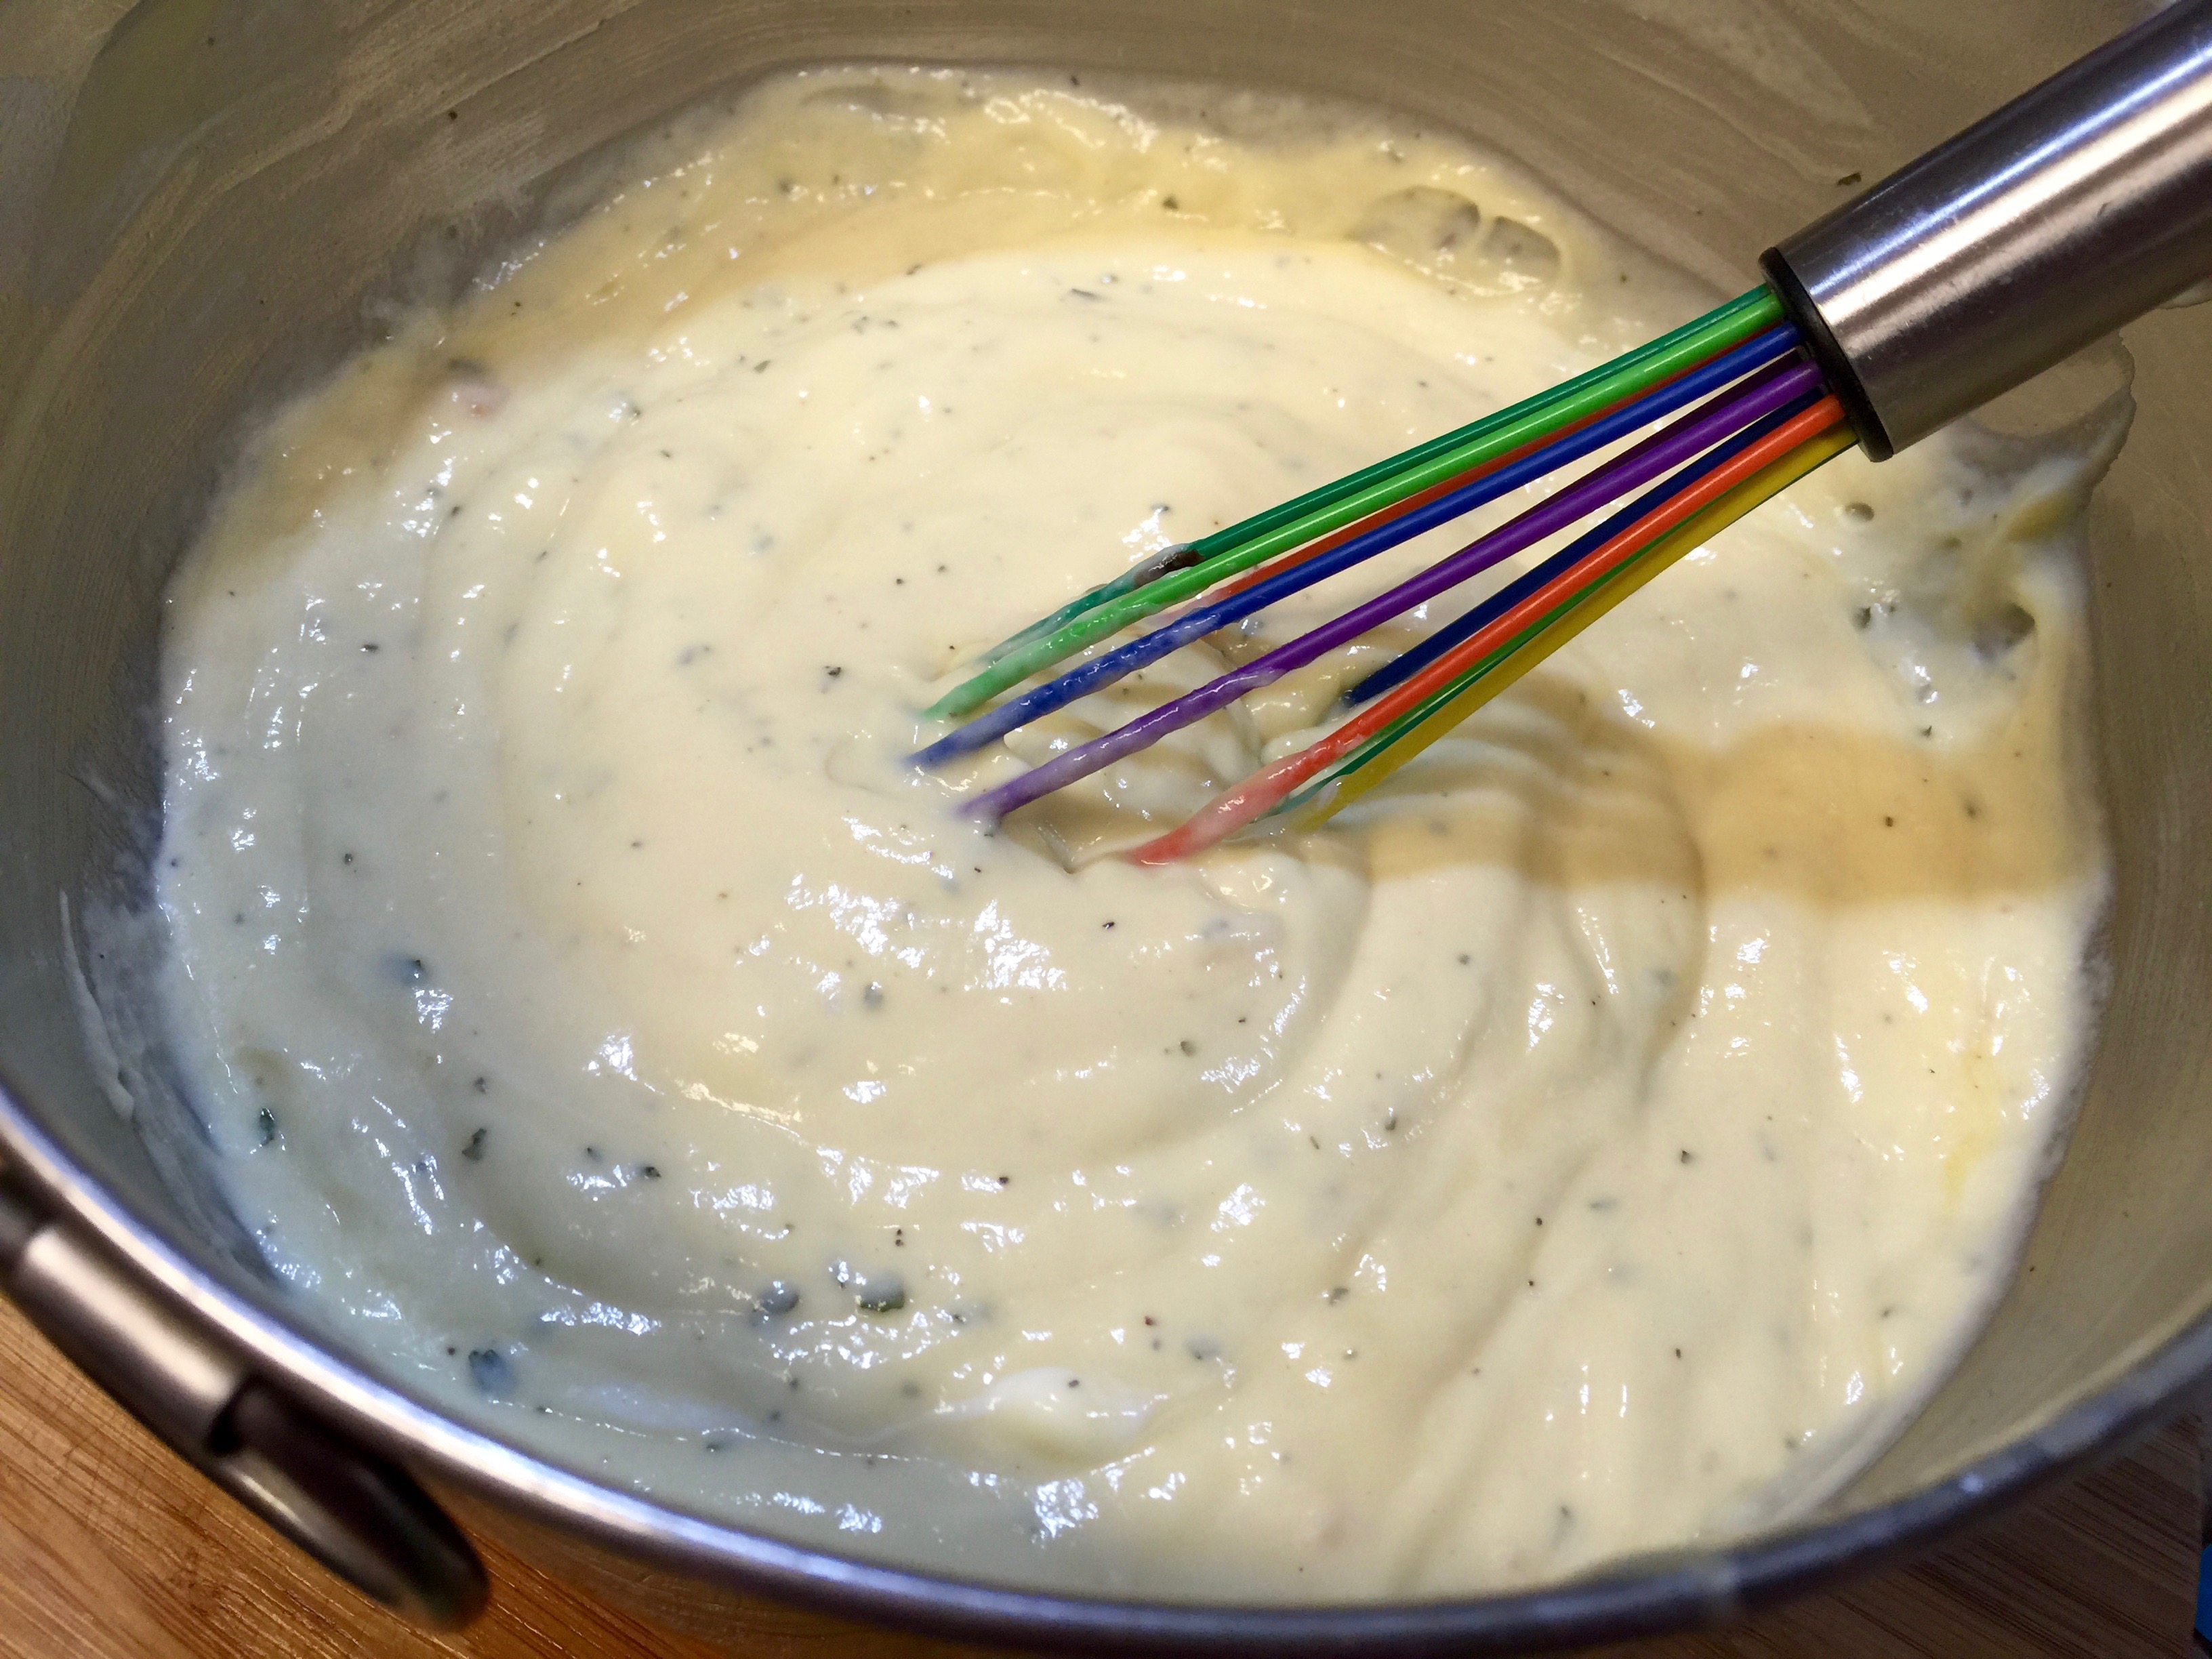
The first time I did the filling I made it in a more liquid-type consistency combining the cinnamon and sugar mixture with water. The second time I used a stiffer consistency, added brown sugar instead of white sugar and mixed it with room temperature butter and a dash of flour.

Water Based Cinnamon Sugar Mixture
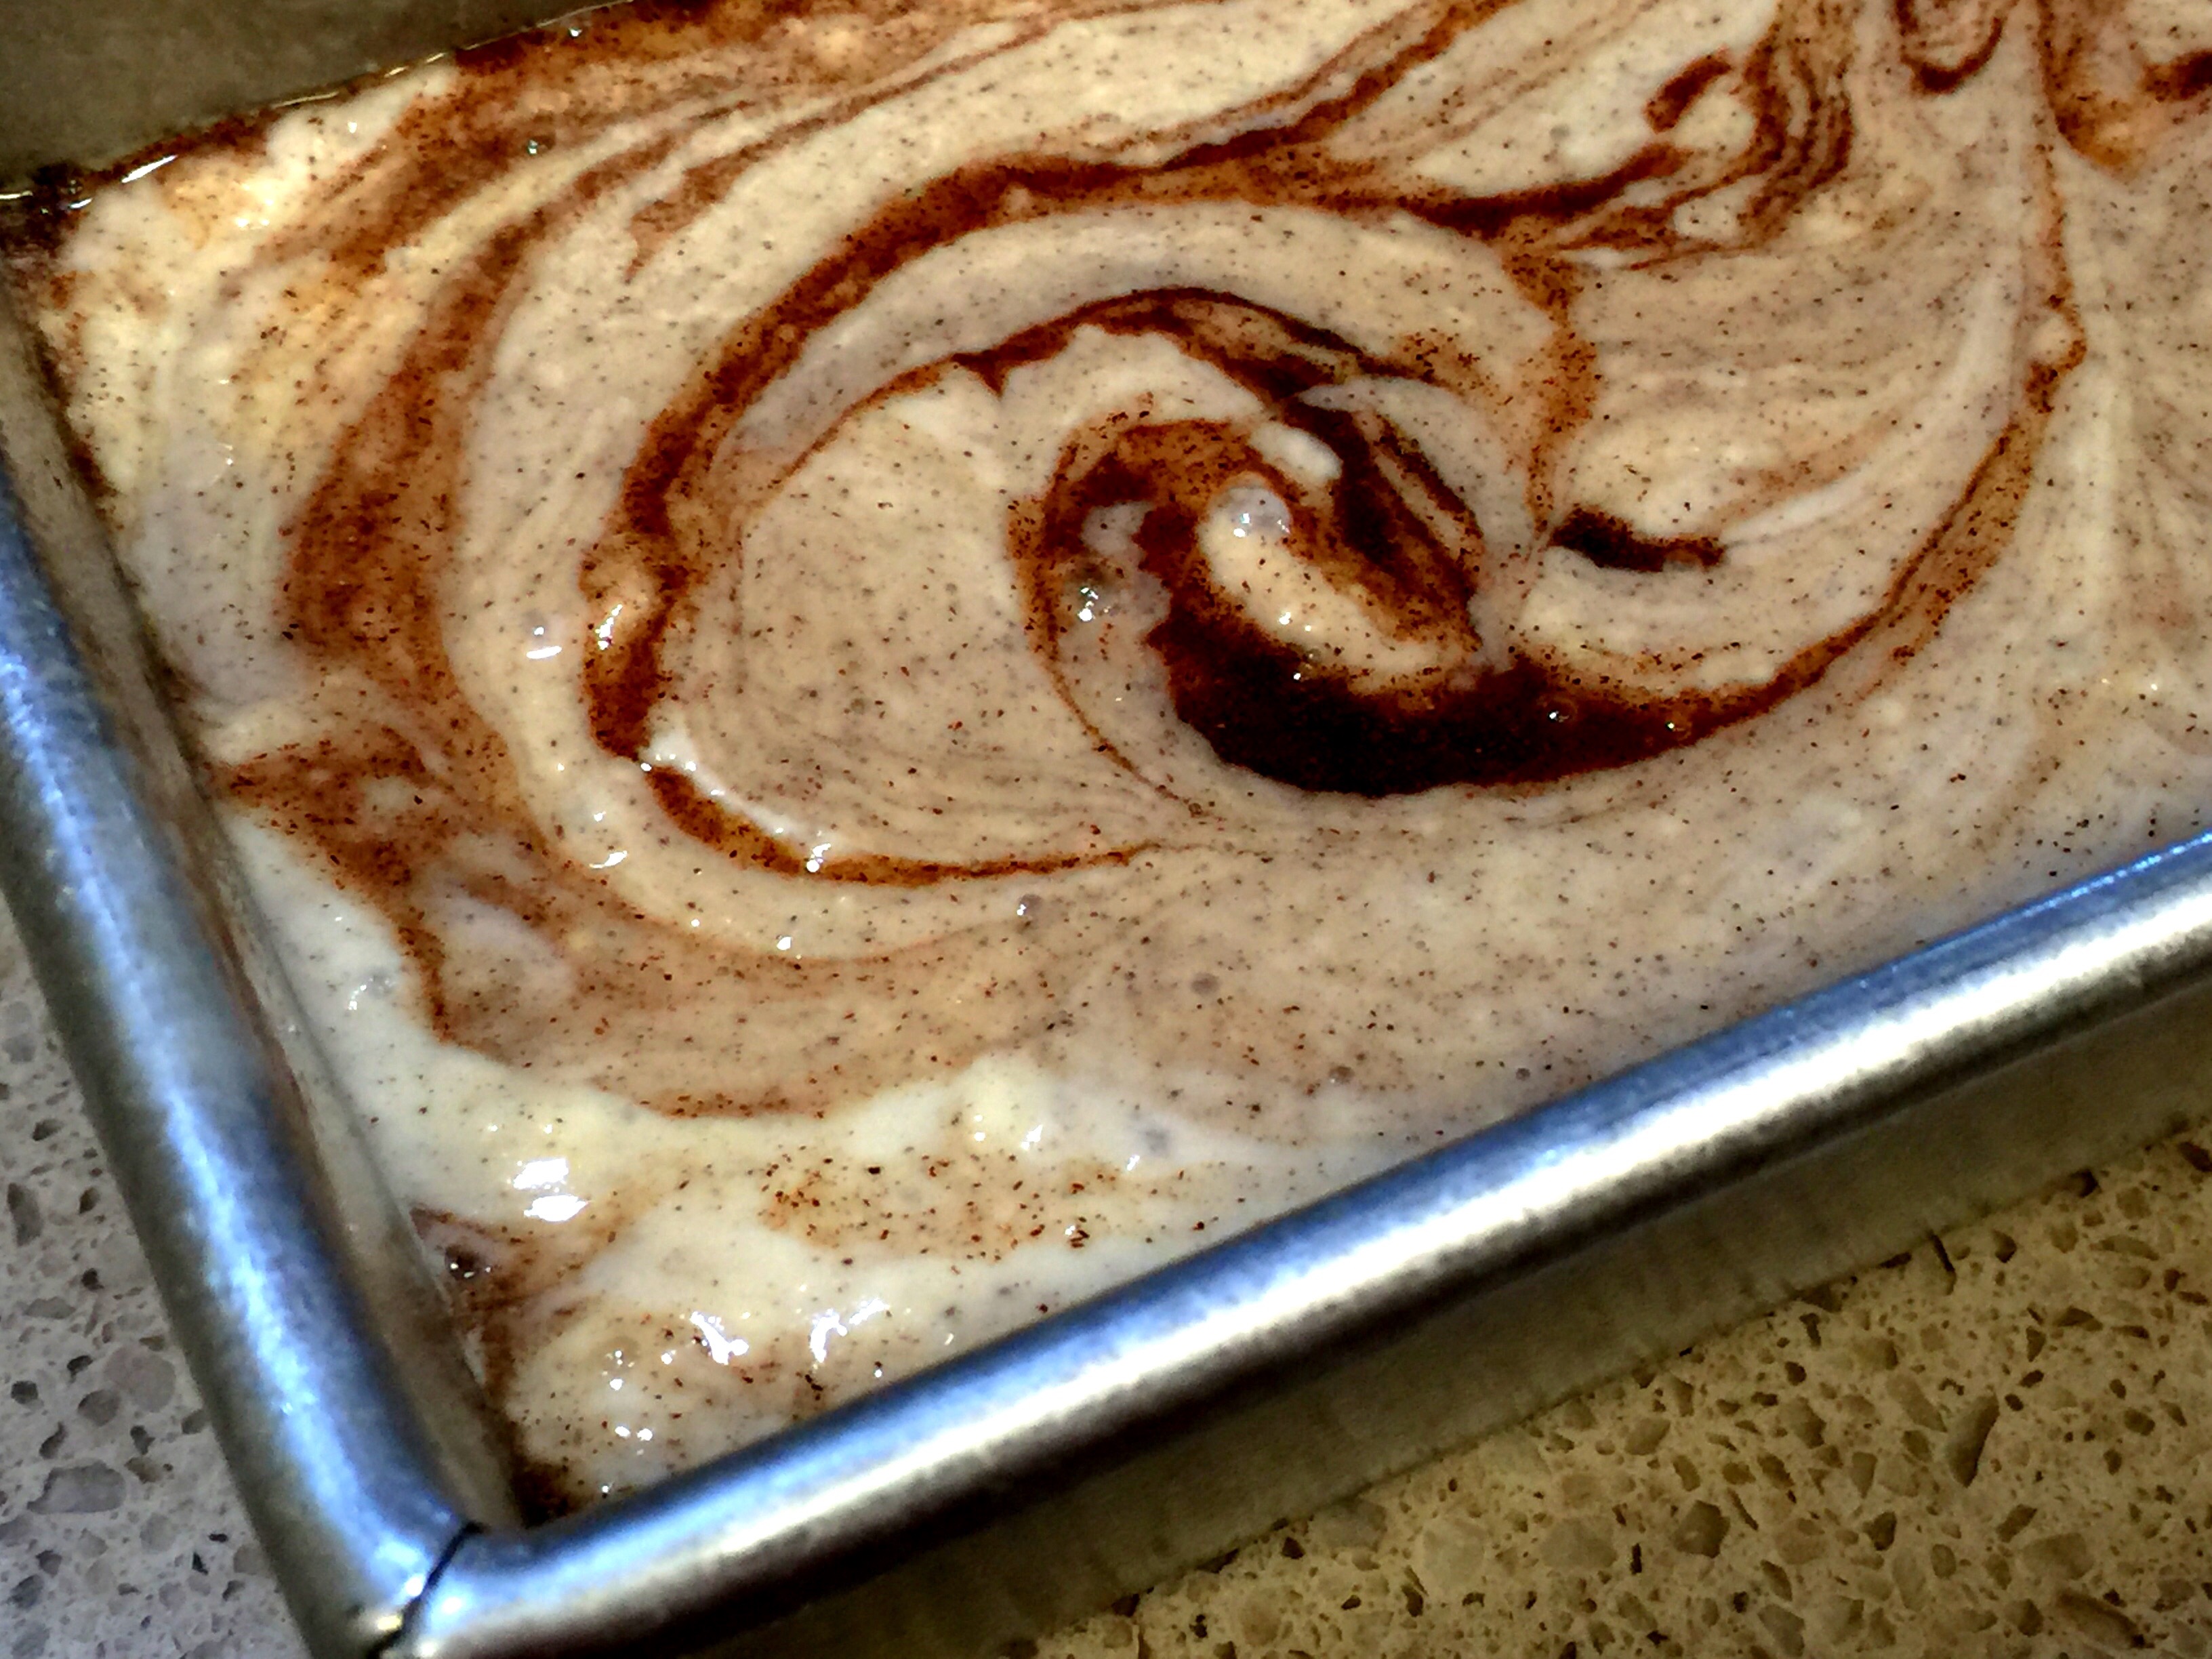
Swirled Mixture
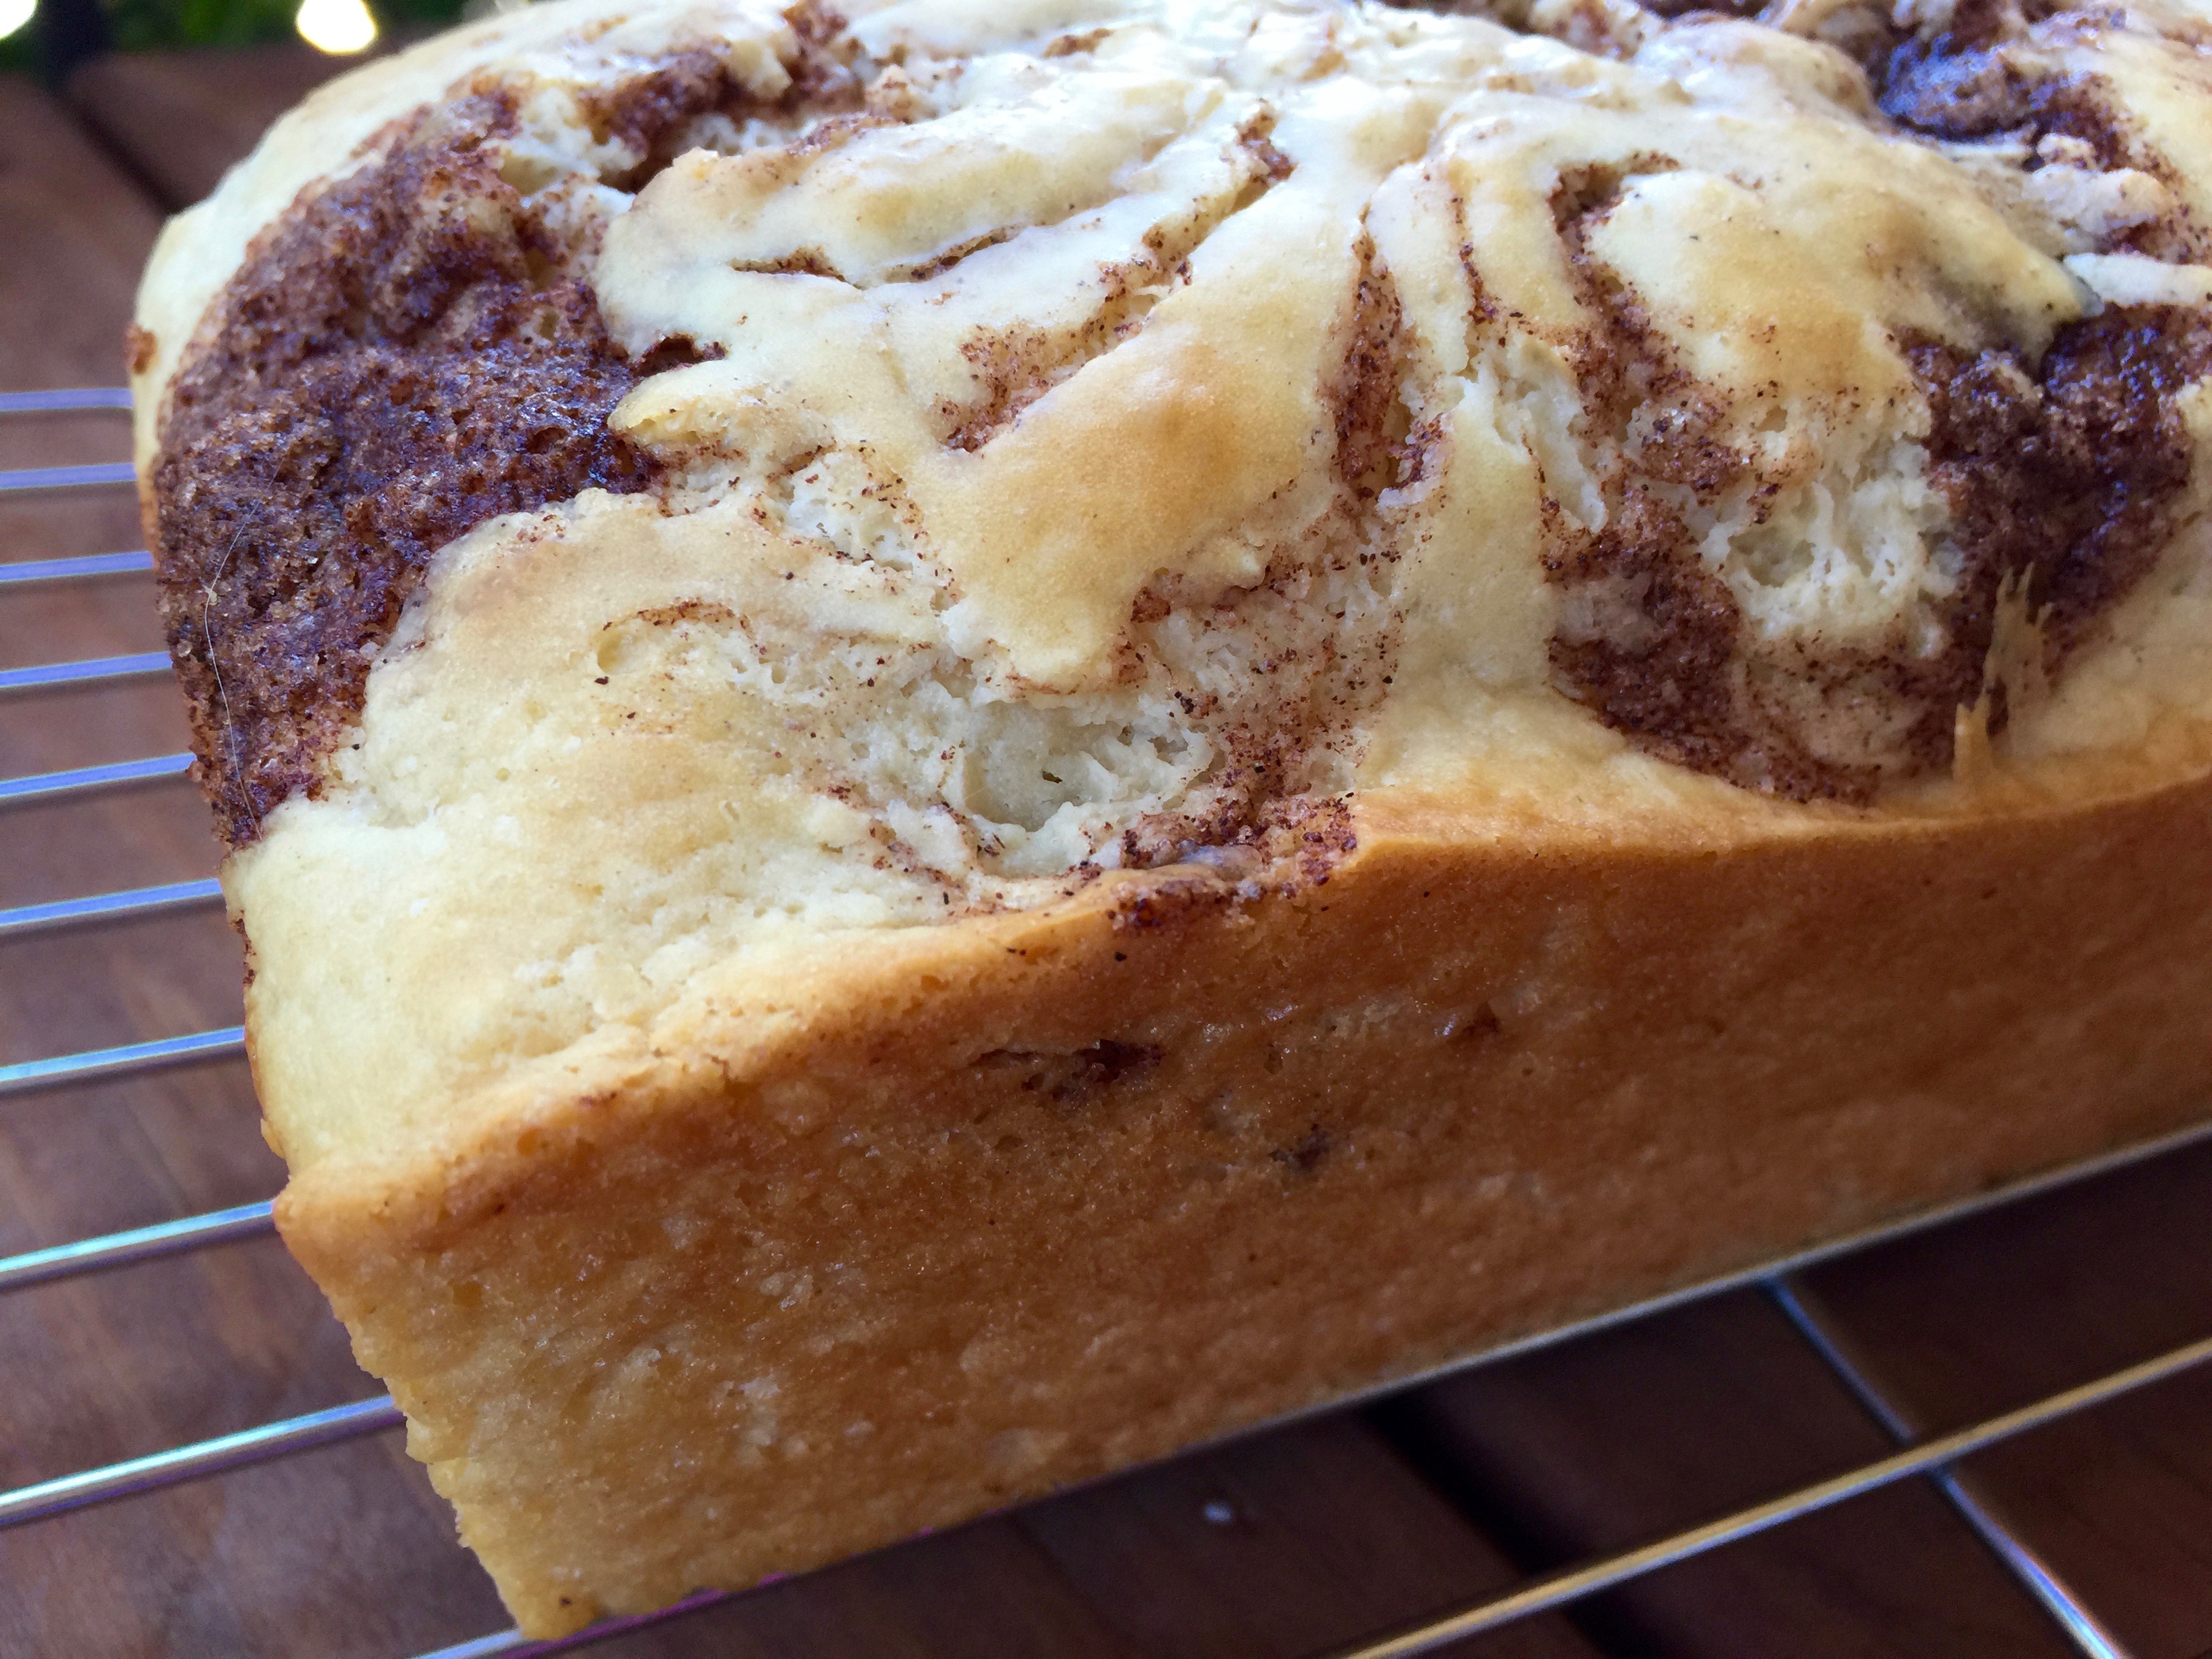
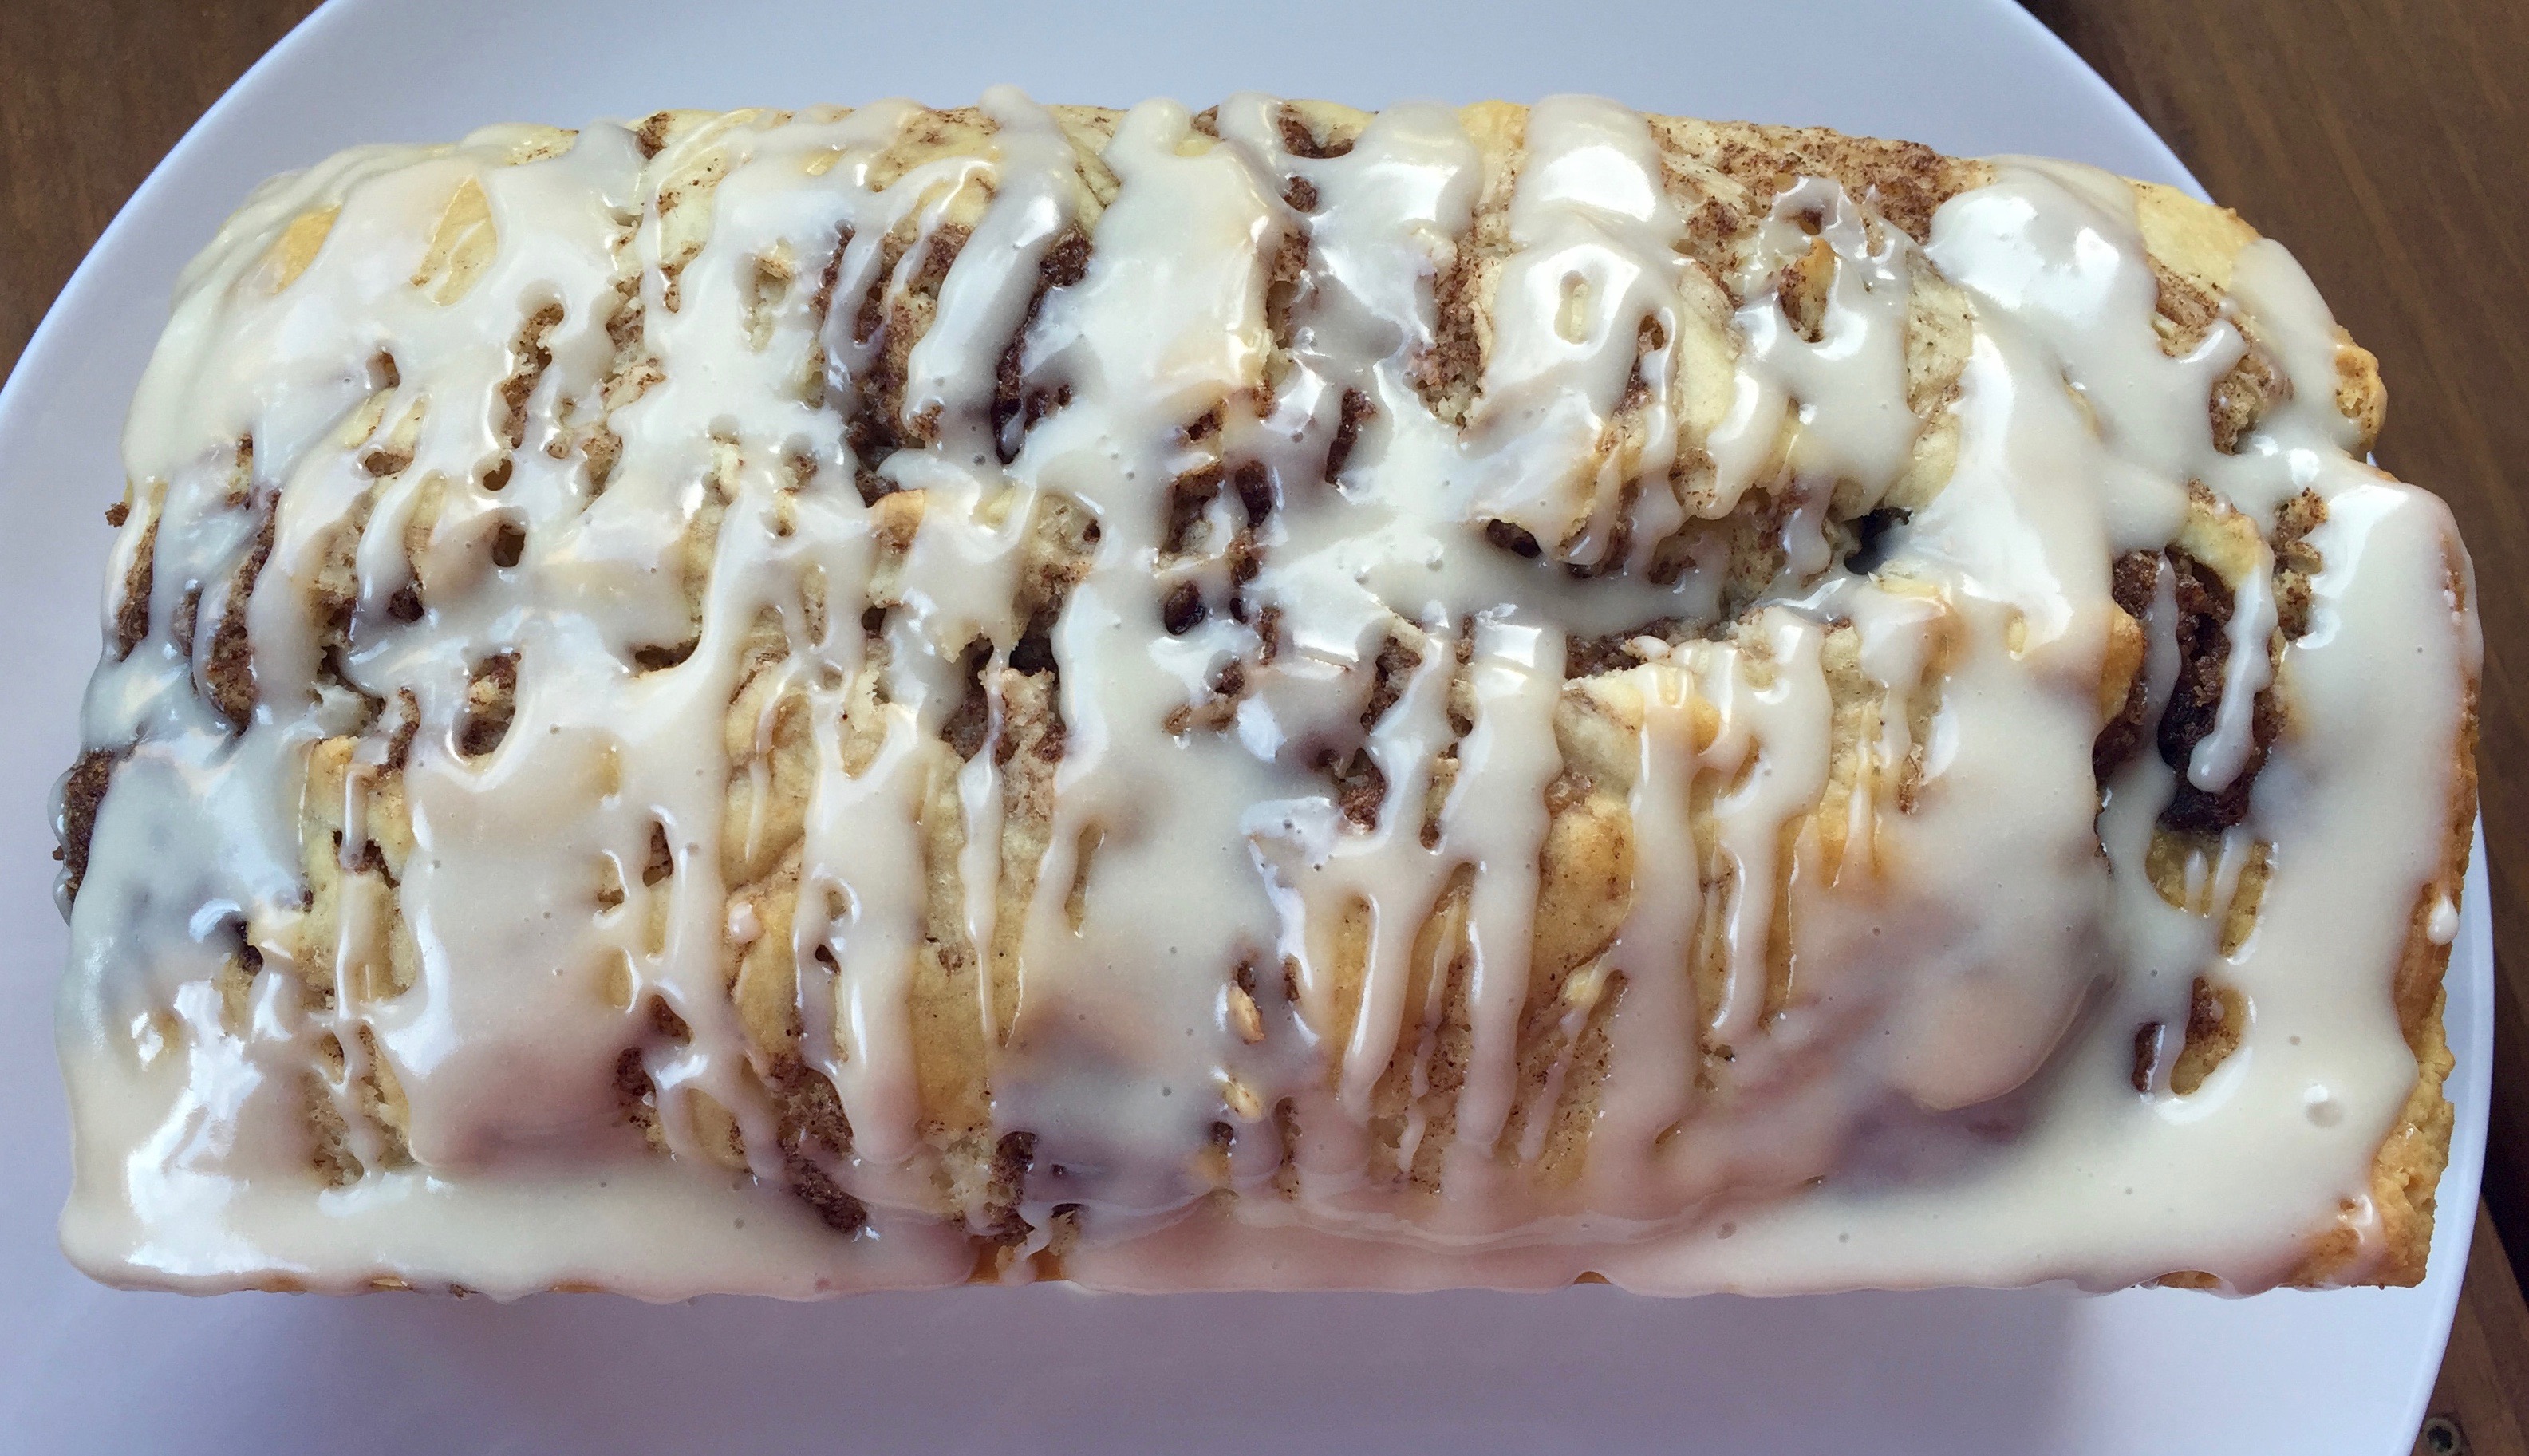
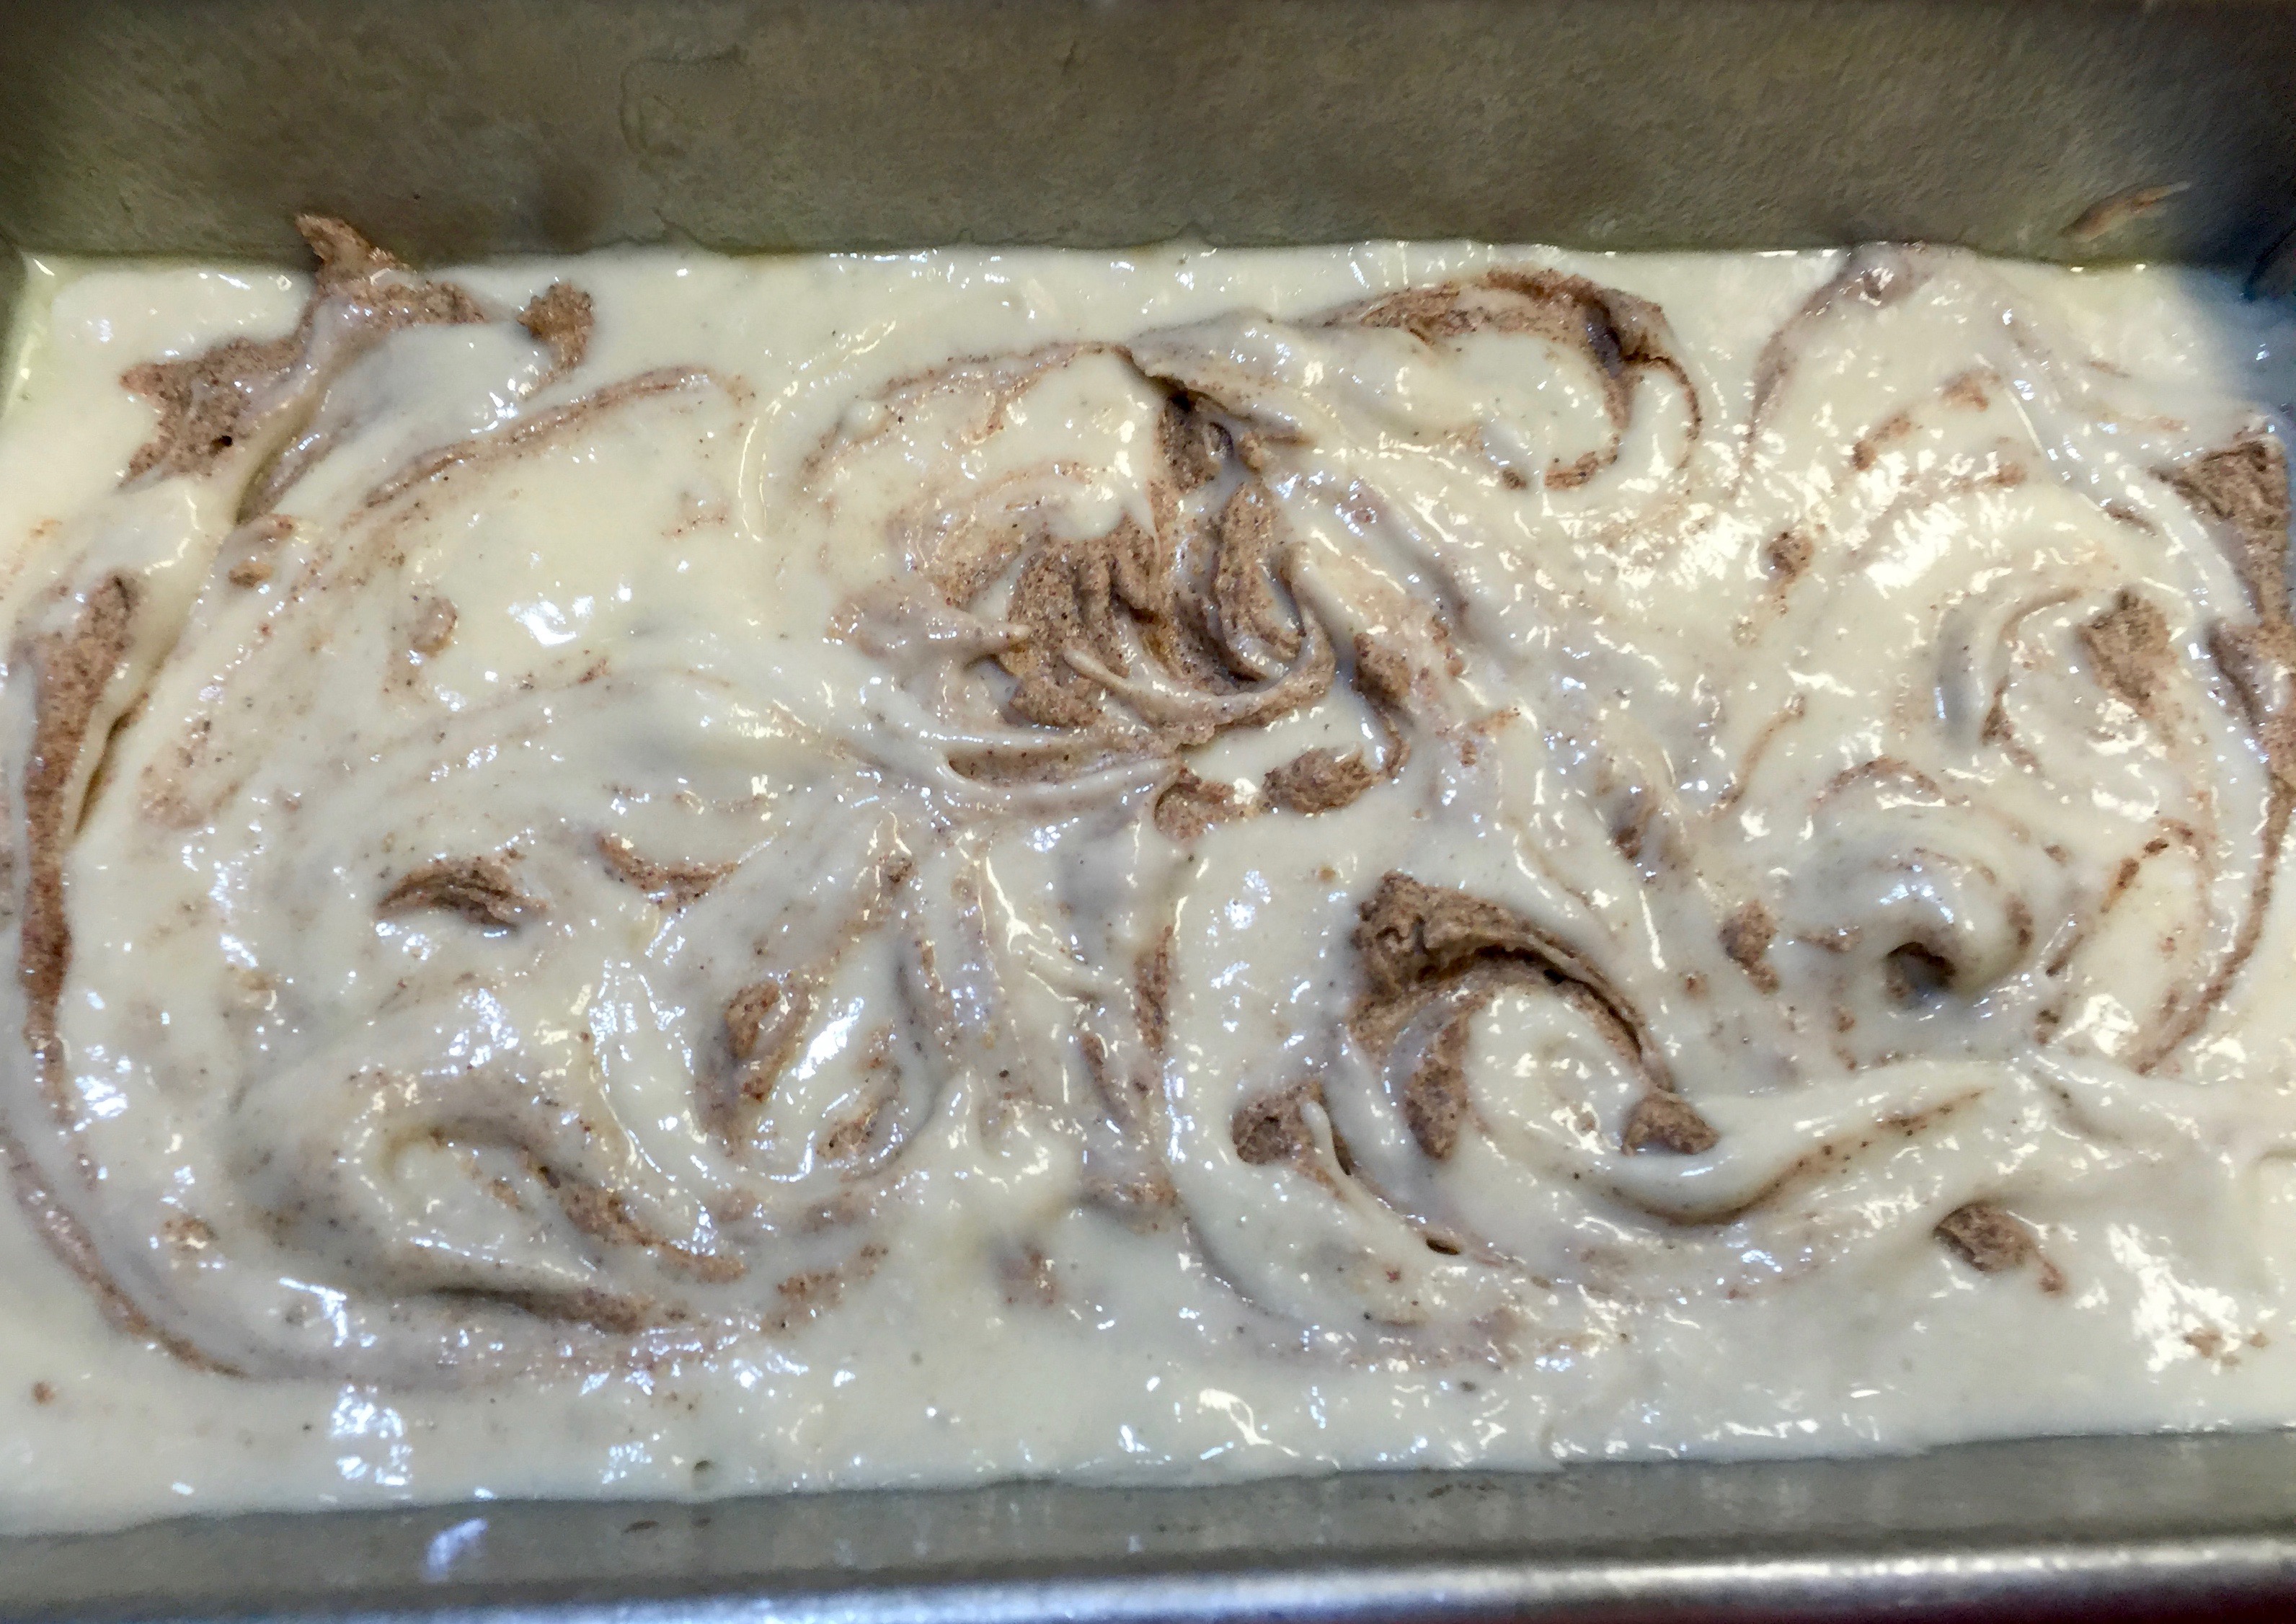
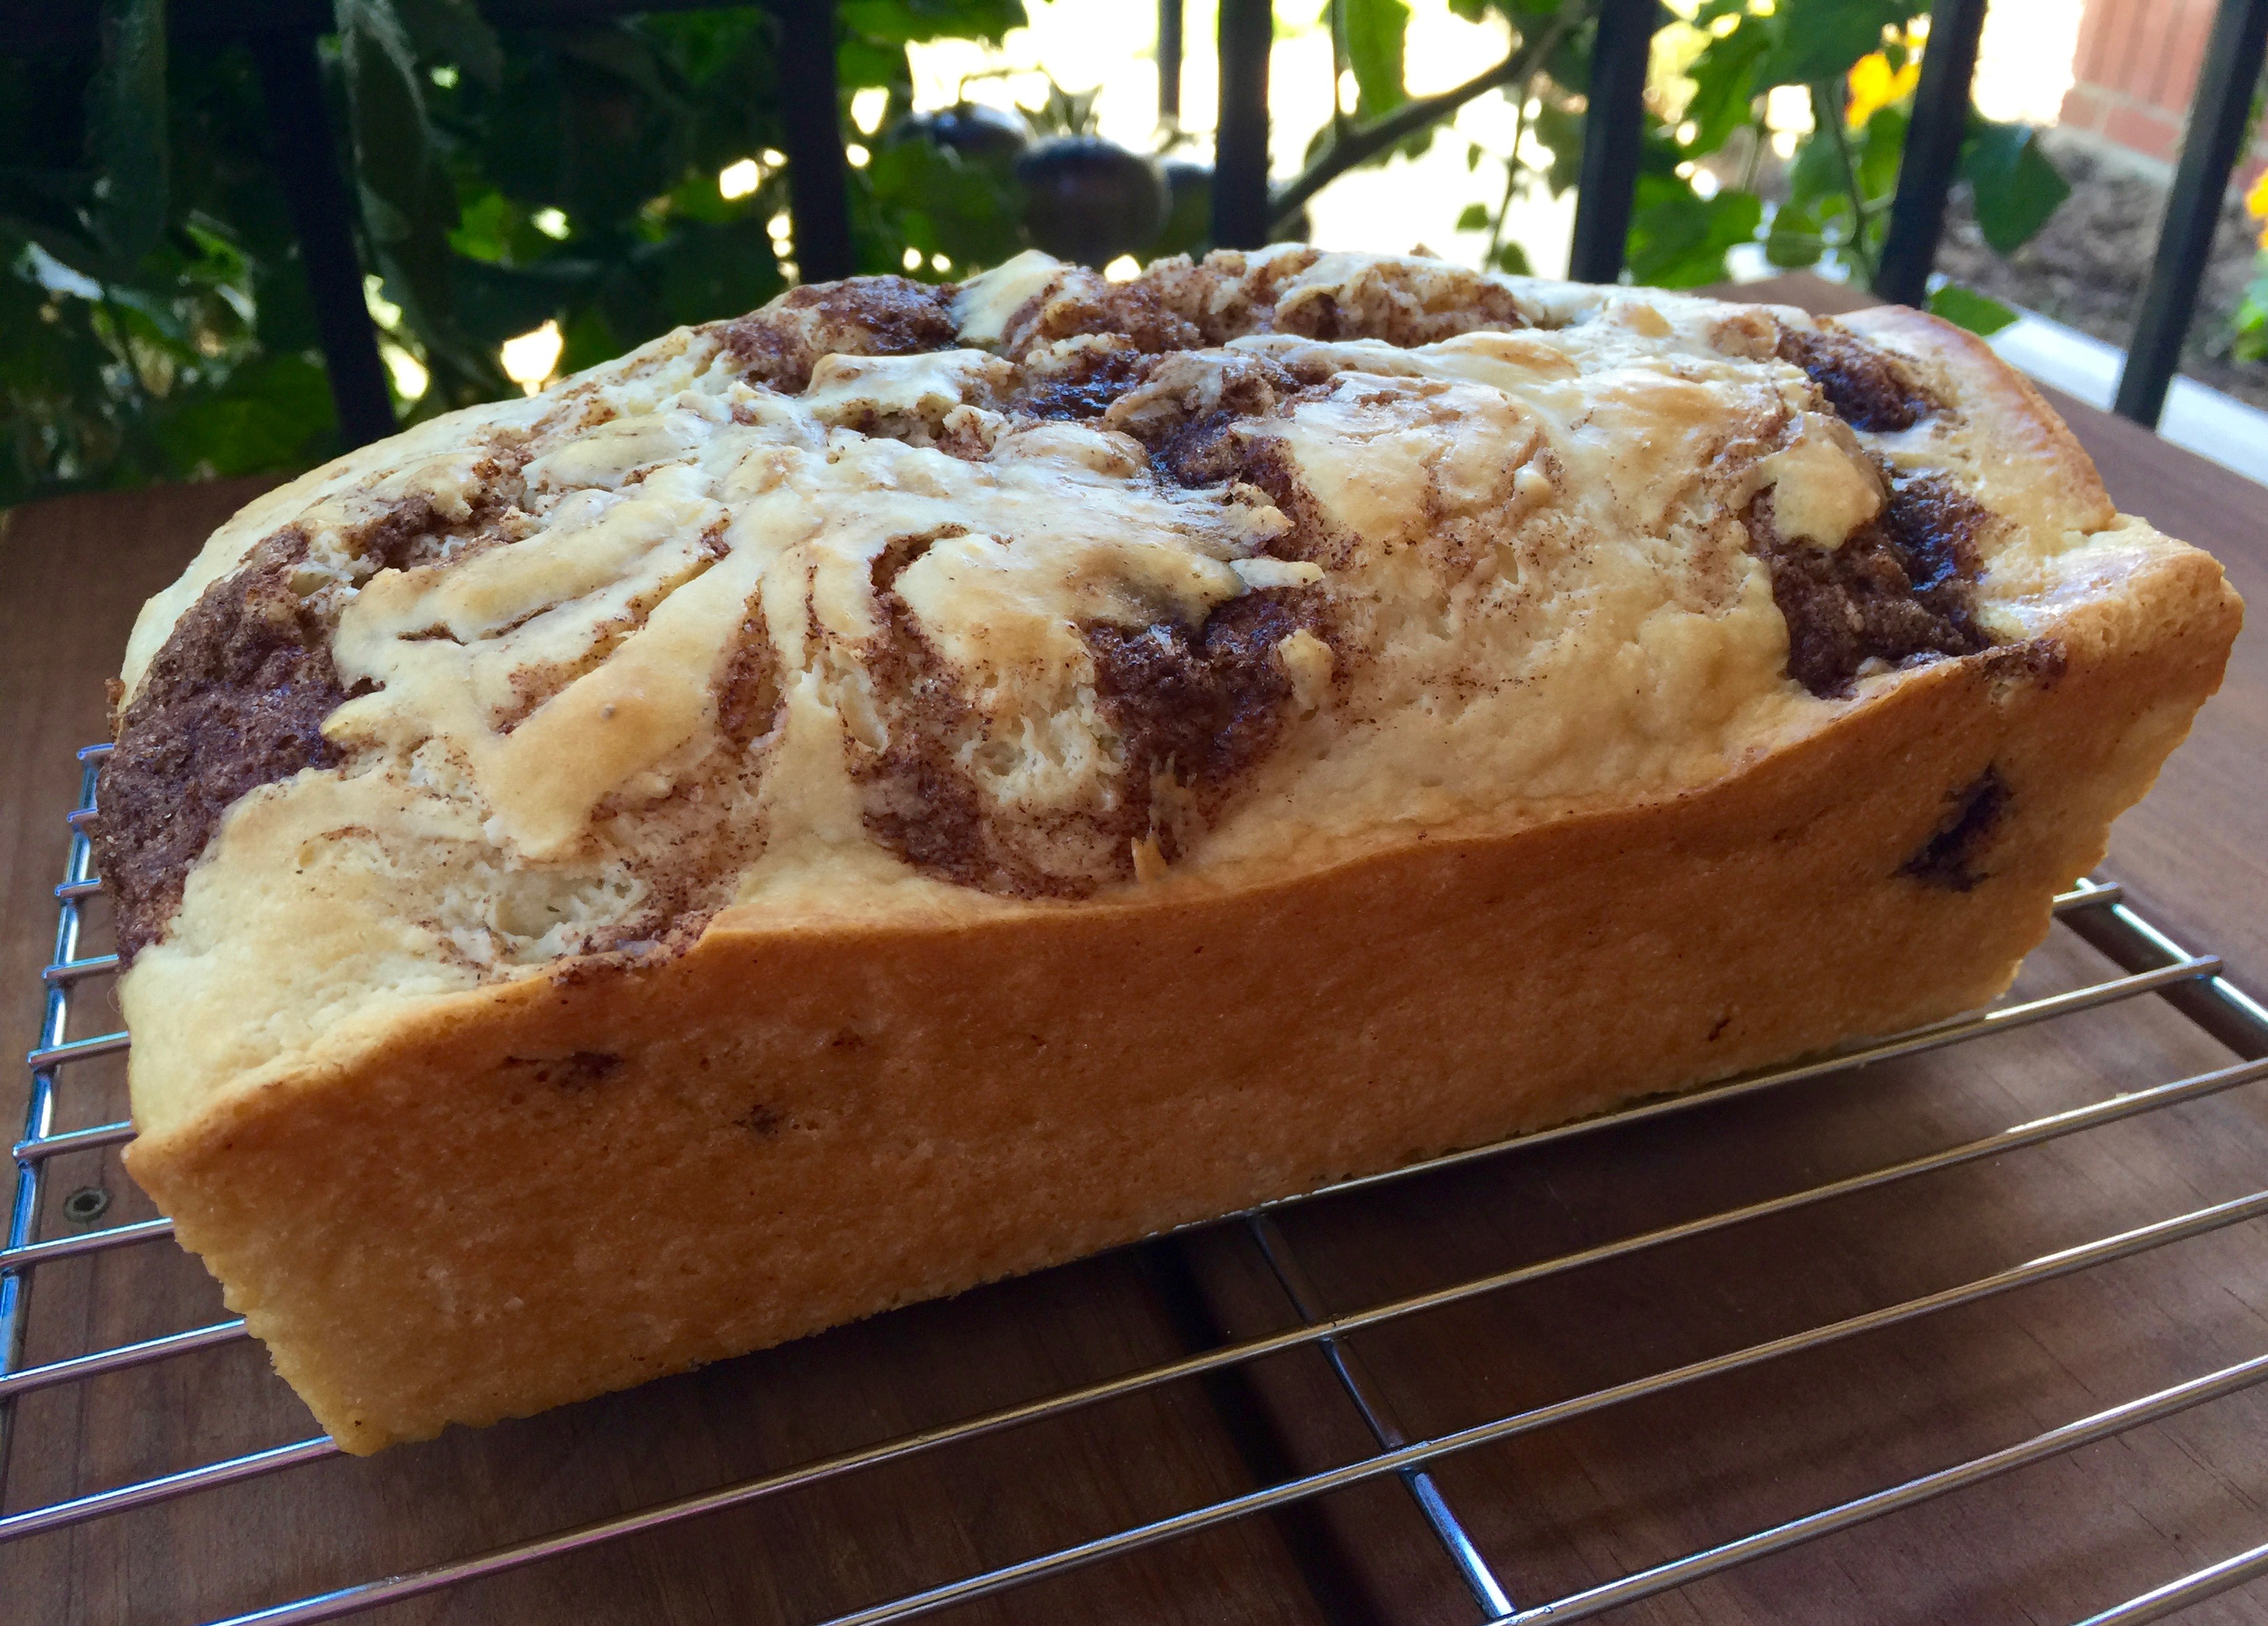
Although both breads turned out perfectly fine, I have to say that I preferred the the butter blend to the water blend and here’s why. I don’t know about you, but every time I use the method of putting some sort of mixture on top of my batter and blending it into the batter with a knife it never gives me the deep kinds of swirls I want. When I used the water-based cinnamon sugar mixture it provided a nice concentration on the top of the bread but in the center it basically just blended with the bread. You could see the cinnamon but not the more distinct type of swirl that I wanted. (the pictures below show the differences between the two – the one on the left is the bread made with the water based cinnamon mixture and the one on the right represents the butter based cinnamon mixture)
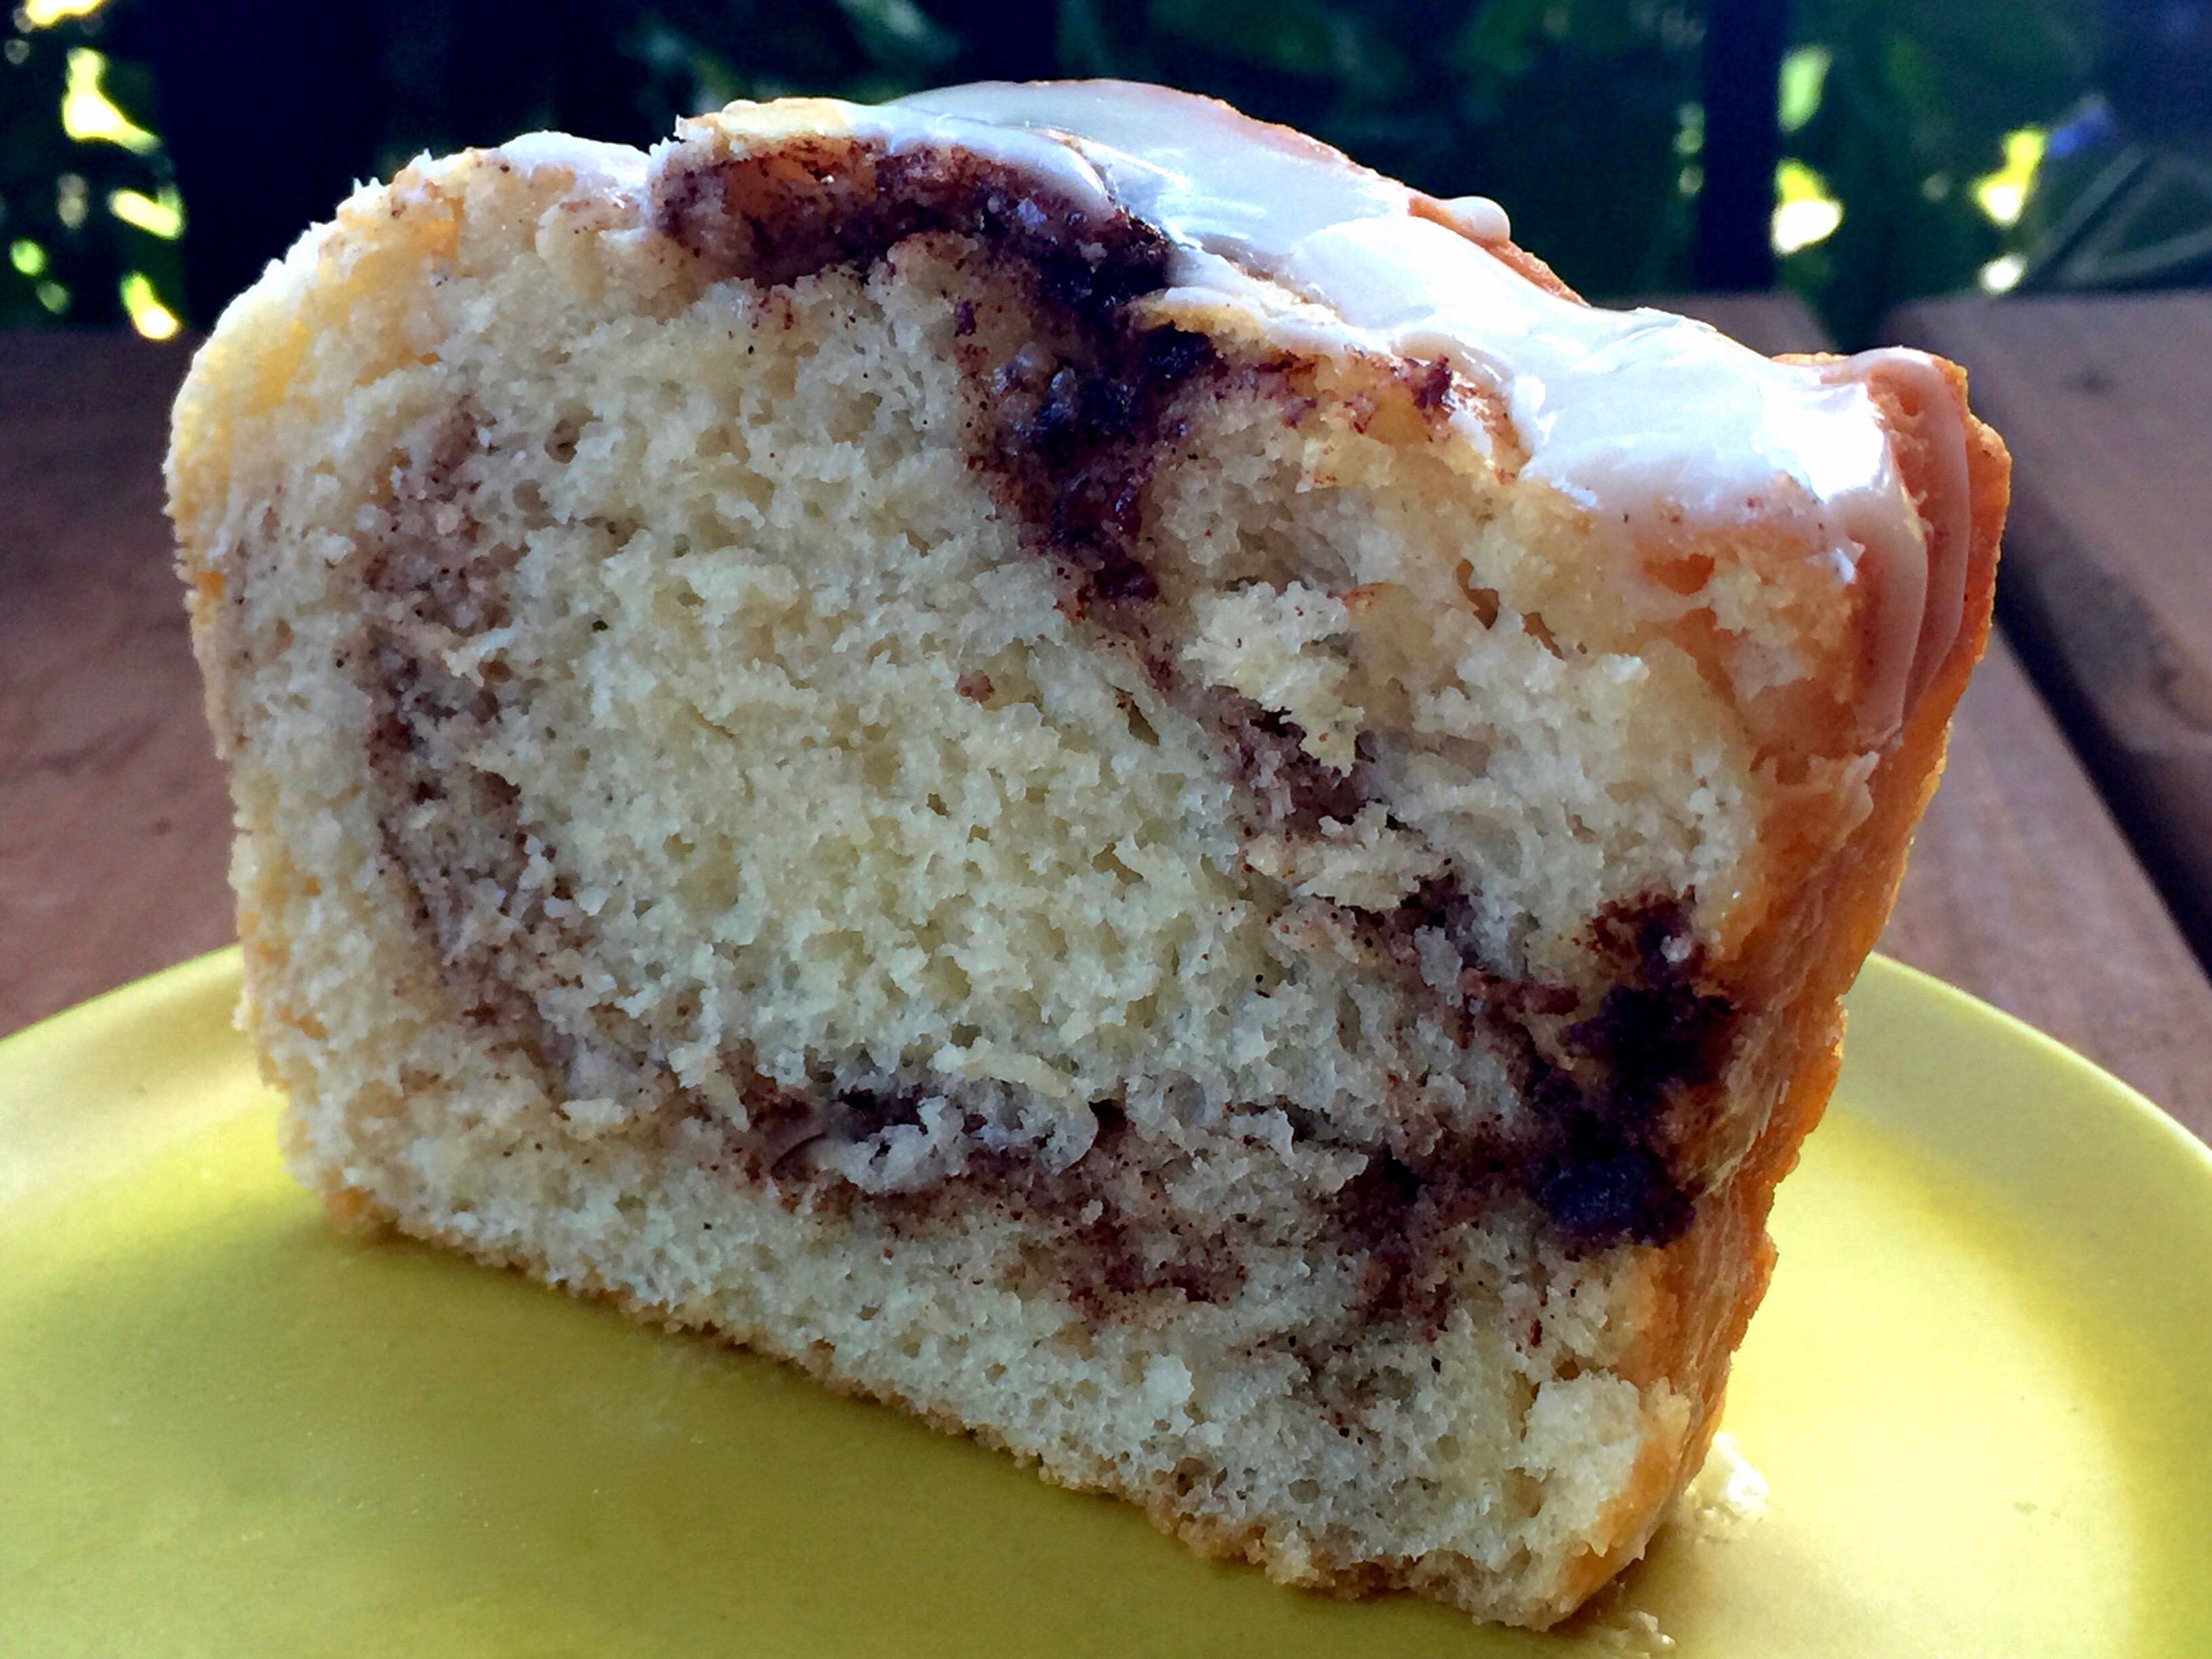
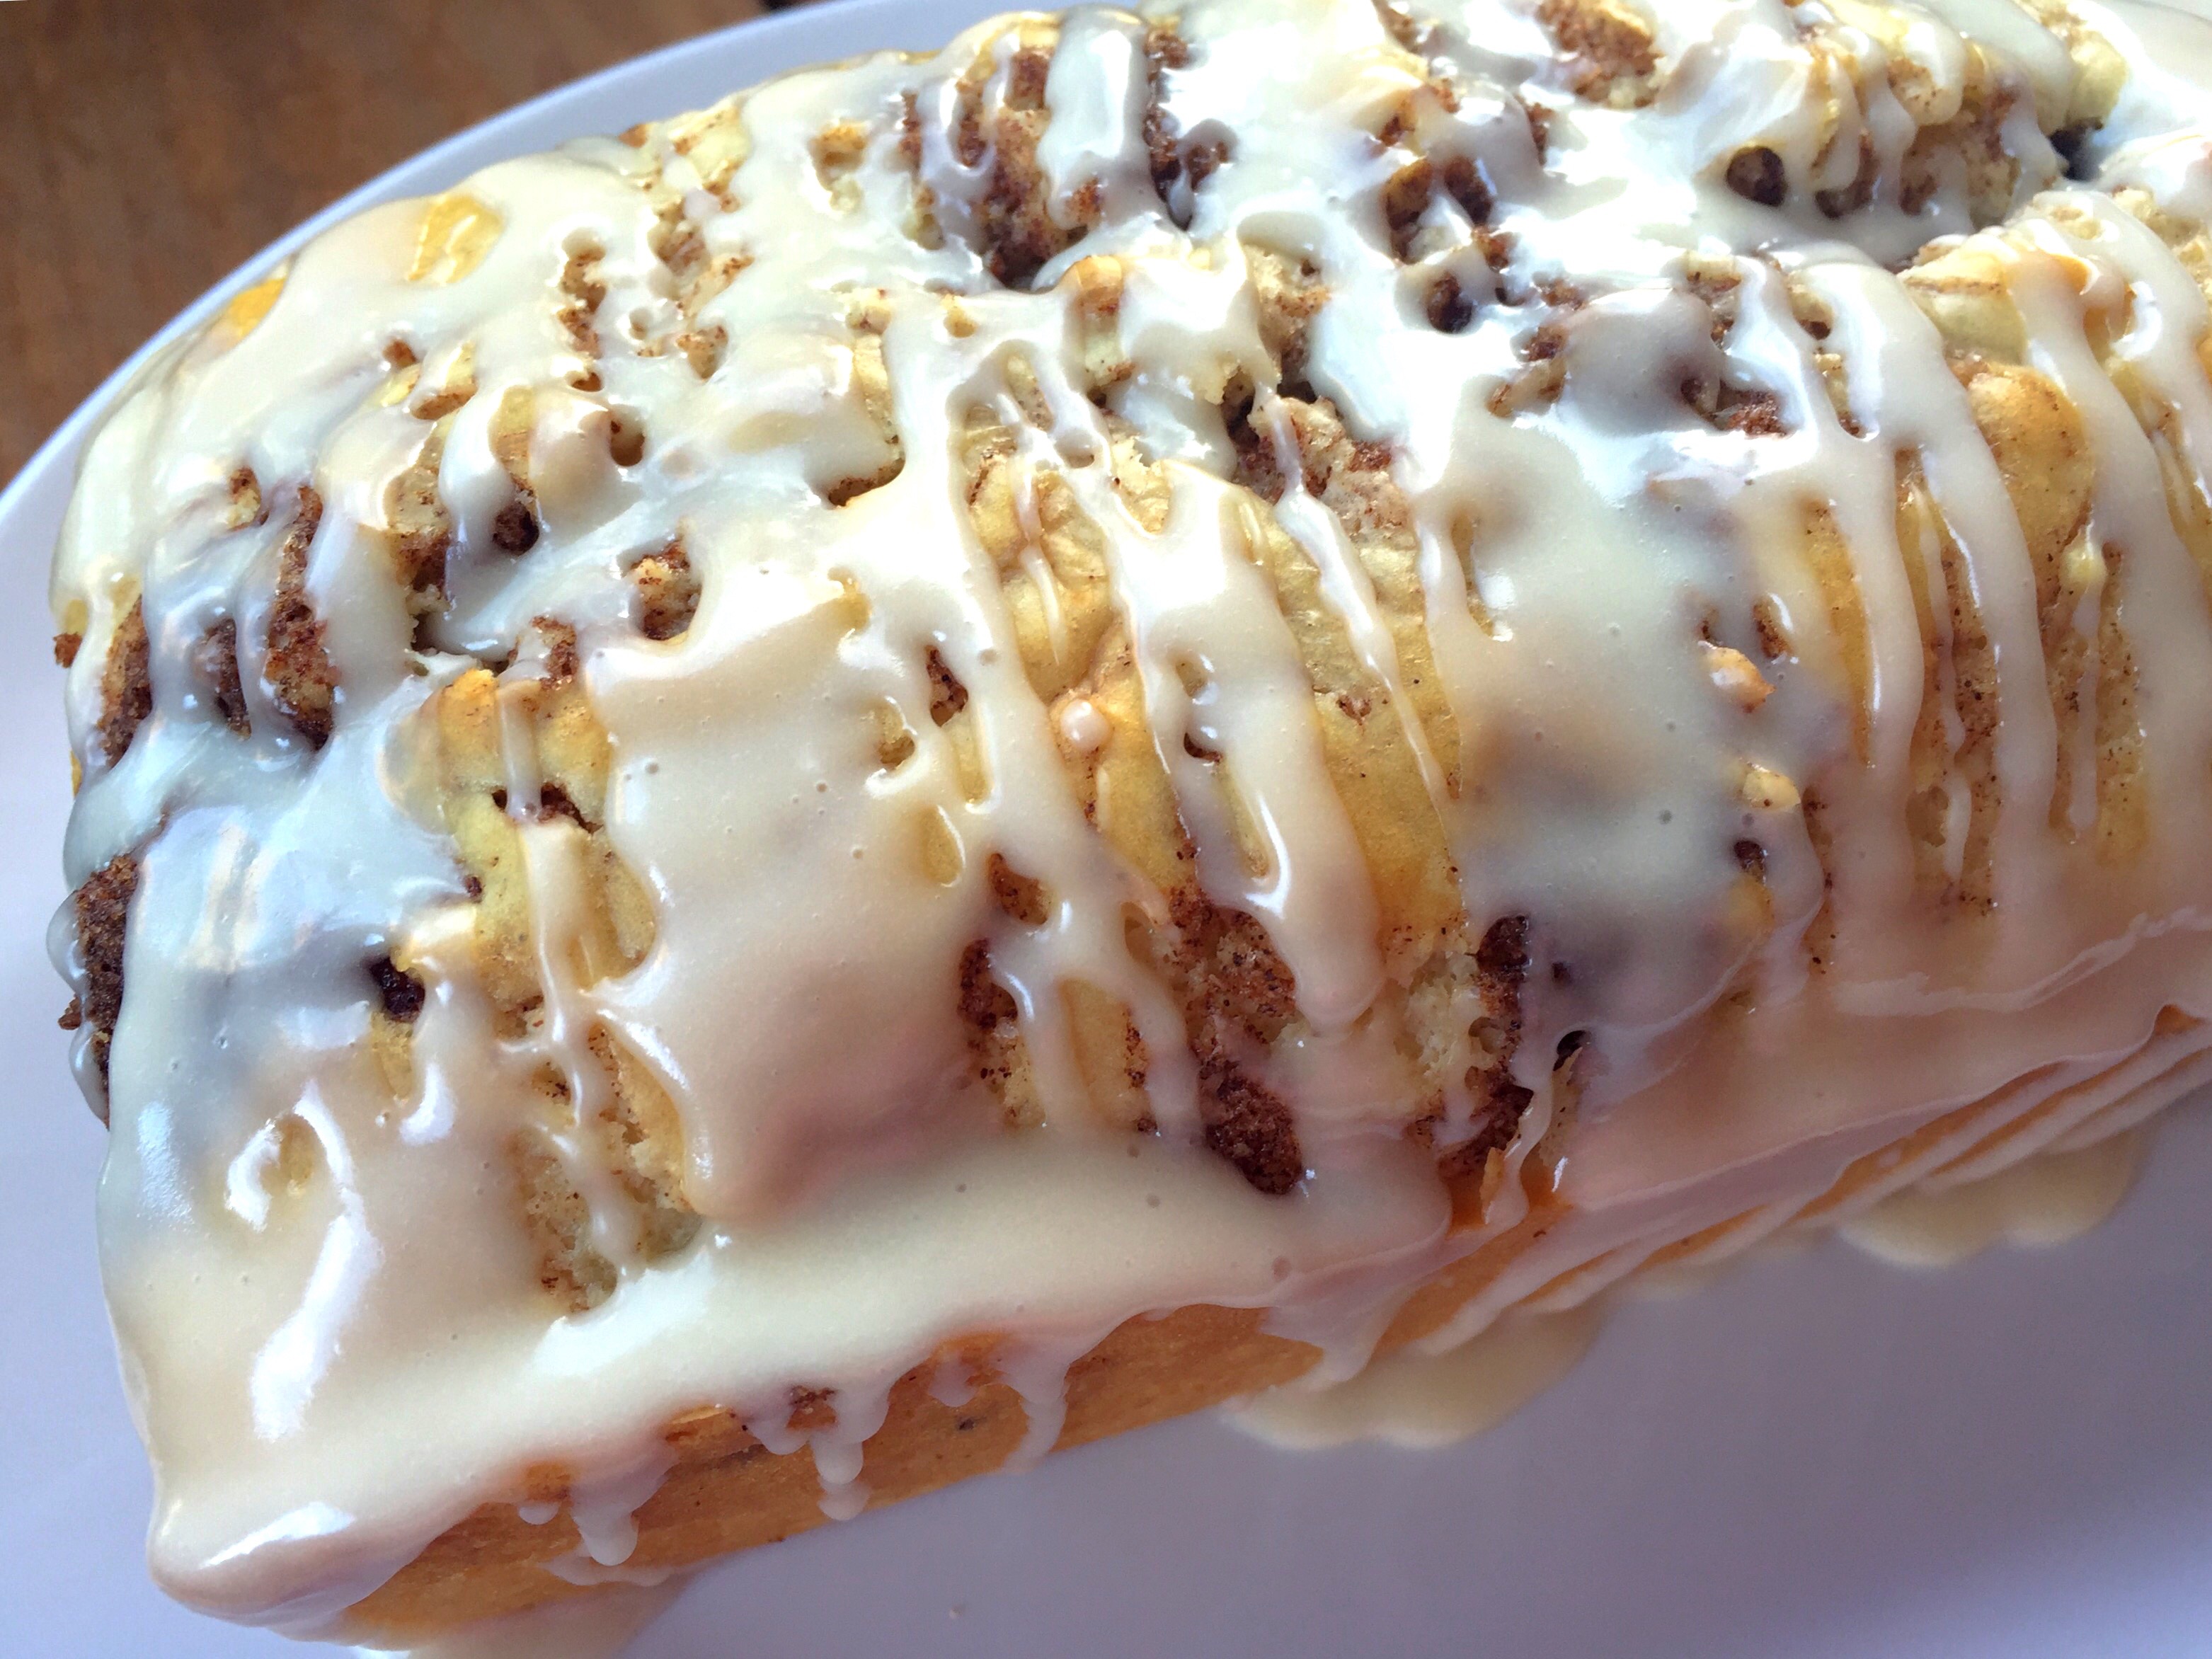
The second time I made the bread I used the butter mixture and not only did I swirl it on top but I divided the batter and actually added it to the center as well. The end result was much better and really permeated the batter with the cinnamon sugar swirls as you can see from the picture on the right above. I can’t say that the water based mixture wouldn’t do the same thing as I did not use the divided batter method with it. But I think the consistency of the butter based filling gave more concentrated swirls versus just blending in with the batter. I would recommend the butter mixture but will put both mixtures in the recipe for you to try for yourself.
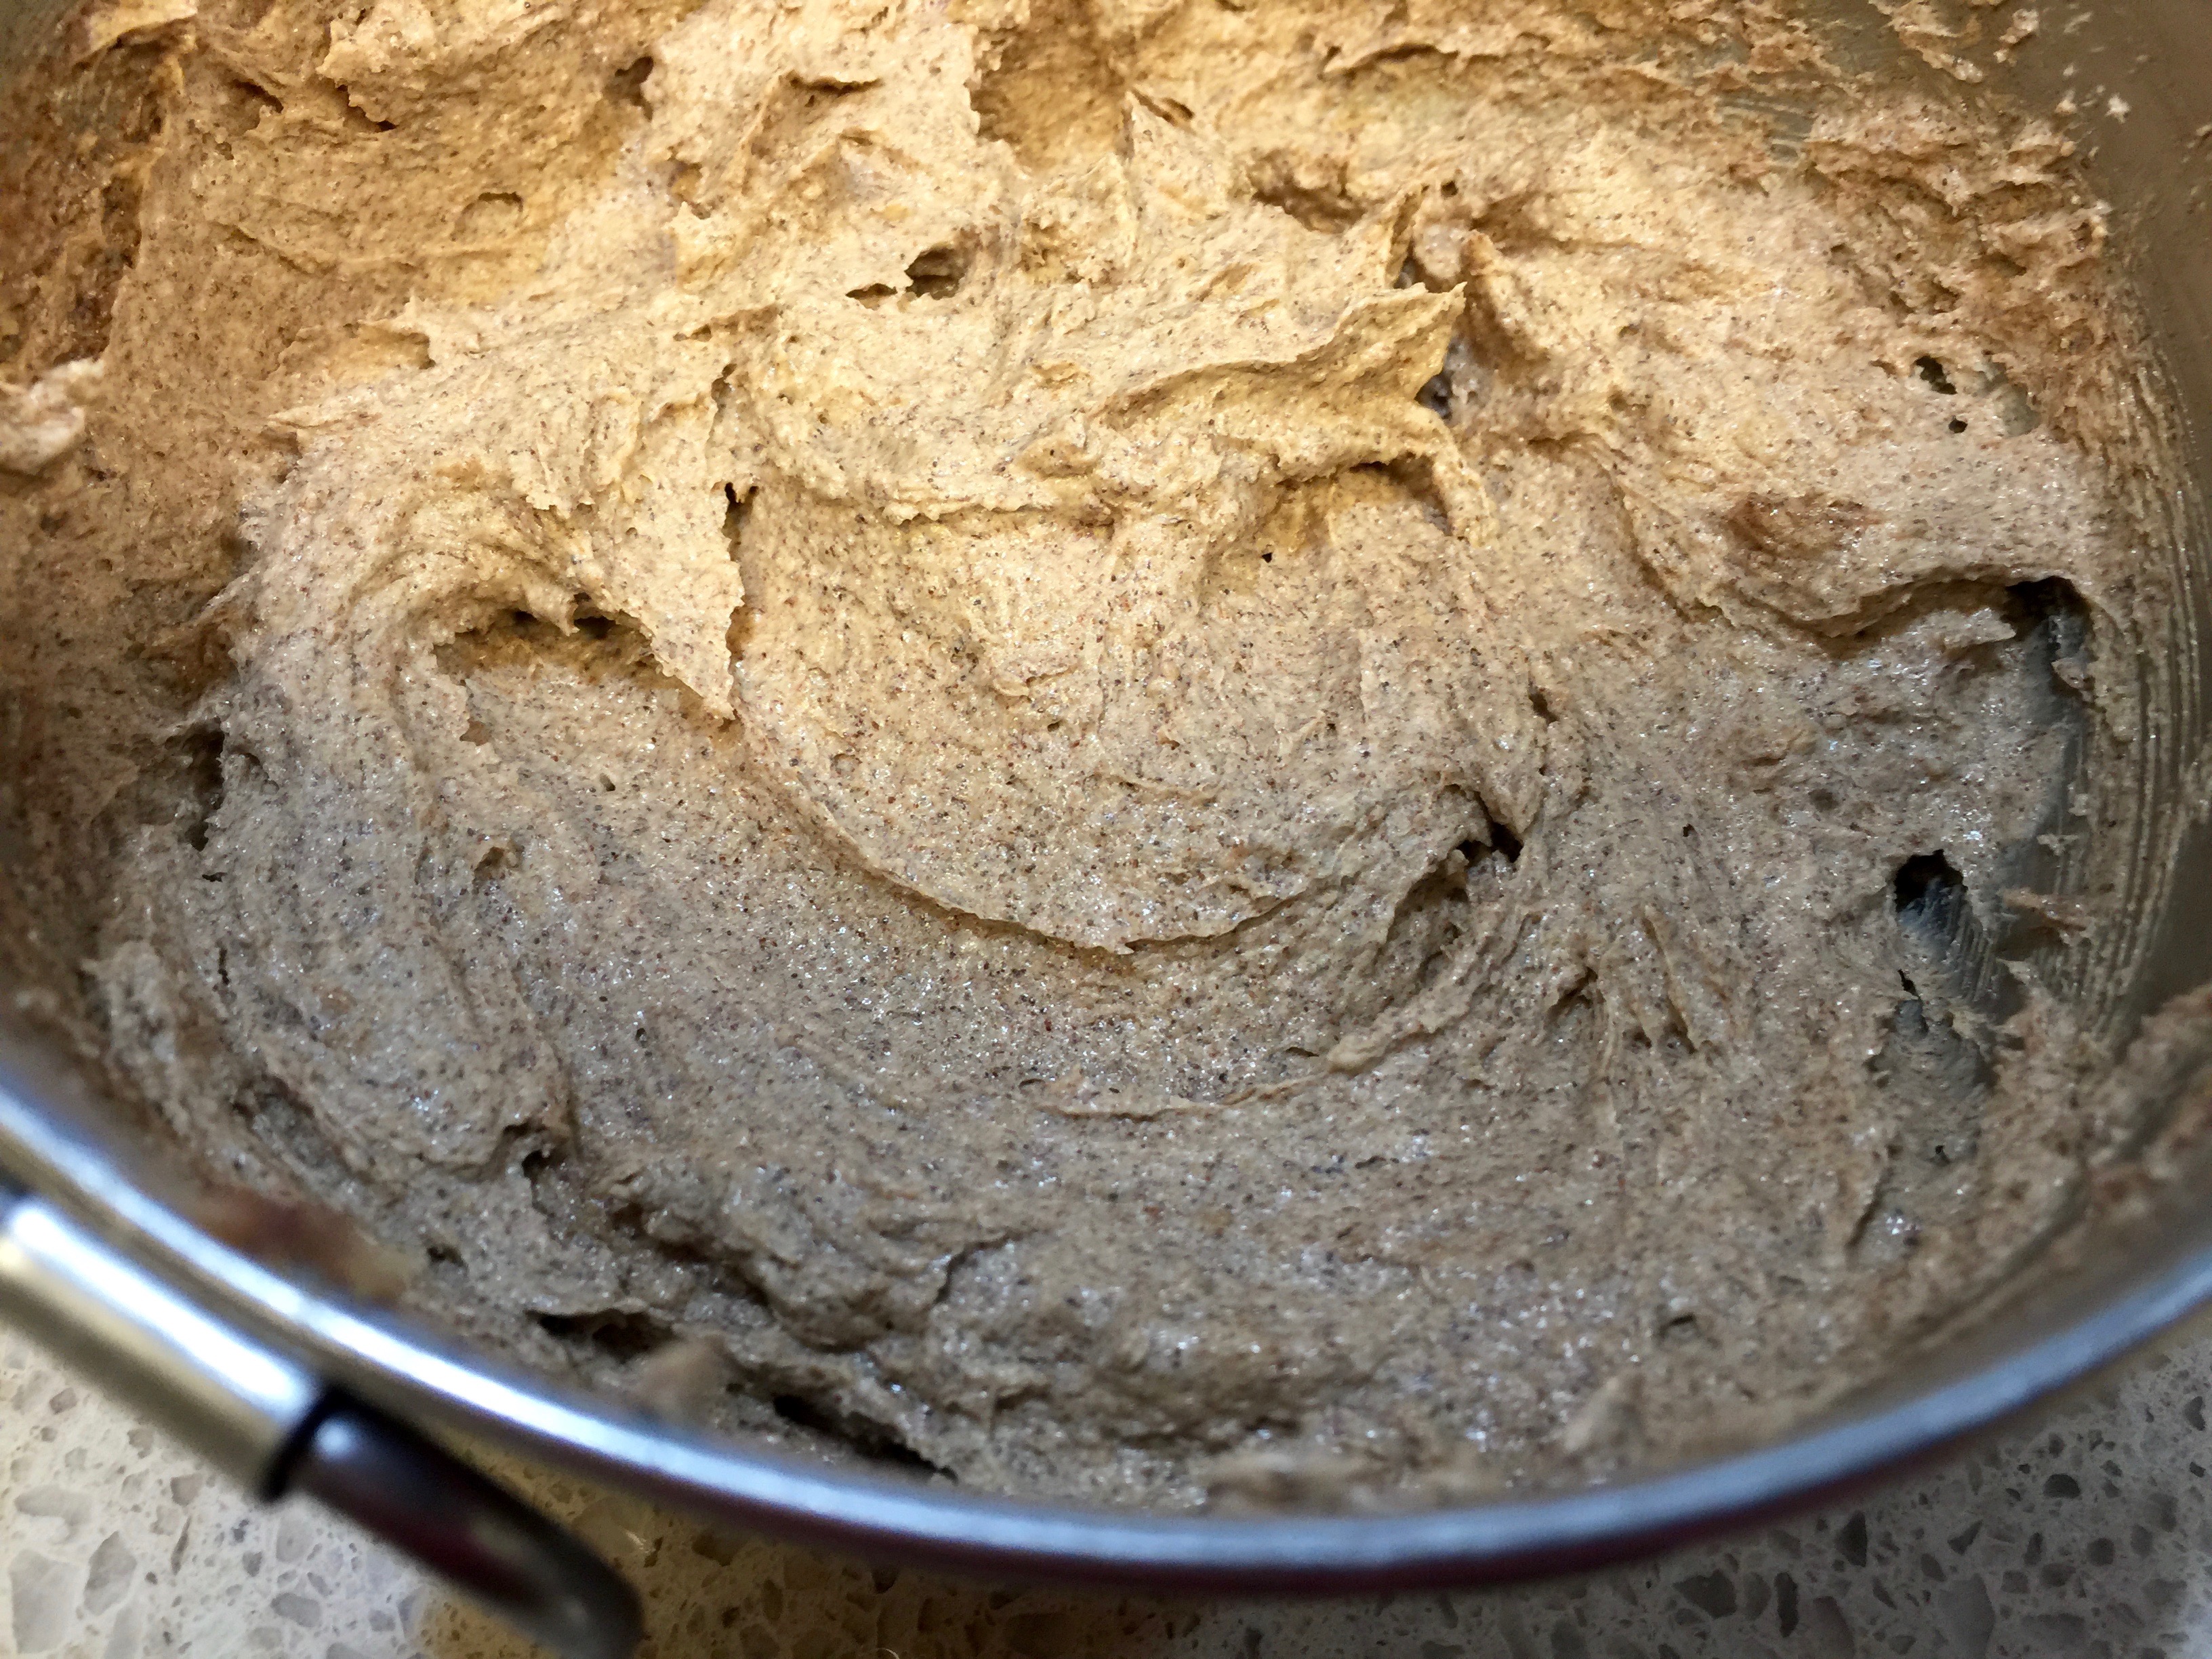
Butter Based Cinnamon Sugar Mixture
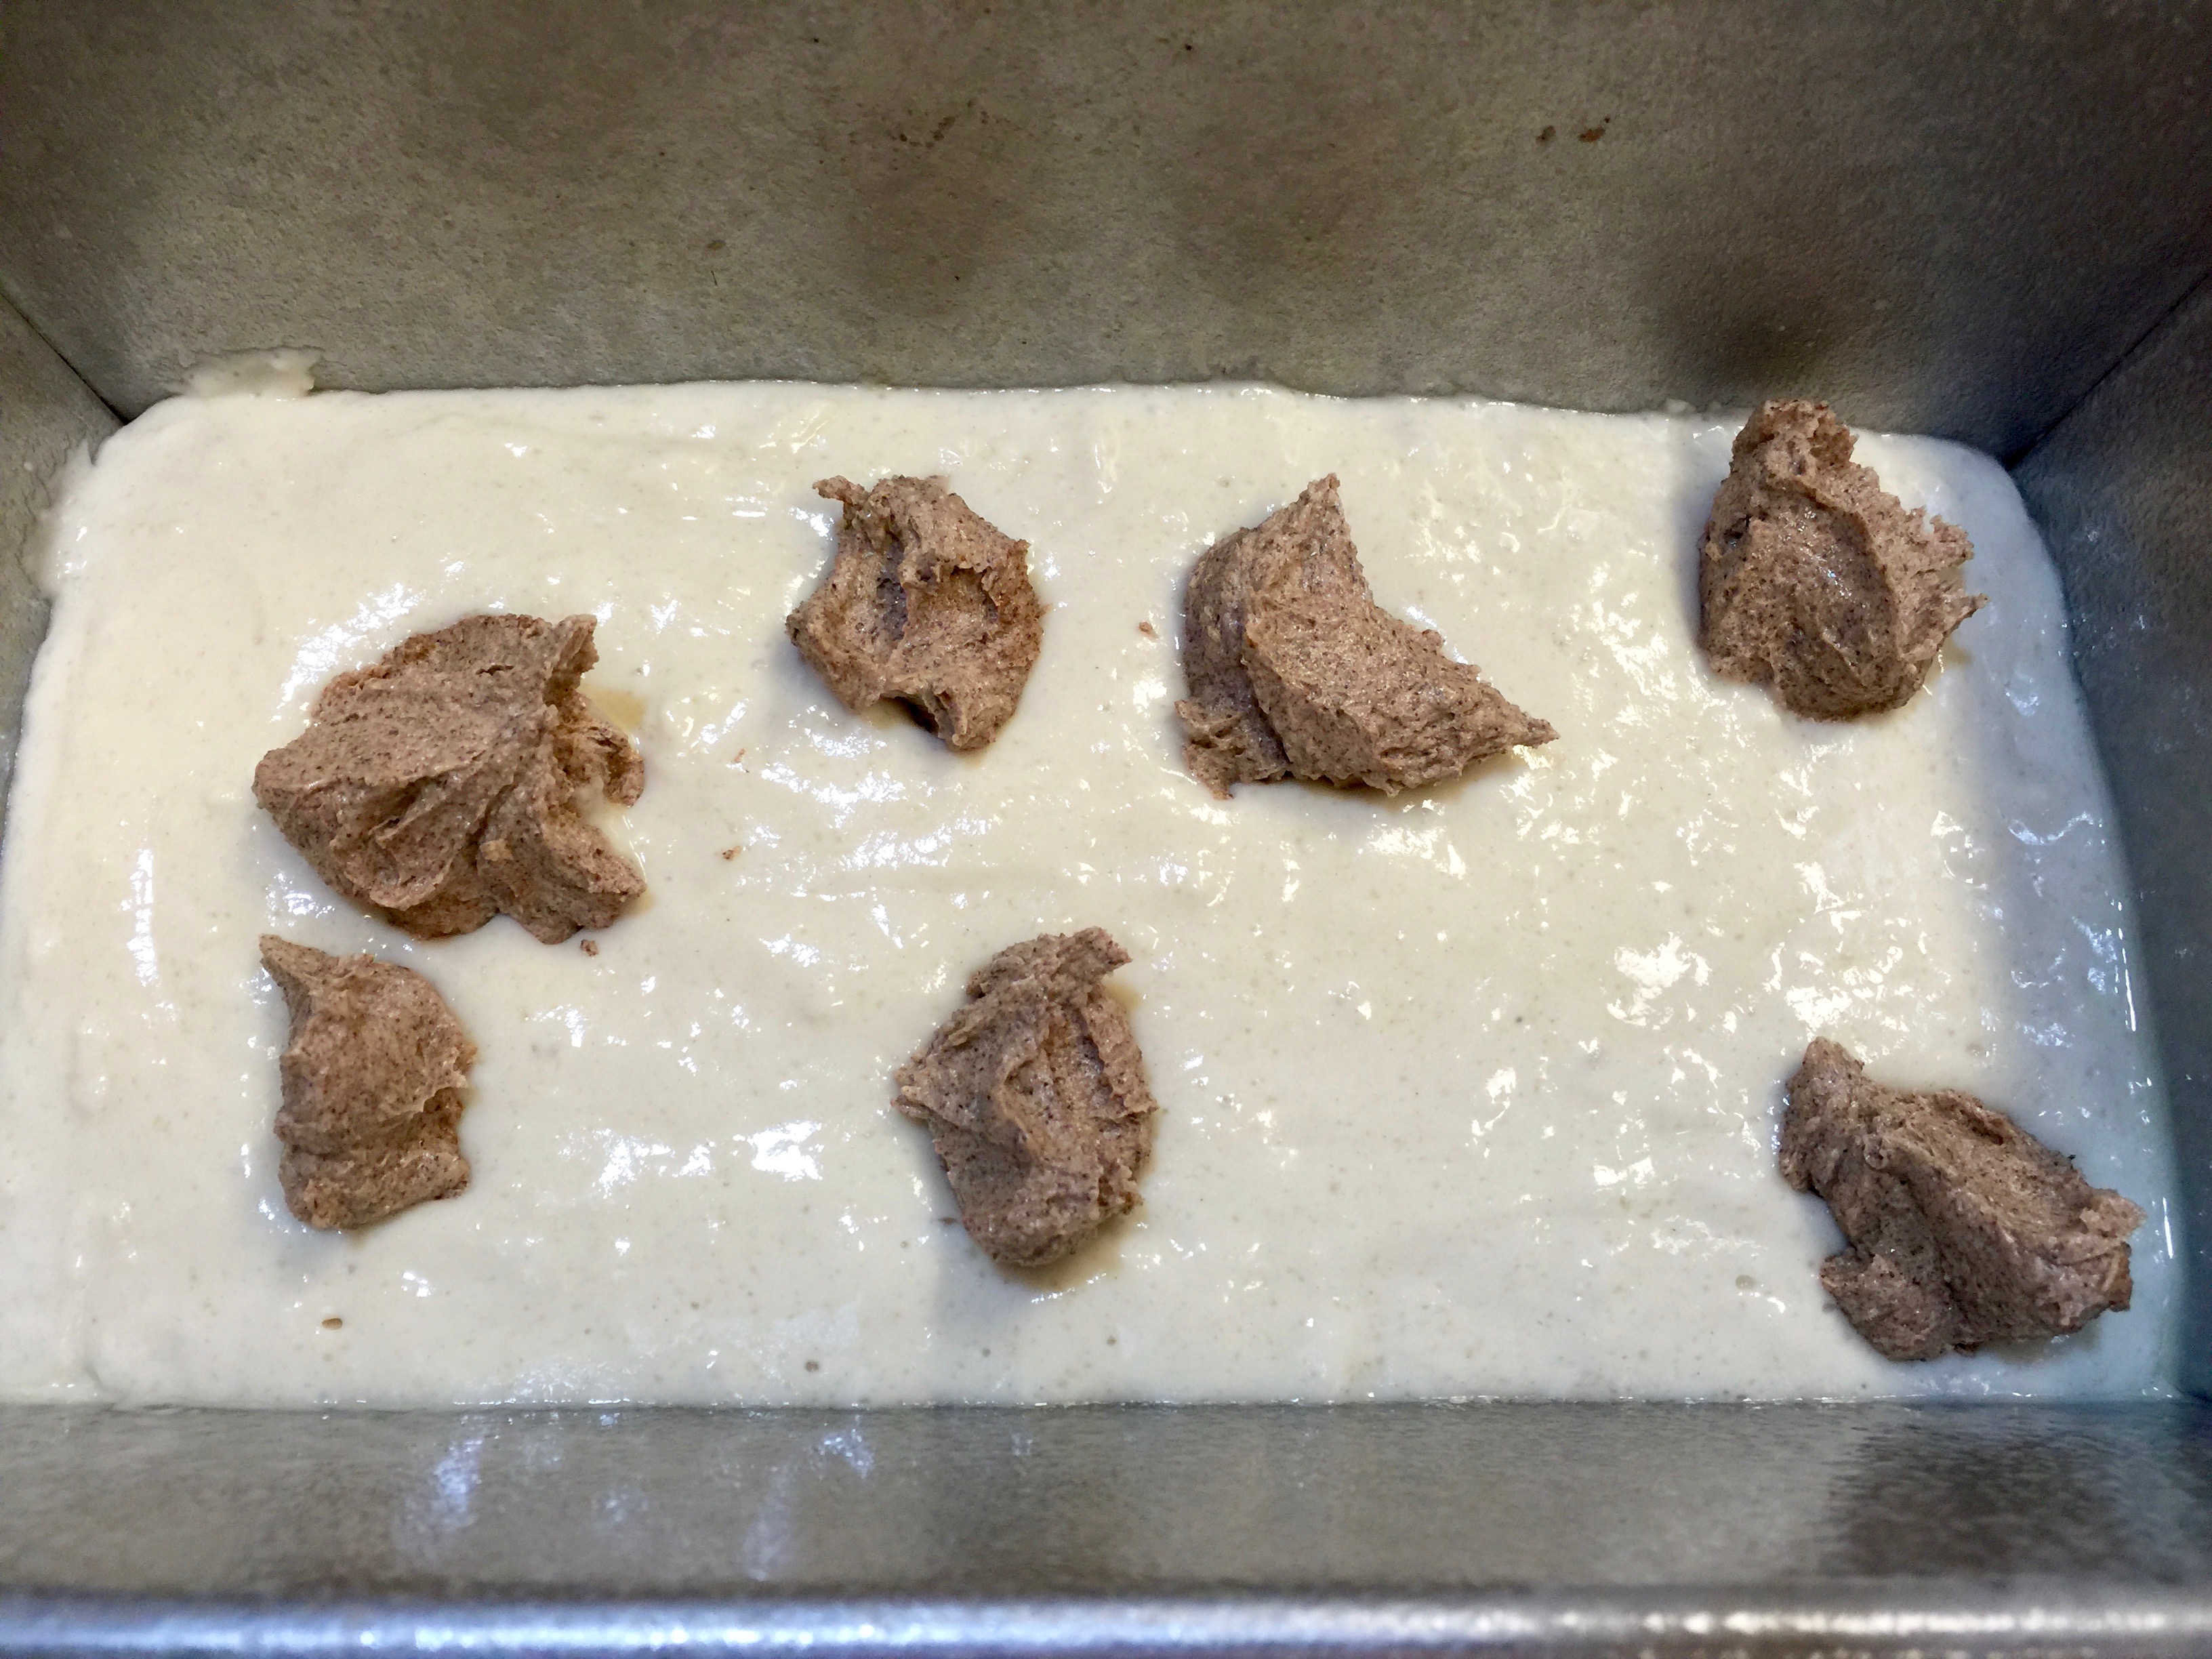
Applying The Mixture
Swirled Mixture
So let’s talk cinnamon roll bread…
Lesson Learned 1 – Be careful not to overcook this bread: The batter in this recipe has a very stiff consistency so it is important not to over mix or over bake the bread. If you do you will wind up with a very dry bread. Depending on your oven, I would check this bread about 5 minutes before the minimum baking time just to see how it is doing. It is very easy to over bake this bread.
Lesson Learned 2 – Regardless of what filling type you use, I would divide the batter and put some both in the middle and on the top: Doing it this way you will ensure more dense swirls throughout the bread and not just on top. Keep in mind there is not a lot of sugar in the batter so you want that cinnamon sugar mixture to permeate the bread as much as possible.
Lesson Learned 3 – If using the butter based cinnamon sugar mixture, use most if not all of it: When I first made it I thought, boy, this is a lot of filling. But if you want the richness of a healthy amount of cinnamon throughout the bread use it all, or most of it at least. You will need to eyeball it to determine when you’ve used enough but feel free to err on the side of more versus less. Although it looks like a lot you need a lot to get a generous amount spread throughout the bread.
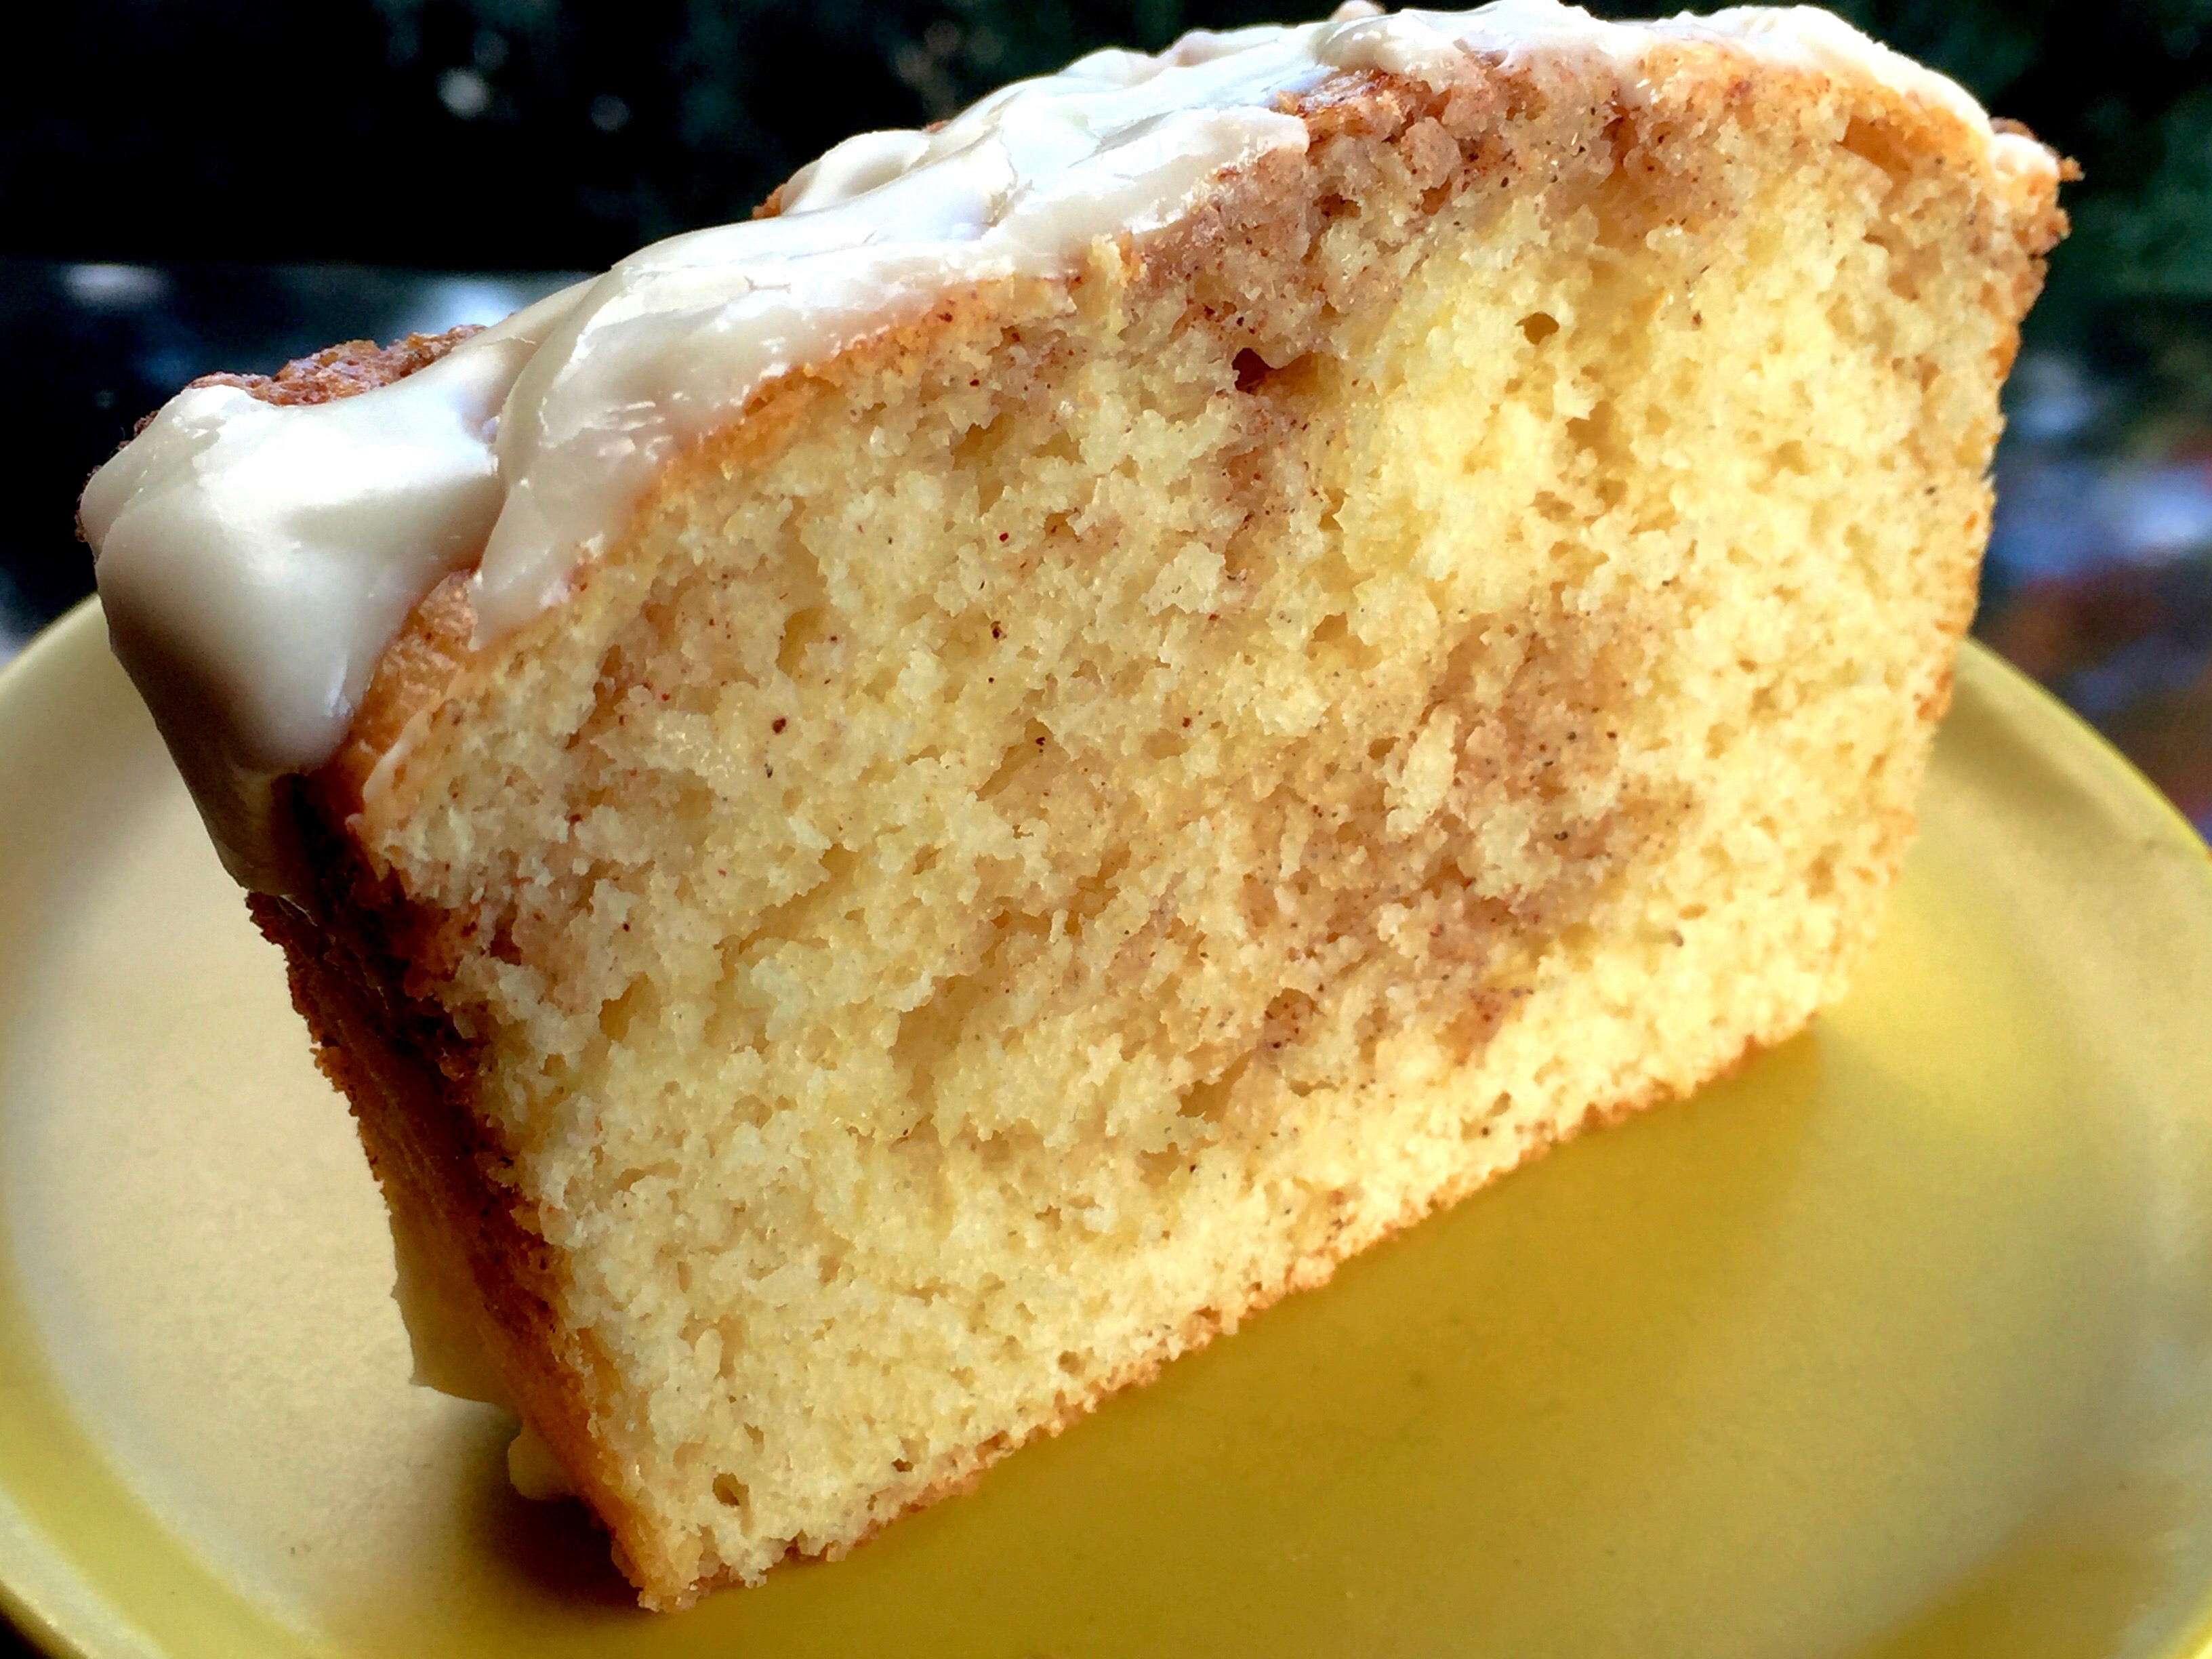
Lesson Learned 4 – Make the glaze with heavy cream: I don’t know about you but I can taste a significant difference when I make a glaze with heavy cream versus making it with milk. The heavy cream gives the glaze a thicker consistency and mellows out the flavor of the powdered sugar. But if you don’t have heavy cream lying around and only have milk you can certainly use that. I just think it tastes so much better and richer when you use heavy cream.
Lesson Learned 5 – Making glaze is full proof: There is no secret to making glaze. The biggest choice you will make is what consistency you want. Don’t worry if you think your glaze it too thick or too runny. If it is too thick, add a little more cream. If it is too runny, add a little more powdered sugar. It’s just that easy.
What I really like about this recipe is that you don’t need a stand mixture (I used a hand mixer to blend the butter based cinnamon sugar mixture) and in no time flat you have a fabulous sweet bread.
Be sure to let me know your thoughts regarding the cinnamon sugar mixture. Enjoy this great recipe!
CINNAMON ROLL BREAD...
INGREDIENTS:
 Batter:
2 cups flour, sifted
1 Tb. baking powder
1/2 tsp. salt
1/2 cup white sugar
1 large egg, room temperature & lightly beaten
1 cup whole milk
2 tsp. vanilla
1/3 cup sour cream (you can substitute plain greek yogurt)
#1 Swirl Ingredients:
1/3 cup white sugar
2 tsp. cinnamon
2 Tbs. water
OR
#2 Swirl Ingredients:
1/2 cup butter, room temperature
1/2 cup brown sugar
1 Tbs. flour
2 Tbs. cinnamon
Glaze:
1/2 cup powdered sugar
2-3 Tbs. heavy cream (you may need more depending on the consistency desired)
1 tsp. vanilla
DIRECTIONS:
Preheat oven to 350 degrees. Spray a loaf pan with non-stick cooking spray and set aside.
Prepare the cinnamon sugar mixture (either choice #1 or 2) by combining all of the ingredients. Set aside.
In a large bowl combine the flour, baking powder, salt and sugar. In another bowl whisk together the egg, milk, vanilla and sour cream. Pour the wet ingredients into the dry ingredients and stir to combine. Be careful not to overmix.
Pour about 1/3 of the batter into the prepared pan. Add half of the cinnamon sugar mixture. With a sharp knife swirl the mixture into the batter. Add the remaining batter and repeat the same process with the cinnamon sugar mixture.
Bake for 45 minutes or until a toothpick inserted in the center comes out clean. Put the pan on a cooling rack. Take a rounded knife and run it along all of the edges of the pan. Let the bread cool for 15 minutes. Remove the bread from the pan and allow it to cool completely.
Mix together all of the glaze ingredients. Drizzle the glaze over the bread. If you do not serve immediately, cover the bread loosely with foil once the glaze has hardened.