My husband is a bread lover and consequently bread is part of every dinner at our house. Carbs aren’t a factor for him, he’s as thin as a rail. He just loves to have a couple of slices of bread warmed in the toaster oven to accompany his meal. It is one of life’s simple pleasures for him.
Over the past year I’ve experimented with making bread in various ways. When I was growing up homemade bread was a special event, especially since it took nearly all day to make with lots of arduous kneading and several hours of rising time. Now we’ve figured out how to make bread more simply, calling it artisan bread and using various methods to produce loafs that don’t challenge your muscles in the process. Last year I published a blog about Artisan No-Knead Bread and if you haven’t tried that particular method I suggest you do. It makes wonderful bread. The only challenge with that recipe is you have to let the dough rest and rise for a minimum of 18 hours, so if you forget to mix the dough the night before you’re out of luck.
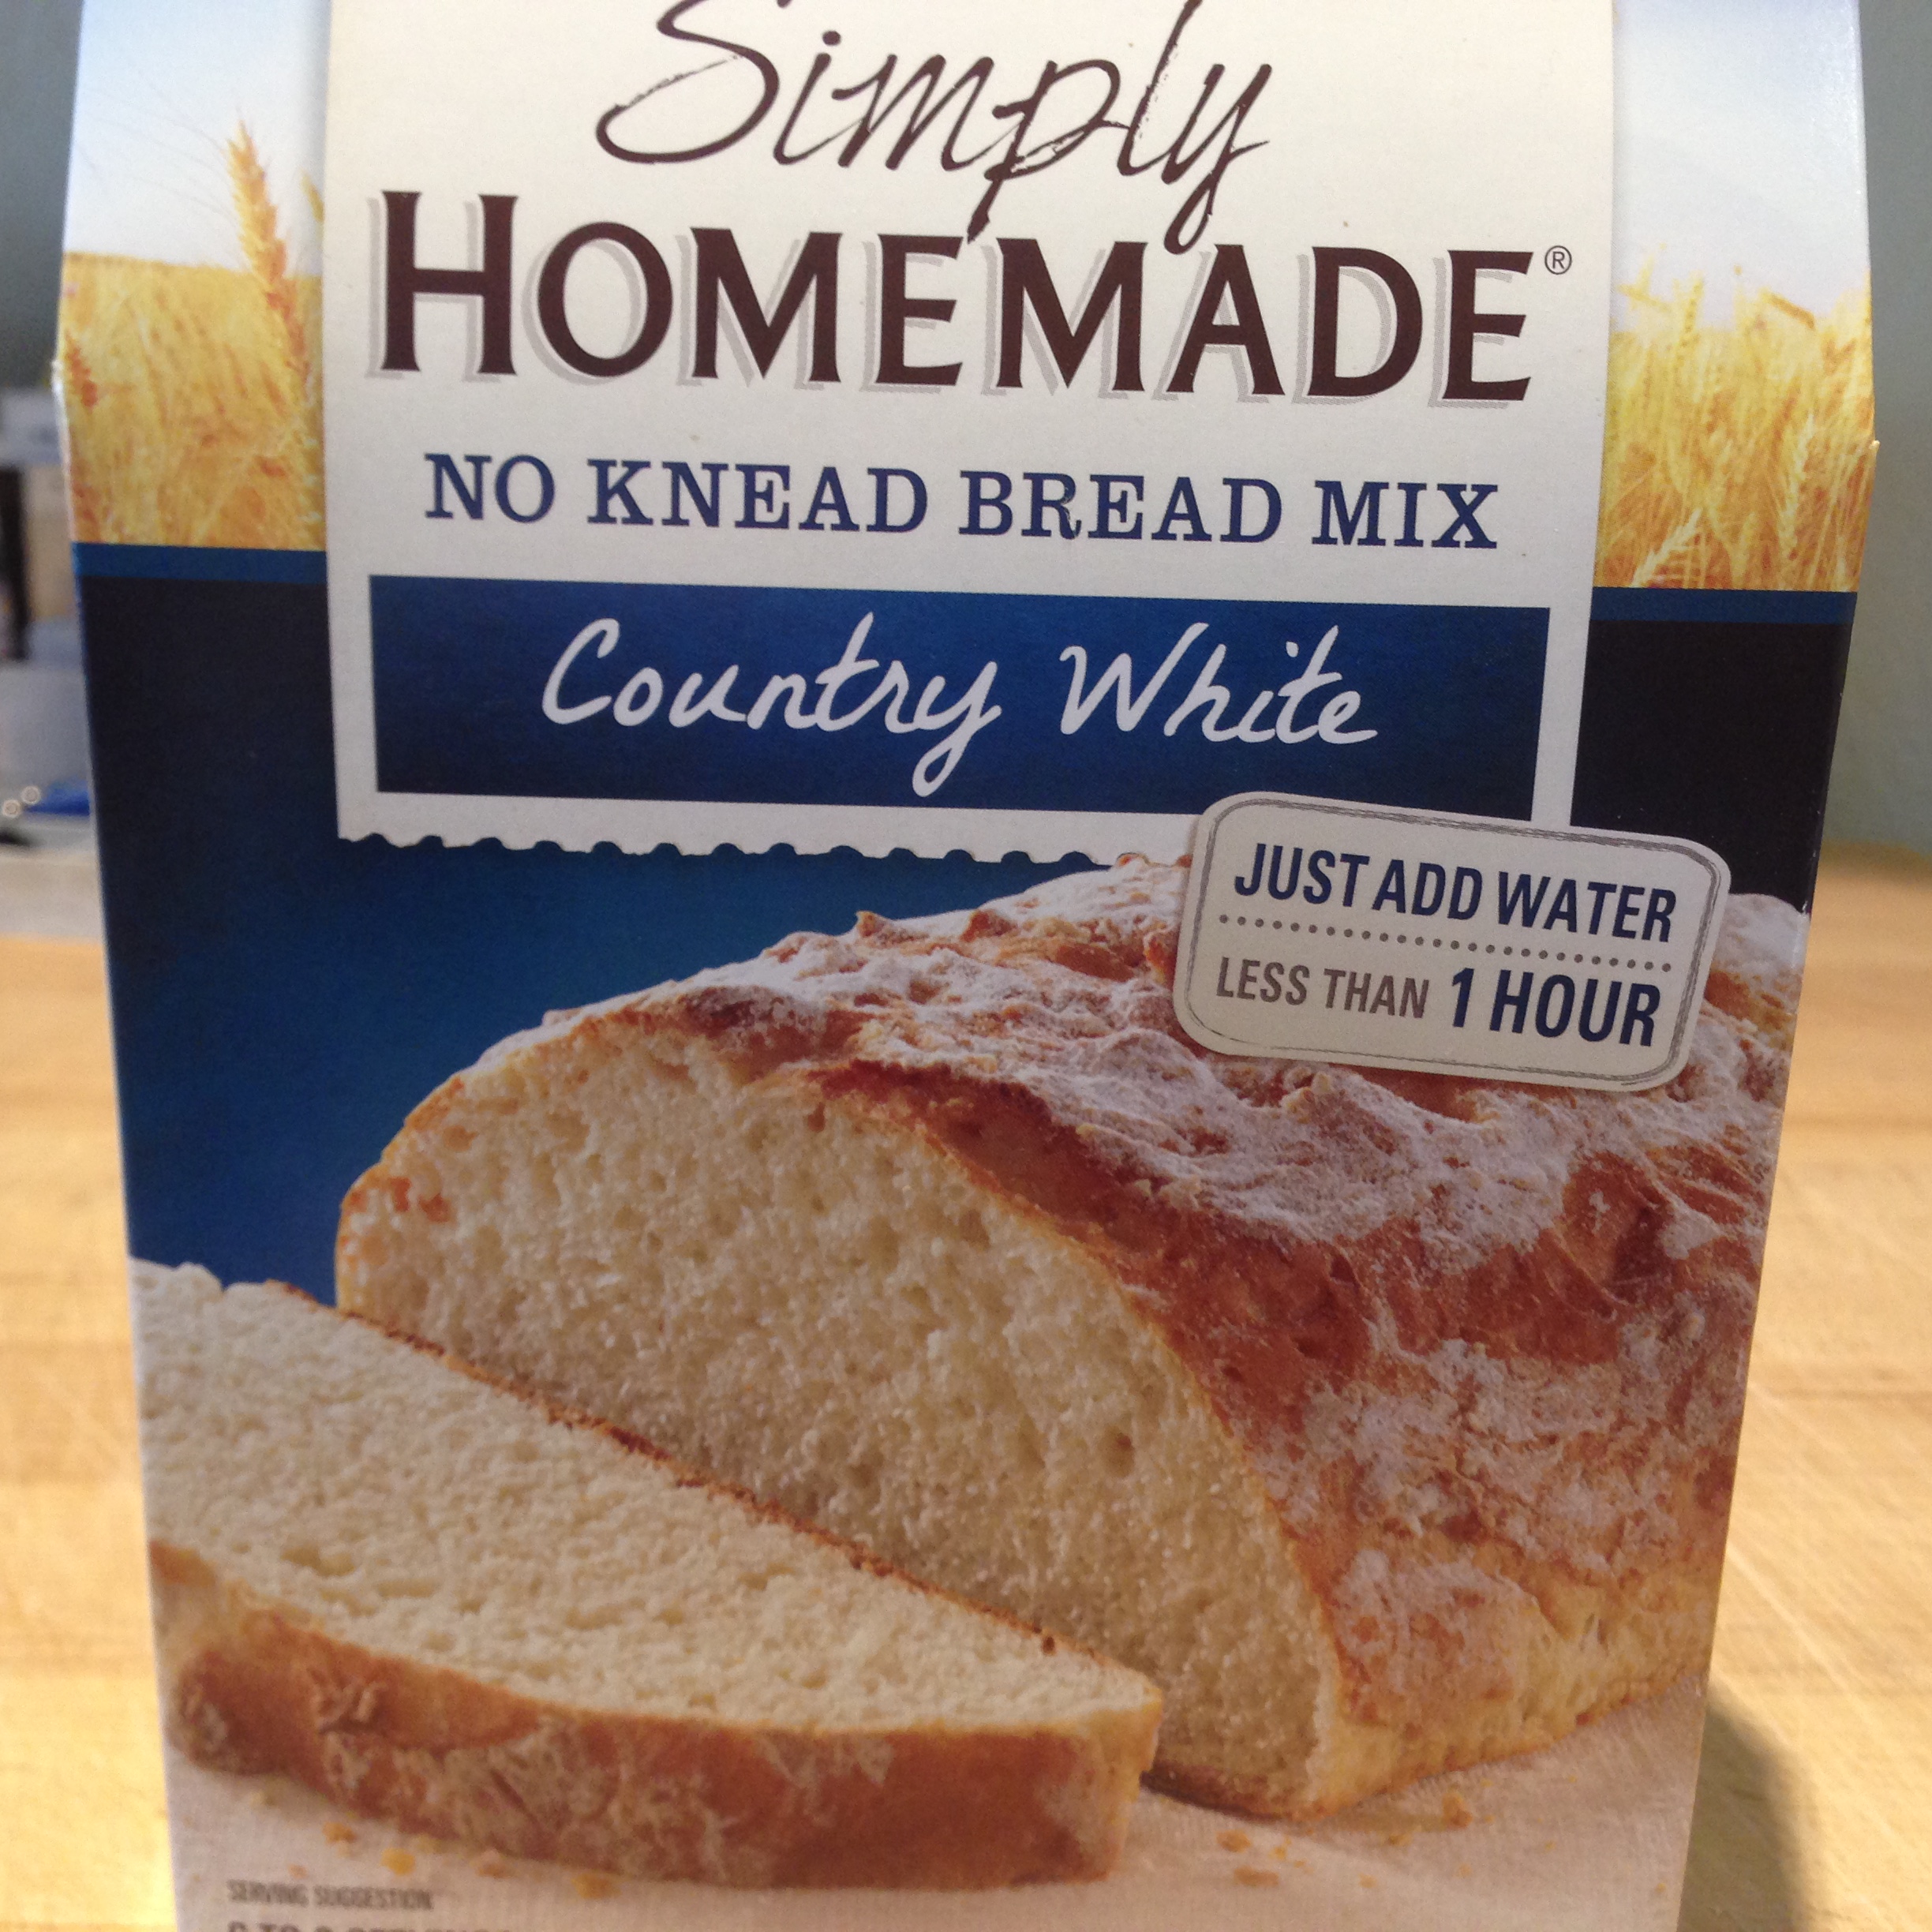 This particular recipe mimics the packaged bread mixes that are out there that promise to give a loaf of “homemade” bread in less than an hour. All you have to do is add water. And that’s great. I’m not sure of the last time I had homemade bread that included azodicar-bonamide or mononitrate. And in my quest to lessen the amount of processed foods in my life I am trying more and more to make things from scratch and not from out of boxes with hard to pronounce ingredients. But you have to admit it is tempting to use these products in order to make fresh bread quickly. And I think I have a recipe that can give you a great loaf of bread in as short of a period of time as possible without all of the processed food additives we want less of in our lives.
This recipe is simple and straightforward. It does call for allowing for the dough to rise twice, first for an hour and then for a half hour. But that’s nothing. The ingredients are so easy to assemble that you can be doing a lot of other things while the bread is rising. Thirty minutes in the oven completes the process and you have great tasting, non-processed artisan bread. Even the novice cook can be successful the first time making this bread.
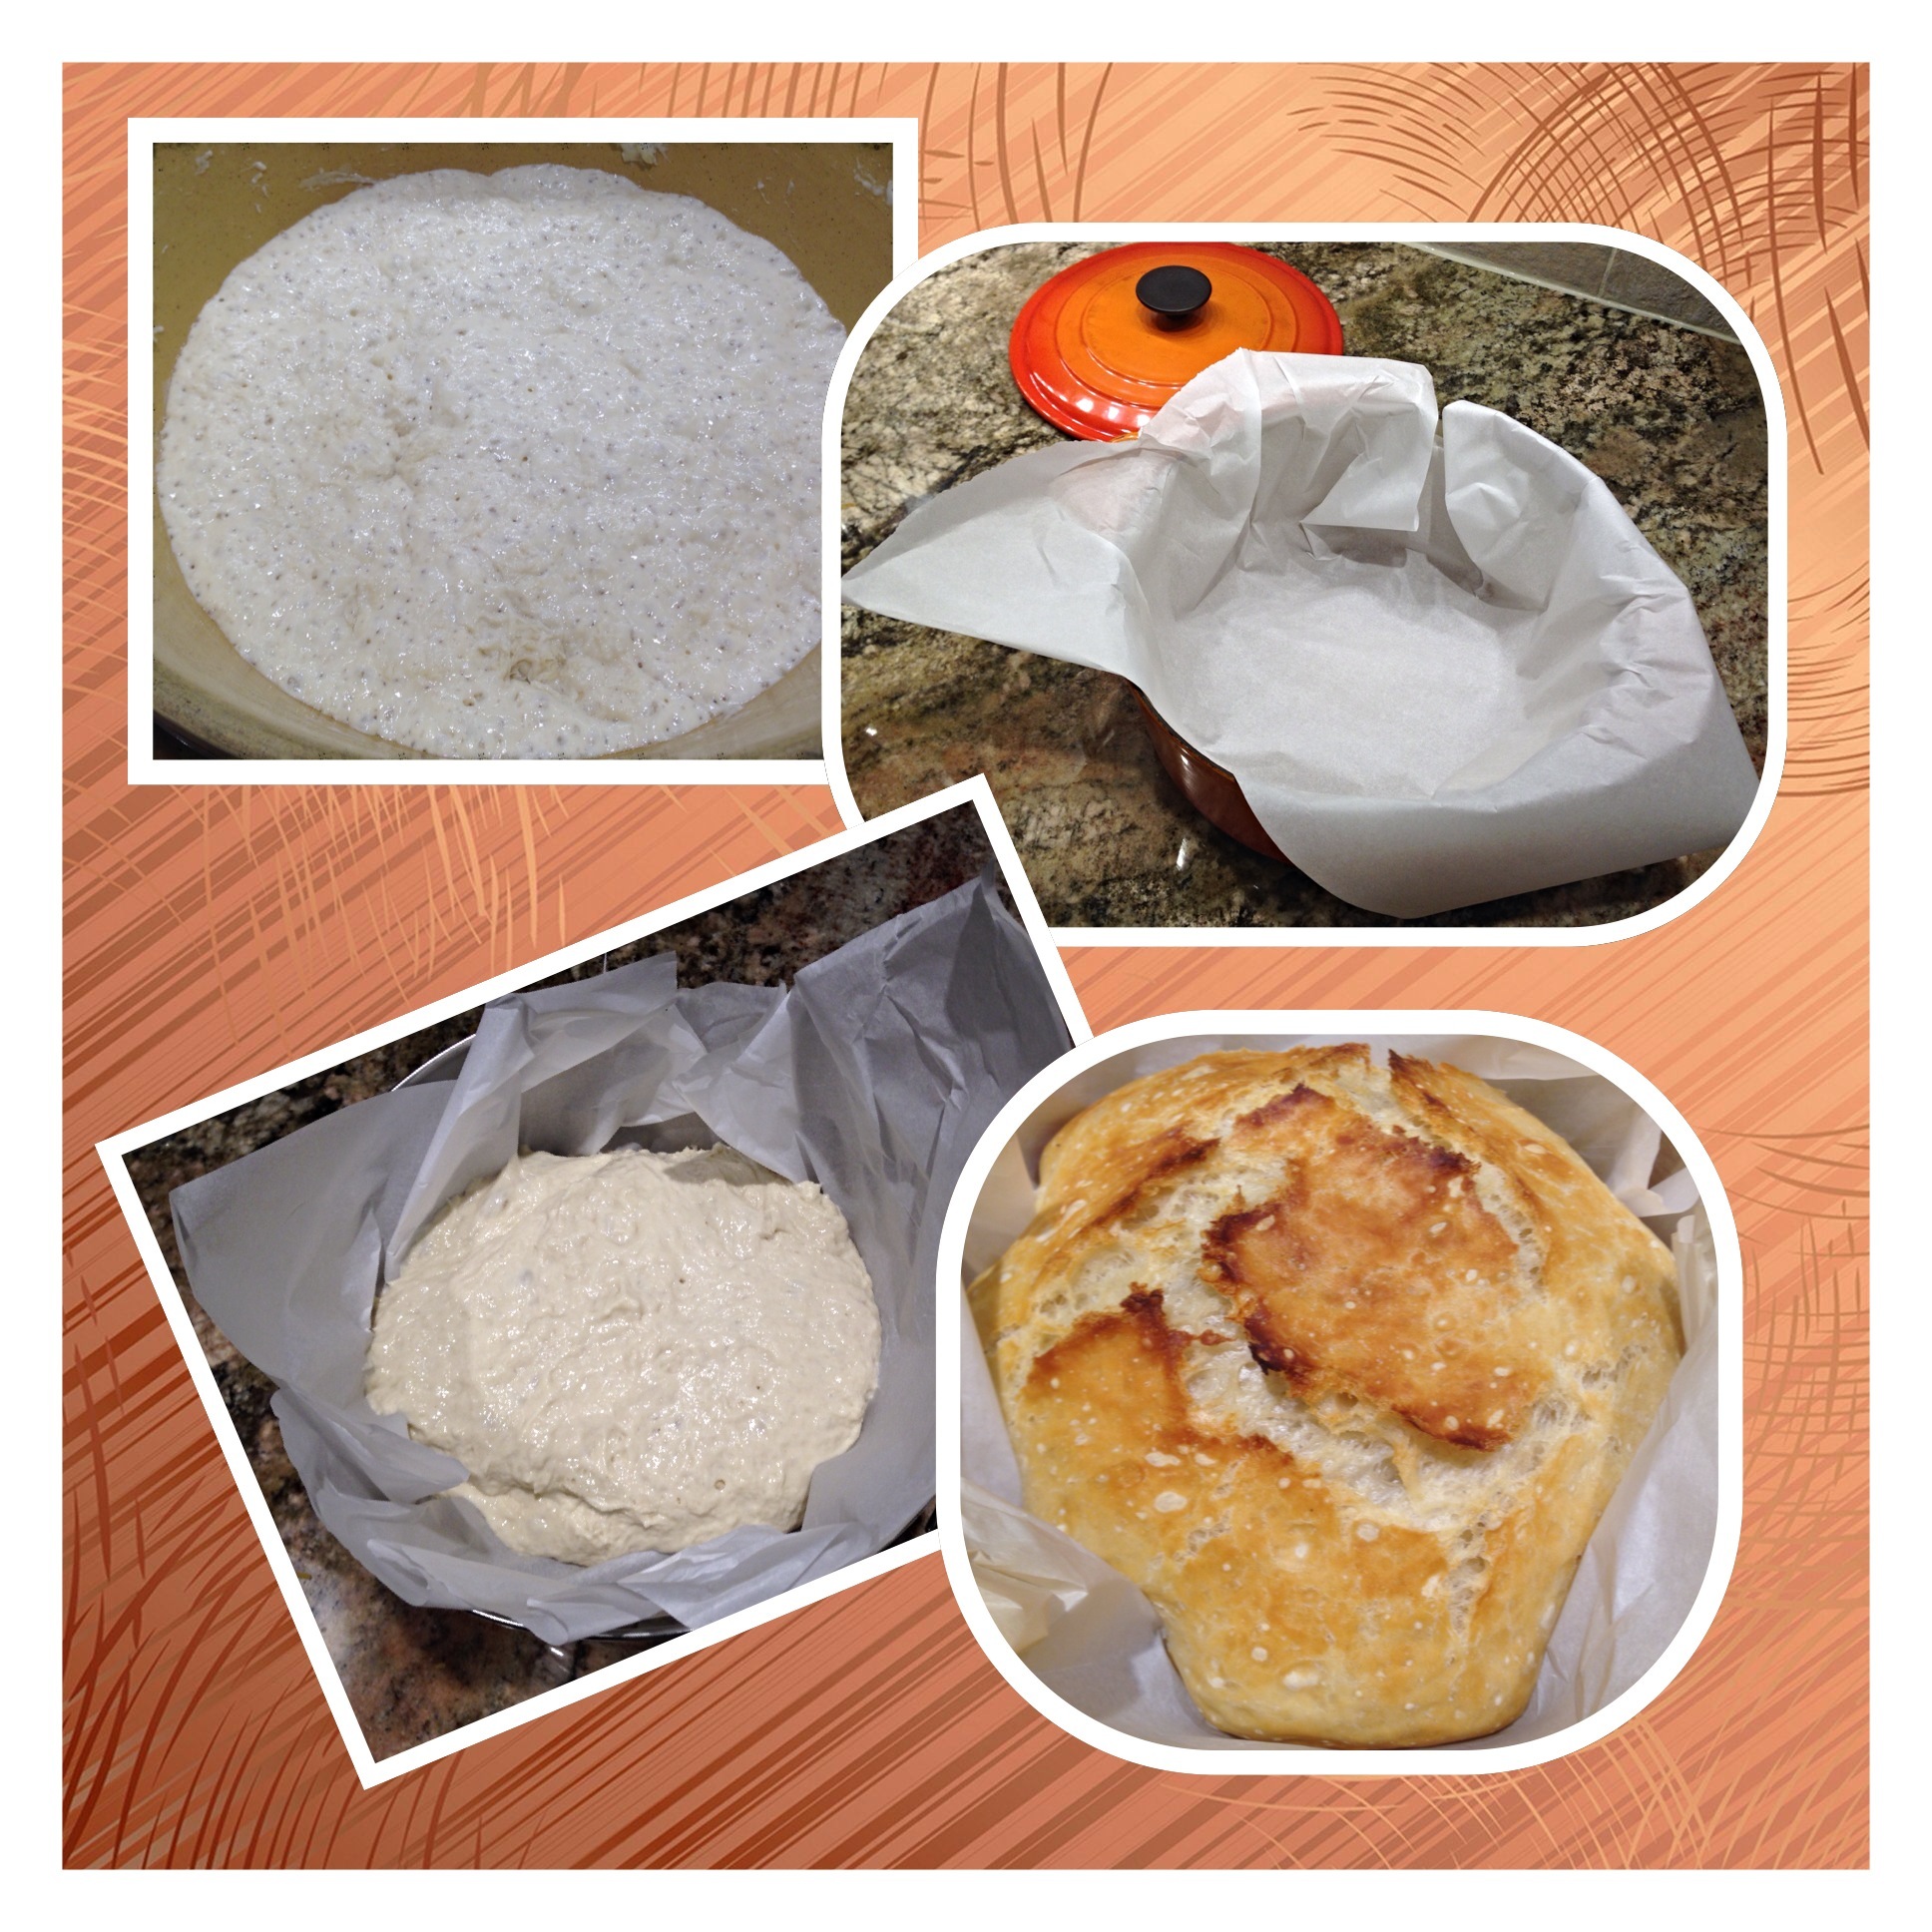
Lesson Learned 1 – Let the yeast bloom: You need to make sure the yeast is activated in order for this bread to work. Take 2 Tbs. of active dry yeast (slightly less than one pouch) pour it into a bowl, add one cup of very warm water and then whisk the two ingredients together until combined. Let the mixture sit for 3-5 minutes. You will see some bubbling action on the water and then you will see the yeast bloom (almost like mini chalky volcanic eruptions on the surface of the water). Once that happens you know the yeast has been activated and can add the rest of the ingredients.
Lesson Learned 2 – All that’s left is combining the remaining ingredients: It couldn’t be any simpler. Combine all of the remaining ingredients and let the yeast do its work.
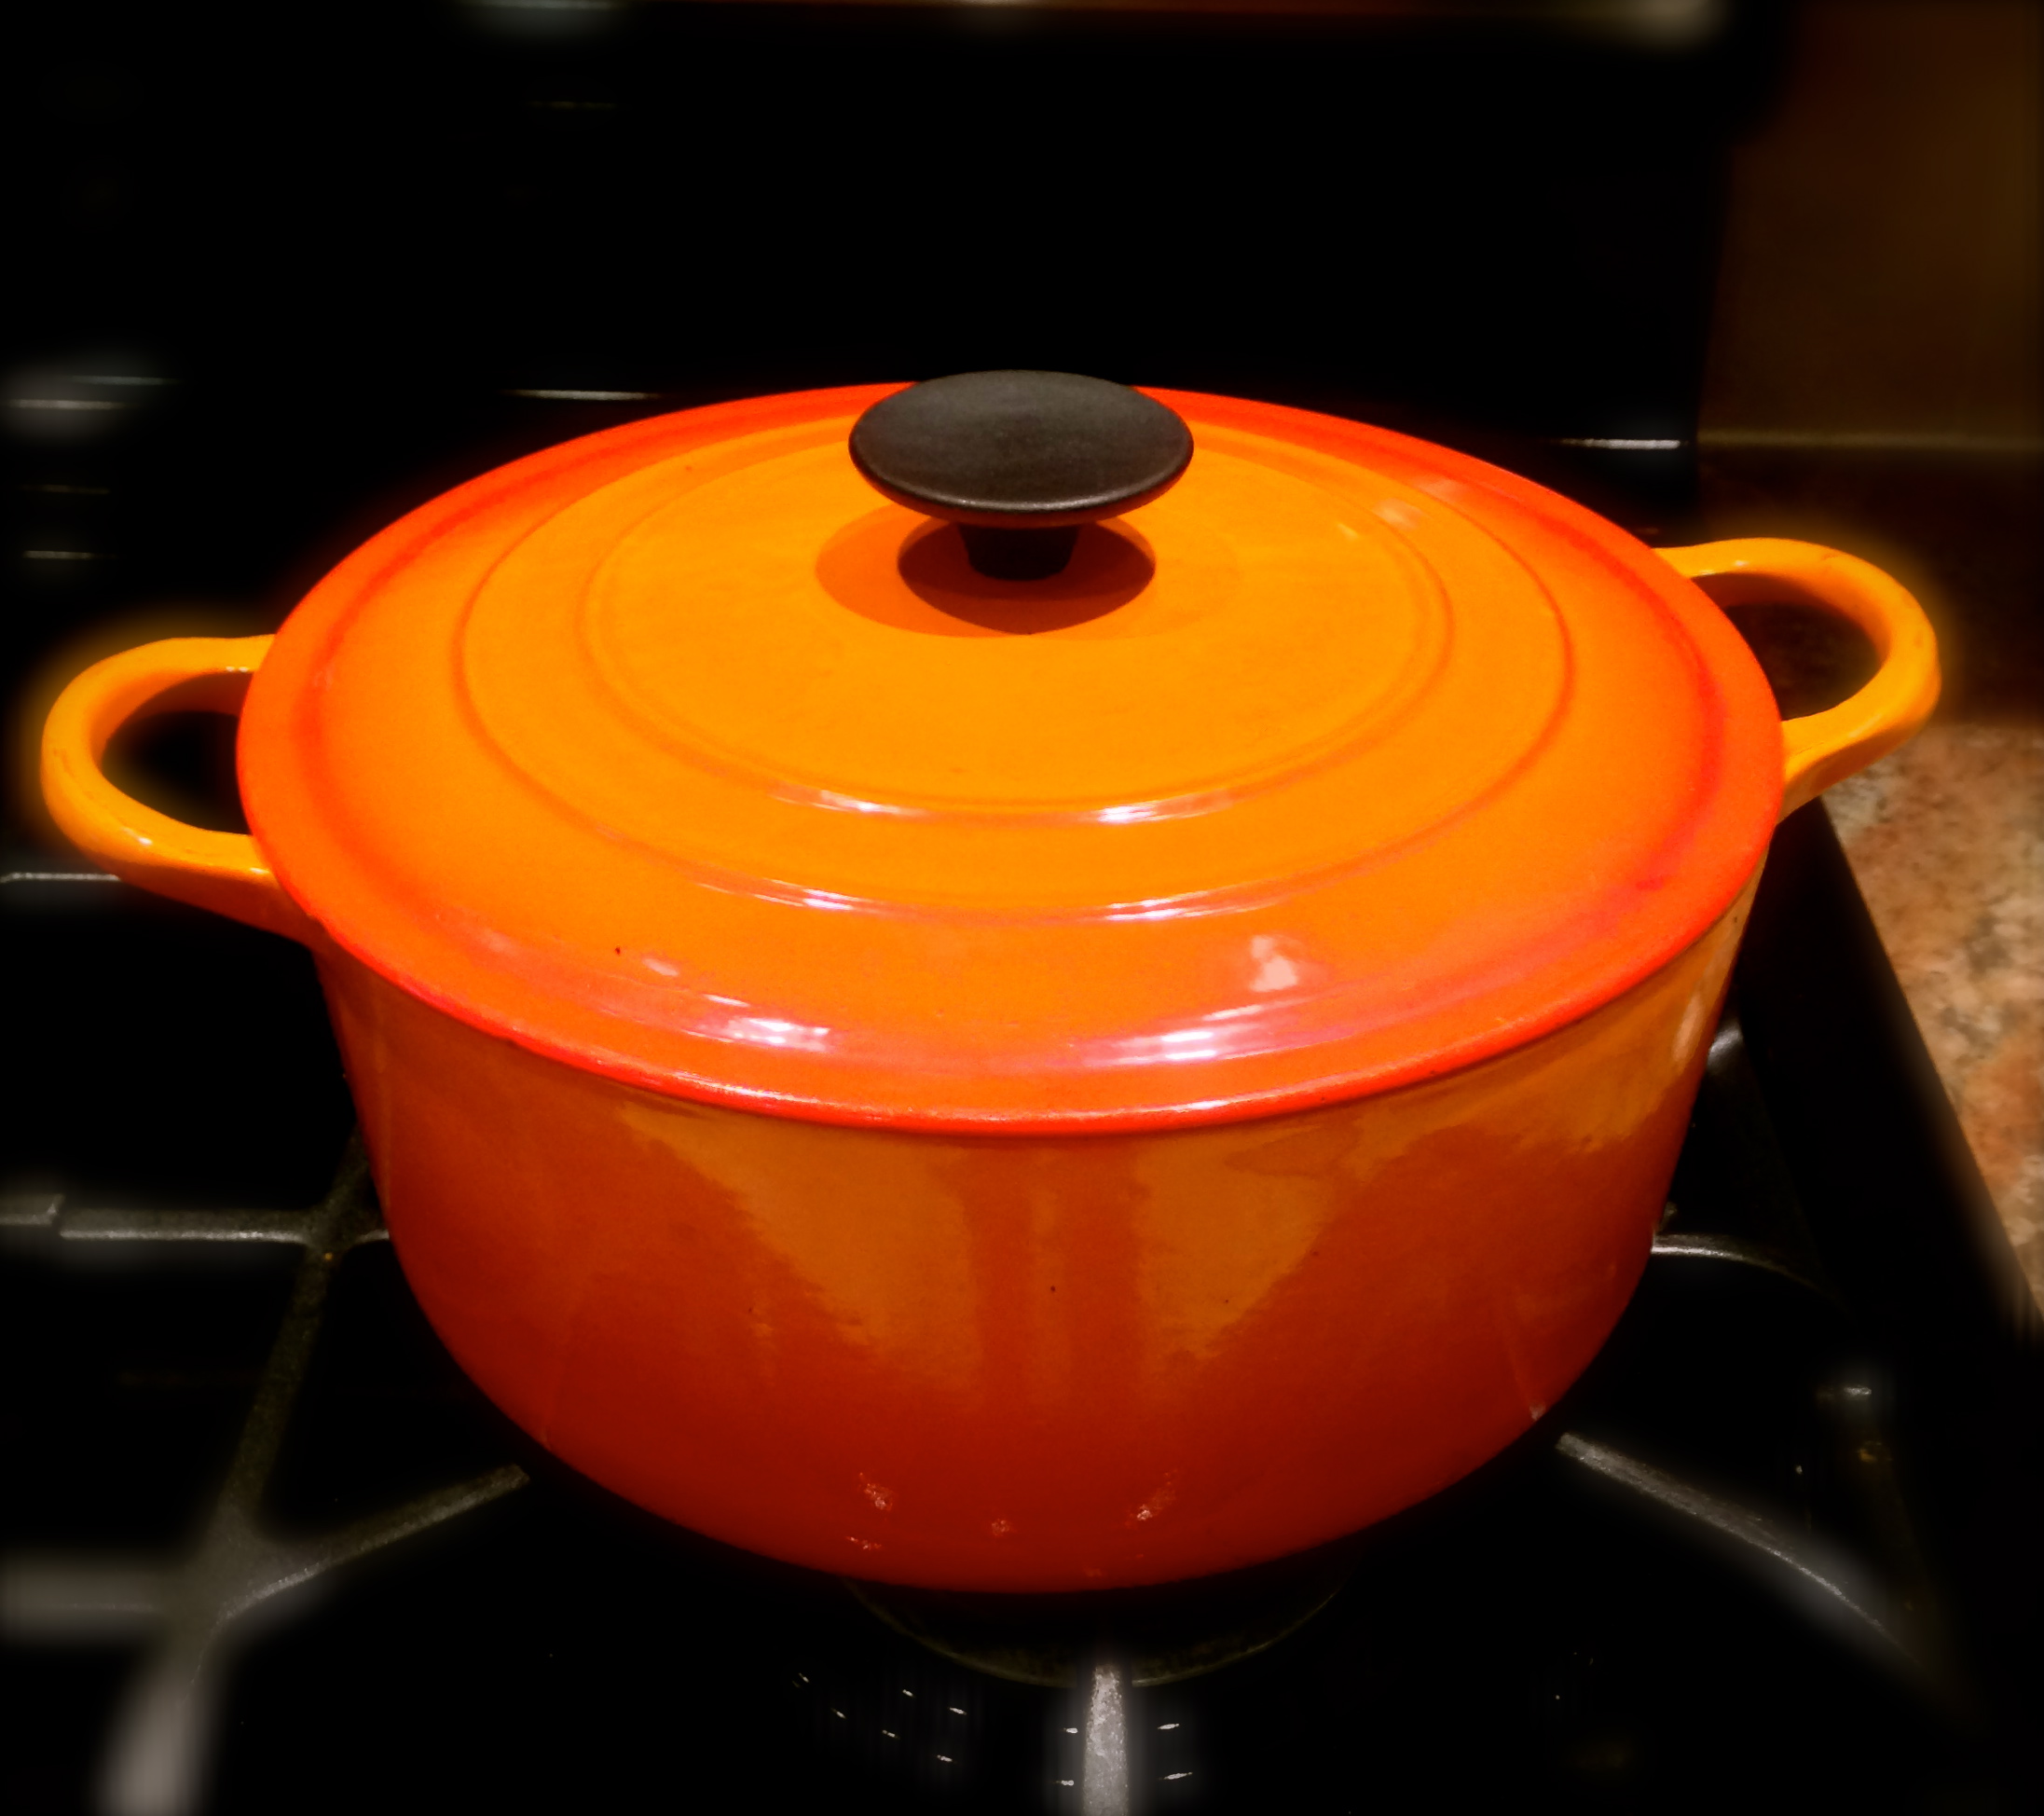
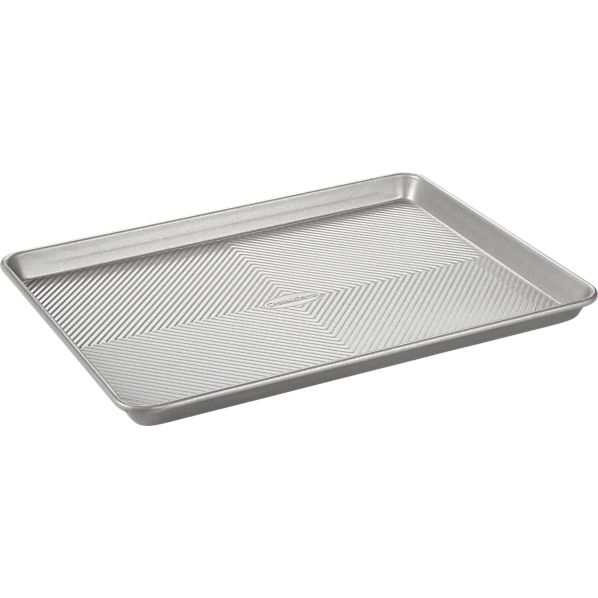 Lesson Learned 3 – Prepping the baking sheet: I use a professional grade baking sheet (picture on the left). I have to include a disclaimer that I work at Crate and Barrel which carries this particular baking sheet. I am not trying to sell this, but have found that if you invest in good housewares i.e., cookware, bakeware, gadgets, etc. it will pay dividends in the kitchen. This particular baking sheet is a non-stick baking sheet. It does not have a traditional non-stick surface but notice the groves throughout the bottom of the pan. That allows for heat to circulate underneath whatever is on the sheet and consequently it does not stick. To make this particular bread all I had to do was dust the pan with some cornmeal. When I took the bread out of the oven, I simply lifted it off the sheet with a silicone spatula. The bread did not stick. If you don’t have a pan similar to this you will need to grease a baking sheet with some vegetable oil and then dust it with cornmeal.
I guarantee if you try this recipe you will impress your family and friends. The end result is exquisite and no one will ever believe how easy it was to make. So throw away the box and say good-bye to processed bread mixes. You are now a “from-scratch” bread maker!
Rosemary And Sun Dried Tomato Artisan Bread
 INGREDIENTS:
2 tsp. active dry yeast
1 cup warm water
1/3 cup chopped sun dried tomatoes
1 tsp. dried rosemary, crushed
1 tsp. kosher salt
2 cups flour
cornmeal for dusting
vegetable oil for baking sheet prep
1 egg white (for an wash on the top of the bread)
1 Tbs. milk (for a wash on top of the bread)
DIRECTIONS:
In a medium sized bowl combine yeast and warm water. Whisk to combine. Let the mixture sit for 3-5 minutes until the yeast starts to expand and bloom. Add the tomatoes, rosemary, salt and flour all at once. Use a wooden spoon to combine. If dough is too sticky add a little more flour. If the dough feels too dry add a little more water. The dough should be a bit sticky but capable of being formed into a ball. Cover the dough and let it rise for 1 hour.
After an hour either dust a non-stick baking sheet with cornmeal or, if not using non-stick, brush the sheet with some vegetable oil and dust with cornmeal. Shape the dough into a ball with your hands (or you can use a heavy duty silicone scraper to shape into a ball) and put it on the prepared baking sheet. Cover the dough with a dishtowel and let it rise for and additional 30 minutes.
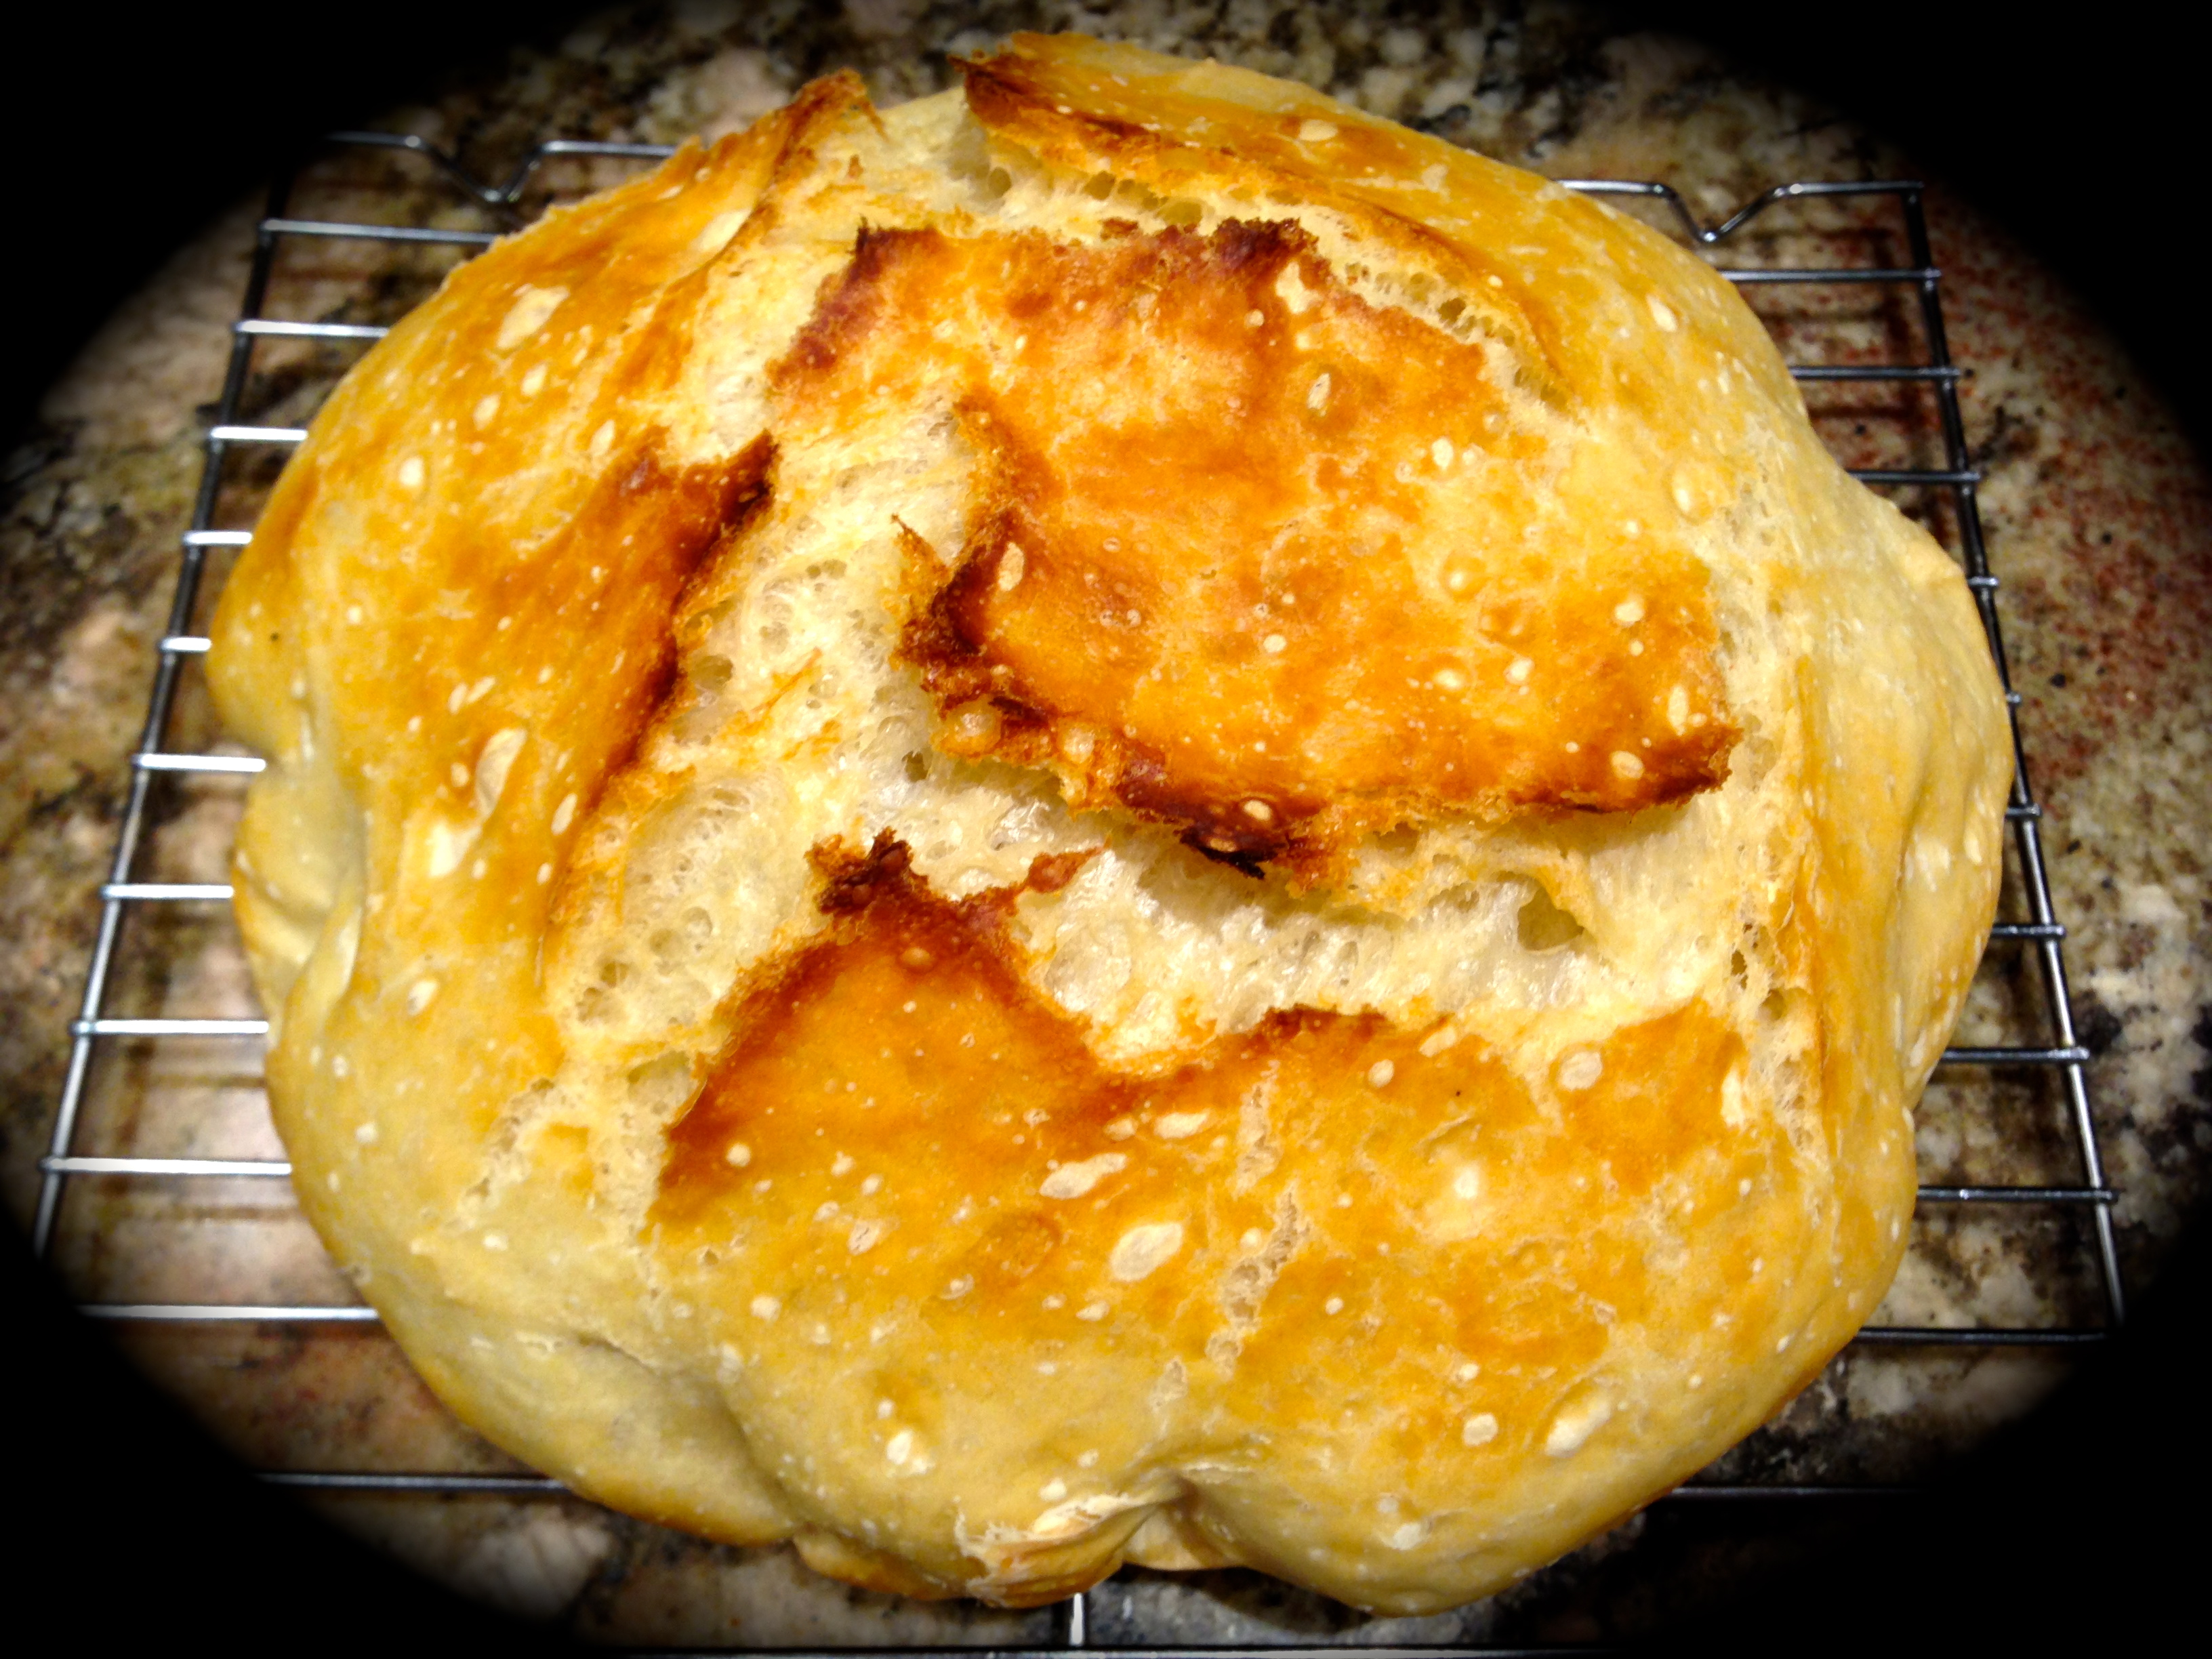
While the dough is rising, preheat the oven to 400 degrees. After 30 minutes, bake the dough for 20 minutes. Remove the bread from the oven and brush lightly with the whisked egg white and milk mixture. Put the bread back into the oven for an additional 5-10 minutes or until the outer crust turns a nice light golden brown.
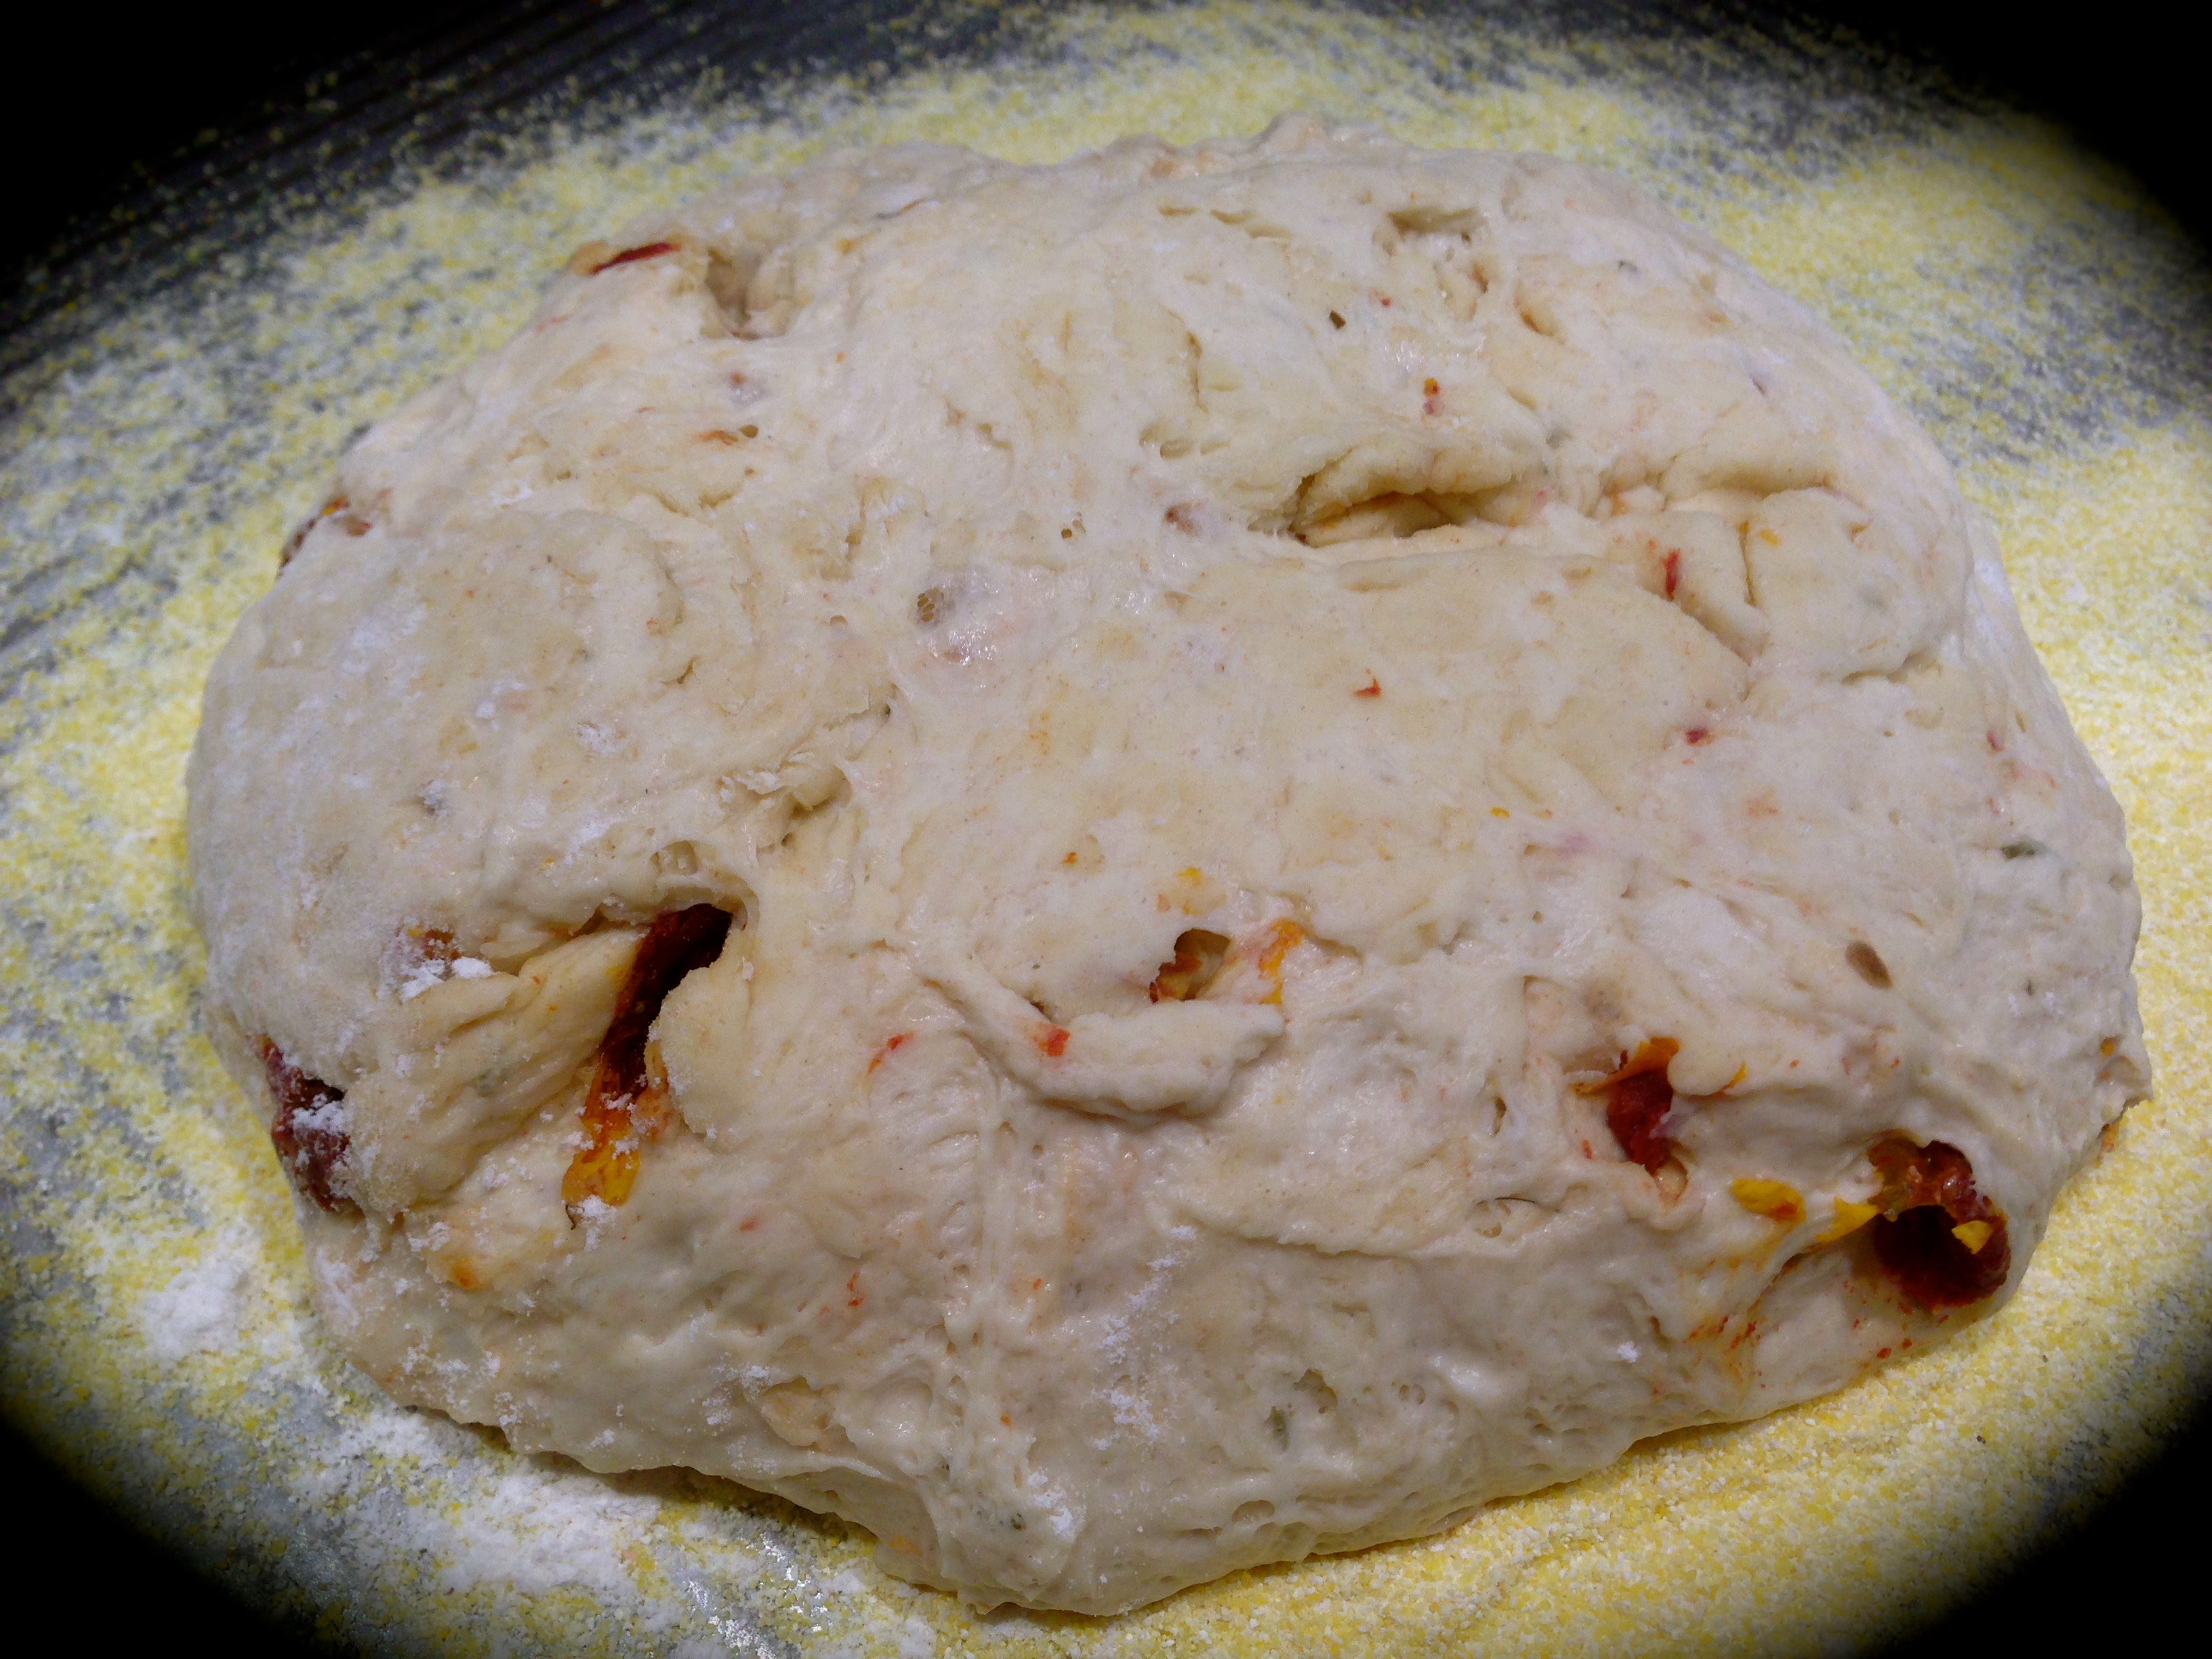
Bread Dough Ready To Rise On Prepared Baking Sheet…
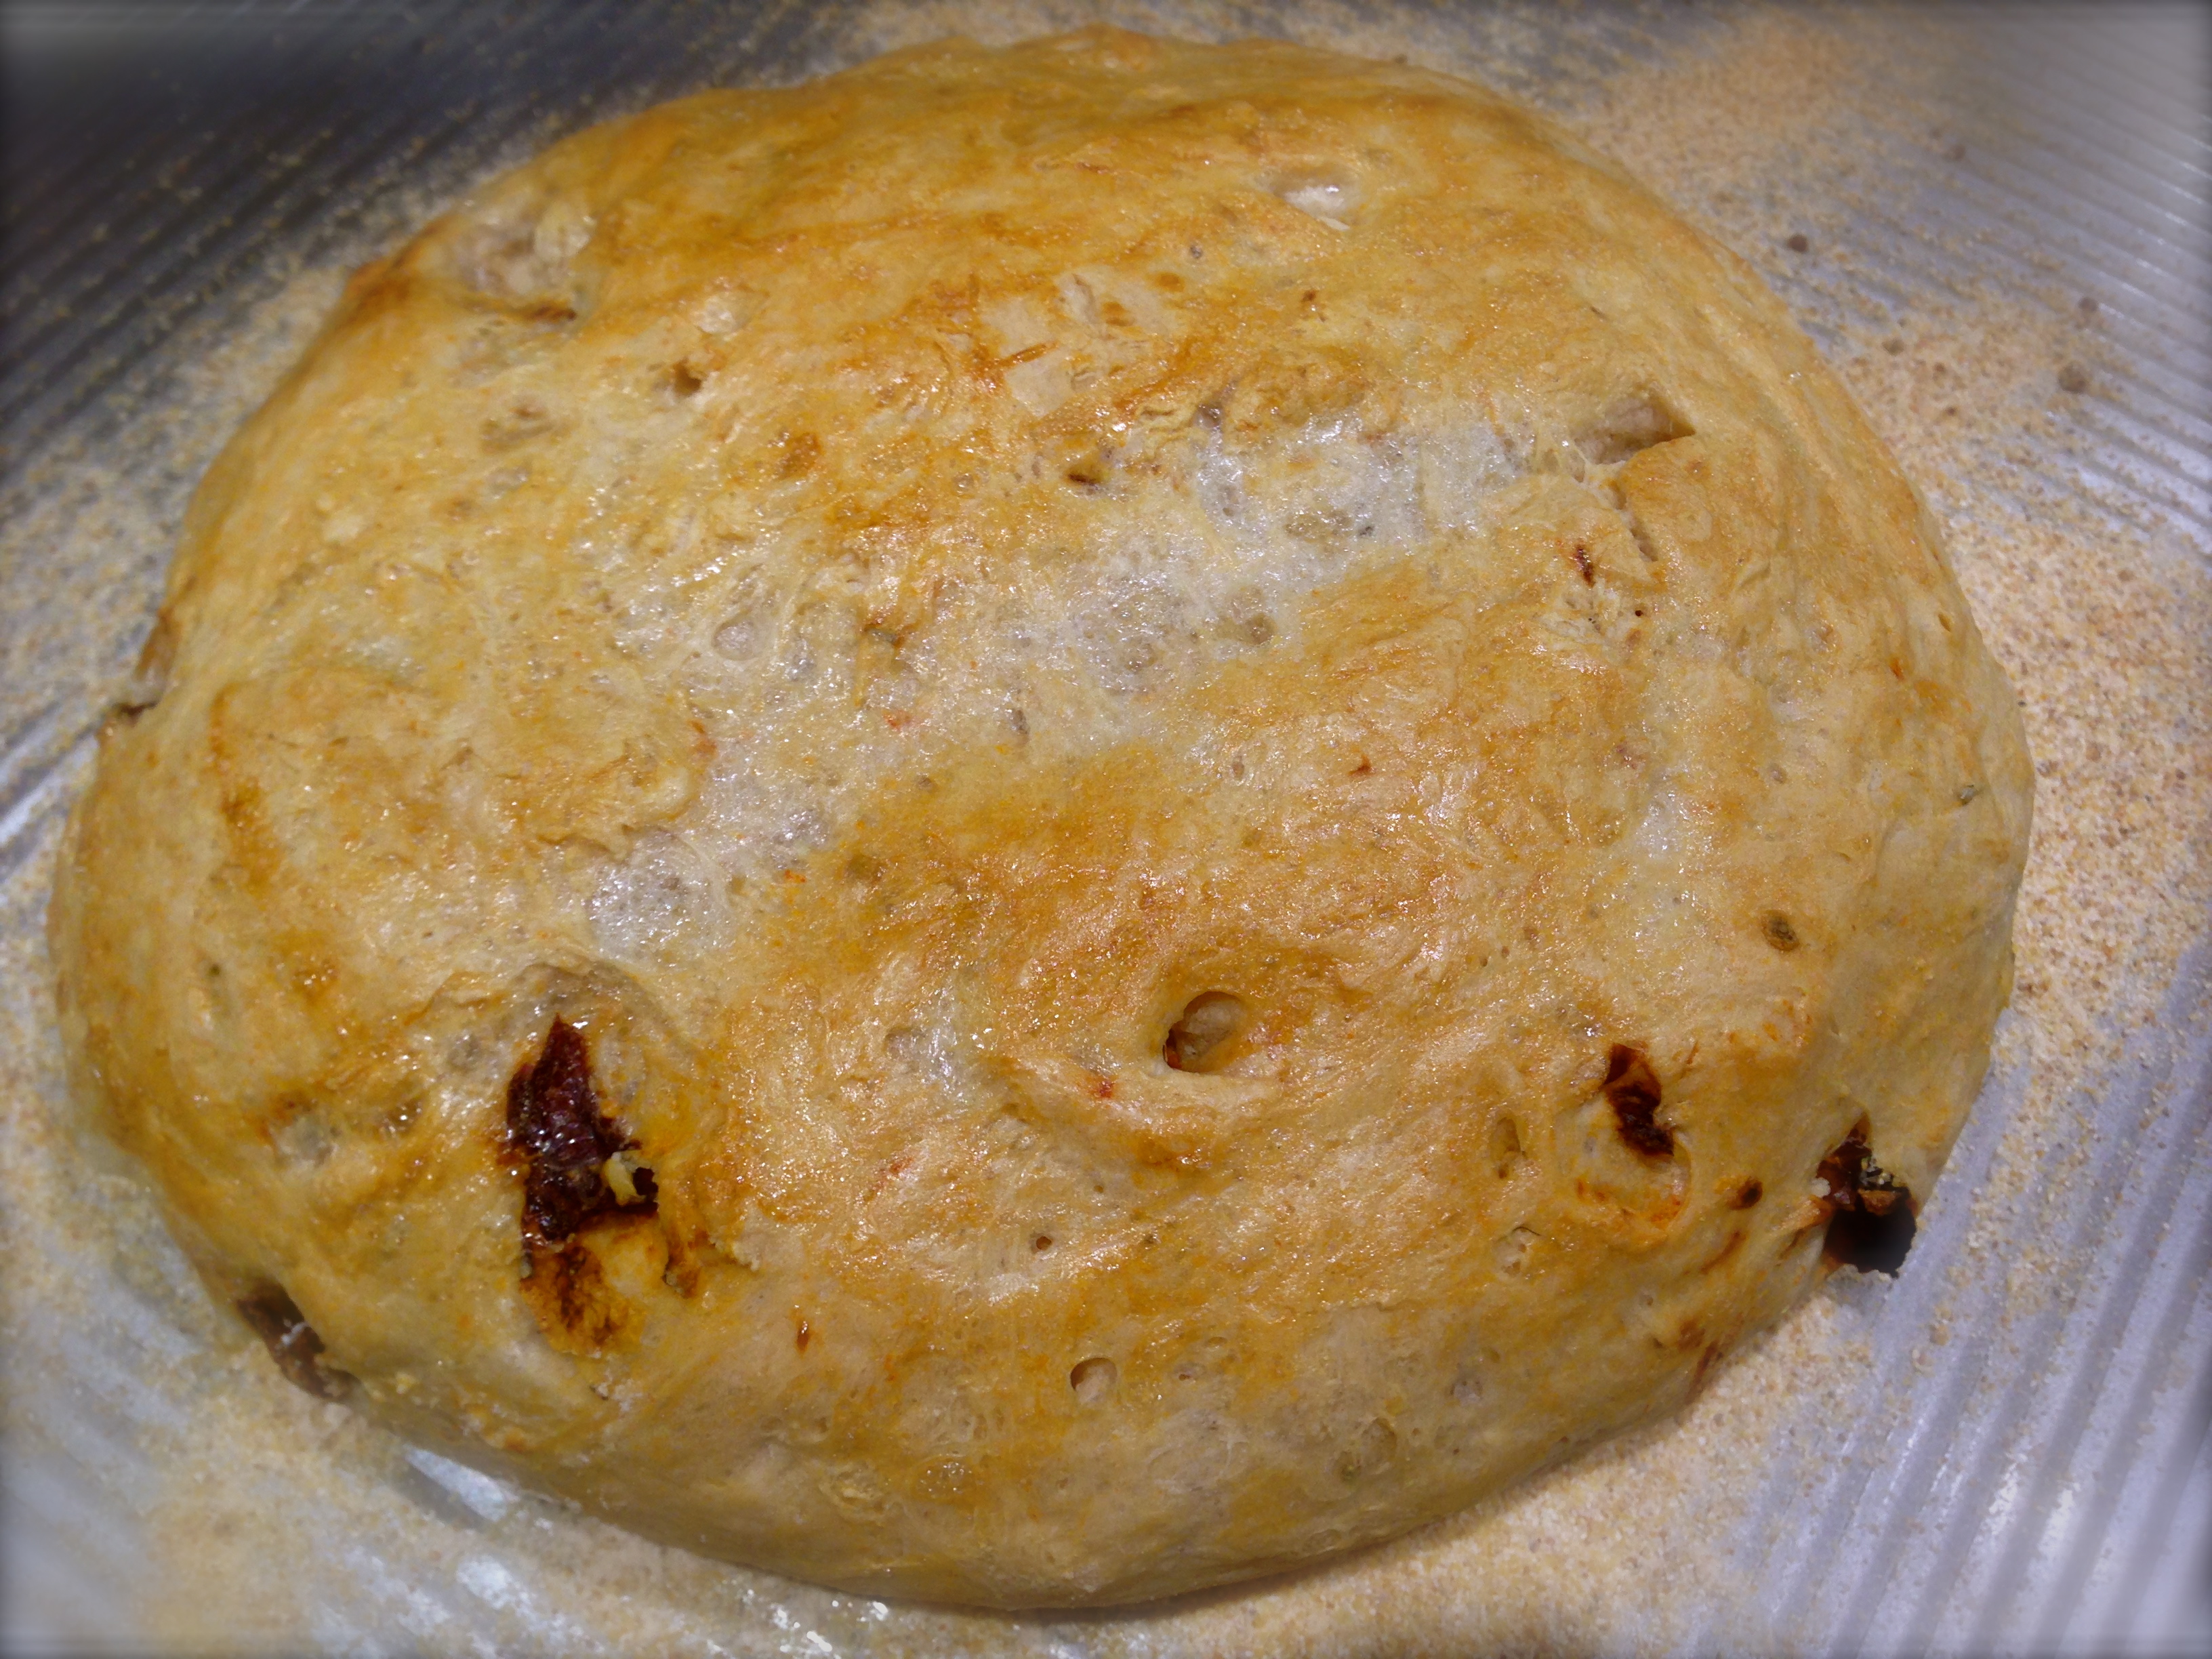
Fresh Out Of The Oven…
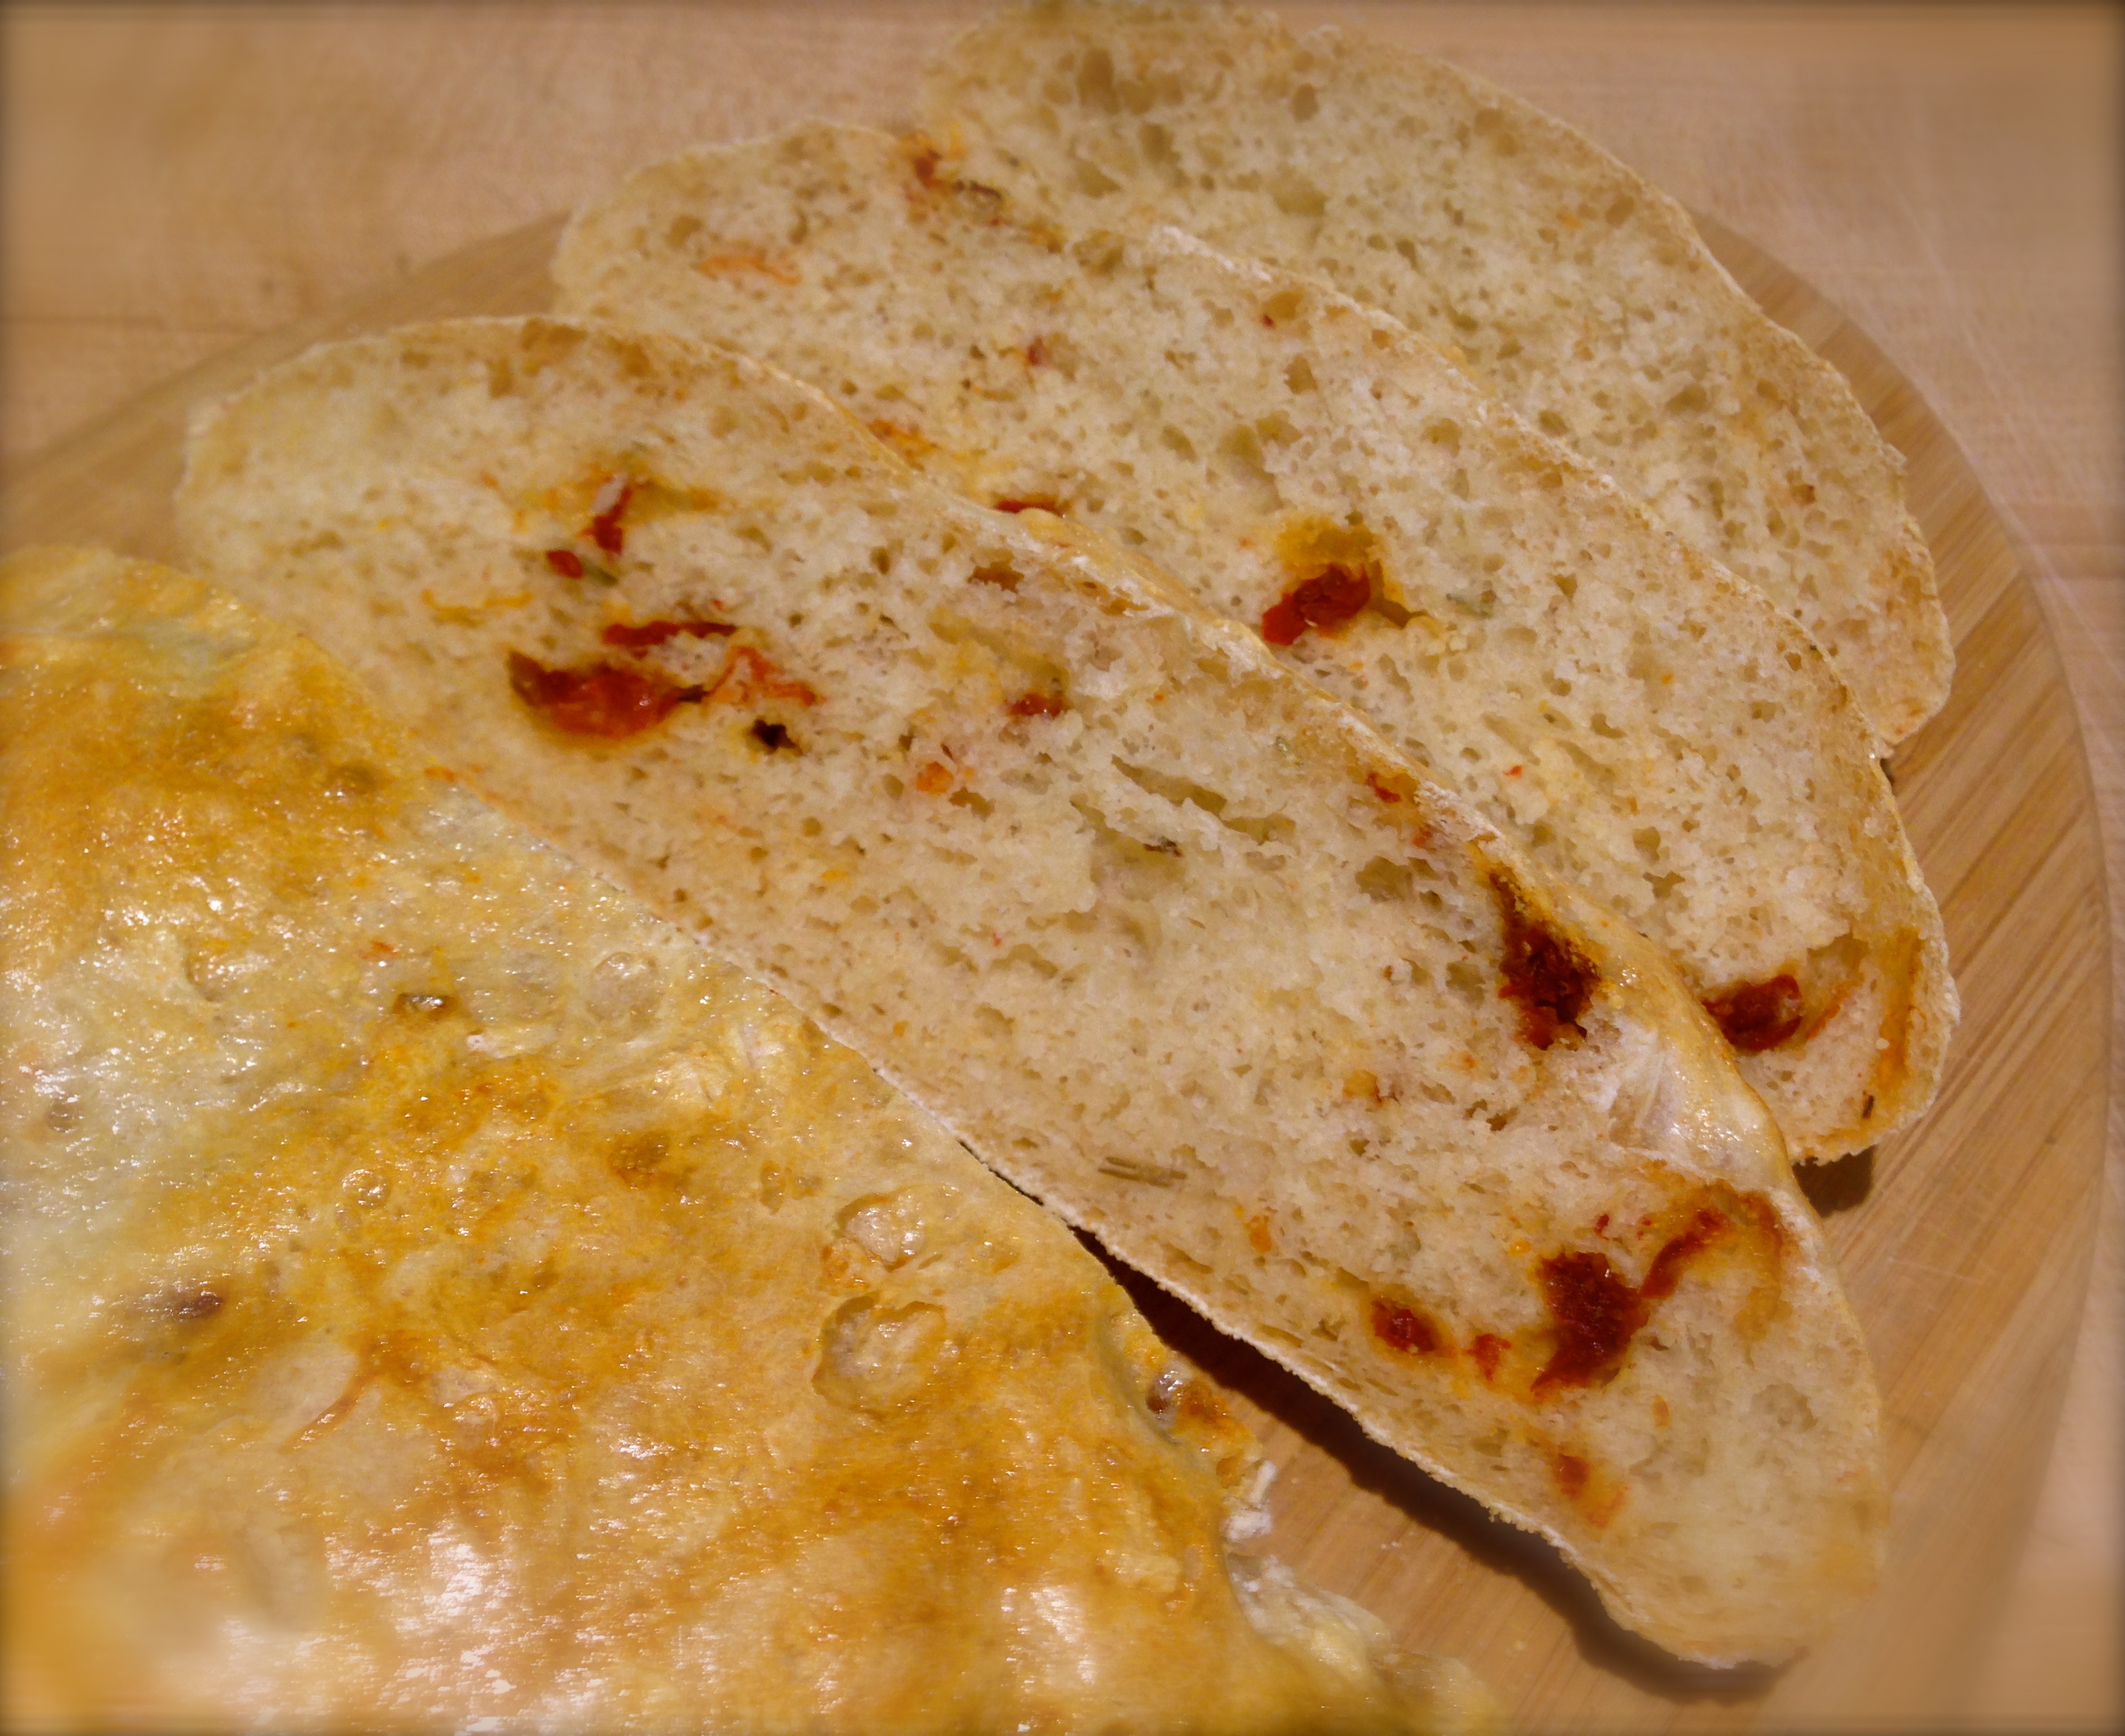
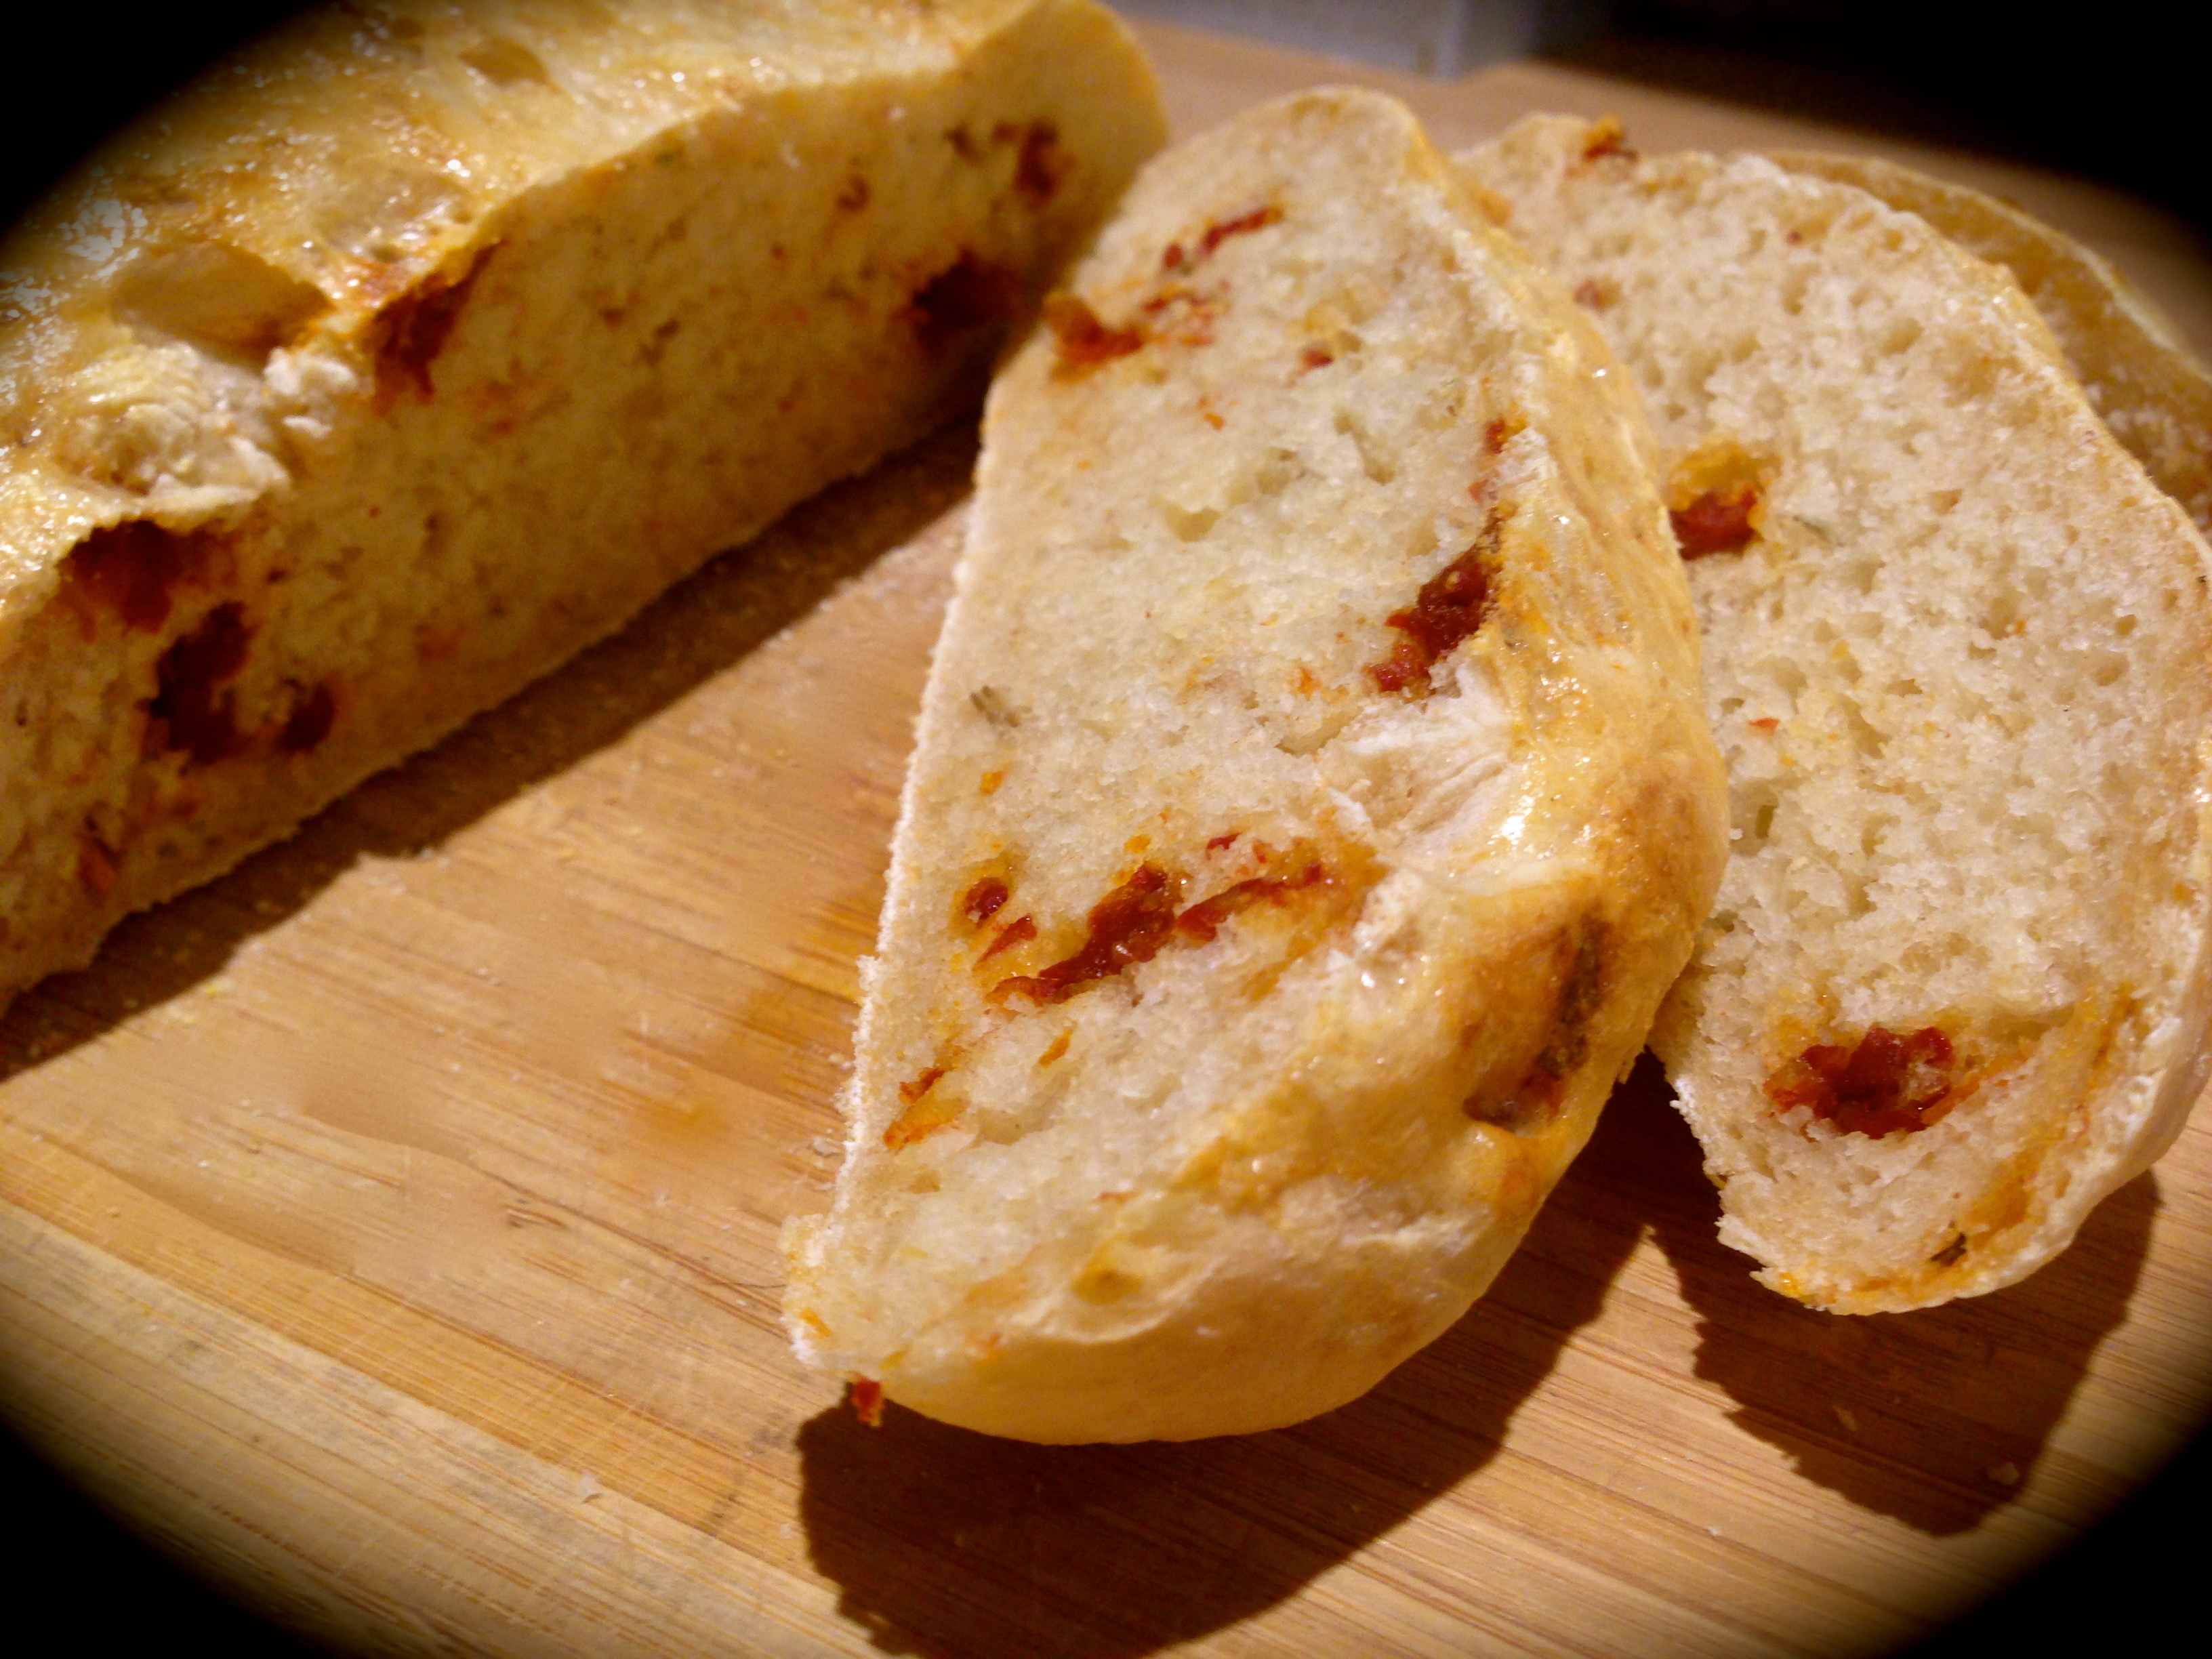
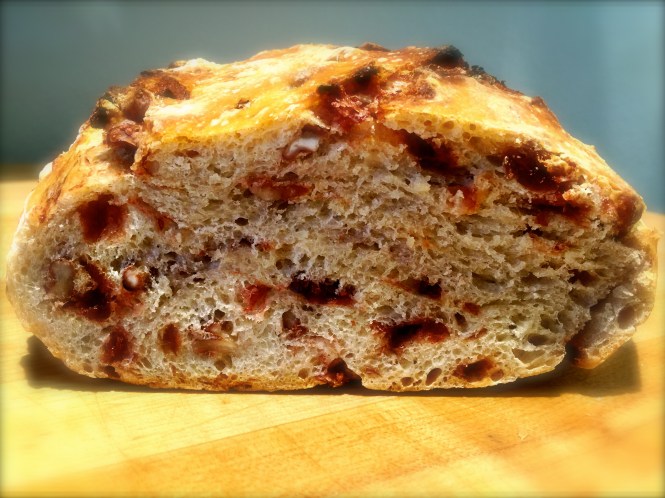
Rosemary and Sun Dried Tomato Artisan Bread…