Banana Bread With Cream Cheese Frosting…

There’s nothing as comforting as the smell of banana bread baking in the oven. I love banana bread and have tried various recipes that produced marginal results. But now I think I’ve found my go-to recipe and I want to share it.

One of the problems I’ve had with banana bread is wanting to make it but not planning on having ripe bananas on hand to do so. C’mon, how many of you actually plan on having ripe bananas on hand? Quite often banana bread is an after thought when you have ripe bananas and don’t know what to do with them. Personally I am not a big banana fan. I’ll eat them in banana bread or a banana split but that’s about it. So normally I do not intentionally have bananas around the house.

But I’ve discovered over many years of making banana bread that ripe bananas actually make a huge difference in the flavor of the bread. When bananas get ripe, they release their natural sugars which intensifies their flavor. It’s actually amazing. Try making this recipe with unripe bananas and then with ripe bananas. You will be amazed at the difference! But what do you do when you want to make banana bread but can’t find ripe bananas at the store (and I’ll clue you in, you probably never will). I solved that dilemma in a very simple way which I will share in my lessons learned.

IMG_4103Lesson Learned 1 – You can always have ripe bananas on hand: It’s really rather simple. Just preheat your oven to 350 degrees. Place the bananas on a baking sheet and keep them in the oven for 5-10 minutes. Start checking them after 5 minutes. You want the skins to be nice and dark like in the picture to the left. I checked my bananas at 5 minutes and they just had a couple of brown spots on them. I checked them again 3 minutes later and they were almost there and finally after an additional 2 minutes they were the perfect dark color. The amount of time you’ll need to get the bananas to brown as shown in these pictures will depend on your oven and altitude.

IMG_4110

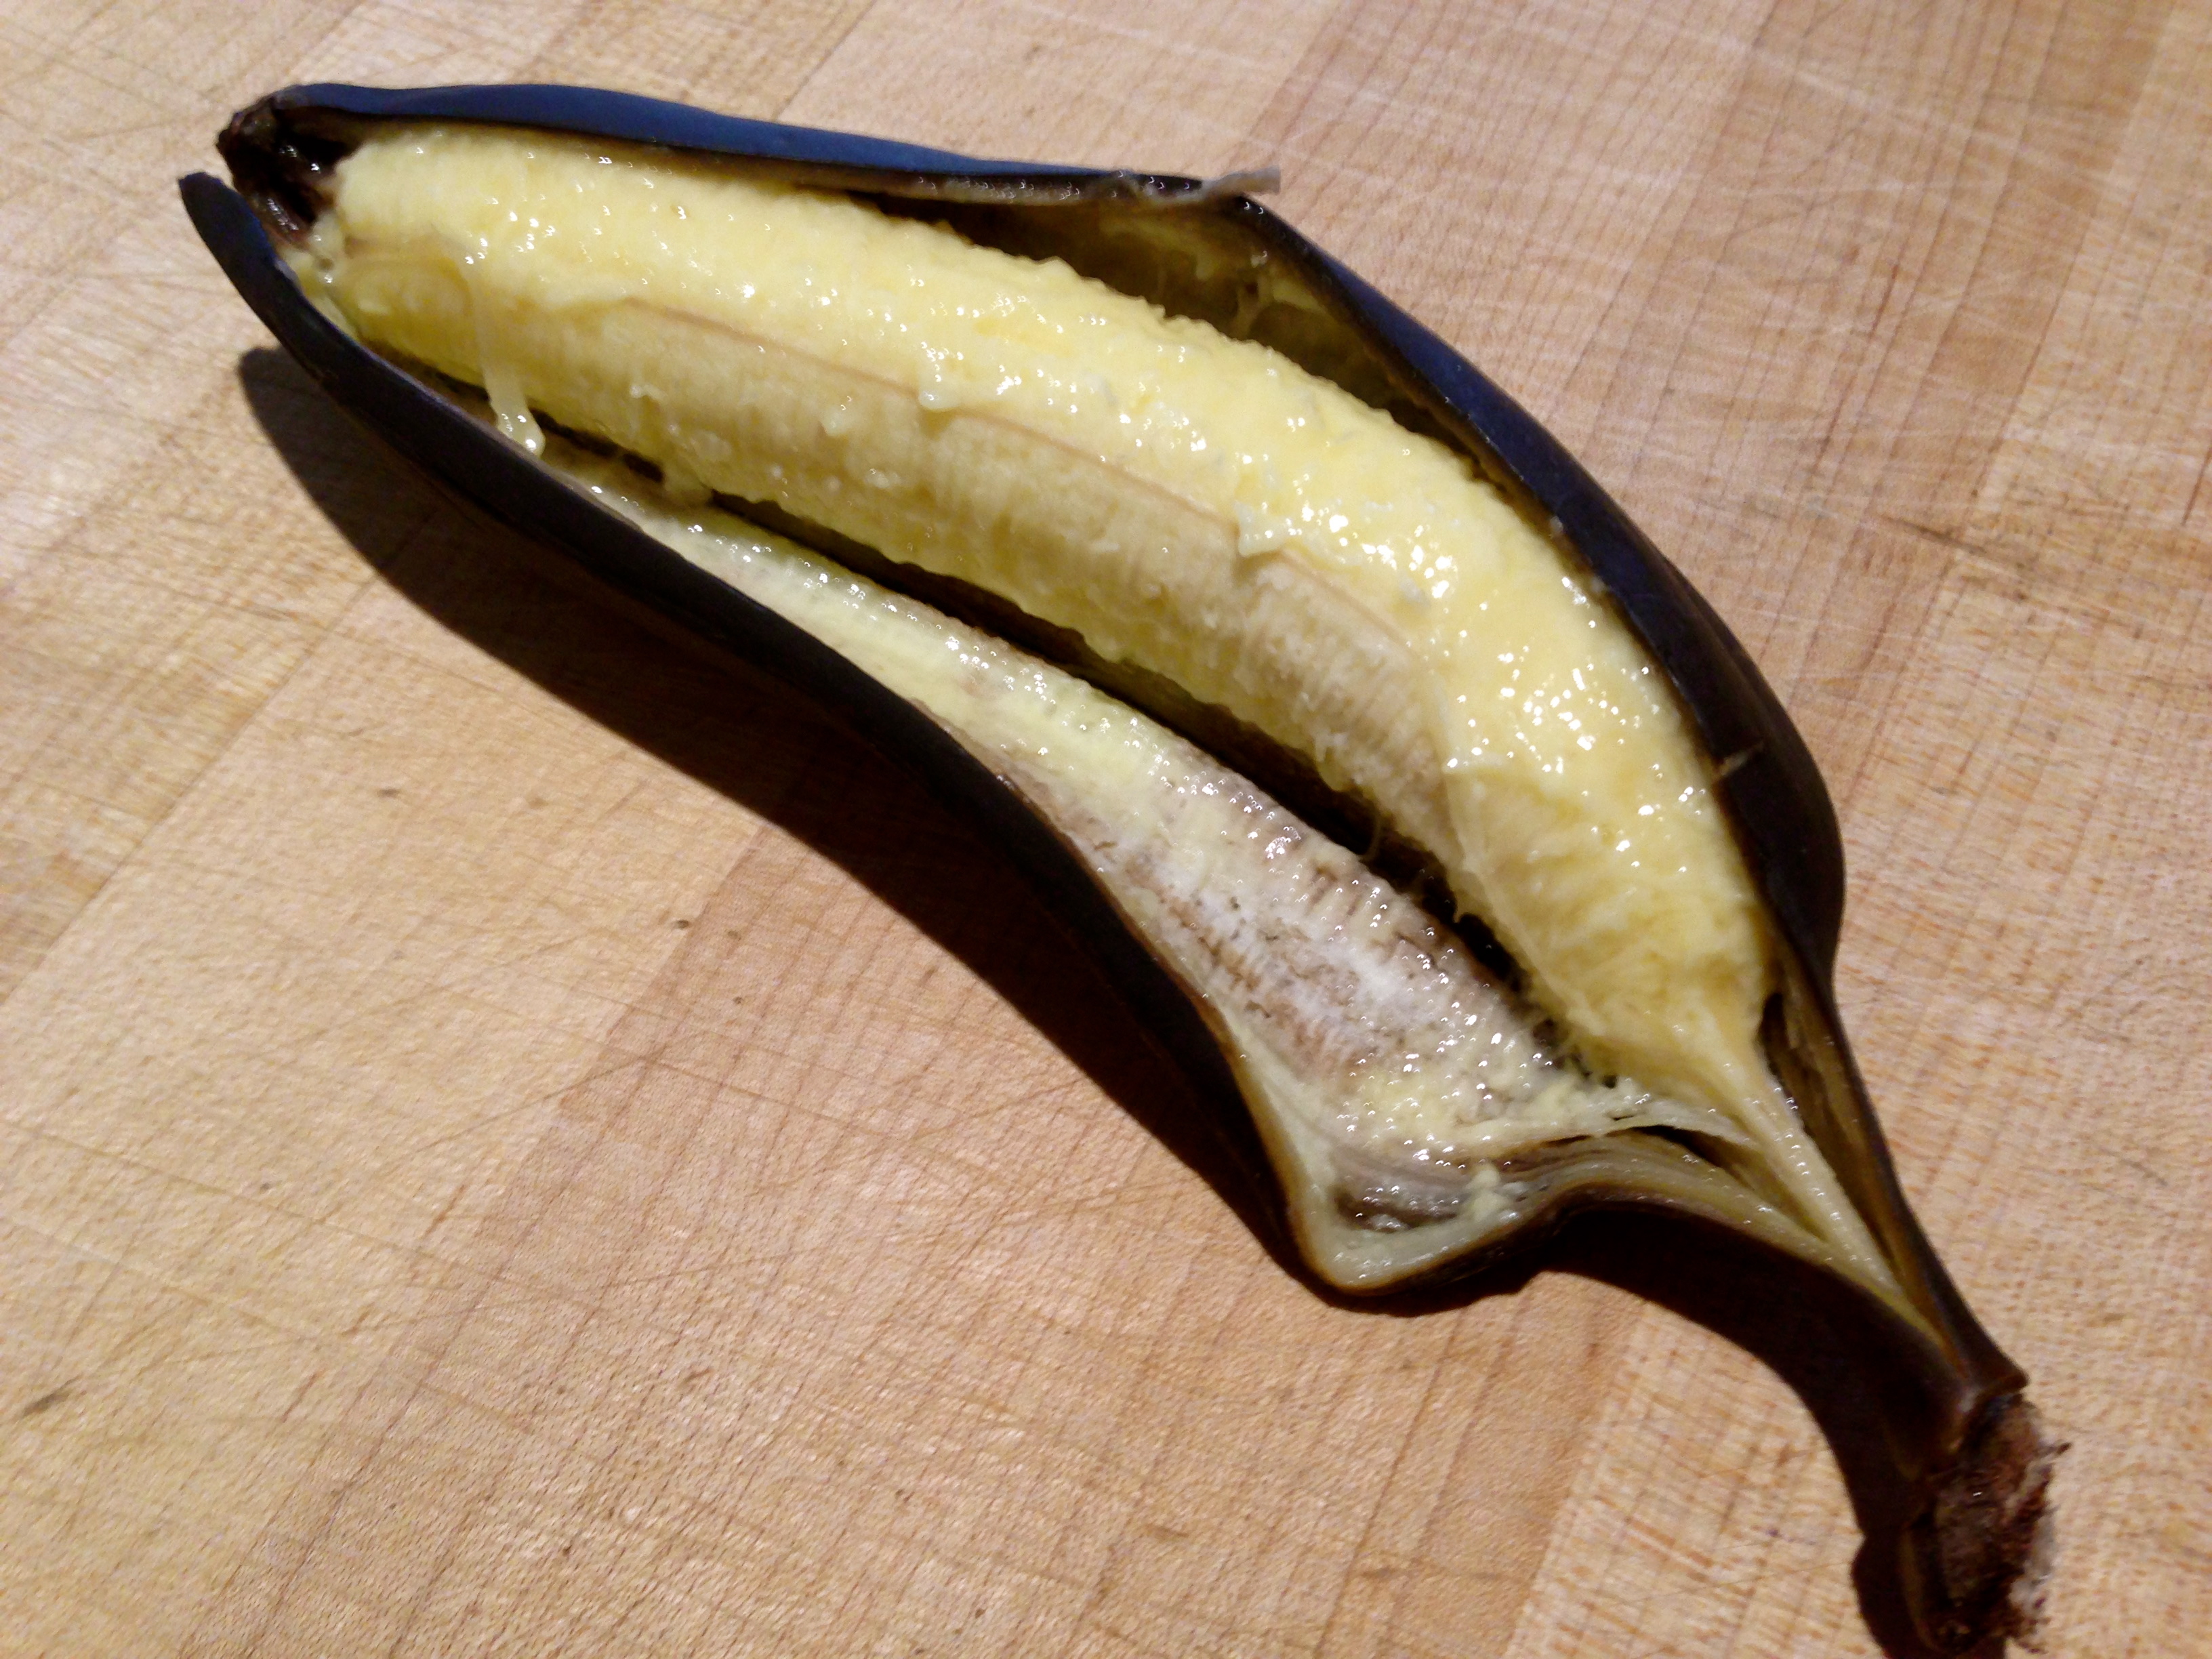
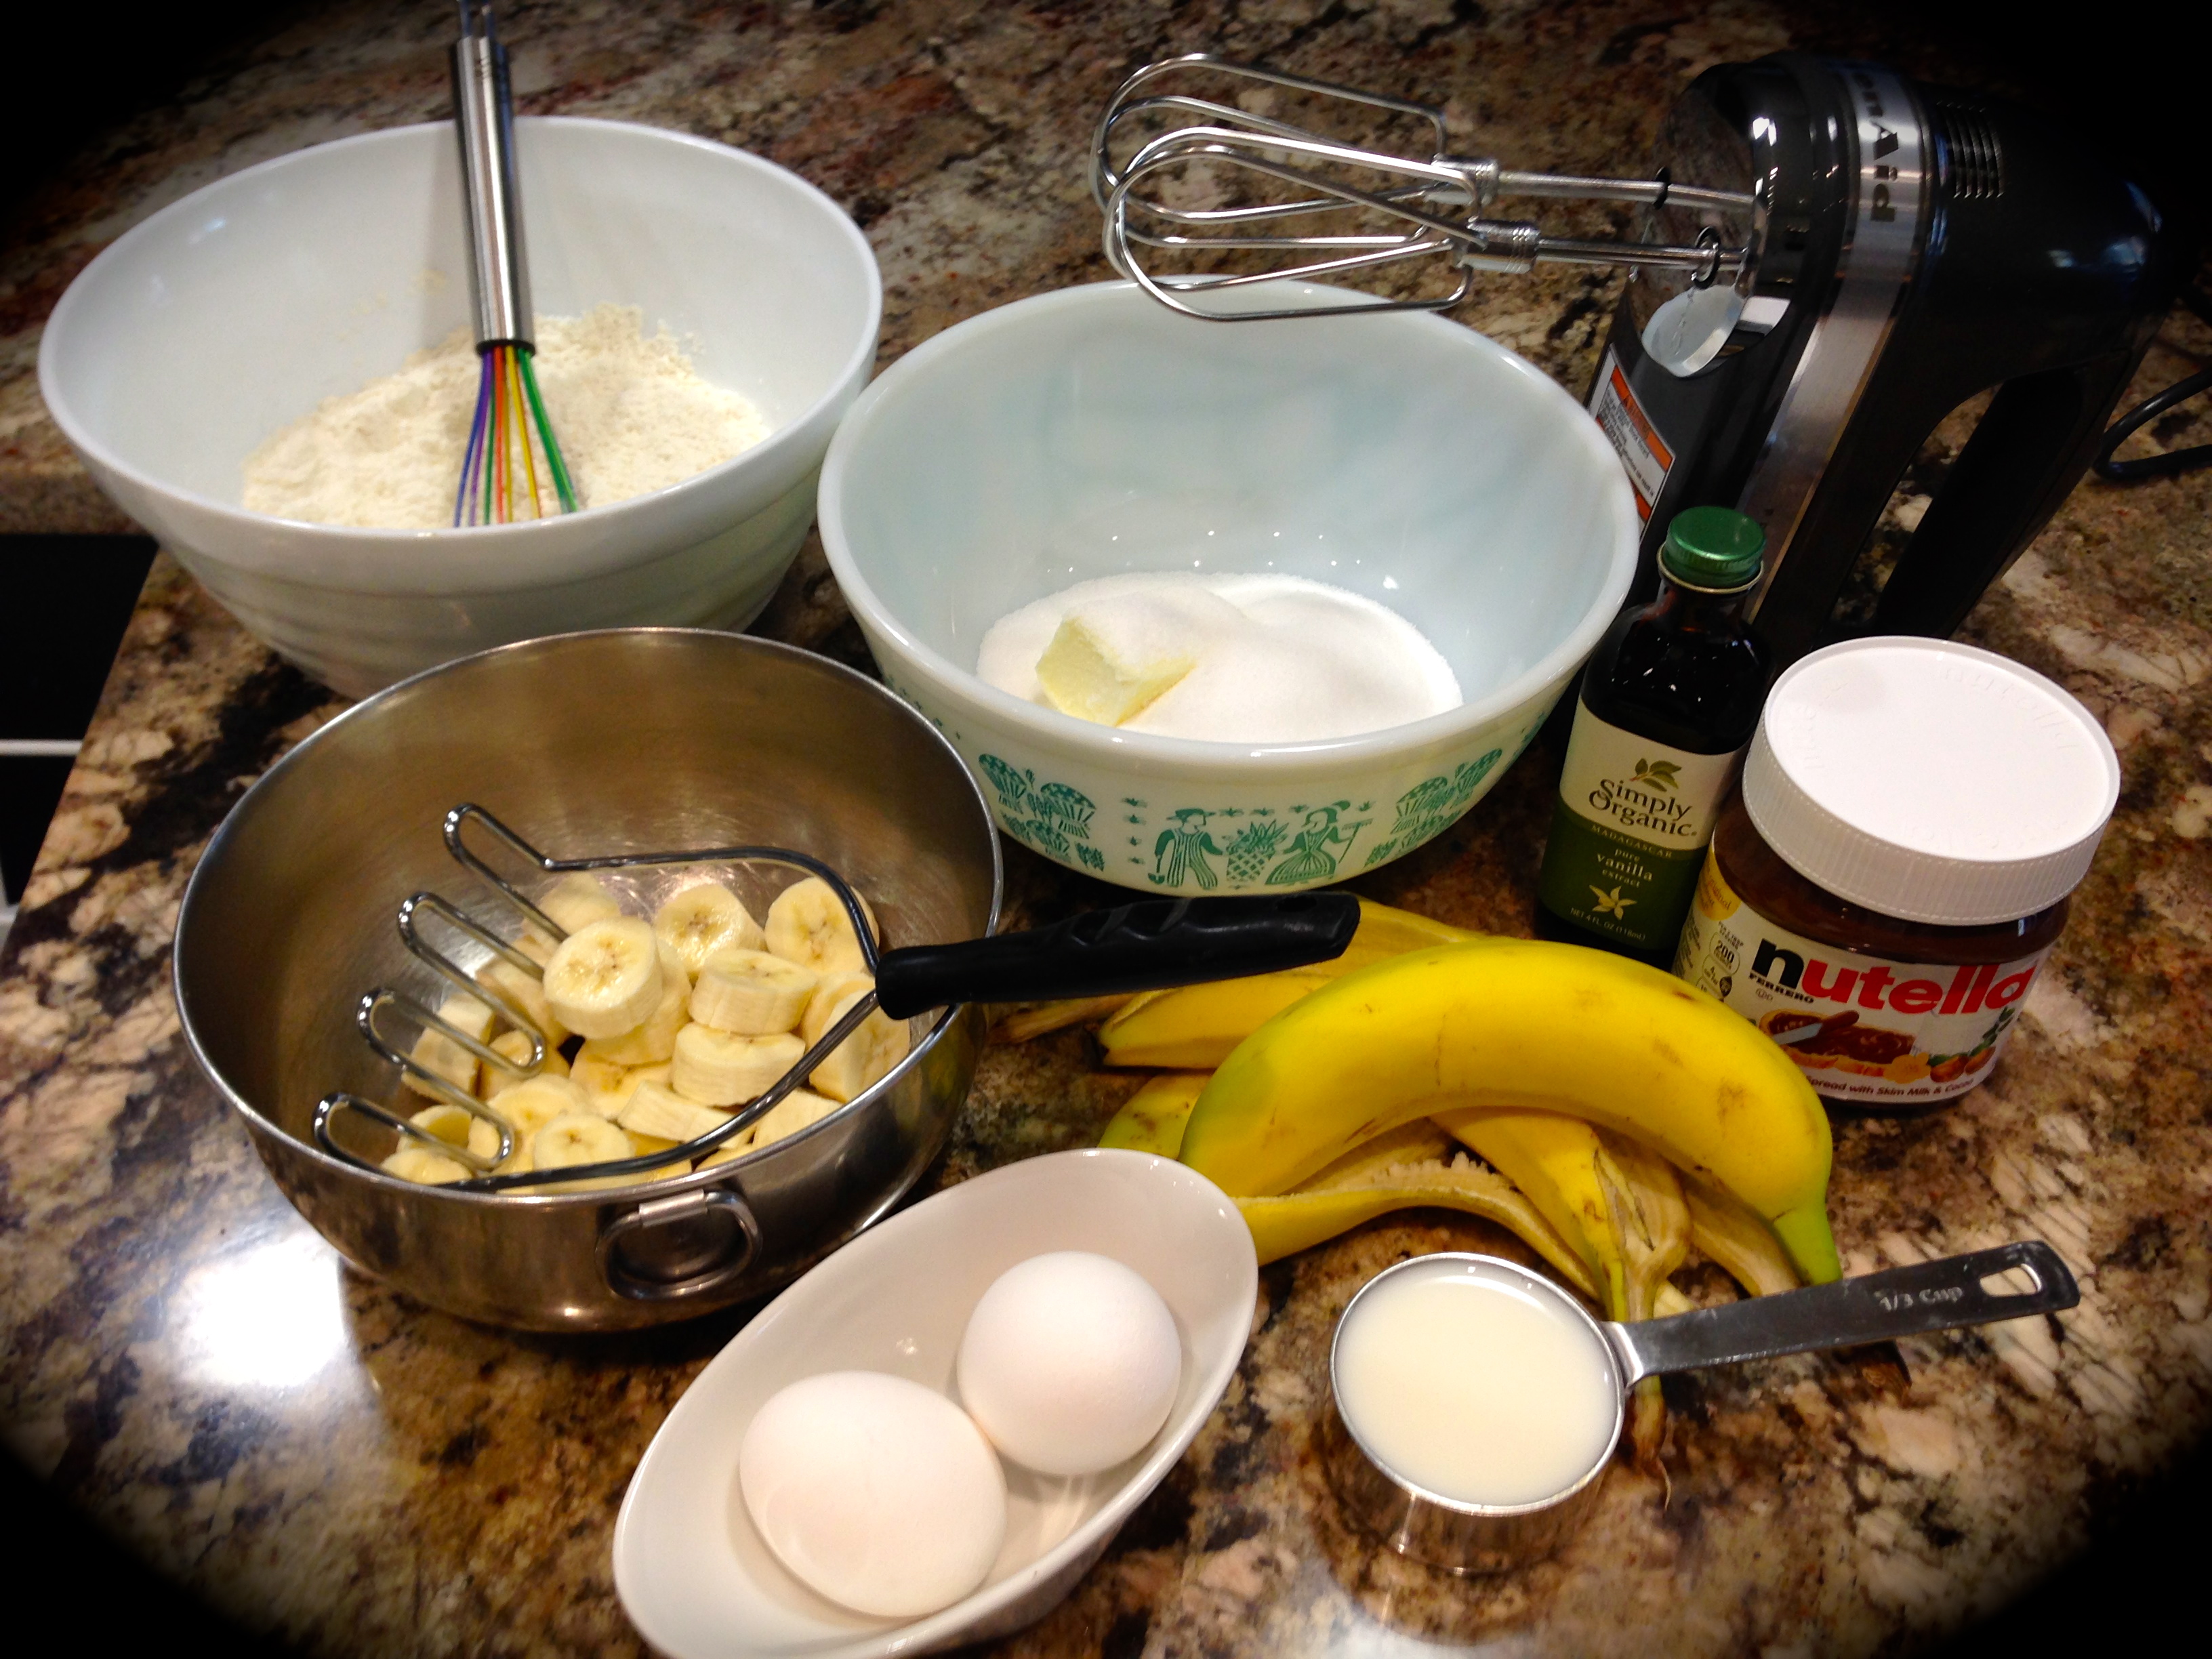
I can’t stress enough the difference this makes in the flavor of the bread. It only takes a few minutes but the end result is so worth it. The picture above shows what the banana looks like after this process. Simply peel the bananas, put them all in a bowl and mash them. It will take no effort to do so as the bananas will be delightfully soft and perfectly ripe.

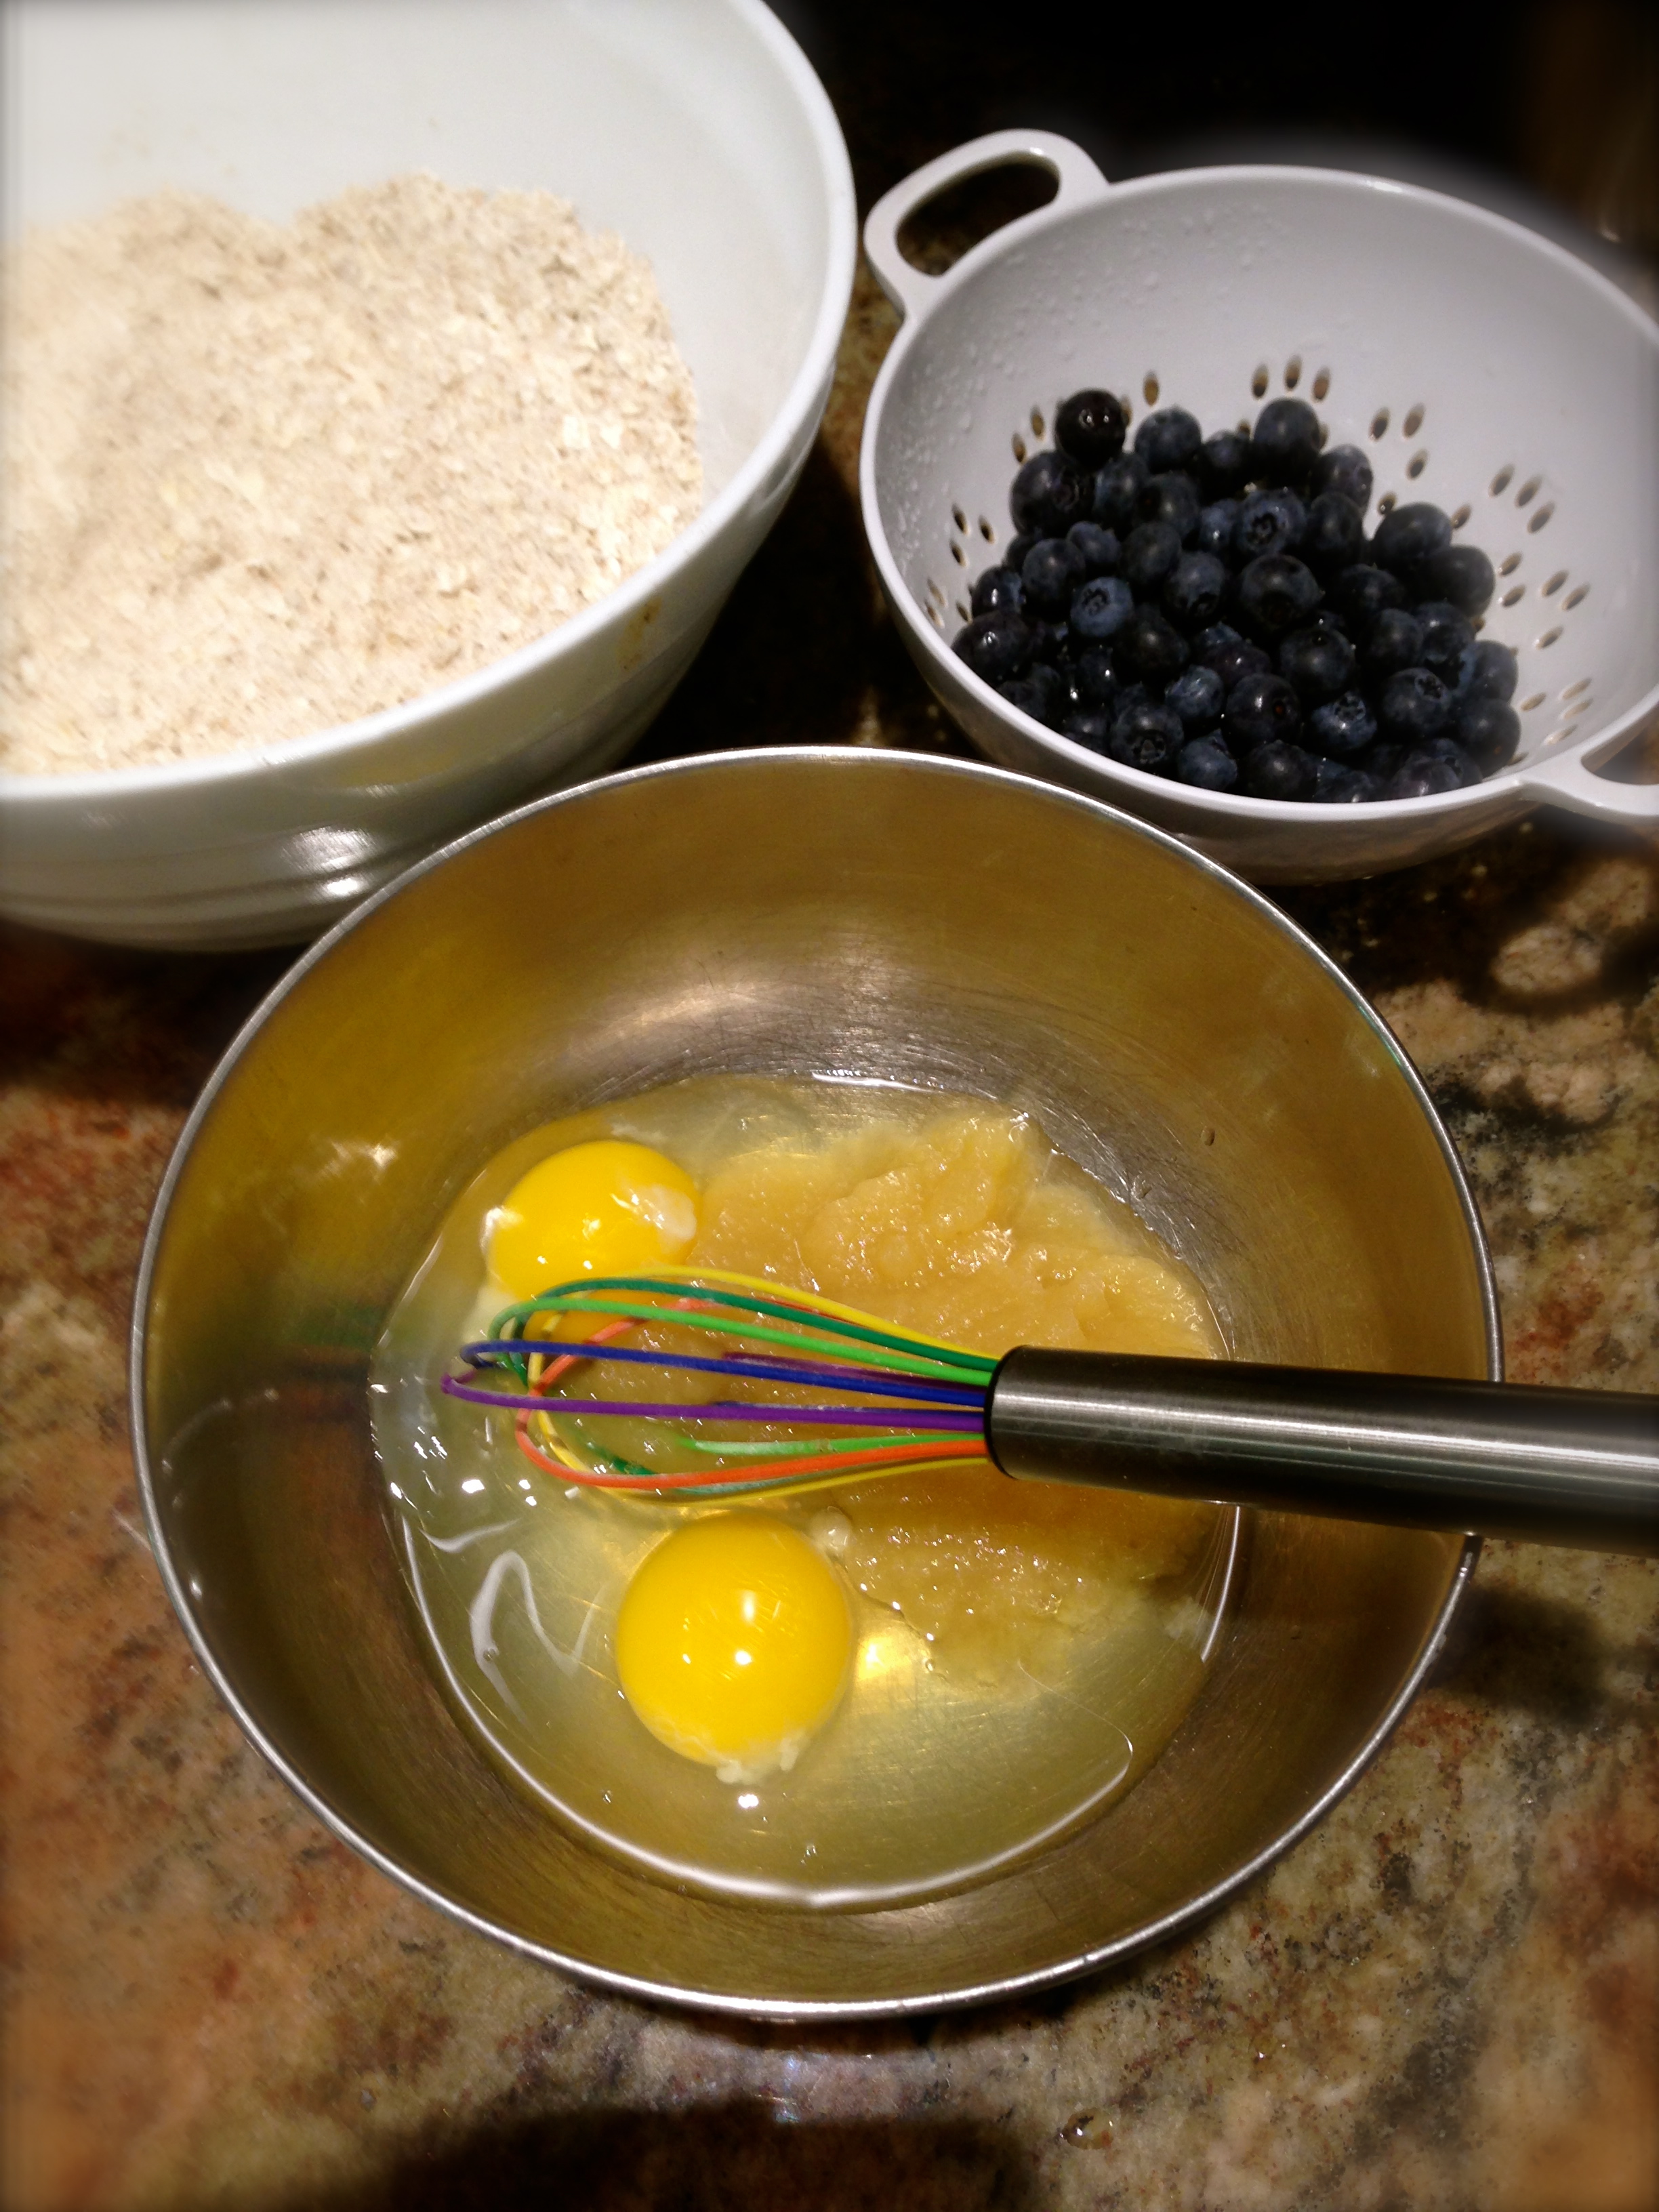
Lesson Learned 2 – The basics for any moist sweet bread (or cake): I know I’ve shared this before but it bears repeating. When making a sweet bread or a cake there are a few basic keys to success: 1. Take the time needed to cream the butter and sugar. I’ve found most cooks short change this step and it’s essential for having a moist sweet bread. It can take 5-7 minutes to cream the butter and sugar properly. The end result should be a light color and the mixture should look fluffy and creamy. 2. Use room temperature eggs. Room temperature eggs mix more thoroughly into a batter. Forgot to take your eggs out of the refrigerator before baking? No worries – click on “this link” for a down and dirty trick to get room temperature eggs in just 5 minutes. 3. Don’t over mix the batter. Once you put the dry and wet ingredients together, just combine them. Once they are fully incorporated into one another, STOP! Do these 3 simple steps and you will have a moist sweet bread every single time.

bananabread

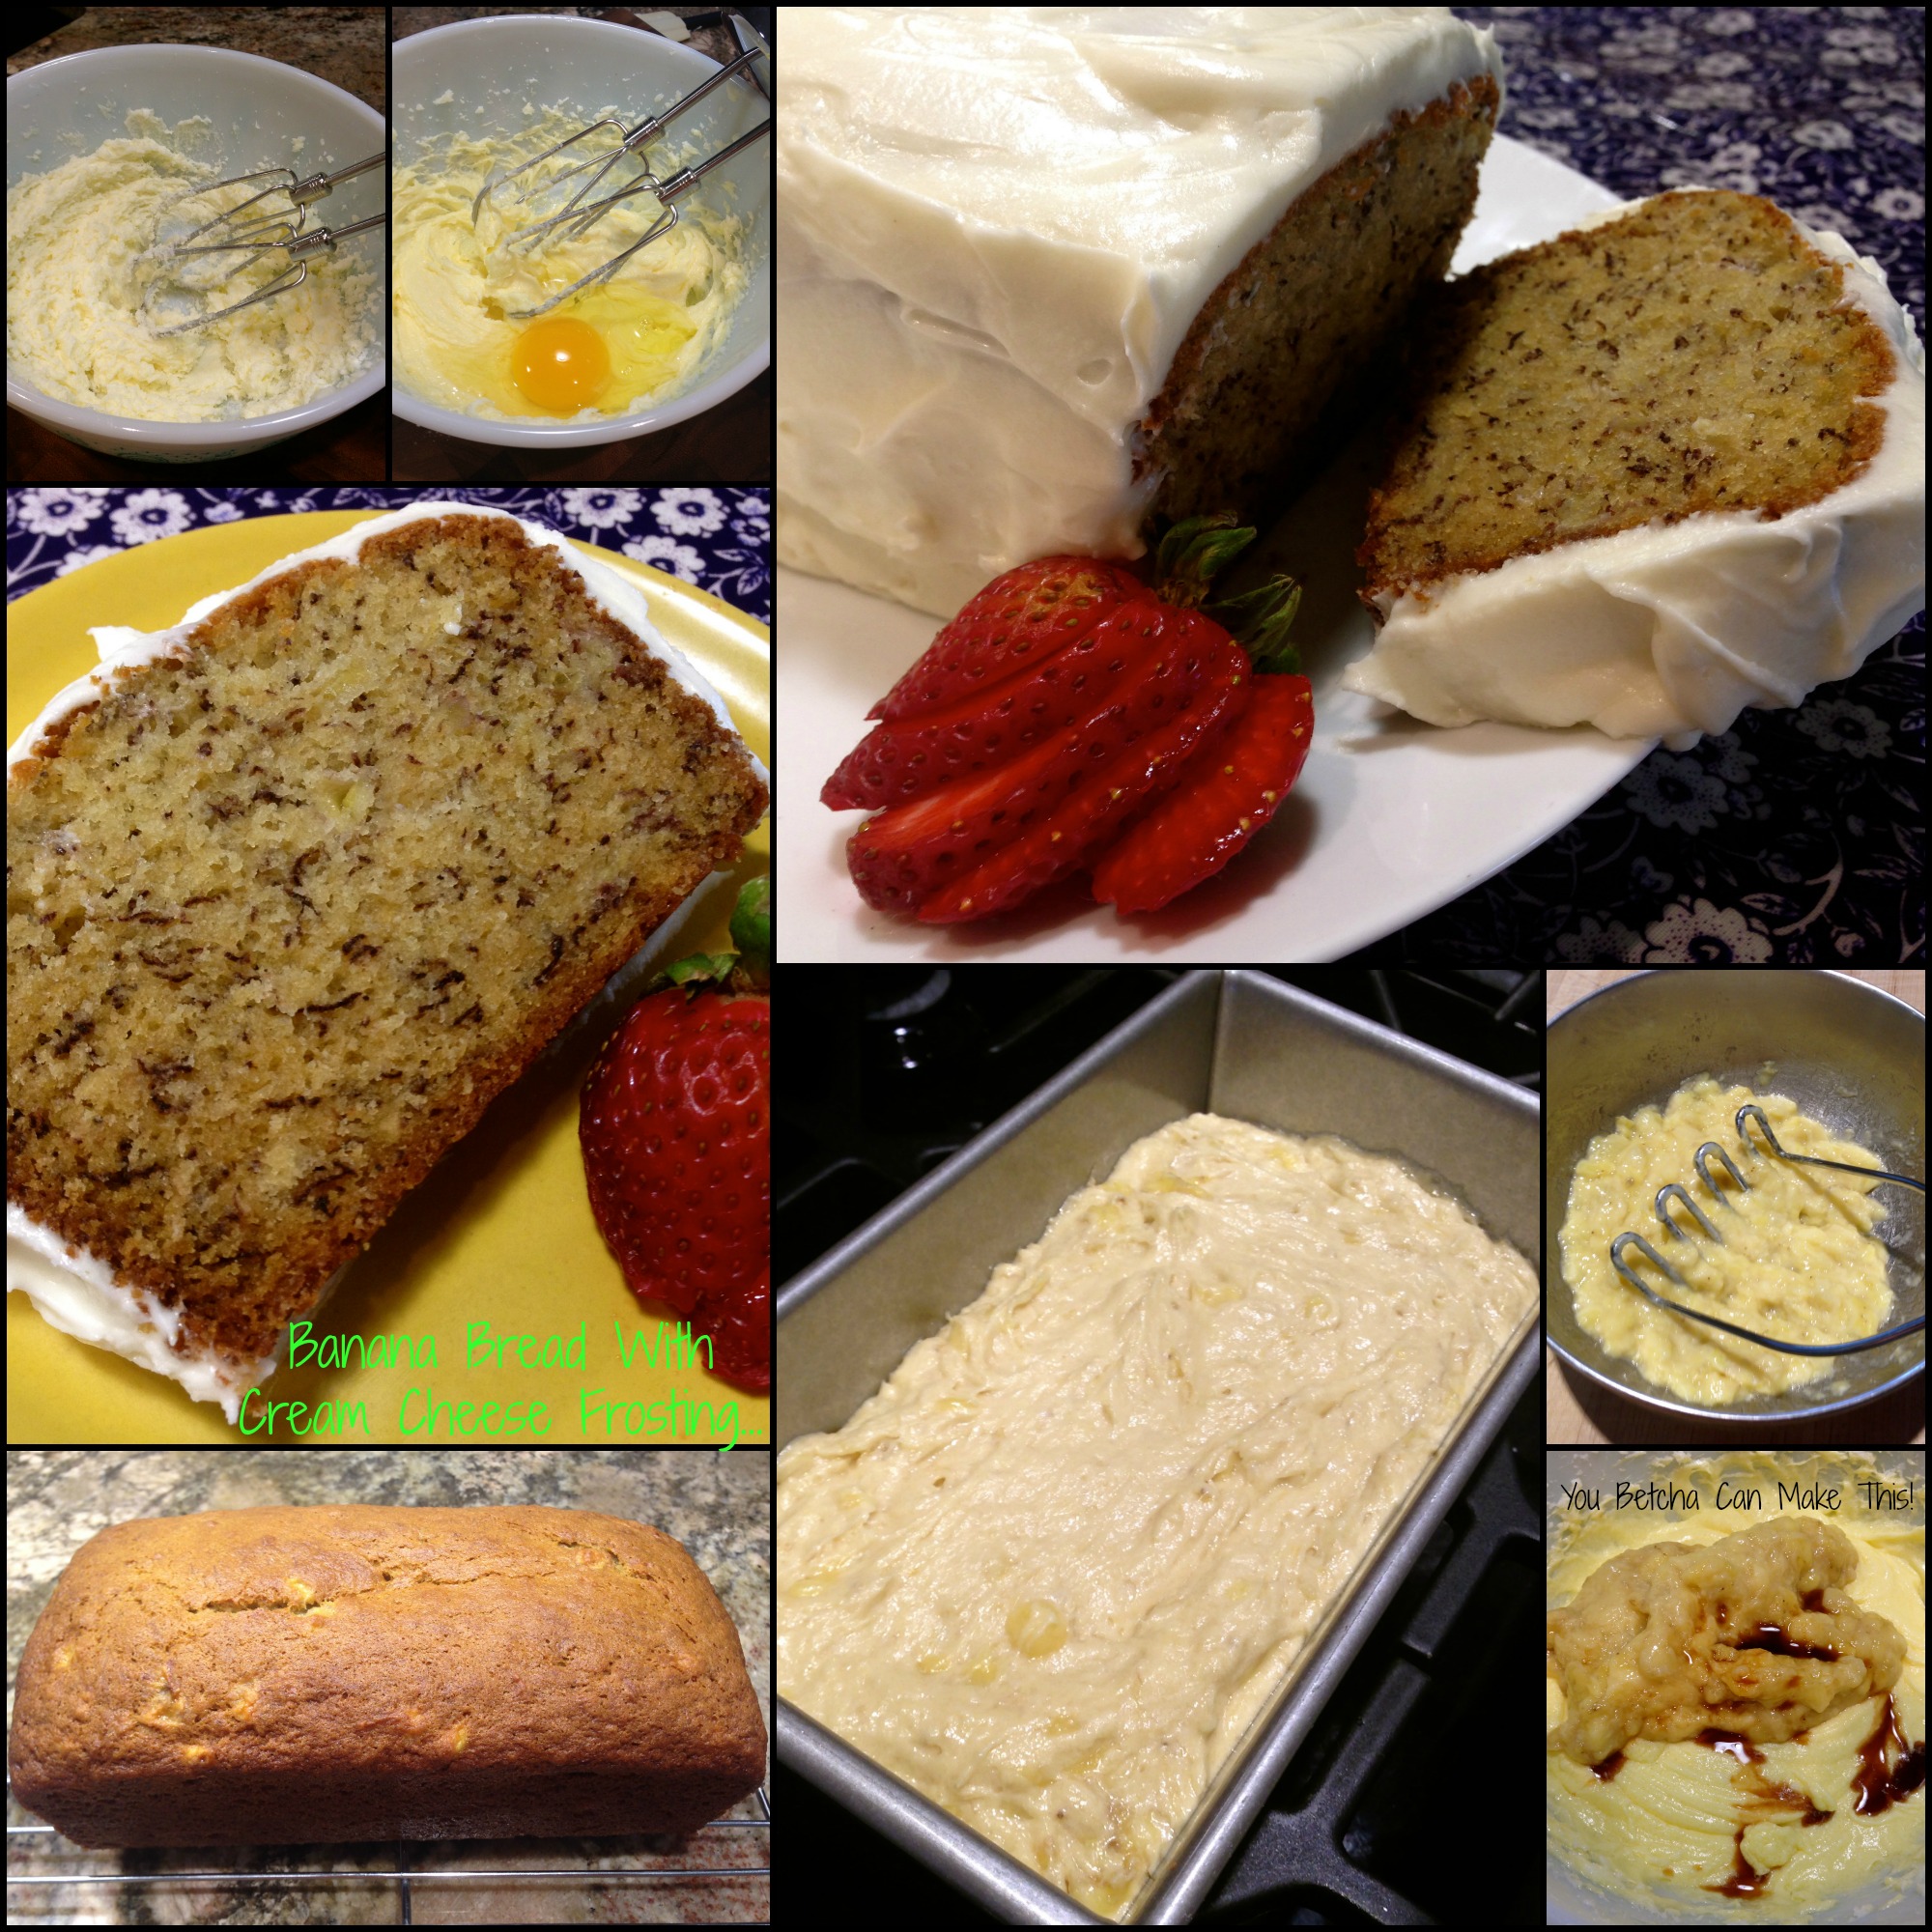
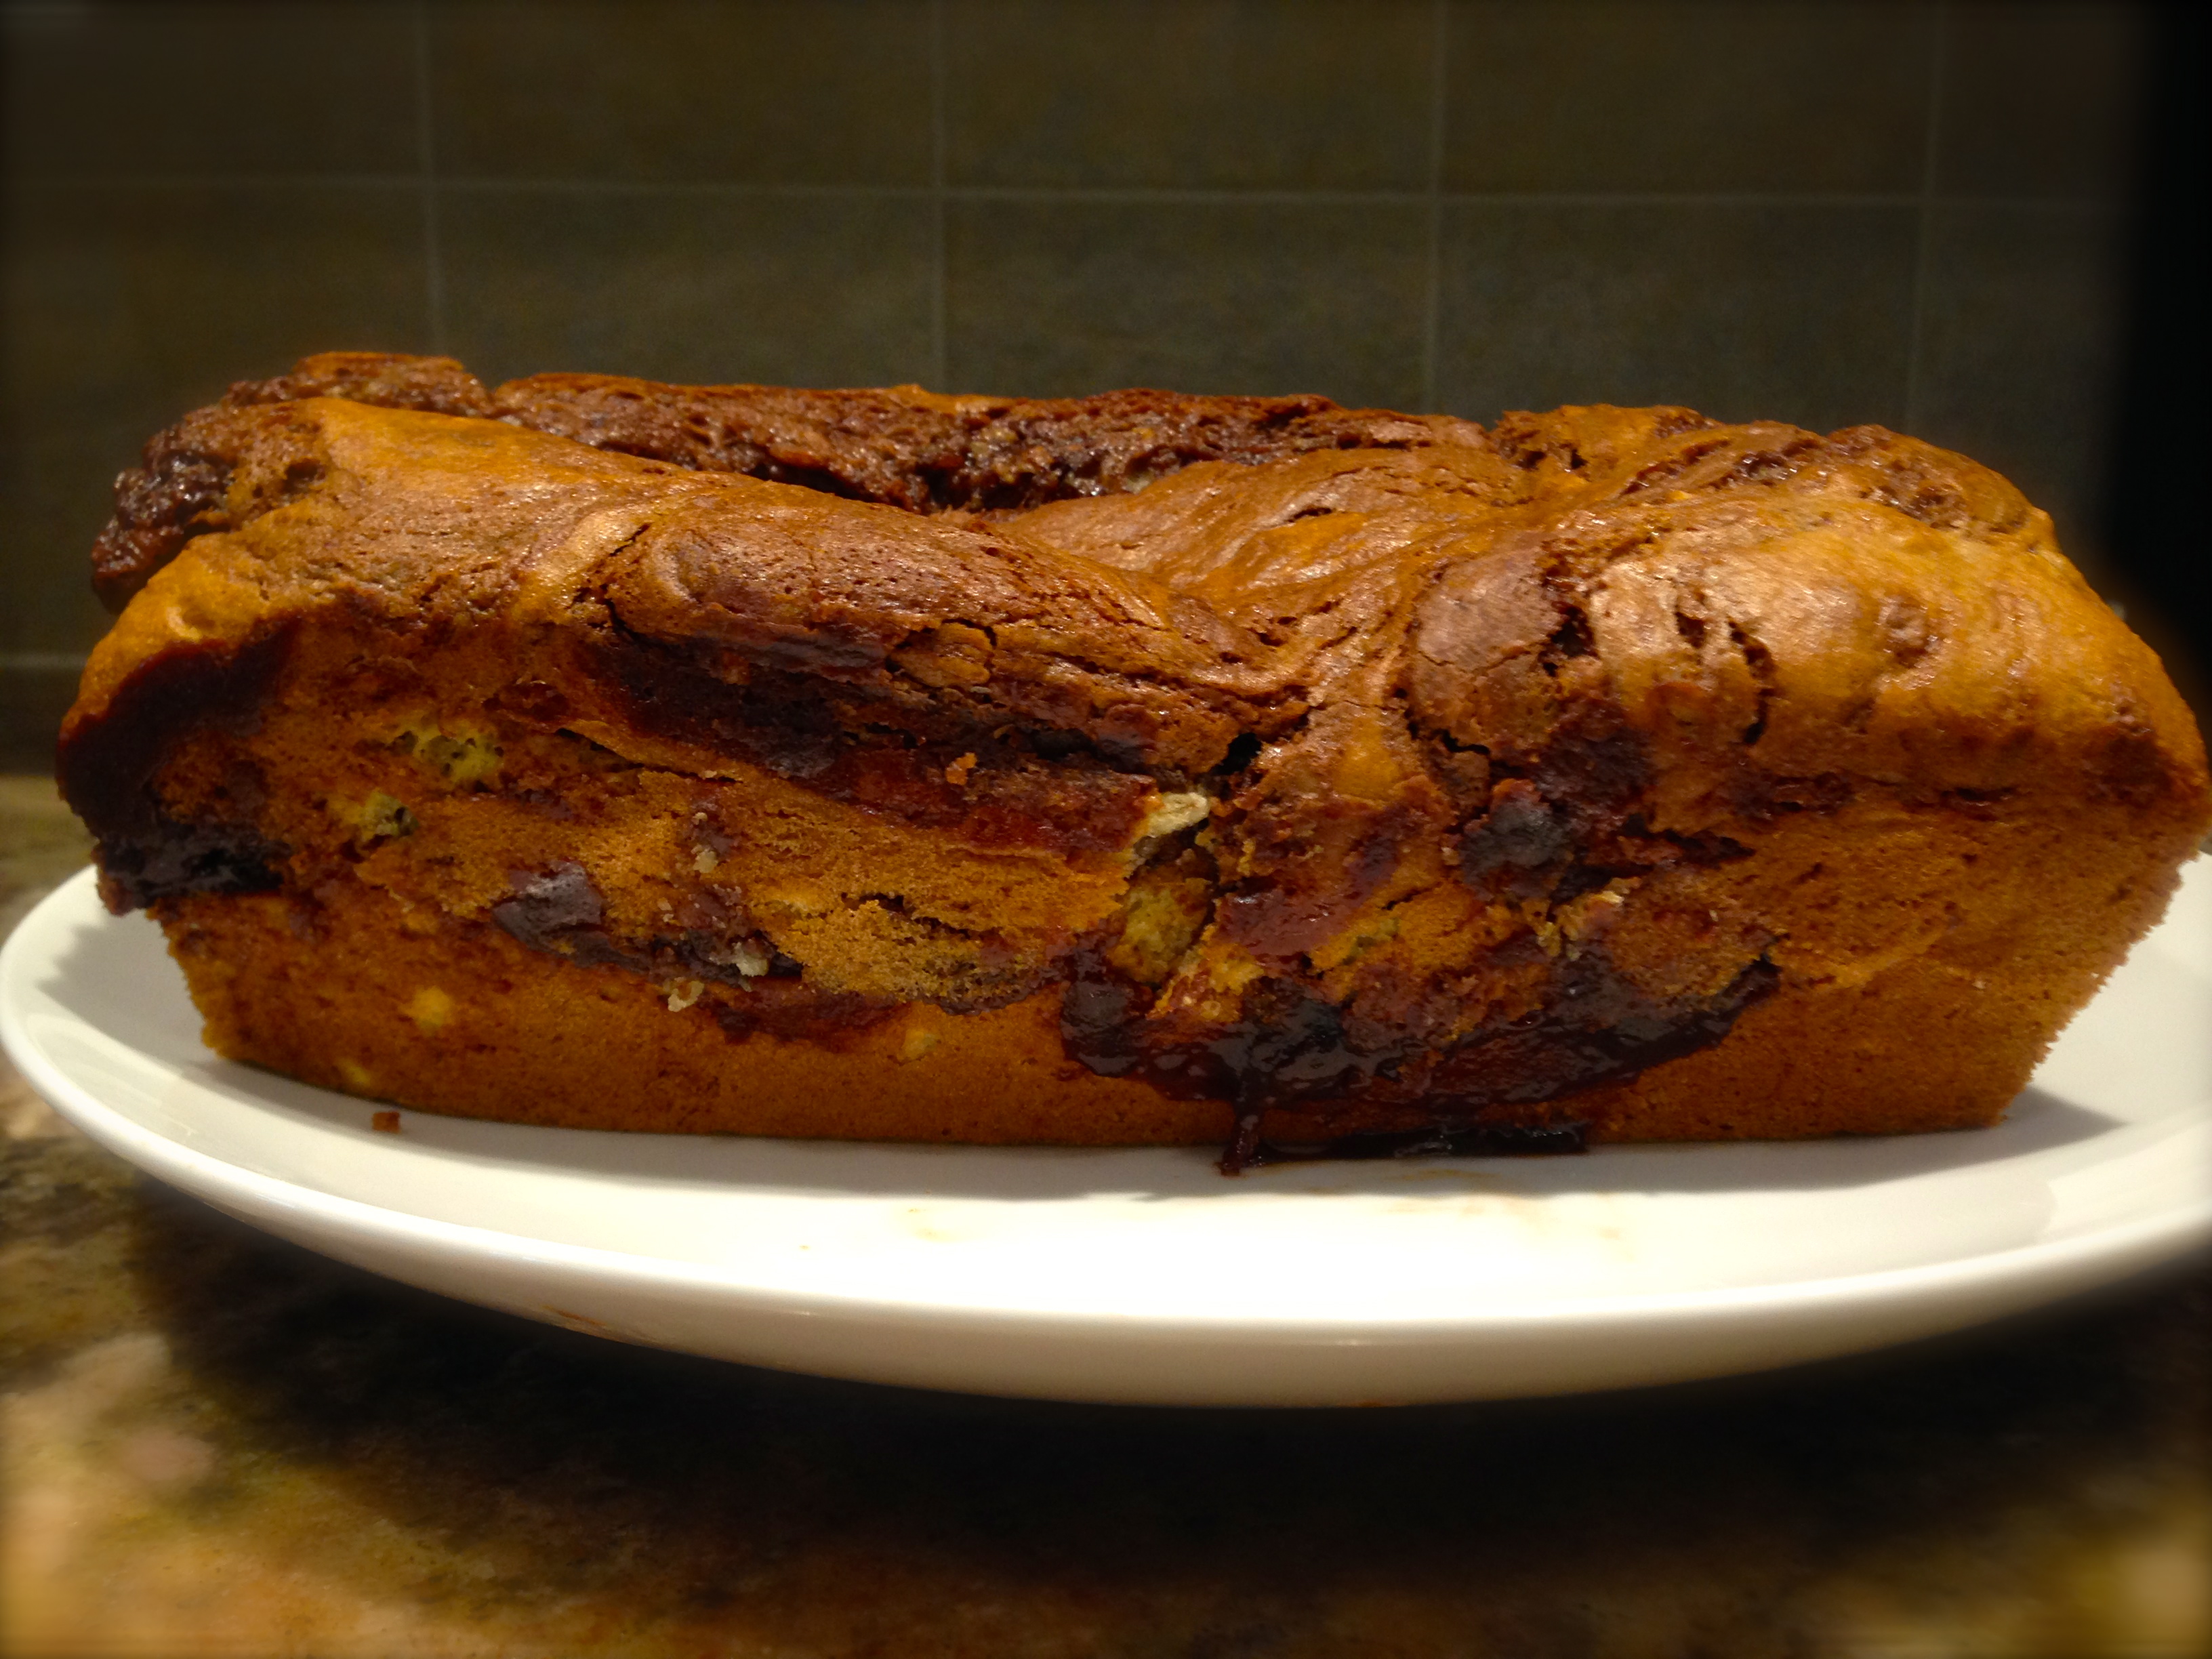
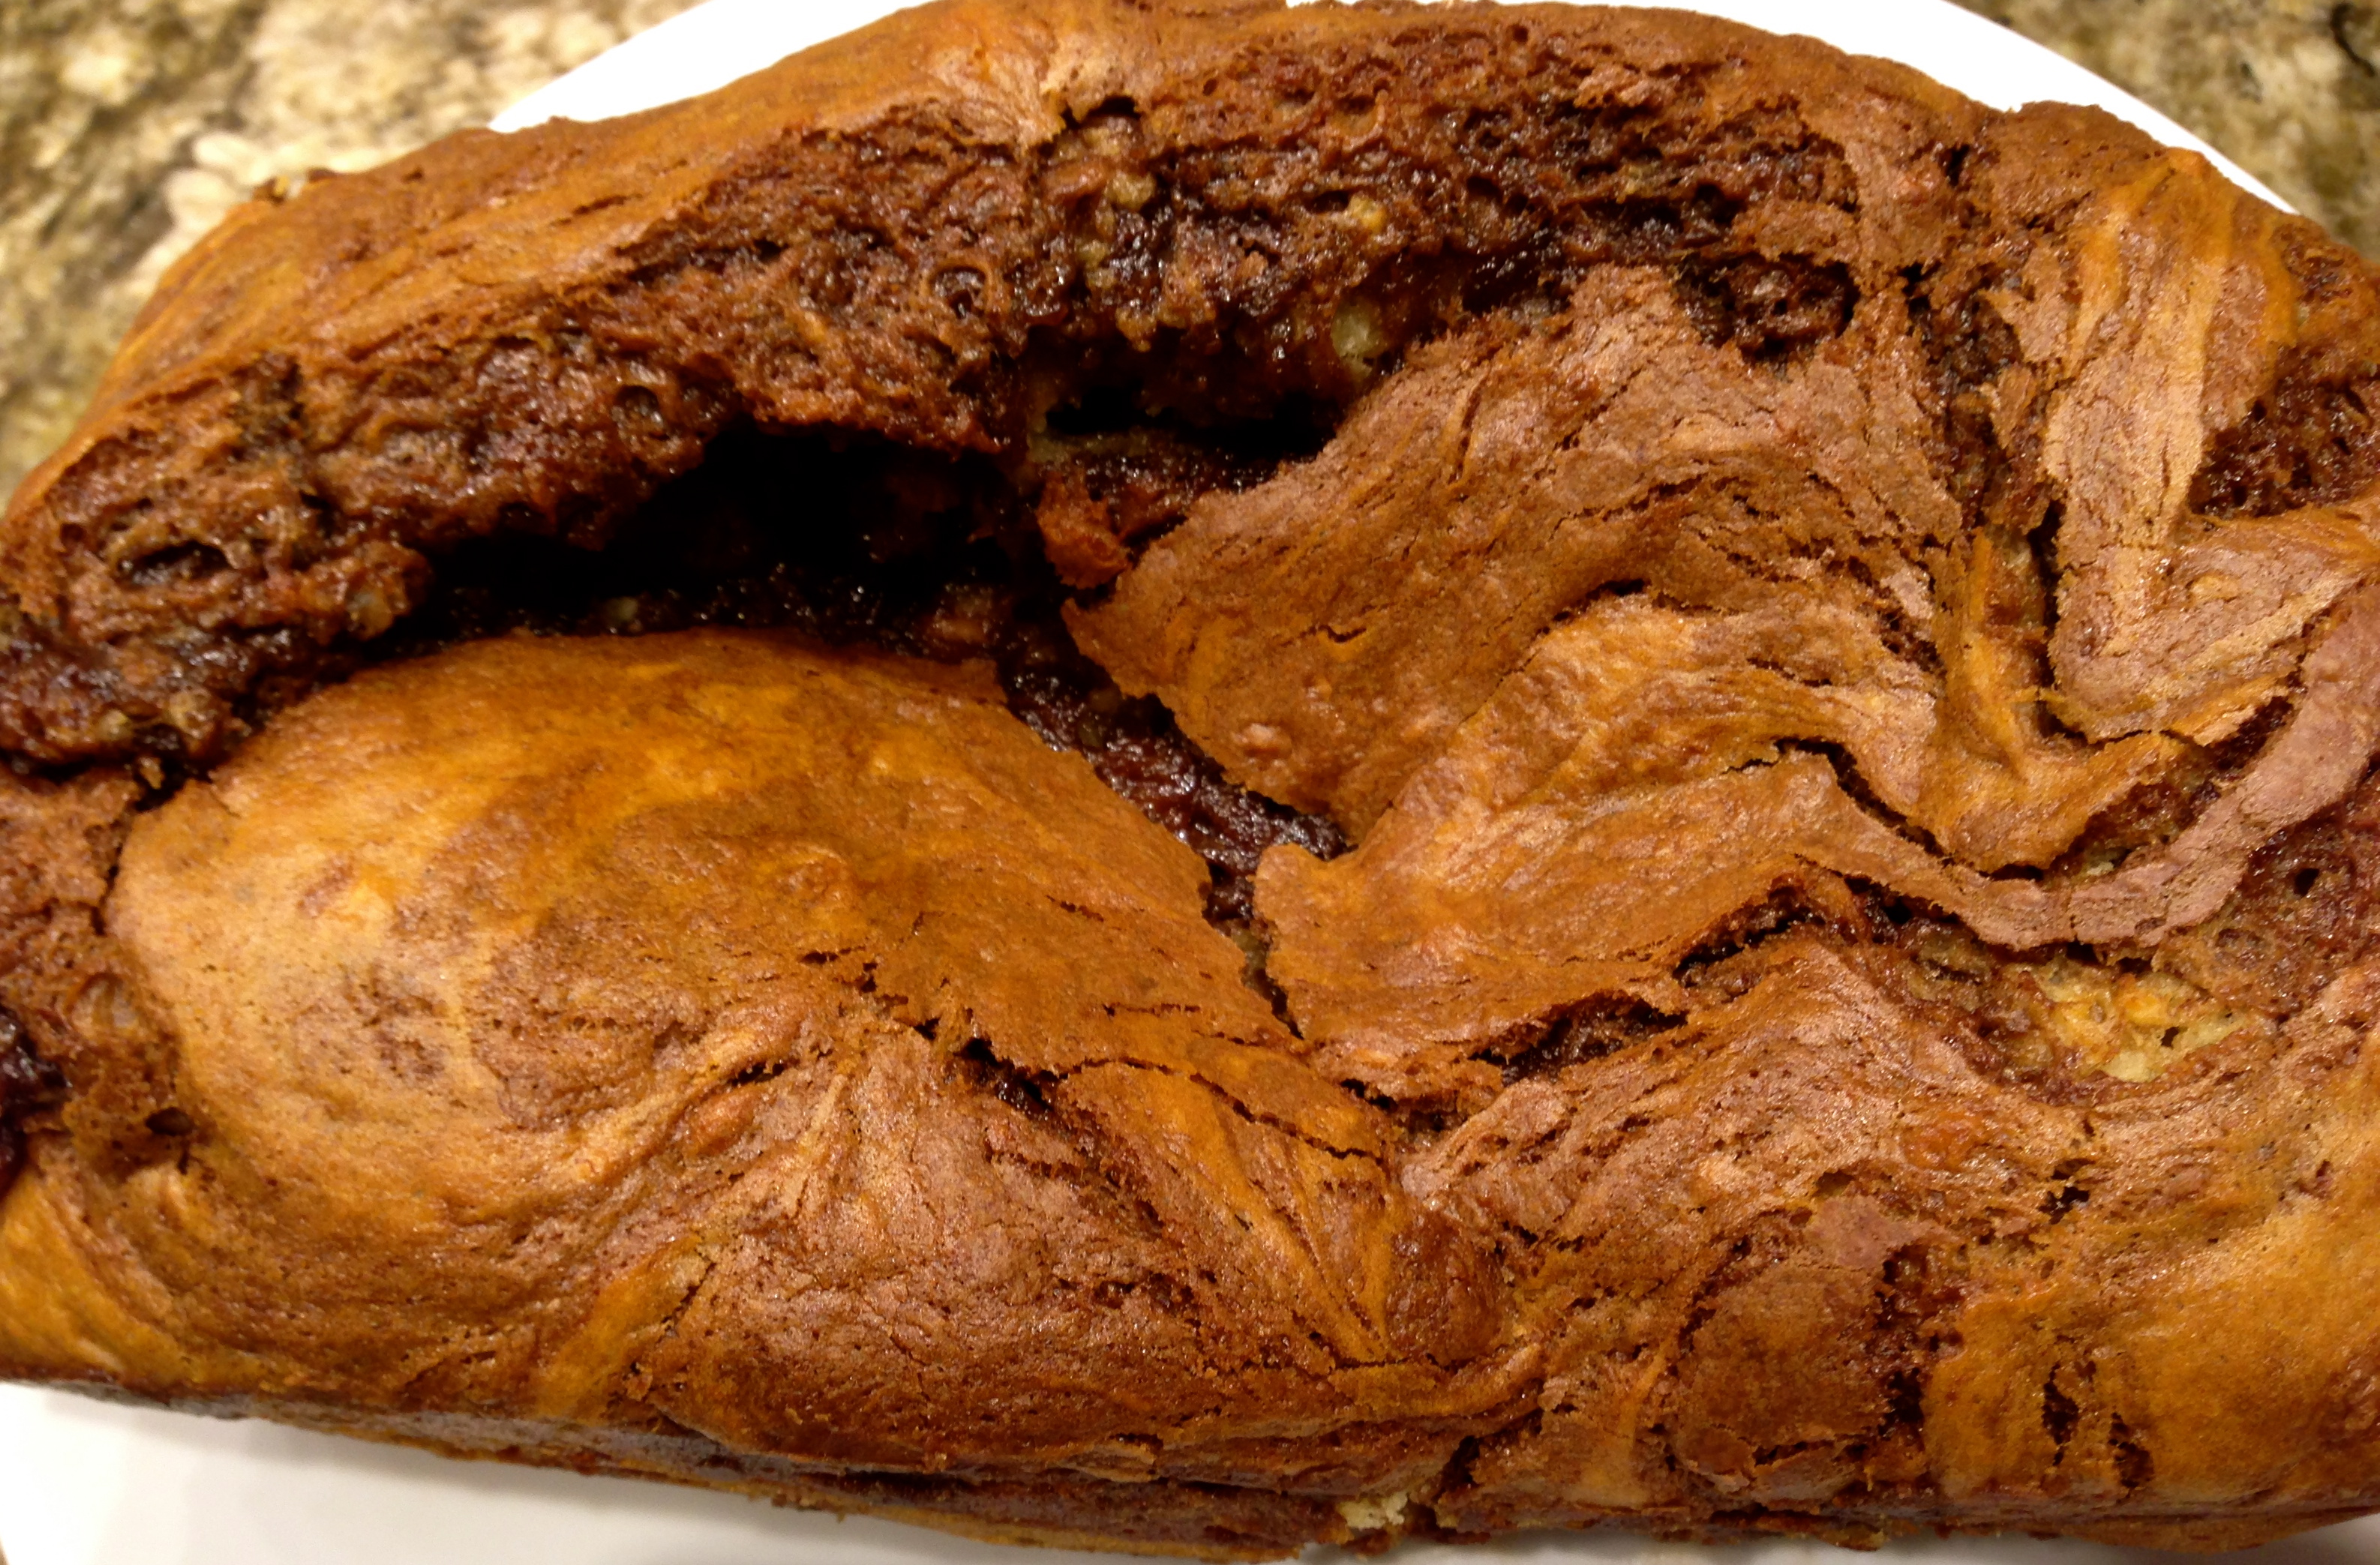
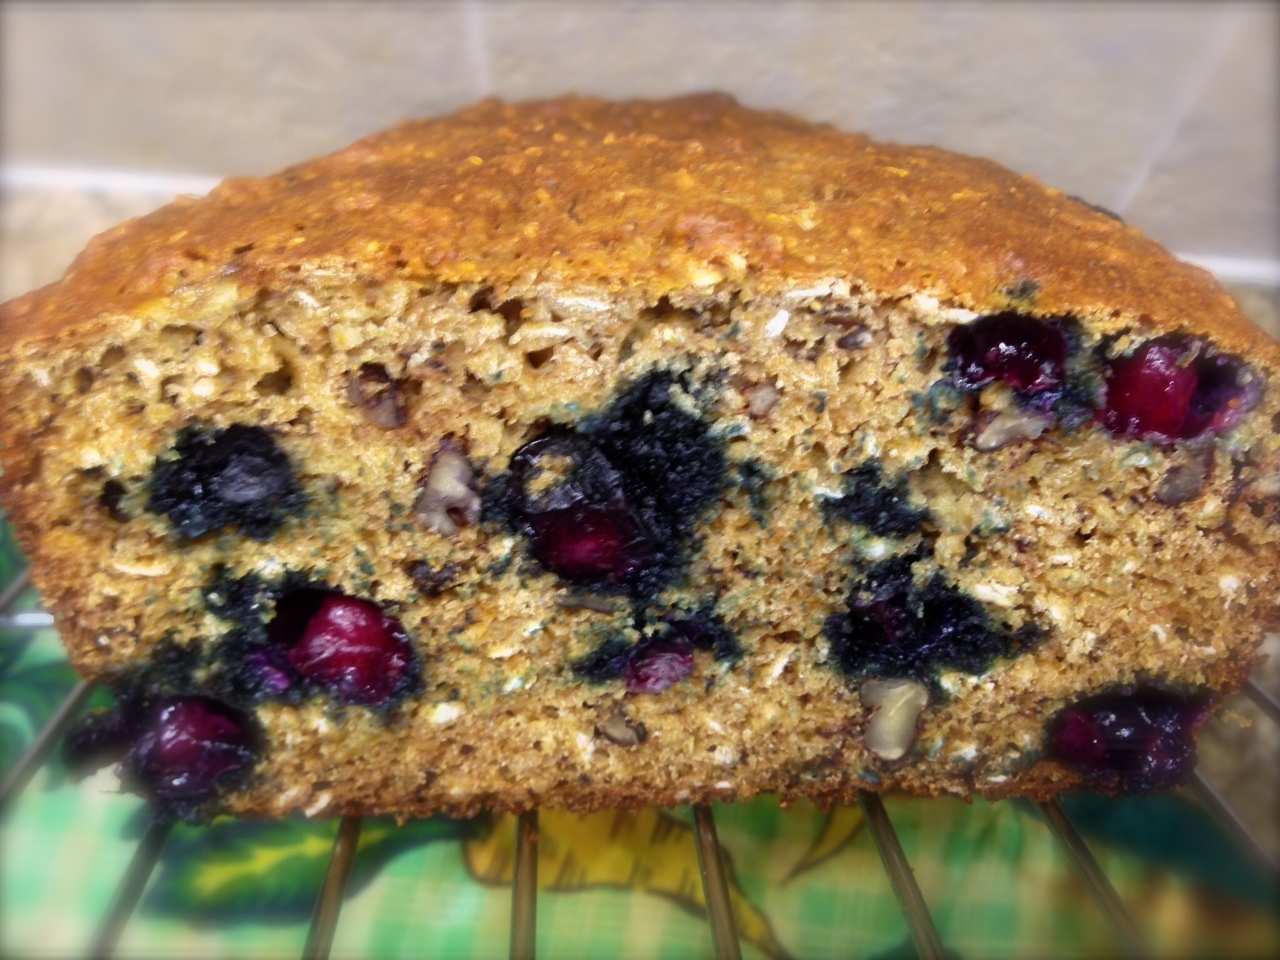
This bread would be delightful on it’s own but it goes over the top when frosted with my cream cheese frosting. Either way, you will have a great go-to banana bread recipe that is quick, easy and every so flavorful. Enjoy!

Banana Bread With Cream Cheese Frosting…

  • Servings: 8-10
  • Difficulty: Easy
  • Print

INGREDIENTS:

Sweet Bread:

1/2 cup room temperature butter

1 cup sugar

2 eggs, room temperature

4 ripe bananas, mashed

1 1/2 cups flour

1 tsp. baking soda

1 tsp. cinnamon

1/2 tsp. salt

1 tsp vanilla

Frosting:

1/2 cup butter softened,

1 8 ounce package of cream cheese, room temperature

3 1/2 cups confectioners sugar

1-2 tsp. vanilla (to taste)

DIRECTIONS:

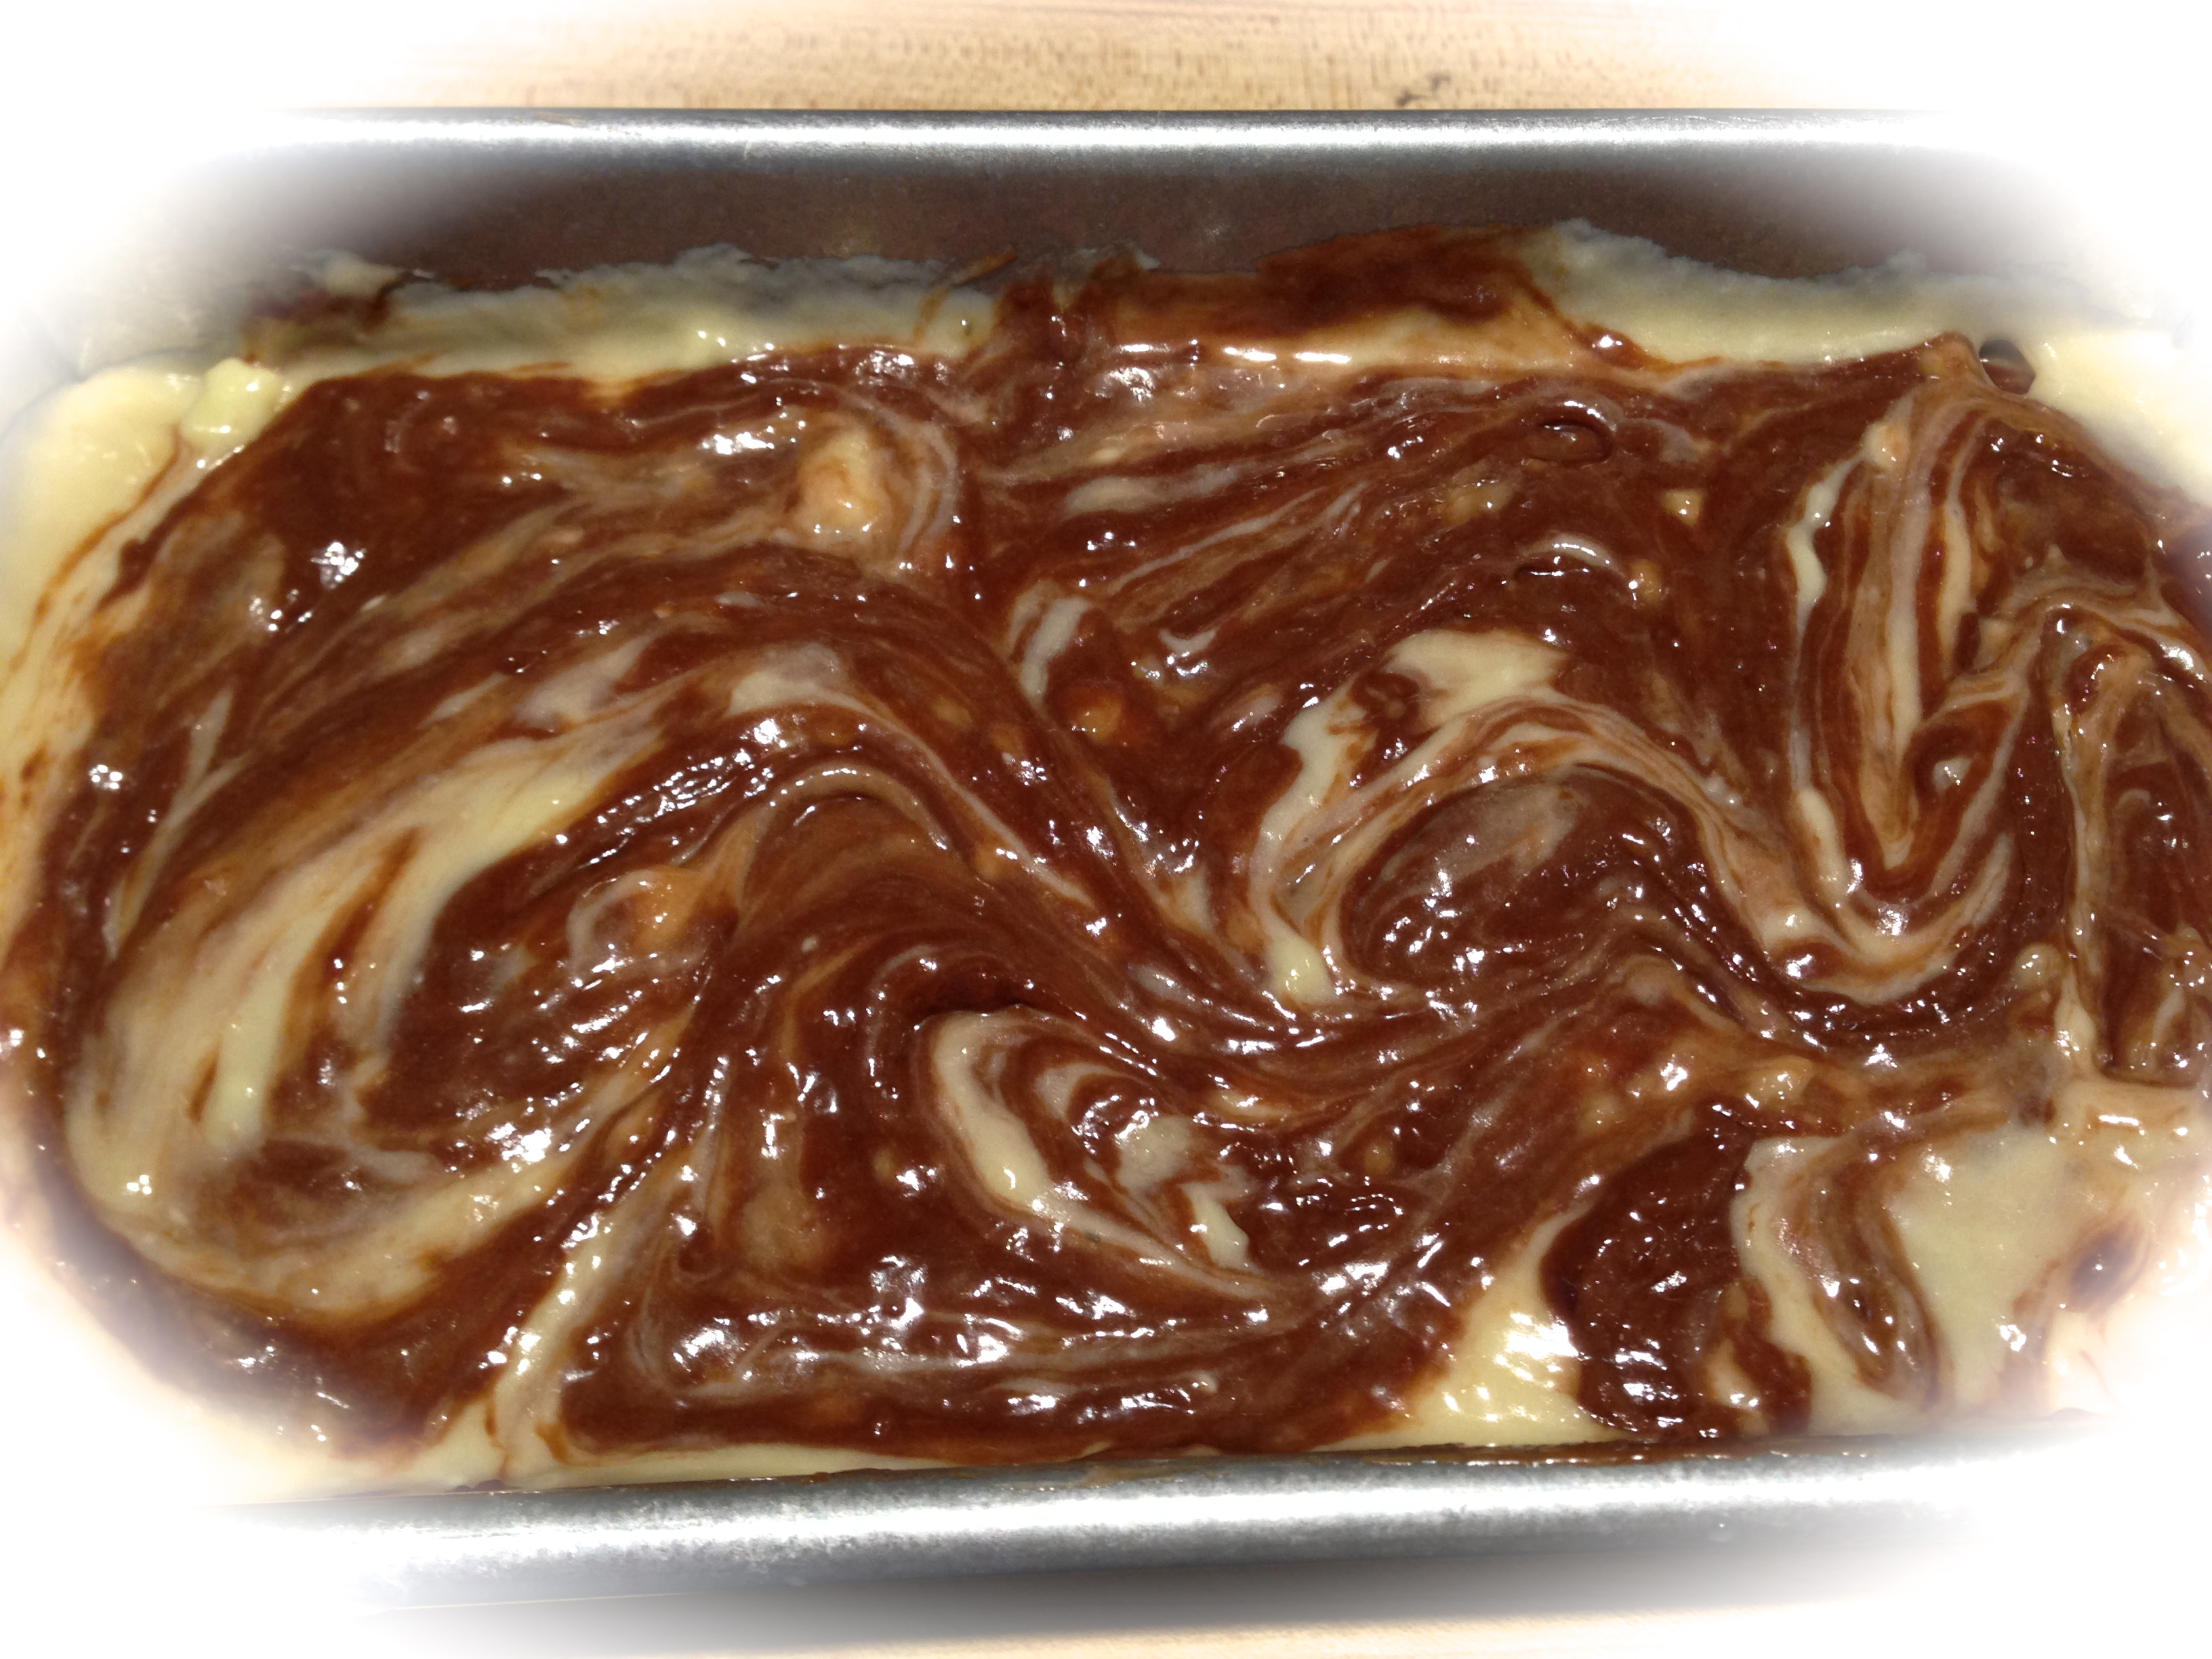
Preheat the oven to 350 degrees. Grease and flour (or you can use non-stick organic cooking spray) an 8 x 4 inch loaf pan and set aside. Cream butter and sugar together until light and fluffy (5-7 minutes). Add eggs one at a time and beat until combined. Beat in vanilla. Stir in the mashed bananas until combined.

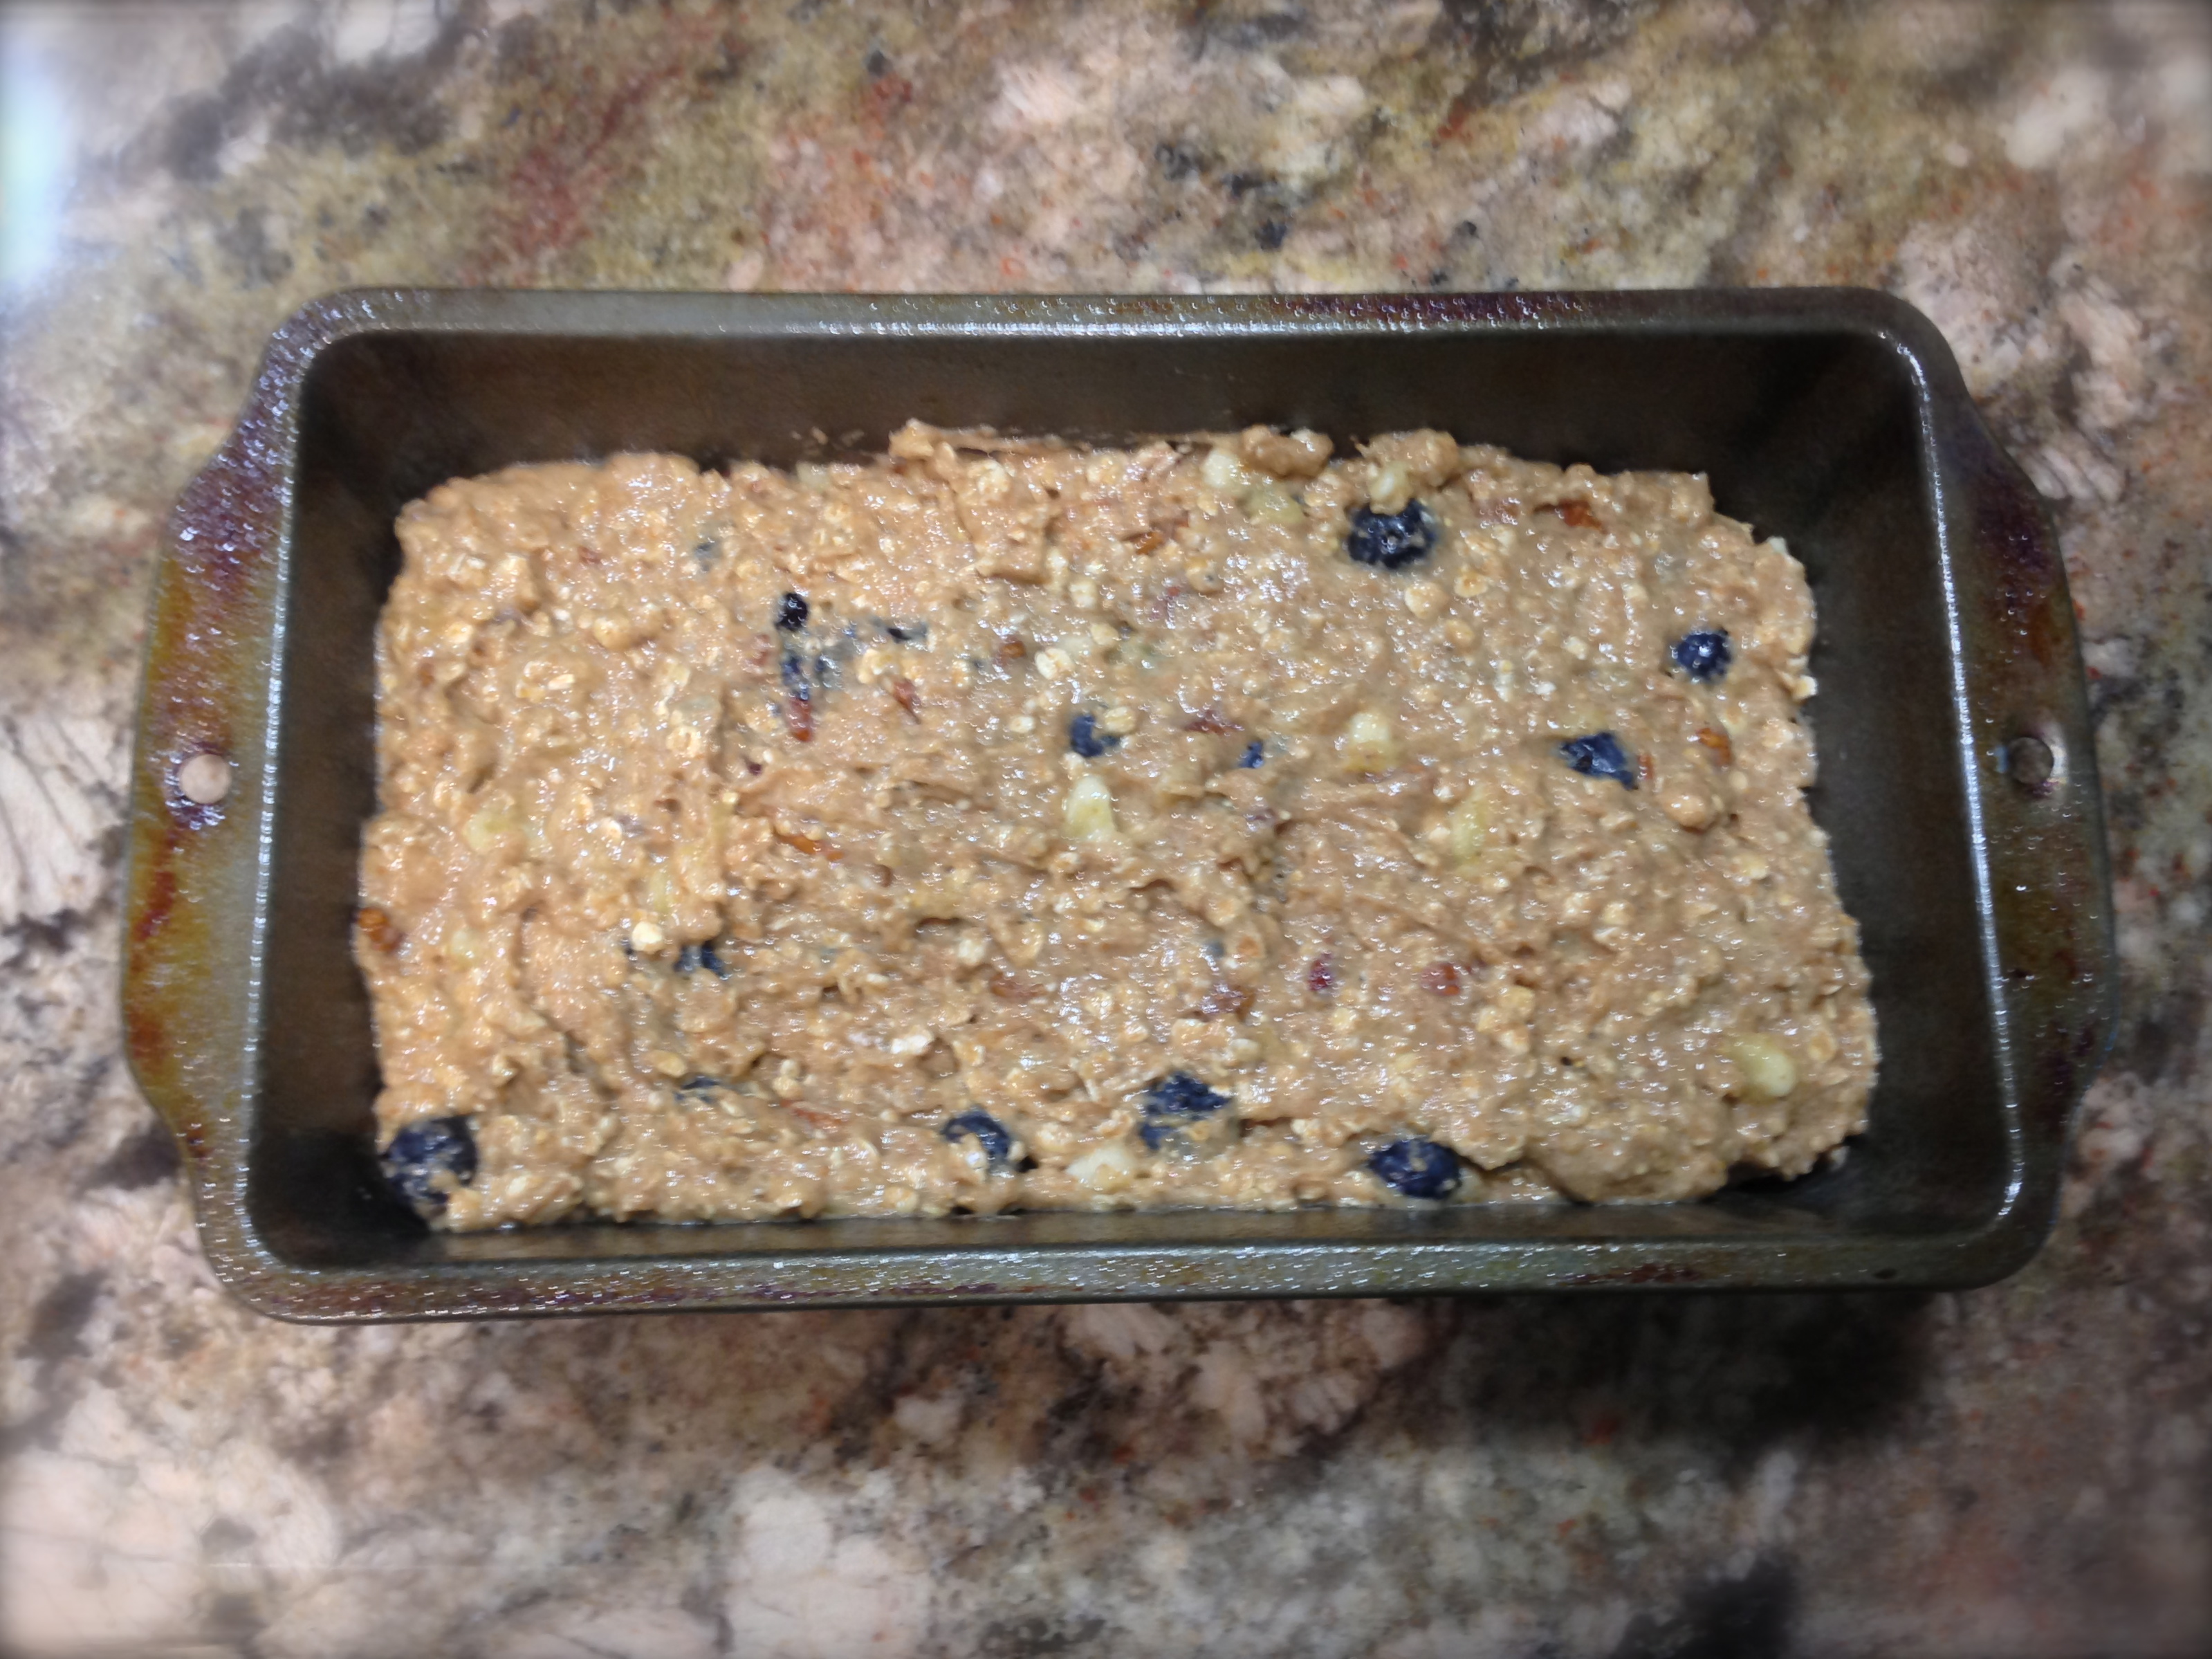
Sift together flour, baking soda and salt. Make a well in the center of the dry ingredients and add the wet ingredients. Stir only until combined. Pour into prepared loaf pan.

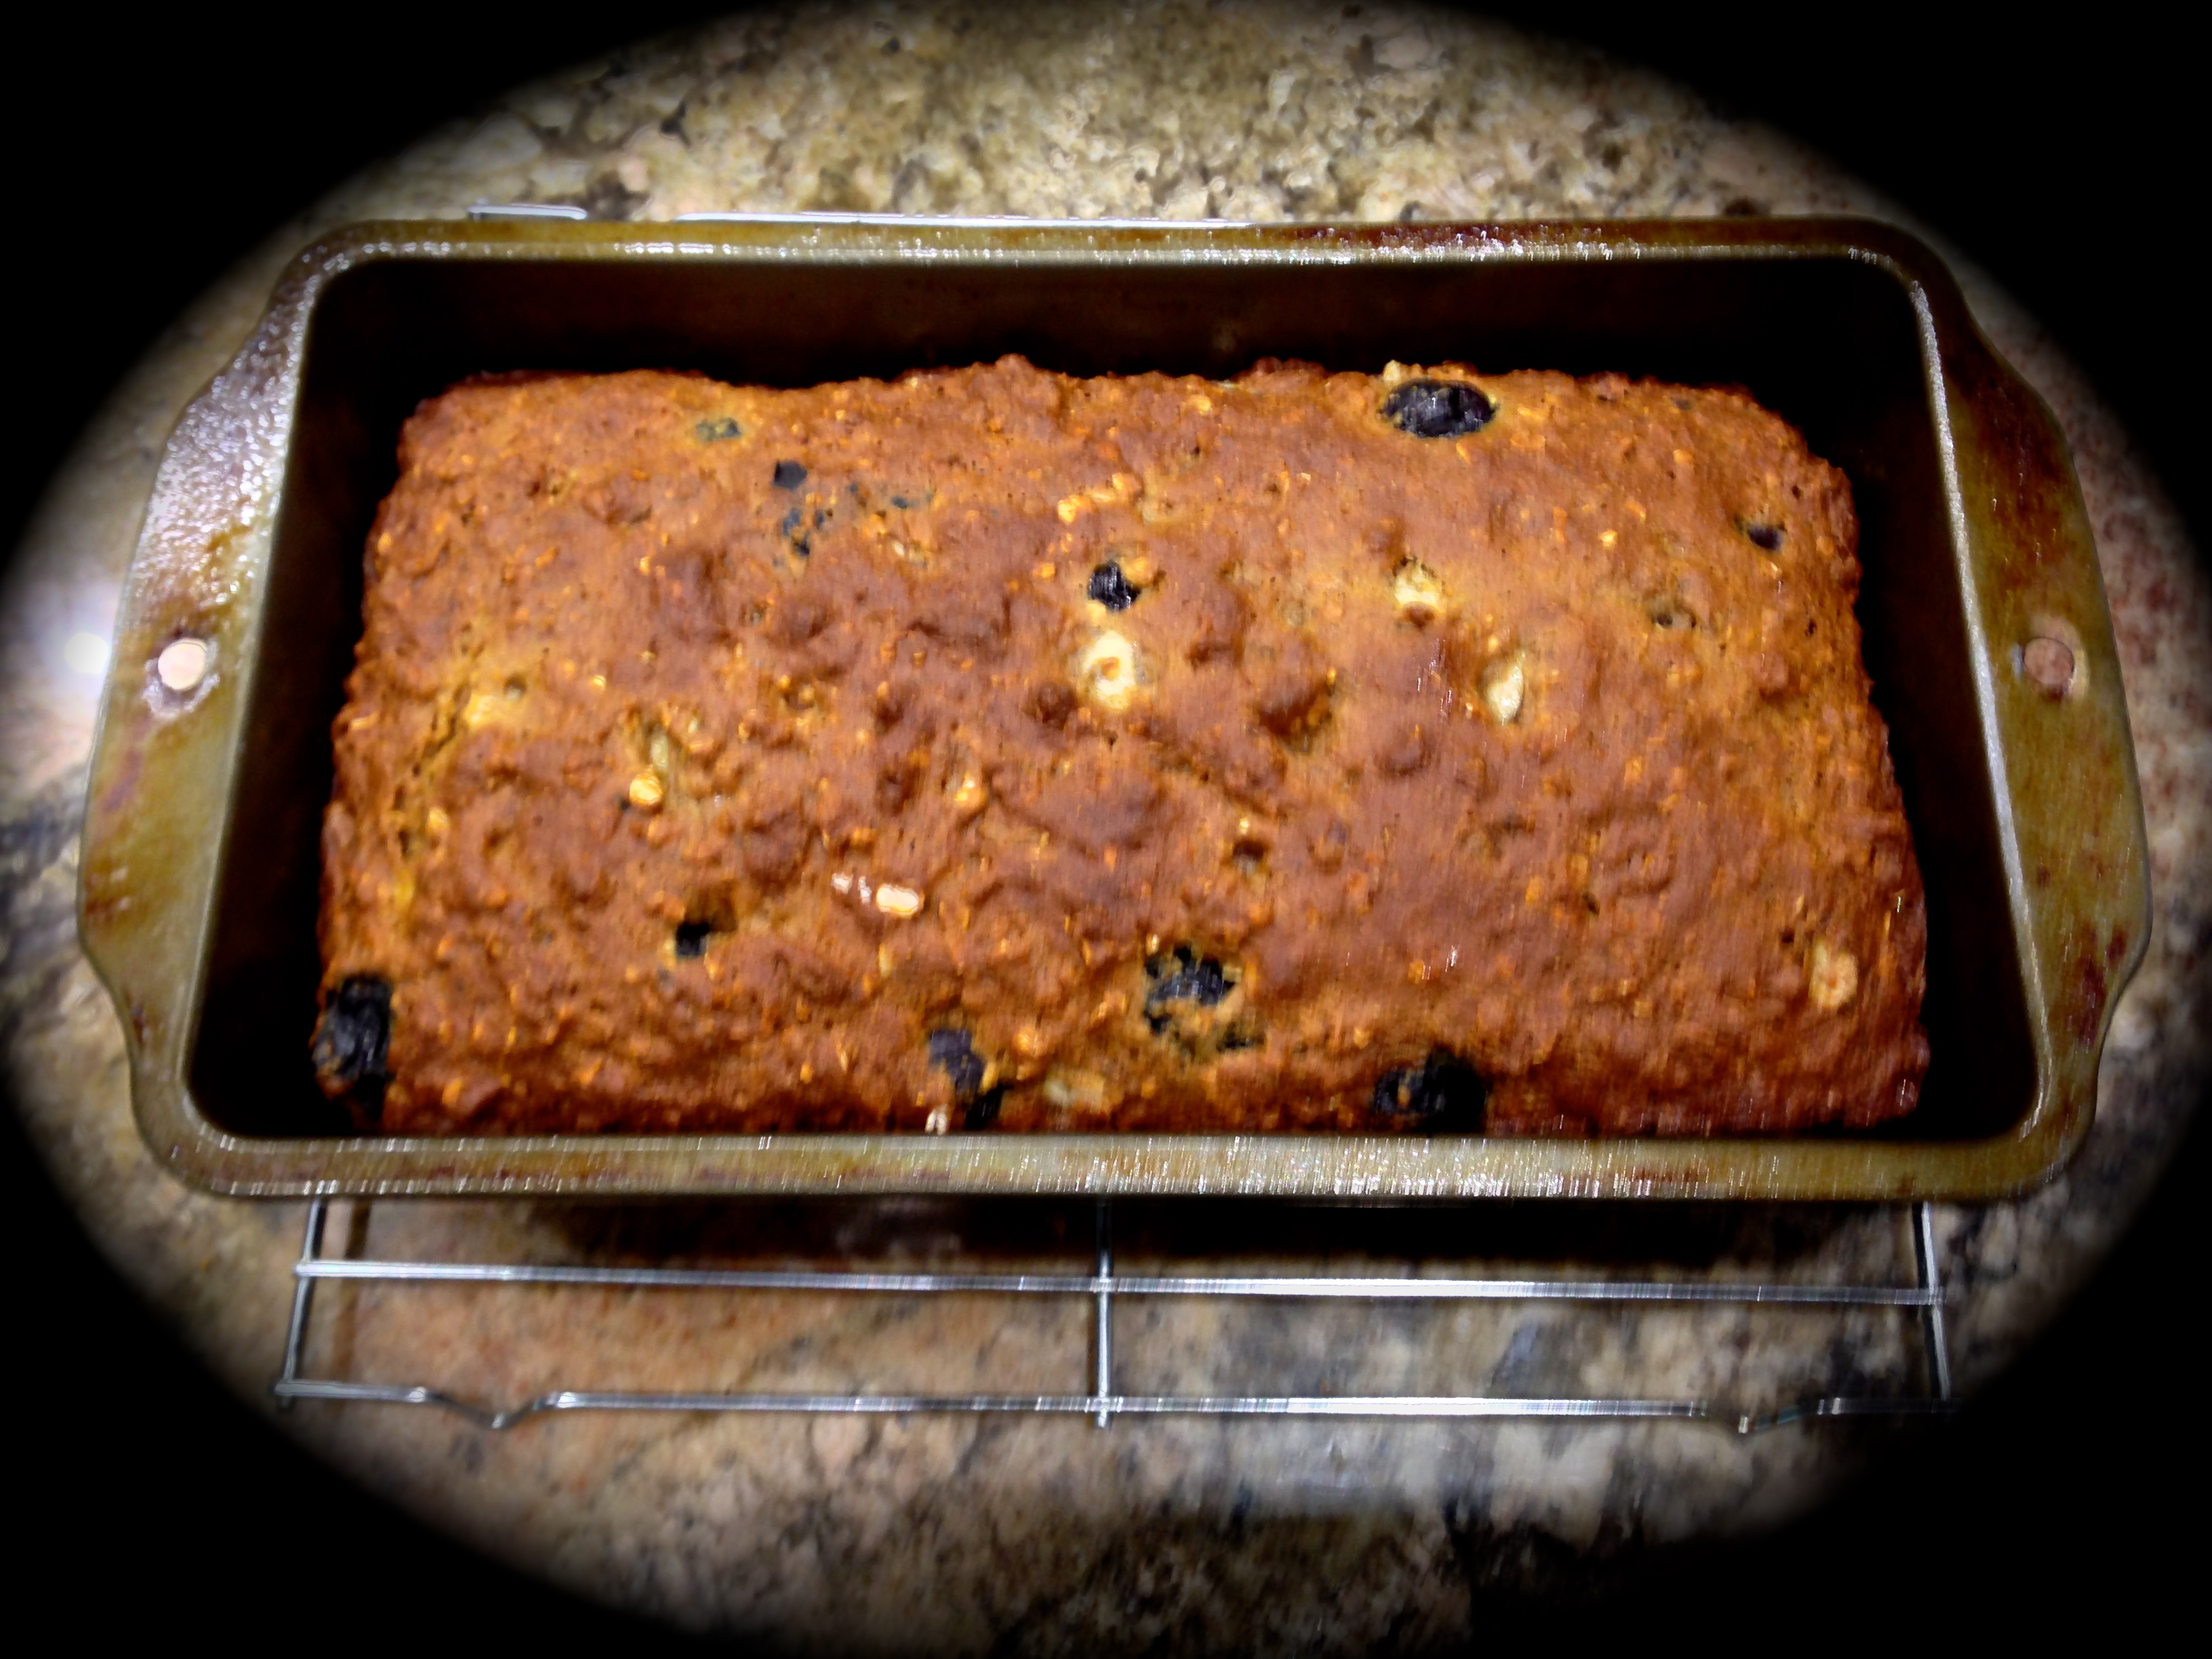
Bake at 350 for 45 – 50 minutes or until a toothpick inserted into the center of the bread comes out clean. Let cool in the pan for 15 minutes before removing it. Let cool completely before frosting.

FROSTING:

Cream butter and cream cheese until smooth. Beat in vanilla. Add confectioners sugar and beat on a low speed until combined and then on a high speed until smooth. Spread on cooled bread.

 IMG_4228

A Delicious Disaster…

I wish I could say that everything I bake comes out perfect the first time. I would be a liar if I did. Actually it often takes a few stops and starts to get a new recipe right. And today’s venture into baking was definitely an example of that.

Nutella Banana Bread Ingredients

Nutella Banana Bread Ingredients

How do you feel when you bake something for the first time and it basically flops? I used to get very frustrated and never attempt the recipe again until I learned that it is more the exception than the rule that first time ventures are actually successful. Now I view my flops as learning moments and from that point on it becomes a mission to get the recipe right. And by right I mean it has to meet the two basic criteria: it has to look good and it has to taste good. Today’s foray into baking was a taste delight that literally collapsed upon itself.

So let’s talk briefly about the recipe. Today’s recipe for Nutella Banana Bread came via Pinterest from a website called Chef-In Training. I was intrigued by the combination of combining Nutella with bananas and being that I had all the ingredients in the house decided to try it.  The recipe states that this is the BEST way to make banana bread and after tasting the finished product I would have to agree. The trick is combining the ingredients in such a way that the bread doesn’t collapse unto itself. Needless to say the bread looked pretty good right out of the oven, but once I took it out of the pan the middle slowly started to sink in. At that point I was pretty frustrated but when I eventually tasted it, I knew I needed to make the effort to perfect this recipe.

Bread Mixture Before Baking

Bread Mixture Before Baking

So, how would I rate this recipe: A+ for flavor, B- for instructions. The recipe did indicated that the bread would look a tiny bit undercooked (because of the nutella) but I wasn’t prepared for a major collapse. I really think the amount of nutella called for in the recipe is a tad too much. Here are some lessons learned making it:

Lesson 1: Don’t give up on what may seem to be a failure. I was ready to throw the bread in the garbage but my husband sliced a bit off the end and told me it was worth tasting. I did, and this is a very delicious recipe.

Lesson 2: I need to play with the nutella amount. The recipe calls for 3/4 heaping cup of Nutella mixed with one cup of the bread mixture. I would cut that down a bit. In my opinion, the high density of the nutella was the reason for the collapse in the center of the bread. I think next time I will pare down the combination to 1/2 cup nutella and 3/4 cup of the cake mixture. You definitely need more cake mixture sans nutella to give the cake a fuller body.

Bread Collapsing In Center

Bread Collapsing In Center

Lesson 3: Get a good cake pan. I finally did. Now I need to add the disclaimer that I work part-time at Crate and Barrel. But they have a loaf pan made exclusively for them called the Pro-Line Loaf Pan. It is commercial grade and non stick. It is fabulous. I have to admit I had my doubts, but I put the batter in the pan (and this was a gooey batter with the the nutella) and once it was baked and I let it cool for about 10 minutes the cake popped right out of the pan without greasing and flouring or using sprays. Also, the cake cooked evenly and not like my old pan the cooked the edges faster than the center. My point here is, if you’re going to bake a lot, invest in good pans. They are worth the money.

Lesson 4: The recipe calls for layering the bread and nutella mixtures and then swirling them with a knife. I did that and it still did not mix the nutella into the batter they way I would have liked it. Next time I am going to do a layer of each (starting with the basic batter) swirl it and then add the next two layers and swirl again. I think that will combine the mixture better and prevent a mass of nutella from settling in any one place in the batter.

Top Of Bread Sinking In

Top Of Bread Sinking In

I cannot stress enough that this bread is very delicious. Once I have it perfected I will write and addendum to this with the amounts that I used that created a perfectly swirled bread that did not collapse onto itself. If you try this recipe and have more initial success than I did, let me know how you did it. But bottom line, the recipe is worth the work to perfect.

A Self-Proclaimed Pinterest Recipe Critic…

Tonight I’m getting together with a group of people, undercover foodies, to begin a conversation of how we can form a group based on cooking, learning and fun. The group already has a name – Sweet Serendipity, Supper, Sips and Such – and the name leads me to believe that the members will all be “foodie forces” unto themselves. The person who coordinated the group asked us to bring an appetizer or something sweet, preferably a recipe taken from the Pinterest site.

Now I know I’ve mentioned this before but I am a big fan of Pinterest. What I love about using Pinterest is that you are exposed to a broader segment of the internet often being introduced to interesting websites and blogs you might never have found through Google. And I love it for the wealth of cooking information and recipes that are pinned to various boards. So, needless to say, I am “on board” with the idea of this cooking group and with Pinterest.

For this evening’s cooking contribution I made a coffee cake recipe I found Pinterest. I made it on Friday but the coffee cake was such a hit that this morning I was faced with the dilemma of having only a meager amount to bring to the meeting. So, off I went back to Pinterest in search of something simple but also unique. I found what I was looking for on a website called “Pardon The Dog Hair” (a website I would never have found on my own), a recipe for Blueberry Banana Oatmeal Bread. The pictures of the bread looked delicious, the recipe was simple and I had most of the ingredients already so the decision to make it was easy.

The bread is made from a traditional process, combining all the dry ingredients, adding the wet ingredients and then finally folding in the blueberries and nuts.

Preparing the ingredients

Preparing the ingredients

What’s nice about this recipe is that it doesn’t use any white sugar. The sweetness comes from brown sugar, apple sauce and bananas. After you combine all the dry ingredients you whisk together the eggs, apple sauce and bananas and then combine the wet mixture with the dry mixture. Last, you carefully fold in the blueberries and the nuts and put the mixture in a prepared loaf pan.

bbo4

bbobread2

The recipe calls for baking it at 350 for one hour – that seemed like a long time to me so I started with 40 minutes and pulled the bread out of the oven at that time. As you can see the bread was already quite dark and even though it was very firm at the very very middle top it wasn’t completely done. Despite that the end result, as you can see below, was still wonderful but there definitely were some lessons learned about making this recipe.

Blueberry Banana Oatmeal Bread

Blueberry Banana Oatmeal Bread

First lesson: The next time I make this I will use a glass loaf pan. I used a dark loaf pan and I think it contributed to making the bread darker more quickly even when it was not completely done. Second lesson: If you look at the pictures of the bread from the website where the recipe was taken, it looks like the top of the bread was also dusted with quick cooking oats. I think that would offset the very dark color on top, keeping in mind that whole wheat flour is the main flour in this bread so it will naturally look darker. Third lesson: The recipe did not call for this but I dusted the pecans with just a smidge of flour. I’ve found that the nuts will more evenly disperse themselves into a mixture and not just rise to the top during the baking process when you do that.

Rating for the recipe: Between very good and excellent – if the blogger did in actuality dust the top of the bread with quick cooking oats like the pictures on the site seem to suggest, I would note that in the recipe. Taste-wise the rating is excellent, and I love the fact that this recipe is delicious without having to use white sugar. This is definitely a recipe to try. 

I have a feeling I will be trying a lot more recipes from the Pinterest site in the upcoming weeks and months. I plan to share the escapades of making and eating them on this blog. If you see a Pinterest recipe you’d like me to “test” with the group – just let me know. If you’re anything like me you’ve probably been wondering if all those recipes you see posted are really as good as they look. And if you have any experiences with Pinterest recipes, I would love to hear about them. The Pinterest test kitchen is now open for business.