Cheesy Zucchini Rollatini

I saw Valerie Bertinelli make this recipe on the Food Network and I thought I can make this and do a few little twists and turns to make it my own and according to my preferences. So thank you Valerie for the initial idea and know this recipe is my take on the basics of what she made.

Since I do not have a large family I am always looking for ways to scale down recipes in order to make them for two. Just recognize that you can double or triple this recipe according to the number of mouths you need to feed.

I was initially intrigued by how good this recipe looked but was even more pleased with how it tasted. It looks like it would be difficult to do but in actuality it’s really rather simple. All you need is a little patience, and I recognize that may be a challenge for some home cooks. But believe me, in this case, patience is well worth what you will receive in the end.

The original recipe was meatless but I like to put meat in my marinara sauce. I think it adds to the overall flavor. But rest assured, you can easily make this a meatless meal and it will be equally delicious.

So let’s talk cheesy zucchini rollatini…

Lesson Learned 1 – You will need a mandolin slicer for this recipe: In order to get even long strips to roll the filling in, you will need to use a mandolin slicer. When I first saw this on tv I thought it would be hard but it was actually rather simple. Just cut of the ends off the zucchini, set your slicer to cut a 1/8 inch slice, place the zucchini on the mandolin with the palm of your hand on top of the zucchini and move it slowly downwards to create the slice. Chances are the first slice you will need to discard as the bottom of the zucchini will be a little uneven, but beyond that you should get some great slices.

A couple of things to keep in mind: This recipe works better with larger zucchinis. You get larger and longer strips. Also it is very important to take your time during this step. Slowly move the zucchini over the blade with the palm of your hand on top. As you get closer to the top of the zucchini quit cutting and use another zucchini if needed. When I made this recipe I only needed 1 large zucchini but you should plan on two and go from there. I got five nice slices out of a large zucchini which was enough for us. Again I cannot stress enough the need to work slowly and carefully when moving the zucchini through the slicer. It really is an easy process but one you need to do with care.

Lesson Learned 2 – You will need to soften the zucchini slices before filling and rolling them: The zucchini slices will roll more easily if you soften them slightly. You can do this by filling a large skillet with a couple of inches of water and heat the water to simmering. Then put the slices in for a very short period of time (I put them in the water for a minute and a half). Then gently lift them out and place them on a paper lined plate to blot off any excess moisture. You will immediately notice a difference in the texture of the zucchini. It will be softer and much more pliable. Once they cool to the touch you will be able to fill and roll them.

Lesson Learned 3 – Make the cheese mixture first: I found it helpful to have the cheese mixture ready to go once the zucchini slices were ready to stuff and roll. When that process is done you can just keep them on the plate until your marinara sauce is heated and ready for them.

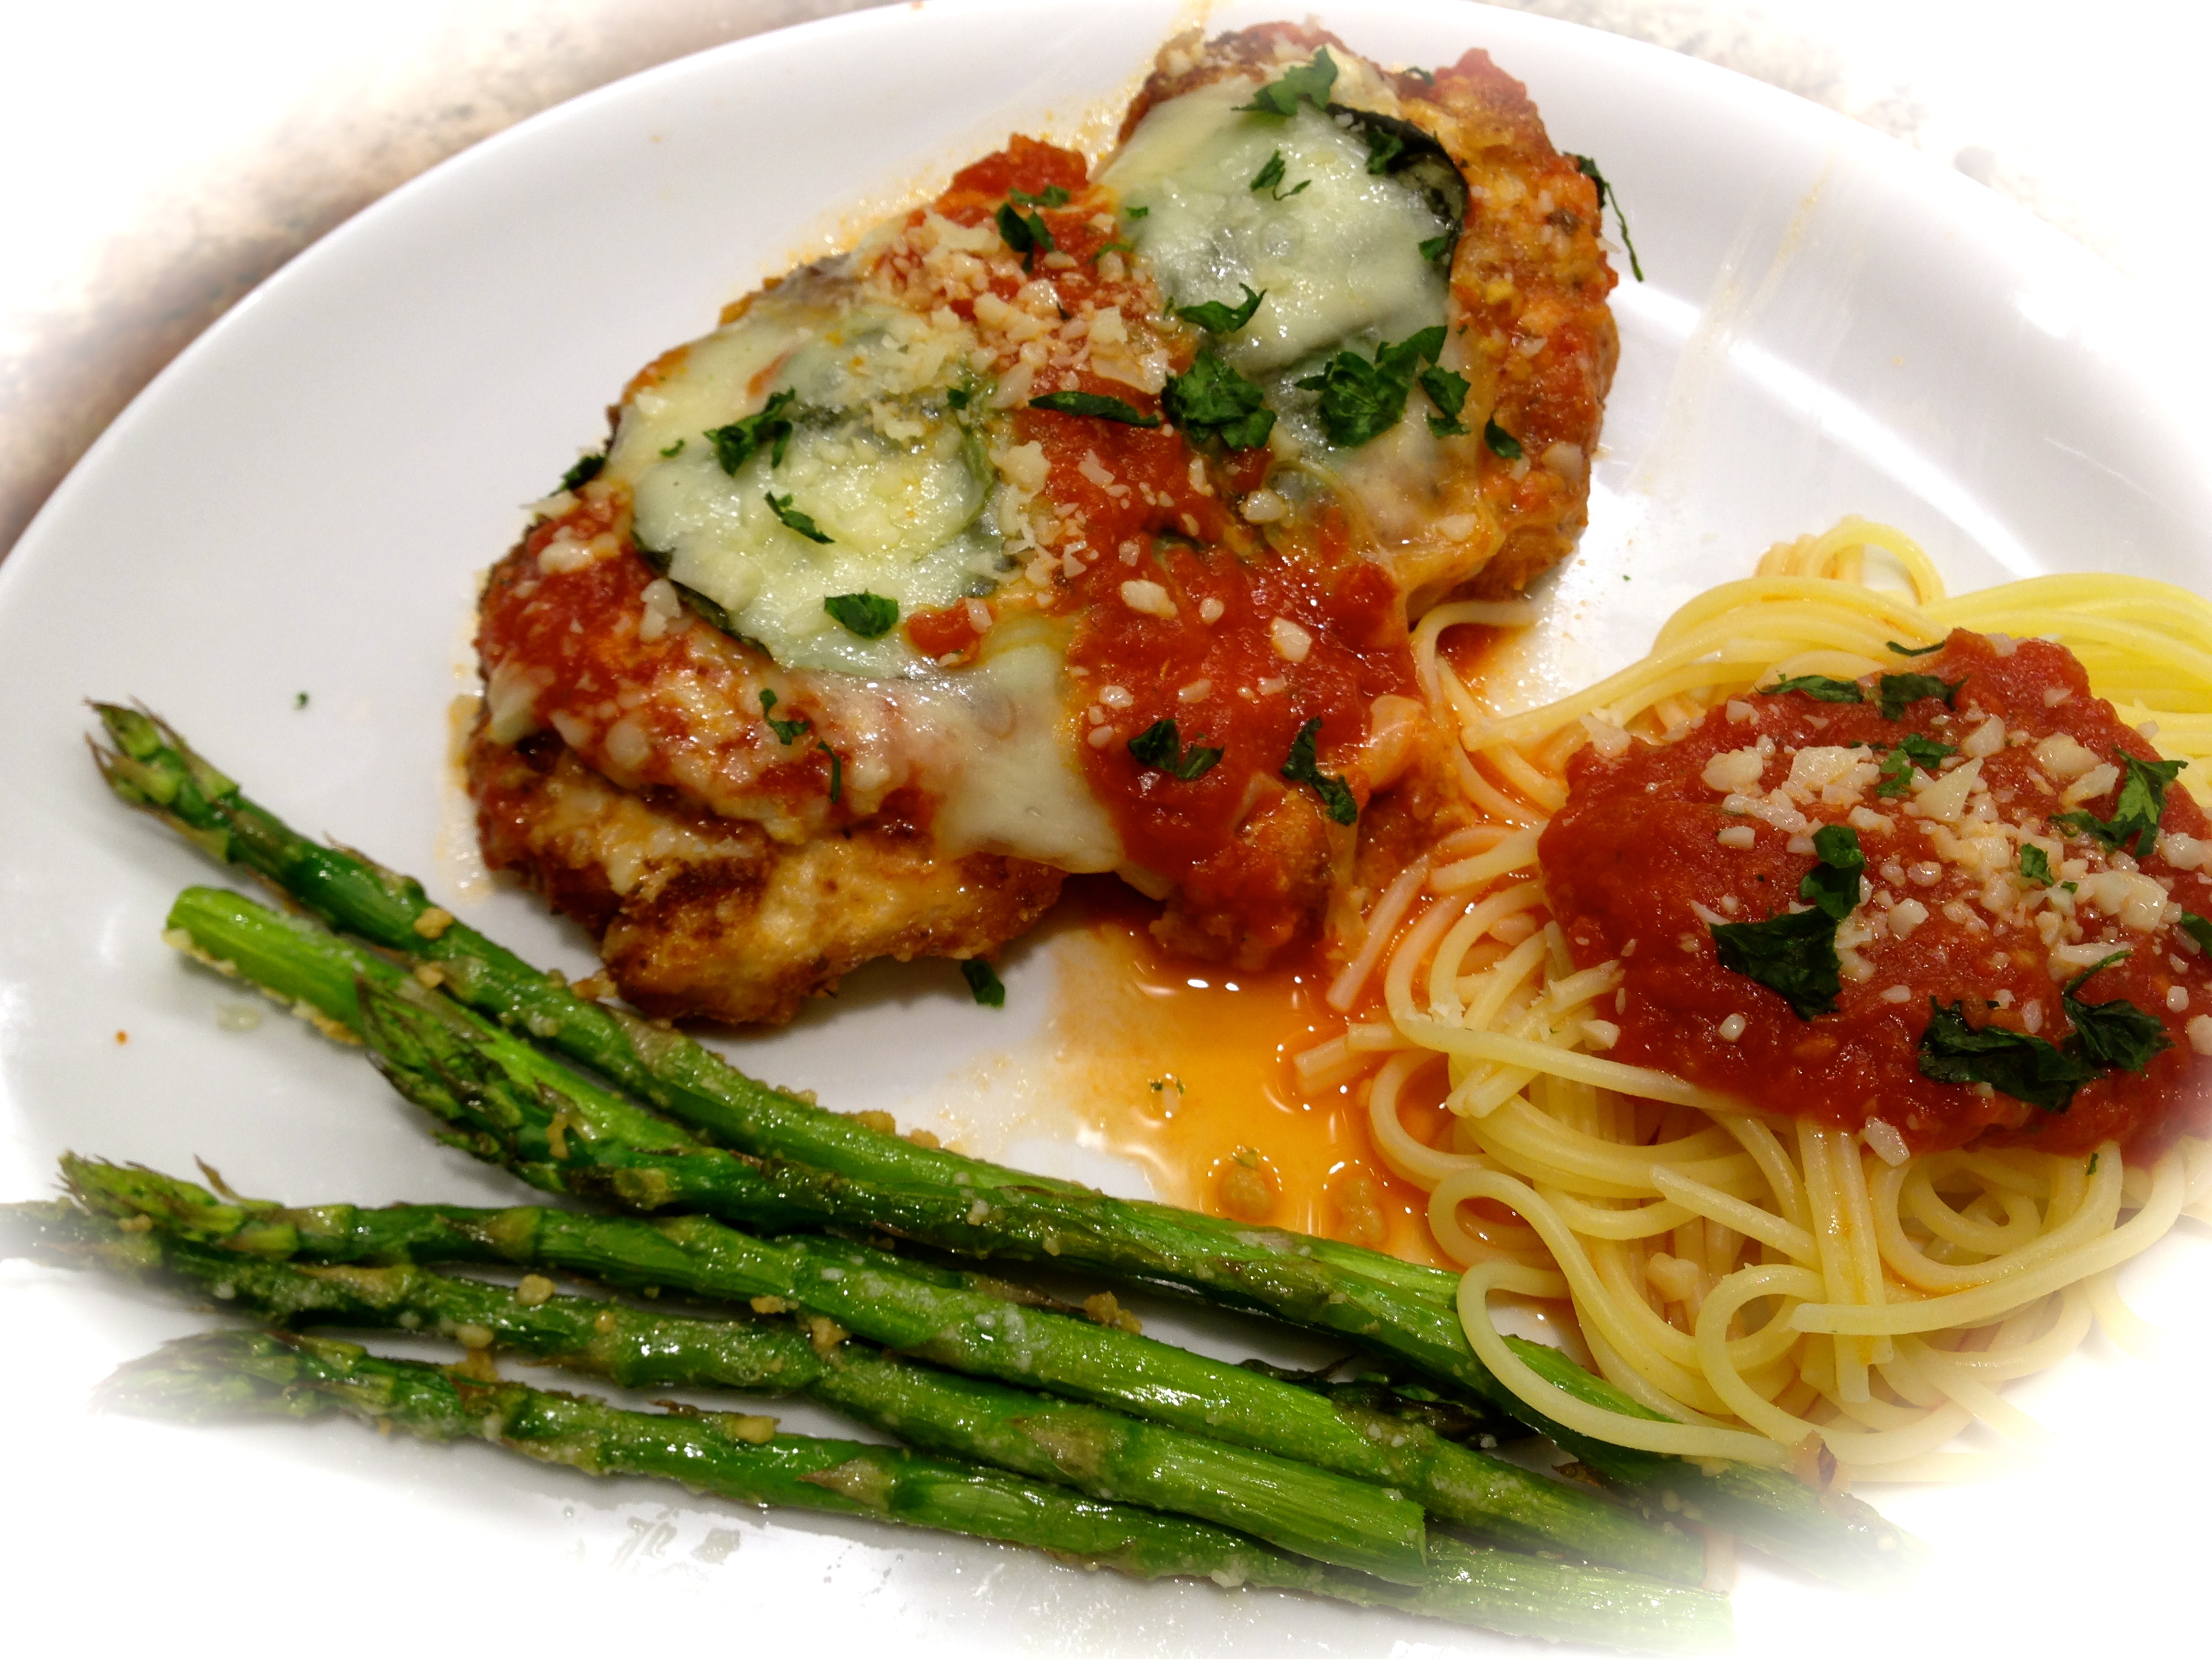
The hardest part, and believe me it isn’t really hard at all, is making the zucchini rolls. The rest is pretty basic but boy does it create one heck of a dish. Try this sometime with some garlic bread and a nice salad and you will have an impressive, delicious meal, one that you will make over and over again.

Cheesy Zucchini Rollatini...

  • Servings: 2
  • Difficulty: Easy
  • Print

INGREDIENTS:

1 Italian sausage link, casing removed (or about 1/8 pound Italian sausage)

1-2 large zucchinis

1/2 cup ricotta cheese

1/2 tsp. fresh oregano, chopped

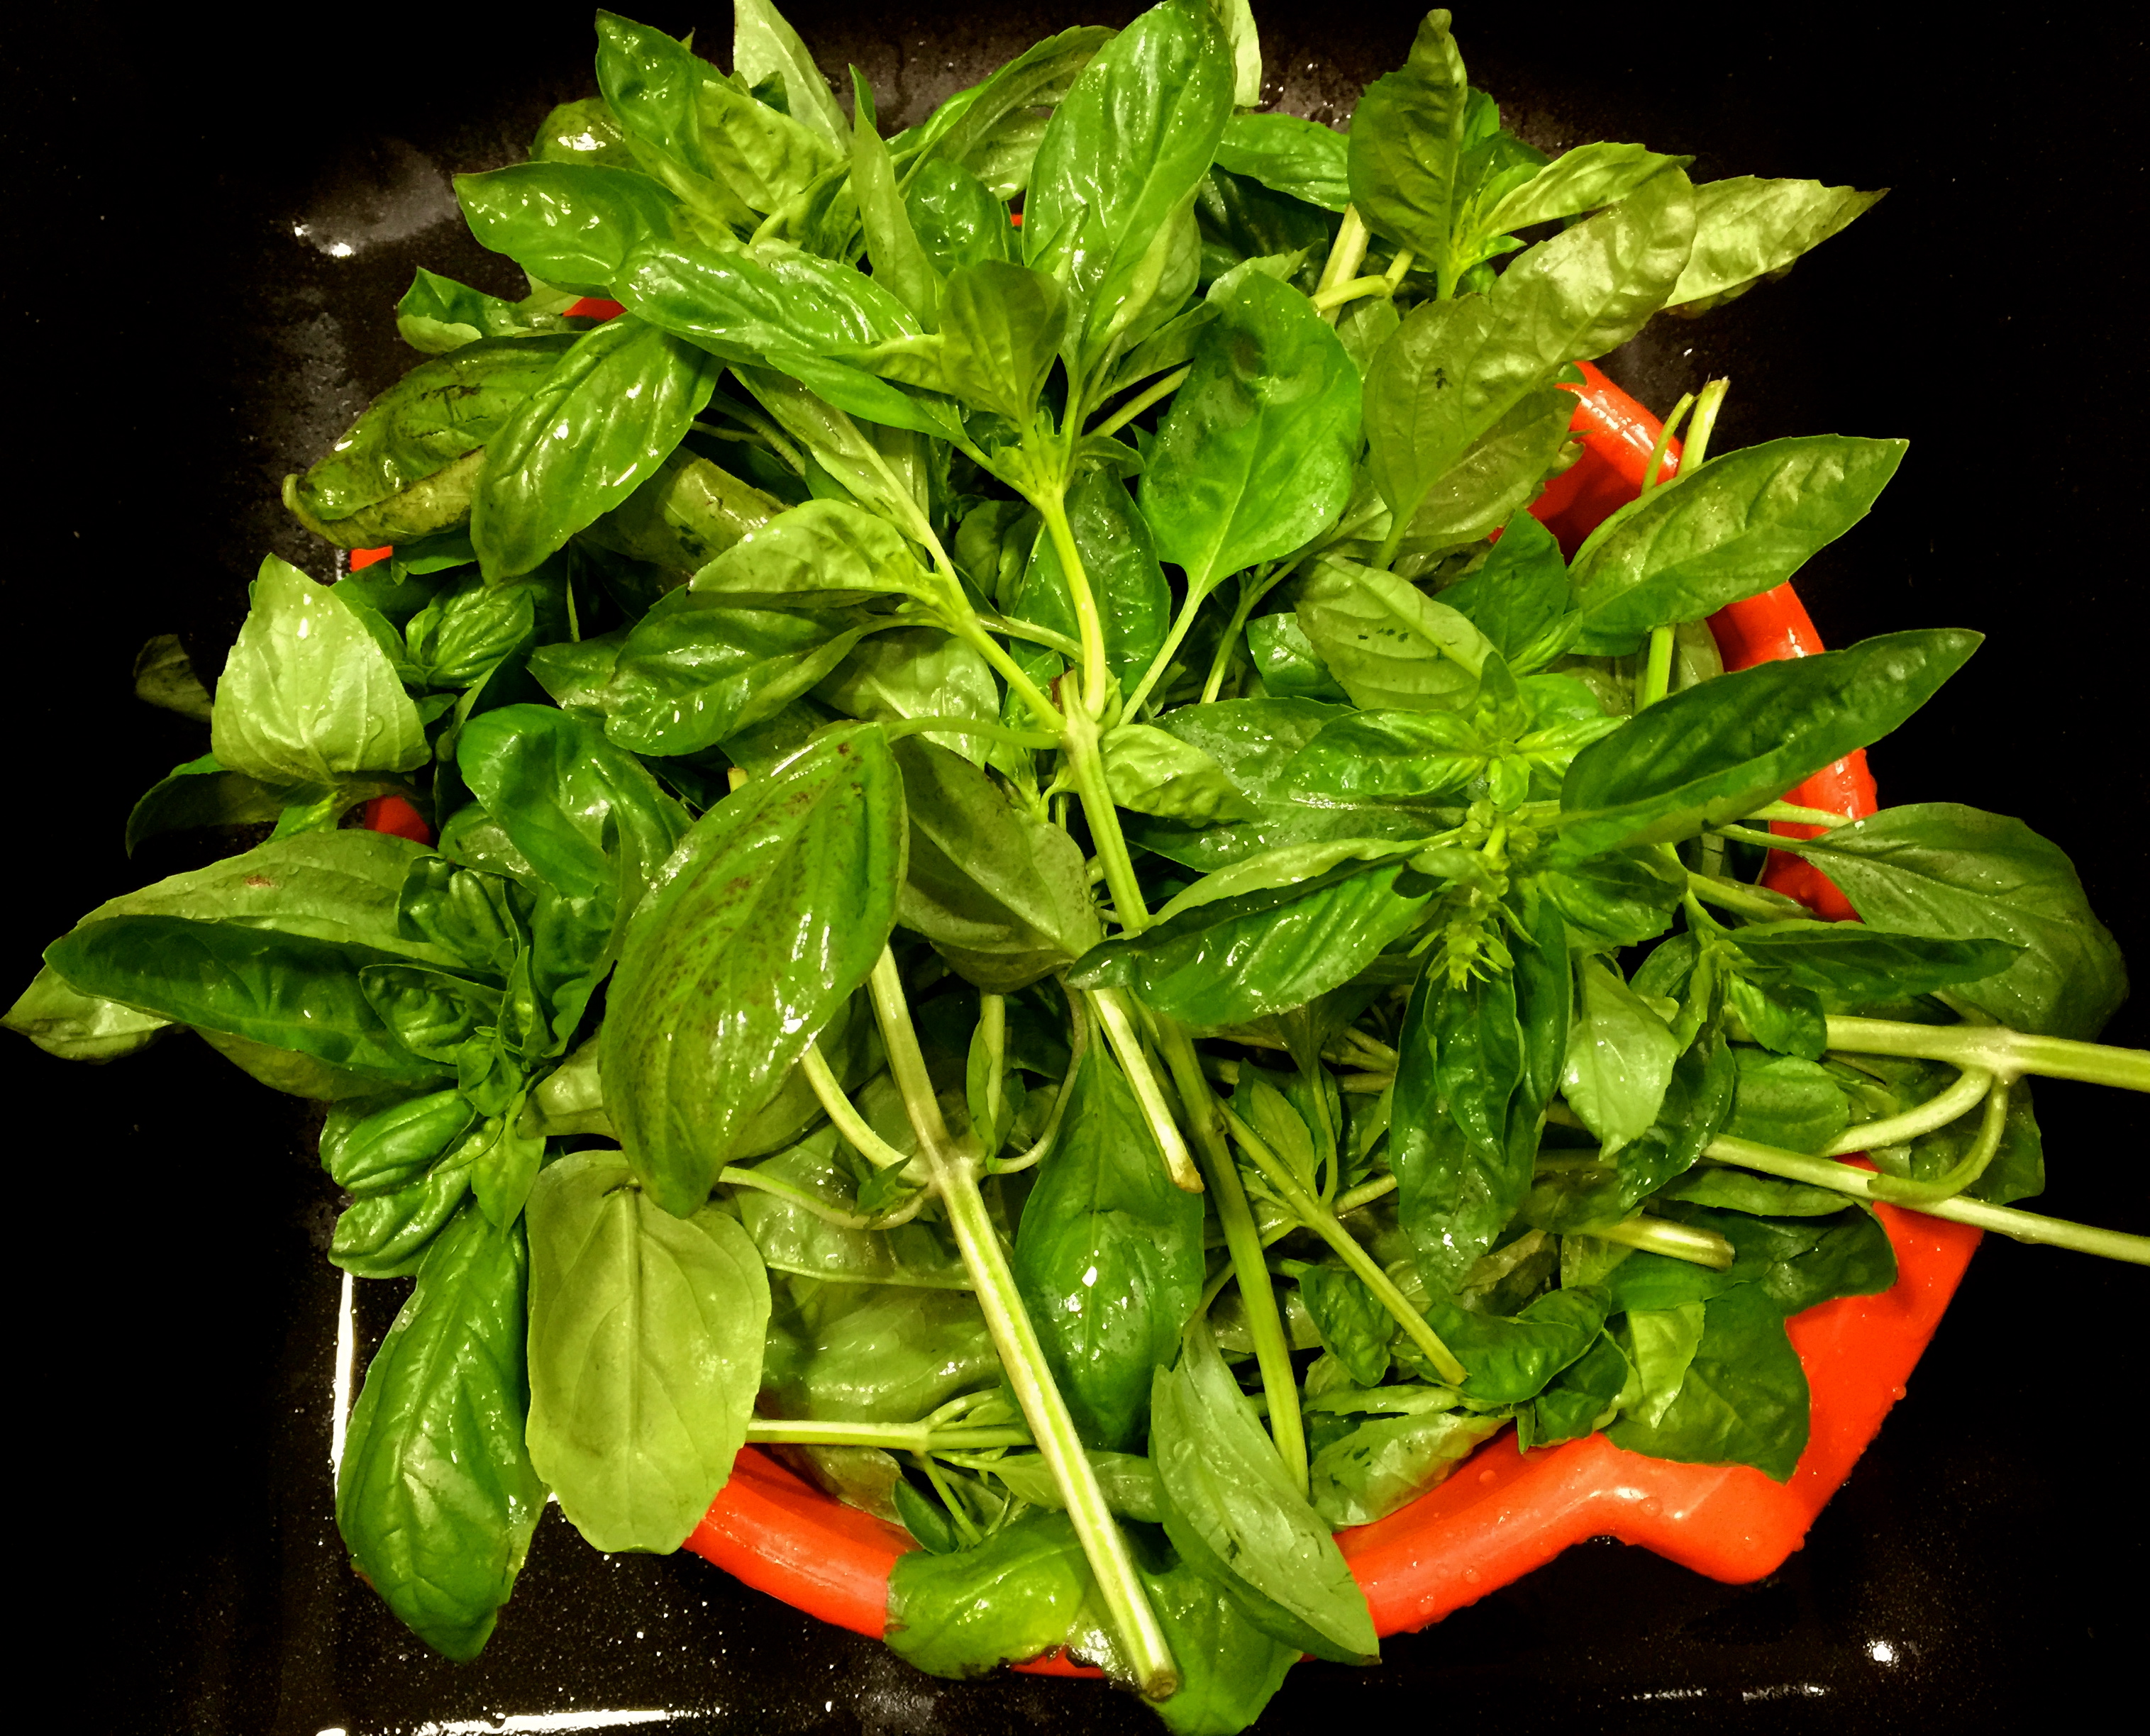
1 tsp. fresh basil, chopped

1/2 tsp. lemon zest

1 1/4 cups shredded mozzarella, divided plus some additional for final garnish

1 egg

1-2 cups marinara sauce

Kosher salt

Italian seasoning, to taste

Italian parsley for garnish, optional

DIRECTIONS:

Preheat oven to 375 degrees.

Add about 2 inches of lightly salted water to a large skillet and bring the water to a simmer.

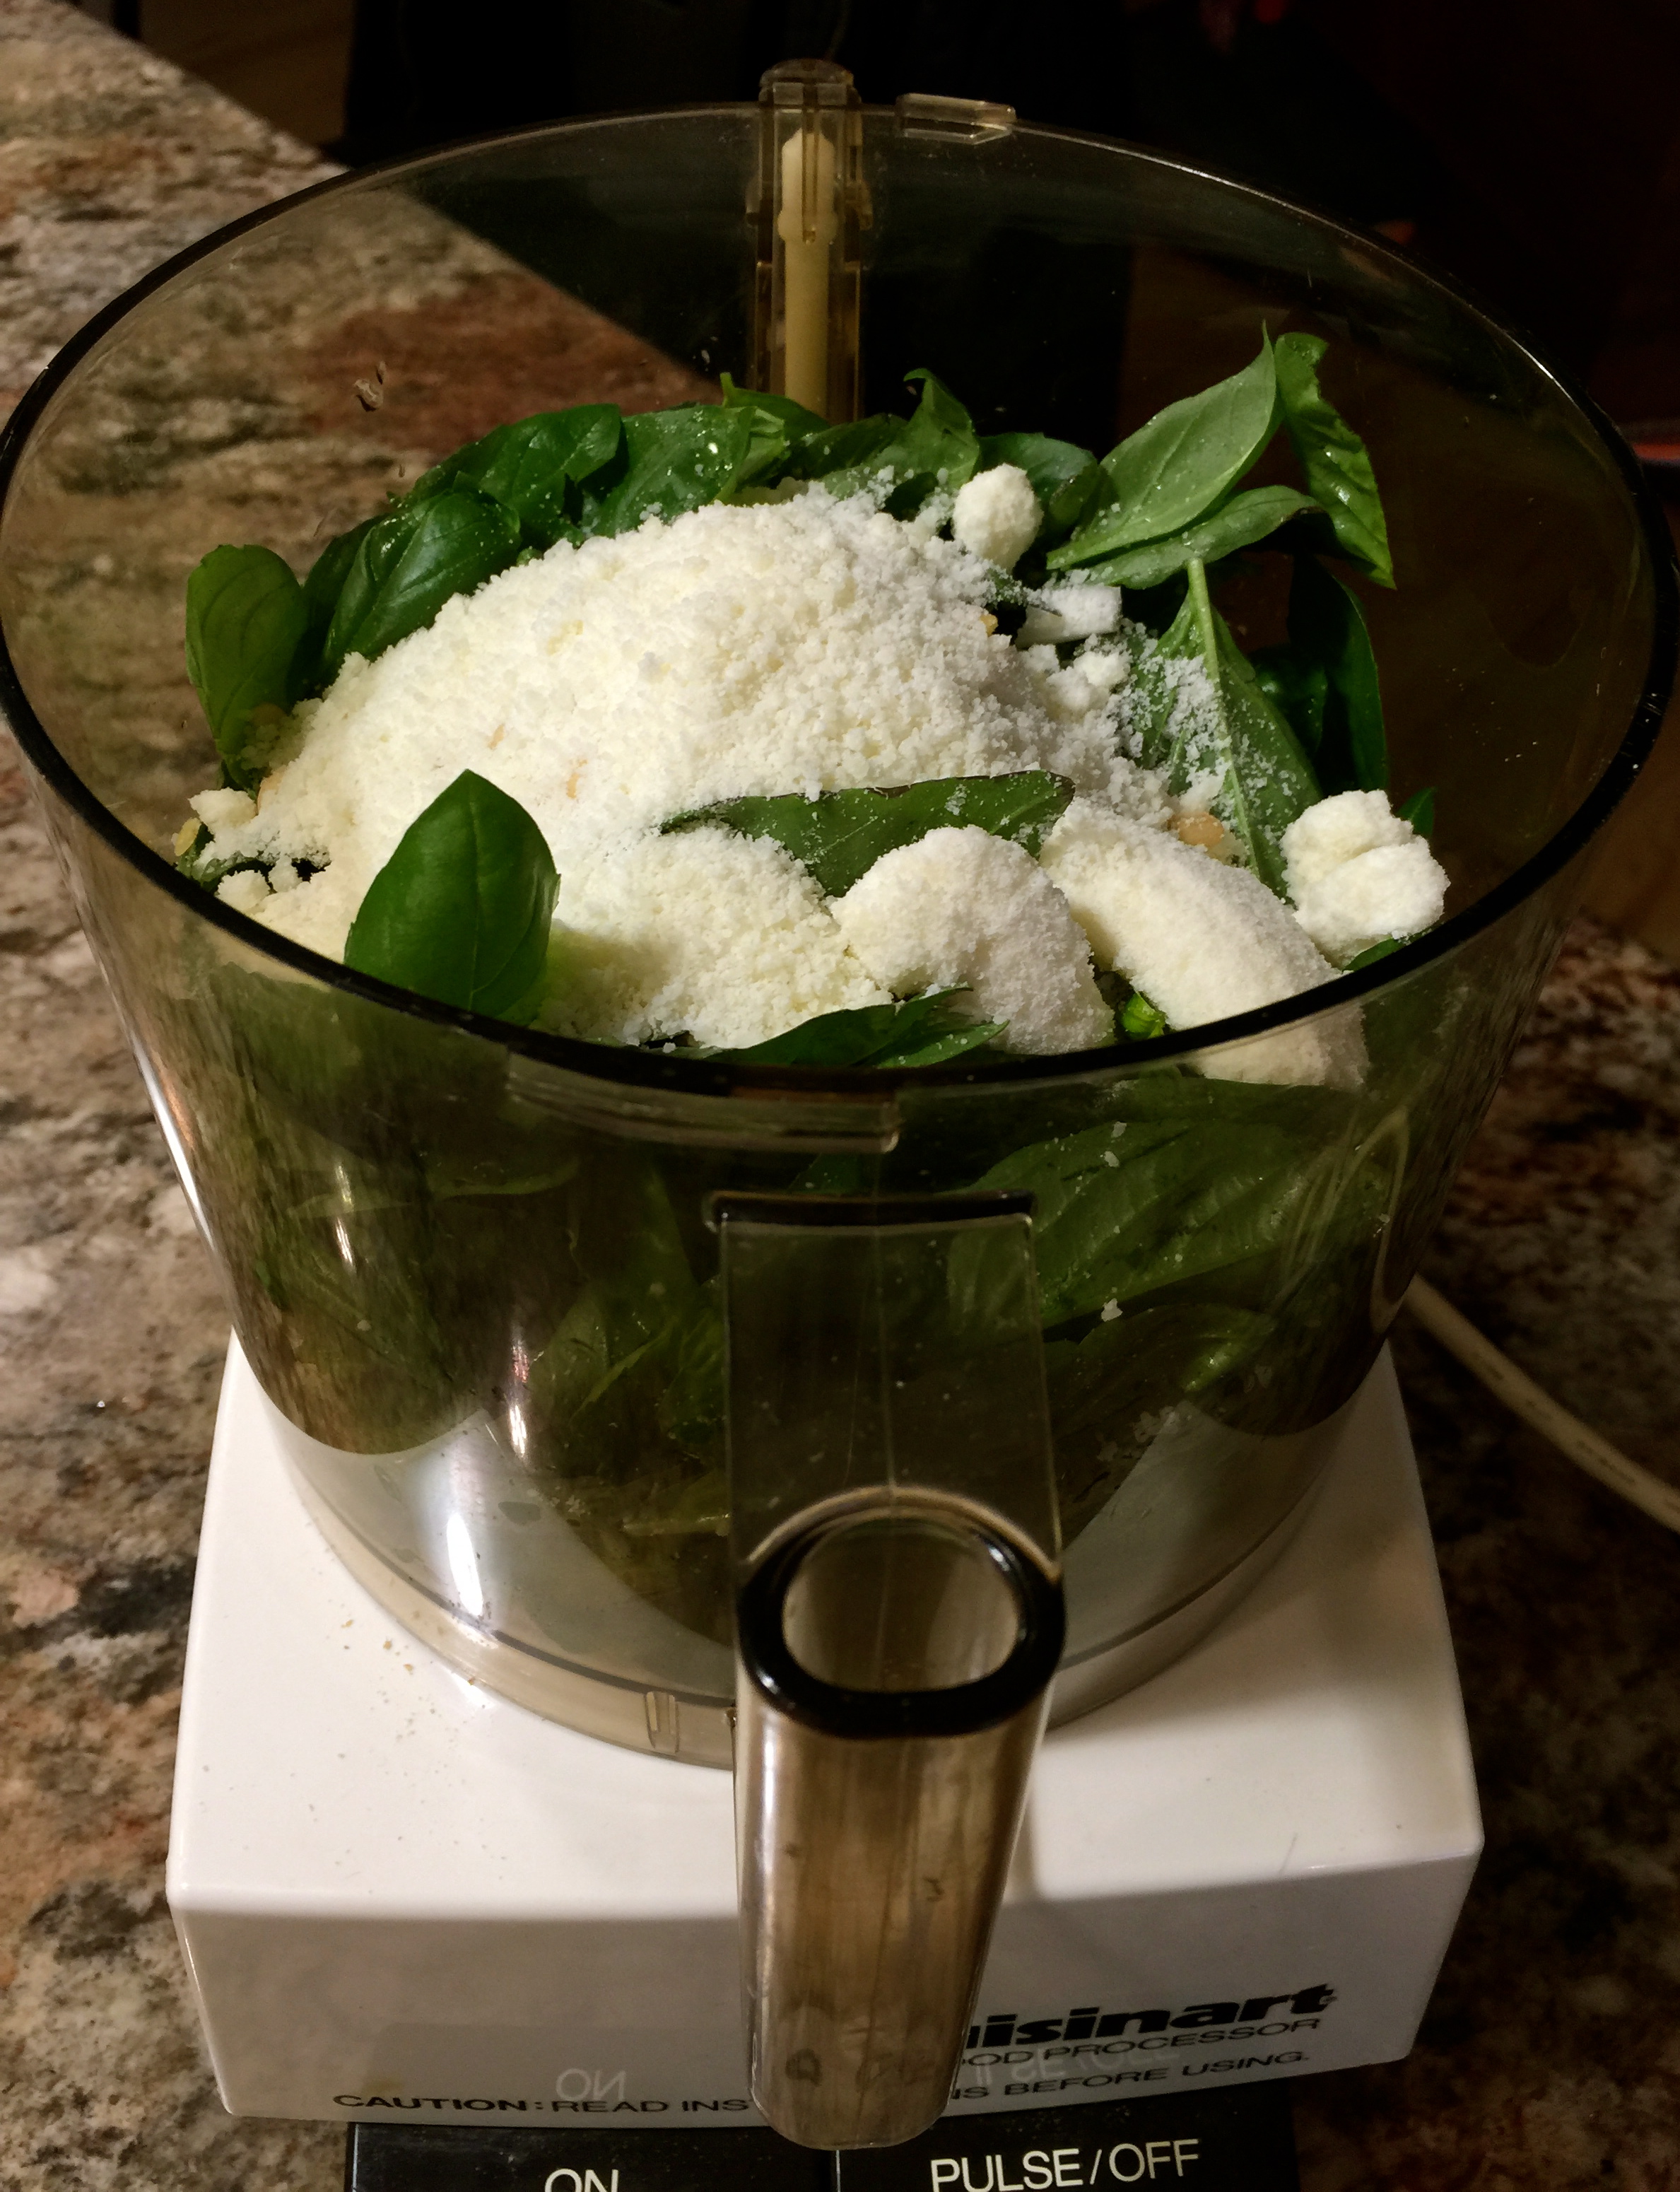
Mix together the ricotta, oregano, basil, lemon zest and 3/4 cup of the mozzarella. Add 1/4 teaspoon of kosher salt. In a small separate bowl, crack open and beat the egg. Add 1 Tbs. of the beaten egg to the cheese mixture. Stir to combine. (You will either have to repurpose or discard the remainder of the egg).

Trim the ends of the zucchini and slice them lengthwise on a mandolin slicer to about 1/8 inch thick. Reserve the larger interior slices and save the rest for other uses.

Place the zucchini slices in batches into the simmering hot water and cook for about 1 1/2 minutes. Remove the slices and place them on a paper lined plate to drain the slices and remove any excess moisture. Continue this process with any remaining slices.

In an eight inch ovenproof skillet (I used a cast iron skillet), cook the Italian sausage until lightly browned. Add the marina and some Italian seasoning and cook until warmed through.

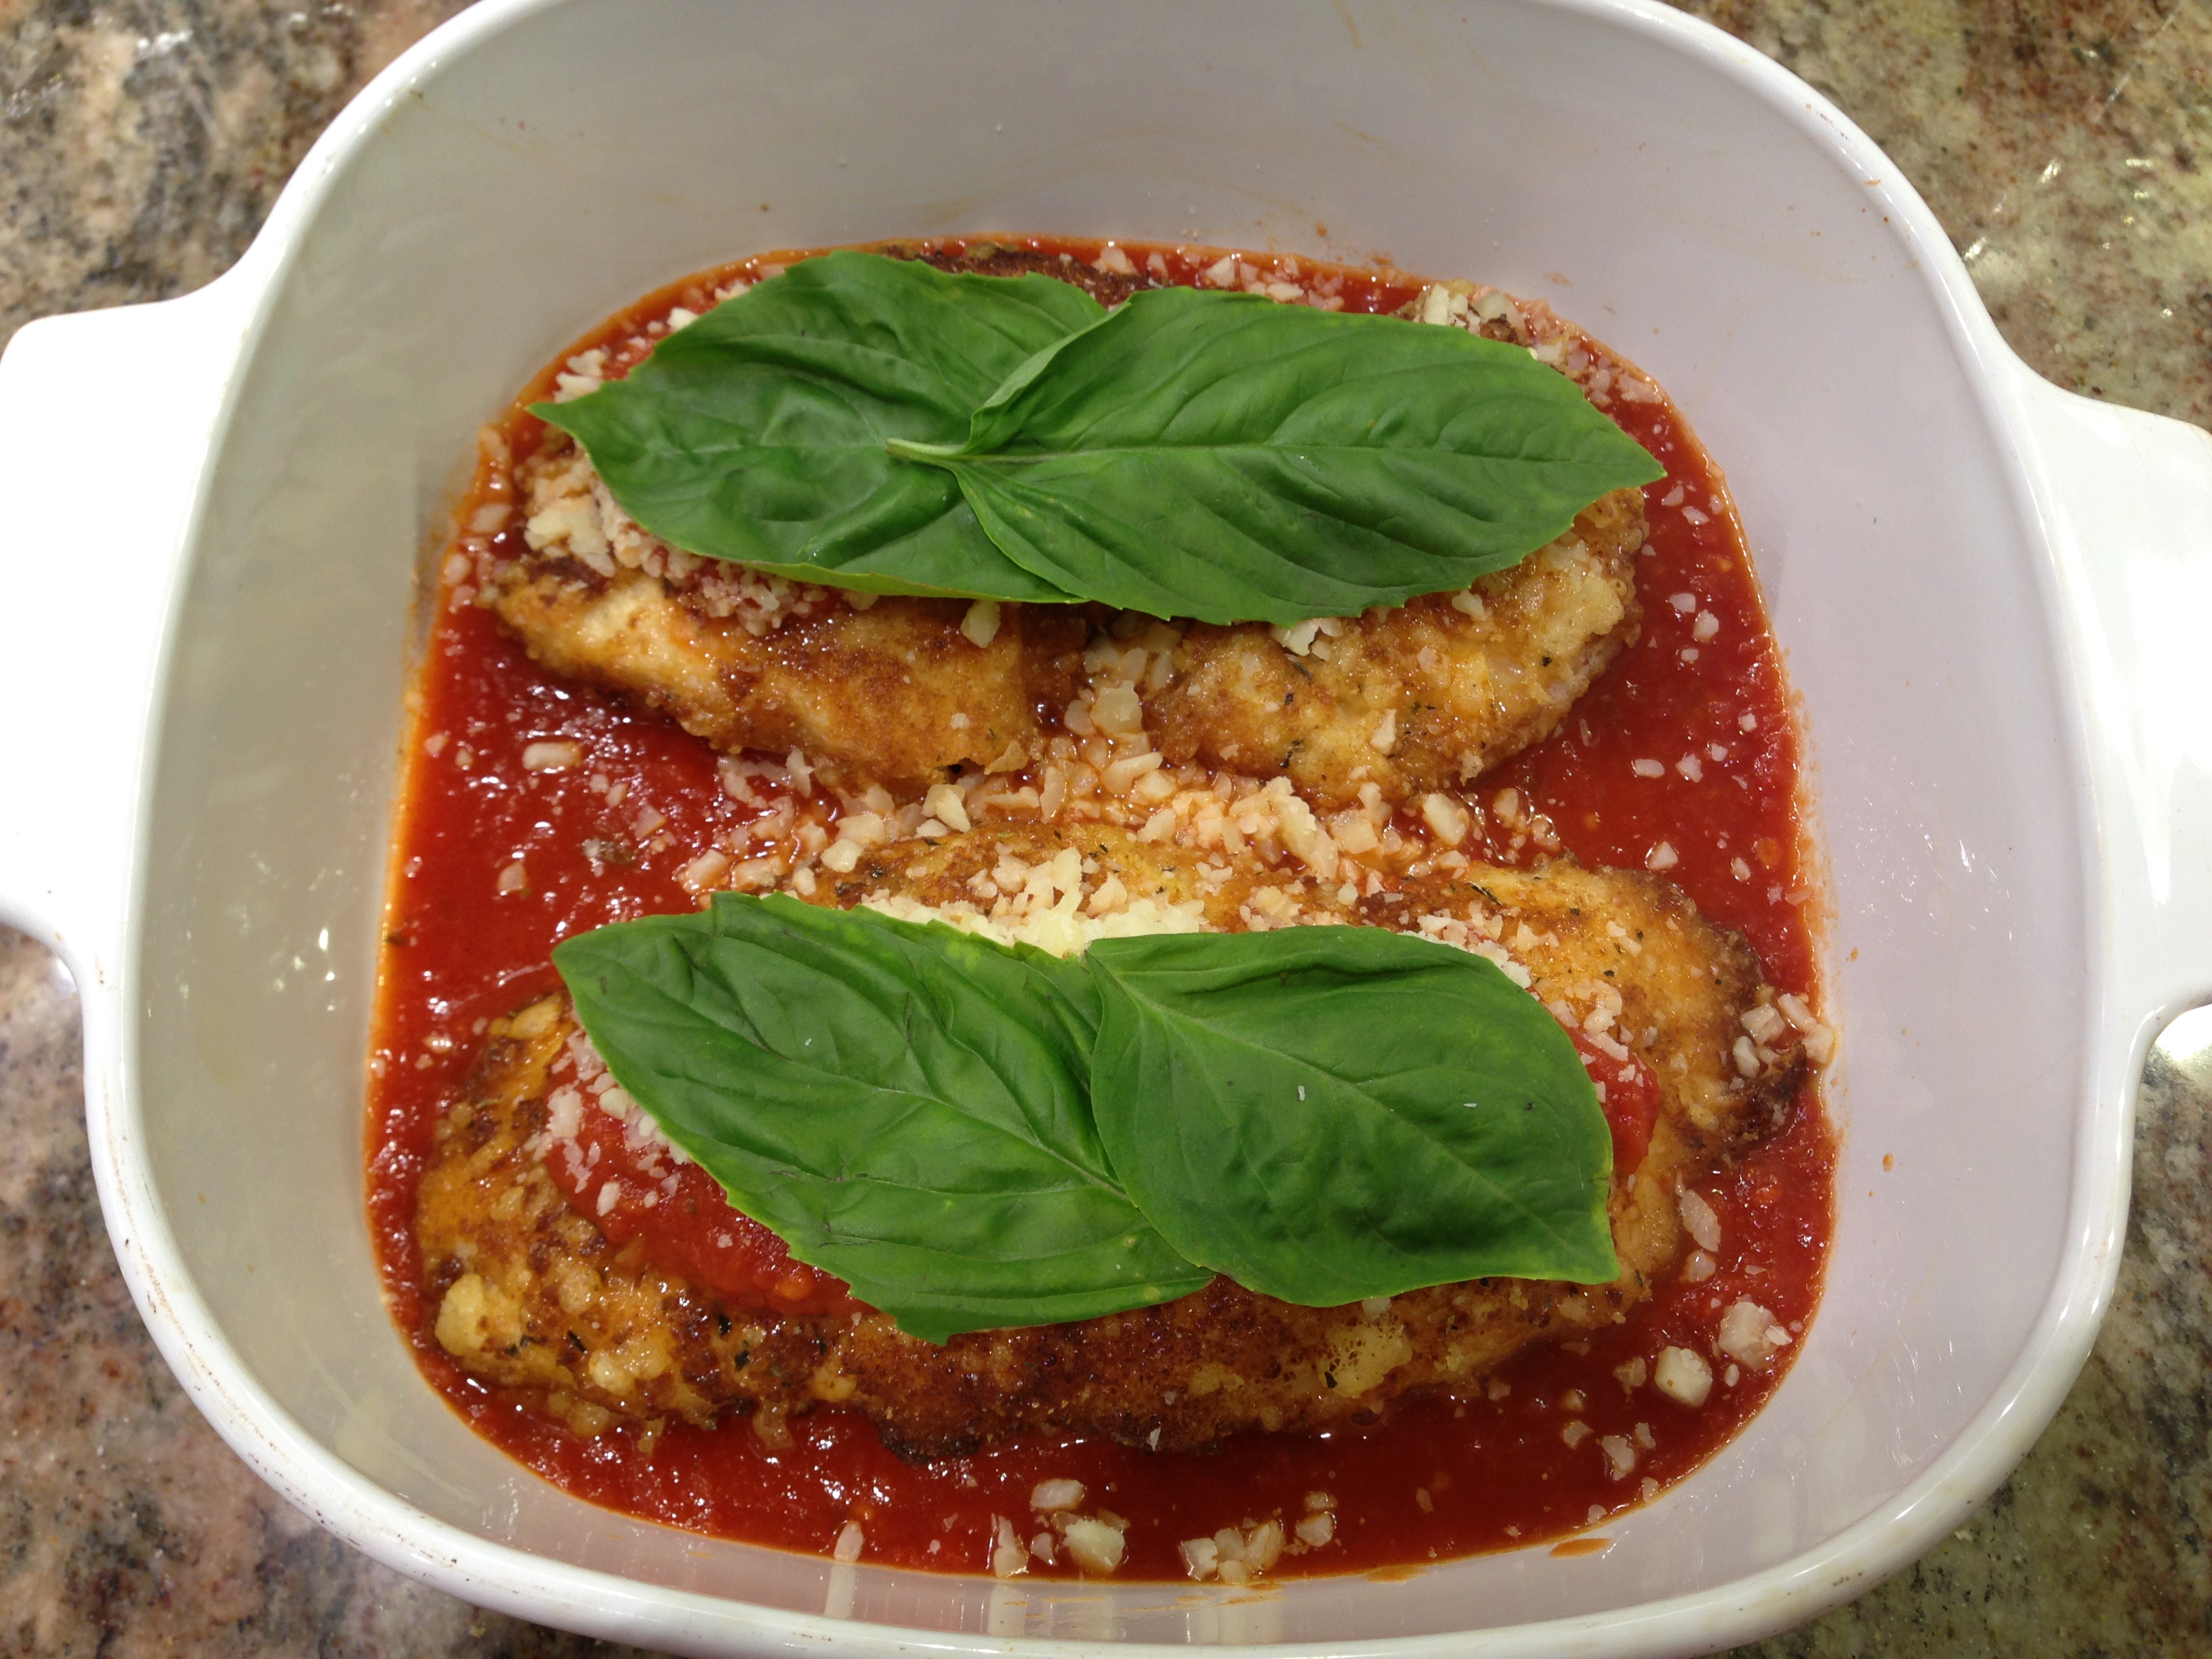
While the sauce is warming lay the dried zucchini slices out on a work surface. Spoon a tablespoon of the cheese mixture on one end of the slice and gently roll up the slice. Place on a plate seam side down. Continue with the remaining slices.

Add the slices into the warm sauce seam side down. Spoon a little marinara sauce over the tops of the slices. Sprinkle some shredded mozzarella on top. Sprinkle some Italian seasoning over the mozzarella.

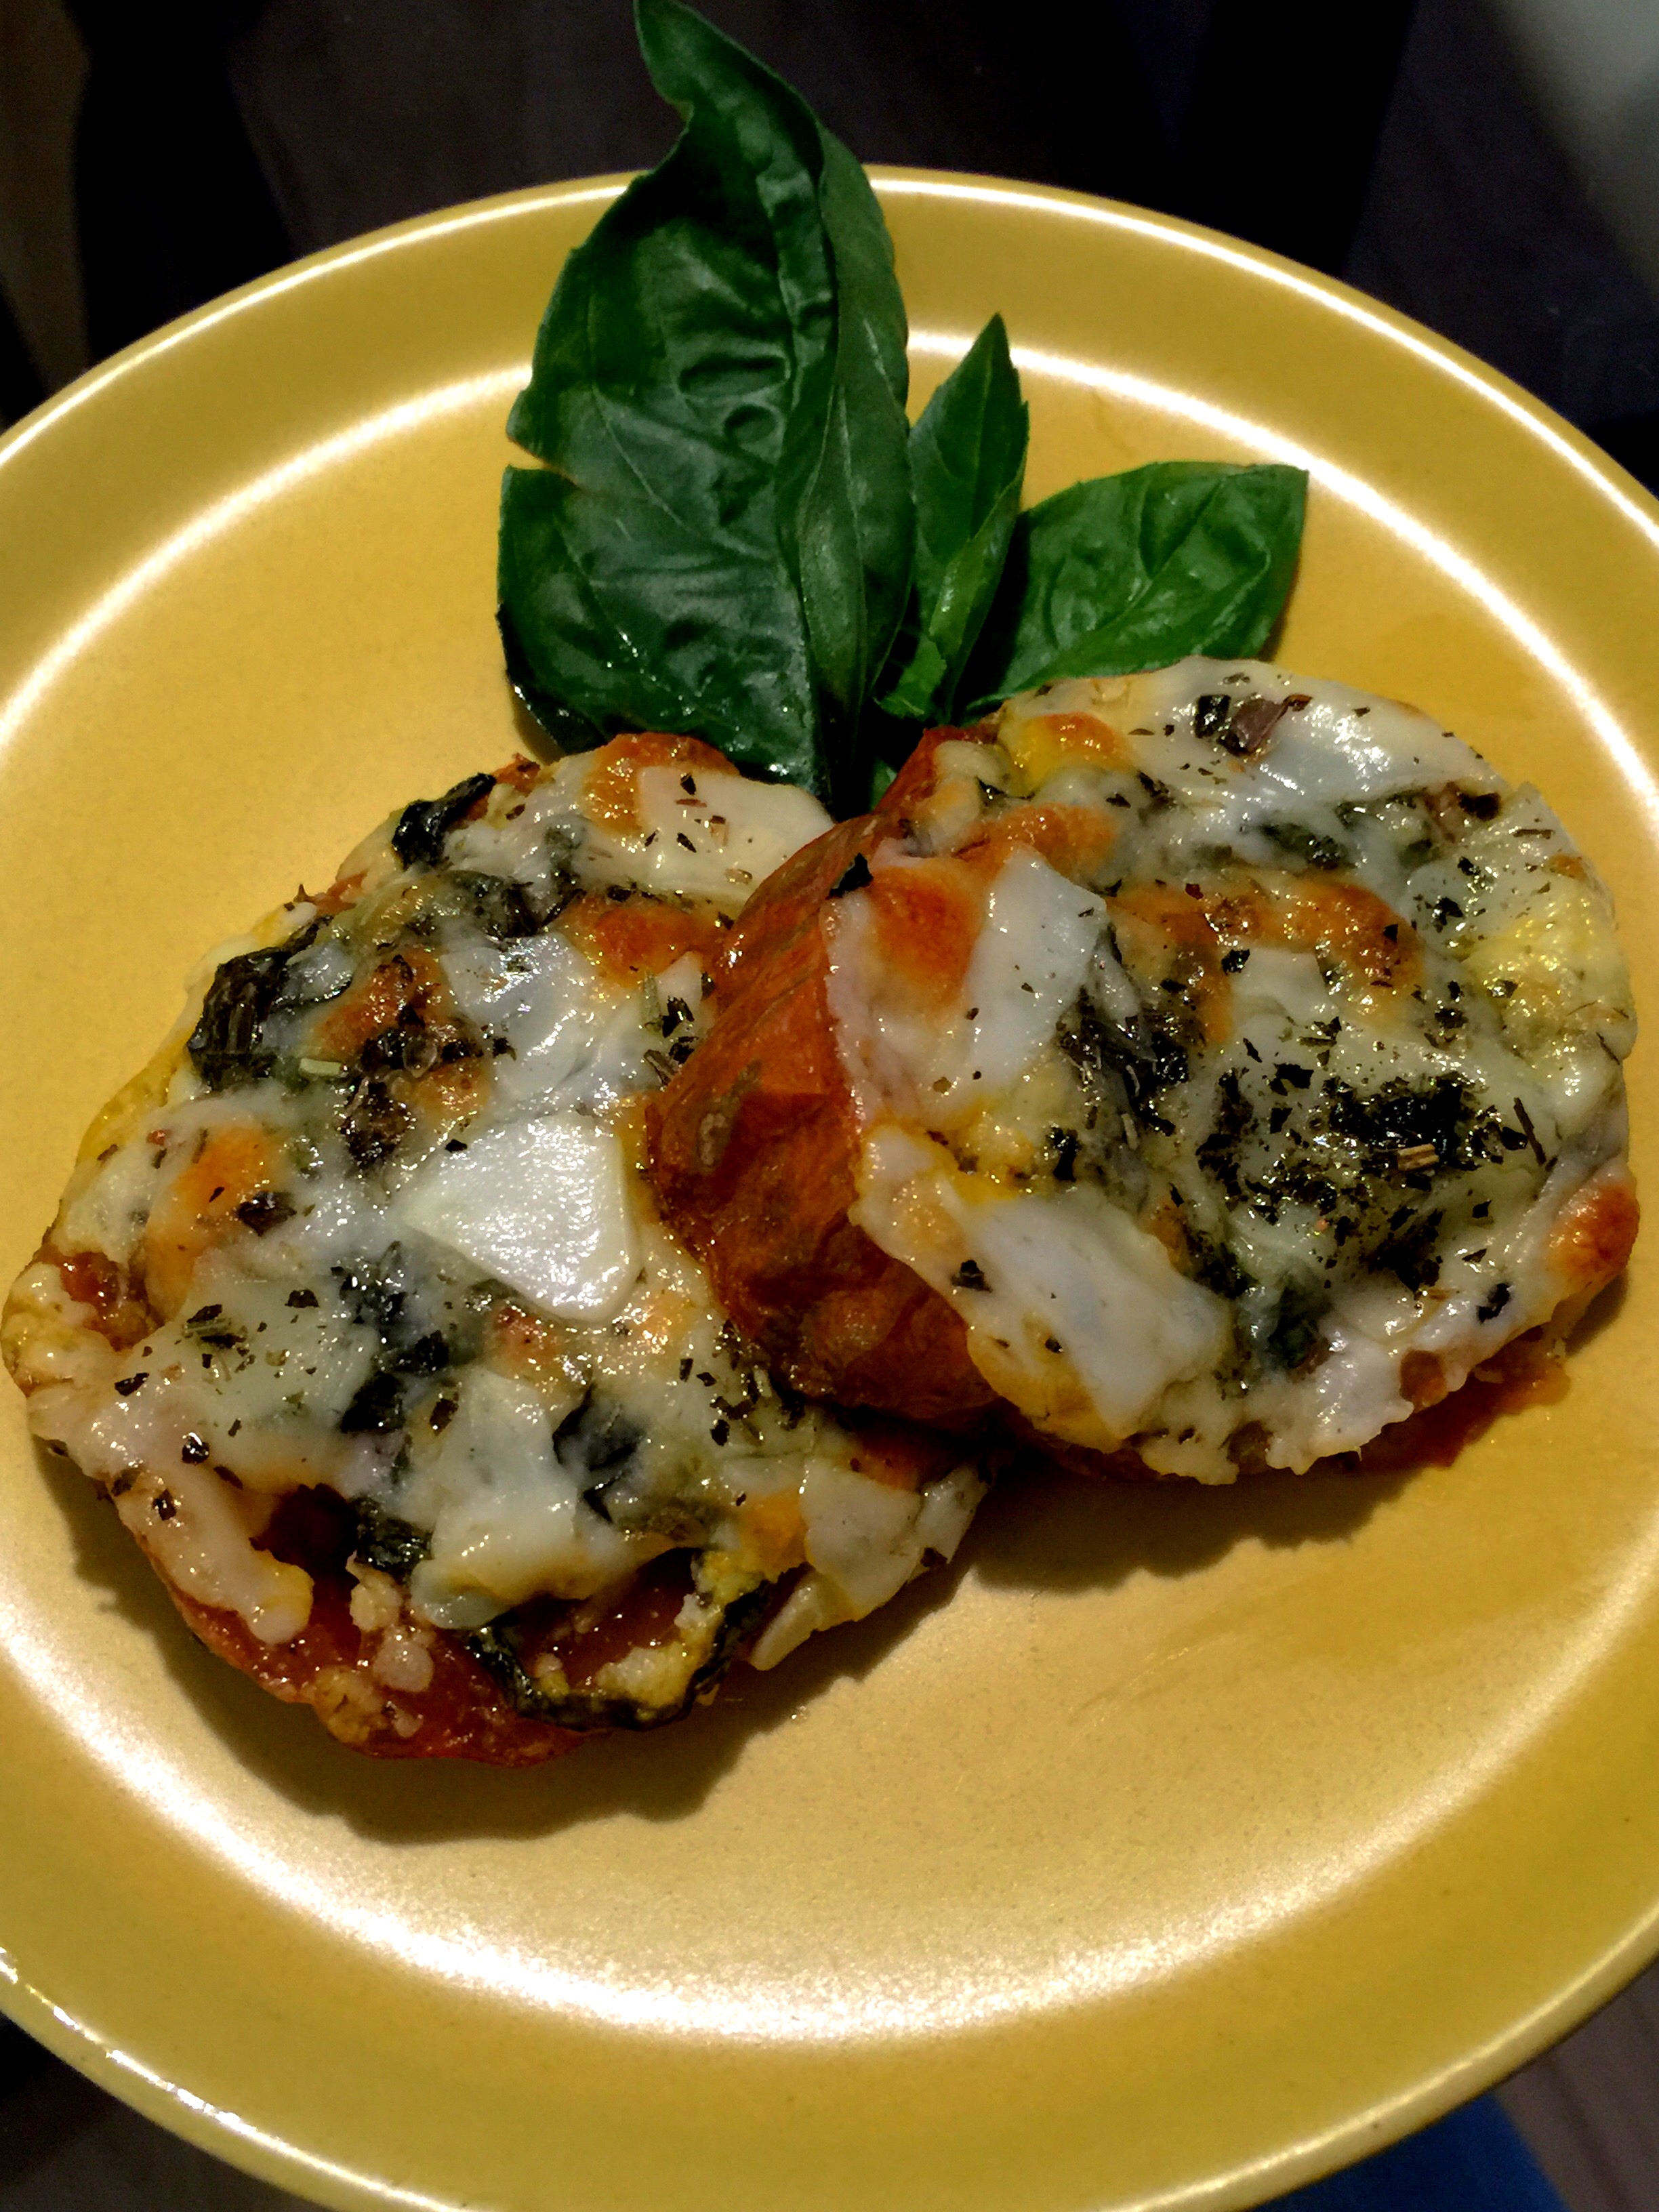
Cover the skillet with foil and cook for 20 minutes. Remove the skillet from the oven after 20 minutes and set the oven to 400 degrees. Sprinkle some additional mozzarella on top of the slices and place the skillet uncovered back into the oven for an additional 10 minutes.

Remove the skillet from the oven and let it stand for 5 minutes. Serve with a salad and some garlic bread.


Homemade Pizza Bites…

This recipe came out of a kick I’ve been on lately of cleaning out the ingredients in my refrigerator and pantry. It was lunch time and I wanted something different for lunch but not something huge and filling. I started scrounging around and found I had some ingredients for a basic pizza, minus the pizza crust but I had a loaf of take and bake bread.

The wheels in my brain started spinning and I decided to try using the unbaked take and bake bread baguette loaf, cut it into a couple of 1/2 pieces, top it with my pizza toppings and throw it in the toaster oven. I absolutely could not believe how wonderful it turned out, and so I thought I’d share this very, very simple recipe with you.

These bites are great for a light lunch, a snack, or even a meal. For example, for over a year now some friends of mine and I have been playing cards and games every Monday. Each week we take turns hosting. We got into the habit of making lunch before we started our games and as you can well imagine that got my juices flowing as to how I could use these wonderful friends as guinea pigs for recipes for this blog. I let them know that was my intent and they said they were all in. So, last Monday I made these bites along with a side salad and a crudités plate of mozzarella sticks wrapped in salami and blue cheese stuffed olives. The lunch was a hit.

Mozzarella Sticks Wrapped In Salami And Blue Cheese Stuffed Olives

Simple Side Salad

Sausage Pizza Bites

Pesto and Pepperoni Pizza Bites

The most time consuming thing about this meal was assembling the pizza bites. The wrapped mozzarella and stuffed olives were store bought and there’s nothing to putting together a simple salad. And now, since I’ve had these bites both for a snack and a meal I thought maybe I should write about them.

So, with all that being said, let’s talk homemade pizza bites…

Lesson Learned 1 – Use whatever pizza ingredients you may have on hand: I used pesto, pepperoni, sausage, mozzarella slices and shredded mozzarella, grated parmesan, pizza sauce and Italian seasoning. One thing to be aware of, these bites only need 7-10 minutes to cook so if you add sausage it must be precooked. I thought about adding some green pepper but I didn’t this time. I probably will try it at some point, but I know I’ll need to cut the pieces very small so they at least partially cook. I like green pepper with a crunch on my pizza anyway.

Lesson Learned 2 – Forget measurements: You’ll notice this recipe doesn’t have any type of measurements for the ingredients. What you need will depend on how many bites you make and what ingredients you have on hand. I designed this recipe to be a way to use up ingredients you have laying around in your refrigerator or pantry.

Lesson Learned 3 – Use take and bake bread: The key, at least for me, was the take and bake bread. Take and bake bread is designed to be baked for about 10 minutes so it coincides with the overall baking time of the bites. Using this type of bread gave the bites a beautiful crispy crust which, for me, made it more like a Detroit style pizza which I just love.

Lesson Learned 4 – Make sure you bakes the bites on a wire rack: You want to make the bread nice and crispy. Baking them on a wire rack allows the bottom of the bread to cook and crisp up. Make sure you use a foil lined pan underneath the rack to catch any melted cheese that may run off the bread. That way you won’t have an oven mess that’s hard to clean up.

So give this throw together recipe a try. It only takes a few minutes to make a quick lunch. And if you’re making a bigger batch, count on about 20 minutes to prep them all. I know you’ll just love them. I know I do! Let me know what you think…

Homemade Pizza Bites

  • Servings: Varied
  • Difficulty: Easy
  • Print

INGREDIENTS:

Store bought or homemade pesto

Pepperoni, sliced thin

Mozzarella, slices and shredded

Precooked Italian Sausage

Homemade or Store Bought Pizza Sauce

Unbaked Take And Bake Baguette Bread

Italian Seasoning

Basil Leaves For Garnish, optional

DIRECTIONS:

Preheat oven to 375 degrees.

Cut the take and bake bread into 1/2 inch slices cut on the bias. Top with either pesto or pizza sauce (you’ll probably need about a teaspoon for each slice). Put a slice of mozzarella on each piece of bread, pre-cut to size. Place two pieces of pepperoni on top of the bite that has pesto. Place crumbles of pre-cooked sausage on top of the bite that has pizza sauce. (Of course you can switch them around anyway you like, I’m just explaining what I did).

Top each bite with shredded mozzarella. Sprinkle each bite with some Italian seasoning. Add some grated parmesan over the tops of each slice.

Place each bite on a wire rack with a foil lined pan underneath it. Bake in oven or toaster oven for 7-10 minutes. Garnish each with some fresh basil. Enjoy!

Bread Slices With Pesto And Pizza Sauce

Oven Ready Pesto Bite

Oven Ready Sausage Bite

Marinated Tomatoes With Herbs and Mozzarella…

It’s the season for tomatoes, and if you planted any in your yard or on your patio you probably have a bunch sitting around right now. I just love this time of year. There is nothing, and I mean absolutely nothing, like a home grown tomato. The kicker is they all ripen at the same time and you’re faced with what to do with all of them.

My patio tomatoes

I used to grow tomatoes in my yard and on my deck, but since we moved to a condo I can only plant a couple of pots of patio tomato plants. This year, much to my surprise, my two little plants are producing like crazy! So above and beyond putting them in a salad or serving them with a generous dollop of tuna salad or making salsa or pasta sauce, I wanted to try something a little different. Hence this recipe…

I like this recipe for a variety of reasons. First the finished product is out of this world but also it’s so quick and easy to put together and after that you just let your tomatoes marinate on the kitchen counter for a couple of hours and you’ve got something very special. Second if you plant a pot of herbs like I do it is a great way to use them. The recipe couldn’t be cleaner and the end result is divine. So let’s talk marinated tomatoes with herbs and mozzarella.

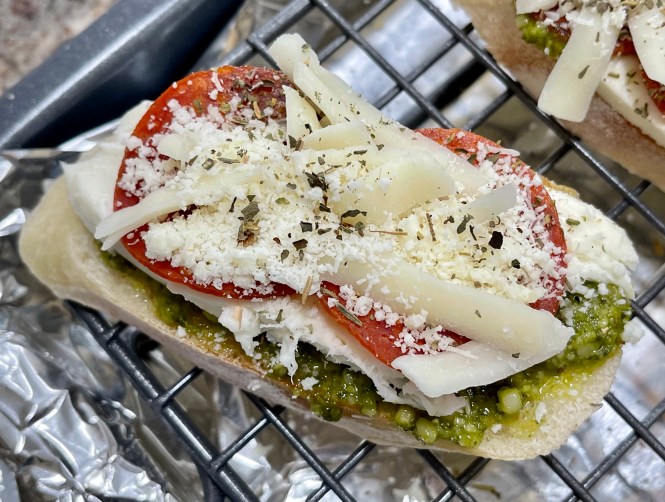
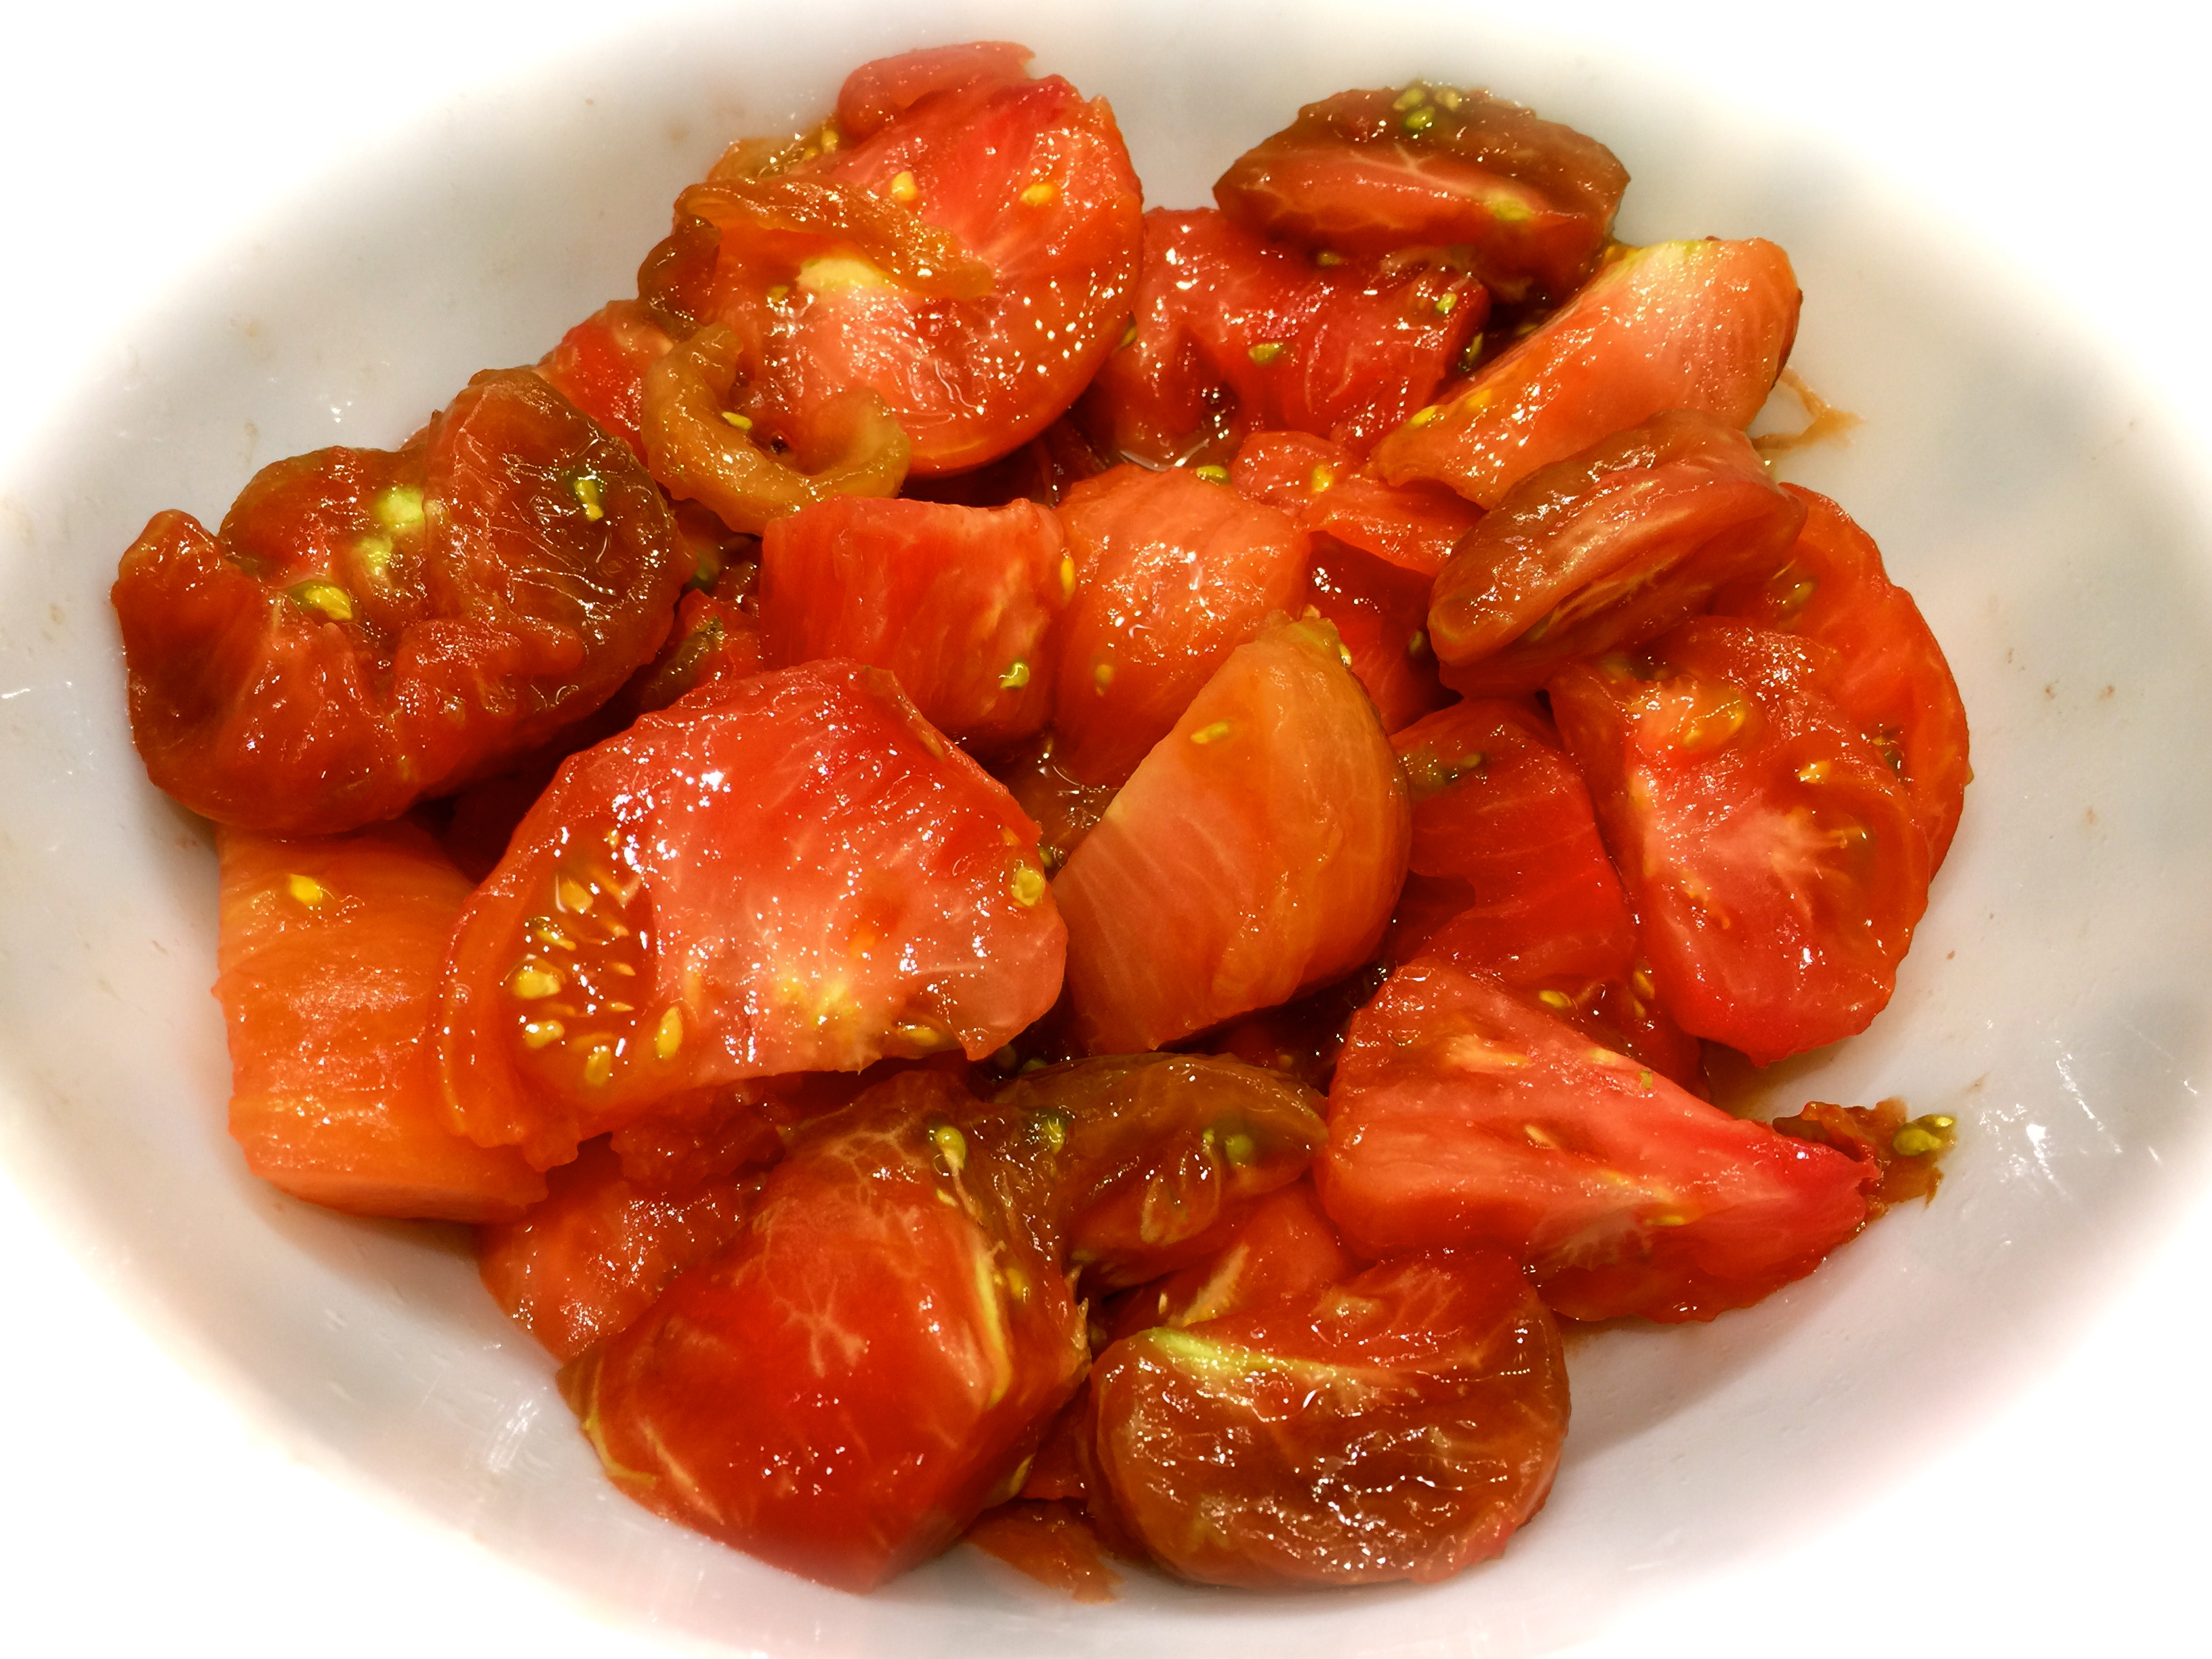
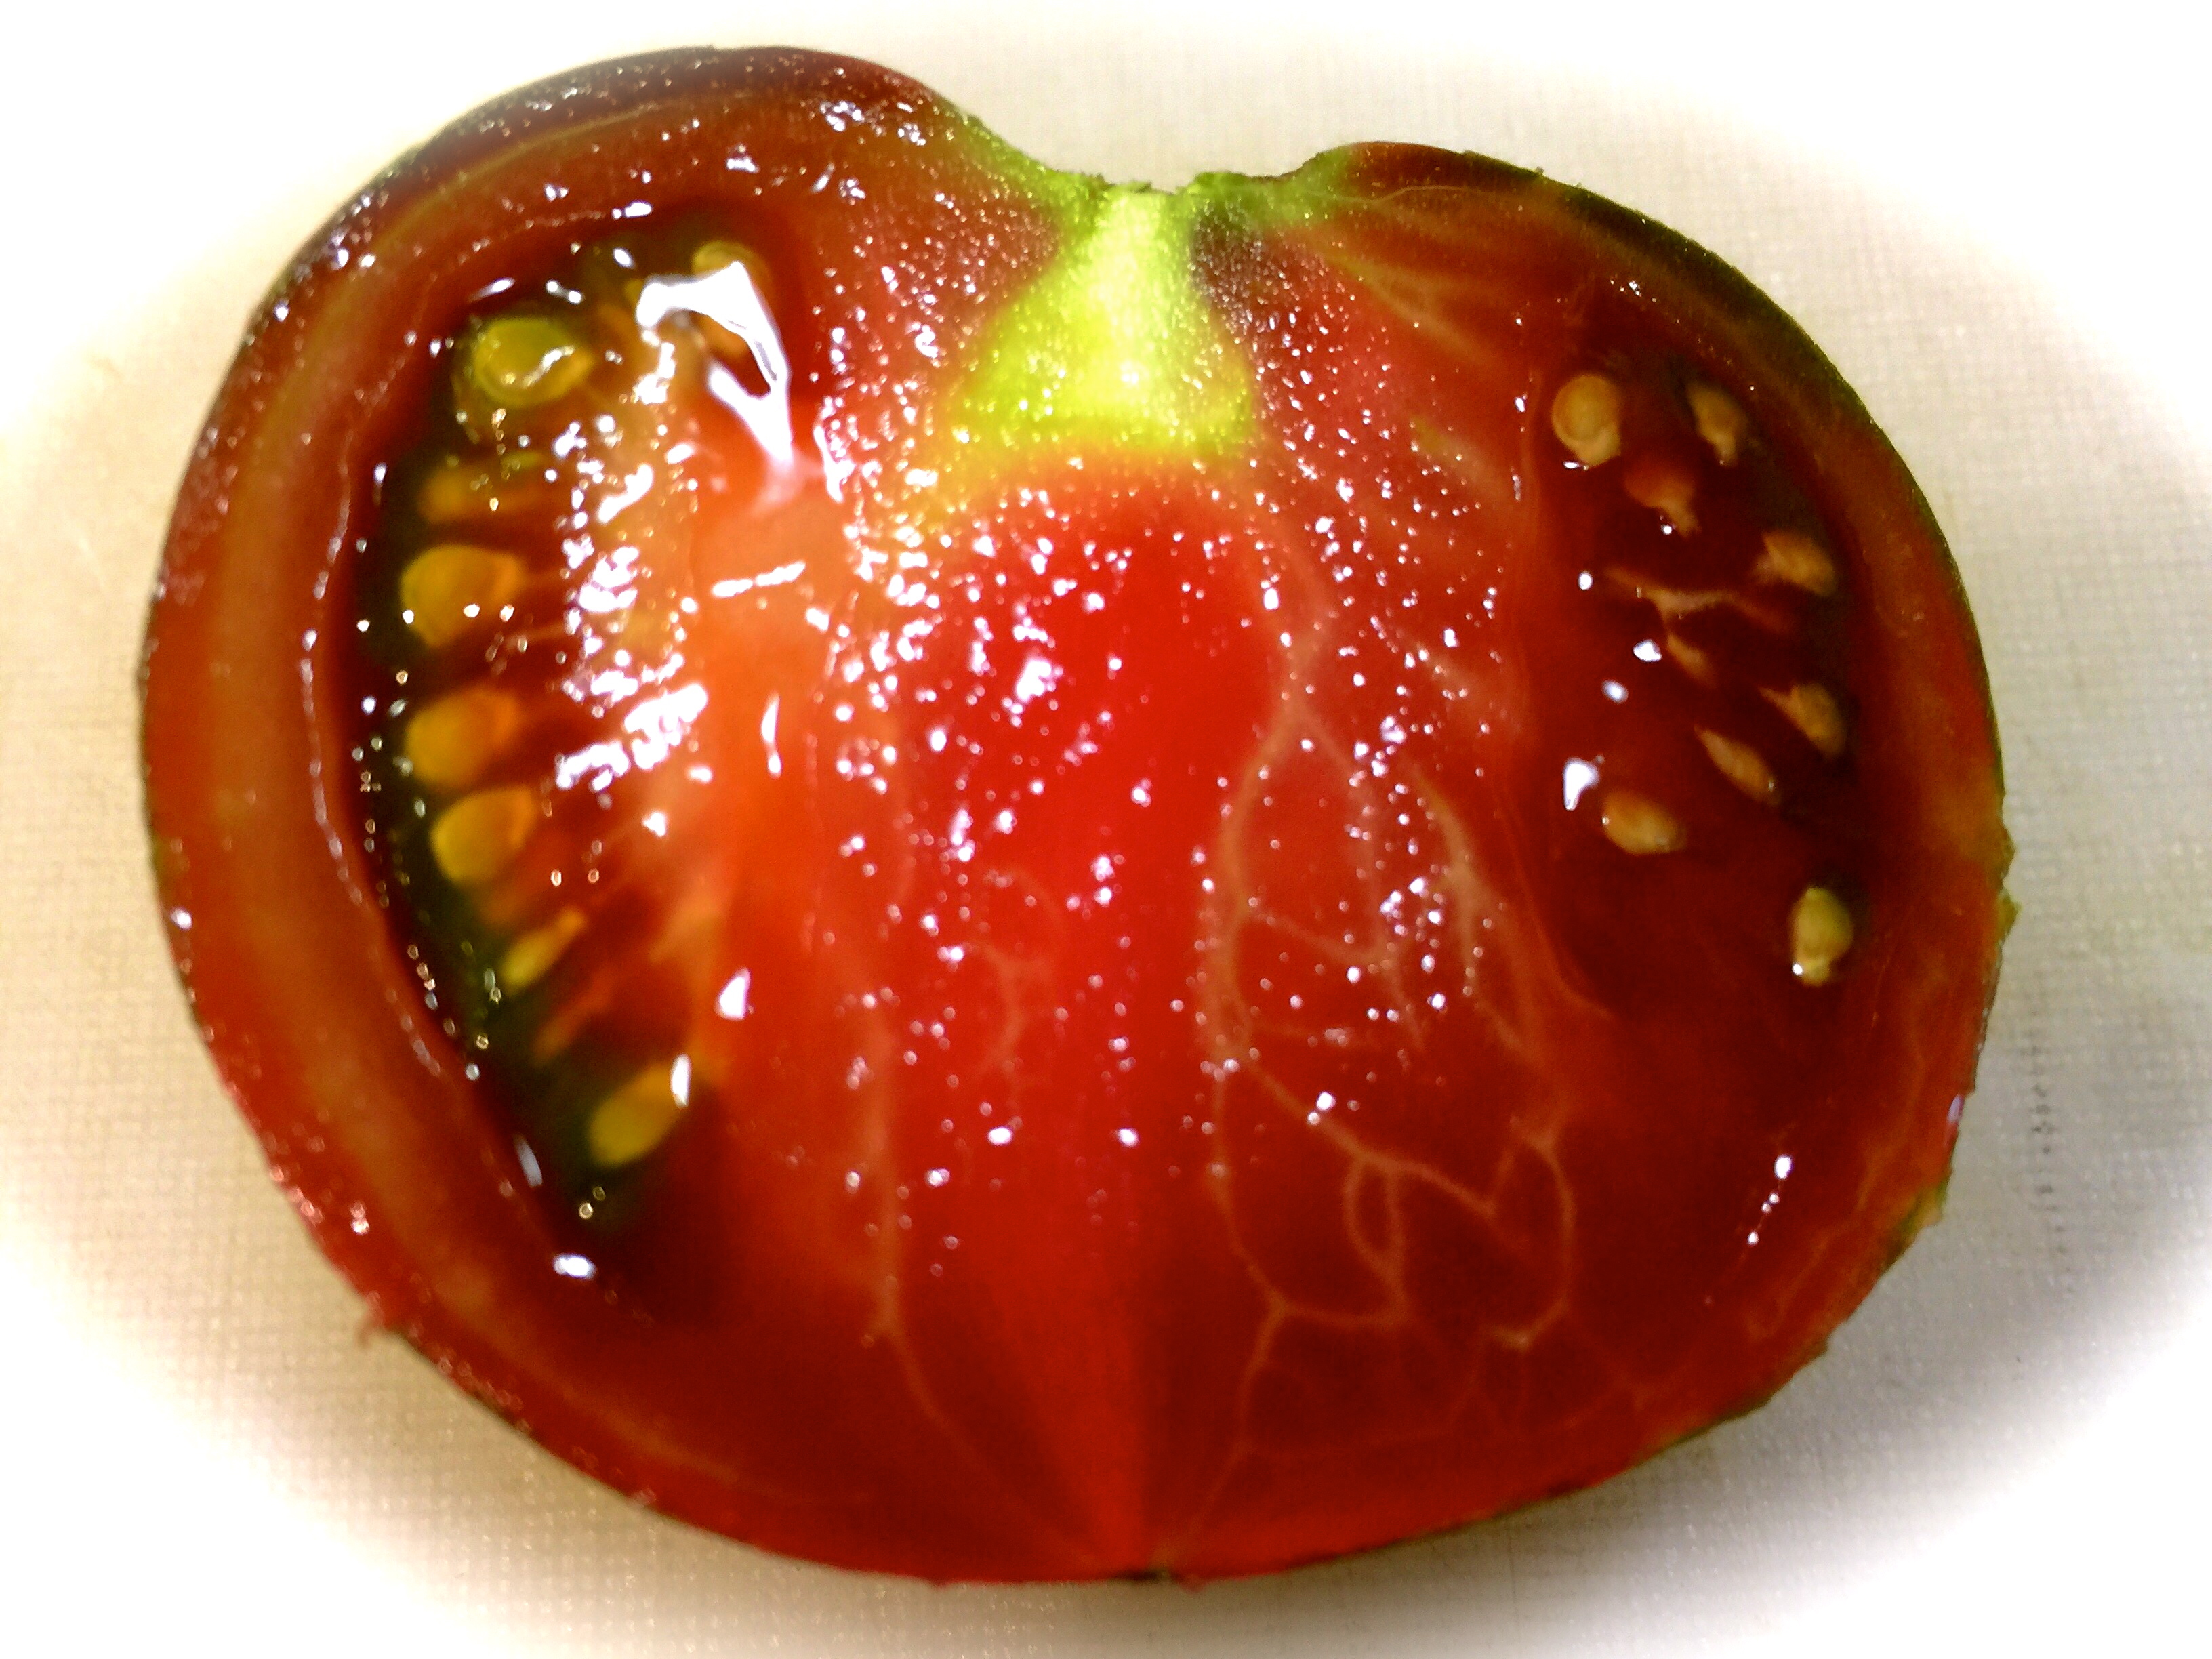
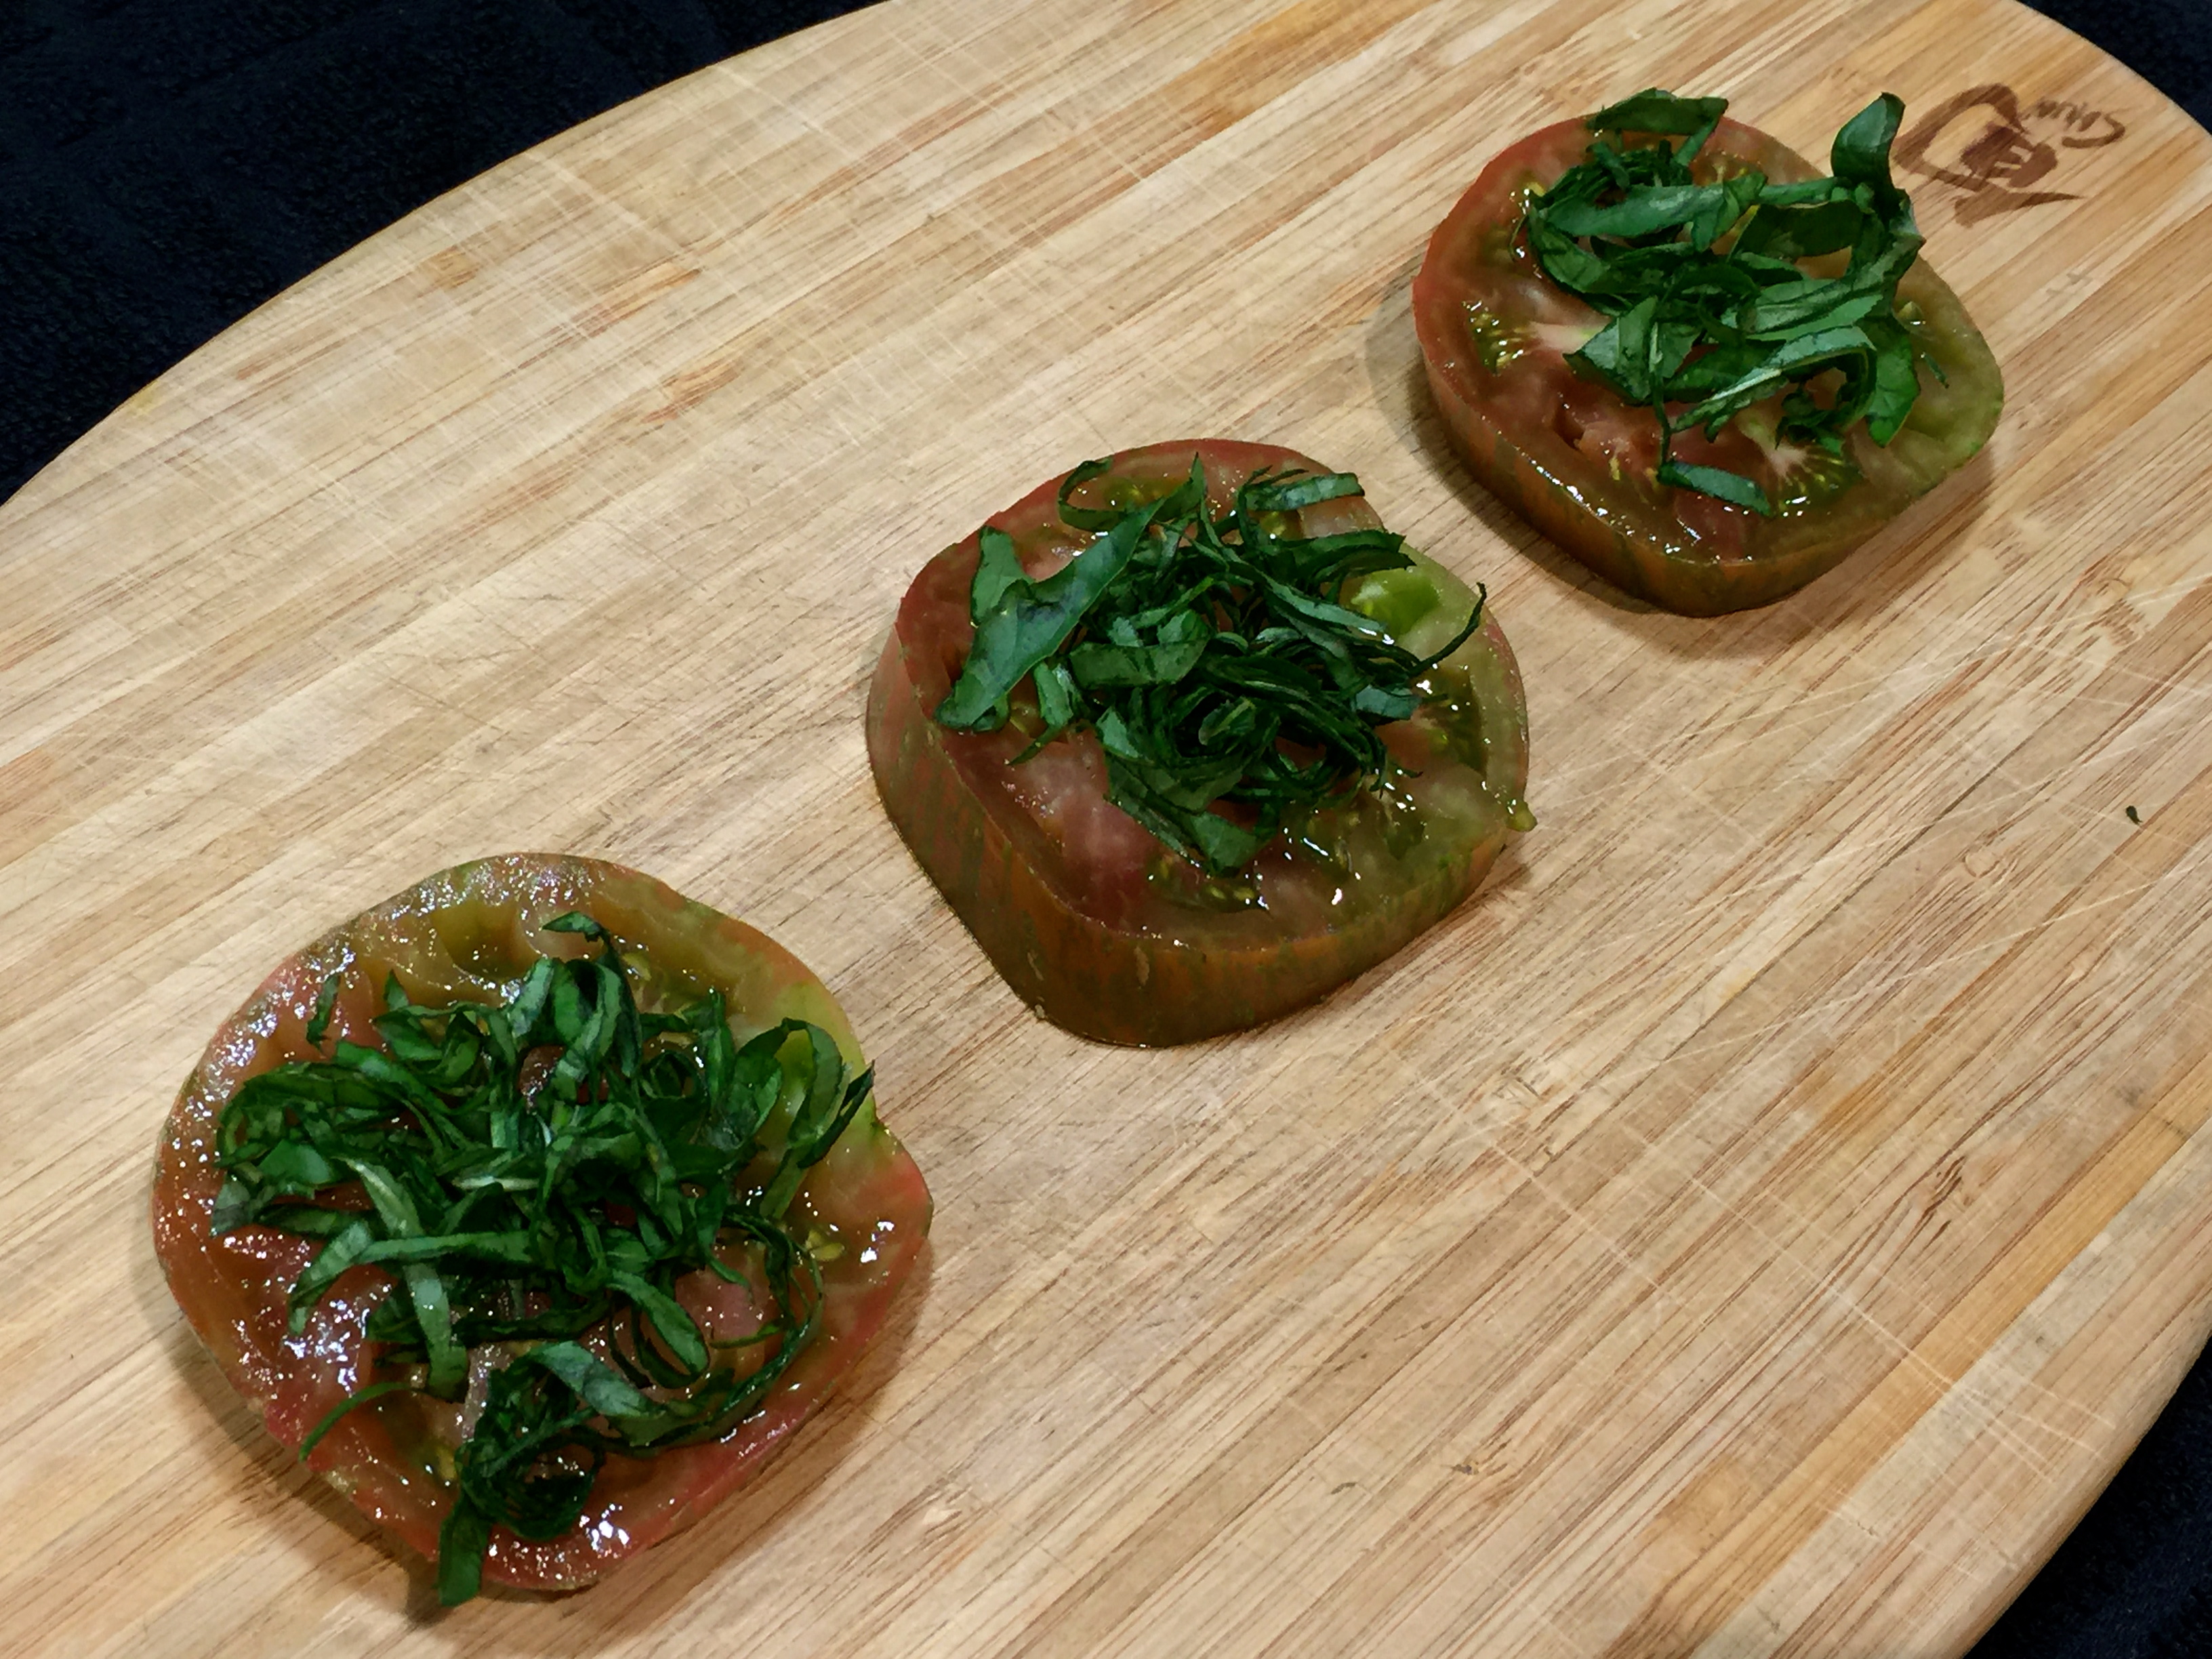
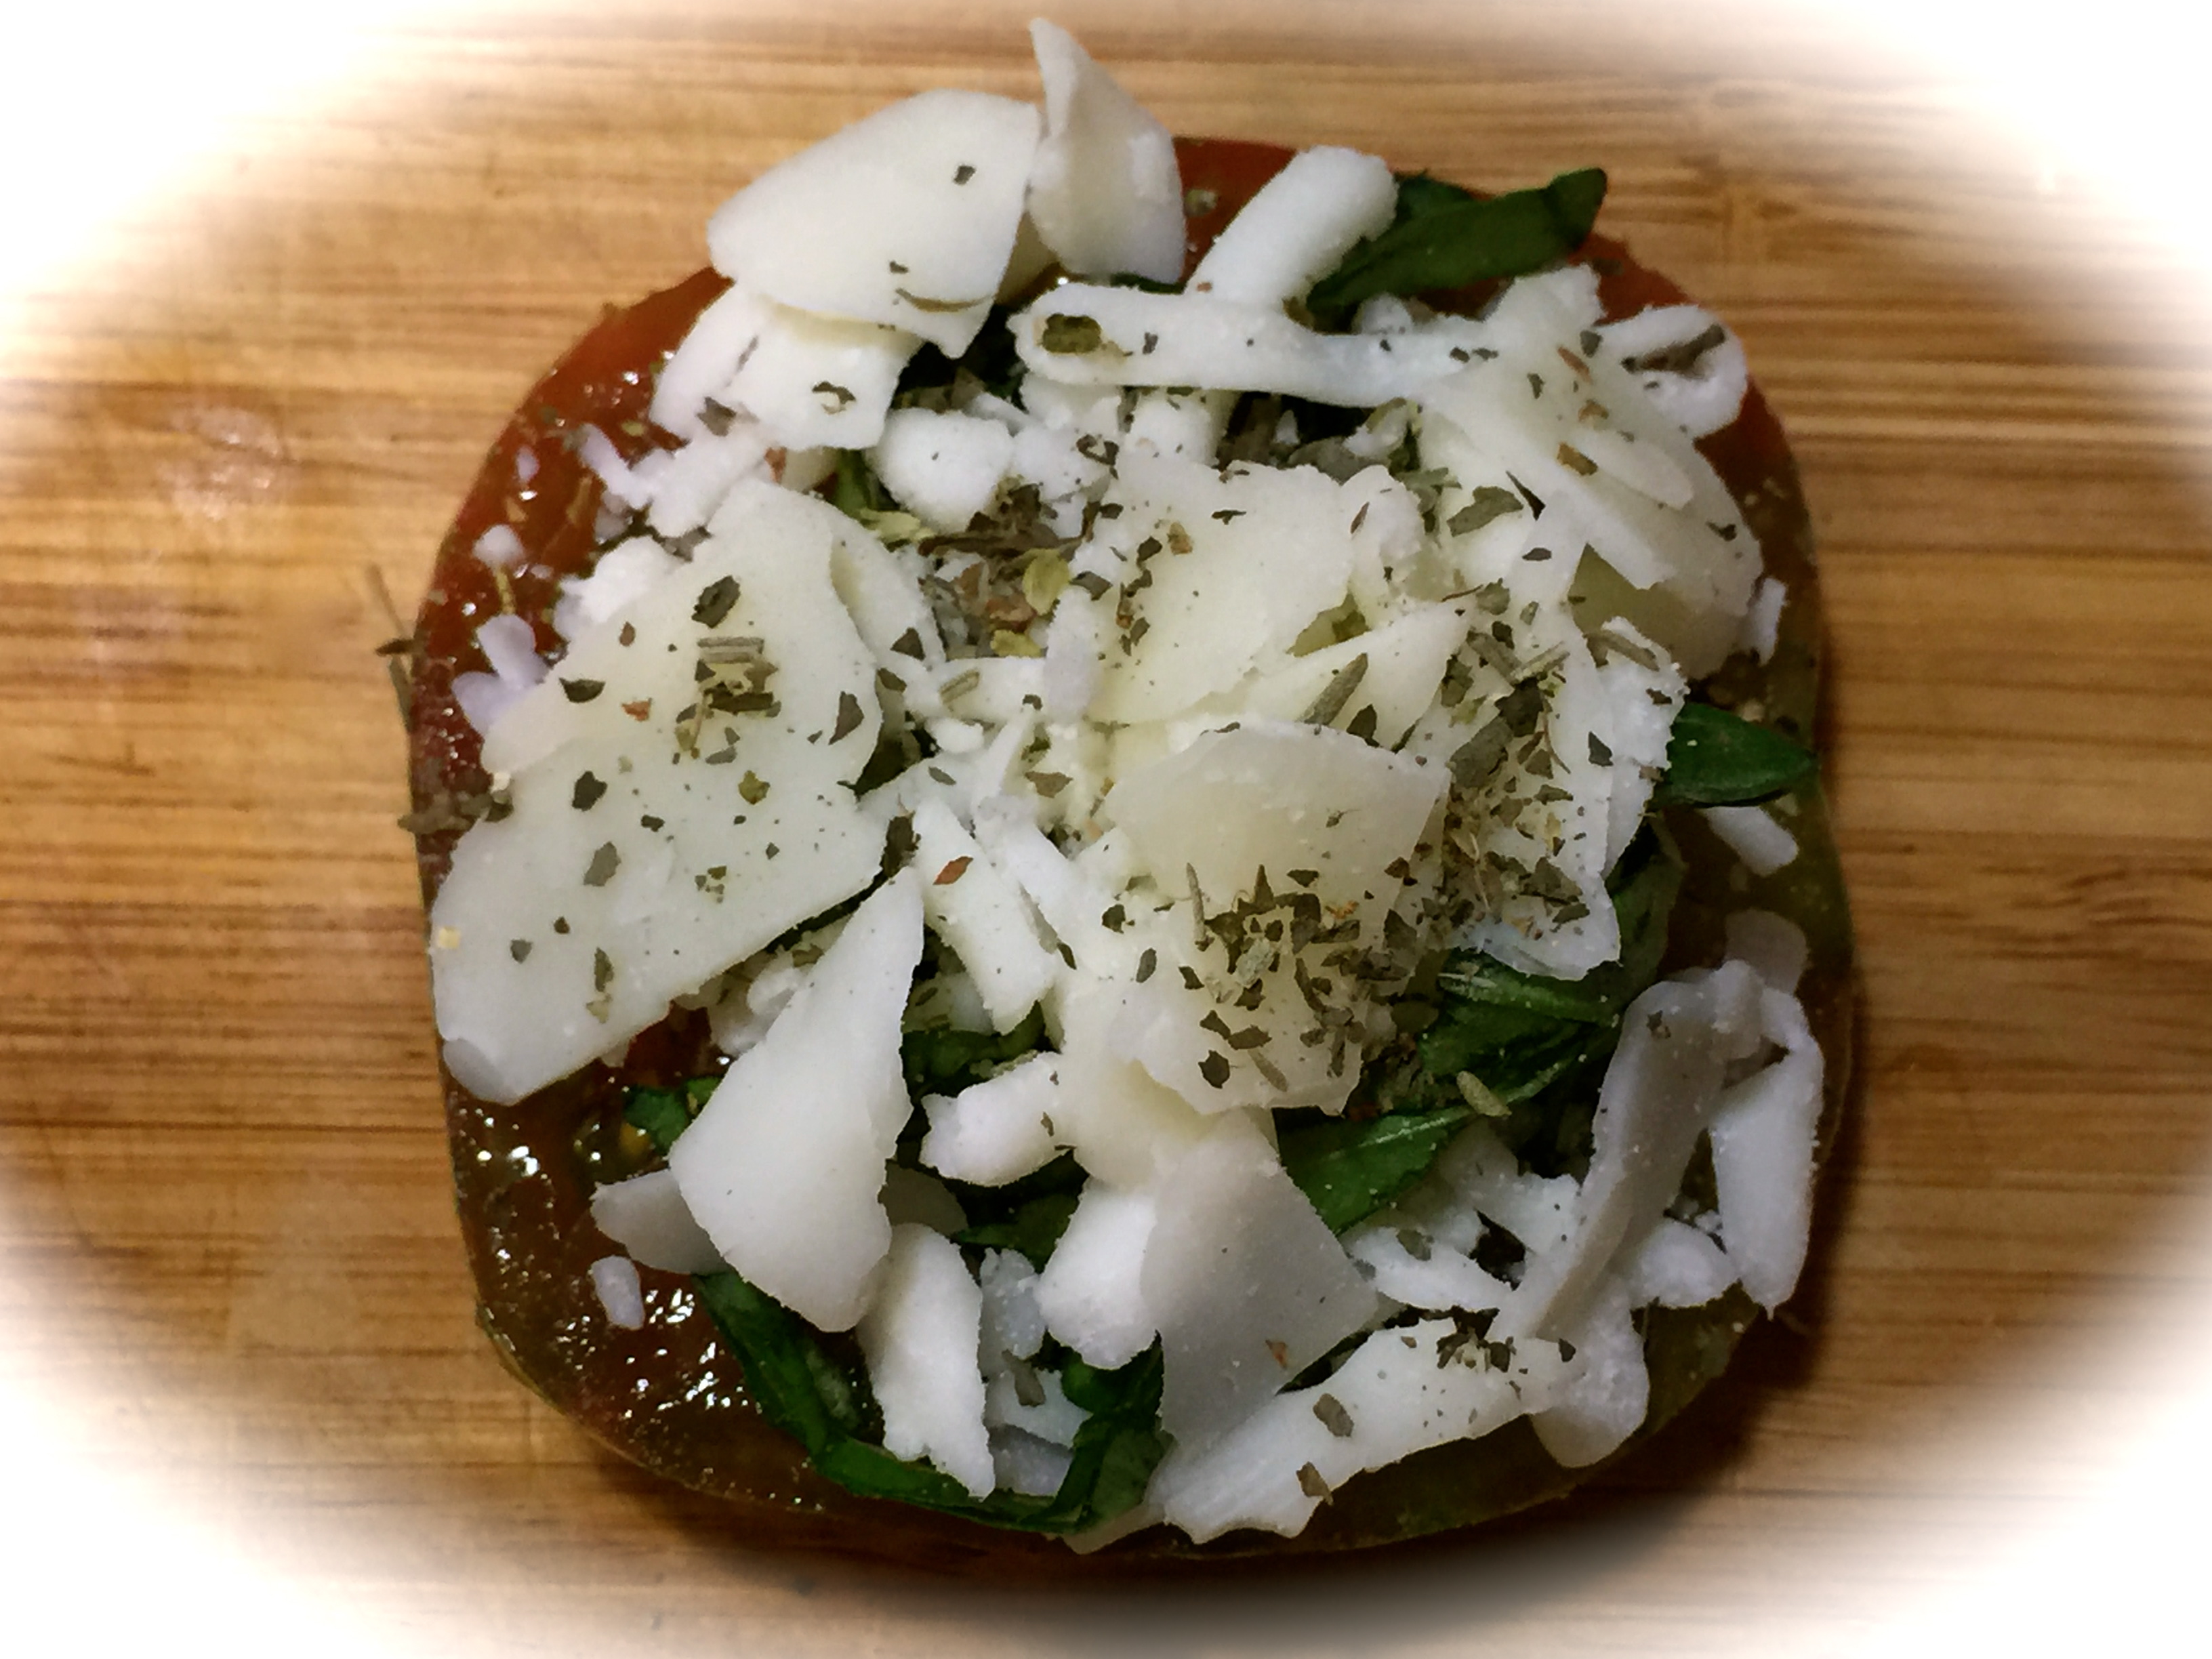
Lesson Learned 1 – Cut the tomatoes at least 1/2 inch thick: The marinating process will break the tomatoes down slightly so if you cut them too thin you’ll wind up with mush. Make sure to cut them thick to avoid that. Also make sure you don’t layer them but rather put them in a single layer. That way you’ll be able to get the full effect of the marinade.

Lesson Learned 2 – There is a trick to how long you marinate the tomatoes: As I mentioned earlier, the marinade will slightly break down the fibers in the tomatoes so if you plan to marinate them on the counter only do it for a couple of hours. If you plan on marinating them longer put them in the refrigerator. I know, the cardinal rule is never to put tomatoes in the refrigerator but this time you can if you need to marinate them for a longer period of time.  If you put them in the refrigerator take them out in plenty of time to bring them back to room temperature. That way you won’t be left with cold, mushy tomatoes.

Lesson Learned 3 – Make sure to finely mince the garlic: You’re using raw garlic in the marinade so you’ll want to finely mince the garlic or crush it. That way you’ll get the benefit of the garlic without having to worry about taking a big bite of raw garlic which is not very flavorful.

Lesson Learned 4 – Feel free to vary the amount of balsamic vinegar to taste: The general rule of thumb when making a vinaigrette is one part vinegar to three parts oil. I like more tang, so whenever I combine vinegar and oil I always add more vinegar than called for. Make sure to taste your marinade before you pour it on the tomatoes and if you like more tang don’t be afraid to add more balsamic vinegar. It’s always better to start off on the safe side and add more from there. Most of the recipes I looked at used less than what I’ve listed here but I think using less makes the marinade taste too oily tasting.

Lesson Learned 5 – Turn the tomatoes over mid-way through the marinating process: When you pour on the marinade all of the herbs will be on top of your tomatoes. Mid way through marinating them turn the tomatoes over and spoon some of the liquid with the herbs on top. That way you’ll get the full effect of the marinade on both sides.

So basically you slice the tomatoes, make the marinade and let them bathe in it and throw the mozzarella in at the end. What could be simpler? And the result is fabulous – try it and see!

Marinated Tomatoes With Herbs and Mozzarella...

  • Servings: 4-6
  • Difficulty: Easy
  • Print

INGREDIENTS:

4 large tomatoes sliced 1/2 inch thick

1/3 cup olive oil

3 Tbs. balsamic vinegar

1 Tbs. honey

2 Tbs. finely chopped red onion

1 large clove of garlic, finely minced

1 Tbs. flat leaf parsley, finely minced

1 Tbs. fresh basil, finely minced

1/4 ball of mozzarella, sliced and then cubed (again you can add more if you like)

Kosher salt and freshly ground black pepper to taste

DIRECTIONS:

Cut the tomatoes into thick 1/2 inch slices. Arrange them in single layer in a large shallow dish. In a mason jar combine the oil, vinegar, honey, onion, garlic, parsley, basil, salt and pepper. Put the lid on the jar and shake the mixture vigorously to combine. Pour the mixture over the tomatoes.

Cover the tomatoes with plastic wrap and let marinate for two hours on the counter, or if longer in the refrigerator. (If refrigerated bring the tomatoes back to room temperature before serving.) Half way through the marinating process turn the tomatoes over and spoon the marinade back on top. Before serving, garnish with mozzarella and spoon the marinade over the mozzarella.

Basic Bruschetta…

One thing I’ve learned over the years is that the most simple or basic recipe can be the most impressive. I remember making my Cream Cheese, Spinach, Bacon and Scallion Pinwheels and almost not publishing that recipe because I thought it was too remedial and people would laugh. To this day it is one of the most popular recipes on my blog. I will never second guess a recipe again.

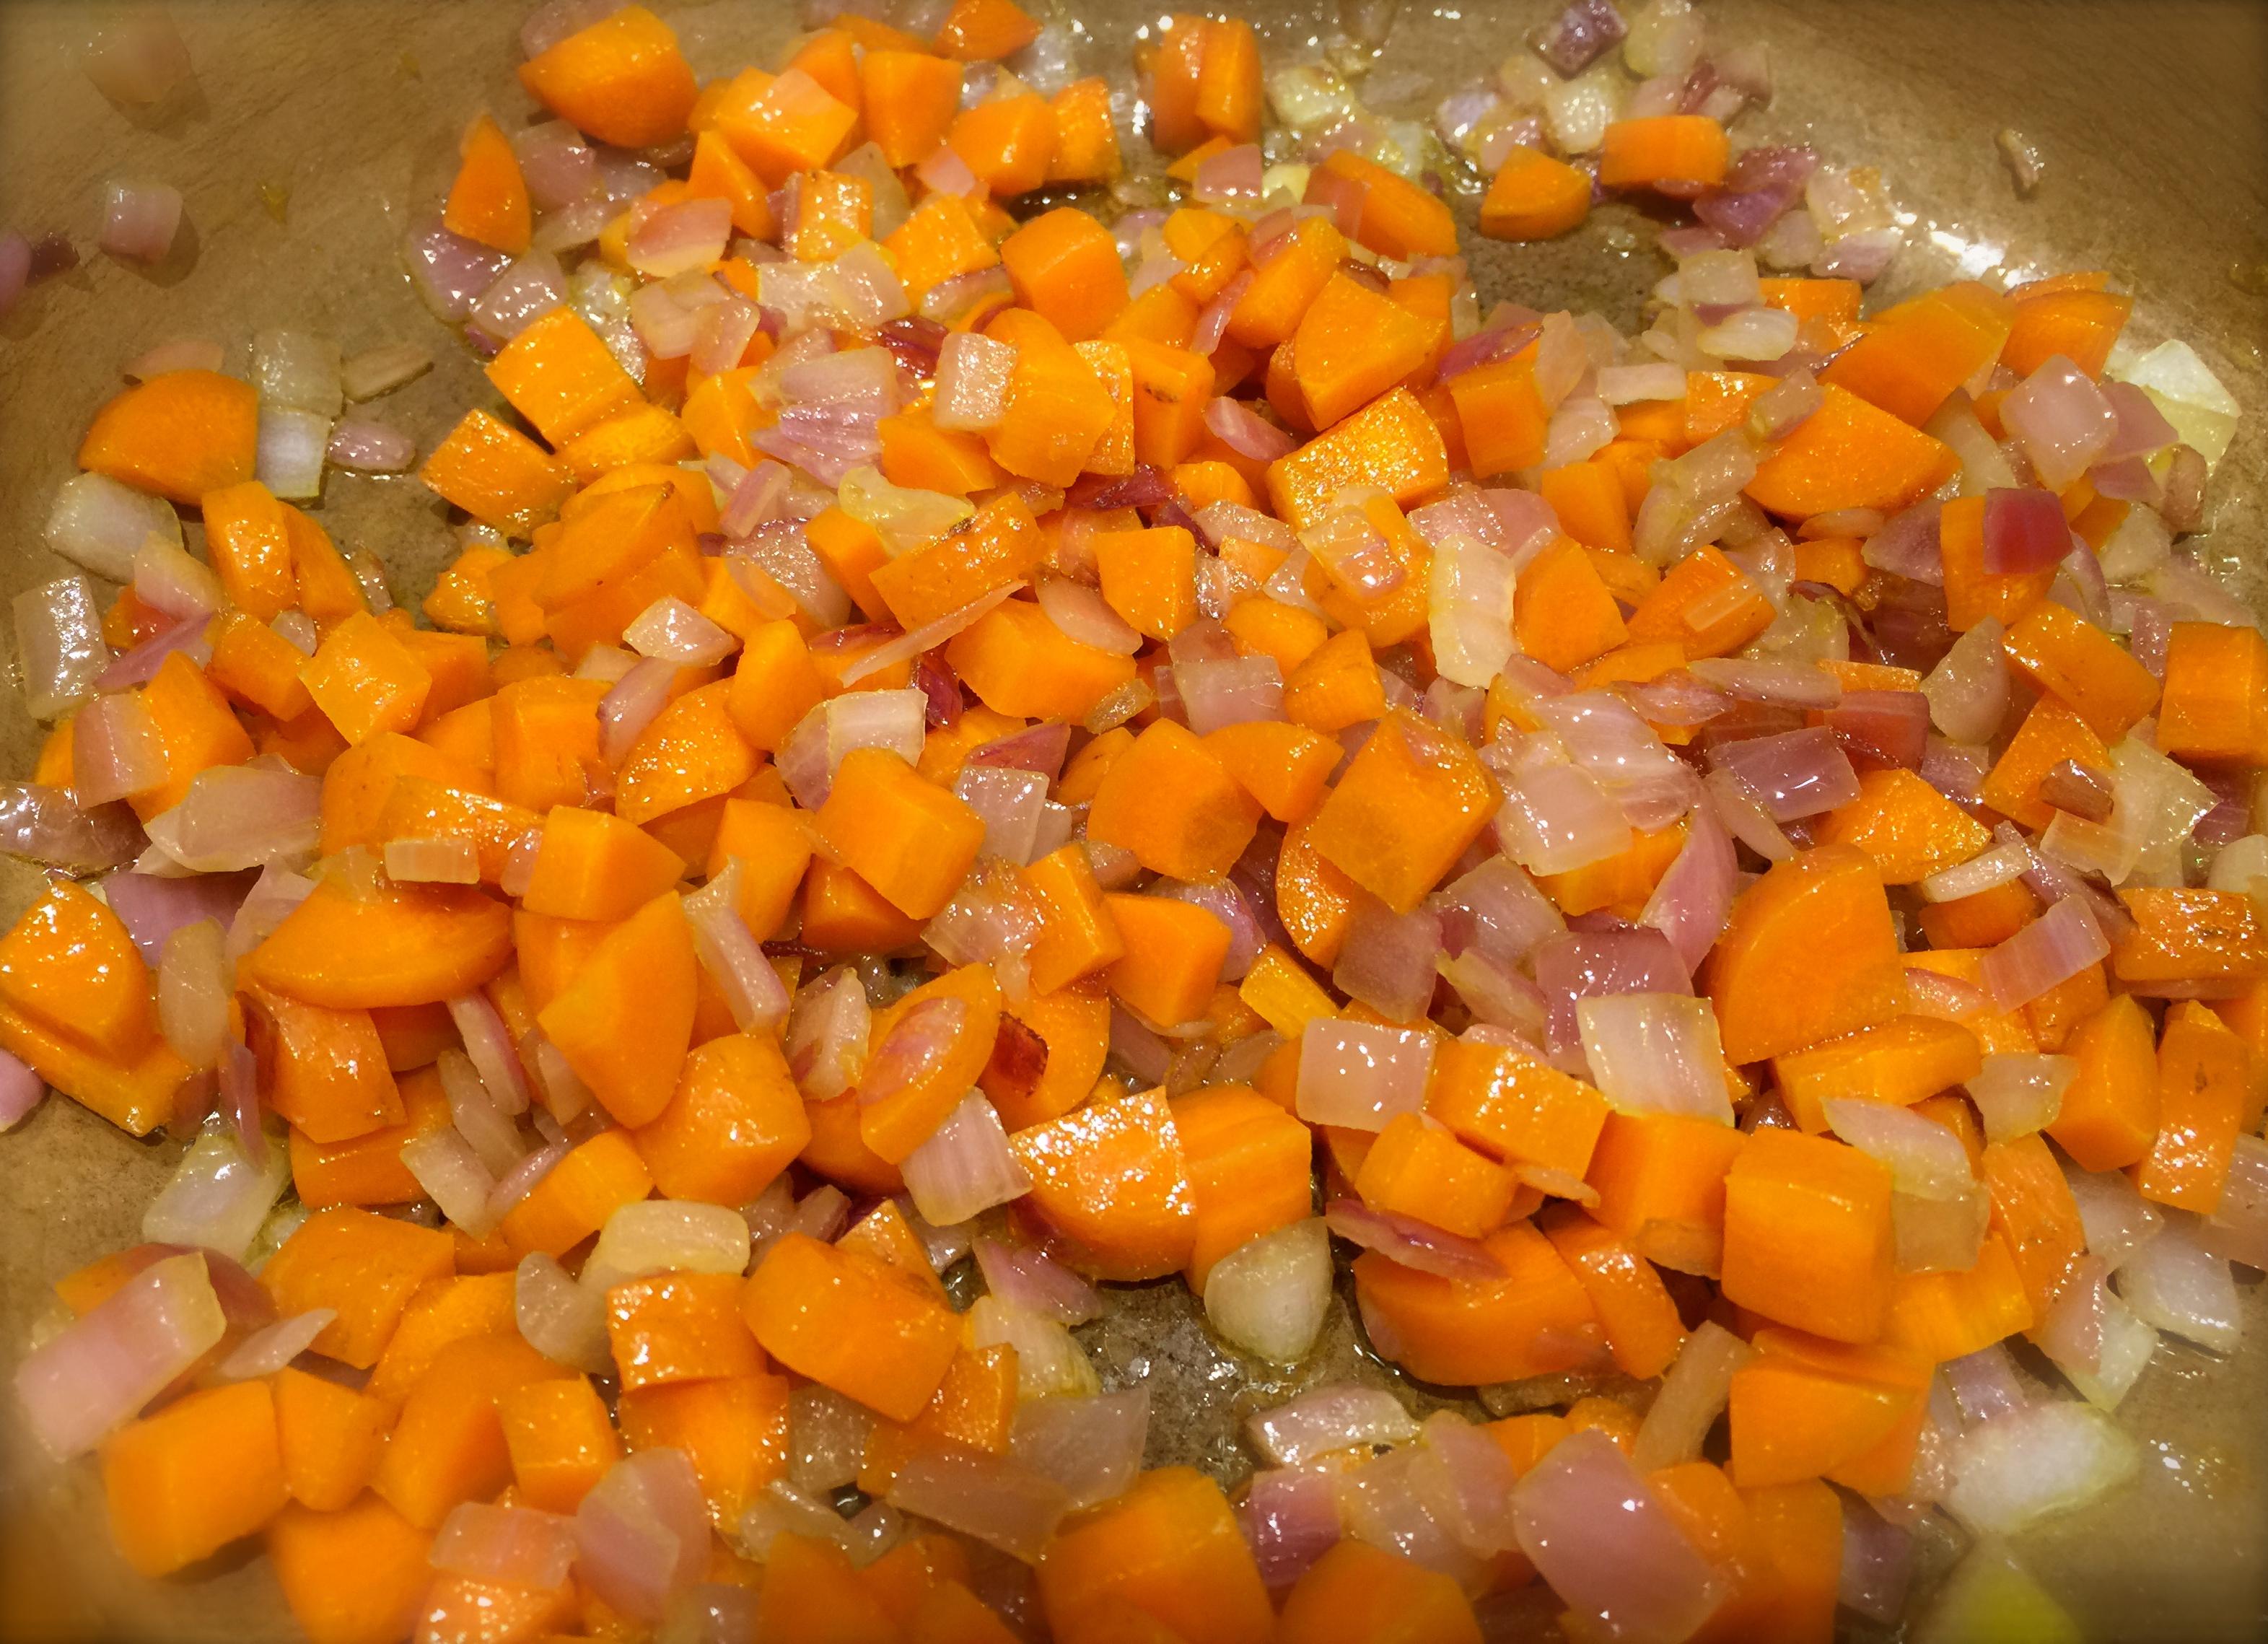
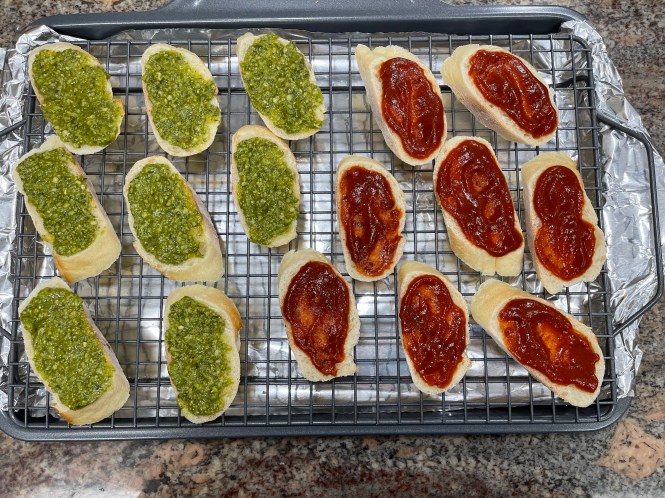
This recipe came out of my desire to finally tackle making bruschetta and my need to bring an appetizer to a community event. Since I’d never made it before I decided to start out with a basic recipe that included only tomatoes, onion, sautéed garlic, garlic infused olive oil, some fresh lemon juice and fresh basil. It was divine! You can tell your appetizer is a hit when it’s completely gone while others still remain. This one was eaten up quickly.

The process for making bruschetta is relatively simple. You spend most of your time chopping and dicing, which I love. It can be a little more labor intensive than other appetizers, but the result is so worth it. This particular recipe is bright, fresh and natural, a killer combination for an appetizer.

So let’s talk basic bruschetta…

Lesson Learned 1 – Finding fresh basil at the grocery store: This probably sounds silly but I had a hard time finding fresh basil at the grocery store. Now I know it’s Winter, but fresh basil is pretty much a staple that’s available almost any time of year. So there I was looking through the refrigerated packages of various herbs and bemoaning the fact that the store did not have basil. I got so frustrated I went to the service desk to ask if there was a reason why the store had no fresh basil. The associate called someone in produce and they told her where it was located. It was not with the other refrigerated herbs.

BUT, what I found out and didn’t know is that basil does not do well with refrigeration and is better kept at room temperature and that’s why it’s not kept with the other refrigerated herbs. That was news to me. I decided to test that hypothesis and sure enough, when I looked for basil at other grocery stores it was kept at room temperature and not with the refrigerated herbs. Since I planned on using most of the basil right away I didn’t refrigerate it when I got home.

I did a little research on keeping basil fresh and here’s what I found. To keep basil fresh, trim the stems and place them in a glass or jar of water, just like cut flowers. Loosely cover the basil with a plastic bag and leave it on the counter. Although certain herbs, such as parsley and cilantro, can be stored this way in the fridge basil does better at room temperature. Live and learn, right?

Lesson Learned 2 – Browning the garlic: You use a lot of garlic in this recipe and it’s a key flavor component. But garlic can be tricky and easy to burn. Saute your chopped garlic in some olive oil until it has a light golden brown color (see the picture below). Stir the garlic regularly while it is sautéing to prevent any burning. Remove it from the heat and immediately put it in a bowl so  carry over cooking is minimal. Make sure to include the oil from the pan with the garlic as you need to add that to the tomato mixture as well.

I’m often asked if using prepared cloves of garlic from a jar is ok. Yes it is, but be aware that those cloves are not as potent as fresh garlic so you may need to use more of them for a good garlic flavor. The jarred cloves are very convenient, but I prefer using fresh garlic whenever I can.

Lesson Learned 3 – The tomatoes used in this recipe are very important: Using the wrong kind of tomatoes can make your bruschetta soggy. You need a tomato that is ripe but firm. Any tomato will be watery so you want to minimize that as much as you possibly can.

I used small campari tomatoes. You can also use vine ripe tomatoes that are more firm. Stay away from over-ripe soft tomatoes. You will wind up with a mixture of mush if you use them. Once you put together the tomato mixture let it chill in the refrigerator for at least a half hour. That way the ingredients get better acquainted and some of the water drains out of the tomatoes. I drained the water from the mixture when I took it out of the refrigerator and used a slotted spoon when I was putting the tomato mixture on the bread to eliminate as much moisture as I could. Doing this also prevents the baguette from getting soggy.

Lesson Learned 4 – Use a good olive oil: I used a garlic infused olive oil in this recipe. I’ve also seen basil infused olive oils and that would be good as well. Olive oil is also a key ingredient in bruschetta so you want to make sure it’s flavorful and not bitter.

The real work in this recipe is chopping up the ingredients in the tomato mixture, slicing and baking the baguette. Once that’s done, the assembly goes pretty quickly. This is such a good looking, refreshing and healthy appetizer. It will make a great impression at your next gathering. Try it and let me know what you think.

Basic Bruschetta...

  • Servings: 20 slices
  • Difficulty: Easy
  • Print

INGREDIENTS:

1 6oz. French baguette loaf, sliced in 1/4 inch slices

Garlic infused olive oil (approx. 3 Tbs. plus some for drizzling)

2 large vine ripe tomatoes or about 10 small campari tomatoes, diced

4 cloves of garlic, minced

1 small white onion, diced

2-3 Tbs. fresh basil, chopped plus some for garnish

1/2 small lemon, juiced

Kosher salt and freshly cracked pepper, to taste

Shredded romano cheese for topping

DIRECTIONS:

Preheat the oven to 350 degrees.

Saute garlic in 1 Tbs. olive oil until fragrant and golden brown. Remove from heat and set aside.

Combine tomatoes, onion and basil in a mixing bowl. Add the garlic along with the olive oil from the pan. Add the lemon juice and season with salt and pepper. Mix well. Chill in the refrigerator.

In a small bowl season 2 Tbs. of olive oil with salt and pepper. Lay baguette slices on a parchment paper lined baking sheet. Using a silicone basting brush baste the slices with the olive oil mixture. Bake for 8-10 minutes or until the edges are slightly browned.

Remove the tomato mixture from the refrigerator and drain any liquid from it. Using a slotted spoon put some of the tomato mixture on all the baguette slices. Top with a small sprinkle of shredded romano cheese. Add some additional chopped basil for garnish. Drizzle a small amount of olive oil on all the slices. Place slices on a decorative platter and serve.

SaveSave

SaveSave

SaveSave

SaveSave

SaveSave

SaveSave

SaveSave

SaveSave

SaveSave

SaveSave

SaveSave

SaveSave

SaveSave

SaveSave

SaveSave

SaveSave

SaveSave

SaveSave

SaveSave

SaveSave

SaveSave

SaveSave

SaveSave

SaveSave

SaveSave

SaveSave

SaveSave

SaveSaveSaveSaveSaveSave

SaveSave

SaveSave

SaveSave

SaveSave

SaveSave

SaveSave

SaveSave

Creamy Garden Tomato Soup…

I warned you about a plethora of tomato recipes as my tomato plants this year have been producing like they are on steroids. A co-work of mine suggested that the strains I’m growing, the indigo rose and tie-dye heirloom tomatoes (pictured below), would make a great tomato soup. I’ve never made home made tomato soup before, so I thought I would try. I really didn’t want to waste any of these great tomatoes and I knew making soup would use up a lot of them.

The Indigo Rose Heirloom Tomato

The Indigo Rose Heirloom Tomato

Tie-Die Heirloom Tomatoes

Tie-Die Heirloom Tomatoes

A while back I posted a recipe for home made Broccoli Cheddar Soup. That was only the second homemade soup I ever made. For years I have been making my mothers chicken and dumpling soup but never thought about trying other recipes. Now after having made this tomato soup I wonder why I waited so long to make a variety of different home made soups. I’m pretty sure I’ll be trying more soup recipes in the future. They are relatively easy to make and so much more flavorful than what you buy in a can. Plus you control the ingredients. And if you look at canned soup, they tend to have a lot of sodium. So take the extra time and try making home made soup. It’s truly worth it.

This recipe is based on a recipe by Ina Garten called Cream Of Fresh Tomato Soup. It’s a great recipe as is, but I made a few tweaks and loved what I got. I used less onion, more garlic, less sugar, more tomato paste, more basil and I finished it off with 1 Tbs. of butter to give it a nice shimmery, satiny look. Many of the reviews of her recipe said not to change a thing, that the soup was fabulous as is. But I know my tastes and I also can tell if I like how things are looking by eyeballing it. The changes that I made worked wonderfully, and I will chronicle in the recipe below what I did.

So let’s talk about making tomato soup…

Carrots and onionsLesson Learned 1 – Cut the carrots into small pieces: I think the carrots add a nice flavor to the soup, but recipes hardly ever tell you how to cut them. Carrots are dense and they take time to cook. And you are trying to soften them with chopped onions which by nature are less dense and can soften more quickly. So cut the carrots small. I cut the carrots in half lengthwise and then in half again lengthwise and then started chopping from there. The smaller pieces soften faster. Also remember to soften the onions and carrots on a medium heat. You’re not looking for the onions to caramelize, you just want them to soften. The carrots will soften slightly but not all the way. That’s perfectly fine as you will be simmering them for a long while and that will complete the softening process.

Lesson Learned 2 – To peel or not to peel the tomatoes: I did a lot of reading regarding whether you should peel your tomatoes when making the soup. I found a lot of different opinions but I chose to peel them. In Ina’s recipe, she tells you to cook the tomatoes with skin on. Later on in the process you take the soup mixture and process it through a food mill to remove any skin and seeds. I don’t have a food mill, so I decided to peel the tomatoes at the very beginning.

Peeled Tomatoes

Peeled Tomatoes

Lesson Learned 3 – How to peel a tomato: Peeling a tomato is really quite simple. All you need to do is to put it in boiling water for 30 seconds, remove it, and the skin will practically peel off by itself. I used this method and it worked like a charm.

Lesson Learned 4 – Using a blender to puree your soup: When using a blender to puree hot soup you need to do a few simple things to prevent having an explosion. First, never fill the blender completely full with hot liquid. Fill it up only to the half way point or even a little less. Second put a towel over the hole in the top of the blender to let steam escape while you’re pureeing your soup. Otherwise you may wind up with soup all over your walls. Or, an even easier way to puree your soup is to use an immersion blender. You stick it right into the hot pot and emulsify the soup right there. Currently I do not have an immersion blender but I am definitely going to invest in one. In the meantime, using a blender worked perfectly fine.

If you haven’t tried making homemade soup you really should. I was surprised at how easy and good it was. So go ahead, walk on the wild side and make some homemade soup…

[recipe: title=”Creamy Garden Tomato Soup…” time=”2 Hours Including Prep” Servings=”8-10″ difficulty=”Easy”]

INGREDIENTS:

3 Tbs. olive oil

1 medium sized red onion, chopped

2 medium carrots, unpeeled and chopped

4 cloves minced, garlic

8-10 garden tomatoes, medium to large in size

1 tsp. sugar

2-3 Tbs. tomato paste

1/3 cup loosely packed and chopped fresh basil leaves

3 cups unsalted chicken stock (preferably half broth and half stock)

2 Tbs. roasted chicken Better Than Bouillon

1 Tbs. salt (taste along the way and add more if desired)

1 tsp. freshly cracked black pepper

3/4 cup heavy cream

1 Tbs. butter

DIRECTIONS;

On the stove, bring a large pot of water to a boil. Once the water is boiling, place 2-3 tomatoes in the water and cover. After 30 seconds, take the tomatoes out of the water. Repeat this process with all the tomatoes. Once the tomatoes cool slightly, remove the skins with a paring knife. (the skins should come off easily).

Cut the tomatoes and remove and imperfections or gristle. Heat the olive oil in a large dutch oven. Add the onions and carrots and sauté until tender, 10-15 minutes. Add the garlic and cook until fragrant, approximately one minute.

Put all the remaining ingredients in the pot except the heavy cream and butter. Bring to a boil then lower the heat and simmer covered for 45 minutes or until the tomatoes are very tender. Puree the mixture using an immersion blender, blender or food mill. If using something other than an immersion blender, pour the pureed mixture back into the dutch oven. Over low heat add the heavy cream and stir to combine. Drop a tablespoon of butter into the pot and melt in right before serving.

Serve hot.

[/recipe]

The Ingredients Before Adding Stock

The Ingredients Before Adding Stock

Cook Ingredients in Stock for 45 minutes

Cook Ingredients In Stock For 45 Minutes

Creamy Garden Tomato Soup

Creamy Garden Tomato Soup

Simple Oven Roasted Tomatoes…

As I have chronicled in my past couple of blogs, this year has been the year of the tomatoes in my garden. Every day I seem to pick about 5-6 large tomatoes and at least a cupful of yellow grape tomatoes. And because of that I have been on a quest to let no tomato go to waste.

I can’t say it enough, the tomatoes in my garden have been nothing short of phenomenal (for a quick read on the heirloom tomatoes I am growing in my garden this year go to my tri-tomato salsa recipe). You just don’t get tomatoes like this in the grocery stores. When the inside of the tomato looks like the picture below, you know you’ve got a juicy, flavorful tomato. The inside of the tie-dyed tomato

I’m surprised my skin isn’t turning red from all of the tomatoes I’ve been eating lately. They are just so darn good and this recipe is a great way to enjoy them. It’s so simple to make and once it’s cooked you feel like you’re eating a decadently thick marinara sauce topped with gooey cheese.

Lesson Learned 1 – You can use different herbs to flavor the tomatoes: The first time I made this recipe I used some lemony thyme. I have a big pot of it growing on my deck. The second time I used fresh basil (also growing in a pot on my deck) and cut it into lardons before sprinkling it on the tomatoes.

Either the way the process couldn’t be simpler. Cut the tomato into half inch slices, sprinkle with herbs and top with mozzarella and shaved parmesan. You can sprinkle a little italian seasoning on the top or leave it plain, then bake and finish it off with a drizzle of good olive oil before you serve (I used white truffle olive oil).

Lesson Learned 2 – Cut the bottom of each end of the tomato to create a flat surface: Since the tomatoes are round, your end pieces will not lie flat on the baking sheet. That’s really no big deal except that if the tomato is too wobbly the melted cheese can fall right off of it onto the baking sheet. All you need to do is cut off a small portion of the round end and the tomato will lie flat.

I would also recommend spraying your baking sheet with a cooking spray so the tomatoes won’t stick to the pan. I actually line my pan with foil and then spray the foil.

Simple Oven Roasted Tomatoes...

  • Servings: 3 Slices Per Each Medium/Large Tomato
  • Difficulty: Easy
  • Print

INGREDIENTS:

Fresh tomatoes (1 tomato per person)

Fresh Herbs (I used lemony time or basil, chopped – 1 Tbs. per tomato)

Shredded Mozzarella

Shaved Parmesan (I think it melts better than grated parmesan)

Italian Seasoning, if desired

Good olive oil for finishing (I used white truffle olive oil)

DIRECTIONS:

Preheat the oven to 375 degrees. Wash the tomatoes and cut them into half inch slices. Cut a small portion off the bottom of the end slices so they lie flat on a baking sheet. Spray a baking sheet with cooking spray.

Place the tomato slices on the baking sheet. Sprinkle the herbs on top of each slice. Top each slice with mozzarella and shaved parmesan. Put the mozzarella on first and top with parmesan. The mozzarella will help the parmesan stick on top of the tomato. Sprinkle with italian seasoning, if desired.

Bake for 15-20 minutes or until the cheese starts to turn golden brown. Plate the tomatoes and drizzle with some good olive oil. Serve immediately.

Top Each Slice With Herbs

Top Each Slice With Herbs

Top With Mozzarella And Shaved Parmesan - Sprinkle With Italian Seasong

Top With Mozzarella And Shaved Parmesan – Sprinkle With Italian Seasoning

Simple Oven Roasted Tomatoes

Basic Basil Pesto…

If you grow herbs like I do, by about now you have a boat load of basil. Basil is one of my favorite herbs to grow. There’s just something so satisfying about growing it – I just can’t explain it. But when you get massive amounts, what’s the best way to use it? The answer it simple – make pesto!

I’m sure most of you have a favorite pesto recipe. Mine is pretty basic but I’ve found that by keeping it that way I can be more creative when I actually use it. From pizza to pasta to sandwiches and the like, basil pesto is an excellent accompaniment to just about any dish. So here’s my lessons learned and recipe – would love if you would share yours!

Basil LeavesLesson Learned 1 – The hardest part of making pesto is preparing the basil leaves: Picking them off the plant and washing and drying them are probably the most labor intensive part of making pesto. If you have a salad spinner, I recommend using that to remove the excess water once the leaves are washed. Unfortunately I don’t have one so I have to lightly squeeze them between paper towels. You don’t want to have a lot of water in your pesto so it is important to remove the excess. And make sure you CHECK FOR BUGS! We are not the only species that likes basil. Once when I was cleaning my leaves I found a “thousand legger” in with the leaves. So make sure you check. I don’t think you’ll want to put a bug in the food processor!

All Ingredients In the Food ProcessorLesson Learned 2 – The amount of garlic and olive oil you use is strictly personal preference: I like my pesto garlicky and thick. Some only like a hint of garlic and a runnier pesto. Determine what you like by easing into it. I use two whole cloves of garlic for 4 cups of leaves. Start with one clove if you’re not sure. With the olive oil, only put half the amount or 1/4 cup in the food processor to start. You can drizzle in more as the leaves are processing until you get the desire consistency. Only once did I use the full 1/2 cup of oil. That was the first time I made pesto, and I found it to be too runny. Now I start with 1/4 cup and drizzle some olive oil into the processor until I reach my desired consistency depicted in the picture below.

Lesson Learned 3 – Be careful about adding salt: Romano and Parmesan cheese are naturally salty. I would taste the pesto before you add any salt. I seldom add salt because the cheese seems to provide the flavor I want.

Lesson Learned 4 – Pesto freezes very well: I’ve heard that some people take ice cube trays and fill them with pesto so they can have individual servings whenever they need them. I tend to put mine in a few small containers and freeze them. That way I can chop off what I need at the time and put the rest back in the freezer or use it up all at once. I’ve had pesto in airtight containers last up to a year in my freezer.

Basil Pesto

Basic Basil Pesto

  • Servings: 12-20
  • Difficulty: Easy
  • Print

INGREDIENTS:

4 cups loosely packed basil leaves

2 cloves garlic

1 small shallot, cut into pieces

3 TBS. pine nuts

1/4 – 1/2 cup olive oil

1/2 cup grated romano or parmesan cheese

salt, if desired

DIRECTIONS:

Wash basil leaves and remove excess water. Place the basil, shallot, pine nuts, cheese and 1/4 cup oil in a food processor. Process, stopping to scrape down the sides of the food processor at least once. Check the consistency of the pesto. If too thick, drizzle in more oil while processing until the pesto reaches the desired consistency.

Use or freeze. If not using immediately, store in an airtight container in your refrigerator or freezer.

Basic Basil Pesto

Chicken Parmesan For Two…

Once again this young girl’s fancy turns to a chicken recipe, and this time with an Italian flair. What can you say about chicken parmesan that doesn’t scream delicious. Breaded chicken, marinara sauce, fresh basil leaves, provolone and parmesan cheeses. Sounds like a killer combo to me. And I like my little twist on this recipe, incorporating whole basil leaves under the provolone. This one got a two thumbs up from my husband, so you know it’s got to be good.

Lesson Learned 1 – You need to be organized for this recipe: This recipe has several different steps that can either work like a charm or throw you for a loop. Make sure you prep everything ahead and the process will be a breeze. Preheat the oven, set up the dredging station, grate the parmesan, lay out the basil leaves and provolone slices, have pans ready for the excess marinara and frying the breasts and so on. The key to success here is not only in the ingredients but also in the preparation.

Lesson Learned 2 – Grate fresh parmesan and don’t use the canned stuff: There is a difference. Grated fresh parmesan has a fuller, more robust flavor. It also melts better and tastes less salty. And it’s not that hard to do. I cut small pieces off a brick and put them in my mini food processor. I pulse the processor a few times just to get it started and once it appears the pieces have been broken down I just let the processor go. I guarantee you it’s worth the effort.

IMG_3349IMG_3360


Lesson Learned 3 – Use less marinara sauce than you think: You want to make sure the chicken doesn’t get too soggy. Use only a little bit of marinara in the bottom of the pan and spoon only about a tablespoon on top of it before adding the basil and provolone. Keep the leftover sauce warm on the stove and you can add more to the chicken when you serve it if you like. Or you can do what I did and use it to top a side of spaghetti.

IMG_3398

Lesson Learned 4 – Use fresh basil leaves if at all possible: The fresh basil leaves provide great flavor to the chicken. You can sprinkle the chicken with dried basil if that’s all you have, but fresh is so much better. Top the basil with a slice of provolone and you’re ready to go.

IMG_3404

IMG_3414

Lesson Learned 5 – You can use just one chicken breast for this recipe: I only used one large chicken breast for this recipe. I buy breasts whole with the bone and ribs attached and bone them myself. I halved one of the breasts and it left me with two perfect portions that were 1/2 inch thick. If you have thicker breast meat you’ll need to pound it down to 1/2 inch thick in order for the chicken to cook in the allotted time. Many people shy away from boneless skinless breasts because they think they’re too dry when in actuality they overcook them. Boneless chicken breasts can be very tender and juicy if cooked properly. Follow the allotted time in the recipe and you’ll have great results.

parmcollage

While I was making this my husband said, “Wow, that’s a lot of work.” For someone who enjoys the prep part of preparing a meal, I didn’t find that to be the case. But as I mentioned earlier, you definitely have to be organized when you make this recipe. Get everything ready up front so that all you’ll have to do is move seamlessly between each step of the process.

I’ve written this recipe for two people but it can be easily adaptable to 4 or more. You’ve got to try this and let me know what you think. It’s definitely worth it!

Chicken Parmesan For Two…

  • Servings: 2
  • Difficulty: Medium
  • Print

INGREDIENTS:

1 large boneless chicken breast, halved and pounded to 1/2 inch thick (if needed)

1 cup of flour

1 cup of bread crumbs, plain or seasoned

1 Tbs. italian seasoning

1 Tbs. garlic powder

1 cup of grated parmesan, halved

1 egg

Splash of milk

1 small jar of marinara sauce

4 large basil leaves

2 slices of thinly sliced provolone

Canola oil

DIRECTIONS:

Preheat the oven to 350 degrees. Set up a dredging station for the chicken with 3 separate dishes (I use paper plates for two of them and that works just fine). Combine the flour, garlic powder and italian seasoning on one plate. In a rimmed dish, beat the egg and milk together. Combine the bread crumbs and half the grated parmesan on another plate.

Dredge both sides of a chicken breast in the flour. Dip the breast into the egg mixture coating both sides. Dredge the breast in the bread crumb mixture and set aside. Follow the same process with the second chicken breast.

In a large skillet heat the canola oil until it looks shimmery. Use enough canola oil so that when the chicken is added it sizzles around the chicken. Add the chicken breasts and cook for 3 minutes on each side. Once done on both sides, place the chicken breasts on paper towels to absorb the excess oil.

Lightly coat the bottom of a baking dish with marinara sauce. Arrange the chicken on top of the sauce. Put a tablespoon of marinara over the each breast. Sprinkle the remaining grated parmesan on top of both breasts. Top each breast with two large basil leaves and place a provolone slice over the basil.

Bake the chicken for 15-20 minutes. Serve.

IMG_3446

IMG_3443

Serving Suggestion: chicken parmesan with garlic roasted asparagus and spaghetti