Cheese Ball…

Ok, admit it, when was the last time you actually made a cheese ball? I hadn’t made one for ages but was faced with an upcoming potluck at work with little time to make anything. And after thumbing through a very old cookbook I noticed a recipe for a cheese ball and thought, I should make that. And, as with any recipe, I added my own personal touches.

The ingredients for this recipe are not all that complicated, cream cheese, scallions, cheddar cheese, parmesan cheese, worcestershire sauce, mayo, spices and some almonds. Easy enough.

My major concern was I thought people would think this was too much of an “old school” kind of appetizer and turn up their noses at it. To my surprise, quite the opposite. It wound up being the perfect compliment to the other things people brought to the potluck and it disappeared in record time. Being that this was a potluck at work, people not only enjoyed the taste of the cheeseball but the fact they could go into the break room, put a dollop of the cheeseball on a cracker and be off on their merry way. Once again this shows how one’s perceptions regarding food can be so off the mark. I was so glad everyone enjoyed it and would definitely consider making this again. It was that much of a hit.

So let’s talk cheese ball…

Lesson Learned 1 – Taste the mixture before forming it into a ball and adding the almonds: When I did that I knew the cheese ball needed some salt. So instead of just using garlic powder, I used both garlic powder and some garlic salt. That little addition made a big difference.

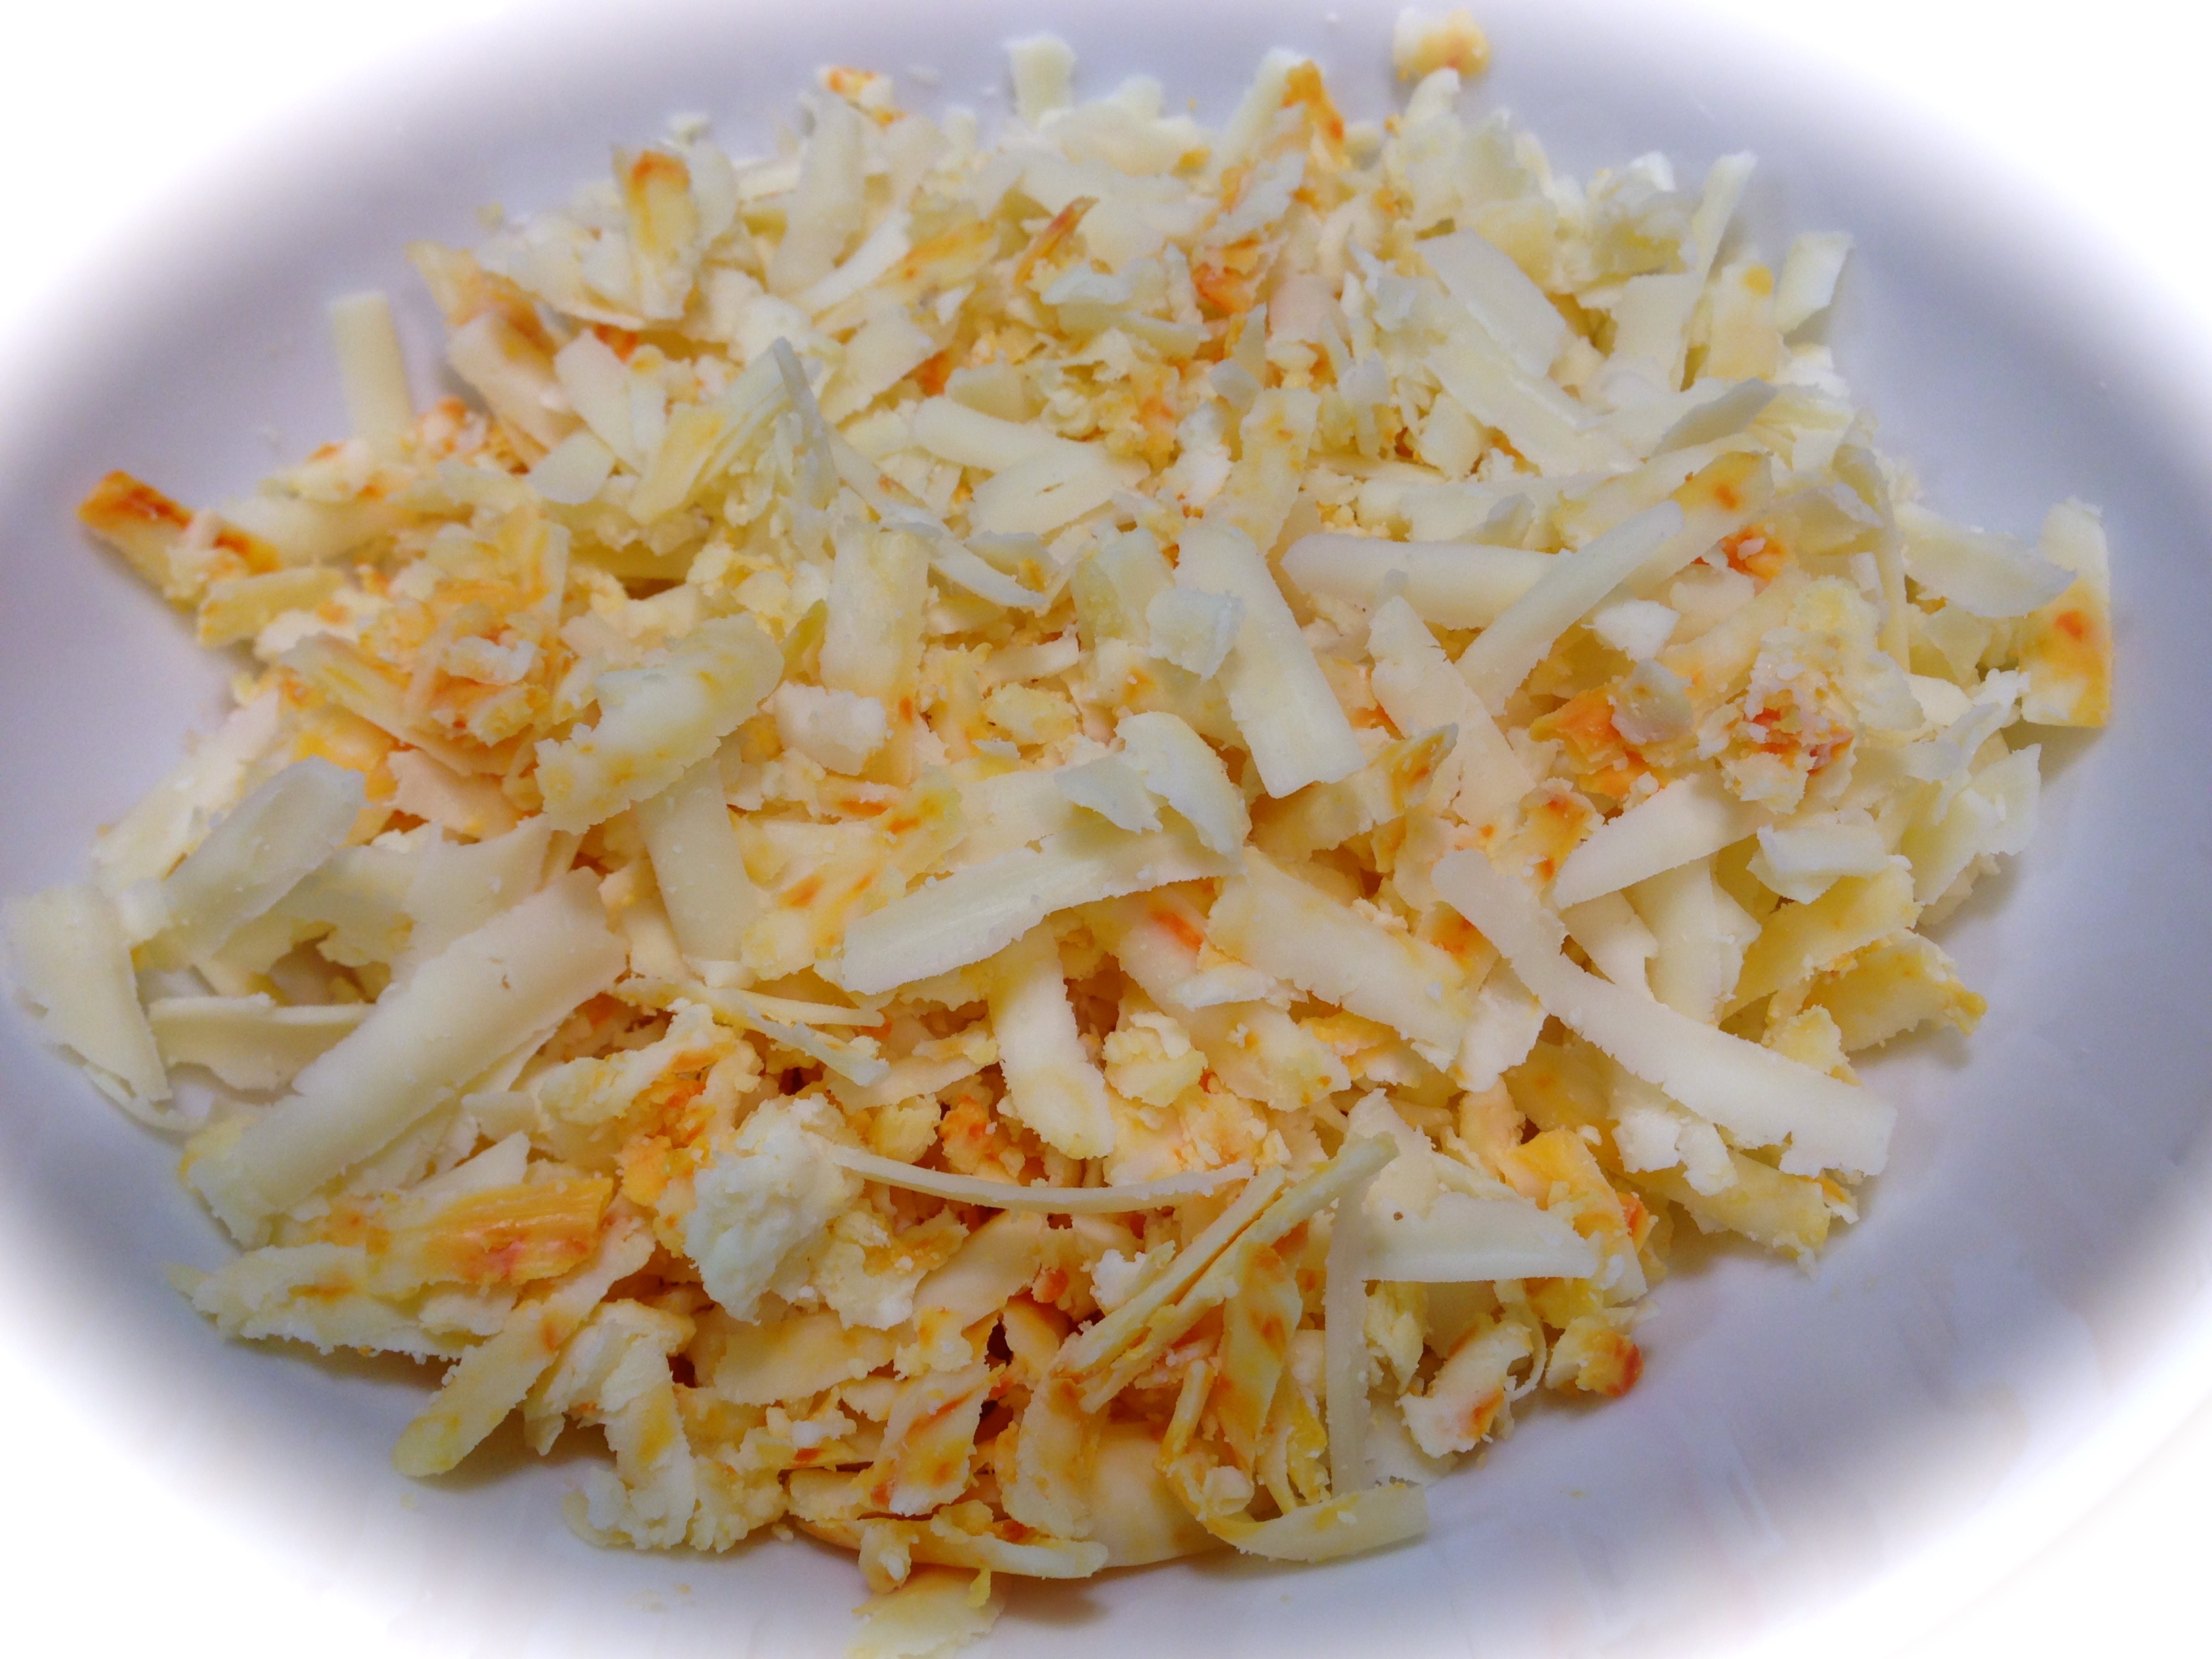
Lesson Learned 2 – Use shredded parmesan versus grated parmesan: Shredded parmesan cheese gives a richer much more noticeable flavor to the cheese ball. Grated parmesan seems to get lost in the shuffle.

Lesson Learned 3 – Make the cheese ball the day before your event: When I initially tasted the cheese ball I thought it was ok, but the next day after the ingredients really got acquainted in the refrigerator, the cheese ball tasted fabulous! I was not prepared for the difference in the flavor. Everyone raved at how delicious it was. This is definitely a recipe that tastes markedly different the second day.

Not too many lessons learned on this one. It really is just a recipe where you mix everything together all at once, roll it into a ball, cover it with sliced almonds and refrigerate it overnight. And with the holidays and holiday parties not too far in the distant future, this is a great little recipe to have in your hip pocket.

If you want something that looks impressive and tastes divine, make this one and bring it to your next party. I guarantee you it will be gone before you know it!

Easy Party Cheese Ball...

  • Servings: Many
  • Difficulty: Very Easy
  • Print

INGREDIENTS:

2 (8 oz.) packages of cream cheese, room temperature

1/4 cup mayonnaise

1/3 cup shredded parmesan cheese

1/2 cup shredded medium sharp cheddar cheese

1/4 cup green onions, minced

1/2 tsp. worcestershire sauce

1/4 tsp. garlic powder

1/2 tsp. garlic salt

1 cup sliced almonds

crackers and fruit (grapes, sliced apples, etc., optional) for serving

DIRECTIONS:

Combine softened cream cheese and mayo until smooth. Add remaining ingredients except the almonds. Stir until well combined.

Spread almonds out on wax paper. Form the mixture into a ball (it will be soft and sticky) and roll the ball in the almonds until the ball is completely covered with the almonds. Transfer the ball onto some plastic wrap, wrap tightly and refrigerate overnight.

Unwrap and plate the cheese ball. Serve with crackers and fruit.


SaveSave

SaveSave

SaveSave

SaveSave

SaveSave

SaveSave

SaveSave

SaveSave

SaveSave

SaveSave

SaveSave

SaveSave

SaveSave

SaveSave

SaveSave

Holiday Breakfast Casserole…

I’m so sorry I haven’t posted in a while. The holidays are always hectic and it is tough to sit down at the computer and document the things I’ve been making. The good thing is there will be lots to come after the first of the year! And just in case you didn’t see it on my home page, the picture below is a link to some of my all time favorite holiday recipes (mostly cookies but there are other things as well). Just click on the picture and you’ll have some great recipes to try this holiday season.

17 Favorite Holiday Recipes

17 Favorite Holiday Recipes

The recipe I’m sharing today is one I made the other night for dinner. After I made it I thought, wow – this would make a great Christmas morning breakfast. You can make it the night before, refrigerate it and just pop it in the oven in the morning. It is very flavorful and it couldn’t be easier to make.

So let’s talk lessons learned when making this holiday breakfast casserole…

Cooked breakfast sausage
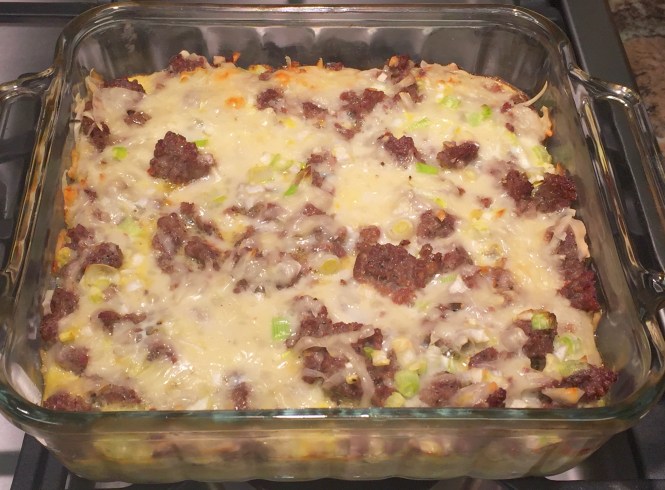
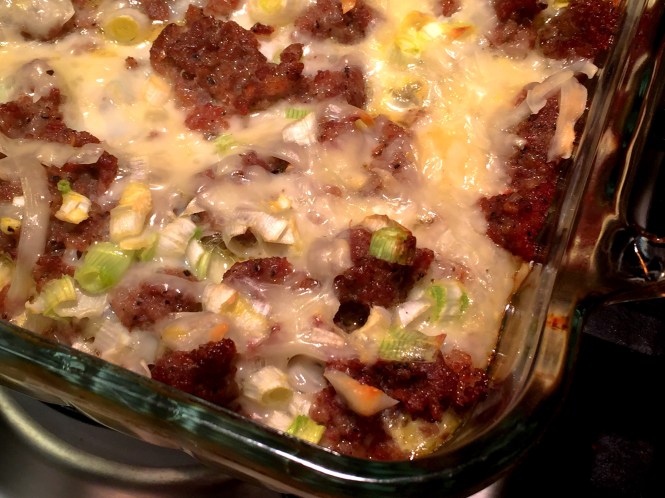
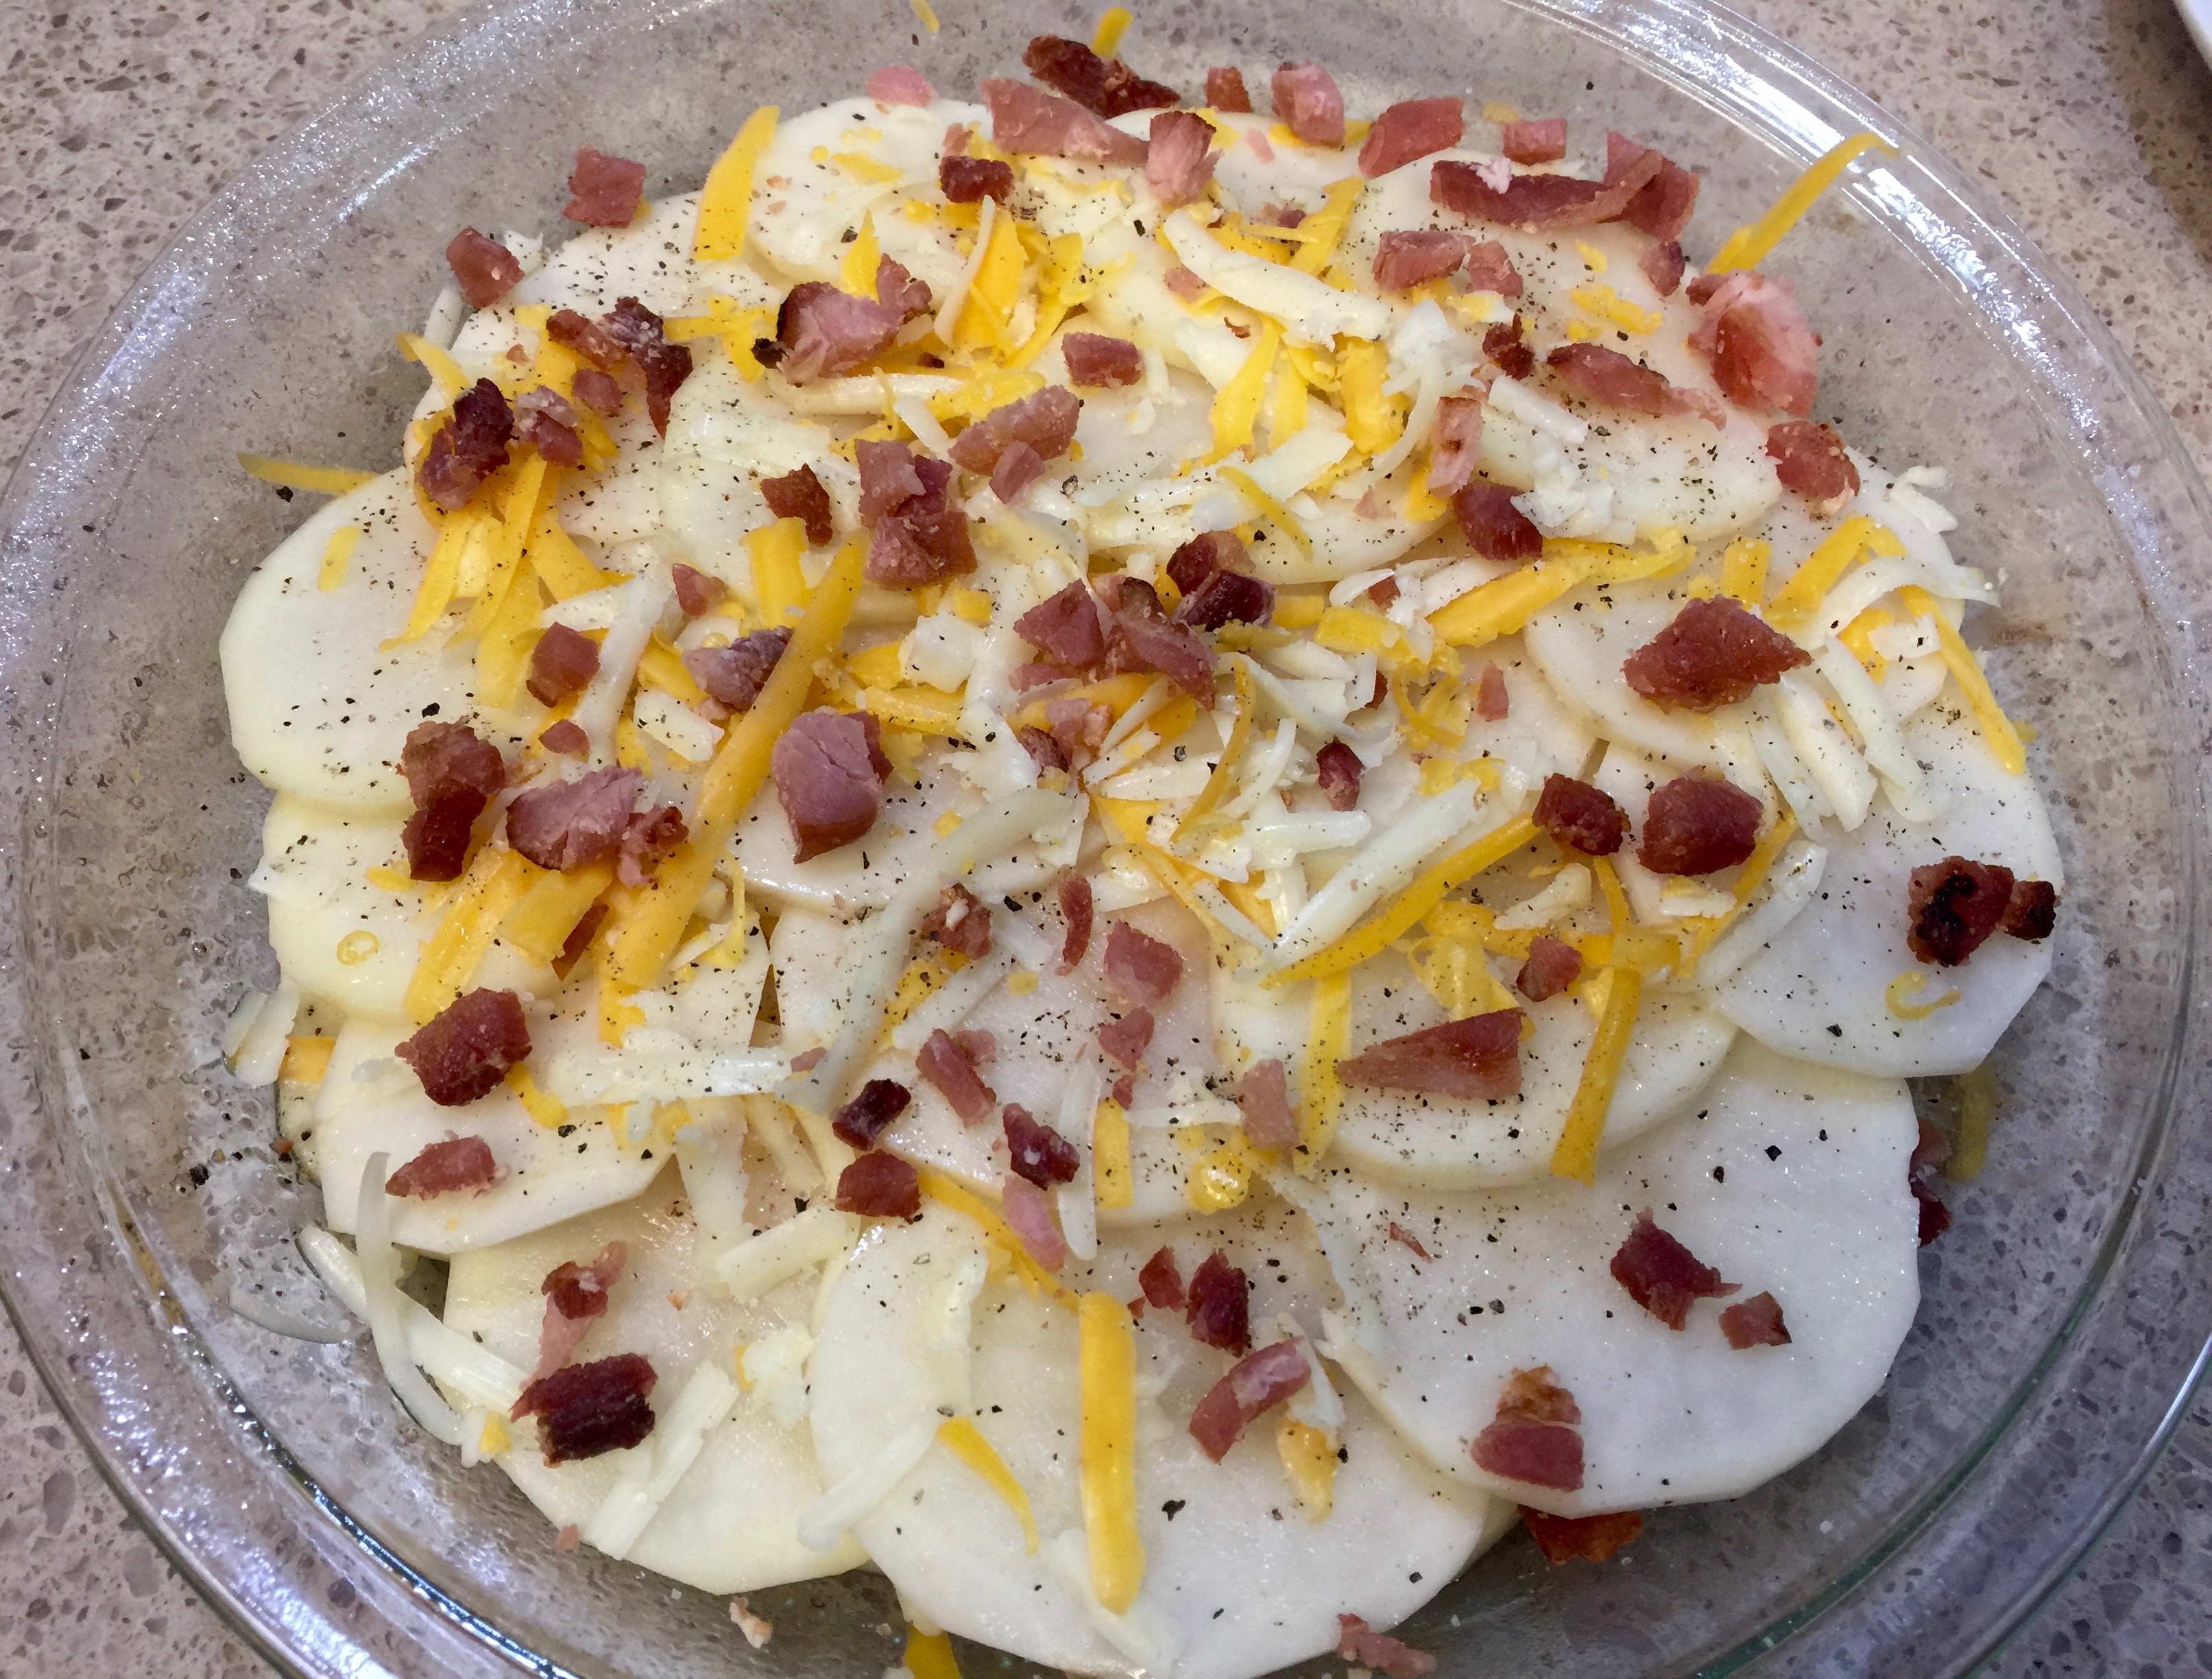
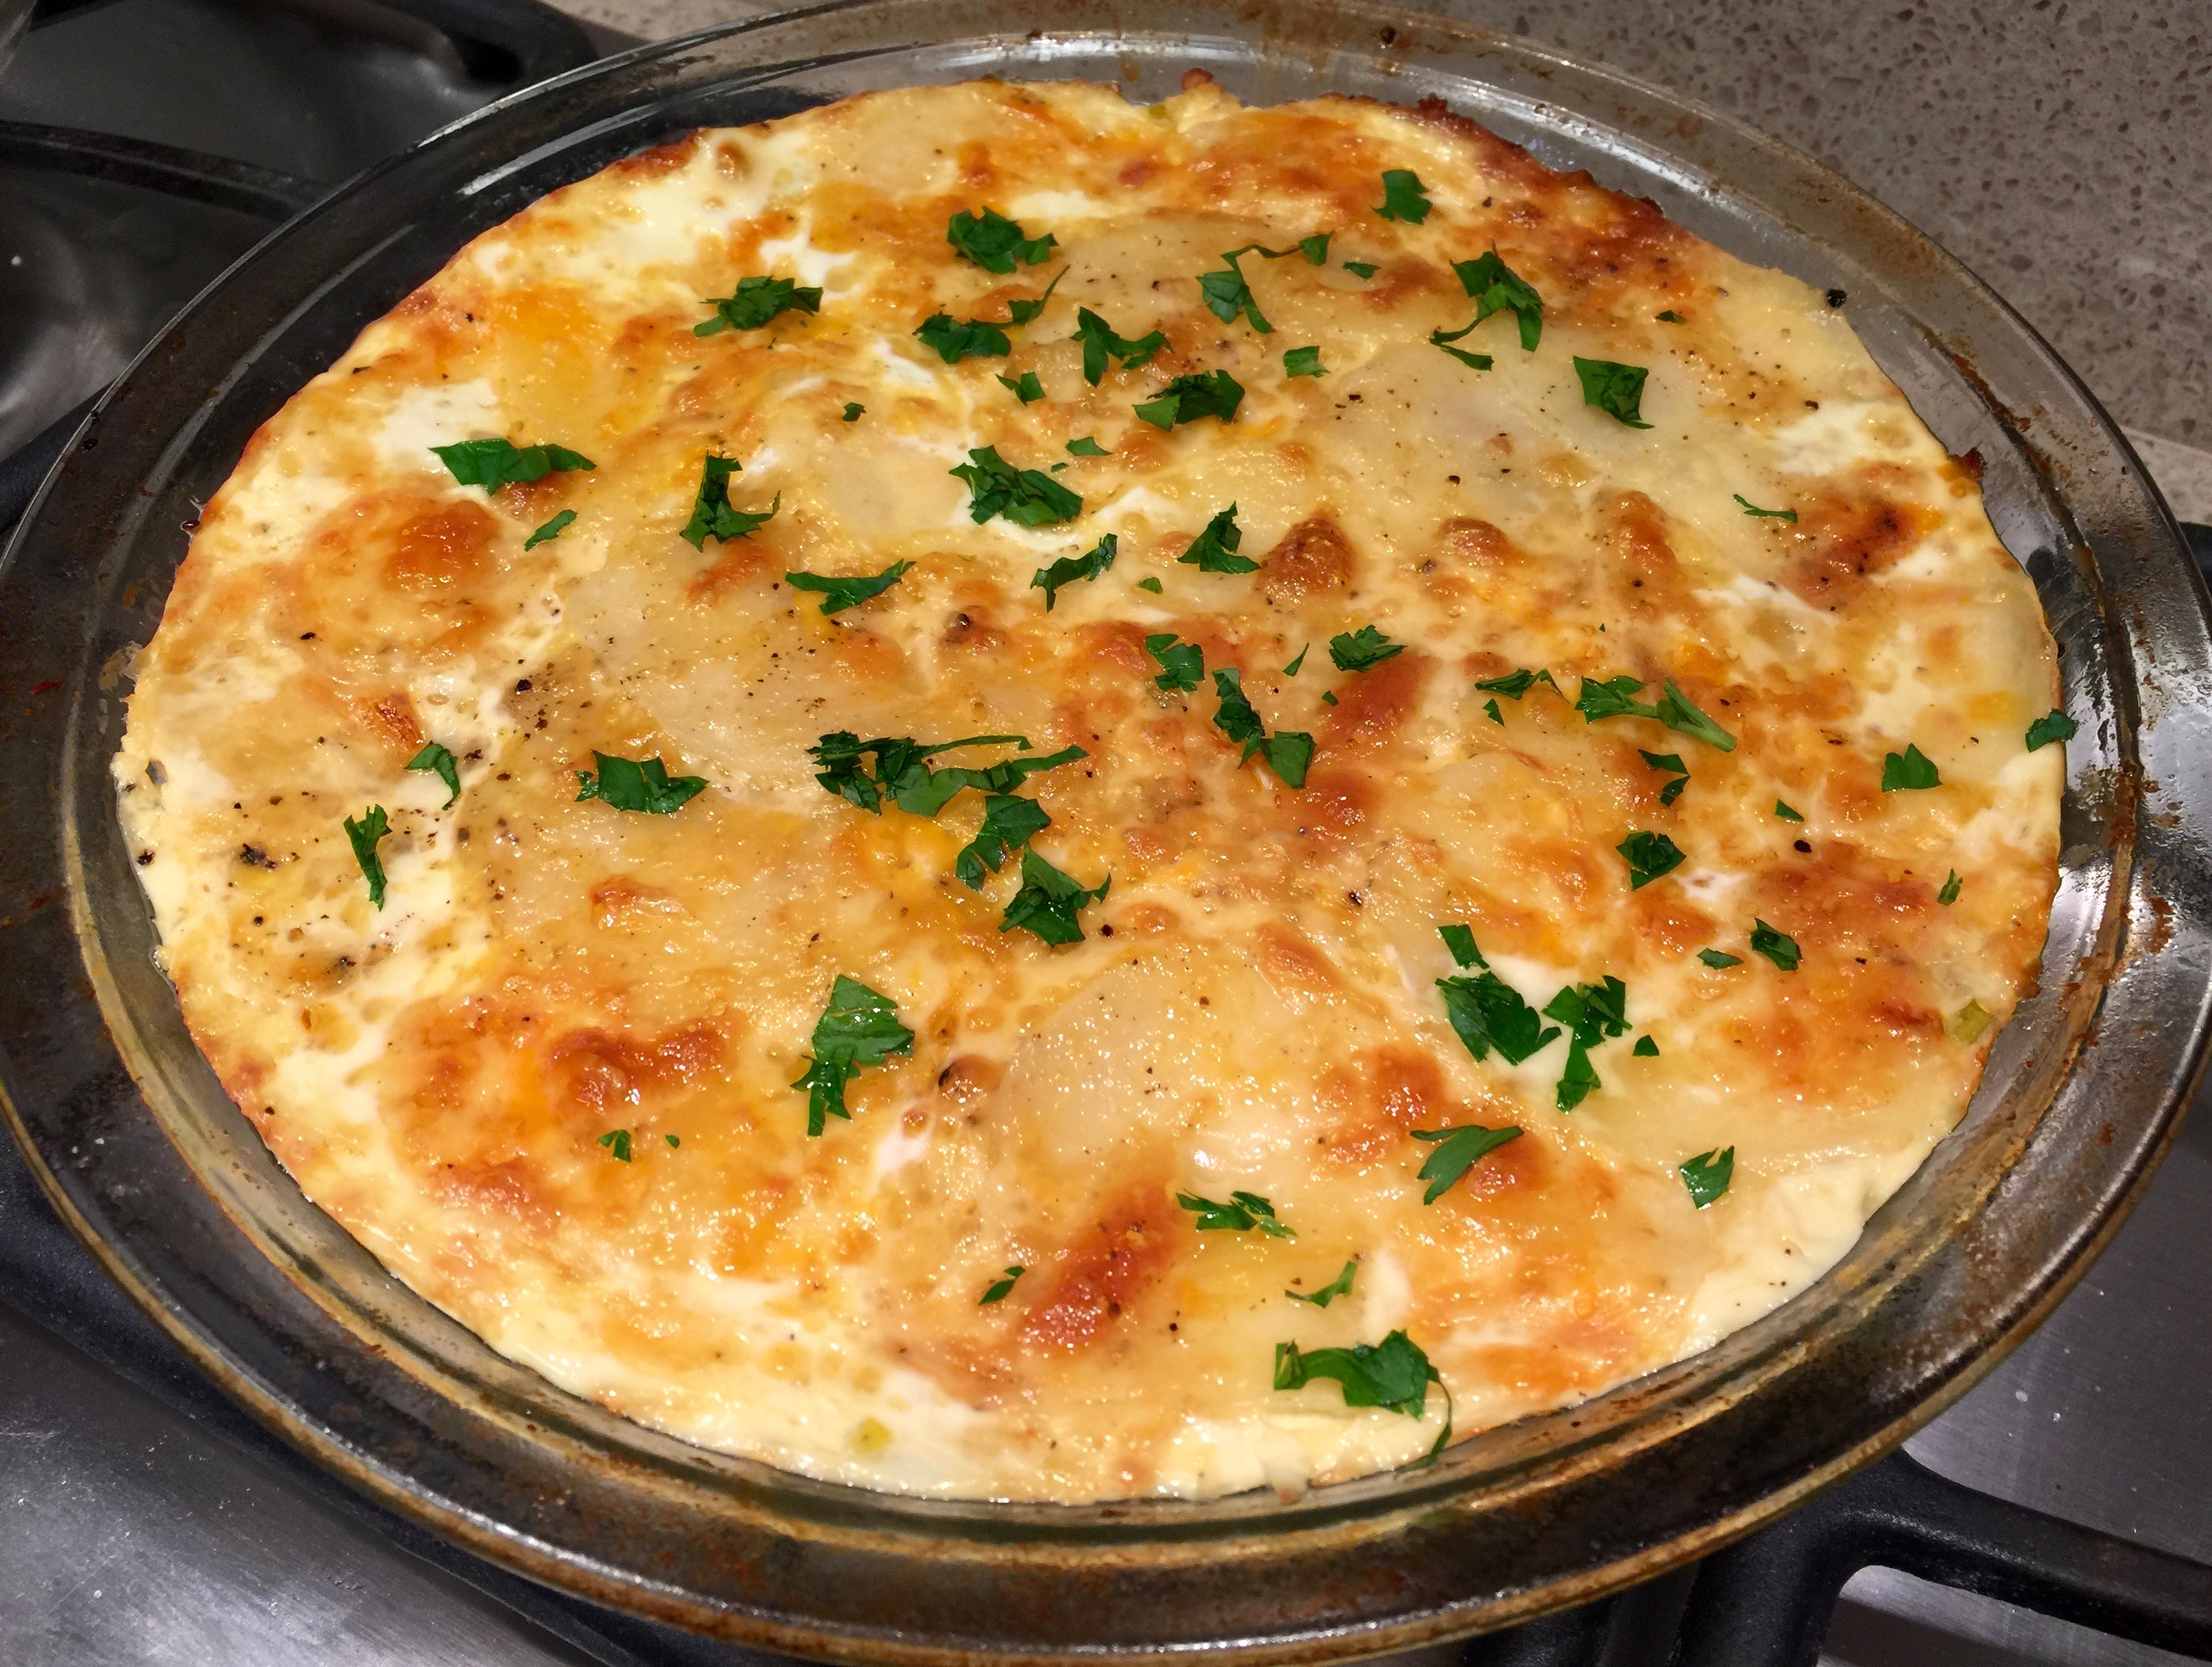
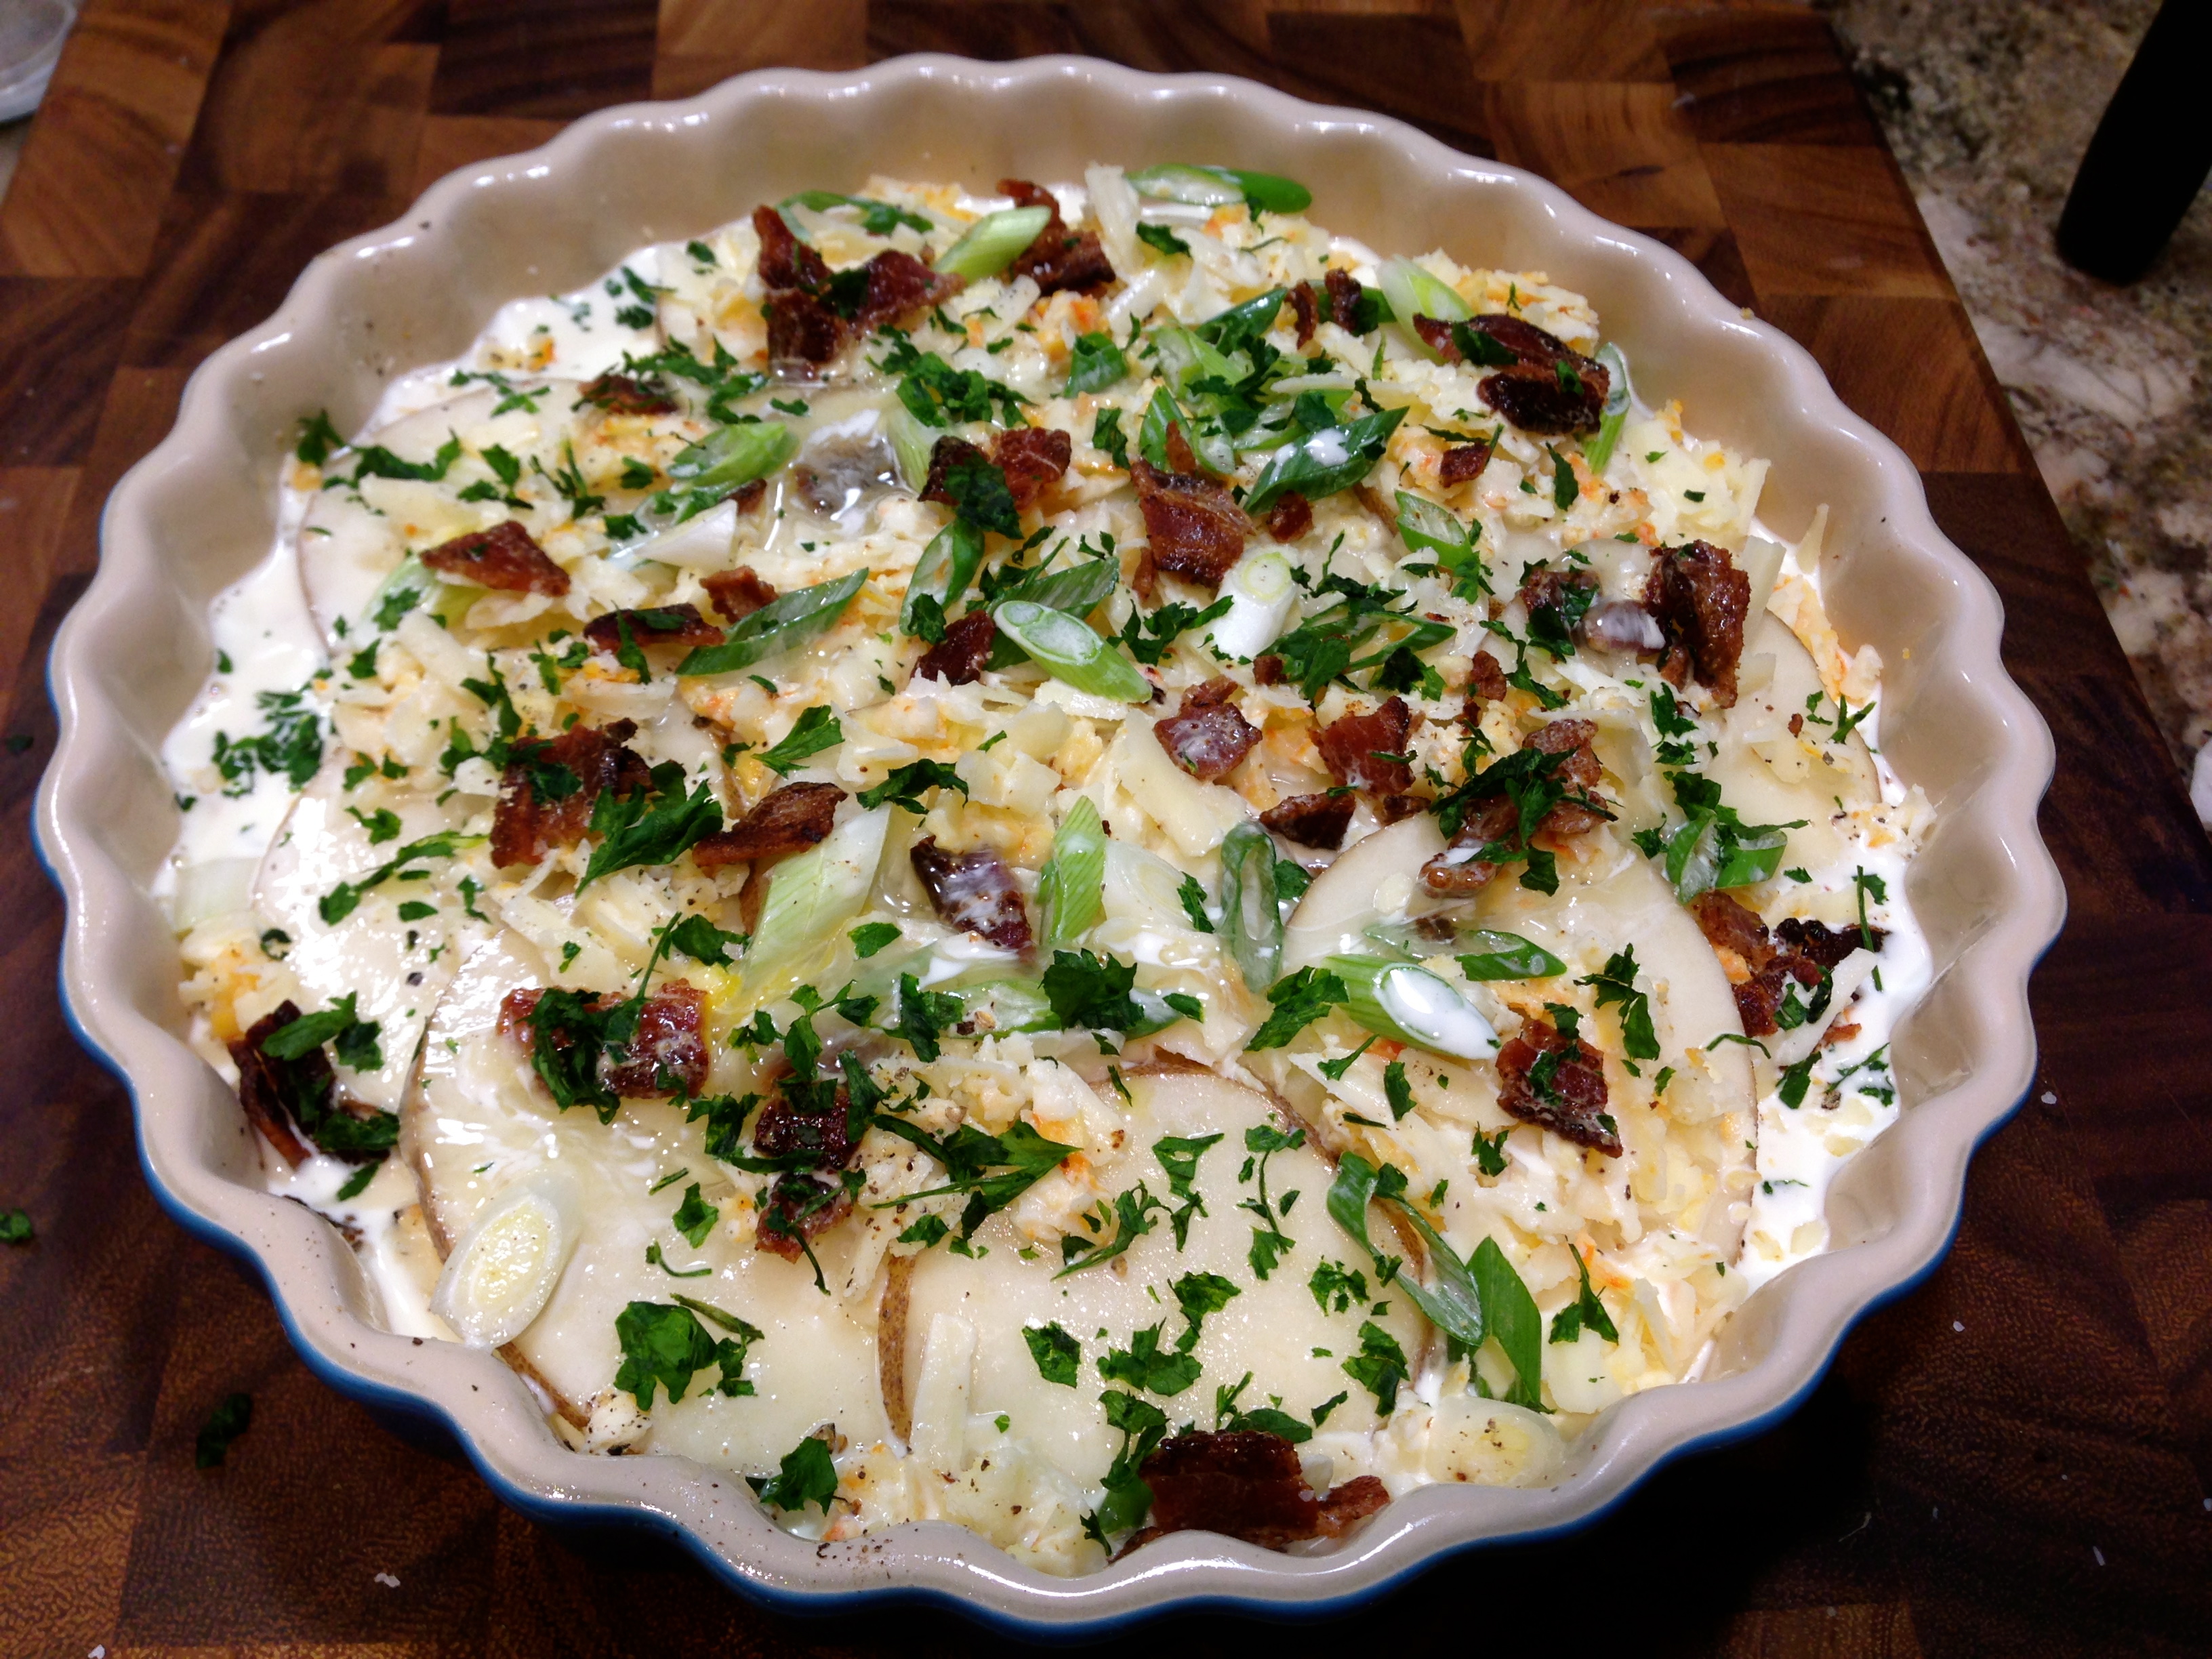
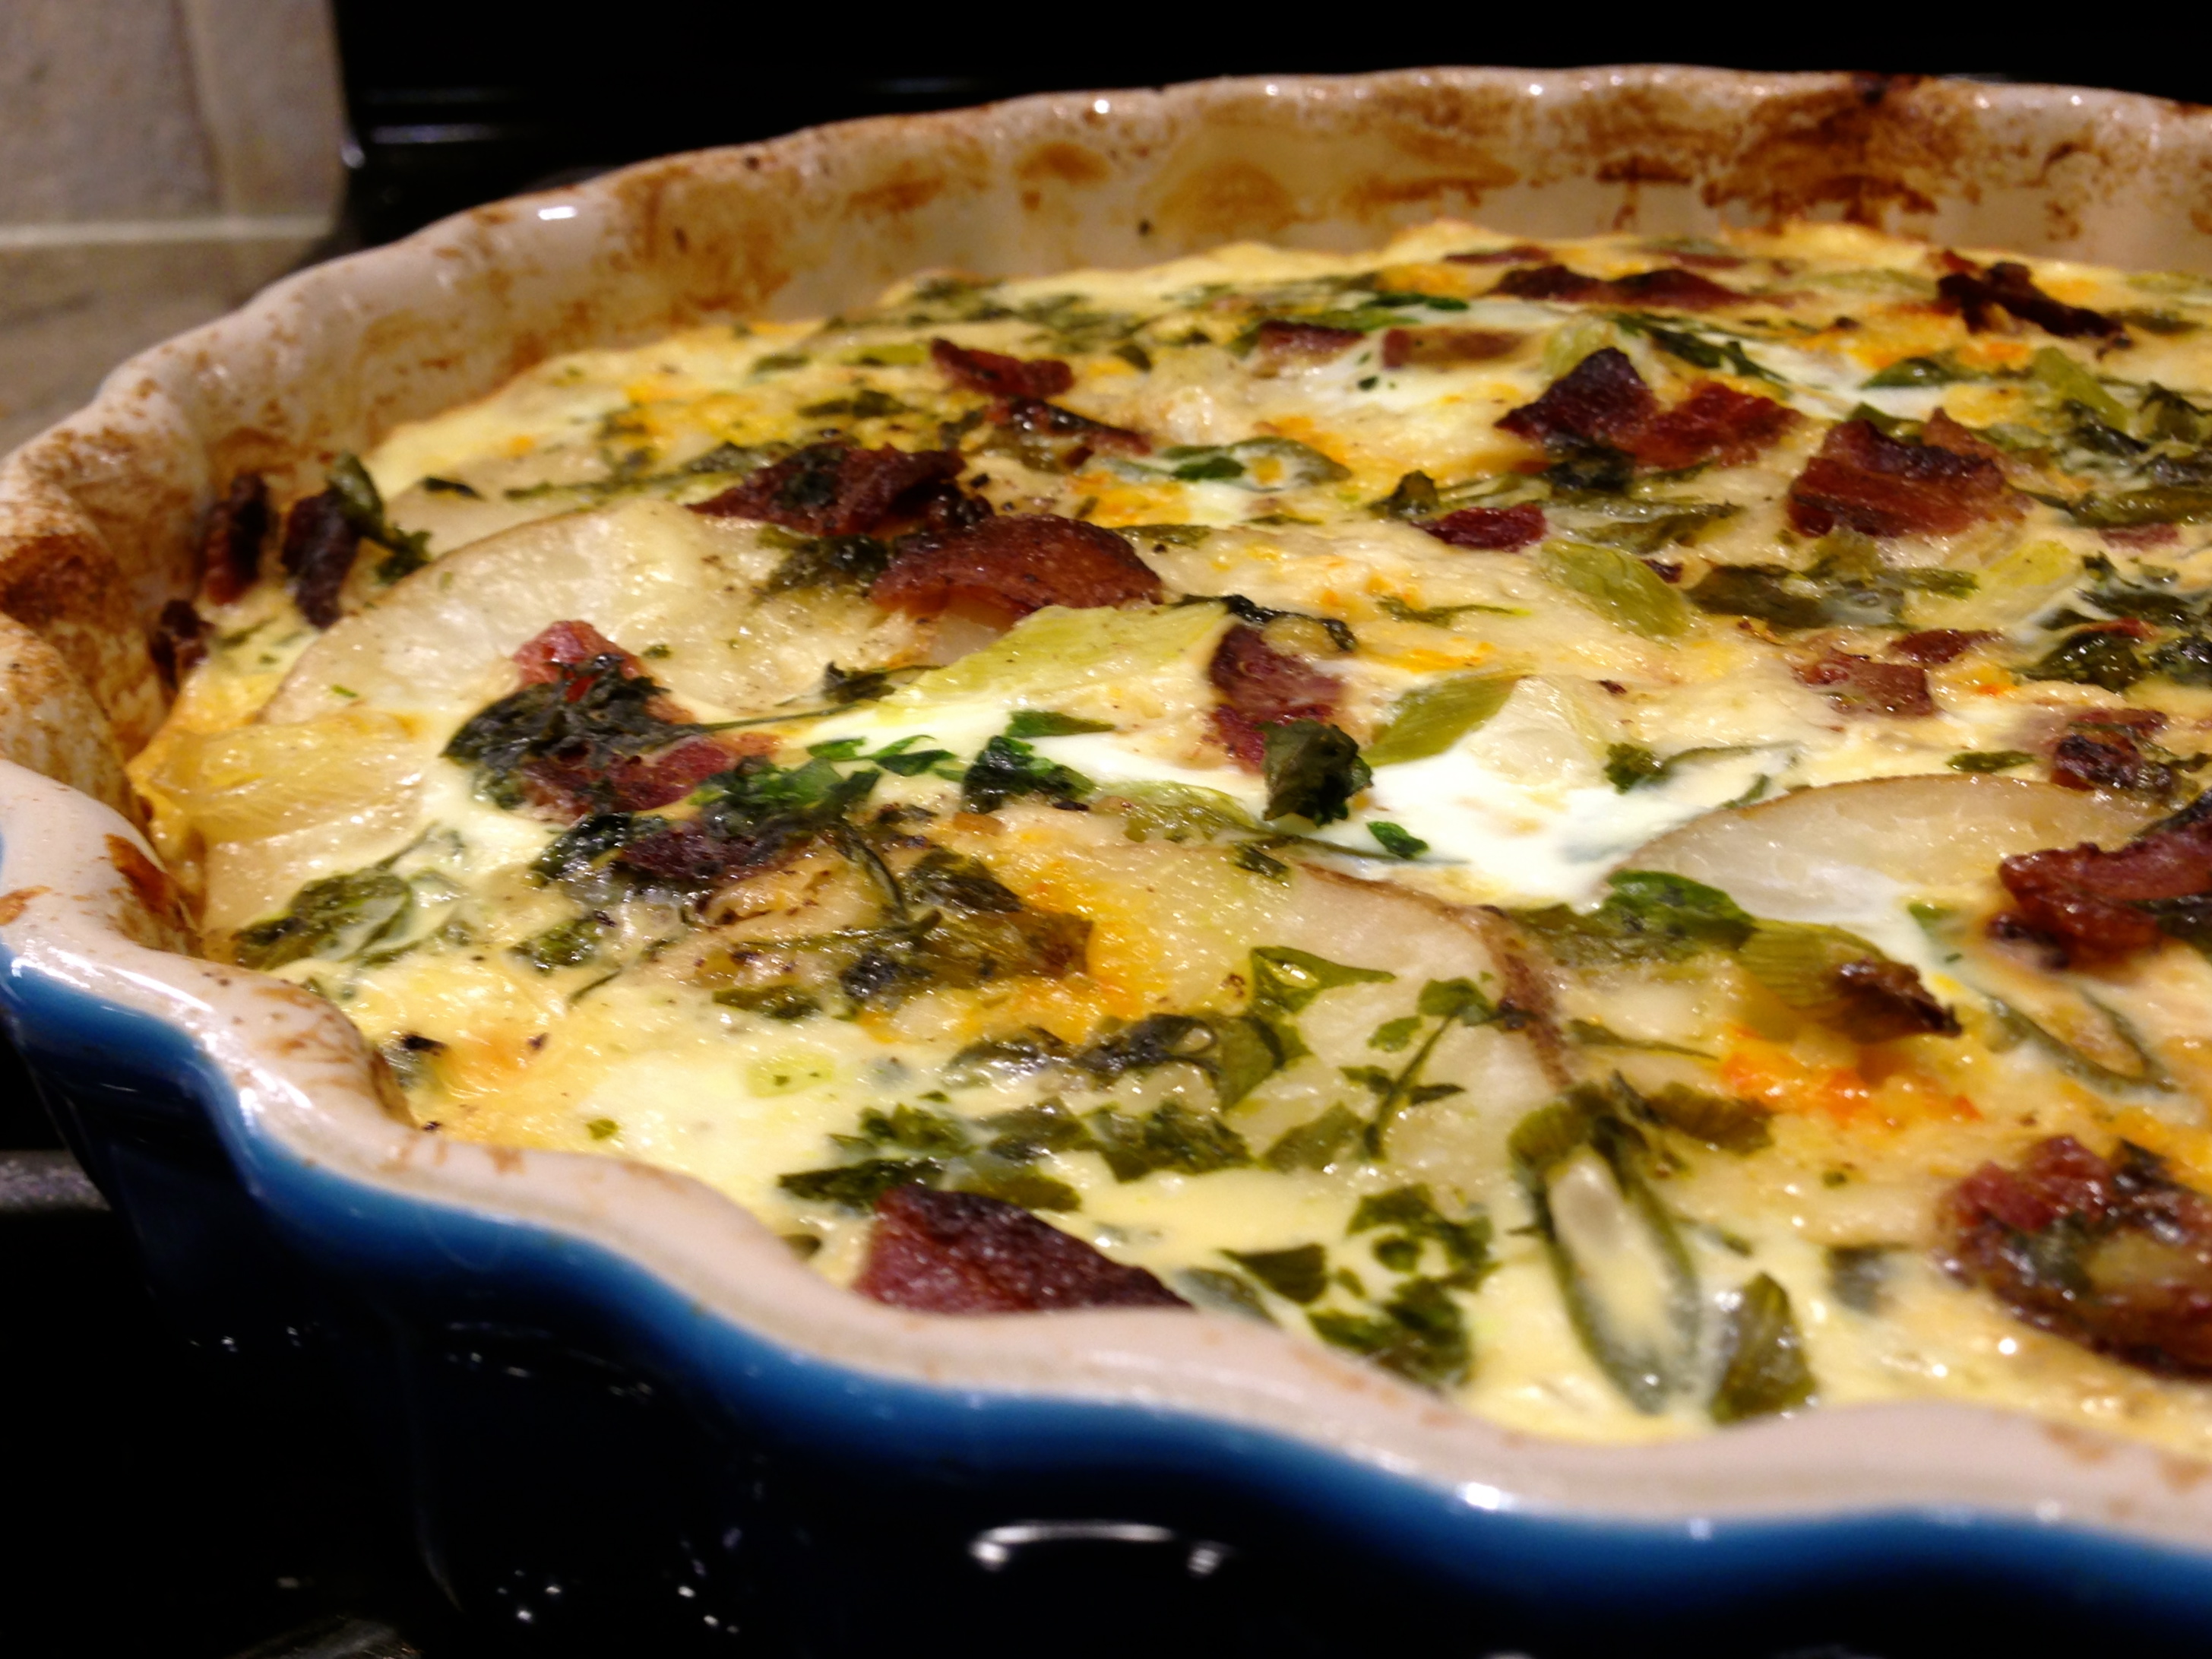
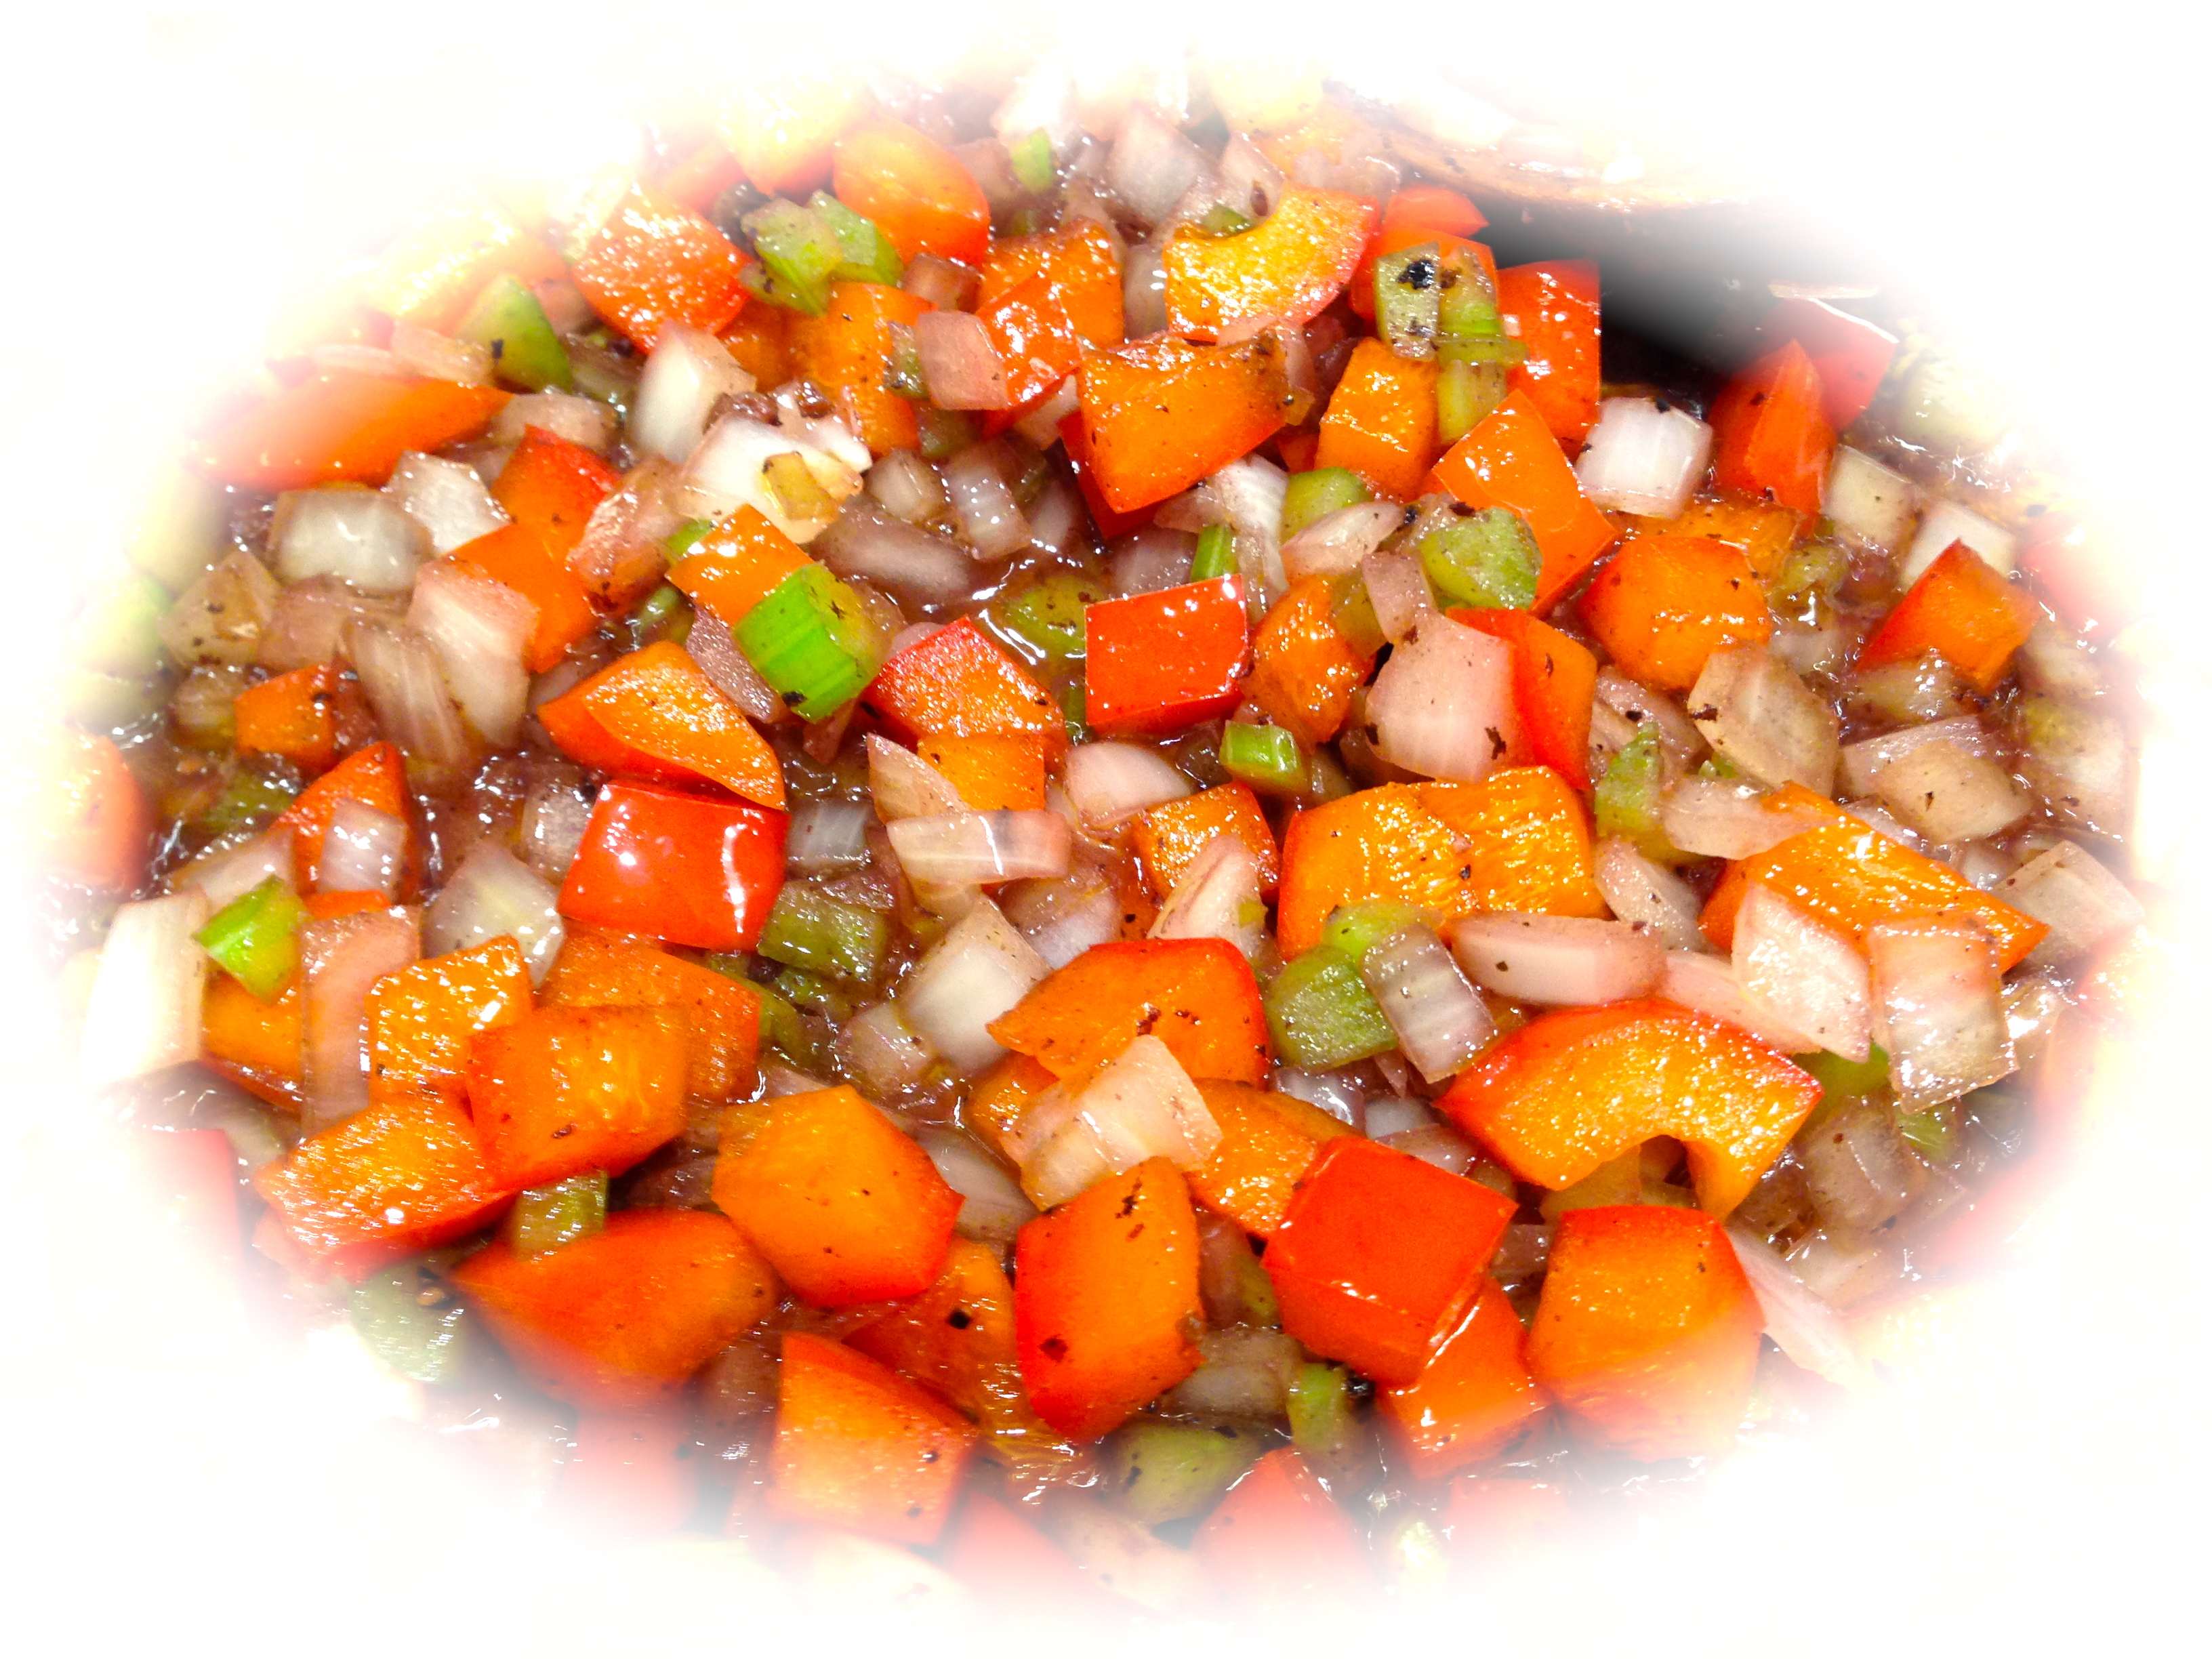
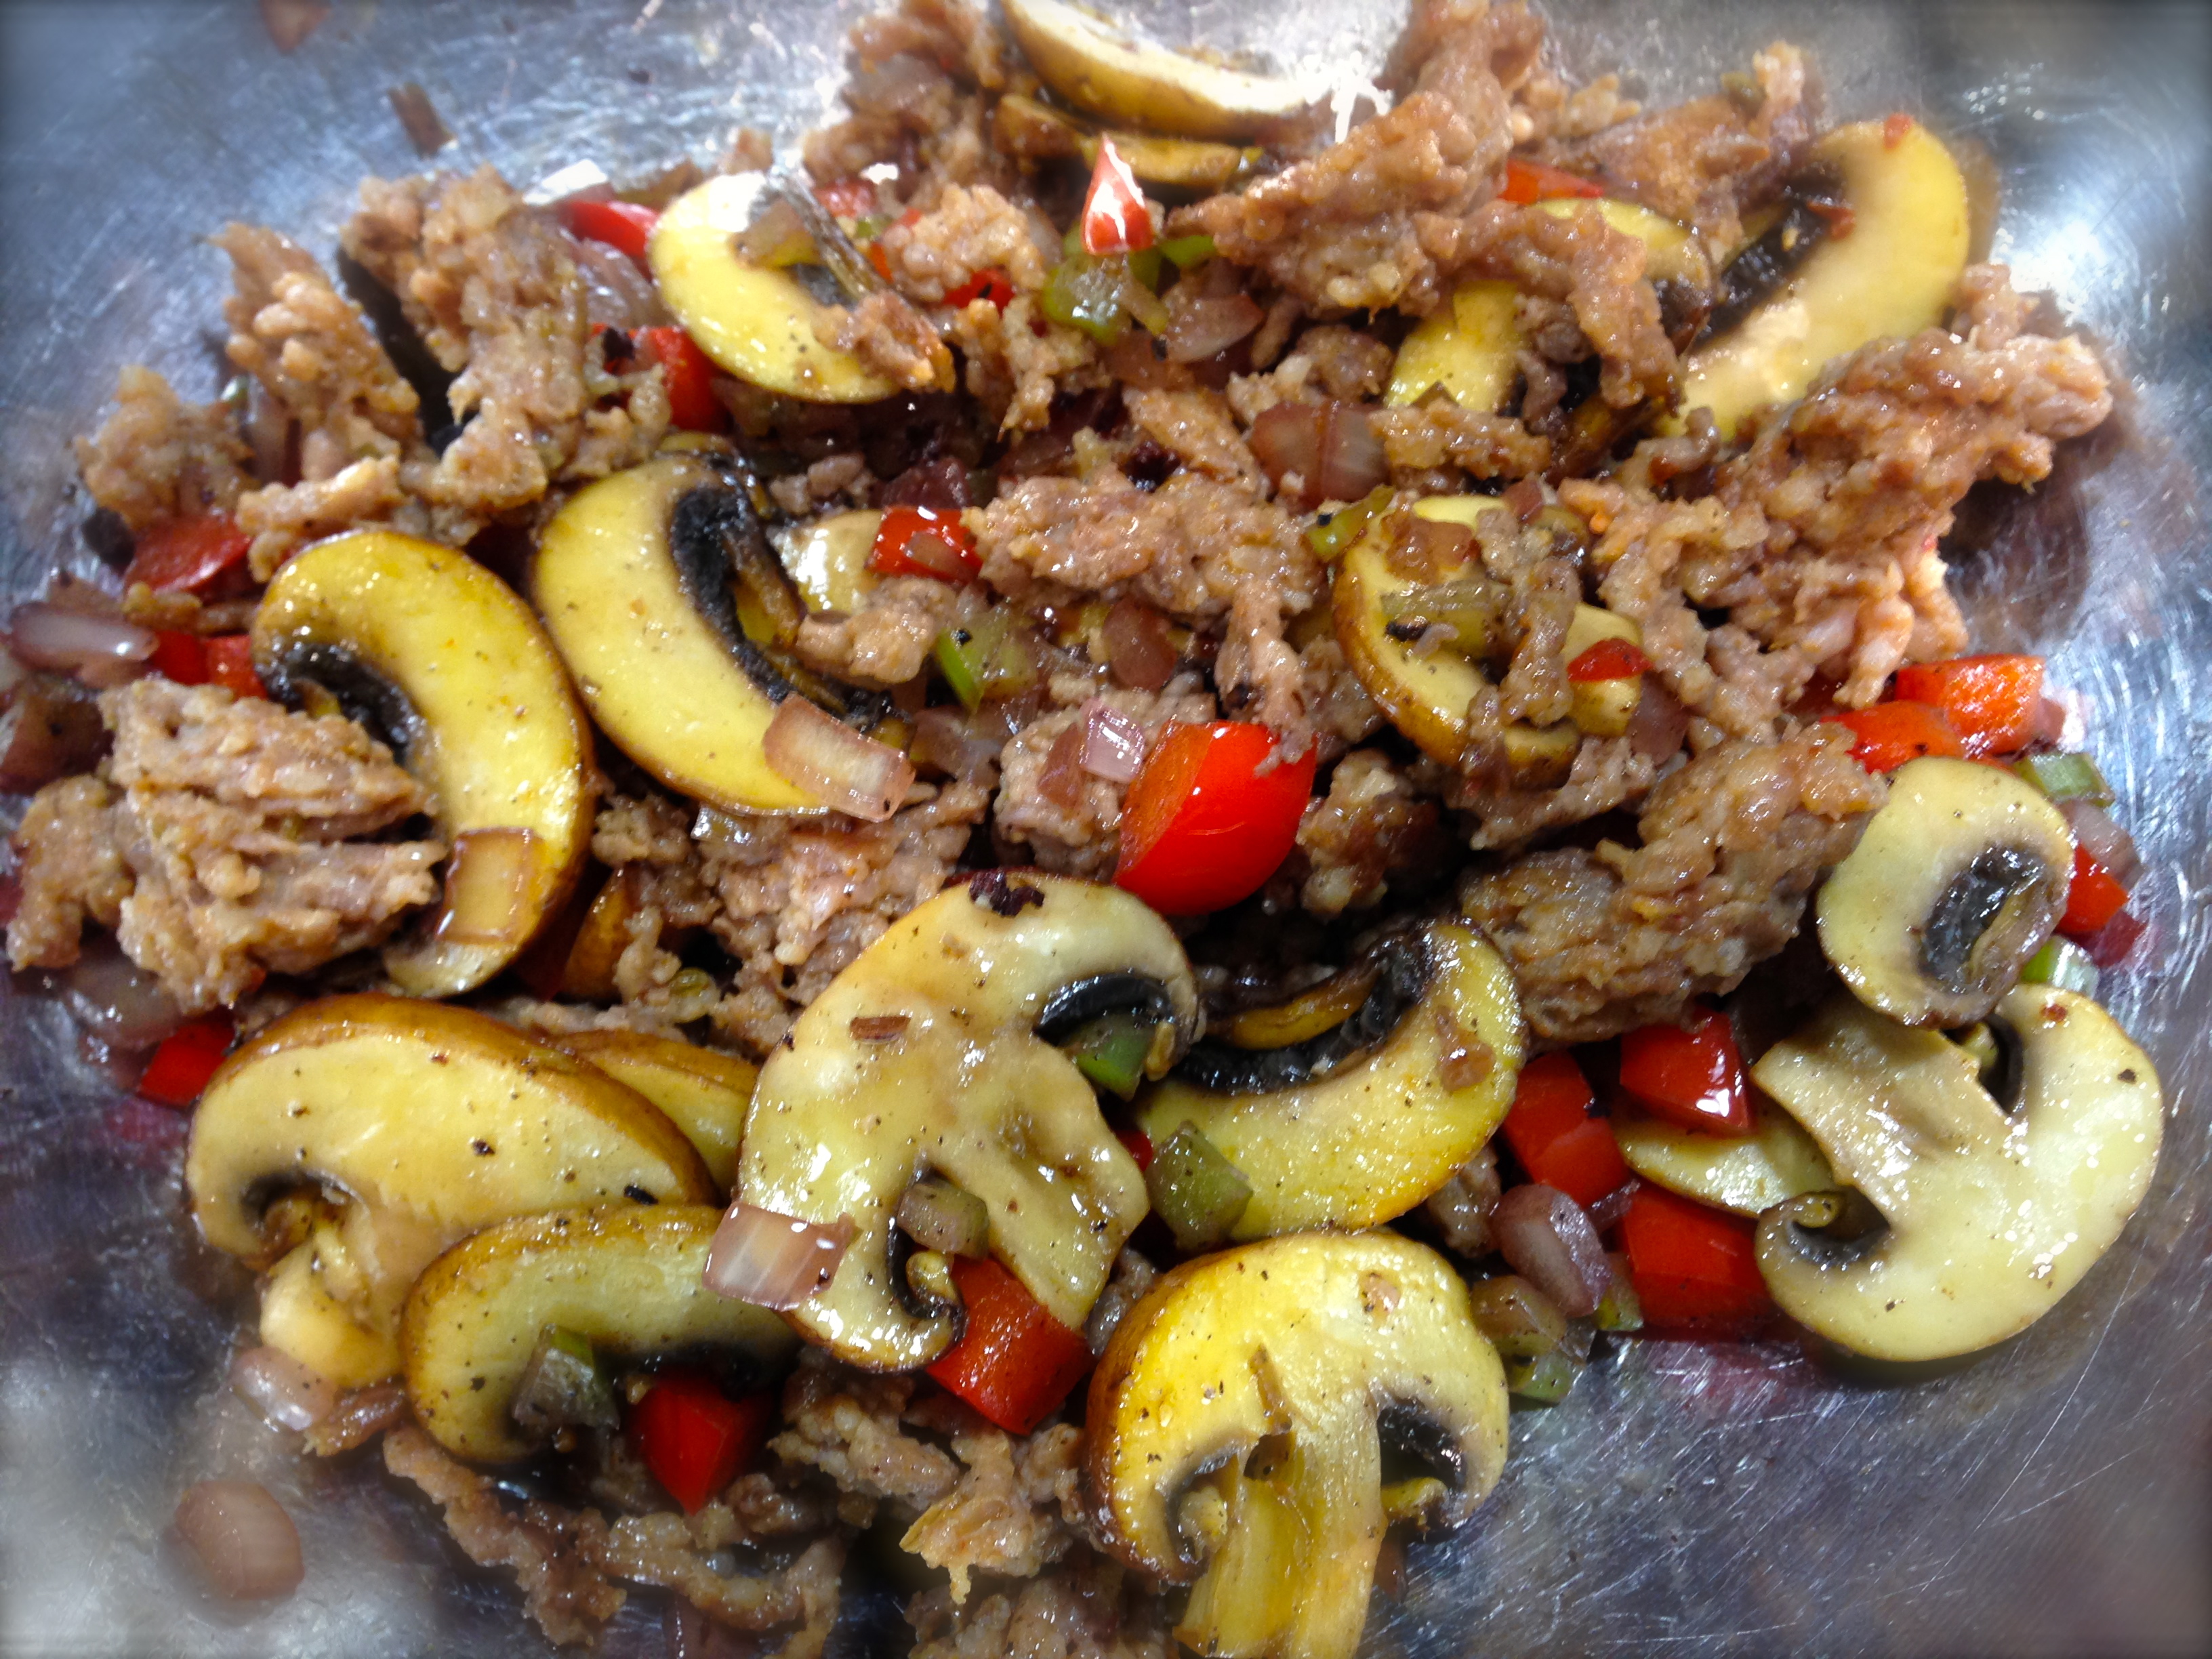
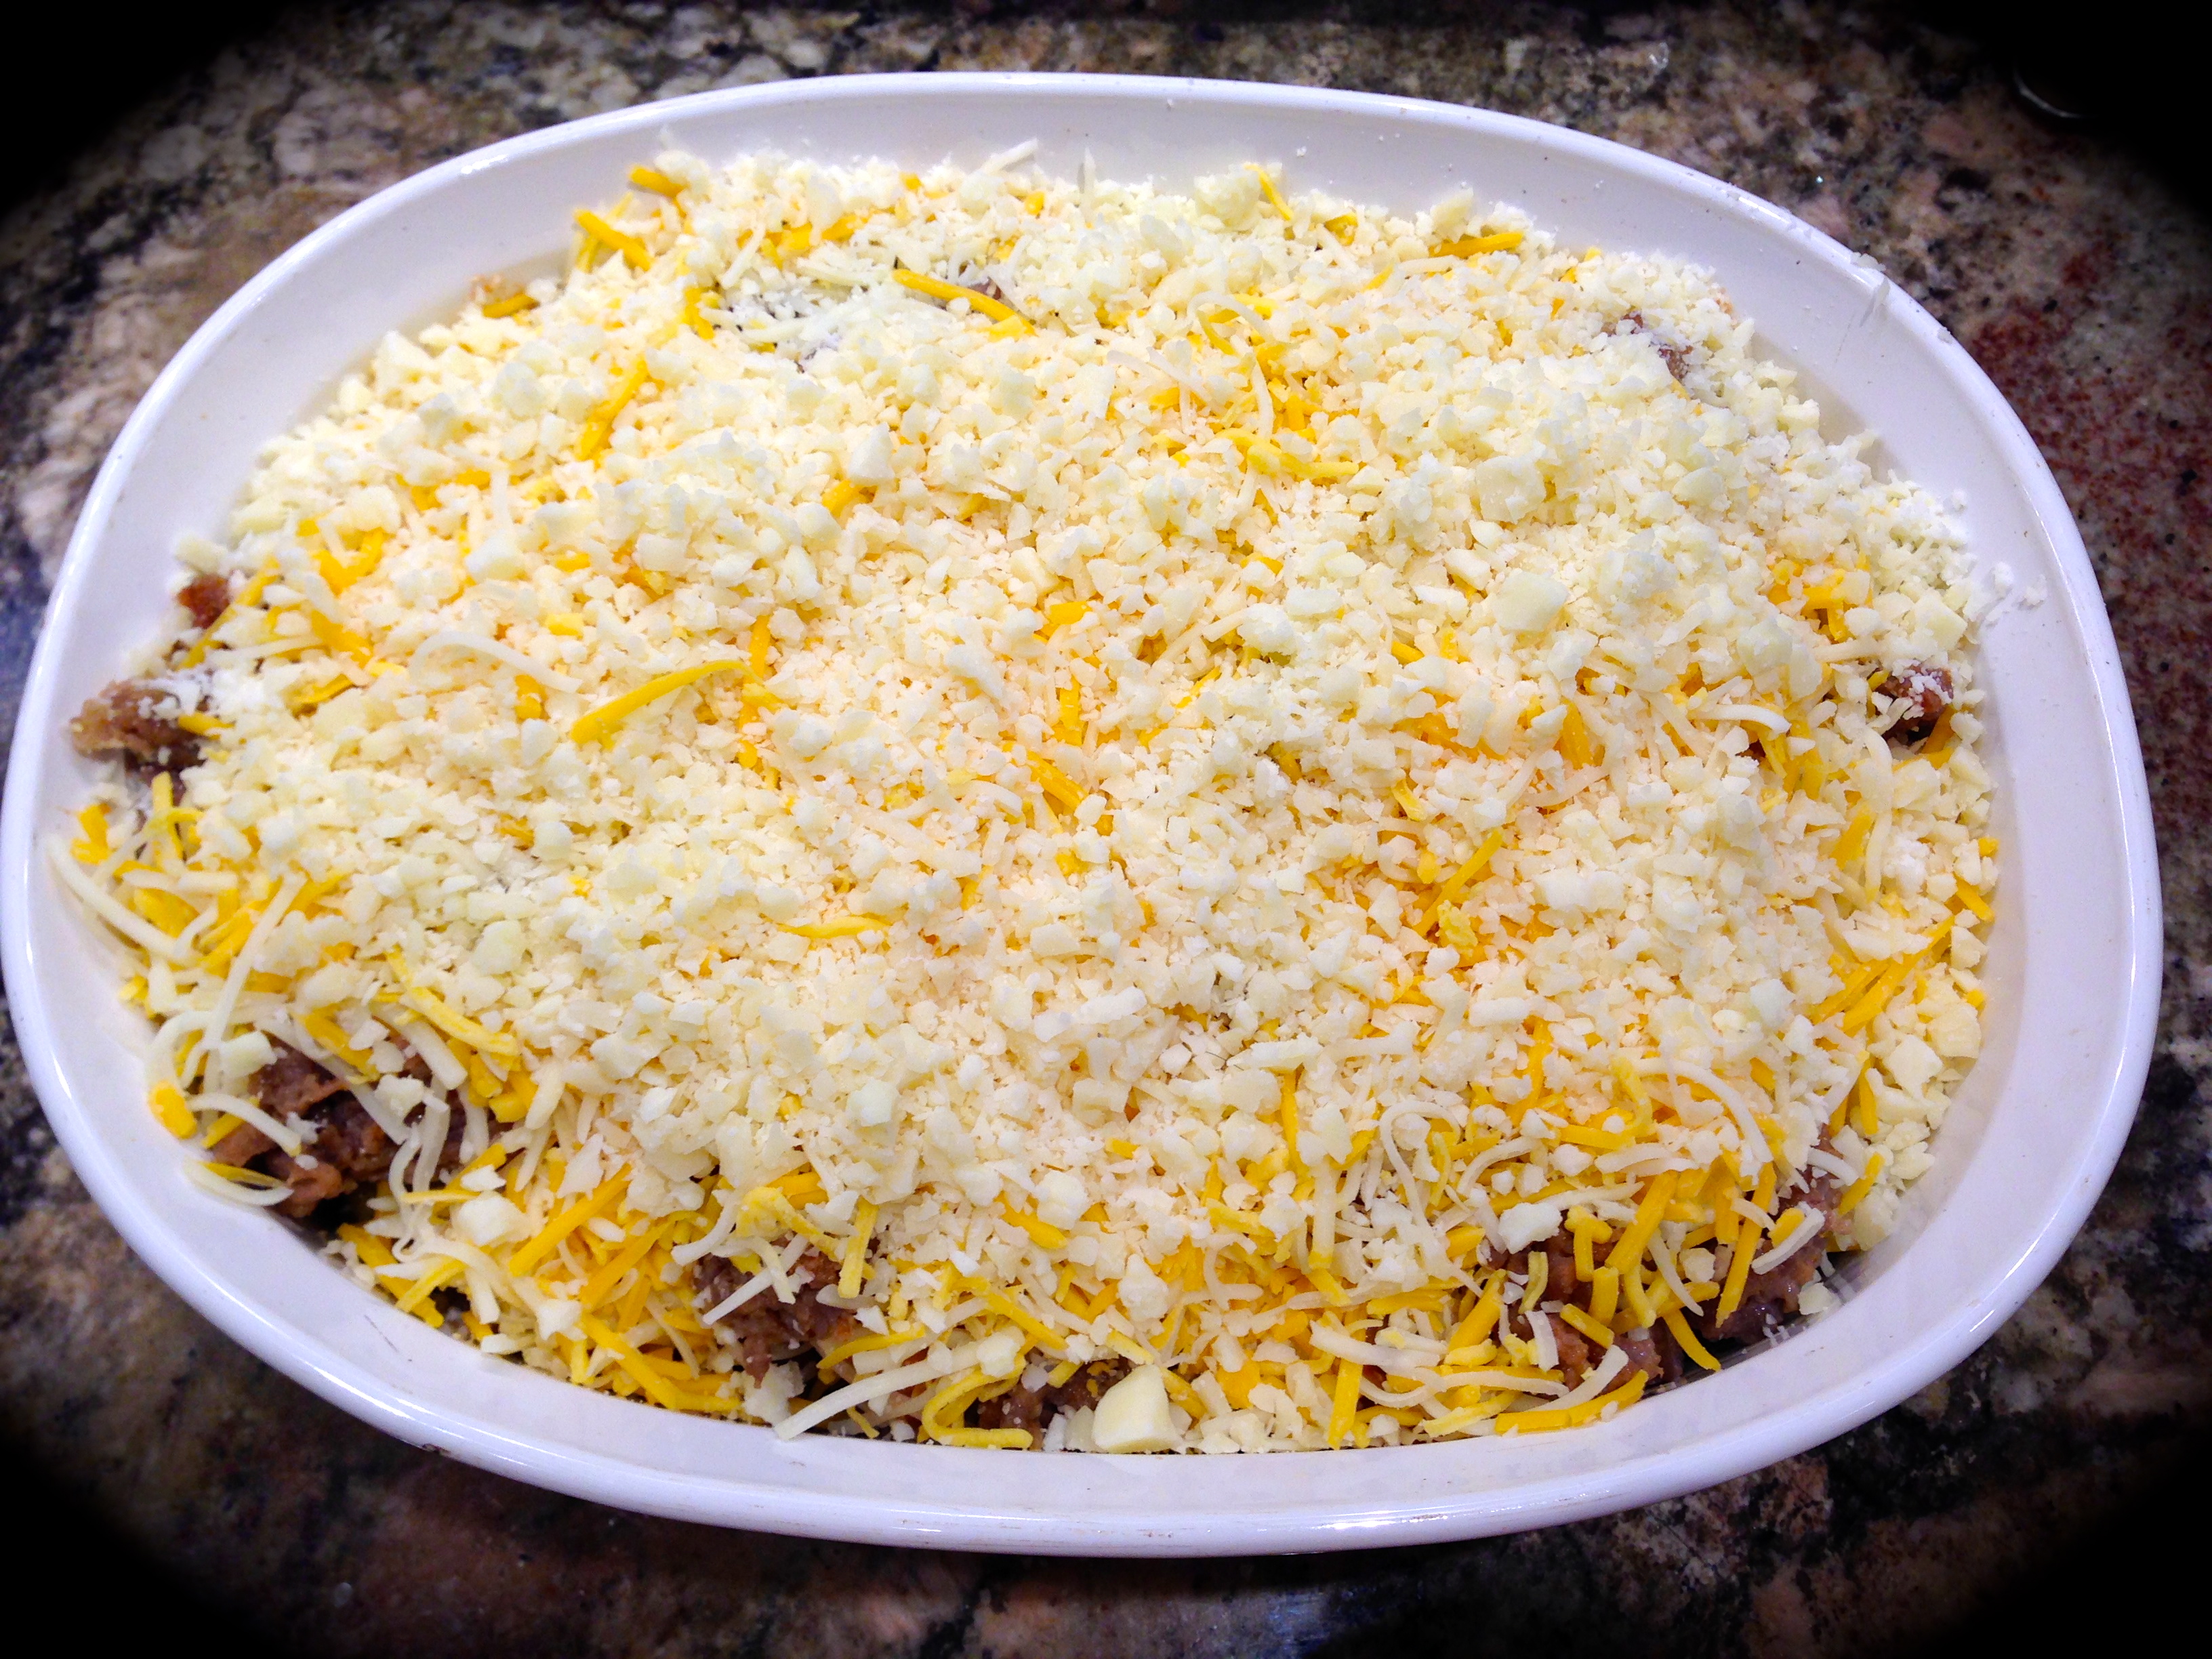
Lesson Learned 1 – You probably will not need an entire tube of breakfast sausage: This recipe is made in an 8 x 8 pan and serves four. Double it if you want to make it in a 13 x 9 pan. In the smaller pan you probably will not need the entire tube of sausage. Use as much as you like and if you are a true meat eater use the whole thing. We only needed about three quarters of the tube. We froze the rest to use later.

Lesson Learned 2 – Get the hash browns nice and crispy: The hash browns will soften in this recipe. By getting them crispy you add a nice flavor. If you don’t crisp them up they will get too soggy on the bottom of the casserole.

Crispy Hash Browns

Lesson Learned 3 – Substitute for fresh whenever you can: The recipe I based this on called for both onion and garlic powder. If you are in a rush you can certainly use them, but I used minced fresh garlic and chopped green onions instead. I think it made a world of difference in the flavor of the casserole.

Lesson Learned 4 – Add more cheese if you like: I made this recipe with a cup of shredded Jarlsberg. Next time I will use a cup and a half as I wanted it to be just a little cheesier. A cup works just fine. This is something you can experiment with and see what works best for you. But don’t use any less than one cup.

This casserole couldn’t be any easier, and as I mentioned earlier I actually made this for dinner but I felt with the holidays coming this recipe might be a good trick to have up your sleeve. Happy Holidays!

HOLIDAY BREAKFAST CASSEROLE...

  • Servings: 4
  • Difficulty: Easy
  • Print

INGREDIENTS:

1 pound breakfast sausage

1 20 oz. bag of unfrozen hash browns (I used Simply Potatoes)

1 large garlic clove, minced (you can use 1/4 tsp. garlic powder as a substitute)

2-3 green onions, chopped (you can use 1/4 tsp. onion powder as a substitute)

1 cup shredded cheese (use any good melting cheese – I used Jarlsberg)

4 extra large eggs (use 5 if they are small)

1 cup milk

Salt and pepper to taste

DIRECTIONS:

Preheat the oven to 375. In a large skillet cook the breakfast sausage until it is no longer pink. Add the garlic and cook until fragrant. Set sausage mixture aside.

In the same pan cook the hash browns until slightly crispy. Place them in the bottom of a lightly greased 8 x 8 pan. Top with sausage and cheese.

In a separate bowl combine the eggs, green onions and milk. (If using onion and garlic powder you would add them into this egg mixture). Pour over the hash browns, sausage and cheese. (Cover and refrigerate at this point if you plan on making this the next day.)

Bake for 35- 40 minutes or until the top is set and the edges start to brown. Let the casserole sit for 5 minutes and serve.

The Hash Browns Layer

The Hash Browns Layer

The Meat Layer

The Meat Layer

The Cheese Layer

The Cheese Layer

The Egg Mixture

The Egg Mixture

Ready To Go Into The Oven

Ready To Go Into The Oven

Holiday Breakfast Casserole

Right Out Of The Oven

Holiday Breakfast Casserole

Holiday Breakfast Casserole

Holiday Breakfast Casserole

Holiday Breakfast Casserole

Easy Potato Casserole…

Are you a rice or potato person? In my experience you are either one or the other. There is no doubt when it comes to me. I am definitely a potato person. Born and raised on potatoes, I barely had rice until I was an adult. And although I like rice and find it very adaptable in recipes, my starch of choice is and always will be potatoes!

And that it why I am always thinking about new ways of making those spuds. I think this recipe fits the bill of not only being incredibly easy but also incredibly delicious. When I get a, “these potatoes are good” from my husband, I know I’ve hit the jackpot.

Easy Potato CasseroleNow I will admit I made this recipe twice. The first time I tried it I felt the potatoes were not done as well as I would have liked. The first time I used my mandolin slicer and cut the potatoes to 3/16 of an inch. The second time I cut them to 1/8 inch and there was a world of difference in the result.

As I’ve share before, I live in high altitude so recipes often take longer to cook. I cooked this potatoes casserole for 2 hours, 1 hour and 40 minutes covered with foil and the last 20 minutes uncovered. If you’re not at high altitude it will probably only take one and a half hours total.

So let’s talk easy potato casserole…

Lesson Learned 1 – The thickness of the potato slices is very important: As I just mentioned, the potato slices should be even in thickness and not overly thick. I used 1/8 inch slices and the casserole turned out perfectly. The thicker the slice the longer the cooking time. And it’s very important that all slices have a consistent thickness. Otherwise some parts will cook while others won’t. The best way to ensure even slices is to use a mandolin slicer. But be careful when using one. The blades are very sharp and you can easily slice your finger if you are not careful.

Easy Potato CasseroleAlso, remember to slice your potatoes as the very last bit of prep. Potatoes will oxidize (turn brown) when they are left in the open air too long. And in this case you don’t want to soak the potatoes to prevent them from oxidizing. You want the potatoes as dry as they can be. After slicing my potatoes I dried them off with a paper towel to get out as much moisture as I could. You don’t want a soggy potato casserole. So make sure your very last bit of prep is slicing the potatoes. From there you want to begin assembling your casserole layers right away.

Lesson Learned 2 – Use a good smokey thick cut bacon for depth of flavor: If you have a Trader Joe’s near your home, go to meat section and get a package of uncured bacon pieces. These pieces have been a tremendous find for me. Quite often they are from thick cuts and I found their flavor to be much better than the bacon you find in stores in half pound packages. They’re great and convenient when you want to add some bacon pieces to a recipe, much better than the jarred fake kind. If you can’t find them, then I would recommend any thick cut bacon cooked and crumbled into small pieces. The flavor really permeates the potatoes when the bacon is a thicker cut.

This recipe is pretty straightforward so not many lessons learned to share with this one. I can’t emphasize enough the importance of making the potato slices thin. Other than that this recipe is not only delicious, it’s full proof! Enjoy!

EASY POTATO CASSEROLE...

  • Servings: 6-8
  • Difficulty: Easy
  • Print

INGREDIENTS:

2-3 russet potatoes, peeled (if the potatoes are large you will only need 2)

1 cup cheddar cheese, shredded

Easy Potato Casserole1 cup monterey jack or havarti cheese, shredded

4 slices thick cut bacon, cooked and crumbled

1 cup milk

1 large egg, room temperature

2 green onions, diced (include some of the green parts)

Salt and pepper to taste

Fresh flat leaf parsley for garnish

DIRECTIONS:

Preheat oven 375 degrees. Butter or spray a 9 inch pie pan.

Layer potato slices in the pie pan, slightly overlapping the slices. Season with salt and pepper. Sprinkle half the cheeses over the potatoes and add half of the crumbled bacon and green onions. Repeat the entire process ending with the top layer being the cheeses.

In a small bowl whisk together the milk and egg. Pour the mixture over the potatoes.

Cover with foil and cook for 1 1/2 – 2 hours. Remove the foil during the last 20 minutes of baking.

Allow the dish to rest for 5 minutes. Serve immediately.

Easy Potato Casserole

 Easy Potato Casserole

Easy Potato Casserole

Easy Potato Casserole

Grilled Three Cheese, Bacon and Chive Potatoes…

Summer time is grilling time. And I love to grill though I have to admit I’m not a purist. I grill on a gas grill. Some people like fooling around with coals and all that stuff. Not me. I like a grill that heats up on its own and can tell me the grilling temperature I am working with. That’s about how hard I want to work at grilling.

Things just taste better on a grill, don’t you think so? From chicken, to steak, to brats and burgers there’s nothing like it. So the other day I had it in my mind to grill a filet I’d had in my freezer for a while and I also decided to try grilling some potatoes in a foil packet. A few years ago I posted a recipe for a blue cheese, onion, garlic and basil potato packet. This time I tried for something that mimicked a steak house baked potato.

Now let it be known I love grilled steak, but this time I found the grilled potatoes to be the star of the meal. This recipe is so easy and so flavorful I bet it will become your go-to grilled potato recipe.

So let’s talk grilled three cheese and bacon potatoes…

coxo-v-blade-mandolineLesson Learned 1 – For uniformity in cooking, use a mandolin slicer to slice your potatoes: The mandolin slicer I use is pictured at the left. I like this particular one for a couple of reasons. First, it was reasonably priced. I just can’t see spending close to one hundred dollars on a mandolin slicer. This one is about half that amount. Second, it has a variety of blades and cutting options (slicing, julienne, french fries). It is a powerful tool that can cut your prep time significantly.

For me, the best part about a mandolin slicer is that you get uniform cuts. That’s important in this recipe. Having various thicknesses in your potatoe slices will skew the cooking time. You want all of the potatoes to be cooked through at the same time. I’ve found no better way to do that than with a mandolin slicer.

One other tip: You see that little round thing next to the slicing unit? That is a hand/finger guard. You should ALWAYS use that when cutting with a mandolin. The mandolin blade does’t distinguish between vegetable and human flesh. It will cut both easily and with equal proficiency. So be very careful when using a mandolin slicer if you cherish your fingers and hands.

Lesson Learned 2 – Keep the potatoes on a little longer for great crispiness on the bottom: This is the first time I tried these. When I checked the potatoes at 40 minutes at 400 degrees, they were done. But I still had more time left for finishing my filet. I left the packet on an additional 10 minutes and much to my surprise that created a wonderful crispy crust on the bottom of the pile of potatoes. It was almost like having a bottom layer of potato chips with the wonderfully soft and flavorful potatoes on top. I think I’m always going to do them this way. I loved the distinction between the crunchy bottom and the soft top. It was delightful!

Lesson Learned 3 – Bacon bits work really well with this recipe: Although you can fry and chop up your own bacon, I found that bacon bits work equally as well with this recipe and help save you some time. So don’t be afraid to use prepackaged bacon bits. Just remember to refrigerate what you don’t use

Lesson Learned 4 – The layering process is very simple: Here it is in pictures.

Place the potatoes and onion on a piece of foil sprayed with olive oil cooking spray

Place the potatoes and onions on a piece of foil sprayed with olive oil cooking spray

Top the potatoes and onions with the cheeses: cheddar, mozzarella and parmesan

Top the potatoes and onions with the cheeses: cheddar, mozzarella and parmesan

Top with bacon and chives

Top with bacon and chives

Crimp the top and sides of the foil and place on the grill

Crimp the top and sides of the foil and place the packet on the grill

Doesn’t the uncooked version look simply divine as well. I love the contrast of the colors. And this dish looks phenomenal both uncooked and cooked. And it’s really easy to put together. One potato serves two people so the dish is pretty economical as well. I loved this one so much I made it two nights in a row. I hope you love this too!

GRILLED THREE CHEESE BACON AND CHIVE POTATOES...

  • Servings: 4
  • Difficulty: Easy
  • Print

INGREDIENTS:

2 large russet potatoes, scrubbed and sliced to 1/8 inch thickness

1 medium onion, sliced

1/3 cup grated parmesan cheese

3/4 cup shredded cheddar

3/4 cup shredded mozzarella (I had unshredded mozzarella that I tore into small pieces)

1/3 cup bacon bits

2 Tbs. chopped chives

2 Tbs. of butter, cubed

Seasoned salt and black pepper

DIRECTIONS:

Light your grill to high heat. Divide the potatoes and onions up on two large sheets of foil sprayed with olive oil cooking spray.

Combine the cheeses and top the potatoes and onion with the cheese mixture. Top with bacon bit and chives. Dot the tops with butter. Season with seasoned salt and pepper.

Fold the foil over the top and crimp the edges. Fold the sides up and crimp the edges securely. Grill for 40 minutes (add an additional 10 minutes for a delightful crispy bottom).

Open the foil carefully and serve immediately.

Grilled Three Cheese and Bacon Potatoes

Grilled Three Cheese And Bacon Potatoes

Loaded Baked Potato Casserole…

I LOVE potatoes. As a friend of mine once said, “I never met a carb I did’t like.” That’s so true, but these days we know you need to balance your carb intake in order to stay healthy. Not an easy task for someone who was raised on meat and potatoes. But I’m trying.

I wanted to try a recipe like this for a while, so I justified it by serving it with baked cod and oven roasted asparagus. It turned out great and I was careful not to over indulge. So for all of my carb lovin’ friends out there, here’s one that you can add to your arsenal of recipes.

IMG_3125Lesson Learned 1 – Give the potatoes a head start: I know this and I still didn’t do it. It’s always best when making a potato casserole to cook the potatoes for about five minutes in boiling water. That takes the edge off of them. Because you cook this casserole for an hour and three quarters I didn’t think I would need to do that. Wrong. The potatoes were done but not as tender as I would have liked. So remember, give your sliced potatoes a bath in boiling water just until they start to soften slightly (no more than 5 minutes). Then drain them, being careful not to break them, and then put together your casserole. You’ll get great results.

IMG_3116Lesson Learned 2 – There can never be too much cheese: Originally I though this recipe would need two cups of cheese (1 of each type). Once I began to put together the layers I added even more (1/2 cup each). Make sure you get a good melting cheese like gruyere, havarti or monterey jack and generously cover the potatoes. You can combine that with some sort of cheddar or better yet be your own chef and experiment. I used a white cheddar gruyere blend combined with a marbled cheddar. It was delish.  I am writing the recipe from what I used, but you can certainly make substitutions.

This recipe is so easy and so good. It’s a great way to get the flavors of a loaded backed potato in casserole form. The leftovers are great as well. Just heat them in the microwave and serve. Enjoy!

Loaded Baked Potato Casserole 2

Loaded Baked Potato Casserole…

  • Servings: 4-6
  • Difficulty: Easy
  • Print

INGREDIENTS:

All natural cooking spray for the dish

2 large russet potatoes, sliced

1 large clove of garlic minced

3 green onions sliced diagonally

1 1/2 cup gruyer/cheddar blend, shredded

1 1/2 cup marbled cheddar cheese, shredded

6 slices hickory smoked bacon – cooked, drained and crumbled

1 cup whole milk

1 large egg

Salt and pepper to taste

2 tsp. fresh parsley

DIRECTIONS:

Preheat the oven to 375 degrees. Cook, drain and crumble the bacon. Slice the potatoes to 1/4 inch thick (use a mandolin slicer for the best results). But potatoes in a pan with cold water. Bring to a boil and cook for no longer than 5 minutes. Drain the potatoes immediately being careful not to break them.

Spray a stoneware tart pan with all natural cooking spray. Layer the potatoes in the dish, overlapping slightly. Sprinkle half the onions and garlic on top and season with salt and pepper. Cover the potatoes with half the cheese and sprinkle the top with half the bacon. Repeat with another layer.

In a separate bowl whisk the milk and egg. Add some salt and pepper. Pour the mixture over the potatoes. Sprinkle with parsley.

Cover and back for 75- 90 minutes or until the custard is cooked. Uncover and cook for an additional 10-15 minutes. Let rest for a few minutes before serving.

IMG_3172 2

 IMG_3184

Cheesy Potato and Green Onion Casserole…

For years I bought boxed potatoes to make potato casseroles to accompany a meal. The boxes contain a sleeve of freeze dried potatoes that look like petrified potato chips with a pouch of powdered cheese and flavorings, depending upon what kind you purchased (scalloped, au gratin, sour cream and onion, etc). To that you add some butter, water and milk, mix the conglomeration together and bake it in the oven. I never really thought about it, I just did it for the convenience of it all. NEVER AGAIN!

In previous blogs I’ve mentioned how over time I’ve begun to realize that there are many things you can easily make from scratch versus buying them pre-prepared at the grocery store. Things like applesauce, cranberry sauce, rouxs, pickles, soups, gravies, macaroni and cheese – the list can go on and on. The point is when you make something from scratch you control what goes into it. You control the sugars and sodium. You control the color naturally versus using dyes to achieve the desired affect. I’ve never made anything from scratch that included ingredients I could not pronounce much less spell, but I see them all the time on the packages at the grocery store.

I think we’ve come to believe that in the name of convenience it is ok to use prepackaged pre-prepared foods. And I am not one to point a finger at them, I’ve used them all my life. I guess what I’m trying to say here is that as I’ve become more adept in the kitchen I realize how easy it is to make things from scratch and in the end how much better that is for you. Don’t worry, I am not a purist. I’m sure in the name of convenience I will use a pre-prepared item myself from time to time. But more and more I’ve moved away from them and haven’t noticed a big difference in the time it takes to make certain things. Hence this recipe I am about to share.

oxo-hand-held-mandolineWhat makes this recipe so easy to make is a simple tool known as a mandolin slicer. There are tons of varieties out there, and the one in the picture to the right is what I use. When I publish something like this I always have to use the disclaimer that I work at Crate and Barrel. We carry a few varieties of mandolin slicers and this one is pretty affordable. I like it because it gives you a couple of different slicing widths, works well and it has the hand protector. But you can get a mandolin slicer just about anywhere and they can range in price from being extremely cheap to very expensive. If you invest in one, just make sure you at least get one that has some sort of hand protector.

One thing I have to stress here – if not used properly a mandolin slicer can be VERY DANGEROUS. You can slice a piece of your finger off just as easily as a piece of potato if you are not careful. Even with a hand guard you have to be very mindful when using one. The blades on these slicers are very sharp and before you know it, if you are not careful, you can really hurt yourself. So always use a mandolin slicer with the utmost care.

That being said, it is a great tool for quickly slicing things like potatoes, carrots, onions, etc. and getting even slices all the time. The key to success in this potato casserole recipe is the thin evenness of the potato slices. A mandolin slicer can give you that in no time flat (see the picture below). It would take much longer to do this by hand and the discs would not be nearly as precise in width.  So let’s talk a little bit about the lessons I learned developing this recipe.

IMG_2270

Lesson Learned 1 – Always use the mandolin slicer with the utmost care: I can’t help it, this just bares repeating. You won’t believe how easy it is to hack off a chunk of skin with this device. Please be careful using it. But when you use it safely, you will be amazed at how quickly you can produce nice even sized pieces of whatever you are slicing.

Lesson Learned 2 – This recipe is adaptable to a wide variety of cheeses: Normally some sort of cheddar cheese is a staple for this recipe. But over the holidays I had a disc of brie that I’d bought to make a holiday appetizer and I just mixed some of the remaining brie with the cheddar. Divine is all I can say about that. Gruyere is also a good cheese to use as well. Any good melting cheese or combination of compatible melting cheeses will do.

And speaking of melting cheese, don’t use prepackaged grated cheese. Those cheeses have an ingredient in them that keeps the grated pieces from sticking together. That ingredient also makes those cheeses difficult to melt. Grate the cheese yourself. You’ll get a much better consistency and much better flavor

The consistency of a roux

The consistency of a roux

Lesson Learned 3 – The formula for making any roux: Making a roux is the key to almost any homemade sauce or gravy. And you won’t believe how easy it is. All you have to do is remember one simple formula: equal parts butter and flour. This particular recipe uses three tablespoons of butter and 3 tablespoons of flour to create the roux. The amount you use can vary based on the size of the recipe. But remember it is always equal parts of each. The picture on the left shows what the consistency should look like, almost that of a thick, creamy paste.

I could not believe how simple this was to make and so much better than the boxed varieties. Play around with this one to see if you can create the flavor of cheese sauce you prefer the most. Right now I’m a cheddar and brie girl so that is how I am writing the recipe. But don’t be afraid to experiment with this one. I promise anything you do will be so much better than the boxed version of what you make. Enjoy!

Ready to pop into the oven...

Ready to pop into the oven…

Cheesy Potato and Green Onion Casserole…

  • Servings: 4
  • Difficulty: Easy
  • Print

INGREDIENTS:

2-3 large white russet potatoes, unpeeled

3 Tbs. butter

3 Tbs. flour

3-4 green onions, diced (use the green parts of the onion as well)

2 cloves garlic

1 tsp garlic powder

1 1/2 cups milk

1 cup grated cheddar cheese

1/2 cup brie cheese, cut into small pieces

Salt and pepper to taste

DIRECTIONS:

Preheat the oven to 375. Remove the skins from two cloves of garlic and drop them in a pot of cold water. Bring the pot of water to a boil on the stove, making sure the water is well salted. While the water is heating, cut the russet potatoes into 1/8 inch slices and put them in a bowl of cold water so they do not begin to brown. Slice the green onions and set aside. Grate the cheddar cheese and cut the brie into small pieces. Set both of them aside.

Once the water is boiling, put the potato slices in the water and cook them for about 5 minutes or until they just begin to soften.  When the potatoes begin to soften, gently remove them from the pan, drain them and pat them dry removing as much excess water as possible. Remove the discard the garlic cloves.

In a saucepan under medium heat, melt the butter. Add the flour and stir for about a minute until the mixture becomes a creamy paste (make sure to cook for about a minute so that there will be no flour taste). Add the milk and raise the heat to medium high. Once the milk begins to bubble you will notice it starting to thicken. Keep stirring the milk until it becomes thick. Once it thickens, add the garlic powder and cheeses. Stir until the cheeses are completely melted. Add the green onions and combine. Taste the mixture and add salt and pepper as needed. Remove the mixture from the heat.

Place the potatoes in a 1 1/2 quart casserole dish that was sprayed with cooking spray. Pour the cheese mixture over the potatoes. Bake at 375 for 50-55 minutes or until the potatoes are cooked through. For a finishing touch, at the end place the casserole dish under the broiler for a minute or two to brown the cheese.

IMG_2291

IMG_2308

Italian Sausage Tortellini Bake…

When I start to feel that Fall nip in the air I tend to think casserole. There’s just something about taking a bunch of ingredients mixing them together, sprinkling them with cheese and baking them off until they’re golden brown and bubbly. That says Fall to me.

IMG_0723I’m fond of this particular casserole for a variety of reasons. It’s one that helps you empty out the refrigerator, it’s easy to prepare and it also makes great leftovers. It started out with a package of cheese tortellini that I needed to use and then I morphed it into a dish that added a sautéed vegetable trinity, mushrooms, Italian sausage and a variety of cheeses. Needless to say that for a refrigerator clearing recipe it turned out mighty fine. And as with any casserole, all the work is in the prep. Once you’ve got it all together the oven does the rest.

Recipe Rating: A – easy to make, tons of great flavor – a stick to your ribs kind of dish.

IMG_0740Lesson Learned 1 – The beauty of this recipe is its adaptability: The basis for this recipe is tortellini, spaghetti sauce, mozzarella and parmesan cheese. You can do a down and dirty quick casserole with just those ingredients. Cook the tortellini according the packaged instructions, combine with sauce, top with cheeses and bake at 375 for 30 minutes. That’s it.  I had some celery, red pepper and mushrooms that I wanted to use. And I alway like to include onions and garlic whenever I can. To give the casserole more protein I added some italian sausage and I wound up with a “souped-up” casserole.

IMG_0748Lesson Learned 2 – The importance of deglazing: I prepped the ingredients for this casserole in the same pot in stages. I cooked the Italian sausage, browned the mushrooms, sautéed the onions, celery and pepper along with the garlic and at this point I had some lovely crusty bits on the bottom of the pan. I’ve learned over time that you never neglect those crusty bits. I’ll fill you in on a secret – that’s where all the flavor resides! I took a small amount of red wine (maybe one turn around the pan’s worth) and this nice cloud of smoke arose. After that I grabbed my trusty wooden spoon and voila – the crusty bits easily came off the bottom of the pan and combined with the other ingredients. Heaven!

IMG_0743Lesson Learned 3 – All ovens are not created equal: The cooking time in this recipe is based on my oven. When I researched similar recipes they said to bake this in the oven anywhere from 10 minutes to 30 minutes. I baked mine for 50 minutes and it turned out nicely browned, bubbly and hot all the way through. Get to know your oven and adjust the baking times accordingly. Since I live in high altitude I know that just about anything I cook in the oven will take longer than what is written in most recipes. So check your casserole at about 30 minutes and go from there.

This is a great fall supper. I served with with some roasted asparagus and crusty bread and it was a hit. Enjoy!


[recipe: title=”Sausage and Tortellini Bake…” servings=”6-8″ time=”1 1/2 Hrs. Including Prep” difficulty=”easy”]

Fresh out of the oven...

INGREDIENTS:

1 lb. ground Italian sausage, cooked – drained on paper towels

1 9 oz. package of tortellini, cooked according to packaged instructions and drained

1 medium sized onion chopped

3 medium sized celery stalks diced

1 sweet pepper, chopped

1-2 cloves of garlic, chopped

1 8 oz. package baby bella mushrooms, sliced

1-2 cups shredded mozzarella (half queso mozzarella preferred)

1/4 cup grated parmesan cheese or half parmesan, half romano

1 24 oz. jar of spaghetti sauce

Olive oil

1/8 cup dry red wine

Salt and pepper to taste

DIRECTIONS:

Preheat oven to 375. Cook tortellini according to packaged instructions. While the water is coming to a boil for the tortellini, add 1 Tbs. of olive oil to a hot pan. Cook Italian sausage until there is hardly any pink left in the meat. Drain sausage on paper towels and set aside.

In the same pan saute the mushrooms until lightly golden. Remove from pan and drain on paper towels. In the same pan add a little more olive oil and sauté the onions, celery and garlic. Salt and pepper to taste. Once slightly soft and translucent, add the chopped garlic and cook until fragrant – about 1 minute or less. Add the red wine and deglaze the pan. Add back the Italian sausage and mushrooms and heat through.

Drain the tortellini. In a large bowl combine the tortellini and sausage mixture until well combined. Pour mixture into a 3 quart casserole dish. Top with mozzarella cheese and then with grated parmesan (I used a grated parmesan and romano mixture as I had both cheeses in the refrigerator) Bake at 375 for 50 minutes (depending on where you live you may want to start checking this at 30 minutes) or until casserole is browned and bubbly.

[/recipe]


Ready to pop into the oven...

Ready to pop into the oven…

Fresh out of the oven...

Fresh out of the oven…

IMG_0806


IMG_0814