Mini Cherry Cheese Danishes…

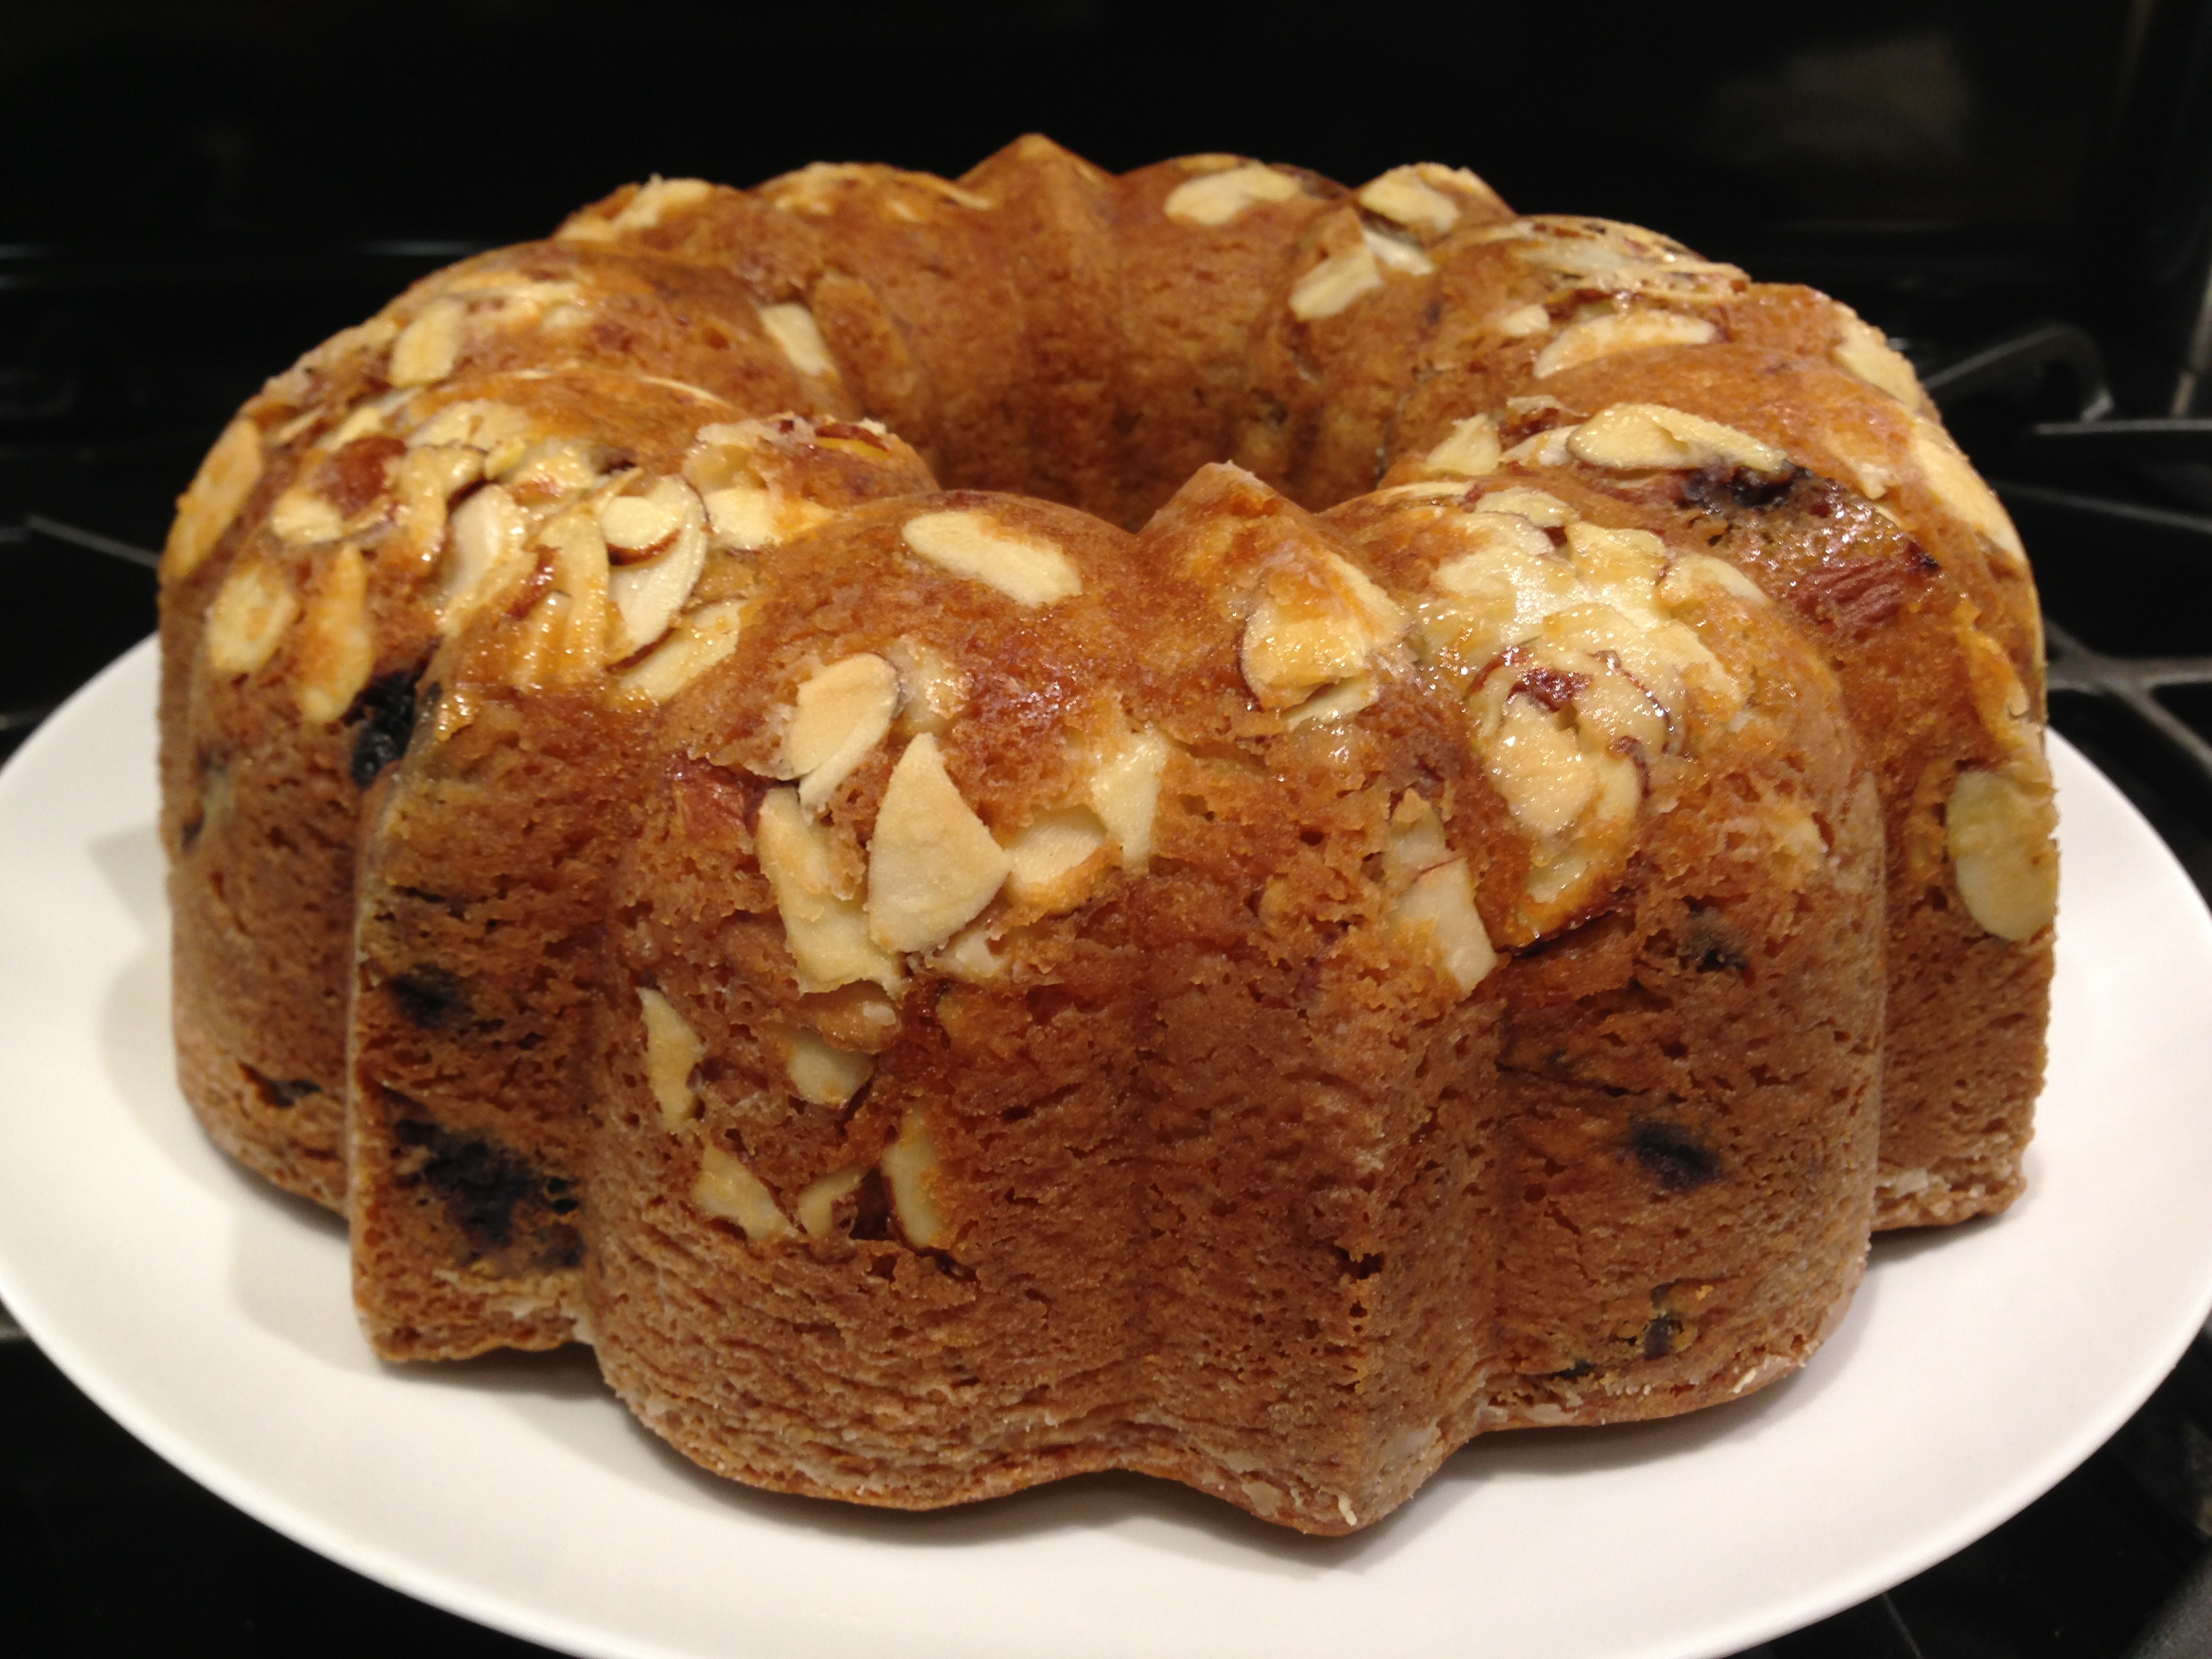
This recipe was born out of leftovers I had from making my Chocolate Cherry Cream Cheese Cake. I still had some of the cream cheese mixture and cherry pie filling leftover and really didn’t want to just throw them out. I searched online to see if I could get some ideas and found something similar to this and thought, I’ll make some mini cheese danishes.

Apparently a lot of people are using refrigerated dough to makes these types of recipes. I was surprised to find crescent dough “rounds”. I’d never seen them before. I was thinking I might have to take the traditional crescent dough and pinch the seams in order to get the rounds I needed. I was delighted that I did not have to do that work, that it was already done for me.

So let’s talk mini cherry cheese danishes…

Lesson Learned 1 – Working with the refrigerator dough: Using this kind of dough is very convenient but you do have to work it a little bit. I cut the pieces along the pre-perforated edges as best I could (I wound up with 9 rounds and  I should have only had 8 if I followed the perforations exactly – oh well…) and  rolled each piece into a ball. I flattened each piece with my hand and then used my thumbs to create a crater inside the dough. The crater is important because that’s where you put the cream cheese and cherries. Making the crater as deep as possible helps to prevent the cherries from falling off. But don’t worry, if they do once you pull them out of the oven just use a small spoon to push them back on top. Once they cool they will stay put.

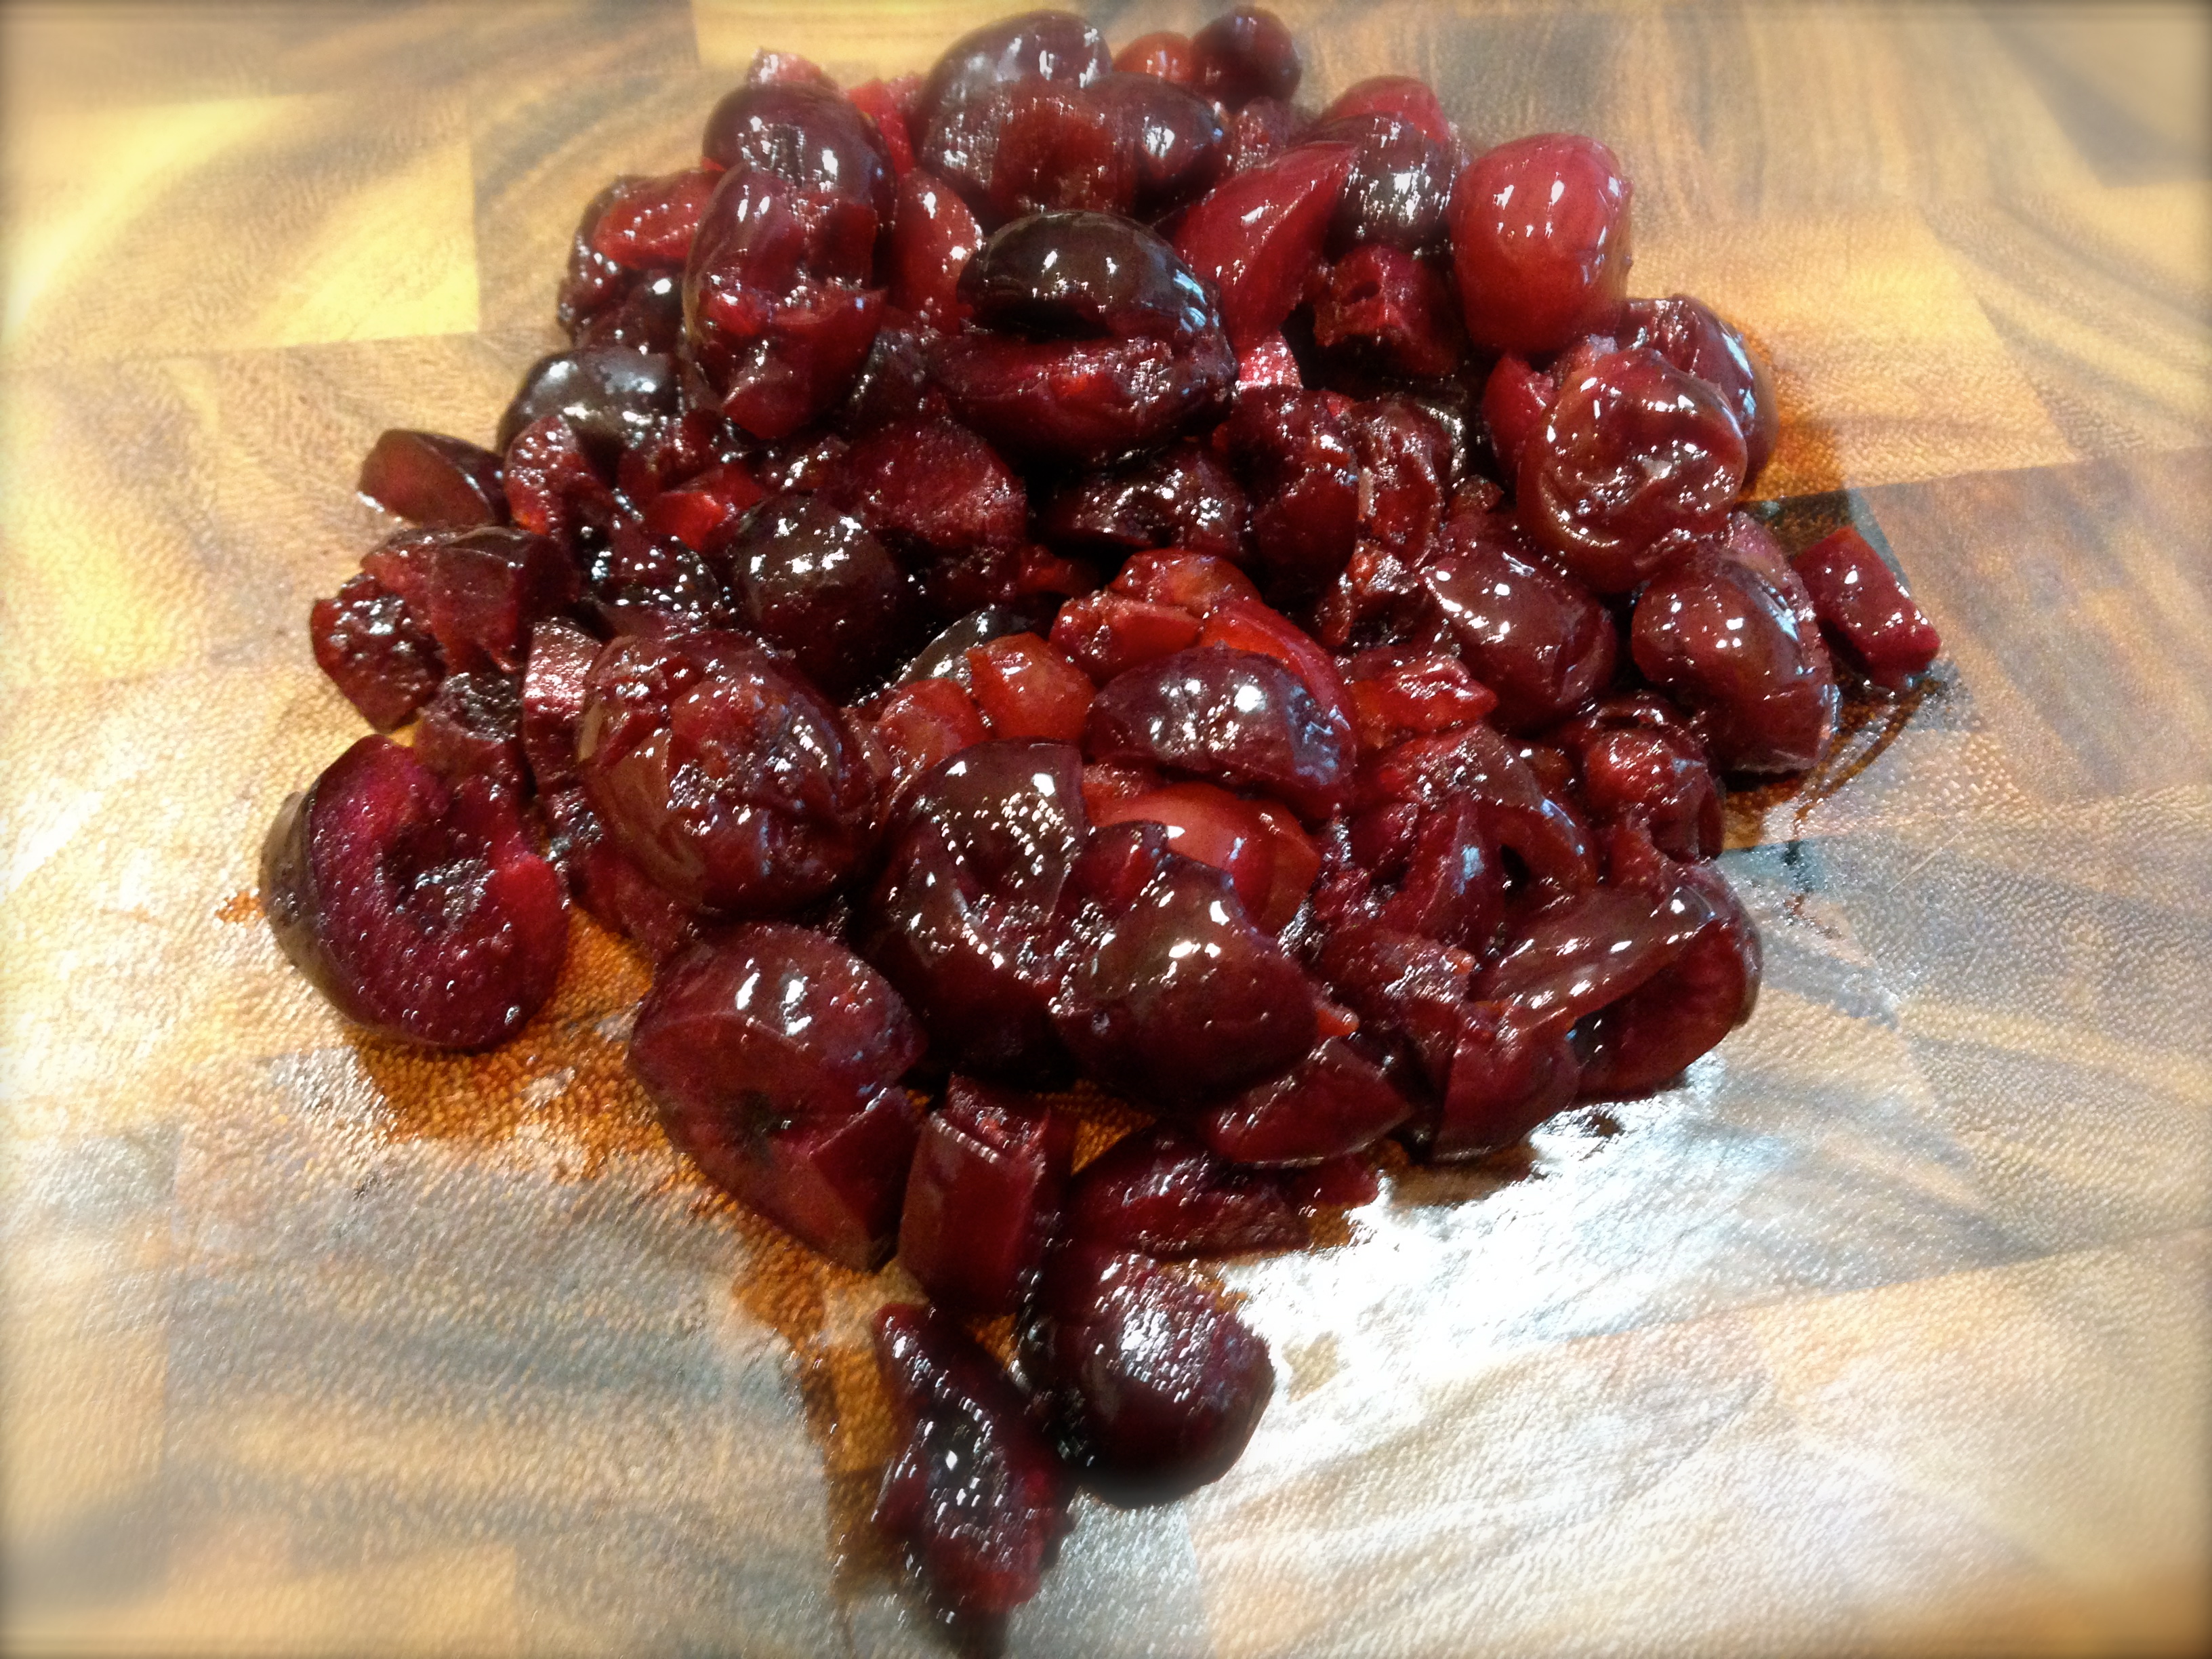
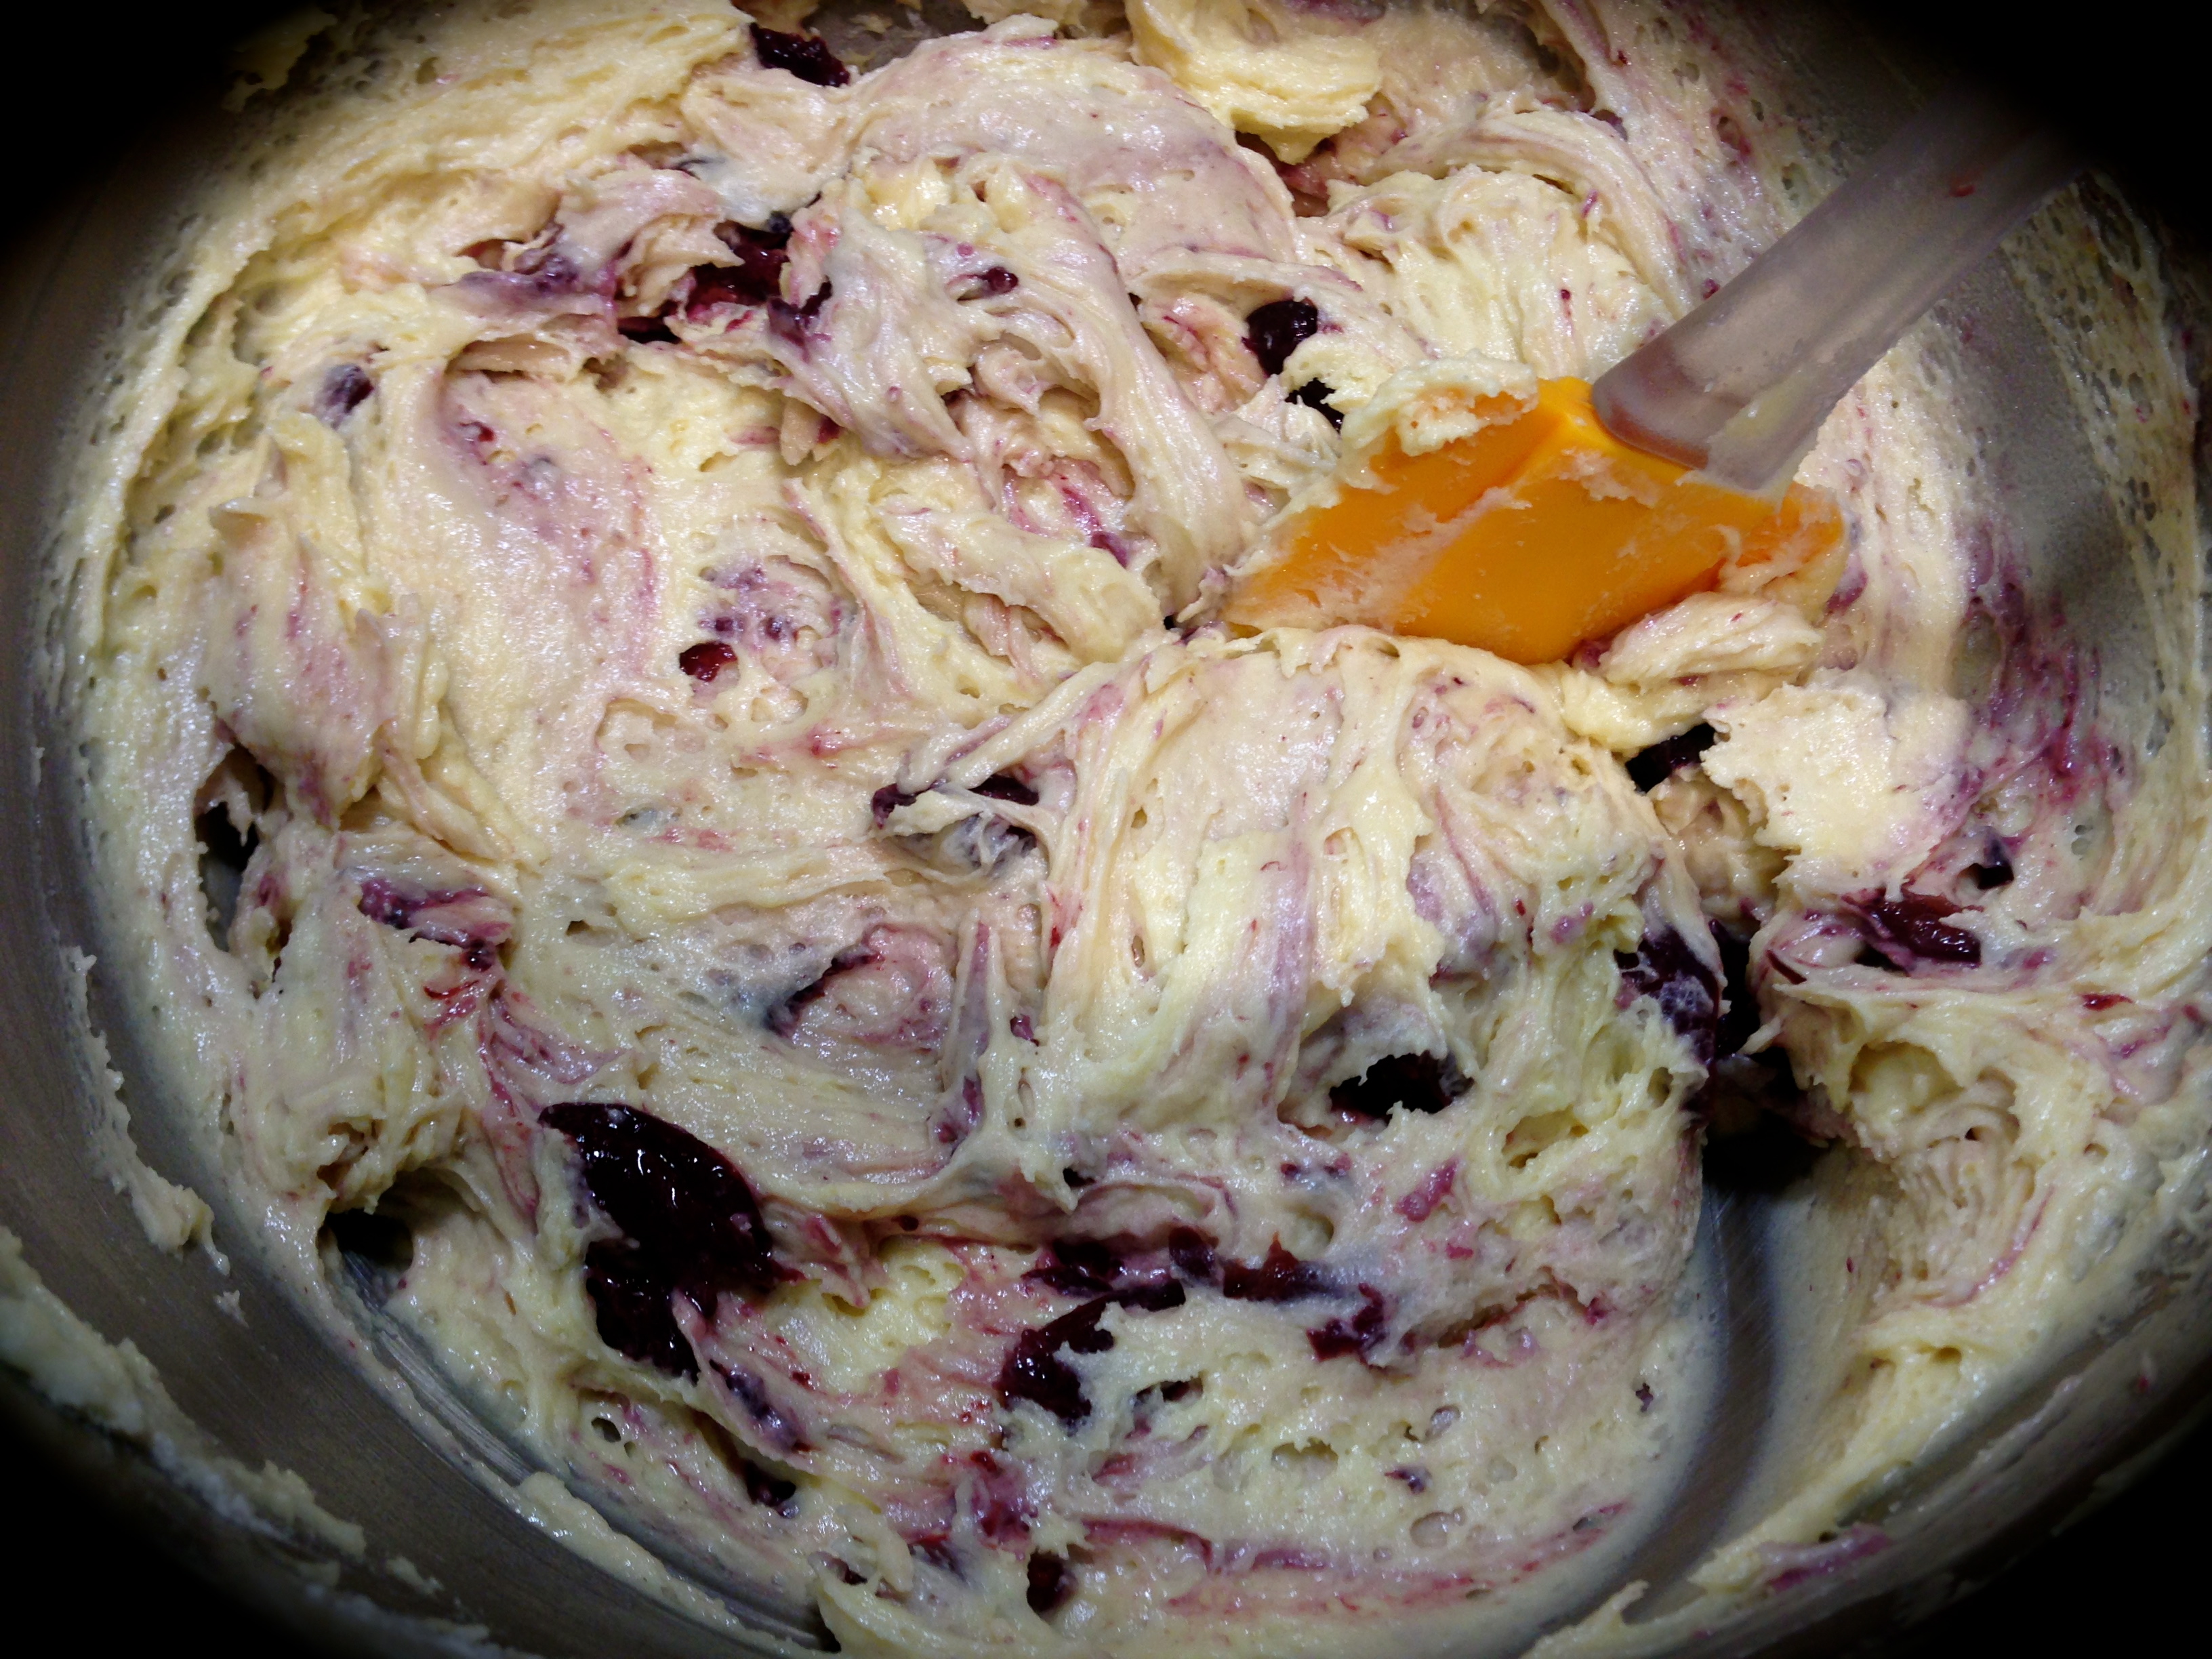
Lesson Learned 2 – The cream cheese filling: This recipe was inspired by the cream cheese filling and canned cherries I had left over from making a Chocolate Cherry Cream Cheese Cake. After I made the cake I had enough filling and cherries left over that I really didn’t want to just throw out. This recipe is designed for that type of leftover. You can make the filling for this recipe versus using leftovers, and I will include the the recipe for the filling I used, but any type of cream cheese filling will do. Plus if you make the filling from scratch you will definitely have too much filling. There have been many times I’ve had filling like this left over and I just trashed it. But even if I didn’t have any leftover canned cherries, another type of fruit could be substituted, like left over apple sauce or apple pie filling. This recipe is a very easy way to use your baking leftovers.

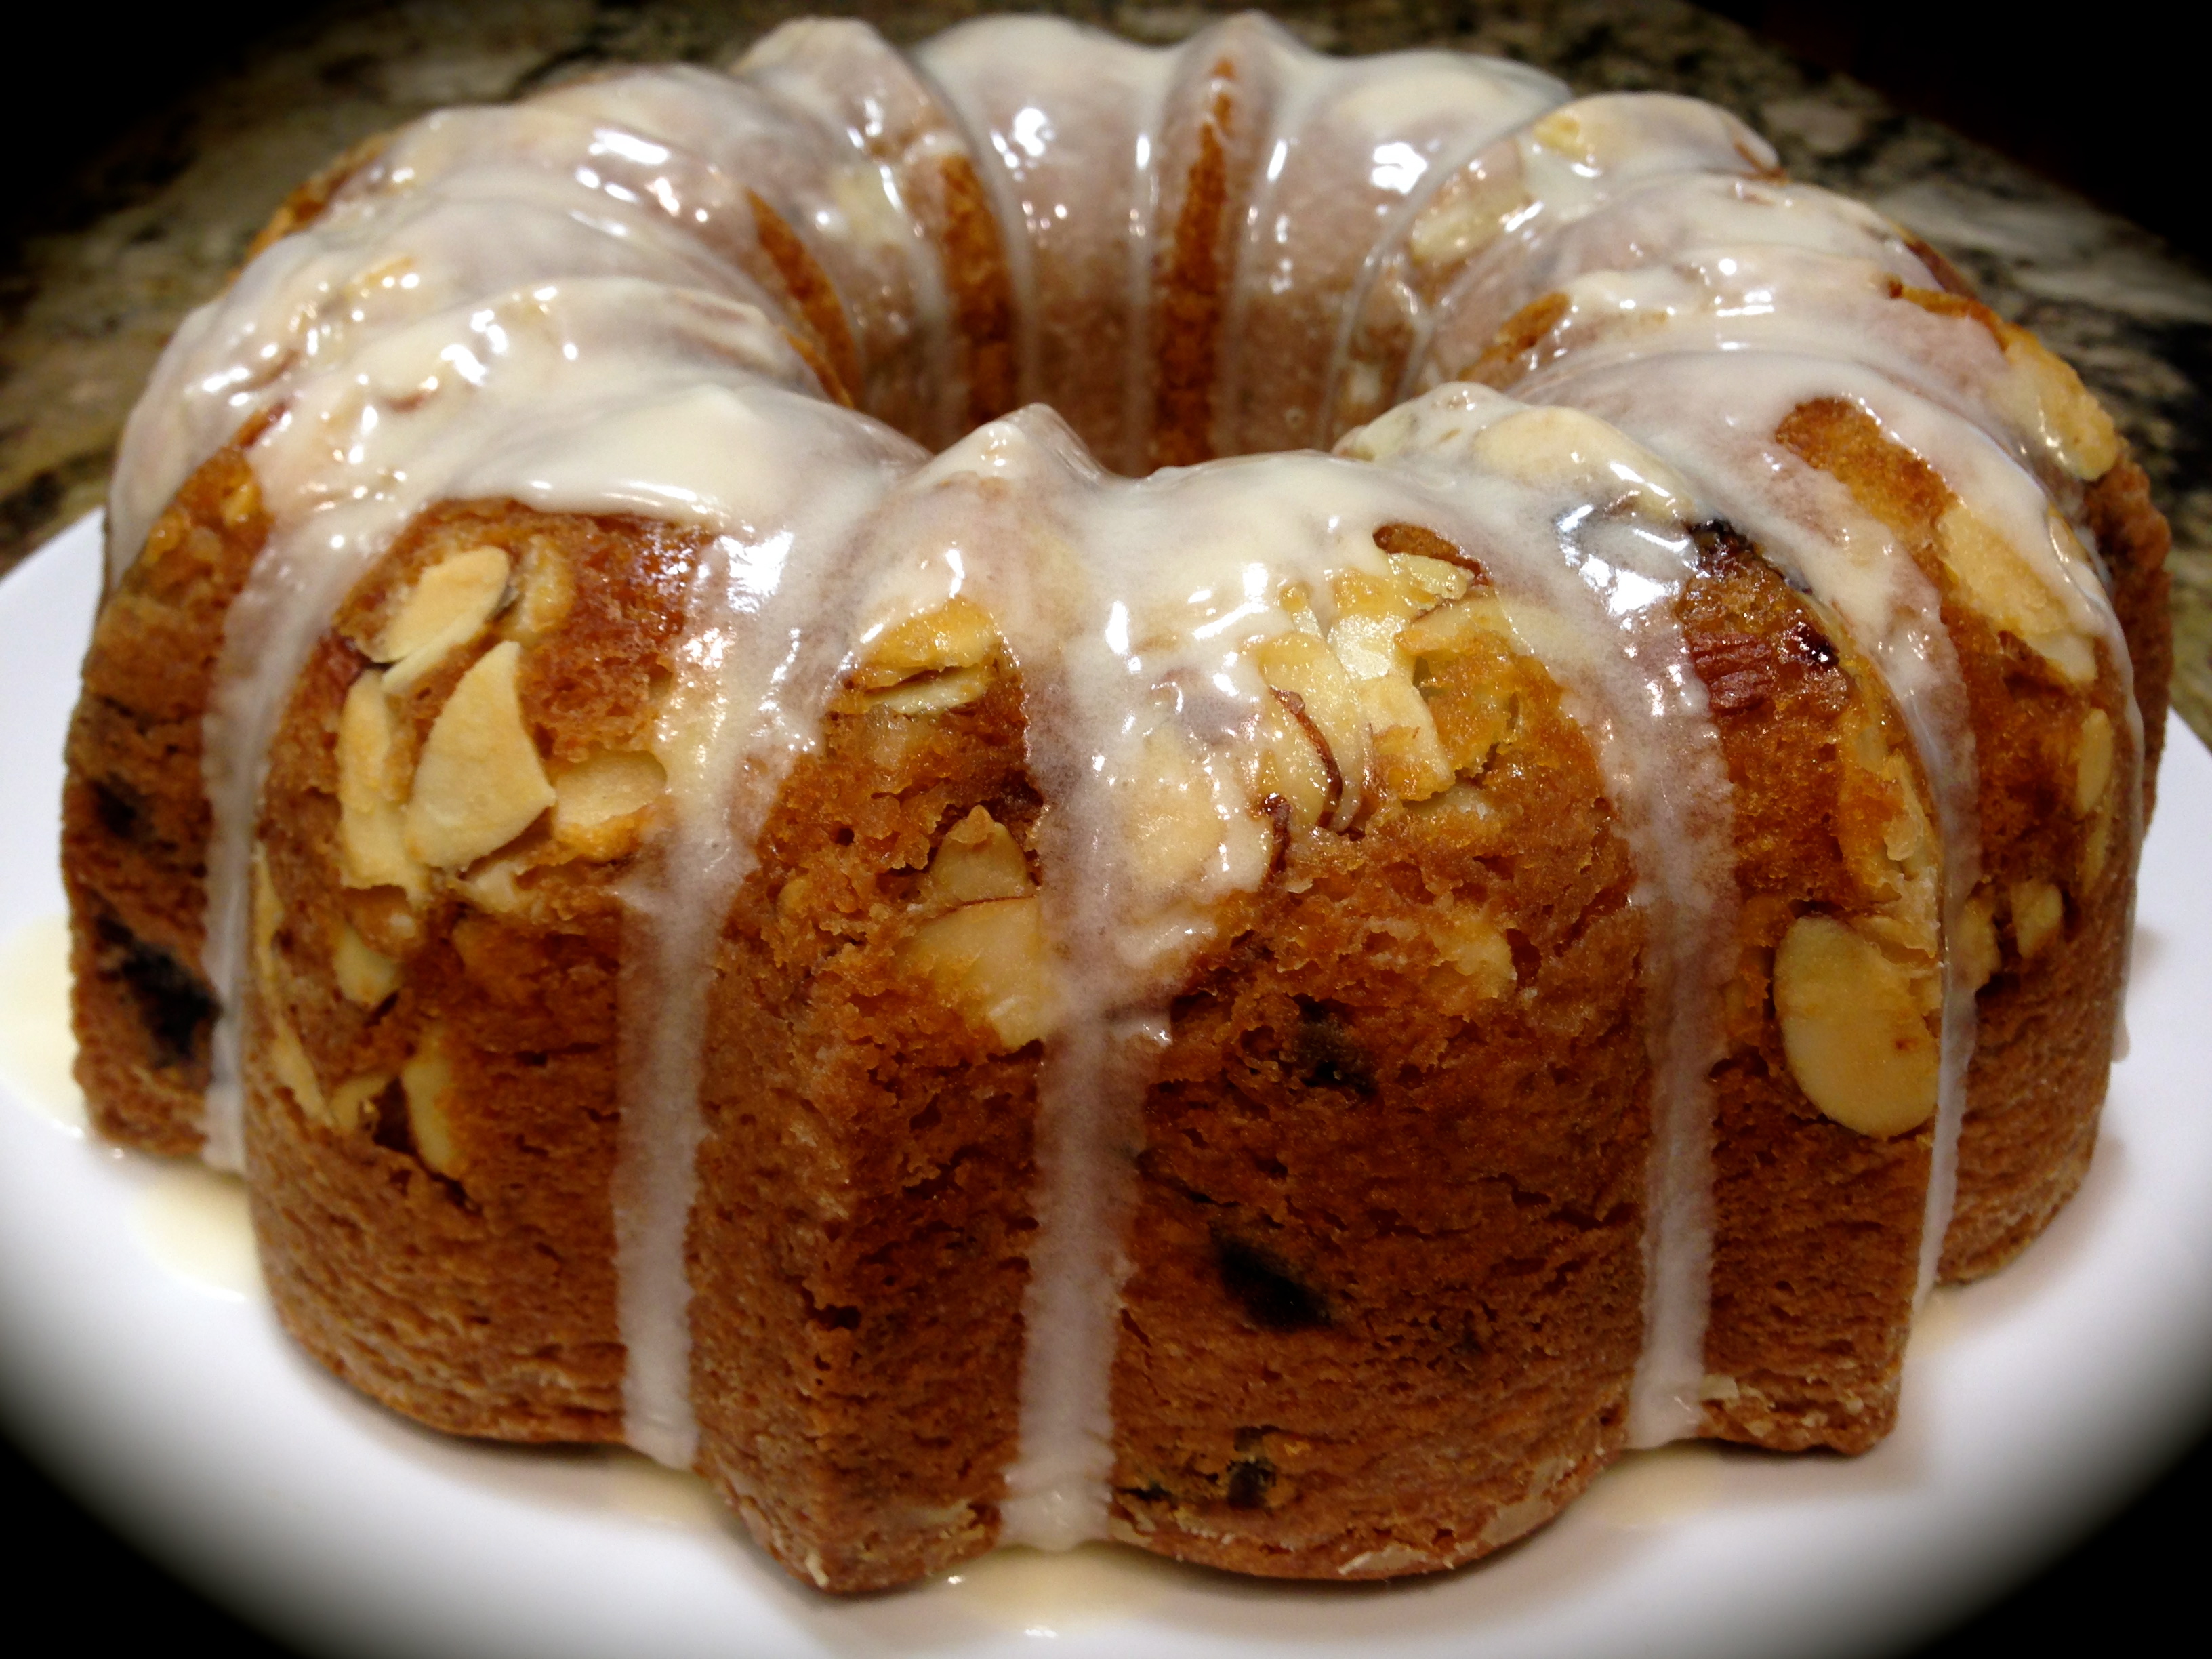
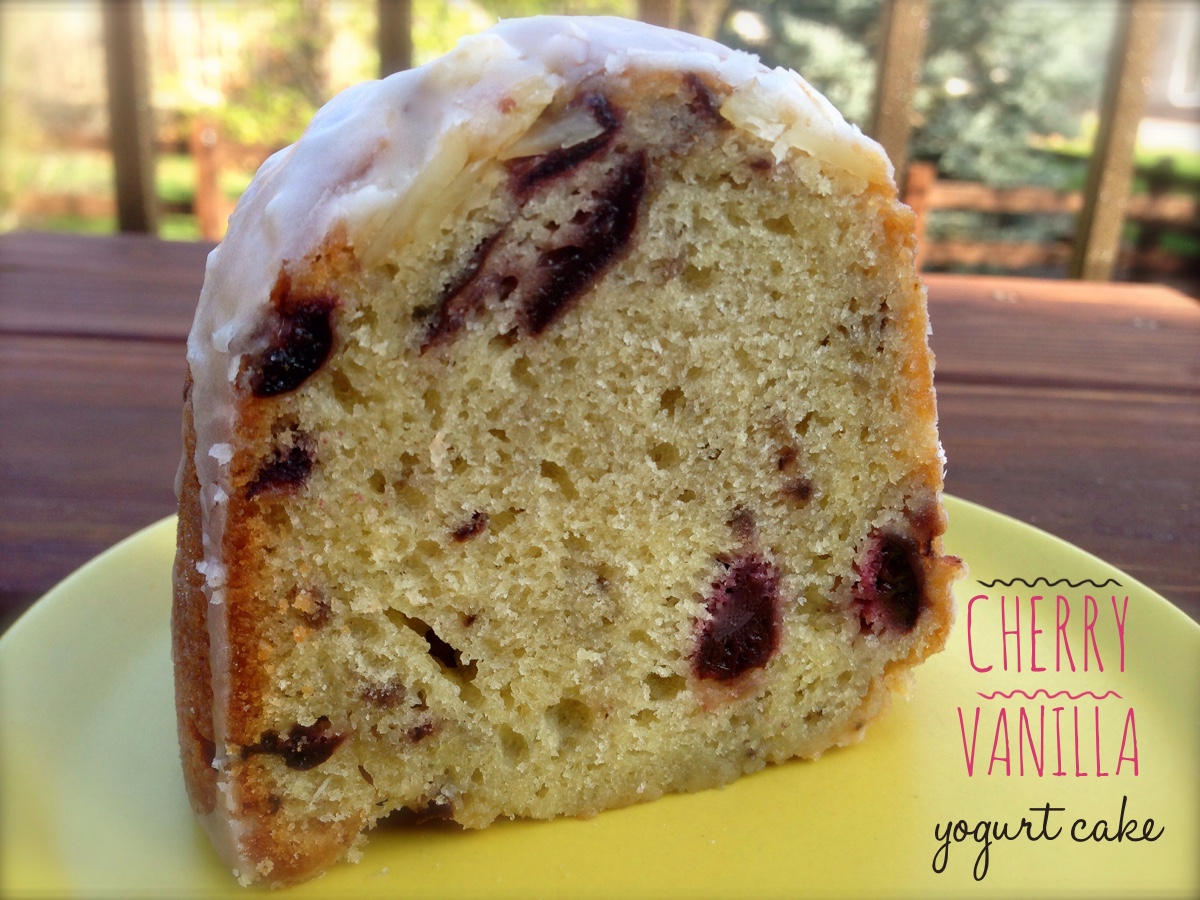
Lesson Learned 3 – The Glaze: As I’ve shared before the formula for glaze is quite simple – a cup of confectioners sugar and 1 – 2 tbs. of liquid (water, milk, heavy cream) and a little flavoring like an extract, juice, and/or zest. For this recipe I used 1/8 tsp. of almond extract and the glaze was perfect.

My husband really liked these tasty little bites. Cover them with plastic wrap or put them in an air tight container and they’ll stay fresh for 3 days, if they even last that long. I know mine didn’t. Enjoy!

Mini Cherry Cream Cheese Danishes

  • Servings: 9
  • Difficulty: Easy
  • Print

INGREDIENTS

1 can of crescent rounds, I used Pillsbury

Leftover cream cheese filling (note recipe below was the filling I used but if made from scratch is too much for this recipe)


2 – 8oz. packages cream cheese, softened

1/2 cup + 2 Tbsp. sugar

1 tsp. vanilla extract

3 Tbs. flour

1 egg, room temperature


Leftover fruit  – I used leftover canned cherry pie filling

GLAZE:

I cup confectioners sugar

1 – 2 tsp milk

1/8 tsp almond extract

DIRECTIONS:

Preheat oven to 375. Line a 9 x 13 pan with parchment paper and set aside.

Open the can of refrigerator dough and cut the dough rounds using the perforations as a guide. Roll each into a ball. Flatten each ball with the palm of your hands and create a crater in the center of each with your thumbs.

Place a half teaspoon of cream cheese filling and 2-3 cherries inside each crater.

Bake for 10 – 12 minutes.

Remove each danish onto a wire rack and let cool. If any cherries have fallen off during the baking process, spoon them back on top before placing on the wire rack.

Once cooled, make the glaze and drizzle over the danishes. Serve or place in an air tight container. Danishes will stay fresh for approximately 3 days.

Ready To Go Into The Oven

SaveSave

SaveSave

SaveSave

SaveSave

SaveSave

SaveSave

SaveSave

SaveSave

SaveSave

SaveSave

SaveSave

SaveSave

SaveSave

SaveSave

SaveSave

SaveSave

SaveSave

SaveSave

Chocolate Cherry Cream Cheese Cake…

What can I say about this one. It is simply over the top. Not only does it taste divine but it’s gorgeous. What more can you ask for from a cake? Now I’ll admit this cake takes a little more work than most but the result is breathtaking. This is possibly the most professional looking cake I’ve ever made. And we know looks are important but bottom line it has to taste good. Well let me tell you in the taste department I would consider this to be divine. I mean what’s not to love – chocolate, flavorful cream cheese, cherry pie filling, vanilla glaze – it just doesn’t get much better than that.

So let’s talk chocolate cherry cream cheese cake…

Lesson Learned 1 – Be organized when you make this cake: Really you should be organized when you make any cake but this one has so many components to it that your experience making it will be so much more delightful if you plan this out before you make it. Think about this one in stages.

  1. Get everything out in plenty of time that needs to be room temperature. In this recipe that means the eggs and sour cream. No need to worry about the butter because you melt that.
  2. Get the oven preheating. I believe it is better for your oven not only to be preheated but to be at the desired temperature for at least 5-10 minutes so that once you pop the cake pan in you can count on the oven truly being the correct temperature all throughout.
  3. Put together the dry ingredients (flour, sugar, kosher salt and baking soda) and set them aside.
  4. Measure out all of the remaining ingredients. I use little bowls to organize what needs to be measured. That way when you come to a certain juncture in the process you are all ready to go. This includes opening up the can of cherry pie filling and measuring out the amount needed. As you do that, try to opt for more cherries than filling as some fillings tend to be more juice and less cherries.
  5. Count out, drain and rinse your maraschino cherries. For my pan I needed 16 cherries, so a small jar of cherries will work just fine.
  6. Assemble the chocolate mixture.
  7. Make the batter by combining the chocolate mixture with the dry ingredients. Now you’re ready to go.
  8. Wait to spray your bundt pan until the very end. For this recipe I recommend using a baking spray with flour. Coat the bundt pan liberally. You want it to be glistening all over before you begin assembling the cake.

Because there are so many components to this recipe I guarantee you will be a lot happier and have more fun making this cake if you organize yourself.

Lesson Learned 2 – Making the glaze: Making glaze for any type of cake or pastry couldn’t be easier. All it requires is some confectioners sugar, some liquid and perhaps some sort of additional flavoring. You can use water, milk, or heavy cream for your liquid and you can use a little extract, juice or zest to enhance the flavor of the glaze. More often than not I use milk as the liquid and in this particular recipe I used a little vanilla extract to enhance the flavor.

Keep in mind you need very little liquid to create a glaze. Normally it works out to about 1 cup of confectioners sugar to about a tablespoon or so of liquid and then, if using a liquid extract, only about 1/8 teaspoon of that. But don’t get bogged down in the measurements. If your glaze is too thick just add a little more liquid to thin it out. If it becomes too runny, add a little more confectioners sugar. Glaze is very forgiving and can be made to the correct consistency with some easy minor adjustments.

One caveat – don’t use the additional flavoring to thin out a glaze. The flavor can become overpowering if you do that. And lastly, I don’t always have heavy cream around the house, but when I do I use it as my liquid. That is when you get the richest flavor. I just can’t convince myself to buy a pint of heavy cream for the needed tablespoon I will use in a glaze. But it’s all up to you.

This cake is so good and so worth the effort. Try it – I just know you will like it!

Chocolate Cherry Cream Cheese Cake...

  • Servings: 12-14
  • Difficulty: Medium
  • Print

INGREDIENTS:

2 cups flour

1 1/2 cups sugar

1 tsp. kosher salt

1 tsp. baking soda

1 cup water

3/4 cup unsalted butter, melted

1/3 cup cocoa powder

1 Tbs. espresso powder

3/4 cup bittersweet chocolate chips

1/2 cup sour cream, room temperature

2 eggs, room temperature, slightly beaten

1 tsp. vanilla extract

1 1/2 tsp unsalted butter, melted

1 Tbsp. brown sugar

16 maraschino cherries, rinsed and drained

3/4 cup cherry pie filling

CREAM CHEESE FILLING:

2 – 8oz. packages cream cheese, softened

1/2 cup + 2 Tbsp. sugar

1 tsp. vanilla extract

3 Tbs. flour

1 egg, room temperature

GLAZE:

1 cup confectioners sugar

1 – 2 Tbs. water, milk or heavy cream

1/8 tsp. vanilla

DIRECTIONS:

Preheat oven to 350 degrees. Make the cream cheese filling by beating together the cream cheese, sugar and vanilla until fluffy. Add the flour and egg and beat until smooth. Set aside.

In a large bowl combine the flour, sugar, salt and baking soda. Whisk until thoroughly blended. Set aside.

In a saucepan melt the 3/4 cup butter. Add the water and stir to blend. Add the cocoa and espresso powder and whisk until there are not lumps. Add the chips and stir until they are completely melted and the mixture is smooth.

Add the chocolate mixture to the dry mixture and whisk until combined. Blend in the sour cream. Add the eggs and vanilla and mix until combined.

Spray a 10-12 cup bundt pan thoroughly with baking spray with flour. Melt the 1 1/2 tsp of butter and pour it evenly into the bottom of the pan. Evenly sprinkle the brown sugar on top of the melted butter. Place two cherries on top of the brown sugar in each of the larger grooves of the bundt pan.

Fill the bundt pan with half the chocolate batter. Spoon in the cream cheese filling on top making sure not to have the filling touch the sides. Spoon the cherry pie filling on top of the cream cheese, making sure the filling does not touch the sides of the pan. (You may have some leftover cream cheese and cherry pie filling). Pour the remaining batter evenly on top making sure to cover the cream cheese and the cherry pie filling completely.

Bake for 50-60 minutes or until a toothpick inserted in the center comes out clean. Cool the cake in the pan on a wire rack for 10 minutes. Put a plate over the bottom of the pan and flip the cake out of the pan onto the plate and let cool completely.

Mix together all of the ingredients for the glaze. Drizzle the glaze over the cooled cake.

Pour the melted butter evenly over the bottom

Put the brown sugar on top of the butter

Place the cherries in the larger grooves

Layer the ingredients

The cake right out of the oven

SaveSave

SaveSave

SaveSave

SaveSave

SaveSave

SaveSave

SaveSave

SaveSave

SaveSave

SaveSave

SaveSave

SaveSave

SaveSave

SaveSave

SaveSave

SaveSave

SaveSave

SaveSave

SaveSave

SaveSave

SaveSave

SaveSave

SaveSave

SaveSave

SaveSave

SaveSave

SaveSave

SaveSave

SaveSave

Cherry Vanilla Yogurt Bundt Cake…

I haven’t made a bundt cake in a long, long time. Every time I think of a bundt cake, I remember the scene from “My Big Fat Greek Wedding” when the Millers bring a bundt cake to the Portocalus family dinner and Toula’s mother Maria doesn’t have a clue what “bundt” means. That was some pretty funny stuff.

https://www.youtube.com/watch?v=WPvO53JHnmY

IMG_4659What I like about bundt cake molds are their artistry. They give a professional look to any recipe with very little effort. In recent years they’ve gotten fancy with bundt molds, from rose designs to vertical swirls, to picture cut outs that can define the top of the cake. I personally prefer the traditional bundt mold as its designed to allow glaze to fall down the sides of the cake in beautiful uniformity. With the newer molds if you glaze them you basically cover up the design. So all you can put on them and still see the design is powdered sugar. Dusting a cake with powdered sugar is fine, but I like to have a couple of options for decorating rather than being held to just one. 

This recipe is adapted from one I found on Pinterest. I had to adapt it to high altitude (and I’ll include both sea level and high altitude instructions). I also used frozen cherries instead of fresh (as cherries are not in season yet) and will explain what I discovered about doing that in my lessons learned. I have to admit I was surprised at how beautiful the cake turned out. I haven’t made a bundt cake in a long time. But I will definitely be making more in the future. Try this one, I think you will really enjoy it!

IMG_4577Lesson Learned 1 – What to think about when using frozen fruit: I’ve used frozen fruit before in recipes and normally if they’re smaller in size, like blueberries, I add them frozen. That way you don’t have to mix them with flour to ensure they will evenly distribute throughout the batter. But this particular recipe originally called for fresh cherries pitted and diced. Cherries are not in season now so all I had to work with were frozen ones. If you use frozen cherries, dice thaw and drain them first. Otherwise you will have huge pieces in the cake. Make sure you drain them well as they give off a lot of moisture. I would do this about an hour or so before making the cake to ensure you are getting out as much moisture as possible before putting them into the batter. Dice them while they are frozen and let them drain after that. It worked great as you can see by the pictures.

Lesson Learned 2 – Adapting for high altitude: This may not apply to many of you, but living in an area over 5,000 feet I’ve learned a few tricks, out of necessity, to make sure baked goods turn out as intended. In high altitude the air pressure is lower. The lower pressure causes baked goods to rise more easily and liquids to evaporate more quickly. If adjustments are not made to recipes, cakes can turn out dry or fall in on themselves due to the cell walls of the cake stretching (due to the lower pressure) until they burst. I can tell you from experience, I’ve had many, many disasters related to baking in high altitude.

In high altitude, flour acts as a strengthener in cakes. So I normally use only high altitude flour and add 1 – 2 tablespoons of additional flour per cup. In this recipe I only had to use 2 additional tablespoons of flour total. Sugars and fats act as tenderizers and need to be slightly reduced in recipes. Normally I reduce sugar by 1 – 2 tablespoons per cup, which I did in this case. And I always use extra large to jumbo sized eggs as they add strength to the batter. Sounds complicated I know, but once you’re faced with doing it on a regular basis you get use to it and to the point where you can eyeball a good batter consistency.  This particular cake turned out beautifully by adding 2 additional tablespoons of flour and reducing the sugar by 2 tablespoons per cup.

IMG_4601Lesson Learned 3 – The importance of greasing and flouring the bundt pan: Take the time needed to thoroughly grease and flour the bundt pan. This is a little more time consuming than it might look as there are more nooks and crannies than you may think. But take the time, make sure every area is well coated with grease (I used unsalted vegetable shortening), wipe away the excess and flour the bottom, walls and inside flute completely (as seen in the picture). Once I finished I took the pan and held it about an inch over my butcher block and dropped it. I repeated this process a couple of times. By doing this I was able to dislodge and discard any large amounts of flour remaining resulting in a nice even coating of shortening and flour. The cake dislodged beautifully (and easily) as you can see. This is a very important step so don’t skimp on this process.

Lesson Learned 4 – Using heavy cream in a glaze: Many glaze recipes are made with milk, water or juice. I like to add some heavy cream to the glaze. I find it gives the glaze a richer consistency. With this glaze I used 2 tablespoons of heavy cream and 2 tablespoons of milk. That may sound like a lot, but the heavy cream does not dilute the sugar in the same way as milk. I needed to add a little more milk the get the consistency I desired. Start out by using only 1 tablespoon of milk and check the consistency of the glaze before you add more.

I was so pleased with how this cake turned out. It not only tasted good but looked like it had been made by a professional baker. So if you want a great cake and want to impress your friends as well, this is definitely the one to make!

IMG_4695

Cherry Vanilla Yogurt Bundt Cake…

  • Servings: 12
  • Difficulty: Easy
  • Print

INGREDIENTS:

2 1/2 cups of flour, divided (add 2 additional Tbs. for high altitude)

1/2 tsp. baking soda

1/2 tsp. salt

1 cup unsalted butter, room temperature

3 cups sugar (reduce by 2 Tbs. per cup for high altitude)

3 extra large to jumbo eggs, room temperature

1 Tbs. vanilla

8 ounces vanilla Greek yogurt

8 ounces frozen cherries, diced, thawed and drained

ALMOND TOPPING:

1/2 cup sliced almonds

2 tsp. sugar

1 Tbs. unsalted butter, melted

GLAZE:

1 cup confectioners sugar

1/2 tsp. vanilla

2 Tbs. heavy cream

1 Tbs. milk (may need more depending on consistency)


DIRECTIONS:

Preheat the oven to 325 degrees. Generously grease and flour a 10-12 cup bundt cake pan. Set aside.

Sift together 2 1/2 cup flour, baking soda and salt. Using a stand mixer beat together the butter and sugar until creamy. Add eggs one at a time and incorporate completely. Beat in the vanilla.

Alternate adding the flour and yogurt to the butter mixture, starting and ending with adding flour. Do not over mix. Take cherries and toss with 1/4 cup flour. Gently fold the cherries into the cake batter until evenly distributed.

In another small bowl, stir together the almonds, sugar and melted butter. Scatter this mixture evenly on the bottom of the bundt pan. Pour the cake batter over the almond mixture dispersing it evenly in the pan. Bake for 60 minutes or until a toothpick inserted in the center of the cake comes out clean.

Cool the cake for 15 minutes. Transfer the cake to a wire rack and cool completely.

Mix together the glaze ingredients until smooth and drizzle the glaze over the top of the cake.

The Consistency Of The Batter With The Frozen Cherries Incorporated...

The Consistency Of The Batter With The Frozen Cherries Incorporated…

Put The Almond Mixture Evenly In The Bottom Of The Pan...

Put The Almond Mixture Evenly In The Bottom Of The Pan…

Distribute The Batter Evenly In The Cake Pan...

Distribute The Batter Evenly In The Cake Pan…

Cool Completely Before Glazing...

Cool Completely Before Glazing…

design