Take it from me, if you’ve not been in the habit of making homemade soups you’re missing out on something special. I don’t know why it took me so long to get with the program, but now I’m a homemade soup junkie! I guess I never realized how incredibly easy it is to make homemade soup. Plus you can control everything that goes into it and I am a big fan of that.
Let me give you a little backstory regarding how I came about making this particular soup. A little while back, here in Colorado, we were forecast to have a blizzard. We were being told we could get anywhere from 4 inches to a foot of snow with blustery winds. As the day got closer it looked like we might be spared the heavy stuff. So at first I wasn’t overly concerned. In my mind 4 inches of snow could hardly constitute a blizzard. But I was wrong.
I found out an interesting piece of information regarding blizzards. Blizzards are not forecast due to the amount of snow that falls. They are forecast due to heavy winds that accompany a snowfall. When you think about it, that makes sense. Regardless of the amount of snow if the winds cause white out conditions that is extremely dangerous. And so, a blizzard we did get with wind gusts up to 80 miles an hour but only 4 inches of snow. Some areas got almost two feet!
So, knowing that I would be home bound for at least a day made me go into full test kitchen mode. What a great way to test some recipes and get them in the queue for publishing. And that’s exactly what I did – and cauliflower soup was one of the recipes I played with on that day.

So let’s talk Cauliflower and Carrot Soup:
Lesson Learned 1- The cut size of the vegetables is key: I used a 2 1/2 pound head of cauliflower and two cups of sliced carrots. It is important to cut up the cauliflower into small florets. If you don’t they won’t cook in time. I also took baby carrots and sliced them thinly on the diagonal. I wanted to make sure the carrot pieces were not overly thick so they would also cook in the allotted time. The picture below gives you some idea of the cut sized I used. They cooked perfectly in the time allotted.

Carrots Onions And Roasted Garlic
Lesson Learned 2 – Take the time and roast the garlic: Have you ever roasted a head of garlic before? It’s really quite easy and the result is fabulously sweet, flavorful garlic. The process is extremely simple. Cut off the top of the entire garlic bulb about 1/4 – 1/2 inch down, place the bulb in foil (do not remove the skins), drizzle the top of the bulb with olive oil, cover it with foil (I recommend adding an additional layer of foil to protect against oil leaking out of the wrapper) and roast at 400 degrees for 45 minutes to one hour. When you take the garlic out of the oven you want the individual garlic cloves to be fork tender – that’s how you know it’s done.
I roasted my garlic in the toaster oven and put it on a foil lined sheet as extra protection from leaking oil. Once the garlic cooled I merely turned the cut side down and squeezed. The soft delicious cloves popped right out. I then coarsely chopped them and added them to the cauliflower and carrots. Preparing the garlic this way versus sauteing them raw with the onions gives the soup a much richer flavor. It is worth the extra step. But, if for some reason you don’t have the time, mince two large cloves of garlic and add them to the onions once they’ve caramelized. Continue to saute for about a minute or until the garlic is fragrant. Then add the vegetables and follow the recipe from that point.

Cut The Top Off The Garlic Bulb

Place In Foil And Drizzle With Olive Oil

Roasted Garlic Cloves
Lesson Learned 3 – Take the time to cook the onions to a golden brown: Onions are more flavorful when you take the time to caramelize them. So do yourself a favor and take that time. Just be aware that it can take about 20 minutes to get them to that beautifully warm color. But in the end, it also makes a big difference in the flavor of the soup.

Lightly Caramelized Onions
The rest of the process is pretty basic and within about 40 minutes or so you have this delicious homemade soup. Give it a try and tell me what you think. I’d love to hear how you did with this recipe.
Cauliflower And Carrot Soup...
INGREDIENTS:
2 1/2 pound head of cauliflower, cut up into small florets
2 cups thinly sliced baby carrots (sliced on the bias)
1 sweet onion, chopped
1 head of roasted garlic cloves, chopped (or two raw cloves, diced)
3 Tbs. flour
4 cups of chicken or vegetable stock
1/4 cup heavy cream
6 oz. of grated white cheddar cheese
Salt and Pepper To Taste
Olive Oil for roasting the garlic and sauteing the onions
DIRECTIONS:
Preheat oven to 400 degrees. Cut off the top of a bulb of garlic. Place the bulb in foil and drizzle with olive oil (approximately one tablespoon). Wrap the garlic in foil (I recommend wrapping it twice) and let it cook for 45 minutes to one hour or until the cloves are fork tender. Unwrap the bulb and set it aside to cool. Once cool, turn the cut side down and squeeze the bulb from the sides until the cloves pop out. If a few a the cloves are stubborn, don’t worry. What pops out will be sufficient for the soup. (If you do not have time for this step simply mince two raw cloves of garlic and saute them with the onions after they have caramelized. Once the garlic is fragrant you can add the vegetables and proceed from there.)
Preheat a dutch oven over medium heat and add about 1 tablespoon of olive oil. Add the diced onions and saute until they are golden brown, about 15-20 minutes. While the onions are sauteing, prepare the carrots and cauliflower florets. (If you roast the garlic, chop the cloves and mix them with the vegetables.)
When the onions have caramelized, add the vegetables to the onions and saute for a few minutes. (You can add a little more olive oil, if needed). Sprinkle the vegetables with the flour and mix well. Add the chicken stock while stirring the vegetables.
Cover the dutch oven with a lid, leaving a small crack for the steam to escape. Cook for approximately 20 minutes, stirring occasionally. Test the vegetables for desired consistency. If need be, let them cook for a little while longer until the desired consistency is achieved.
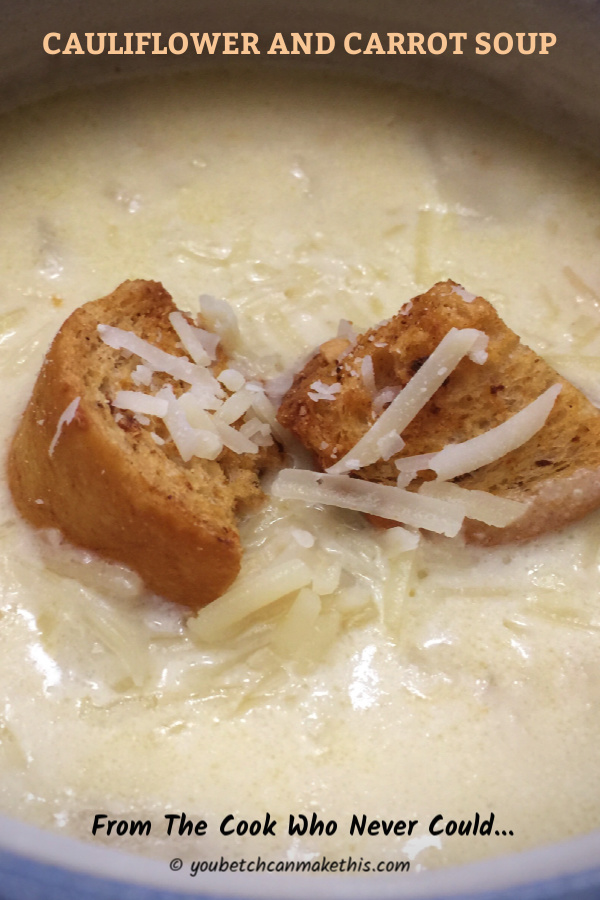
Stir in the heavy cream and cheese. Stir until thoroughly combined. Take off the heat and serve. (Optional: You can garnish with some croutons and some shredded Romano or Parmesan cheese).


 Lesson Learned 1 – I learned the beauty of chicken sausage: When researching various recipes I came across one that used chicken Italian sausage. I never tried that before, and sometimes I am leery of the flavor of chicken and turkey substitutes for beef or pork but decided to give it a go in this recipe. I was glad I did. It was divine!
 Lesson Learned 3 – Slightly mash the white beans: After you rinse the beans and before you add them to the soup give them a slight mash with a hand masher. You don’t want to do too much, just a little. This along with the tomato paste helps thicken the broth.
 Lesson Learned 5 – Don’t be afraid to improvise: A recipe like this is ripe for improvisation. I used a tri-color three cheese tortellini but you an certainly choose any kind you like. I used chicken Italian sausage but if you’re skeptical a more traditional sweet Italian sausage will work. Or you can make sausage meatballs. If you want to spice it up a bit you can always add a little red pepper flakes or some cayenne pepper. When I warm up my leftovers I’m going to put some parmesan shavings on top. Even if you’re a novice cook, don’t be afraid to add your own touches or adjust the ingredients to your taste. Cooking is not like baking, you don’t need to be exact. Step out of your comfort zone and try a few things. You’ll be happy you did.
 INGREDIENTS