Dijon Crusted Halibut…

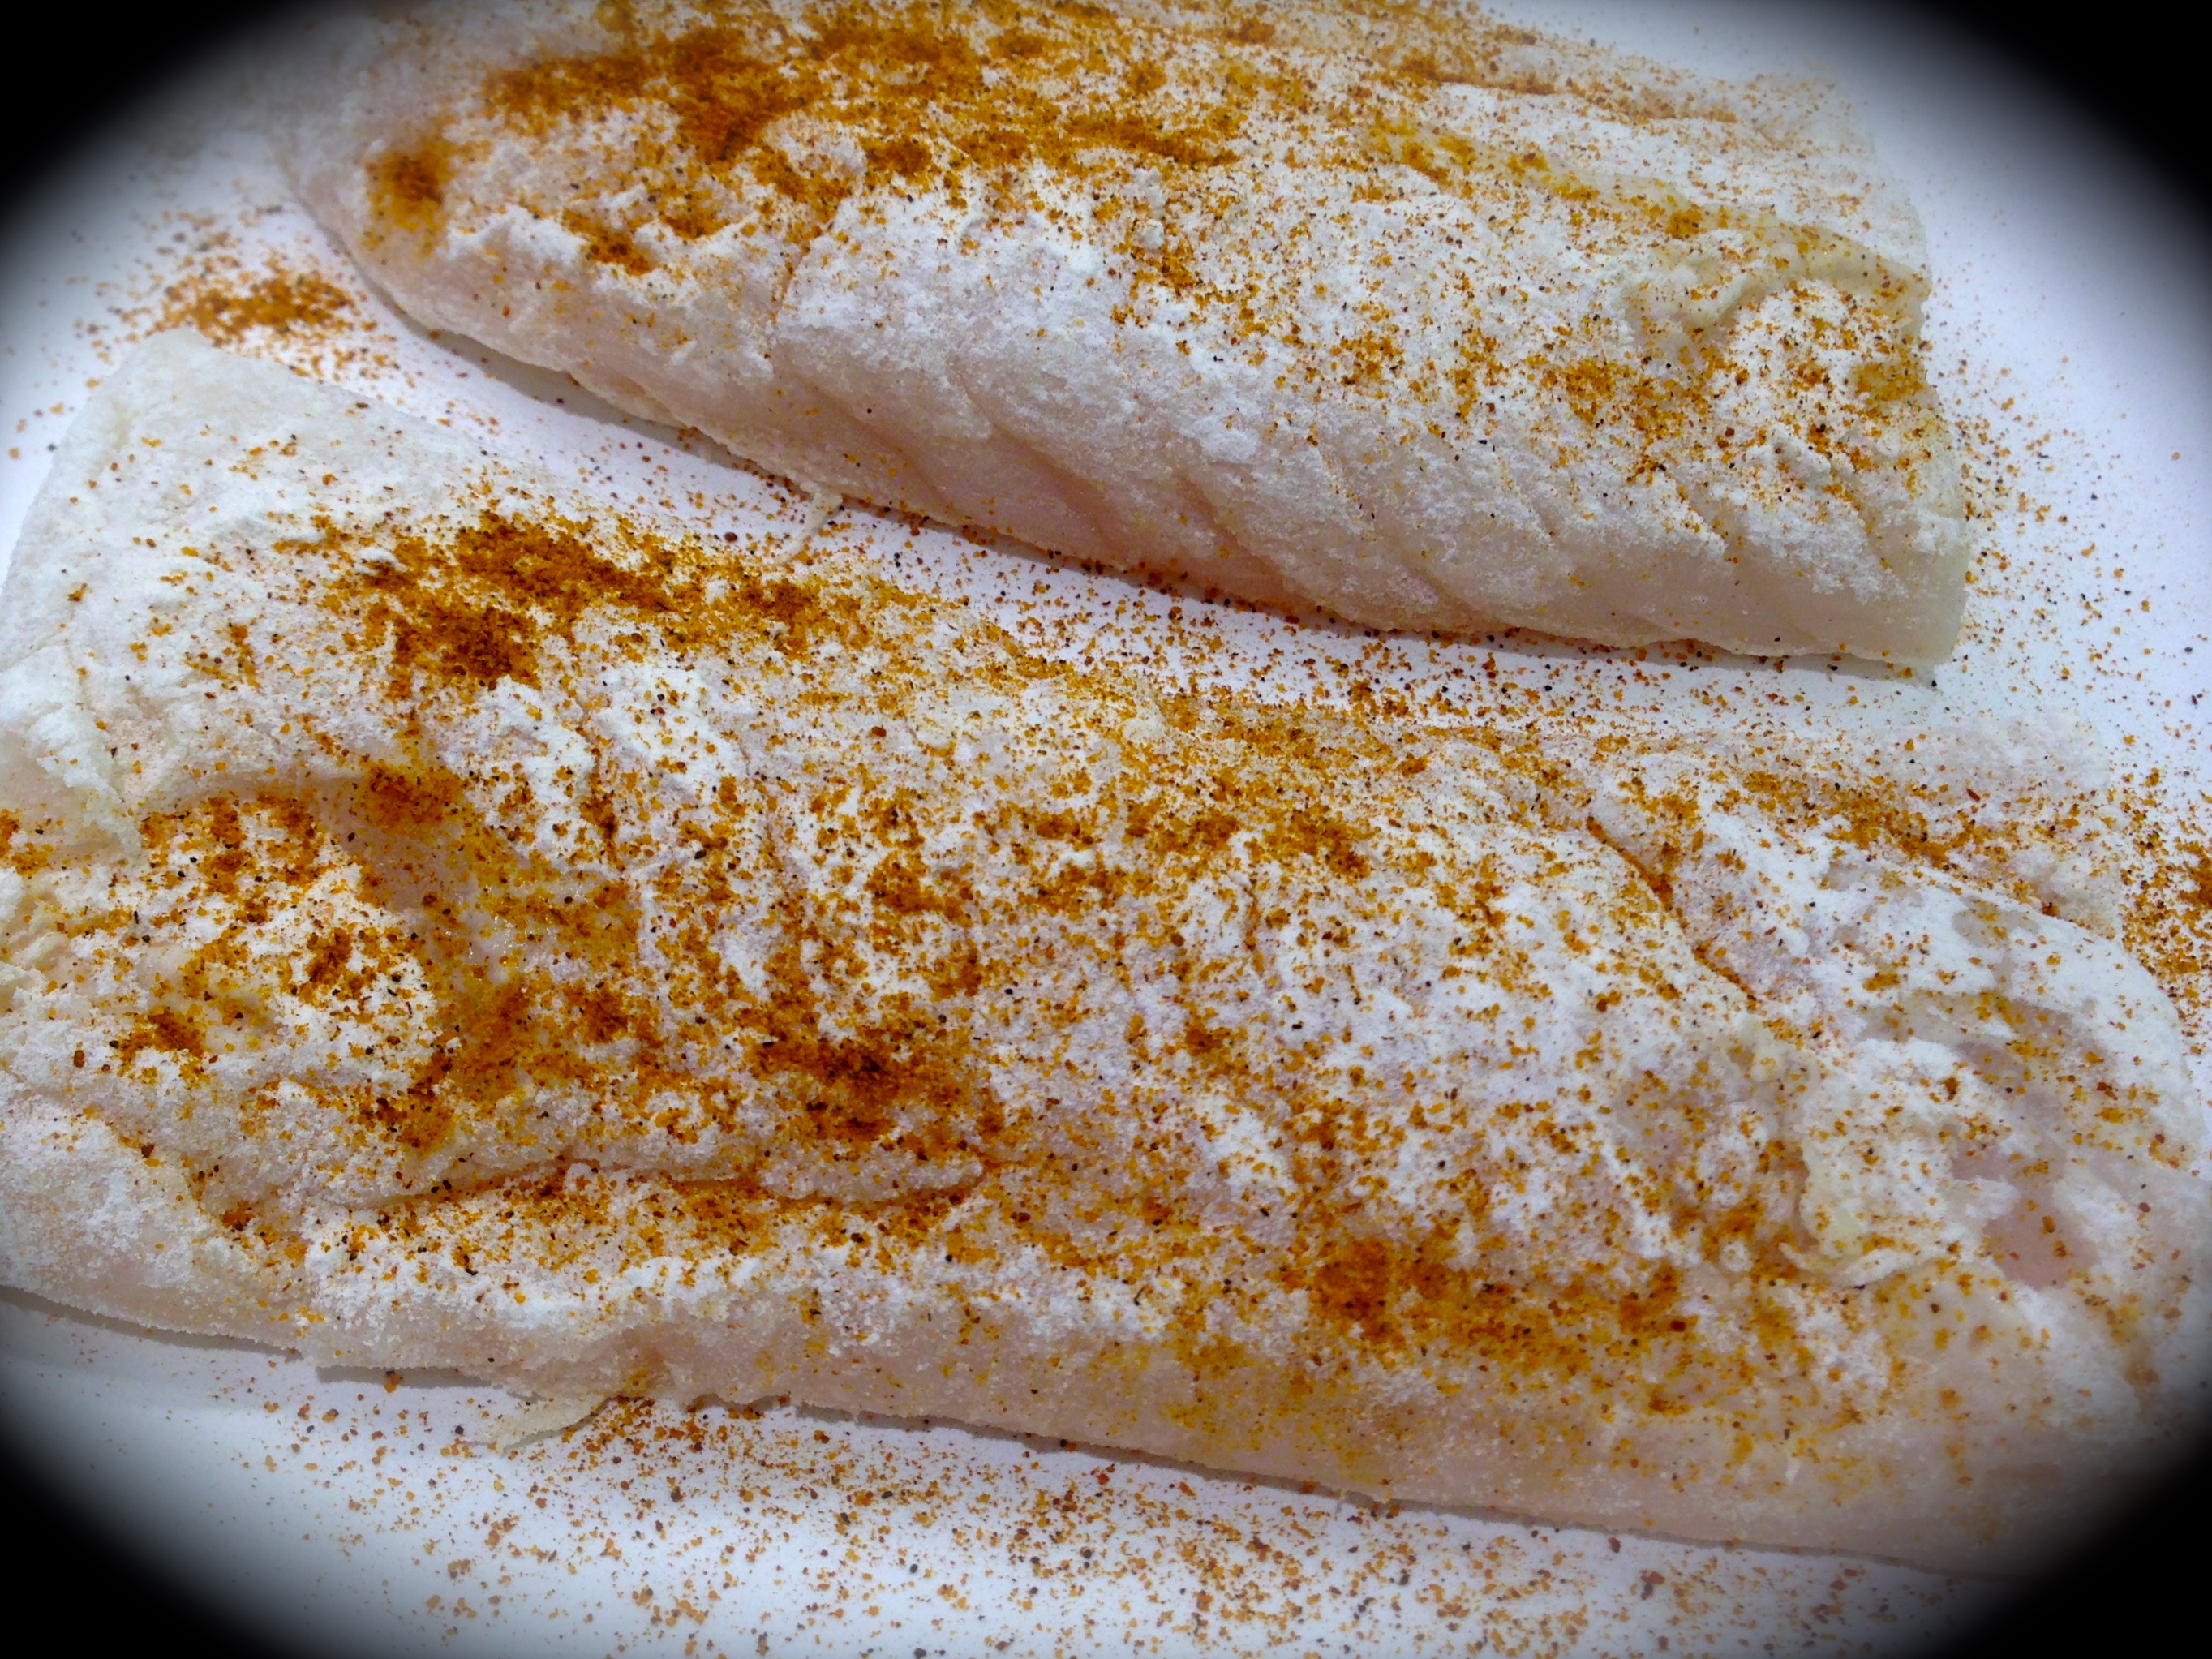
Although we try to eat a lot of fish, I don’t usually buy halibut because it can be quite pricey. But the other day when I was at the grocery store they had just cut some fresh halibut and it looked so good I had to buy some.

I’m always a little nervous about making halibut because I don’t want to overcook it. It’s somehow easier for me to rationalize making a mistake with salmon (although I have that pretty much down to a science) than with halibut. But I just couldn’t resist how good and fresh the halibut looked and decided to try this recipe for making it.

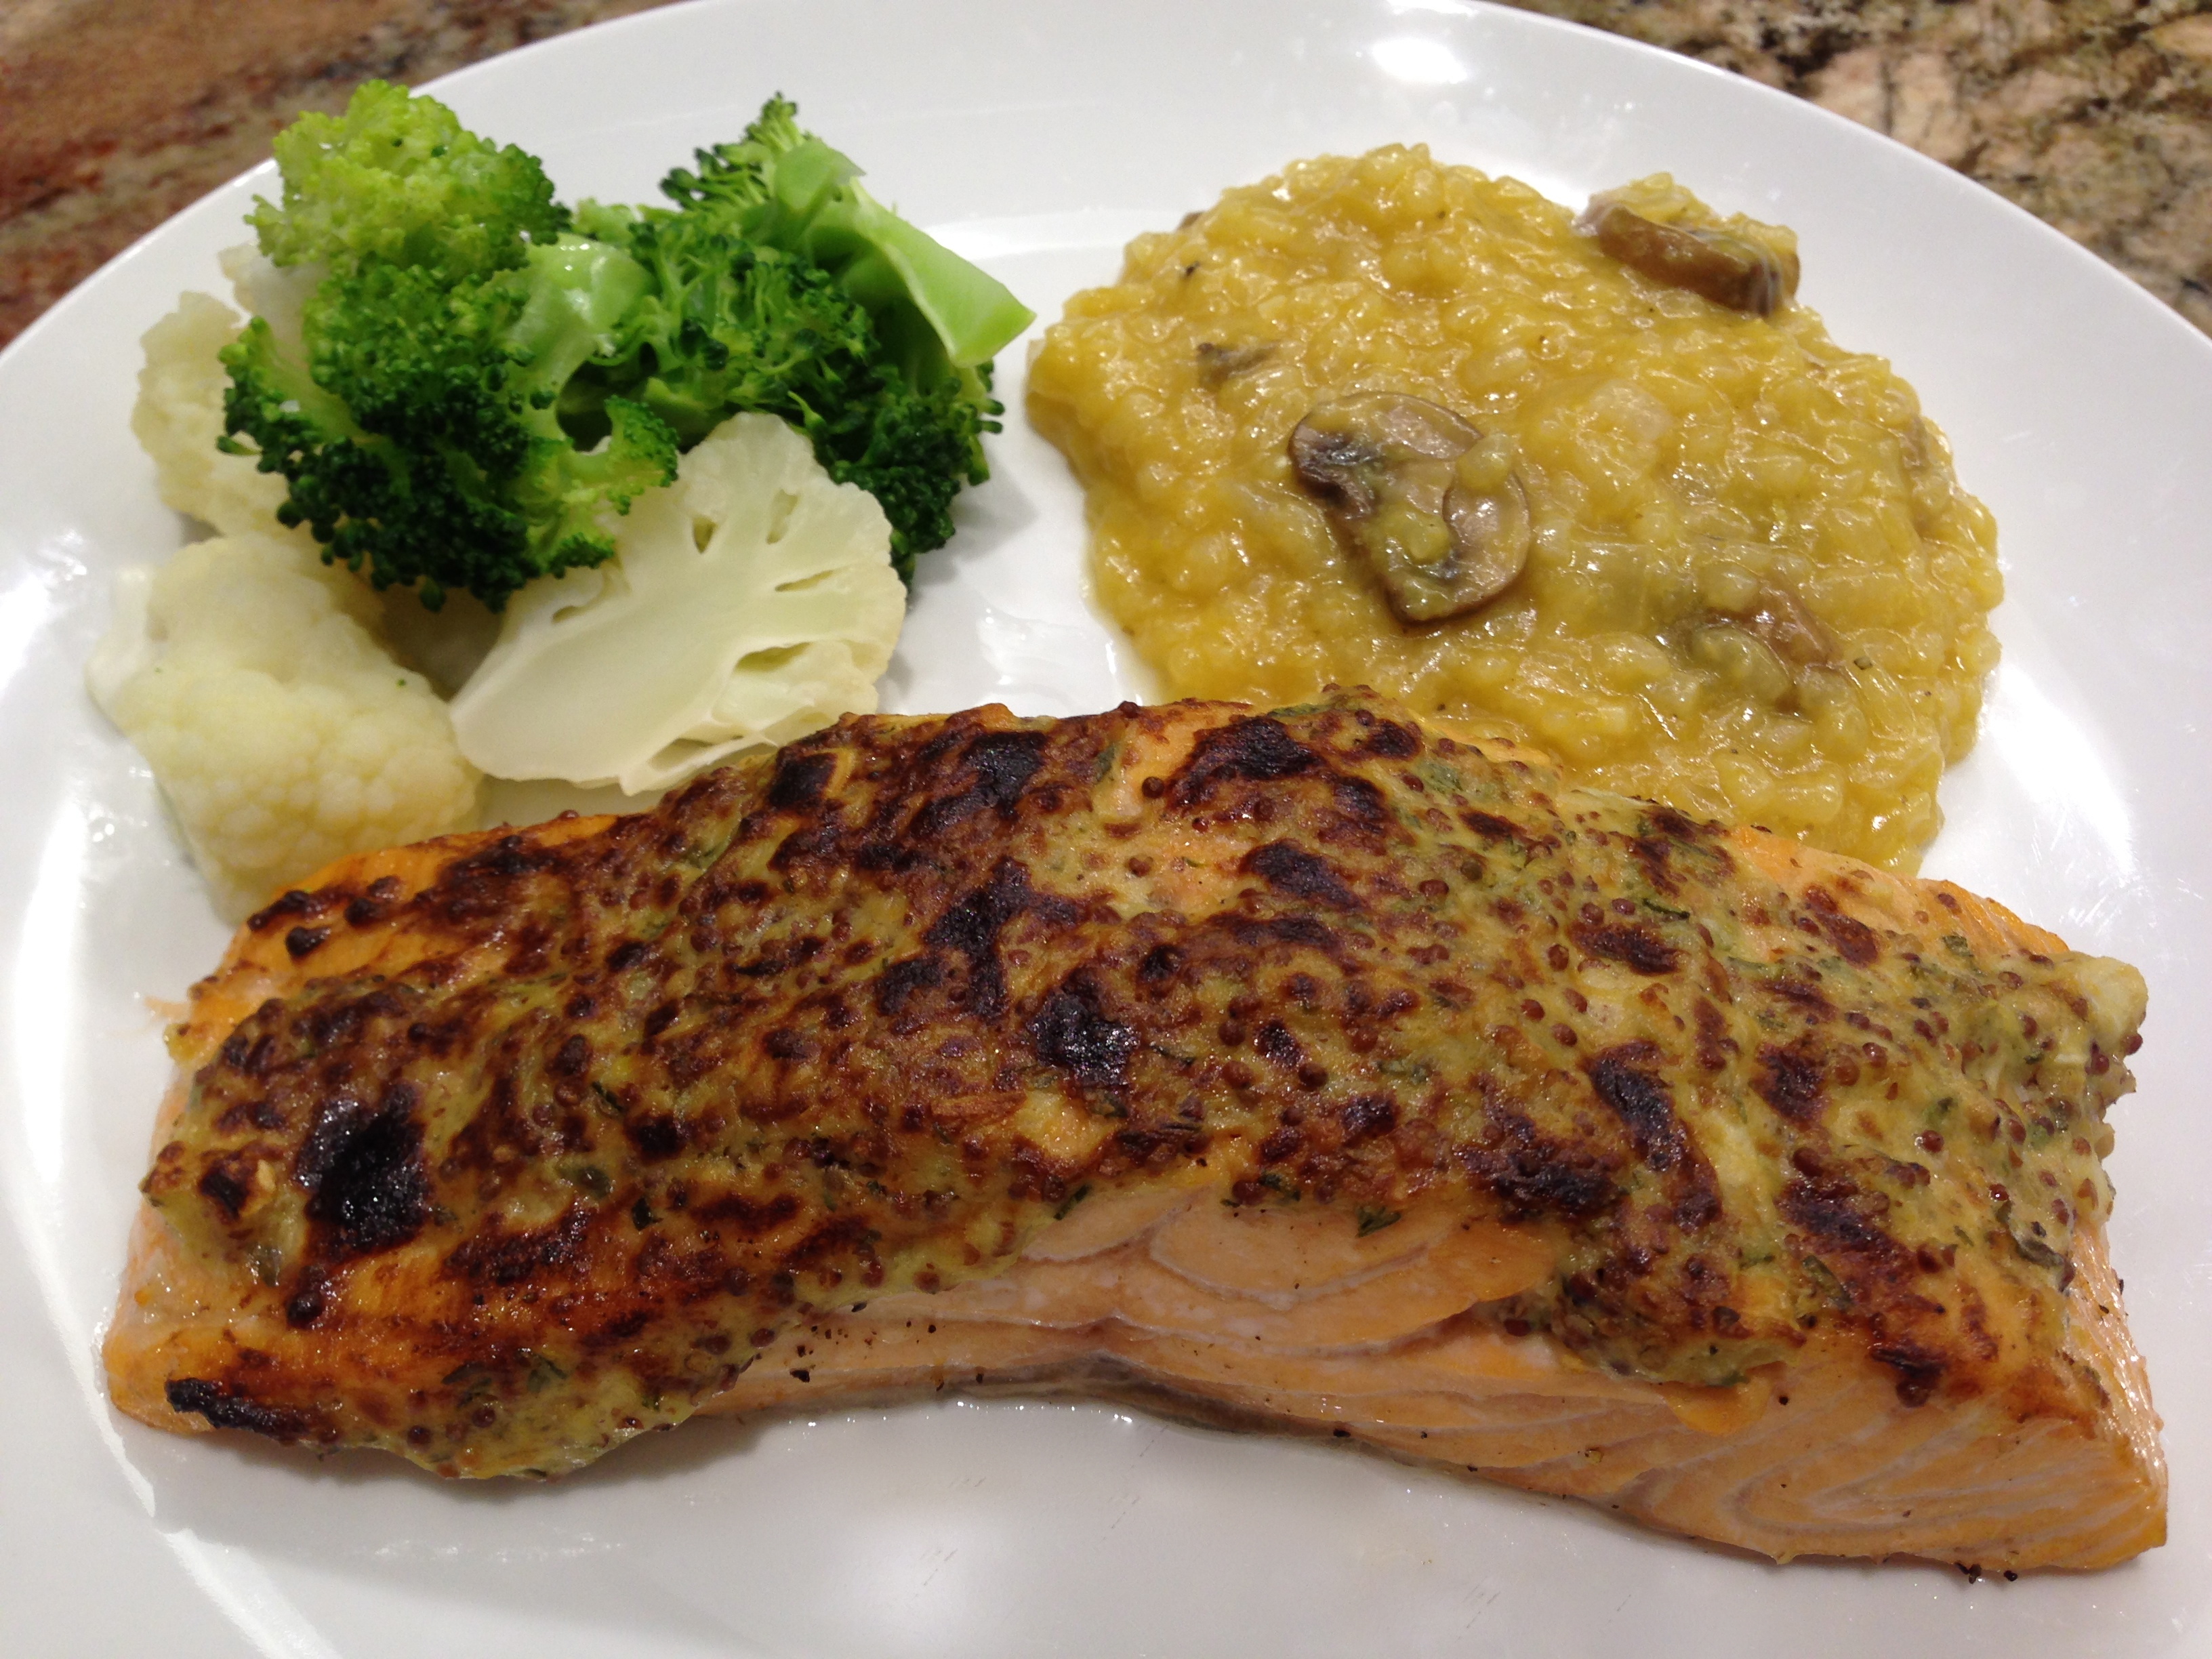
So let’s talk Dijon crusted halibut…

Lesson Learned 1 – Do you leave the skin on or not: That is the perennial question, isn’t it? I prefer removing the skin but you can certainly leave it on. Some think that by leaving the skin on the fish tends to be more moist. In my experience I don’t know that to be the case. So the decision is up to you. I prefer removing the skin but the choice is up to you. Either way, it doesn’t seem to affect the overall cooking time of the fish.

Lesson Learned 2 – The hardest thing about this recipe is determining when the fish is done: The best way to determine that is to take a fork and try flaking off a small piece on the end of the fish. If it flakes off, it is done. The only advice I can give with cooking fish is it takes time and practice to perfect that skill. Basically you have to get to know the type of of fish you’re using and how your oven functions. I realize that may be little comfort where a more expensive fish like halibut is concerned, but once you’ve got the hang of it, you’ve got it!

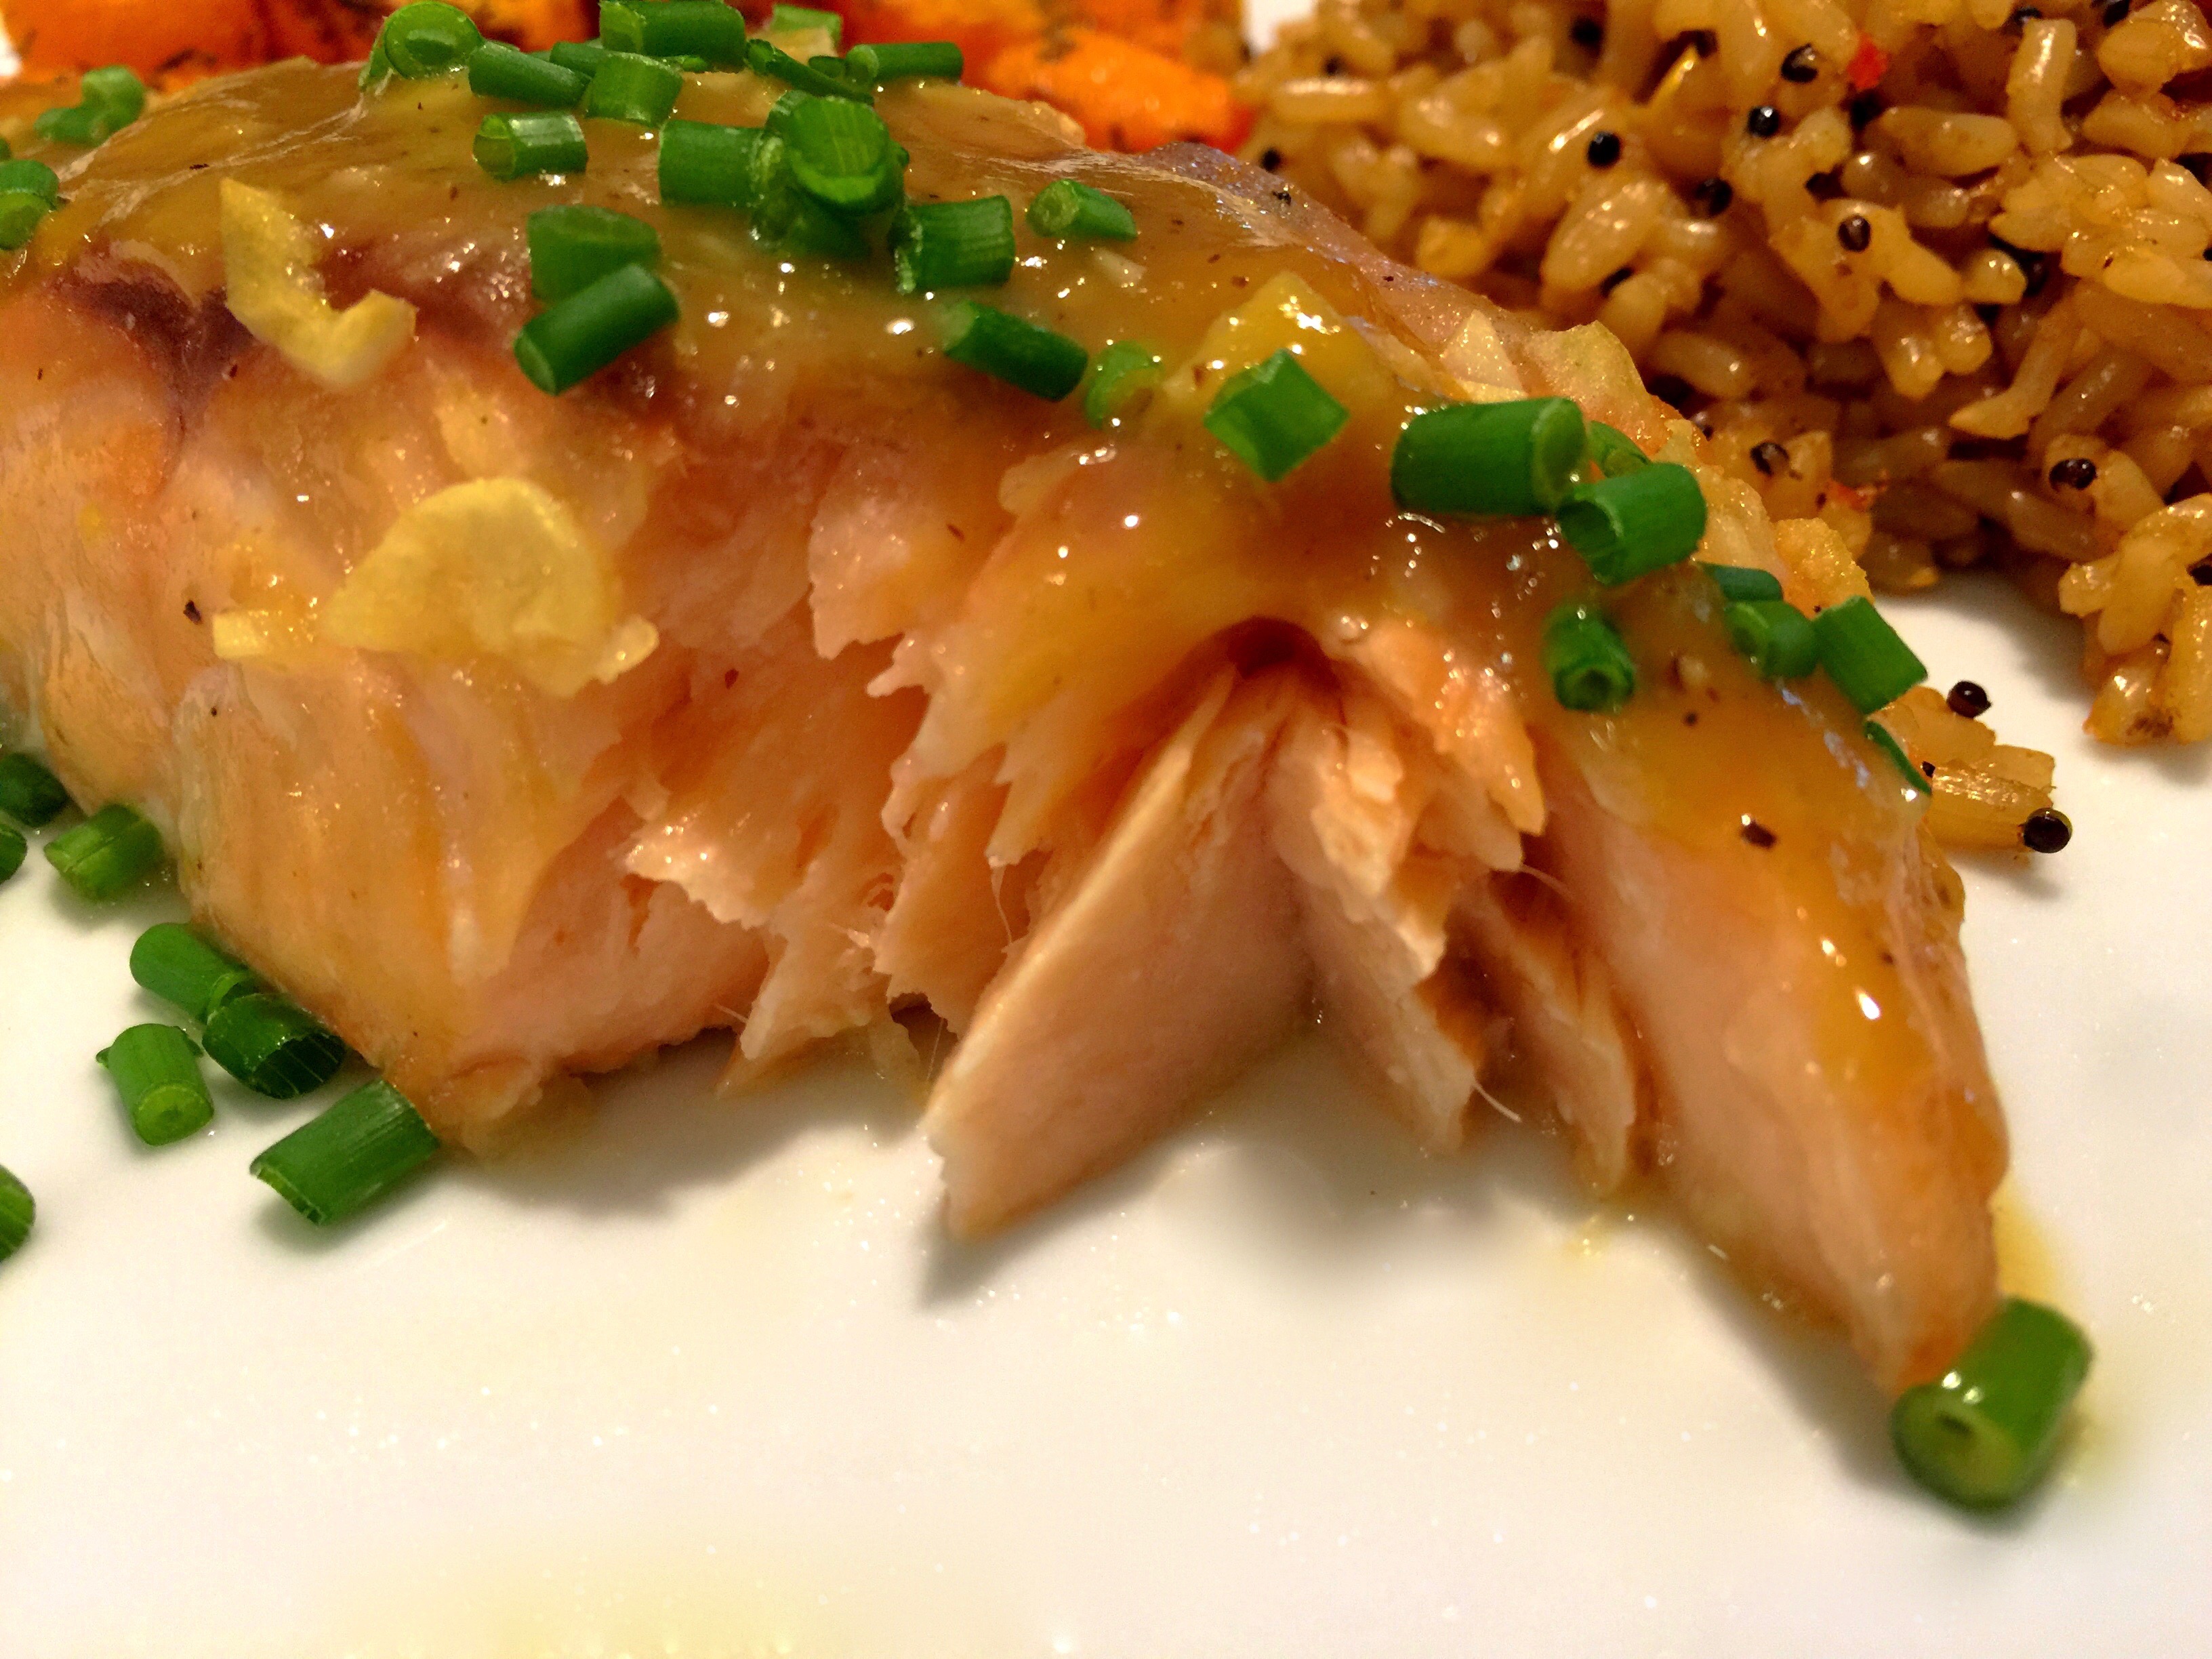
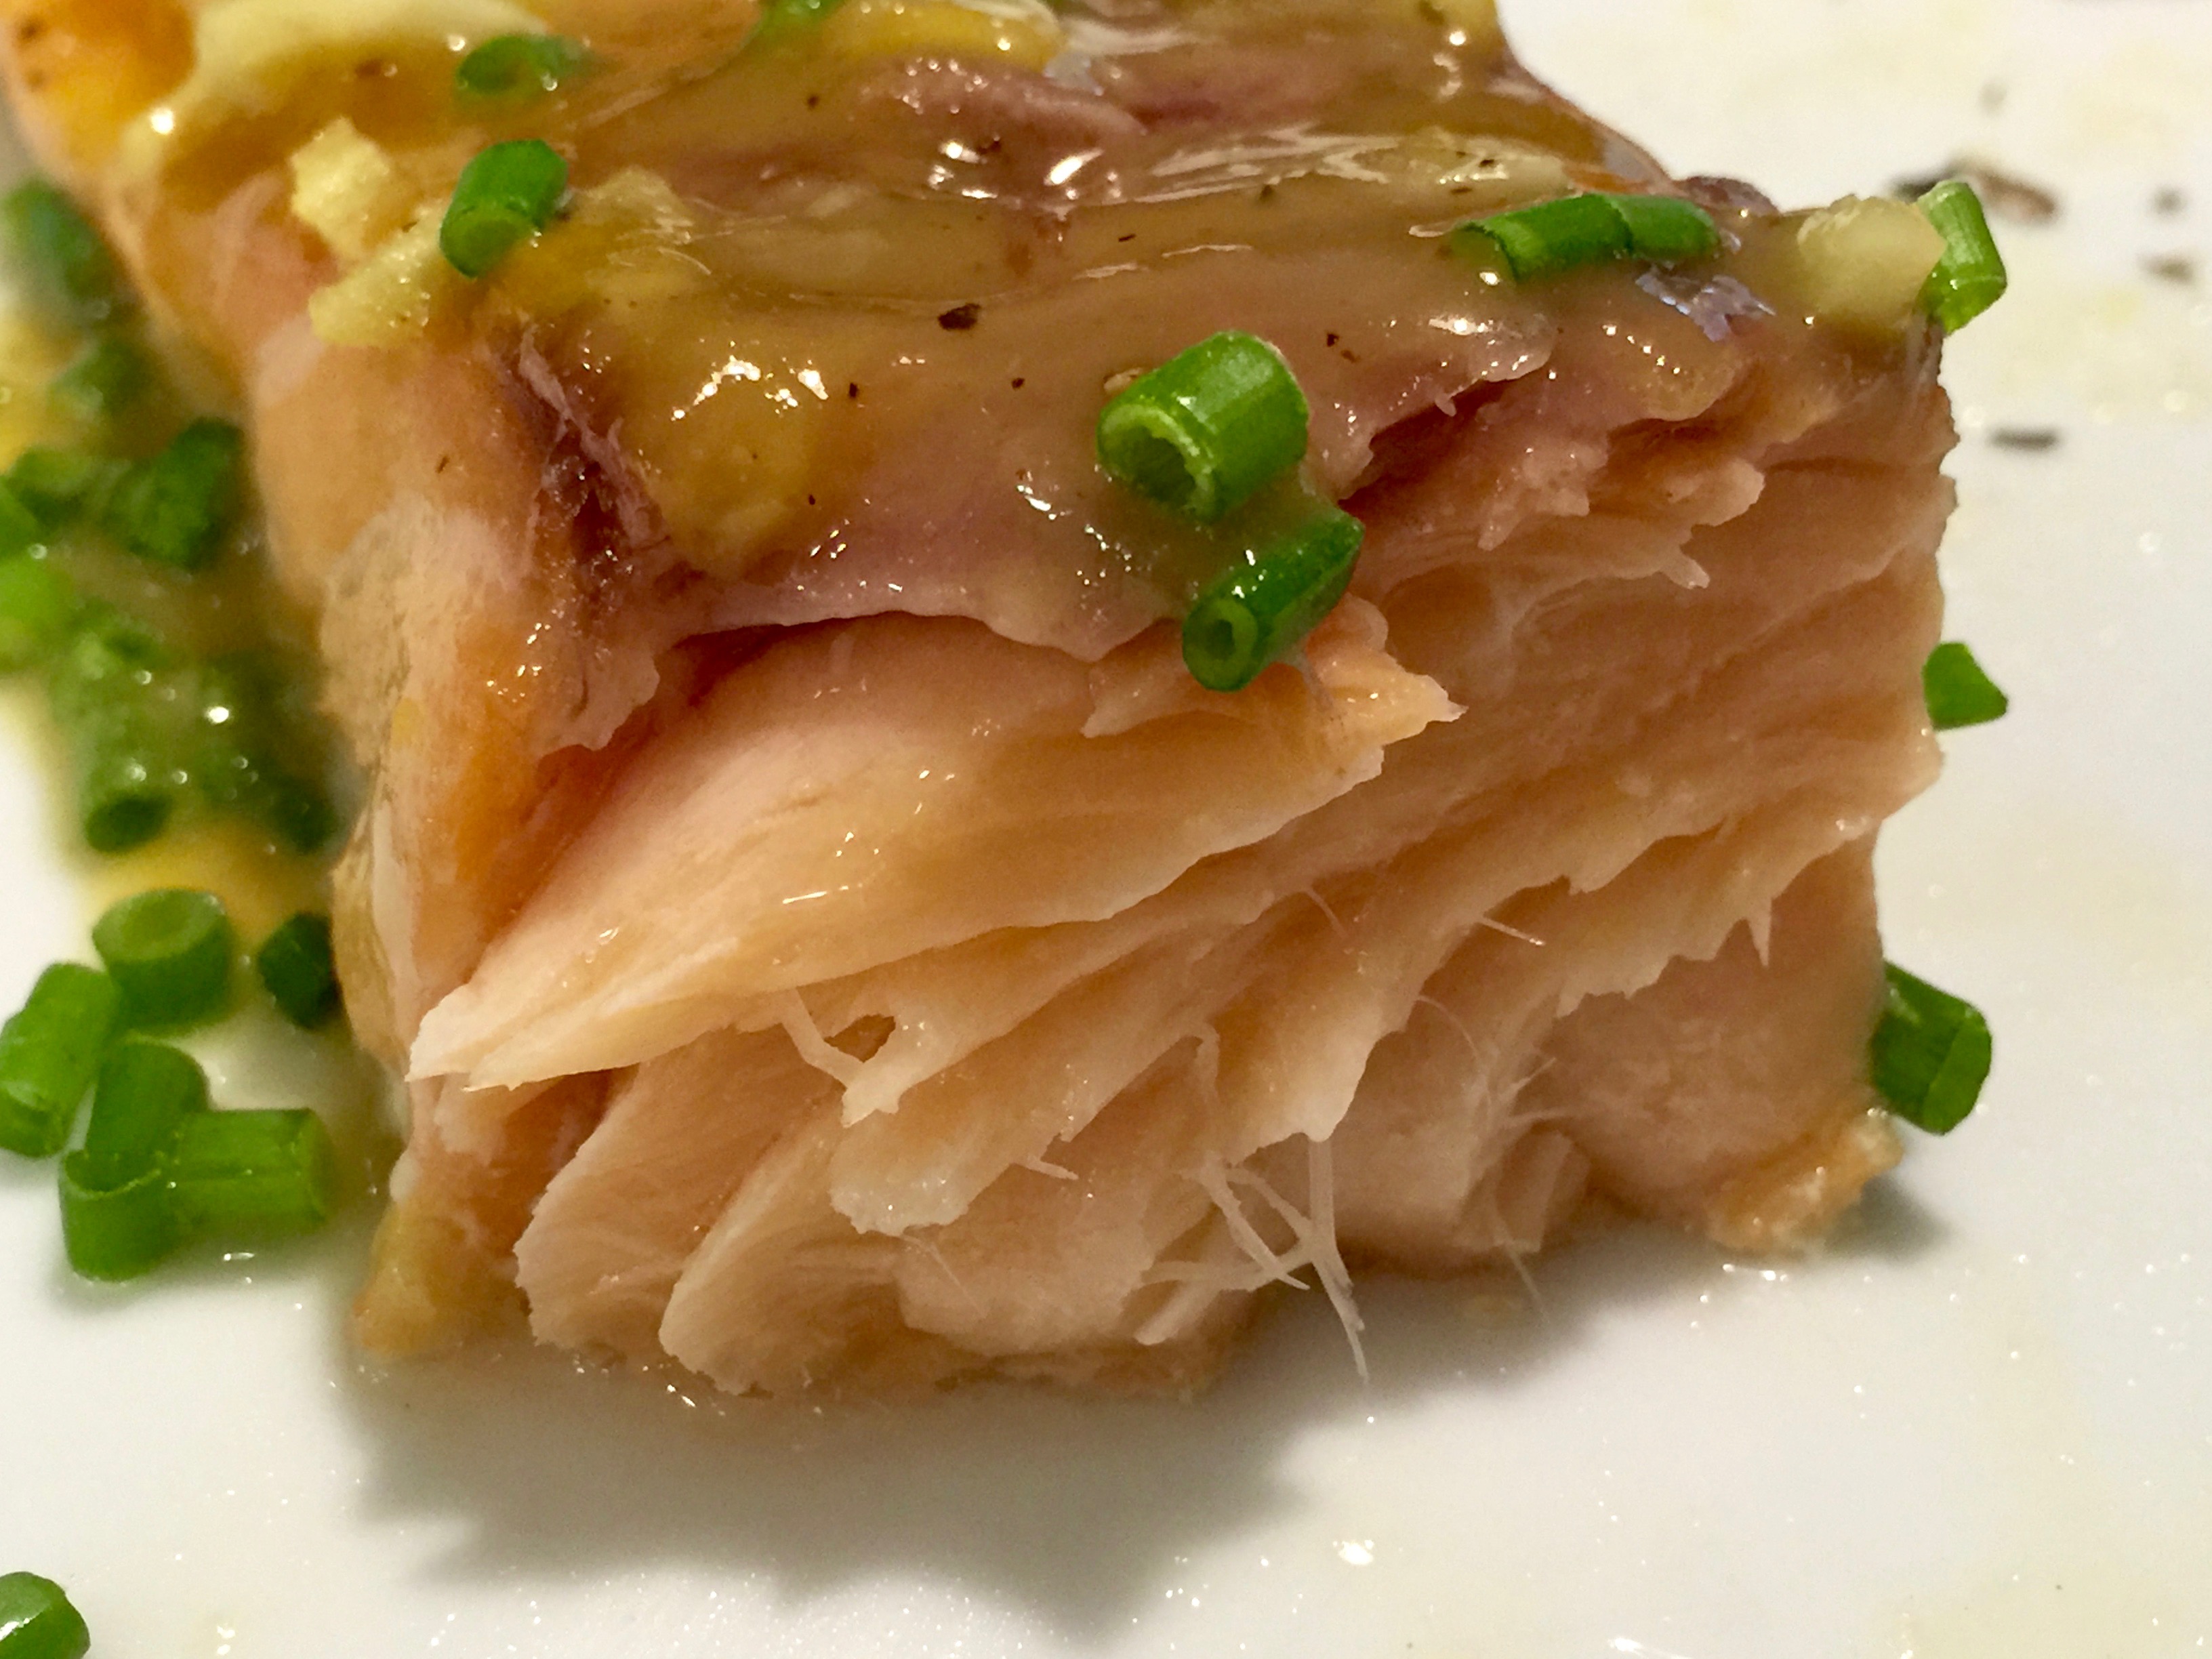
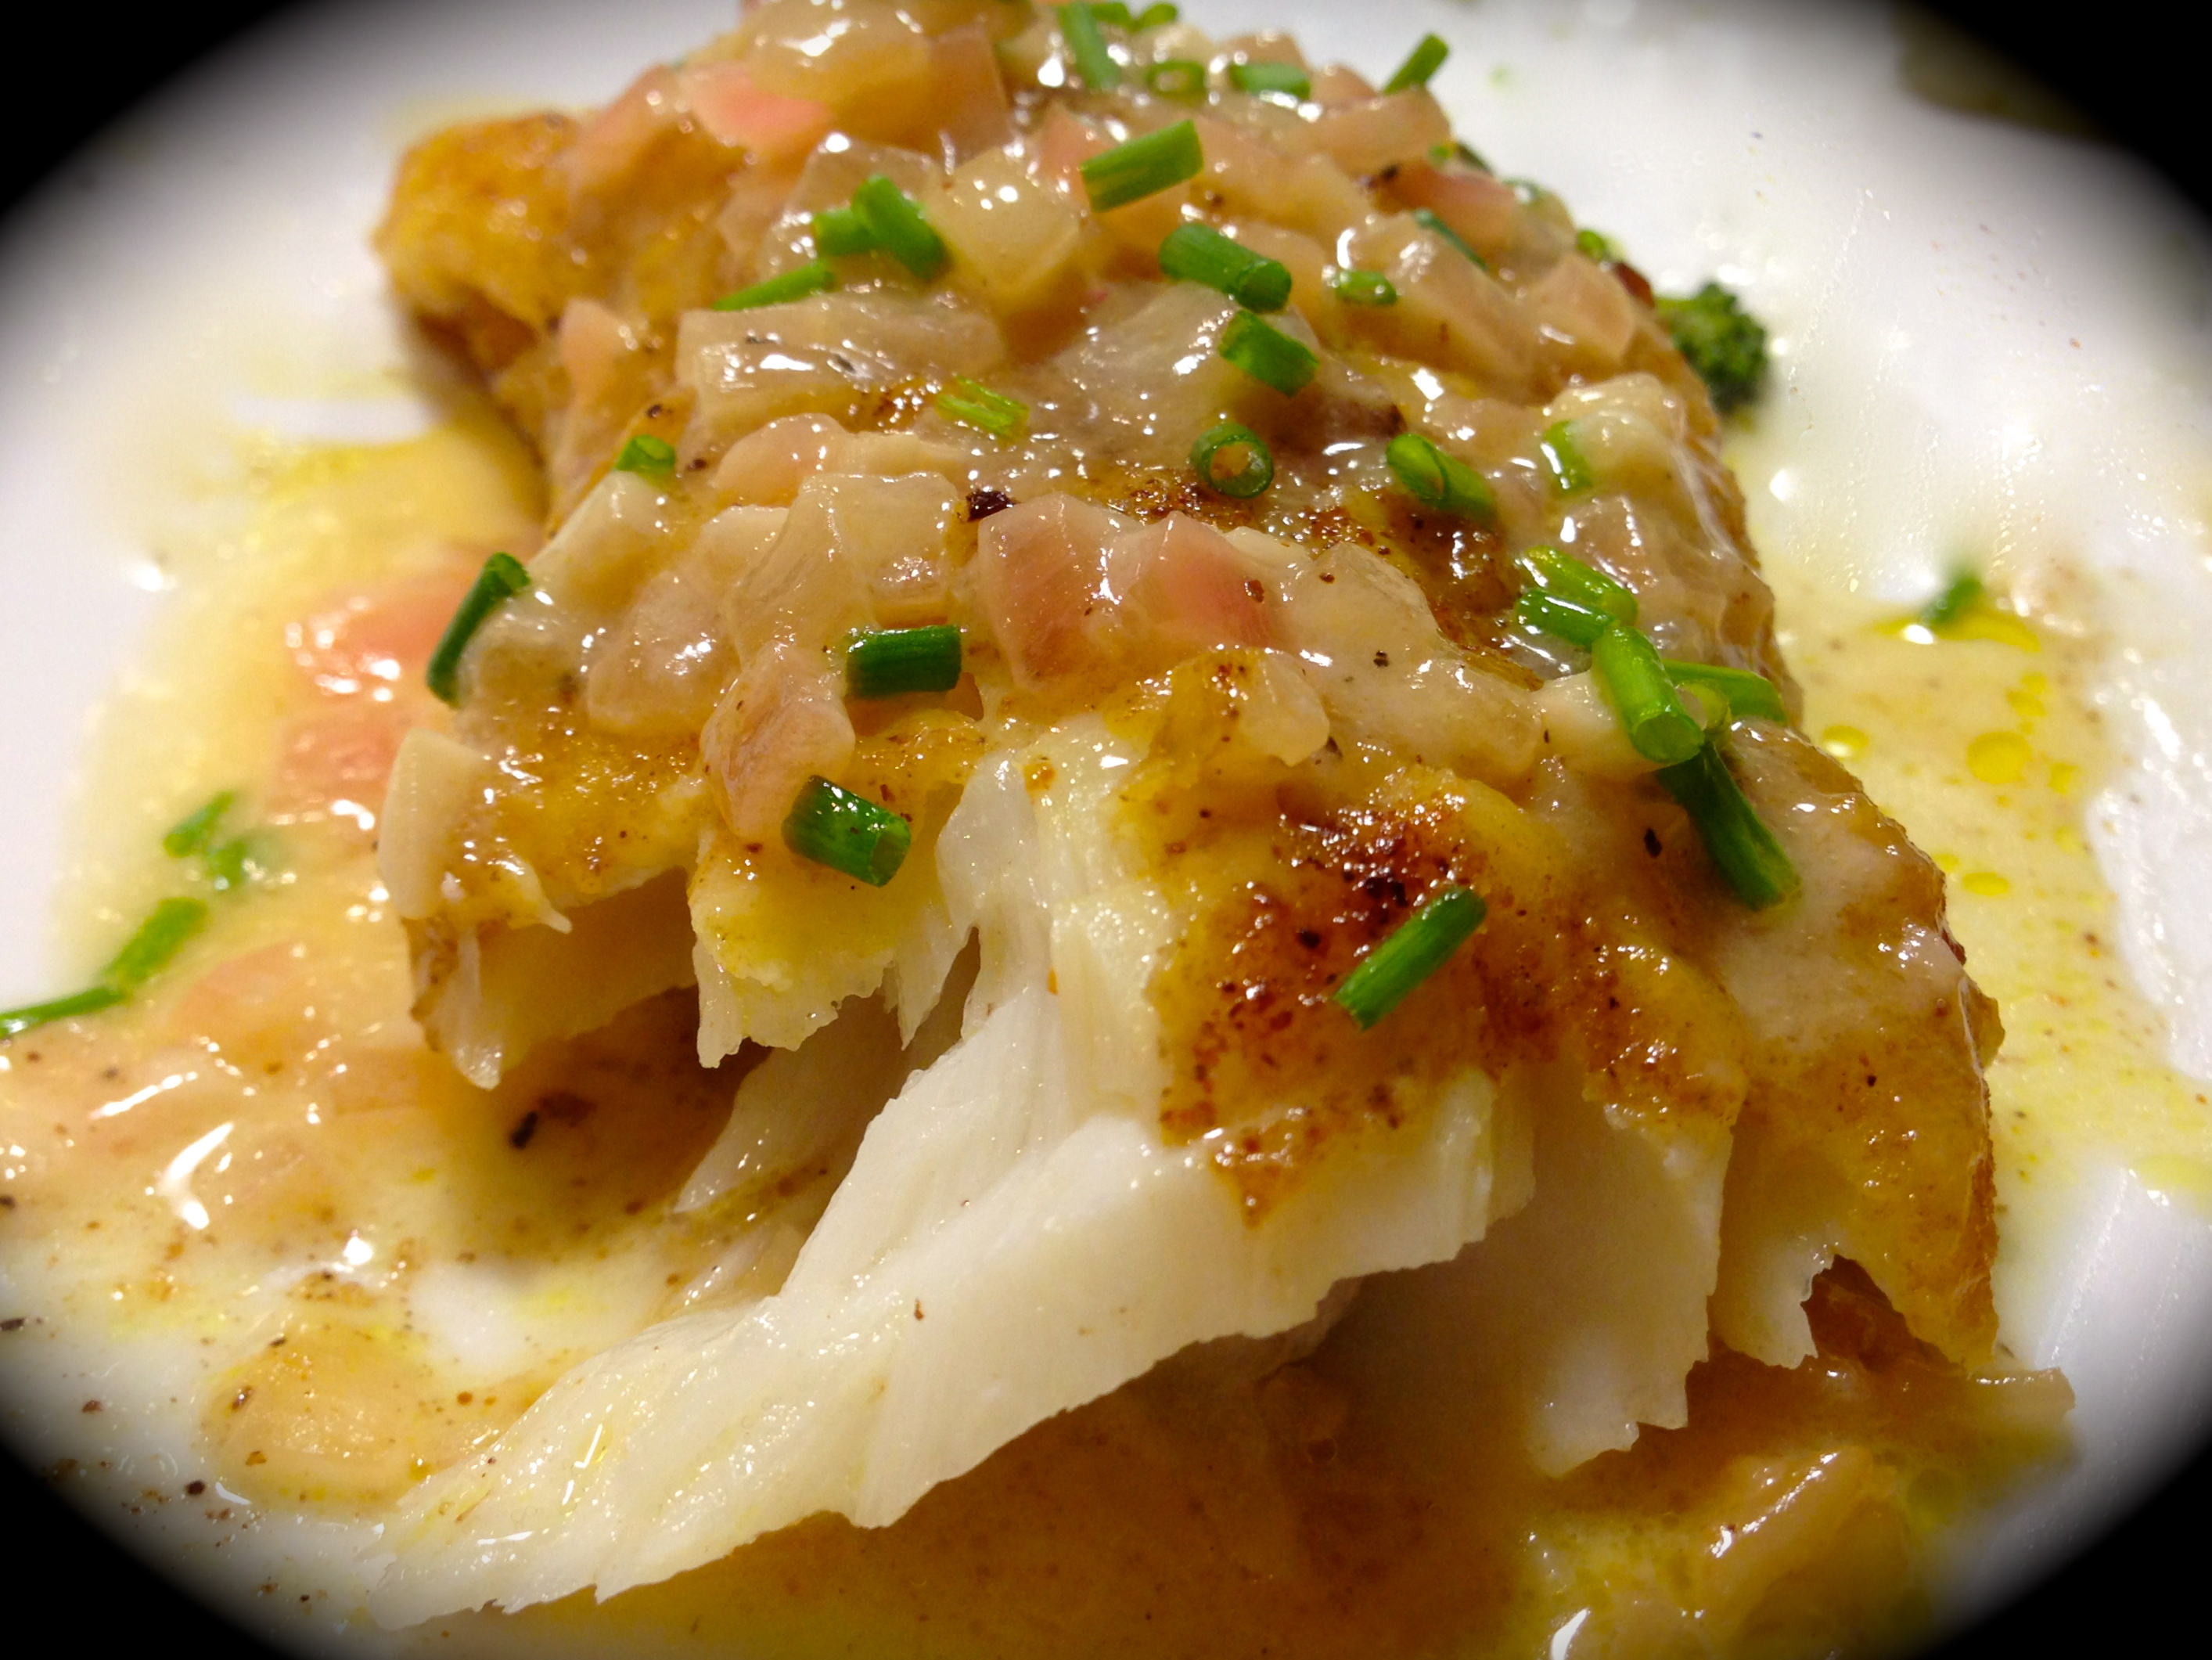
The end of the fish is flaky – the fish is done.

Always cook the fish for the least amount of time that a recipe calls for and go from there. You can always put the fish back in the oven but you can’t change things when it’s overcooked. I know in my oven a 4-5 ounce salmon filet is cooked the way we like it at 375 for 20 minutes. (keep in mind I am at high altitude and cooking temperatures on average can be 15-25 degrees higher than on any given recipe designed for sea level).

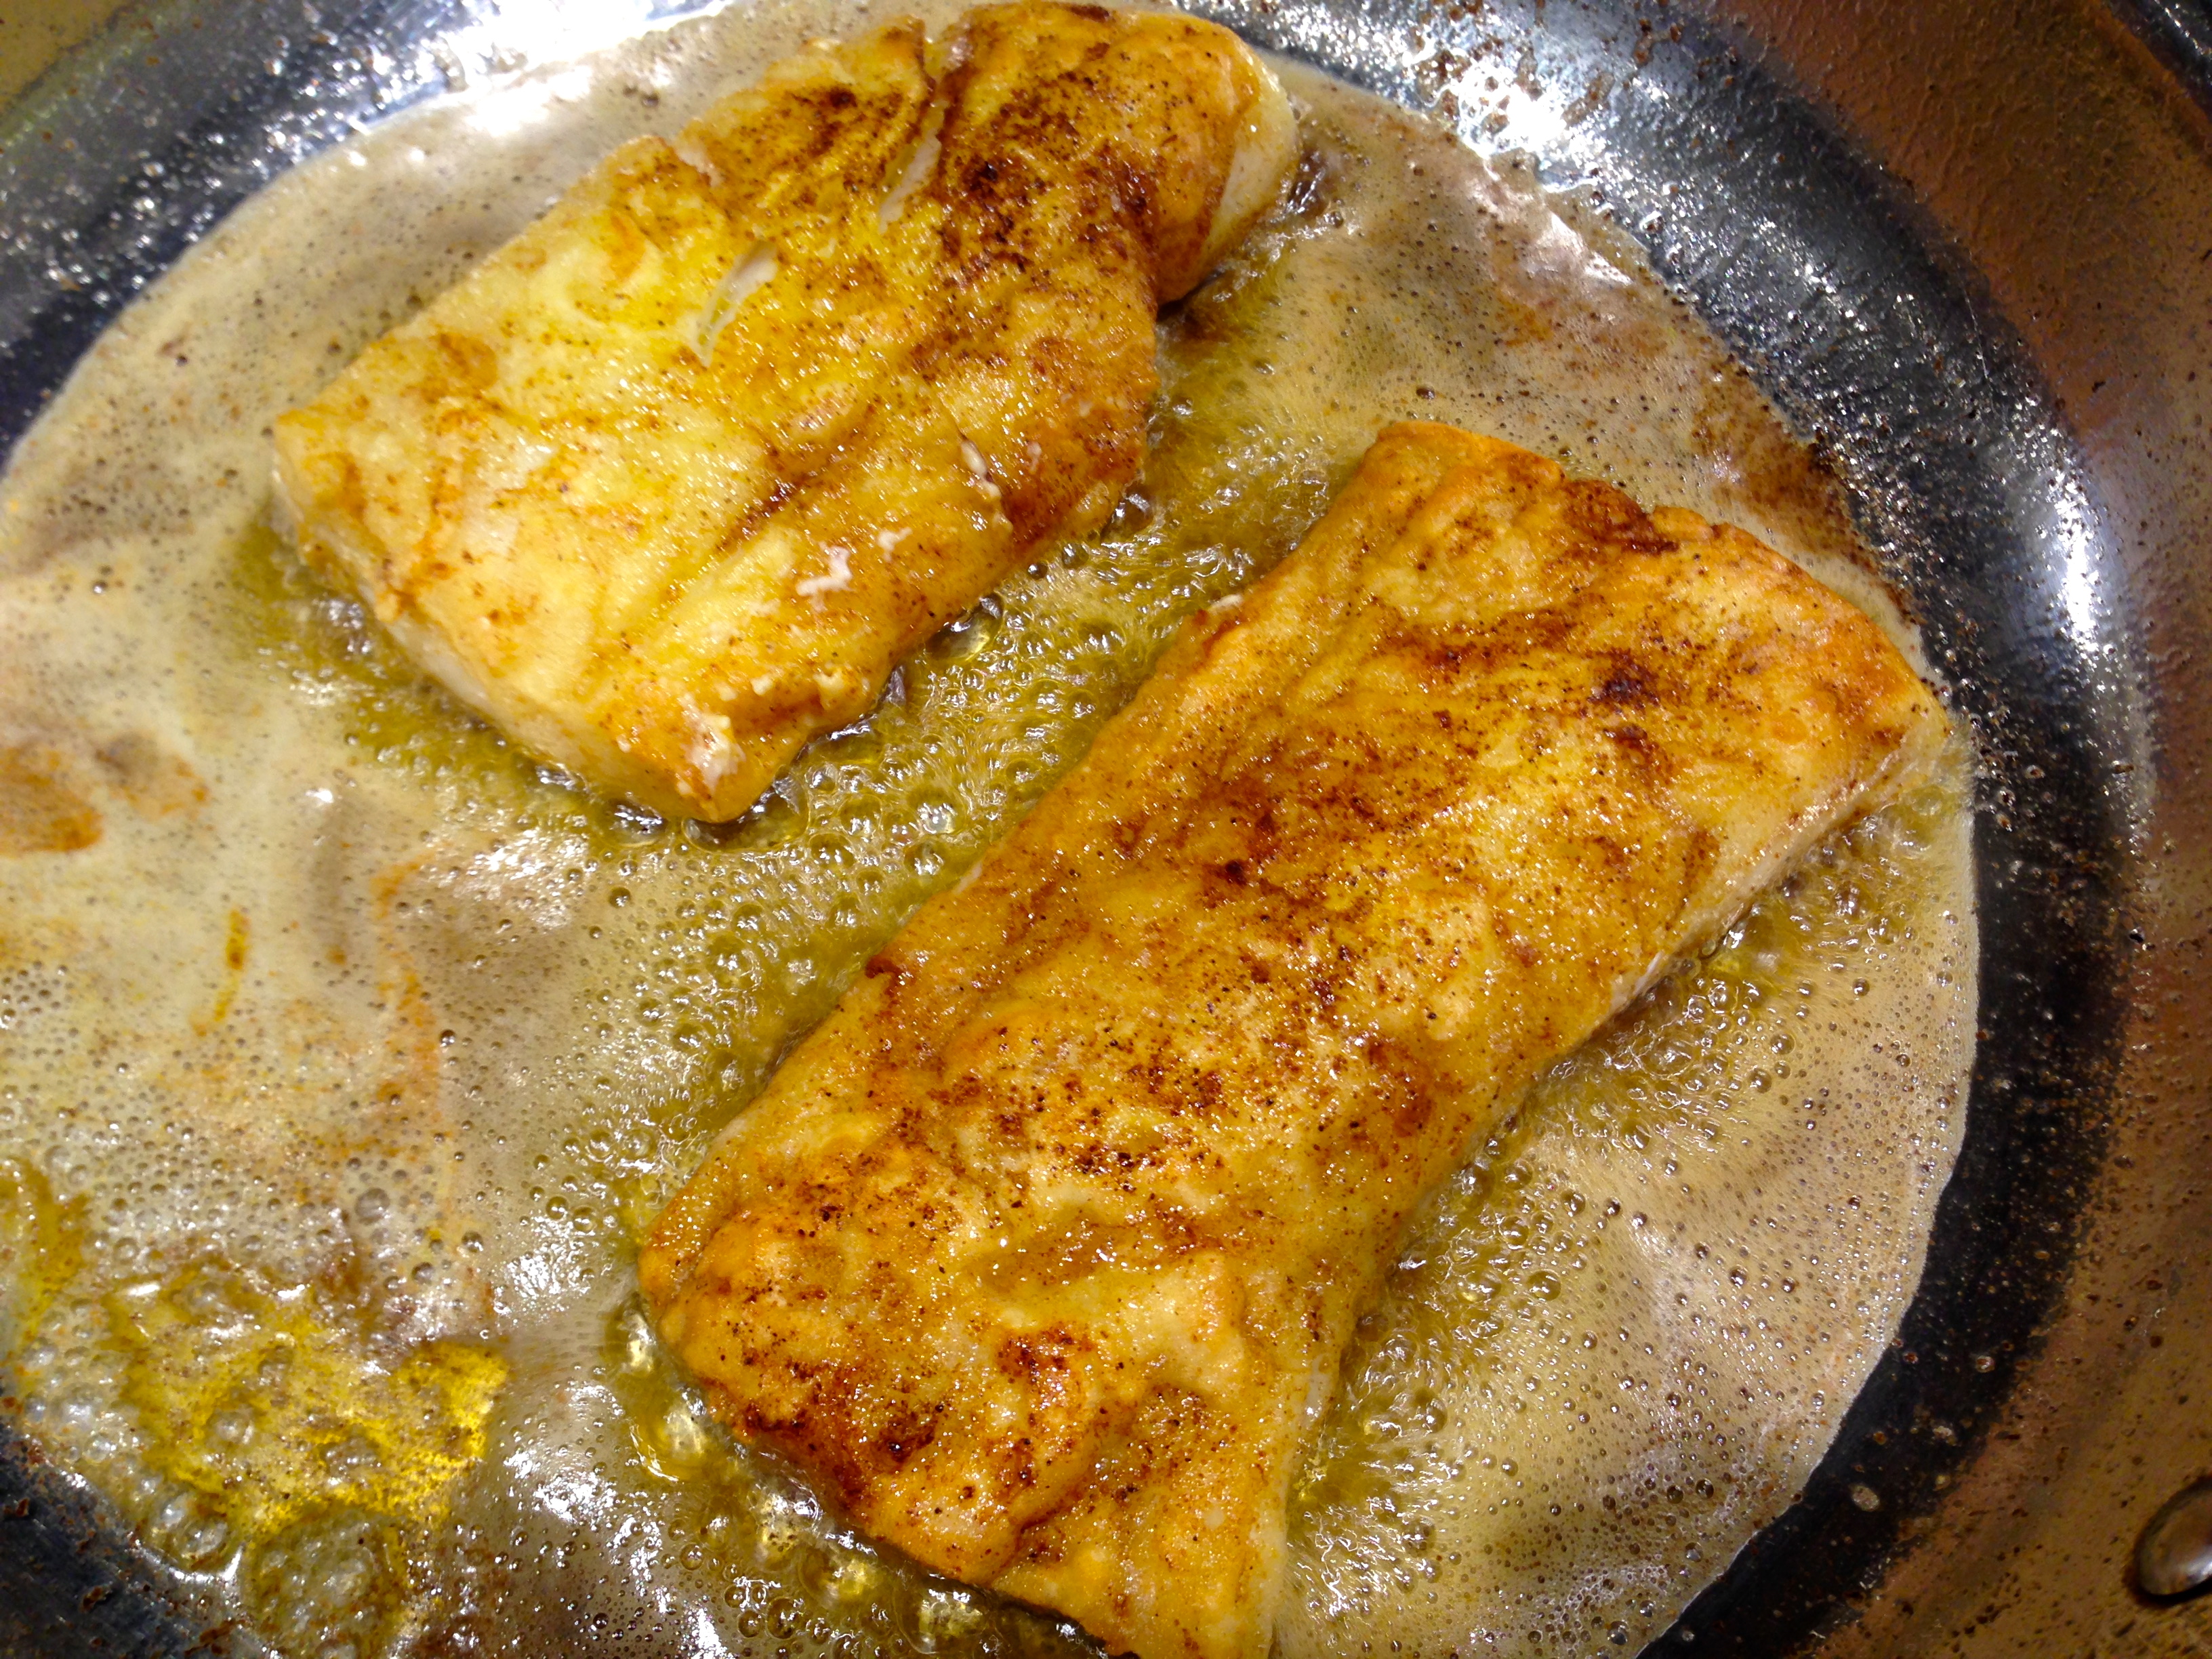
Also, the cooking process determines the oven temperature and cooking times. This particular recipe is done entirely in the oven. Sometimes I make fish (and you can certainly do this with halibut) where I lightly brown the fish on both sides in a skillet on top of the stove and finish off the cooking process in the oven. Doing that normally changes the oven temperature and cooking time. So the cooking process will determine what temperature and how long you cook the fish.

This particular recipe is done entirely in the oven. When I made the fish I cooked it at 365 for 15 minutes and it turned out great. Again, keep in mind I am at high altitude and most recipes are not written that way so for my sea level friends I recommend baking the fish at 350 for 15-18 minutes. If you are unsure for any reason check the fish at 15 minutes. You should be just fine if you do.

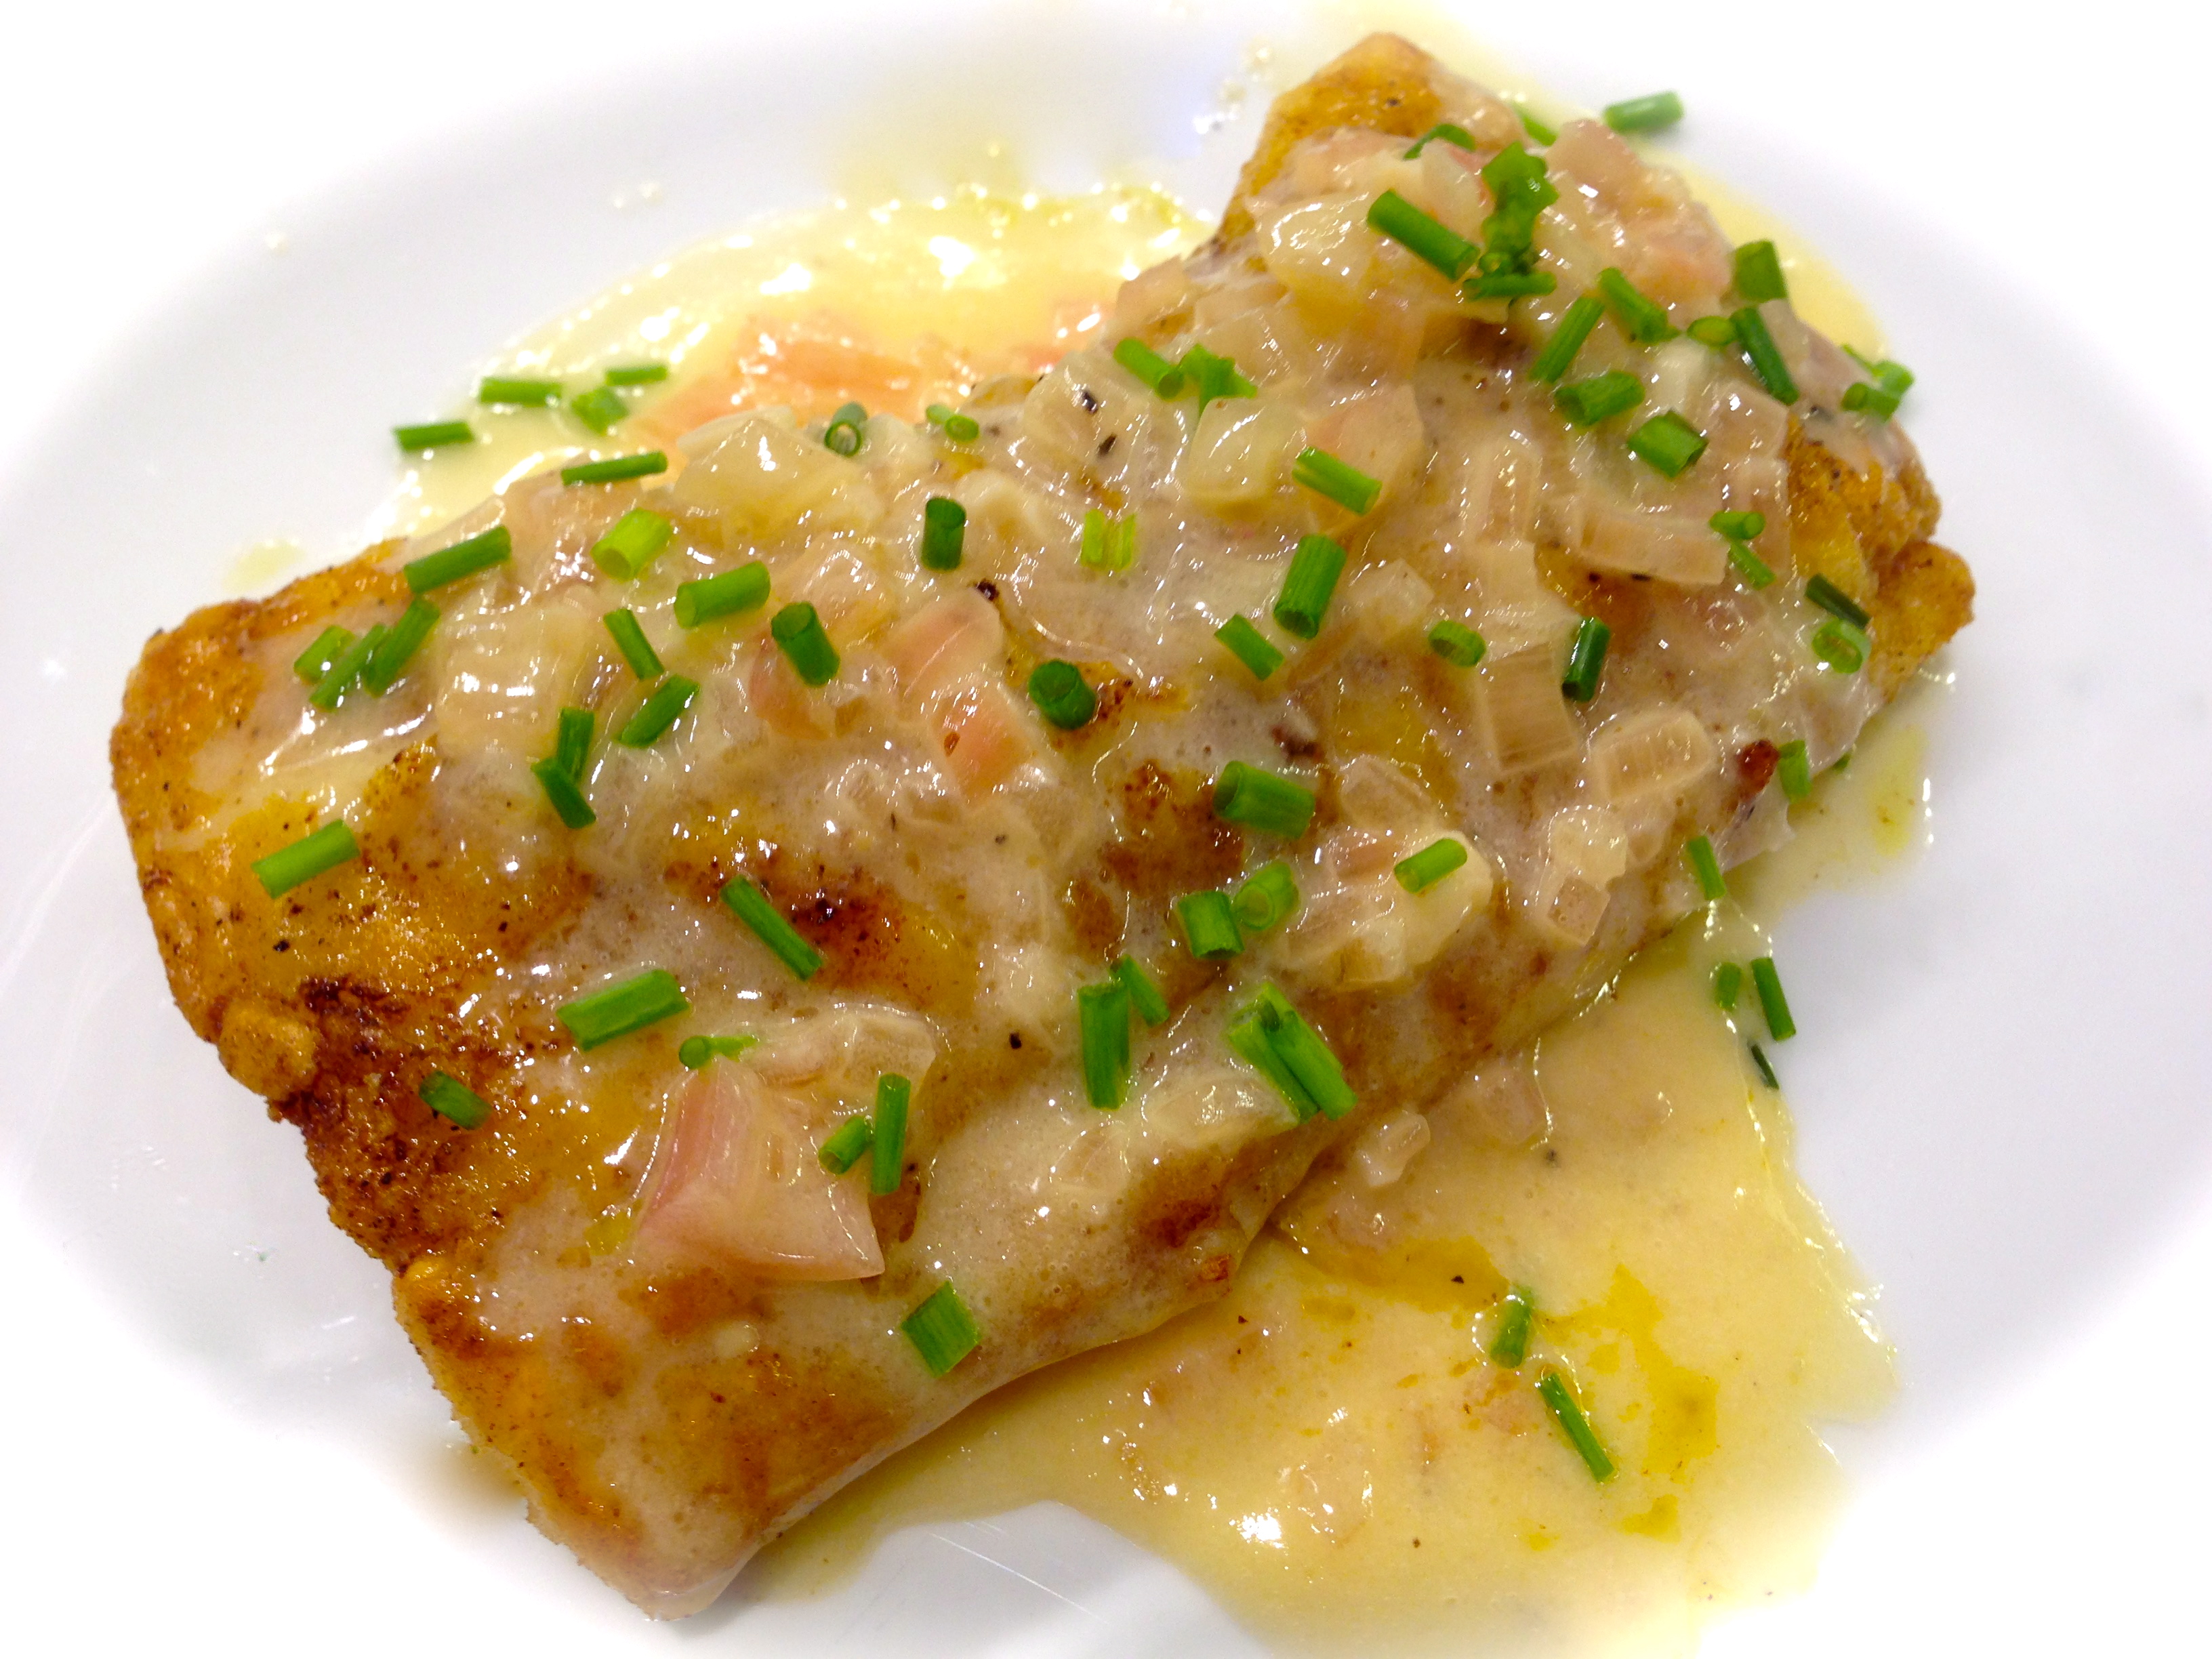
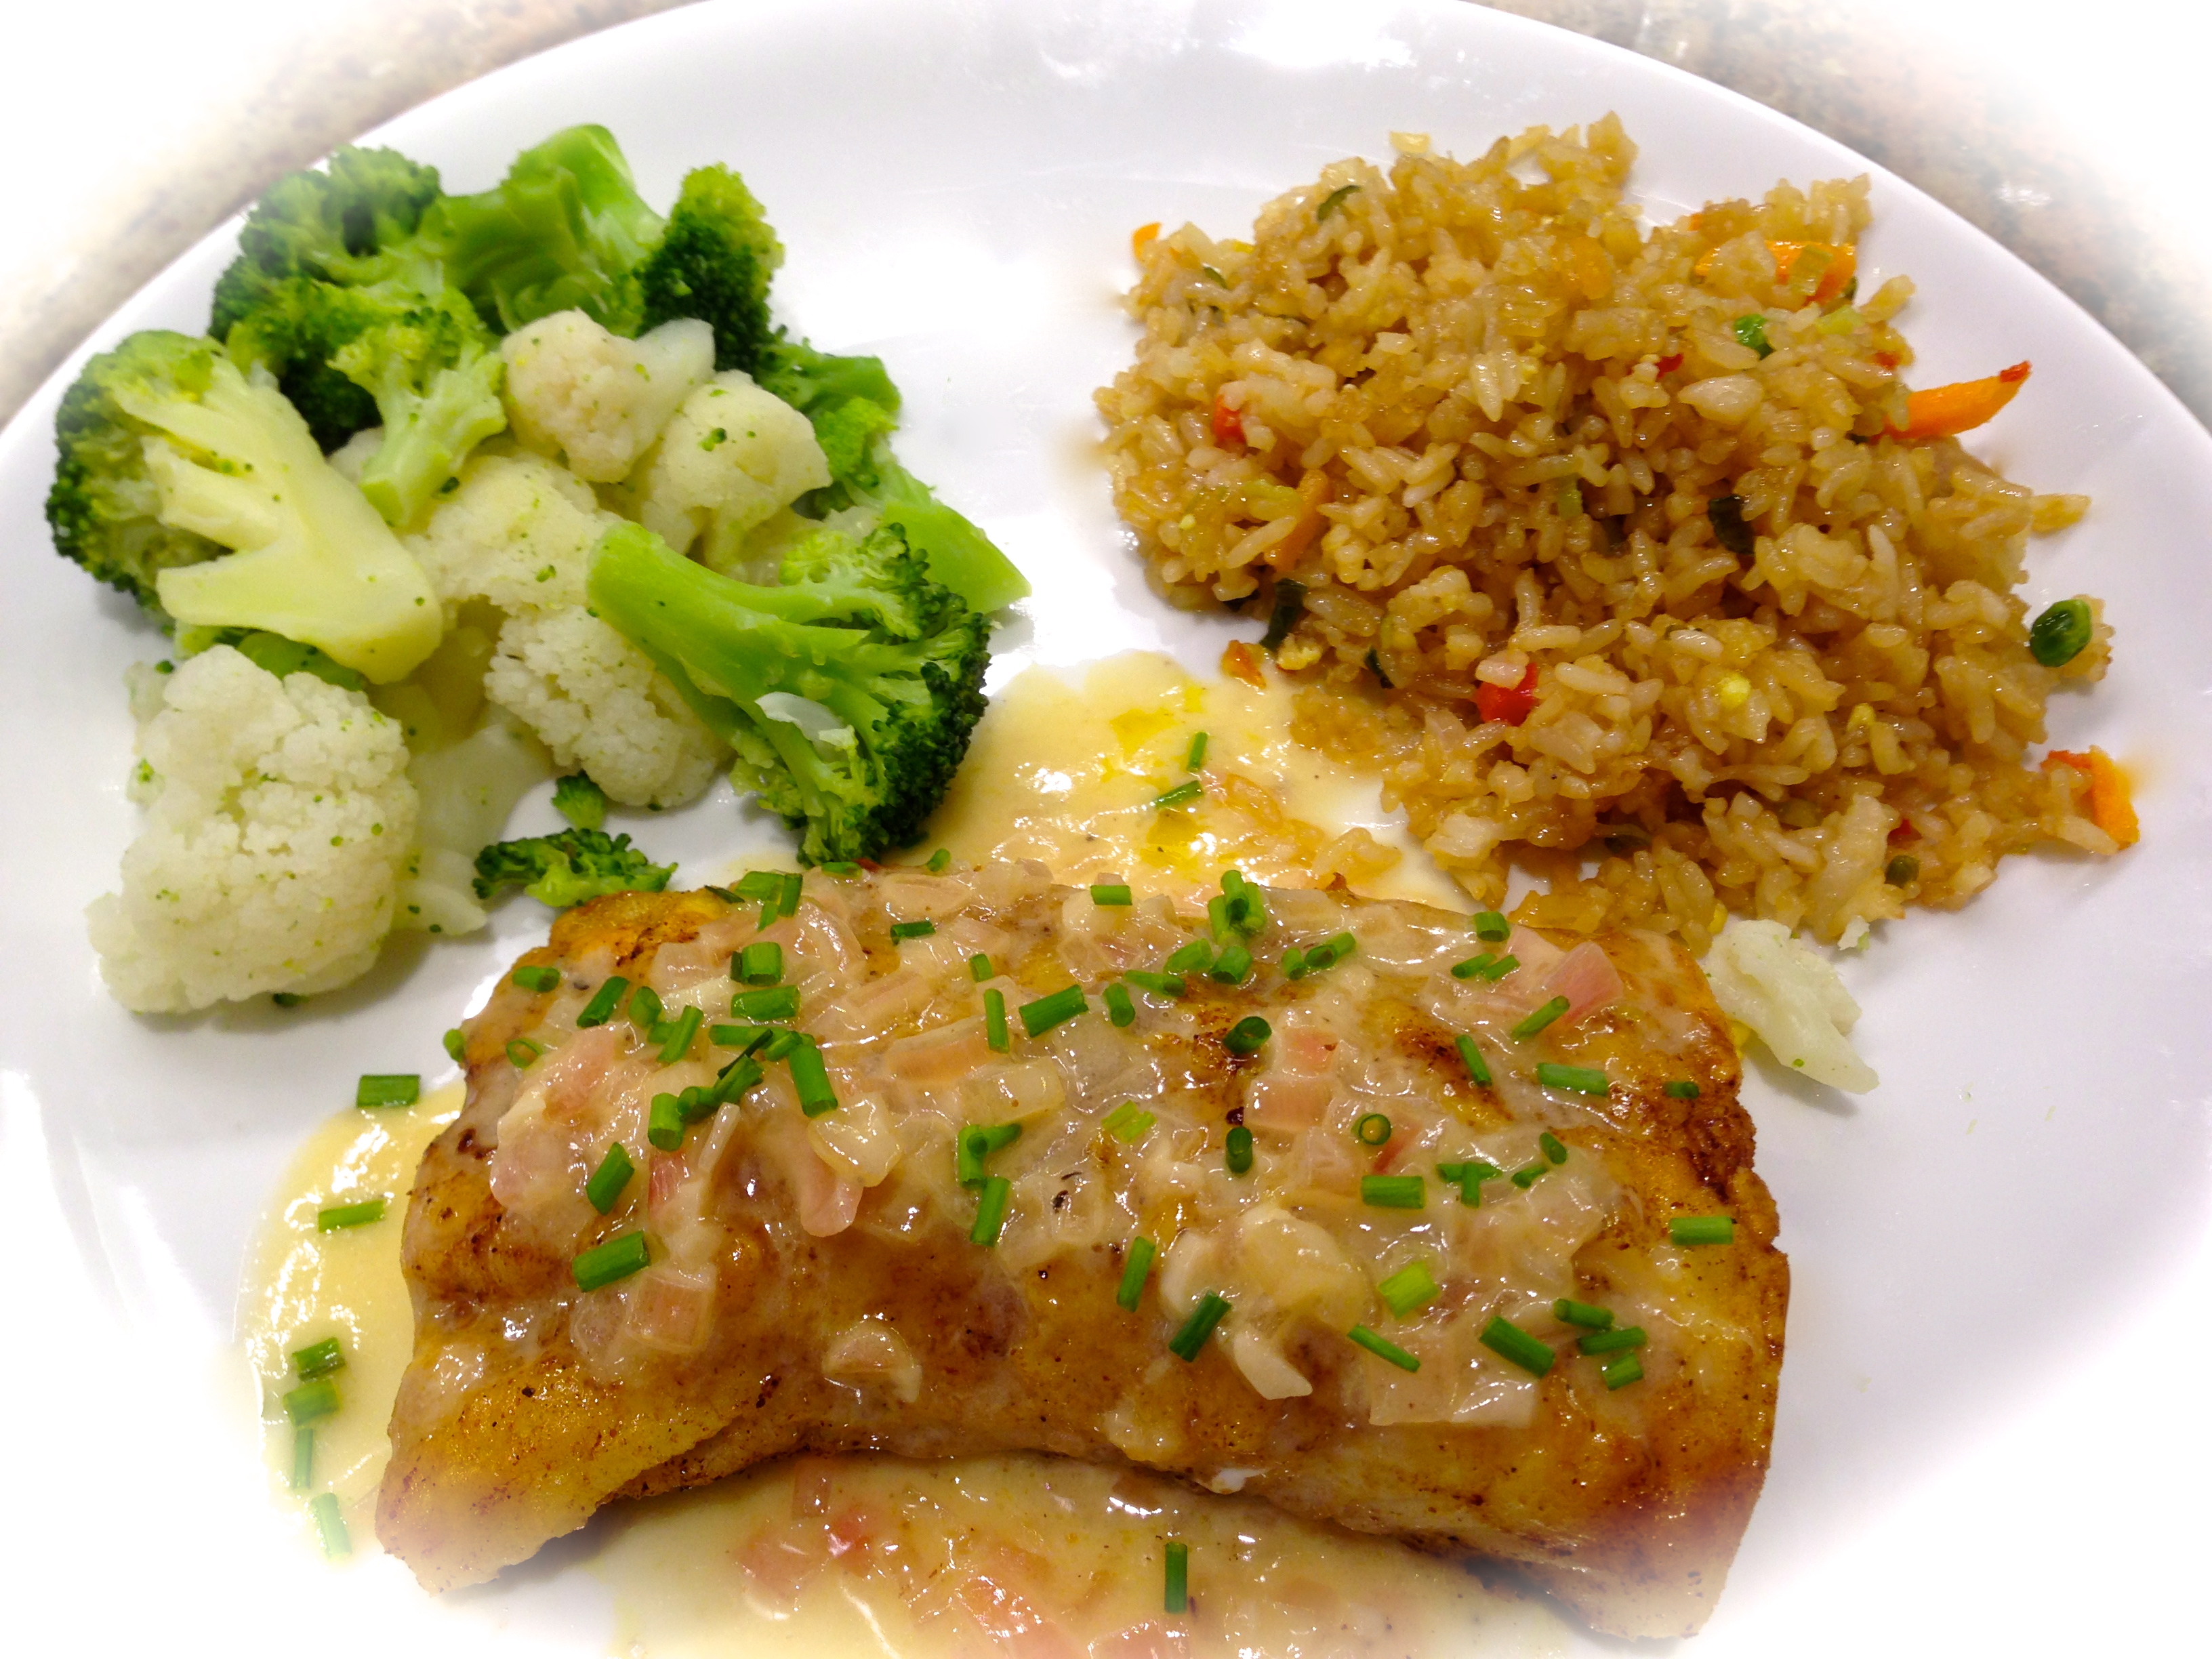
And that’s it. Just a few last thoughts – I’m writing this recipe for 2 people put you can certainly make it for more.  Just increase the crust ingredients proportionately. Also, the combination of mayo, horseradish and lemon creates a wonderfully flavorful crust for the halibut. Once you make this, I’m sure you’ll want to make it again. It’s just that good! And guess what – the crust works equally as well on cod so you have a less expensive choice as well. Enjoy!

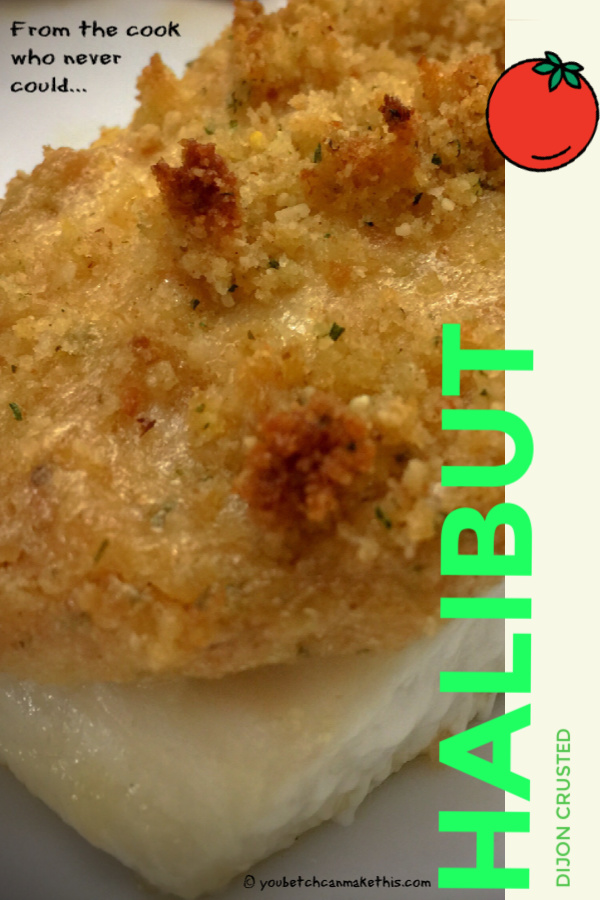
Dijon Crusted Halibut...

  • Servings: 2
  • Difficulty: Medium
  • Print

INGREDIENTS

1/8 cup mayonnaise

1 tsp. Dijon mustard

1 tsp. prepared horseradish

1 tsp. fresh lemon juice

1/4 cup bread crumbs, separated

2 tsp. grated Parmesan, separated

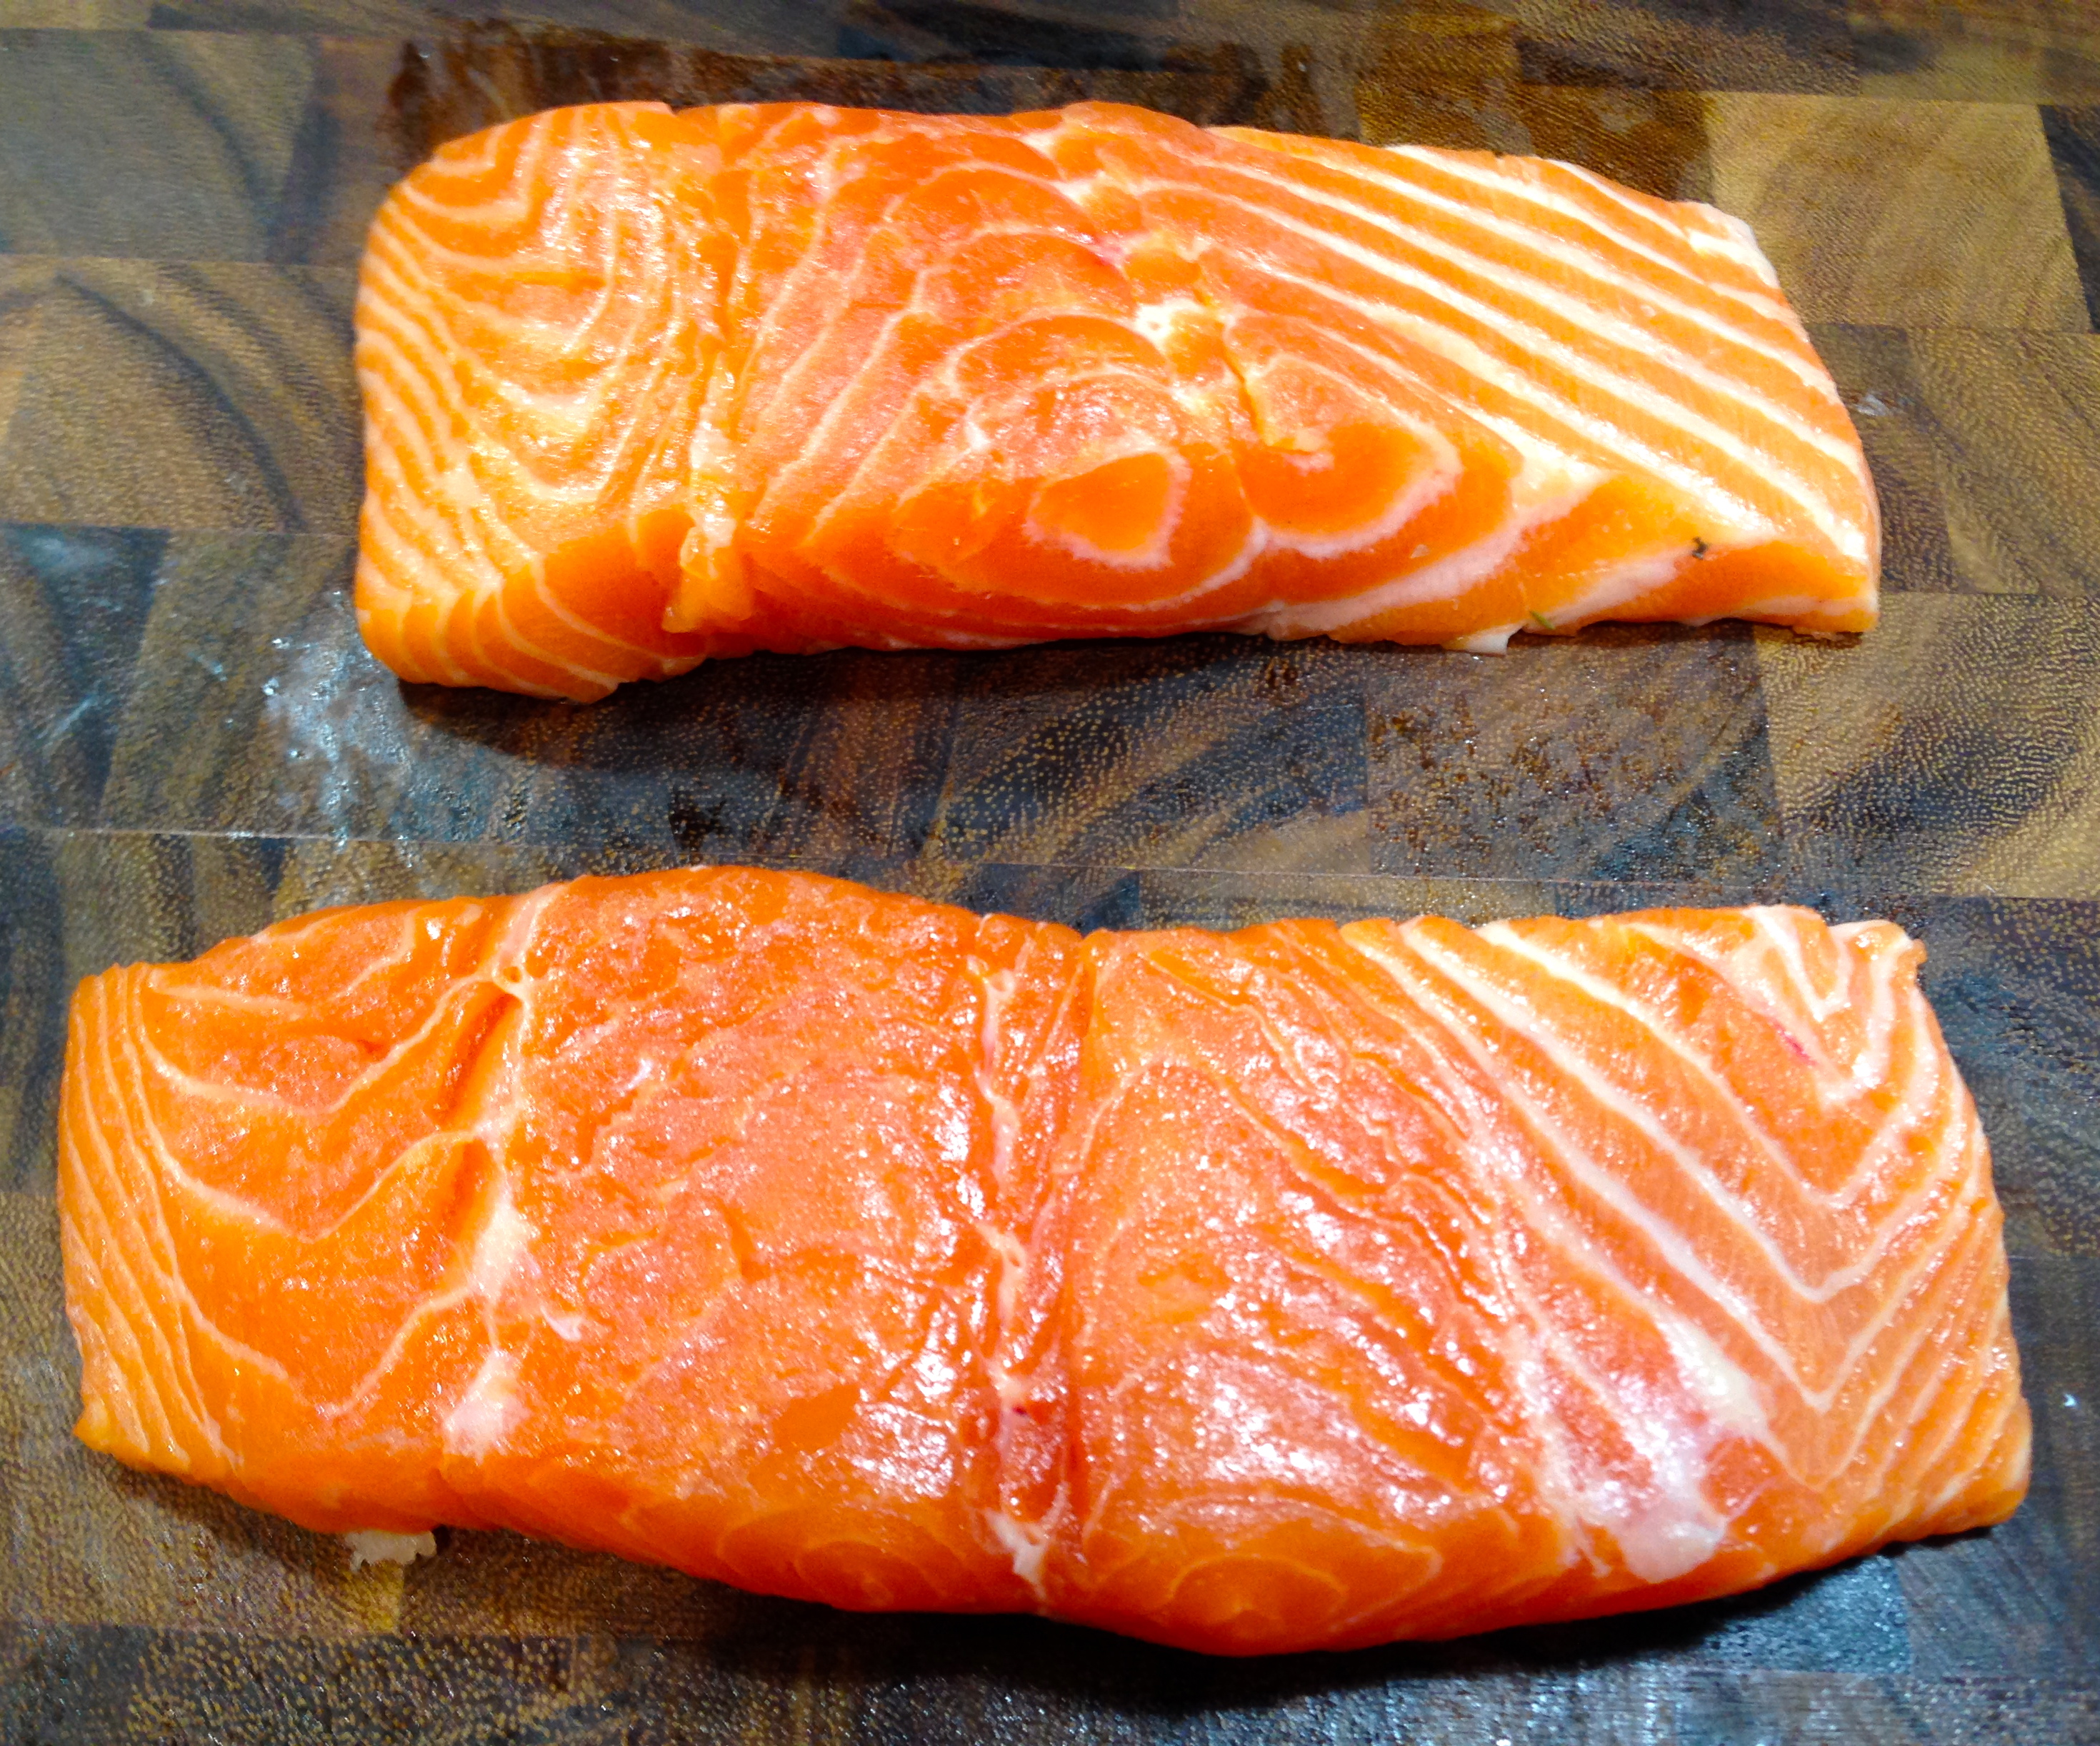
2 4-5 ounce halibut filets

1 Tbs. butter, melted

Olive oil cooking spray

DIRECTIONS:

Preheat oven to 350 degrees (365 for high altitude). Line a baking sheet with foil. Set aside.

In a small bowl mix together the mayo, mustard, horseradish and lemon juice. Stir in 1/8 cup (half) of the bread crumbs and 1 tsp. (half) of the Parmesan cheese. Spray the foil lined baking sheet with cooking spray. Arrange the filets on the baking sheet and spread the mayo/crumb mixture on top of them.

In a small bowl mix together the remaining bread crumbs, Parmesan and melted butter until thoroughly combined. Sprinkle this coating on top of the halibut filets.

Bake for 15-18 minutes, checking the filets at 15. The fish is done when it flakes easily off the end of the fish with a fork.

Coat The Fish With The Mayo/Bread Crumb Mixture

Add The Buttered Bread Crumbs On Top And Bake


Parmesan And Garlic Herb Baked Cod…

Fish has become a staple in our household. Years ago I hardly ever made fish – I was too afraid of it and frankly not all that enamored with it. But now it has become a mainstay in our diet. Not only is it good for you but there are also a variety of ways to cook fish that make it super delicious. This recipe is one of those.

I’ve mostly cooked cod, red snapper, halibut, tilapia, trout, swordfish, and salmon. The main kind of fish I cook for me and my husband is salmon. I’ve got cooking salmon down to such a science that if I prepare it a certain way it always comes out perfect. This is a recipe for cod and I am still perfecting my cod prowess. But I made this the other night and it turned out wonderful so now I have a baseline to work from.

So let’s talk Parmesan and garlic herb baked cod…

Lesson Learned 1 – Cod is plentiful, easy to find and a great choice for this type of recipe: Whenever I go to the grocery store I can always get salmon, tilapia (although lately I’ve shied away from this because of everything that has been written about it) or cod. Finding other fish can be iffy for me. Trout is somewhat plentiful, halibut and red snapper are iffy (and halibut is very expensive) and swordfish I normally can only find frozen. But I’m in Colorado and not near the ocean so I’m sure in various parts of the country availability of various types of fish is much different.

I’d like to stop for a moment here and talk about frozen fish. Years ago frozen fish was not very good. The freezing process tended to dry out the fish and so you basically started out with dry fish once it was thawed – not good. Today the flash freezing methods they use keep the fish extremely fresh which makes frozen fish rival fresh fish and at a much better price. So don’t be afraid of frozen fish anymore.

The Herb Mixture

I also found that thawing frozen fish matters. I’ve been in a hurry and just put the frozen fish on the counter to thaw. That tends not to be a recommended process but when you’re in a hurry you do what you can do. But I found that if I thaw the fish in the refrigerator overnight the fish tends not to dry out in the baking process. Now I’m not sure if that’s true or if it’s just me, but I recommend thawing your fish overnight in the refrigerator if you can.

I found a package of six flash frozen 4-5 ounce cod pieces at Whole Foods at a great price. But cod is easy to find just about anywhere and often you can find it fresh. And no matter what way you make it, cod is the type of fish that easily takes on any flavor palate you choose. That’s what makes it so versatile.

One last point – don’t be afraid to let the fish sit outside of the refrigerator a bit before you bake it. I normally let my fish sit out for about one half hour. That way some of the chill is taken out of the fish. I find it bakes better that way.

Lesson Learned 2 – The art of cooking fish: As I mentioned earlier, I used to shy away from fish and one of the main reasons why was the fear of over or under cooking it. And when you have two pieces of halibut that cost over $20 you really don’t want to mess up. But even if you pay much less, cooking fish can be tricky and if you have enough failures you may just say enough is enough. But don’t do that. Once you get the hang of it, you’ll make great fish meals more and more.

If you’re really nervous just keep in mind that baked cod should be cooked to an internal temperature of 155 degrees. To test the temperature just use a food thermometer and stick it in the thickest part of the fish keeping the tip near the center of the filet. I’ve cooked fish enough that I’ve learned to eyeball it by either looking at the sides to see how opaque the color of the fish is or by sticking a fork on the edge to see if it’s flaky. But that skill comes with time and I recommend using a food thermometer if you’re new at it.

And while we’re talking food thermometer I would recommend getting a good one. The more inexpensive ones can work but they can register temperatures incorrectly, especially over time. Invest in a good food thermometer and it will become you’re best friend.

Ready To Go Into The Oven

Lesson Learned 3 – Grate your own Parmesan for this recipe: There is a BIG difference between jarred Parmesan cheese and grating your own. First the quality of the cheese can be much better as you choose what kind of Parmesan wedge you’ll use. Second the consistency is different. Homemade grated Parmesan tends to have slightly bigger pieces, tastes more robust and stands up better to the melting process in the oven. Now I know it takes a little extra time to do it but it is so worth it. I just zip out my little mini food processor, cut my Parmesan into small pieces and let the food processor do the rest. It’s so easy really and so worth it. I always make more than I need and use it for other things. Once you grate your own you may find that you’ve become a Parmesan snob and always grate your own versus buying it in the jar. It wouldn’t surprise me.

And that’s basically it. The recipe I am sharing is for two but you can certainly make more – just increase the amounts for the mayonnaise mixture. Also if you use larger sized filets you’ll need to increase the baking time. I served this with my cinnamon roasted butternut squash, a side salad and some garlic knots. It was a fantastic meal. Try it and tell me what you think!

Parmesan And Garlic Herb Baked Cod...

  • Servings: 2
  • Difficulty: Easy
  • Print

INGREDIENTS:

2 four to five ounce cod filets

1/2 cup mayonnaise

1/2 cup freshly grated Parmesan

1 scallion chopped, including the green parts (you can substitute 2 Tbs. shallots)

1 garlic clove, grated

1 Tablespoon fresh Italian parsley, chopped

DIRECTIONS:

Preheat oven to 375 degrees. Line a baking sheet with foil and spray the foil with cooking spray. Place the cod filets on the foil and set aside.

In a small bowl mix together the remaining ingredients. Spread the mixture evenly over the top of the fish. Bake for 8-10 minutes or until the fish starts to look opaque and will flake.

If you desire the topping to be more browned, at 8 minutes switch the oven to broiler and brown the tops of the fish until lightly golden (not longer than 2 minutes). Remove from oven and serve.


Lemon Red Snapper With Herb Butter…

A couple of weeks ago a new Whole Foods store opened near my home. I’m not particularly a big fan of Whole Foods as some of their prices, in my opinion, are completely outrageous. But I do like the fact that if I need something, especially something out of the ordinary, I can always find it there. I also like the fresh seafood they carry. They often carry varieties of fish I can’t find in my local grocery stores. And the fishmongers will filet and debone any whole fish for you on the spot.

I went to the store on opening day and it was crazy. The place was packed but there were so many great things to see and sample. At one point they were cooking lobster tails and giving away samples of them. I actually found yellow grapefruit, which is my favorite. Most stores only carry pink grapefruit  and I prefer the tanginess of the yellow.

And when I walked by the seafood department I was so impressed with the variety of fish they had. For months I had been looking for red snapper filets and there they were, beautiful specimens, right in front of my eyes. I was so excited that I was finally going to be able to try out this recipe.

Now if you’ve not made a lot of fish and are unsure of your skill in this area, I would not start by making a recipe like this using red snapper as the fish. Not that this recipe is all that difficult but snapper is expensive (it cost me $20 for two filets). You might want to hone your fish making skills on less expensive types of fish like tilapia or cod before you venture into making red snapper. This recipe would work very well with either of those types of fish.

But lets talk about lemon red snapper with herb butter…

Lesson Learned 1 – Cut the lemon slices at least 1/4 inch thick: I cut my lemon slices about 1/8 inch thick and they cooked down more than I would have liked. They still infused the fish with great flavor, but you also use the lemon as a garnish when you serve the fish. By cutting the lemons 1/4 inch thick they will have more body after the cooking process.

Lemon Red Snapper With Herb Butter

Lesson Learned 2 – Not all filets cook the same: It’s never one size fits all when cooking fish filets. Some may be longer and thinner while others are shorter and thicker. The trick is to try to get filets that are similar in size so that they all cook for the same amount of time. The last thing you want to do is overcook an expensive cut of fish like red snapper.

My filets were longer and thinner but still about 1/4 inch thick at the center. When I researched how to cook the snapper the overall consensus seemed to be at 425 for about 13 minutes. But you can’t always follow that. It is important when making fish to develop an eye for determining when the fish is cooked. I judge my fish by looking at the thickest part. It will start to look opaque at each edge and as the fish cooks the opaqueness fills in. When it is almost completely opaque on the side I know my fish is done. These particular filets only took about 10 minutes. So learn how to develop that eye. The filets you choose may have to cook for 13 minutes. I can only tell you that it will take time as well as trial and error to get good at cooking fish.

Lemon Red Snapper With Herb Butter

Lesson Learned 3 – Don’t be afraid to make fish: I think the key to making fish is to err on the side of underdone. You can always put the fish back in the oven but you can’t do anything with an overdone dried out piece of fish. Be prepared to do that a few times.  It’s no big deal. I guarantee you that after a while you will develop that eye and become a master at cooking fish.

If you are looking to add more fish in your diet, this is a great recipe to start you on your way. Try it and let me know what you think…

LEMON RED SNAPPER WITH HERB BUTTER...

  • Servings: 4
  • Difficulty: Medium
  • Print

INGREDIENTS:

2 lemons

Lemon Red Snapper With Herb Butter

Lemon Red Snapper With Herb Butter

Non-stick cooking spray

4 (6 ounce) red snapper filets

1/4 tsp. salt

1/4 tsp. paprika

1/4 tsp. garlic powder

1/4 tsp. freshly cracked pepper

2 Tbs. butter, softened

2 Tbs. fresh thyme, chopped

1 Tbs. lemon zest (the zest of a medium sized lemon)

DIRECTIONS:

Remove the filets from the refrigerator and let them stand for about 20 minutes. (this will take the chill off of them and make the cooking time more true. It is completely safe).

Zest one lemon and set aside. Cut lemons into 8 quarter inch pieces. Place slices in pairs on a rimmed baking sheet covered in foil and coated with cooking spray.  Place 1 filet on top of each pair of lemons. Combine salt, paprika, garlic powder and pepper and sprinkle over the filets. Bake for 10-13 minutes or until the fish flakes easily when tested with a fork.

While the fish is in the oven, combine the butter, lemon zest and thyme in a small bowl.

When fish is done, plate fish and lemon slices. Top each filet with the herb butter, spreading it to allow it to melt. Serve immediately.

Herb Butter Mixture

Herb Butter Mixture

Herb Butter Mixture

Herb Butter Mixture

Lemon Red Snapper With Herb Butter

Lemon Red Snapper With Herb Butter

Baked Honey Mustard Salmon…

Once again I apologize to my readers and subscribers. I’m in the process of moving and have not been able to devote the time I would like to my goal of one new recipe a week. Hopefully within another month I will be back on track. Until then, I will publish when I can.

Today I want to write about honey mustard salmon. I’ve come to the conclusion that I’ll eat just about anything that’s honey mustard. To me that combination of flavors is second to none. I’ve often made chicken with it. So why not try marinating and baking one of my favorite types of fish, salmon, in a honey mustard sauce.

I like flavorful and simple recipes. I truly believe that the more simple the ingredients the better. This particular recipe fits that mold. One of my most popular posts these days is my recipe for Pan Fried Cod In Lemon Butter Sauce. I bet this one will become a reader favorite as well.

So let’s talk baked honey mustard salmon…

Remove the skin from the salmonLesson Learned 1 – Cut the skin off the back of the salmon: Salmon has a very thick skin that will prevent the marinade from completely permeating the filet. You need to remove it to get the best results. Because the skin is so thick it can be easily removed but you’ll need a very sharp knife to do the job. Don’t try removing the skin with a dull knife. You’ll wind up getting very frustrated and could potentially hurt yourself. Remember most knife accidents occur because of dull knives. Sharp knives are actually much safer to use and cause less kitchen accidents.

Honey Mustard MarinadeLesson Learned 2 – It’s best if you can marinate your fish for at least 3 hours: Although you can marinate this fish for a minimum of 30 minutes, I found that the honey mustard is better absorbed by the salmon the longer you marinate it. So if you can marinate the salmon for 3 hours.

Mix the marinade in a small bowl. Then take a gallon sized plastic bag, place the salmon filets in the bag and pour the marinade over the fish. Seal the bag, place it on a small plate and refrigerate. REMEMBER to turn the bag over several times while it’s in the refrigerator to insure the fish gets uniformly coated on both sides.

Marinate Salmon In A Plastic Bag

Lesson Learned 3 – Prepare your baking dish so that the salmon doesn’t stick to it: Keep in mind that this marinade contains honey and some of it will get dark and thicken during the baking process. If you ever tried to remove baked on honey from a baking dish you know how difficult it can be. That’s why it is so important to pretreat your pan. I usually line the pan with foil and then spray the foil lightly with olive oil cooking spray. That way the fish will lift off the pan without any trouble.

Let the salmon bake in the marinadeLesson Learned 4 – Use the marinade as a baking sauce: Once you put the filets on the baking sheet, cover them with the marinade. That way the marinade becomes a delicious sauce you can spoon over your filets before serving them. DO NOT use the marinade as a sauce directly out of the bag since it has been sitting over raw fish. But if you spoon that marinade over the filets and let it bake in the oven with the salmon, it thickens beautifully and becomes a safe and great sauce.

Don’t be afraid of making fish. The key is not to overcook fish. Follow this recipe cooking time to the letter and I guarantee you will have wonderfully moist and flavorful salmon filets. And as alway, why don’t you try this and tell me what you think…

BAKED HONEY MUSTARD SALMON

  • Servings: 4
  • Difficulty: Easy
  • Print

INGREDIENTS:

4 six ounce salmon filetsHoney Mustard Salmon

4 cloves garlic, chopped

6 tsp. dijon mustard

6 Tbs. honey

4 Tbs. dry white wine (I use Chardonnay)

1 small pinch of salt

1/4 tsp. cayenne pepper (you can use a little less if desired)

Chopped chives for garnish, optional

DIRECTIONS:

Preheat the oven to 400 degrees. If the salmon filets have skin, remove the skin and set aside. Whisk together the garlic, mustard, honey, wine, salt and pepper until smooth. Place the salmon filets in a gallon size plastic bag. Pour the marinade over the filets and seal the bag. Massage the bag with your fingers to make sure all of the filets are covered. Place the bag on a small plate and refrigerate for up to 3 hours (30 minutes minimum), remembering to turn the bag over in the fridge every once in a while during the marinating process.

Prepare a baking pan by lining it with foil and lightly spraying the foil with olive oil cooking spray. Place the filets on the baking sheet and pour the marinade over the filets. Bake for 12 – 15 minutes. Plate the salmon. Pour any of the remaining sauce (baked marinade) over the filets. Garnish with chopped chives and serve.

Baked Honey Mustard Salmon

Serving suggestion: salmon with southwestern rice and oven roasted butternut squash

Serving suggestion: salmon with southwestern rice and oven roasted butternut squash

Honey Mustard Salmon

Quick And Easy Baked Lobster Tails (no lie)…

I don’t know about you but for years I lived in fear of making lobster tails. Everything you read warns you not to overcook them because they will turn rubbery (much like calamari and shrimp) but because they tend to be pricier the fear factor increases exponentially.

Well no more! I decided over the holidays that I would tackle my fear of making lobster tails. In the past, I tried to make lobster tails mostly by broiling them. Sometimes I would be successful and other times not. But this time I tried baking them and I can tell you it will be my preferred method from now on. It is soooo easy and takes out almost all the guesswork (I wish I could say it takes out all of the guesswork but I would be lying) that you need not fear making lobster tails anymore. All you need is your oven set to 350 degrees and a good instant read thermometer.

So let’s talk oven baked lobster tails…

  1. What most people think is the hardest part – getting the tail out of the shell: This used to be one of my biggest challenges. All I can say is thank goodness we have YouTube – I found this video about removing the lobster meat from the tail and it was the absolute key to my success. I encourage you to watch it because this method works and is so easy. I baked my tails on top of the shell and this video shows you exactly how to get the meat out and rest it on the shell.

2. Let the lobster meat rest on the counter for about 15 minutes before baking: First and foremost it is absolutely essential that the lobster tail be completely thawed if frozen. I put my lobster tails in the refrigerator the night before and that did the trick. Most people are afraid to let fish rest a little on the counter like red meat. Of course you would never leave fish out to get to room temperature, but I found if you take the fish out of the refrigerator and let it sit on the counter for just 15 minutes before you cook it, it really helps the cooking time hold true. Don’t leave it out any longer than that, just enough to take the cold edge off the fish.

Baking lobster tails is so easy you’ll want to make them more often. Keep this recipe in your back pocket for when you want to impress, because impress you will!

Quick And Easy Baked Lobster Tails (No Lie)…

  • Servings: 4
  • Difficulty: Medium
  • Print

INGREDIENTS:

4 six ounce lobster tails

1 stick butter, melted for seasoning and dipping

Old Bay Seasoning

DIRECTIONS:

Preheat oven to 350 degrees. Remove lobster meat from tail and rest the meat on the tail. Brush lobster meat with melted butter. Lightly sprinkle the seasoning on top of each tail.

Bake in oven for 15 – 20 minutes. (Check the tails at 15 minutes with an instant read thermometer. If the temperature reads 140-145 degrees, the tails are done). My tails baked in 17 minutes but I live in high altitude and food generally takes slightly longer to cook.

Serve immediately with drawn butter.

Lobster Tail

Lobster Tail and Filet Mignon


Pan Fried Cod With Lemon Butter Sauce…

My husband and I have gotten into eating more fish lately and so I’ve become a student of preparing fish. Baking, broiling, grilling – you name it, I’ve been trying it. I will be the first to admit fish is tricky and the only advice I can give is to keep making it until it becomes more intuitive. Don’t be afraid to flip it back on the heat if you find it is not cooked through. I would much rather do that than serve overcooked fish. You can’t take that back. Preparing fish in an art that comes about from trial and error. But I guarantee its worth the blood, sweat and tears.

Lately I’ve made a lot of fish filets, mostly pan frying them and I think I’ve got it to the point where I’ve learned how to judge when the fish is cooked. Normally I try to buy a filet that is between a 1/4 and 1/2 inch thick. That way I know that about 3 – 4  minutes on each side under medium high heat will do the trick.

What’s great is grocery stores are now stocking more fish both fresh and flash frozen. The filets I’ve been buying are flash frozen and shrink wrapped and I find they thaw and cook beautifully. The only fish that I’ve tried a fews times that doesn’t seem to hold up well in this process is swordfish. Regardless of what I do it always seem to turn out tough. So if I plan on serving swordfish I buy it fresh. Otherwise fish like, grouper, salmon, cod, flounder, halibut and the like all seem to hold up well being flash frozen. It’s a great convenience when you decide at the last minute that you want to make fish for dinner, which was the case with me last night.

Recipe Rating – A: I’ll clue you in, the first few times I tried recipes like this the results were not nearly as good. As I mentioned earlier, preparing fish is something of a acquired skill. The only thing I will tell you is to err on the side of undercooking versus overcooking. That way you can always flip it back in the pan if need be. I would also advise that if you are not a seasoned cook to avoid serving fish at a dinner party. Be patient. Wait until you’ve mastered the skill of preparing fish before you venture into doing that. Don’t set yourself up for failure. And don’t let what I’m saying make you shy away from fish. It is definitely worth it to master this skill!

IMG_1715Lesson Learned 1 – Preparing the fish: This recipe has a very simple preparation for the fish. After the fish thawed and I removed it from its shrink wrap, I took paper towels and dried the fish thoroughly. Then I dusted the fish with flour on both sides and seasoned it. This time I used a Penzy’s seasoned blend called “Forward”. The blend consists of black pepper, onion, paprika, garlic, turmeric and spice extracts of celery, rosemary, thyme and basil. Although it sounds like seasoning overload, the blend actually created a nice all-purpose seasoning and it worked well with the fish. Don’t be afraid to experiment here. What I do is open my seasoning blends and smell them. I can tell by the smell what might overpower the fish. A nice all purpose blend works well to compliment the taste of the fish, as it did in this case.

Shallot and Garlic Sauted in White Wine and Lemon Juice...

Shallot and Garlic Sauted in White Wine and Lemon Juice…

Lesson Learned 2 – Making the butter sauce: I have to admit making this sauce was rather easy. I discovered that starting it about 15 – 20 minutes before serving works well. I found it interesting that you sauté the shallots, and garlic in wine and lemon juice without using any oil or fat. You add heavy cream and butter near the end. At one point you are making the sauce while simultaneously cooking the fish, but at that point you’re only doing the finishing touch of adding the butter to the sauce, so it’s easy to multi-task. You can also make it ahead, just make sure to keep it warm on a very low flame. This is a very rich sauce. Be careful. You only want to add a little to the fish. You don’t want the taste of the fish to be lost in the sauce. Add just a little and you will have a decadent delight. The recipe below is more than enough for two people. You can easily double it if you plan to serve more people.

The Finished Butter Sauce...

The Finished Butter Sauce…

Lesson Learned 3 – The power of garnish: I’ve said this before but it’s worth repeating. You eat with your eyes first. I can’t tell you how many times I get comments like, “that looks delicious!” Now I can understand how something tastes delicious but I’m not sure how delicious can be determined by your eyes. But in reality it is, and I’ve found one of the best way to dress up a dish is to garnish it with parsley or chives. Just that pop of color adds to the “looks delicious” factor. Adding garnish is so easy and creates a visual excitement before the dish is ever tasted.

IMG_1742

I served steamed broccoli and cauliflower along with Trader Joe’s chicken fried rice with the cod (BTW, that chicken fried rice is very good and easy to prepare).  The meal was a hit. A friend of mine posted on Facebook that cod has a bad rap and I tend to agree. I’m not sure why. It is a mild white fish that can be prepared in a variety of ways, is complimented by a variety of seasonings and is relatively inexpensive compared to other fish. So, don’t shy away from it. This recipe will work well for any white fish like halibut or grouper. Just make sure you don’t overcook the fish. You want the fish moist, tender and flaky. And when you add that butter sauce, well all I can say is it’s to die for!

Pan Fried Cod With Lemon Butter Sauce

  • Servings: 2
  • Difficulty: Medium
  • Print

INGREDIENTS:

Lemon Butter Sauce:

1/2 cup dry white wine

1/4 cup fresh squeezed lemon juice

1 shallot. chopped

1 large clove garlic, minced

1 large dash of Worcestershire sauce

1/4 cup heavy cream

1 stick of butter

Salt and pepper to taste

A dash of hot sauce, if desired

For The Fish:

2 cod filets between 1/4 and 1/2 inches thick

1/4 cup all purpose flour

Spice Blend of Choice (I used Penzy’s spice blend called “Forward” – see reference in blog)

1 Tbs. olive oil

1 Tbs. butter

Salt and pepper

Fresh parsley or chives for garnish

DIRECTIONS:

Begin by preparing the butter sauce. Heat a sauce pan over medium high heat. Add the wine, lemon juice, garlic and shallots. Cook for about three minutes or until the shallots turn translucent. Add the Worcestershire (and hot sauce if desired – I did not add hot sauce) and simmer until the mixture becomes syrupy.

Stir in the cream and cook for about 1 minute. Whisk in the butter a few pats at a time until it becomes fully incorporated. Serve immediately or keep warm until ready to serve.

In a large skillet melt the butter and olive oil. On a plate mix the flour with some salt and pepper. Pat the fish dry with paper towels. Dredge both sides of the fish in flour. Shake off the excess. Sprinkle the spice blend on top of the filets. Once the skillet is heated and the butter melted add the fish seasoned side down. Season the other side with the season blend. Cook the fish for 3-4 minutes on each side.

Pour a little bit of the sauce on the bottom of the plate. Put the fish on top and pour a small portion of the sauce over the filet. Garnish and serve immediately.

IMG_1736

Pan Fried Cod With Lemon Butter Sauce...

Pan Fried Cod With Lemon Butter Sauce…

Pan Fried Cod With Steamed Vegetables and Chicken Fried Rice...

Pan Fried Cod With Steamed Vegetables and Chicken Fried Rice…

Baked Salmon and Cremini Mushroom Duxelle En Croute…

My husband and I have taken to eating more fish these days and so I’m experimenting with different ways of preparing it. I’ll admit it up front, fish can be tricky. You can’t eat it if it’s underdone and it tastes like the Sahara Desert if it’s overdone – and there is a very fine line of cooking time that separates fish from either one. But my job in this blog is to try to save you some of that uncertainty by my trial and error and not yours.

Duxelle Ingredients...

Duxelle Ingredients…

This fish recipe turned out very well the first time I made it, amazingly enough, and there is only one simple thing I would change from the original recipe and that would be the cooking time. The name of the dish sounds fancy but don’t let the terms en croute and duxelle frighten you. En croute simply means in a crust and a duxelle is merely mushrooms, shallots and herbs sautéed in butter and reduced to a paste. This particular duxelle also adds some vermouth and a tad of heavy cream to the paste just to make it extra decadent. As for the puff pastry, hardly anyone tries to make it from scratch anymore as the process is tedious and time consuming. Frozen puff pastry is just fine and adds to the mystique of the recipe with hardly any work on the part of the chef. The beauty of this recipe is that it really isn’t that hard to put together. So I’ll share my recipe rating and lessons learned in the hopes that you’ll give this one a try.

Recipe Rating- A-: The minus in the rating is really for the cooking time listed in the original recipe. I find it hard to believe that the salmon would be moist considering the amount of time the recipe suggested to cook it. But other than that, this recipe is very good and I think even someone who is not a big fan of mushrooms might like the flavor of the duxelle, which nicely compliments the flavor of the salmon.

Lesson Learned 1 – You can always put the fish back in the oven: I like to perfect fish recipes with just me and my husband as the guinea pigs before considering serving them to guests. That way I’m less worried about the presentation and more about perfecting the cooking time. So, if for some reason the fish is not done to your liking, just pop it back in the oven for a few more minutes (even if it is primarily encased in puff pastry). The original recipe called for baking the salmon at 400 degrees for 15 minutes and then lowering the temperature to 325 and baking it for an additional 15-20 minus. I simply could not imagine moist salmon being the end result of that process. My filets were 6 ounces each but only about 1/2 inch or slightly less thick. I am glad I followed my gut instinct and cooked them at 400 for 25 minutes. Even then the salmon was on the verge of being dried out but not bad (as a matter of fact those who like their salmon well done should bake it this way) – the next time I make it, I’ll bake the salmon at 400 degrees for 20 minutes and that should be perfect. You need the time and higher temps to cook the puff pastry so you need to be careful to bake a piece of salmon that is at least 6 ounces in order for it to withstand the cooking time. Any less than 20 minutes and I don’t think the puff pastry will bake to its full potential.

Finely chop the mushrooms for the duxelle...

Finely chop the mushrooms for the duxelle…

Lesson Learned 2 – To make the mushroom paste you need to finely chop the mushrooms: The duxelle consistency will not be achieved if you do not finely chop the mushrooms. As a matter of fact I don’t even recommend chopping them by hand. I would put them into a food processor and pulse them until they are finely chopped. I used my mini food processor for this and got the desired results without having to drag out the large food processor. I imagine this would be quite labor intensive if you tried to do this by hand.

Lesson Learned 3 – Remove the skin from the fish: I purchased wild caught salmon for this dish and was surprised at how thick and tough the skin was when I was removing it. You don’t want to battle with that while you’re eating so my advice is to invest in a good boning knife and remove the skin from the fish before preparing it.

Lesson Learned 4 – Working with puff pastry: Don’t be intimated. Working with puff pastry can actually be quite simple if you know a few things. First you’ll want to thaw a sheet in the refrigerator for about 3 hours before working with it. Lightly dust your prep station with flour, carefully unfold the pastry sheet (it’s folded in thirds) and roll it out to form more of a square shape. (Don’t roll it out too thin and be careful when lifting it if you need to add a little more flour to the surface). Don’t be afraid to adjust the salmon (scrunching it a little) to fit neatly into a folded pocket of puff pastry. For two filets you should only need one sheet of puff pastry. There will be two sheets in the box when you buy it. Keep the other sheet frozen and use it at a later time.

Lesson Learned 5 – An egg wash is puff pastry’s best friend: In order to enhance the color of your puff pastry, beat an egg with just a splash of water in a dish and then brush it all over the top of the puff pastry. The egg wash will help produce a beautiful golden color on the pastry. Once you’ve applied it, make a one inch slit in the center of the pastry to allow steam to escape during the baking process.

I know this recipe may look a little intimidating but really it isn’t. These salmon pockets can actually be made a couple of hours ahead of time and left in the refrigerator until they’re ready to be baked off. The original recipe states that these can also be frozen and then baked frozen but additional cooking time is necessary (not sure what that means but if you’re adventurous, try it). I can assure you this tastes delicious and is worth the little bit of extra time to put together. Enjoy!

IMG_9704

The duxelle paste…

Layer the duxelle and salmon on to the puff pastry...

Layer the duxelle and salmon on to the puff pastry…

Make the pastry pocket and crimp the sides with a fork...

Make the pastry pocket and crimp the sides with a fork…

Brush the pastry with an egg wash and cut a slit in the center to release steam

Brush the pastry with an egg wash and cut a slit in the center to release steam

Baked Salmon and Cremini Mushroom Duxelle En Croute

  • Servings: 2
  • Difficulty: Medium
  • Print

INGREDIENTS:

2 six ounce salmon filets, skin removed

1/2 cup mushroom duxelle

1 sheet of puff pastry, thawed

1 egg 1 tsp. water

(FOR THE DUXELLE)

6 ounces cremini mushrooms

2 TBS. butter

1/4 cup finely chopped shallots

1 TBS. vermouth (or dry white wine)

1/4 – 1/2 tsp. fresh thyme

3 TBS. heavy cream

salt and pepper to taste

DIRECTIONS: Thaw the puff pastry in the refrigerator for at least three hours. Preheat the oven to 400 degrees. Using a damp paper towel, wipe off any residue on the mushrooms. Don’t wash them directly under water as they can absorb too much moisture if you do that.

Put mushrooms in a food processor and pulse until they are finely minced. Mince the shallots and chop the thyme. Melt the butter and sauté the shallots until soft. Stir in the mushrooms and simmer for 7-10 minutes, stirring occasionally until their moisture evaporates. Add the wine, thyme and salt and pepper. Simmer for about another 5 minutes. Remove from the heat and add the whipping cream. Use immediately or refrigerate until ready to use.

Remove the skin from the salmon. On a lightly floured surface, open the puff pastry and gently roll it into the shape of a square. Cut the puff pastry into four equal squares to create an upper and lower portion of the pocket (I cut mine in half and just folded the pastry over the salmon – I had to scrunch the salmon a little to get it to fit in the pocket but it worked out just fine). Spread the duxelle on the puff pastry up to an inch from the edges of the pastry.

Place the salmon on top of the duxelle and fold over the pastry to create a pocket. Use a fork to crimp the edges shut. Beat egg with water and brush the top of the puff pastry pocket with the egg wash. Slit a hole in the center of the pastry pocket (about a inch) to allow steam to escape. Line a baking sheet with foil and spray lightly with non-stick spray. Place the salmon pockets on the baking dish and bake for 20 minutes. Serve immediately.

Pastry Pocket Right Out Of The Oven...

Pastry Pocket Right Out Of The Oven…

Salmon and Cremini Mushroom Duxelle En Croute...

Salmon and Cremini Mushroom Duxelle En Croute…

Broiled Salmon with Herb Mustard Glaze…

I’ve always been a big fan of salmon. It’s a mild fish that can be prepared in a variety of ways and, in my estimation, easier to cook than other types of fish. So this past weekend when a new high-end grocery store opened in our area, I decided to try some of their fresh fish. The salmon looked superb, as you can see from the photos, and that prompted me to look for an easy but flavorful salmon recipe.

Herb Mustard Glaze Ingredients

Herb Mustard Glaze Ingredients

I found a great recipe on, you guessed it…, The Food Network Site (thought I was going to say Pinterest didn’t you?) The basis for this is Giada’s recipe of the same name. I adapted it for my own needs and tastes. So here is my rating of the original recipe and lessons I learned when making it:

RECIPE RATING A. This is a very easy recipe, the glaze is easy to make and the flavors of the glaze provide a delightful compliment to the salmon. The only things I would have expounded on in the recipe is the reason why you put the glaze on after you’ve cooked the salmon for a couple of minutes and a more detailed reference to variations in cooking times for fish. I’ll explain in my lessons learned.

Lesson Learned 1 – Not all fish are created equal: This is true especially when it comes to cooking time. I am still trying to perfect the art of cooking fish to perfect doneness. The challenge is that fish can be expensive and you hate to pay good money for something and then ruin it. The beauty of salmon is that is can be prepared in various stages of doneness. Some like their salmon a little less done, sort of medium rare, will others like their salmon well done. It’s a little easier to work with salmon because of this. When I made this recipe I used two salmon filets that weighed between 6-8 ounces just as written in the recipe. Giada advised to cook the salmon for 7 minutes total. I cooked mine for 8 and my filet, as it was a little thicker, was medium rare to medium. My husband’s filet was thinner and his turned out medium. So just be aware that your forays into cooking fish may take several trials and also be aware that cooking time is so dependent on not only the weight but also the thickness of the fish. In my case, my filet was thicker than the one I served to my husband, ergo the difference in doneness. But don’t give up. Mastering the art of cooking fish will be something that, in the end, will provide you with some extraordinary meals.

Salmon Filets

Salmon Filets

Lesson Learned 2 – There is a reason you don’t glaze the fish before you put it under the broiler: This is where I wished the recipe would have been more specific. Granted I have become more adept in the kitchen but there are still some things that are not intuitive to me. The glaze will burn if you keep it on too long. If I had known that up front I probably would have applied the glaze at the three minute juncture instead of the two. As it was, I had a nicely browned glaze but I think I just made it before it started to burn. So keep that in mind. If you think you need more cooking time than the 7 minutes called for in the recipe, put your glaze on a little later.

Lesson Learned 3Remove the skin from the salmon: If there is skin on one side of the salmon filet remove it. The skin is tough and you won’t eat it. I find the filets cook more evenly with the skin removed. I use a very sharp knife, a Shun boning knife, and just run it up and down the edge of the skin until I can peel a little of it away. Then I hold the skin taught and keep moving the knife up and down close to where the skin meets the flesh, gently pulling on the skin as I go until all the skin as been removed. This will take a few minutes, but it’s worth it.

Herb Mustard Glaze

Herb Mustard Glaze

Lesson Learned 4 – The glaze is fabulous: I really liked the flavor of this glaze both on the fish and on its own. I imagine with a little bit of ingenuity it could be used on other things. The combination of the dijon and whole-grain mustard along with the herbs provides great depth of flavor and would probably taste good on chicken too.

I would highly recommend trying this recipe. Don’t be afraid to cook fish. If you’re concerned, err on the side of caution and take it out sooner rather than later. You can always throw it back on the cooking source but you can’t undo overcooking. Let me know what you think of this one.

Broiled Salmon with Herb Mustard Glaze

  • Servings: 4
  • Difficulty: Medium
  • Print

Ingredients:

2 cloves of garlic

3/4 tsp. finely chopped fresh rosemary

3/4 tsp. finely chopped fresh thyme

1 Tbs. dry white wine

1 Tbs. olive oil

2 Tbs. dijon mustard

2 Tbs. whole grain mustard

4 (6-8 ounce) salmon filets, skin removed

Salt and pepper

Directions:

Preheat the broiler (if you have an option of low or high, choose high). Place oven rack to be approximately 8-10 inches away from the broiler flame.

In a mini food processor combine garlic, rosemary, thyme, wine, oil, dijon mustard and 1 Tbs. of the whole grain mustard. Pulse until well combined. Transfer to a small bowl and stir in the remaining 1 Tbs. of whole grain mustard. Set aside.

Line a broiler pan with aluminum foil and spray with non-stick cooking spray. Arrange the salmon on the broiler pan (I arrange them vertically so that they nest completely under the broiler flames). Salt and pepper to taste. Broil for 2-3 minutes (depending on the thickness of the filets). Remove broiler pan from oven and spread the mustard glaze on top of the salmon filets. Put pan back in oven and continue to broil for about 5 minutes. Serve immediately.

Serving Suggestion: Salmon with Mushroom Risotto and Steamed Vegetables

Serving Suggestion: Salmon with Mushroom Risotto and Steamed Vegetables

design