Frosted Blueberry Muffins…

This time of year brings an abundance of fresh fruits and vegetables to your table. Sometimes its hard to pass them up, especially when the prices are low and the quality is high. And because of that, sometimes I find I buy more than I can actually use. Or sometimes I’m positive I don’t have what I want at home only to find after I buy it I have more than enough in the refrigerator already.

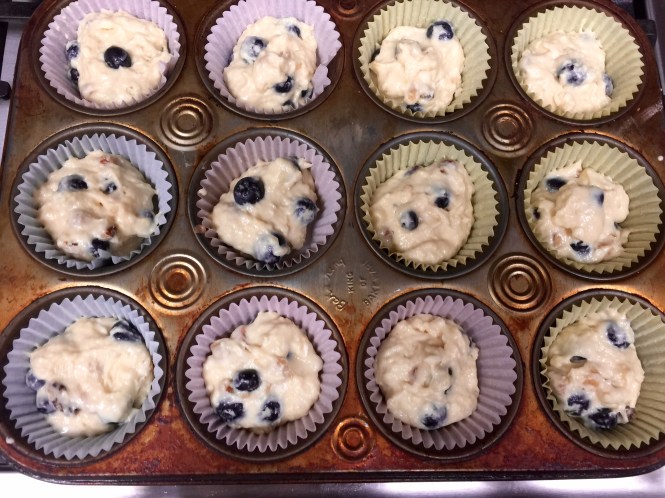
Such was the case the other day when I looked in my refrigerator and found and I had pints of blueberries – way too much for me to use by myself before they spoiled. My solution was to make frosted blueberry muffins…

I have to say I really like this recipe. The muffins are just the right texture and the cream cheese frosting is the perfect compliment to the tart blueberries. So let’s not waste any time and start talking about blueberry muffins…

Muffin Ingredients

Lesson Learned 1 – This recipe make A LOT of muffins: If you’re making muffins for a crowd or have large family the proportions in this recipe will be perfect for you. This recipe can make anywhere from 36-40 muffins, which for me with only two people in my household, was way too much. I didn’t realize how much the recipe made until I started filling the muffin cups. OOOPS!

But the good news is you can easily cut the recipe in half and have a more manageable amount of muffins for a smaller family. Either way, they will still come out tasting delicious.

Lesson Learned 2 – This recipe would also be good using fresh cherries: I chose blueberries for this recipe because they are more readily available during the course of a year and I had some I need to use. But you could also use fresh cherries. All you would need to do is make sure the cherries are pitted and chopped. For the full recipe I would add 4 cups of cherries.

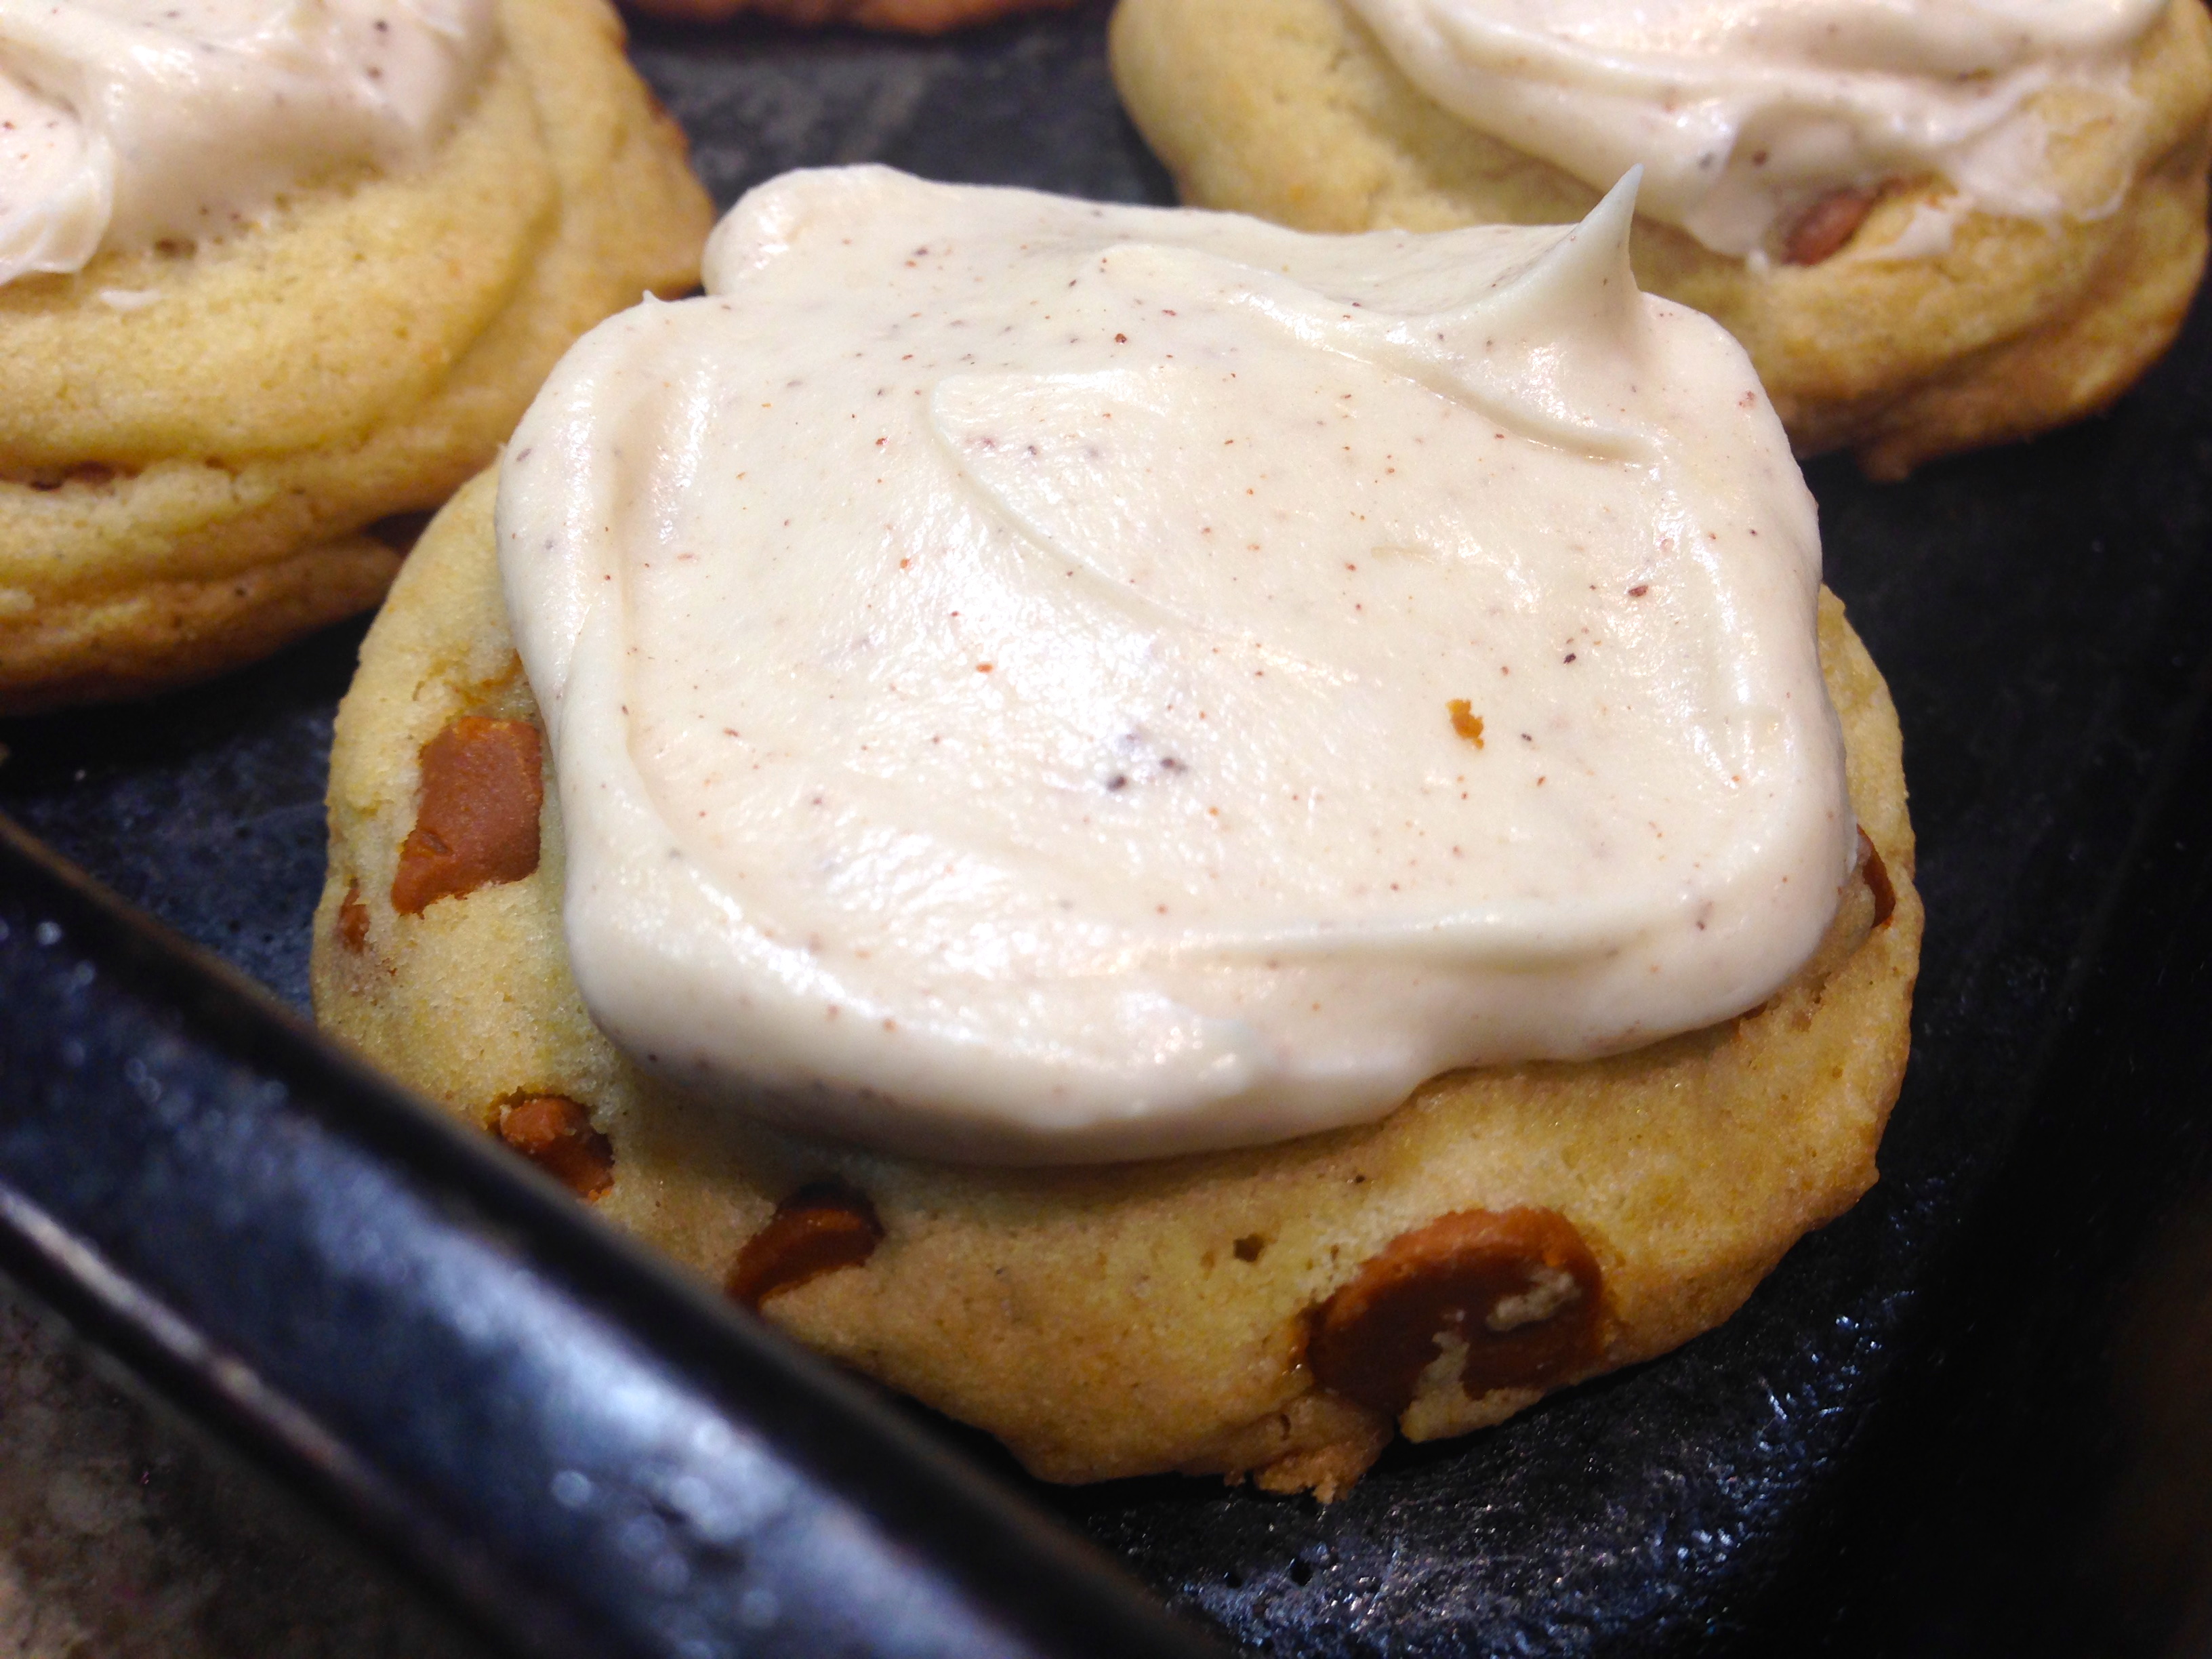
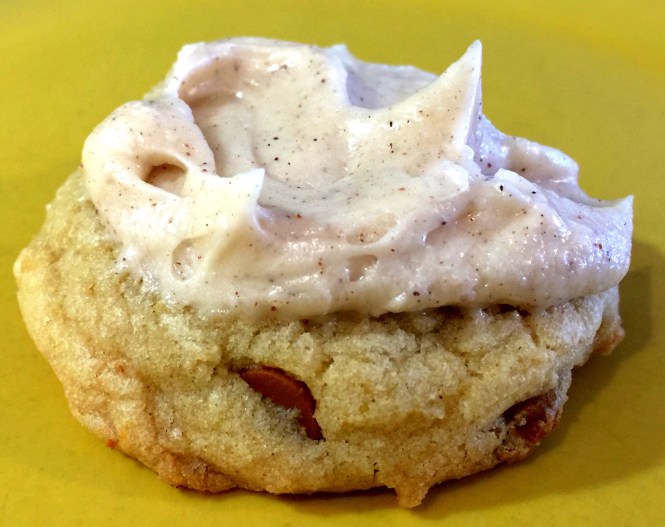
Lesson Learned 3 – I recommend frosting these muffins: The frosting is a great compliment to the tartness of the blueberries. And although you can leave them plain the frosting, in my opinion, takes them over the top.

Lesson Learned 4 – You can also make jumbo muffins: If you’re worried about the amount of muffins this recipe makes try making jumbo muffins. You can make approximately 18-24 jumbo muffins from this recipe. The only difference will be in the baking time. Bake the jumbo muffins for approximately 25-30 minutes.

Other than that this recipe is pretty standard in terms of how it is structured. As always you need to use less leavening for high altitude (cut the baking powder by 1/2 Tbs.) but other than that you mix the ingredients, fill the muffin cups three quarters full and bake.

Since I had so many of these I brought some to hour community happy hour that we have each week. People raved about them. One person told me she only took one home with her and in retrospect she wished she had taken many more. I guarantee this will be a hit when you serve it. Or better yet, just keep them to yourself as a guilty pleasure. Enjoy!

Blueberry Muffins...

  • Servings: 36-40 muffins
  • Difficulty: Easy
  • Print

INGREDIENTS:

Muffins:

4 1/2 cups flour

2 Tbs. baking powder (1 1/2 Tbs. for high altitude)

1/2 tsp. salt

1 1/4 cups sugar

3/4 cup butter, room temperature

4 eggs

1/2 tsp. vanilla extract

1/2 tsp. almond extract

Zest of 1 lemon

2 Tbs. fresh lemon juice

3/4 cups milk

2 cups sour cream

1 cup chopped walnuts

1 pint fresh blueberries, washed and drained

Frosting:

1/2 cup butter, room temperature

1 – 8 oz. package of cream cheese, room temperature

1 tsp. vanilla

2 cups confectioners sugar

DIRECTIONS:

Preheat the oven to 375. Put paper liners into the muffin tins.

Combine the flour, baking powder, salt and sugar. Whisk until combined. Set aside.

Put butter, eggs, vanilla and almond extracts, lemon zest, lemon juice, milk and sour cream into a mixing bowl. Beat on medium speed until blended. (You can use a hand mixer for this).

Add the dry ingredients and mix by hand until combined. Fold in the nuts and blueberries. Do not over mix.

Spoon the batter into the muffin cups filling them 3/4 full. Bake for 15 – 18 minutes or until lightly browned on top. Let muffins cool on a rack before frosting.

To make the frosting, combine the butter, cream cheese and vanilla in a mixing bowl. Beat until smooth. Gradually add the sugar beating until smooth.


Easy Chocolate Ganache…

My husband has an incurable sweet tooth. The other day he informed me we had nothing sweet in the house to eat and I was not in the mood to whip up something from scratch. I looked in the pantry and found a box of Duncan Hines decadent chocolate cake mix and told him I would make that. Unfortunately I opened my mouth before carefully reading the outside of the box. Staring me right in the face in clear letters on the front of the box were the words “frosting not included”. Now what… Luckily I thought I might have the ingredients for making chocolate ganache (which I did) so I thought ok, now’s the time to tackle your fears and make it. I had not other choice.

I’m not quite sure why I was afraid to make ganache but I always thought it was difficult and tricky. To my surprise it was unbelievably easy. So I thought I would dedicate this blog to a very simple way of making ganache that turns out silky, luscious and ever so decadent looking, not to mention absolutely incredibly delicious.

So let’s talk making chocolate ganache…

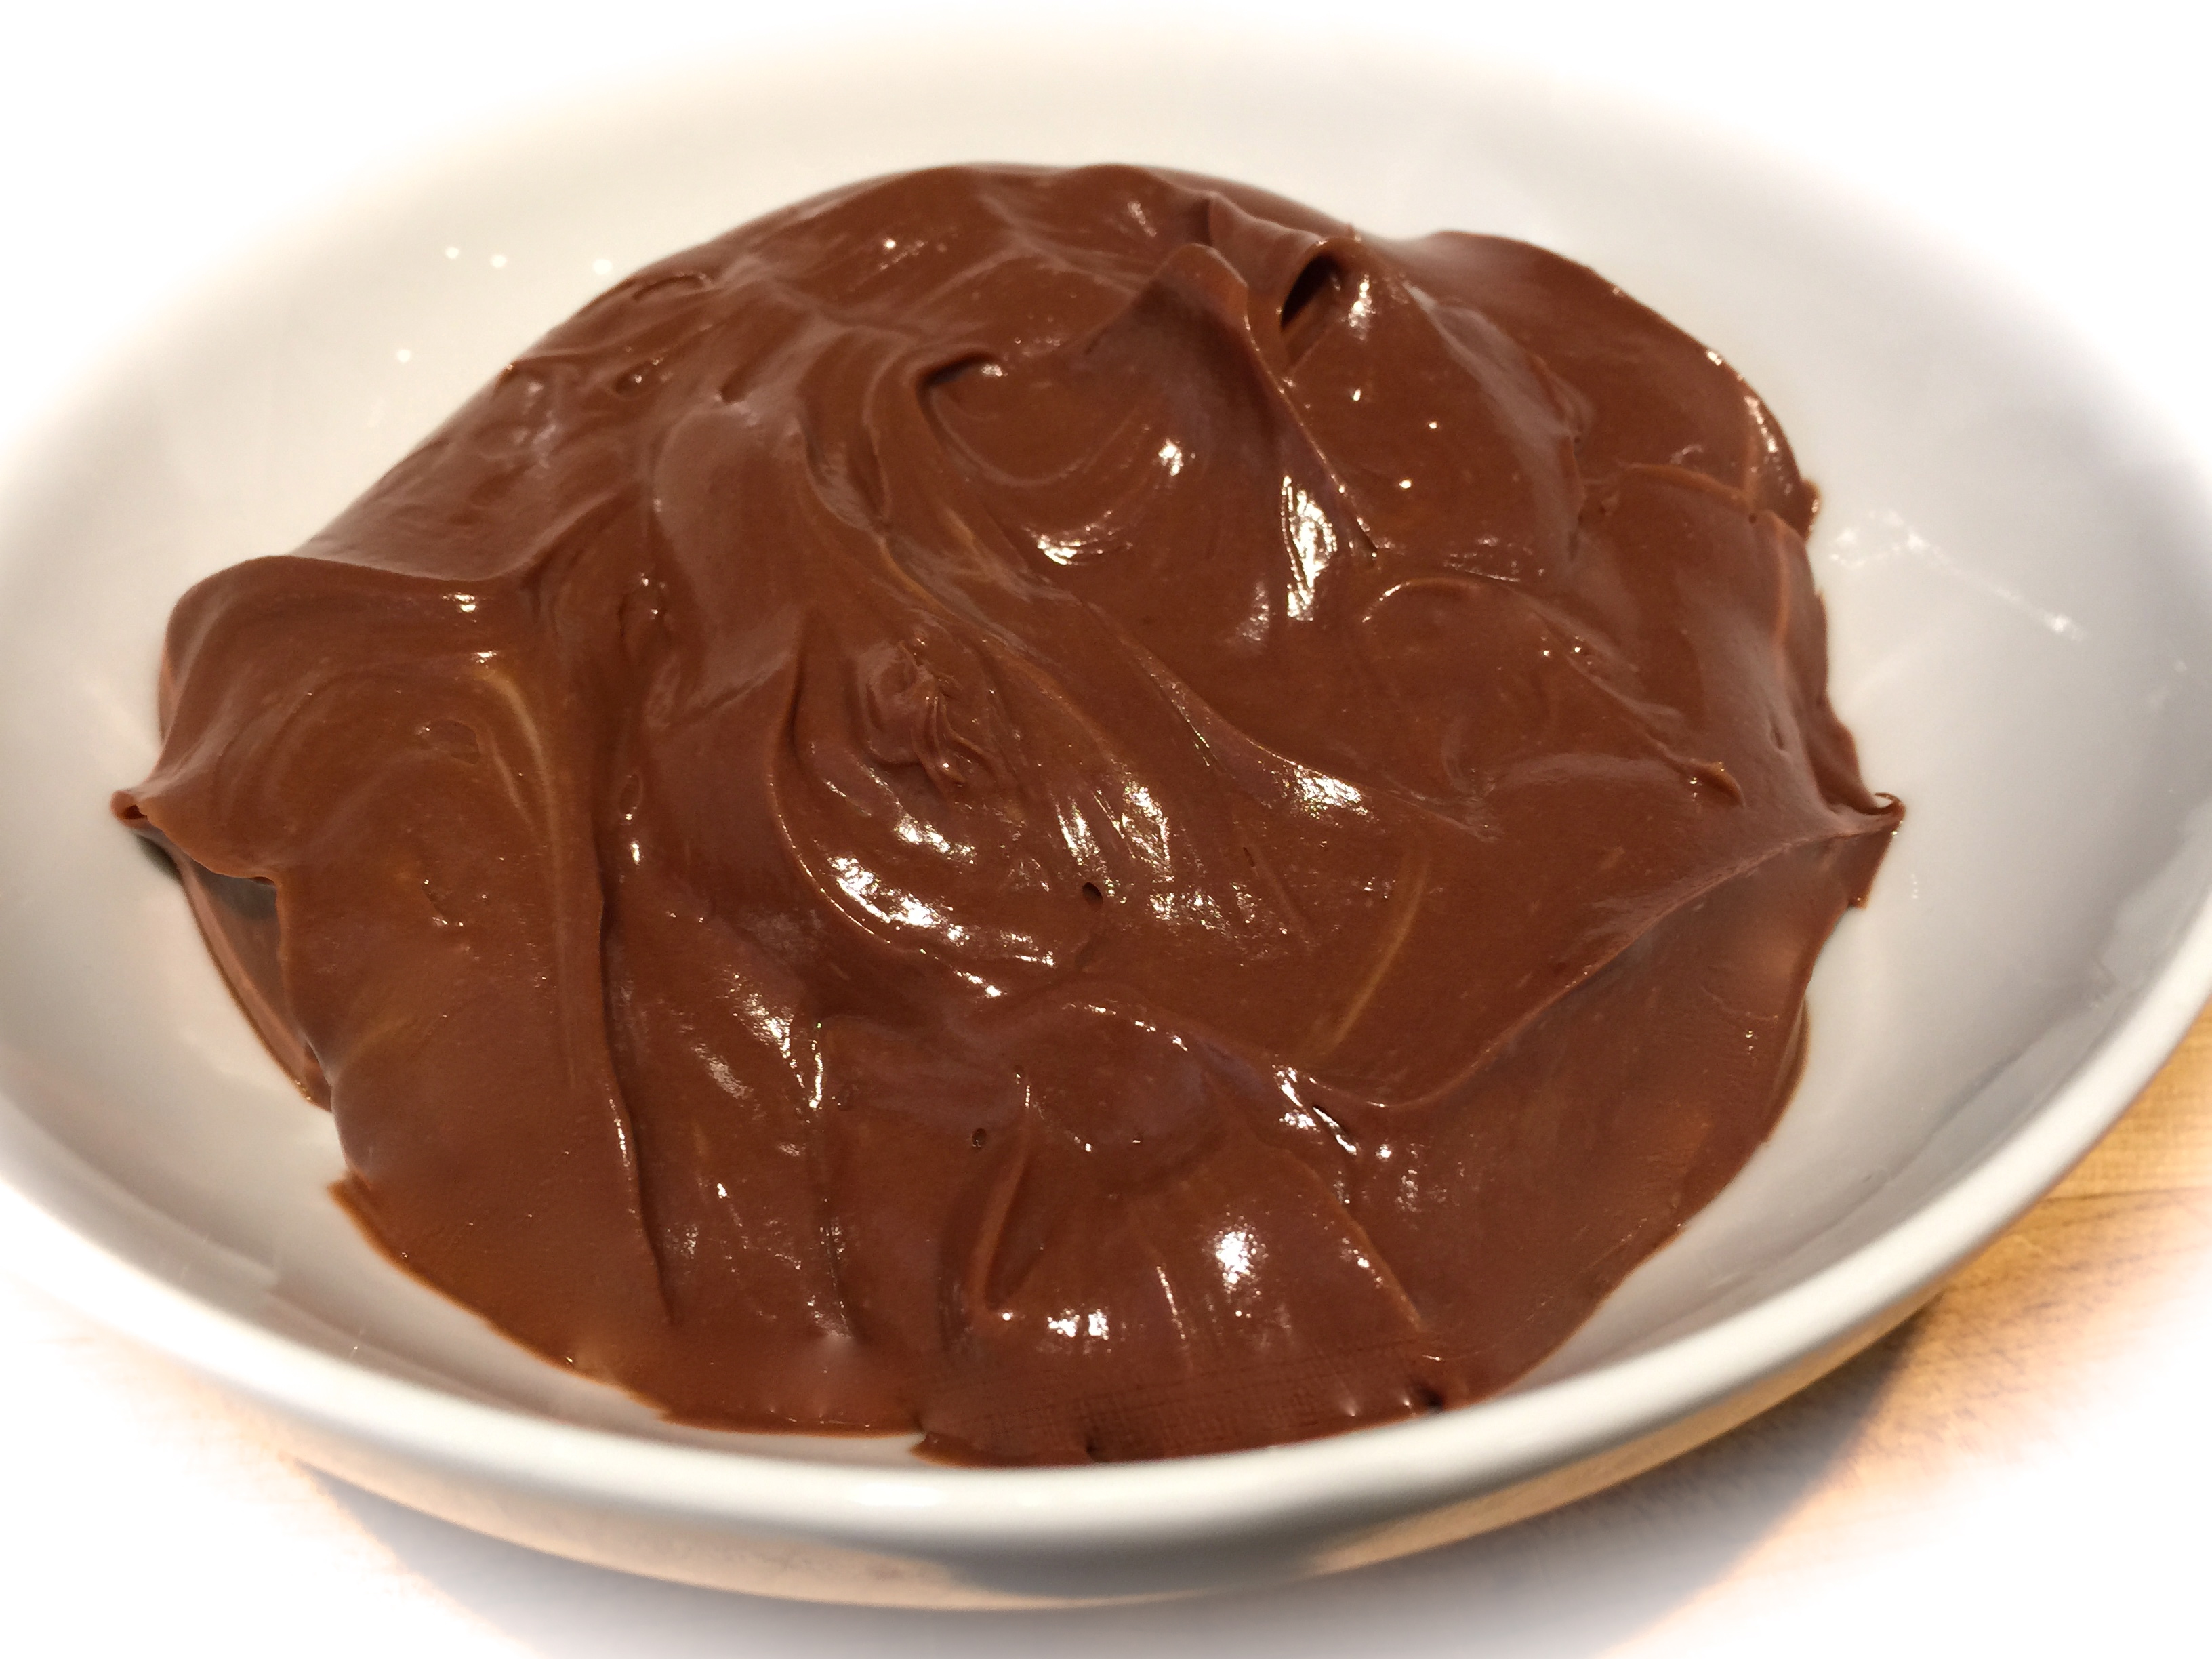
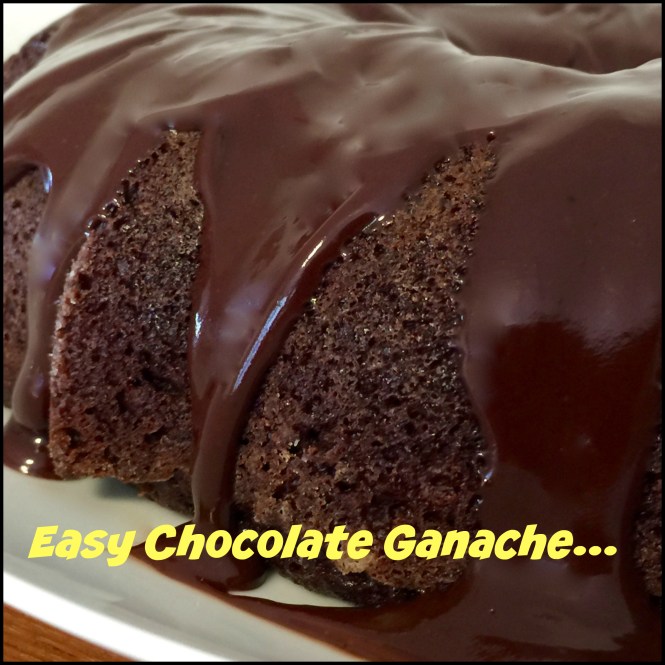
Lesson Learned 1 – There are many ways to make ganache: I am going to share with you the simplest way. The ratio is easy to remember 1:1. Use as many ounces of heavy cream as semi-sweet chocolate. It couldn’t be easier.

Lesson Learned 2 – Cut the chocolate squares into very small pieces: I used a 4 ounce box of Bakers semi-sweet chocolate. With my chef’s knife I cut off pieces and chopped them into small bits. If you decide to go the chip route, I would use the mini semi-sweet chips. You need the hot cream to melt the chocolate and if the pieces are too big that won’t happen.

Chocolate Covered In Hot Heavy Cream

Lesson Learned 2 – You can warm your heavy cream in the microwave: In order to get the desired consistency of the ganache, the cream has to melt the chocolate. So you have to get the cream hot enough to do that but you don’t want to scald the cream. That won’t work either.

Many recipes that I looked at recommended warming the cream on the stove. You can certainly do that especially since it gives you slightly more control in determining when the cream is hot enough. And you can certainly do that with this recipe, although I didn’t. I heated my cream (4 ounces) in the microwave for 45 seconds. After that time I found it still wasn’t hot enough. I heated it for an additional 15 seconds and it was bubbling. I was worried that I’d scalded the cream but I think what happened was the cream had just started to bubble, so I was still ok. The next time I think I’ll just nuke it for 50 seconds straight and go from there.

If you use a larger 1:1 ratio you will need to nuke the cream for a longer period of time. With this you’ll simply have to keep checking it. With 4 ounces I recommend 50 seconds. For larger amounts I would start checking at 1 minute and go from there.

Lesson Learned 3 – Let the chocolate and heavy cream sit for at least 3 minutes: Once you add the hot heavy cream you may be tempted to start whisking the mixture right away. Don’t. The cream has to melt the chocolate in order for you to get the desired consistency of the ganache. Be patient and let the cream do it’s work. I guarantee you it’s worth it.

This recipe makes enough to generously frost one bundt cake, one 9 x 13 sheet cake or one 9 inch round layer cake. So next time you need some frosting try this instead of buying the canned stuff. It looks impressive and it tastes divine!

Easy Chocolate Ganache...

  • Servings: 1 Bundt Cake
  • Difficulty: Easy
  • Print

INGREDIENTS:

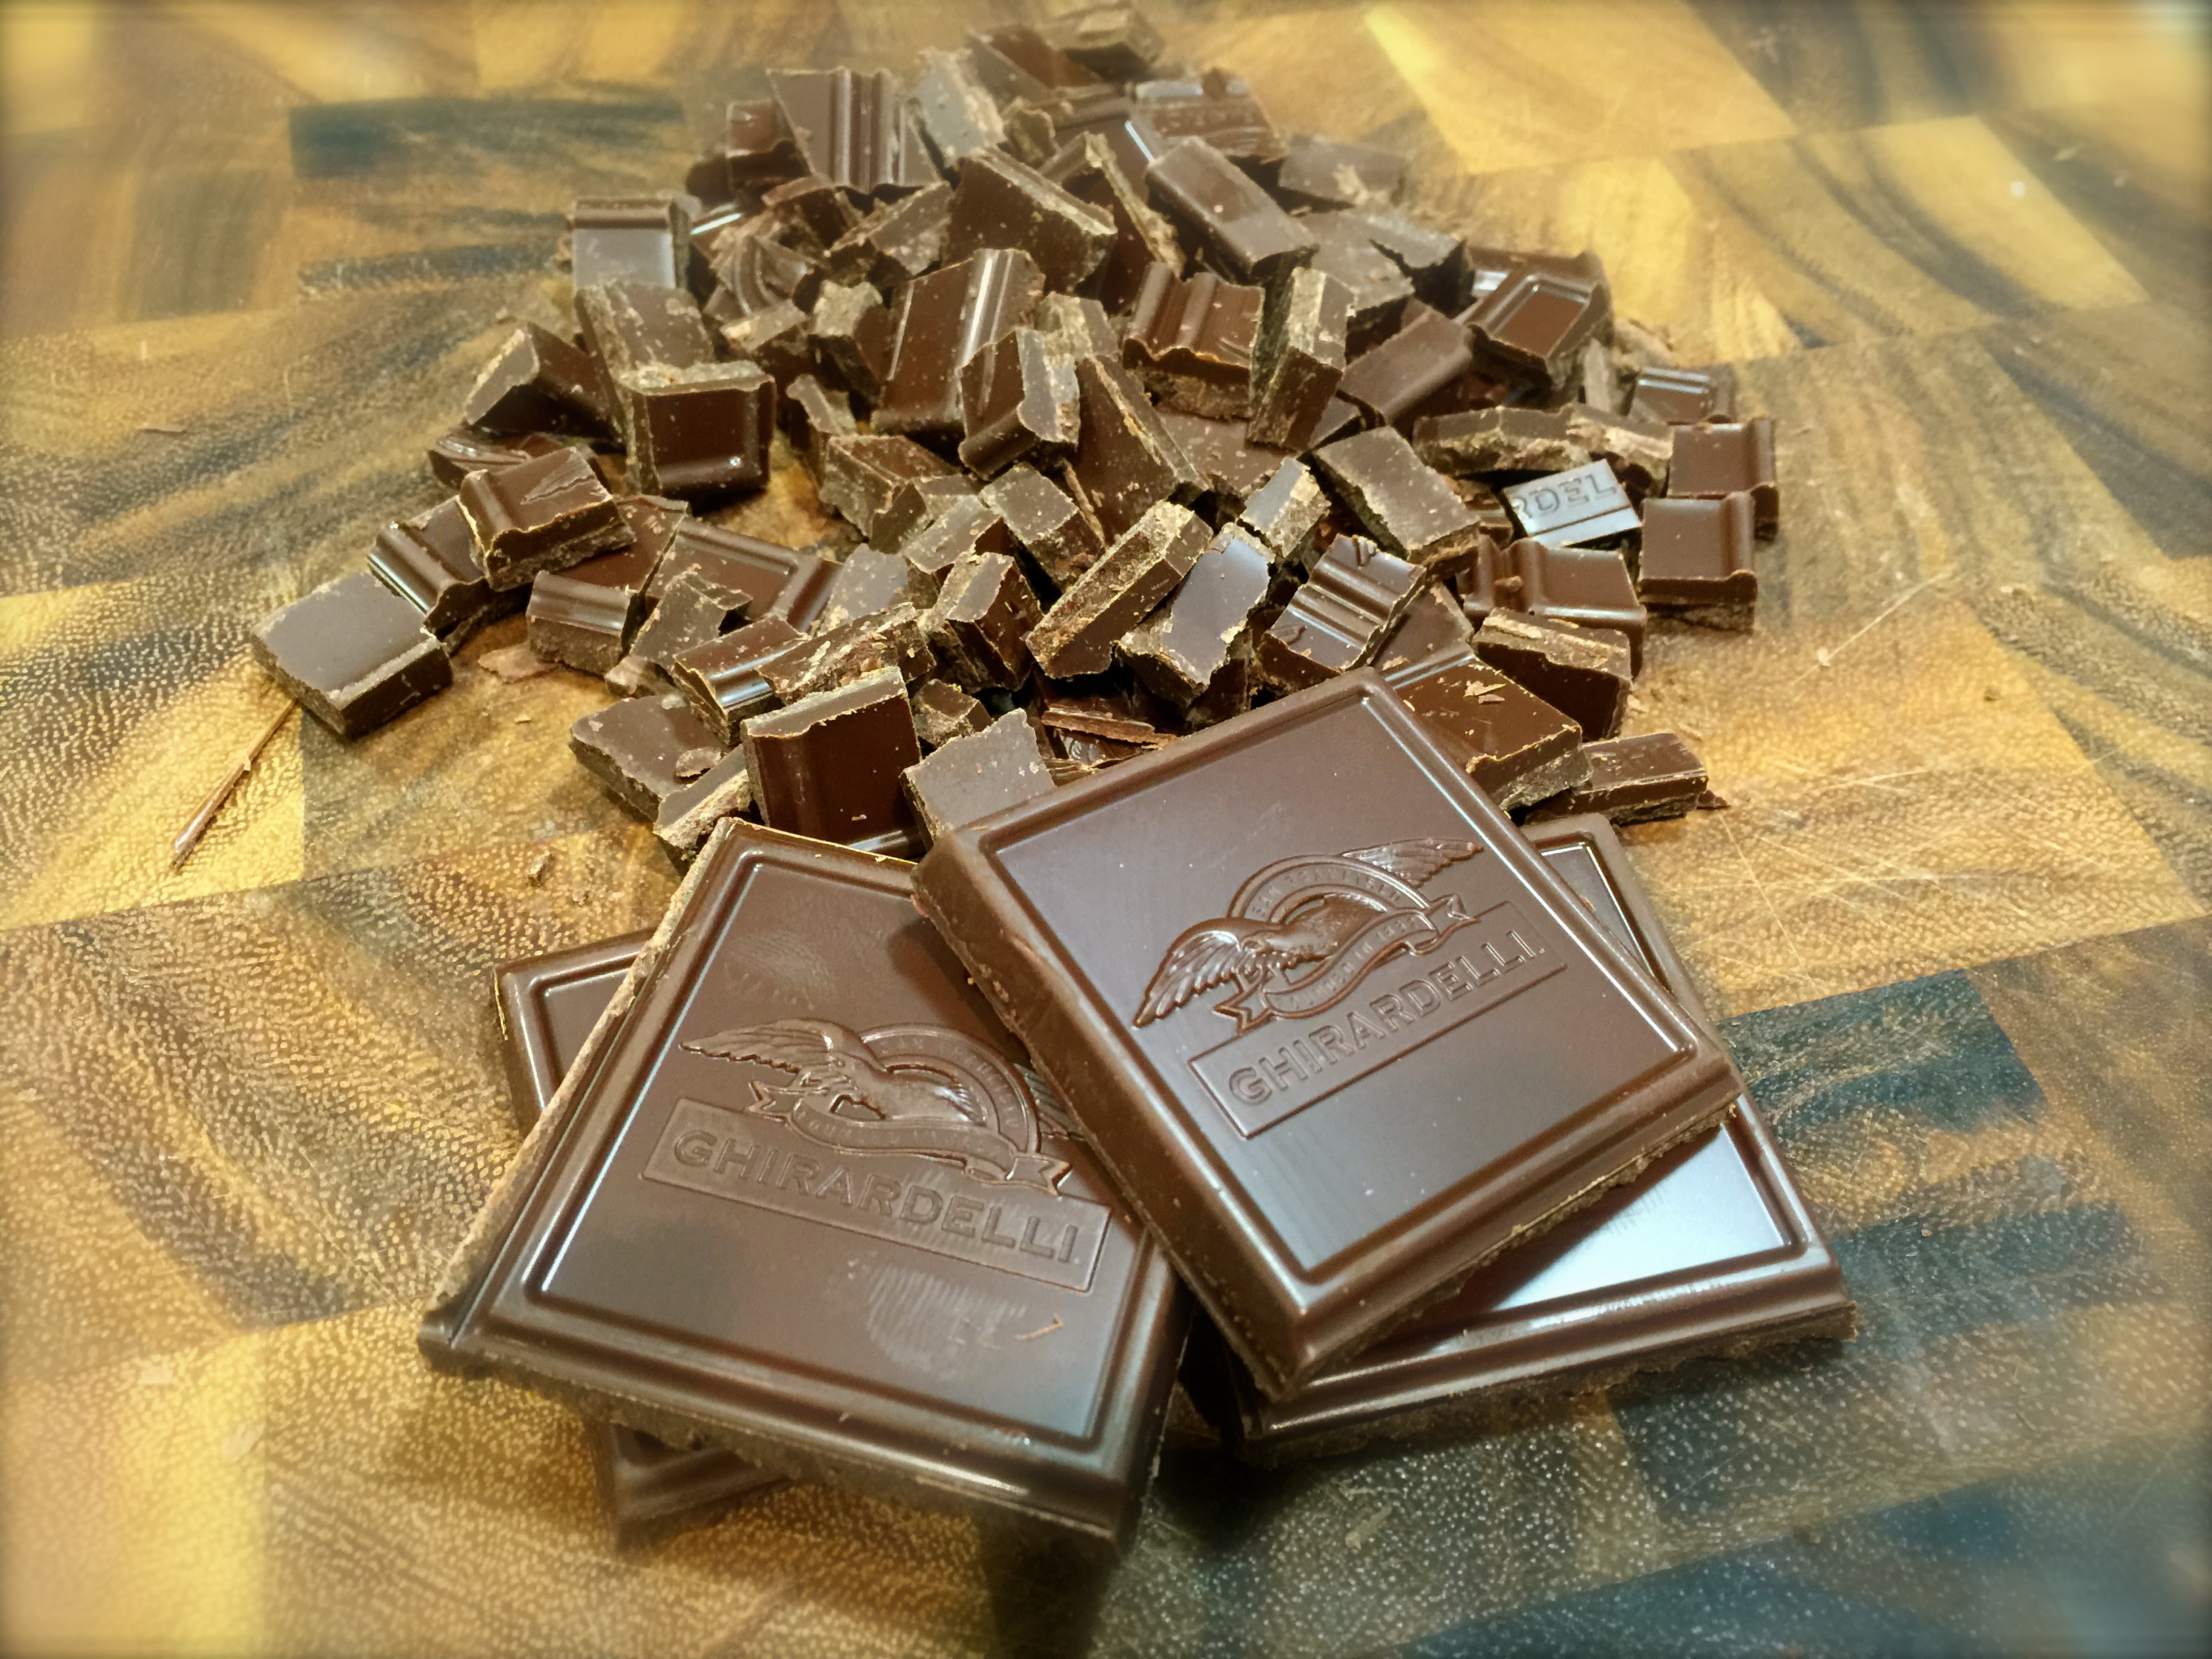
4 ounces semi-sweet chocolate squares cut into small pieces

4 ounces heavy cream, heated

DIRECTIONS

Chop up the chocolate into very small pieces. Heat the heavy cream in a microwave safe dish for approximately 50 seconds. Test with your finger to make sure it is sufficiently hot to melt the chocolate. If not, microwave at additional 5 second intervals until cream is hot but not scalded.

Pour cream over chocolate pieces. Let the hot mixture sit for at least 3 minutes. Whisk mixture until cream is incorporated and the chocolate is dark and smooth. Drizzle the chocolate over the top of your bundt cake. Let ganache set for at least 15 minutes before serving.


SaveSave

SaveSave

SaveSave

SaveSave

SaveSave

SaveSave

SaveSave

SaveSave

SaveSave

SaveSave

SaveSave

SaveSave

SaveSave

SaveSave

SaveSave

SaveSave

SaveSave

SaveSave

SaveSave

Frosted Lemon Cookies…

Are you ready for a little Summer melt in your mouth goodness? Well here’s something that fits the bill. During the dogs days of summer you want something light, cool, refreshing… and these tasty morsels are like have a glass of lemonade in a cookie.

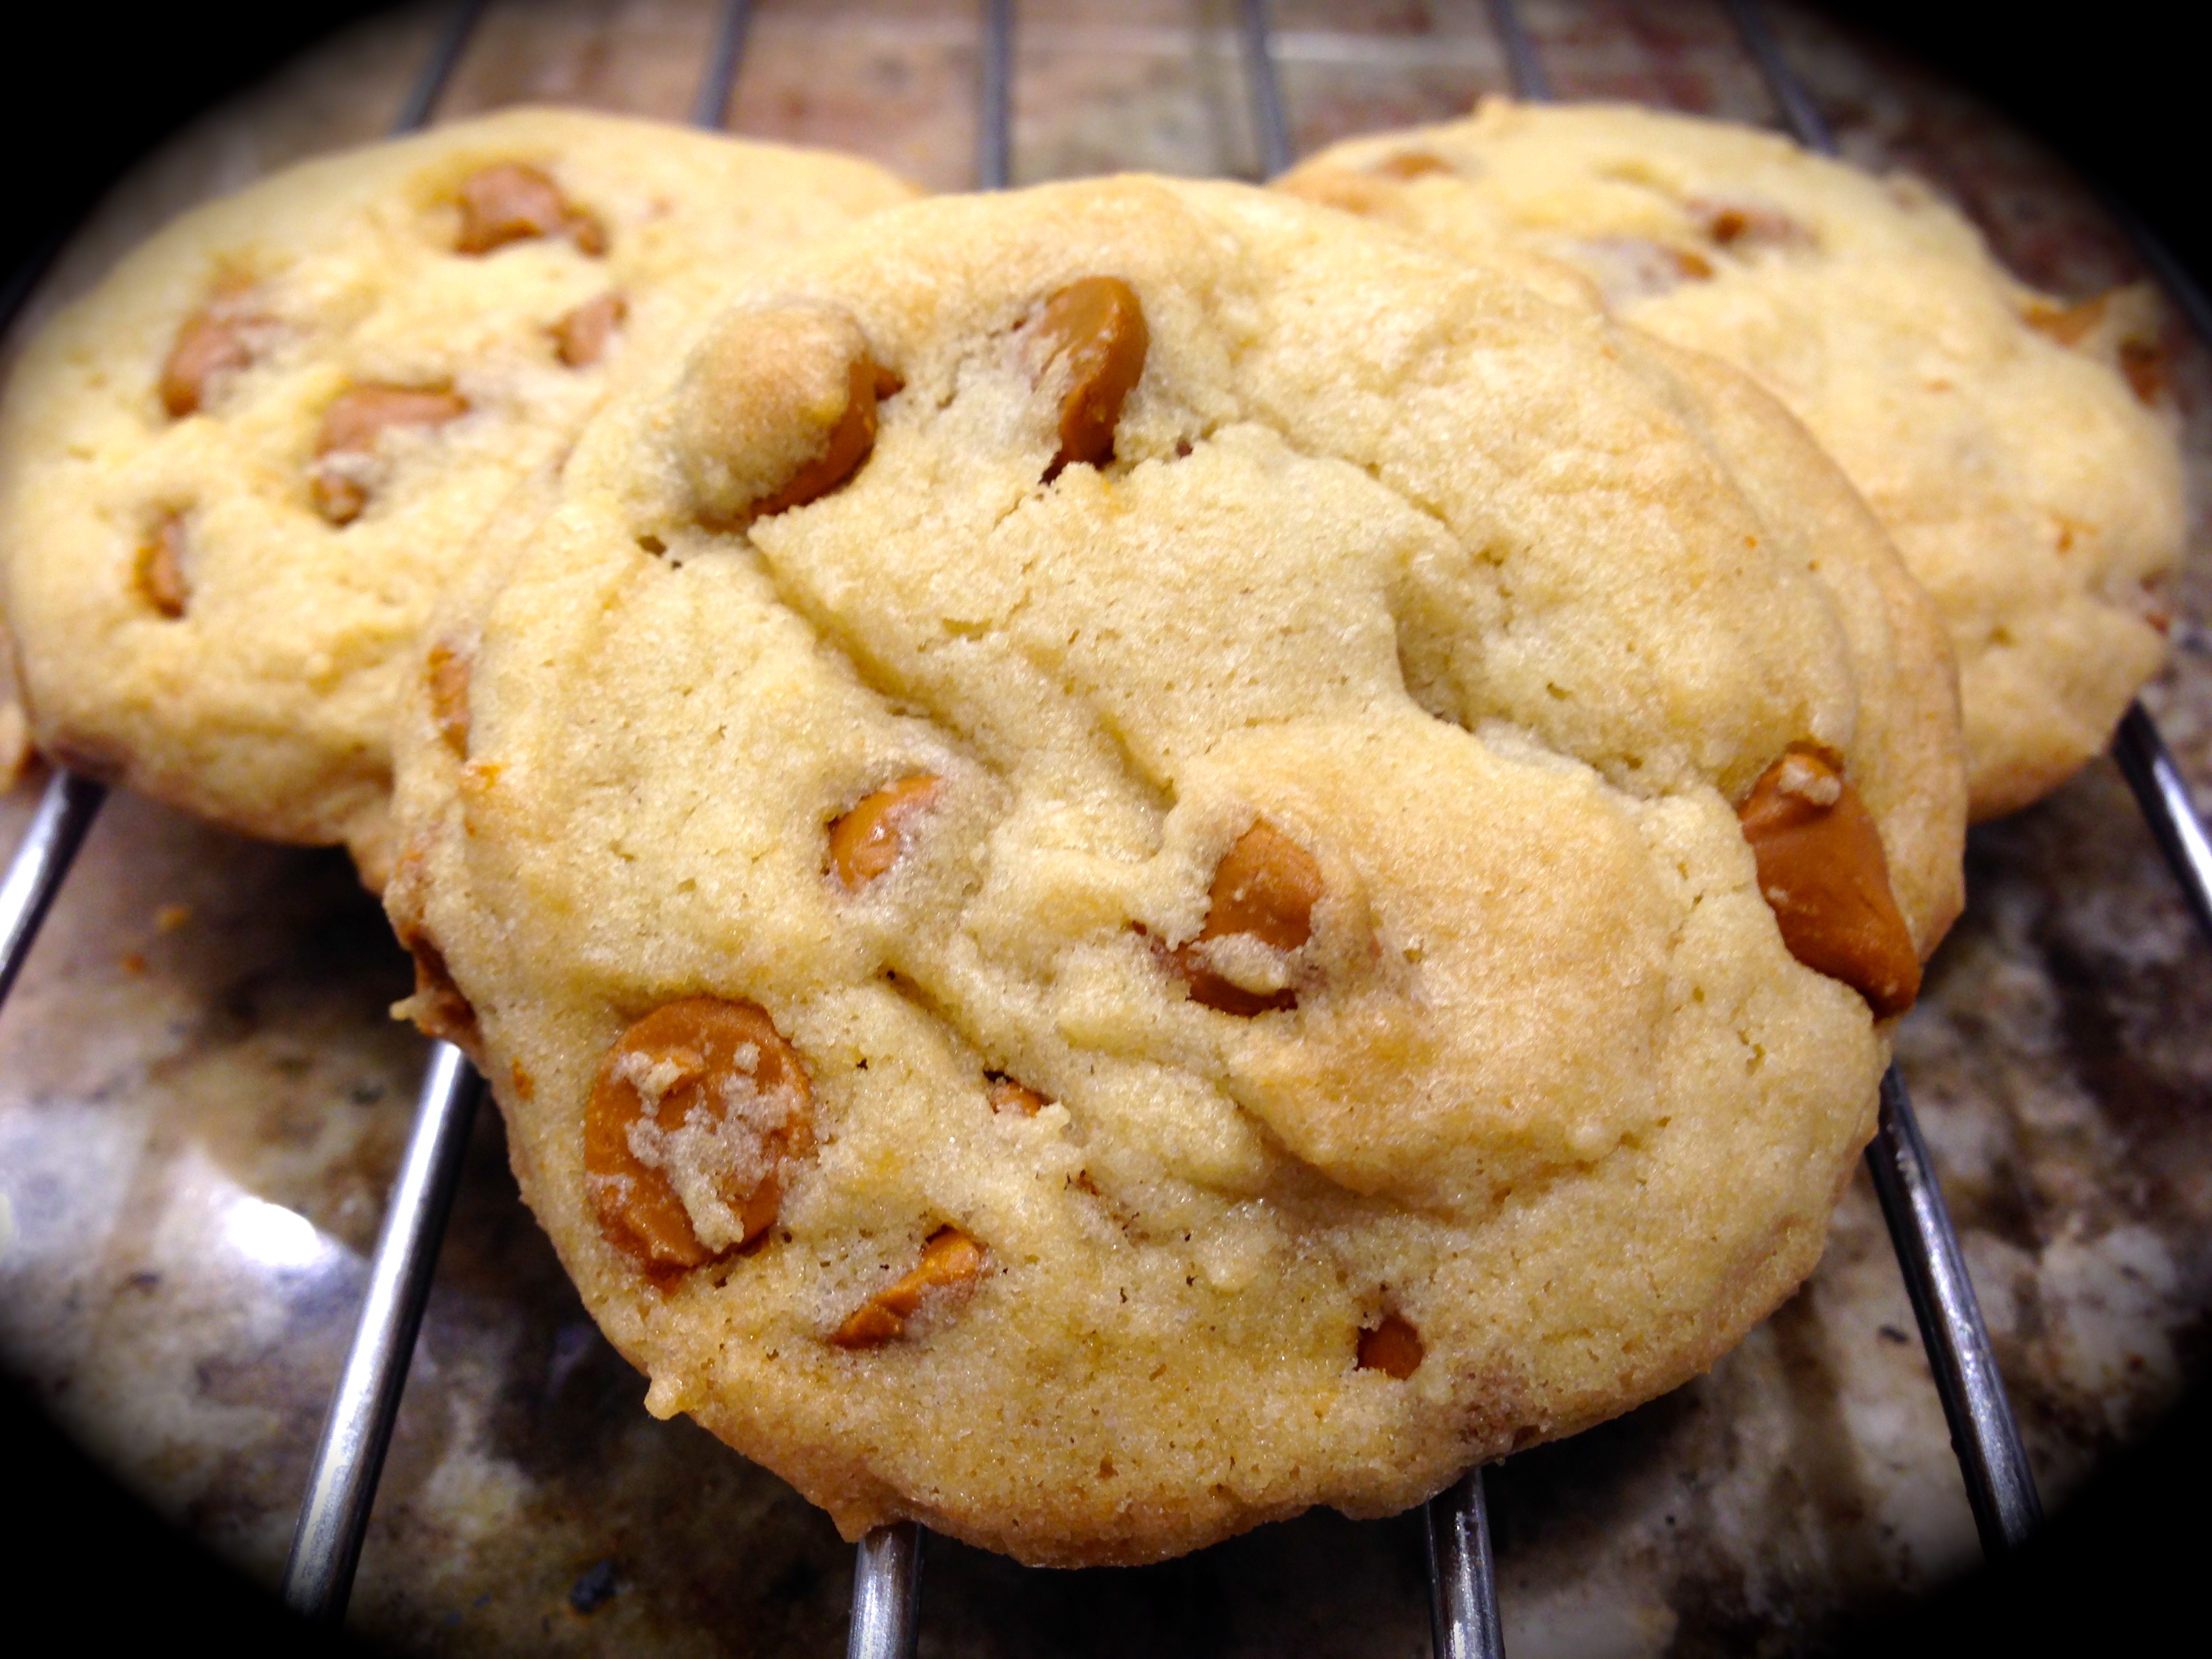
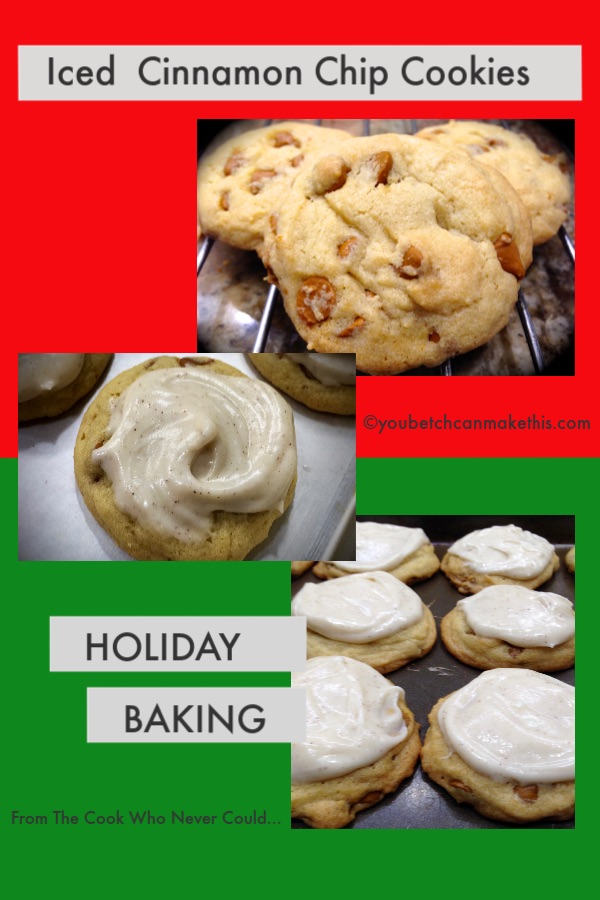
The ingredients in the recipe are a little unusual. For instance, you don’t use any eggs just butter and lemon juice – you use powdered sugar in place of granulated sugar – and you mix the flour with cornstarch. Sounds a little strange but the result is what, as a child, I called sand cookies. And although sand cookies doesn’t sound very appetizing, it was my term for cookies that literally melt in your mouth. The combination of ingredients in this recipe creates a melt in your mouth consistency that is amplified when you ice them with the lemon frosting. All I can say is yummo!

So let’s talk iced lemon cookies…

Dough logLesson Learned 1 – Make sure you chill the dough: The consistency of the dough is not like most cookies – it will be softer and stickier. It’s important for the dough to chill in order to form the cookies and bake them off. Divide the dough in half and make two eight inch logs. Cover the logs in plastic wrap and refrigerate for up to two hours. My dough was nice and firm after an hour and a half, so check your dough at that point to see if it is ready to go.

Dough logs

These cookies do not have a lot of binding ingredients (there is some butter but no eggs) and so they are more delicate than others. Basically that is what gives them their melt in your mouth consistency. So when they are still warm they can easily break apart. Be very careful when removing them from the baking sheet to the cooling rack. Also be careful when icing them. You can have a love-hate relationship with these cookies. You love the consistency as they flake apart in your mouth but they can also do that in your hand if they are not handled with care. Just take your time with them. These cookies are worth all the care you can give!

Lesson Learned 3 – Chill the cookies once you’re done: I found the best way to enjoy these cookies is when they have a slight chill. The flavor is so light and with the chill it creates a cooling Summertime treat sensation. You’ll find that you can’t eat only one of these flavorful bite size morsels. I guarantee they will be a hit!

Lesson Learned 4 – I used yellow food coloring in the frosting: I used yellow food coloring in the frosting but it’s not necessary. I found it gave the cookies that special look and we all know we eat with our eyes first. I used 3 drops and it created this beautiful lemony color!

Frosted Lemon Cookies...

  • Servings: 4-5 dozen
  • Difficulty: Easy
  • Print

INGREDIENTS:

3/4 cup unsalted butter, room temperature

1/3 cup powdered sugar

1 tsp. fresh lemon juice

1 1/4 cup flour

1/2 cup cornstarch

FROSTING:

1/4 cup unsalted butter, room temperature

3/4 cup powdered sugar

1 tsp. lemon zest

1 tsp. fresh lemon juice

3 drop yellow food coloring, optional

DIRECTIONS:

In a medium bowl beat together the butter and sugar until combined. Beat in the lemon juice. In another bowl whisk together the flour and corn starch. Gradually beat the flour mixture into the butter/sugar mixture until combined.

Divide the dough in half and shape into two 8 inch logs. Cover the dough with plastic wrap and refrigerate until firm – approximately 1 1/2 – 2 hours.

Preheat the oven to 350 degrees.

Unwrap the dough and cut it into 1/4 inch slices. Place slices 1 inch apart on an ungreased cookie sheet. Bake for approximately 10-12 minutes.

Gently remove the cookies from the pan onto a cooling rack. Cool completely.

For the frosting, beat together all of the ingredients. Spread over the cookies. Chill and serve.

Ready to go into the oven

Icing the cookies


SaveSave

SaveSave

SaveSave

SaveSave

SaveSave

SaveSave

SaveSave

SaveSave

SaveSave

SaveSave

SaveSave

SaveSave

SaveSave

The Moistest Banana Cake You’ll Ever Make …

There’s nothing like a cake that is so moist it melts in your mouth. But baking a cake from scratch and getting it that moist can be a challenge, especially living in high altitude like I do. Well, fear no more. I stumbled upon a baking method that produced one of the moistest cakes I’ve ever made.

Now I have a couple of different recipes for banana bread on this site, but this one hands down is the most moist and flavorful. The difference between this recipe and the others is how you bake the cake. In this recipe you preheat the oven to 350 and once you put the cake in the oven you turn the temperature down to 300 for the remainder of the baking process. I never tried a process like this before and the result was my husband saying this was the moistest cake I ever made.

So let’s talk about the moistest banana cake you’ll ever make…

ripe bananas
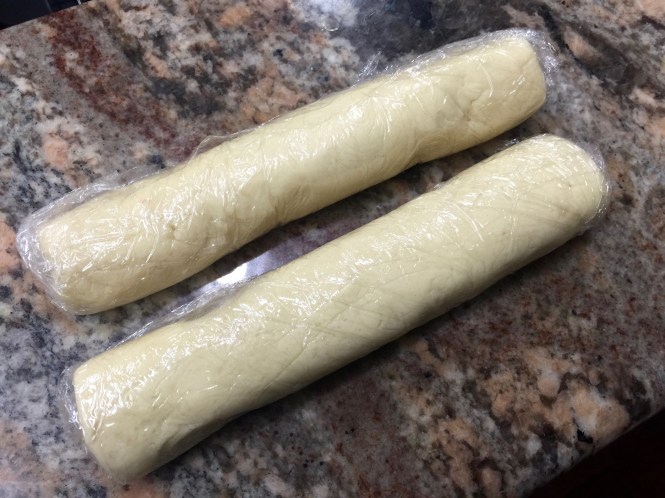
Lesson Learned 1: Make sure your bananas are really ripe: and by really ripe I mean the peels are really dark, dark brown as in the picture to the right. You don’t want a lot of yellow on your banana skins and you definitely don’t want any green. Most of the time the bananas you buy in the store are under ripe, mainly green and yellow. Those bananas have not reached their full peak of flavor. The skins need to look pretty dark. As the banana ripens it releases more sugar and becomes more flavorful. And as they ripen the skins turn darker. If you want the best tasting cake you need to use bananas with dark skins.

Now if you want to make this cake today but only have yellow and green bananas, there’s a way to ripen them on the spot. Just click on this link for my banana bread recipe and you’ll find a neat little trick that gives you ripe bananas anytime you want them.

Lesson Learned 2 – Beat the butter, sugars, eggs and vanilla until velvety: The picture below shows the correct consistency for this standard blend of ingredients for many recipes. The more velvety these ingredients, the better the rest of the ingredients will combine with it. Most people err on doing this process way too fast. I say beat the living daylights out if it. You’ll be pleased with the end result if you do.

Creamed butter, sugar, eggs and vanilla

Lesson Learned 3 – With this recipe baking time will vary: The recipe that I based this on stated that it took 60 minutes for the cake to bake. It took my cake an hour and a half. Now I know a lot of that had to do with me living in high altitude, but this is definitely a cake you will need to keep your eye on. Not only is the atmosphere a factor in the cooking time, but also all ovens vary and your oven may take a shorter amount of time to bake this cake than mine. I started checking mine at 55 minutes and could tell right away it needed a much longer cooking time. In the end, the most sure fire way to determine if it is done is to insert a toothpick into the center of the cake. If it comes out clean, the cake is done. The picture below shows what the cake looks like when it is done.

completely cooked cake

Lesson Learned 4 – This recipe makes more than enough frosting: Next time I make it I’m planning on cutting the frosting amount to 75% of what I will list here. With what I list I was able to put a thick amount of frosting on the cake (as seen below) and I still had some left over. Some people don’t like a lot of frost on their cake, and you certainly don’t want to minimize the flavor of the cake by overpowering it with frosting. You need to make the frosting based on how you like a cake frosted. So use your judgement on this one.

frosted cake

I was really pleased with how this cake turned out. I shared some with my co-workers and also with my neighbors and the consensus was this recipe is a winner. So try it and let me know what you think. You betcha can make this!

The Moistest Banana Cake You'll Ever Make...

  • Servings: 20-24 Squares
  • Difficulty: Easy
  • Print

INGREDIENTS:

1 1/2 cups mashed bananas (3-4 bananas)

2 1/2 Tbs. fresh lemon juice, divided

1 1/2 cups whole milk

3 cups flour

1/2 Tbs. baking soda

1/4 tsp. salt

2/3 cup unsalted butter, room temperature

1 cup sugar

1/2 cup brown sugar

3 large eggs, room temperature

1 tsp. vanilla

FROSTING:

8 oz. cream cheese, room temperature

1/4 cup unsalted butter, room temperature

3 cups powdered sugar

1 tsp. fresh lemon juice

zest from 1 lemon

1 tsp. vanilla

DIRECTIONS:

Preheat the oven to 350 degrees. Grease and flour or use cooking spray and prepare a 9 x 13 pan.

Take 1 1/2 Tbs. of lemon juice and combine with the milk. Set aside.

Mash the bananas and mix with 1 Tbs. lemon juice. Set aside.

Combine flour, baking soda and salt in a bowl. Whisk for a minute to combine. Set aside.

Beat together the butter and sugars until creamy. Beat in one egg at a time. Beat in the vanilla, until the entire mixture is smooth and velvety. Alternate adding the flour mixture and milk mixture beginning and ending with the flour mixture. Do not over mix but make sure everything is fully incorporated. Gently fold in the bananas. Pour mixture into the prepared 9 x 13 pan.

Put in oven and reduce the temperature to 300. Bake at least 55 minutes. (Do not open the oven for any reason during the first 55 minutes). At that point check the cake for doneness. If a toothpick inserted in the center of the cake comes out clean, it is done. If not, continue baking. The baking process could take as much as 1 1/2 hours.

Remove the cake from the oven and cool completely before frosting. To make the frosting place all of the ingredients in a medium size bowl and beat until creamy.

Banana Cake

Moist Banana Cake

Moist Banana Cake

The Ultimate Chocolate Cake…

Just about everyone has their favorite chocolate cake recipe. I like to experiment with various recipes, give them a spin of my own, and this time I think I really hit the jackpot. If you want an easy to make, moist – and I do mean moist – dark, luscious and oh so chocolatey cake, this is the recipe for you. And it’s perfect for your holiday table!

I can’t take credit for the frosting. I stole it from Ina Garten and want to make sure she gets full credit for it. I wanted a buttercream frosting, but I can see this cake being equally delicious with a chocolate ganache.

So let’s talk about the ultimate chocolate cake…

Lesson Learned 1 – The batter will be thin: I am used to a somewhat thicker batter and so I was surprised that this batter was thin, almost runny. Don’t let that worry you. Just bake it until the top is set and a toothpick inserted in the center comes out clean, about 25-30 minutes.

The Cake Right Out Of The Oven...

The Cake Right Out Of The Oven…

Lesson Learned 2 – Using coffee to enhance the flavor of chocolate: I found out that just a little bit of coffee added to a chocolate recipe really enhances the flavor of the chocolate. Whether it be brewed coffee, espresso powder or instant coffee granules, using coffee as an ingredient kicks up the chocolatey flavor in baking. This recipe calls for 1/2 cup of brewed coffee. Just make sure that coffee is either just slightly warm or room temperature. If you add hot coffee to the batter you’ll scramble the egg and you don’t want to do that.

Lesson Learned 3 – Baking with cocoa powder: I don’t know about you but my cocoa powder always seems to have big lumps in it making it difficult to get a smooth batter once it is incorporated This time I sifted the cocoa powder before adding it in and that did the trick. It was a lot easier to get a smooth batter.

Good quality chocolateLesson Learned 4 – Thoughts on buttercream frosting: As I mentioned earlier, I used Ina Garten’s recipe for the frosting. Ina always says the better the ingredients you use, the better the flavor. It’s so true. If you use this particular frosting recipe, make sure you use good quality semi-sweet chocolate. I used Ghirardelli chocolate in the frosting. The frosting was divine.

Also, keep in mind that the main ingredient in buttercream frosting is butter. When you make it, the frosting will be soft and smooth. If you choose to refrigerate the frosted cake, the frosting will get harder, just like butter does when it’s put back into the refrigerator. And since there is so much butter in the frosting you’re going to want to refrigerate anything that doesn’t get eaten immediately. So, if you’re planning on serving cake that has been stored in the refrigerator, you can take it out and let the frosting soften up a little. Or you can serve the frosting cold. The frosting is so good it’s delicious either way.

The Frosting...

The Frosting…

 This recipe would make great cupcakes as well. You’ll never make a more moist or chocolatey cake. Try this recipe and see what you think. Enjoy!

The Ultimate Chocolate Cake…

  • Servings: 16
  • Difficulty: Easy
  • Print

INGREDIENTS:

Cake:

1 extra large egg, room temperature

1 cup sugar

6 ounces vanilla greek yogurt

1/4 cup vegetable oil

2 tsp. vanilla

1/2 cup brewed coffee, warm or room temperature – not hot

1/2 cup cocoa powder

1 cup flour

1 tsp. baking soda

1/2 tsp. baking powder

1/2 tsp. salt

Frosting:

6 ounces good semisweet chocolate, chopped

1/2 pound unsalted butter, room temperature

1 large egg yolk

1 tsp. vanilla

1 cup + 1 Tbs. granulated sugar

1 Tbs. instant coffee granules (I used hazelnut granules)

2 tsp. hot water

DIRECTIONS:

Preheat oven to 350. Grease and flour a 9 x 9 baking pan and set aside.

In a large bowl combine egg, sugar, yogurt and vanilla. Whisk until smooth and combined. Sift the cocoa powder and add it in along with the brewed coffee. Whisk until smooth and free from lumps.

In a separate bowl, whisk together the flour, baking soda, baking powder and salt. Combine with the wet ingredients and whisk together until fully incorporated. Pour the batter into the prepared pan. Bake for 25-30 minutes or until a toothpick inserted in the center comes out clean.  Let cake cool completely before frosting.

For the frosting: In a microwave safe bowl, heat the chocolate on high power in 30 minute intervals, stirring until the chocolate is melted. (The chocolate will probably come out of the microwave with a few softened pieces still intact, but stirring will get them to melt. You want to be careful not to overheat the chocolate, so make sure you try to make the stirring complete the process.) Set aside to cool a little.

In a stand mixer with a paddle attachment beat the butter until smooth and fluffy. Add the egg yolk and vanilla and beat for an additional minute. (Make sure to scrape down the sides of the bowl.) Add the confectioners sugar and slowly beat until combined. In a small bowl dissolve the instant coffee granules in the hot water. Slowly beat the coffee and chocolate into the butter mixture.

The Ultimate Chocolate Cake

The Ultimate Chocolate Cake

Iced Cinnamon Chip Cookies

If you have been following my recent holiday cookie recipe posts you know by now that every year I try at least one new cookie recipe. This year I tried two, Salted Caramel Butter Bars and the one I am going to share in this post the Iced Cinnamon Chip Cookies. The Caramel Bars were a huge hit with my husband but my favorite was the cinnamon chip cookies.

First of all, did you even know that cinnamon chips existed? I didn’t until I saw the recipe and decided to do some hunting at the grocery store. Lo and behold, right next the semi-sweet chocolate morsels were the cinnamon chips. I had never seen them before but I guess I just wasn’t looking for them. They were there in plain sight.

Cinnamon Chip Cookies

Cinnamon Chip Cookies

At first I was a little hesitant about making this cookie – the recipe was very similar to a chocolate chip cookie recipe but I wanted to make an iced cookie this year and thought a hearty cookie like this would stand up well to icing. I found the recipe in my trusty 2008 Taste of Home Best Loved Cookies and Bars magazine (the magazine that has supplied quite a few a my holiday cookie recipes over the years). The one thing that I did not like about the recipe was the frosting ingredients (they seemed bland to me, just the usual milk and confectioners sugar combination) so I went online to research a cinnamon cream cheese frosting recipe. I found one that was part of a soft pumpkin cookie recipe and decided to try it. I’m so glad I did. I’m sure it complimented the cookie much better than the original frosting recipe. So now my recipe rating and lessons learned.

Rating: A++++++  I absolutely LOVE this cookie recipe. The cinnamon chips provide a delightful unique flavor and the frosting highly compliments the cookie and makes it an absolutely tasty delight. If you try any cookie this year, I would recommend this one. It is easy to make and soooooo good!

Lesson Learned 1: I am providing you the recipe as it is in the magazine. I had to adjust it for high altitude. Please note the adjustments in the recipe. If you are at high altitude it is important to make them, otherwise the cookies will not bake correctly and will be inedible.

Lesson Learned 2: Storing an iced cookie can be a challenge. I recommend making the icing, refrigerating it and putting it on the cookie before serving or giving away. That way the cookies are easier to store.

Lesson Learned 3: These cookies are so easy to make that there are no more words of wisdom I can depart regarding making them or storing them. Just make them and enjoy them.

Iced Cinnamon Chip Cookies

  • Servings: 4 dozen
  • Difficulty: Easy
  • Print

INGREDIENTS:

Cookies:

1 cup unsalted butter, softened

3/4 cup packed brown sugar (2/3 cup high altitude)

3/4 cup sugar (2/3 cup high altitude)

2 eggs

1 tsp. vanilla

3 cups flour (3 1/4 cups high altitude)

1 tsp. baking soda

1 tsp. salt

1 package (10 ounces) cinnamon baking chips

Frosting:

8 oz. cream cheese, softened

4 TBS softened butter

2 1/4 cups powdered sugar

1/2 tsp. cinnamon

1 tsp. vanilla

DIRECTIONS:

Preheat oven to 350.

In a large mixing bowl cream butter and sugars. Beat in eggs and add vanilla. Combine flour, baking soda and salt; gradually add to creamed mixture and mix well. Fold in the cinnamon chips.

Drop by rounded tablespoonfuls (I use a cookie scoop) 2 inches apart onto an ungreased cookie sheet. Bake for 10-12 minutes or until golden brown. Remove to wire rack to cool.

Frosting: In a mixing bowl cream butter and cream cheese. Add powdered sugar and mix until combined. Add cinnamon and vanilla. Store in refrigerator until ready to use.


IMG_2216 2


IMG_8894

Iced Cinnamon Chip Cookies

Iced Cinnamon Chip Cookies