Grilled Rosemary Garlic Lamb Chops With Roasted Italian Potatoes…

I know I have been remiss in posting recipes. As I’ve stated many times, my goal is one new recipe a week. Well, there is a very good reason that I’ve not been able to keep up. My husband and I downsized and moved from a house to a condo in July. It didn’t take us long to figure out that the look and functionality of the kitchen were not what we wanted. And so it began… shopping for granite, replacing appliances (stove top, microwave, oven and dishwasher – the refrigerator is ok so it may get a reprieve for a while). And now we are in the midst of taking it all apart and putting it back together again. You’ll feel my pain when you look at the picture below.

my torn apart kitchen

The good news is that I’ve lived through these types of remodels before and my husband always does a fabulous job. It was hard for us to move away from the home we lived in for over 15 years but it was a smart move. And once we tried to settle in we knew there were some things  preventing us from feeling like this was home. By making these changes our condo will definitely become our home with the kinds of conveniences and appliances we like.

One last thing about the remodel. The condo had quartz on the island and countertops. Although quartz is nice, we are granite people. We loved the granite that we had in our previous home. It was called Crema Bordeaux. When we went granite shopping we decided to be open to new possibilities. We walked through aisles and aisles of various types of granite. Wouldn’t you know it, we kept coming back to the slab of Crema Bordeaux. We decided not to fight it and went with what we’ve loved for a long time. The slab (which weighs 2 1/2 tons by the way) is pictured below.  The templates for the granite will be drawn at the end of this week with installation to occur right after Thanksgiving. Thank goodness we are going out to dinner on Thanksgiving! We should be up and running for Christmas. After all, there are cookies to be made!

Crema Bordeaux

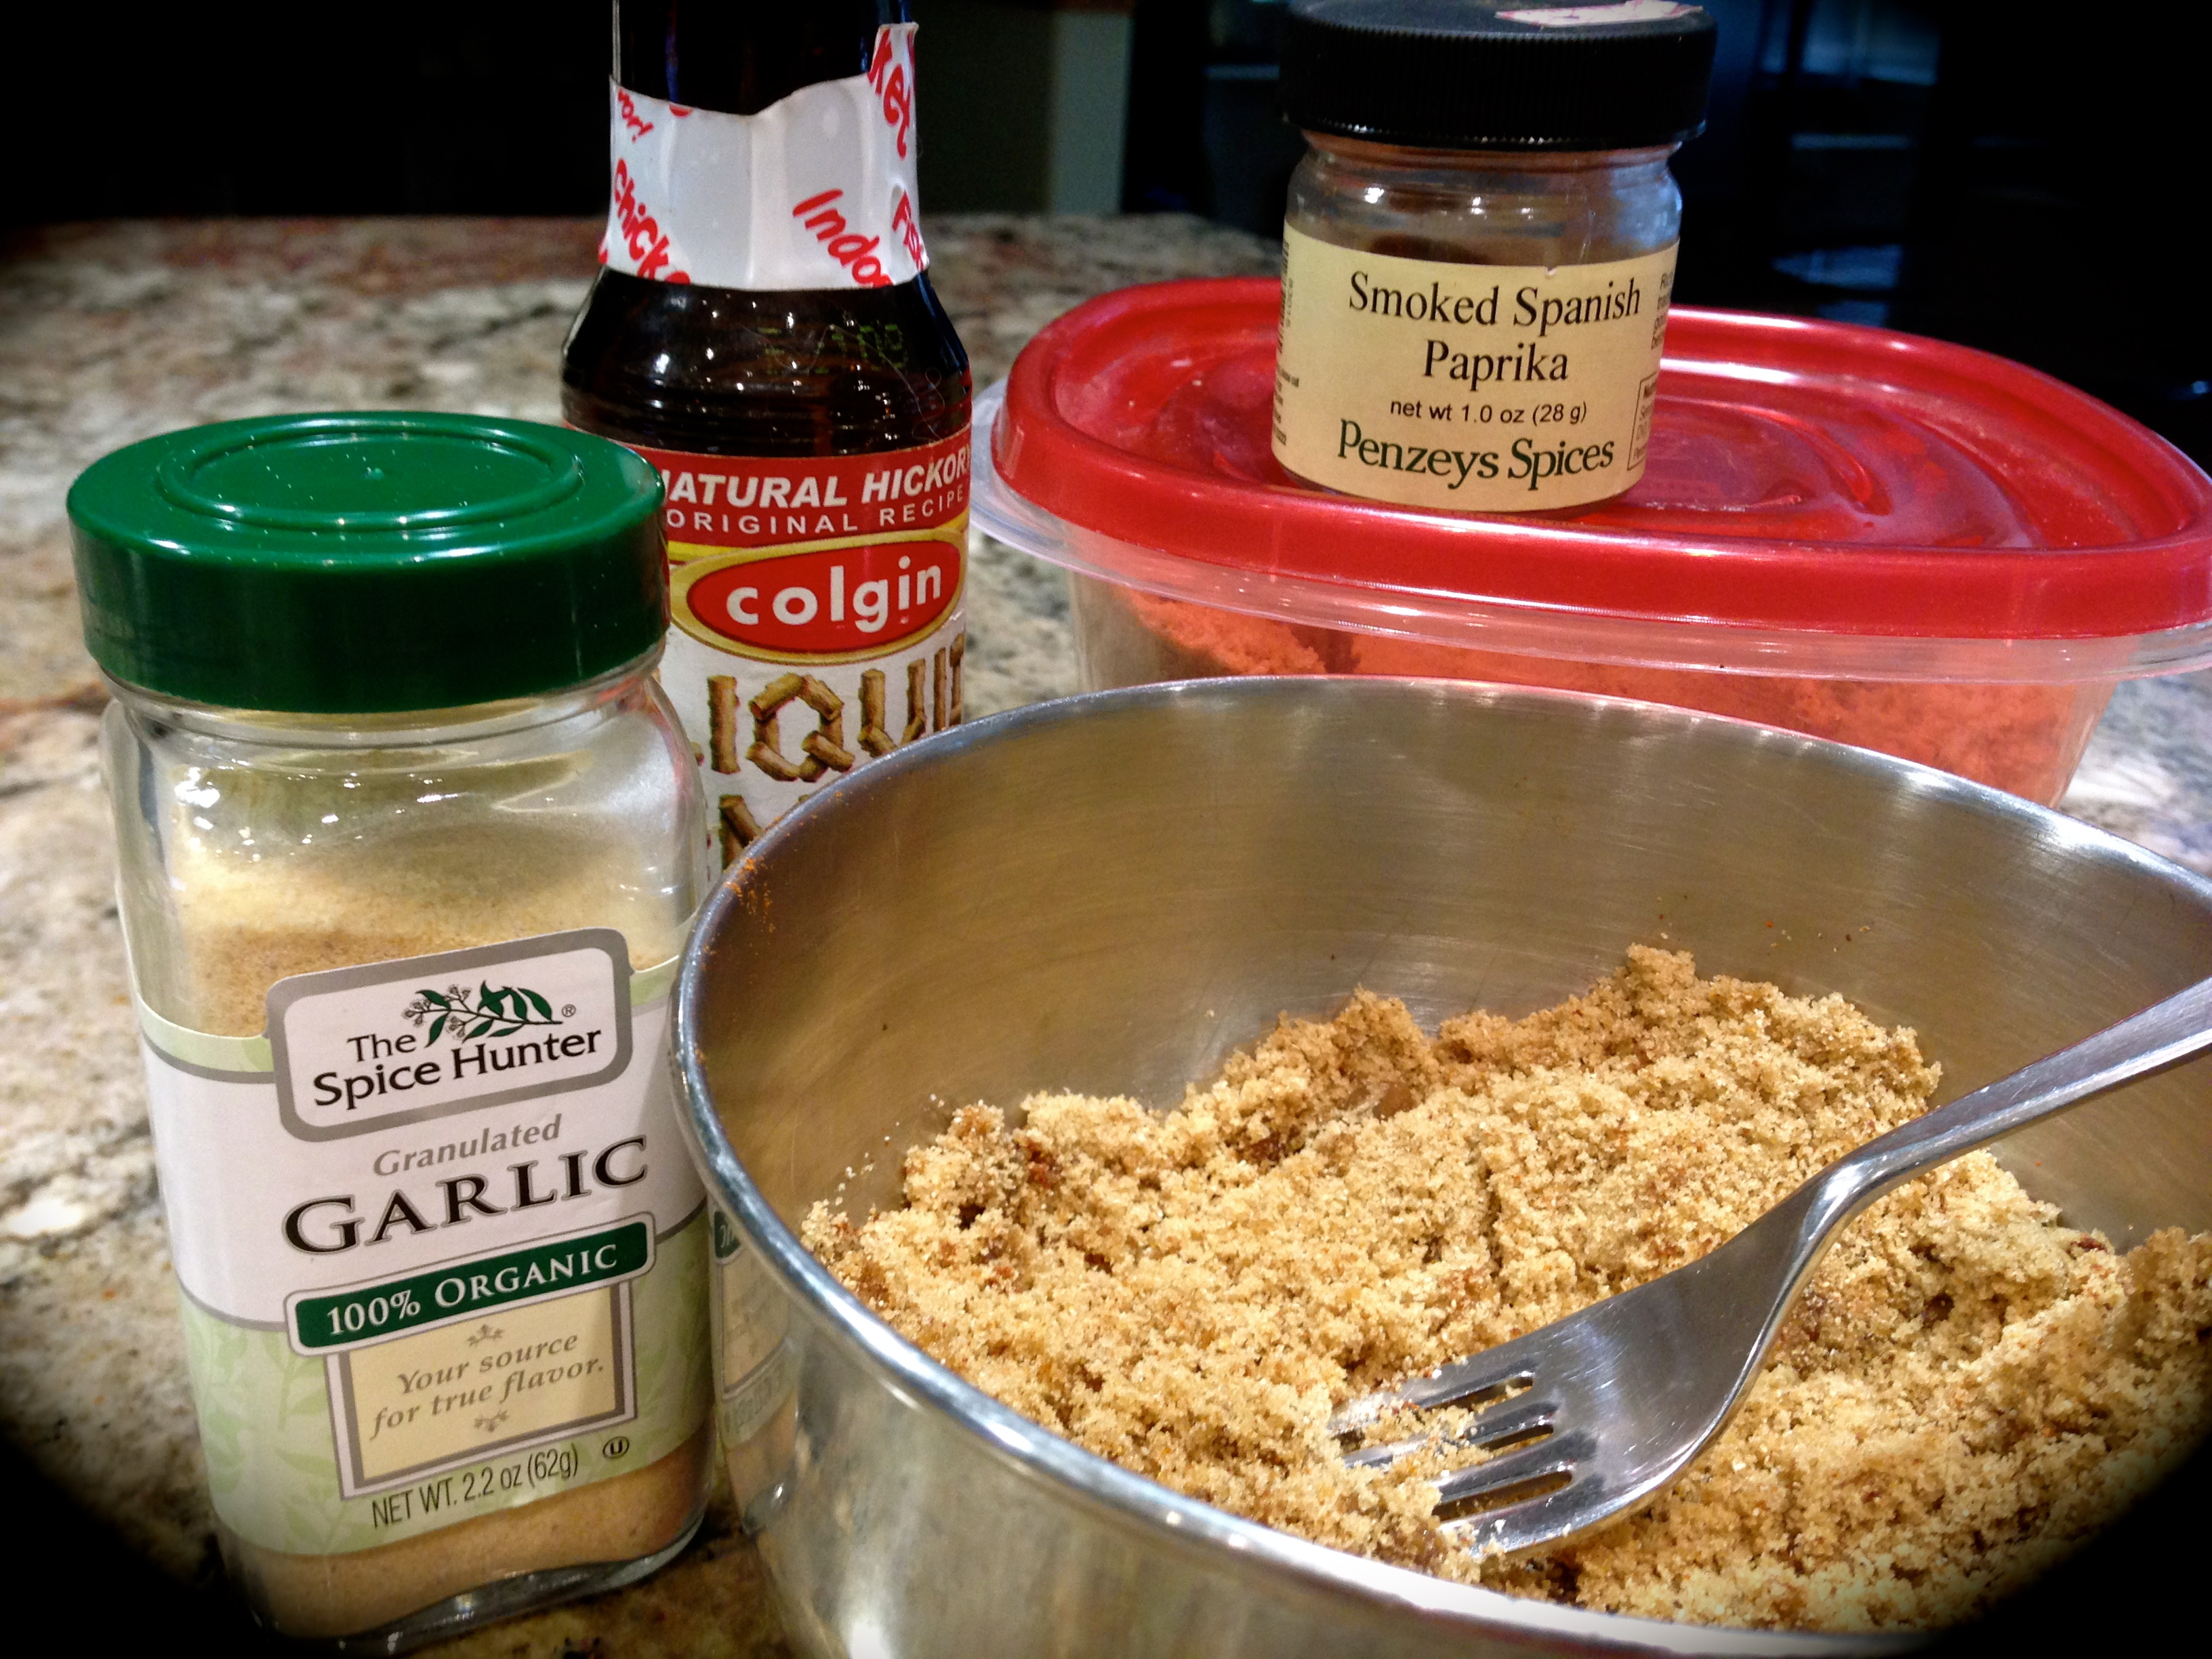
So, this has been a very long winded way of saying that I’ve had to rely on my grill, built in oven (that will be removed when my gas stove is installed) and microwave to do the heavy lifting for meals.

My preferred way of cooking lamb chops is on the grill so this was a no brainer. With a hot grill you get a great sear and the chops take less time to cook. The potatoes are made in the oven and are so easy to prepare and they taste divine!  So here are a few lessons learned making the lamb chops and potatoes…

Lesson Learned 1 – The longer you can marinate the lamb chops the better. I always use loin chops and I find them meatier and juicier, but you can also use rib chops. I found that I can get between 6 – 8 one inch thick chops at a really great price at either Sam’s Club or Costco.

When buying lamp chops, try to pick ones that have a substantive tenderloin. Obviously, that is the most tender part of the chop. Marinating them overnight is optimum, but you can marinate them for as little as an hour as well.

Marinated Lamb Chops

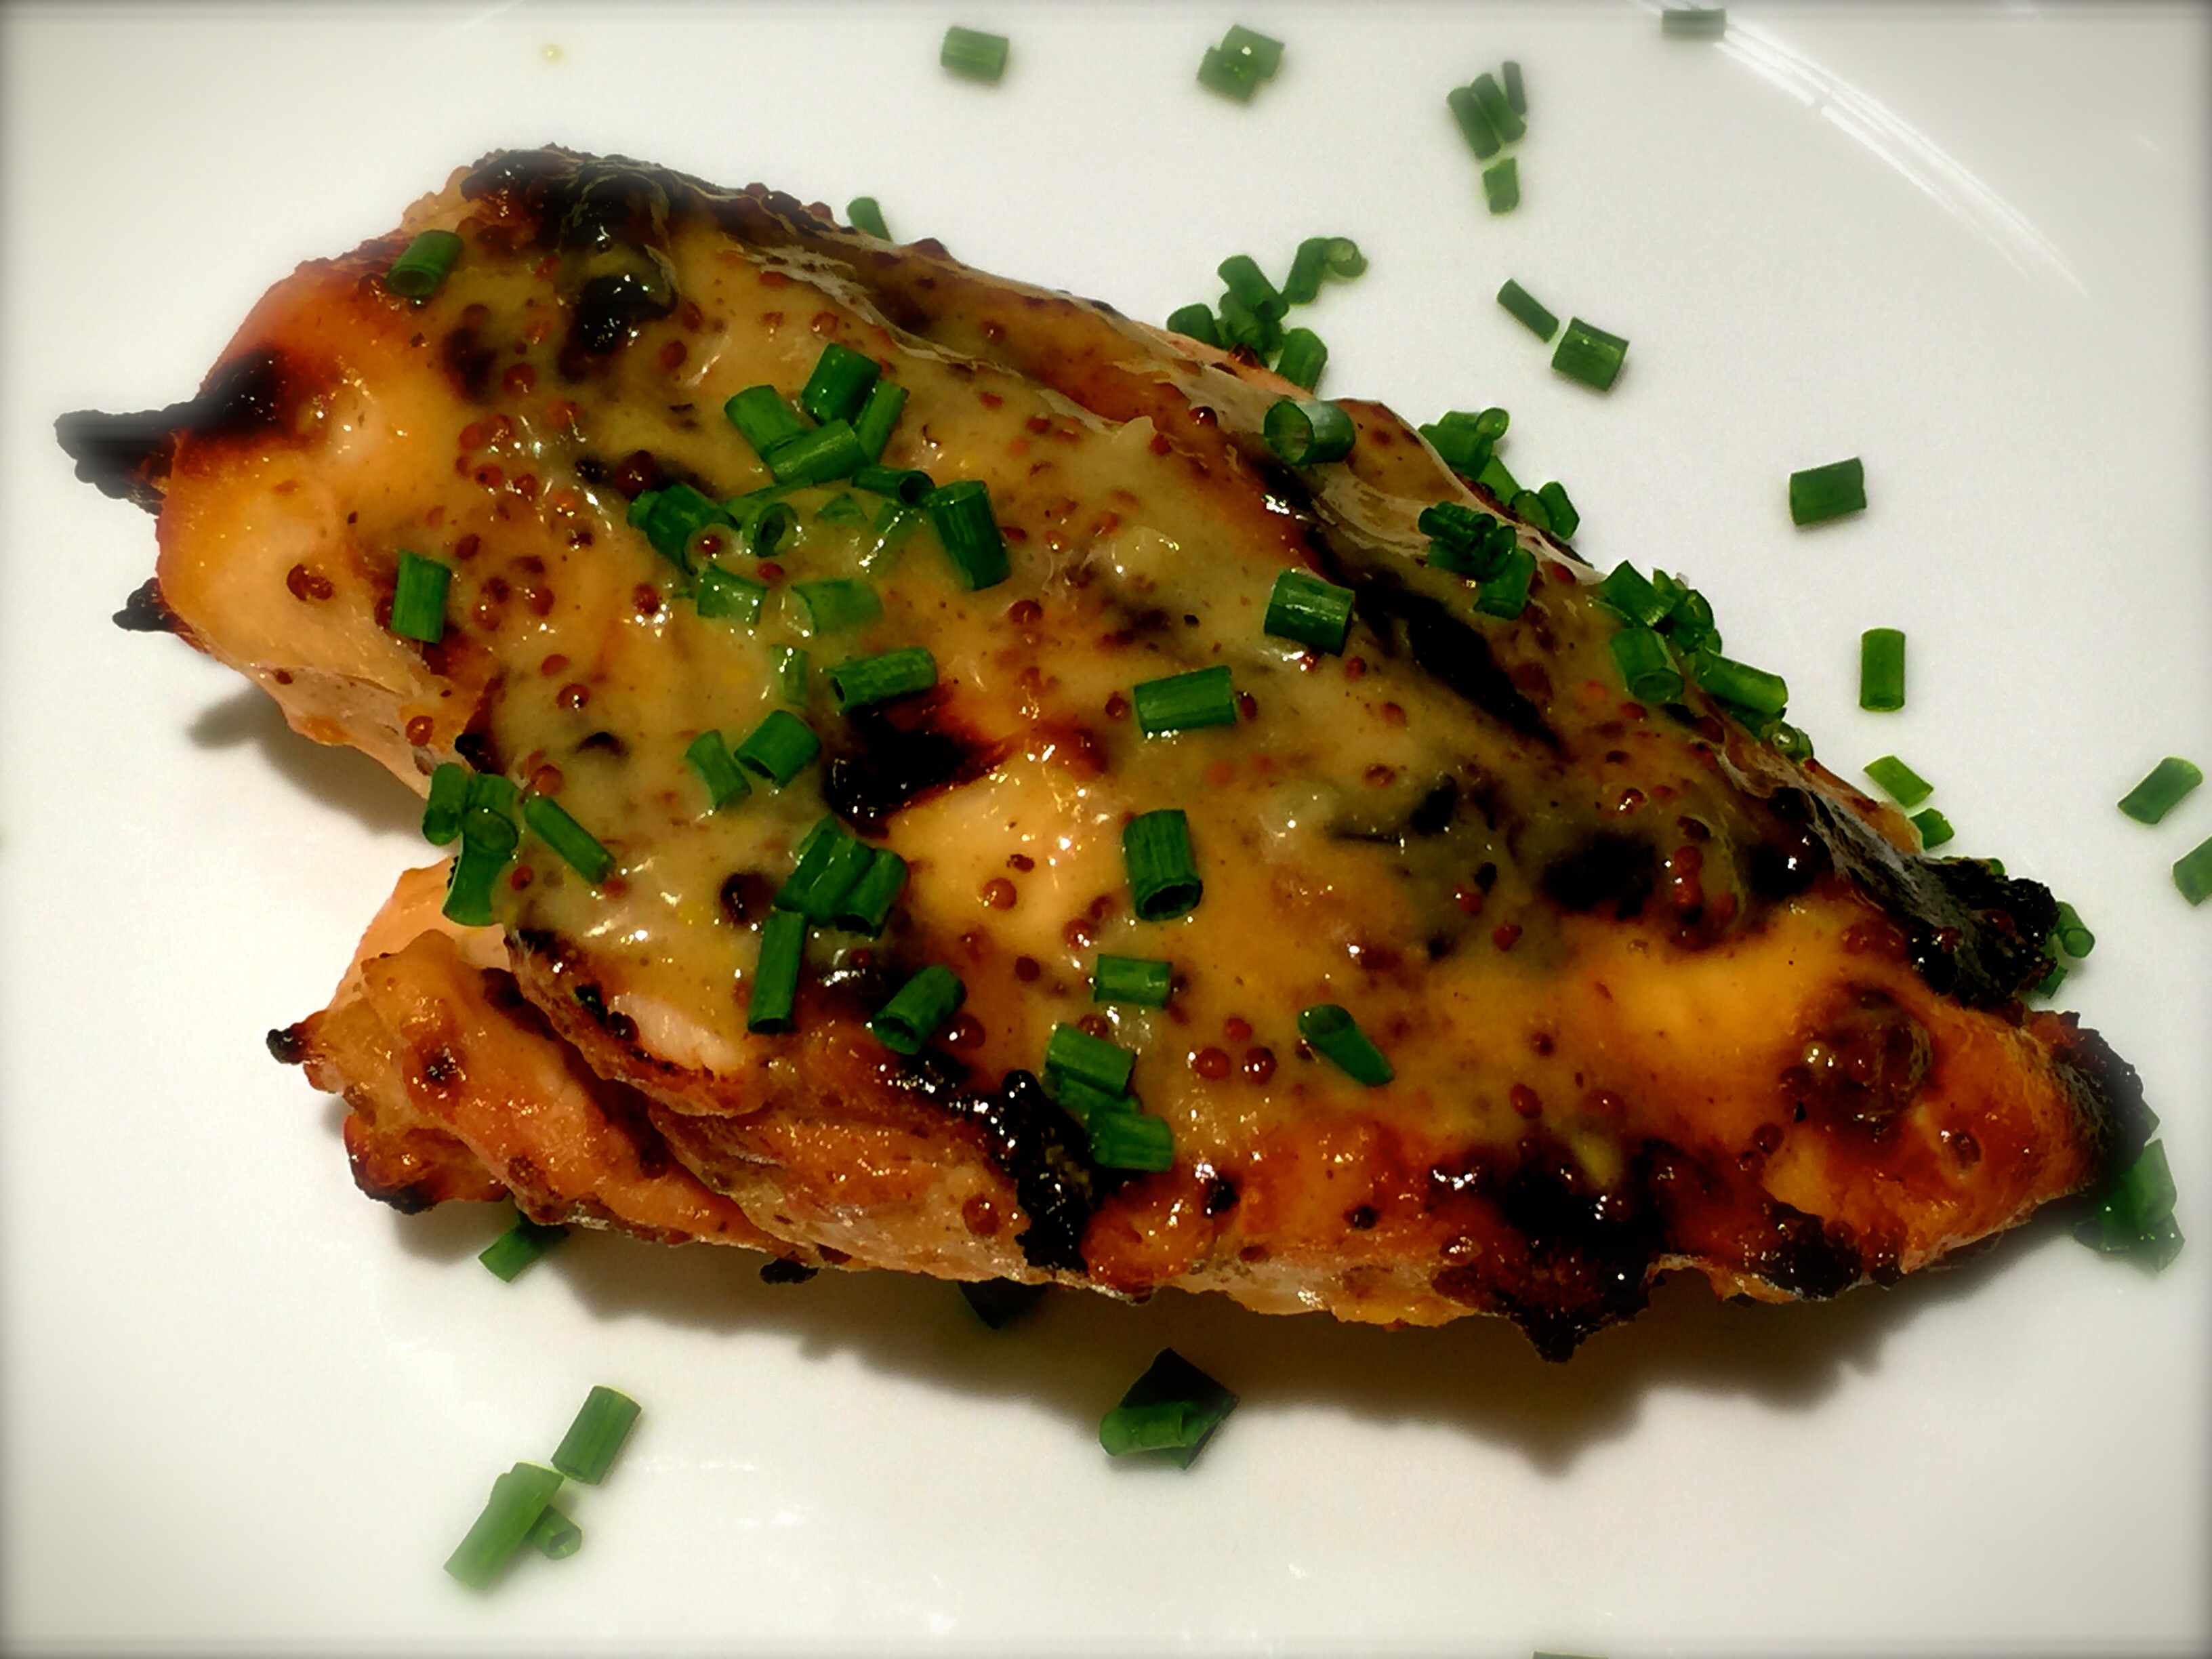
Lesson Learned 2 – Don’t forget to let the lamb chops rest after you cook them: Lamb like beef needs to rest when your done grilling so that the juices can redistribute. Although they will look divine resist the temptation to cut into them right away. Cover them with foil and let them rest for 5 minutes and you will have tender, juicy chops.

Mint JellyLesson Learned 3 – If you’ve never had it, try some mint jelly with your lamb chops: I was introduced to lamb chops with mint jelly when I was a kid. I was at a friend’s house for dinner and this is what was served. I never had lamb before and didn’t know what to think. At the time I was not all that enamored with the flavor but was afraid to say anything to my friend’s mom so I just said it was fabulous. Because of that, she made lamb with mint jelly every time I came over for dinner. I learned to love it, and now it is one of my all time favorites. Just use a little jelly with a piece of lamb. The flavor combination is to die for!

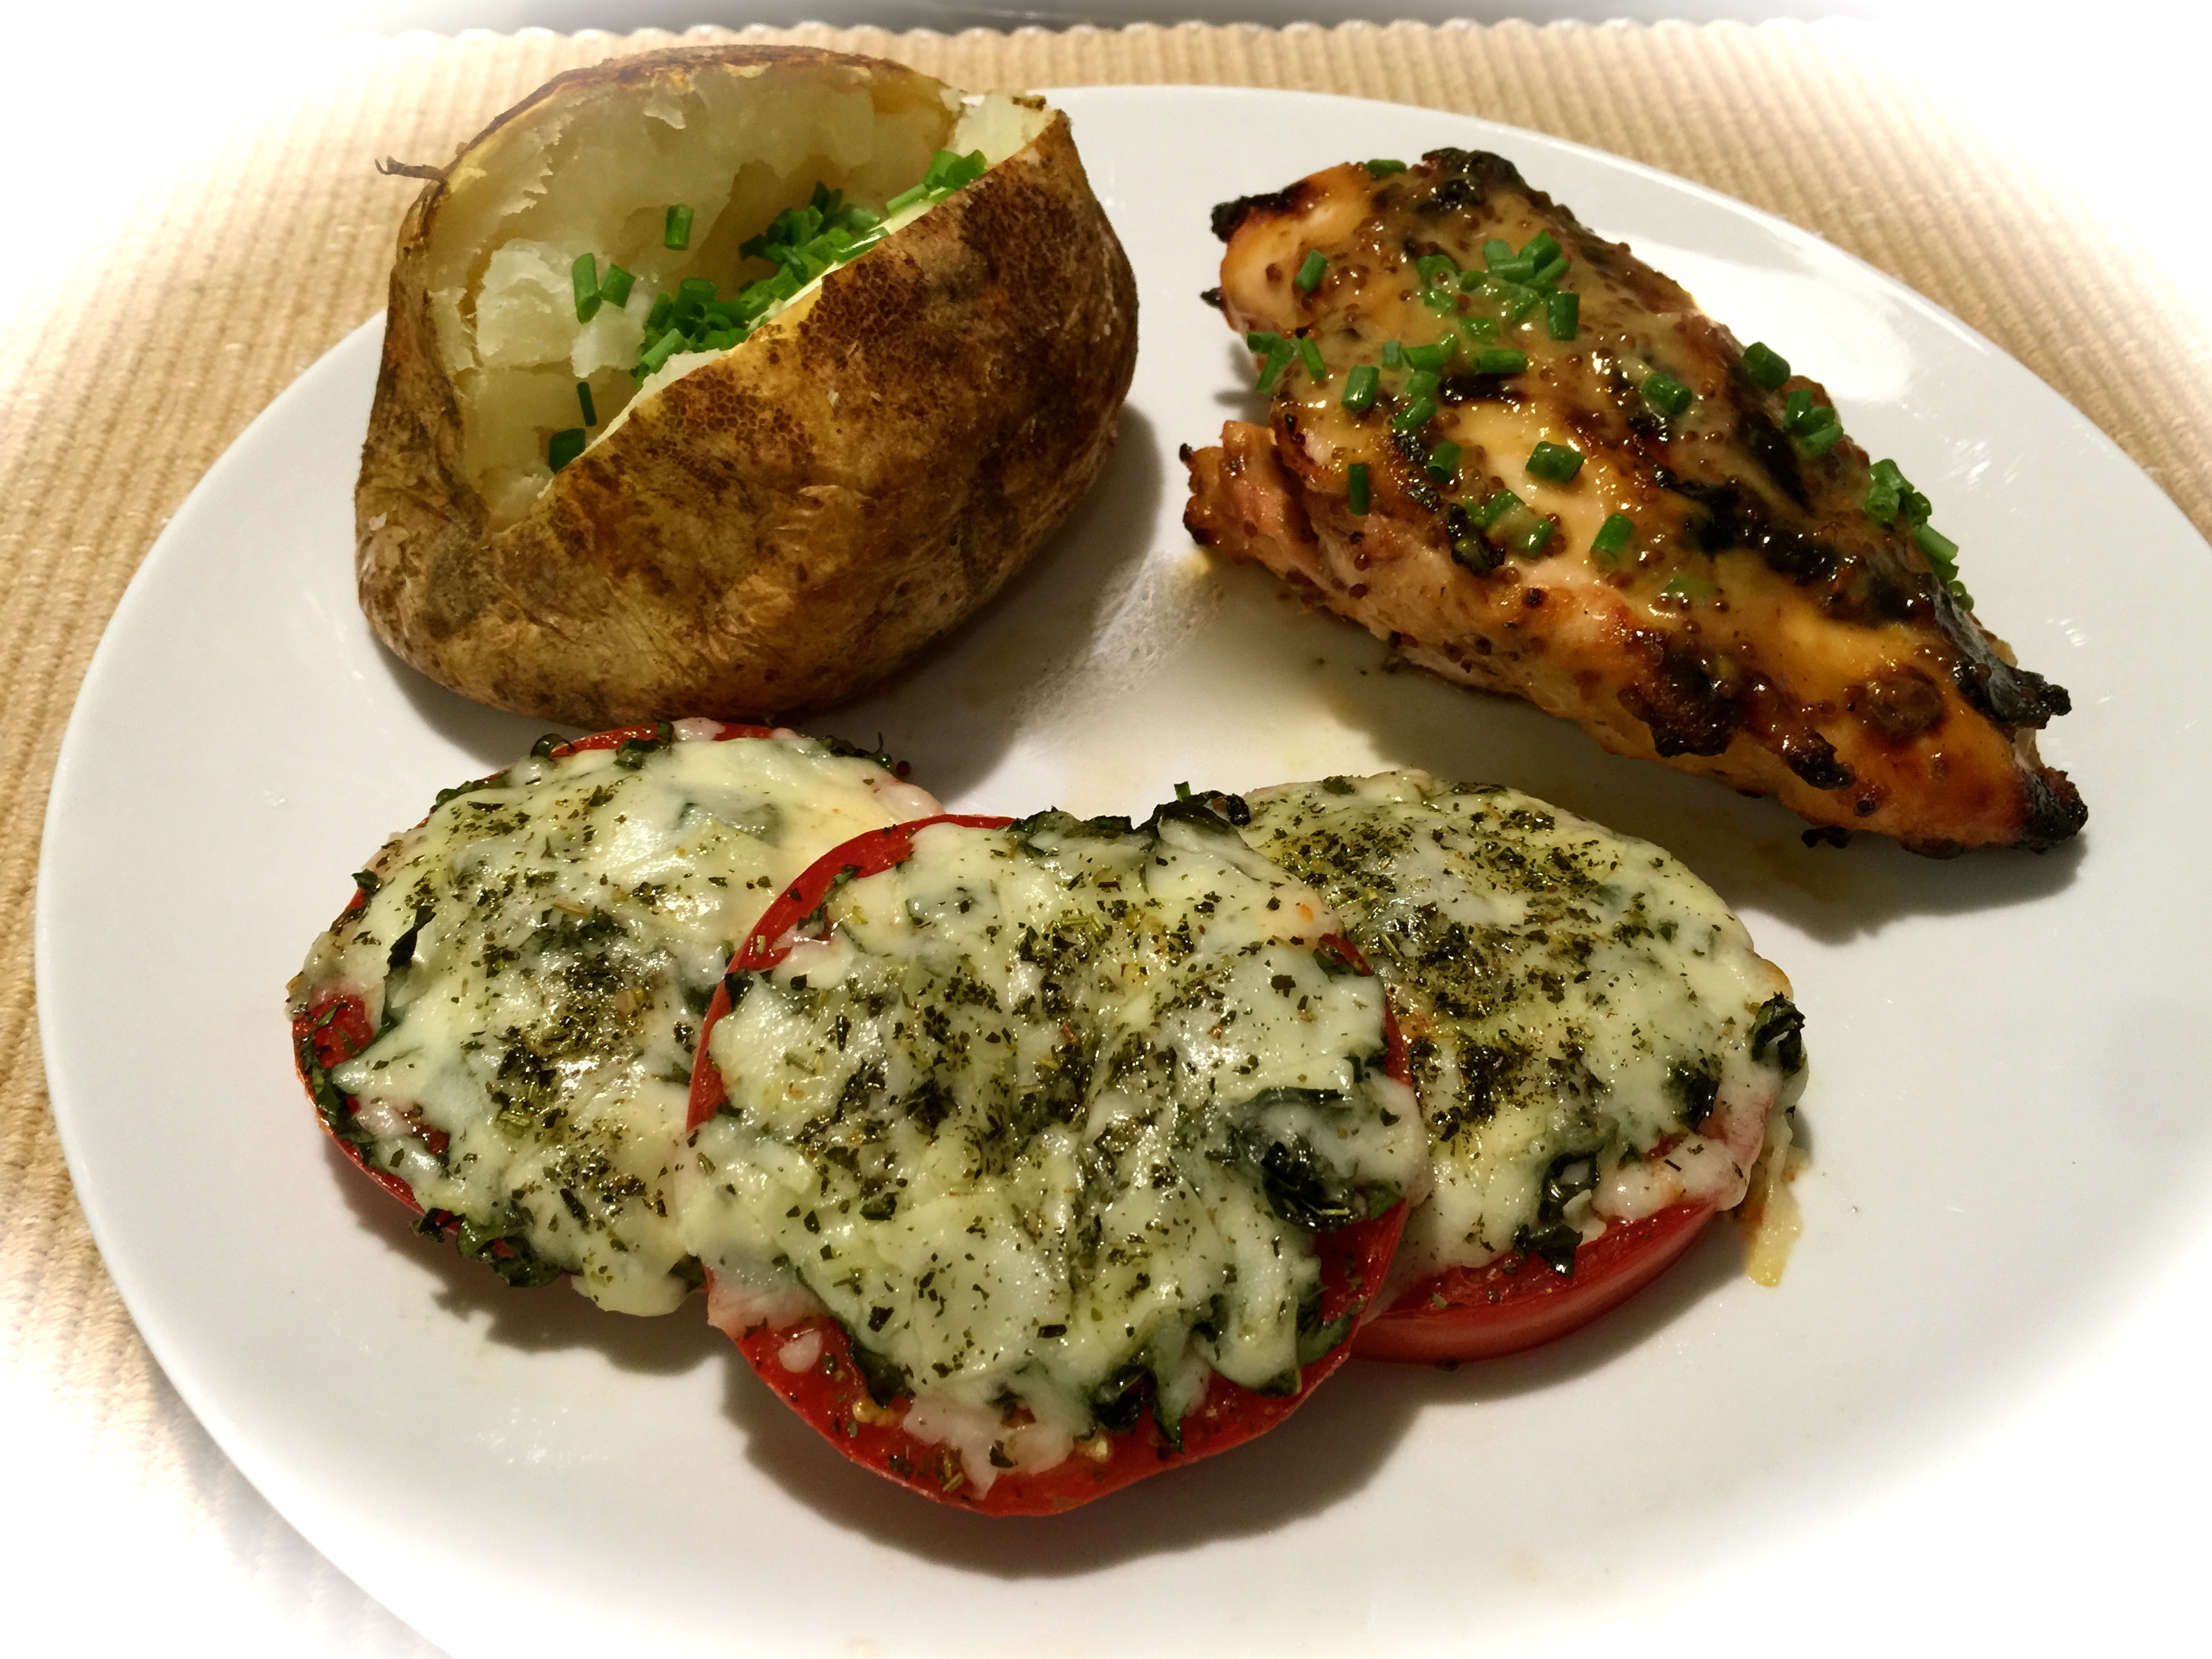
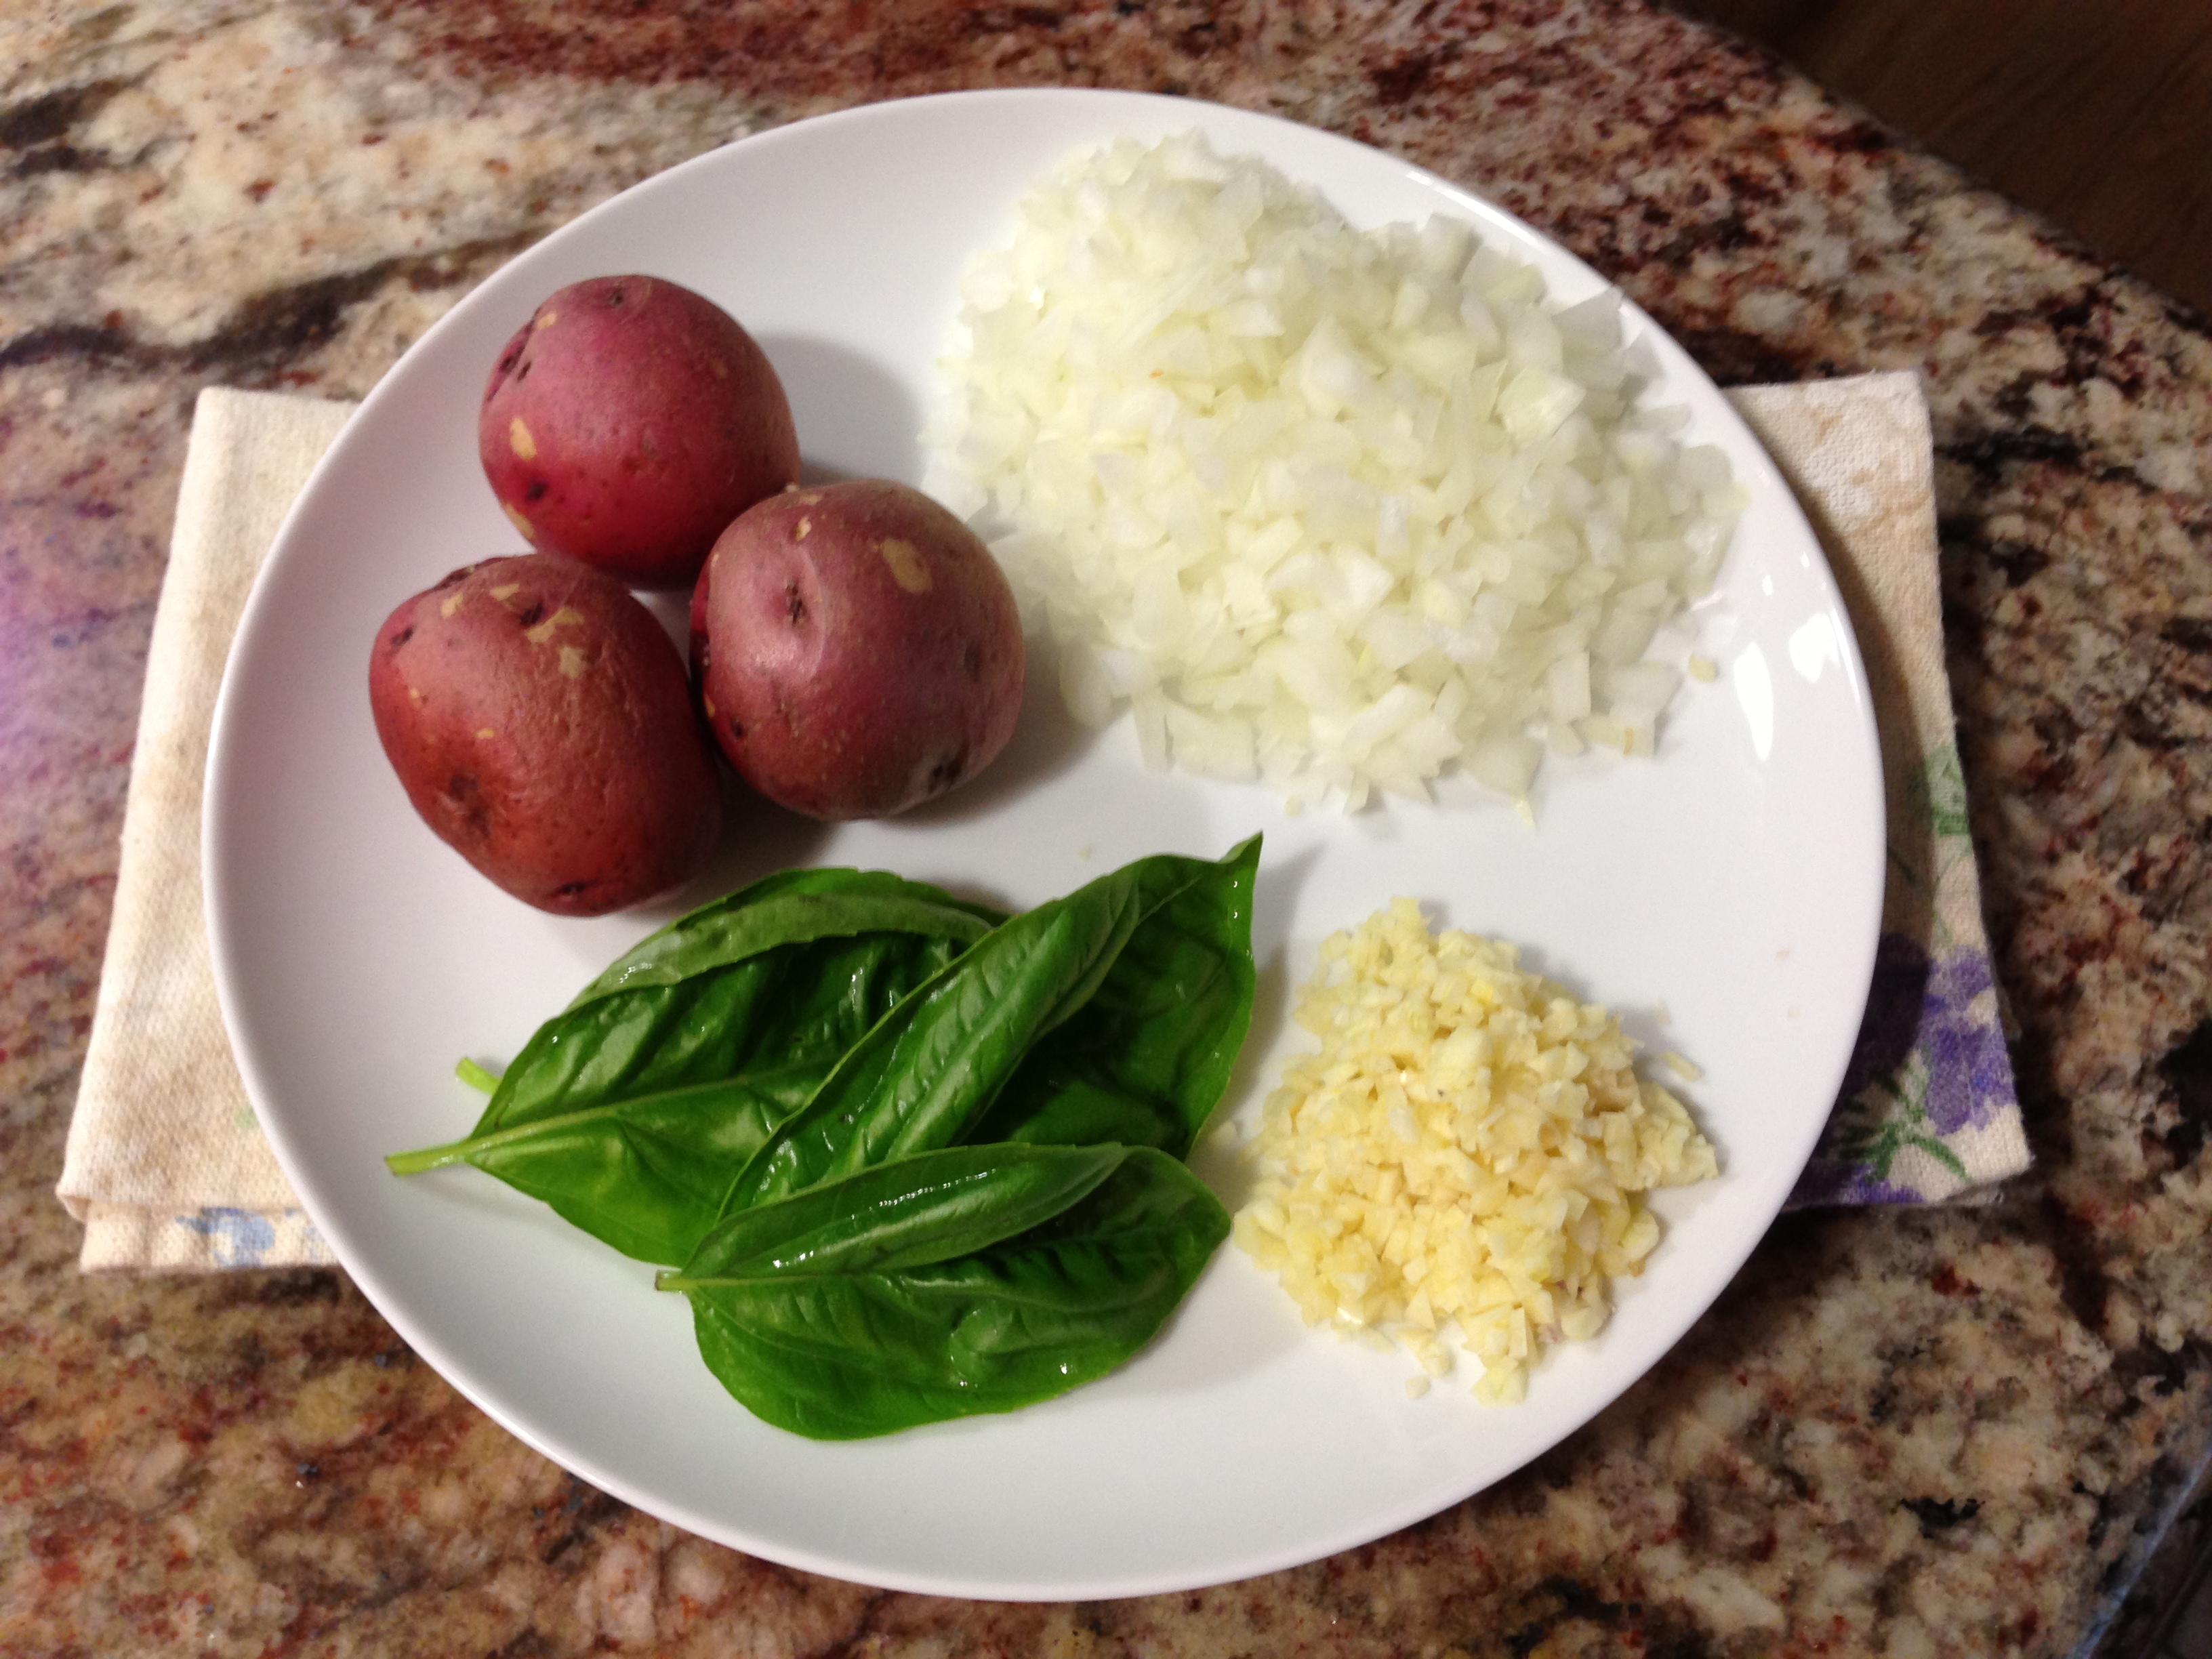
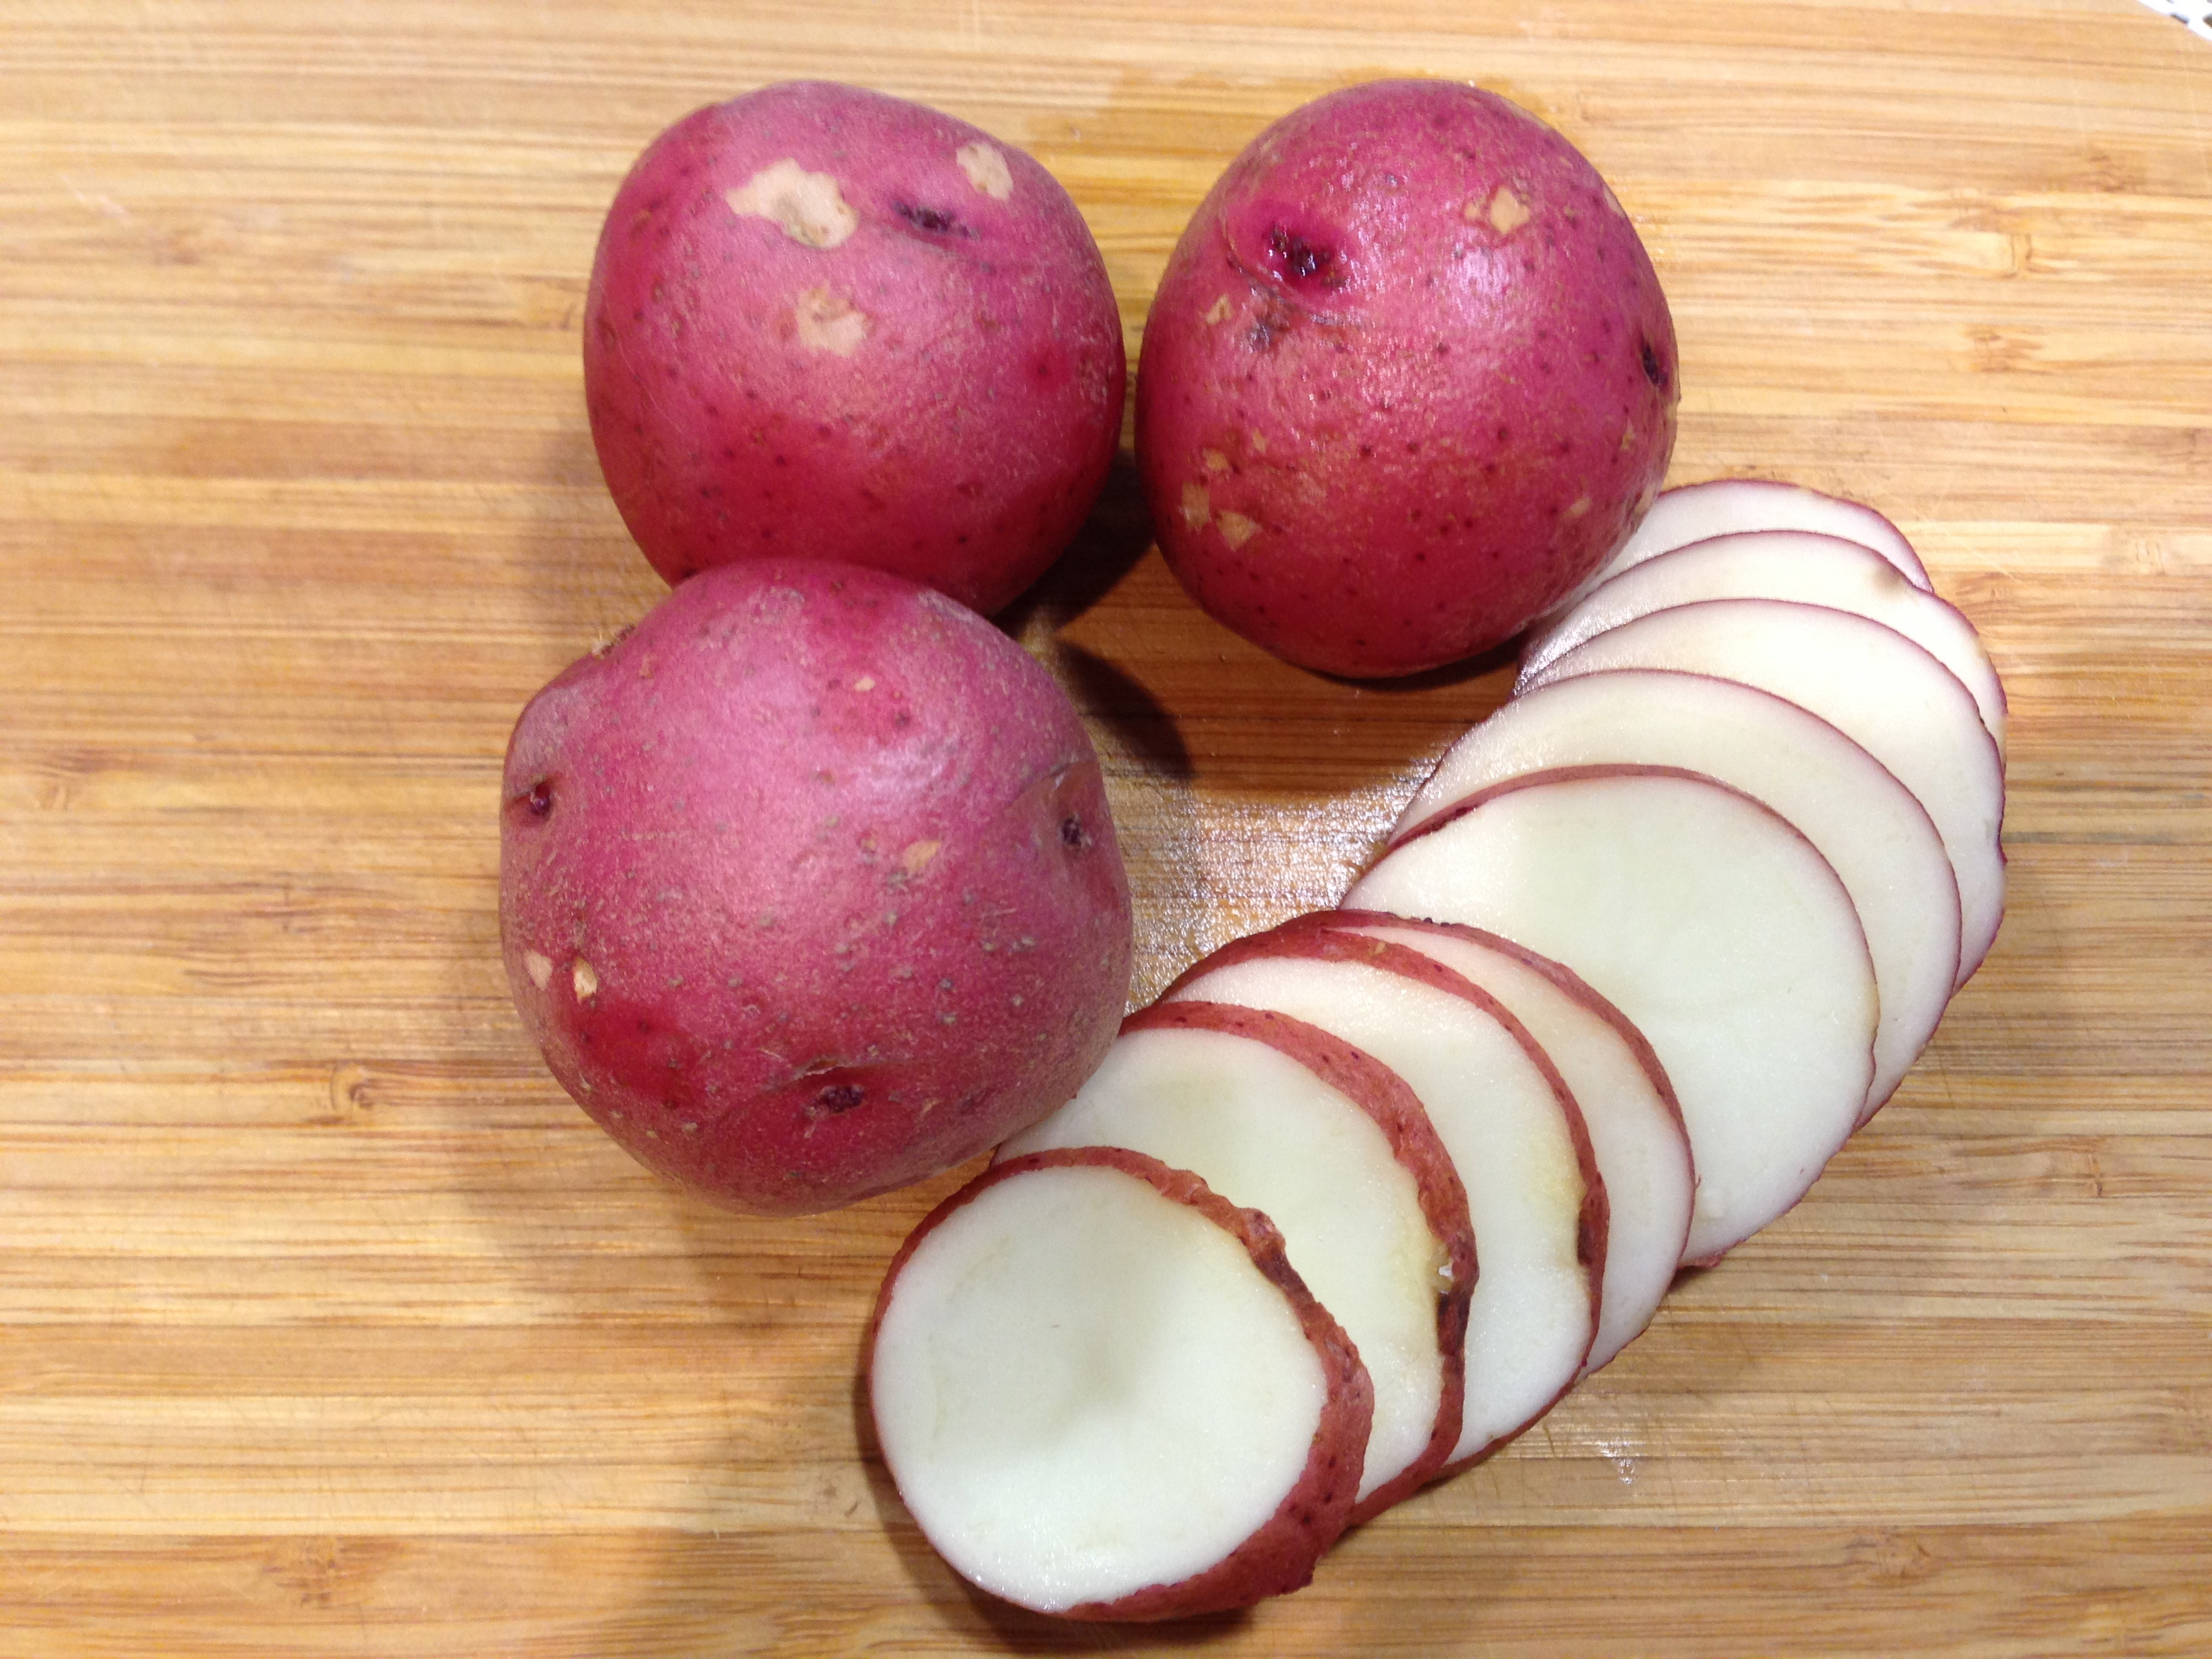
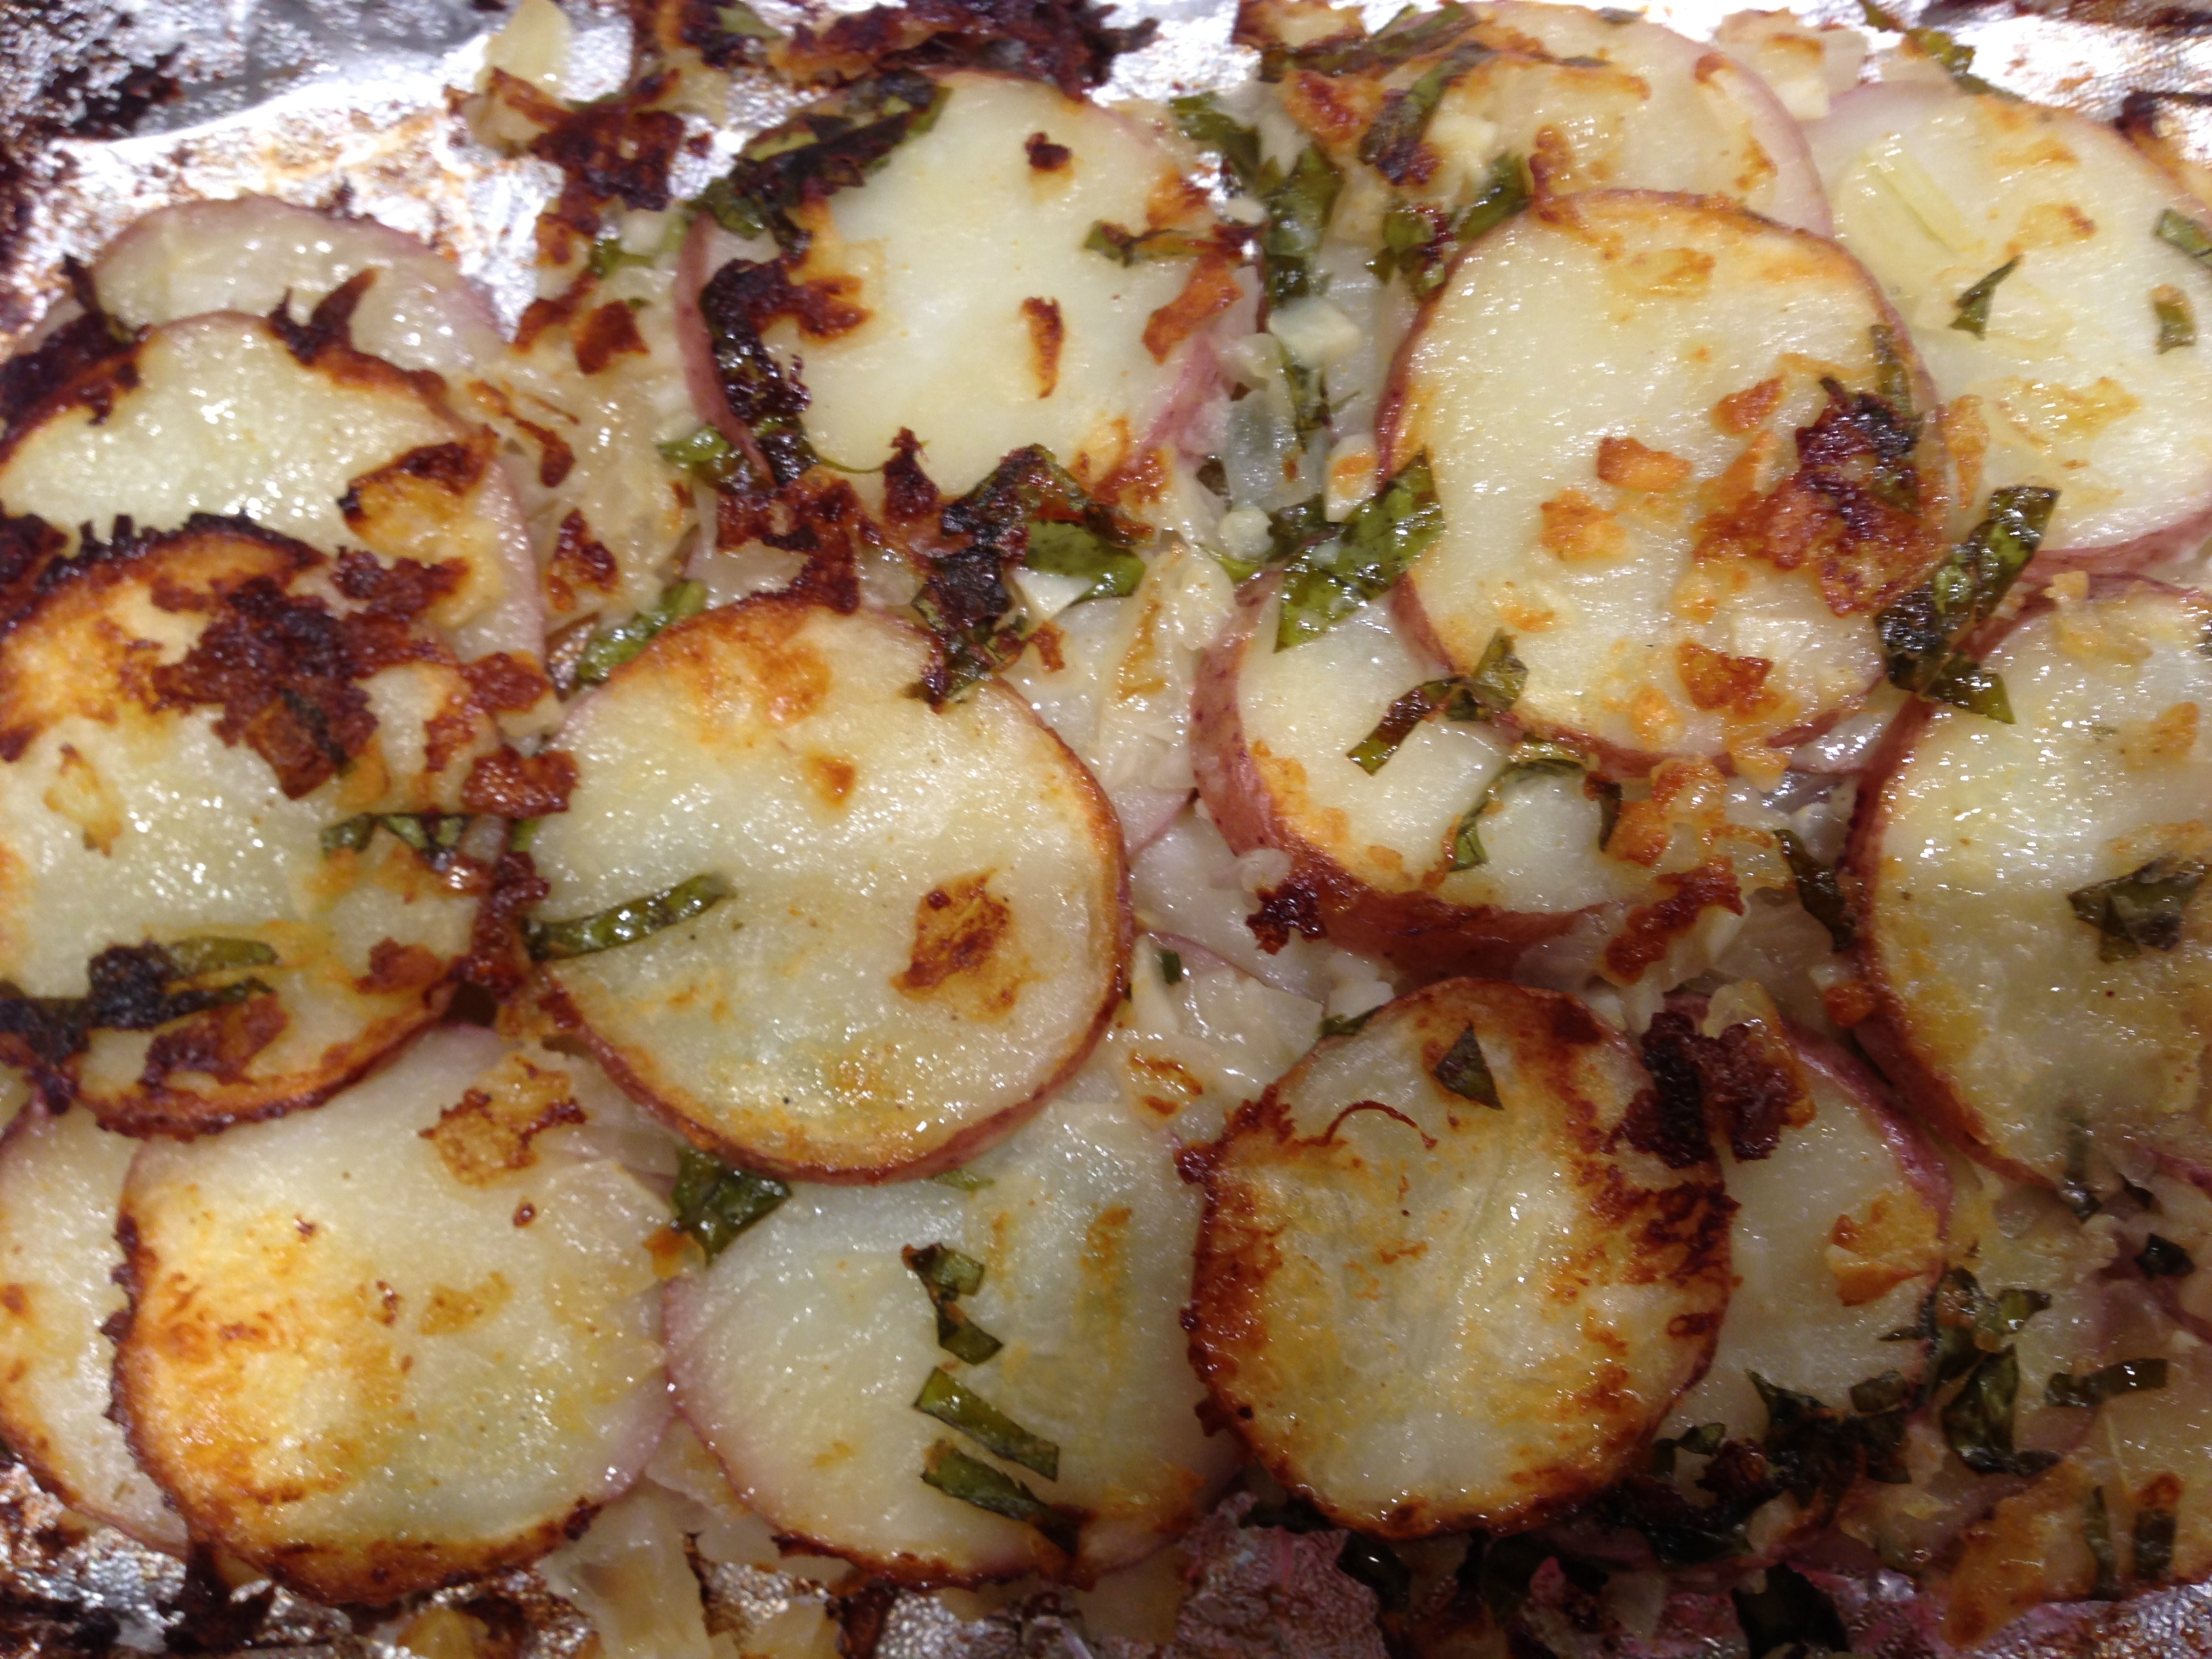
Lesson Learned 4 – Not all types of potatoes cook at the same rate: I’ve found that if I am roasting yukon gold or red potatoes they take less time to cook than russets. In this recipe I used small yukon gold potatoes and halved them. At 425, these potatoes were fully cooked and beautifully crisped in one hour. They were heavenly.

Roast Italian Potatoes

So, if you want a quick, easy meal without using your stovetop this one’s for you. I roasted some cauliflower florets in the oven with the potatoes (I only roasted them for 1/2 hour) and had a fabulous meal. So try this one and let me know what you think.

Grilled Rosemary Garlic Lamb Chops...

  • Servings: 4
  • Difficulty: Easy
  • Print

INGREDIENTS:

8 one inch thick loin lamb chops

4-6 cloves garlic, minced

1 Tbs. fresh rosemary, chopped

Zest of one small lemon

1/4 cup garlic infused olive oil (you can also use plain EVOO)

Salt and Pepper

DIRECTIONS:

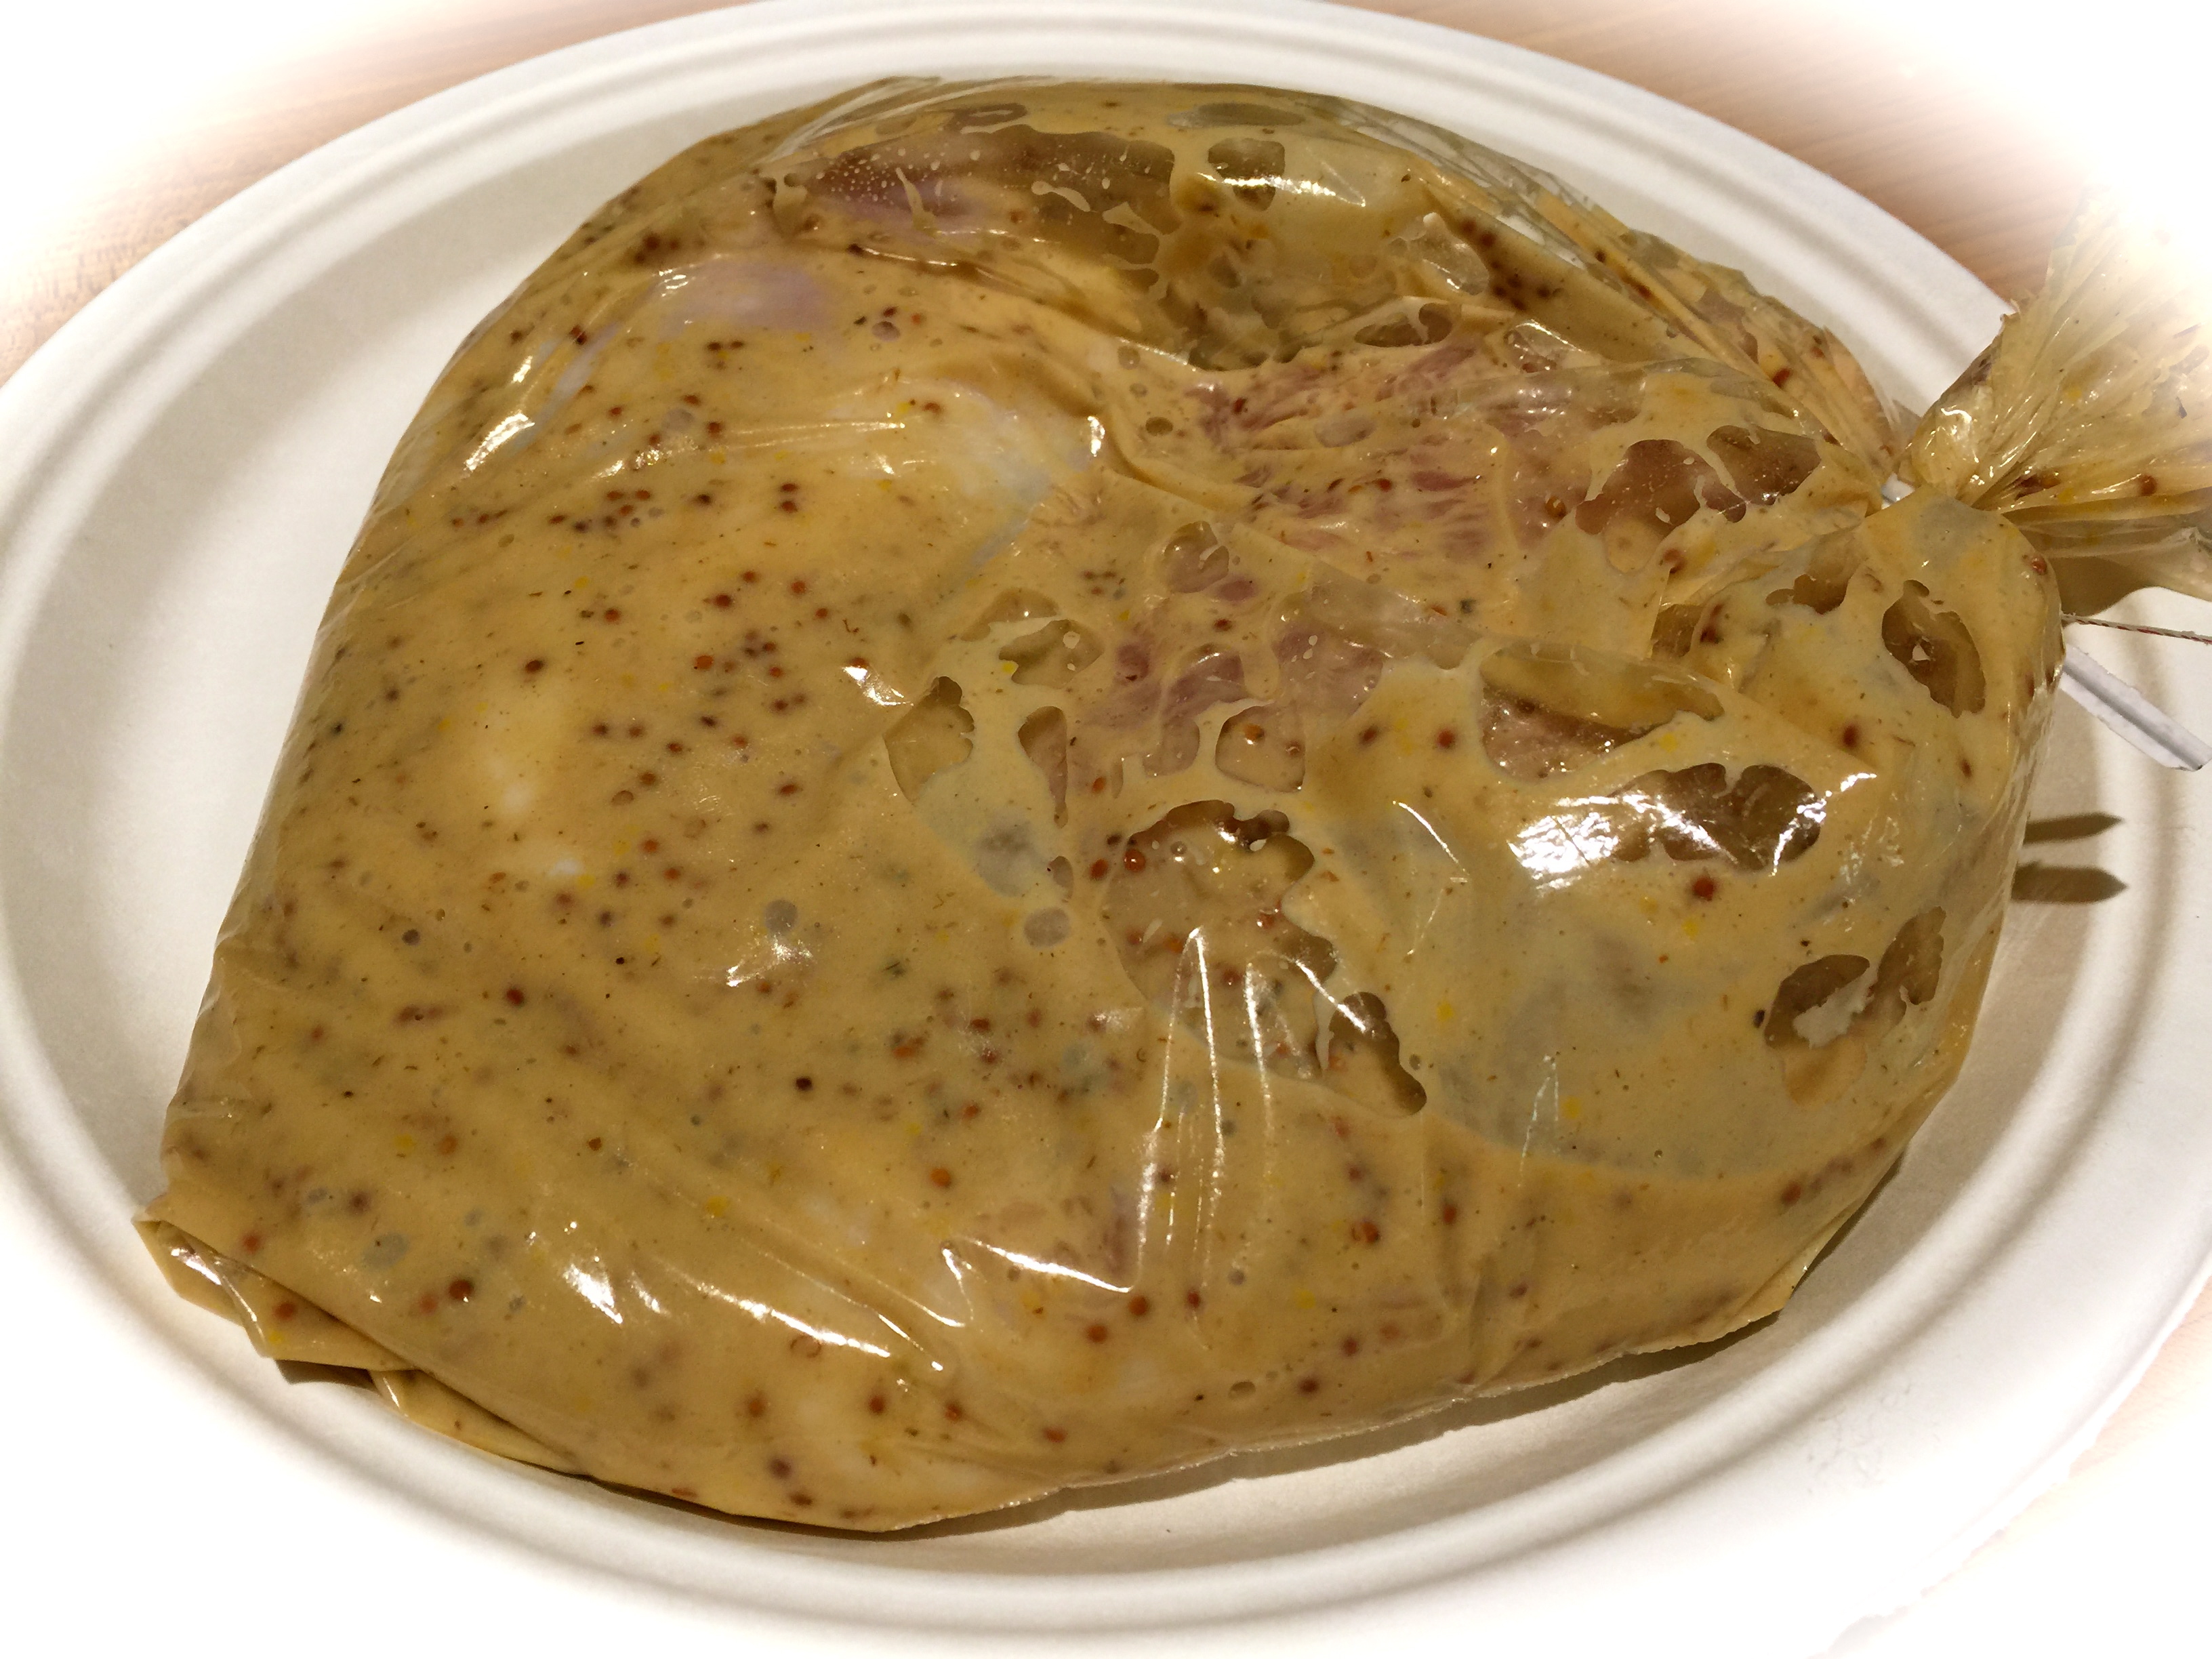
Salt and pepper both sides of the chops. In a small bowl, combine garlic, rosemary, lemon zest and olive oil. Put the chops in a bag and pour the marinade over them. Seal the bag and turn it over several times to make sure the chops are coated on both sides. Marinate for at least one hour up to overnight, turning the bag at regular intervals to make sure both sides of the chops are evenly marinated.

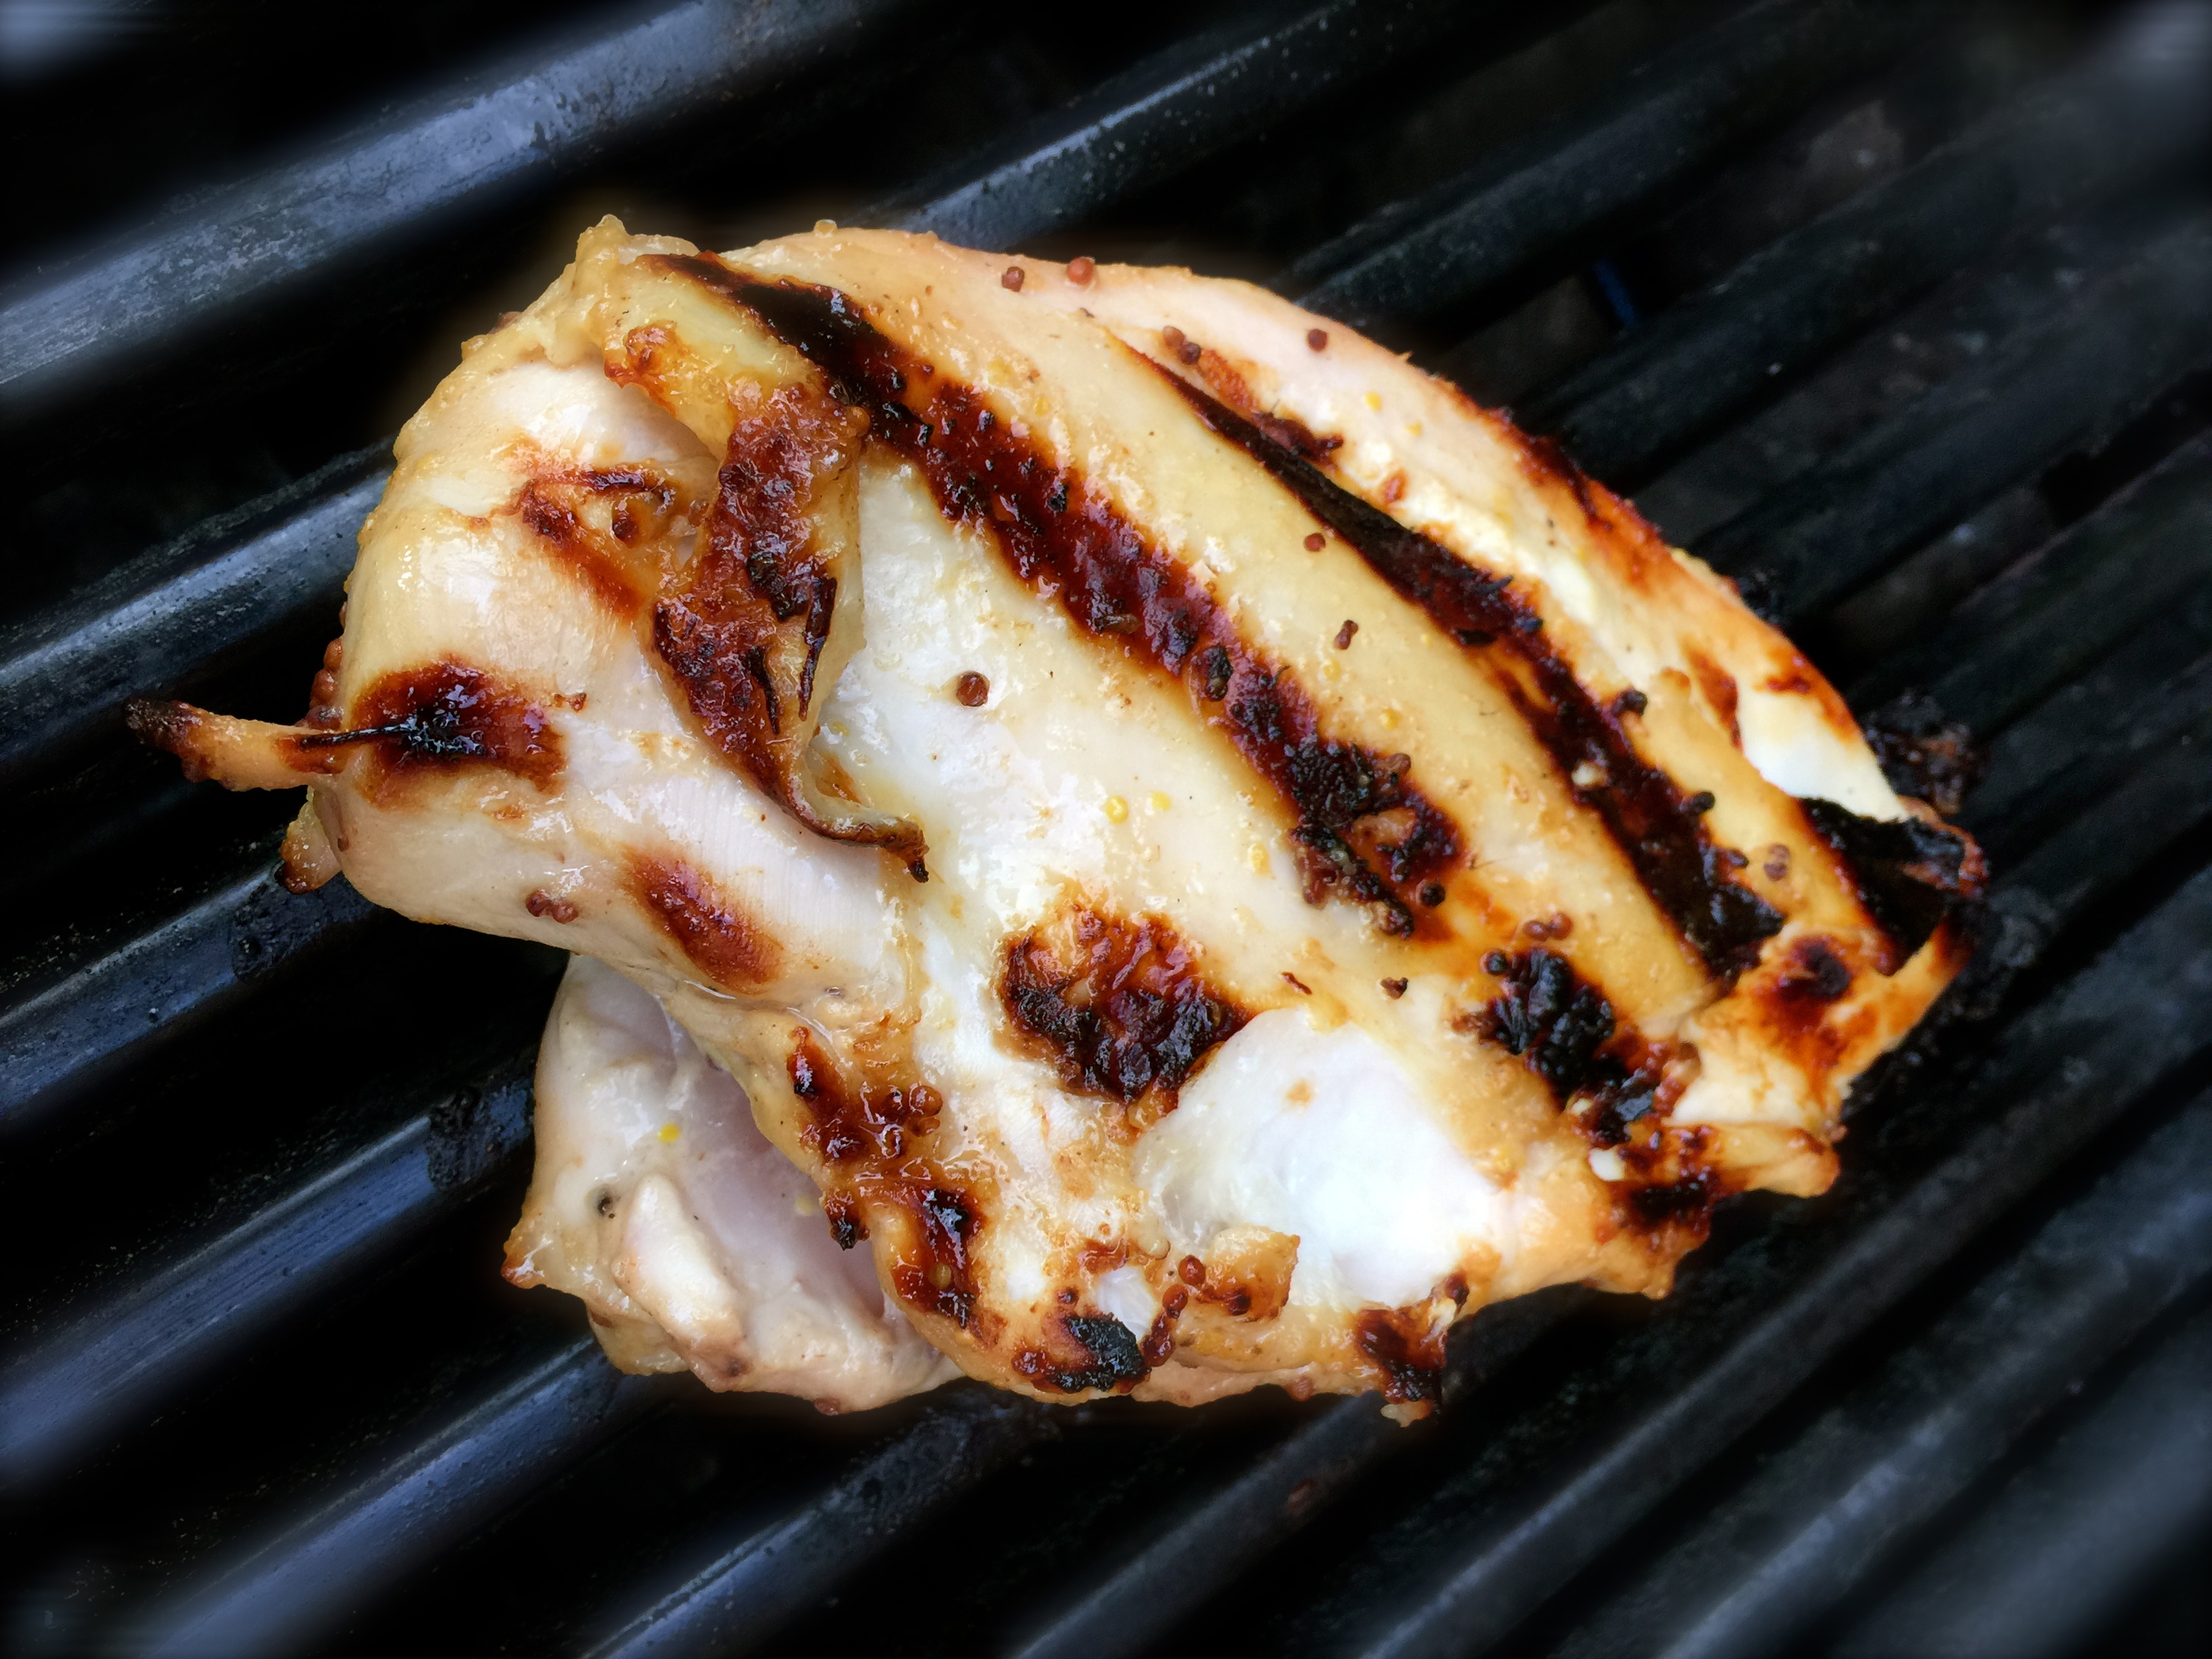
Heat your grill to medium high heat (I have a Webber gas grill). Remove the chops from the marinade and sear them for 2 minutes on each side. Lower the temperature of the grill to medium heat and continue to cook for 5 minutes total. This cooking time will give you medium rare chops. Let the chops rest for 5 minutes before serving.

Roasted Italian Potatoes...

  • Servings: 4
  • Difficulty: Easy
  • Print

INGREDIENTS:

15 small yukon gold potatoes, halved but not peeled

6 whole cloves of garlic

2 Tbs. dried oregano

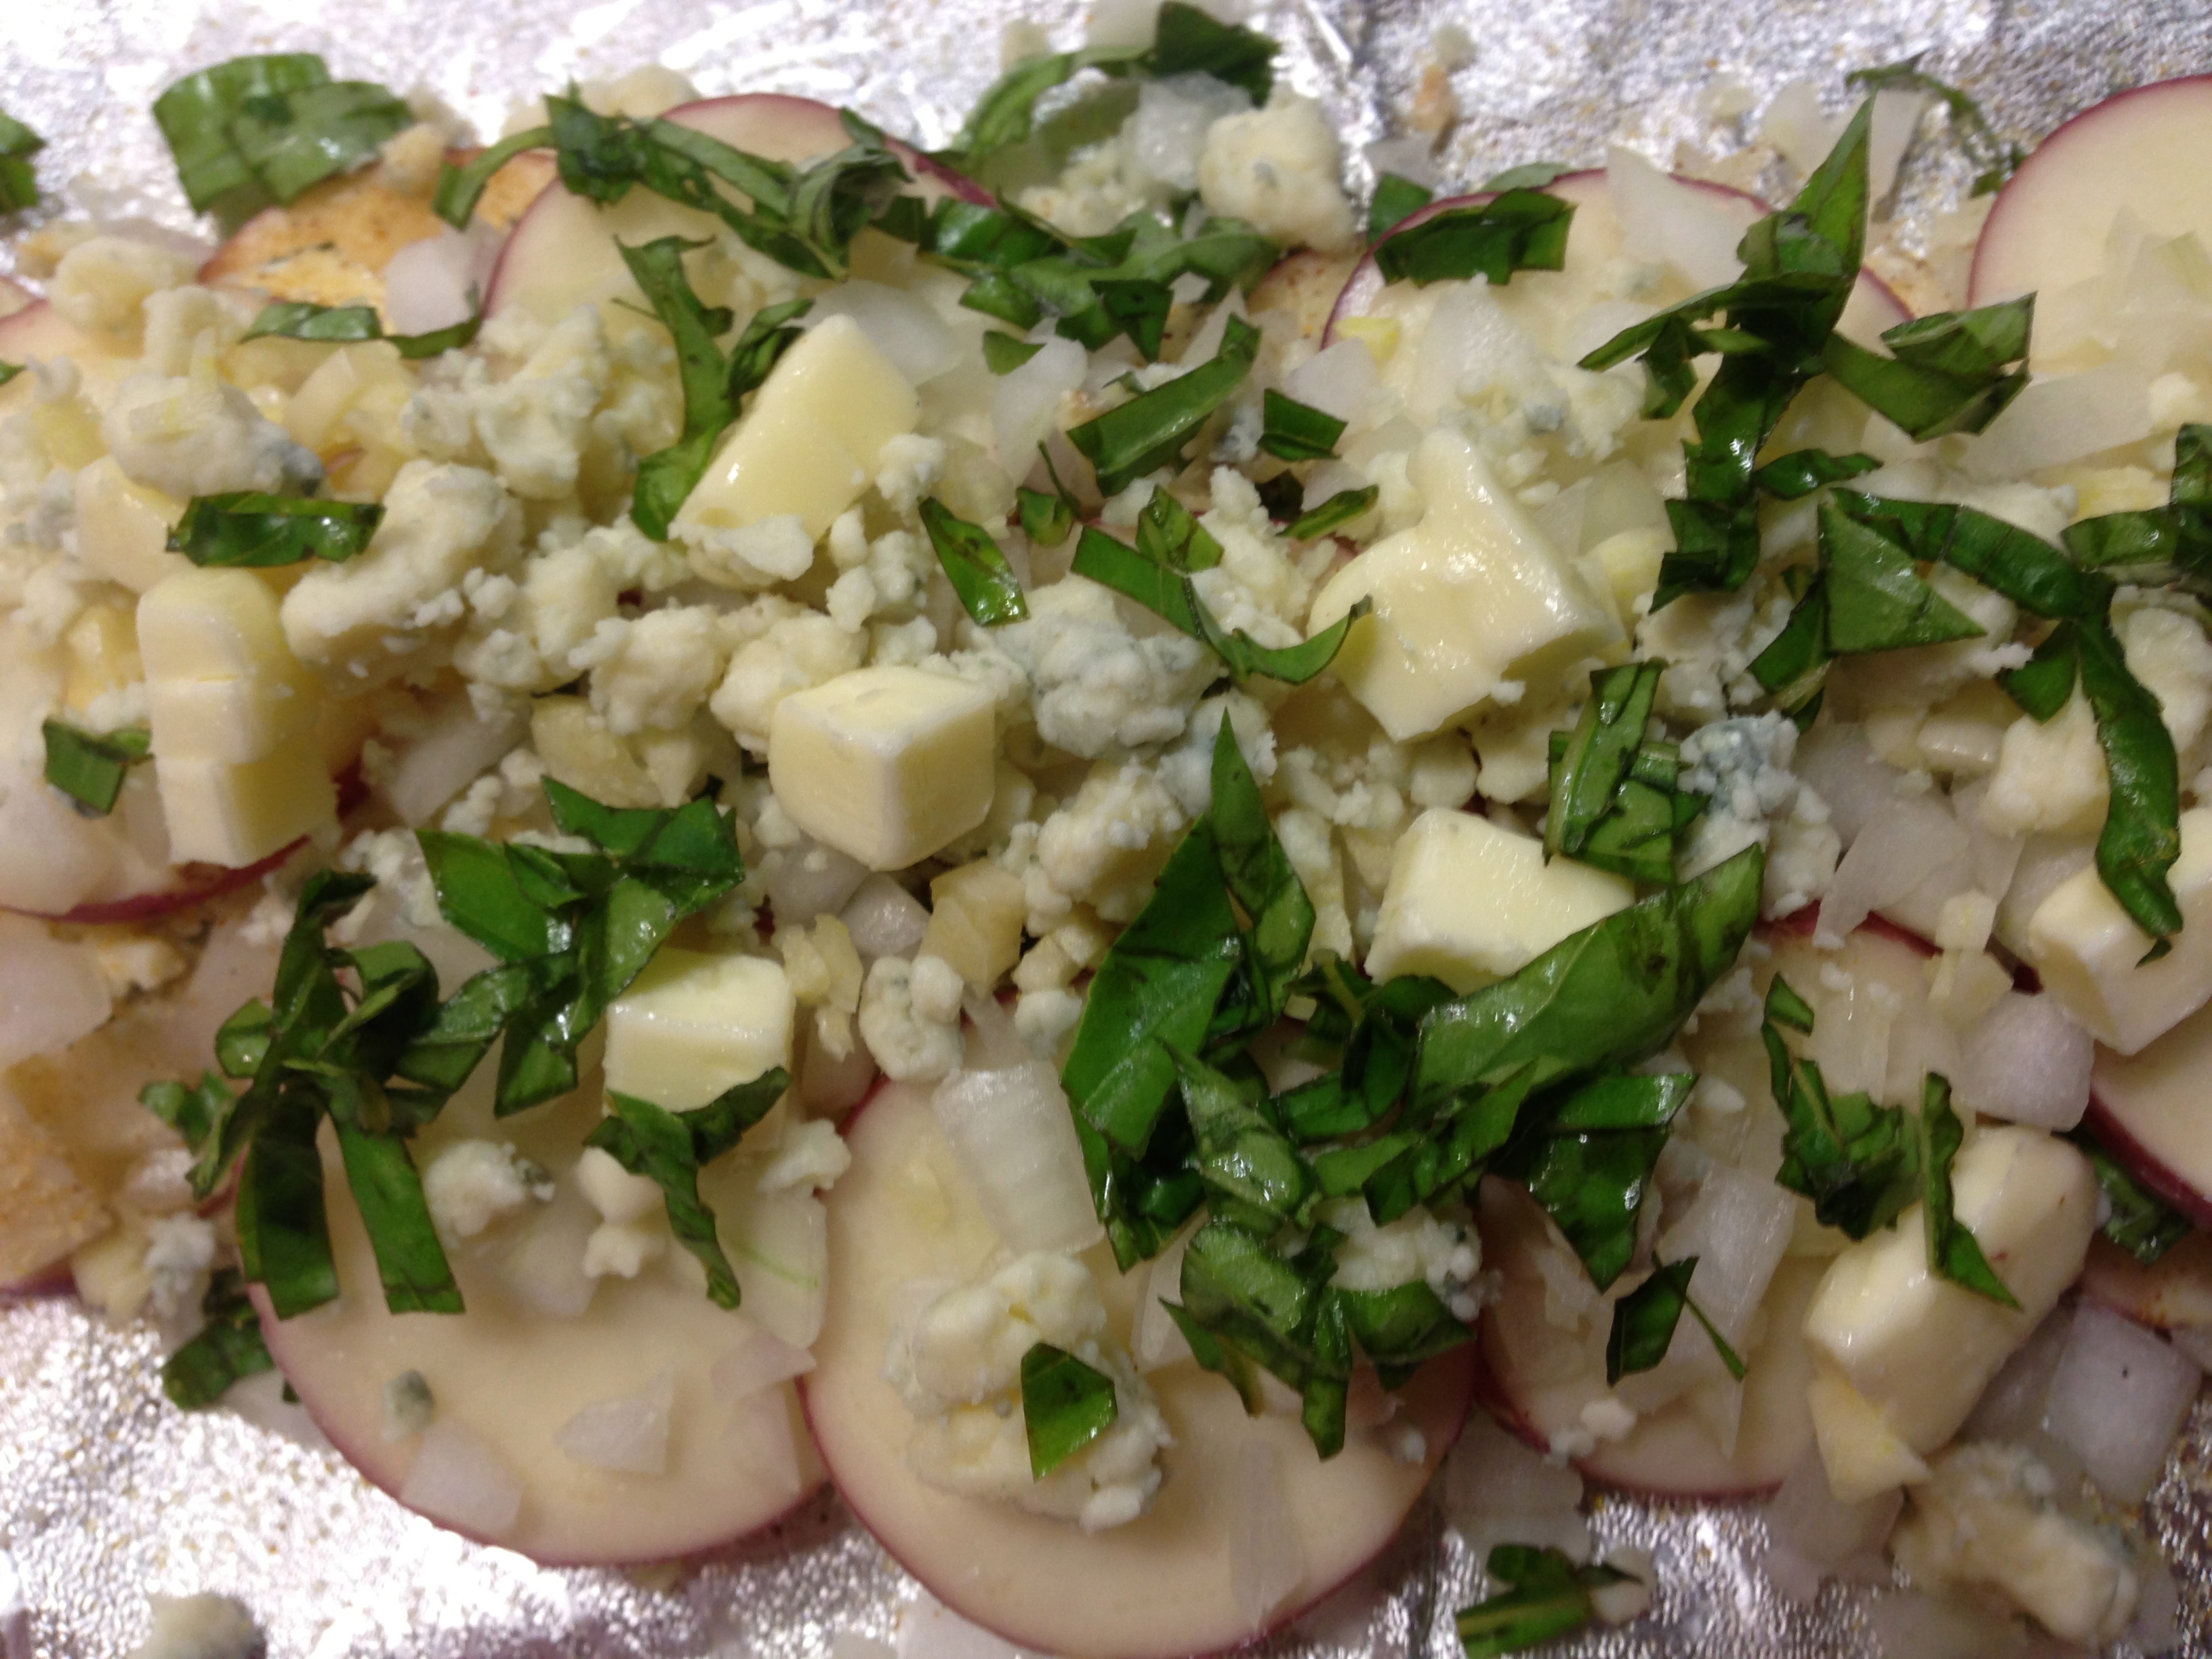
1/4 cup basil infused olive oil (you can also use plain EVOO)

Flat leaf parsley for garnish, optional

Salt and pepper

DIRECTIONS:

Cover a large baking sheet with foil and spray the foil with cooking spray. In a large bowl, combine the halved potatoes, whole garlic cloves, oregano and olive oil. Spread the potatoes and garlic cloves on the baking sheet making sure not to crowd the potatoes (they won’t crisp if they’re crowded). Salt and pepper the potatoes.

Roast at 425 for one hour turning the potatoes half way through the roasting time. Serve immediately.

Grilled Rosemary Garlic Lamb Chops

Grilled Rosemary Garlic Lamb Chops With Roasted Italian Potatoes

Grilled Three Cheese, Bacon and Chive Potatoes…

Summer time is grilling time. And I love to grill though I have to admit I’m not a purist. I grill on a gas grill. Some people like fooling around with coals and all that stuff. Not me. I like a grill that heats up on its own and can tell me the grilling temperature I am working with. That’s about how hard I want to work at grilling.

Things just taste better on a grill, don’t you think so? From chicken, to steak, to brats and burgers there’s nothing like it. So the other day I had it in my mind to grill a filet I’d had in my freezer for a while and I also decided to try grilling some potatoes in a foil packet. A few years ago I posted a recipe for a blue cheese, onion, garlic and basil potato packet. This time I tried for something that mimicked a steak house baked potato.

Now let it be known I love grilled steak, but this time I found the grilled potatoes to be the star of the meal. This recipe is so easy and so flavorful I bet it will become your go-to grilled potato recipe.

So let’s talk grilled three cheese and bacon potatoes…

coxo-v-blade-mandolineLesson Learned 1 – For uniformity in cooking, use a mandolin slicer to slice your potatoes: The mandolin slicer I use is pictured at the left. I like this particular one for a couple of reasons. First, it was reasonably priced. I just can’t see spending close to one hundred dollars on a mandolin slicer. This one is about half that amount. Second, it has a variety of blades and cutting options (slicing, julienne, french fries). It is a powerful tool that can cut your prep time significantly.

For me, the best part about a mandolin slicer is that you get uniform cuts. That’s important in this recipe. Having various thicknesses in your potatoe slices will skew the cooking time. You want all of the potatoes to be cooked through at the same time. I’ve found no better way to do that than with a mandolin slicer.

One other tip: You see that little round thing next to the slicing unit? That is a hand/finger guard. You should ALWAYS use that when cutting with a mandolin. The mandolin blade does’t distinguish between vegetable and human flesh. It will cut both easily and with equal proficiency. So be very careful when using a mandolin slicer if you cherish your fingers and hands.

Lesson Learned 2 – Keep the potatoes on a little longer for great crispiness on the bottom: This is the first time I tried these. When I checked the potatoes at 40 minutes at 400 degrees, they were done. But I still had more time left for finishing my filet. I left the packet on an additional 10 minutes and much to my surprise that created a wonderful crispy crust on the bottom of the pile of potatoes. It was almost like having a bottom layer of potato chips with the wonderfully soft and flavorful potatoes on top. I think I’m always going to do them this way. I loved the distinction between the crunchy bottom and the soft top. It was delightful!

Lesson Learned 3 – Bacon bits work really well with this recipe: Although you can fry and chop up your own bacon, I found that bacon bits work equally as well with this recipe and help save you some time. So don’t be afraid to use prepackaged bacon bits. Just remember to refrigerate what you don’t use

Lesson Learned 4 – The layering process is very simple: Here it is in pictures.

Place the potatoes and onion on a piece of foil sprayed with olive oil cooking spray

Place the potatoes and onions on a piece of foil sprayed with olive oil cooking spray

Top the potatoes and onions with the cheeses: cheddar, mozzarella and parmesan

Top the potatoes and onions with the cheeses: cheddar, mozzarella and parmesan

Top with bacon and chives

Top with bacon and chives

Crimp the top and sides of the foil and place on the grill

Crimp the top and sides of the foil and place the packet on the grill

Doesn’t the uncooked version look simply divine as well. I love the contrast of the colors. And this dish looks phenomenal both uncooked and cooked. And it’s really easy to put together. One potato serves two people so the dish is pretty economical as well. I loved this one so much I made it two nights in a row. I hope you love this too!

GRILLED THREE CHEESE BACON AND CHIVE POTATOES...

  • Servings: 4
  • Difficulty: Easy
  • Print

INGREDIENTS:

2 large russet potatoes, scrubbed and sliced to 1/8 inch thickness

1 medium onion, sliced

1/3 cup grated parmesan cheese

3/4 cup shredded cheddar

3/4 cup shredded mozzarella (I had unshredded mozzarella that I tore into small pieces)

1/3 cup bacon bits

2 Tbs. chopped chives

2 Tbs. of butter, cubed

Seasoned salt and black pepper

DIRECTIONS:

Light your grill to high heat. Divide the potatoes and onions up on two large sheets of foil sprayed with olive oil cooking spray.

Combine the cheeses and top the potatoes and onion with the cheese mixture. Top with bacon bit and chives. Dot the tops with butter. Season with seasoned salt and pepper.

Fold the foil over the top and crimp the edges. Fold the sides up and crimp the edges securely. Grill for 40 minutes (add an additional 10 minutes for a delightful crispy bottom).

Open the foil carefully and serve immediately.

Grilled Three Cheese and Bacon Potatoes

Grilled Three Cheese And Bacon Potatoes

Grilled Honey Mustard Chicken…

I love the taste of honey mustard. Whether it be a salad dressing, a marinade or a dipping sauce, to me the flavor of honey and mustard combined is simply fabulous. So the other day when faced with grilling chicken for dinner, I decided to kick the flavor up a notch, marinate the chicken in a home made honey mustard sauce, baste the the chicken with the sauce while it was grilling and finally adding a drizzle of it on top right before serving. It was death by honey mustard sauce, but boy was it ever delicious.

So let’s talk grilled honey mustard chicken…

Honey Mustard SauceLesson Learned 1 – Honey mustard sauce/marinade comes in all different shapes and sizes: I’ve tried various ways of making a honey mustard sauce. What I like about this version is it contains sour cream which, I think, adds to creaminess and tang of the sauce. You certainly can use plain yogurt or even chicken stock when making a honey mustard sauce. But so far, I like this sauce recipe the best.

The other thing I recommend is using a mixture of whole grain and dijon mustards to make the sauce. I think using whole grain mustard not only adds to the depth of  the sauce’s flavor but also gives great texture and eye appeal. Remember you eat first with your eyes. By using whole grain mustard there is no doubt what’s in the sauce.

Marinate chicken in a sealable bagMy last recommendation where the sauce is concerned is to marinate the chicken for at least 4 hours, with overnight being preferable. Once you’ve put the chicken in a bag with the marinade, remember to turn it over every once in a while to make sure every inch in soaking in the tasty marinade. Also once you’ve made the marinade and before you pour it in the bag save about a quarter of  a cup to baste the chicken with during grilling and to drizzle over the chicken right before you serve. All I can say is YUMMO!

Lesson Learned 2 – Should you use skin-on or skinless chicken breasts: As you can see from the pictures, I chose to grill skin-on boneless chicken breasts. In many instances I find the fat from the skin permeates the meat during the cooking process and adds additional moistness to the meat. But you have to consider the fact that the sauce contains honey, and I found the skin tended to stick to the grill because of the honey.

Marinated Chicken Breasts

Marinated Chicken Breasts

After a point I wound up just peeling the skin off and cooking the breasts without it. The sticking factor was much less, I still got great grill marks and the breasts were moist. Just make sure you flip them every 5-6 minutes. I cooked mine for about 30 minutes total. Your cooking time will depend upon the thickness of your chicken breasts and the temperature of your grill. If you’re not sure if they’re done, stick a meat thermometer into the center of the meat. If it reads 160 degrees, you’re good to go. Just make sure to turn them over regularly.

Chicken On The Grill

If you’ve been following this blog you know I am a big fan of chicken. I eat it a lot and so I’m always experimenting with ways to prepare it. If you have any favorite chicken recipes you want me to try, just let me know. But I guarantee this recipe is definitely a winner. Enjoy!

Grilled Honey Mustard Chicken…

  • Servings: 4
  • Difficulty: Easy
  • Print

INGREDIENTS:

Four 6-8 ounce boneless, skinless chicken breasts

1/2 cup mustard (half dijon half whole grain) – you can make it a generous half cup

1/3 cup clover honey

1/3 cup sour cream

2 TBS steak sauce

chives for garnish

DIRECTIONS:

Mix together the mustards, honey, sour cream and steak sauce. Take a quarter cup of the marinade and put it in a separate container in the refrigrator. Place the chicken is a sealable plastic bag and pour the remaining marinade into the bag. Seal the bag and massage the contents until the marinade is evenly distributed over the chicken.

Place the chicken in the refrigerator and marinate it for at least 4 hours, overnight is preferable but not necessary. Turn the bag over every once in a while to make sure the chicken gets regularly coated with the marinade.

Prepare your grill (we have a gas grill and I heated it to 400 degrees). Remove the chicken from the marinade and toss the bag with the marinade into the trash. Cook the chicken on the grill for 30 – 40 minutes, (feedback from a reader below said their cooking time was only 10 minutes) remembering to turn it over every 5-6 minutes and basting the breasts every time you turn them over with the marinade you initially set aside in the refrigerator.  The chicken is done when the internal temperature at the center of the thickest part of the meat is 160 degrees. (EDITOR’S NOTE: Per the feedback below, the main thing is to keep an eye on your chicken breasts while making this recipe. For my grill it takes about 30 minutes for 8 ounce breasts. As you can see from the comment below, on their grill it took only ten minutes, which would indicate that their chicken breasts may have been slightly smaller than mine or their grill slightly hotter than mine. That was great feedback, and definitely something to keep in mind when grilling chicken breasts.)

Before serving, drizzle the breasts with some of the remaining marinade and garnish with chopped chives.

Grilled Honey Mustard Chicken...

Serving suggestion: Grilled Honey Mustard Chicken, Baked Potato and Simple Oven Roasted Tomatoes

Serving Suggestion: grilled honey mustard chicken, baked potato with fresh chopped chives and simple oven roasted tomatoes

Oven Baked BBQ Ribs…

The Fourth of July is less than a week away and that normally means outdoor parties and lots of barbecuing – hamburgers, hot dogs, chicken wings and ribs. And quite often if Mother Nature decides to rain on your parade, you’re left with a conundrum of how to get that great barbecue taste without using the grill –  especially for those ribs. Fear no more. I have a great recipe that can be made all year round. This recipe provides great barbecue flavor without the use of a grill (if you so choose).

My oven baked barbecue ribs are made in the oven and finished off either on a stove top grill, broiler or outdoor grill. I guarantee you, you’ll think these cooked on the grill the whole time. The trick to getting that barbecue flavor without cooking on the grill is pretty simple, liquid smoke. And cooking the ribs low and slow in the oven keeps them moist and tender. Try this recipe and you’ll enjoy barbecue ribs all year long!

Rub Ingredients

Rub Ingredients

Lesson Learned 1 – Less is more with liquid smoke: Liquid smoke is what gives the rub for these ribs that barbecue flavor. But be careful because it can be an overpowering ingredient. I get pretty heavy handed with it because I love a heartier flavor and smell, but be aware that might not be your preference. I would try 2-3 drops initially with the rub ingredients. After mixing all the ingredients together take a test whiff. If you cannot smell smokiness or you want more smokiness then add a little more. I use about 6-8 drops but I would not recommend it for everyone initially, especially if you’ve never used liquid smoke before. You can always add more.

You can also brush the ribs with liquid smoke before applying the rub. This will give them an even deeper smoky flavor. Either way be careful until you are comfortable with the amount of liquid smoke that is right for you to use.

Lesson Learned 2 – Peel off the tough membrane that covers the bony side of the ribs: You may not readily see it but you will know it’s there when you try to eat the ribs. I am referring to the tough membrane that covers the bones. I’ll warn you up front, it can be a challenge to remove it. For me, there are times it comes off easily and other times I have to fight with it. Take a sharp paring knife and start at the large end of the bones. Insert the paring knife between the membrane and the bones working it back and forth until you get enough membrane that you can easily grab. You can also use the end of a spoon or kitchen sheers to loosen the membrane. First try and loosen the membrane all the way across the top. Then begin pulling it downwards over the bones until you’ve removed it.

If you buy your ribs at a butcher shop you can ask the butcher to do this for you. Some butcher shops do this automatically before putting the ribs in the meat case. Make sure you ask the butcher if the membrane has been removed. If it hasn’t have the butcher do it for you. That should be an expected service. If you buy your ribs prepackaged you’ll have to do this yourself. Can you leave it on? Certainly, but you will get a crispy tasteless substance on the bottom of your ribs. If you encounter a stubborn membrane just leave it on. You don’t have to eat it. It’s just a slight nuisance when you’re eating your ribs.

IMG_5753Lesson Learned 3 – Foil is your best friend while making this recipe: Besides making the foil packet for the ribs I recommend you also line the jelly roll pan you bake them on with foil. That way if any liquid leaks out of the packet it will not burn into your pan. Remember you are working with a brown sugar rub, and if the brown sugar leaks out it will create a baked on nightmare. If you line your pan with foil clean up is a breeze.

Lesson Learned 4 – You have three ways to finish off this recipe: Once you remove the ribs from the oven you can either finish them off on a grill, under the broiler or on a stove top grill. I always finish mine off on the grill because I have a gas grill and it’s easy to use on short notice. If you finish them off under the broiler or on a stove top grill remember to protect your pans. Either use foil (if you’re finishing them off under the broiler) or cooking spray if you’re finishing them off on a stove top grill. At clean up time you’ll be glad you did.

Oven Baked BBQ Ribs…

  • Servings: 6
  • Difficulty: Easy
  • Print

INGREDIENTS:

4 lbs. of pork ribs

3/4 cup brown sugar

Liquid Smoke, to taste (I use 6-8 drops)

1 Tbs. paprika

1 Tbs. garlic powder

Your favorite barbecue sauce

DIRECTIONS:

Preheat the oven to 300 degrees. Peel the tough membrane off the back side of the ribs (see lessons learned above). Mix together the brown sugar, liquid smoke, paprika and garlic powder. Apply the rub to both sides of the ribs.

Lay ribs on a sheet of foil (with substantial overlay) shiny side out and meat side down. Lay another layer of foil on the top of the ribs. Join the top and bottom pieces of foil together and crimp. Crimp the edges all the way around the ribs facing up. Line a jelly roll pan with foil. Place the ribs packet(s) on the foil lined pan.

Bake for 2 – 2 1/2 hours or until the meat starts to shrink away from the bone. Remove from oven. If using a grill, during the last half hour of oven baking light your grill and get it up to a temperature not exceeding 375 degrees. (If using a grill you might leave the ribs on for a little less time than if using a broiler. You don’t want the ribs to burn). If using a broiler, set it on high with the oven rack a good 10 – 12 inches from the heat source.

Place ribs on the grill bony side up. Brush on the sauce. Cook for a couple of minutes. Turn the ribs over. Brush on sauce. Cook for another couple of minutes. Take off the grill and serve.

The Ribs Right Out Of The Oven

The Ribs Right Out Of The Oven

Oven Baked BBQ Ribs

Oven Baked BBQ Ribs

Grilled Blue Cheese Garlic Onion and Basil Potato Packets…

All my life I’ve been a potato girl, its just the way I was raised. We could probably go on for hours about the “carbs” factor, but when it comes down to it, at least in my estimation, when you say meat I say potatoes. And as I journey into augmenting my culinary skills I look for new and different ways to prepare  the old standby spuds. It becomes more of a challenge during grilling season, but I just happened upon a recipe that with some tweaking became an easy grilling hit.  I found a recipe for “Scalloped Potatoes for the BBQ” on Allrecipes.com and with a few little changes upped the wow factor substantially. It’s so easy, you just have to try it.

The Basics

The Basics

Grilled Potato Pockets

  • Servings: 2-4
  • Difficulty: Easy
  • Print

INGREDIENTS:

3–4 Red potatoes, thinly sliced

1 large onion

2 cloves of garlic (more if desired)

Chopped fresh basil (yum, and again to taste)

Butter cubed (again your desired amount)

Salt and pepper to taste

Crumbled blue cheese (the secret flavor factor)

As you can already see, most of this recipe is ingredients to taste. For me and my husband, I used three smaller sized red potatoes,  a medium sized onion, 6 big basil leaves, enough butter for flavor, no pepper, Lawry’s seasoned salt and about an eighth of a cup of crumbled blue cheese. The key is making sure the potatoes are thinly sliced otherwise they won’t cook. If you have a mandoline slicer that’s the best, otherwise use a good sharp knife and watch your fingers.

Thinly sliced potatoes

Thinly sliced potatoes

Now here comes the easy part, the directions:

1. Preheat your grill (mine was between 400 – 450 degrees).

2. Take a piece of foil and spray it with cooking spray (this way the potatoes won’t stick and you can use less butter).

3. Make a layer of potatoes and then layer the onion, garlic, basil and butter on top. I did not pepper my potatoes but used Lawry Seasoned Salt on top of these layers. Sprinkle with blue cheese and pat this layer down. Repeat with another layer. Once you’re done you should have something that looks like this:

Layered Ingredients

Layered Ingredients

4. Fold the foil around the layers to make a packet. I take an additional piece of foil and packet it one more time to prevent leaking. With just a single layer of packeting, I found the blue cheese leaked through the foil and onto the grill. You don’t want that to happen.

5. Place the potato packet on the grill and cook for 45 minutes turning the packet over halfway during the cooking time. The result is fabulous and if you try it, I’m sure it will become a new family favorite. Enjoy and feel free to share!

BBQ Blue Cheese, Onion and Basil Potatoes.

BBQ Blue Cheese, Onion and Basil Potatoes.