Glazed Blueberry Oatmeal Cookies…

Lately I seem to be on a “sweets” kick with my posted recipes and even though I do have some savory ones in the queue I moved this one to the top simply because it it just too good. Many of you know that I bake a variety of cookies at Christmas time so normally during the year I don’t venture a lot into cookie making. But I had to try this one and it was so good that my husband would not even let me give any away. I had to freeze them so he could eat them all.

When I make cookies over the holidays I have an unwritten rule that I try one new recipe every year and phase out one recipe. That way I always experiment and I keep the cookie making manageable. I am definitely adding this recipe to the 2017 list but will still have to find another recipe to be the “new” one since technically this one is no longer new. But I am really excited about the recipe.

The thing that I love the most about this cookie is how the tartness of the blueberries balances out the sweetness of the cookie. I also like how simple this recipe is to make, you can do it with a hand mixer and a wooden spoon. But there are some specific things you need to be aware of when you make them that will help you be successful so let’s get right into my lessons learned…

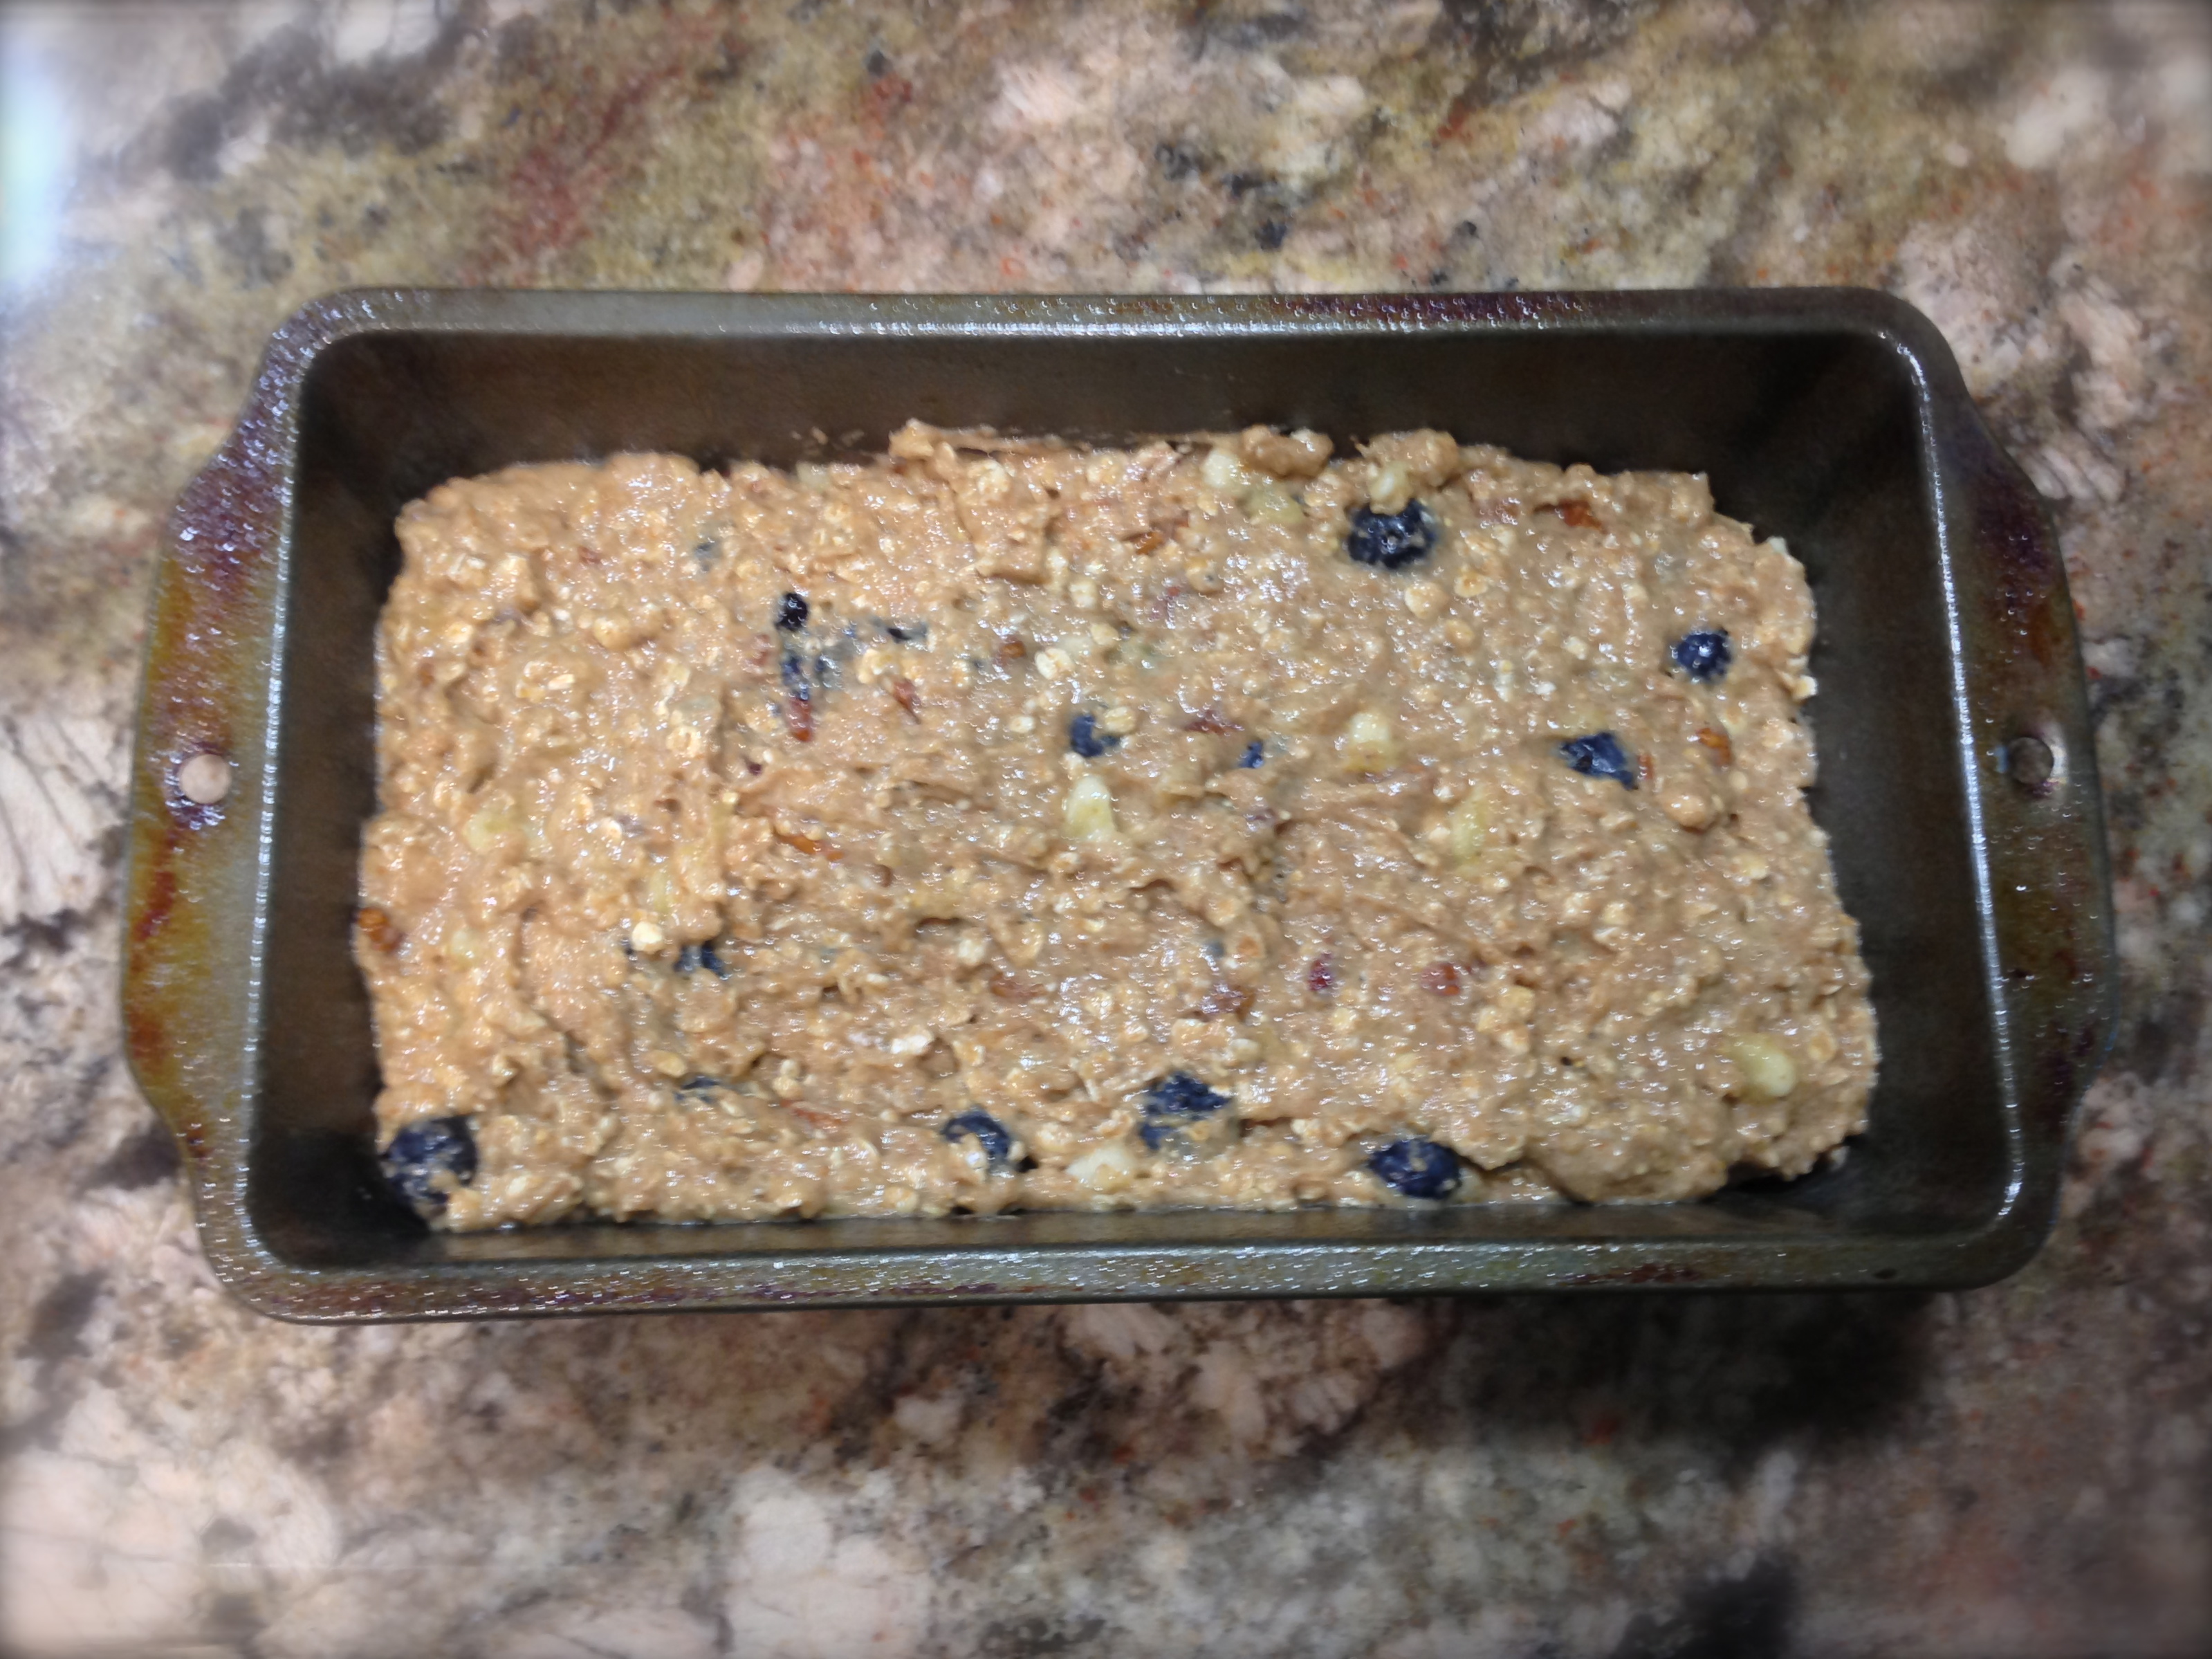
Lesson Learned 1 – Be gentle when mixing the blueberries into the dough: You don’t want the blueberries to break. If they do you will wind up with blue cookies. So be careful when folding them into the dough. Do that at the very end. I also suggest adding the blueberries in a couple of batches. The dough is pretty dense and if you pour the blueberries in all at once chances are you won’t get them incorporated into all of the dough and wind up with some cookies without blueberries. Fold them in carefully and in a couple of batches and you should be just fine.
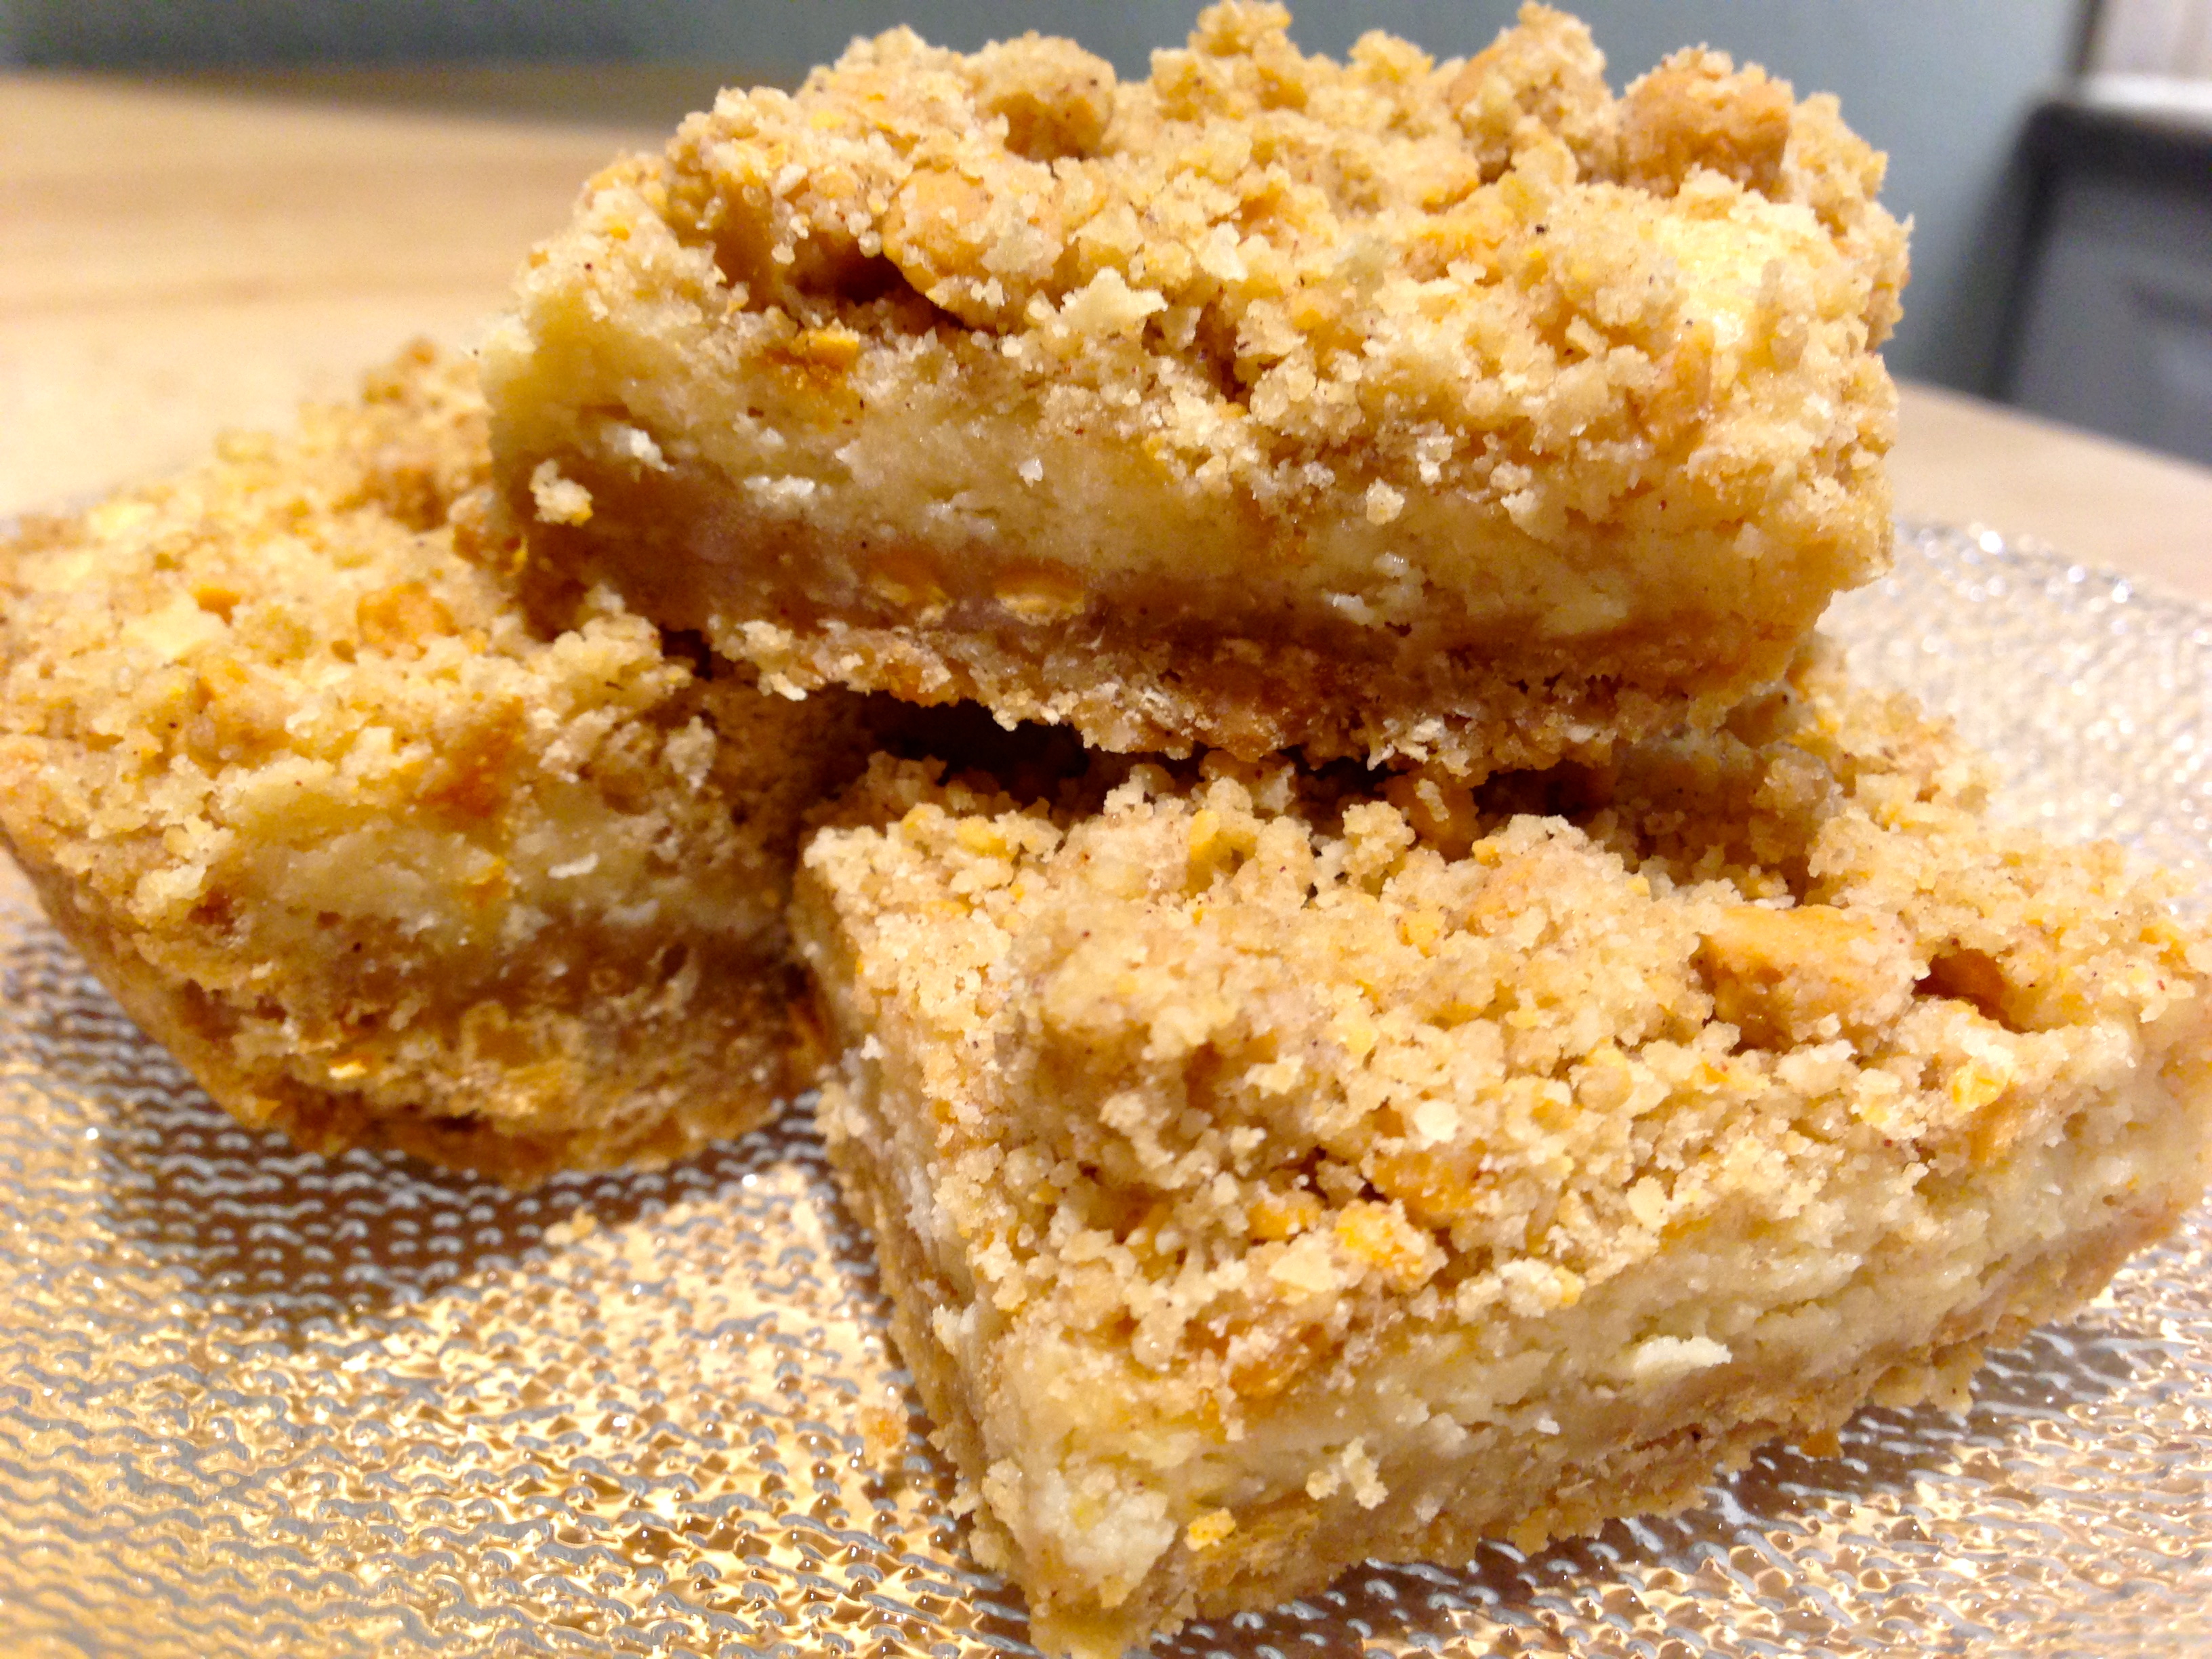
The Cookie Dough

Lesson Learned 2 – These cookies really spread: Don’t roll the dough in too big of a ball as these cookies really spread. And make sure you have enough room between each one so they don’t bake on top of one another. I would roll them into about a 1 inch ball and put two inches between each ball on the baking sheet.

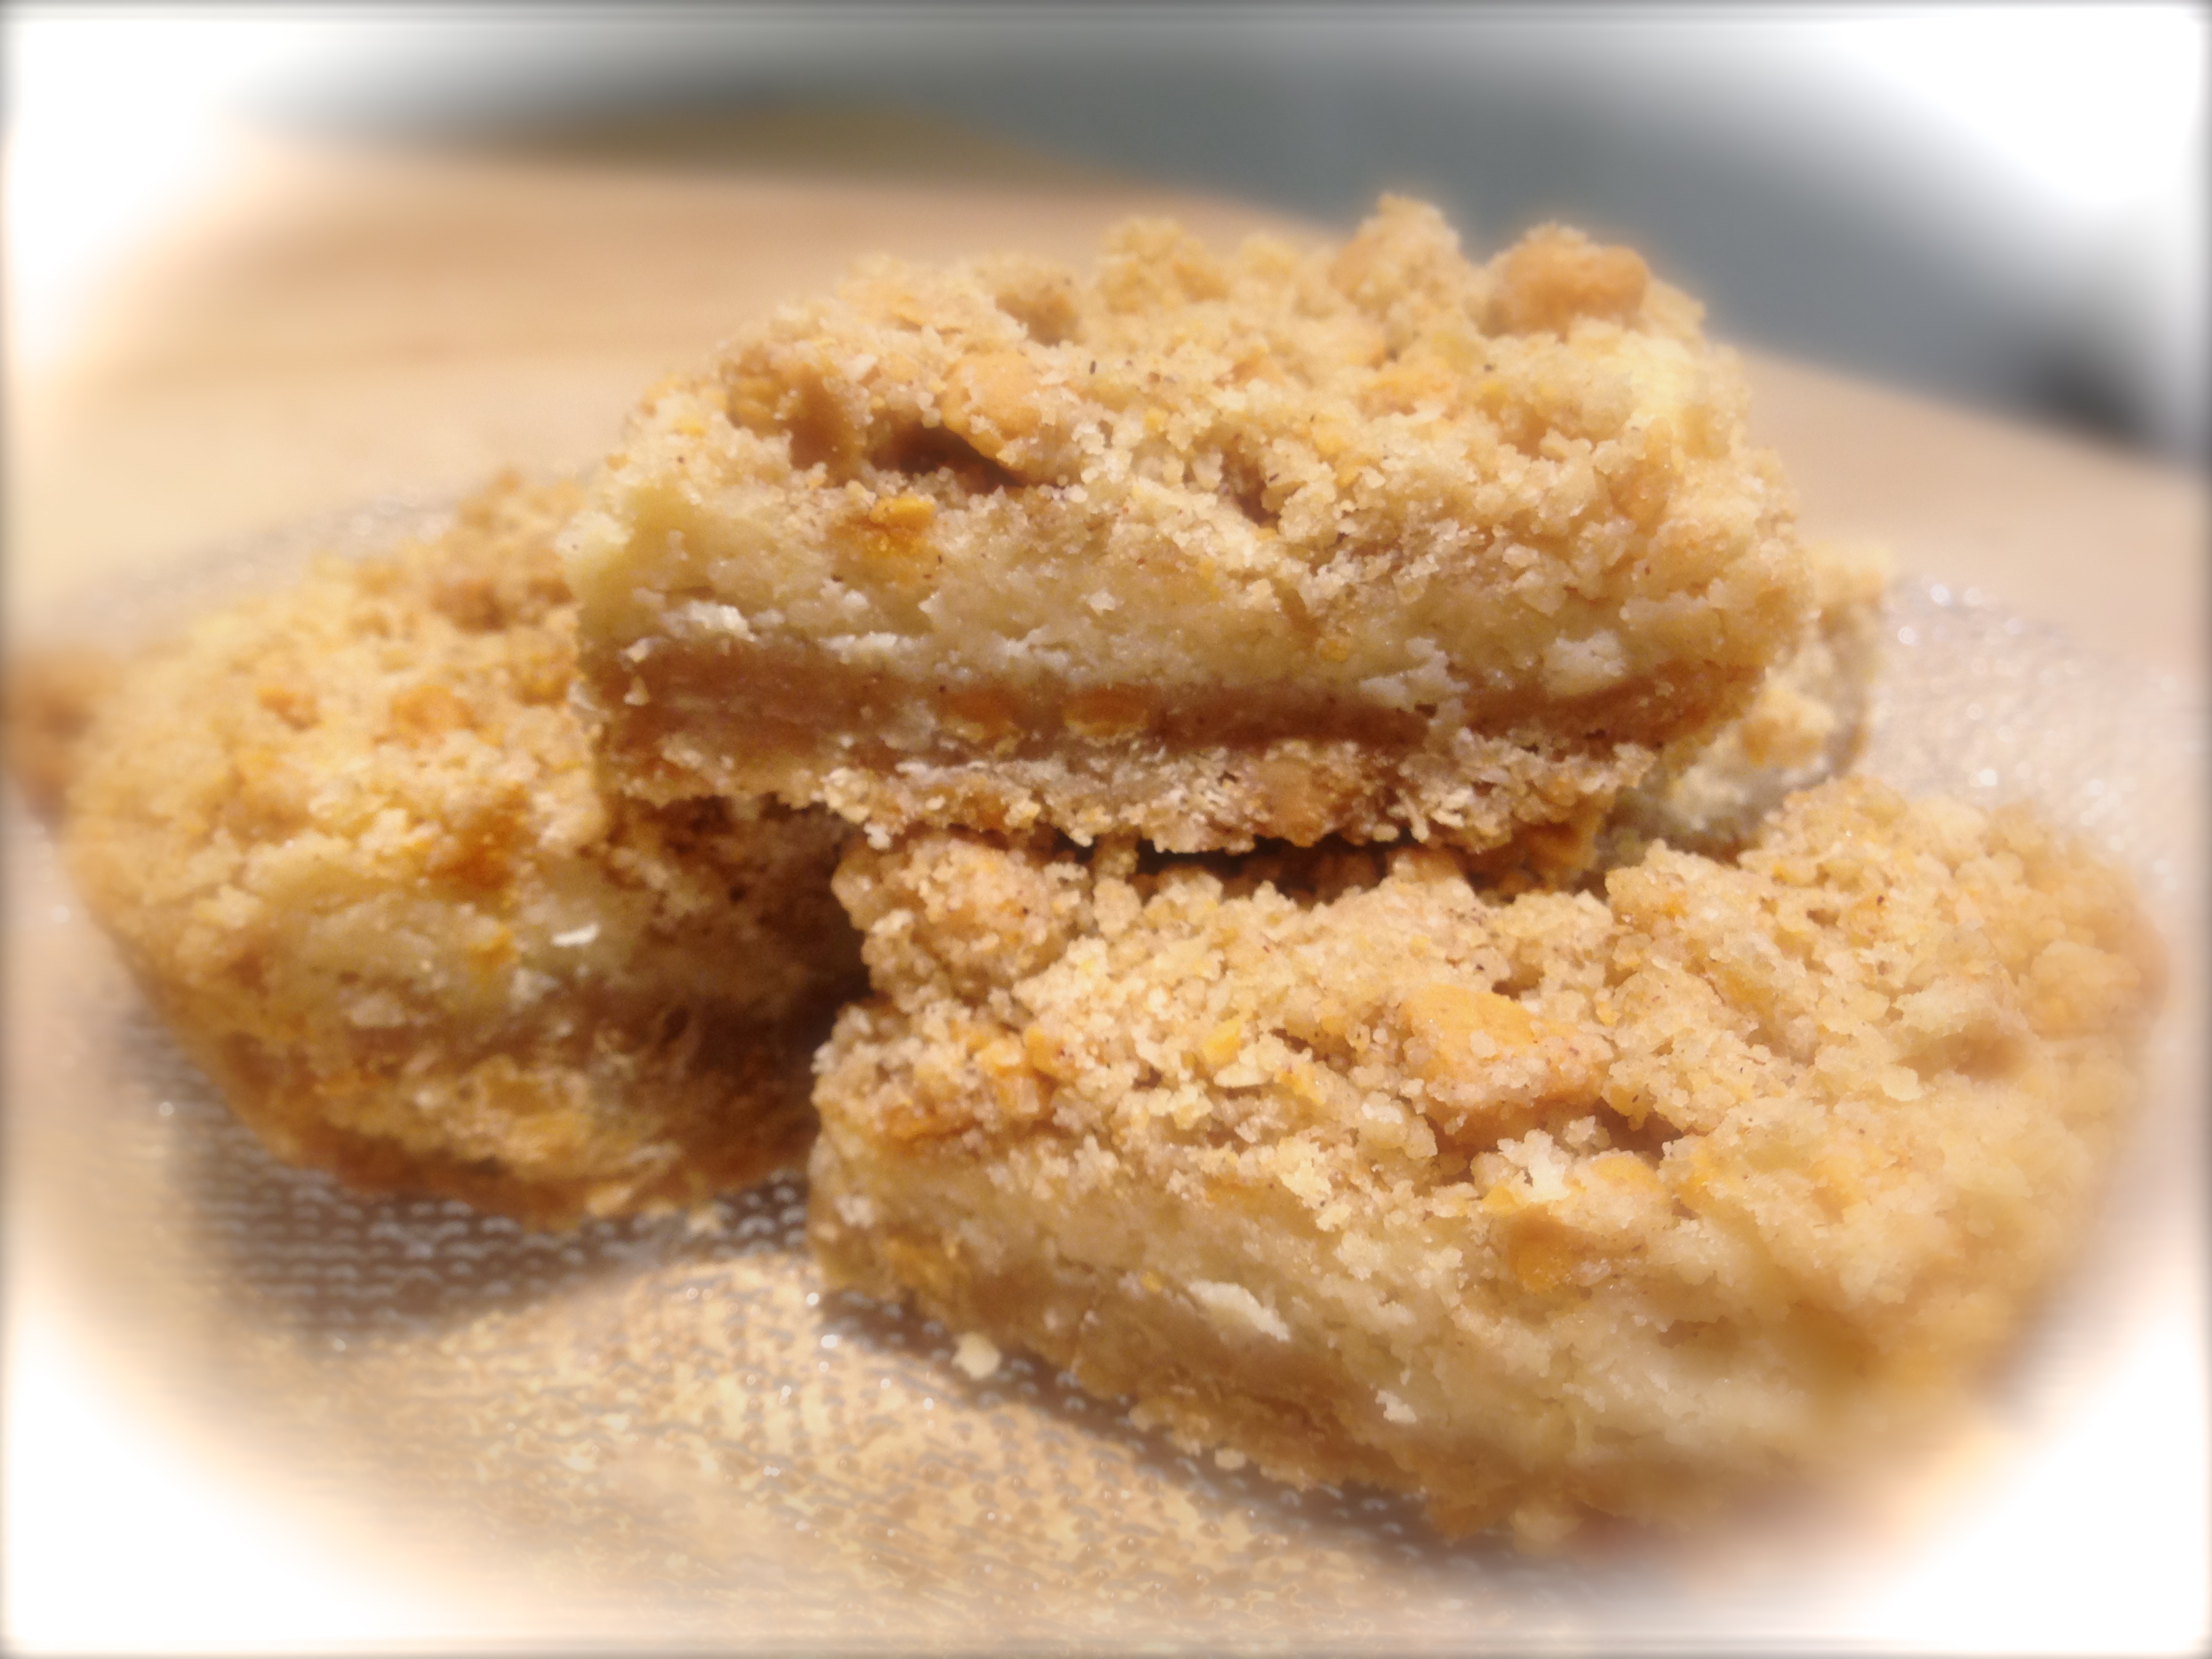
Give the cookies room to spread

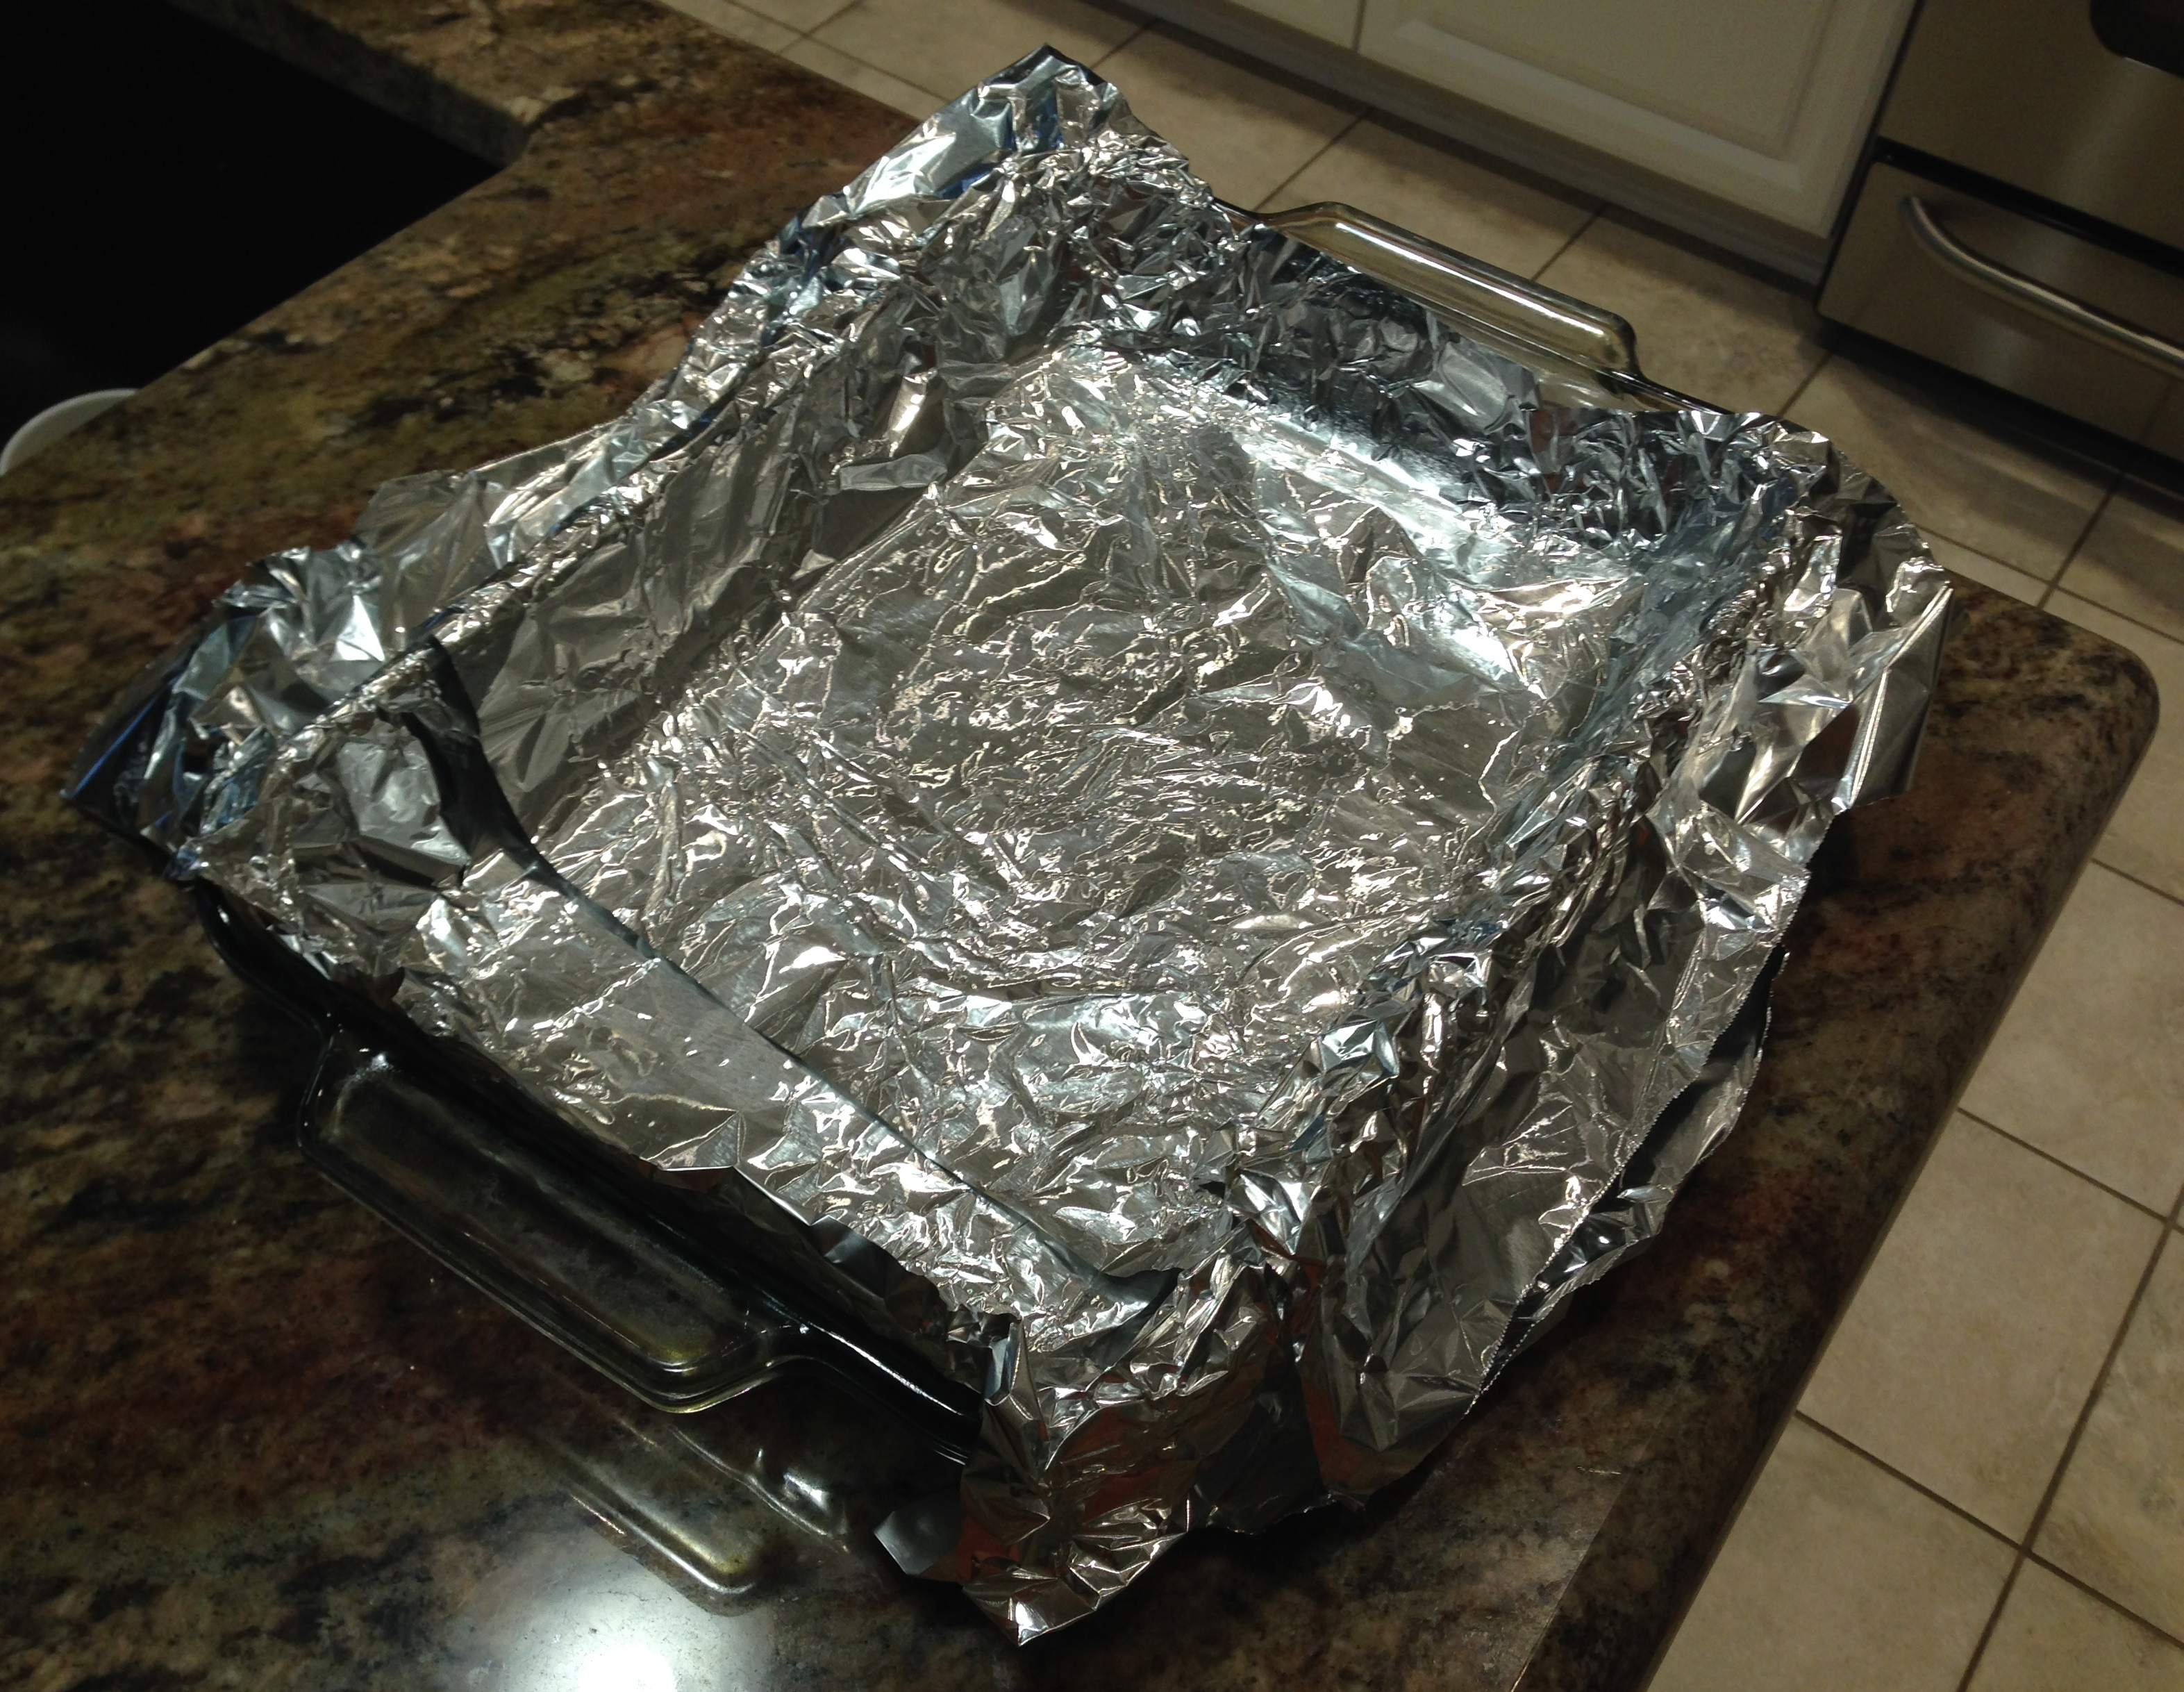
Lesson Learned 3 – Remember blueberries stain: Blueberries are wonderful but they will stain and when they do it is virtually impossible to get rid of the stain. So here are a couple of tips to prevent any staining. First line your baking sheet with parchment paper. That helps in two ways. These cookies are very gooey and will stick to your baking sheet. Not a problem with parchment paper. Also when blueberries bake they pop and the parchment paper prevents them from staining your baking sheet.

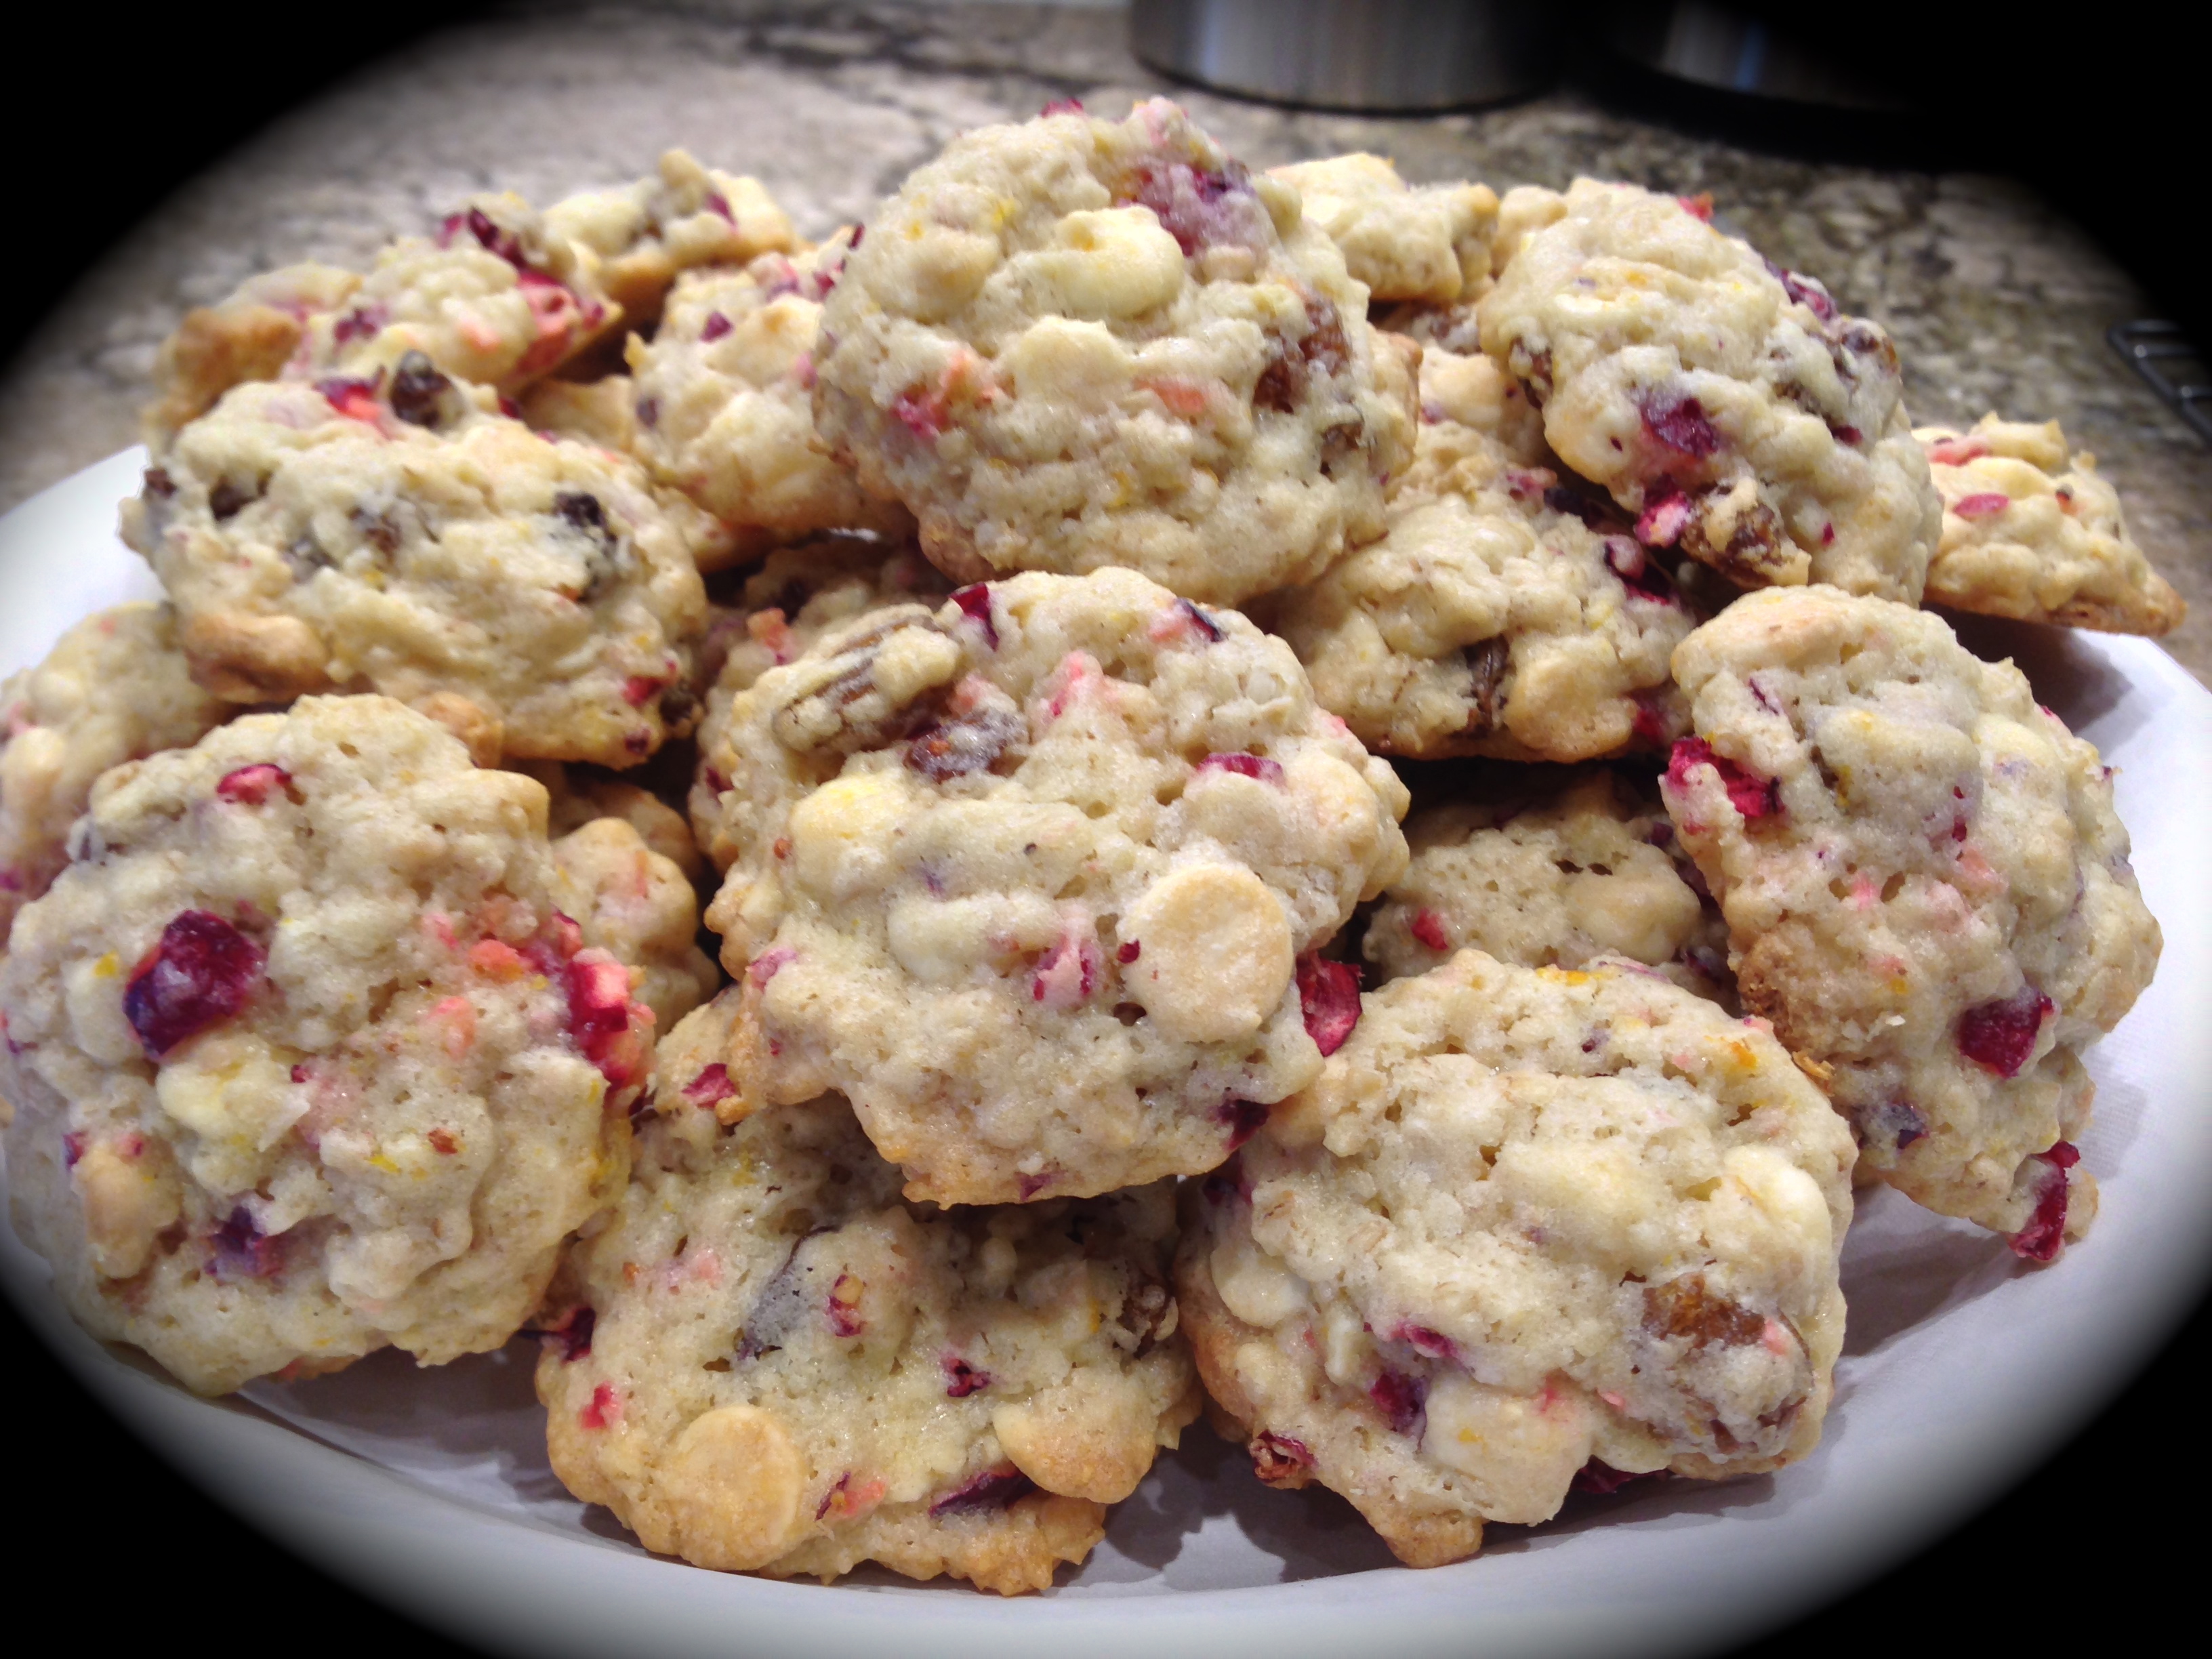
Also be careful when you are cooling the cookies and the blueberries may still be “leaking”. I cooled mine on a wire rack and then transferred them to a paper plate. That way I didn’t have to worry about staining any dishes as well.

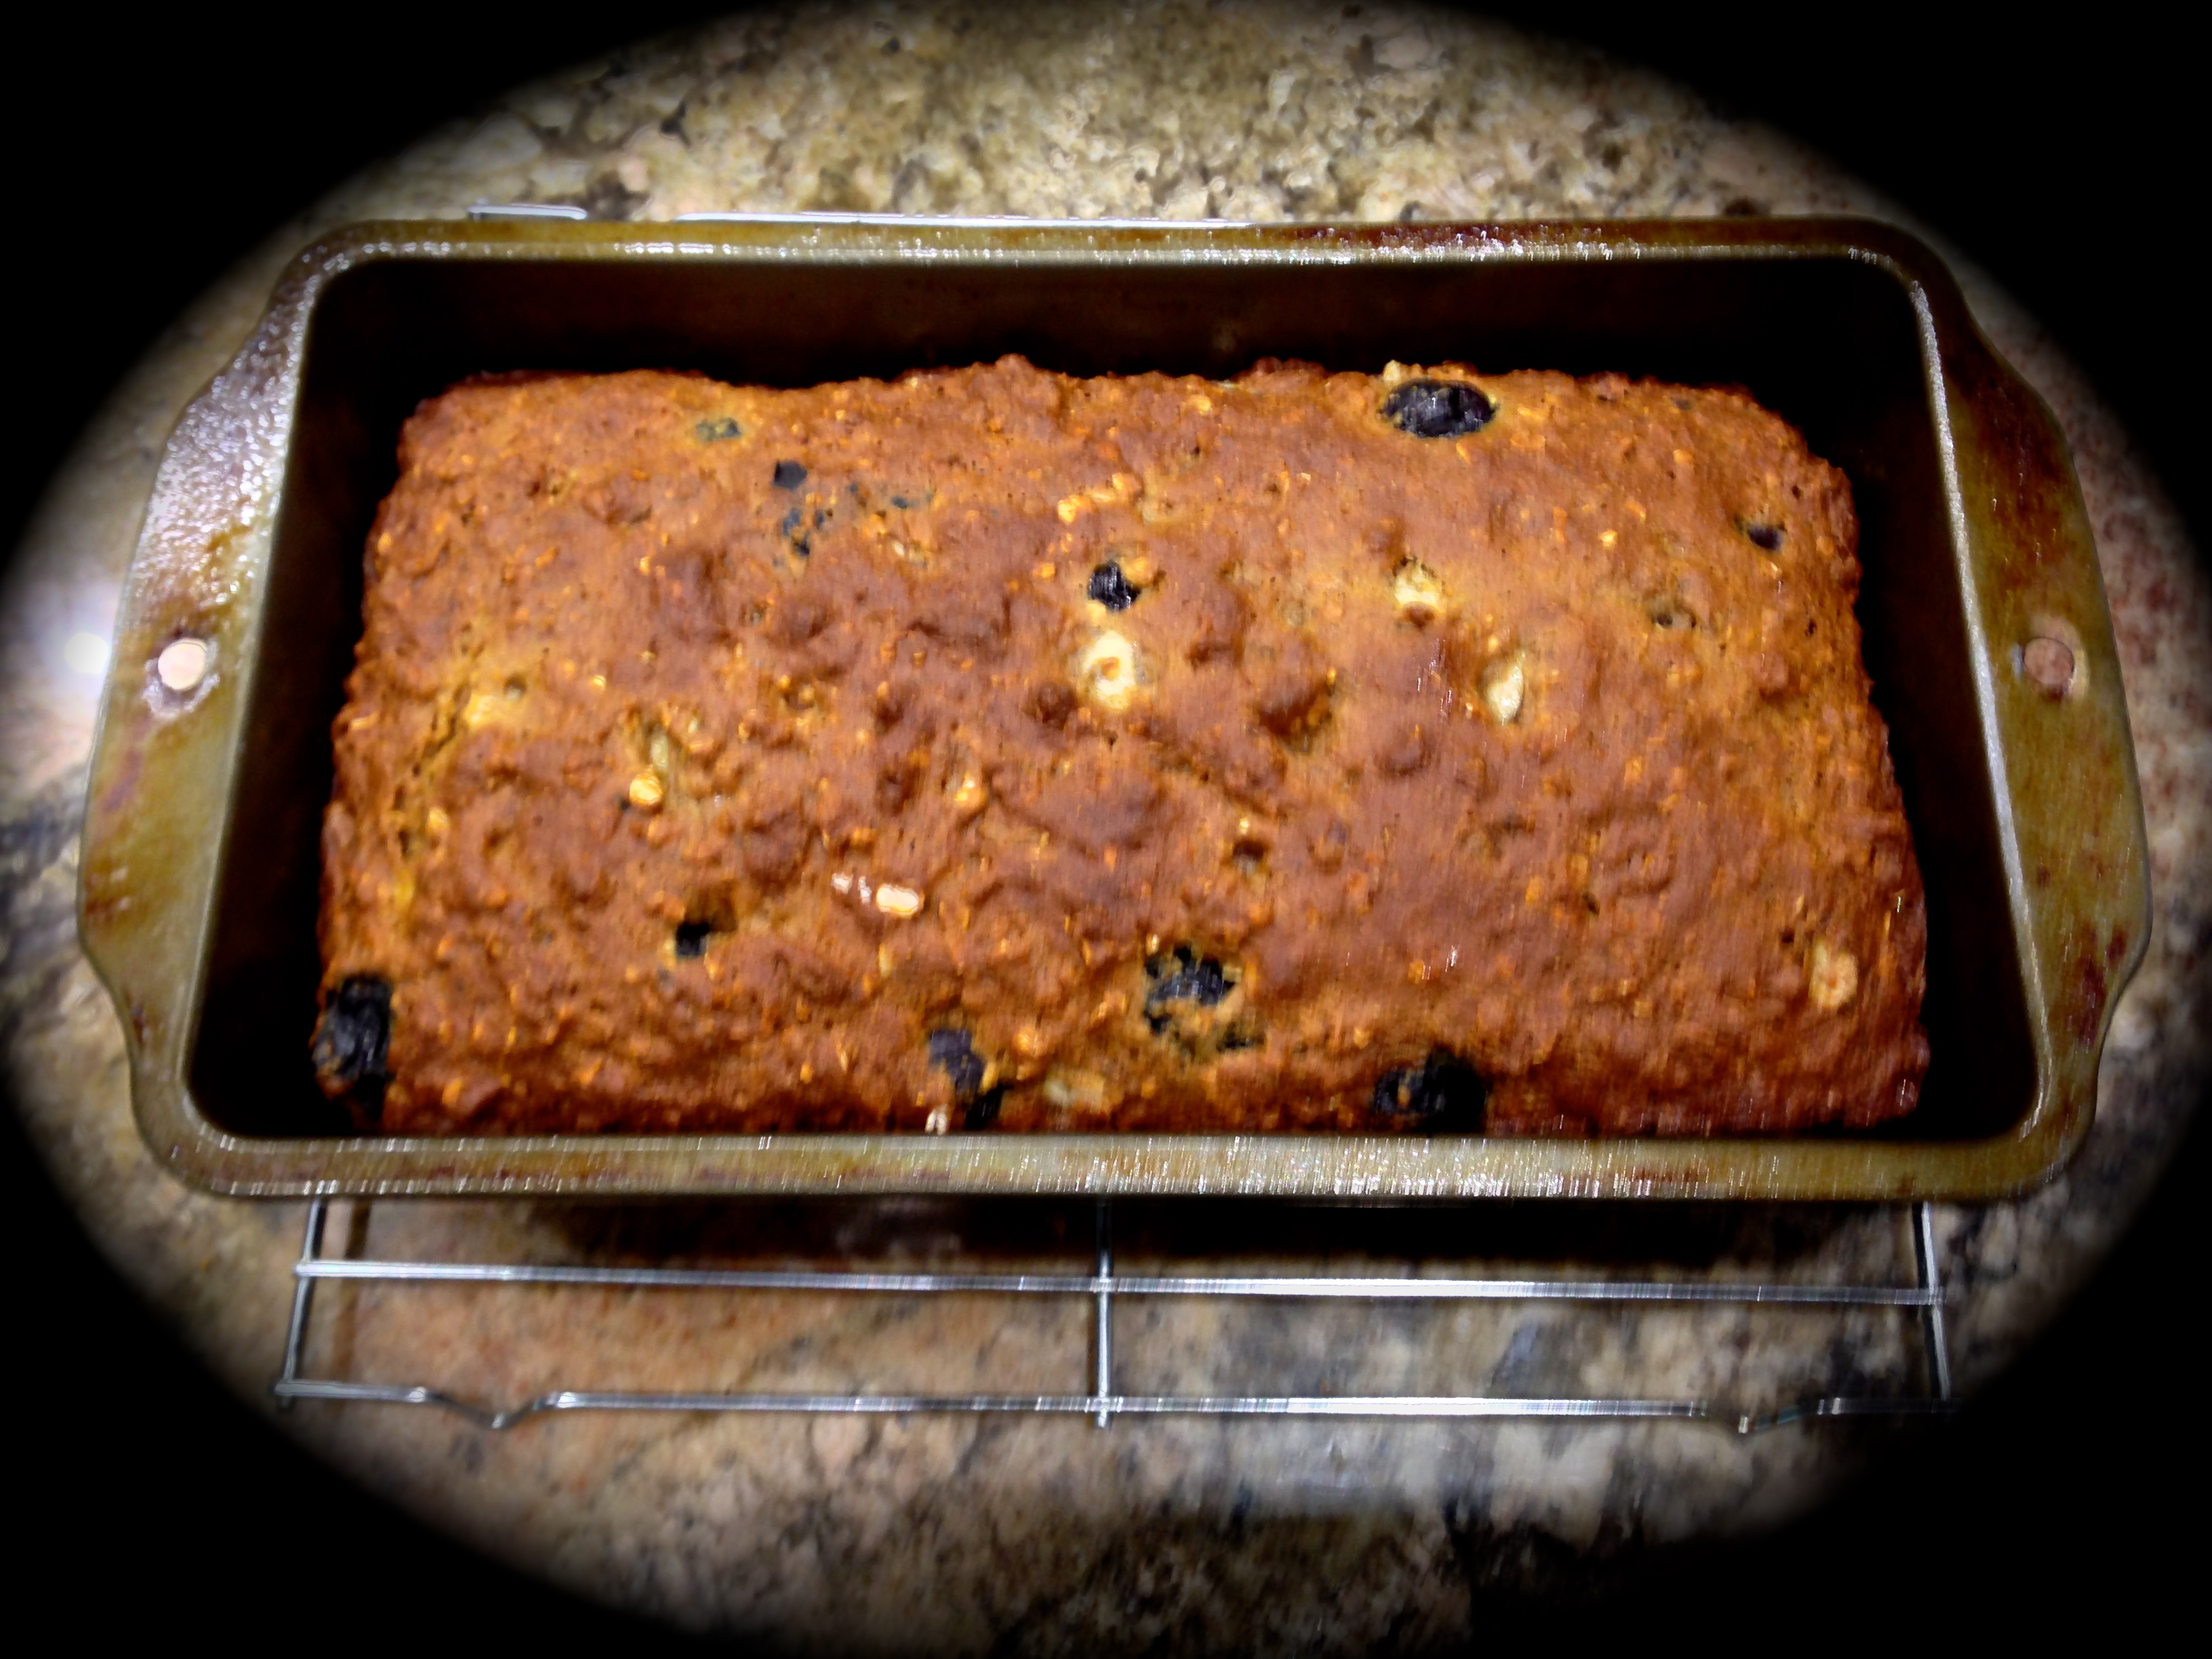
Lesson Learned 4 – These cookies take a long time to bake: On average these cookies take about 14 minutes to bake depending upon how big you make them. In my first batch I rolled the dough into somewhat larger balls and that batch took about 20 minutes to bake (keep in mind I also live in high altitude and everything takes longer to cook here). Once I got the size of the balls down pat it took anywhere from 14-16 minutes, which is a lot for a cookie. You know the cookie is done when you see it begin to lightly brown around the edges. The center of the cookie may still look pale, but that’s ok. Don’t over bake this cookie. If you do you the cookies will be way too crunchy.

Lesson Learned 5 – Let the cookies somewhat cool on the baking sheet: These cookies will be very loose when you take them out of the oven. If you immediately try to put them on a cooling rack the cookies will break apart. Give them about 4-5 minutes to cool on the baking sheet before you put them on the cooling rack. The cookies will need to set a little before you can move them. Don’t worry about doing this. Since your baking sheet will be lined with parchment paper the cookies won’t stick and will transfer easily to the cooling rack once they’ve had a chance to set.

I can’t say enough about how delicious these cookies are. I know if you make them they will become a household staple. You’ve got to try these cookies. And as always, please let me know how they turned out for you. Enjoy!

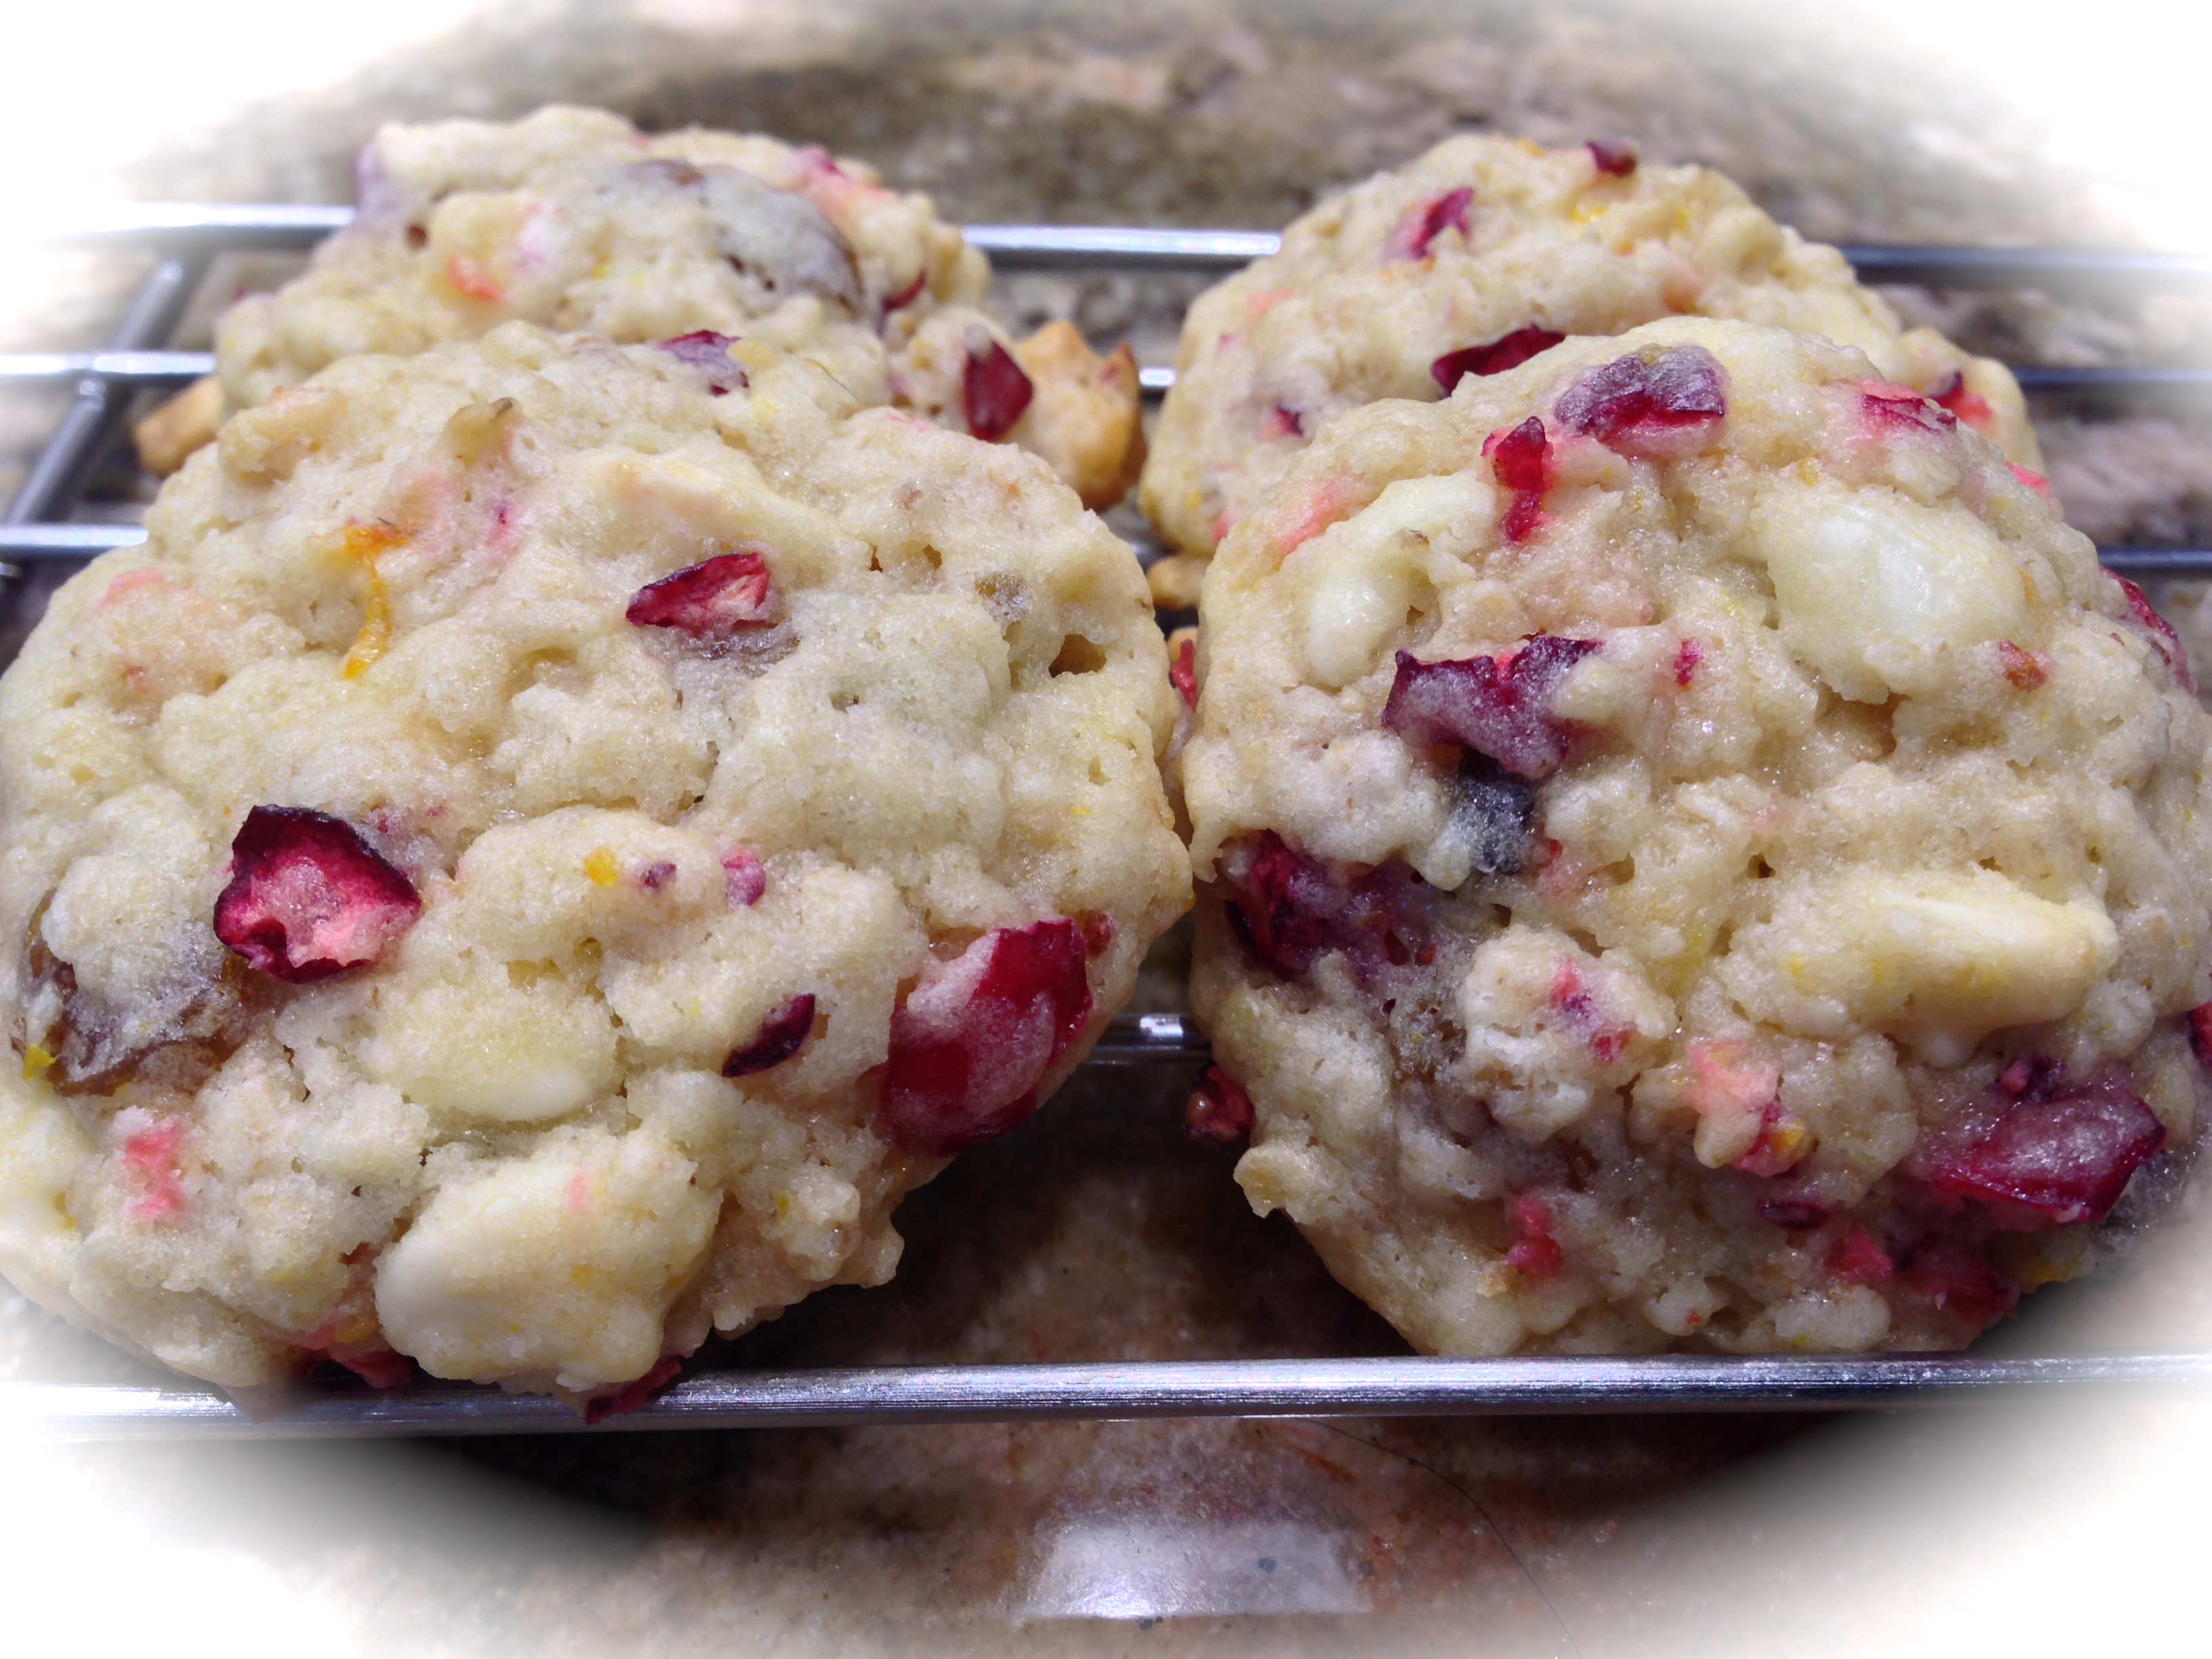
Glazed Blueberry Oatmeal Cookies...

  • Servings: 2 Dozen
  • Difficulty: Medium
  • Print

INGREDIENTS:

1 1/2 cups flour

1/2 tsp. baking powder

1/2 tsp. salt

1 cup unsalted butter, room temperature

1 cup light brown sugar

1 cup sugar

2 eggs, room temperature

2 tsp. vanilla

3 cups quick cooking oats

1 cup blueberries

GLAZE:

1 cup powdered sugar

juice of one small lemon

DIRECTIONS:

Preheat the oven to 350 degrees. Line your baking sheets with parchment paper and set aside.

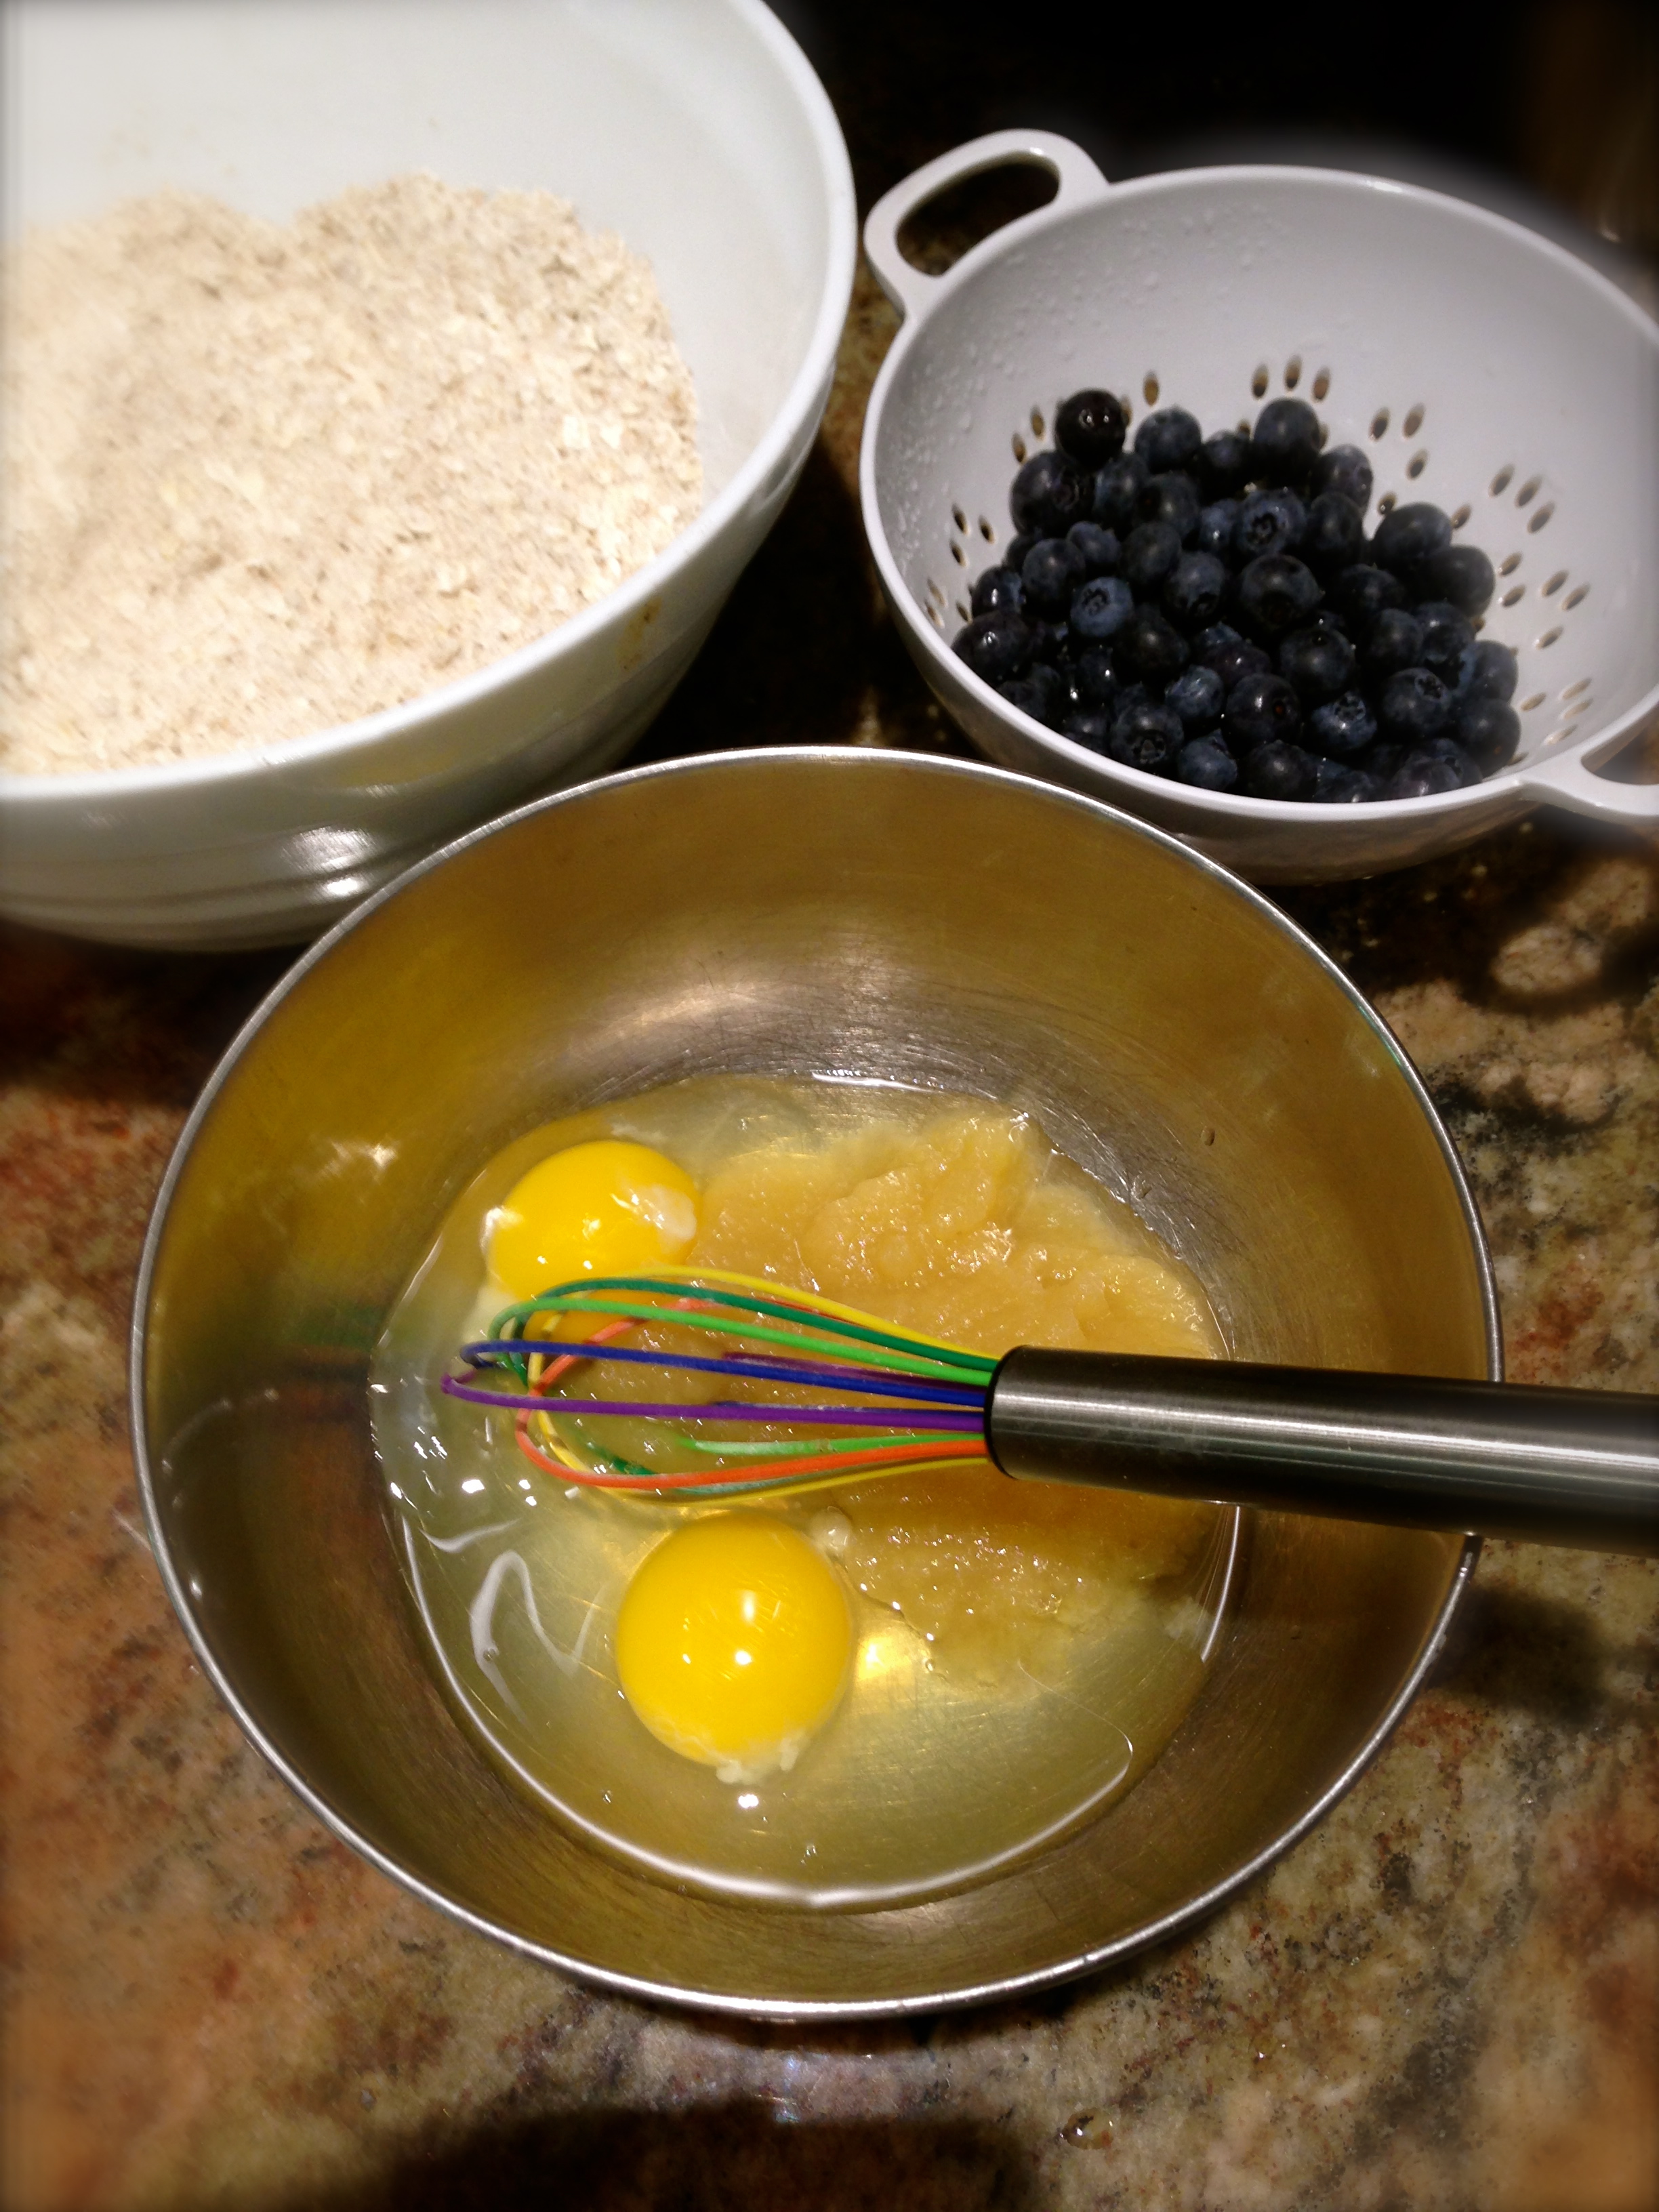
Whisk together the flour, baking powder and salt. Set aside. In a large bowl cream together the butter and sugars. Beat thoroughly until very creamy. Beat in eggs one at a time. Beat in the vanilla.

With a wooden spoon add the flour mixture to the butter mixture and stir to combine. Add the oats and stir to combine. Last fold in the blueberries in a couple of batches being careful not to break the blueberries.

Roll the dough into one inch balls and place on the baking sheet, leaving approximately two inches between each ball.

Bake for 14 minutes or until the edges start to turn brown (the center of the cookie may still look light and that is ok). Remove the cookies from the oven and let them set on the baking sheet for 4-5 minutes. Remove the cookies from the baking sheet to a wire rack to finish the cooling process.

Combine the ingredients for the glaze. You may find you need a little more powdered sugar depending on how thick you want the glaze. If the glaze is too thick add a little more lemon juice until you get the desired consistency. Drizzle the glaze over completely cooled cookies and let the glaze harden. Store cookies in an air tight container or freeze them.

Glazed Blueberry Oatmeal Cookies

Oatmeal Cream Cheese Butterscotch Bars…

I have a goal every holiday season of making at least one new cookie recipe. This year I was adventurous and I made two new varieties. One new cookie was peppermint twist kisses and the other, which quickly has become my husband’s favorite, was oatmeal cream cheese butterscotch bars. The past few years I’ve ventured away from some of the more traditional holiday faire and tried more unique types of cookies. Last year, my iced cinnamon chip cookies became a big hit replacing the more traditional chocolate chip cookie in look and flavor. This year my peppermint twist kisses not only gave the look of the holiday but also provided the flavor combination of peppermint and chocolate. Yum!

This recipe is a great melding of oatmeal, cream cheese and butterscotch. It’s not all that difficult to make and it tastes divine. I found I had to buy two bags of butterscotch chips as my husband attacked the first bag when it was in the refrigerator leaving me barely enough to make the bars. Beware those elves that steal the chips before the cookies are made!

For about a year I have been chronicling recipes I’ve made and giving them my rating and lessons learned. As I look back on these recipes there’s hardly a one that has a rating below an A minus. So I’ve decided not to do recipe ratings anymore as I promise to bring you only A and A plus recipes. I will definitely continue my lessons learned, as I know how appreciative I am to learn tips and tricks ahead of time that will make me more successful in the kitchen, especially when trying a recipe for the first time.

Line the pan with foil and let it overlap the sides to create handles...

Line the pan with foil and let it overlap the sides to create handles…

Lesson Learned 1 – Preparation is key to this recipe: Prepping the pan appropriately is key to the success of this recipe. You need to line a 9 x 13 inch pan with a couple of pieces of foil. Make sure the foil overlaps on the long sides of the pan to serve as handles when you lift out the bars. Grease the foil lightly, and wait until the pan is completely cool before lifting the bars out and cutting them (more on that below). If you do that, you will have absolutely no problem removing them from the pan.

Lesson Learned 2 – You don’t need a stand mixer to make these cookies: For those of you that don’t have a stand mixer, never fear – you don’t need one to make this recipe. The bottom of the bars and the crumb topping are one in the same mixture and are made in a food processor. IMG_2403The filling can be made with a hand mixer. Personally I preferred making the crumb mixture in the food processor. I think the pulsing action of the food processor blends the butter with the sugars more completely creating a perfect crumble. The texture should resemble what you see in the picture to the right. I would not recommend trying to make the crumble by hand. I also have to admit it felt weird not using my stand mixer to make the bars, but it was a delightful departure from the usual way of making cookies.

Lesson Learned 3 – Let the pan cool and chill the bars before attempting to cut them: This is critical. The ingredients need to completely set before cutting and the only way to do that is to let them cool. Once the pan was slightly cool I covered it loosely with foil and put it out in the garage. The winter temperatures here in Colorado make it easy to use the garage as a cooling station. I don’t recommend this for warmer climates. If you live in one, let the pan cool on a cooling rack in the kitchen and then put it in the refrigerator once the pan is cool to the touch. Leave the pan in the refrigerator until the bars have completely cooled.

Although this recipe may look difficult it is really quite easy, and definitely worth it. This recipe has become my husband’s new holiday favorite. I think you will enjoy it too!

Oatmeal Cream Cheese Butterscotch Bars…

  • Servings: 36
  • Difficulty: Easy
  • Print

INGREDIENTS:

2 sticks room temperature butter cut into small pieces

2 cups flour

1 1/2 cups quick cooking oats

3/4 cup firmly packed brown sugar

1 tsp. cinnamon

1 bag butterscotch chips (11 ounces)

I package cream cheese, softened (8 ounces)

1 can sweetened condensed milk (14 ounces)

1 lemon zested and juiced

1 tsp. vanilla extract

DIRECTIONS:

Preheat oven to 350 degrees. Line a 9 x 13 pan with foil making sure the foil overlaps the side of the pan to create handles for easy removal. Grease the foil lightly.

Combine flour, oats, and brown sugar in a food processor. Pulse to combine. Add the butter, cinnamon and butterscotch chips. Pulse until the mixture clumps when pressed between your fingers. Press half of the mixture in an even layer into the bottom of the prepared pan.  Bake until slightly golden and set approximately 12 – 15 minutes.

With a hand mixer beat until smooth the cream cheese, condensed milk, lemon juice and zest and vanilla. Spread the mixture evenly over the cooled oatmeal mixture. Sprinkle the remaining oatmeal mixture on the top. Bake until top is golden, approximately 40 minutes.

Cool and chill before cutting. Use the foil handles to remove the bars from the pan and place on a cutting board. Cut into squares.

IMG_2432 2

IMG_2438

Cranberry Oatmeal Cookies…

Cranberry oatmeal cookies have been a staple in our family for the last five years. I was looking for something completely different from what I traditionally made for the holidays and found this recipe in the 2008 Taste of Home Best Loved Cookies and Bars holiday magazine. At the time the magazine cost me $9.99 and I thought that was pretty pricey. But I can now without hesitation say that it was the best money I ever spent. That magazine is my go to place for holiday cookie ideas and it has a wealth of cookie recipes, many that have become our holiday favorites and many still needing to be tried. The magazine is a compilation of recipes from different people around the country and the editors did an excellent job of choosing fabulous recipes.

Cranberry Oatmeal Cookies

Cranberry Oatmeal Cookies

Initially I made these cookies just because I liked the way the picture looked in the magazine. I was not prepared for how delicious they would be. A co-worker recently described their flavor as being close to a Starbuck’s cranberry orange scone with a bonus of white chocolate chips. I think she hit it on the head. Not only are they easy to make but they look colorful on a dessert tray. Here is my rating and lessons learned making these cookies.

Rating: A+++++ – once again this cookie is one of our all time holiday favorites. How could I rate it any less?

Lesson Learned 1: Use golden raisins in this recipe. The recipe does not specify what type of raisins to use but I found the dark raisins create a less colorful and vibrant looking cookie, and after all you eat first with your eyes, remember? Make sure the raisins are fresh. Don’t use the box that’s been sitting in your pantry for six months. As with any ingredient, the fresher the better but especially with raisins.

Lesson Learned 2: Put in a healthy tablespoonful of grated orange peel. I used the grated peel of two large oranges. Don’t skimp on this. The flavor of the orange peel so compliments the tartness of the cranberry and the sweetness of the white chocolate. Use more than less.

Lesson Learned 3: These cookies keep well both in the refrigerator and the freezer so these are great make ahead cookies.

I guarantee that you will love these cookies. They are easy to make, easy to store and add a nice colorful holiday flair to your cookie assortment.

Cranberry Oatmeal Cookies

  • Servings: 4 dozen
  • Difficulty: Easy
  • Print

INGREDIENTS:

1 cup unsalted butter softened

1 1/2 cups sugar

2 eggs

1 tsp. vanilla

2 cups flour

1 tsp. baking powder

1/2 tsp. salt

1/4 tsp. baking soda

2 cups quick cooking oats

1 cup raisins

1 cup coarsely chopped cranberries (you can you frozen ones but I prefer fresh)

1 TBS. grated orange peel

1 package (12 ounces) white chocolate chips

DIRECTIONS:

Preheat the oven to 375.

In a mixing bowl cream butter and sugar. Add the eggs one at a time beating until well combined. Beat in the vanilla. Combine flour, baking powder, salt and baking soda; add to the creamed mixture. Stir in the oats, raisins, cranberries and orange peel. Add the white chocolate chips.

Drop by rounded teaspoonfuls (I use a cookie scoop) 2 inches apart onto an ungreased baking sheet. Bake for 10-12 minutes or until the edges are lightly browned. Remove to wire racks to cool. Enjoy!

Cranberry Oatmeal Cookies

Cranberry Oatmeal Cookies

A Self-Proclaimed Pinterest Recipe Critic…

Tonight I’m getting together with a group of people, undercover foodies, to begin a conversation of how we can form a group based on cooking, learning and fun. The group already has a name – Sweet Serendipity, Supper, Sips and Such – and the name leads me to believe that the members will all be “foodie forces” unto themselves. The person who coordinated the group asked us to bring an appetizer or something sweet, preferably a recipe taken from the Pinterest site.

Now I know I’ve mentioned this before but I am a big fan of Pinterest. What I love about using Pinterest is that you are exposed to a broader segment of the internet often being introduced to interesting websites and blogs you might never have found through Google. And I love it for the wealth of cooking information and recipes that are pinned to various boards. So, needless to say, I am “on board” with the idea of this cooking group and with Pinterest.

For this evening’s cooking contribution I made a coffee cake recipe I found Pinterest. I made it on Friday but the coffee cake was such a hit that this morning I was faced with the dilemma of having only a meager amount to bring to the meeting. So, off I went back to Pinterest in search of something simple but also unique. I found what I was looking for on a website called “Pardon The Dog Hair” (a website I would never have found on my own), a recipe for Blueberry Banana Oatmeal Bread. The pictures of the bread looked delicious, the recipe was simple and I had most of the ingredients already so the decision to make it was easy.

The bread is made from a traditional process, combining all the dry ingredients, adding the wet ingredients and then finally folding in the blueberries and nuts.

Preparing the ingredients

Preparing the ingredients

What’s nice about this recipe is that it doesn’t use any white sugar. The sweetness comes from brown sugar, apple sauce and bananas. After you combine all the dry ingredients you whisk together the eggs, apple sauce and bananas and then combine the wet mixture with the dry mixture. Last, you carefully fold in the blueberries and the nuts and put the mixture in a prepared loaf pan.

bbo4

bbobread2

The recipe calls for baking it at 350 for one hour – that seemed like a long time to me so I started with 40 minutes and pulled the bread out of the oven at that time. As you can see the bread was already quite dark and even though it was very firm at the very very middle top it wasn’t completely done. Despite that the end result, as you can see below, was still wonderful but there definitely were some lessons learned about making this recipe.

Blueberry Banana Oatmeal Bread

Blueberry Banana Oatmeal Bread

First lesson: The next time I make this I will use a glass loaf pan. I used a dark loaf pan and I think it contributed to making the bread darker more quickly even when it was not completely done. Second lesson: If you look at the pictures of the bread from the website where the recipe was taken, it looks like the top of the bread was also dusted with quick cooking oats. I think that would offset the very dark color on top, keeping in mind that whole wheat flour is the main flour in this bread so it will naturally look darker. Third lesson: The recipe did not call for this but I dusted the pecans with just a smidge of flour. I’ve found that the nuts will more evenly disperse themselves into a mixture and not just rise to the top during the baking process when you do that.

Rating for the recipe: Between very good and excellent – if the blogger did in actuality dust the top of the bread with quick cooking oats like the pictures on the site seem to suggest, I would note that in the recipe. Taste-wise the rating is excellent, and I love the fact that this recipe is delicious without having to use white sugar. This is definitely a recipe to try. 

I have a feeling I will be trying a lot more recipes from the Pinterest site in the upcoming weeks and months. I plan to share the escapades of making and eating them on this blog. If you see a Pinterest recipe you’d like me to “test” with the group – just let me know. If you’re anything like me you’ve probably been wondering if all those recipes you see posted are really as good as they look. And if you have any experiences with Pinterest recipes, I would love to hear about them. The Pinterest test kitchen is now open for business.