Marinated Tomatoes With Herbs and Mozzarella…

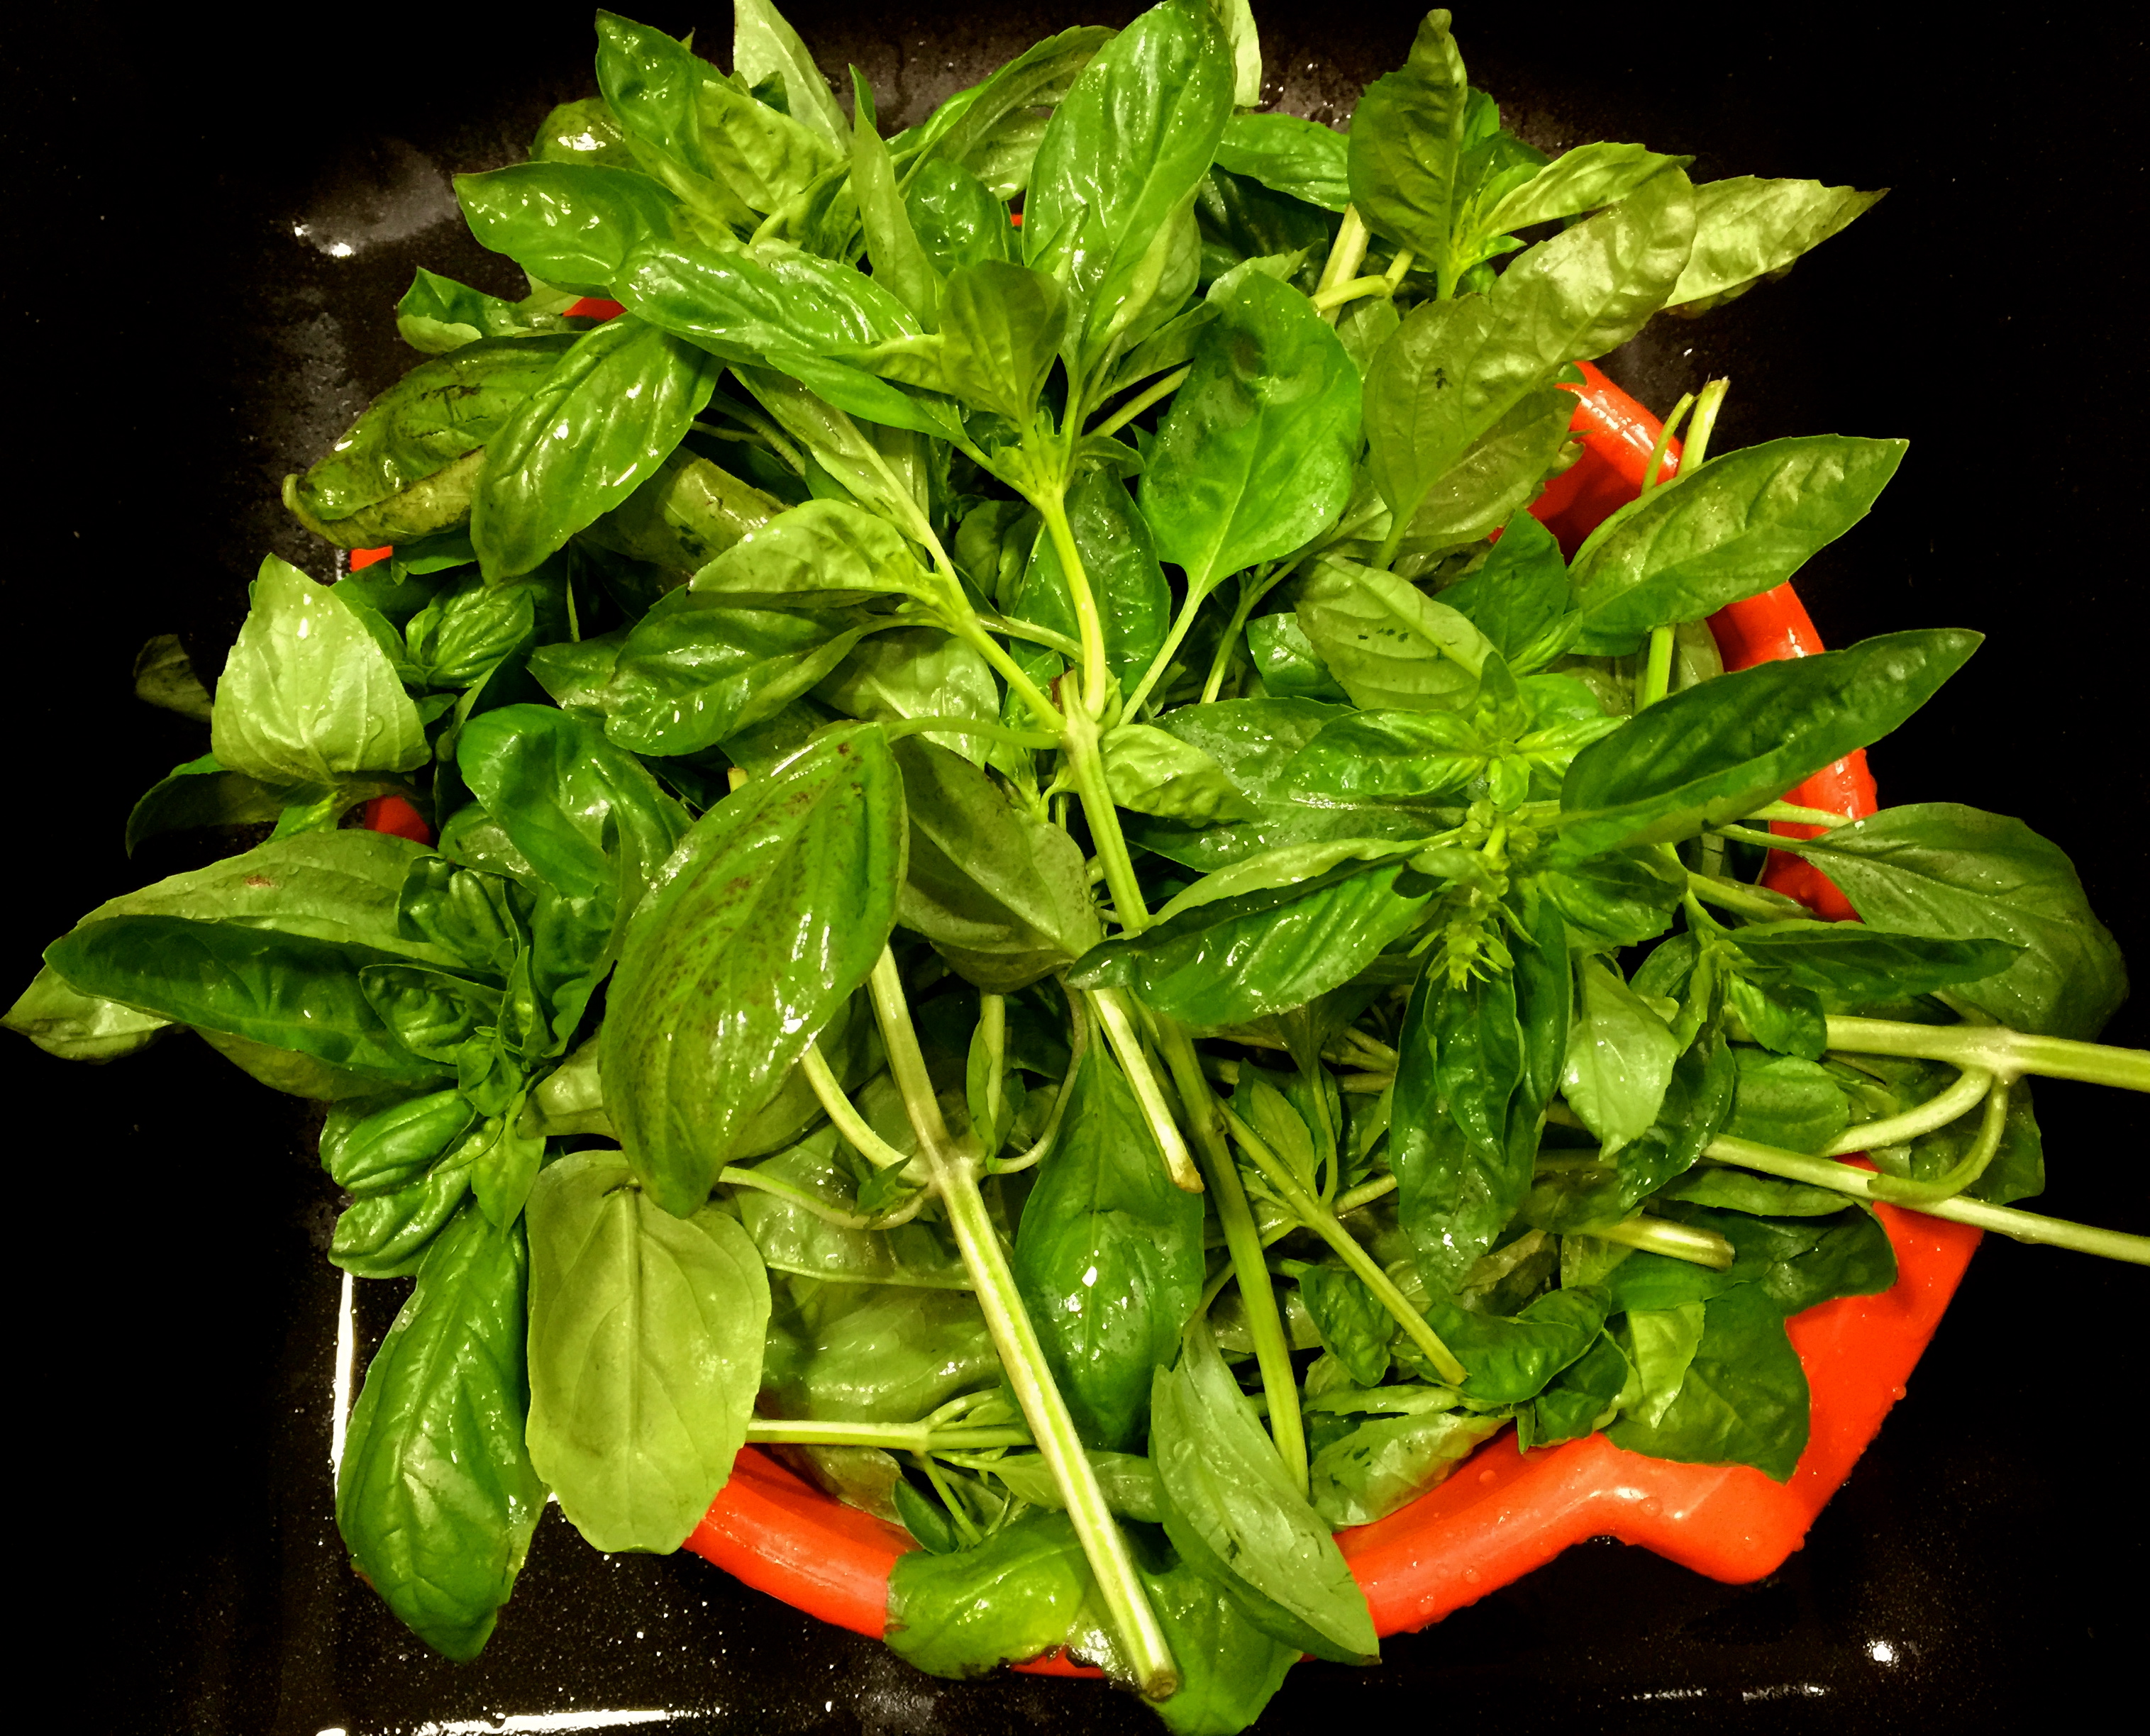
It’s the season for tomatoes, and if you planted any in your yard or on your patio you probably have a bunch sitting around right now. I just love this time of year. There is nothing, and I mean absolutely nothing, like a home grown tomato. The kicker is they all ripen at the same time and you’re faced with what to do with all of them.

My patio tomatoes

I used to grow tomatoes in my yard and on my deck, but since we moved to a condo I can only plant a couple of pots of patio tomato plants. This year, much to my surprise, my two little plants are producing like crazy! So above and beyond putting them in a salad or serving them with a generous dollop of tuna salad or making salsa or pasta sauce, I wanted to try something a little different. Hence this recipe…

I like this recipe for a variety of reasons. First the finished product is out of this world but also it’s so quick and easy to put together and after that you just let your tomatoes marinate on the kitchen counter for a couple of hours and you’ve got something very special. Second if you plant a pot of herbs like I do it is a great way to use them. The recipe couldn’t be cleaner and the end result is divine. So let’s talk marinated tomatoes with herbs and mozzarella.

Lesson Learned 1 – Cut the tomatoes at least 1/2 inch thick: The marinating process will break the tomatoes down slightly so if you cut them too thin you’ll wind up with mush. Make sure to cut them thick to avoid that. Also make sure you don’t layer them but rather put them in a single layer. That way you’ll be able to get the full effect of the marinade.

Lesson Learned 2 – There is a trick to how long you marinate the tomatoes: As I mentioned earlier, the marinade will slightly break down the fibers in the tomatoes so if you plan to marinate them on the counter only do it for a couple of hours. If you plan on marinating them longer put them in the refrigerator. I know, the cardinal rule is never to put tomatoes in the refrigerator but this time you can if you need to marinate them for a longer period of time.  If you put them in the refrigerator take them out in plenty of time to bring them back to room temperature. That way you won’t be left with cold, mushy tomatoes.

Lesson Learned 3 – Make sure to finely mince the garlic: You’re using raw garlic in the marinade so you’ll want to finely mince the garlic or crush it. That way you’ll get the benefit of the garlic without having to worry about taking a big bite of raw garlic which is not very flavorful.

Lesson Learned 4 – Feel free to vary the amount of balsamic vinegar to taste: The general rule of thumb when making a vinaigrette is one part vinegar to three parts oil. I like more tang, so whenever I combine vinegar and oil I always add more vinegar than called for. Make sure to taste your marinade before you pour it on the tomatoes and if you like more tang don’t be afraid to add more balsamic vinegar. It’s always better to start off on the safe side and add more from there. Most of the recipes I looked at used less than what I’ve listed here but I think using less makes the marinade taste too oily tasting.

Lesson Learned 5 – Turn the tomatoes over mid-way through the marinating process: When you pour on the marinade all of the herbs will be on top of your tomatoes. Mid way through marinating them turn the tomatoes over and spoon some of the liquid with the herbs on top. That way you’ll get the full effect of the marinade on both sides.

So basically you slice the tomatoes, make the marinade and let them bathe in it and throw the mozzarella in at the end. What could be simpler? And the result is fabulous – try it and see!

Marinated Tomatoes With Herbs and Mozzarella...

  • Servings: 4-6
  • Difficulty: Easy
  • Print

INGREDIENTS:

4 large tomatoes sliced 1/2 inch thick

1/3 cup olive oil

3 Tbs. balsamic vinegar

1 Tbs. honey

2 Tbs. finely chopped red onion

1 large clove of garlic, finely minced

1 Tbs. flat leaf parsley, finely minced

1 Tbs. fresh basil, finely minced

1/4 ball of mozzarella, sliced and then cubed (again you can add more if you like)

Kosher salt and freshly ground black pepper to taste

DIRECTIONS:

Cut the tomatoes into thick 1/2 inch slices. Arrange them in single layer in a large shallow dish. In a mason jar combine the oil, vinegar, honey, onion, garlic, parsley, basil, salt and pepper. Put the lid on the jar and shake the mixture vigorously to combine. Pour the mixture over the tomatoes.

Cover the tomatoes with plastic wrap and let marinate for two hours on the counter, or if longer in the refrigerator. (If refrigerated bring the tomatoes back to room temperature before serving.) Half way through the marinating process turn the tomatoes over and spoon the marinade back on top. Before serving, garnish with mozzarella and spoon the marinade over the mozzarella.

No Bake Pizza Bites…

It’s been really hot here recently, averaging temperatures in the upper eighties and lower nineties. The one good thing about living in this part of the country is there is relatively little humidity so even though the days are hot the mornings and evenings tend to be gorgeous. But even with that I find that often I look for ways to make things that won’t heat up the kitchen or the house.

As I’ve mentioned in previous blogs, we have a group of residents that get together every Thursday for happy hour. We meet in our outdoor pavilion, bring what we want to drink and many people bring appetizers or finger food. We drink, eat, talk and have a grand old time.

I try to bring some kind of new nibble for people to enjoy each week. I have to admit there are times when I just don’t have the energy to make something and so I’ll buy some chips and salsa or something like that. But there are also times I like to try something new and see if it works so that I can blog about it. This particular recipe came into my mind out of the blue and it went over very very well.

With weather this hot you really don’t want to be eating anything too hot, especially when you’re eating outdoors. It just doesn’t seem to work. But even in the hot sticky weather you still get a taste for something like pizza. You just don’t want to heat up your house making it. So how to you get around that?

Most people like cold pizza, right? It’s the combination of flavors and not necessarily the melting cheese that makes a pizza special. So I put together an appetizer that brings together all the flavors of pizza without being hot and all on a bite size cracker. I knew I succeeded when a little girl ate one of them and said, “Wow, pizza!”

And making these couldn’t be any easier. So let’s talk no bake pizza bites…

Lesson Learned 1 – Go ahead and be creative with this recipe: I had some leftover pepperoni in the refrigerator that I wanted to use. The rest I put together as I walked through the specialty cheese section of my grocery store. You can vary the meat (or not use it at all), the cheese, the crackers – whatever you want. You’ll still come up with a great little appetizer.

Lesson Learned 2 – I used pre-made roasted tomatoes: In the specialty cheese section I found some roasted tomatoes marinated in garlic olive oil. Bingo! The package had about 7 ounces of roasted tomatoes that I diced up and put on top of the pepperoni. It was fabulous. If you can’t find them pre-made you can roast tomatoes yourself and then let them marinate in some olive oil. You’ll still get the same result. But this was a whole lot less work and gave the bites a great flavor!

Lesson Learned 3 – I used a specialty feta cheese: You can certainly use plain feta cheese but I found a roasted pepper and basil feta cheese and I decided to use that. What I liked about this choice was that it added the flavor of basil to the appetizer without having to use basil leaves. You could certainly use basil leaves as well. If you do I would put the basil leaf on top of the pepperoni and then put the tomatoes on top of that. That way the leaf is secured. The great thing about this appetizer is that you can be creative and it will still be fabulous!

Lesson Learned 4 – Right before serving drizzle the bites with some garlic infused olive oil: This is the finishing touch that adds so much. You don’t need a lot, just a slight drizzle over them and the olive oil just adds that special touch that rounds out all the flavors. You can also use the oil that the roasted tomatoes were packed in, but that may not be enough for all the rounds. I had to use both the oil from the tomatoes and some garlic olive oil to drizzle over all the rounds.

And that’s it. Layer the ingredients, drizzle them with some olive oil before serving and watch them disappear. Enjoy!

No Bake Pizza Bites...

  • Servings: Approximately 30 Rounds
  • Difficulty: Easy
  • Print

INGREDIENTS

1 box crackers, preferably round and not overly thin

Pepperoni, pre-packaged or a log you can cut into rounds

1 container of fire roasted tomatoes approx. 7 ounces

Feta cheese (I used a roasted red pepper and basil feta)

Garlic infused olive oil, for drizzling.

DIRECTIONS:

Dice the fire roasted tomatoes into small pieces. Lay out the crackers on a large plate or 9 x 13 baking sheet. Place a slice of pepperoni on each cracker. Top the pepperoni with some of the fire roasted tomatoes. Crumble the feta cheese and sprinkle pieces over each round.

Right before serving drizzle with oil. You could used the oil that was used to pack the tomatoes. If that is not enough, drizzle the remaining with the garlic infused olive oil.

Cover Each Cracker With A Piece Of Pepperoni

Put Some Diced Roasted Tomatoes Over The Pepperoni

Sprinkle Each Round With Feta

No Bake Pizza Bites


Gnocchi Italiano…

I really try to experiment with meals that are quick and preferably only need one pot. This meal fits the bill to a tee. The most difficult part of this meal is the prep, and I’m a prep kinda gal so I enjoy that to the max!

As I mentioned in an earlier blog, we are remodeling our kitchen and this was the first meal I cooked on my brand new stove. I posted a picture of it online and got a ton of oohs and ahhs… one person commented on how beautiful it looked and wondered if that comment was apropos when referring to a stove – well all I can say is of course it is! Here’s my new baby – hello gorgeous!

my new stove

When we moved to a condo, I told my husband I would never move into a place where I could not have a gas stove or cook top. We moved into the model of the development we’re in and of course they had upgraded appliances in the model. The cook top that was is pictured below…

original cooktop

Although the cooktop was sleek looking, I just could not imagine myself cooking on it. Besides not being gas, I couldn’t get over the fact that it looked like I was cooking on Mickey Mouse! We removed it right away. Someone had lived in this condo before. The builder bought it back from the original owners and upgraded it to the model as there were still a few more buildings in the development plan and they needed to be able showcase what one of the units looked like. As part of the sale negotiations we asked the builder to leave the old gas cook top that had been replaced. We used it until we began the process of remodeling and finding our new stove. This is what we used in the interim:

the old cooktop

Our new stove is an LG. What’s interesting about it is the inside is purple.

The inside of the stove

Supposedly this color provides maximum heat transfer as opposed to a dark interior. I’m not sure that is the case, only time will tell. What I am sure of is I cooked two meals on/in it already and it seems to work perfectly. So I am a happy camper!

Now, let’s get back to the recipe. This meal combines ground sweet italian sausage with mini potato gnocchi, fresh mozzarella an your favorite marinara sauce. It couldn’t be simpler but it is oh so good. So let’s talk gnocchi italiano…

sweet italian sausageLesson Learned 1 – I used ground italian sausage but you can also use prosciutto: My husband needs to eat foods that are easy to chew and so I used ground italian sausage. If you choose to use prosciutto, use about 5 thin slices. Add them to the onions once they are translucent and cook them until they are crisp. Then follow the remainder of the recipe as is. I guarantee it will be equally as good.

Lesson Learned 2 – Pay attention to the type of marinara sauce you use: I used a tomato basil sauce. The brand I used was more expensive, but gnocchi and marinara saucewhen I looked at the ingredients they were all natural. There were no names that I couldn’t pronounce. Natural and organic foods are much higher in cost. That is unfortunate as I hate to think about all these chemicals we can put in our bodies every day. But heck, before I was born my mother drank and smoked and I’m still here. I guess the idea is why tempt fate. The better you take care of yourself the better your chances are of living a longer healthier life.

This recipe is pretty straightforward so there’s not many lessons learned to share. Start it off on the stovetop, finish it off in the oven, and enjoy an easy, flavorful meal!

GNOCCHI ITALIANO...

  • Servings: 4
  • Difficulty: Easy
  • Print

INGREDIENTS:
Gnocchi Italiano

Gnocchi Italiano

1 small onion, diced

1 Tbs. basil infused olive oil (can use plain EVOO)

1 pound ground sweet italian sausage

2 cloves garlic, minced

1 cup tomato basil sauce

1 one pound package potato gnocchi  (I used the mini sized gnocchi)

1 tsp. italian seasoning

1/8 cup grated parmesan

1/4 lb fresh mozzarella, sliced

Sliced green onions for garnish, optional

DIRECTIONS:

Preheat the oven to 375. In a large oven proof skillet heat the olive oil. Add the onions and cook until translucent. Add the italian sausage and cook through, about 5-7 minutes. Meanwhile, cook gnocchi according to package instructions.

Add the garlic to the cooked italian sausage and let cook until fragrant, about 1 minute. Drain the gnocchi and add to the italian sausage mixture. Stir in the tomato basil sauce, italian seasoning and parmesan. Mix well.

Add the mozzarella slices to the top of the mixture. Place the oven proof pan in the oven and cook until the mozzarella has melted and the gnocchi mixture is bubbly, approximately 15 minutes. Remove from the oven and garnish with green onions. Serve immediately.

Add the cooked gnocchi to the sausage mixture

Add cooked gnocchi to the sausage mixture.

Gnocchi, sausage and sauce mixture.

Gnocchi, sausage and sauce mixture.

Add the mozzarella slices.

Add the mozzarella slices.

Ready to serve

Ready to serve

Gnocchi Italiano

Gnocchi Italiano

Basic Basil Pesto…

If you grow herbs like I do, by about now you have a boat load of basil. Basil is one of my favorite herbs to grow. There’s just something so satisfying about growing it – I just can’t explain it. But when you get massive amounts, what’s the best way to use it? The answer it simple – make pesto!

I’m sure most of you have a favorite pesto recipe. Mine is pretty basic but I’ve found that by keeping it that way I can be more creative when I actually use it. From pizza to pasta to sandwiches and the like, basil pesto is an excellent accompaniment to just about any dish. So here’s my lessons learned and recipe – would love if you would share yours!

Basil LeavesLesson Learned 1 – The hardest part of making pesto is preparing the basil leaves: Picking them off the plant and washing and drying them are probably the most labor intensive part of making pesto. If you have a salad spinner, I recommend using that to remove the excess water once the leaves are washed. Unfortunately I don’t have one so I have to lightly squeeze them between paper towels. You don’t want to have a lot of water in your pesto so it is important to remove the excess. And make sure you CHECK FOR BUGS! We are not the only species that likes basil. Once when I was cleaning my leaves I found a “thousand legger” in with the leaves. So make sure you check. I don’t think you’ll want to put a bug in the food processor!

All Ingredients In the Food ProcessorLesson Learned 2 – The amount of garlic and olive oil you use is strictly personal preference: I like my pesto garlicky and thick. Some only like a hint of garlic and a runnier pesto. Determine what you like by easing into it. I use two whole cloves of garlic for 4 cups of leaves. Start with one clove if you’re not sure. With the olive oil, only put half the amount or 1/4 cup in the food processor to start. You can drizzle in more as the leaves are processing until you get the desire consistency. Only once did I use the full 1/2 cup of oil. That was the first time I made pesto, and I found it to be too runny. Now I start with 1/4 cup and drizzle some olive oil into the processor until I reach my desired consistency depicted in the picture below.

Lesson Learned 3 – Be careful about adding salt: Romano and Parmesan cheese are naturally salty. I would taste the pesto before you add any salt. I seldom add salt because the cheese seems to provide the flavor I want.

Lesson Learned 4 – Pesto freezes very well: I’ve heard that some people take ice cube trays and fill them with pesto so they can have individual servings whenever they need them. I tend to put mine in a few small containers and freeze them. That way I can chop off what I need at the time and put the rest back in the freezer or use it up all at once. I’ve had pesto in airtight containers last up to a year in my freezer.

Basil Pesto

Basic Basil Pesto

  • Servings: 12-20
  • Difficulty: Easy
  • Print

INGREDIENTS:

4 cups loosely packed basil leaves

2 cloves garlic

1 small shallot, cut into pieces

3 TBS. pine nuts

1/4 – 1/2 cup olive oil

1/2 cup grated romano or parmesan cheese

salt, if desired

DIRECTIONS:

Wash basil leaves and remove excess water. Place the basil, shallot, pine nuts, cheese and 1/4 cup oil in a food processor. Process, stopping to scrape down the sides of the food processor at least once. Check the consistency of the pesto. If too thick, drizzle in more oil while processing until the pesto reaches the desired consistency.

Use or freeze. If not using immediately, store in an airtight container in your refrigerator or freezer.

Basic Basil Pesto