Every once in a while you stumble upon a recipe, make it and then say “Where have you been all my life?” This was that recipe for me. Based on a recipe by Robin Miller, I adapted it to my tastes and am so glad it’s now a regular on my dinner rotation. I am also so glad to share it with you.
Robin Miller used to be a chef on The Food Network. Back in the day when it was a fledgling network, the shows were more about how to cook versus all of the competition shows they have on now. Originally I remember thinking who, in their right mind, would watch someone cook on tv. But I started to watch and got hooked. Plus, as you can tell by the theme of this blog, I was never a cook in my early years and always felt that I’d never become one. But as I got older I got more interested and those cooking shows provided so much basic knowledge and started me on my culinary journey. All of a sudden I began thinking, “I can do this!” and as I started getting more adept I developed not only a deep interest but also a knack for creating successes in the kitchen. Robin Miller was one of the chefs that I credit teaching me basics and I, for one, am sad she no longer has a show on The Food Network. But I follow her on Facebook and am privy on a daily basis to some of her great recipe ideas.
Her recipe for flatbread pizza struck my fancy and I amended it to include some of the ingredients I especially like on a pizza. What I also like is this recipe is meatless. Not to say you couldn’t add some cooked sausage, or bacon, or pancetta on top, but I like to limit my intake of red meat and to find something this flavorful and meatless is always a plus for me.
LESSONS LEARNED MAKING THIS RECIPE:
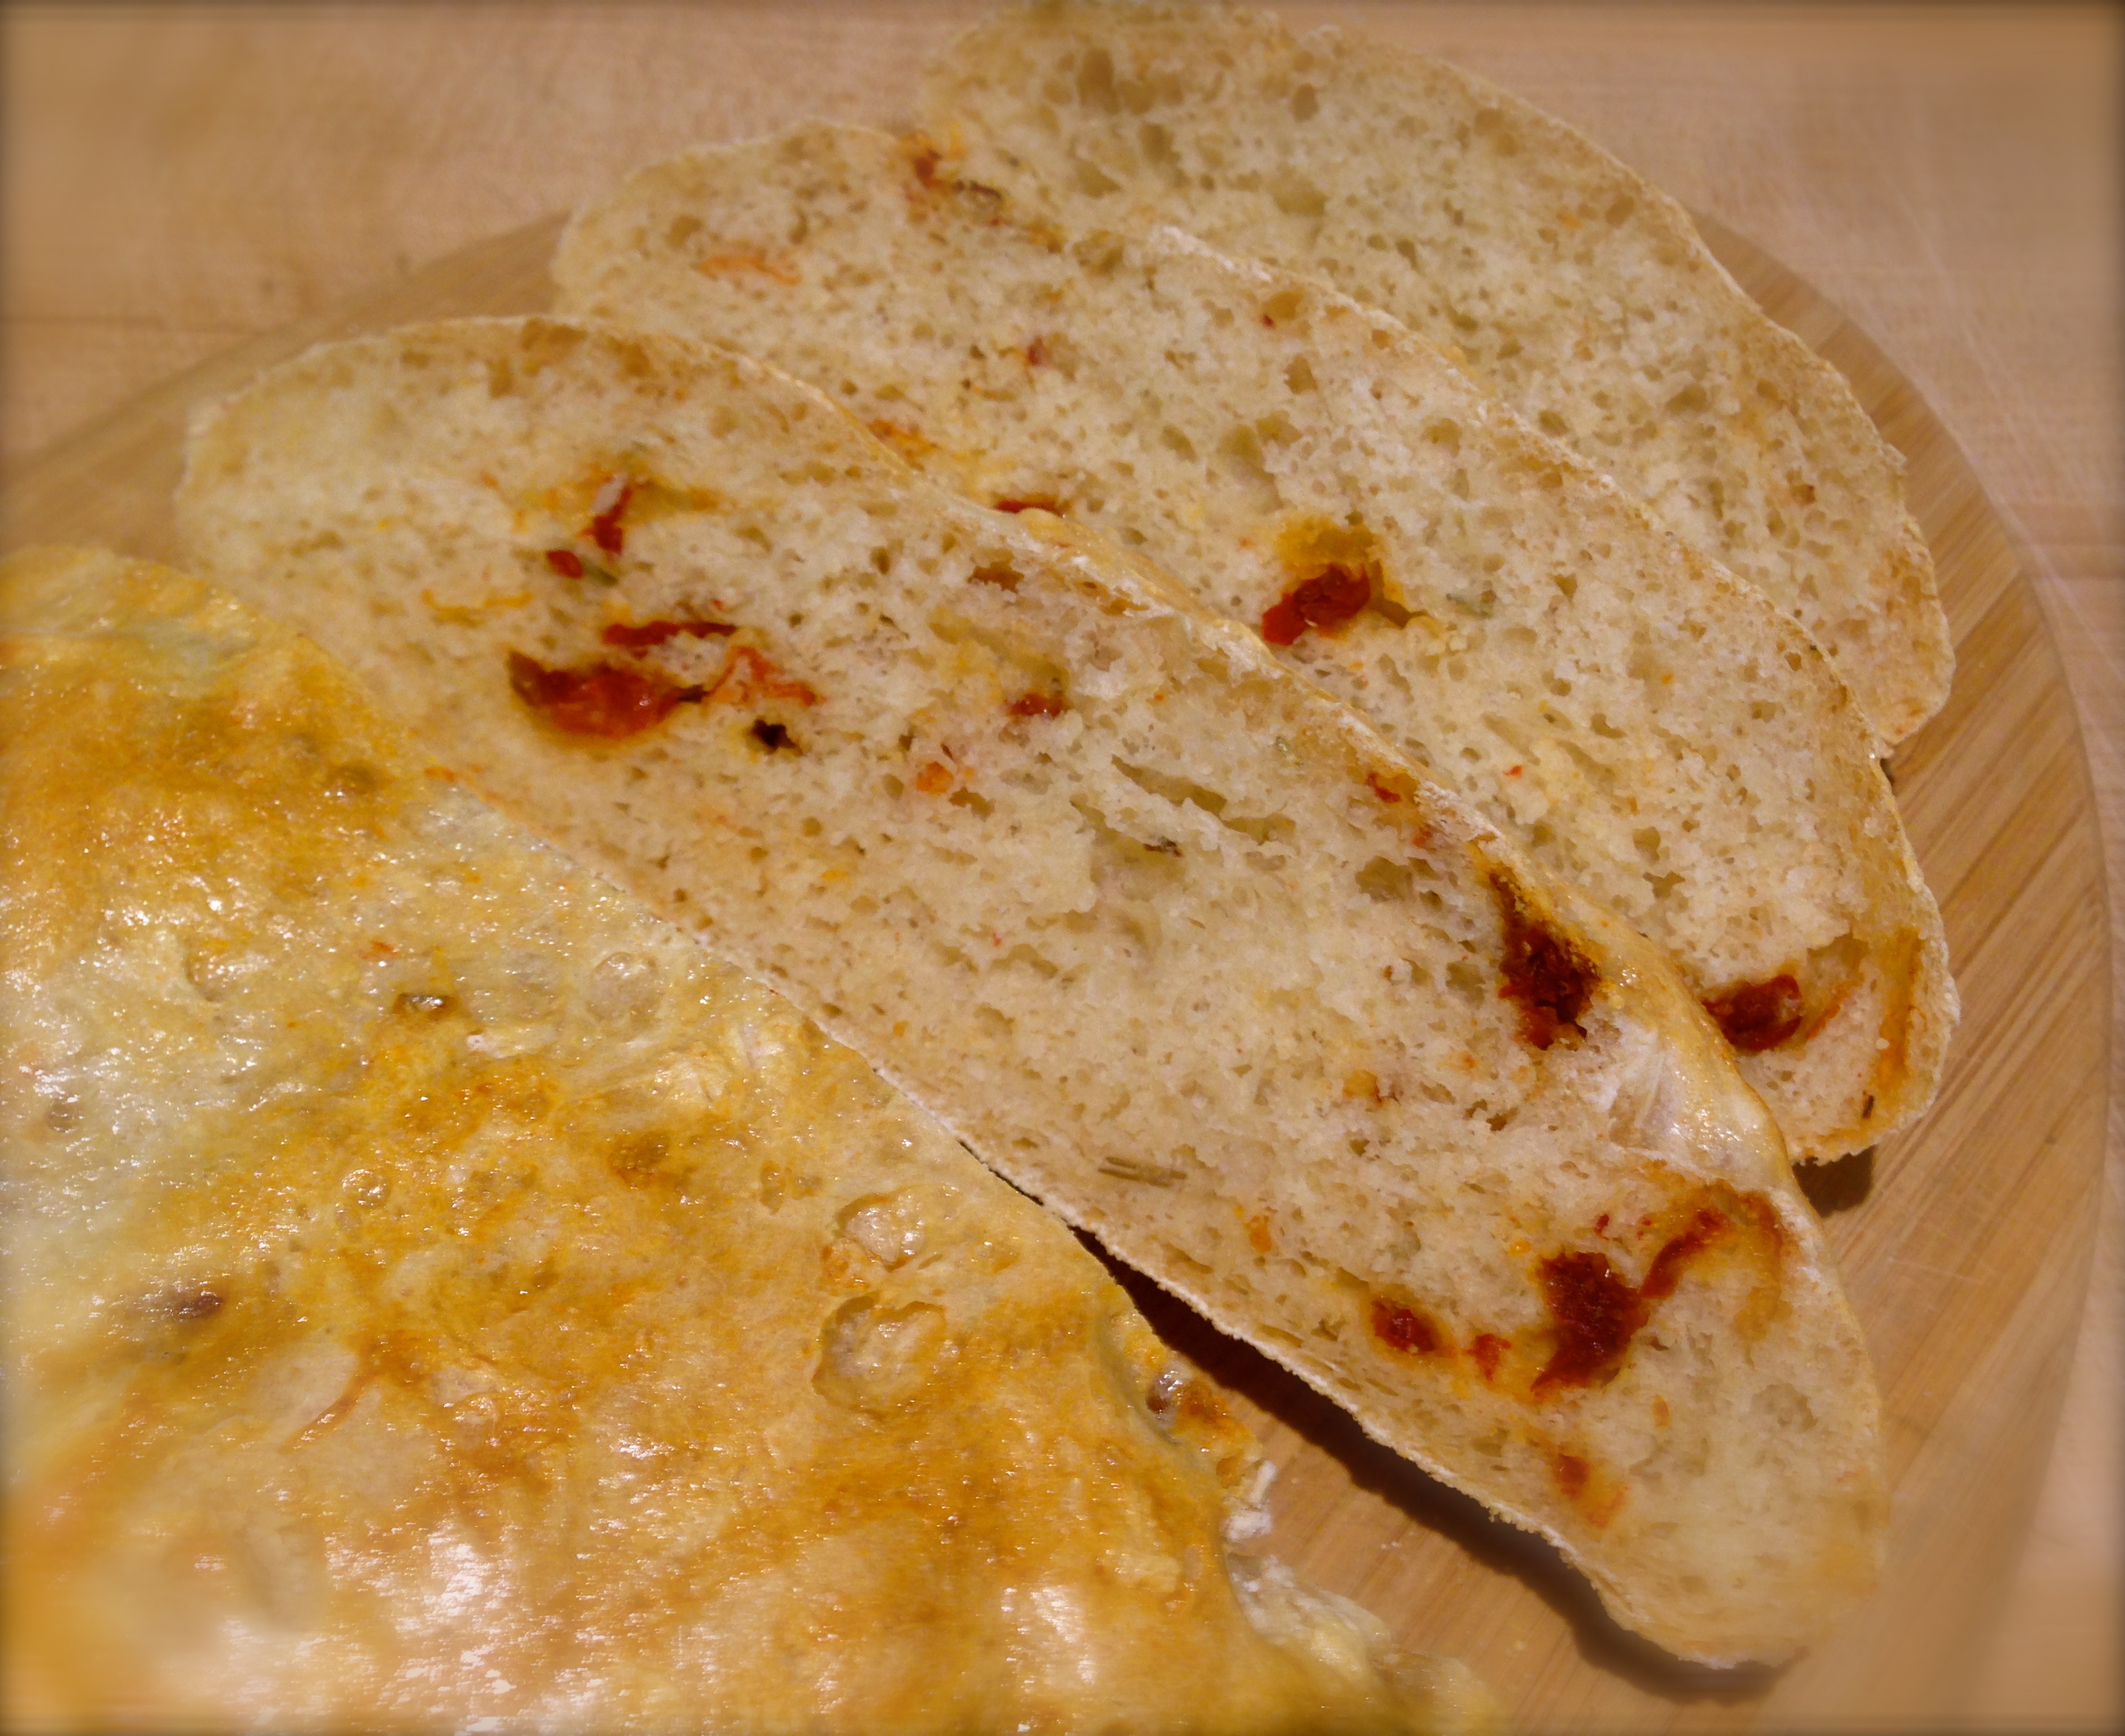
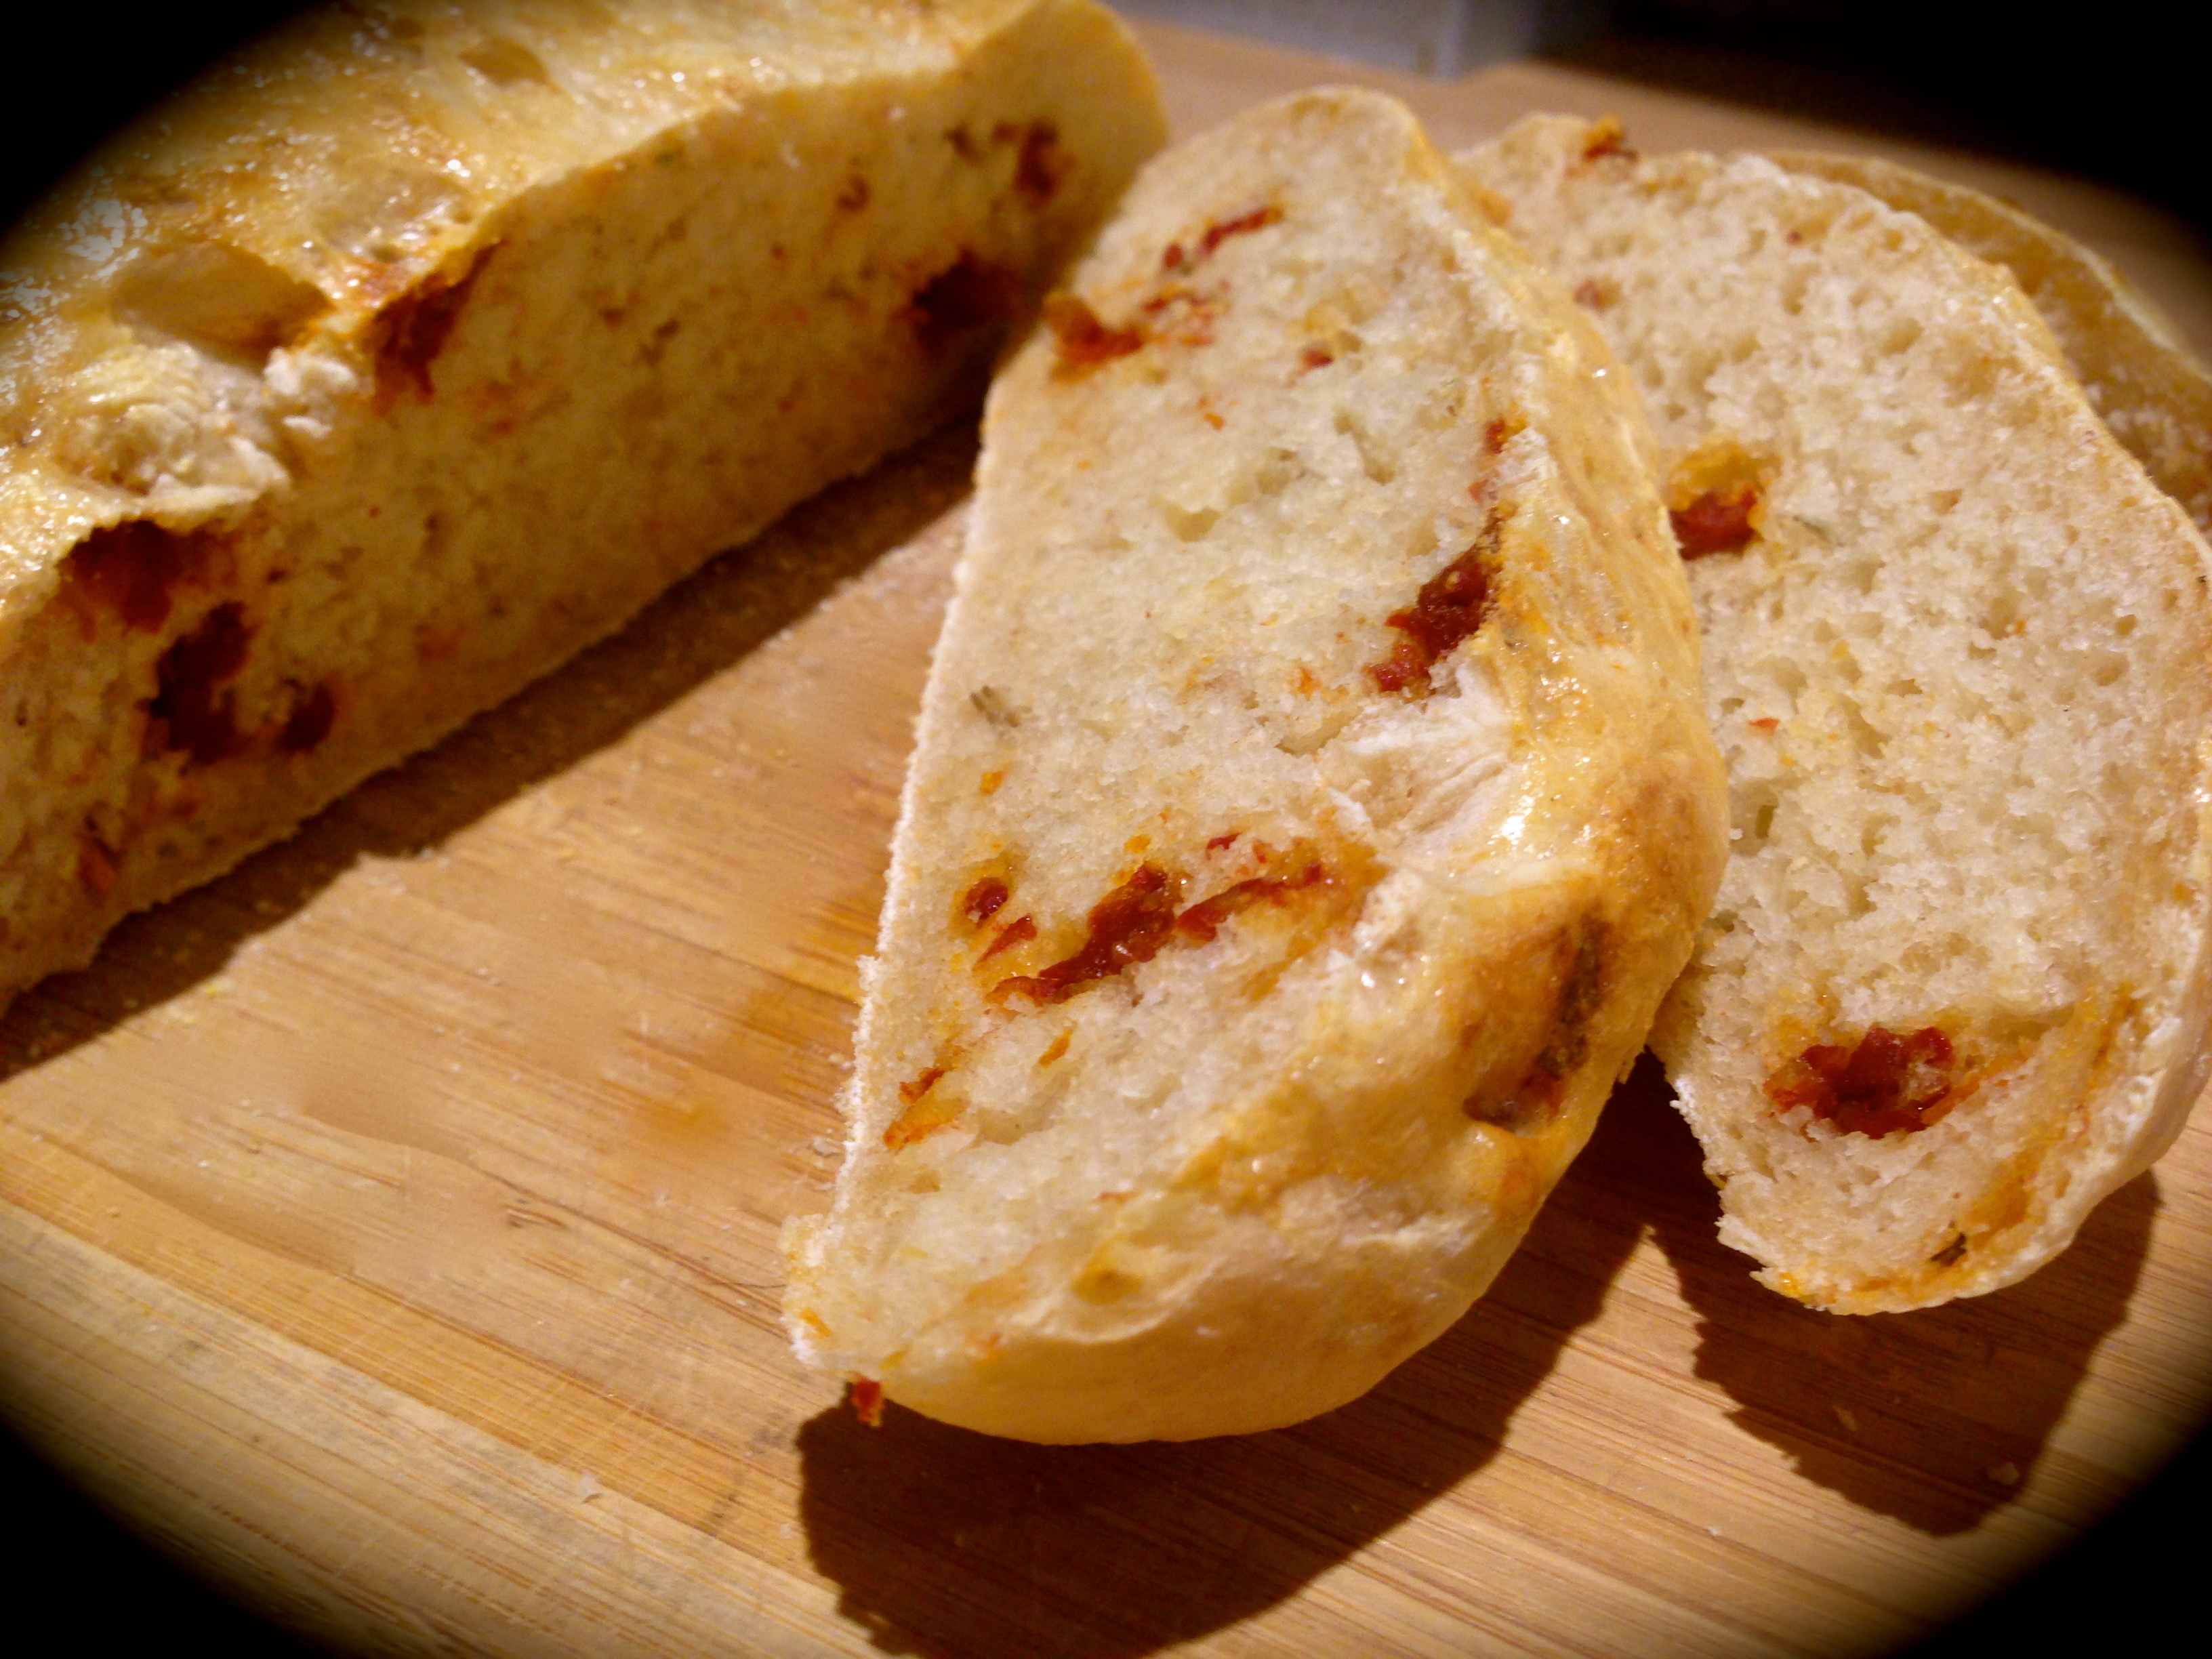
- I used Stonefire Artisan Flatbread. I prefer this because it basically serves as a blank canvas. You can try to use others, this is simply the one I prefer for this recipe.

- Be creative with your toppings. When I order a “regular” pizza, I like mushrooms and green peppers on it. For this particular recipe I just added green pepper (make sure you chop it into small pieces). But I plan on trying it with mushrooms and probably onions as well.
- Use sun dried tomatoes packed in oil. I found drizzling a little oil over the pizza once all the toppings are on and it’s ready to go into the oven adds more depth of flavor.
- Don’t overload the flatbread with pesto. All you need is a light spread over the bread. If you add too much it tends to overpower all the other ingredients.
- The measurements in the recipe are guidelines: I find it hard to put measurements into a recipe like this because so much is done by sight and taste. If you want more cheese on your flatbreads than put it on. The same goes for the tomatoes, and green pepper. With the capers, I would err on the lighter side as they give a nice briny taste to the pizza but could overpower the other ingredients if there are too many. Just my opinion.
- Each flatbread makes 2 servings. The package contains two flatbreads. To serve use both.
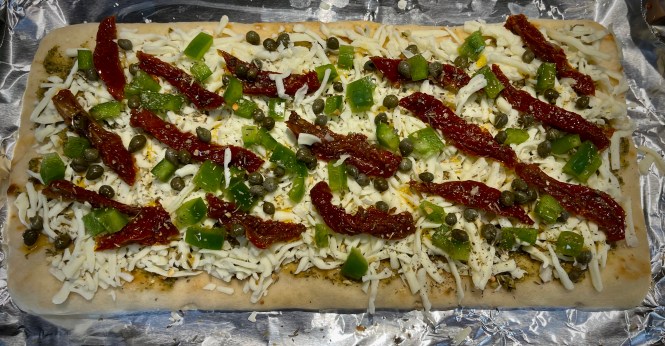
Ready To Go Into The Oven
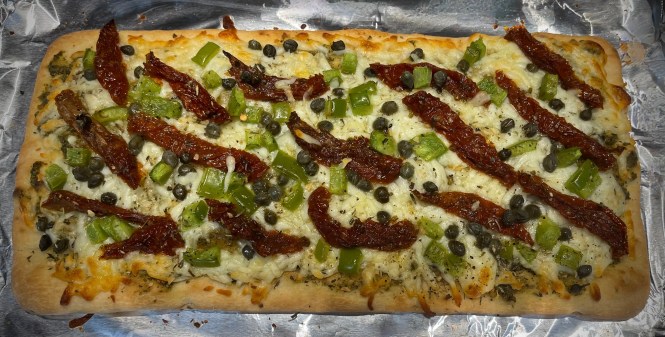
Fresh Out Of The Oven
Flatbread Pizza
INGREDIENTS:
2 Flatbreads
1/4 cup basil pesto
2 cups shredded mozzarella cheese
1/4 cup sun dried tomatoes packed in oil, sliced plus 2 TB oil from the jar
1 TB capers, drained
1/4 cup green pepper, diced small
1 tsp Italian seasoning
DIRECTIONS:
Preheat the oven to 400 degrees. Line a baking sheet with foil.
Arrange the flatbreads on the prepared pan. Spread the pesto over the flatbreads to about 1/2 inch from the edges. Spread the cheese on top of the pesto. Arrange the sliced sun dried tomatoes, capers and diced green pepper on top. Drizzle the oil from the sun dried tomatoes over the flatbreads. Sprinkle with the Italian seasoning.
Bake for 10-15 minutes or until the cheese is melted and slightly browned and the edges of the flatbread are slightly crispy.
Cut into slices and serve.