Party Time Pico de Gallo…

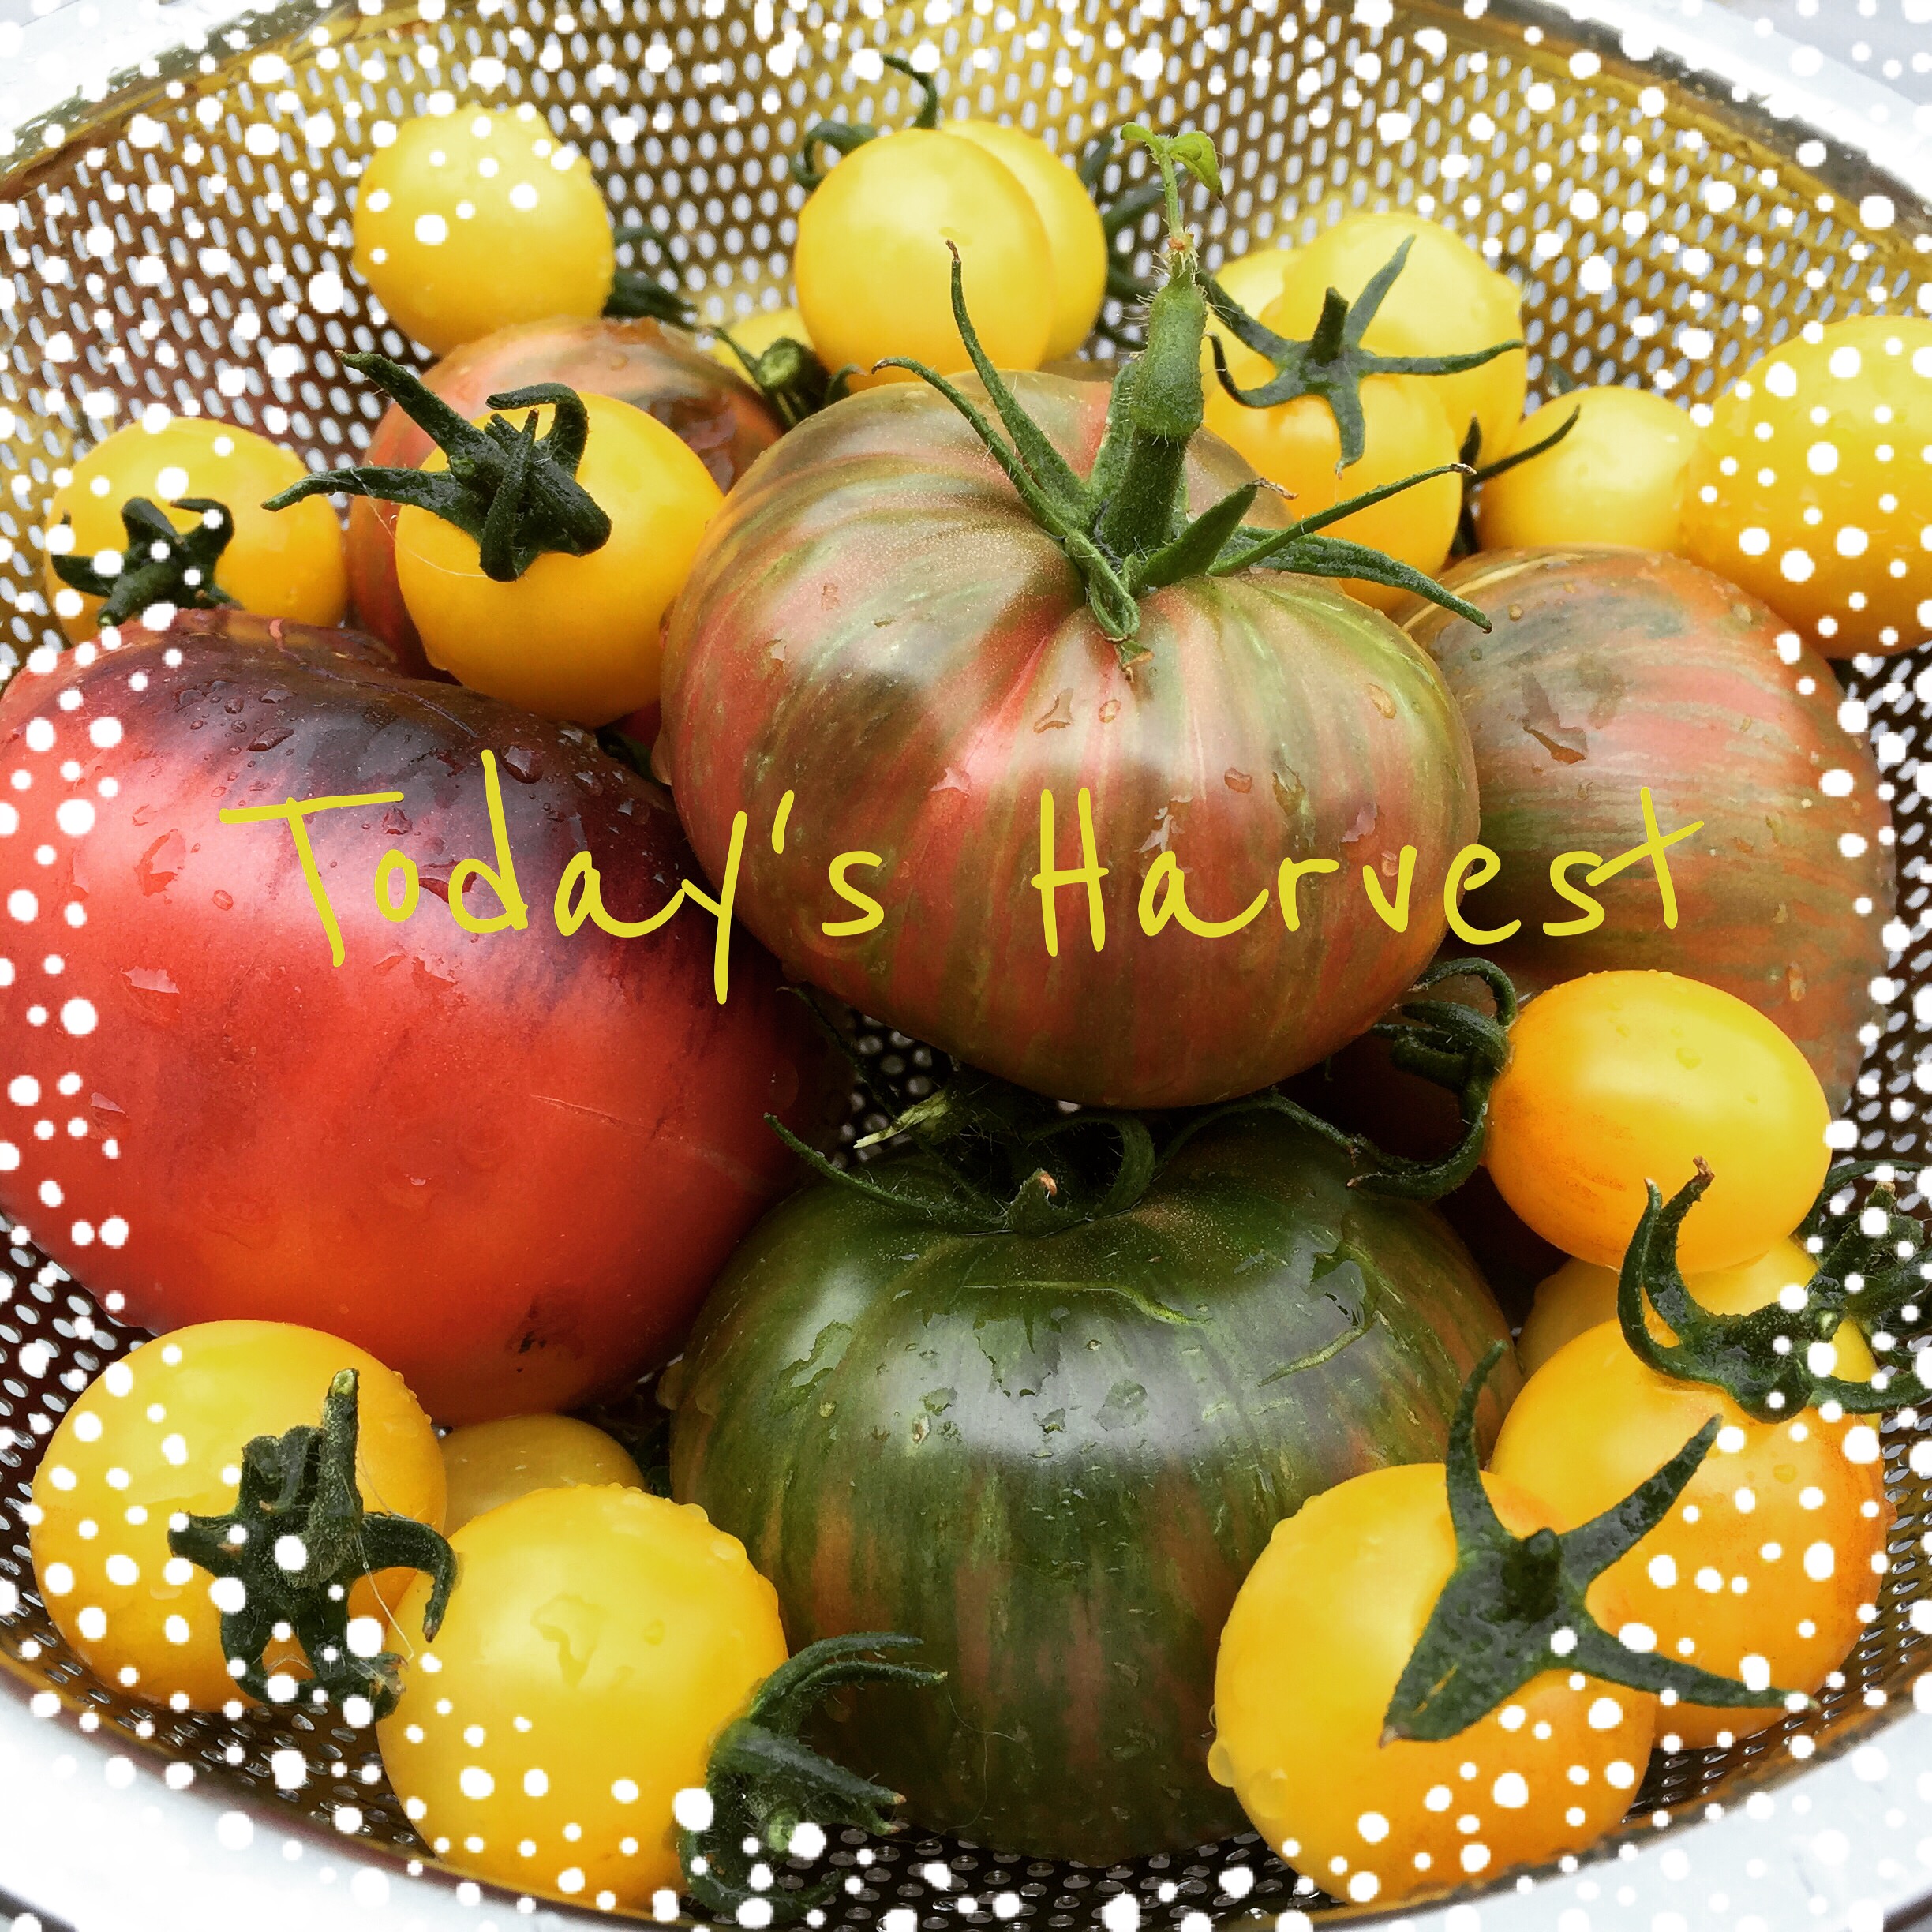
It’s getting to be that time of year where our gardens are producing faster than we can use everything they produce. It’s a great problem to have. One solution to this problem is to share with some of your neighbors who don’t have gardens (I can’t tell you how many times I found zucchinis on my door step). But another solution may be to combine what you have into something very versatile, like pico de gallo.

Pico de gallo is something that can be served as an appetizer with tortilla chips, crackers, or even toasted bread. It can also be used as an enhancement to a main dish like chicken or fish. Just put it on top and it will send your protein over the moon. It can also be eaten as a salad substitute. And it is a great way to use your garden bounty.

There are many recipes for pico, and they are all very easy to make. I made mine based on various recipes and what was available in my garden. And you can do the same. So I’ll share my recipe but know that you can adjust it to what you have on hand and the level of heat that you want.

So let’s talk pico de gallo…

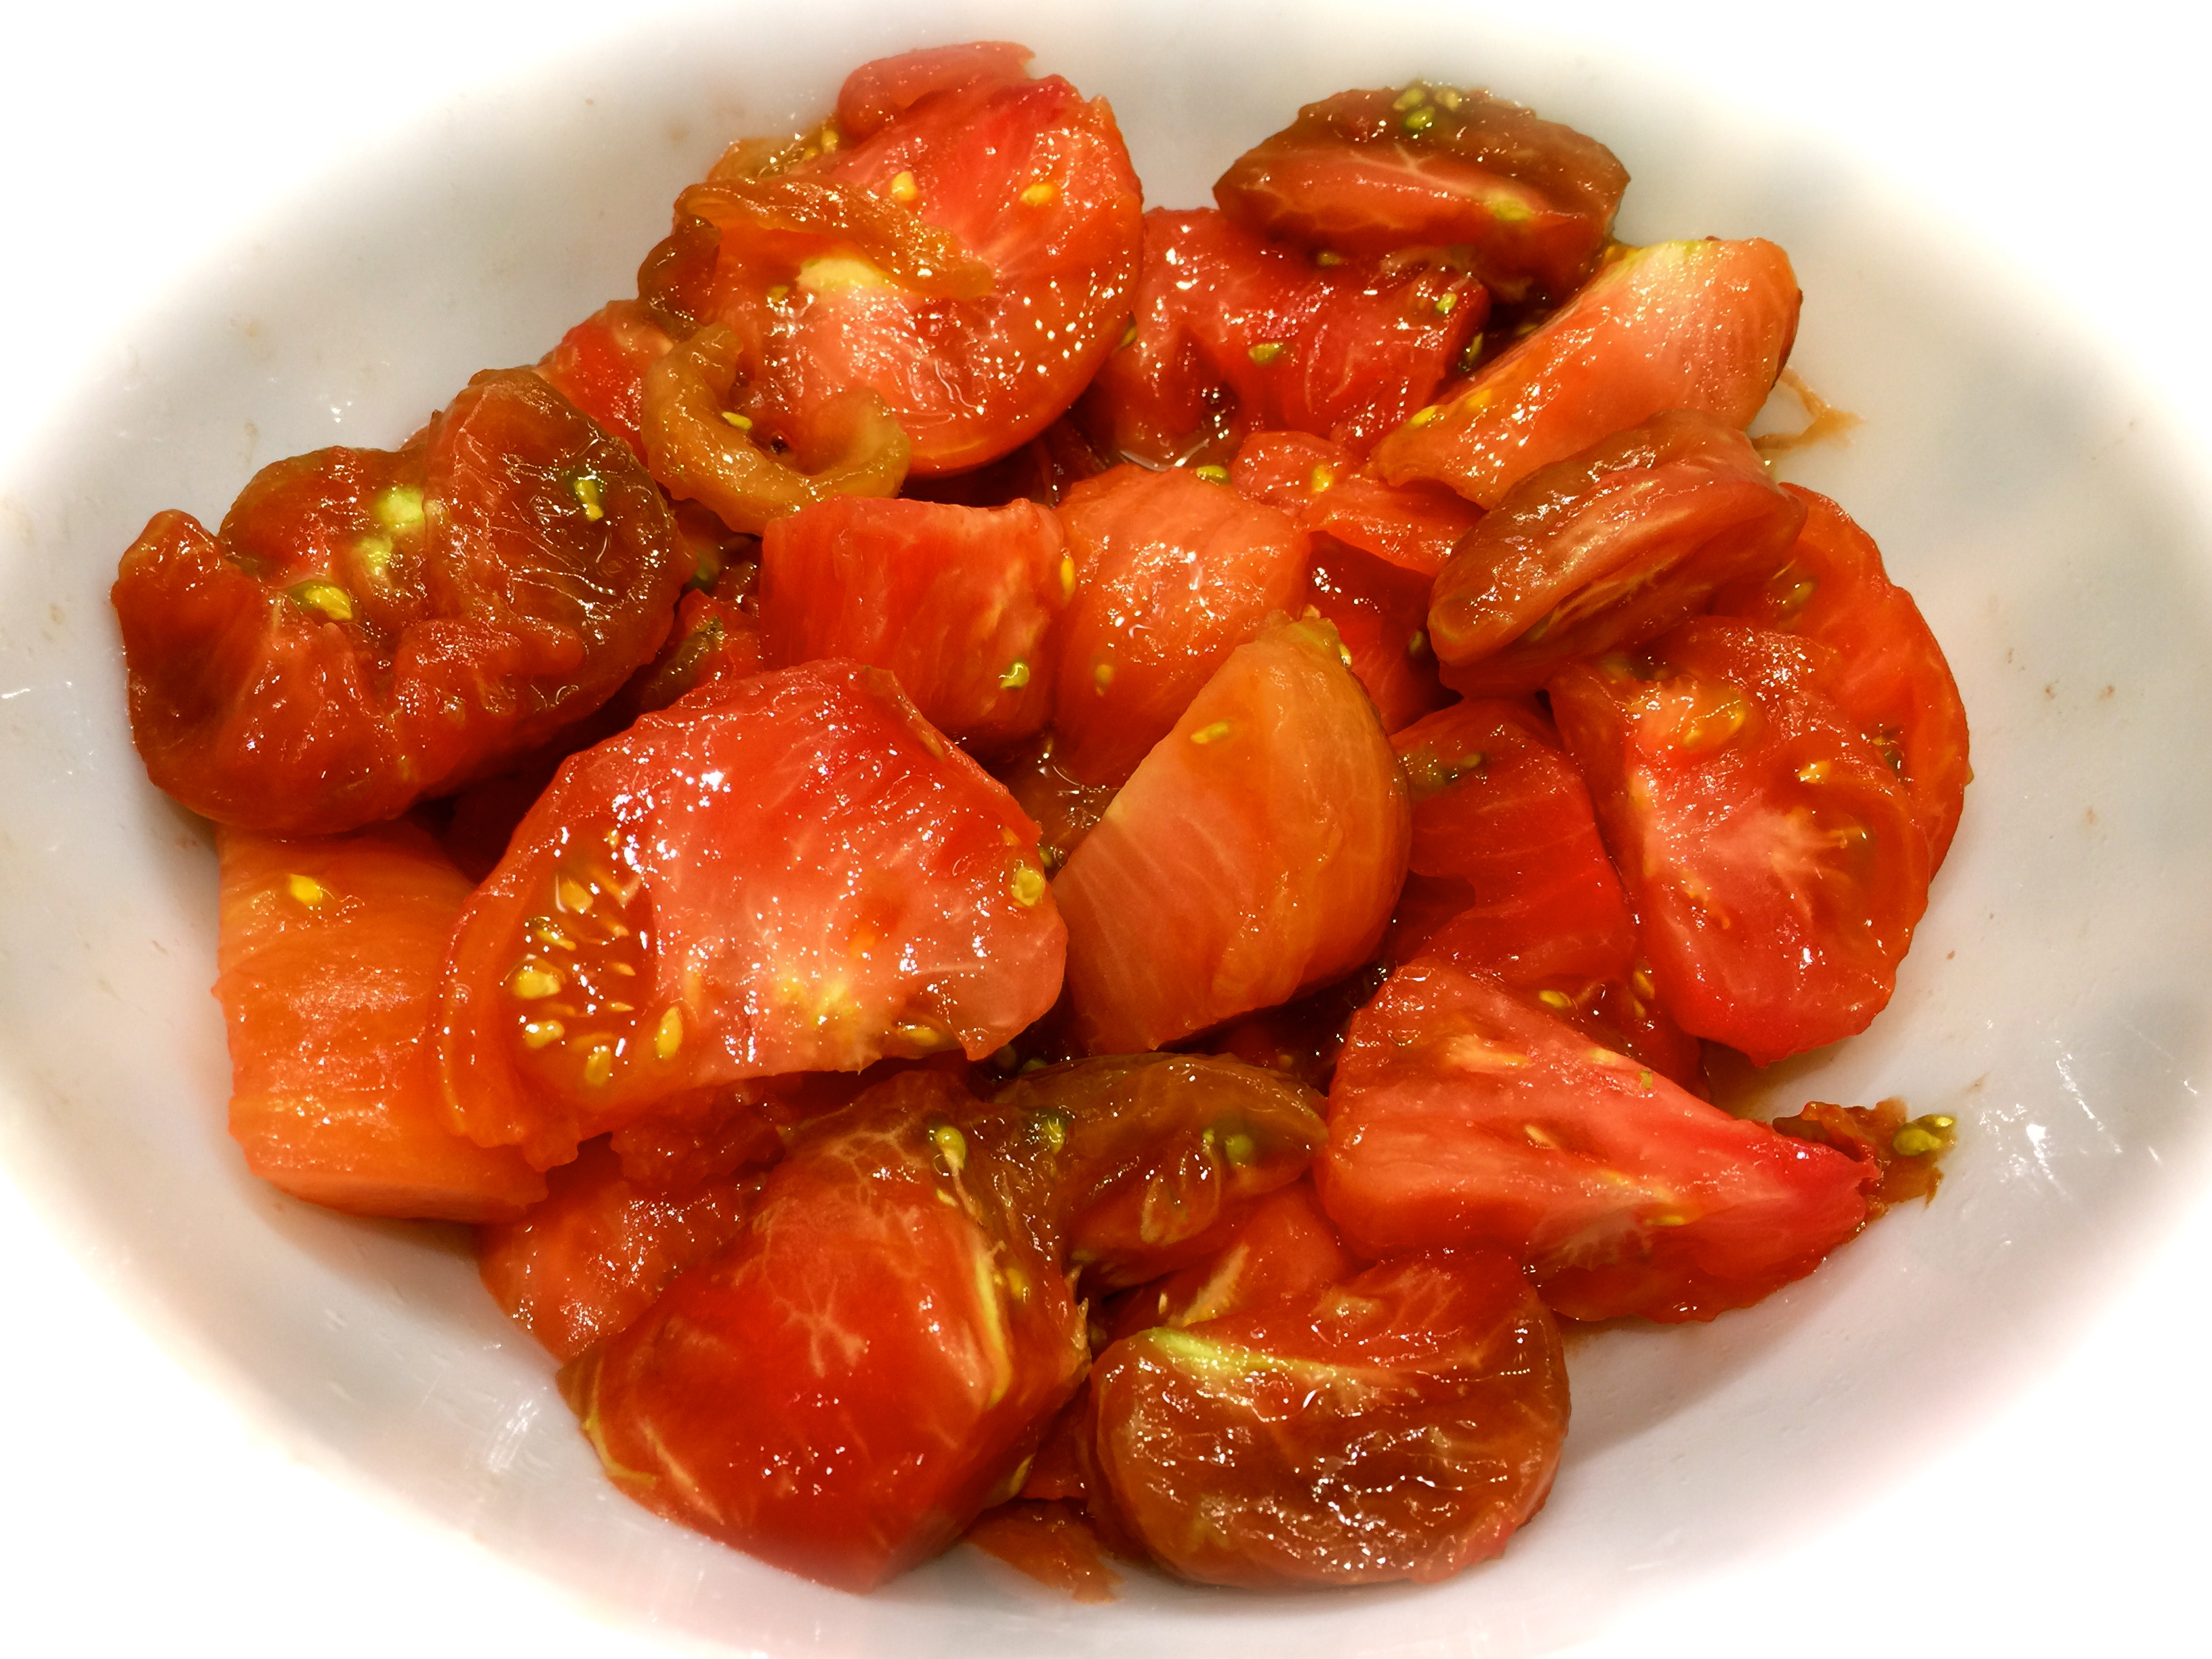
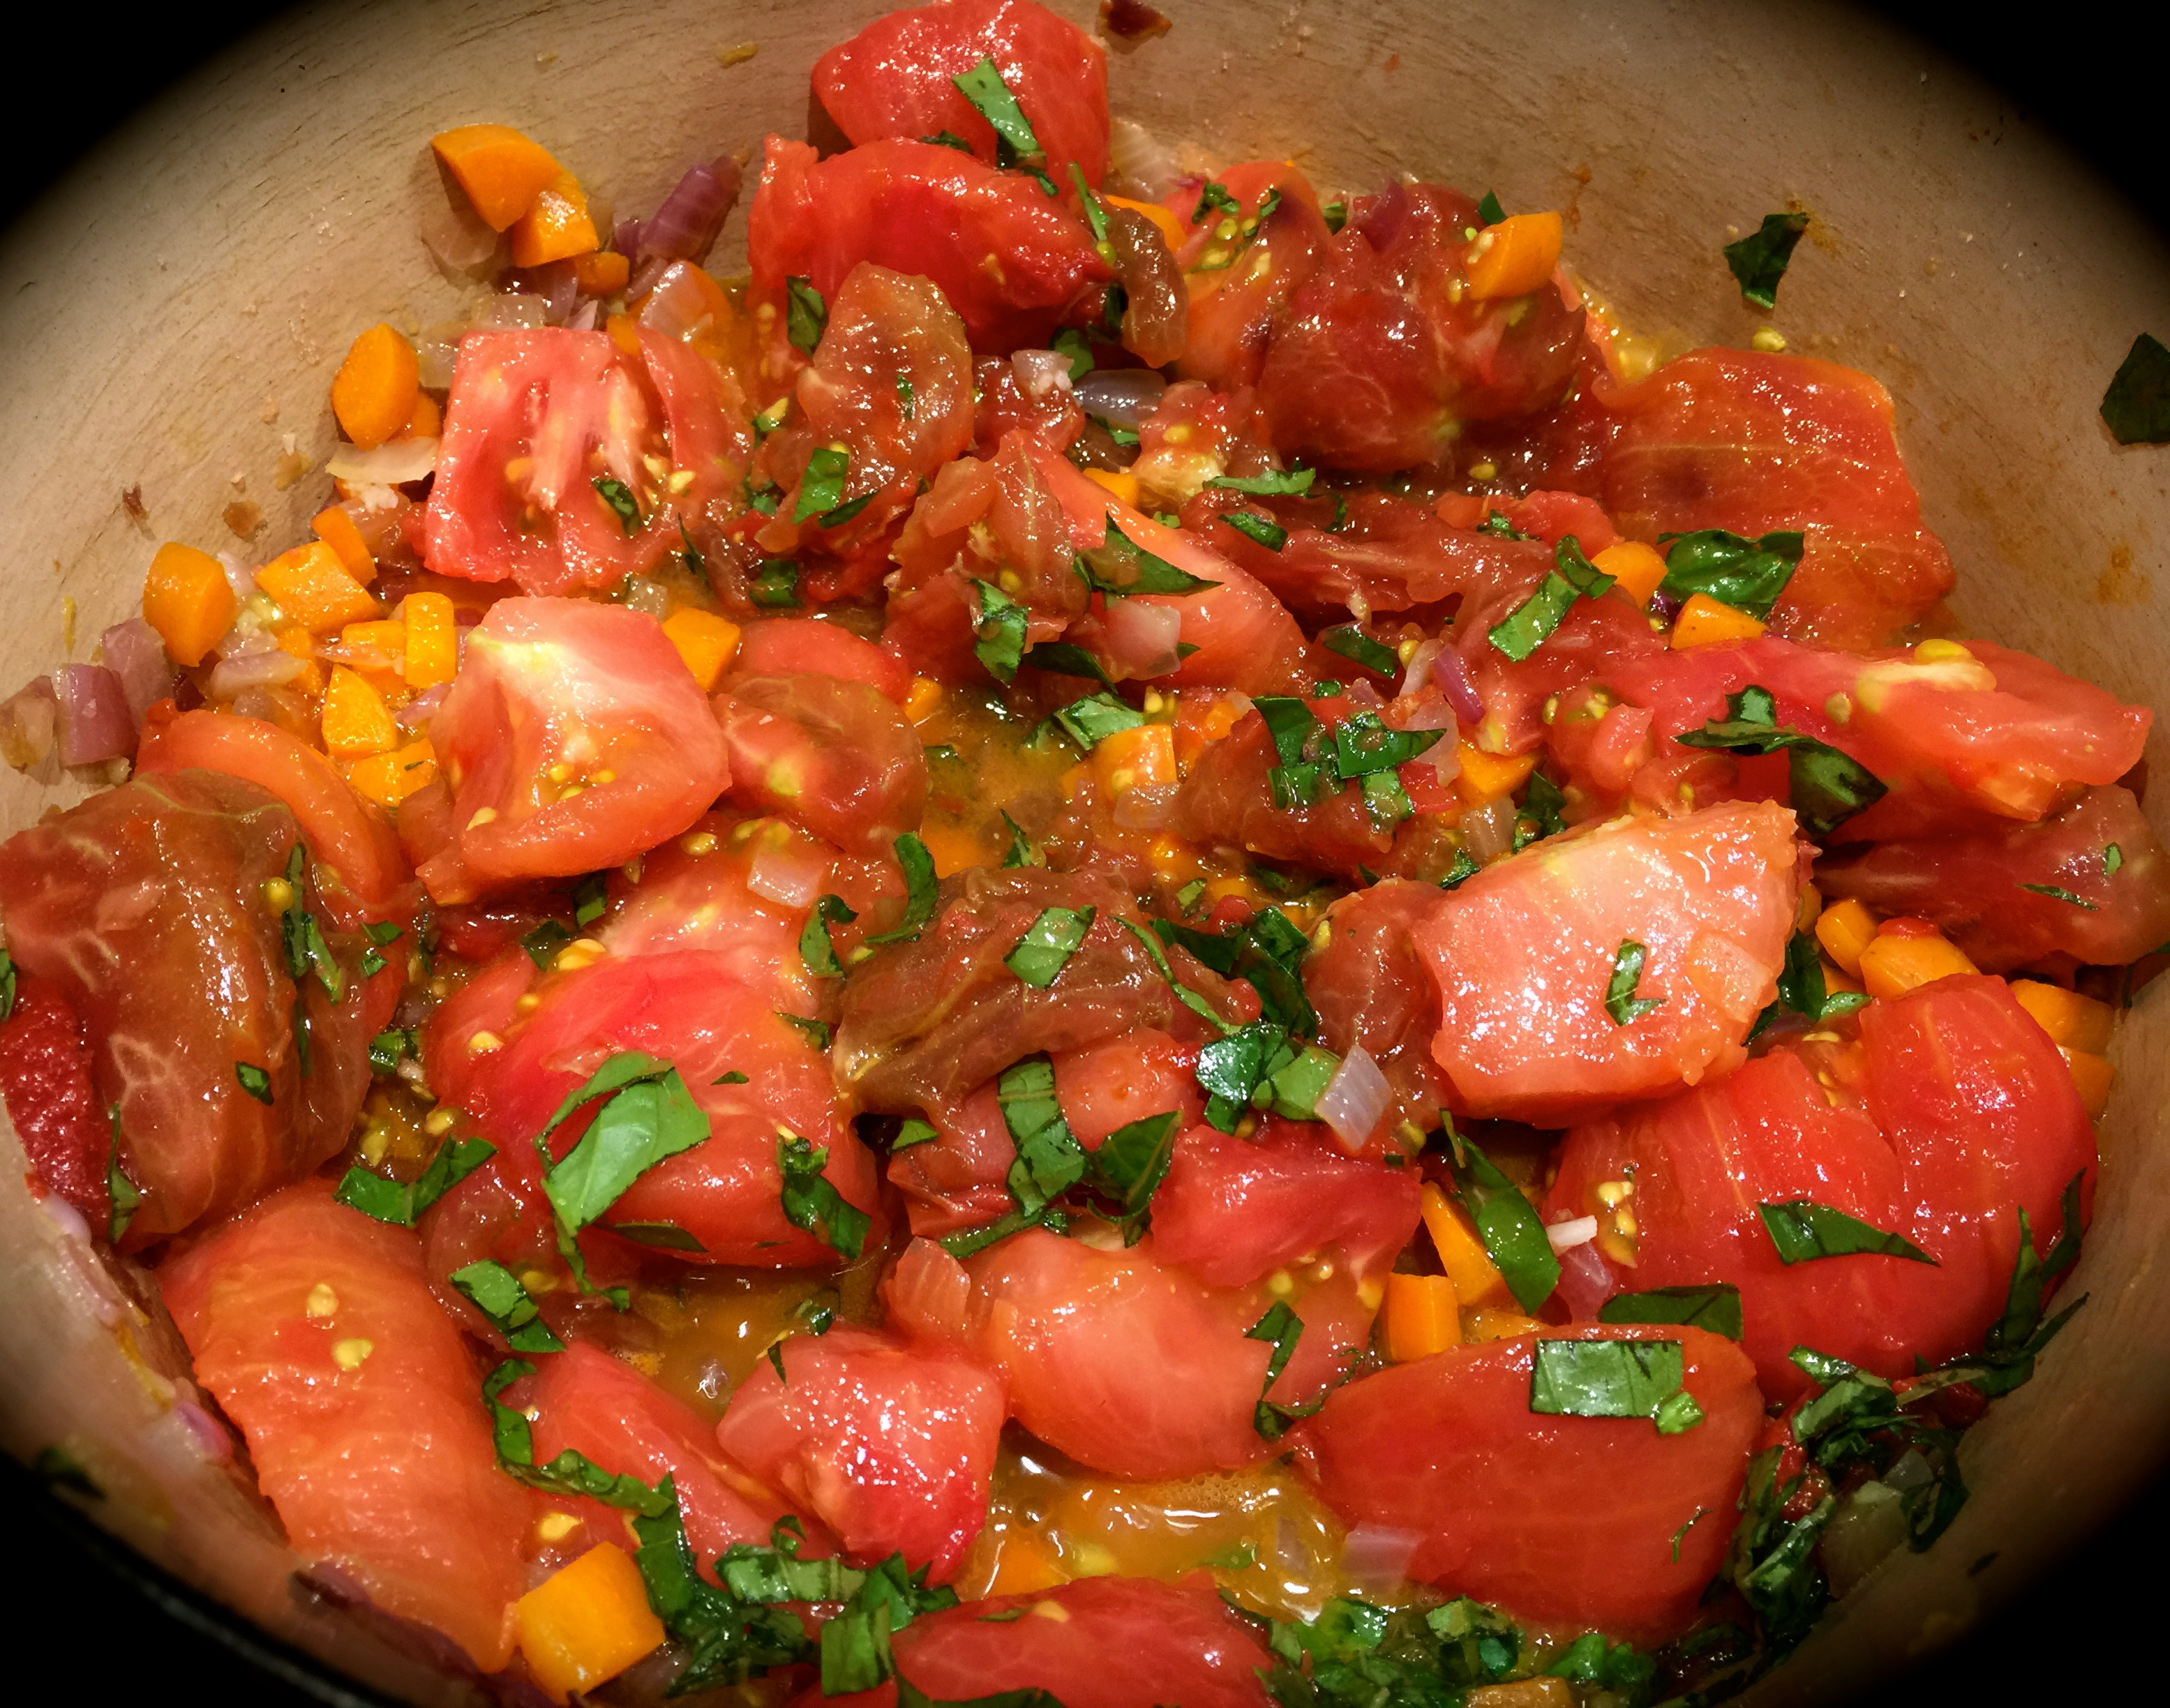
Lesson Learned 1 – I recommend prepping the tomatoes first: There’s a good reason for this. Tomatoes are filled with moisture and you want to give them an opportunity to release some of that moisture before you mix them with the other ingredients. You don’t want soggy pico de gallo. I chopped my tomatoes into small bite size squares and placed them in a strainer over a bowl. That way I could drain off their excess water. With the amount of tomatoes I used, I had about a quarter of a cup of liquid drain out of them. That’s quite a bit. And every once in a while I would stir them to release more water.  Don’t worry if you don’t get all of the liquid out. You’ll get most of it out and that will be good enough.

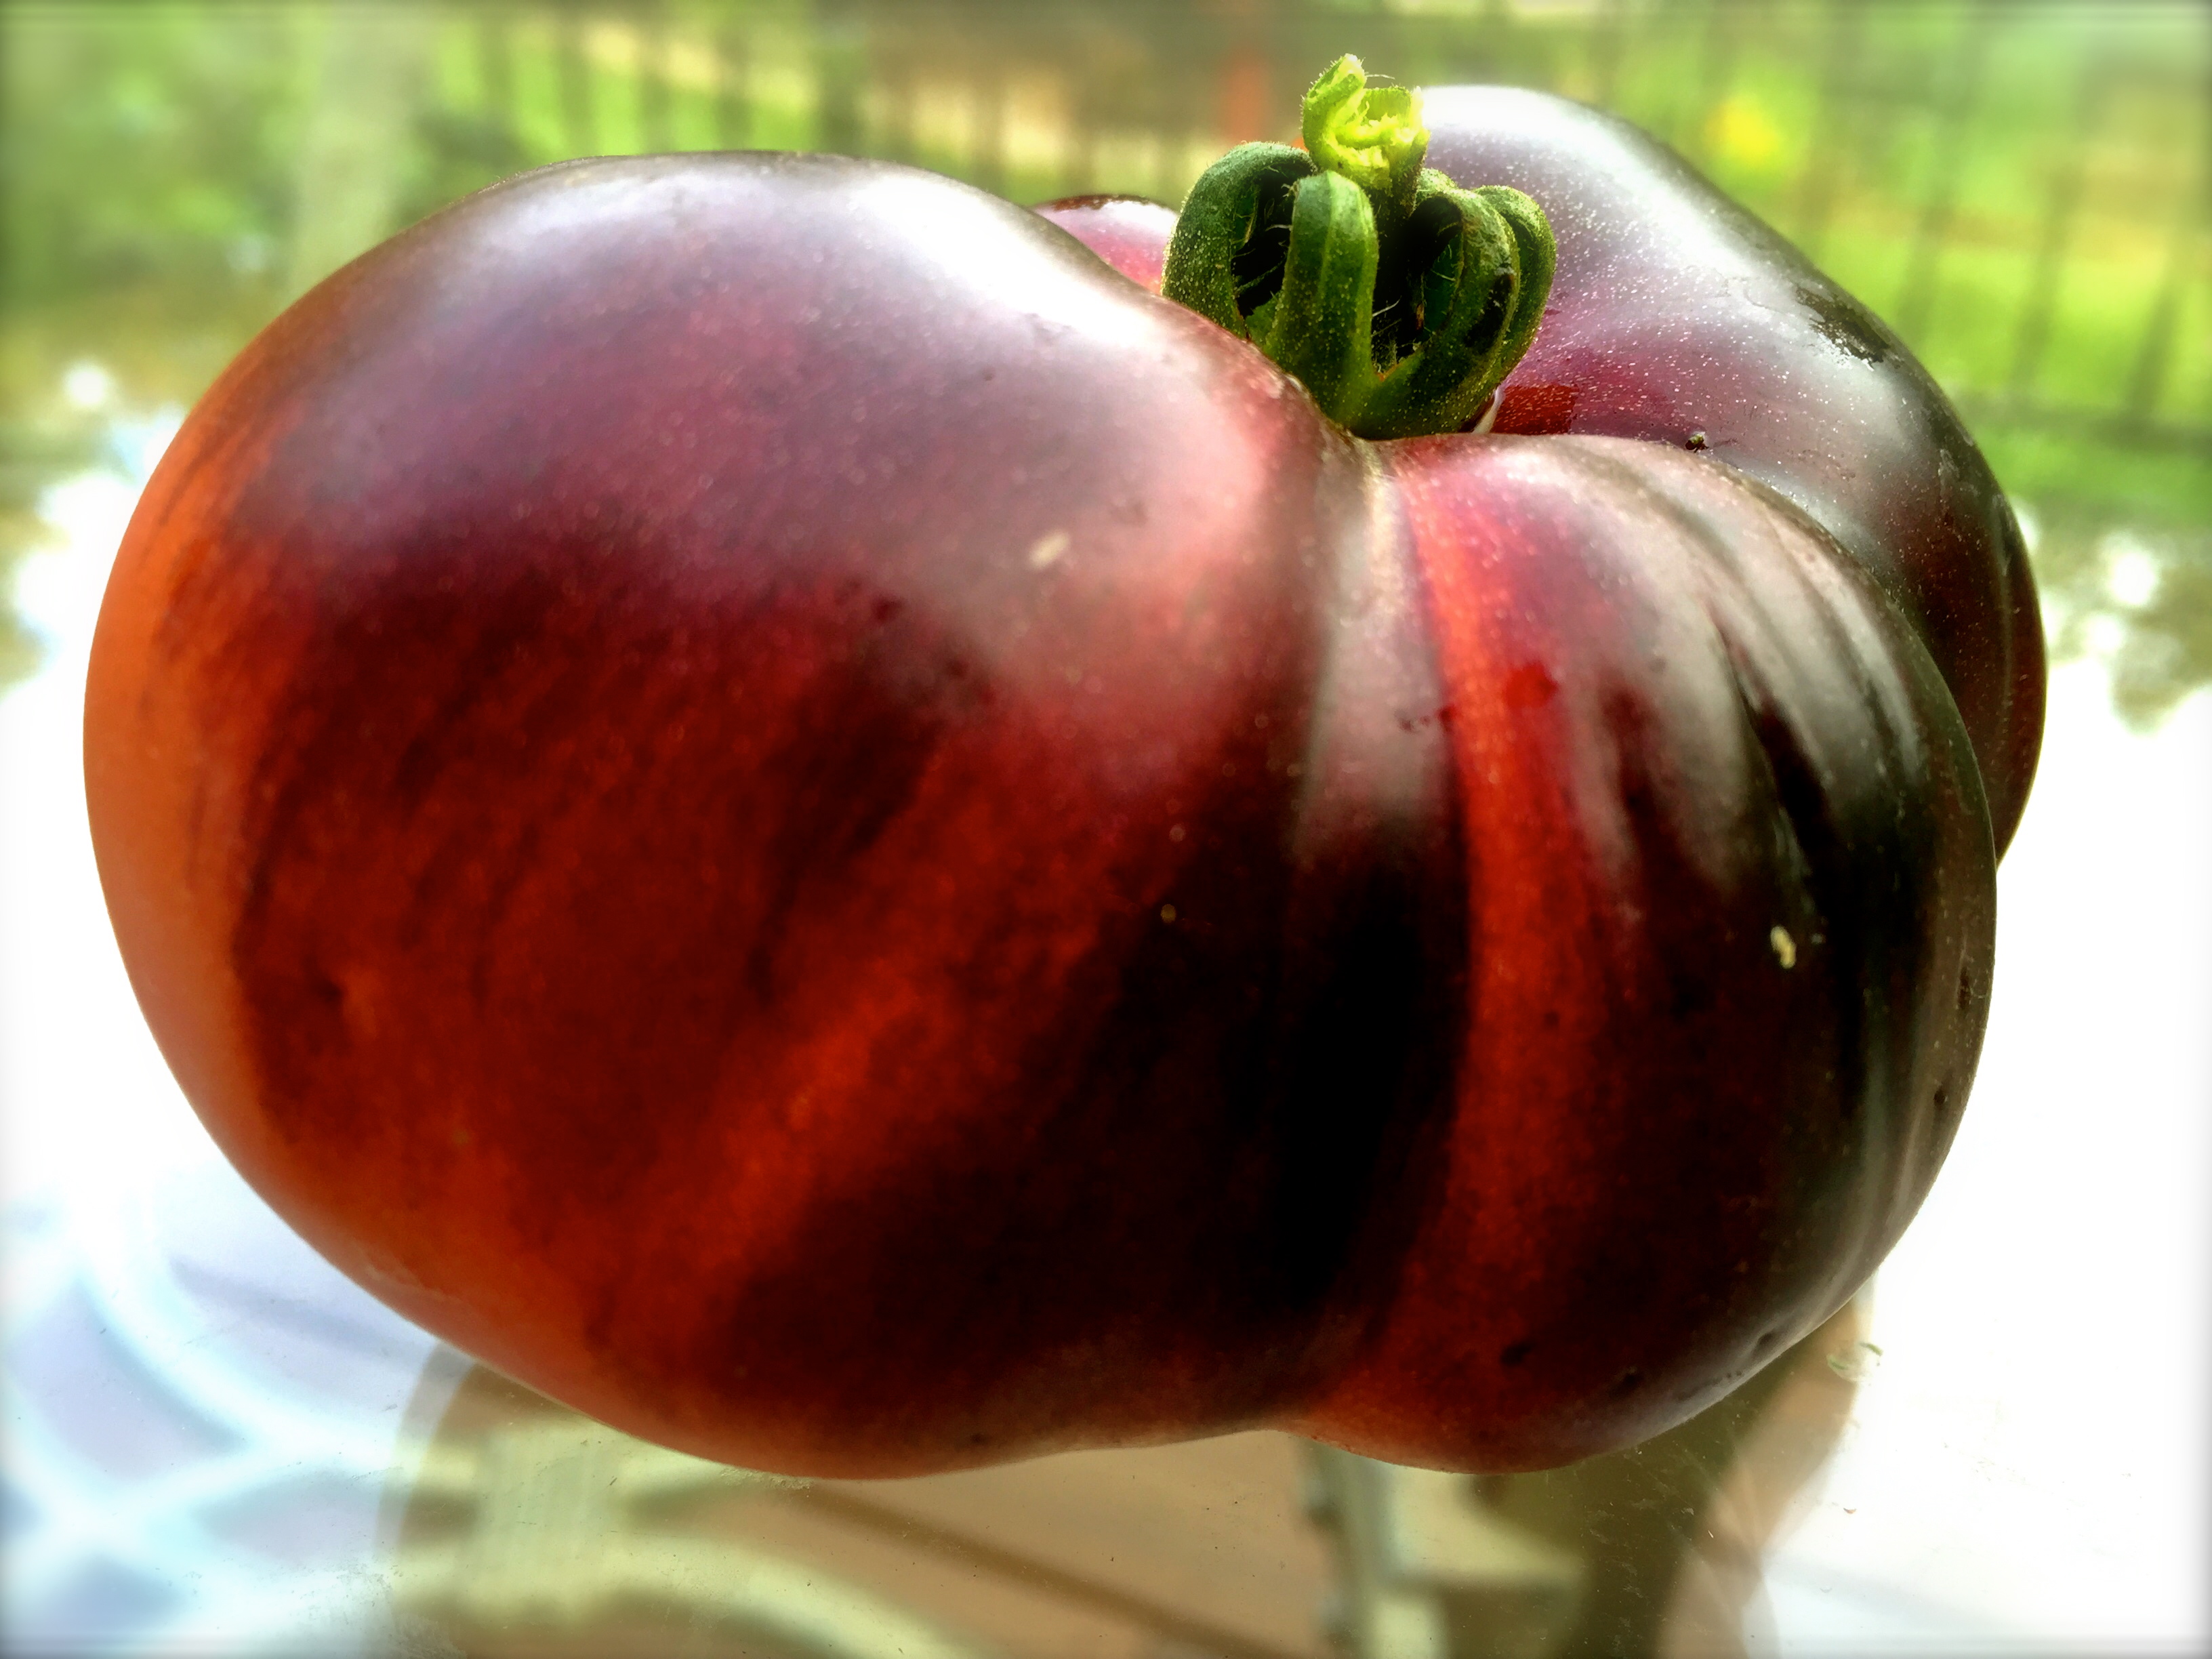
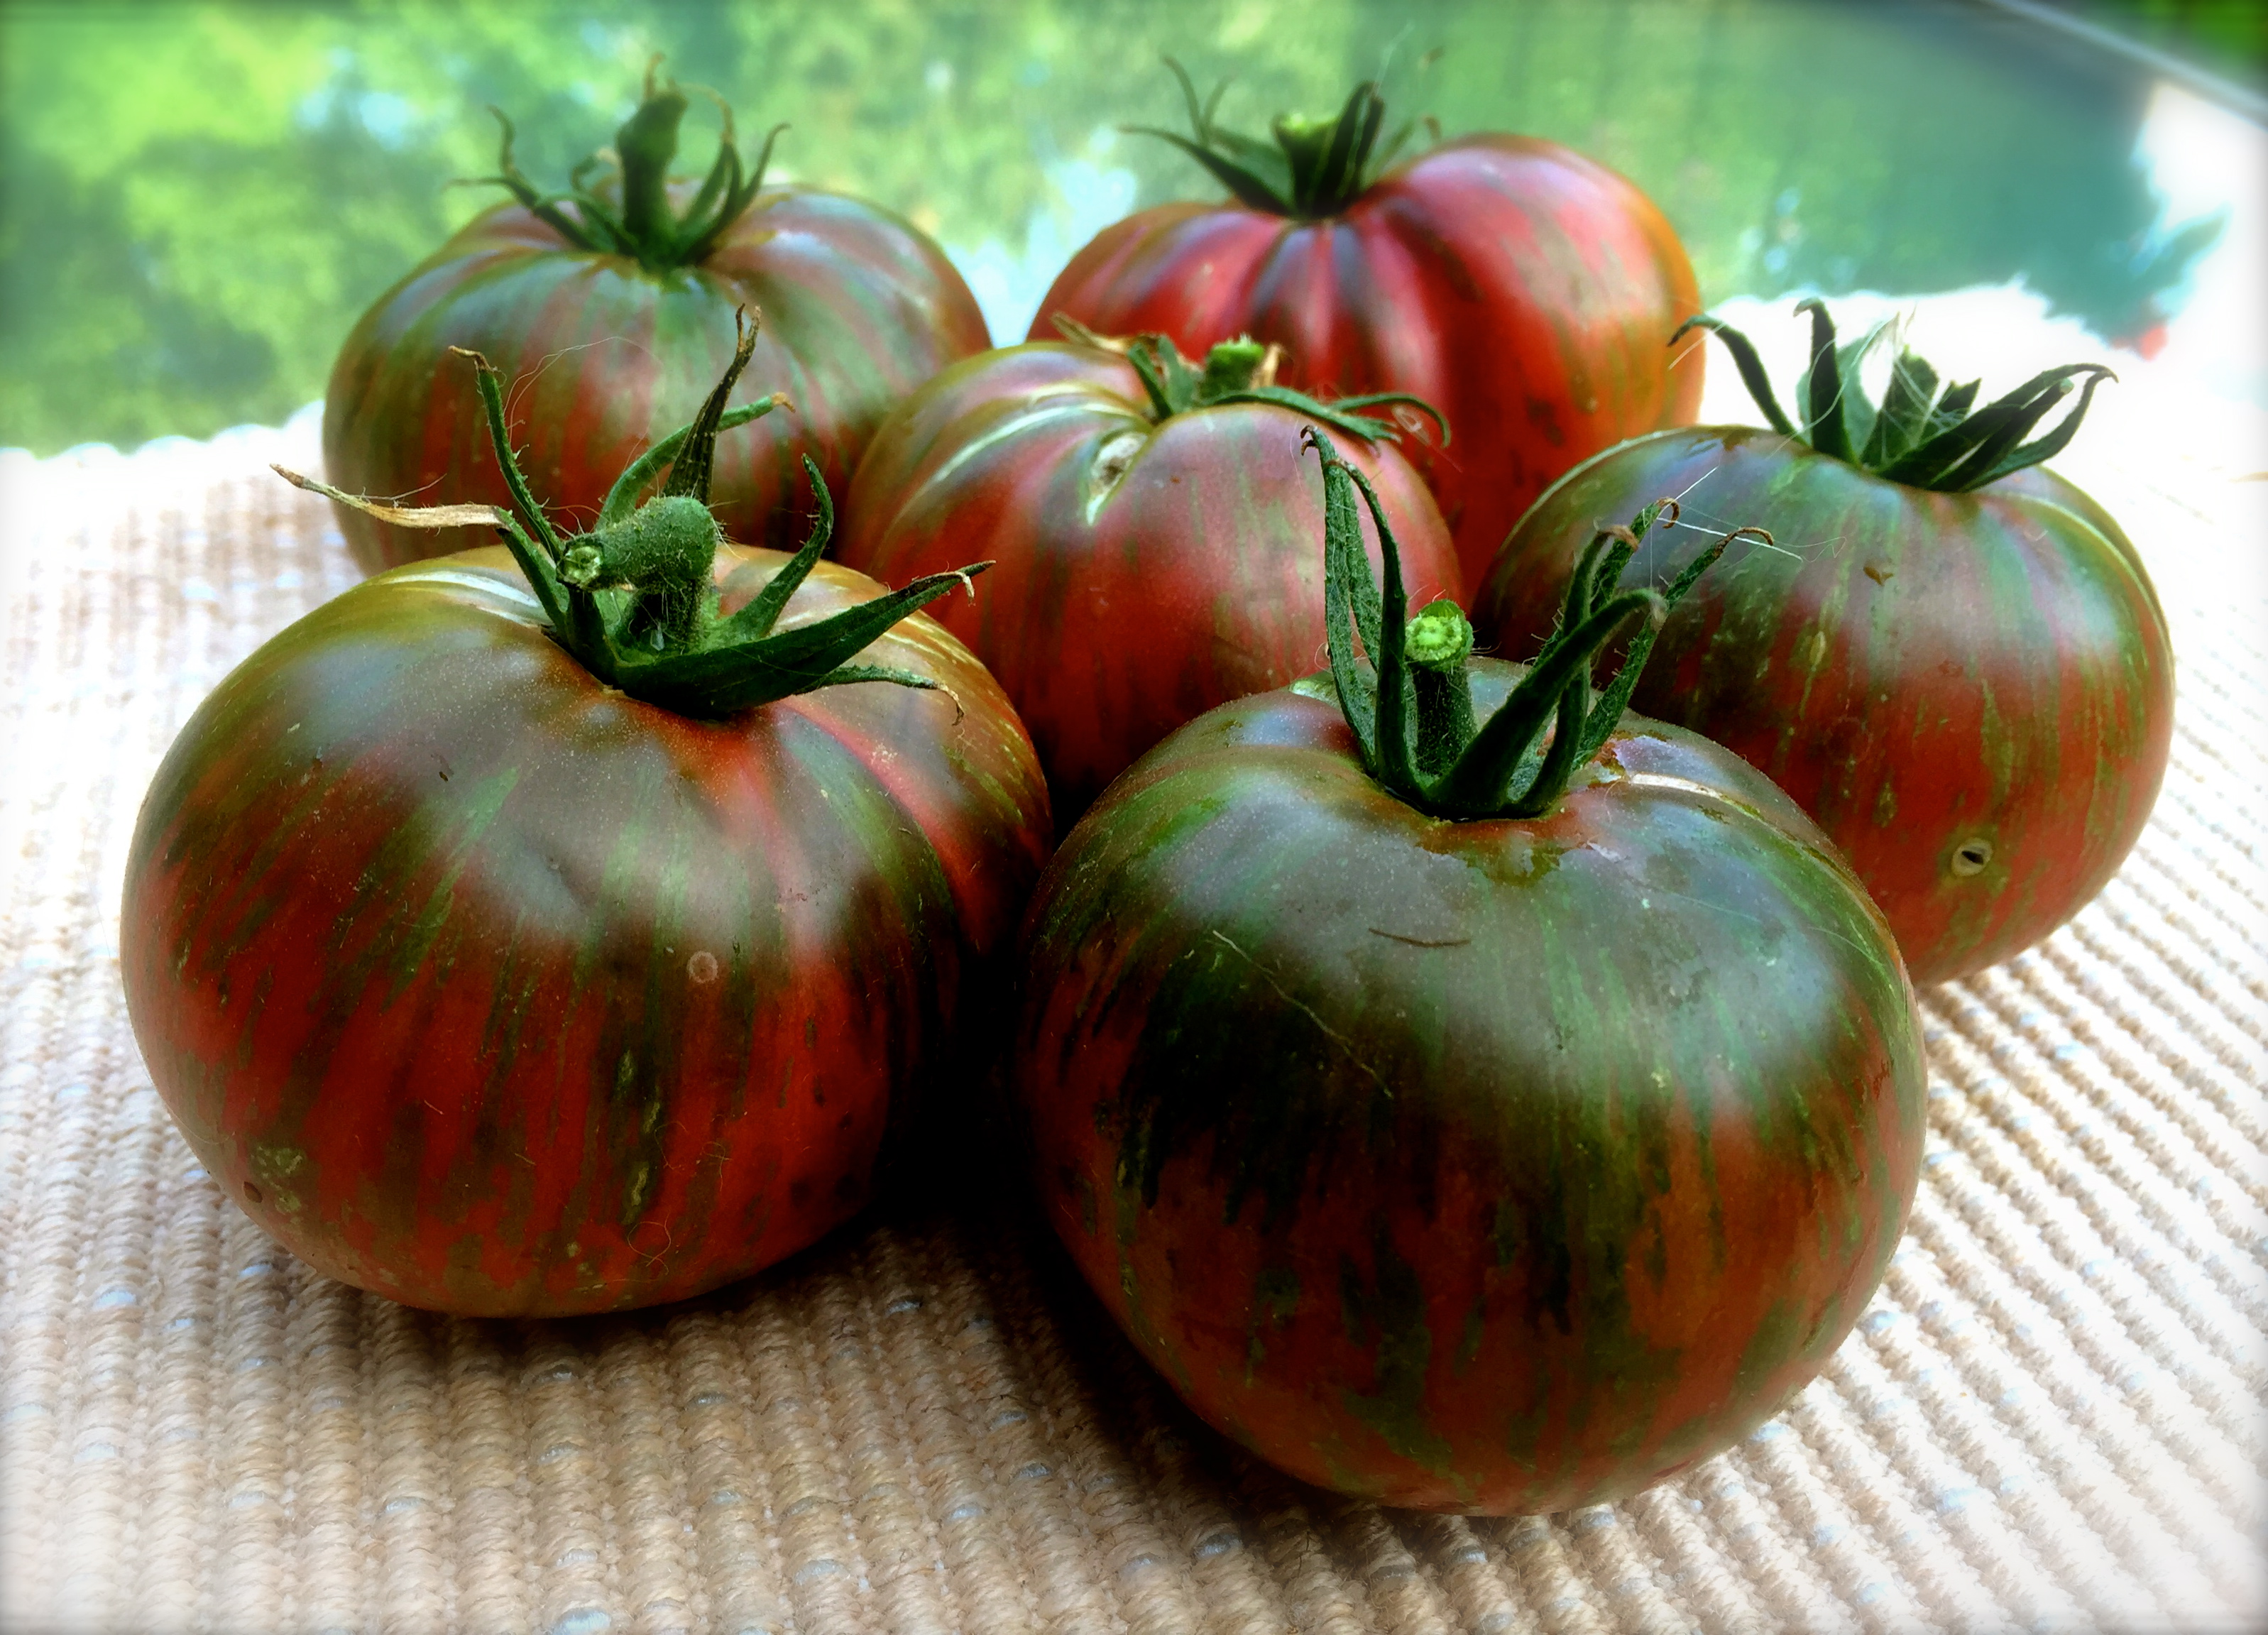
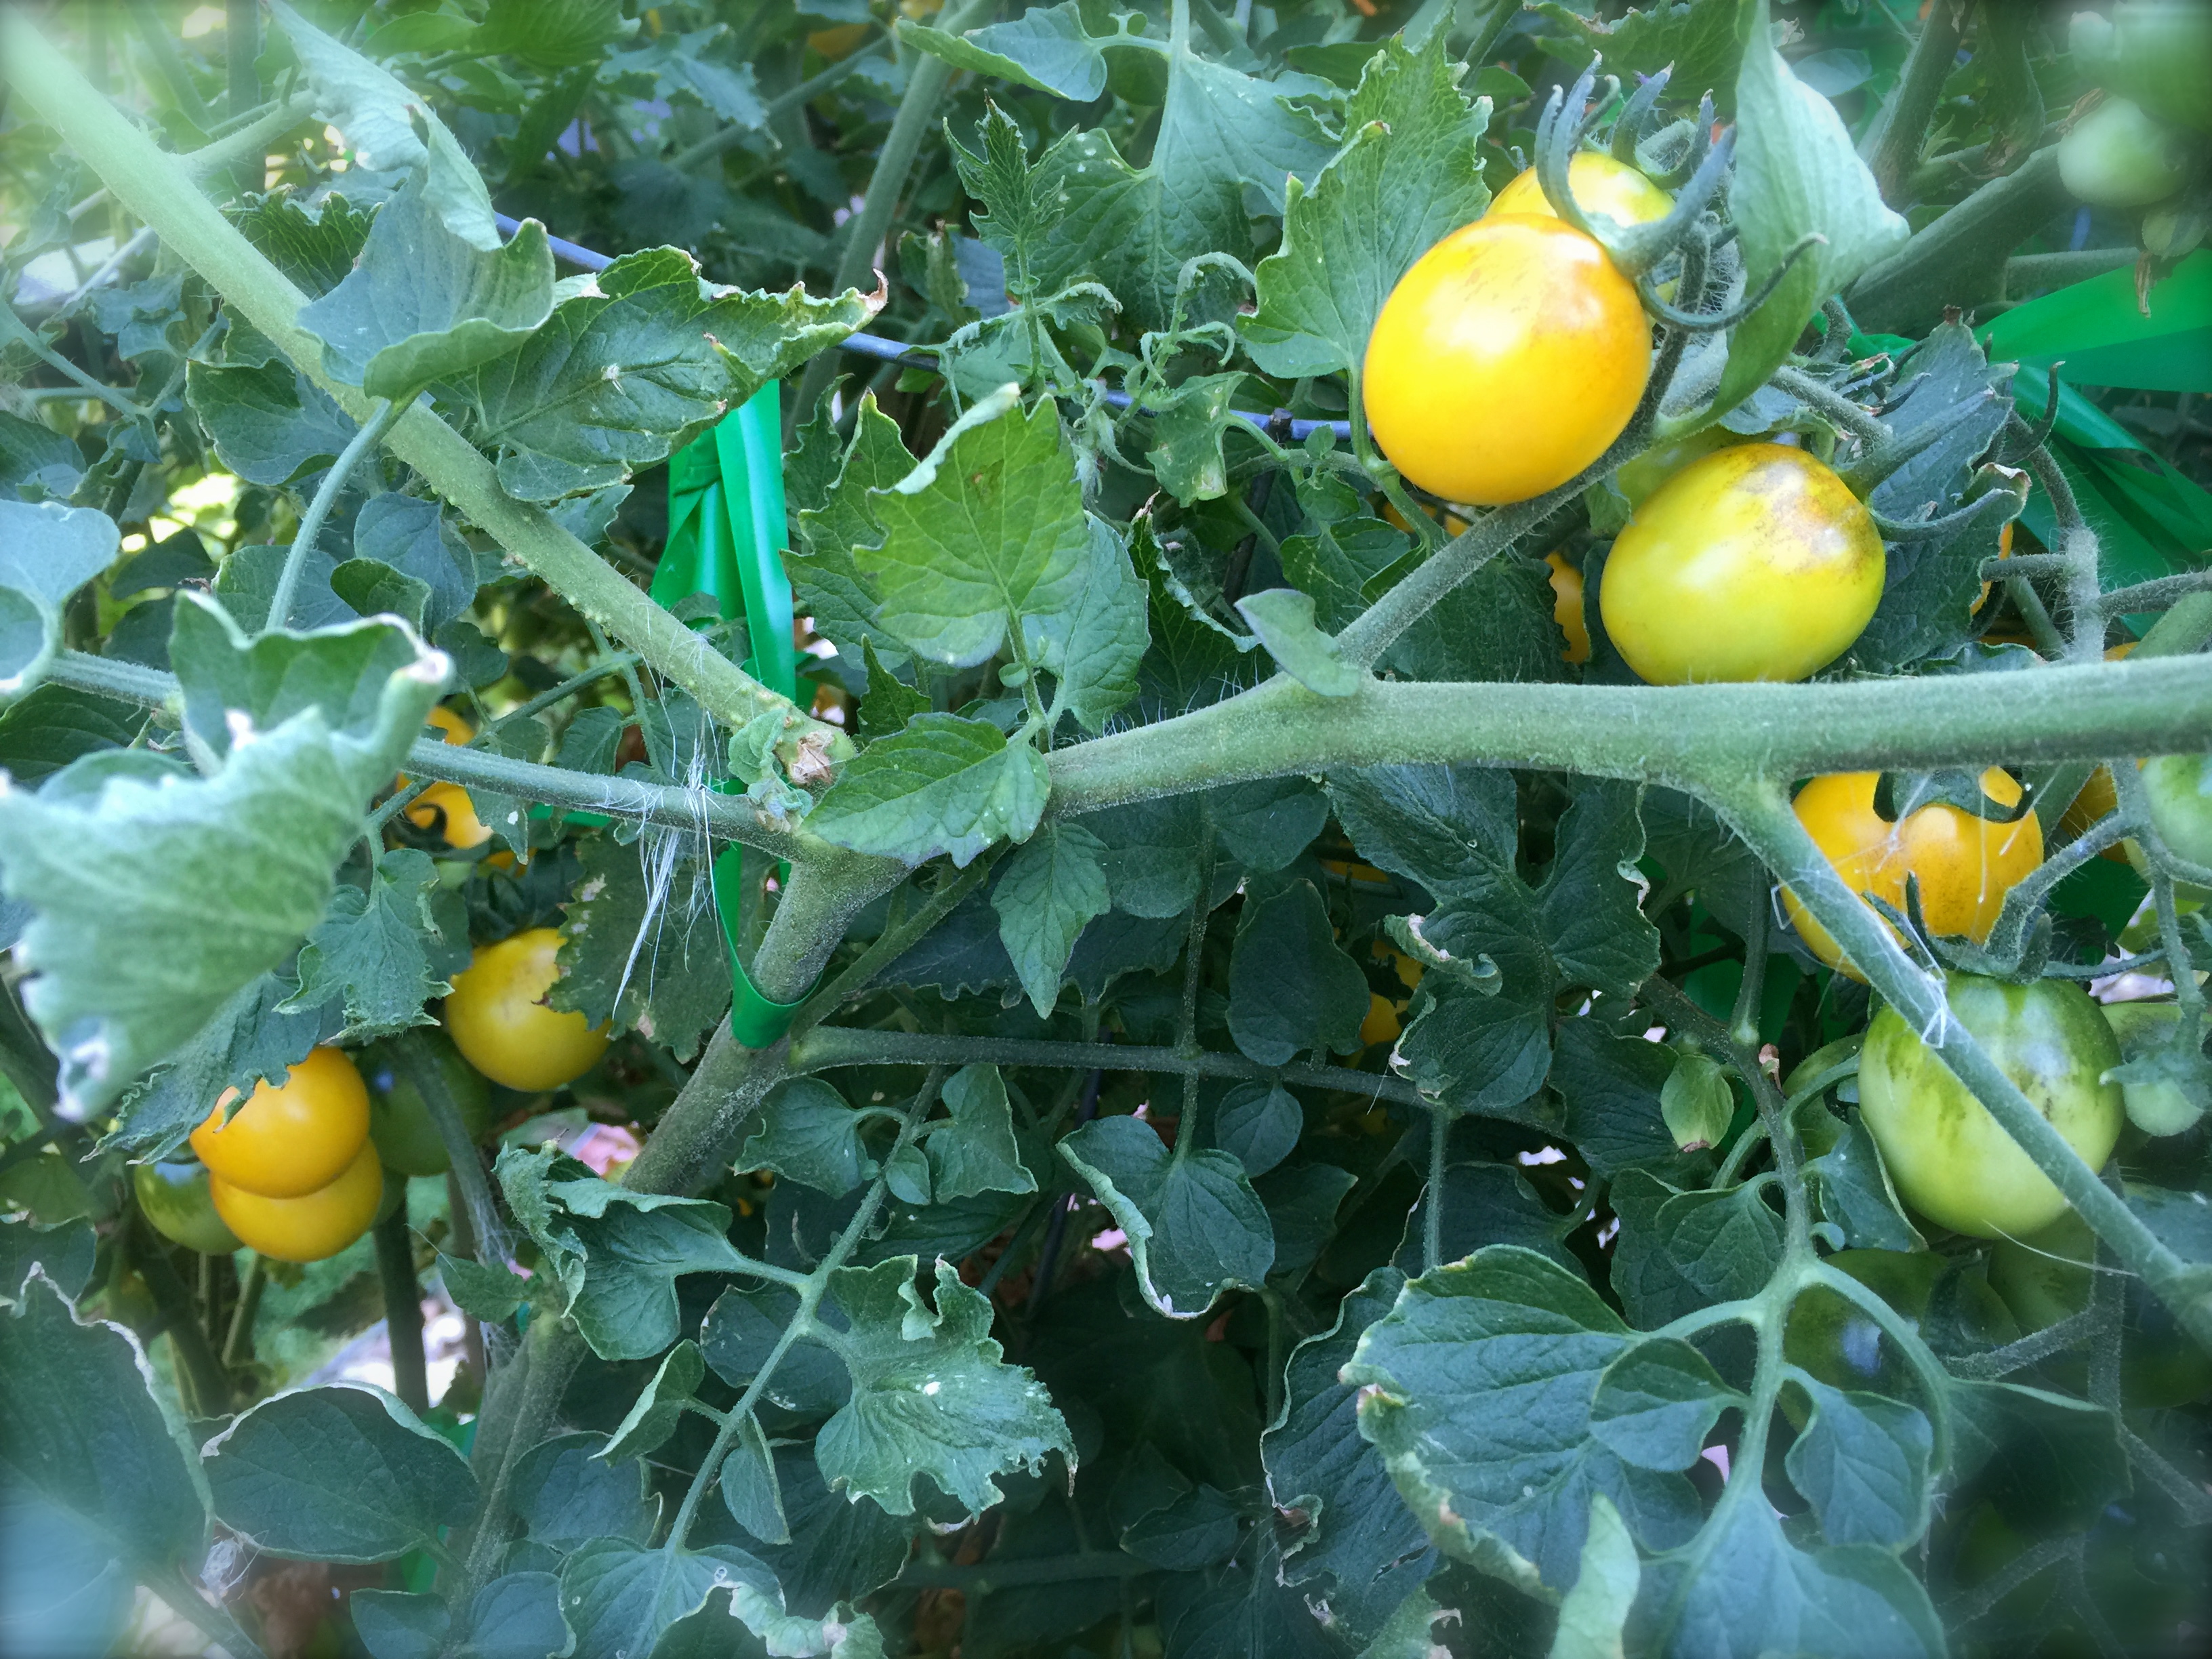
I also recommend using either roma or campari tomatoes if you’re not using tomatoes from your garden. I find them to be a little less watery and more conducive to holding up in this recipe. But in a few weeks my patio tomatoes will be ripe (they are already starting to turn red) and I will use them in this recipe. Use what you have – you can always drain the water from them no matter what kind you use.

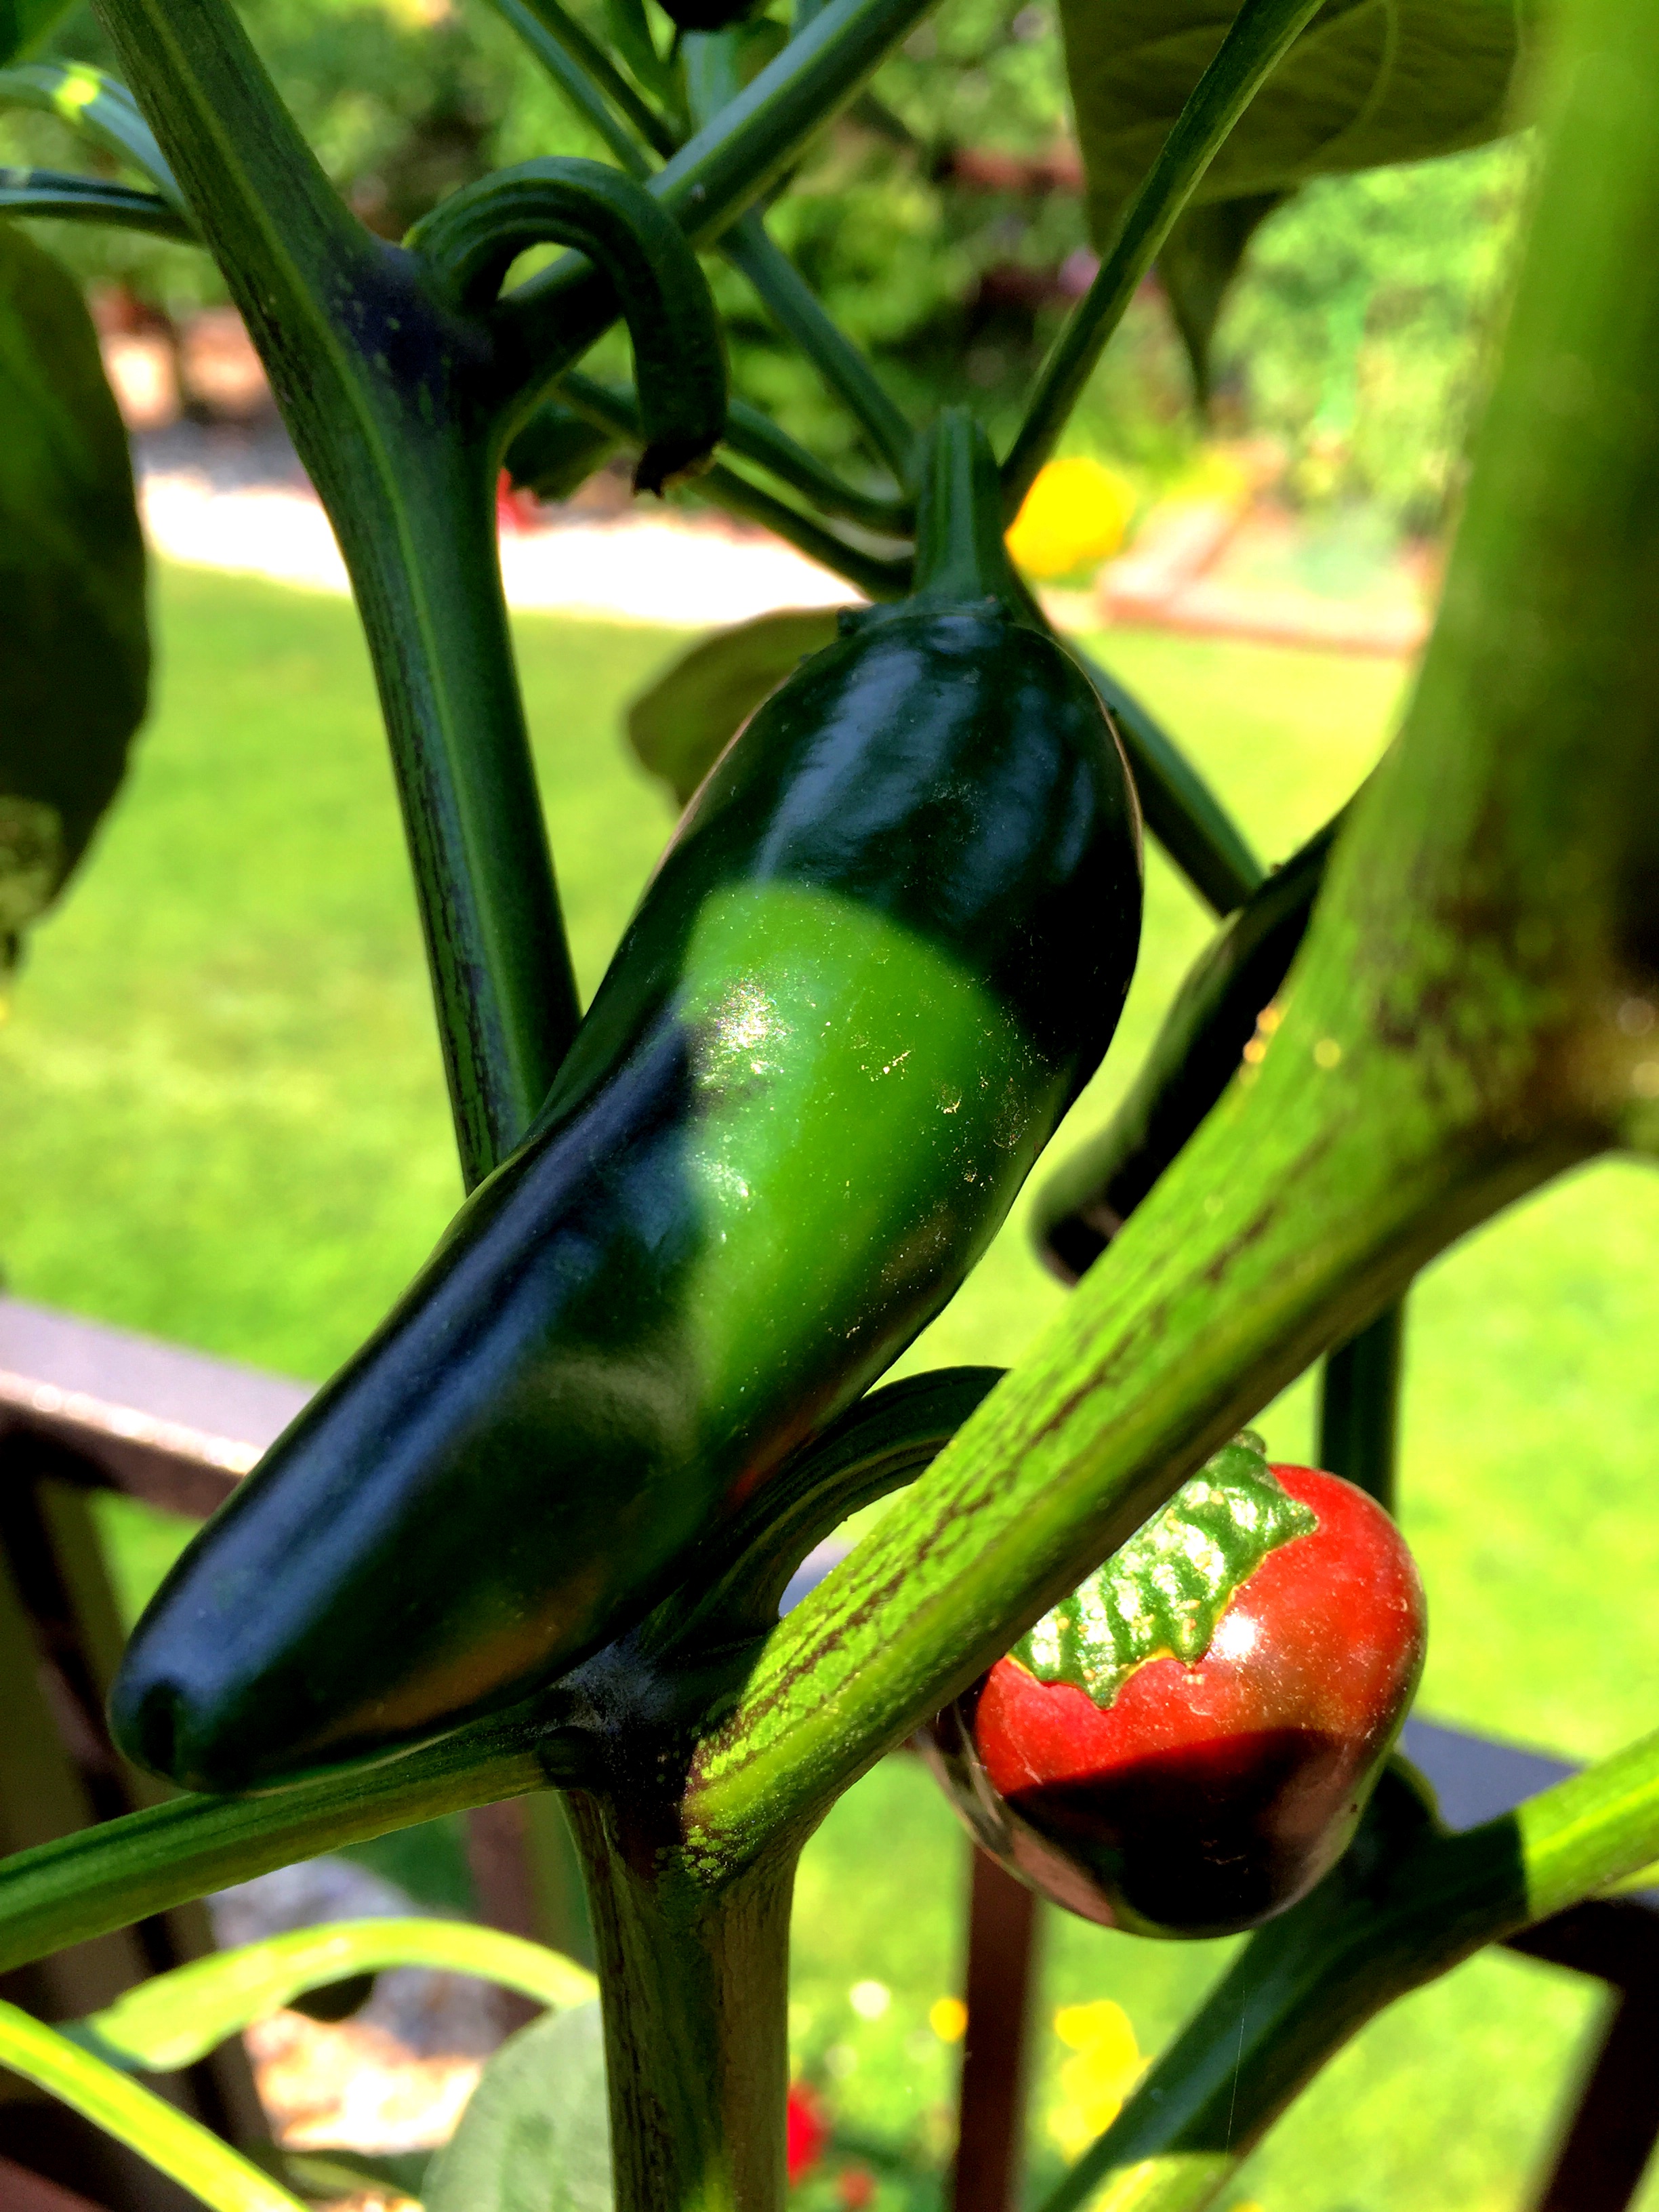
Lesson Learned 2 – Determine how much heat you want in your pico: Most recipes I saw suggested using one jalapeno pepper. I am growing banana peppers in my patio garden and I wanted to use those. Banana peppers have heat, but not as much as a jalapeno, so I used two of them and the pico had a nice but mild bite to it. Remember to scrape away the seeds on the inside of these peppers. That’s where you’ll find the highest concentration of heat. Here again you can choose what type of pepper you want to use depending on how much kick you want or can handle.

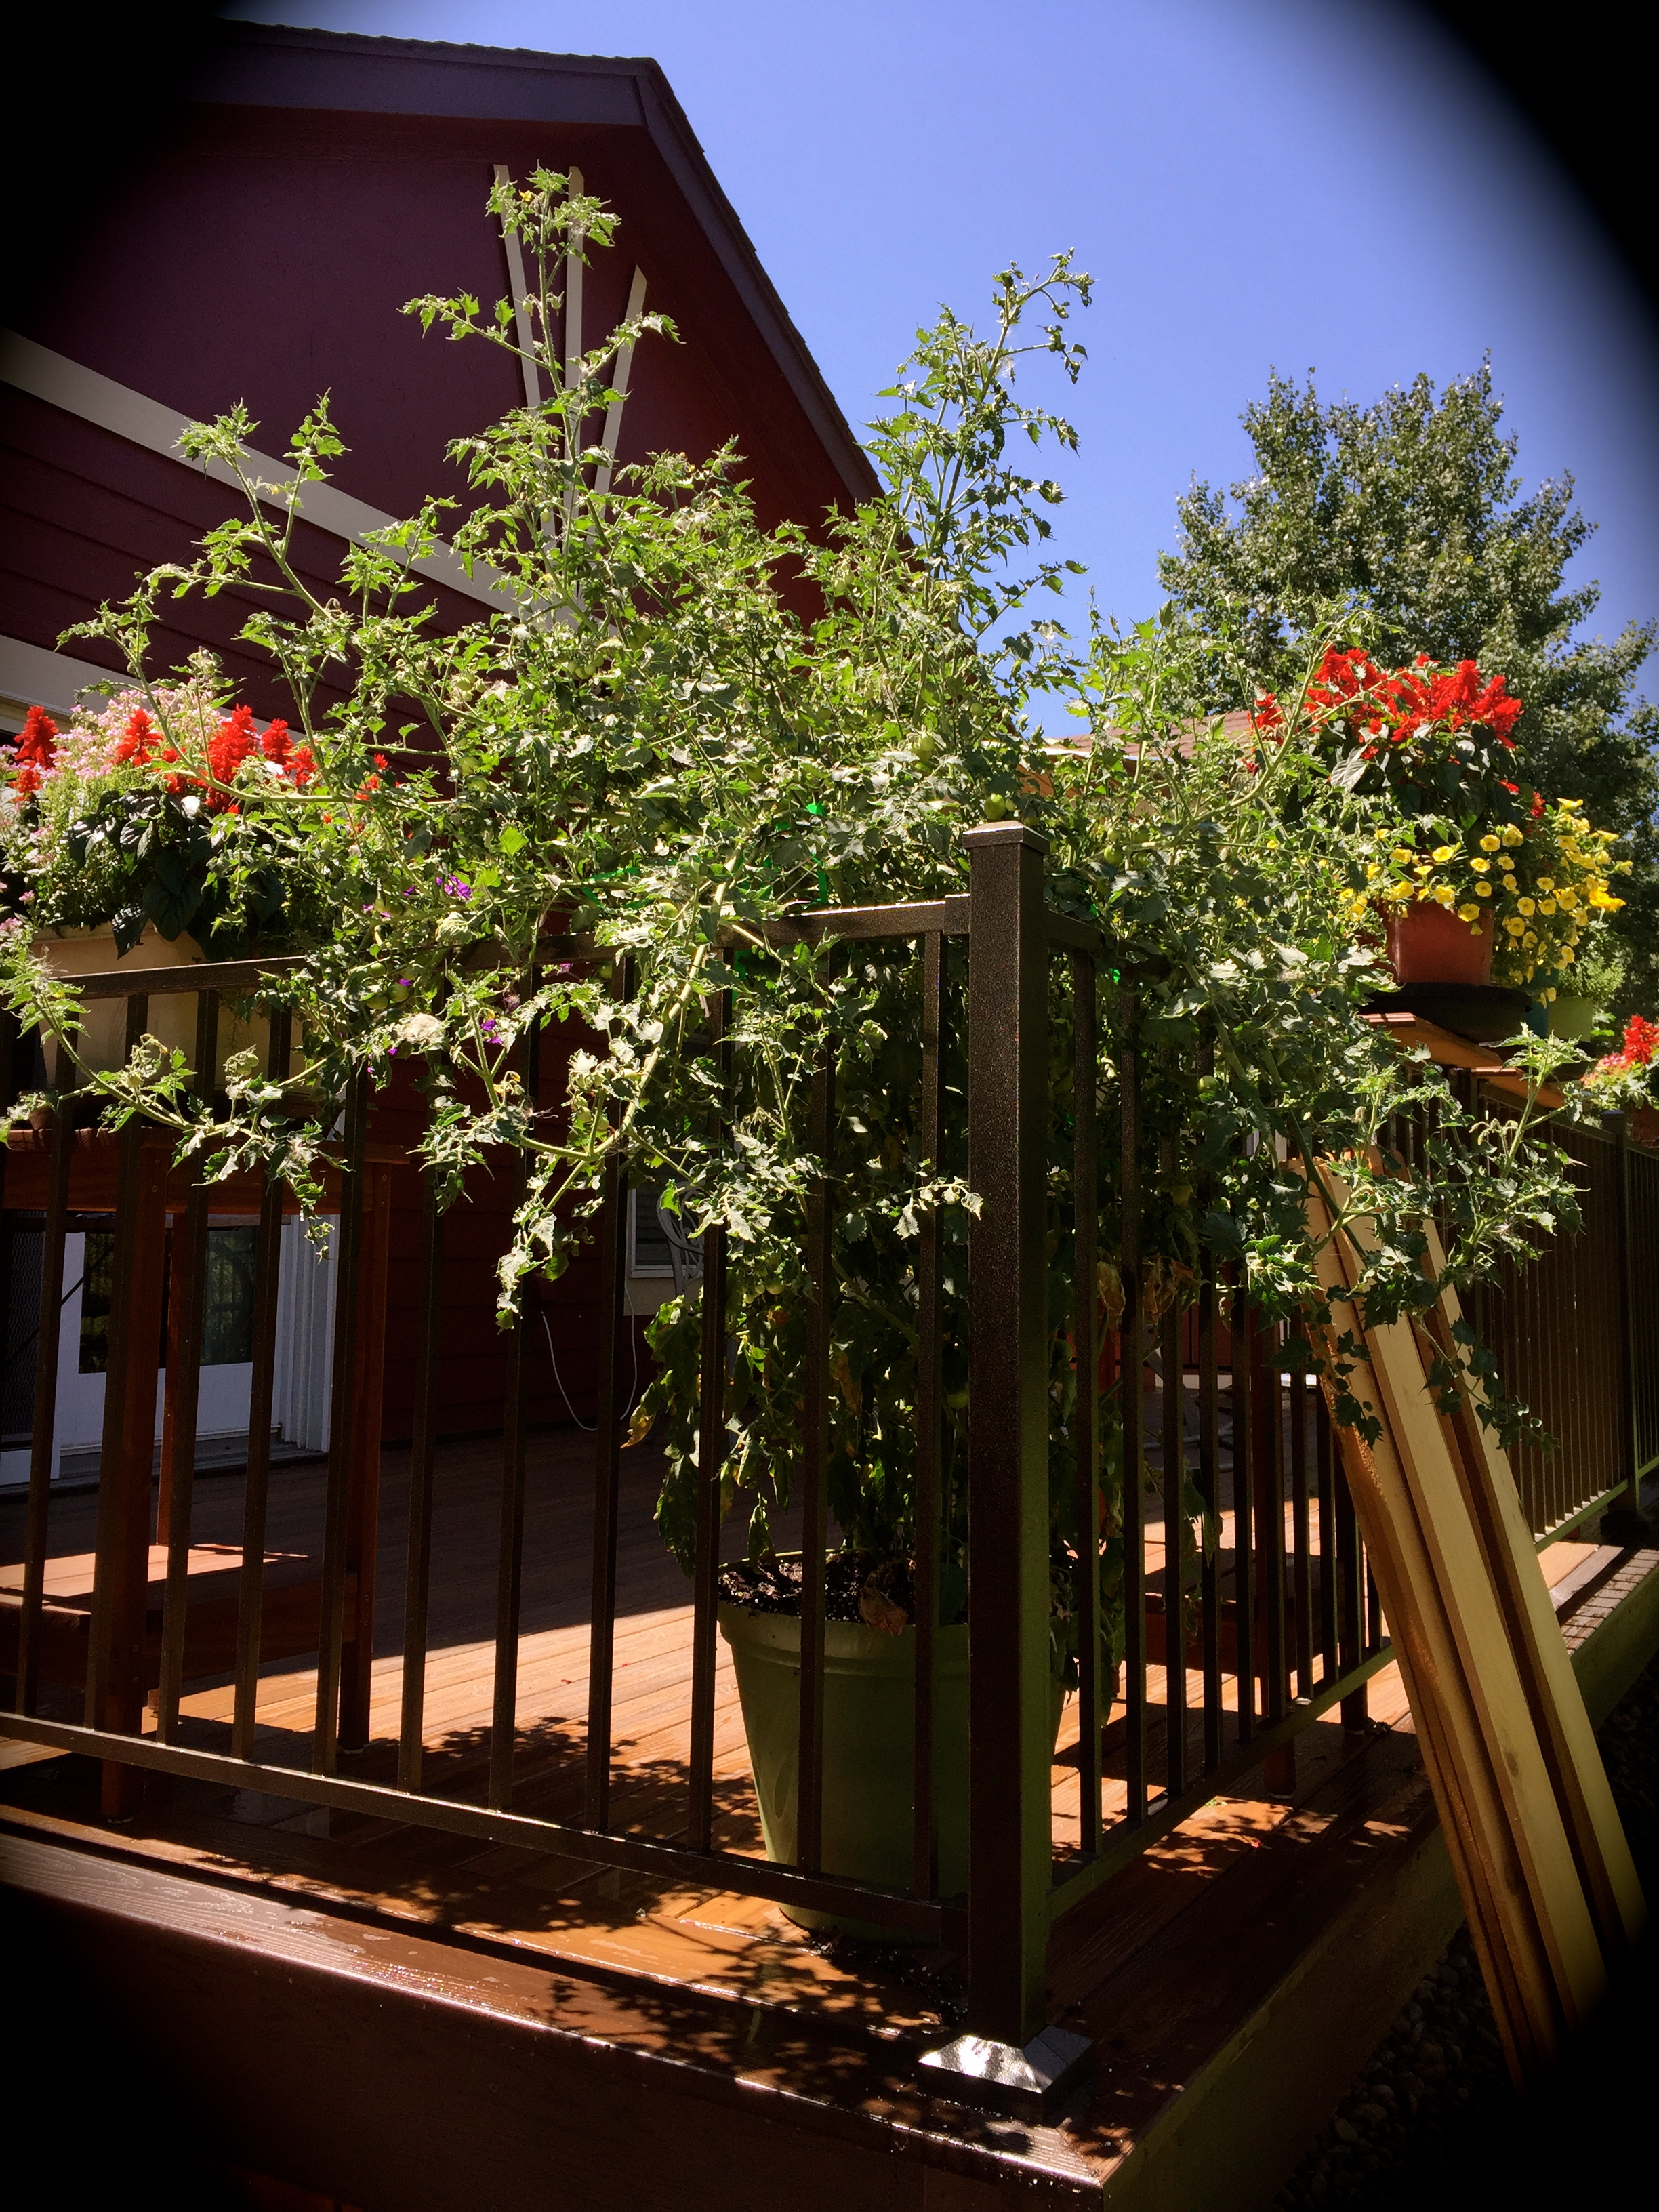
My banana pepper plant…

Lesson Learned 3 – For extra flavor add an avocado: Most recipes I looked at didn’t use avocados but I thought they added a nice smooth texture to the pico. If you plan on making your pico ahead of time (and I would not recommend making it more than two hours ahead in order to retain all of its freshness) do not add the avocado until you’re ready to serve it. Dice the avocado into small squares and fold it in with the other ingredients at the very end. Then add the juice of half a lime on top to prevent any oxidation. Give it a final mix and you’re ready to go.

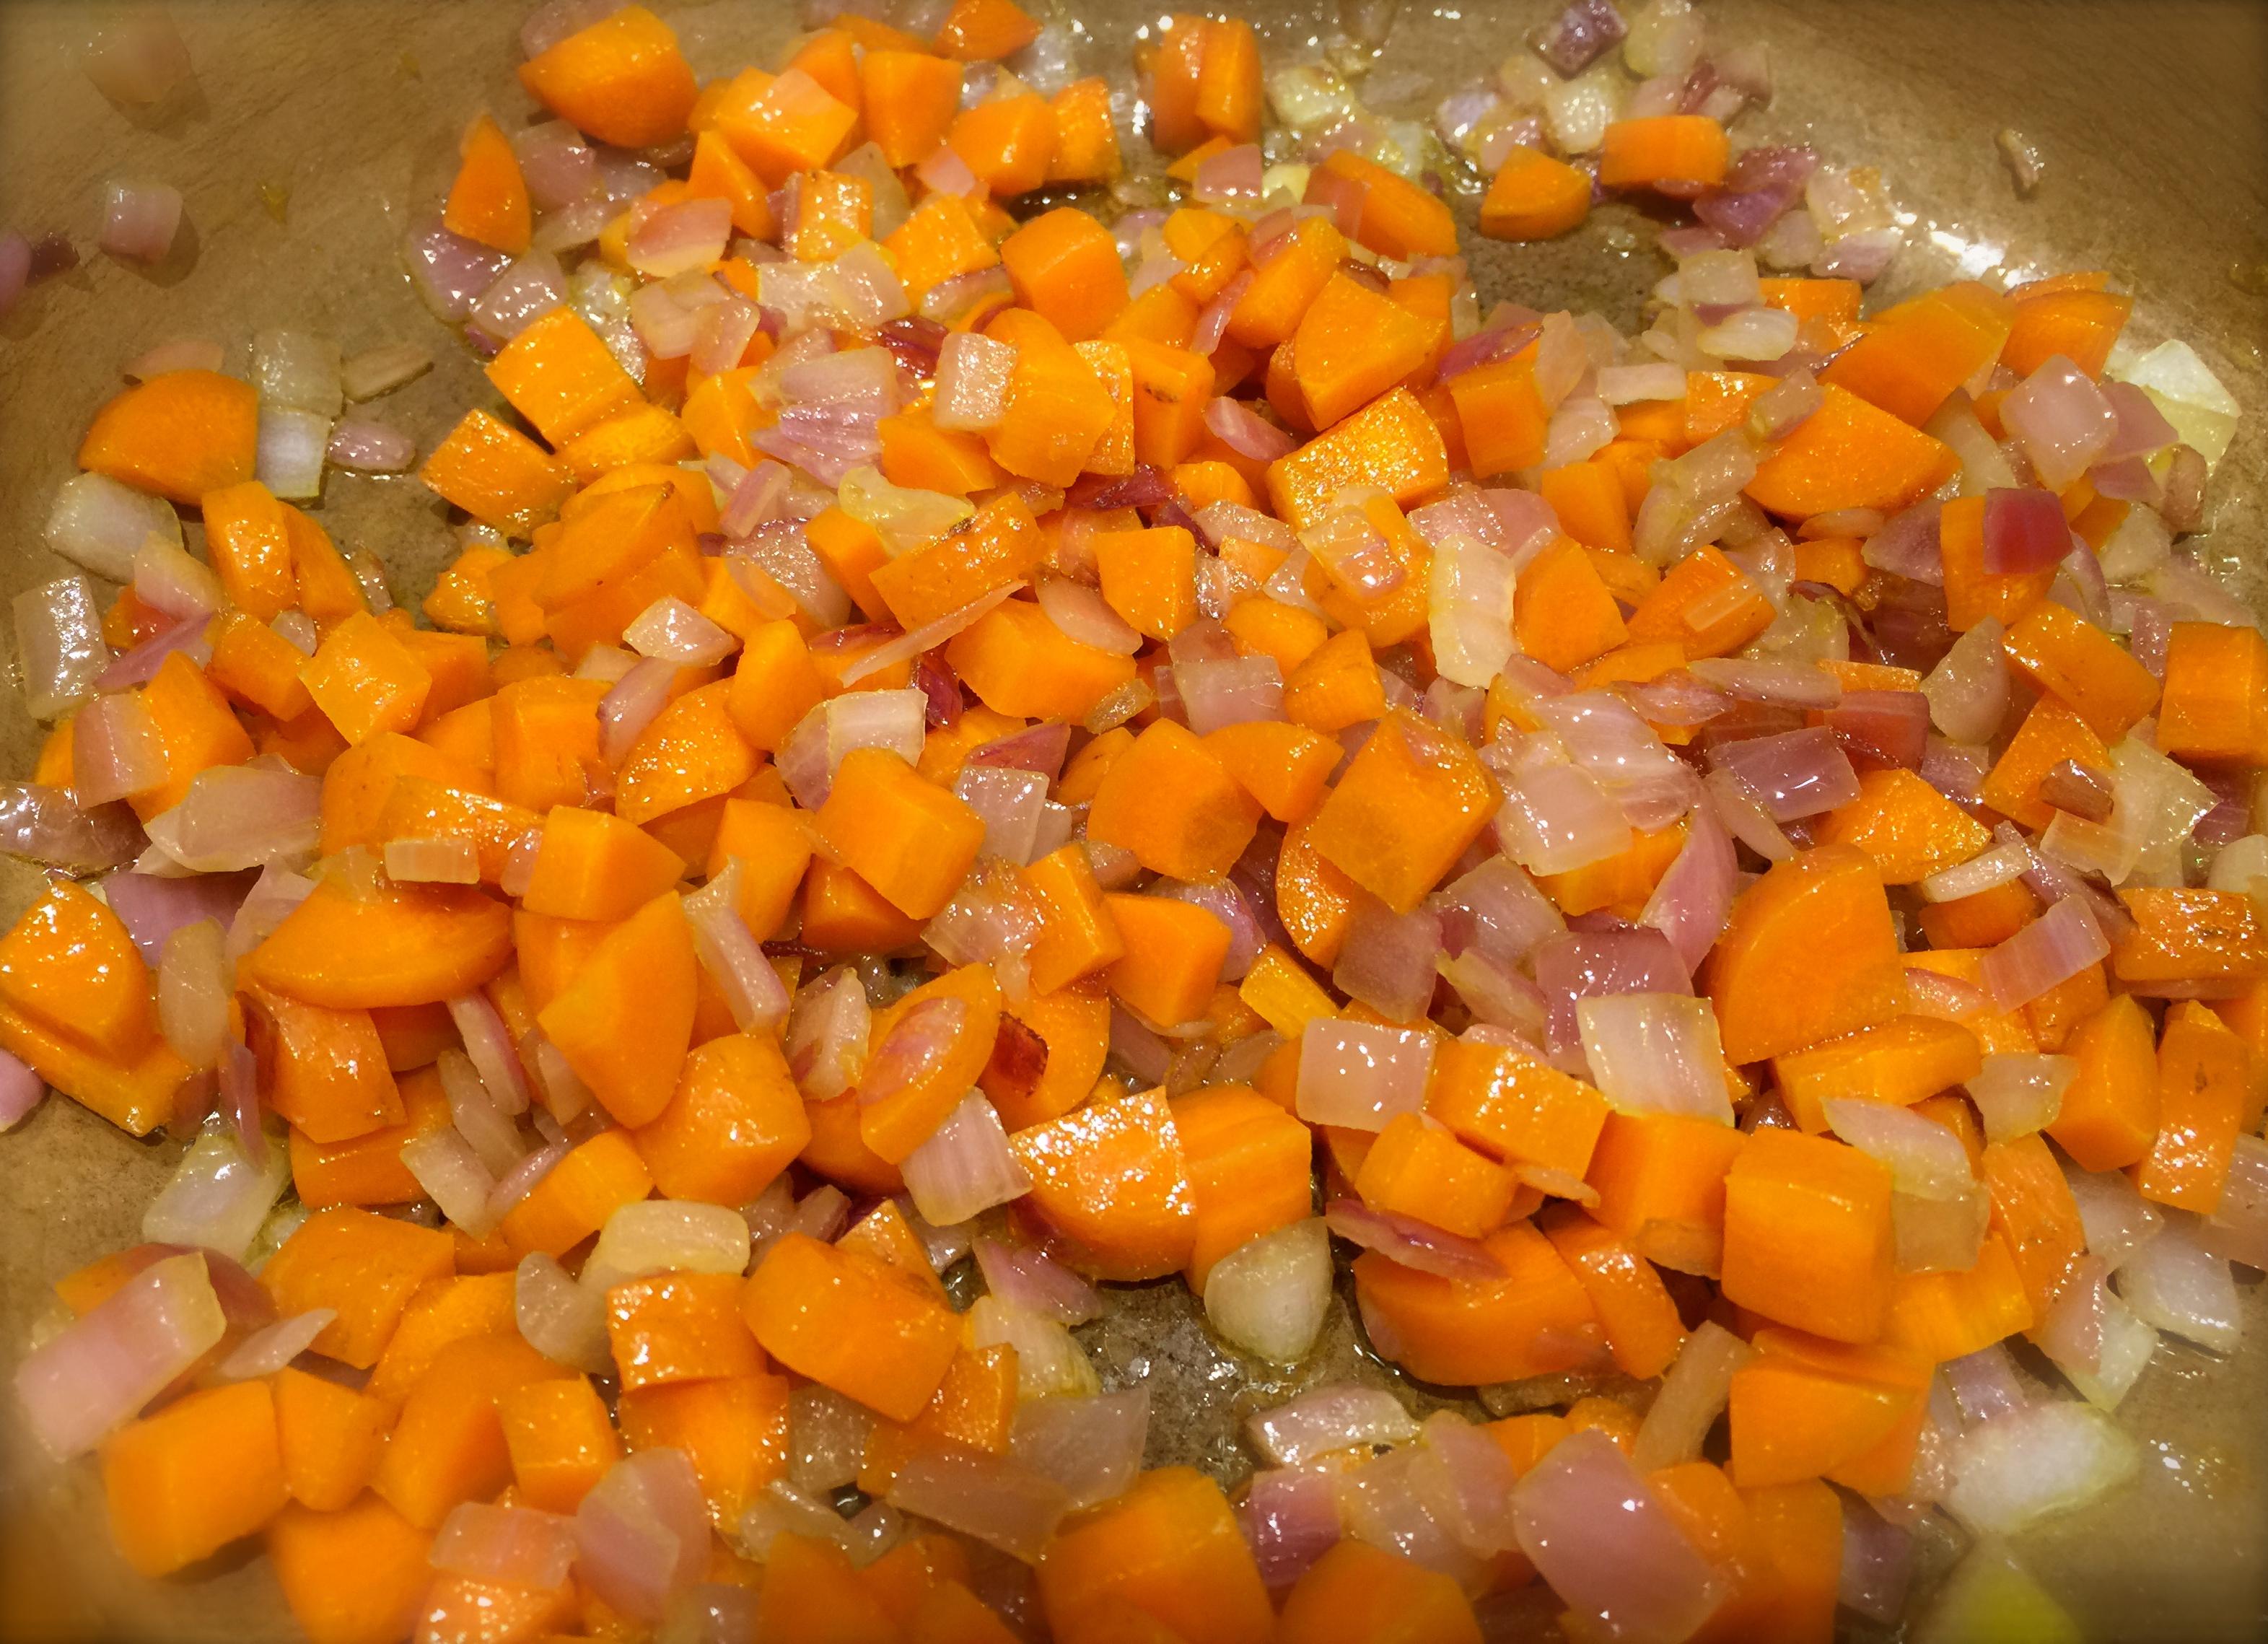
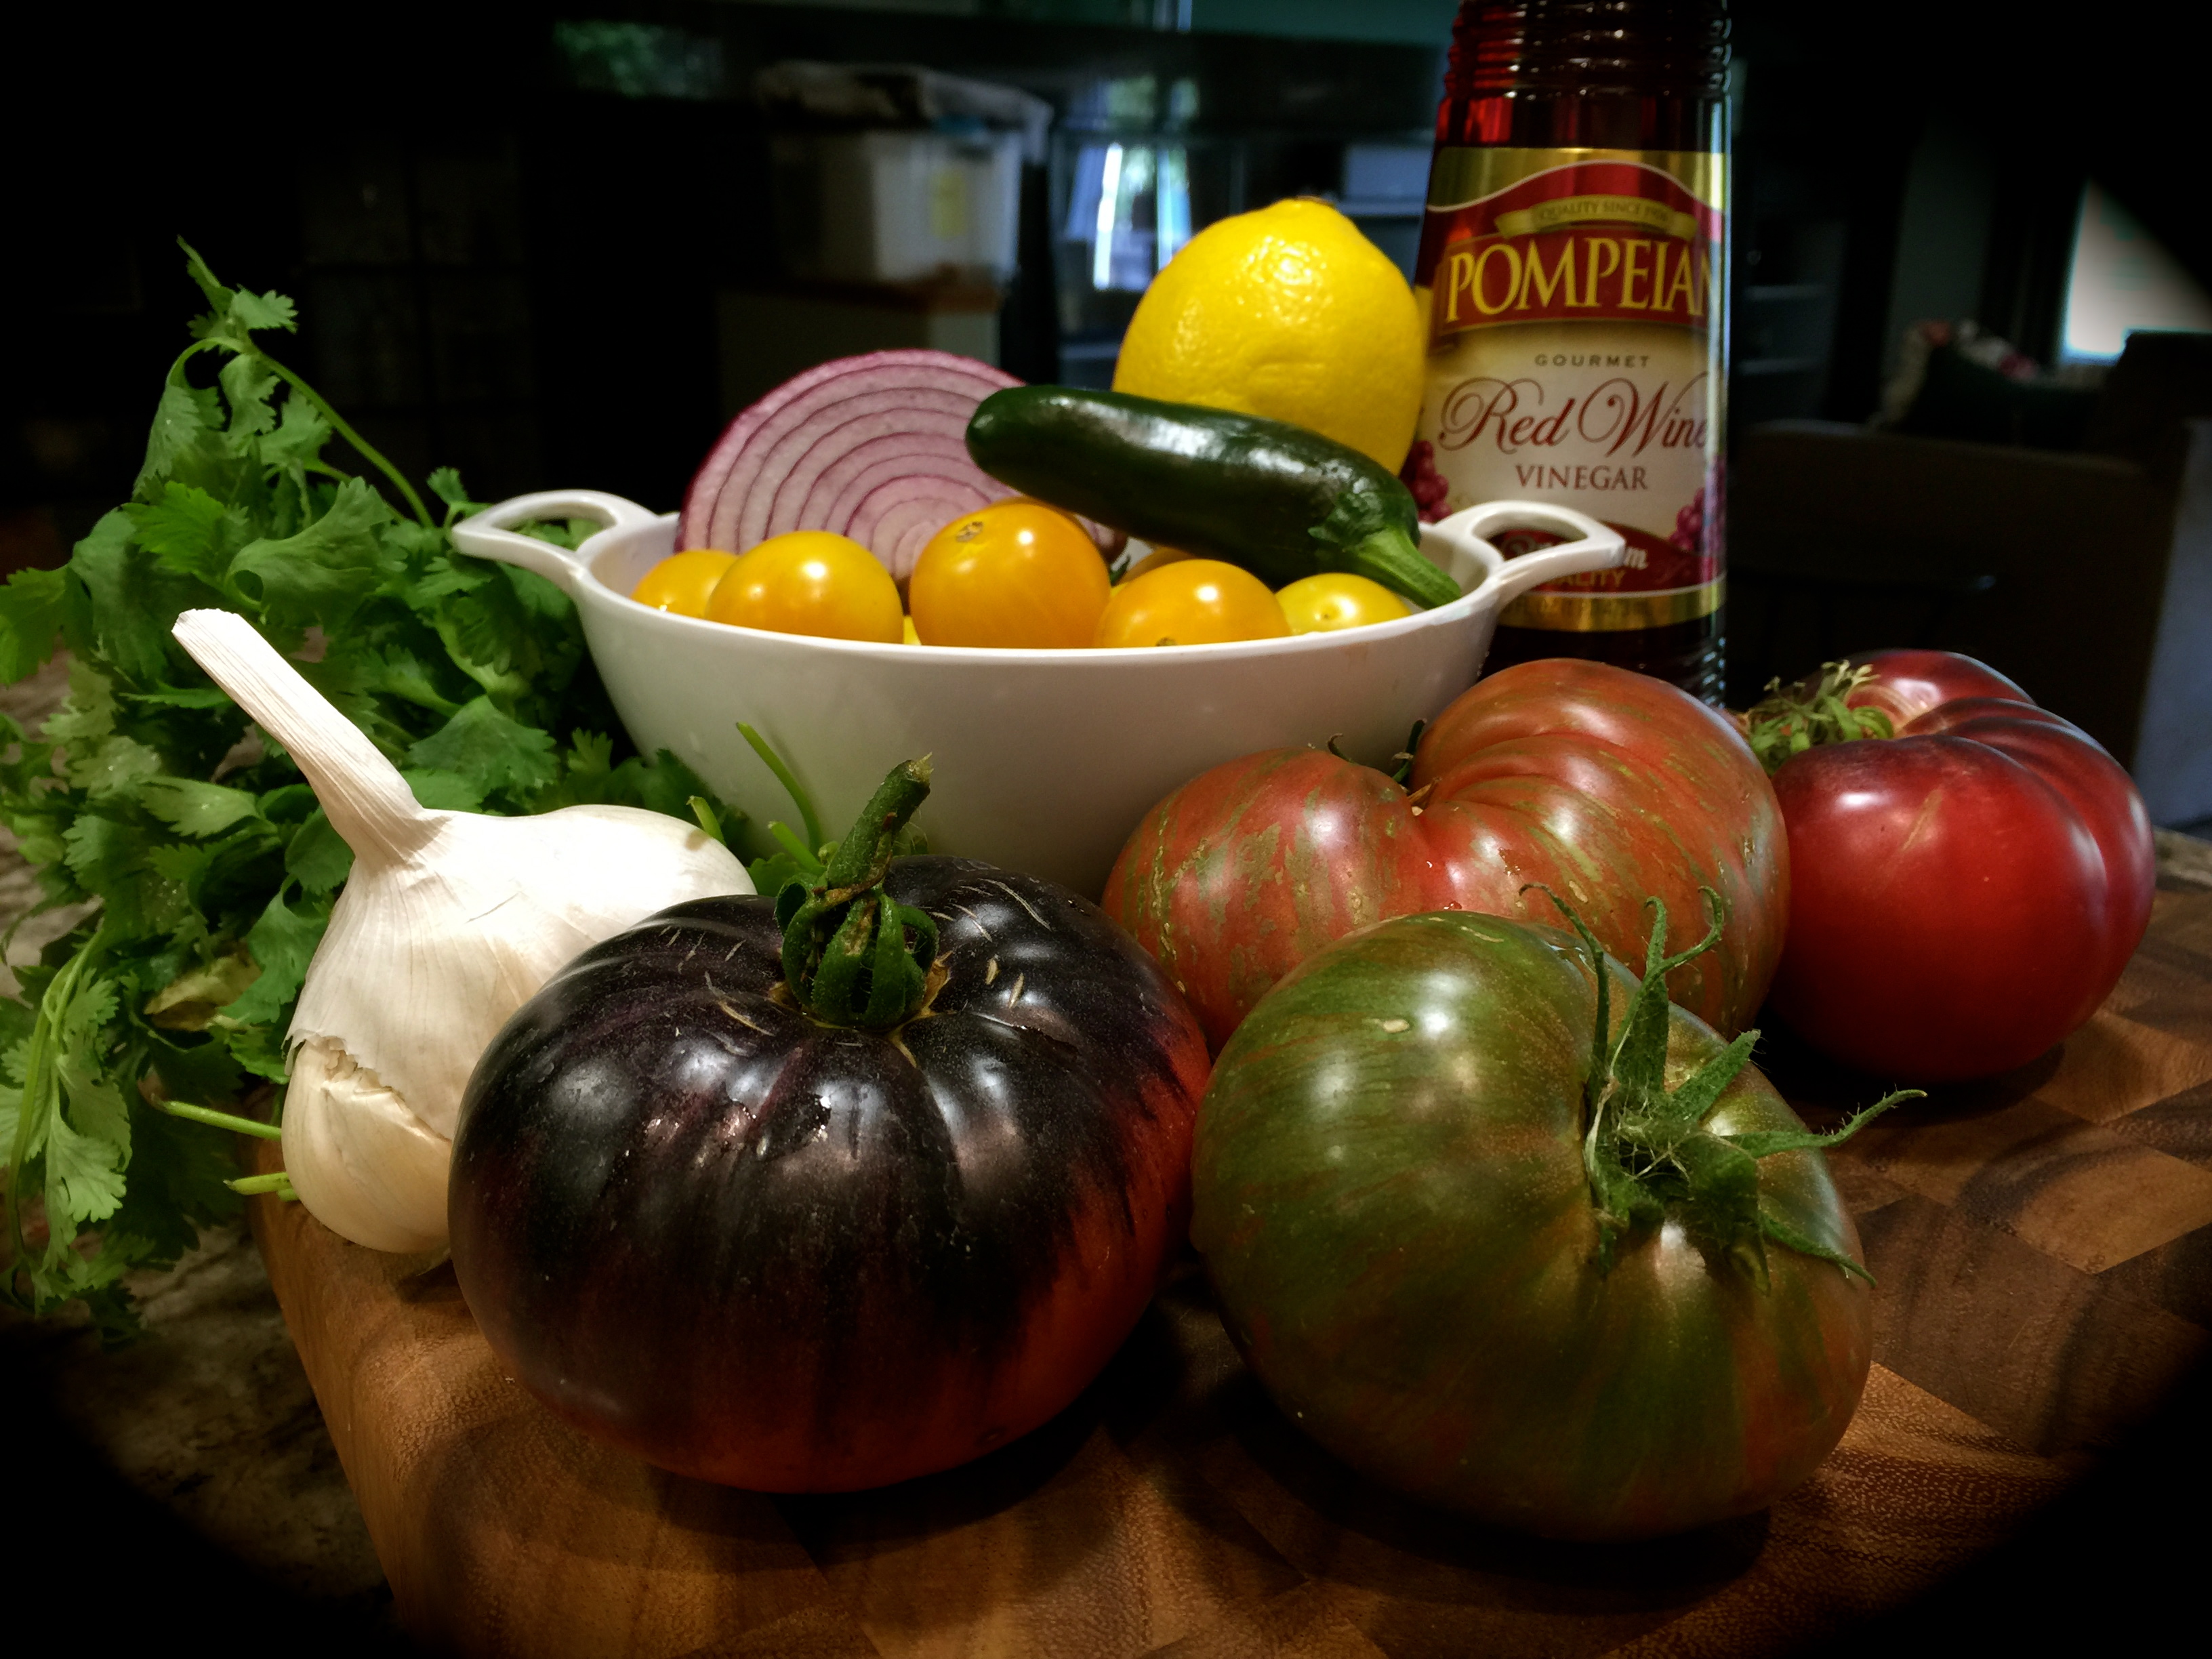
Lesson Learned 4 – Choosing the right kind of onion: I used a white onion for my pico. It was an onion that I got at our local farmers market and it was mild and not overly pungent. Sometimes white onions can be too overpowering, especially if they make you cry when you peel them. This onion did not. So you might want to be careful in choosing the type of onion you’ll use. If a white onion is too pungent, use a sweet vadalia onion instead. Again the choice is yours.

And the rest is just a matter of chopping and dicing, two of my favorite things to do. Mix everything together, add some fresh lime juice, garnish and you’re ready to go. Try this one and see what you think!

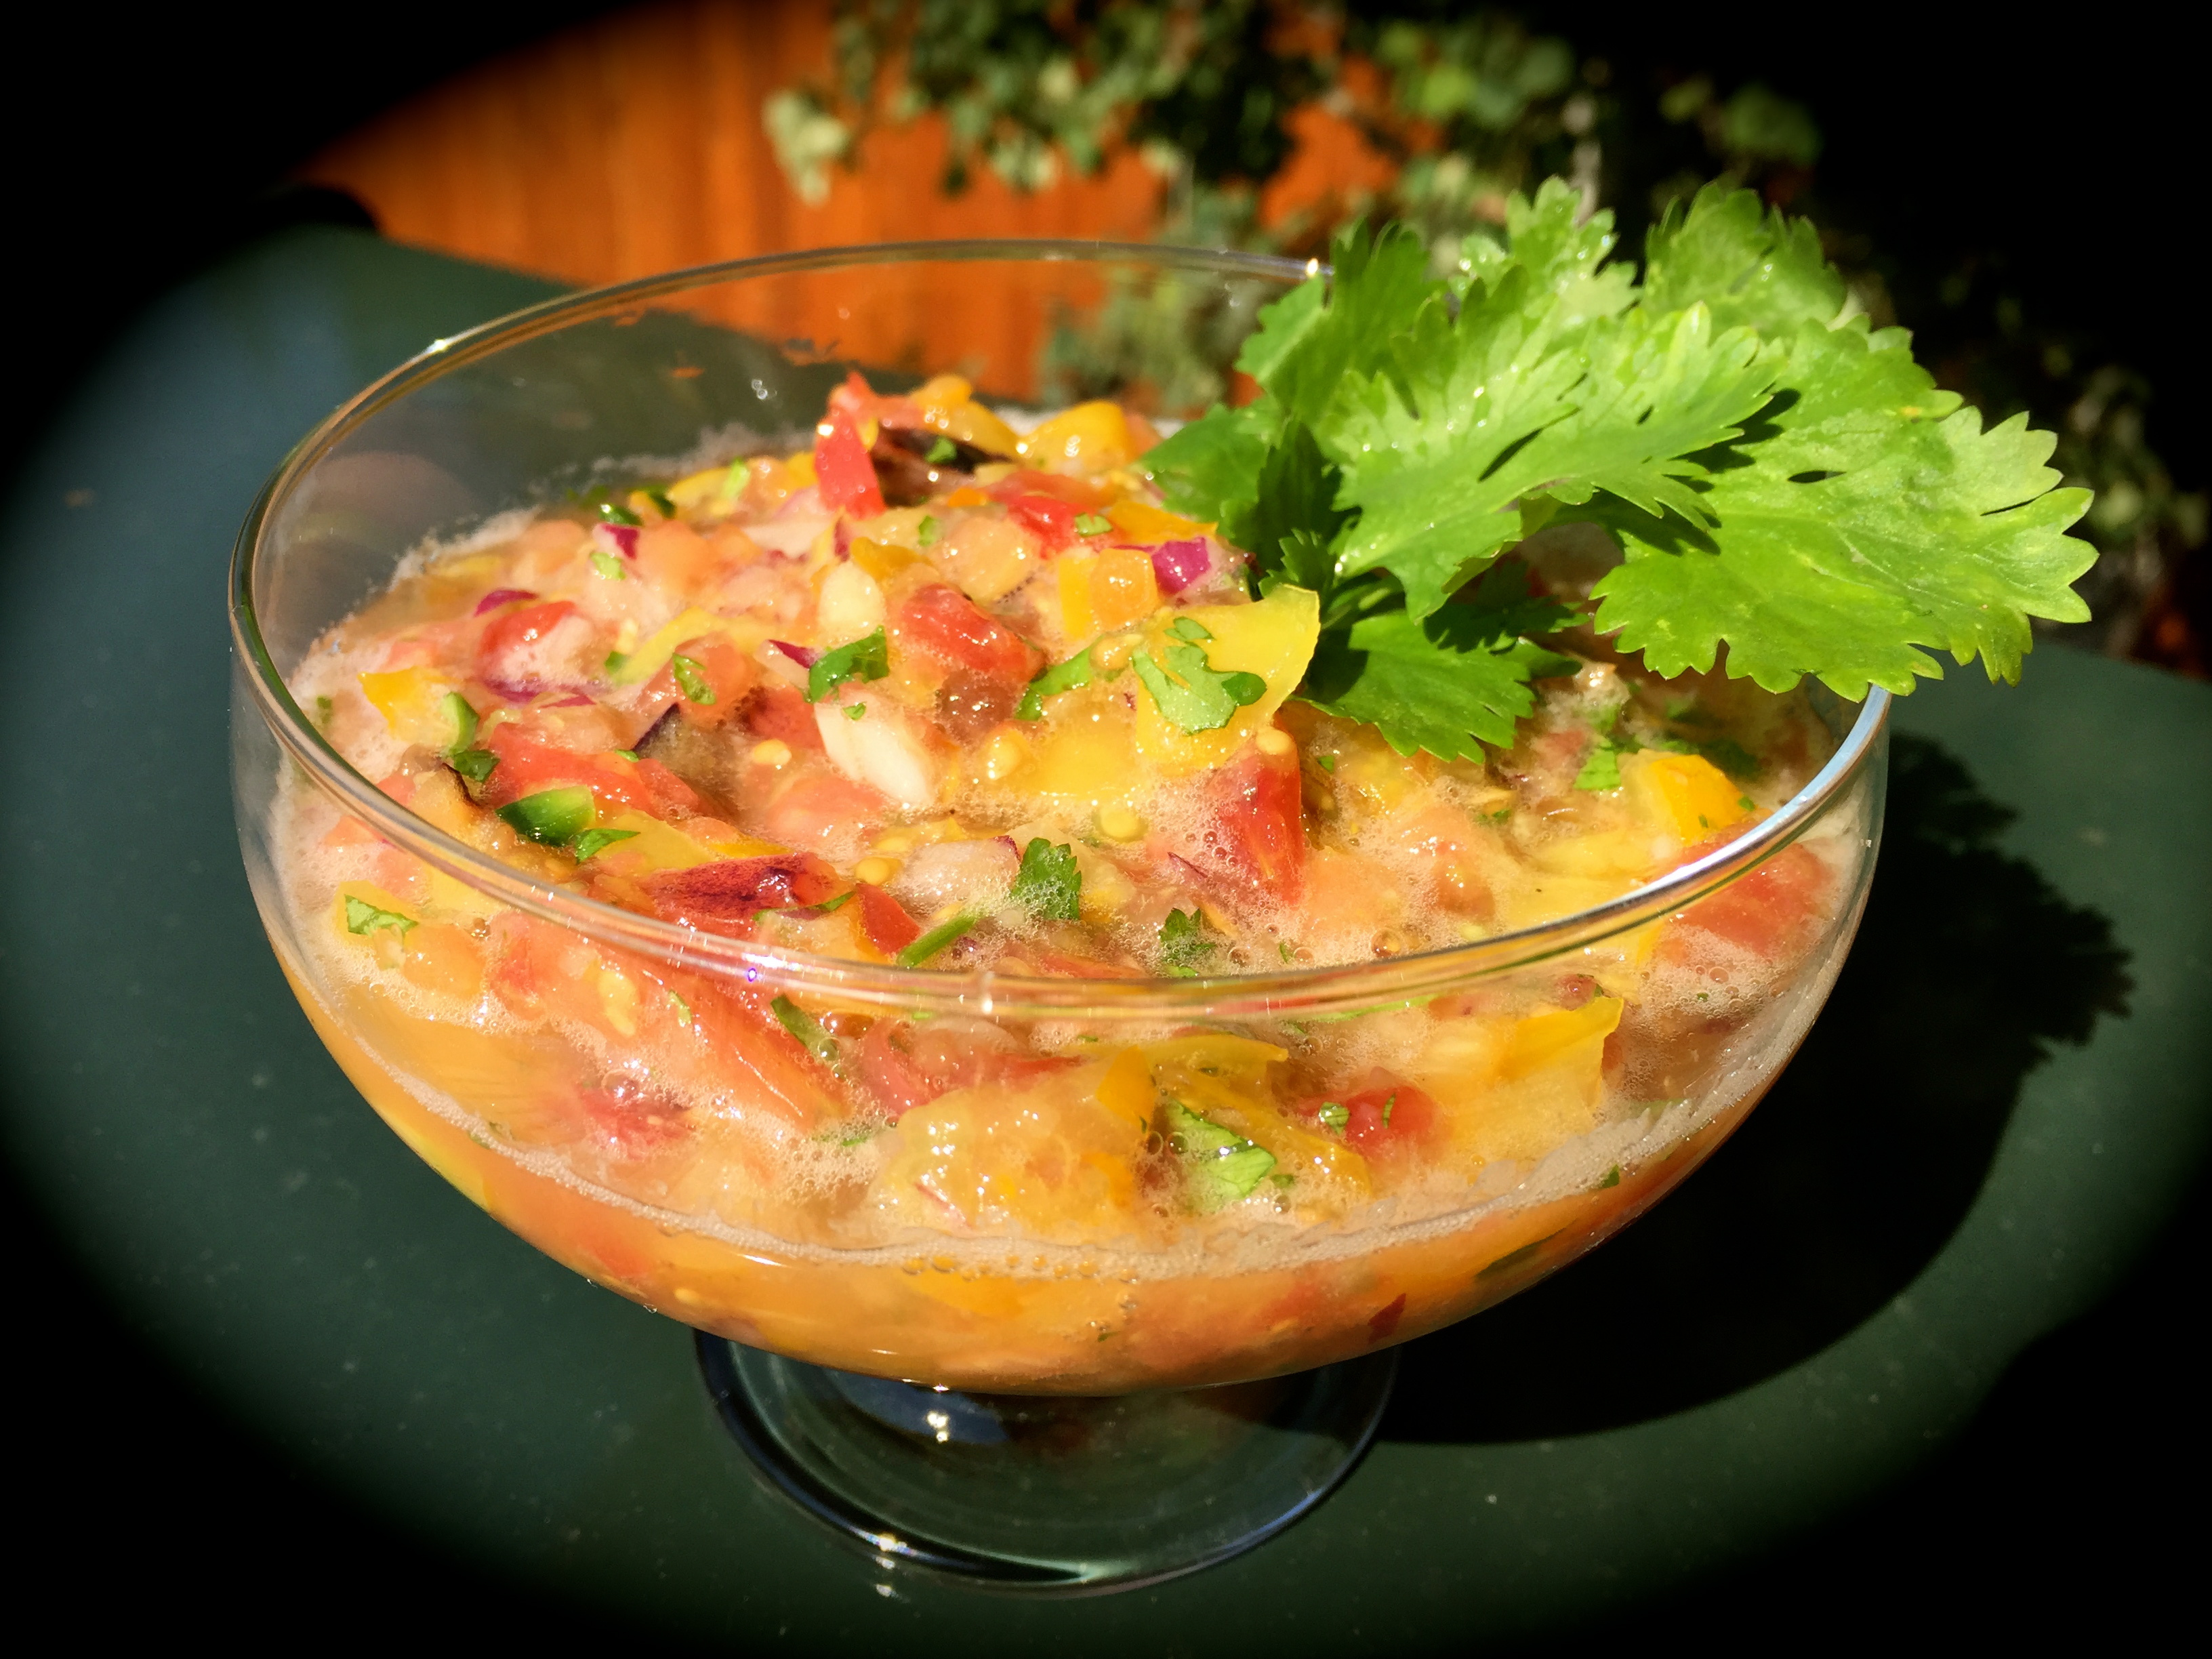
Party Time Pico de Gallo...

  • Servings: Enough For A Crowd
  • Difficulty: Easy
  • Print

INGREDIENTS

2 cups tomatoes, chopped small

2 cups white onion, chopped small

1 1/2 cups fresh cilantro, chopped

2 banana peppers, seeded and diced

1 large avocado, chopped small

2 limes

Salt and pepper to taste

DIRECTIONS

Drain the tomatoes in a colander over a bowl while preparing the other ingredients. Stir together the tomatoes, onion, cilantro and banana peppers. Squeeze the juice of one lime over the ingredients and stir until well combined.

Right before serving, add the avocado. Squeeze the juice of half a lime over the top. Gently fold the avocado into the other ingredients. Put the ingredients into a serving bowl and garnish with a couple of slices of lime and some cilantro leaves. Serve immediately.


Basic Bruschetta…

One thing I’ve learned over the years is that the most simple or basic recipe can be the most impressive. I remember making my Cream Cheese, Spinach, Bacon and Scallion Pinwheels and almost not publishing that recipe because I thought it was too remedial and people would laugh. To this day it is one of the most popular recipes on my blog. I will never second guess a recipe again.

This recipe came out of my desire to finally tackle making bruschetta and my need to bring an appetizer to a community event. Since I’d never made it before I decided to start out with a basic recipe that included only tomatoes, onion, sautéed garlic, garlic infused olive oil, some fresh lemon juice and fresh basil. It was divine! You can tell your appetizer is a hit when it’s completely gone while others still remain. This one was eaten up quickly.

The process for making bruschetta is relatively simple. You spend most of your time chopping and dicing, which I love. It can be a little more labor intensive than other appetizers, but the result is so worth it. This particular recipe is bright, fresh and natural, a killer combination for an appetizer.

So let’s talk basic bruschetta…

Lesson Learned 1 – Finding fresh basil at the grocery store: This probably sounds silly but I had a hard time finding fresh basil at the grocery store. Now I know it’s Winter, but fresh basil is pretty much a staple that’s available almost any time of year. So there I was looking through the refrigerated packages of various herbs and bemoaning the fact that the store did not have basil. I got so frustrated I went to the service desk to ask if there was a reason why the store had no fresh basil. The associate called someone in produce and they told her where it was located. It was not with the other refrigerated herbs.

BUT, what I found out and didn’t know is that basil does not do well with refrigeration and is better kept at room temperature and that’s why it’s not kept with the other refrigerated herbs. That was news to me. I decided to test that hypothesis and sure enough, when I looked for basil at other grocery stores it was kept at room temperature and not with the refrigerated herbs. Since I planned on using most of the basil right away I didn’t refrigerate it when I got home.

I did a little research on keeping basil fresh and here’s what I found. To keep basil fresh, trim the stems and place them in a glass or jar of water, just like cut flowers. Loosely cover the basil with a plastic bag and leave it on the counter. Although certain herbs, such as parsley and cilantro, can be stored this way in the fridge basil does better at room temperature. Live and learn, right?

Lesson Learned 2 – Browning the garlic: You use a lot of garlic in this recipe and it’s a key flavor component. But garlic can be tricky and easy to burn. Saute your chopped garlic in some olive oil until it has a light golden brown color (see the picture below). Stir the garlic regularly while it is sautéing to prevent any burning. Remove it from the heat and immediately put it in a bowl so  carry over cooking is minimal. Make sure to include the oil from the pan with the garlic as you need to add that to the tomato mixture as well.

I’m often asked if using prepared cloves of garlic from a jar is ok. Yes it is, but be aware that those cloves are not as potent as fresh garlic so you may need to use more of them for a good garlic flavor. The jarred cloves are very convenient, but I prefer using fresh garlic whenever I can.

Lesson Learned 3 – The tomatoes used in this recipe are very important: Using the wrong kind of tomatoes can make your bruschetta soggy. You need a tomato that is ripe but firm. Any tomato will be watery so you want to minimize that as much as you possibly can.

I used small campari tomatoes. You can also use vine ripe tomatoes that are more firm. Stay away from over-ripe soft tomatoes. You will wind up with a mixture of mush if you use them. Once you put together the tomato mixture let it chill in the refrigerator for at least a half hour. That way the ingredients get better acquainted and some of the water drains out of the tomatoes. I drained the water from the mixture when I took it out of the refrigerator and used a slotted spoon when I was putting the tomato mixture on the bread to eliminate as much moisture as I could. Doing this also prevents the baguette from getting soggy.

Lesson Learned 4 – Use a good olive oil: I used a garlic infused olive oil in this recipe. I’ve also seen basil infused olive oils and that would be good as well. Olive oil is also a key ingredient in bruschetta so you want to make sure it’s flavorful and not bitter.

The real work in this recipe is chopping up the ingredients in the tomato mixture, slicing and baking the baguette. Once that’s done, the assembly goes pretty quickly. This is such a good looking, refreshing and healthy appetizer. It will make a great impression at your next gathering. Try it and let me know what you think.

Basic Bruschetta...

  • Servings: 20 slices
  • Difficulty: Easy
  • Print

INGREDIENTS:

1 6oz. French baguette loaf, sliced in 1/4 inch slices

Garlic infused olive oil (approx. 3 Tbs. plus some for drizzling)

2 large vine ripe tomatoes or about 10 small campari tomatoes, diced

4 cloves of garlic, minced

1 small white onion, diced

2-3 Tbs. fresh basil, chopped plus some for garnish

1/2 small lemon, juiced

Kosher salt and freshly cracked pepper, to taste

Shredded romano cheese for topping

DIRECTIONS:

Preheat the oven to 350 degrees.

Saute garlic in 1 Tbs. olive oil until fragrant and golden brown. Remove from heat and set aside.

Combine tomatoes, onion and basil in a mixing bowl. Add the garlic along with the olive oil from the pan. Add the lemon juice and season with salt and pepper. Mix well. Chill in the refrigerator.

In a small bowl season 2 Tbs. of olive oil with salt and pepper. Lay baguette slices on a parchment paper lined baking sheet. Using a silicone basting brush baste the slices with the olive oil mixture. Bake for 8-10 minutes or until the edges are slightly browned.

Remove the tomato mixture from the refrigerator and drain any liquid from it. Using a slotted spoon put some of the tomato mixture on all the baguette slices. Top with a small sprinkle of shredded romano cheese. Add some additional chopped basil for garnish. Drizzle a small amount of olive oil on all the slices. Place slices on a decorative platter and serve.

SaveSave

SaveSave

SaveSave

SaveSave

SaveSave

SaveSave

SaveSave

SaveSave

SaveSave

SaveSave

SaveSave

SaveSave

SaveSave

SaveSave

SaveSave

SaveSave

SaveSave

SaveSave

SaveSave

SaveSave

SaveSave

SaveSave

SaveSave

SaveSave

SaveSave

SaveSave

SaveSave

SaveSaveSaveSaveSaveSave

SaveSave

SaveSave

SaveSave

SaveSave

SaveSave

SaveSave

SaveSave

Creamy Garden Tomato Soup…

I warned you about a plethora of tomato recipes as my tomato plants this year have been producing like they are on steroids. A co-work of mine suggested that the strains I’m growing, the indigo rose and tie-dye heirloom tomatoes (pictured below), would make a great tomato soup. I’ve never made home made tomato soup before, so I thought I would try. I really didn’t want to waste any of these great tomatoes and I knew making soup would use up a lot of them.

The Indigo Rose Heirloom Tomato

The Indigo Rose Heirloom Tomato

Tie-Die Heirloom Tomatoes

Tie-Die Heirloom Tomatoes

A while back I posted a recipe for home made Broccoli Cheddar Soup. That was only the second homemade soup I ever made. For years I have been making my mothers chicken and dumpling soup but never thought about trying other recipes. Now after having made this tomato soup I wonder why I waited so long to make a variety of different home made soups. I’m pretty sure I’ll be trying more soup recipes in the future. They are relatively easy to make and so much more flavorful than what you buy in a can. Plus you control the ingredients. And if you look at canned soup, they tend to have a lot of sodium. So take the extra time and try making home made soup. It’s truly worth it.

This recipe is based on a recipe by Ina Garten called Cream Of Fresh Tomato Soup. It’s a great recipe as is, but I made a few tweaks and loved what I got. I used less onion, more garlic, less sugar, more tomato paste, more basil and I finished it off with 1 Tbs. of butter to give it a nice shimmery, satiny look. Many of the reviews of her recipe said not to change a thing, that the soup was fabulous as is. But I know my tastes and I also can tell if I like how things are looking by eyeballing it. The changes that I made worked wonderfully, and I will chronicle in the recipe below what I did.

So let’s talk about making tomato soup…

Carrots and onionsLesson Learned 1 – Cut the carrots into small pieces: I think the carrots add a nice flavor to the soup, but recipes hardly ever tell you how to cut them. Carrots are dense and they take time to cook. And you are trying to soften them with chopped onions which by nature are less dense and can soften more quickly. So cut the carrots small. I cut the carrots in half lengthwise and then in half again lengthwise and then started chopping from there. The smaller pieces soften faster. Also remember to soften the onions and carrots on a medium heat. You’re not looking for the onions to caramelize, you just want them to soften. The carrots will soften slightly but not all the way. That’s perfectly fine as you will be simmering them for a long while and that will complete the softening process.

Lesson Learned 2 – To peel or not to peel the tomatoes: I did a lot of reading regarding whether you should peel your tomatoes when making the soup. I found a lot of different opinions but I chose to peel them. In Ina’s recipe, she tells you to cook the tomatoes with skin on. Later on in the process you take the soup mixture and process it through a food mill to remove any skin and seeds. I don’t have a food mill, so I decided to peel the tomatoes at the very beginning.

Peeled Tomatoes

Peeled Tomatoes

Lesson Learned 3 – How to peel a tomato: Peeling a tomato is really quite simple. All you need to do is to put it in boiling water for 30 seconds, remove it, and the skin will practically peel off by itself. I used this method and it worked like a charm.

Lesson Learned 4 – Using a blender to puree your soup: When using a blender to puree hot soup you need to do a few simple things to prevent having an explosion. First, never fill the blender completely full with hot liquid. Fill it up only to the half way point or even a little less. Second put a towel over the hole in the top of the blender to let steam escape while you’re pureeing your soup. Otherwise you may wind up with soup all over your walls. Or, an even easier way to puree your soup is to use an immersion blender. You stick it right into the hot pot and emulsify the soup right there. Currently I do not have an immersion blender but I am definitely going to invest in one. In the meantime, using a blender worked perfectly fine.

If you haven’t tried making homemade soup you really should. I was surprised at how easy and good it was. So go ahead, walk on the wild side and make some homemade soup…

[recipe: title=”Creamy Garden Tomato Soup…” time=”2 Hours Including Prep” Servings=”8-10″ difficulty=”Easy”]

INGREDIENTS:

3 Tbs. olive oil

1 medium sized red onion, chopped

2 medium carrots, unpeeled and chopped

4 cloves minced, garlic

8-10 garden tomatoes, medium to large in size

1 tsp. sugar

2-3 Tbs. tomato paste

1/3 cup loosely packed and chopped fresh basil leaves

3 cups unsalted chicken stock (preferably half broth and half stock)

2 Tbs. roasted chicken Better Than Bouillon

1 Tbs. salt (taste along the way and add more if desired)

1 tsp. freshly cracked black pepper

3/4 cup heavy cream

1 Tbs. butter

DIRECTIONS;

On the stove, bring a large pot of water to a boil. Once the water is boiling, place 2-3 tomatoes in the water and cover. After 30 seconds, take the tomatoes out of the water. Repeat this process with all the tomatoes. Once the tomatoes cool slightly, remove the skins with a paring knife. (the skins should come off easily).

Cut the tomatoes and remove and imperfections or gristle. Heat the olive oil in a large dutch oven. Add the onions and carrots and sauté until tender, 10-15 minutes. Add the garlic and cook until fragrant, approximately one minute.

Put all the remaining ingredients in the pot except the heavy cream and butter. Bring to a boil then lower the heat and simmer covered for 45 minutes or until the tomatoes are very tender. Puree the mixture using an immersion blender, blender or food mill. If using something other than an immersion blender, pour the pureed mixture back into the dutch oven. Over low heat add the heavy cream and stir to combine. Drop a tablespoon of butter into the pot and melt in right before serving.

Serve hot.

[/recipe]

The Ingredients Before Adding Stock

The Ingredients Before Adding Stock

Cook Ingredients in Stock for 45 minutes

Cook Ingredients In Stock For 45 Minutes

Creamy Garden Tomato Soup

Creamy Garden Tomato Soup

Tri-Tomato Salsa…

It seems like every growing season one of my vegetable plants decides that it’s on steroids. Last year I had the zucchini plant that took over a greater portion of the garden and produced 2-3 zucchinis each day. This year my zucchini plant produced about 7-8 zucchinis total. But never fear, this time the garden decided it would be the year of the tomatoes!

This year I did something different with my tomato plants. I bought them from a co-worker who, with her son, raised several strains from seeds and then sold them (at a very reasonable price) to anyone who wanted to buy them. It was a way for her son to earn money to buy a dirt bike.

Salsa IngredientsThe tomatoes were strains designed specifically to thrive in this region of the country (I live in Colorado right outside of Boulder) and they were hardened off when she delivered them. I’ve lived here since 2001 and have had very little luck growing tomatoes. This year was totally different. All my tomato plants thrived and are producing like gang busters. That left me with the delightful dilemma of figuring out how I would use them and not waste a single one.

So obviously, some have been given to friends and neighbors. But I also want to be a little more creative and try to keep as many as I can here on the home front. So If you see a few more tomato recipes in the coming weeks you’ll know why.

This recipe was inspired by the three types of tomatoes I’m growing in my garden this year. Well, actually two are grown in my garden, one is growing on the deck. That particular plant I call the tomato plant that ate New York because it is as tall as me and is producing yellow grape tomatoes prolifically. Judge for yourself by the picture below…

The Tomato Plant That Ate New York

The first type of tomato I used in this recipe is a purple tomato called an Indigo Rose. A relatively new strain of heirloom tomato, it’s color comes from a high concentration of a compound called anthocyanin. In several studies anthocyanin was found to be preventative and therapeutic in a wide variety of human diseases such as coronary heart disease. It also was found to support visual acuity and circulatory health. Similar to studies done in France on people who regularly drink red wine and the proven effect the wine had on reducing heart disease, this particular strain of tomato has similar qualities and benefits.

What’s also interesting about this tomato is that only the parts of the tomato that are kissed by the sun get the purple color. When you turn the tomato over where it has been shaded, the bottom is red just like a regular tomato. The Indigo Rose tomato has fewer seeds and more flesh. It is a rich, flavorful tomato.

The Purple Tomato

Indigo Rose

The second type of tomato I used in this recipe is a strain called a tie-dyed tomato. Beautiful to look at with it’s mixture of green and red coloring, the tie-dyed tomato is very disease resistant and highly non-acidic. This tomato has a dark, rich flavor. The other day I roasted one with some mozzarella and parmesan cheese mixed with dried italian seasoning and it was a delight.

Tie-Dyed Tomatoes

Tie-Dye Tomatoes

The third type of tomato I used in the salsa was yellow grape tomatoes. These tomatoes actually get their color from a recessive gene in the tomatoes genetic makeup. They also have a very mild sweet flavor and are low in acidity.

Yellow Grape Tomatoes

Yellow Grape Tomatoes

The last thing I pulled from my garden to include in the salsa was jalapeño peppers. This plant I actually have growing on a pot on my deck as I’ve had very little luck growing peppers in my garden. Like the tomato plants, the jalapeño pepper plant is producing prolifically and I am being very creative about how to use them.

My Jalapeño Plant

Jalapeño Peppers

Chances are you will not be growing exactly the same types of tomatoes like these to make your salsa. The beauty is you can make salsa from just about any tomato you’re growing. The only challenge I had with these tomatoes is they hold a lot of water and initially my salsa had a lot of liquid in it. I like a chunky salsa and so once I processed everything, I put the mixture in a strainer to remove a good deal of the liquid. The result was a nice, chunky, flavorful salsa.

This is the first time I ever made salsa. Try it – it’s easy and oh so tasty!

Tri-Tomato Salsa

  • Servings: 20
  • Difficulty: Easy
  • Print

INGREDIENTS:

4 pounds of tomatoes (for more color use different varieties)

1 small red onion

2 jalapeño peppers

2 cloves of garlic, minced

1 handful of cilantro (err on the side of more versus less)

1 – 1 1/2 tsp. of red wine vinegar

1/2 of a lemon, juiced

Salt and pepper to taste

DIRECTIONS:

Roughly chop the tomatoes, onion and jalapeños and put into the food processor. Add all the other ingredients. Pulse until you get the desired consistency. If the salsa is too watery, put it in a strainer and strain some of the moisture out.  Store in an air tight container in the refrigerator.

Tri-Tomato Salsa

Tri-Tomato Salsa

Today's Harvest