After having made a delightful roast chicken (check out my roast chicken in a cast iron skillet recipe) I was faced with how to use the leftovers. Quite often I make a simple chicken salad consisting of cut up chicken, scallions, grapes, mayo and seasonings, but this time I wanted to do something different.
I’ve always liked the concept of shepherds pie. You basically take your leftover meat and mashed potatoes and create a pie that is oh so good – the true definition of comfort food. Most recipes I’ve seen suggest using frozen vegetables and if you’re in a hurry that will certainly work. But I like to use fresh vegetables whenever I can so I decided to do that instead. I also did not have any left over mashed potatoes so I just whipped up a batch. I’ve tried shepherds pies with store bought pre-prepared mashed potatoes or with instant mashed potatoes but I didn’t think the consistency was as good as when you use homemade mashed potatoes. But you can still use them if you want to.
I guess what I’m trying to say here is the beauty of this recipe is you can make it as simple or as intricate as you like. I still think taking the time to use fresh ingredients and home made mashed potatoes produces the best results. But the choice is yours.
So let’s talk chicken shepherds pie…
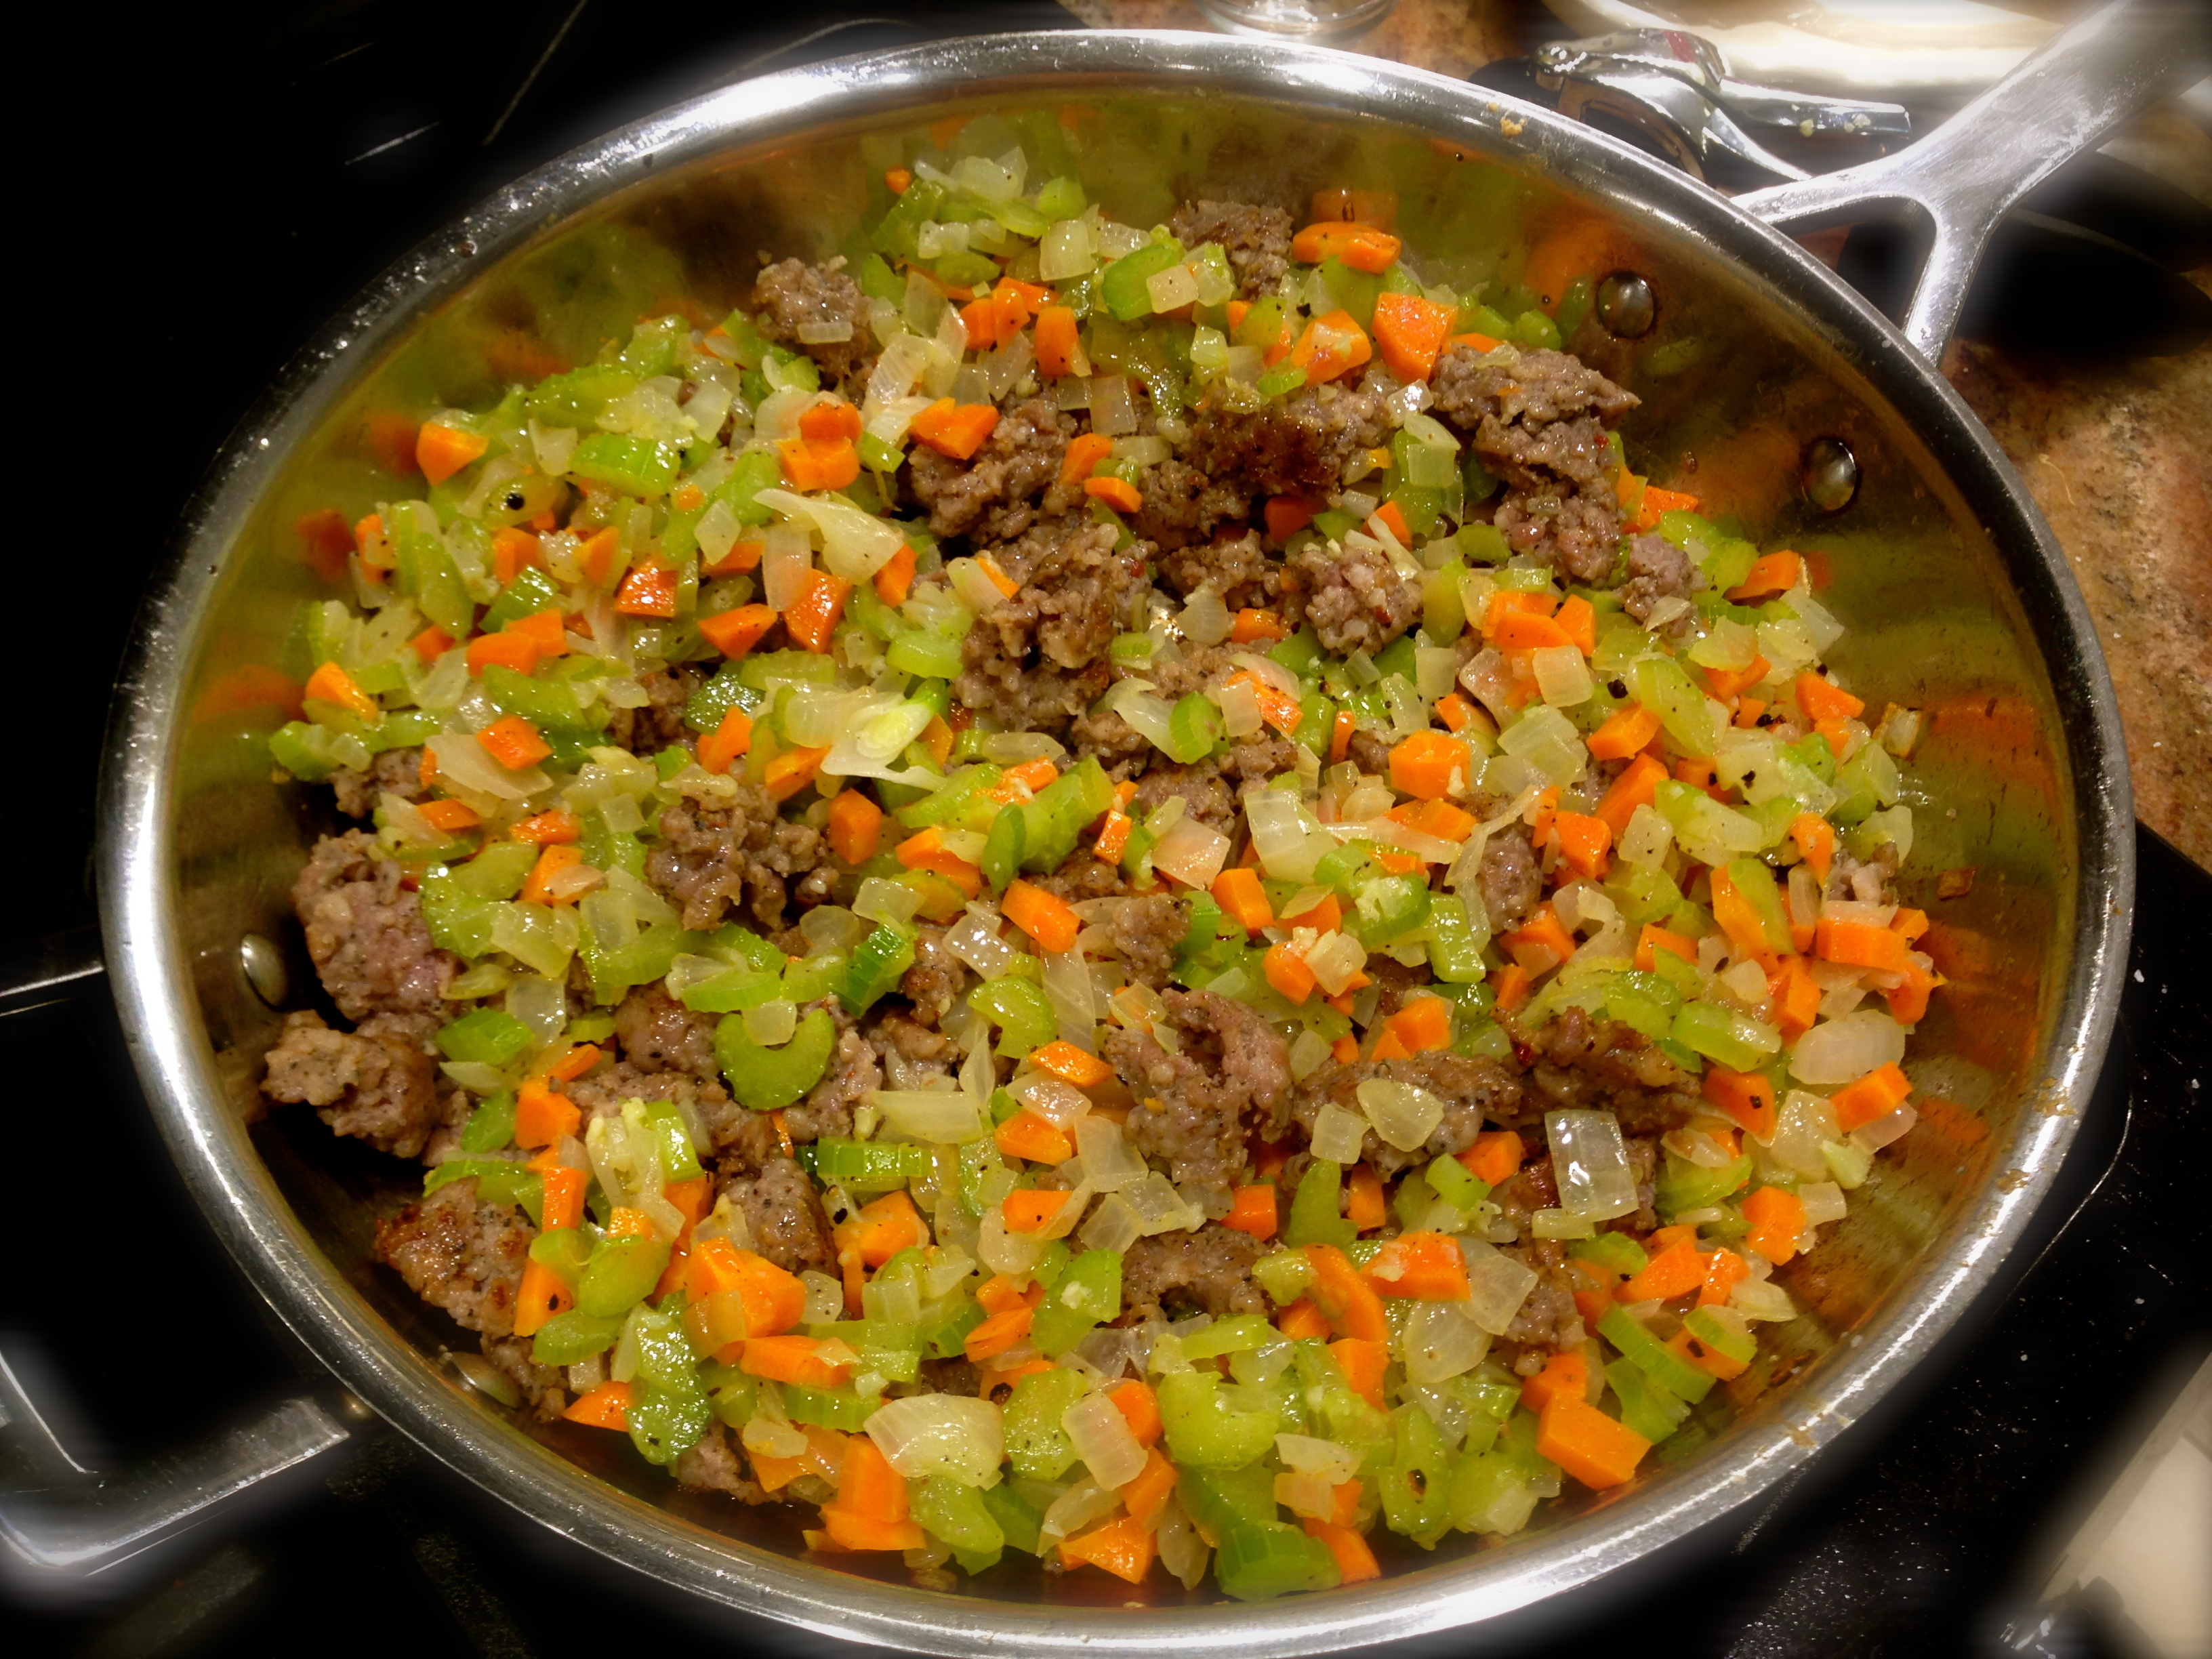
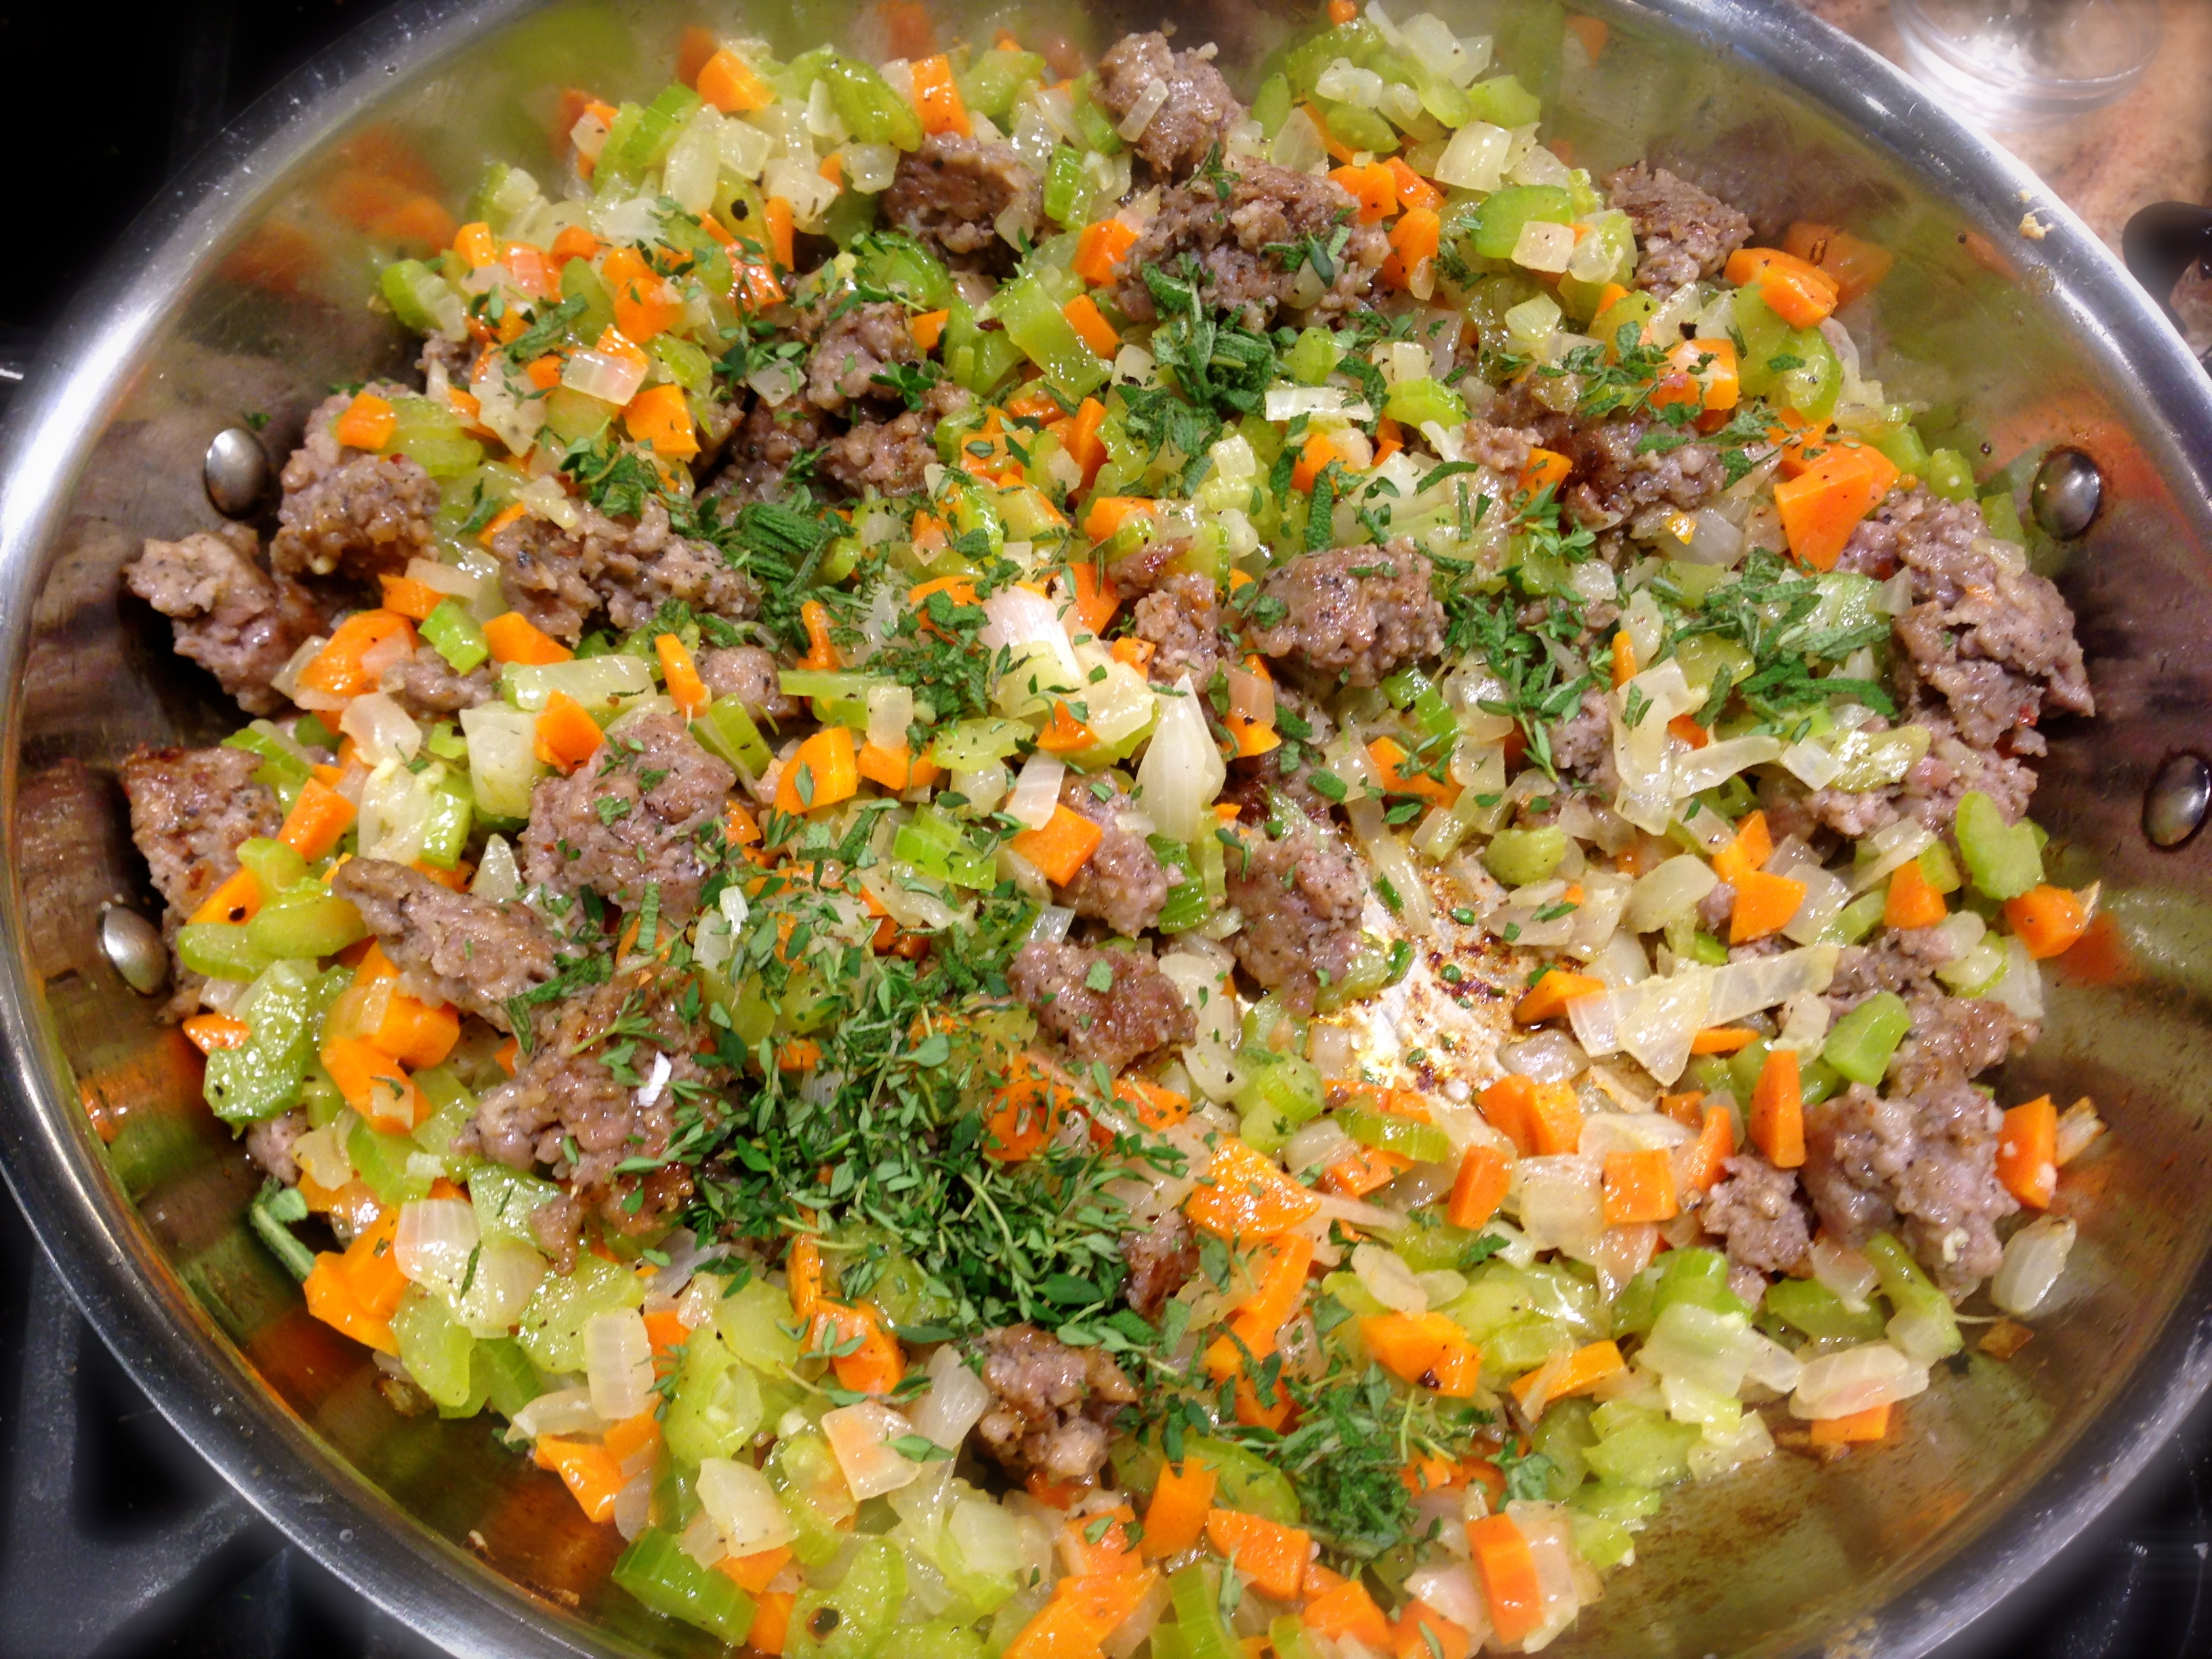
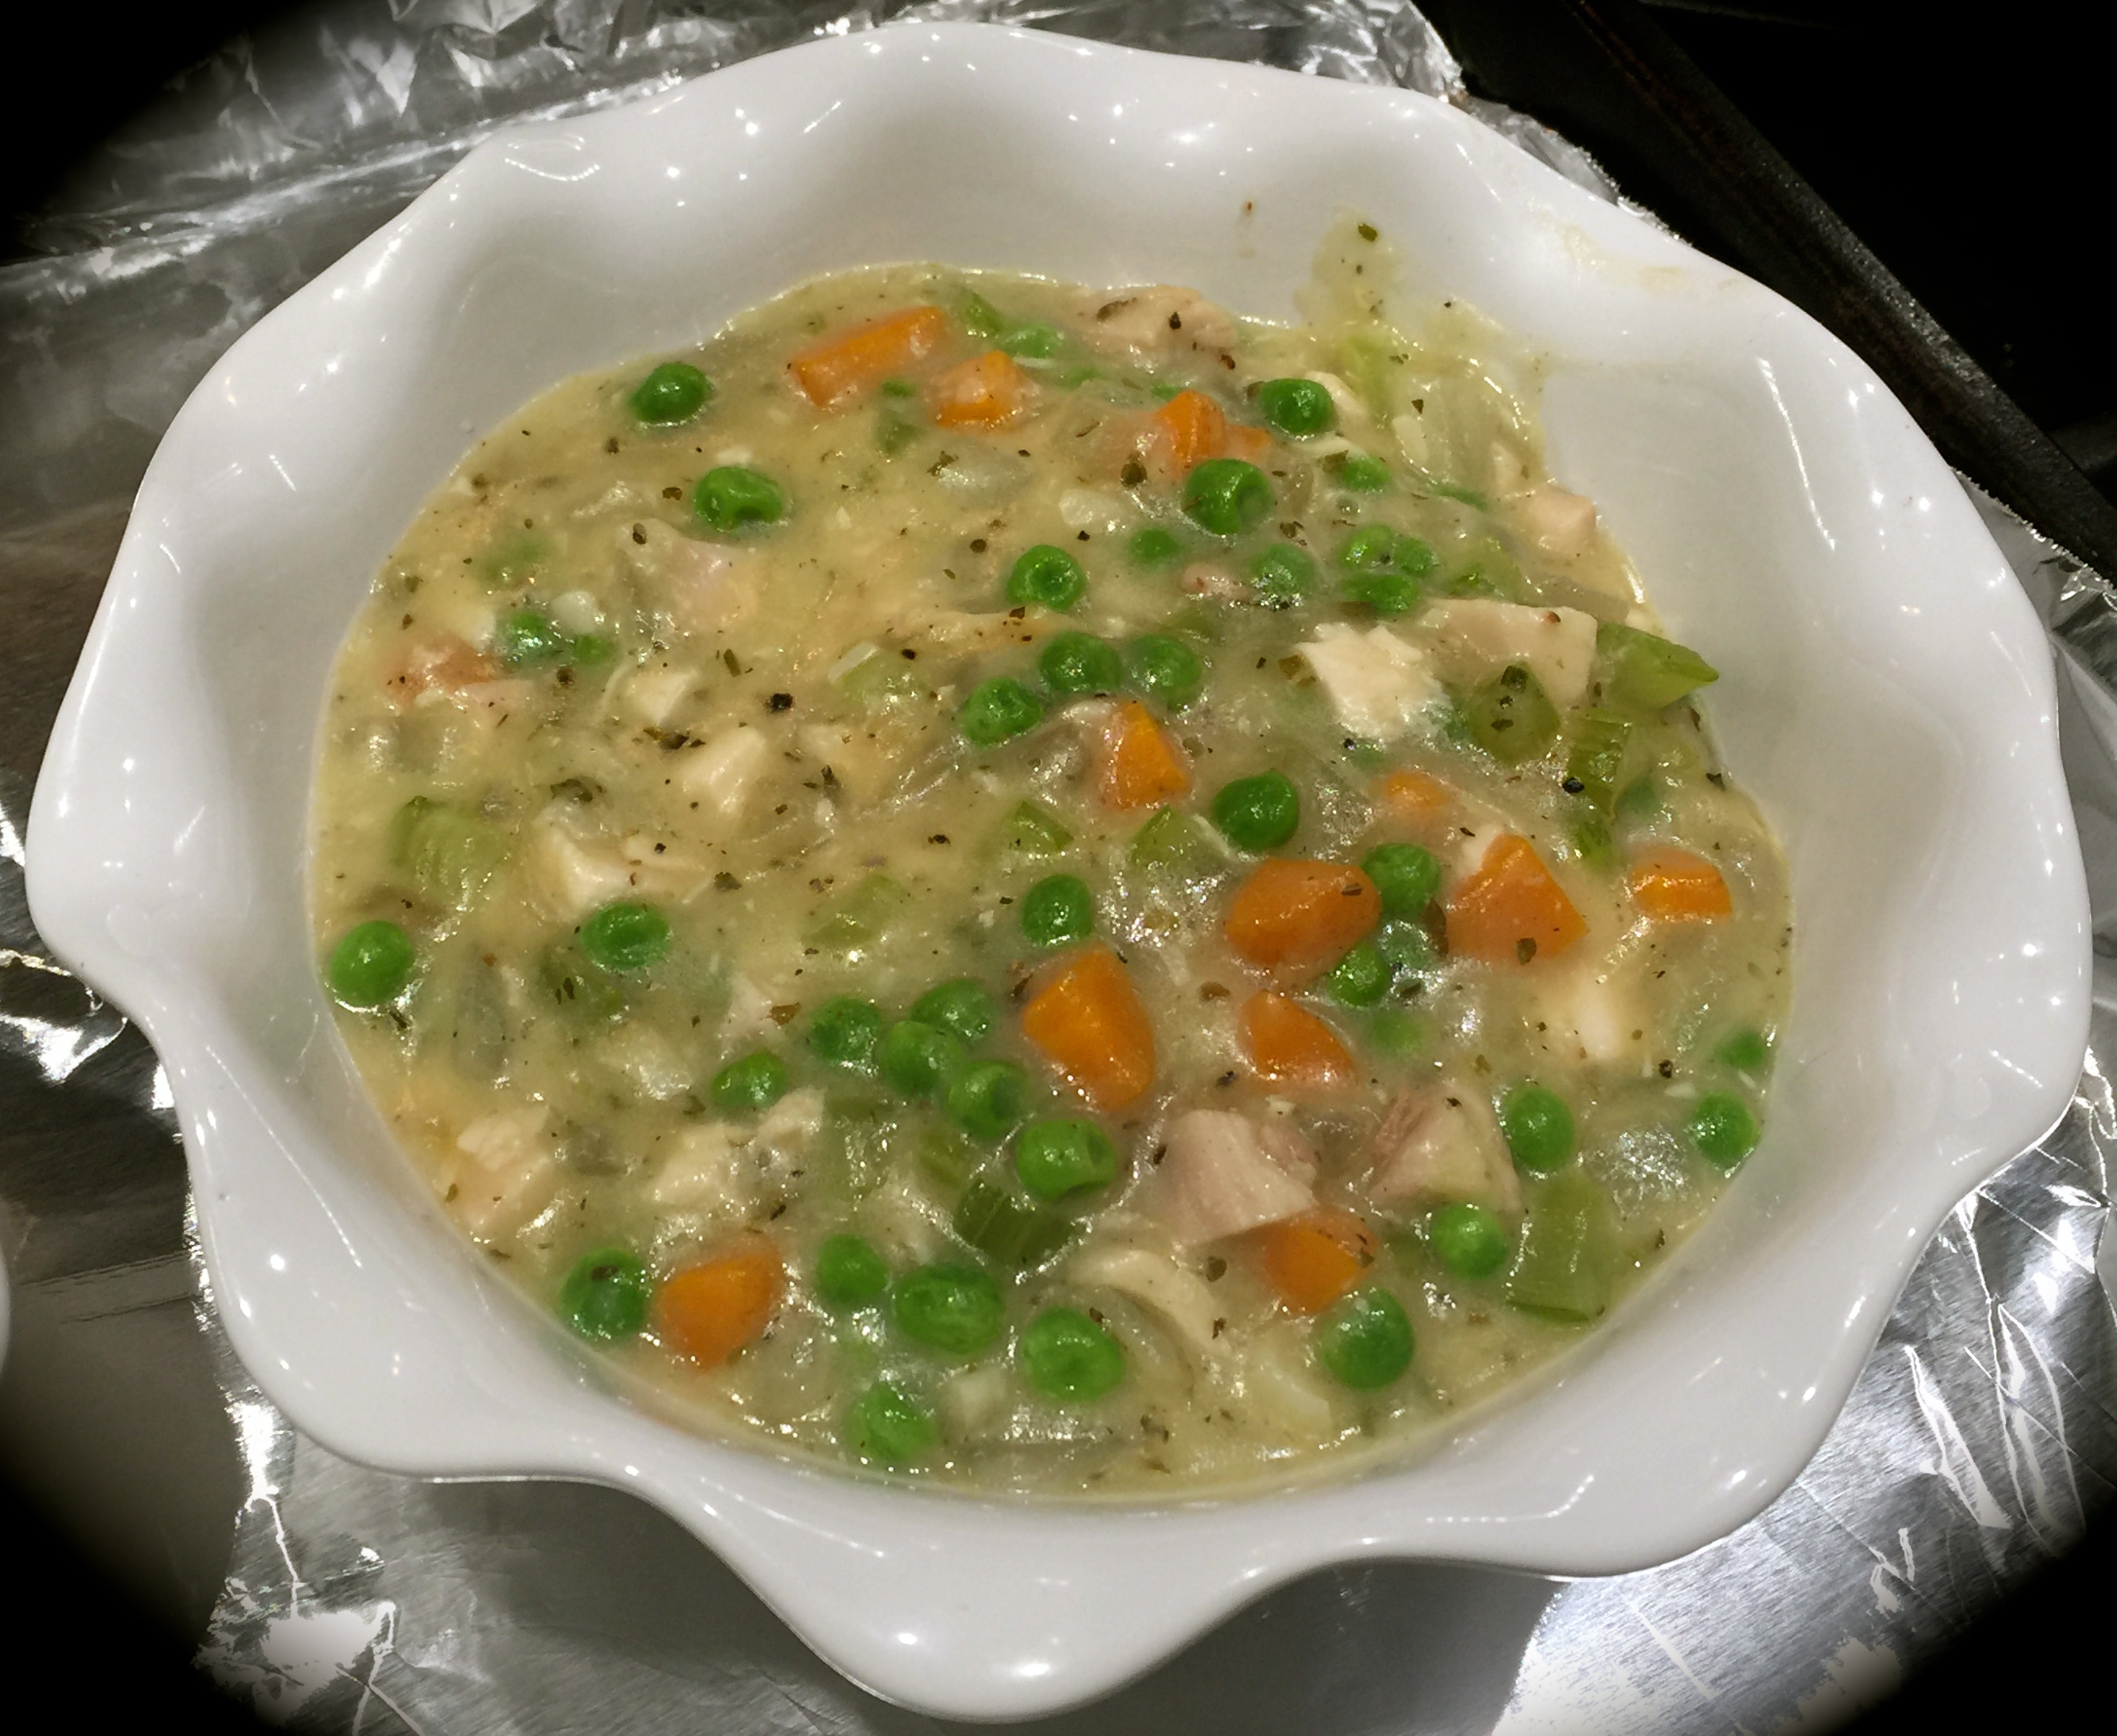
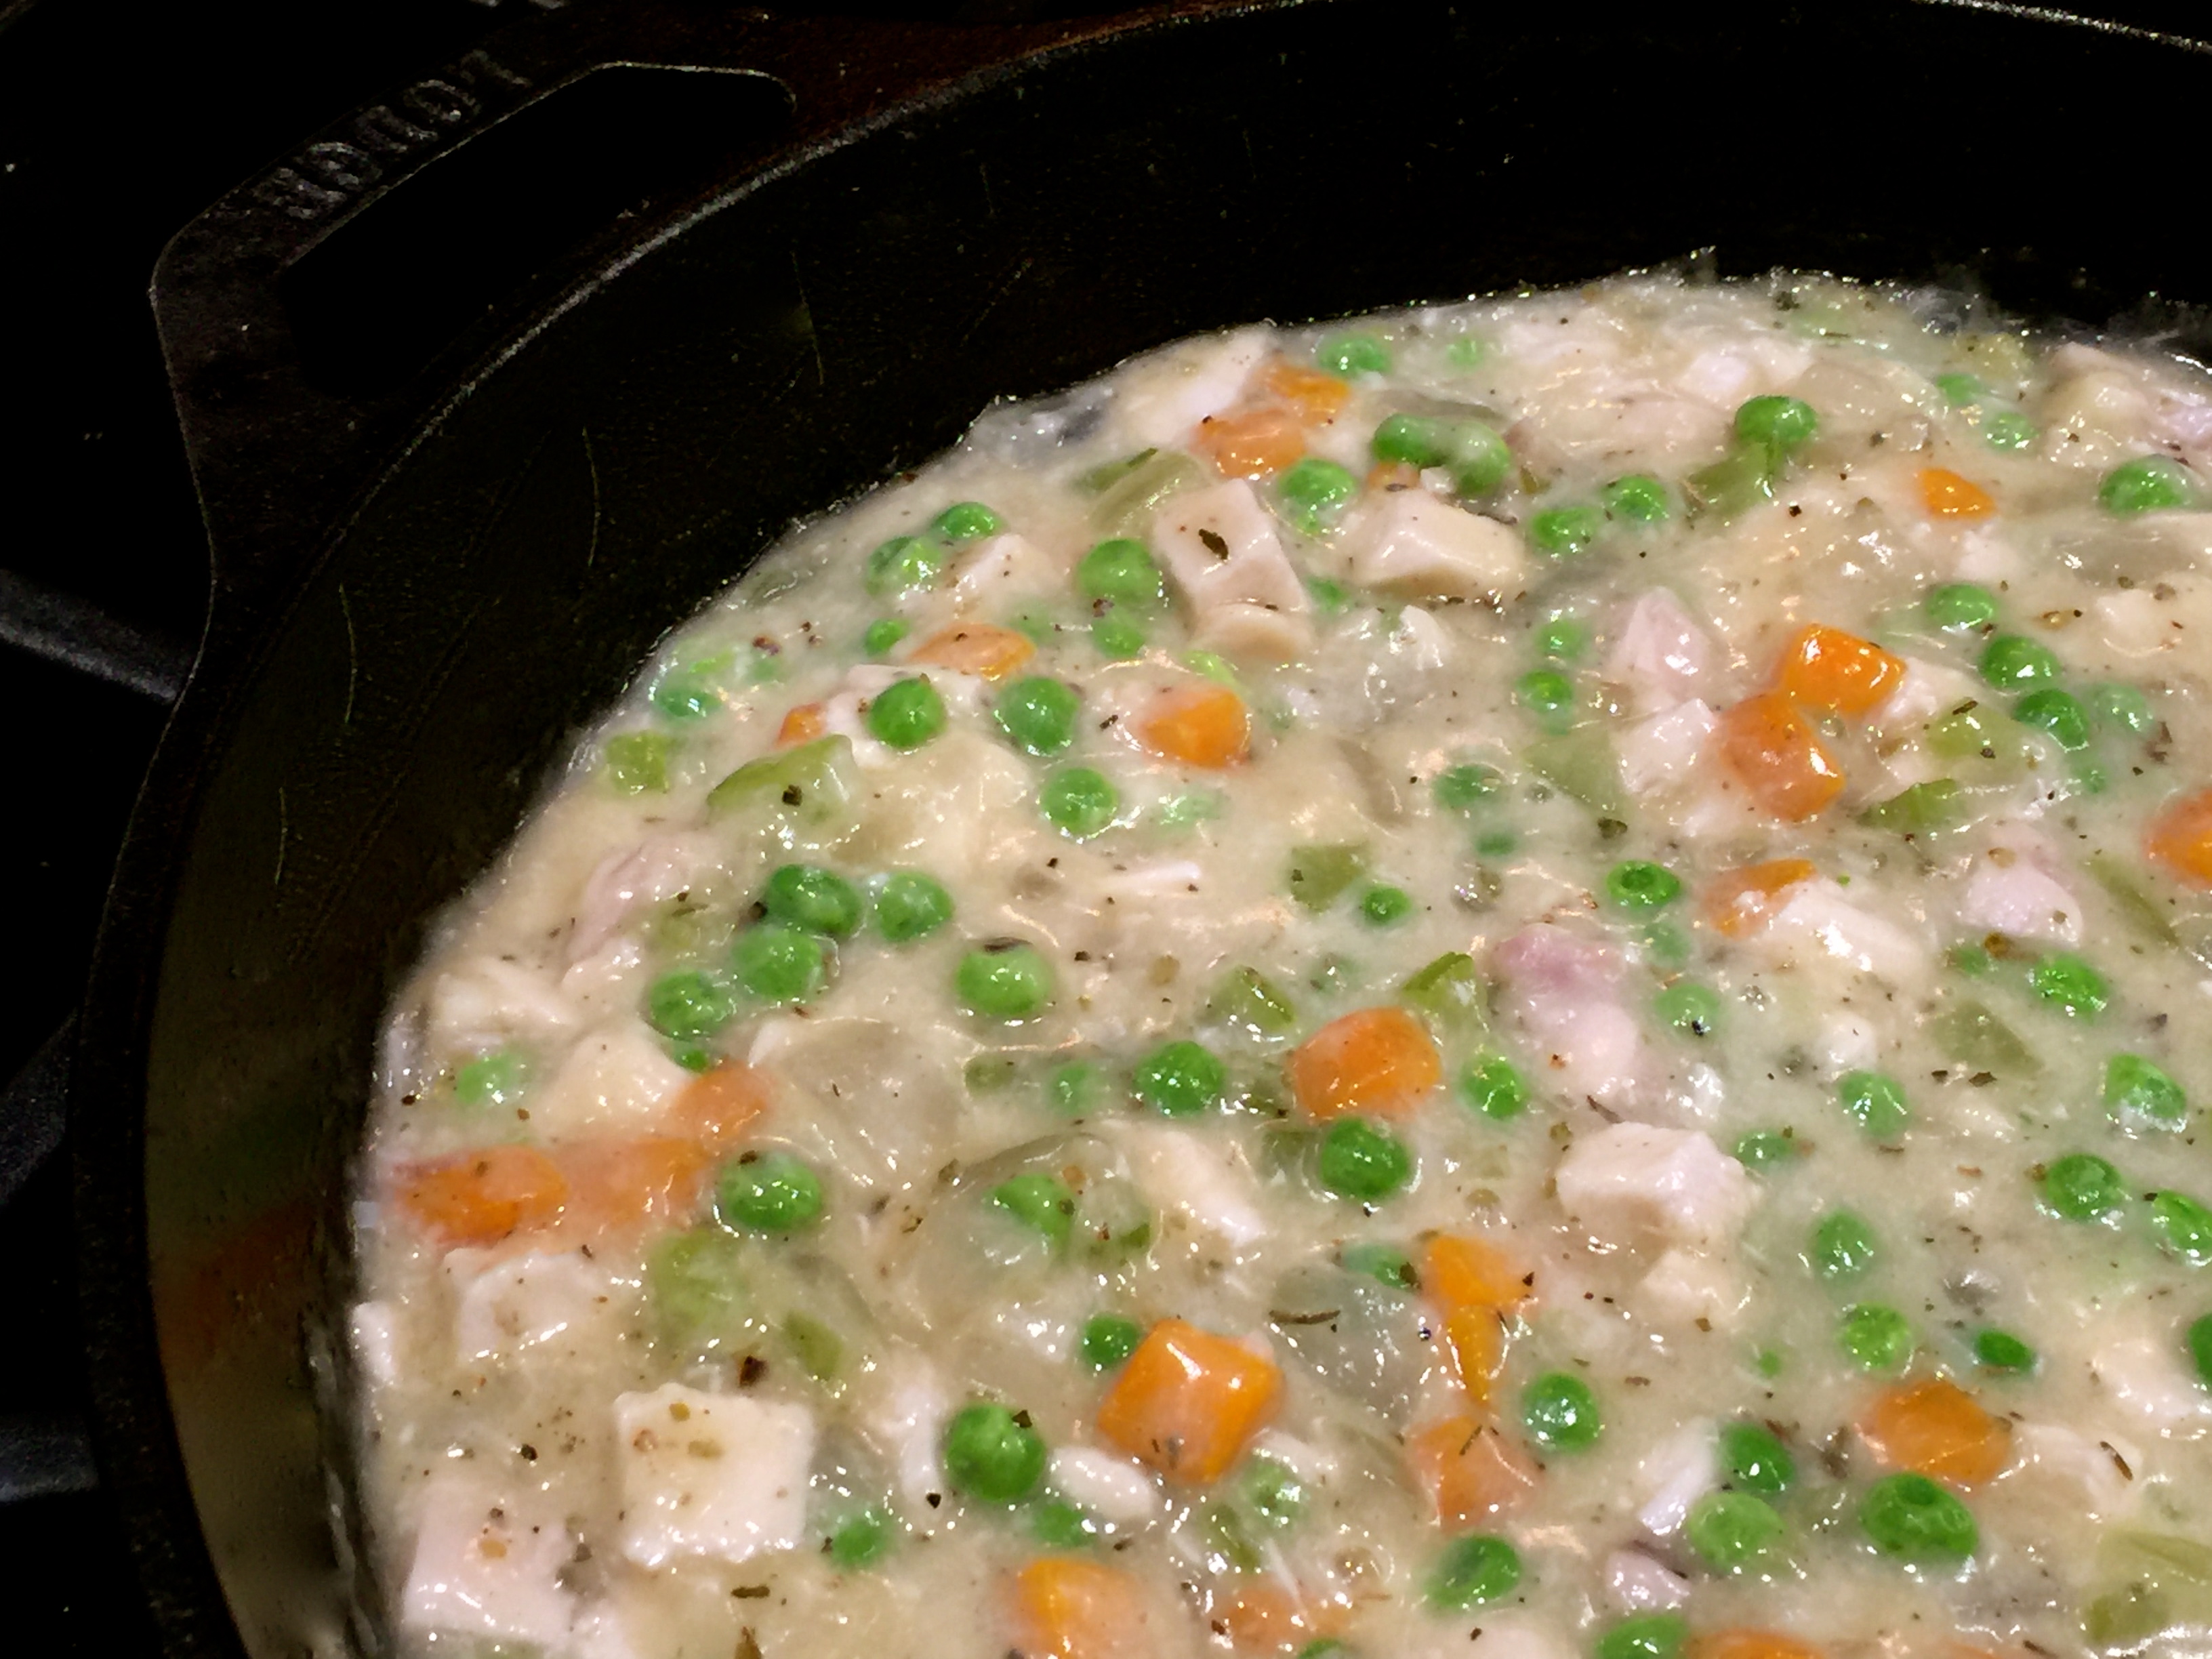 Lesson Learned 1 – Use whatever vegetables you want or have on hand: This time I used the “trinity”, onions, celery and carrots along with some frozen peas. But really you can use anything you have. You just have to make sure that you sauté the vegetables to crisp tender before putting them into the pie dish. Next time I’m going to try using some broccoli and cauliflower heads chopped on the smaller side along with onions and carrots. I may even try adding pearl onions instead of chopped onions. It is important to cut the carrots small as they will take the longest to soften. I halved my carrots lengthwise and then halved them again before chopping them. That way they softened right along with the celery and onions. And if you’re using frozen peas (which I did) don’t add them until the very end. They thaw very quickly.
Lesson Learned 2 – Add the chicken at the very end: The chicken you use in this recipe is already cooked so your goal is to warm it through and not cook it to the point that you dry it out. All you really need to do is mix the chicken with the vegetables and then put the mixture into the dish(es) you will be using. The time the pie spends in the oven will be more than enough to warm the chicken through. You might want to take the chicken out of the refrigerator about a half hour before using it in the recipe. That way you will get the chill off of it and it will warm nicely in the oven.
 Lesson Learned 3 – You can use individual pie pans or one 9 inch pie pan: I prefer giving everyone there own little pie but you can certainly bake this as one big pie as well and spoon out individual servings. Either way will work.
Lesson Learned 4 – Put the pie(s) on a foil lined baking sheet before placing them in the oven: I guarantee you, the pie filling WILL LEAK OUT of the pie dish. In order to avoid the filling dripping all over the bottom of your oven make sure the pans are resting on a foiled lined rimmed baking sheet. That way you’ll save yourself a lot of mess and clean up time.
Lesson Learned 5 – Use russet potatoes when making mashed potatoes: Russet potatoes have a lot more starch in them and hold up better in the baking process than other types of potatoes (at least that’s my opinion). Use russet potatoes and don’t make them too runny. Although I will write out some ingredients for making the potatoes use common sense when making them. If they already appear very soft after you mash them add very little liquid to them. If they are stiff, add a little bit of liquid at a time and see how they turn out when you mix them. Remember you can always add more of an ingredient if you need to. I think you get the best results when the potatoes have a slightly firmer consistency. If they’re too soft they will get even runnier in the oven, and you don’t want that.
Also another trick I learned is to add an egg yolk at the end of the mashing process. That gives the potatoes a richer color and more depth of flavor. Just make sure your potatoes are not hot to the point that they scramble the egg yolk. Chances are that will not be the case.
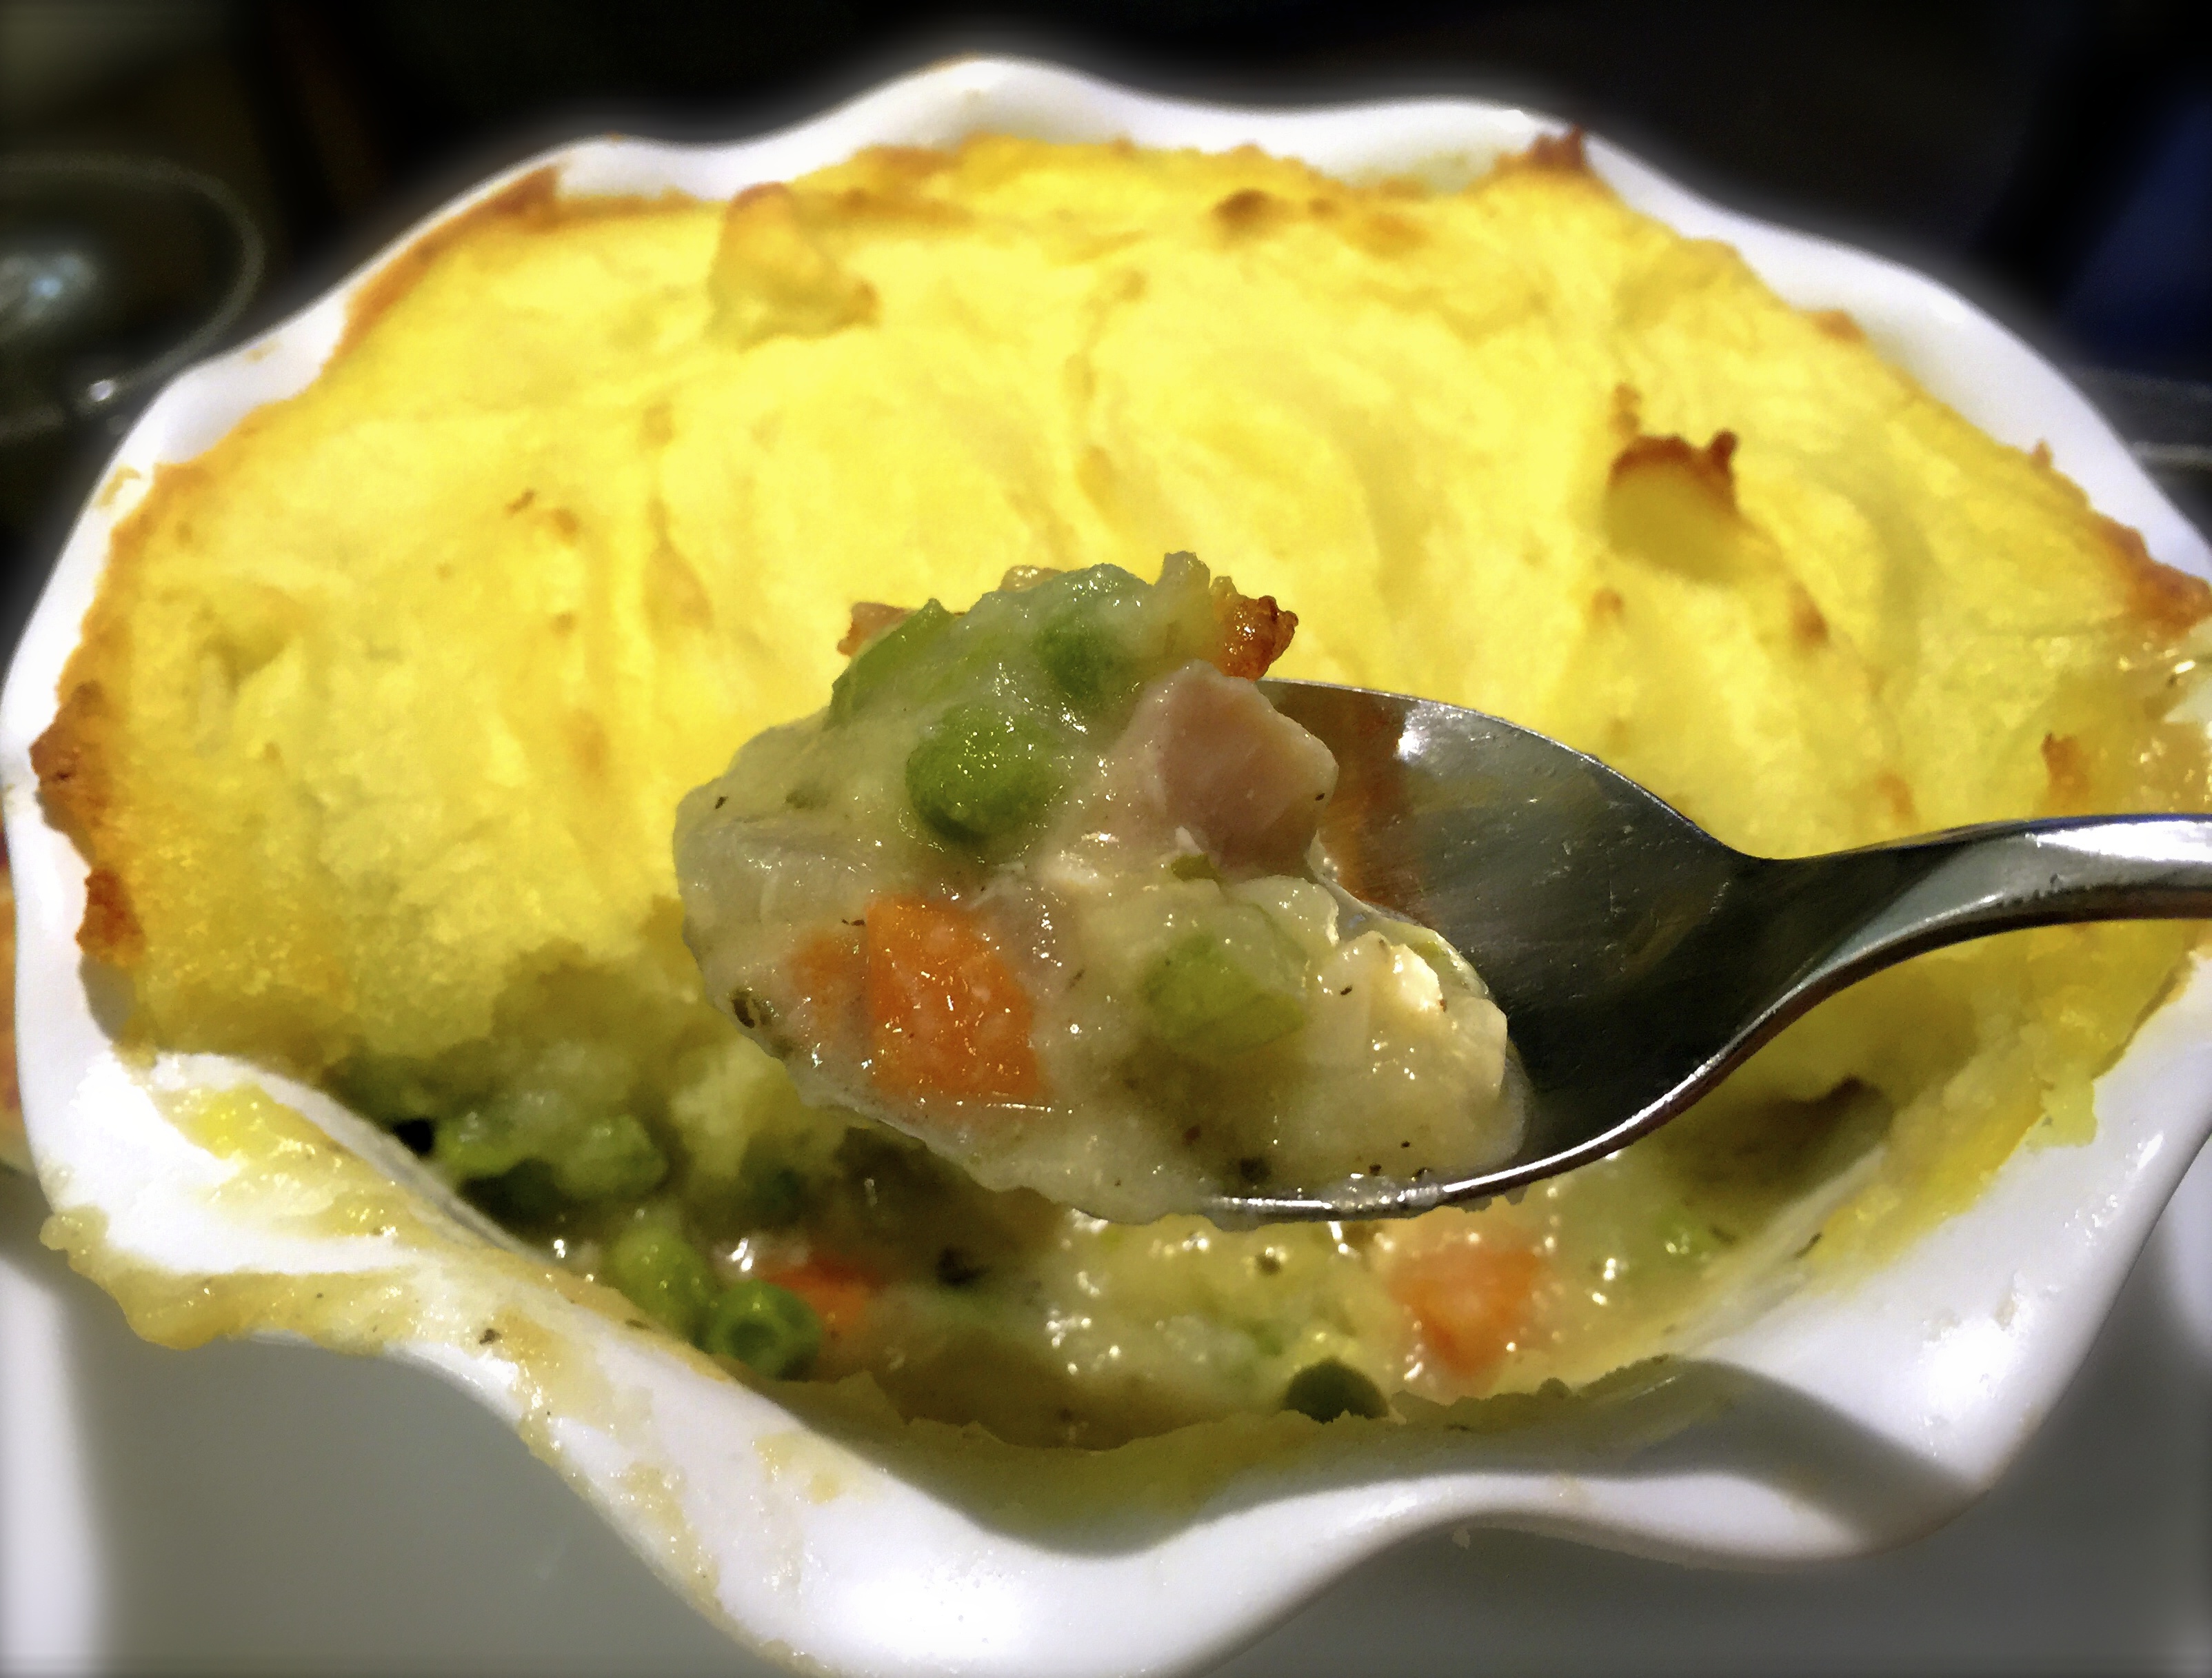
Also if you want to be fancy you can use a pastry bag and pipe the potatoes on the top of the pie. I chose not to. I used a frosting knife and after I dolloped some potatoes on top smoothed them over the vegetables. Try to create some peaks with your potatoes. The peaks are what will brown in the oven and give the eye pleasing look as seen in the second picture below.
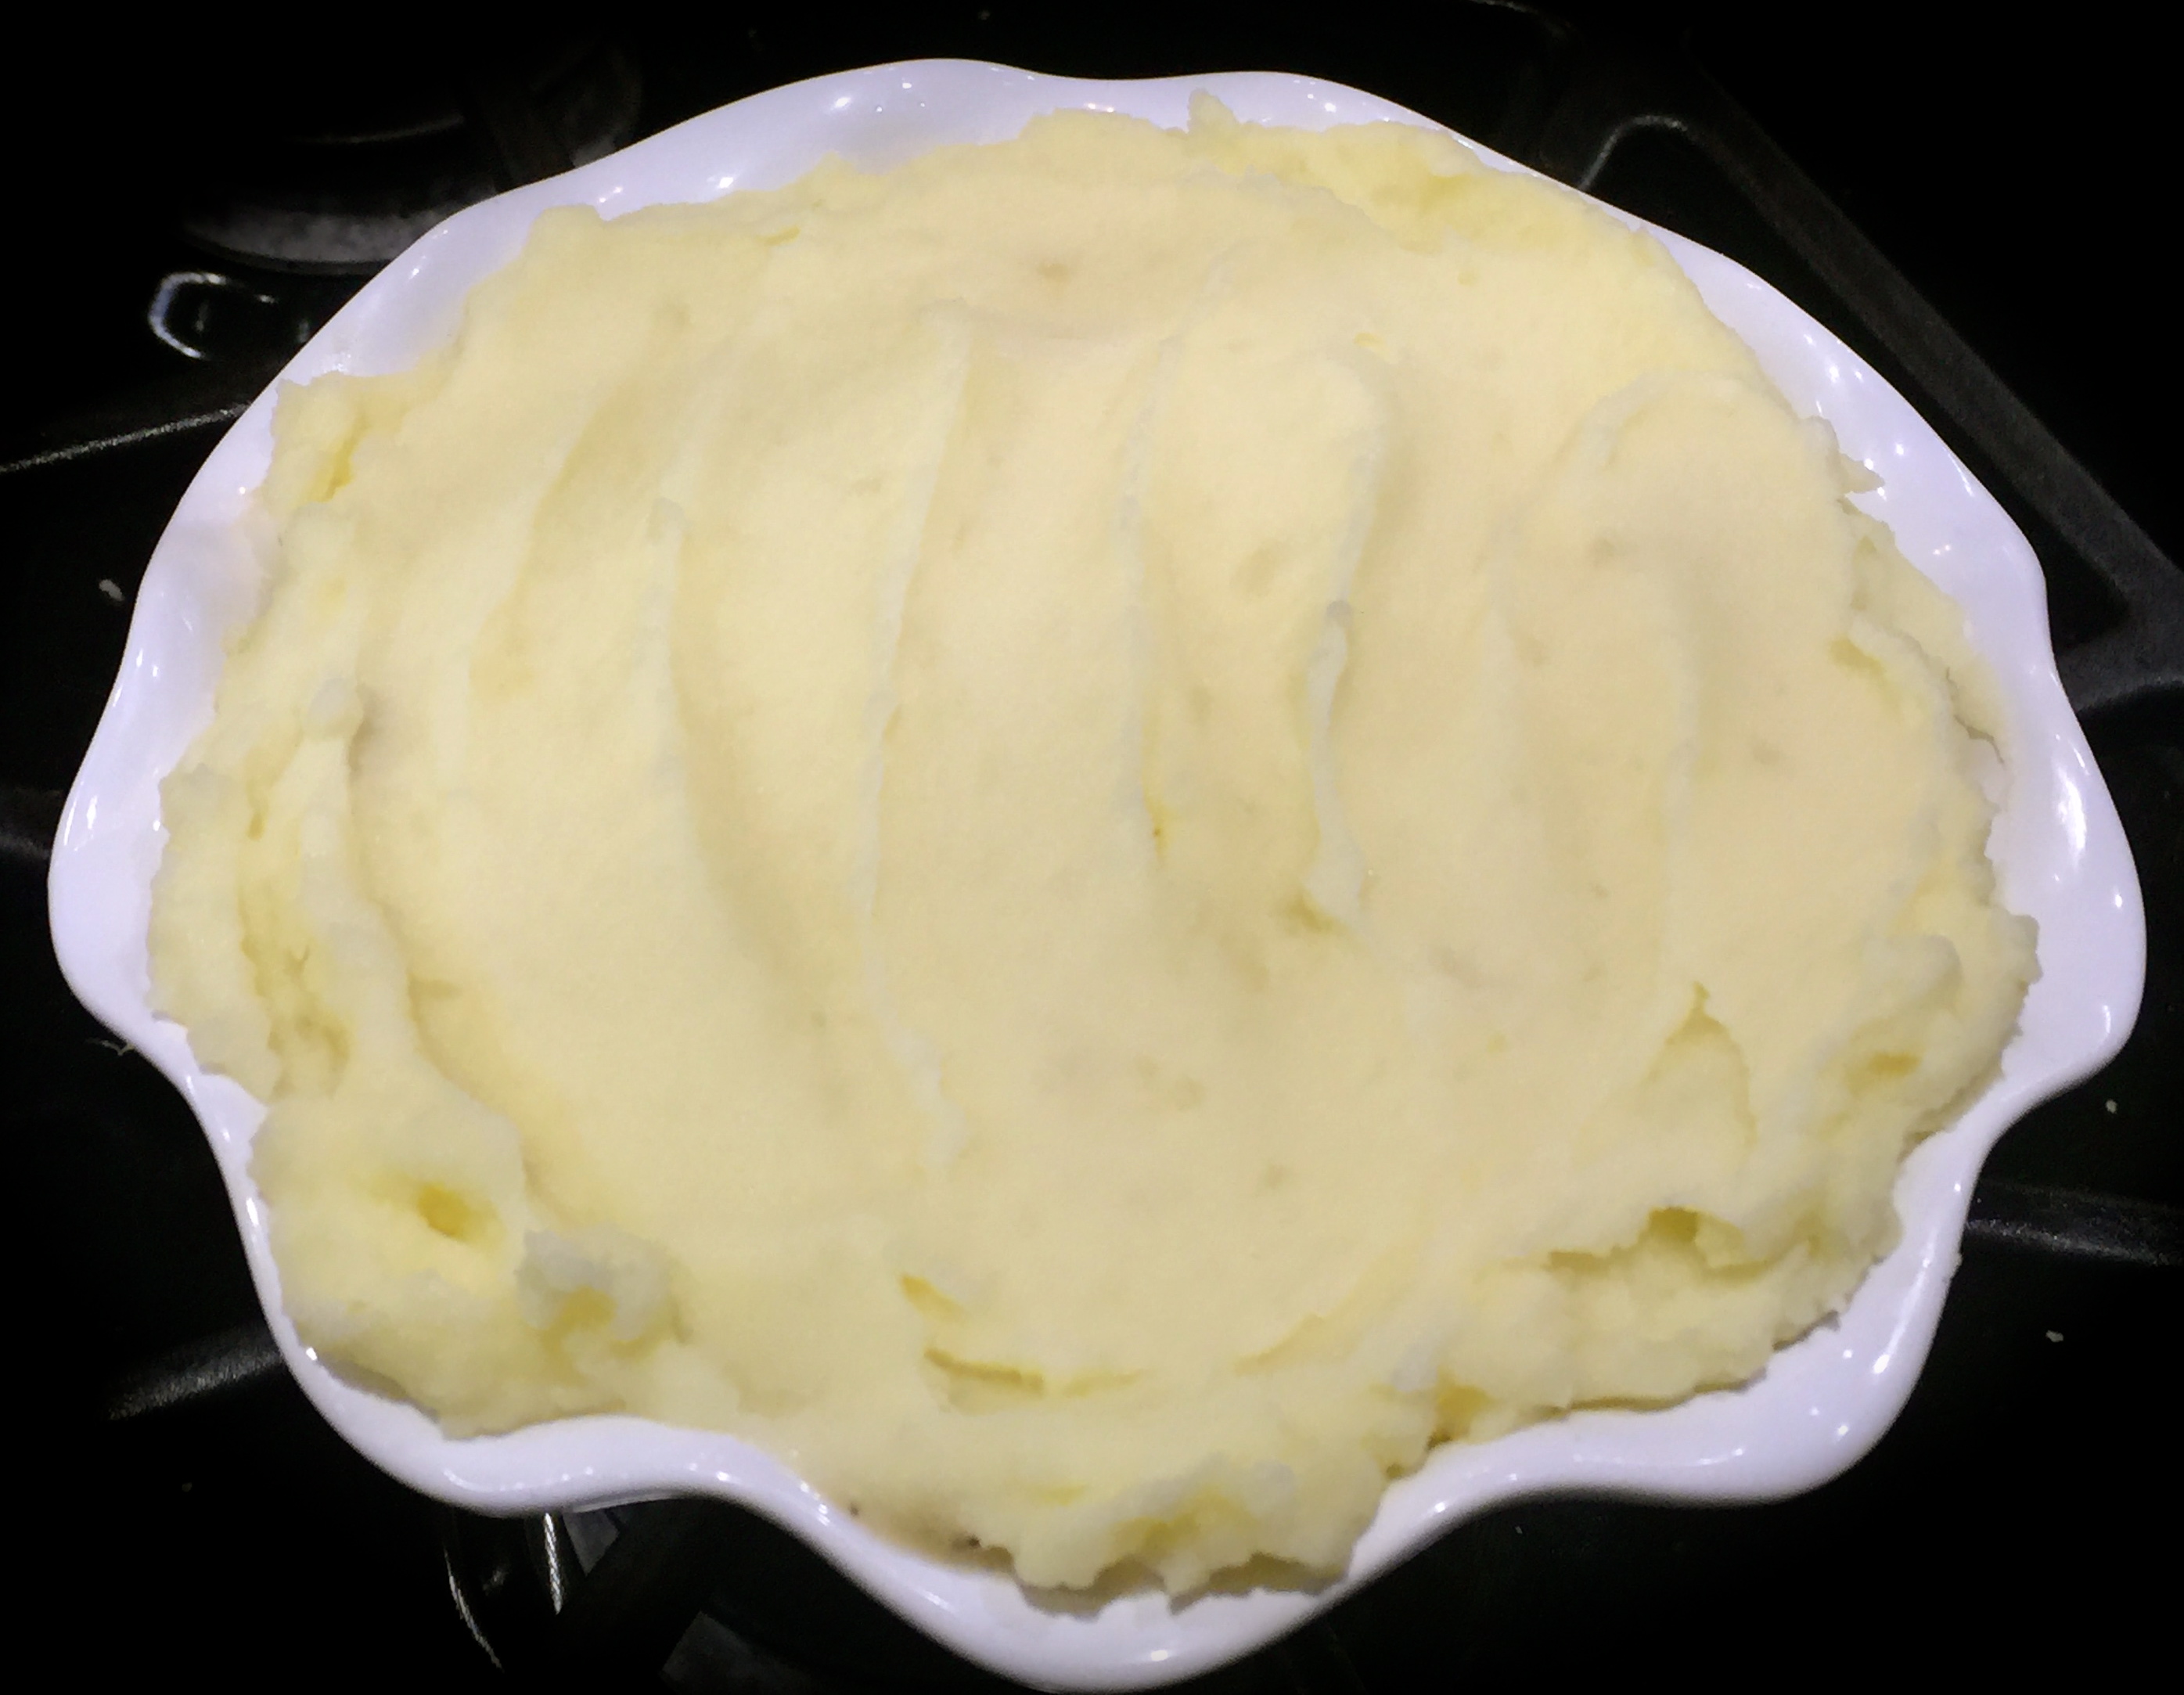
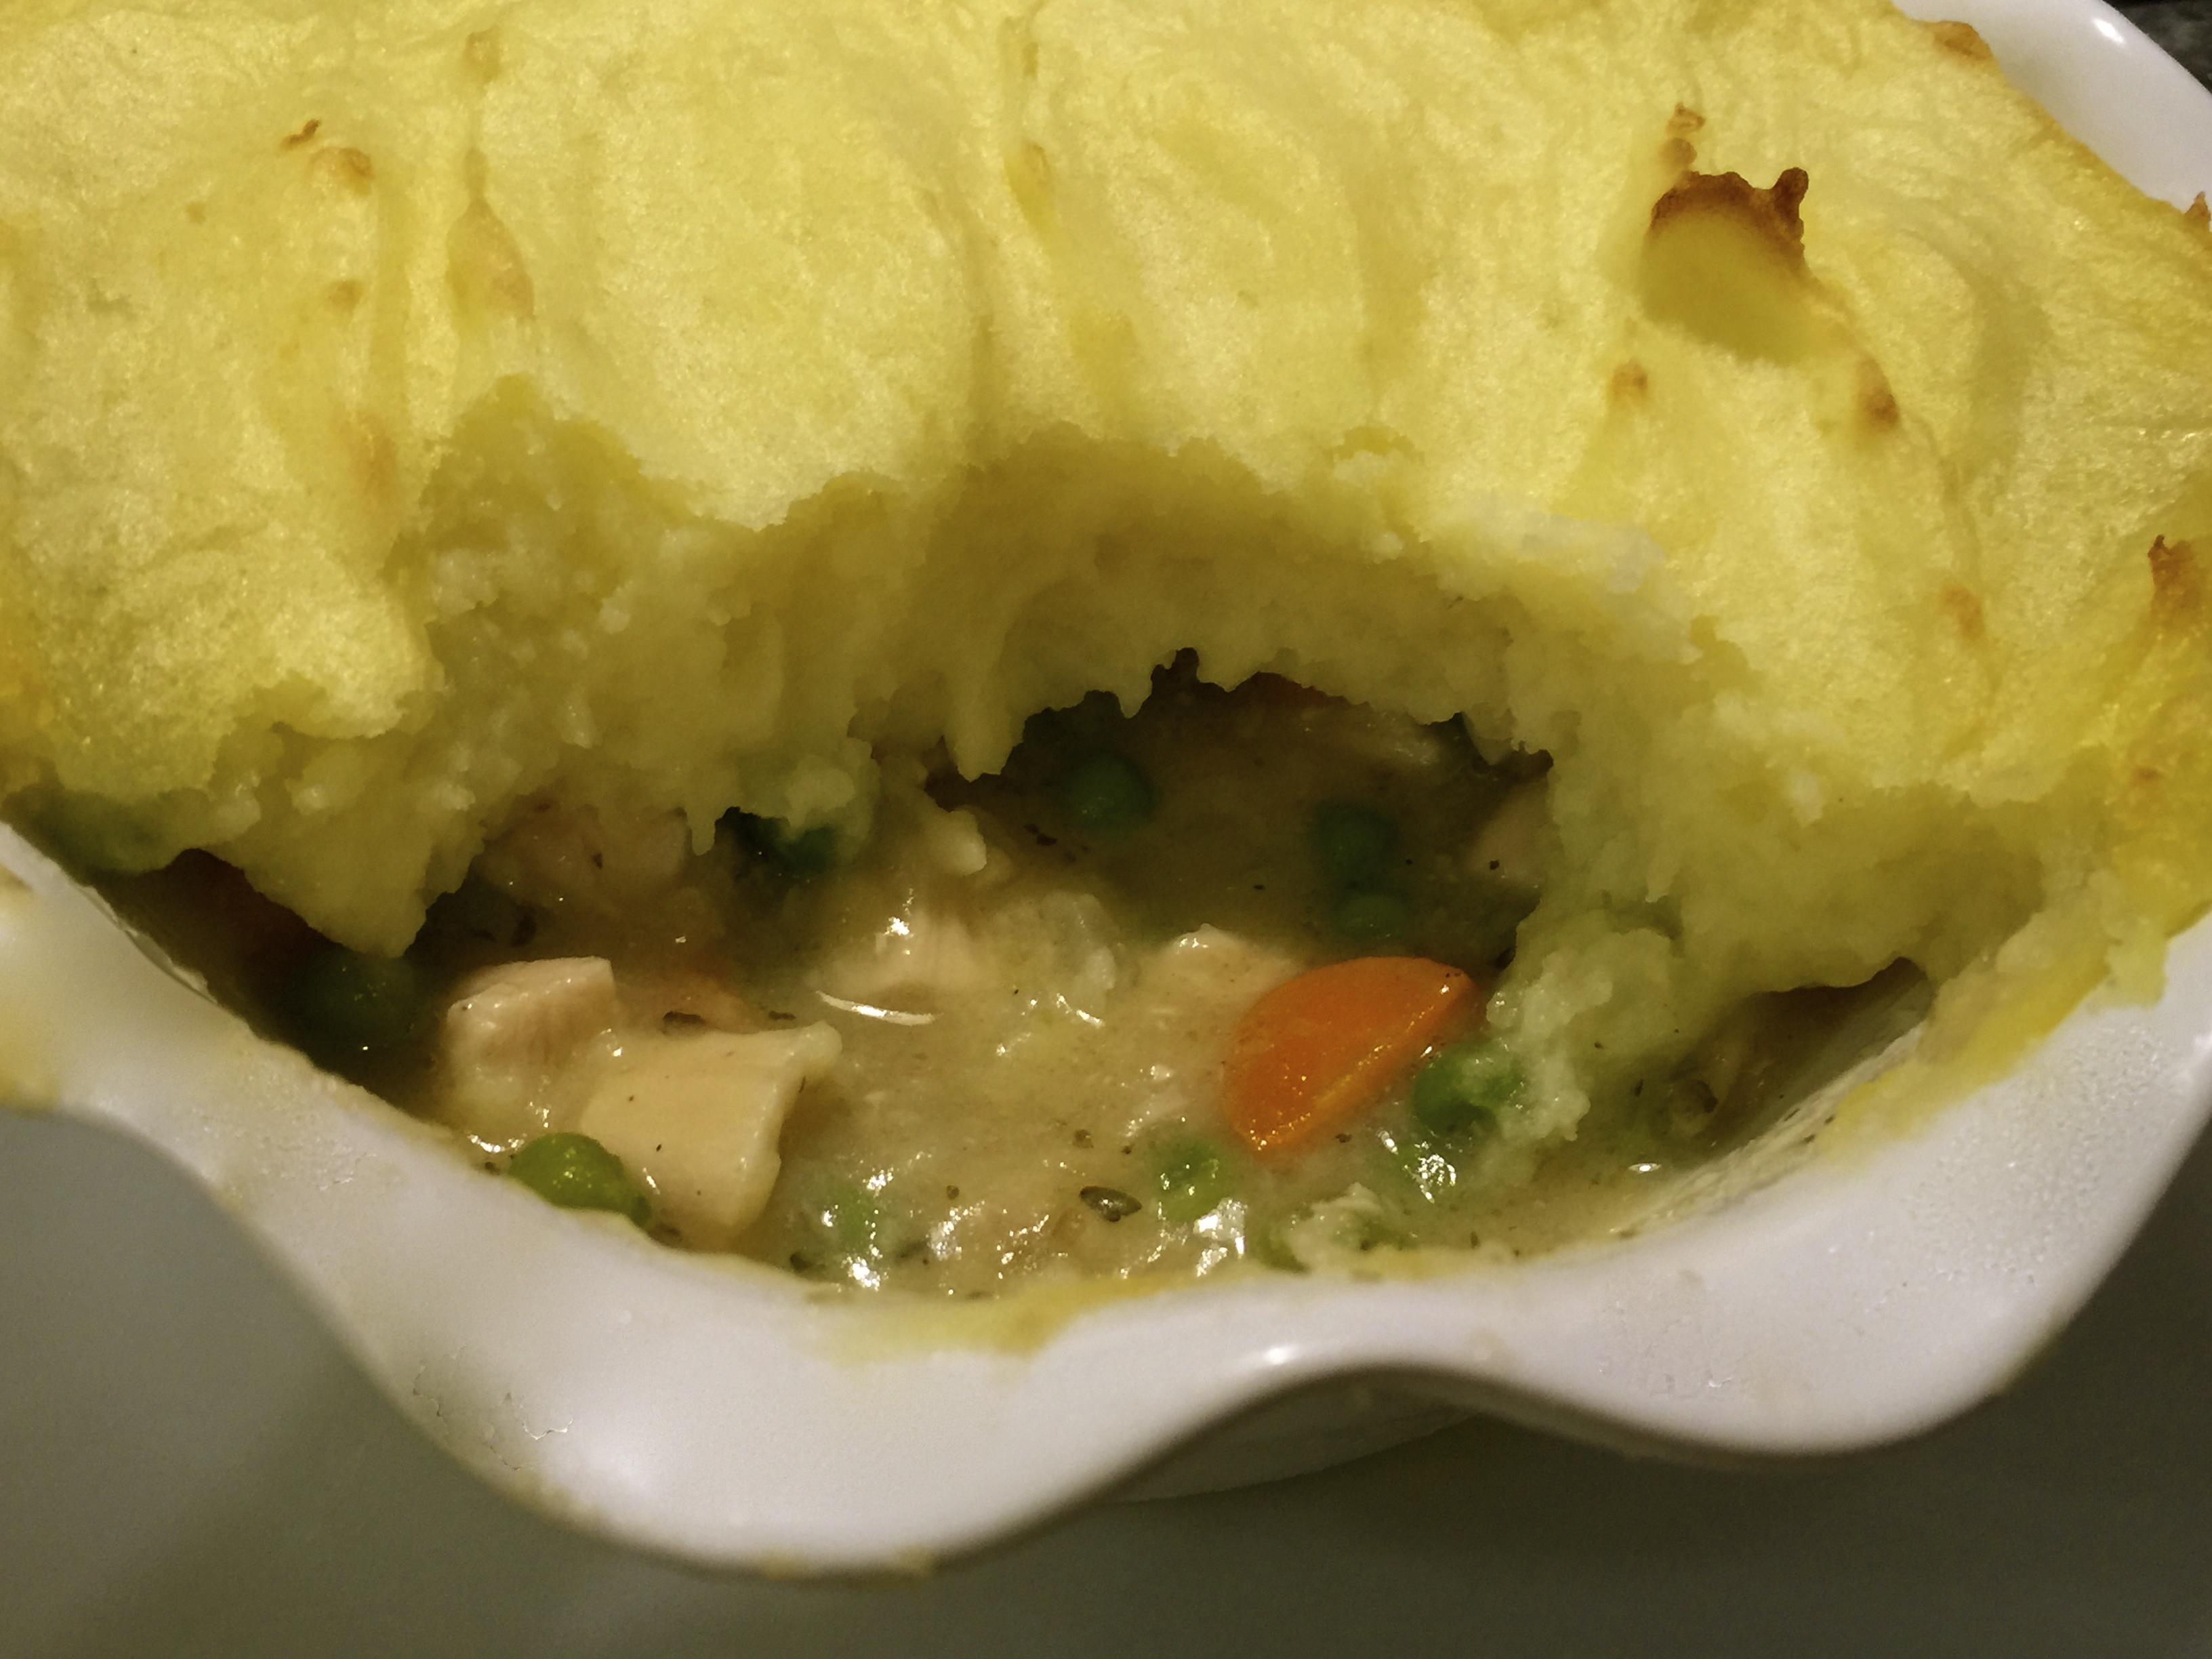
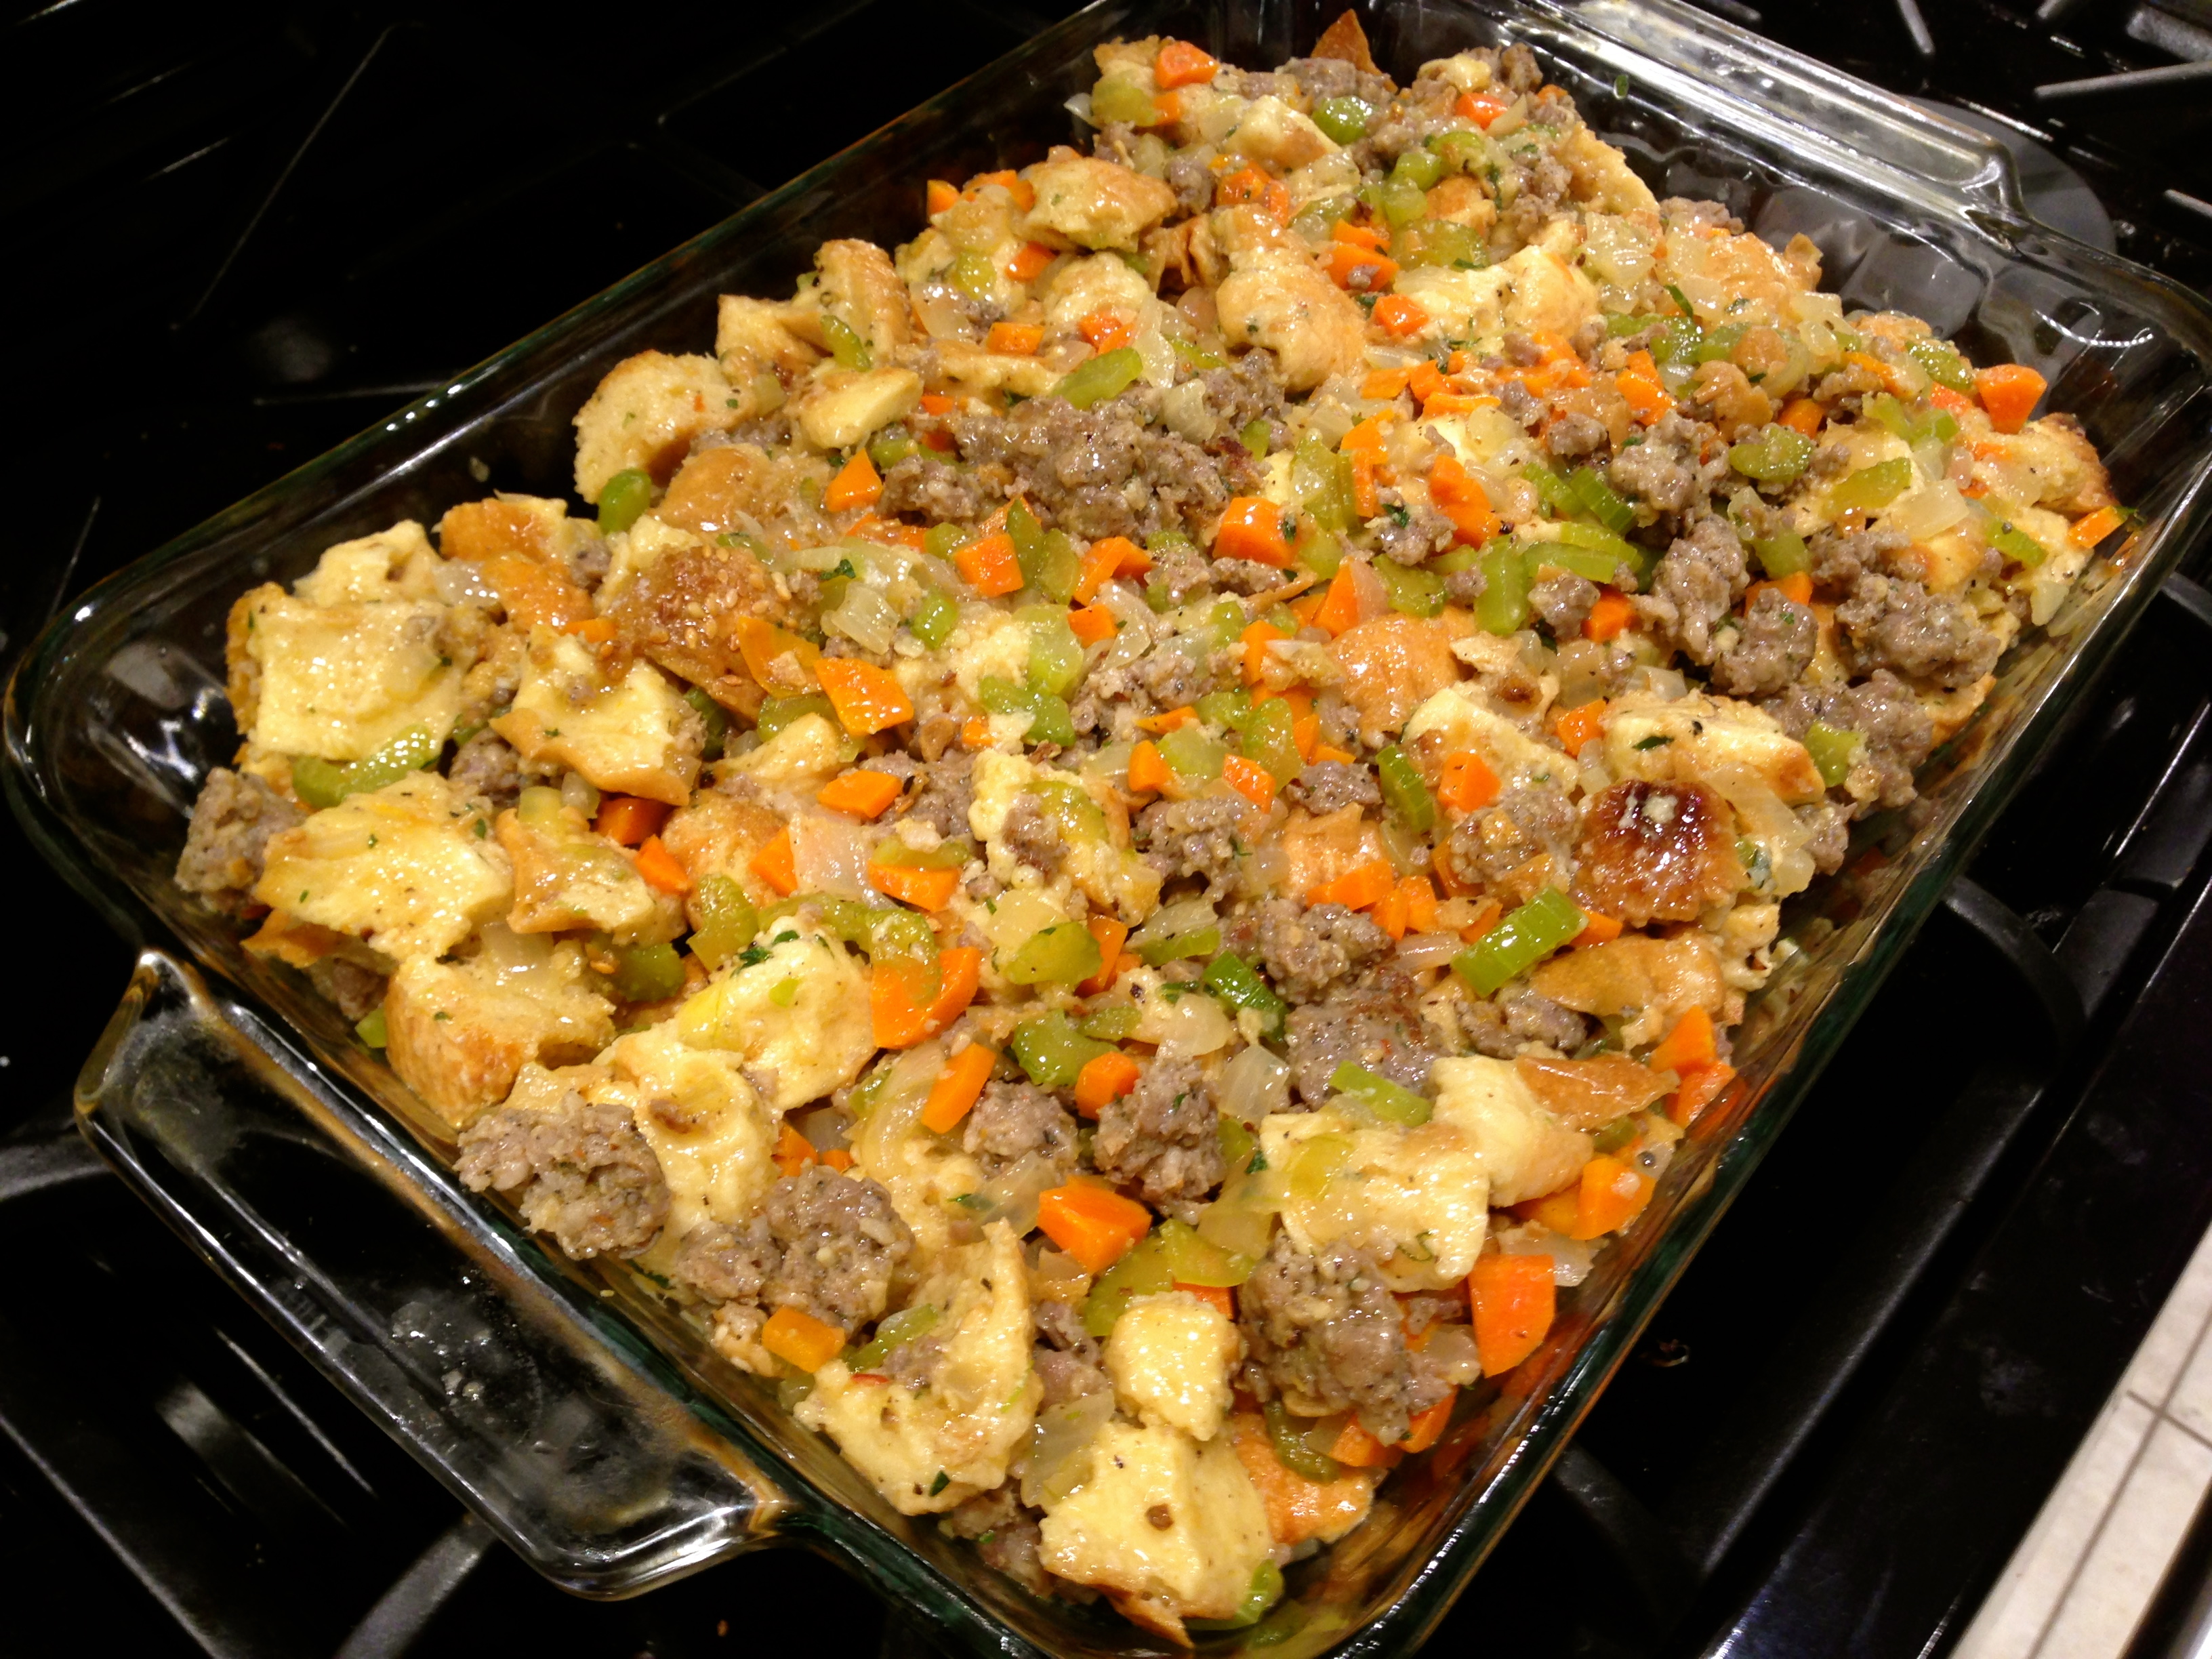
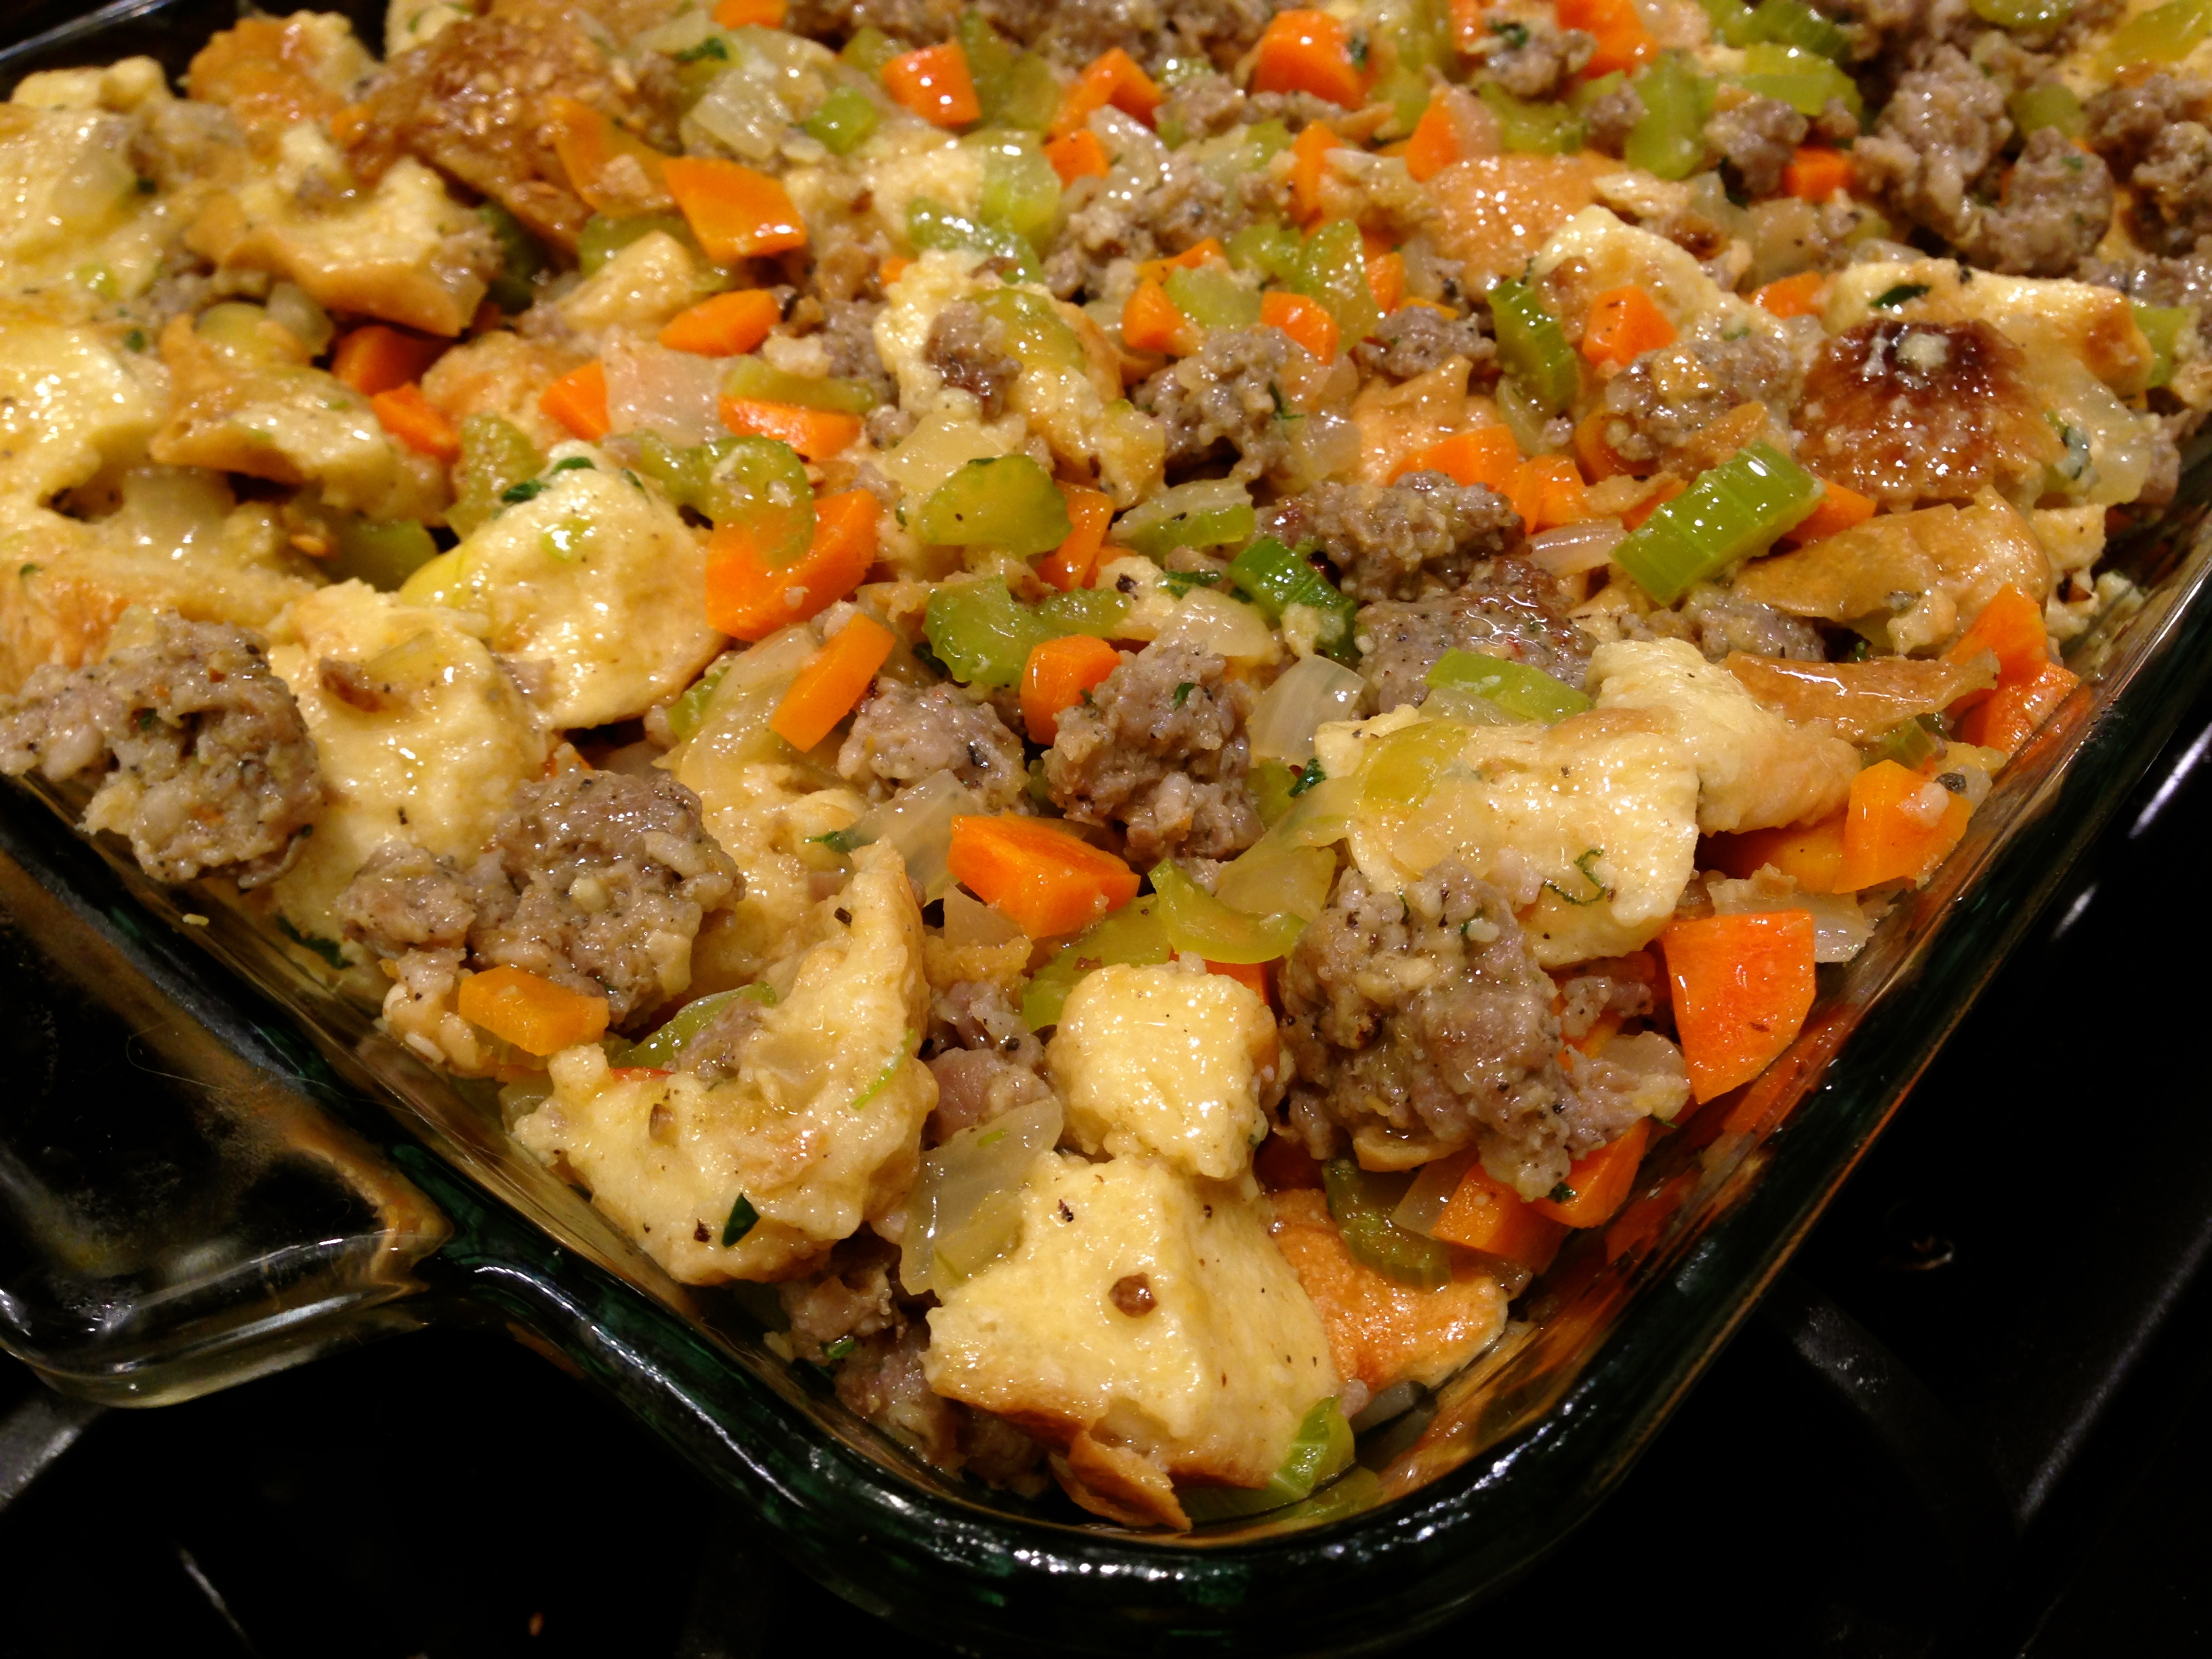
Ready To Go Into The Oven
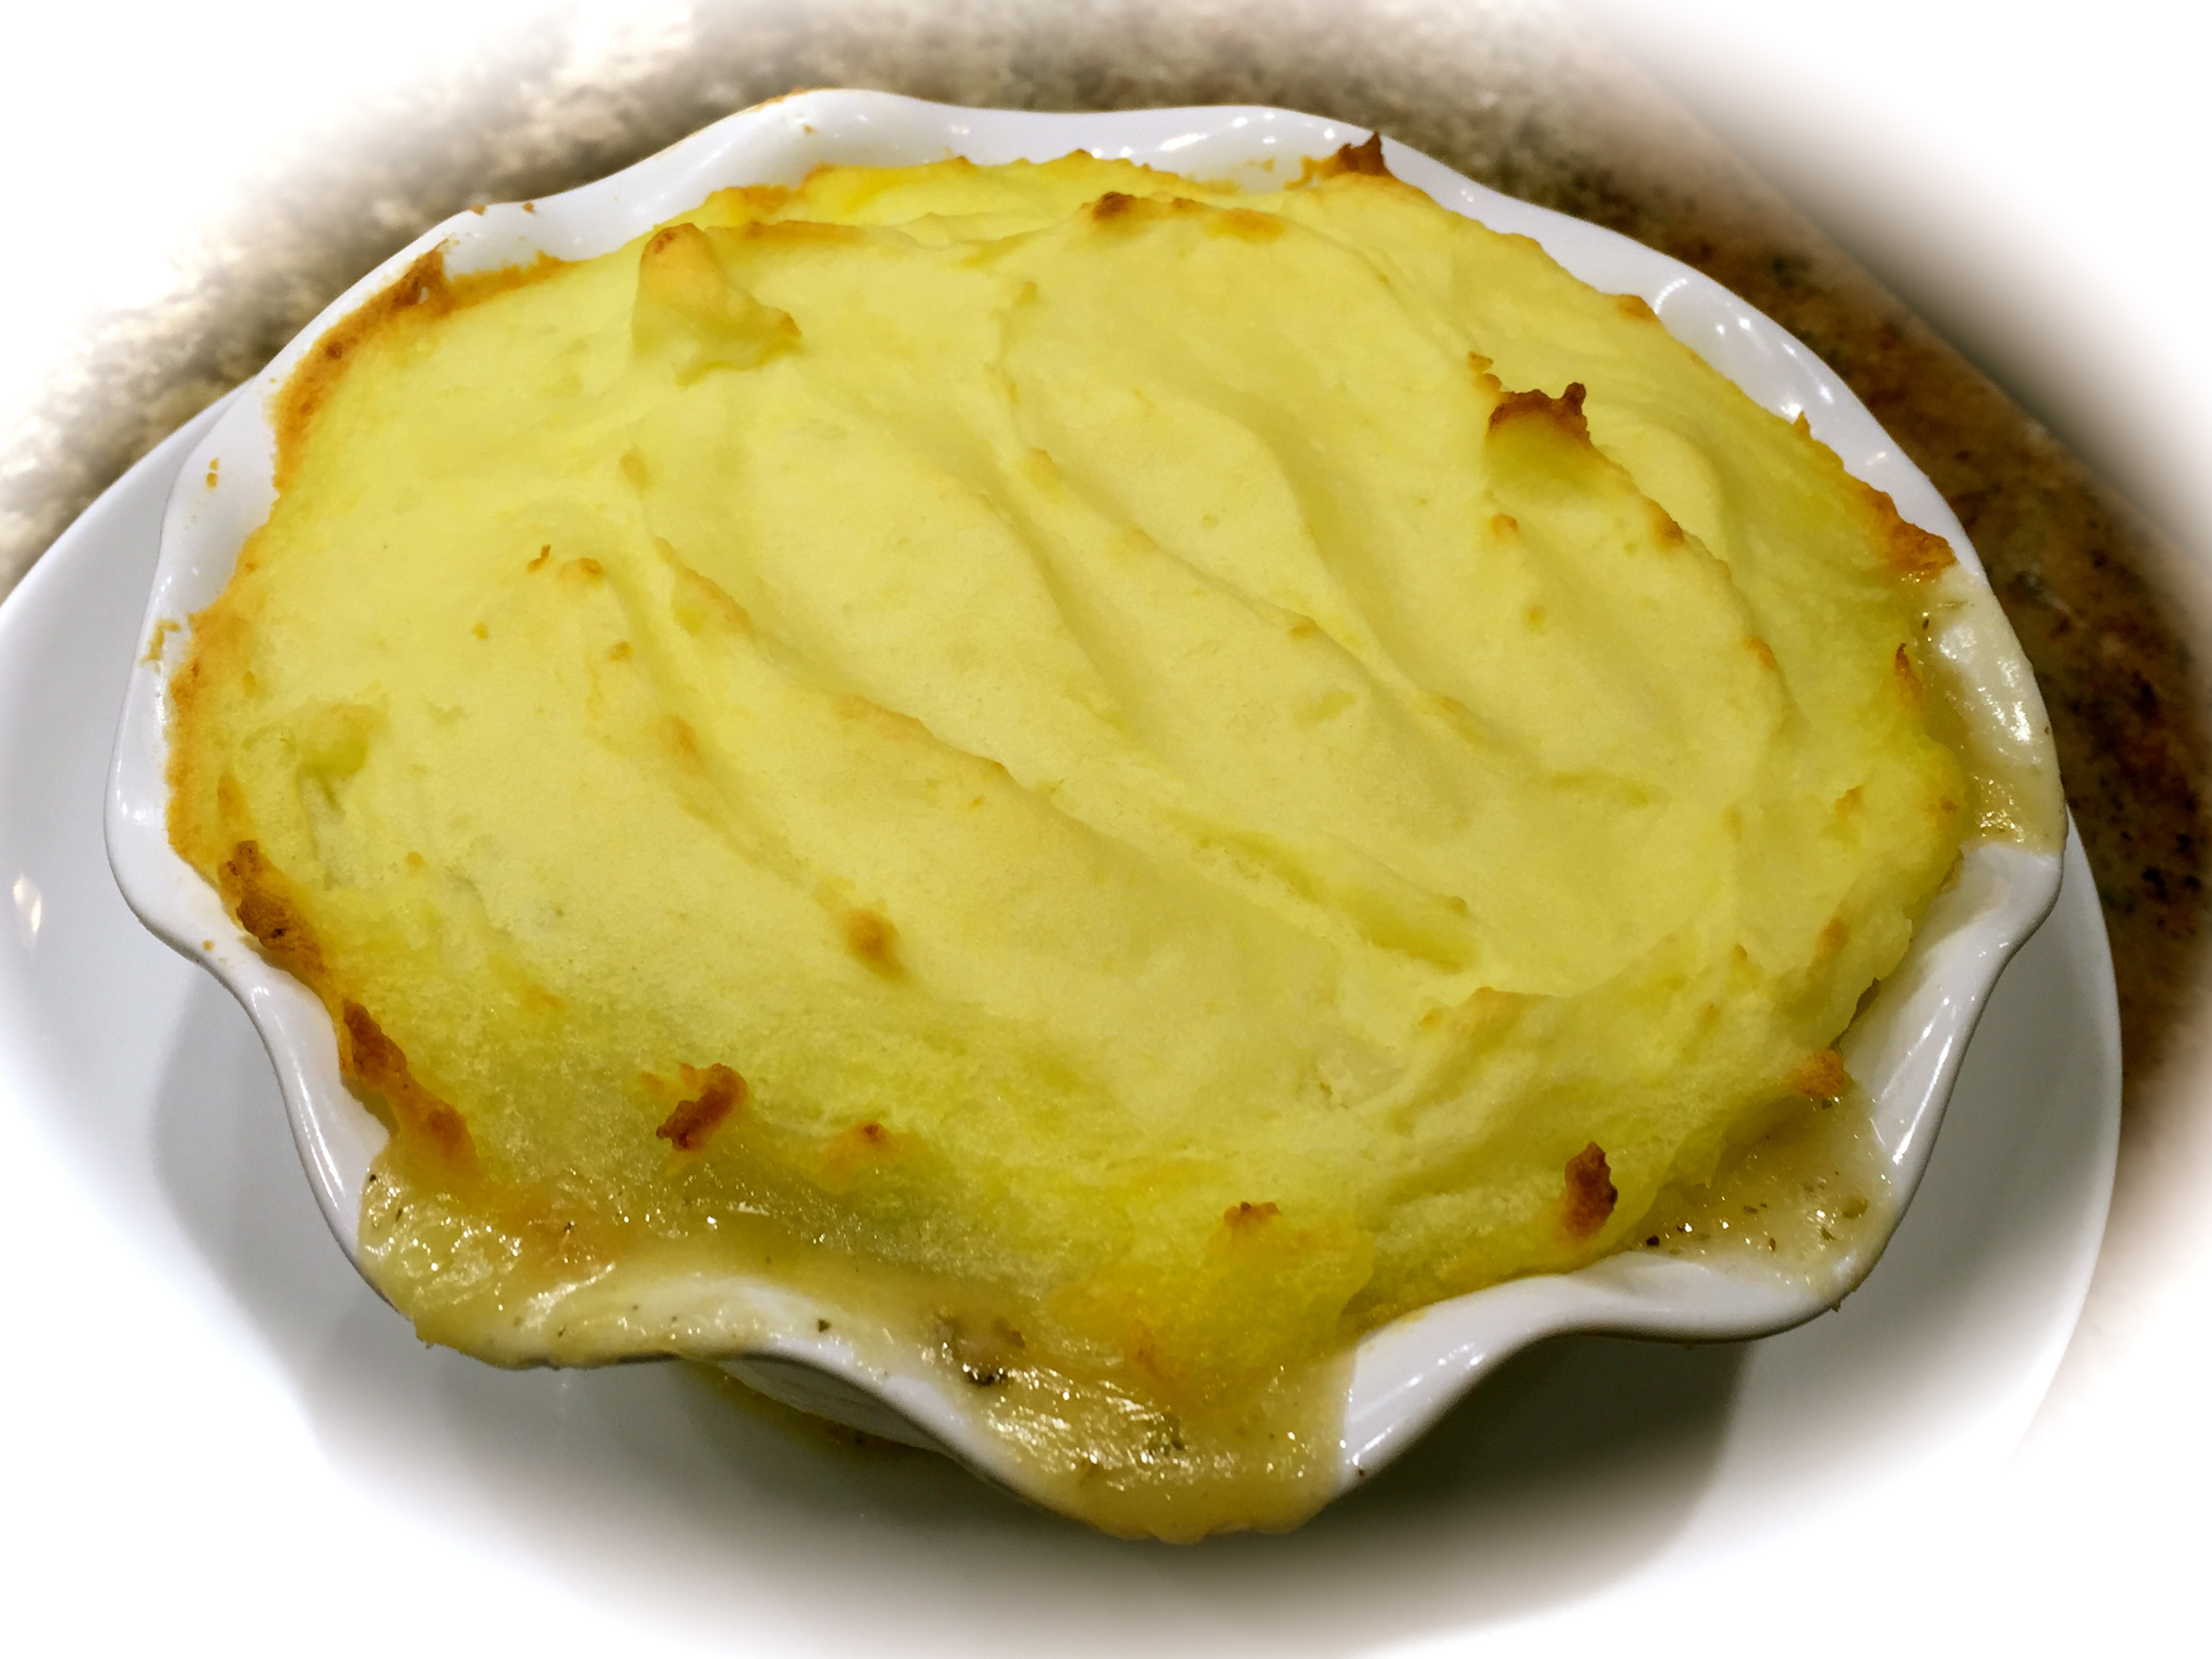
Fresh Out Of The Oven
This recipe is the epitome of comfort food. Try it and tell me what you think… Enjoy!
CHICKEN SHEPHERDS PIE…
INGREDIENTS
2 large russet potatoes, peeled and chopped
1 medium onion chopped
2 stalks of celery, chopped
1 cup of carrots, chopped small
4 cloves of garlic, divided: 2 whole and 2 minced
4 Tbs. unsalted butter, divided
3 Tbs. flour
1 1/2 cups unsalted chicken stock
1 1/2 cups roasted chicken, cubed or shredded
1/3 cup frozen peas
1 1/2 cups loosely packed emmenthaler cheese (a good melting swiss)
1 large egg yolk
1/4 cup heavy cream
2 tsps. dried oregano
Salt and pepper to taste
DIRECTIONS
Preheat oven to 375 degrees. Put the potatoes and two peeled cloves of garlic in a large pot and cover them with cold water (the water should be about an inch over the potatoes. Add a generous pinch of salt and bring the potatoes to a boil. Cook until tender about 20-25 minutes (the cooking time will vary depending on how large or small your cut the potatoes). The potatoes are done when they are fork tender.
Meanwhile in a large skillet melt 3 Tbs. of butter. Add the onion, celery and carrots. Salt and pepper to taste. Cook until crisp tender, approximately 5 minutes. Add the remaining 2 cloves of minced garlic and cook until fragrant, about 1 minute. Add the flour and stir for about a minute to remove any “floury” taste. Add the chicken stock and continue to cook until the liquid thickens about 10 minutes. Add the cheese and oregano and stir until the cheese is melted. Taste the mixture and add any additional salt and pepper as needed. Add the chicken and peas. Stir to combine. Turn off the heat and let stand.
Drain the potatoes and put them back into the pot. Add 1 Tbs. of butter and cover for a few minutes until the butter is melted. Using a hand masher or electric hand mixer, mash the potatoes until most of the lumps are gone. Add the heavy cream (you may want to add it incrementally instead of all at once so that the potatoes don’t wind up to runny) and finish mashing. Separate an egg and put only the yolk into the mashed potatoes. Stir until completely combined. Add any additional salt as needed.
Place the vegetables mixture into the pan(s). Top with the mash potatoes. Smooth the potatoes over the top of the vegetables until they are completely covered. Place the pan(s) on a foil lined rimmed backing sheet. Bake until the potatoes are lightly browned and the vegetable mixture is warm and bubbly, approximately 20-30 minutes.