My husband and I went out to dinner this past Thanksgiving and I made a rib roast for Christmas so I knew eventually I would feel like I was cheated out of a traditional Thanksgiving meal. Luckily for me my local grocery store had a great manager’s special over the Christmas holiday pricing every single fresh turkey breast, regardless of weight, at $7.00. OK, I said to myself, I can’t afford to pass this up even though turkey was not on the Christmas menu. So into the freezer it went just waiting for the right time to resurrect Thanksgiving.
I used to be intimidated by cooking a turkey – I could never seem to get it right making it either over-done or, mostly in my experience, under-done. To me there is nothing worse than a dry turkey especially if you are just cooking an all-white meat turkey breast. Overcooking it means you eat sandpaper and when you spend that amount of time preparing a meal nothing can be more frustrating.
I can tell you right now, cooking a turkey is about trial-and-error, a firm resolve that it really is no big deal and a belief that you can actually be good at it. I’ve had numerous disasters over the years and only through the school of hard knocks have I become adept at roasting turkey. I very seldom cook a whole bird anymore as even a small one is way too much for me and my husband. But I find that with the right prep and know-how a turkey breast, whether half or whole, is equally as good and lends itself to being on the dinner menu more than once a year. At other times I don’t make all the traditional sides as the caloric intake is far too great, but this time I just had to opt for tradition – I mean you just gotta do it once a year, right?
Normally I critique recipes from Pinterest, Facebook or other foodie-type websites, but this is solely my recipe adapted from years of experience and variations of several recipes I’ve tried. So here are my lessons learned and rating.
7 pound turkey breast
Rating: Finally A+ – I say finally because this took a lot of practice on my part. For some reason the perfect roast turkey took a few years of trial and error. Thanks goodness I love turkey so much that failure did not weaken my resolve. What is great about when you master this is that you feel confident to make it any time of year. One of our local grocery stores often stocks fresh bone-in half breasts and that is plenty for my husband and me for a great meal and leftovers.
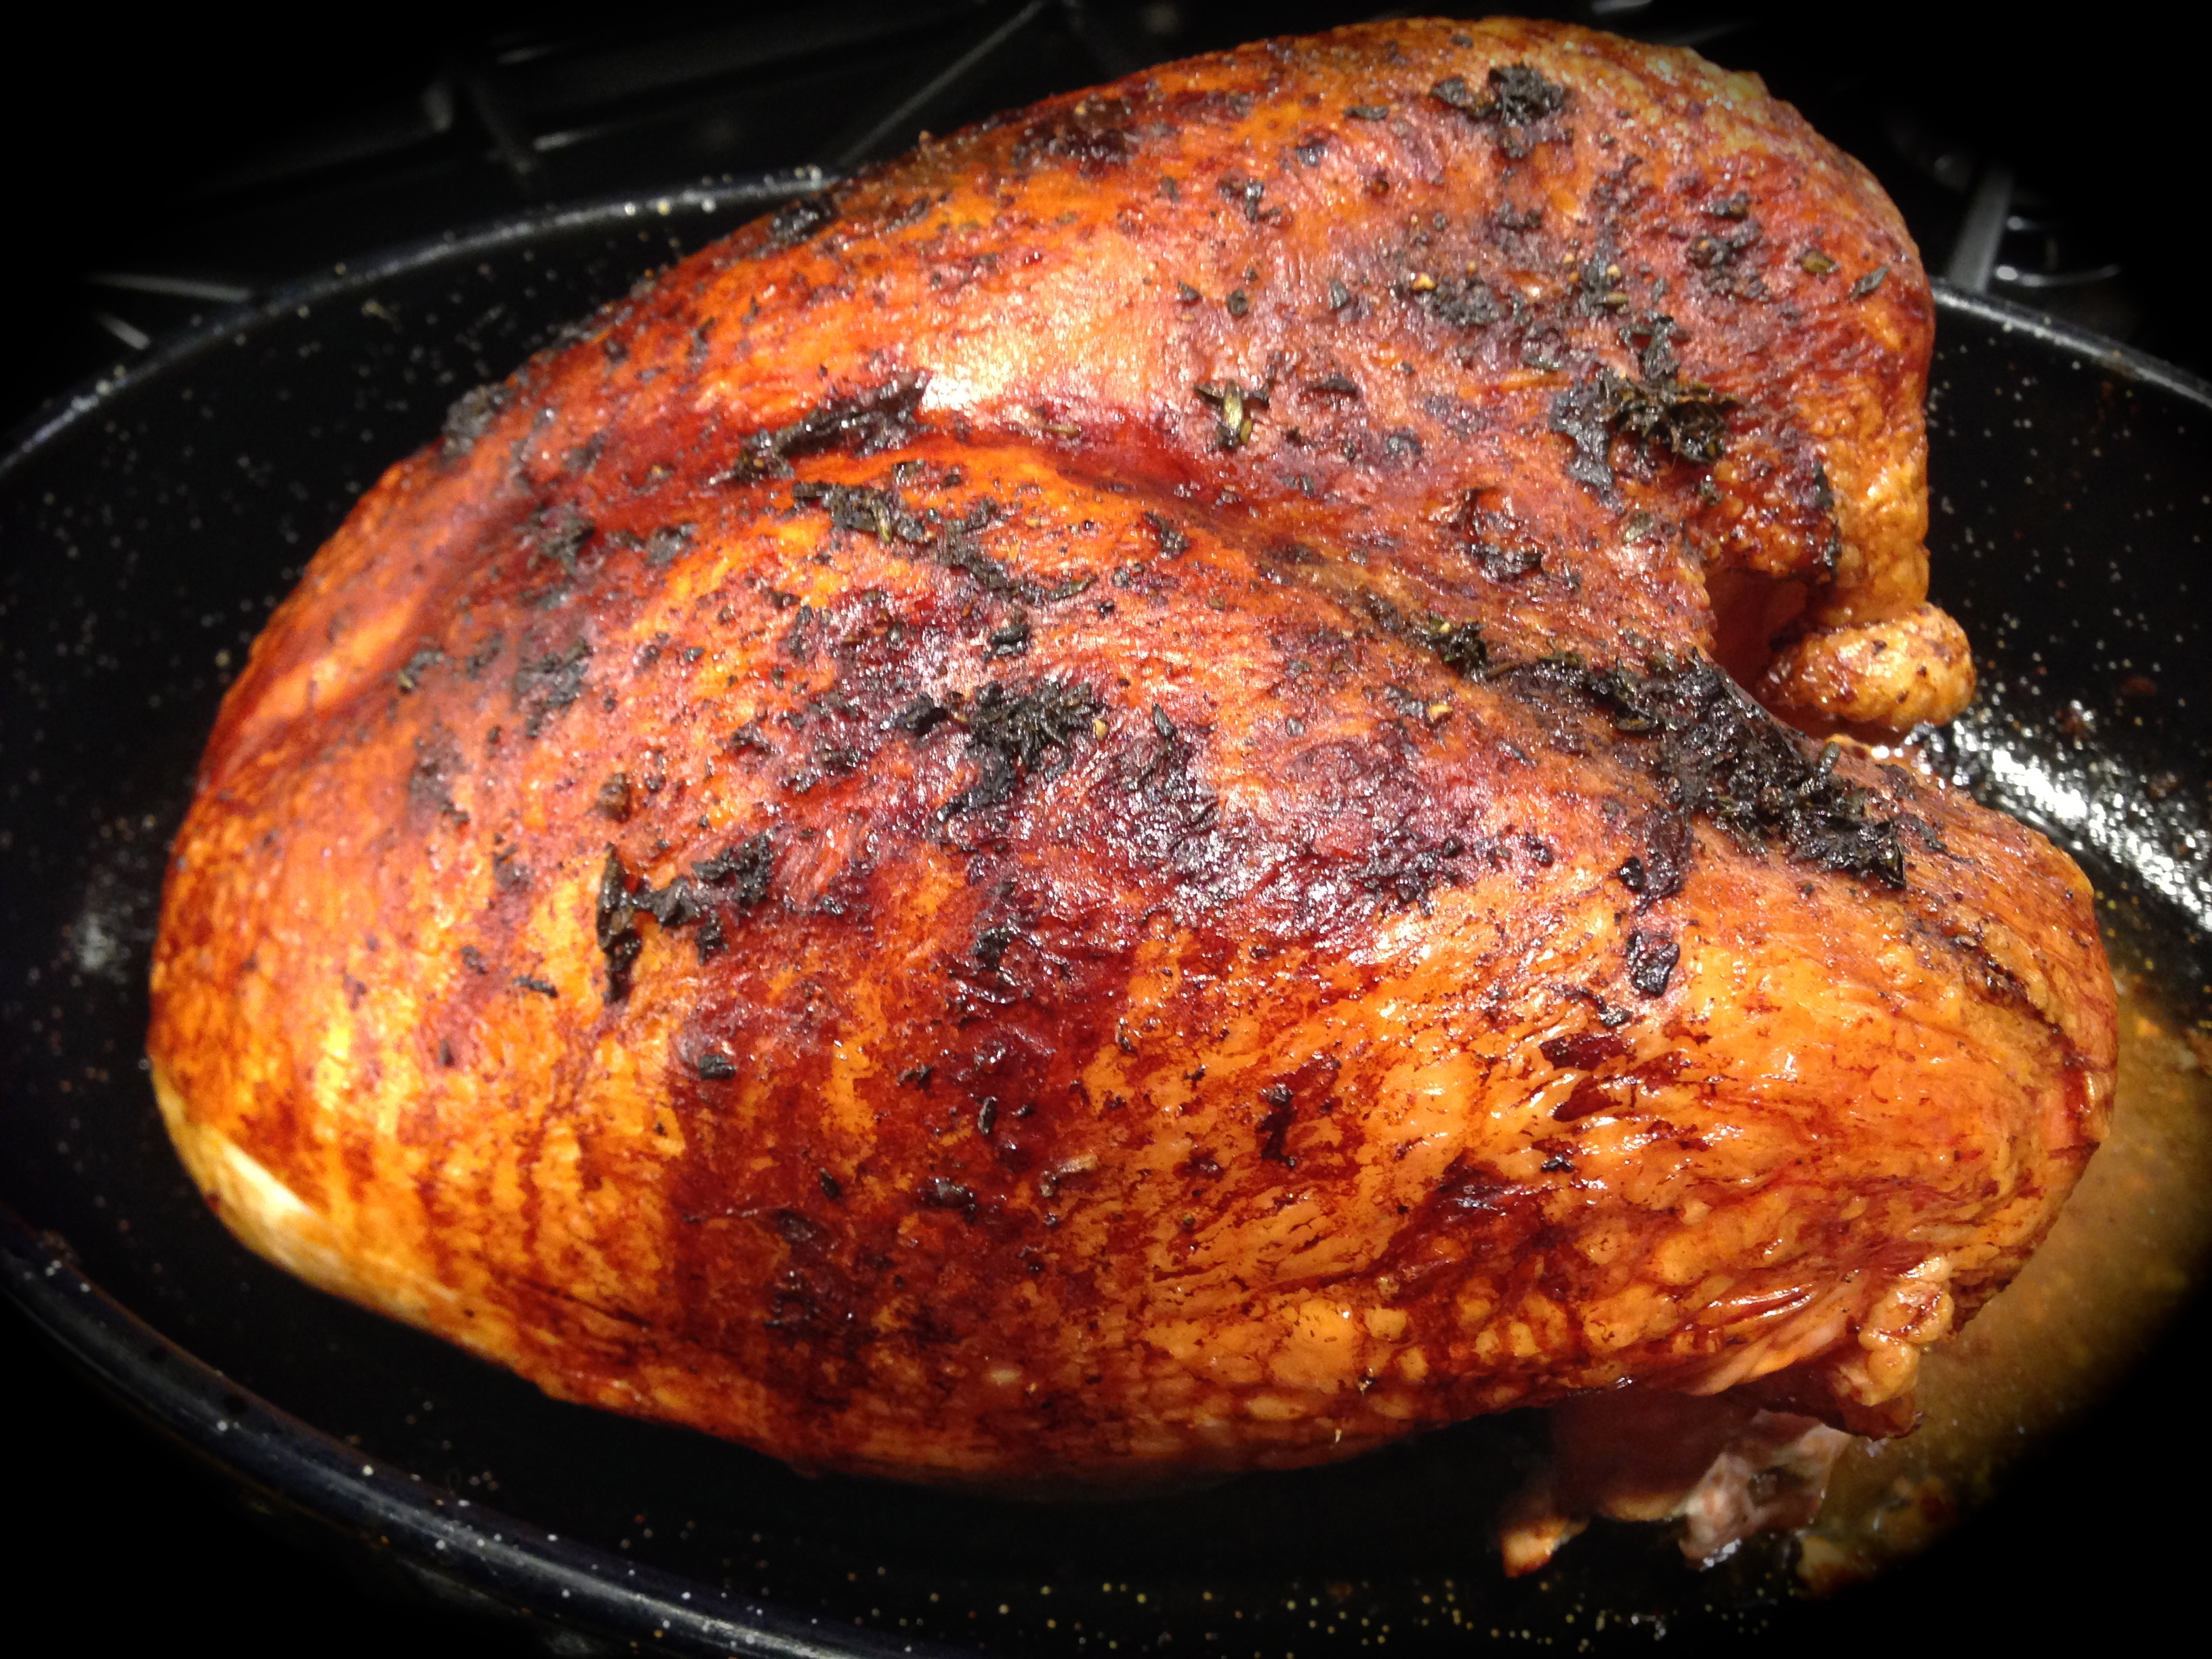
Lesson Learned 1: If the turkey is frozen, make sure it is completely thawed. This may sound rudimentary, but I can’t tell you how many times I thought the bird was thawed only to find out at the last minute that it was still frozen in the middle. The turkey breast in the picture above was a little over 7 pounds. I planned to make it on Sunday so I took it out of the freezer and put it in the fridge the Tuesday before. In my experience turkeys thaw very slowly in the fridge and I finally figured out that if I add a day on to what I think will be the right amount of time to get a perfectly thawed bird I tend to get it right. Even with putting the bird in the fridge on Tuesday I still took out frozen matter from the cavity on Sunday. But I did that very early in the day, cleaned and dried the turkey breast and put the bird back in the fridge after that so that when it was time to begin prepping it, it was completely thawed inside and out. This was perhaps the biggest difference in ensuring even cooking and determining the appropriate cooking time.
Lesson Learned 2: Prepare a butter rub and rub it under the skin as well as all over the outside of the bird. The nice brown color that you see in the picture is achieved by doing that. I normally make a mixture of butter, fresh thyme, salt and pepper. The darker pieces in the picture are not burned skin but darkened thyme. You can scrape that right off.
Lesson Learned 3: Forget about putting a bread stuffing in the cavity, instead stuff it with aromatics. With this particular bird I jammed a thyme bundle, large garlic clove, two sweet onion quarters and a half of a lemon into the cavity. You’ll be amazed at how this helps to flavor the meat. You can discard all of it before you start to carve it. It’s work is done by then.
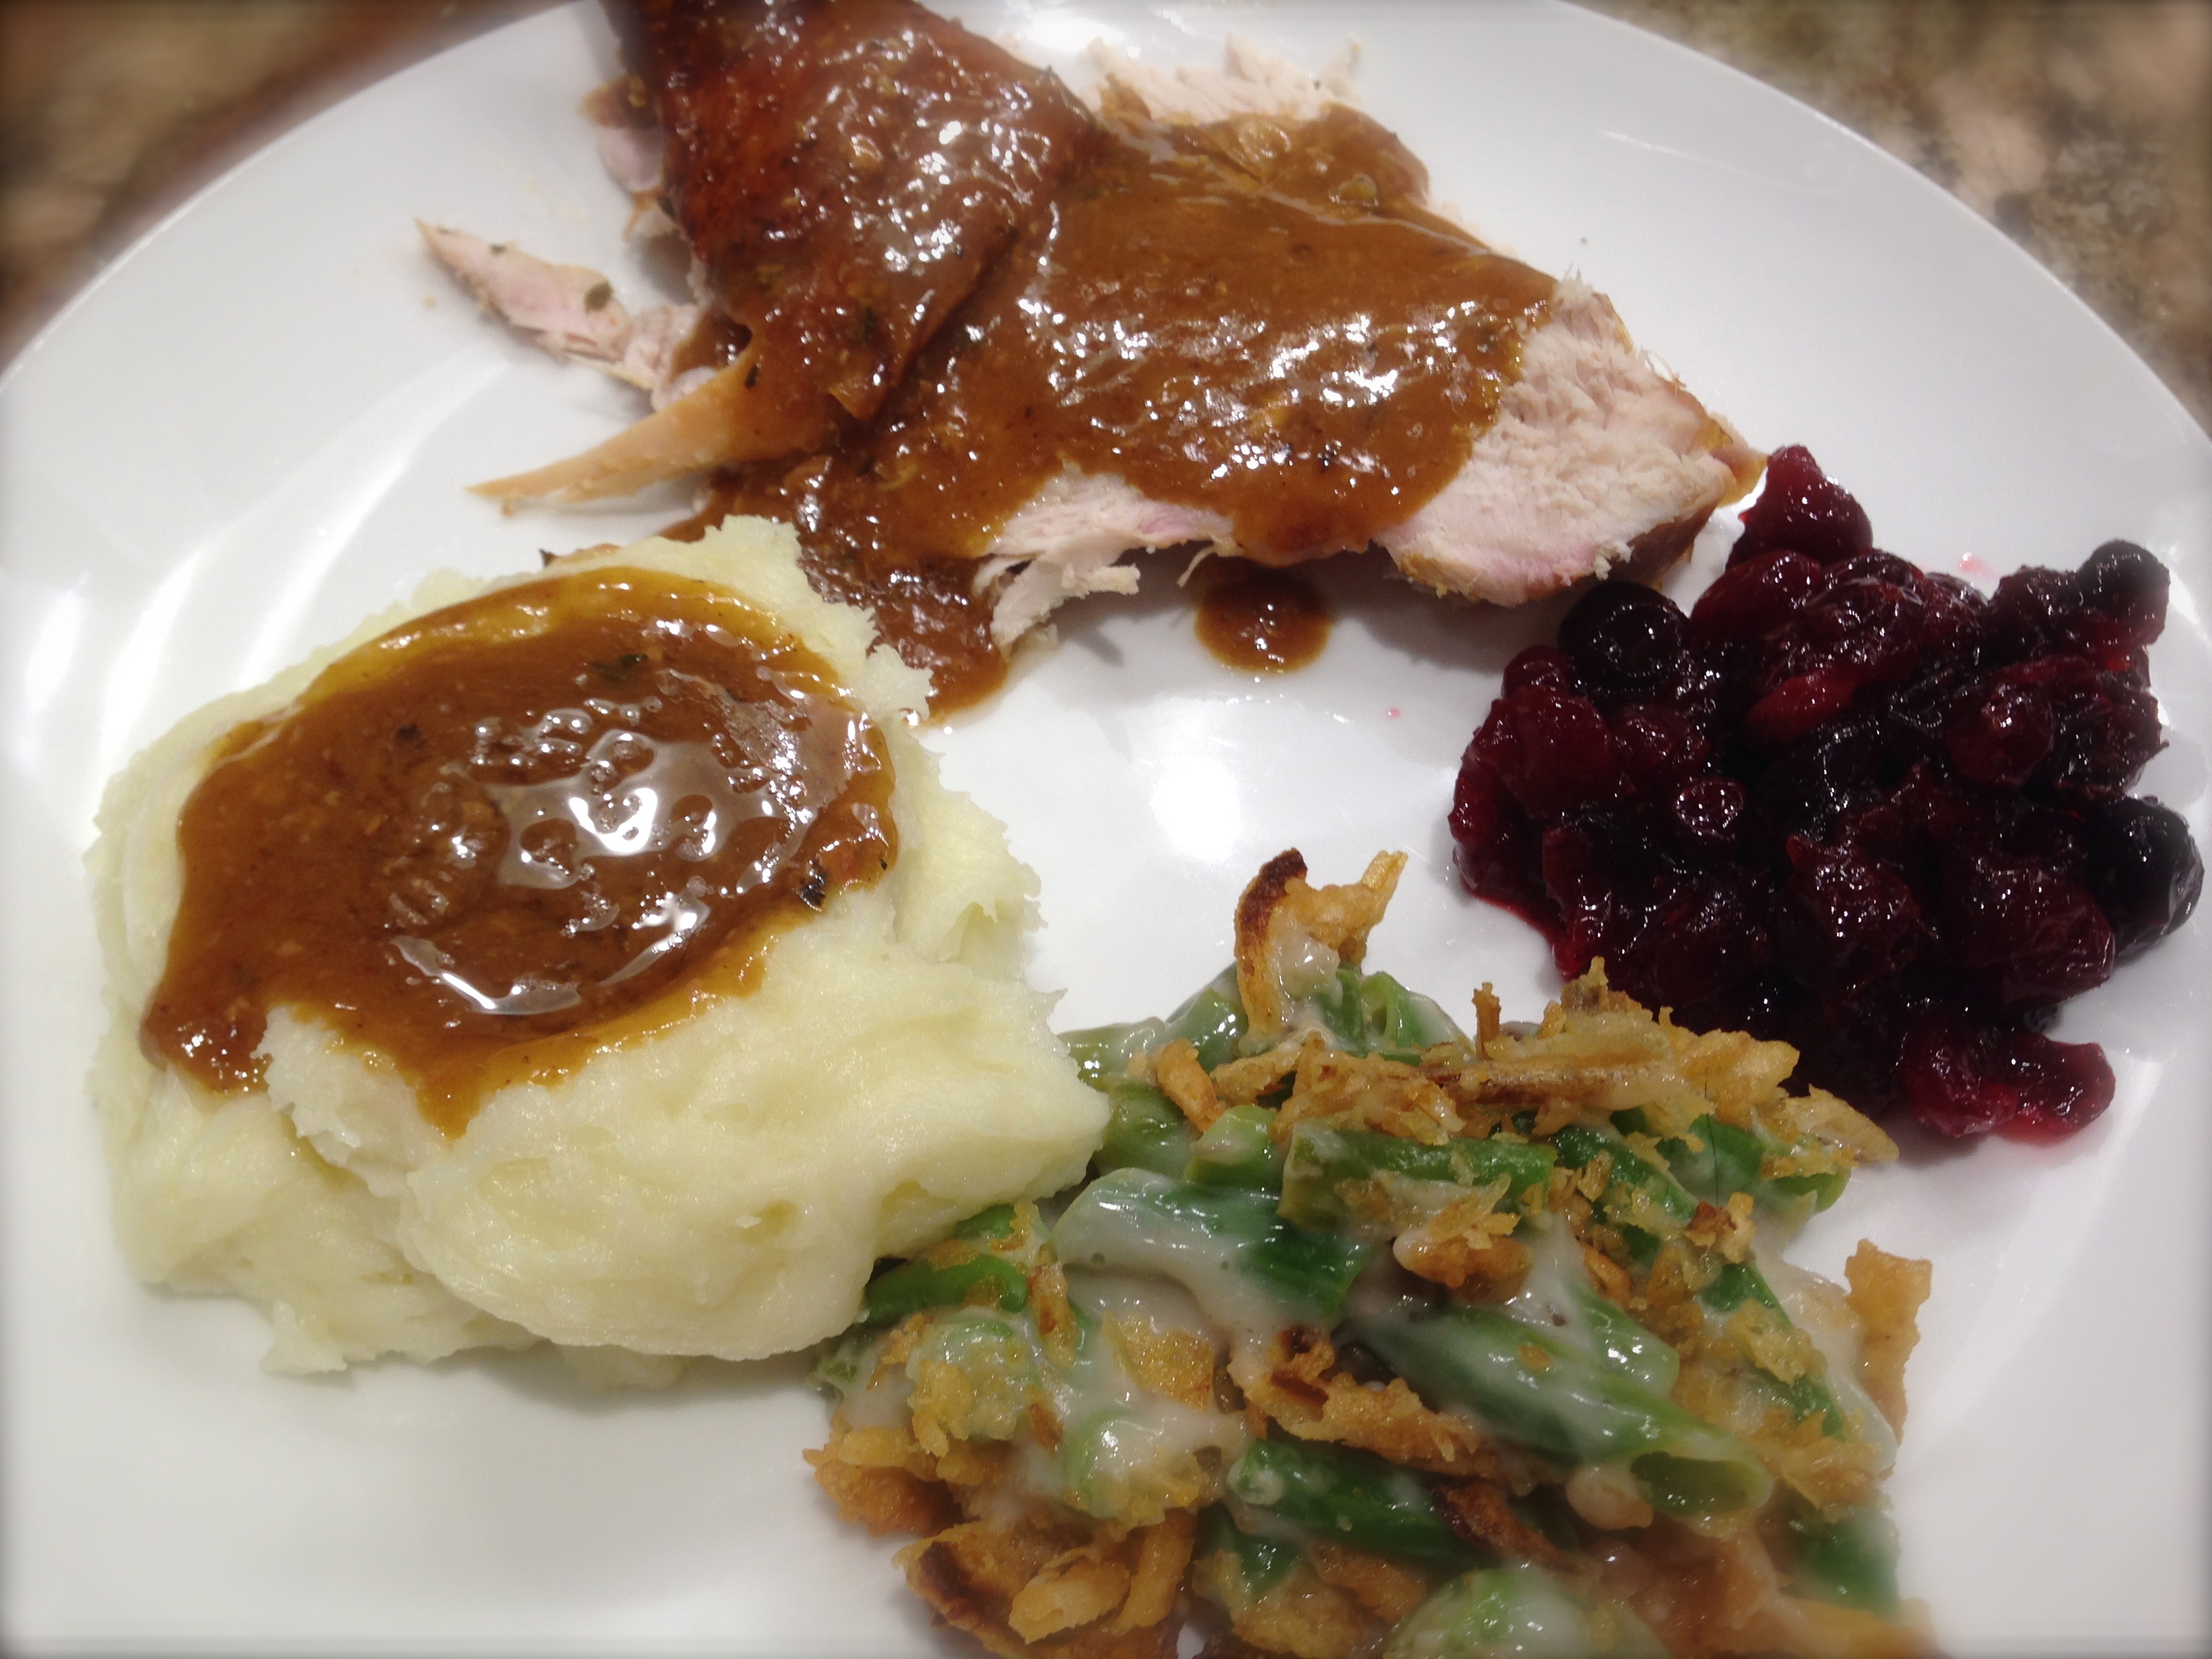
Lesson Learned 4: Put some white wine in the bottom of the pan before you begin the roasting process. This provides a nice steam bath for the bird and enhances the juices that you can use to make homemade gravy. I never worry about having basting juices or a solid basis for my gravy anymore. This is a great trick. The gravy in the picture below was made from the wine and drippings mixture from the turkey breast.
Lesson Learned 5: Know your oven. I’ve said this in a few other recipes, but for turkey I think it is very important. I roast turkey at 350/twenty minutes per pound. Some recipes call to roast the bird at 325. I live in high altitude and so, on average, cooking times are longer and cooking temperatures need to be a little higher. After much trial and error I have found this to be the perfect roasting guideline for my circumstance. Also get a good meat thermometer and use it. That is the only way to ensure you meat is cooked to the desired doneness.
Lesson Learned 6: Let the turkey rest for at least 20 minutes to half-an-hour after roasting. The internal temperature should be 185. I normally take it out when it reaches between 175-180 as carry over cooking will occur while it is resting. Keep it covered in foil but make sure you let it rest. It will be much easier to carve that way and you will retain the natural juices in the meat.
Lesson Learned 7: Be prepared for failure, especially if you’re new to roasting turkey. It’s all part of the learning process and you can always make a turkey pot pie or turkey salad with the spoils.
So go ahead, jump into the deep end of the pool and make a roast turkey more often than just on Thanksgiving. Once you get the hang of it you’ll be surprised at exactly how easy it really is. I’m including for you my basic recipe for both a roast turkey and homemade cranberry sauce, also pictured below (forget store bought, this is sooo easy and sooo worth it).
Turkey and all the trimmings…
Perfect Roast Turkey With HomeMade Cranberry Sauce
Ingredients:
I whole turkey or a whole or half turkey breast, 7-12 pounds (you may need to adjust the cavity ingredients for a larger bird)
6 TBS. salted butter
Fresh thyme (enough to chop and mix with the butter and to put a bundle in the turkey cavity); you can also use turkey fresh herb blends sold in the grocery store that usually include sage, thyme, and rosemary.
1 sweet onion
1 large garlic clove
1-2 small lemons
2 cups dry white wine
Salt and Pepper
DIRECTIONS:
Make sure the turkey is completely thawed to ensure even cooking. Remove the turkey from its packaging, clean anything out of the cavity, rinse with cold water and pat dry. Cover with plastic wrap and refrigerate for at least an hour. Bring butter to room temperature. Mince approximately 2-3 TBS. of fresh herbs and combine with softened butter, salt and pepper. One half hour before putting the turkey in the oven take it out of the refrigerator, rinse again with cold water and dry off completely with paper towels. Use your hands to create a pocket between the turkey meat and the skin. Massage some of the butter mixture under the skin. Use the remaining butter mixture and massage the entire outside of the bird. Pour 2 cups of dry white wine into the bottom of the roasting pan and place the bird on a roasting rack inside the pan. Salt and pepper the outside of the bird. Let stand for at least 15 minutes.
Roast uncovered at 350 degrees, 20 minutes per pound, basting occasionally. Halfway through the cooking process check on the color of the skin. Once the skin reaches the desired color, tent the bird with foil to prevent the skin from getting too dark. Near the end of your estimated time, check the internal temperature of the bird at the thickest part of the thigh or breast. Poultry should be cooked to 185 degrees. While the turkey is resting you can put the finishing touches on the other parts of your meal or make your homemade gravy.
THE BEST EVER HOMEMADE CRANBERRY SAUCE: (pictured on plate above)
Ingredients:
2/3 cup sugar
1 large or two small naval oranges (zest and 1/2 cup juice)
1/4 tsp. cinnamon
1/8 tsp. kosher salt
1 bag of fresh cranberries
DIRECTIONS:
Put the cranberries in a saucepan. Zest a large naval orange (or two small naval oranges) and juice the orange(s) – this should give you about 1/2 cup of fresh juice but if it does not just augment with bottled juice. Add sugar, zest, juice, cinnamon and salt. Stir until well mixed. Bring to a boil and then simmer for 15 minutes. Let cool and refrigerate. Make the day before serving to ensure all ingredients have sufficient time to meld. This is so easy and flavorful, you will never served canned cranberry sauce again.

[…] cranberry time of year again! I so love cranberries. Not only do I make a simple but killer homemade cranberry sauce for the holidays, but I enjoy baking with cranberries – they have a tartness that lend […]
LikeLike
[…] Perfect Roast Turkey […]
LikeLike
Reblogged this on You Betcha Can Make This! and commented:
Just in time for tomorrow – great tips for a fabulous roast turkey and to die for home made cranberry sauce. Happy Thanksgiving everyone!
LikeLike