Our neighbors across the street were going out of town. Before they left they gave my husband of bag of lettuce from their garden so it wouldn’t go to waste. A little while later my husband said he also found a bag of spinach on his workbench in the garage. He came into the house with it and said, “What are we going to do with all this. I think you should just throw the spinach out.”
Ingredients
The spinach look gorgeous and I just couldn’t rationalize throwing out home-grown spinach. I put the bag in the refrigerator and began to think about how I could use it. Then it dawned on me, I could sauté it! I’d never sautéed spinach before, only having eaten it in salads, and so I thought this would be a great thing to blog about.
I found a recipe on the Food and Wine website for sautéed spinach with almonds and grapes. Although I did have red grapes on hand, I decided to use up the cherry tomatoes I had in the refrigerator instead. So here’s my rating of the original recipe, my lessons learned and my final version of the recipe.
Rating: A for flavor – C for how the recipe was written. The almonds definitely provided depth of flavor in this recipe but the directions were poor and I totally disagreed with the amount of oil the recipe recommended.
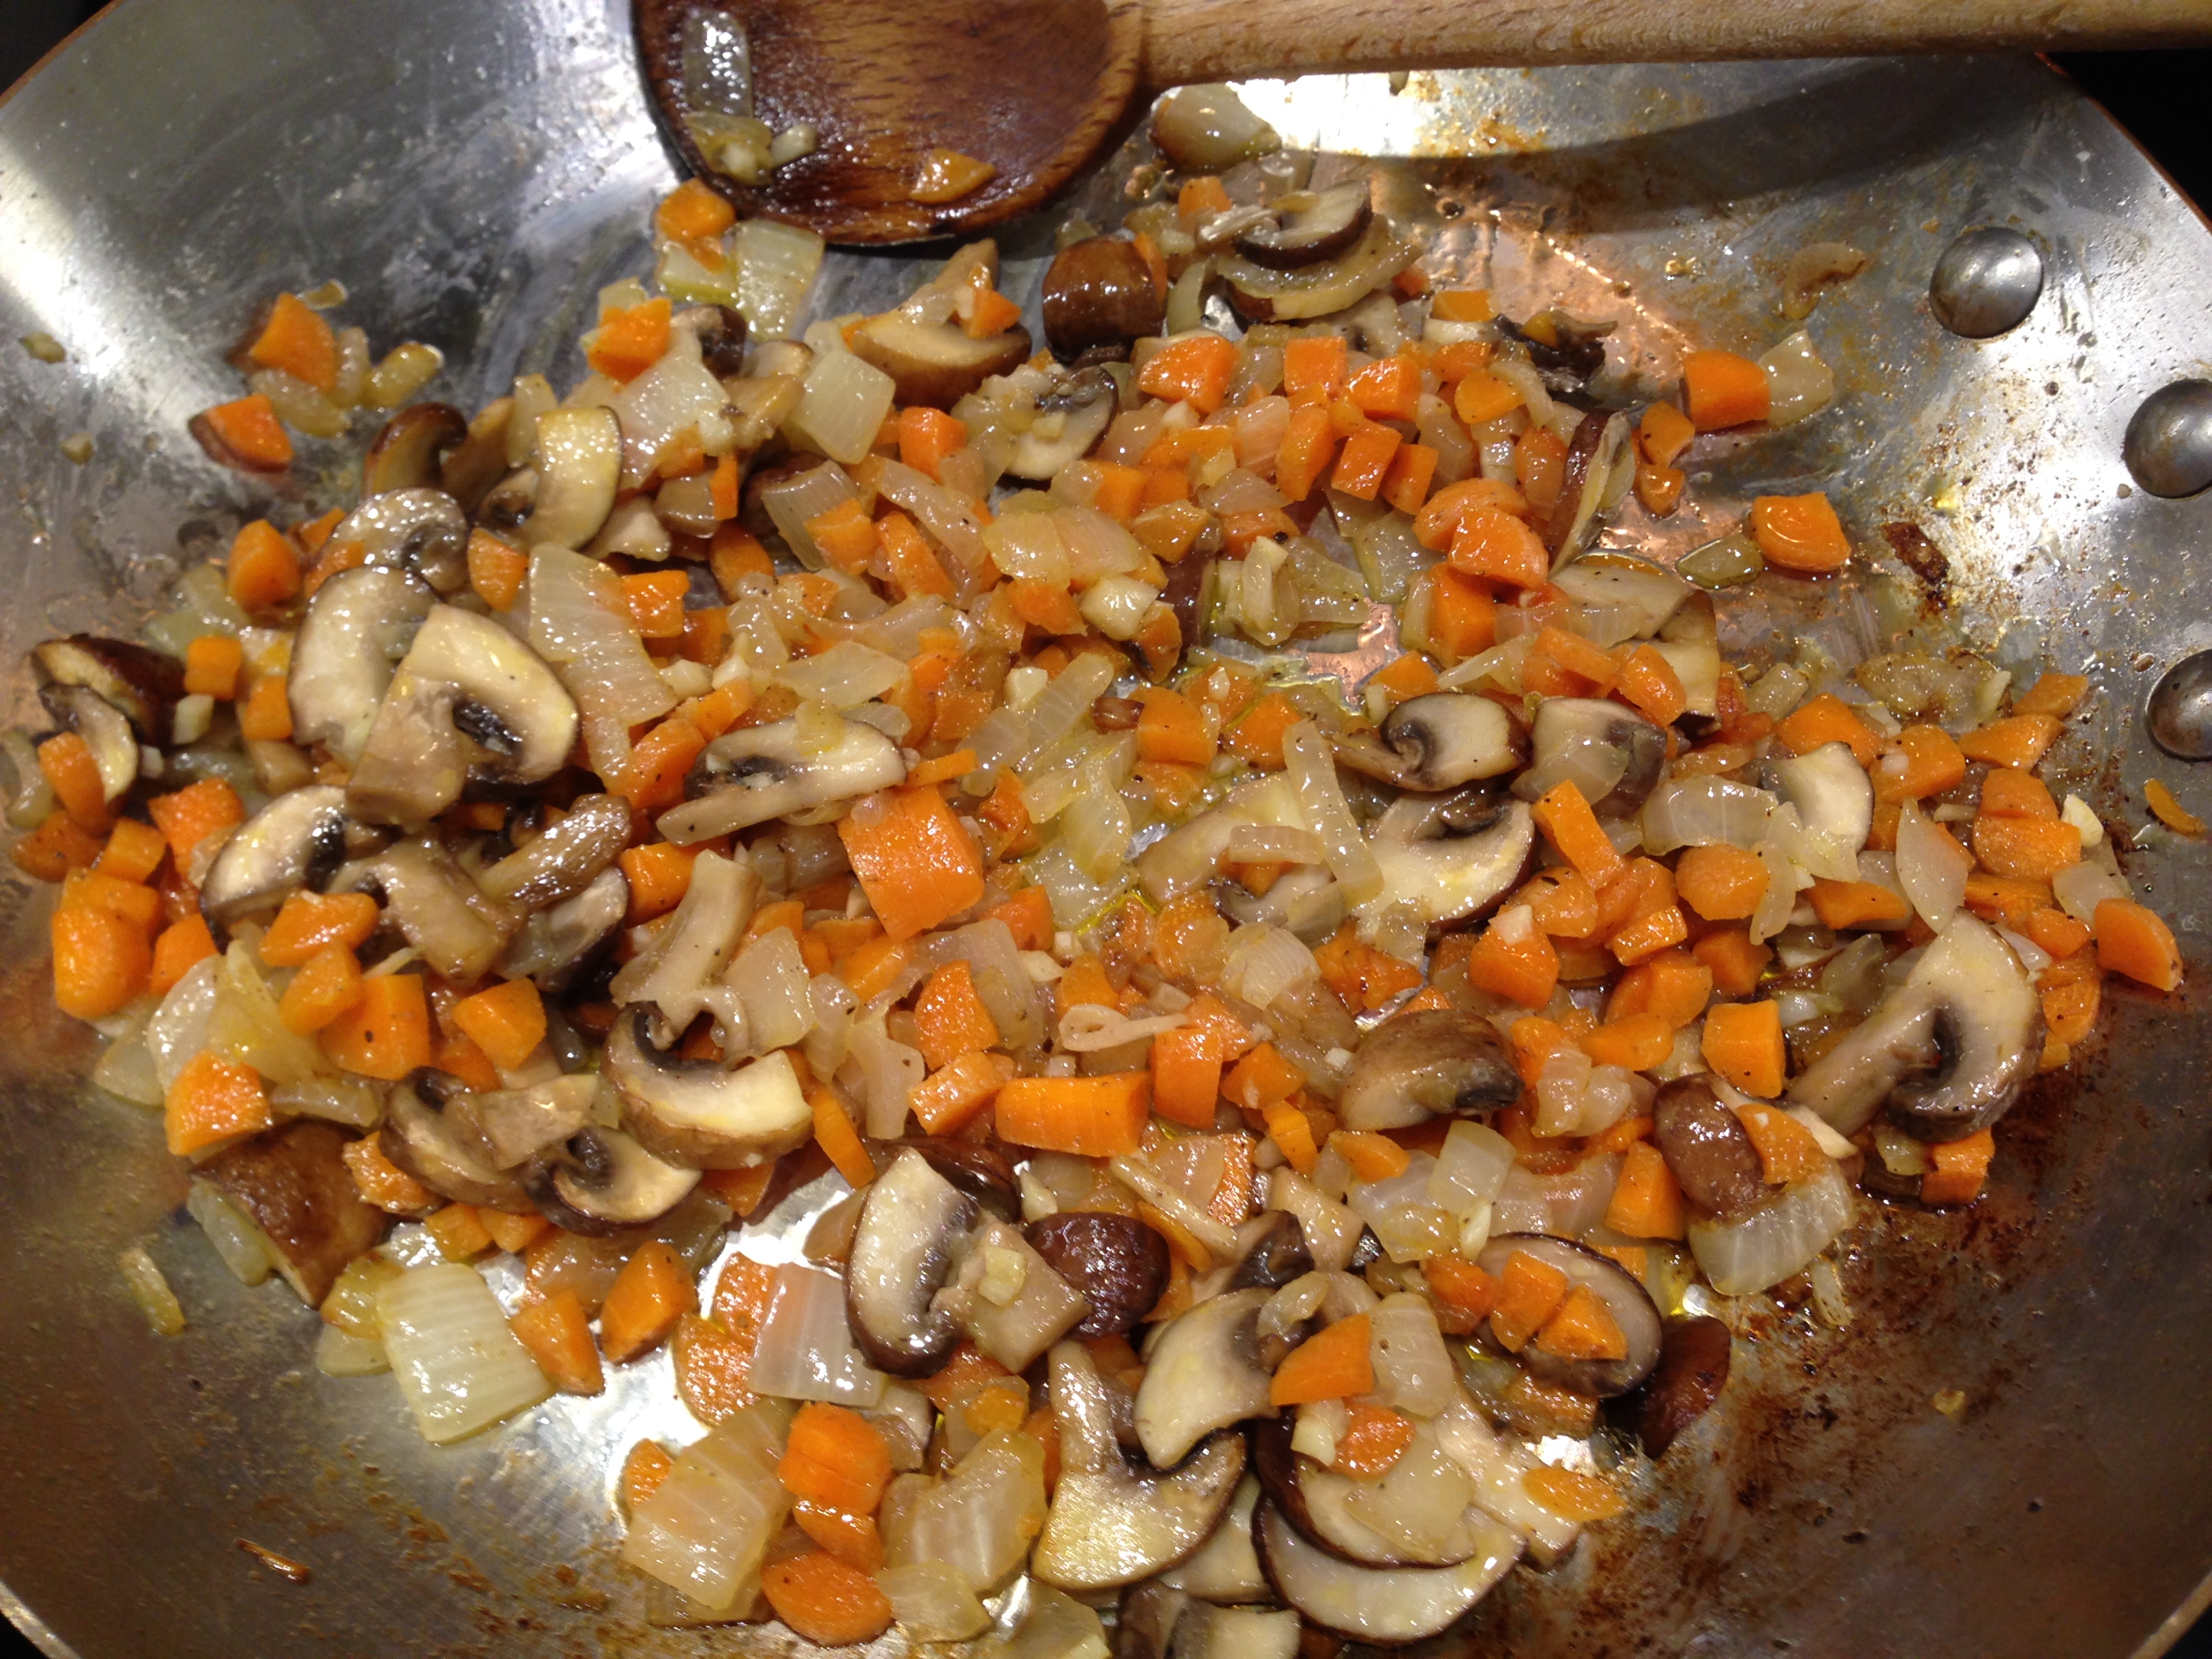
Lesson Learned 1 – AMOUNT OF OIL: Before I made the recipe I happened to mention to my husband what I was planning to do. He said he’d had a conversation with our neighbor about sautéing spinach and they discussed the fact of being very careful with the amount of oil you use as sautéed spinach can become too oily very quickly. The original recipe called for a quarter of a cup of olive oil. Now granted you are also sautéing the onions, almonds and garlic in the oil, but I still think a quarter of a cup is way too much. I started out by eyeballing it and put in just enough to put a very thin coat on the bottom of the pan. Then once the onions, almonds and garlic were sautéed it looked like I might need just a little more and so i added a couple of additional tablespoons. My advice is to be very careful with the amount of oil you use and err on the side of less versus more. You can always add more if you need it. All in all, I’d say I used about 4 tablespoons of oil total (a little more than 1/8 cup) and the spinach turned out beautifully.
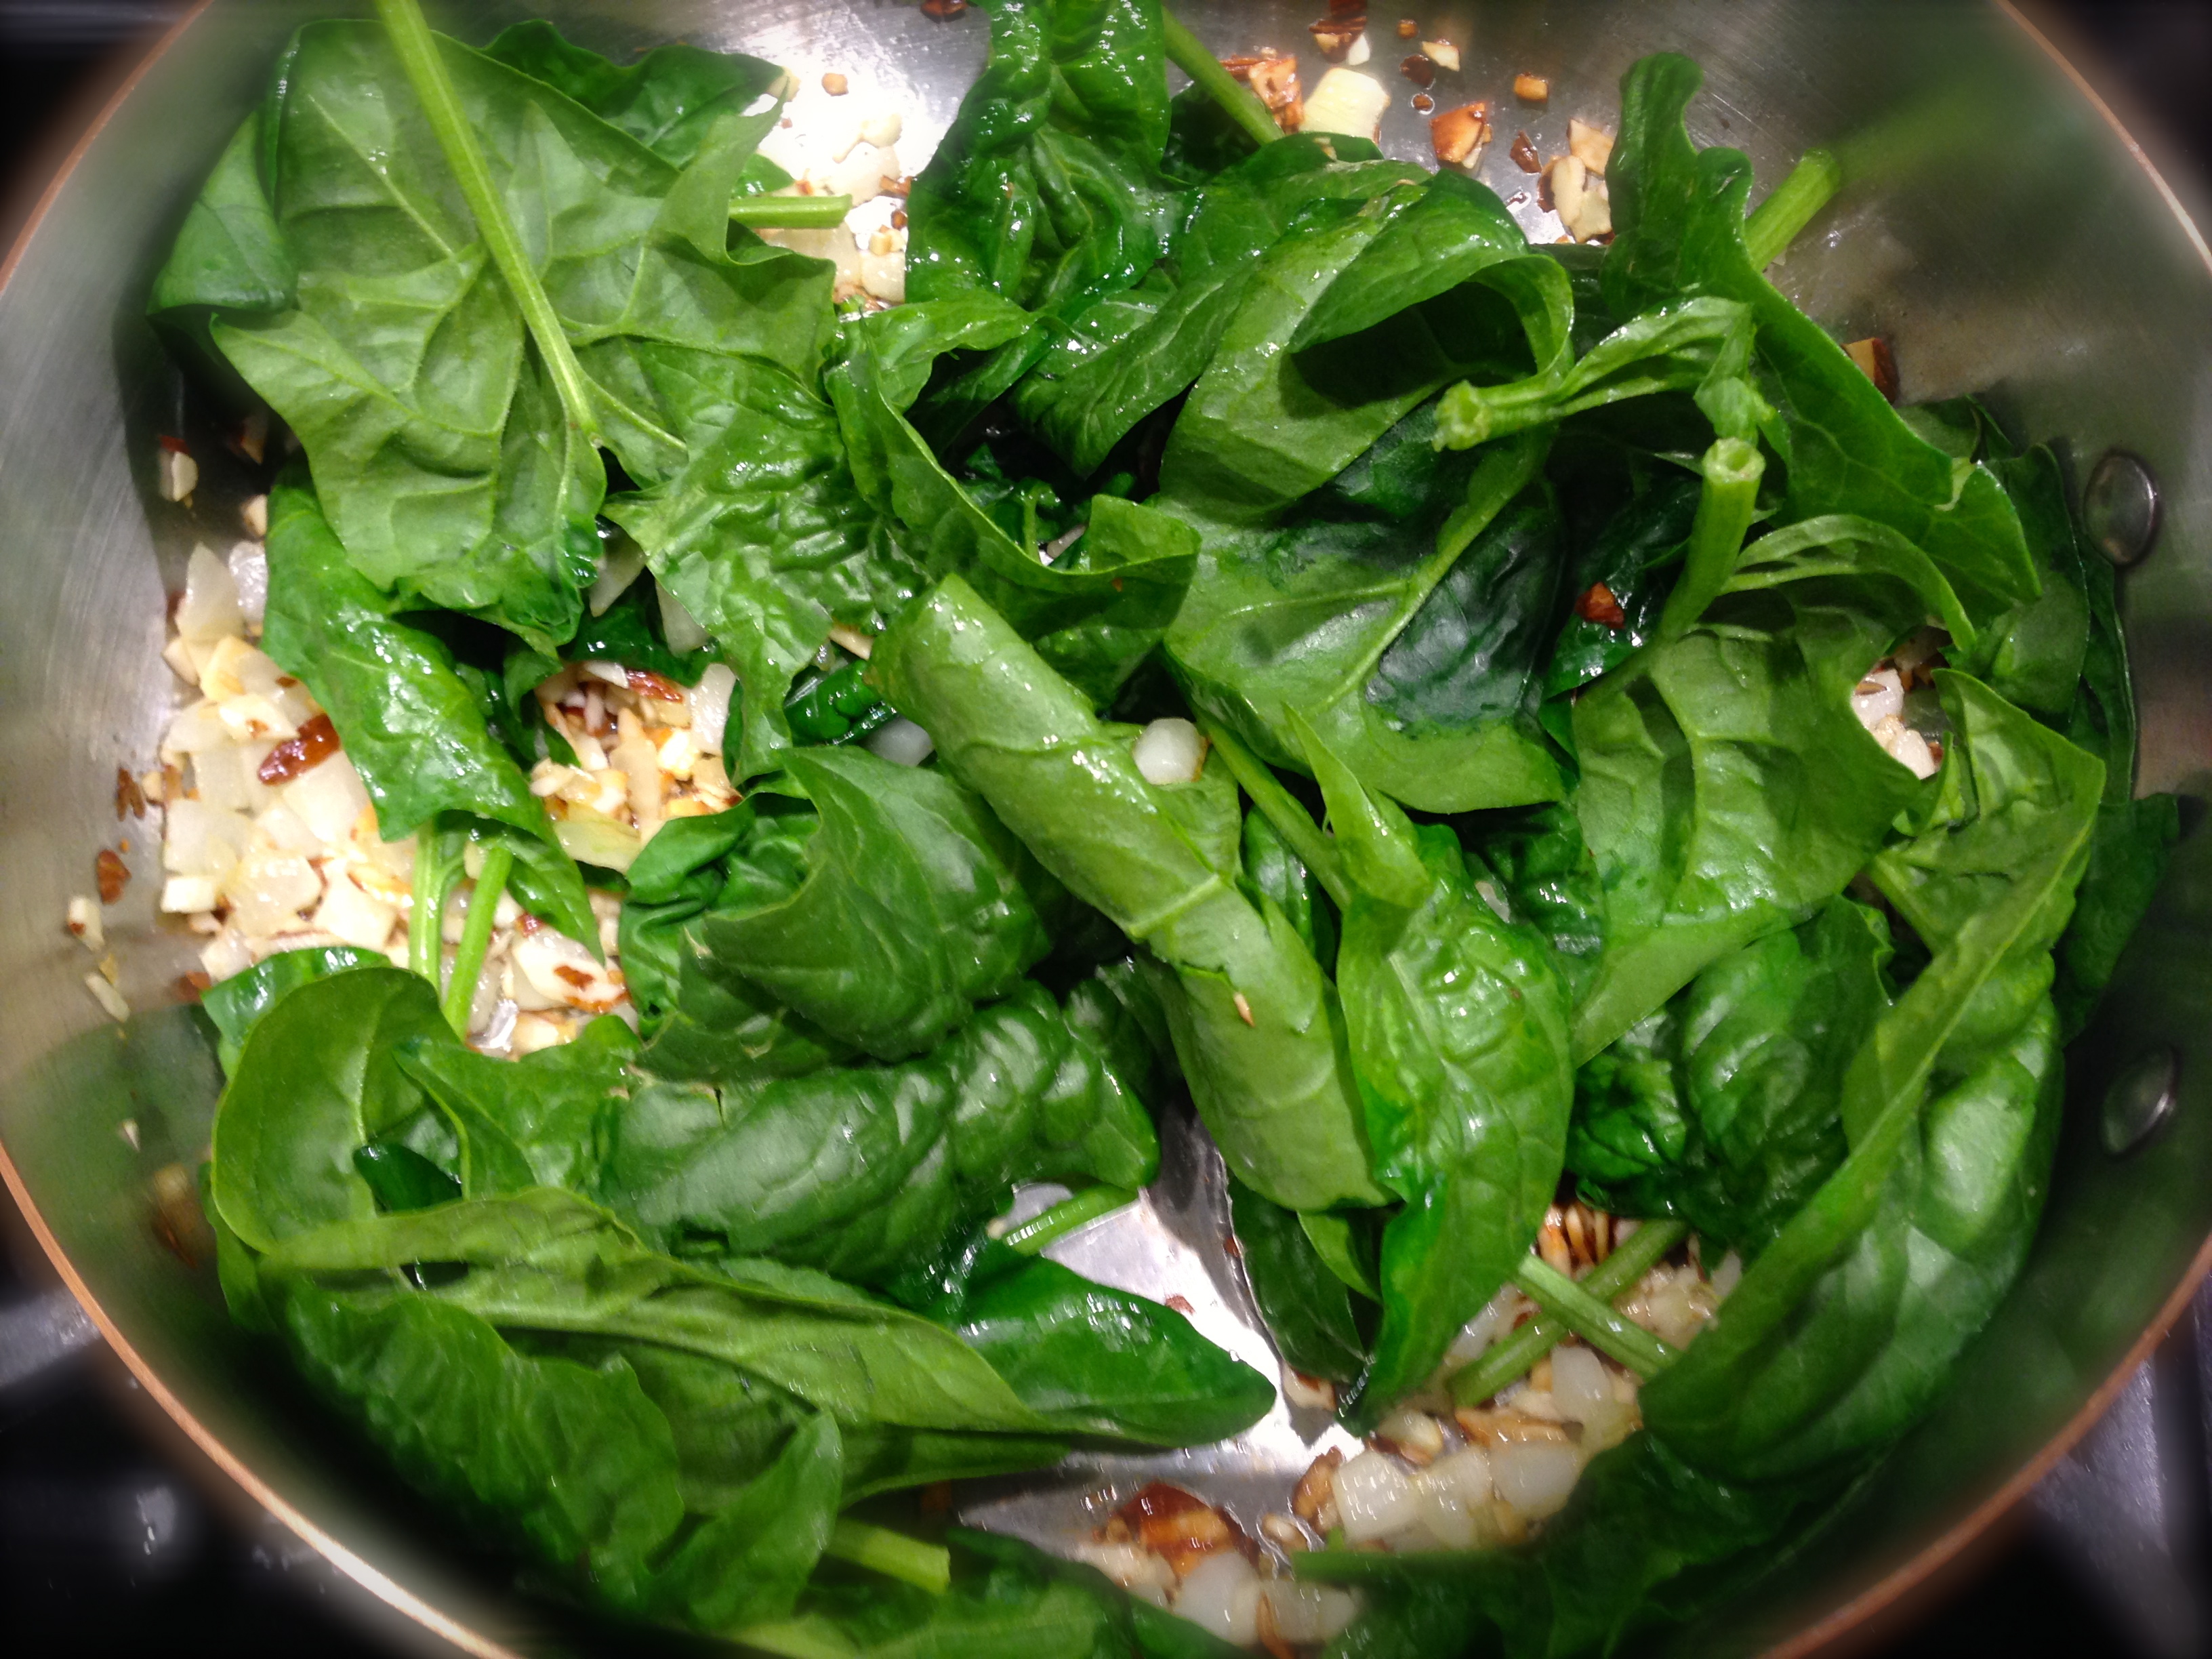
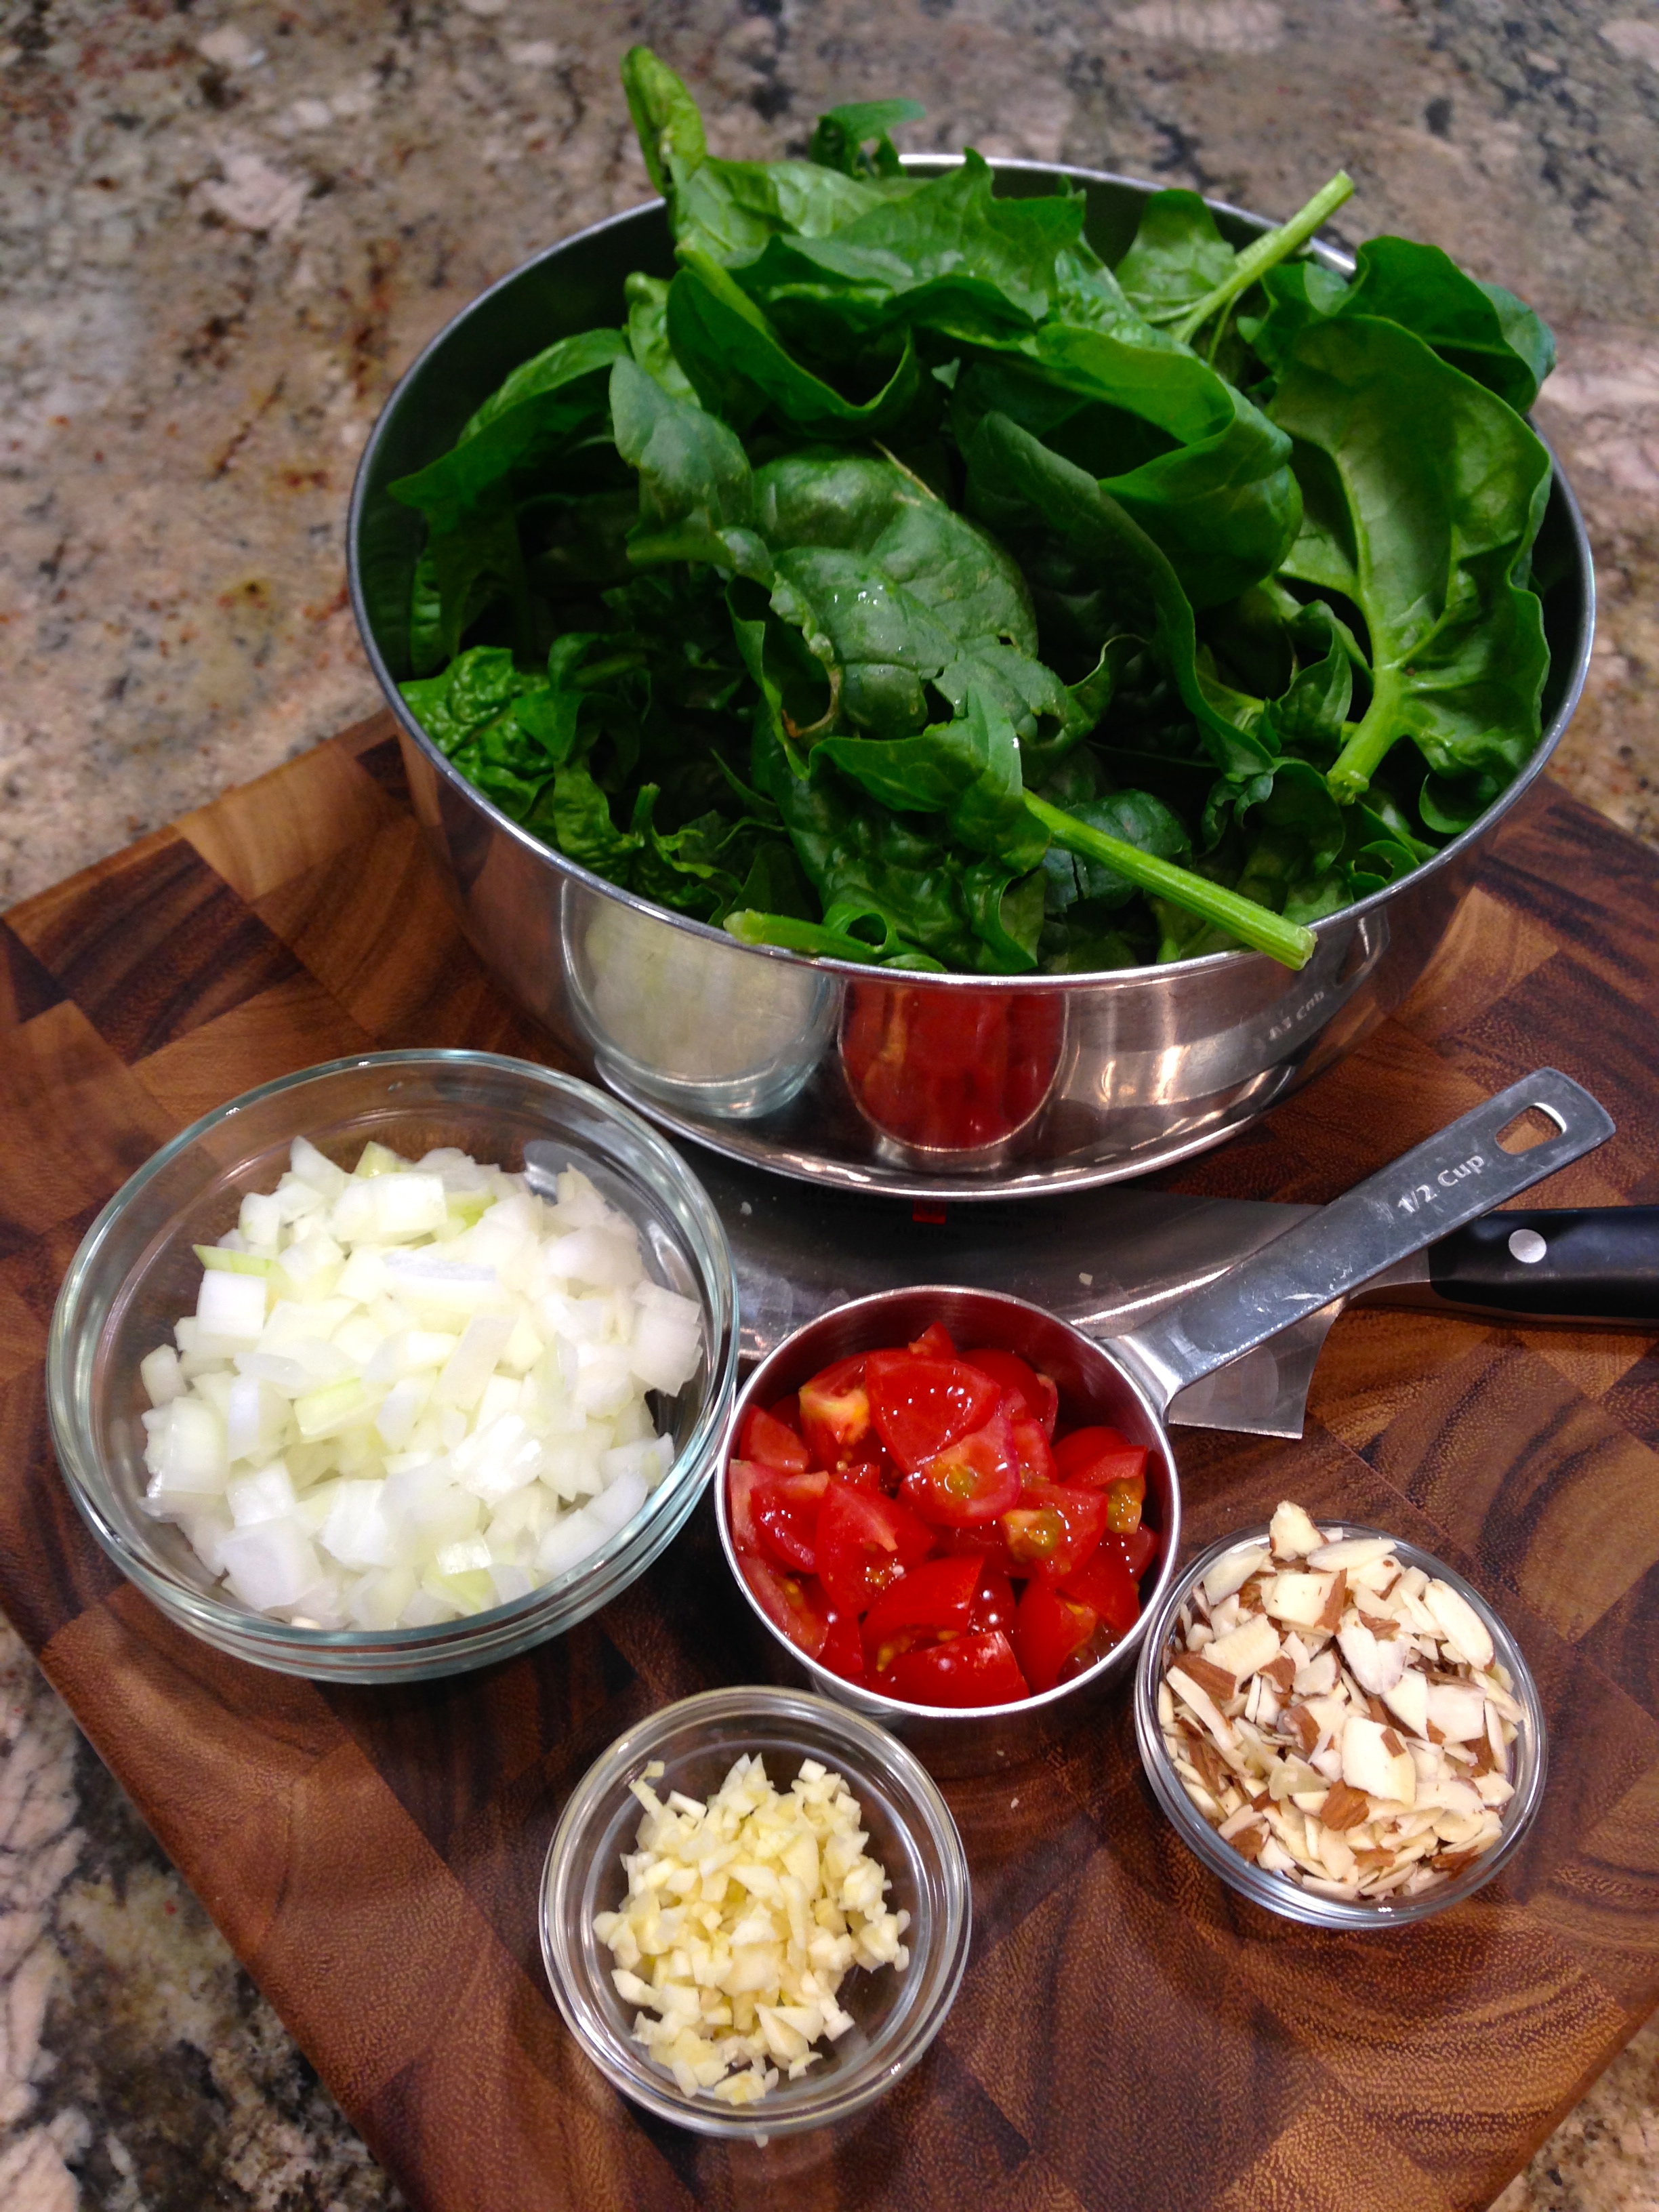
Add Spinach By Handfulls
Lesson Learned 2 – COOKING ORDER: sauté the onions and almonds first. They take much more time. It takes about 4-5 minutes on medium heat for the onions to become translucent and the almonds to brown. I used shaved almonds and chopped them into smaller pieces. Slivered almonds would work as well. After the onions and almonds are done add the garlic and cook only until it becomes fragrant. I’ve found that normally takes a little more than 30 seconds. Once the garlic has become fragrant then add the spinach. At the very end add the tomatoes as you simply want to warm them and don’t want them to break down.
Lesson Learned 3 – COOKING SPINACH: spinach cooks fast, even faster than I thought. I planned for the spinach to cook down in about 5 minutes and it happened in about 3 minutes. So be prepared for how quick it goes once you add the spinach. I used a whole 10 ounce bag of spinach and it was just enough for two people. It was a great way to use up all of that home-grown spinach.
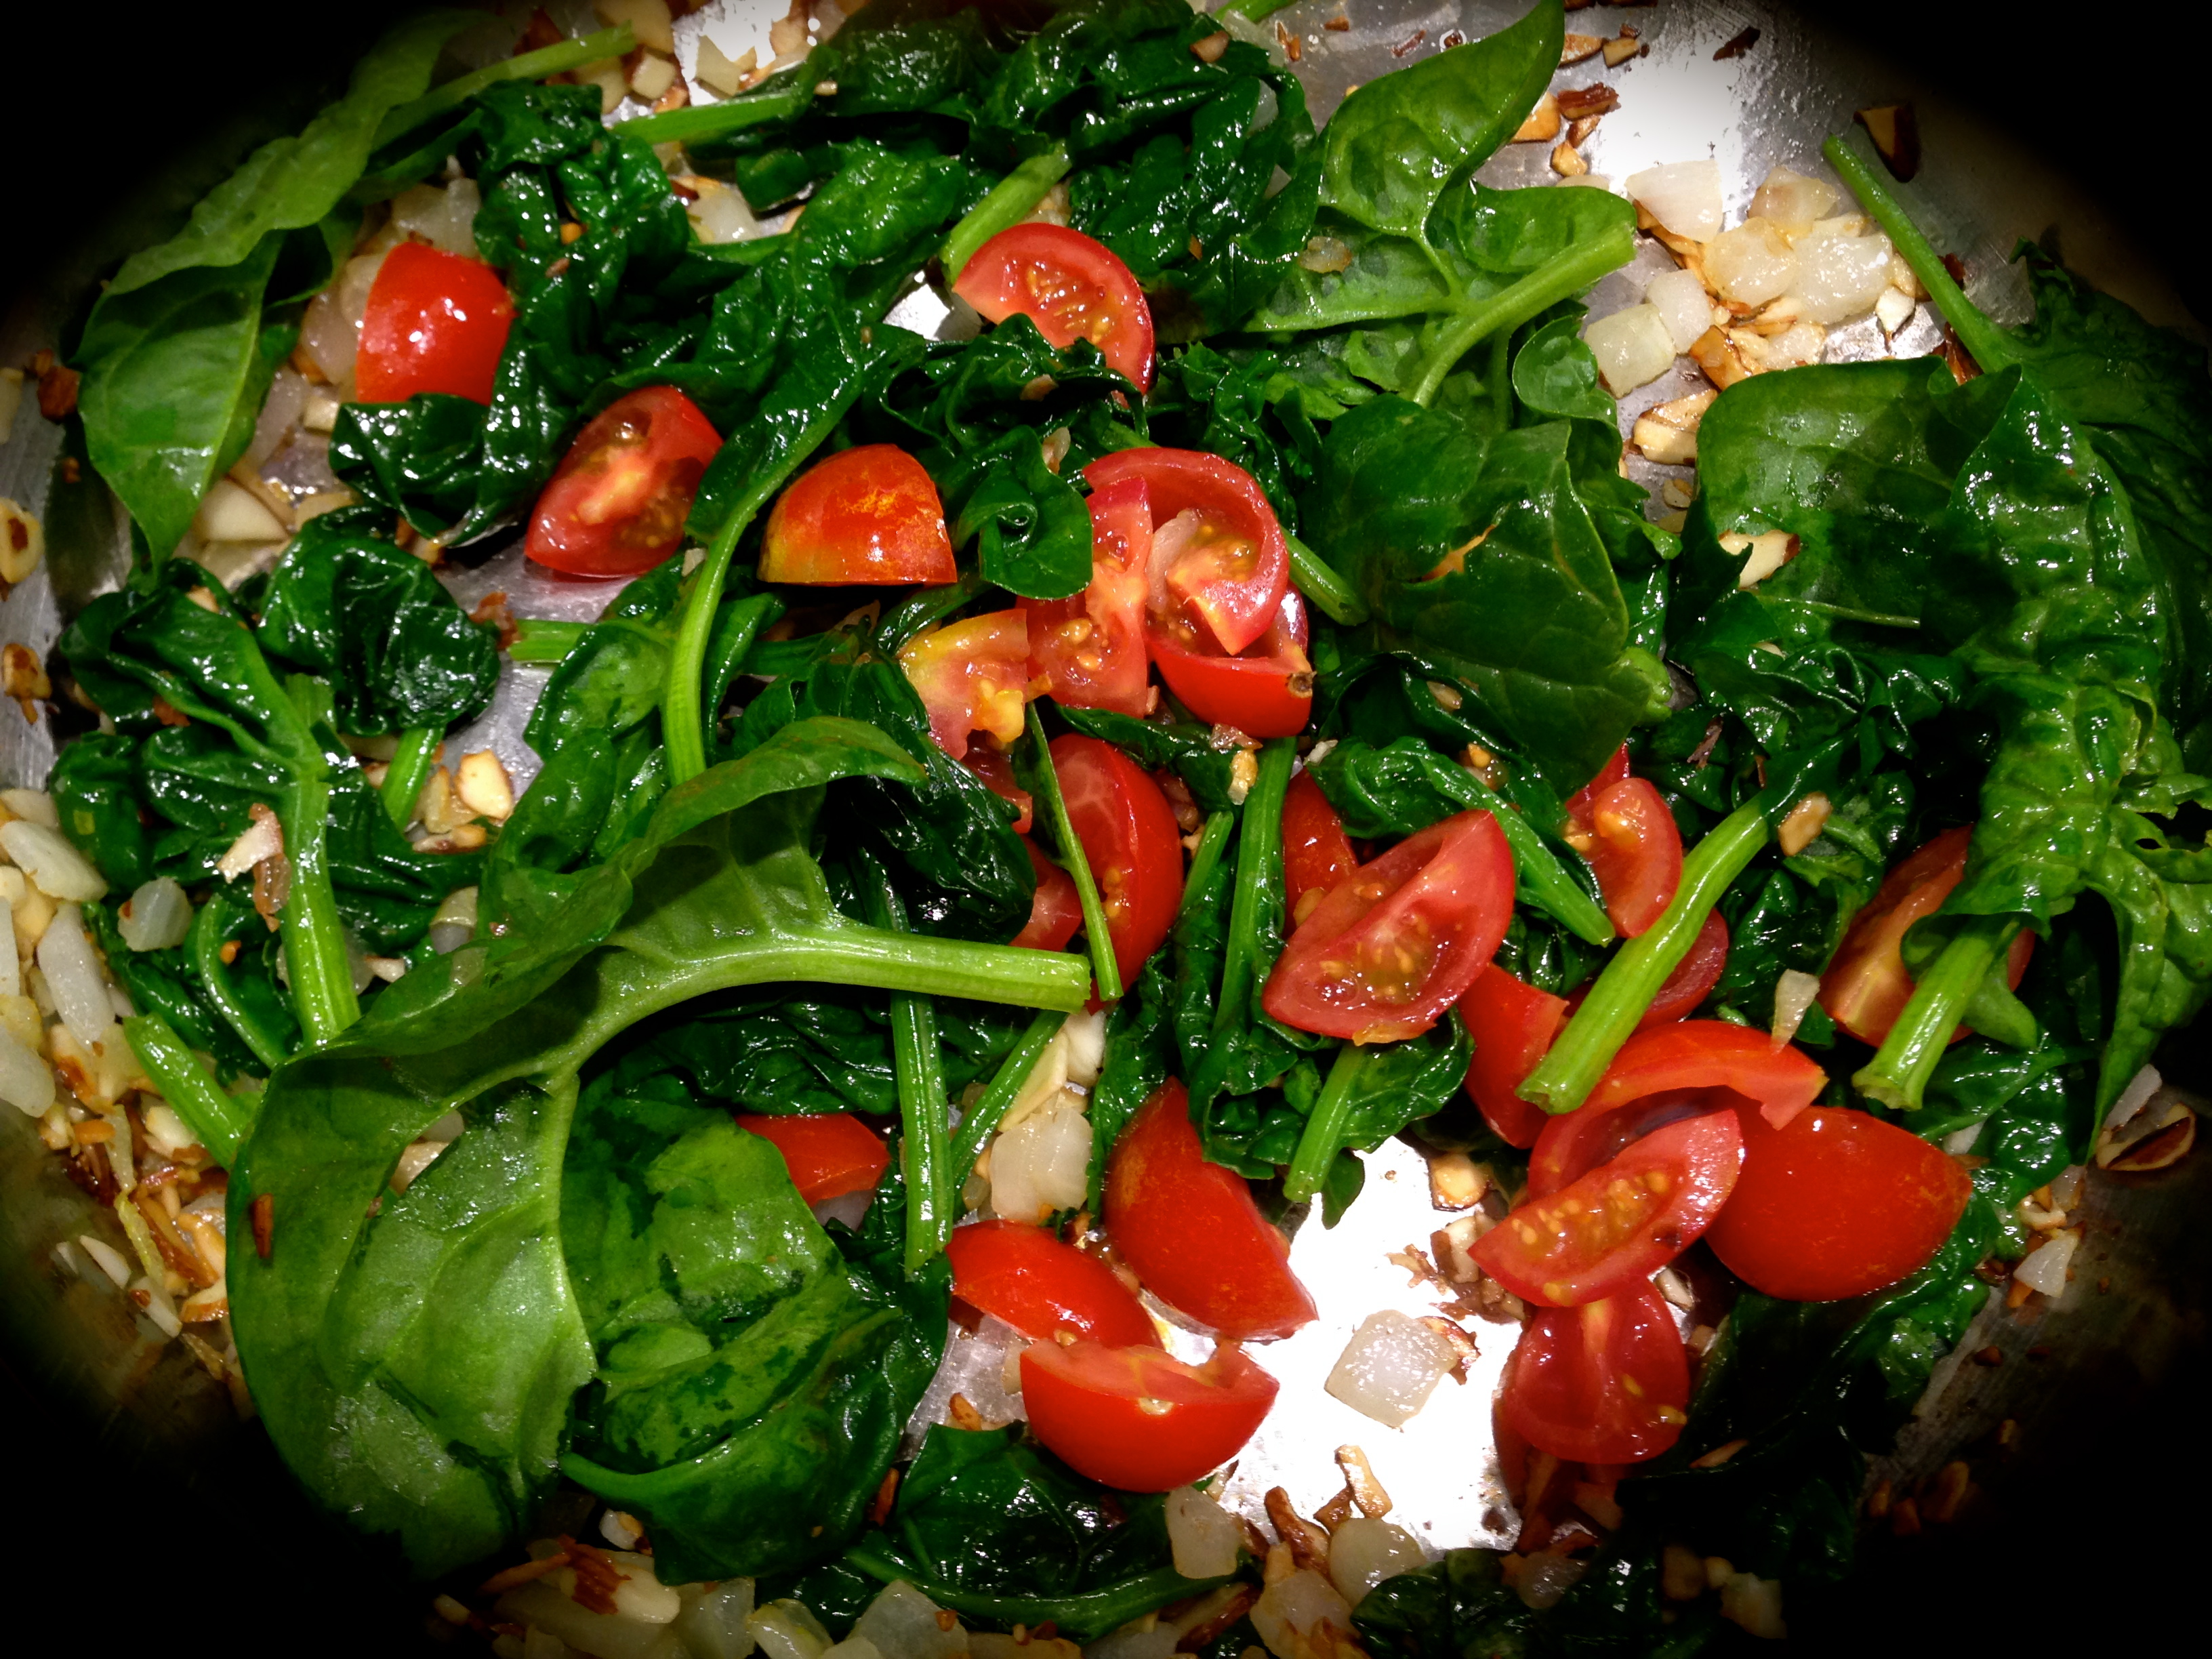
Add Tomatoes At The Very End
Lesson Learned 4 – ALMONDS: My advice is don’t eliminate the almonds. They provided a great contrast to the spinach and added a wonderful nutty flavor to the dish. As I was eating it I kept saying to myself what is that fabulous hint of flavor and then recognized it was the almonds.
My husband not only loved the recipe but was pleased I figured out a way to use the spinach. I will definitely make this recipe again. Most of the work entails chopping the onions, almonds and garlic. The rest is pretty straightforward and takes about 7 minutes to cook.
Sauteed Spinach With Almonds, Tomatoes and Onions…
INGREDIENTS
4 TBS Olive Oil (eyeball the olive oil making sure not to use too much, just lightly coat the pan)
1/4 cup almonds, chopped
1/4 finely chopped onion
1/4 cup cherry tomatoes diced
2 cloves of garlic minced
1 10 ounce package of spinach, large stems discarded
2 TBS dry white wine
Salt and Pepper to taste
DIRECTIONS:
Chop onion, garlic, tomatoes, almonds and set aside. In a large skillet (preferably with high sides) heat 3 TBS of olive oil. Add the almonds and onions and cook over medium heat until onions become translucent and almonds become slightly golden. Add the garlic and sauté until fragrant.
Add the spinach in handfuls and stir adding more spinach as the leaves begin to wilt. Add tomatoes when spinach is just about completely wilted and cook until warmed (less than a minute). Add the wine and toss altogether. Season with salt and pepper and serve immediately.
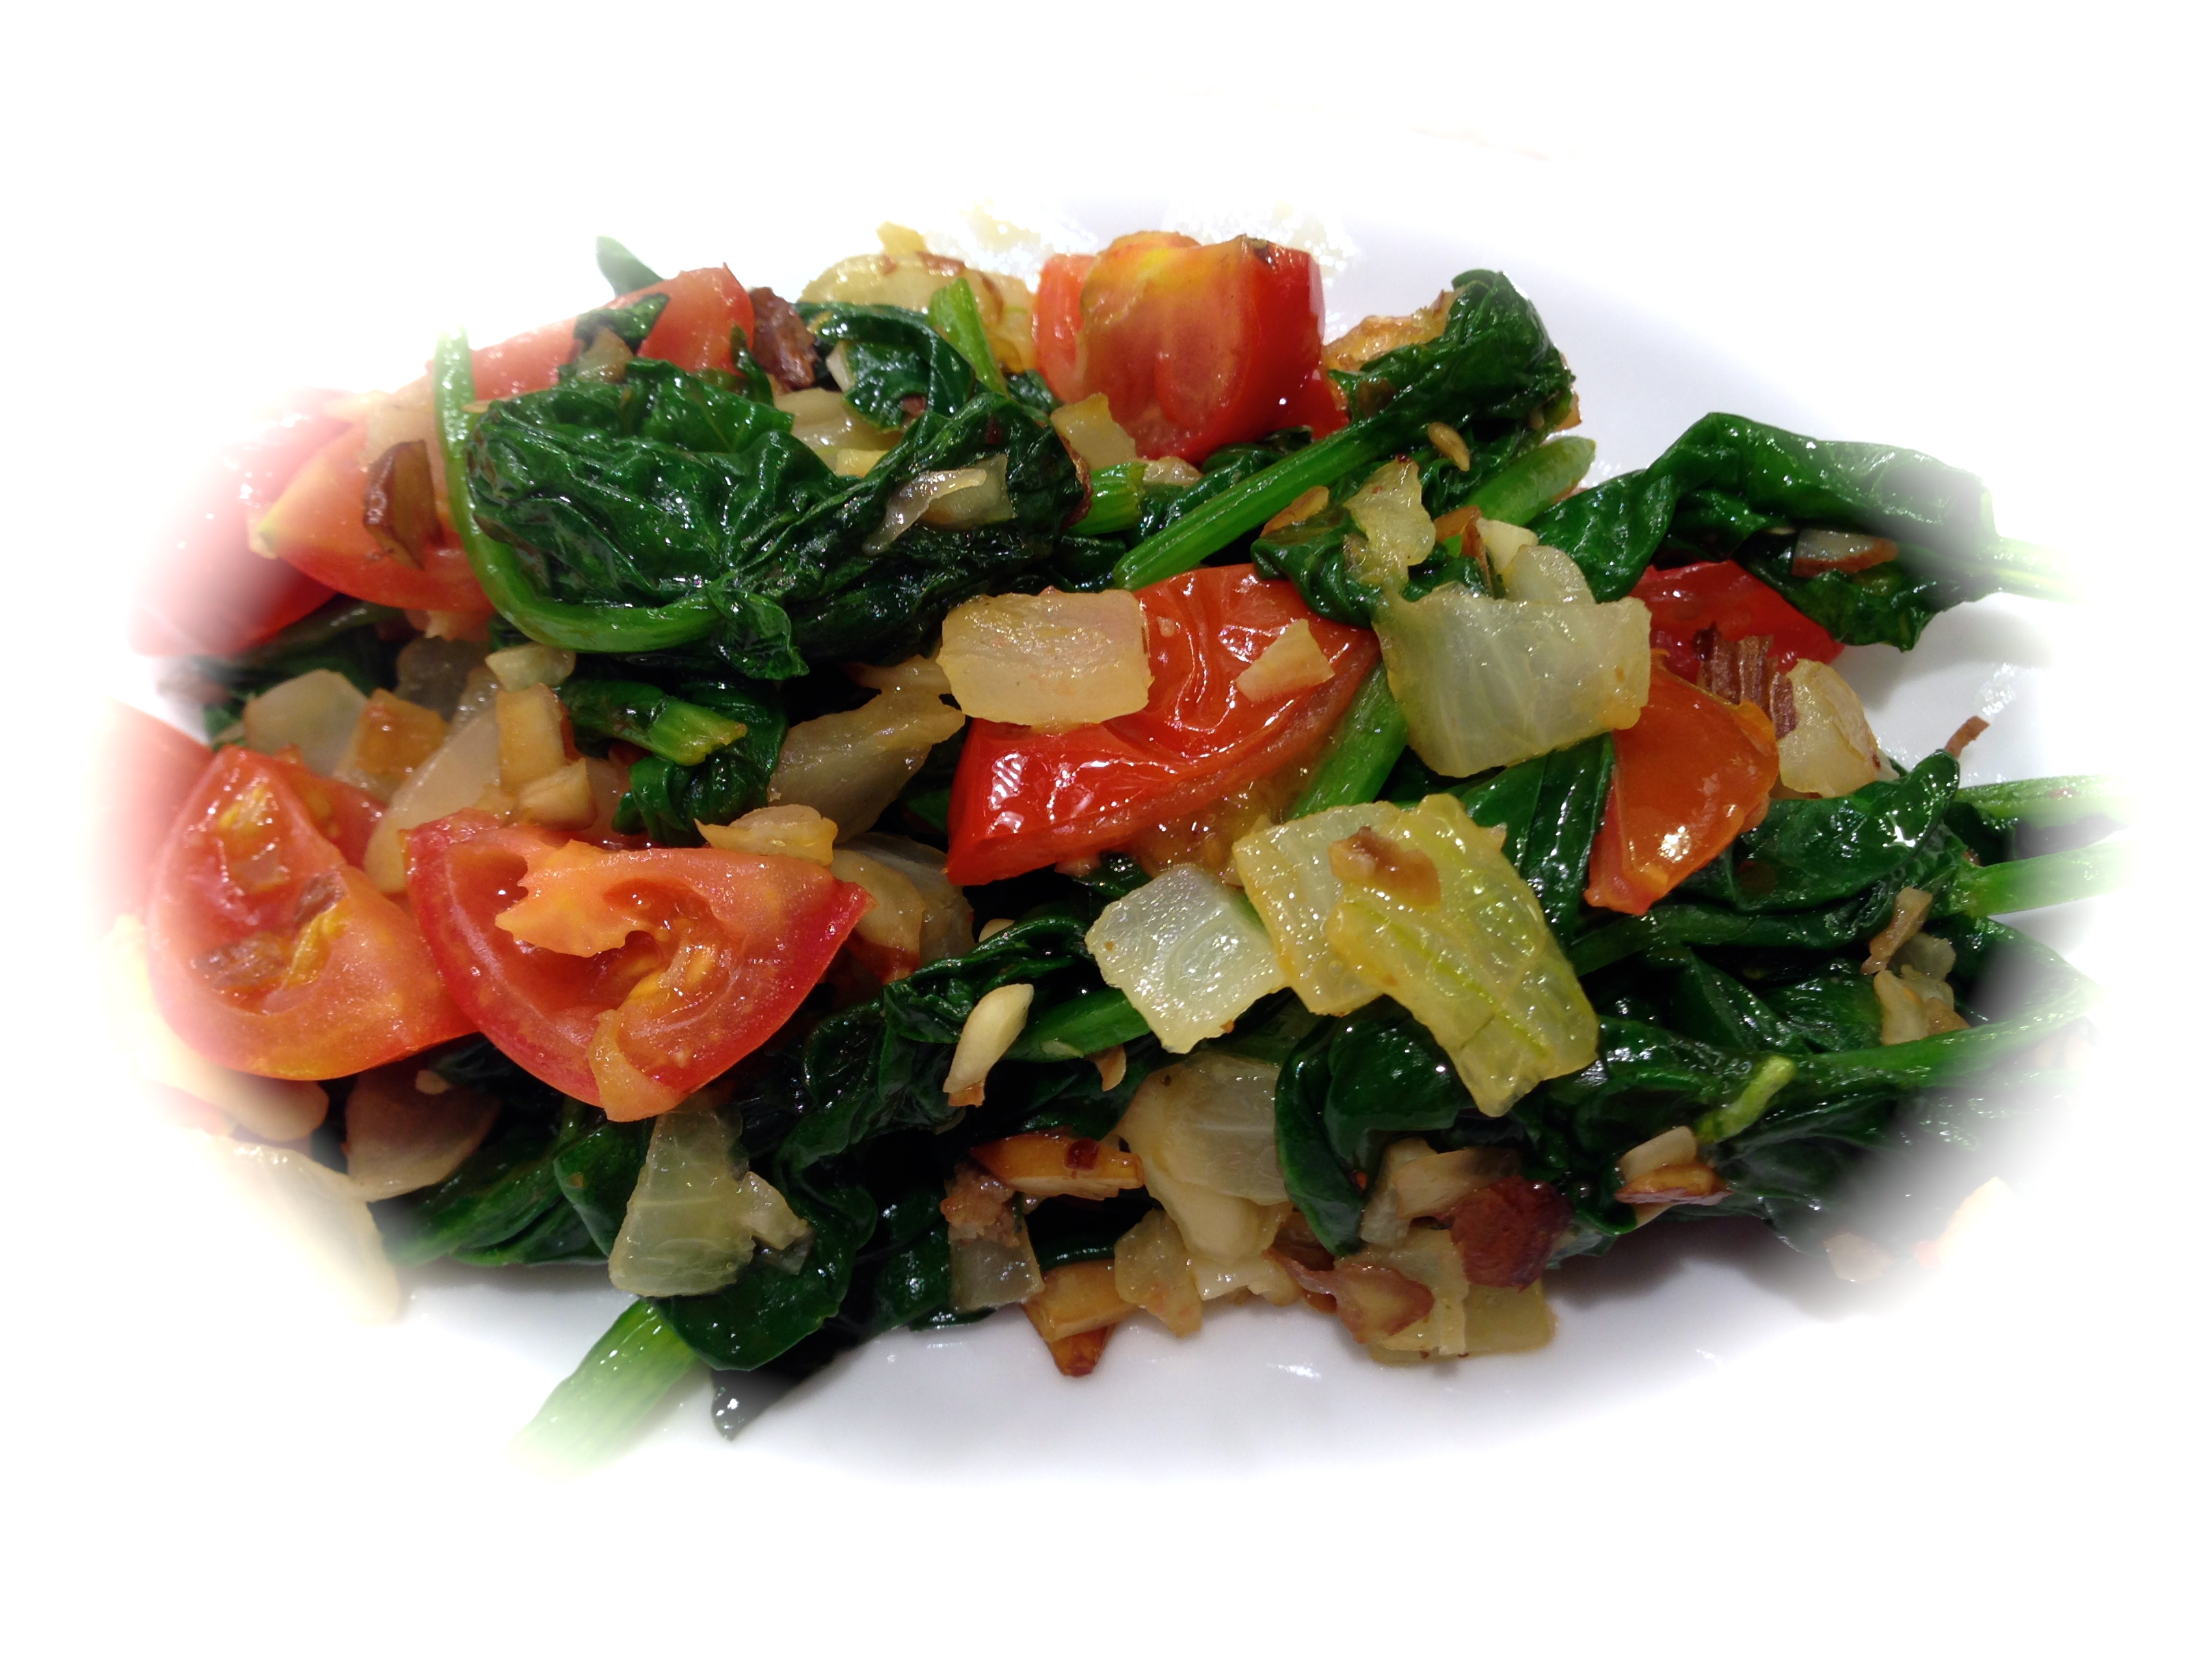
Sauteed Spinach With Almonds, Tomatoes and Onions