
NOTE: Here’s my second in a series of re-blogs while I’m in the throws of selling/buying and moving. I hope to be back online with one new recipe a week starting at the end of July. Until then, let’s revisit some of my more popular recipes! You’ve gotta try this one. It is simply fabulous!
It’s been a little longer than usual since my last post. The month of May has many “things” happening like birthdays, anniversaries and of course Memorial Day. I got a little caught up in all of that but now am back to a more normal schedule regarding this blog.
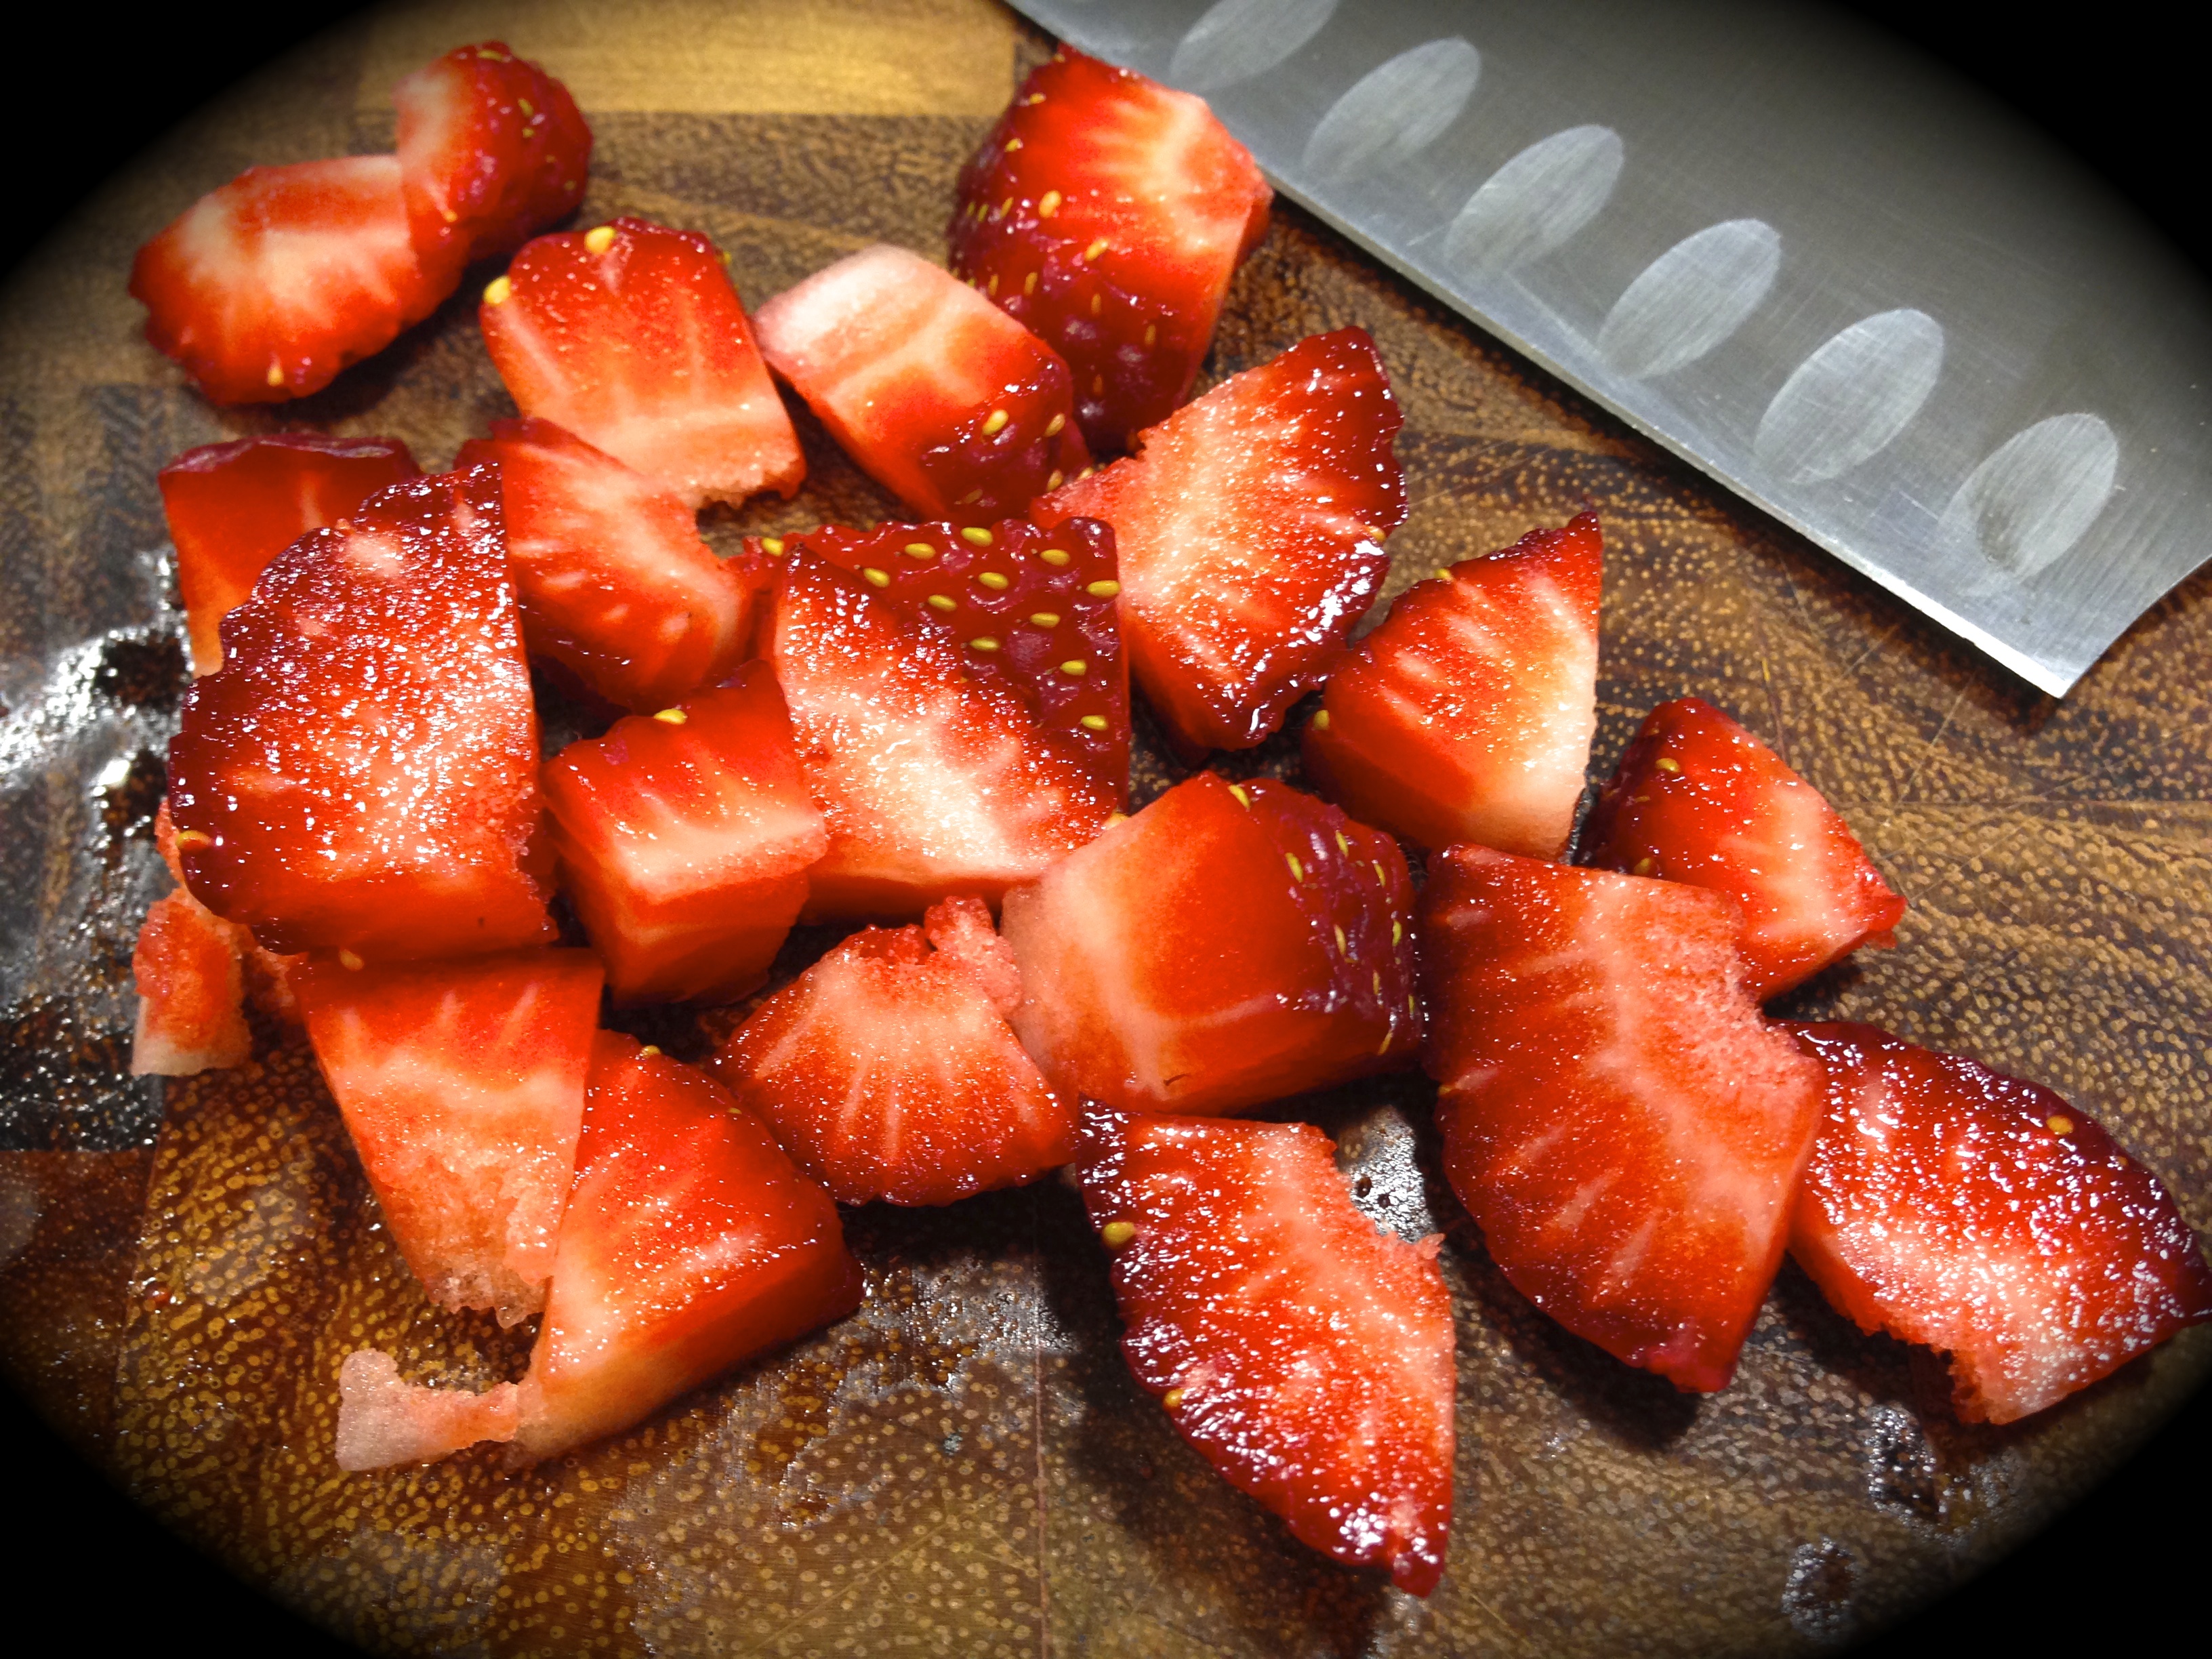
Cut The Strawberries Into Small Pieces
I don’t know about you but this season it seems like the strawberries are more plentiful, sweeter and cheaper. I’ve mostly been eating a lot of strawberries combined with blueberries and raspberries and mixed with greek yoghurt as a special breakfast treat. But I was also interested in finding a good recipe for strawberry bread and I think I’ve found just about the best one yet on a website called sallysbakingaddiction.com.
I liked this recipe for a variety of reasons which I will talk about in my rating and lessons learned. That being said, make sure you make this one – you will not be disappointed.
Rating: A+ to the nth degree! This is the highest rating I have ever given a recipe because in my mind it is the perfect one – it was easy to make, turned out perfectly the first time and the recipe was well written. Yahoo! This one gets the highest honors to date!
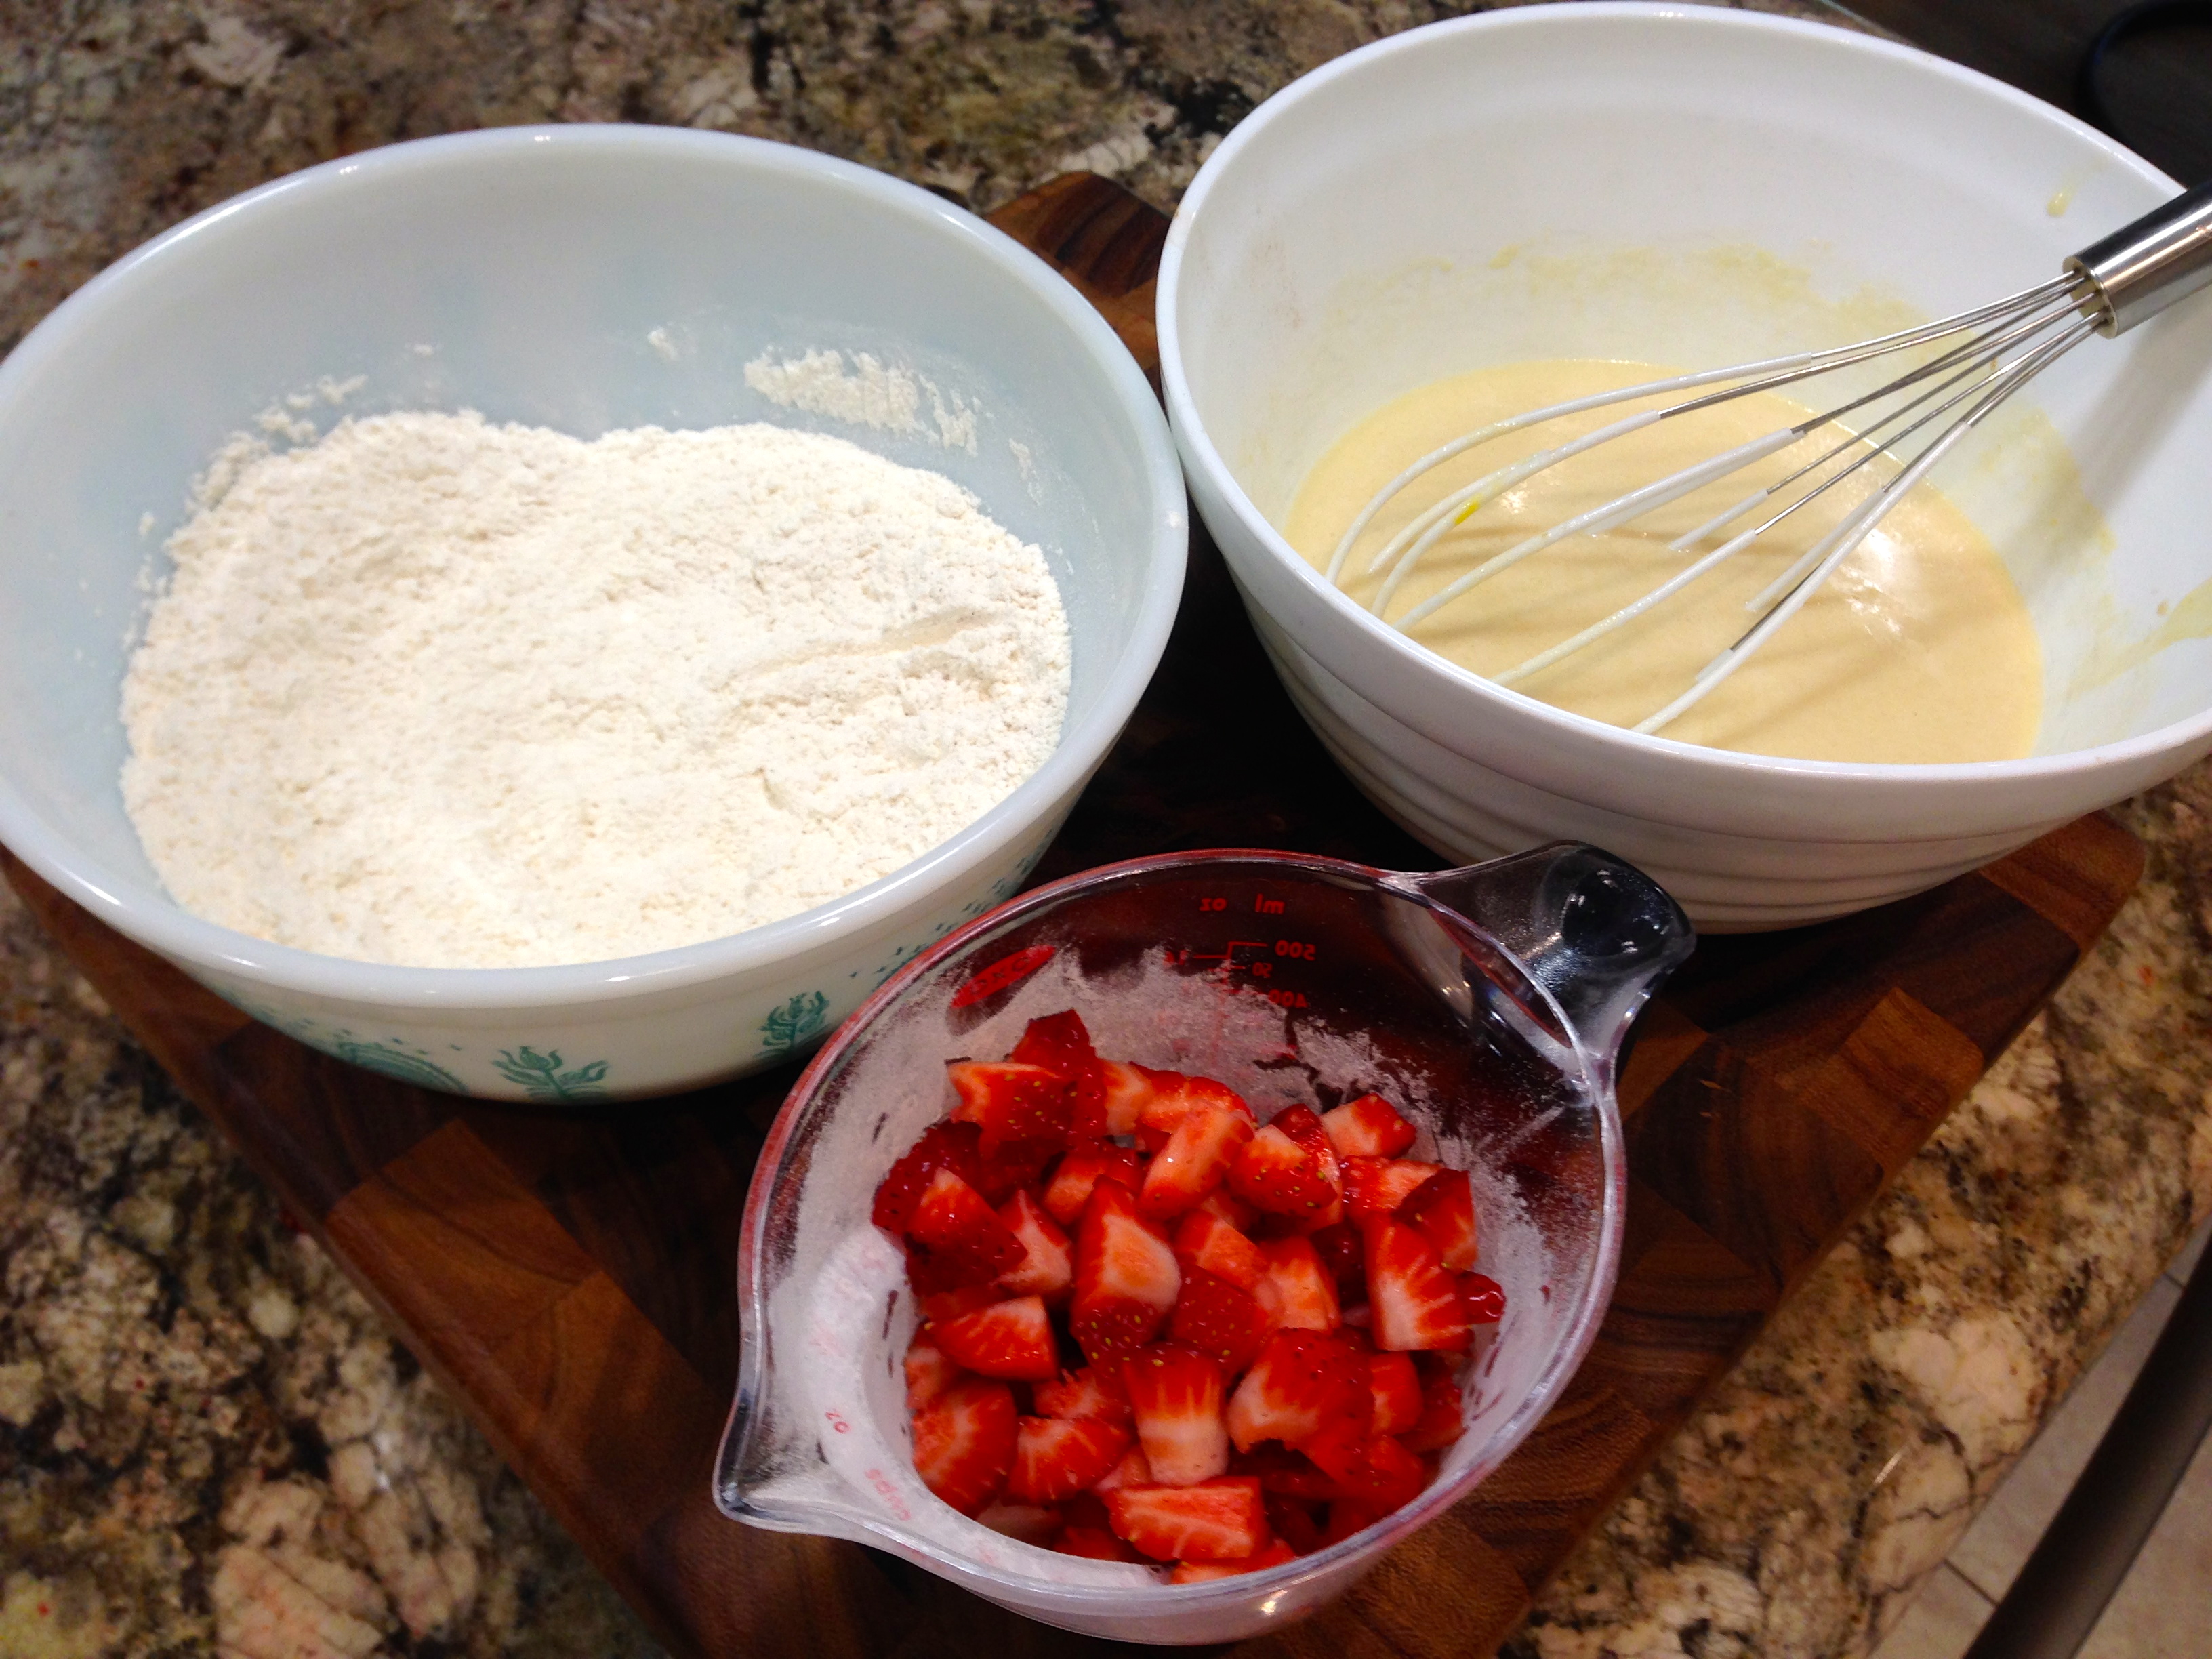
Wet And Dry Ingredients and Chopped Strawberries
Lesson Learned 1: THE RECIPE. Read this recipe carefully because if you do it will turn out perfectly. In the original recipe, the author took great pains to include the little nuances that so many cooks consider basic knowledge and consequently omit. The recipe is very specific on what you should use not only to create a moist cake but to get it to brown to perfection. Bravo to this cook who took the time to include all of the information you need to know. The recipe I am writing below is my version which includes the original recipe and my adjustments for high altitude.
Lesson Learned 2: THE CORRECT SIZE LOAF PAN. The original recipe called for a 9×5 pan. I used an 8×4 and it worked out perfectly. As a matter of fact I would recommend using an 8×4 for this recipe as you get a taller bread by using the smaller pan.
Lesson Learned 3: OIL. The original recipe called for vegetable oil but I used coconut oil and it turned out beautifully. As a matter of fact, I would recommend using coconut oil if you have it. The cake turned out really moist.
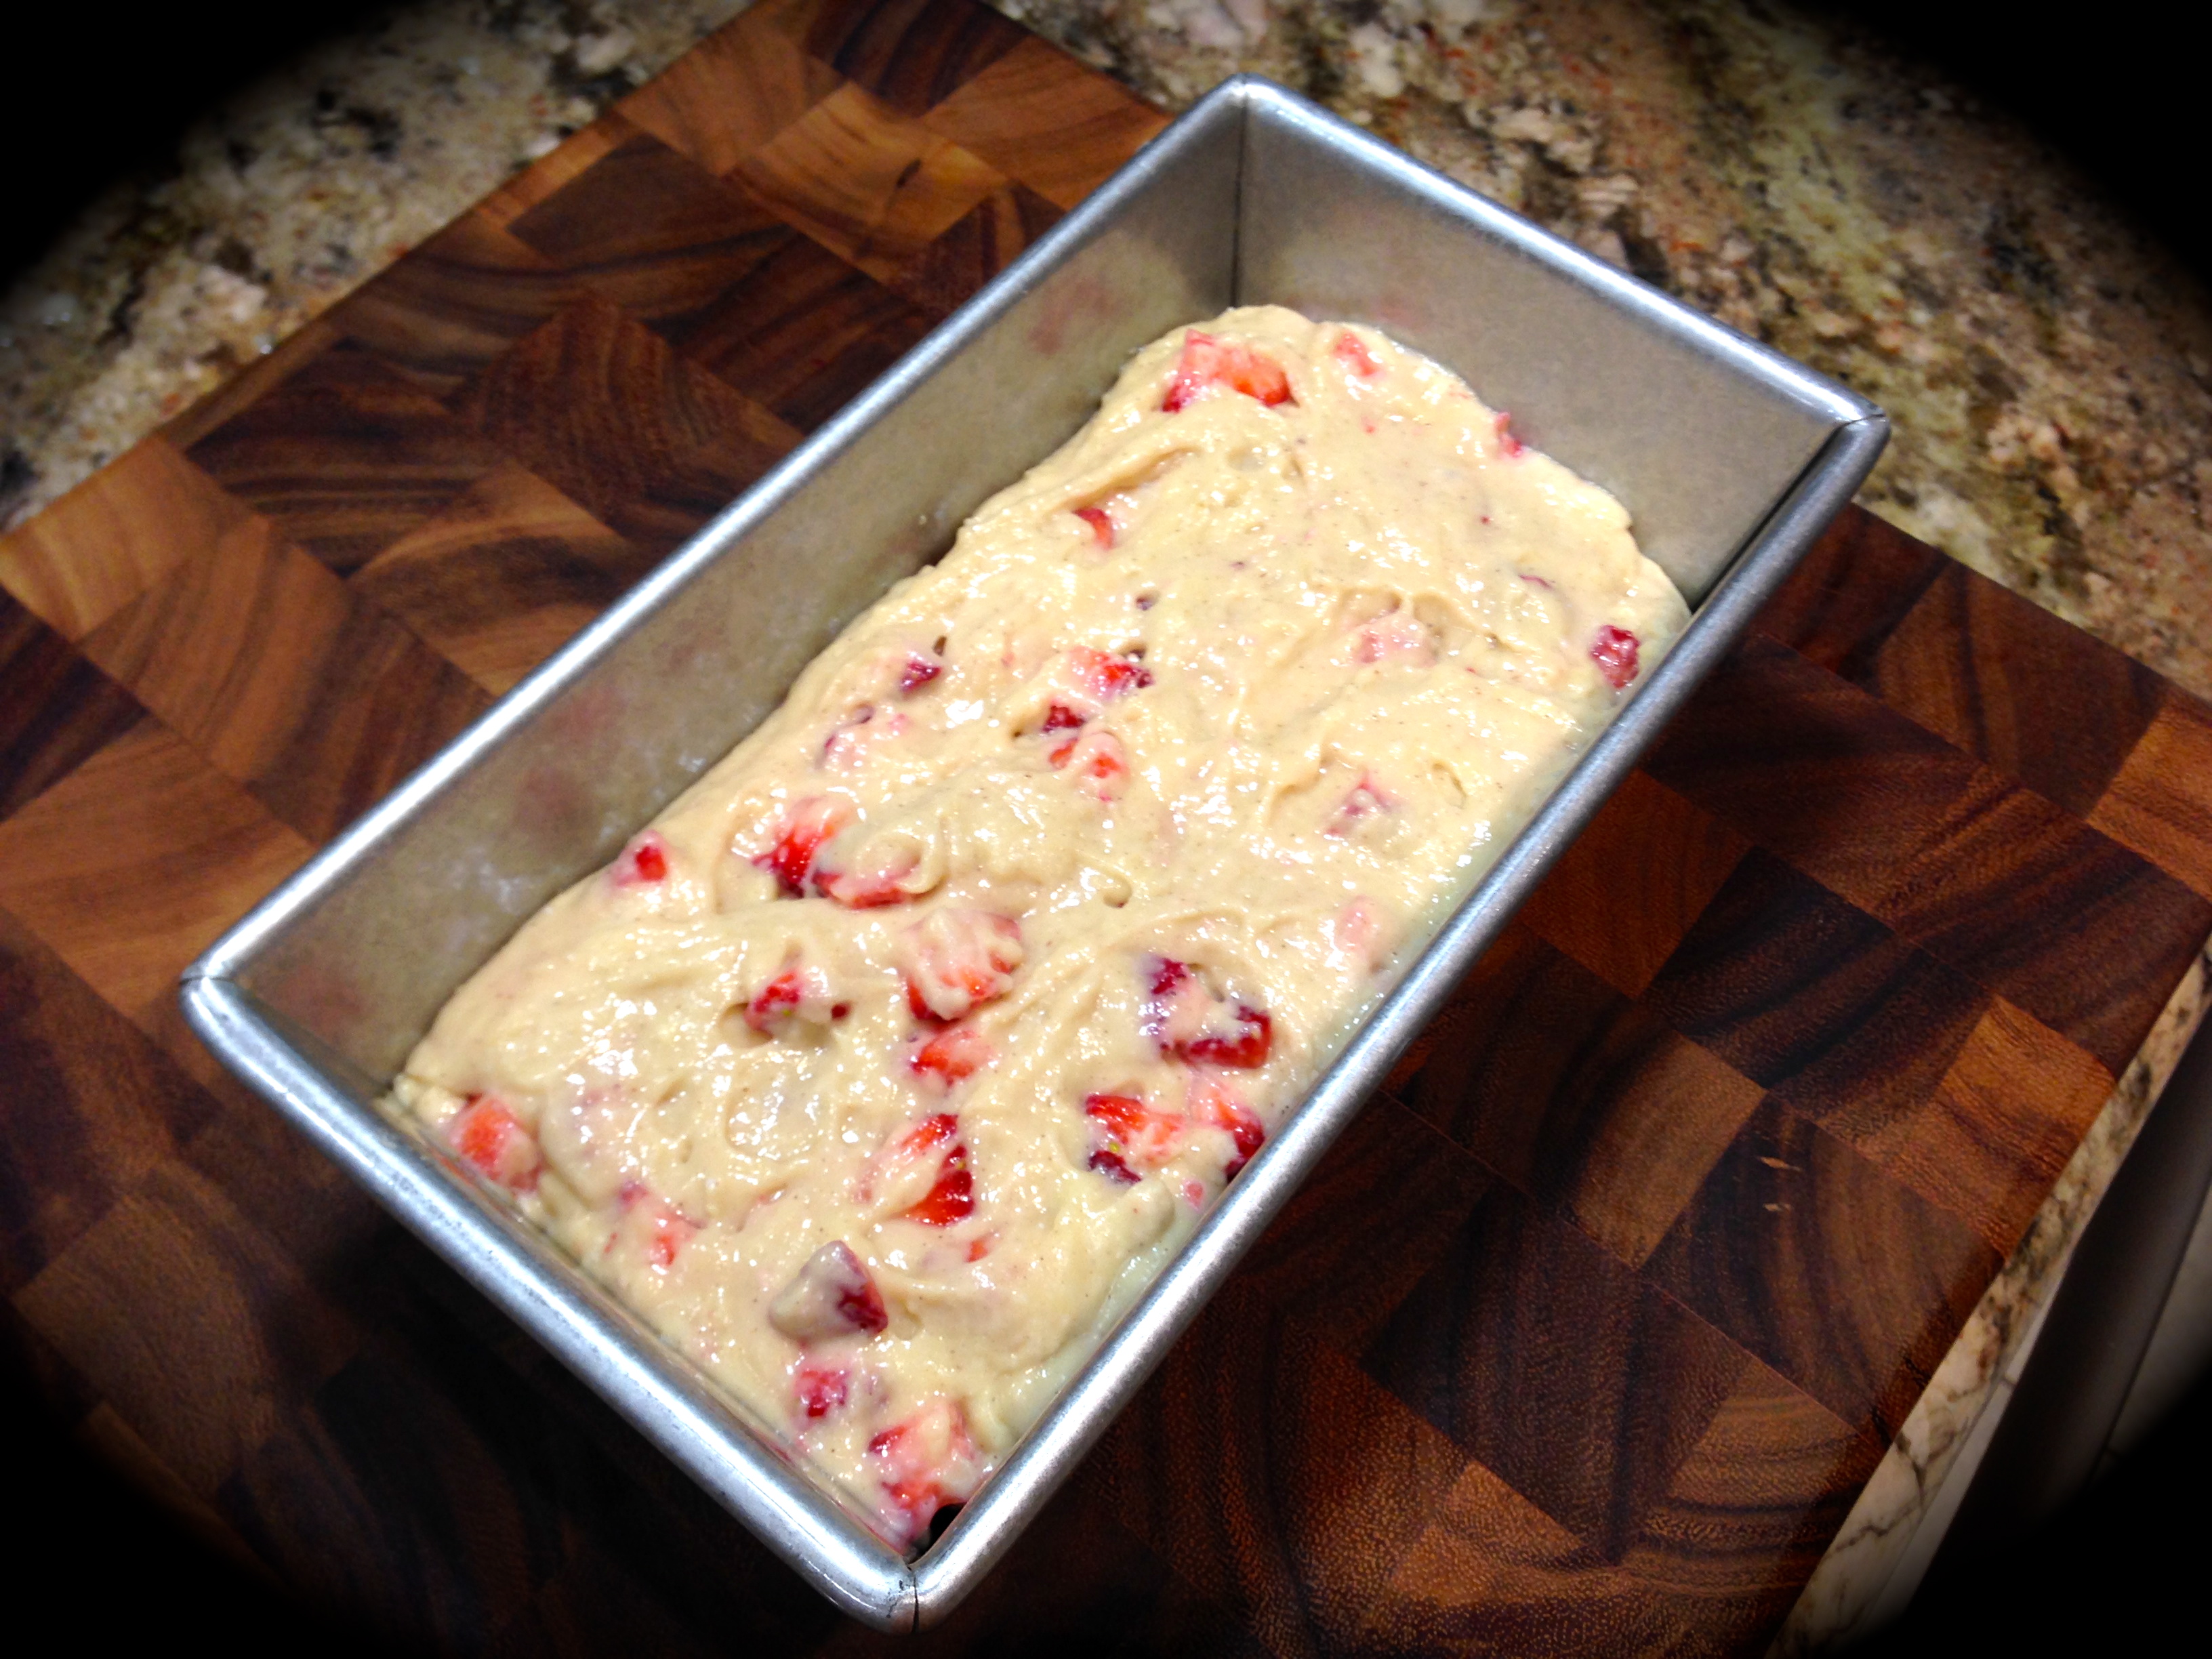
Ready To Go Into The Oven
Lesson Learned 4: ROOM TEMPERATURE EGGS. What I absolutely loved in this recipe was a tip regarding using room temperature eggs. First of all, I’ve always heard you should use room temperature eggs in baking but I never knew why. I found out that room temperature eggs tend to mix more evenly than cold eggs, who knew? But here’s the greatest TIP: If you’re like me and never remember to take the eggs out before you start baking, just take your eggs, put them in a cup, cover them with warm water and let sit for 5 minutes. Voila! You have a room temperature eggs!
Lesson Learned 5: A KITCHEN SCALE. Baking is not like cooking. You need your measurements to be exact in order to get the best results. I’ve found that to be especially the case with flour. If a recipe (which this one does) includes the weight of flour in grams, use a scale and measure the flour that way. It is so much more precise. TIP: If you keep your flour in a canister, take a knife and stir the flour to eliminate any compaction that may have occurred while sitting in the canister. Then put your measuring cup in, scoop the flour out and level it off at the top with your knife. That is another trick to get a more accurate amount of flour in your recipe, although using a scale is the most accurate.
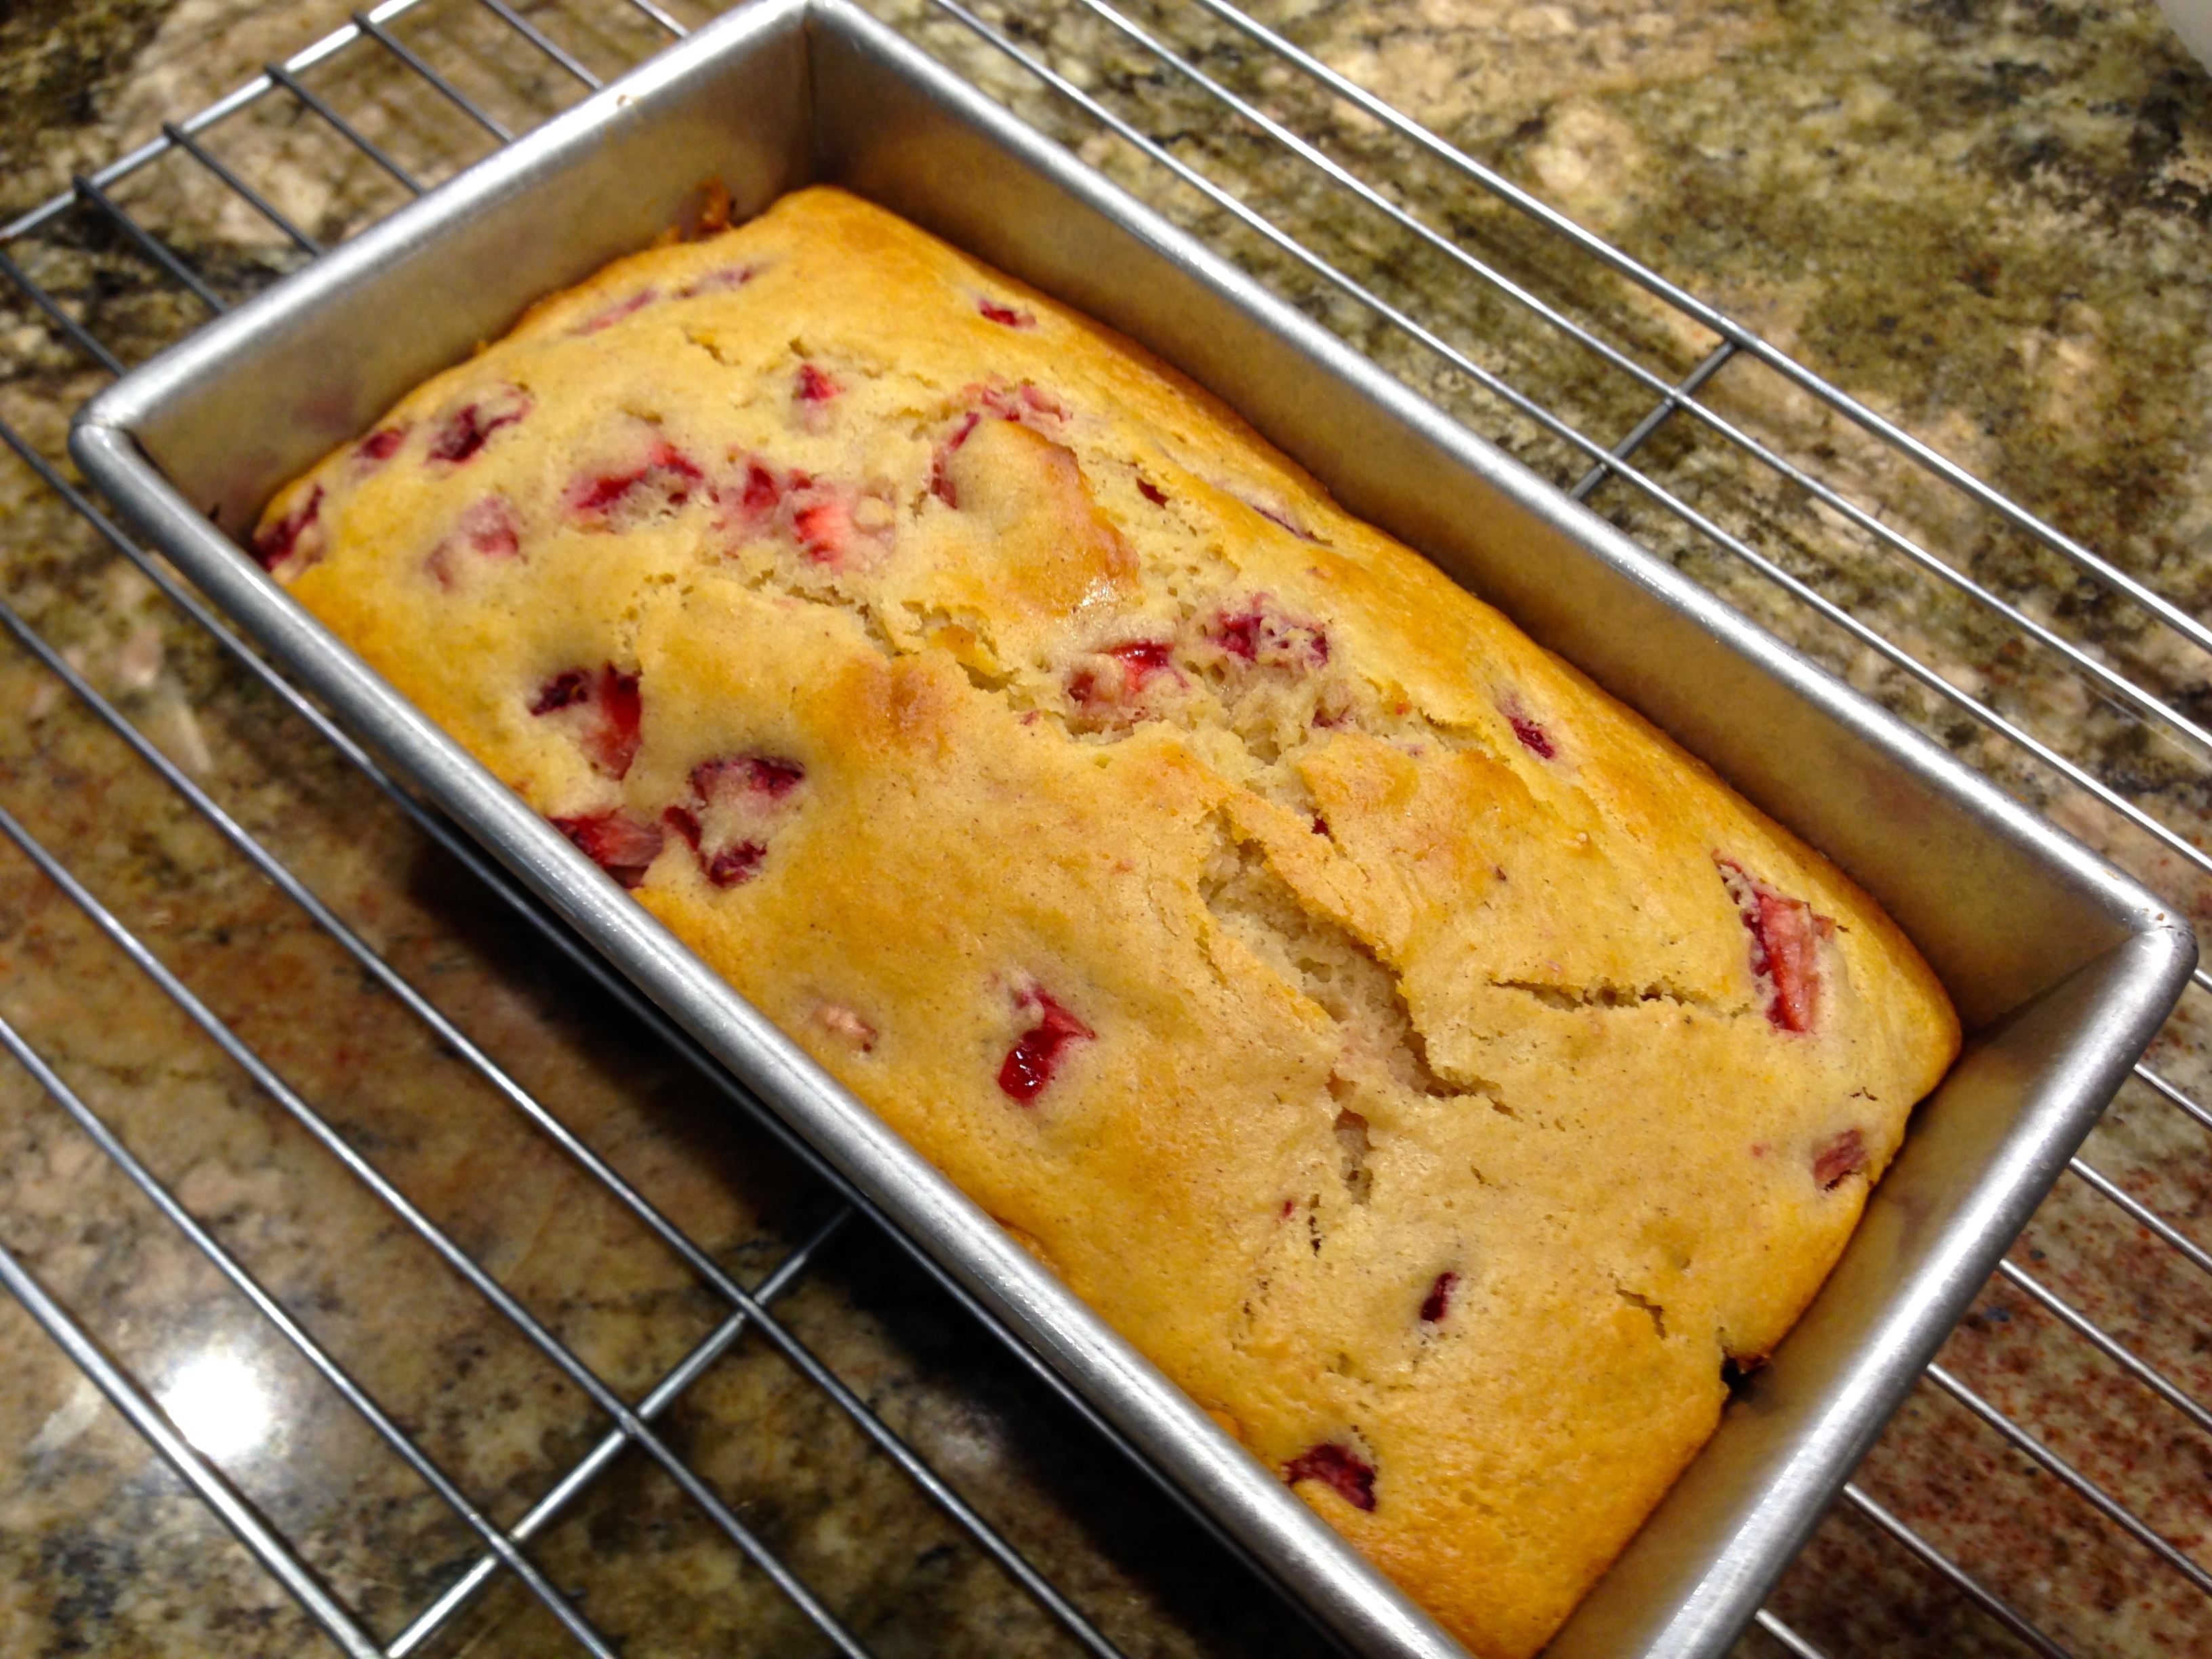
Fresh Out Of The Oven…
Lesson Learned 6: COVERING THE BREAD IN FOIL. The recipe calls for loosely covering the bread with foil after the first 30 minutes of baking so the bread will not get overly dark. Great tip! I covered the bread after thirty minutes, baked it for another 20 and it still was not done but uncovered it and baked it for 10 more minutes and it came out perfectly.
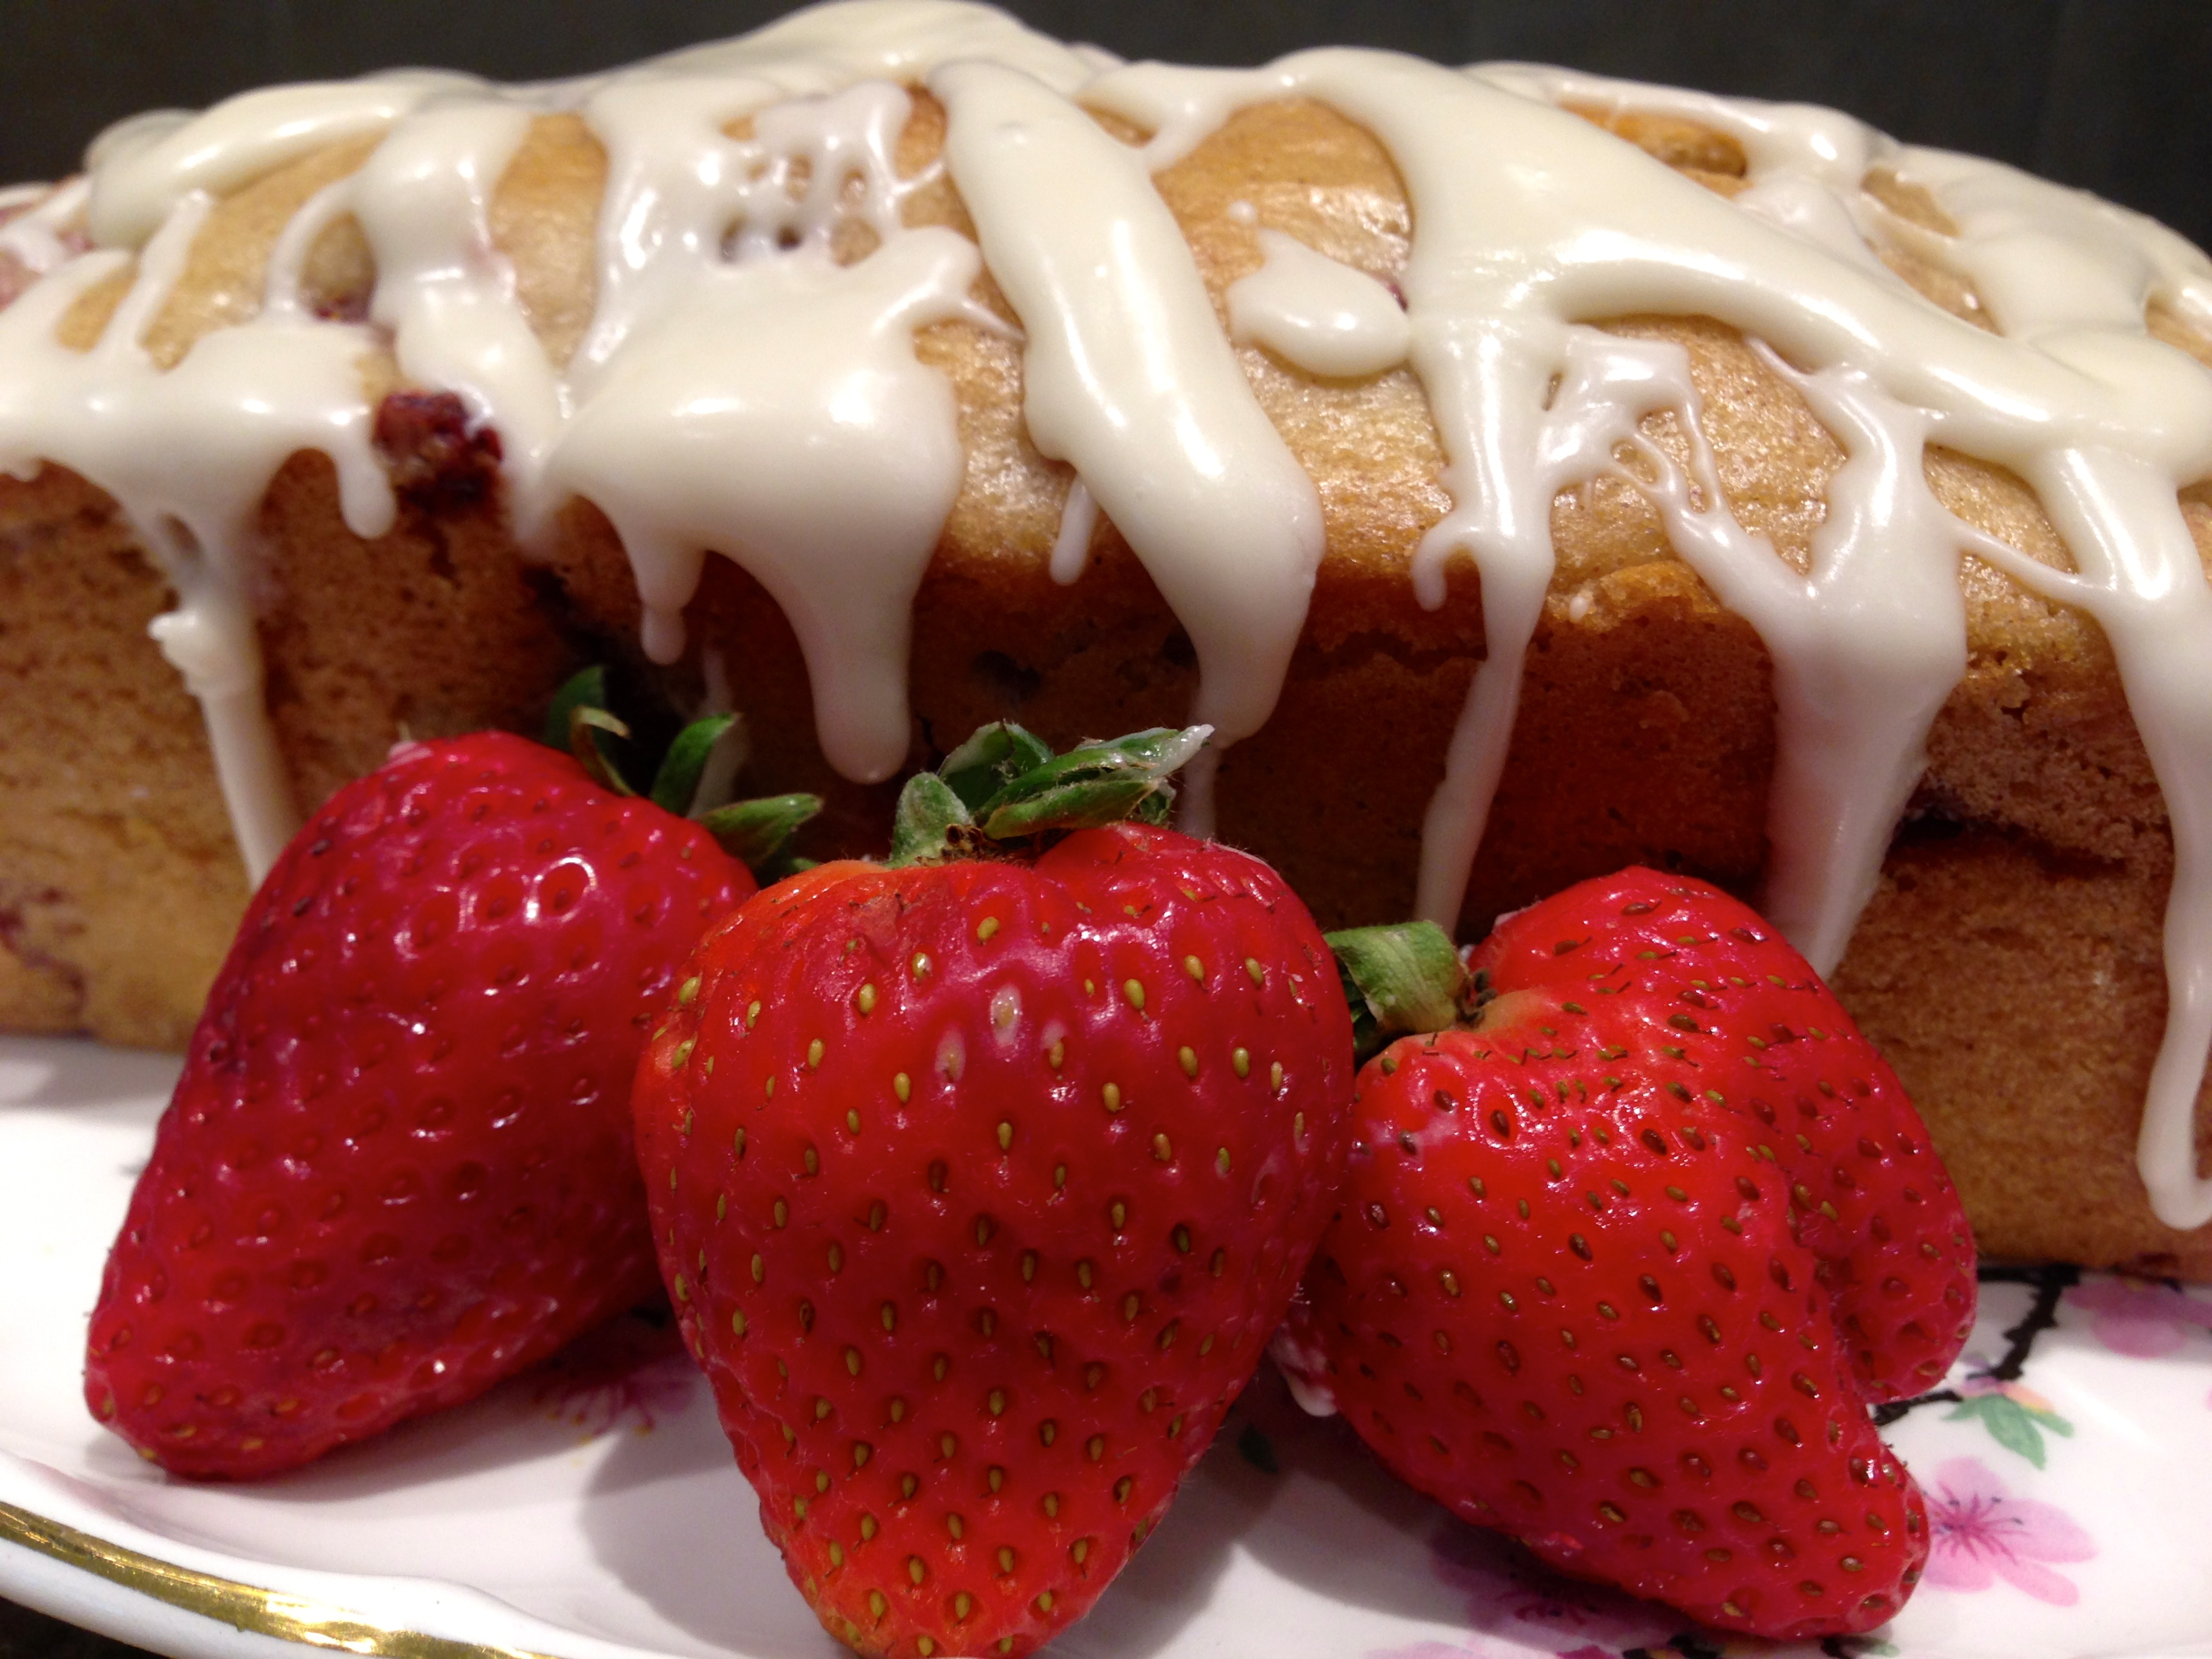
Lesson Learned 7: THE GLAZE. This is perhaps the best glaze I ever tasted and I think the reason is that it’s made with heavy cream instead of just milk or water. One place where the recipe differed from what I experienced was in the amount of heavy cream to use. The original recipe called for 2 Tablespoons of heavy cream, 1 cup of confectioners sugar and 1/2 tsp. of vanilla extract. That combination gave me a ball of paste. I wound up using about 6 TBS. of heavy cream and 1 TBS of vanilla extract in order to get the consistency you see in the pictures. It tasted better than any glaze I’ve ever made. Heavy cream is definitely the key to a great tasting glaze.
Lesson Learned 8: MIXING. The recipe cautions not to over mix the batter in order to have a moist cake. This is absolutely true. Pay attention when mixing and just when everything is combined, stop! I was very careful not to over mix and the cake was moist and delicious.
My husband almost ate the whole loaf all by himself, that’s how great this bread is. It is so easy to make and so flavorful. I know you will thoroughly enjoy this recipe! You must try it.
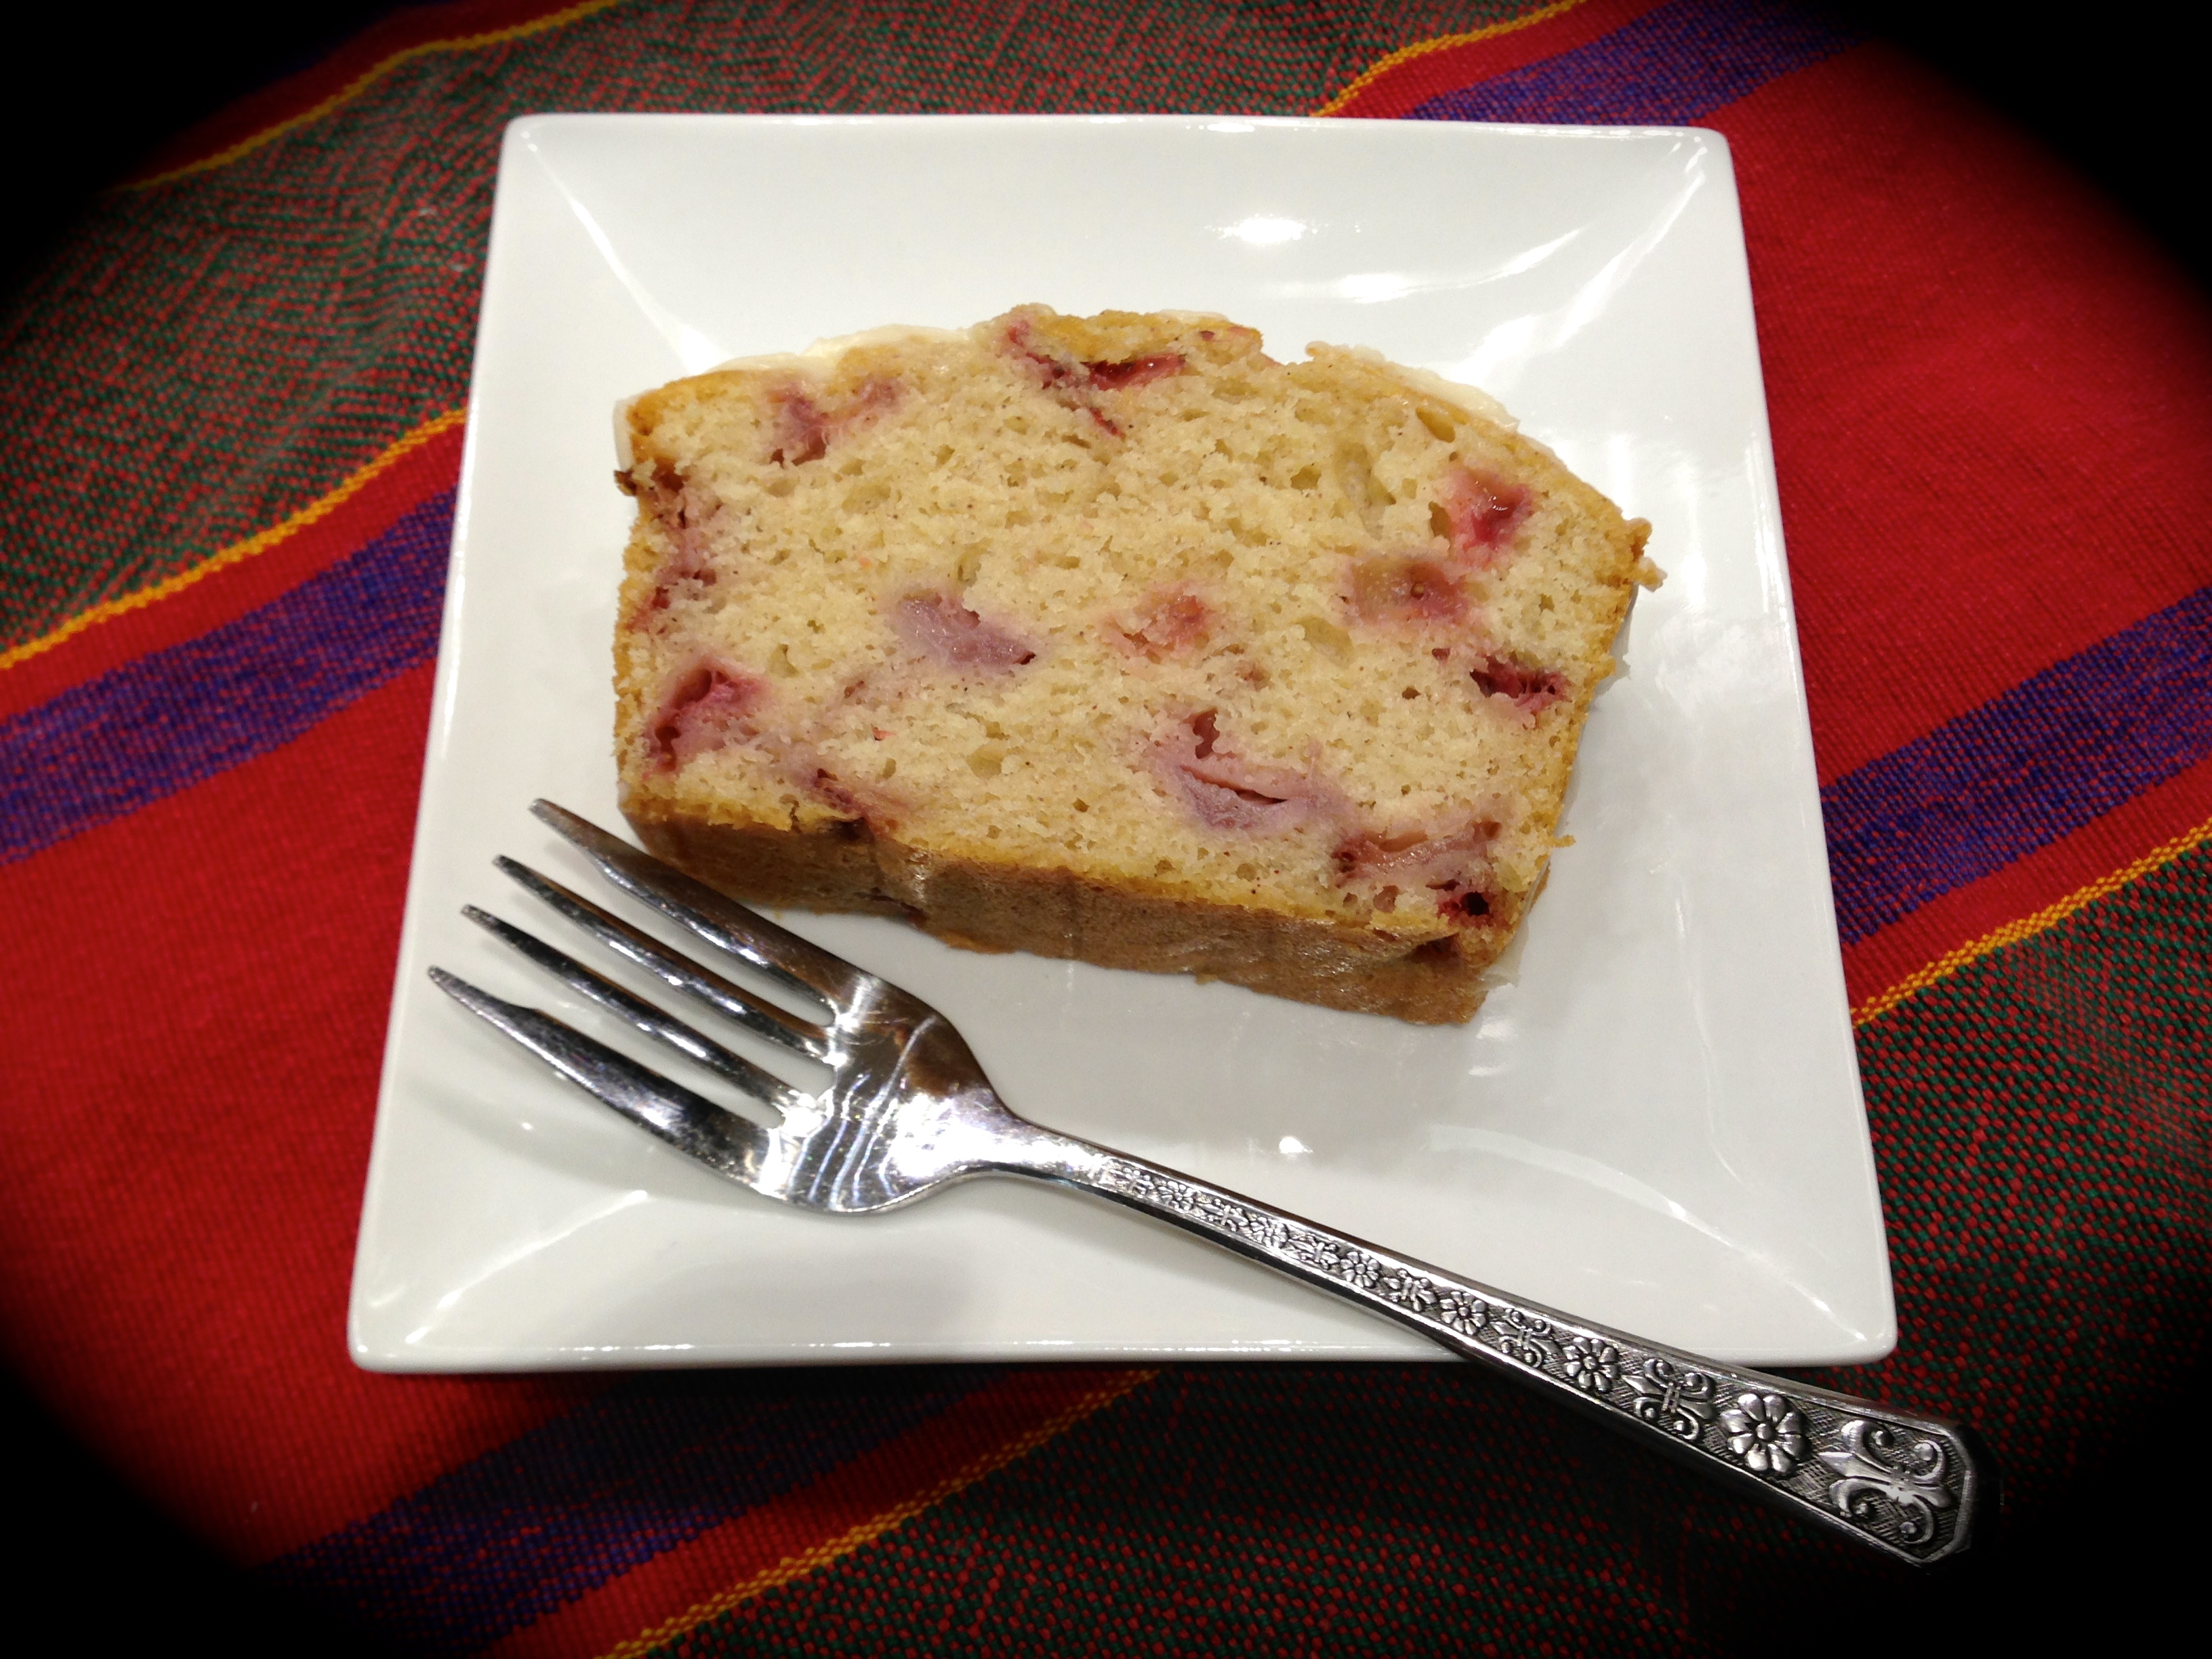
Serving Suggestion
Glazed Strawberry Bread…
INGREDIENTS:
BREAD:
2 cups (250g) flour
1 tsp. baking soda (1/2 tsp for high altitude)
1/2 tsp. salt
1/2 tsp. ground cinnamon
1 large egg, room temperature
3/4 sugar (2/3 cup high altitude)
1/4 cup brown sugar (50g) not firmly packed (high altitude leave an 1/8 inch visible around the rim of the measuring cup)
1/3 cup vegetable or canola oil (you can use melted coconut oil)
1 cup buttermilk (no substitutions)
2 tsp. vanilla extract
1 cup fresh strawberries cut in small pieces
GLAZE:
1 cup (120g) confectioners sugar
1 tsp vanilla extract
4-6 TBS heavy cream
DIRECTIONS:
Preheat the oven to 350 degrees. (If you did not allow for a room temperature egg, place your egg in a container, cover it with warm water and let it sit for 5 minutes. If using coconut oil, put the oil in a pan, melt it and set aside to cool.) Spray a 8×4 loaf pan with nonstick spray and set aside.
In a large bowl whisk the flour, baking soda, salt and cinnamon until combined. In a medium bowl whisk together the egg, granulated and brown sugars. Whisk until there are no visible lumps. Whisk in the buttermilk, oil and vanilla. Make a well in the center of your dry ingredients and pour in the wet ingredients. Stir until there are no lumps. Do not over mix.
Mix the strawberries with 1-2 TBS of flour (this will prevent the strawberries from only staying at the top of the bread). Carefully fold the strawberries into the batter. Pour the batter into the prepared pan and smooth it out evenly.
Bake for 50 minute to 1 hour. Loosely cover the bread with foil after 30 minutes of baking. Remove foil for the last 10 minutes of baking. The bread is done when a toothpick inserted in the center comes out clean. Keep the bread in the pan for 15 minutes before removing it. Allow the bread to cook completely before glazing it.

Glazed Strawberry Bread
Glazed Strawberry Bread

Yum the glaze on this looks to die for!
LikeLike
It is!
LikeLike
Reblogged this on You Betcha Can Make This!.
LikeLike