Over the years I haven’t had a lot of luck making apple pies. I’m not sure of the exact reason but I would wind up with a variety of issues such as a burnt crust, a gooey crust, hard uncooked apples, lack of flavor in the filling and on and on and on… So when my neighbor across the street gave us a whole bunch of apples from his backyard and after numerous hints from my husband saying, “What are you going to do with them – make a pie?” I thought I would take another stab at it.
I know there are certain apples that better lend themselves to being baked in a pie, but I had no idea what type of apples I was given. I even asked my neighbor if he knew but he didn’t. I washed one, cut a piece of it, ate it and thought it might do well in a pie. So I put my cooking ego aside and decided to once again give it the old college try.
I combed through a variety of recipes, reading different tips and techniques and looking at the various ingredients I could potentially use. I was surprised to find that some use heavy cream in the filling and others mixed the apples with some flour. After reading a bunch of different recipes I decided on one that I thought would give me a traditional apple pie, by that I mean one like my grandmother used to make. And from there my adventure began…
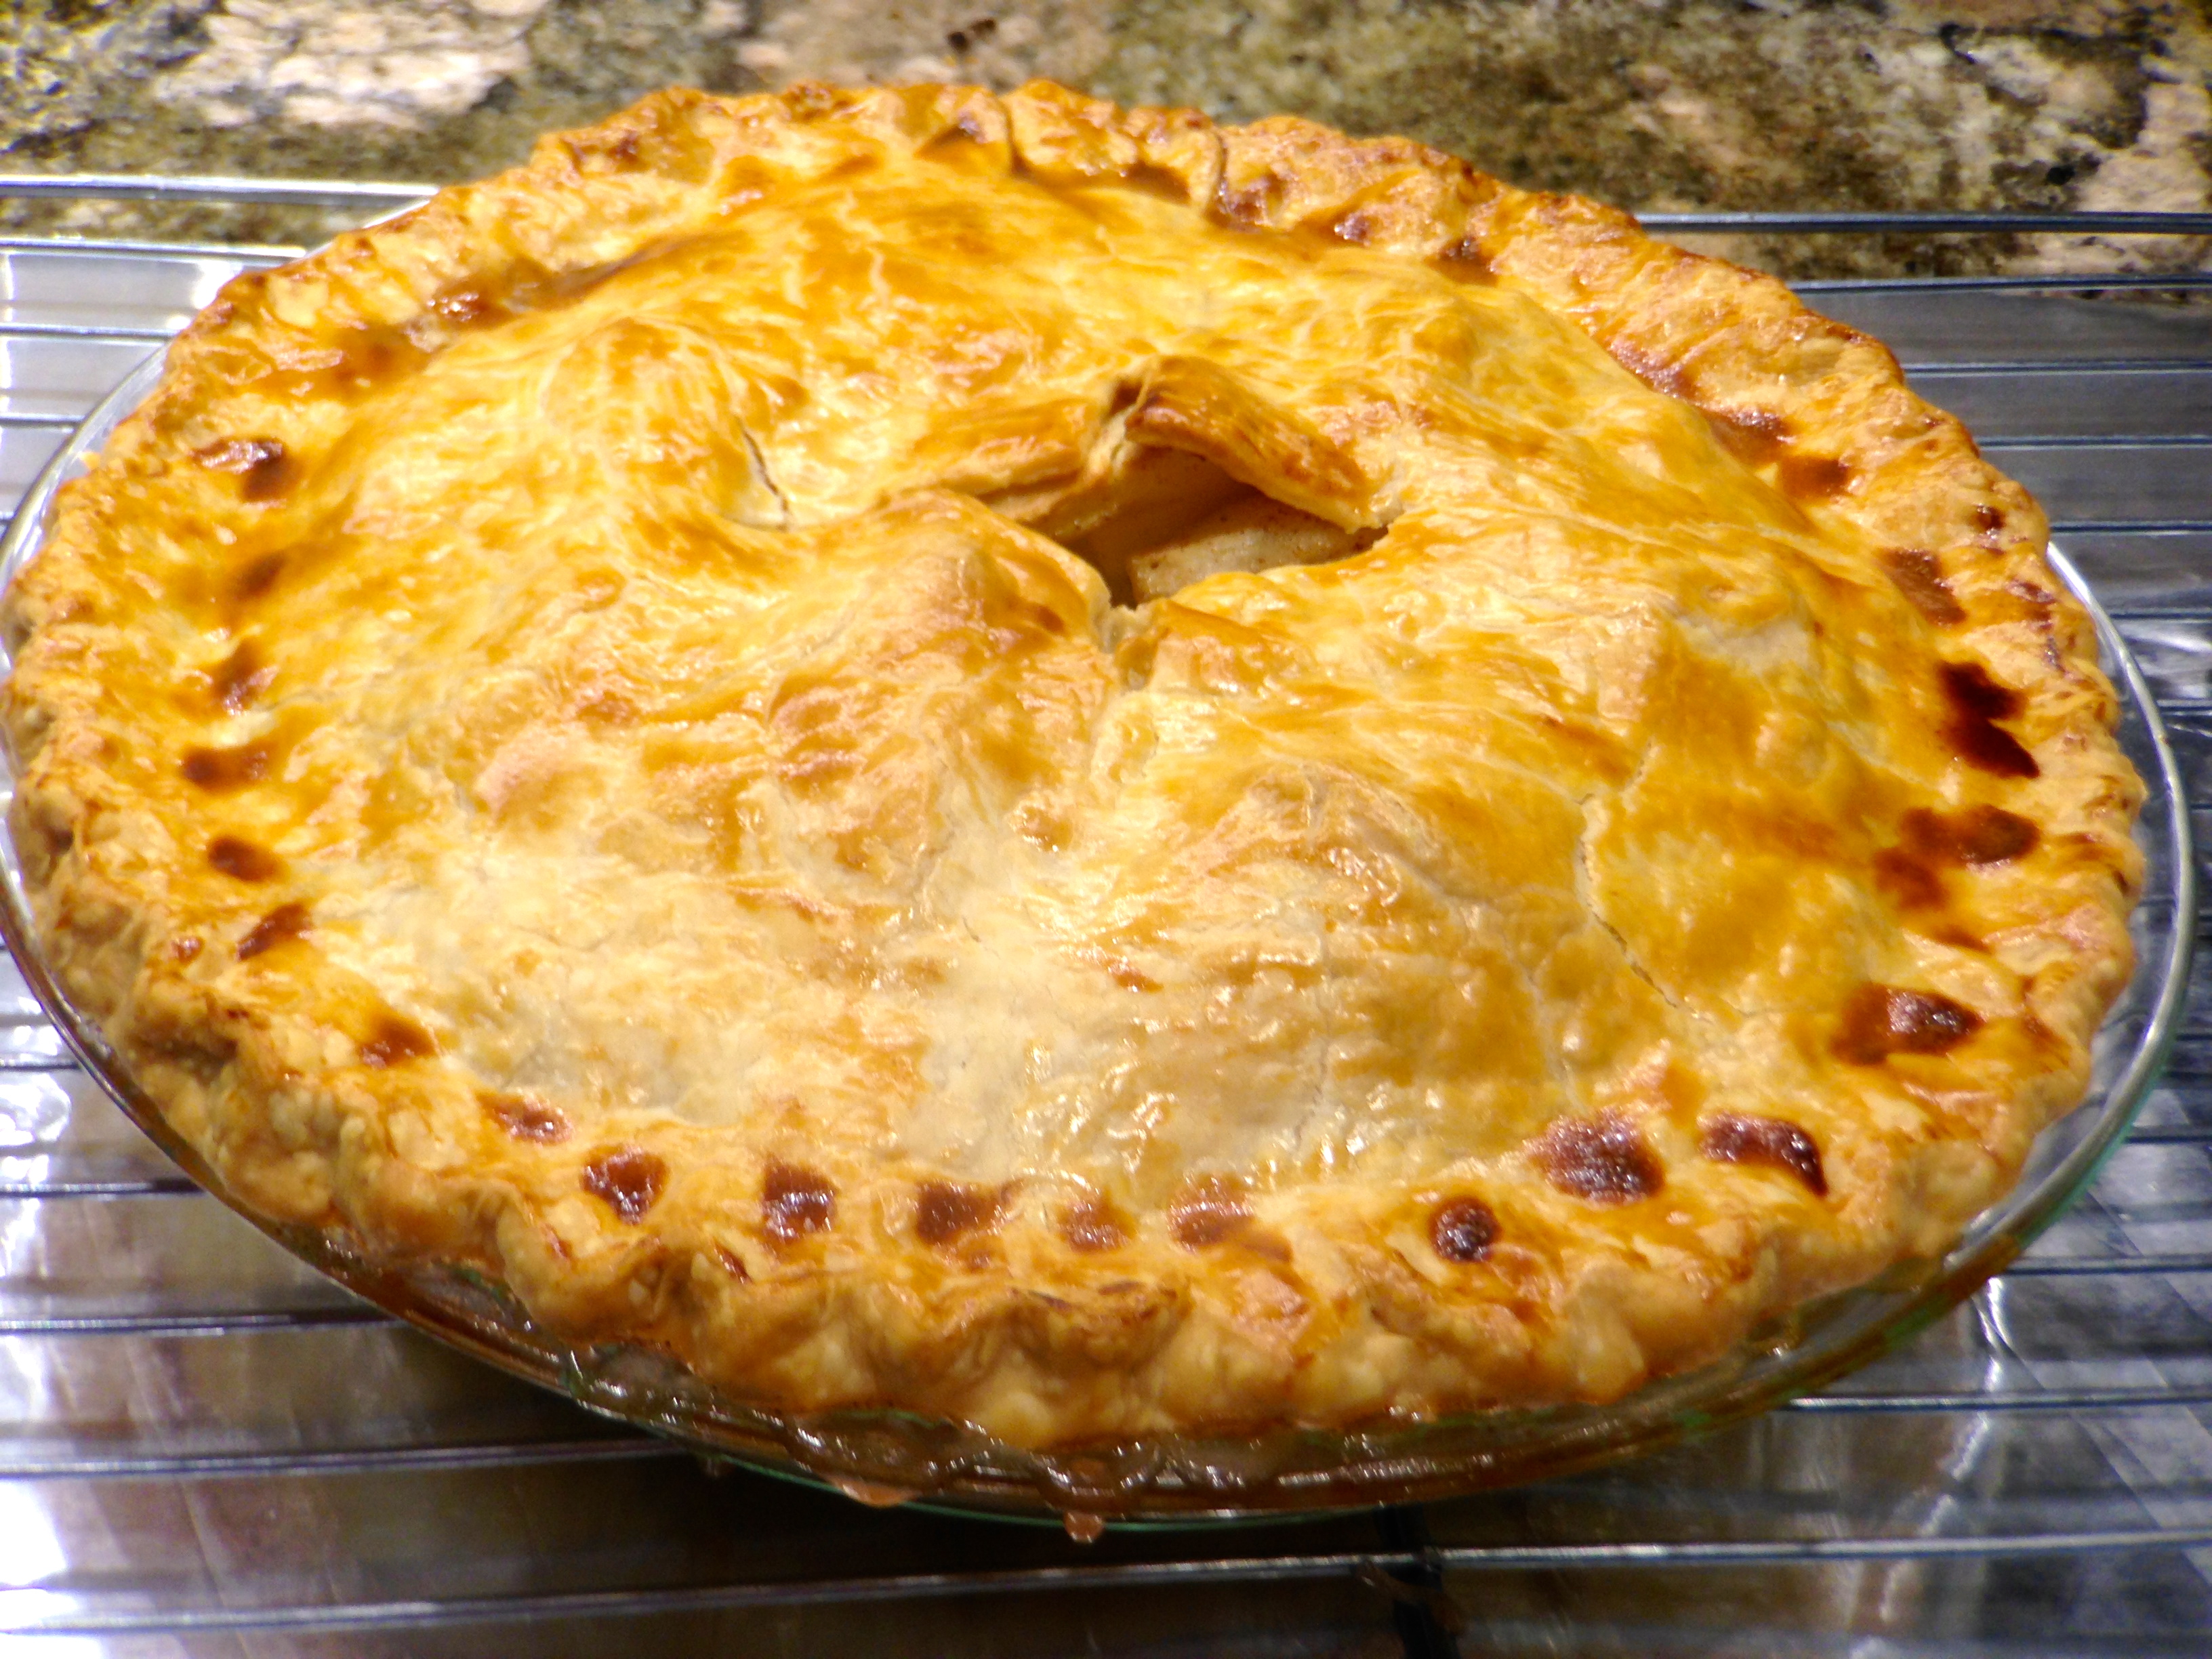
Recipe Rating A+++ – Color me surprised. It turned out great! I used a very basic recipe but added some ingredients and used different techniques I picked up looking at other recipes and the combination worked beautifully. I told my husband I thought that this was the best apple pie I ever made. He agreed!
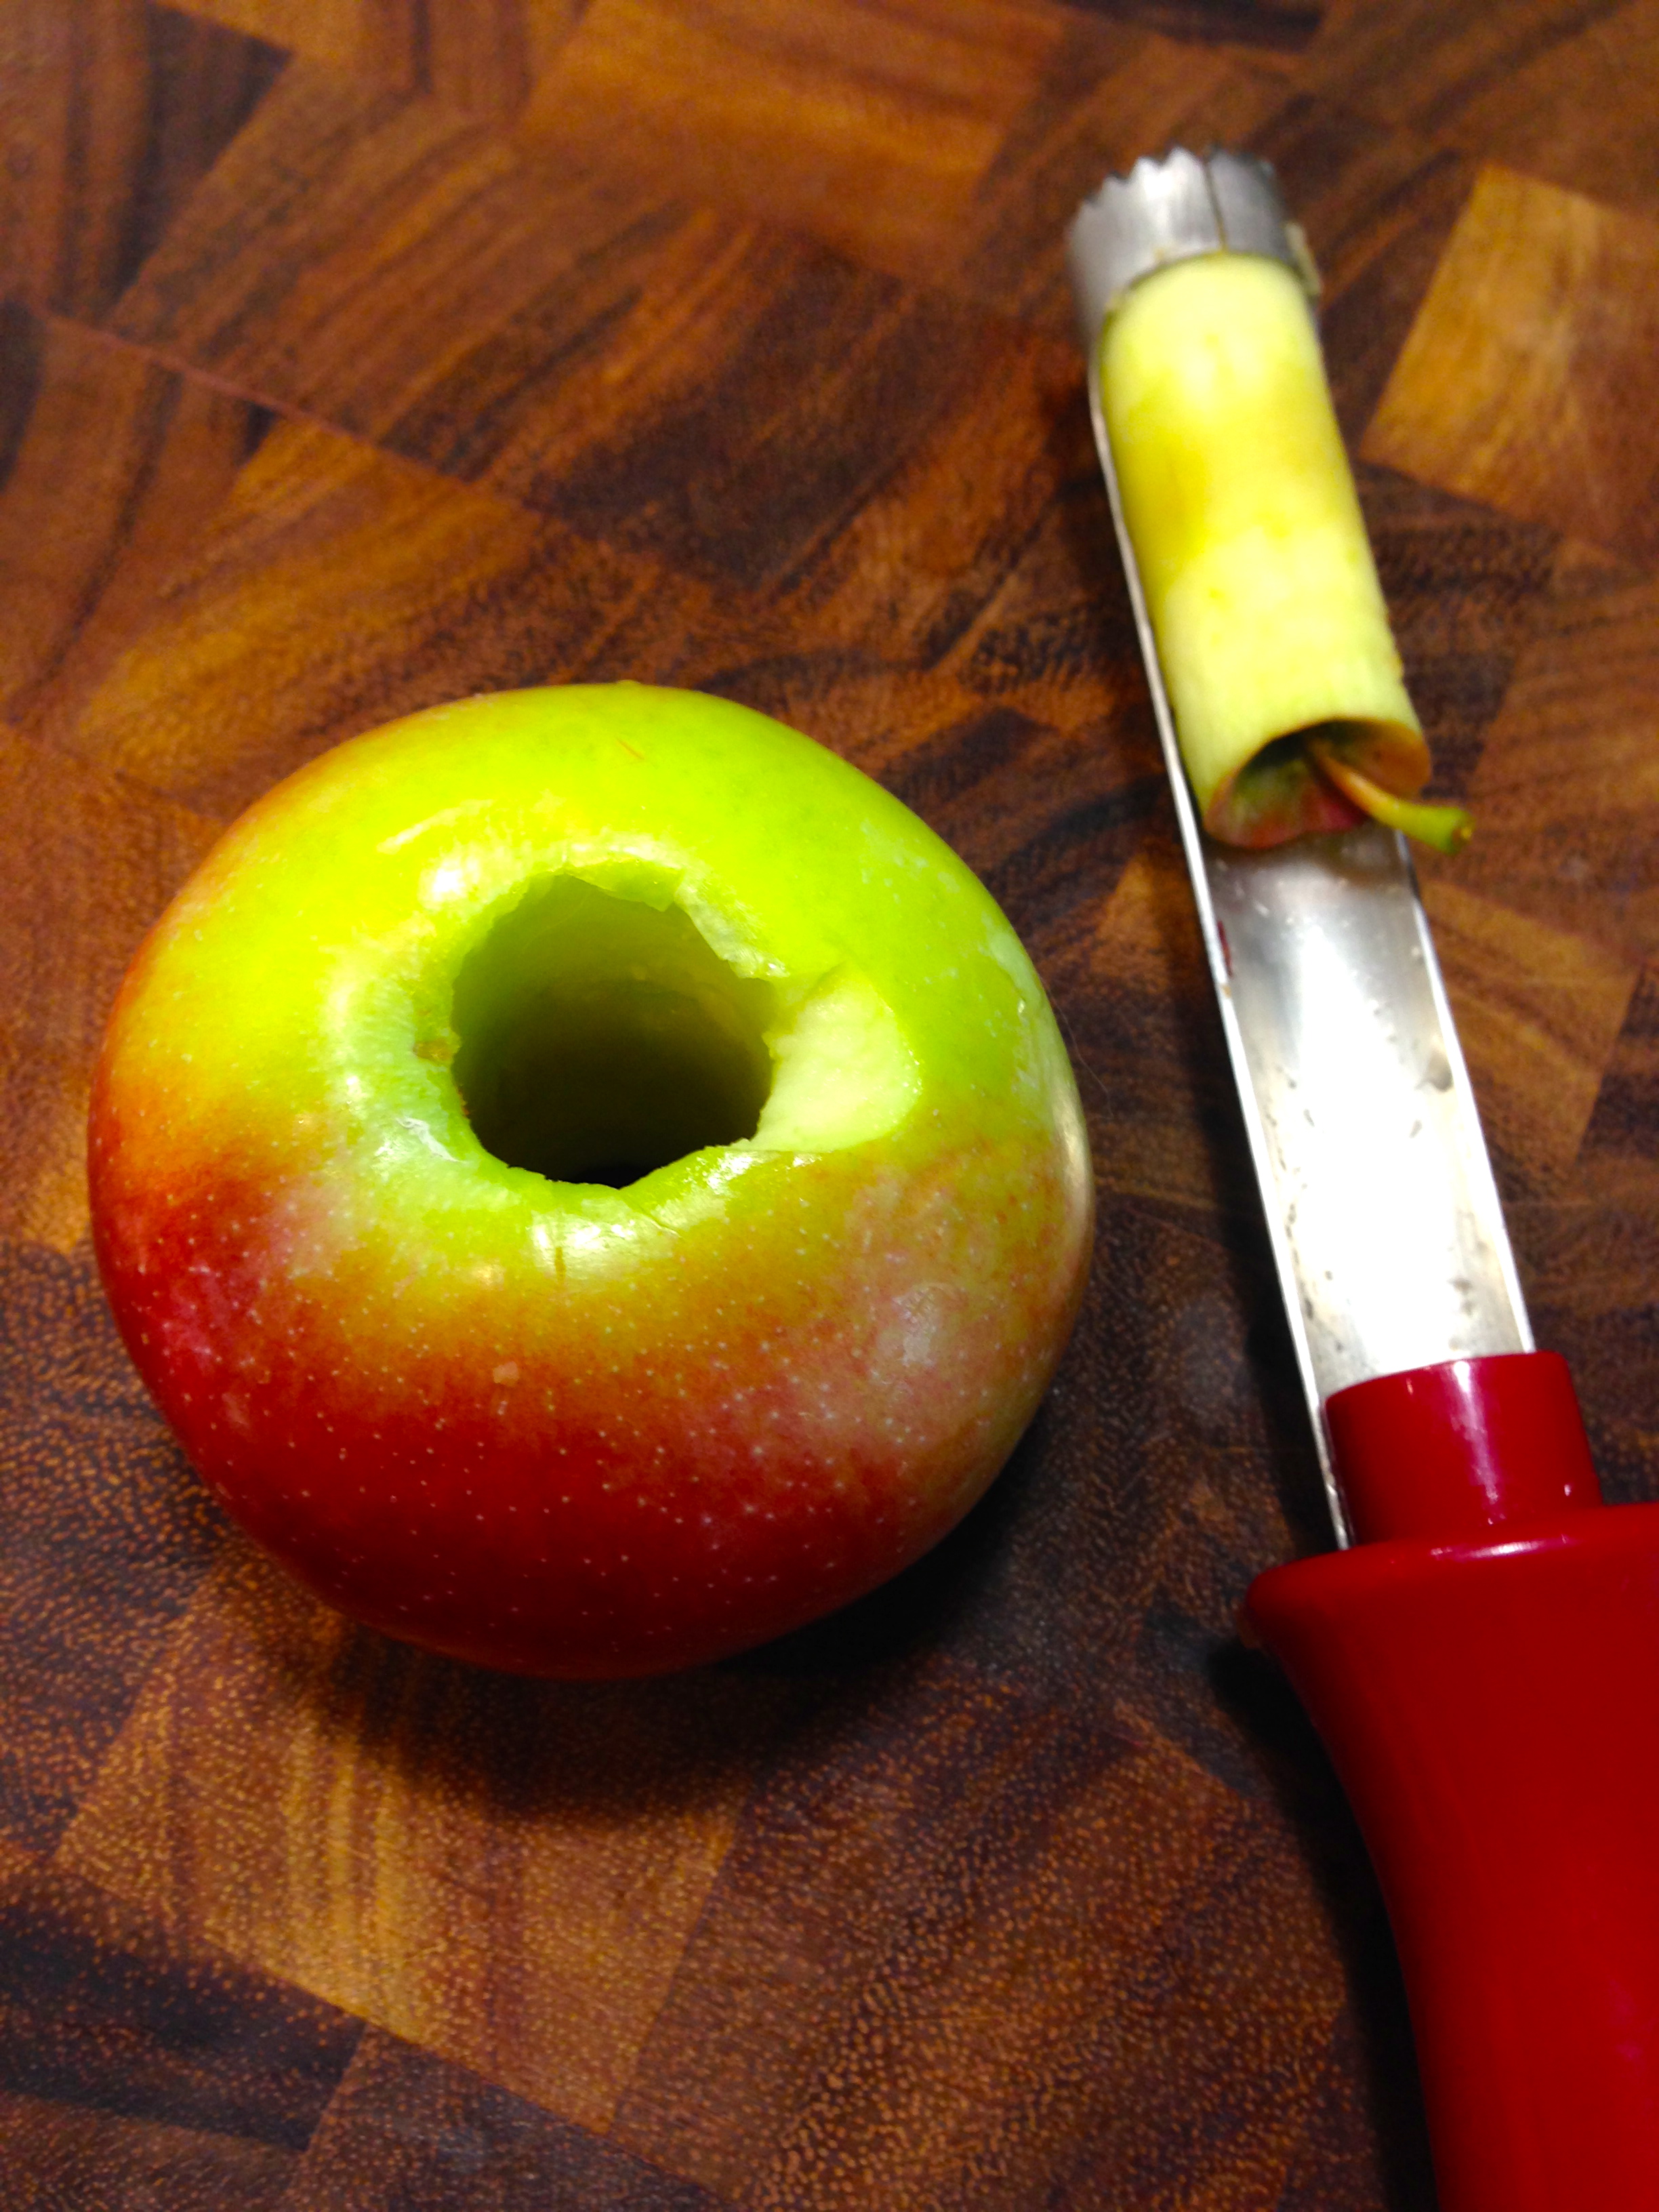 Lesson Learned 1 – Invest in an apple corer: Since the apples I was using were smaller and had imperfections that I needed to work around I needed to peel and core a lot of them. When I made an apple cake recently I just used my knife to cut the core out of the apples. That took a lot of time. I invested in a simple apple corer and I was able to peel, core and cut up the apples a lot more quickly. And I also did not waste as much of the apple. It was well worth the money spent.
Lesson Learned 2 – Use lemon juice on your sliced apples to keep them from browning: I was working with some small to medium sized apples and had to use a lot of them. It took time to peel, core and slice them. If I did not sprinkle some fresh lemon juice on them periodically, some of the slices would have turned brown by the time I was ready to put them in the pie. Lemon juice prevents oxidation from occurring and that’s what turns peeled apples brown. By using lemon juice the apples looked gorgeous when I was ready to mix the filling and put them in the pie.
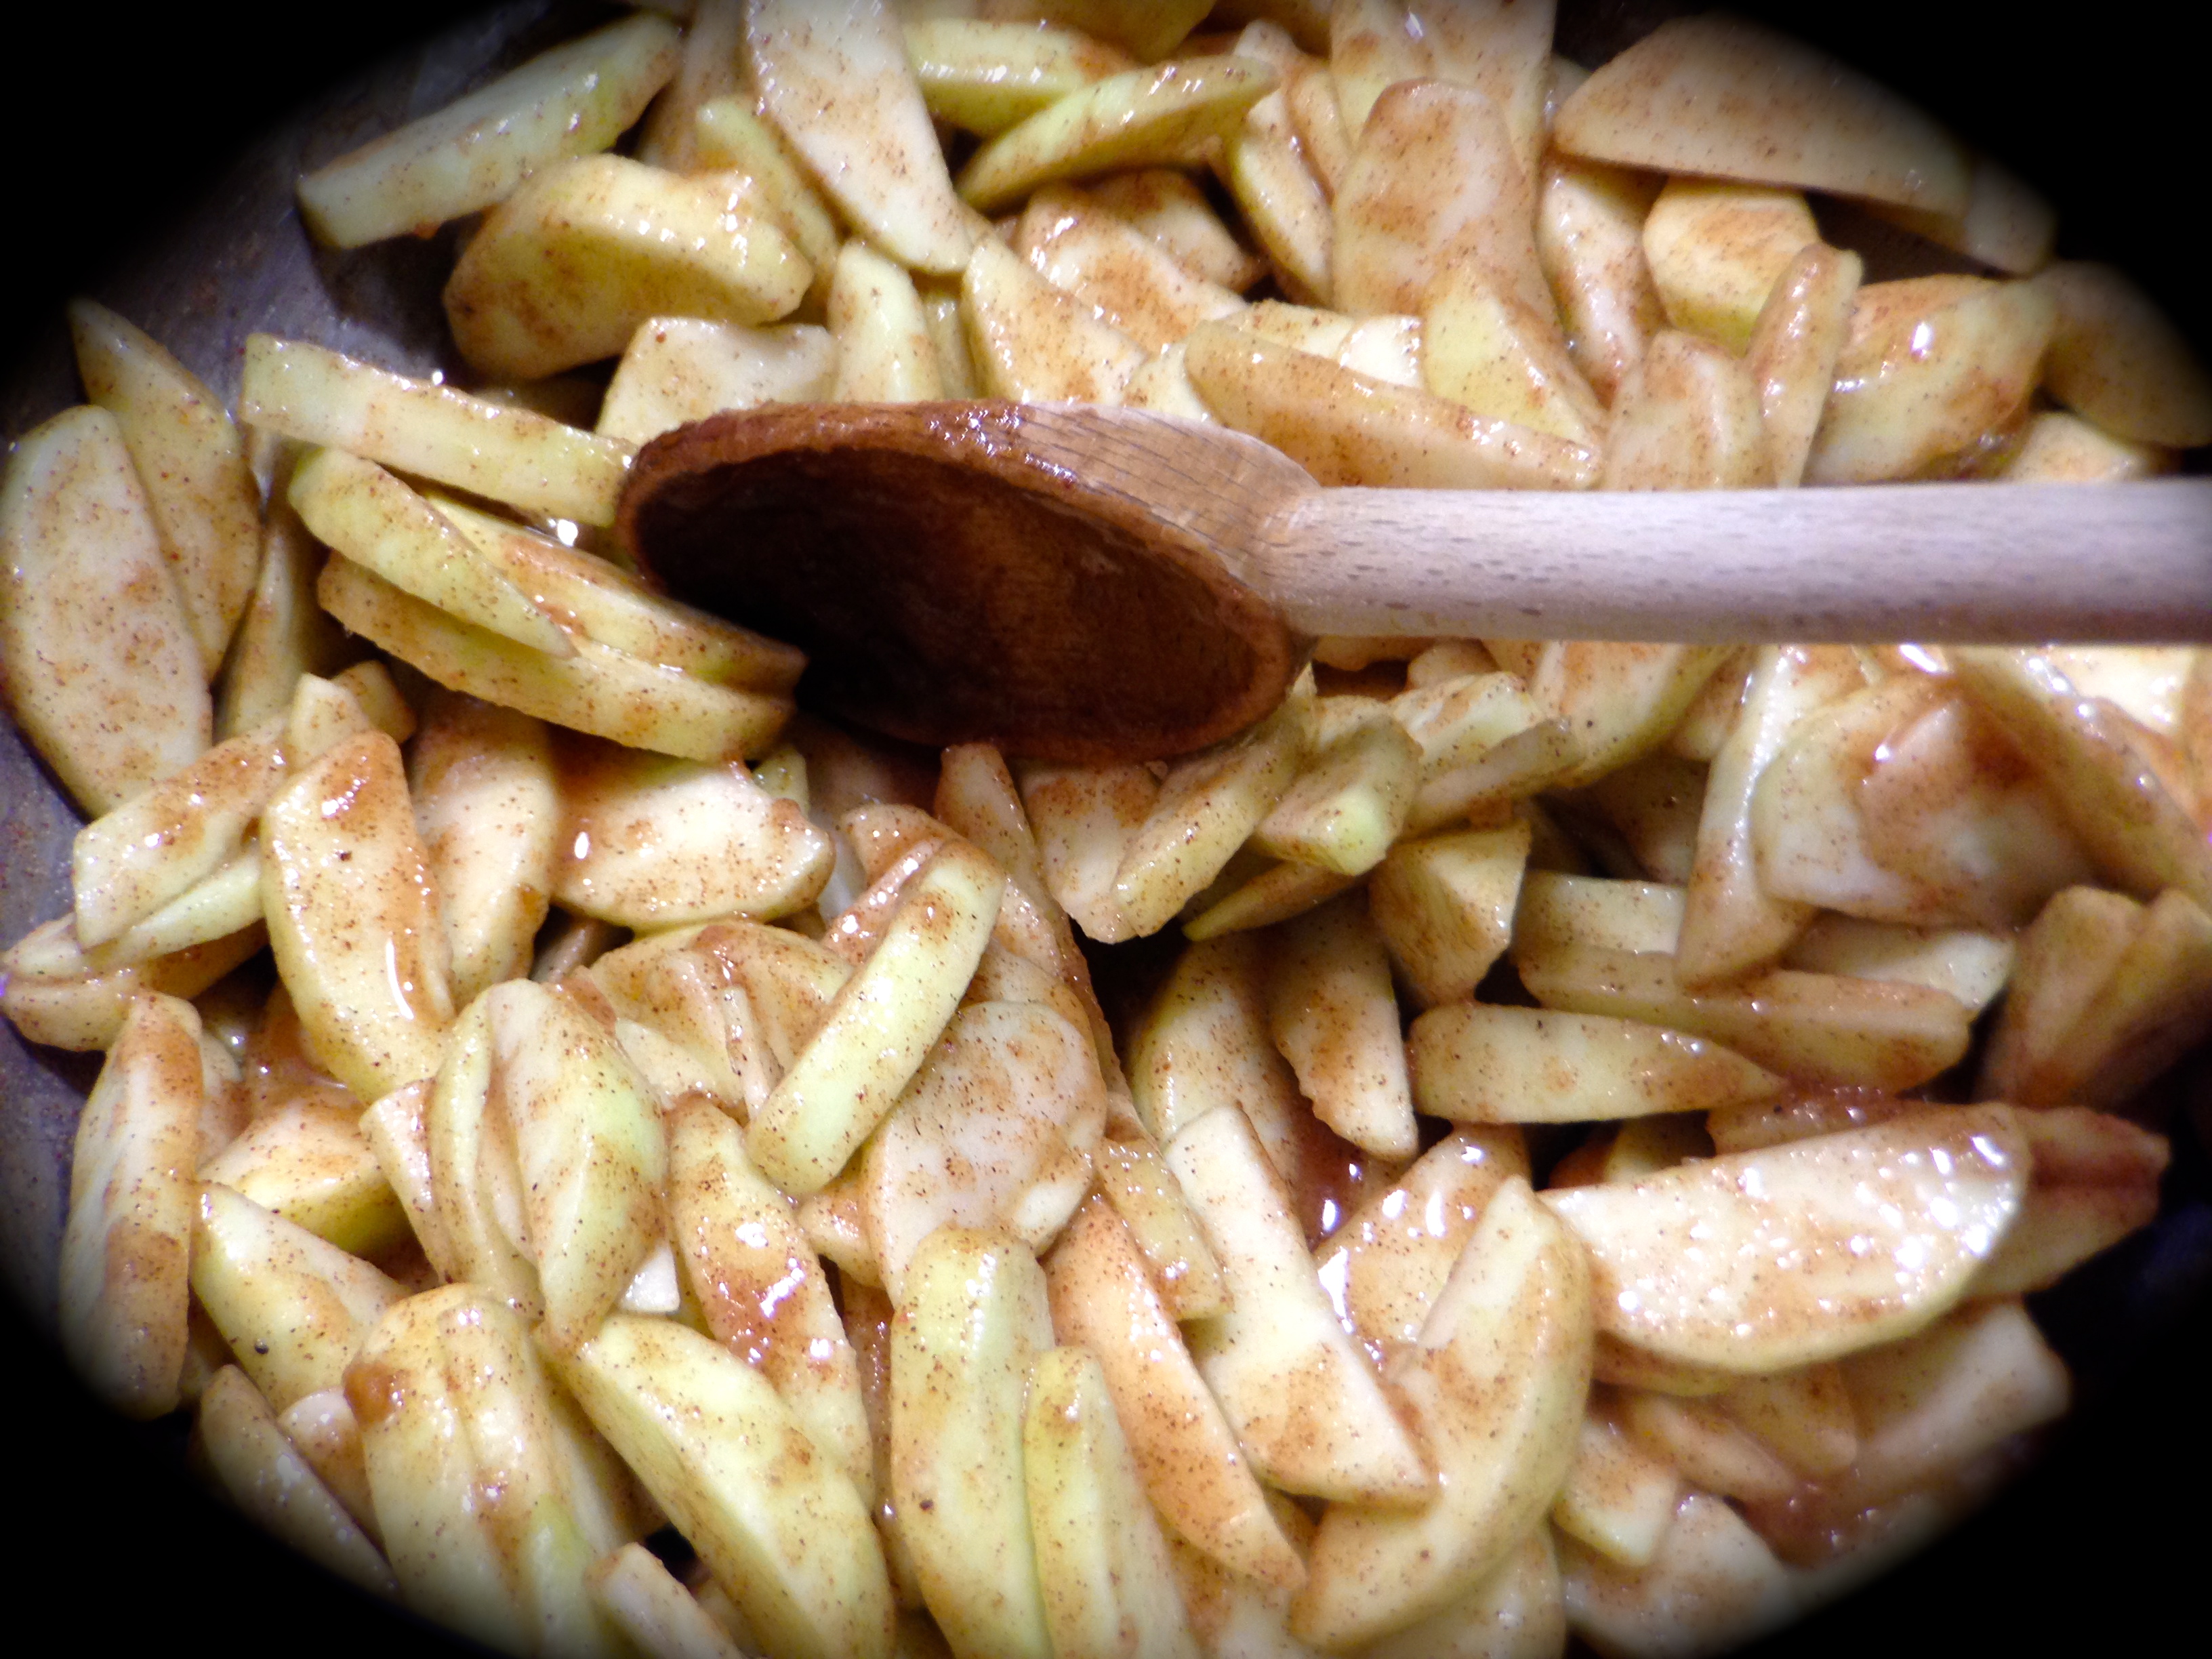 Lesson Learned 3 – Don’t slice the apples too thick and pile them high: If you slice the apples too thick they won’t cook. I sliced mine about a quarter of an inch thick and they cooked perfectly. Don’t be afraid the pile the apples into a big mound in the pie plate. They will shrink down in the cooking process and you want to make sure you still have a nicely rounded pie once it’s cooked.
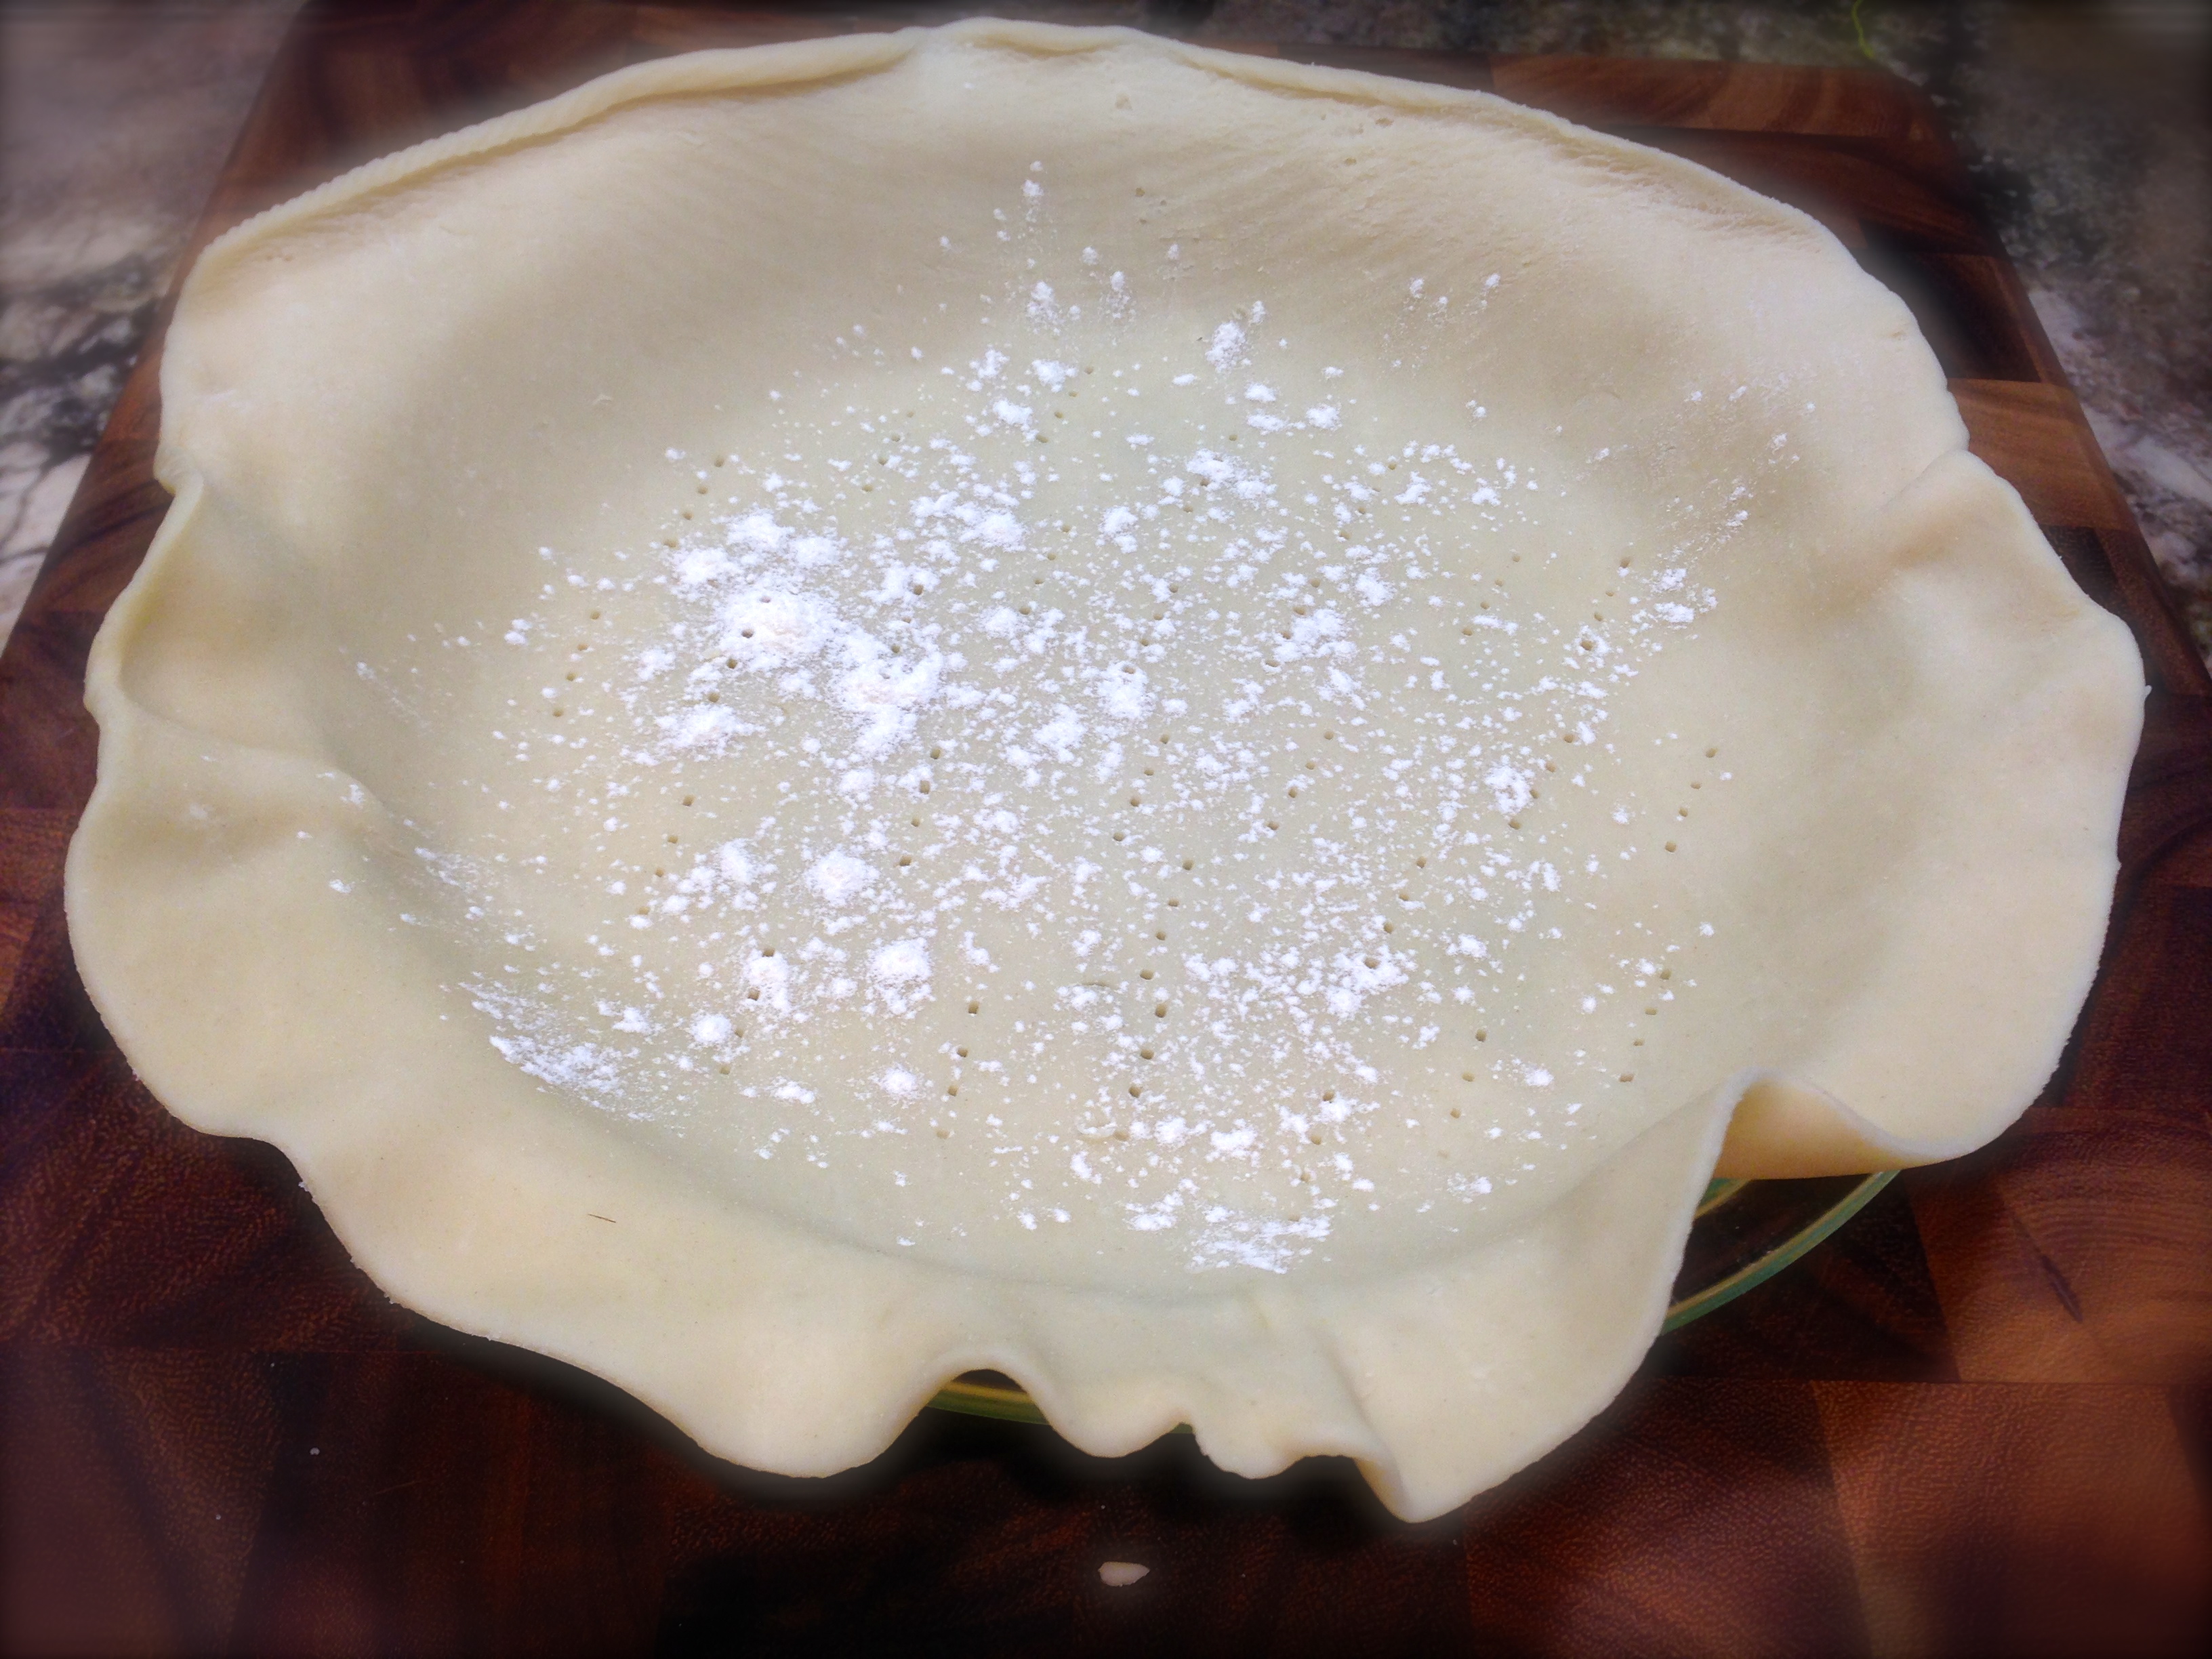
Lesson Learned 4 – Prick the bottom layer of crust with a fork and sprinkle a little flour on it: One recipe that I read included this tip. What I liked about the tip was the blogger said her grandmother always did this technique and she had no idea why but since her grandmother did it, she does it too. Well, if it’s good enough for grandma, it’s good enough for me so I did the same thing. I think the trick actually helped to cook the bottom crust as this was the first time ever that I was pleased with how the bottom crust turned out. Thanks grandma!
Lesson Learned 5 – Never underestimate the power of packaged refrigerated pie crusts: As I mentioned earlier, to date I’ve not had a lot of success making apple pies. Because of that I decided to concentrate on the filling first before venturing into the realm of making a homemade pie crust. I used Pillsbury refrigerated pie crust dough in this recipe and the crust turned out amazingly well. The trick is to let the dough sit out and get to room temperature (and that takes only about 15 minutes – about the same amount of time it took to prepare the apples). That way it is much more malleable and less prone to cracking when you work with it. I brushed the top crust with an egg wash consisting of one egg yolk and a tiny splash of milk and it browned beautifully. I may venture into a homemade crust the next time, or if I want to have a great pie a little more quickly, I’ll use the prepackaged ones again. They are really surprisingly good.

Lesson Learned 6 – Taste the apple mixture and adjust spices if necessary: After I mixed the apples with the flour, sugars, cinnamon and nutmeg I tasted the apples and the nutmeg seemed to be the predominant spice. I wanted the nutmeg to enhance in the background but the cinnamon to be the dominant spice. I added an extra teaspoon of cinnamon and the filling was perfect. I am writing the recipe with 2 teaspoons of cinnamon instead of one, but if you are skeptical, try it with one teaspoon first and go from there.
Lesson Learned 7 – Adjusting your oven temperature during the pie baking process: When I made this pie I started the oven at 425 and baked it at that temperature for 15 minutes. Then I reduced the temperature to 350 and continue to bake it for another 45 minutes. I’d never done this before and I think this helped not only to cook the filling all the way through but also not burn the crust. I did not have to protect the edges of the crust at all during the entire baking process.
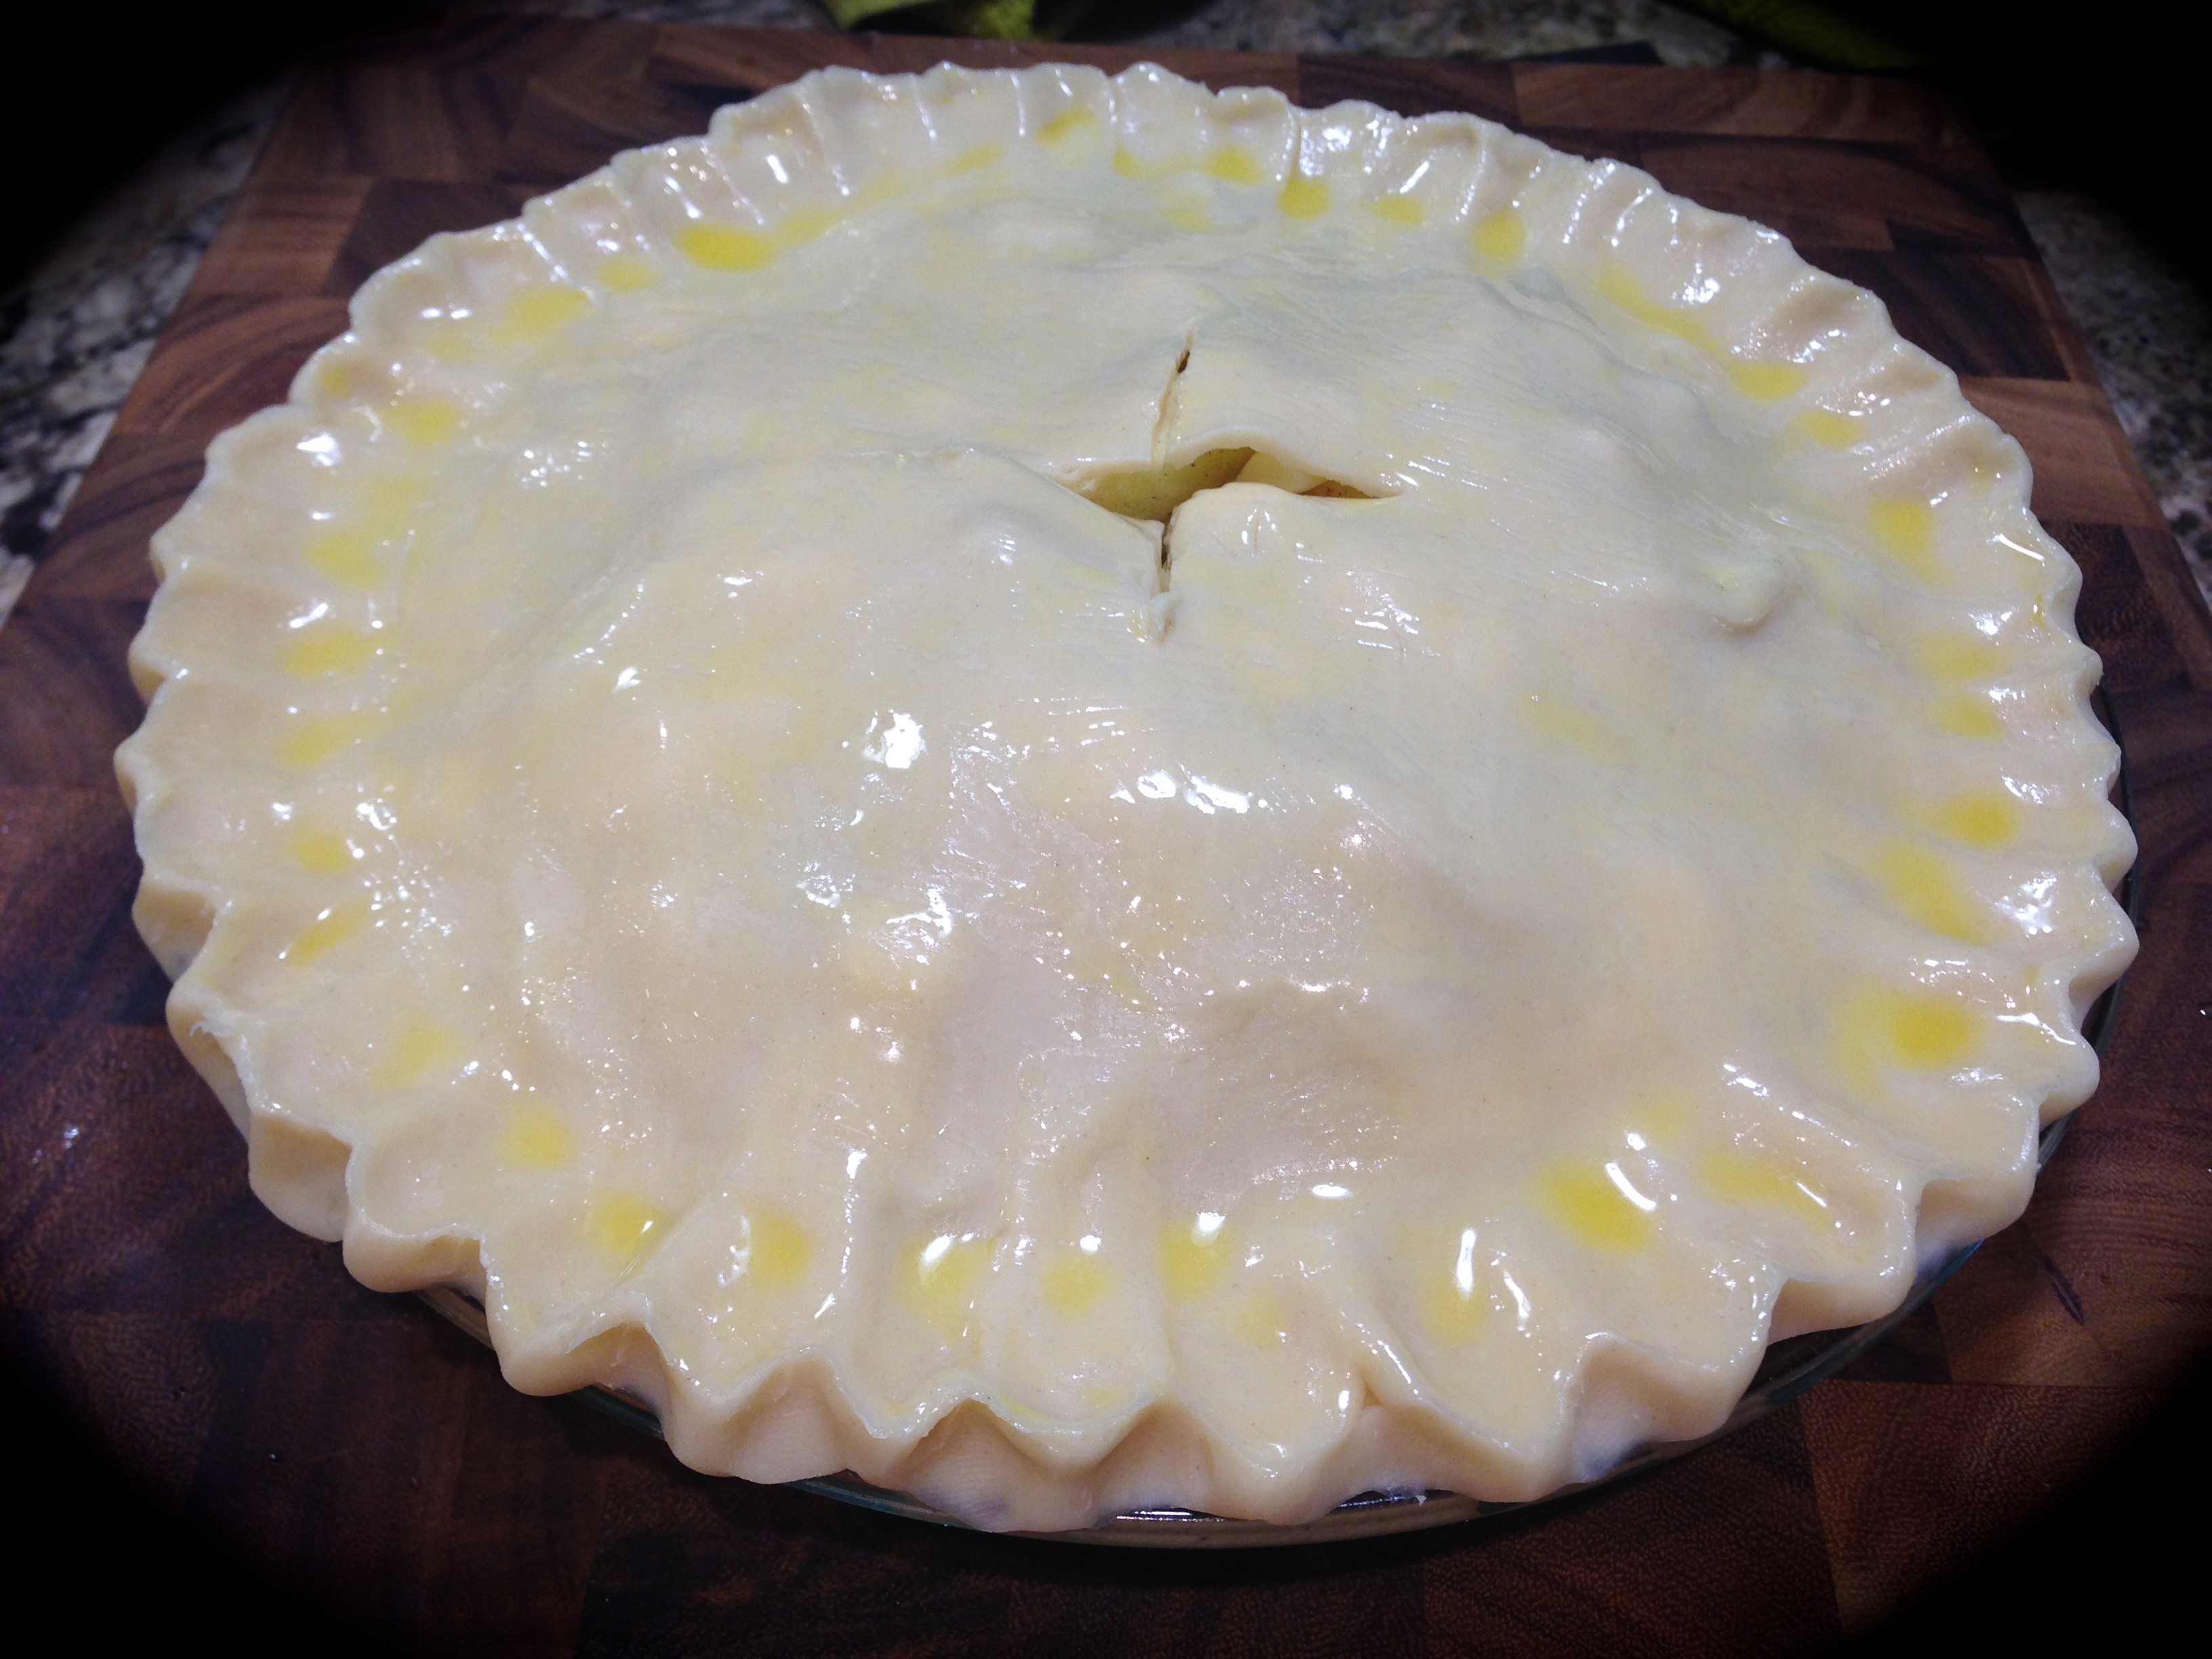
Lesson Learned 8 – Brush the crust with an egg wash to make it brown in the oven: All you need to do is to take one egg (I’ve seen it recommended as just the yolk or the entire egg – either way it works) whisk it with the smallest splash of milk and brush the mixture on top of the pie crust. You will have way more than you need so don’t put the whole amount on. Once it is lighted coated pop the pie in the oven and the rest is magic. You’re left with a beautifully browned crust.
Lesson Learned 8 – Put a baking sheet lined with foil on a rack below the pie to catch drippings: I thought about this just as I was putting the pie in the oven and immediately grabbed a baking pan, lined it with foil and put it on a rack below the pie. Even though you vent the pie and crimp the edges of the crust it always seems like some filling manages to leak out. I was so glad I did this. I did get some drippings on the foil but it was so much easier to clean up that way.
I could not be more pleased with this recipe. I always wanted to make an apple pie like my grandmother used to make and I finally figured out how to do it. We got another batch of apples from our neighbor yesterday and the first thing my husband said was, “Are you going to bake another pie?” I think I am going to try out an apple cake recipe that I found in the newspaper first, but I do think I’ll still have enough apples to make a pie. And now I’m not afraid to make one anymore. I just know you will enjoy this recipe. Try it and let me know how it turns out.
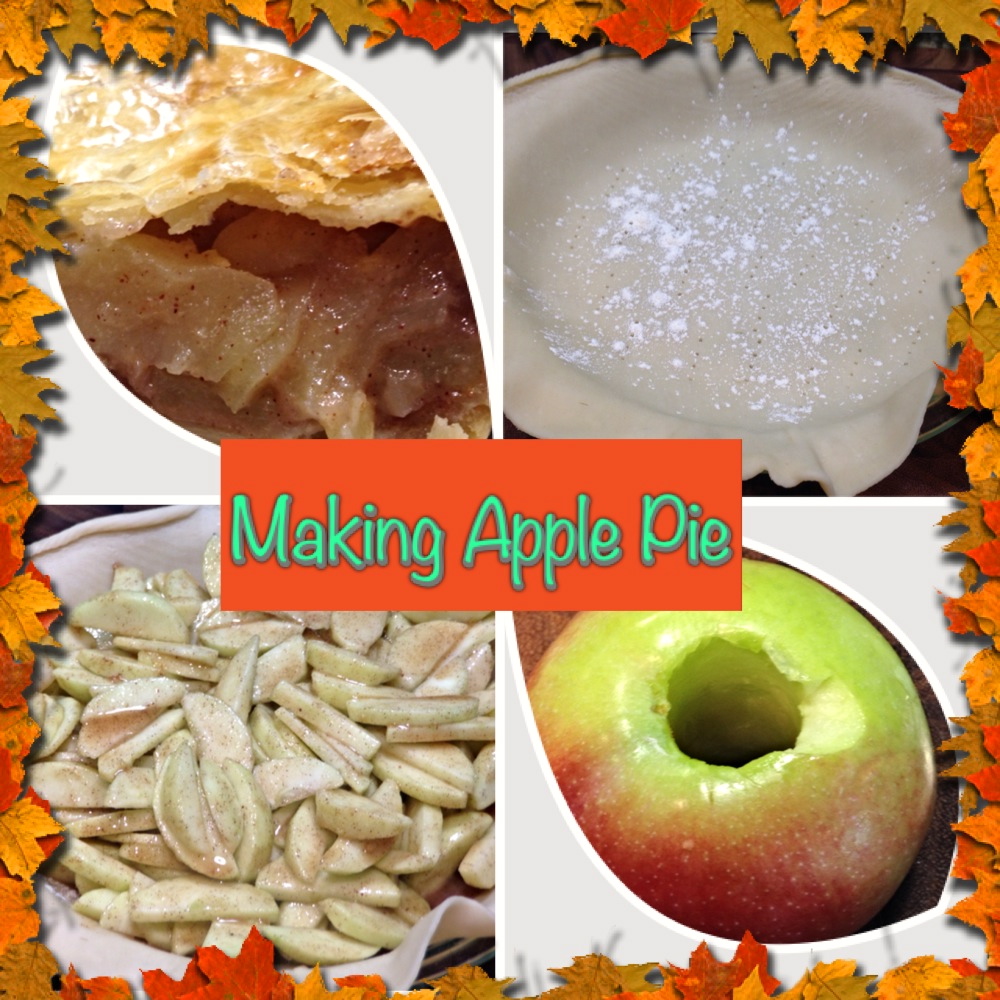
Easy Apple Pie...
INGREDIENTS
1 box refrigerated pie crust, Pillsbury pie crust recommended
8 cups of baking apples – peeled, cored and sliced – approx. 3 lbs. (Granny Smith, Cortland, Jonathan)
Lemon juice – approx. 2 Tbs., fresh or bottled
3/4 cup sugar
1/4 cup brown sugar
1/4 cup flour, plus a 1/2 teaspoon for dusting the lower crust
2 tsp. cinnamon – start with 1 tsp. and add from there if needed
1/4 tsp. nutmeg
2 Tbs. butter, cut in small cubes
1 egg yolk
Splash of milk
DIRECTIONS
Preheat oven to 425 degrees. Take box of pie crust dough out of the refrigerator and bring to room temperature. Core, peel and slice the apples. Sprinkle a small amount of lemon juice over the apples as you slice them. Stir to coat the apples with the lemon juice. (This process only needs to be repeated two or three times while slicing the apples or you can do a little more if you notice the apples are browning)
Combine flour, sugars and spices. Pour over the apples and stir to combine. Taste the mixture to ensure the correct amount of spices have been used. (don’t be afraid to add a little more cinnamon if necessary).
Line a 9 inch pie plate with one of the pie crusts. Prick the crust several times with a fork and dust with flour. Fill crust with the apple mixture. Dot the apple mixture with the butter cubes. Place the second crust on top of the pie filling. Seal the edges crimping by hand or using a fork. Cut a slit in the center of the pie to vent. Whisk together the egg and milk. Brush the top crust with the egg mixture.
Bake at 425 for 15 minutes. Lower the oven to 350 and bake for an additional 45 minutes, or until the crust is golden and the filling is bubbly.