Holiday Stove Top Potpourri…


Whenever the holidays roll around I look to fill my house with the scents of the season. There is nothing like a candle filling a room with the aromatic scent of balsam or pine. I love scented candles but with a young cat in the house I worry about what might happen while he prowls the upper reaches of the cabinets and countertops. So until I can break him of his curiosity, no scented candles this holiday season. Bummer…

I began to research something I could do to create those holiday smells in a way that I was able to provide more controlled monitoring. Low and behold on Facebook, of all places, I found a “recipe” for holiday smells I could simmer on my stove while doing my many hours of holiday baking.

I tried this yesterday and with a few tweaks it worked like a charm. I used water in the mixture yesterday, but next time I will substitute apple cider for water. The “recipe” couldn’t be easier and provides hour upon hour of warm, inviting holiday smells. Enjoy this little trick for the upcoming season!

Holiday Stove Top Potpourri…

1 small pot

1 orange, cut up in chunks

1 cup fresh cranberries

1/8 cup cloves

3 large or six small sticks of cinnamon, broken in half

2 tsp. nutmeg

Cover ingredients with water or apple cider – liquid should cover the dry ingredients and be about 1 inch from the top of the pot

Simmer on stove for hours of wonderful holiday smells

IMG_1439

IMG_1447

Cranberry Orange Pecan Sweet Bread…

It’s cranberry time of year again! I so love cranberries. Not only do I make a simple but killer homemade cranberry sauce  for the holidays, but I enjoy baking with cranberries – they have a tartness that lend themselves well to making delicious breads, pies and cookies. So this past week when I saw my first bag of cranberries at the grocery store I just had to buy them and bake something.

IMG_1318Years ago I used to buy box mixes to make cranberry bread. No more. It is so easy to make it yourself and I like the fact that you control what goes into it. Box mixes have become a thing of the past for me. If I can’t make it fresh, I don’t make it.

This particular recipe I did not find on Pinterest. This time I did a Google search and looked at various cranberry sweet bread recipes and their ingredients. A couple of things intrigued me about the recipe I chose. First, it used buttermilk in the batter and I’ve found that buttermilk tends to give you moister cakes/breads. Second, you don’t need a mixer for this recipe so no need to drag out the heavy KitchenAid, and I was loving that. The original recipe called for the bread to be glazed. I did not glaze my bread but I will include the glaze recipe in case you want to try it.

Recipe Rating: A+ This recipe is easy to make, and the combination of ingredients brings out the full flavor of the cranberries, pecans and orange zest – a killer combo in my estimation.

IMG_1415Lesson Learned 1 – Weighing Ingredients: I’ve read so many recipes where the author spoke of the importance of weighing ingredients, specifically flour. I never thought much off it. Normally I make sure my flour is aerated in the canister (swirling a knife in it does the trick) and then scoop out what I need and level it off. This recipe calls for 2 cups of flour or 250g. I recently purchased a kitchen scale and thought I’d try measuring the flour instead. I was surprised at how much “extra” flour I had in my measuring cup when I weighed it. It was eye opening. If you can, invest in a kitchen scale and use it when a recipe lists grams. You’ll be amazed at how much extra you may be putting into your recipe.

I did not weigh the sugar because I know how to adjust that measurement for high altitude so the bread will not fall in on itself. I do that adjustment by sight, but I will include the grams measurement for the sugar and flour in the recipe for those who do not live in high altitude. Use those measurements when at all possible. It really does make a difference

IMG_1310Lesson Learned 2 – Mixing the streusel: I don’t know about you but I have a difficult making streusel even with a pastry cutter. The butter always seems to collect on my pastry cutter and not fall off. This time I cut the cold butter (and it needs to be cold) into small cubes and just mixed it with my hands. I pretty much got the desired consistency. Next time I think I will mix it in my small food processor and see how it turns out. I am including a picture of the consistency of the streusel that worked well on top of the cake.

I’ve made many different versions of cranberry nut breads over the years but I have to say that so far this one is my favorite. The tartness of the cranberries, the hint of orange from the zest combined with the pecans is heavenly. Next time I make this (and this will be made at least one time if not more this holiday season) I will try adding the glaze. But I can assure you, even without the glaze this is a fabulous sweet bread!

Cranberry Orange Pecan Sweet Bread…

  • Servings: 12
  • Difficulty: Easy
  • Print

INGREDIENTS:

Streusel:

1/4 cup (31g) flour

2 Tbs. (30g) sugar

1 tsp. cinnamon

3 Tbs. (45g) cold, unsalted butter

Bread:

2 cups (250g) flour

1 tsp. baking soda

1/2 tsp. salt

1 cup (110g) chopped fresh cranberries (you can also use unthawed frozen cranberries)

1/2 cup (65g) chopped pecans or walnuts (I used pecans)

1 large room temperature egg

1/2 cup (105g) light brown sugar (loosely packed for high altitude)

1/2 cup (100g) sugar (slightly less for high altitude)

1 cup (240ml) buttermilk (no substitutions)

1/3 cup (80ml) vegetable oil (or melted coconut oil – I used vegetable oil)

1 tsp. vanilla extract

2 Tbs. orange zest

Glaze:

1 cup (120g) confectioners sugar

1 -2 TBS orange juice

Orange zest to taste

DIRECTIONS:

Preheat oven to 350. Spray an 8×4 pan with cooking spray. (I use a professional grade non-stick pan and do not have to do this. Invest in one if you can – it’s worth it).

First make the streusel by tossing the flour, sugar and cinnamon together. Cut in the cold butter with a pastry cutter or food processor until you get a crumbly looking mixture. Set aside.

In a large bowl mix the flour, baking soda, salt cranberries and nuts together. Set aside. In another bowl whisk the egg and sugars until well combined with no lumps. Whisk in the buttermilk, oil, vanilla and orange zest.

Make a well in the center of the dry ingredients and pour in the wet ingredients. Stir together until combined being careful not to over mix. Pour the batter into the prepared pan. Add the streusel on top and press it gently into the batter.

Bake for 50-60 minutes or until a toothpick inserted in the center comes out clean. Cool in the pan for 15 minutes and then remove the bread from the pan.

This bread is great without the glaze. If you choose to glaze it, mix all of the glaze ingredients together and pour on top once the bread has completely cooled.

cranb IMG_1361

IMG_1380

Apple Walnut Cake…

Well, apple season is just about over for me. By that I mean I am no longer getting bags and bags of apples from my neighbor. All in all it’s been a great season. During it I finally made a decent apple pie, ventured into making my first batch of homemade applesauce, and had fun experimenting with some different apple desserts.

My final apple recipe for the season is an apple walnut cake. I found a basic recipe that I edited for my tastes and wound up with a delightful loaf cake.

The batter...

The batter…

Recipe rating: A- This is a very flavorful cake. I gave it a minus because I had to adjust the baking time to two times longer than what was called for in the original recipe. I read some of the reviews of the original recipe online and decided, as one person mentioned, to bake this in an 8×4 versus a 9×5 pan. There was no mention that doing this significantly changed the baking time. The person writing the review said she wanted a more compact loaf that would give taller slices. That’s what I wanted as well. The only other adjustments I made was adding some additional cinnamon and some walnuts. I was really surprised that it took so long to bake (an hour). Just keep that in mind if you decide to make this. Is it worth the baking time? Definitely, yes!

Lesson Learned 1- Cut the apples into small chunks: This recipe calls for only one apple so make sure you either get a decent sized one or you can use two small apples. I used a medium/large granny smith apple when making this recipe and I had more than enough. You want to cut the apple into small chunks so they will cook completely. I drizzled a little bit of lemon juice over my apple chunks to keep them from turning brown before I could add them to the cake batter.

IMG_1204Lesson Learned 2 – Get down and dirty when you swirl the batter: The process for making this recipe is similar to any boxed sweet bread you buy, that being you add half the mixture to the bottom of the pan, add the apples and brown sugar mixture, add the rest of the batter and put the remaining apple and brown sugar mixture on top. Then you’re supposed to either swirl the batter with a knife or your finger. Forget the knife – it will not do the trick. Stick your finger (clean of course) down deep into the batter and really swirl it around. The apples require a little elbow grease to move them. I have struggled with this swirling technique with many cakes and finally using my finger, going deep into the batter and using a little bit of strength I finally got the results I wanted. Don’t waste your time with a knife. Use your finger and don’t be afraid to really get down into the batter and swirl it.

Lesson Learned 3 – Don’t be afraid to adjust the amount of cinnamon: I really like the flavor of apples and cinnamon and I really like the cinnamon flavor to be pronounced. The original recipe called for 1 teaspoon of cinnamon. I used two and it tasted divine. You wind up swirling the cinnamon and brown sugar through the cake at the end. I just don’t think 1 teaspoon is enough to get a nice blend of cinnamon throughout the entire cake.

This is another great Fall apple recipe. It is very easy to mix – just be aware that it may take longer to bake then anticipated. As with any other cake, it is done when a toothpick inserted in the center comes out clean. Enjoy this one!

Apple Walnut Cake

  • Servings: 12
  • Difficulty: Easy
  • Print

INGREDIENTS:

1/3 cup brown sugar

2 tsp. cinnamon

2/3 cup sugar

1/2 cup butter, room temperature

2 extra large room temperature eggs

2 tsp. vanilla extract

1 1/2 cups flour

1 3/4 tsp. baking powder

1/2 cup milk

1 large apple peeled and chopped

3/4 cup chopped walnuts

1/2 tsp. lemon juice

DIRECTIONS:

Preheat oven to 350. Grease and flour an 8 x 4 loaf pan. (If using a professional grade non-stick pan like I do there is no need to do this). Mix brown sugar and cinnamon and set aside. Peel and core the apple. Chop into small pieces. Drizzle pieces with a small amount of lemon juice and stir to make sure all pieces are coated. Set aside.

Beat sugar and butter together until creamy. Beat in the eggs one at a time. Beat in vanilla extract.

Sift together flour and baking powder. Stir into butter mixture. Add the milk and mix until the batter is smooth. Stir in the chopped walnuts.

Pour half the batter into the prepared pan. Put half of the apple pieces on top and pat them into the batter. Sprinkle with half of the brown sugar mixture. Pour in the remaining batter and top with the rest of the apples and brown sugar mixture. Using your finger, swirl the apples and brown sugar mixture throughout the batter making sure to go deep into the pan.

Bake for 50-60 minutes or until a toothpick inserted in the center of the cake comes out clean.

 IMG_1247

acake

Homemade Applesauce – Nothing Like It…

I’m including this under Tips ‘N Tricks and not under recipes because I can’t believe I never made homemade applesauce before and I also can’t believe how easy it is to make. There is absolutely no comparison to store bought applesauce. Homemade is far superior, hands down. So if you’ve never tried making applesauce, now’s the time to change that.

This is a great way to use a lot of apples. I used between 4 and 5 pounds of apples and it filled one large mason jar with applesauce. So if you get a windfall of apples, like I did this year, and you’re not sure what to do with them – make applesauce. You won’t regret it.

The procedure is simple. Just peel and slice up apples – (I did 4 -5 pounds but you can do more). Add 1/2 cup apple juice or cider, the juice of a small lemon, 1/2 cup brown sugar, cinnamon to taste and just a pinch of nutmeg. There are a whole bunch of recipes out there so I recommend doing a little research – and there is no limit to the spices you can add – you can really add any spices you want like allspice, or maple syrup or even a little butter. Just be careful with some of the more robust spices like allspice and nutmeg – they can take over the flavor. Be careful not to add too much cider or juice because it will not cook down well. Err on the side of less is more.

IMG_1071

Pour it all into a pot and cook it uncovered for about 25 minutes until everything is reduced down.  The mixture should look somewhat like the picture below.

IMG_1083

After that, just dump the mixture into a food processor and process. I like my apple sauce a little chunky so I pulsed the mixture. You can also just let it go to get a smooth consistency. The choice is up to you.

IMG_1091

I was bowled over by how easy this was. I can tell you this, if I have the choice, I will never buy store bought applesauce again!

IMG_1097


IMG_1110

To Die For Honey Mustard Chicken…

For those of you who have read my blog you know that chicken is my favorite. I cannot think of any way you can make chicken that I wouldn’t like. And since my husband is eating less and less red meat these days, my new recipes tend to center around chicken, turkey, fish, pasta and ground beef. You won’t hear me complain.

So I am always on the lookout for new chicken recipes and I found one on, yes you know, Pinterest and thought I’d try it. I’ve experimented with various honey mustard chicken recipes in the past but I liked this one because it suggested doing a honey mustard rub on the chicken as well as baking it in a honey mustard sauce. Needless to say, when my husband says “this one’s a keeper” I know this has been the best recipe yet.

Recipe Rating – A++ – this recipe is so flavorful and the sauce is just divine, great for crusty bread dipping. It isn’t difficult to make and is now one of my all time favorite ways of making chicken.

Lesson Learned 1 – Chicken thighs or breasts: The original recipe called for using chicken thighs. My husband is not a big fan of chicken thighs (I know, he’s probably the only one in the world). So I decided to make this with boneless breasts. It turned out perfectly. Most people shy away from cooking with chicken breasts. They think they are too dry. But the problem really is that most people cook chicken breasts far too long. I cooked mine at 375 for 25 minutes and they were moist and tender (I also kept the skin on the breasts). Chicken breasts lend themselves well to this recipe as the sauce gives them tremendous flavor. So don’t shy away from using chicken breasts – just be careful not to over cook them.

IMG_1123Lesson Learned 2: Buy chicken breasts with the rib meat attached and bone them yourself: I’ve found that I can save money buy purchasing chicken breasts with the ribs attached and bone them myself. It is a little bit of work but I think it’s worth it. Plus it’s getting harder and harder to find boneless chicken breasts with the skin still on them. I like to cook them with the skin on as I think that adds moistness and flavor. You don’t have to eat the skin, but I think it’s a great flavor enhancer in the cooking process. Just be careful when boning the breast. You want to finish with all of your fingers. The main thing is to use a very sharp boning knife. If you don’t have one then don’t do this. You’ll wind up either cutting yourself of getting frustrated because the process is taking to long. Sections of the ribs lie very close to the meat and you need to have a knife that can easily slice between the marrow and meat. Believe me, the only way to do this is with a high quality, very sharp boning knife.

IMG_1137Lesson Learned 3 – Let the meat marinate with the mustard rub on it for at least an hour: The skin and breast meet will be slippery so the rub will slide around on you. Get as much as you can on both sides and then cover it with plastic wrap and let it marinate in the refrigerator for at least an hour. As soon as you brown the meat the rub will come off. Don’t worry, it’s just more flavoring for the sauce.

Lesson Learned 4: The best sauce ever: I’ve made different versions of honey mustard sauces but I have to say I prefer this one. I like it because it has a nice balance of mustard and honey and also uses a little chicken stock. The stock tempers the sauce thickening process.  A sauce made with IMG_1131honey that is not diluted in this manner can stick to the pan and cause a baked-on mess. This sauce is so good that you’ll want to eat it with a spoon or dunk your bread in it. I also recommend using a seasoned cast iron pan when making this for a variety of reasons. First, cast iron is one of the best conductors of even heat. It takes cast iron a little longer to heat up but it holds heat well and it provides even heat. Second, a well seasoned cast iron pan is even better than a non-stick pan and that’s a plus when cooking with a honey based sauce. Third, cast iron moves seamlessly from stove to oven and I really like that. Some people treasure their cast iron pans so much they hand them down through generations. Yes, the pans are heavy, but they are relatively inexpensive (unless you invest in enameled cast iron like Le Creuset) and are oh so worth it!

I know I will be making this recipe often, it’s that good. This time I served it with rice and a steamed vegetable medley, but this would also be great with a baked potato and a vegetable of your choice. I can’t wait to make this again. I really hope you try it!

To Die For Honey Mustard Chicken

  • Servings: 2
  • Difficulty: Easy
  • Print

IMG_1147INGREDIENTS:

2 boneless chicken breasts, skin on preferred (you can use chicken thighs)

3 Tbs. Dijon mustard

3 Tbs. whole grain mustard

3 Tbs. honey or more to taste

3 Tbs. chicken stock

1 Tbs. olive oil

2-3 rosemary sprigs

INGREDIENTS FOR THE RUB:

1 Tbs. olive oil

1 Tbs. whole grain mustard

salt and pepper to taste

DIRECTIONS:

Mix together ingredients for the rub. Rub both side of the chicken breast with the mixture. Cover with plastic wrap and let the chicken marinate in the refrigerator for at least one hour.

Preheat oven to 375. In a large bowl whisk together the mustards, honey and chicken stock. Add additional chicken stock to taste and until the sauce reaches the desired consistency. Set aside.

Heat a cast iron pan. Add oil and sear both sides of the chicken breast until golden brown, approximately 2-3 minutes per side. Add mustard sauce, sprinkle with rosemary. Place in oven and roast until the chicken is cooked through – approximately 25 – 30 minutes.

Spoon sauce over chicken when serving.

Ready To Go Into The Oven...

Ready To Go Into The Oven…

Fresh Out Of The Oven...

Fresh Out Of The Oven…

Succulent Chicken Breast With Honey Mustard Sauce...

Succulent Chicken Breast With Honey Mustard Sauce…

Serving Suggestion" With Rice and Steamed Vegetables...

Serving Suggestion” With Rice and Steamed Vegetables…


Italian Sausage Tortellini Bake…

When I start to feel that Fall nip in the air I tend to think casserole. There’s just something about taking a bunch of ingredients mixing them together, sprinkling them with cheese and baking them off until they’re golden brown and bubbly. That says Fall to me.

IMG_0723I’m fond of this particular casserole for a variety of reasons. It’s one that helps you empty out the refrigerator, it’s easy to prepare and it also makes great leftovers. It started out with a package of cheese tortellini that I needed to use and then I morphed it into a dish that added a sautéed vegetable trinity, mushrooms, Italian sausage and a variety of cheeses. Needless to say that for a refrigerator clearing recipe it turned out mighty fine. And as with any casserole, all the work is in the prep. Once you’ve got it all together the oven does the rest.

Recipe Rating: A – easy to make, tons of great flavor – a stick to your ribs kind of dish.

IMG_0740
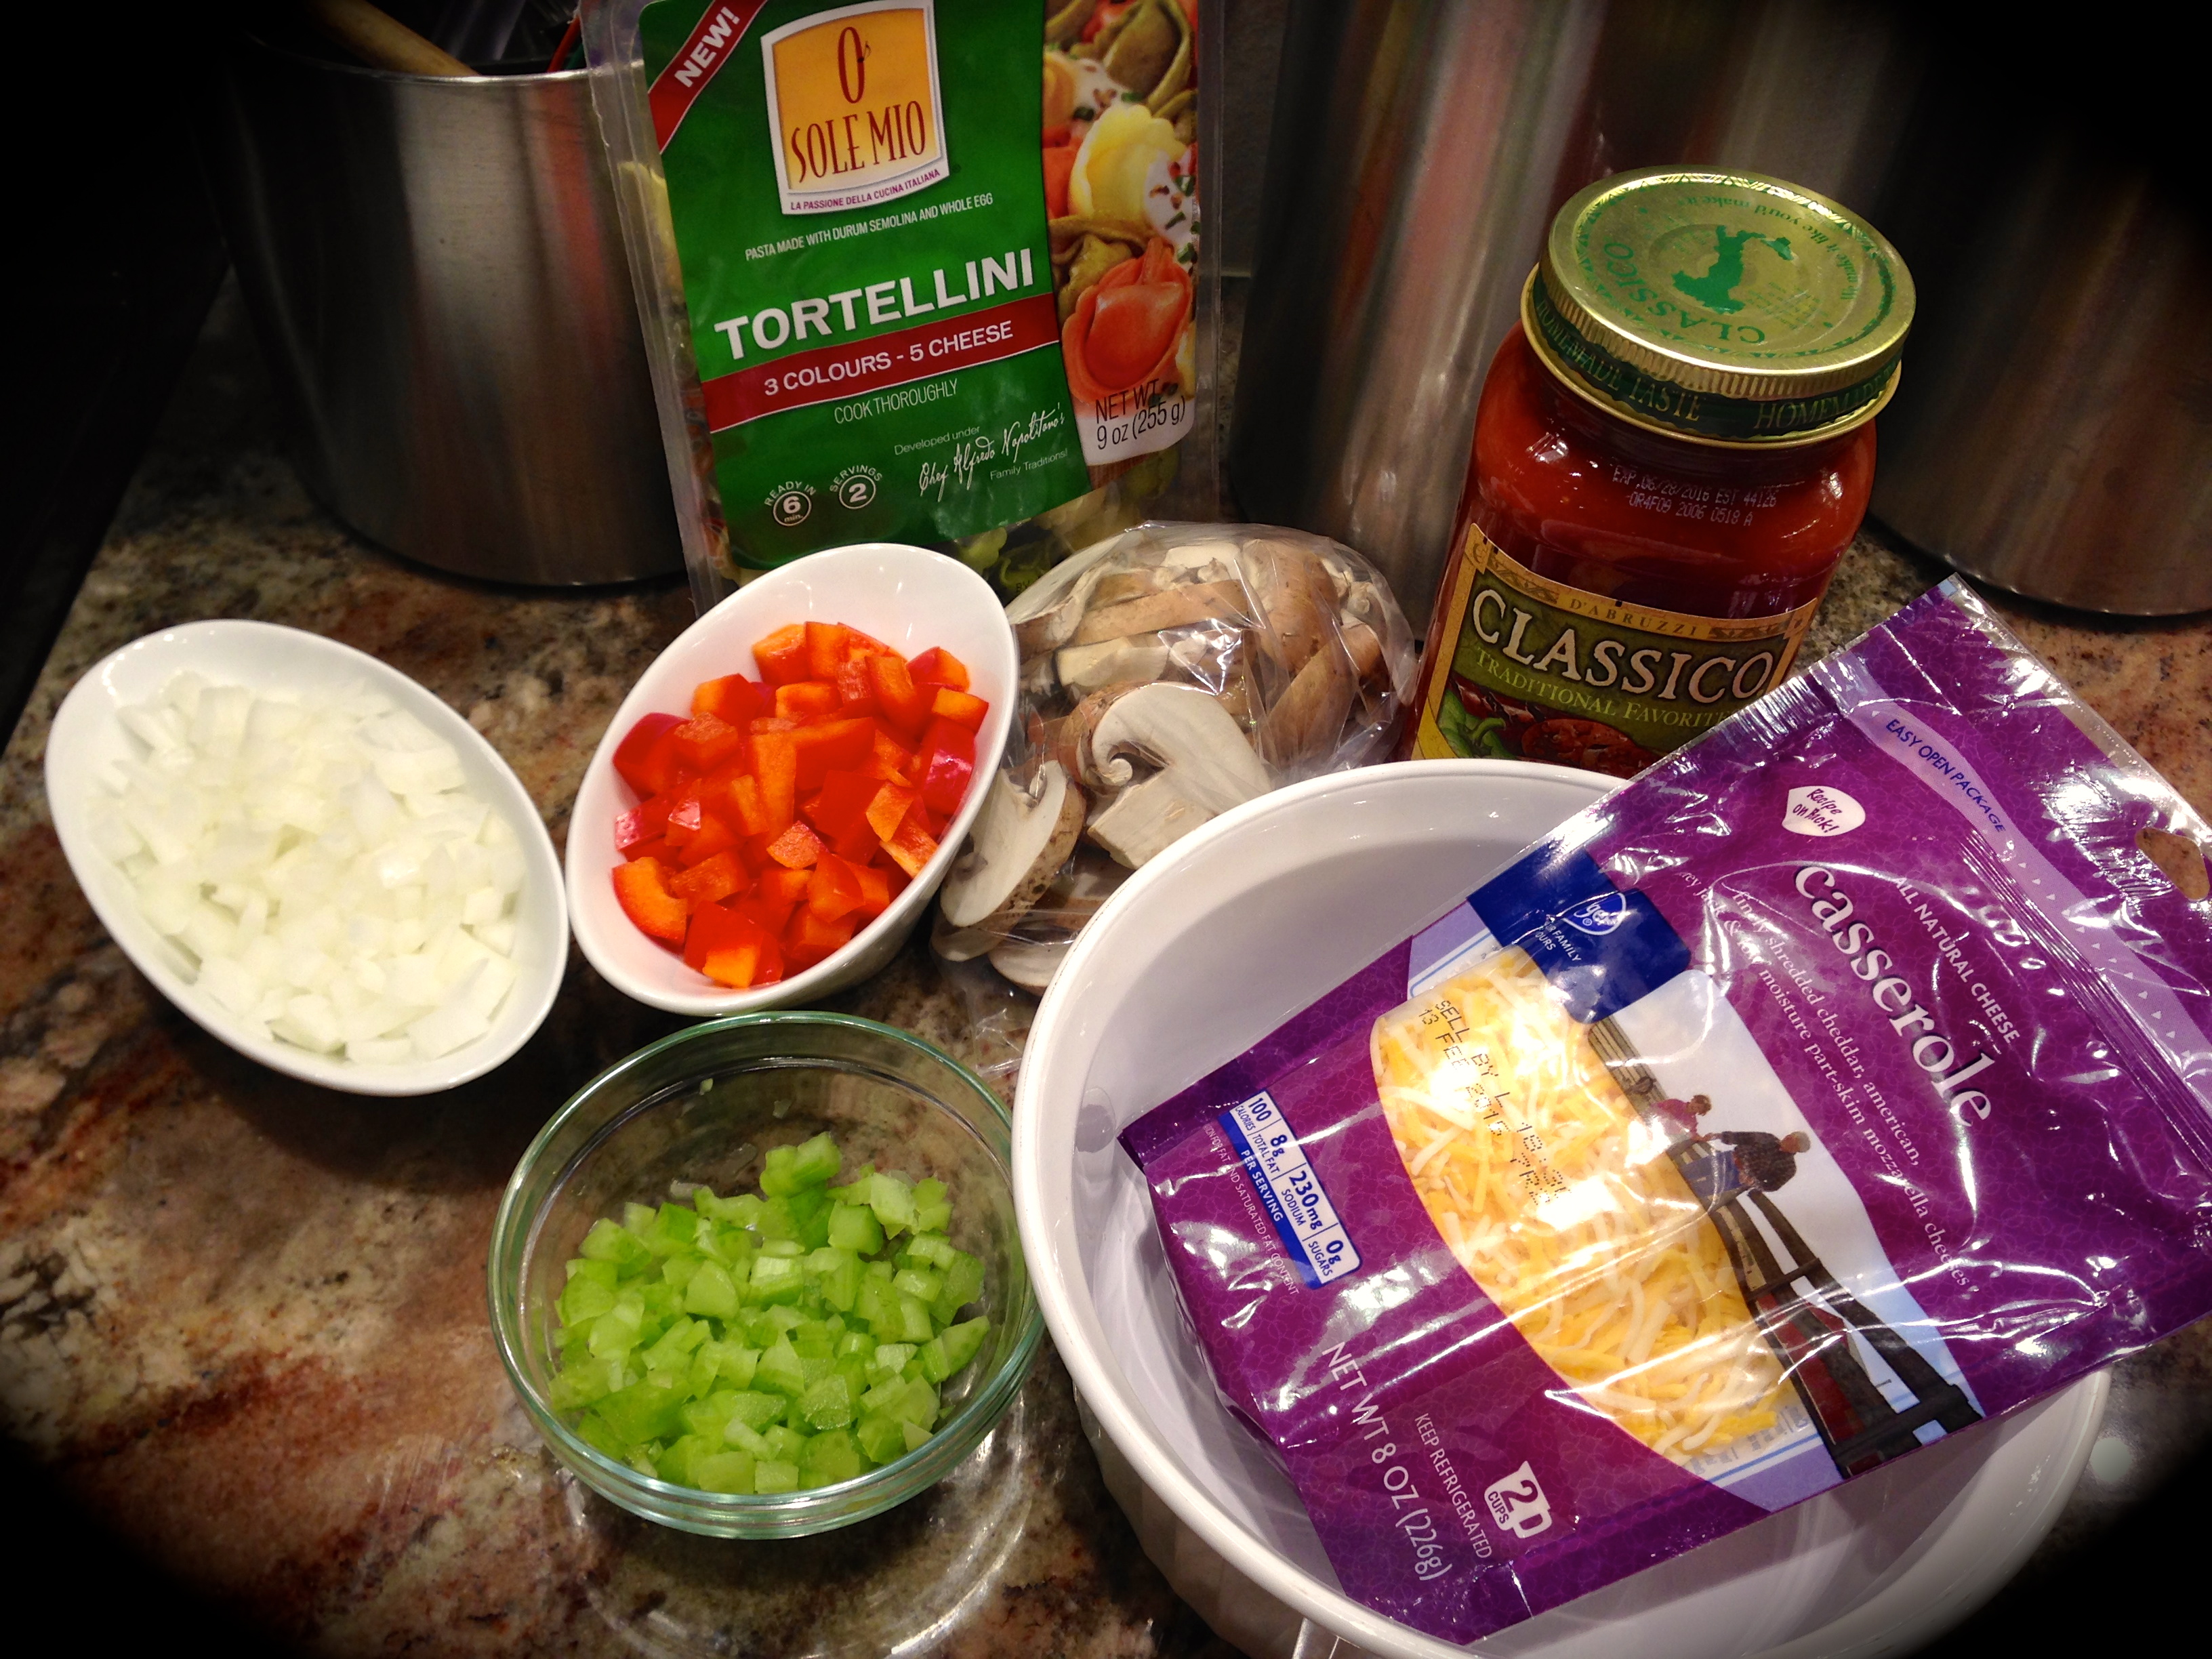
Lesson Learned 1 – The beauty of this recipe is its adaptability: The basis for this recipe is tortellini, spaghetti sauce, mozzarella and parmesan cheese. You can do a down and dirty quick casserole with just those ingredients. Cook the tortellini according the packaged instructions, combine with sauce, top with cheeses and bake at 375 for 30 minutes. That’s it.  I had some celery, red pepper and mushrooms that I wanted to use. And I alway like to include onions and garlic whenever I can. To give the casserole more protein I added some italian sausage and I wound up with a “souped-up” casserole.

IMG_0748
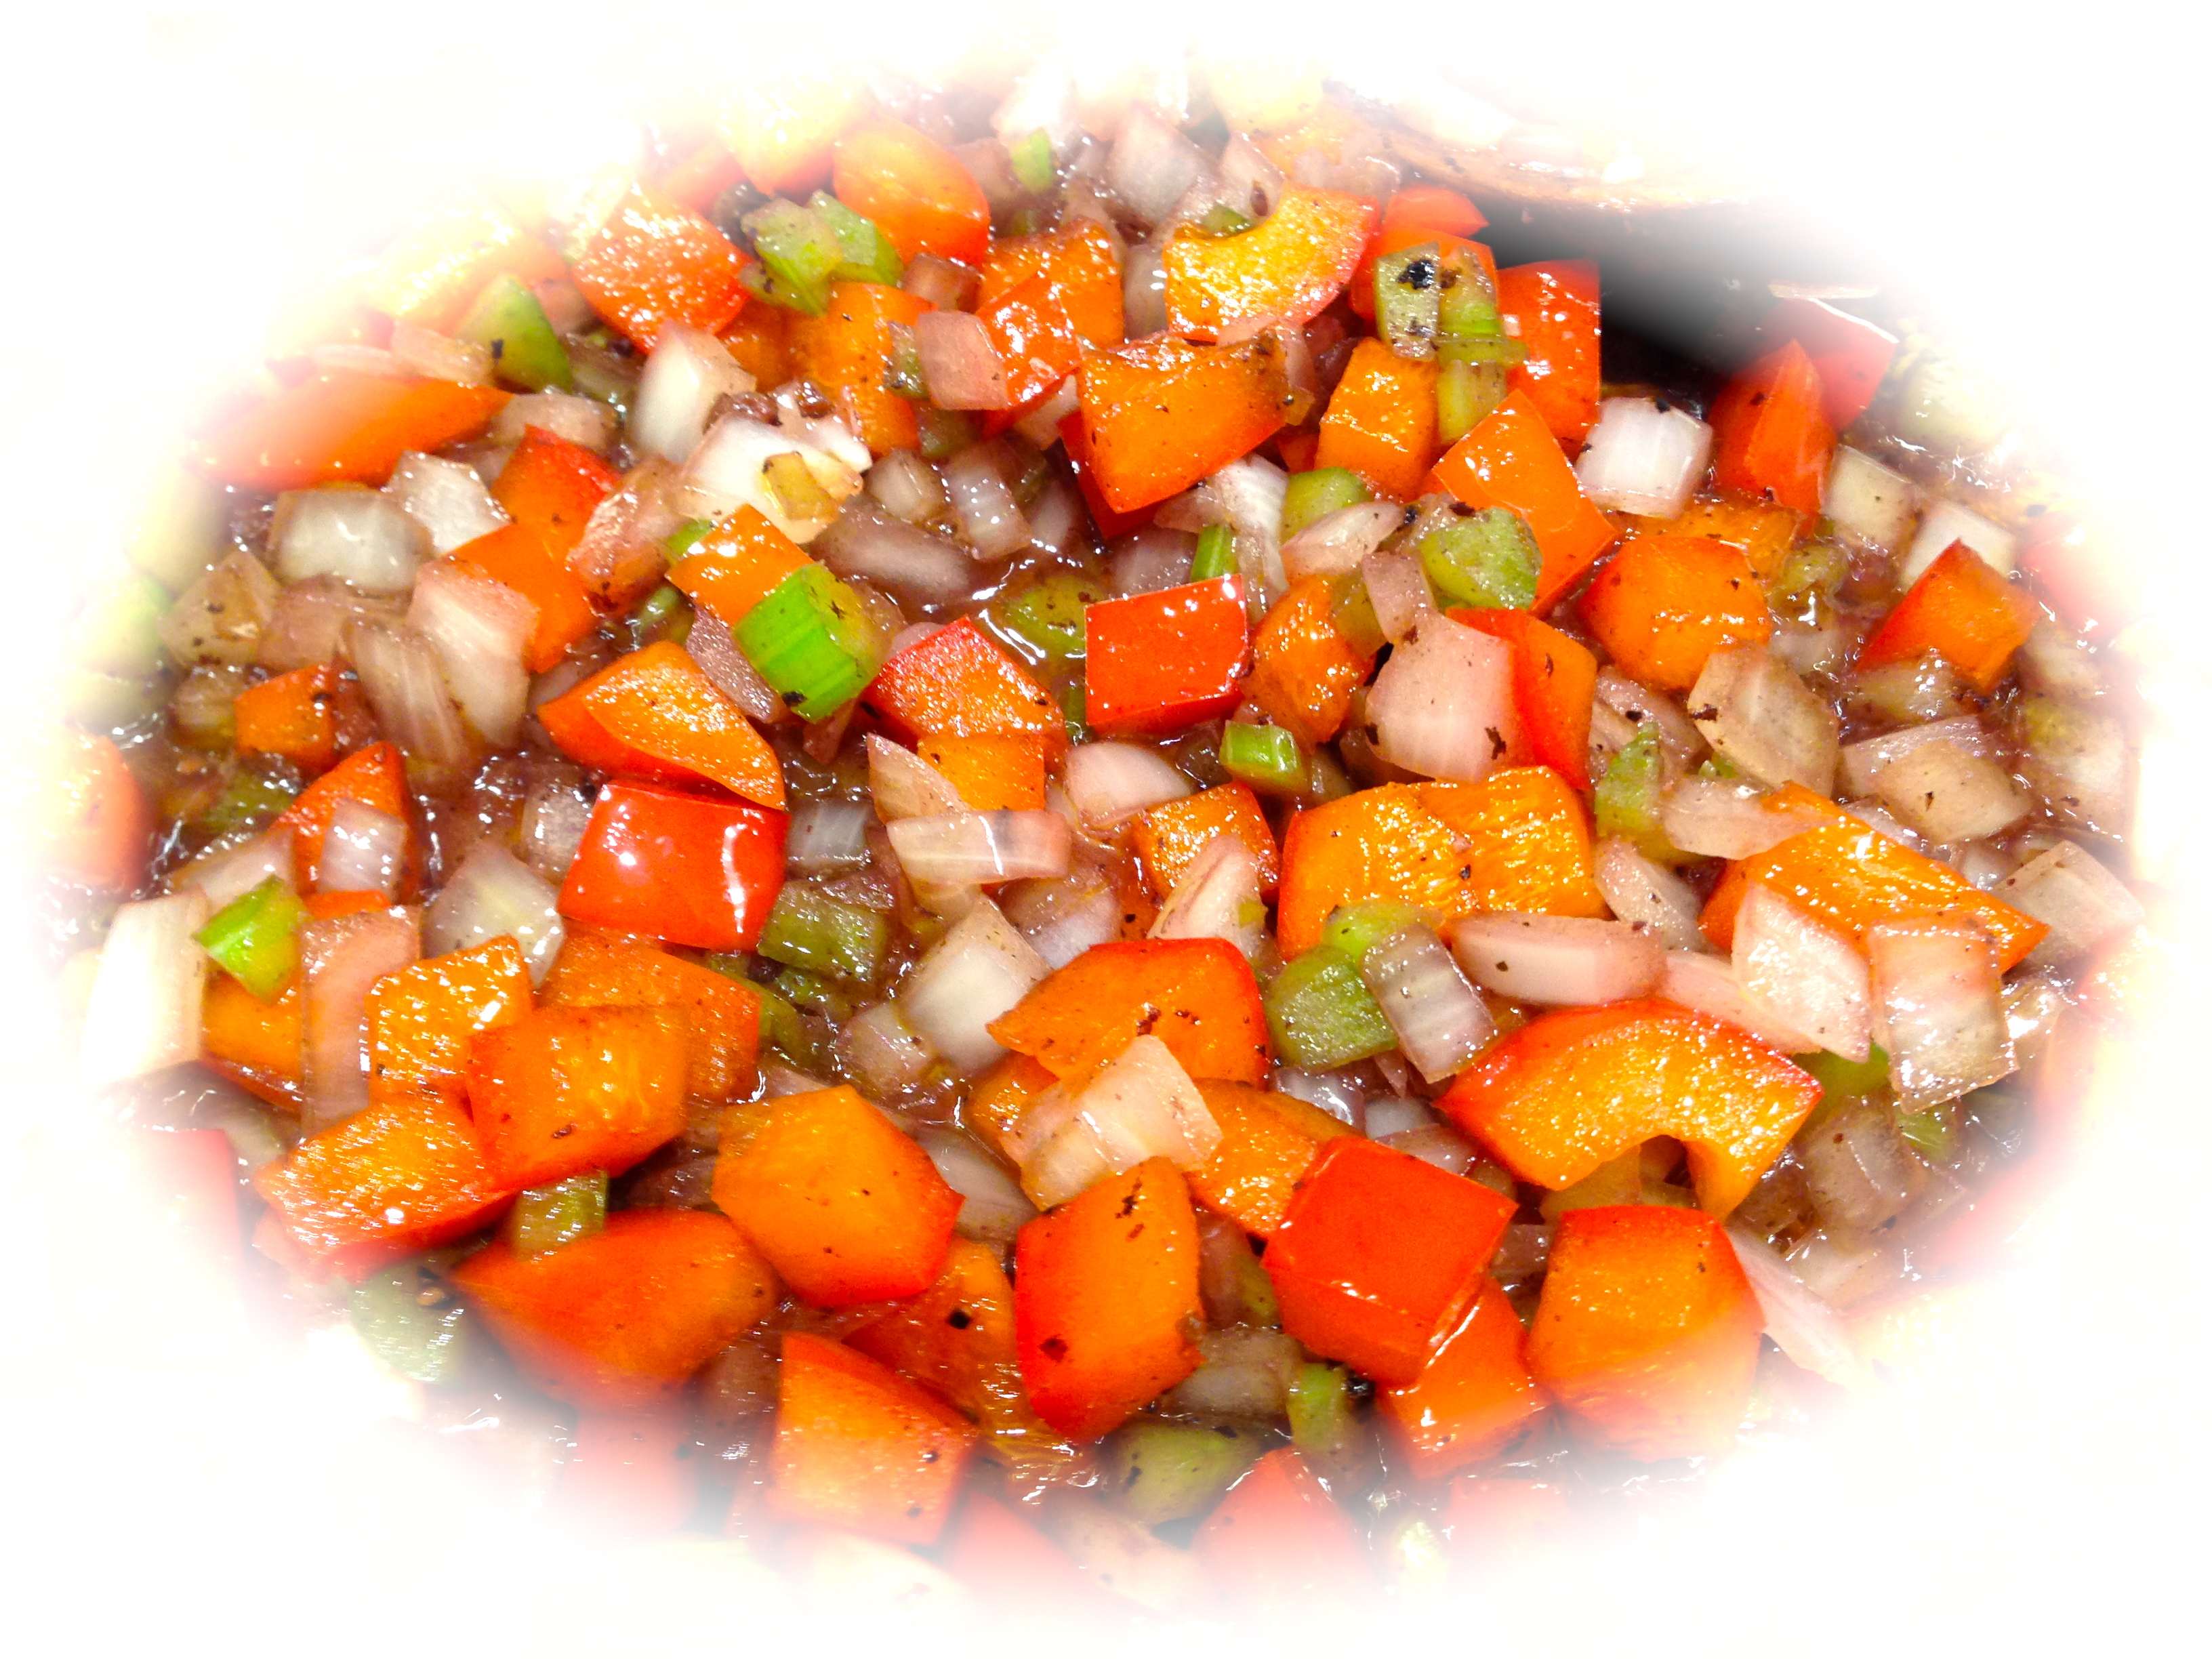
Lesson Learned 2 – The importance of deglazing: I prepped the ingredients for this casserole in the same pot in stages. I cooked the Italian sausage, browned the mushrooms, sautéed the onions, celery and pepper along with the garlic and at this point I had some lovely crusty bits on the bottom of the pan. I’ve learned over time that you never neglect those crusty bits. I’ll fill you in on a secret – that’s where all the flavor resides! I took a small amount of red wine (maybe one turn around the pan’s worth) and this nice cloud of smoke arose. After that I grabbed my trusty wooden spoon and voila – the crusty bits easily came off the bottom of the pan and combined with the other ingredients. Heaven!

IMG_0743
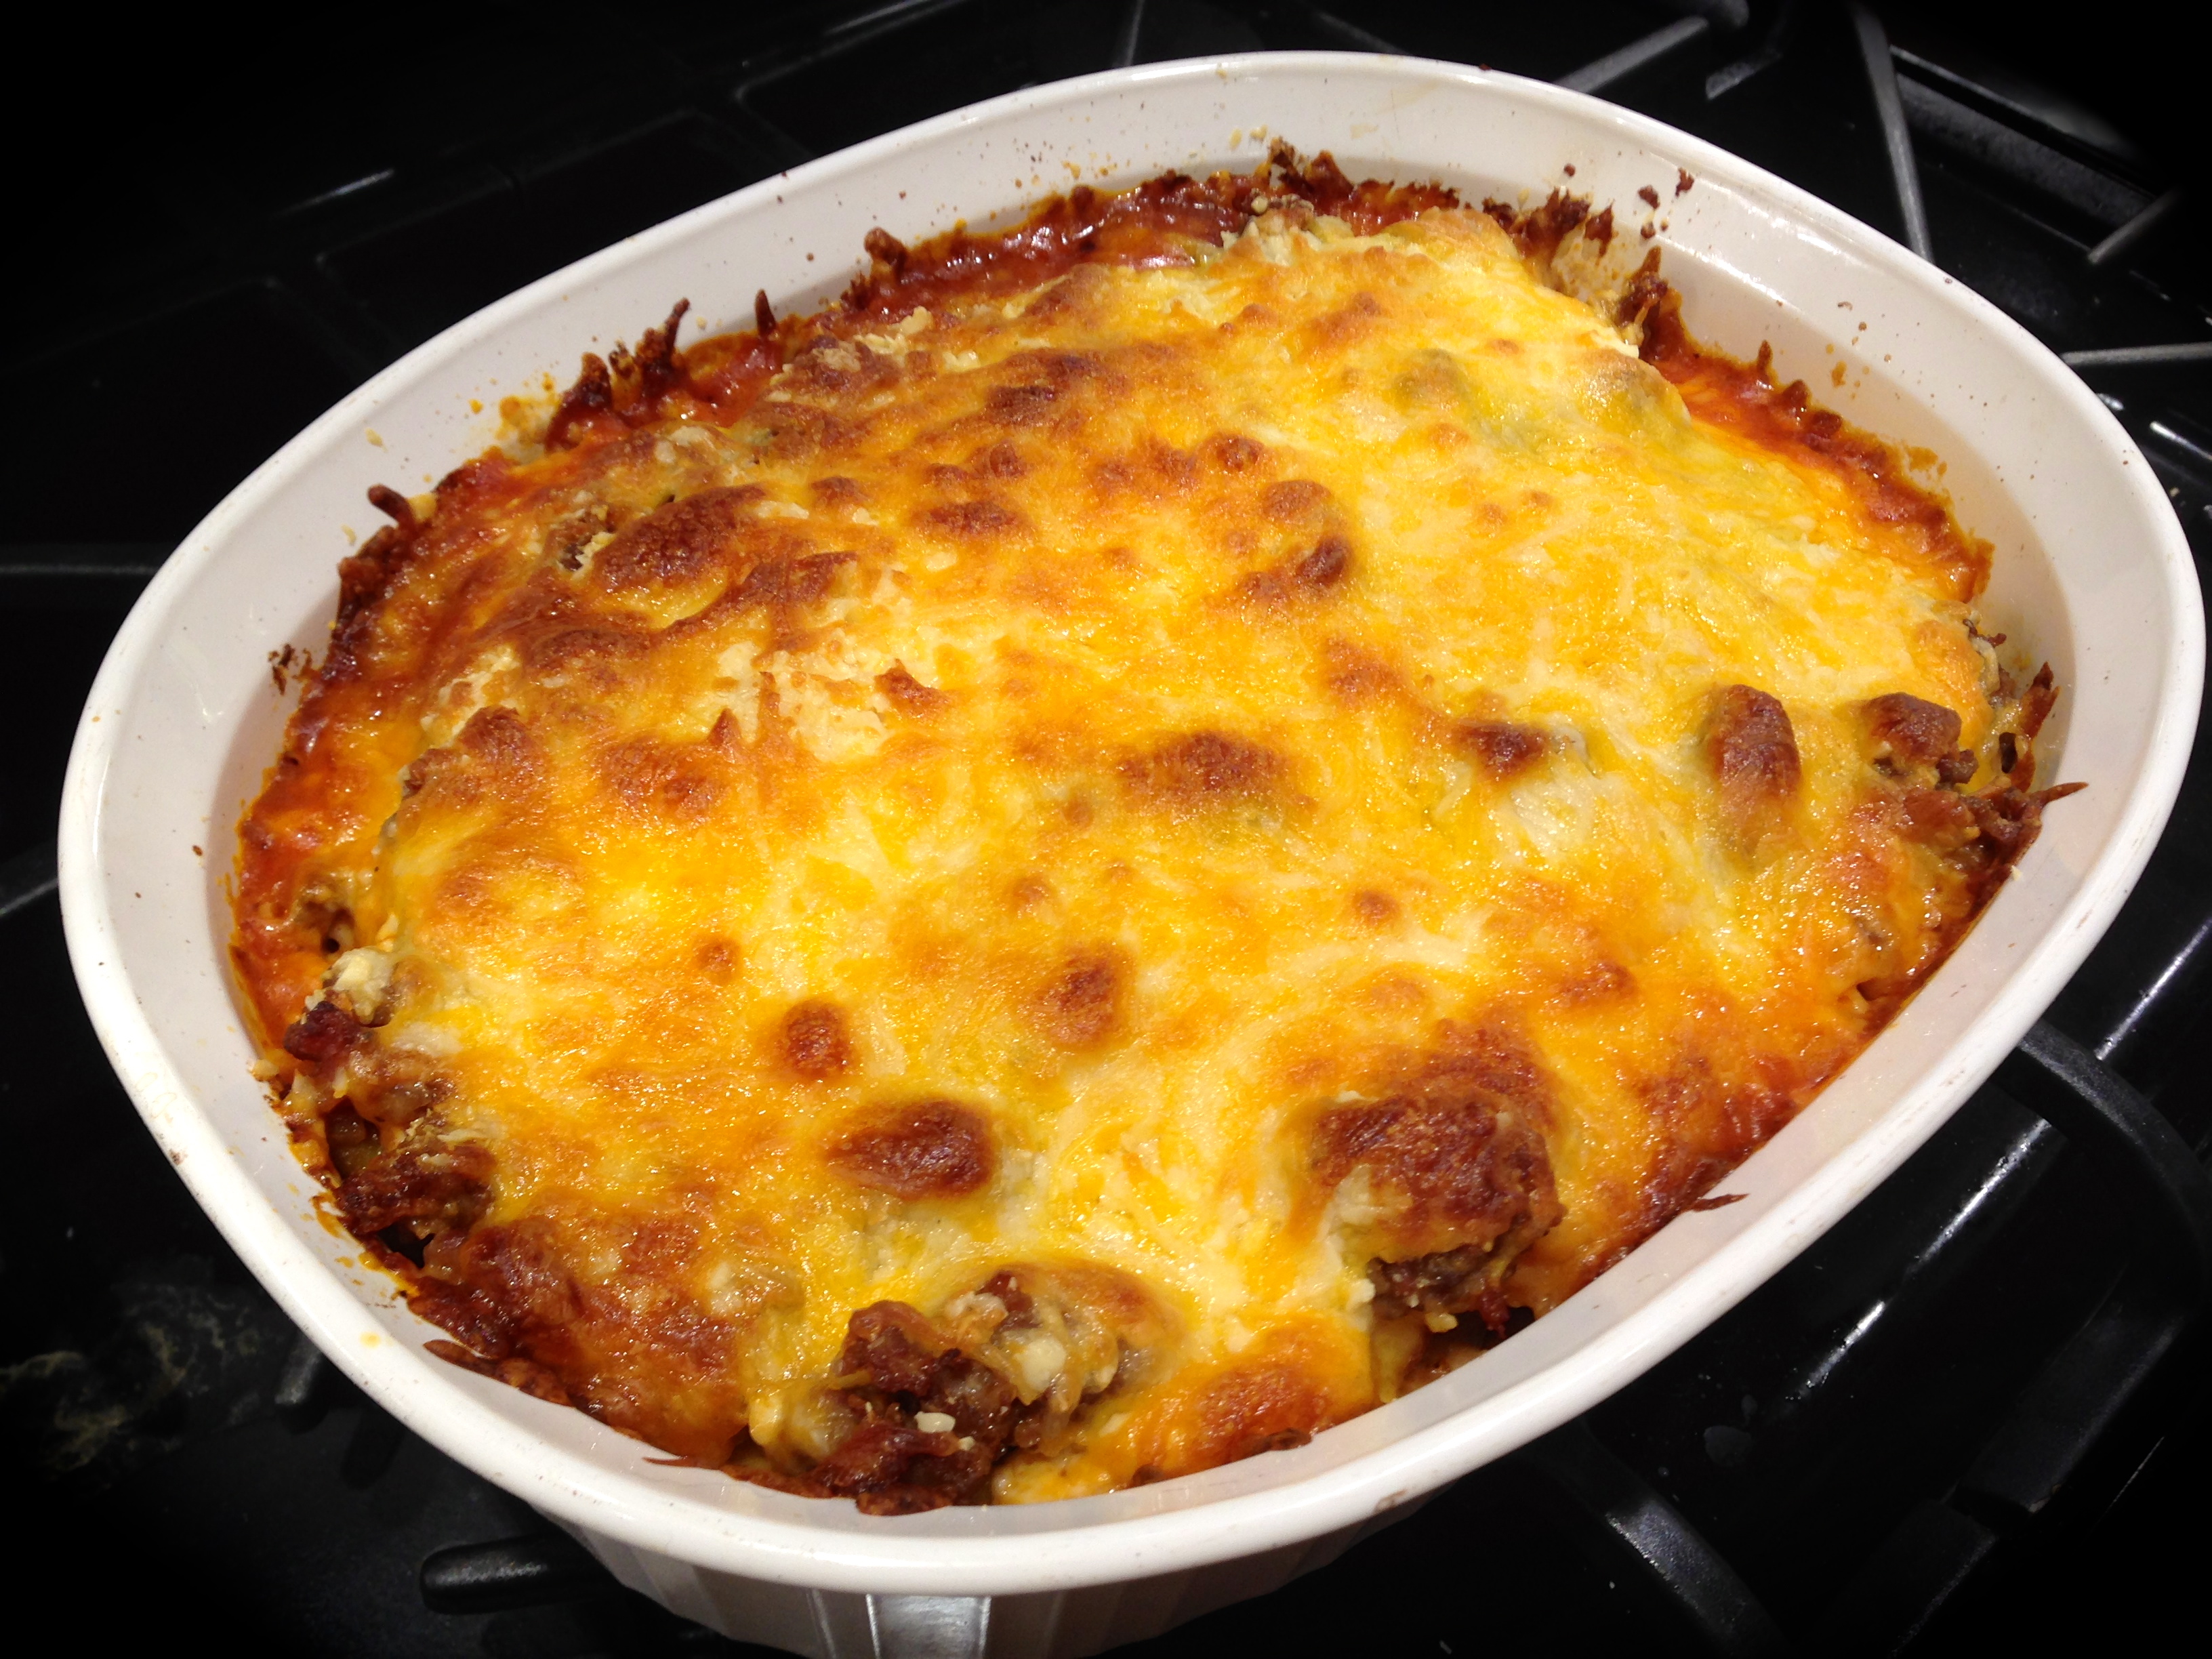
Lesson Learned 3 – All ovens are not created equal: The cooking time in this recipe is based on my oven. When I researched similar recipes they said to bake this in the oven anywhere from 10 minutes to 30 minutes. I baked mine for 50 minutes and it turned out nicely browned, bubbly and hot all the way through. Get to know your oven and adjust the baking times accordingly. Since I live in high altitude I know that just about anything I cook in the oven will take longer than what is written in most recipes. So check your casserole at about 30 minutes and go from there.

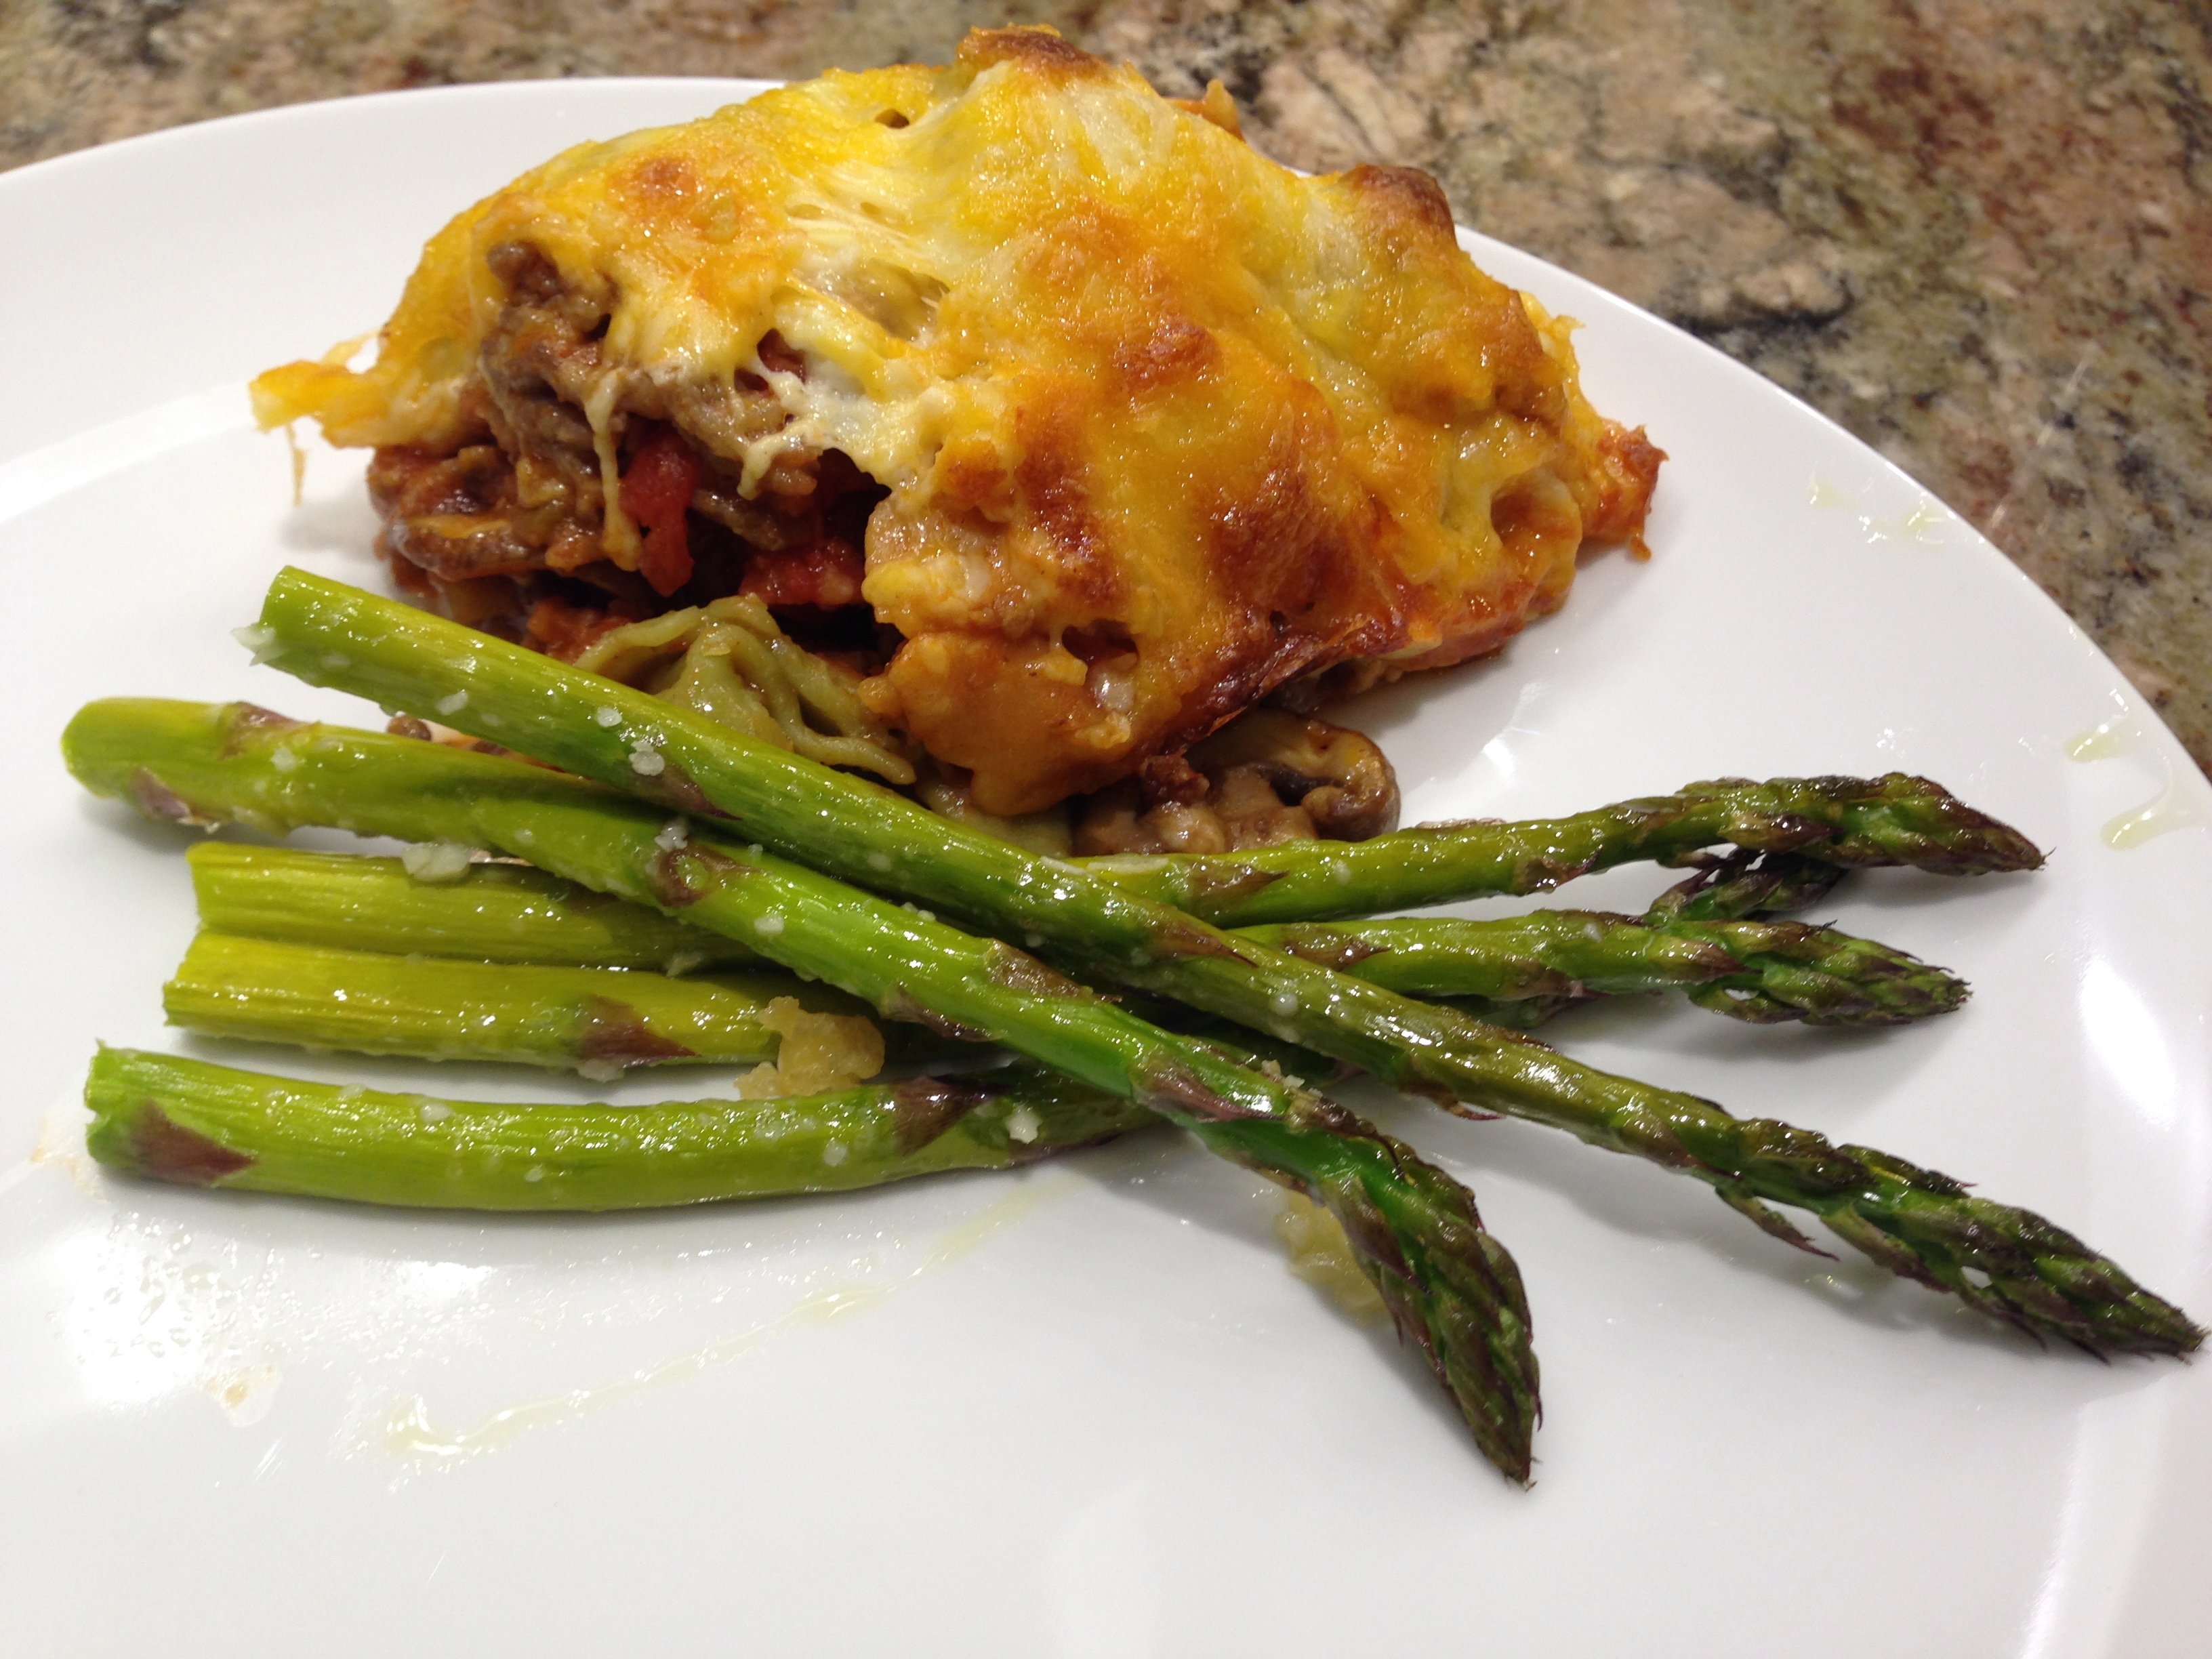
This is a great fall supper. I served with with some roasted asparagus and crusty bread and it was a hit. Enjoy!


[recipe: title=”Sausage and Tortellini Bake…” servings=”6-8″ time=”1 1/2 Hrs. Including Prep” difficulty=”easy”]

Fresh out of the oven...

INGREDIENTS:

1 lb. ground Italian sausage, cooked – drained on paper towels

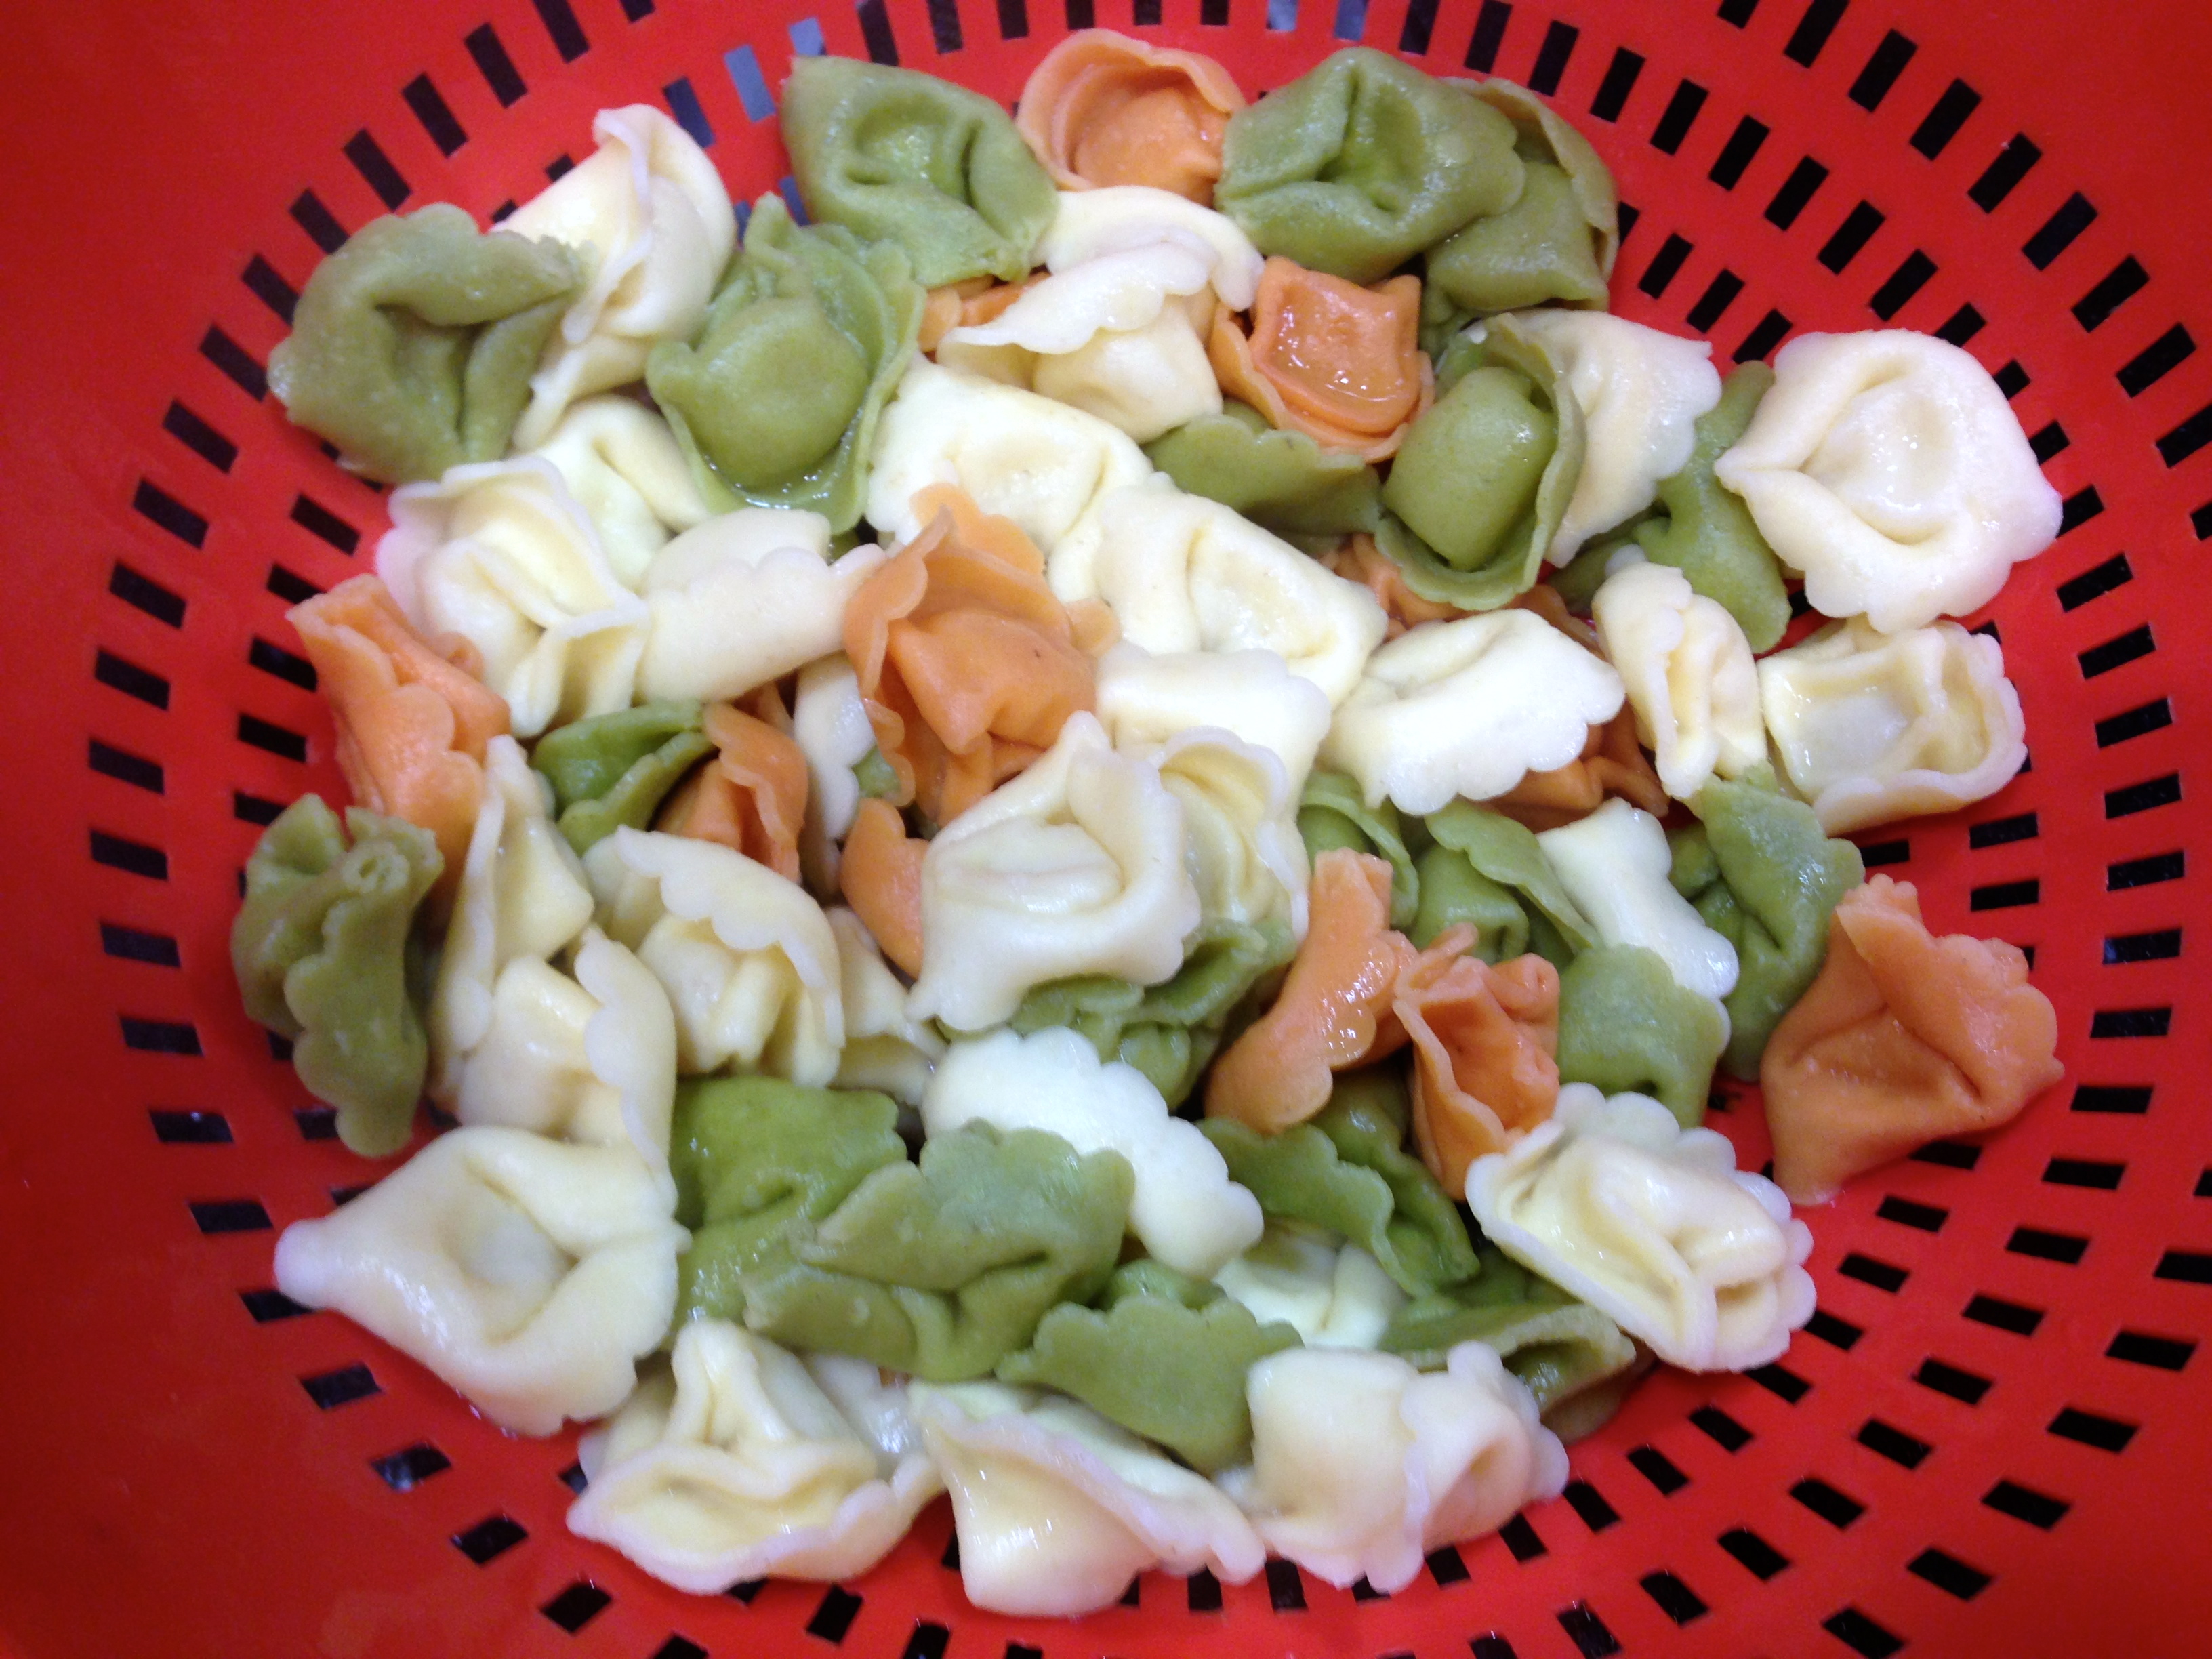
1 9 oz. package of tortellini, cooked according to packaged instructions and drained

1 medium sized onion chopped

3 medium sized celery stalks diced

1 sweet pepper, chopped

1-2 cloves of garlic, chopped

1 8 oz. package baby bella mushrooms, sliced

1-2 cups shredded mozzarella (half queso mozzarella preferred)

1/4 cup grated parmesan cheese or half parmesan, half romano

1 24 oz. jar of spaghetti sauce

Olive oil

1/8 cup dry red wine

Salt and pepper to taste

DIRECTIONS:

Preheat oven to 375. Cook tortellini according to packaged instructions. While the water is coming to a boil for the tortellini, add 1 Tbs. of olive oil to a hot pan. Cook Italian sausage until there is hardly any pink left in the meat. Drain sausage on paper towels and set aside.

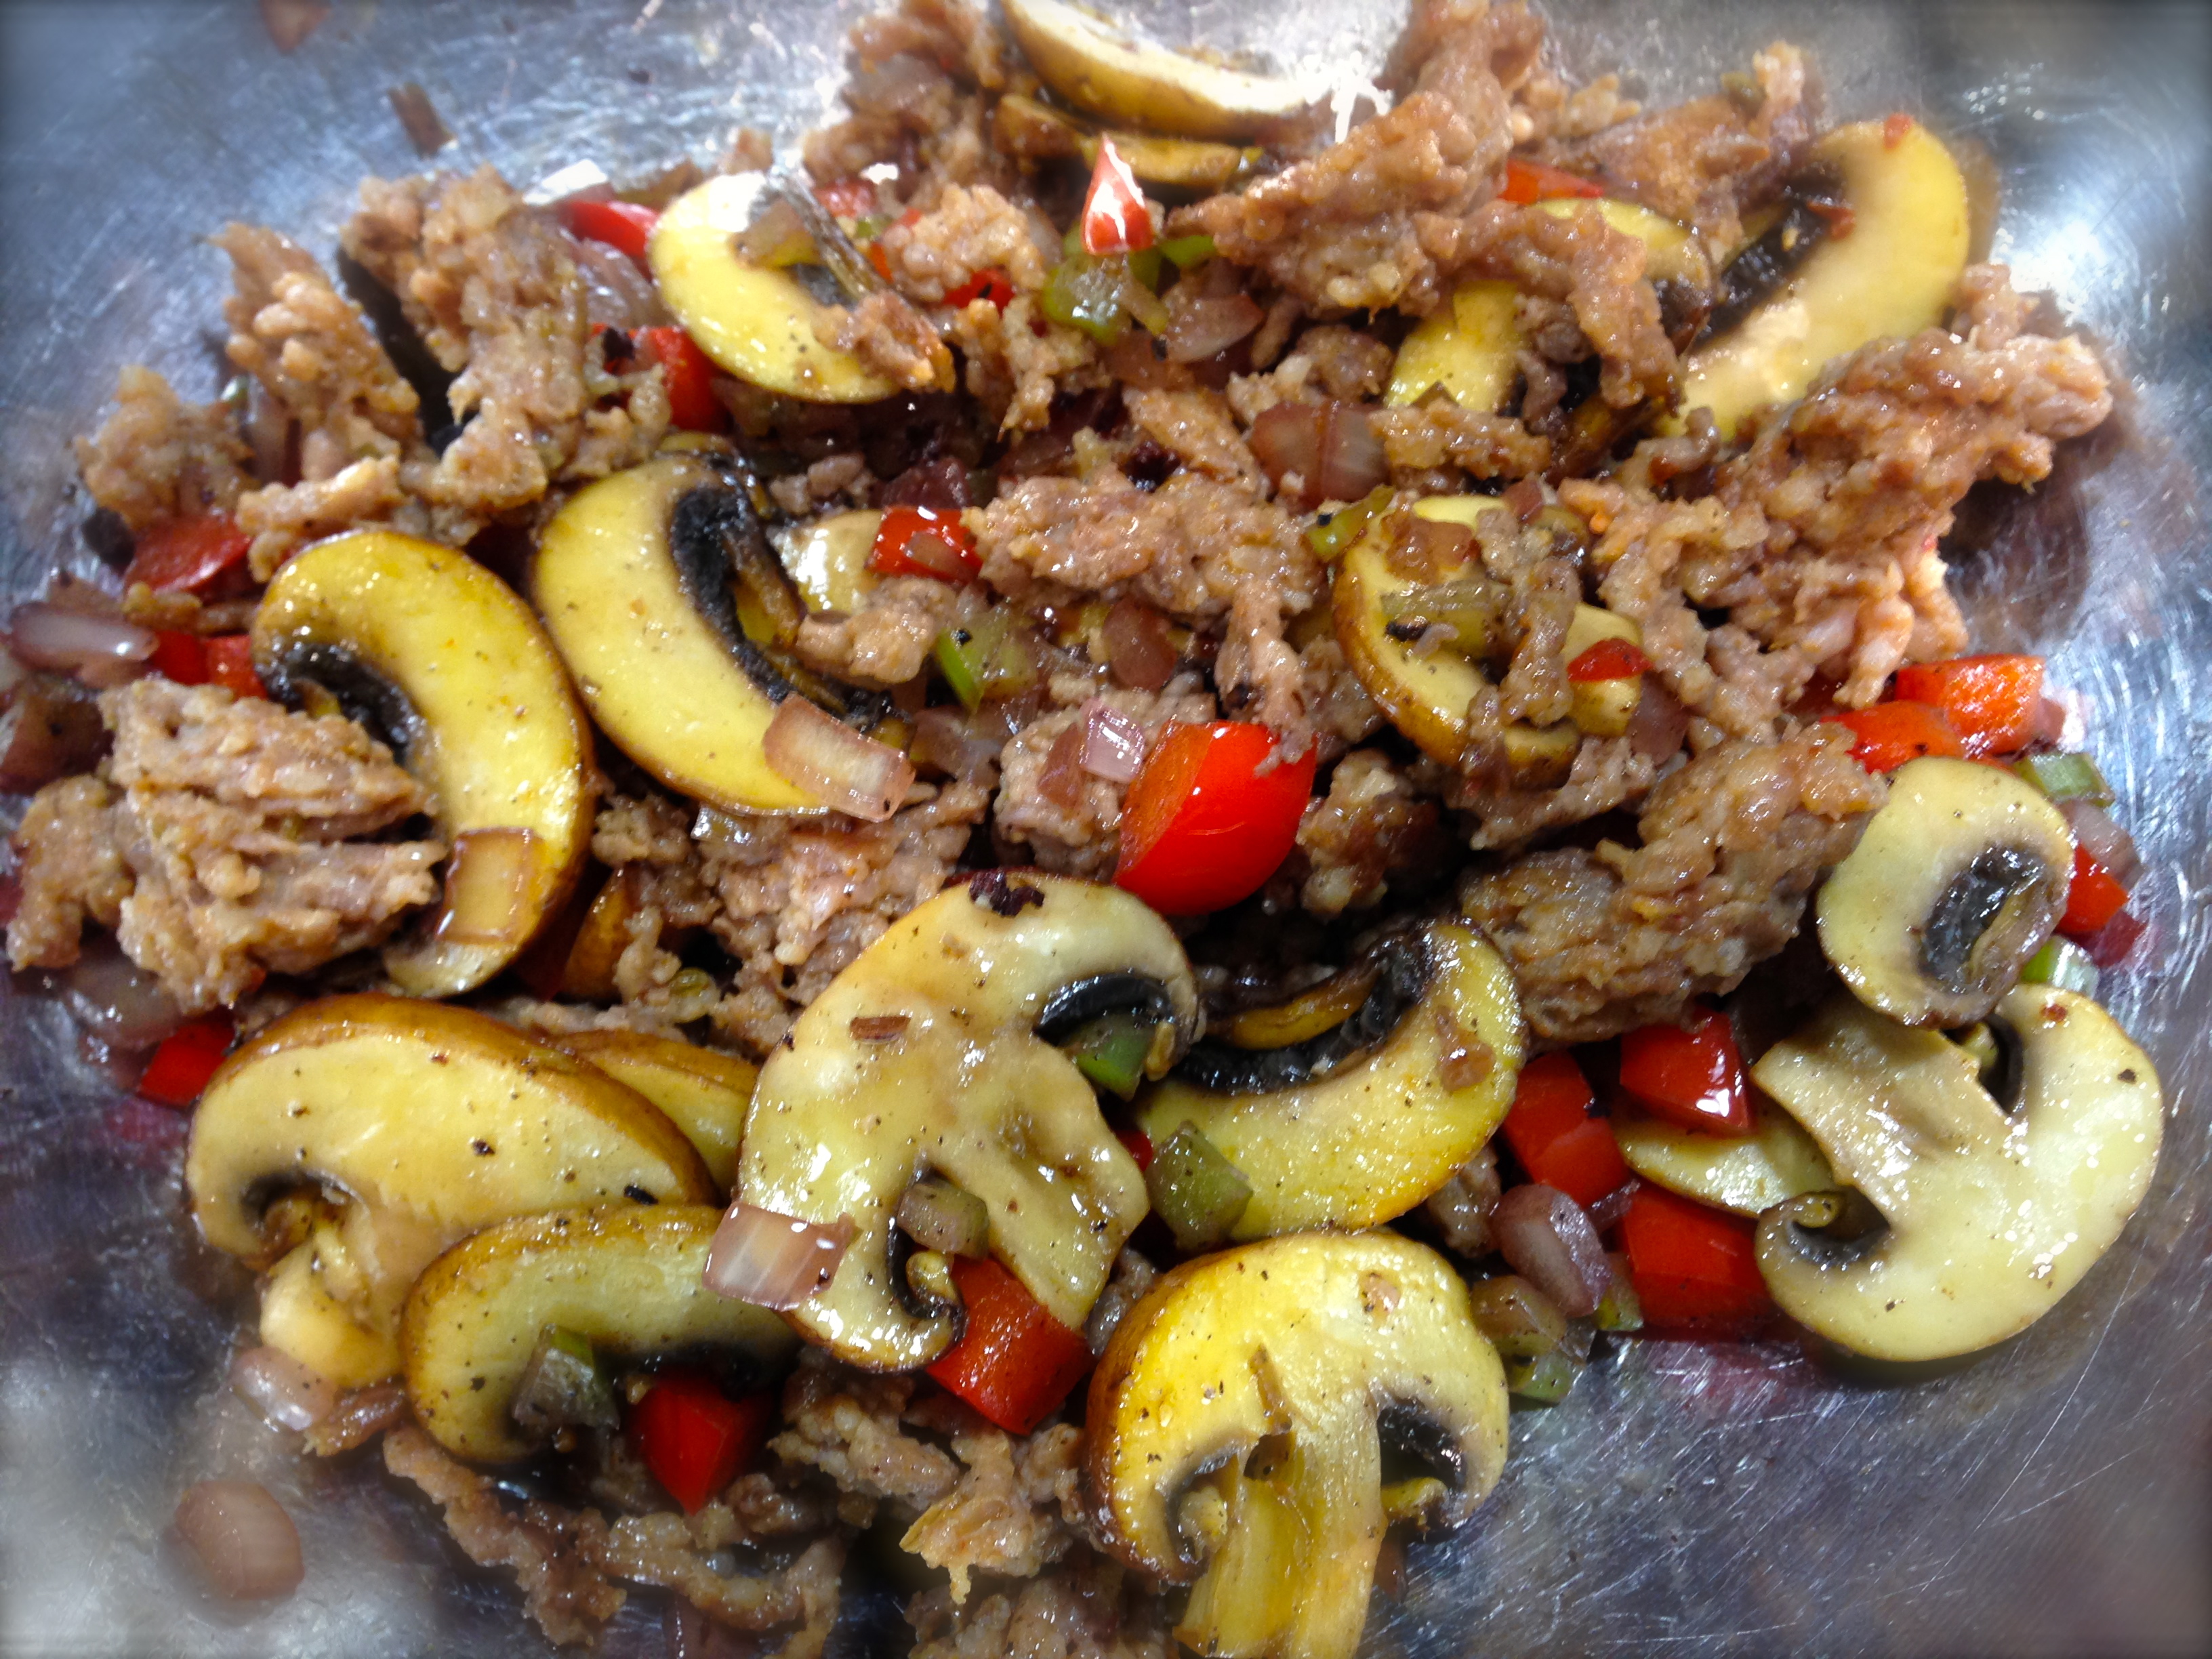
In the same pan saute the mushrooms until lightly golden. Remove from pan and drain on paper towels. In the same pan add a little more olive oil and sauté the onions, celery and garlic. Salt and pepper to taste. Once slightly soft and translucent, add the chopped garlic and cook until fragrant – about 1 minute or less. Add the red wine and deglaze the pan. Add back the Italian sausage and mushrooms and heat through.

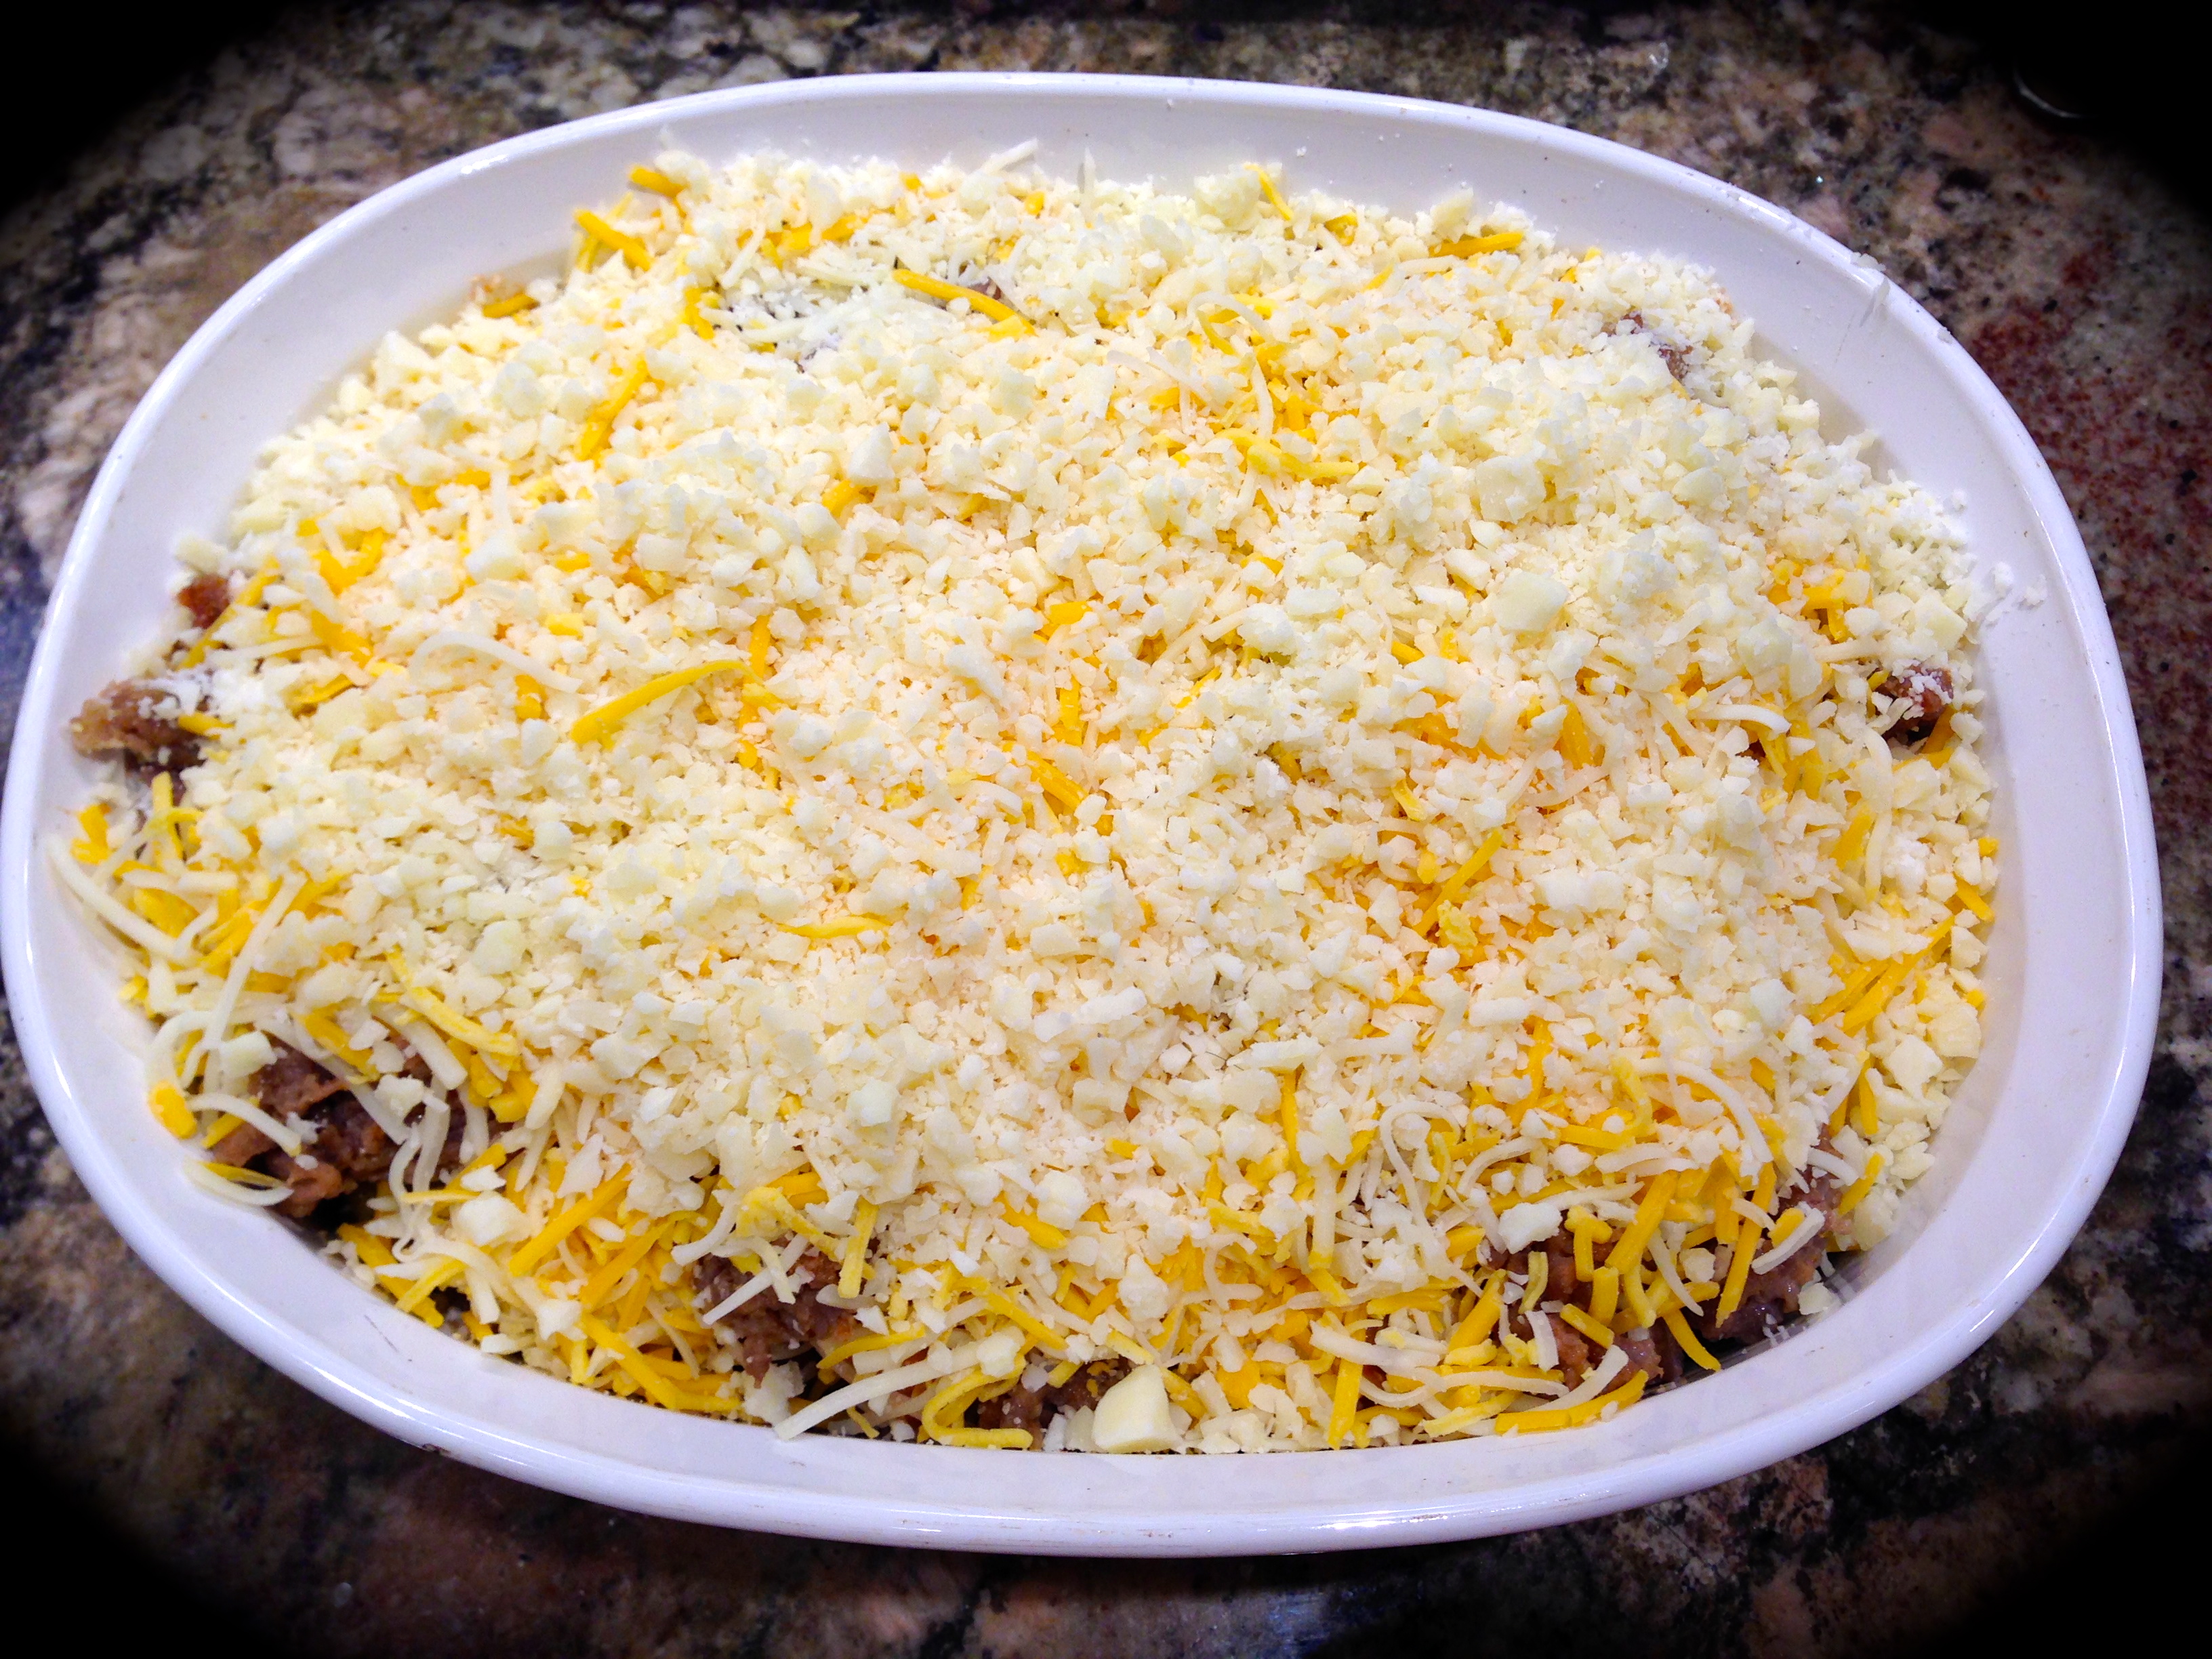
Drain the tortellini. In a large bowl combine the tortellini and sausage mixture until well combined. Pour mixture into a 3 quart casserole dish. Top with mozzarella cheese and then with grated parmesan (I used a grated parmesan and romano mixture as I had both cheeses in the refrigerator) Bake at 375 for 50 minutes (depending on where you live you may want to start checking this at 30 minutes) or until casserole is browned and bubbly.

[/recipe]


Ready to pop into the oven...

Ready to pop into the oven…

Fresh out of the oven...

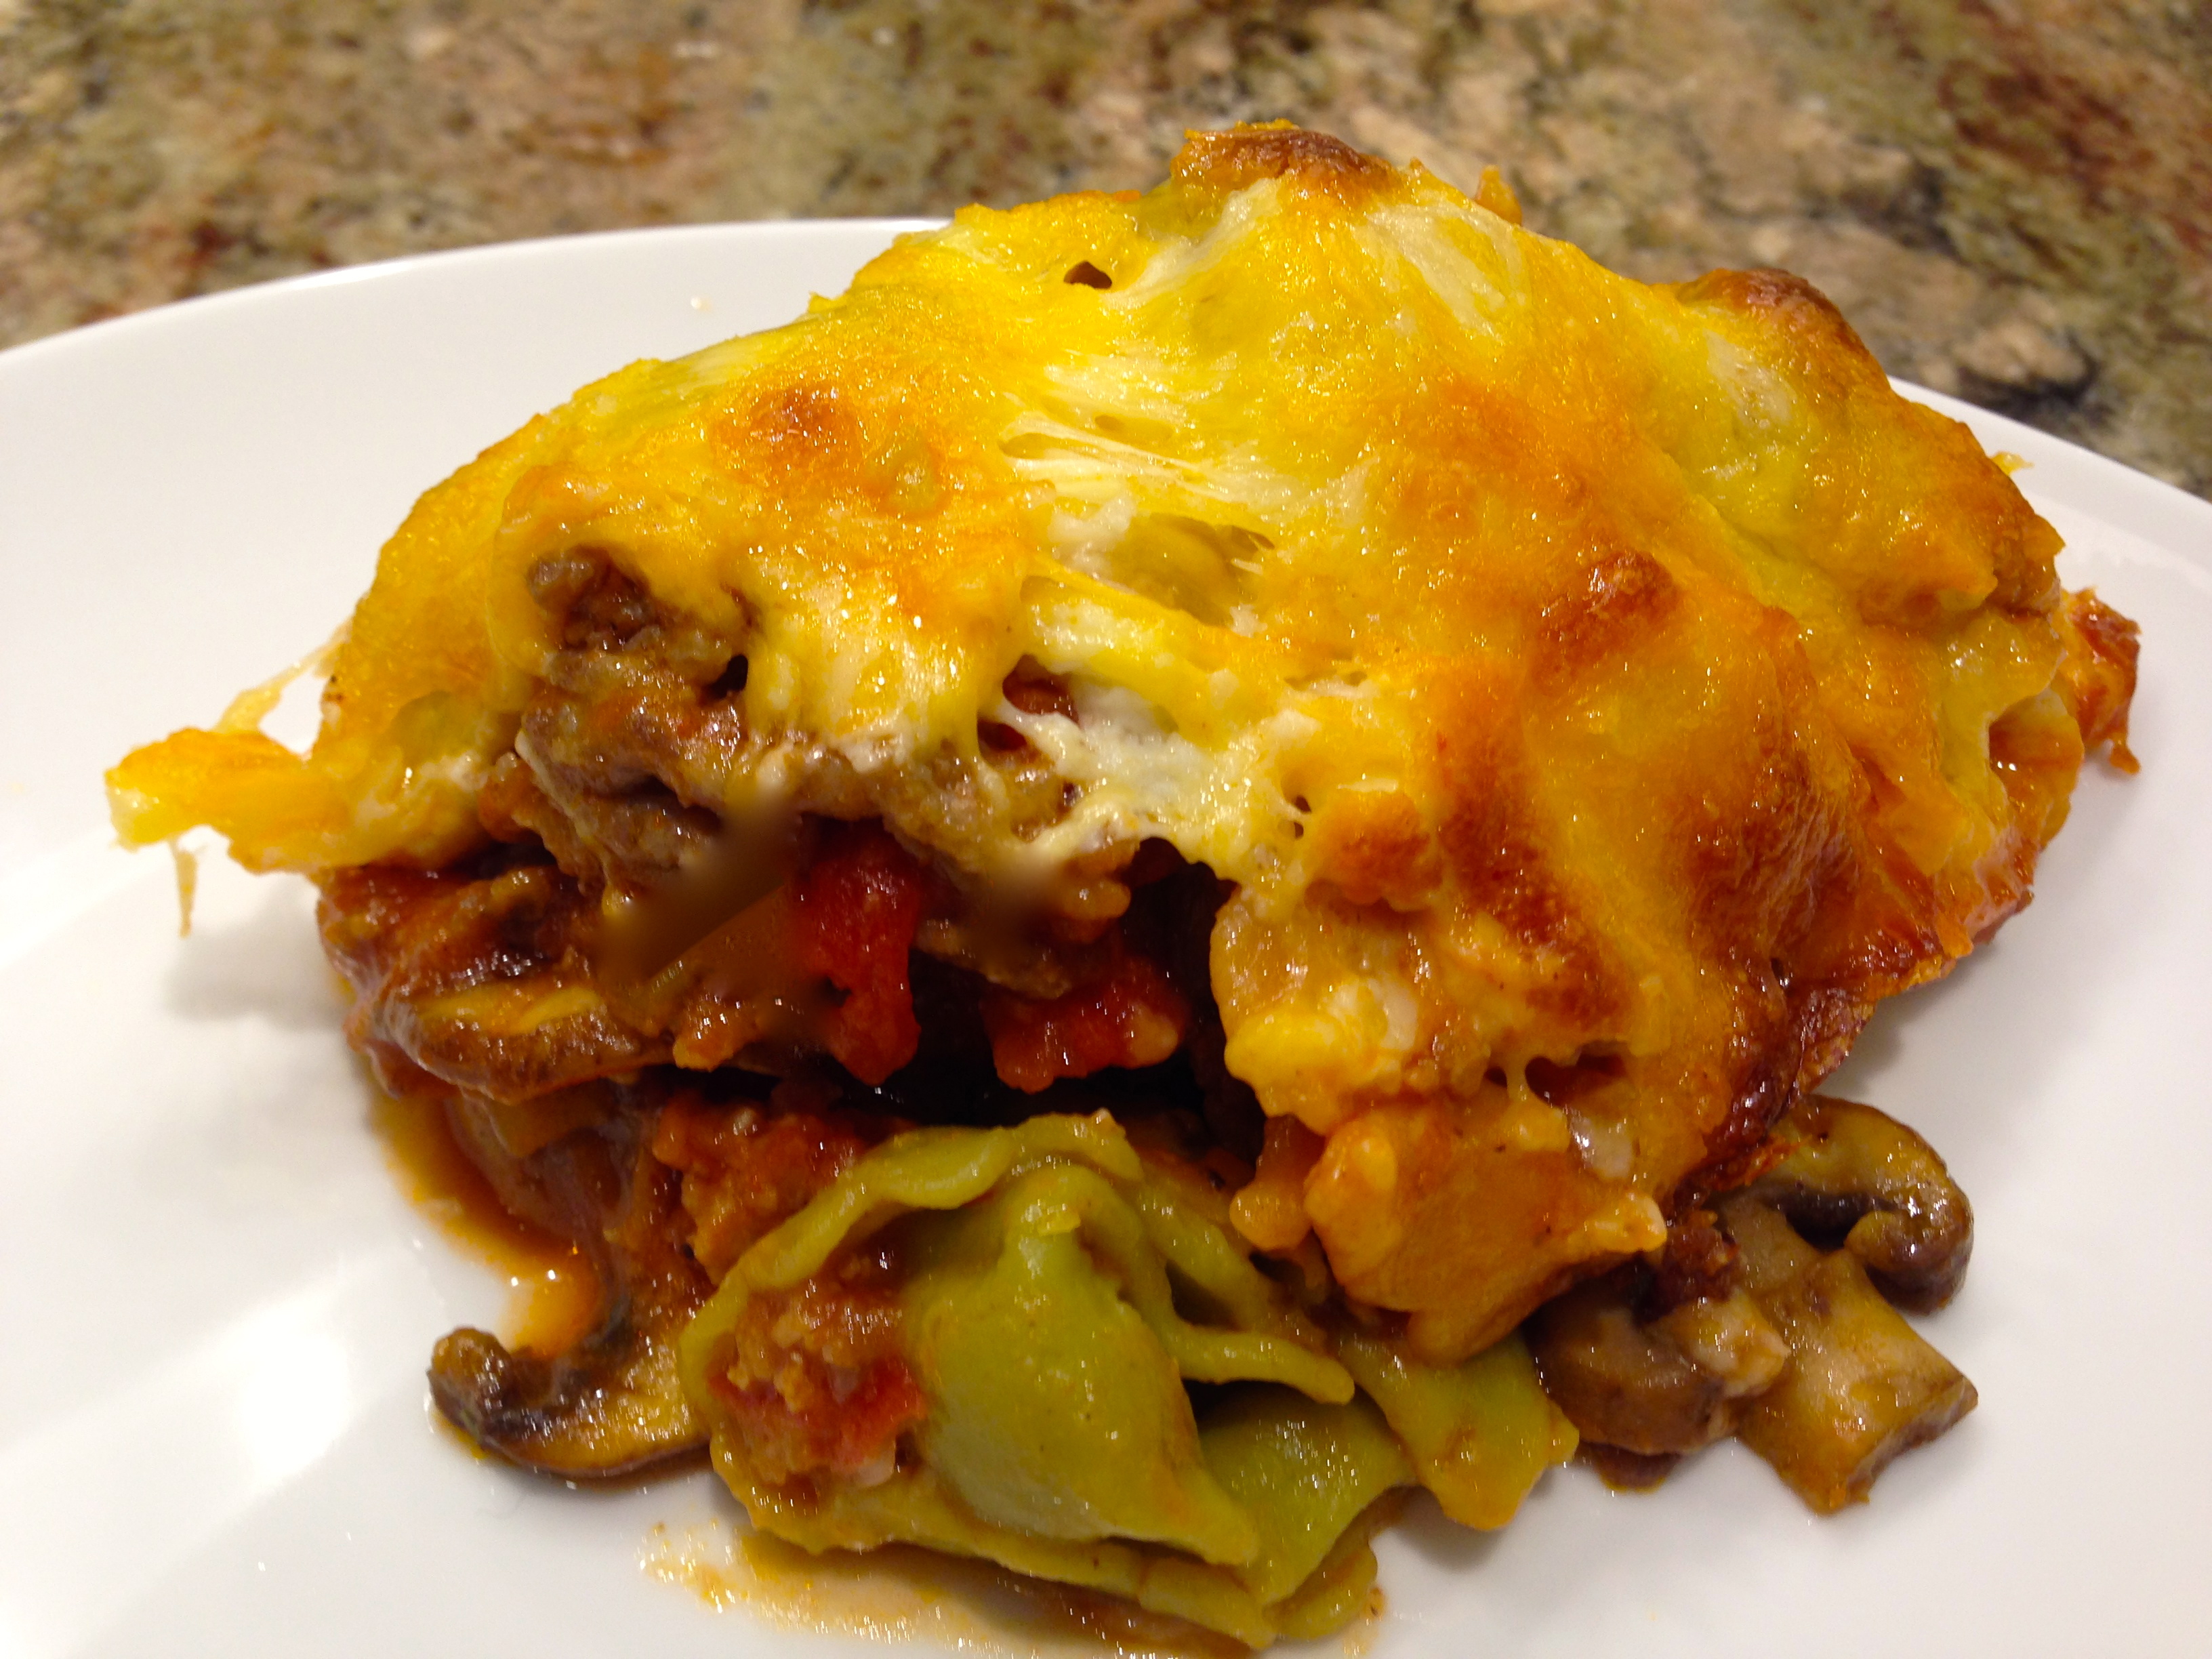
Fresh out of the oven…

IMG_0806


IMG_0814