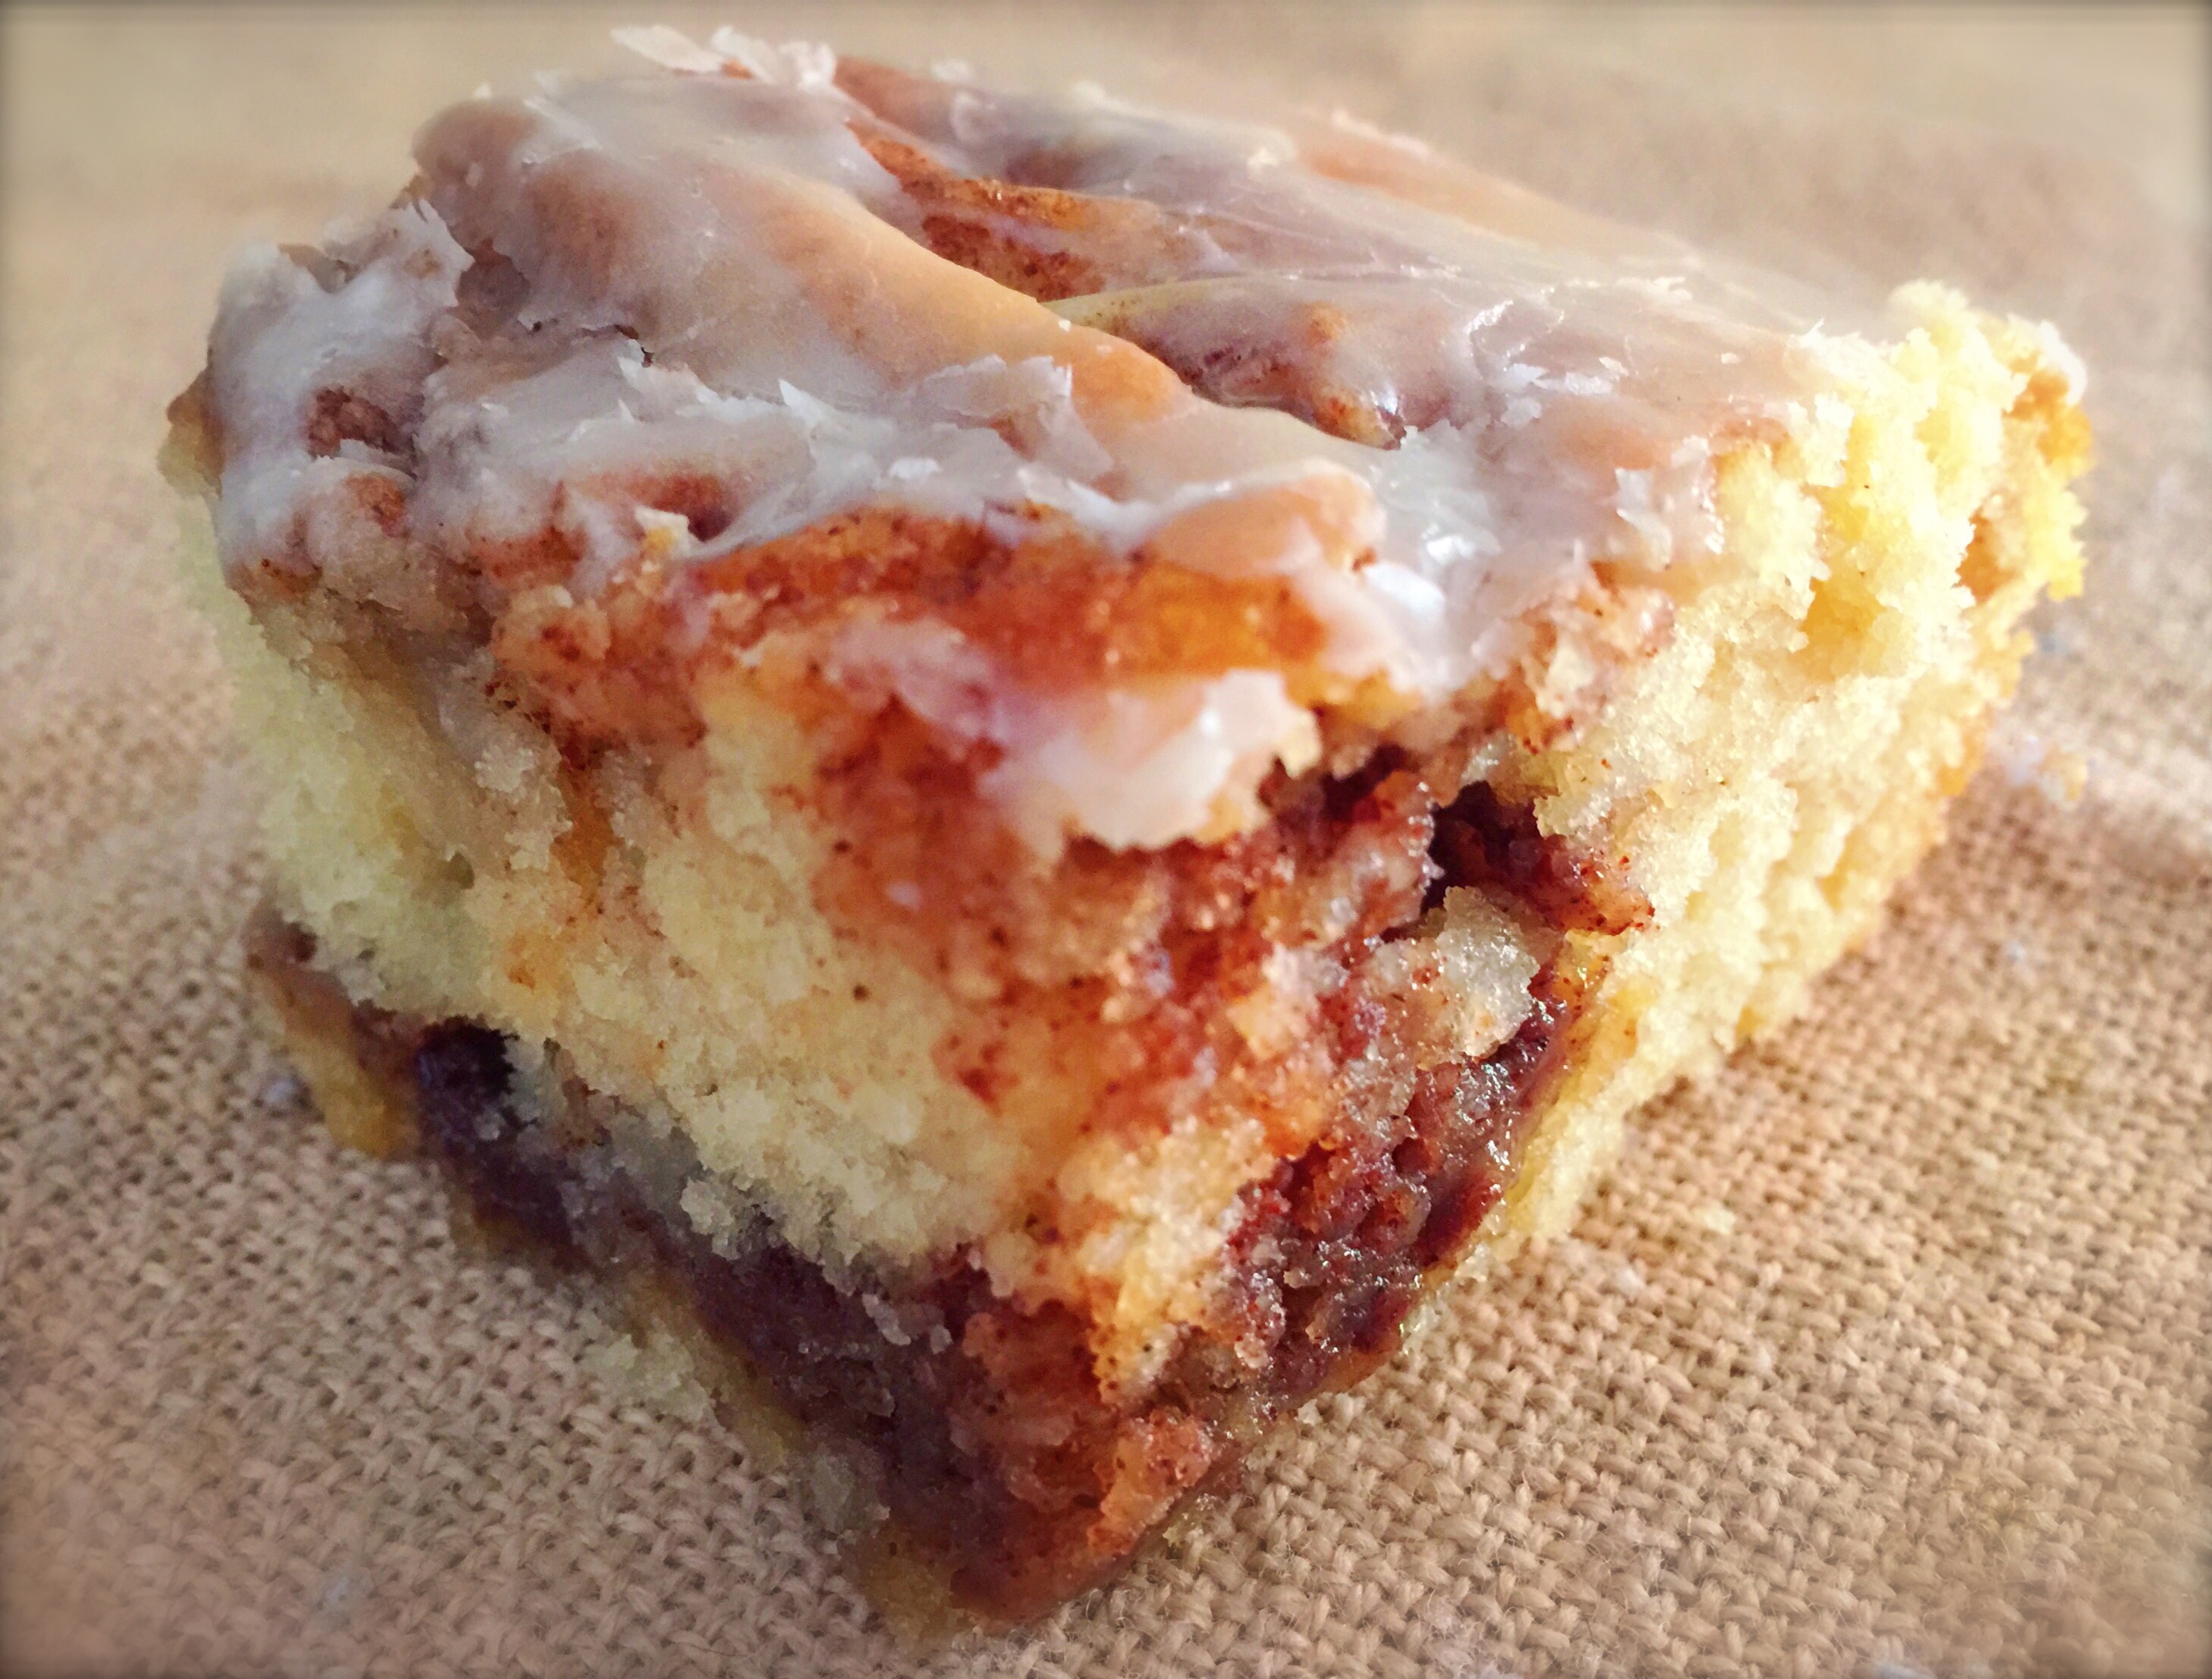
My life has been chaotic for the last six months and now that the dust has started to settle I’m trying to get myself back on track. One of the ways I see myself doing that is trying to post more often on my blog. I missed not doing my regular posts but dealing with health care issues was so much more important. Now I am trying to put one foot in front of the other in an attempt to establish my new normal and begin to incorporate some of the things that brought joy into my life before everything started. This blog is certainly one what to do that.
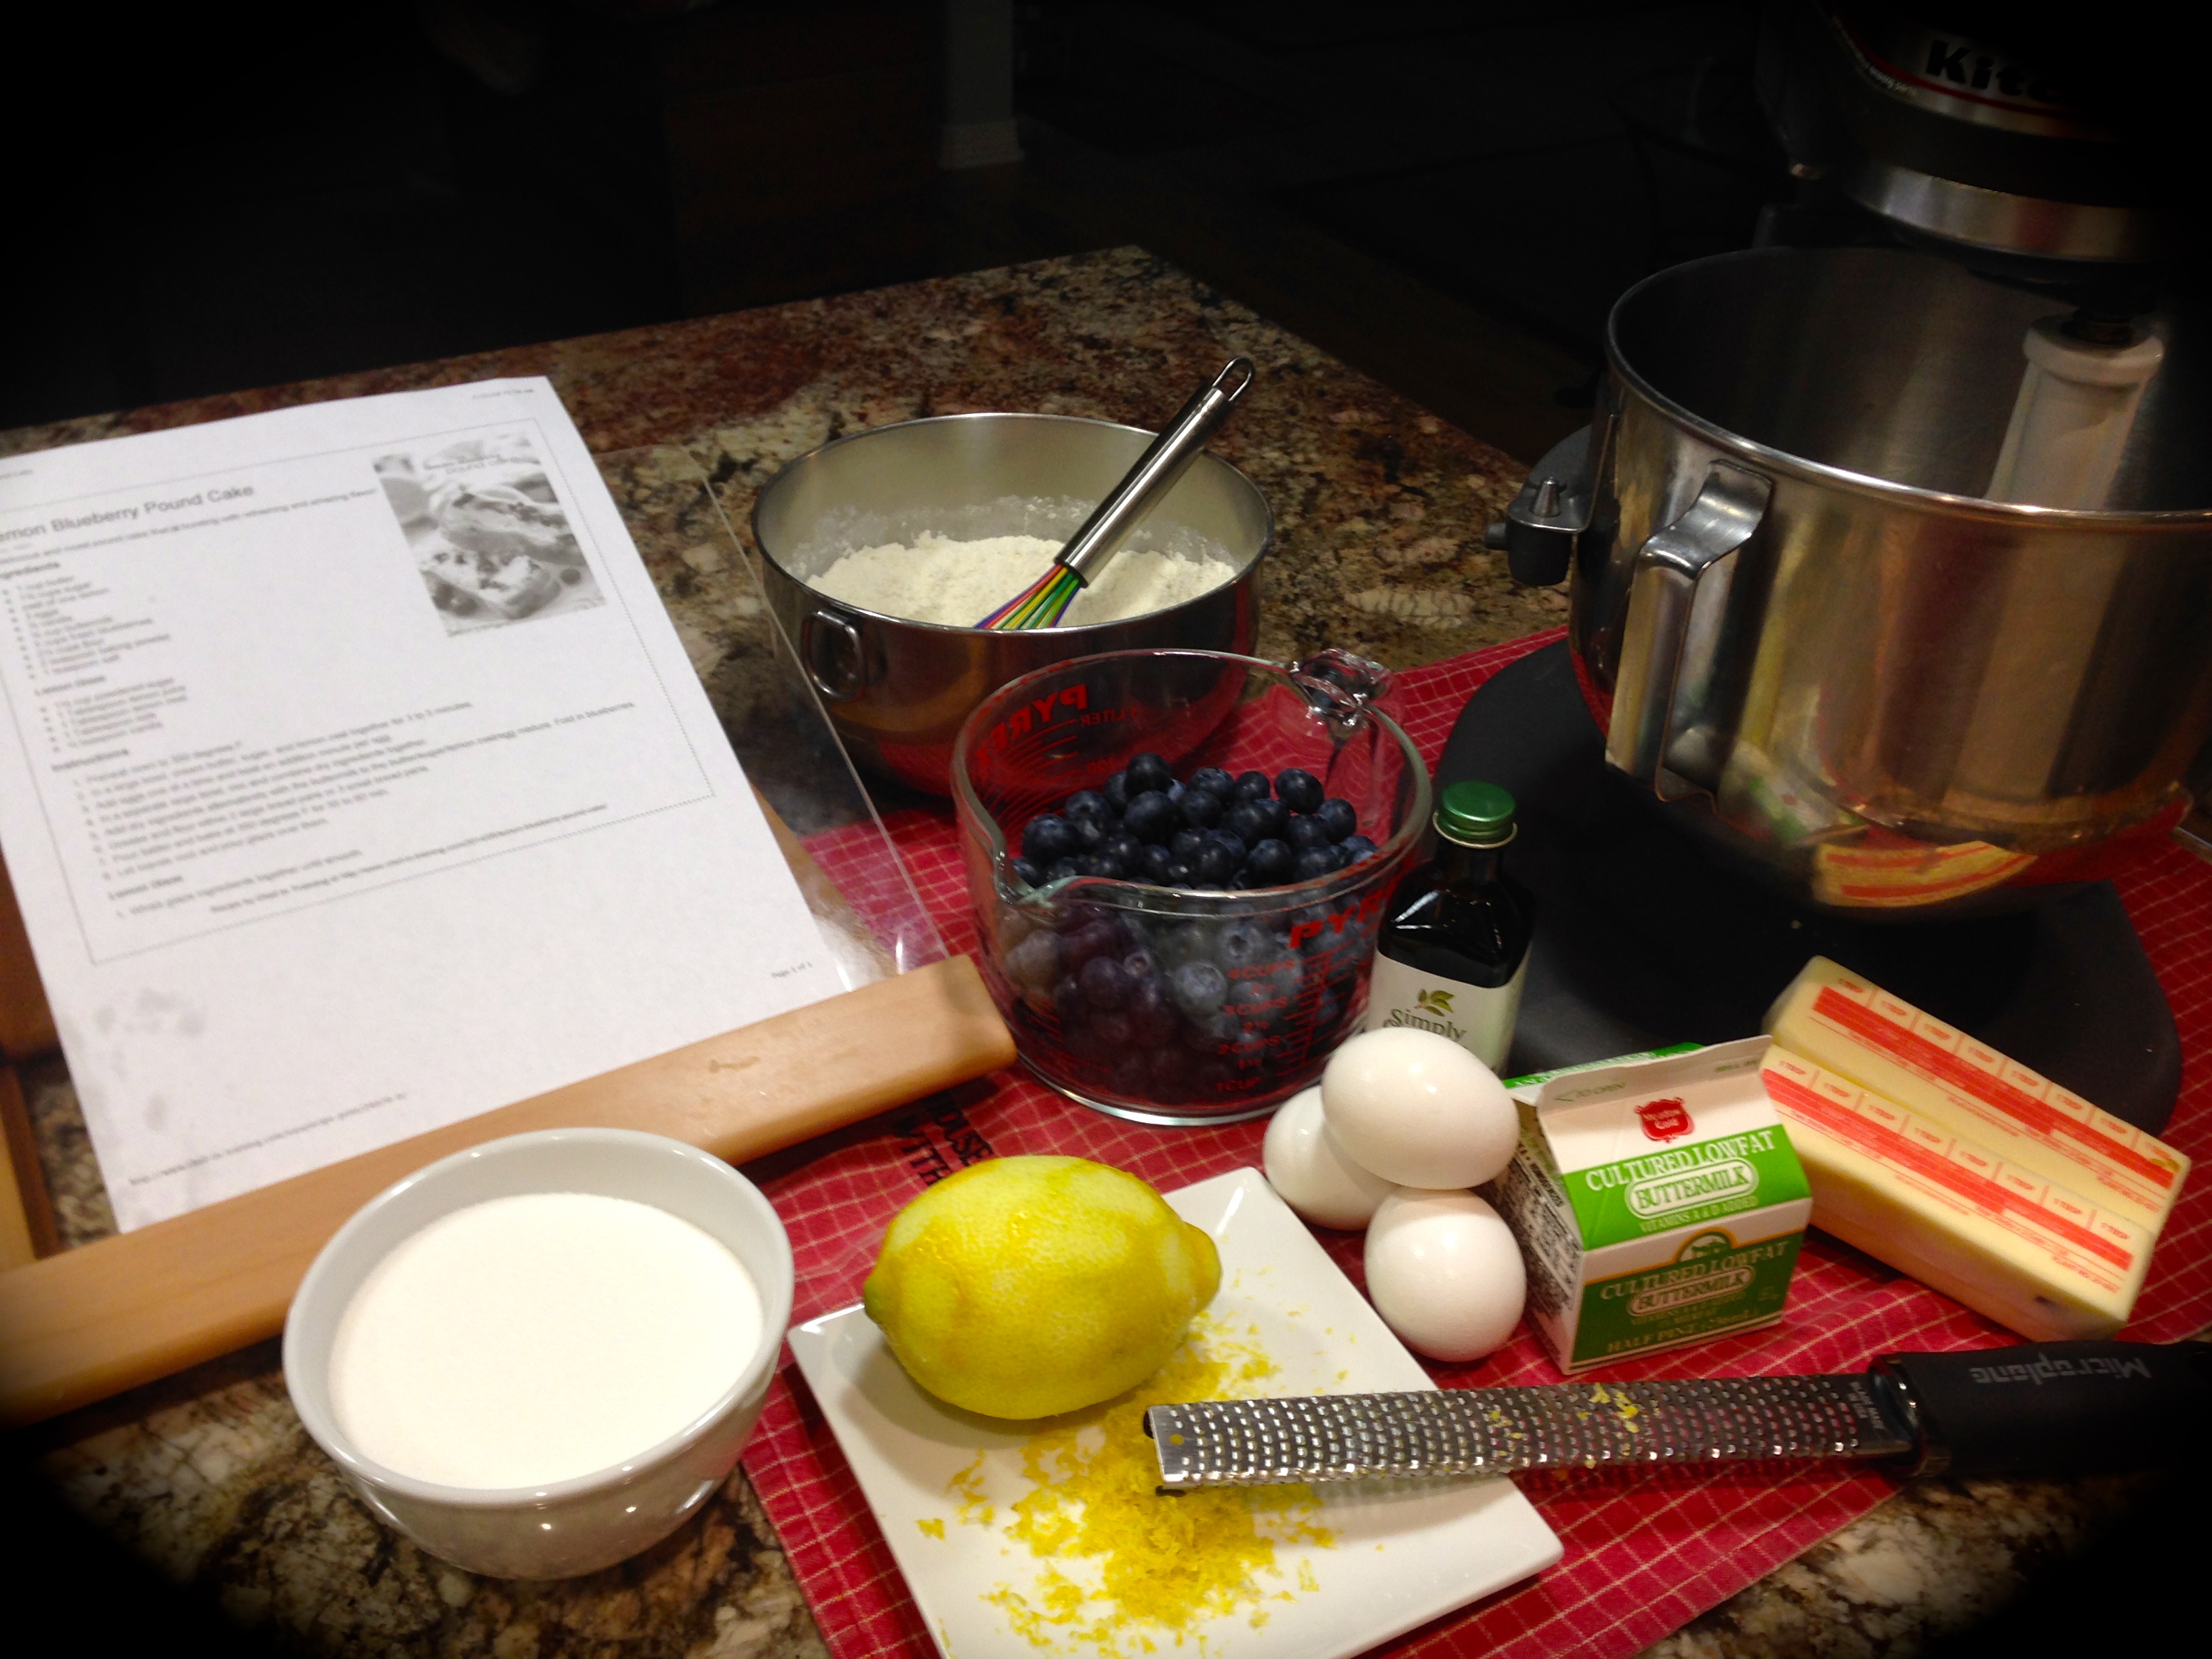
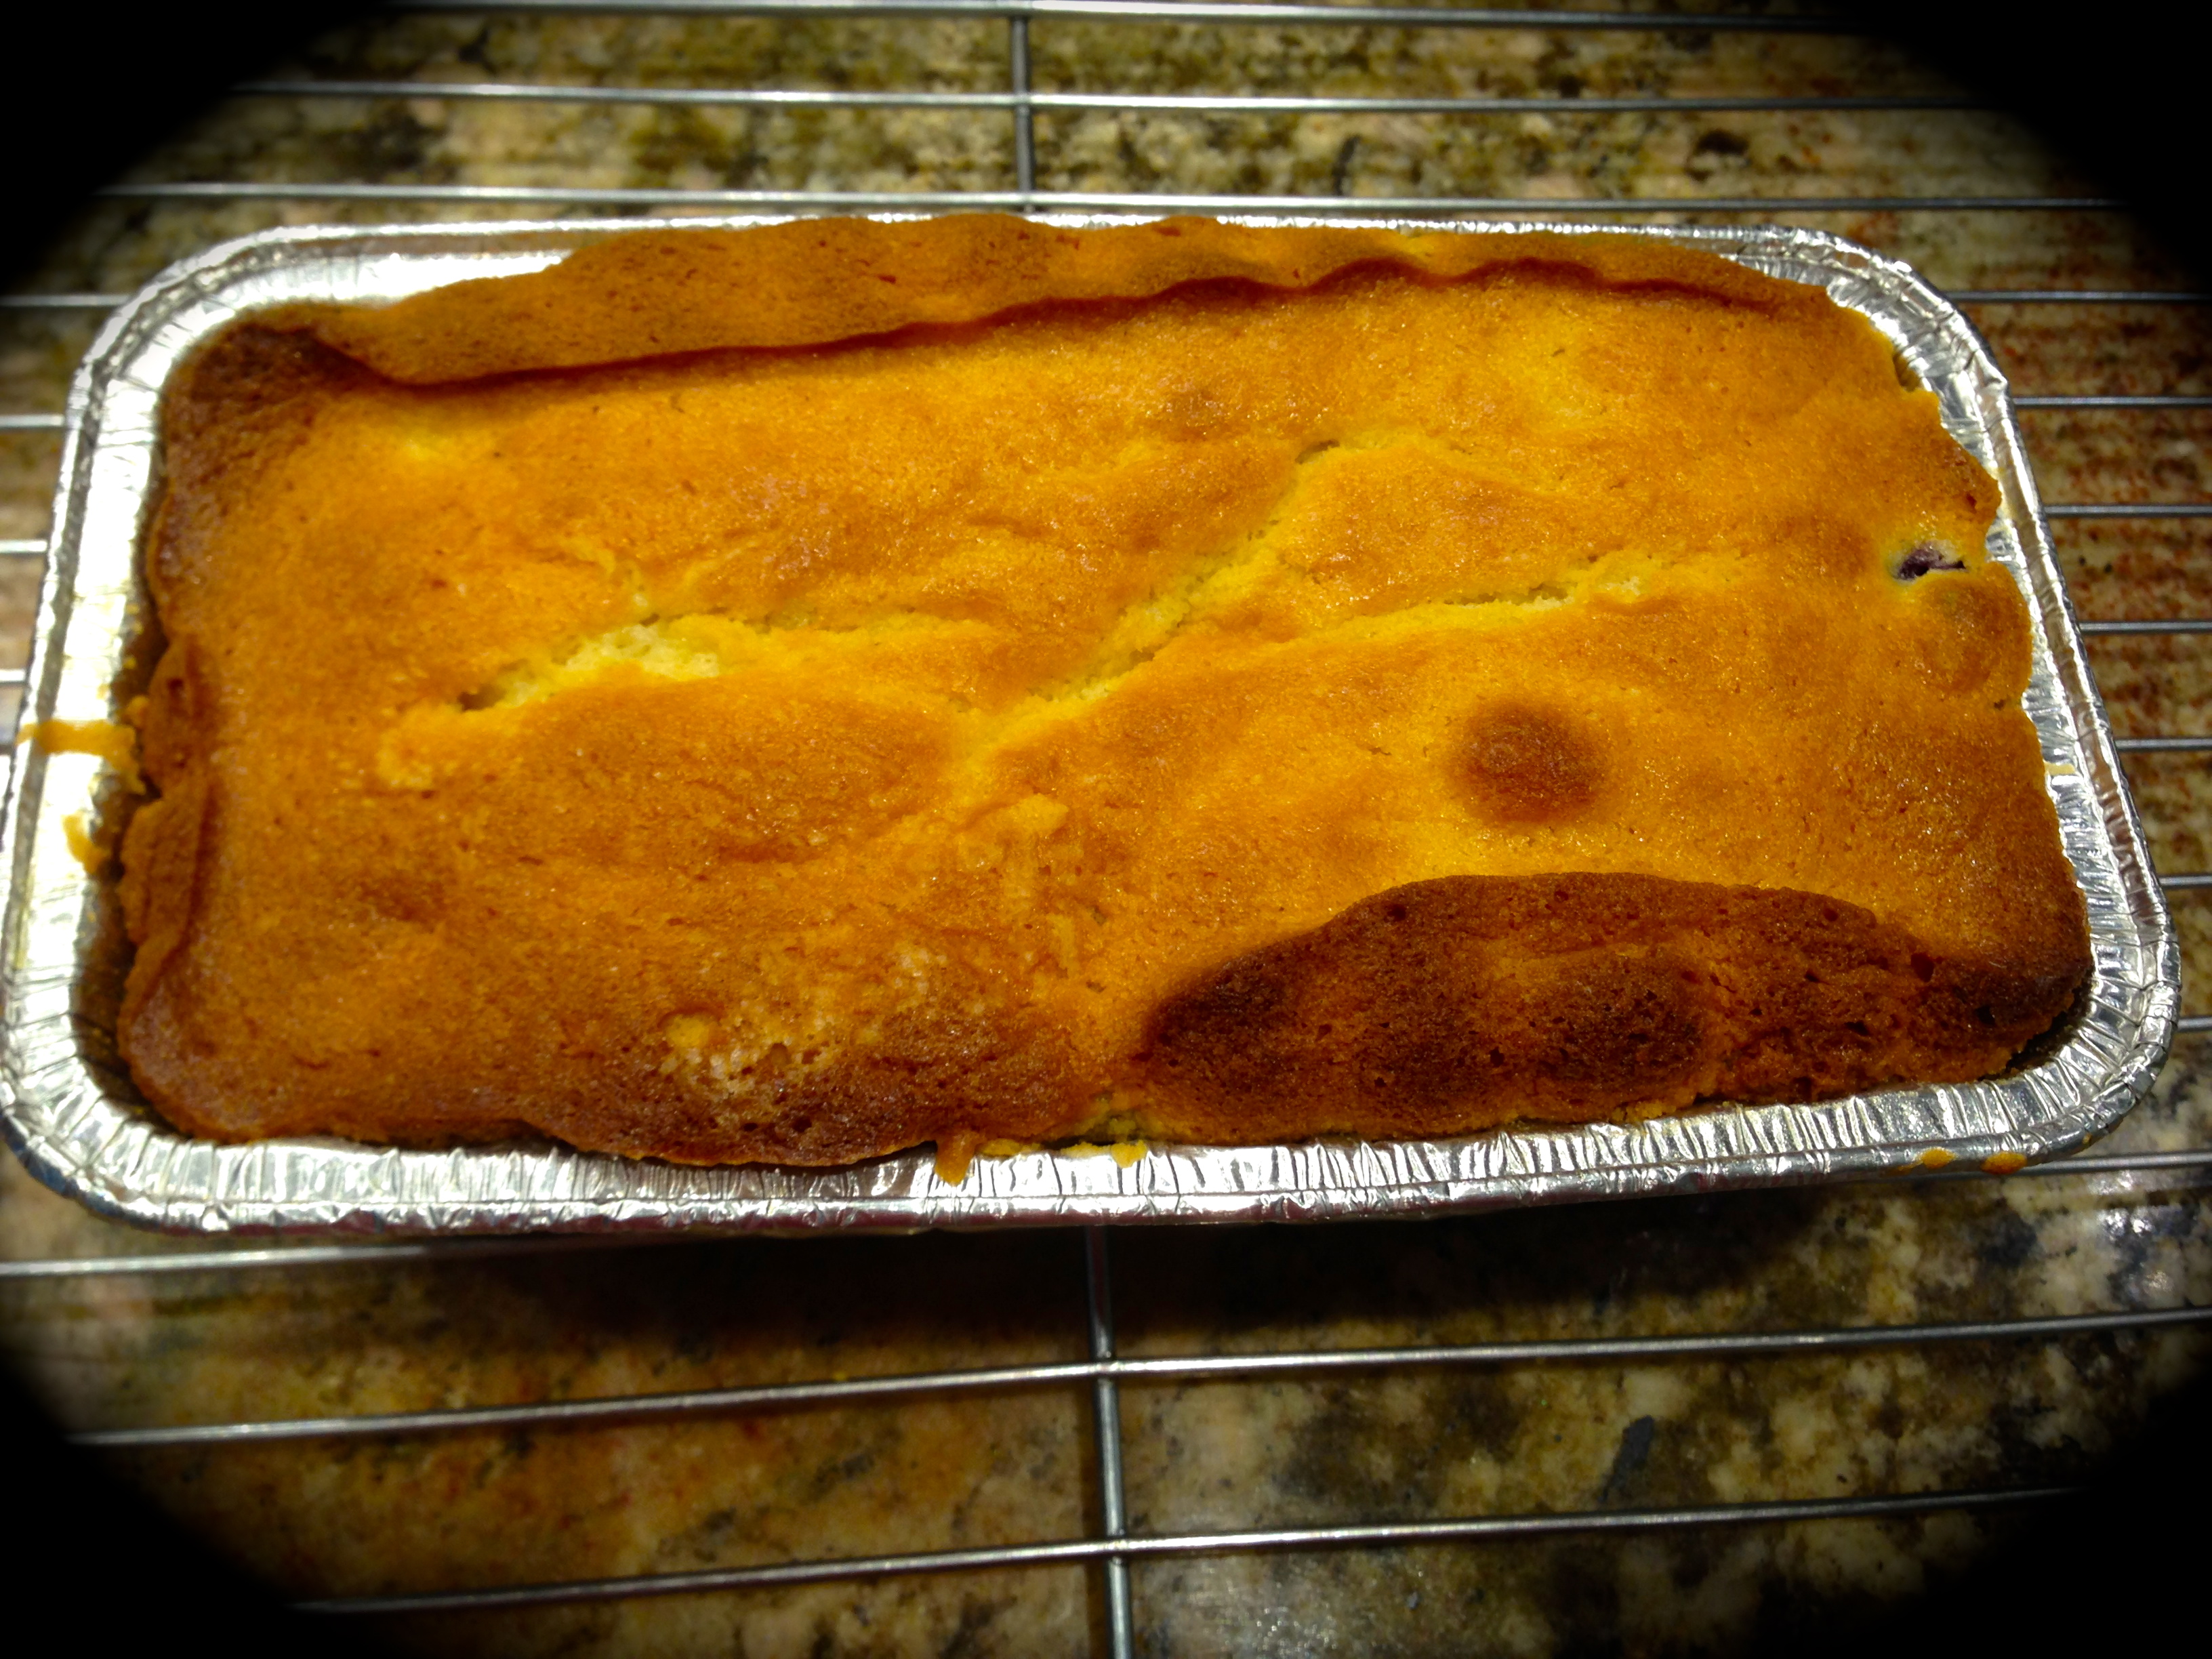
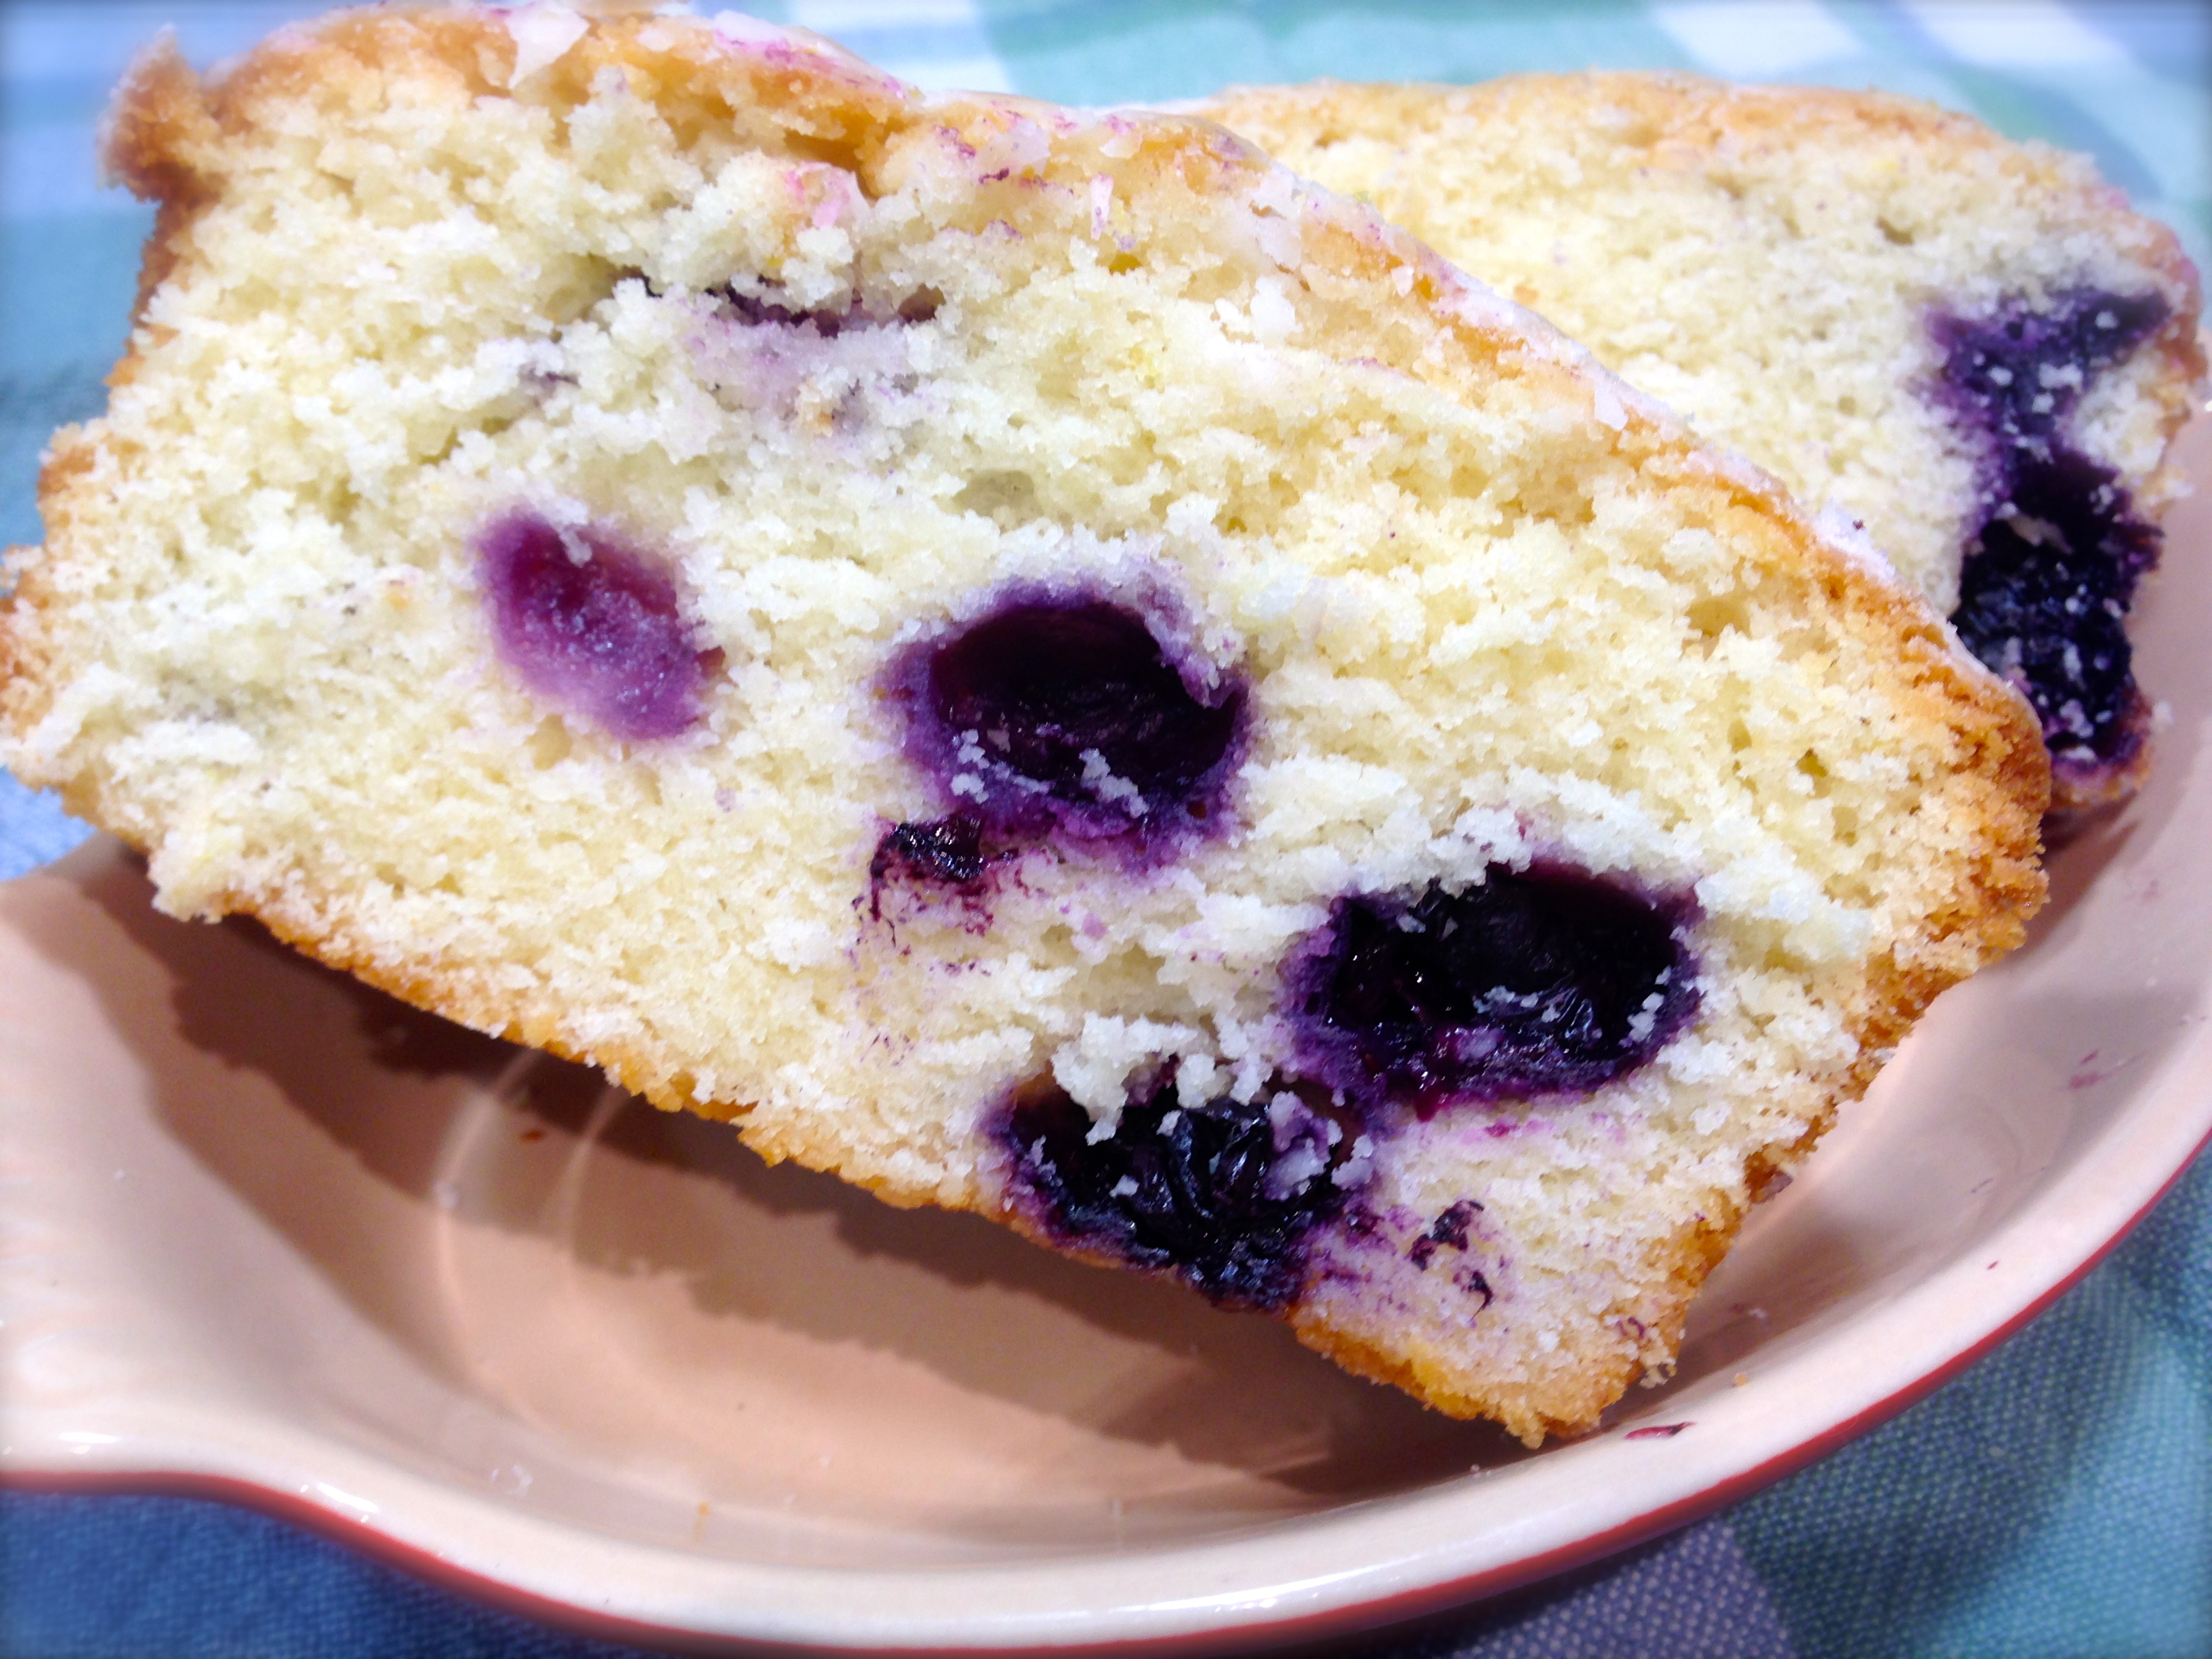
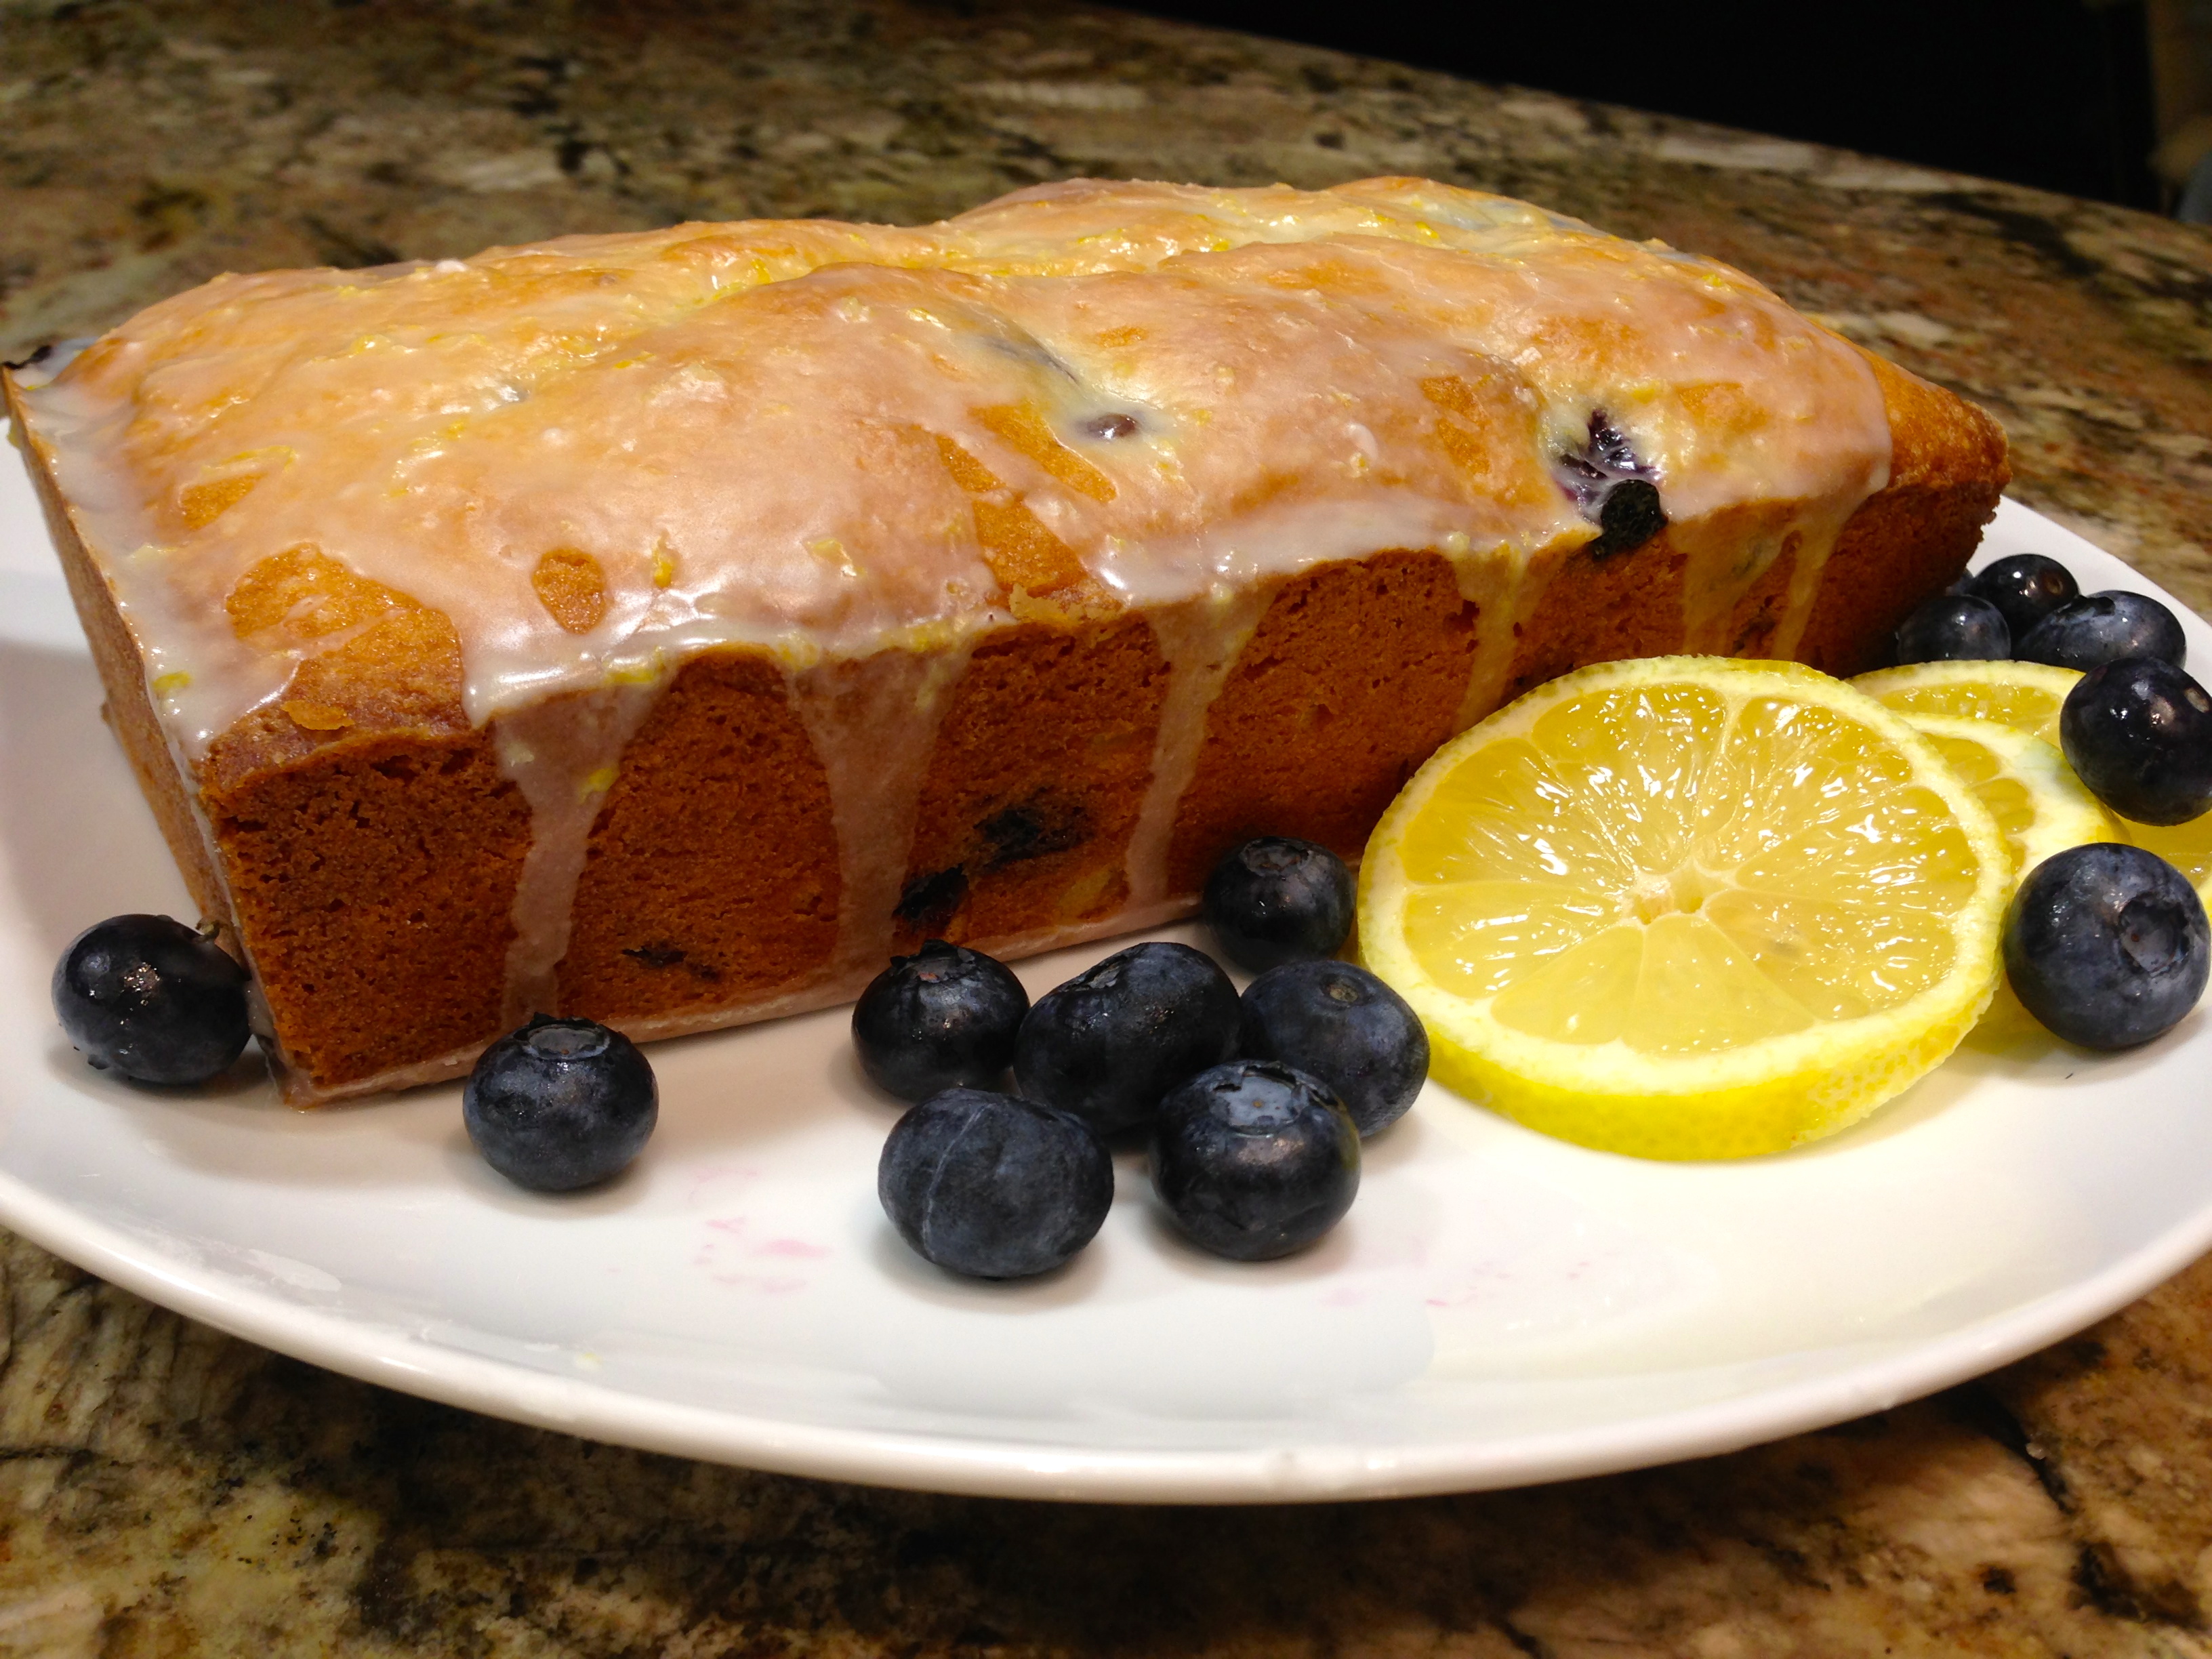
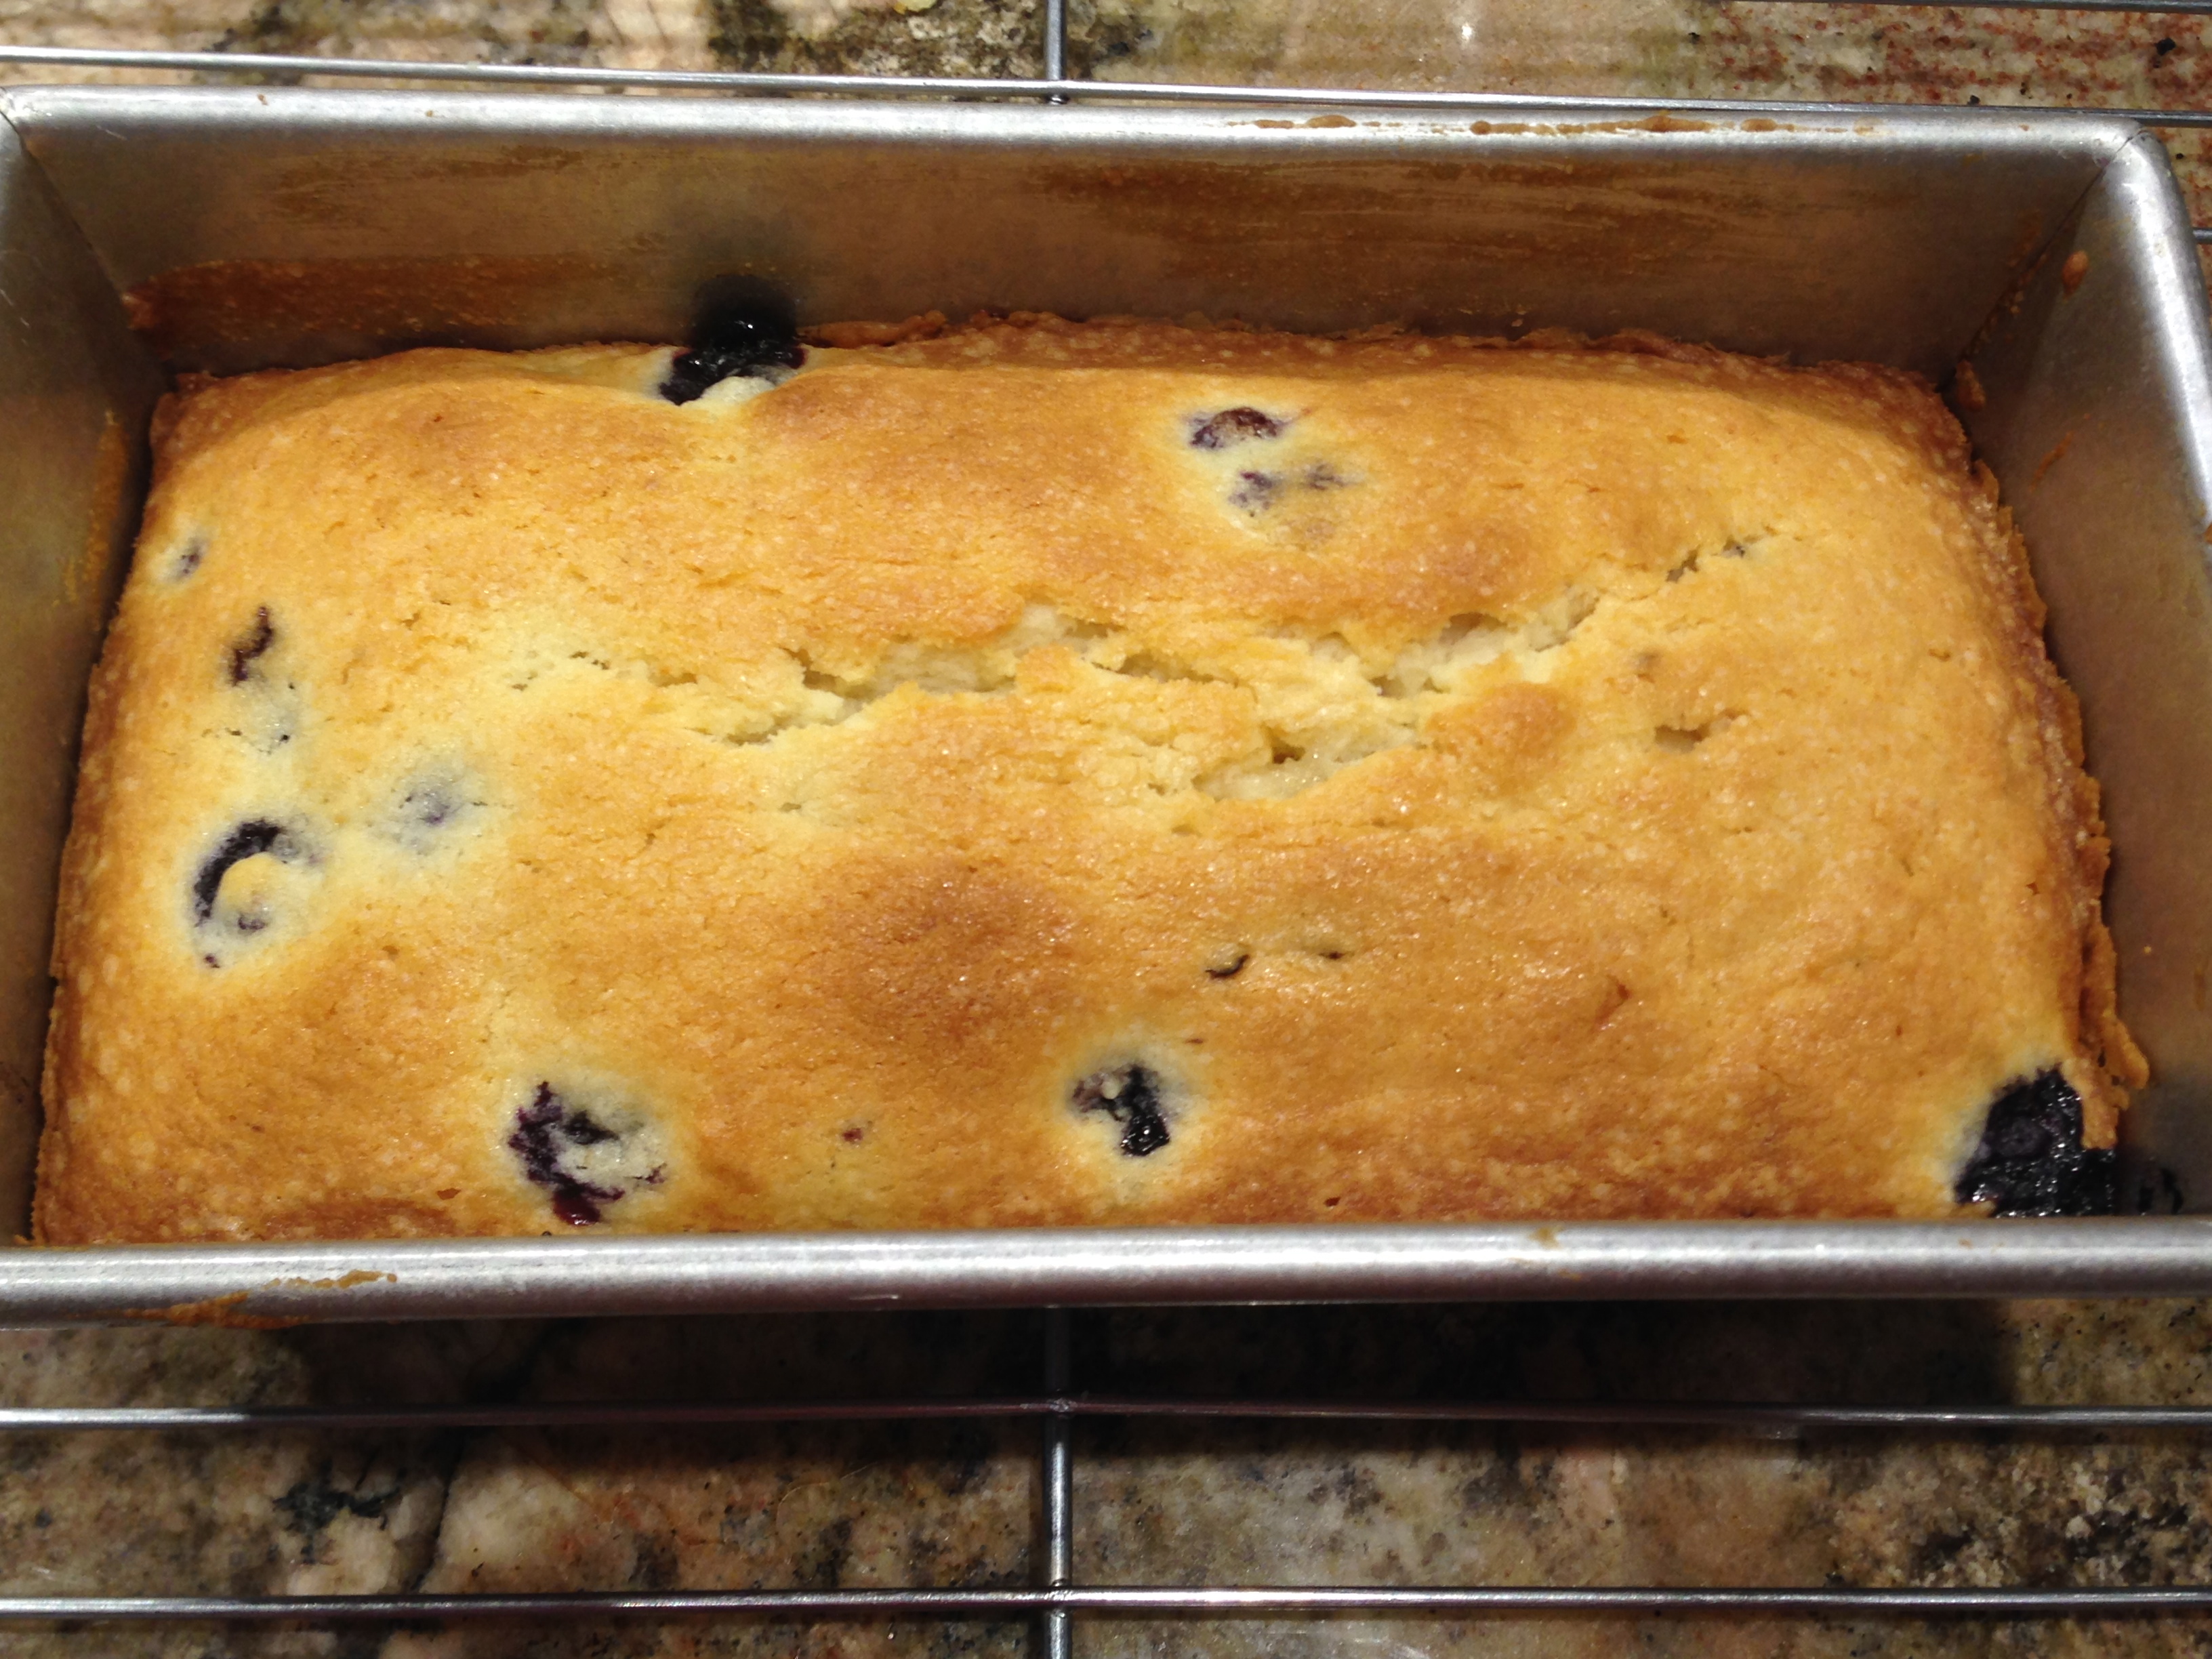
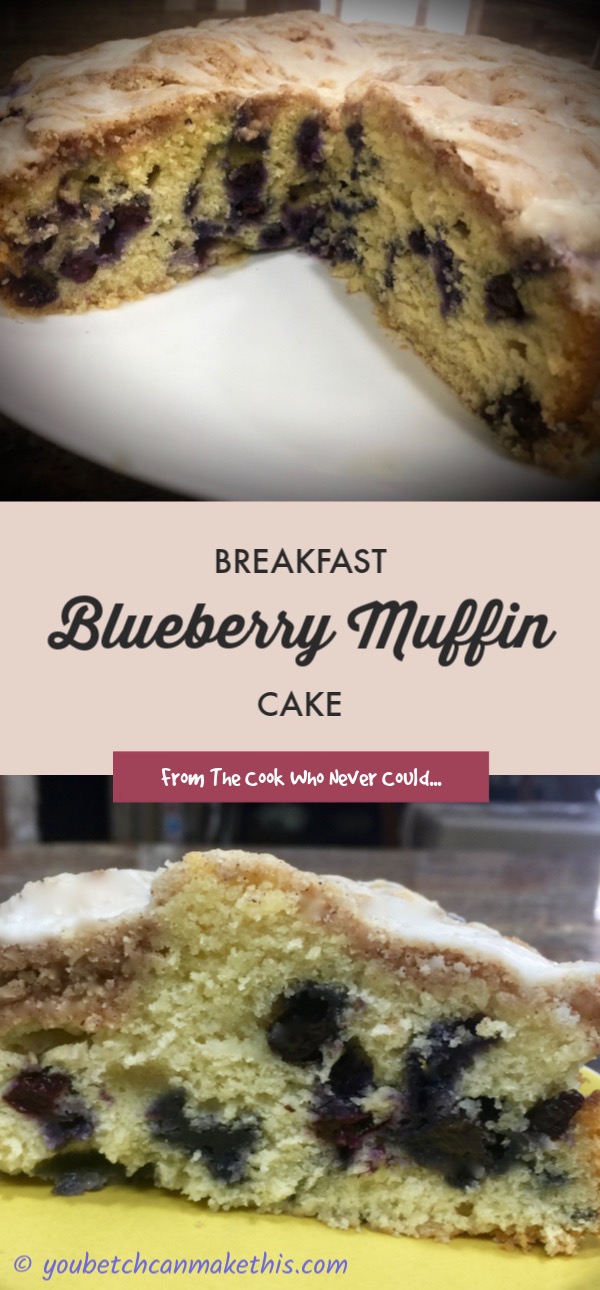
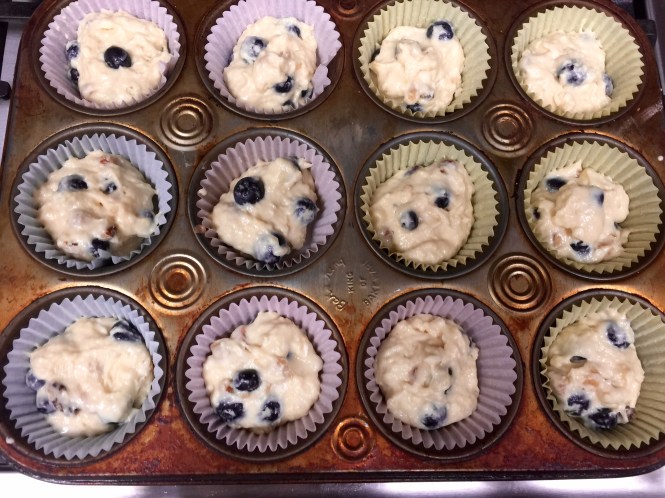
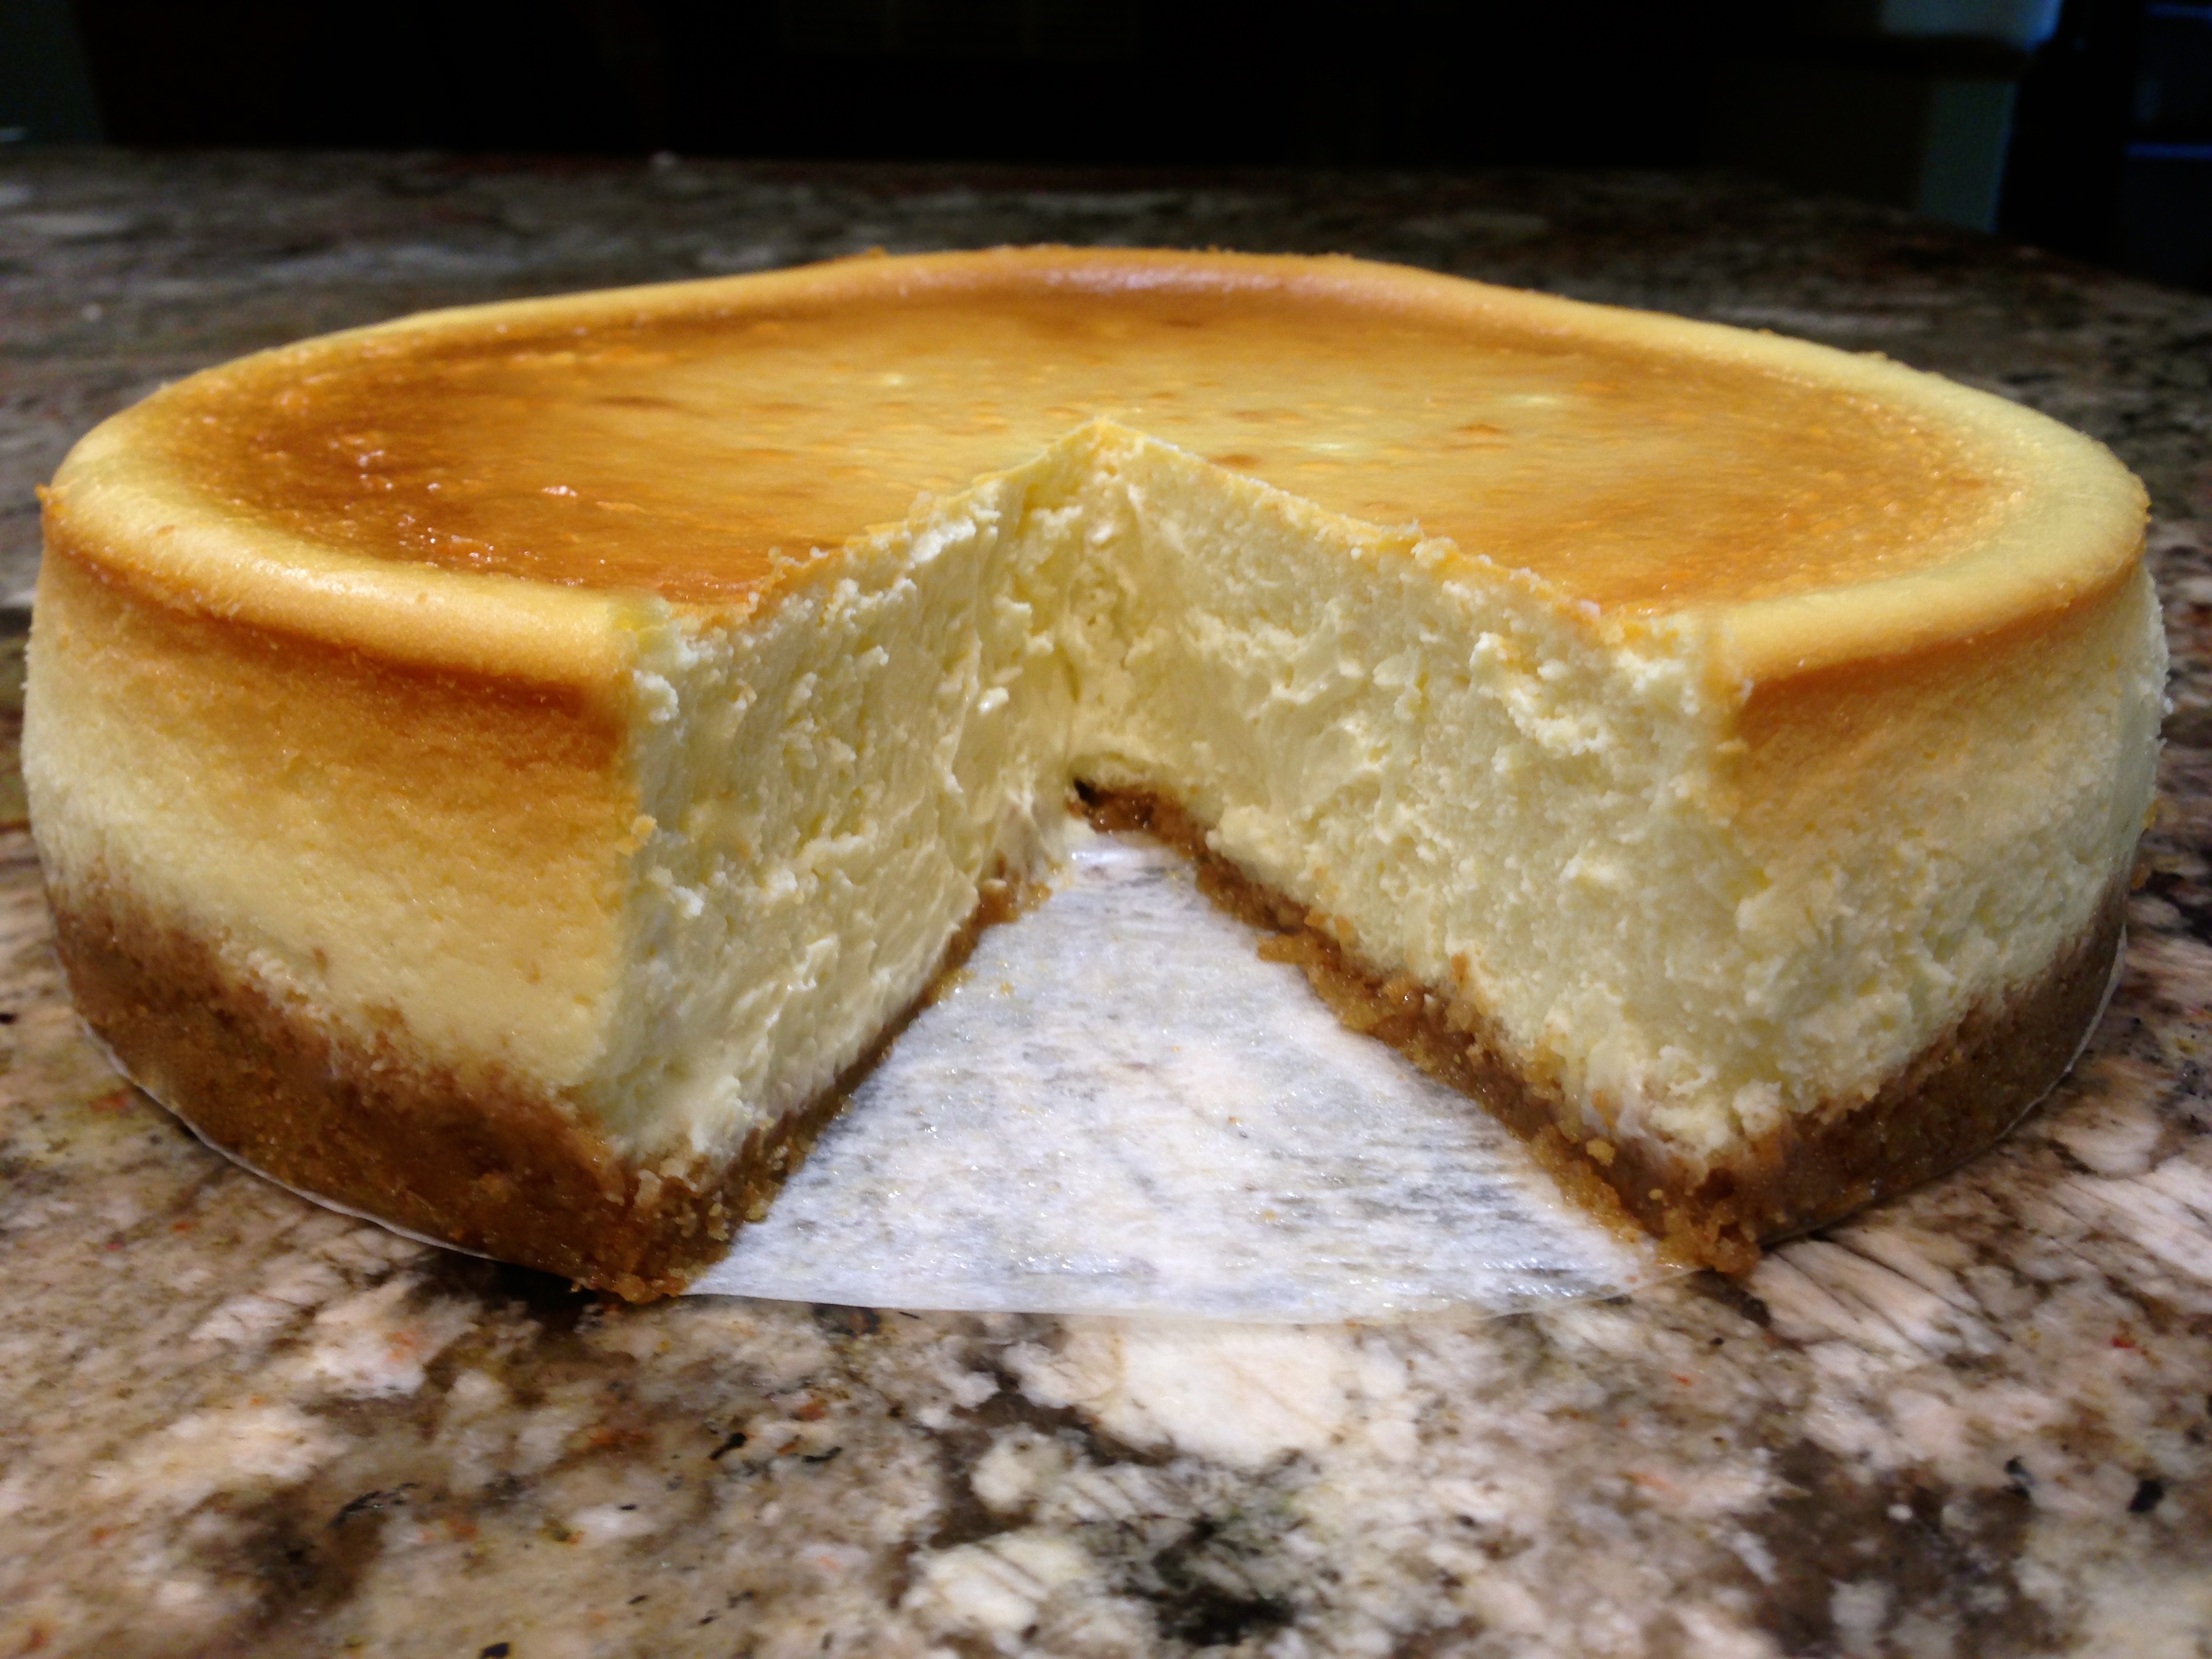
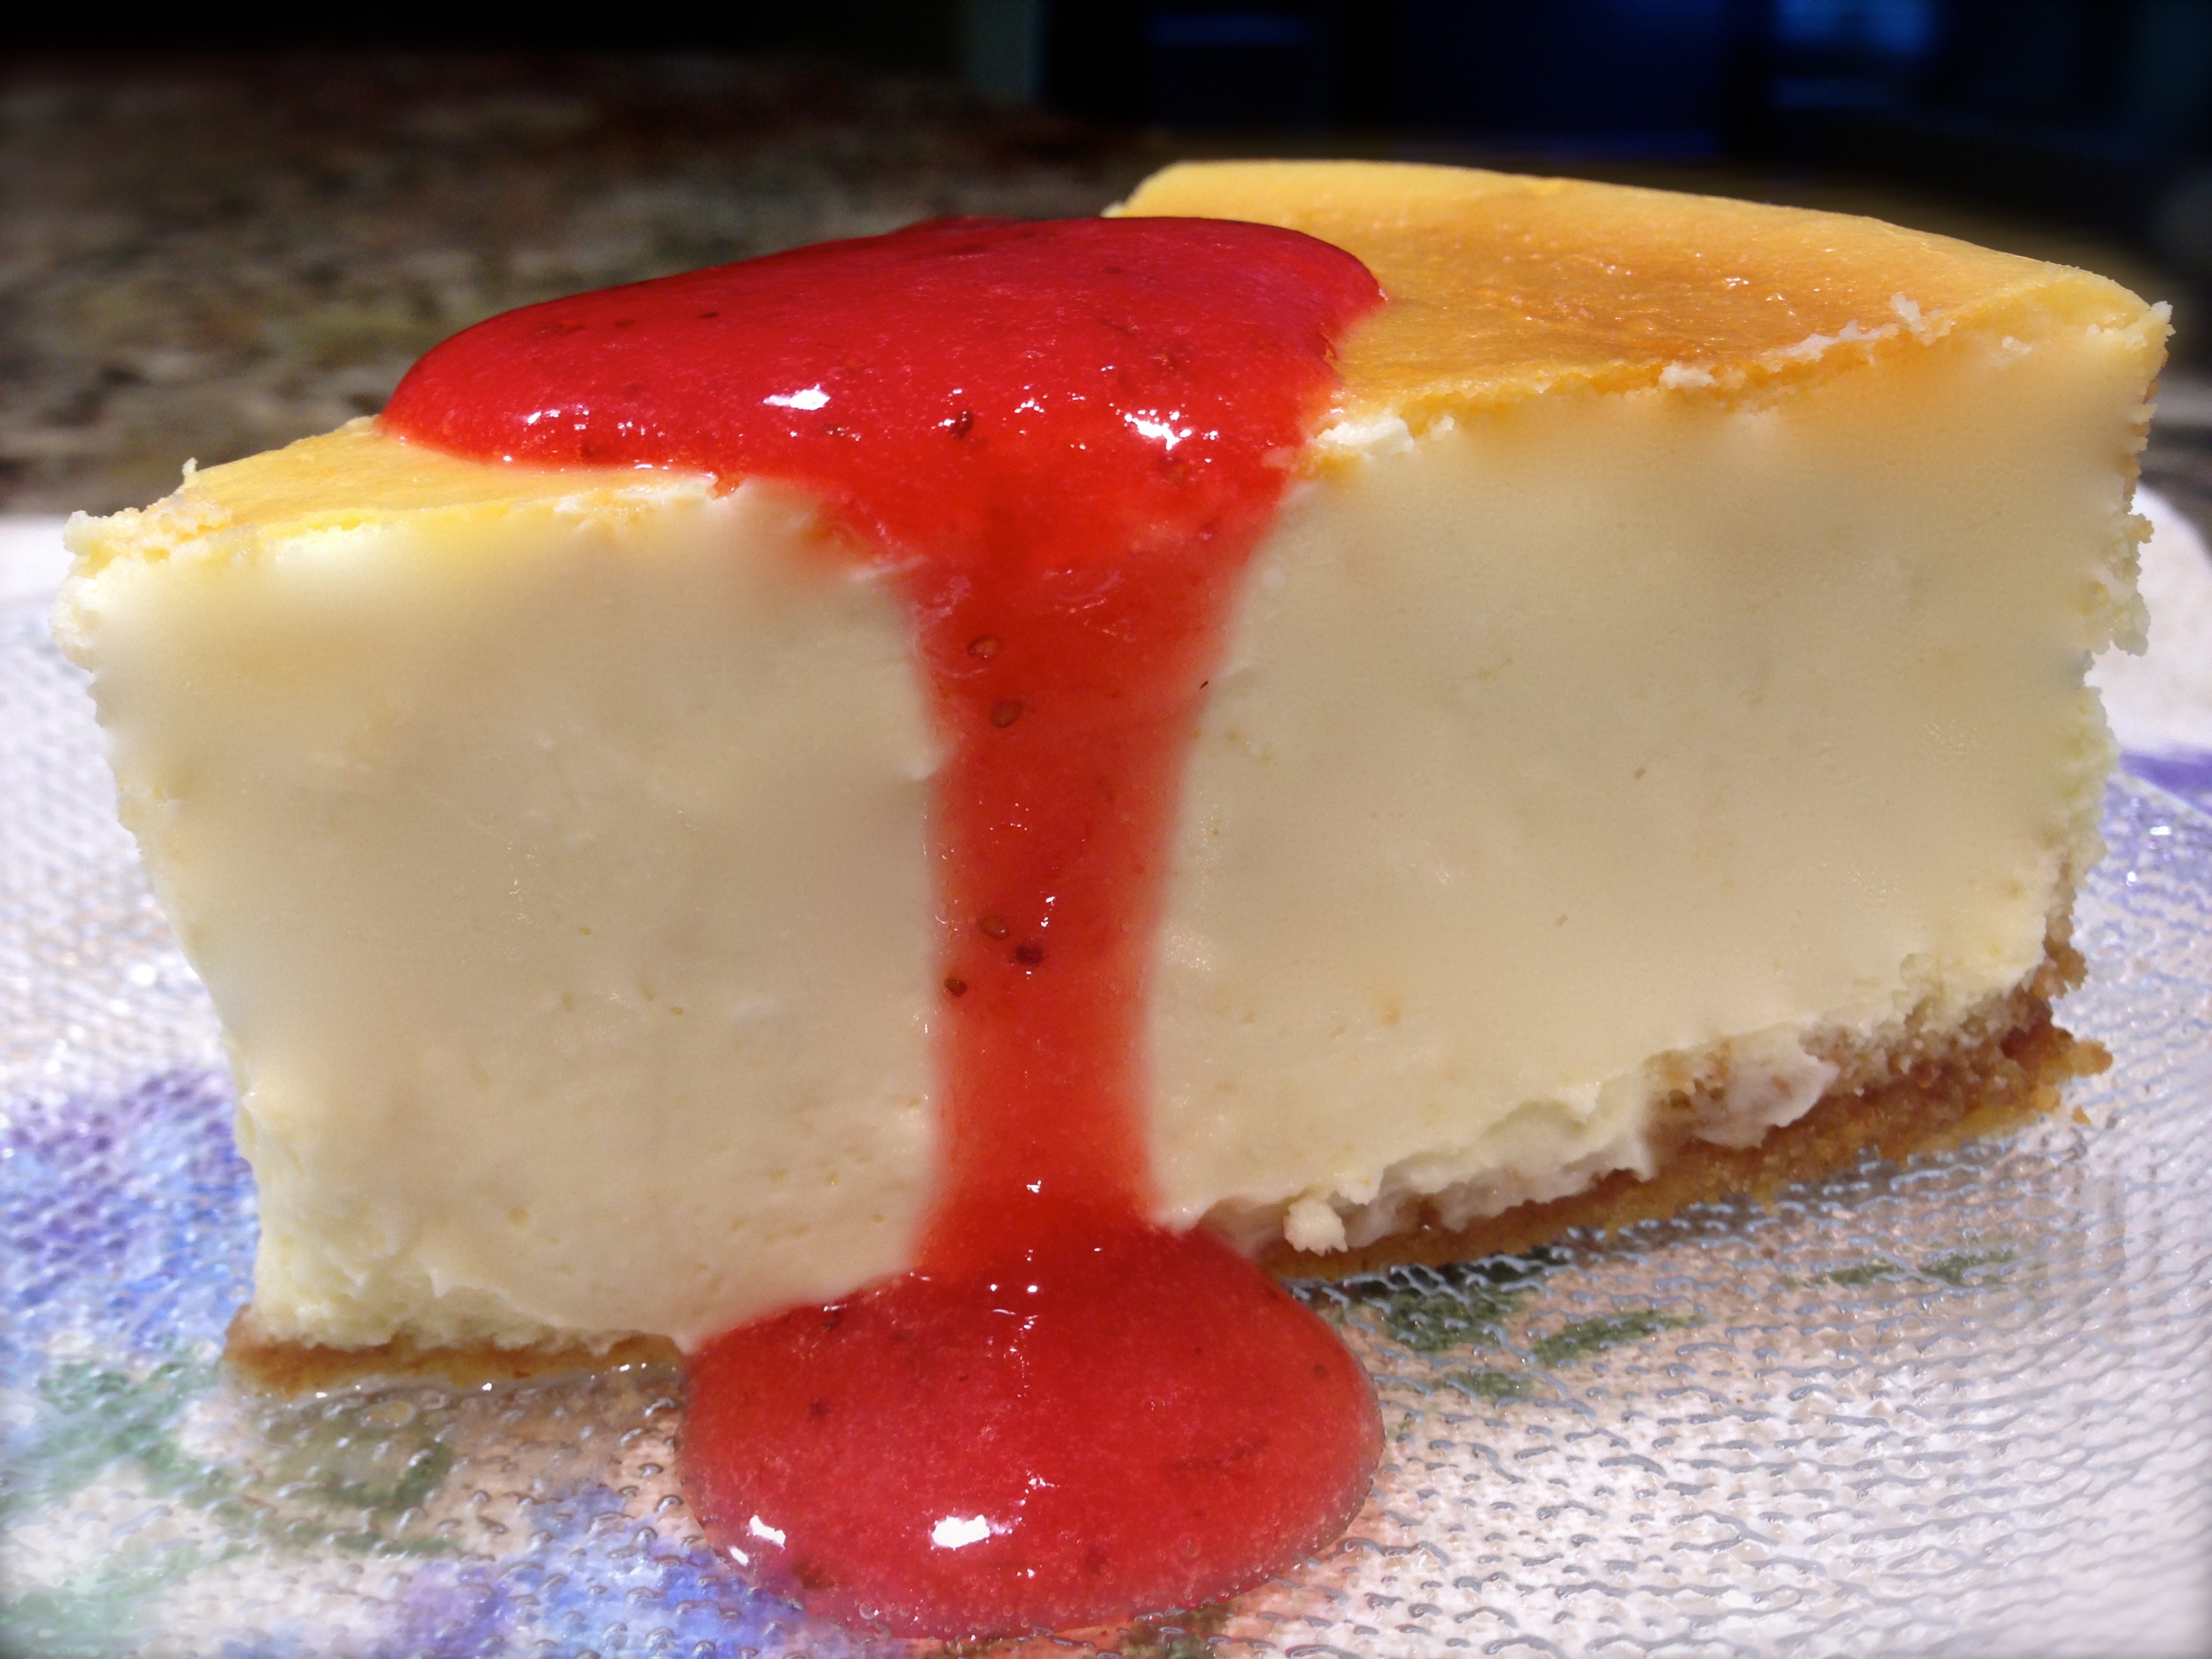
I made this recipe the other day and posted some pictures on Instagram and Facebook and got so many comments about sharing the recipe that I felt compelled to blog it faster than I thought I would. I made this recipe mainly because I had a ton of blueberries that I needed to use (Lord only knows why I bought so many) and I also had several bars of cream cheese.
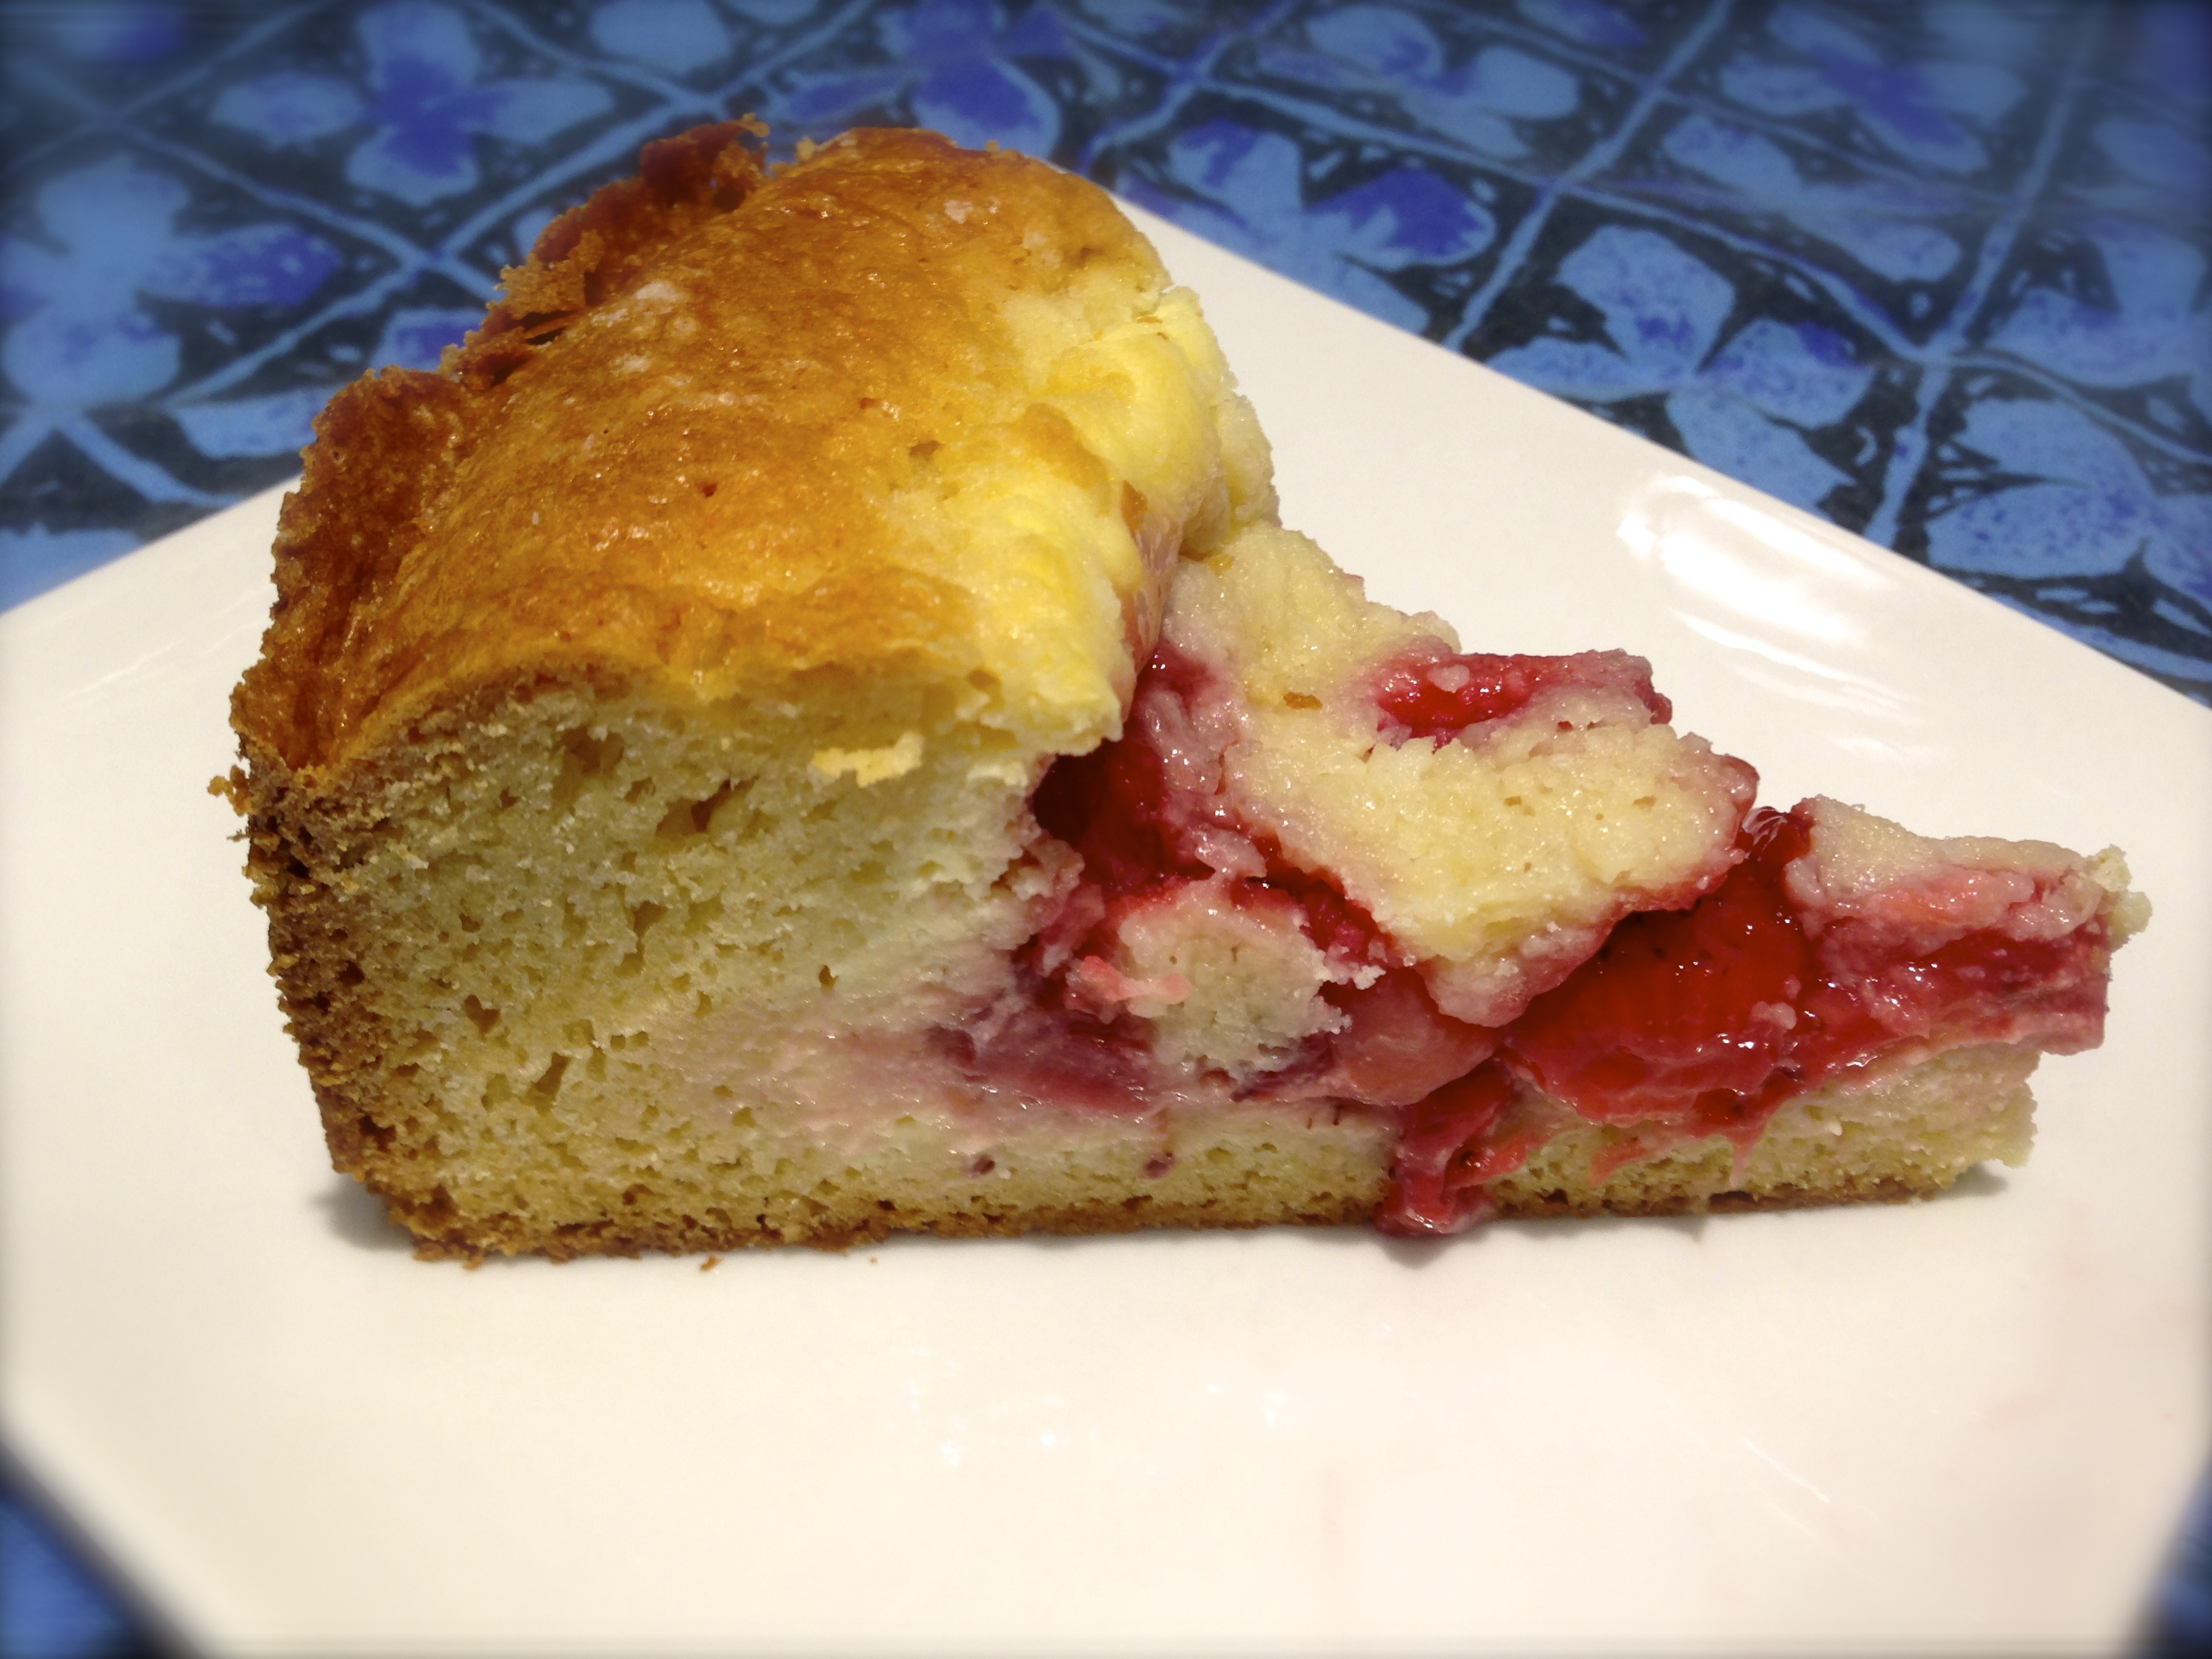
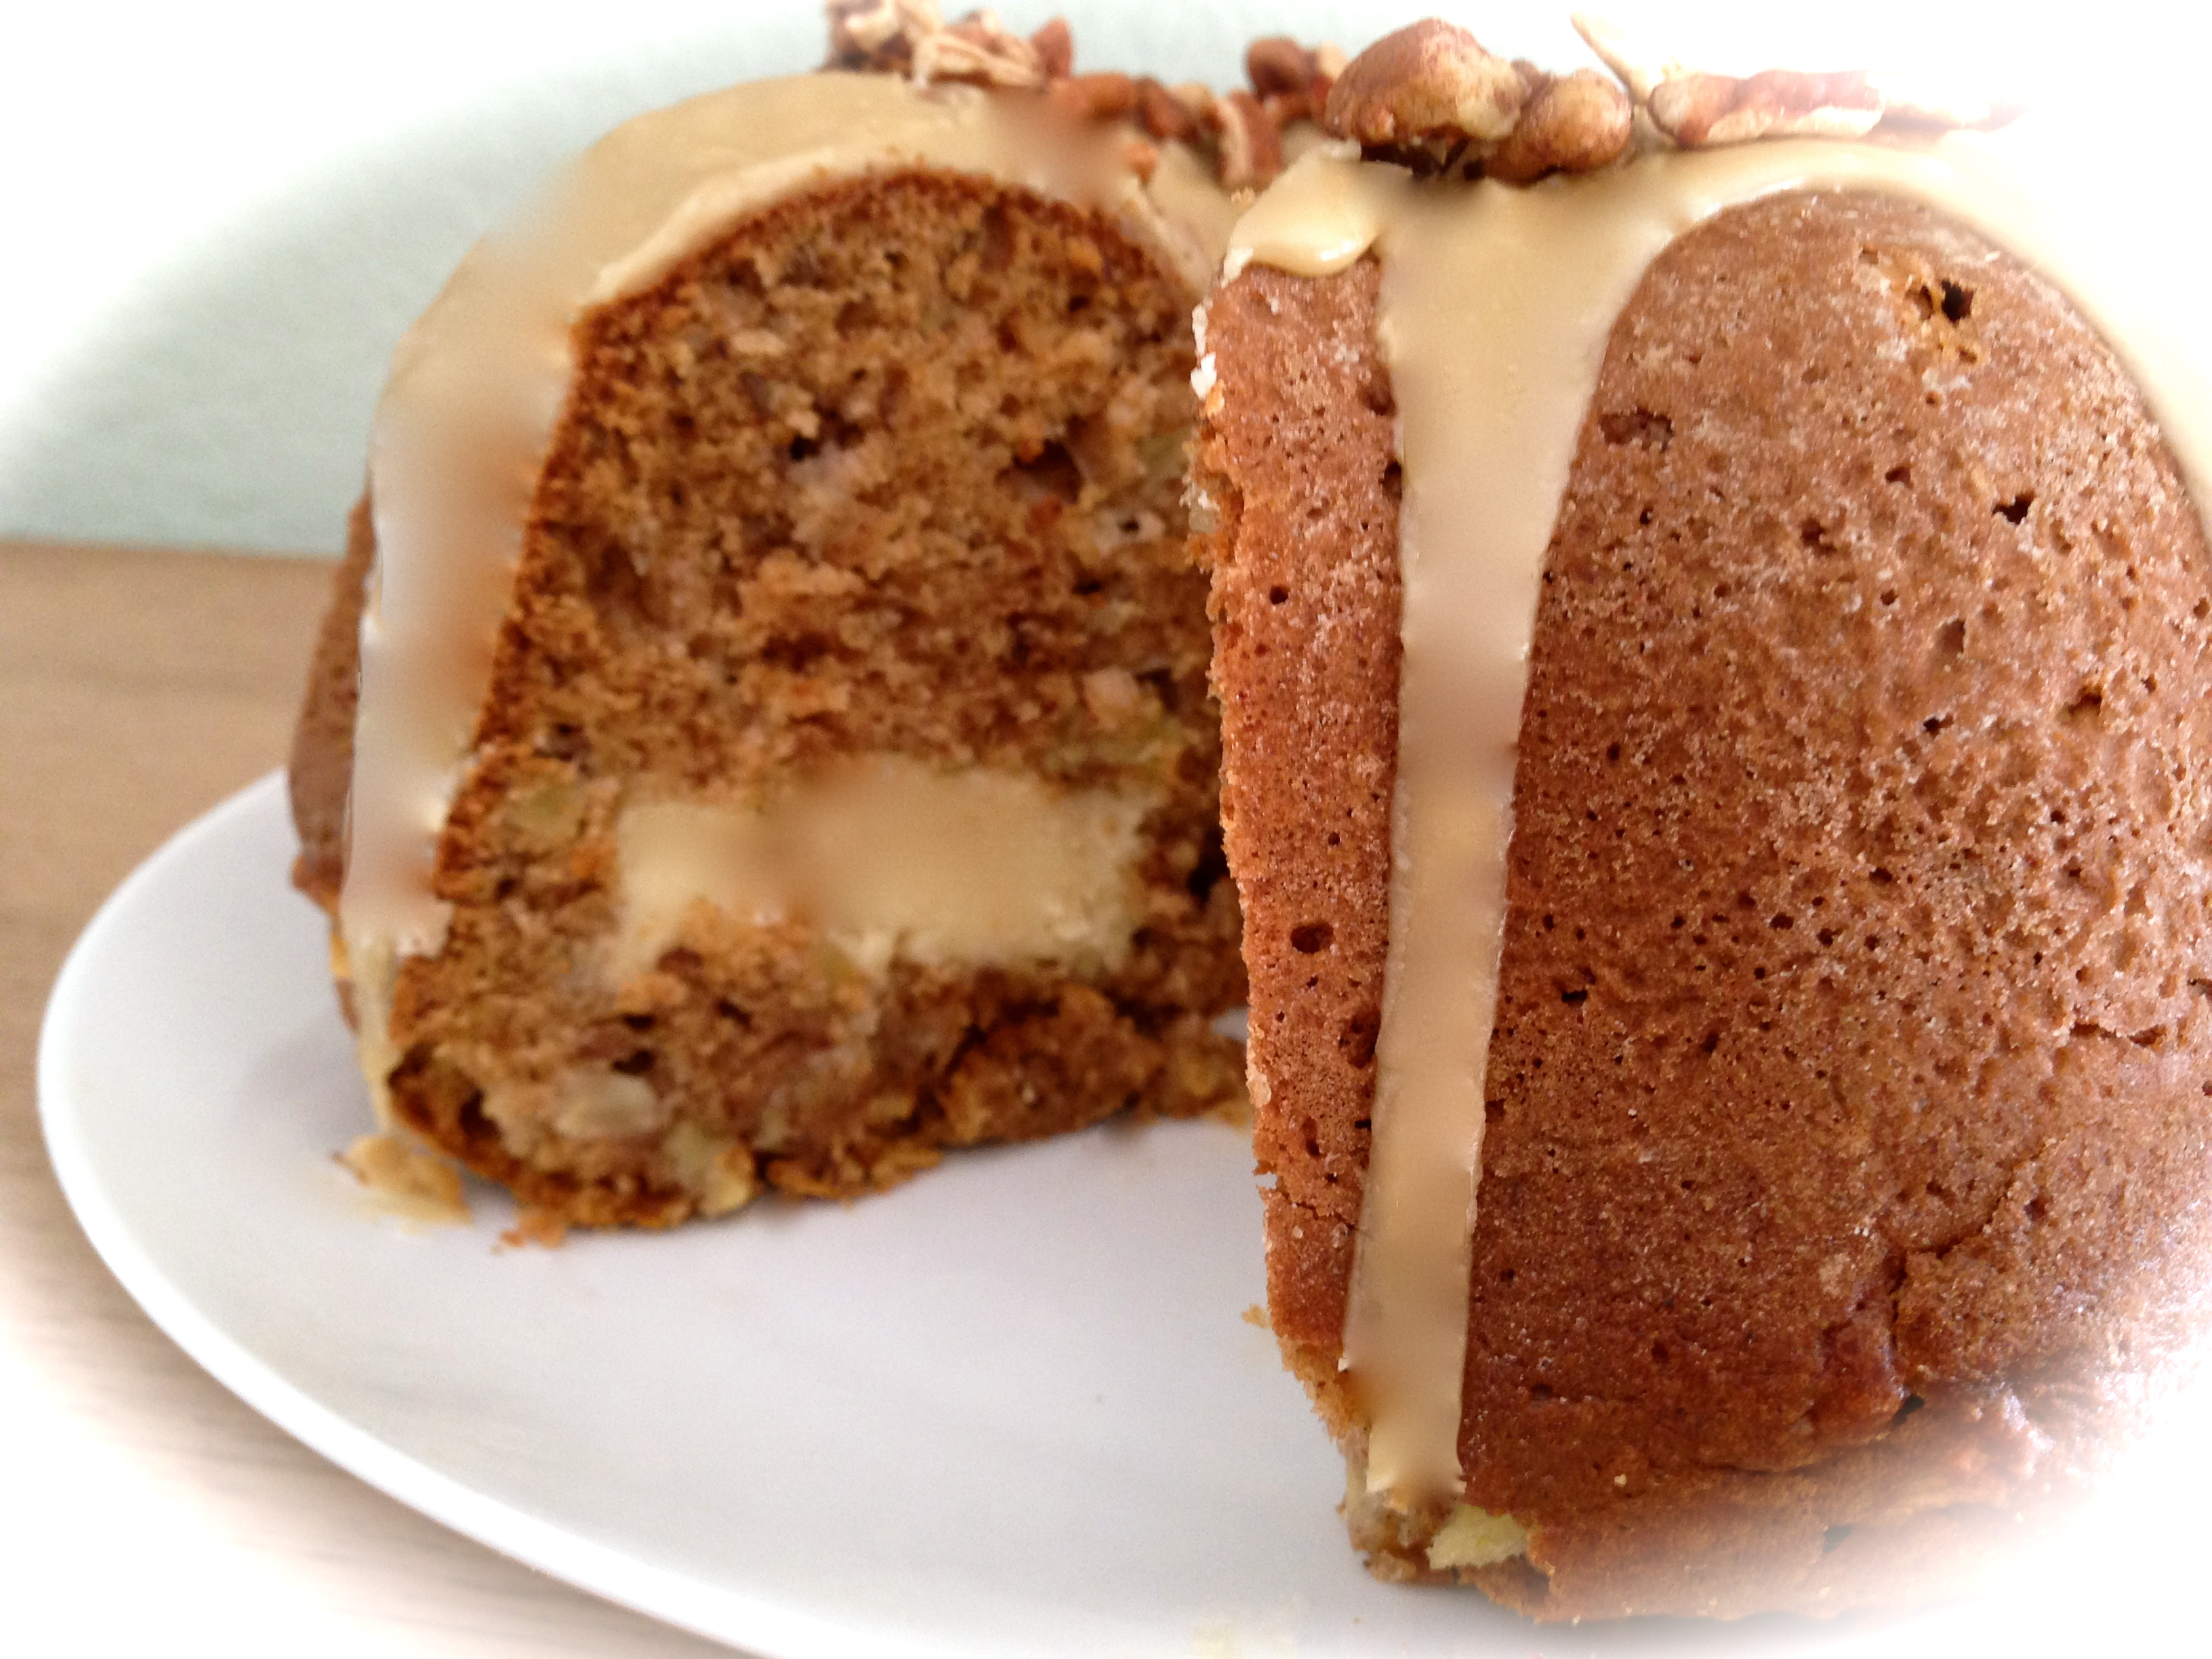
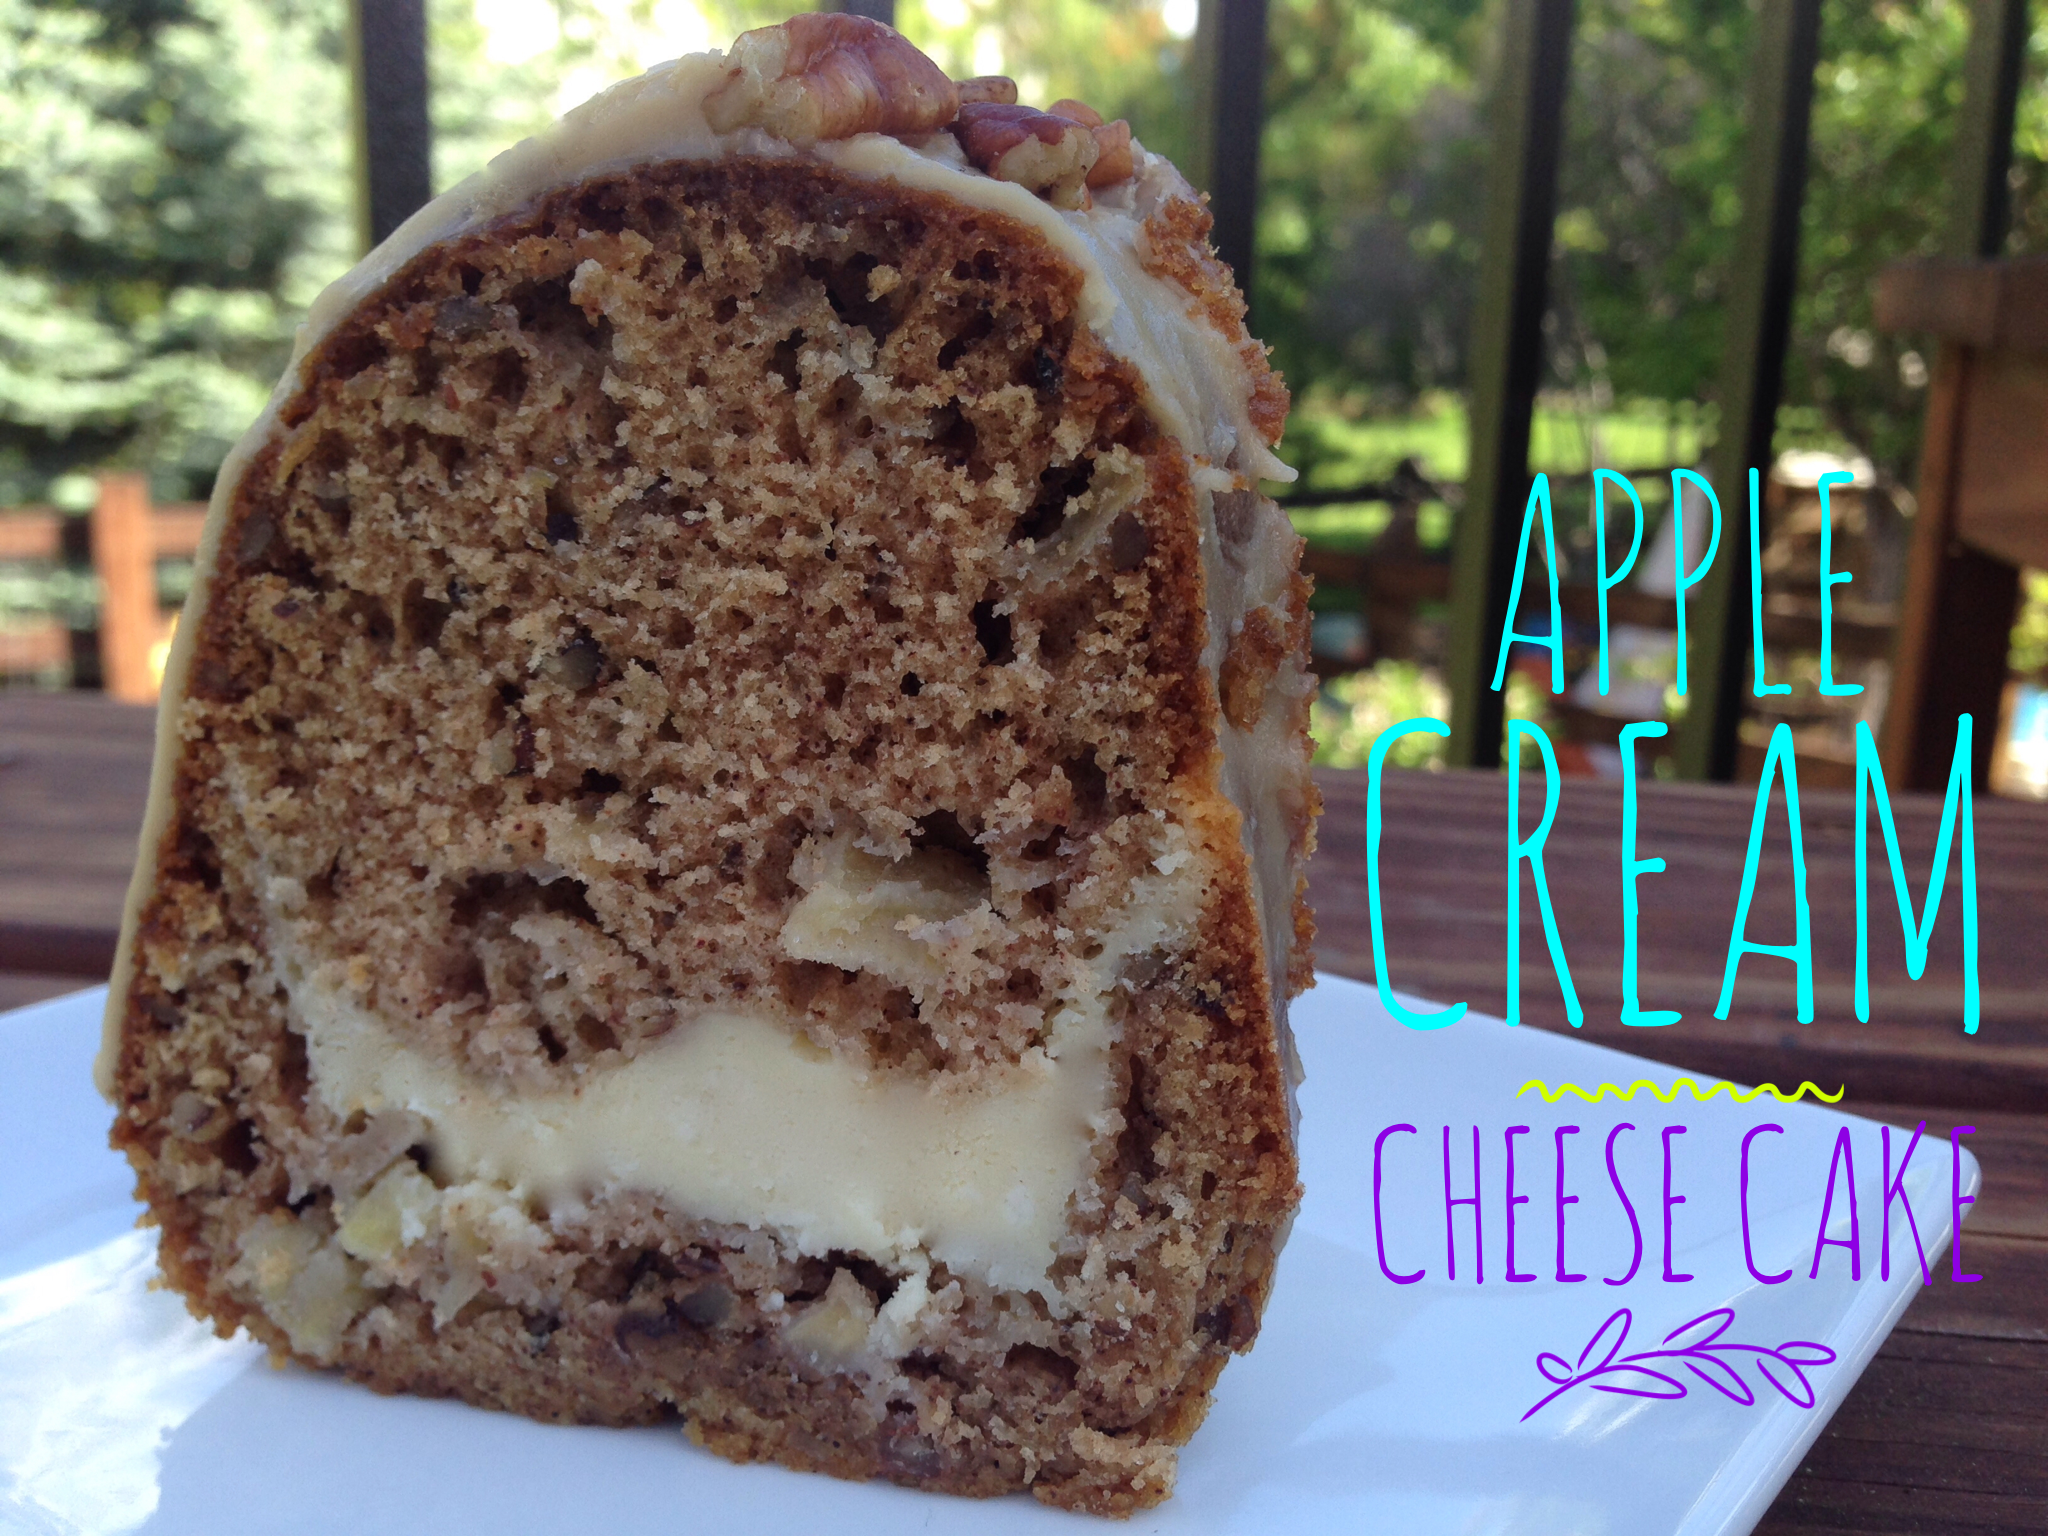
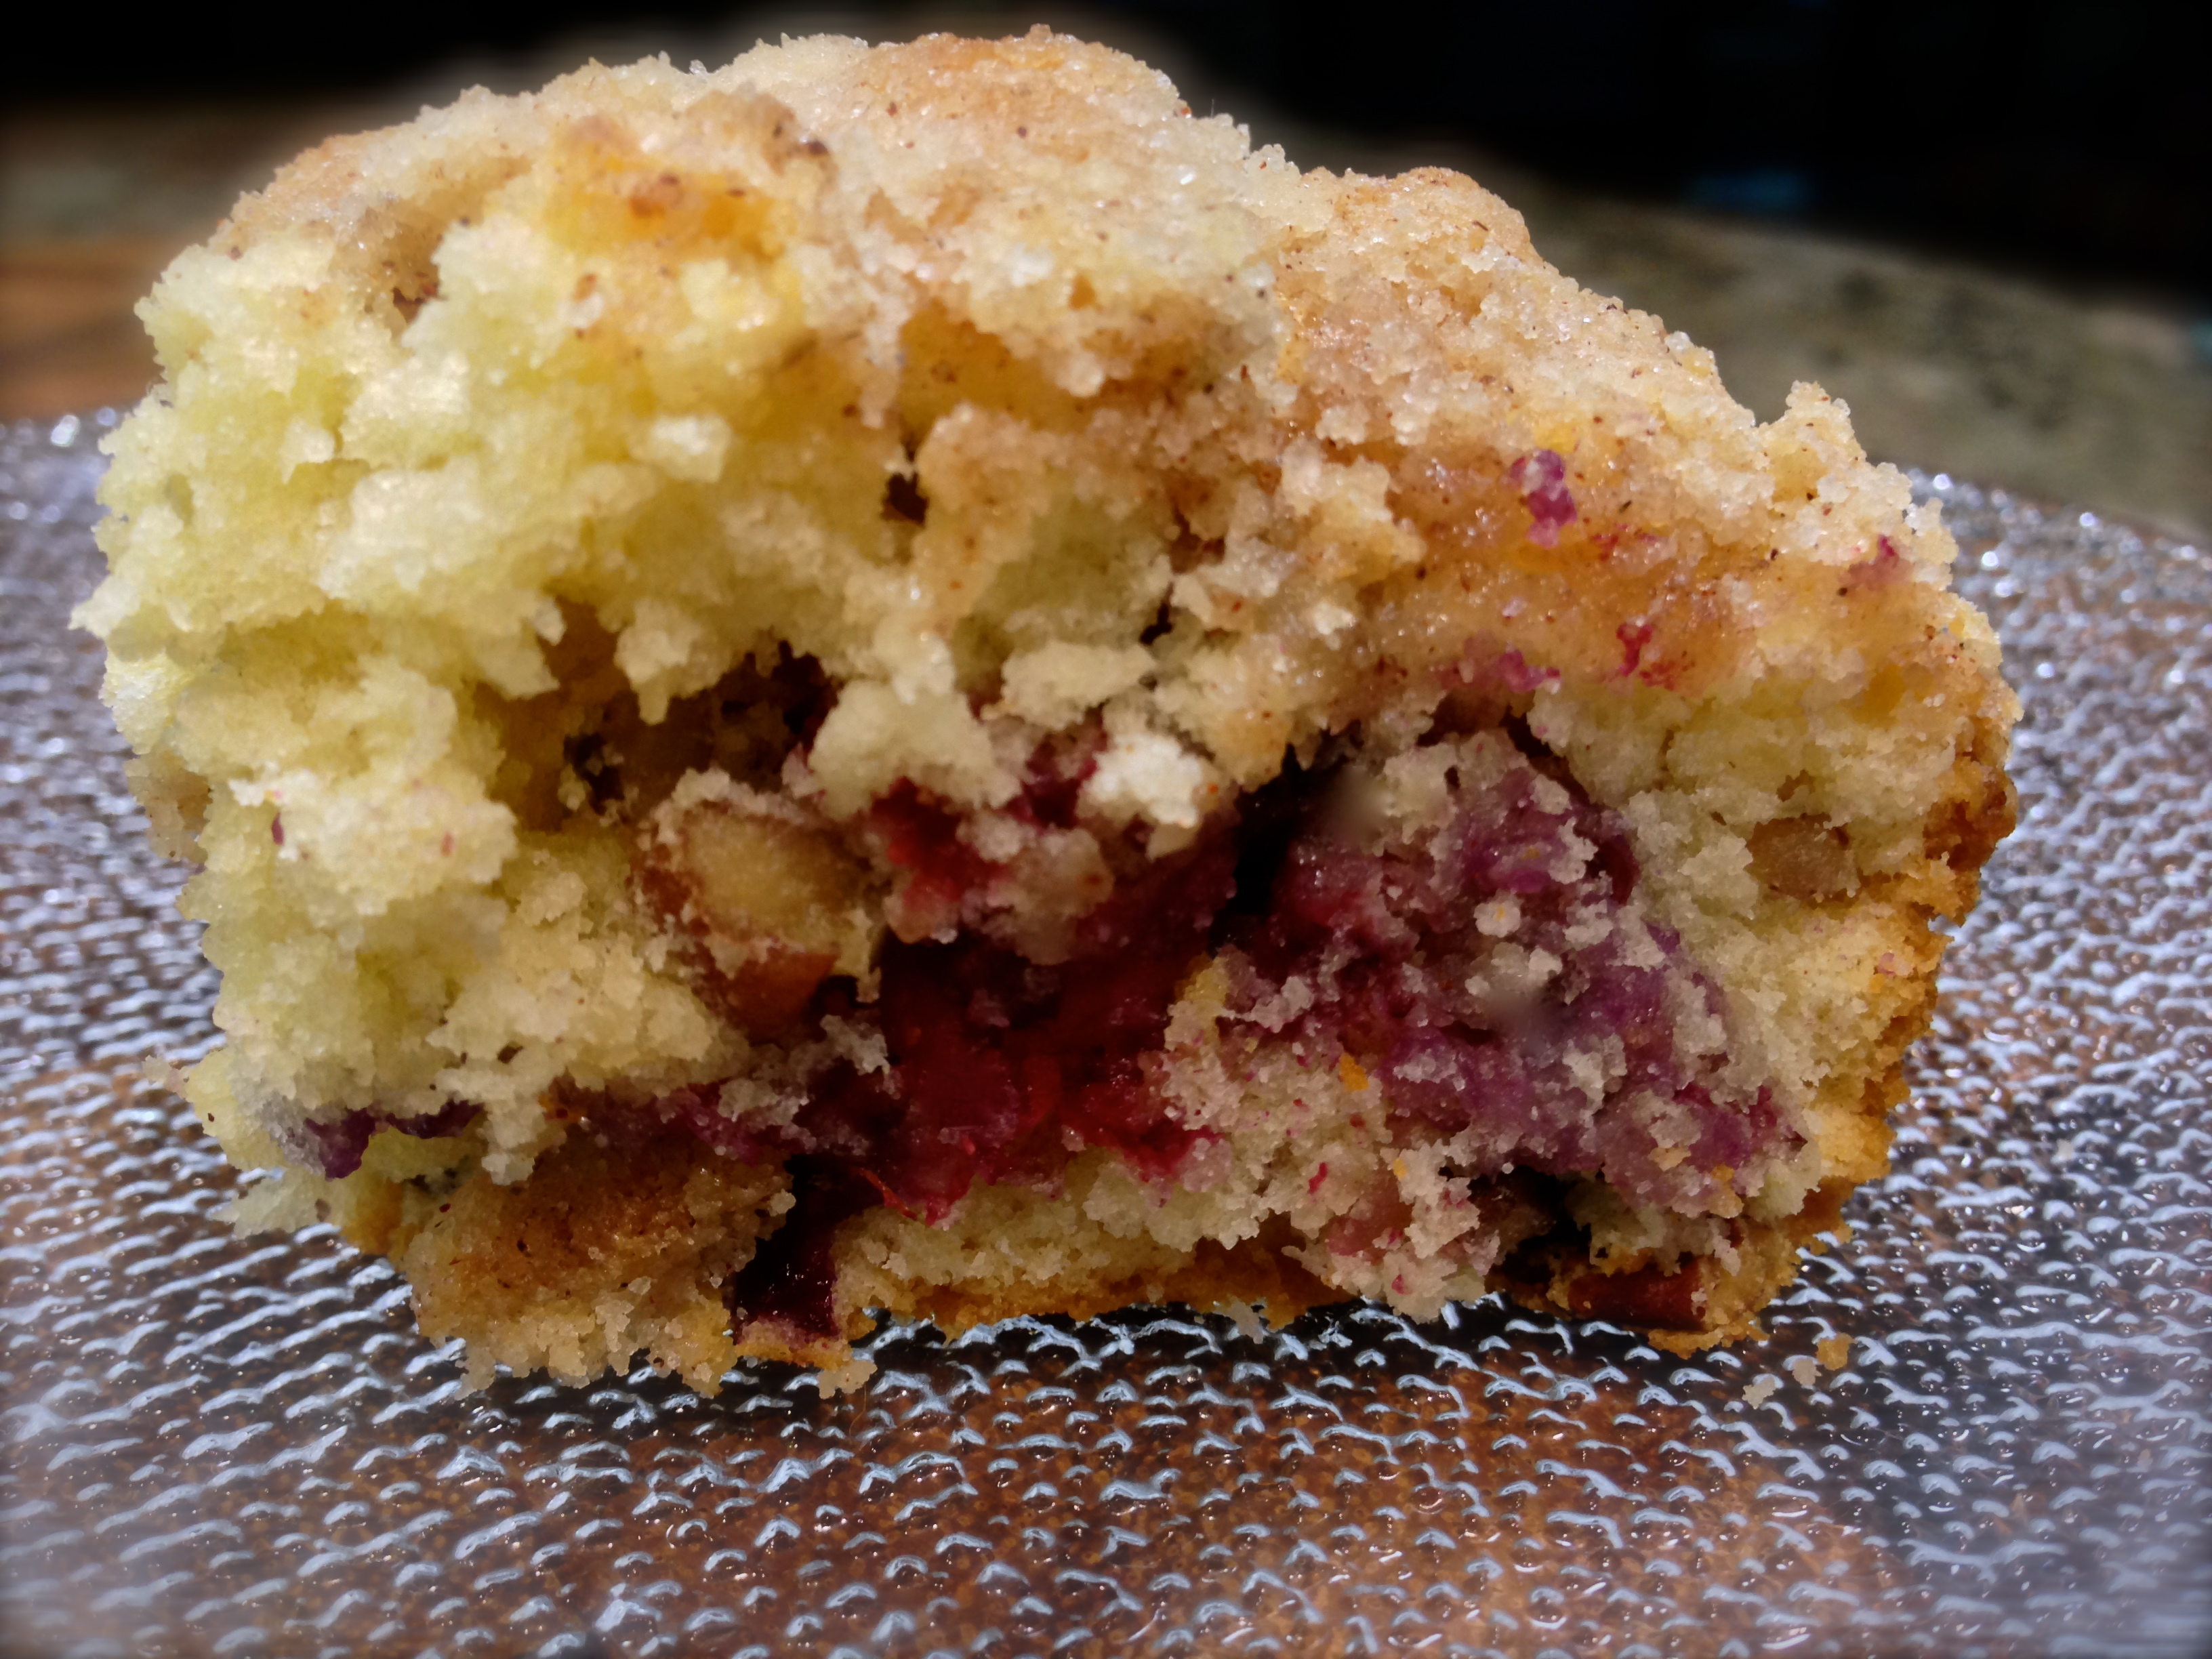
I have to say that I was more than pleasantly surprised at the outcome. What I liked the best about this coffee cake is the addition of the cream cheese layer. It provides a nice moistness to the cake and really kicks the cake over the top. So let’s talk blueberry cream cheese coffee cake…

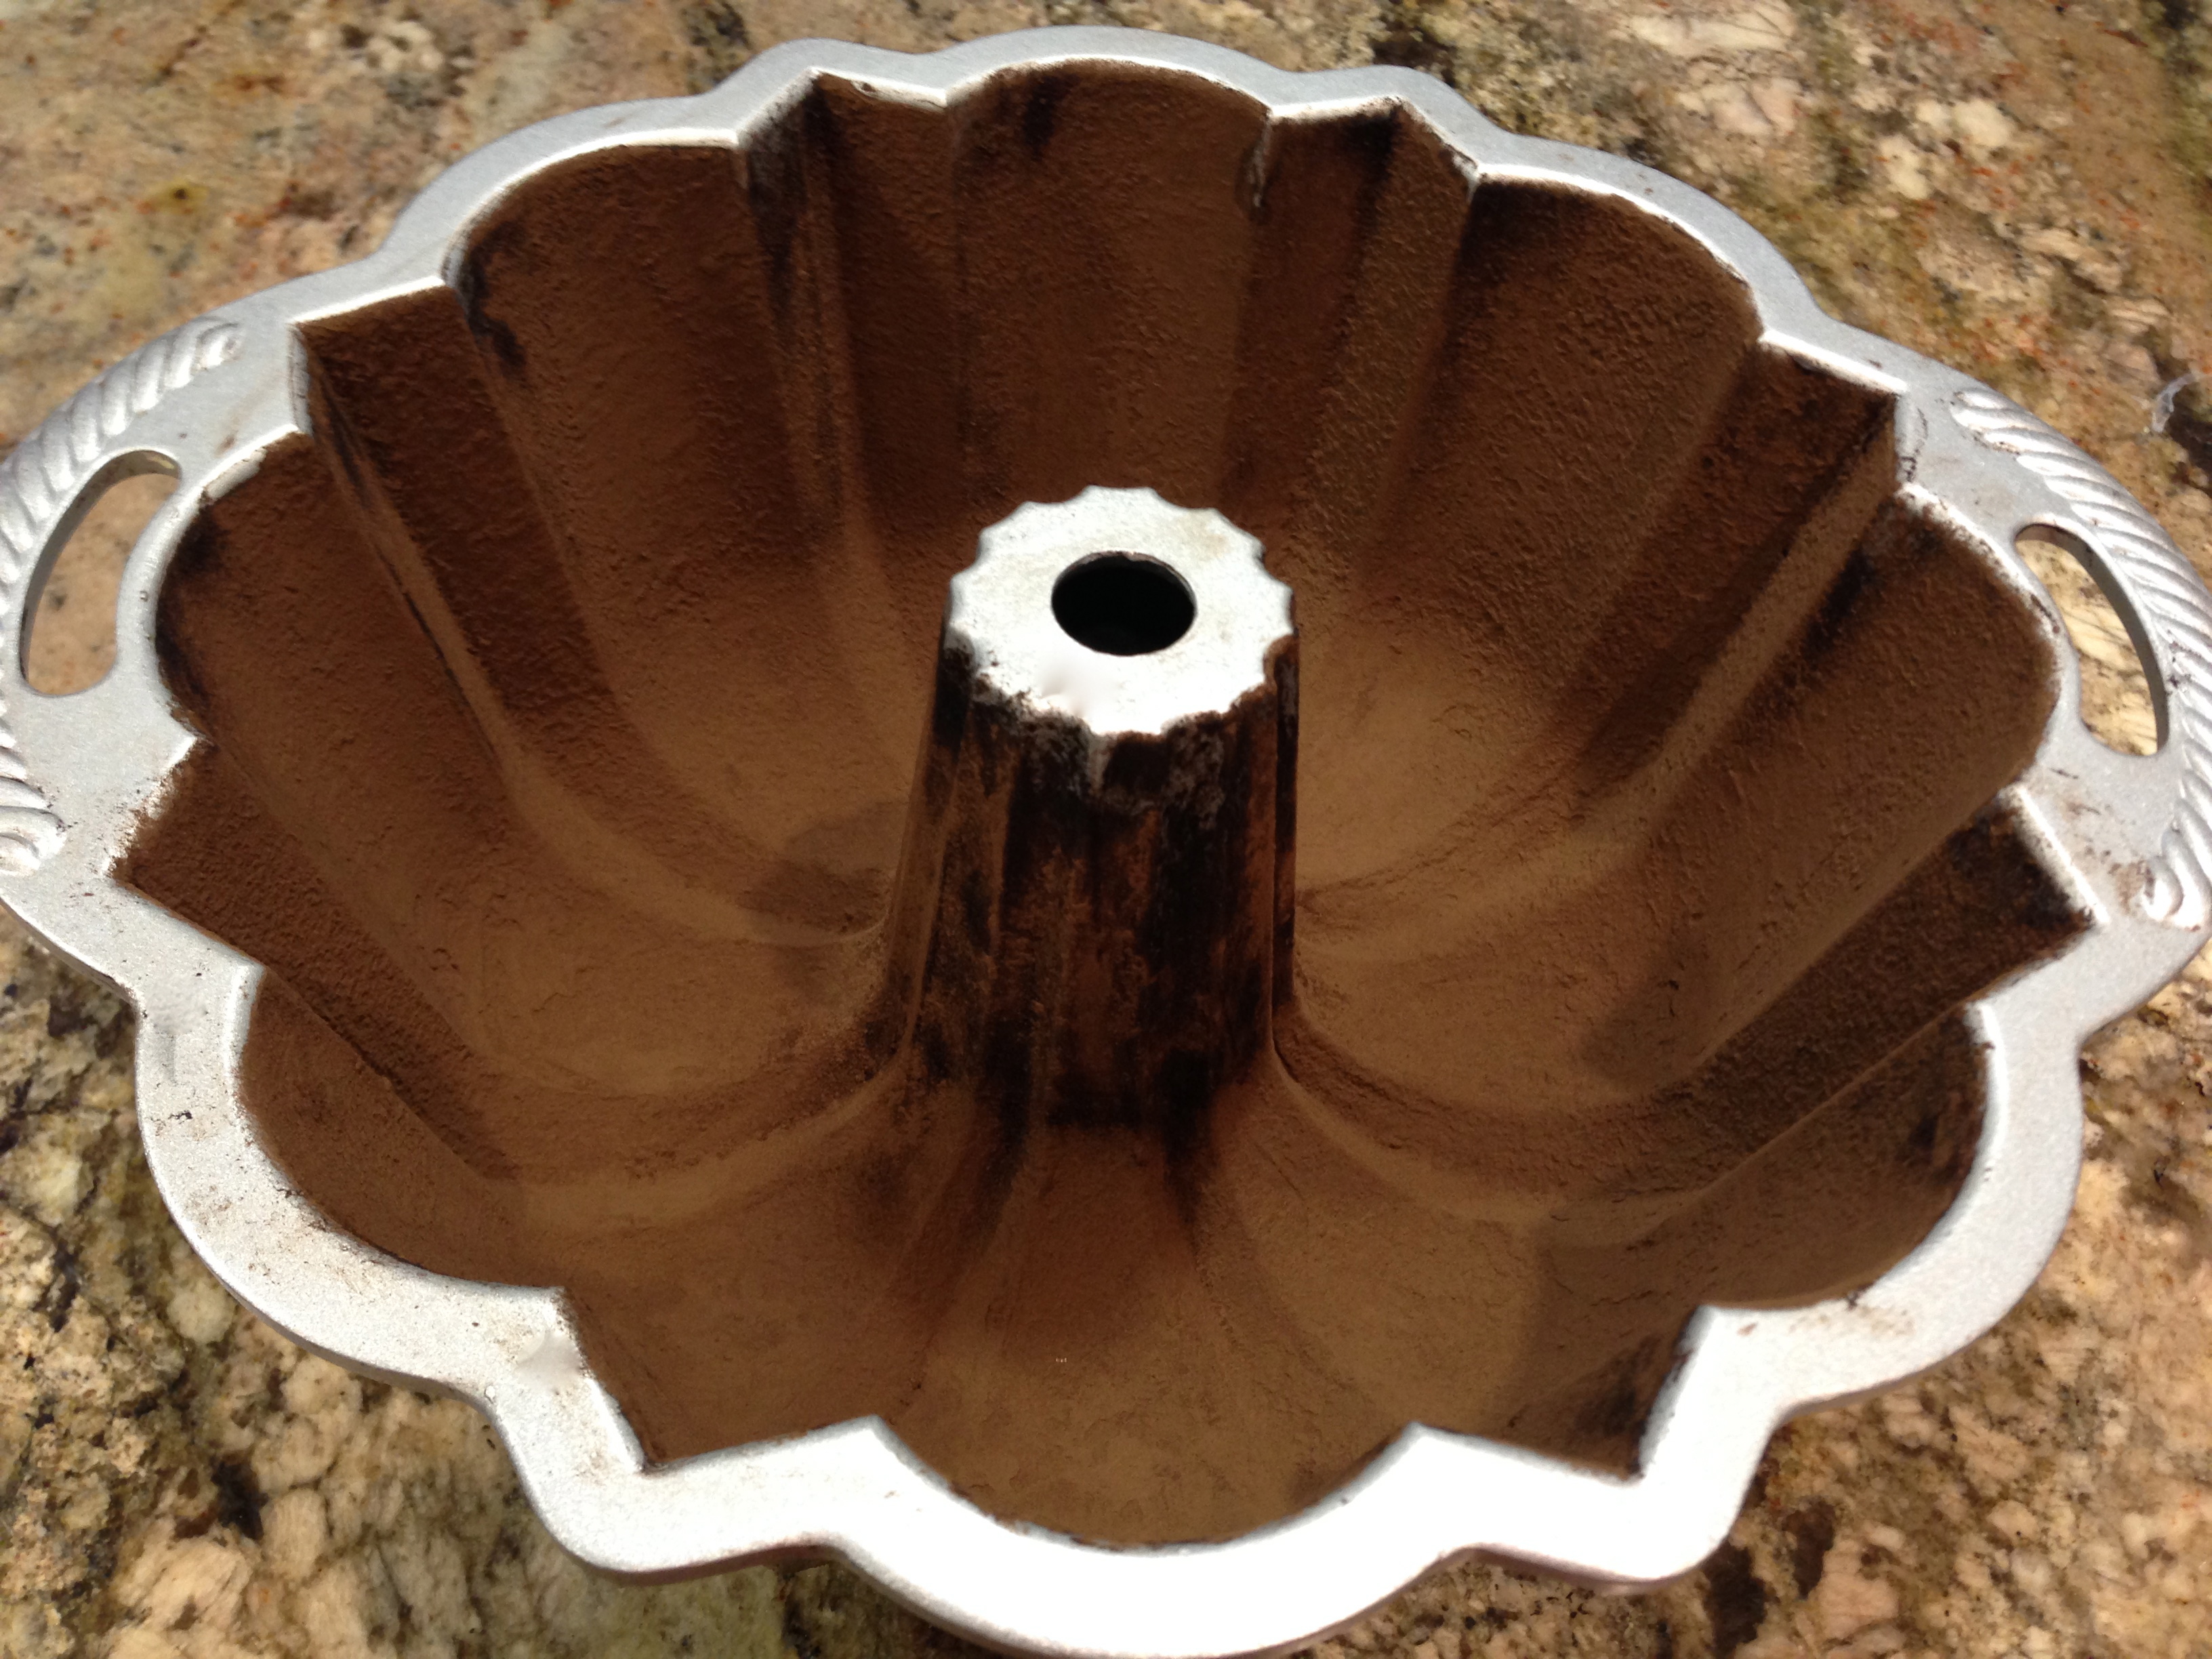
Lesson Learned 1 – This cake requires you to be organized: This cake has 3 separate processes, that being making the cream cheese filling, making the cake batter and making the streusel topping. It requires a little more equipment to get the coffee cake put together. I recommend you use a separate hand mixer and bowl to make the cream cheese filling. Then I recommend making the streusel topping so you are ready to top the cake once you’ve assembled the layers. Use your stand mixer to make the cake batter. Try to measure everything out for all three processes before you begin. That way the processes will run smoothly. It really isn’t a hard cake to make. It just has a few more steps than most.
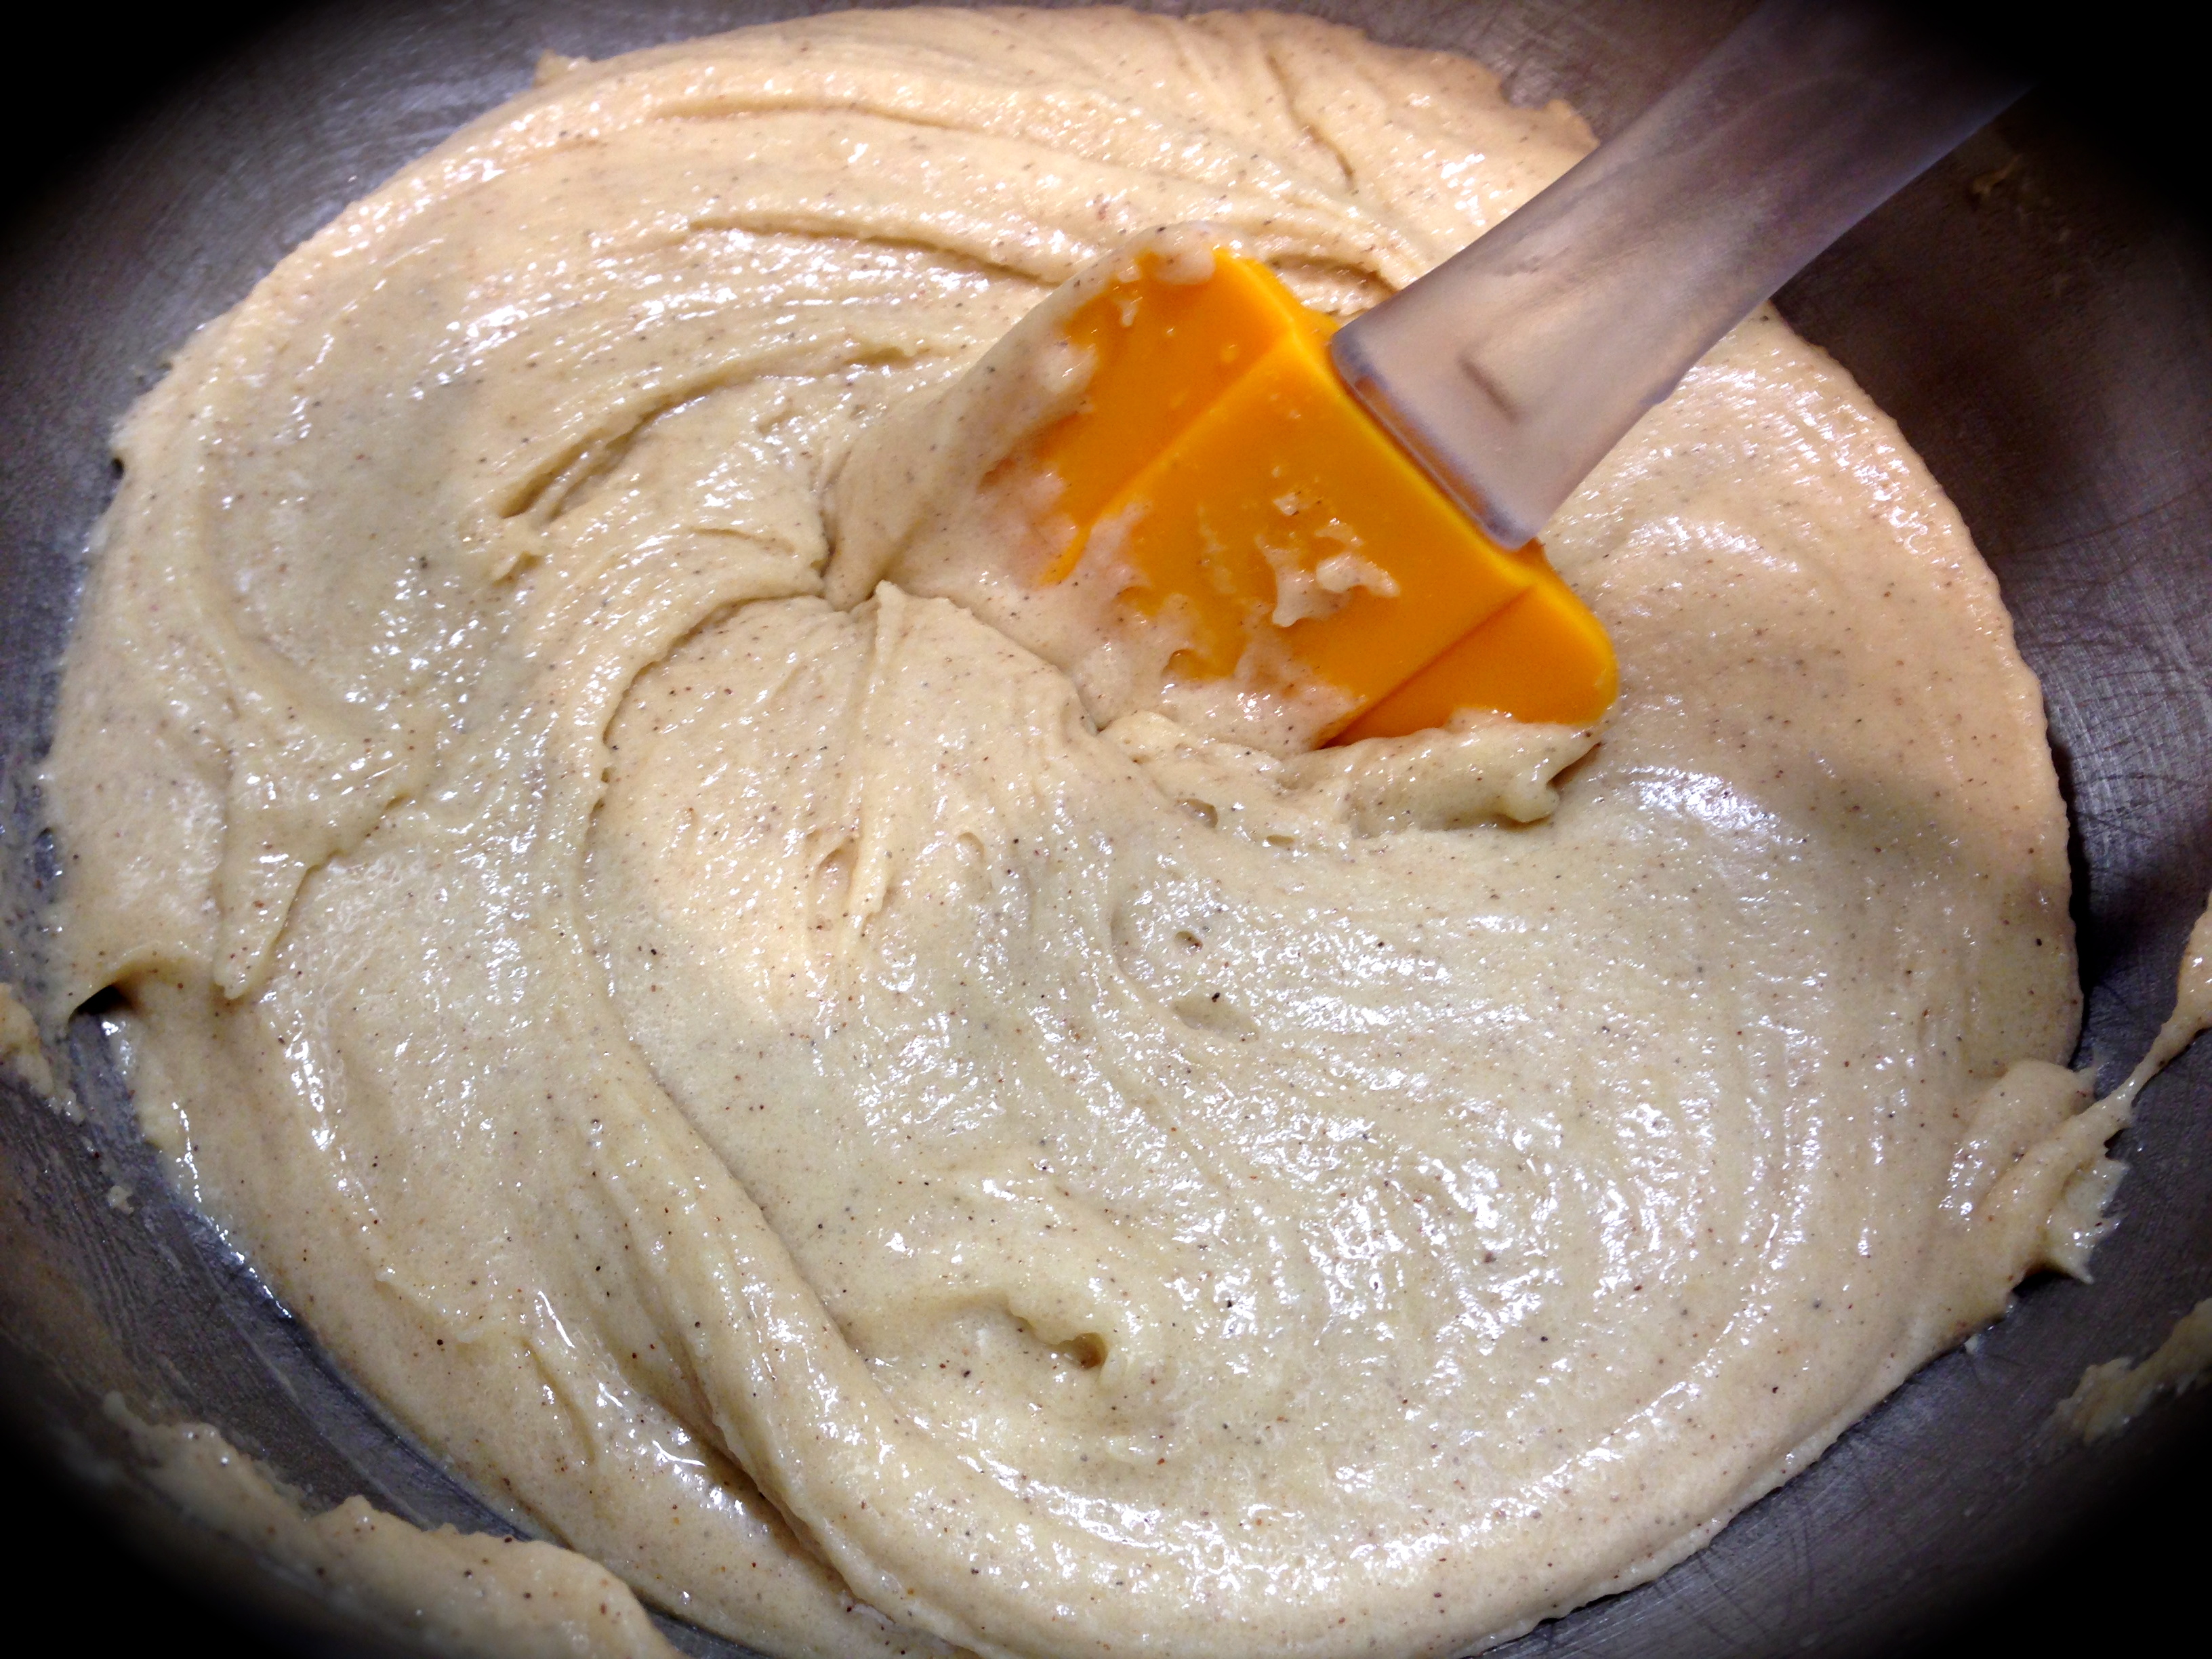
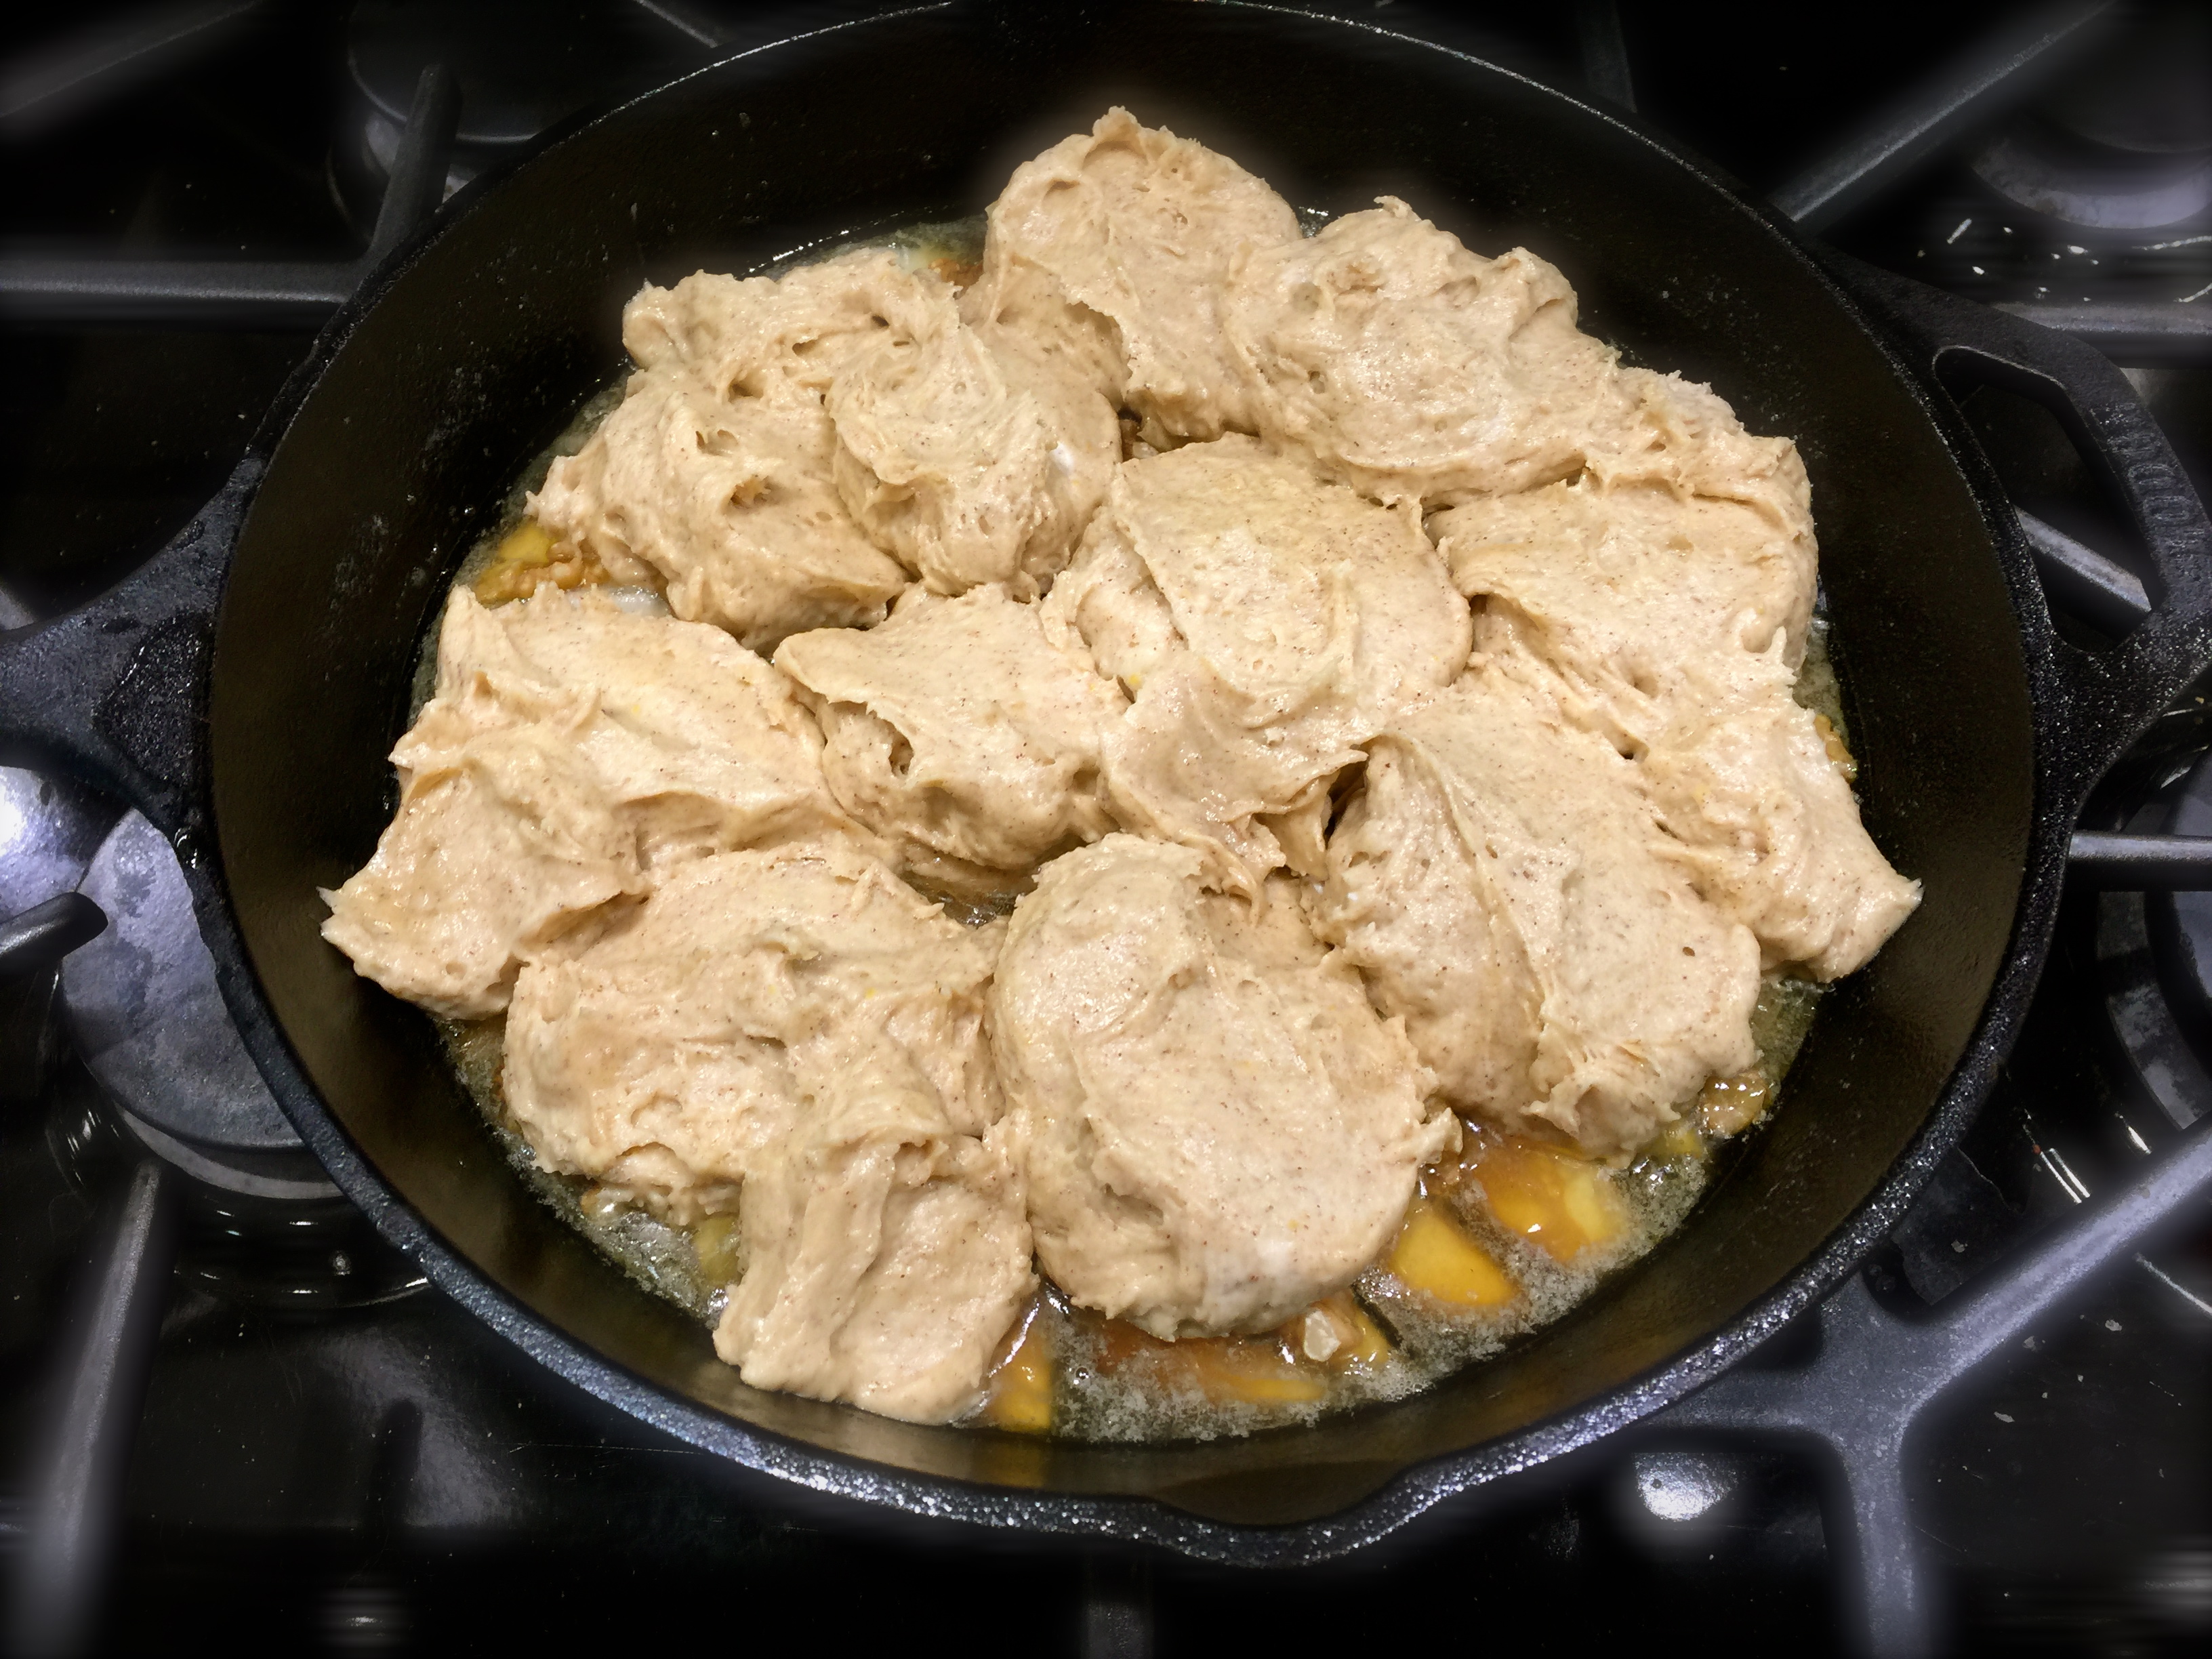
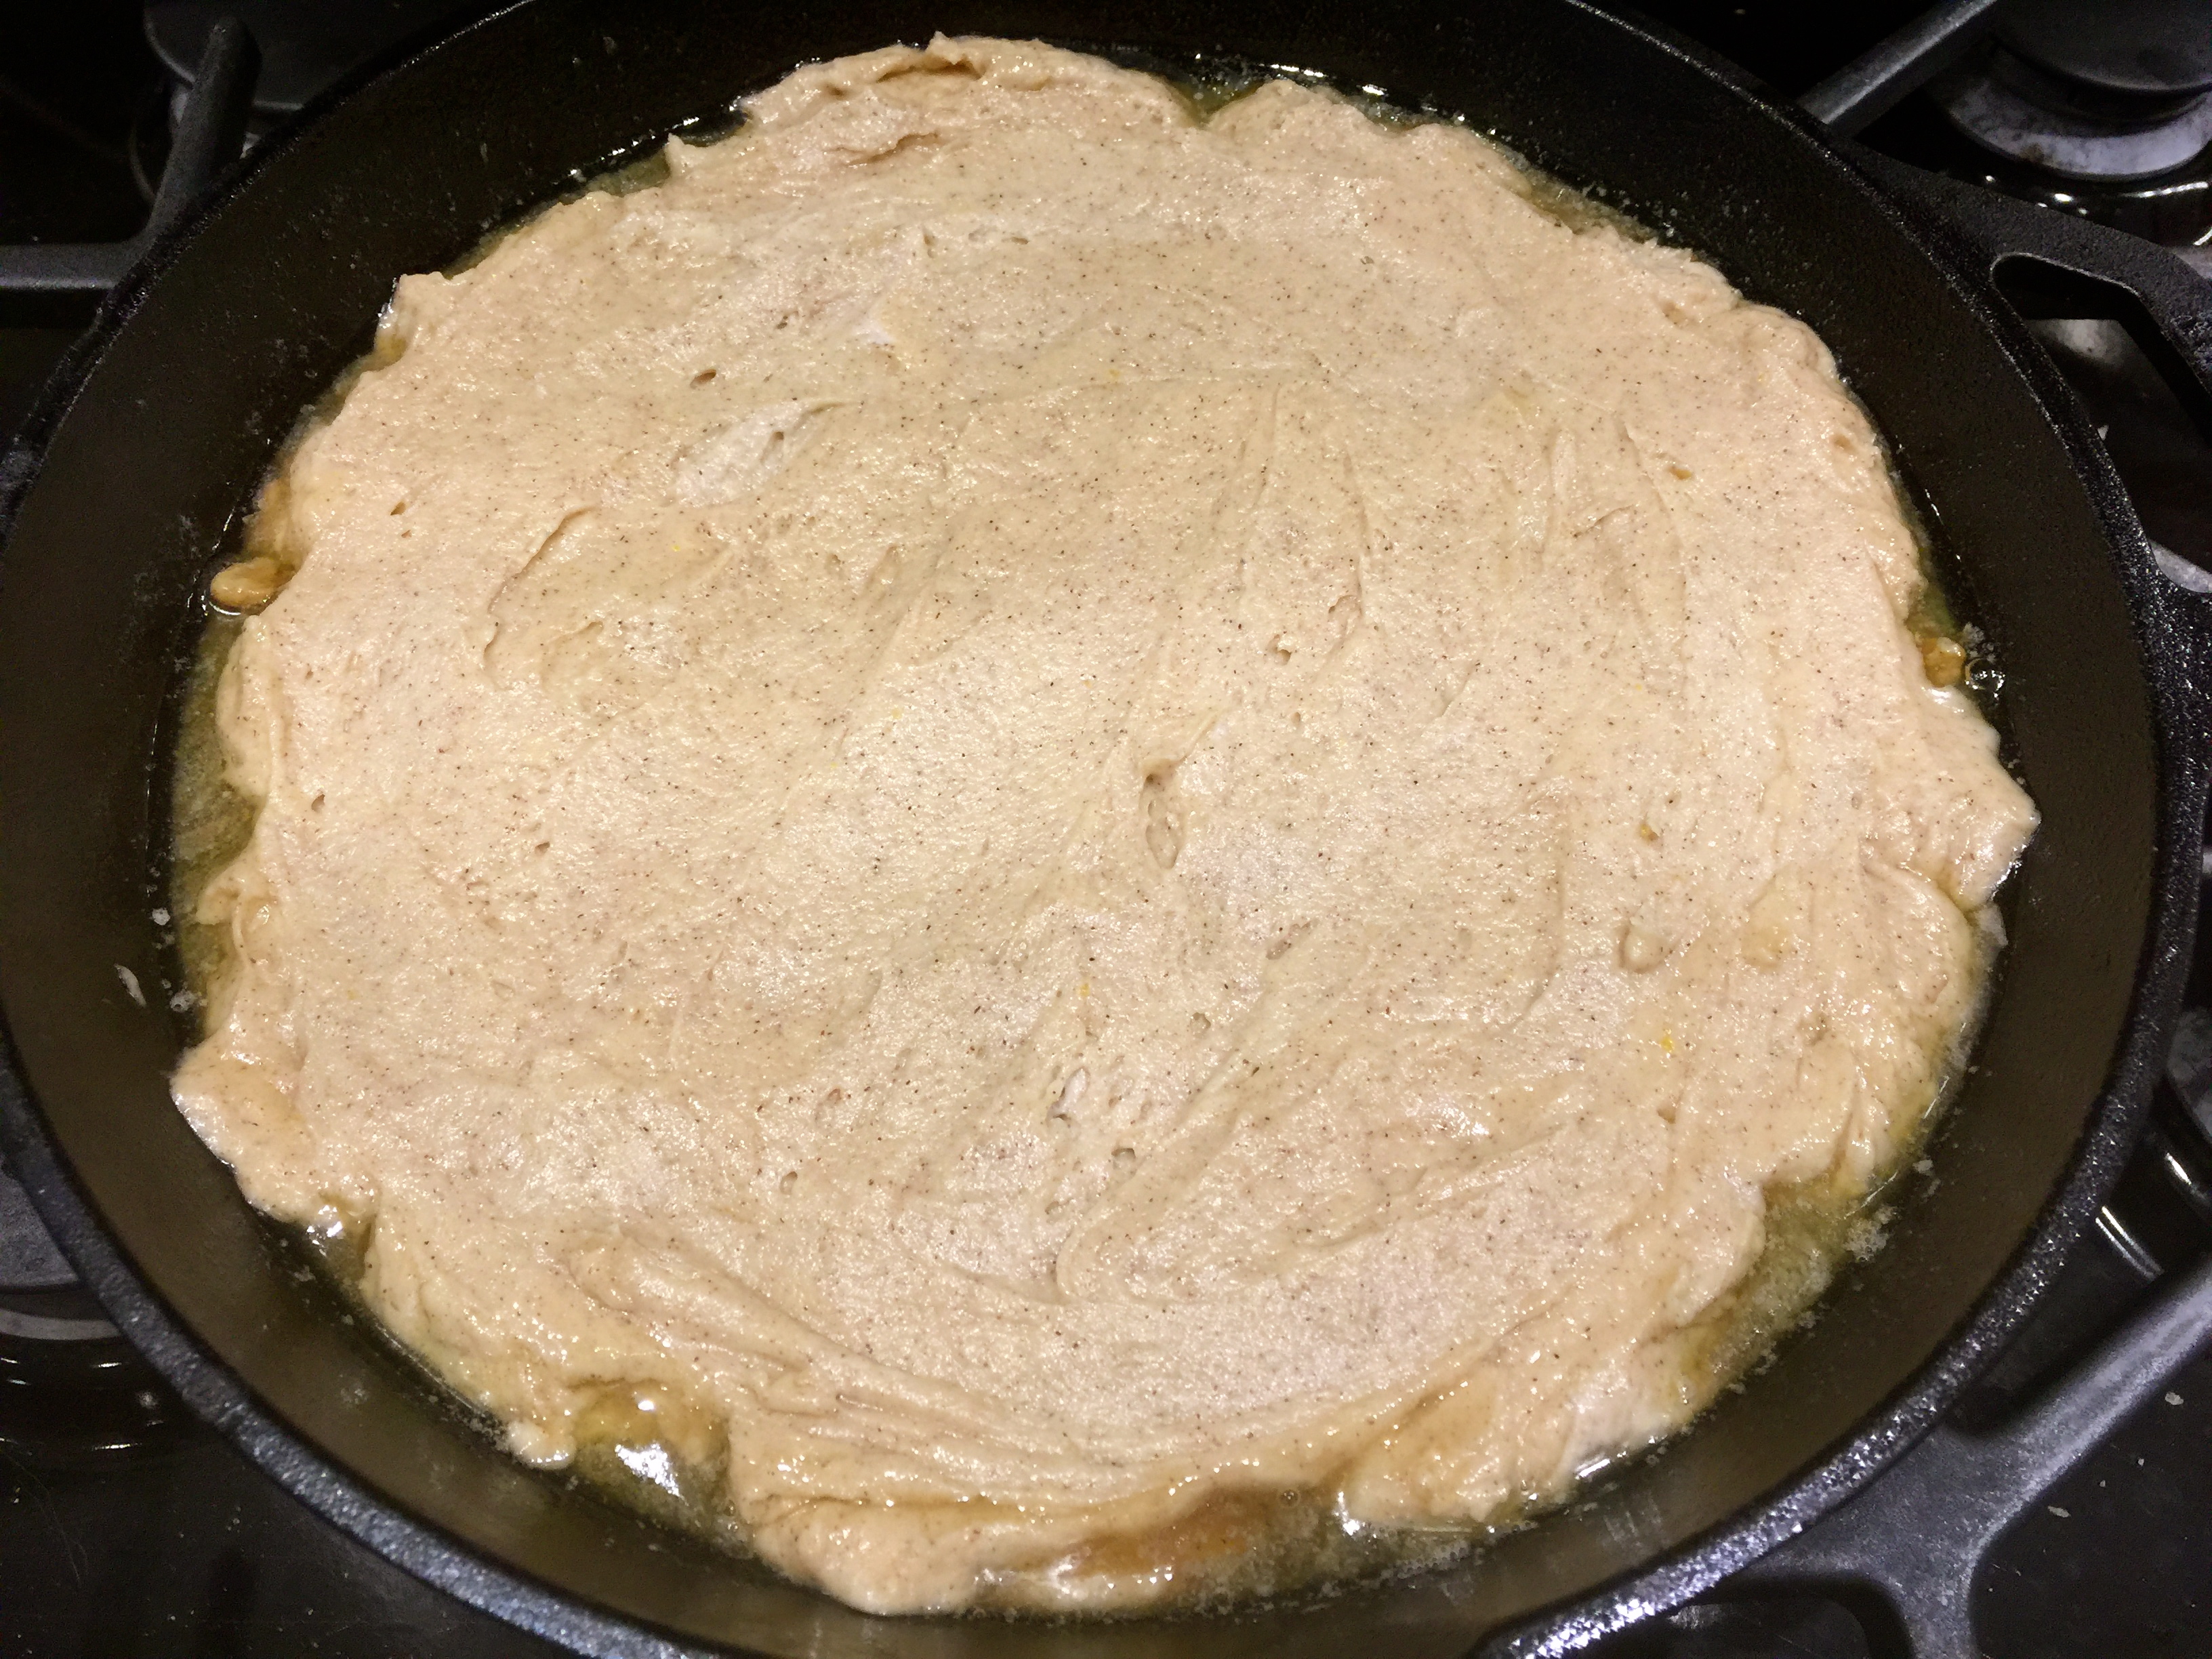
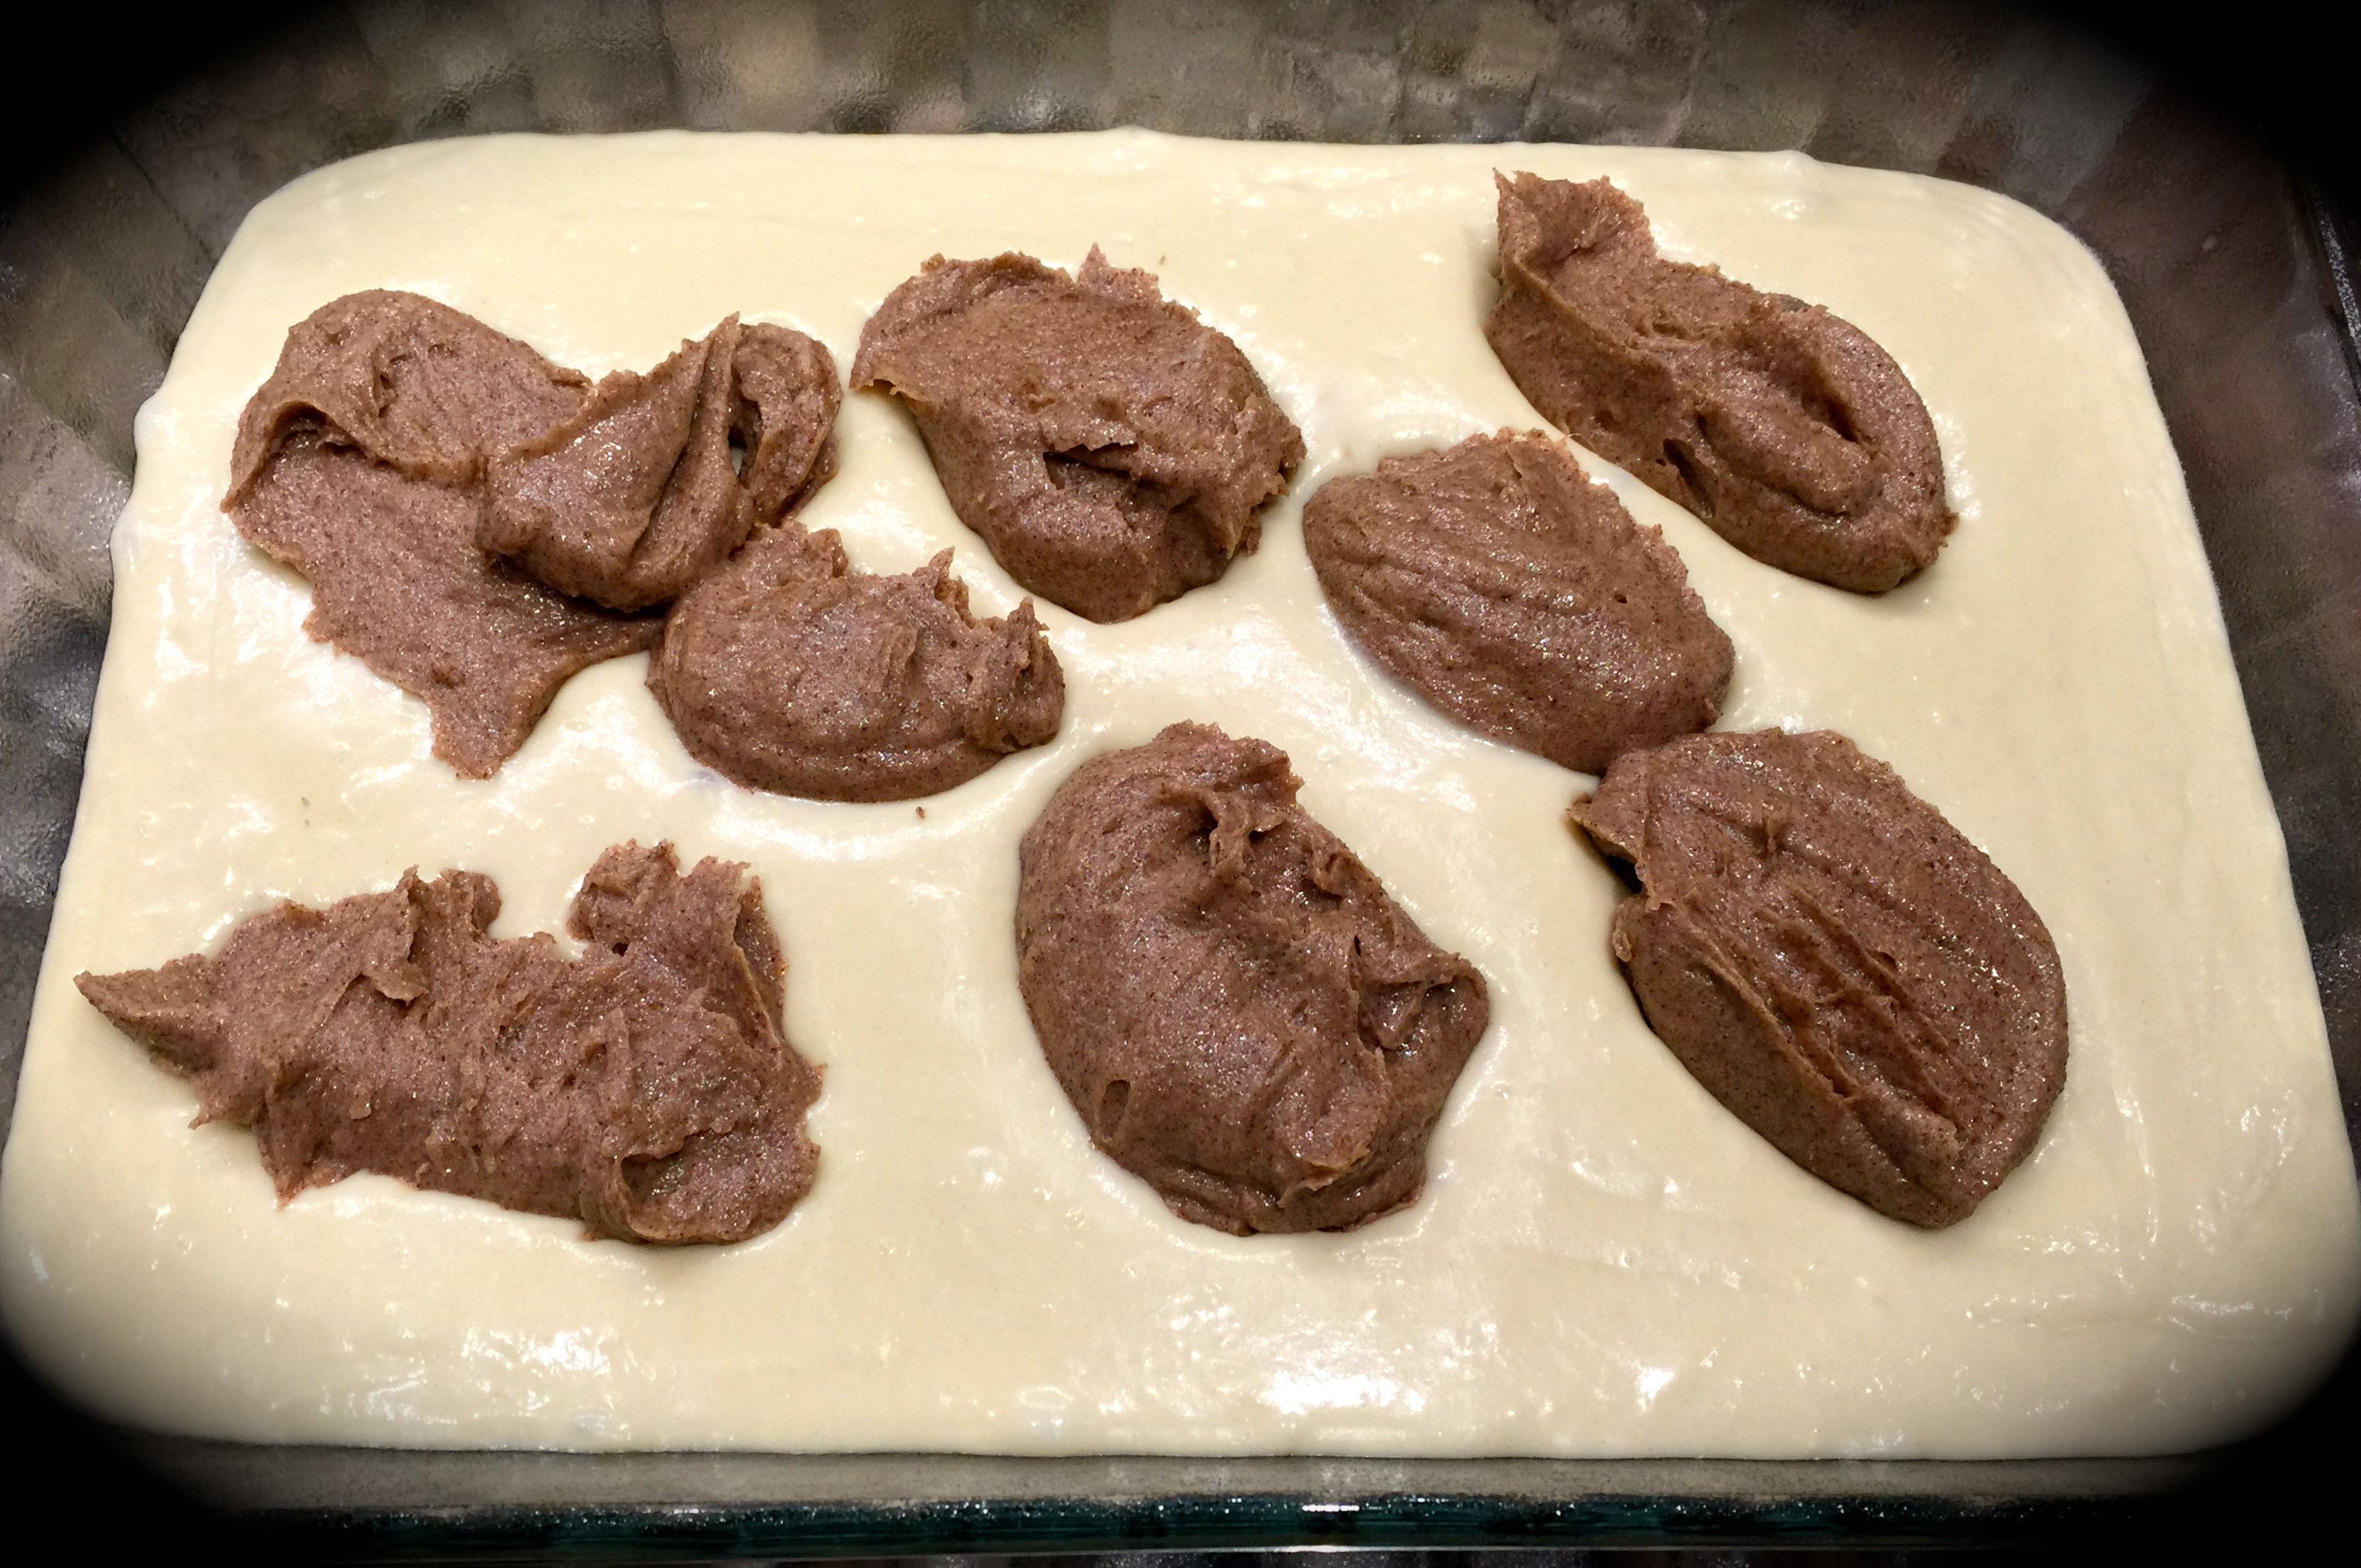
Lesson Learned 2 – The cake batter is thick: This batter creates a nicely dense cake that is balanced out by the cream cheese layer. But a dense batter can be a challenge to spread around when it comes time to put it in a pan. I’ve learned over time that when you work with a dense batter it’s better to drop it in the pan in spoonfuls all around the pan. That way when it comes time to spread the layer most of the batter is already in place and you can spread the batter around more easily.
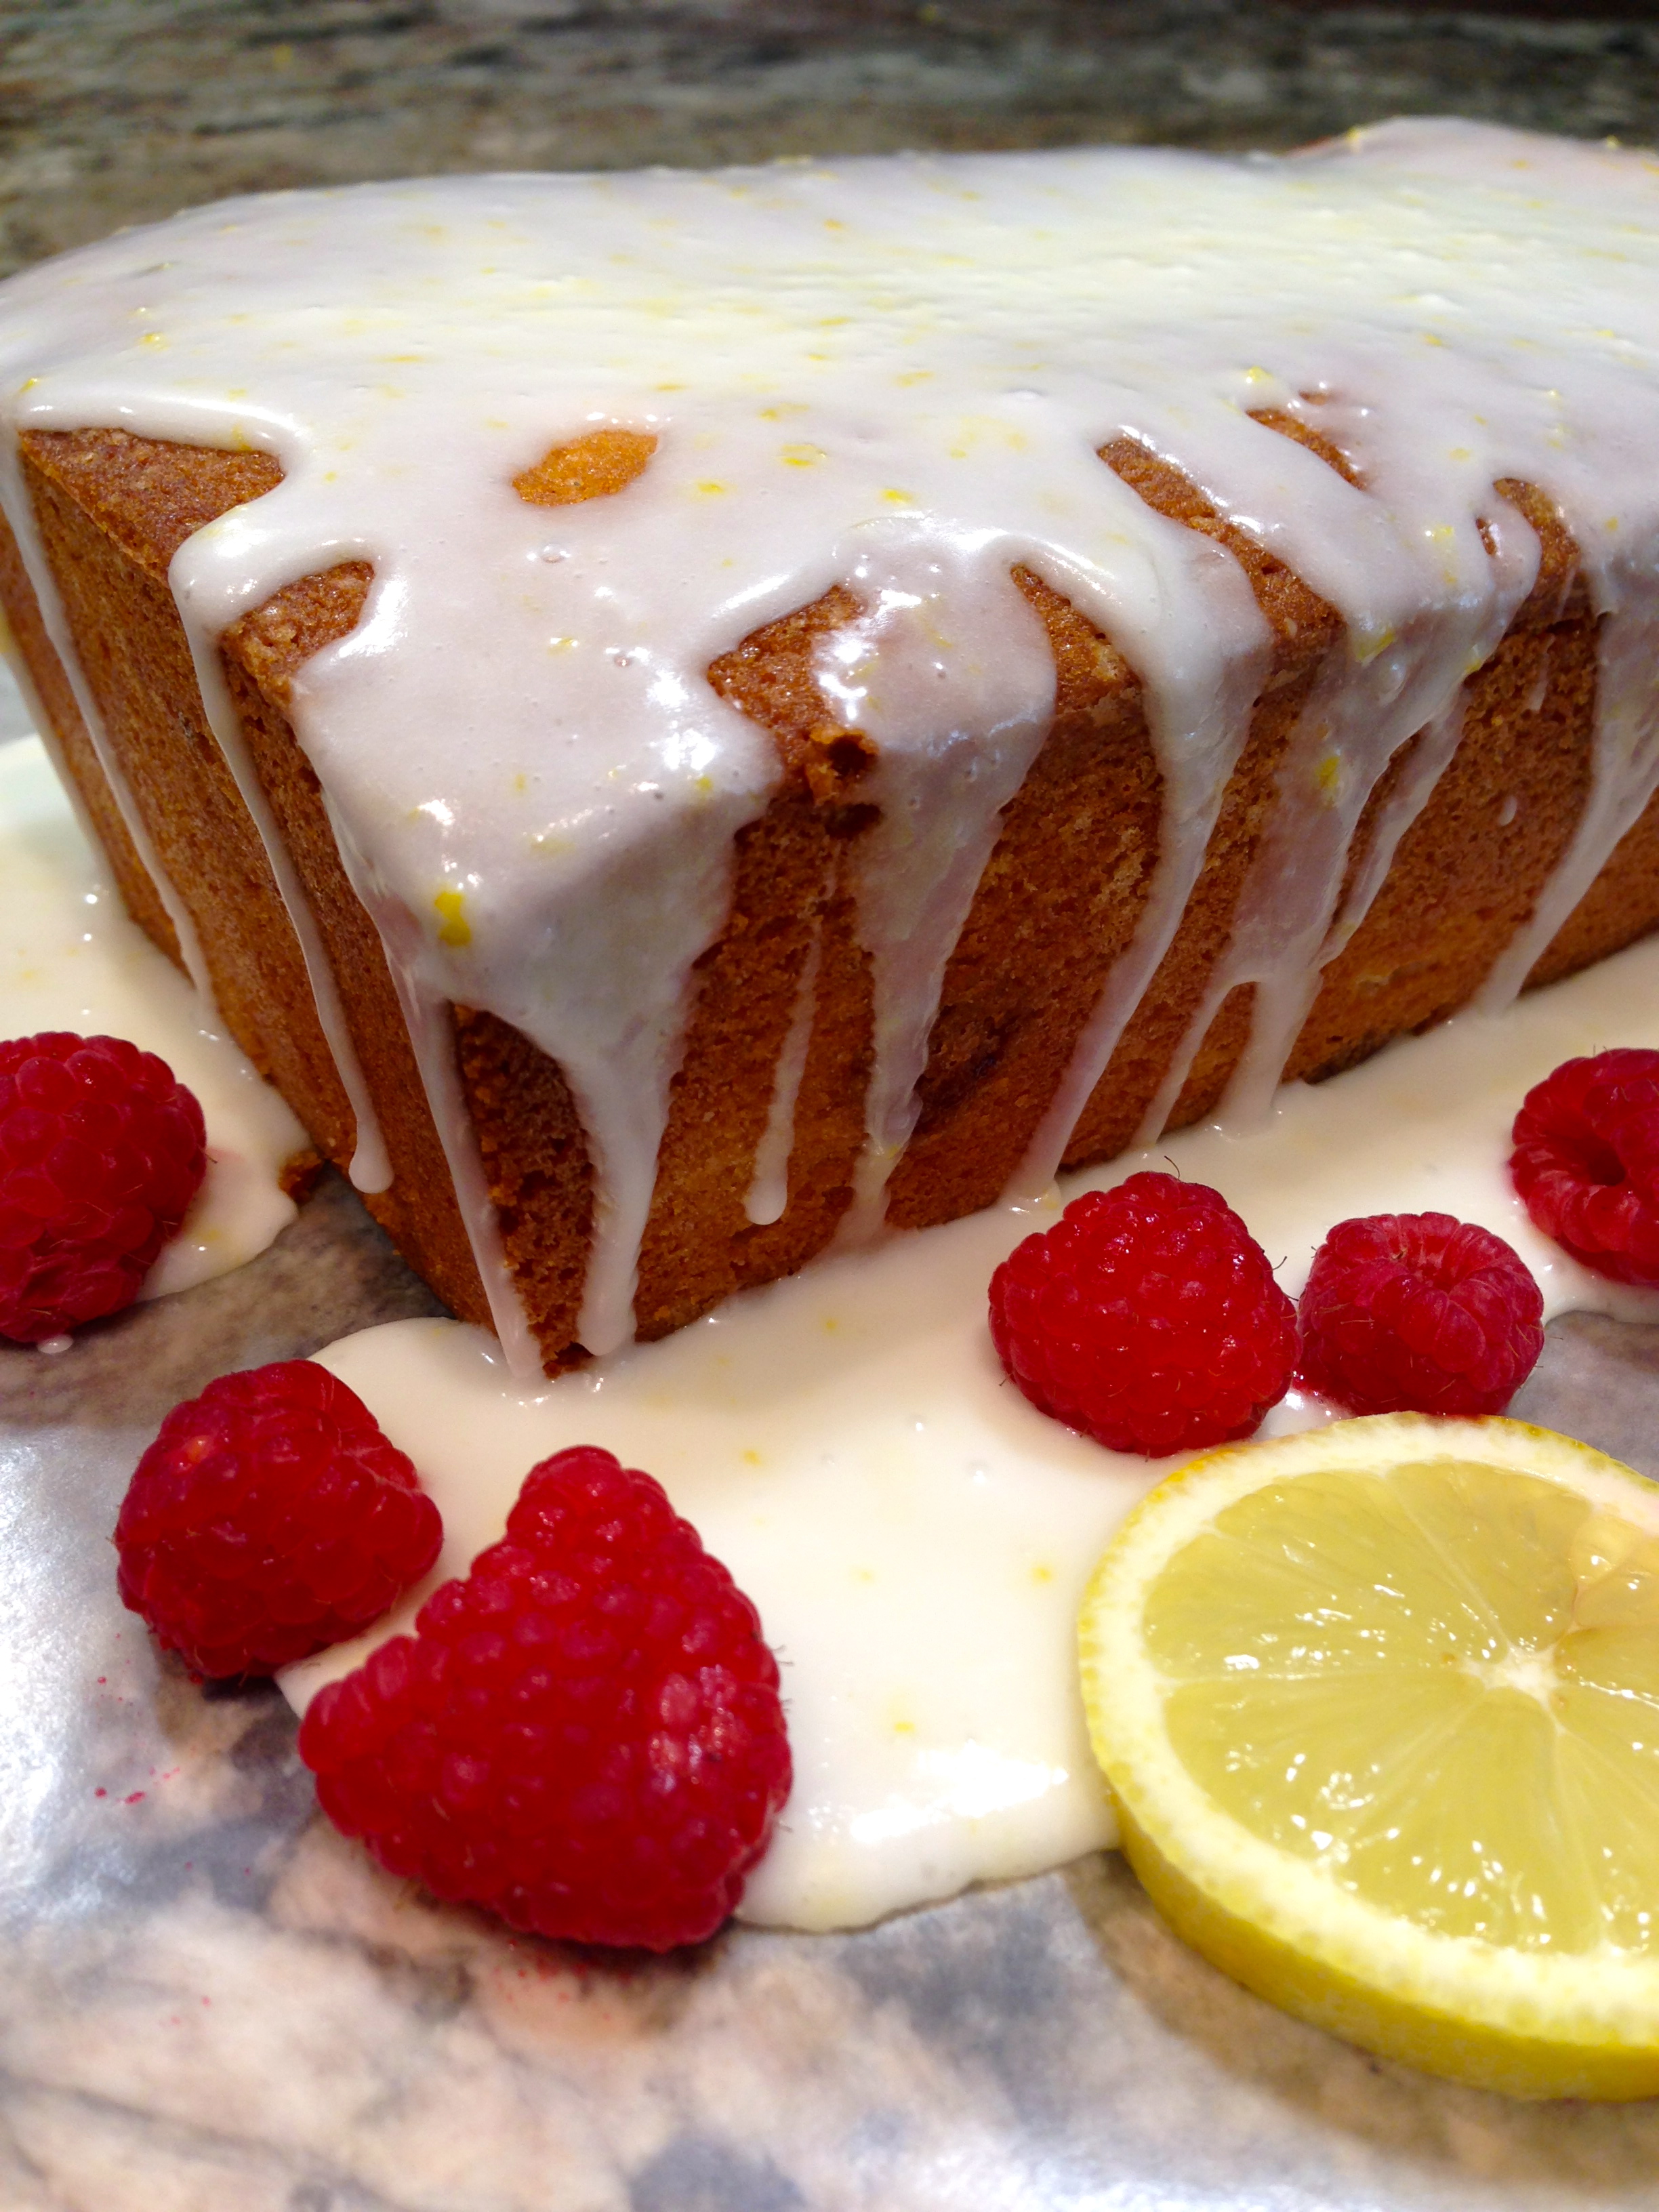
Lesson Learned 3 – Vanilla bean paste versus vanilla extract: When I’m making a recipe where I want to really kick up the vanilla flavor I use vanilla bean paste. The paste has a syrup-like consistency and it measures out the same way as vanilla extract. Vanilla bean paste is richer and more flavorful. It is also much more expensive. But if you can afford it I highly recommend using it. But only use it for special recipes. Using it in things like cookies doesn’t really make a difference. But using it in something like this recipe or a creme brulee really enhances the flavor of the dish.
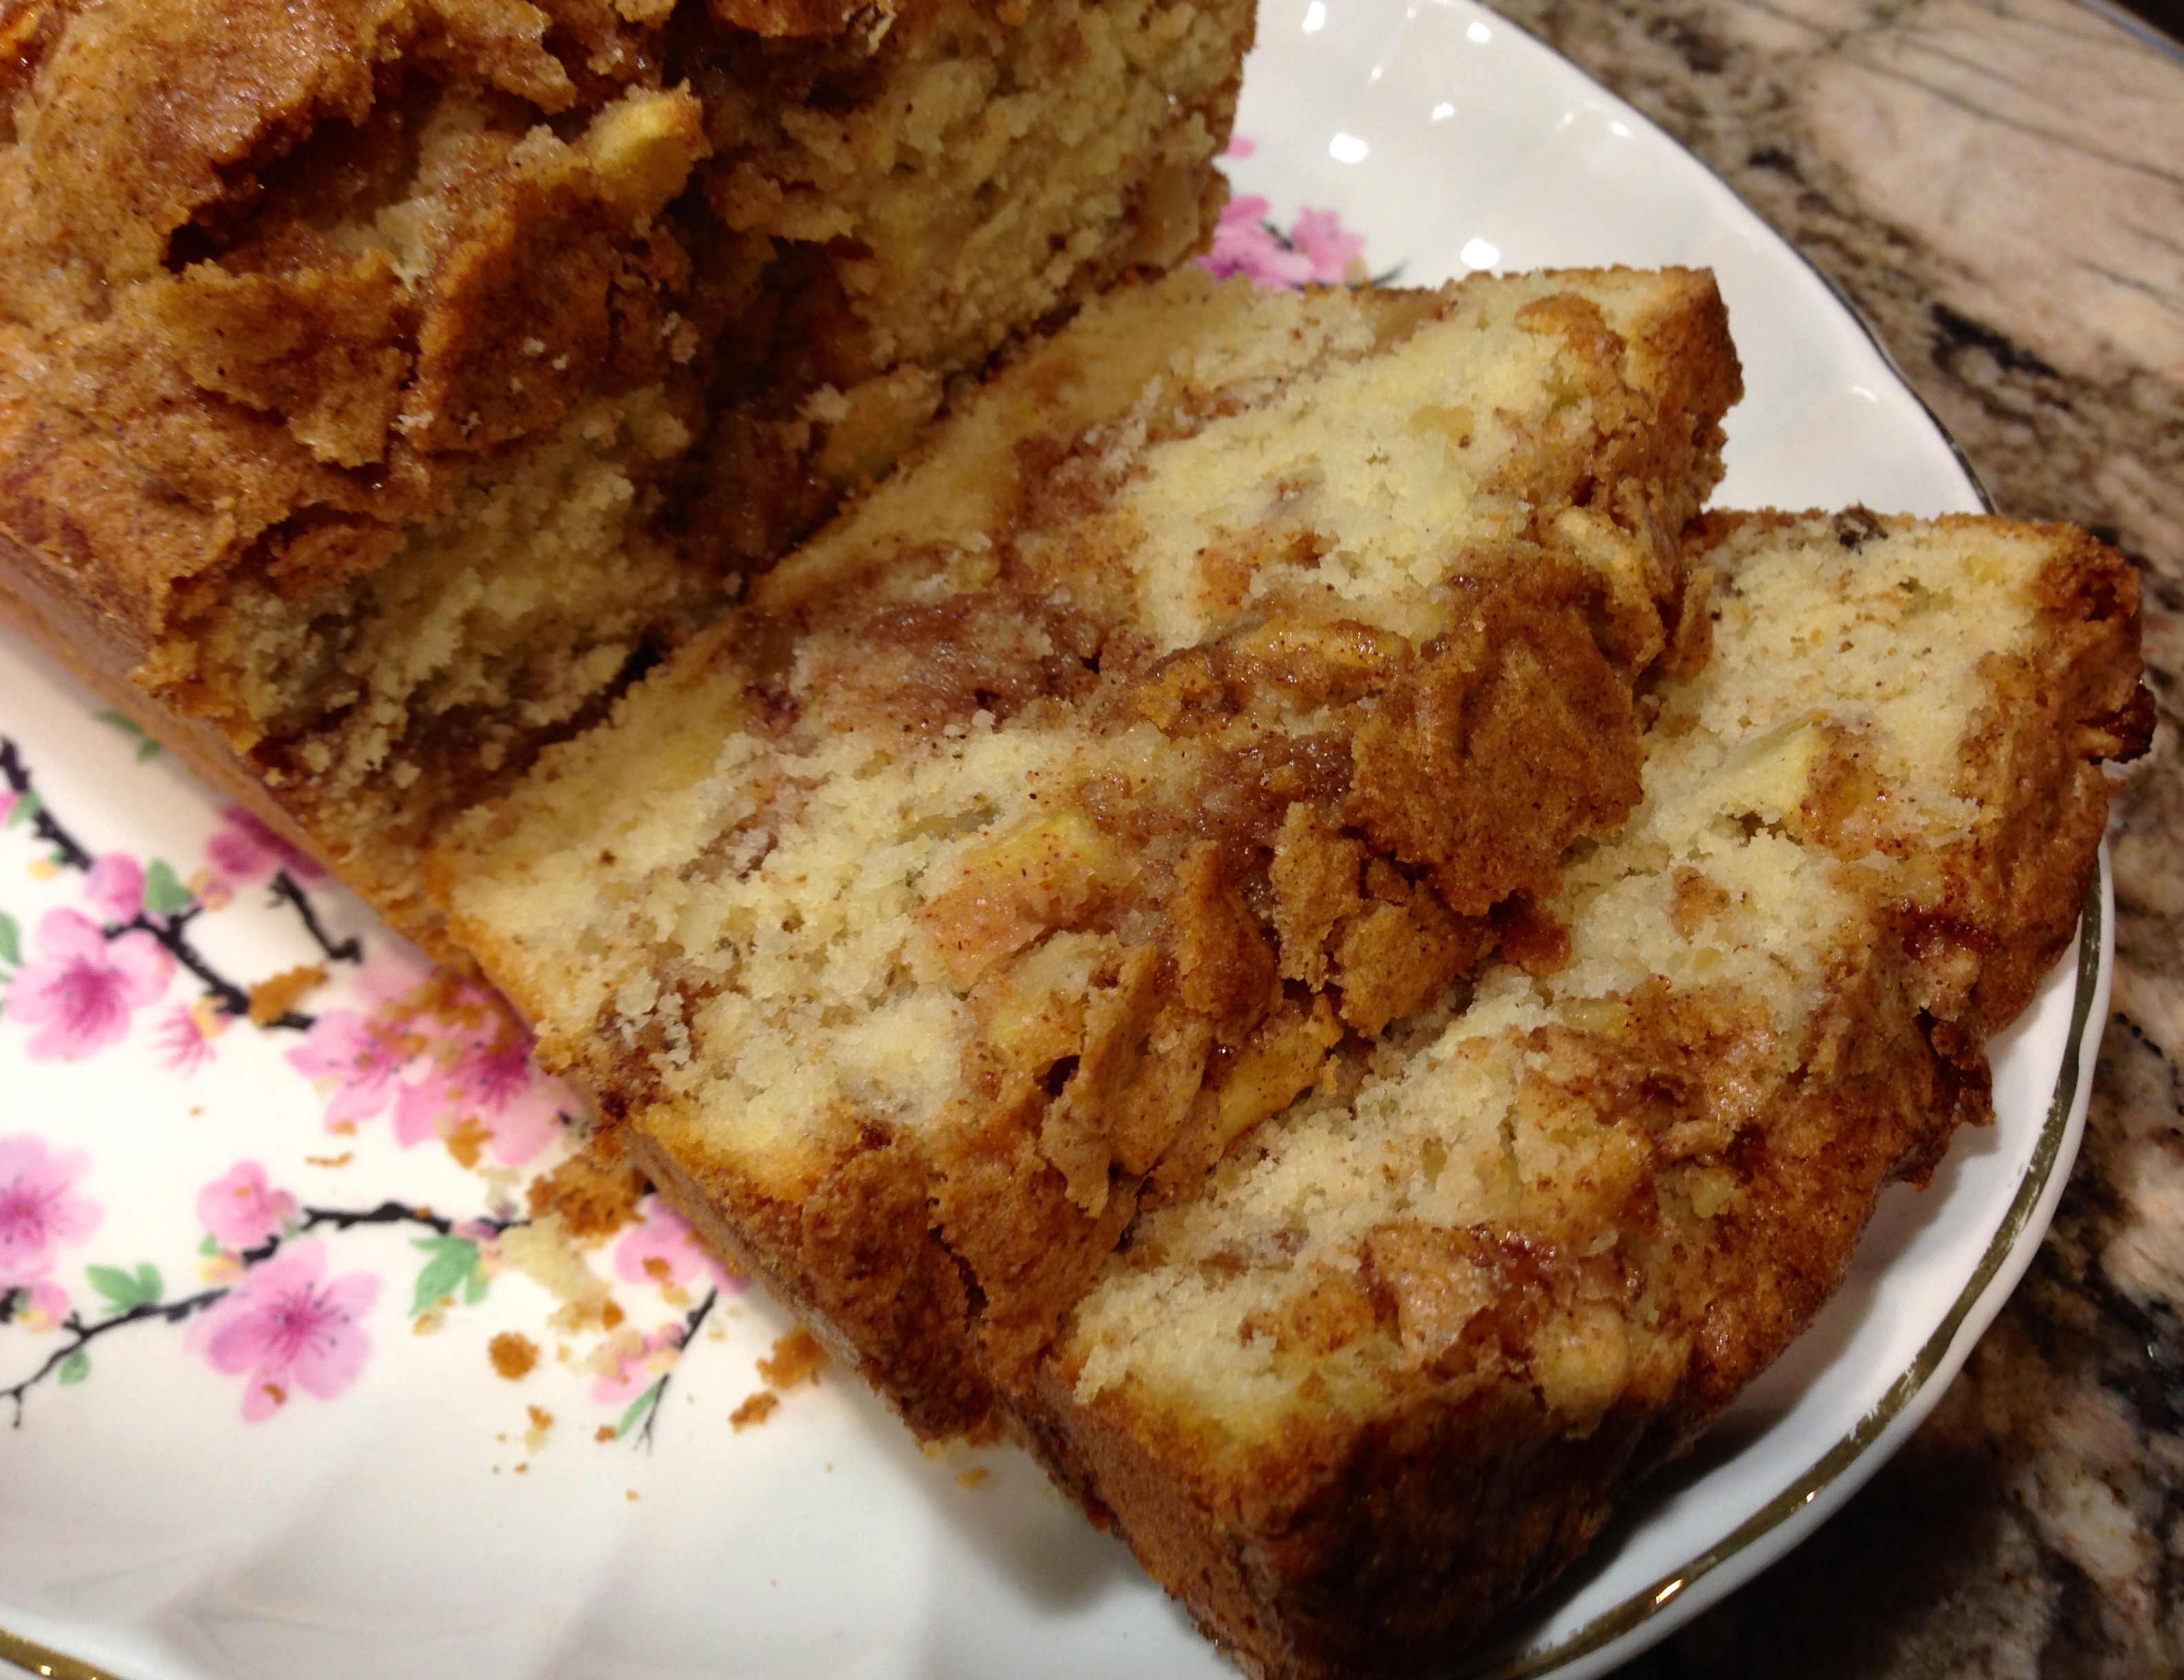
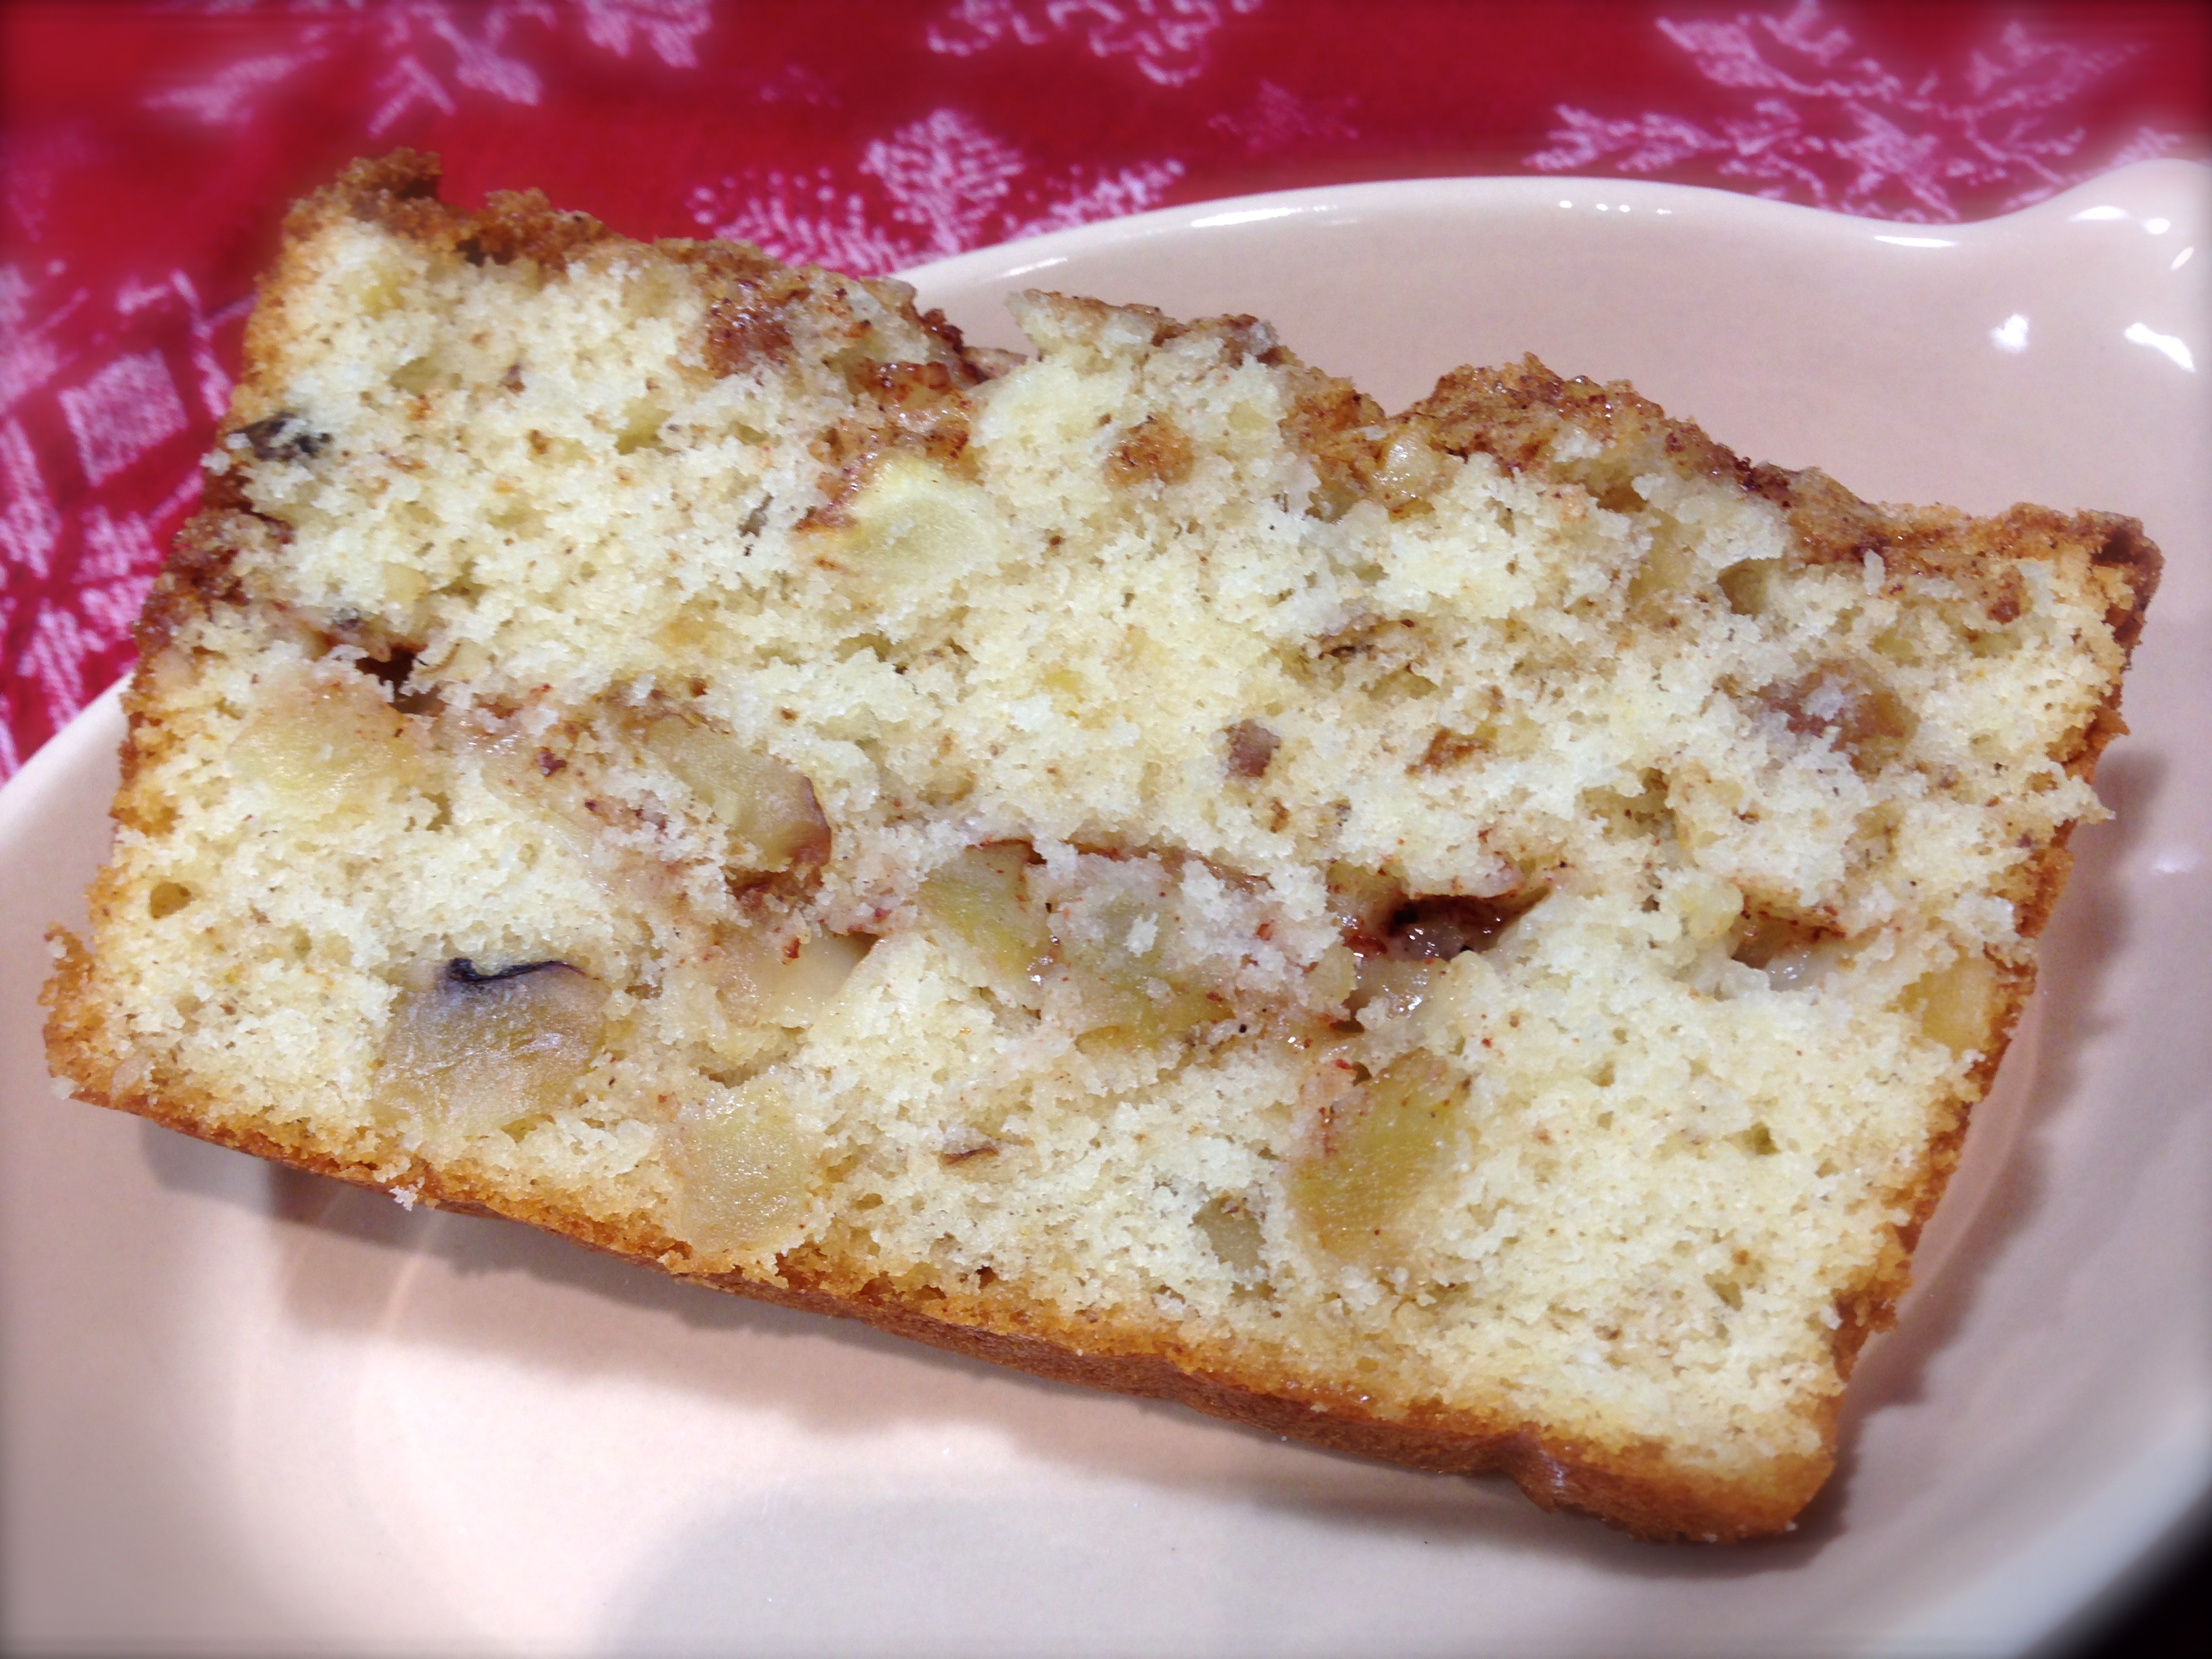
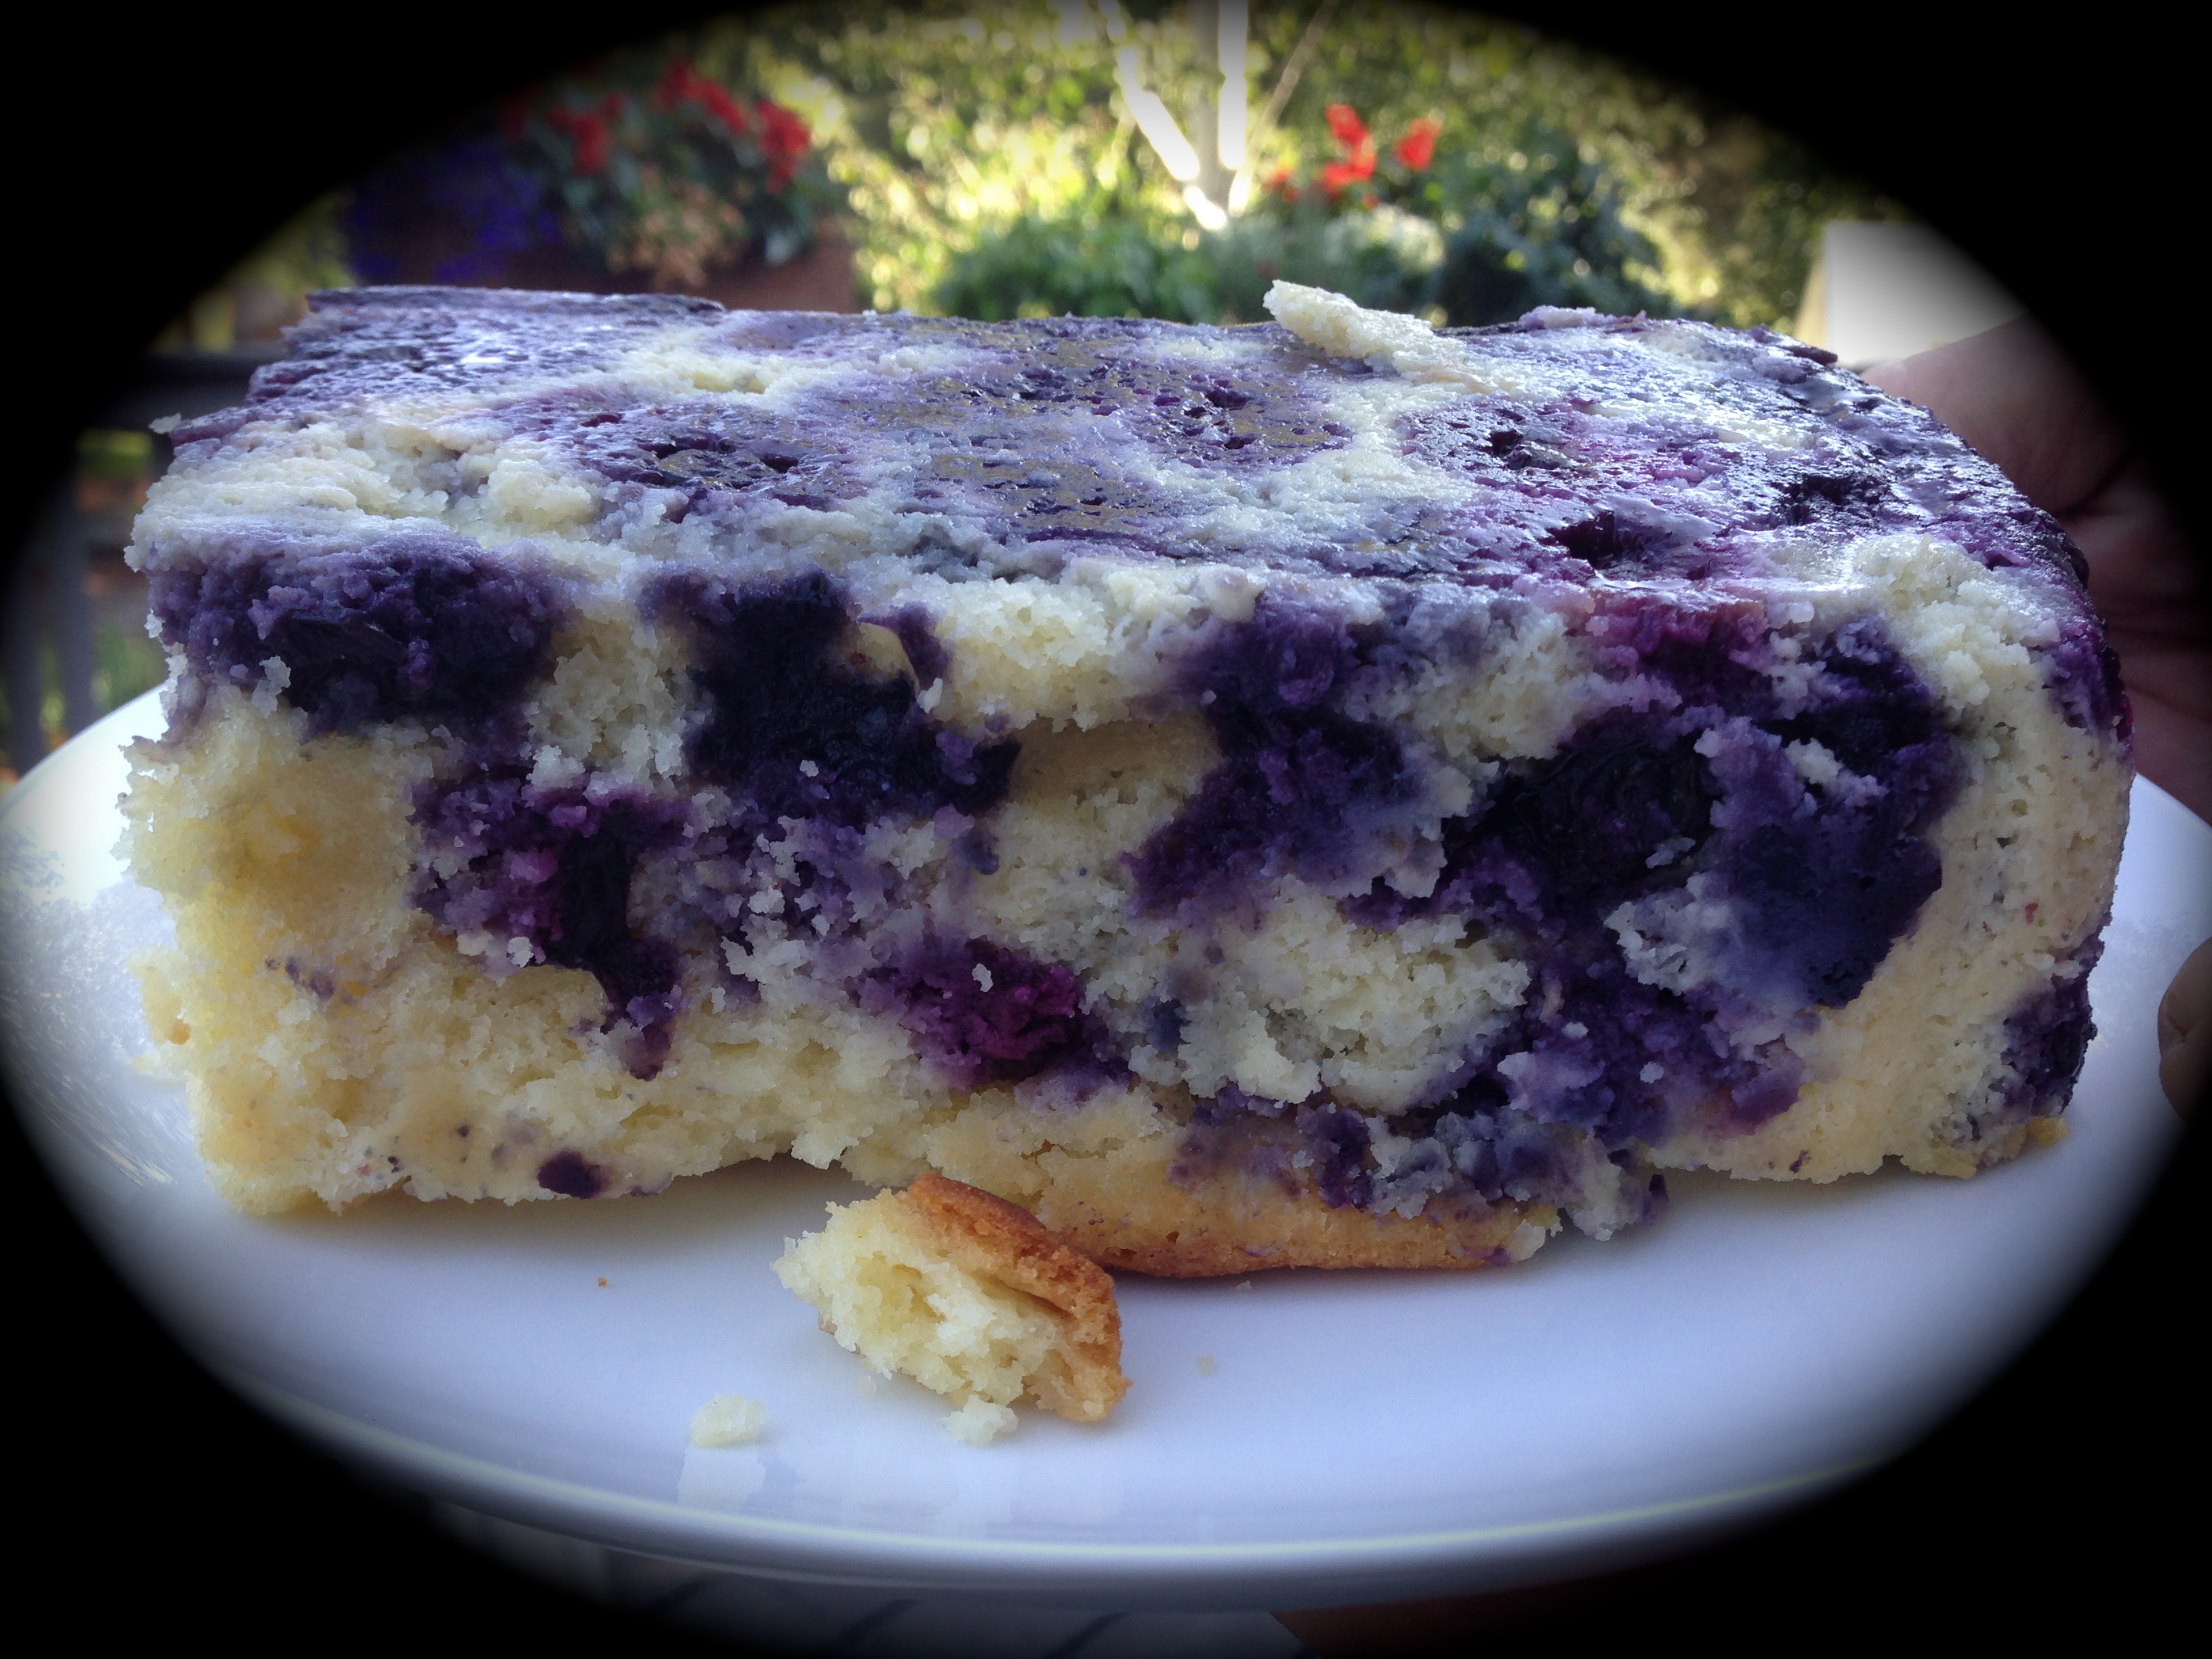
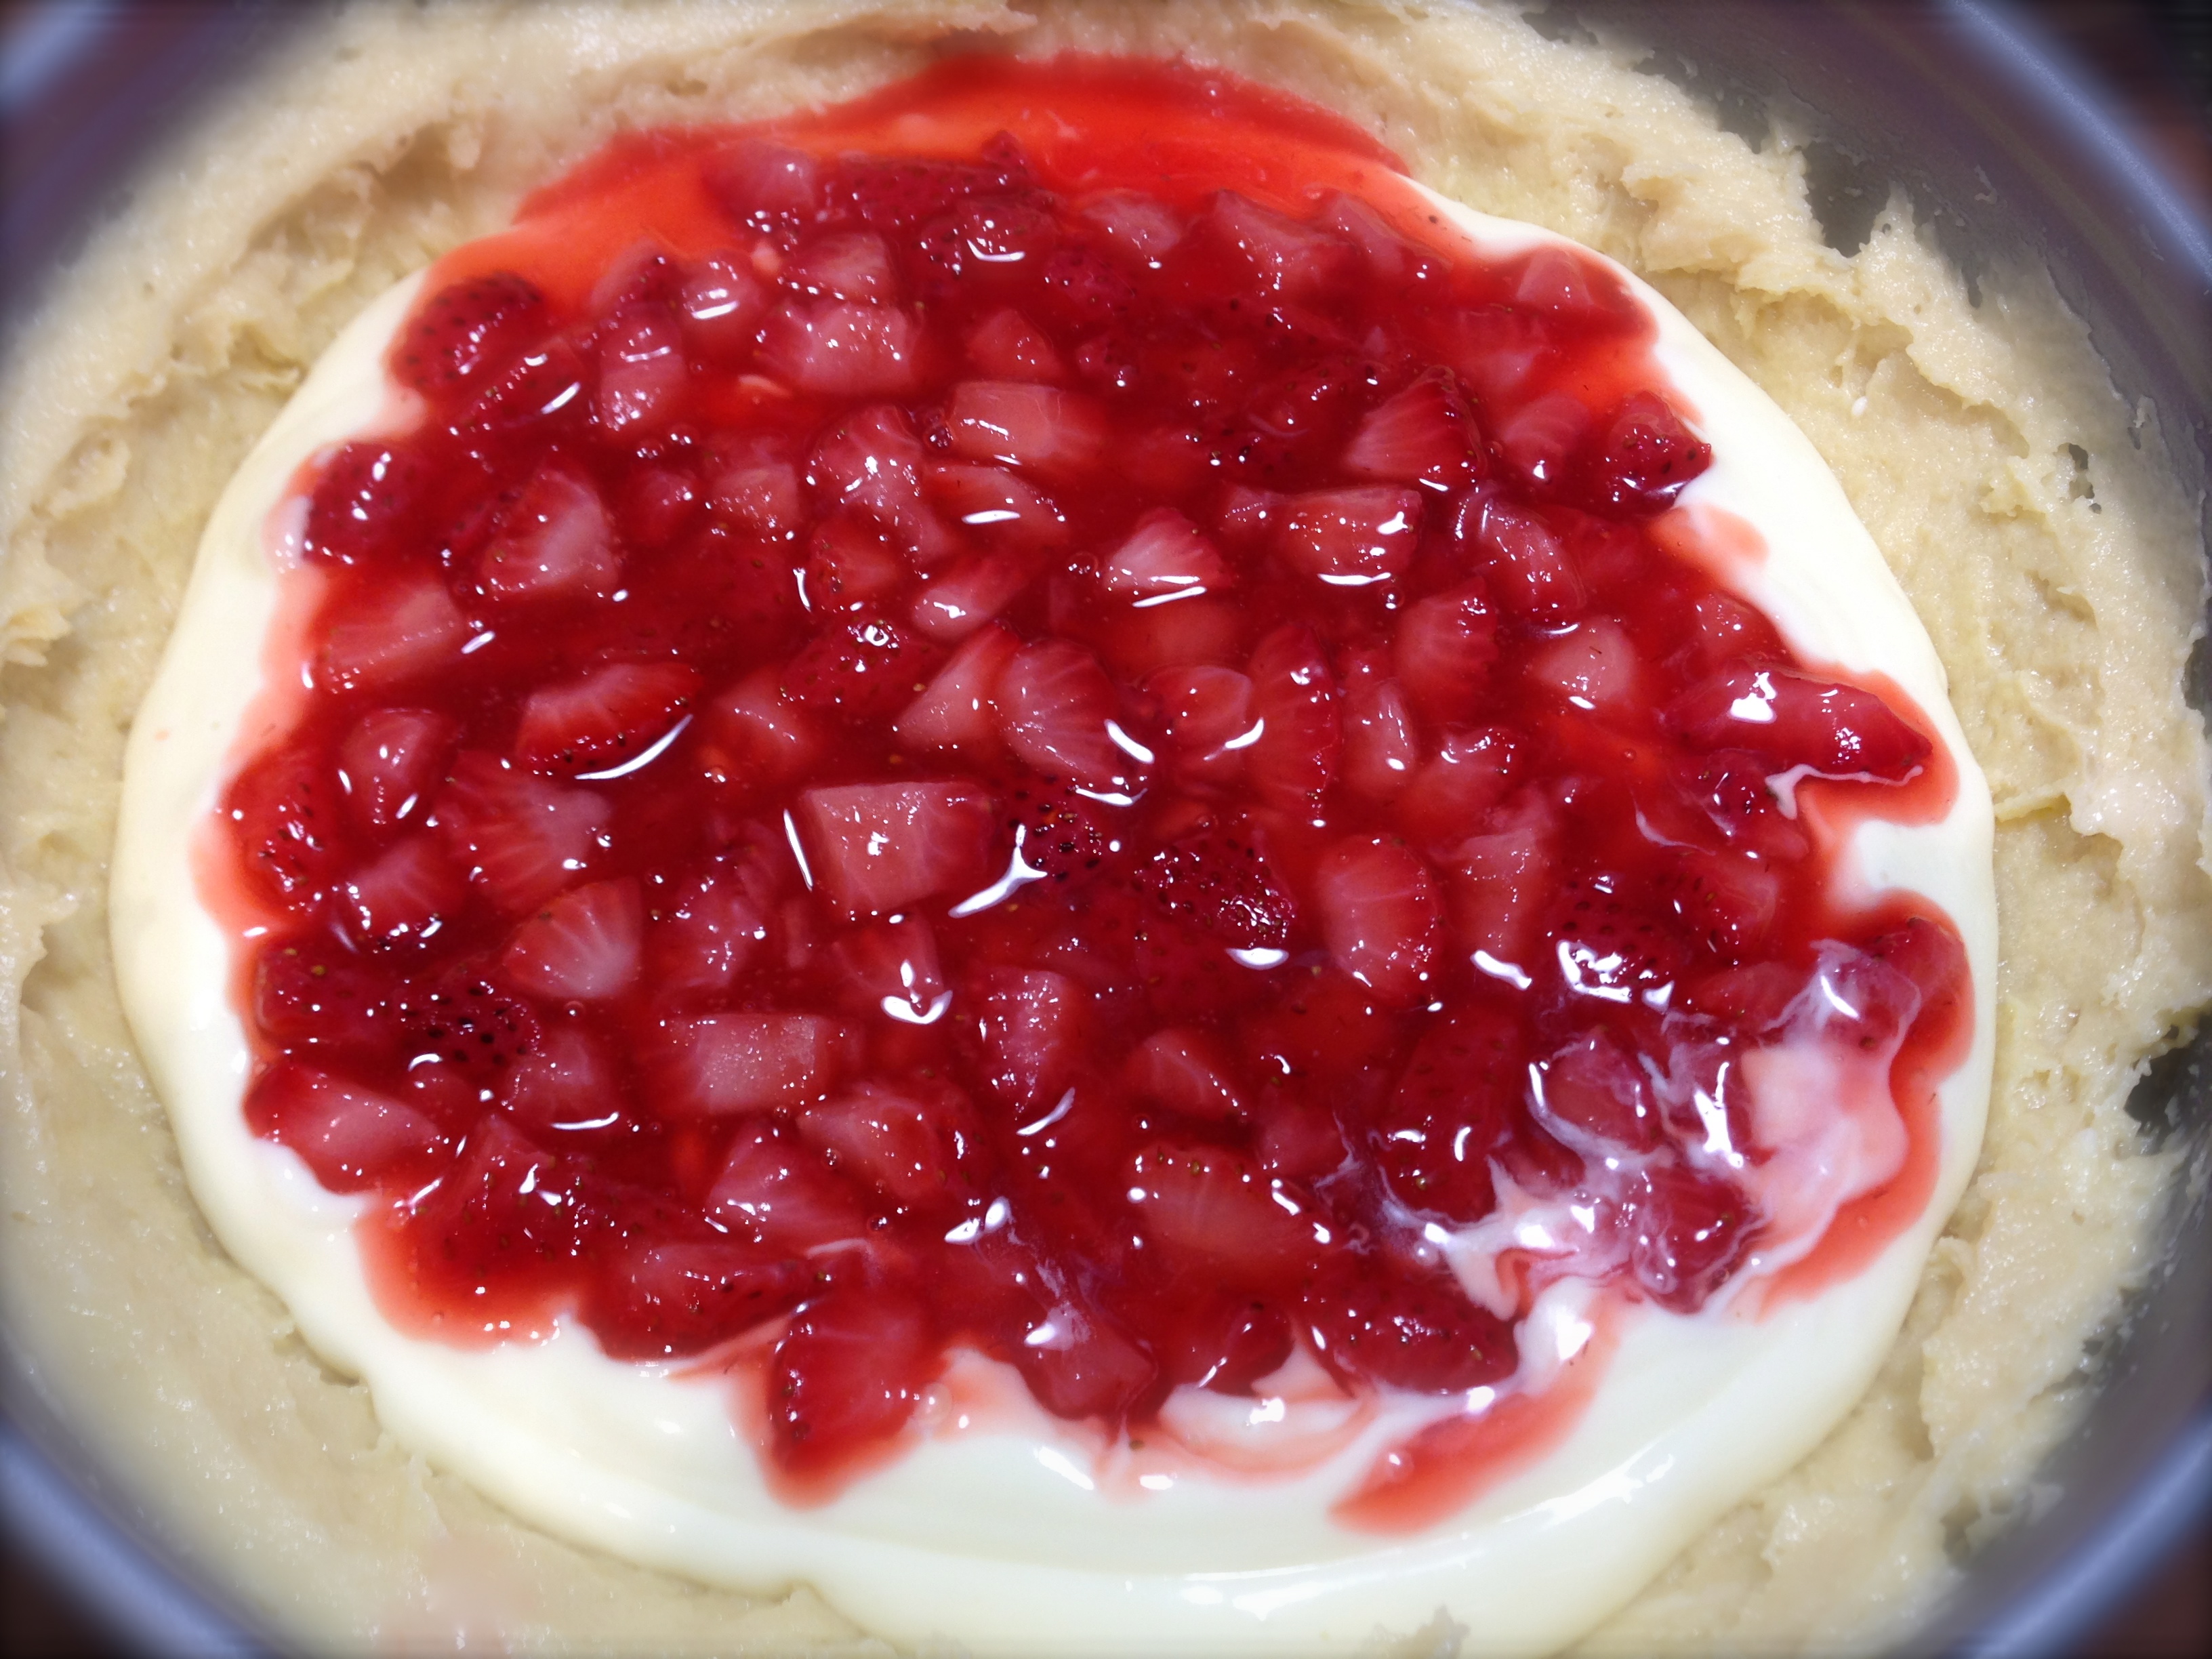
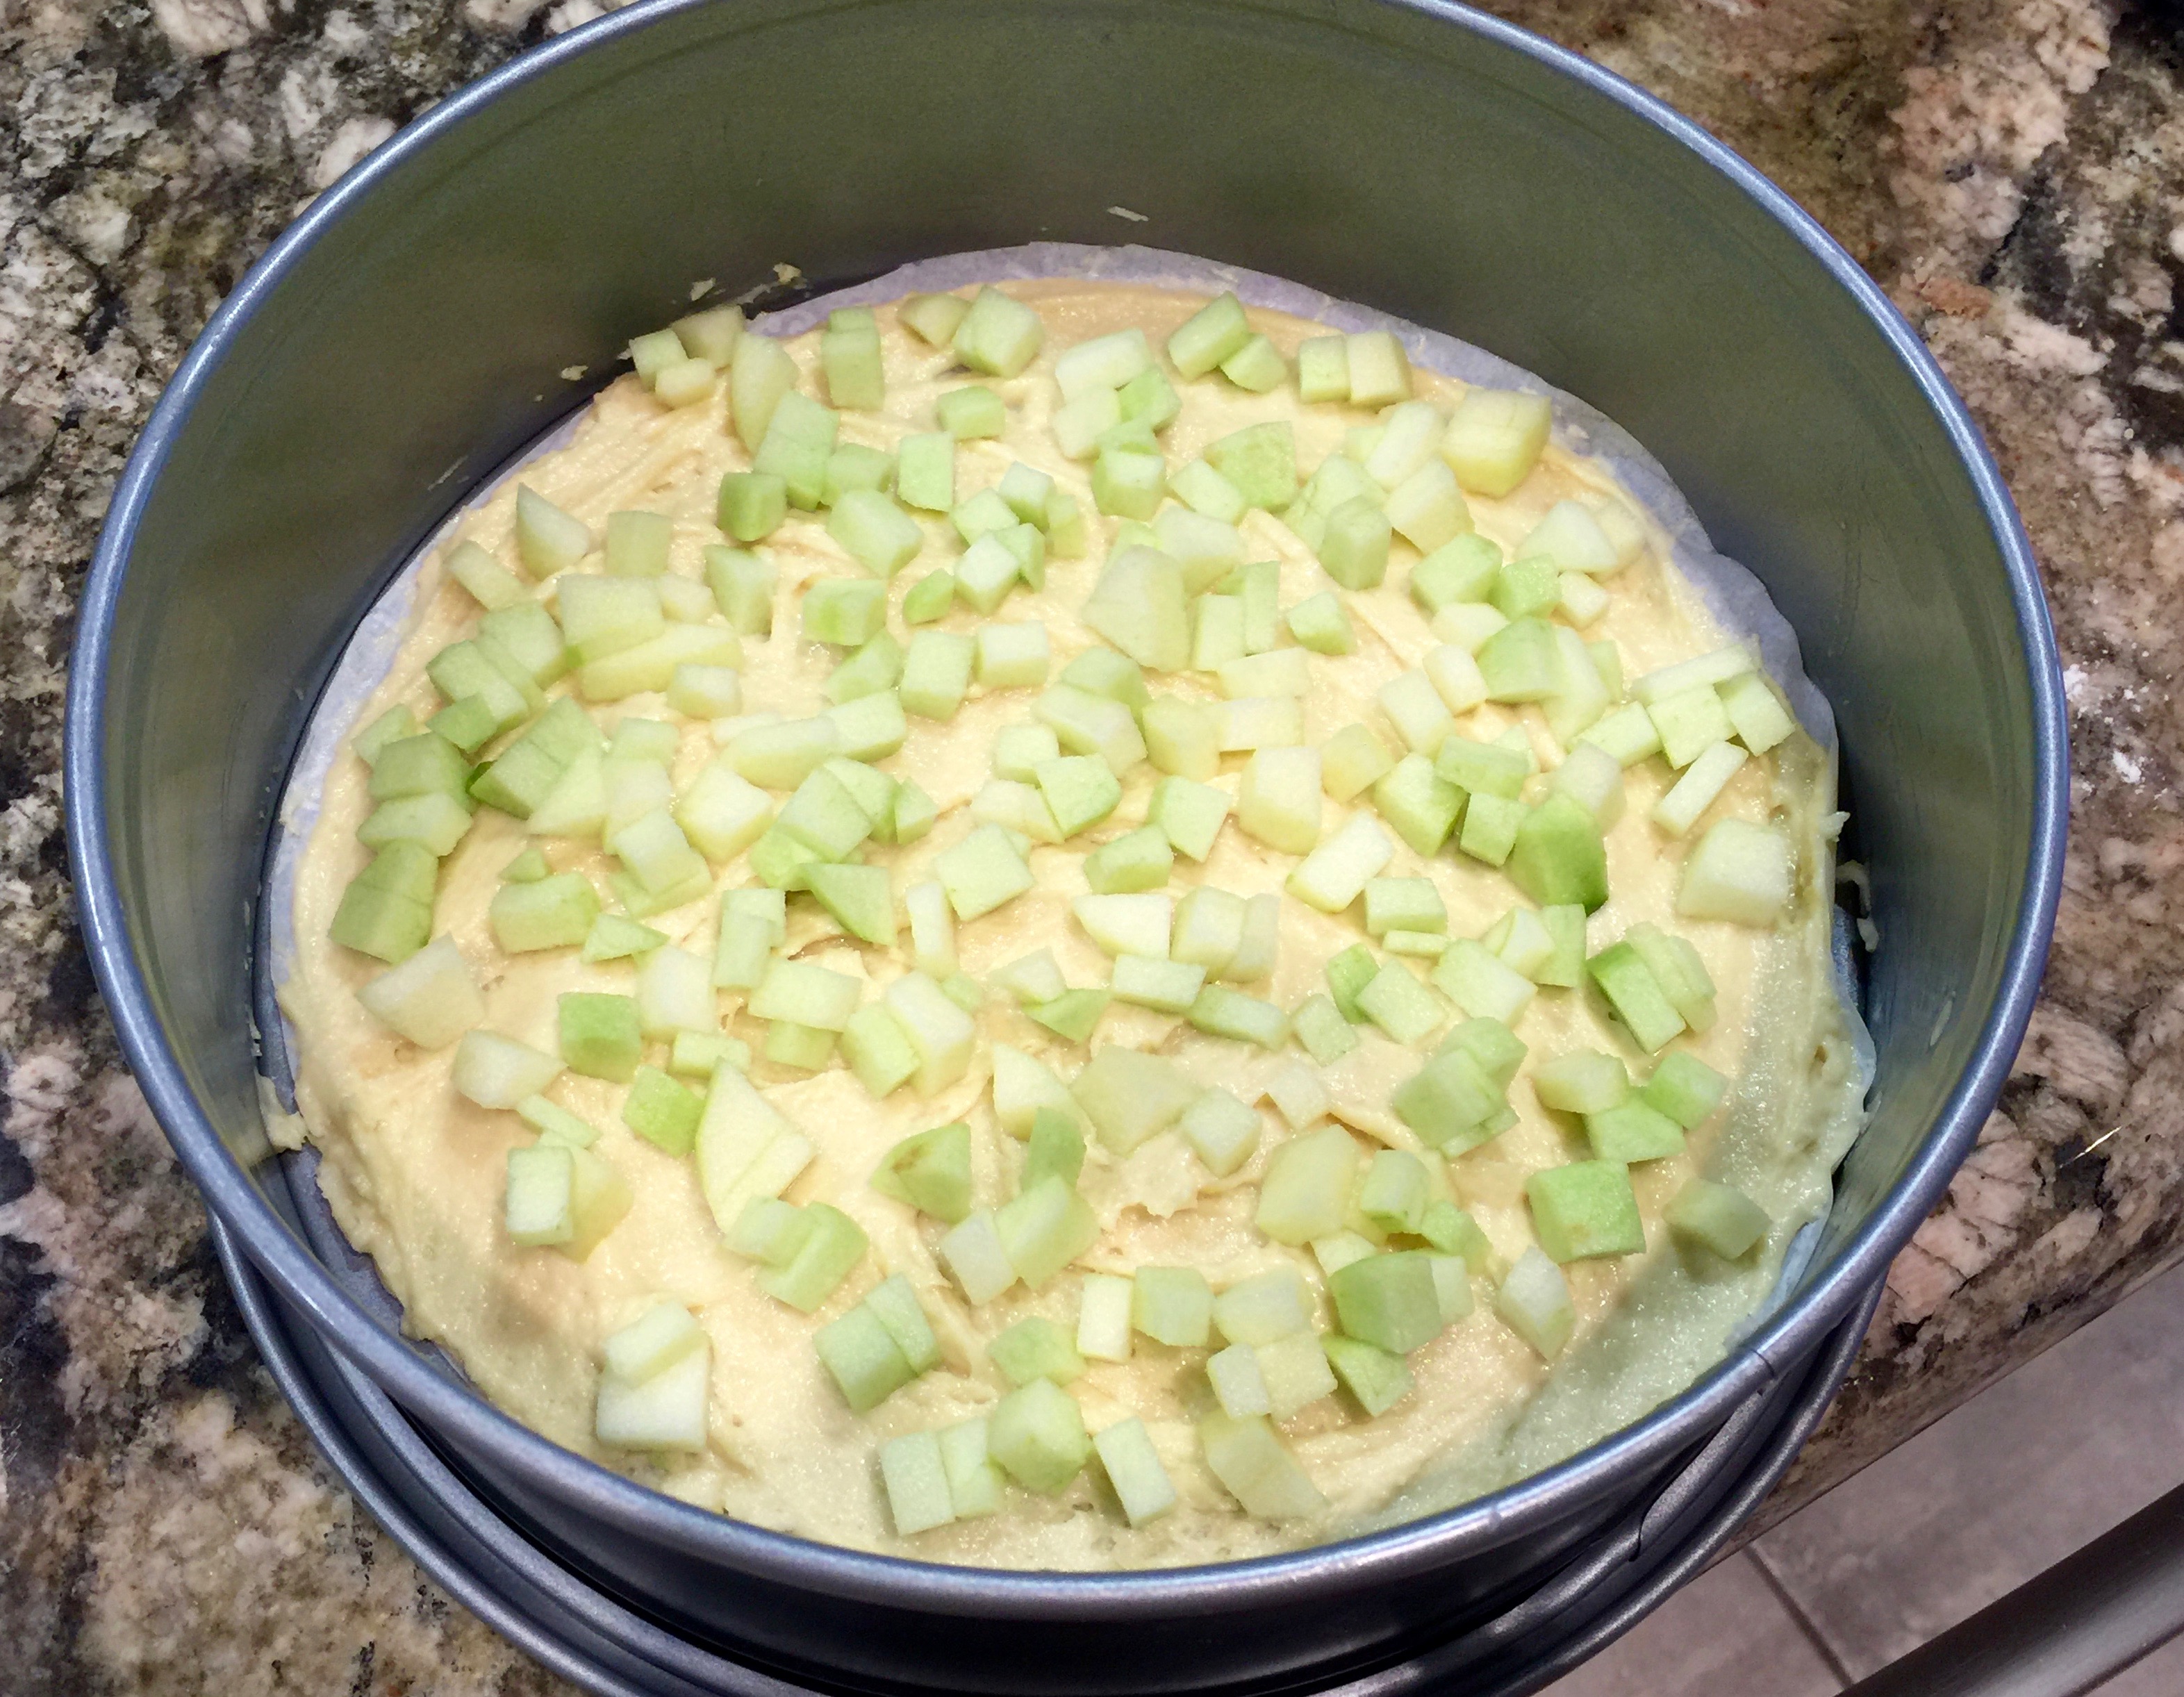
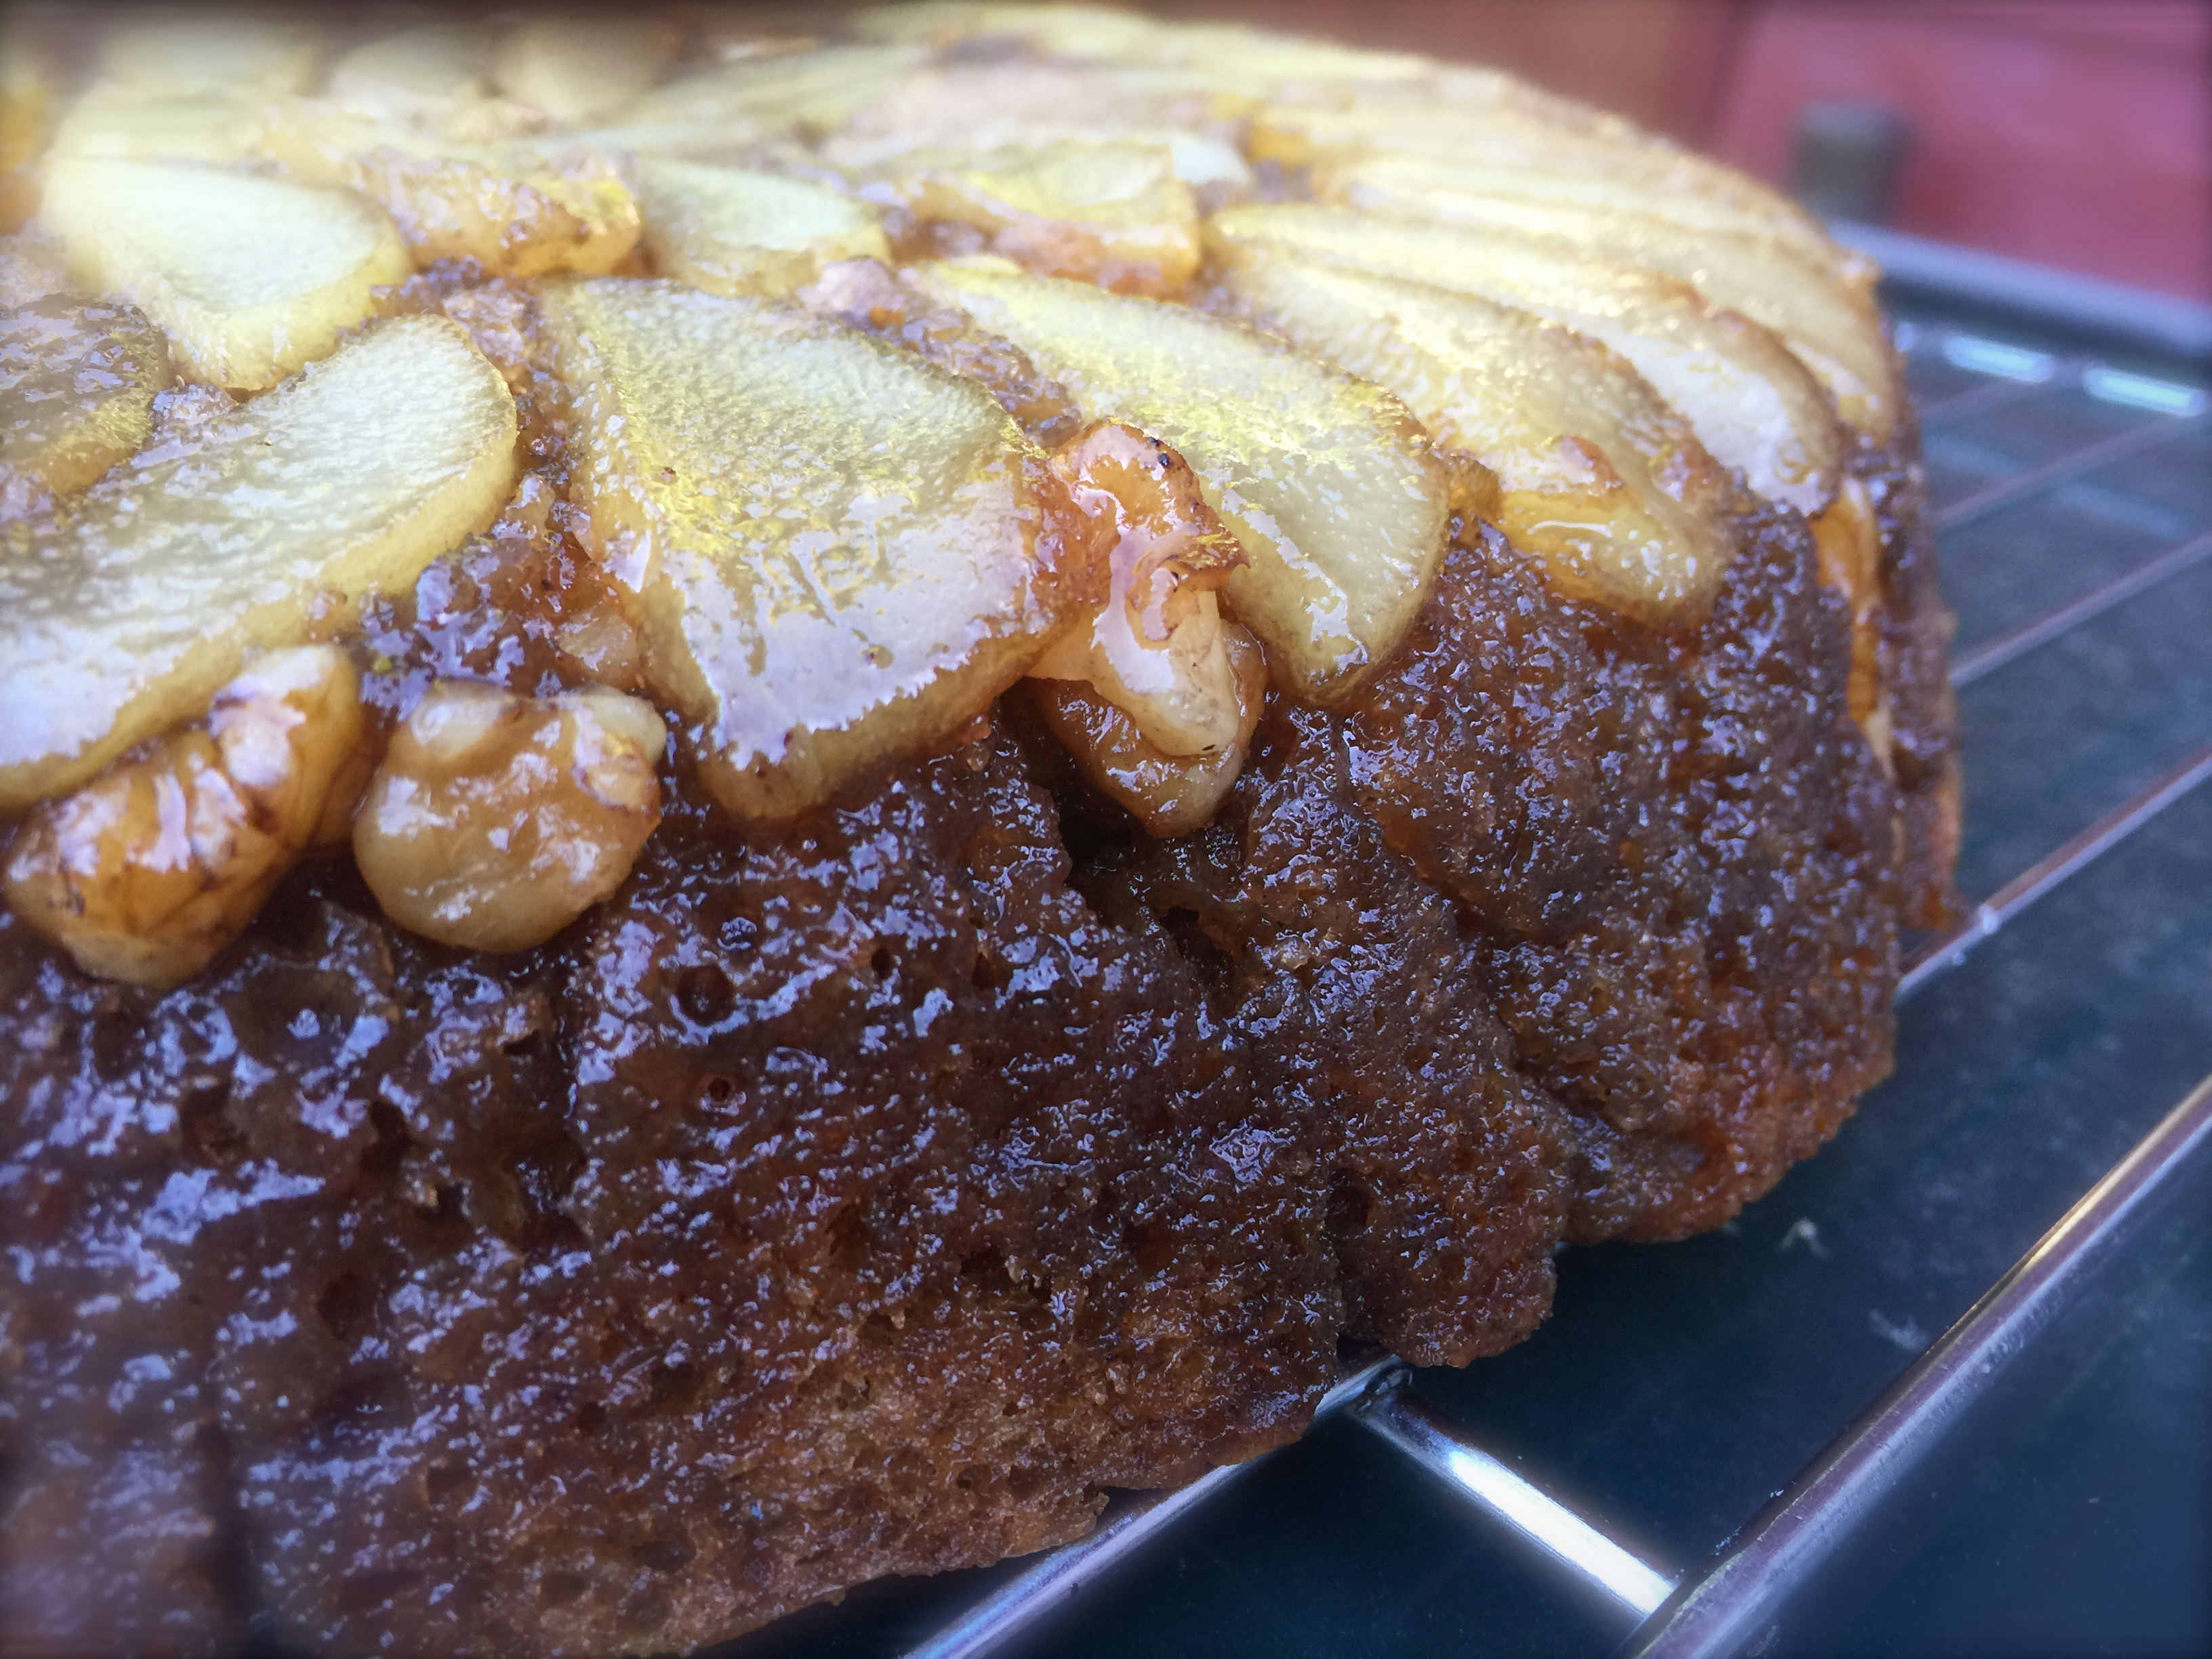
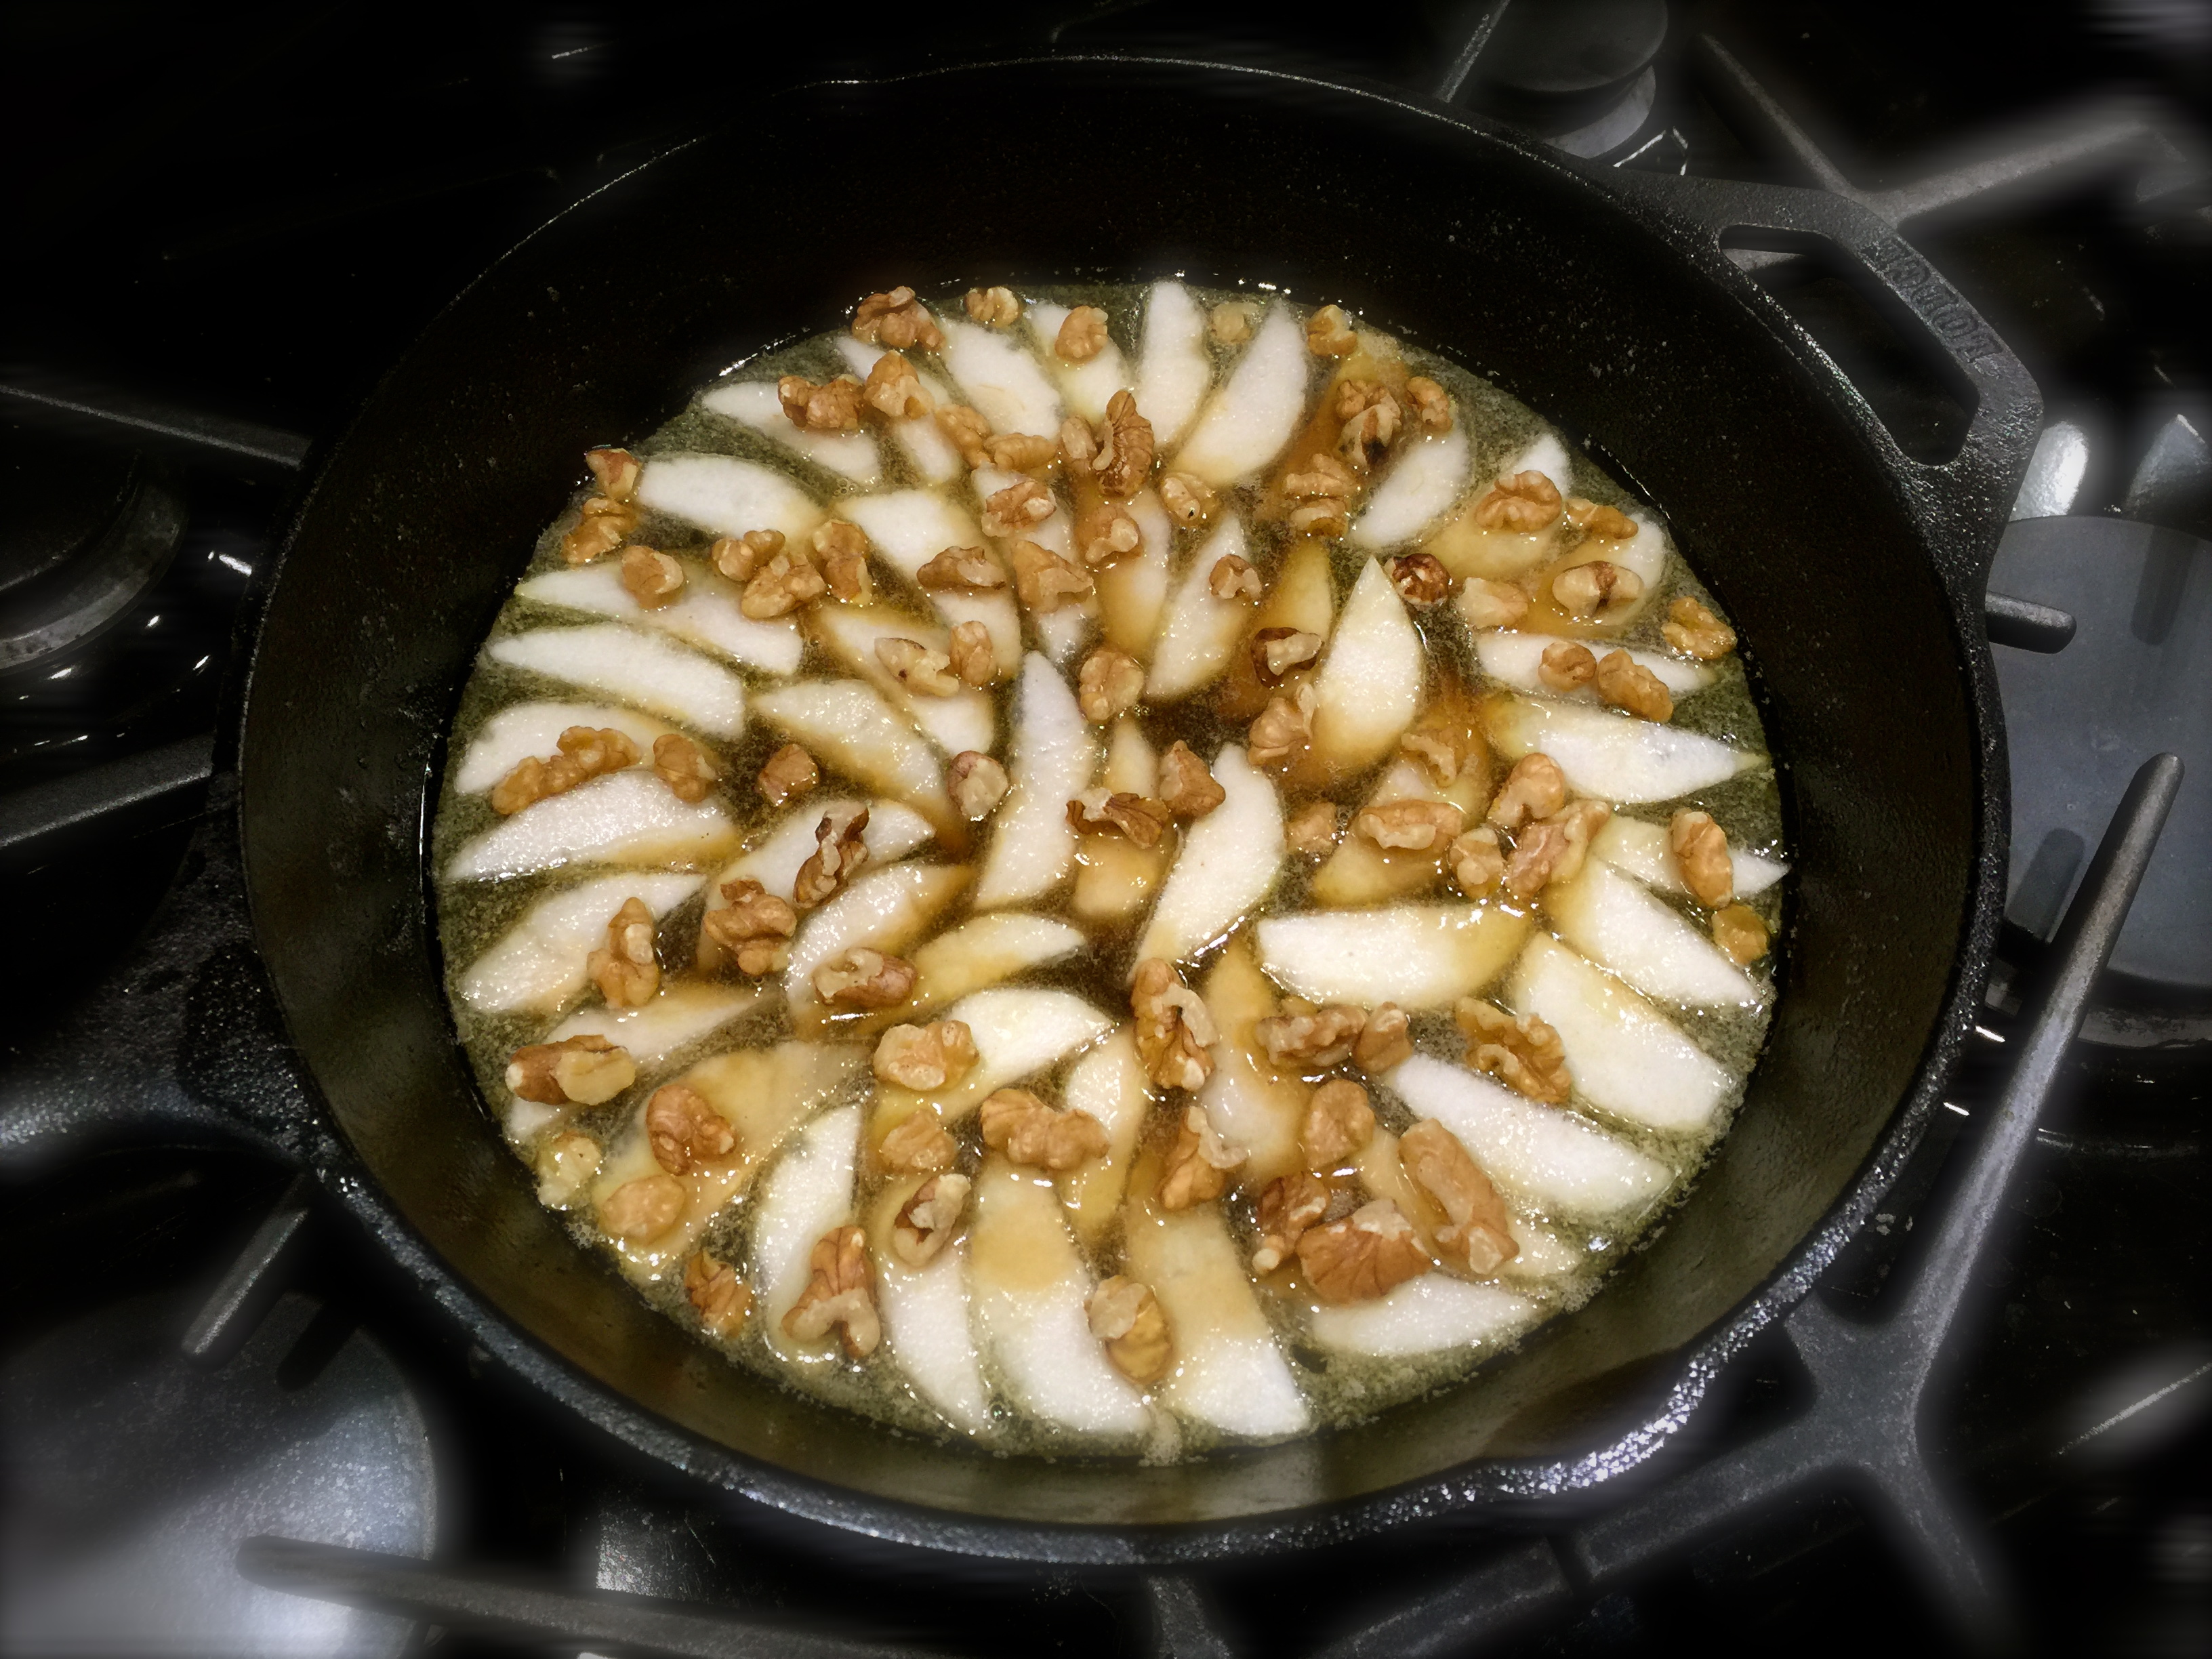
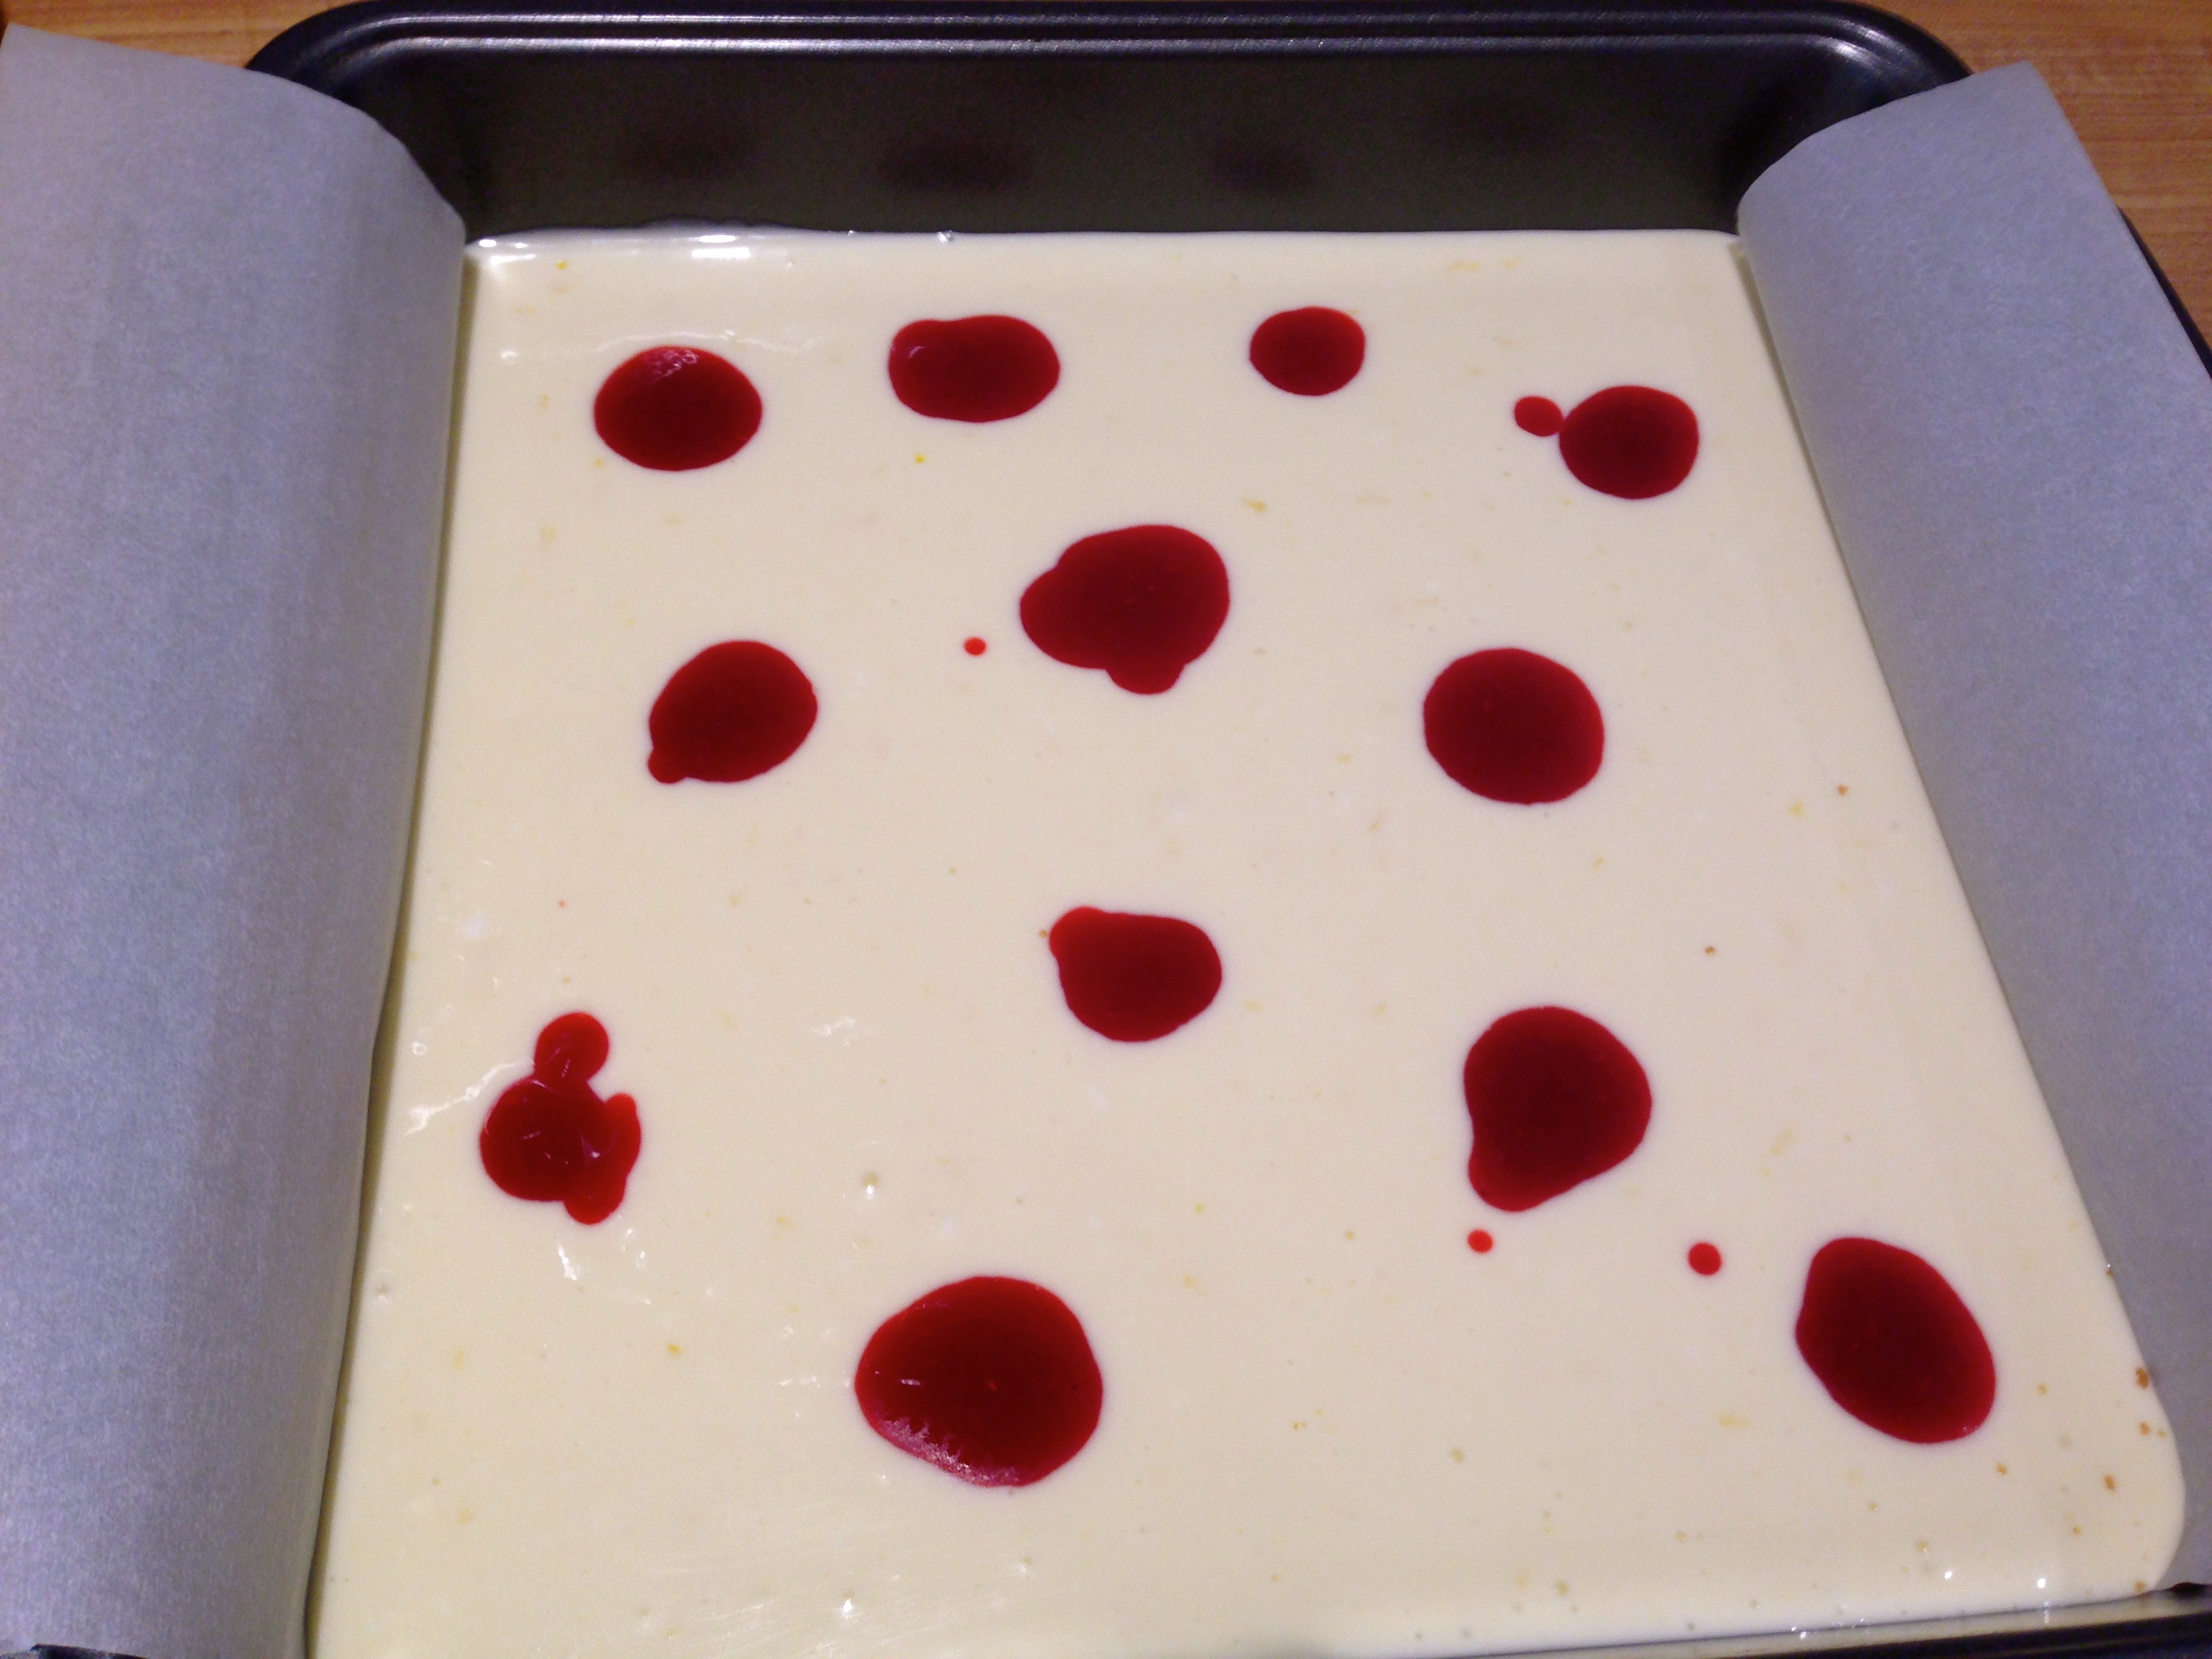
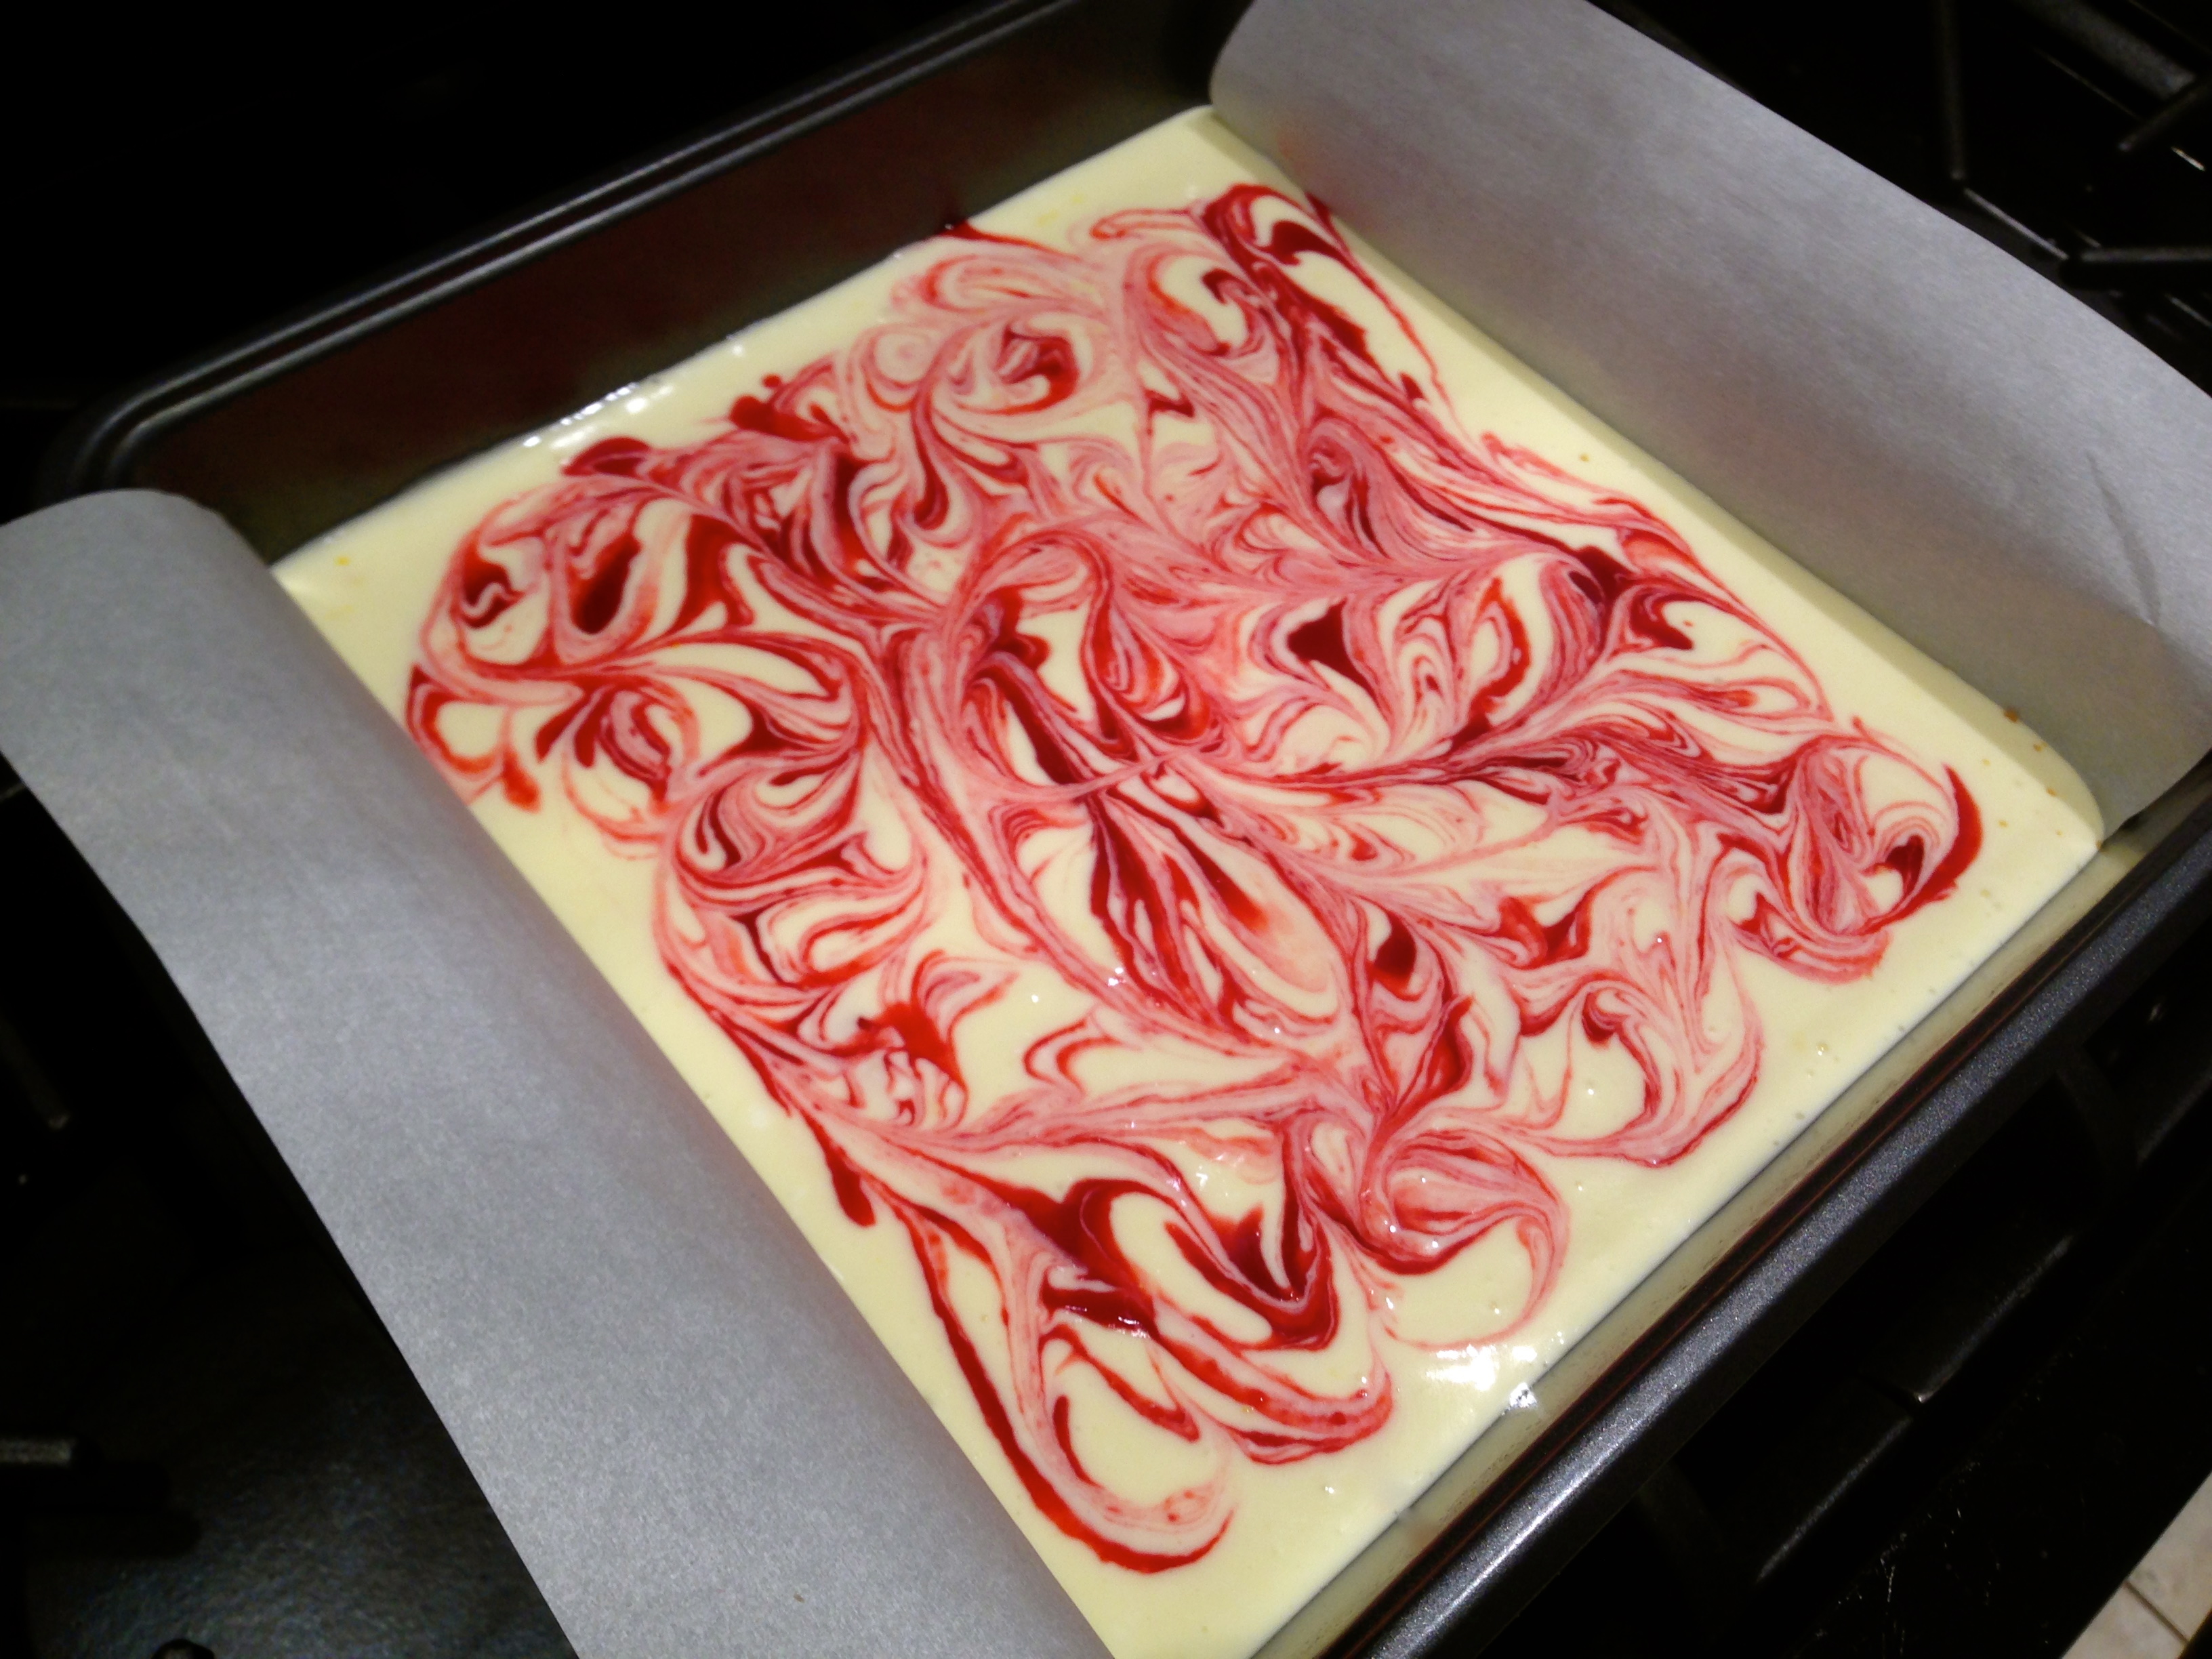
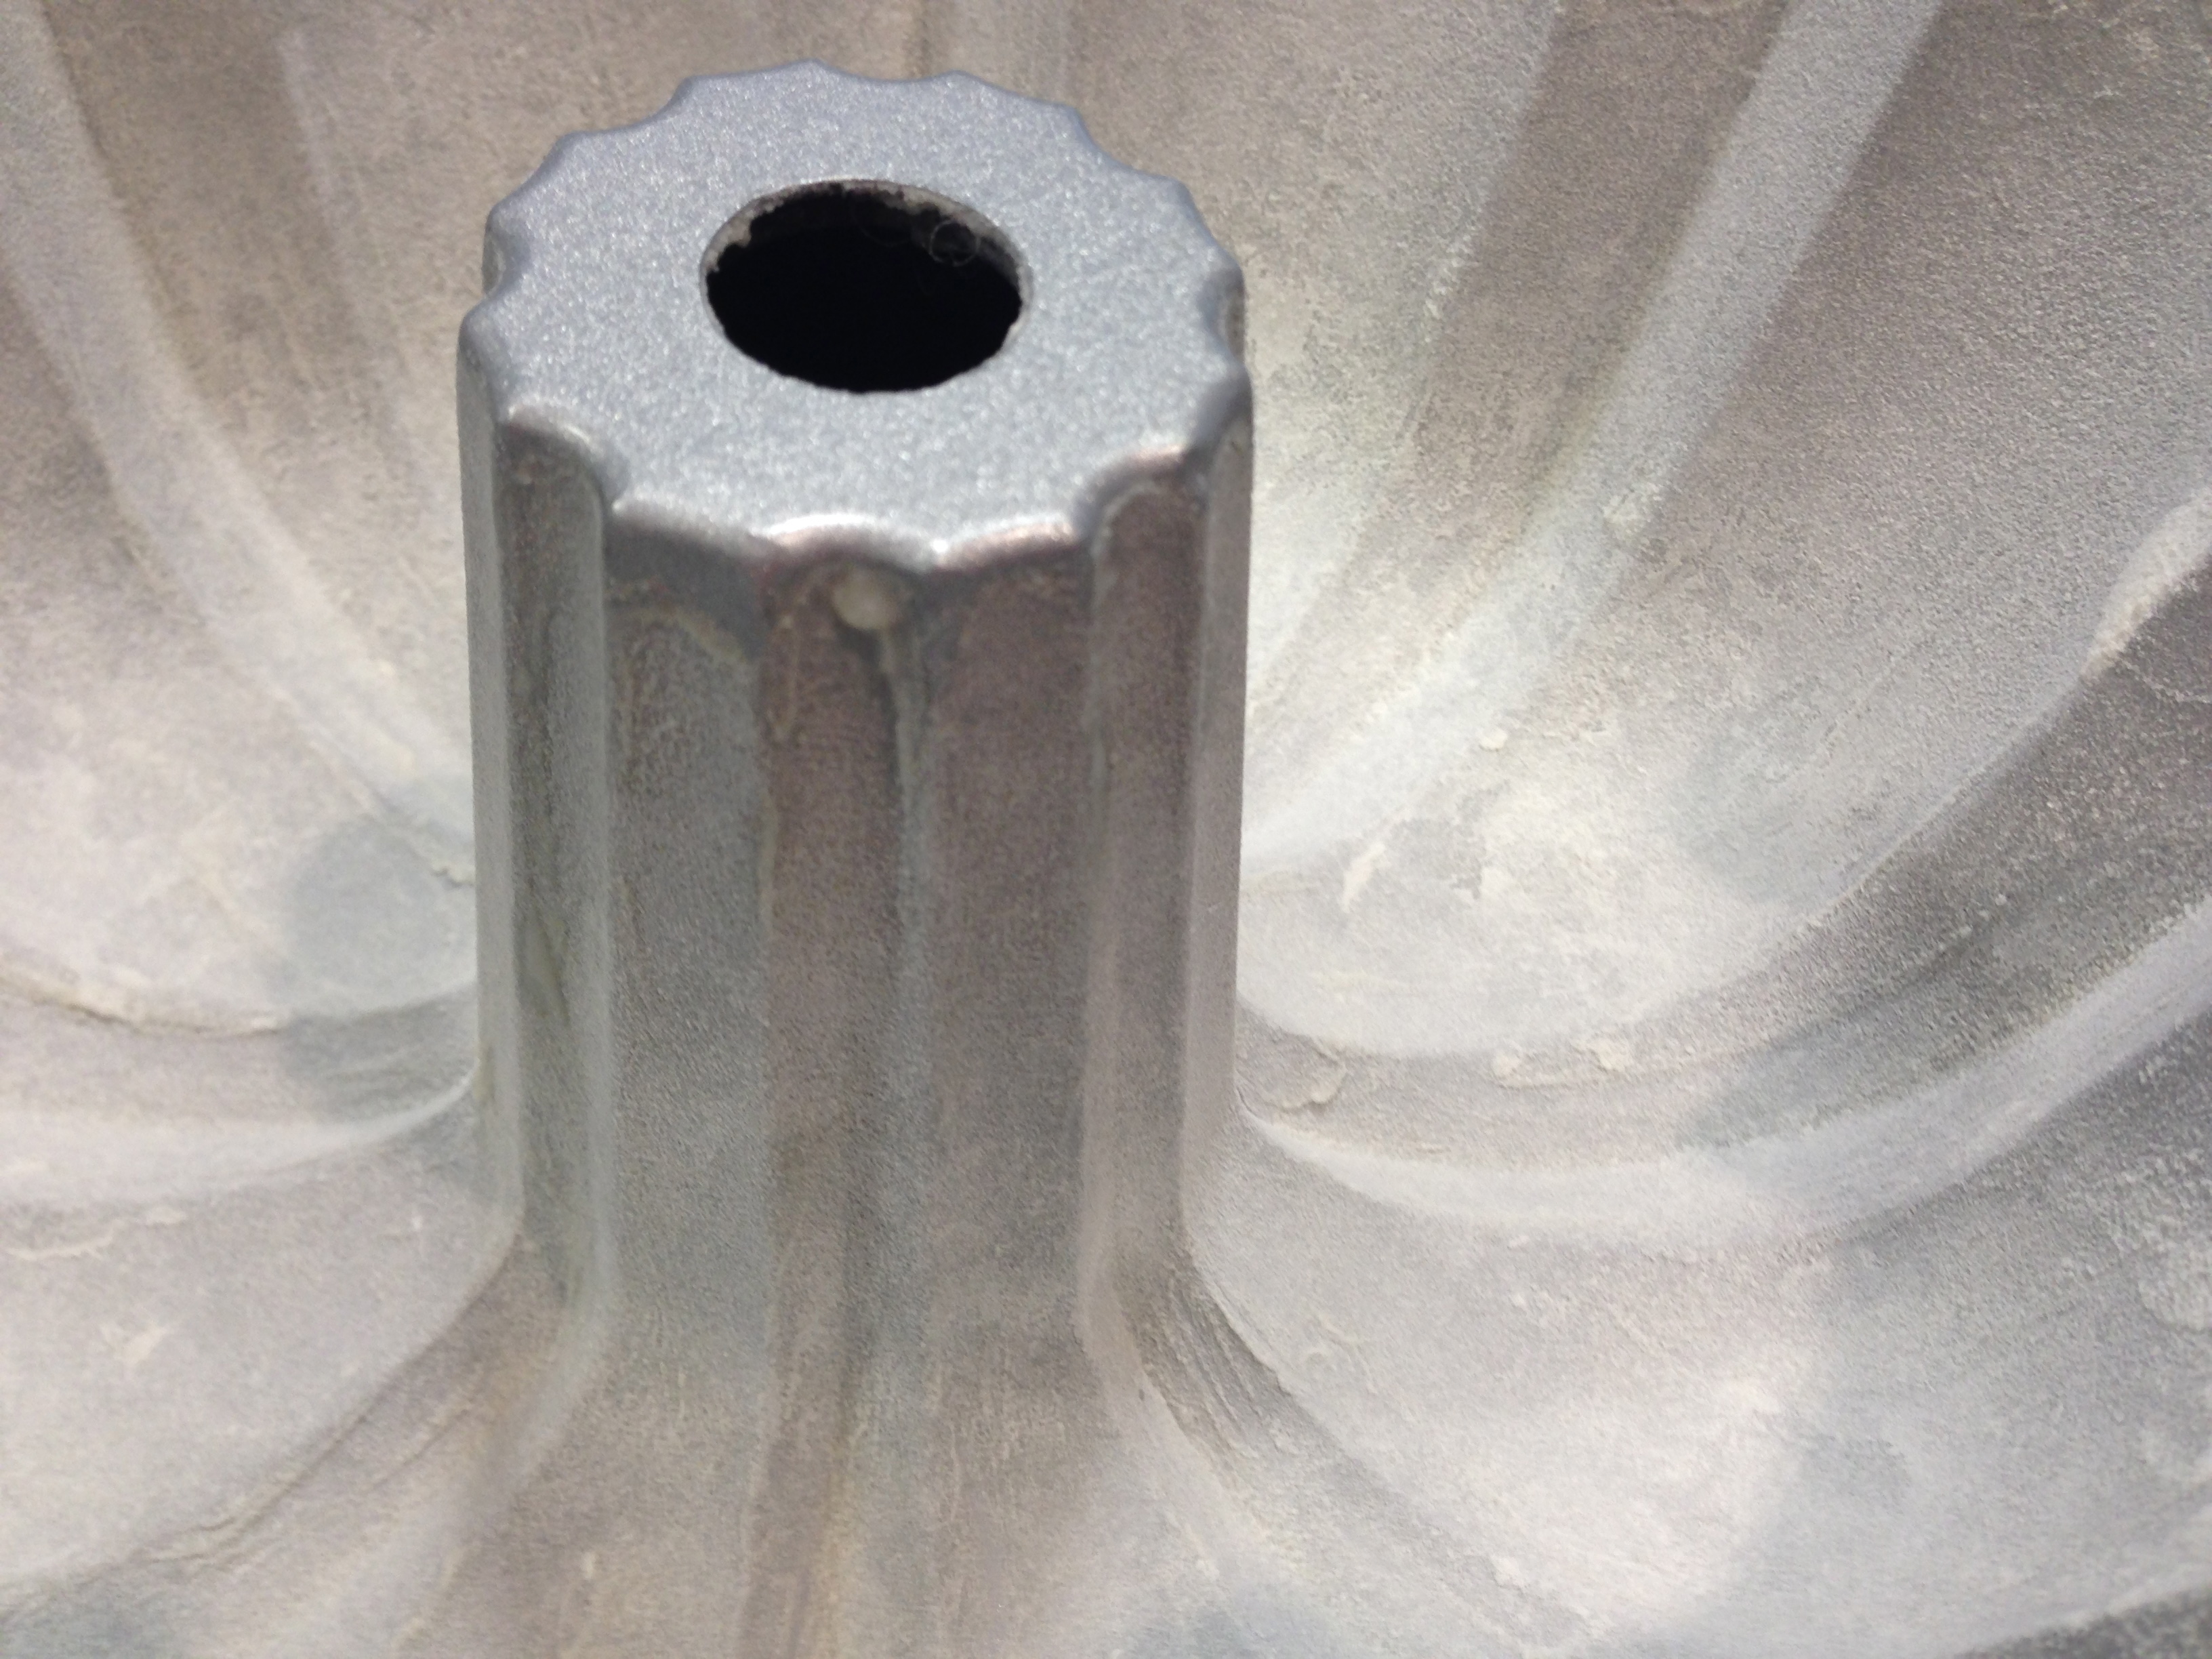
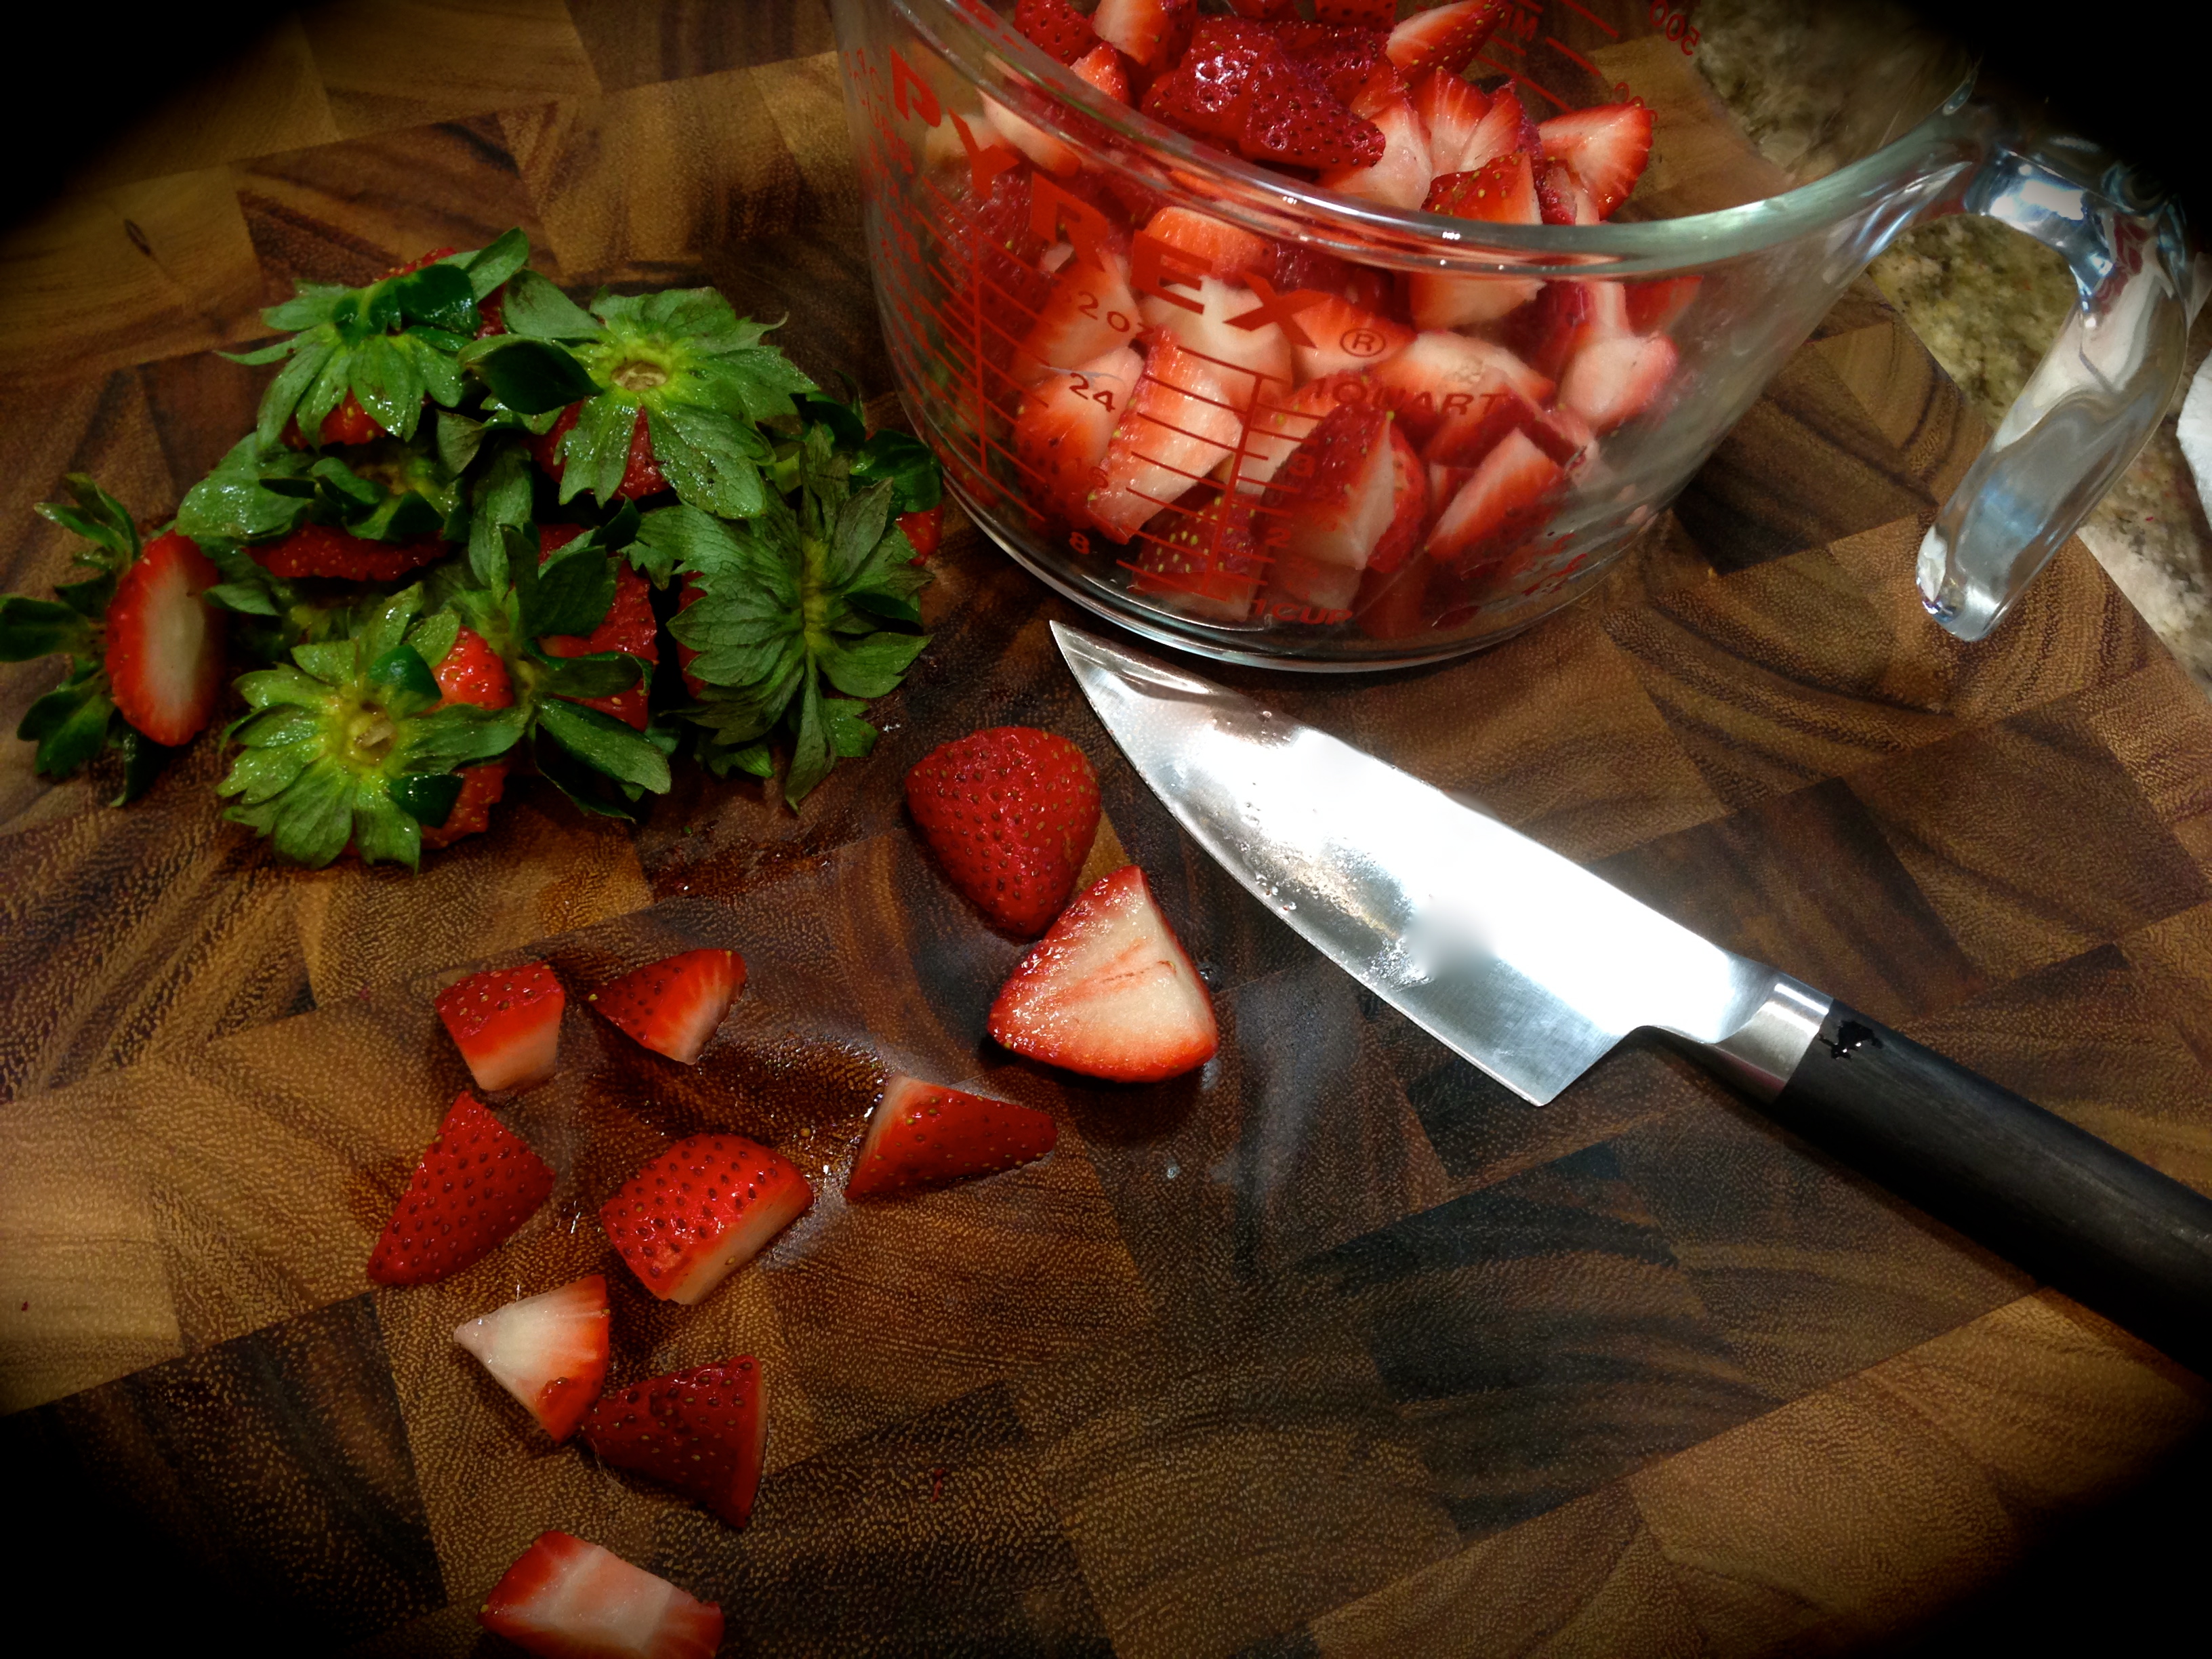
Lesson Learned 4 – Arranging the blueberries in the layers: This cake requires two blueberry layers, one on top of the cake batter layer and one on top of the cream cheese layer. When putting in both layers be careful to not let any of the blueberries touch the sides of your spring form pan. If you do you’ll find it difficult to clean the sides of the pan after baking. If you don’t you can still clean the sides of your pan, it’s just a little more difficult even though the pan has been greased.
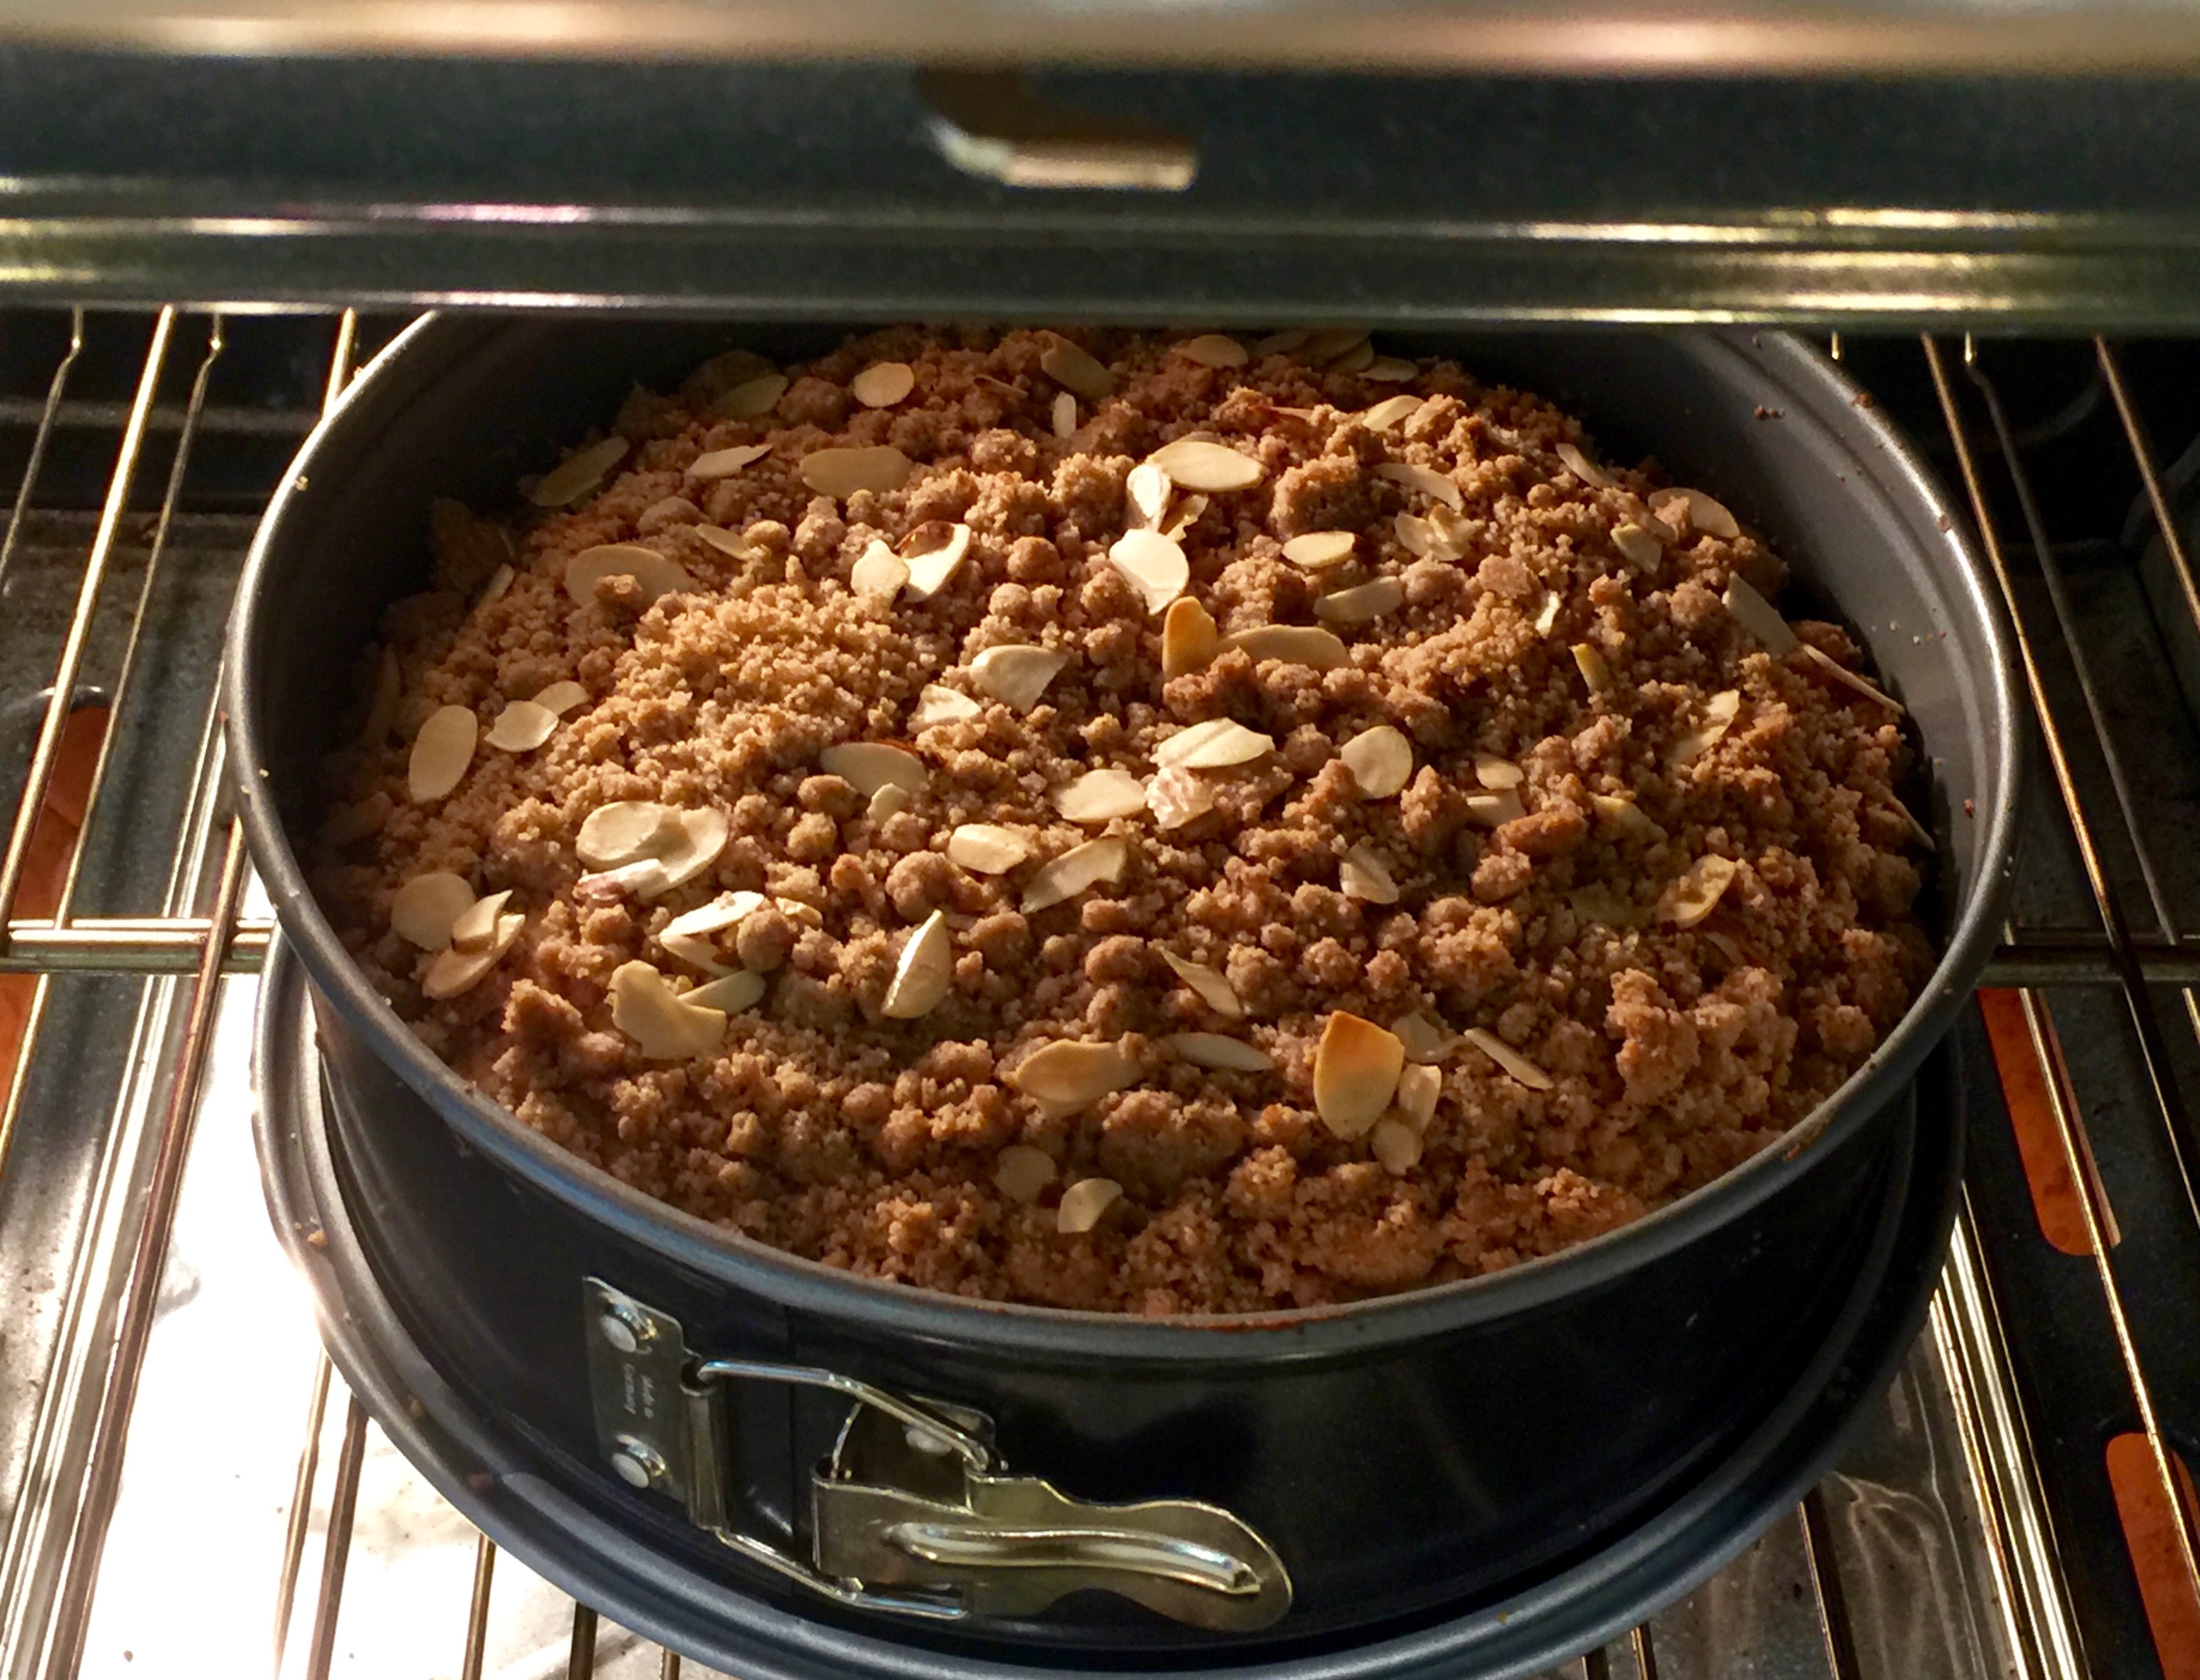
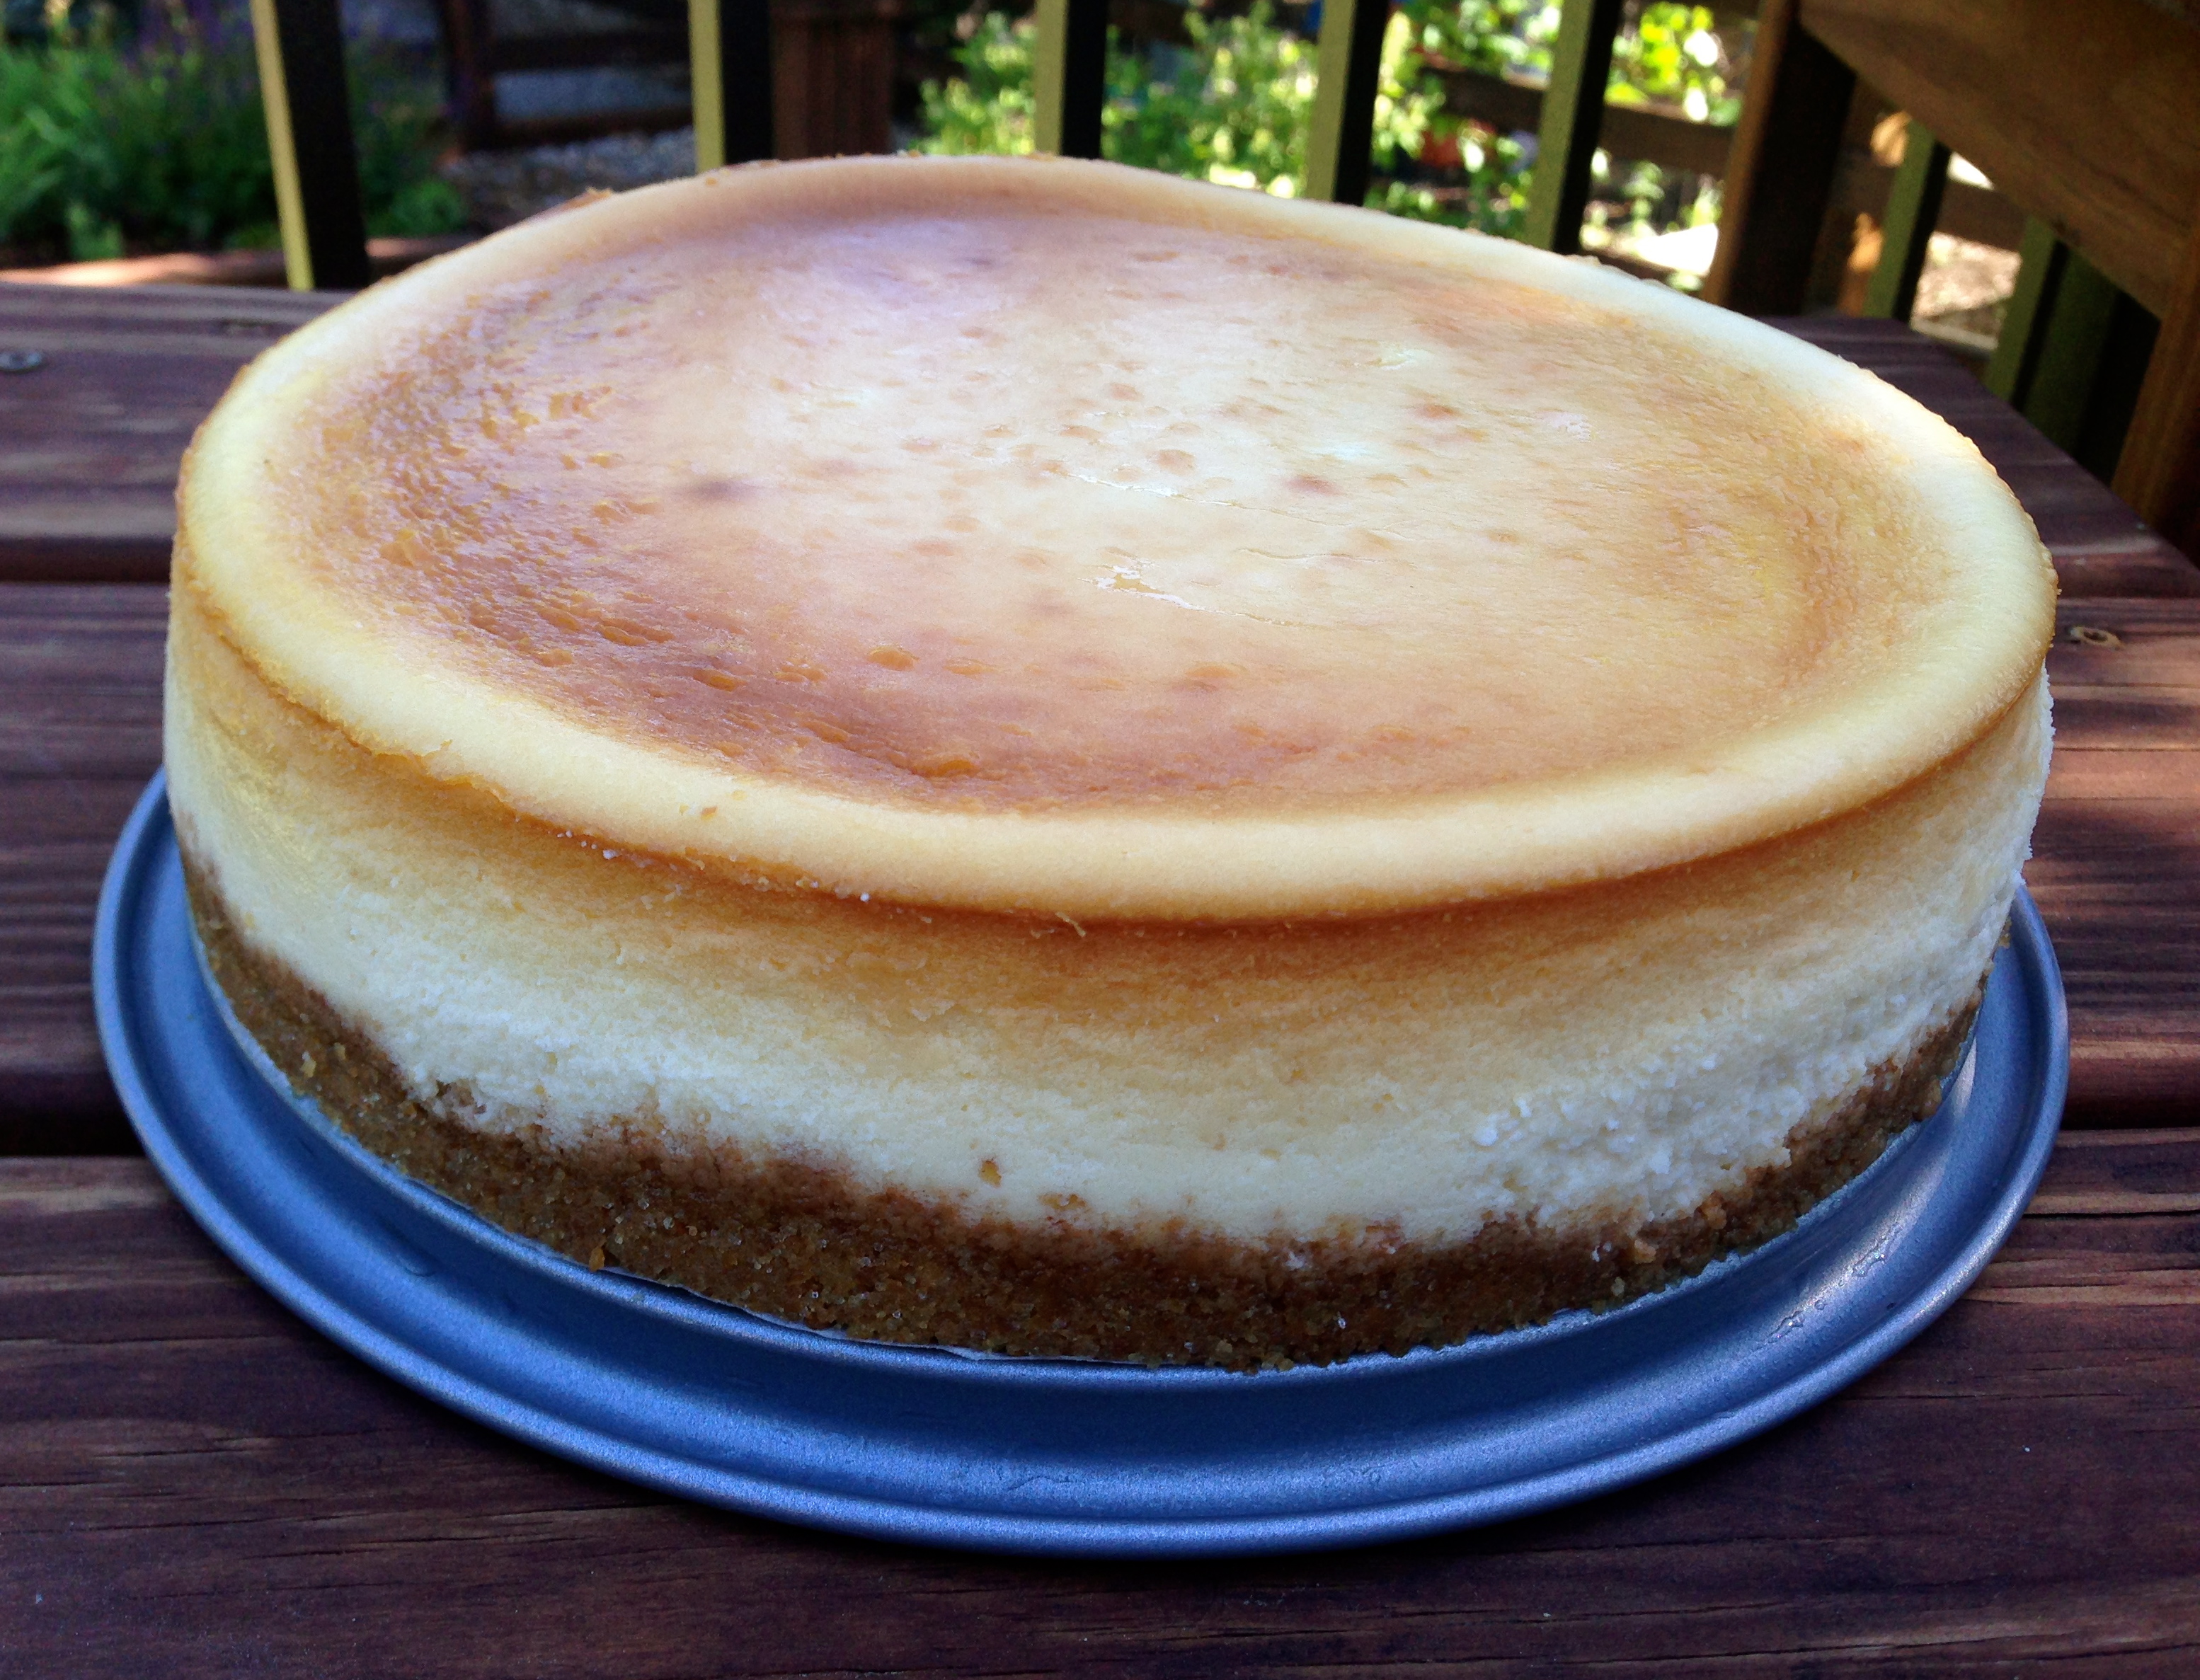
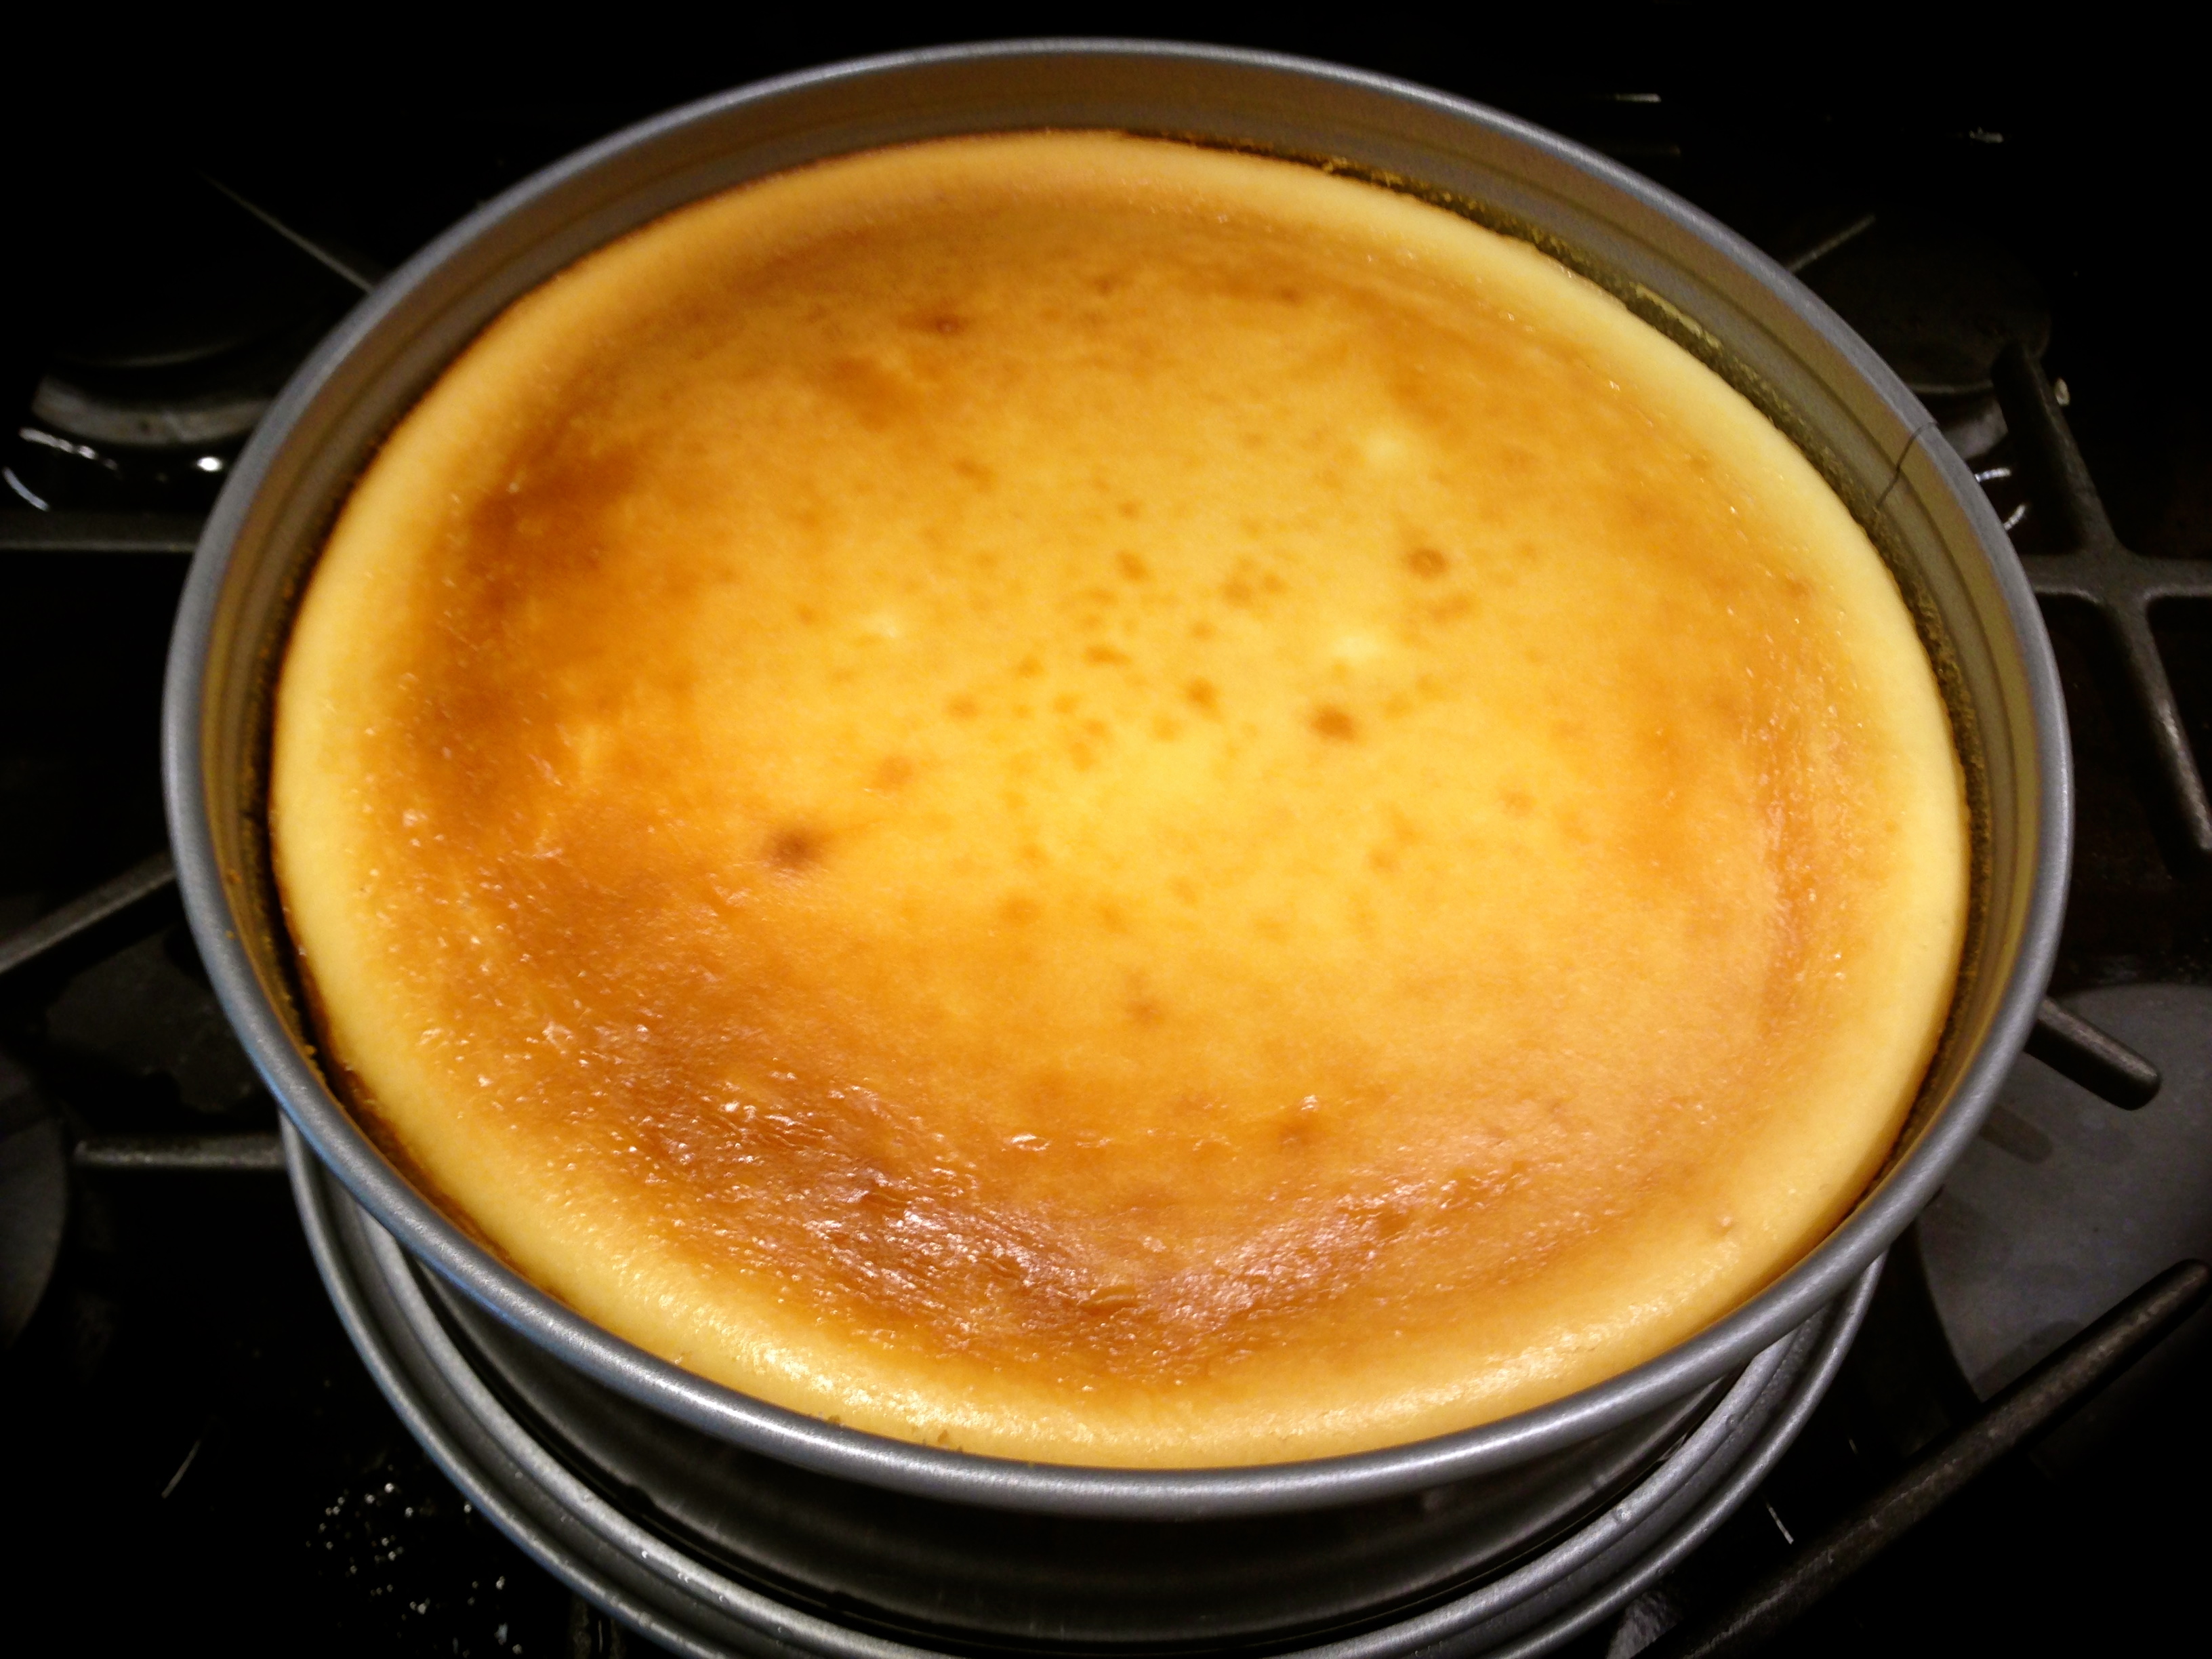
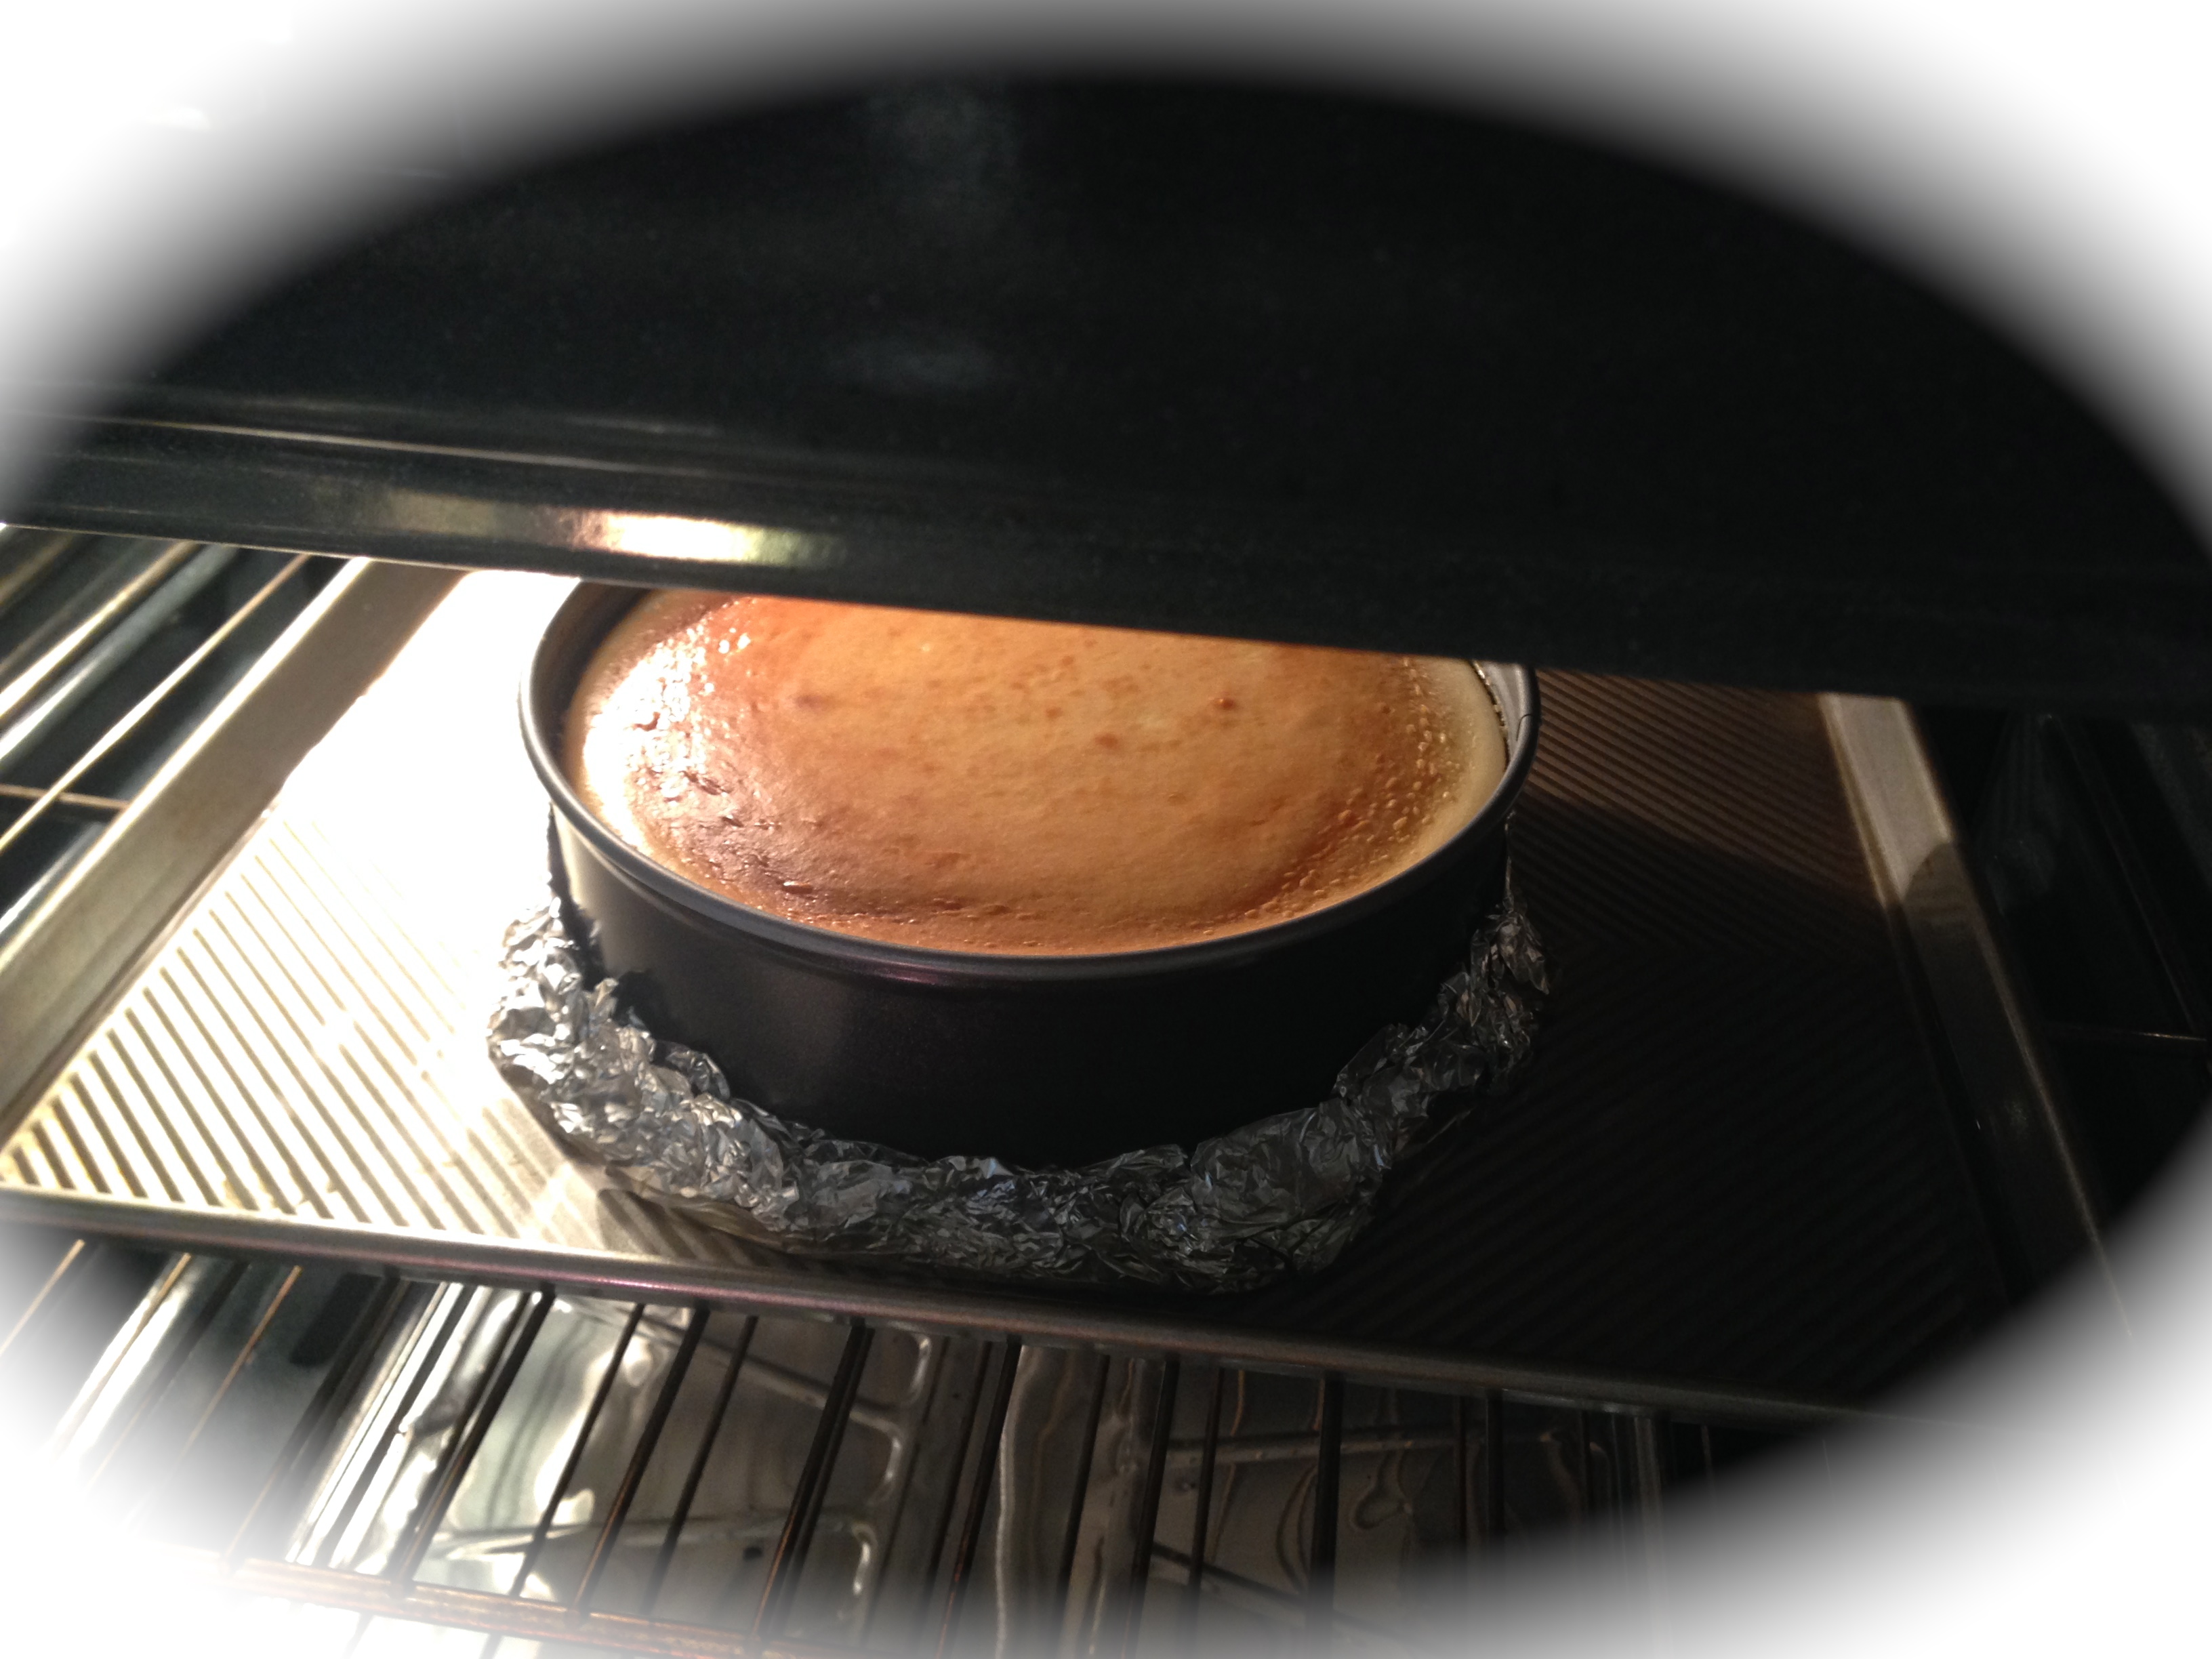
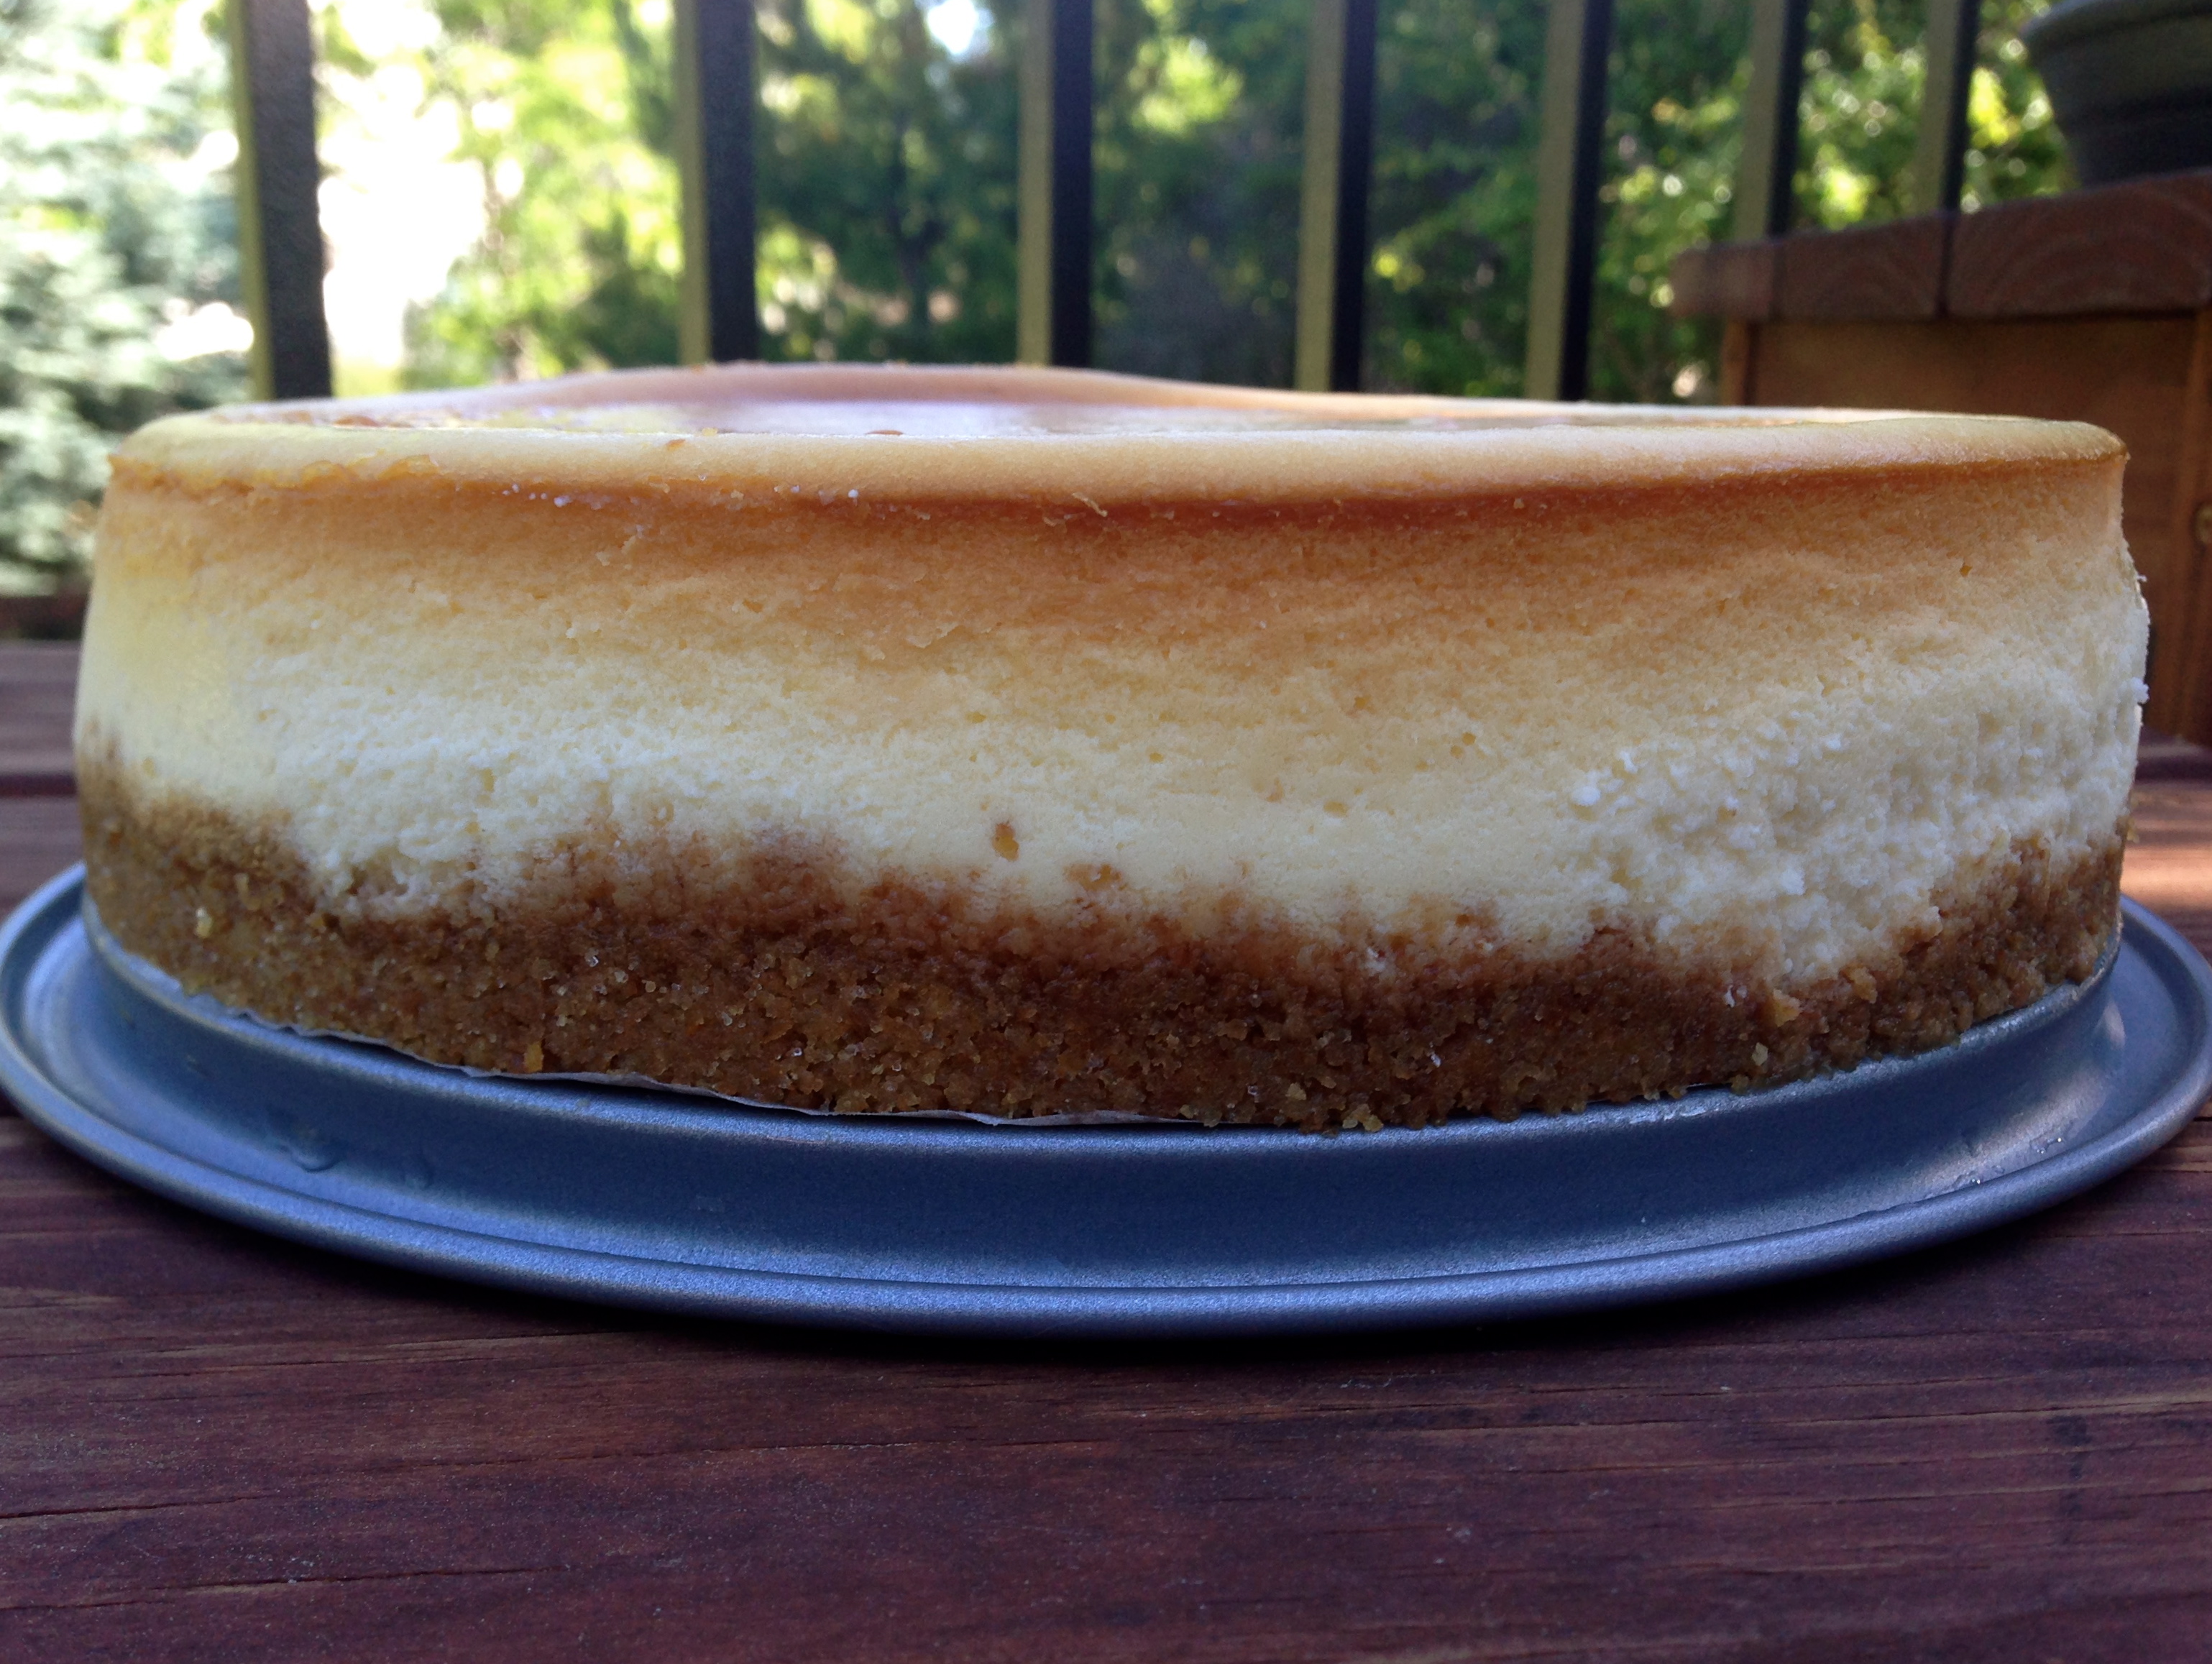
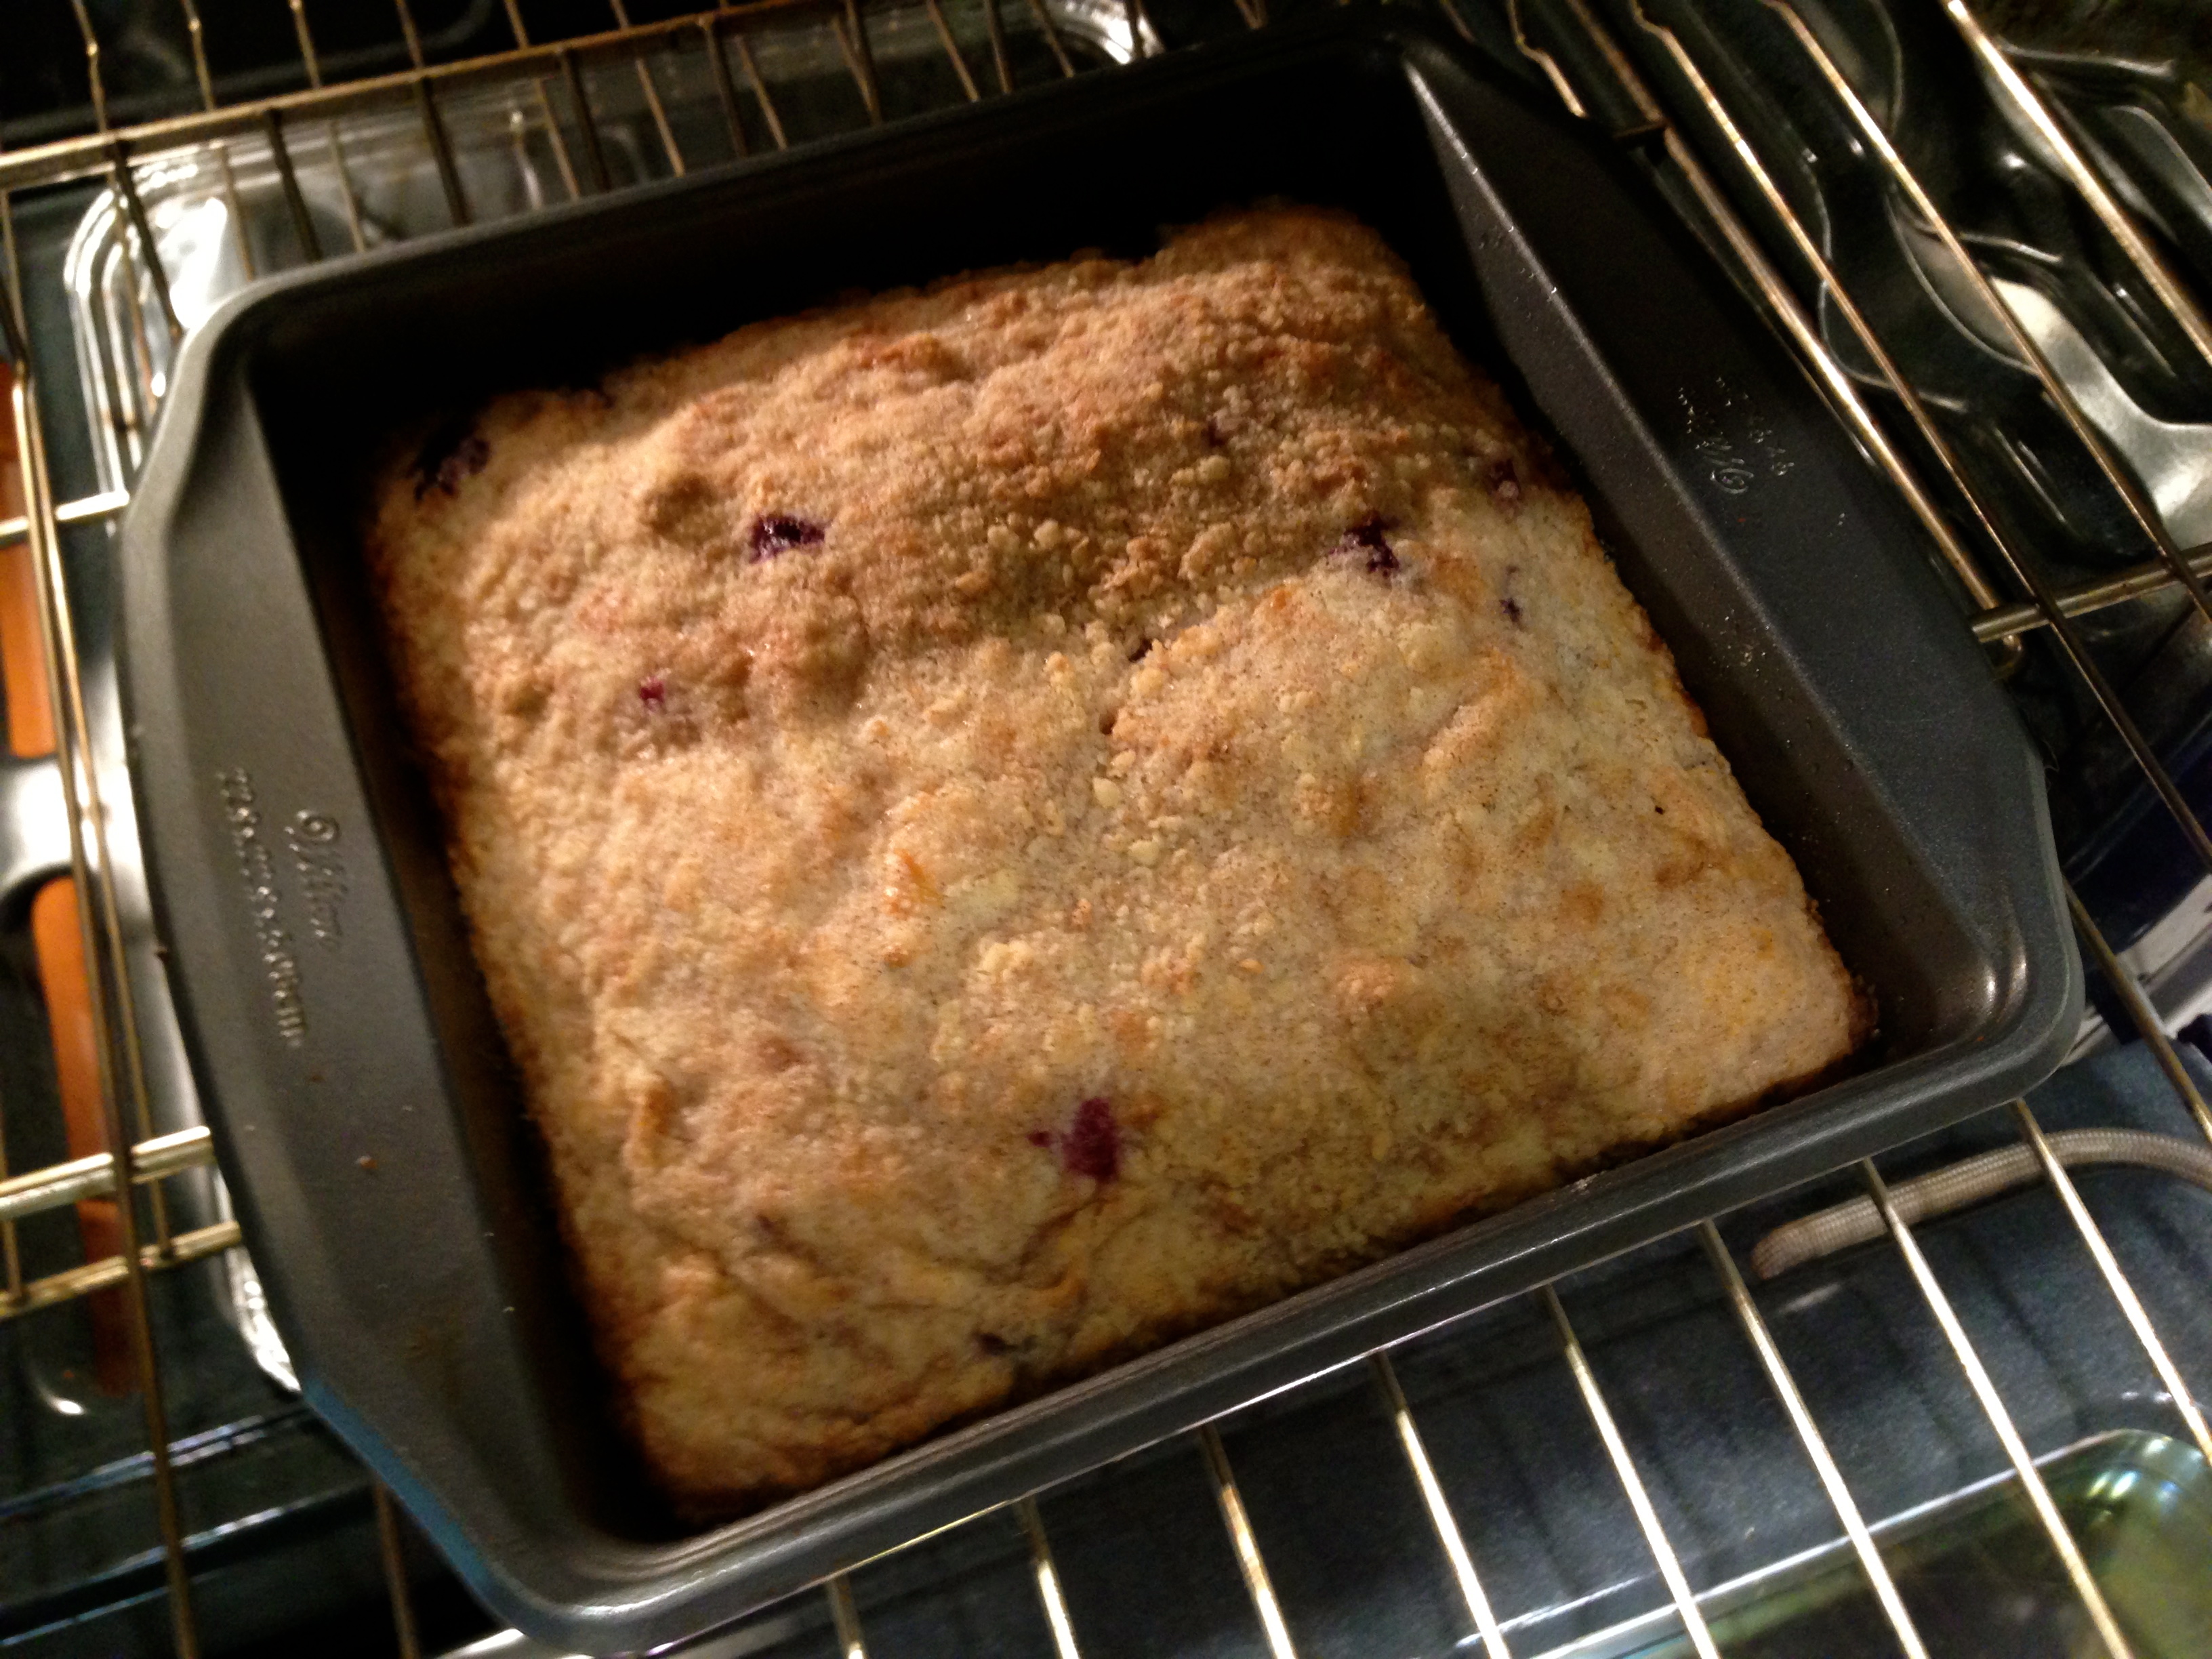
Lesson Learned 5 – Depending upon your oven, you may have to cook the cake longer than the allotted time: Now as you know I live in high altitude so everything tends to have to cook for longer periods of time and/or higher temperatures. This recipe calls for the cake to cook for 45 minutes. I had to cook mine for 1 hour. Just keep an eye on it after 45 minutes and you should be fine.
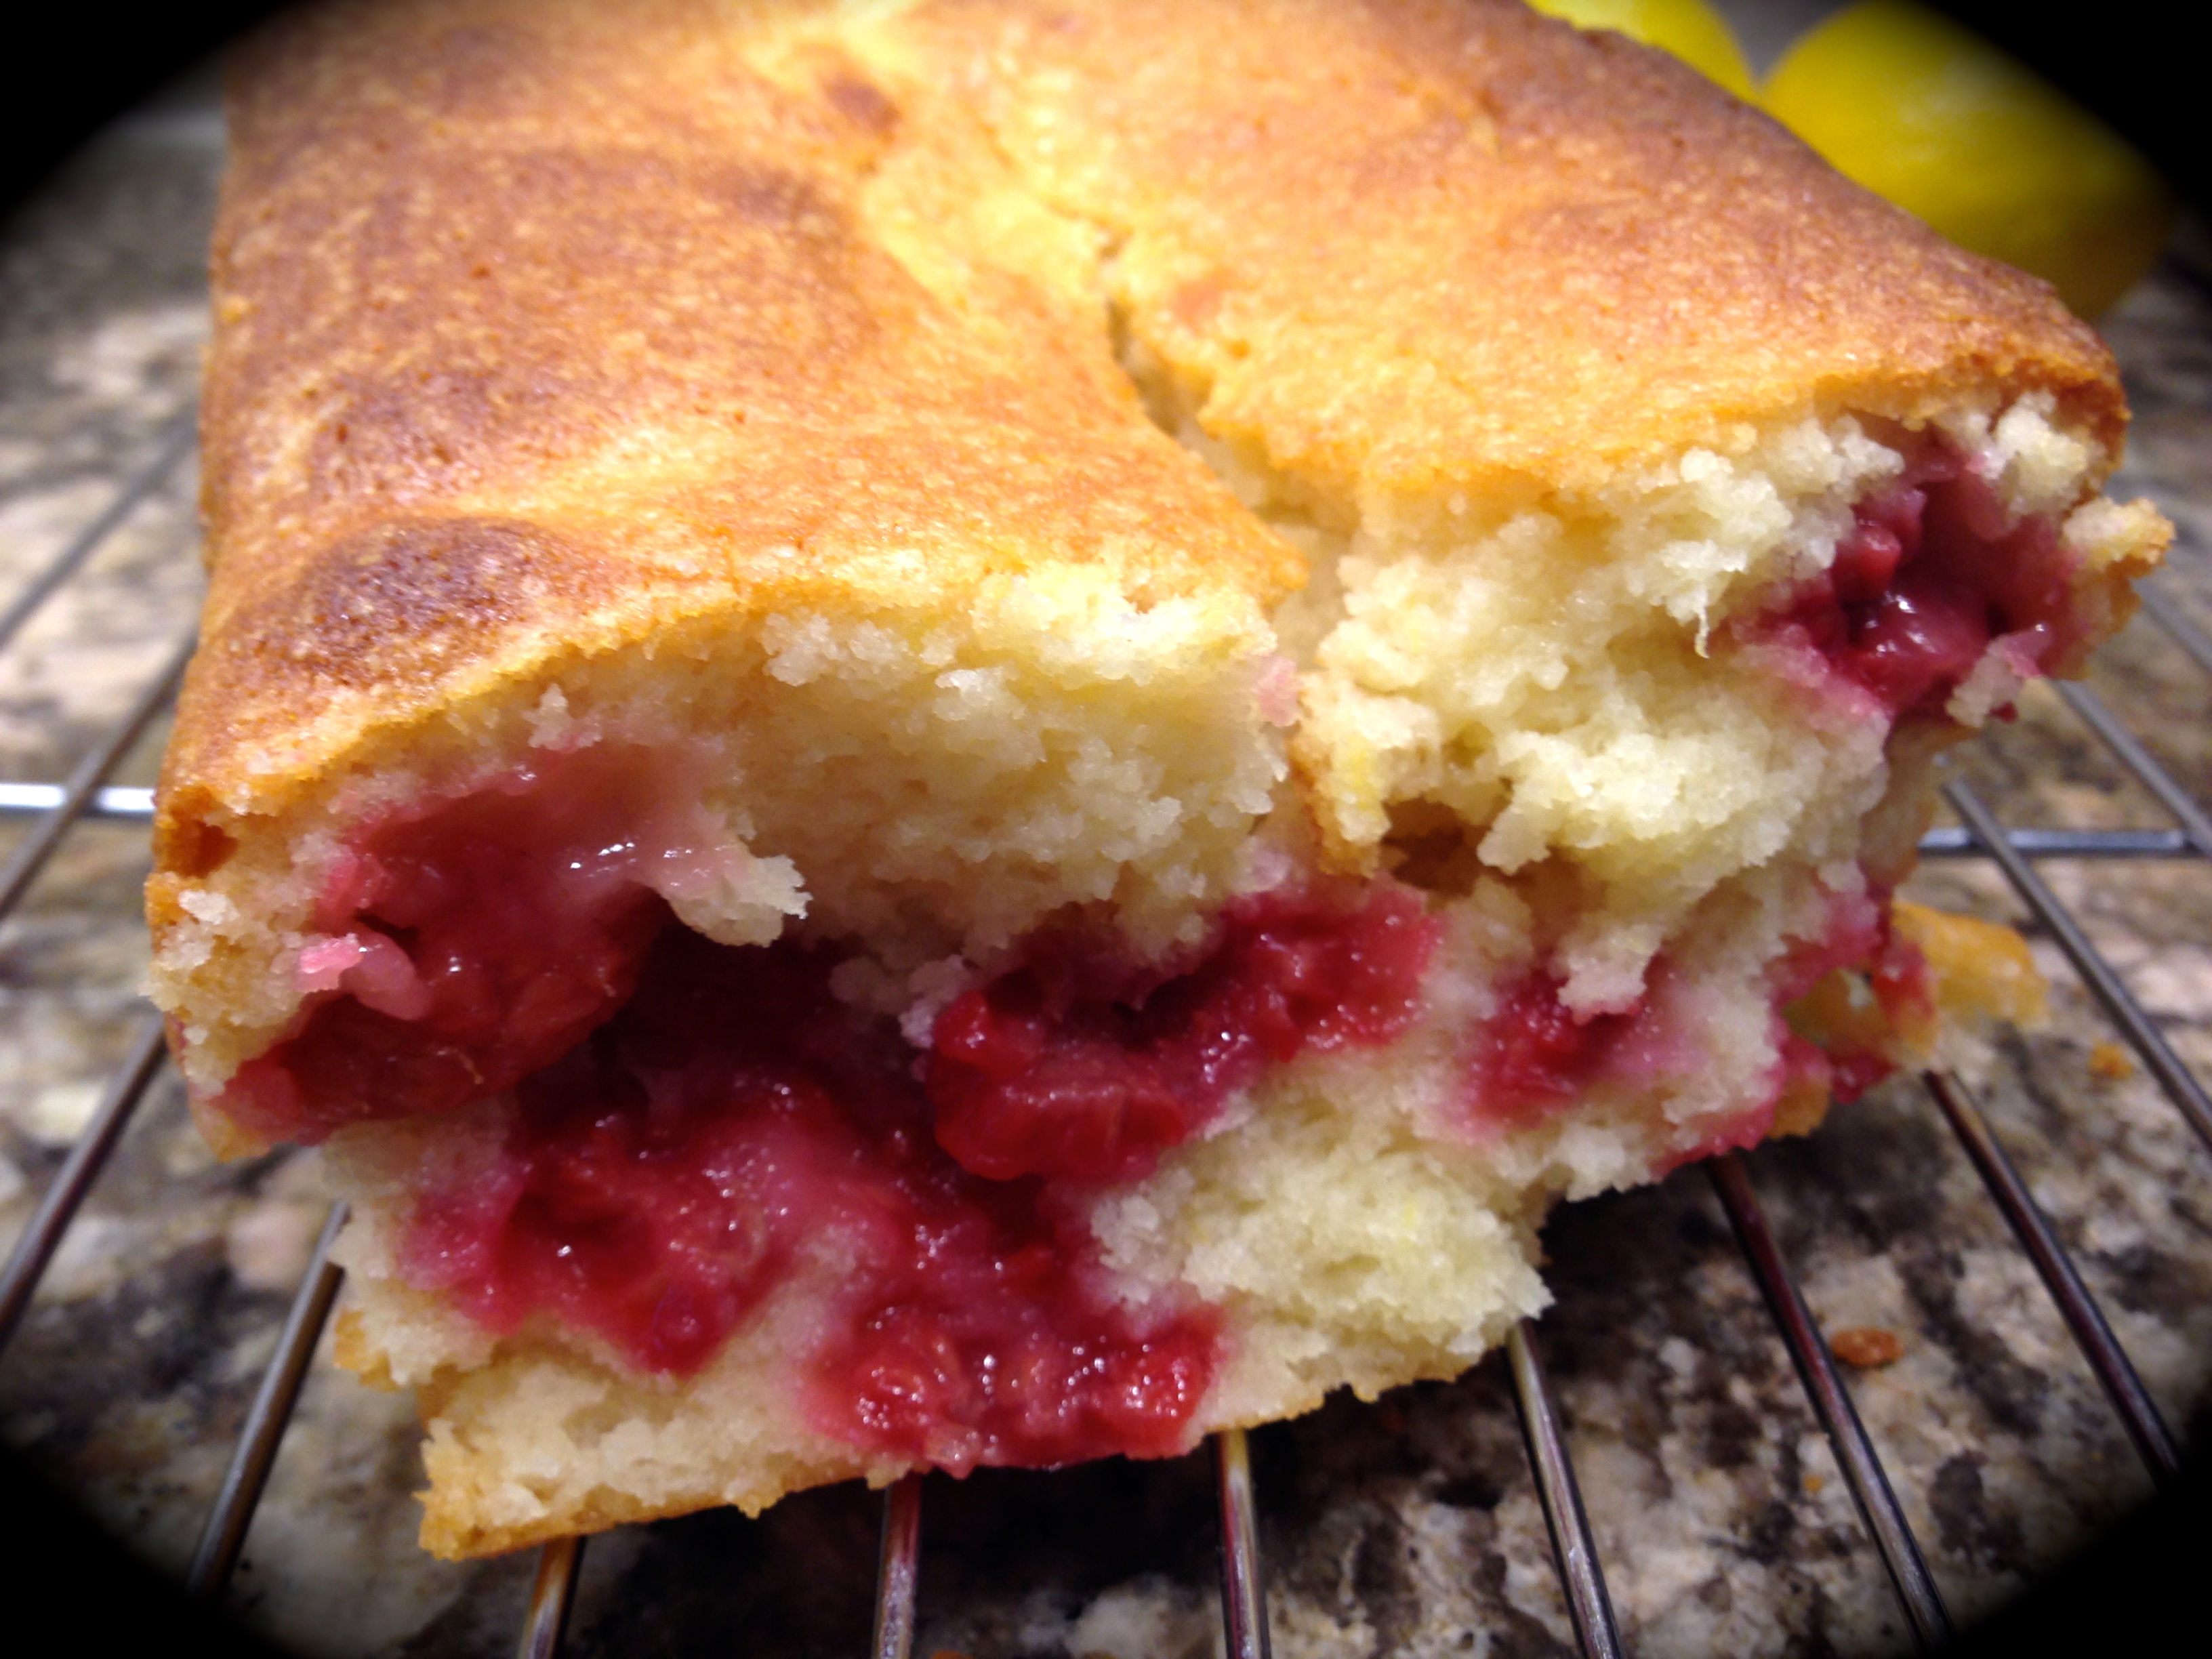
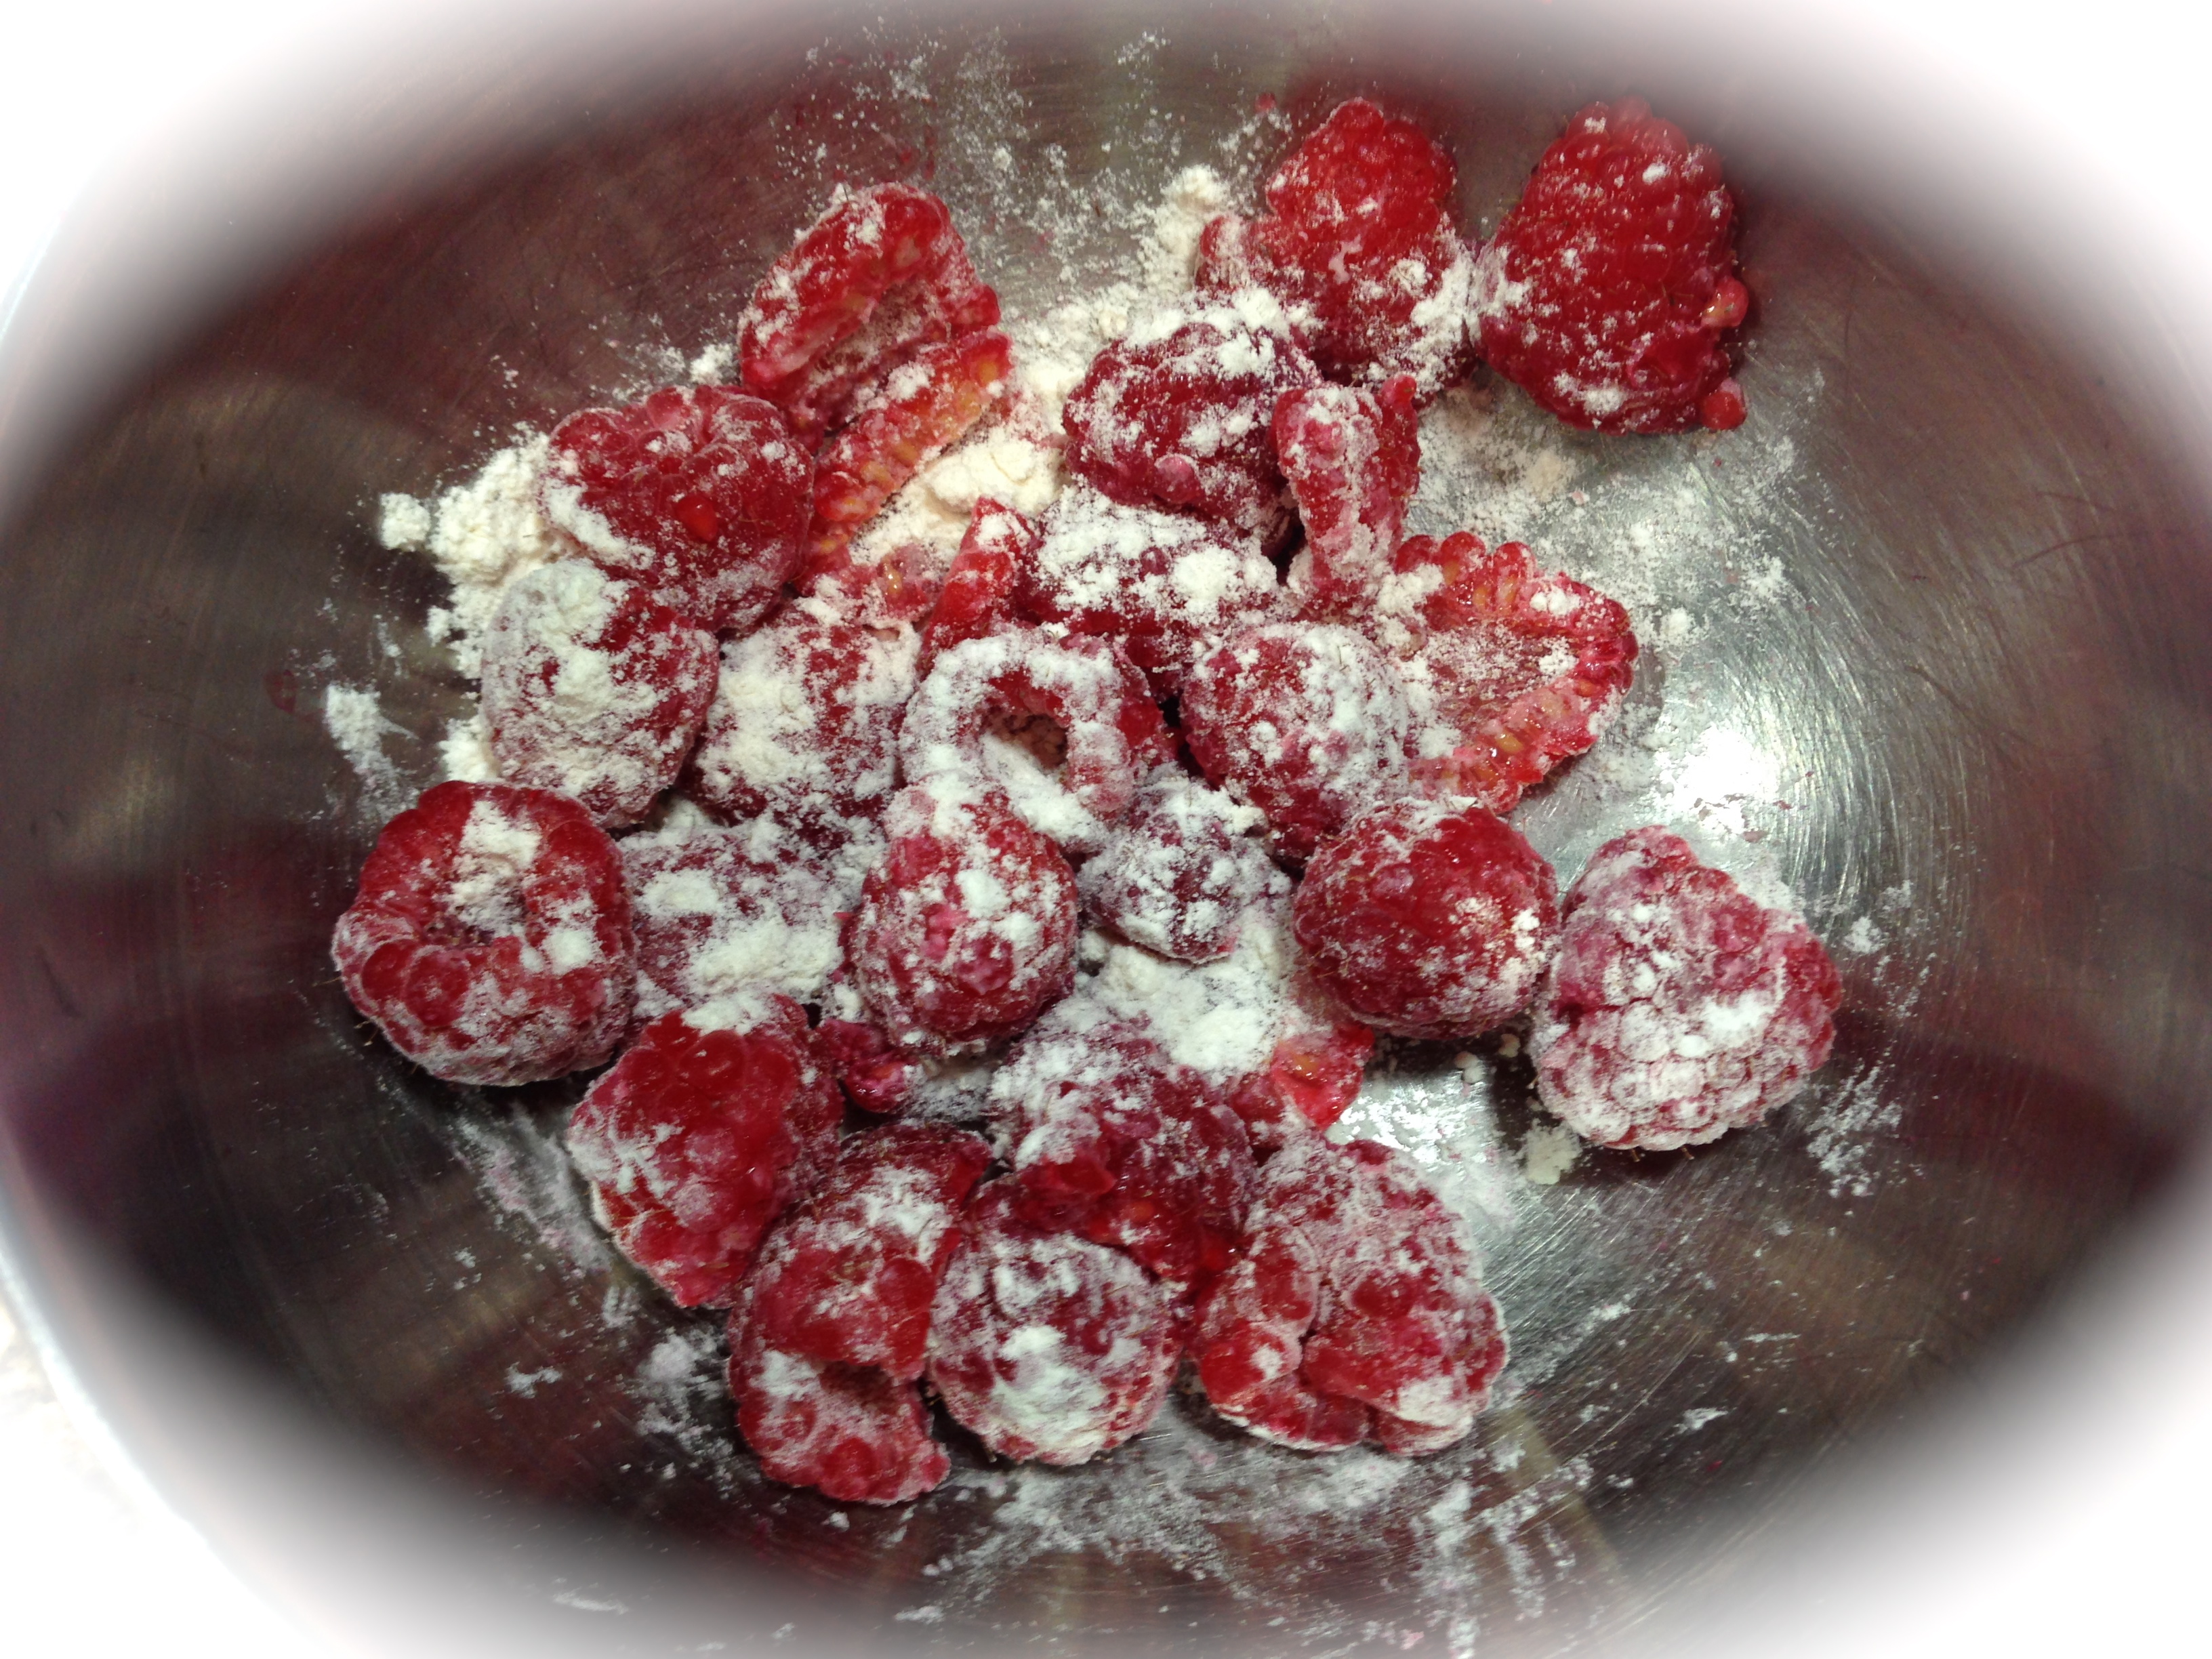
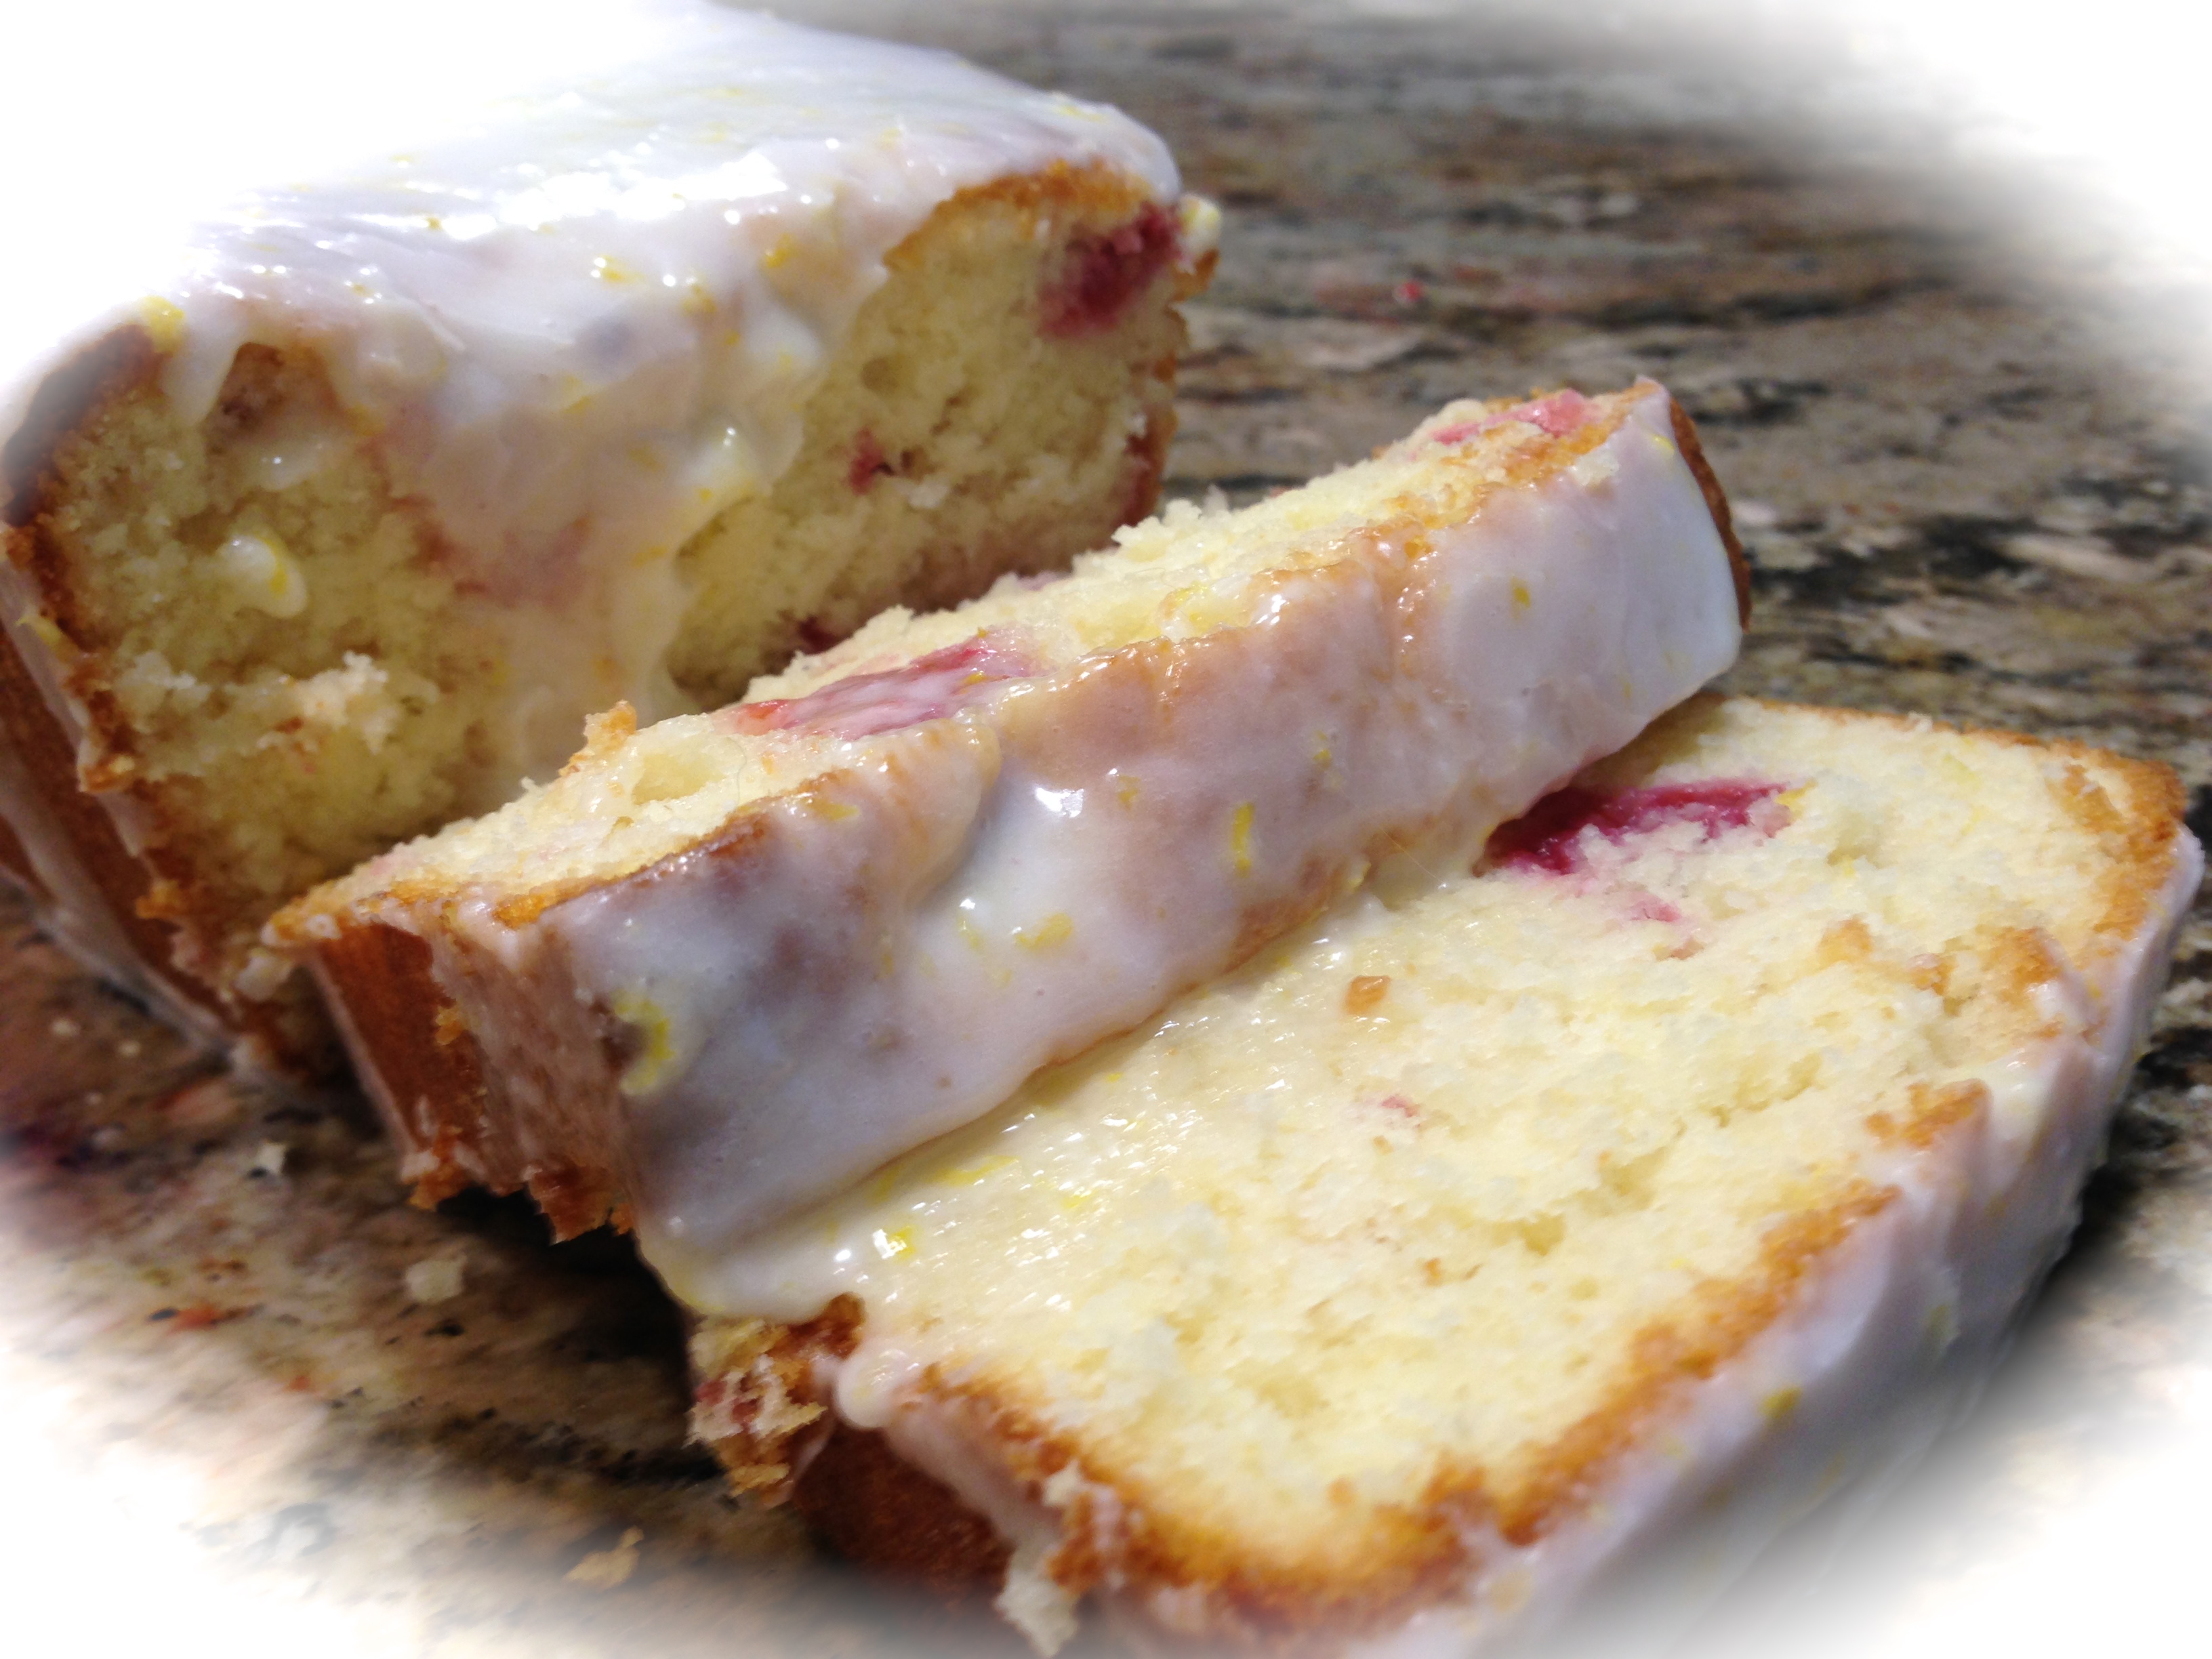
Lesson Learned 6 – Someone asked me if you could substitute raspberries for blueberries: I don’t see why not. Raspberries tend to cook just like blueberries. They release their juices in a similar way. So try it with raspberries. I bet it will be delicious.
And that’s it. I guarantee you will love this cake. Try it and let me know what you think…

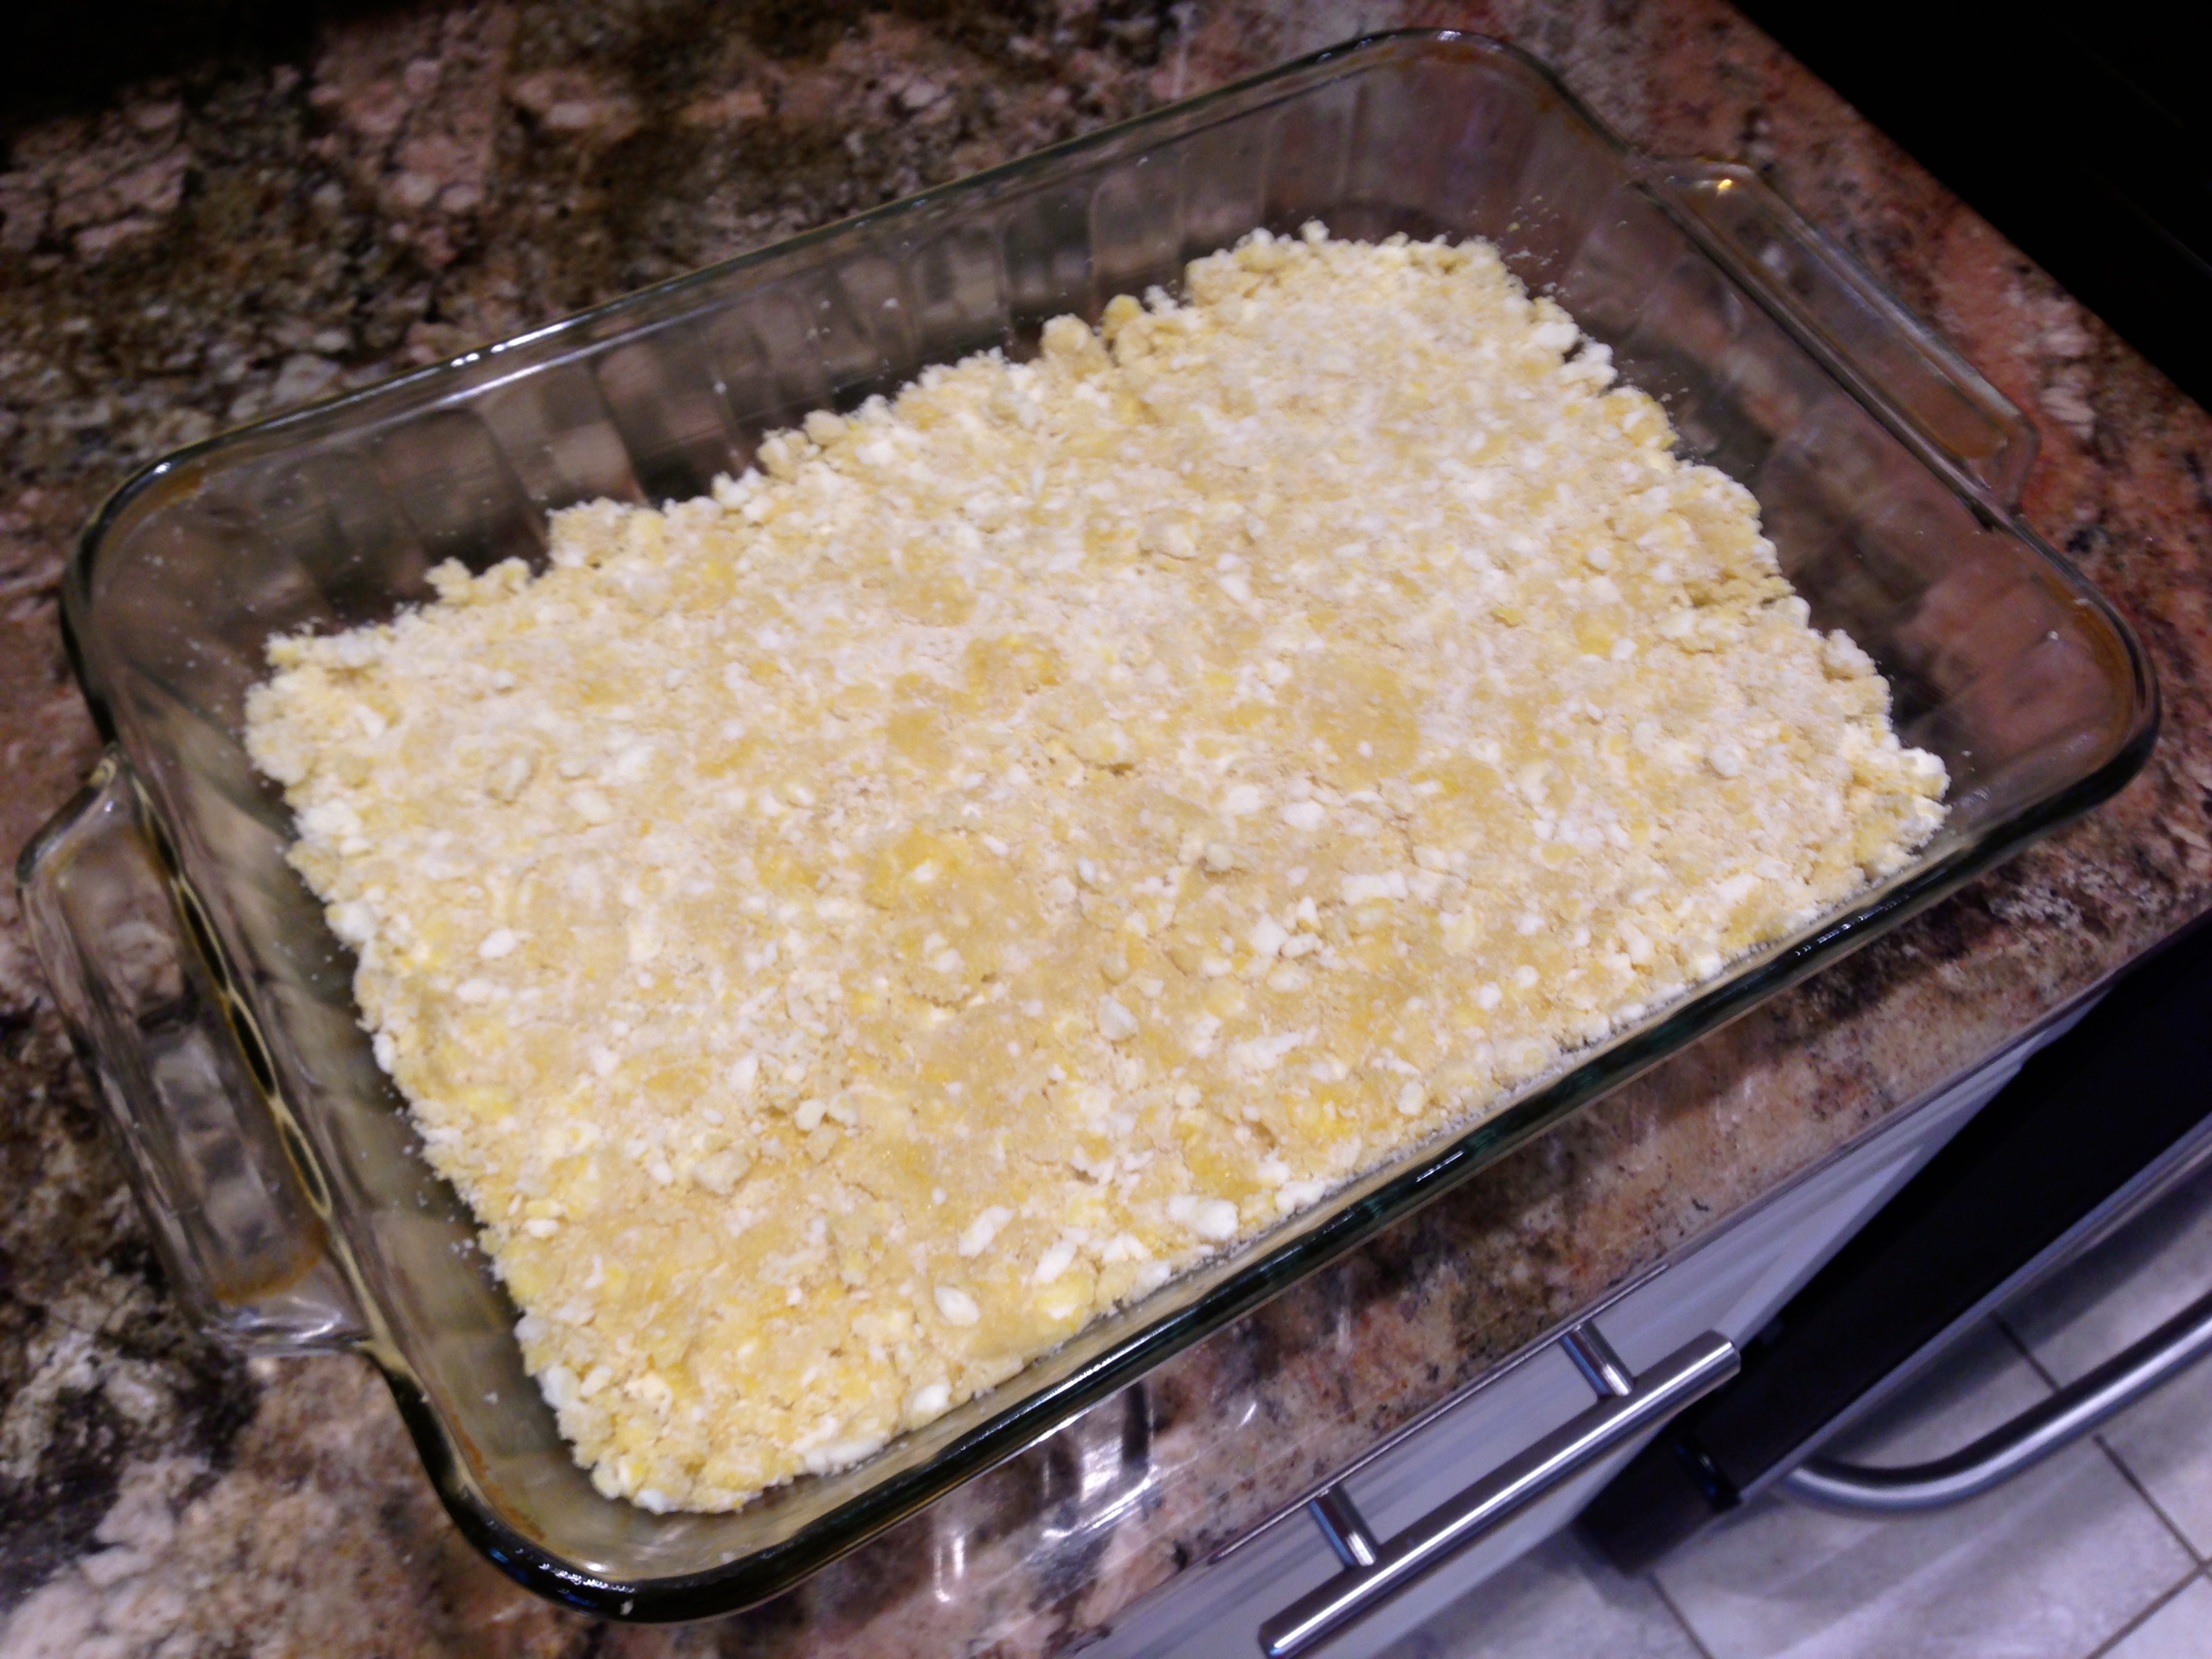
Cake Layer

First Layer Of Blueberries

Cream Cheese Layer

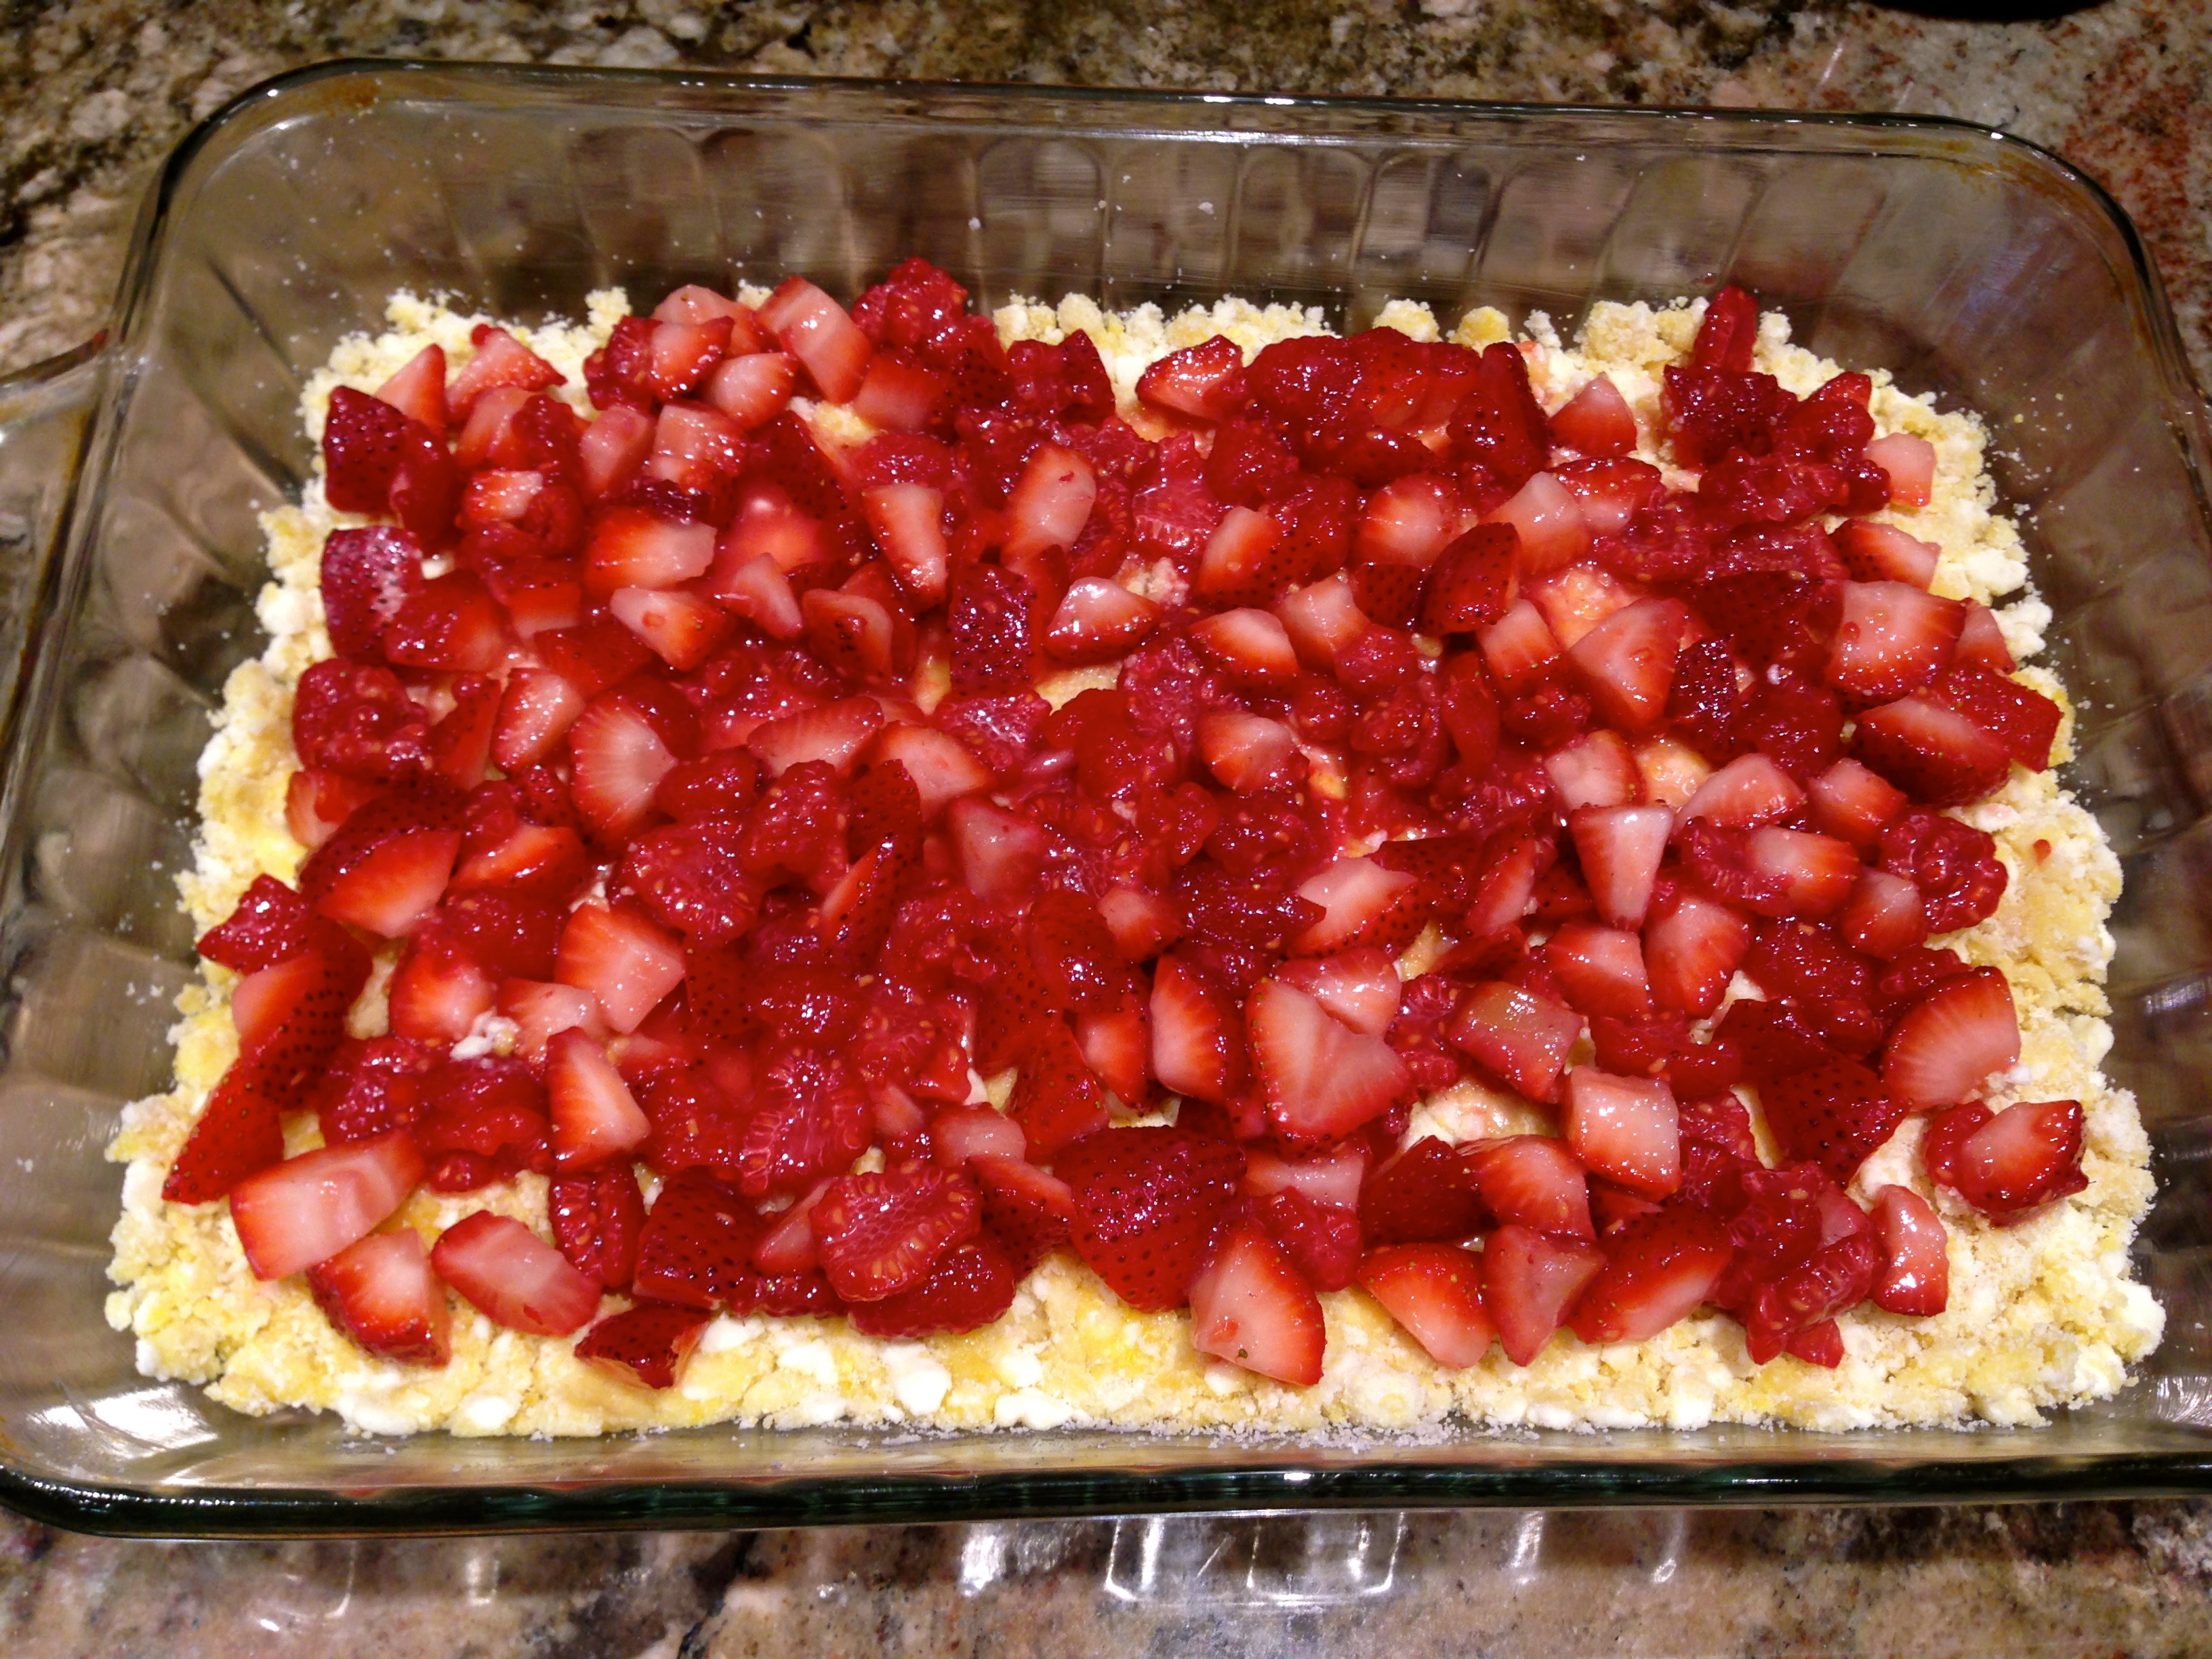
Second Layer of Blueberries

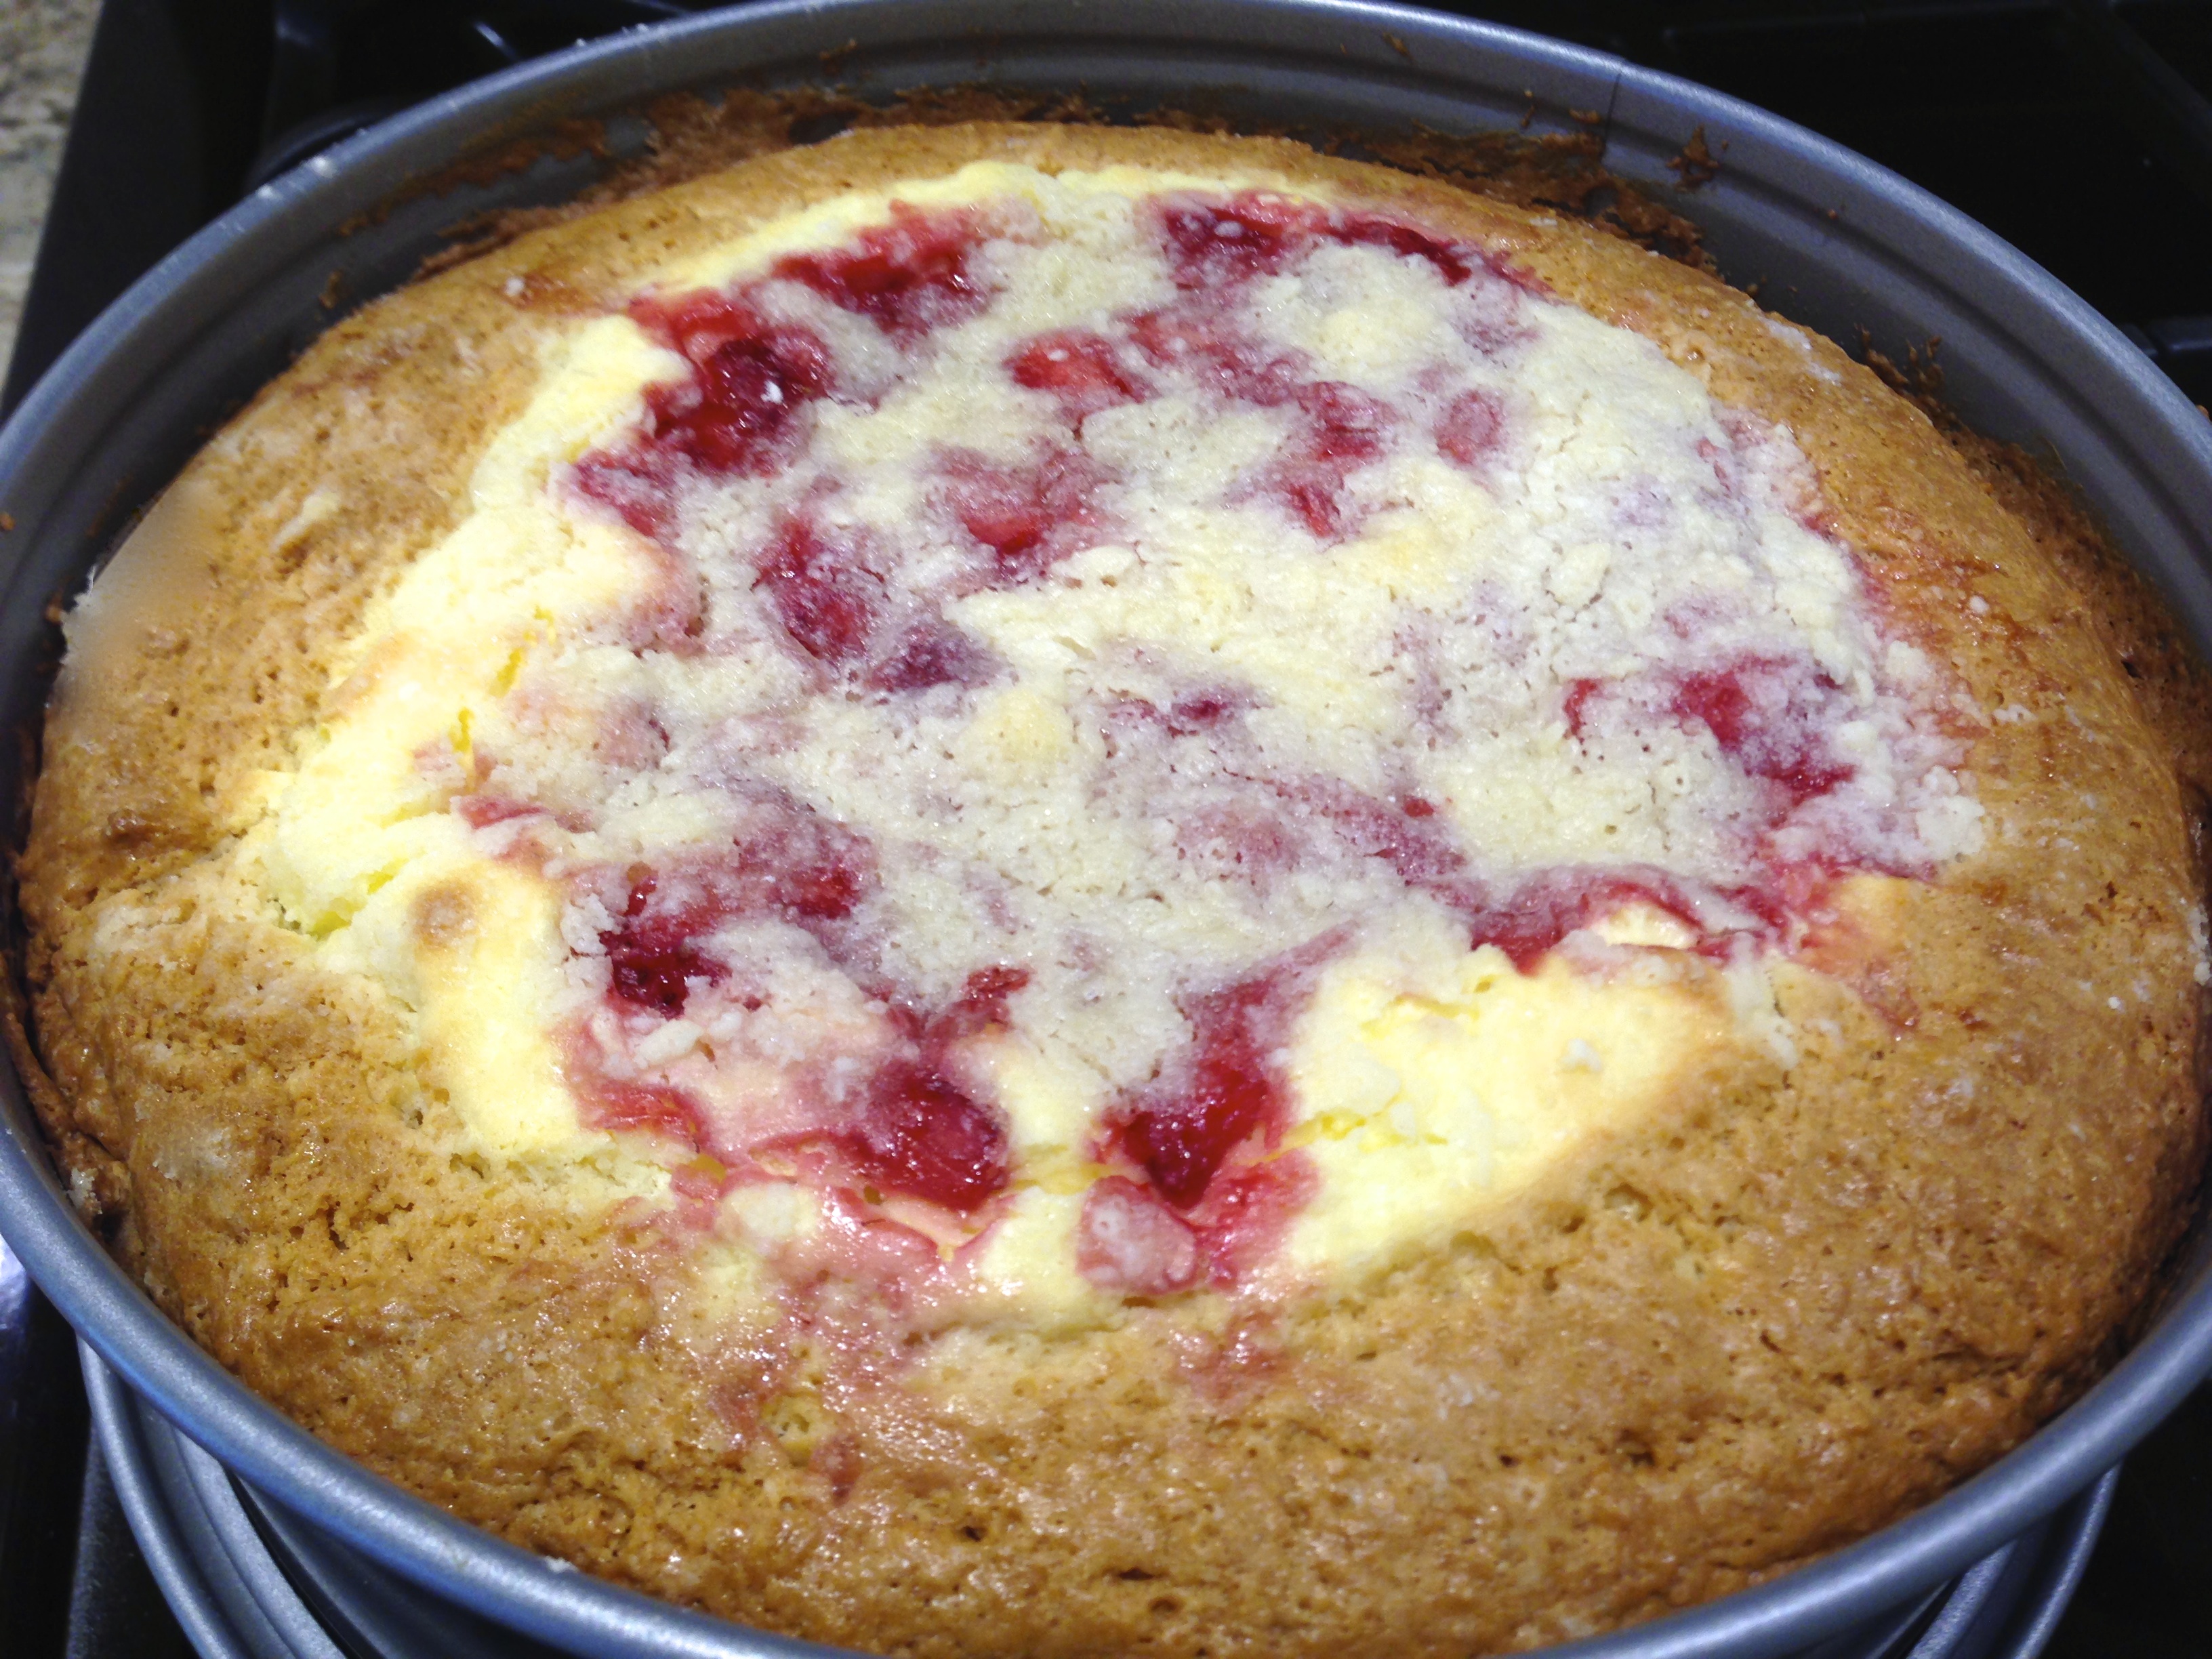
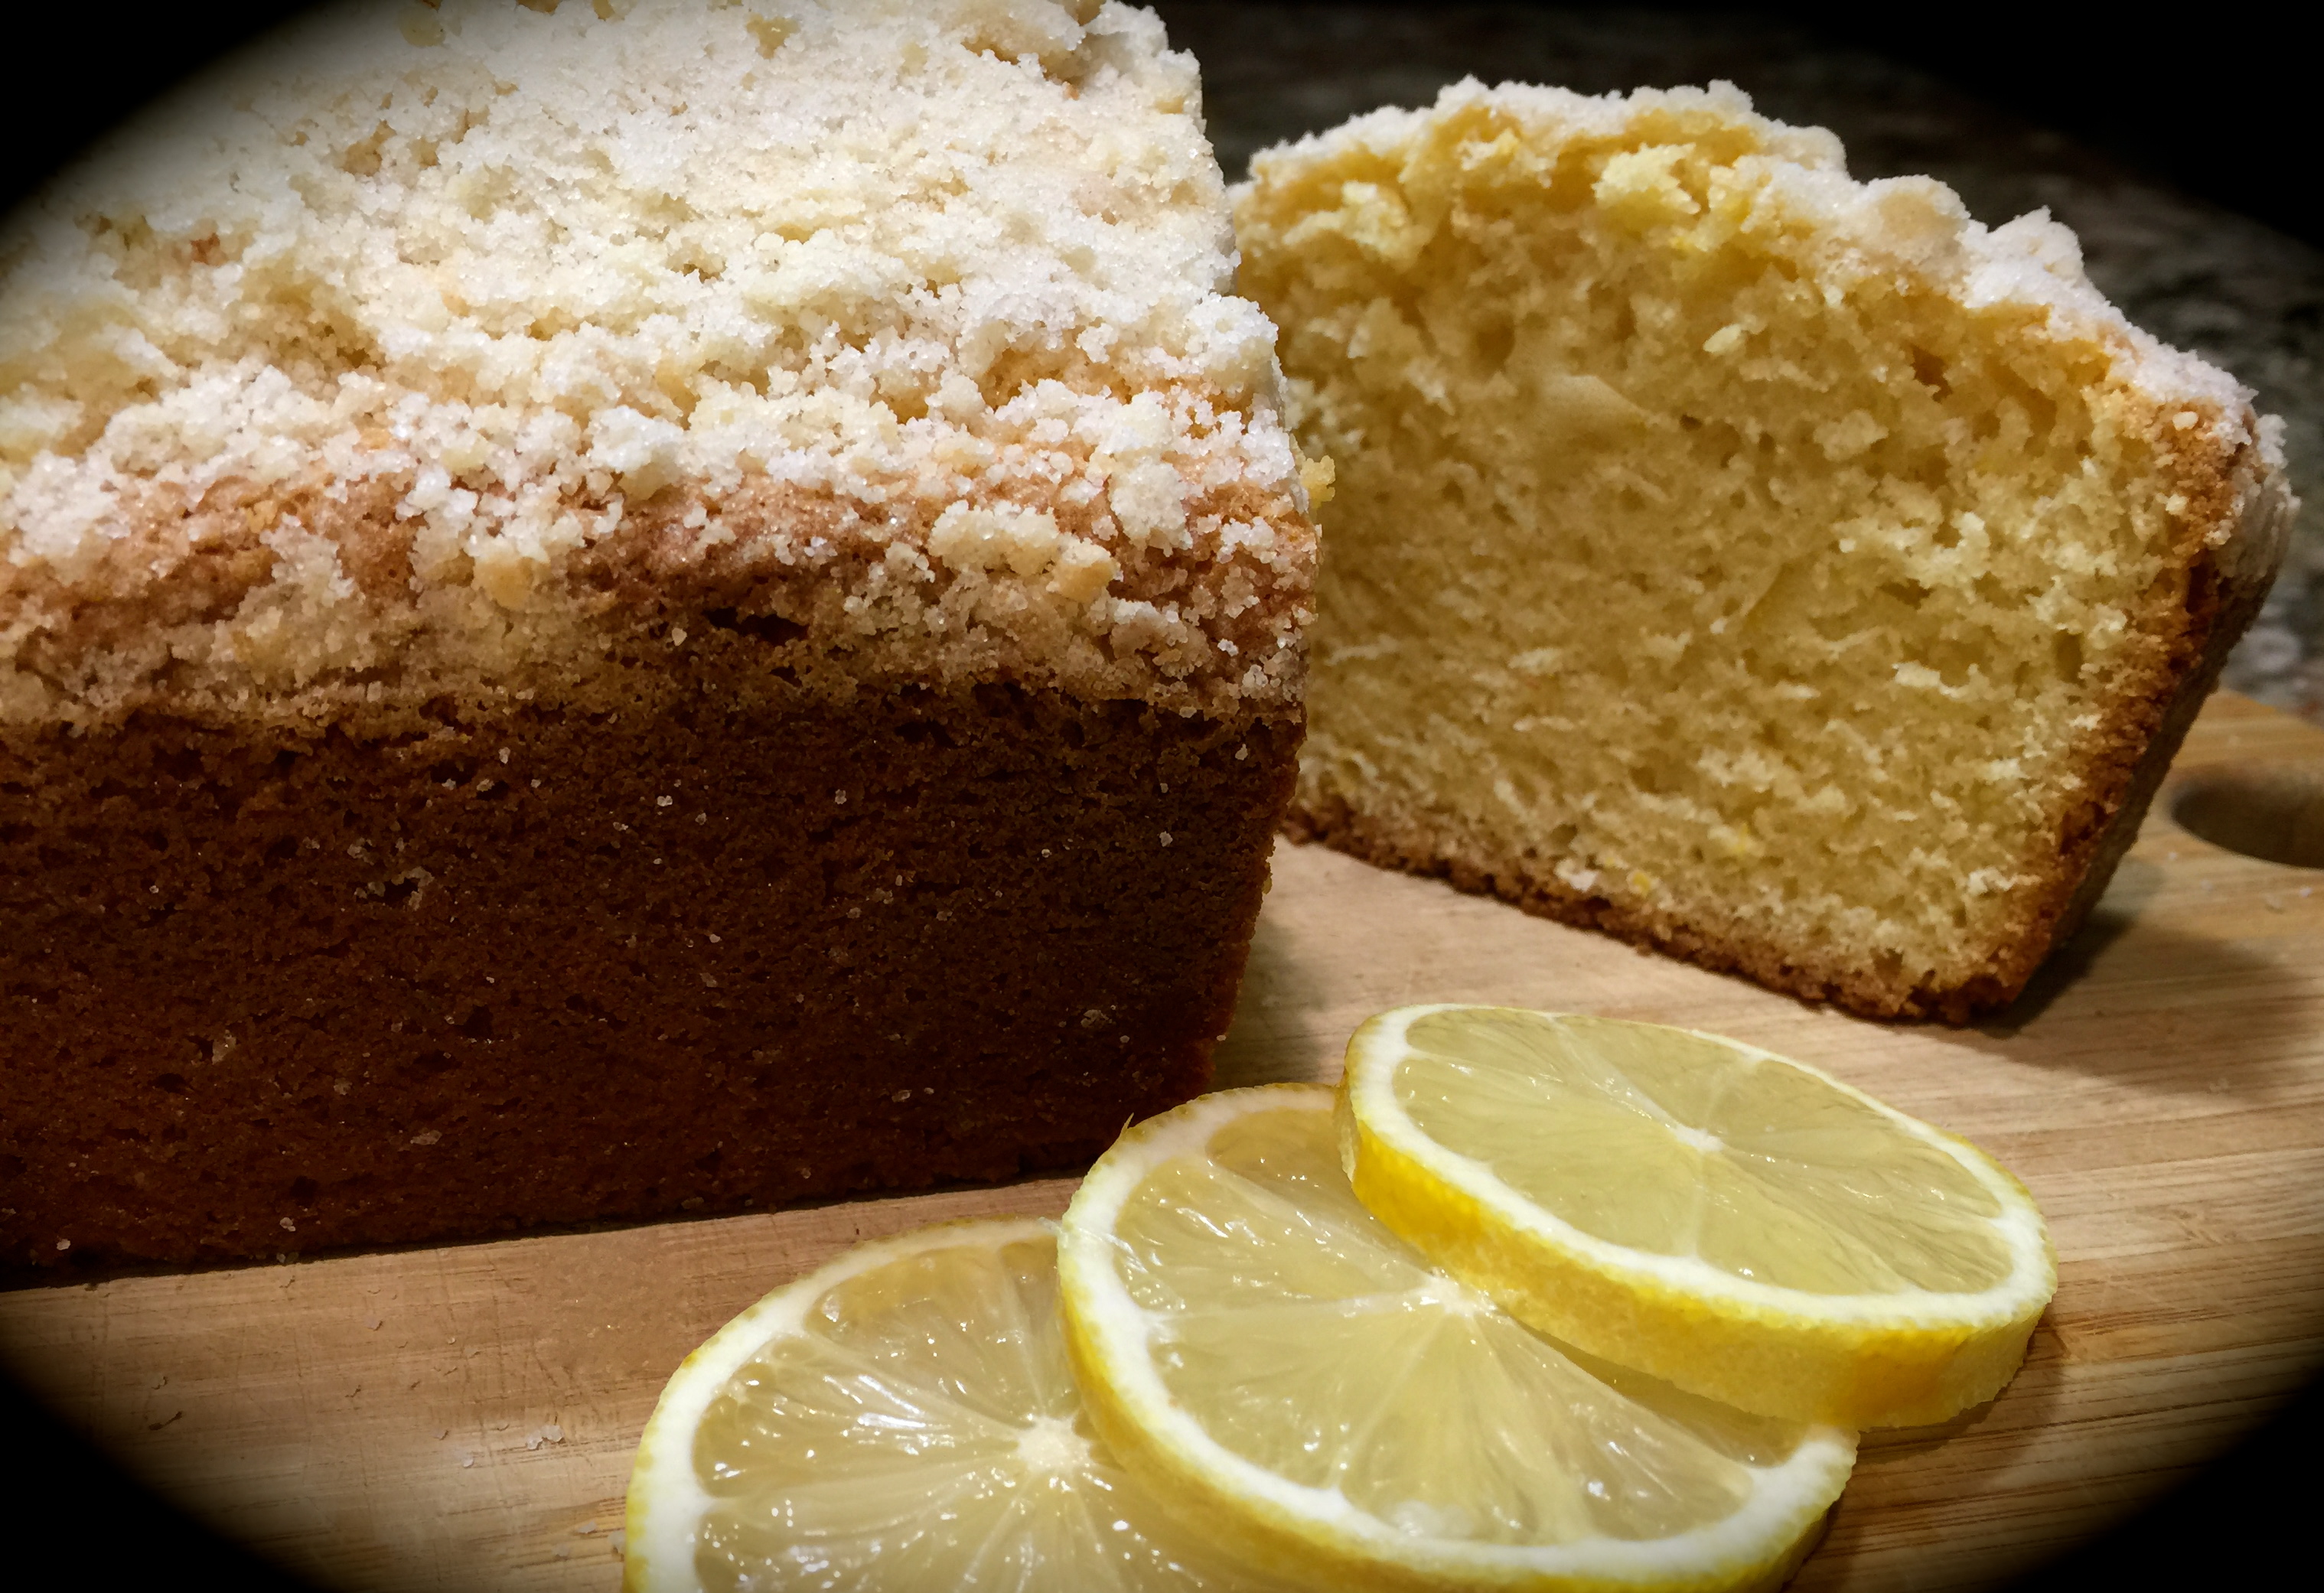
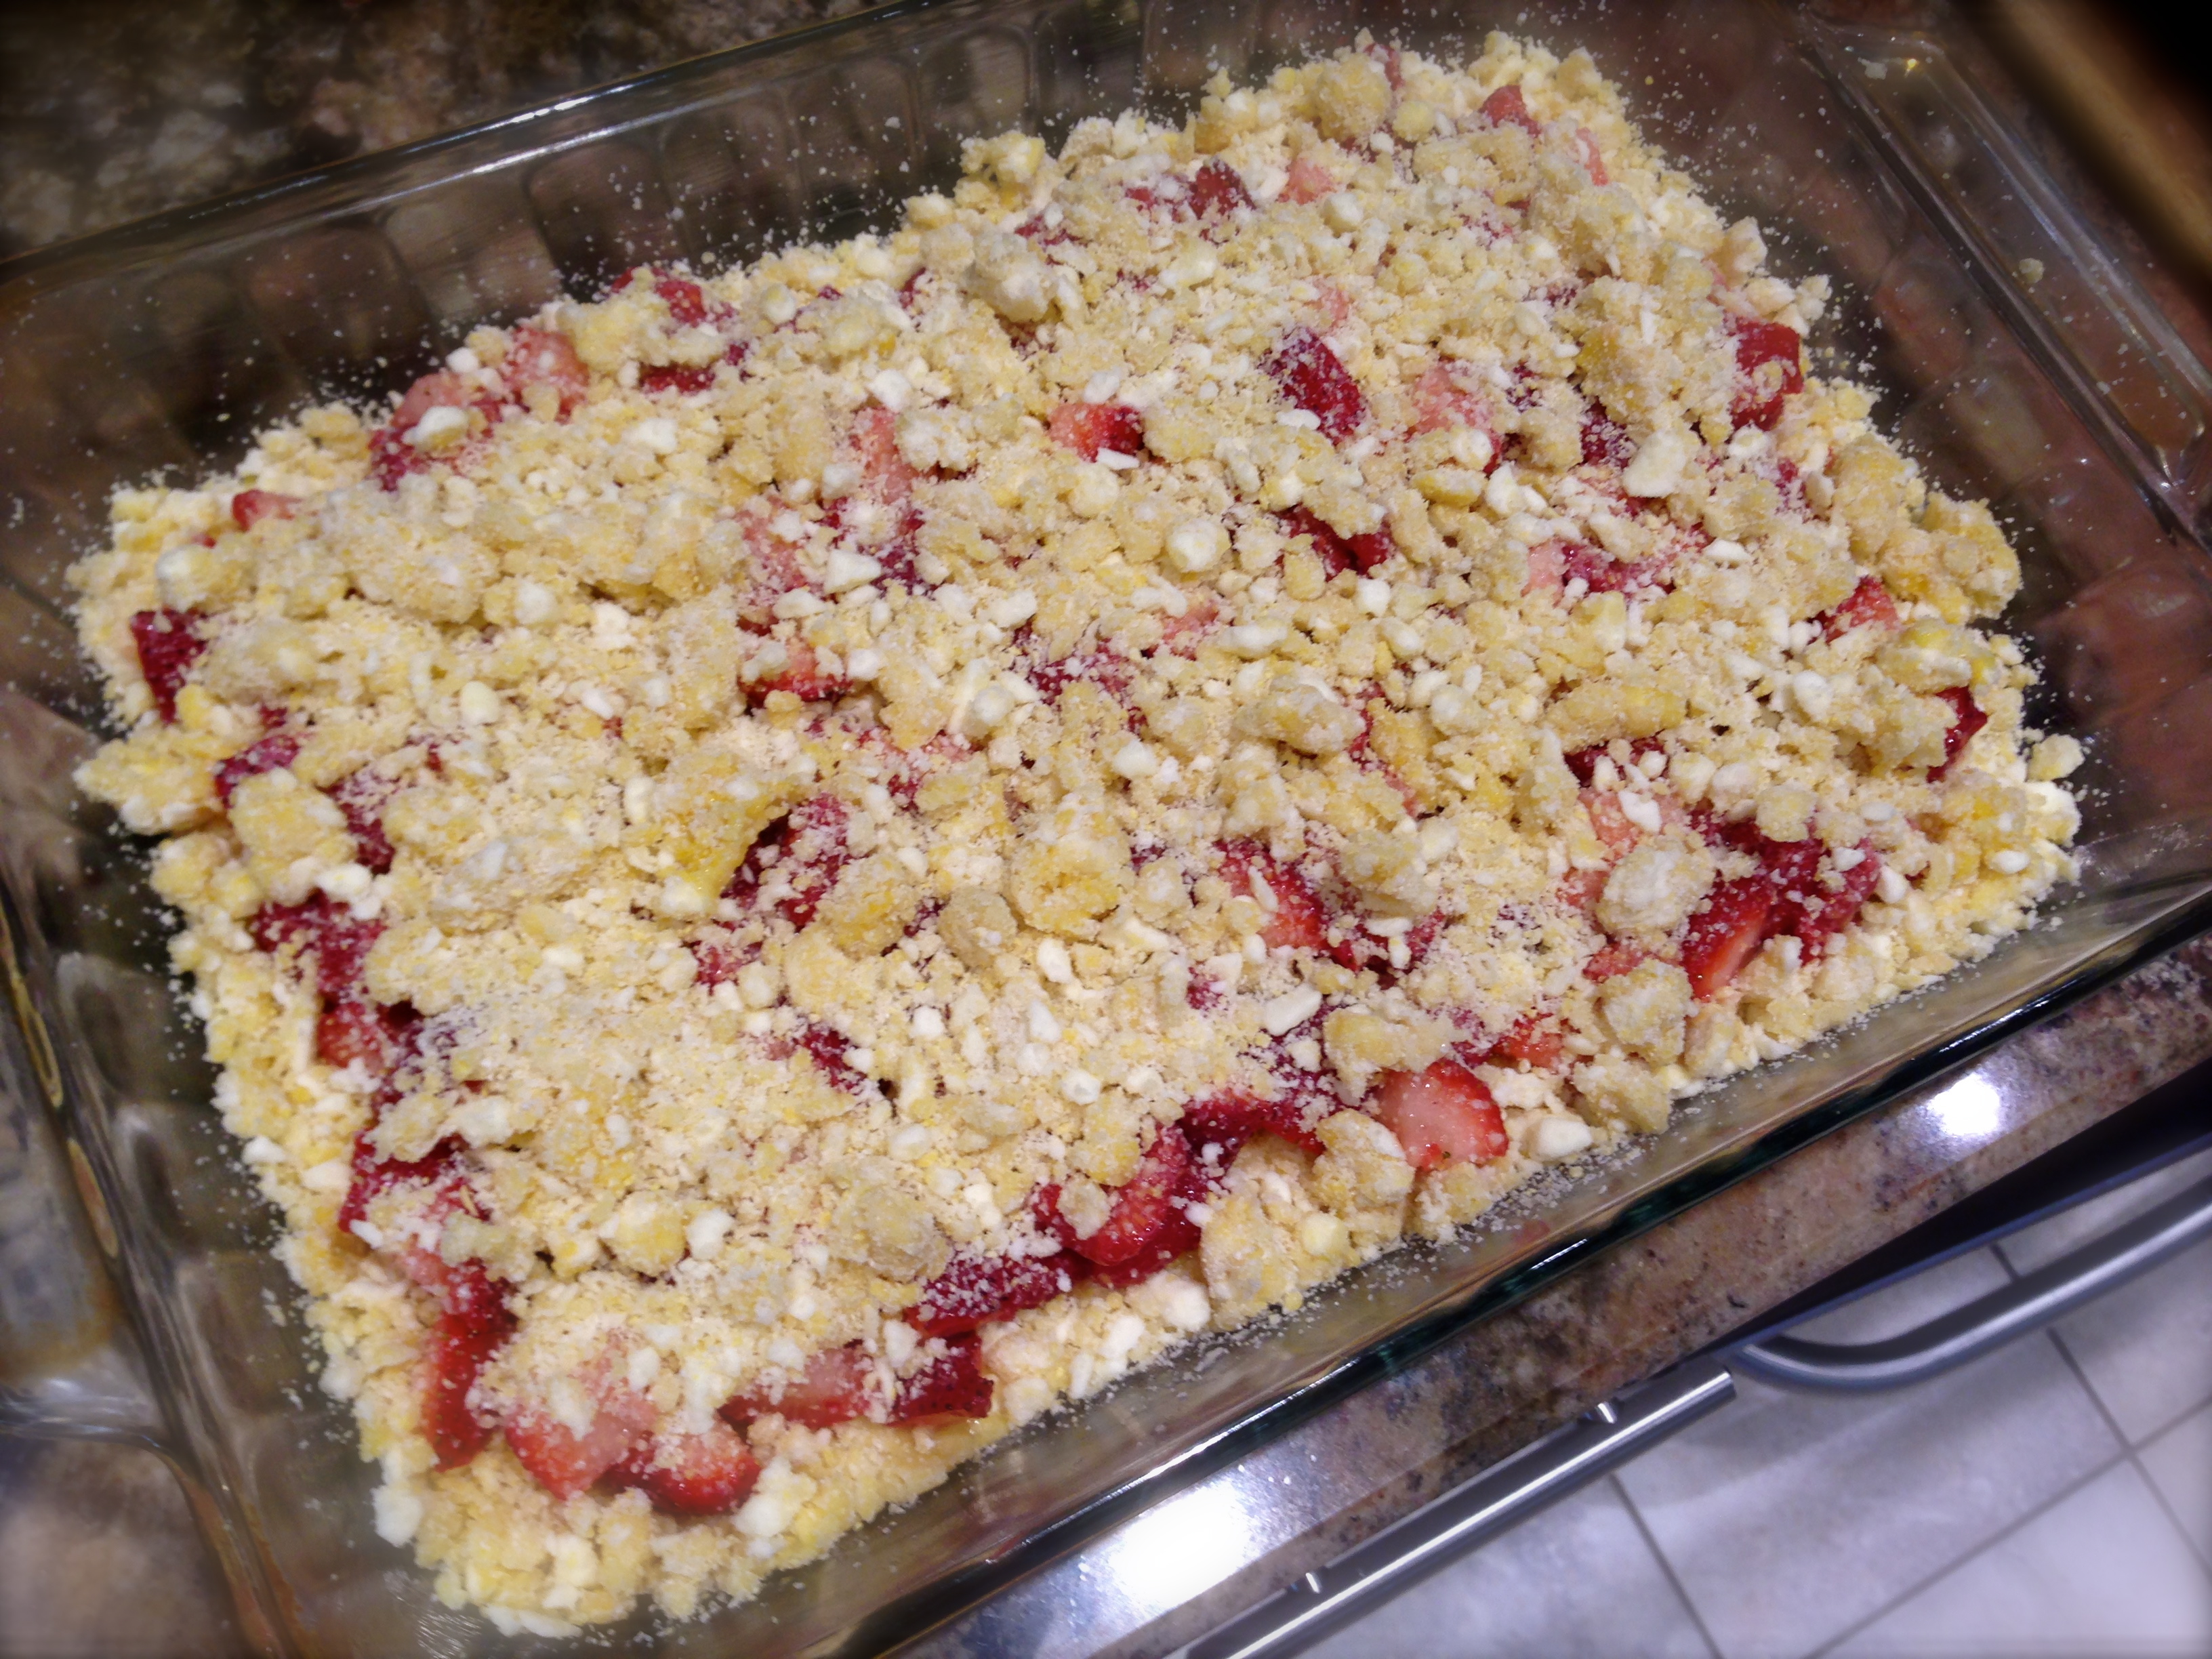
Cake With Streusel Topping
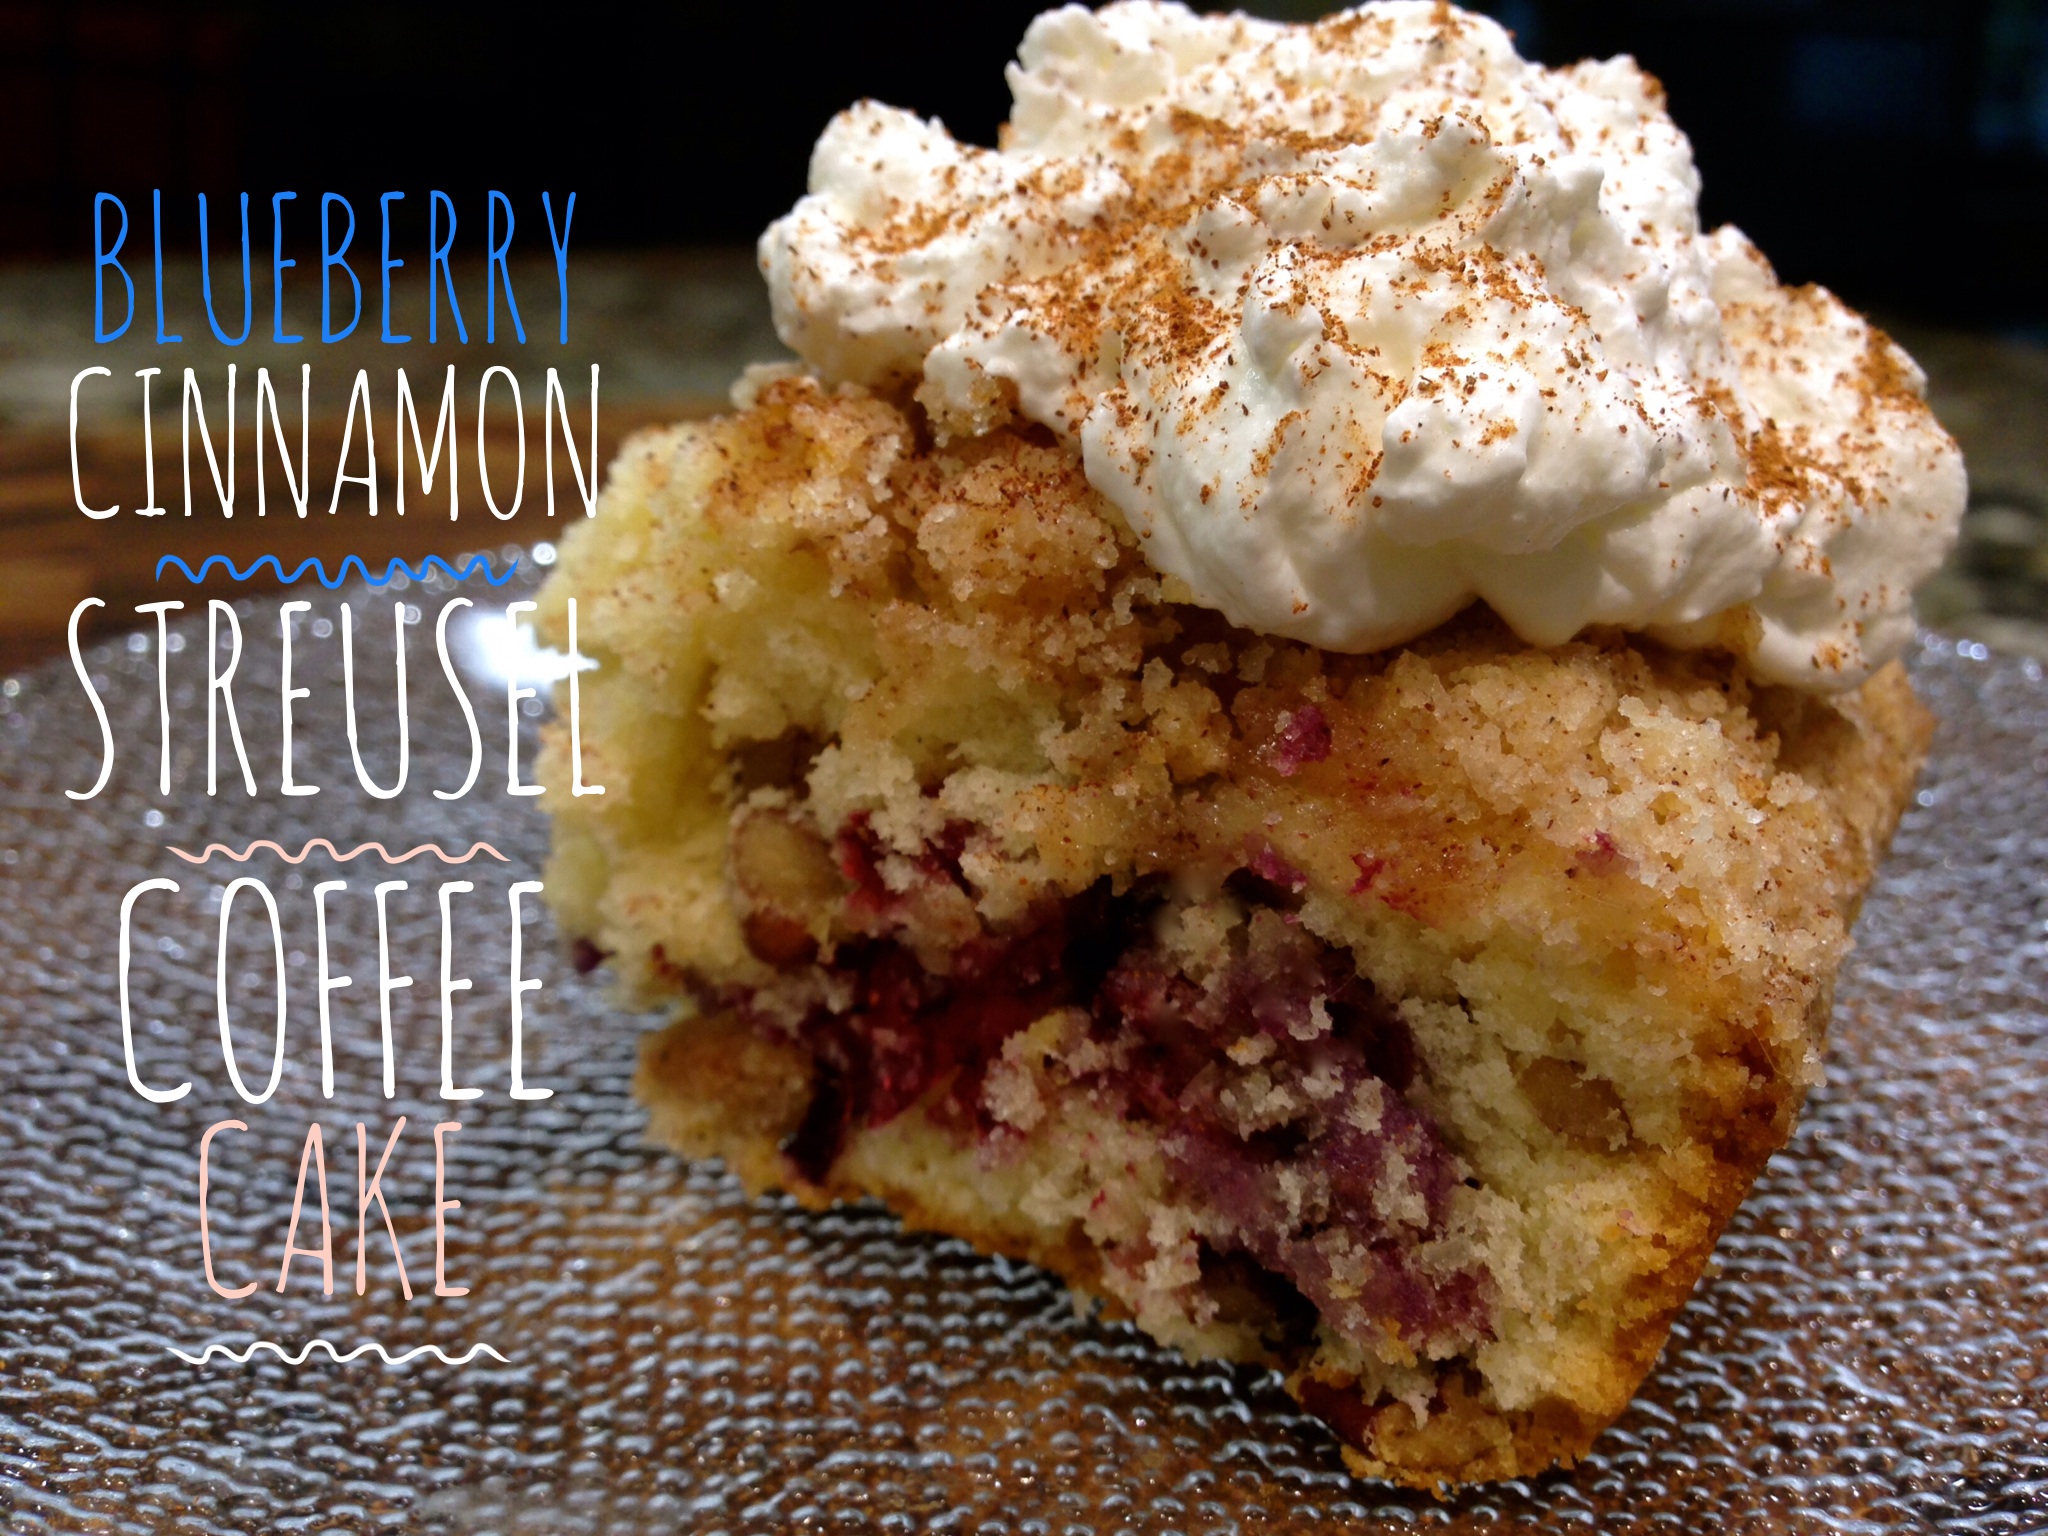
Blueberry Cream Cheese Coffee Cake...
INGREDIENTS:
Cream Cheese Filling:
1/4 sugar
8 oz. cream cheese, room temperature
1 egg white
1/2 tsp. vanilla bean paste (you can substitute vanilla extract)
1 1/4 cup blueberries, divided
Coffee Cake:
1 1/2 cups flour
1/2 tsp. baking powder
1/2 tsp. baking soda
1/4 tsp. table salt
5 1/2 Tbs. unsalted butter, room temperature
1/4 cup sugar
1 egg
1 egg yolk
3/4 cup sour cream
1 tsp. vanilla bean paste
Streusel Topping:
1/3 cup sugar
1/2 cup flour
3 Tbs. butter, very cold and cut into chunks
DIRECTIONS:
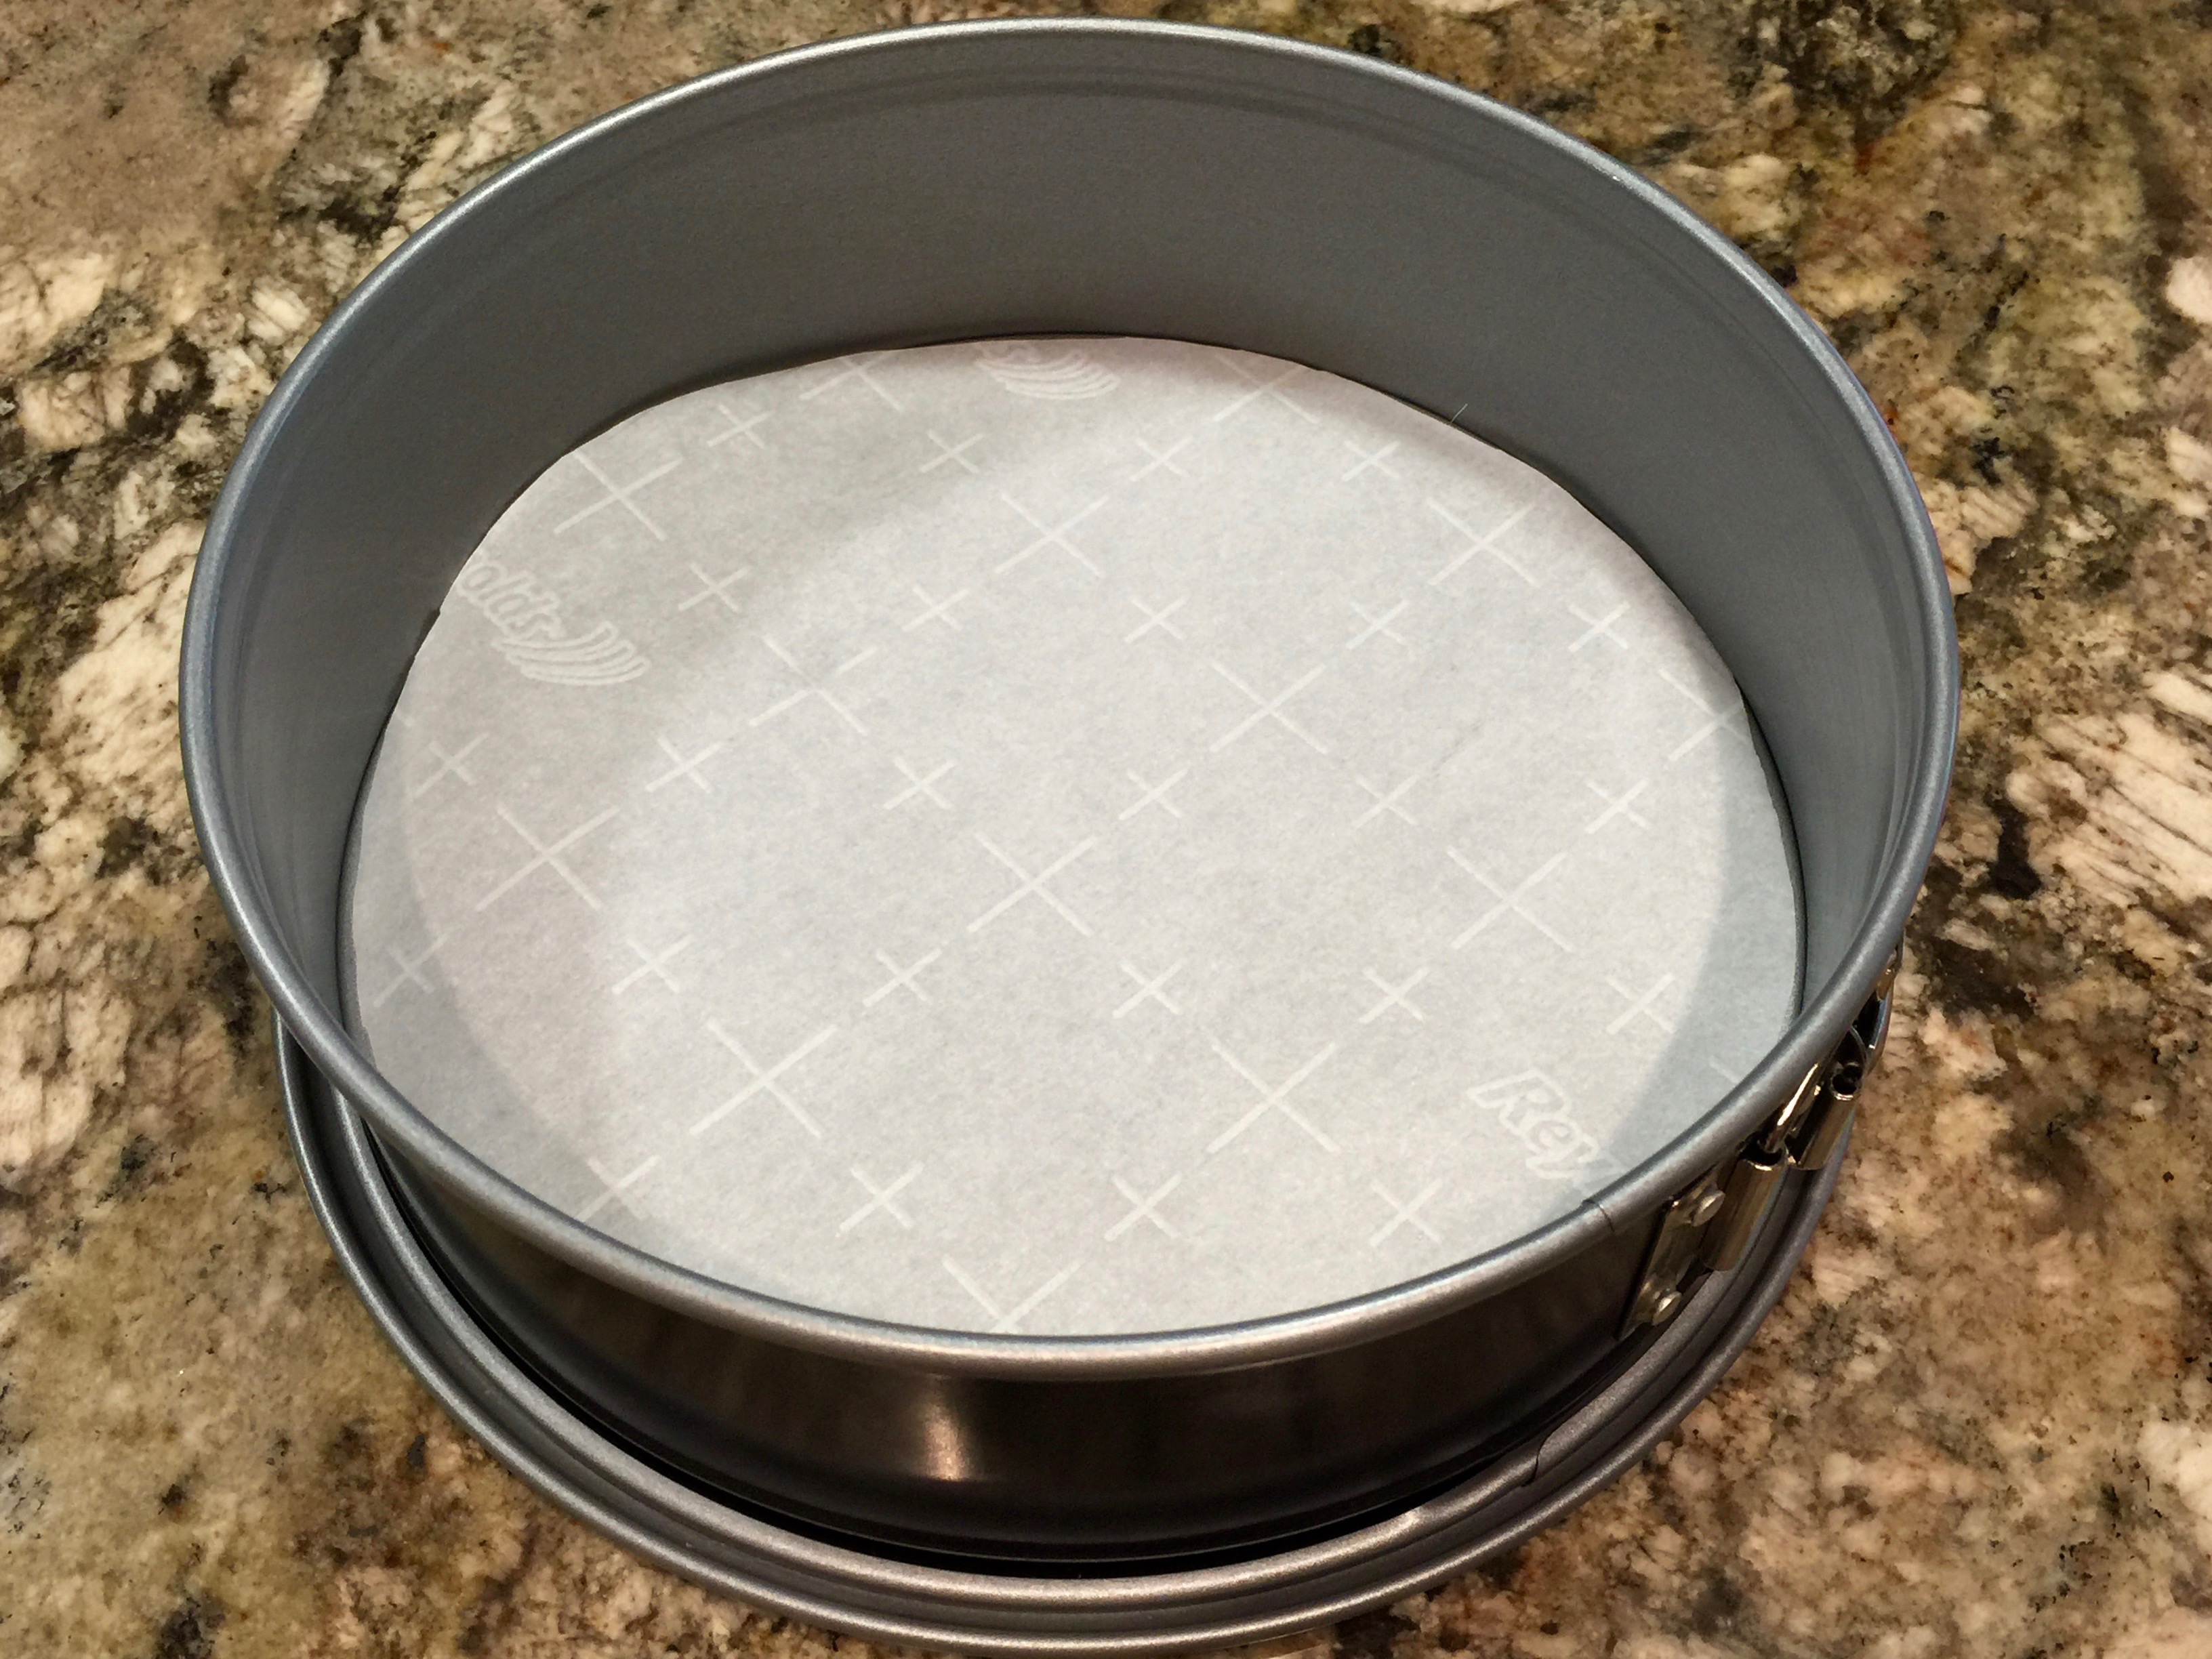
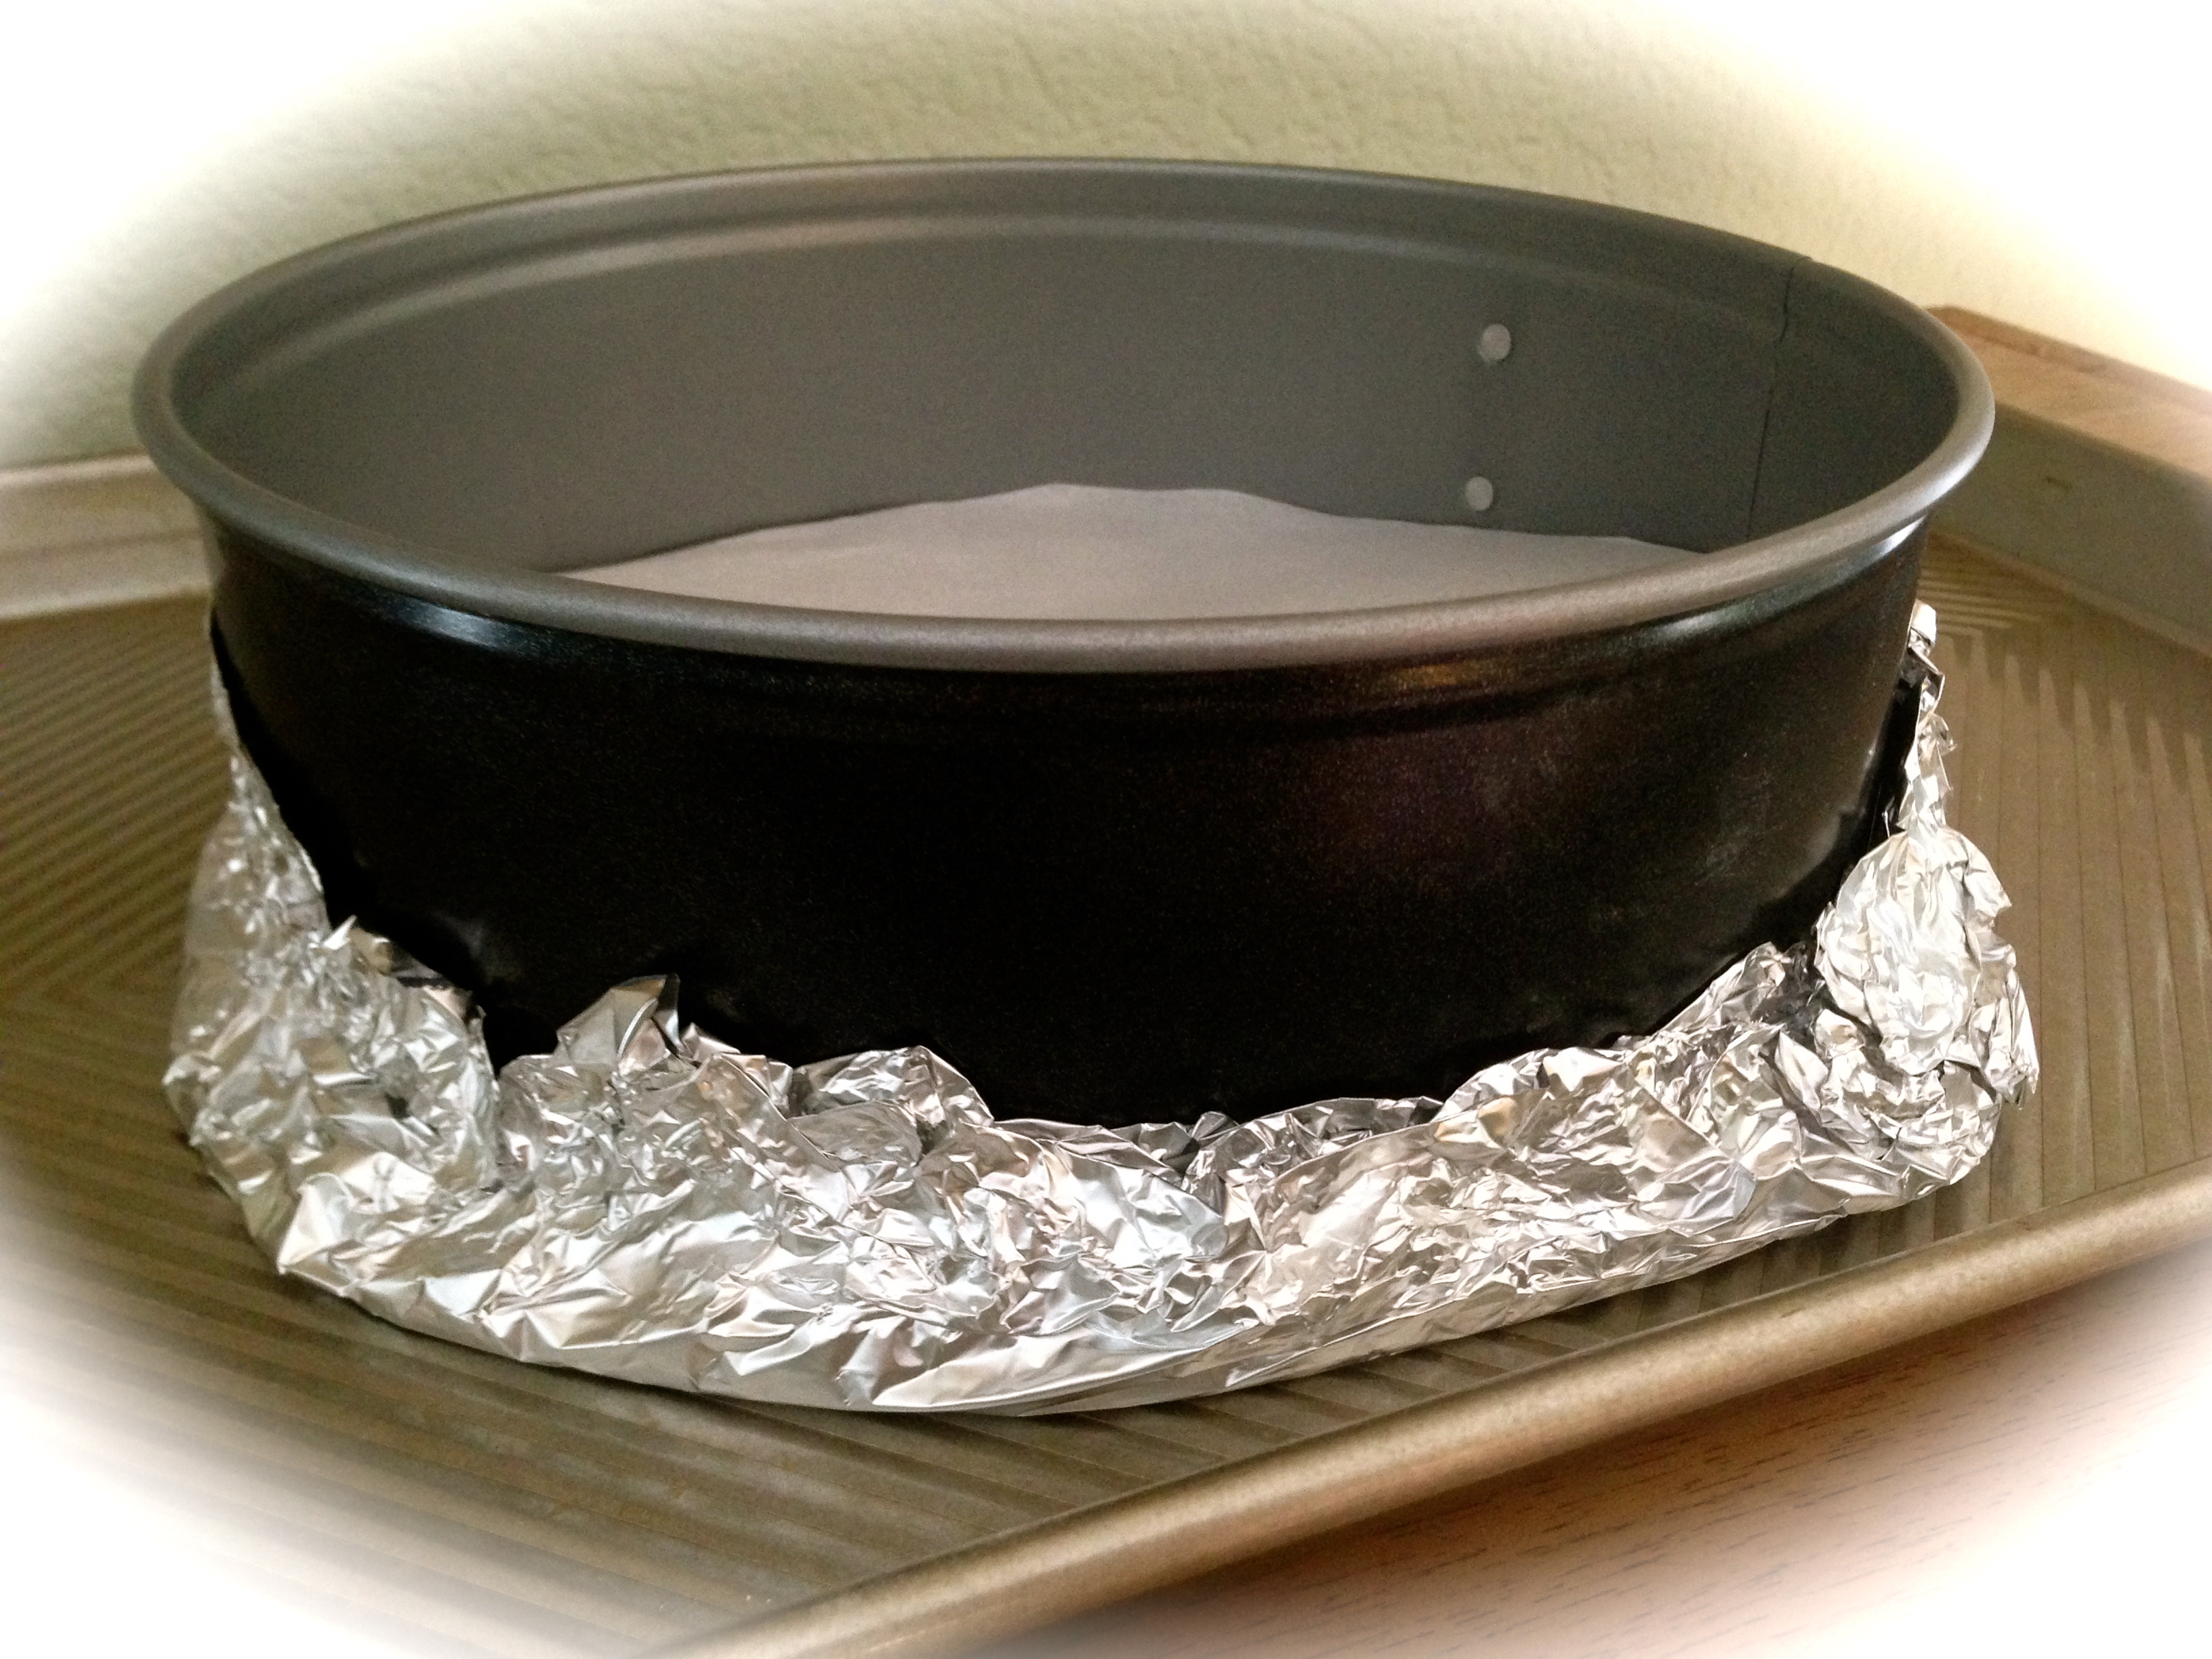
Preheat your oven for 350. Line the bottom of a 9 inch spring form pan with parchment paper and grease the sides of pan. Set the pan aside.
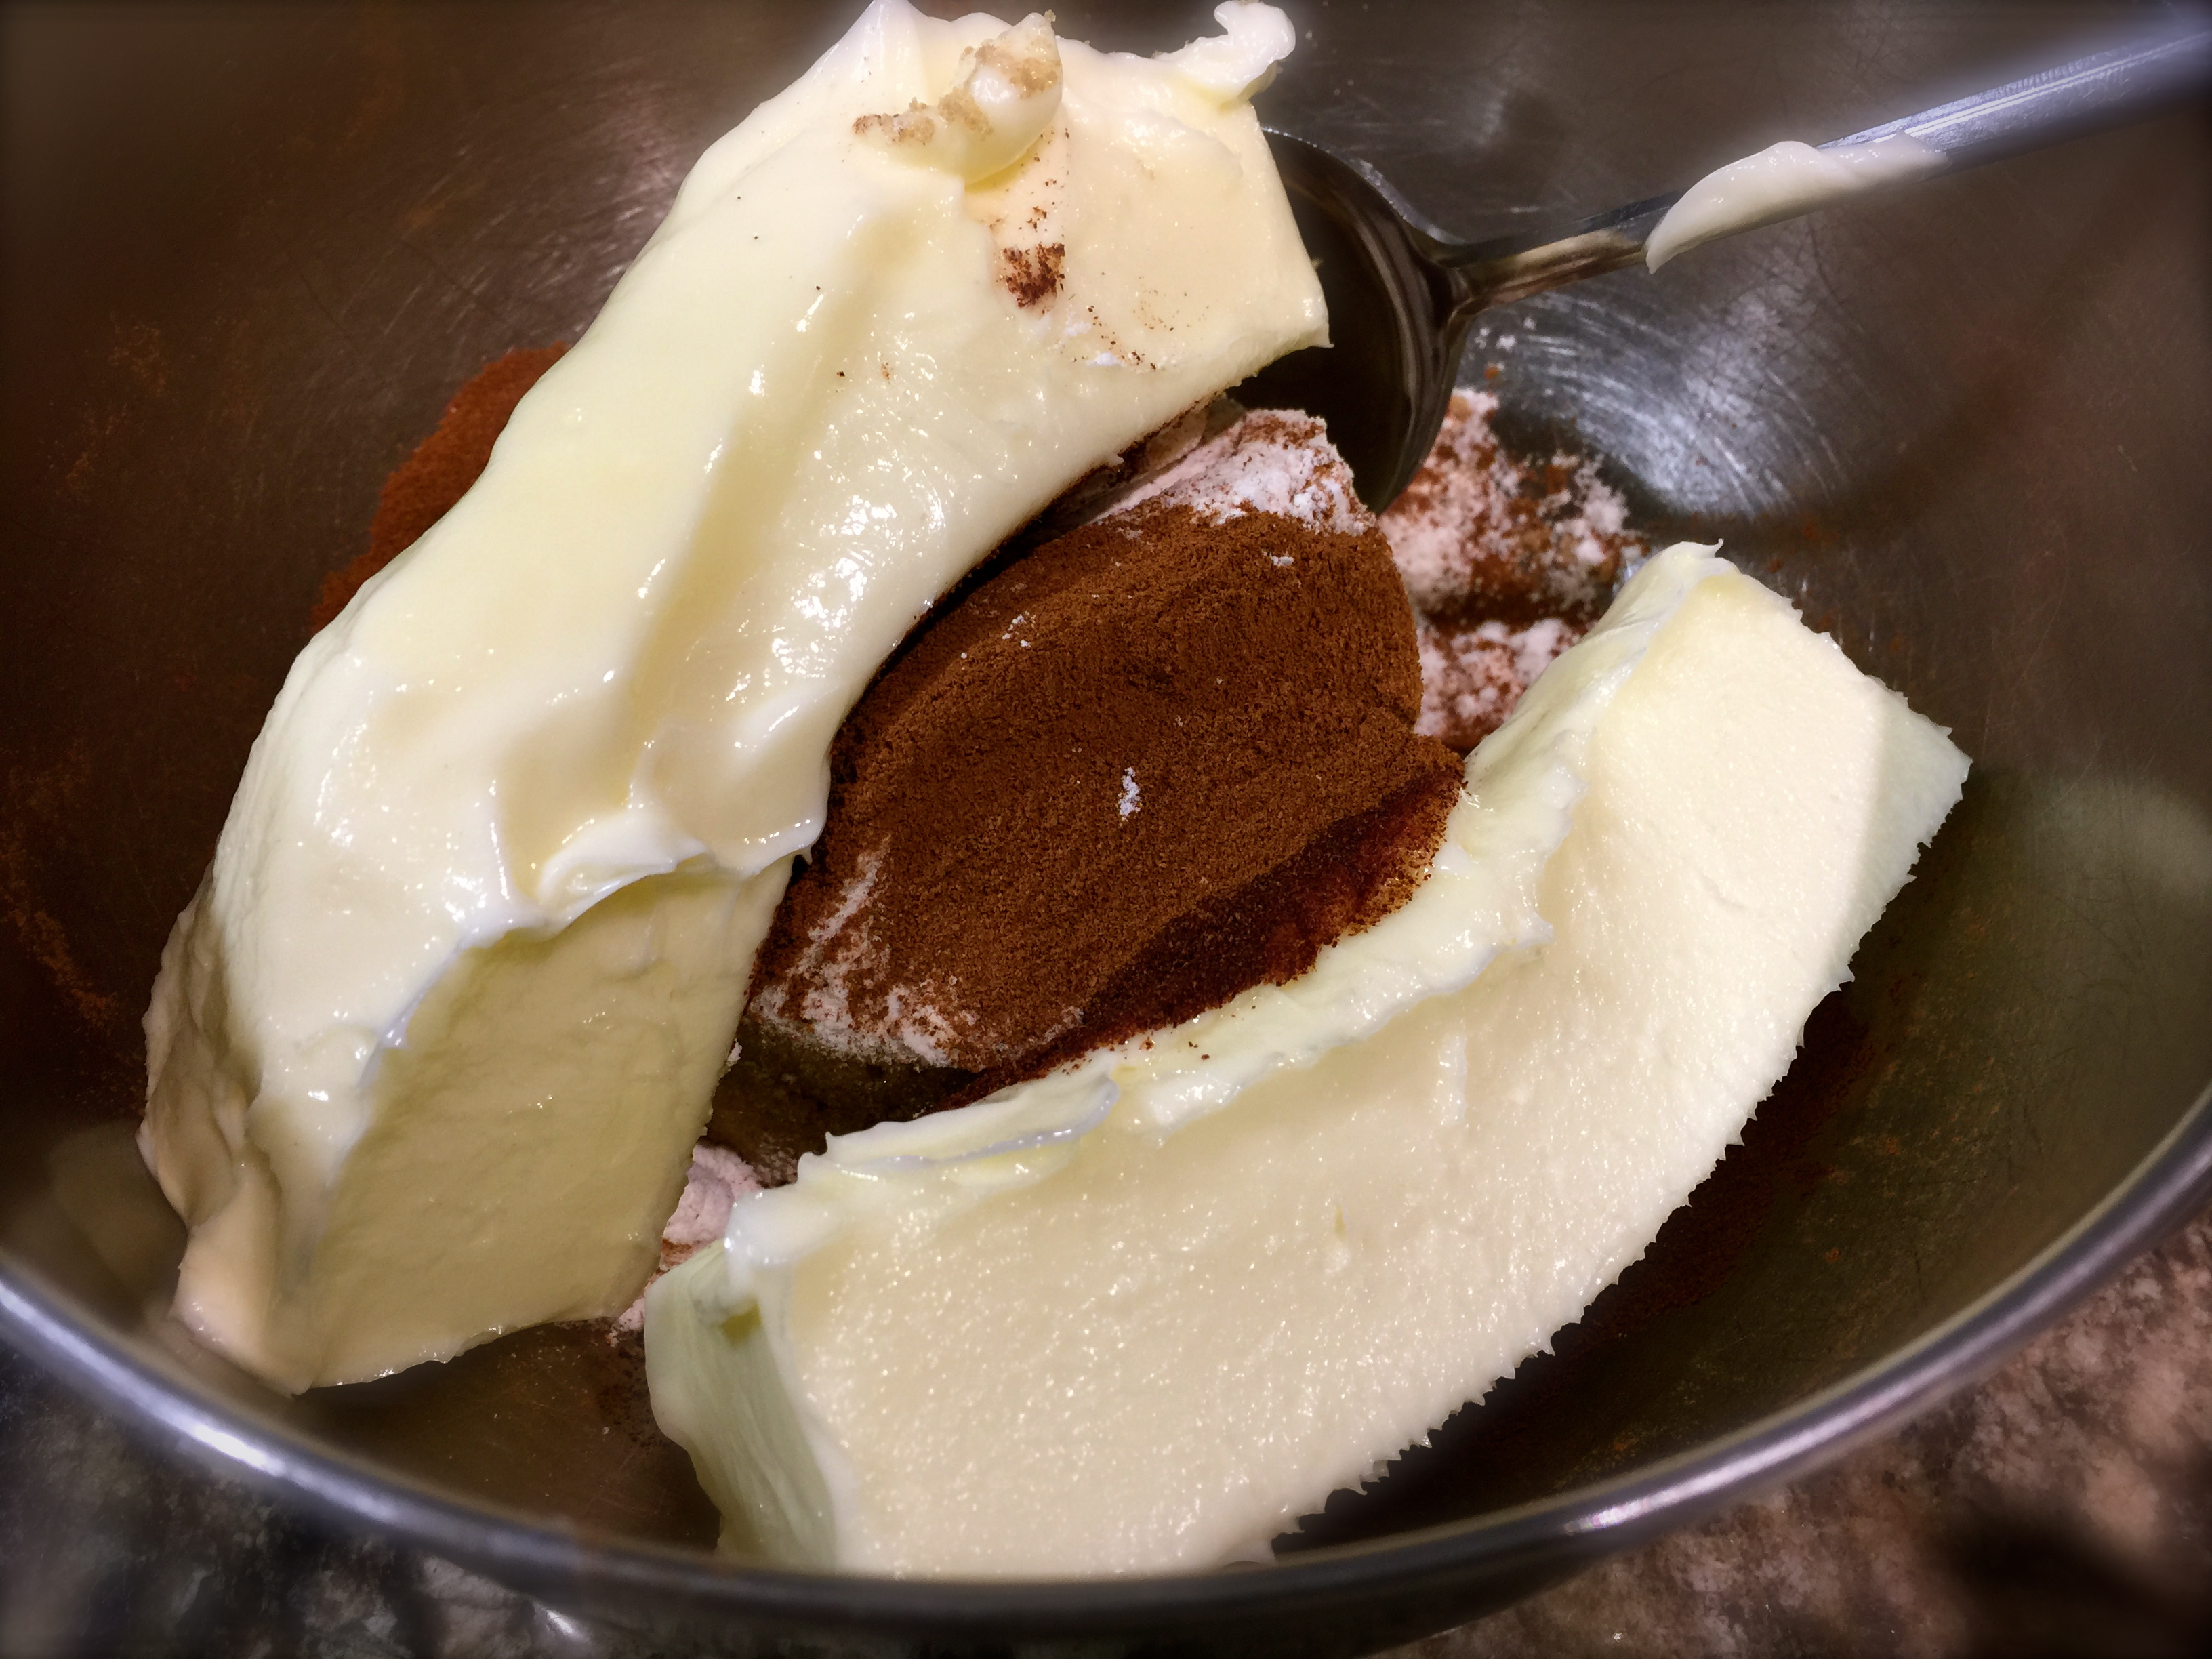
Mix together the cream cheese, sugar, and vanilla on medium speed until creamy. Add egg white and mix just until combined. Set aside.
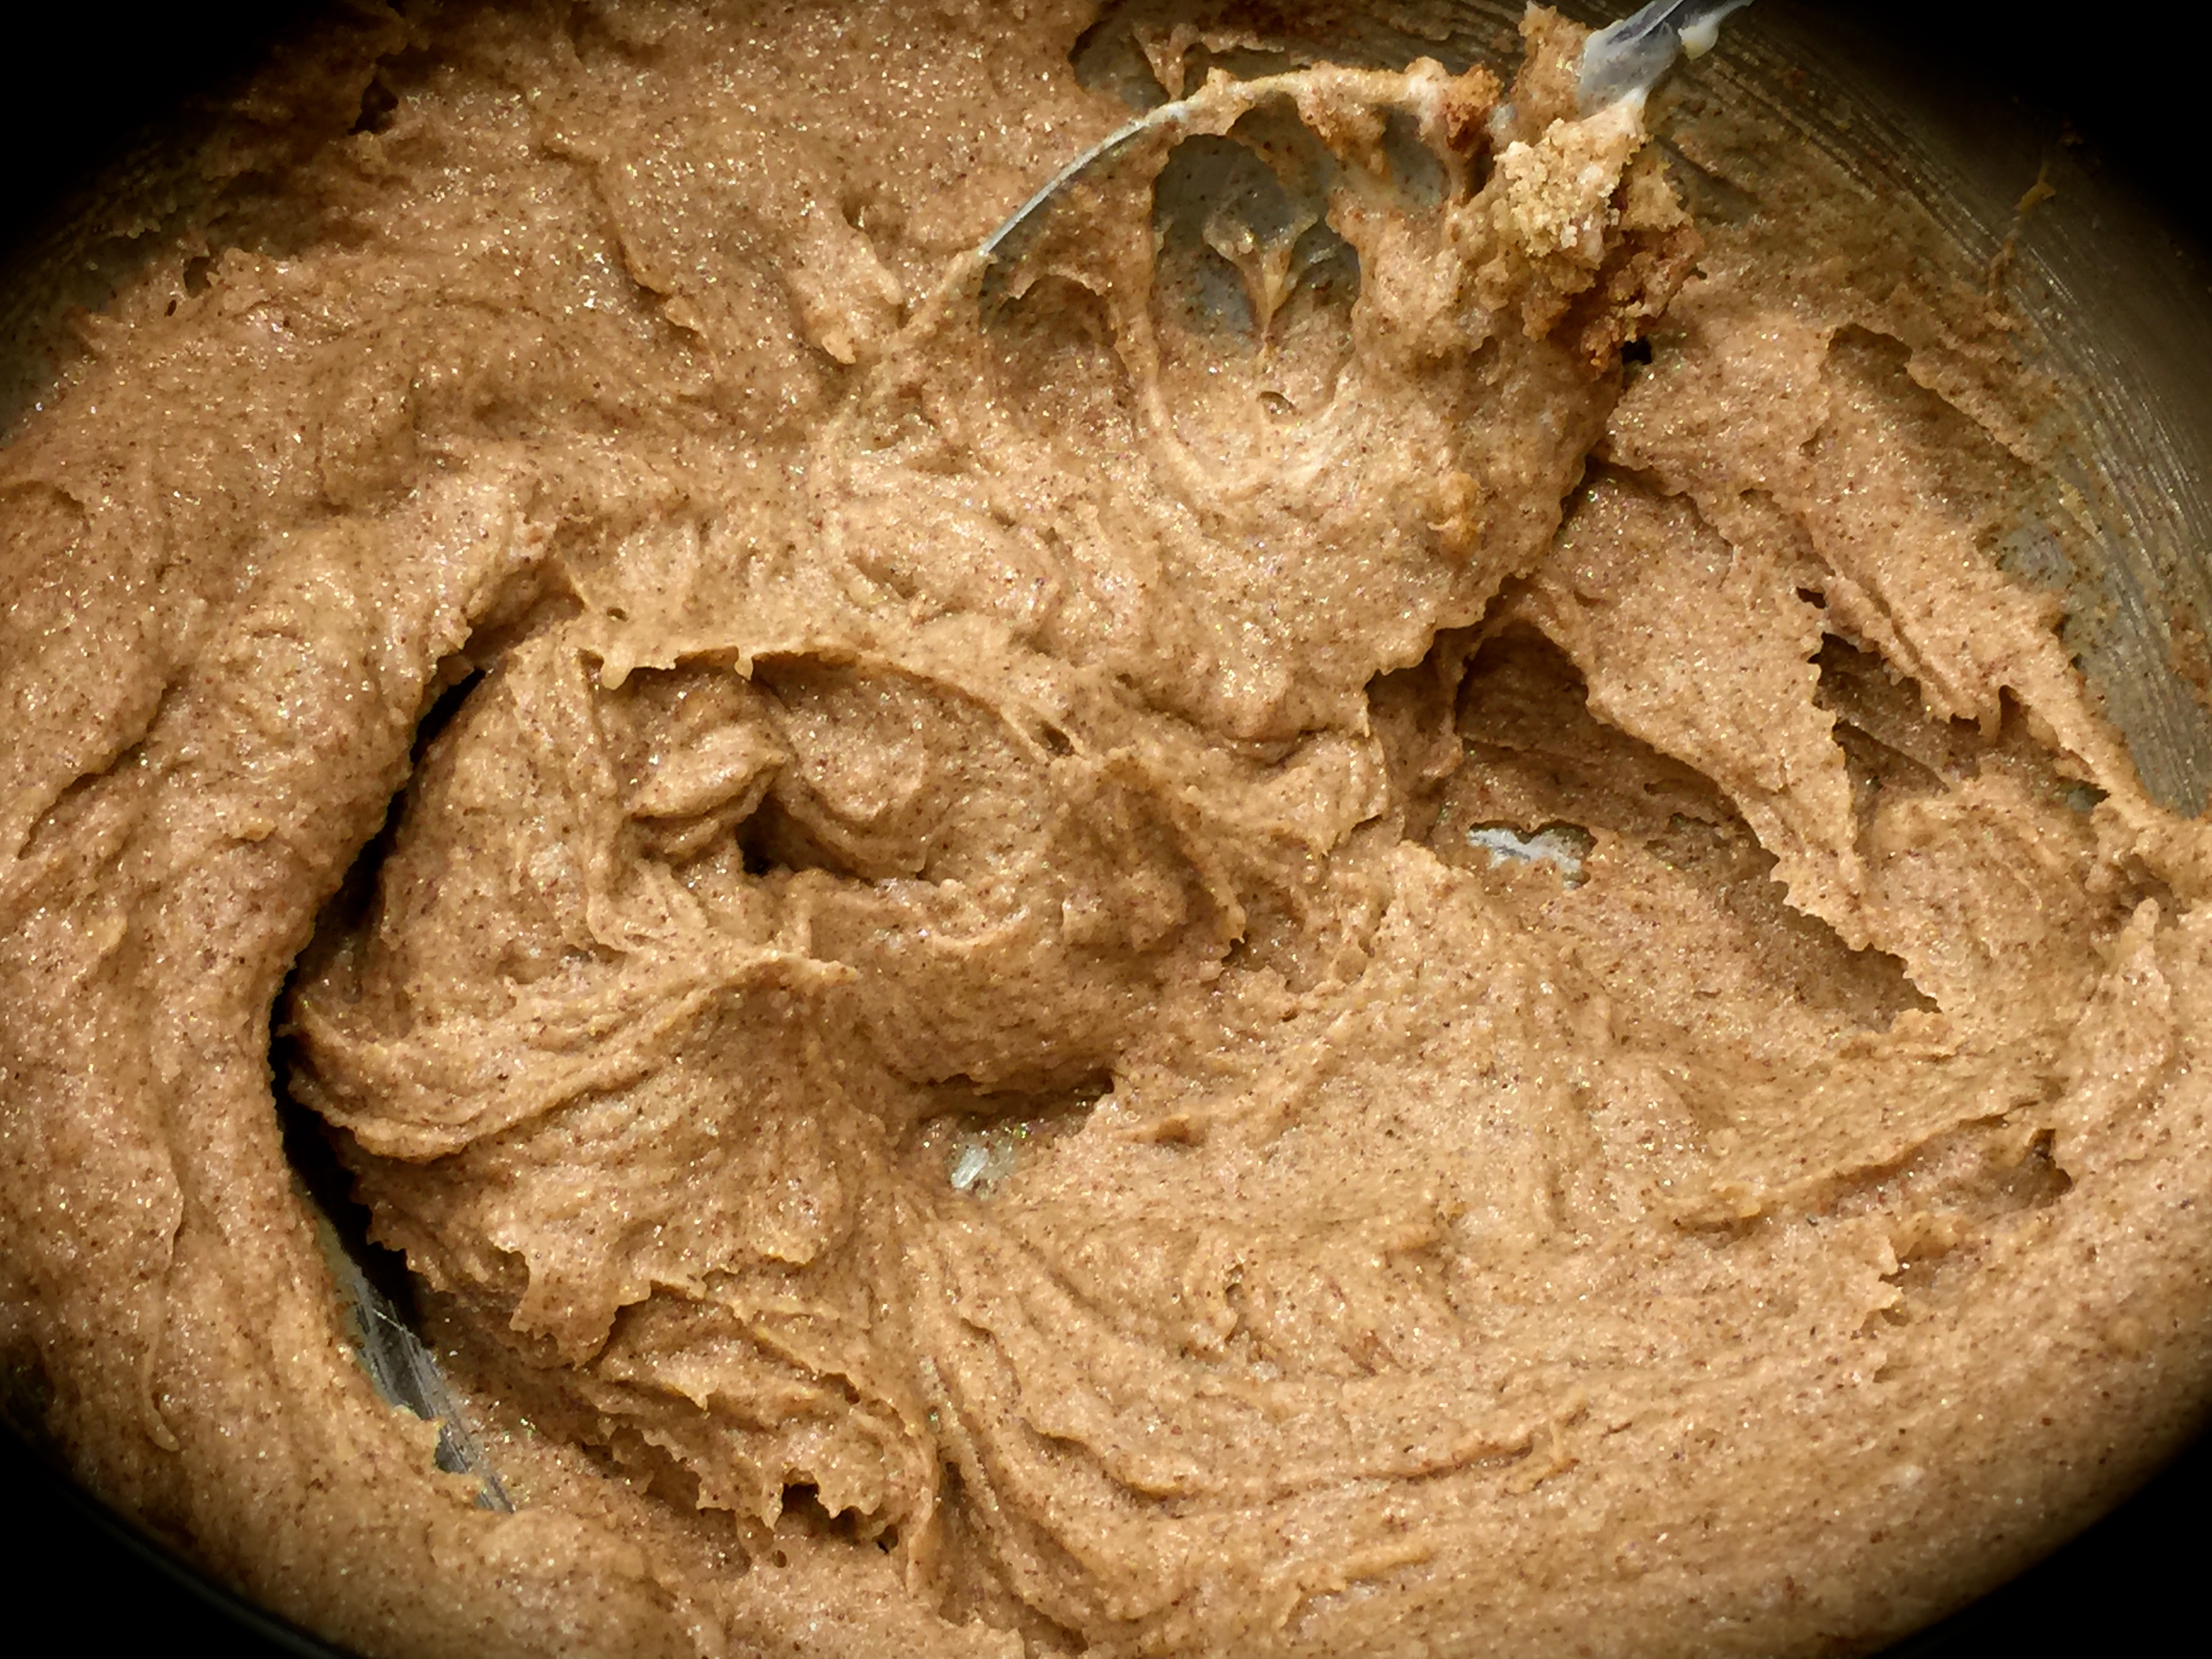
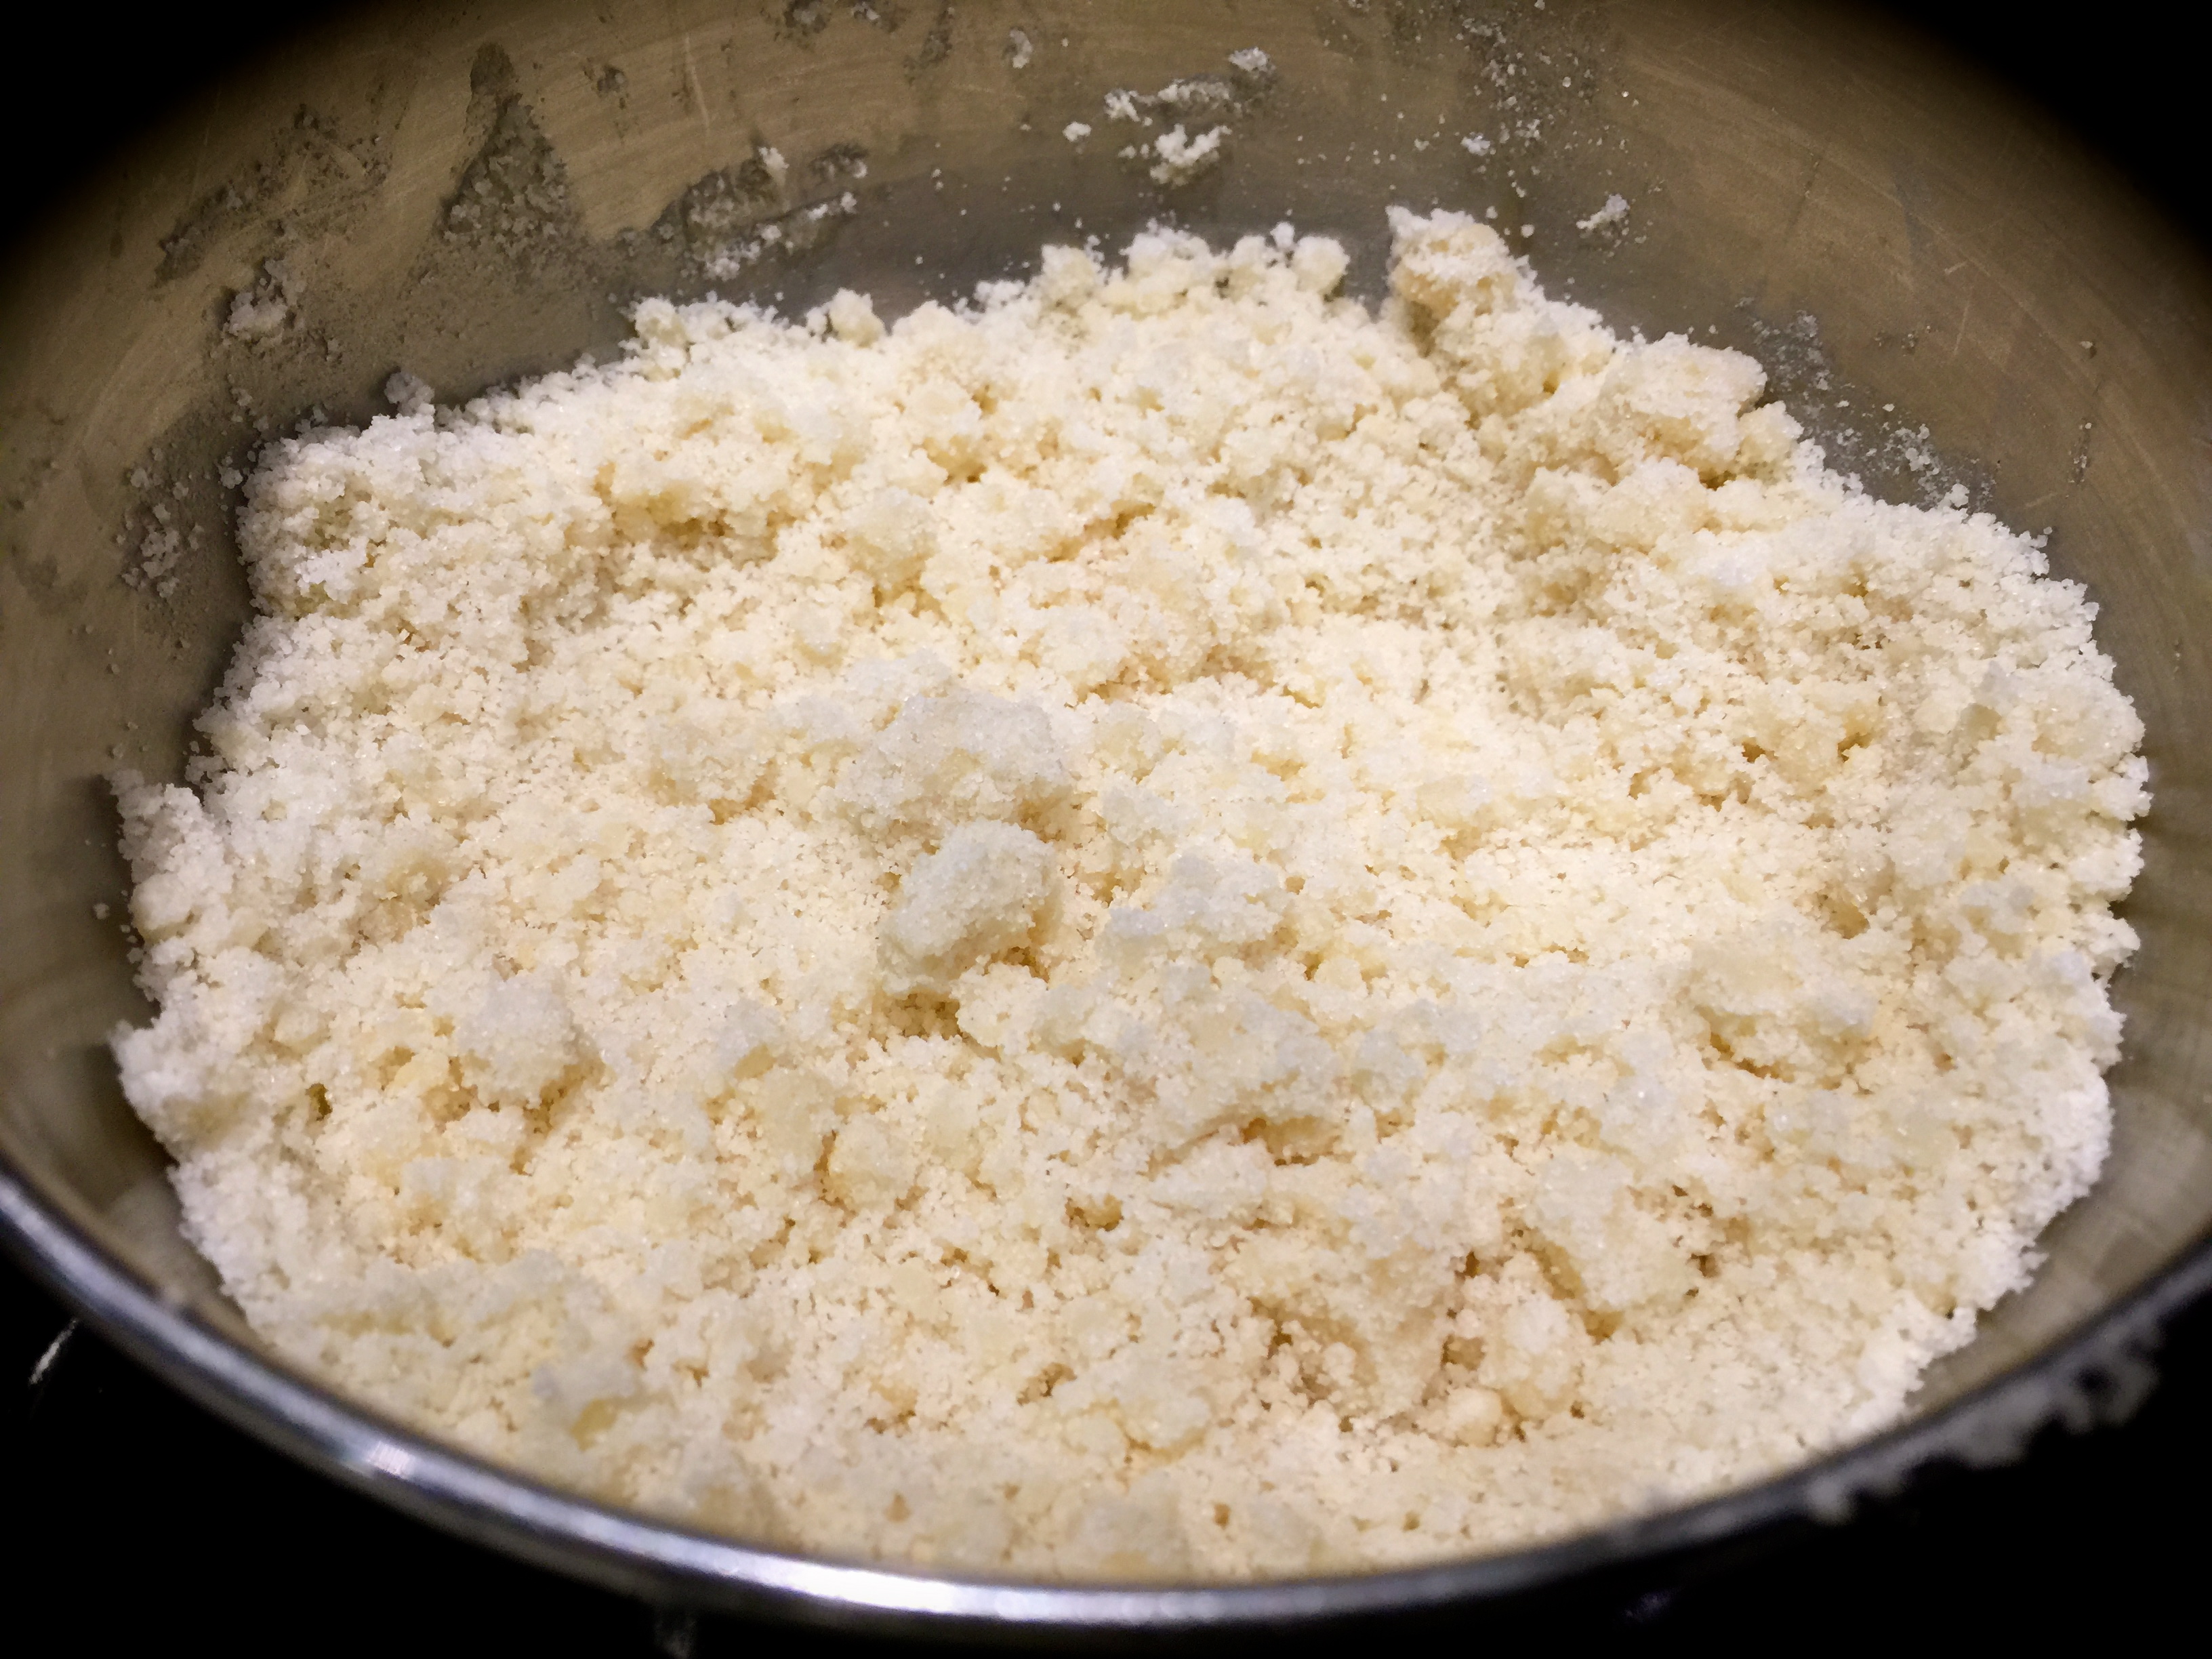
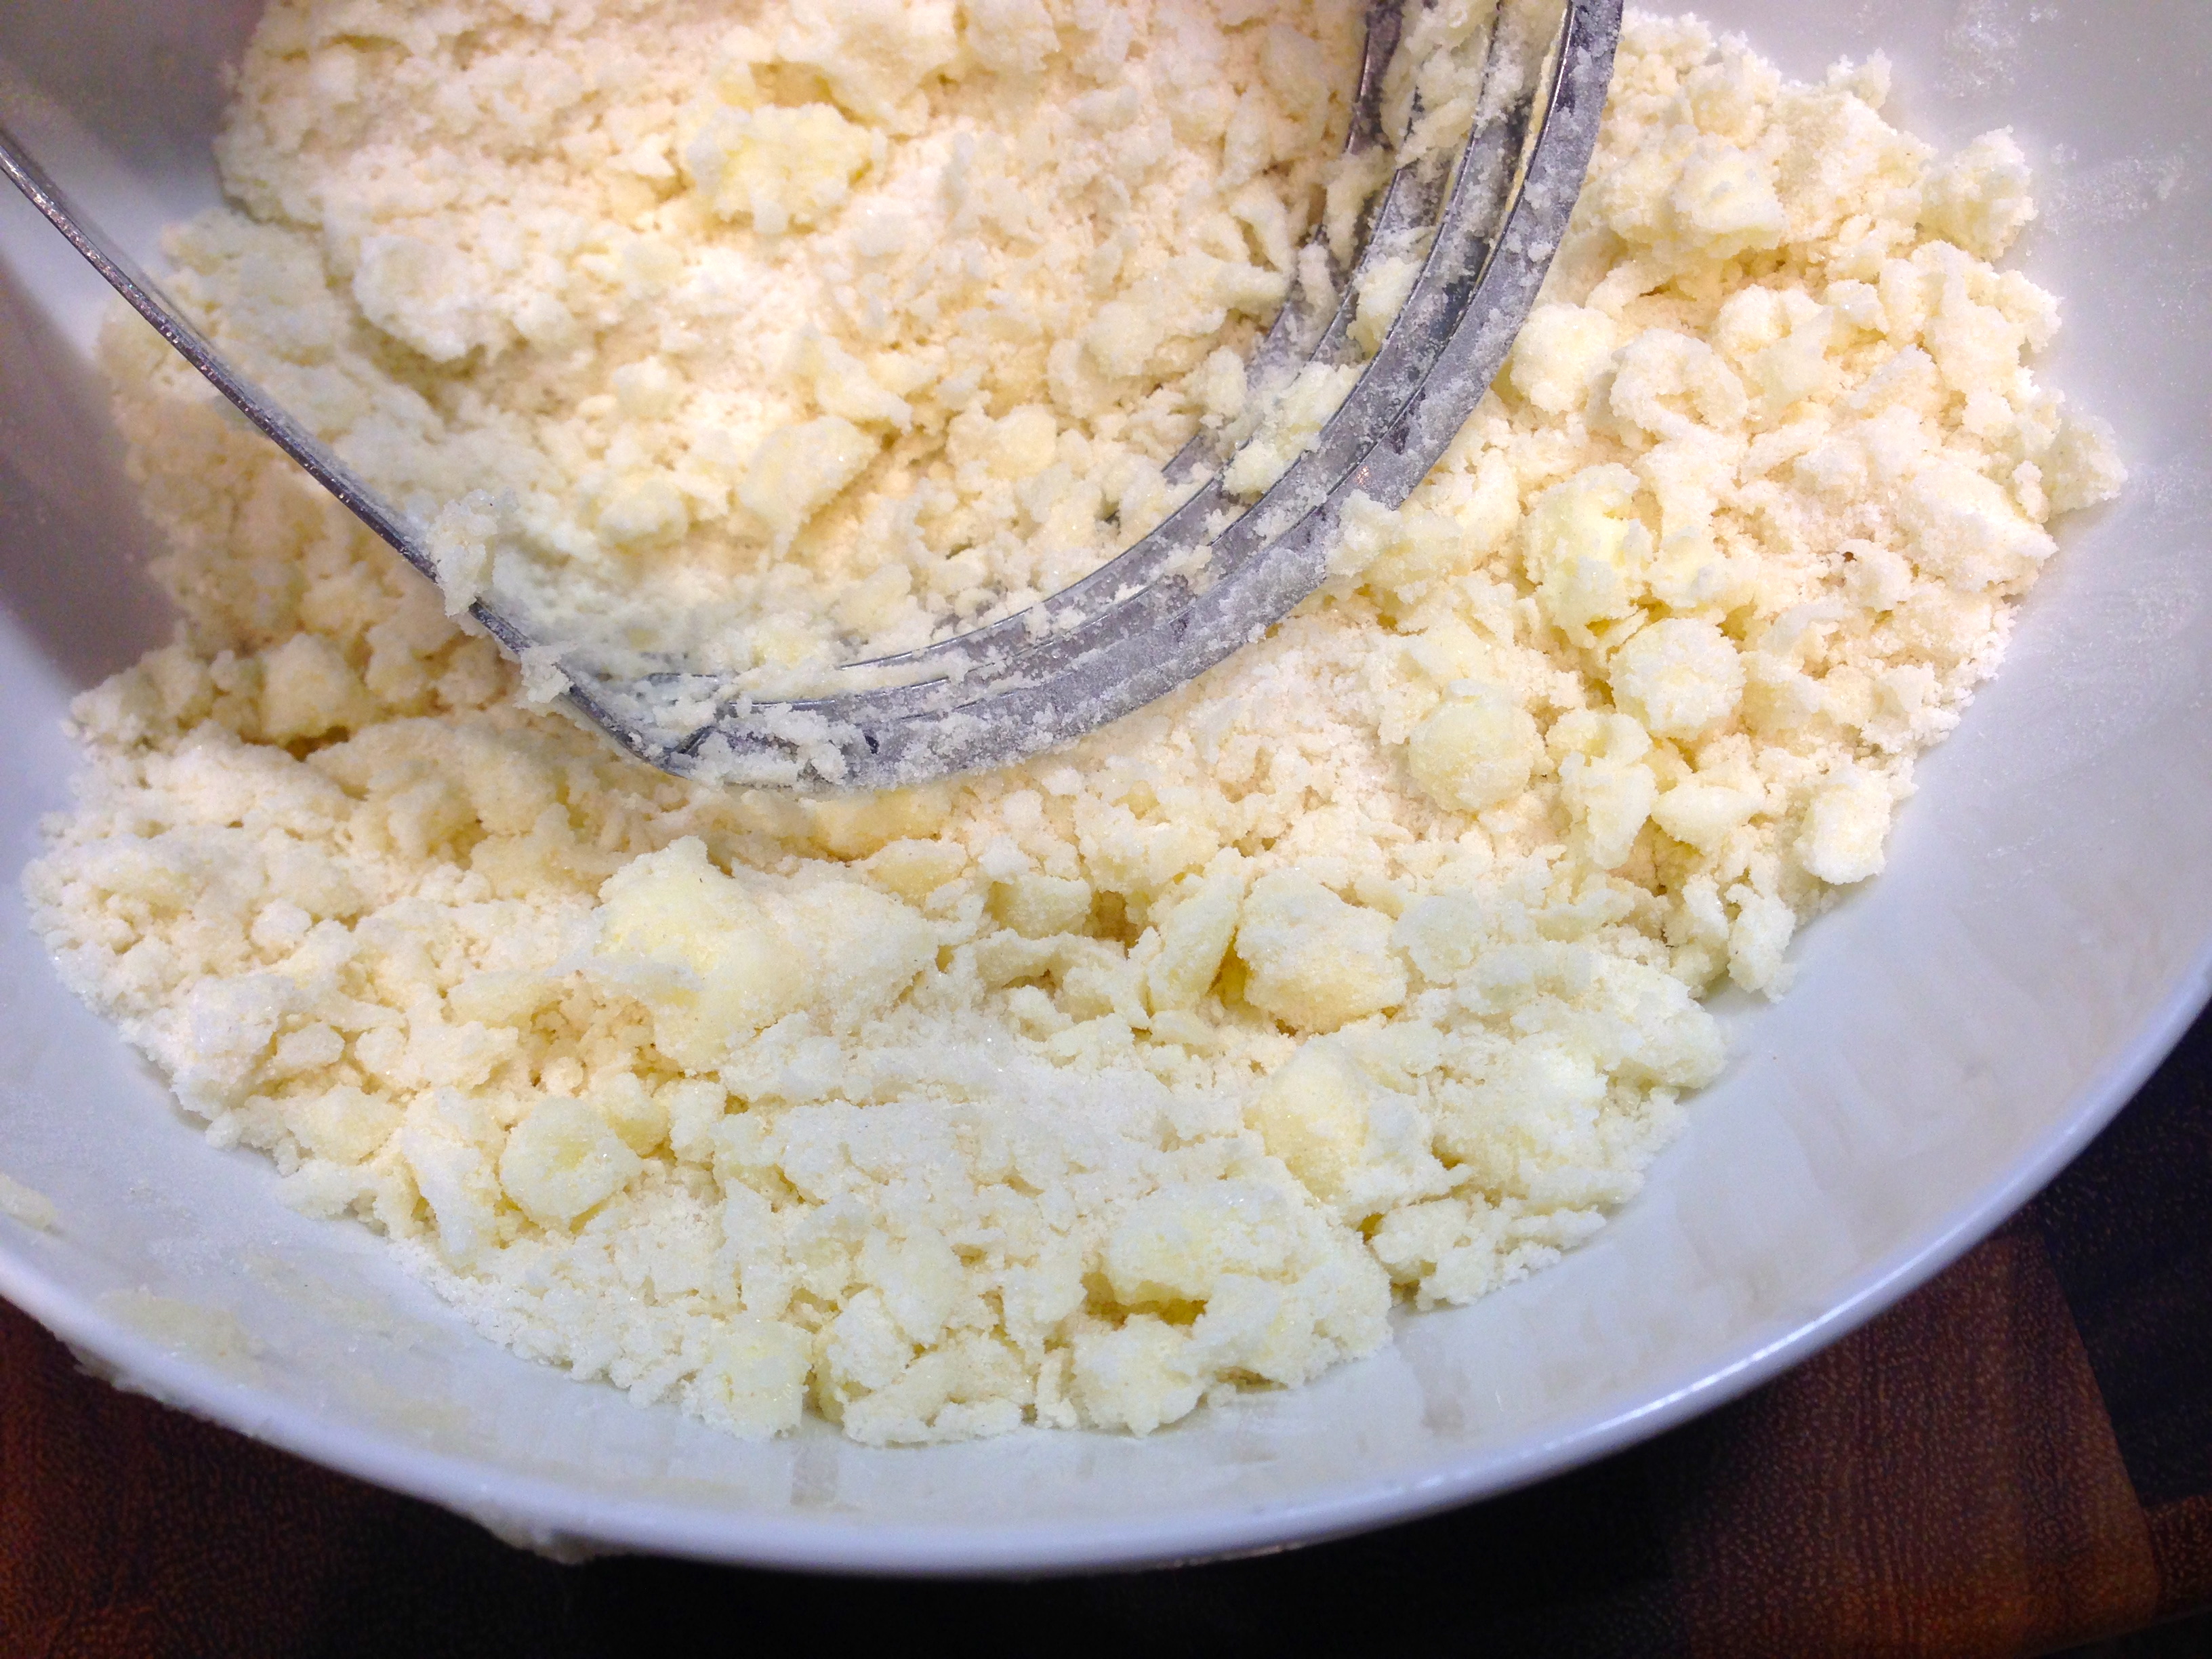
For the streusel topping combine sugar, flour and chilled butter in a bowl. Cut the butter in with a pastry blender until the mixture is crumbly and and the crumbles are pea sized. Set aside.
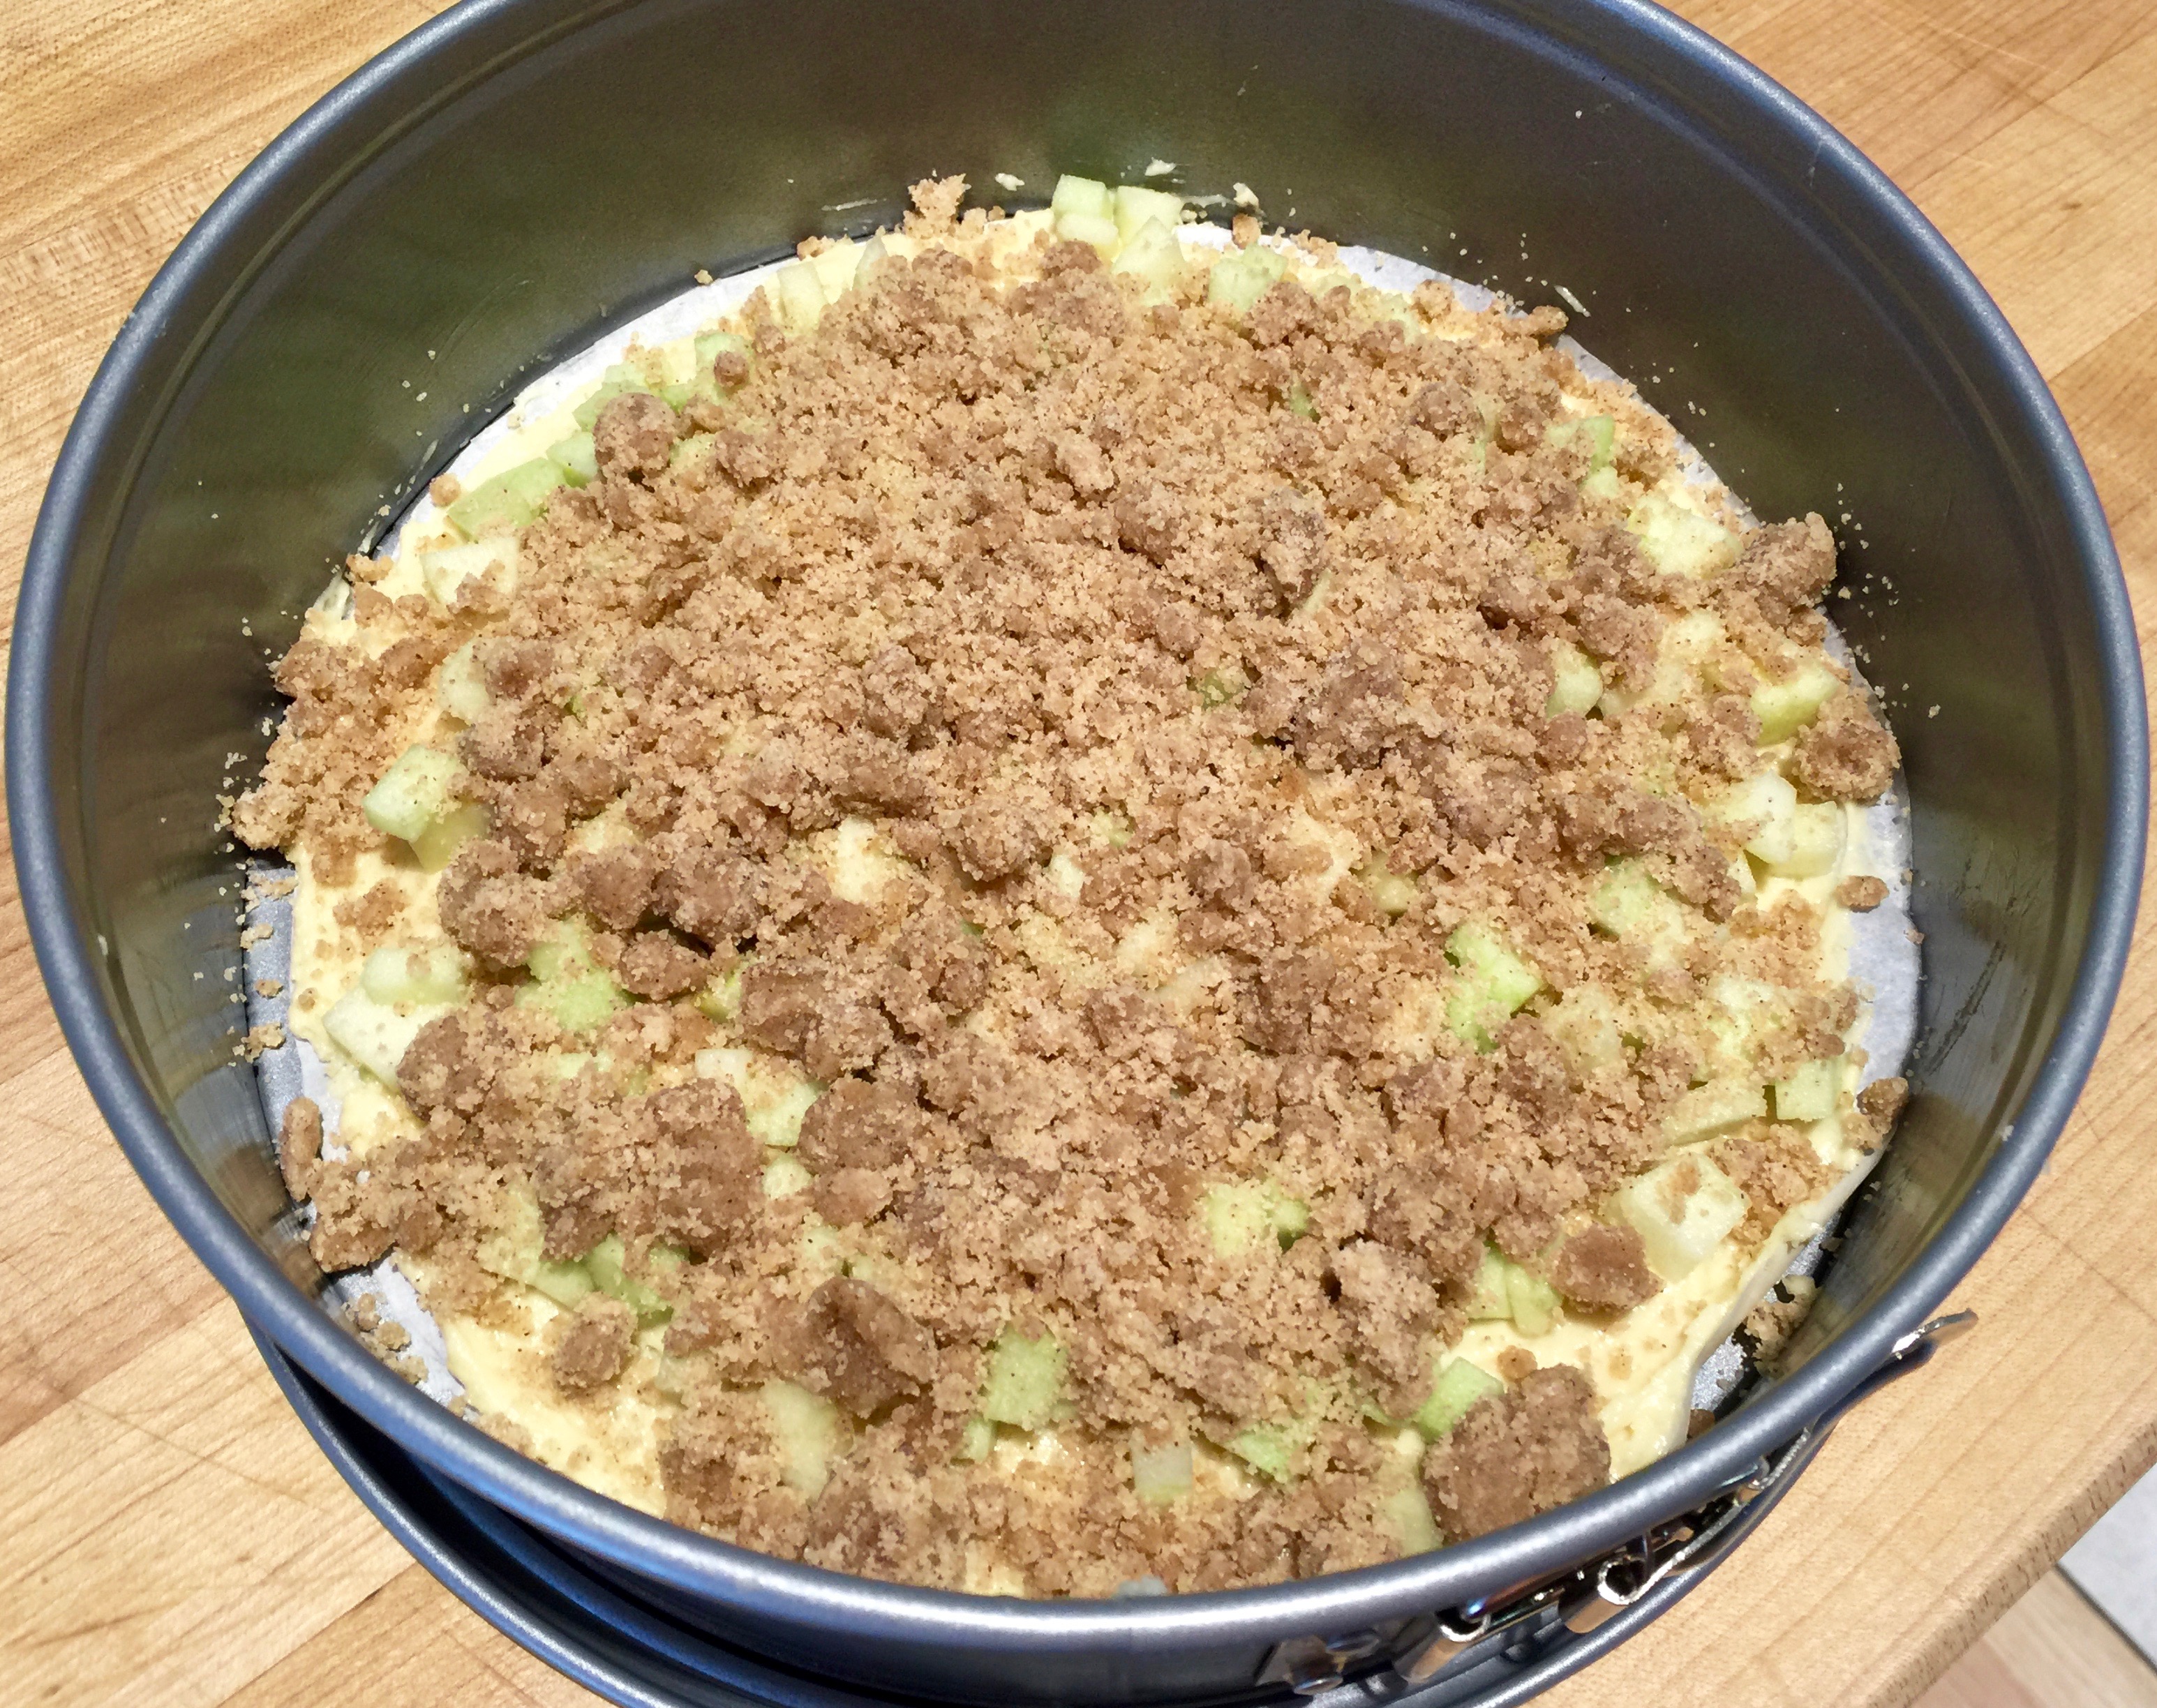
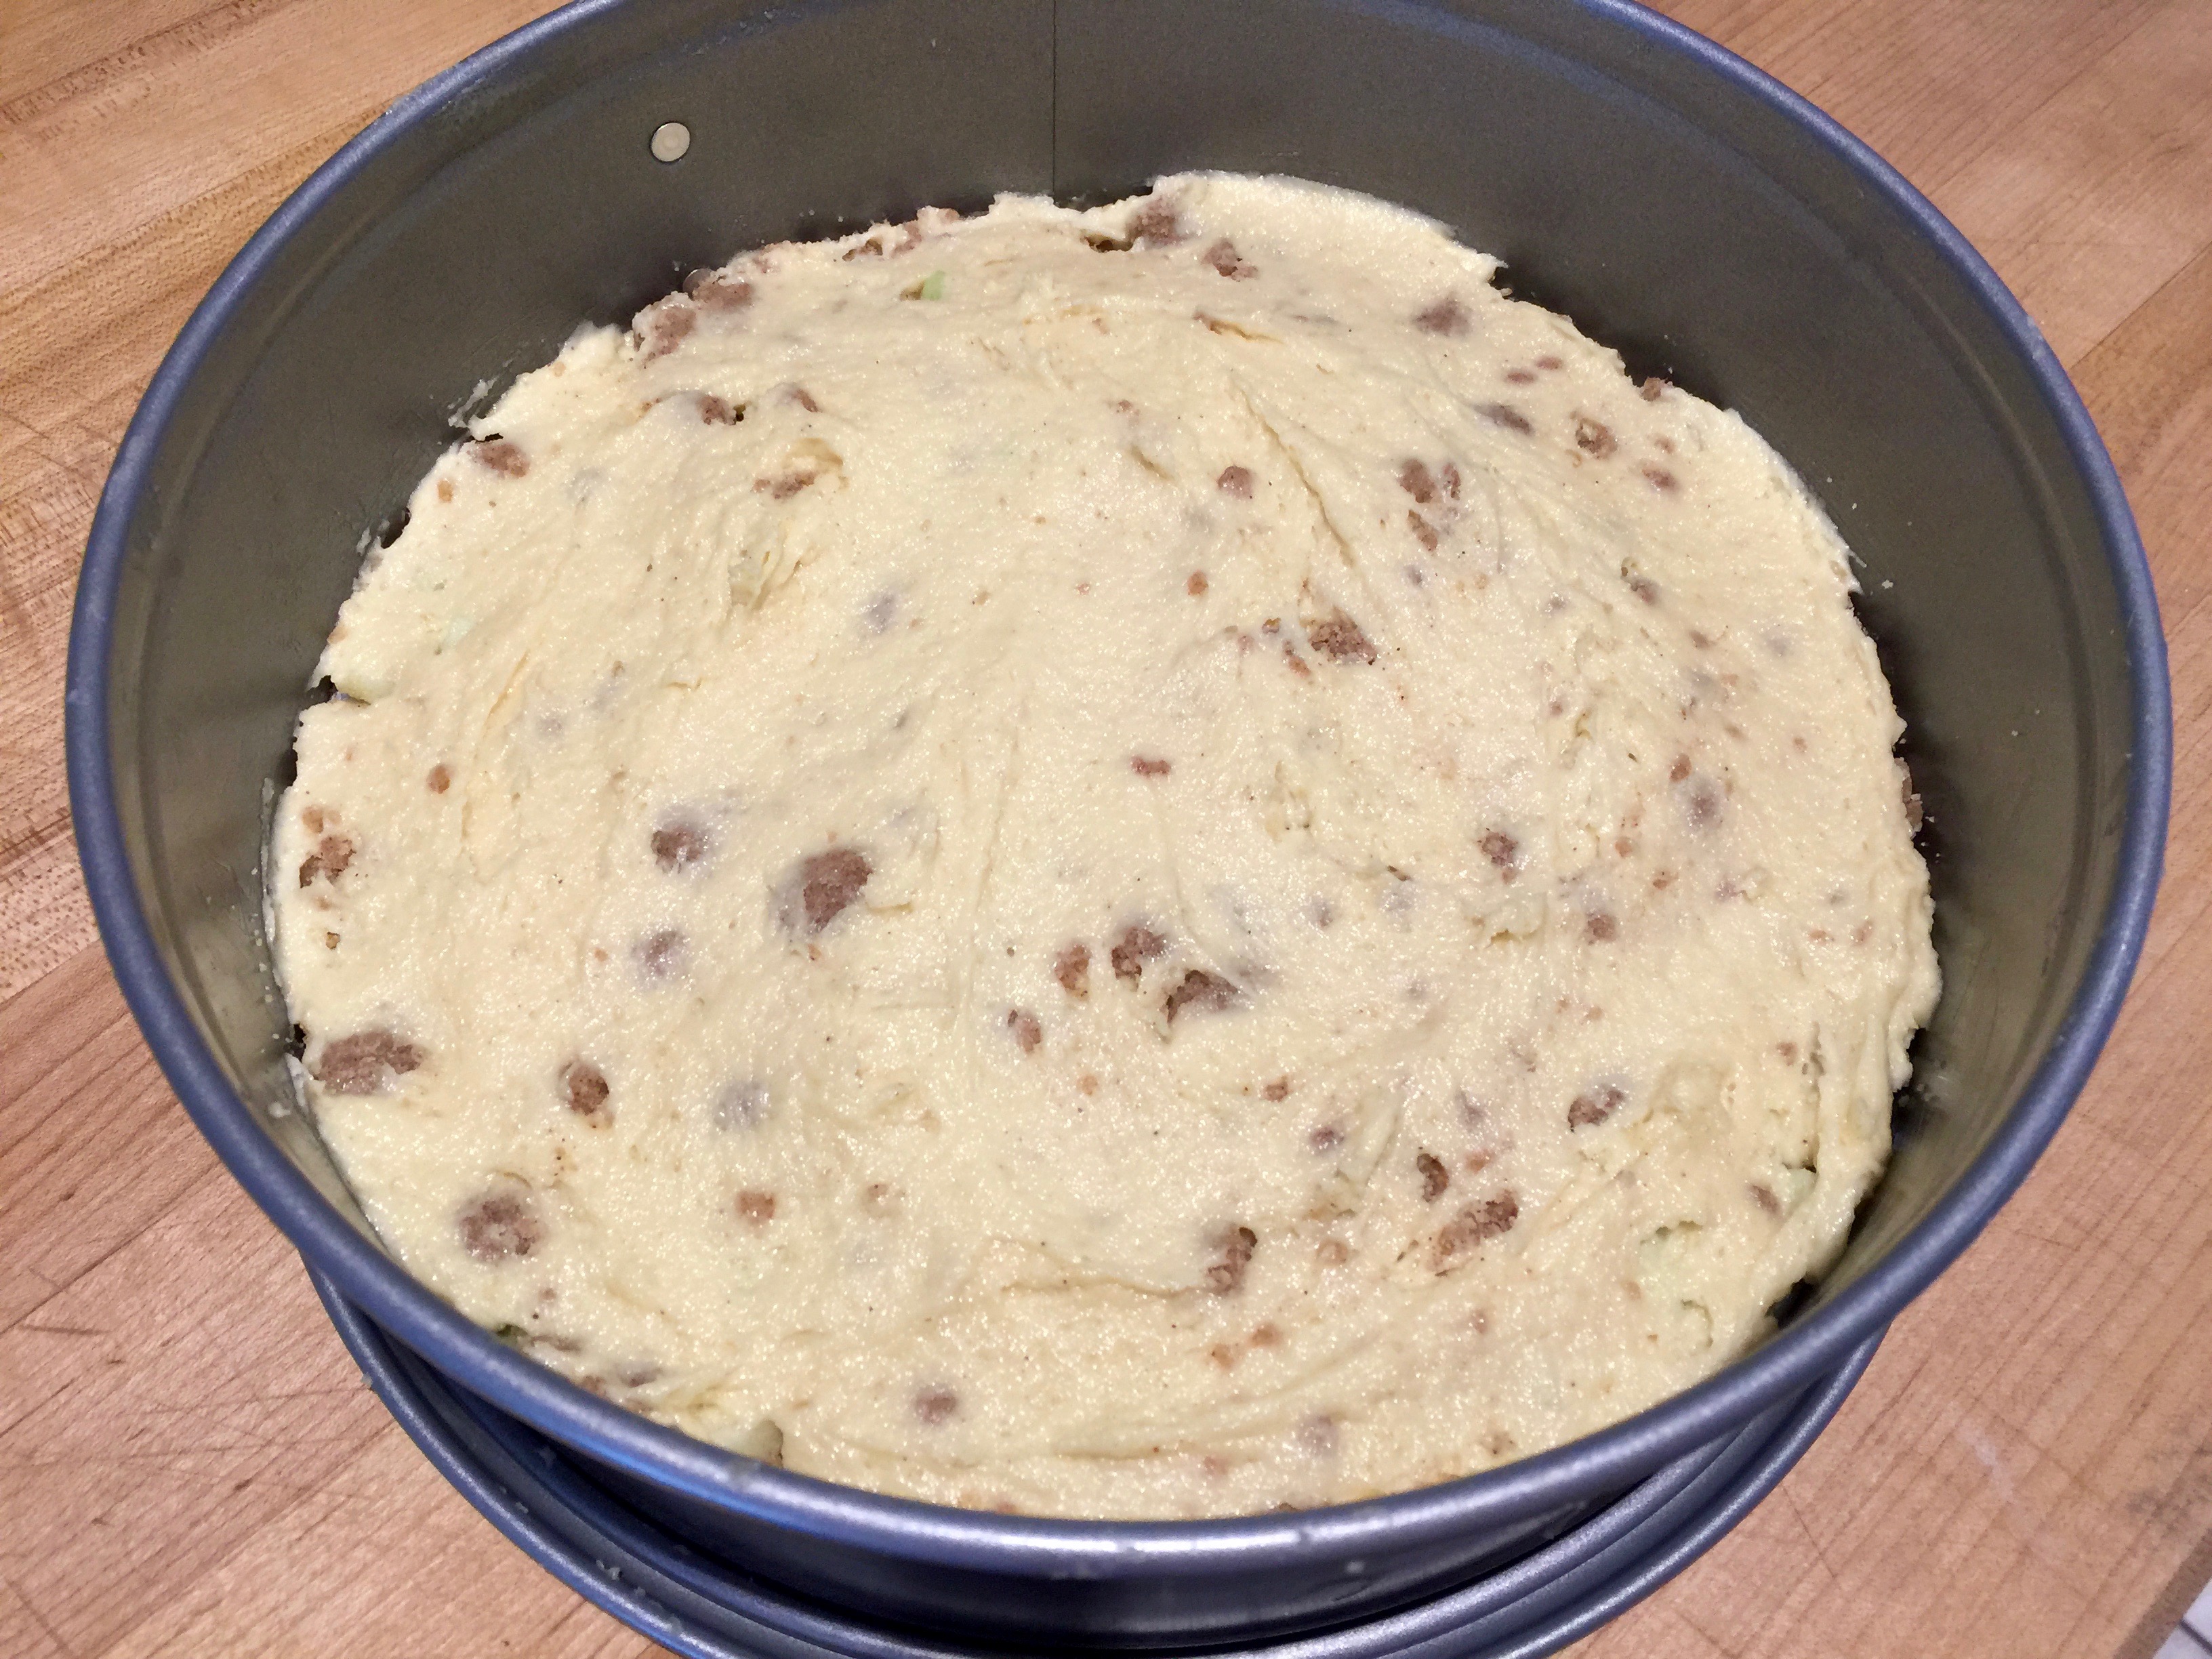
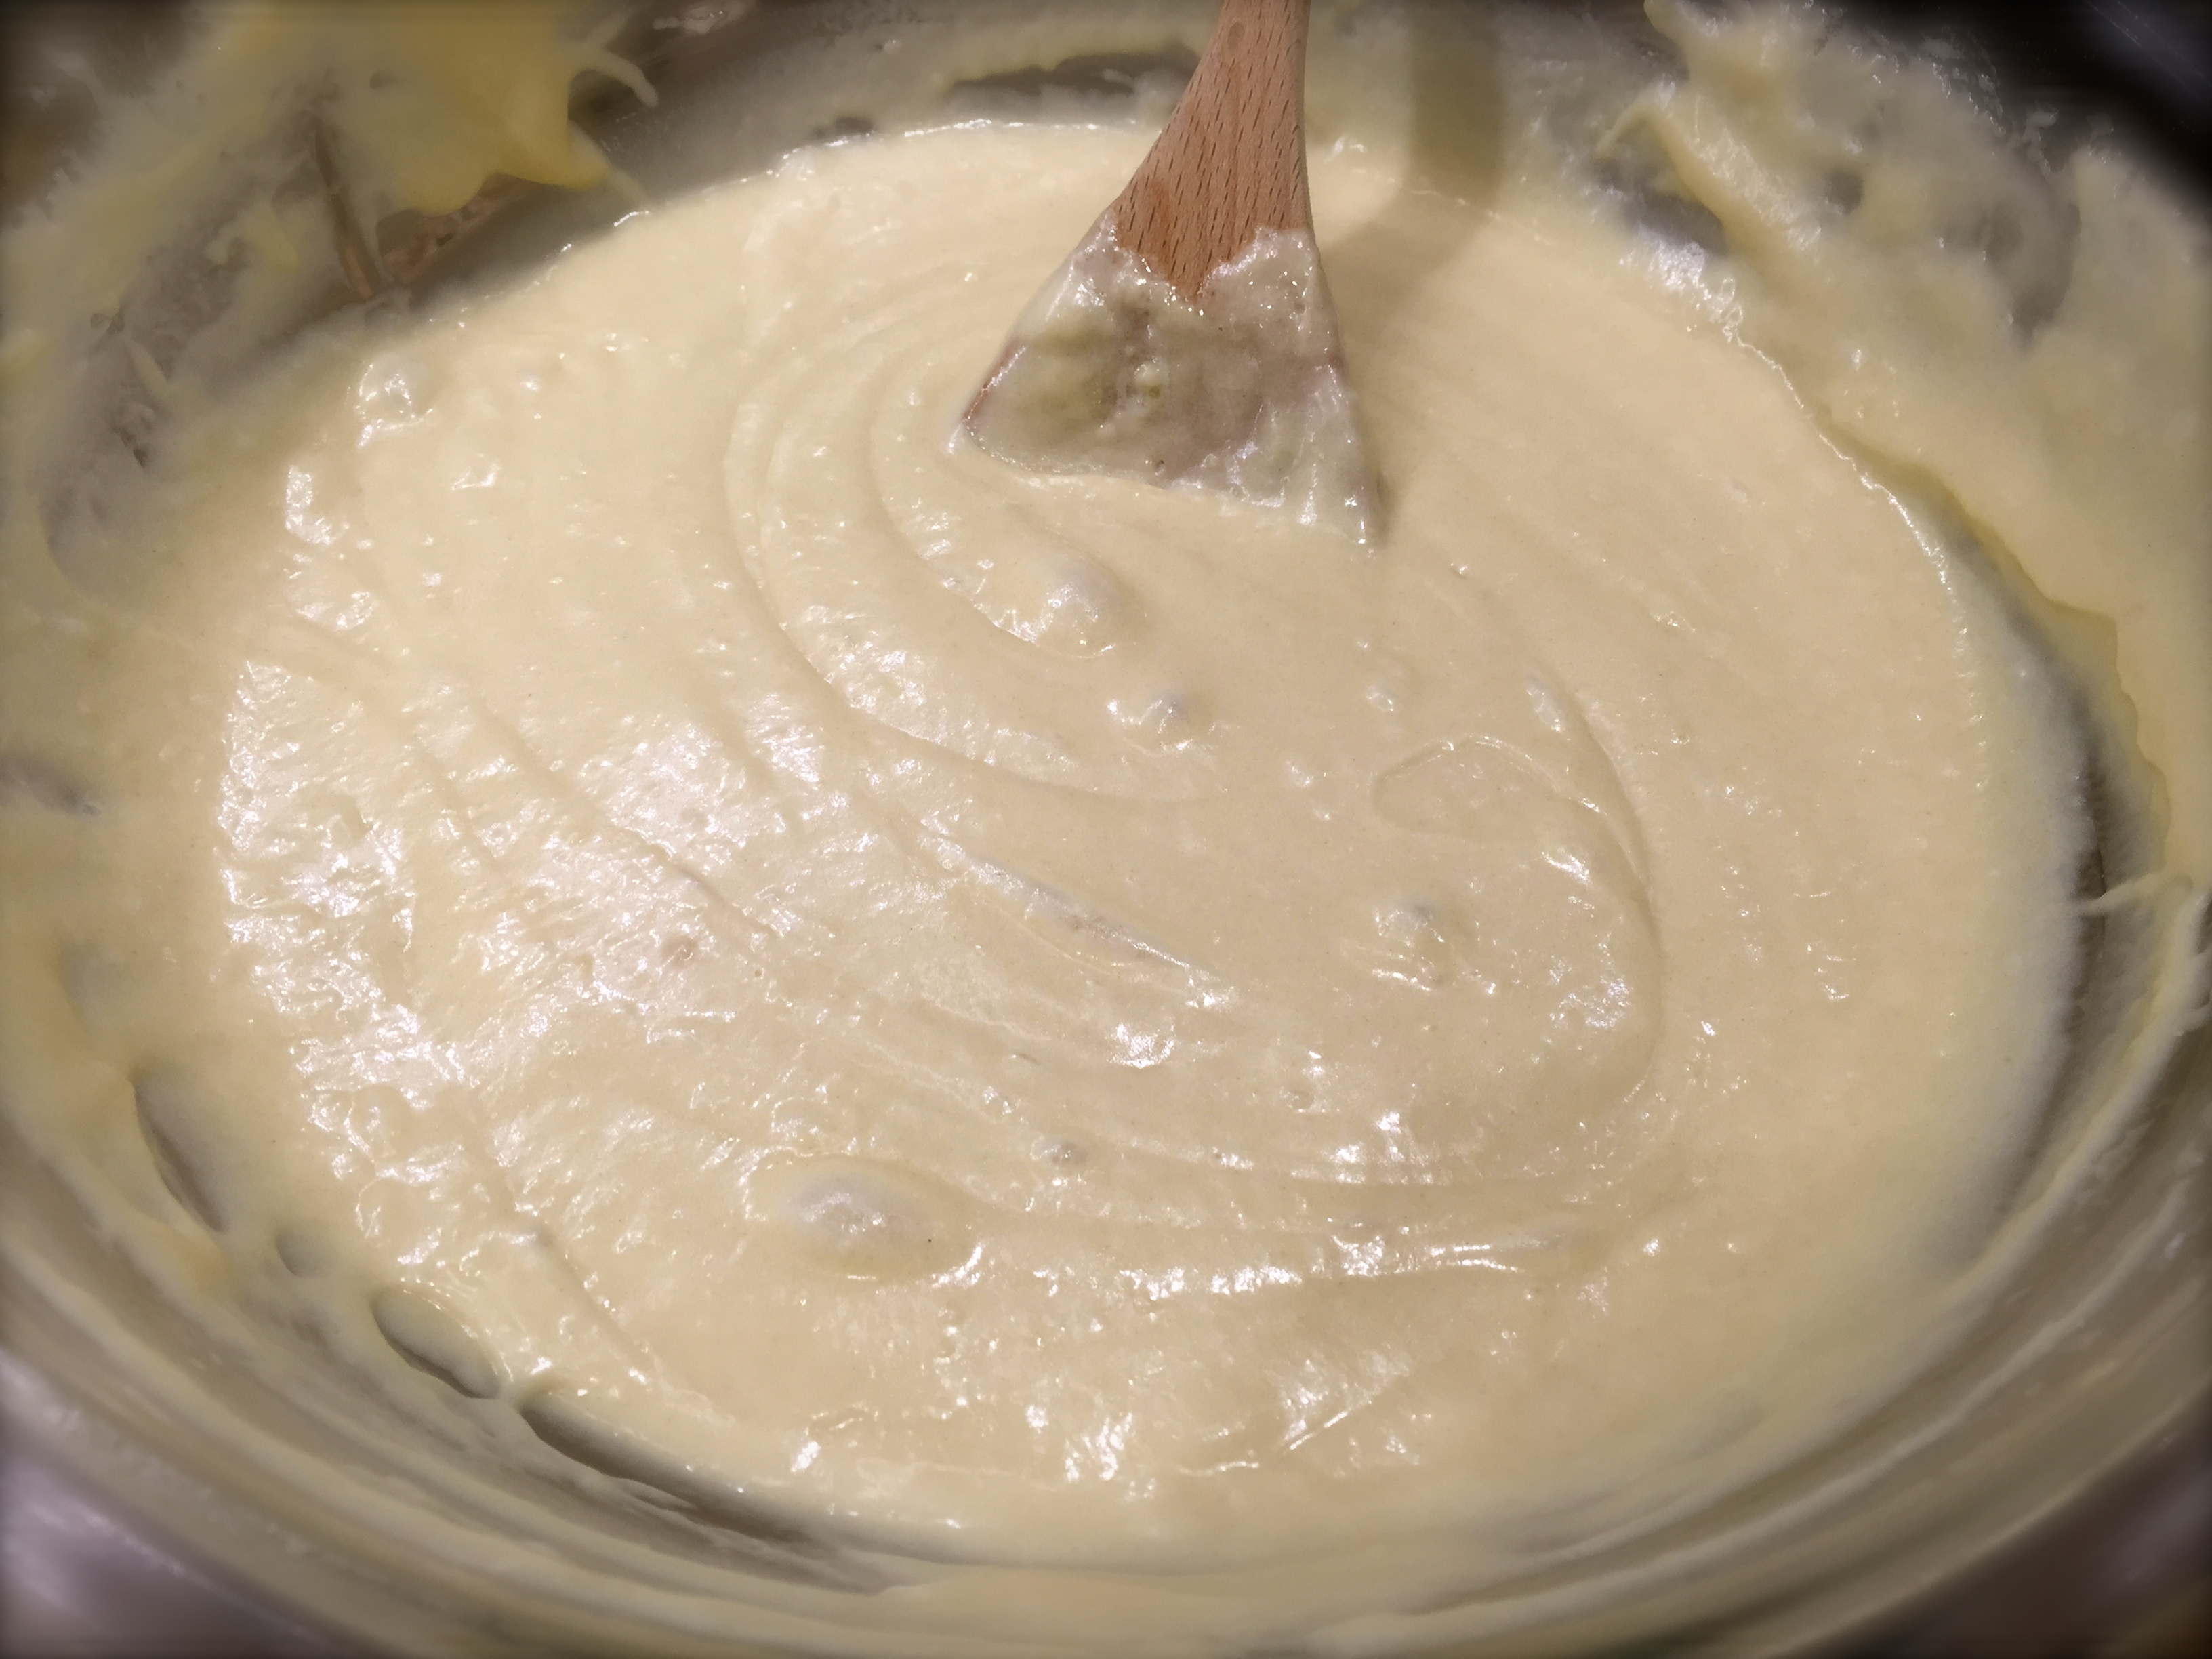
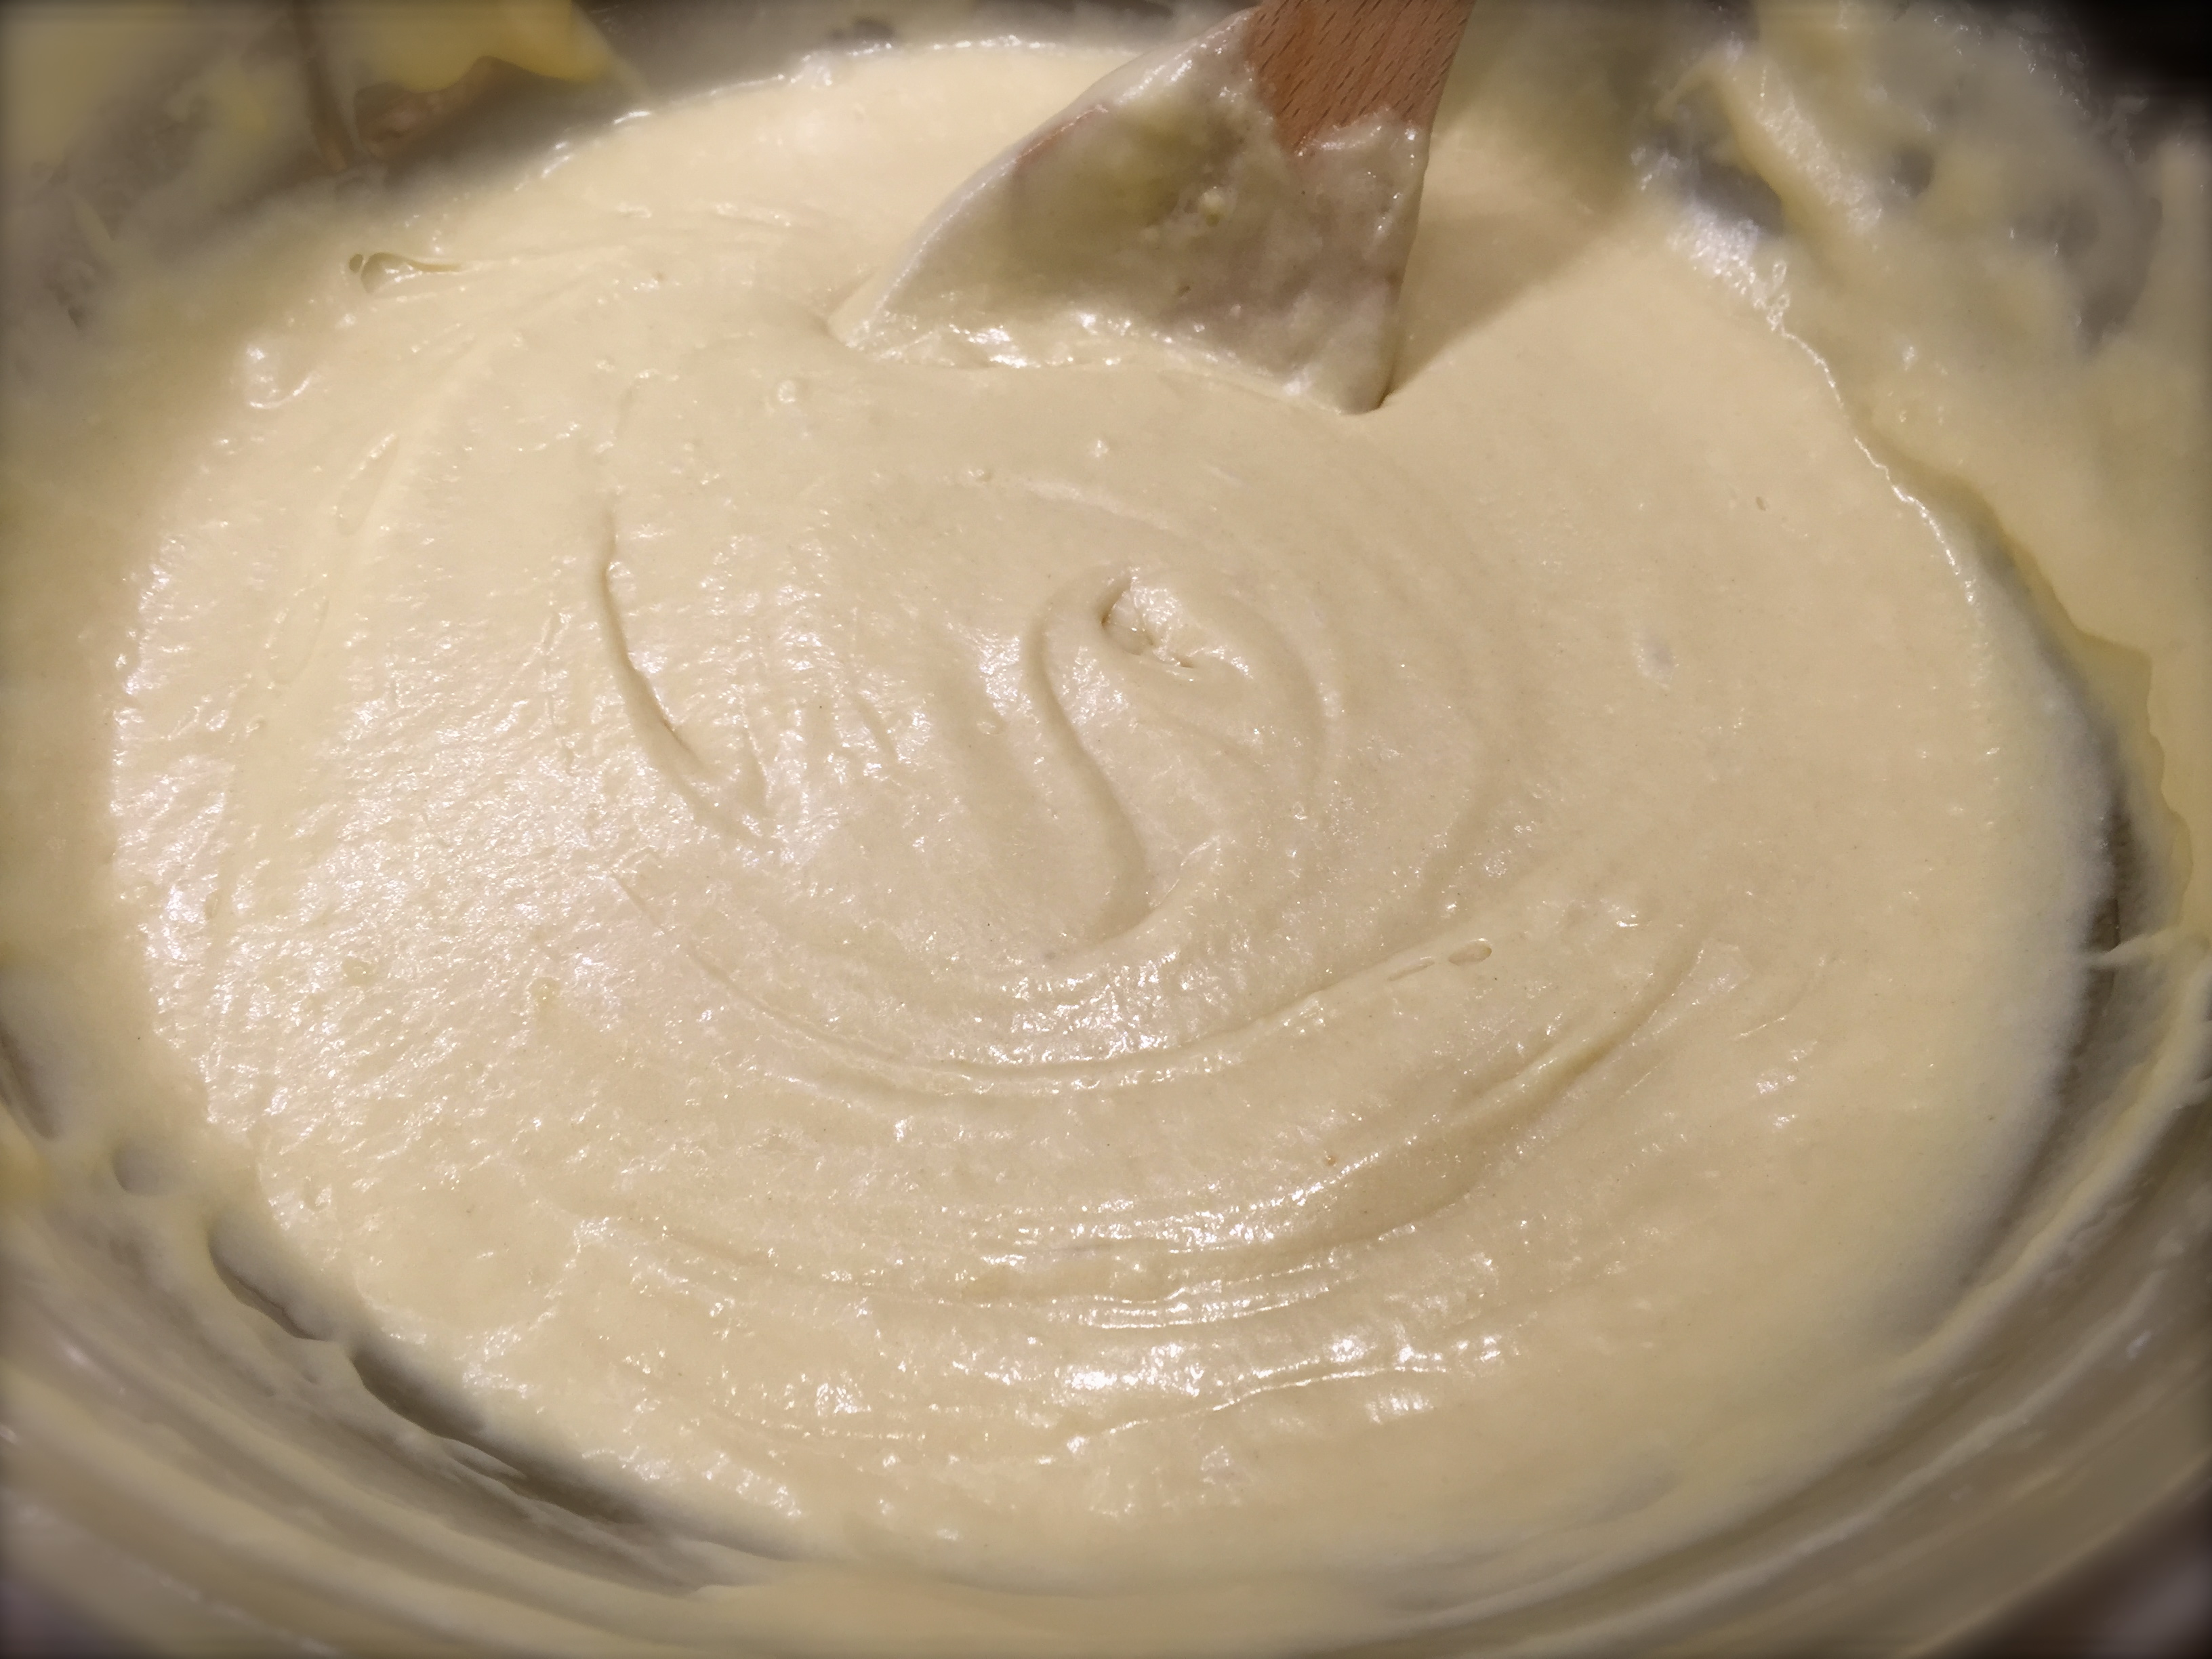
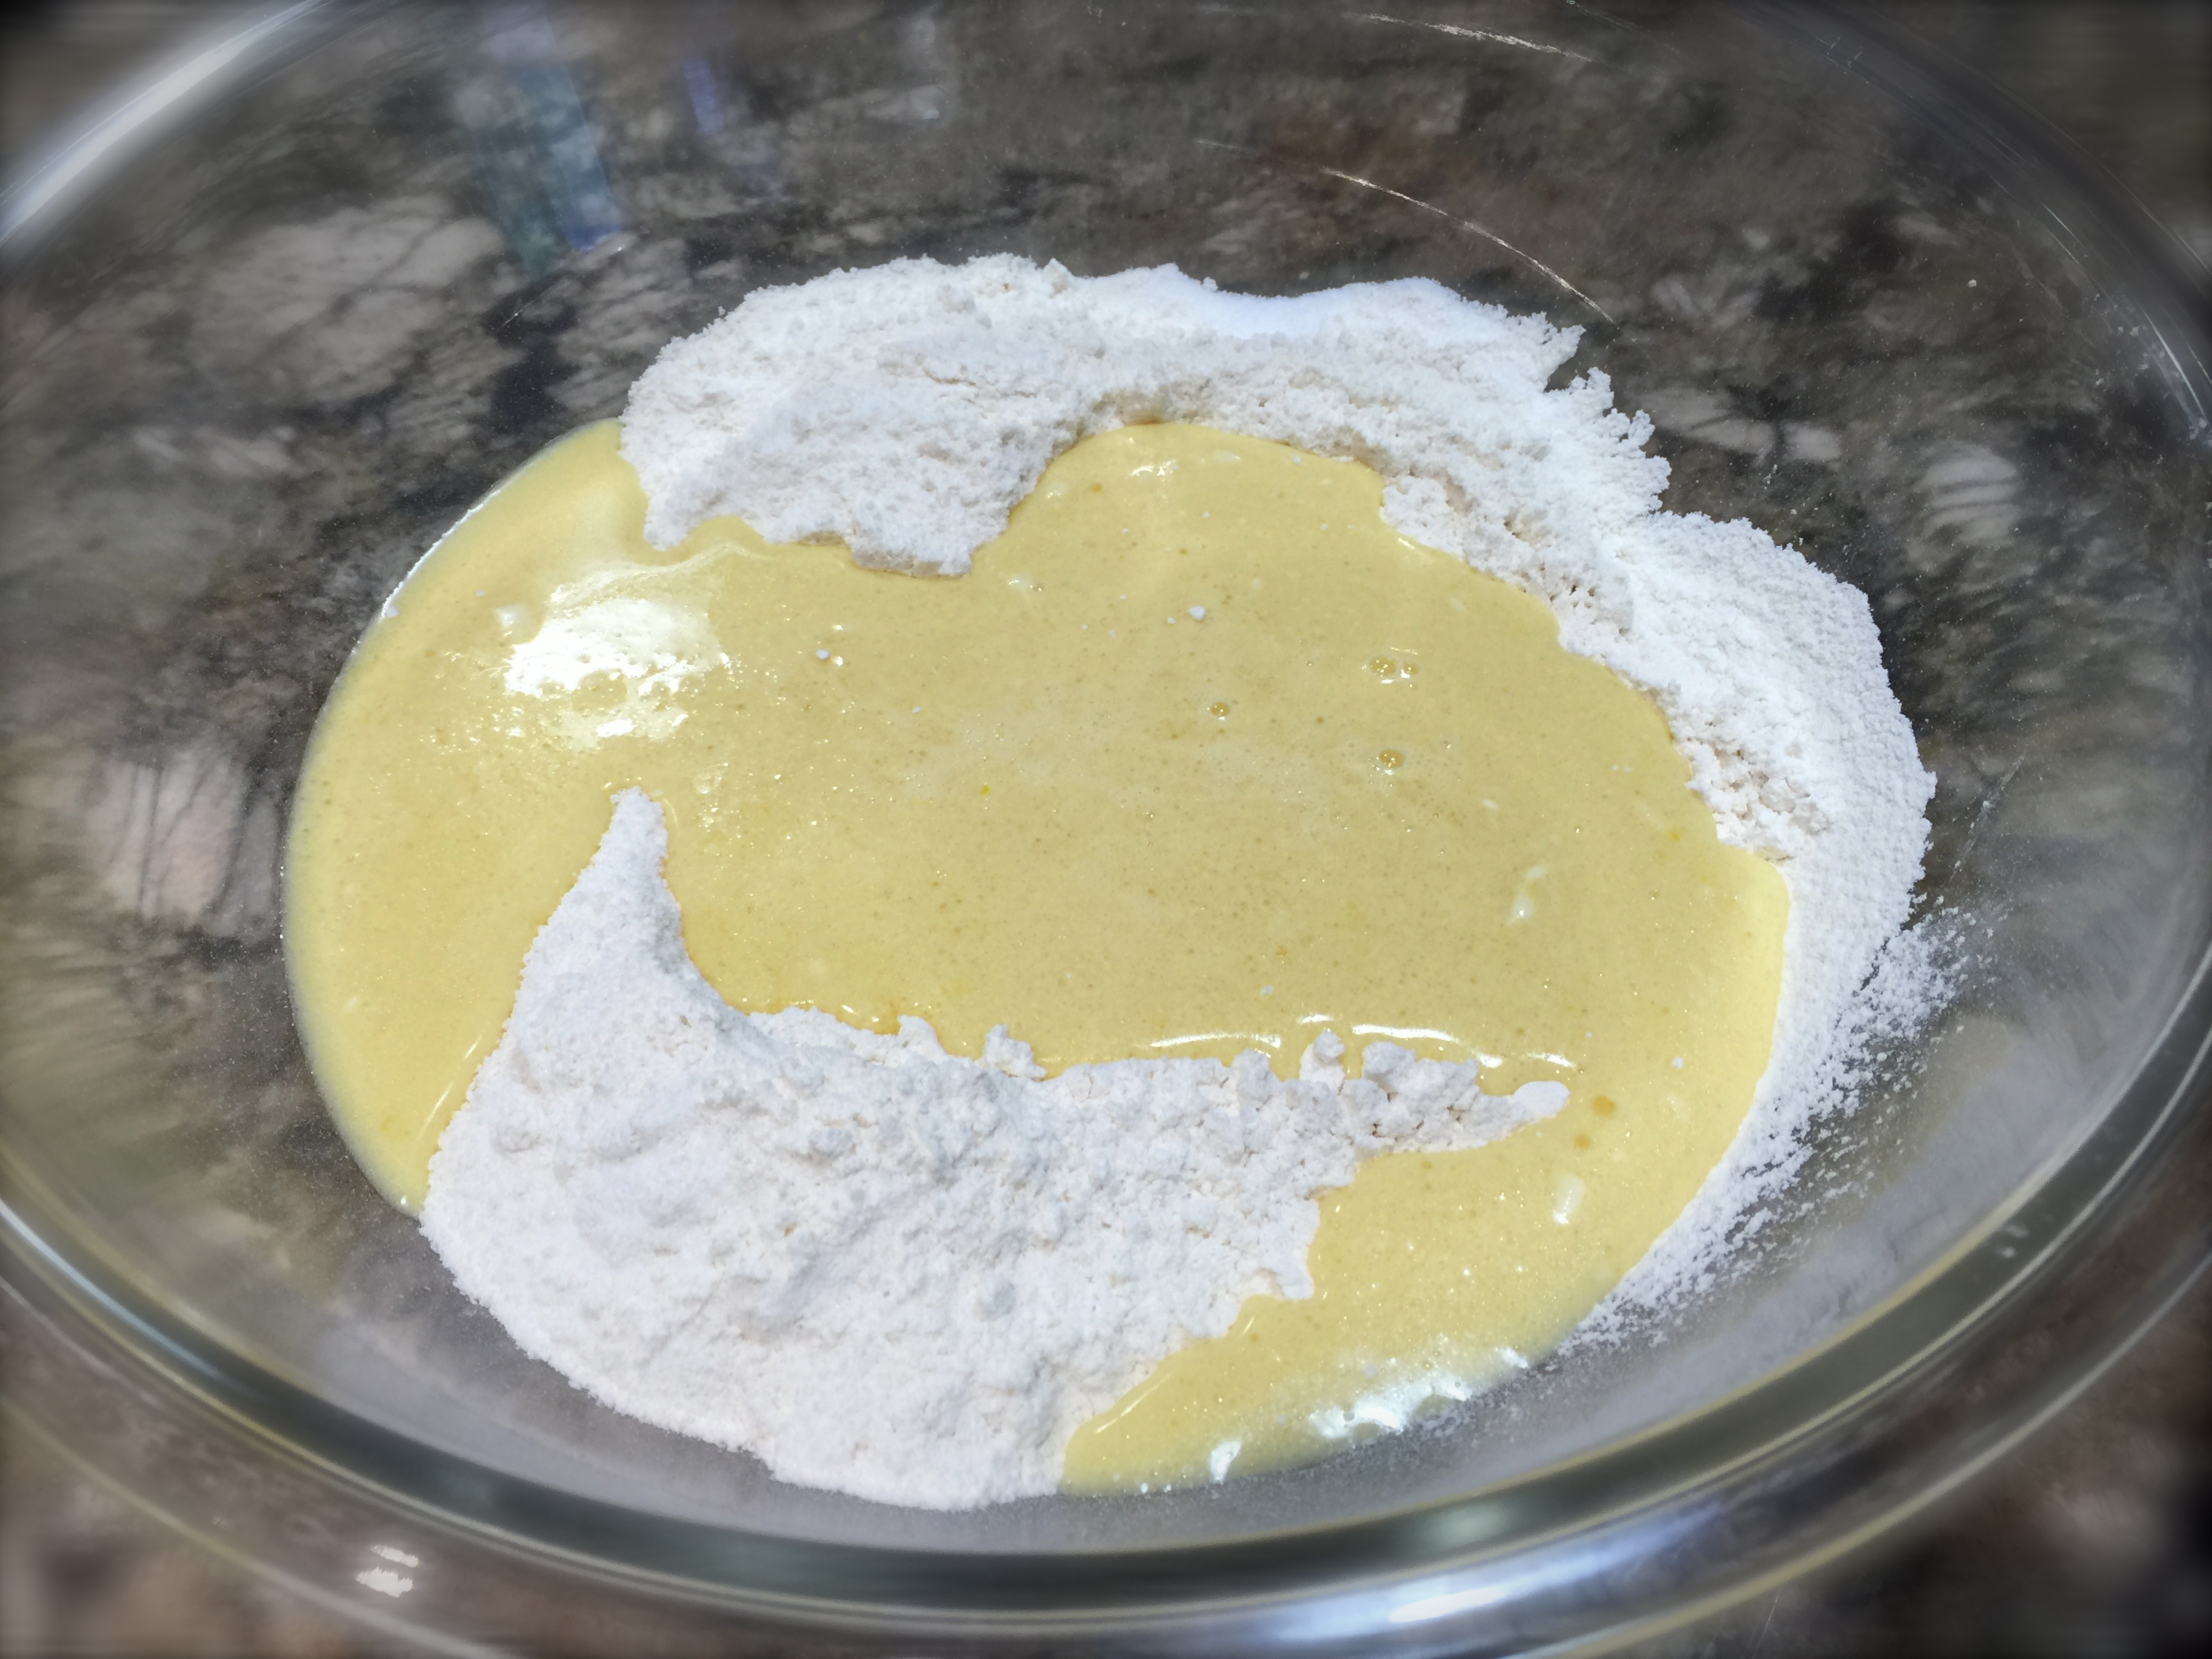
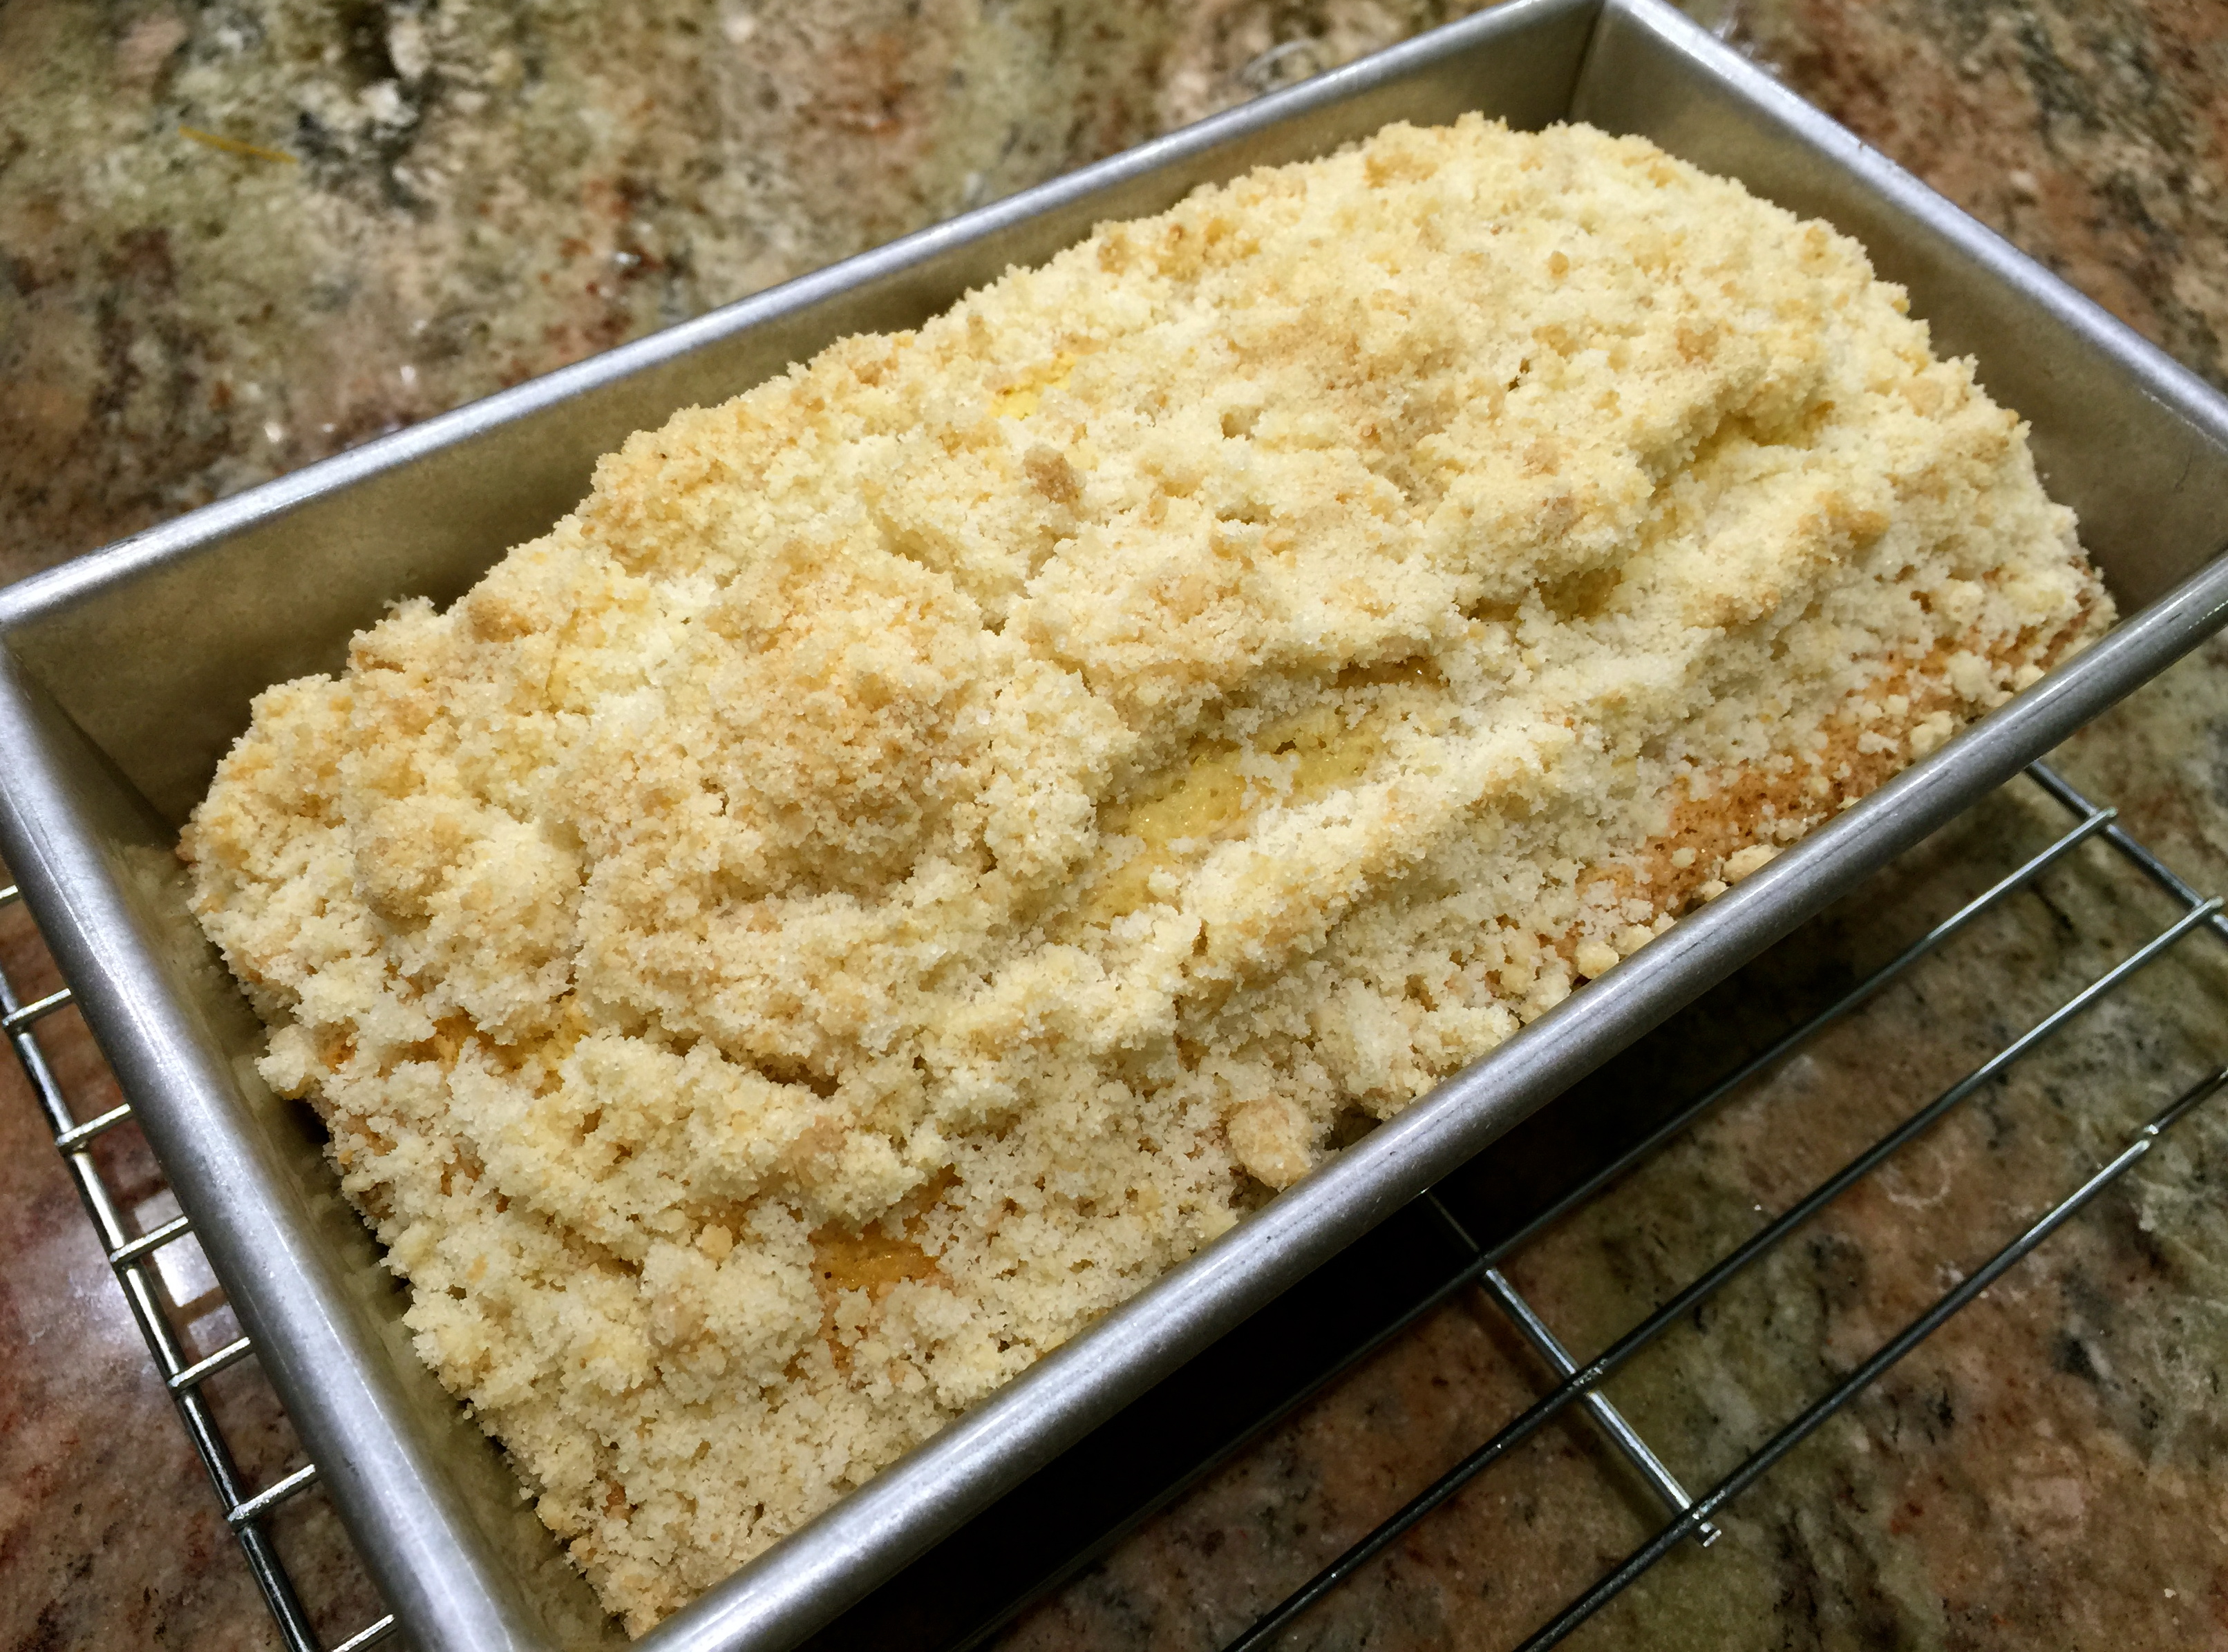
For the cake batter, stir together the flour, baking powder, soda and salt. Set aside. In a stand mixer cream together the butter and sugar. Add egg, egg yolk, sour cream and vanilla and mix until combined. Slowly combine the two mixtures beginning with part of the flour mixture alternating it with the sour cream mixture, then the flour mixture followed by the sour cream mixture finishing with the flour mixture. Take a spoon and transfer this batter in spoonfuls around the base of the pan. Smooth the batter around the bottom of the pan with a spatula. Sprinkle 1/3 cup of blueberries over the batter. Spread the cream cheese filling on top of the blueberries (drop in spoonfuls just like the cake batter and spread) and top with the remaining blueberries. Sprinkle the streusel on top of the blueberries. Bake for 40-45 minutes or until a toothpick inserted in the center comes out clean. If the top starts browning too quickly cover the pan with aluminum foil.
Put the pan on a cooling rack and run a knife around the sides of the pan. Let the cake cool for 15 minutes and then loosen the ring of the spring form pan. Remove the ring and let the cake continue to cool.
Serve warm or at room temperature. Store in remaining cake in the refrigerator.


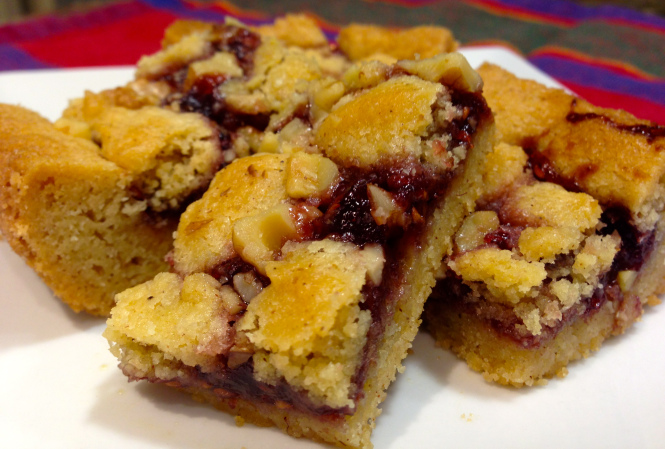
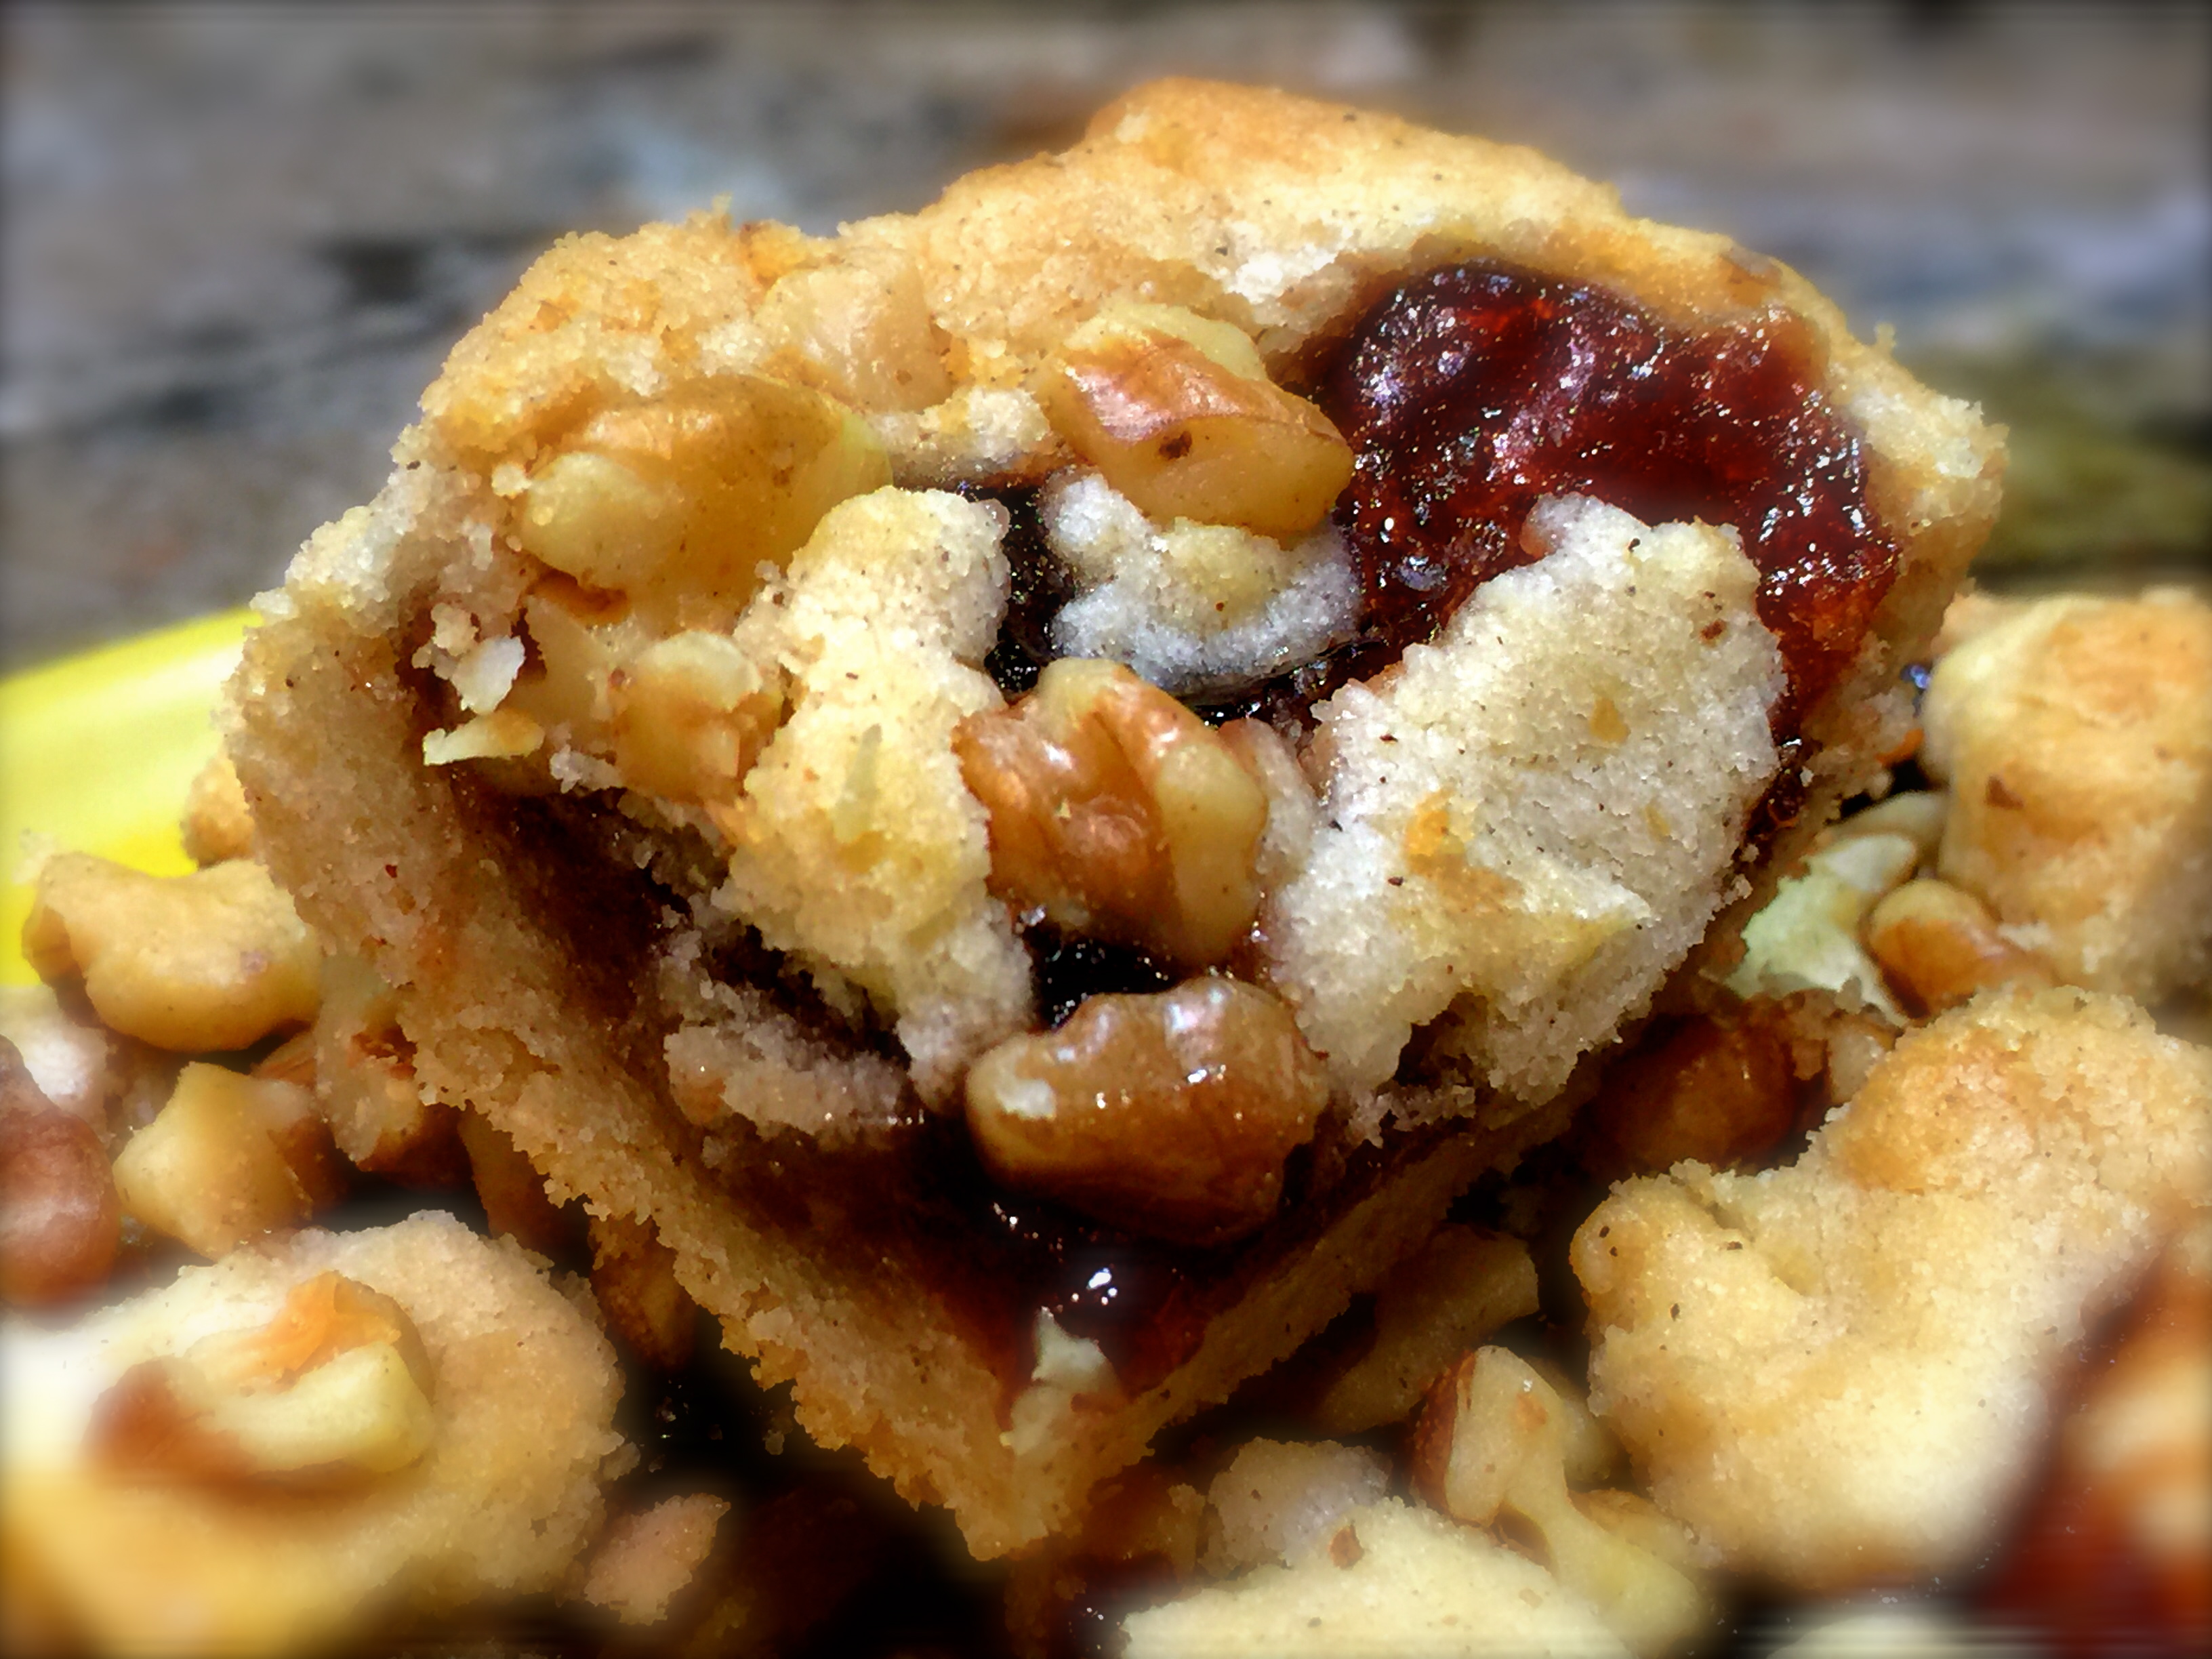
 Lesson Learned 4 – Try using vanilla bean paste: I was made aware of vanilla bean paste during a cooking class and I love it. I don’t use it all the time as a jar can be quite expensive ($20 or so) but in dishes where I want a richer vanilla flavor I use the paste. I wouldn’t use it for making cookies but for cakes or custards it adds much more depth of flavor. It measures just like vanilla extract (a teaspoon for a teaspoon) but it gives a much richer vanilla flavor than extract. If you can afford it try it sometime.


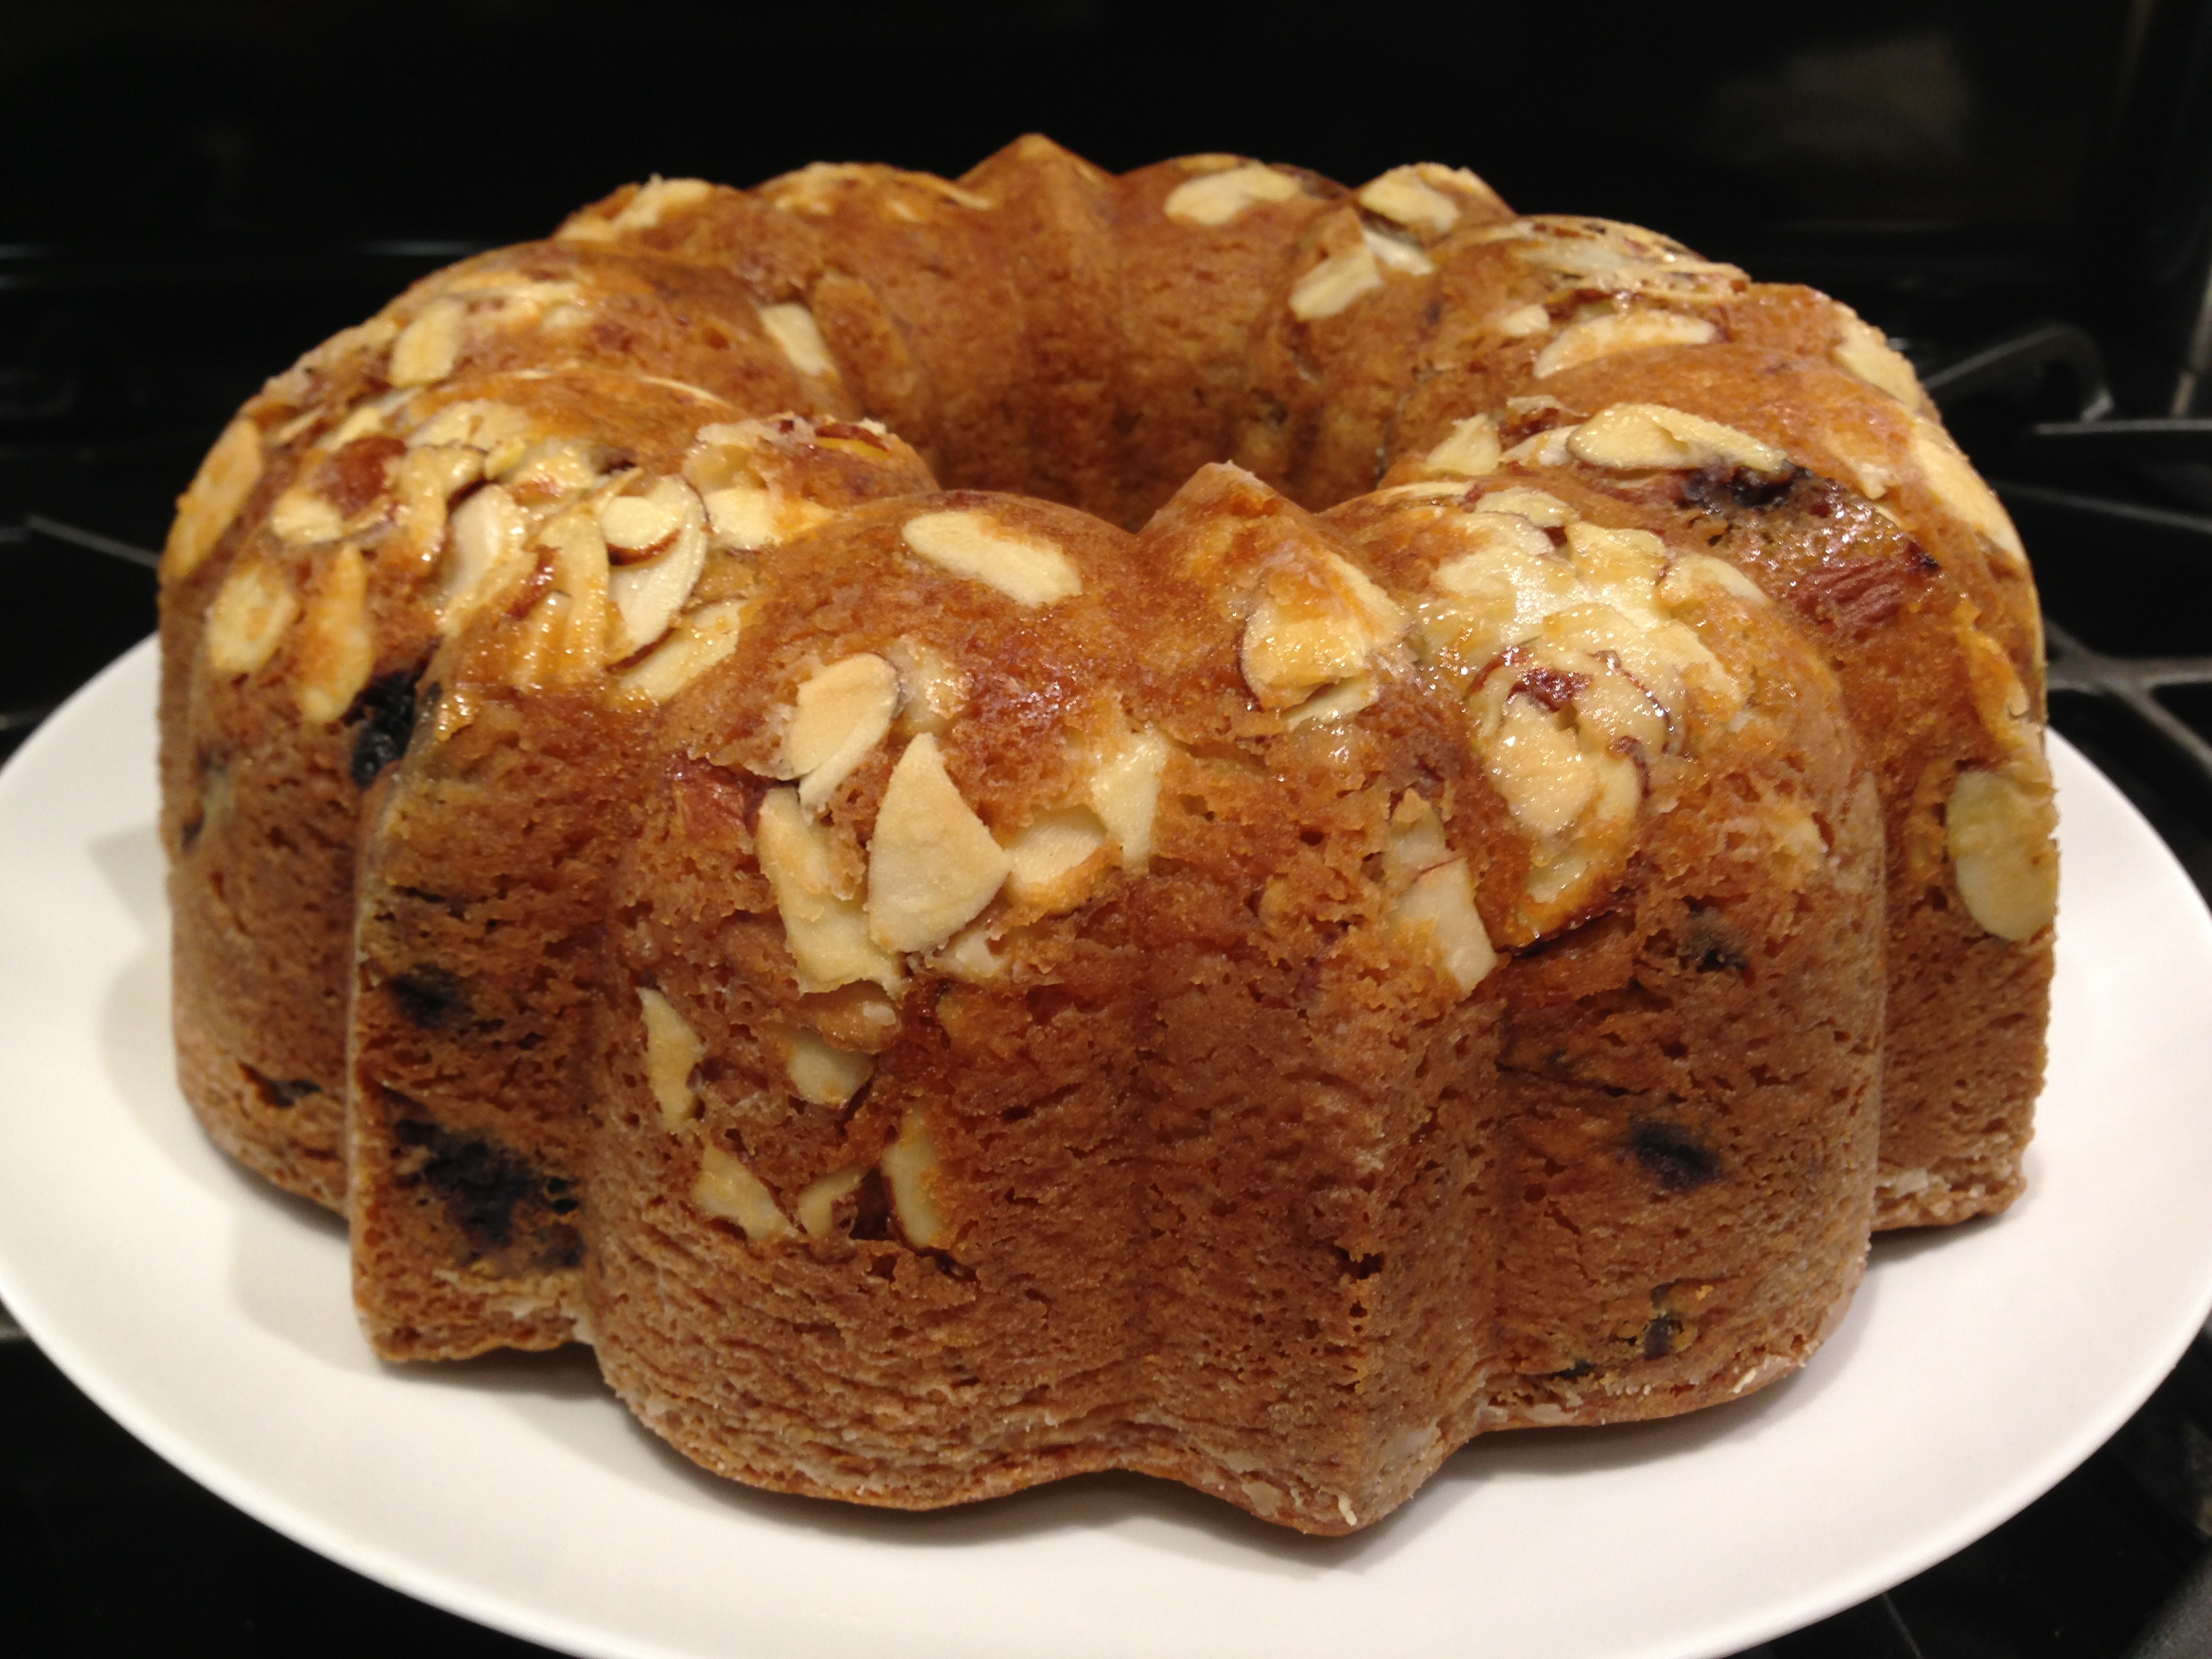
 Well, that is what this recipe is all about. I wish I could take credit for this but I can’t. I was at the grocery store looking for something to make, like a quick bread or muffins and I picked up this box of Krusteaz Cranberry Orange Muffin Mix. I looked on the back of the box to see if I could use this to make a quick bread and lo and behold on the bottom right hand corner was the recipe for this cake. All it required was a few extra ingredients, namely almond extract and fresh plums. The picture of the cake looked so good I just had to try it. Needless to say, it was fabulous and very easy to make so I felt I had to share it with all of you. Nobody has to know that this cake is semi-homemade.
 Lesson Learned 2 – Create the plum arrangement you want on top of the cake on a paper plate first: I found I had to play with the plums a little to create the arrangement I wanted. You don’t want to be doing that on top of the batter. I took a dinner size paper plate and created my plum arrangement on that. When it came time to put the plums on top of the batter I simply moved them from the plate to the cake just like I arranged them. It was a piece of cake, no pun intended!
 1 box Krusteaz Cranberry Orange Muffin Mix


 1 8 oz. package of cream cheese, room temperature


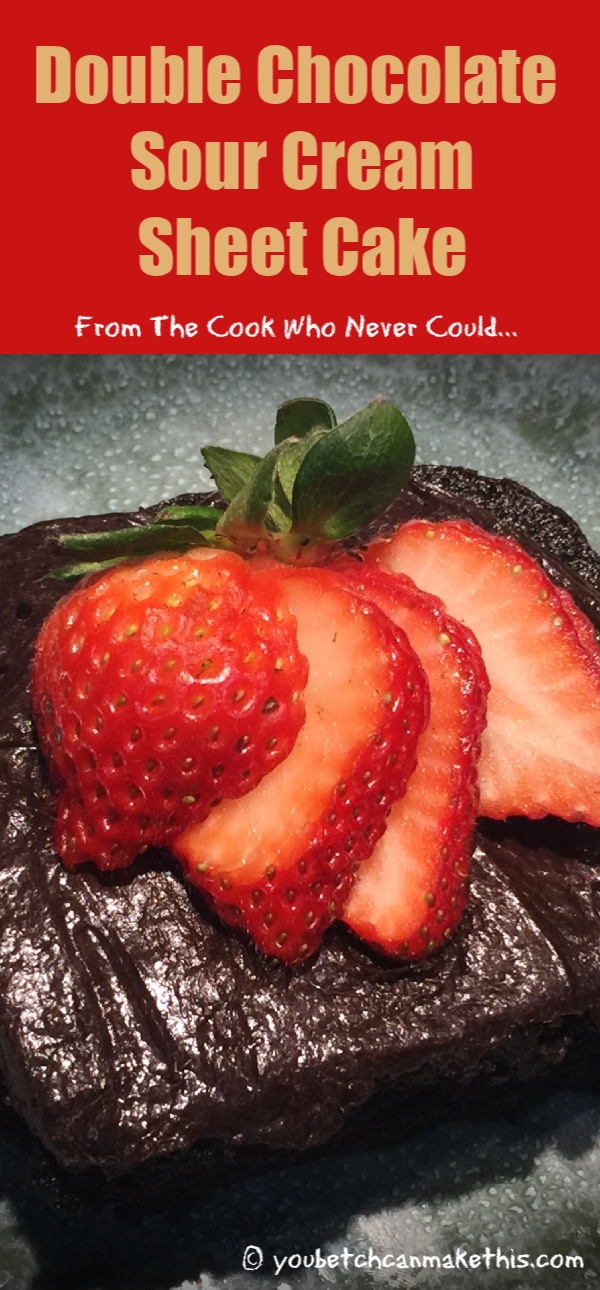
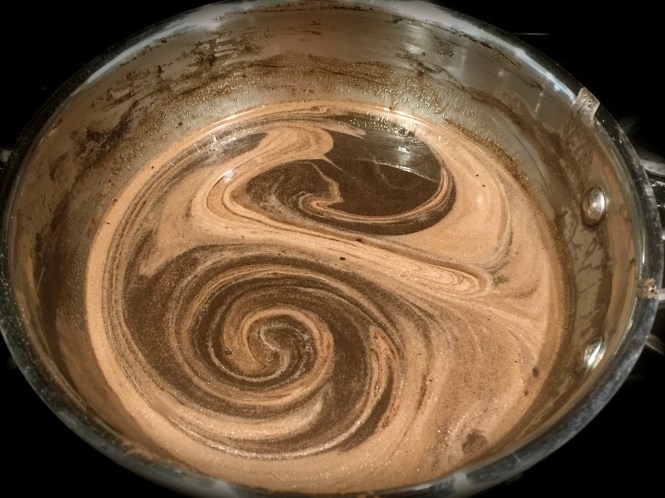
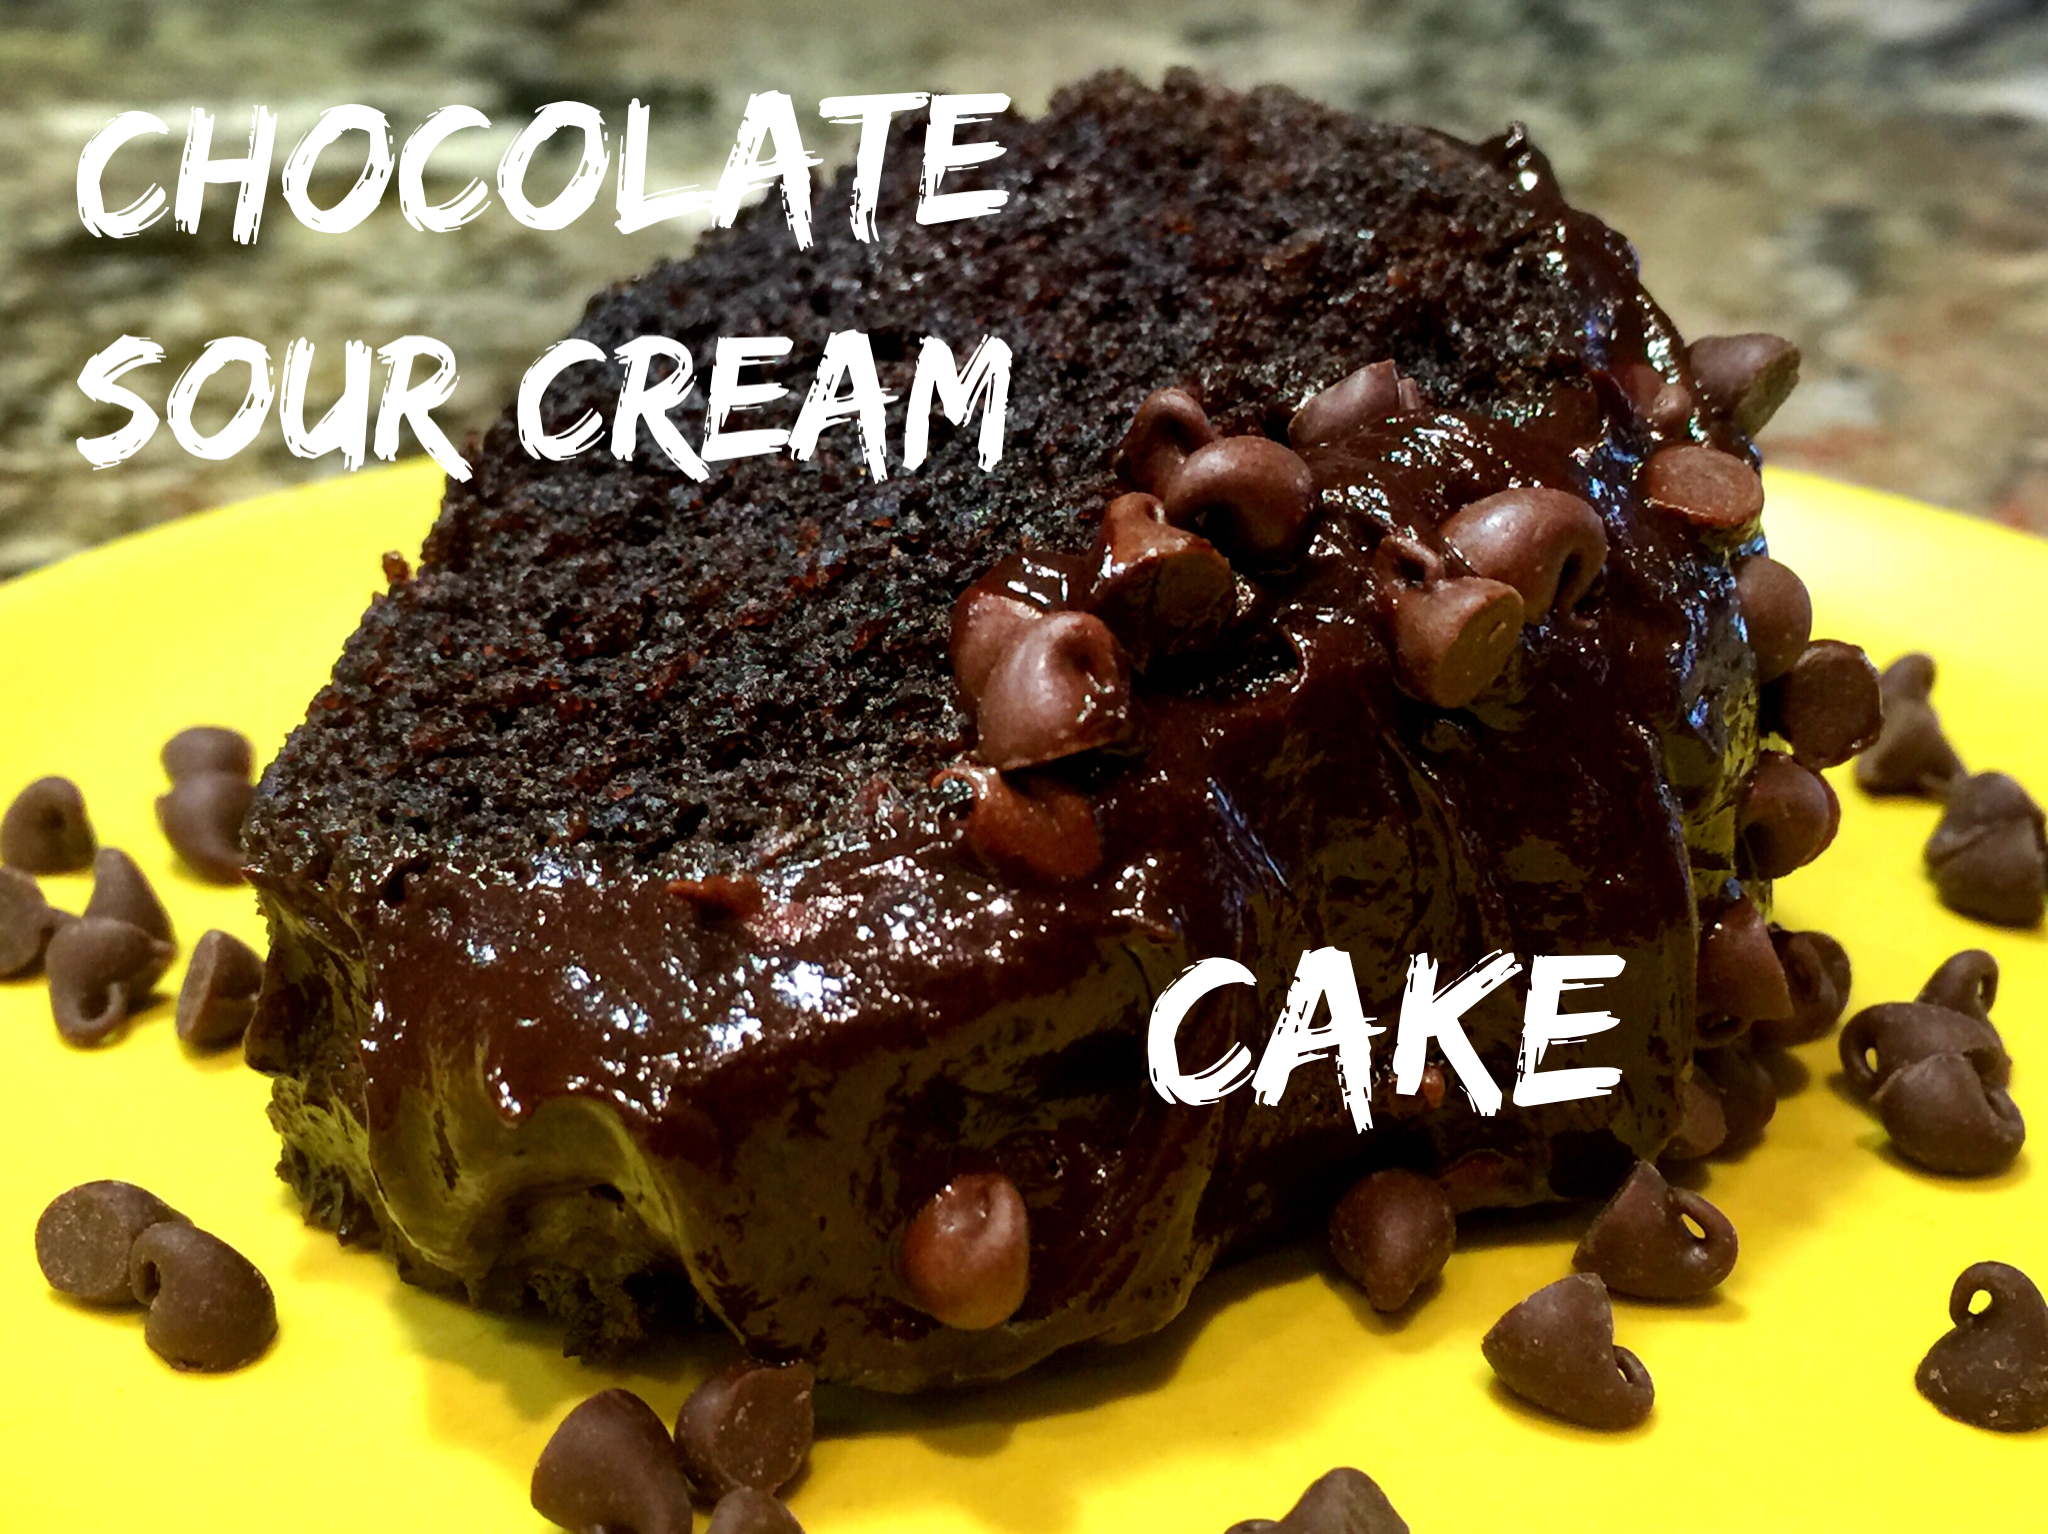
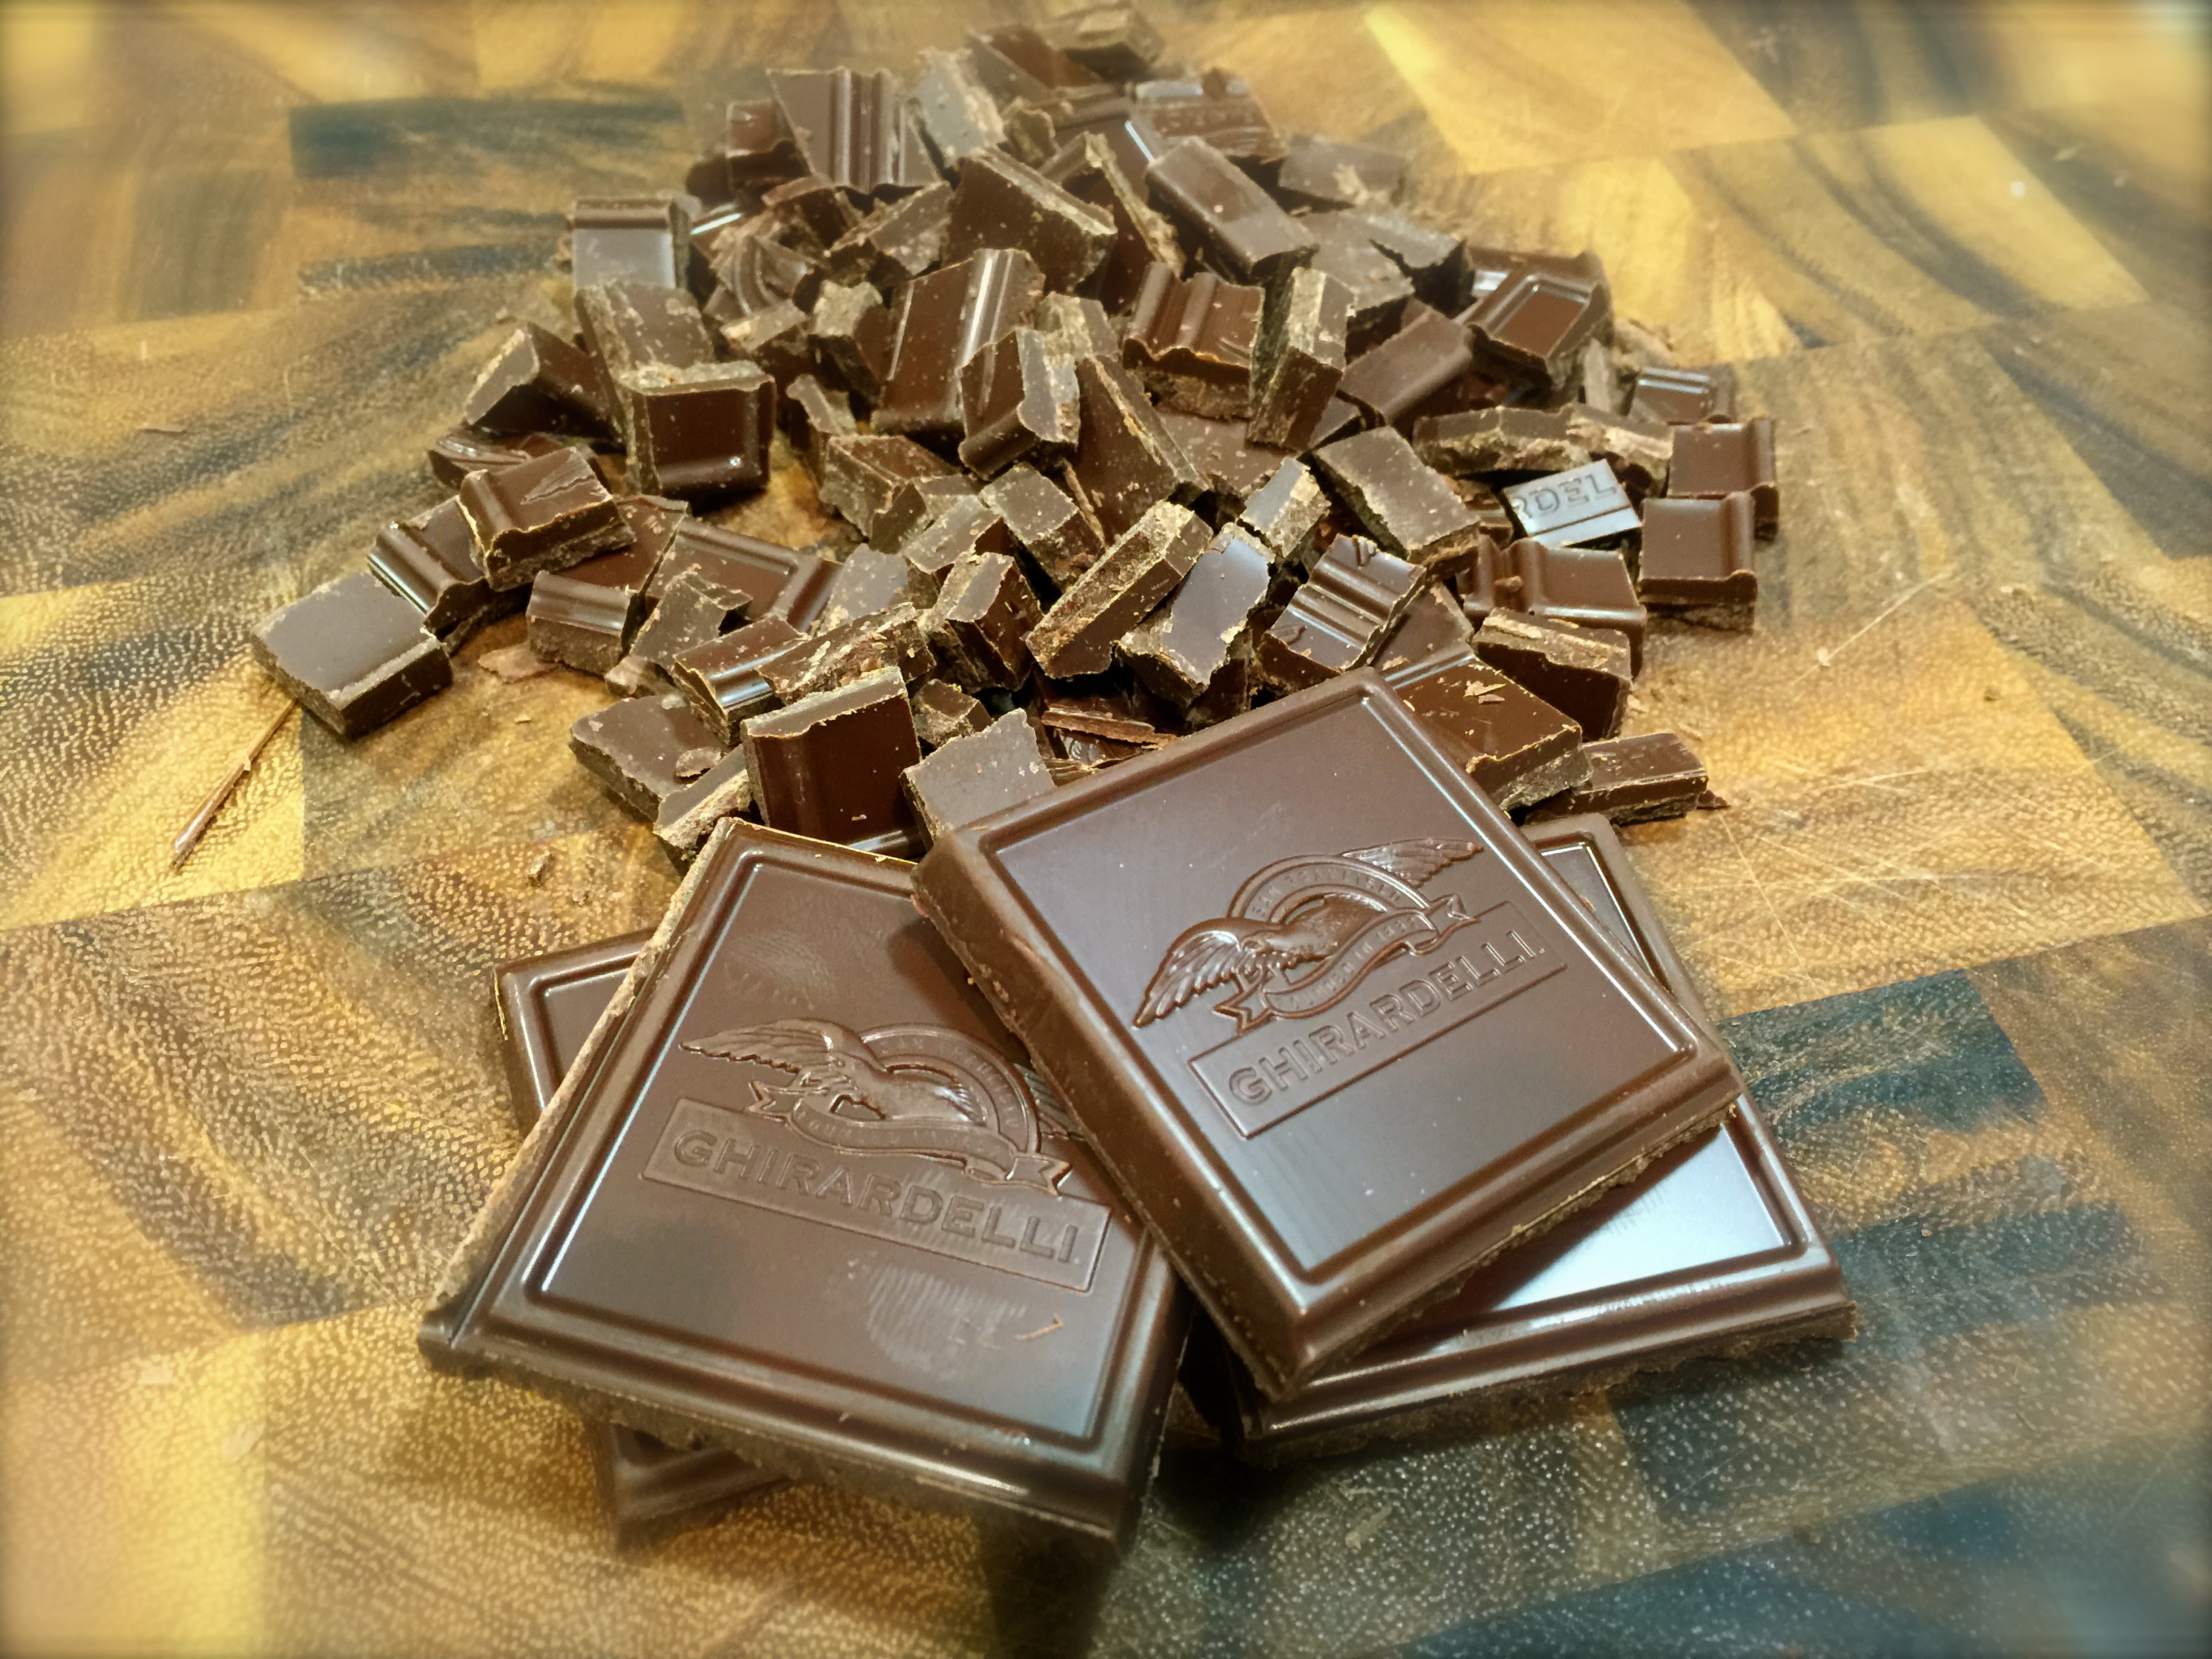
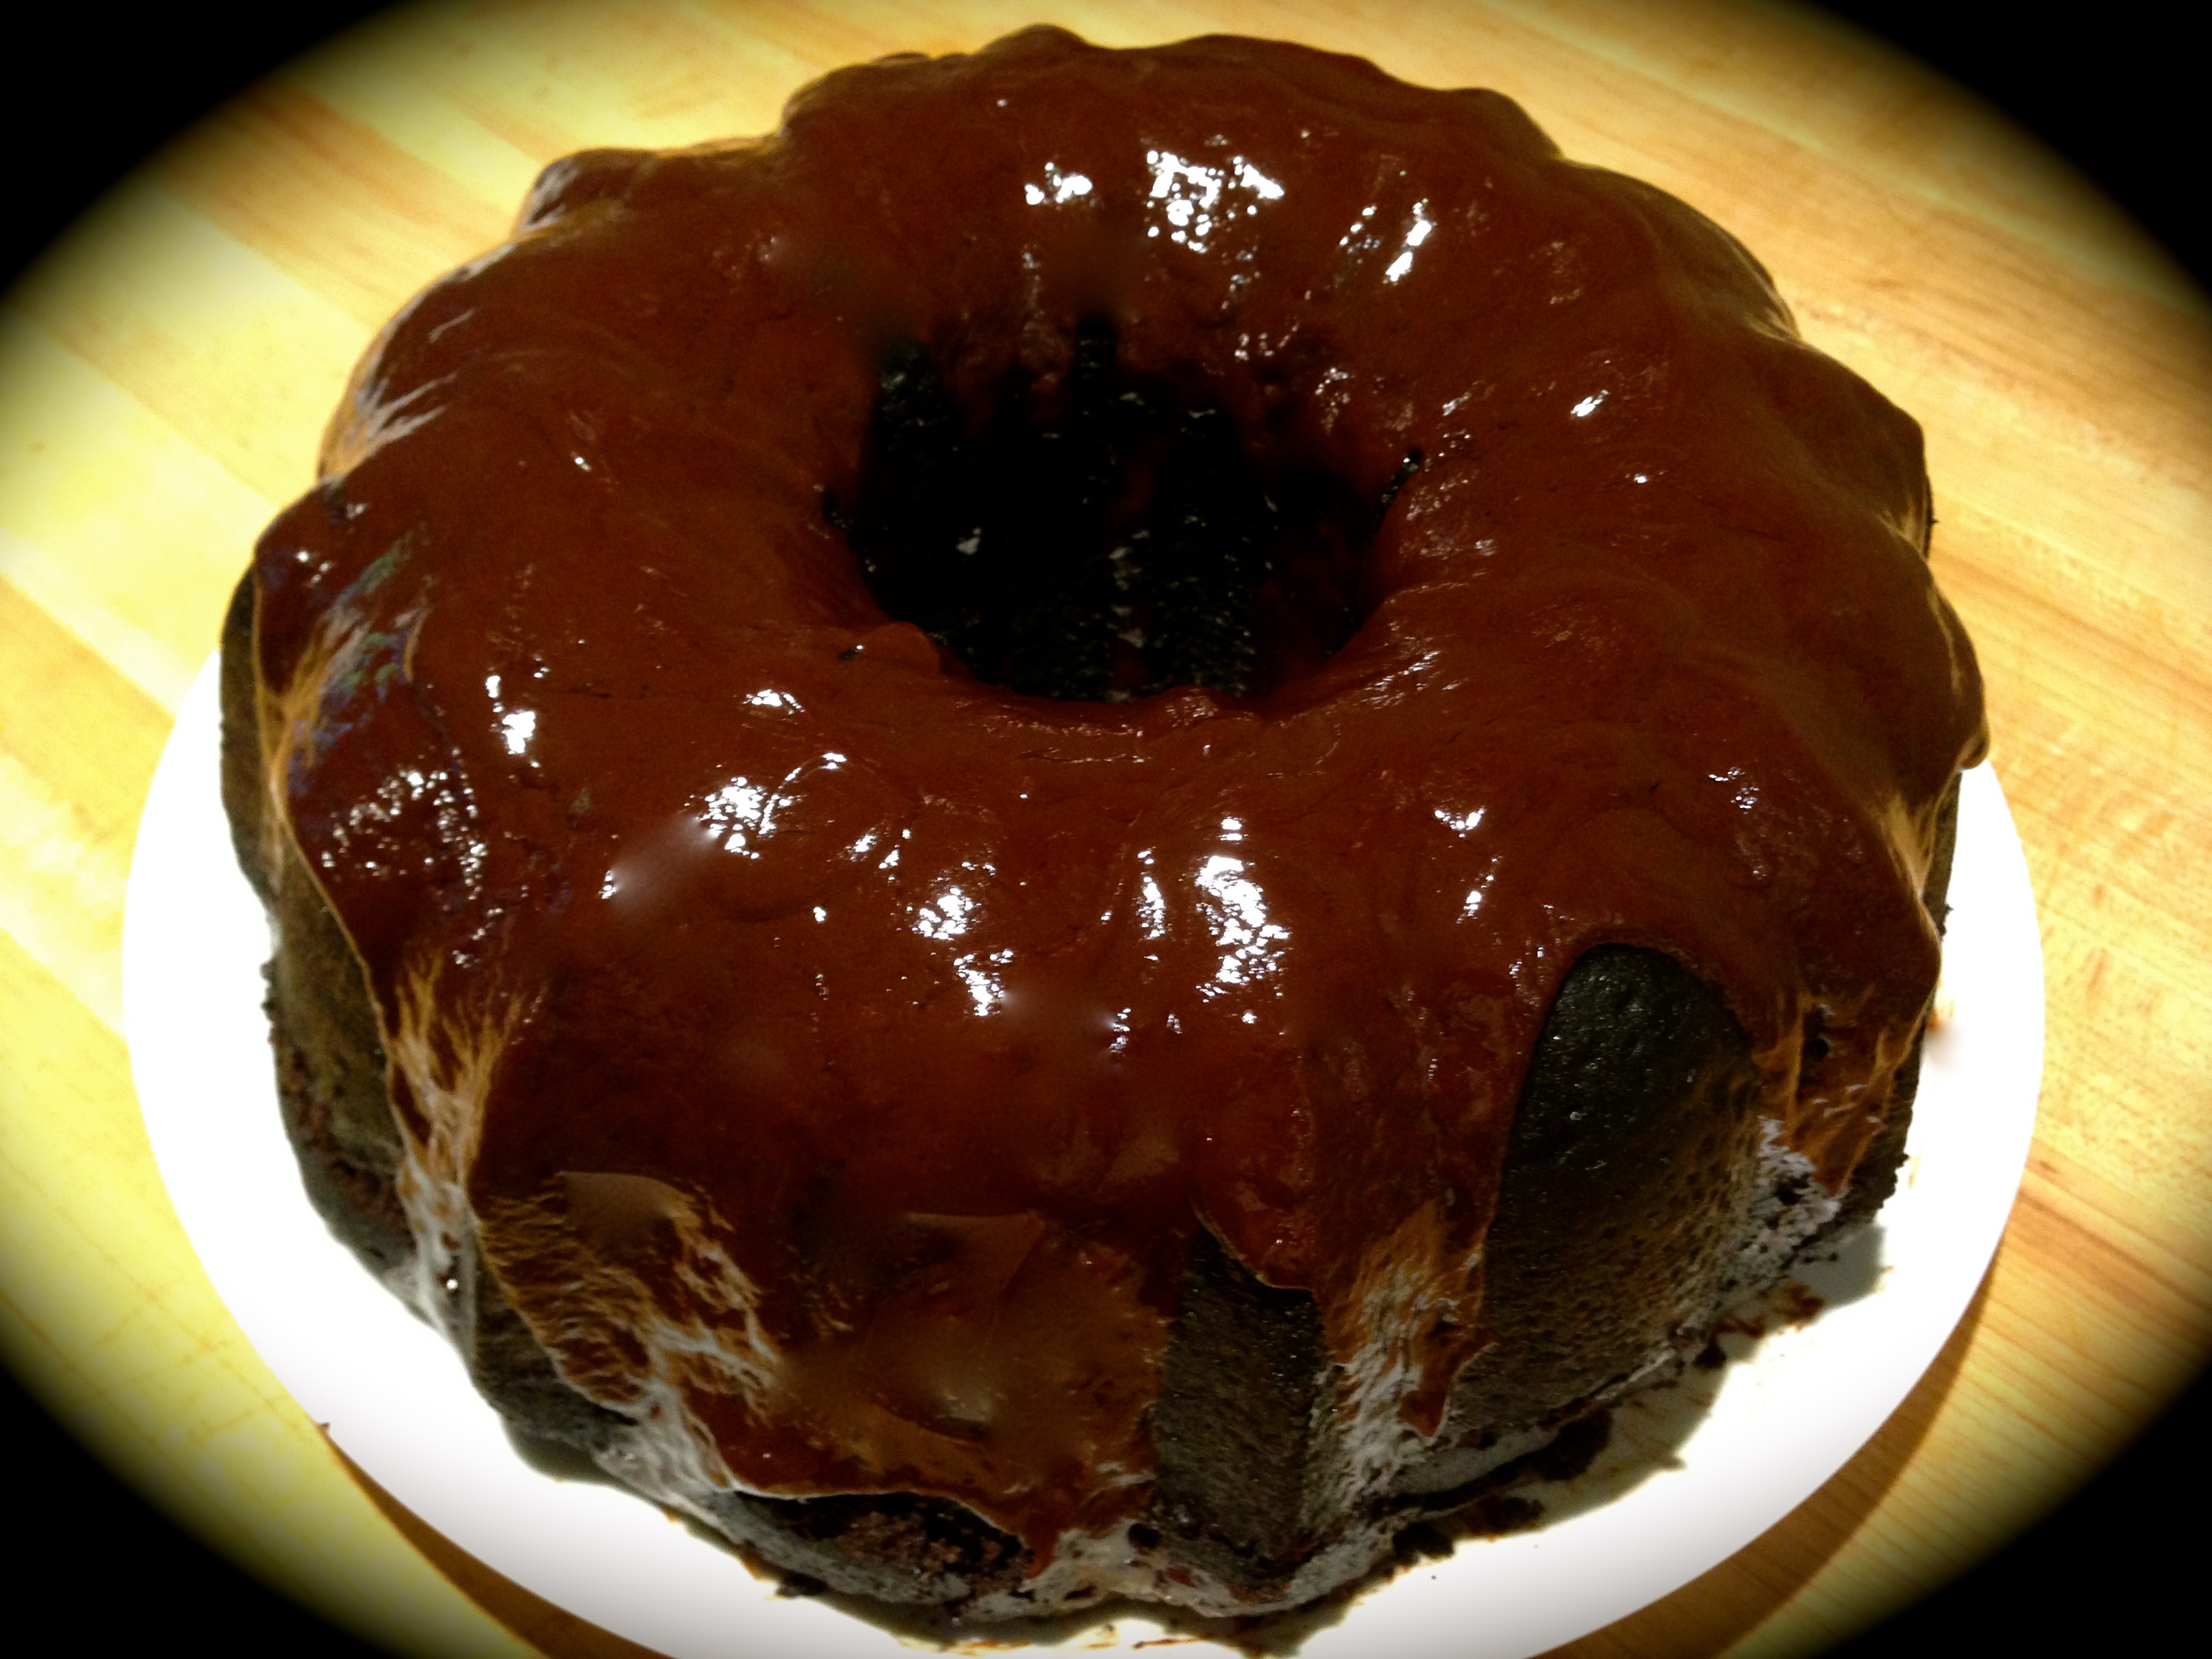
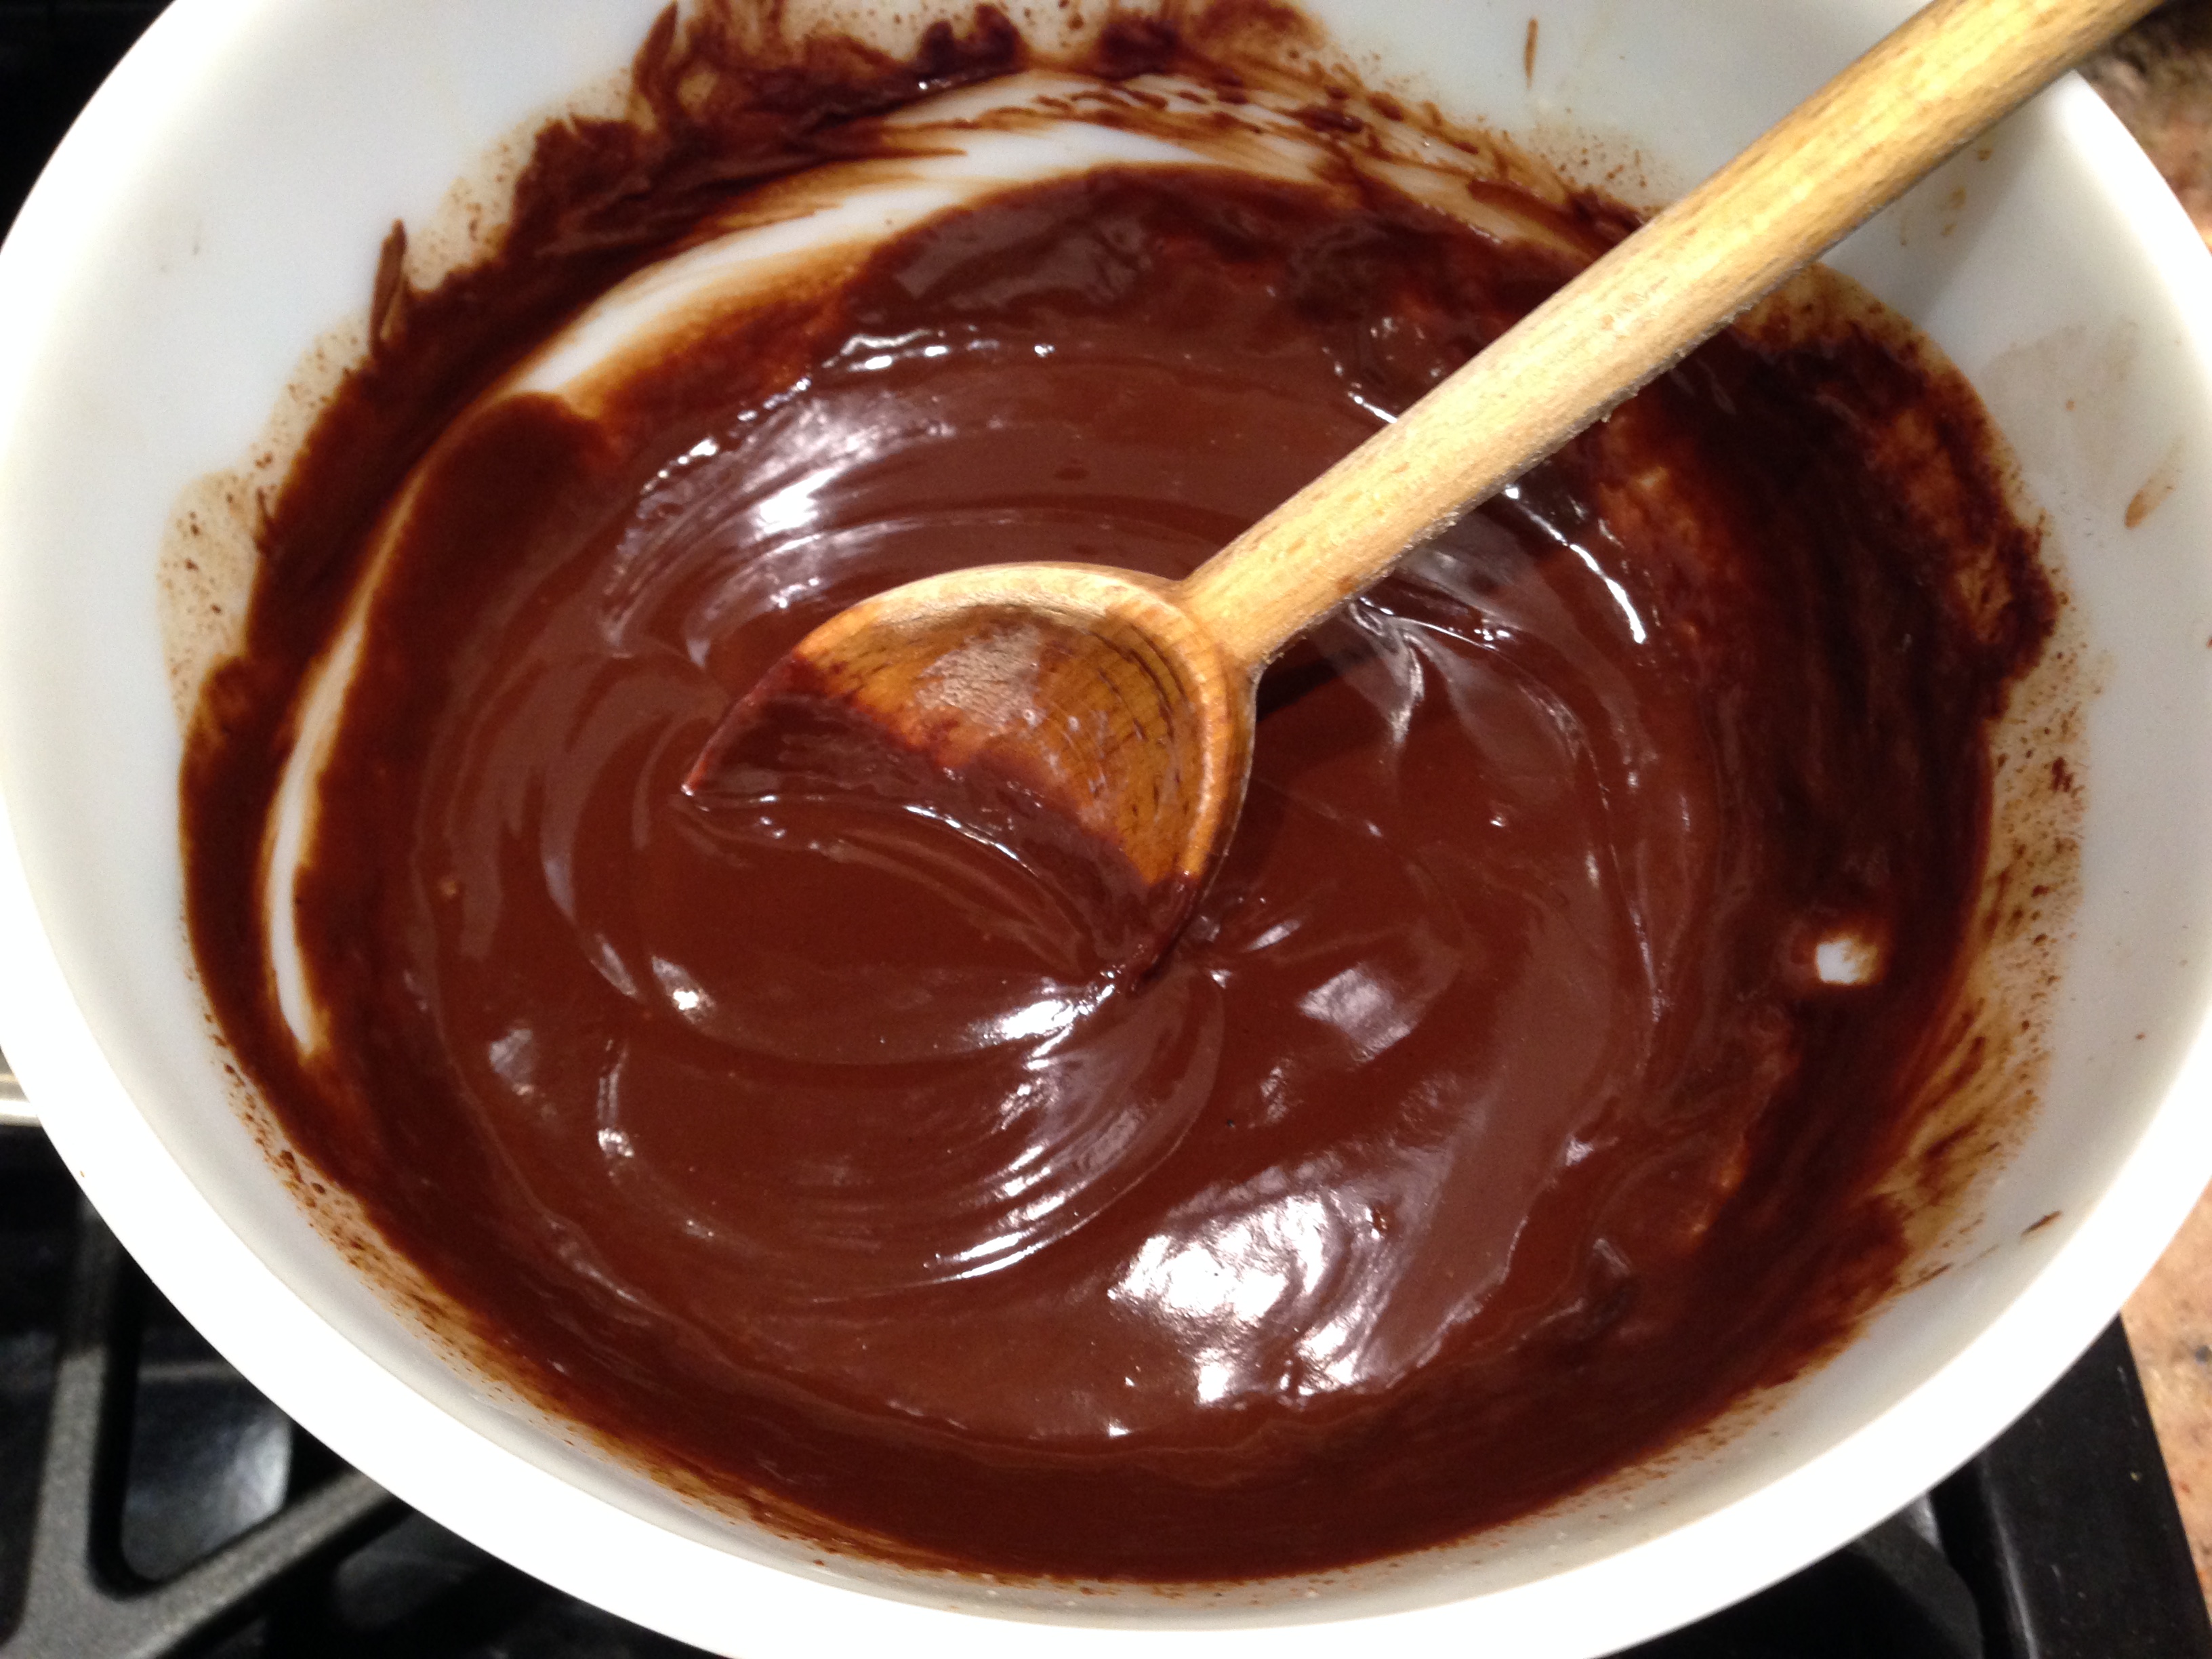
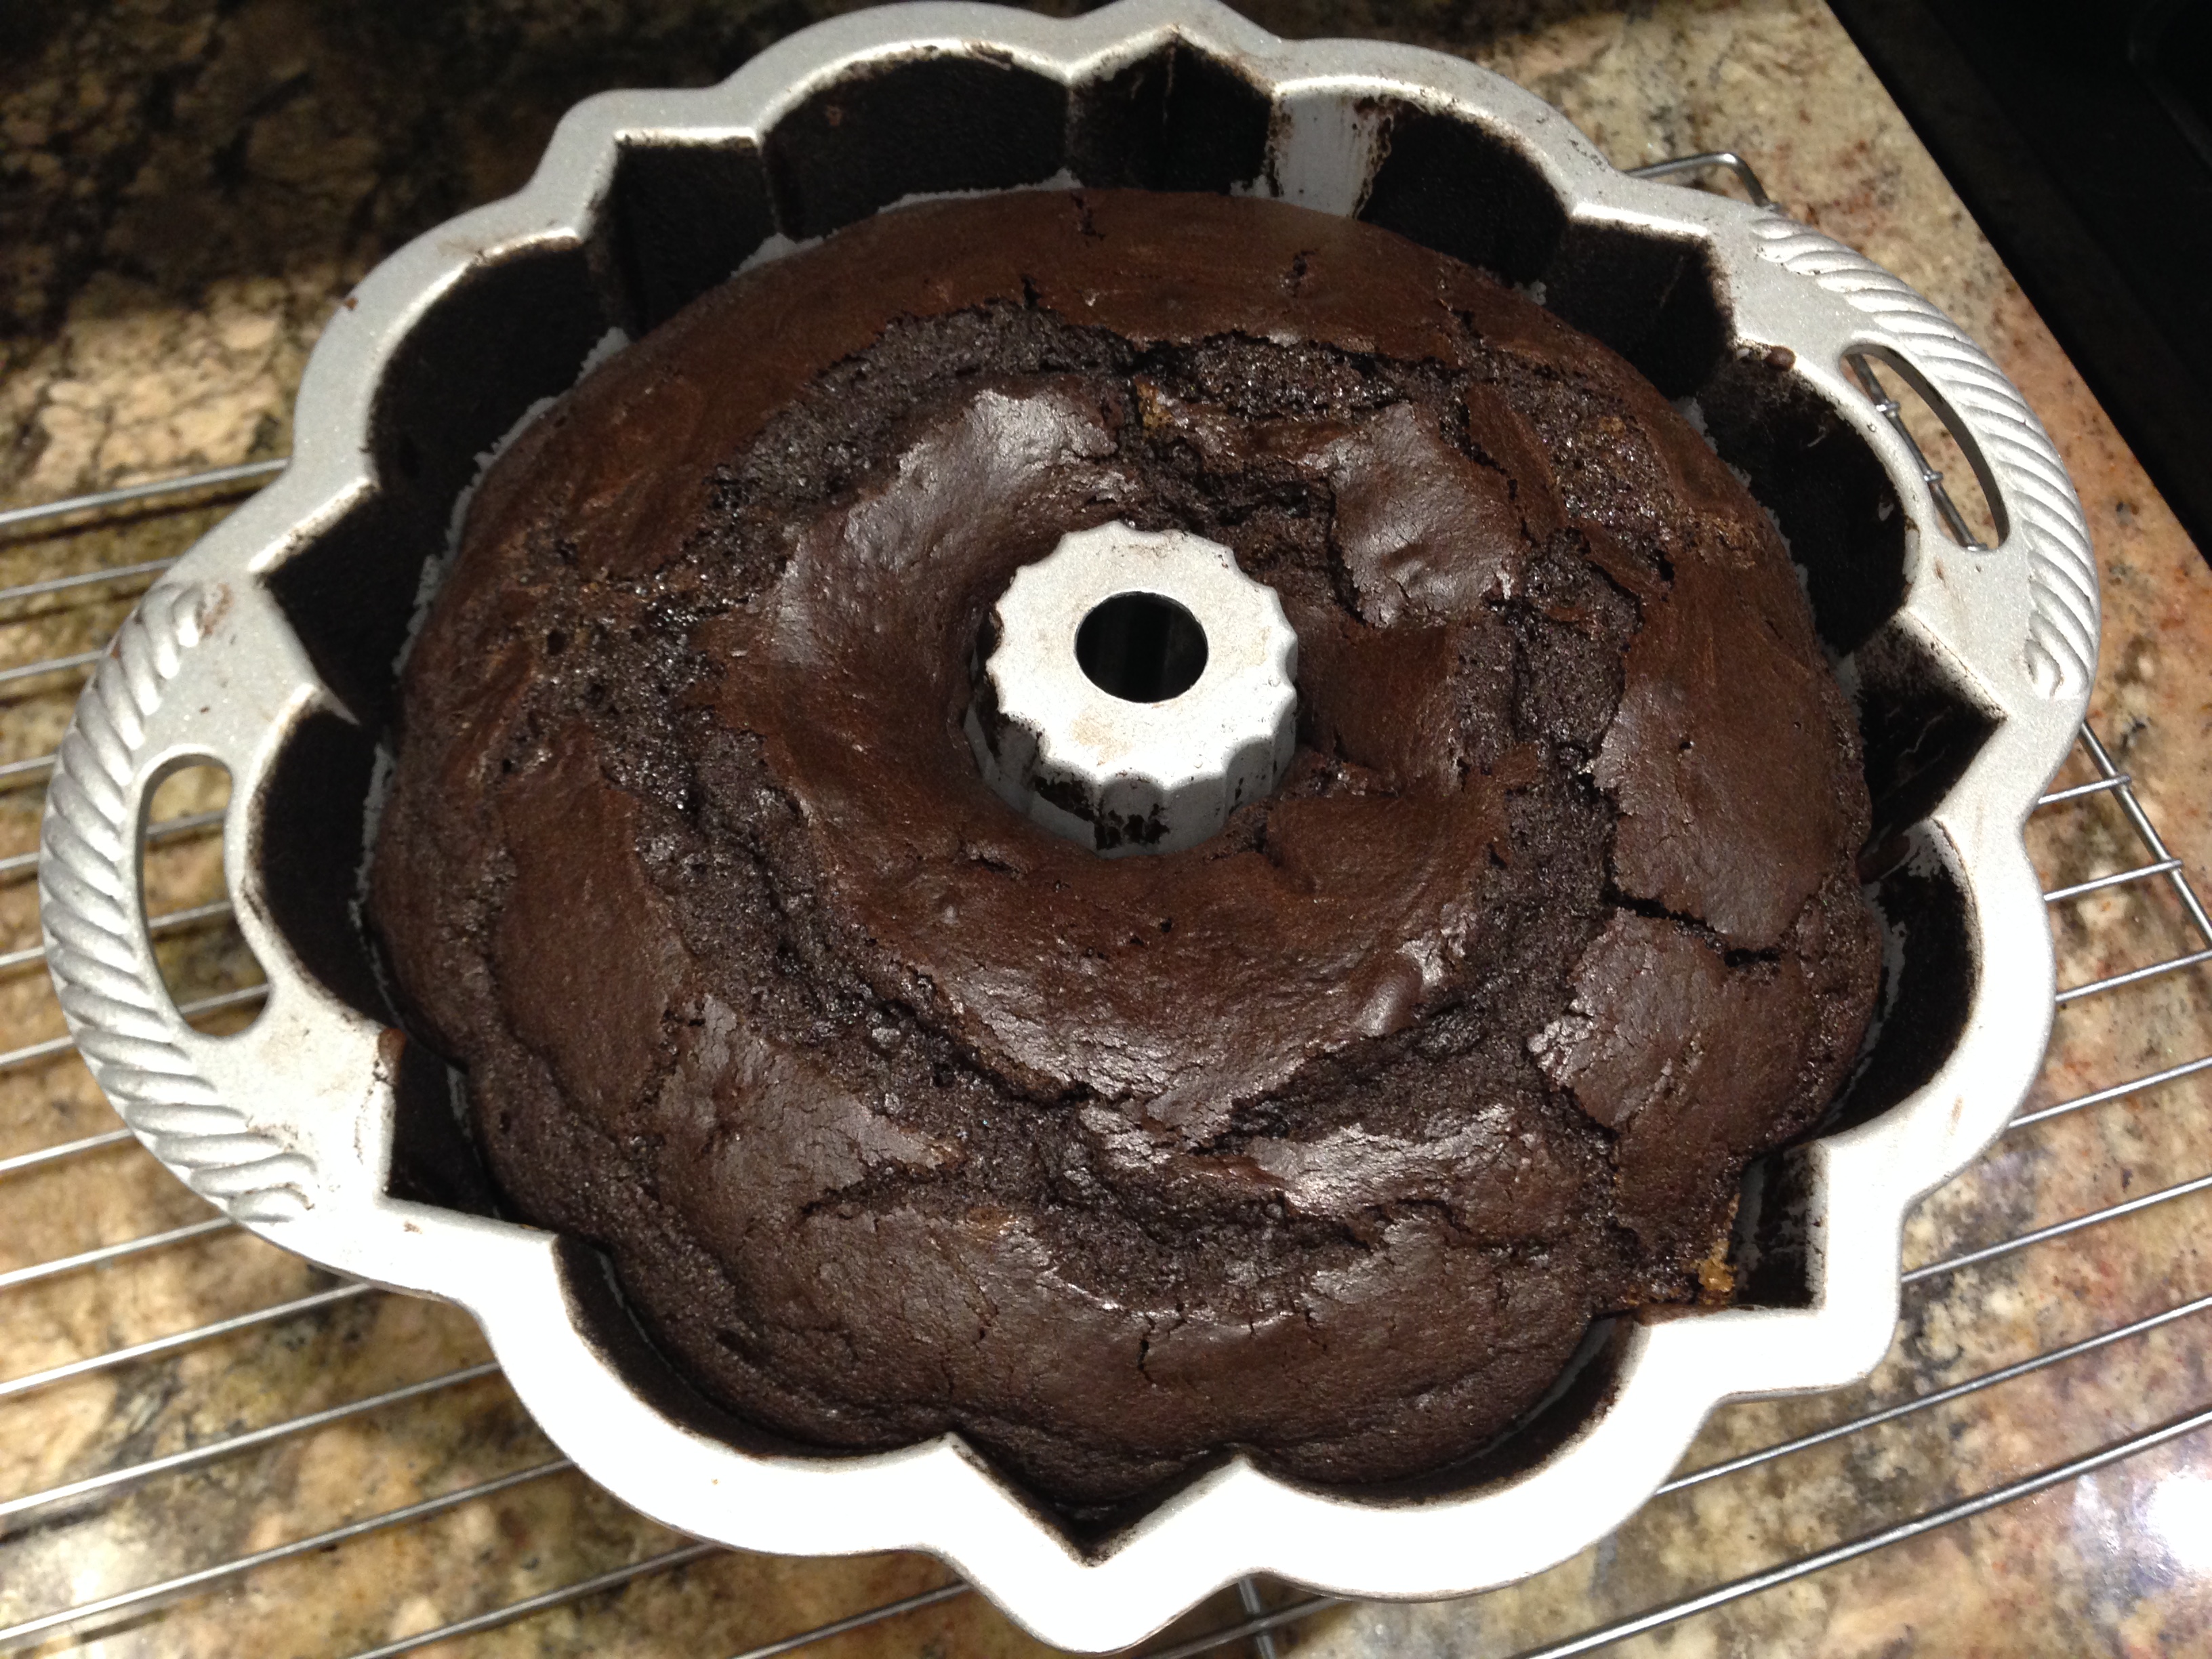
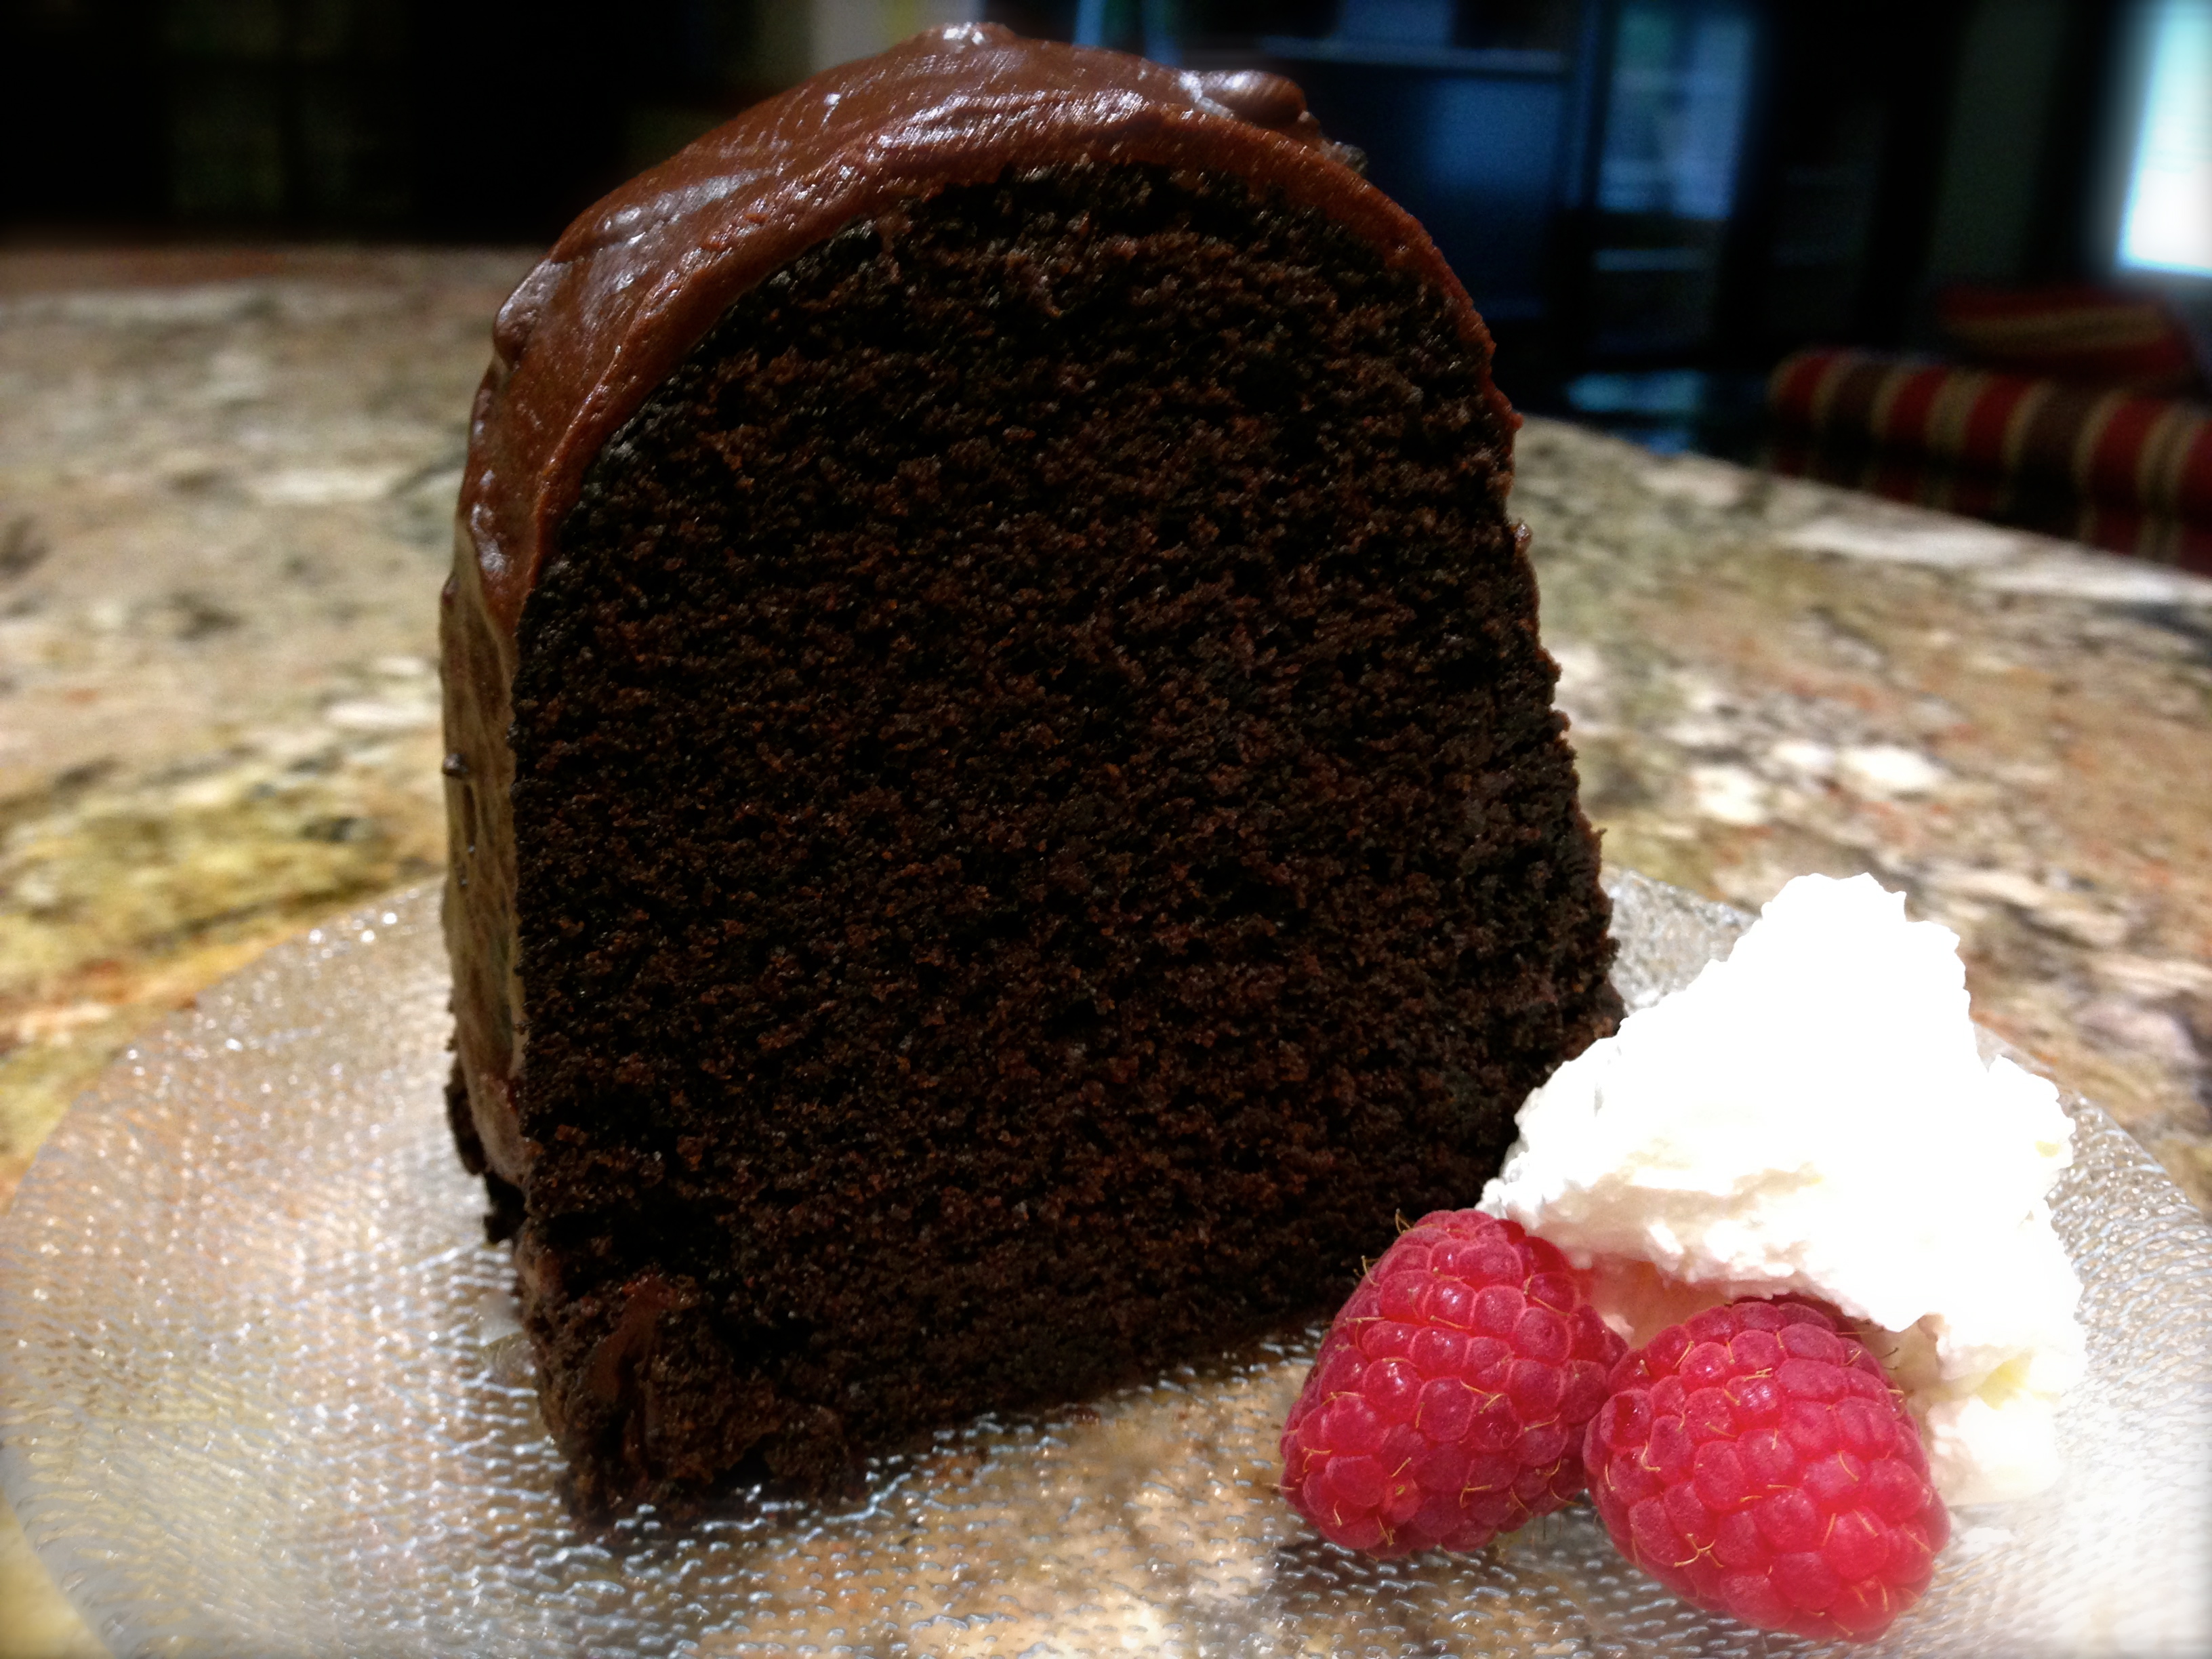
 Lesson Learned 1 – There are many ways to make ganache: I am going to share with you the simplest way. The ratio is easy to remember 1:1. Use as many ounces of heavy cream as semi-sweet chocolate. It couldn’t be easier.
 4 ounces semi-sweet chocolate squares cut into small pieces

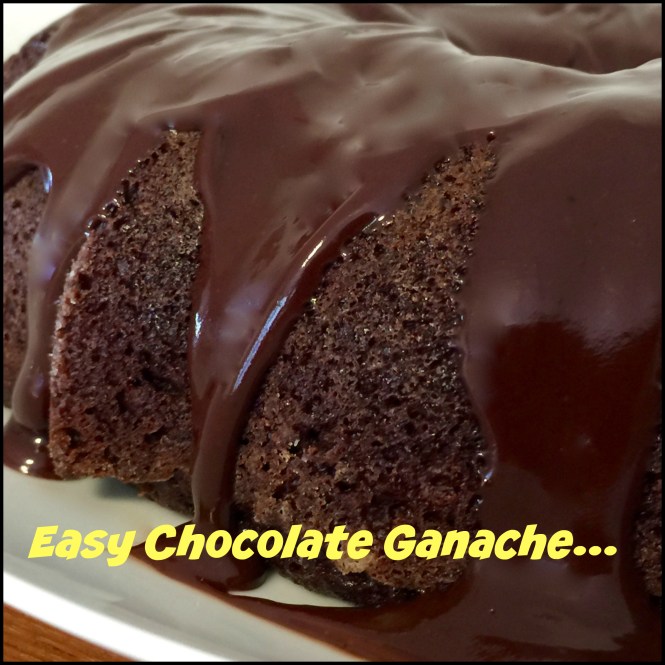

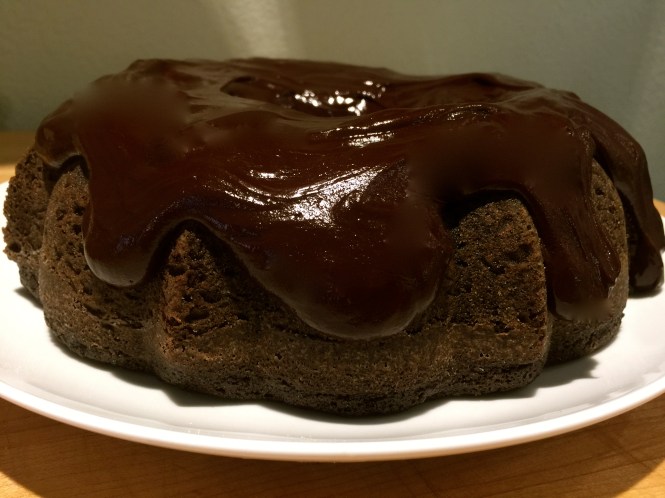
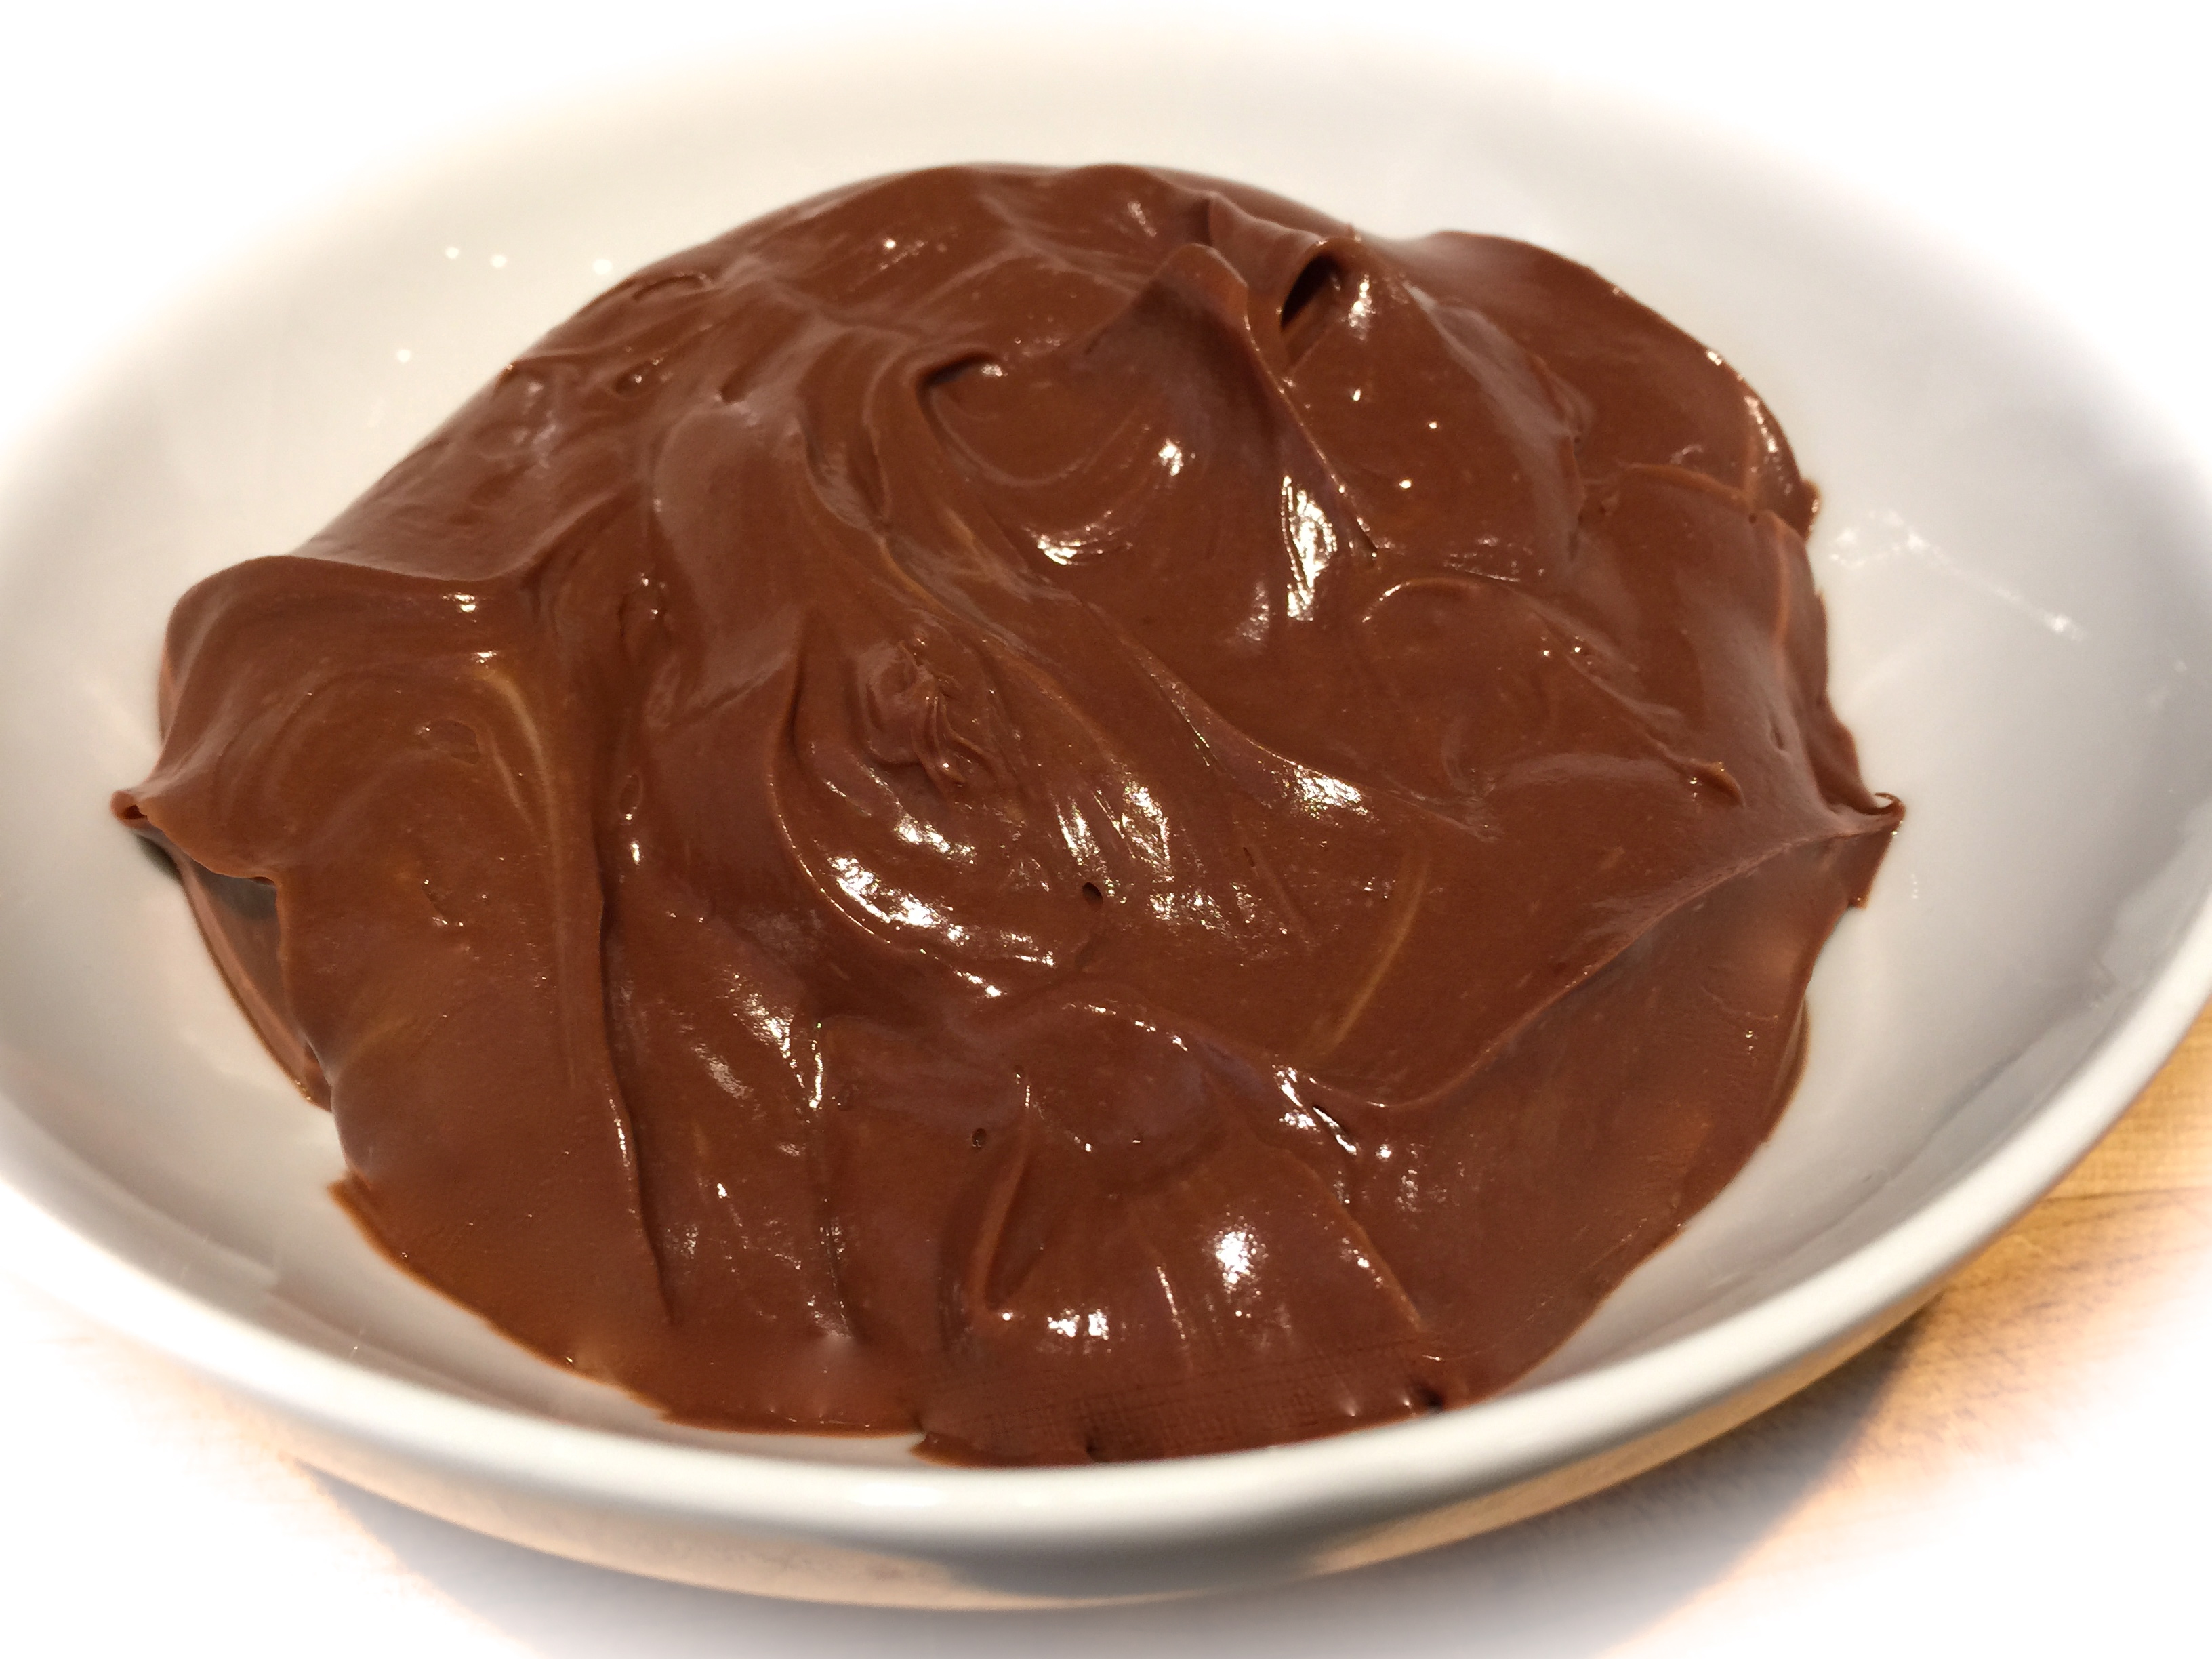
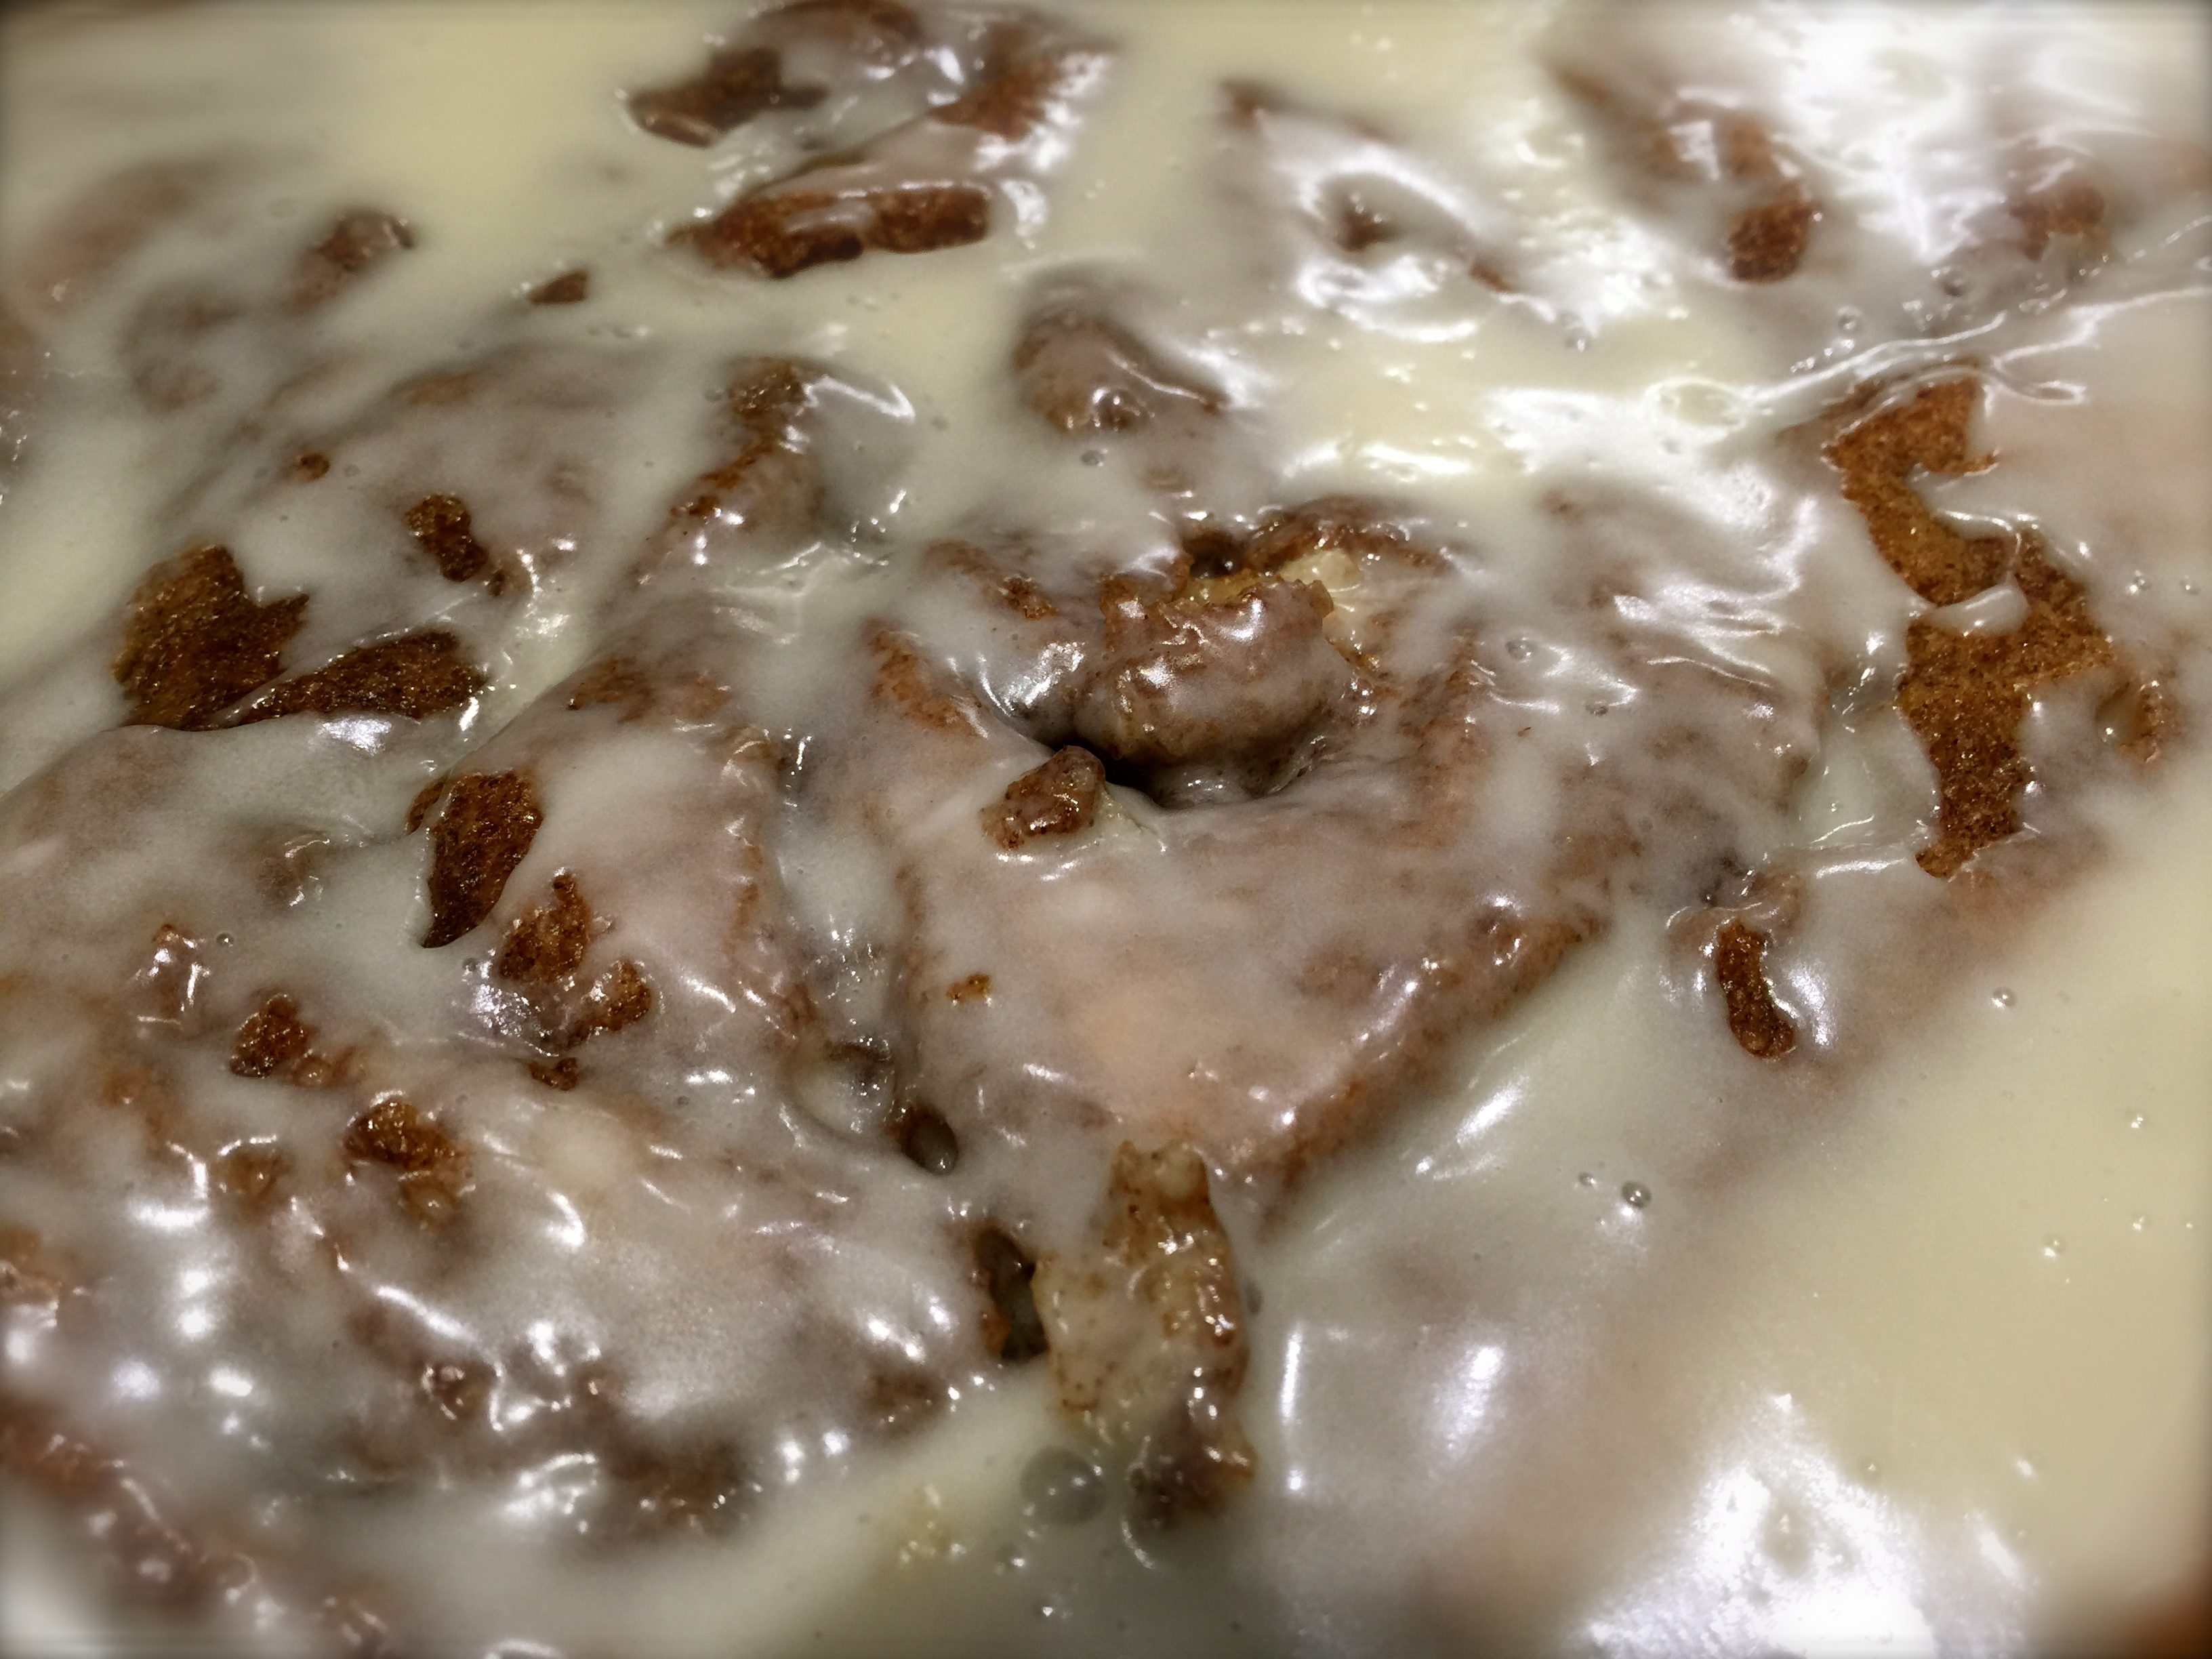
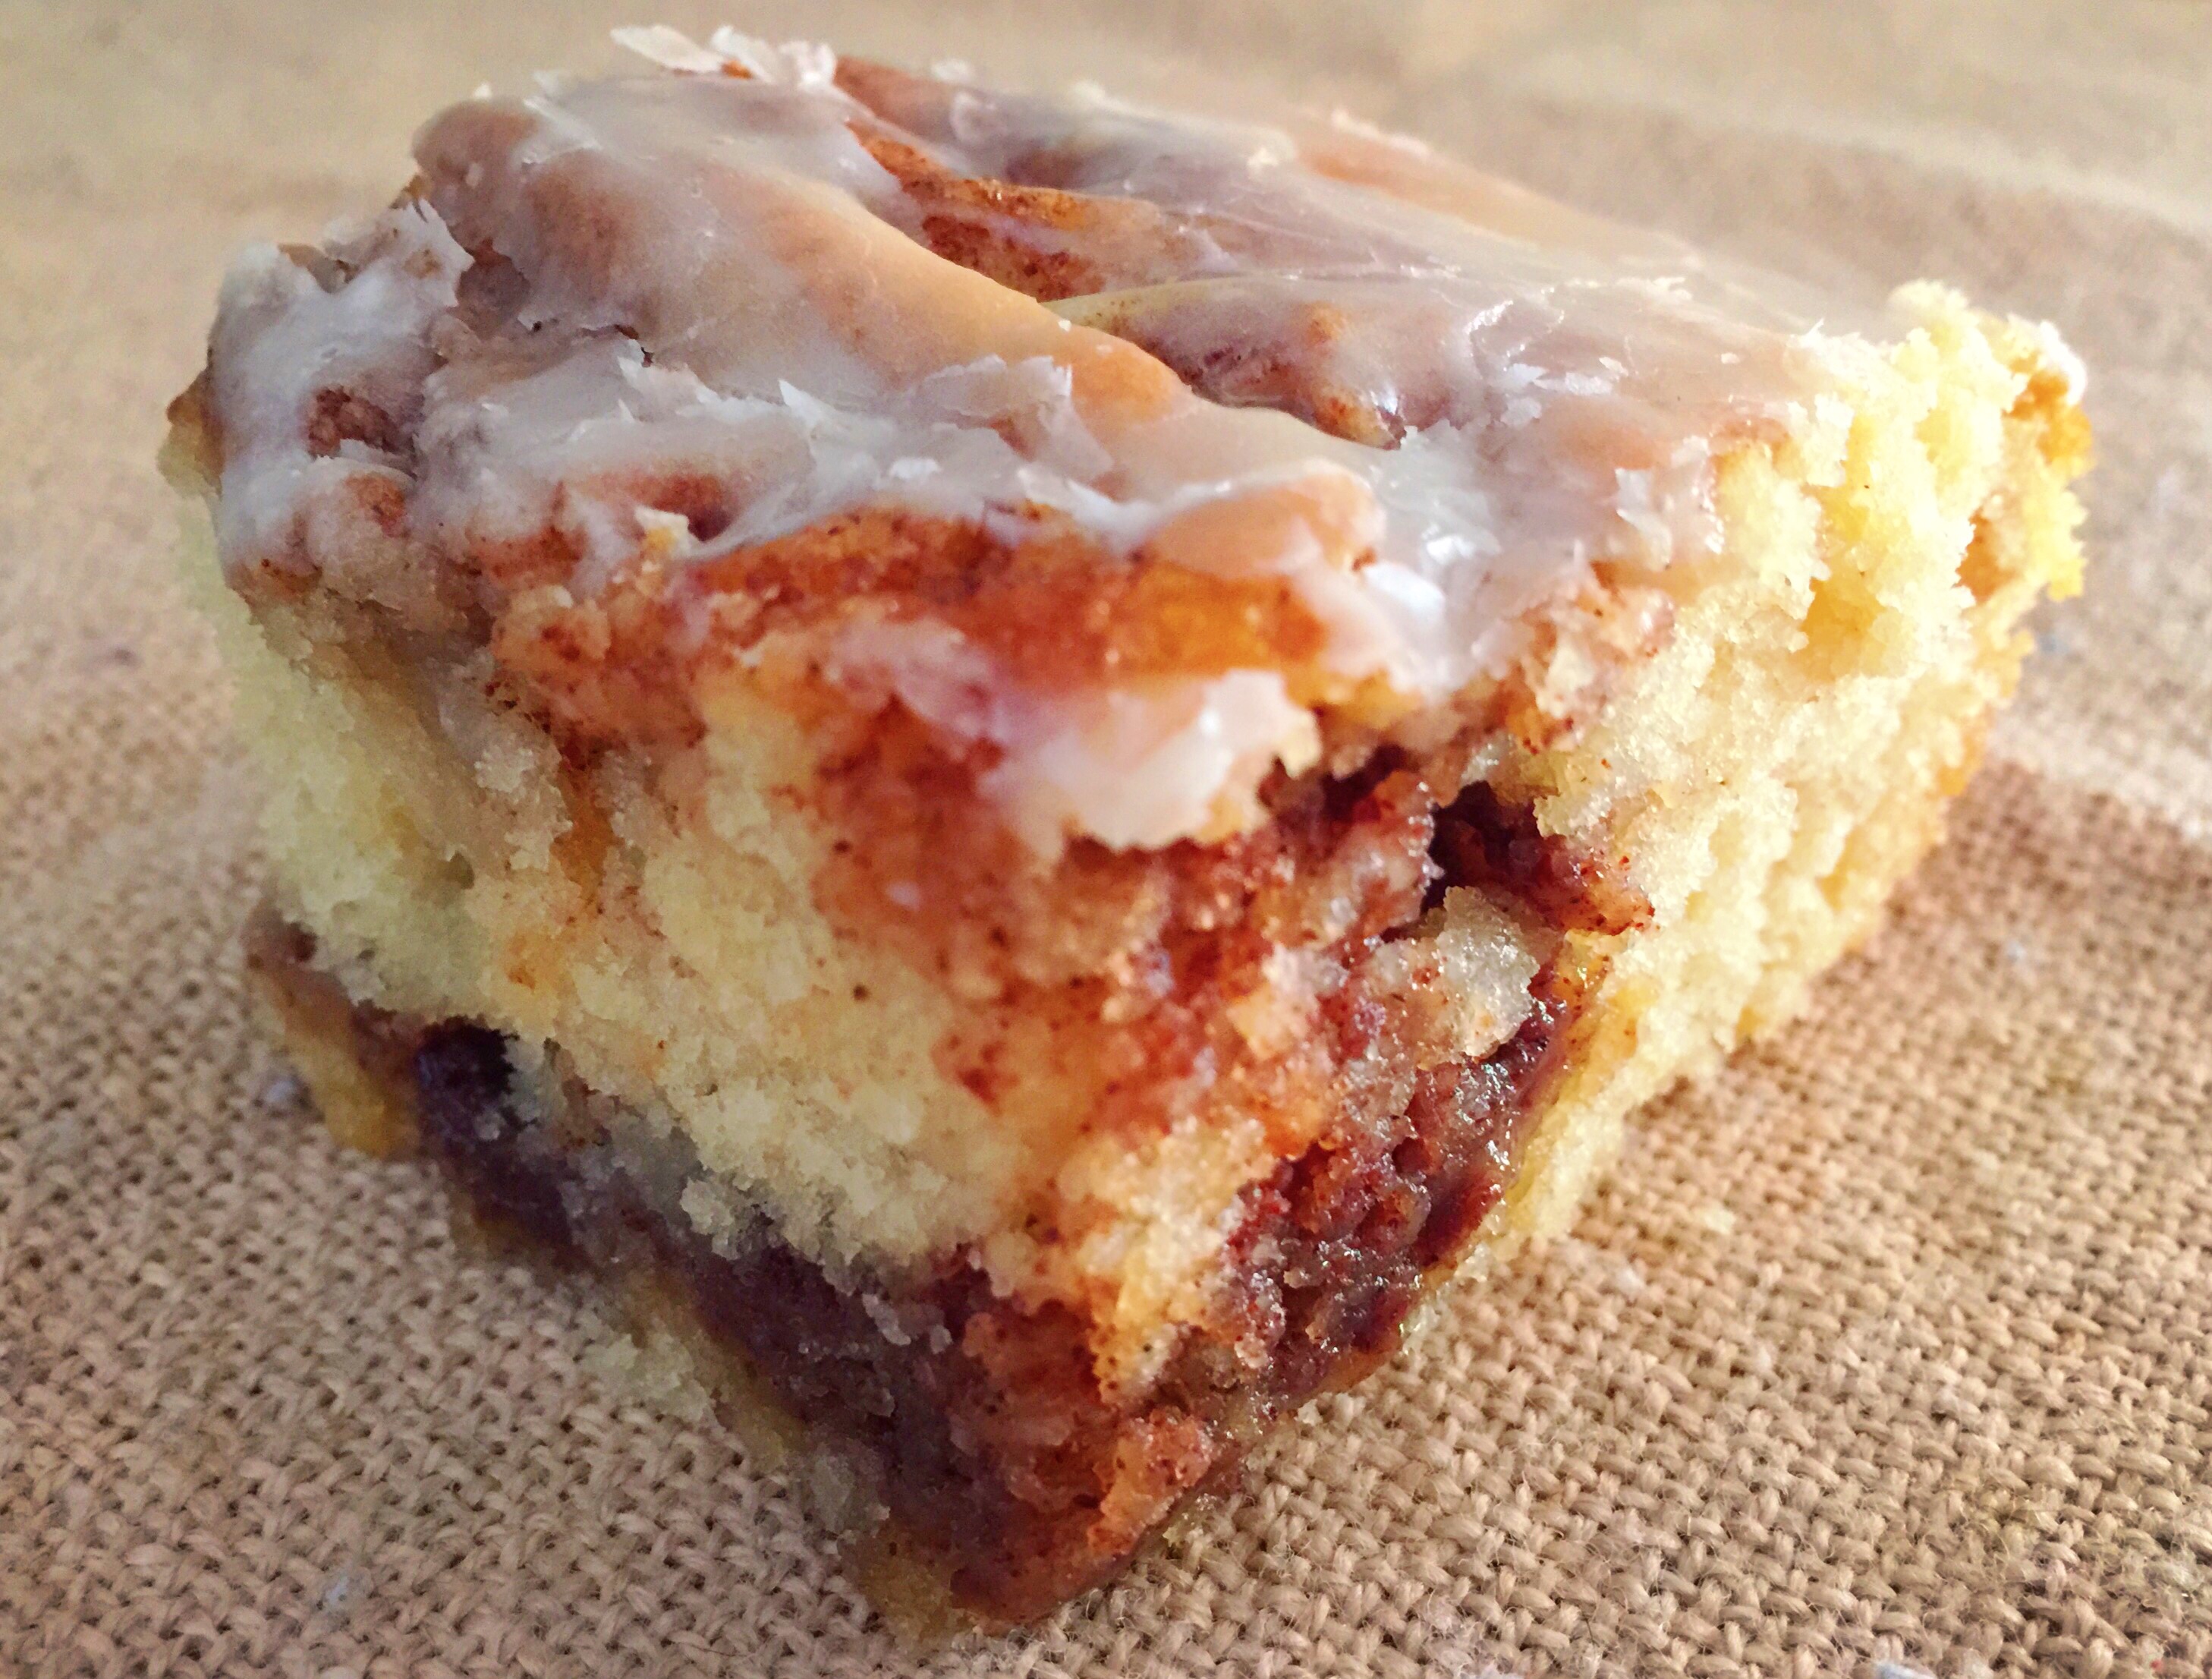
 Lesson Learned 2 – Making the glaze: Making glaze for any type of cake or pastry couldn’t be easier. All it requires is some confectioners sugar, some liquid and perhaps some sort of additional flavoring. You can use water, milk, or heavy cream for your liquid and you can use a little extract, juice or zest to enhance the flavor of the glaze. More often than not I use milk as the liquid and in this particular recipe I used a little vanilla extract to enhance the flavor.


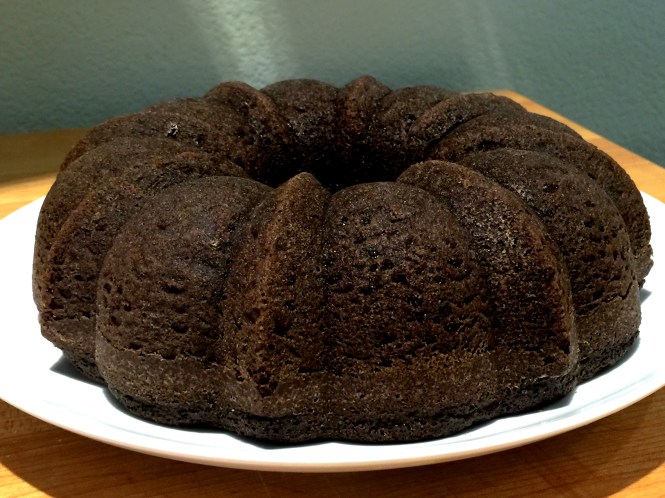
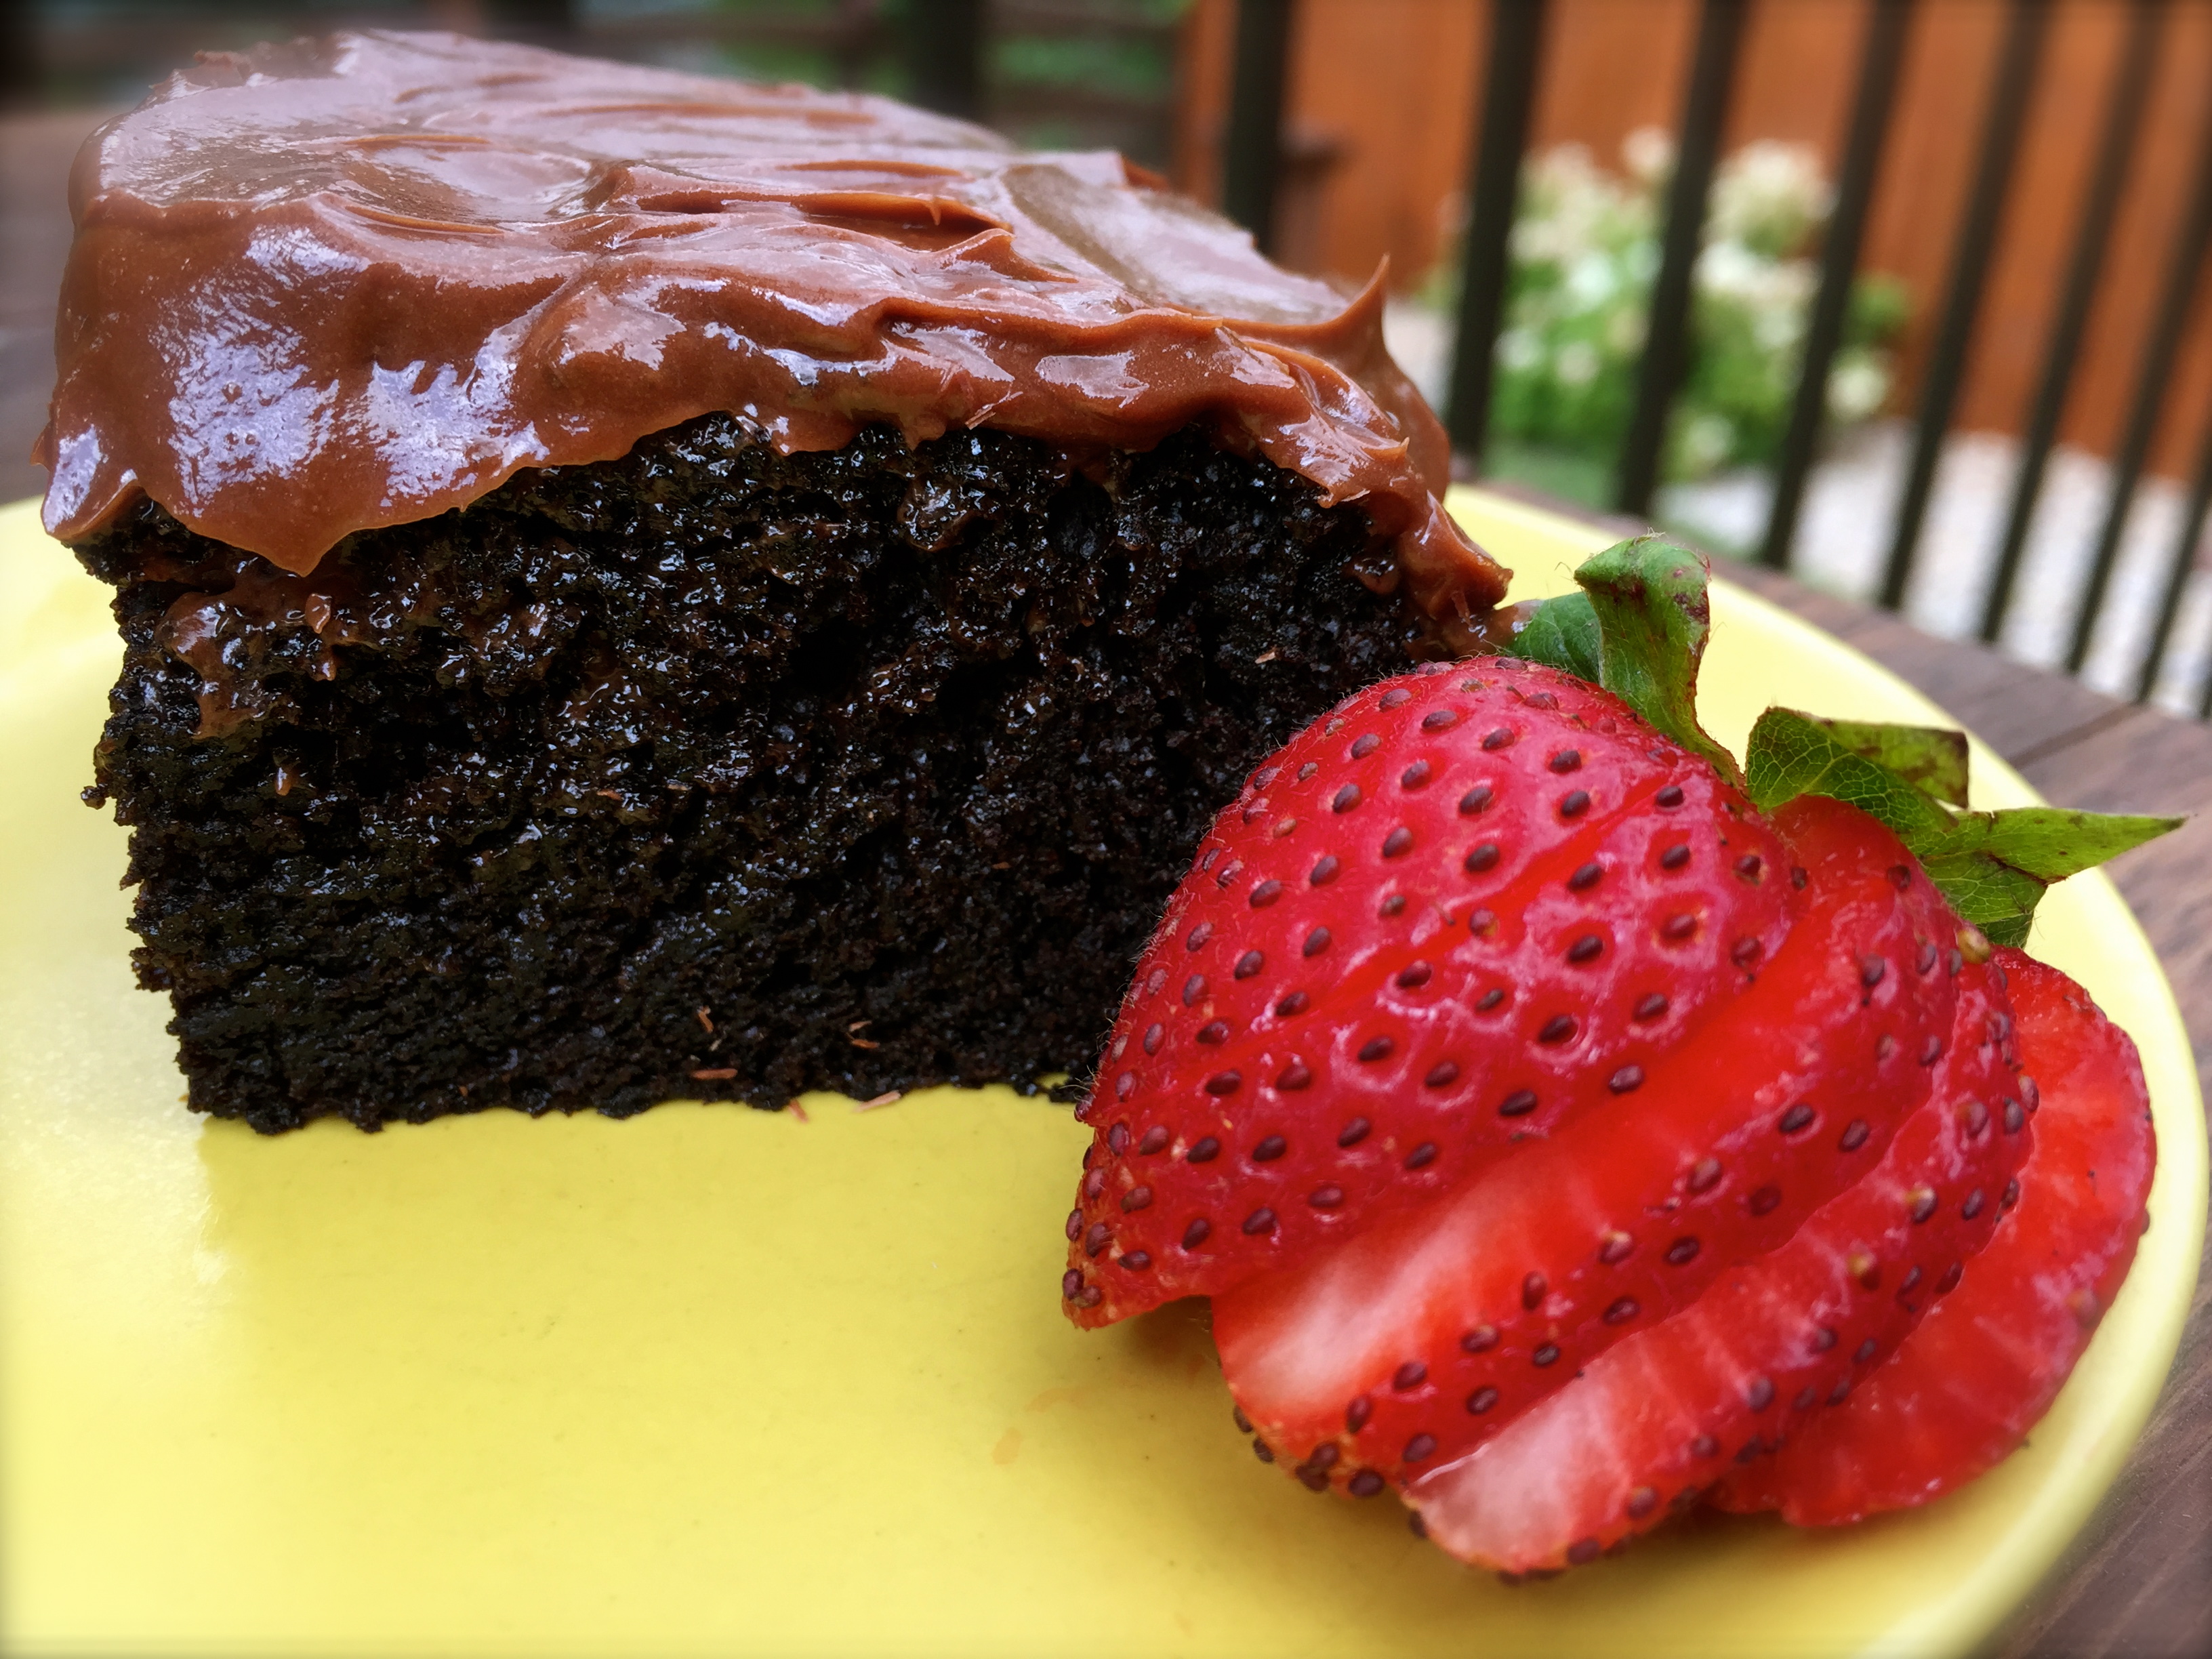
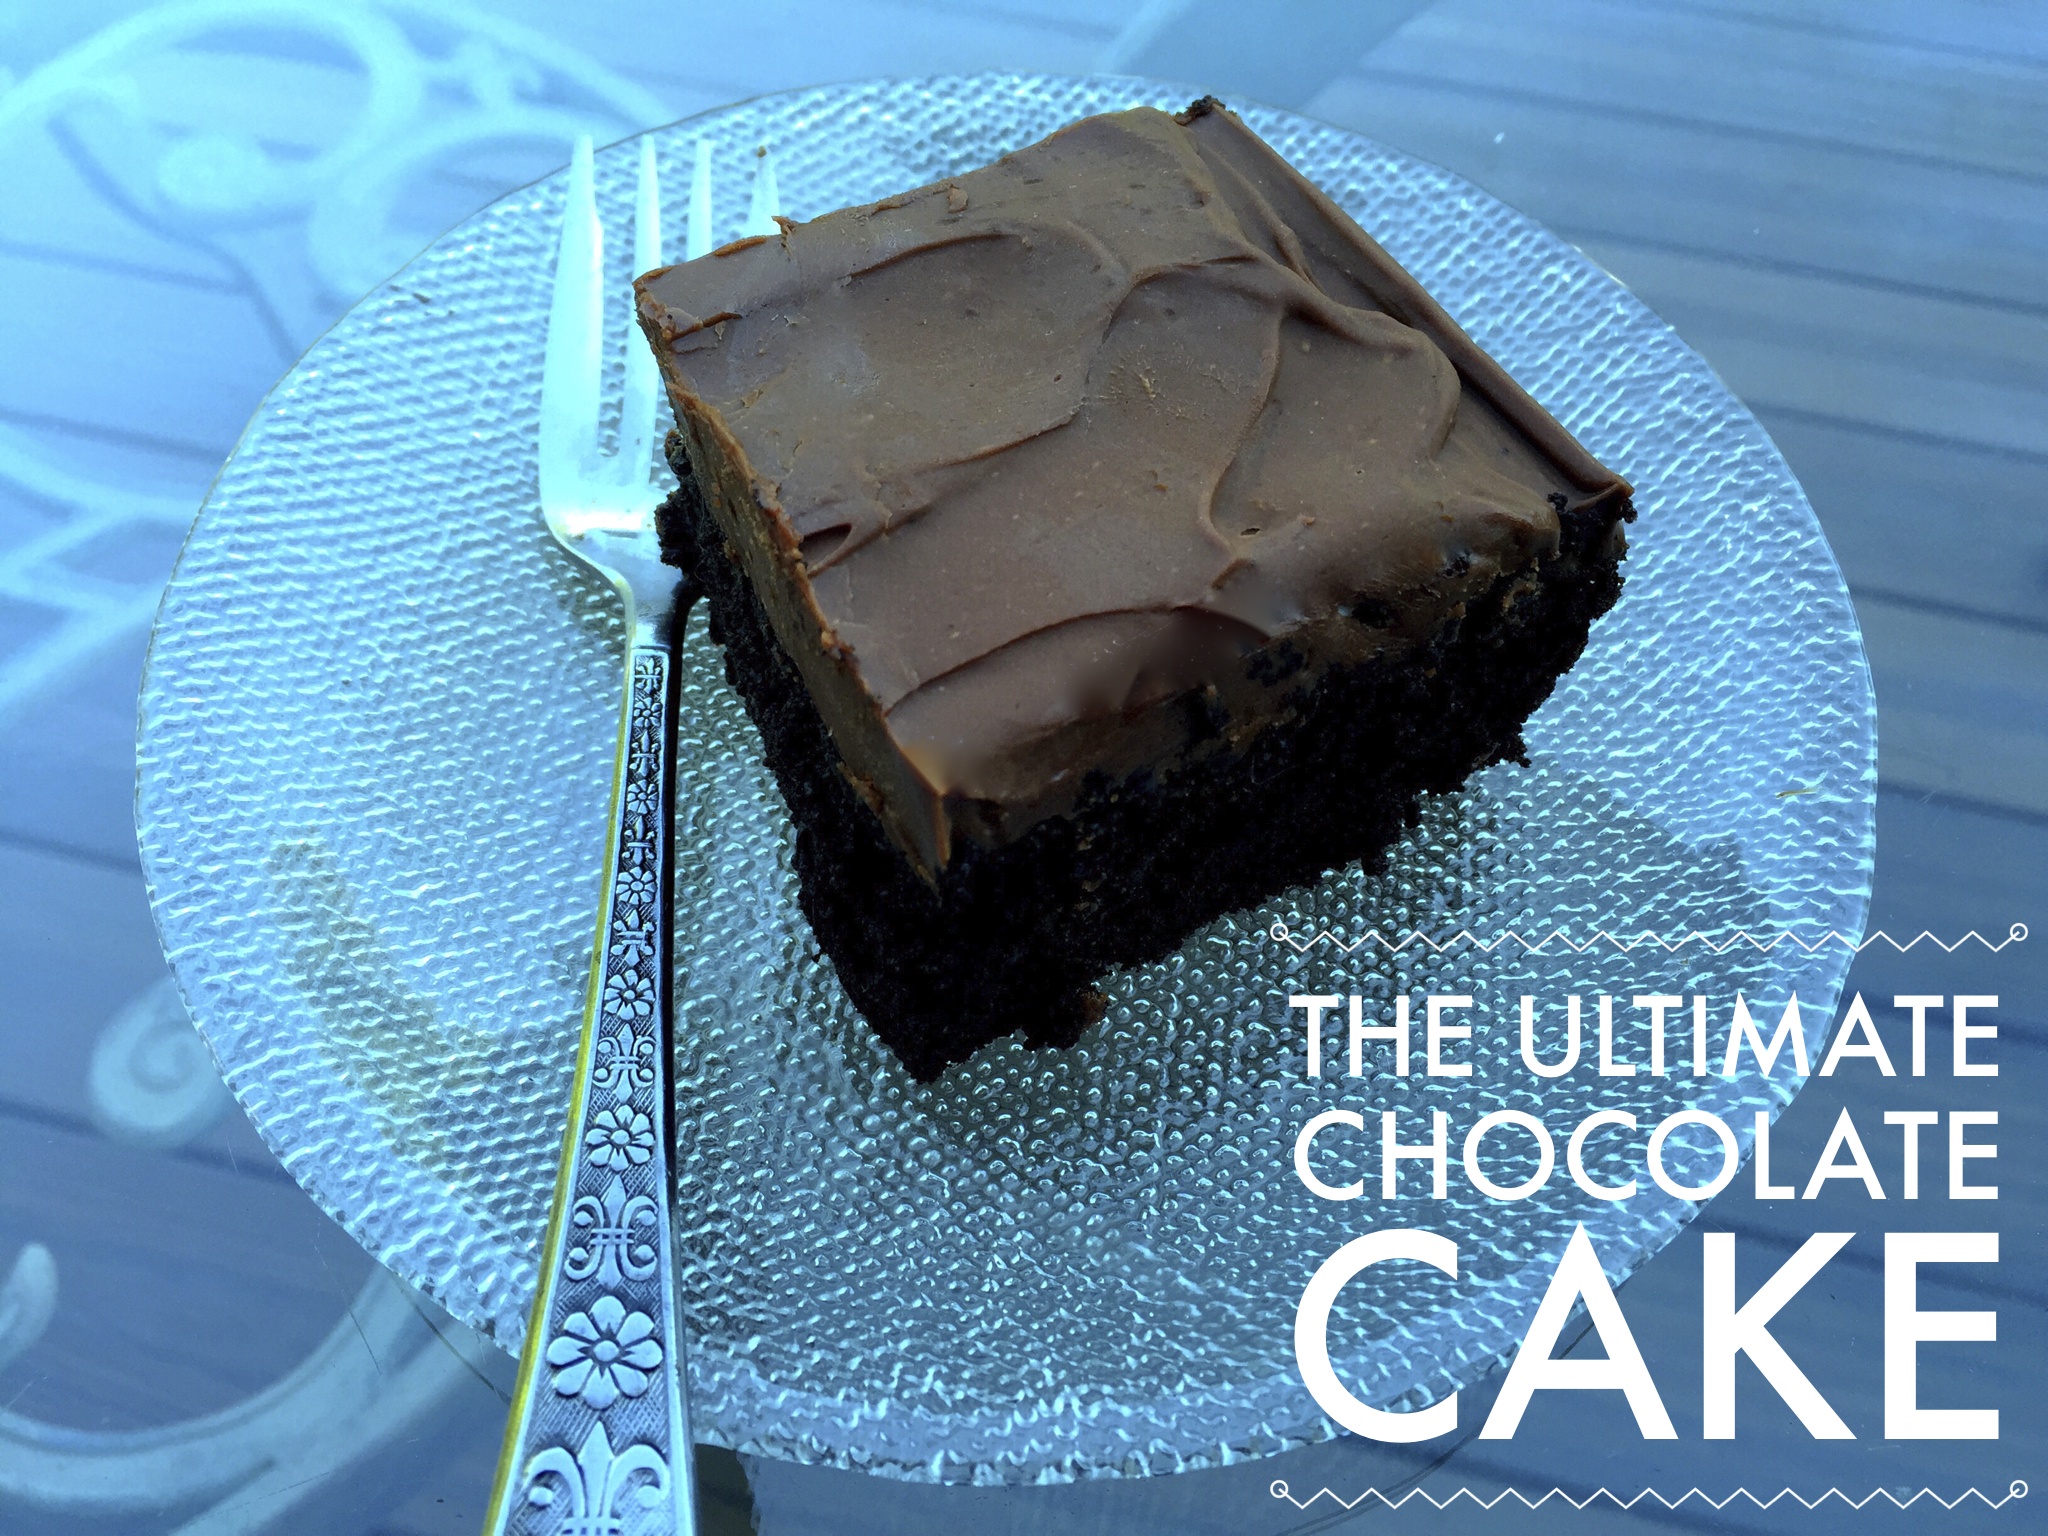
 Lesson Learned 4 – Use instant espresso powder to enhance the flavor of the chocolate: In any recipe that includes chocolate I’d recommend adding at least a quarter teaspoon of espresso powder. It brings out the chocolate flavor so much more. Try making a chocolate recipe without it and then make the same recipe with it. You’ll be amazed at how much it enhances the flavor of the chocolate.


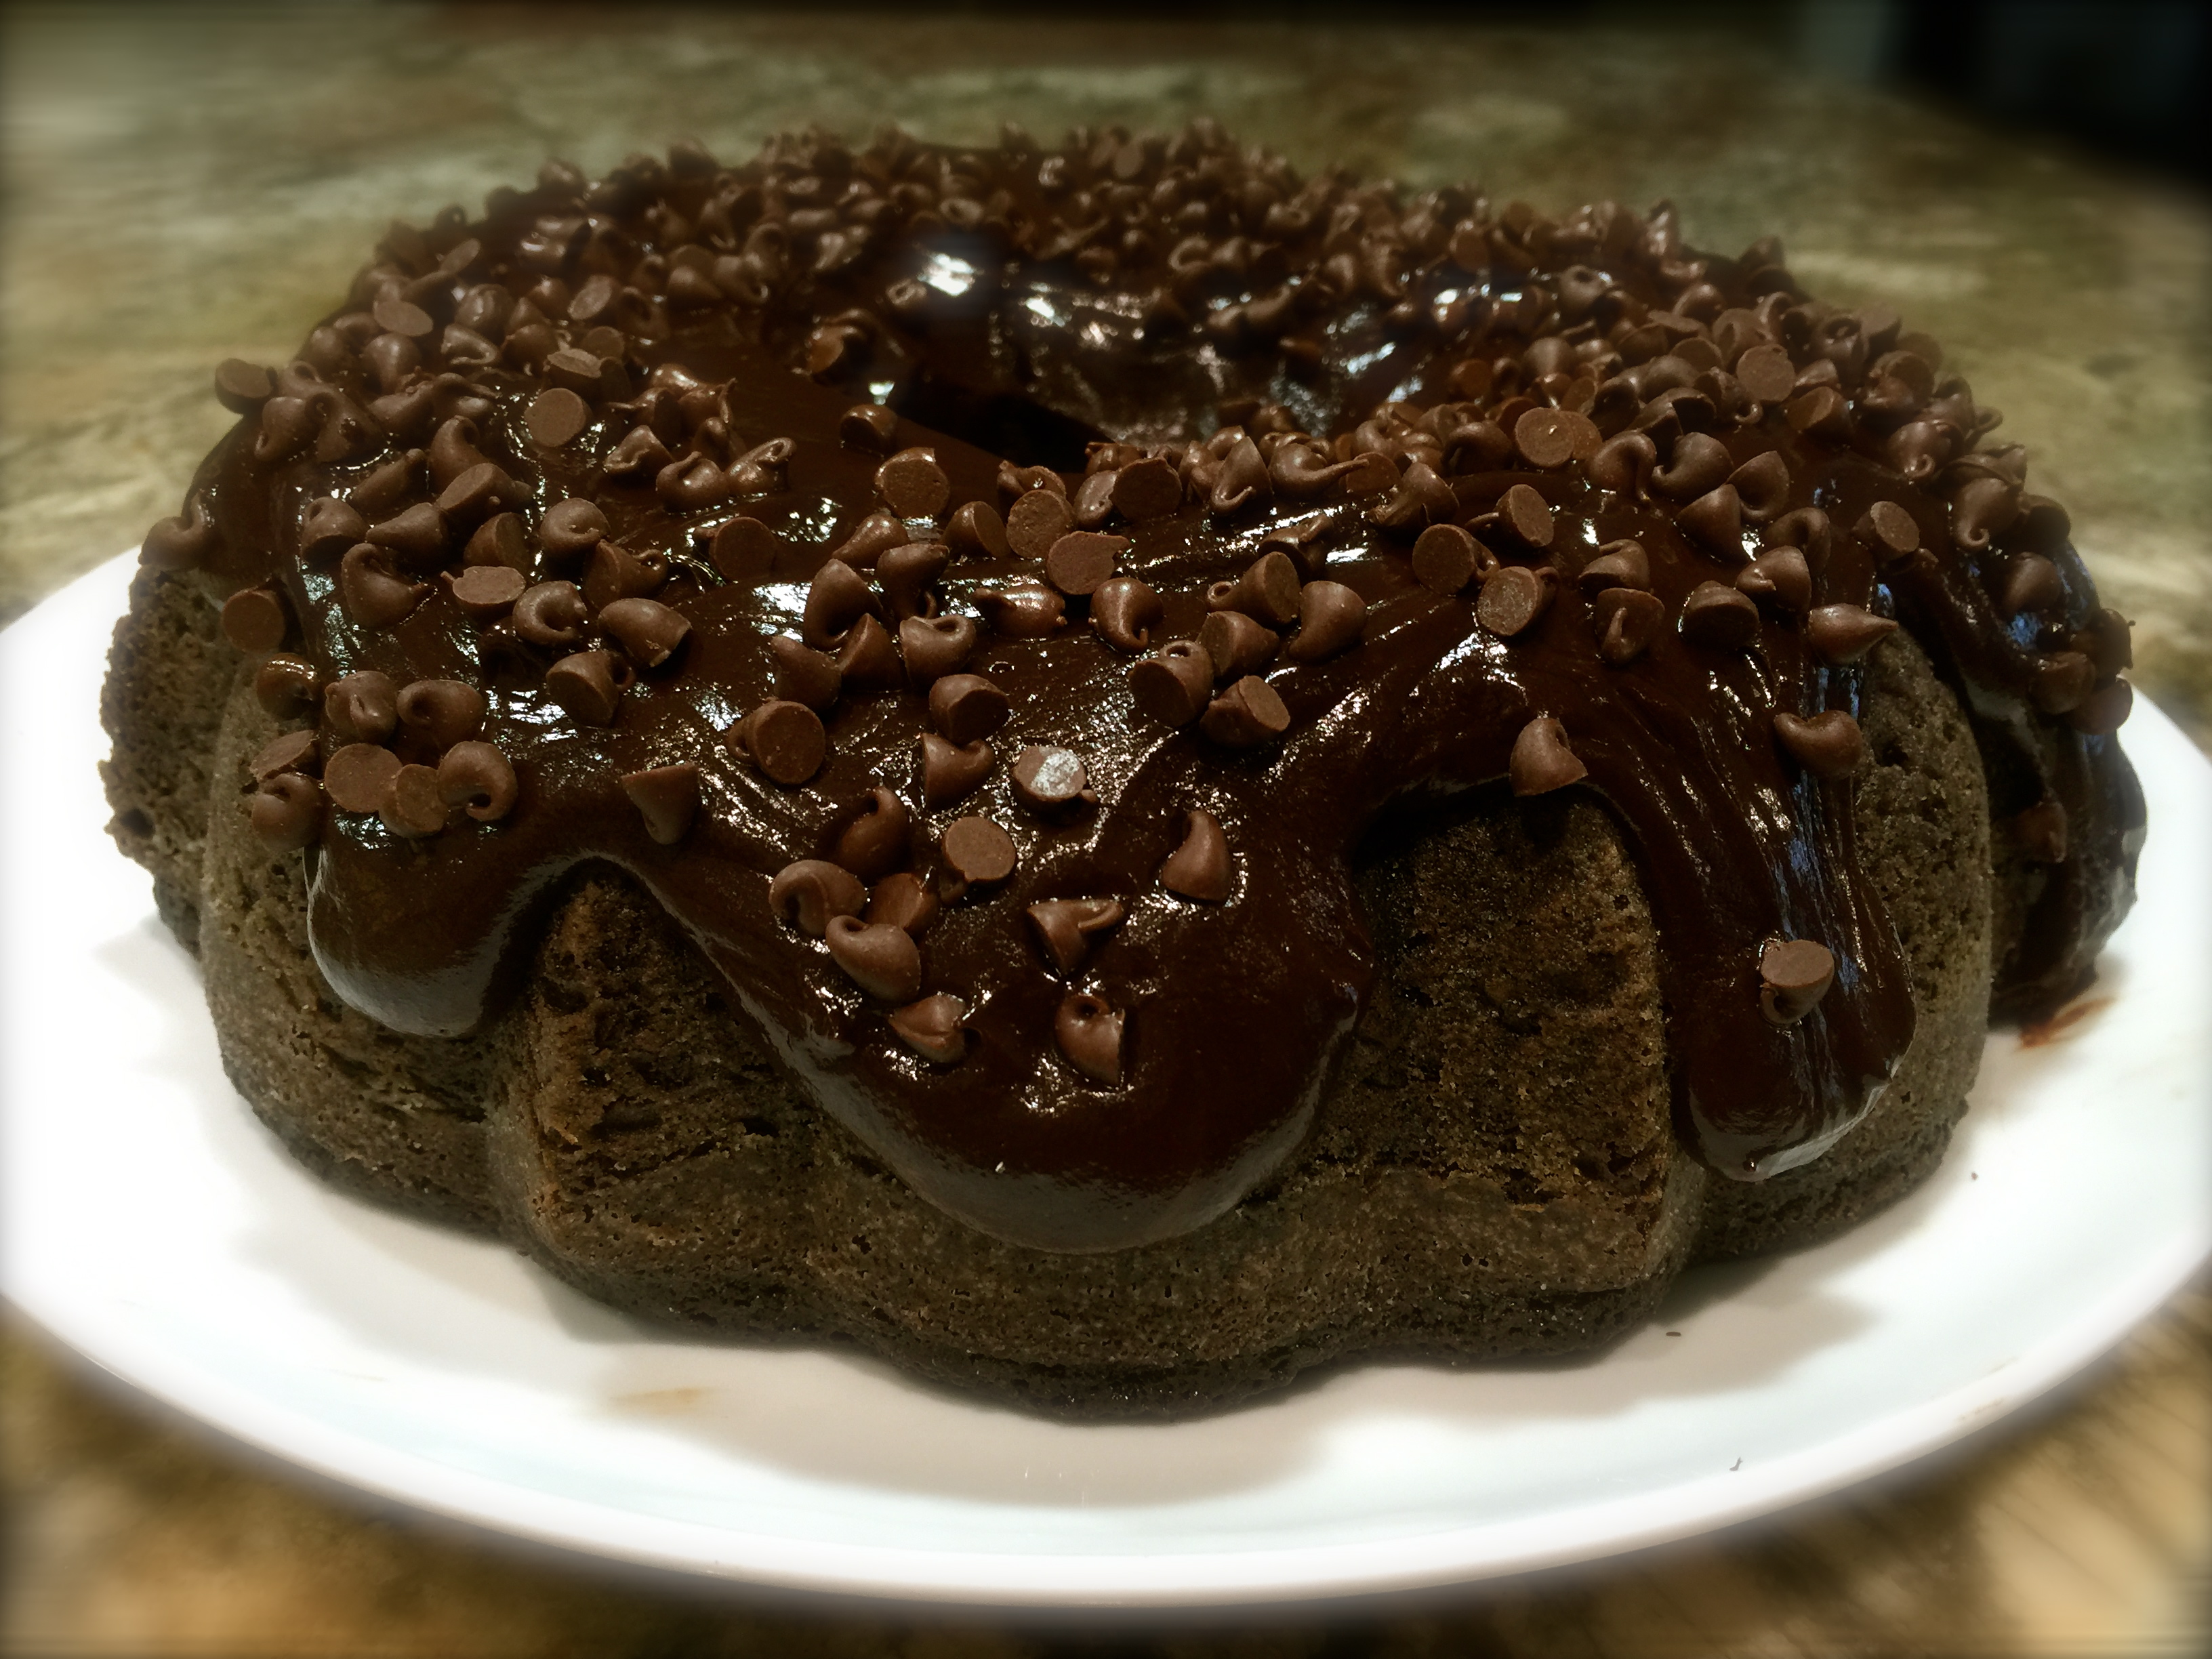
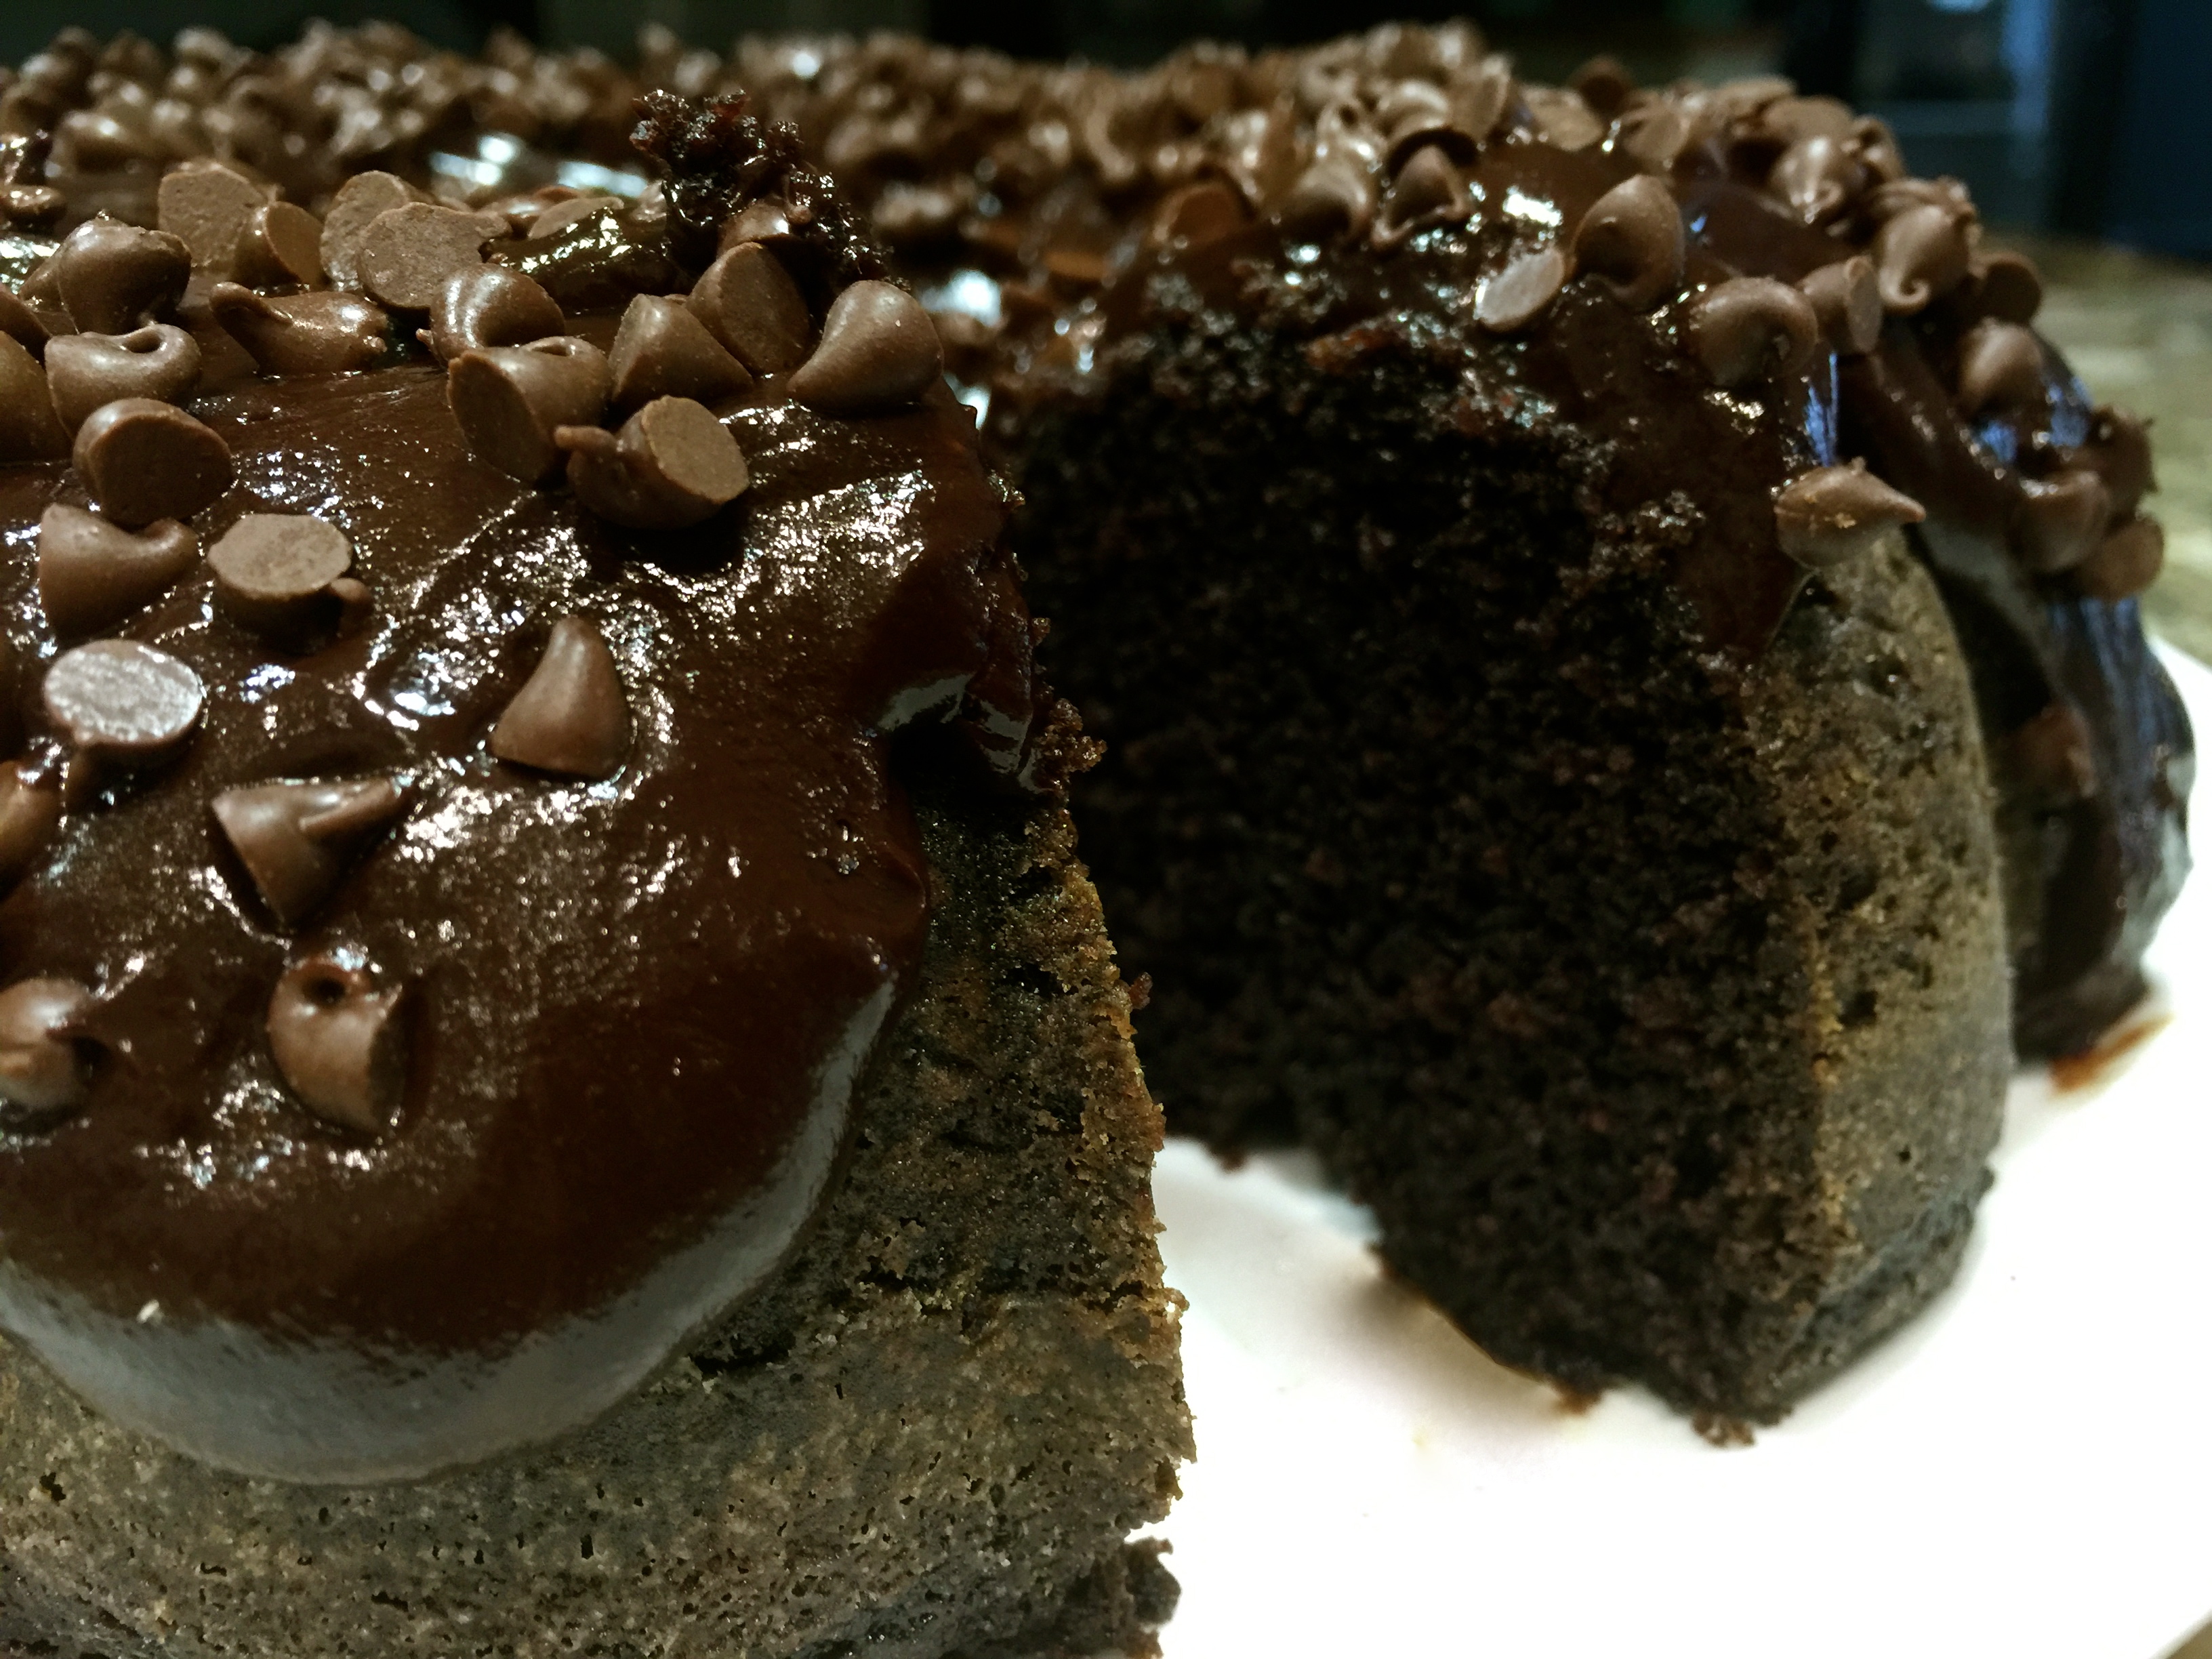
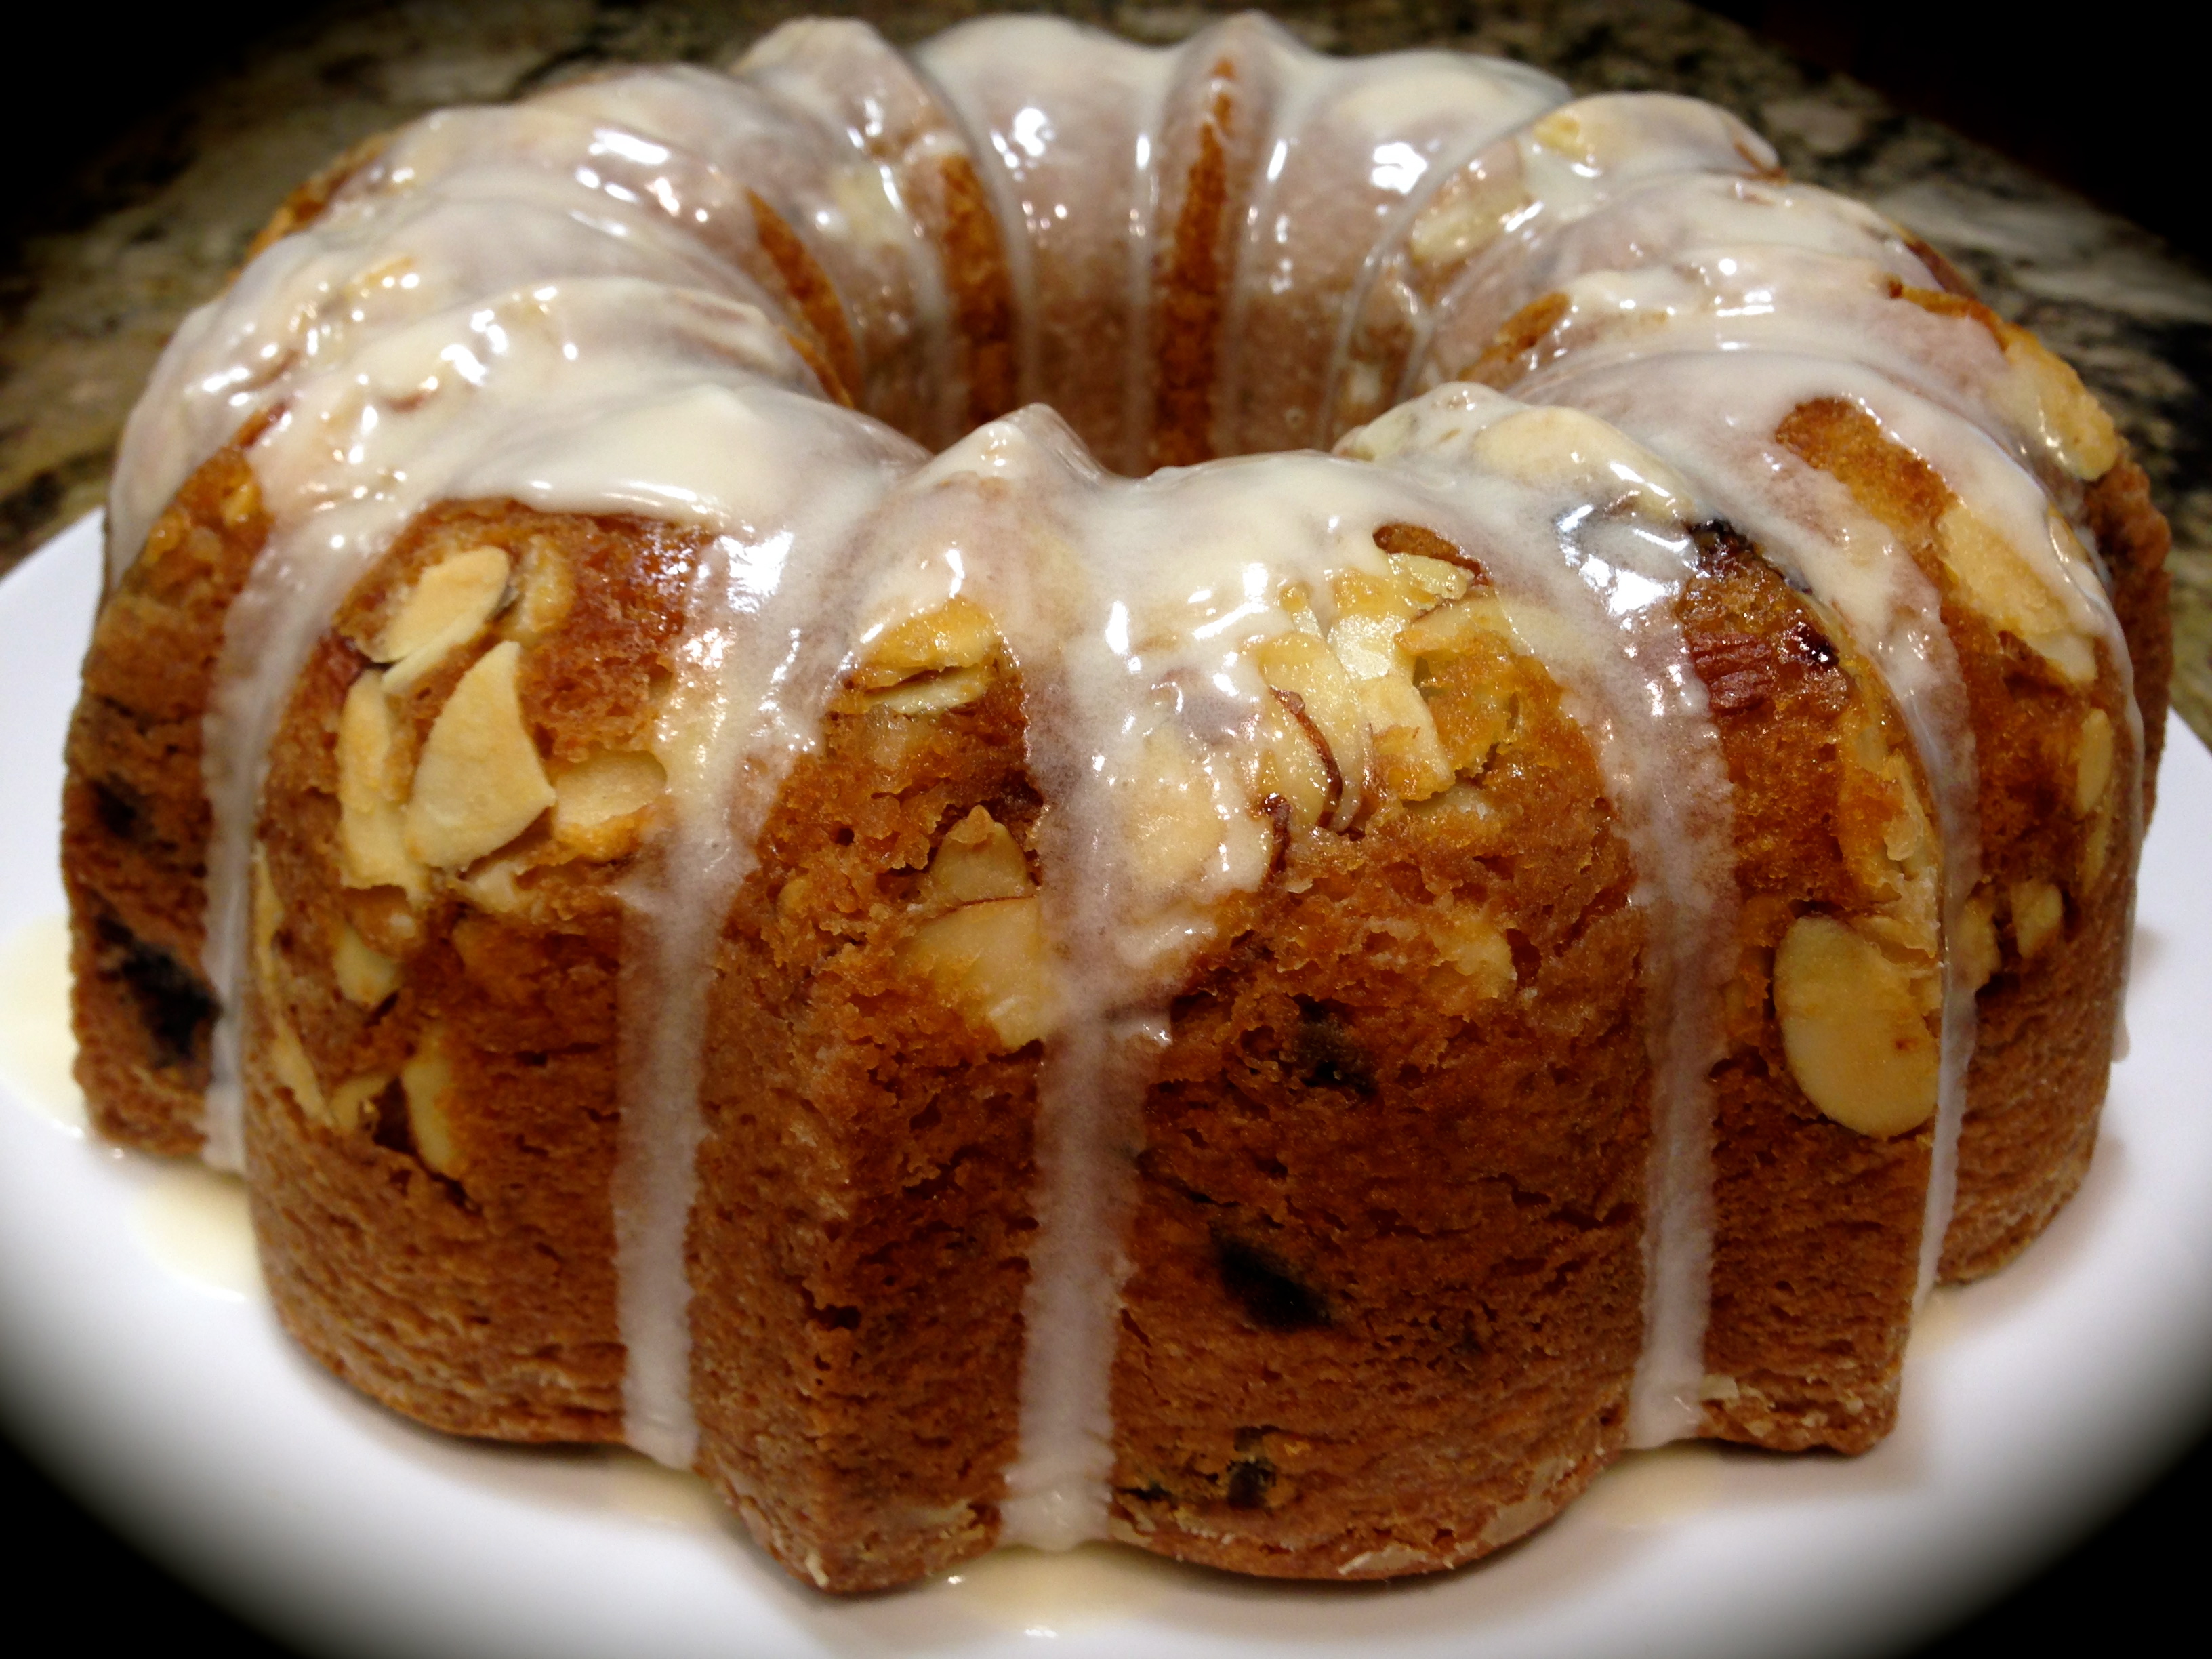
 Lesson Learned 3 – This cake freezes beautifully: This recipe produces a large cake that really only stays fresh for a couple of days. If you’re not making it for a party or to bring to work I suggest you take what you don’t think you’ll eat in a couple of days and freeze it. I wrapped mine in 2-slice portions. Make sure you wrap the pieces tightly in plastic wrap and then put them in a freezer bag(s). Let as much air out of the freezer bag as you possibly can. By doing this you’ll have fresh moist cake for a month!
 3/4 cup chopped walnuts


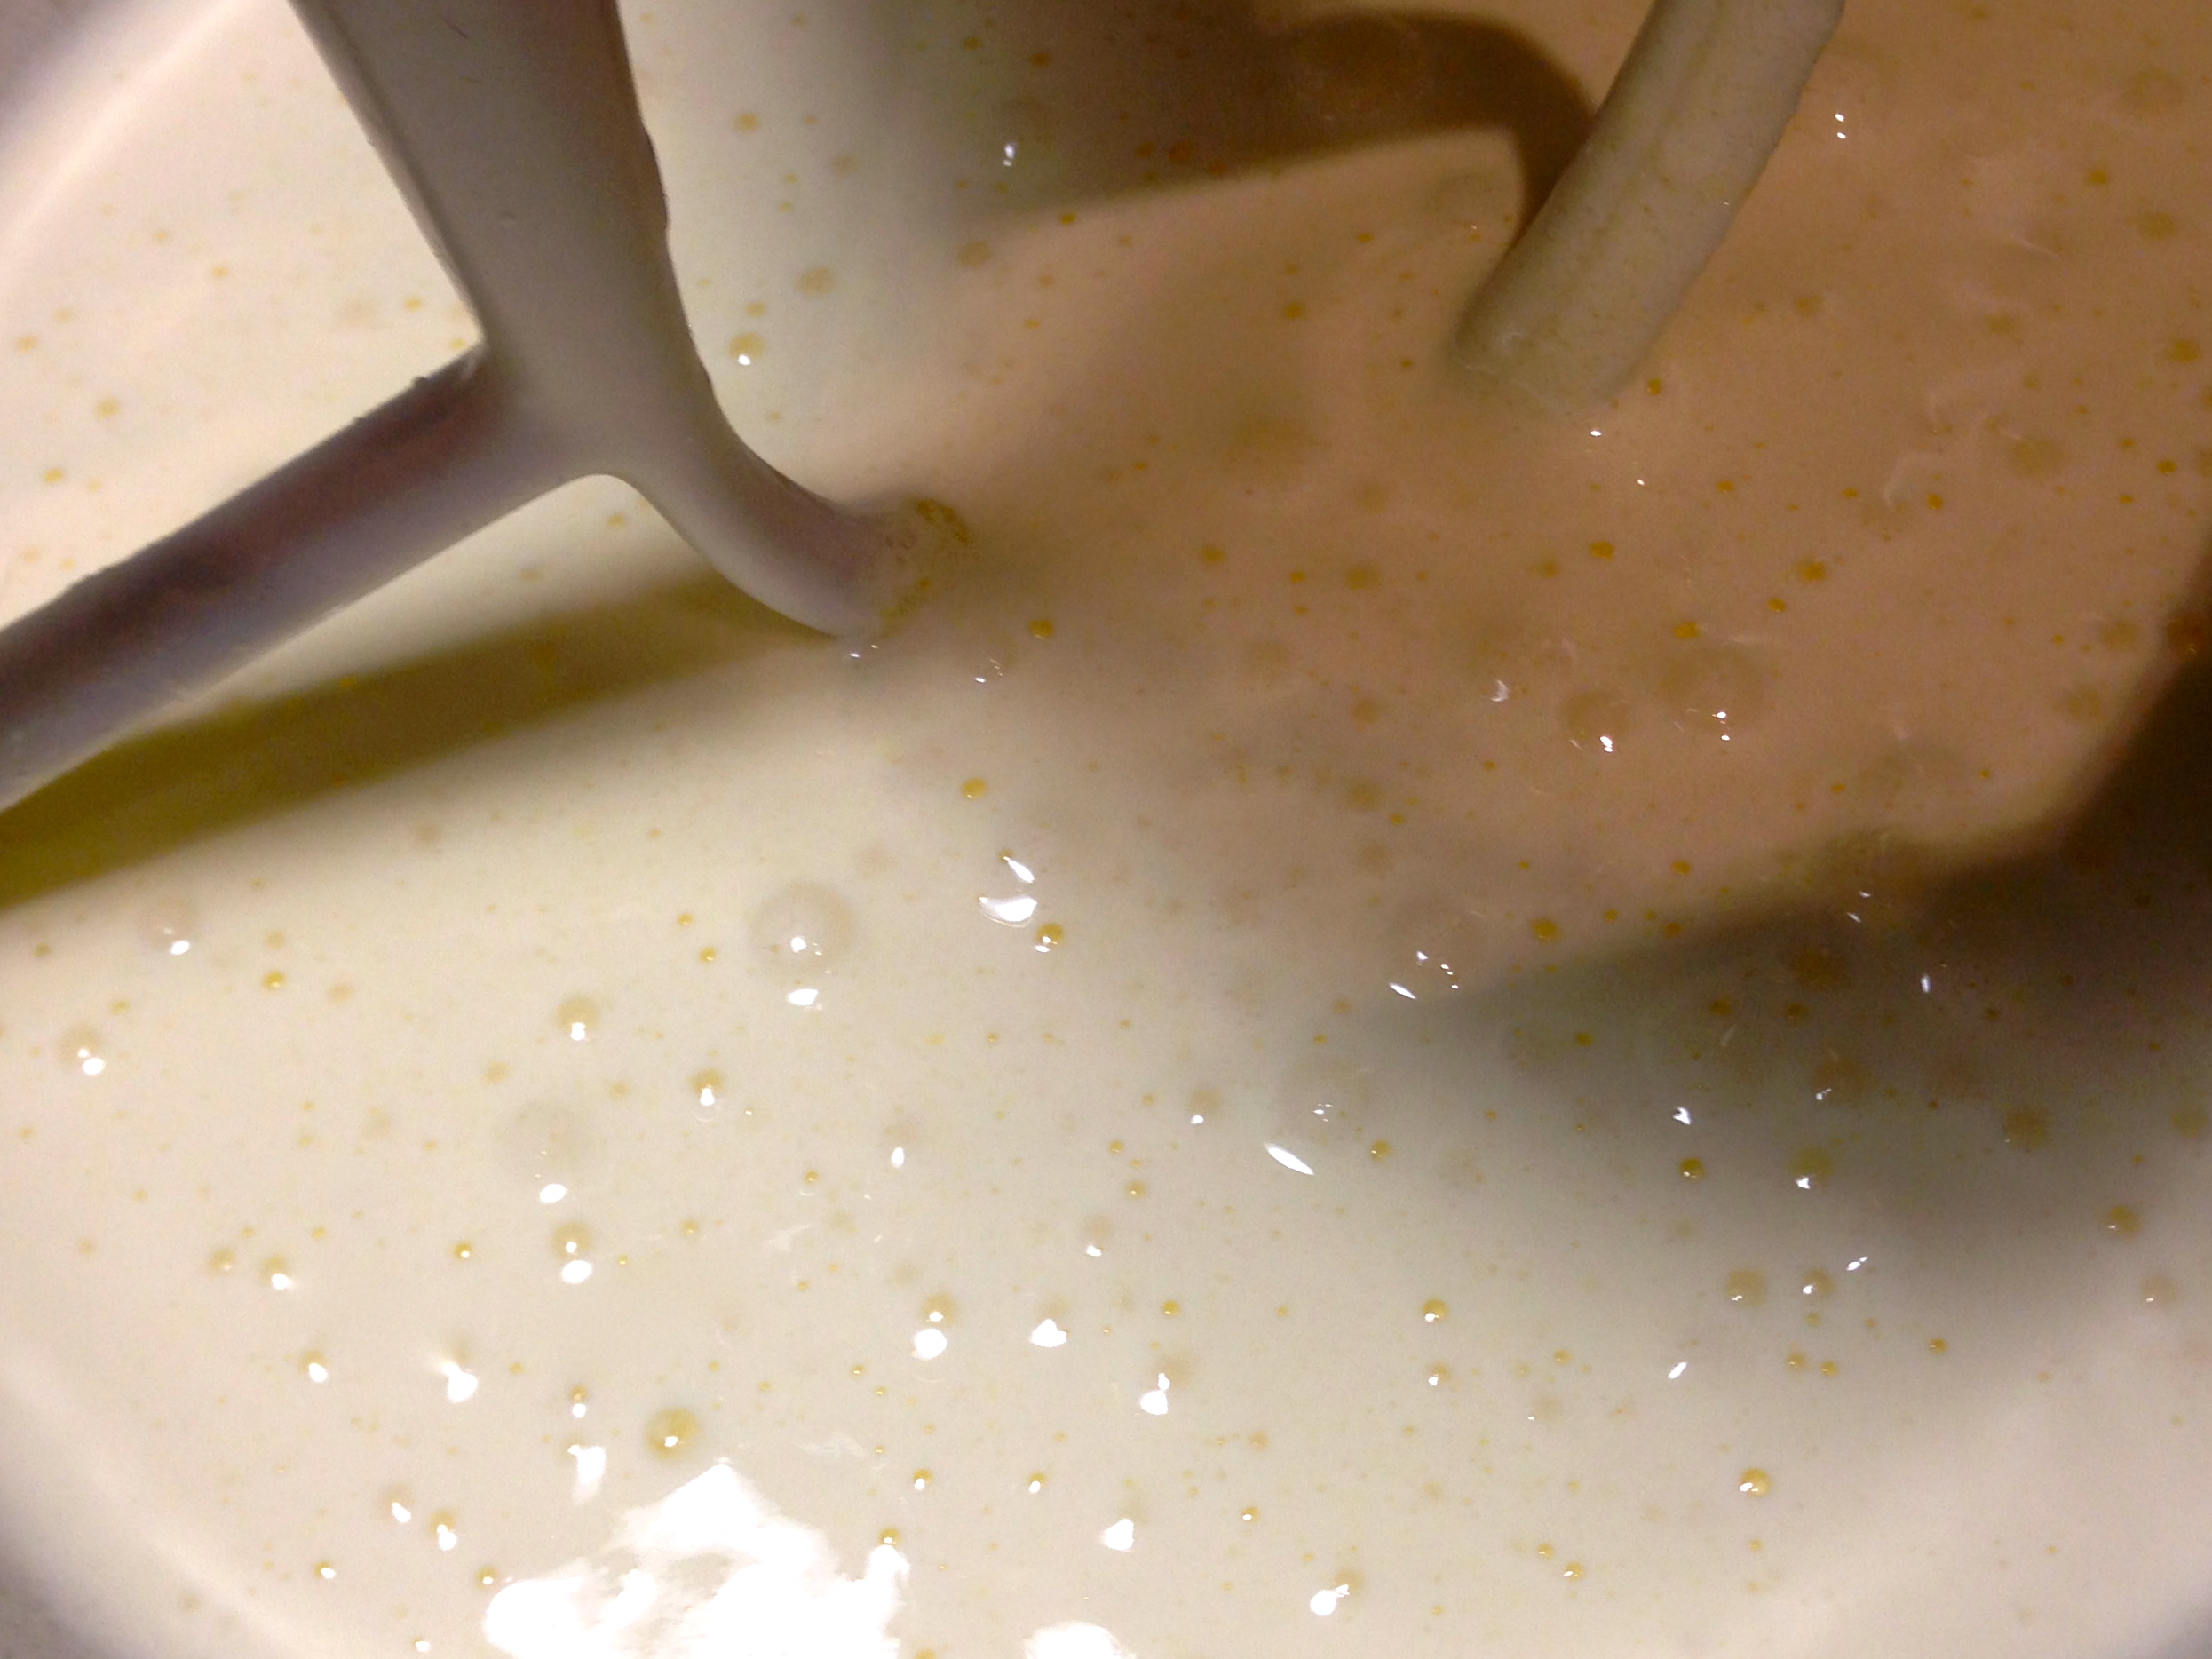
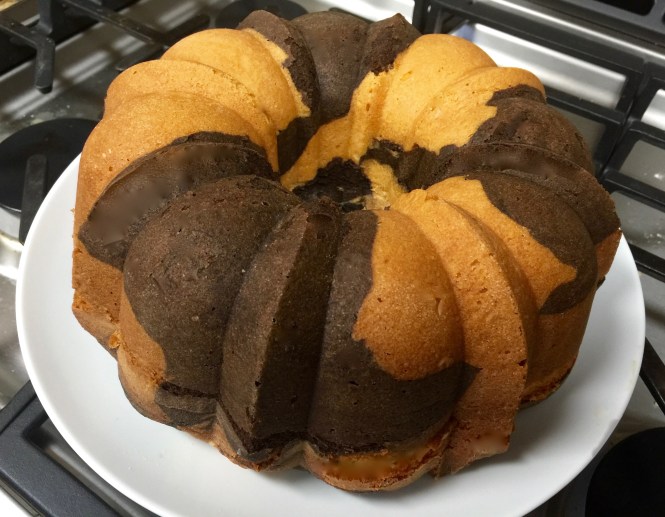
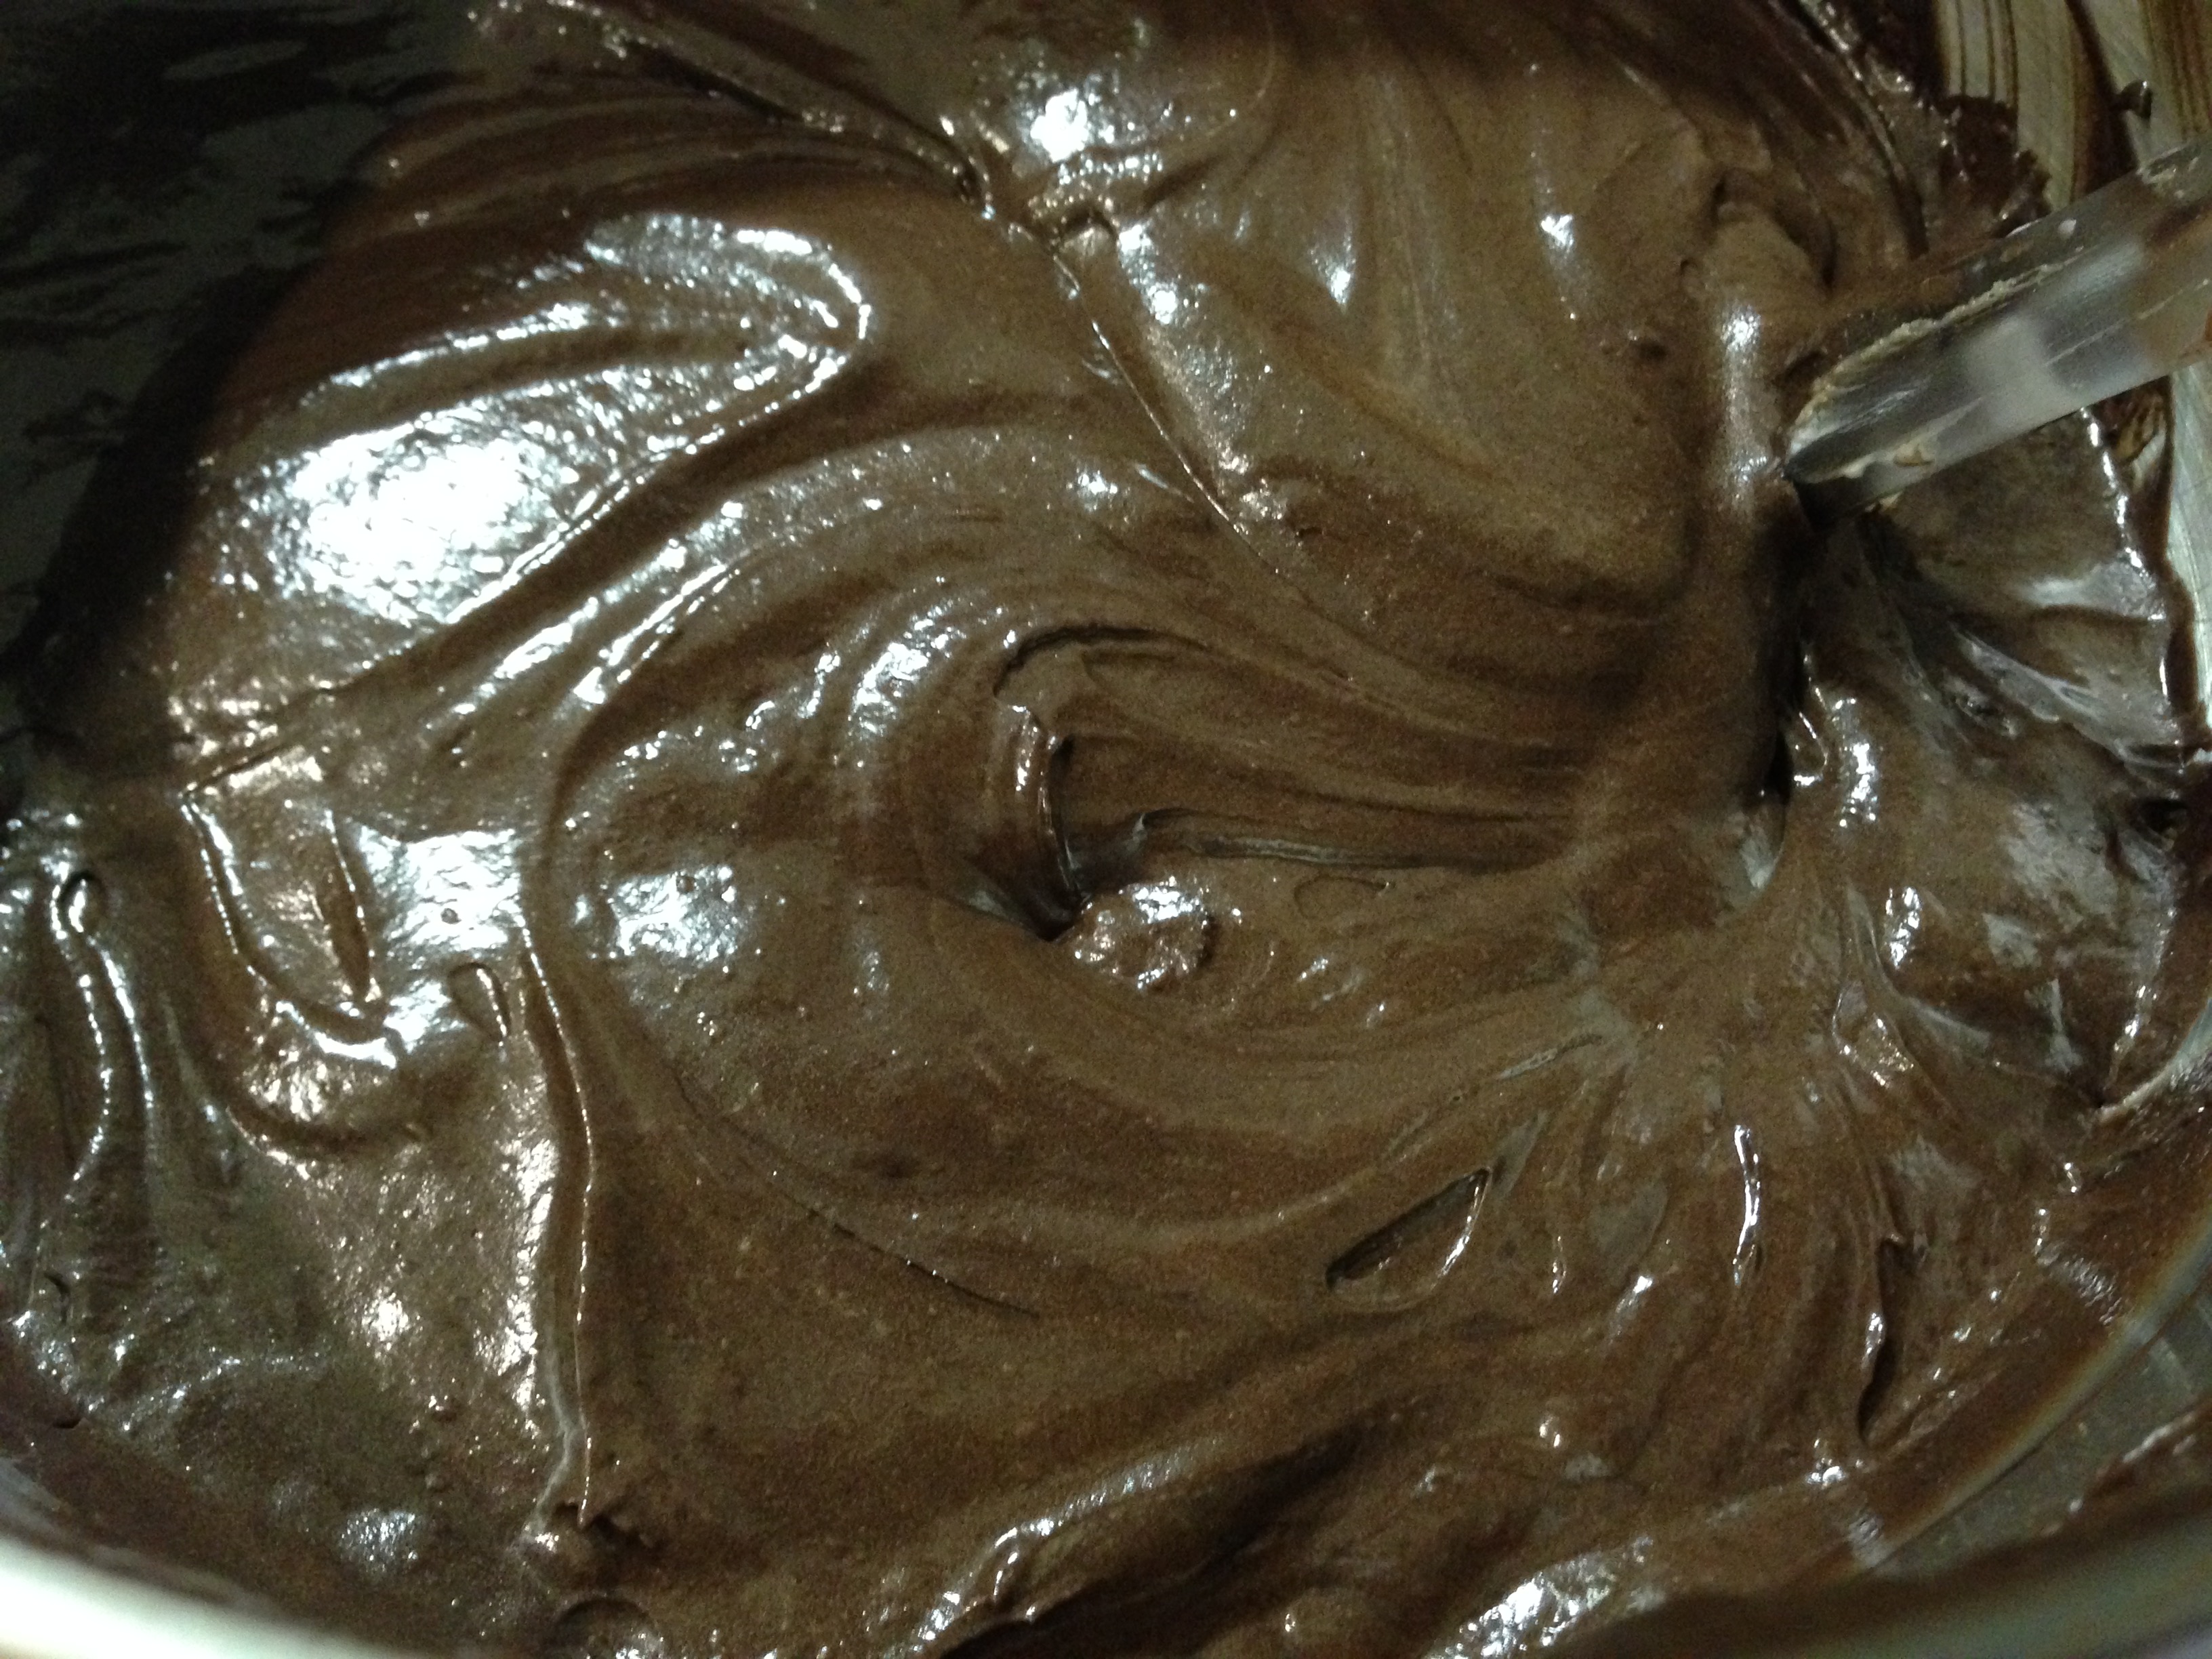
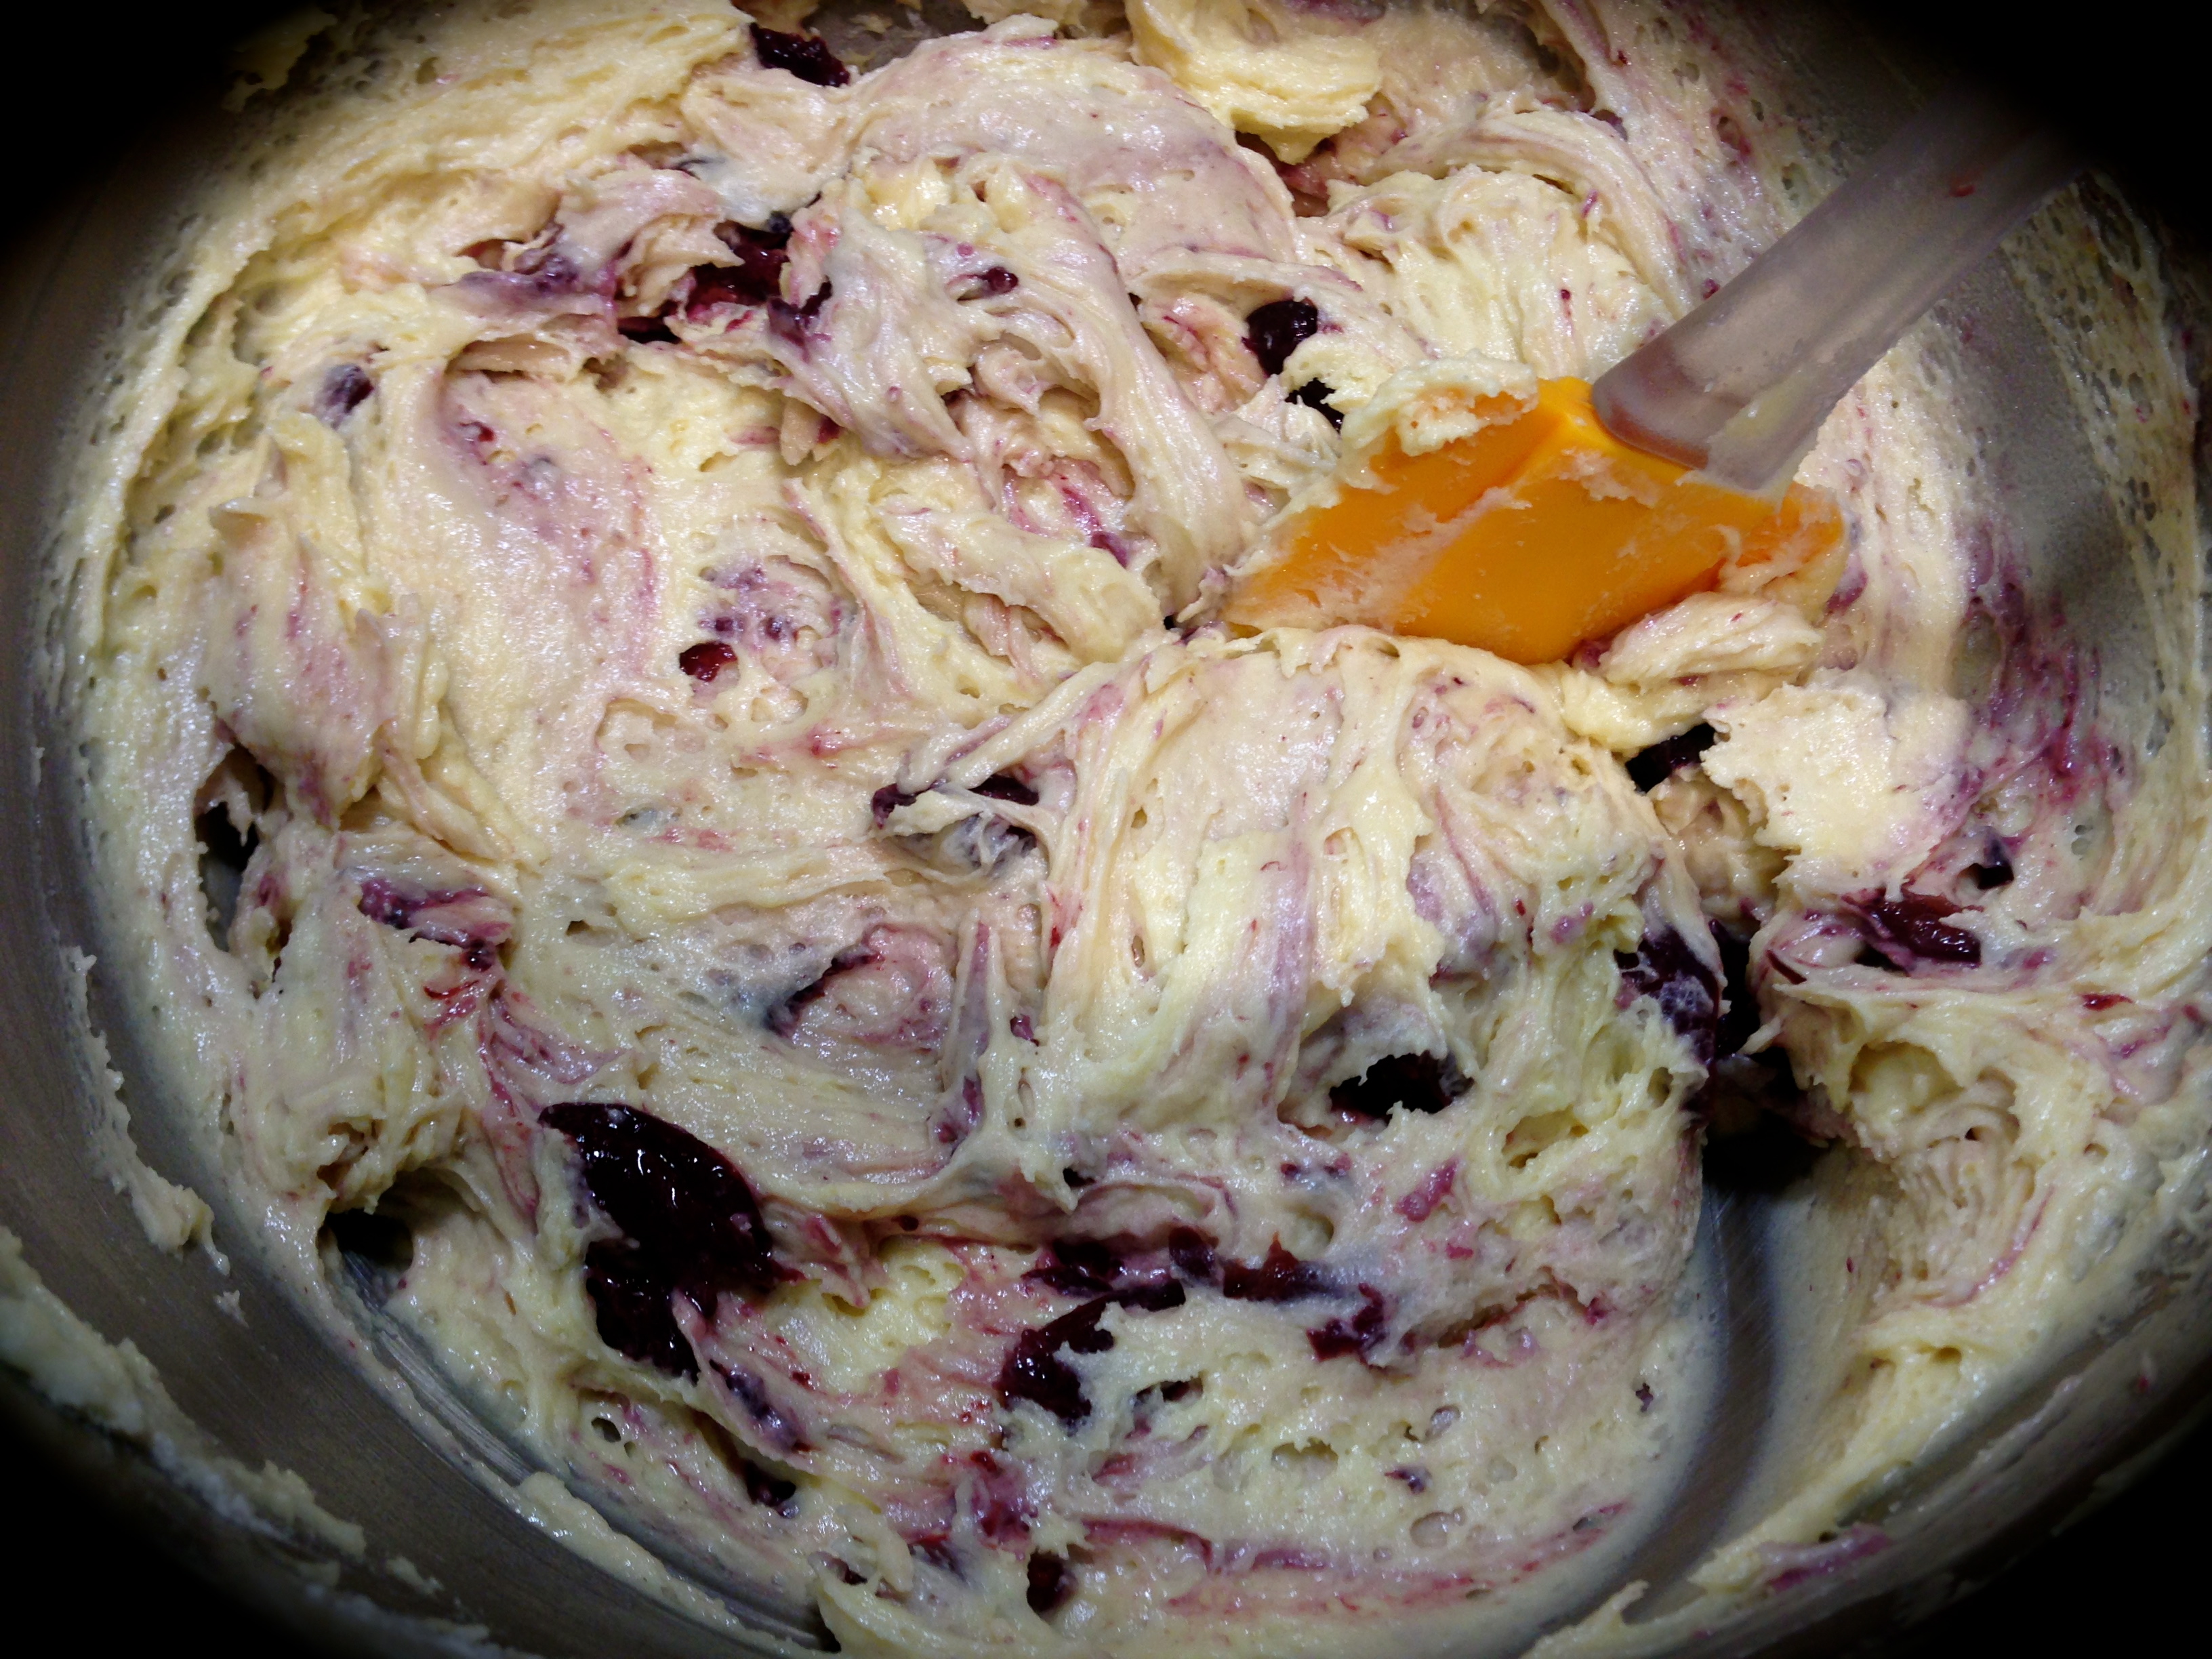
 I would also time the process and not leave it up to your memory. You will actually see the mixture double in size and become more thick when you beat it for that length of time. That’s what you’re looking for. Be careful. Don’t try to shortcut this part of the process. If you do you will be left with a somewhat flat coffee cake.


 INGREDIENTS:


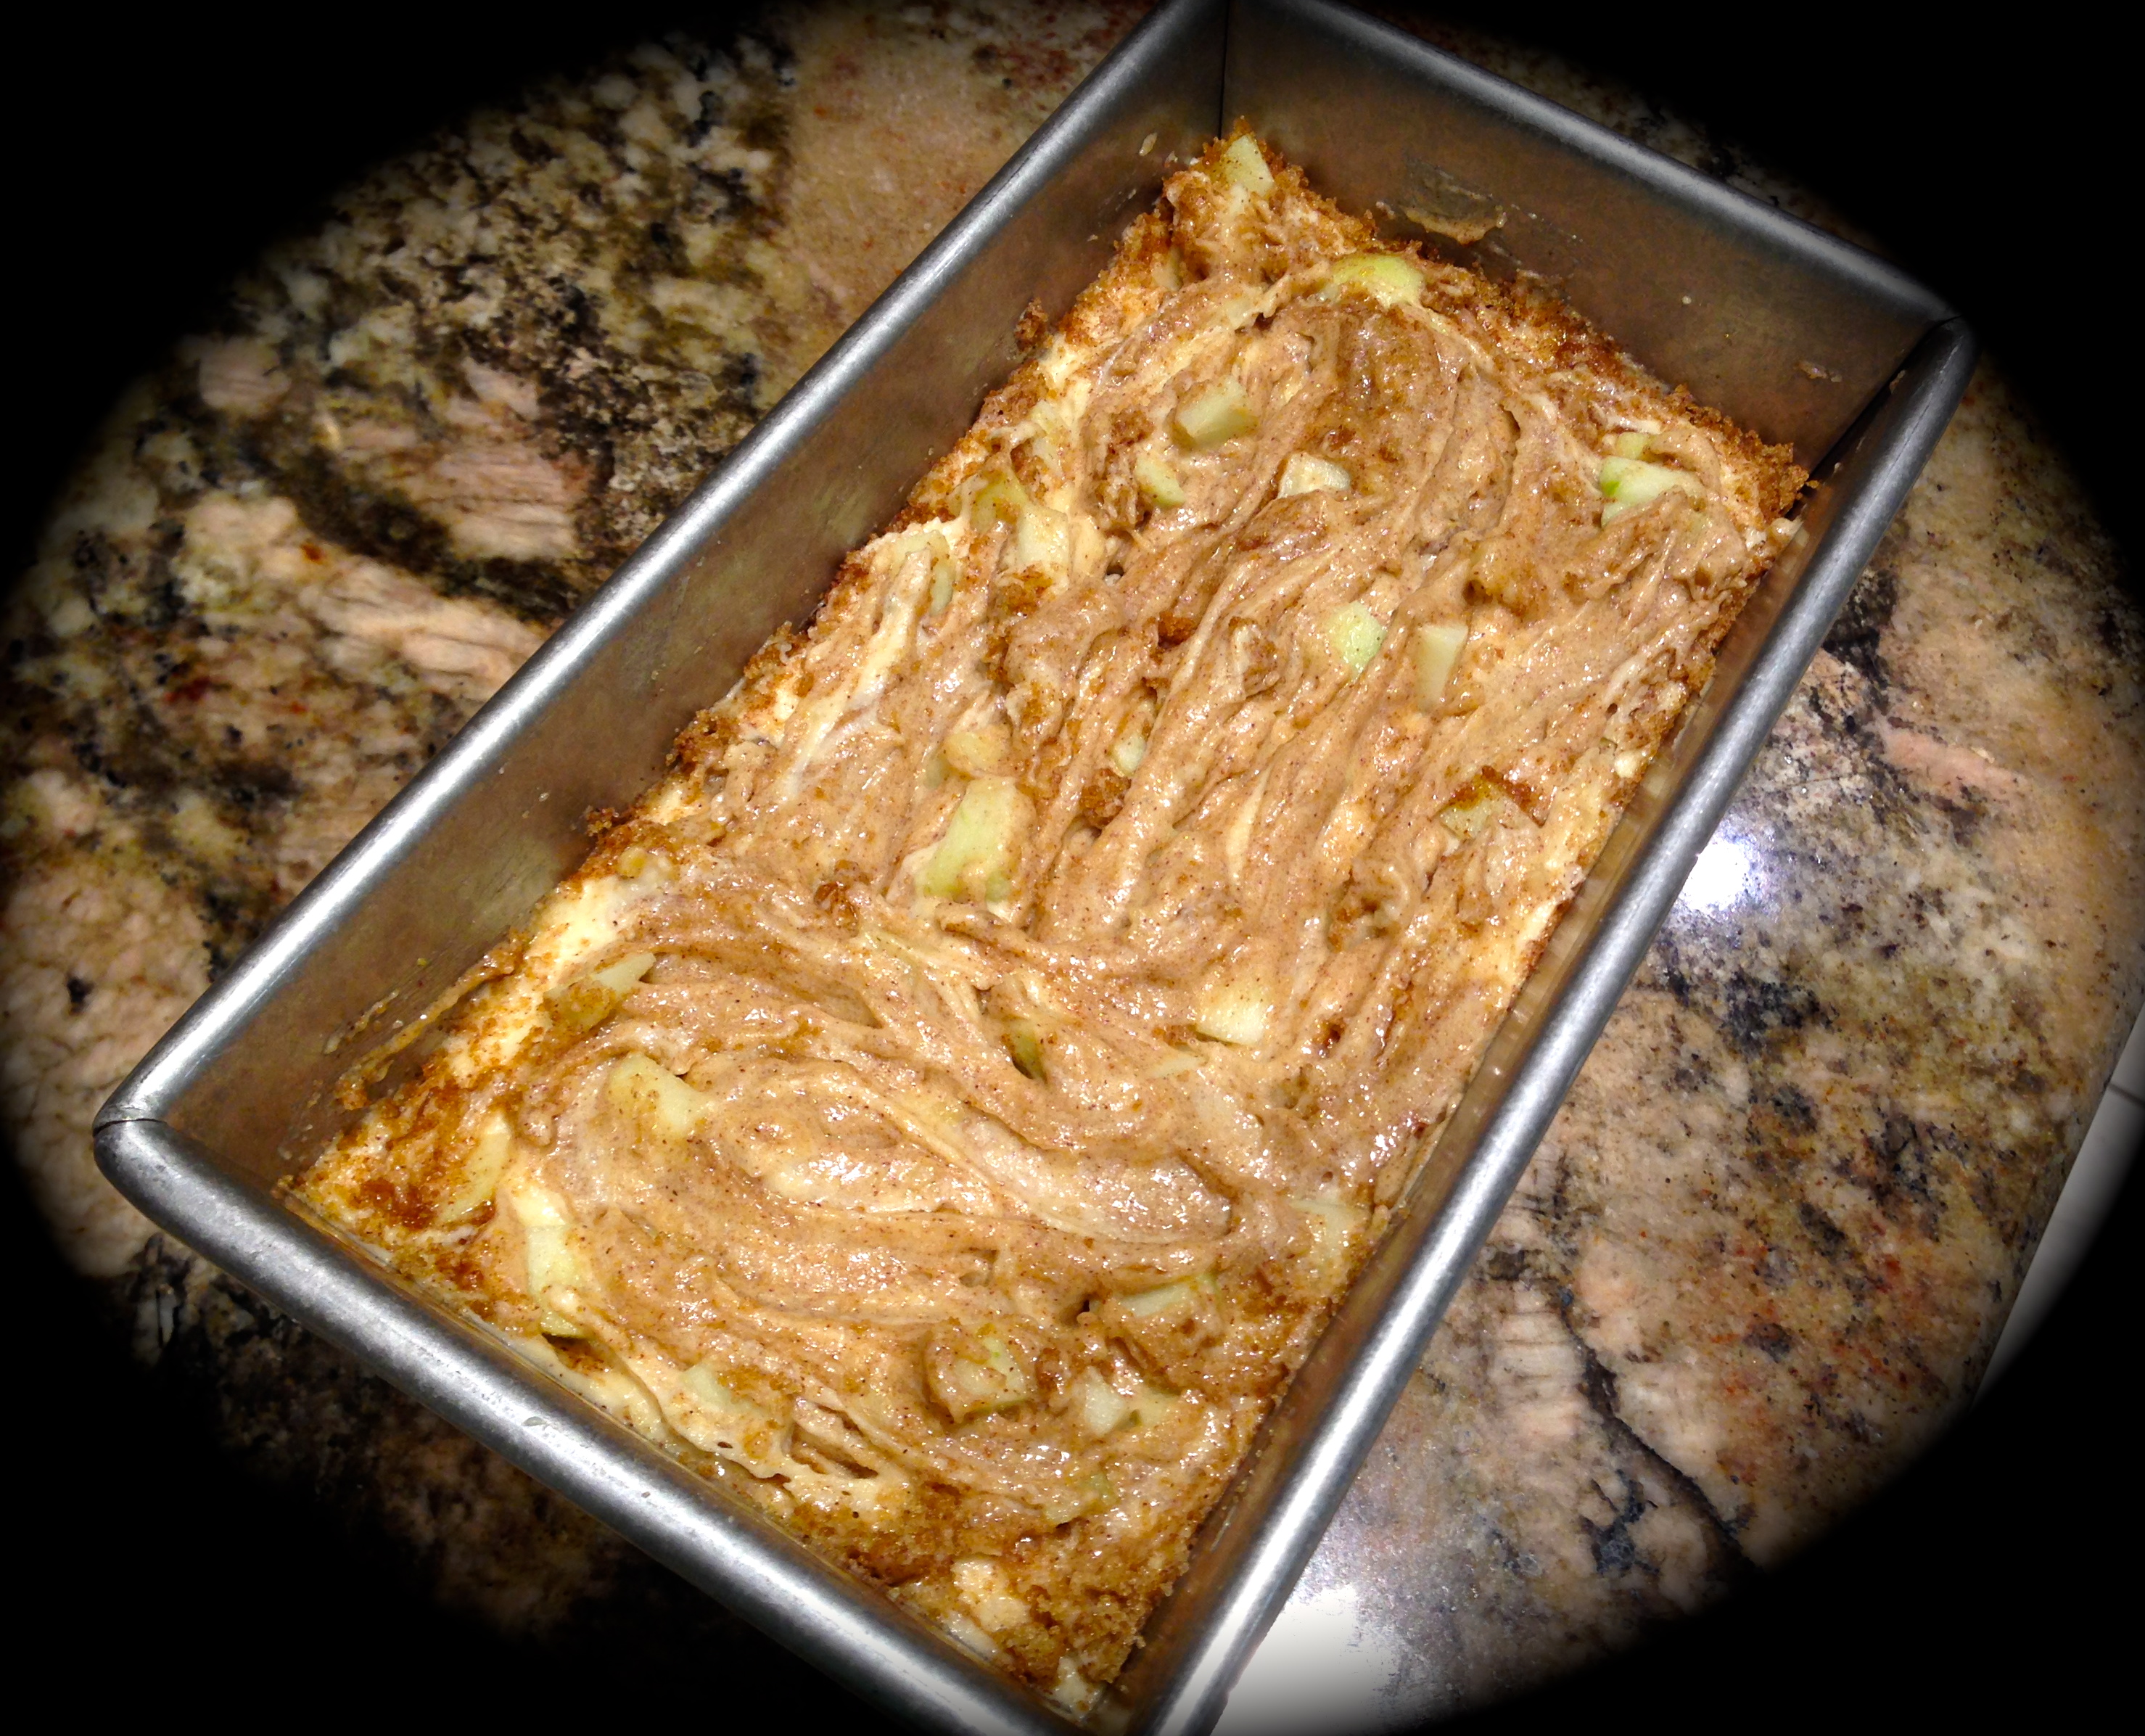
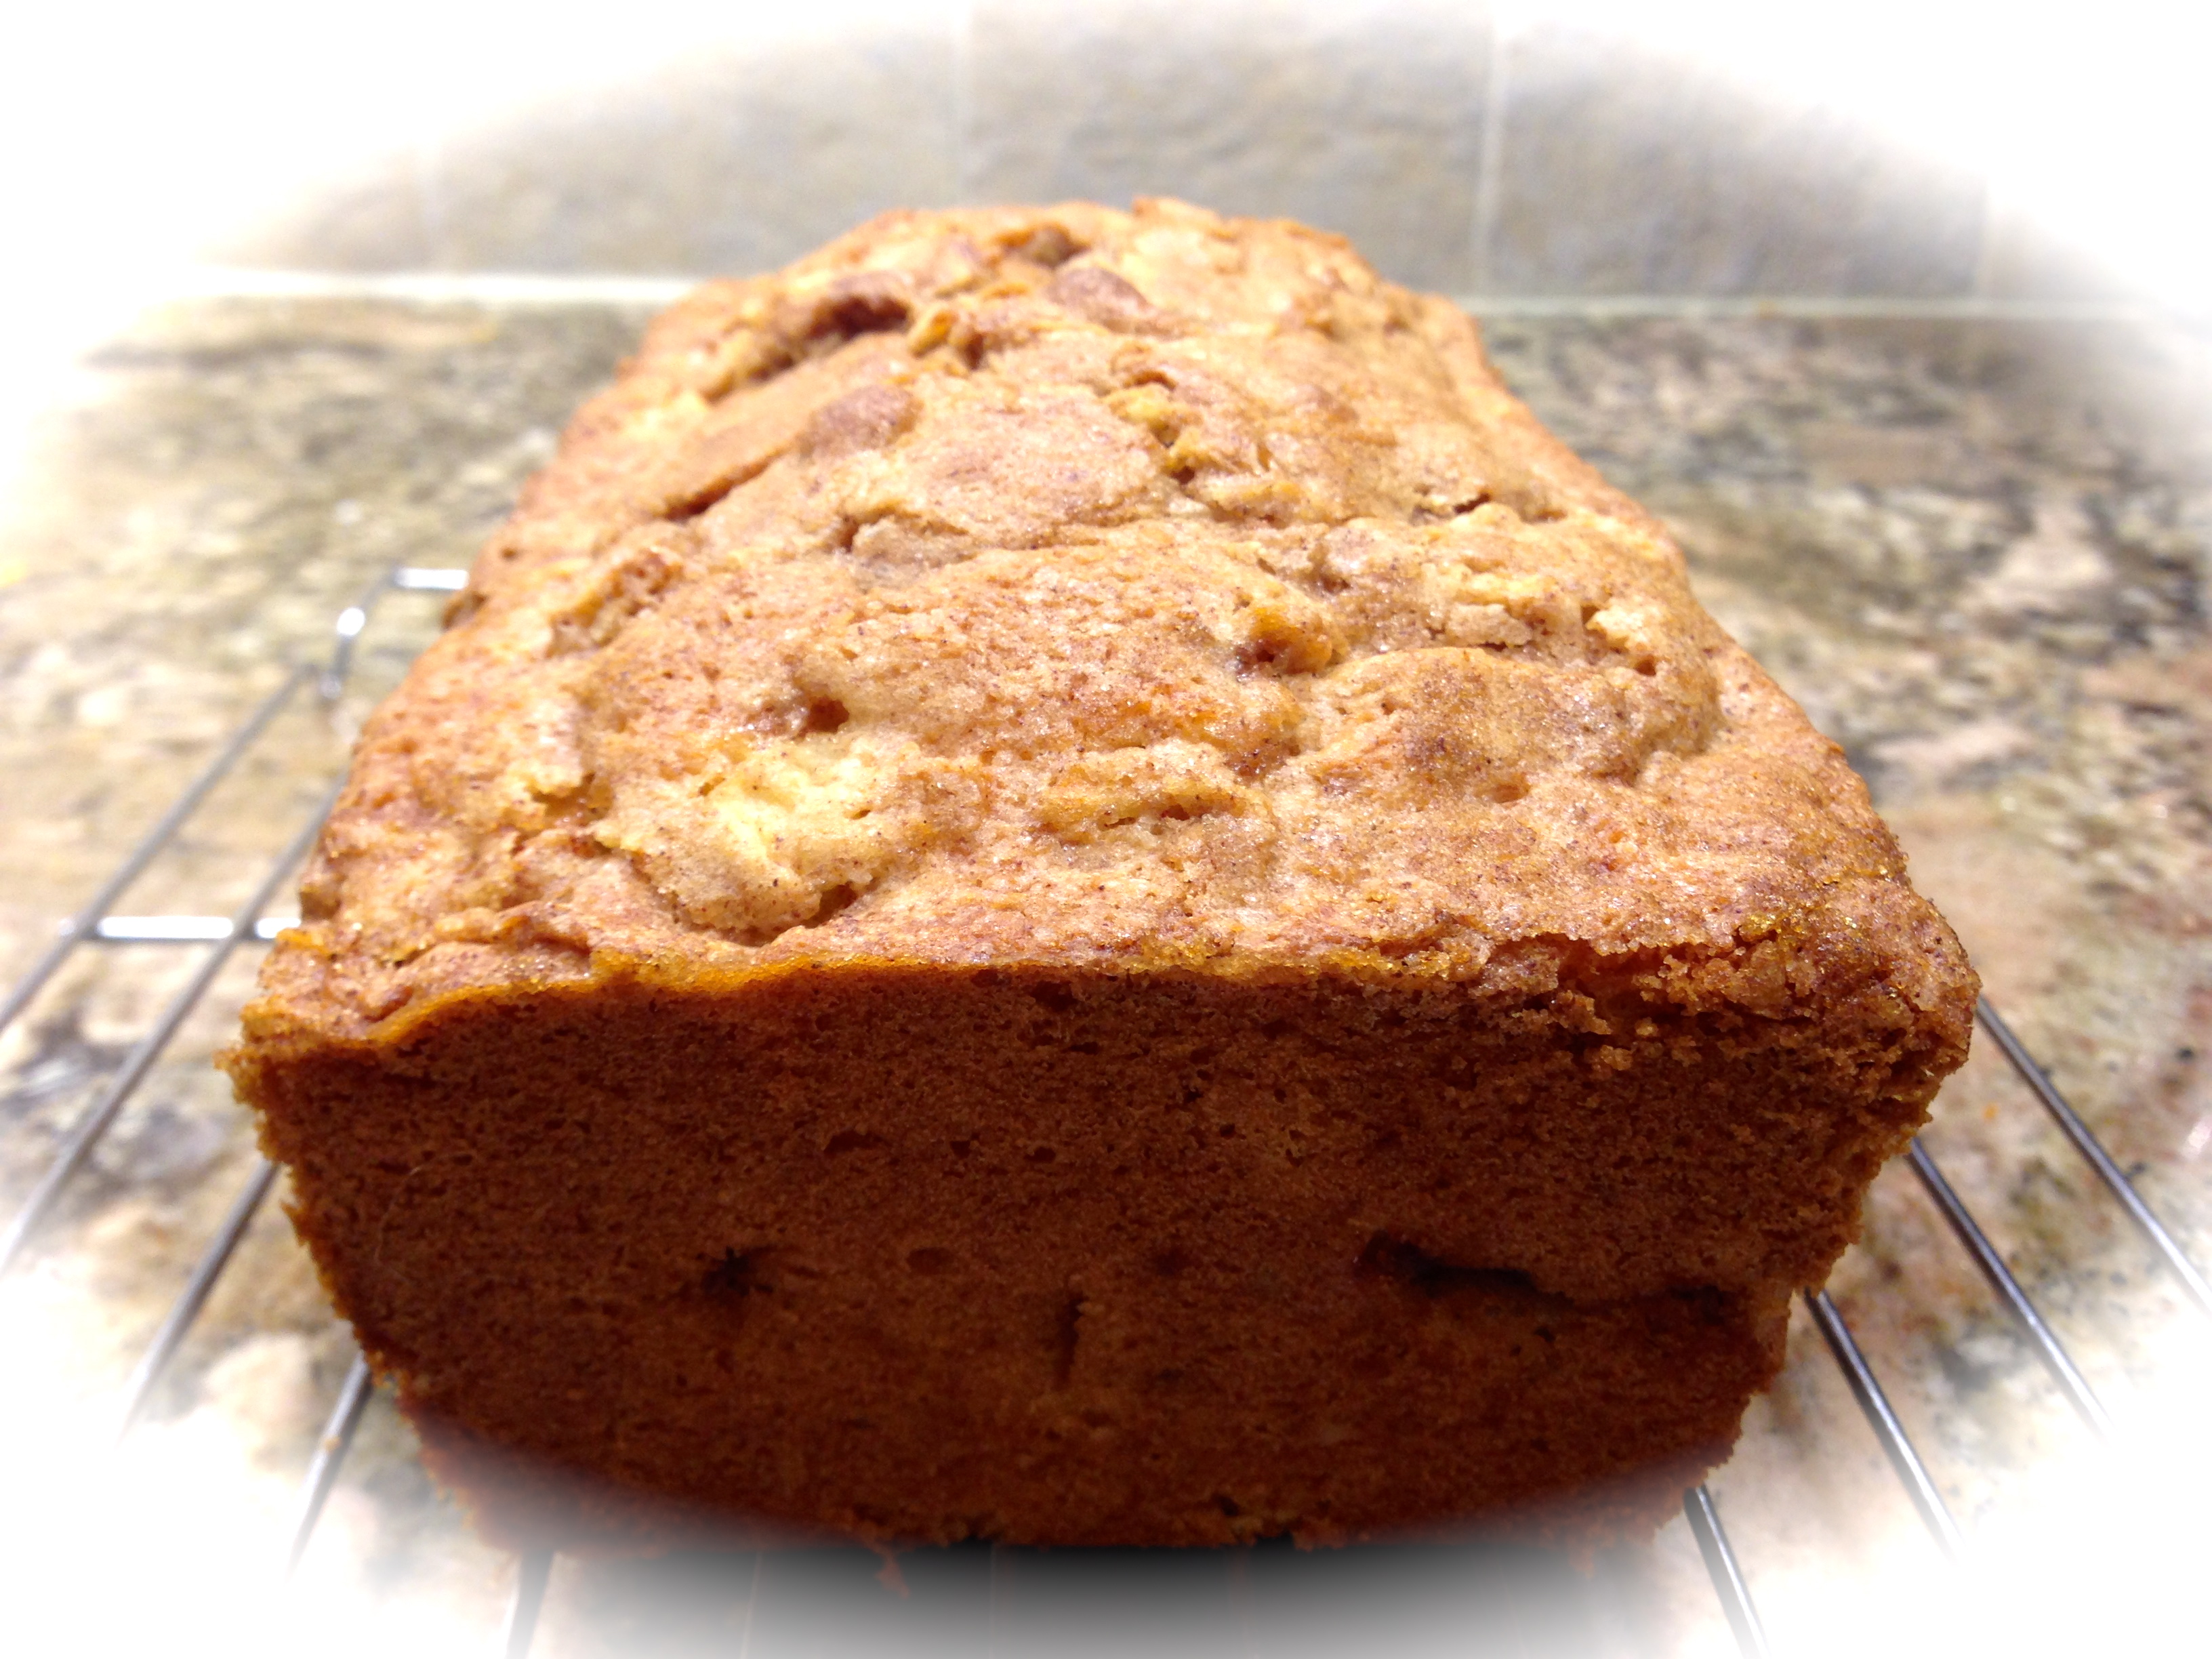
 Lesson Learned 1: Make sure your bananas are really ripe: and by really ripe I mean the peels are really dark, dark brown as in the picture to the right. You don’t want a lot of yellow on your banana skins and you definitely don’t want any green. Most of the time the bananas you buy in the store are under ripe, mainly green and yellow. Those bananas have not reached their full peak of flavor. The skins need to look pretty dark. As the banana ripens it releases more sugar and becomes more flavorful. And as they ripen the skins turn darker. If you want the best tasting cake you need to use bananas with dark skins.


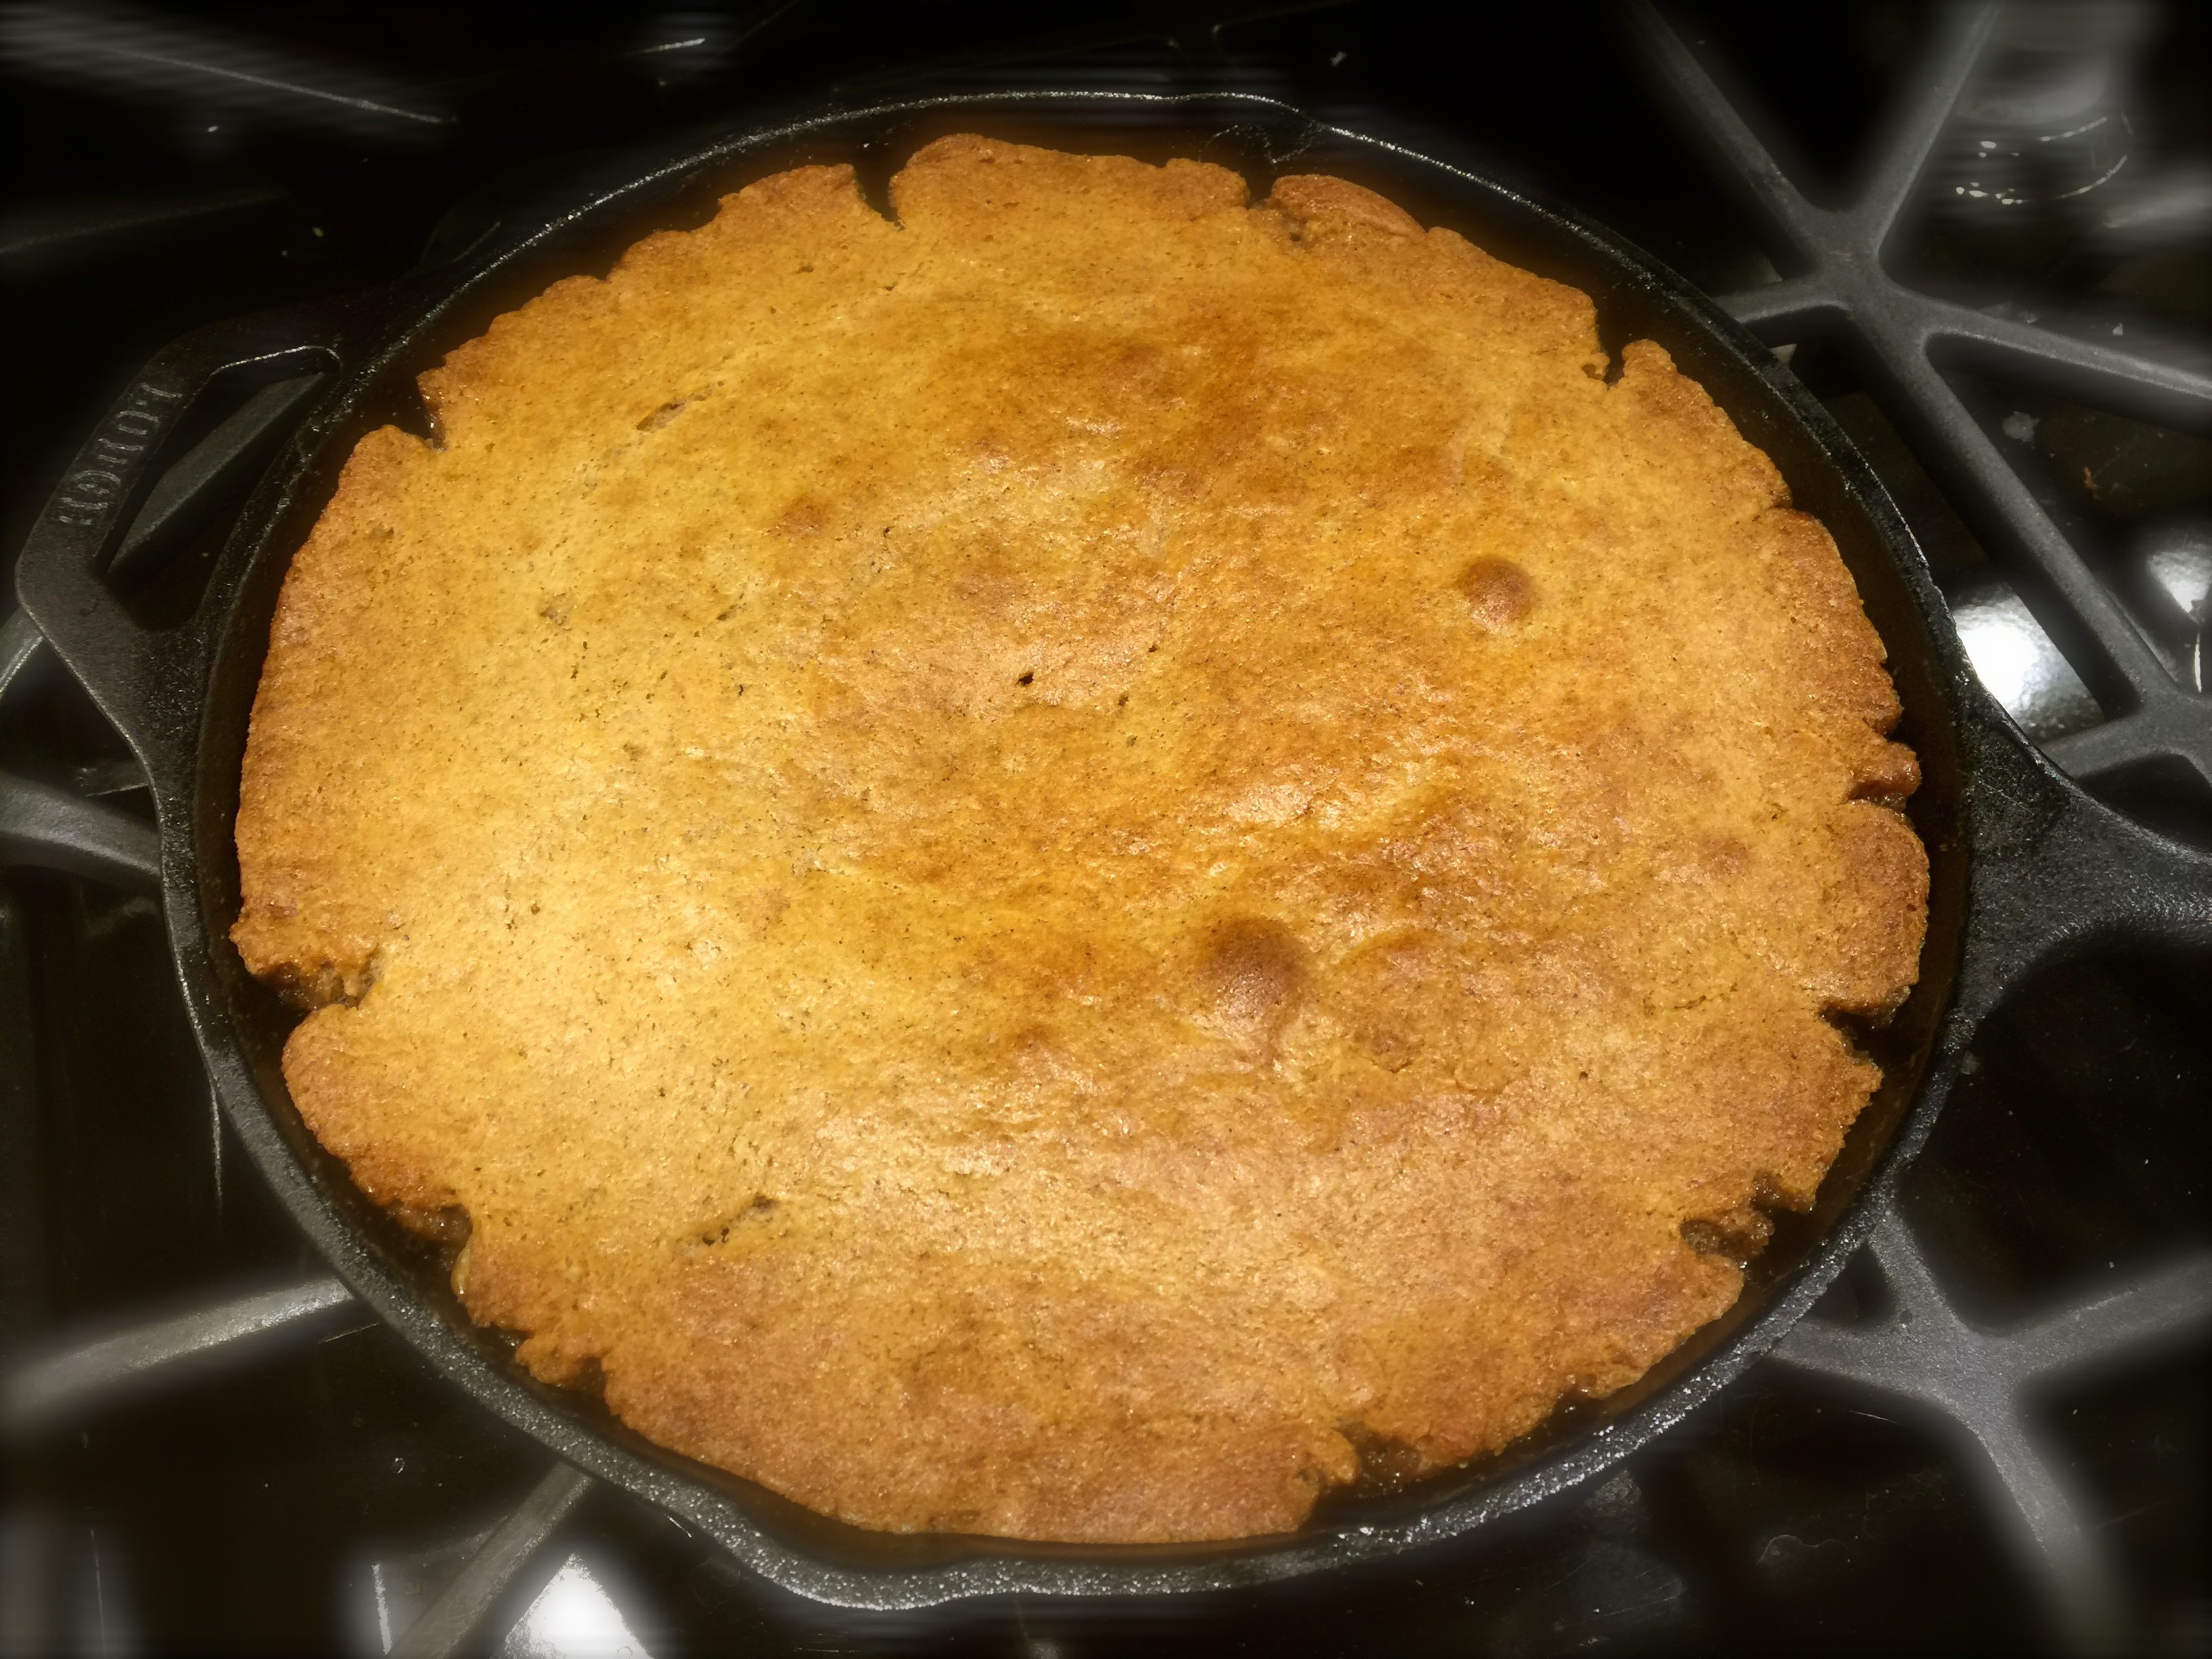
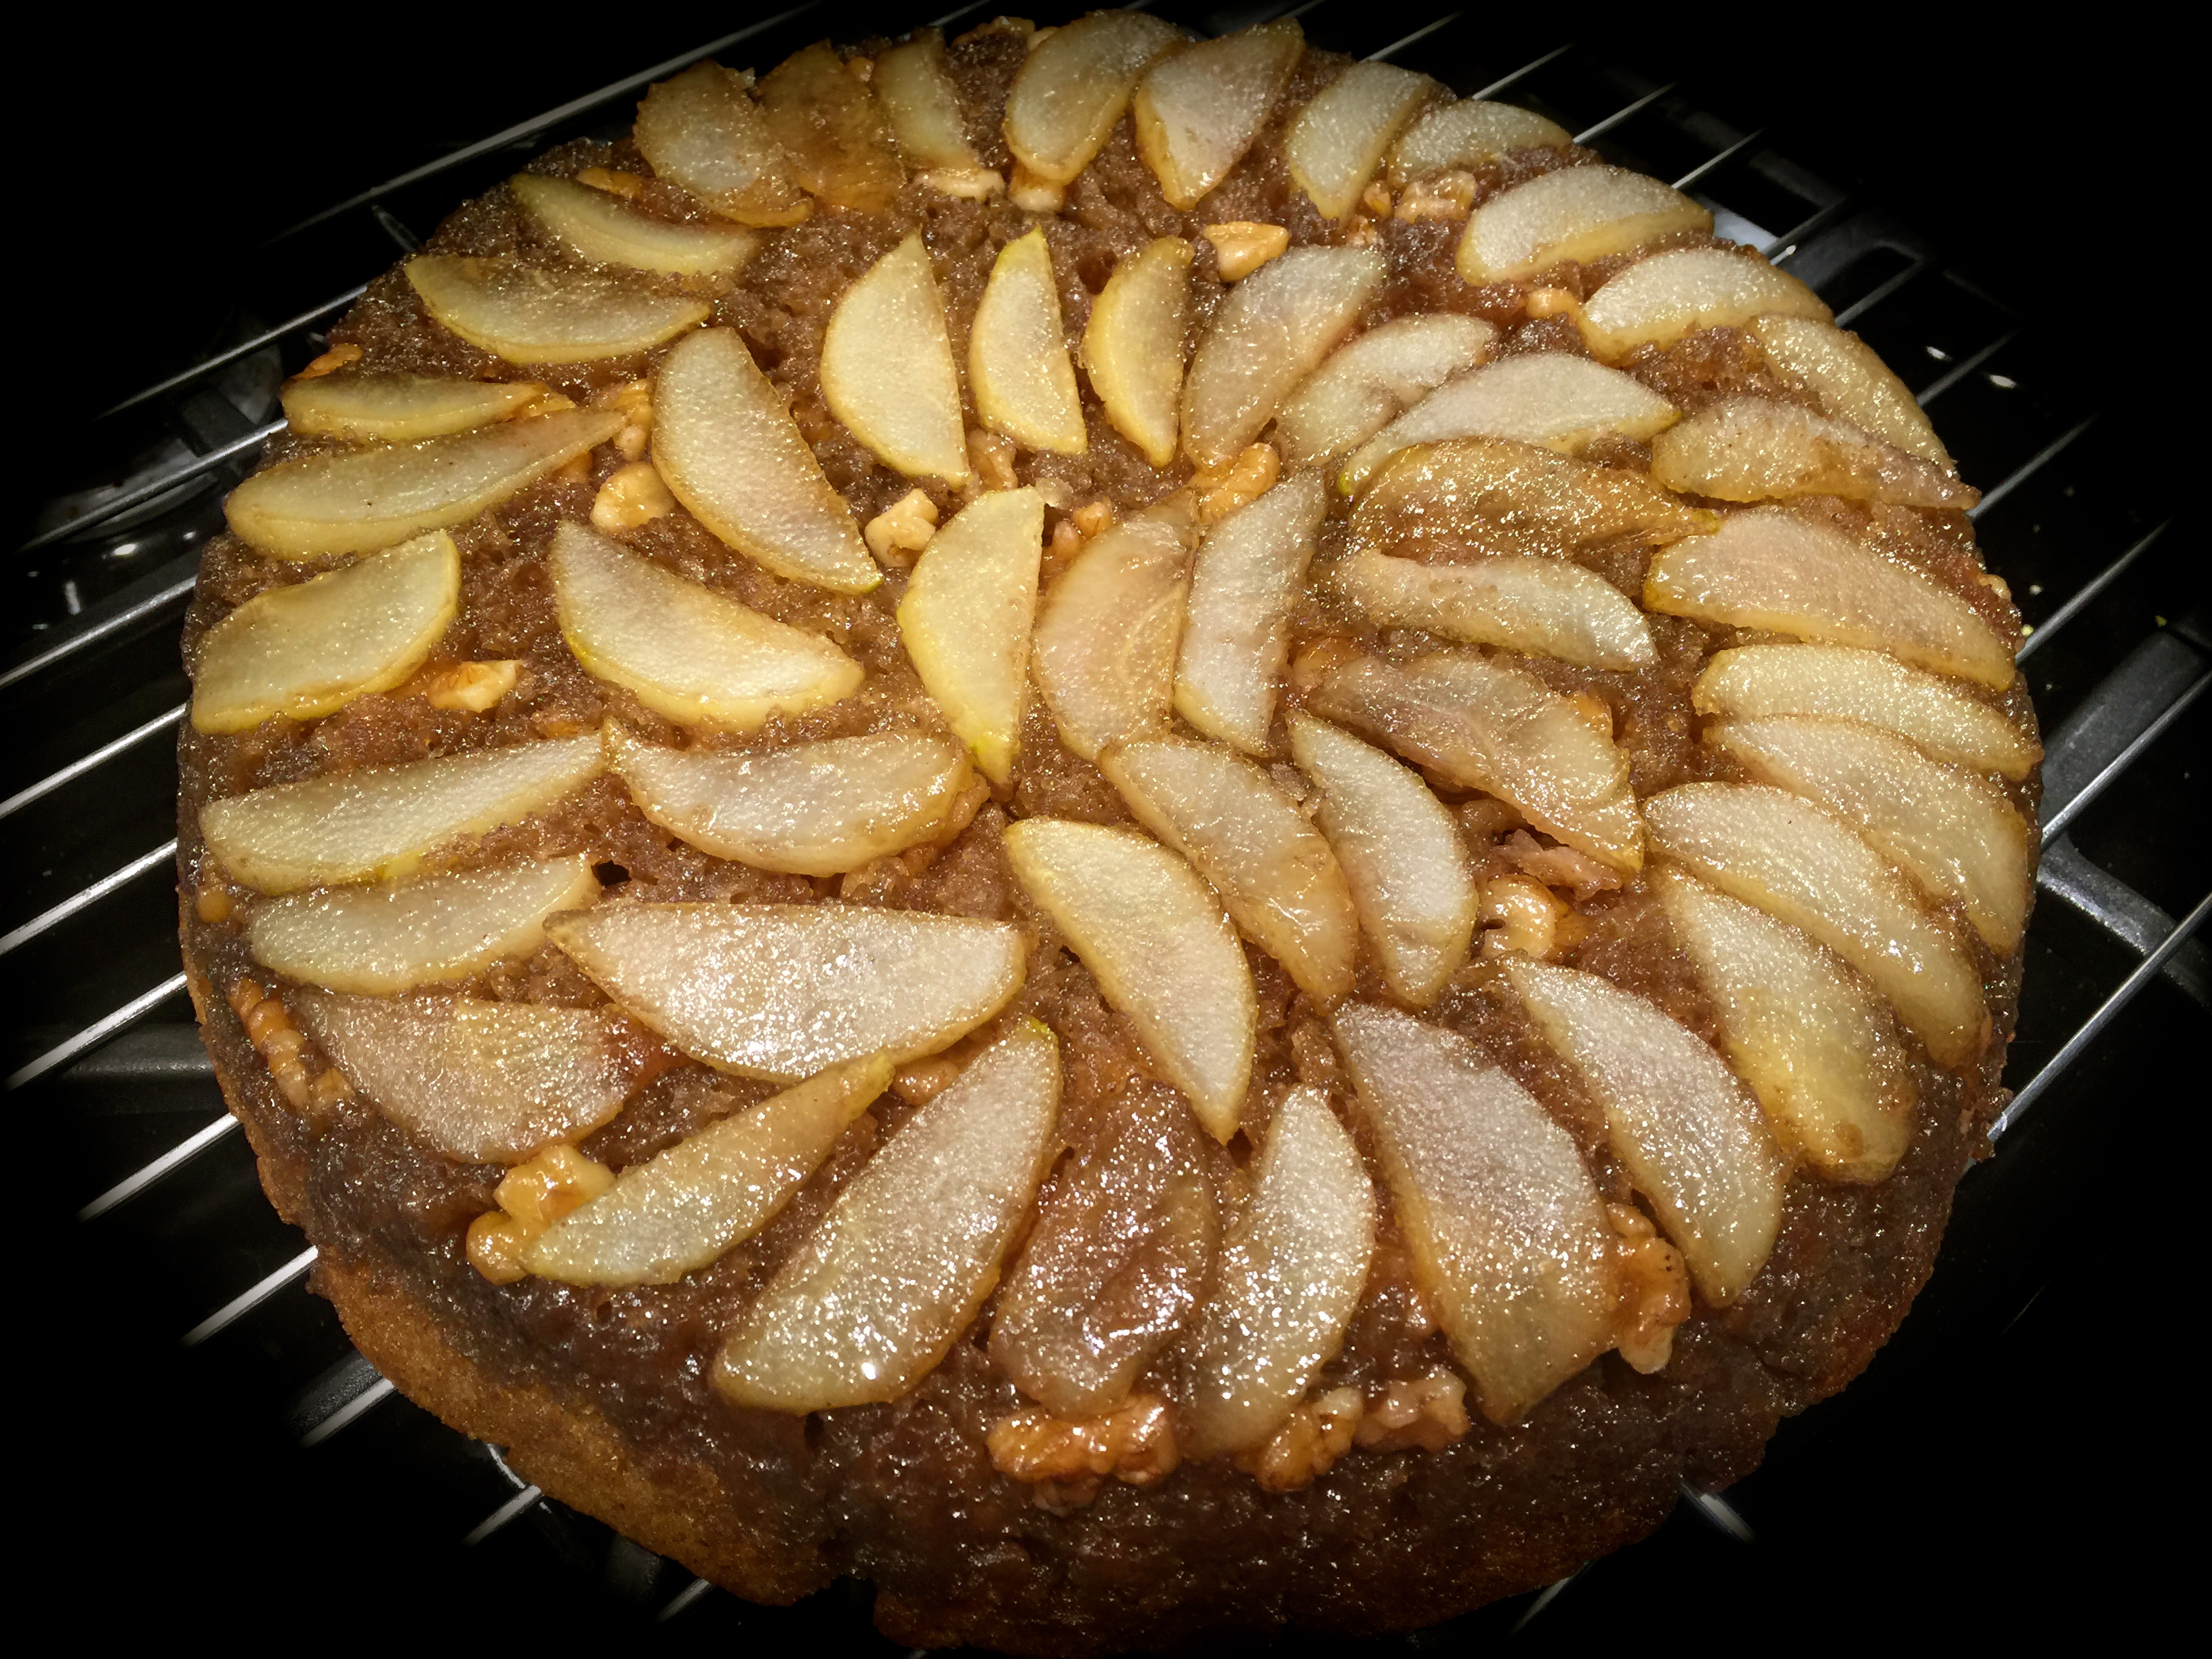
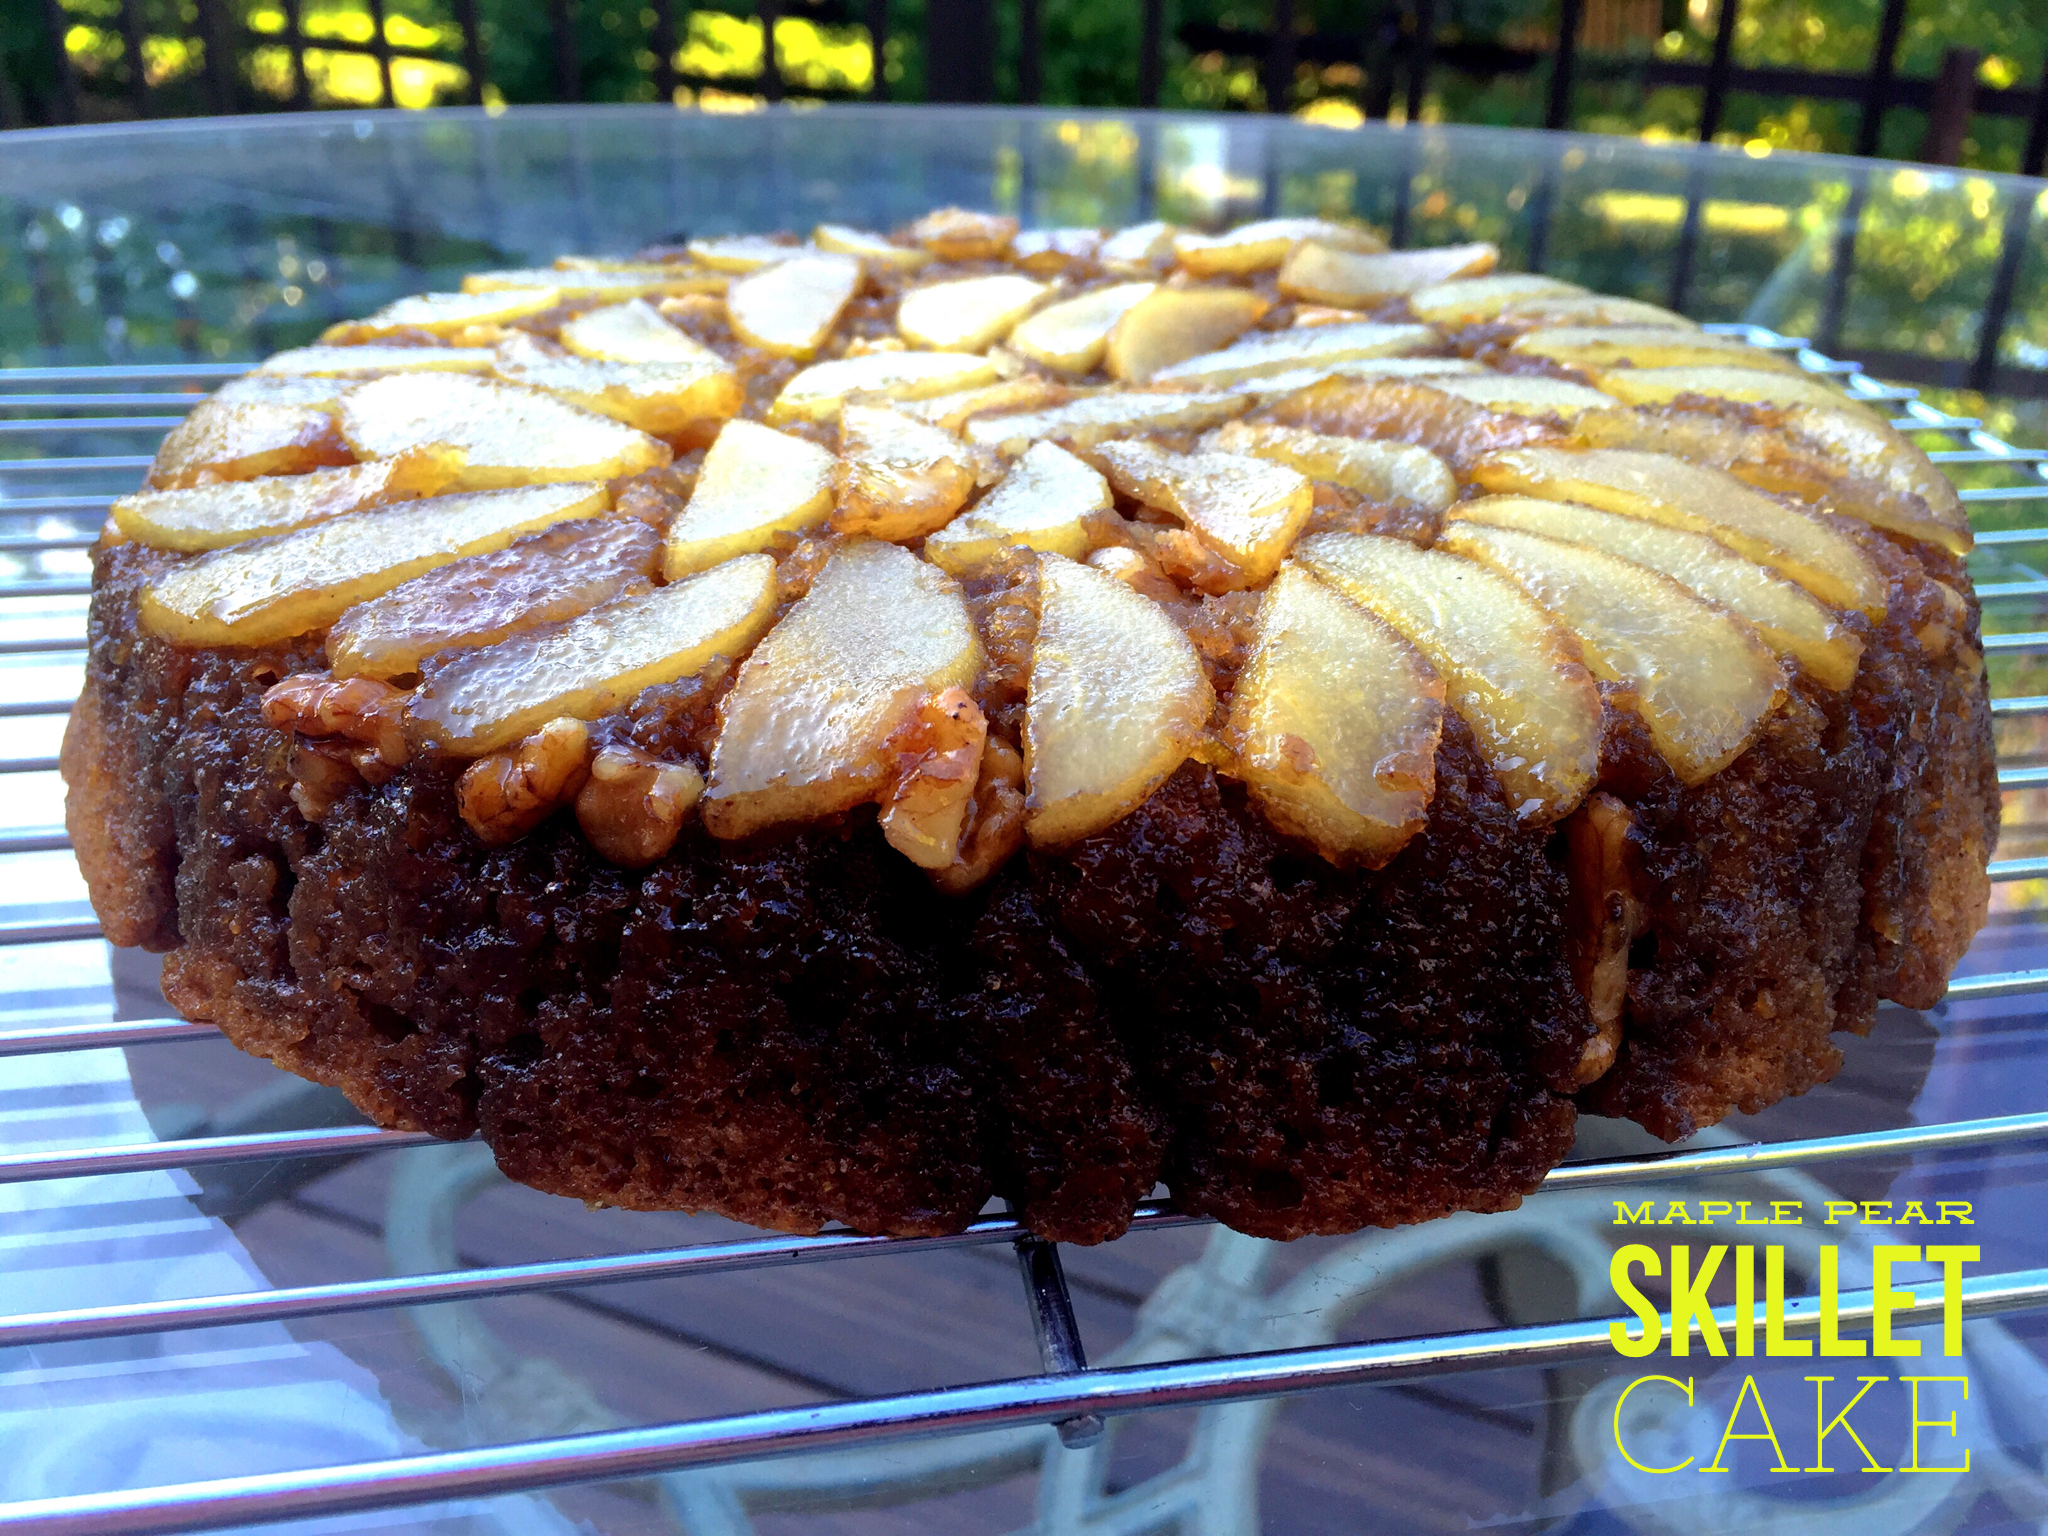


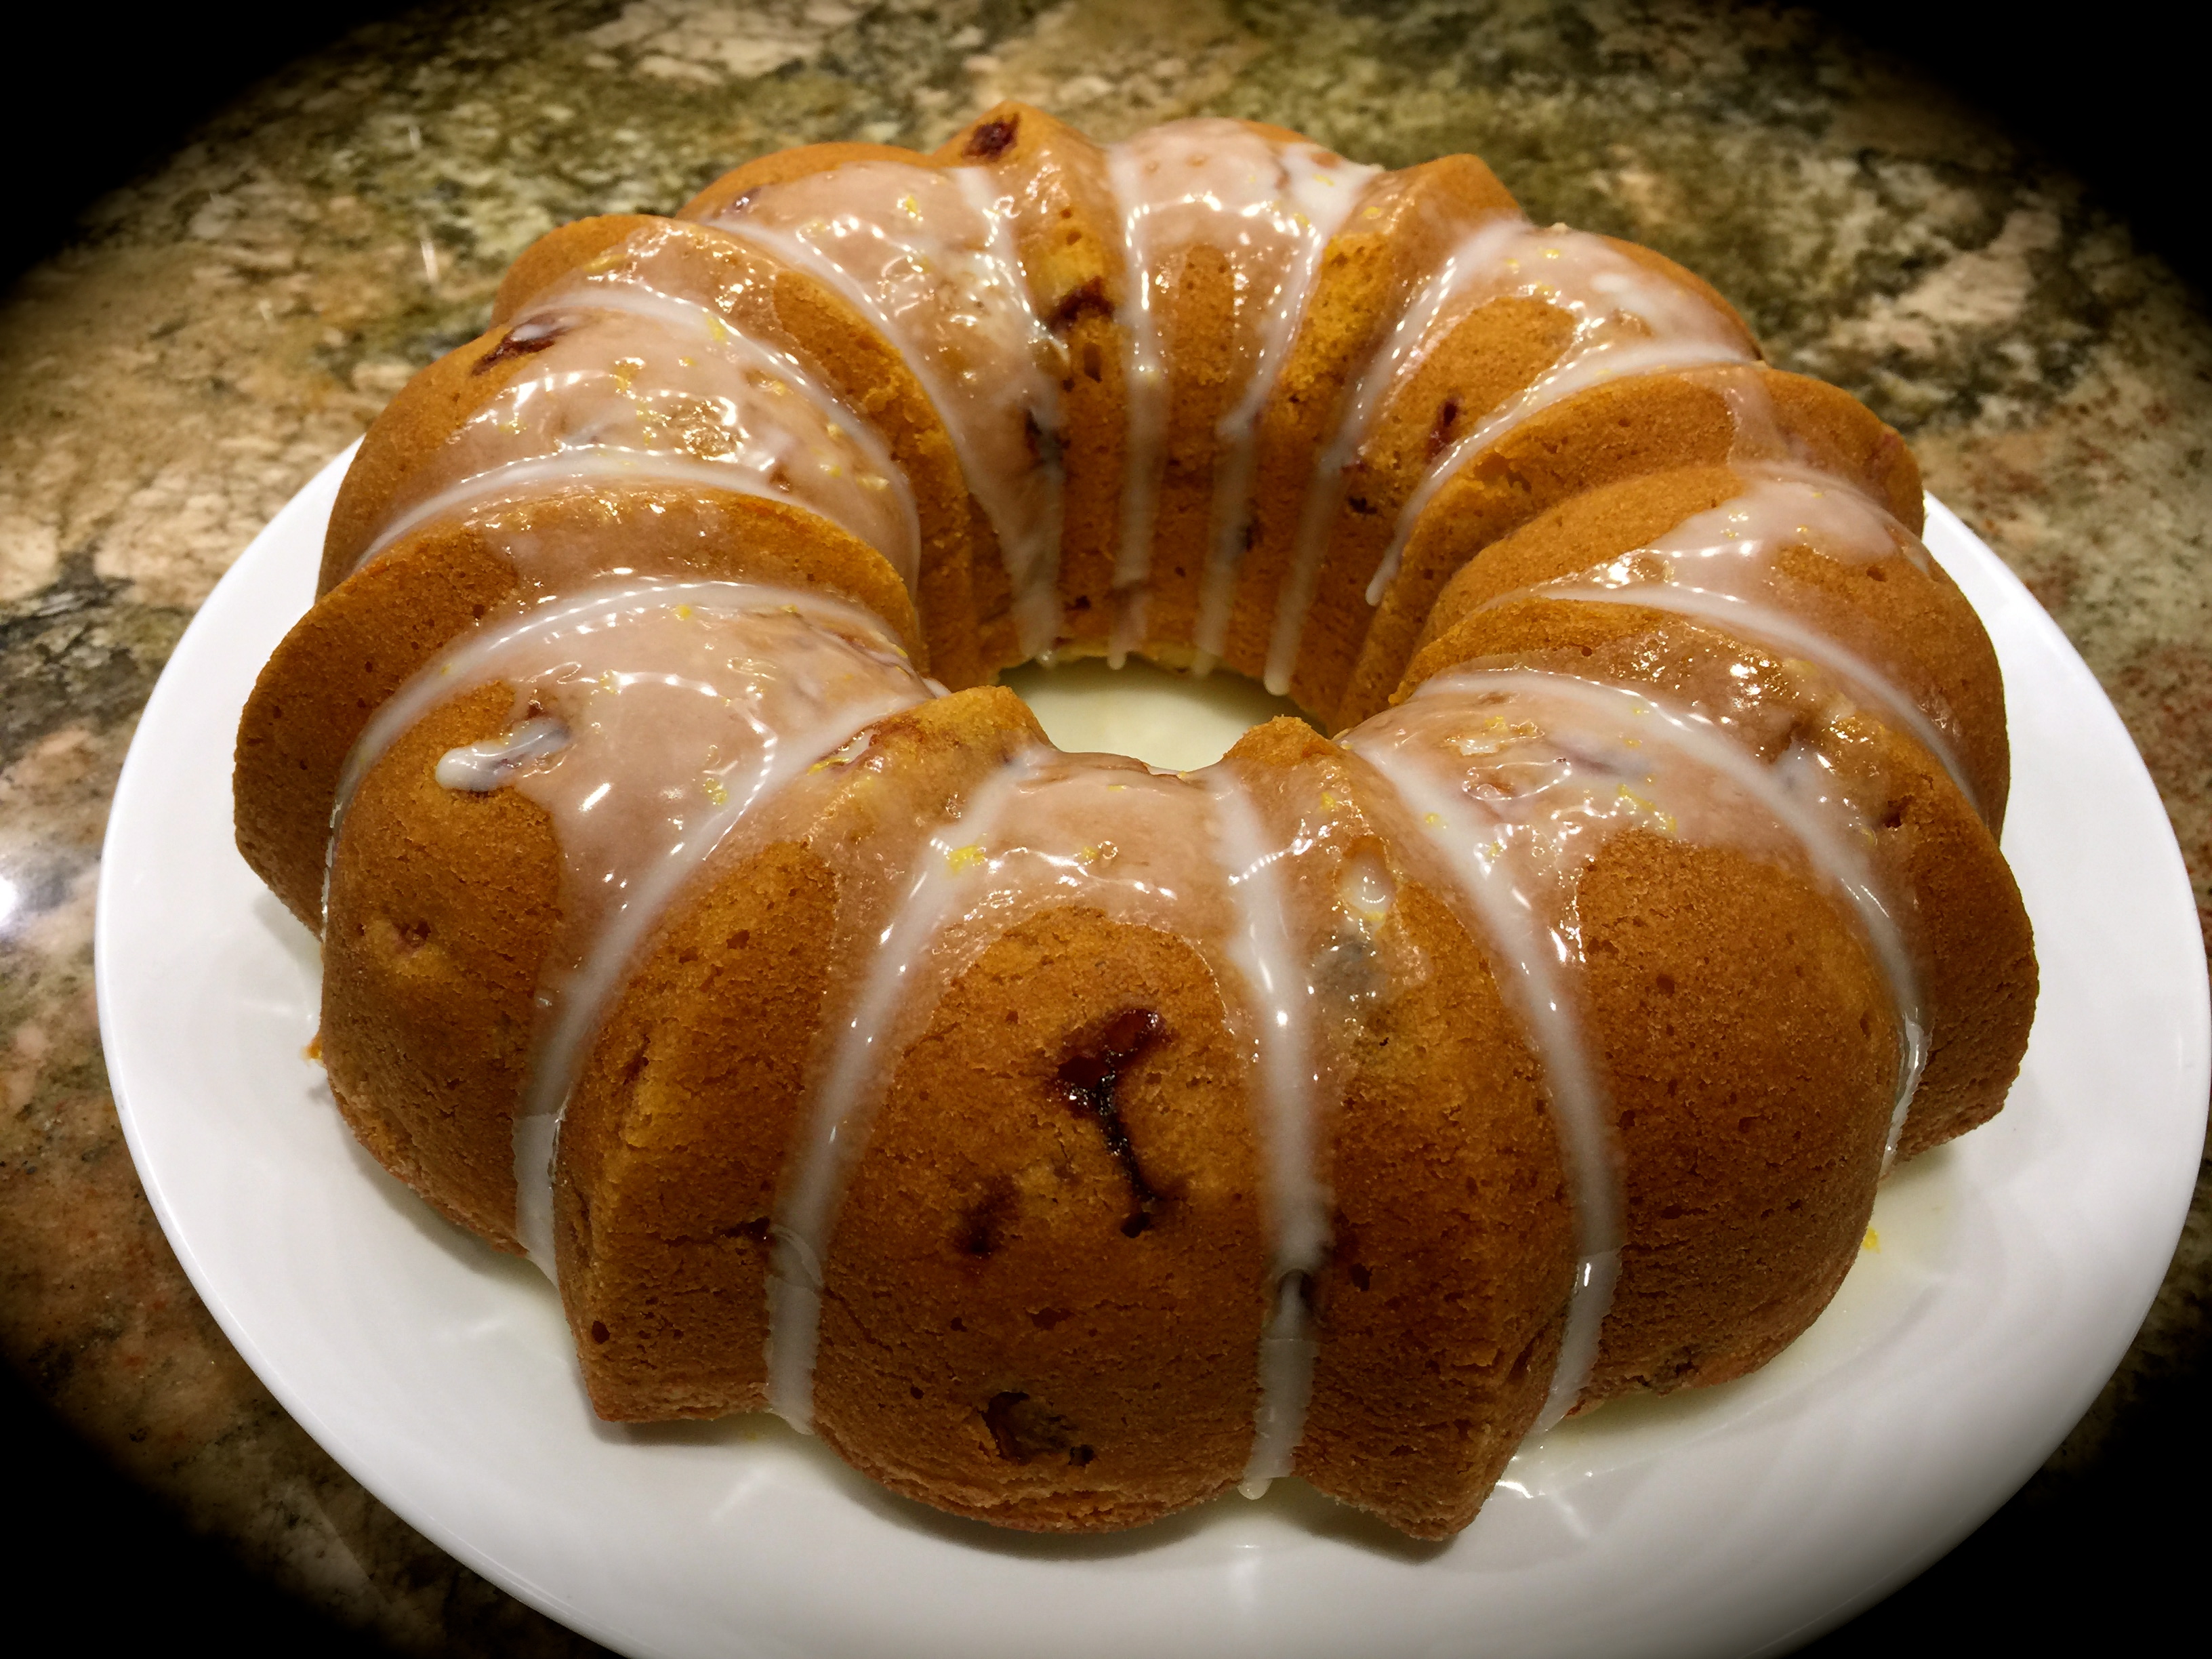
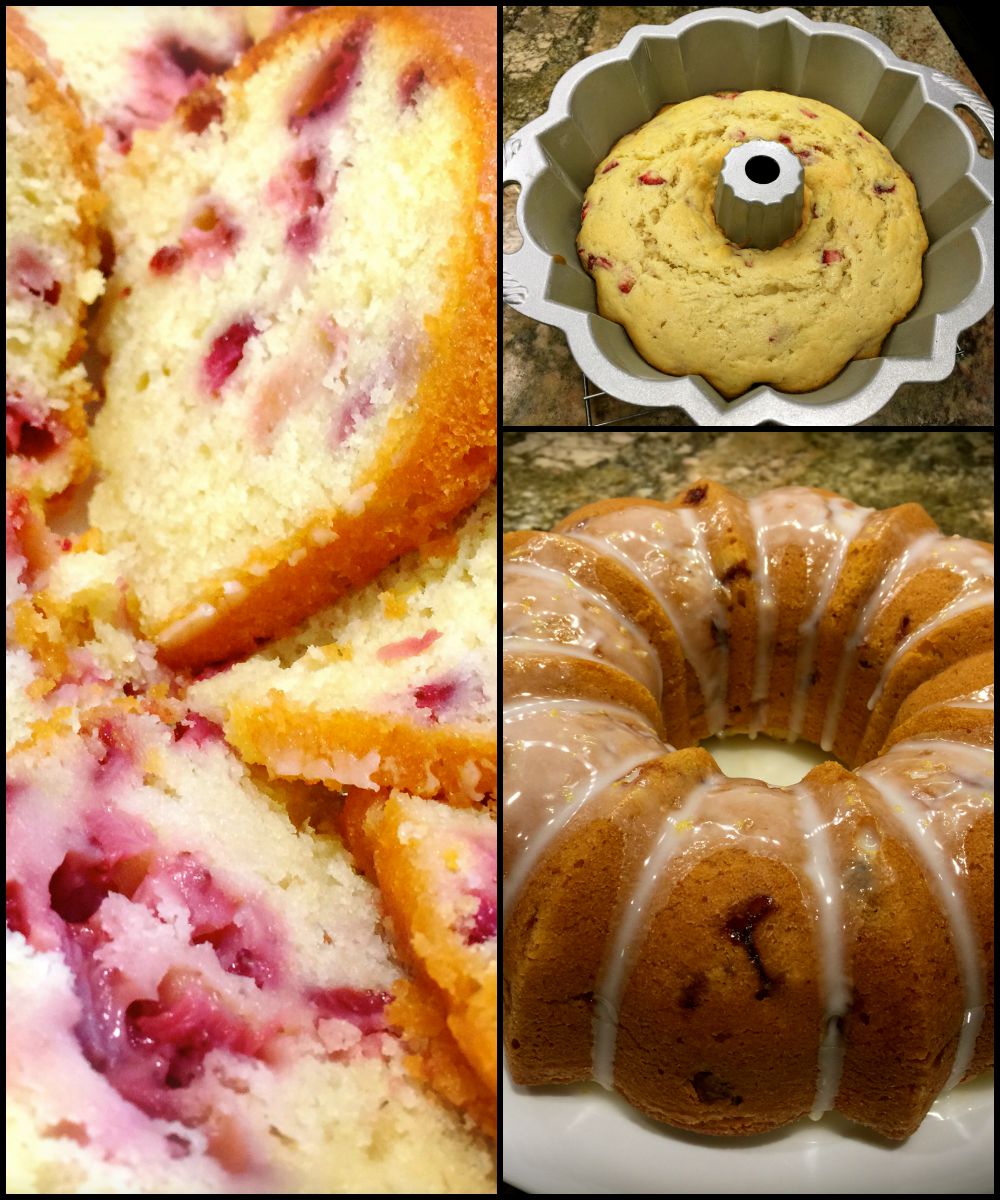


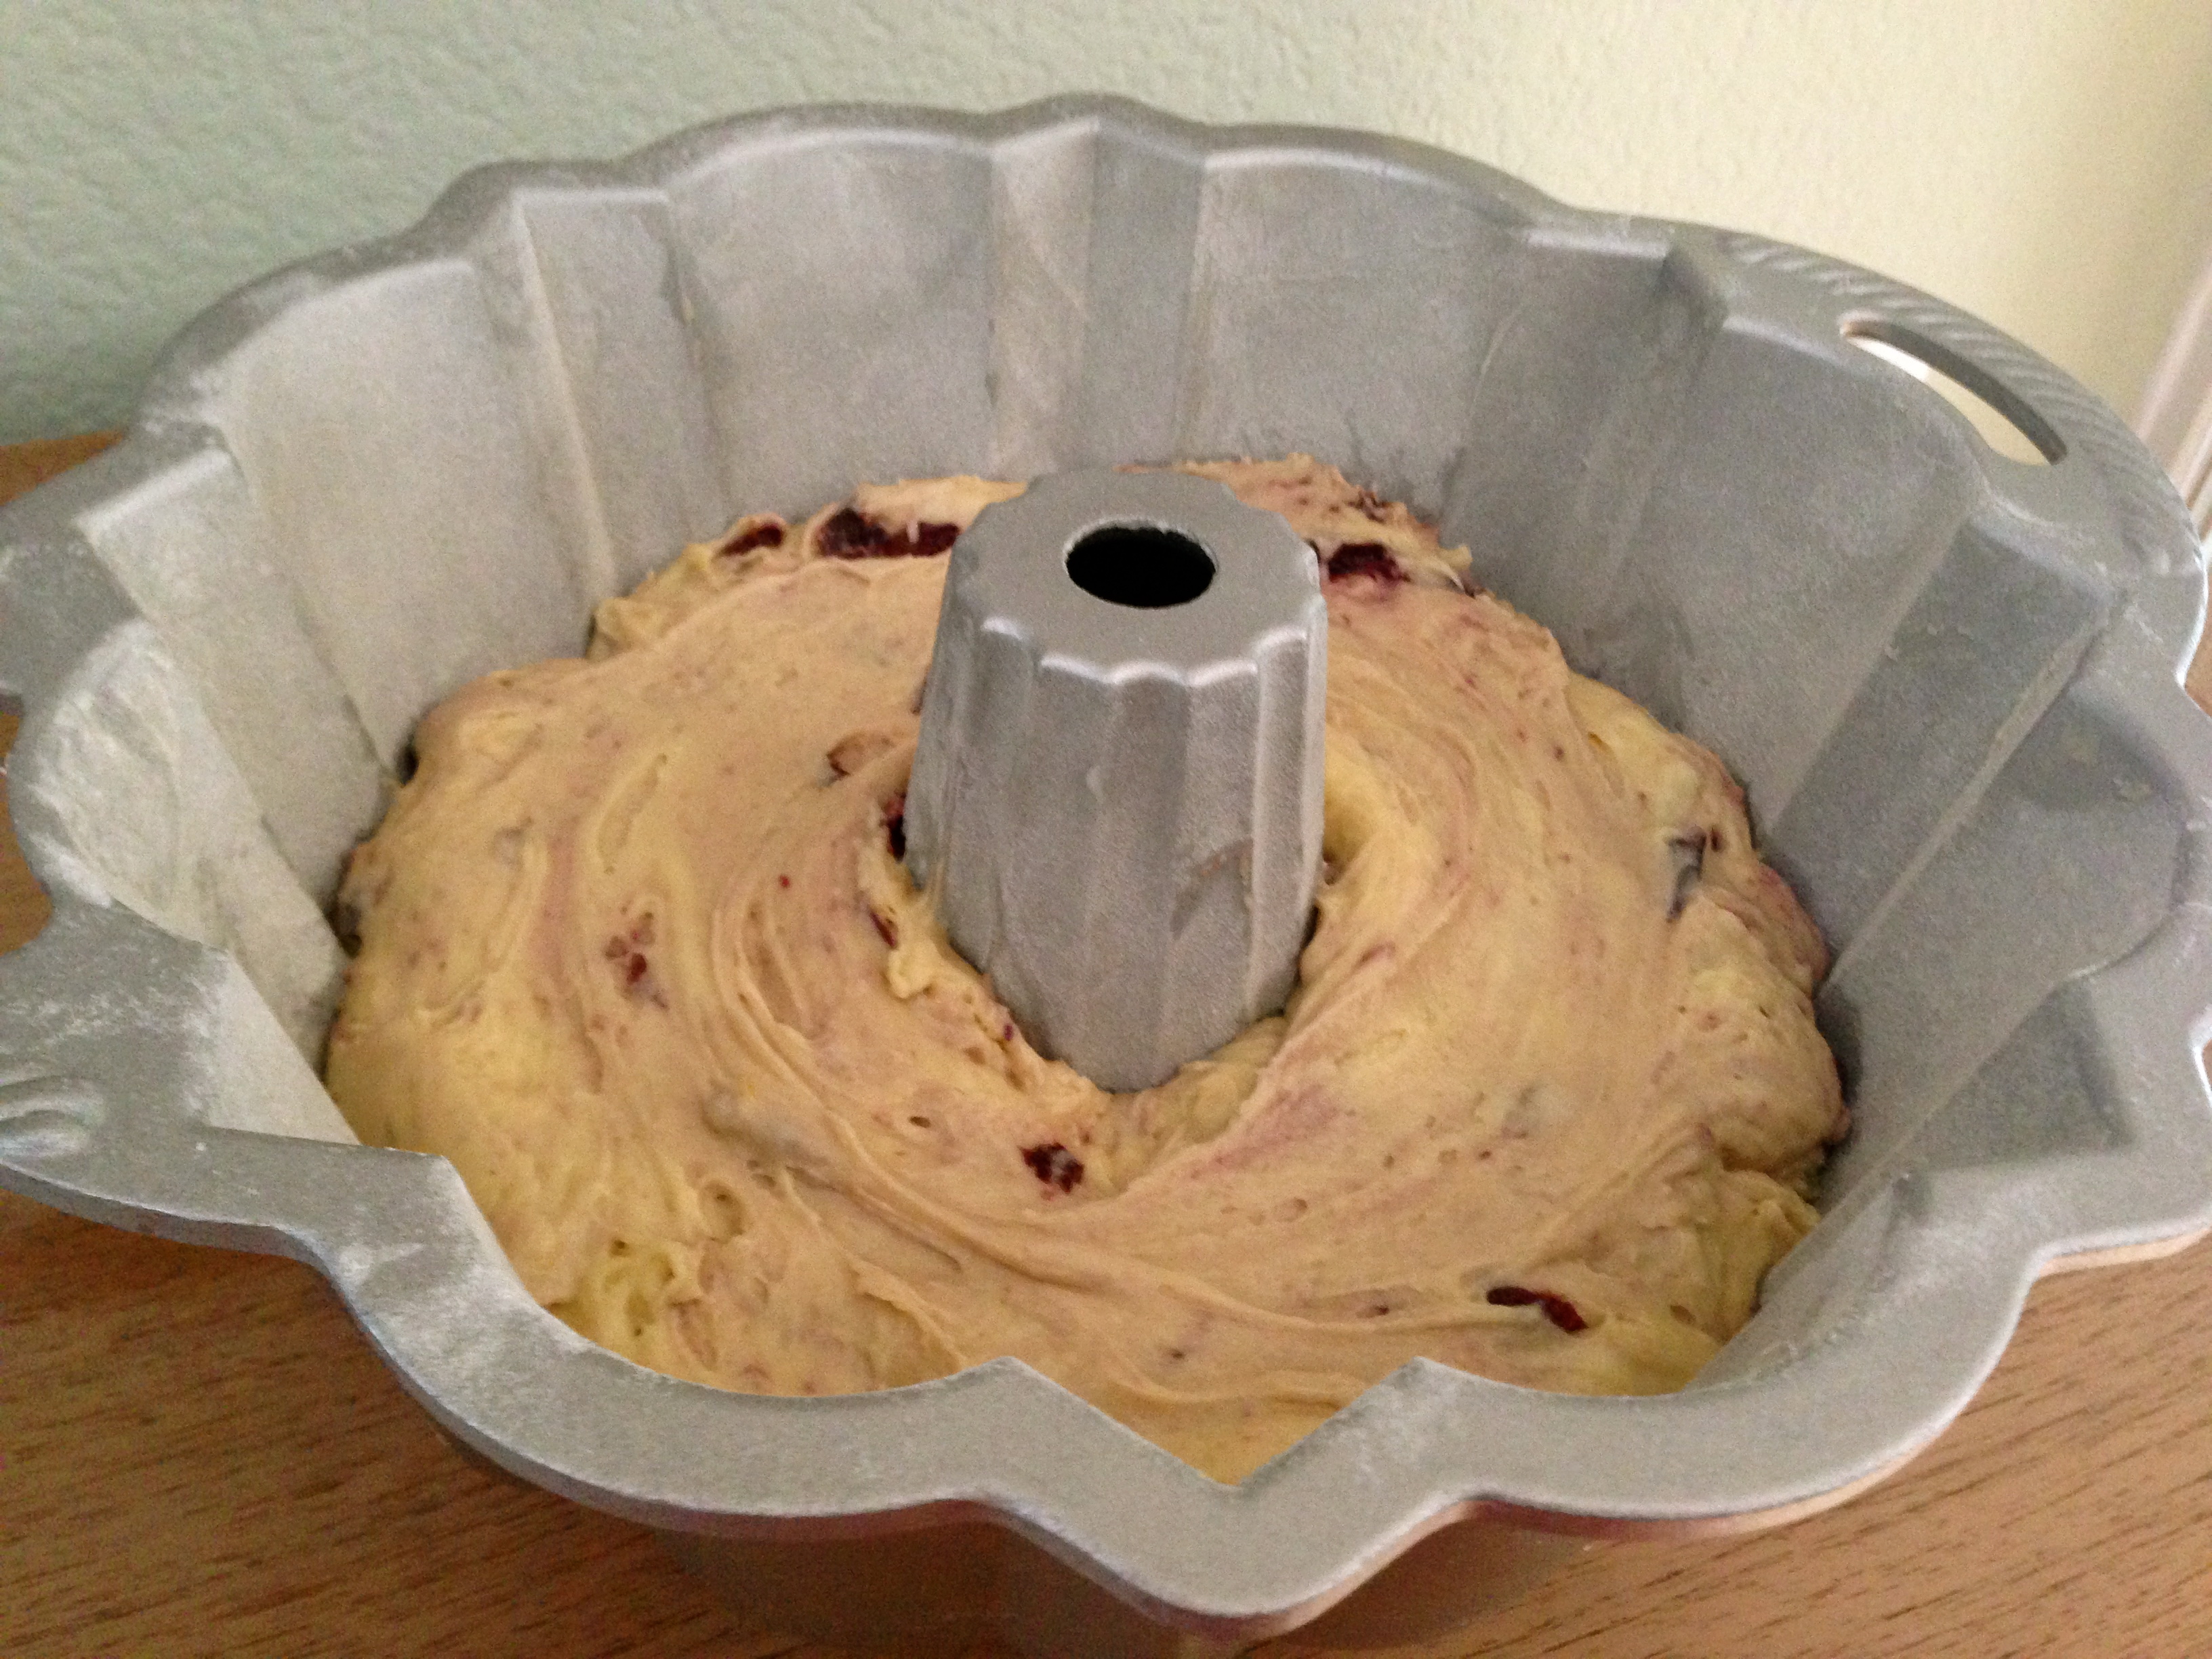
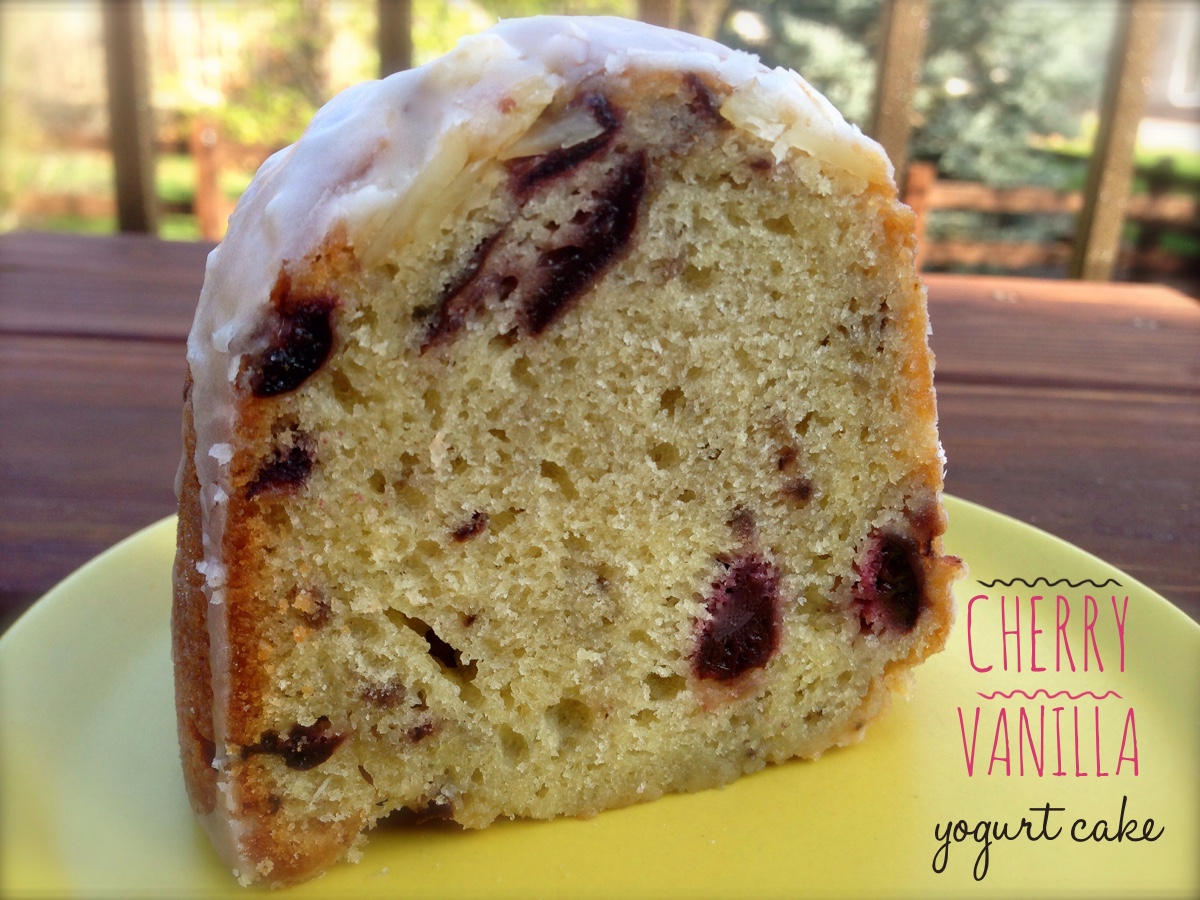


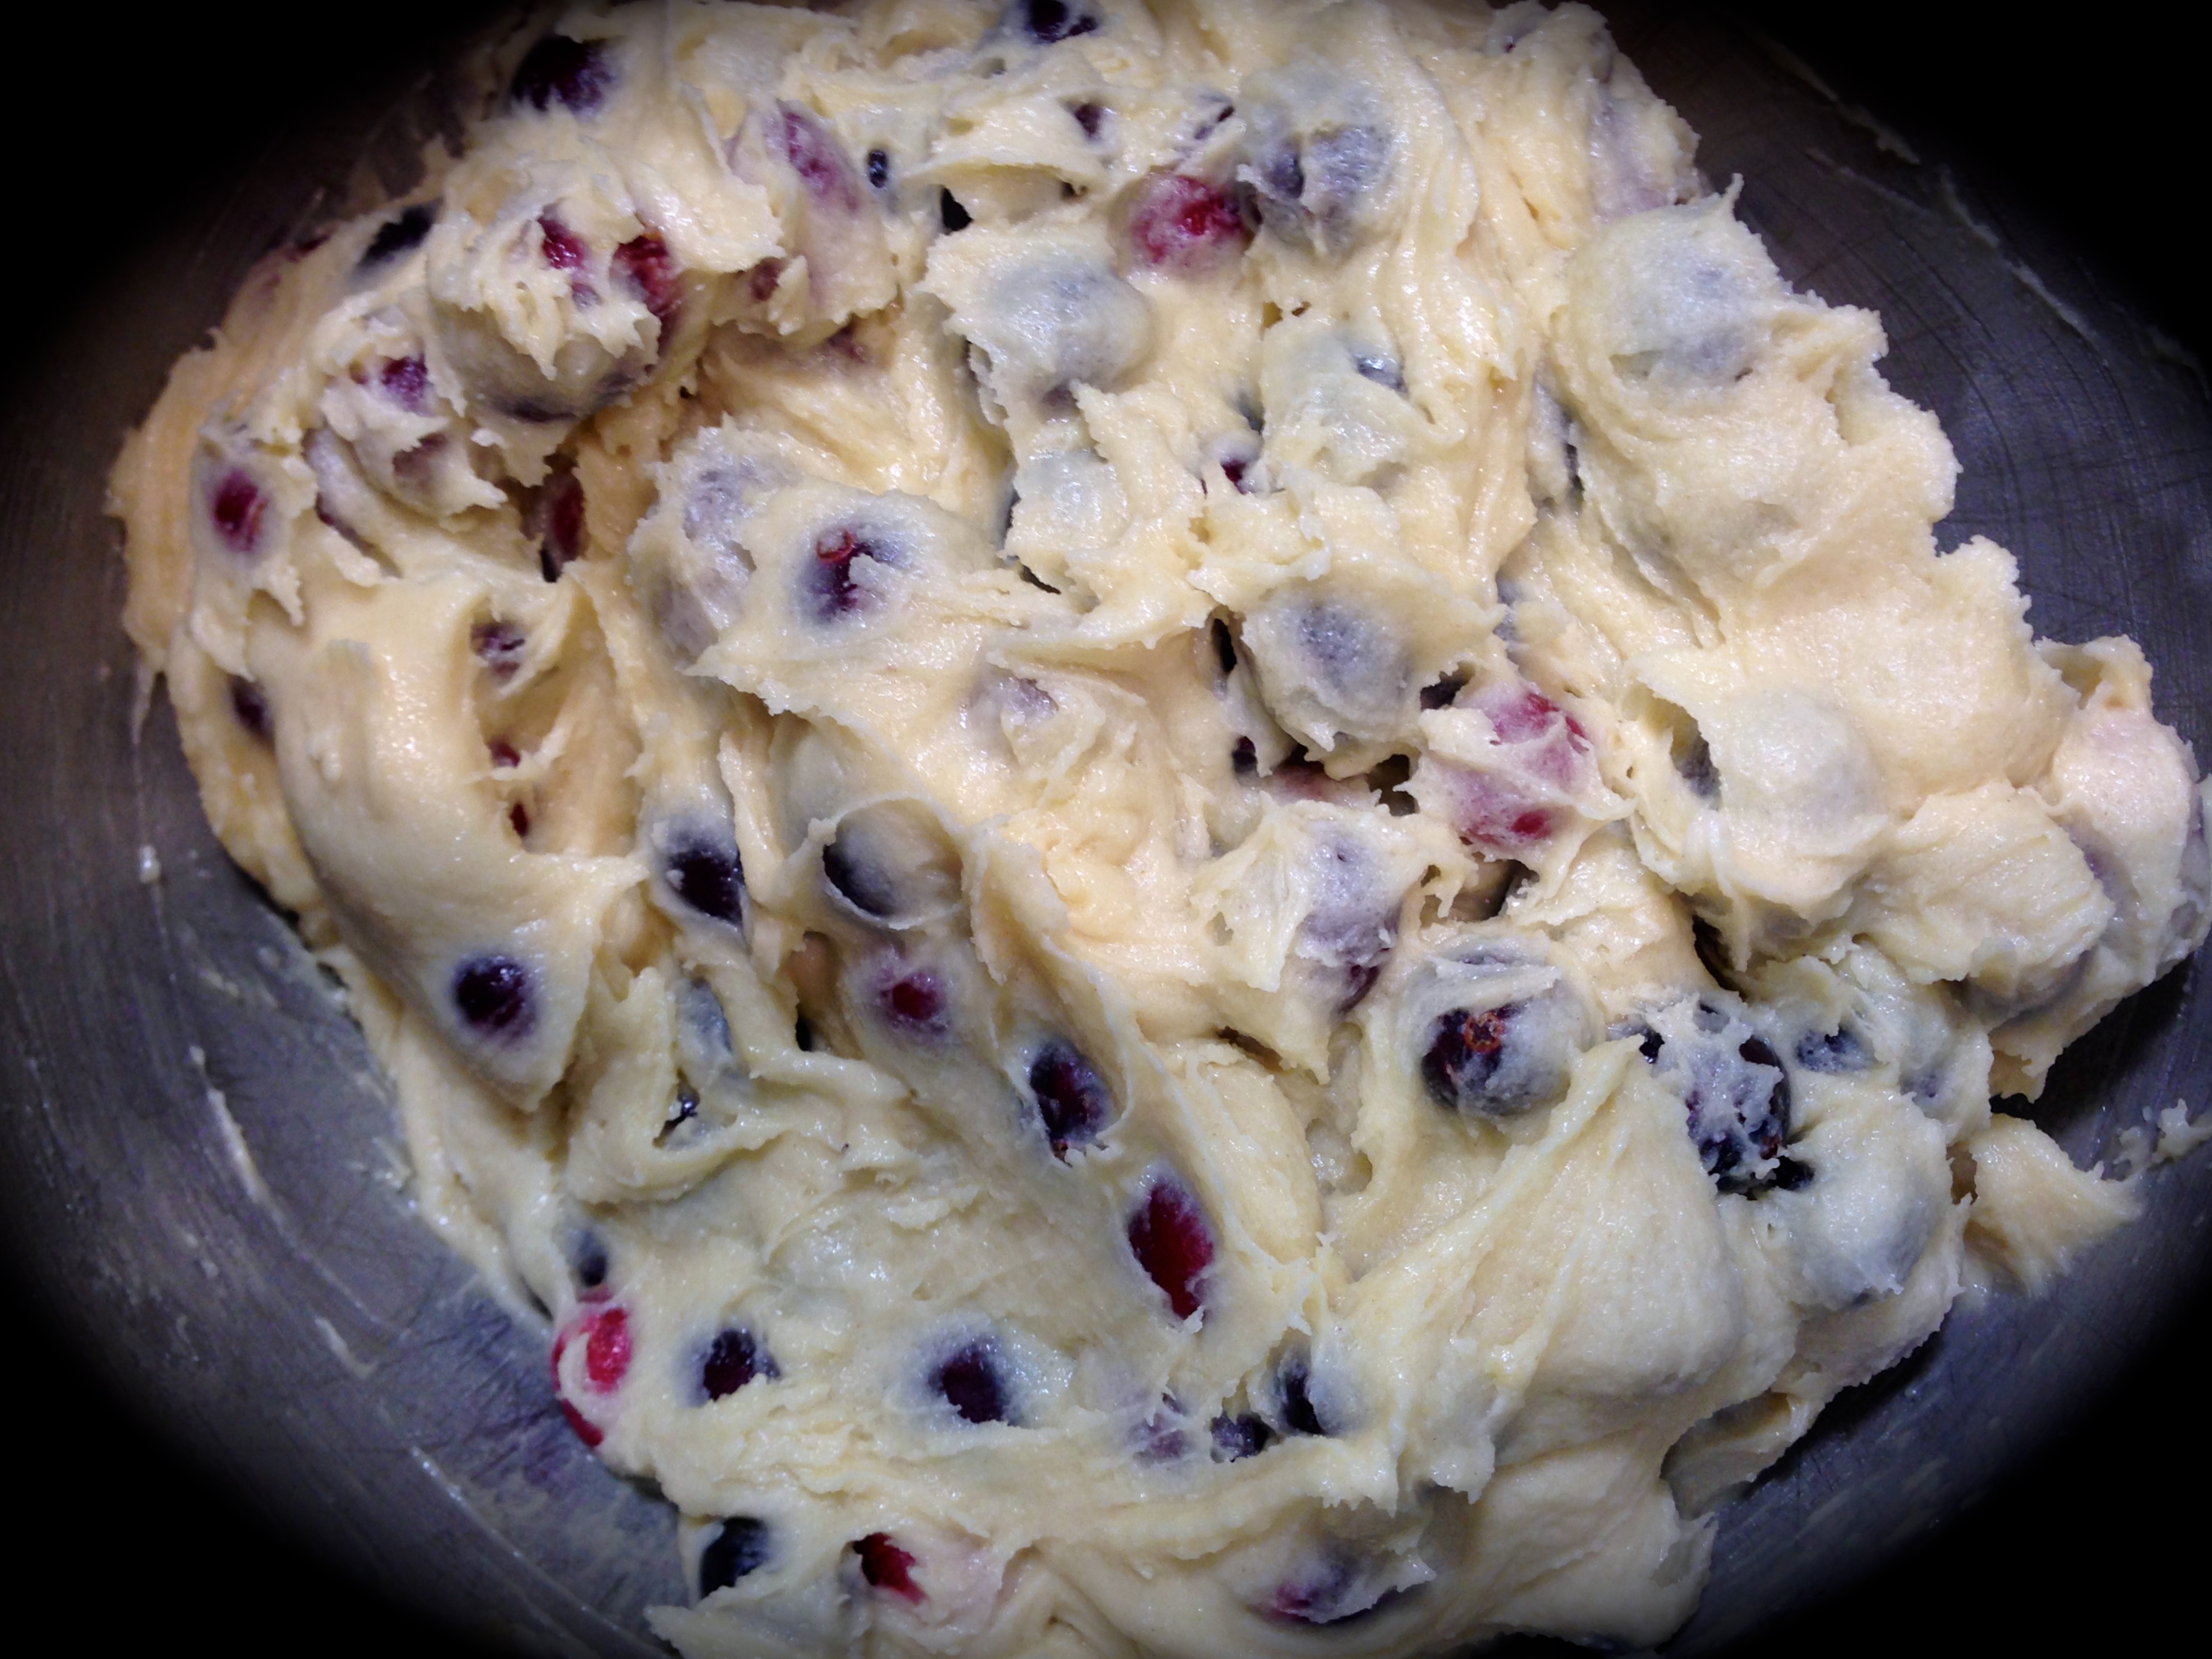
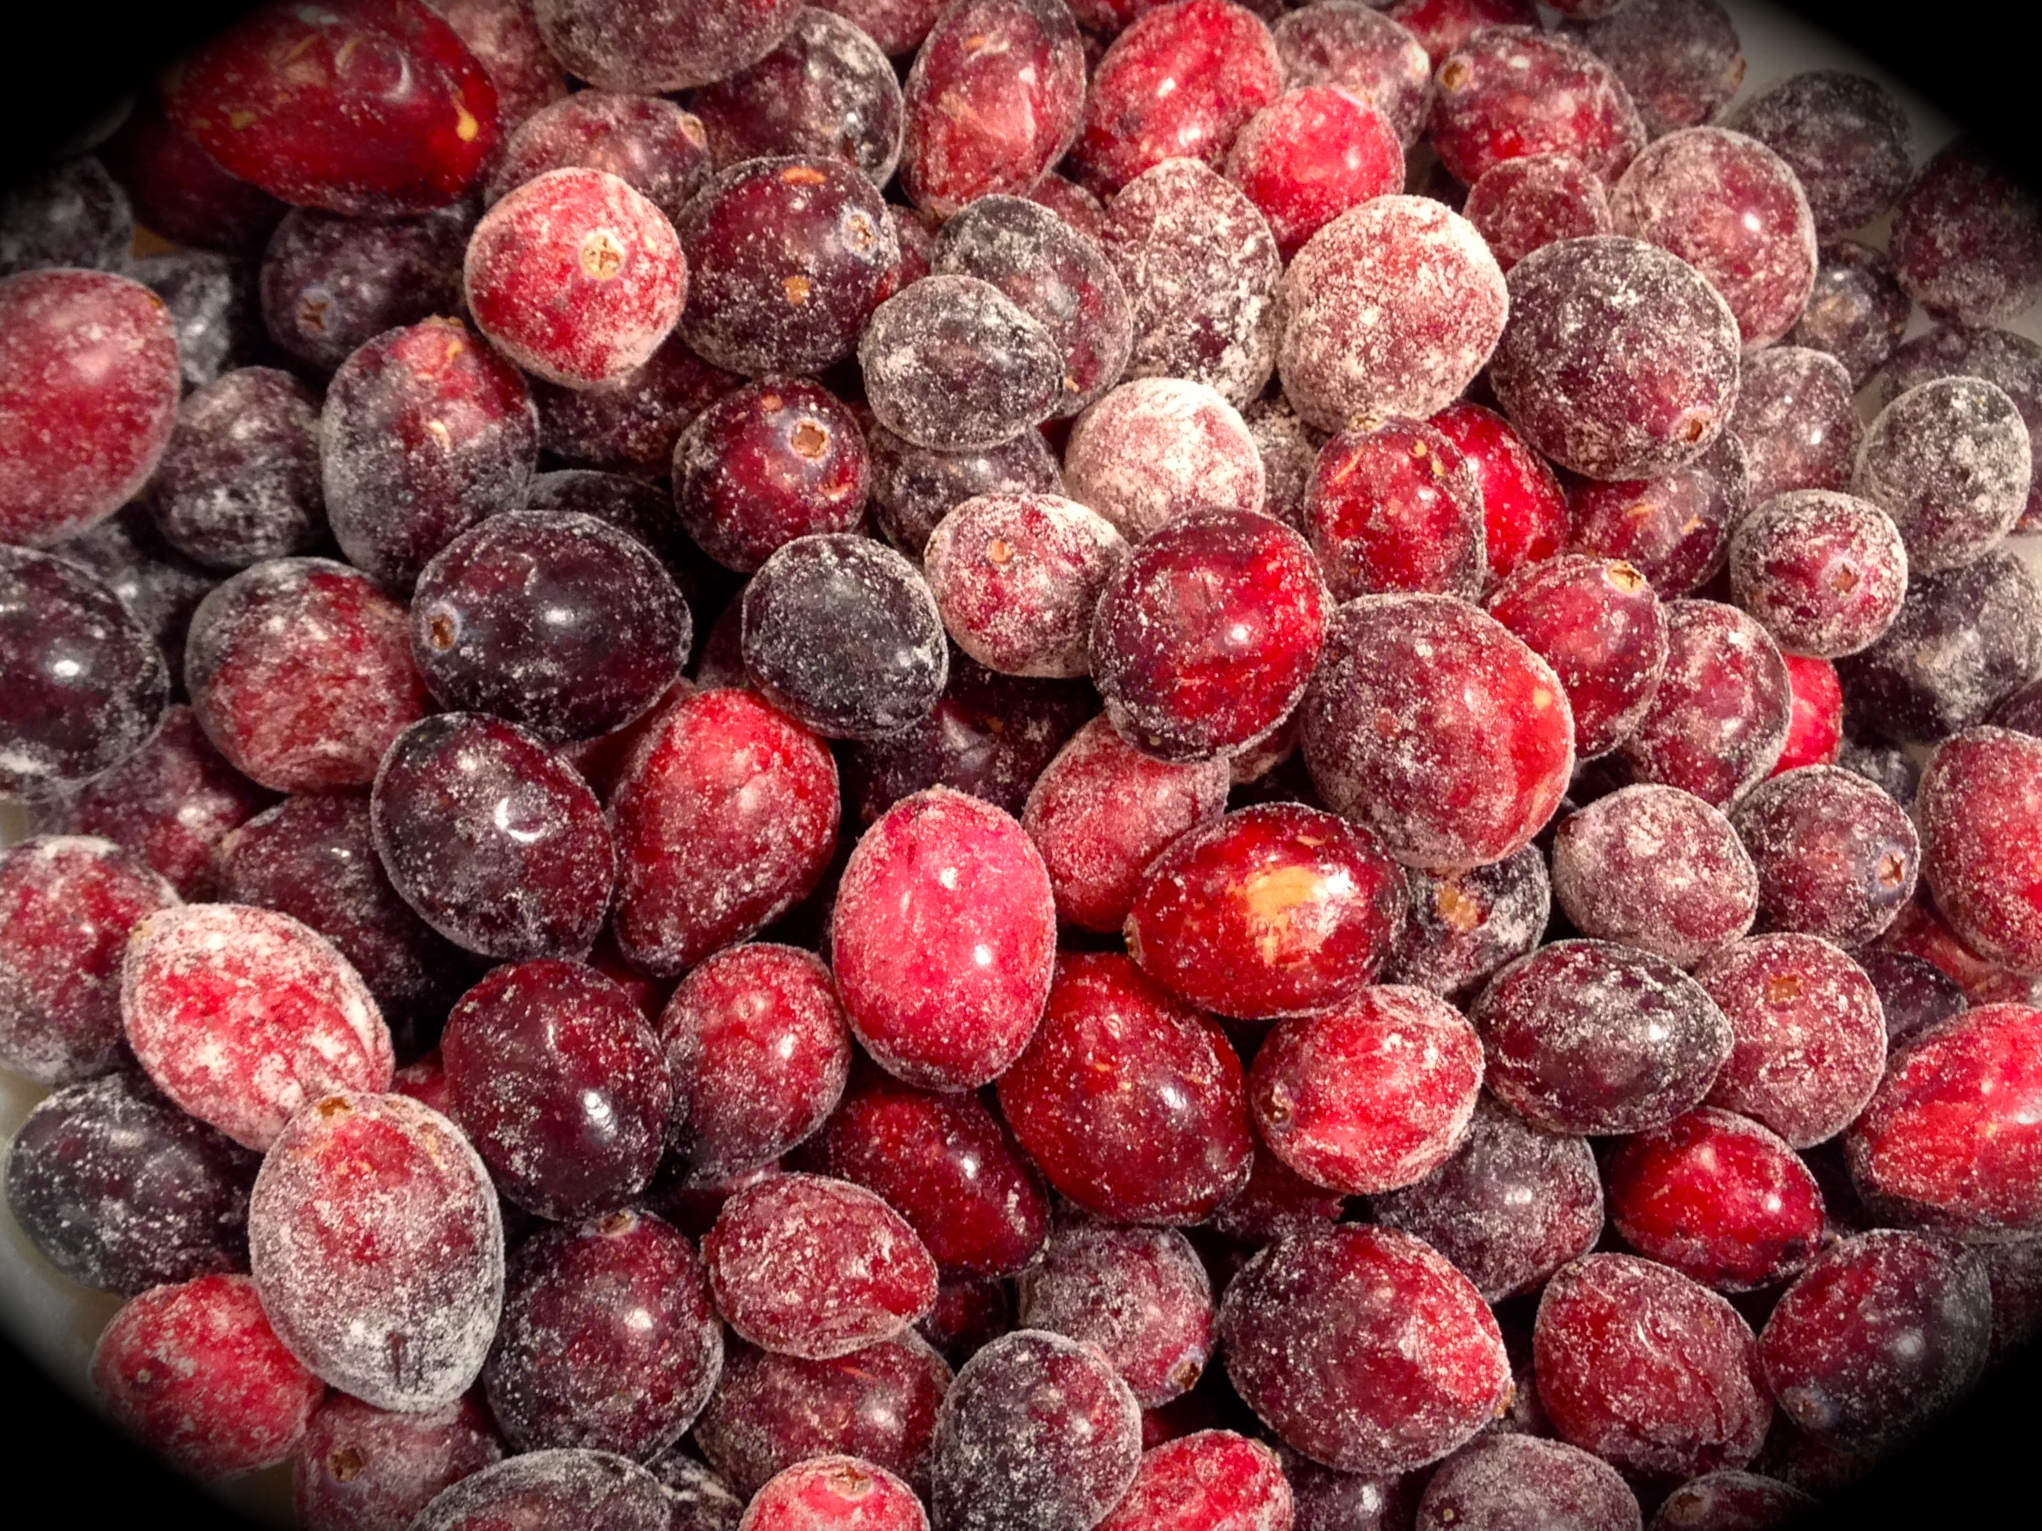
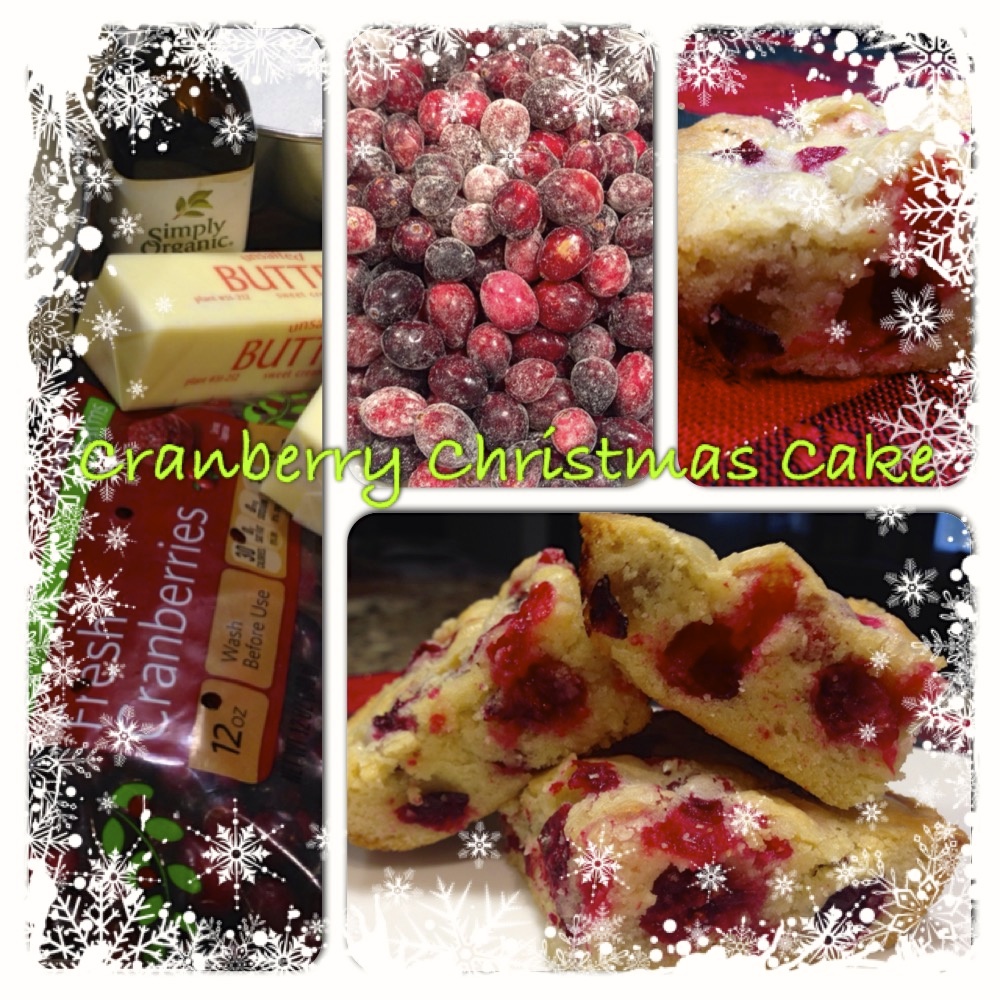
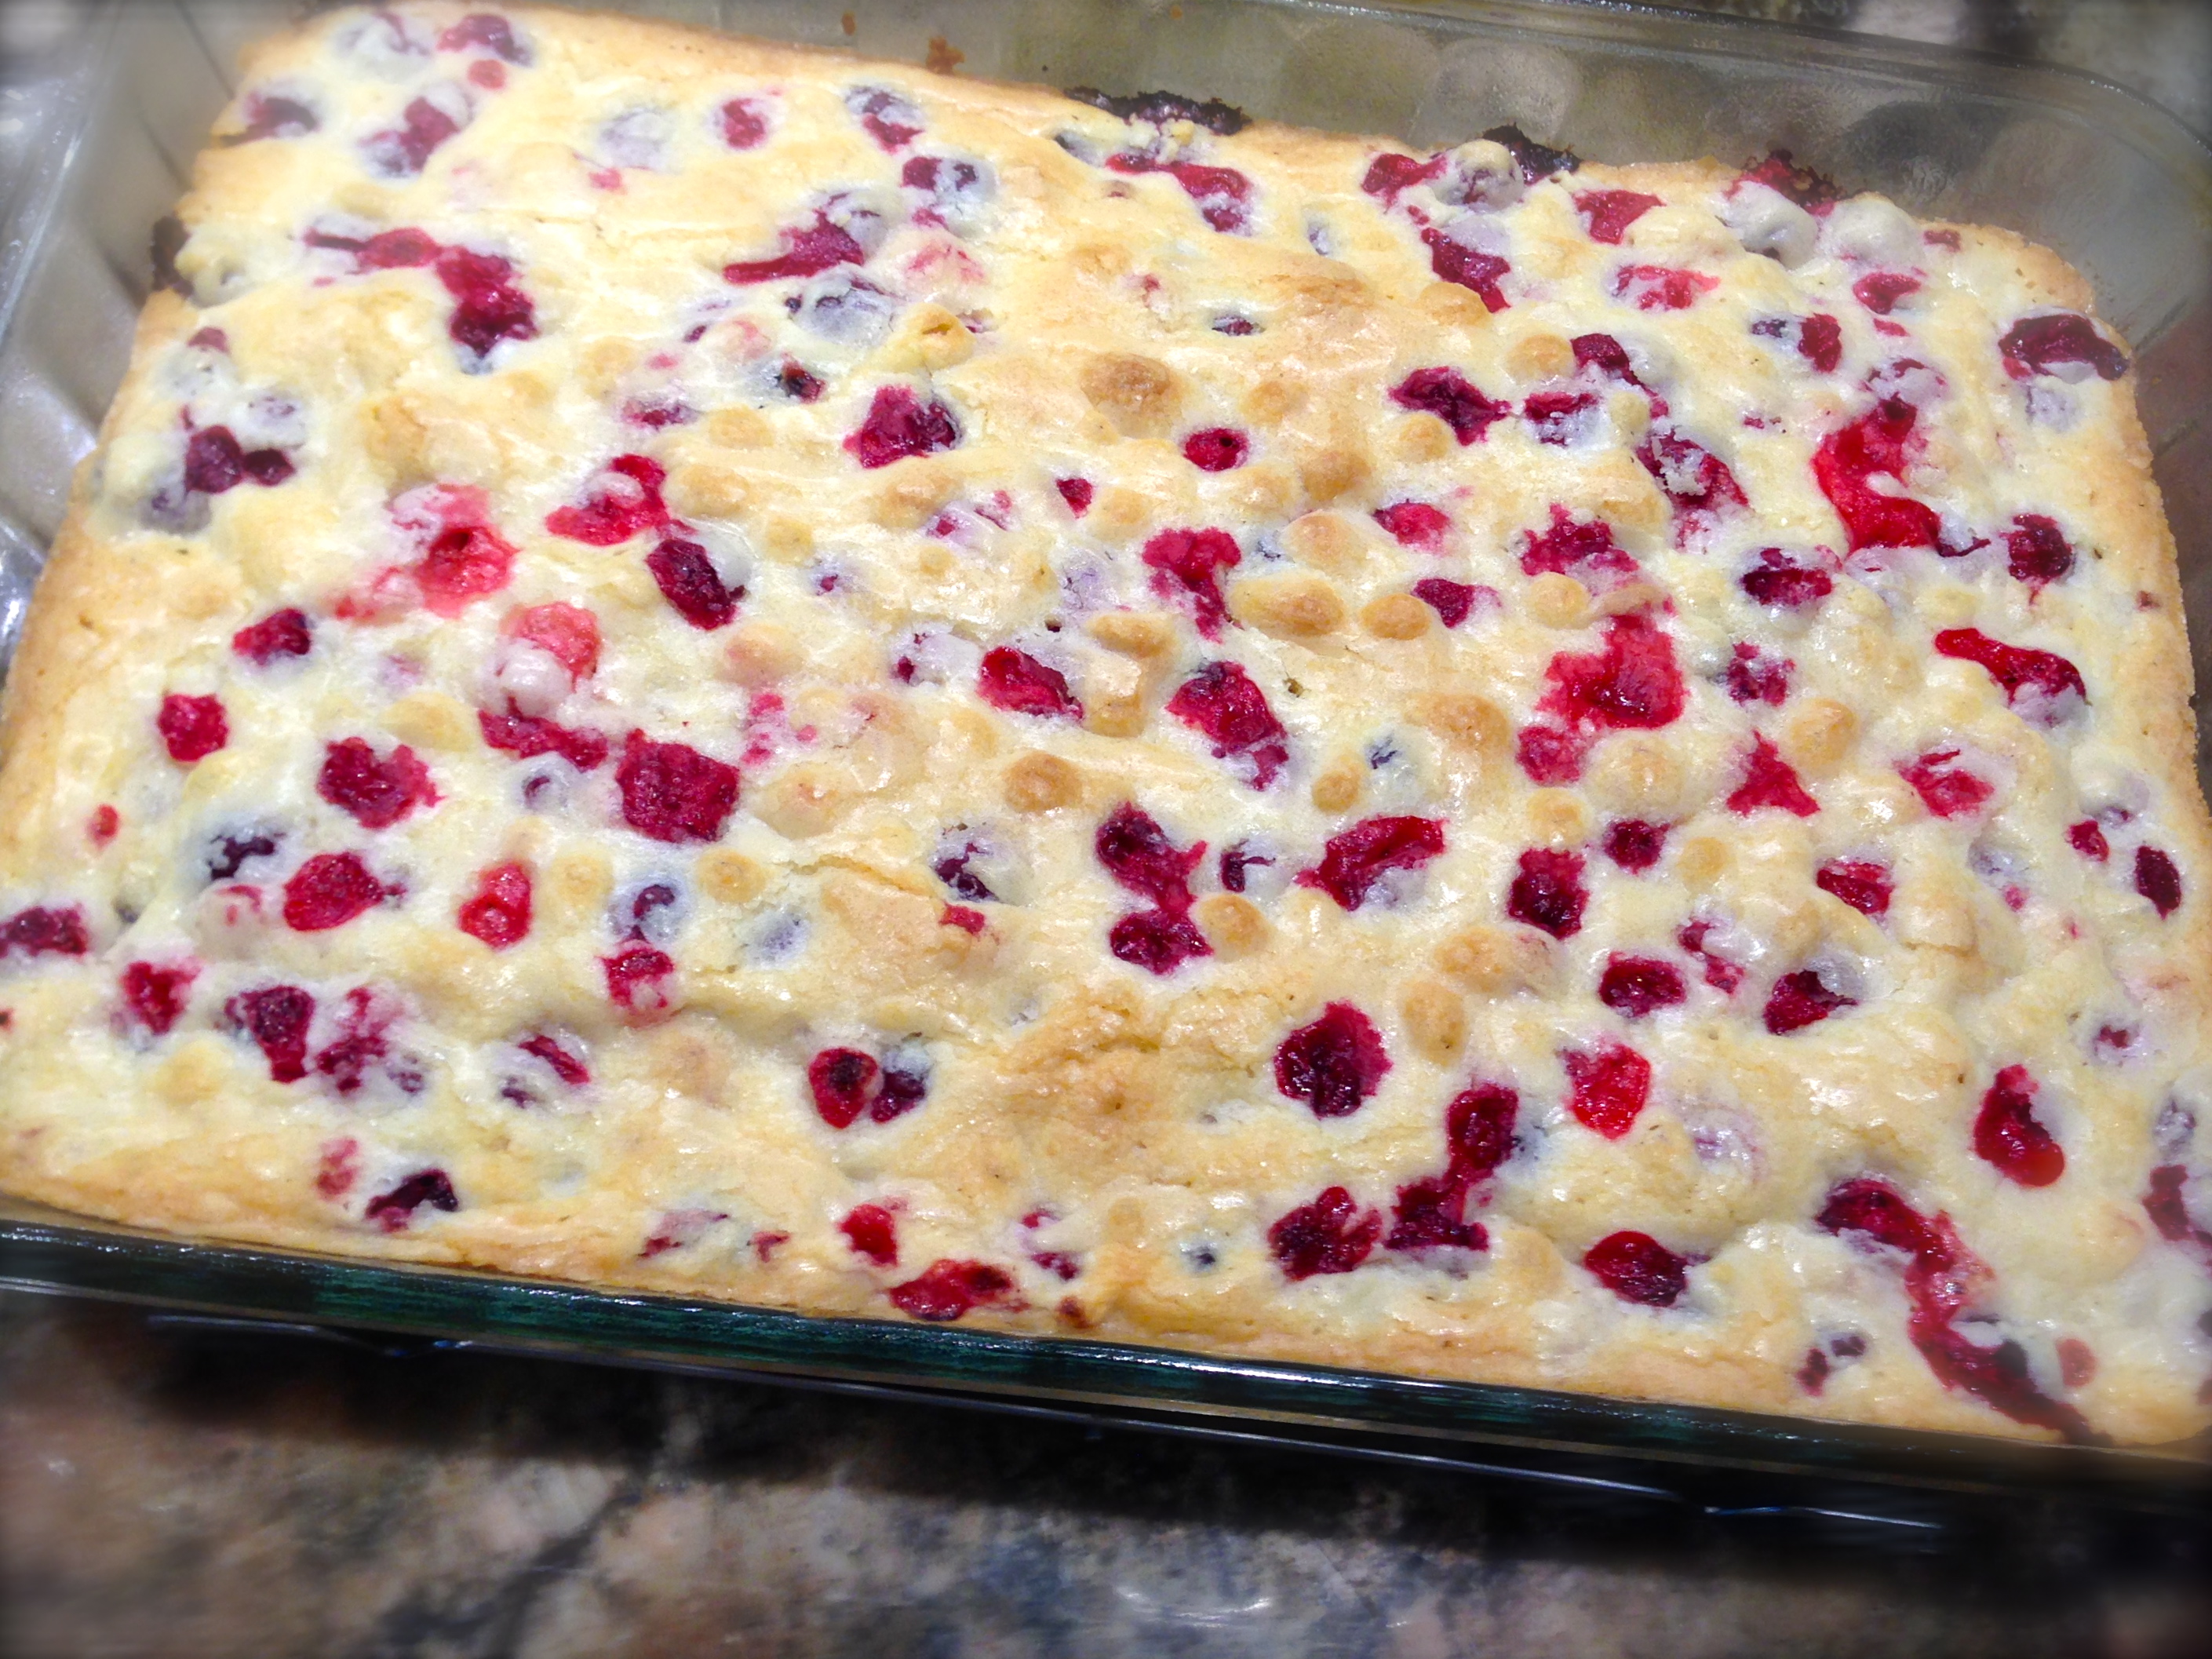
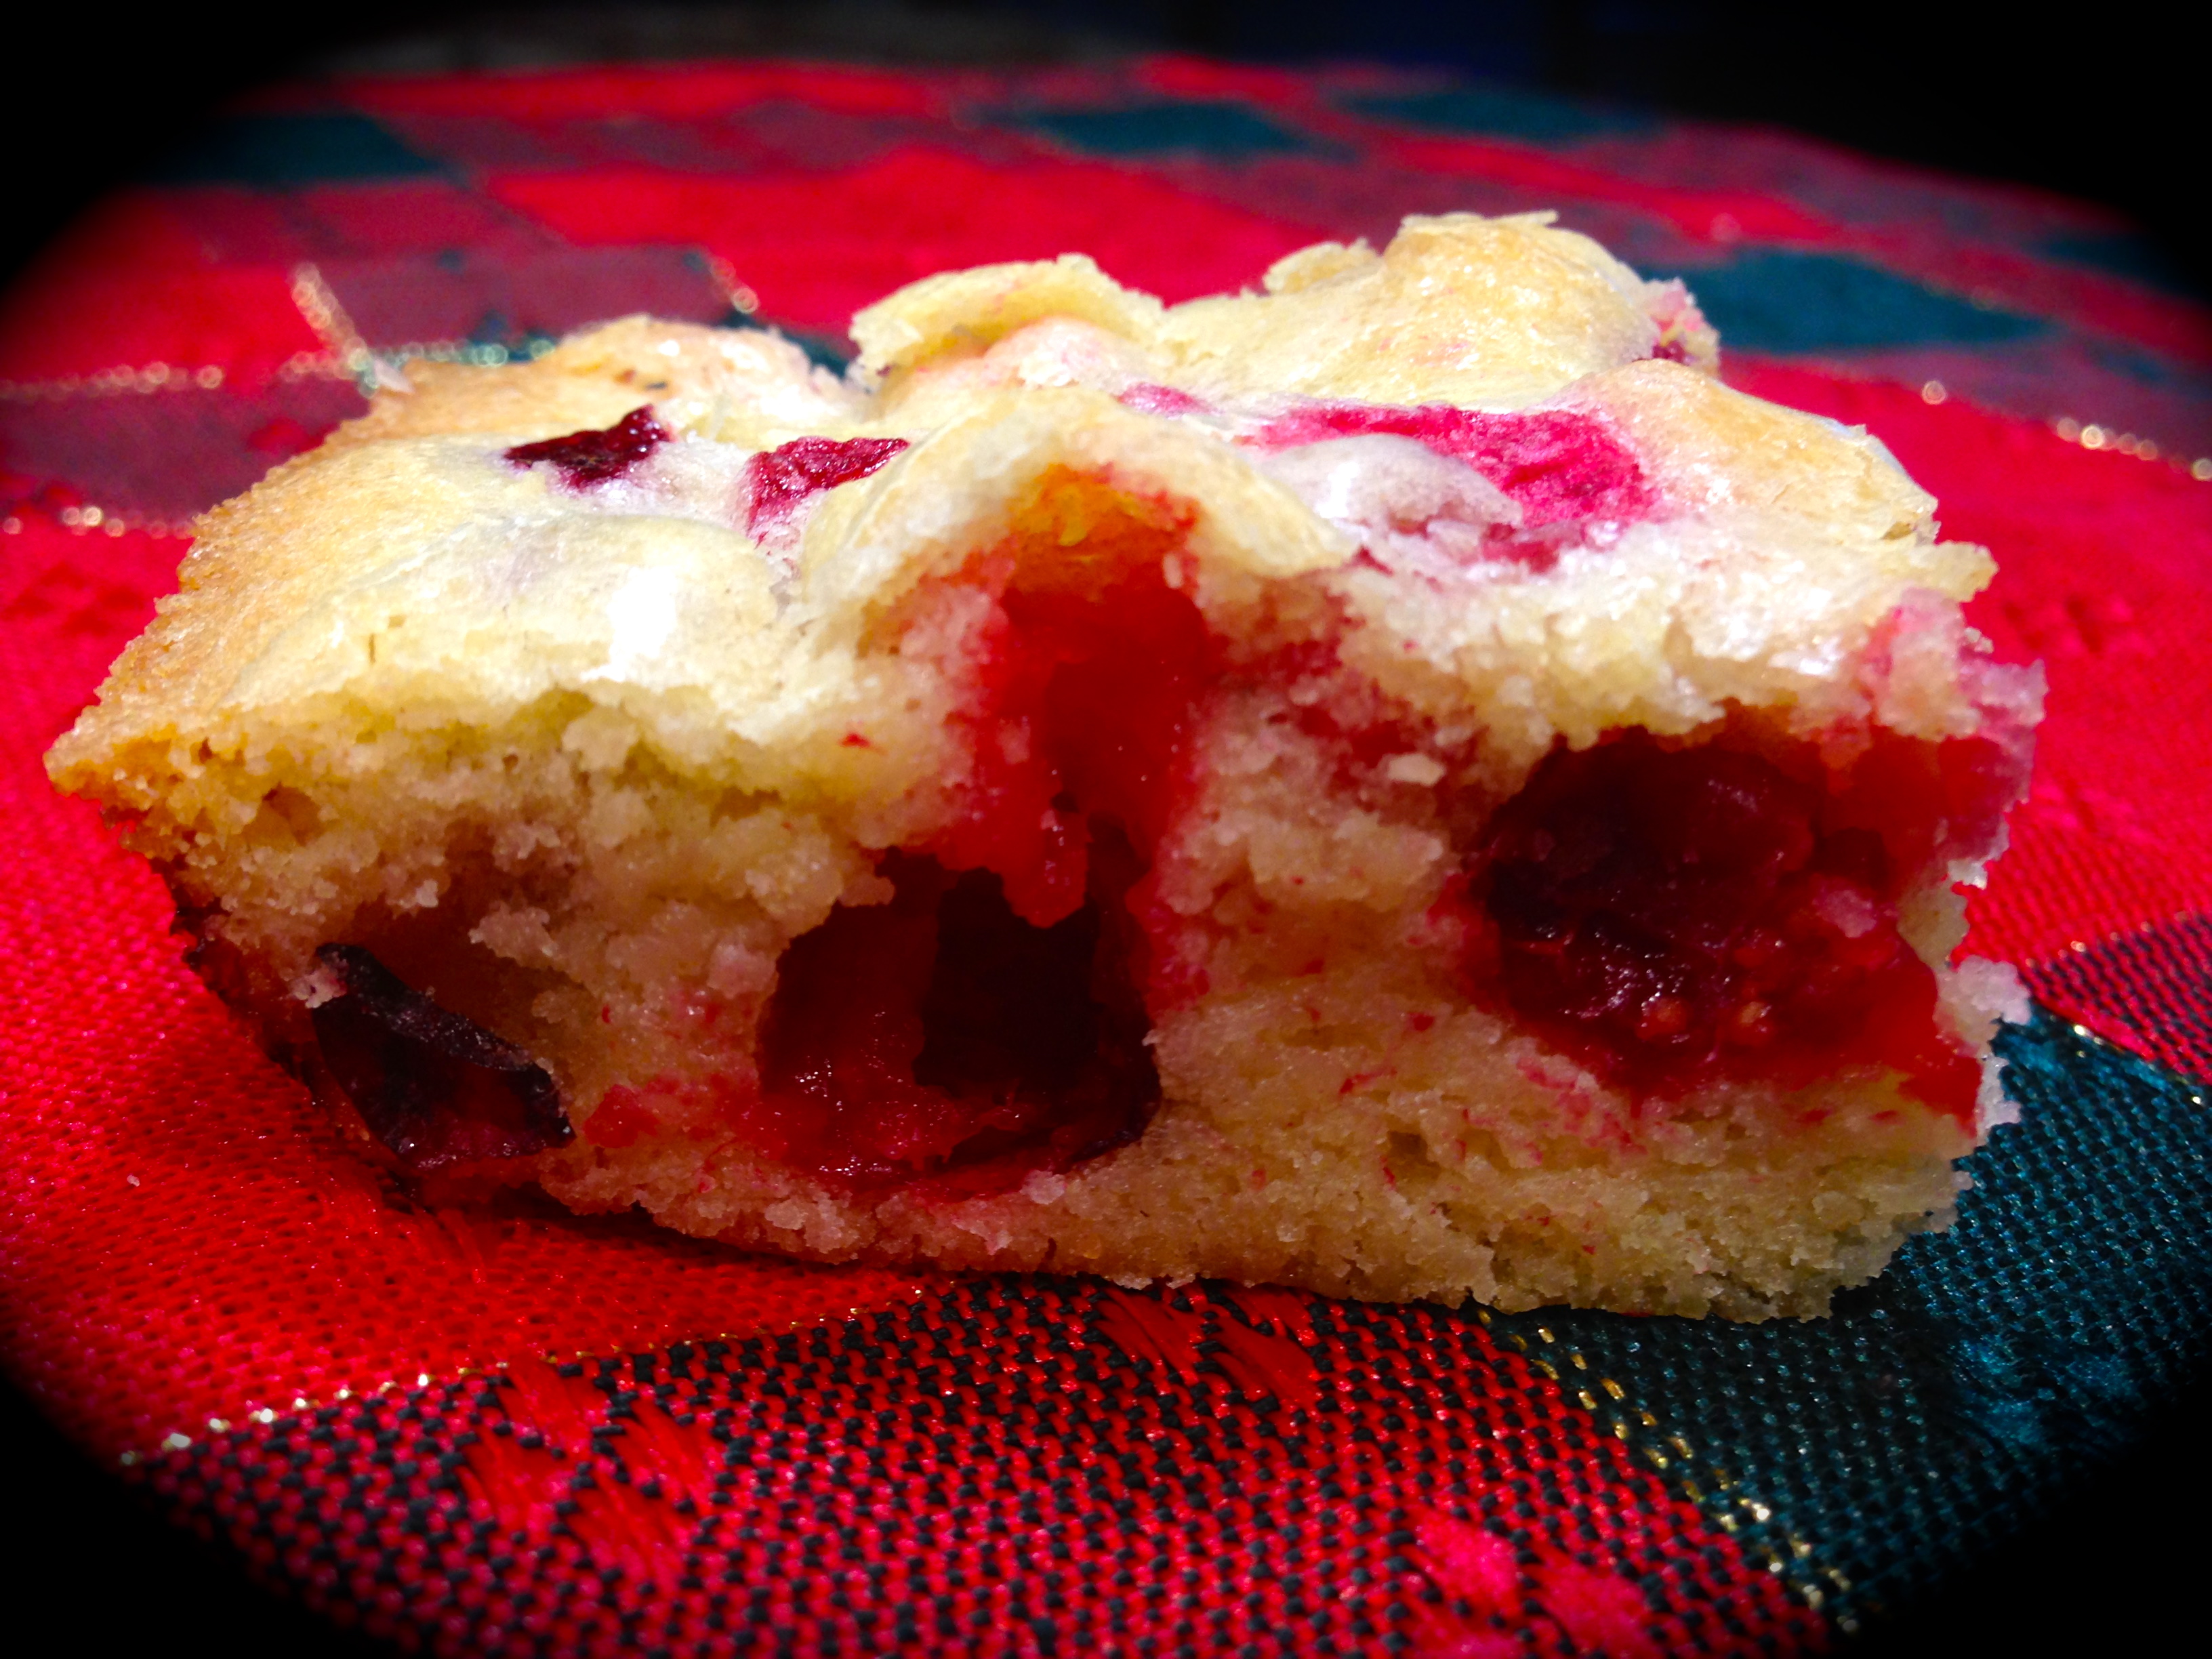
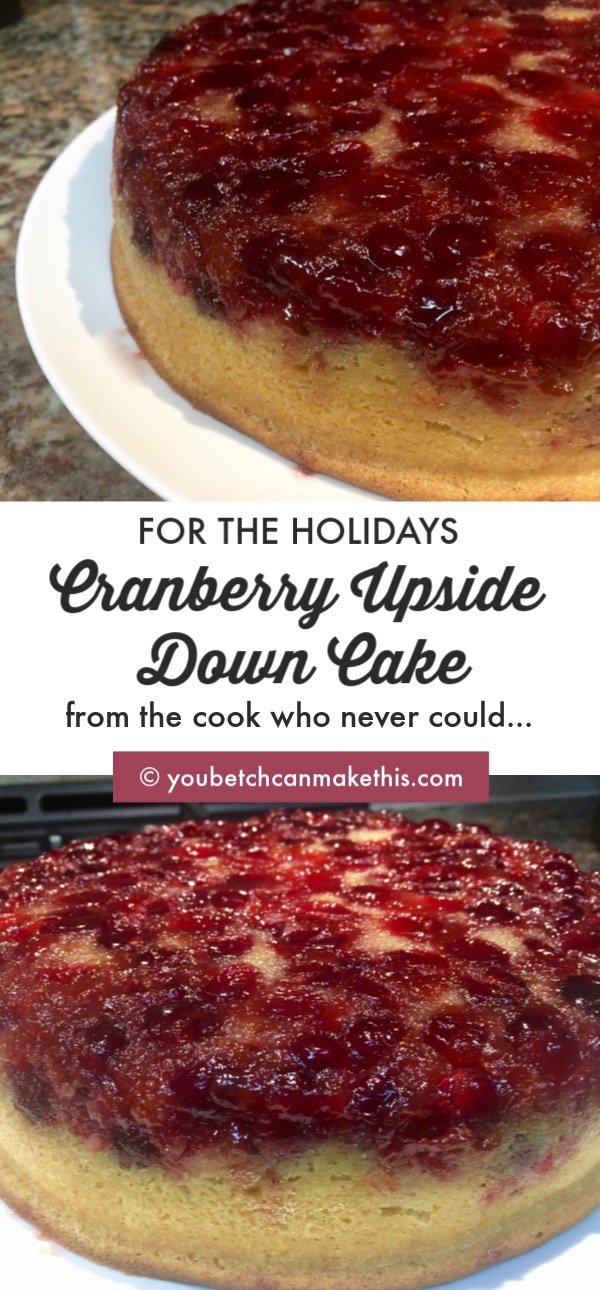
 his one because it only has 6 ingredients and the most labor intensive part of making it is beating the eggs and sugar for 5-7 minutes. I can handle that. Plus the cake uses one of my all-time favorite holiday ingredients, cranberries. This recipe is perfect for the novice baker who may not have confidence in the kitchen but wants to make a lasting impression with his/her confection creating skills. You can’t fail with this one, trust me!