My husband and I have taken to eating more fish these days and so I’m experimenting with different ways of preparing it. I’ll admit it up front, fish can be tricky. You can’t eat it if it’s underdone and it tastes like the Sahara Desert if it’s overdone – and there is a very fine line of cooking time that separates fish from either one. But my job in this blog is to try to save you some of that uncertainty by my trial and error and not yours.
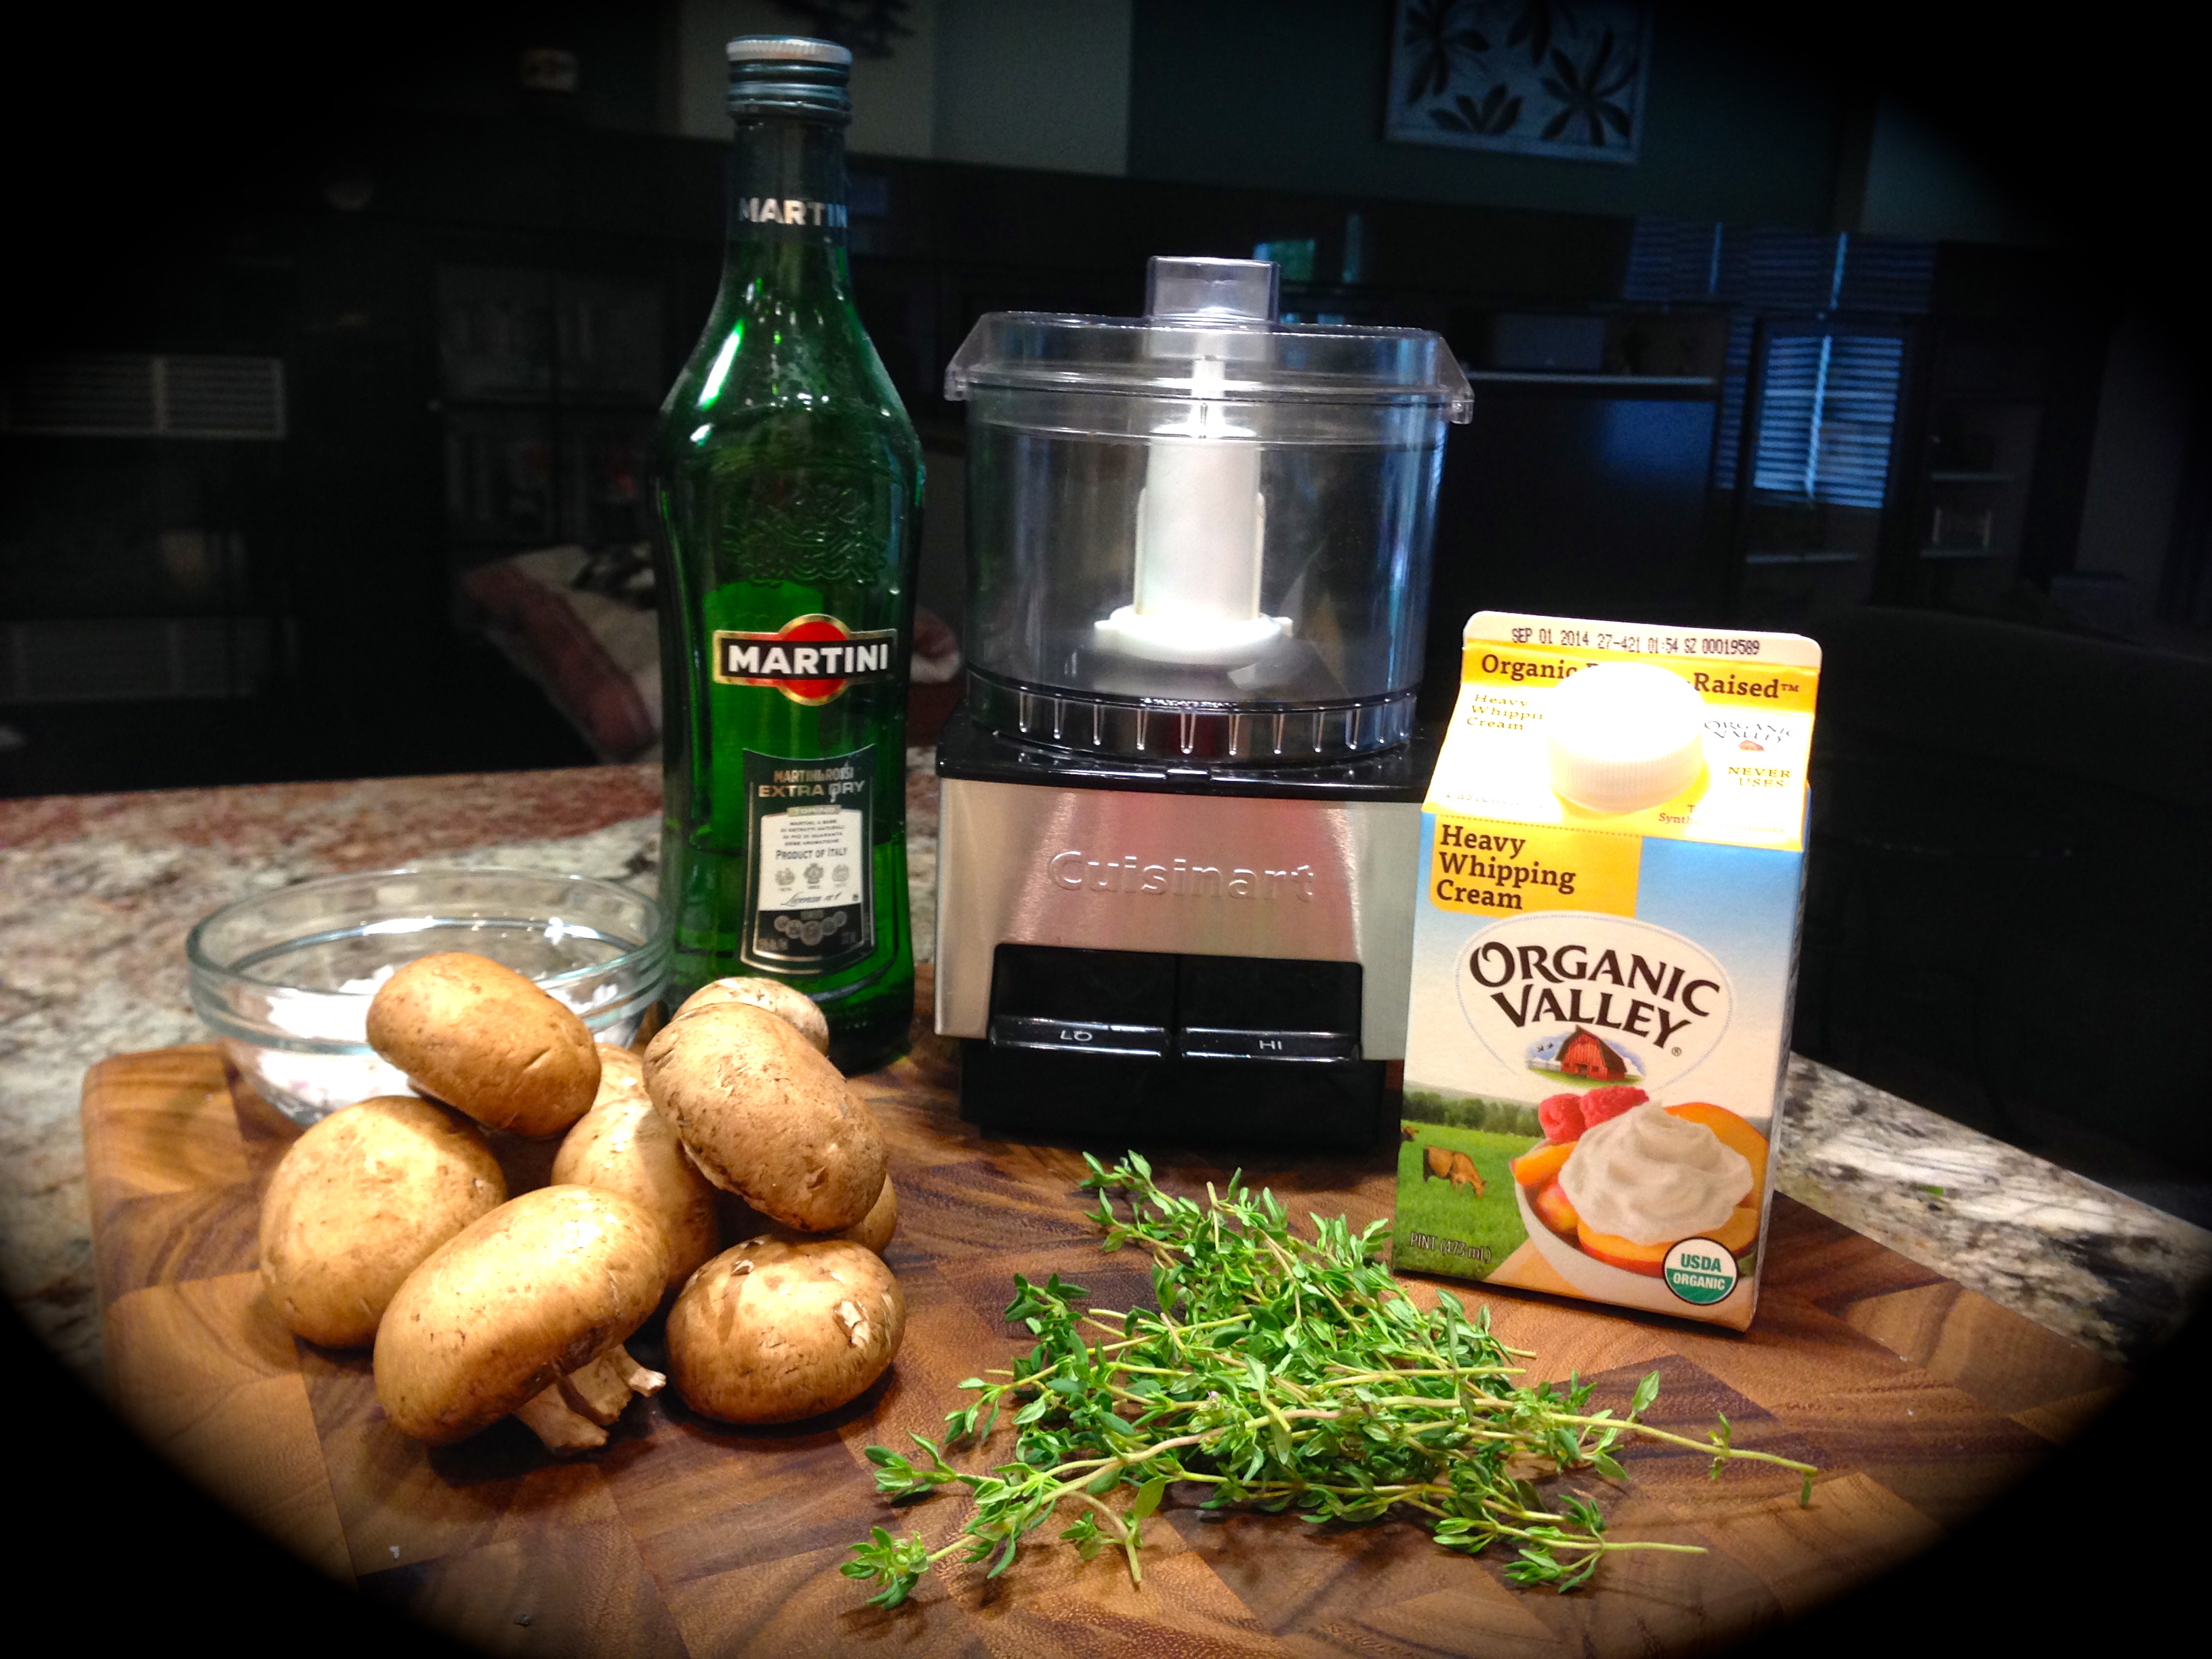
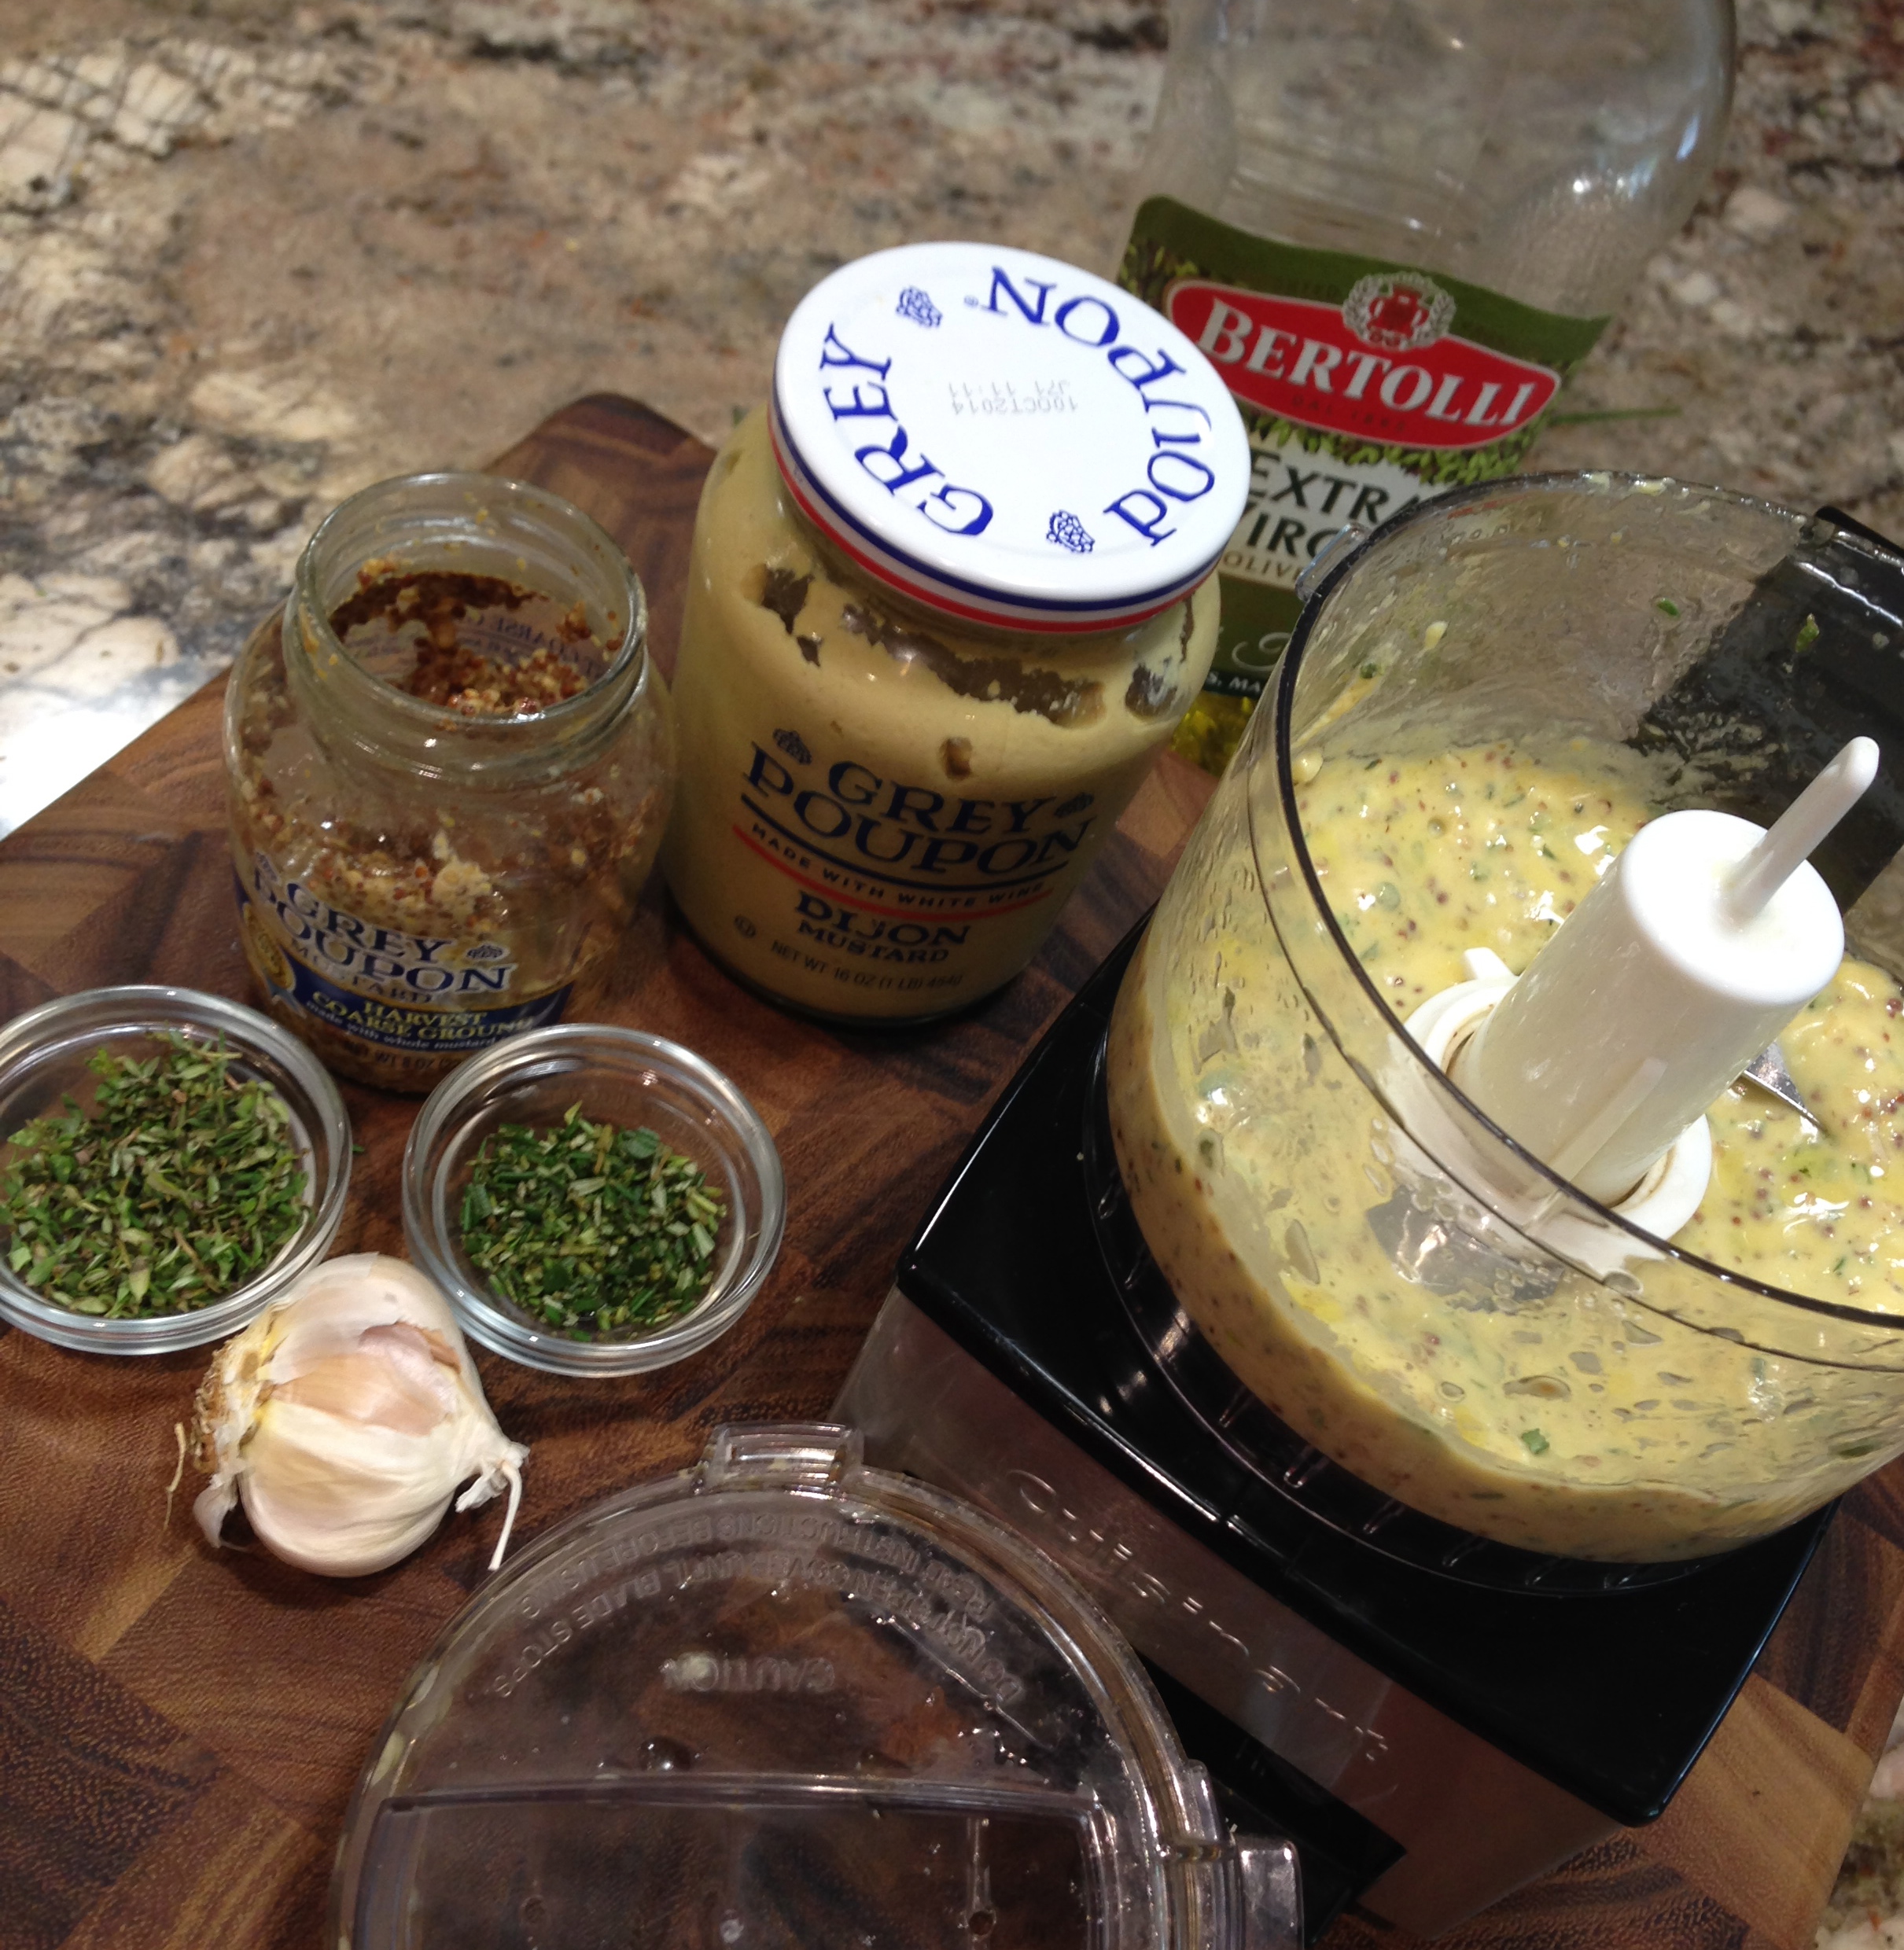
Duxelle Ingredients…
This fish recipe turned out very well the first time I made it, amazingly enough, and there is only one simple thing I would change from the original recipe and that would be the cooking time. The name of the dish sounds fancy but don’t let the terms en croute and duxelle frighten you. En croute simply means in a crust and a duxelle is merely mushrooms, shallots and herbs sautéed in butter and reduced to a paste. This particular duxelle also adds some vermouth and a tad of heavy cream to the paste just to make it extra decadent. As for the puff pastry, hardly anyone tries to make it from scratch anymore as the process is tedious and time consuming. Frozen puff pastry is just fine and adds to the mystique of the recipe with hardly any work on the part of the chef. The beauty of this recipe is that it really isn’t that hard to put together. So I’ll share my recipe rating and lessons learned in the hopes that you’ll give this one a try.
Recipe Rating- A-: The minus in the rating is really for the cooking time listed in the original recipe. I find it hard to believe that the salmon would be moist considering the amount of time the recipe suggested to cook it. But other than that, this recipe is very good and I think even someone who is not a big fan of mushrooms might like the flavor of the duxelle, which nicely compliments the flavor of the salmon.
Lesson Learned 1 – You can always put the fish back in the oven: I like to perfect fish recipes with just me and my husband as the guinea pigs before considering serving them to guests. That way I’m less worried about the presentation and more about perfecting the cooking time. So, if for some reason the fish is not done to your liking, just pop it back in the oven for a few more minutes (even if it is primarily encased in puff pastry). The original recipe called for baking the salmon at 400 degrees for 15 minutes and then lowering the temperature to 325 and baking it for an additional 15-20 minus. I simply could not imagine moist salmon being the end result of that process. My filets were 6 ounces each but only about 1/2 inch or slightly less thick. I am glad I followed my gut instinct and cooked them at 400 for 25 minutes. Even then the salmon was on the verge of being dried out but not bad (as a matter of fact those who like their salmon well done should bake it this way) – the next time I make it, I’ll bake the salmon at 400 degrees for 20 minutes and that should be perfect. You need the time and higher temps to cook the puff pastry so you need to be careful to bake a piece of salmon that is at least 6 ounces in order for it to withstand the cooking time. Any less than 20 minutes and I don’t think the puff pastry will bake to its full potential.
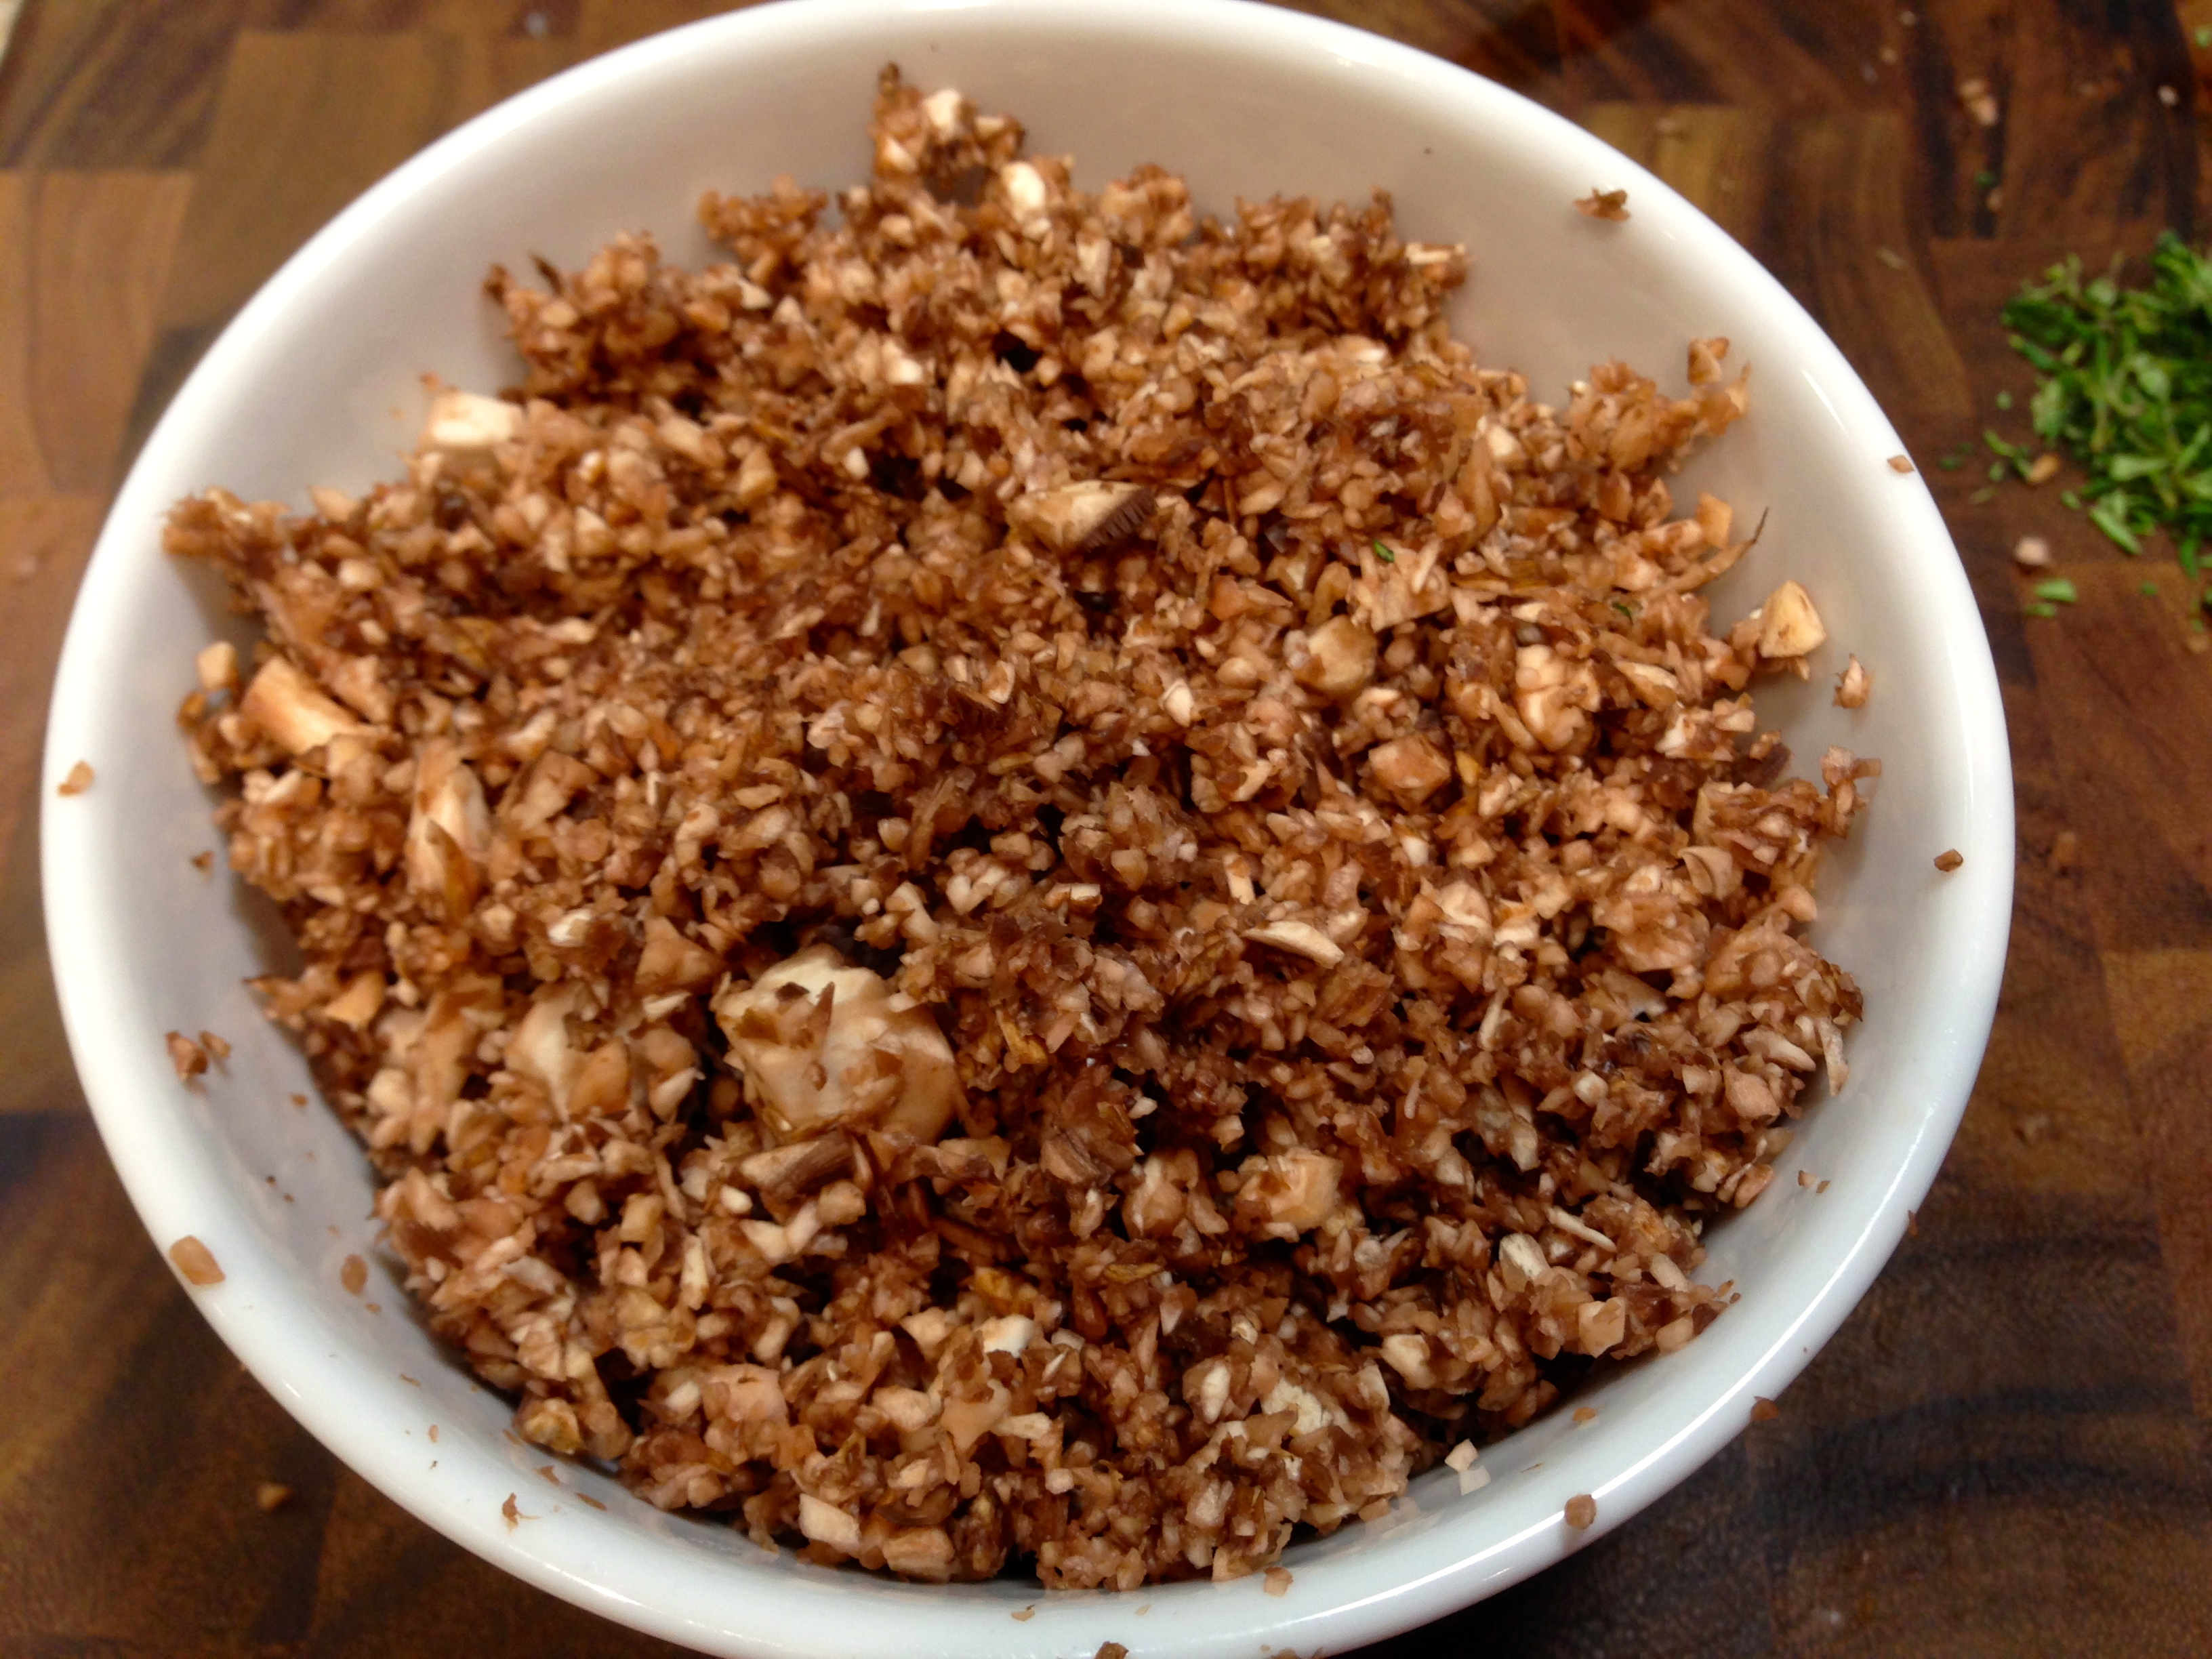
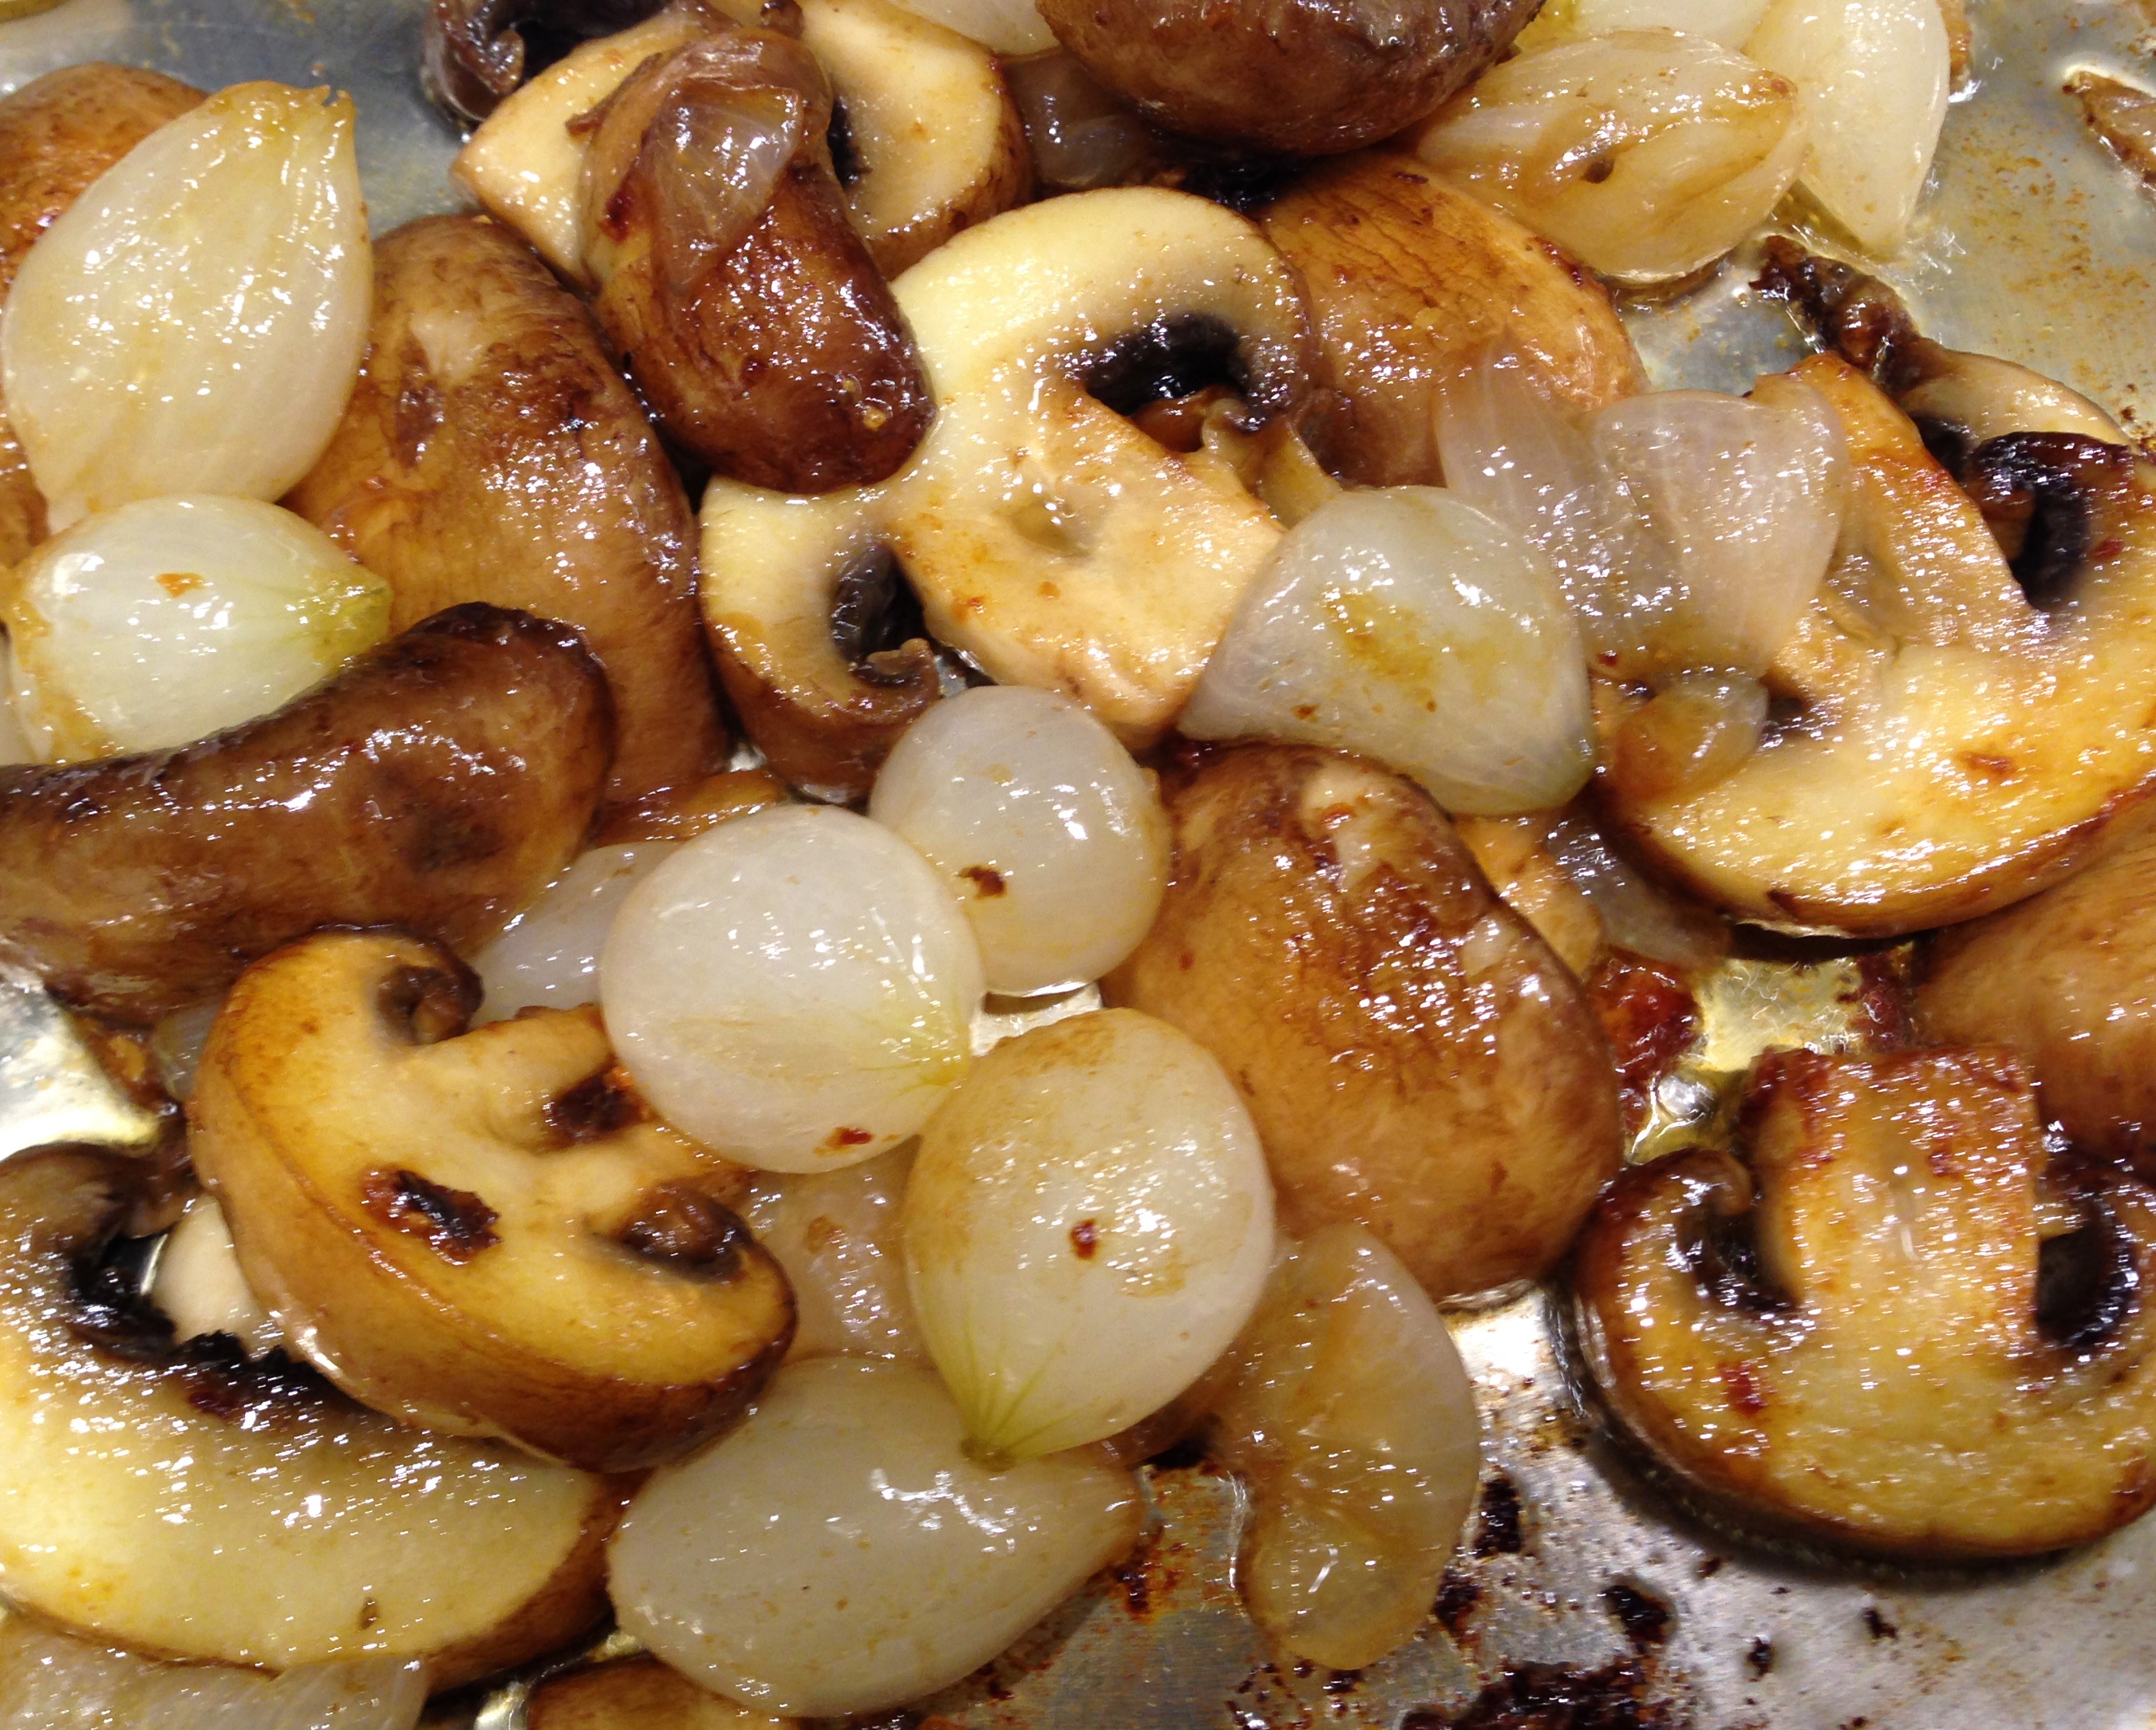
Finely chop the mushrooms for the duxelle…
Lesson Learned 2 – To make the mushroom paste you need to finely chop the mushrooms: The duxelle consistency will not be achieved if you do not finely chop the mushrooms. As a matter of fact I don’t even recommend chopping them by hand. I would put them into a food processor and pulse them until they are finely chopped. I used my mini food processor for this and got the desired results without having to drag out the large food processor. I imagine this would be quite labor intensive if you tried to do this by hand.
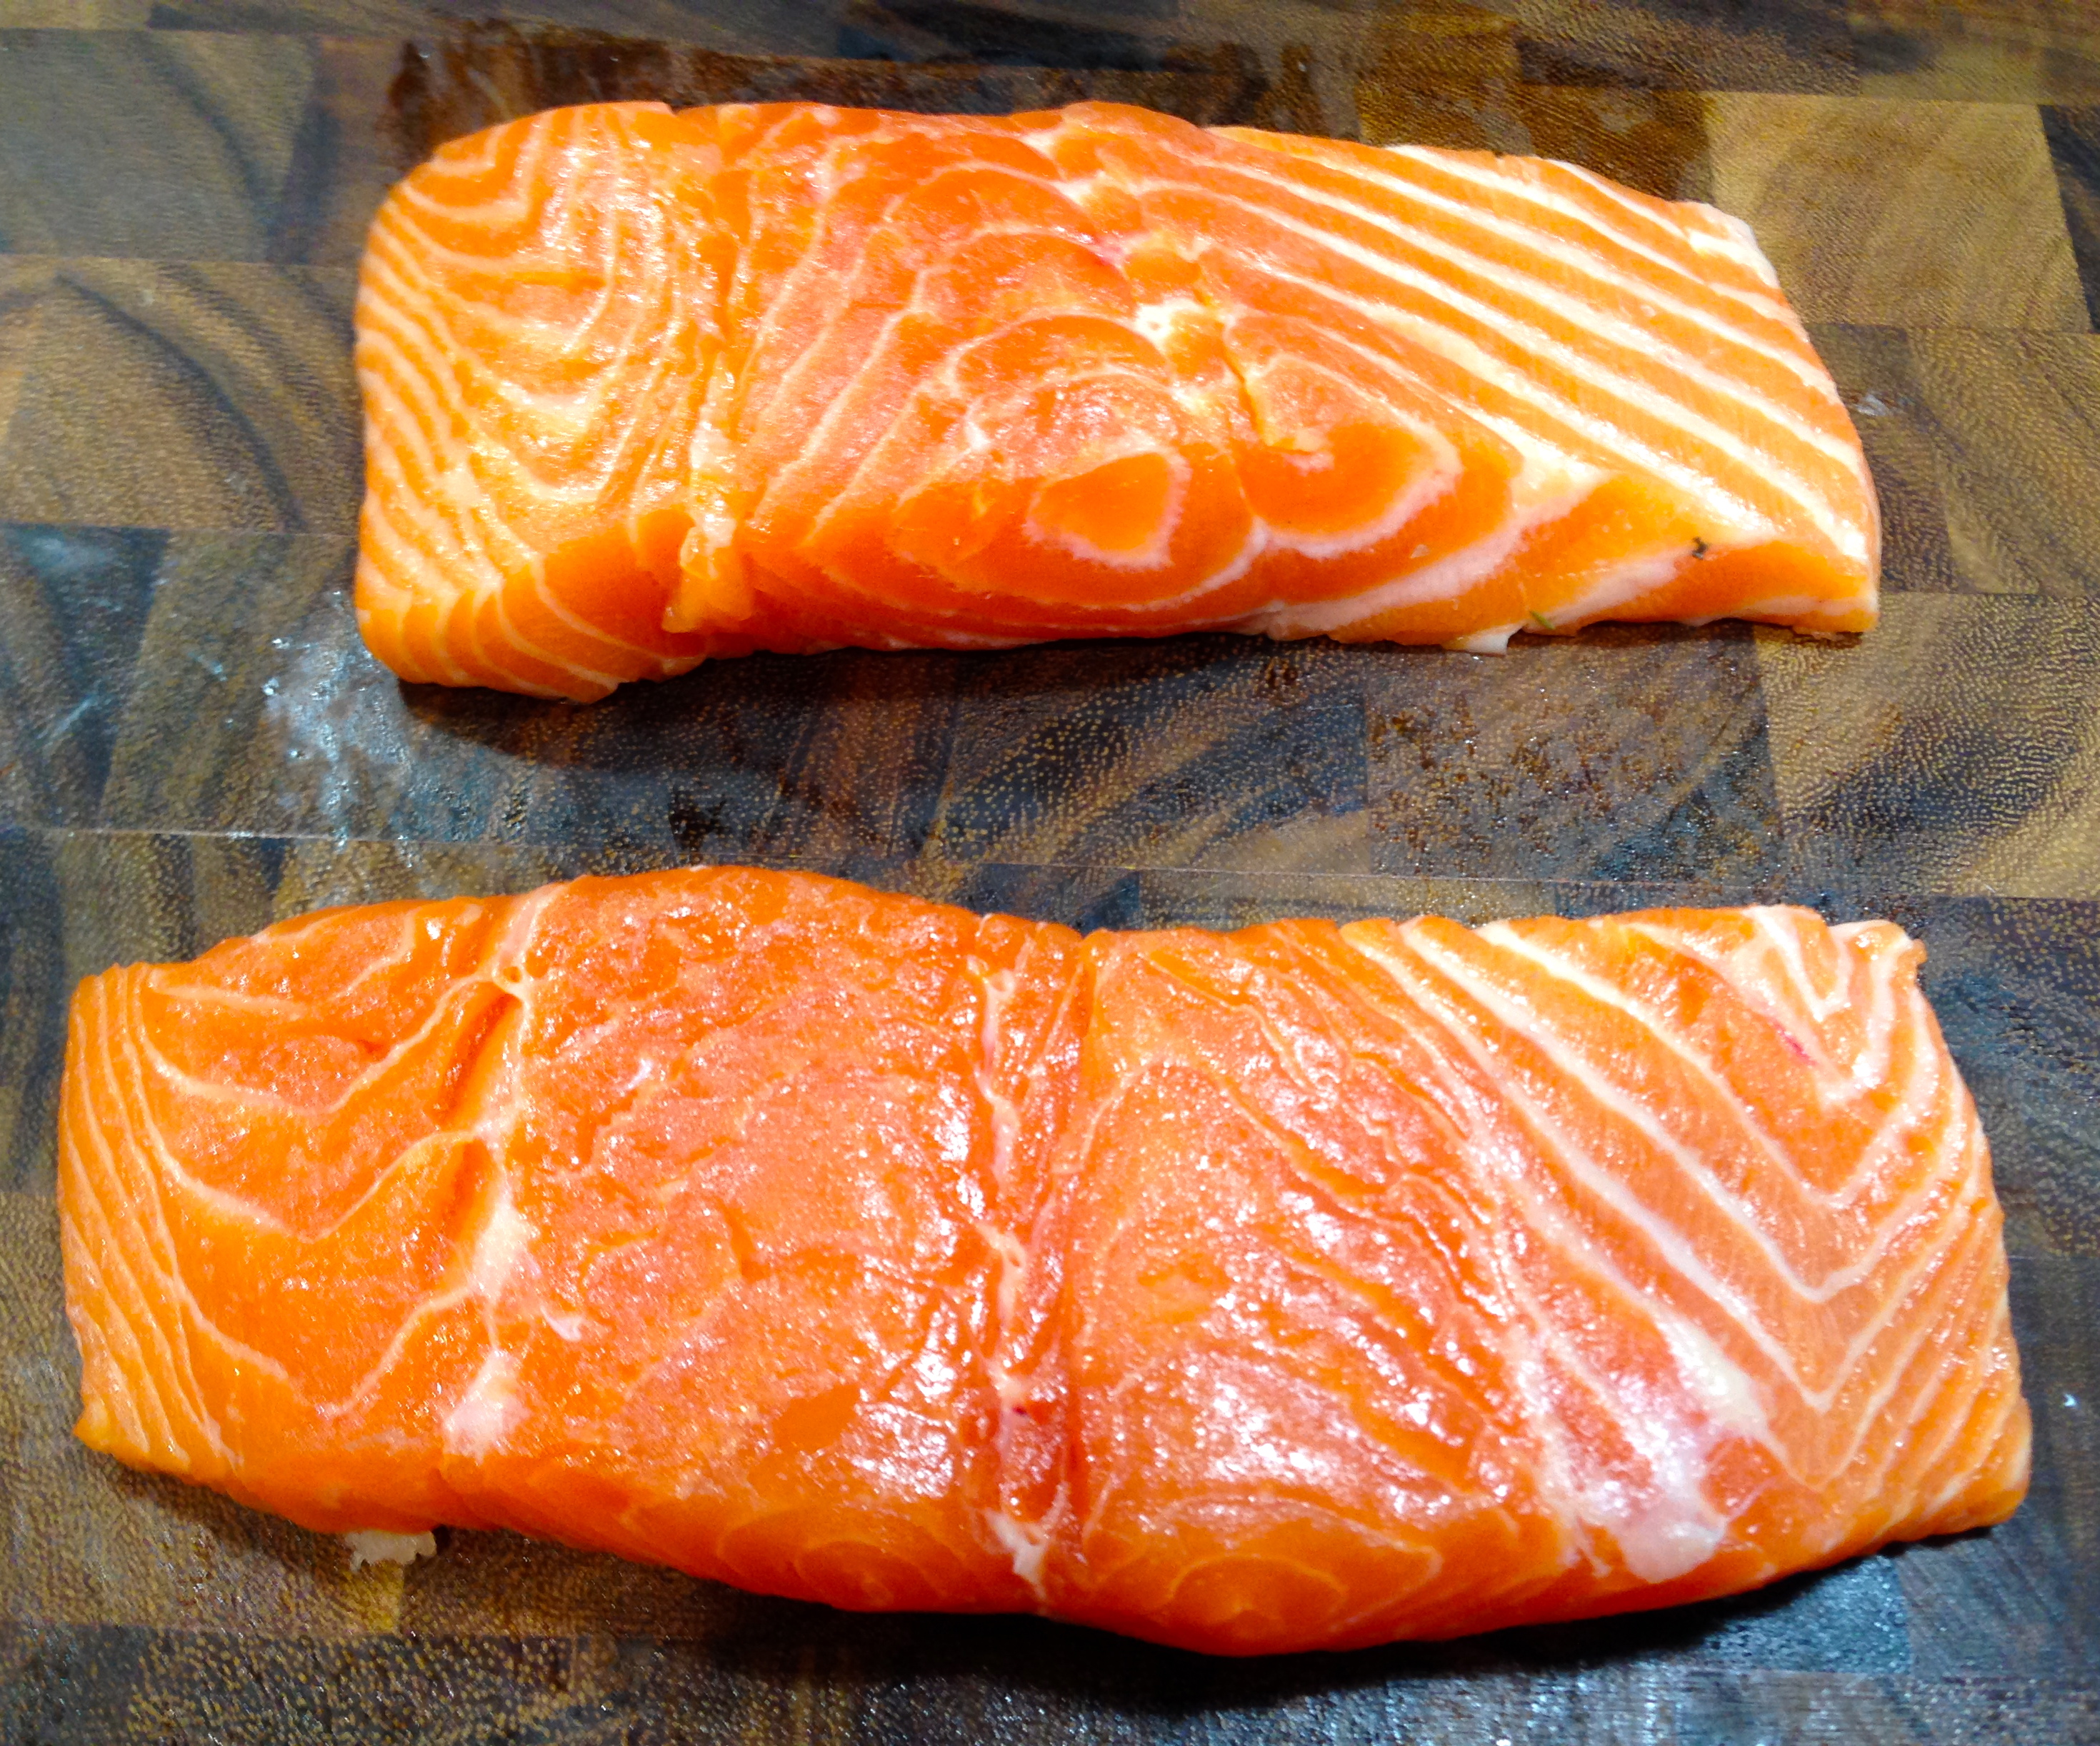
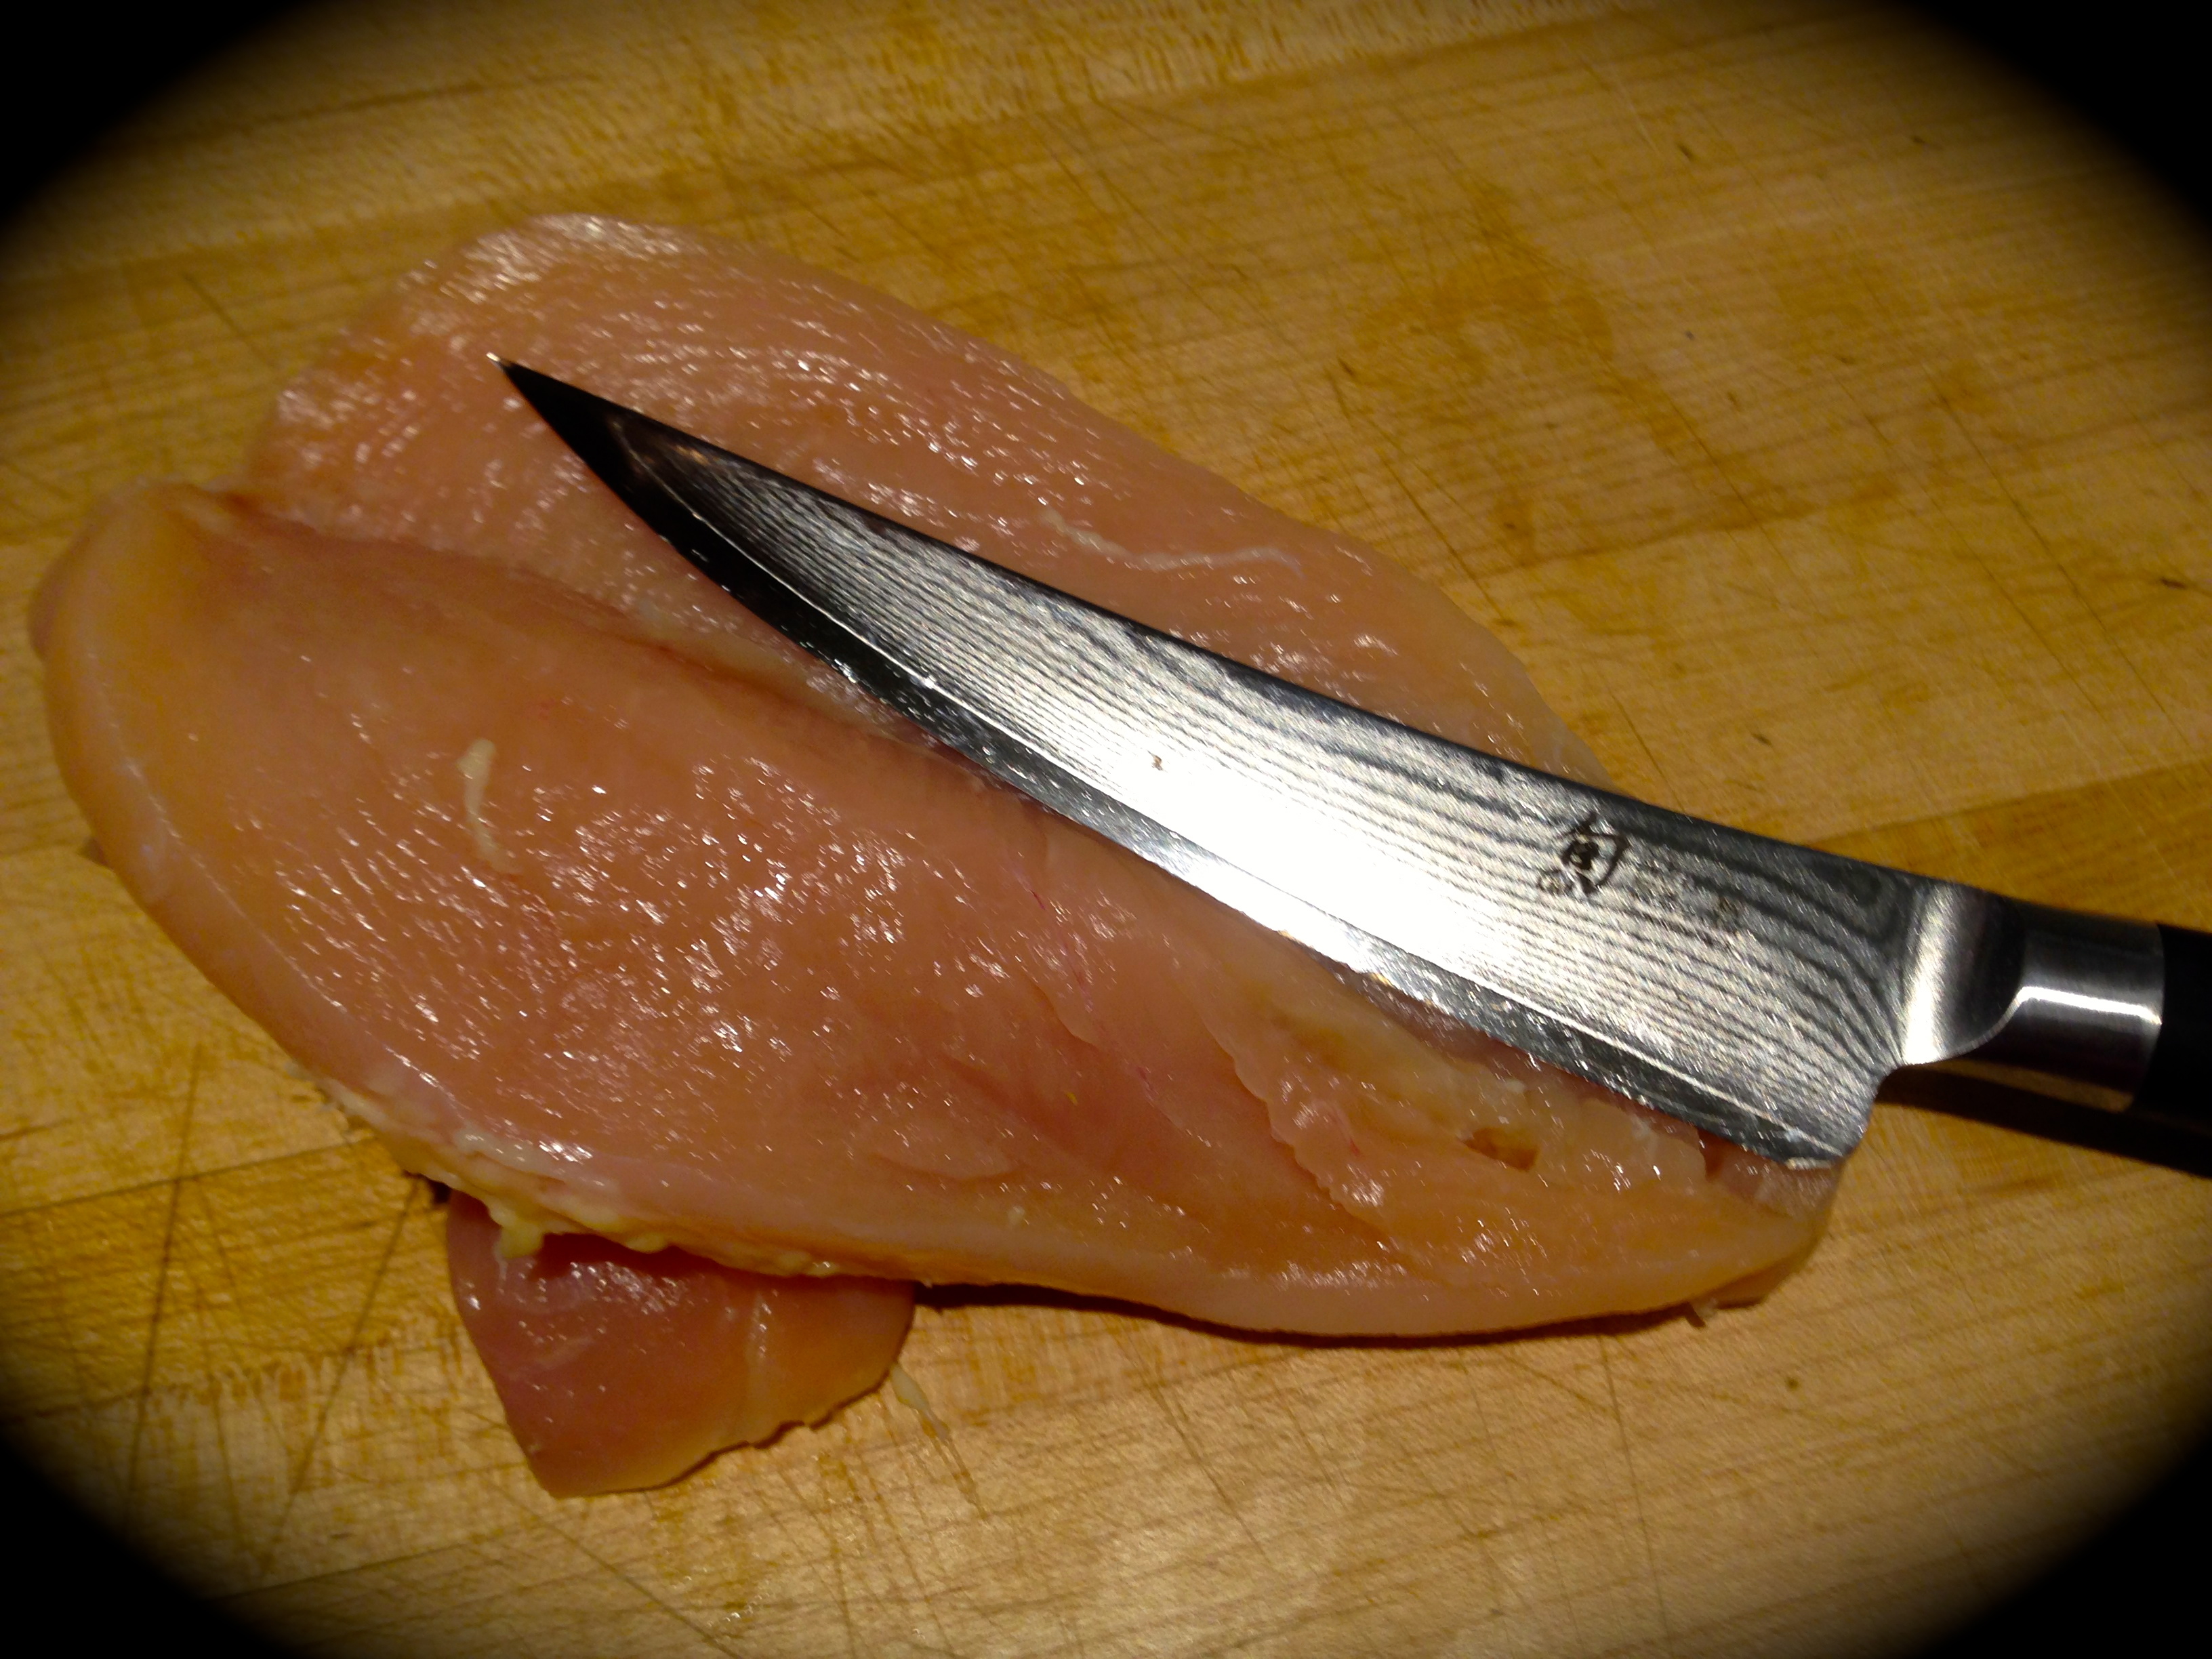
Lesson Learned 3 – Remove the skin from the fish: I purchased wild caught salmon for this dish and was surprised at how thick and tough the skin was when I was removing it. You don’t want to battle with that while you’re eating so my advice is to invest in a good boning knife and remove the skin from the fish before preparing it.
Lesson Learned 4 – Working with puff pastry: Don’t be intimated. Working with puff pastry can actually be quite simple if you know a few things. First you’ll want to thaw a sheet in the refrigerator for about 3 hours before working with it. Lightly dust your prep station with flour, carefully unfold the pastry sheet (it’s folded in thirds) and roll it out to form more of a square shape. (Don’t roll it out too thin and be careful when lifting it if you need to add a little more flour to the surface). Don’t be afraid to adjust the salmon (scrunching it a little) to fit neatly into a folded pocket of puff pastry. For two filets you should only need one sheet of puff pastry. There will be two sheets in the box when you buy it. Keep the other sheet frozen and use it at a later time.
Lesson Learned 5 – An egg wash is puff pastry’s best friend: In order to enhance the color of your puff pastry, beat an egg with just a splash of water in a dish and then brush it all over the top of the puff pastry. The egg wash will help produce a beautiful golden color on the pastry. Once you’ve applied it, make a one inch slit in the center of the pastry to allow steam to escape during the baking process.
I know this recipe may look a little intimidating but really it isn’t. These salmon pockets can actually be made a couple of hours ahead of time and left in the refrigerator until they’re ready to be baked off. The original recipe states that these can also be frozen and then baked frozen but additional cooking time is necessary (not sure what that means but if you’re adventurous, try it). I can assure you this tastes delicious and is worth the little bit of extra time to put together. Enjoy!

The duxelle paste…
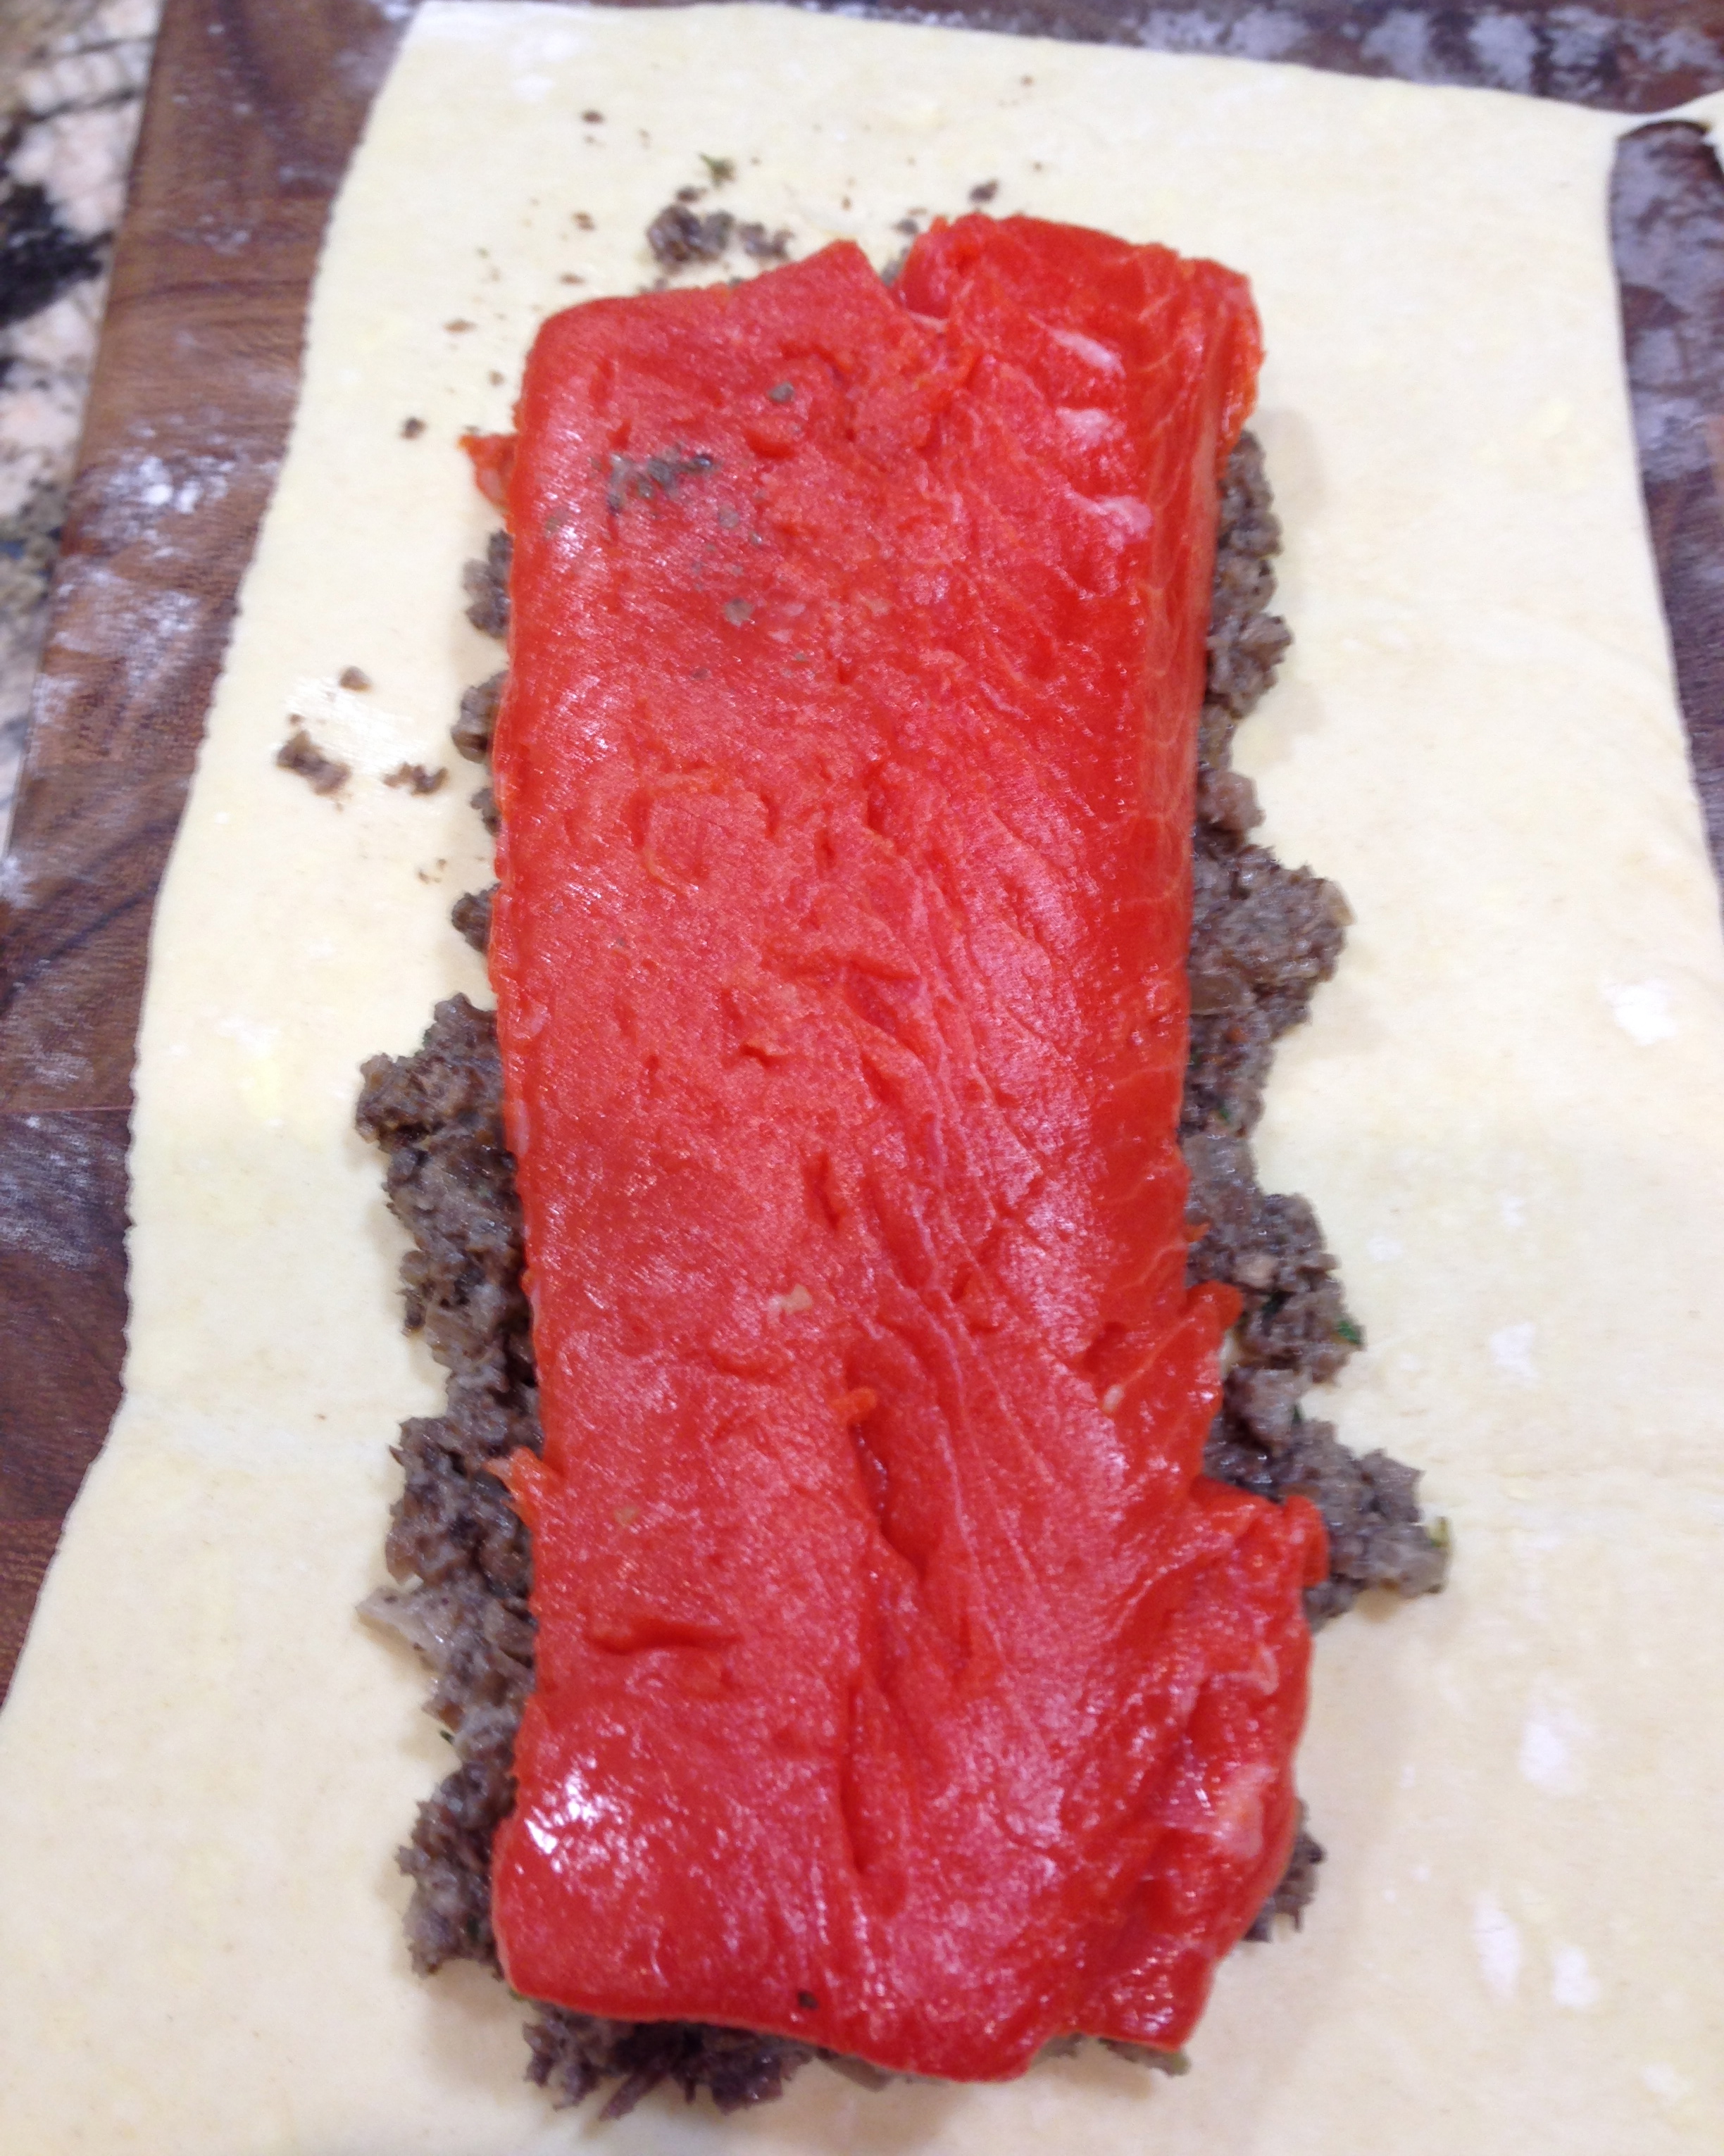
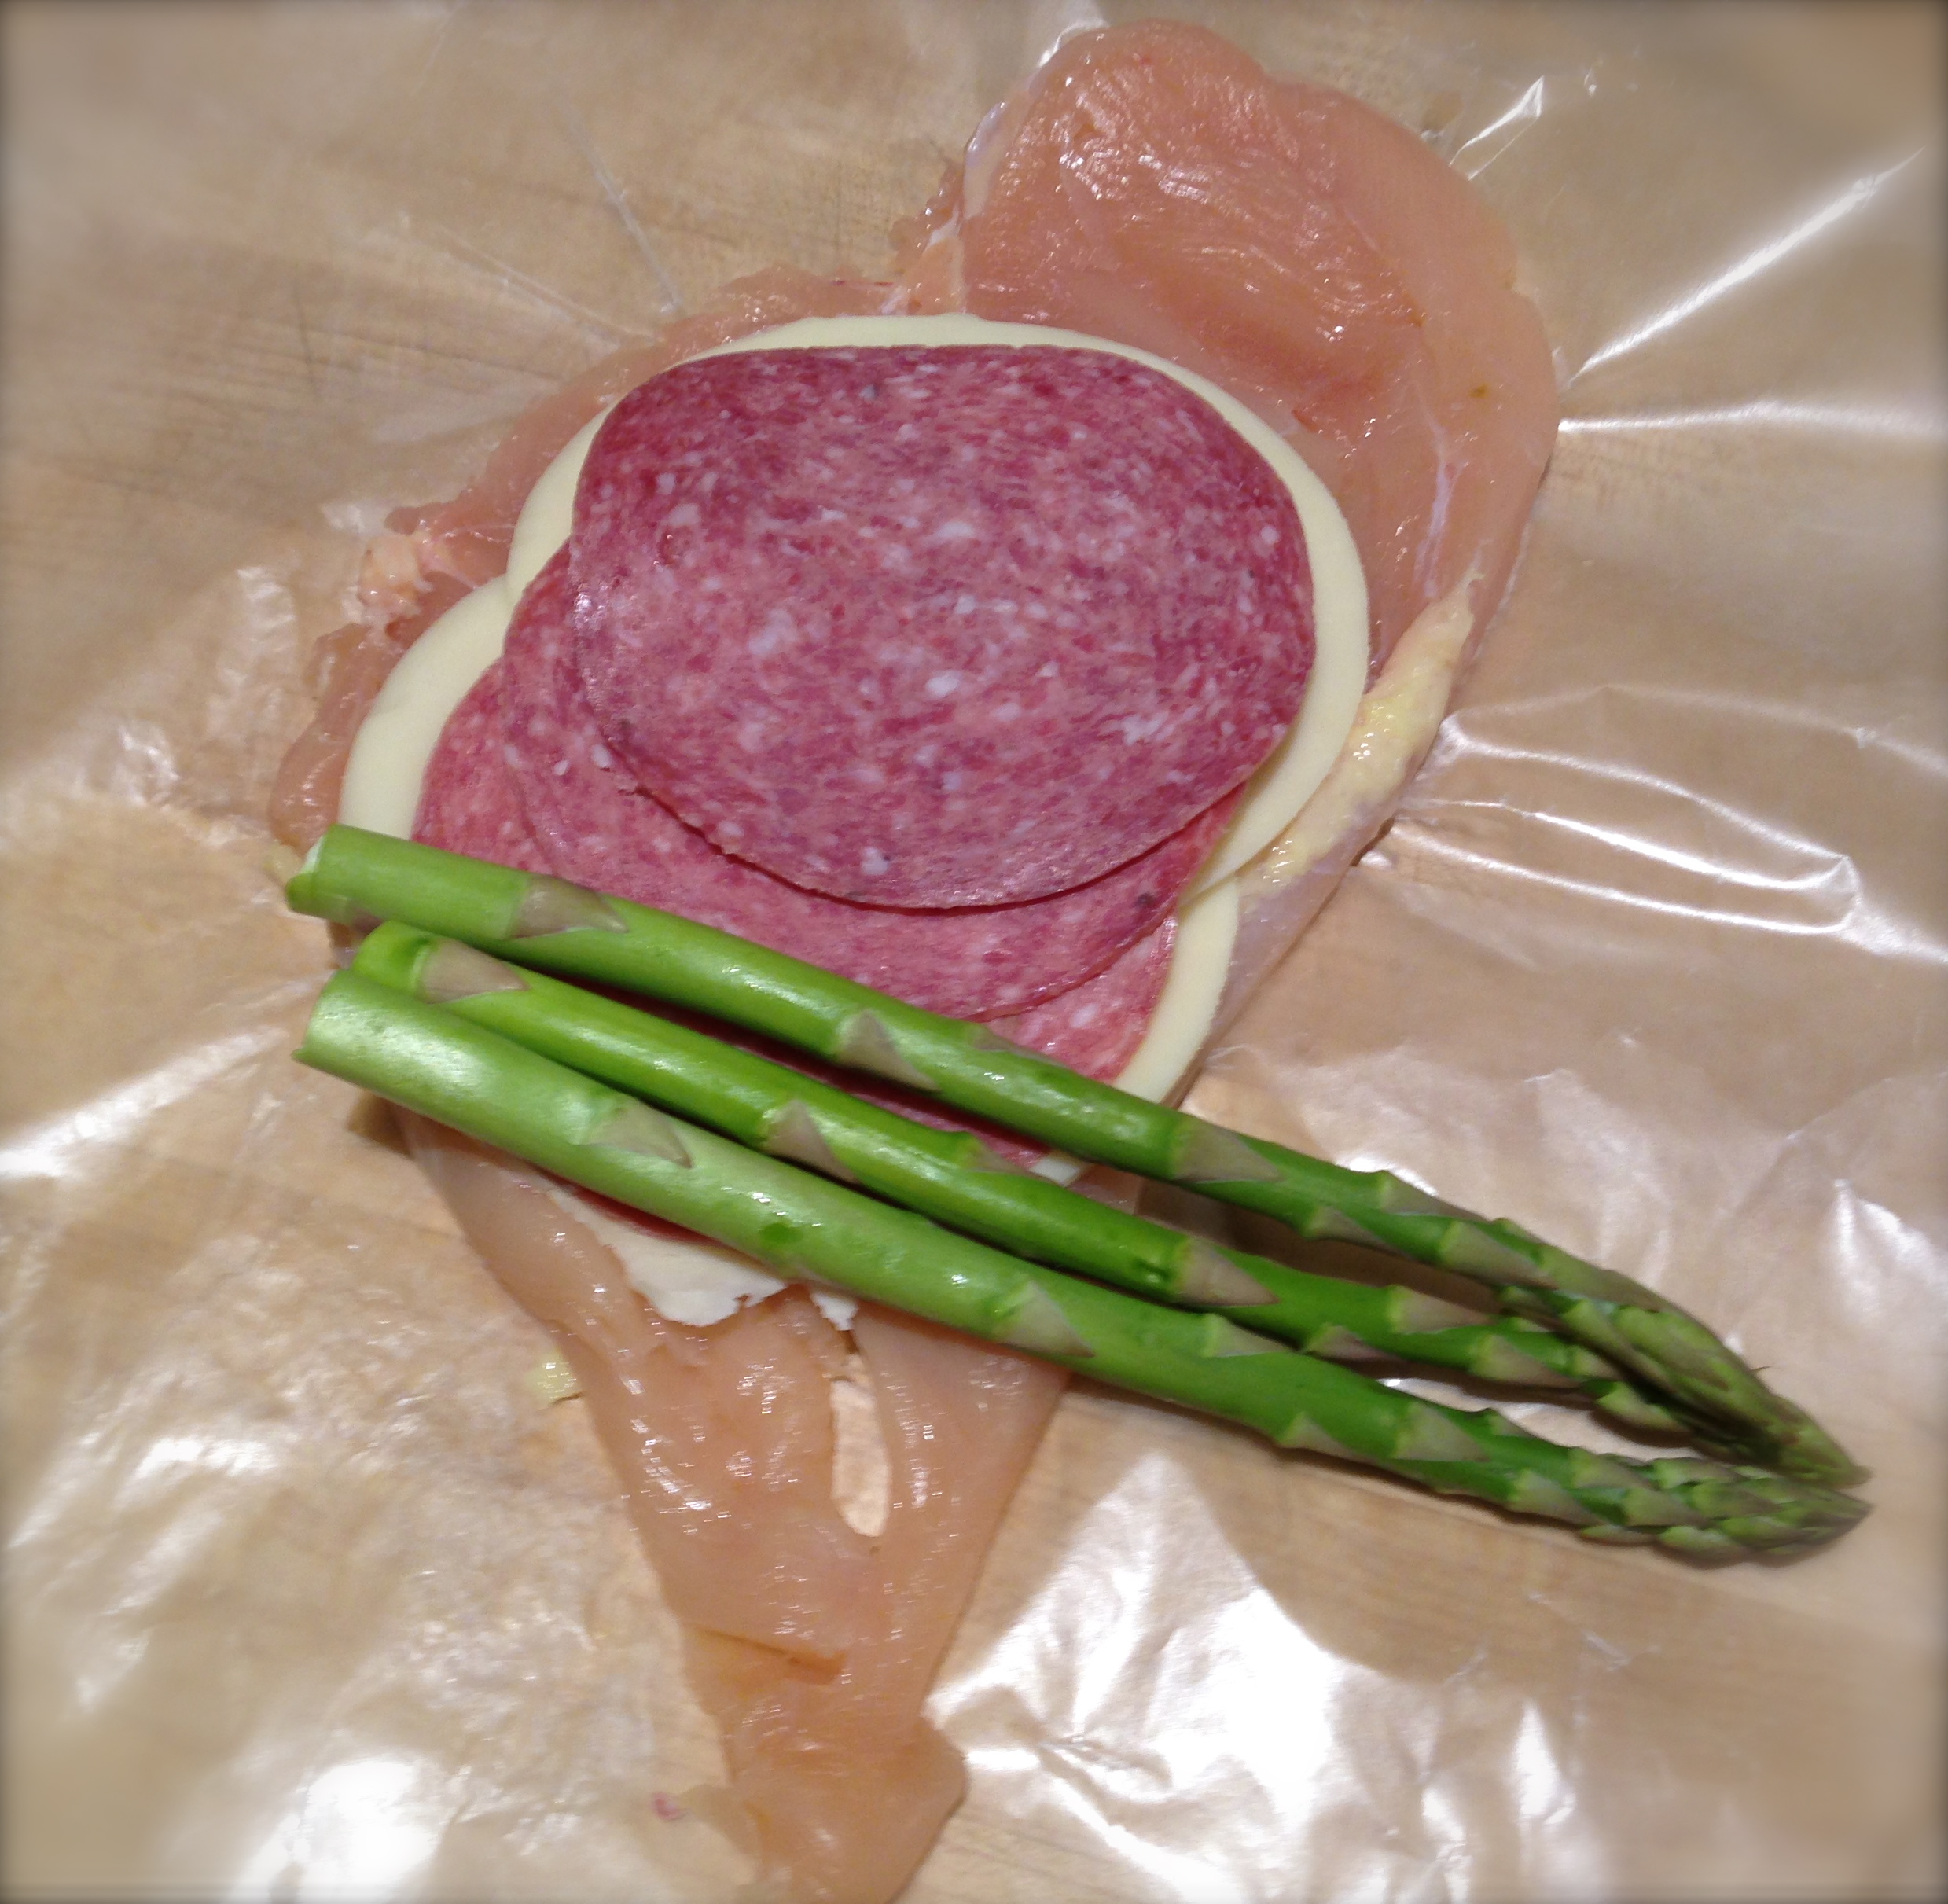
Layer the duxelle and salmon on to the puff pastry…
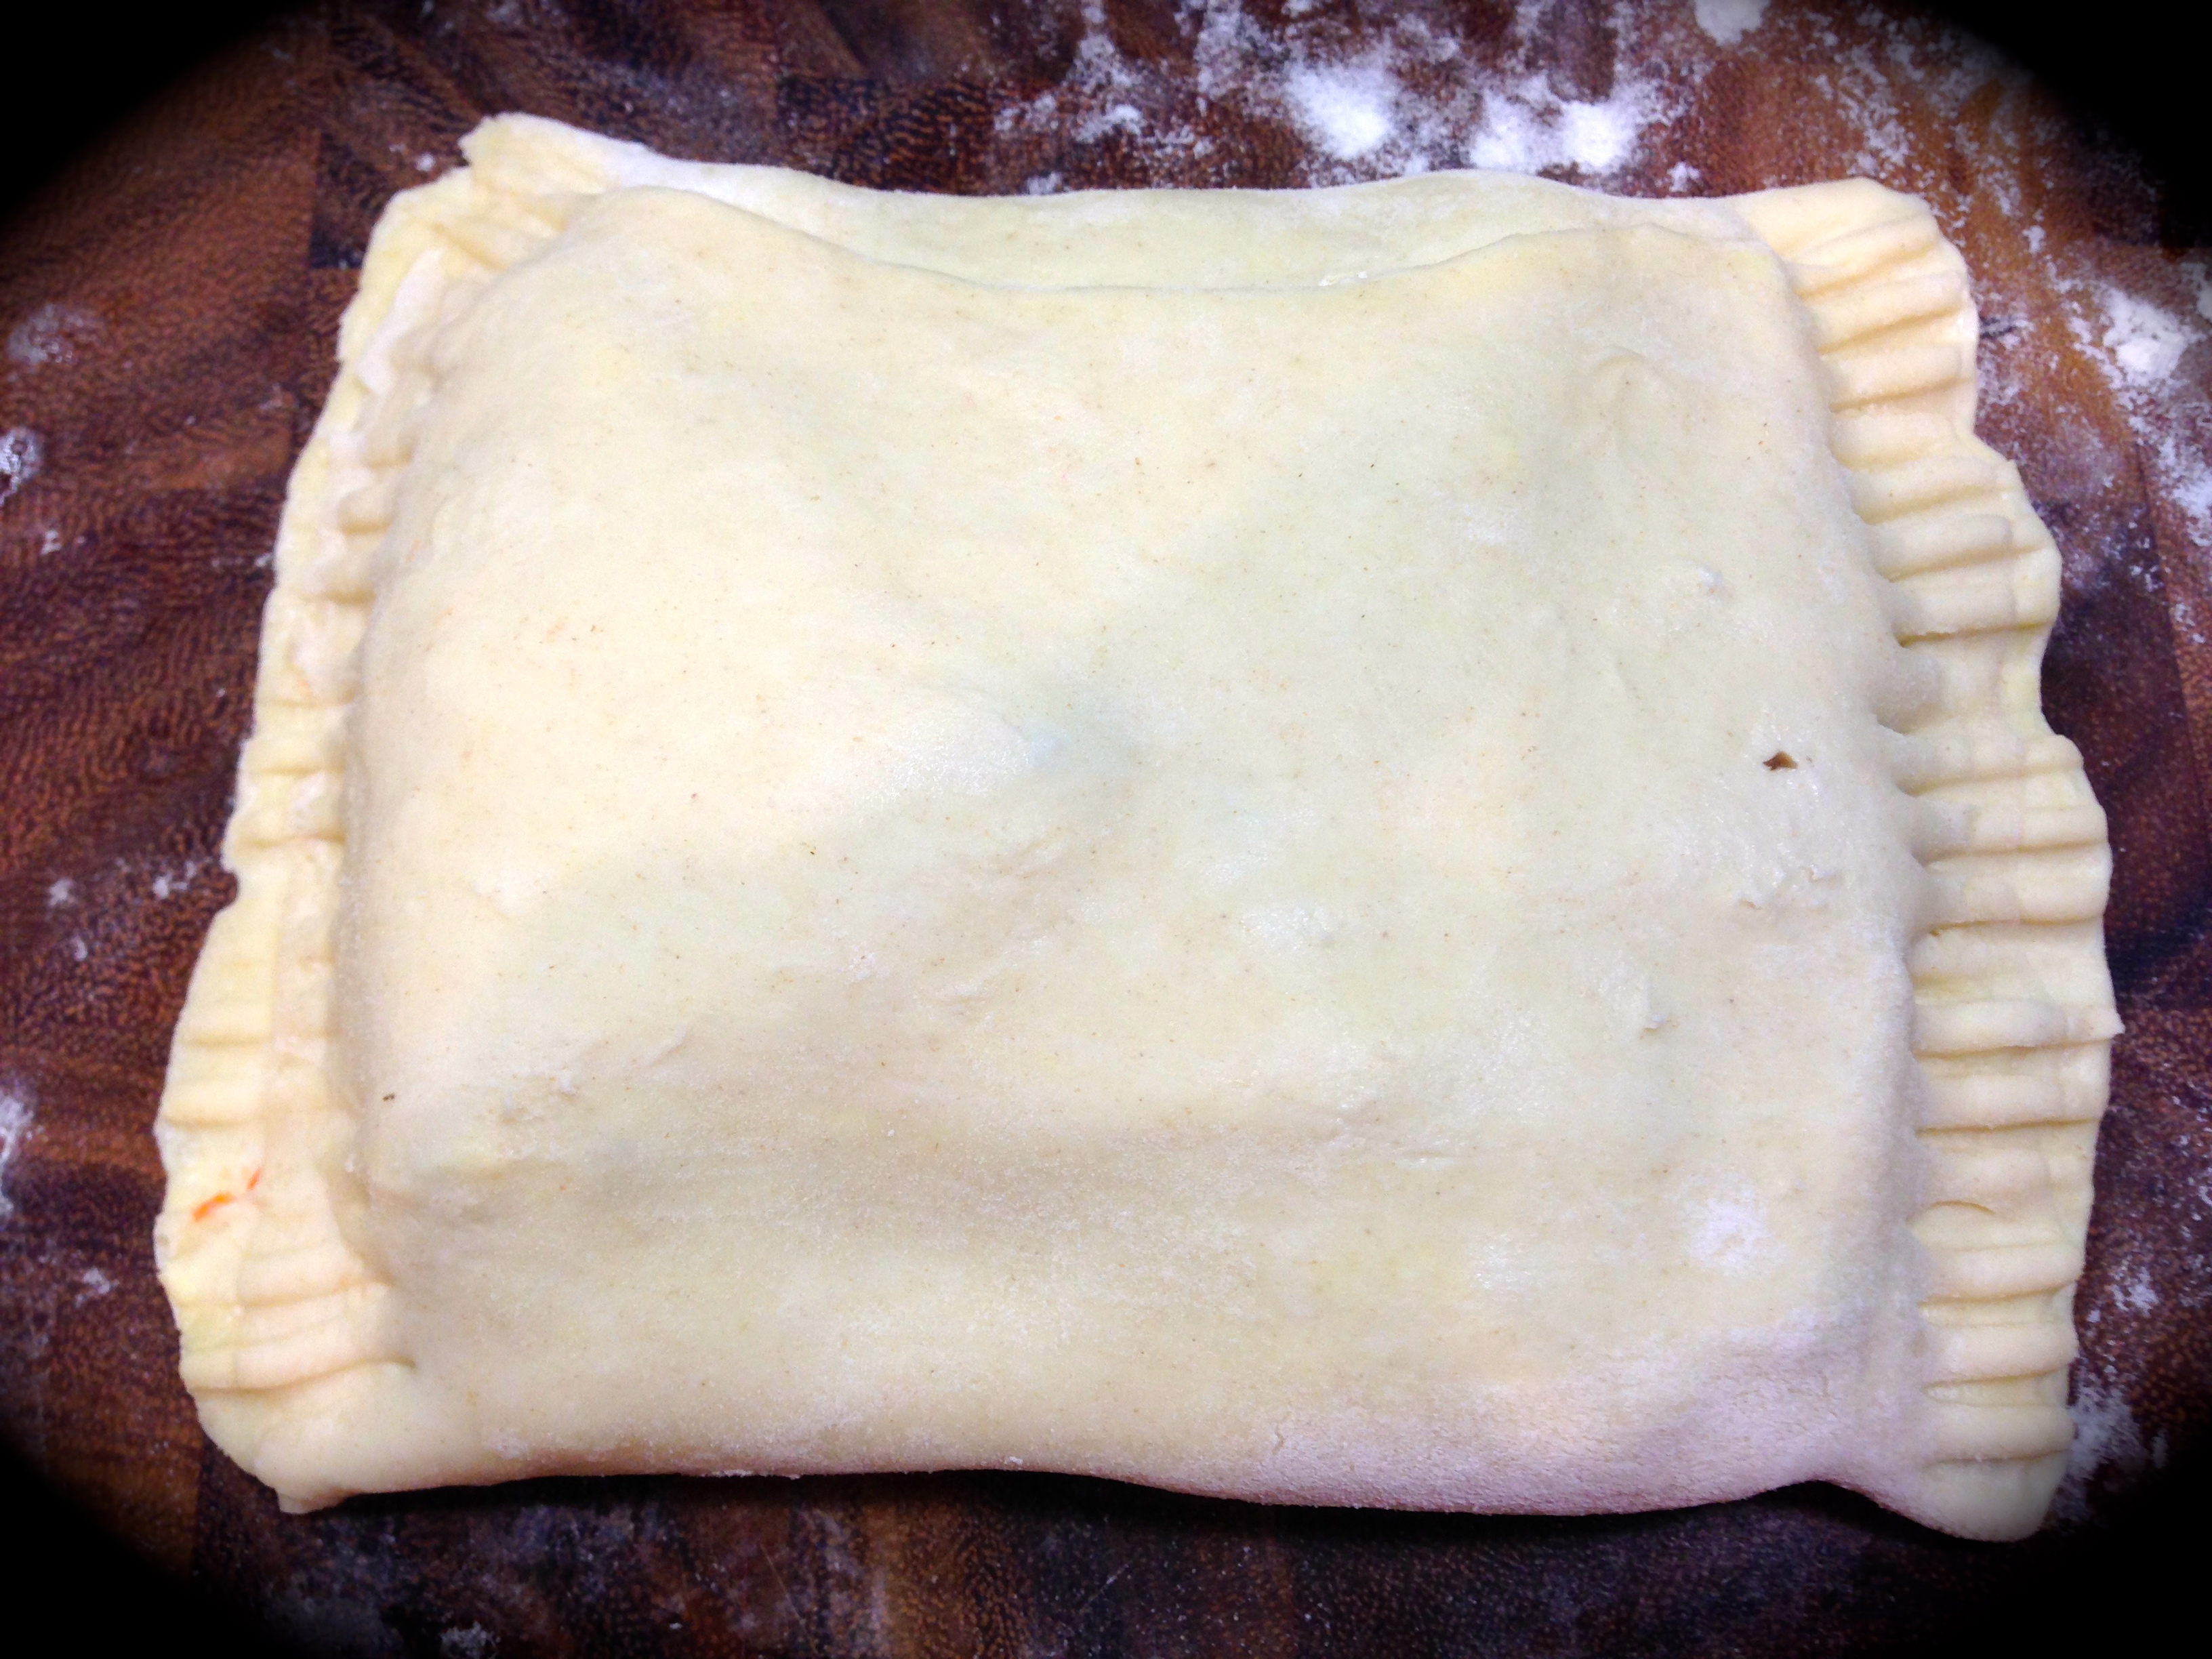
Make the pastry pocket and crimp the sides with a fork…
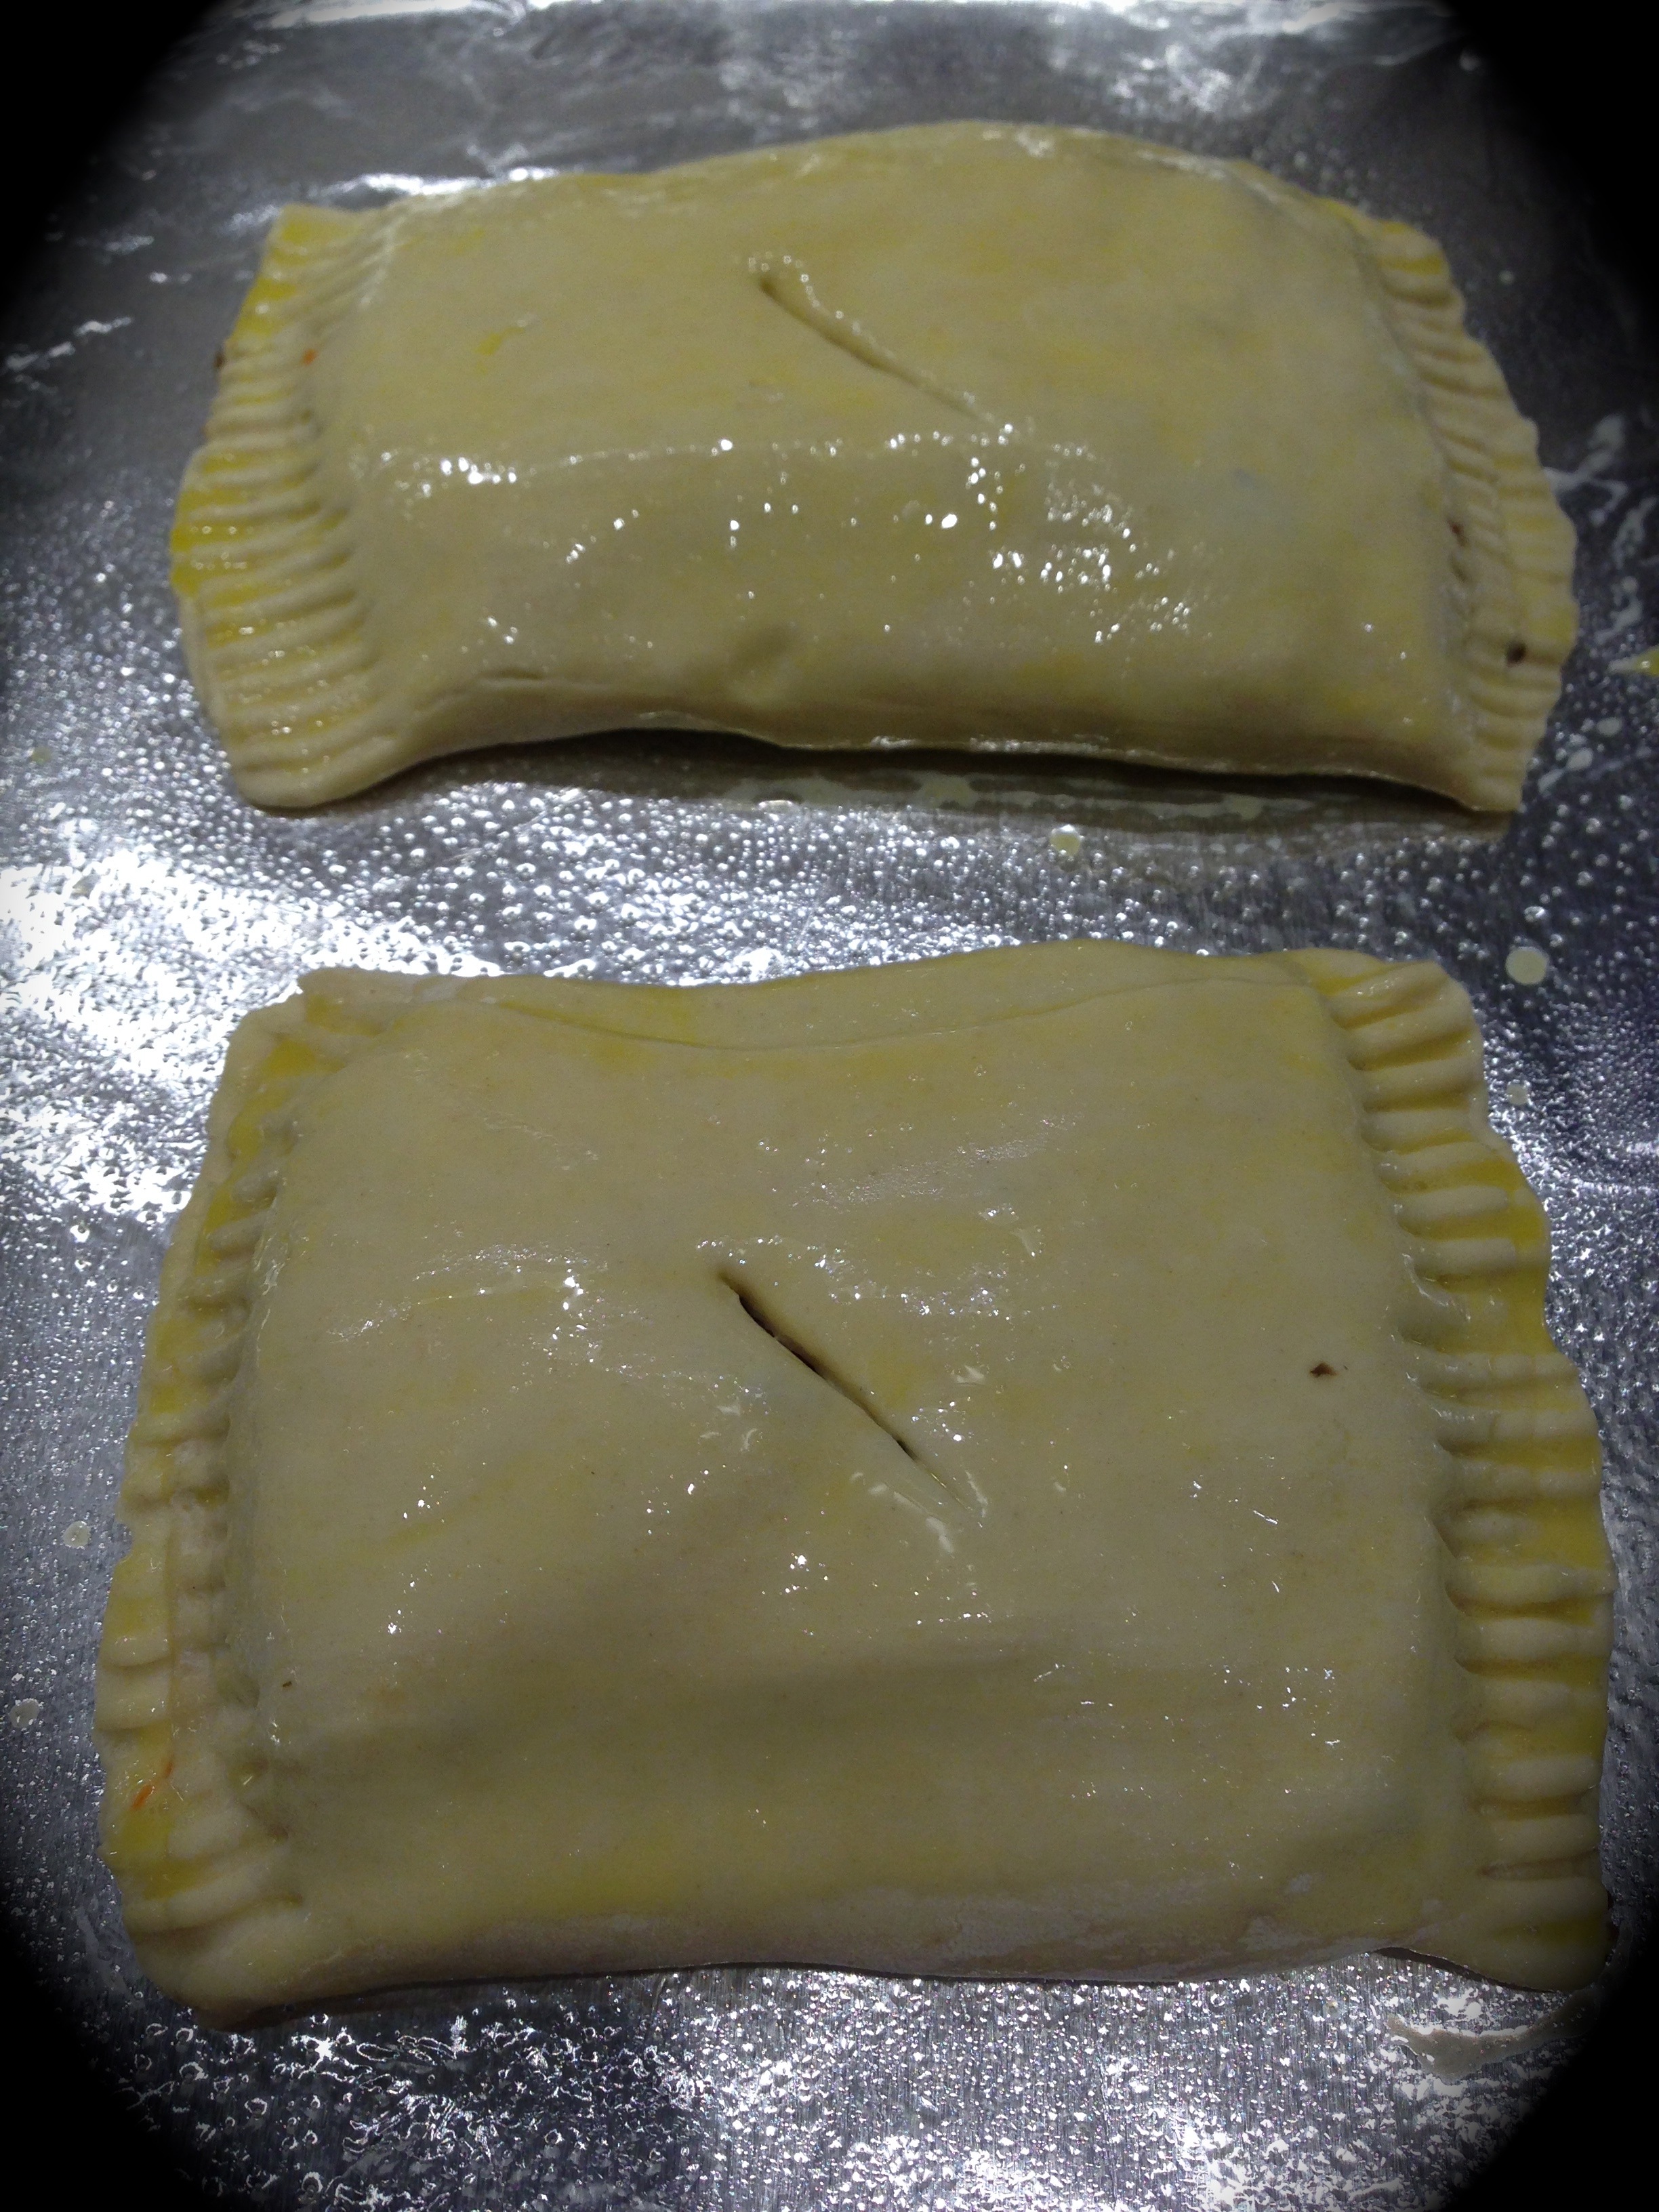
Brush the pastry with an egg wash and cut a slit in the center to release steam
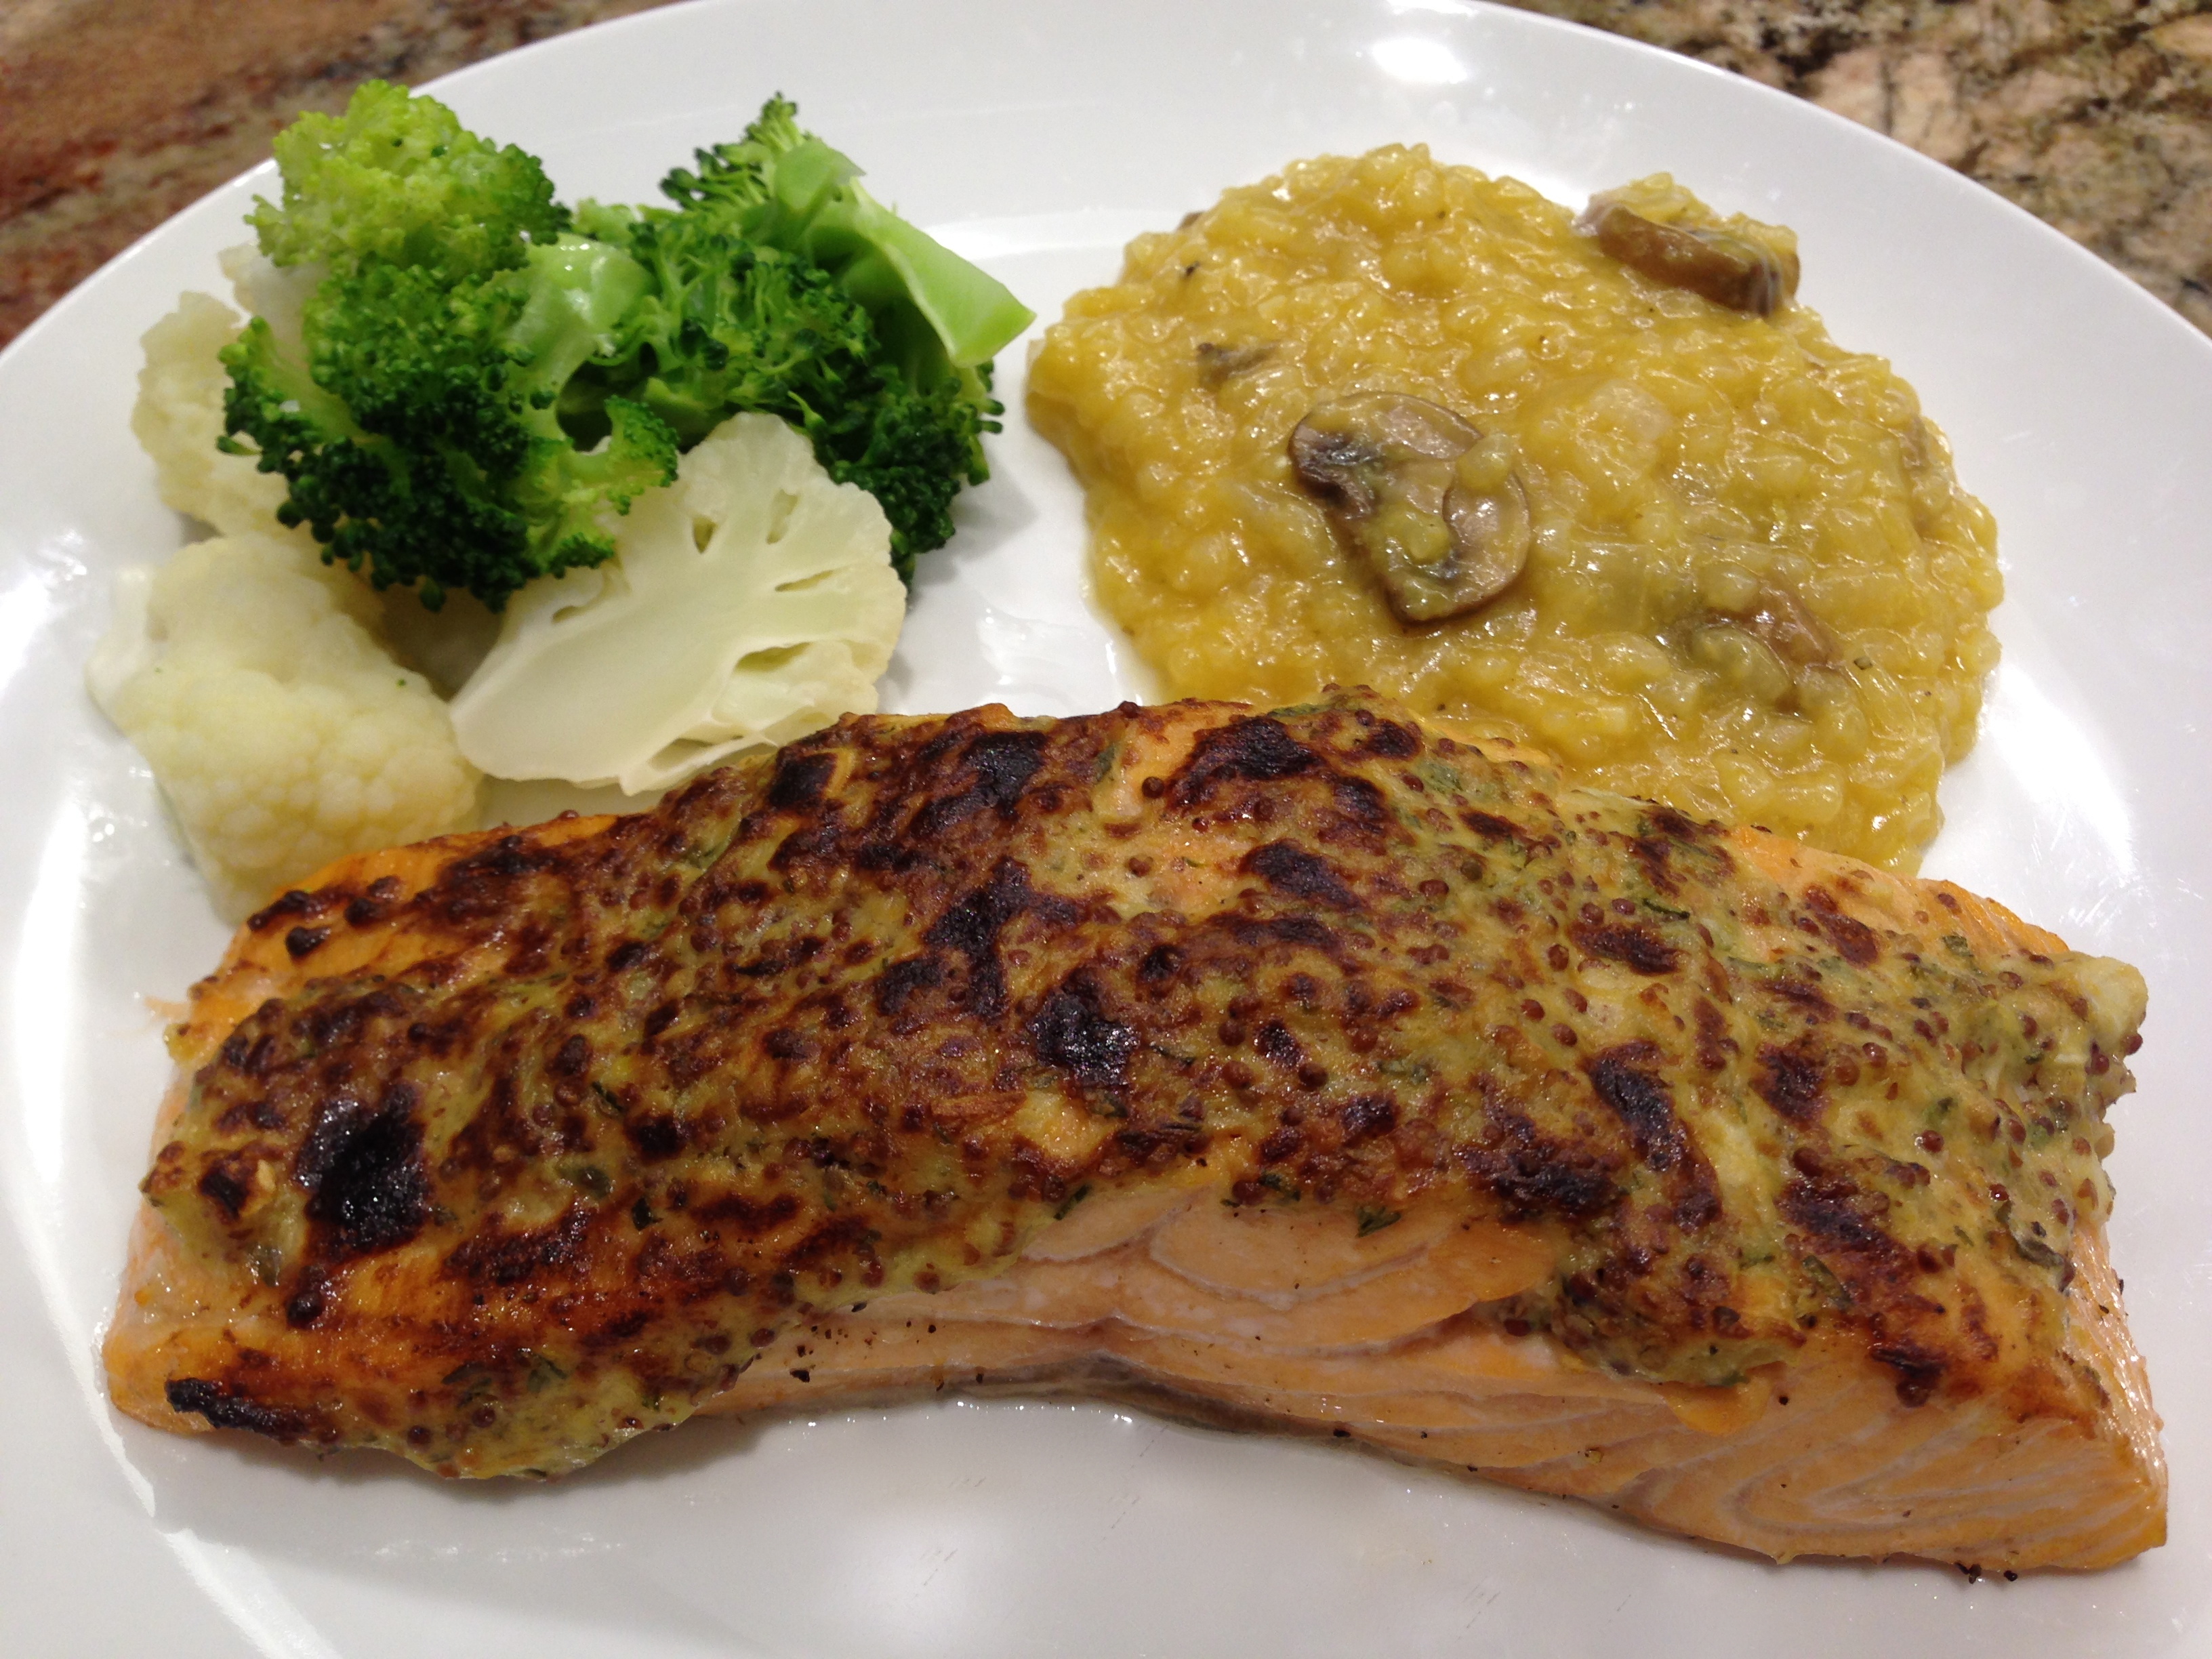
Baked Salmon and Cremini Mushroom Duxelle En Croute
INGREDIENTS:
2 six ounce salmon filets, skin removed
1/2 cup mushroom duxelle
1 sheet of puff pastry, thawed
1 egg 1 tsp. water
(FOR THE DUXELLE)
6 ounces cremini mushrooms
2 TBS. butter
1/4 cup finely chopped shallots
1 TBS. vermouth (or dry white wine)
1/4 – 1/2 tsp. fresh thyme
3 TBS. heavy cream
salt and pepper to taste
DIRECTIONS: Thaw the puff pastry in the refrigerator for at least three hours. Preheat the oven to 400 degrees. Using a damp paper towel, wipe off any residue on the mushrooms. Don’t wash them directly under water as they can absorb too much moisture if you do that.
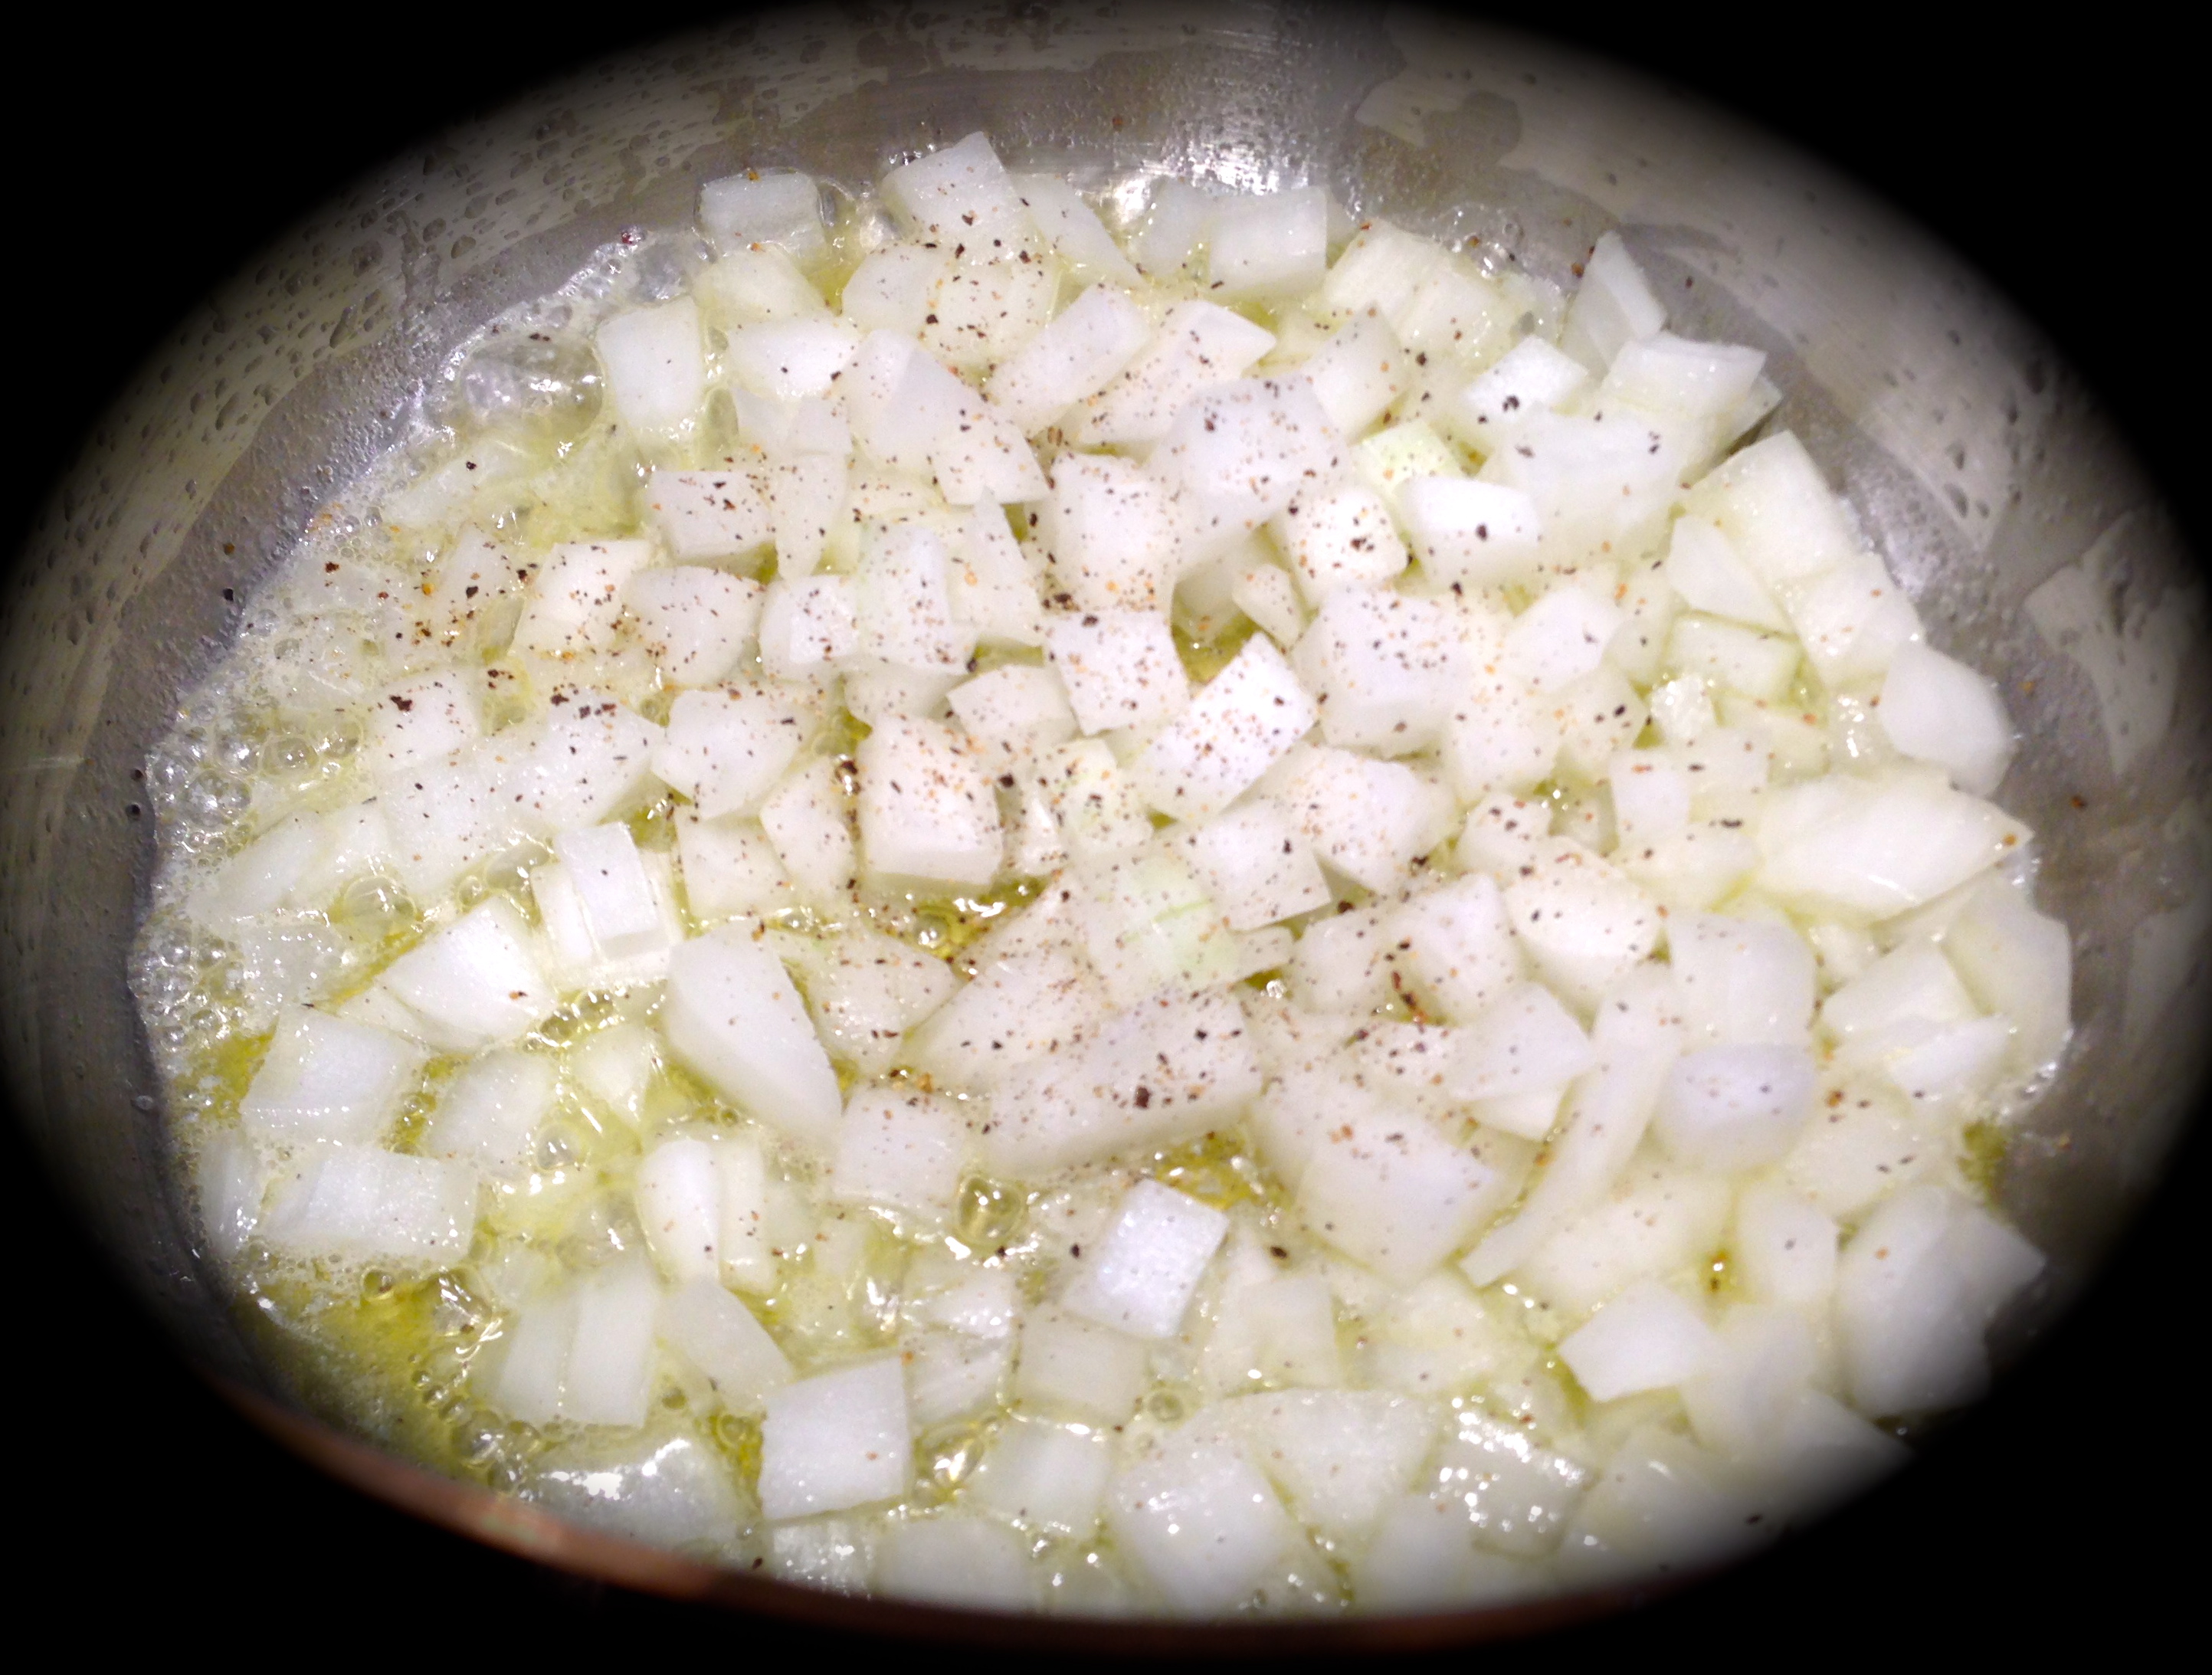
Put mushrooms in a food processor and pulse until they are finely minced. Mince the shallots and chop the thyme. Melt the butter and sauté the shallots until soft. Stir in the mushrooms and simmer for 7-10 minutes, stirring occasionally until their moisture evaporates. Add the wine, thyme and salt and pepper. Simmer for about another 5 minutes. Remove from the heat and add the whipping cream. Use immediately or refrigerate until ready to use.
Remove the skin from the salmon. On a lightly floured surface, open the puff pastry and gently roll it into the shape of a square. Cut the puff pastry into four equal squares to create an upper and lower portion of the pocket (I cut mine in half and just folded the pastry over the salmon – I had to scrunch the salmon a little to get it to fit in the pocket but it worked out just fine). Spread the duxelle on the puff pastry up to an inch from the edges of the pastry.
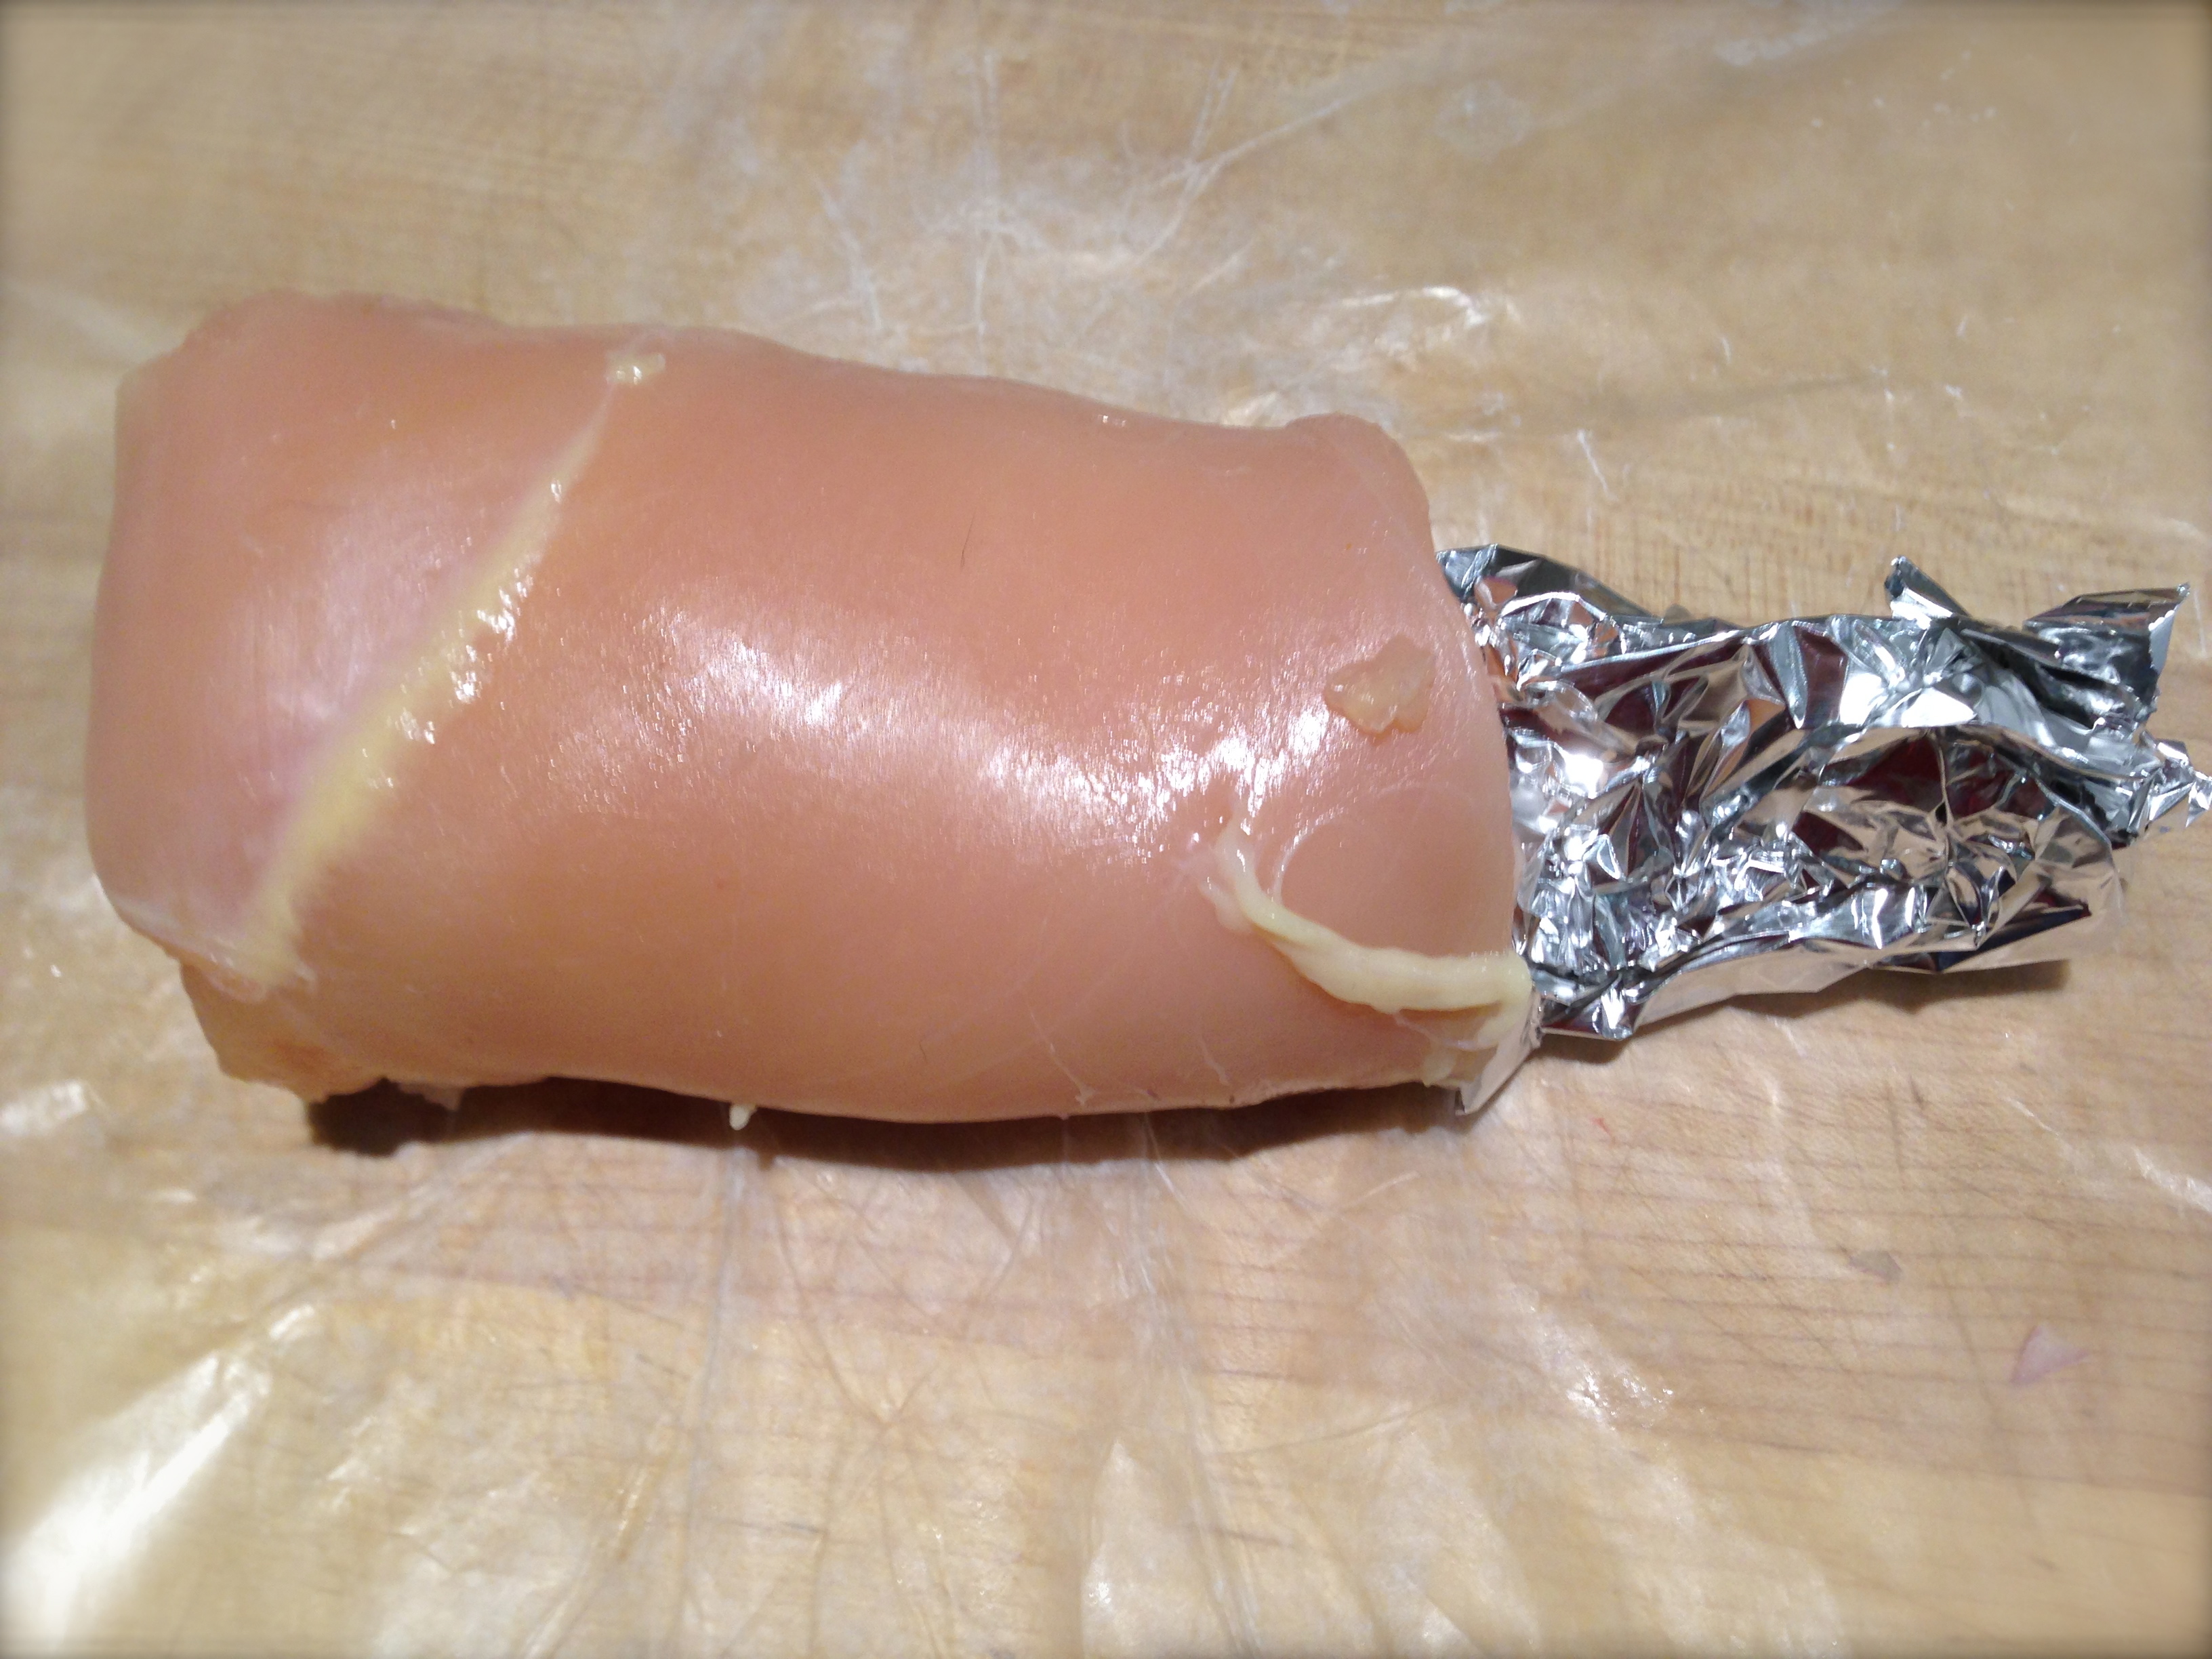
Place the salmon on top of the duxelle and fold over the pastry to create a pocket. Use a fork to crimp the edges shut. Beat egg with water and brush the top of the puff pastry pocket with the egg wash. Slit a hole in the center of the pastry pocket (about a inch) to allow steam to escape. Line a baking sheet with foil and spray lightly with non-stick spray. Place the salmon pockets on the baking dish and bake for 20 minutes. Serve immediately.
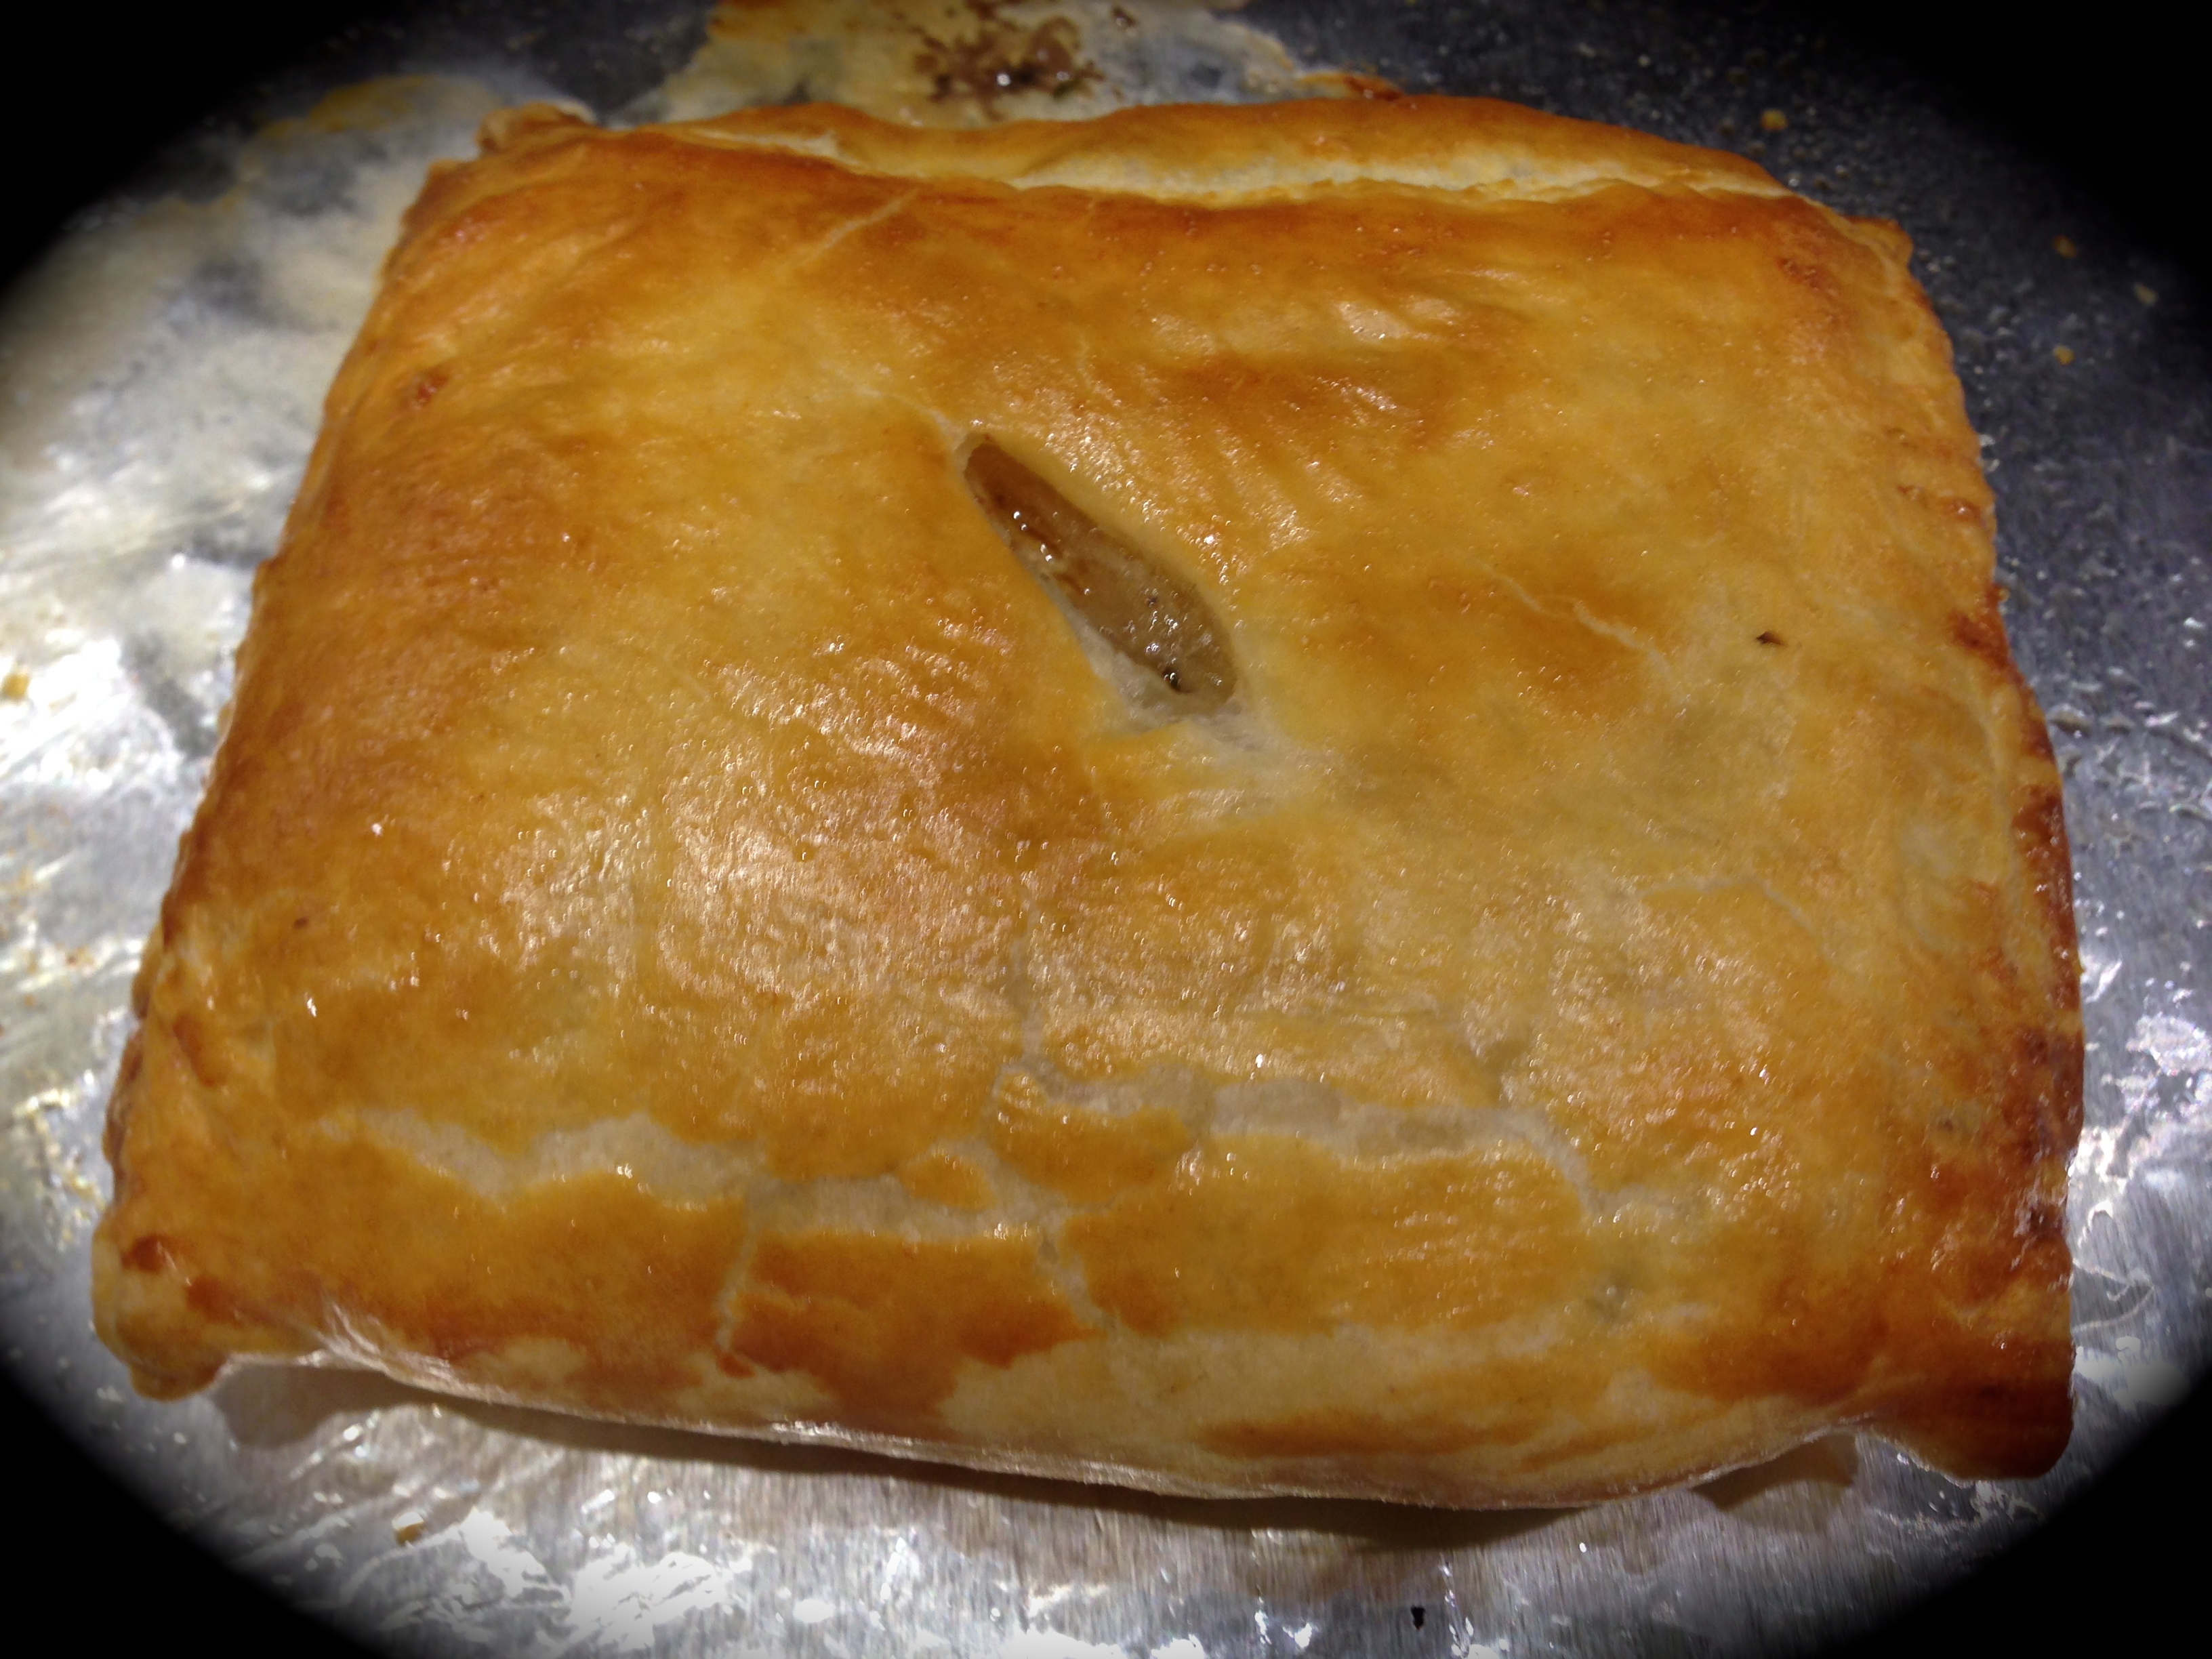
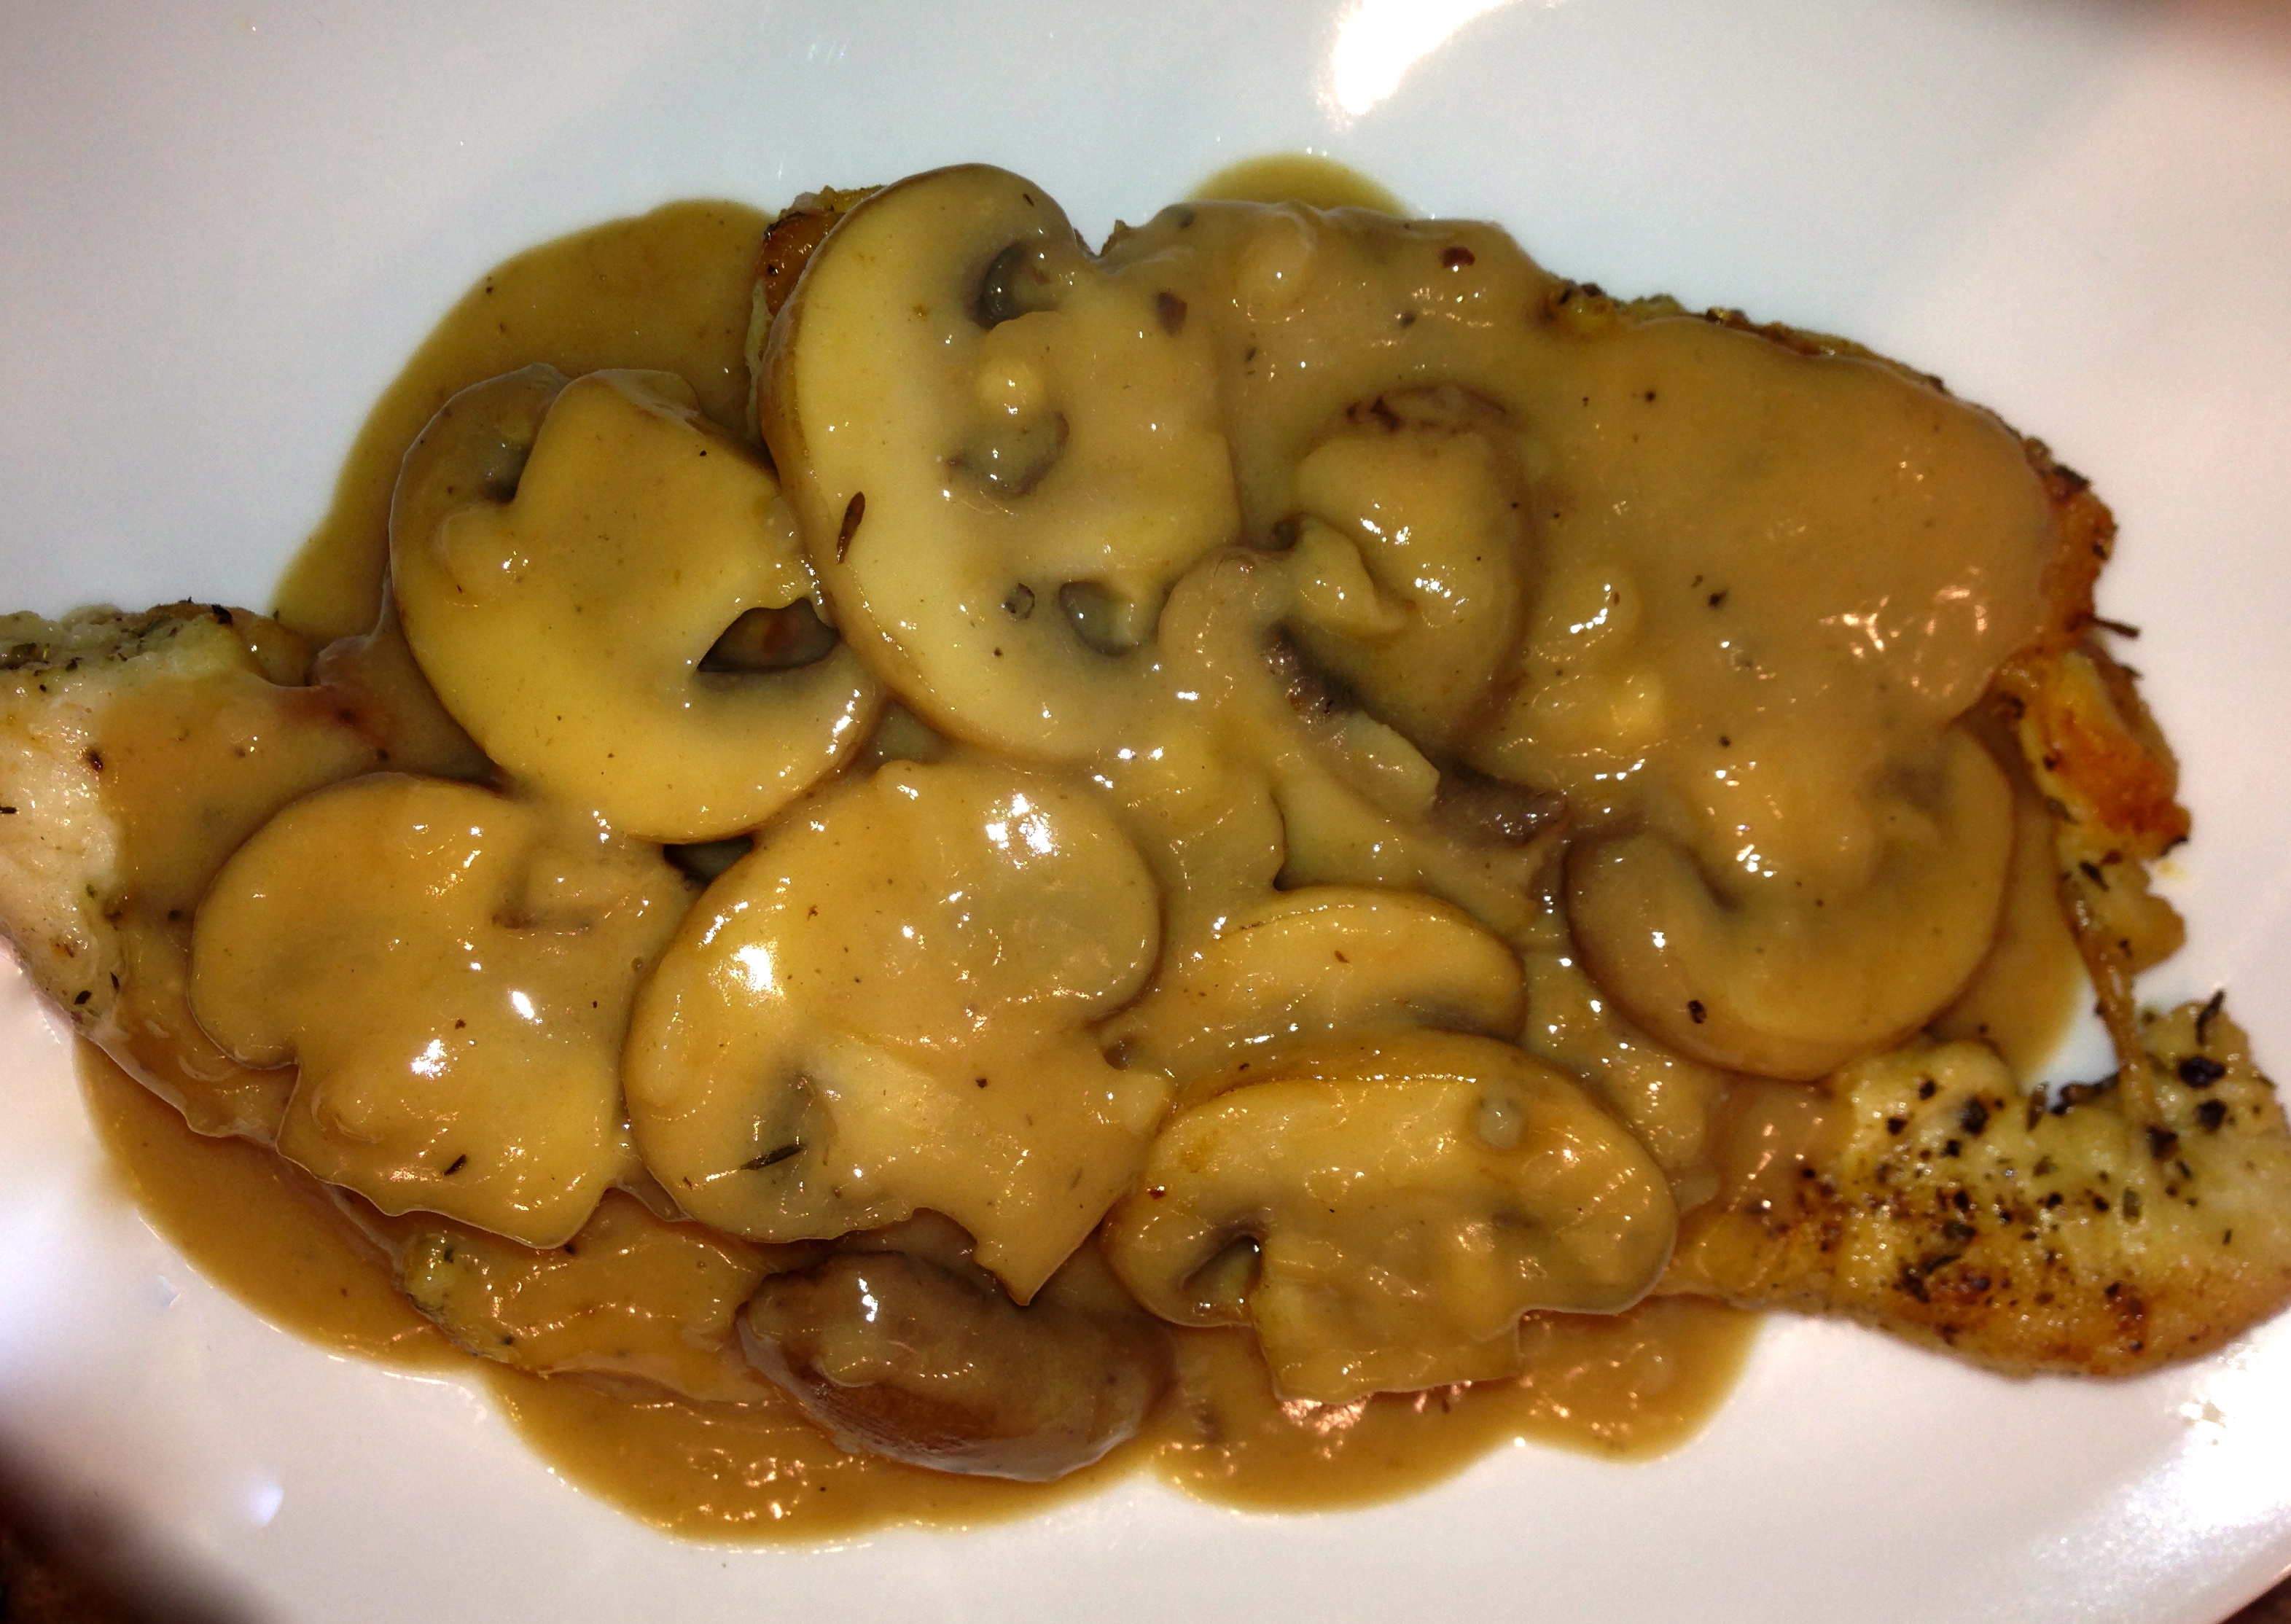
Pastry Pocket Right Out Of The Oven…
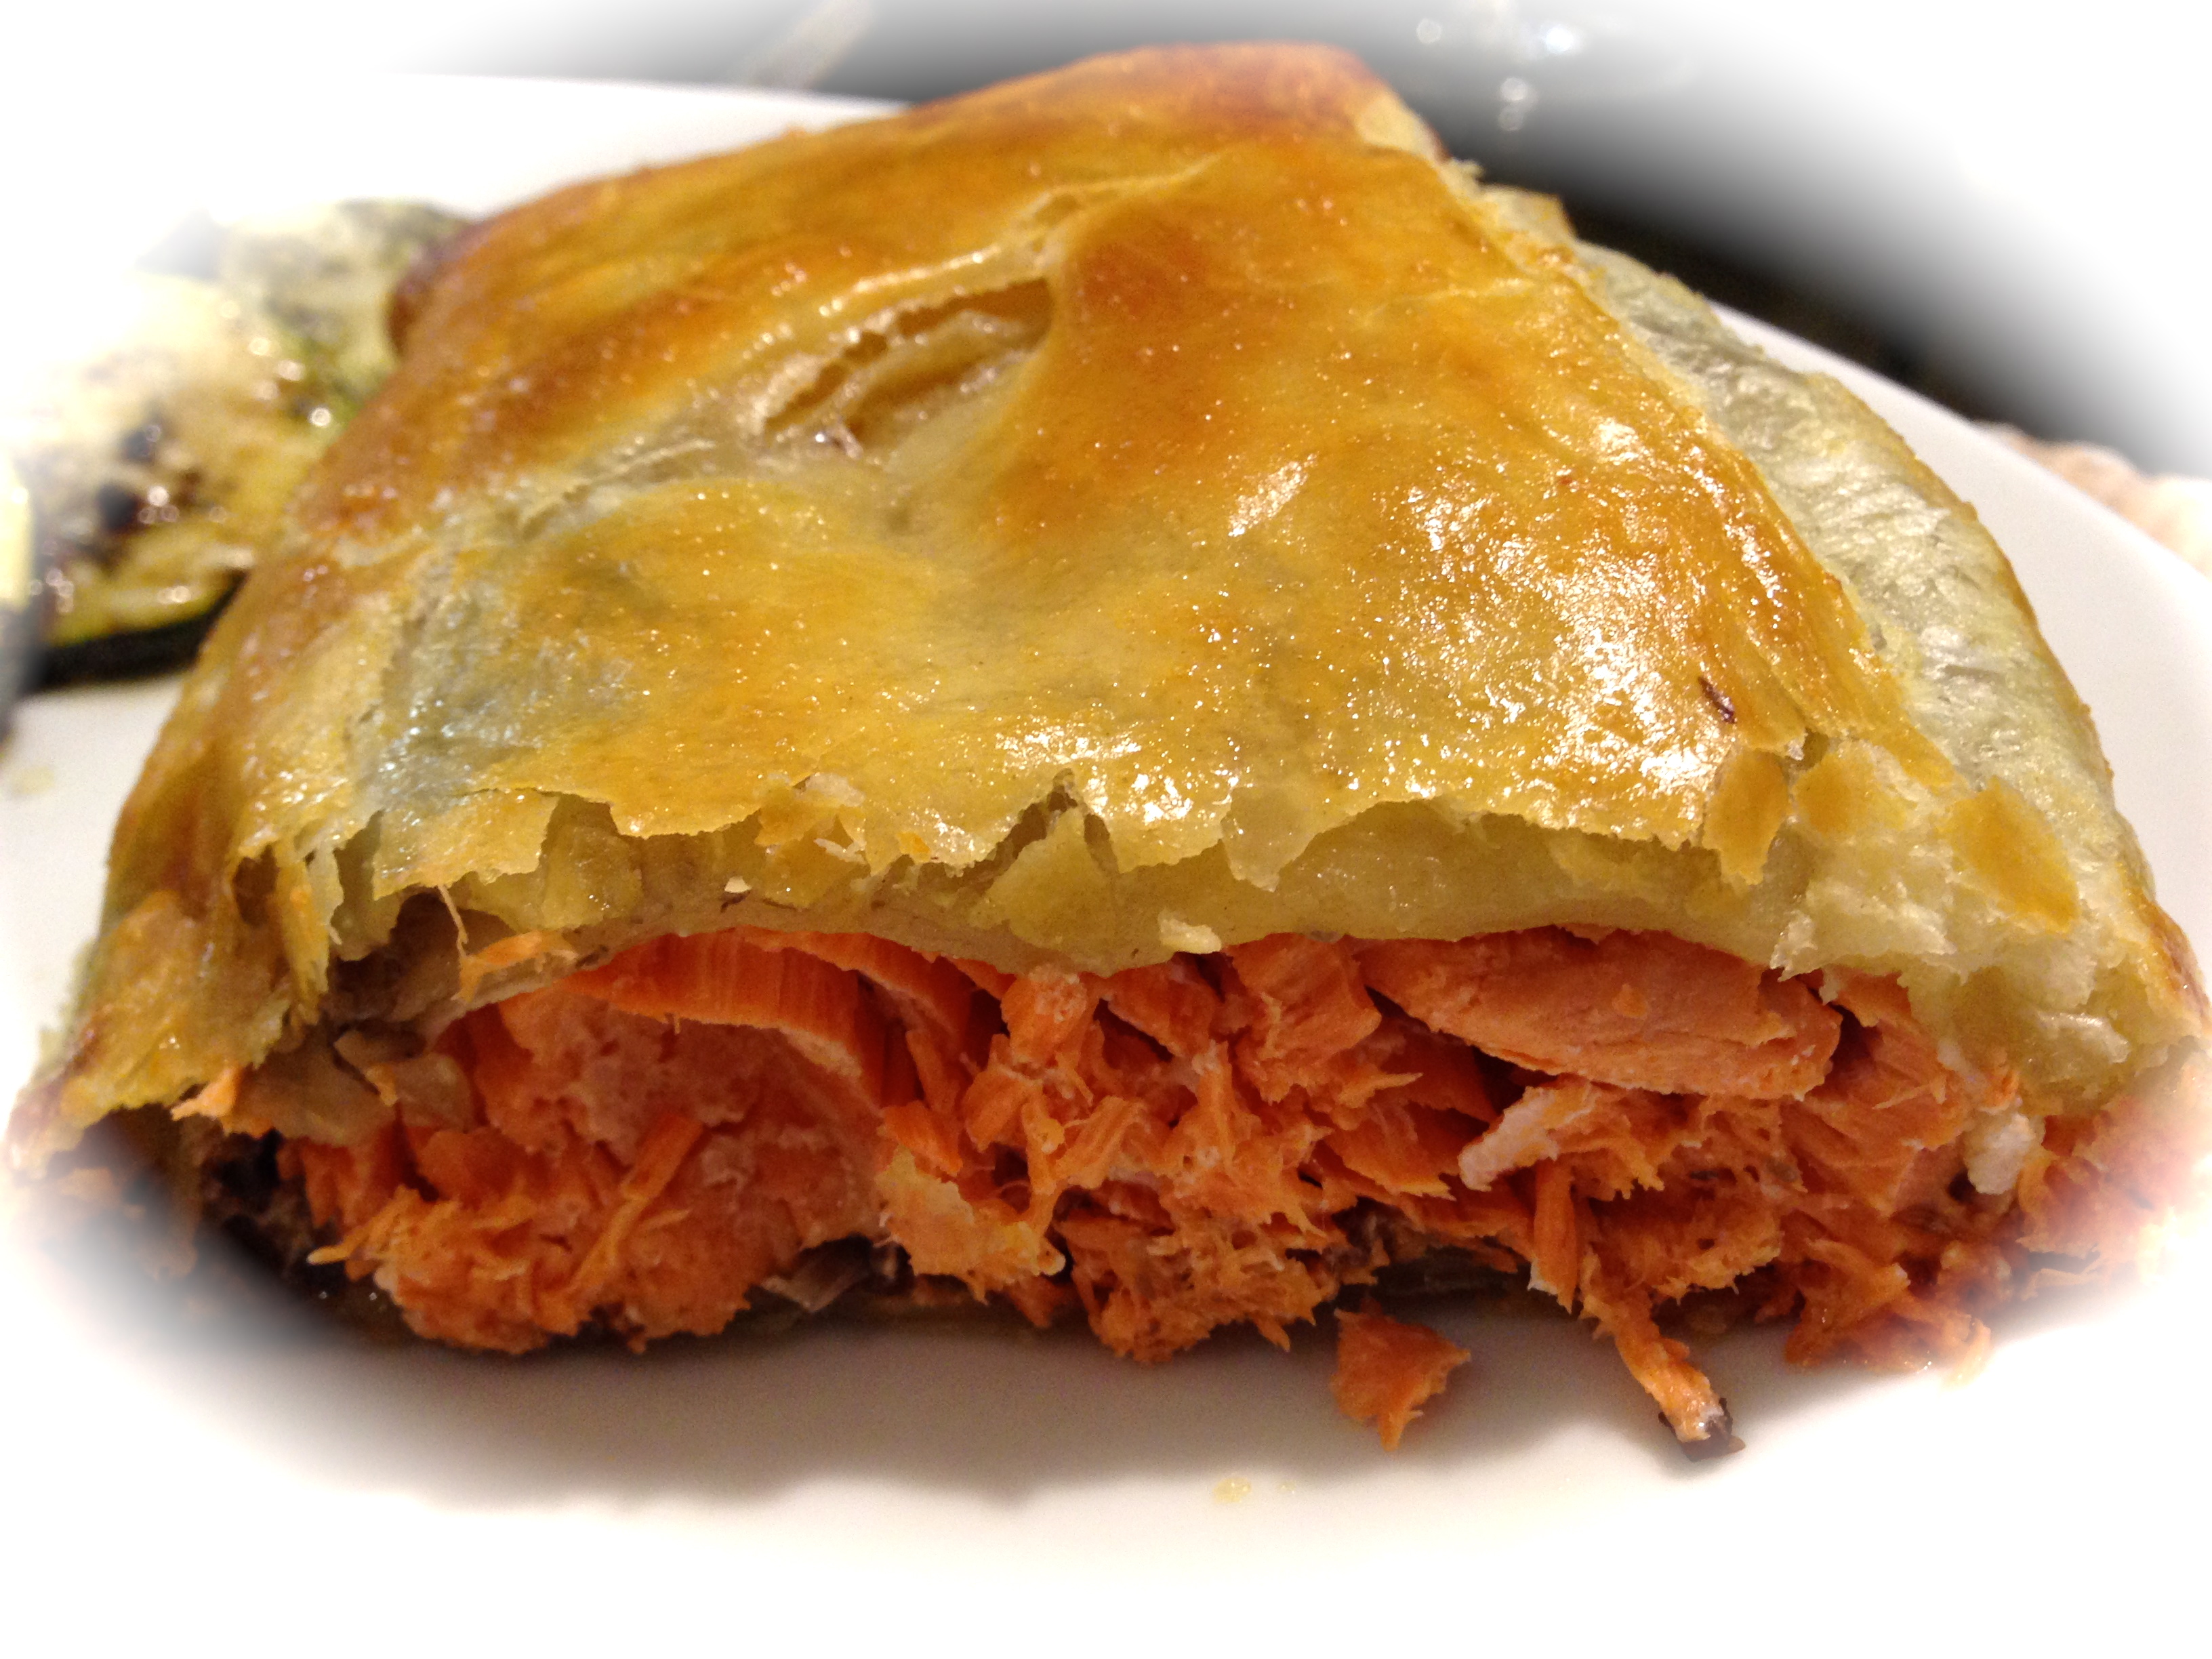
Salmon and Cremini Mushroom Duxelle En Croute…