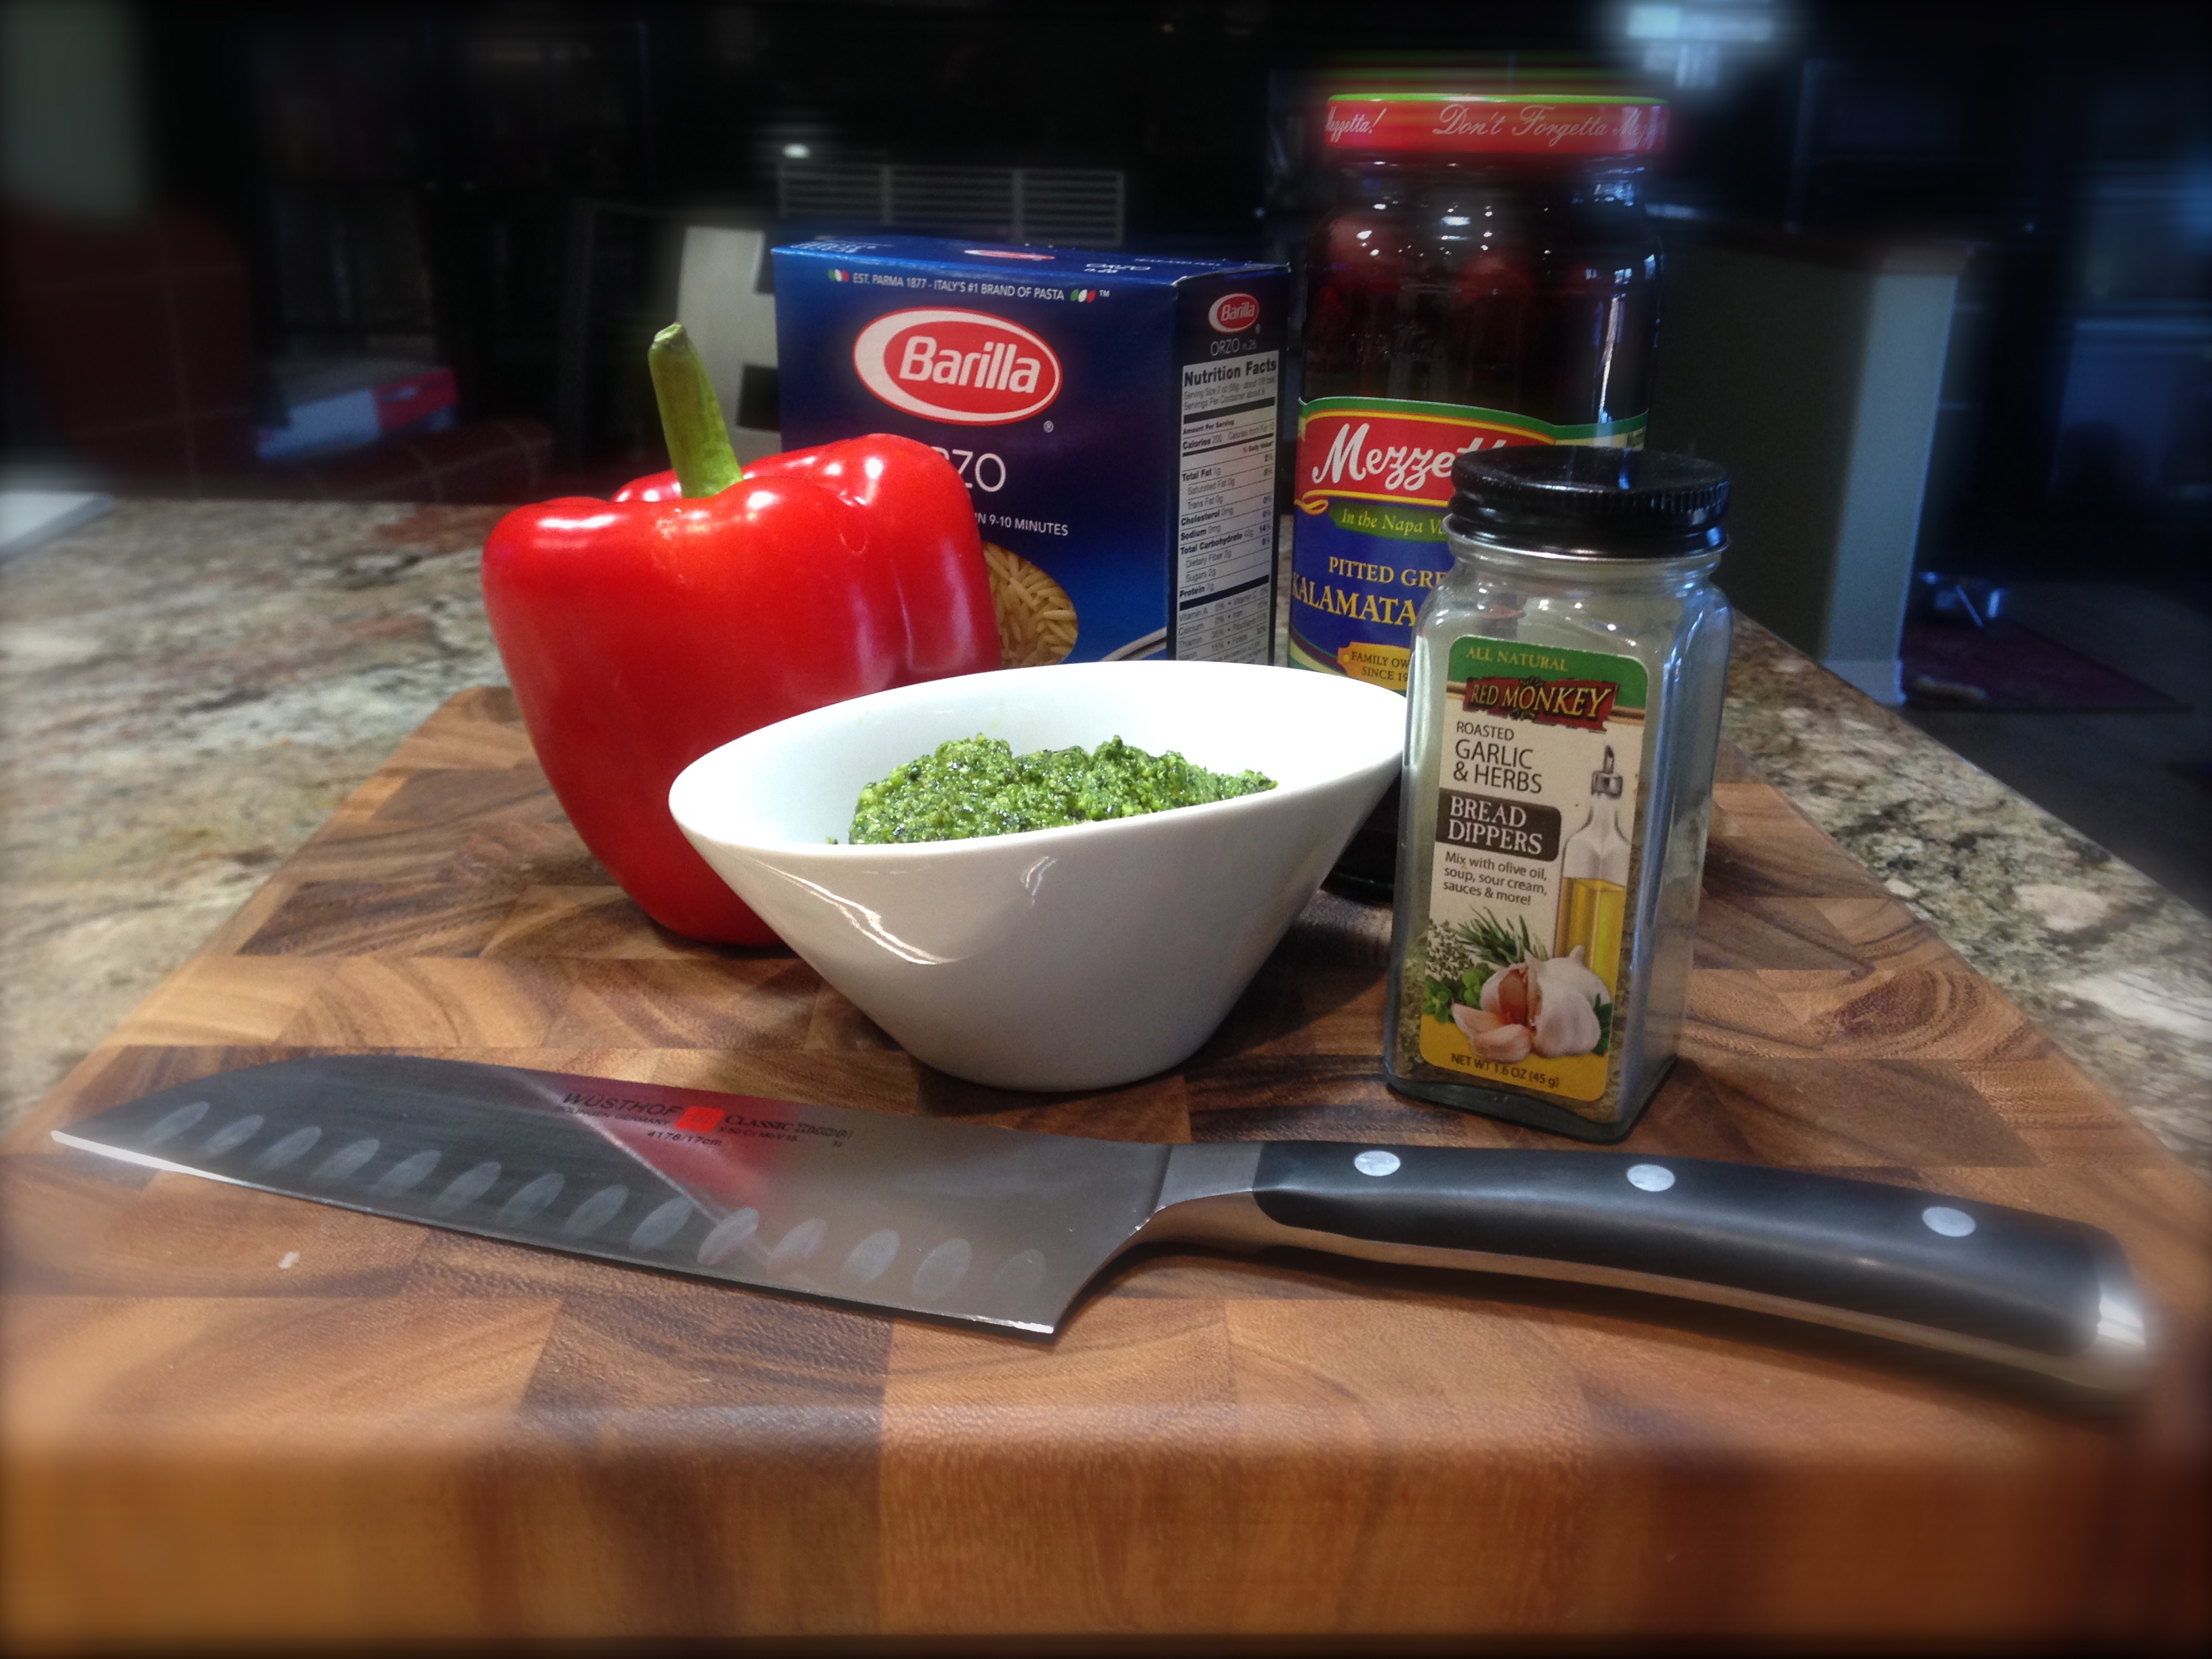
Pesto Orzo Roasted Red Pepper Ingredients
I admit, I am not one for making up recipes – creativity in the kitchen is not yet one of my culinary skills. But this recipe is an invention of mine – totally made up on the spot (and I’m sure there is a similar recipe for this out there somewhere) and has now become a side dish staple in our house.
It really evolved from two things, that being a cooking class in which I learned the art of roasting a red pepper (no more store bought jars for me) and a huge crop of basil that forced me to figure out how to make pesto. From there the recipe took shape. So let’s talk a little bit about home-made roasted red peppers and pesto. Once you’ve made them yourself you will seldom, unless time dictates, go back to buying it pre-prepared at the grocery store.
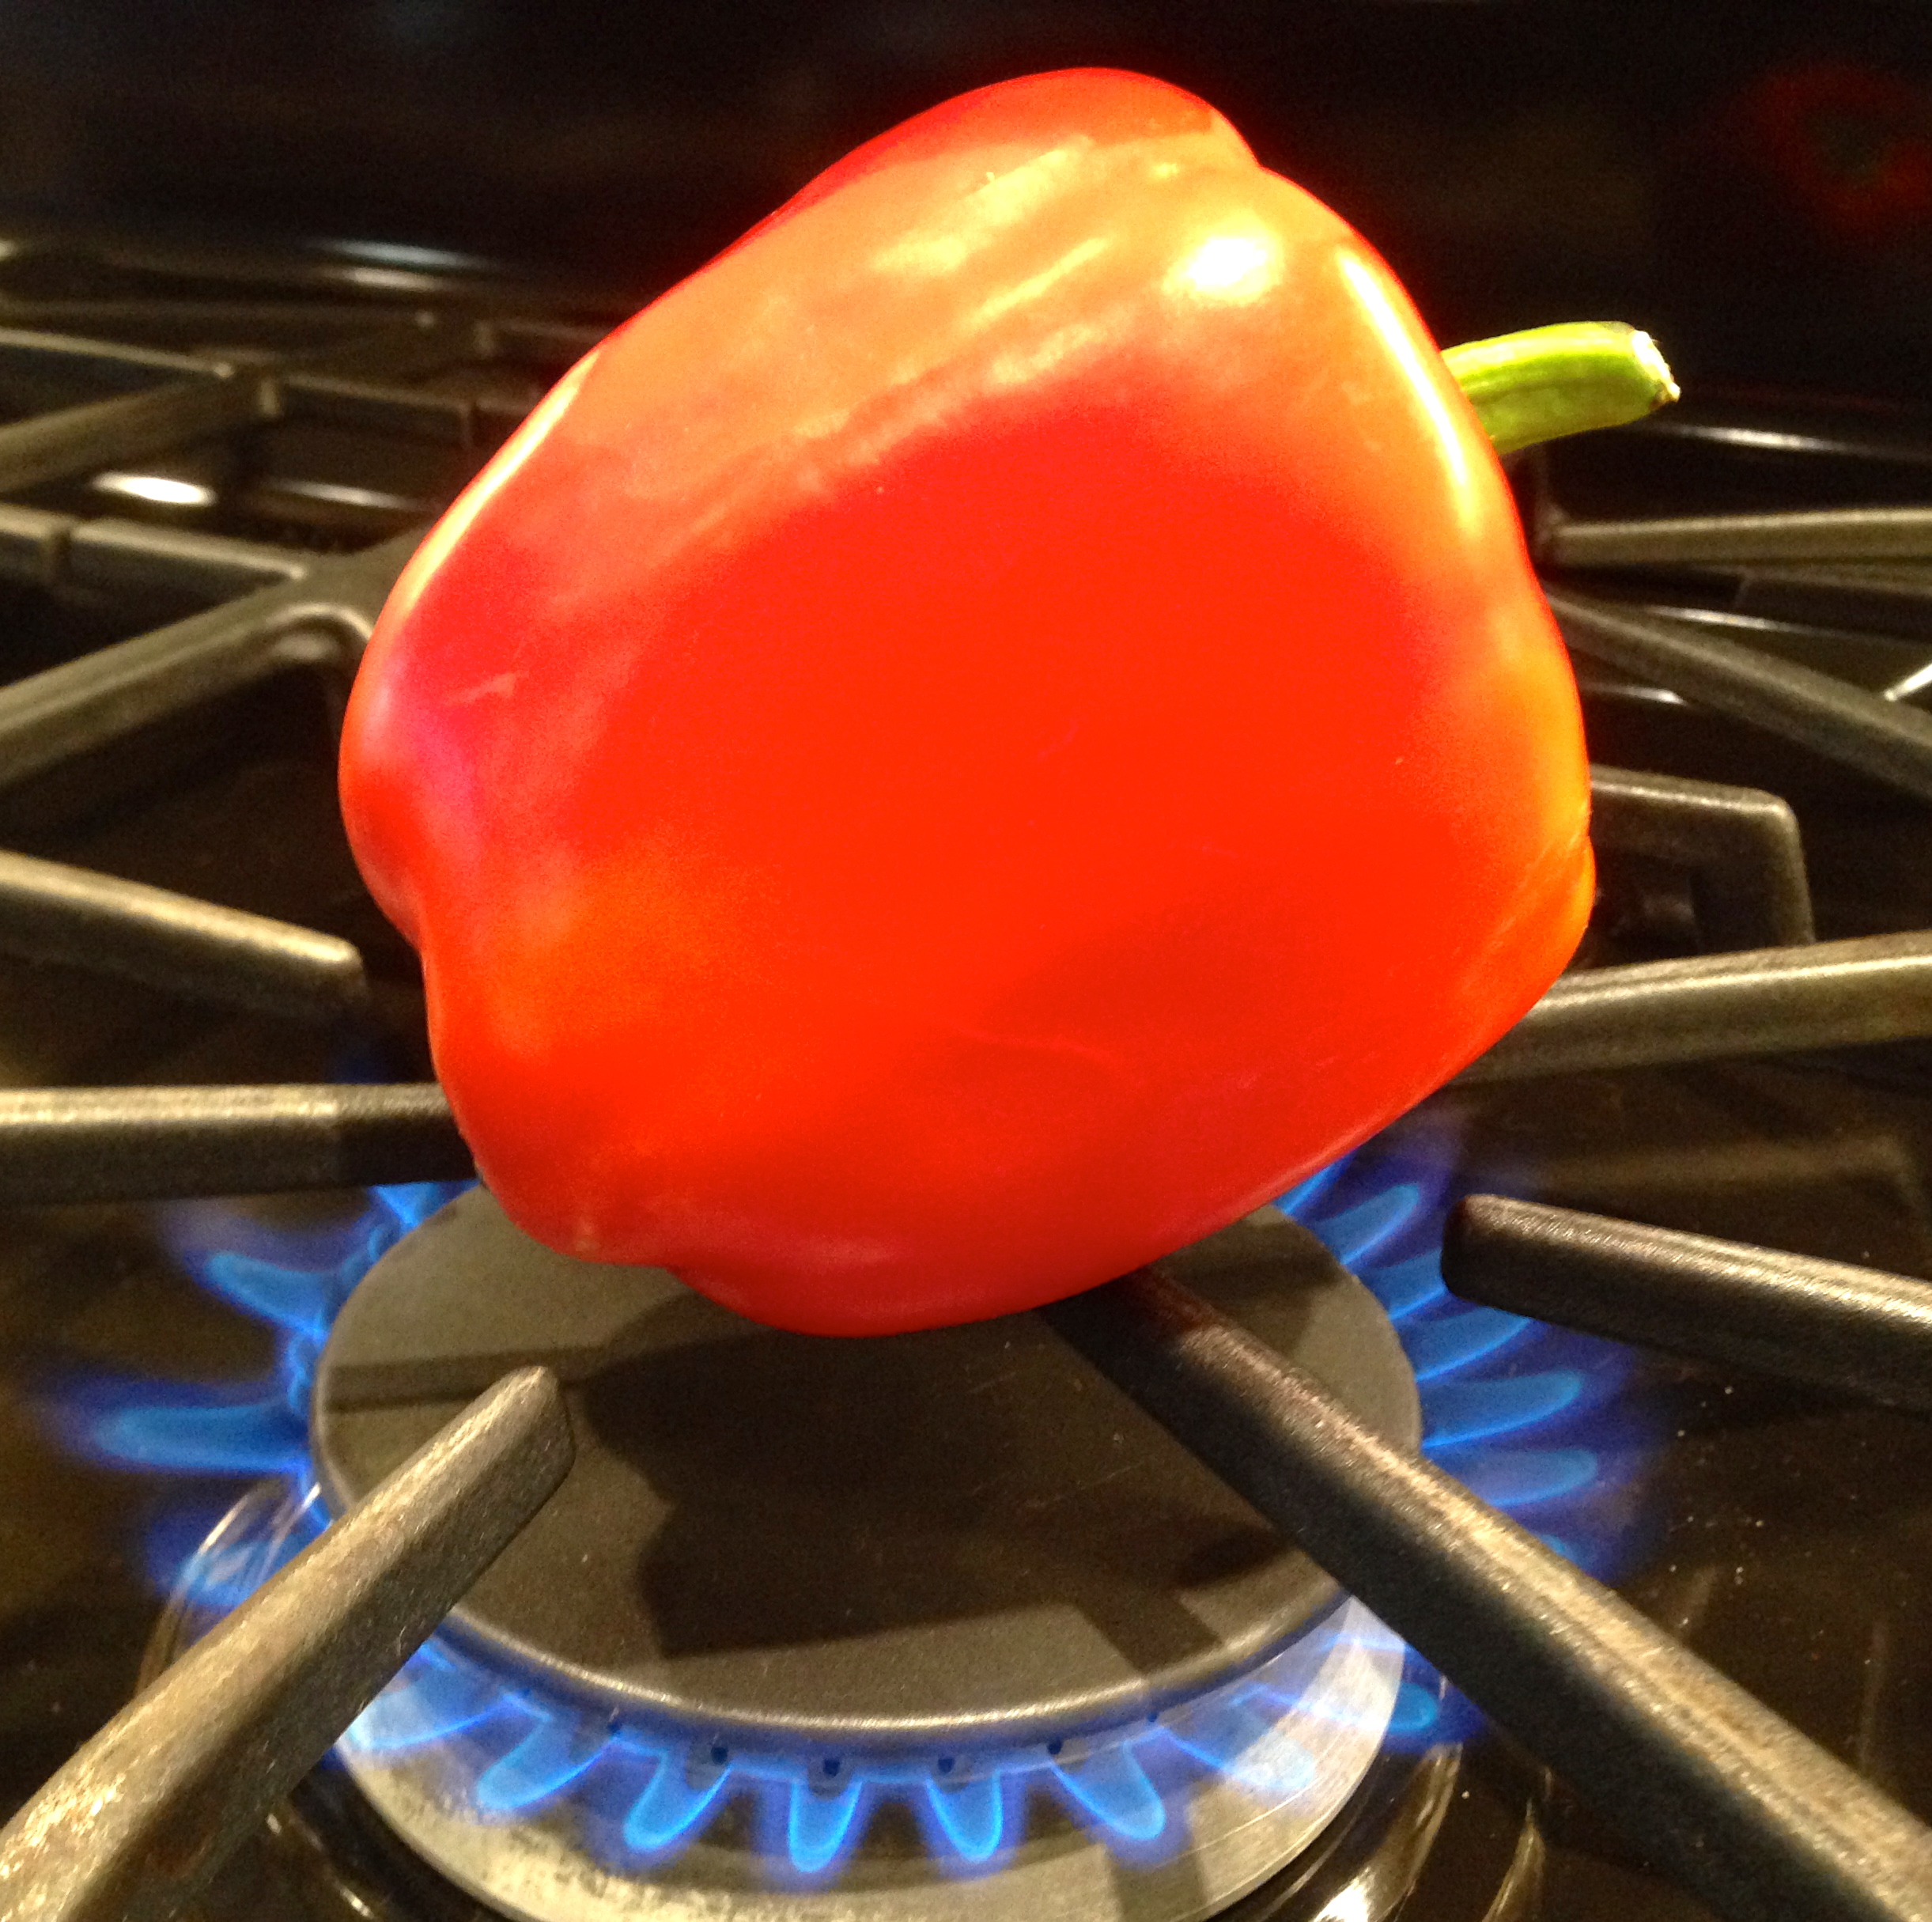
Flame Roasting A Red Pepper
I first became aware of using roasted red peppers in recipes from watching the Food Network. It seemed that every chef I liked used them in a variety of different recipes but they mostly just got them out of a jar. Don’t get me wrong, the jarred roasted red peppers are great and are a real time saver, but if you want to control the flavor and minimize waste there is nothing like making it yourself. It’s so easy and I have to say rather fun as well.
The trick is you will need fire of some sort to do this, so a gas stove or other source of flame is necessary. All you do is put it on the fire and let it turn black, and I do mean black. Just keep an eye on it and when one side turns black rotate it until the entire pepper is black. That’s it. Then you put it in a container, cover it with plastic wrap and let it sit for at least 20 minutes. After that, you take a paring knife and scrape off the black matter and voila, you have a roasted red pepper! It can’t get simpler than that. I’ll put the complete recipe down below. Oil and herbs round out the flavor, but it is so easy and I like the fact that you control the amount you want to have versus buying a jar of peppers and having half of it sit in the refrigerator until you wind up throwing it out. This is easy and it has real cost savings as well.

The blackened pepper…
The next part is the pesto. The prime ingredient in pesto is fresh basil. I like to grow mine in containers on my deck. Once you figure out how to grow basil you will get it prolifically, trust me. The first year I grew it I was not aware of cutting it back before it began to flower. That resulted in a very small basil crop. The second year I did a little research, did the appropriate trimming and I wound up with basil coming out of my ears. Using your basil to make pesto is a great way to have it year-round. I make mine and freeze it in batches and when I want some I just scoop what I need out of the container and let it thaw. I hear some people freeze it in ice cube trays and just pop cubes of pesto out when they want them. I had way too much basil to even try that. My freezer would’ve become nothing more than a haven for ice cube trays! Pesto freezes very well and every summer I wind up freezing a supply that takes me through to the following summer. I’ve included the pesto recipe below.
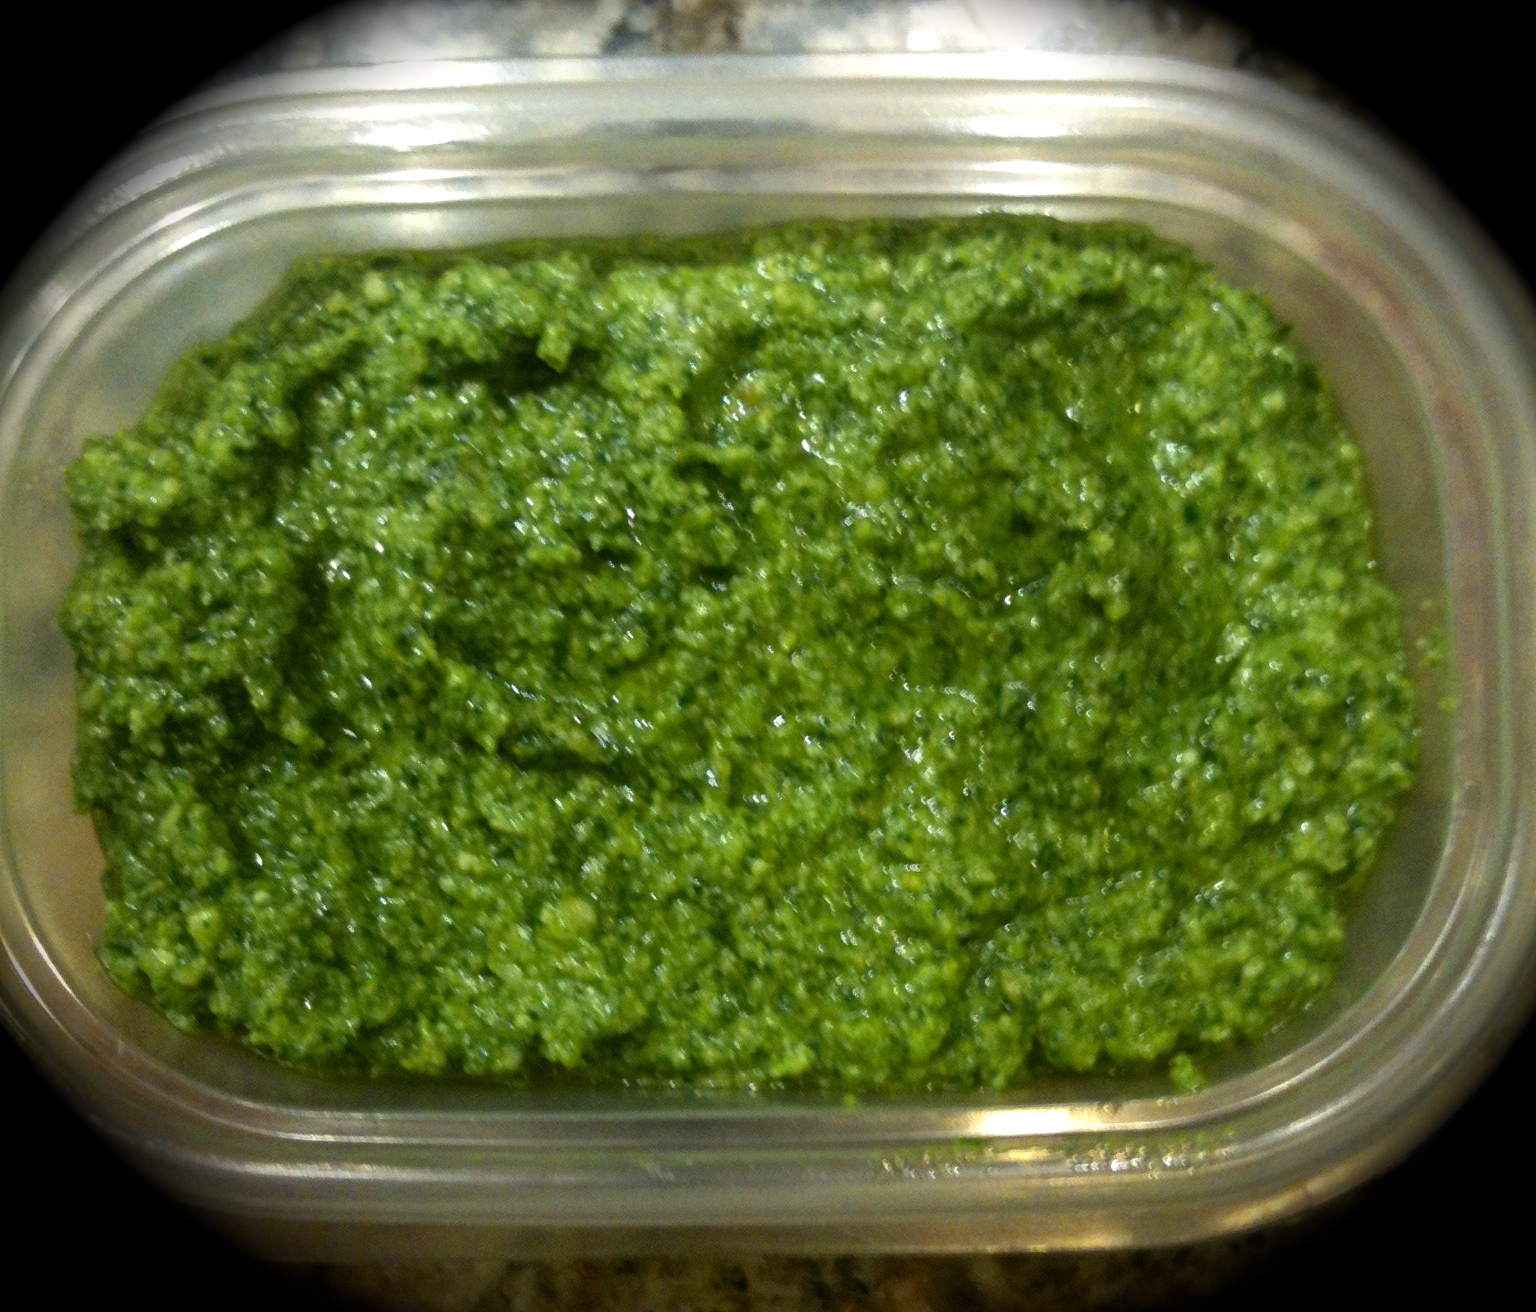
Homemade Pesto
The rest is relatively simple, just a matter of cooking the pasta and combining the ingredients. My husband is a big rice fan and I’m not (being born and raised a potato girl) so I’m always looking for ways to either make a substitute for rice or jazzing up rice. Because of that I’ve become quite adept at risotto, my favorite form of rice, but that is for another blog. I found this recipe to be a great substitute for rice. As a matter of fact, my husband originally thought it was rice as orzo is a rice shaped pasta. Try this. I think you’ll really enjoy this one. Here is my recipe rating and lessons learned: Rating: A +++++ – now c’mon, you didn’t think I could rate a recipe made up by me any less than this, could you? But I bet if you try it you’ll agree. The combination of flavors is a perfect compliment to almost any dish. Lesson Learned 1: When I learned about roasting peppers on the stove I was told to let it sit covered for a minimum of 20 minutes before scraping off the burnt edges. I recommend waiting as long as you can. The longer you let it sit the easier it is to scrape it off. If you wait an hour or more it comes off in no time flat. Lesson Learned 2: When making the pesto recipe, initially add only half of the olive oil into the food processor. After that drizzle in the rest. You may find that adding all of the recommended amount may make the pesto too oily. I don’t like my pesto floating in oil, but some do. You can always add more olive oil but you can’t take it away once you’ve added it. Lesson Learned 3: The pesto recipe calls for a half of a clove of garlic. I like my garlicky and so I put in two cloves. Don’t throw them in whole. Just cut them in quarters – that way you will ensure they mix properly in the food processor. You don’t want to be chomping on raw garlic. Lesson Learned 4: The recipe calls for a 1/2 cup of cheese. You can add more to taste if you like. Lesson Learned 5: After you drain the pasta put it back in the pot you cooked it in and mix all the ingredients together under a very low flame. That way any residual liquid will evaporate so you won’t have a watery concoction.
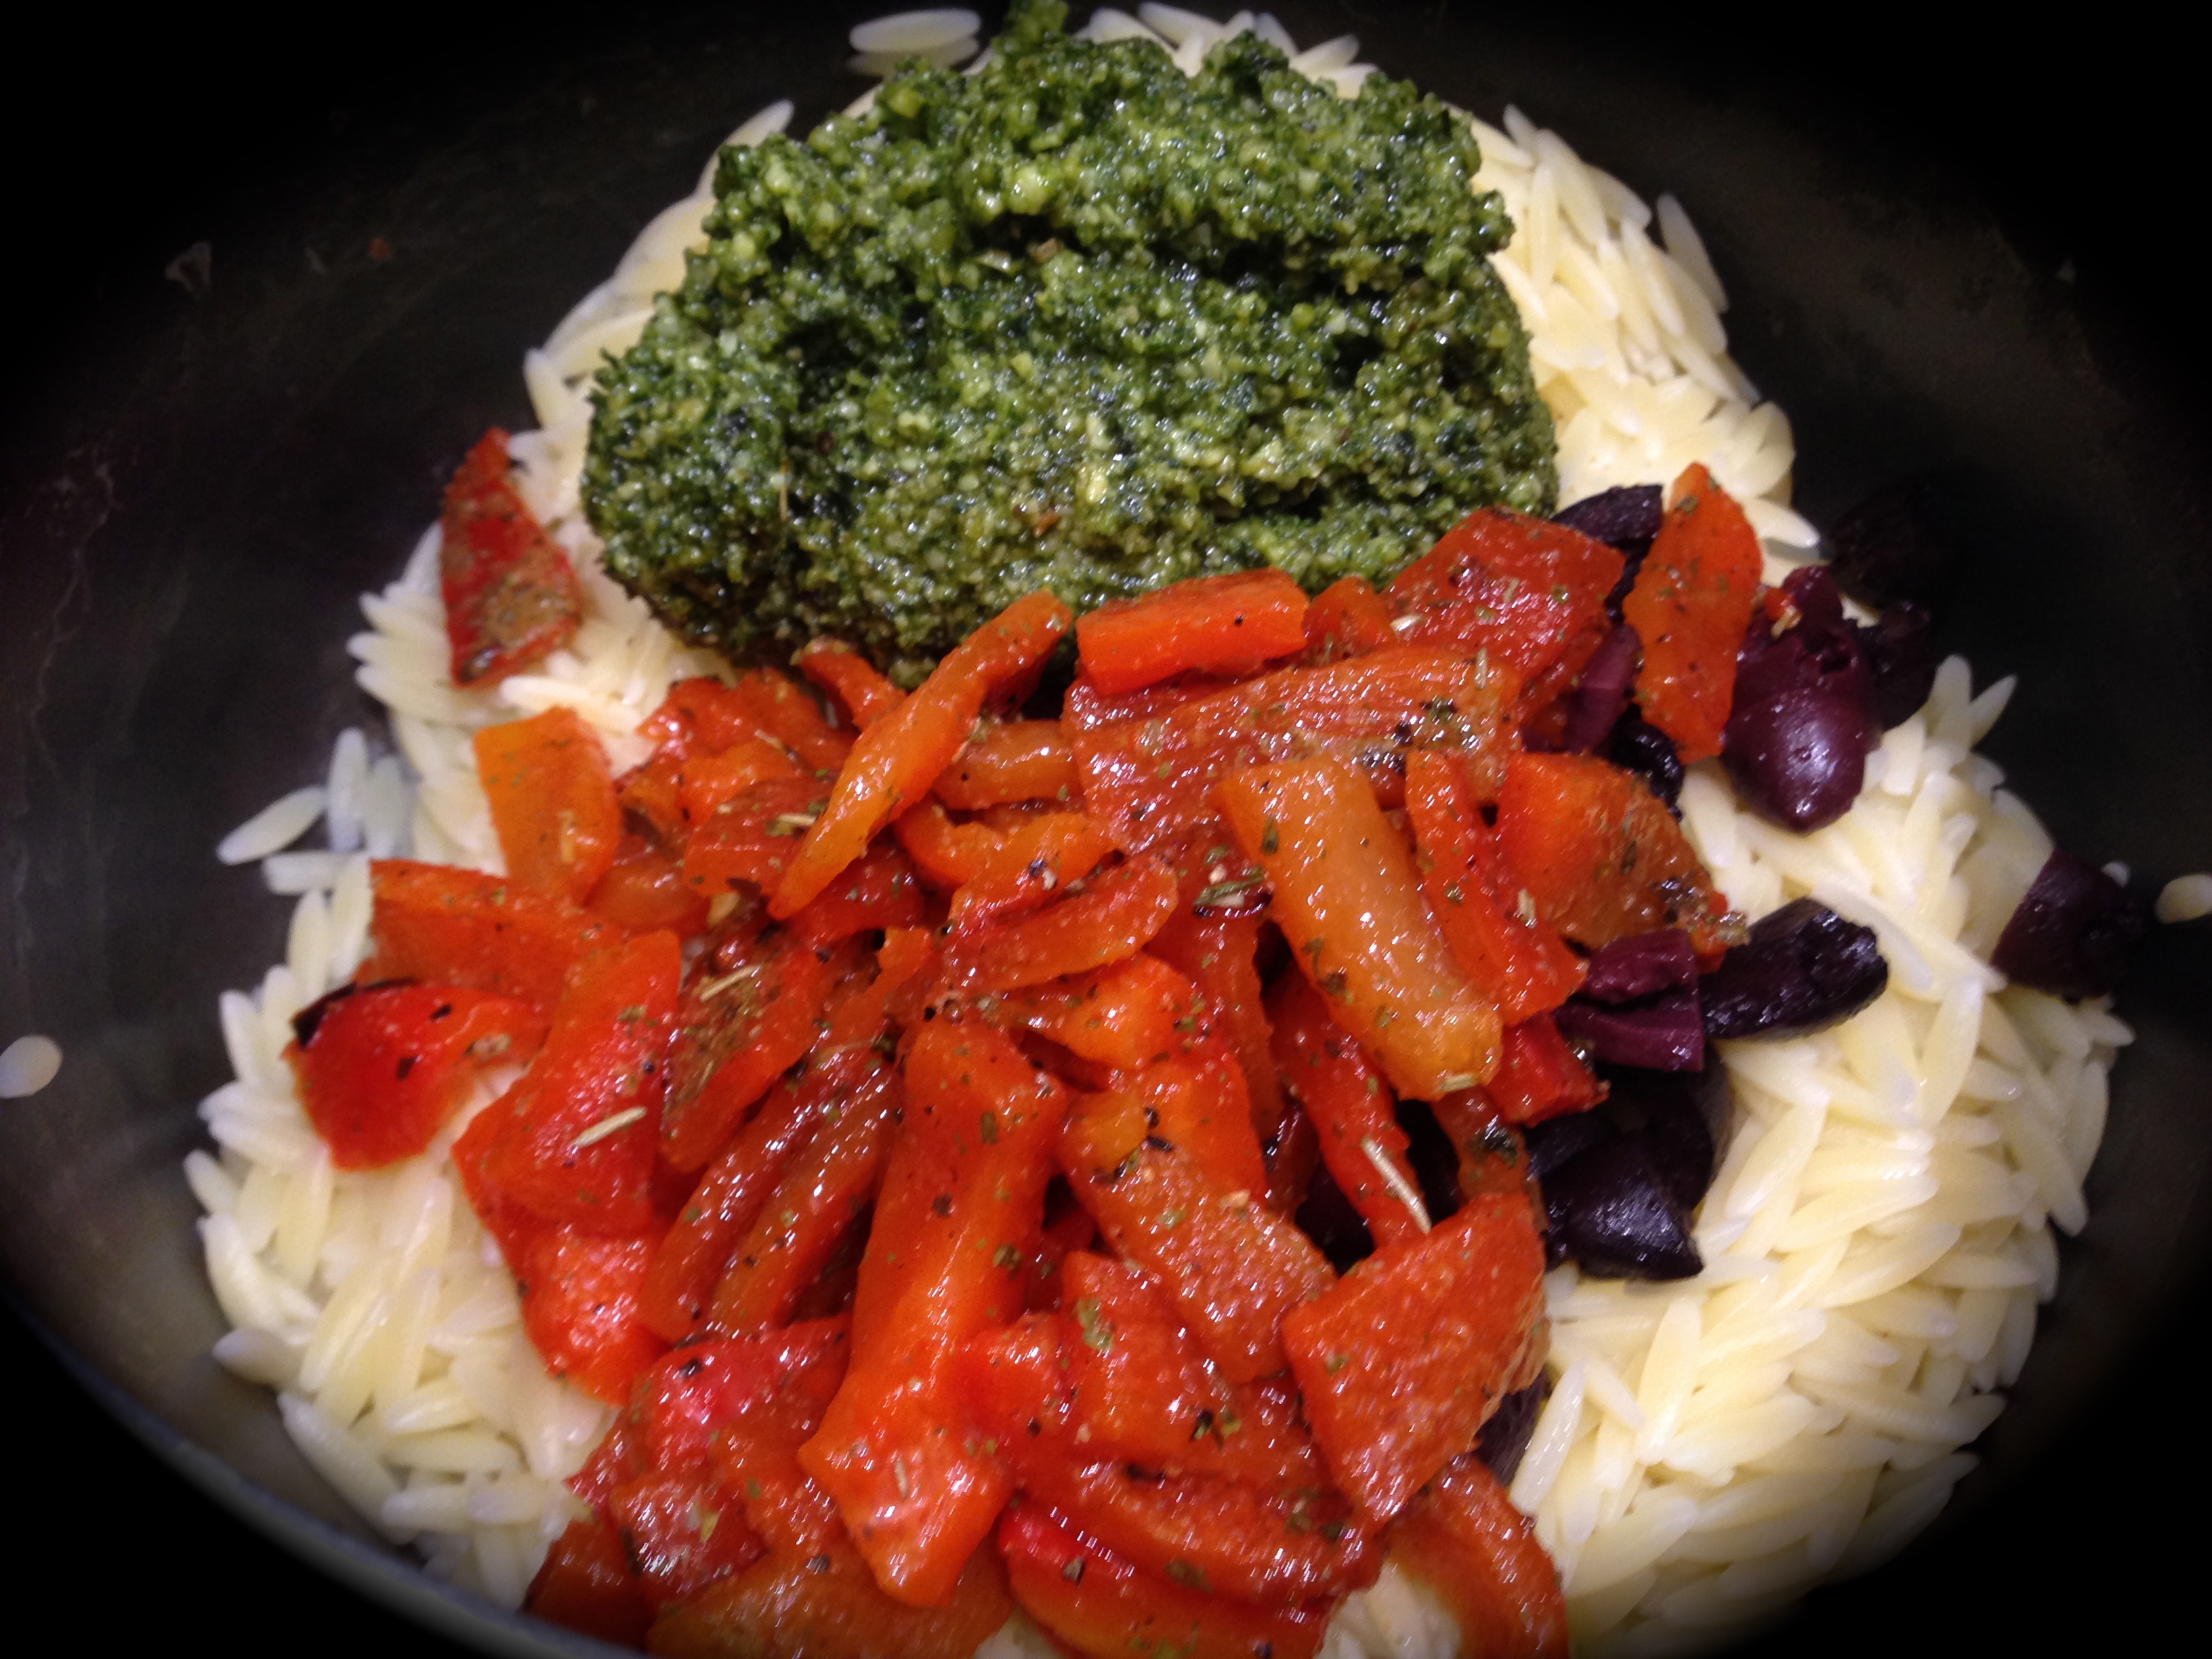
Pesto Orzo With Roasted Red Peppers and Olives
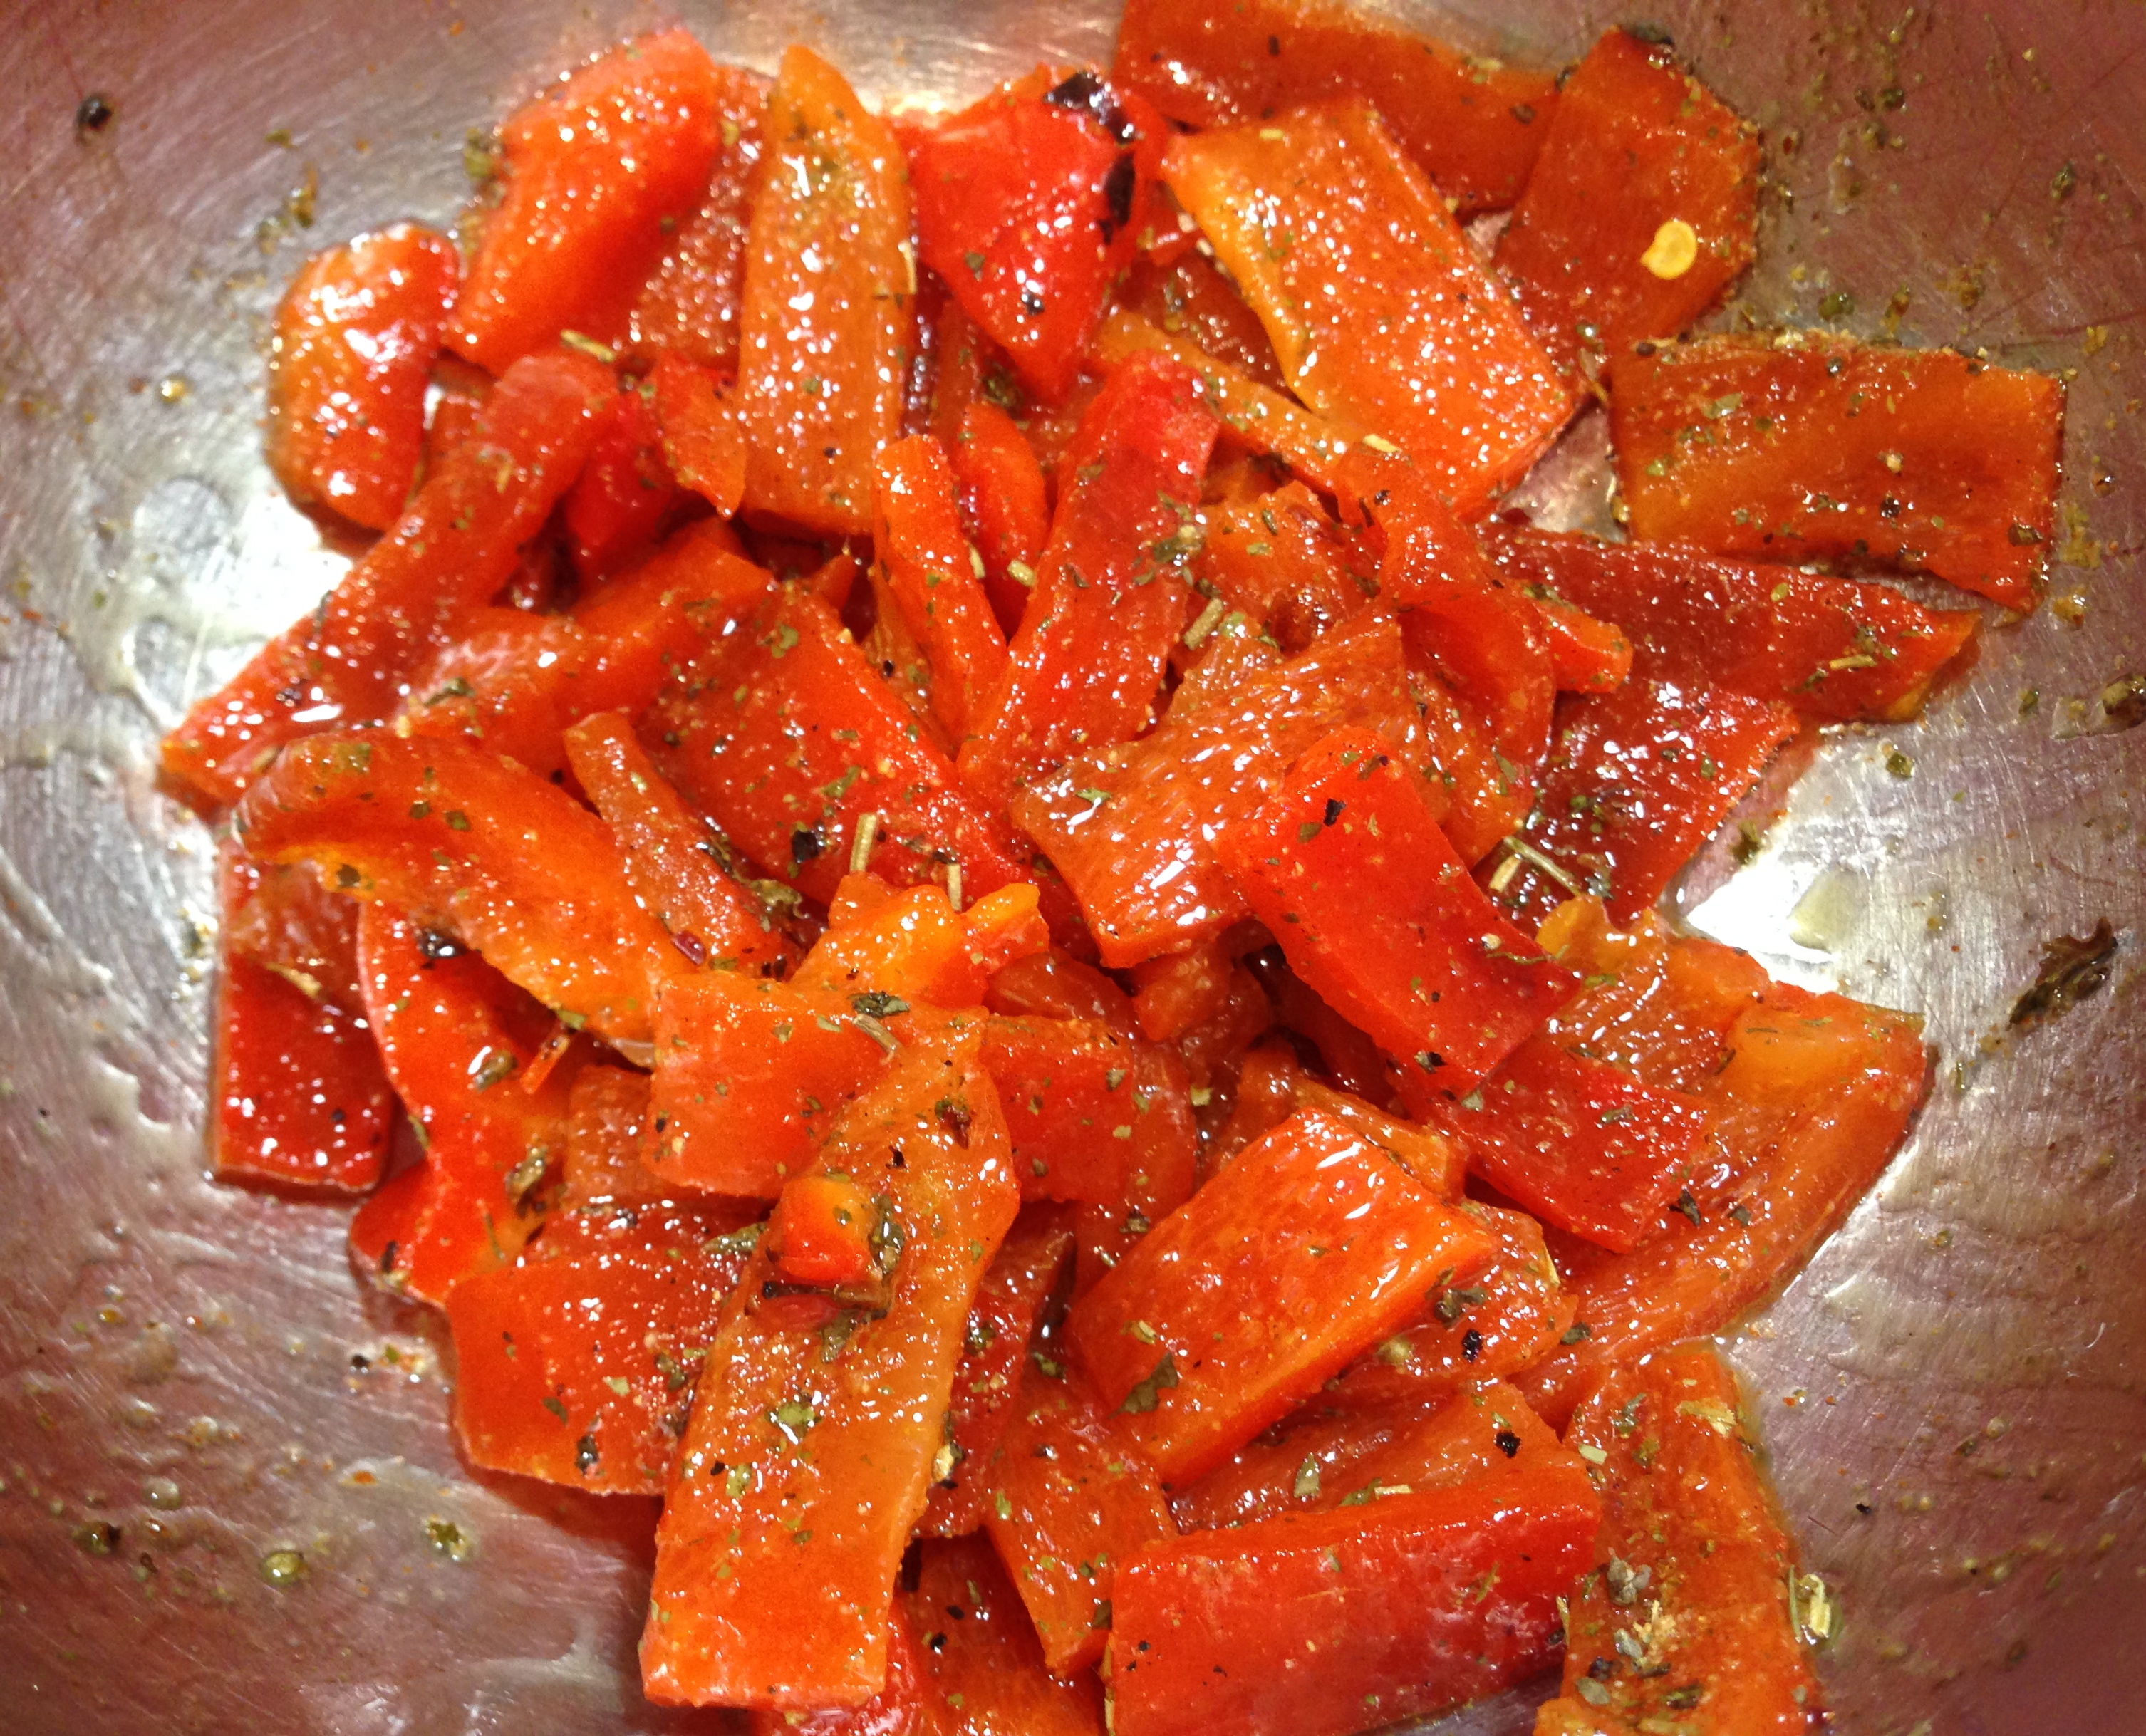
Lardons of red pepper mixed with olive oil and seasonings.
In a 3-4 quart saucepan cook pasta according to package directions. Once cooked, drain the pasta and put it back in the pot under a very low heat. Add the pesto (recipe below), roasted red pepper and olives. Stir to combine. Serve immediately.
Basic Basil Pesto
Mix all ingredients together under a low heat
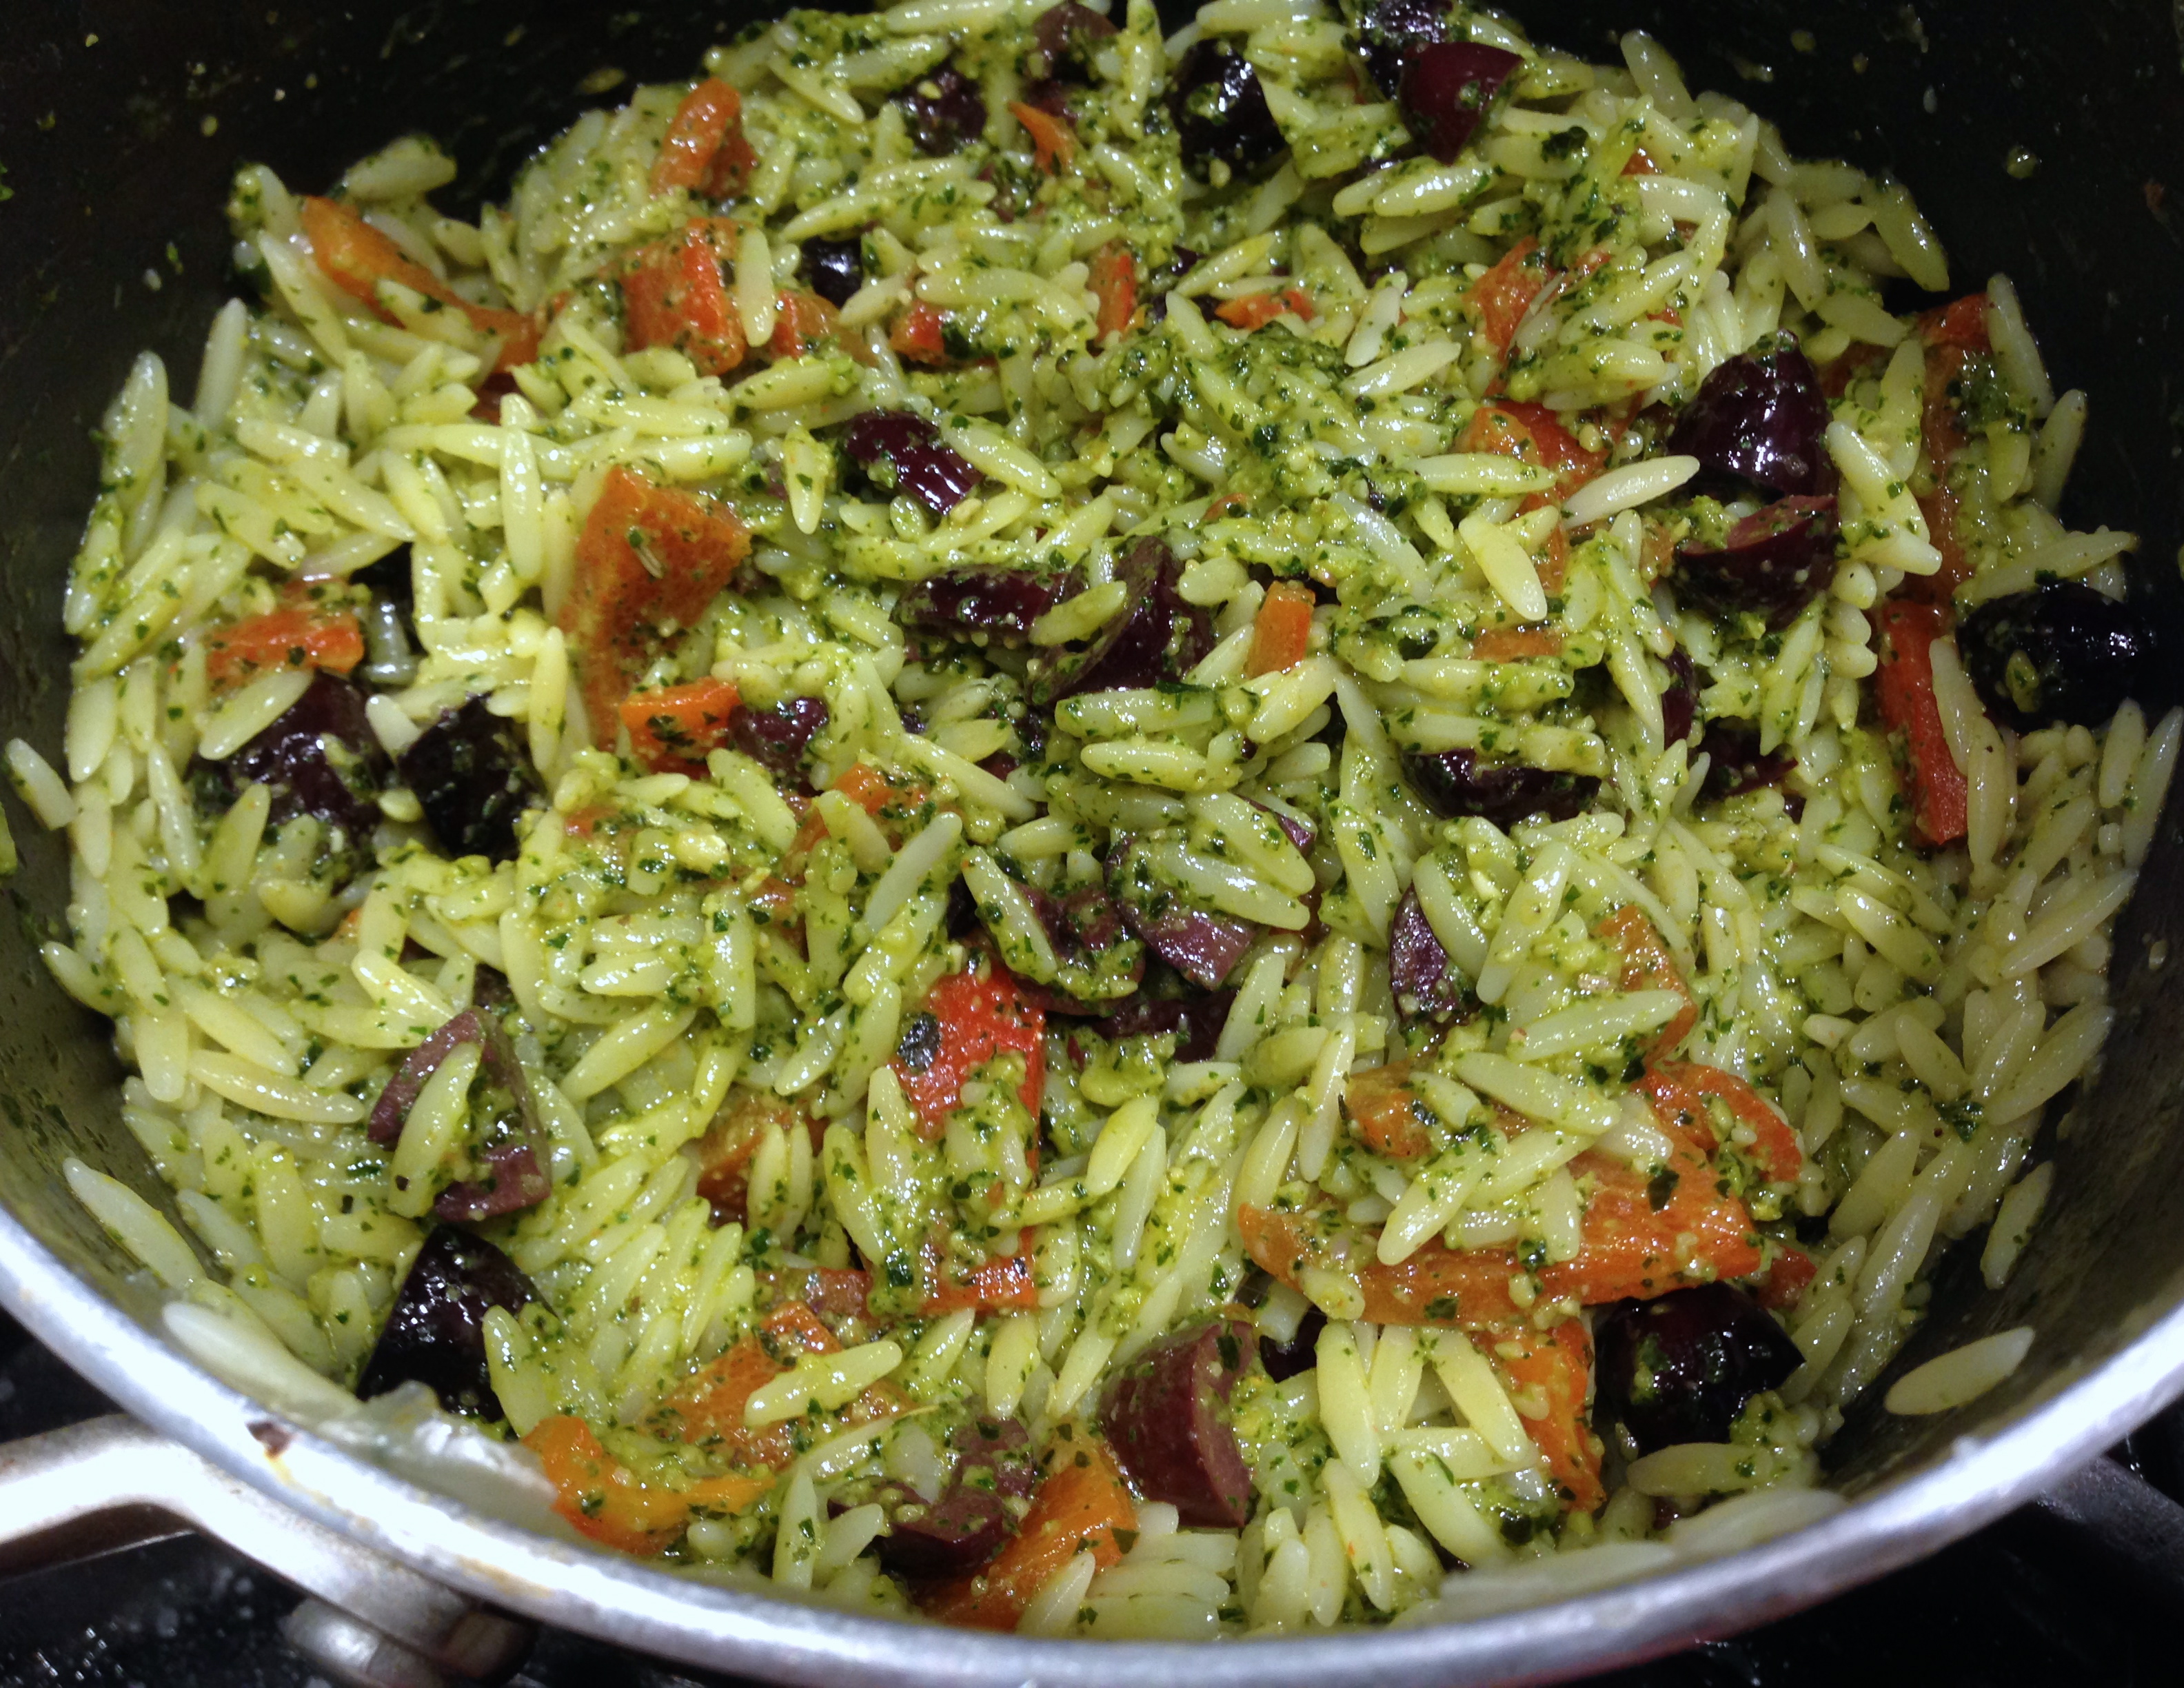
Orzo Pasta with Roasted Red Pepper and Olives

[…] This one got two thumbs up on this one. I served this with parmesan oven roasted asparagus and my pesto orzo with roasted red peppers and olives (pictured at the bottom). So try it, I’m sure you’ll find this recipe to be a keeper as […]
LikeLike