Finally Fall is in the air. I don’t know what it’s been like where you live, but here in Colorado it was unusually hot all summer long with 90 degree days still happening well into September. But now it’s starting to look like the weather is becoming more Fall-like and I couldn’t be happier.
This is my favorite time of year for a variety of reasons – the leaves begin to change into an array of gorgeous colors, the air is crisp and clean, and it’s finally time to think about Fall comfort food, of which this recipe is an absolutely perfect example.

Not only does this recipe scream comfort food but it’s also extremely easy to make. So let’s talk cider braised chicken with bacon and apples…
Lesson Learned 1 – Remove the fatty parts on the chicken thighs: I used boneless skinless chicken thighs in this recipe but even with that you’ll find pieces of fat are still on the meat. Make sure you use a sharp knife and remove, as much as you can, the fatty pieces. If you leave a little bit that’s fine. That will help flavor the sauce.
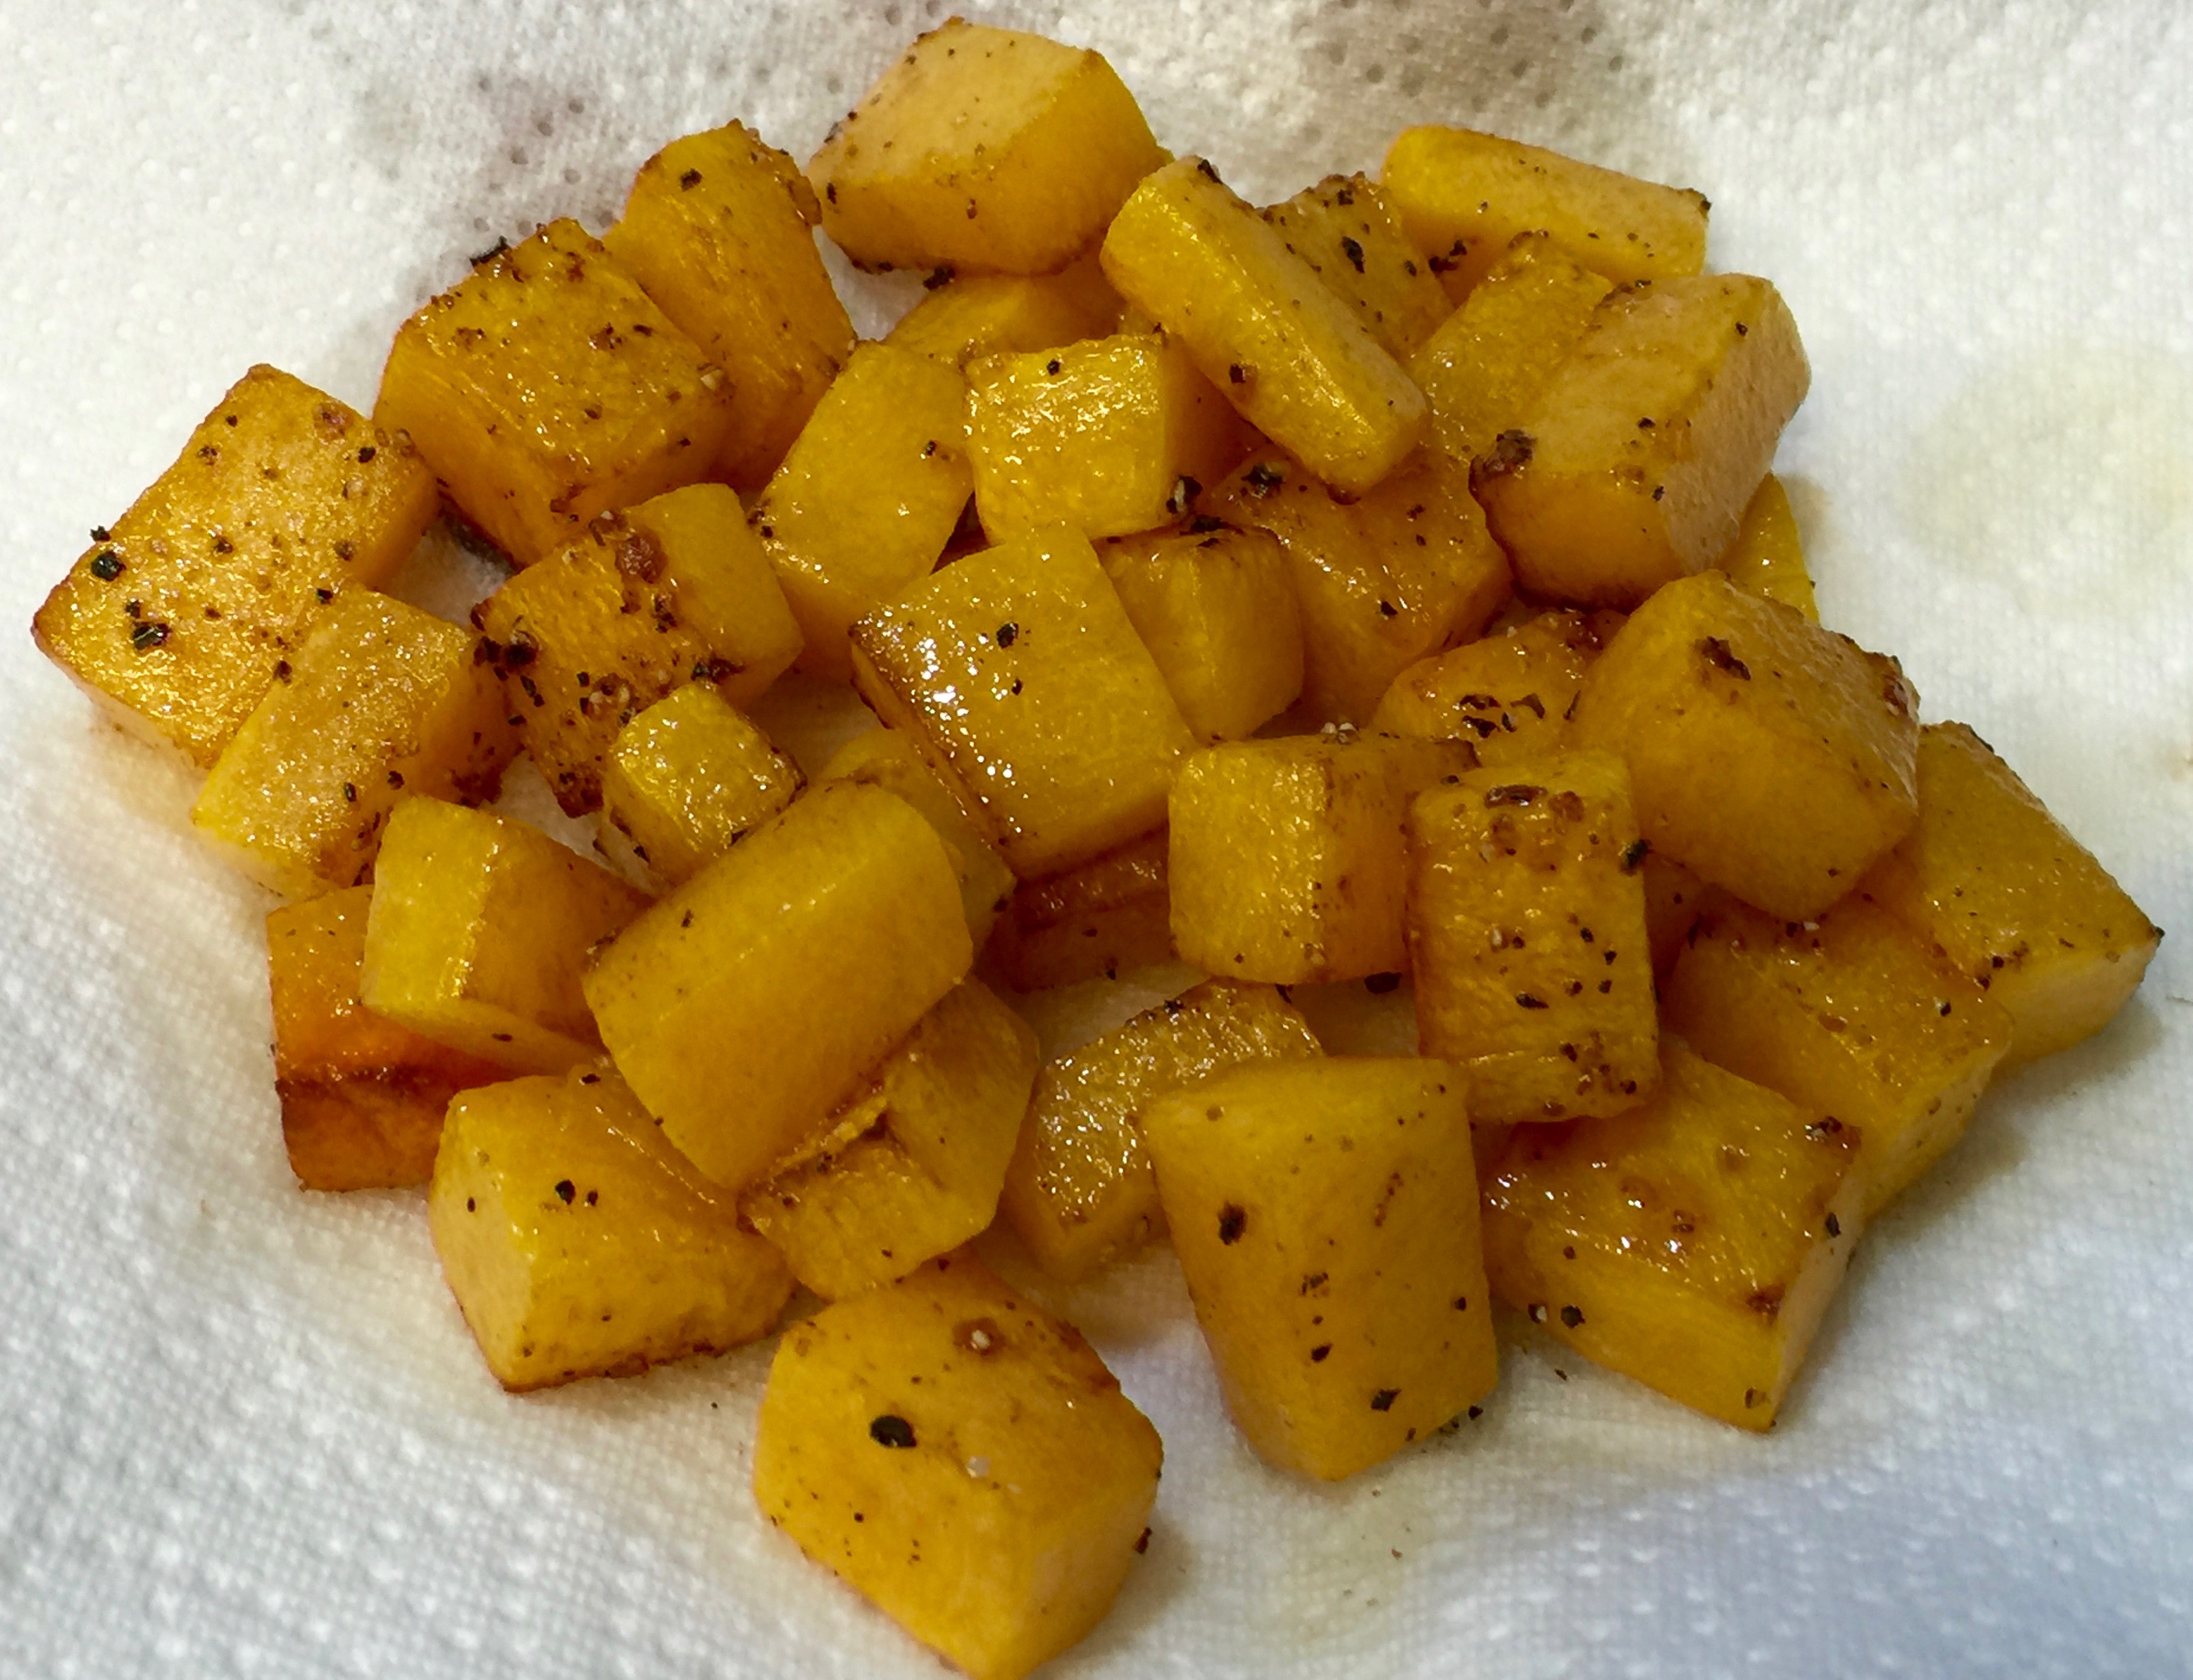
Lesson Learned 2 – You can choose whether you want to peel your apples or not: I made this recipe with the skins on but you can peel them if you prefer. Some people have a difficult time digesting the skins. The good thing is it doesn’t make any difference whether or not the apples are peeled.
Lesson Learned 3 – Make sure you reduce the sauce by half twice: Once you add the brandy you’ll need to reduce the mixture to half. Then when you add the cider you’ll need to reduce it again by half. This leaves you with a rich, luscious sauce. And if you don’t have apple brandy it’s no big deal. Just add an additional half cup of apple cider instead. Doing it that way will only require you to reduce the liquid once. You can see by the pictures below that the reduced braising liquid is thicker and the ingredients much more visible.

The non-reduced braising liquid

The reduced braising liquid
Lesson Learned 4 – You don’t have to use a lot of dishes to make this meal: Once the chicken and apples have been cooked just lay them out on a sheet pan, making sure they are separated. Then when the braising liquid is done put the meat back into the pot first. The apples will be added back a little later. (I recommend using an enamel coated cast iron dutch oven for this recipe). Combine all the ingredients after you simmered the chicken in the sauce for about 5 minutes and you’re basically done. You can also serve this family style in the cast iron dutch oven you used to make everything. That will give serving a nice rustic touch and it’s perfect for a Fall party or family meal. Just make sure you let your family or guests know that the pan will be very hot.
I just love this recipe. It is so flavorful and screams Fall comfort food. Try this one and let me know what you think…
Cider Braised Chicken With Bacon And Apples...
INGREDIENTS
2 Tbs. vegetable oil
1 1/2 pounds boneless skinless chicken thighs
3 Granny Smith apples cored and peeled (peeling is optional)
5 slices of thick cut bacon sliced into 1/4 inch lardons
1 yellow onion diced thick
1 large or 2 small cloves of garlic, minced
1/2 cup apple brandy
2 cups apple cider
2 Tbs. whole grain mustard
1/4 cup heavy whipping cream
1 Tbs. finely chopped sage
Kosher salt and freshly cracked pepper to taste
DIRECTIONS:
Put the vegetable oil in a large dutch oven that has warmed over medium heat. Pat the chicken dry and generously season with salt and pepper. Add the chicken to the pan and cook until browned on both sides, about 5 minutes on each side. Once you’ve placed the chicken in the pan do not move it until it is ready to flip over. Place the chicken on a sheet pan.
Add the apples to the dutch oven and saute, stirring frequently until just softened and caramelized, about 5-7 minutes. Put the apples on the same sheet pan as the chicken, keeping the two separated
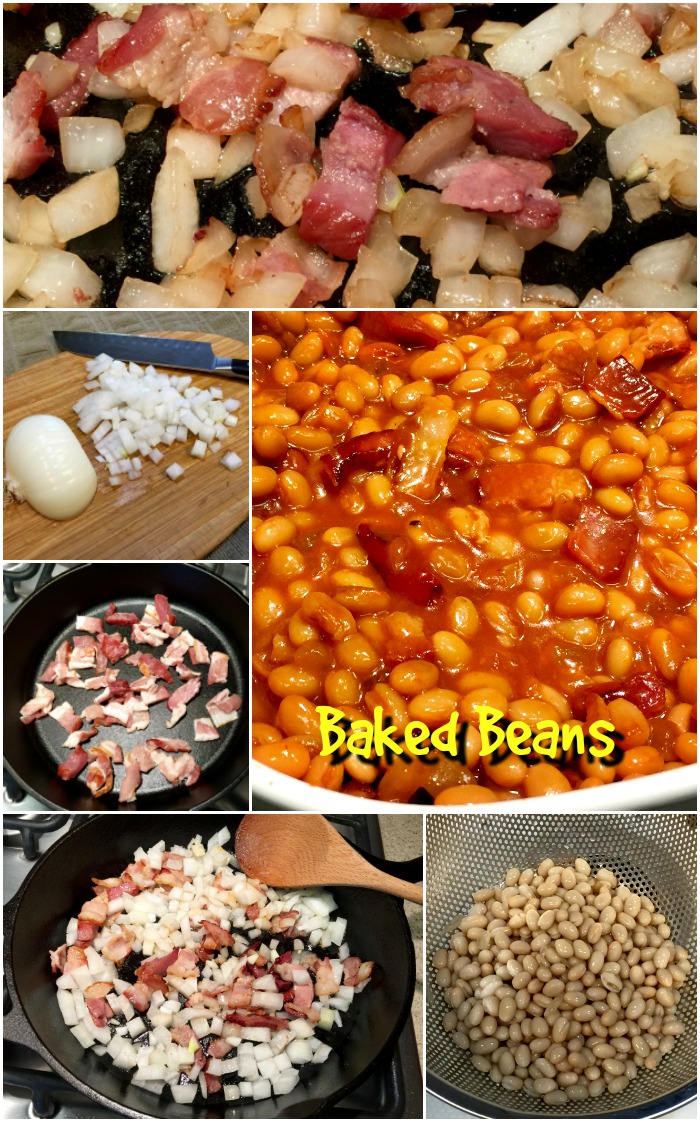
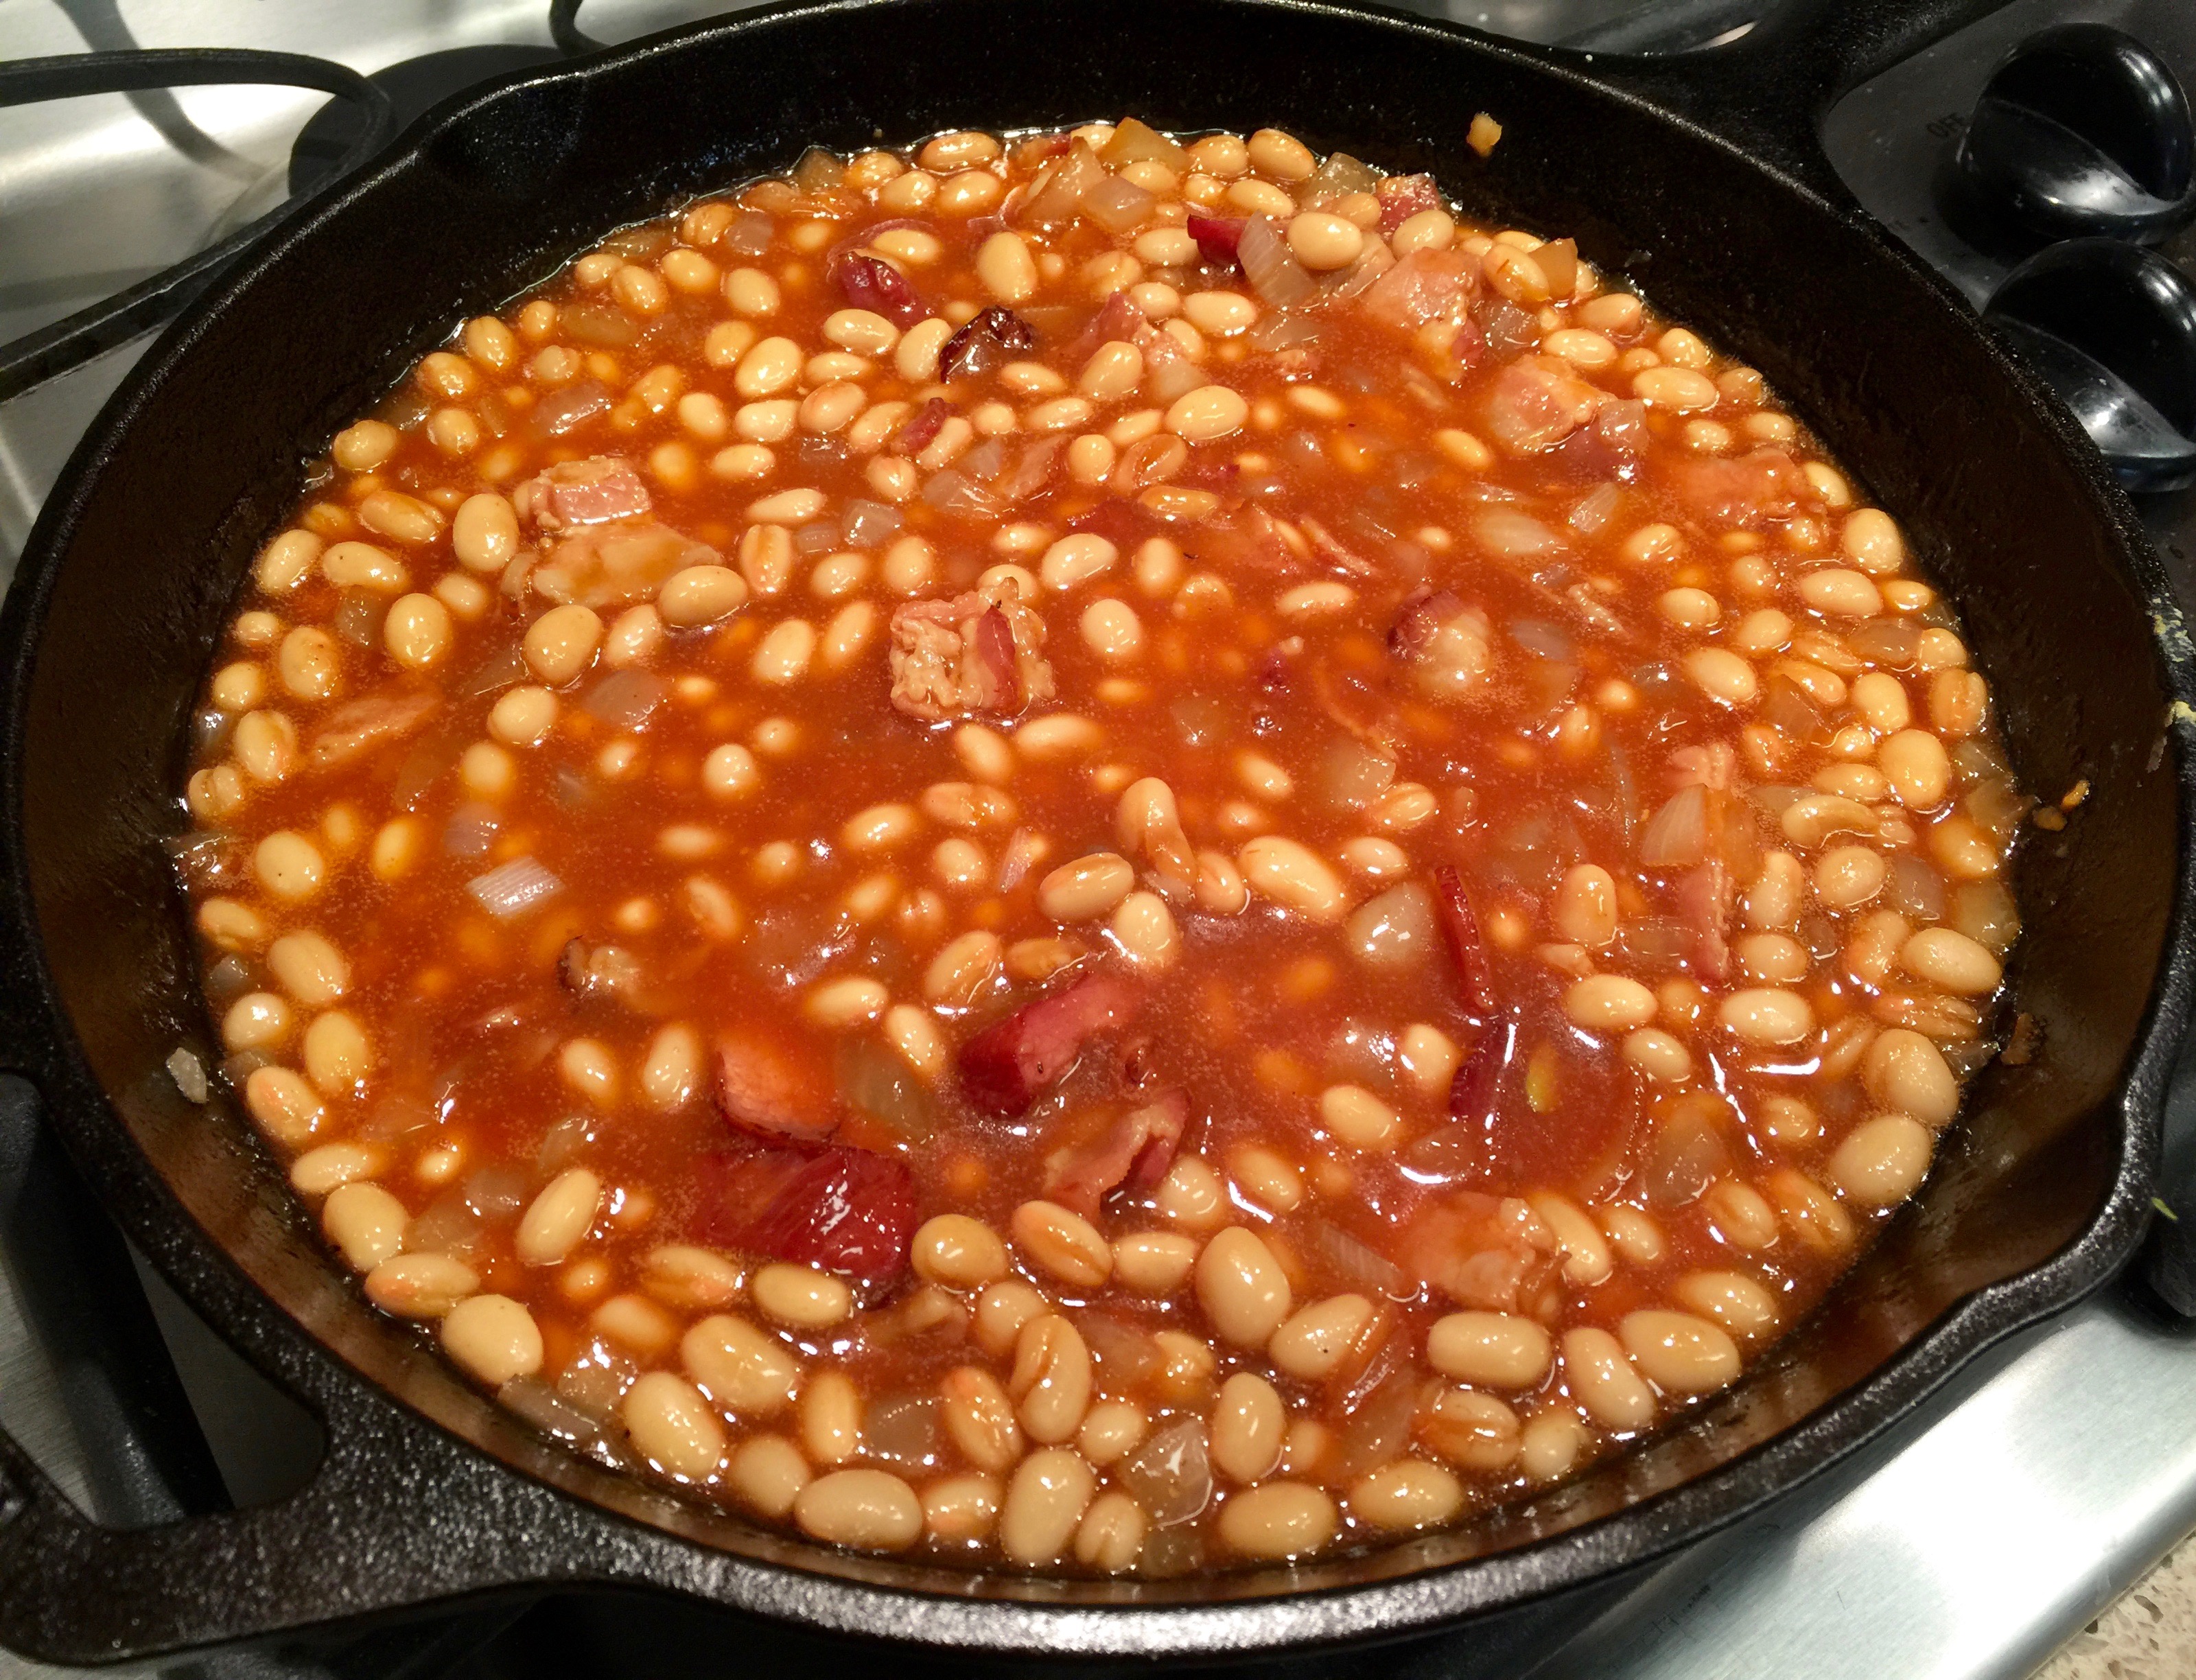
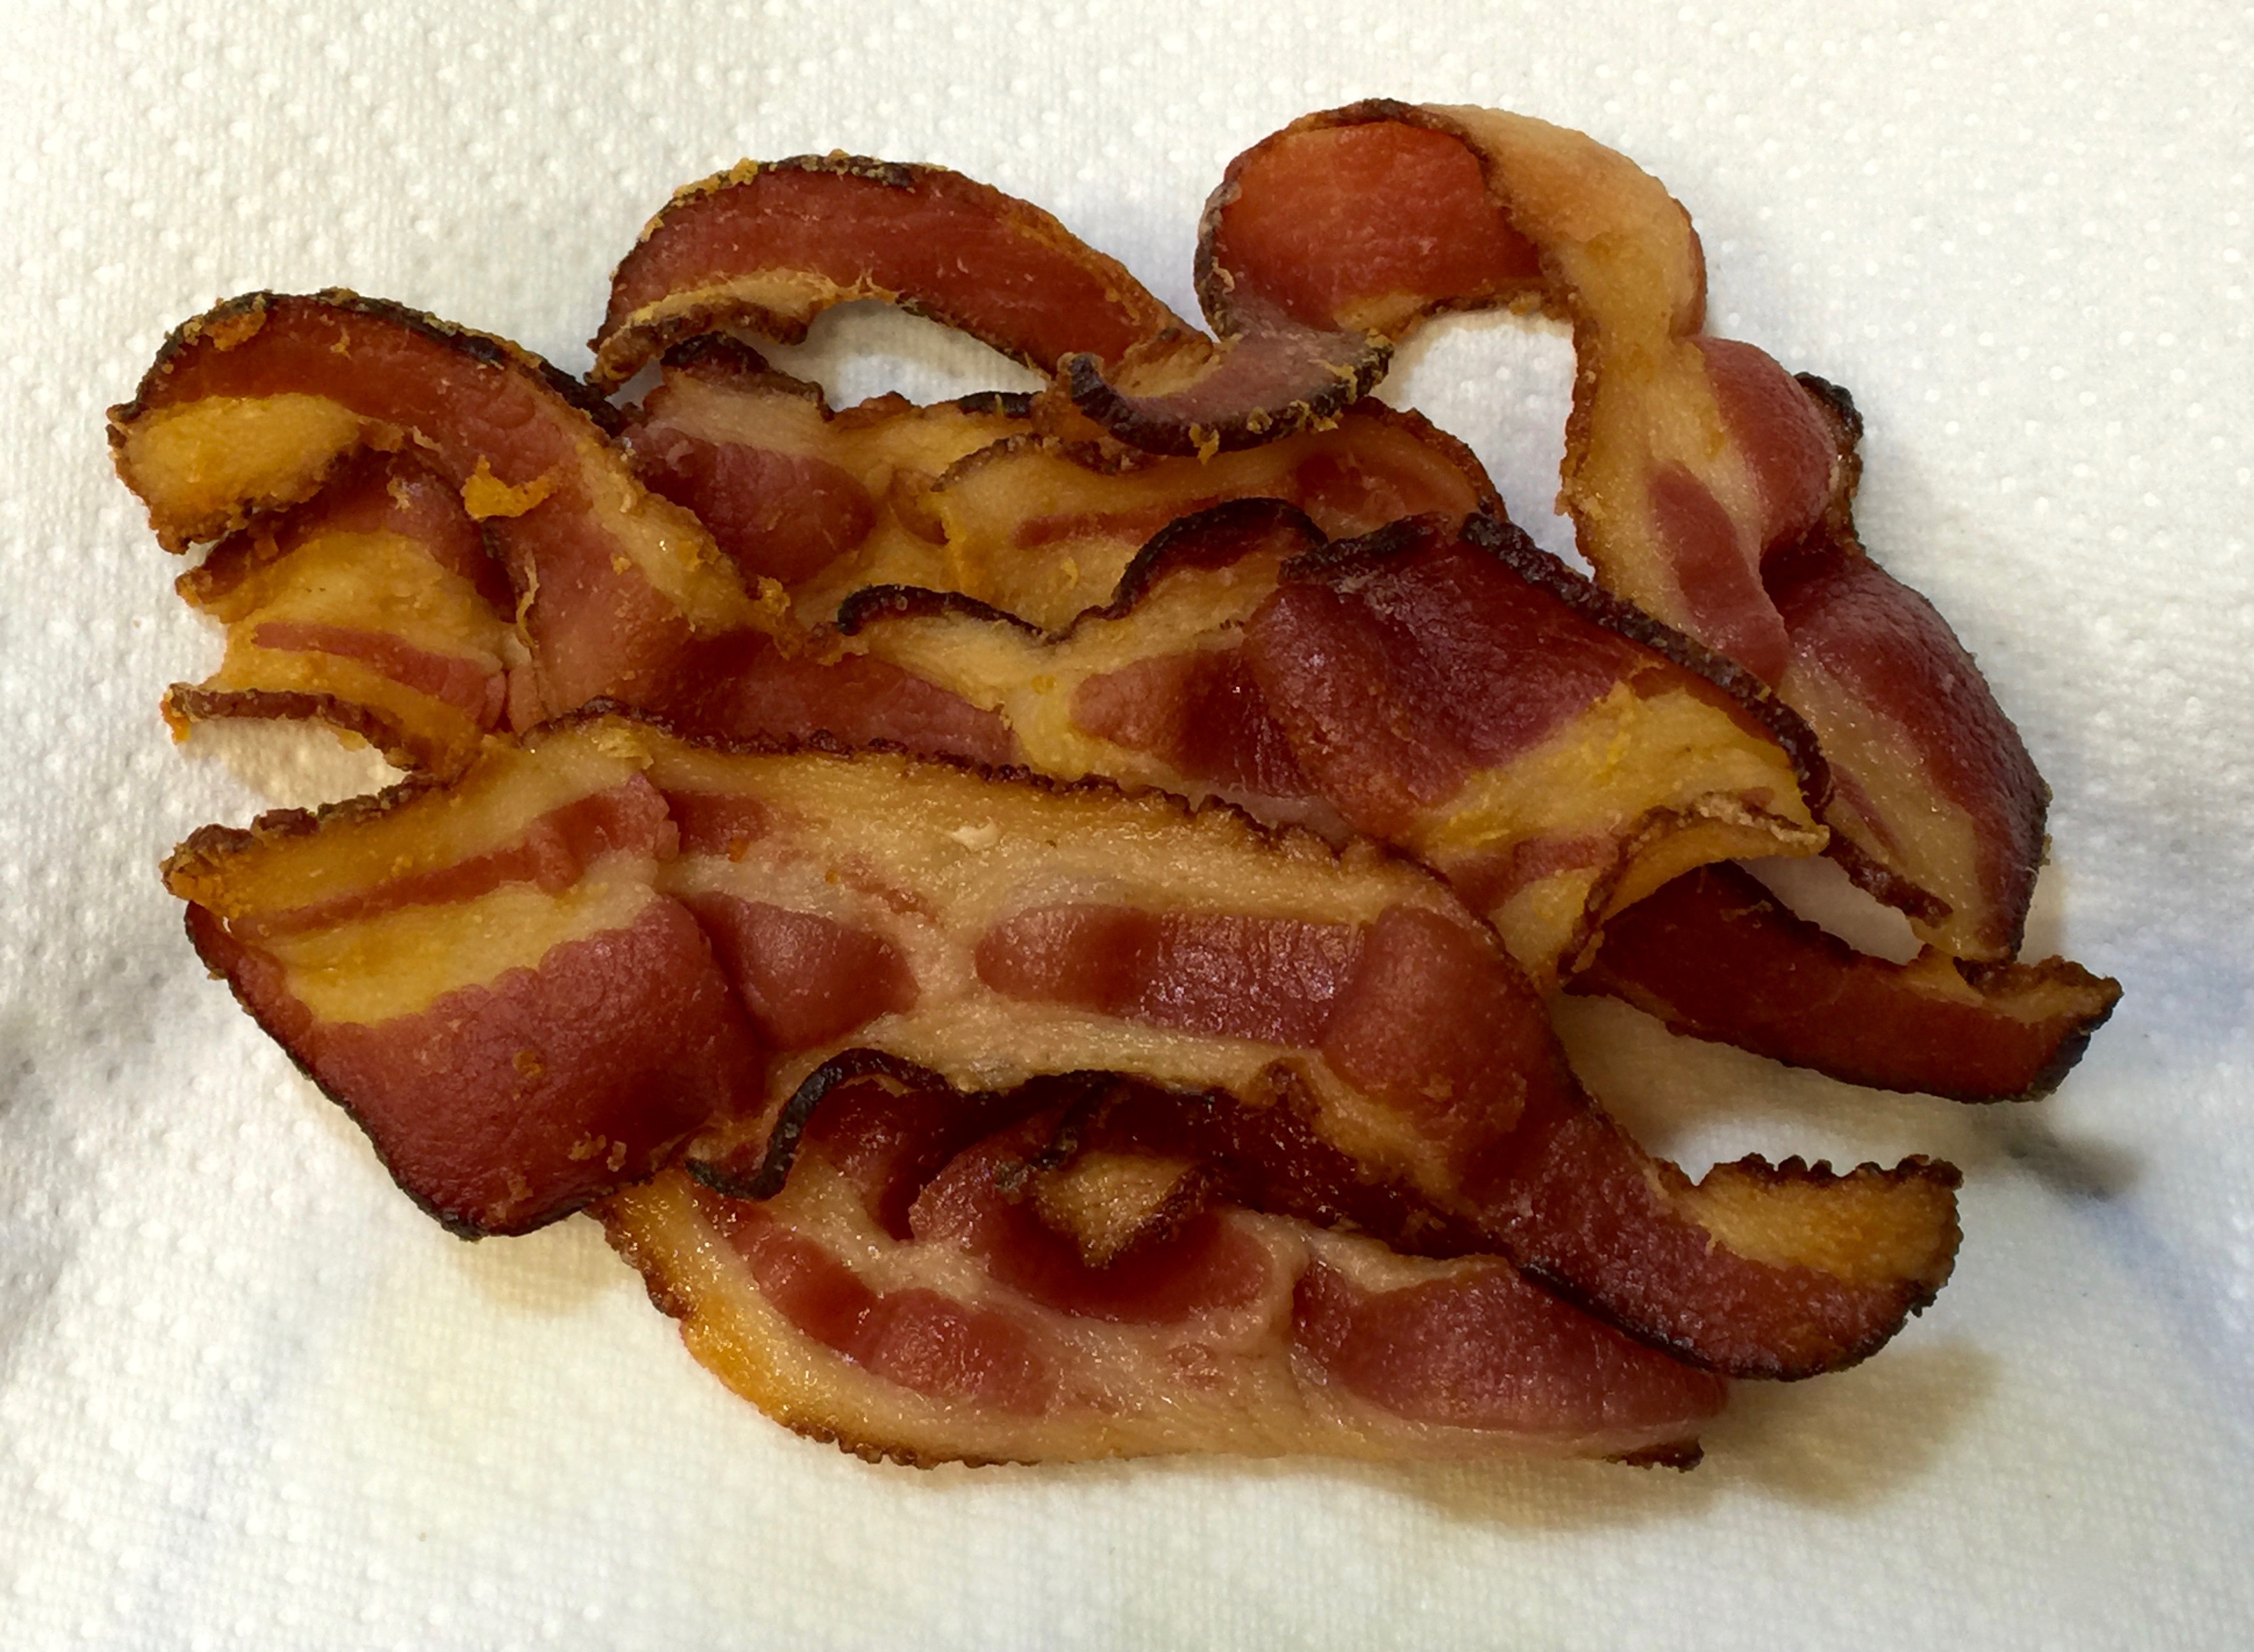
Add the bacon and onions to the pan stirring occasionally until the onions are tender and the bacon fat has rendered, but the bacon is not crisp. Add the garlic and cook until fragrant, about 1 minute. Stir in the brandy and reduce the mixture by half. Stir in the apple cider and scrape the bottom of the dutch oven with a wooden spoon the de-glaze the pan. Bring to a boil and continue to cook until the mixture is reduced by half. Add the chicken into the pan, stir and cover. Simmer for about 5 minutes. Stir in the mustard, cream, sauteed apples and sage. Simmer uncovered for about 10 minutes. Taste and adjust seasoning if needed.
Serve in the dutch oven but make sure you family or guests know that the dutch oven will be very hot. Or, divide the braised chicken and apples among 4 plates and serve immediately.


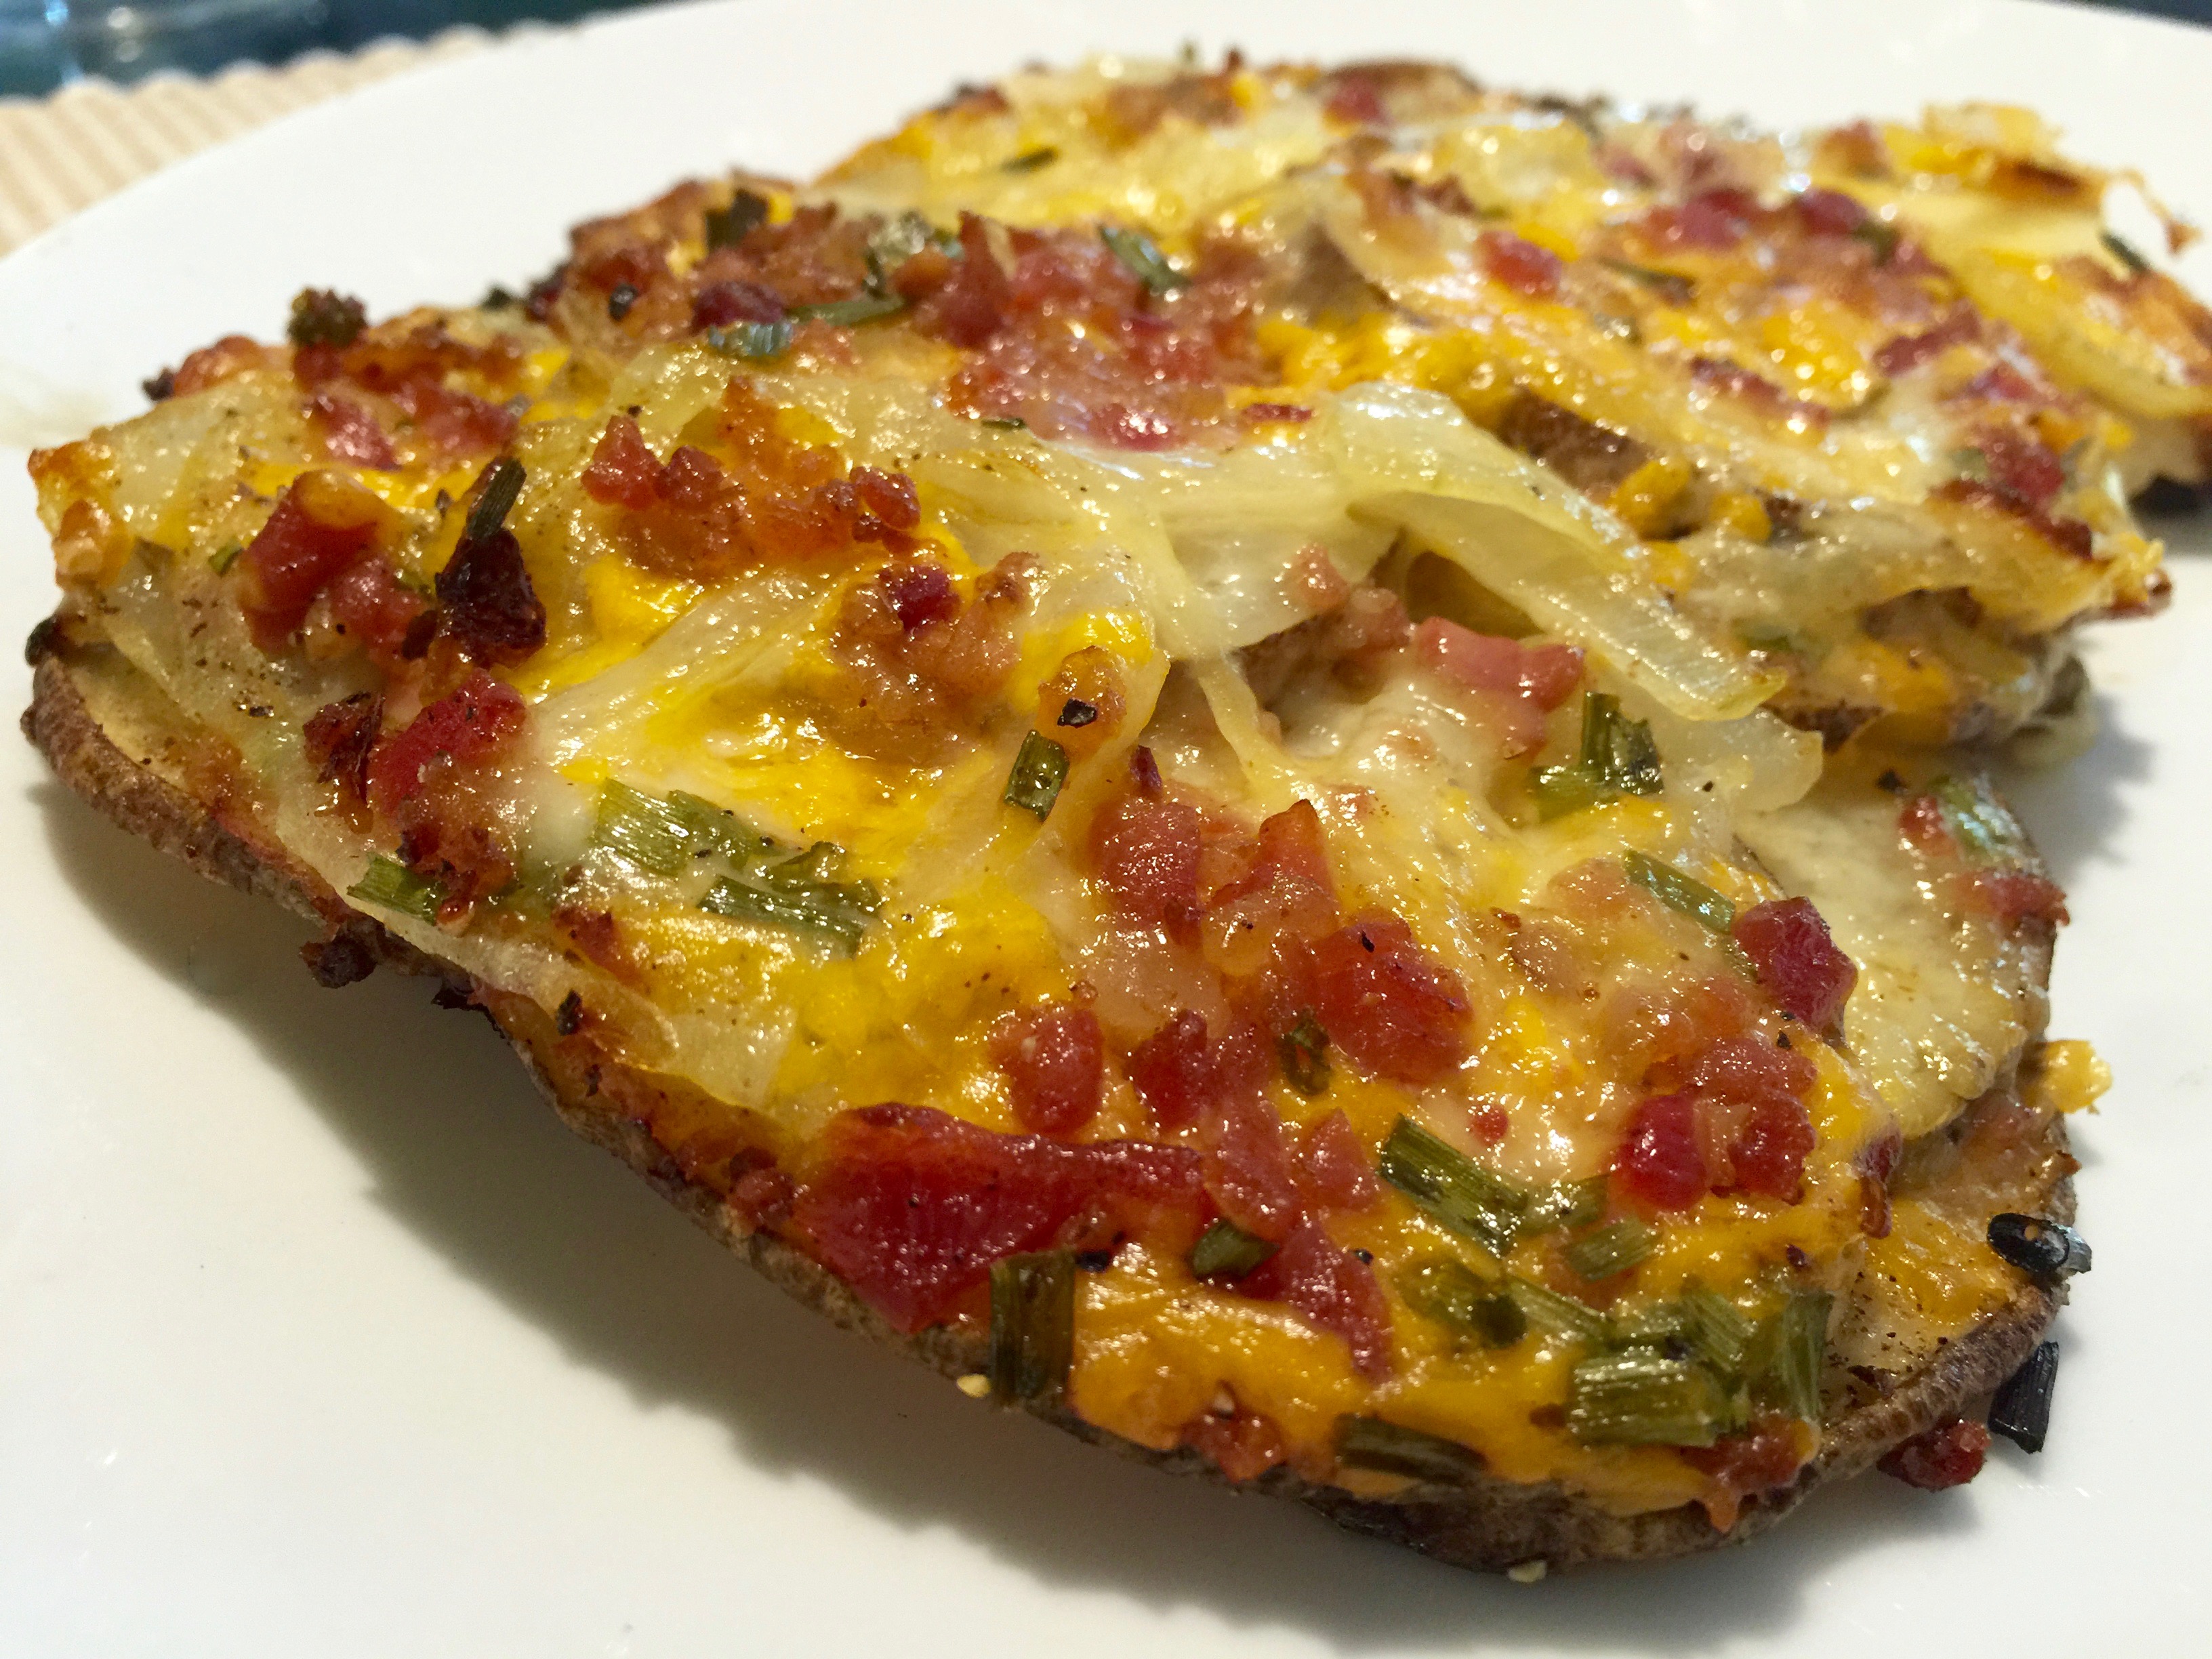
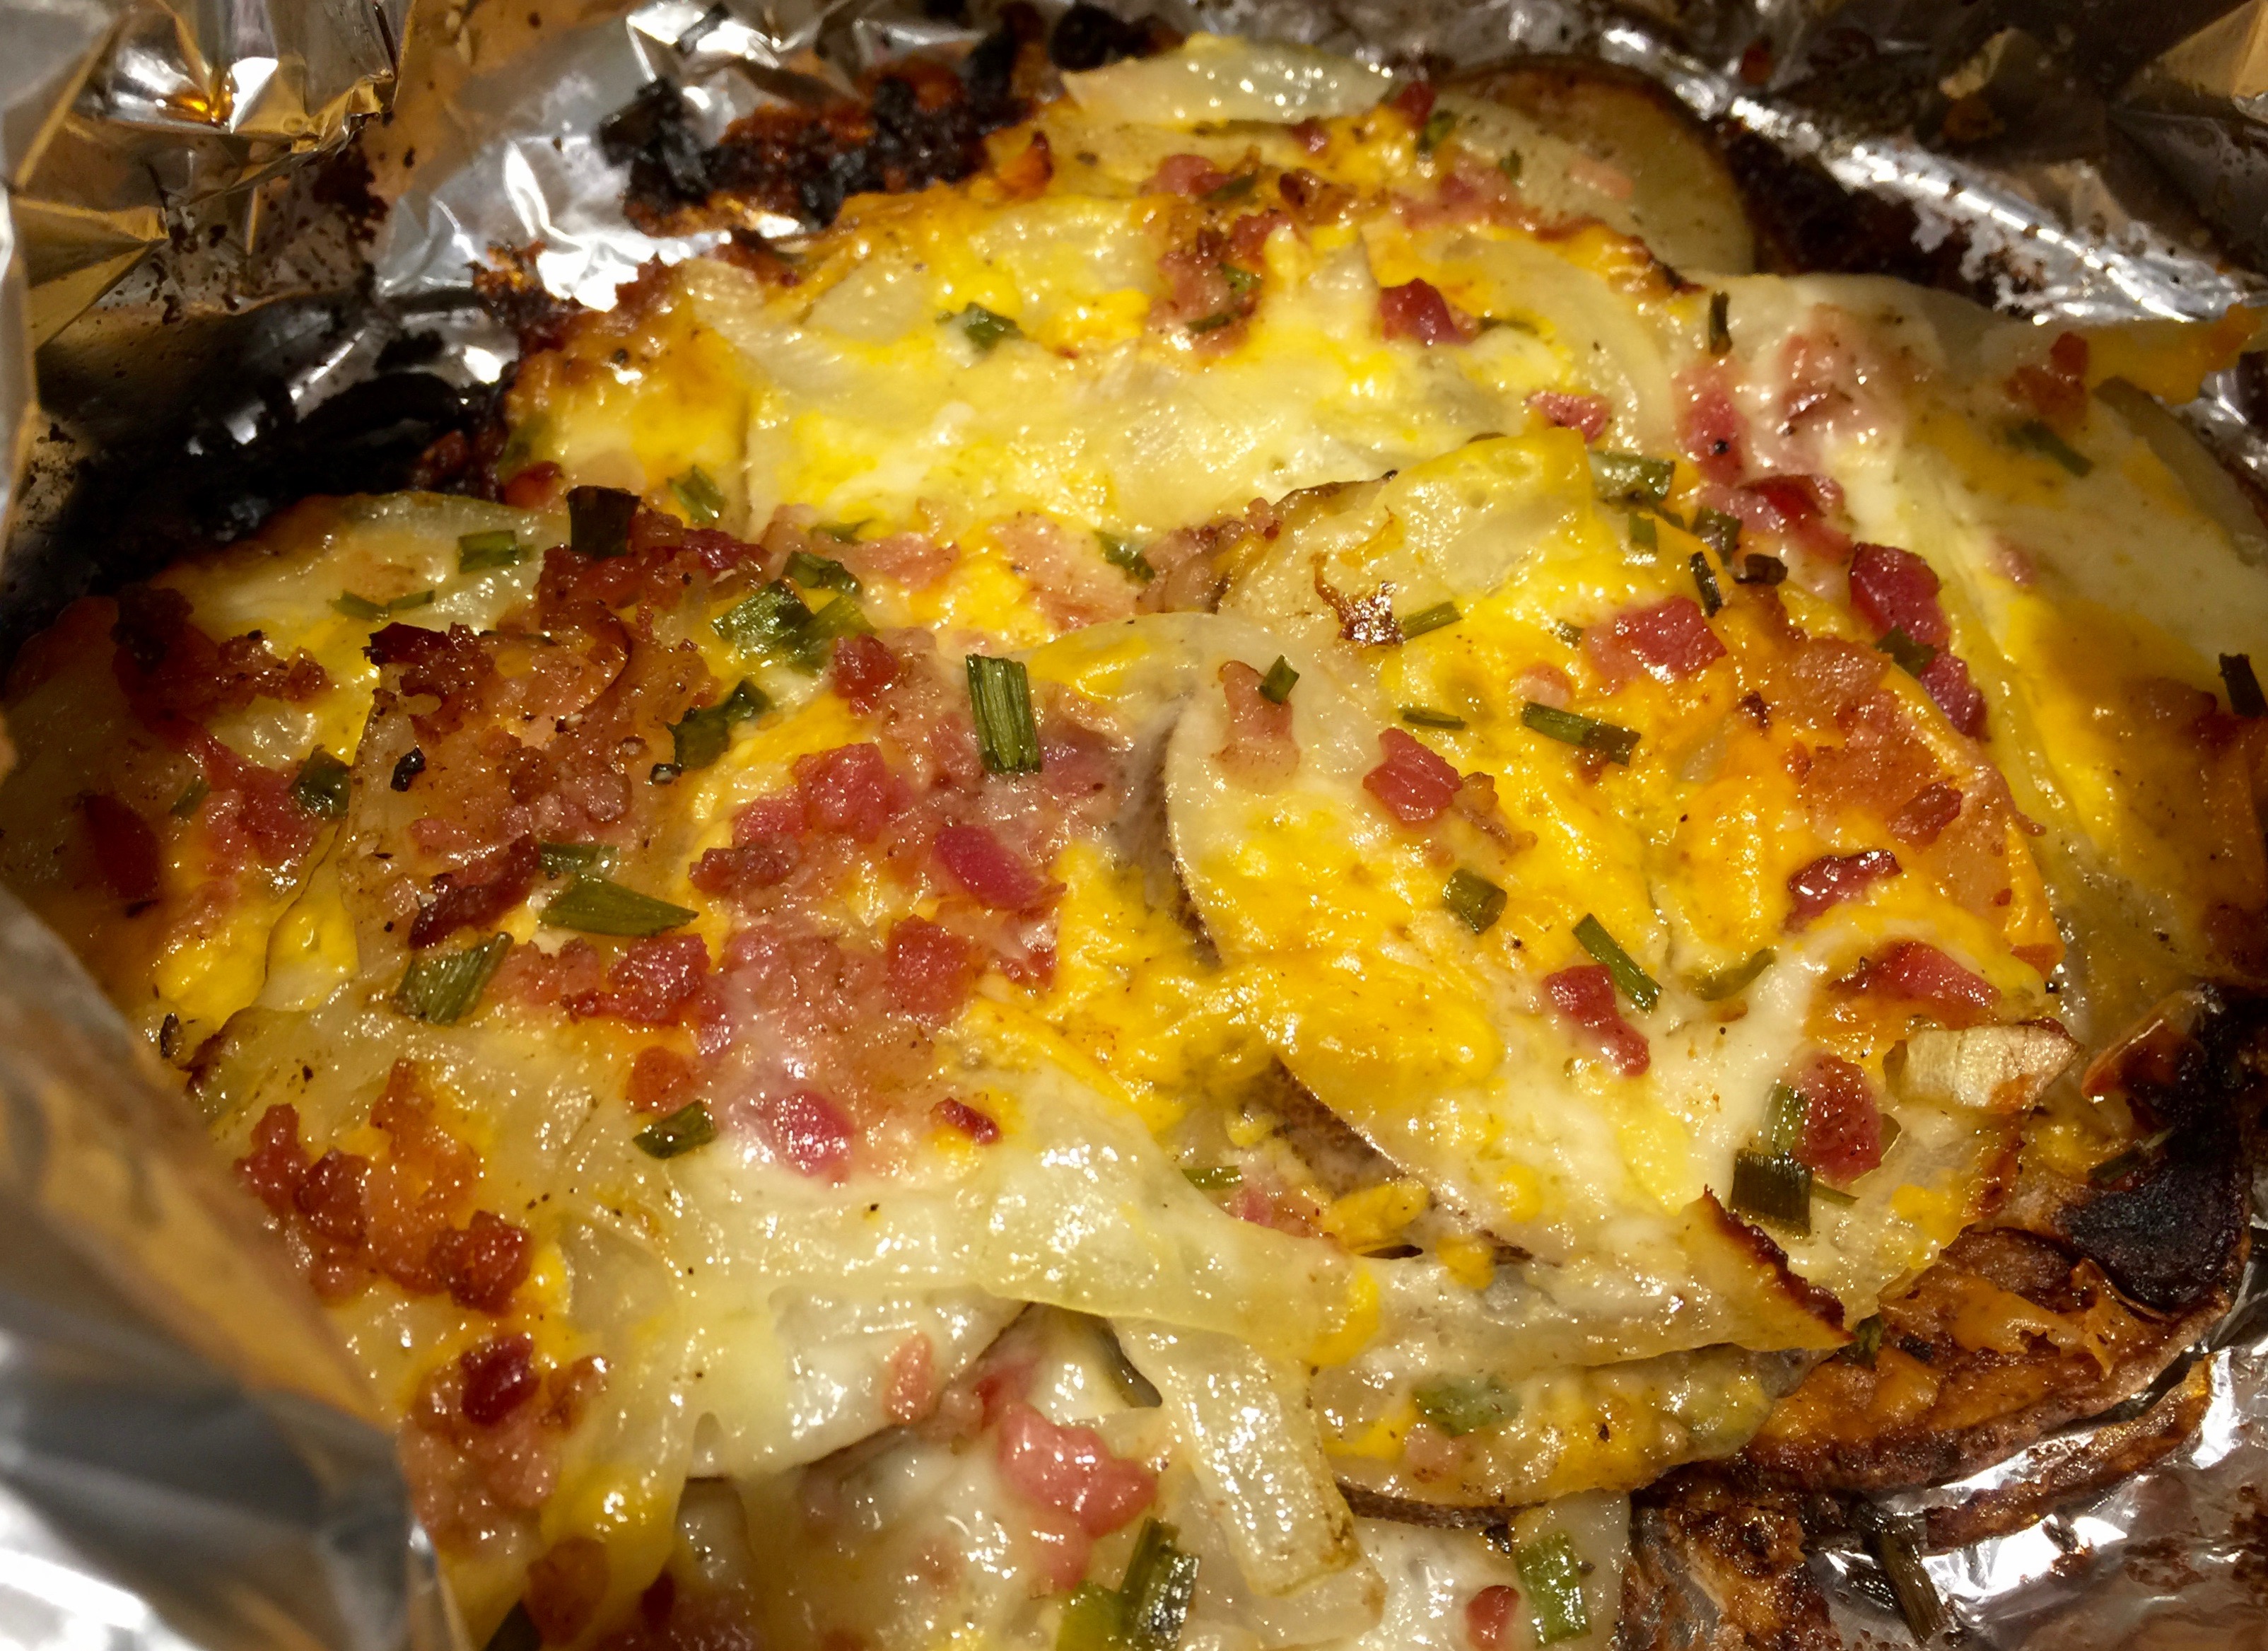
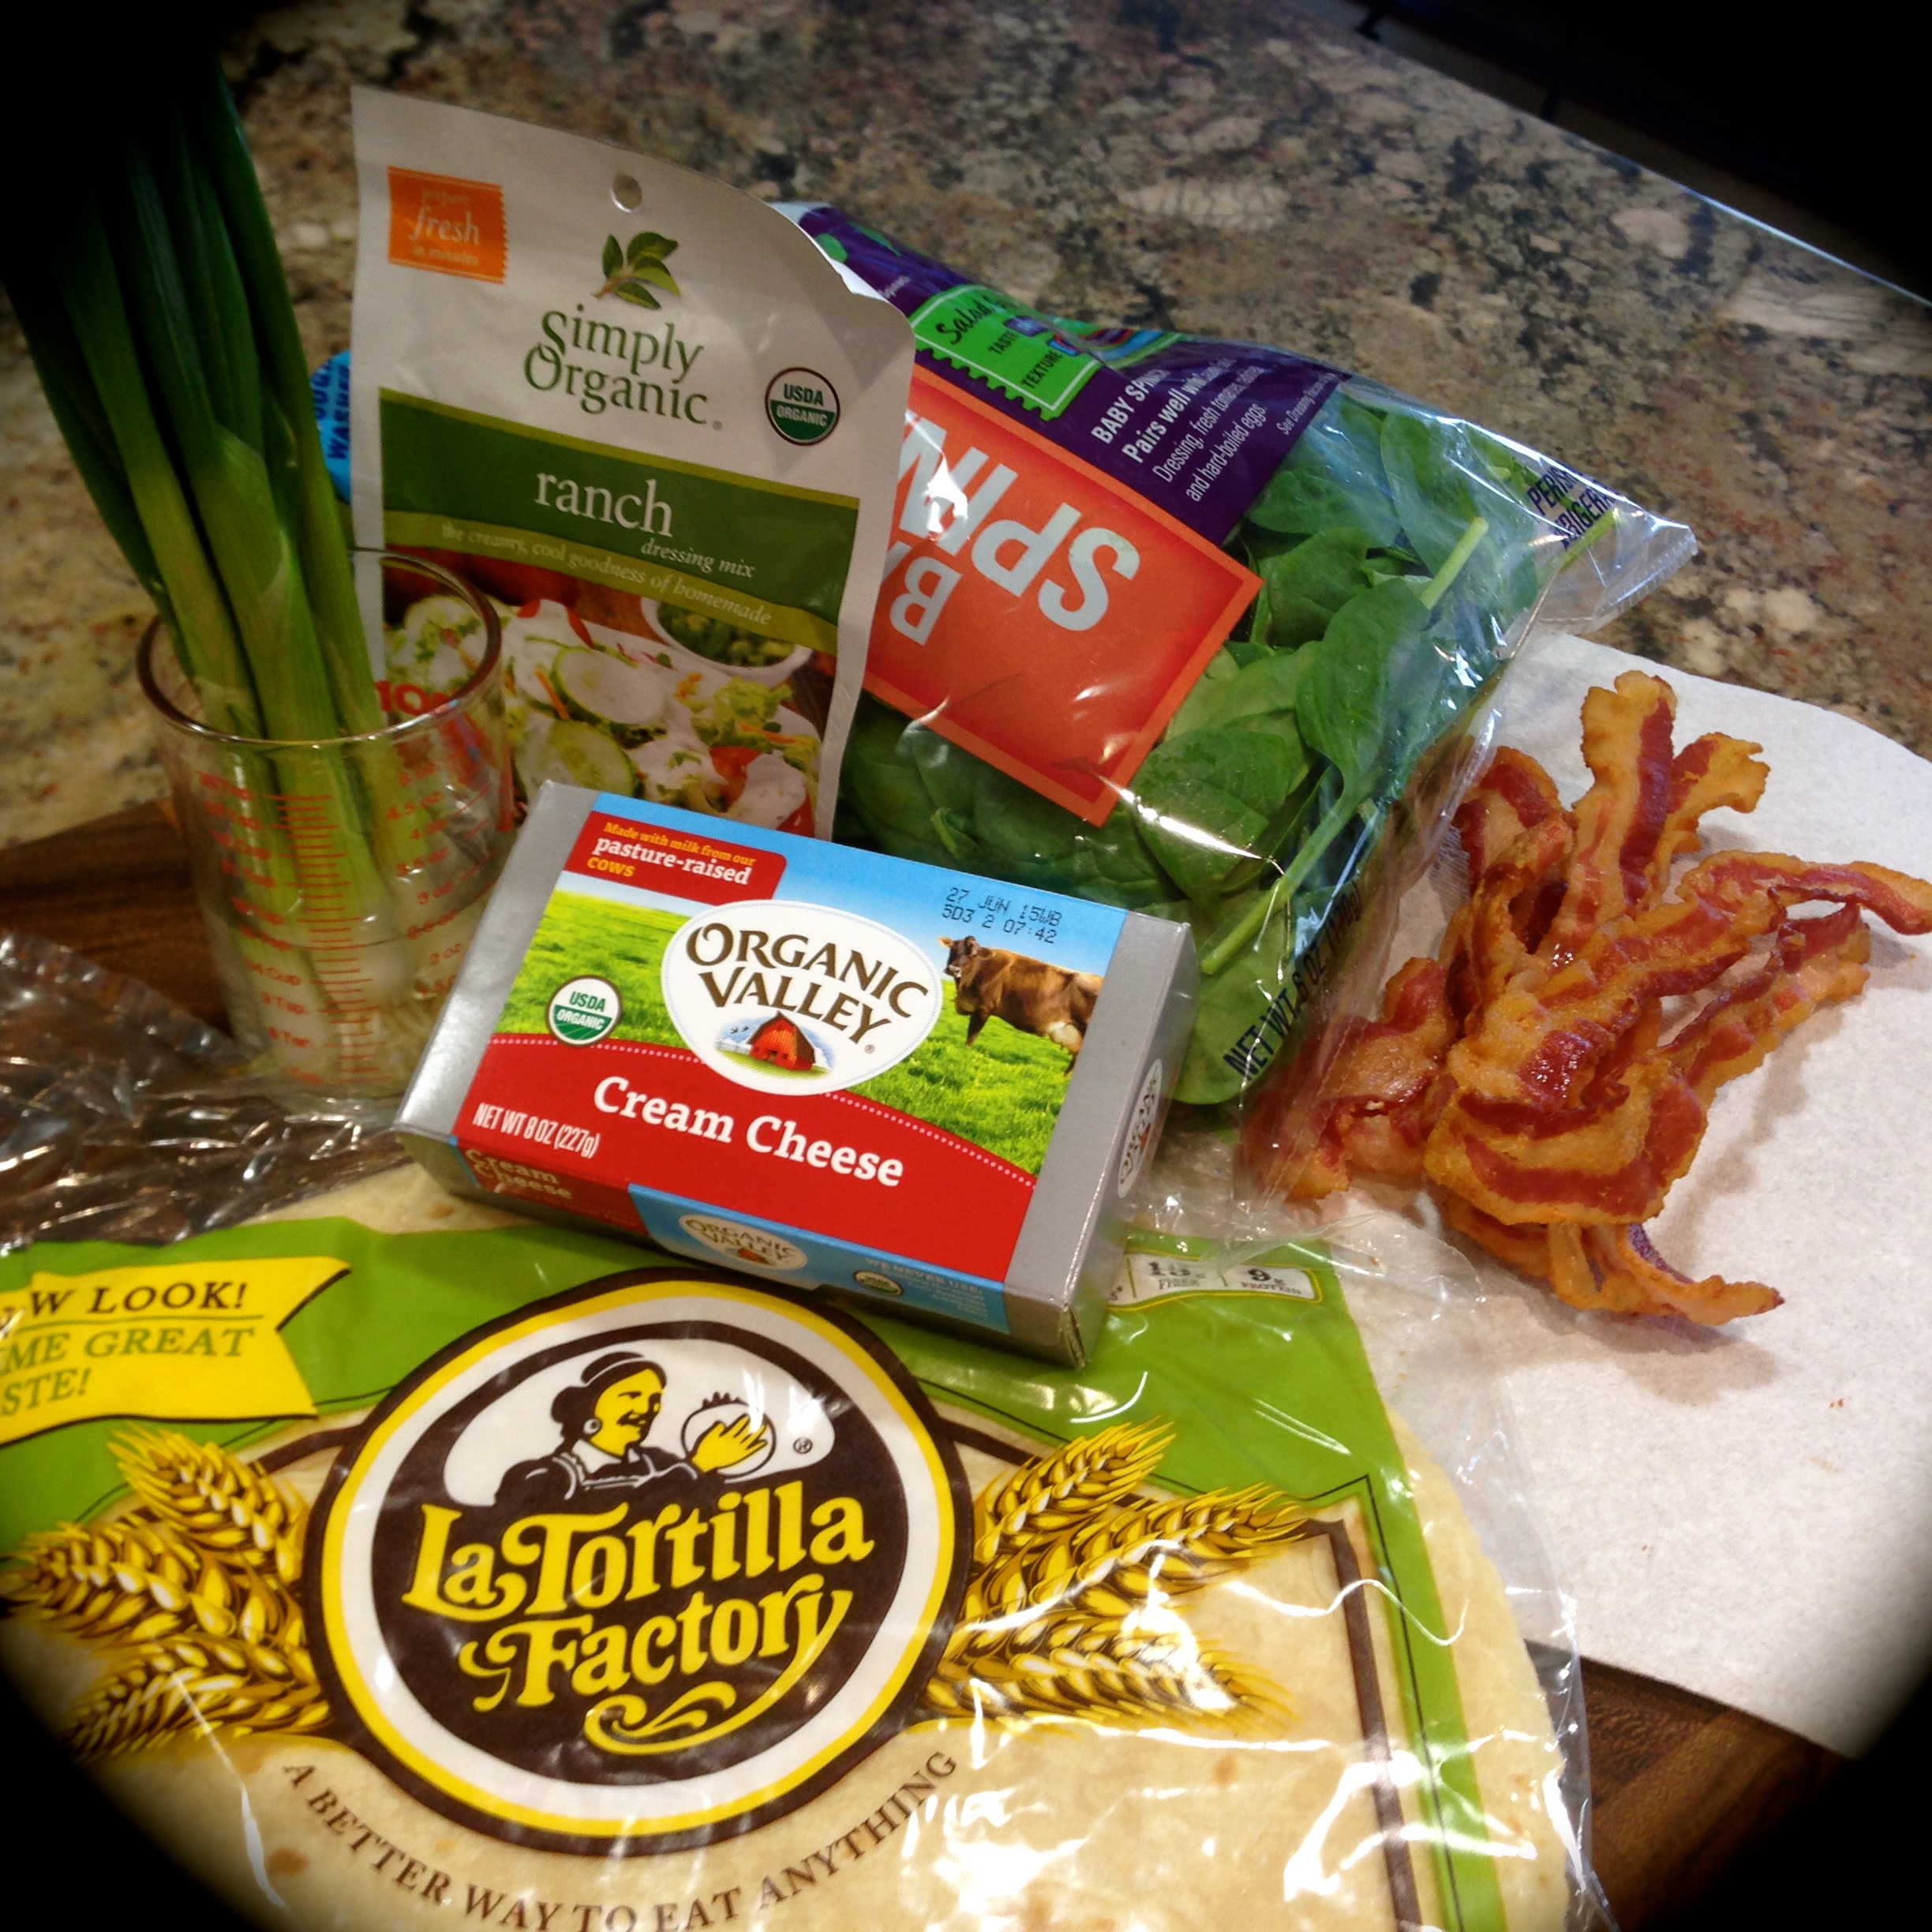
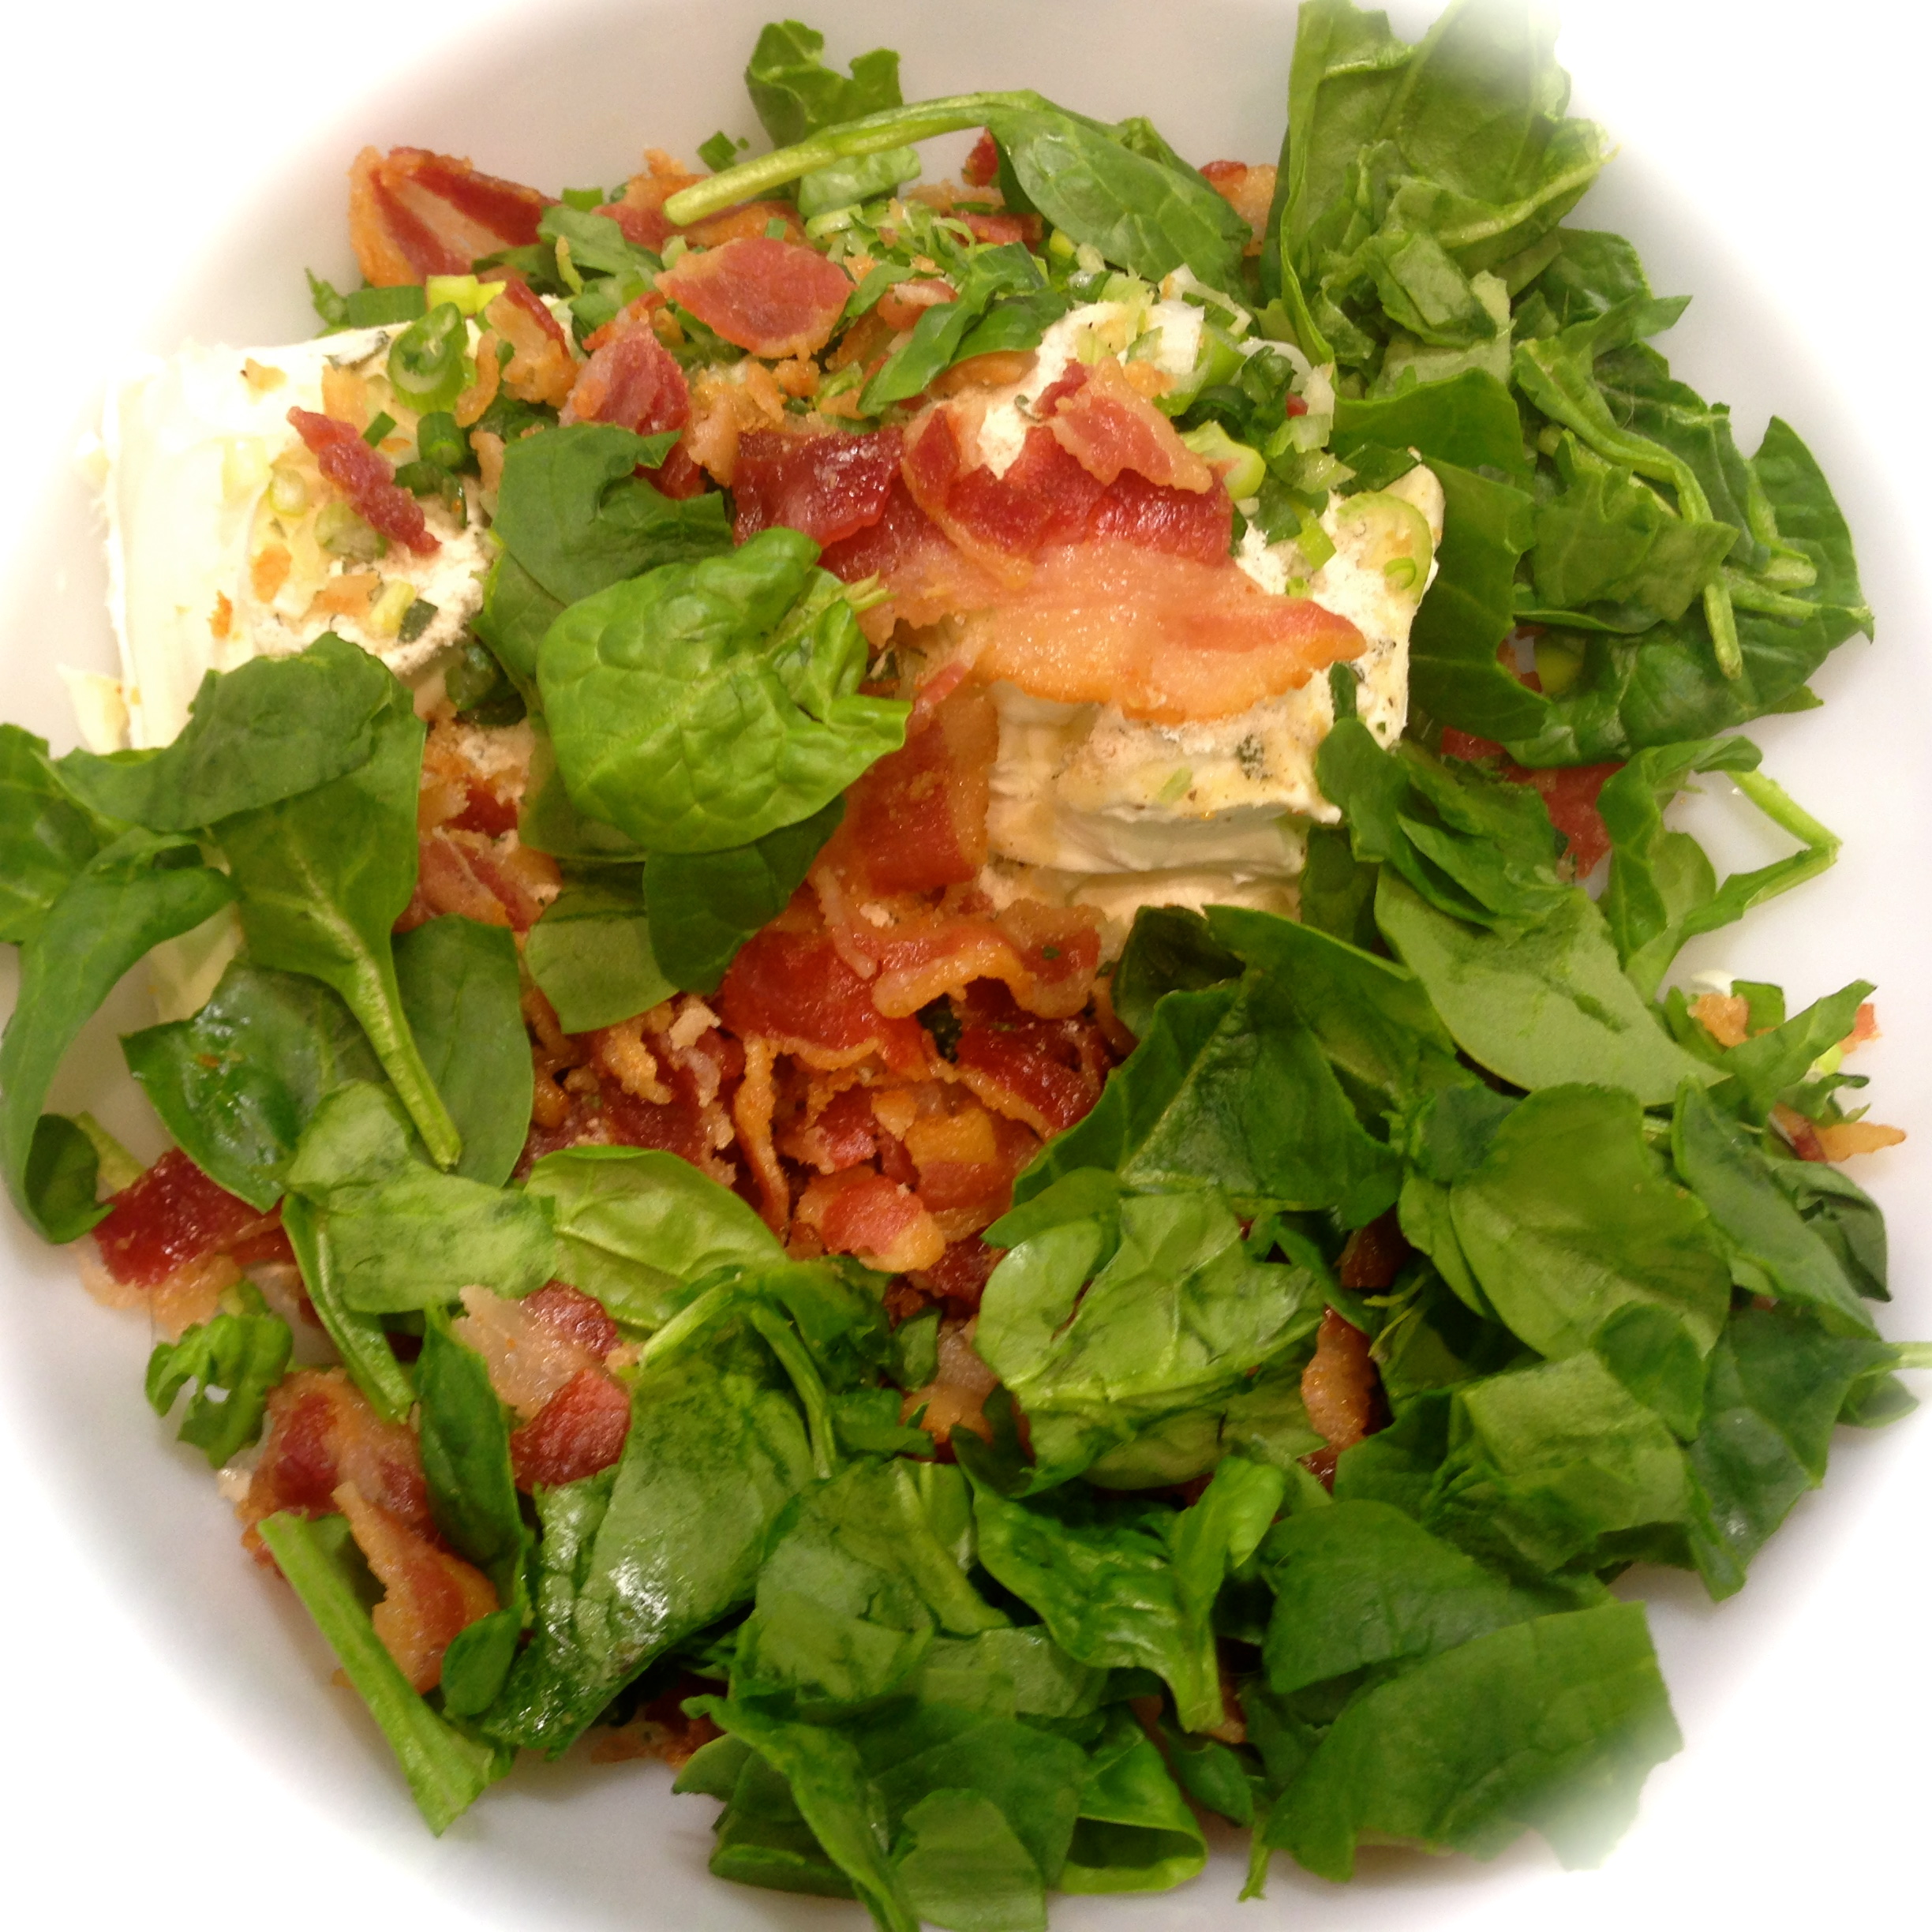
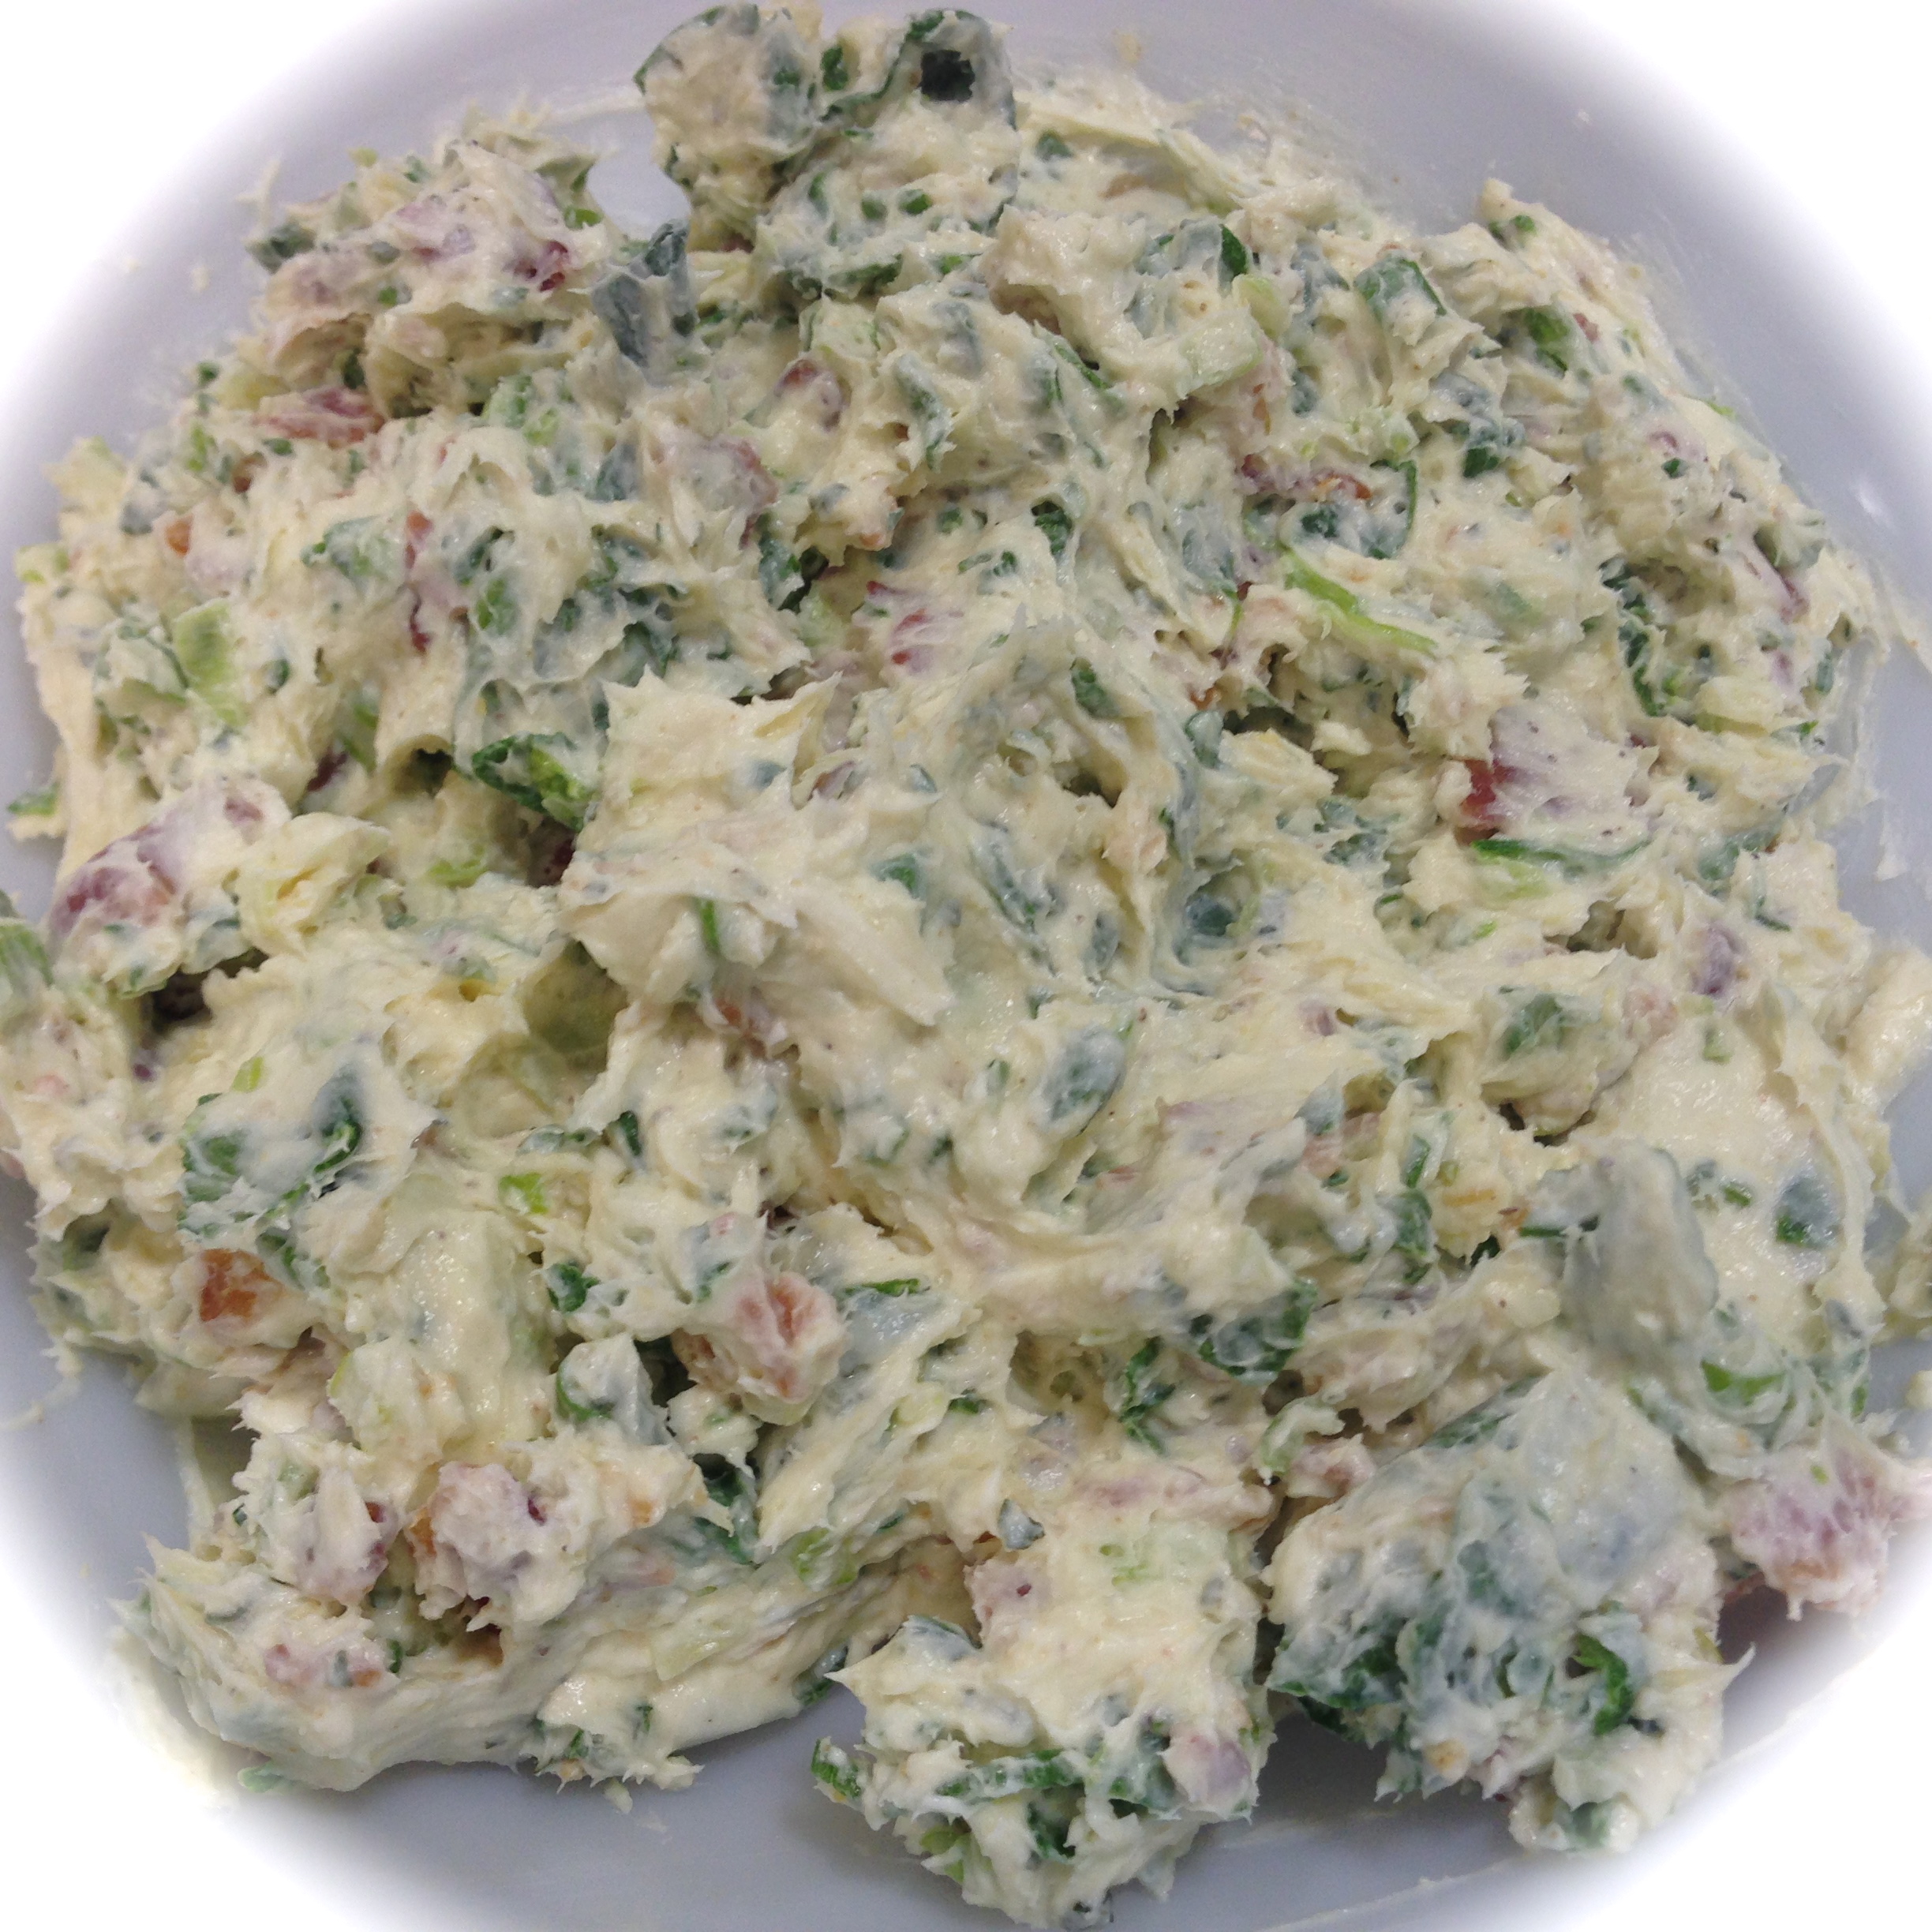
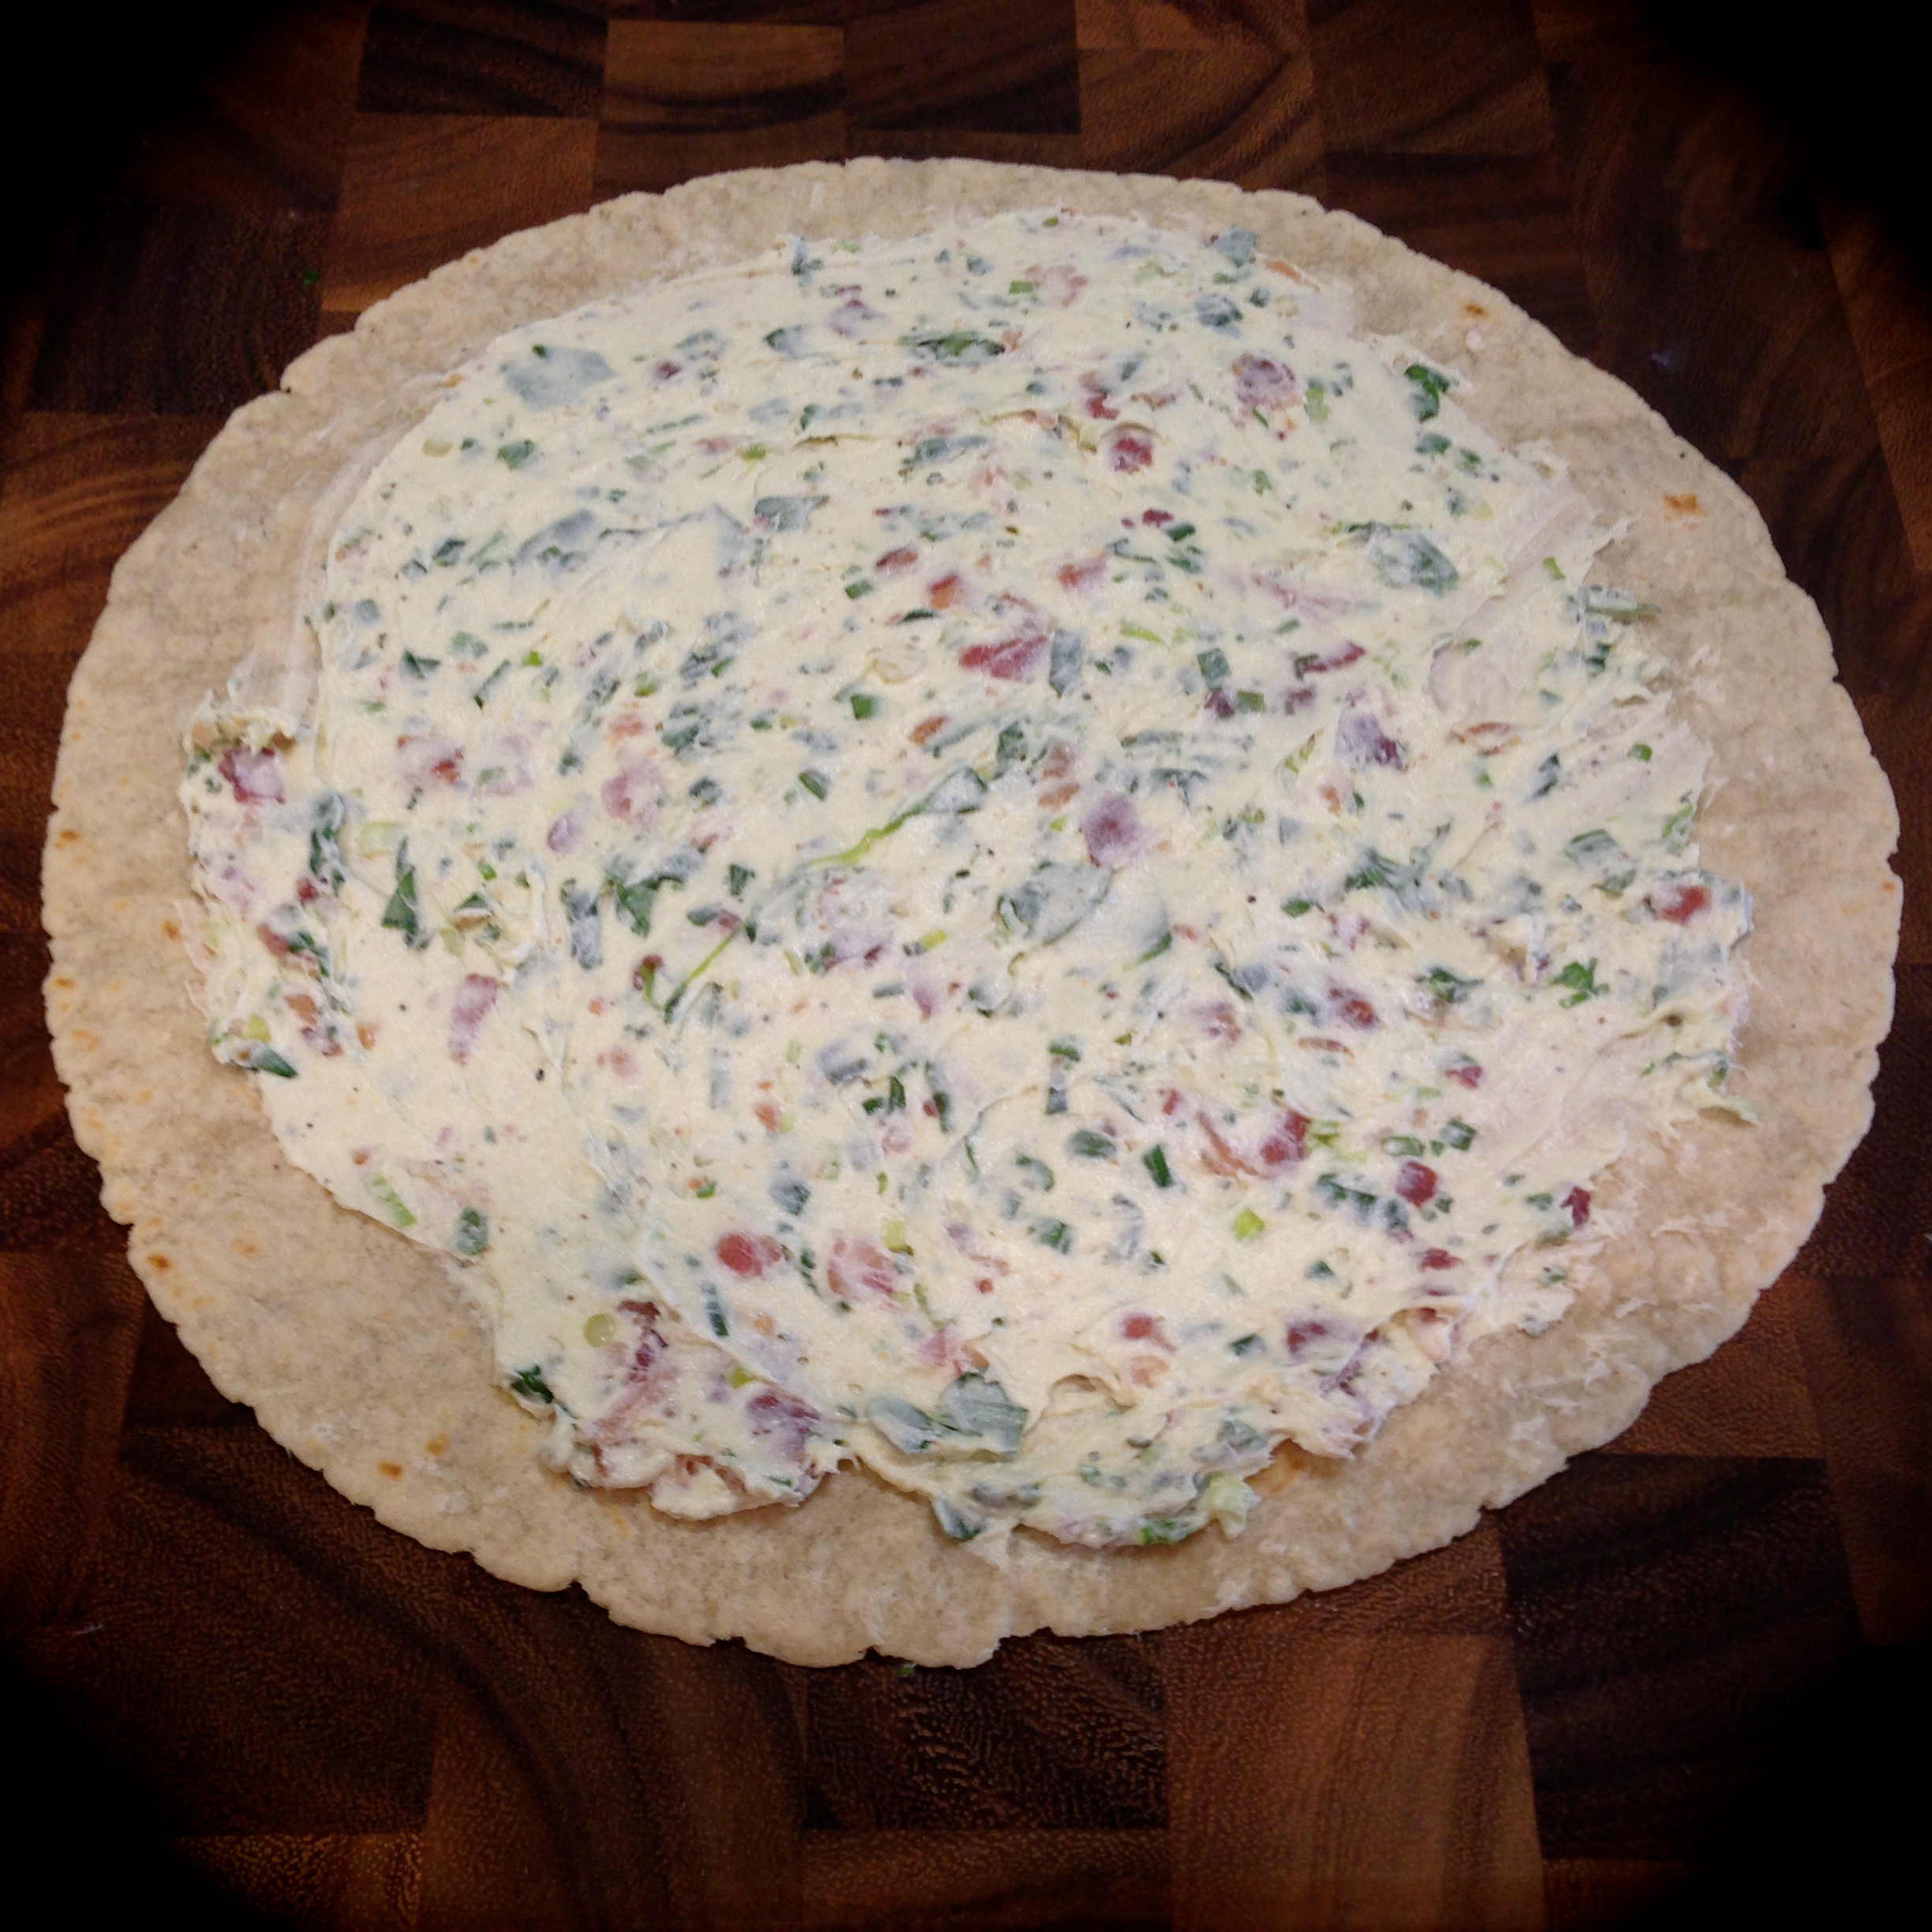
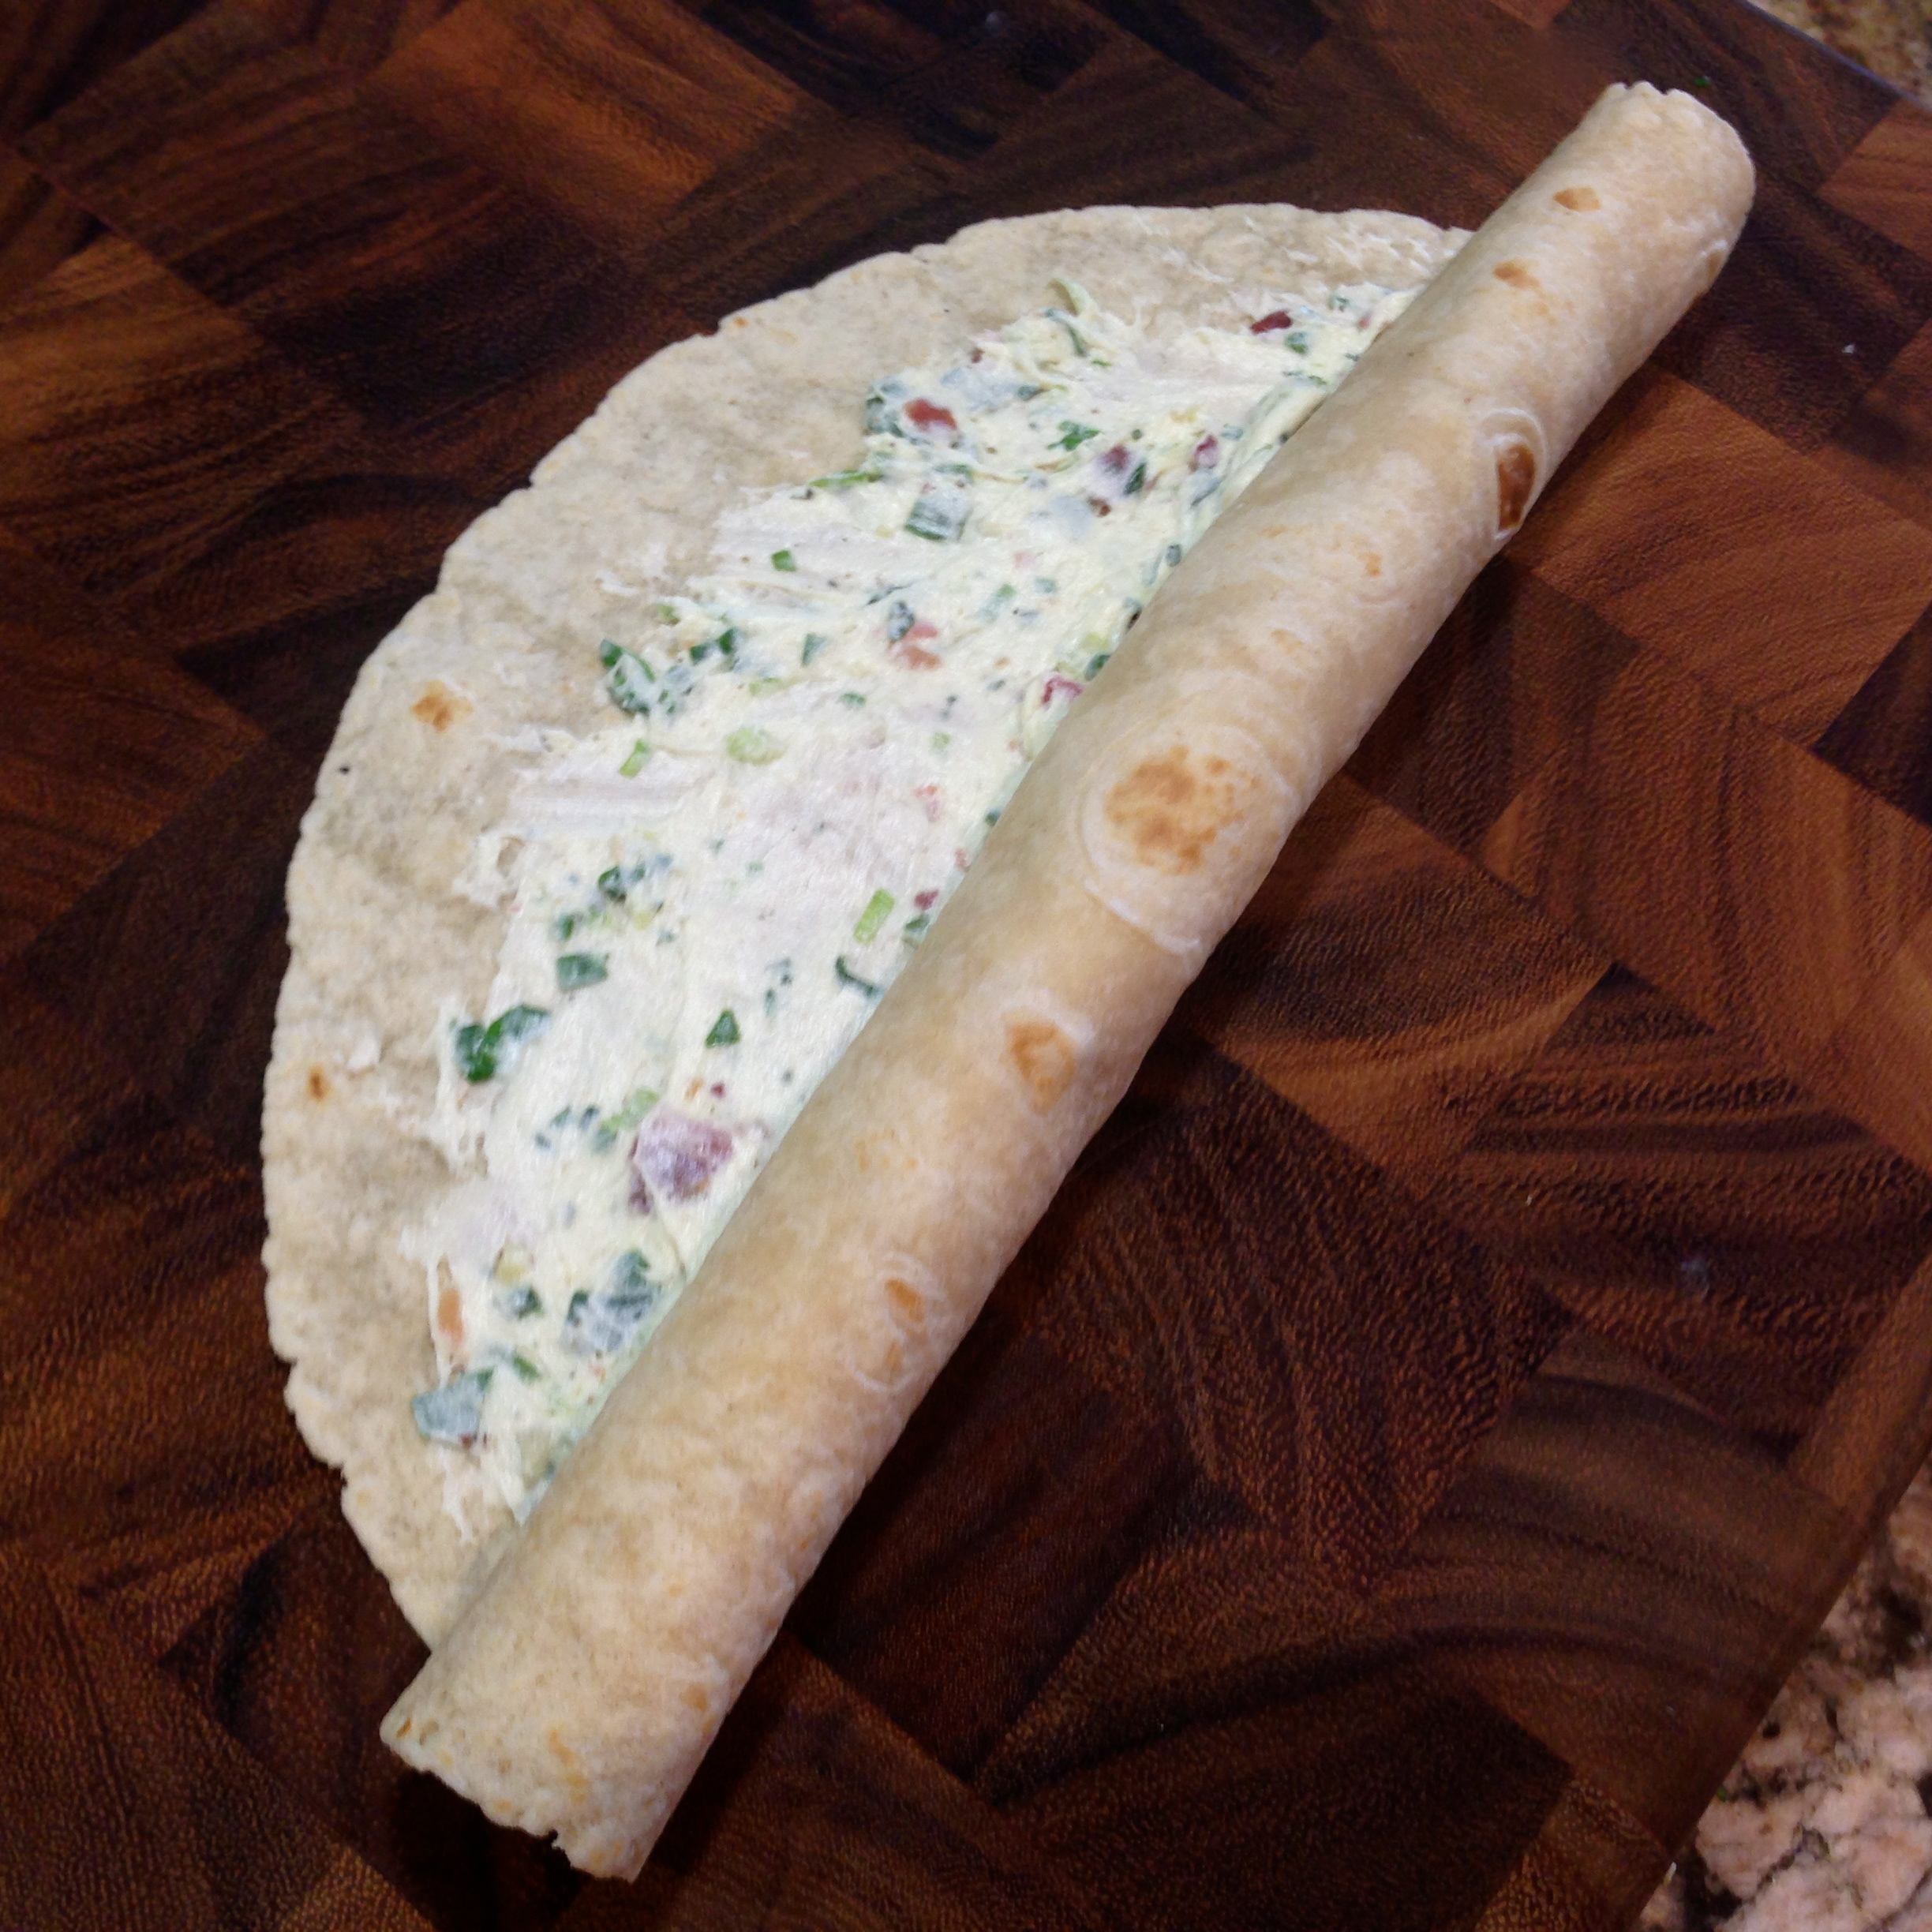
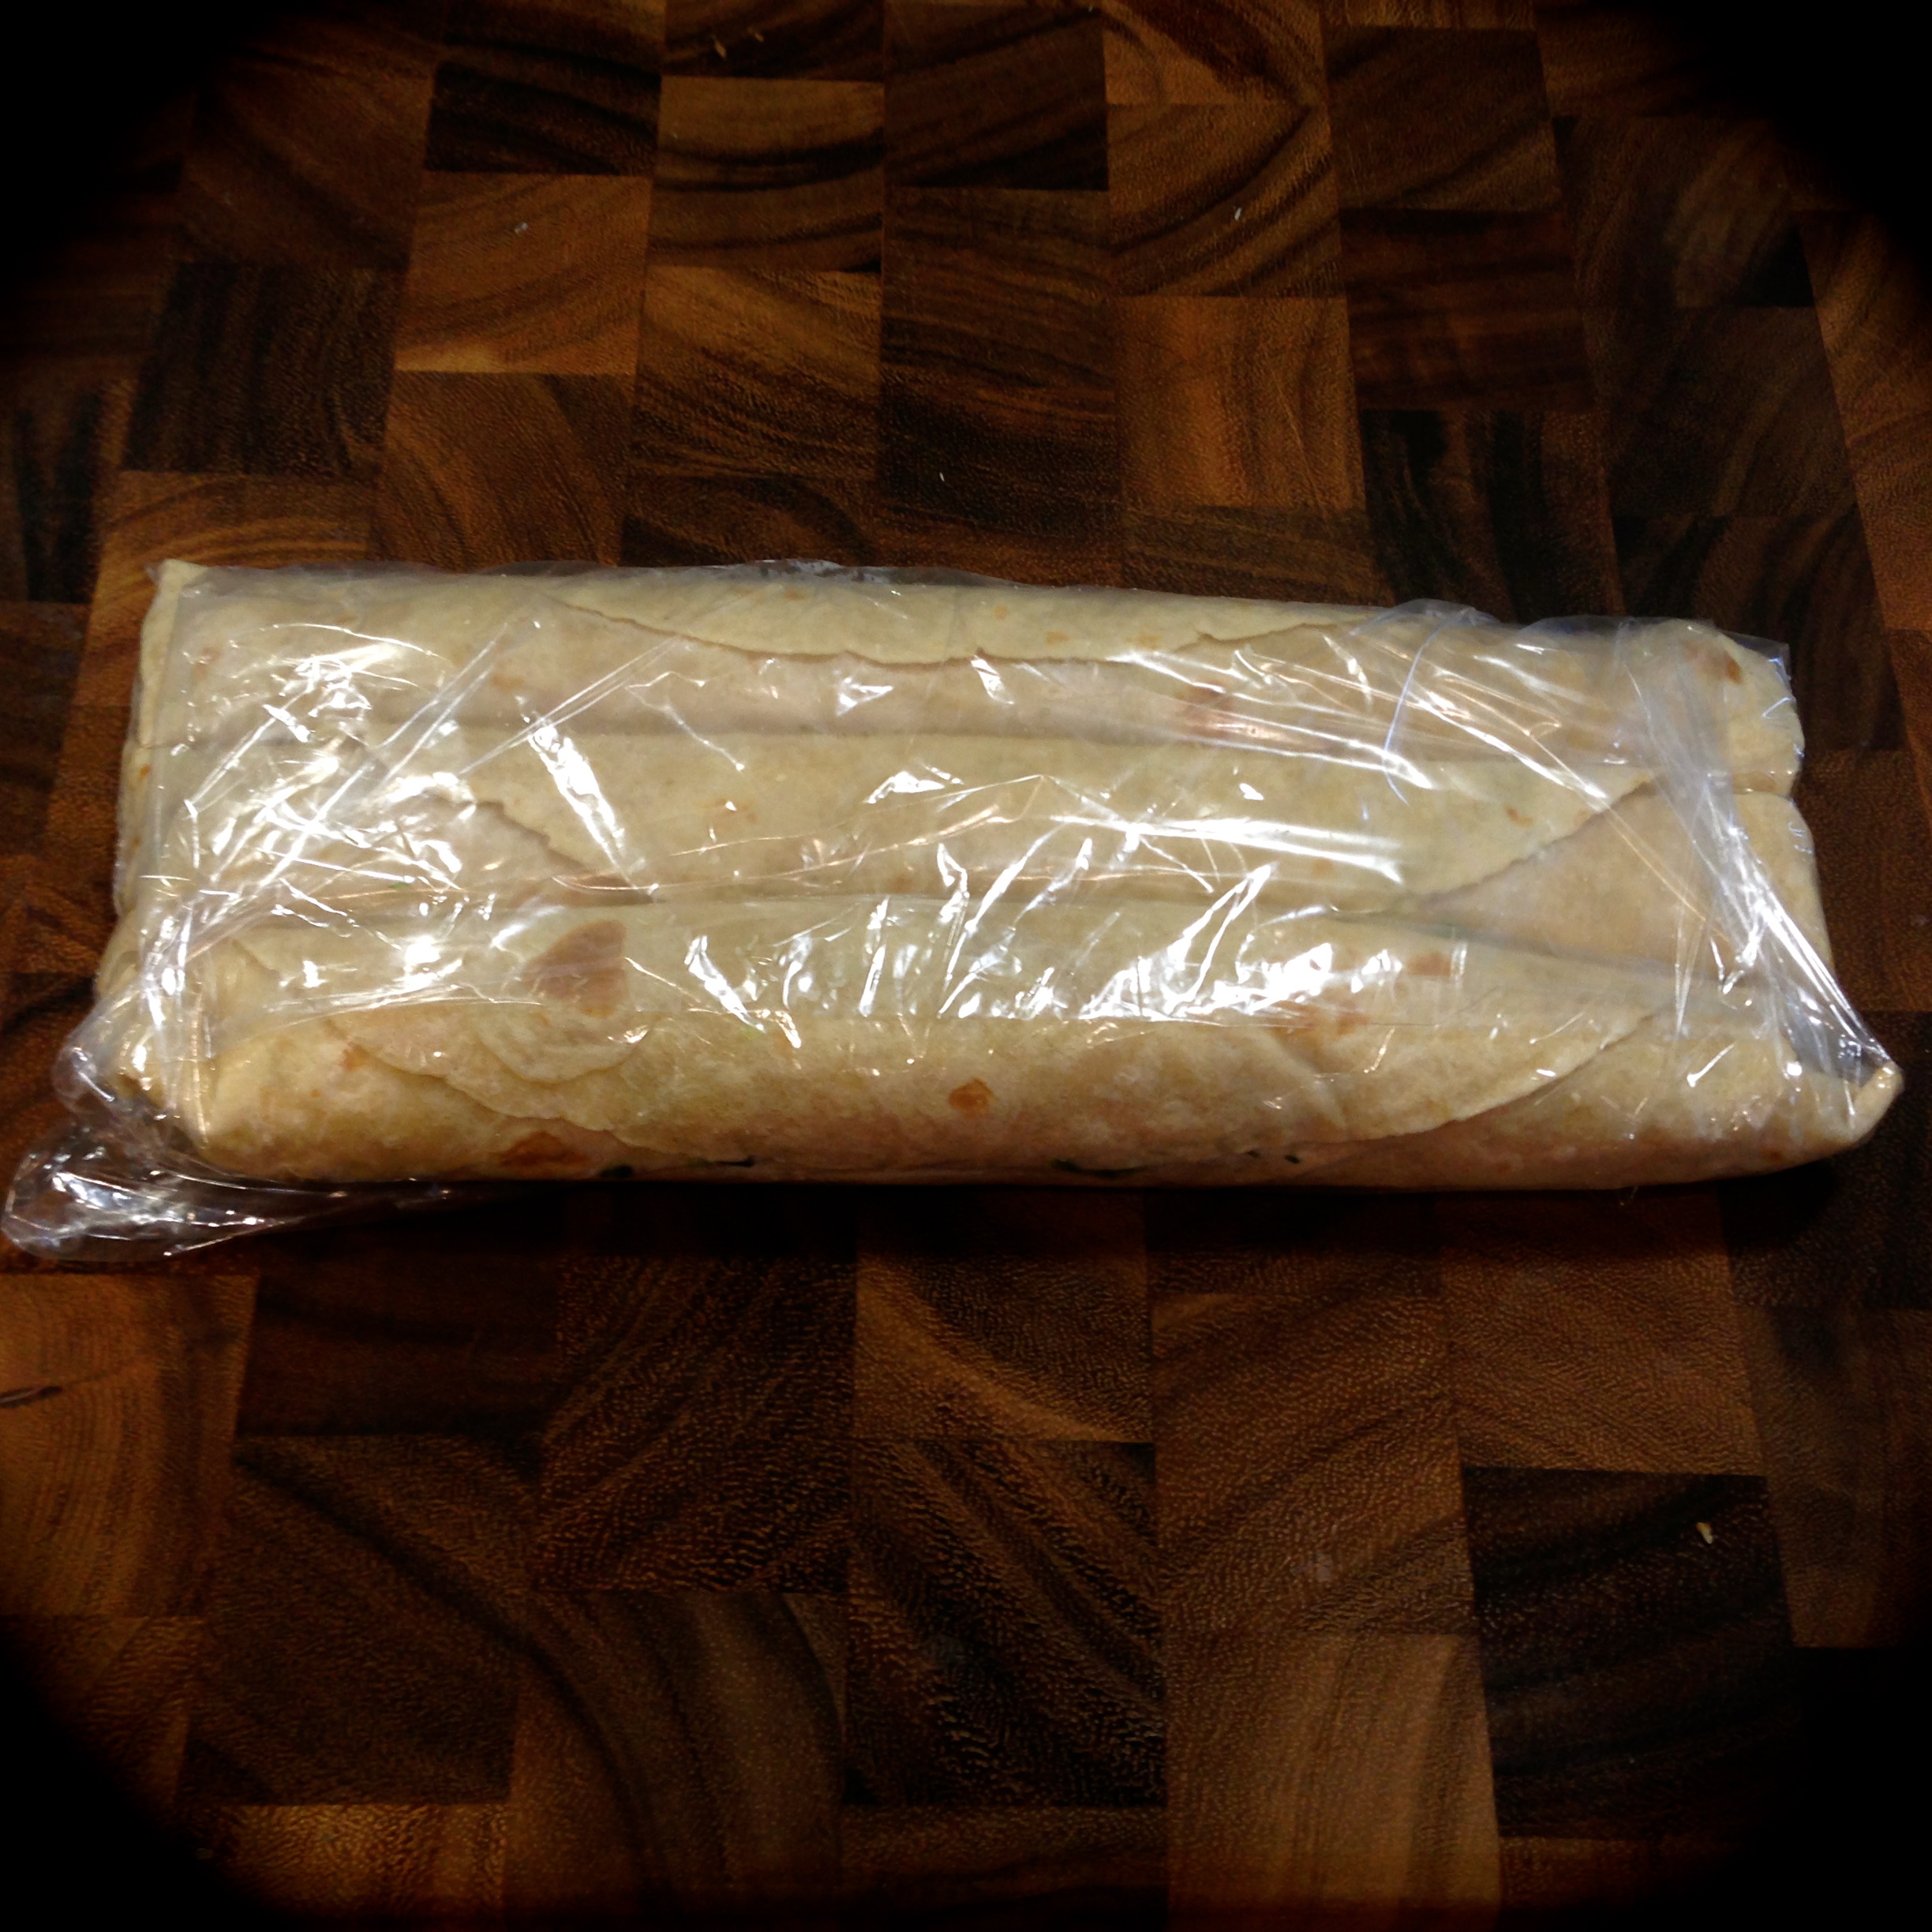
 Lesson Learned 1: I found a great shortcut for adding bacon to recipes. The last time I was at the grocery store I noticed a package of Boar’s Head fully cooked bacon. It comes in a box and is not refrigerated. Inside there are two vacuumed sealed packages of cooked bacon with approximately 6 pieces per pack. One pack was perfect for this recipe. I avoided all of the grease and clean up associated with cooking bacon. Since then I’ve used it on salads and in other recipes. I love the taste and convenience of it. You may want to try some. It really makes putting together this cheese ball a snap.
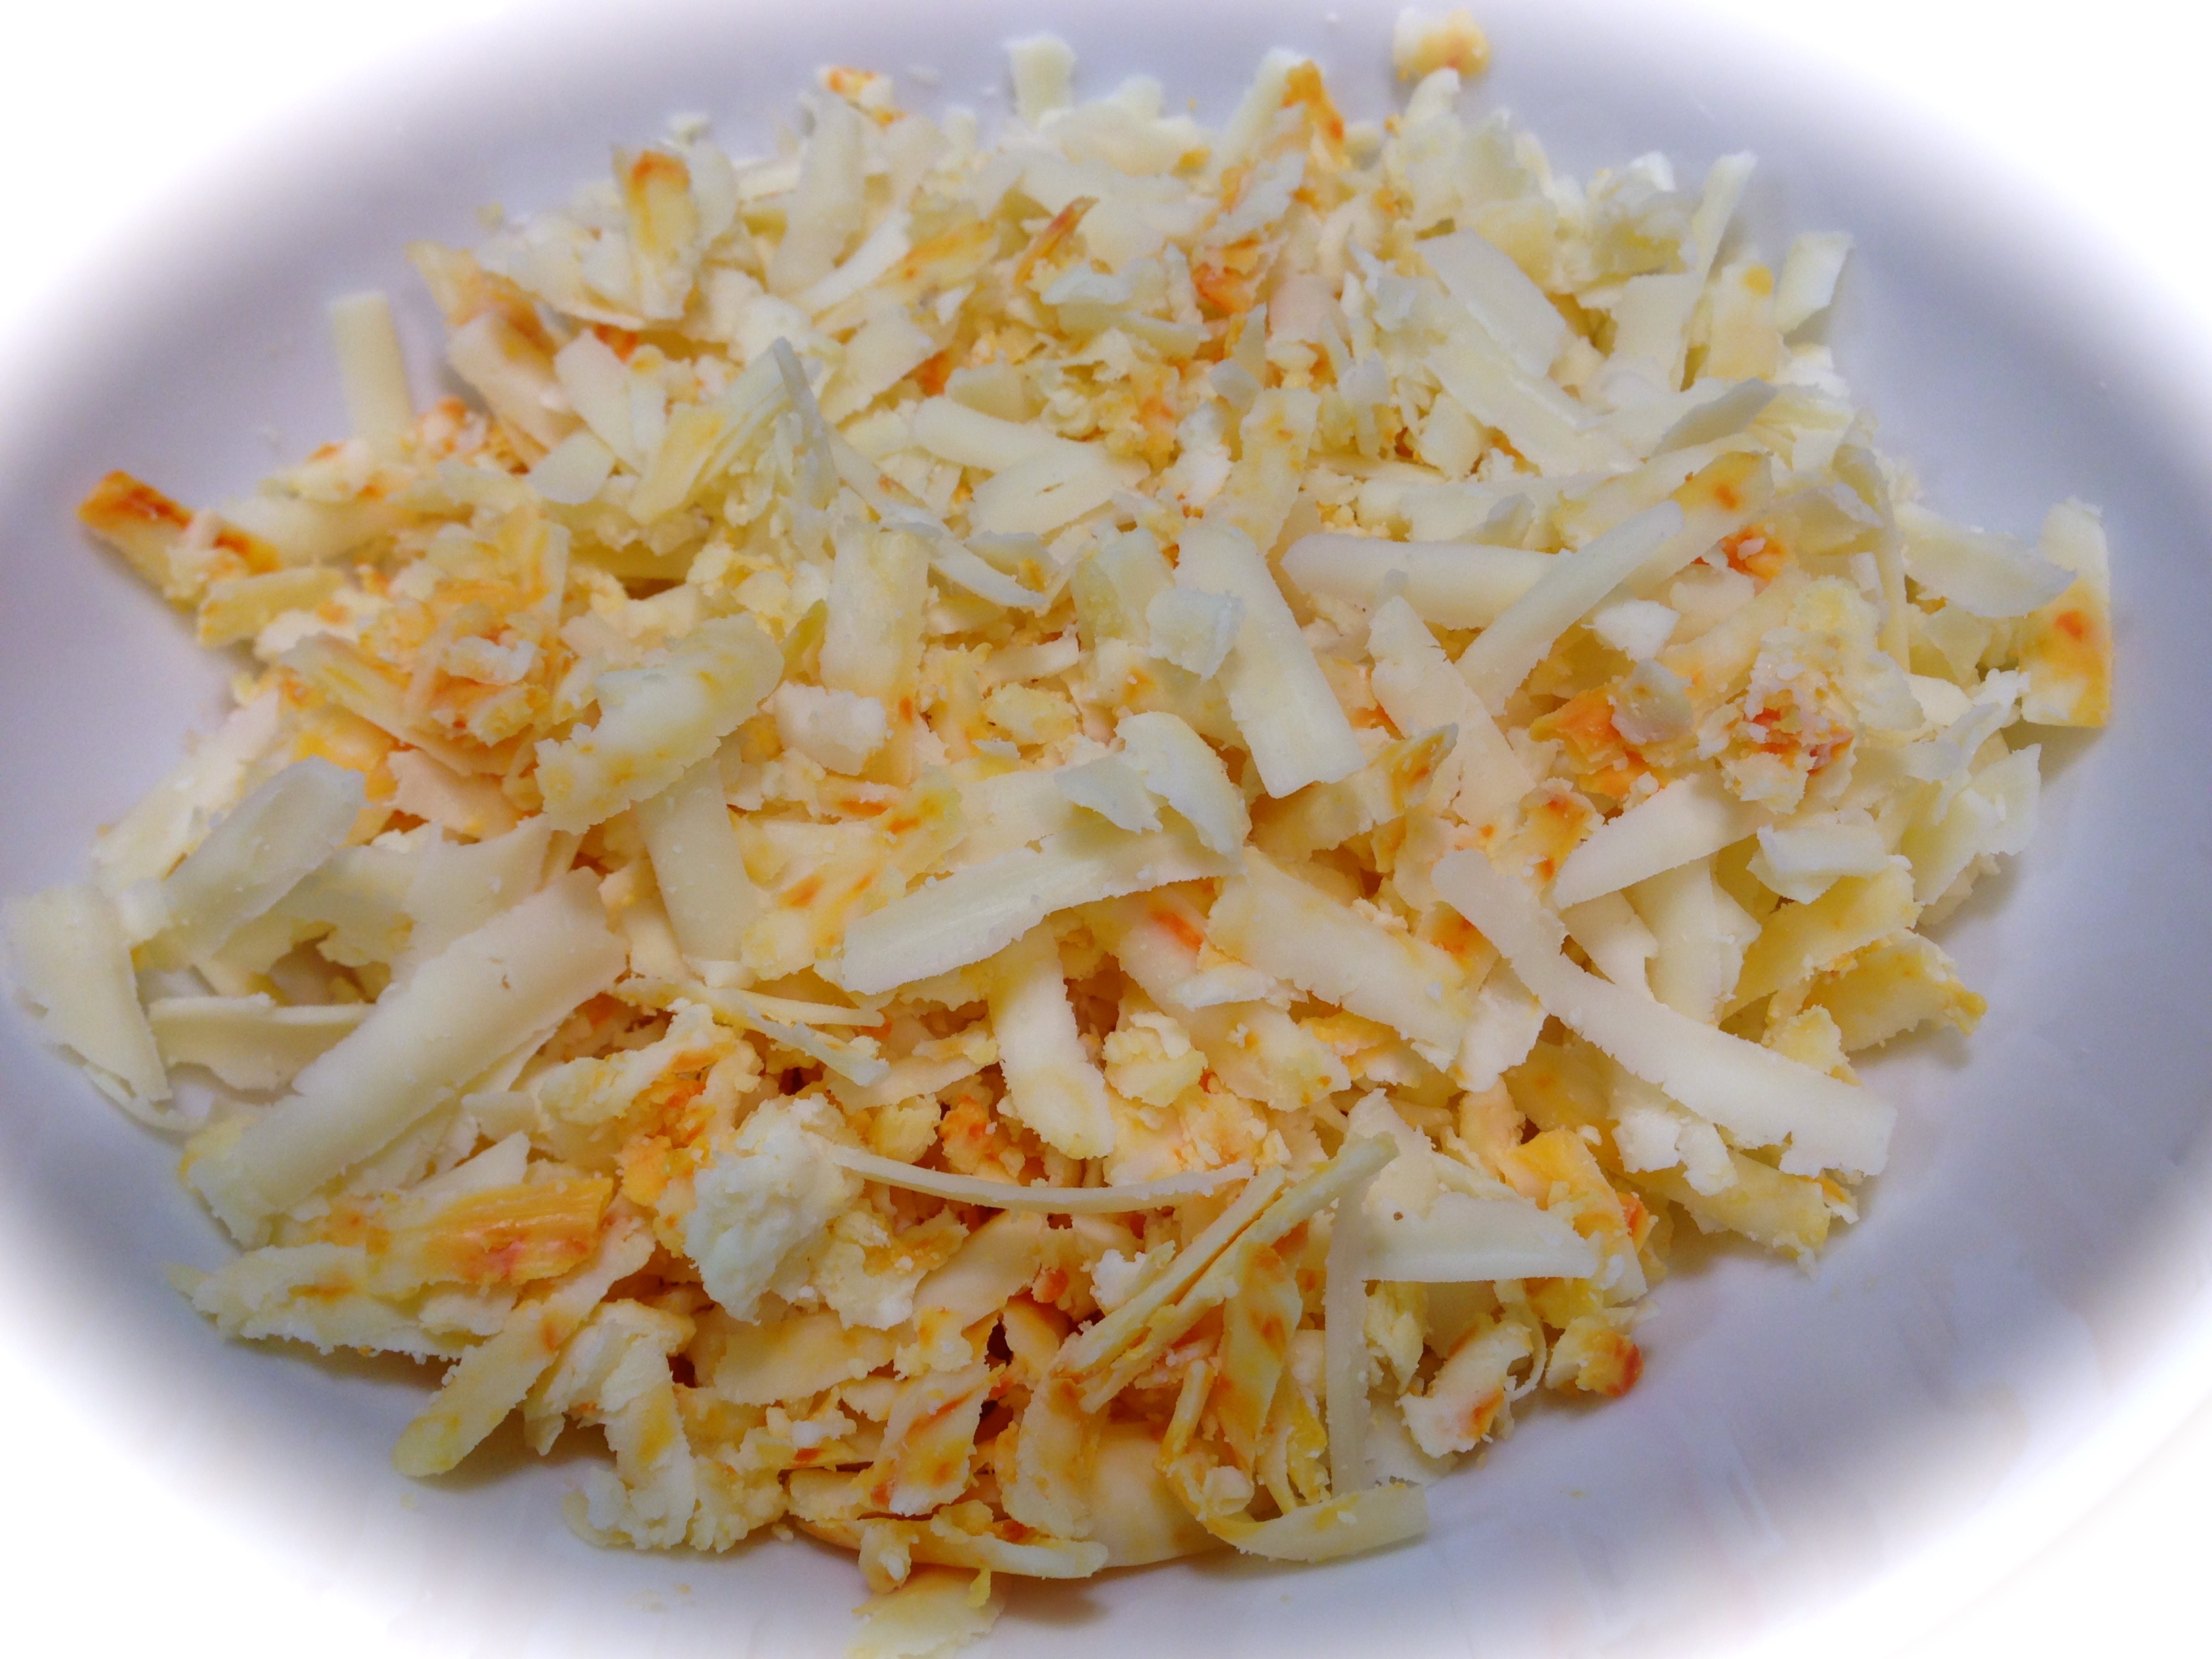
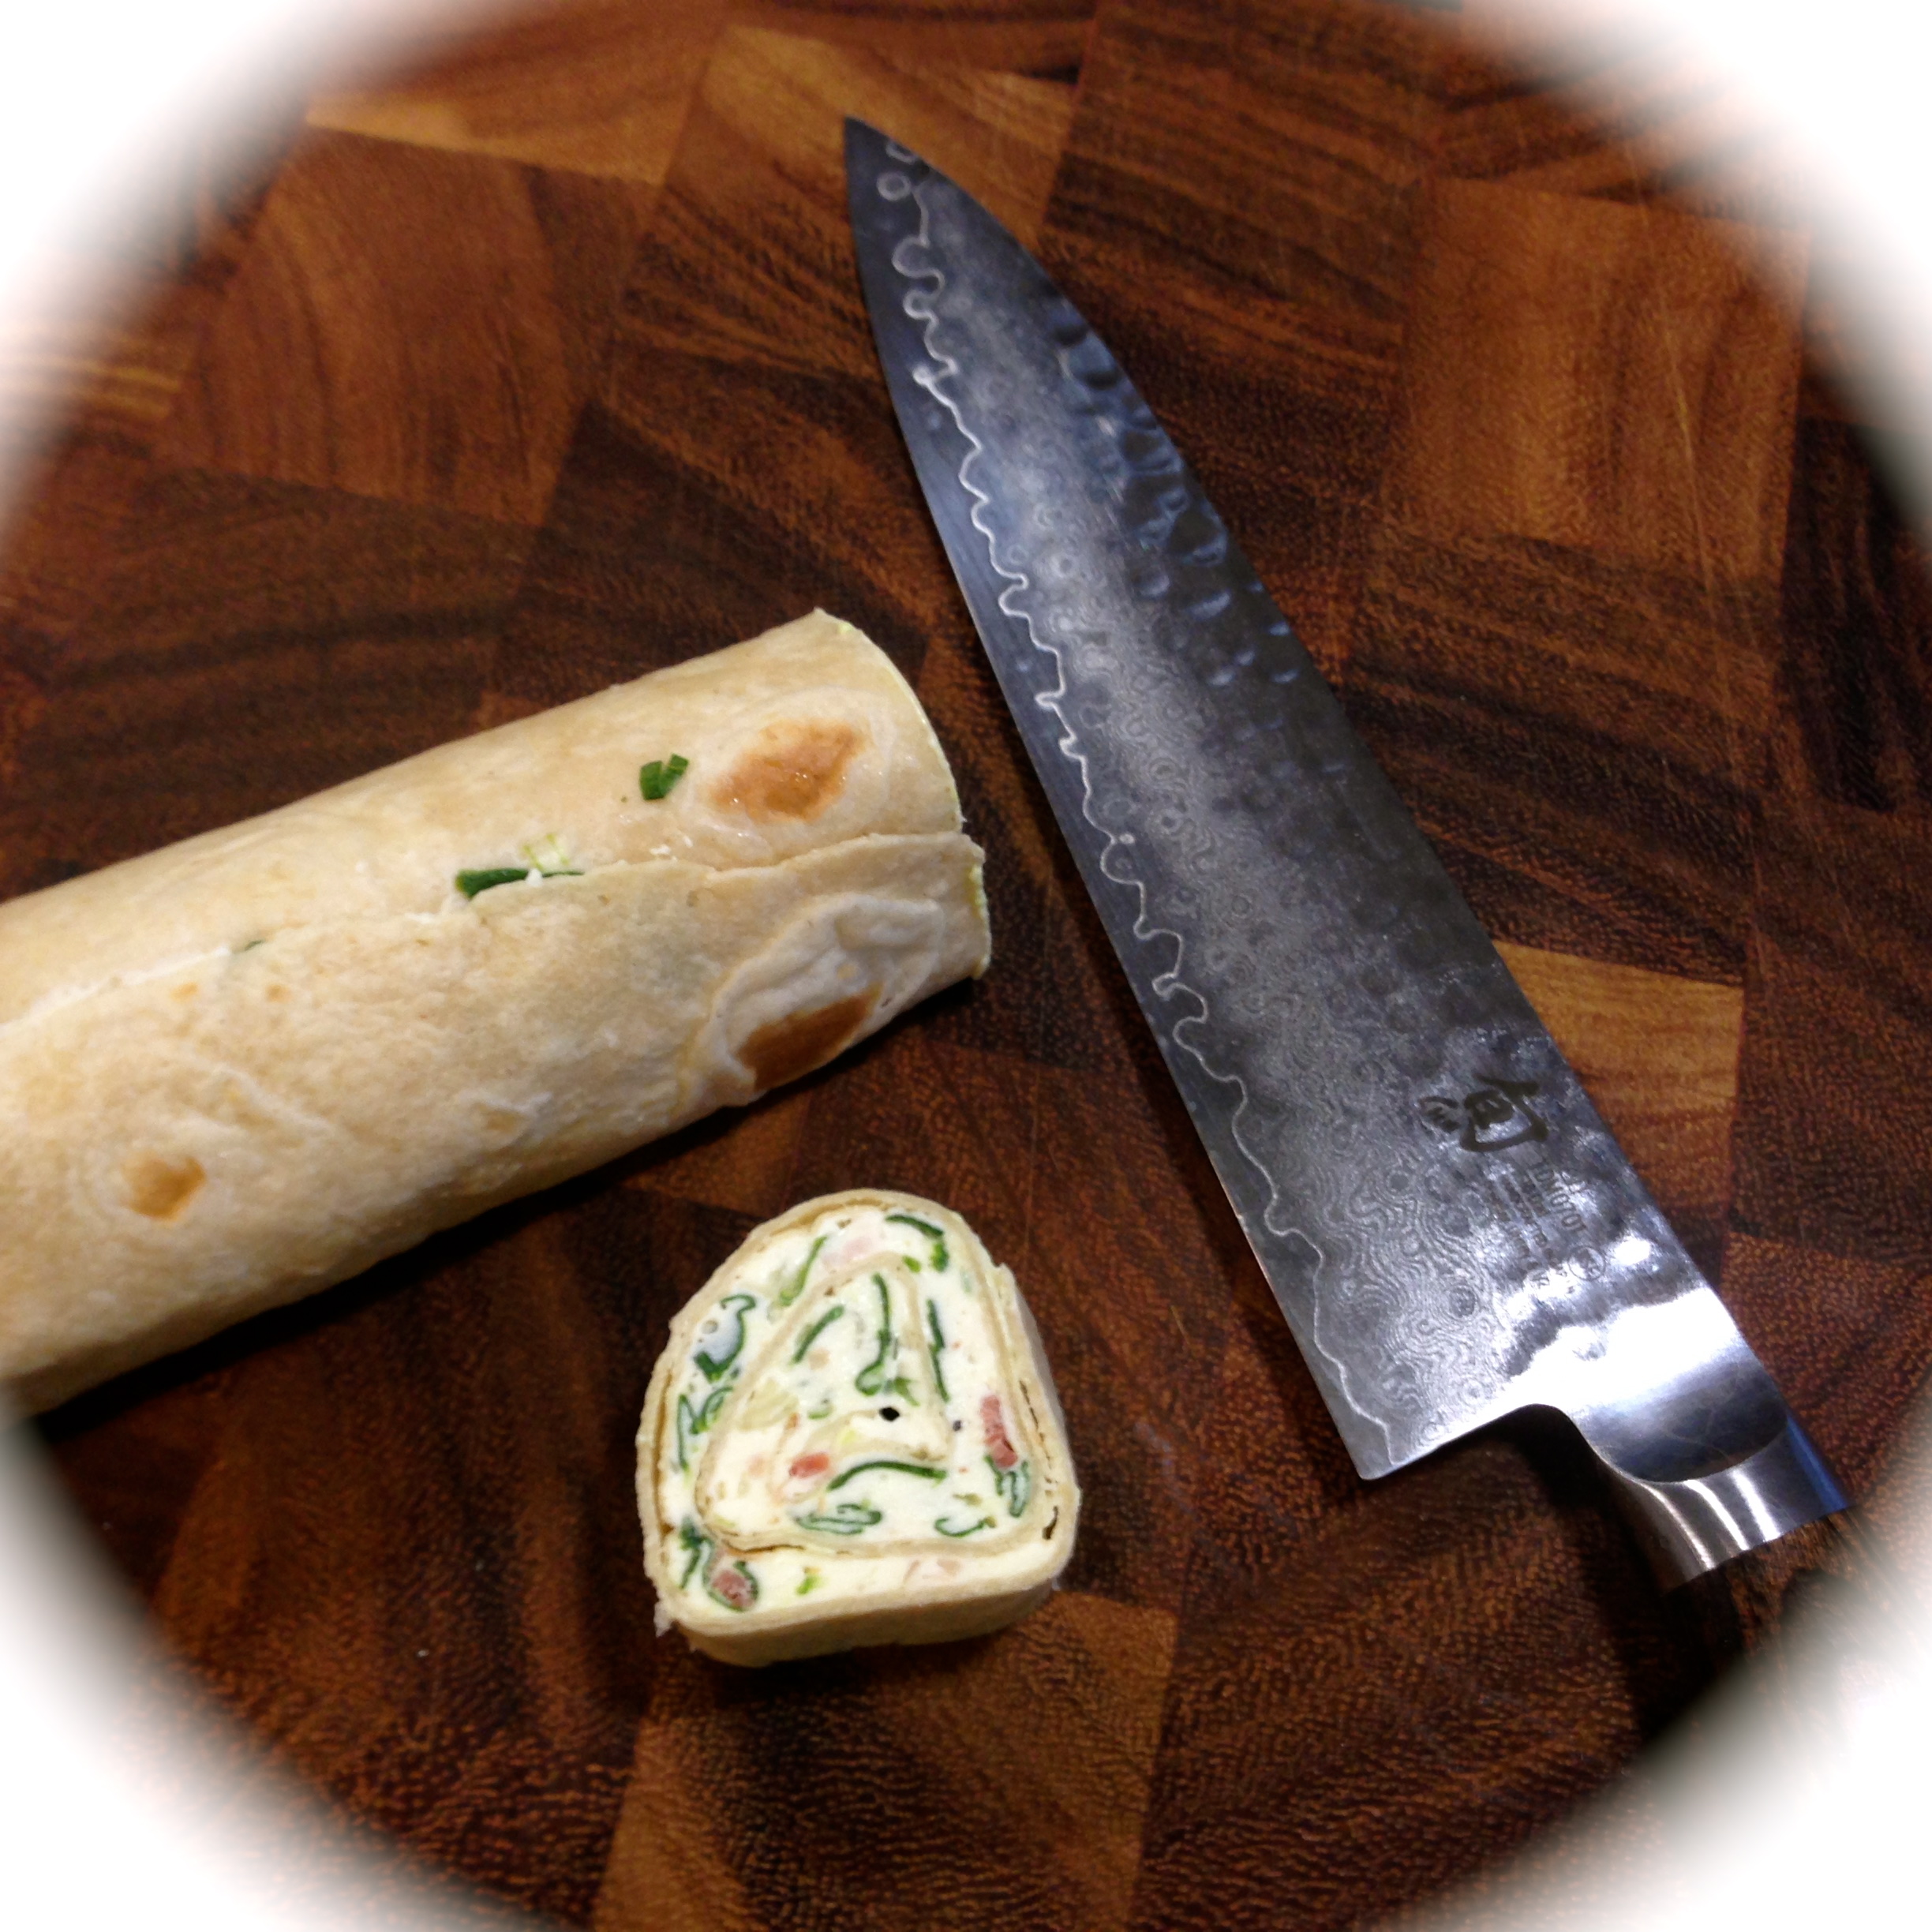
 Lesson Learned 2 – Grate your own cheese versus using the packaged kind. Although I just touted the convenience of using precooked bacon, I don’t recommend using the grated cheese you get in a bag in any recipe. It may take a few seconds more to grate your own cheese but for flavor and health reasons I strongly recommend it.
 1- 8 ounce package of cream cheese, room temperature


 I’ve had a lot of practice making appetizers this Summer as my condo association hosts a happy hour every Thursday and although you’re not obligated to bring anything I like to use it as my recipe tester event. So last Thursday I made this dip and it was a hit.
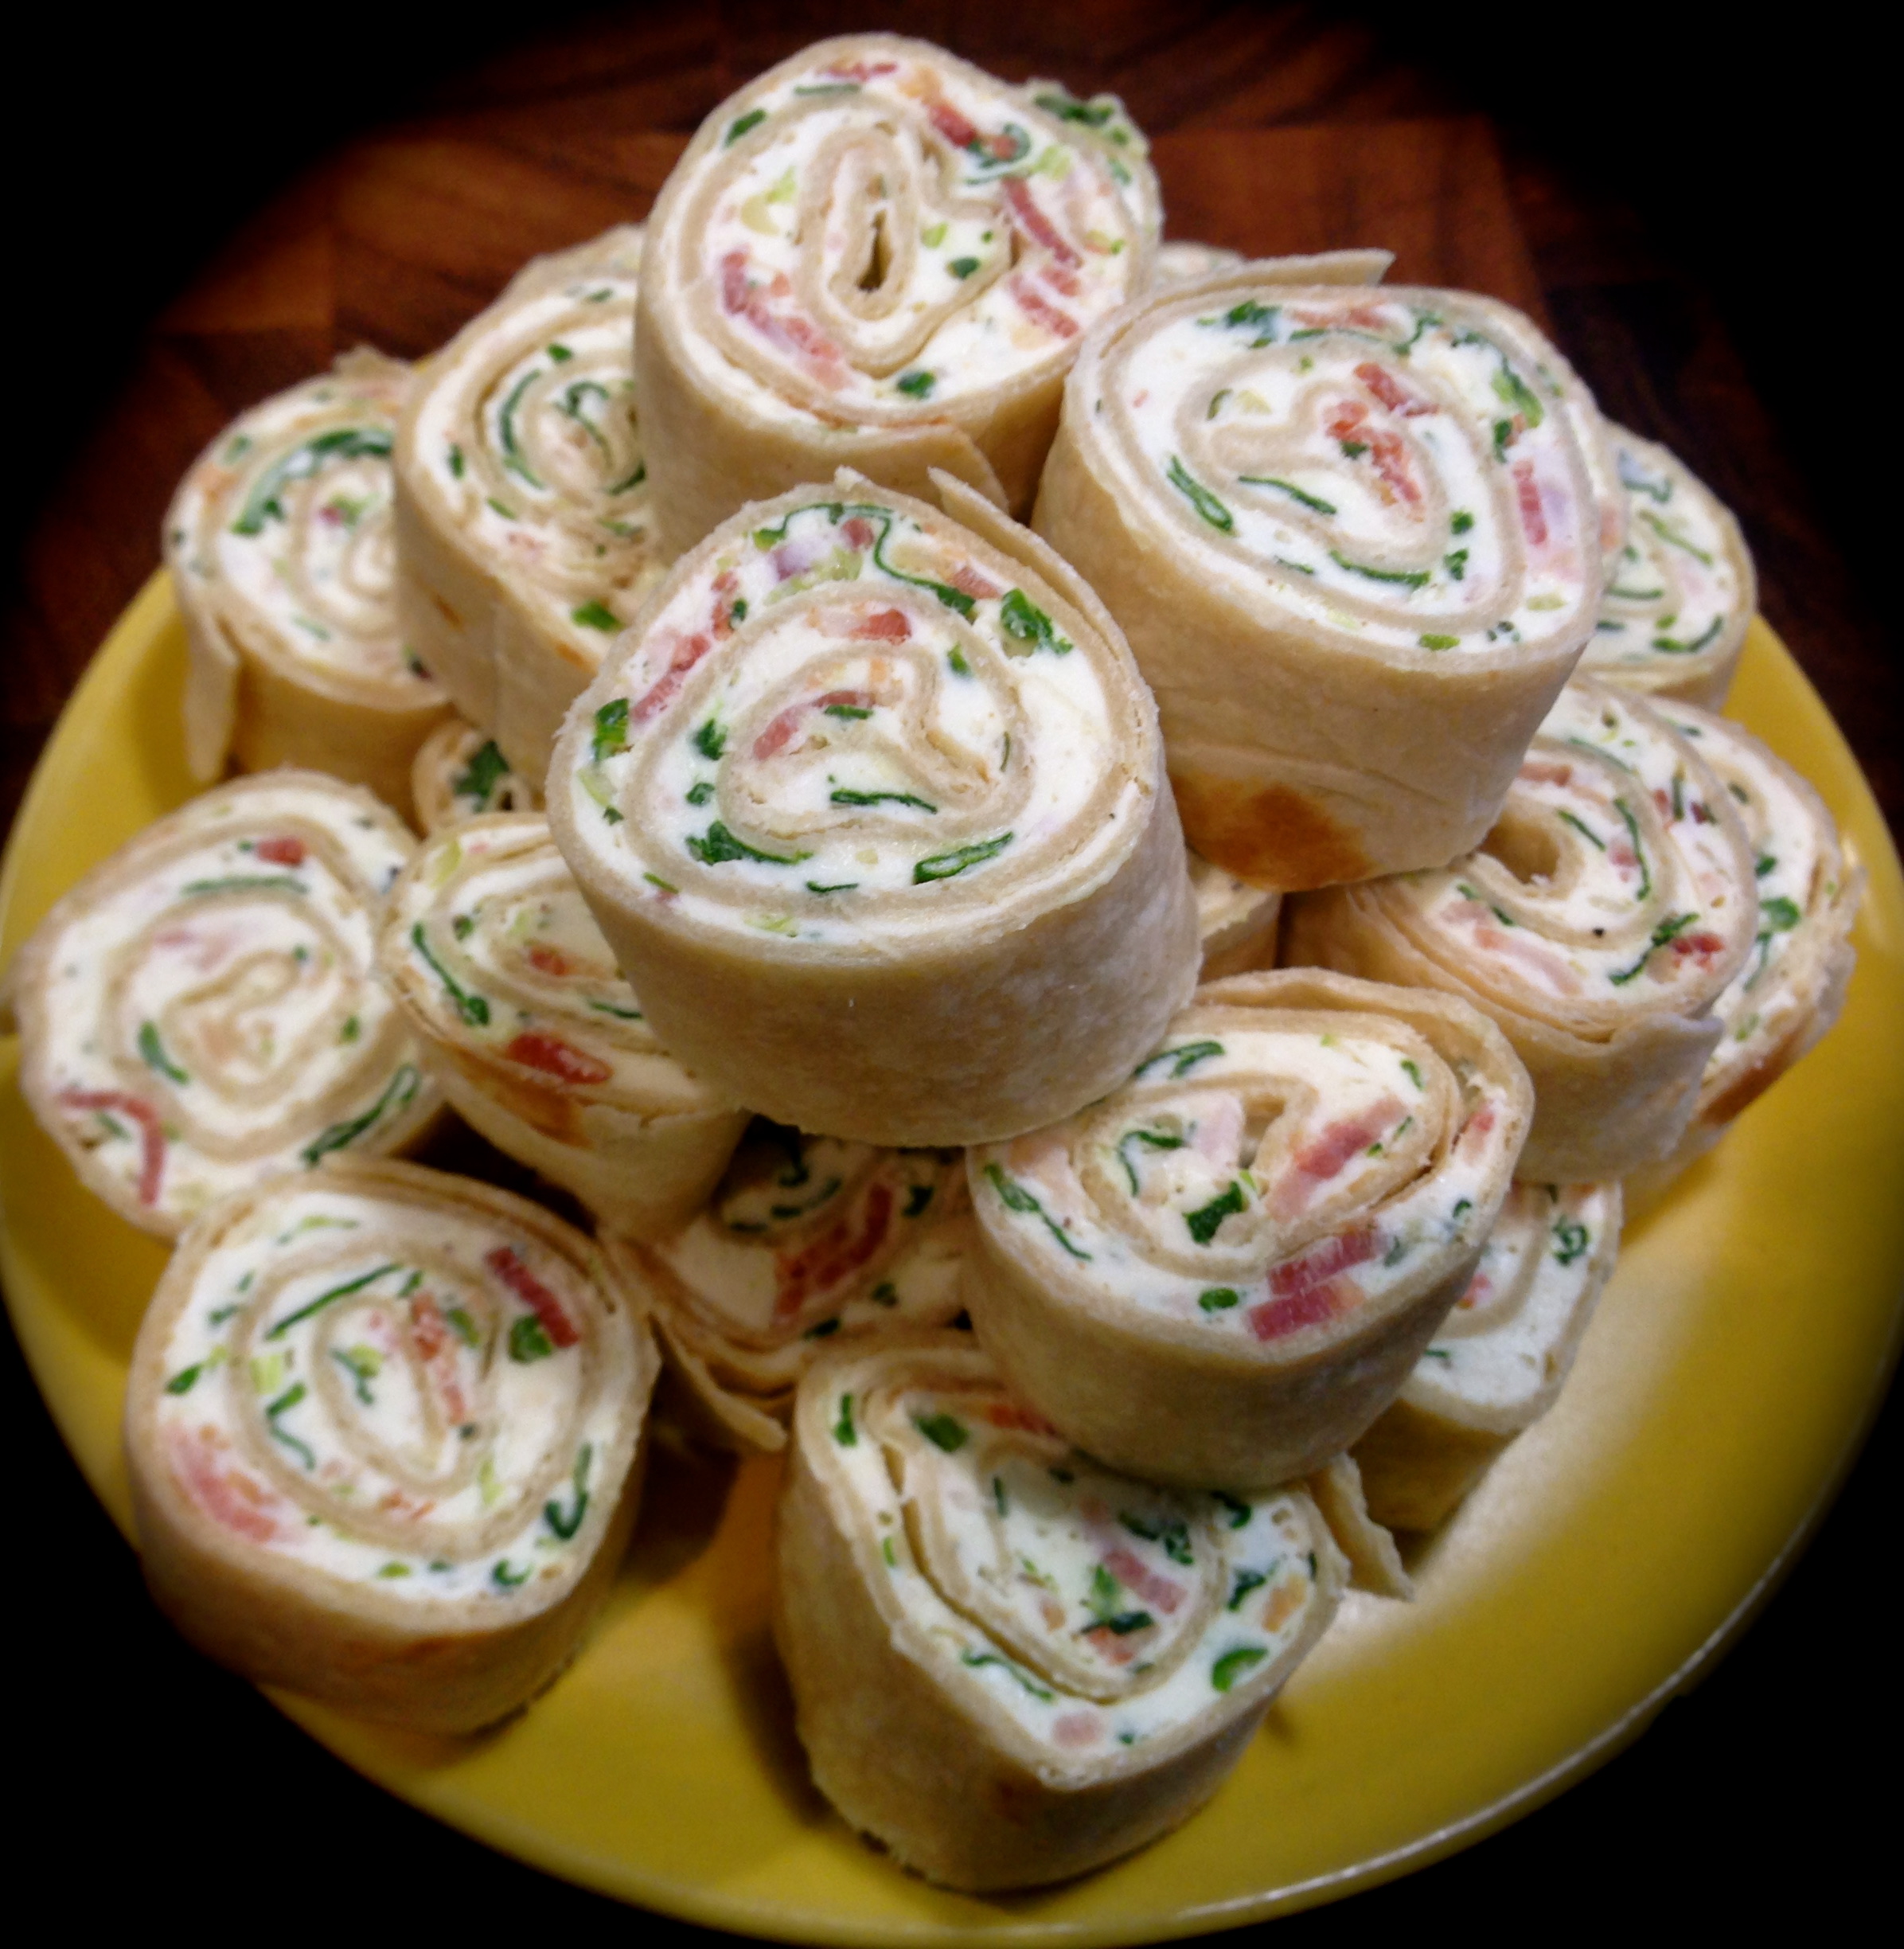
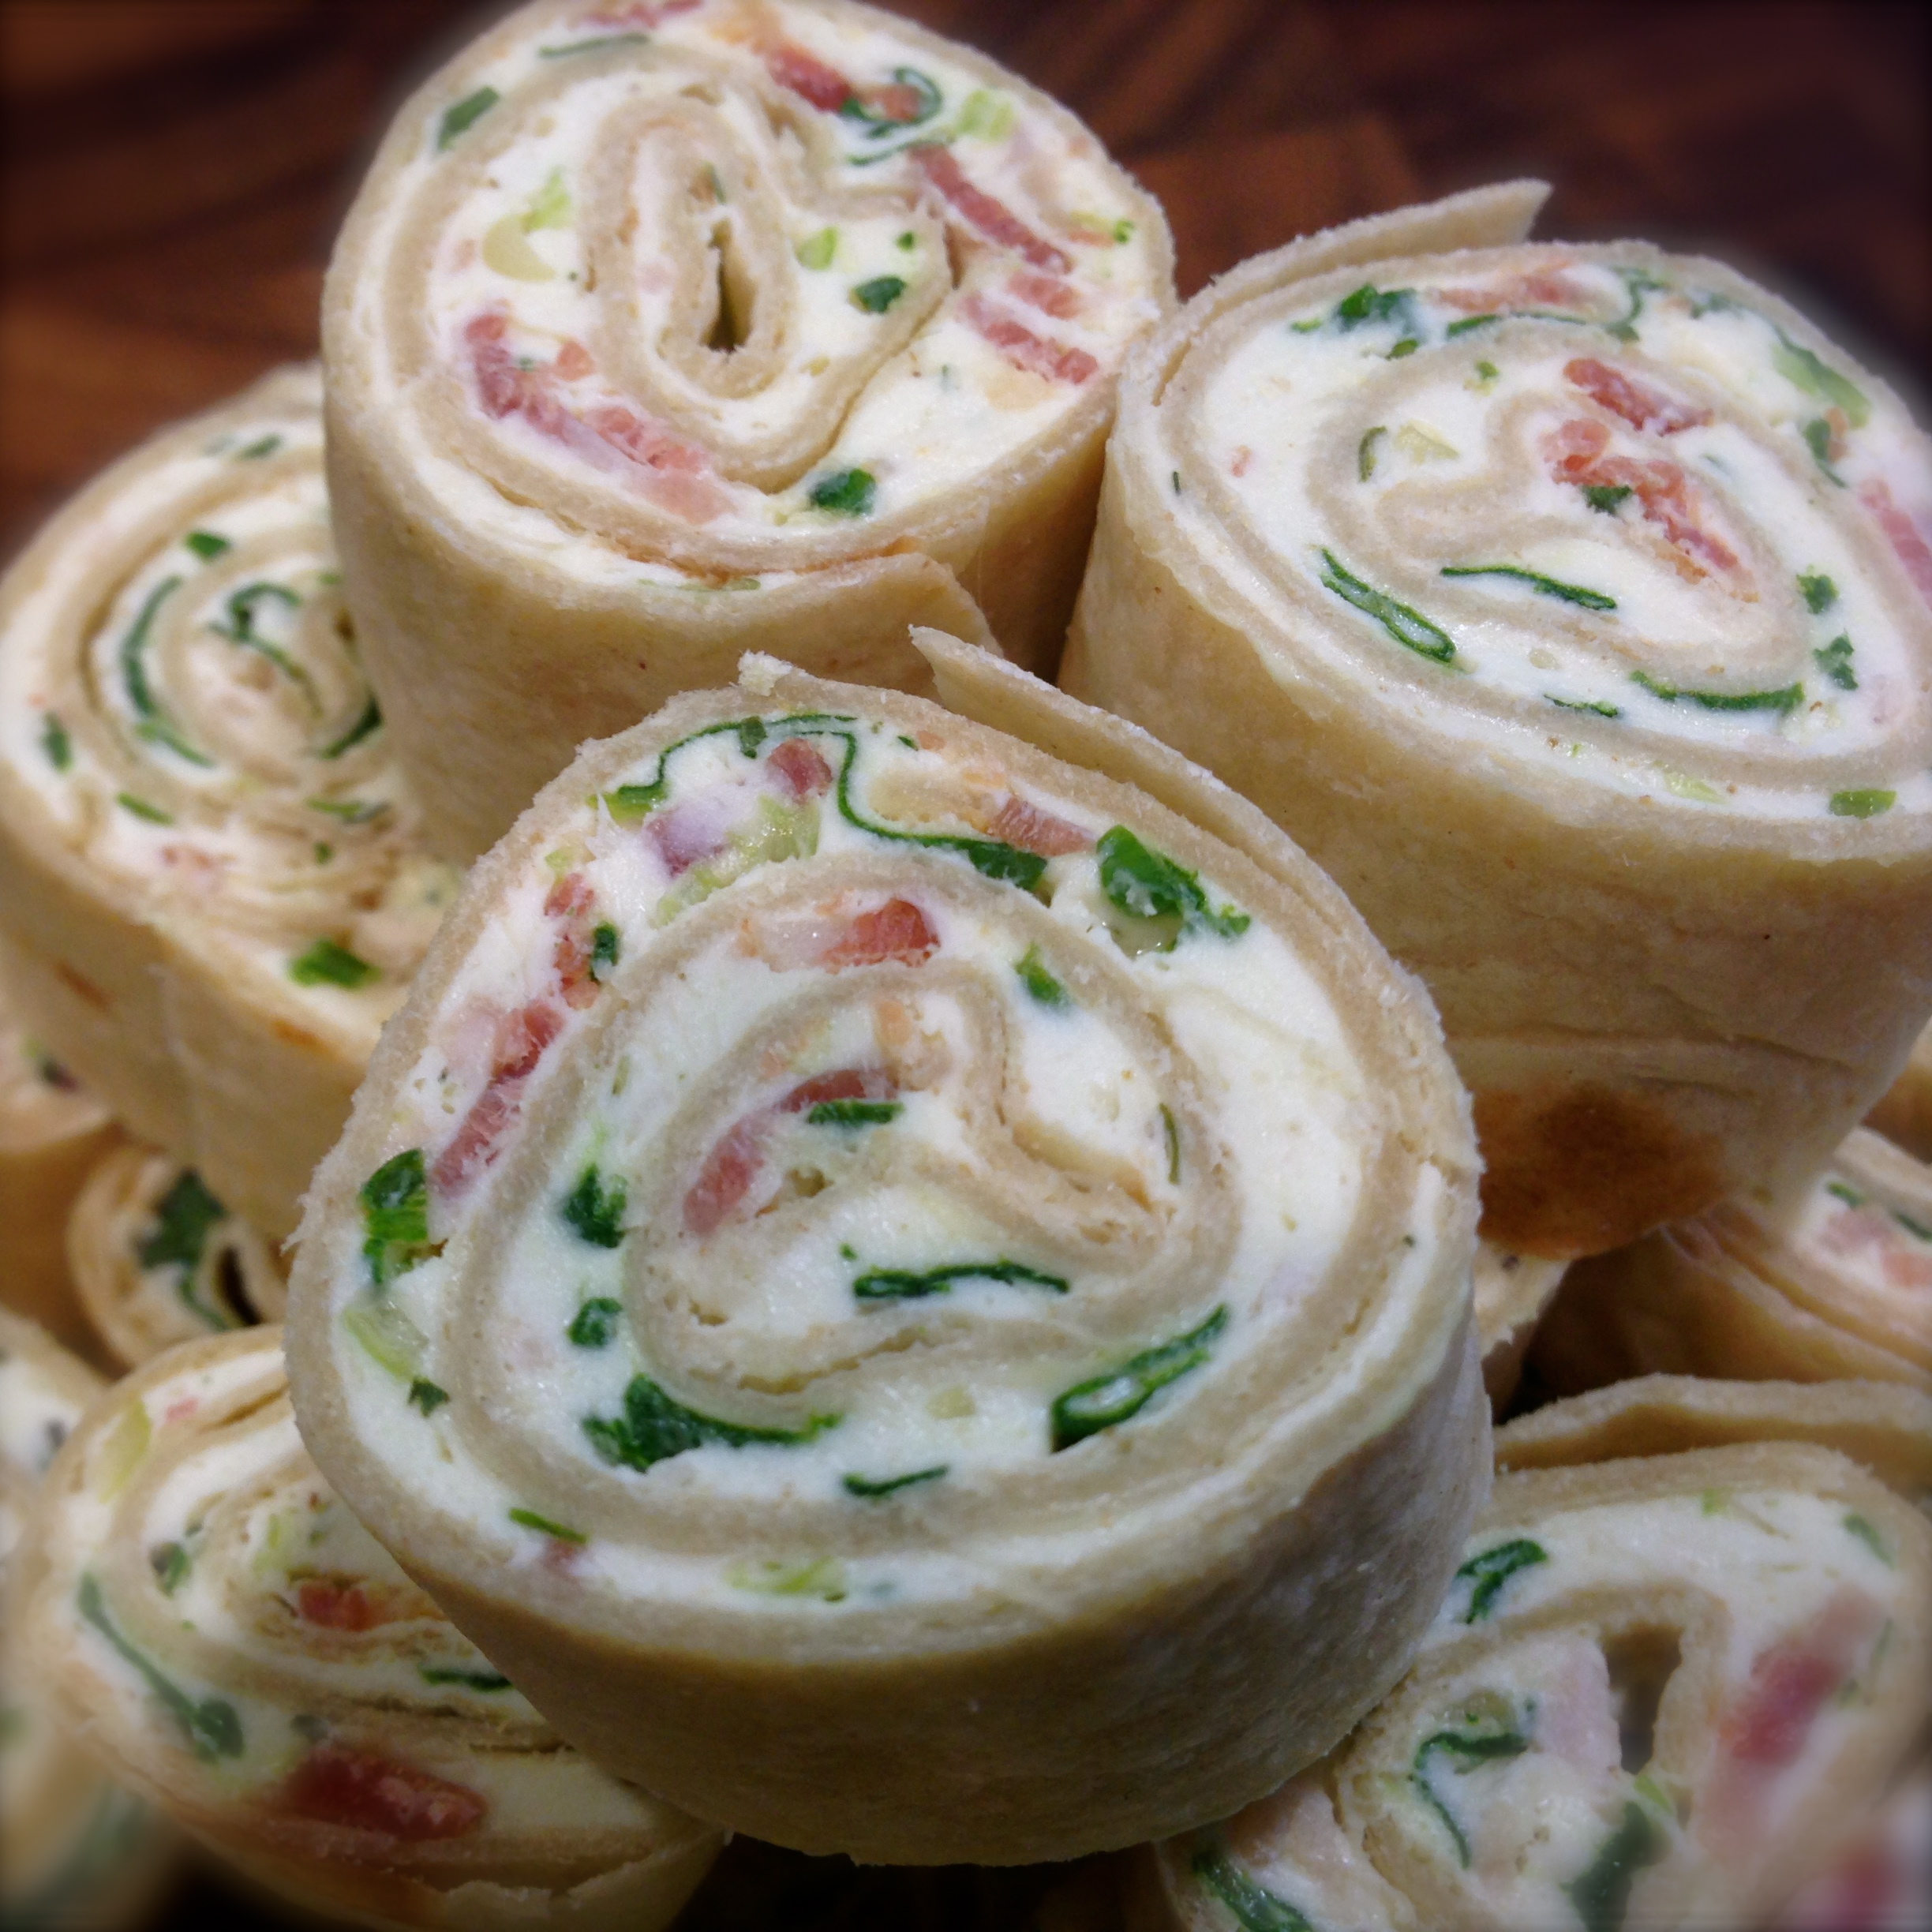
 Lesson Learned 3: Serve this with veggie straws. I’m not sure how I got the idea to use veggie straws but they were the perfect compliment to the dip. I think people just get tired of the usual potato or nacho chips and this was a welcome change. They also lend themselves well to scooping some dip on the straw which makes this appetizer great finger food.


 Lesson Learned 2 – Use a little cream of rice or wheat: My grandmother used “farina” in her recipe. Farina used to be very popular when I was growing up but not so much now. As a substitute you can use either cream of rice or wheat. They are both a very creamy type of hot cereal and the little bit you use gives extra creaminess to the kugelis.
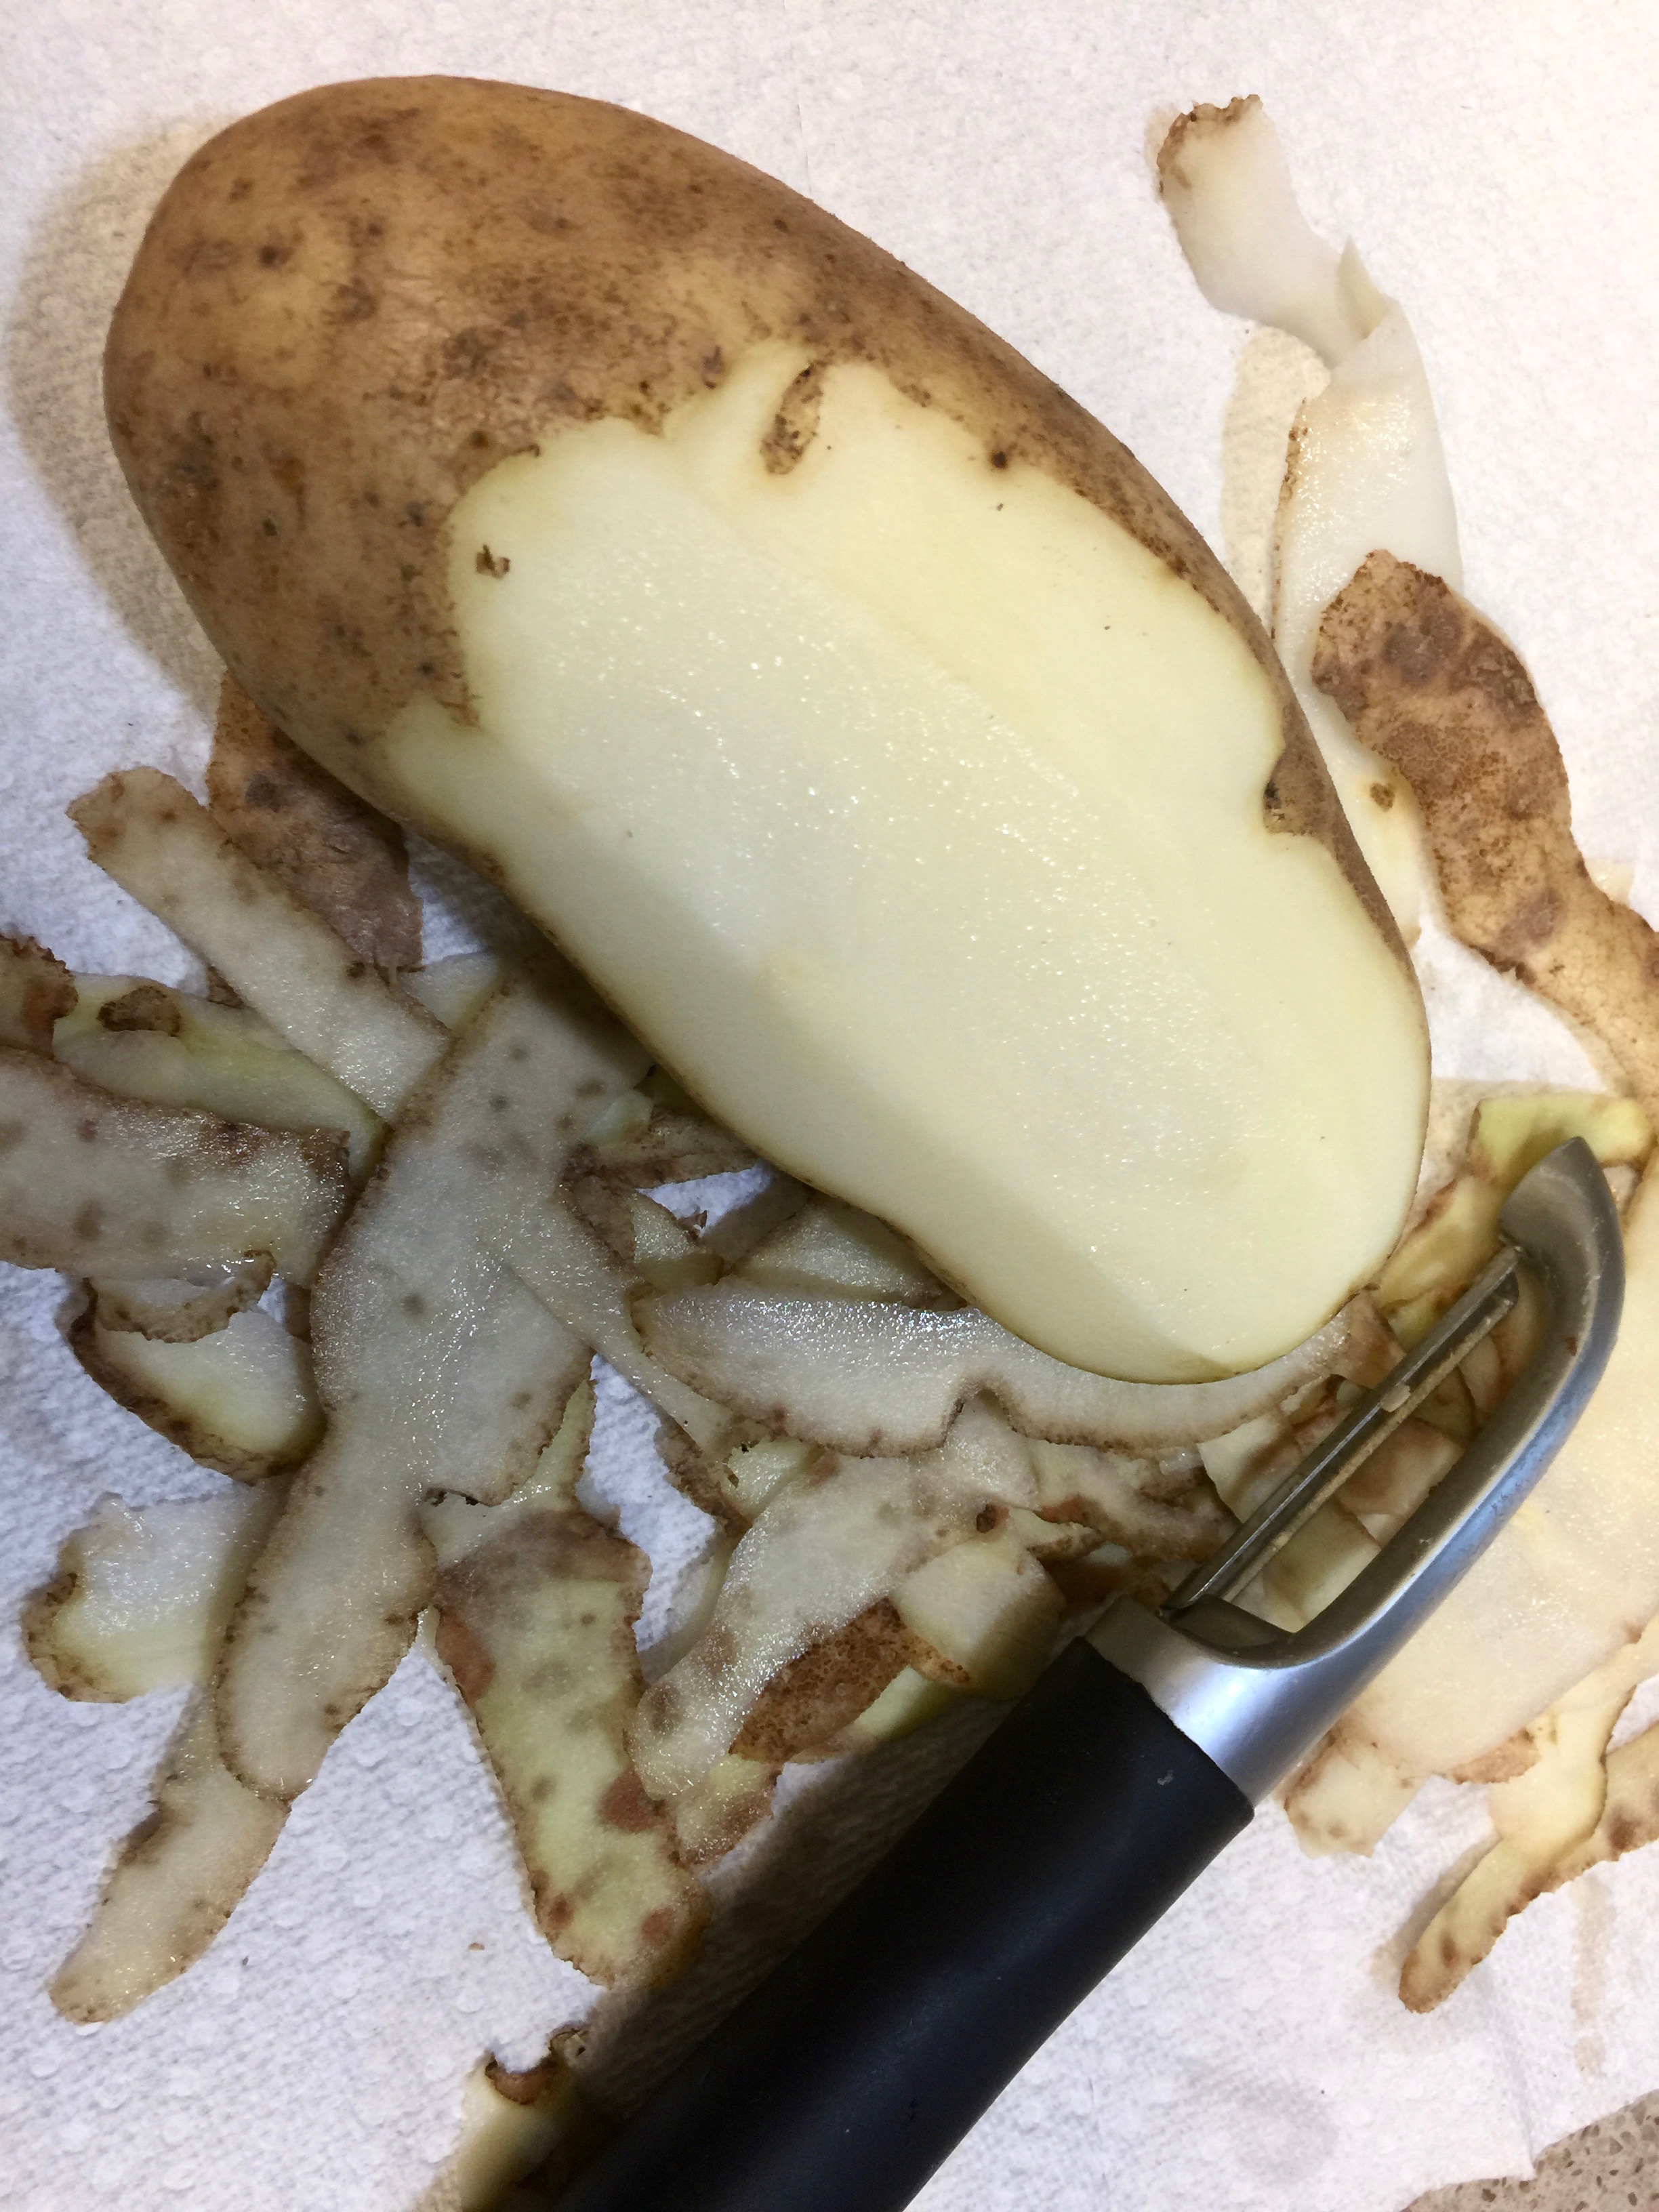
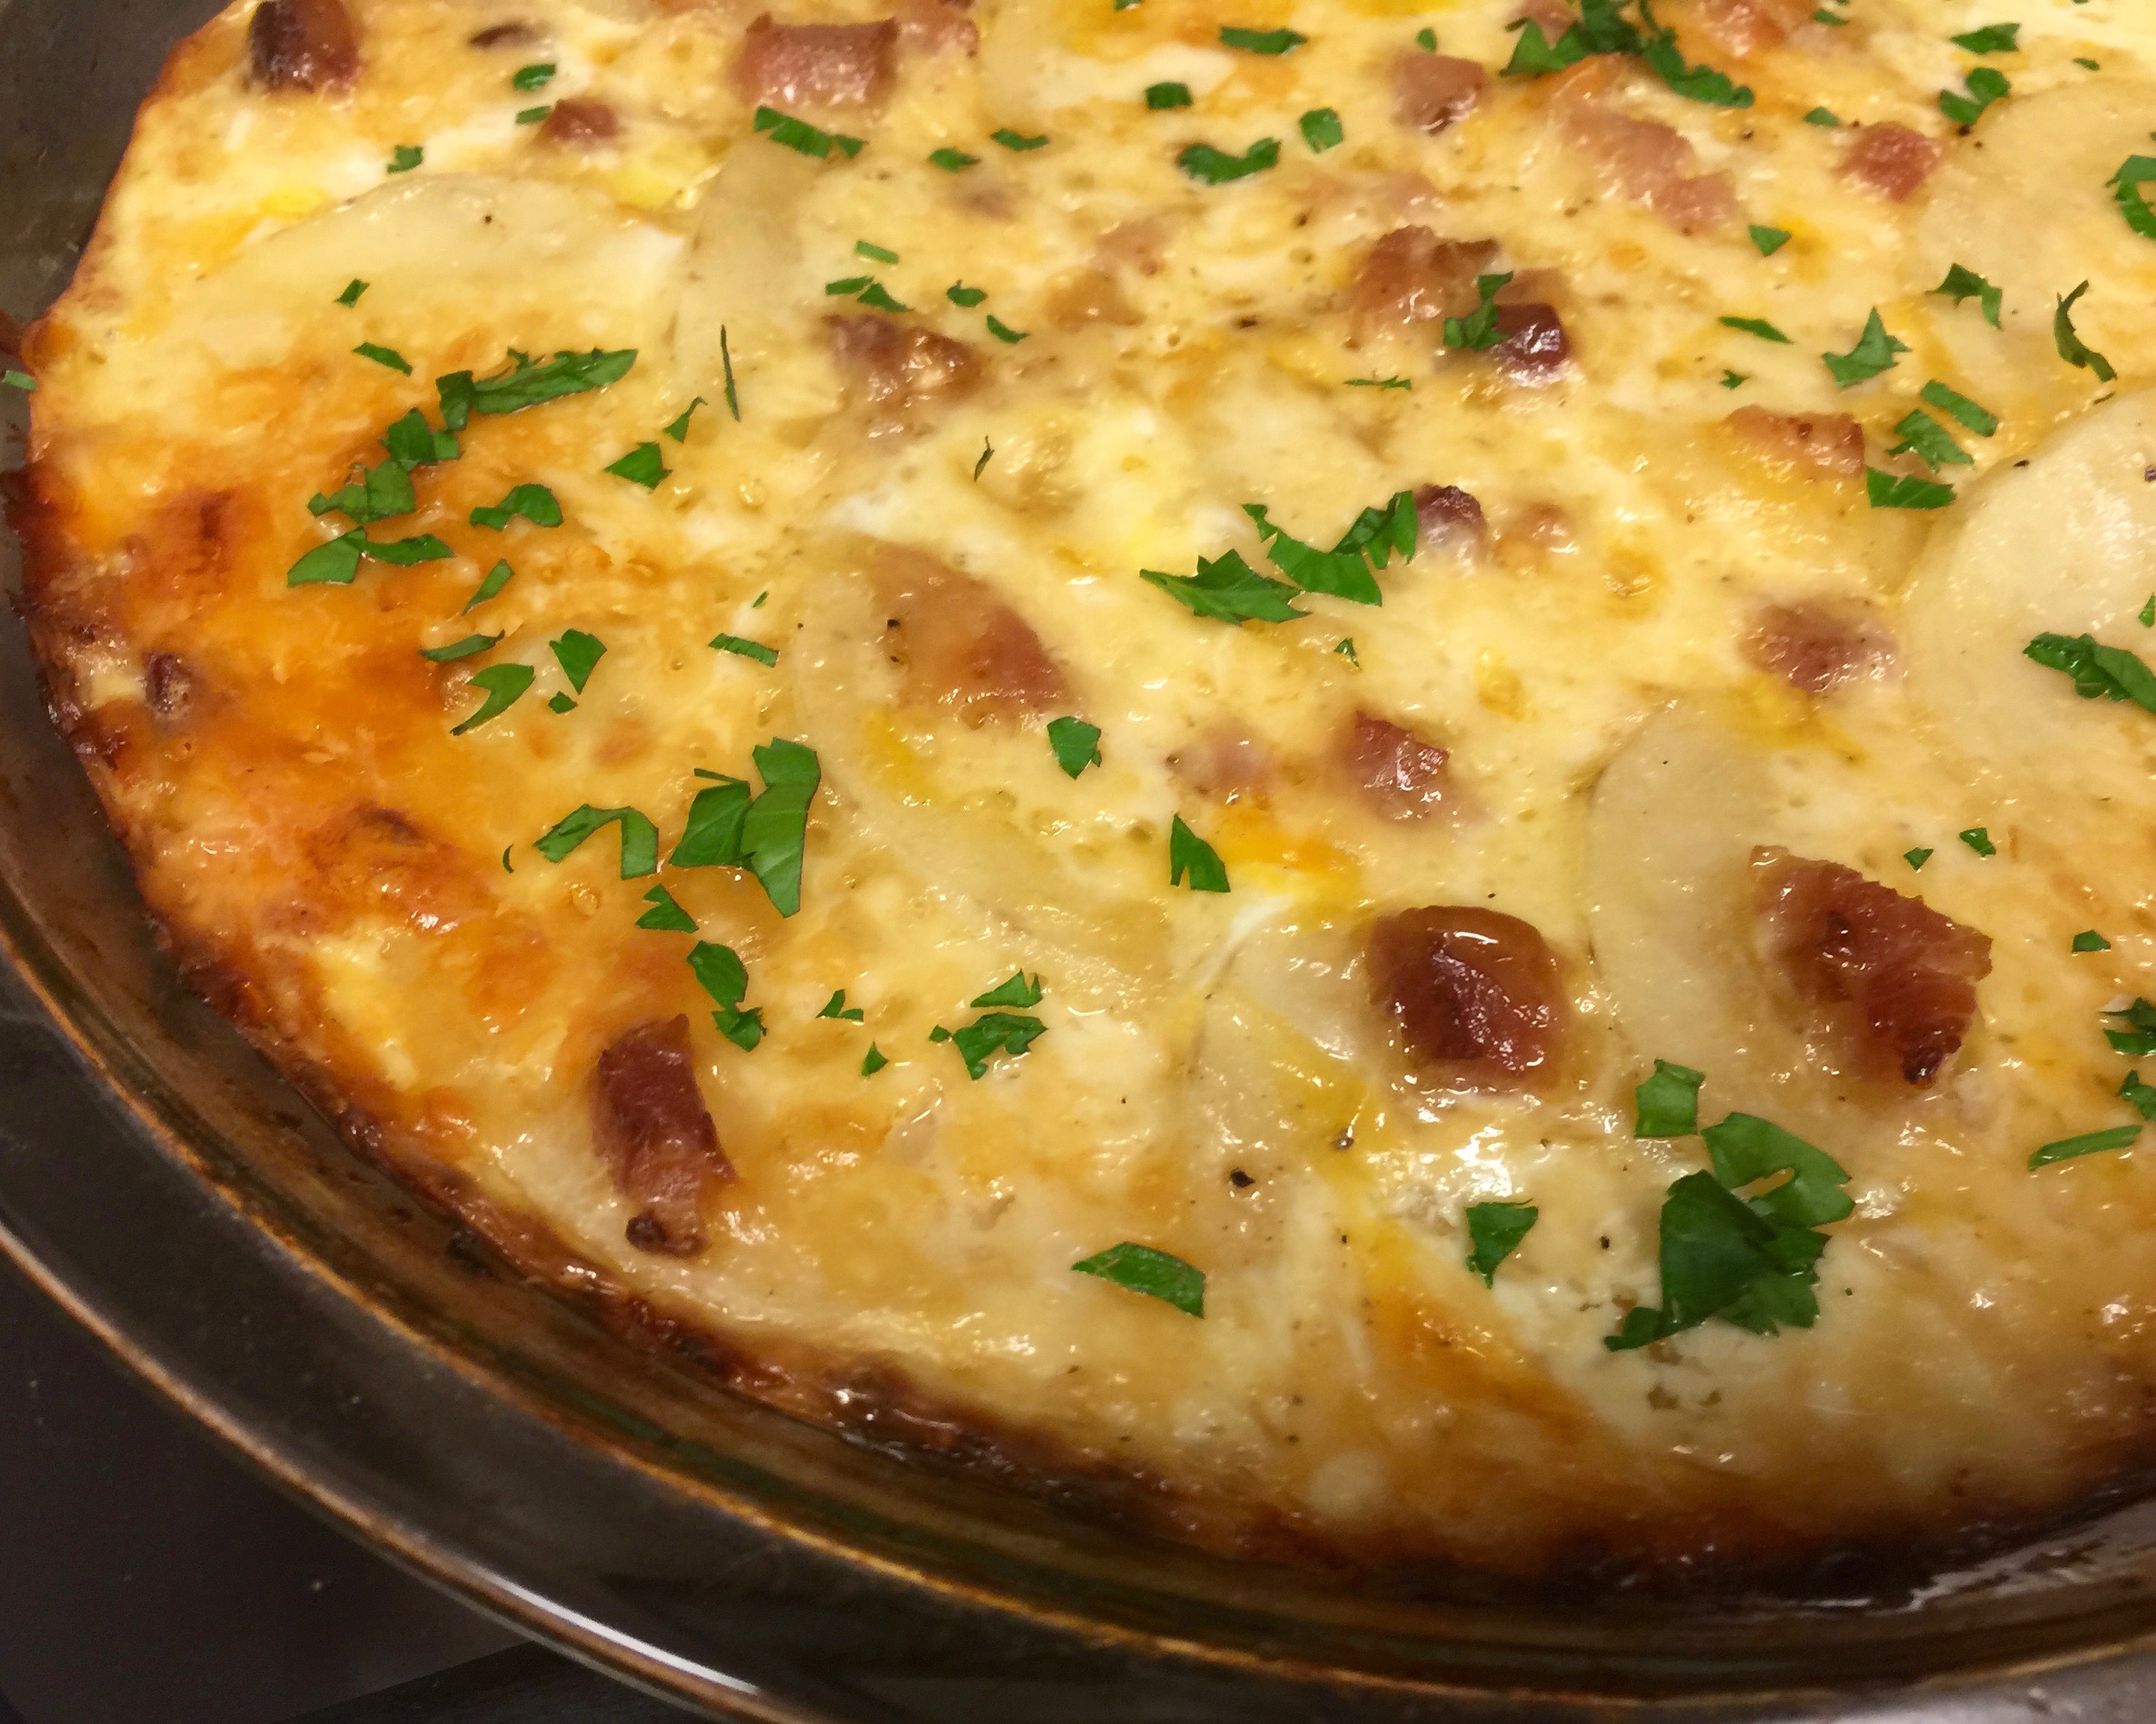
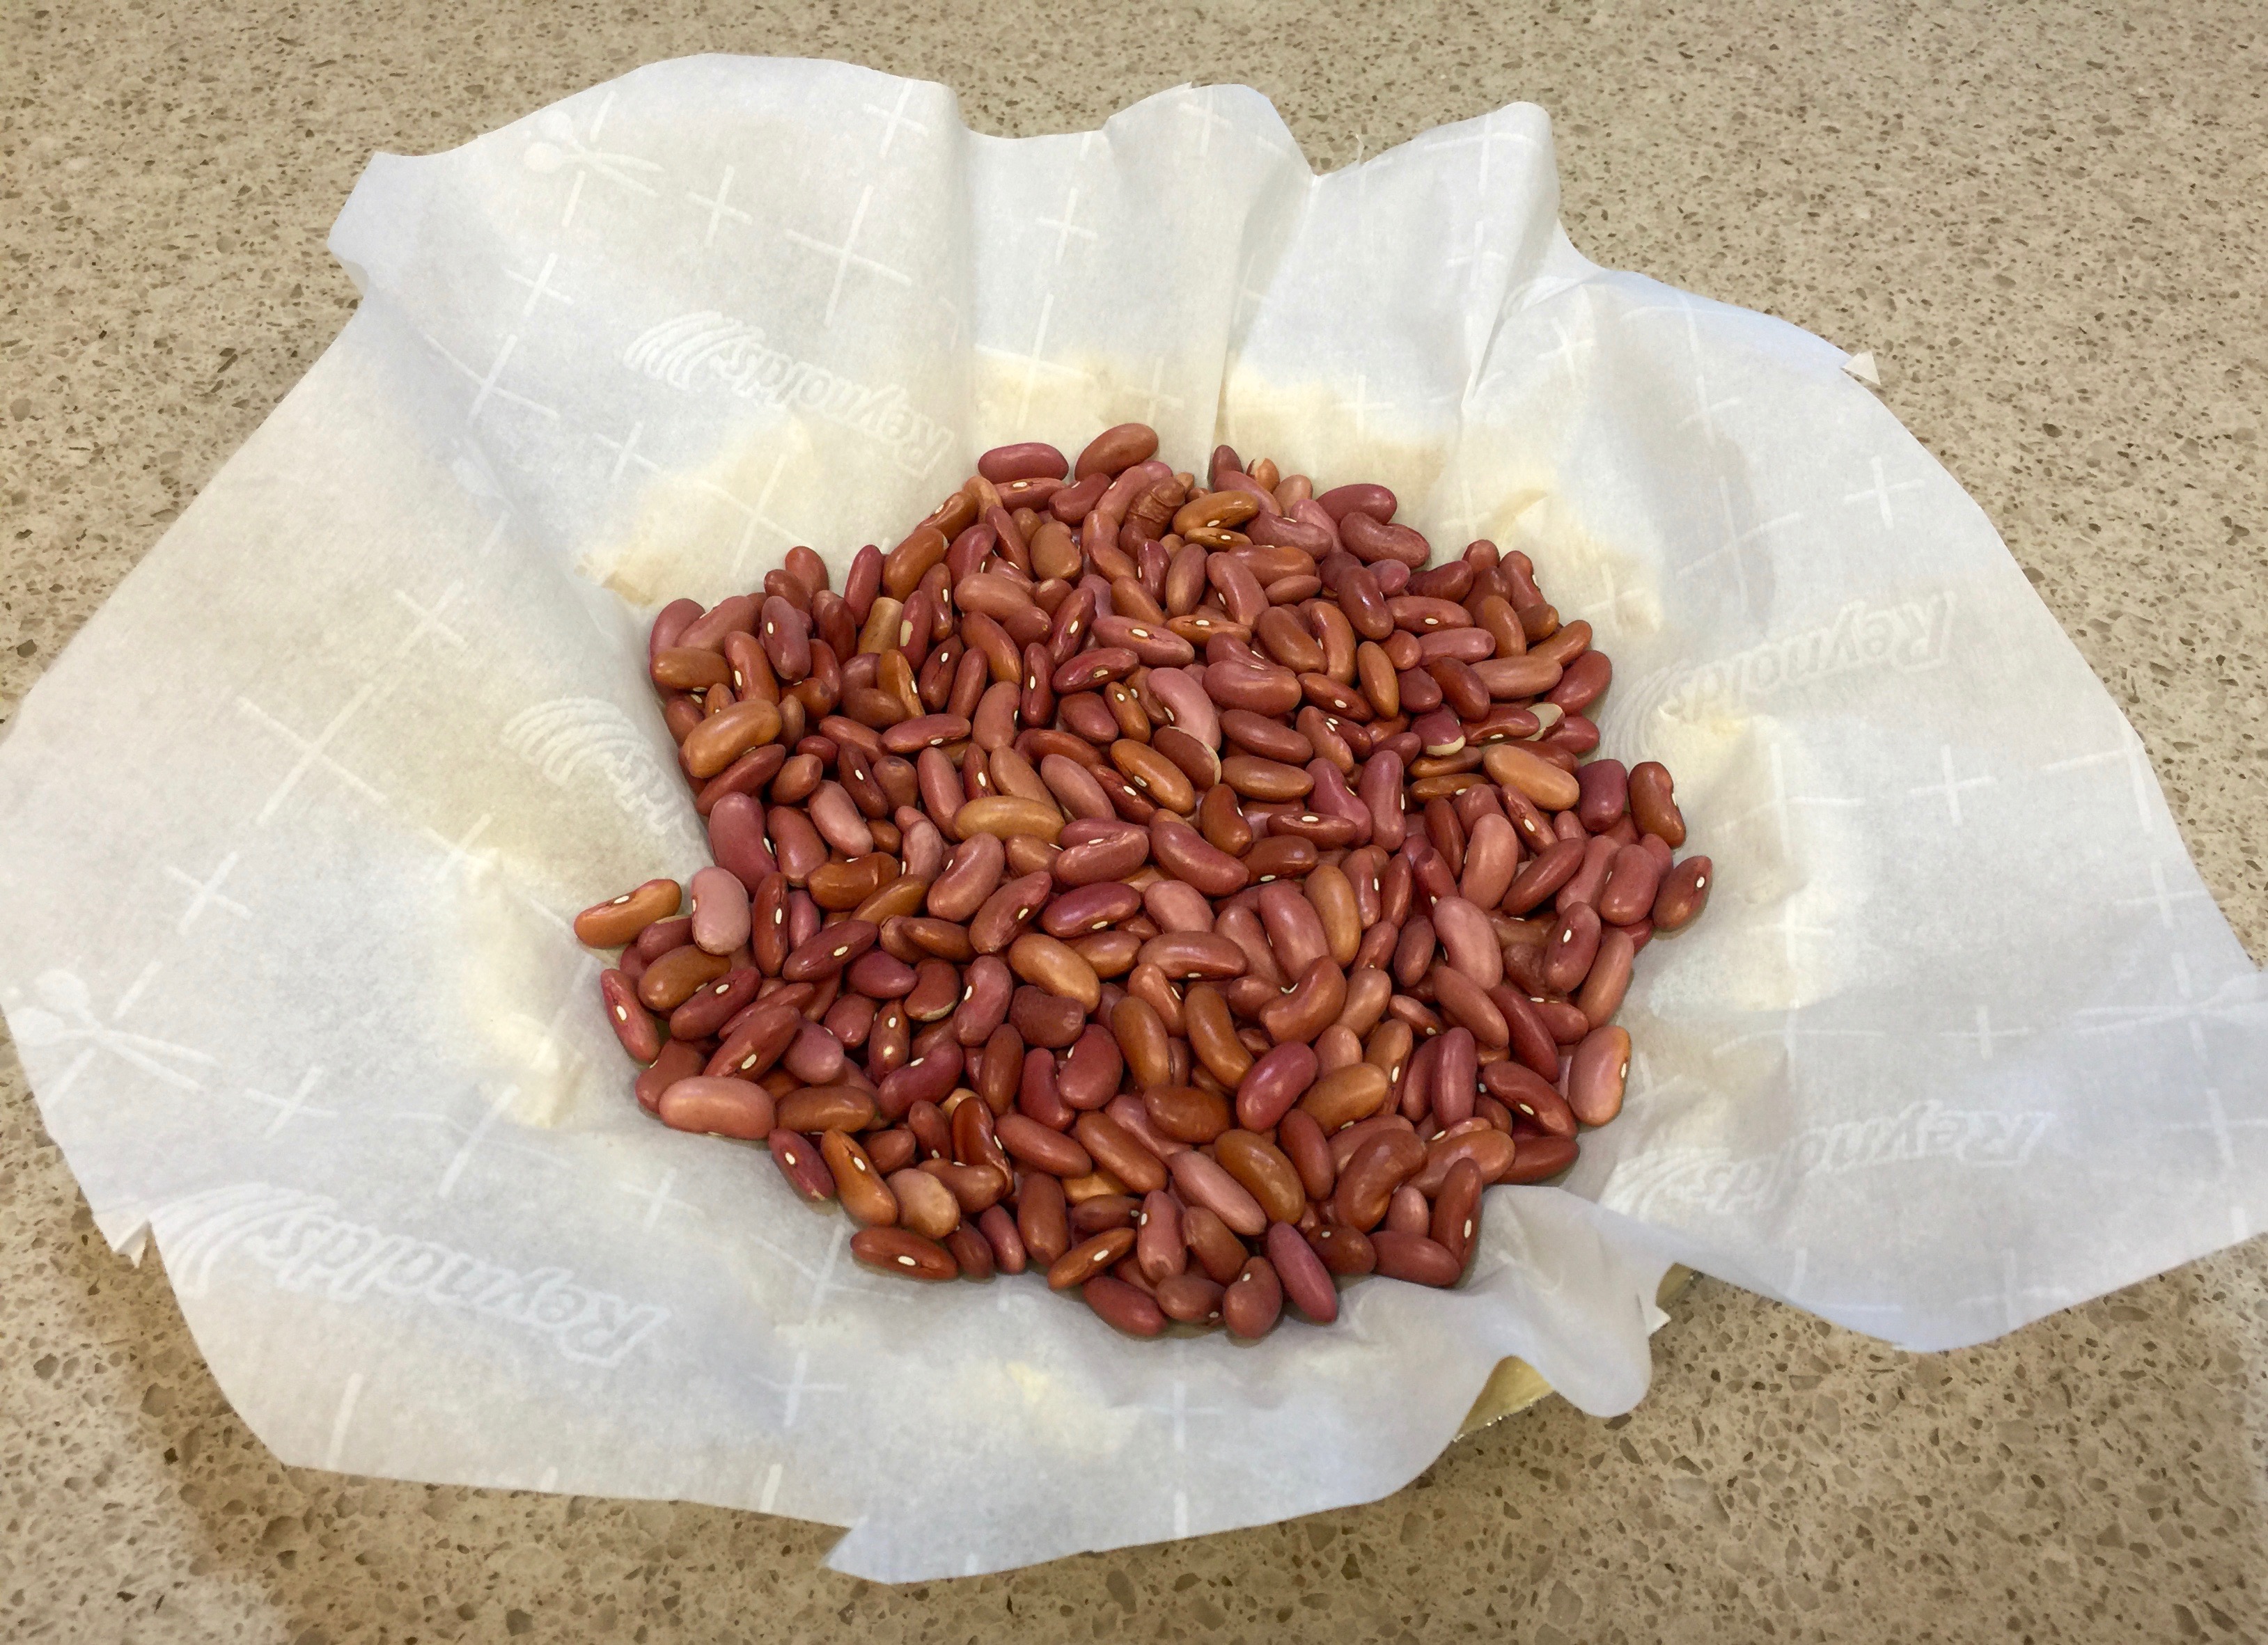
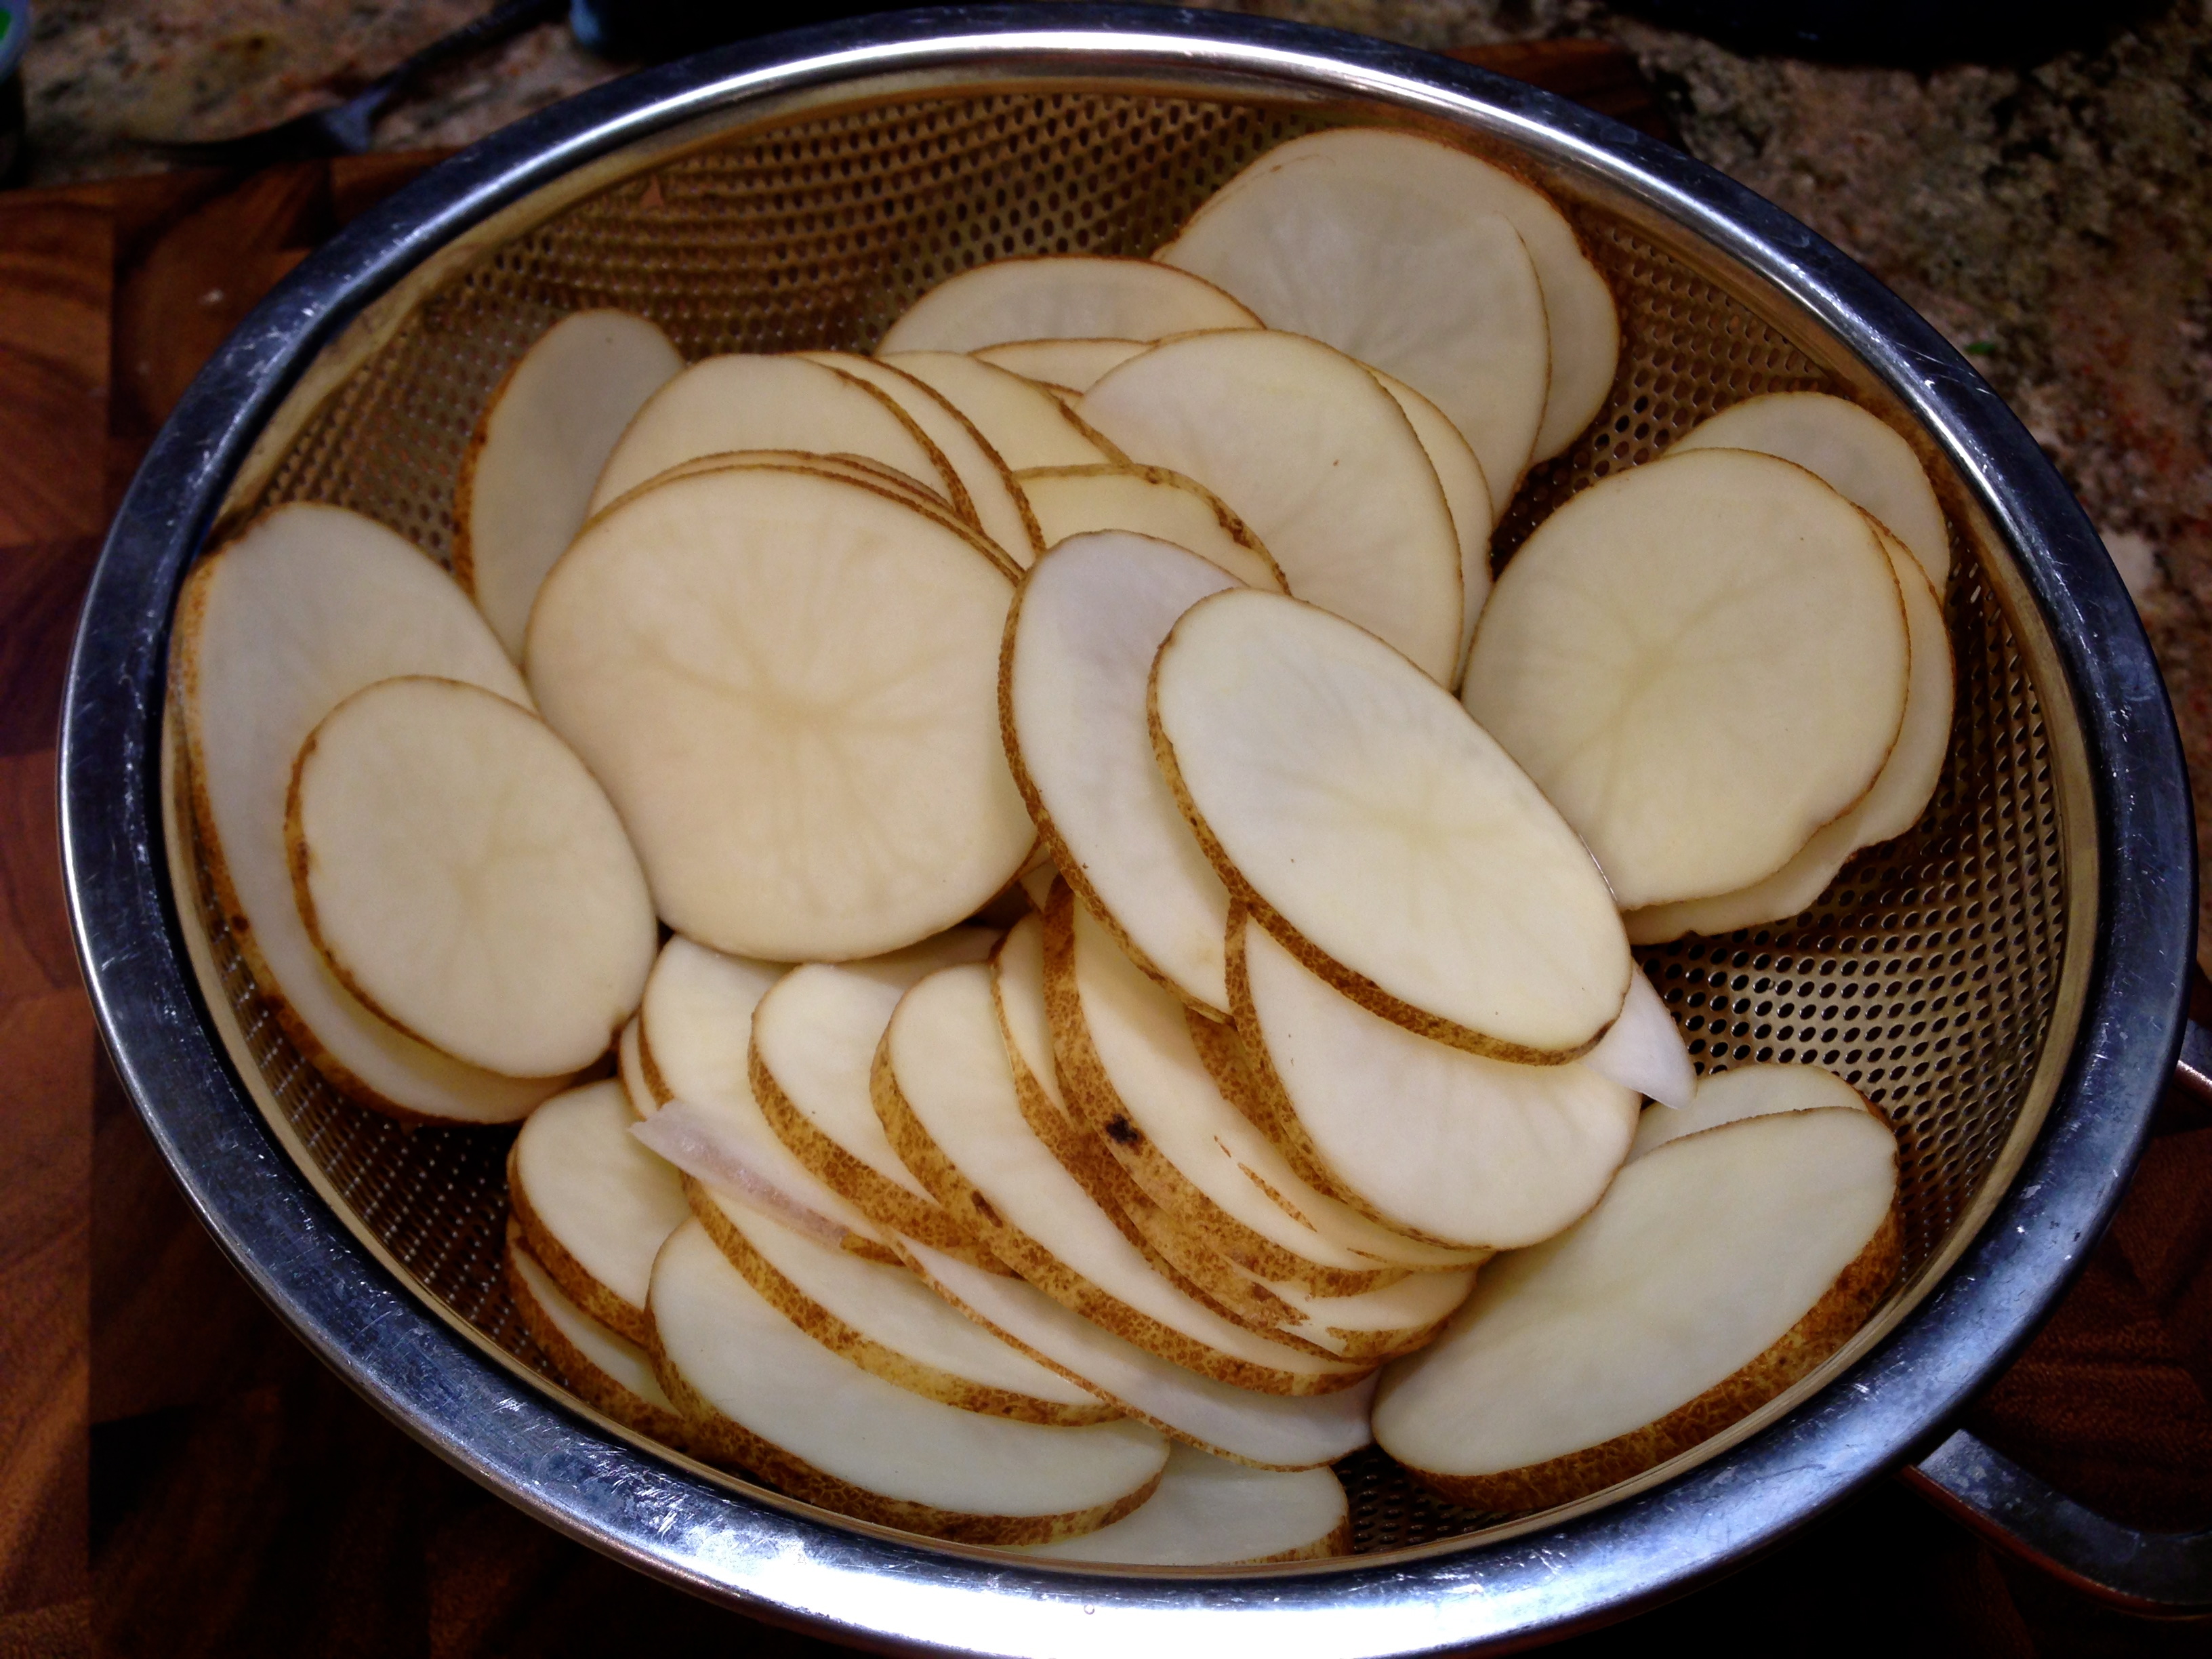
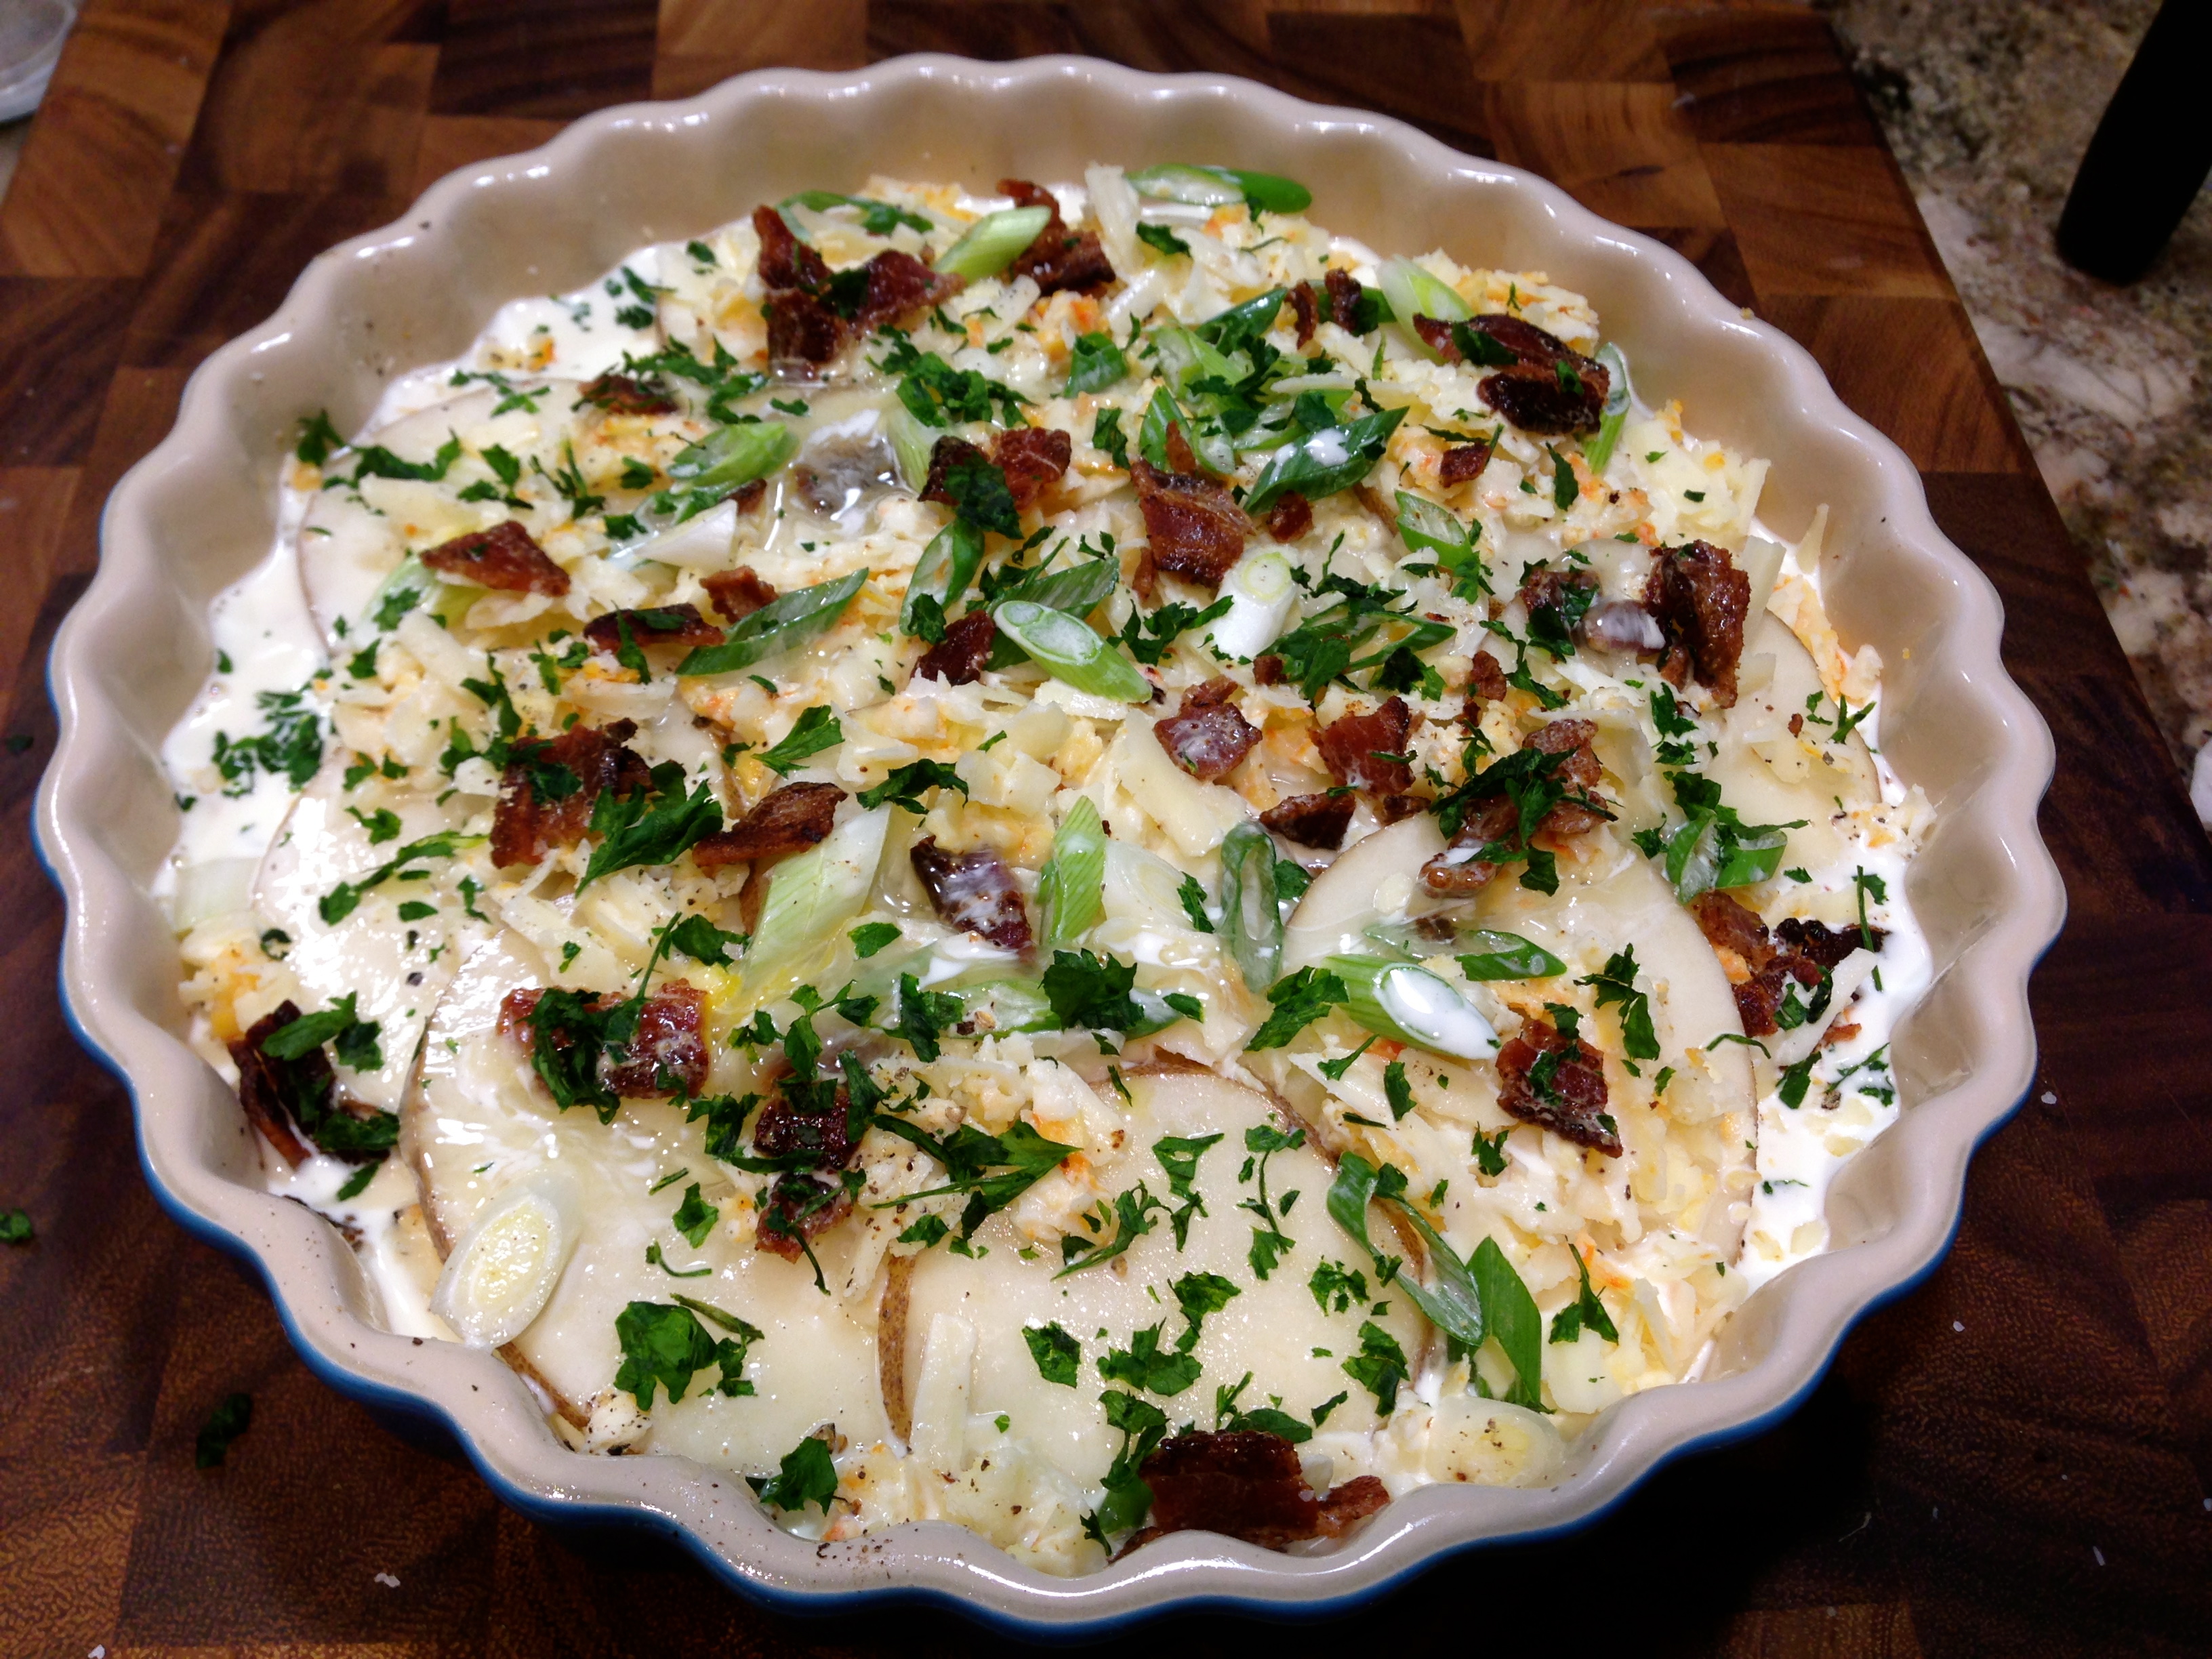
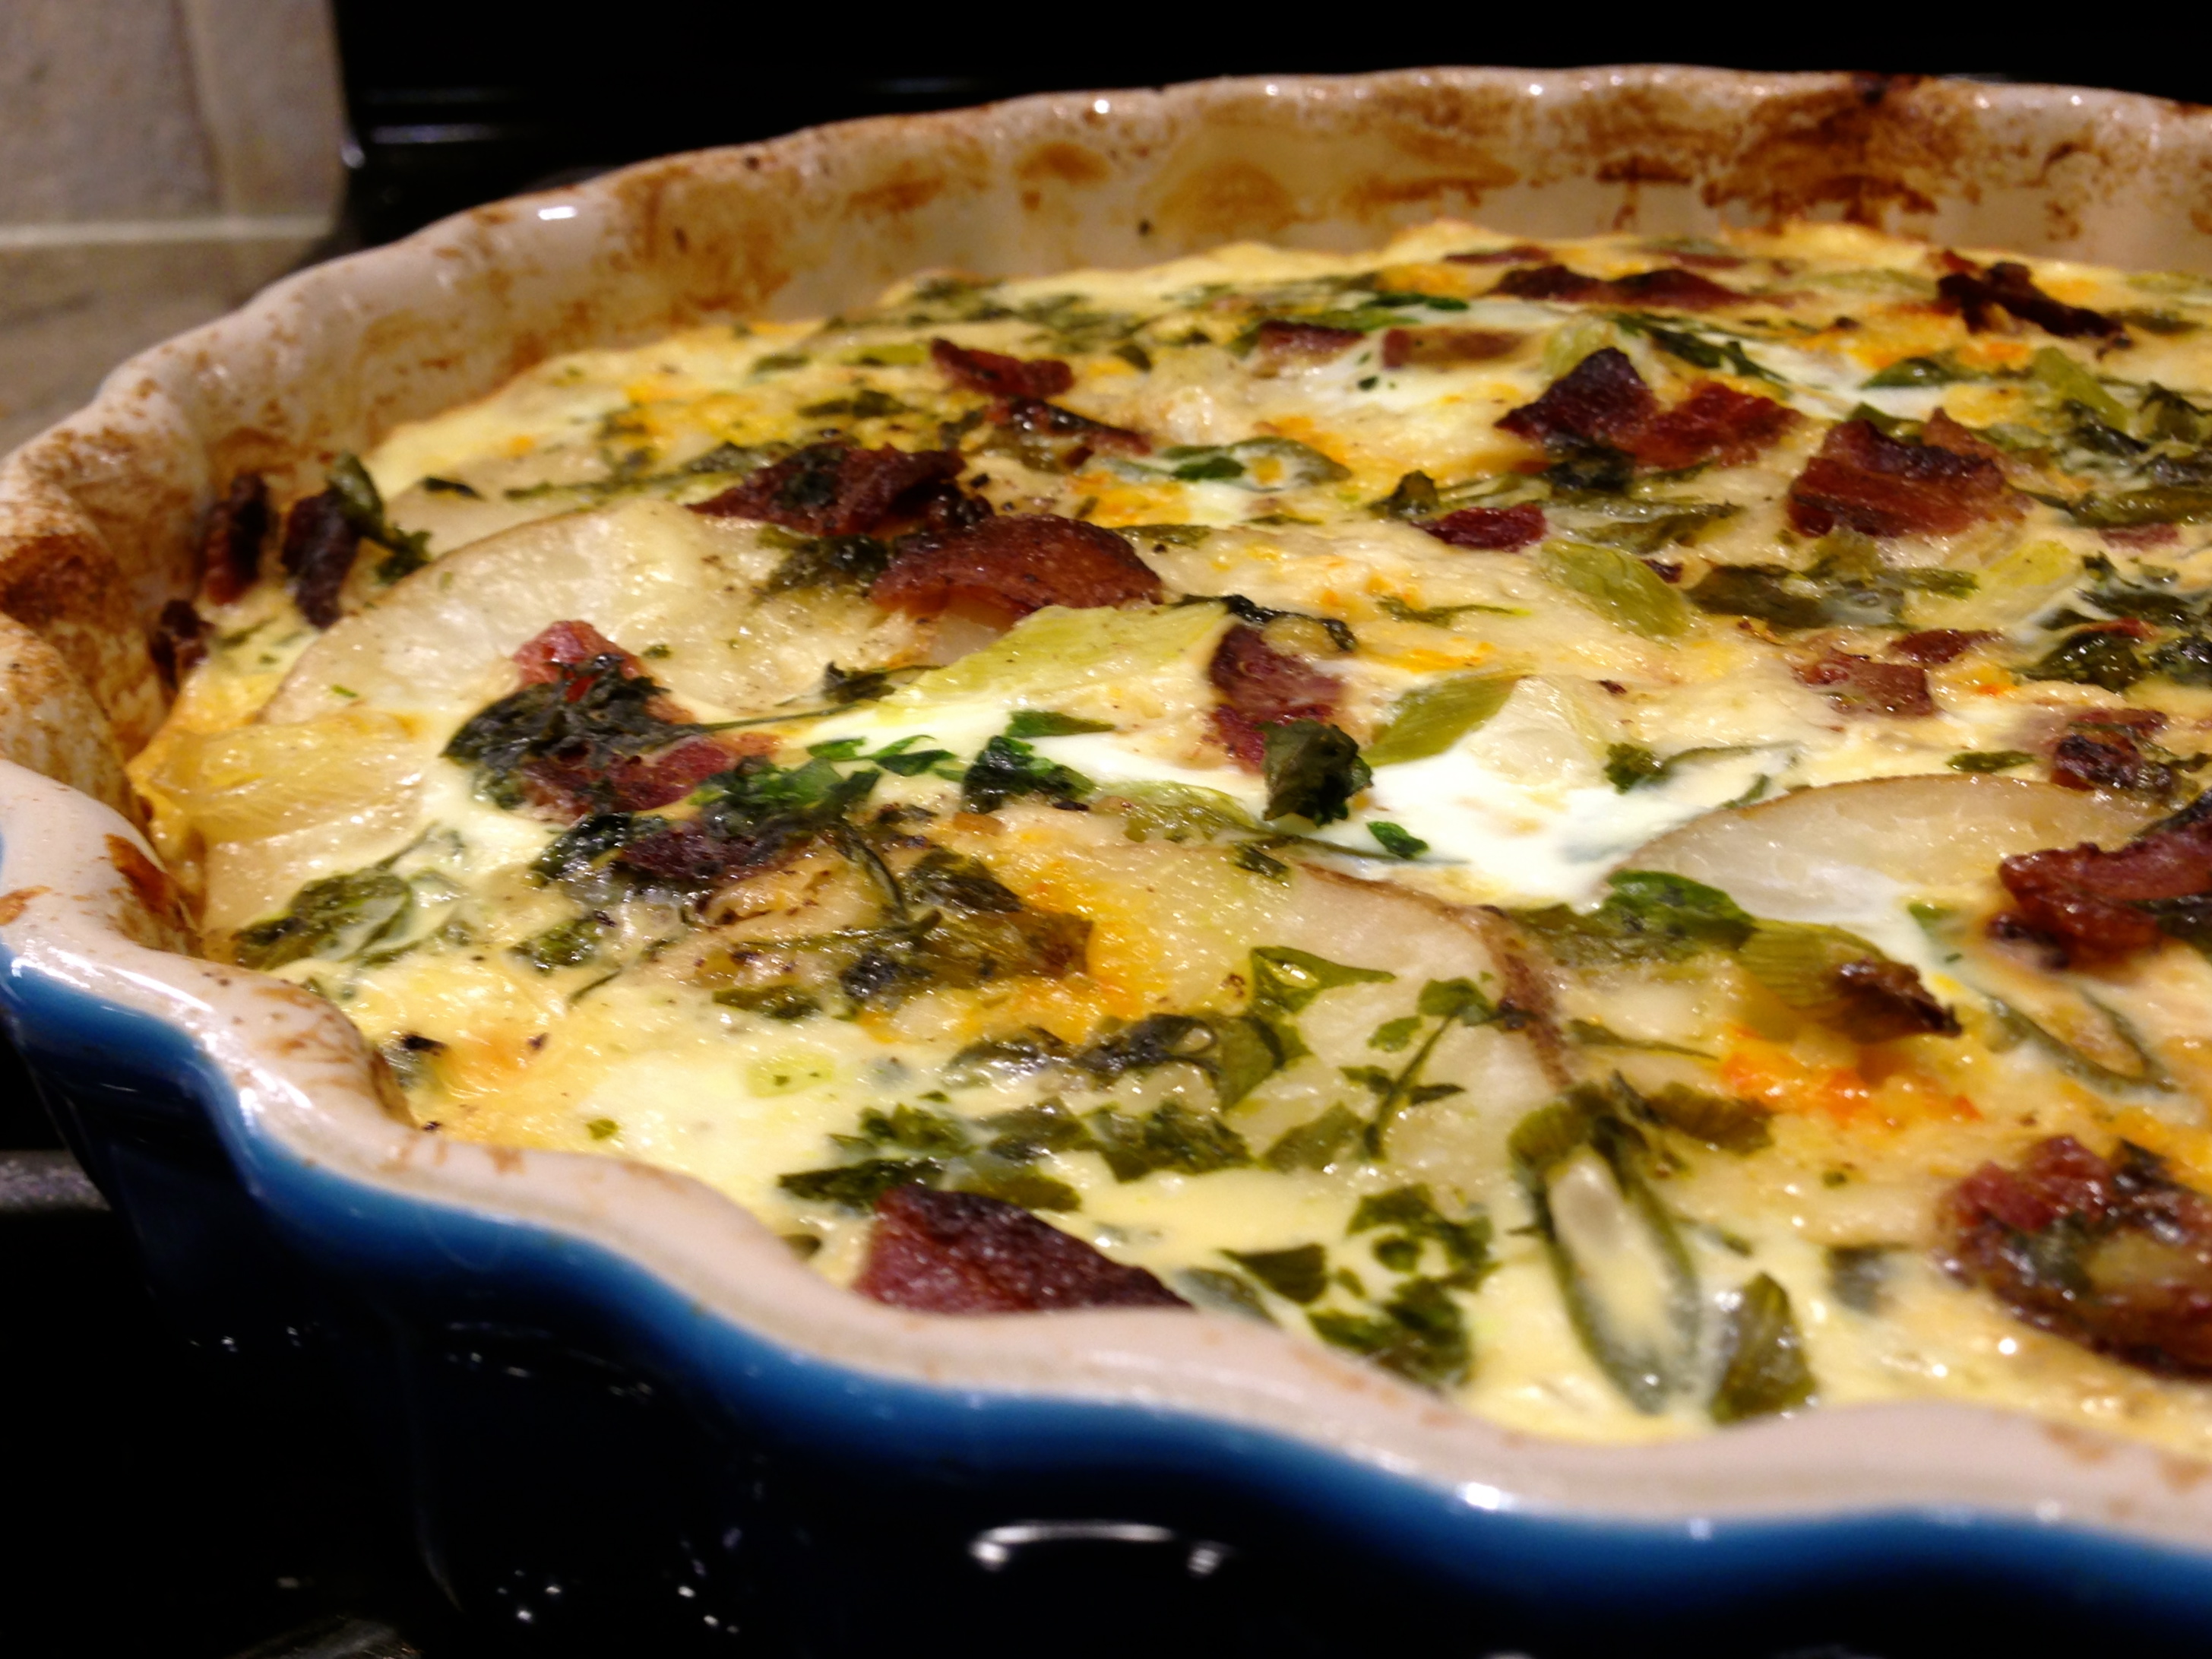
 The last thing you want to have happen is for the potatoes to oxidize and turn brown while waiting to be grated. Once you peel them put them in a bowl of cold water until you are ready to grate them. That way they will not turn brown on you.