Crispy Chocolate Butterscotch Bars…

It’s been quite some time since I made something that wasn’t savory. Having some friends over for lunch and cards changed all that. Unlike my friends, I don’t have much of a sweet tooth. But they do, and far be it from me not to be a good hostess and indulge their tastes.

I didn’t want to spend a lot of time making a dessert. I wanted to concentrate more on the meal and put together something quick but insanely good. I did just that. Let me warn you, this dessert is very rich but you’ll find yourself licking your fingers and wanting more. So let’s talk crispy chocolate butterscotch bars…

Lesson Learned 1: This is so much better than the traditional crispy rice cereal bars: All of us at one time or another have eaten rice cereal bars that were made with marshmallow cream. I never really liked them as I felt they were sickeningly sweet. The binder in this recipe is honey, a little sugar and crunchy peanut butter. It really changes the flavor profile of the bars, in my estimation, for the better.

Lesson Learned 2: Butterscotch morsels don’t melt as quickly as chocolate morsels: I started melting the morsels in the microwave, stirring them every 30 seconds. After a couple of minutes of doing this process I saw it was losing battle. I made a makeshift double boiler using a sauce pan and a glass bowl and melted the morsels that way. It still took a little time but the process moved much more quickly than in the microwave.

If you want a great dessert without a lot of work, this is the recipe for you. Try it and let me know what you think.

Crispy Chocolate Butterscotch Bars...

  • Servings: 24 Bars
  • Difficulty: Easy
  • Print

INGREDIENTS:

1 cup honey

1/2 cup sugar

1 1/4 cup chunky peanut butter

6 cups rice cereal

1 package semi-sweet chocolate morsels (12 ounces)

1 package butterscotch morsels (12 ounces)

1/2 honey roasted peanuts, chopped

DIRECTIONS:

Spray a 13x 9 inch pan with baking spray.

In a saucepan over medium high heat stir together the honey and sugar until it almost comes to a boil. Remove from the heat and add the peanut butter. Stir the mixture until the peanut butter has melted and is thoroughly combined.

Combine the honey mixture with the rice cereal. Thoroughly combine. (the mixture will be thick). Spread the mixture evenly into the prepared pan.

In a double boiler over heated water combine chocolate and butterscotch morsels. Stir until completely melted. Spread evenly over the cereal mixture.

Sprinkle the peanuts on top. Let cool until the chocolate hardens. Cut into bars and serve. Keep in a airtight container for up to three days.

Honey Teriyaki Baked Cod…

I know, I know I haven’t written in a while. Summer seems to have gotten a hold of my priorities and I’ve had a lot less time to spend in the kitchen. But I will try to be as faithful to my posting goals as I can – just be aware there may be a little more time between posts during the summer. After all, summer is the time to be out and about, right? So be patient with me and I promise to continue to deliver some great, no nonsense recipes.

And speaking of great, no nonsense recipes – this is definitely one of them. I recently read an article that talked about how Americans are still eating too much processed meats and should make an effort to add more fish to their diets. I know that’s something that my husband and I have been trying to do. Neither one of us grew up eating a lot of fish – it was just either too expensive or not something that was a regular part of the diets in our families.

My doctor told me there is a lot of research regarding when you were born, the diets that existed at the time and how that has affected your weight and health as you age. I grew up in a household where carbs were king, bread and potatoes mostly, and we know now the affects of too many carbs on weight and health. So my doctor said the same thing – try eating more fish. And you know what, it’s been quite pleasant actually.

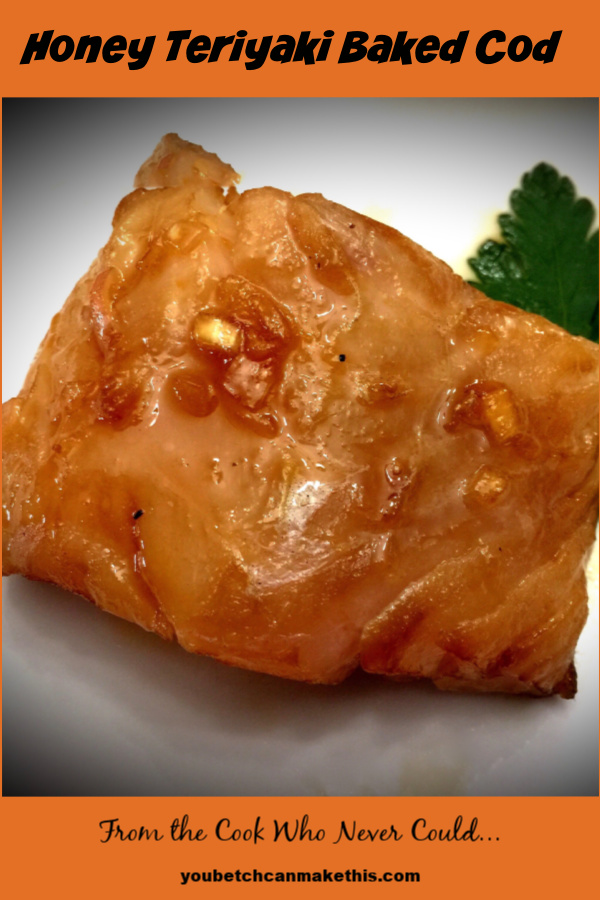
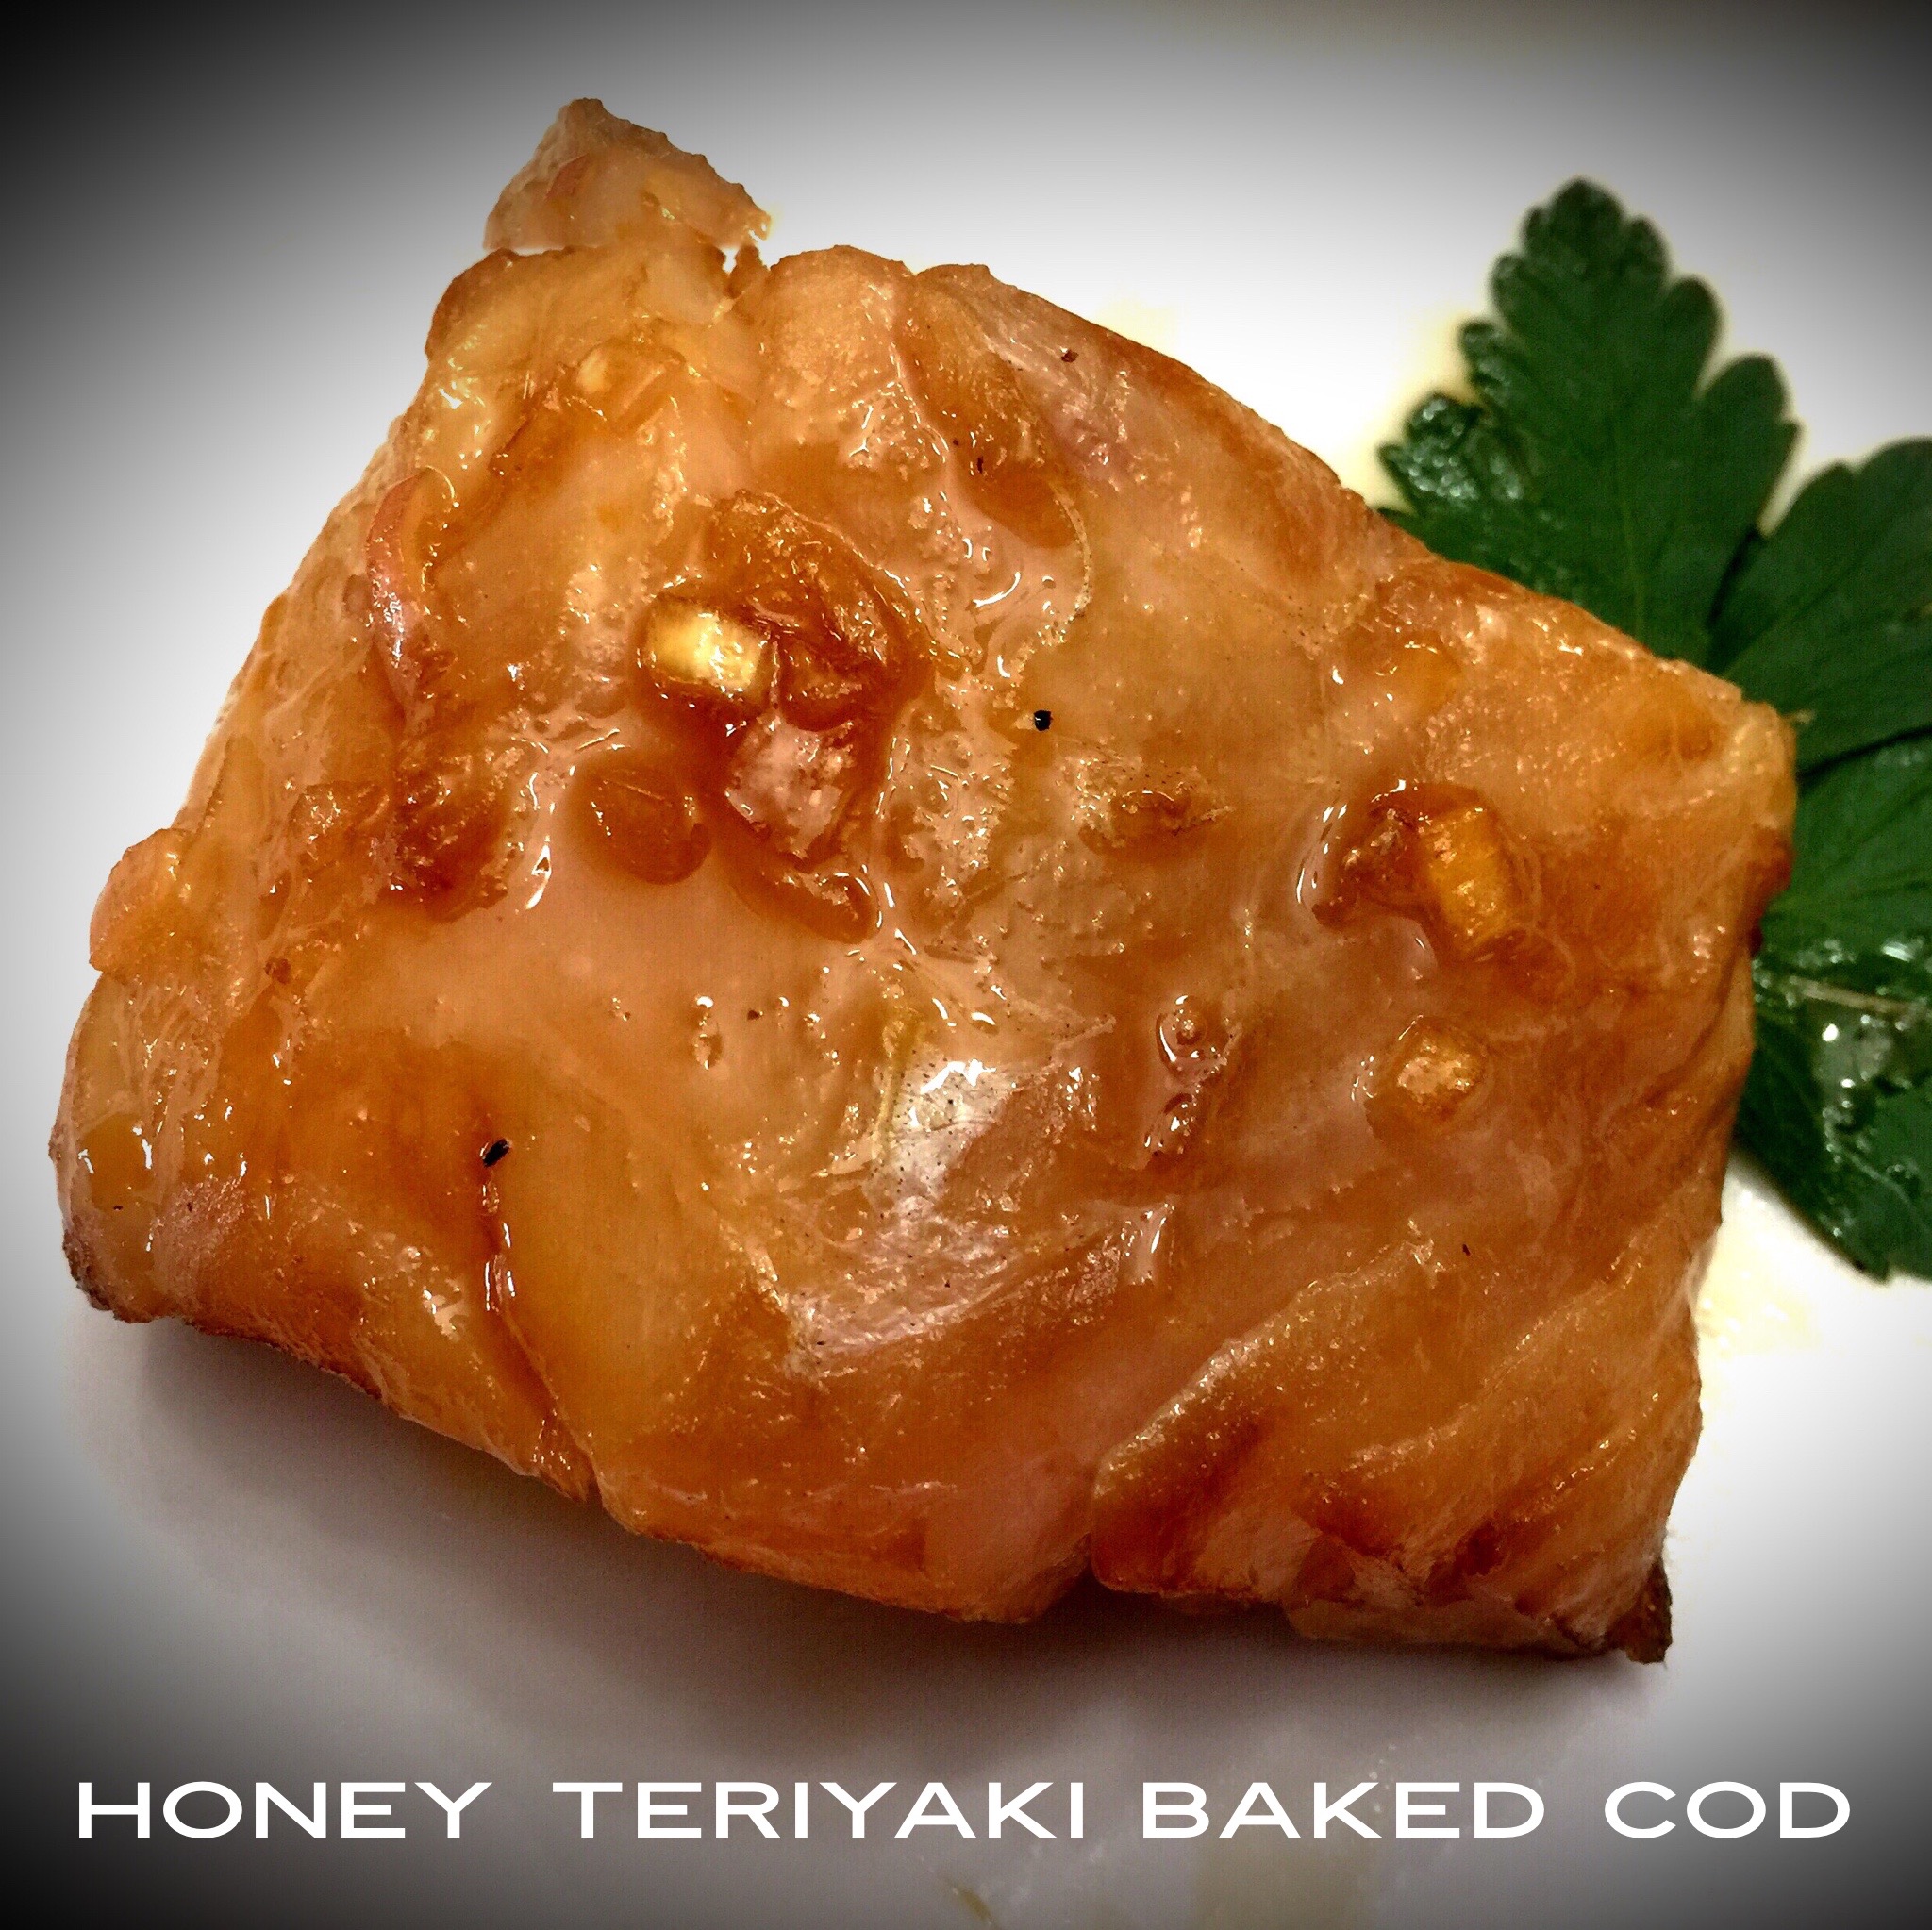
I guarantee you this recipe will have you eating more fish. It is so simple to make and so flavorful you’ll wonder why you waited so long to bring more fish to the table. So let’s talk honey teriyaki baked cod…

Lesson Learned 1 – All fish are not created equal when it comes to cooking them: I think that’s the part of cooking fish that makes people shy away from doing it. So it’s important, if possible, to cut your fish into equal sized portions to determine a somewhat standard cooking time for it. I usually cut 4 to 6 ounce portions. That way I am relatively sure how long to cook my fish.

Keep in mind that portion size is only one factor. The type of fish also contributes to the equation. I’ve found that a 6 ounce portion of salmon has a different cooking time than a 6 ounce portion of cod. Cod cooks in less time. The main thing to remember is you can always put the fish back in the oven or pan if it is not cooked well enough, but once it dries out you’re stuck – you can’t take it back. So err on the side of caution and I guarantee you’ll get the hang of it. I’ve been doing it so often now that I can tell when fish is done by how it looks – but that took a lot of time, so be patient with yourself.

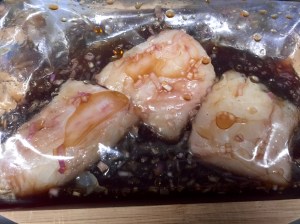
Lesson Learned 2 – The longer you marinate the cod in this recipe, the better: I marinated mine for about 7 hours but you can go up to 24 hours on this one. I may try that next time if I have the time, but it was quite flavorful after being marinated for 7 hours. I wouldn’t marinate it for less than 6 hours – I don’t think the fish will absorb the flavors of the marinade that well if you only marinate it for a short while. And don’t forget to turn the bag over every once in a while to make sure both sides of the fish are getting the marinade.

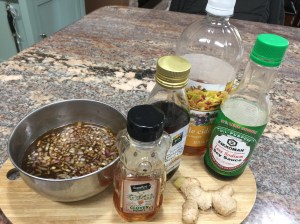
Marinade Ingredients

Lesson Learned 3 – Working with fresh ginger: I know a lot of people use fresh ginger quite regularly but I’m not one of them. But there is no substitute for it when you need it. What I learned is that you can freeze the ginger root. I put mine in a vacuum sealed bag and freeze it. That way when I need it, it’s as fresh as it can be. And I don’t have to buy ginger root every time I need it. It keeps beautifully in the freezer. So use what you need and freeze the rest. You’ll increase the lifetime of the ginger root substantially.

Lesson Learned 4 – Avoiding a big mess when baking this fish: Something important to remember is there is honey in this marinade – and honey will burn in the oven. So whenever I cook fish with a honey based marinade I put the fish on a foil lined pan and spray the pan with cooking spray before I lay out the fish. That way you eliminate or greatly minimize any sticking and the pan is easy to clean with no burnt on mess.

This recipe is extremely simple – the only challenge initially may be feeling comfortable with how to cook it correctly. If you use my directions you’ll be fine, or at least you will not overcook your fish and can judge if you need a little extra time. I doubt that you will need a lot more, but it’s always good to err on the safe side. All you need to remember is that the fish is done if you can flake it with a fork. Just test the edges if you’re not sure. Enjoy this one – it’s a keeper!

Honey Teriyaki Baked Cod...

  • Servings: 4
  • Difficulty: Easy
  • Print

INGREDIENTS

4 – six ounce pieces of fresh cod

3/4 cup honey

1/2 cup soy sauce

1/3 cup sesame oil

1/3 cup apple cider vinegar

1 small shallot, minced

1 tsp. fresh ginger

1/2 tsp. freshly cracked black pepper

Cooking spray

Lemon wedge, for garnish, optional

DIRECTIONS

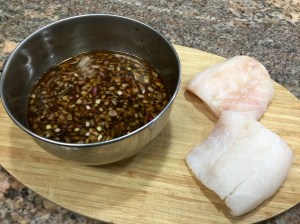
In a small bowl mix the honey, soy sauce, sesame oil, cider vinegar, shallot, ginger and black pepper. Place the cod filets in a gallon size resealable plastic bag. Pour the marinade over the cod (use a spatula to scrape in any remaining honey from the bowl). Seal the bag and marinate the fish in the refrigerator from 6 – 24 hours, turning the bag over every once in a while.

Preheat the oven to 375 degrees. Place the marinated cod on a foil line baking sheet sprayed with cooking spray. Spoon a little of the marinade on top of each piece. Bake for 10-12 minutes. Serve immediately.

Slow Cooker Honey Garlic Chicken…

I think I have a love/hate relationship with slow cookers. The concept of the slow cooker is undeniably fabulous – put something in the pot when you leave the house in the morning and voila, when you come home from work, you have a meal ready to go. The challenge is to find or create slow cooker recipes that in the end not only produce a meal but a flavorful one, one that is not cooked to the Peter Principal of bland. I’ve tried many variations of slow cooker recipes and have only a few that I think I’ve perfected. This is one of them.

What I’ve found with a slow cooker is if you vary what you are slow cooking with either other ingredients not in the slow cooker or ingredients that you put in the slow cooker near the end of the cooking process you’ll get a much better outcome. So is the case with this recipe.

So let’s talk slow cooker honey garlic chicken…

Browned Chicken ThighsLesson Learned 1 – The best type of chicken to use and how to prepare it: For this recipe and for most slow cooker recipes involving chicken, I use chicken thighs. I recommend using bone in, skin on chicken thighs for this particular recipe. Slow cooking tends to take the moisture out of chicken and by using these types of chicken thighs you protect yourself against getting dried out, bland chicken. I recommend searing the thighs briefly over a very hot heat, preferably in a cast iron skillet, before putting them into the slow cooker. Then after the meal is prepared, I recommend putting the chicken under the broiler just briefly the crisp up the exterior skin a little. As I mentioned earlier, I think the process of slow cooking is merely a part of the cooking process and not the entire thing. By searing and then briefly putting the chicken under the broiler at the end, you’ll wind up with a juicier, more flavorful outcome.

all-clad-6.5-qt.-slow-cookerLesson Learned 2 – Get to know how your slow cooker cooks: All slow cookers are not created equal. Some have higher default temperature settings than others. I have an All-Clad slow cooker and I love it, but I’ve learned over time that I can lessen the cooking time on my chicken recipes and they turn out better. Many of the recipes I read from which I based this one called for the cooking time to be 7-8 hours on low. In my experience and with my slow cooker I know I can cook chicken for 6 hours on low and I wind up with chicken that is cooked through but doesn’t taste like chalk. Especially with this recipe where you open the slow cooker twice during the cooking process to baste and to add the haricot vert. So be aware, you may have a few disappointments before perfecting recipes in your slow cooker. But there is nothing like the convenience of a slow cooker and once you find your groove with yours, you will love it!

Lesson Learned 3 – Ingredients to add at the end of the cooking process: In this recipe you add the haricot vert (green beans) during the last half hour of cooking. At the time I added them, I also scooped some of the sauce over the chicken just to add a little more moisture to it. (I also basted the chicken with the sauce about half way through the cooking process). By adding the green beans at the end they turned out crisp tender and were delightful. Put in only the amount you intend to have for that meal. If you have leftovers, cook a fresh bunch of beans at that time.

Also, if you want crisp tender onions you can add frozen pearl onions in with the haricot vert during the last thirty minutes.

Slow Cooker Honey Garlic ChickenCertain ingredients only take a short amount of time in the slow cooker (like beans, shrimp, frozen okra) but others take the full cooking time (like carrots, potatoes and onions). The ones you cook the entire time should always be cut into large chunks so they don’t fall apart at the end. The ones you put in for a short time can go in as is.

I think you’ll like this recipe. It definitely is easy and with a few simple tricks you can achieve great flavor as well. Try it and tell me what you think!

Slow Cooker Honey Garlic Chicken…

  • Servings: 4
  • Difficulty: Easy
  • Print

INGREDIENTS

8 bone in, skin on chicken thighs

baby new potatoes (or red potatoes quartered)

baby carrots (or 4-5 large carrots cut into chunks)

1 large sweet onion, quartered (or frozen pearl onions)

haricot vert (thin green beans), enough for your initial serving

1 Tbs. butter

1 Tbs. garlic infused olive oil (you can use plain olive oil)

1 1/2 cups low sodium soy sauce

1 1/2 cups clover honey

3/4 cup ketchup

4 cloves garlic, minced

1 1/2 tsp. dried basil

1 tsp. dried oregano

1/2 tsp. red pepper flakes (you can add more if you want it spicier)

Salt and pepper

DIRECTIONS

In a cast iron skillet, heat the butter and olive oil until the butter is melted. Pat dry the chicken thighs and season them with salt and pepper. Place them skin side down into the hot pan. Sear them until light golden brown, about 3 minutes. Remove the chicken thighs from the pan and set aside.

Whisk together the soy sauce, honey, ketchup, garlic, basil, oregano and red pepper flakes. Place the potatoes, carrots and onions (if using frozen pearl onions, add them during the last 30 minutes of cooking time) in the slow cooker. Season with salt and pepper. Place the chicken thighs on top of the vegetables. Pour the soy sauce mixture over the chicken and vegetables. Cover and cook on low for 6-8 hours (this time depends on your slow cooker and its default temperatures). Half way through the cooking process baste the chicken with the soy sauce mixture.

One half hour before serving add the green beans and baste the chicken again (add the frozen pearl onions at this time). If desired, before serving, place the chicken thighs on a baking sheet and put them under the broiler for approximately three minutes. Serve immediately.

Ingredients ready for slow cooking

Ingredients ready for slow cooking

IMG_9344