Homemade Pizza Bites…

This recipe came out of a kick I’ve been on lately of cleaning out the ingredients in my refrigerator and pantry. It was lunch time and I wanted something different for lunch but not something huge and filling. I started scrounging around and found I had some ingredients for a basic pizza, minus the pizza crust but I had a loaf of take and bake bread.

The wheels in my brain started spinning and I decided to try using the unbaked take and bake bread baguette loaf, cut it into a couple of 1/2 pieces, top it with my pizza toppings and throw it in the toaster oven. I absolutely could not believe how wonderful it turned out, and so I thought I’d share this very, very simple recipe with you.

These bites are great for a light lunch, a snack, or even a meal. For example, for over a year now some friends of mine and I have been playing cards and games every Monday. Each week we take turns hosting. We got into the habit of making lunch before we started our games and as you can well imagine that got my juices flowing as to how I could use these wonderful friends as guinea pigs for recipes for this blog. I let them know that was my intent and they said they were all in. So, last Monday I made these bites along with a side salad and a crudités plate of mozzarella sticks wrapped in salami and blue cheese stuffed olives. The lunch was a hit.

Mozzarella Sticks Wrapped In Salami And Blue Cheese Stuffed Olives

Simple Side Salad

Sausage Pizza Bites

Pesto and Pepperoni Pizza Bites

The most time consuming thing about this meal was assembling the pizza bites. The wrapped mozzarella and stuffed olives were store bought and there’s nothing to putting together a simple salad. And now, since I’ve had these bites both for a snack and a meal I thought maybe I should write about them.

So, with all that being said, let’s talk homemade pizza bites…

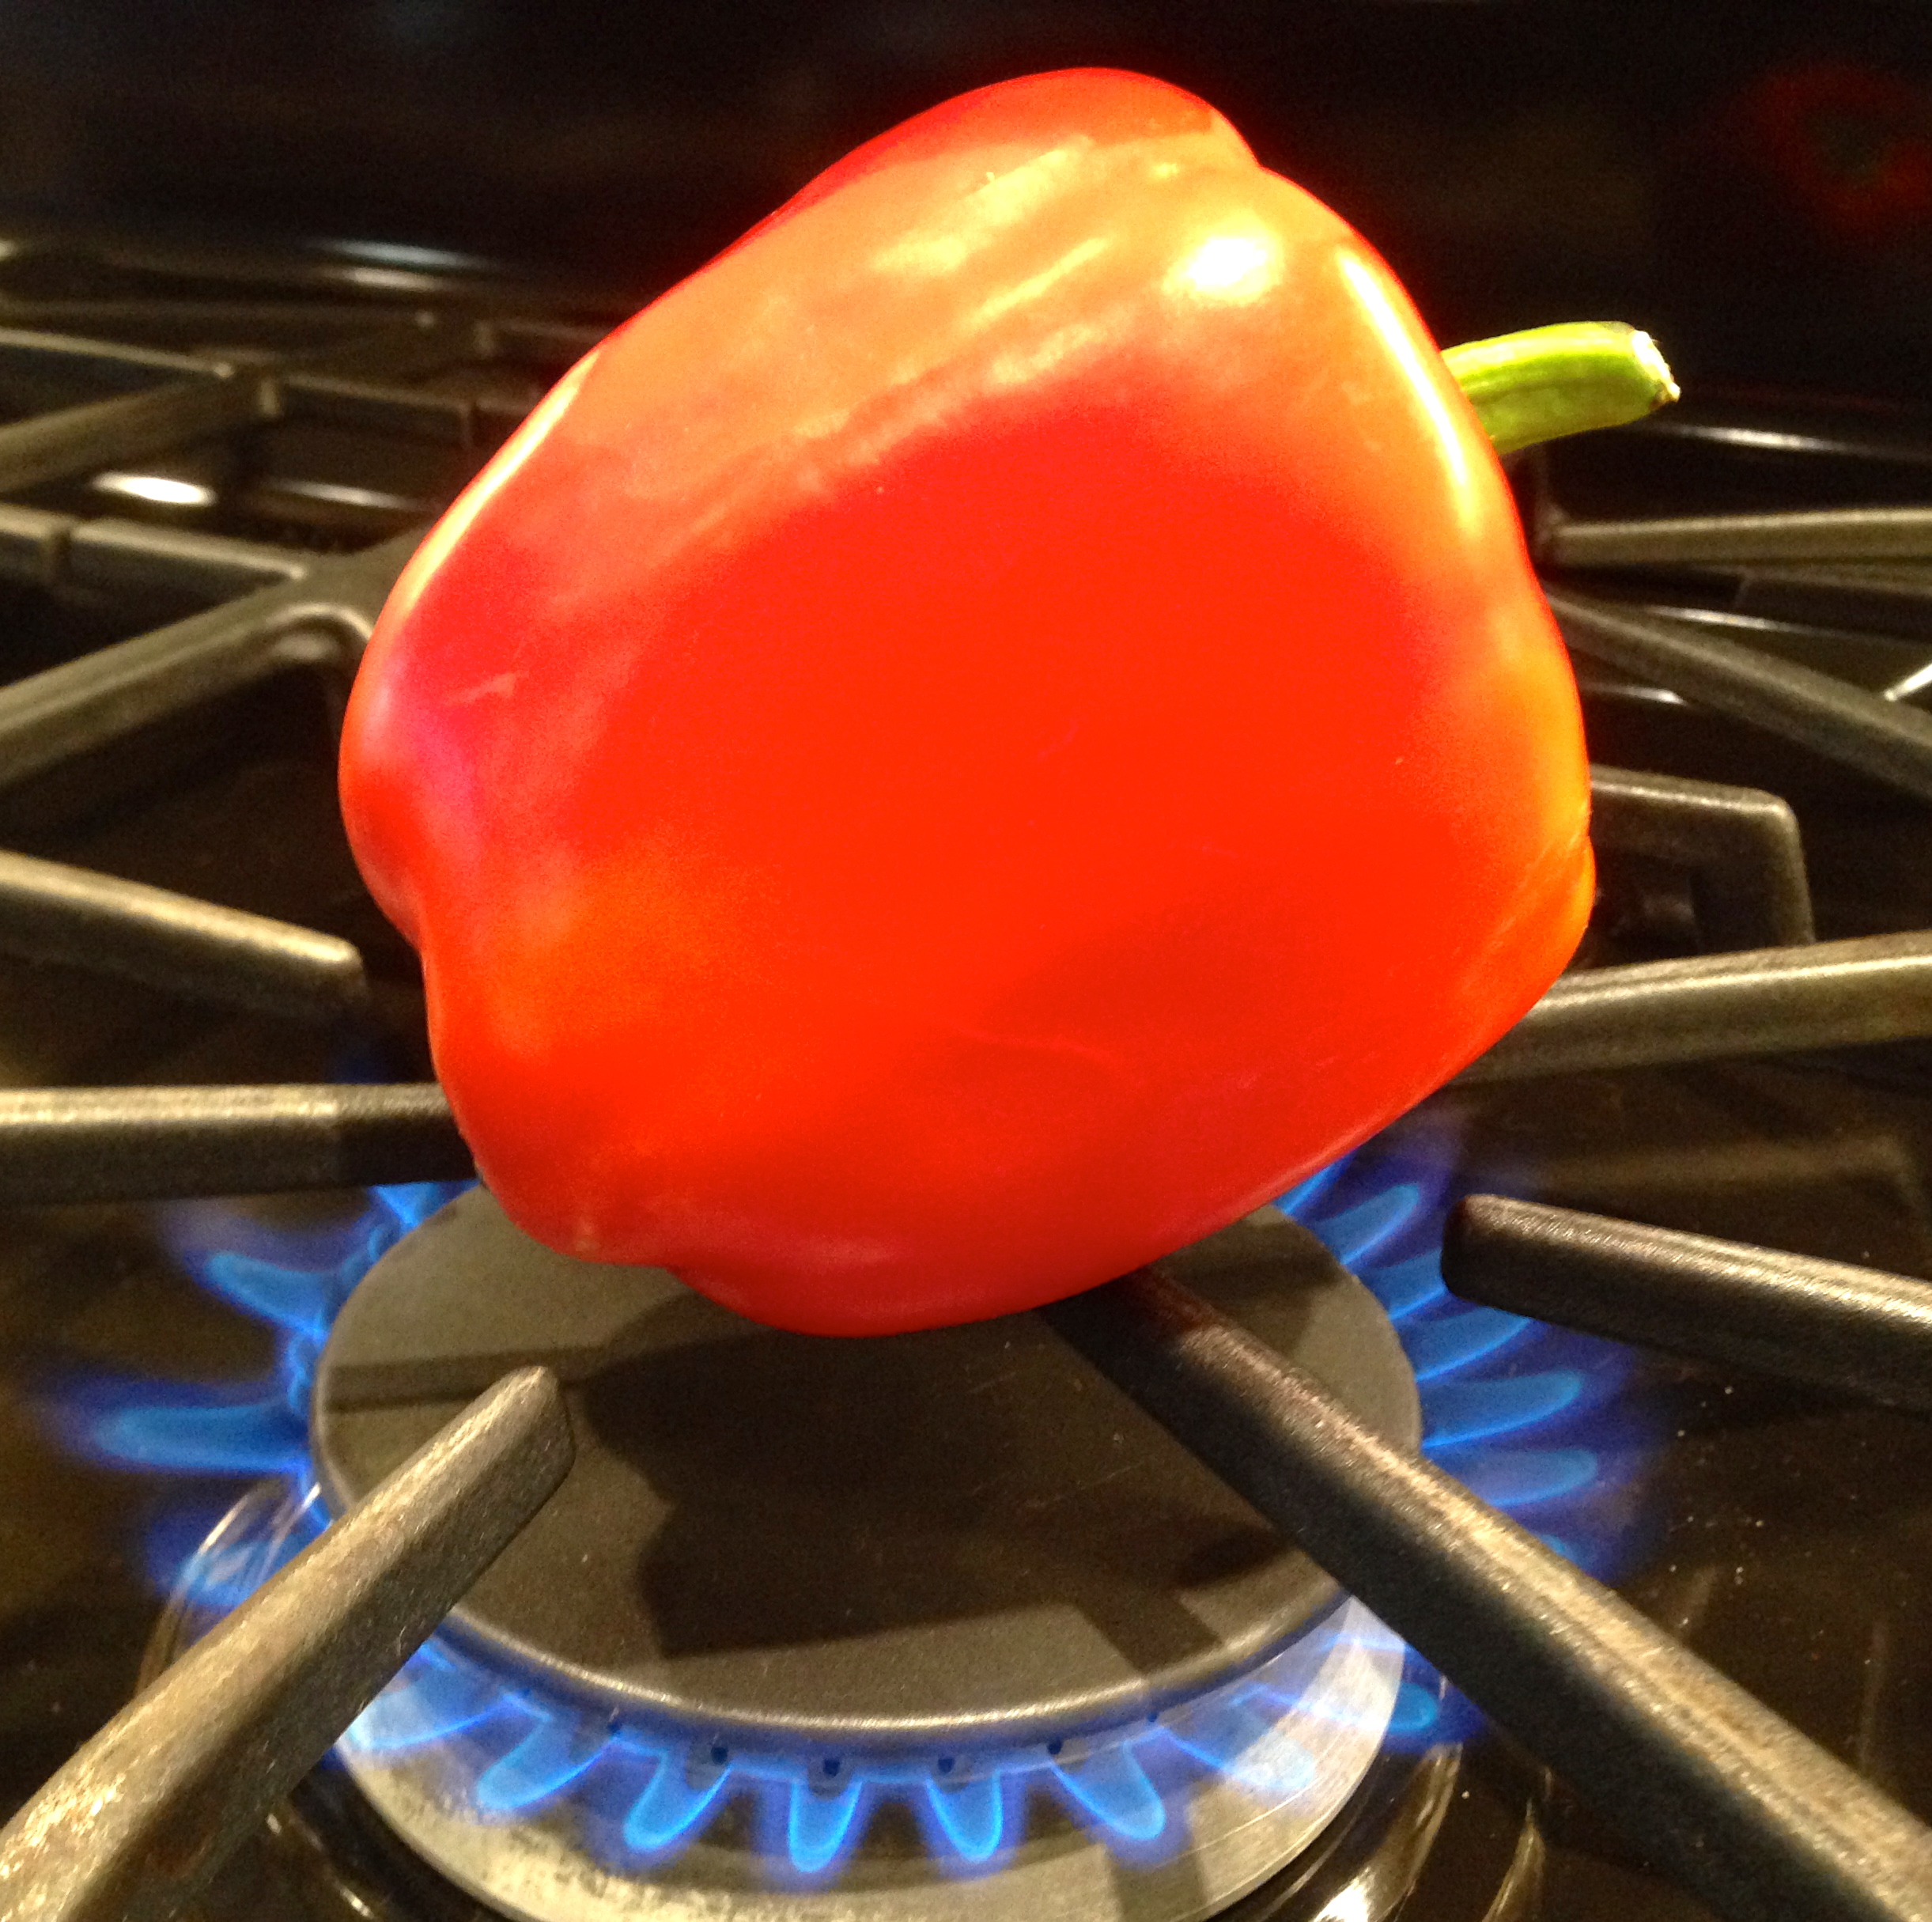
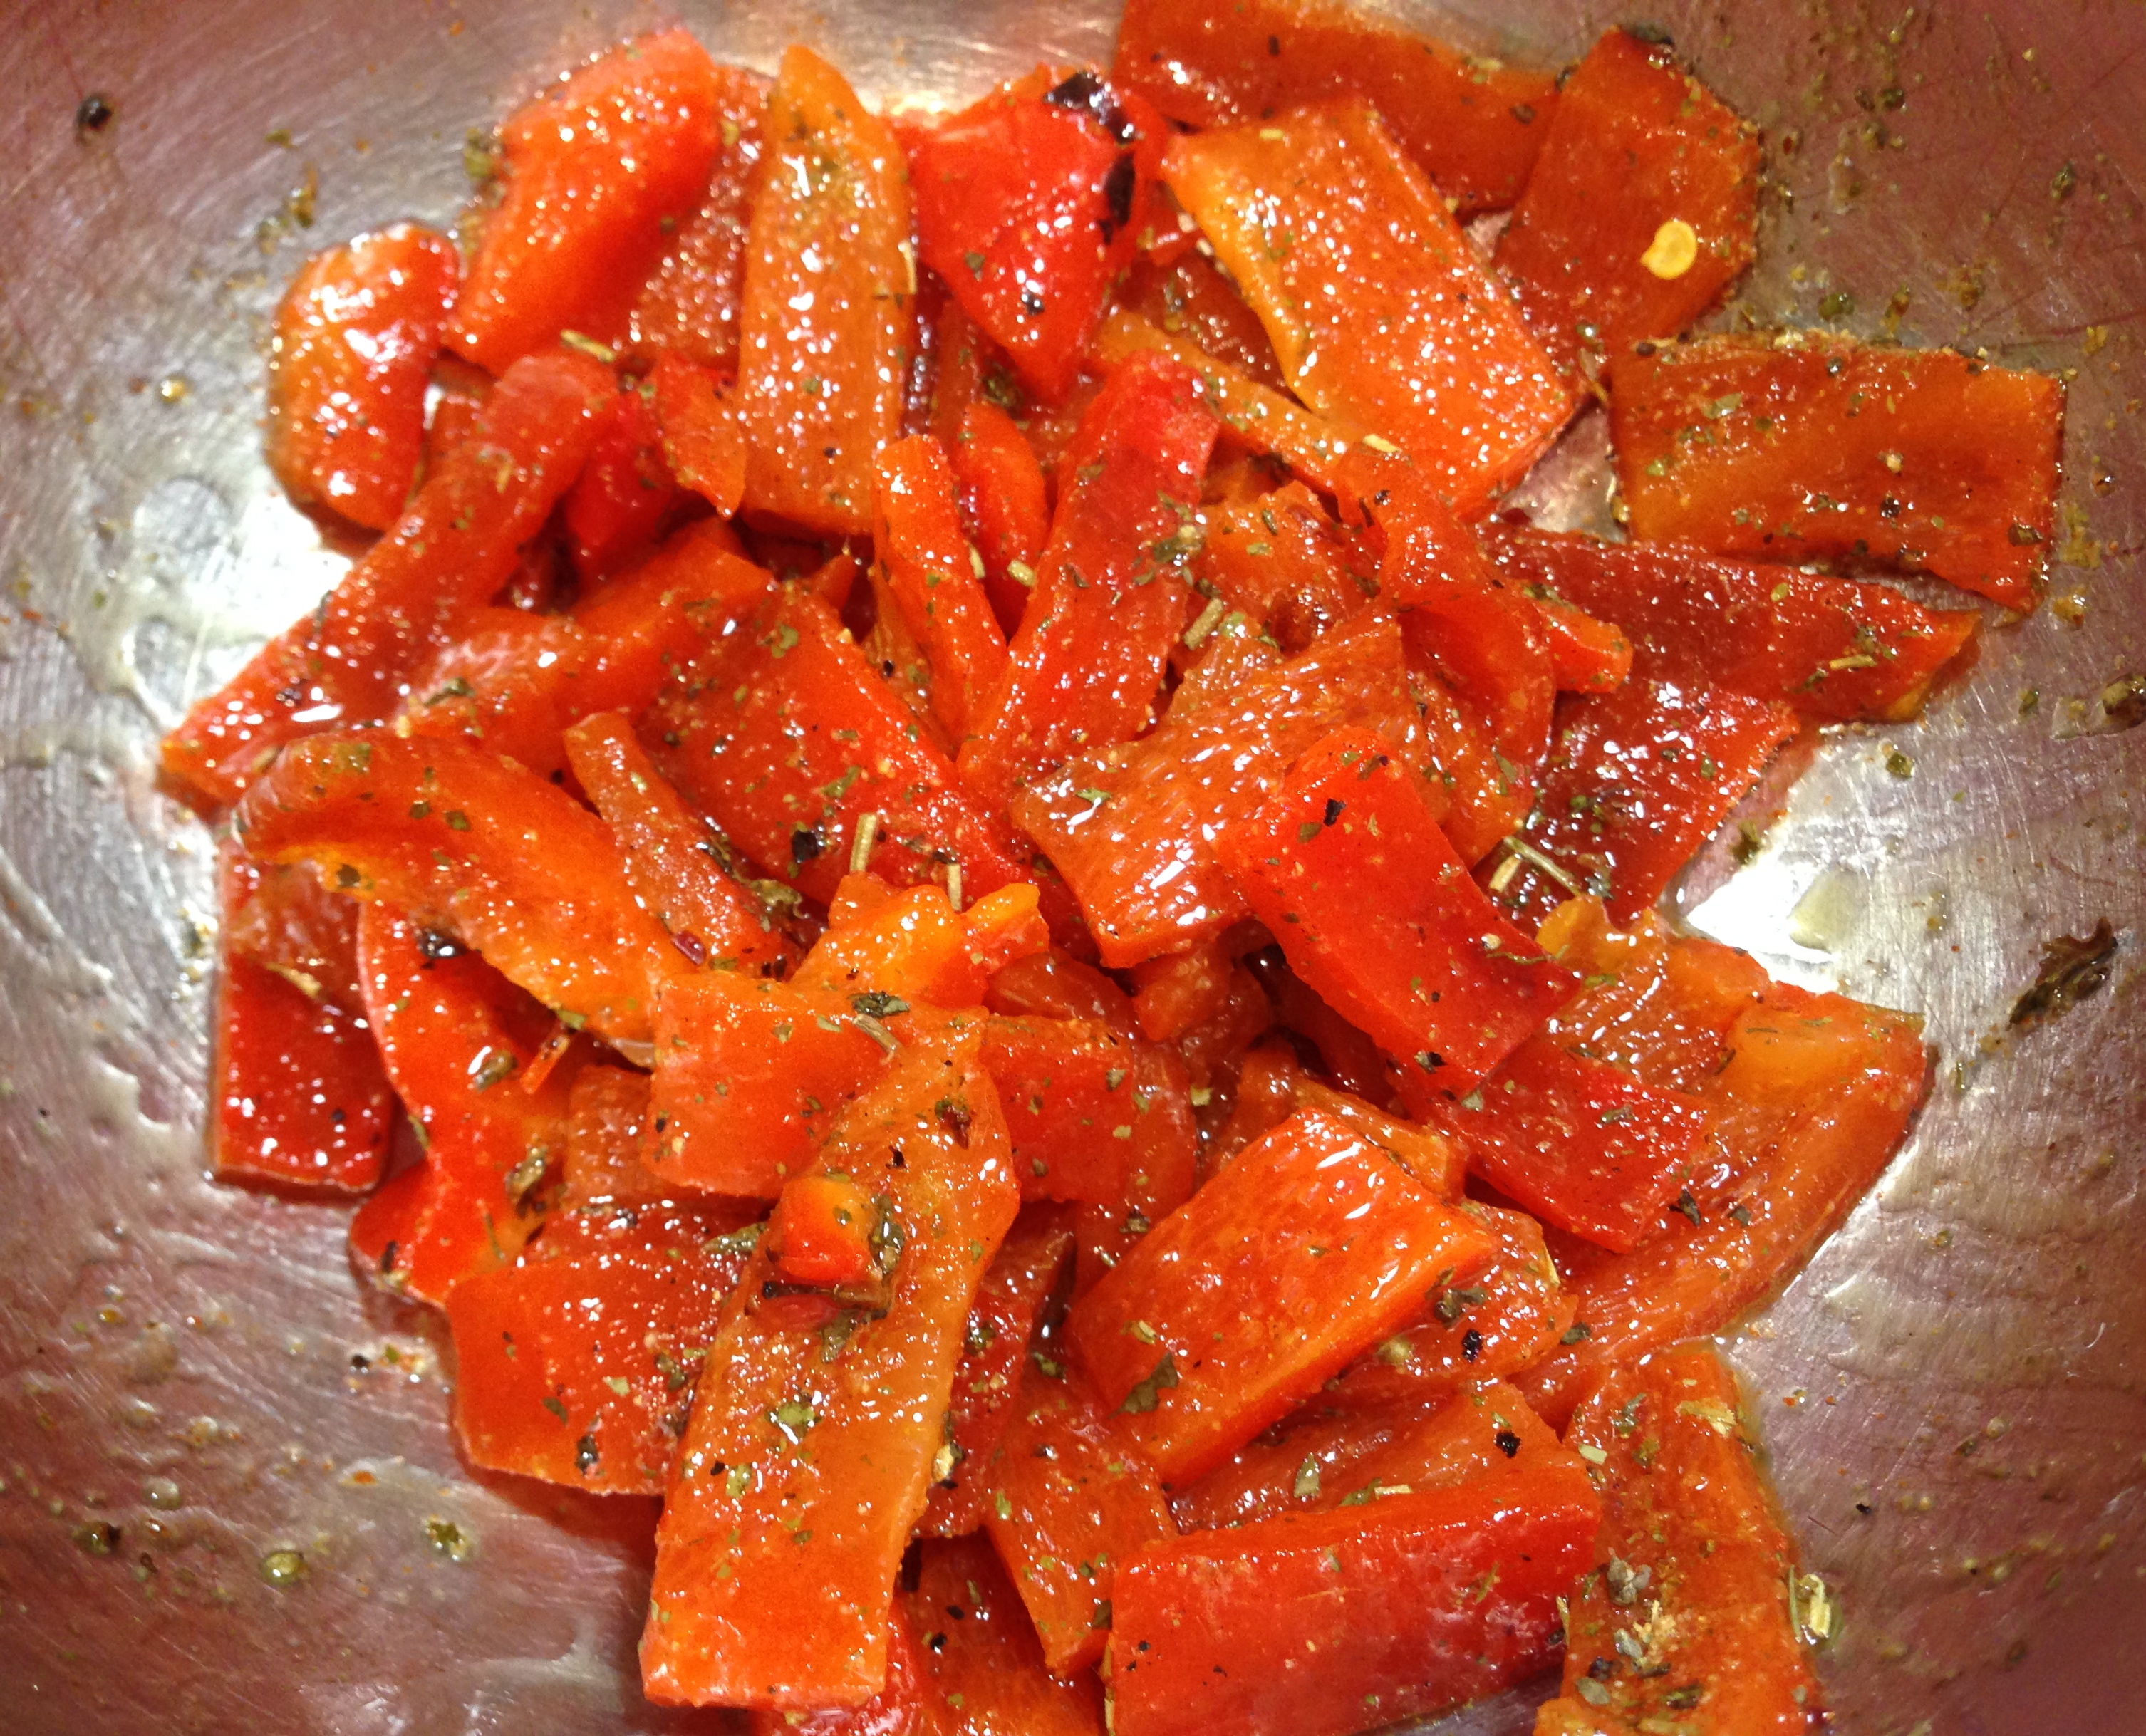
Lesson Learned 1 – Use whatever pizza ingredients you may have on hand: I used pesto, pepperoni, sausage, mozzarella slices and shredded mozzarella, grated parmesan, pizza sauce and Italian seasoning. One thing to be aware of, these bites only need 7-10 minutes to cook so if you add sausage it must be precooked. I thought about adding some green pepper but I didn’t this time. I probably will try it at some point, but I know I’ll need to cut the pieces very small so they at least partially cook. I like green pepper with a crunch on my pizza anyway.

Lesson Learned 2 – Forget measurements: You’ll notice this recipe doesn’t have any type of measurements for the ingredients. What you need will depend on how many bites you make and what ingredients you have on hand. I designed this recipe to be a way to use up ingredients you have laying around in your refrigerator or pantry.

Lesson Learned 3 – Use take and bake bread: The key, at least for me, was the take and bake bread. Take and bake bread is designed to be baked for about 10 minutes so it coincides with the overall baking time of the bites. Using this type of bread gave the bites a beautiful crispy crust which, for me, made it more like a Detroit style pizza which I just love.

Lesson Learned 4 – Make sure you bakes the bites on a wire rack: You want to make the bread nice and crispy. Baking them on a wire rack allows the bottom of the bread to cook and crisp up. Make sure you use a foil lined pan underneath the rack to catch any melted cheese that may run off the bread. That way you won’t have an oven mess that’s hard to clean up.

So give this throw together recipe a try. It only takes a few minutes to make a quick lunch. And if you’re making a bigger batch, count on about 20 minutes to prep them all. I know you’ll just love them. I know I do! Let me know what you think…

Homemade Pizza Bites

  • Servings: Varied
  • Difficulty: Easy
  • Print

INGREDIENTS:

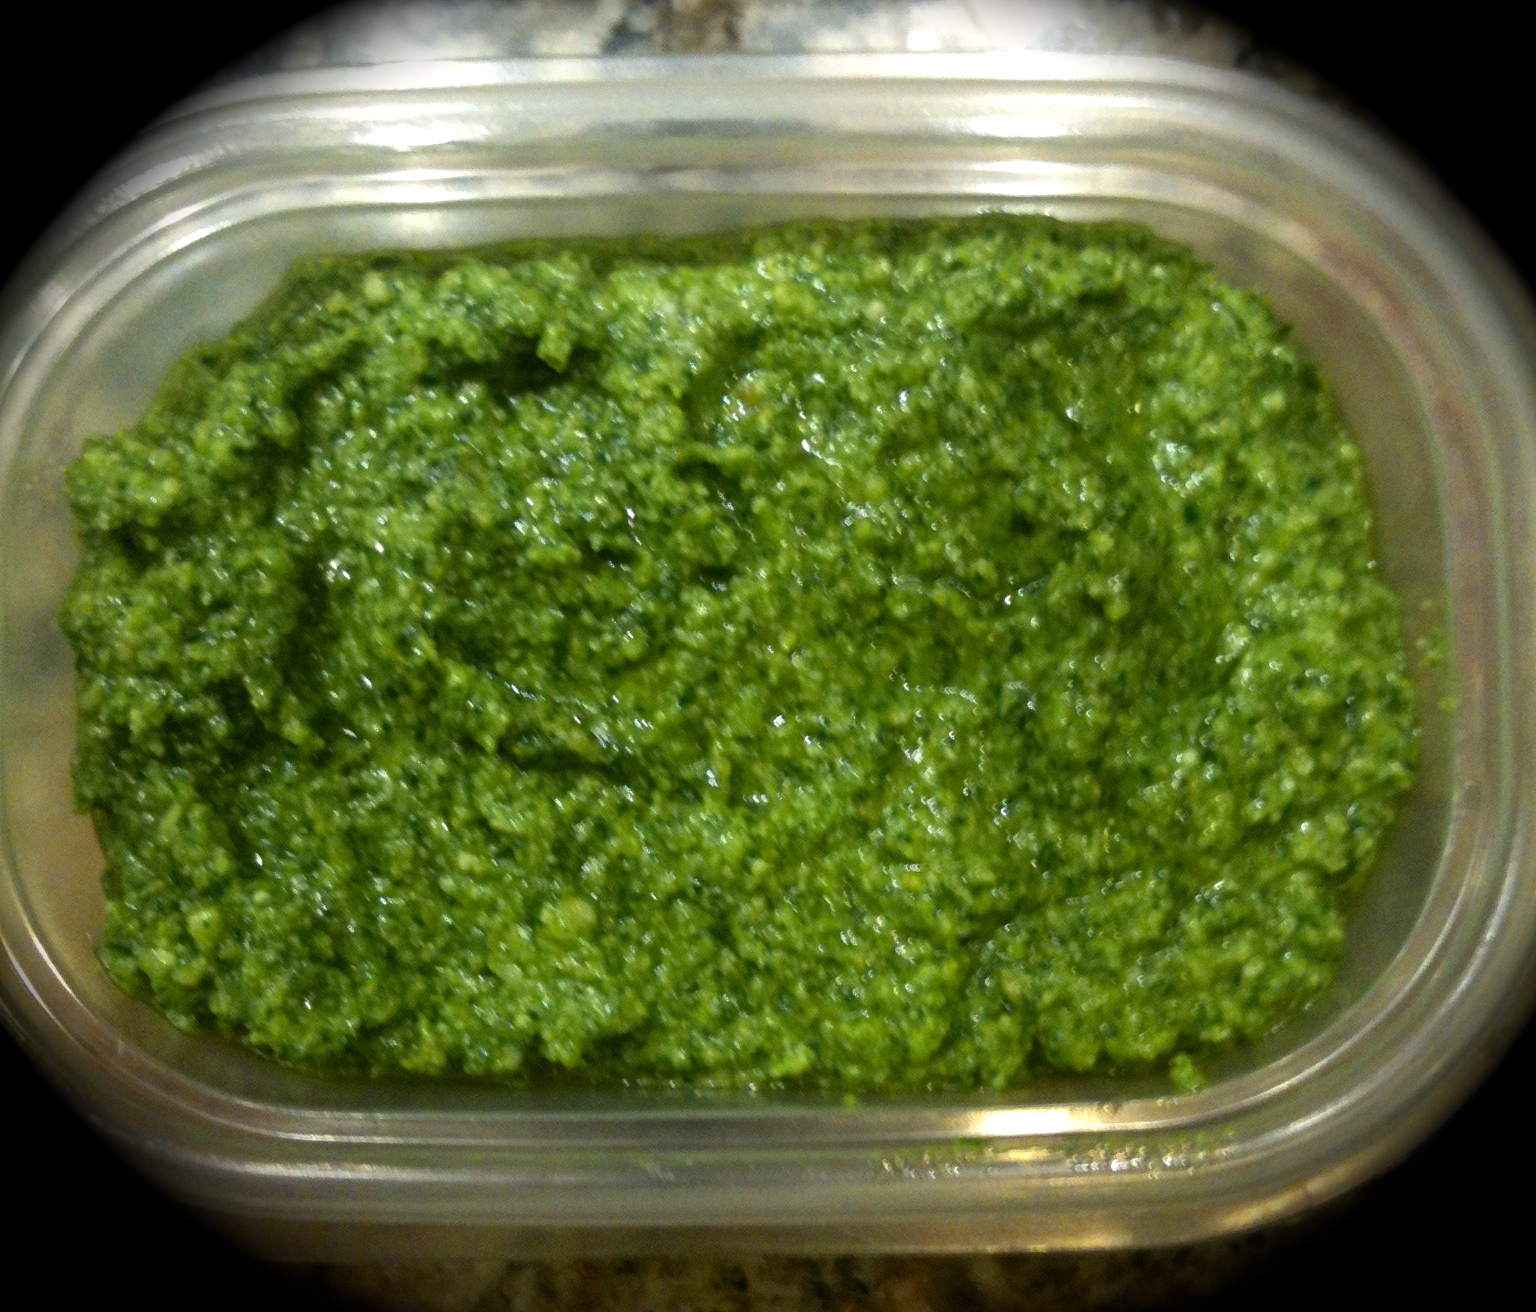
Store bought or homemade pesto

Pepperoni, sliced thin

Mozzarella, slices and shredded

Precooked Italian Sausage

Homemade or Store Bought Pizza Sauce

Unbaked Take And Bake Baguette Bread

Italian Seasoning

Basil Leaves For Garnish, optional

DIRECTIONS:

Preheat oven to 375 degrees.

Cut the take and bake bread into 1/2 inch slices cut on the bias. Top with either pesto or pizza sauce (you’ll probably need about a teaspoon for each slice). Put a slice of mozzarella on each piece of bread, pre-cut to size. Place two pieces of pepperoni on top of the bite that has pesto. Place crumbles of pre-cooked sausage on top of the bite that has pizza sauce. (Of course you can switch them around anyway you like, I’m just explaining what I did).

Top each bite with shredded mozzarella. Sprinkle each bite with some Italian seasoning. Add some grated parmesan over the tops of each slice.

Place each bite on a wire rack with a foil lined pan underneath it. Bake in oven or toaster oven for 7-10 minutes. Garnish each with some fresh basil. Enjoy!

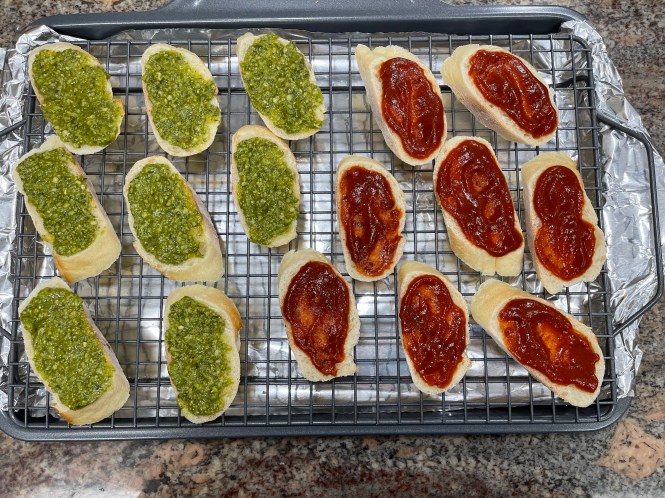
Bread Slices With Pesto And Pizza Sauce

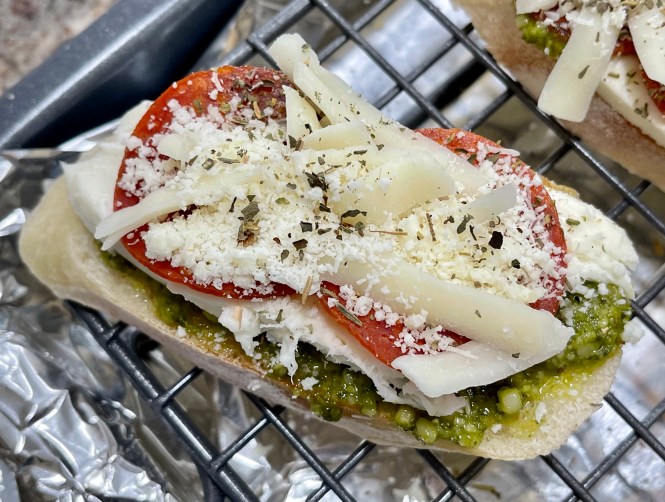
Oven Ready Pesto Bite

Oven Ready Sausage Bite

Skewered Italian Appetizer Bites…

Sorry I’m a little off my game this week. I was waylaid by a bug bite that gave me an allergic reaction and I’ve been fighting this itching rash. Needless to say I’ve not been a happy camper. The meds I take for itching make me groggy and so it’s been hard to sit down at my computer and crank out my blog. But I’m thinking I’m on the mend, although still not itch free after almost 5 days. But I have noticed improvement and so that’s what I’m focusing on.

This weeks recipe is so darn simple and great for your backyard parties. In the warmer weather, the last thing you want to do is heat up the kitchen. Dishes that are cooler like potato salad and cole slaw seem to be more in demand. Also finger foods are more popular, especially when eating outdoors. You don’t have to mess around with a lot of utensils, just take the food and pop it in your mouth. Which is exactly what this recipe is all about.

So let’s talk skewered Italian bites…

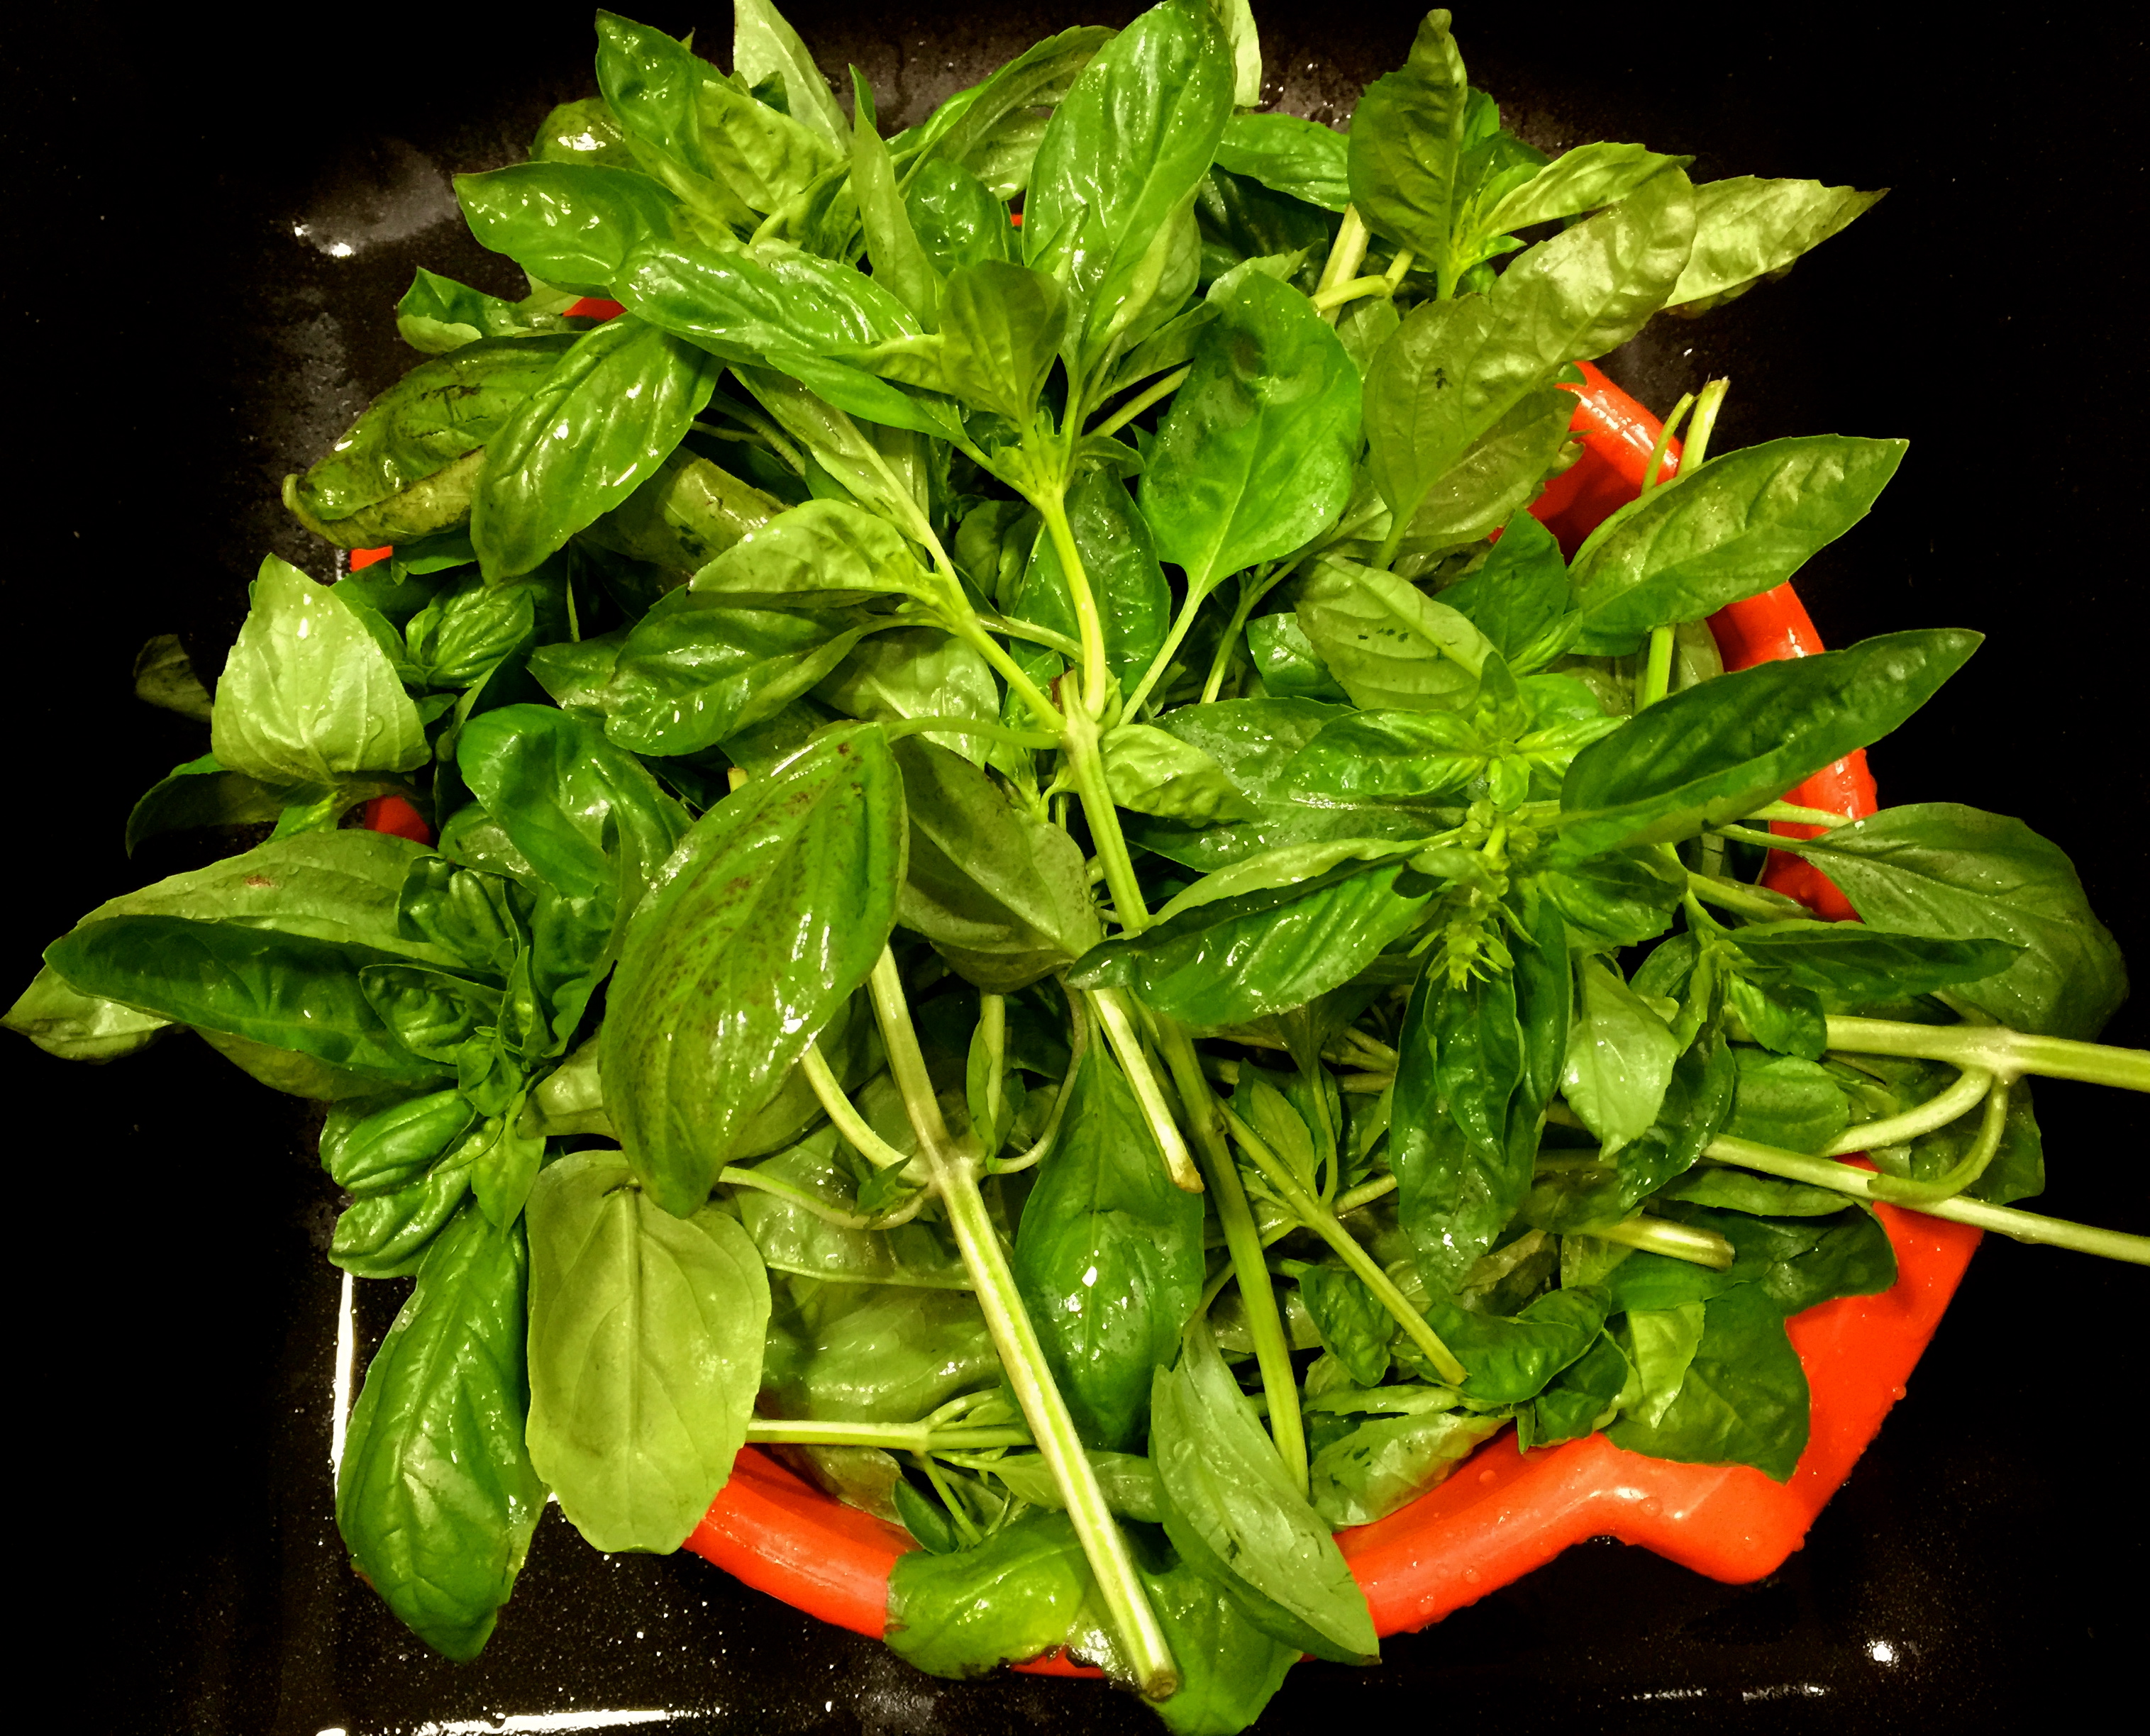
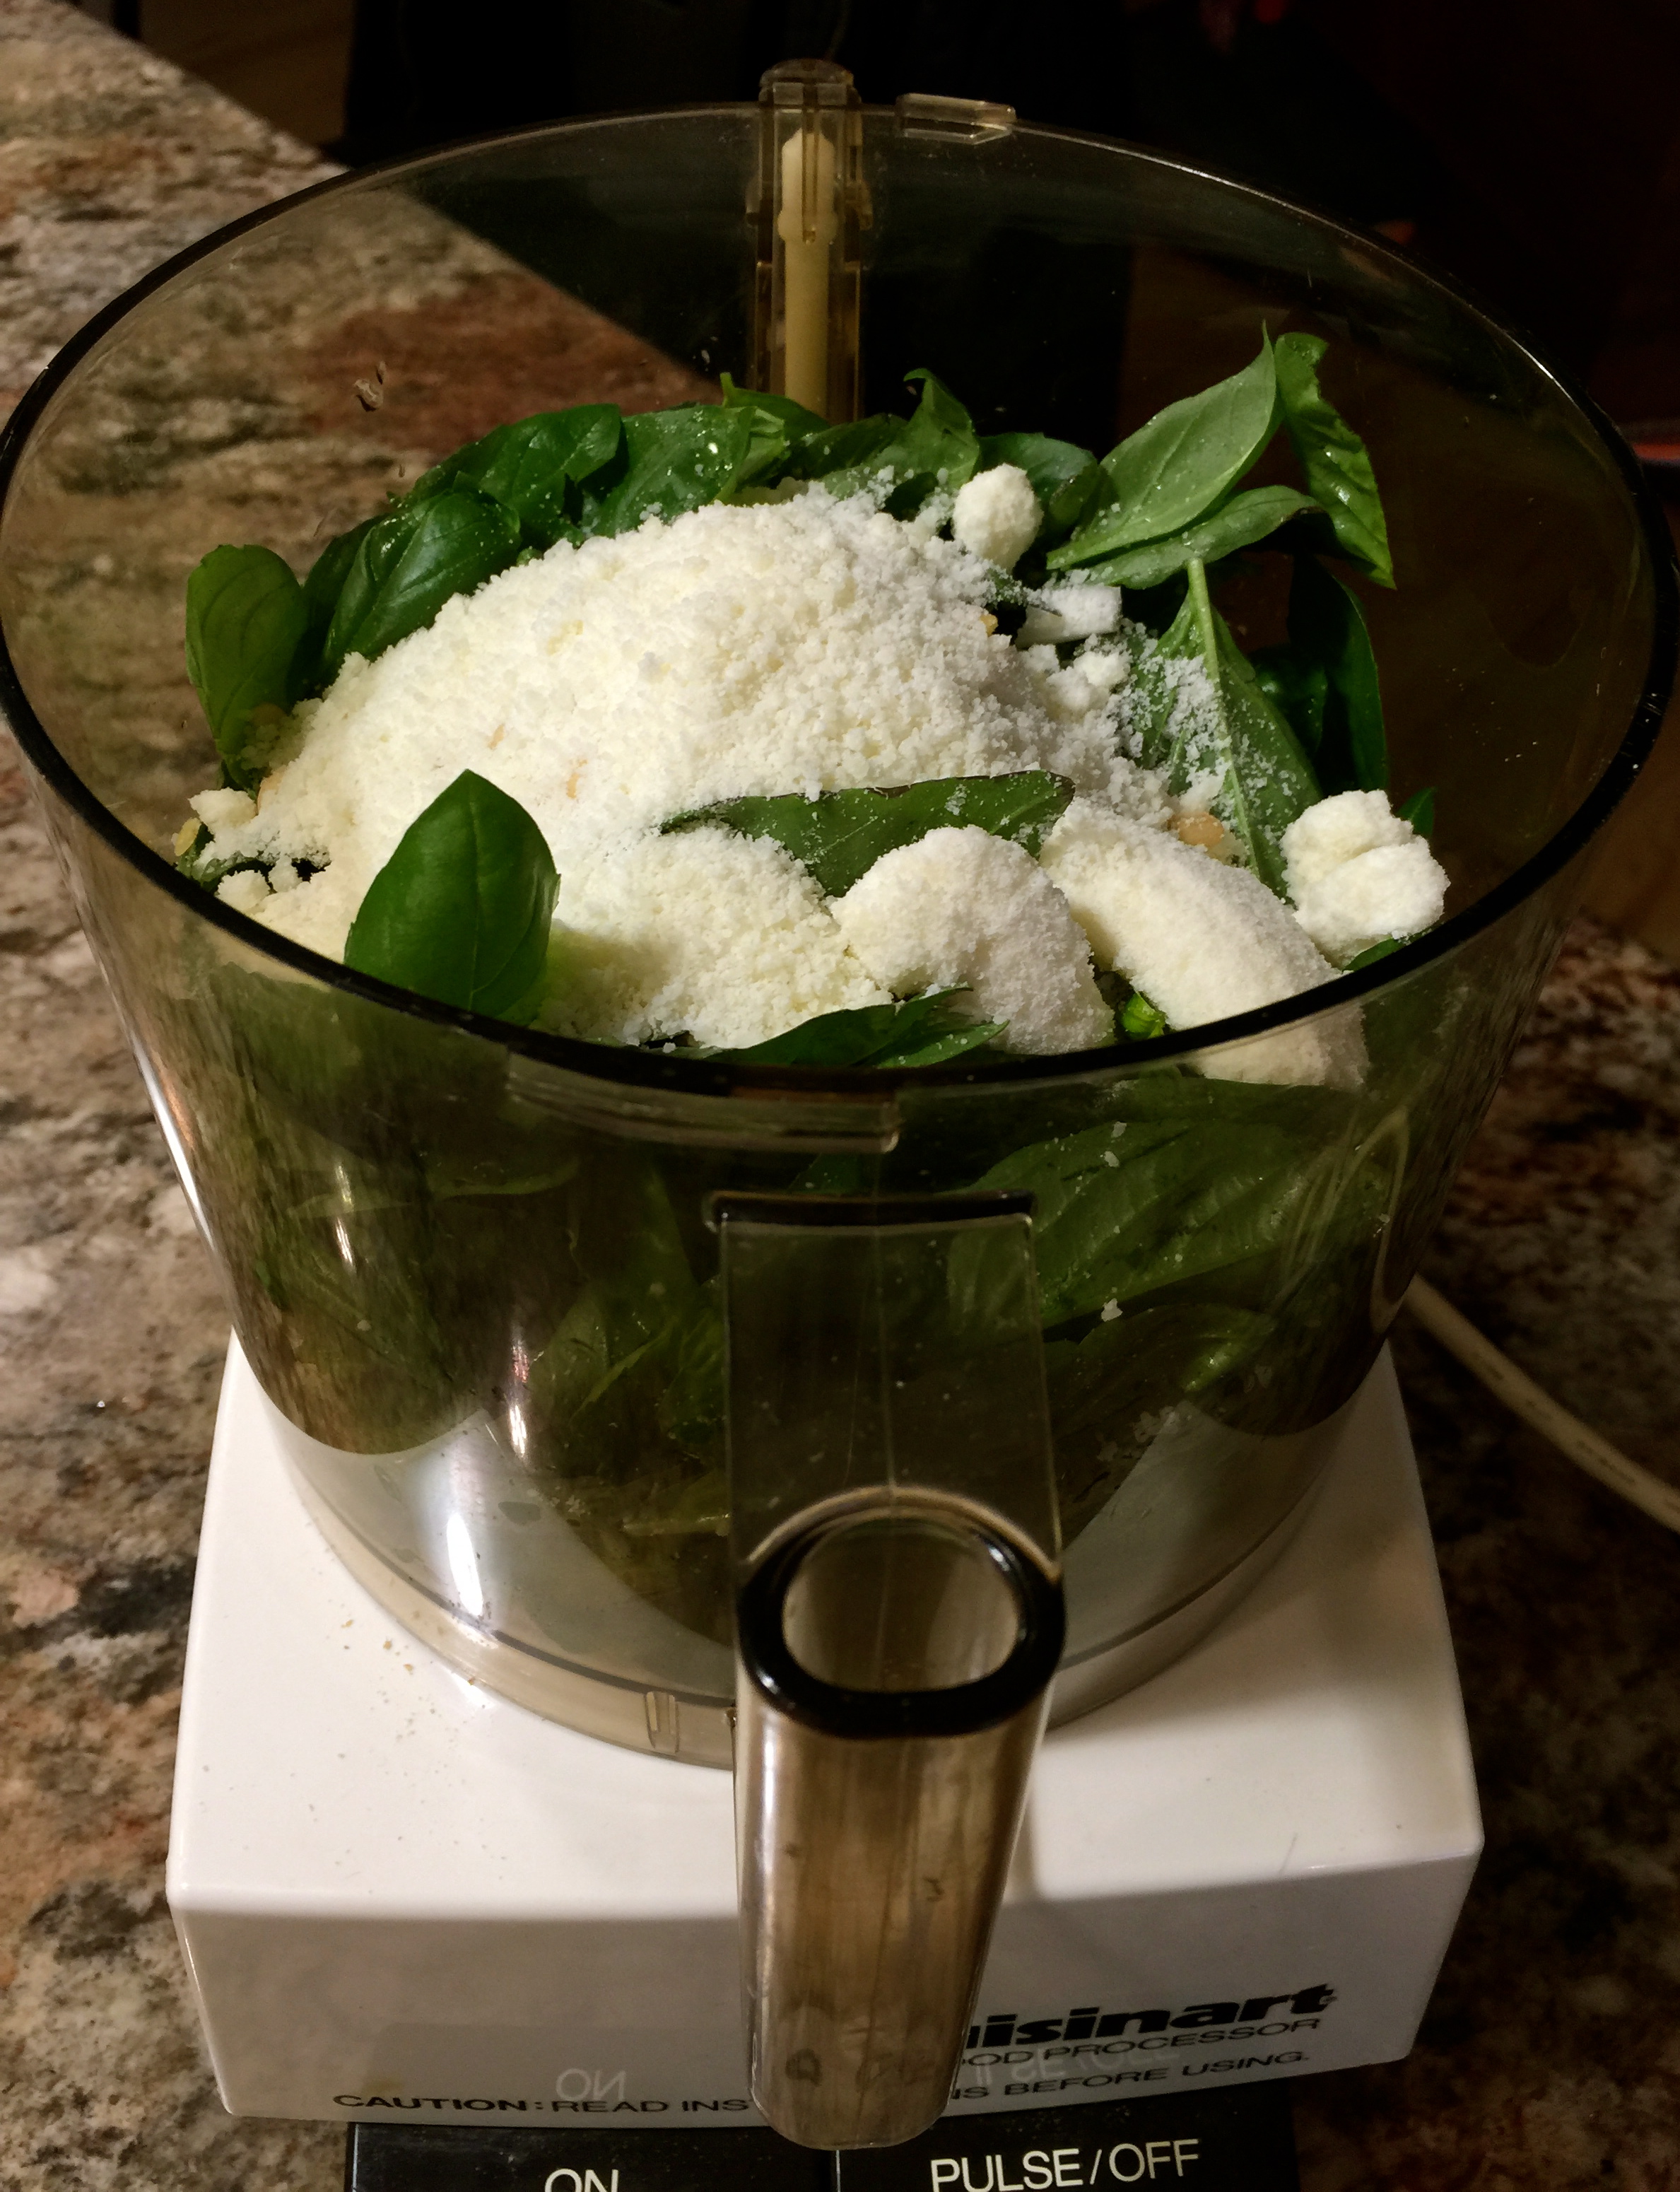
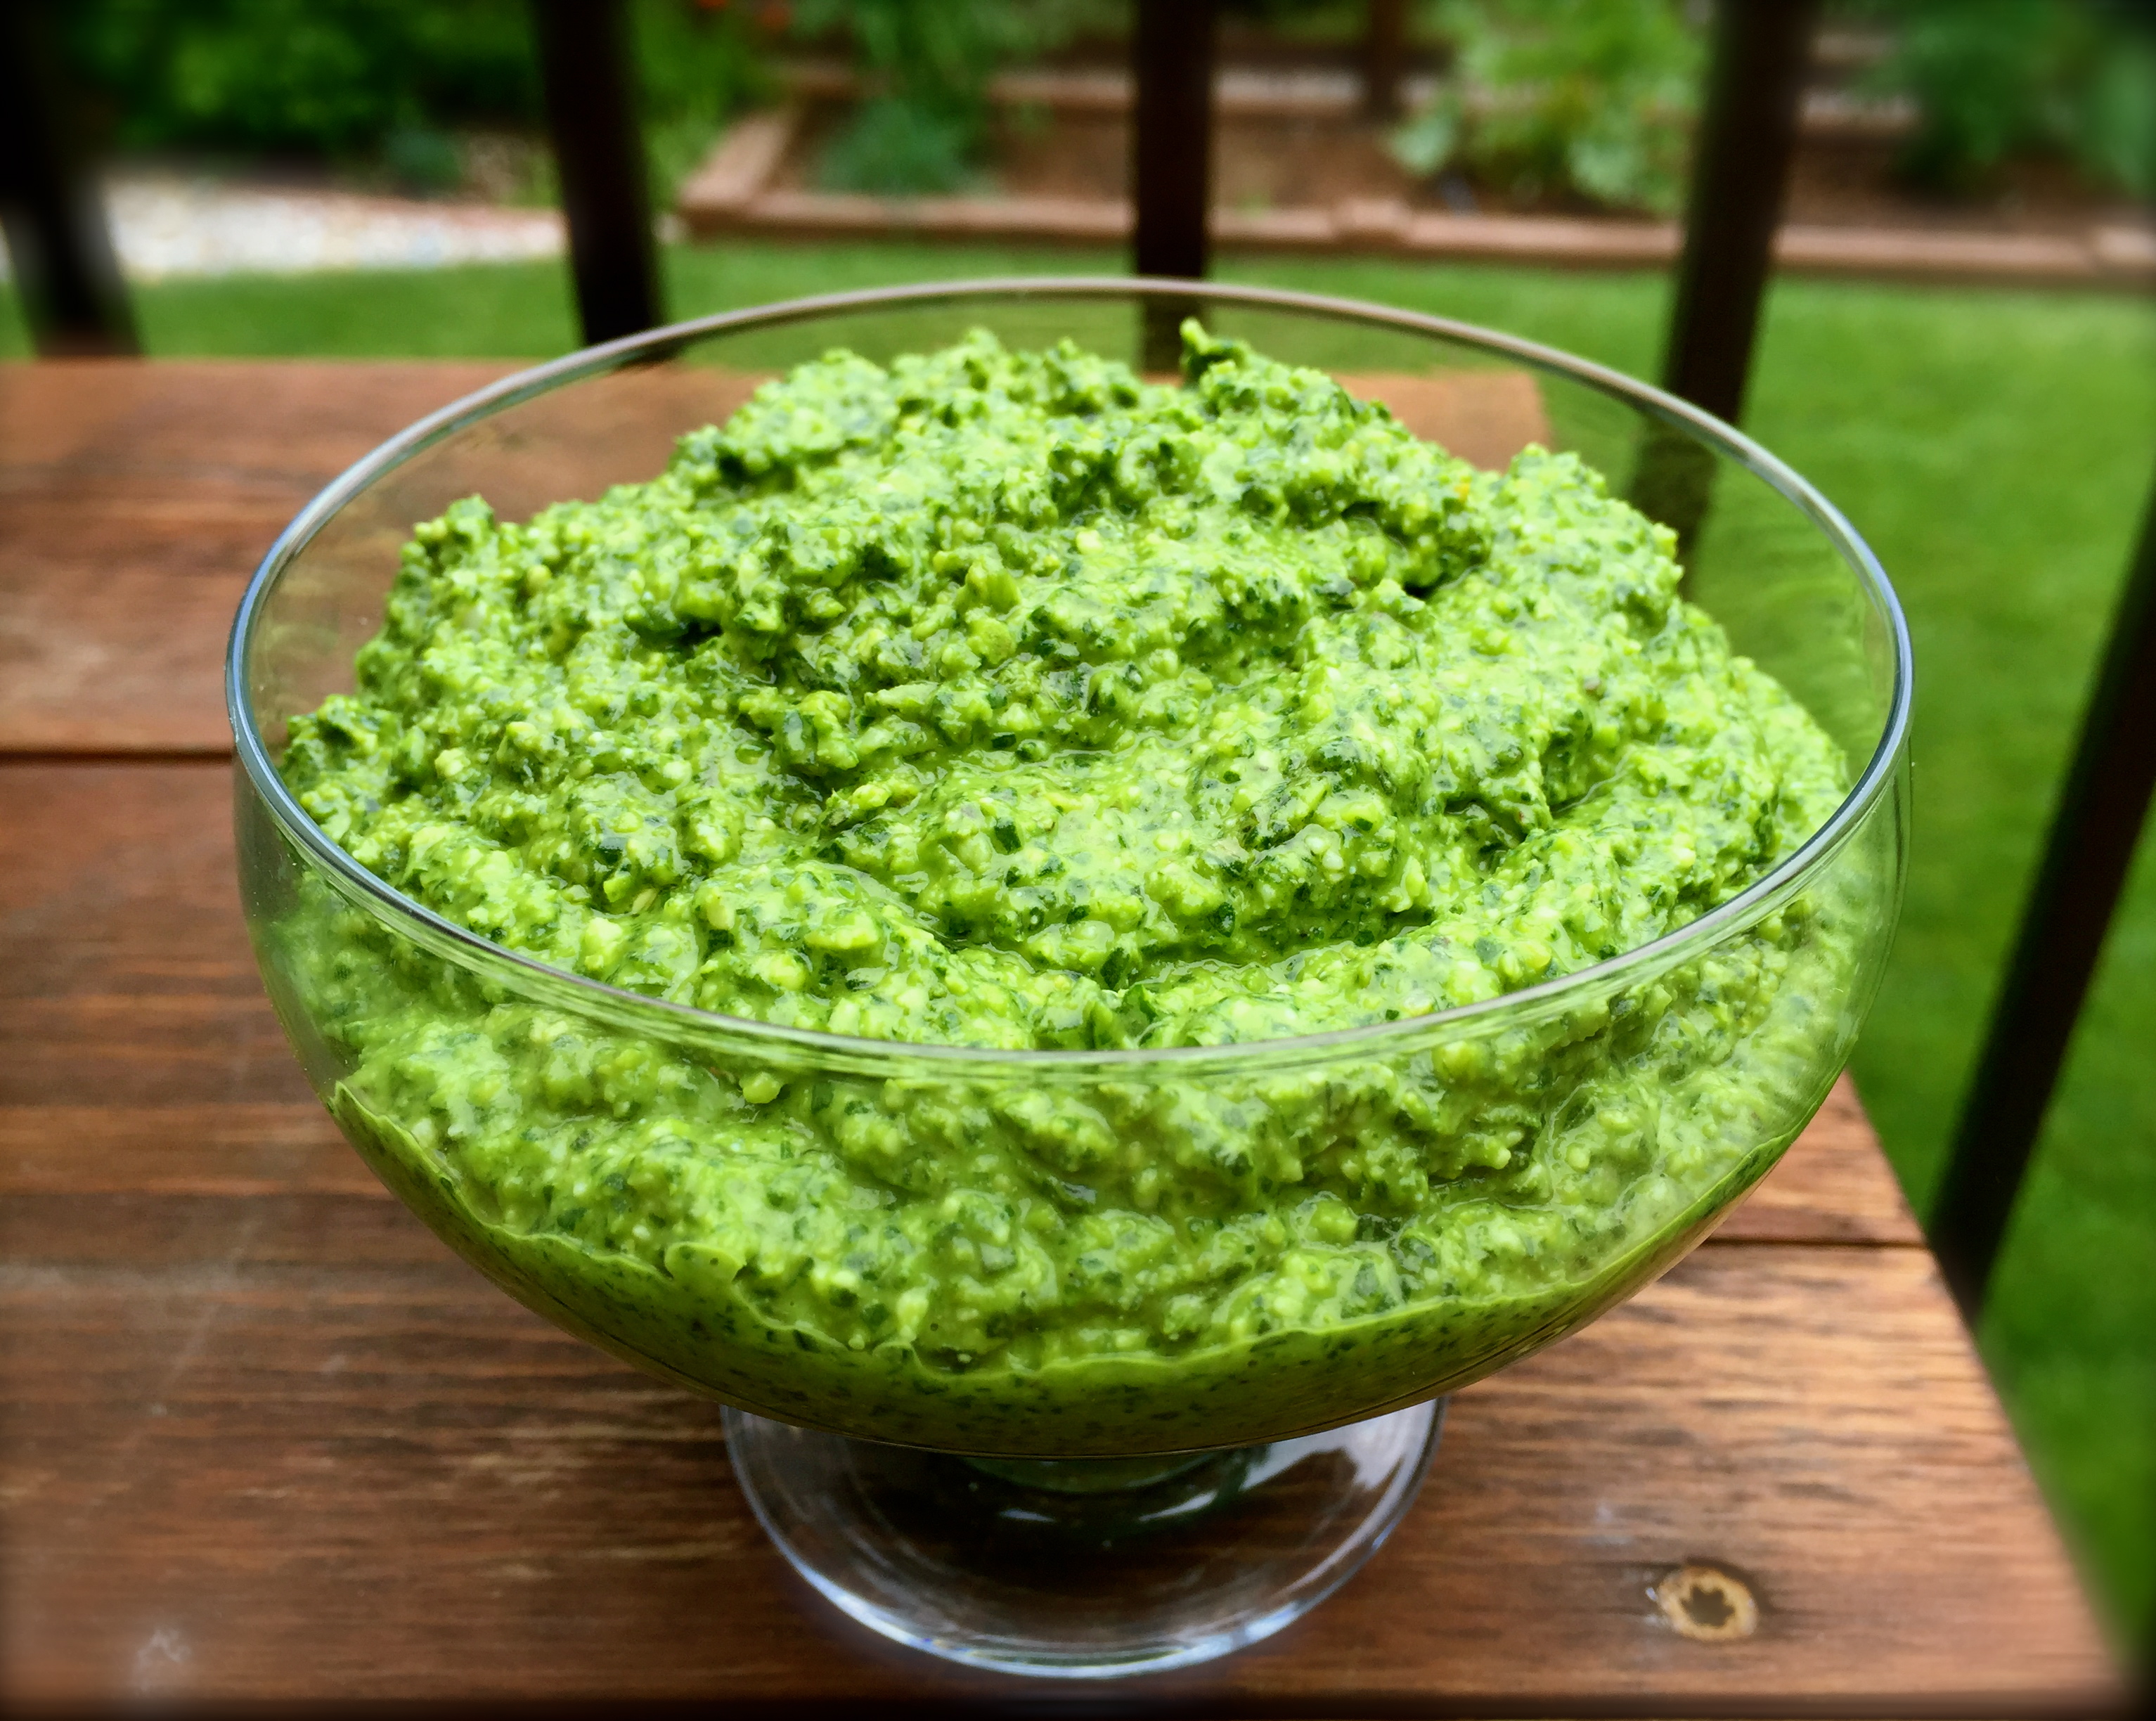
Lesson Learned 1 – This is a great way to use some of the homemade pesto you’ve made from growing basil: pesto is what adds zip to this recipe and homemade pesto is the best. If you don’t have your favorite go-to pesto recipe feel free to use mine. But pesto gives these morsels just the kick they need.

Some things to keep in mind when dredging the mozzarella balls in pesto – my mozzarella balls were in a small plastic container stored in liquid. I bought a small container that had about 20 balls. I put the balls in a strainer and drained the liquid into another dish (just in case I had some balls leftover, I wanted to store them back in the same liquid). I then drained the balls on a paper towel.

This time I did not have fresh pesto on hand so I bought a small 6 oz. jar of traditional pesto. I spooned half to it into a small wide rimmed bowl and dropped some of the balls in the pesto. I rolled them around with a spoon and then skewered them on my decorative pics. Couldn’t be easier.

Lesson Learned 2 – If you want to serve these standing up versus lying down you will need to cut a flat surface on the bottom of each mozzarella ball: I learned this lesson the hard way. I started assembling the skewers and found that they would not stand straight. The round bottom of the ball prevented them from doing so. I tried pushing the bottom flat but that didn’t seem to work so I started cutting the bottoms off the balls and then figured out that I liked the presentation of the skewers better with the skewers lying on their sides. So I opted to serve them lying on one side versus standing up. There is no right way to serve these, but I found that serving them on their side created quite an impressive looking appetizer as you can see from the picture below…

And that’s it really. As I’ve said many times before sometimes the simplest of recipes are the most impressive. This will be a great recipe to use when you harvest your basil and cherry tomatoes. It’s an easy, pop in your mouth bite that will disappear off your party table in no time.

Skewered Italian Appetizer Bites...

  • Servings: Approx. 20
  • Difficulty: Easy
  • Print

INGREDIENTS:

1 small container of cherry tomatoes

1 – 6 oz. jar of basil pesto (or make your own)

1 – 4 oz. package of sliced pepperoni (you will have some leftovers)

1 – 12 oz. container of mozzarella balls

Garlic infused olive oil

decorative picks for skewers

DIRECTIONS:

Put the basil pesto in a wide rimmed bowl. If using jarred pesto, start with half the jar and add more as needed to the bowl.

Strain the mozzarella balls making sure to save the liquid in case you need to store any leftover balls.  Place a few mozzarella balls in the pesto and roll them around with a spoon until they are covered with pesto (you will need to repeat this process a few times).

Assemble the skewers in the following manner – first skewer the tomatoes. Then add a pepperoni slice to each skewer. Lastly add the basil covered mozzarella ball and plate the skewers.

Store tightly wrapped in the refrigerator for a couple of hours or serve immediately. Drizzle with garlic infused olive oil right before serving.

SaveSave

SaveSave

SaveSave

SaveSave

SaveSave

SaveSave

SaveSave

SaveSave

SaveSave

SaveSave

SaveSave

SaveSave

SaveSave

SaveSave

SaveSave

SaveSave

SaveSave

SaveSave

SaveSave

SaveSave

SaveSave

SaveSave

SaveSave

SaveSave

SaveSave

SaveSave

SaveSave

SaveSave

SaveSave

Basic Basil Pesto…

If you grow herbs like I do, by about now you have a boat load of basil. Basil is one of my favorite herbs to grow. There’s just something so satisfying about growing it – I just can’t explain it. But when you get massive amounts, what’s the best way to use it? The answer it simple – make pesto!

I’m sure most of you have a favorite pesto recipe. Mine is pretty basic but I’ve found that by keeping it that way I can be more creative when I actually use it. From pizza to pasta to sandwiches and the like, basil pesto is an excellent accompaniment to just about any dish. So here’s my lessons learned and recipe – would love if you would share yours!

Basil LeavesLesson Learned 1 – The hardest part of making pesto is preparing the basil leaves: Picking them off the plant and washing and drying them are probably the most labor intensive part of making pesto. If you have a salad spinner, I recommend using that to remove the excess water once the leaves are washed. Unfortunately I don’t have one so I have to lightly squeeze them between paper towels. You don’t want to have a lot of water in your pesto so it is important to remove the excess. And make sure you CHECK FOR BUGS! We are not the only species that likes basil. Once when I was cleaning my leaves I found a “thousand legger” in with the leaves. So make sure you check. I don’t think you’ll want to put a bug in the food processor!

All Ingredients In the Food ProcessorLesson Learned 2 – The amount of garlic and olive oil you use is strictly personal preference: I like my pesto garlicky and thick. Some only like a hint of garlic and a runnier pesto. Determine what you like by easing into it. I use two whole cloves of garlic for 4 cups of leaves. Start with one clove if you’re not sure. With the olive oil, only put half the amount or 1/4 cup in the food processor to start. You can drizzle in more as the leaves are processing until you get the desire consistency. Only once did I use the full 1/2 cup of oil. That was the first time I made pesto, and I found it to be too runny. Now I start with 1/4 cup and drizzle some olive oil into the processor until I reach my desired consistency depicted in the picture below.

Lesson Learned 3 – Be careful about adding salt: Romano and Parmesan cheese are naturally salty. I would taste the pesto before you add any salt. I seldom add salt because the cheese seems to provide the flavor I want.

Lesson Learned 4 – Pesto freezes very well: I’ve heard that some people take ice cube trays and fill them with pesto so they can have individual servings whenever they need them. I tend to put mine in a few small containers and freeze them. That way I can chop off what I need at the time and put the rest back in the freezer or use it up all at once. I’ve had pesto in airtight containers last up to a year in my freezer.

Basil Pesto

Basic Basil Pesto

  • Servings: 12-20
  • Difficulty: Easy
  • Print

INGREDIENTS:

4 cups loosely packed basil leaves

2 cloves garlic

1 small shallot, cut into pieces

3 TBS. pine nuts

1/4 – 1/2 cup olive oil

1/2 cup grated romano or parmesan cheese

salt, if desired

DIRECTIONS:

Wash basil leaves and remove excess water. Place the basil, shallot, pine nuts, cheese and 1/4 cup oil in a food processor. Process, stopping to scrape down the sides of the food processor at least once. Check the consistency of the pesto. If too thick, drizzle in more oil while processing until the pesto reaches the desired consistency.

Use or freeze. If not using immediately, store in an airtight container in your refrigerator or freezer.

Basic Basil Pesto

Pesto Orzo With Roasted Red Peppers and Olives…

Pesto Orzo Roasted Red Pepper Ingredients

Pesto Orzo Roasted Red Pepper Ingredients

I admit, I am not one for making up recipes – creativity in the kitchen is not yet one of my culinary skills. But this recipe is an invention of mine – totally made up on the spot (and I’m sure there is a similar recipe for this out there somewhere) and has now become a side dish staple in our house.

It really evolved from two things, that being a cooking class in which I learned the art of roasting a red pepper (no more store bought jars for me) and a huge crop of basil that forced me to figure out how to make pesto. From there the recipe took shape.  So let’s talk a little bit about home-made roasted red peppers and pesto. Once you’ve made them yourself you will seldom, unless time dictates, go back to buying it pre-prepared at the grocery store.

Flame Roasting A Red Pepper

Flame Roasting A Red Pepper

I first became aware of using roasted red peppers in recipes from watching the Food Network. It seemed that every chef I liked used them in a variety of different recipes but they mostly just got them out of a jar. Don’t get me wrong, the jarred roasted red peppers are great and are a real time saver, but if you want to control the flavor and minimize waste there is nothing like making it yourself. It’s so easy and I have to say rather fun as well.

The trick is you will need fire of some sort to do this, so a gas stove or other source of flame is necessary. All you do is put it on the fire and let it turn black, and I do mean black. Just keep an eye on it and when one side turns black rotate it until the entire pepper is black. That’s it. Then you put it in a container, cover it with plastic wrap and let it sit for at least 20 minutes. After that, you take a paring knife and scrape off the black matter and voila, you have a roasted red pepper! It can’t get simpler than that. I’ll put the complete recipe down below. Oil and herbs round out the flavor, but it is so easy and I like the fact that you control the amount you want to have versus buying a jar of peppers and having half of it sit in the refrigerator until you wind up throwing it out. This is easy and it has real cost savings as well.

The blackened pepper...

The blackened pepper…

The next part is the pesto. The prime ingredient in pesto is fresh basil. I like to grow mine in containers on my deck. Once you figure out how to grow basil you will get it prolifically, trust me. The first year I grew it I was not aware of cutting it back before it began to flower. That resulted in a very small basil crop. The second year I did a little research, did the appropriate trimming and I wound up with basil coming out of my ears. Using your basil to make pesto is a great way to have it year-round. I make mine and freeze it in batches and when I want some I just scoop what I need out of the container and let it thaw. I hear some people freeze it in ice cube trays and just pop cubes of pesto out when they want them. I had way too much basil to even try that. My freezer would’ve become nothing more than a haven for ice cube trays! Pesto freezes very well and every summer I wind up freezing a supply that takes me through to the following summer. I’ve included the pesto recipe below.

Homemade Pesto

Homemade Pesto

The rest is relatively simple, just a matter of cooking the pasta and combining the ingredients. My husband is a big rice fan and I’m not (being born and raised a potato girl) so I’m always looking for ways to either make a substitute for rice or jazzing up rice. Because of that I’ve become quite adept at risotto, my favorite form of rice, but that is for another blog. I found this recipe to be a great substitute for rice. As a matter of fact, my husband originally thought it was rice as orzo is a rice shaped pasta. Try this. I think you’ll really enjoy this one. Here is my recipe rating and lessons learned: Rating: A +++++ – now c’mon, you didn’t think I could rate a recipe made up by me any less than this, could you? But I bet if you try it you’ll agree. The combination of flavors is a perfect compliment to almost any dish. Lesson Learned 1: When I learned about roasting peppers on the stove I was told to let it sit covered for a minimum of 20 minutes before scraping off the burnt edges. I recommend waiting as long as you can. The longer you let it sit the easier it is to scrape it off. If you wait an hour or more it comes off in no time flat. Lesson Learned 2: When making the pesto recipe, initially add only half of the olive oil into the food processor. After that drizzle in the rest. You may find that adding all of the recommended amount may make the pesto too oily. I don’t like my pesto floating in oil, but some do. You can always add more olive oil but you can’t take it away once you’ve added it. Lesson Learned 3: The pesto recipe calls for a half of a clove of garlic. I like my garlicky and so I put in two cloves. Don’t throw them in whole. Just cut them in quarters – that way you will ensure they mix properly in the food processor. You don’t want to be chomping on raw garlic. Lesson Learned 4: The recipe calls for a 1/2 cup of cheese. You can add more to taste if you like. Lesson Learned 5: After you drain the pasta put it back in the pot you cooked it in and mix all the ingredients together under a very low flame. That way any residual liquid will evaporate so you won’t have a watery concoction.  

Pesto Orzo With Roasted Red Peppers and Olives

  • Servings: 4-6
  • Difficulty: Easy
  • Print
INGREDIENTS: 1 1/2 cups uncooked orzo pasta i large red bell pepper 1/4 cup of pesto olive oil (1-2 tsp.) 1/4 cup of kalamata olives chopped 1 TBS garlic and herb bread dipper seasoning DIRECTIONS: Place red pepper over open flame and blacken on all sides. Place in a heat resistant bowl, cover with plastic wrap and let sit for at least 20 minutes. Remove pepper from bowl and scrape off all of the black matter. Cut open, remove the seeds and yellowish veins and cut into lardons (lardons are simply small rectangular slices – see picture below). Add seasoning and desired amount of olive oil. Mix together and set aside. Chop the kalamata olives into small bite size pieces.

Lardons of red pepper mixed with olive oil and seasonings.

Lardons of red pepper mixed with olive oil and seasonings.

In a 3-4 quart saucepan cook pasta according to package directions. Once cooked, drain the pasta and put it back in the pot under a very low heat. Add the pesto (recipe below), roasted red pepper and olives. Stir to combine. Serve immediately.

Basic Basil Pesto

  • Servings: 12
  • Difficulty: Easy
  • Print
INGREDIENTS: 4 cups loosely packed basil leaves 2 cloves garlic 1 small shallot, cut into pieces 3 TBS. pine nuts 1/4 – 1/2 cup olive oil 1/2 cup grated romano or parmesan cheese salt, if desired DIRECTIONS: Wash basil leaves and remove excess water. Place the basil, shallot, pine nuts, cheese and 1/4 cup oil in a food processor. Process, stopping to scrape down the sides of the food processor at least once. Check the consistency of the pesto. If too thick, drizzle in more oil while processing until the pesto reaches the desired consistency. Use or freeze. If not using immediately, store in an airtight container in your refrigerator or freezer.

Mix all ingredients together under a low heat

Mix all ingredients together under a low heat

Orzo Pasta with Roasted Red Pepper and Olives

Orzo Pasta with Roasted Red Pepper and Olives