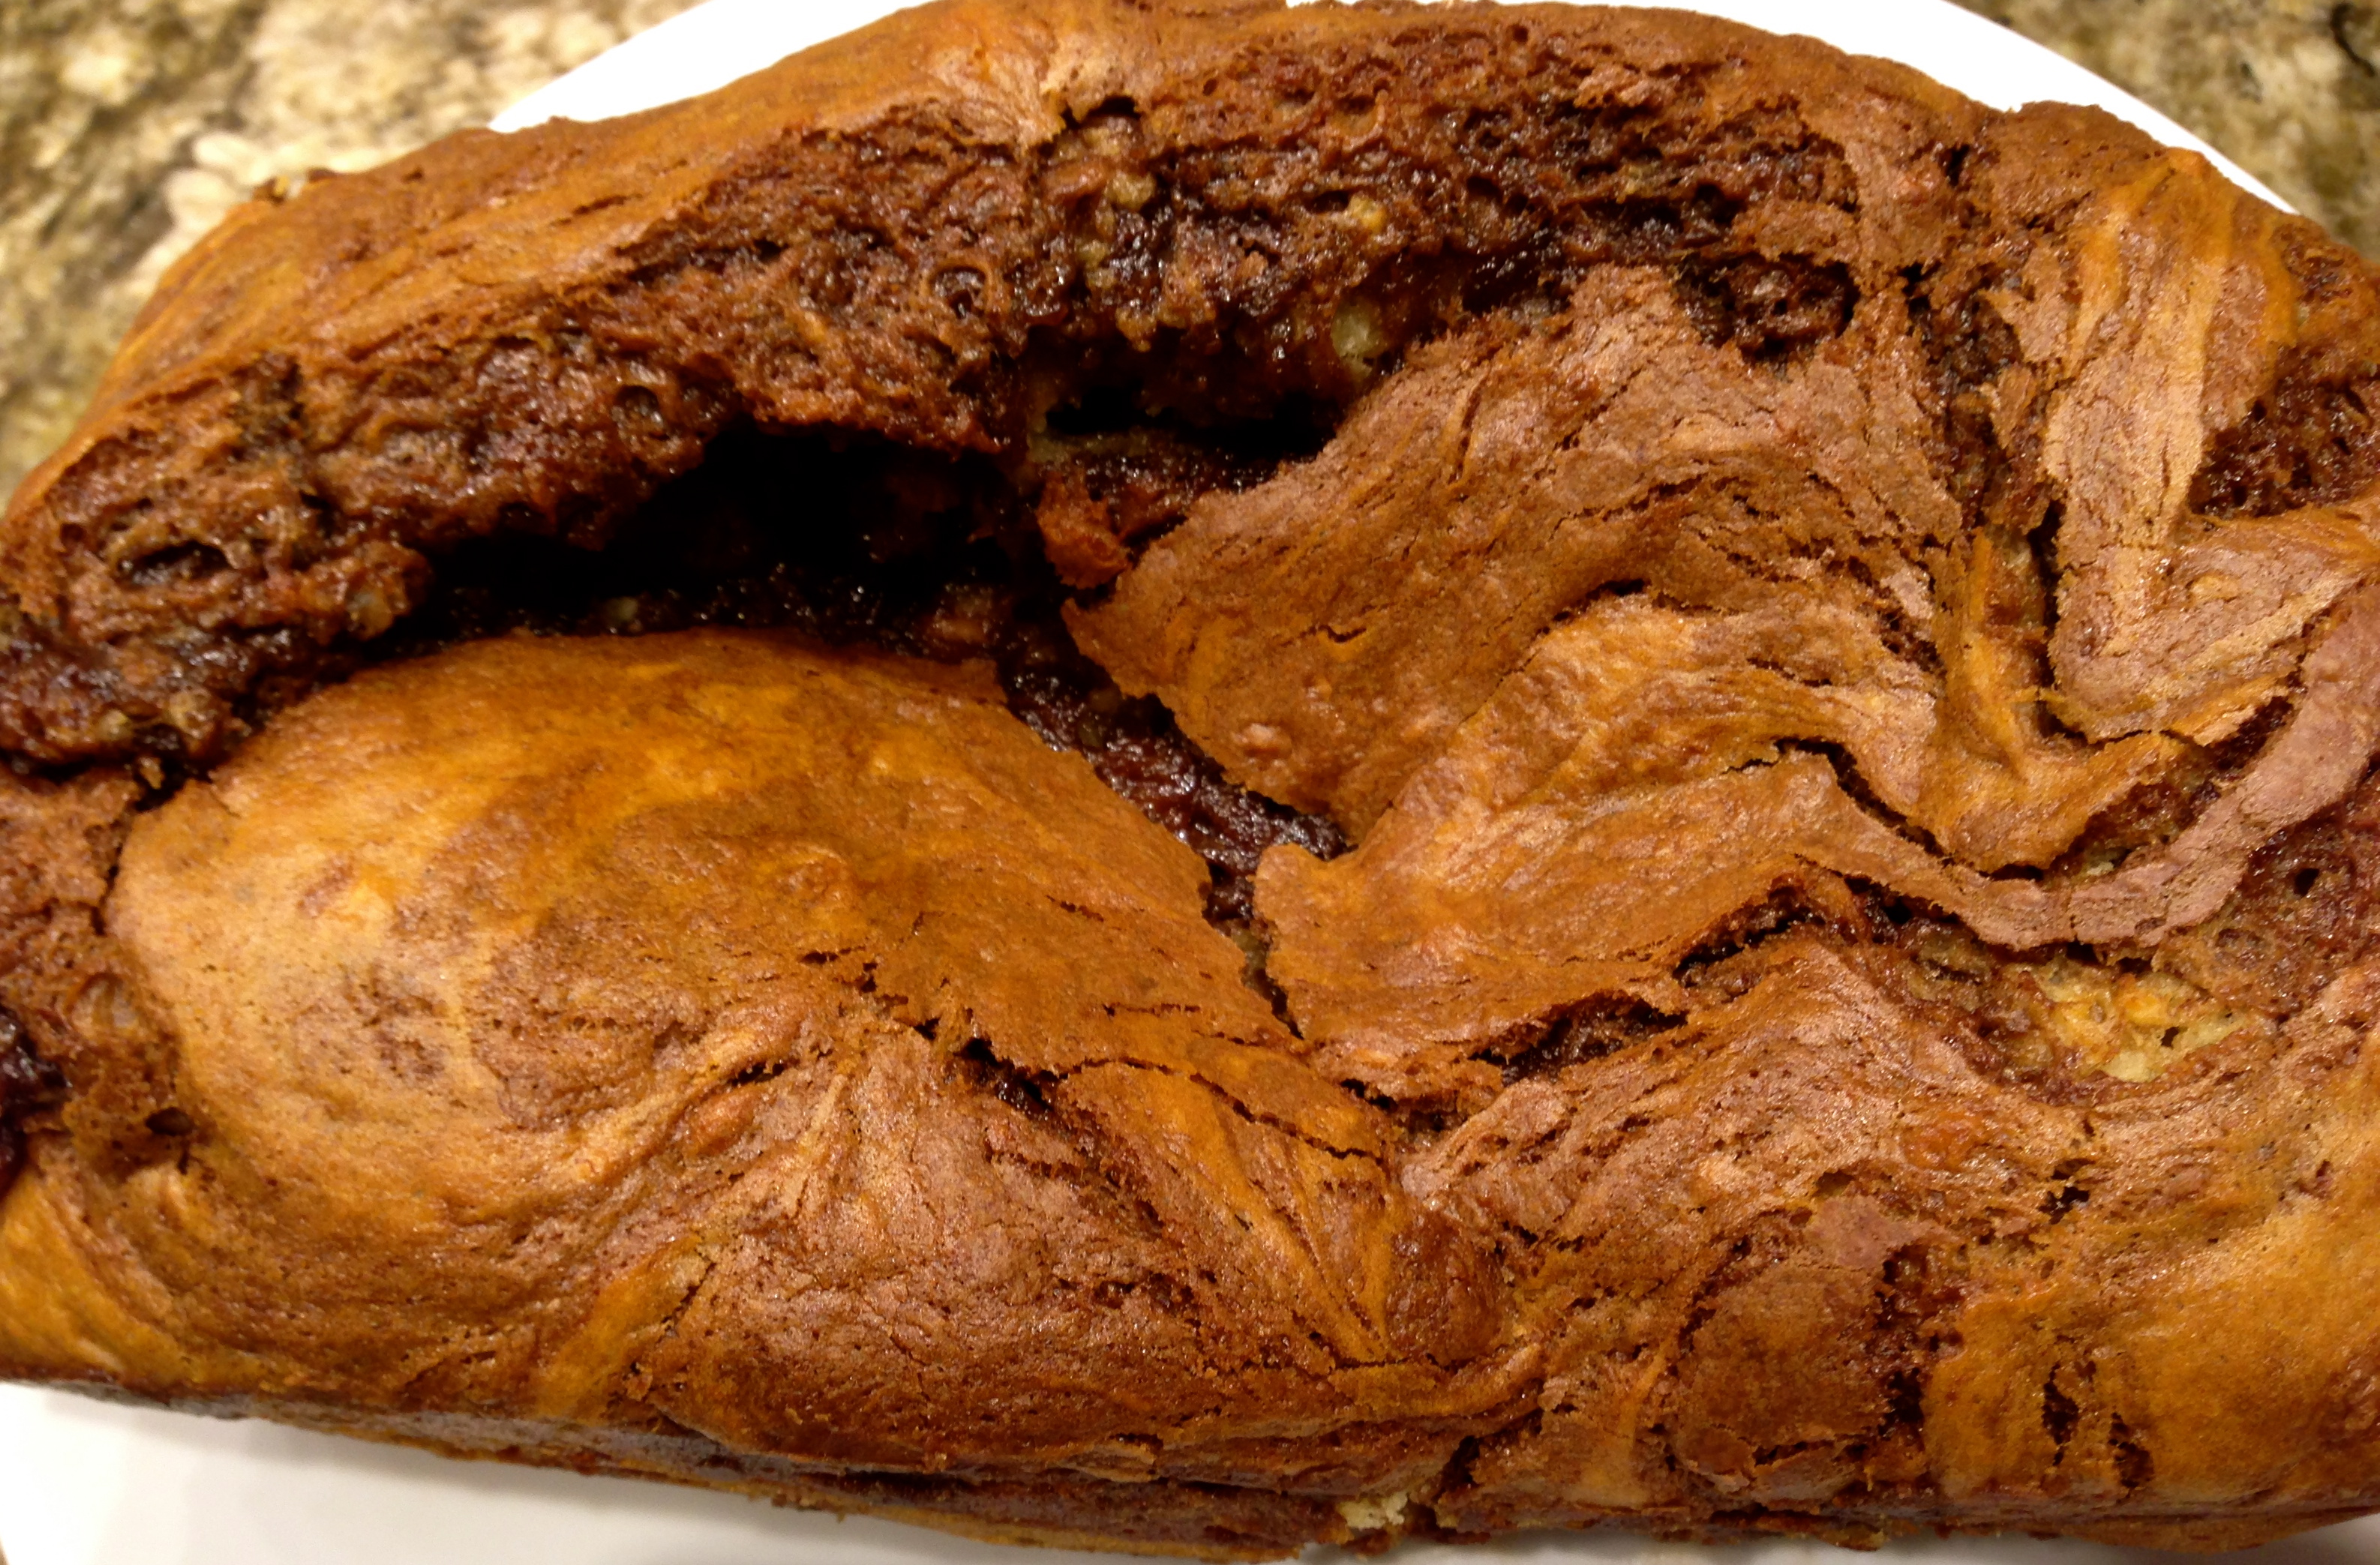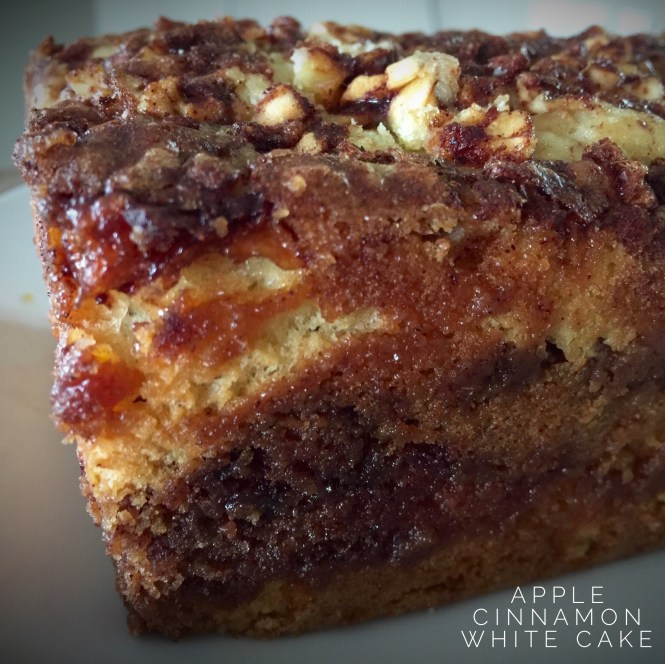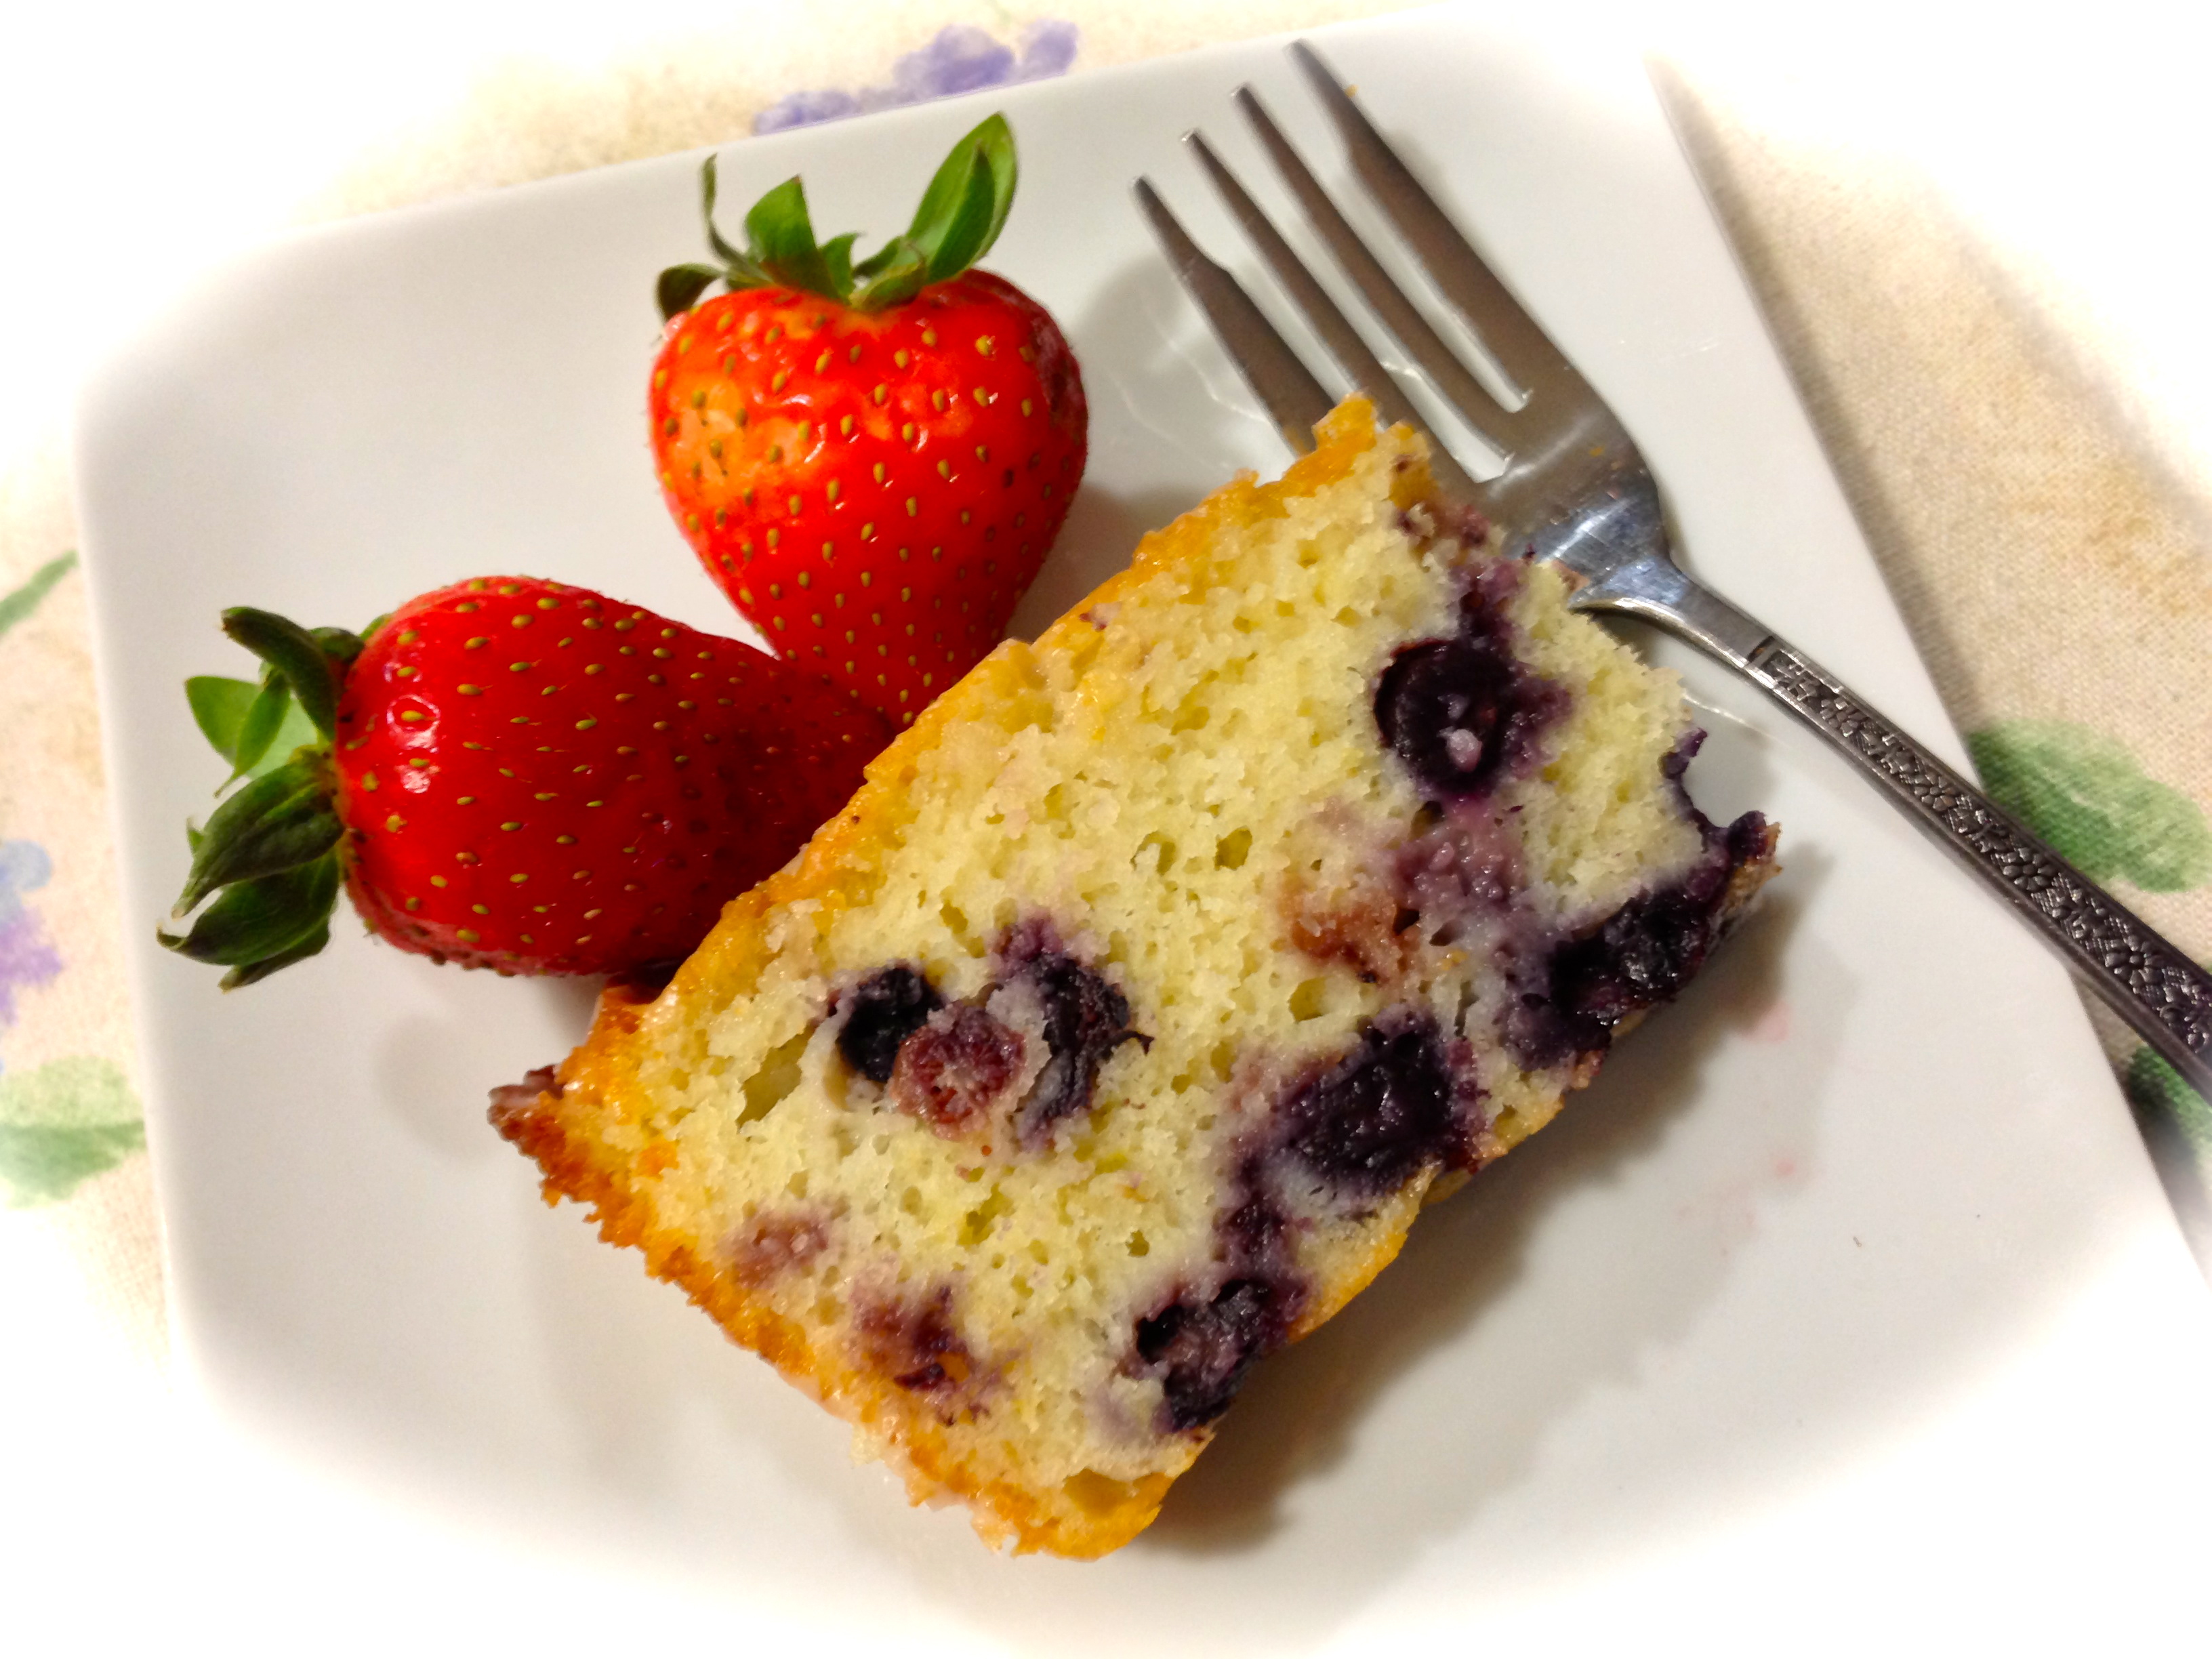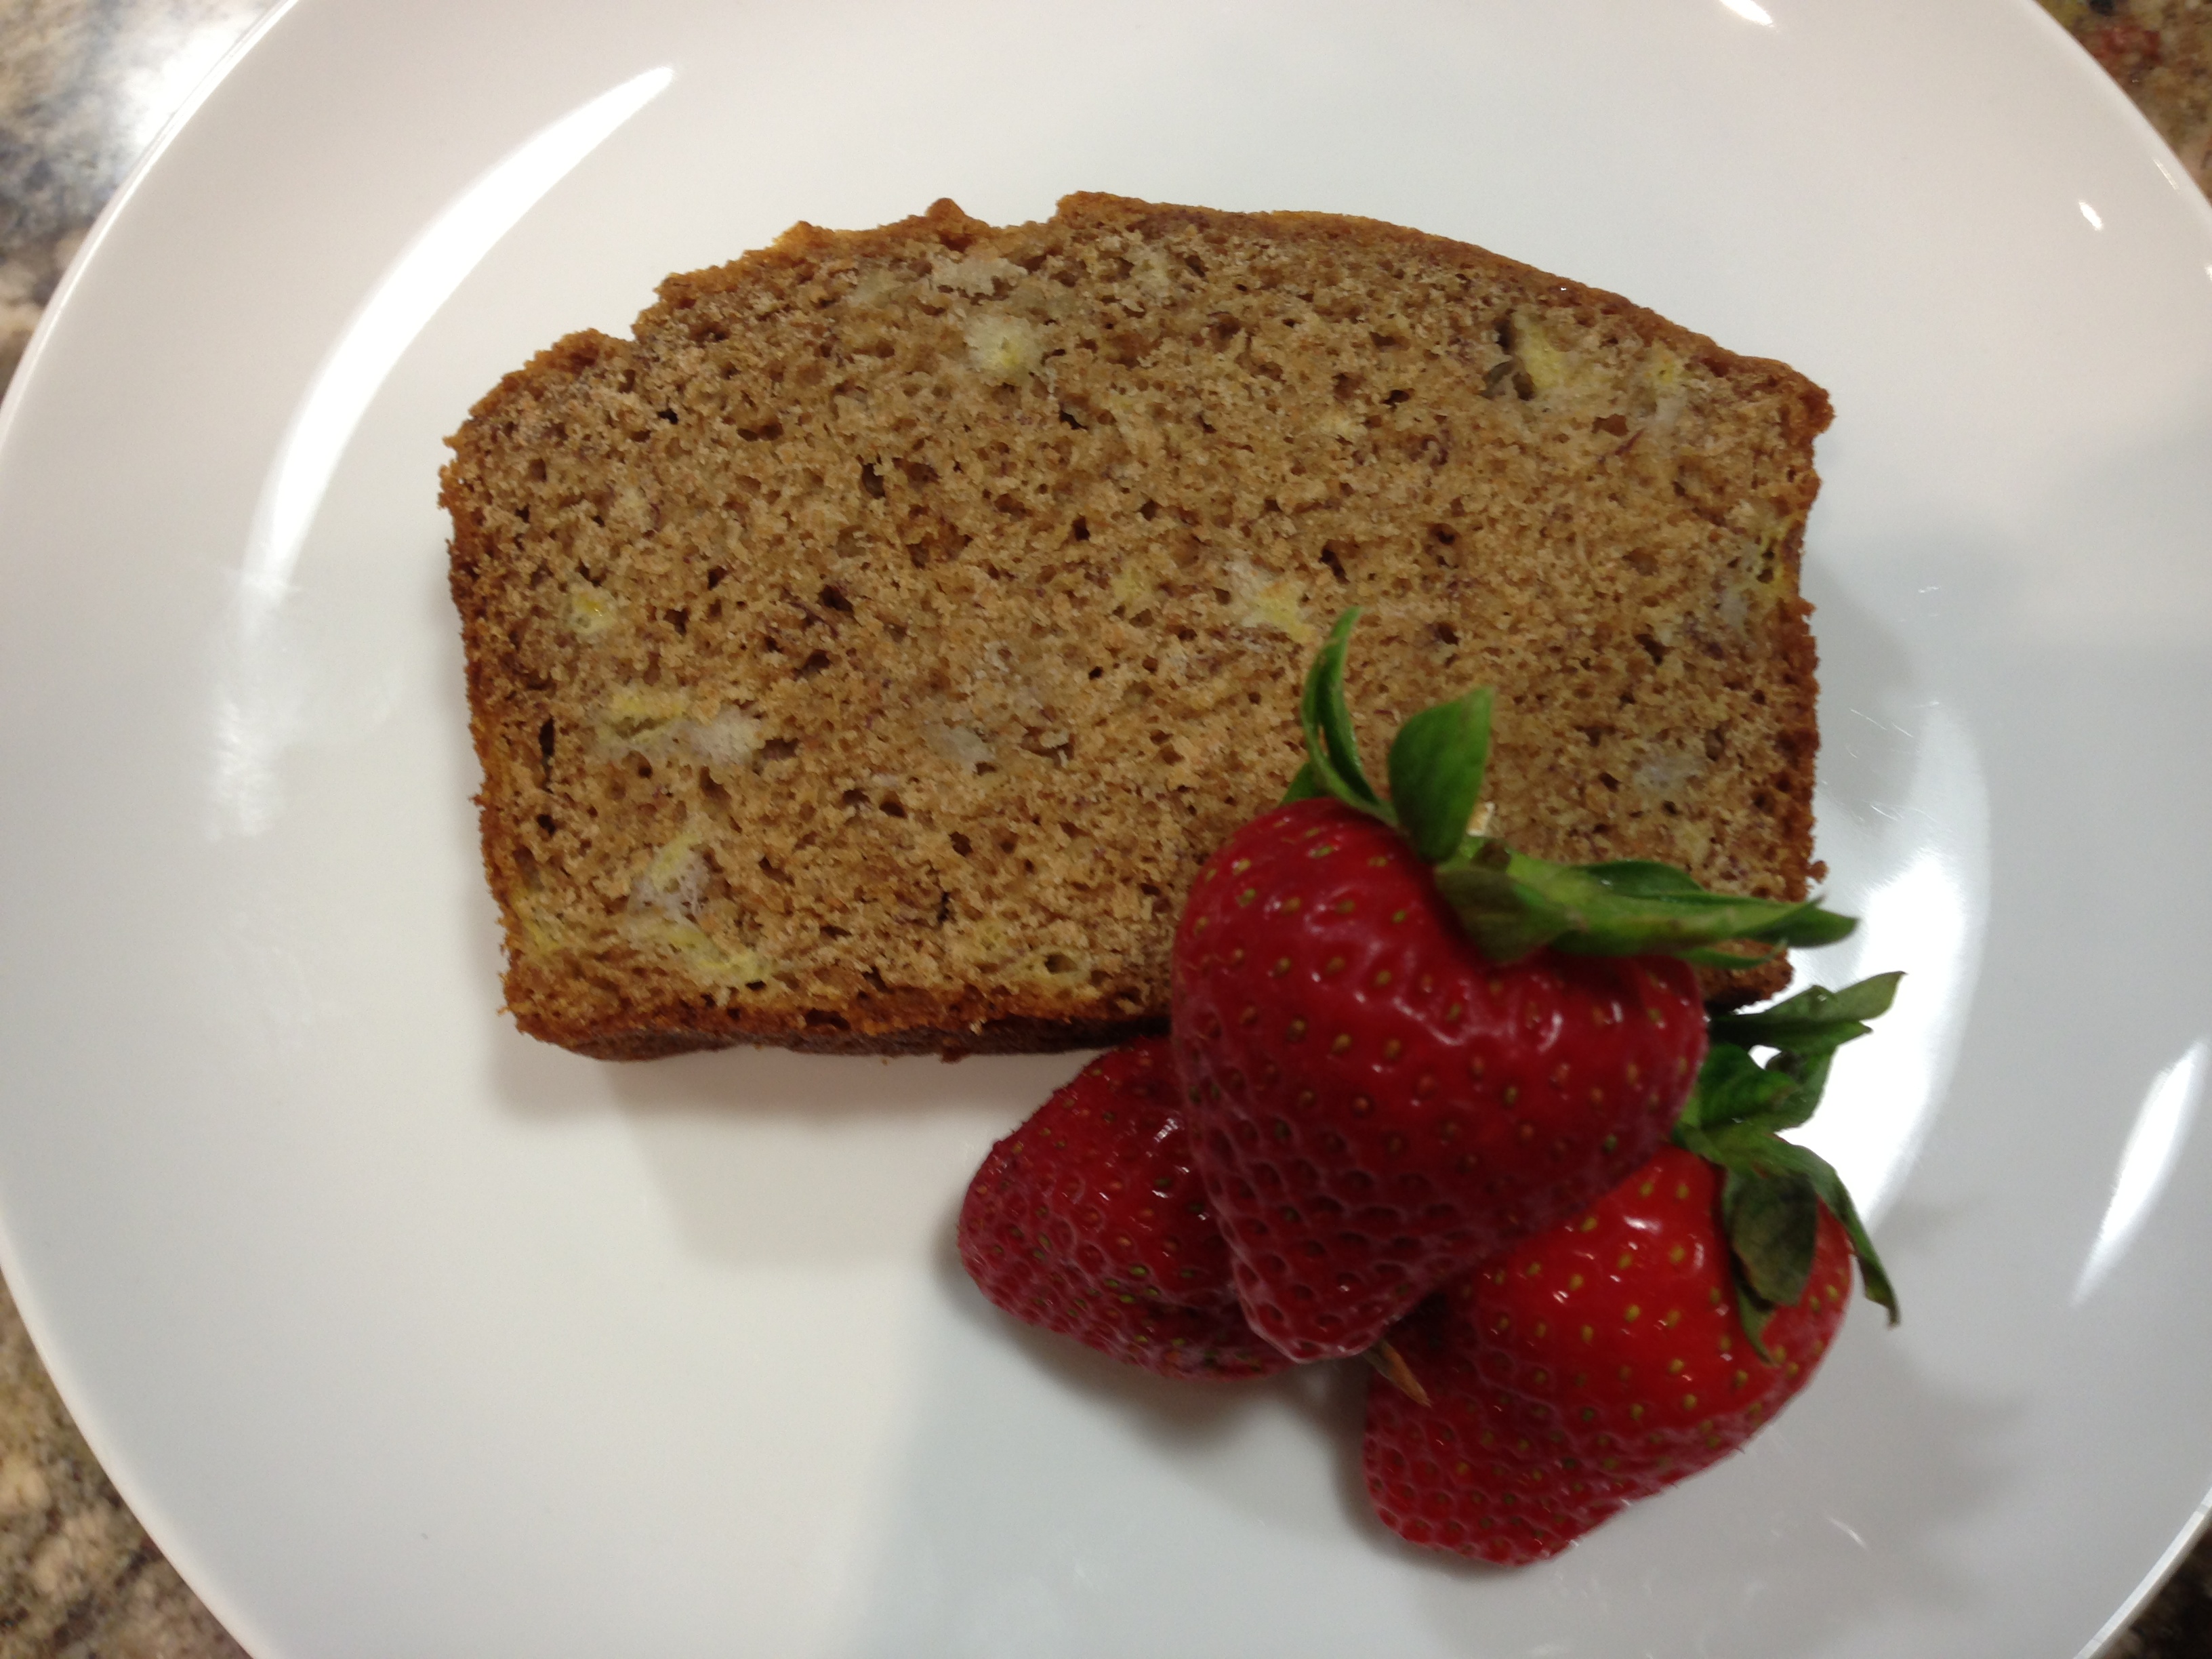
Holiday Cookie Platter
Today I am going to a neighbor’s house for a holiday party and am bringing a platter of my holiday cookies. This year I made eight different kinds and along the way have posted updates of my baking endeavors on Facebook and Pinterest. The cookie recipe that I am going to share with you today stole the show in terms of favorable comments and requests for the recipe.
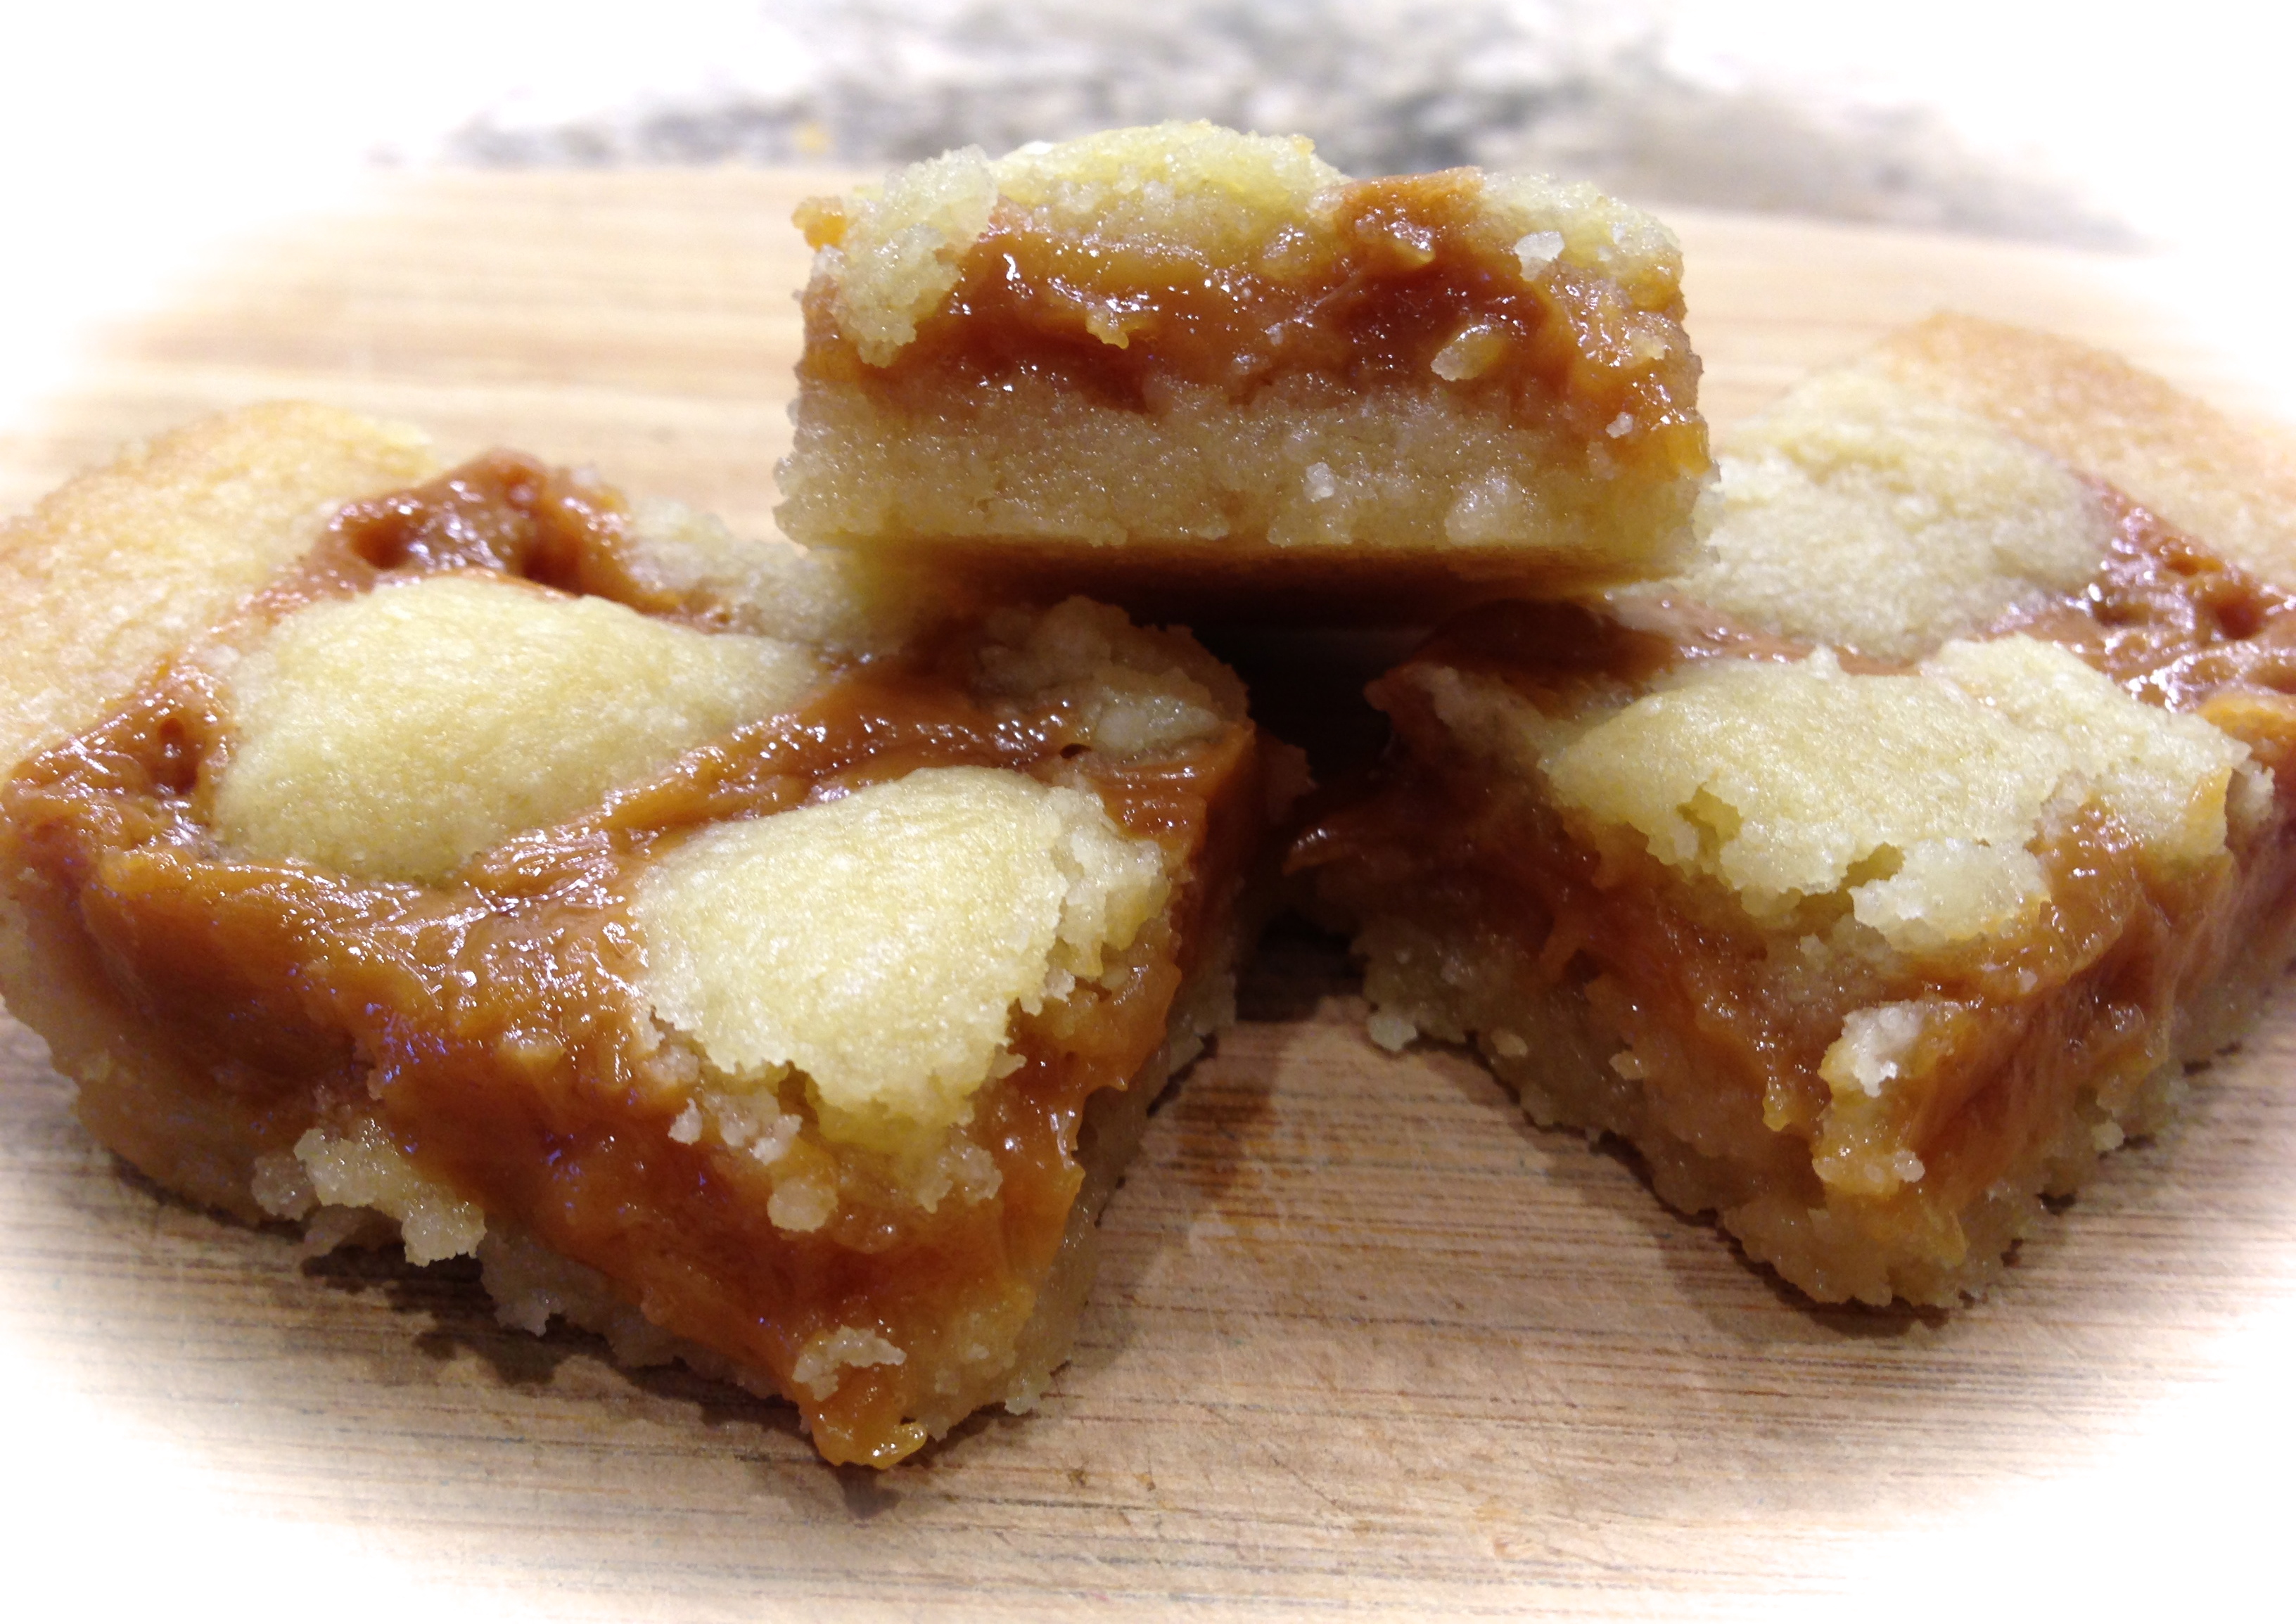
As part of my holiday baking tradition I always try at least one new recipe. This year I tried two, salted caramel butter bars and iced cinnamon chip cookies. Both turned out fabulously and will probably become future holiday staples. At some point I will have to pick and choose since eight different types are about all I can handle in one holiday season.
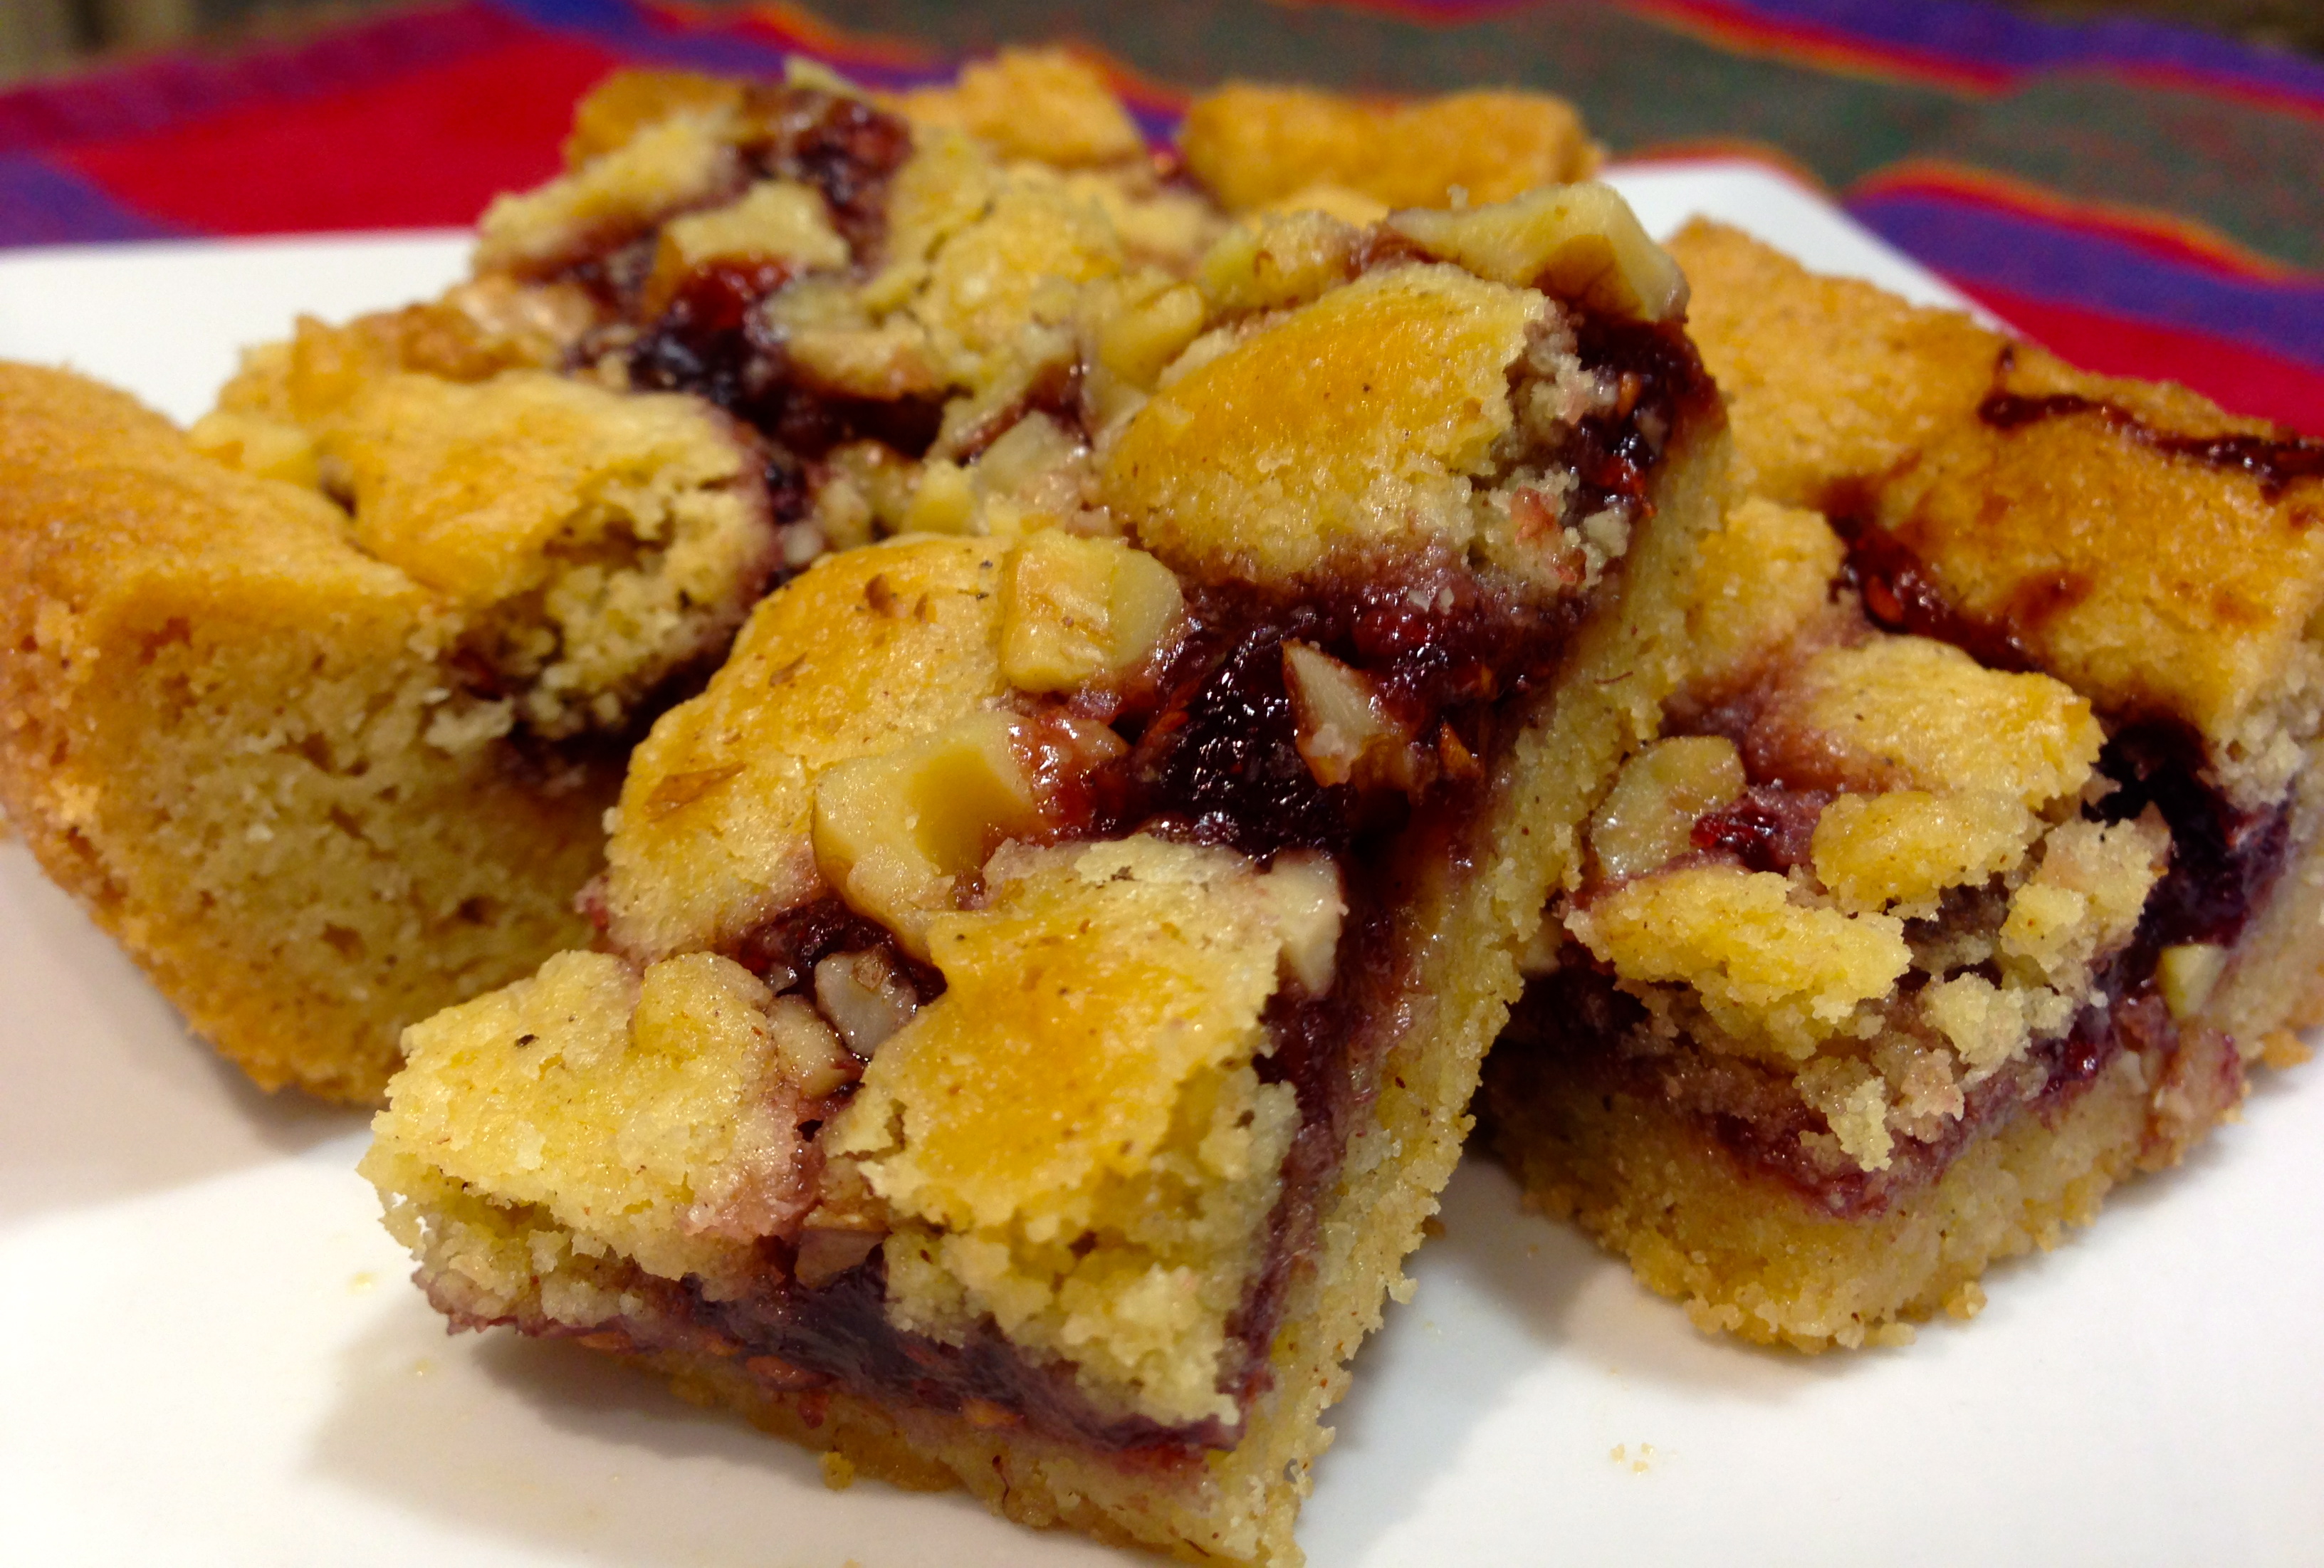
The salted caramel butter bars were a big hit when I posted a picture of the finished product on FB. What I like about them, besides the fabulous flavor, is that they are relatively easy to make. My husband gave them two thumbs up which is a real vote of confidence for a new holiday cookie and although the iced cinnamon chip cookies topped my list of the new recipes (that recipe to be posted in the near future) these certainly will wind up a keeper. So here is my rating and lessons learned making this recipe.
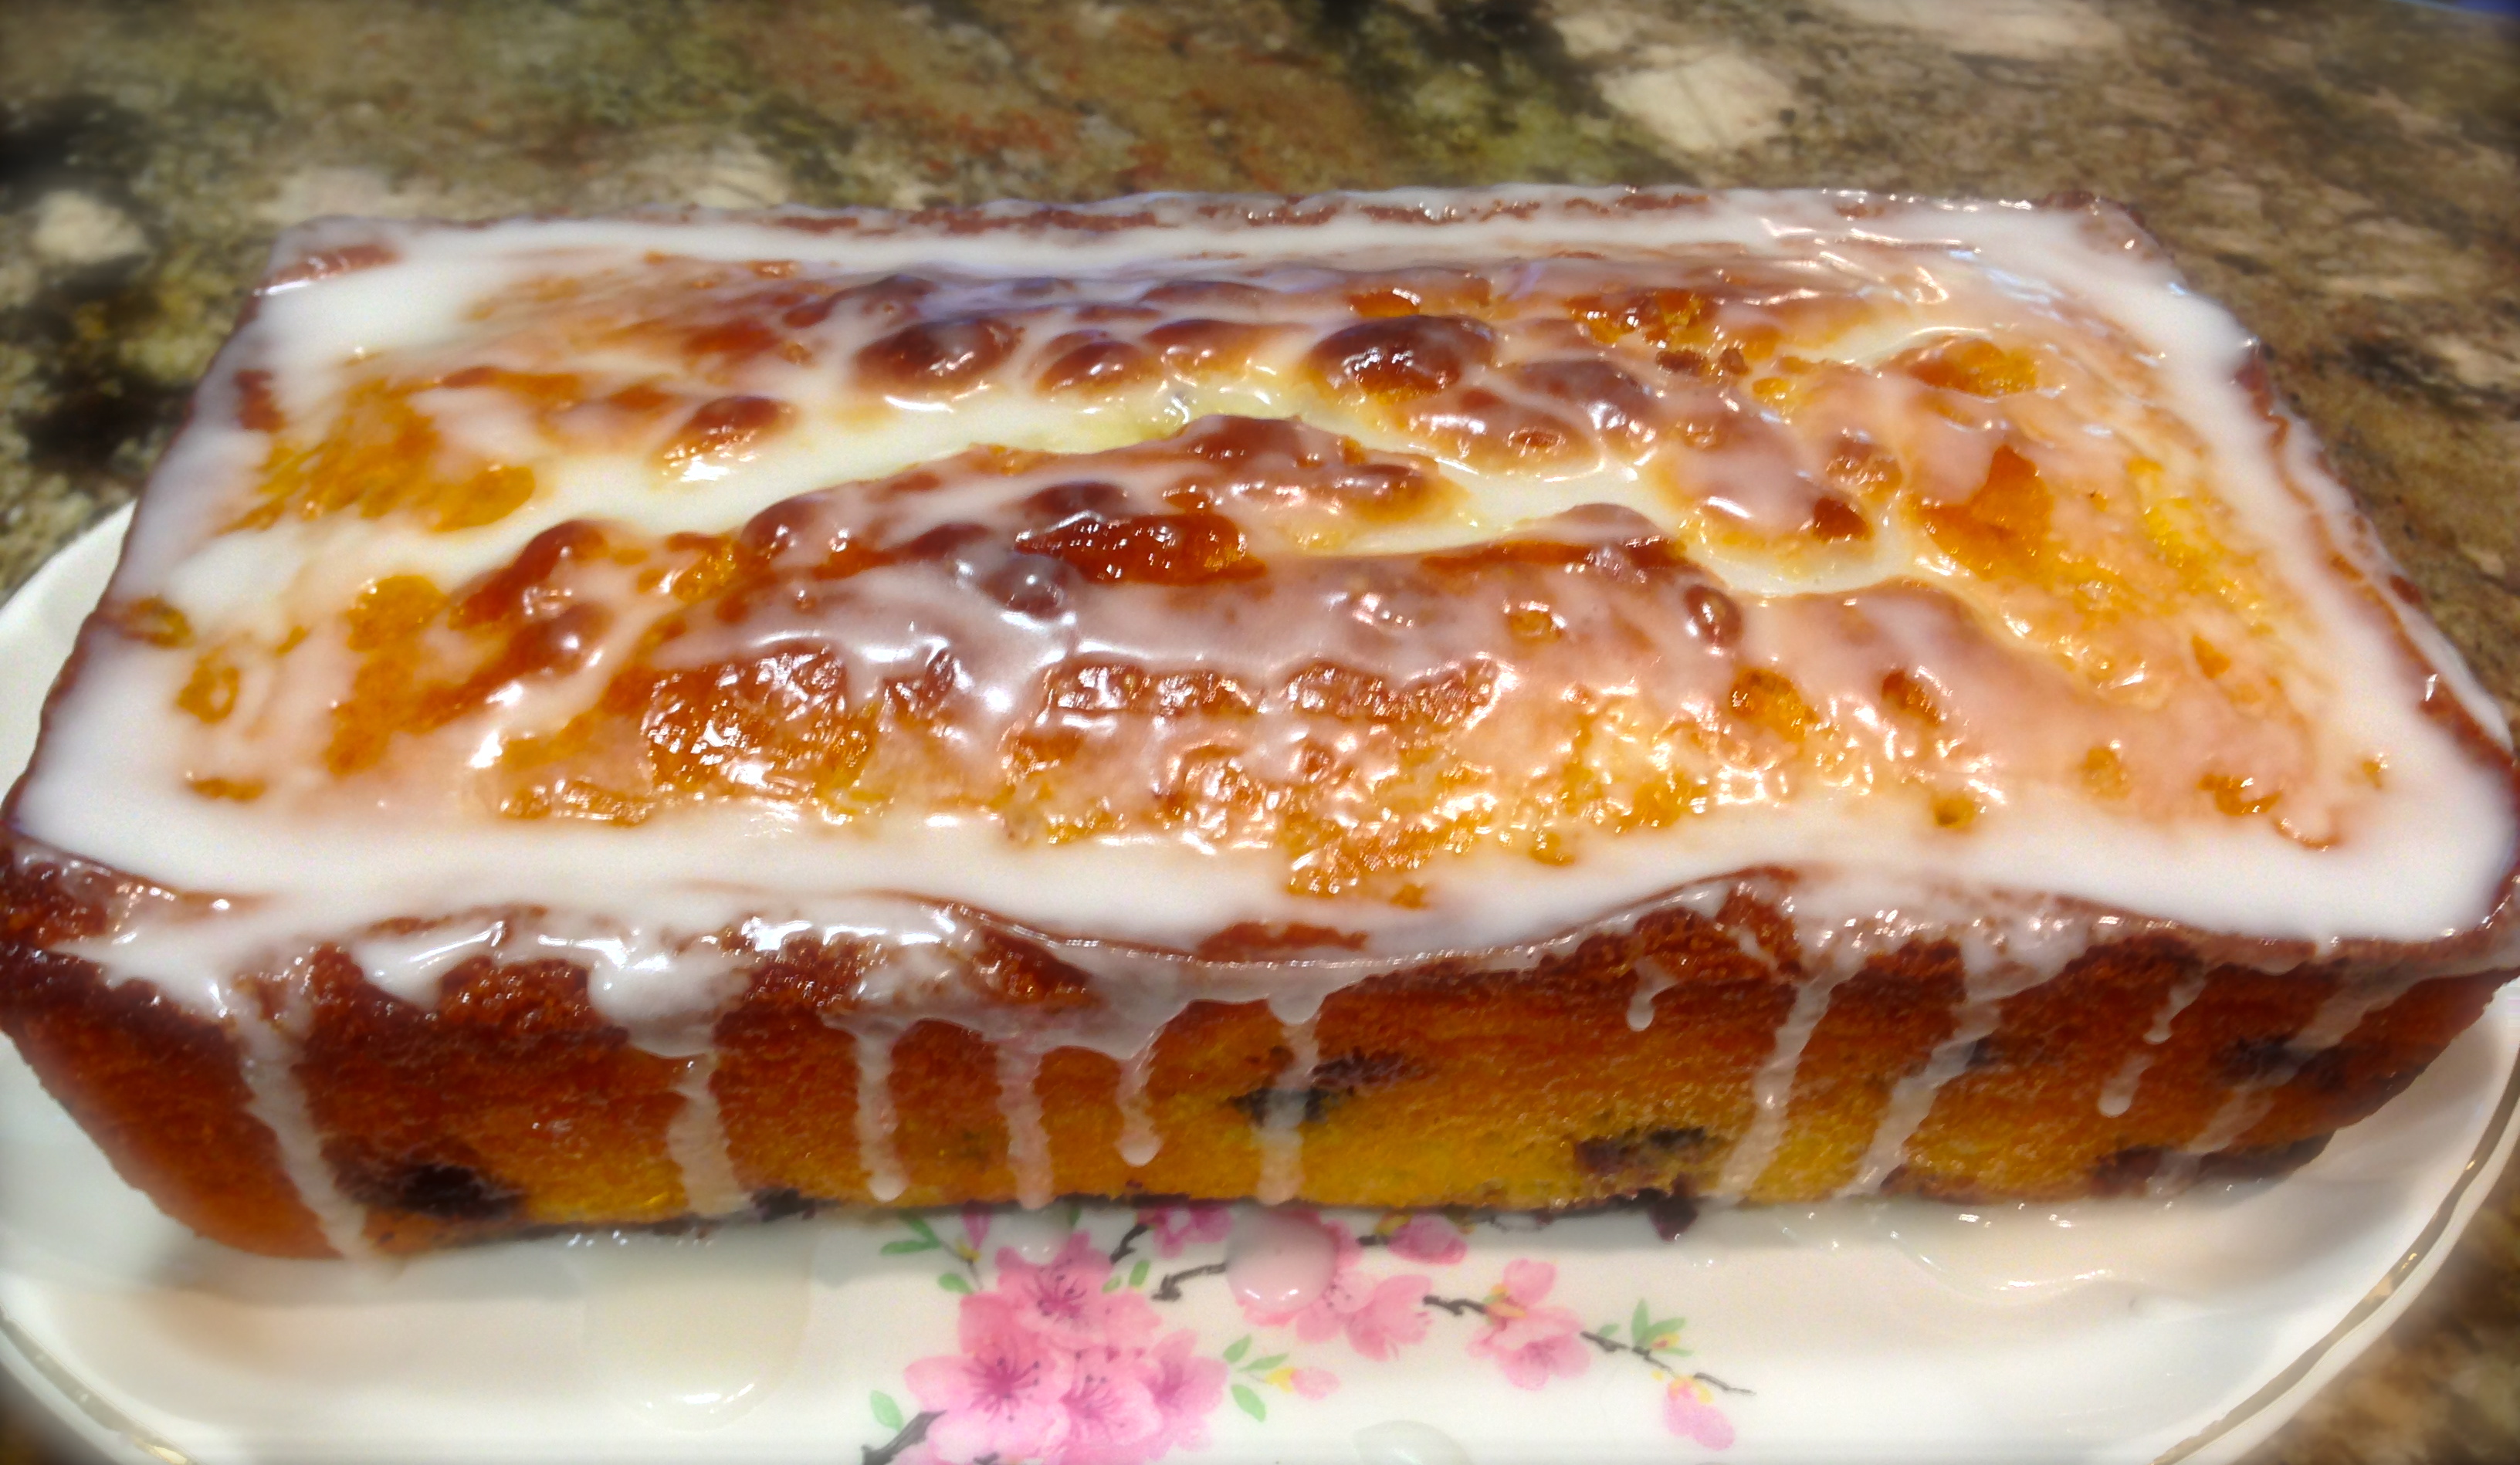
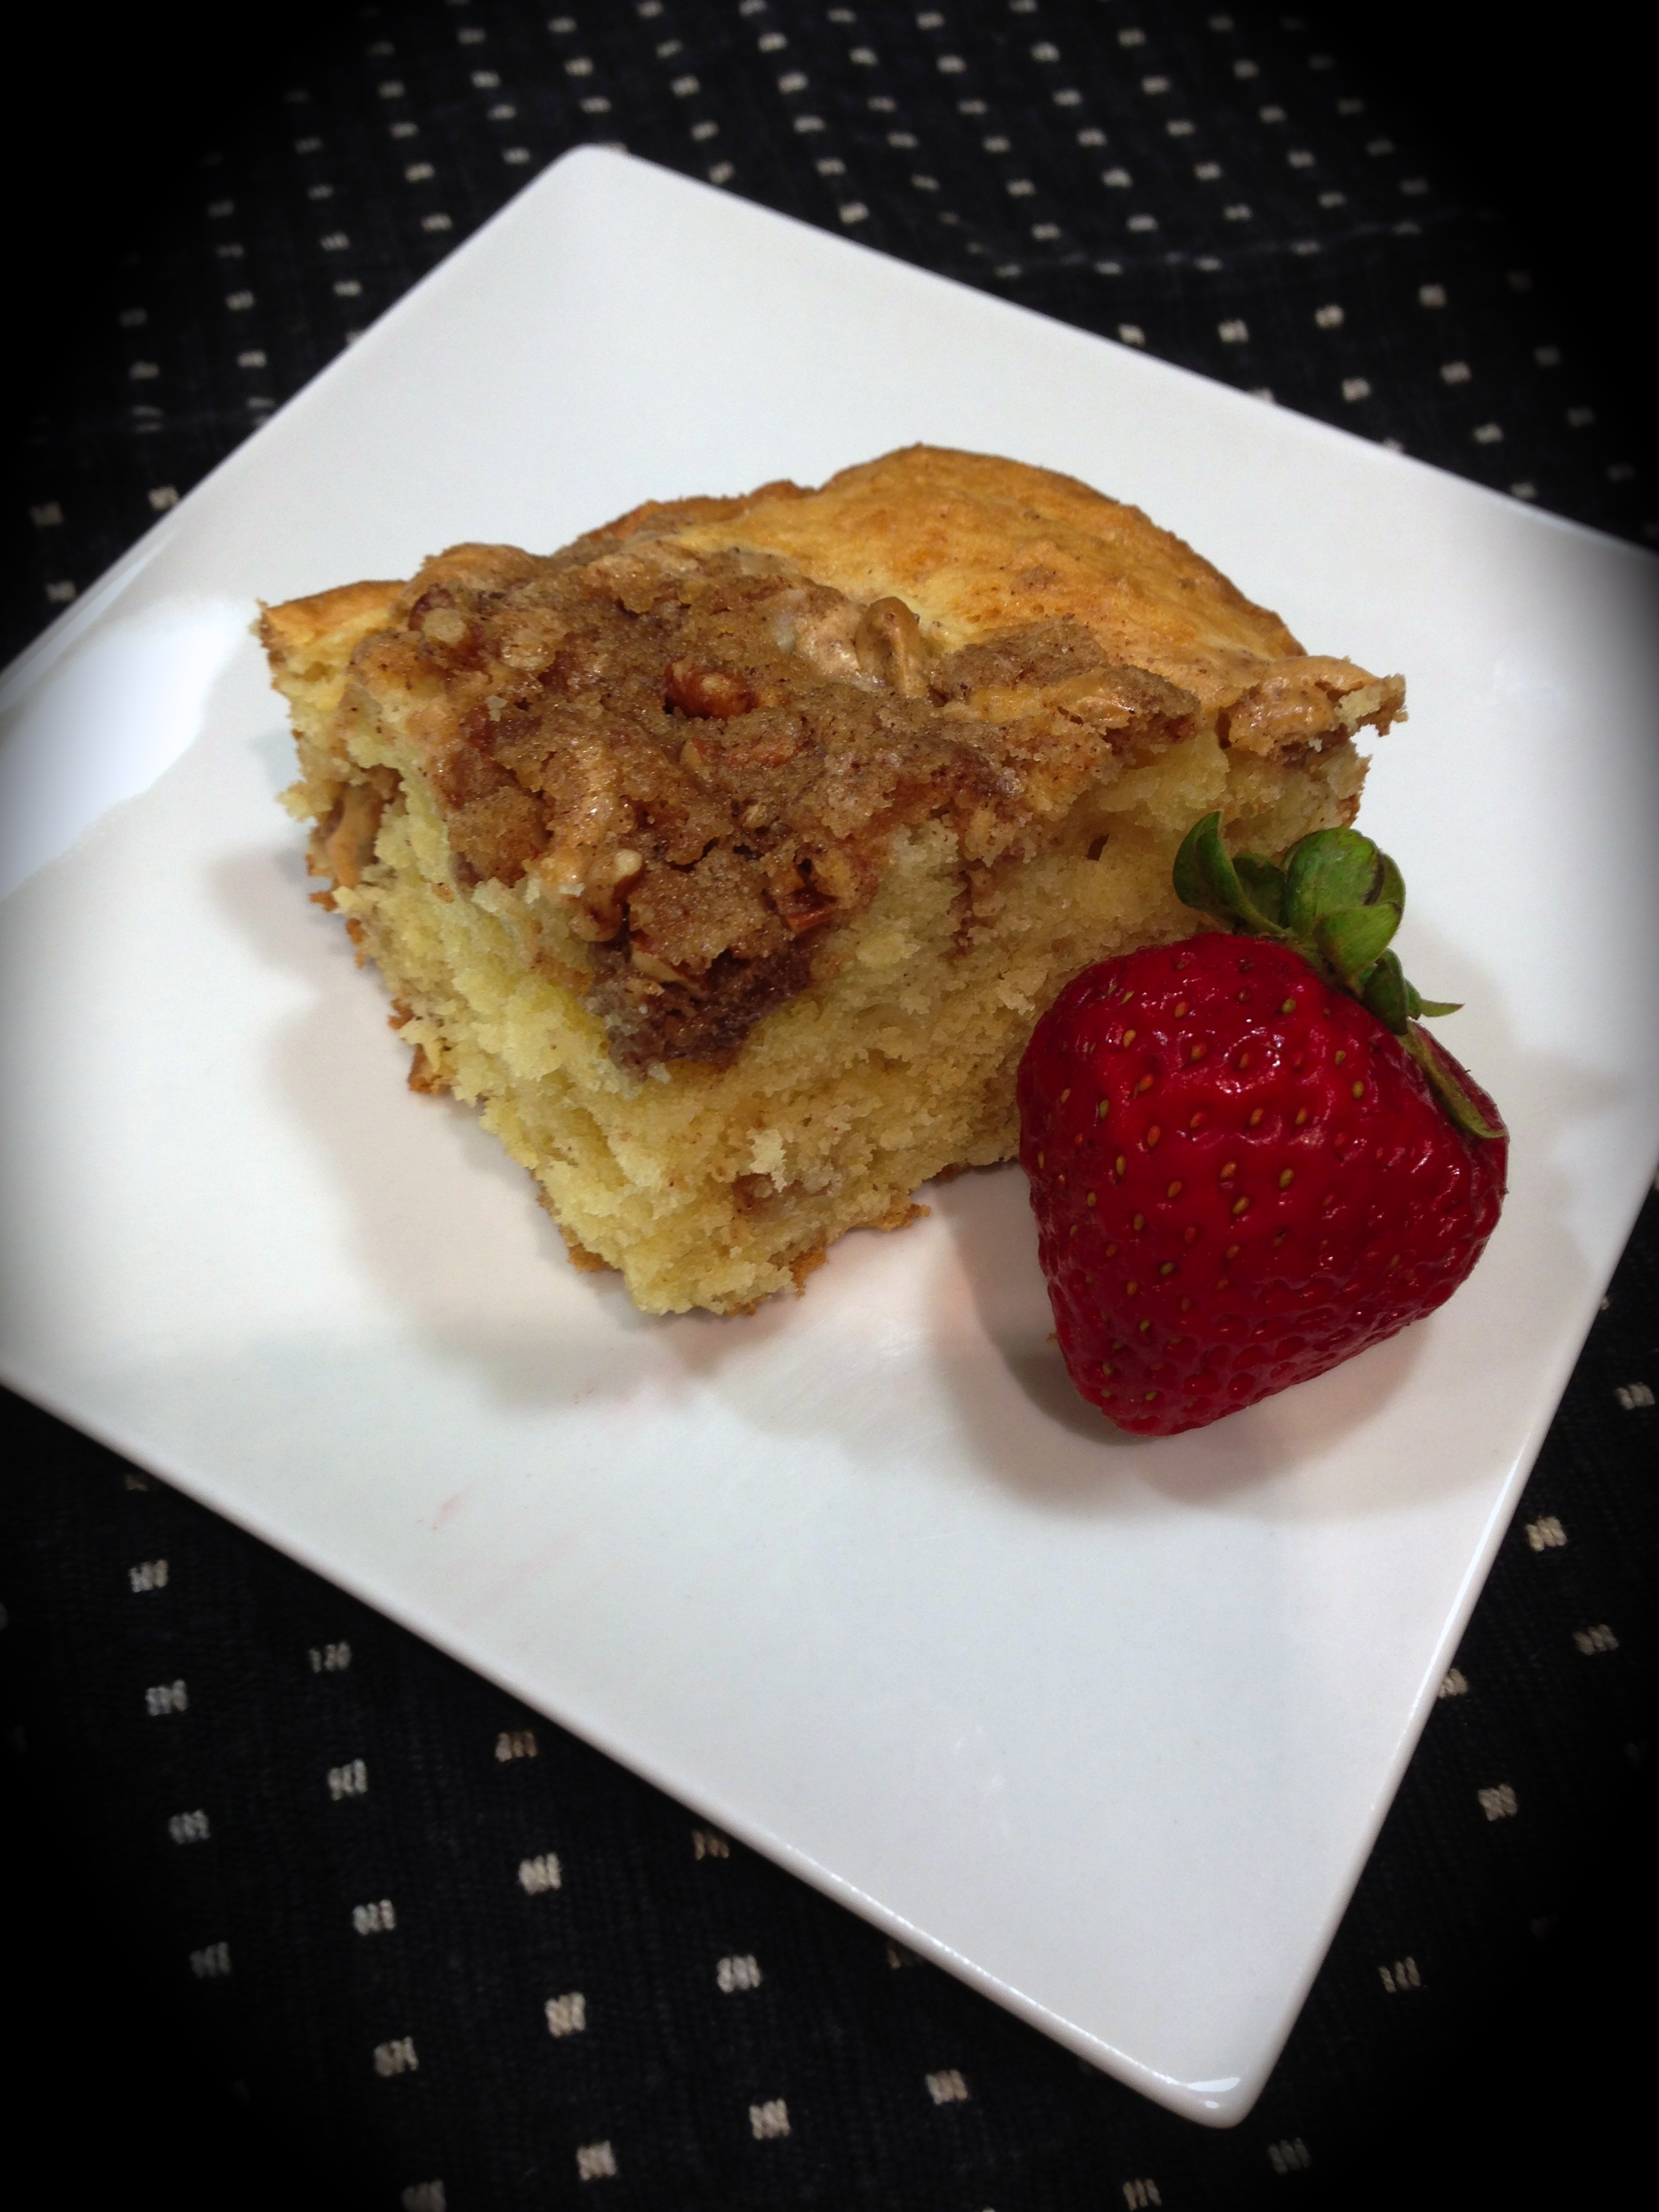
Rating: A – hard to top a cookie that not only looks bone chilling delicious but is easy to make and tastes as good as it looks!
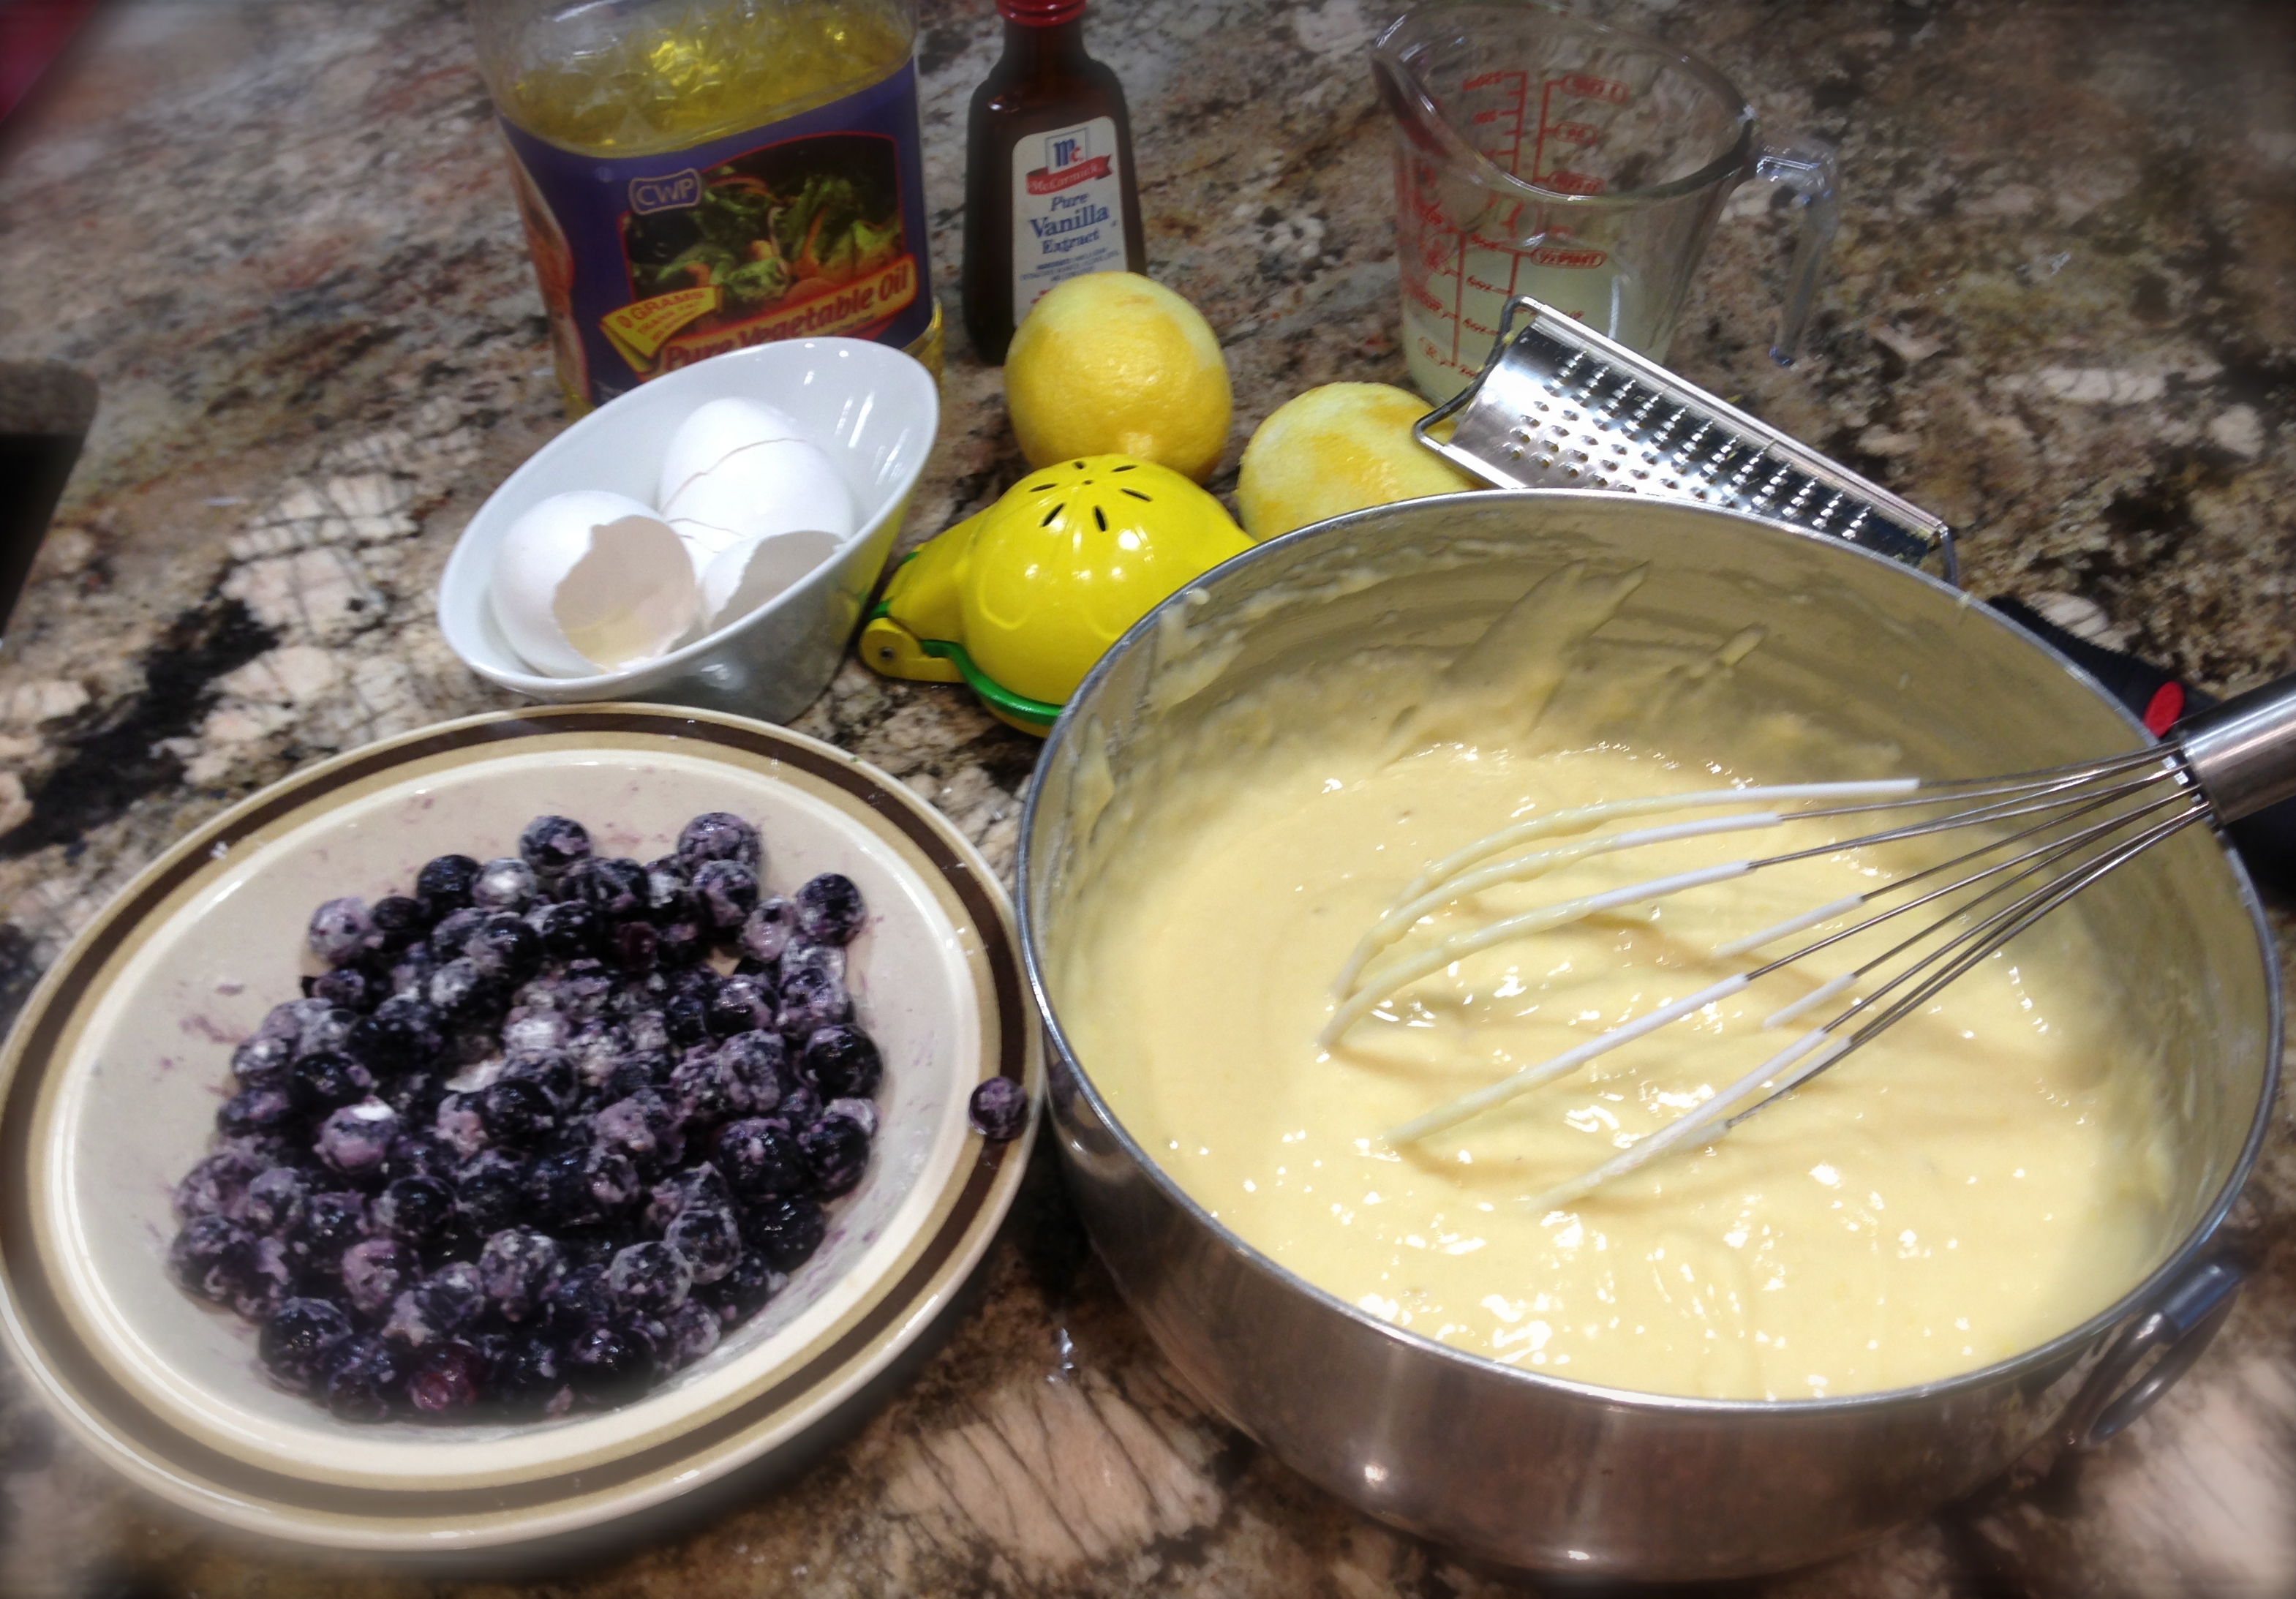
Lesson Learned 1: The recipe calls for one bag of caramel candies or 50 individual pieces. The bag I bought was 11 ounces and had 40 pieces in it. I bought two bags. In my estimation you need the 50 pieces to have enough caramel filling to spread so buy either a 14 ounce bag or two 11 ounce bags.
Lesson Learned 2: The most labor intensive part of this recipe is unwrapping the individually wrapped pieces of caramel. It took me about 7 minutes just to do that. If you can buy a slab of caramel that would definitely be easier, just make sure you have a sufficient amount to spread over a 9×13 pan.
Lesson Learned 3: The ingredients to make the crust call for a whole pound of butter. Although I used that, I am wondering if that couldn’t be cut down just a little bit. When I cut the bars the bottoms appeared to be a little greasy. Next time I make these I may experiment with using a little less butter. But beware, you have to be careful when experimenting with cookie recipes as the amounts need to be more exact than they do when you are just cooking something.
Lesson Learned 4: This recipe makes a lot of dough. The instructions call for using 1/3 of the dough for the base. I used more than that and still had a lot of dough to dot the top with a lot left over. Next time I make this I may reduce the portions by twenty-five percent. That still should provide plenty of dough for the crust and the top.
Lesson Learned 5: I had to make these a little earlier in the month and put refrigerate them to keep them fresh. If you do that, pull them out of the refrigerator and let them get to room temperature before serving. They are very hard when taken immediately from the fridge and you don’t want anyone cracking a tooth on them.
Lesson Learned 6: I made this recipe without the sea salt but next time I am going to try it with the salt. Either way the bars were still delicious.
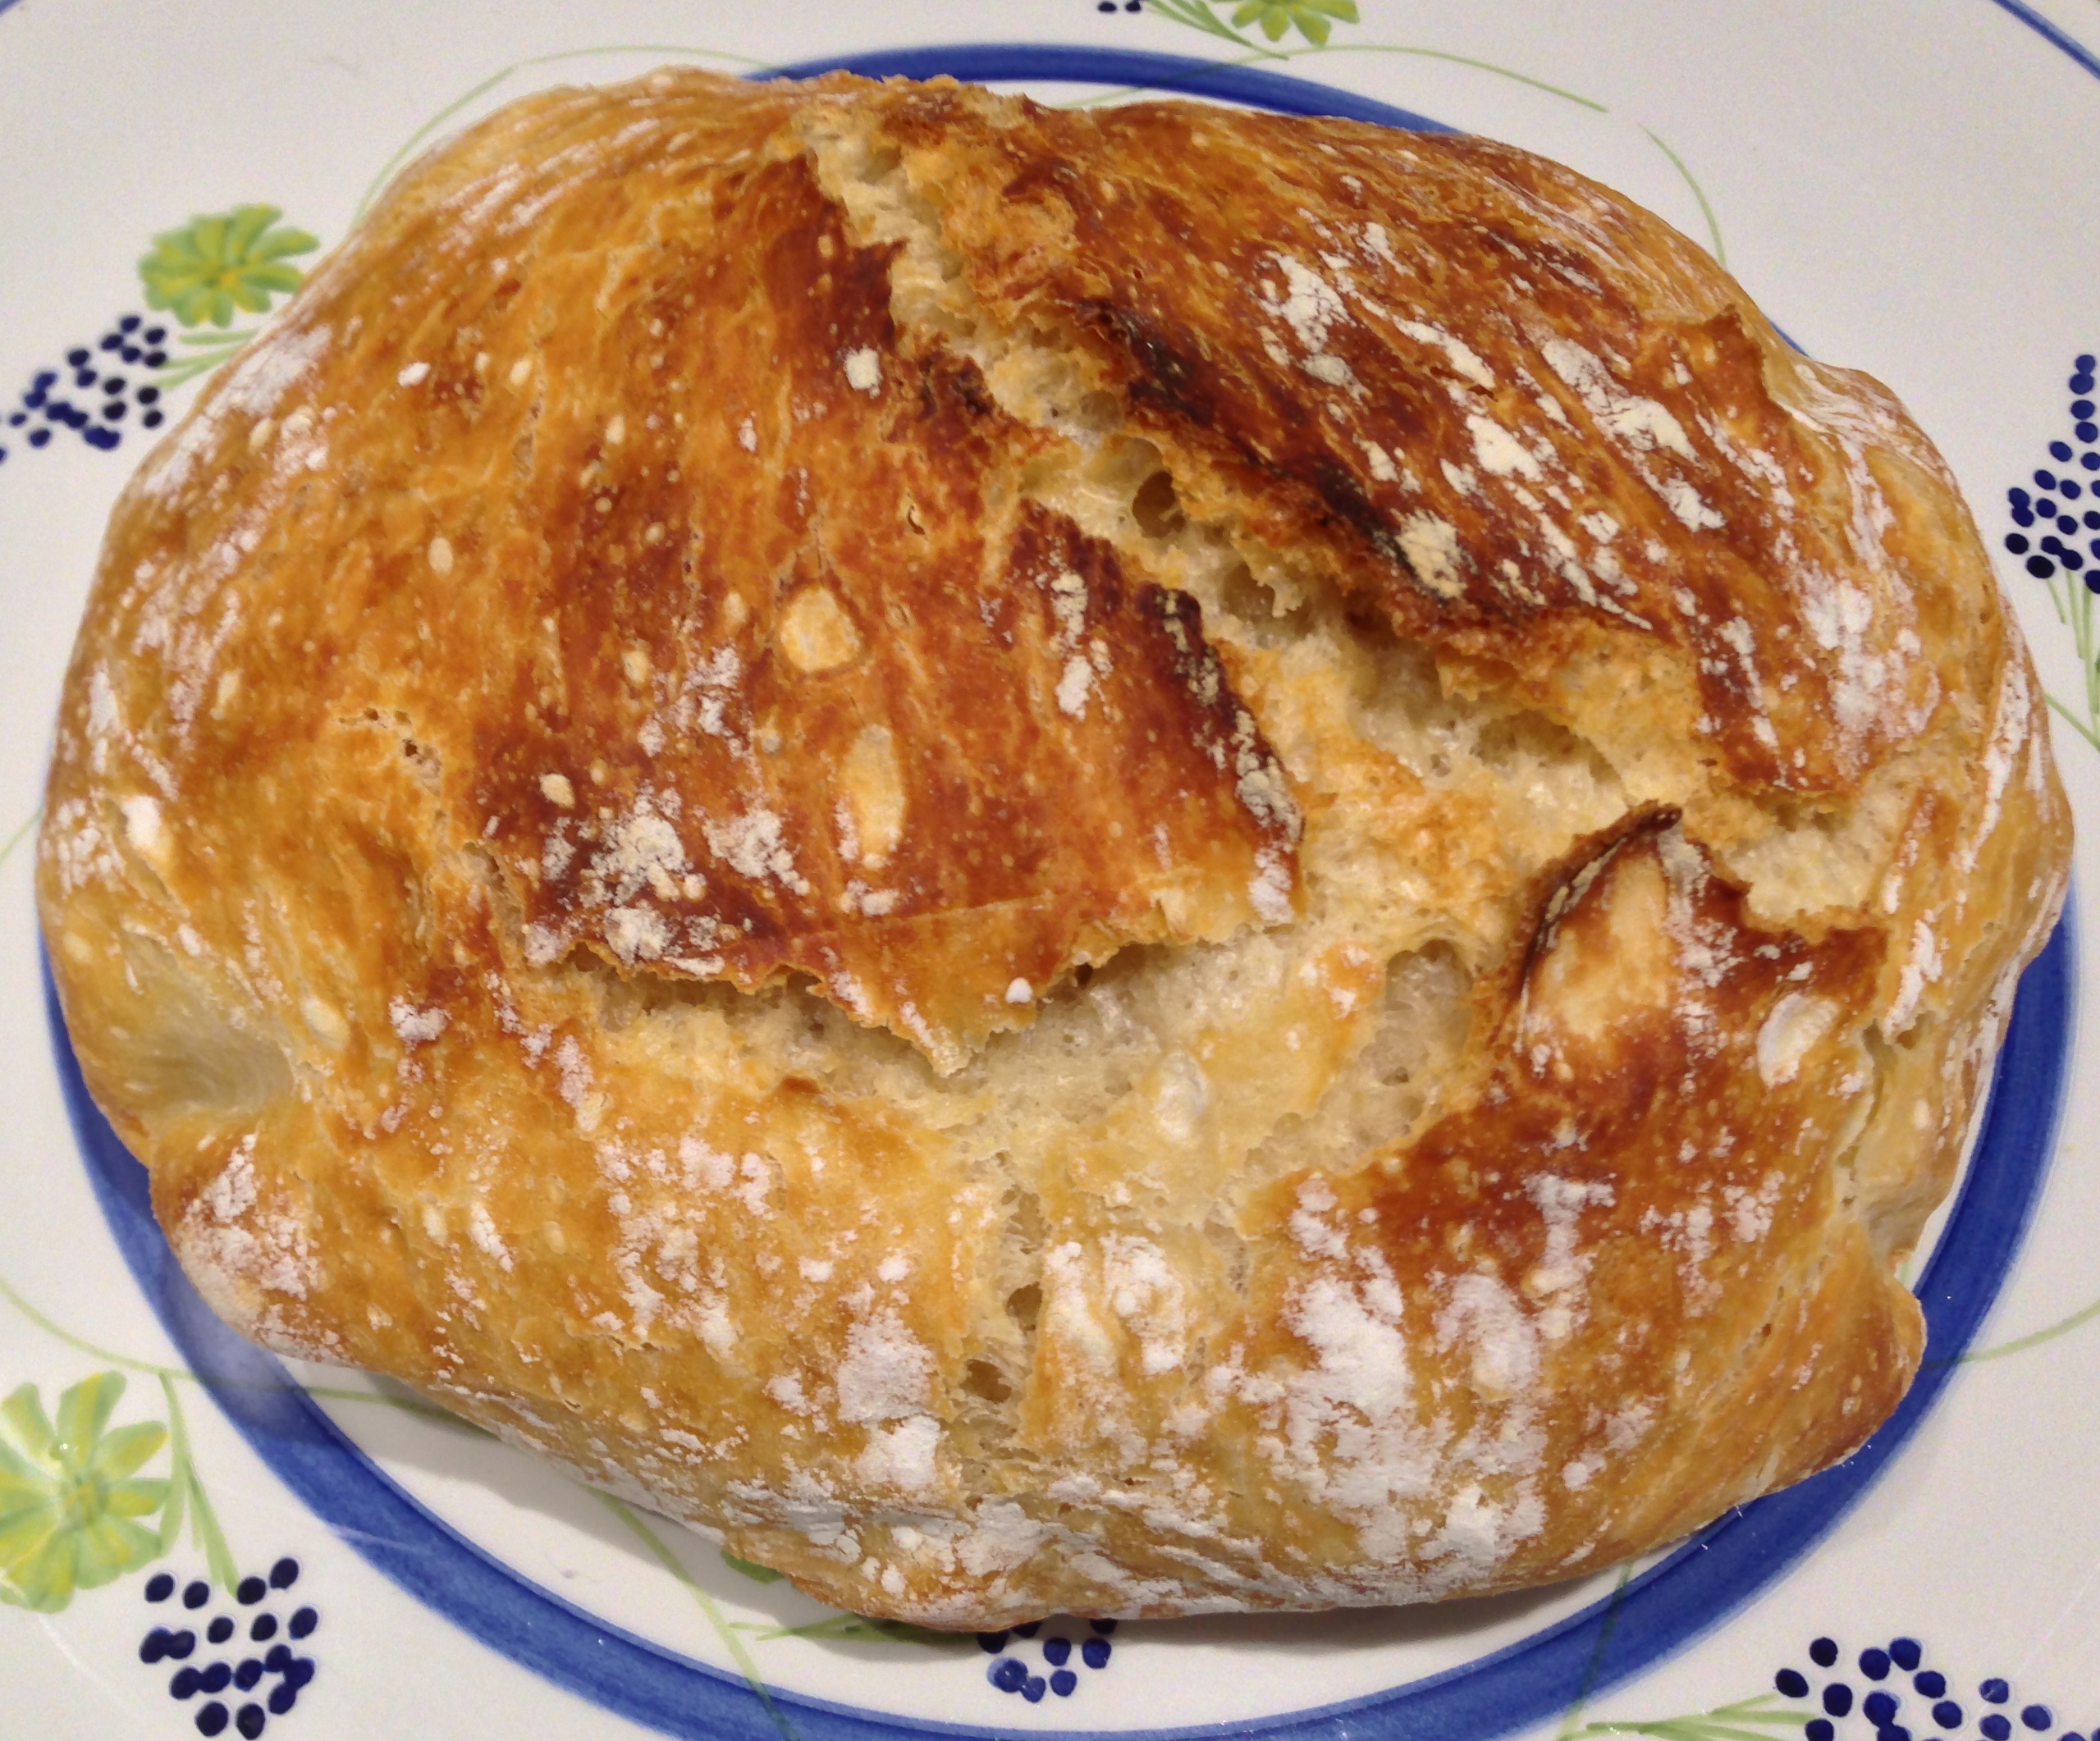
I cannot take credit for this recipe. I found it posted on Facebook and discovered it comes from the website http://www.cleverhousewife.com. I will still post the recipe here so you don’t have to link to the site but I want to give credit where credit is due. Enjoy this recipe. I am sure it will become a holiday staple for you as well!
Salted Caramel Butter Bars
Salted Caramel Butter Bars
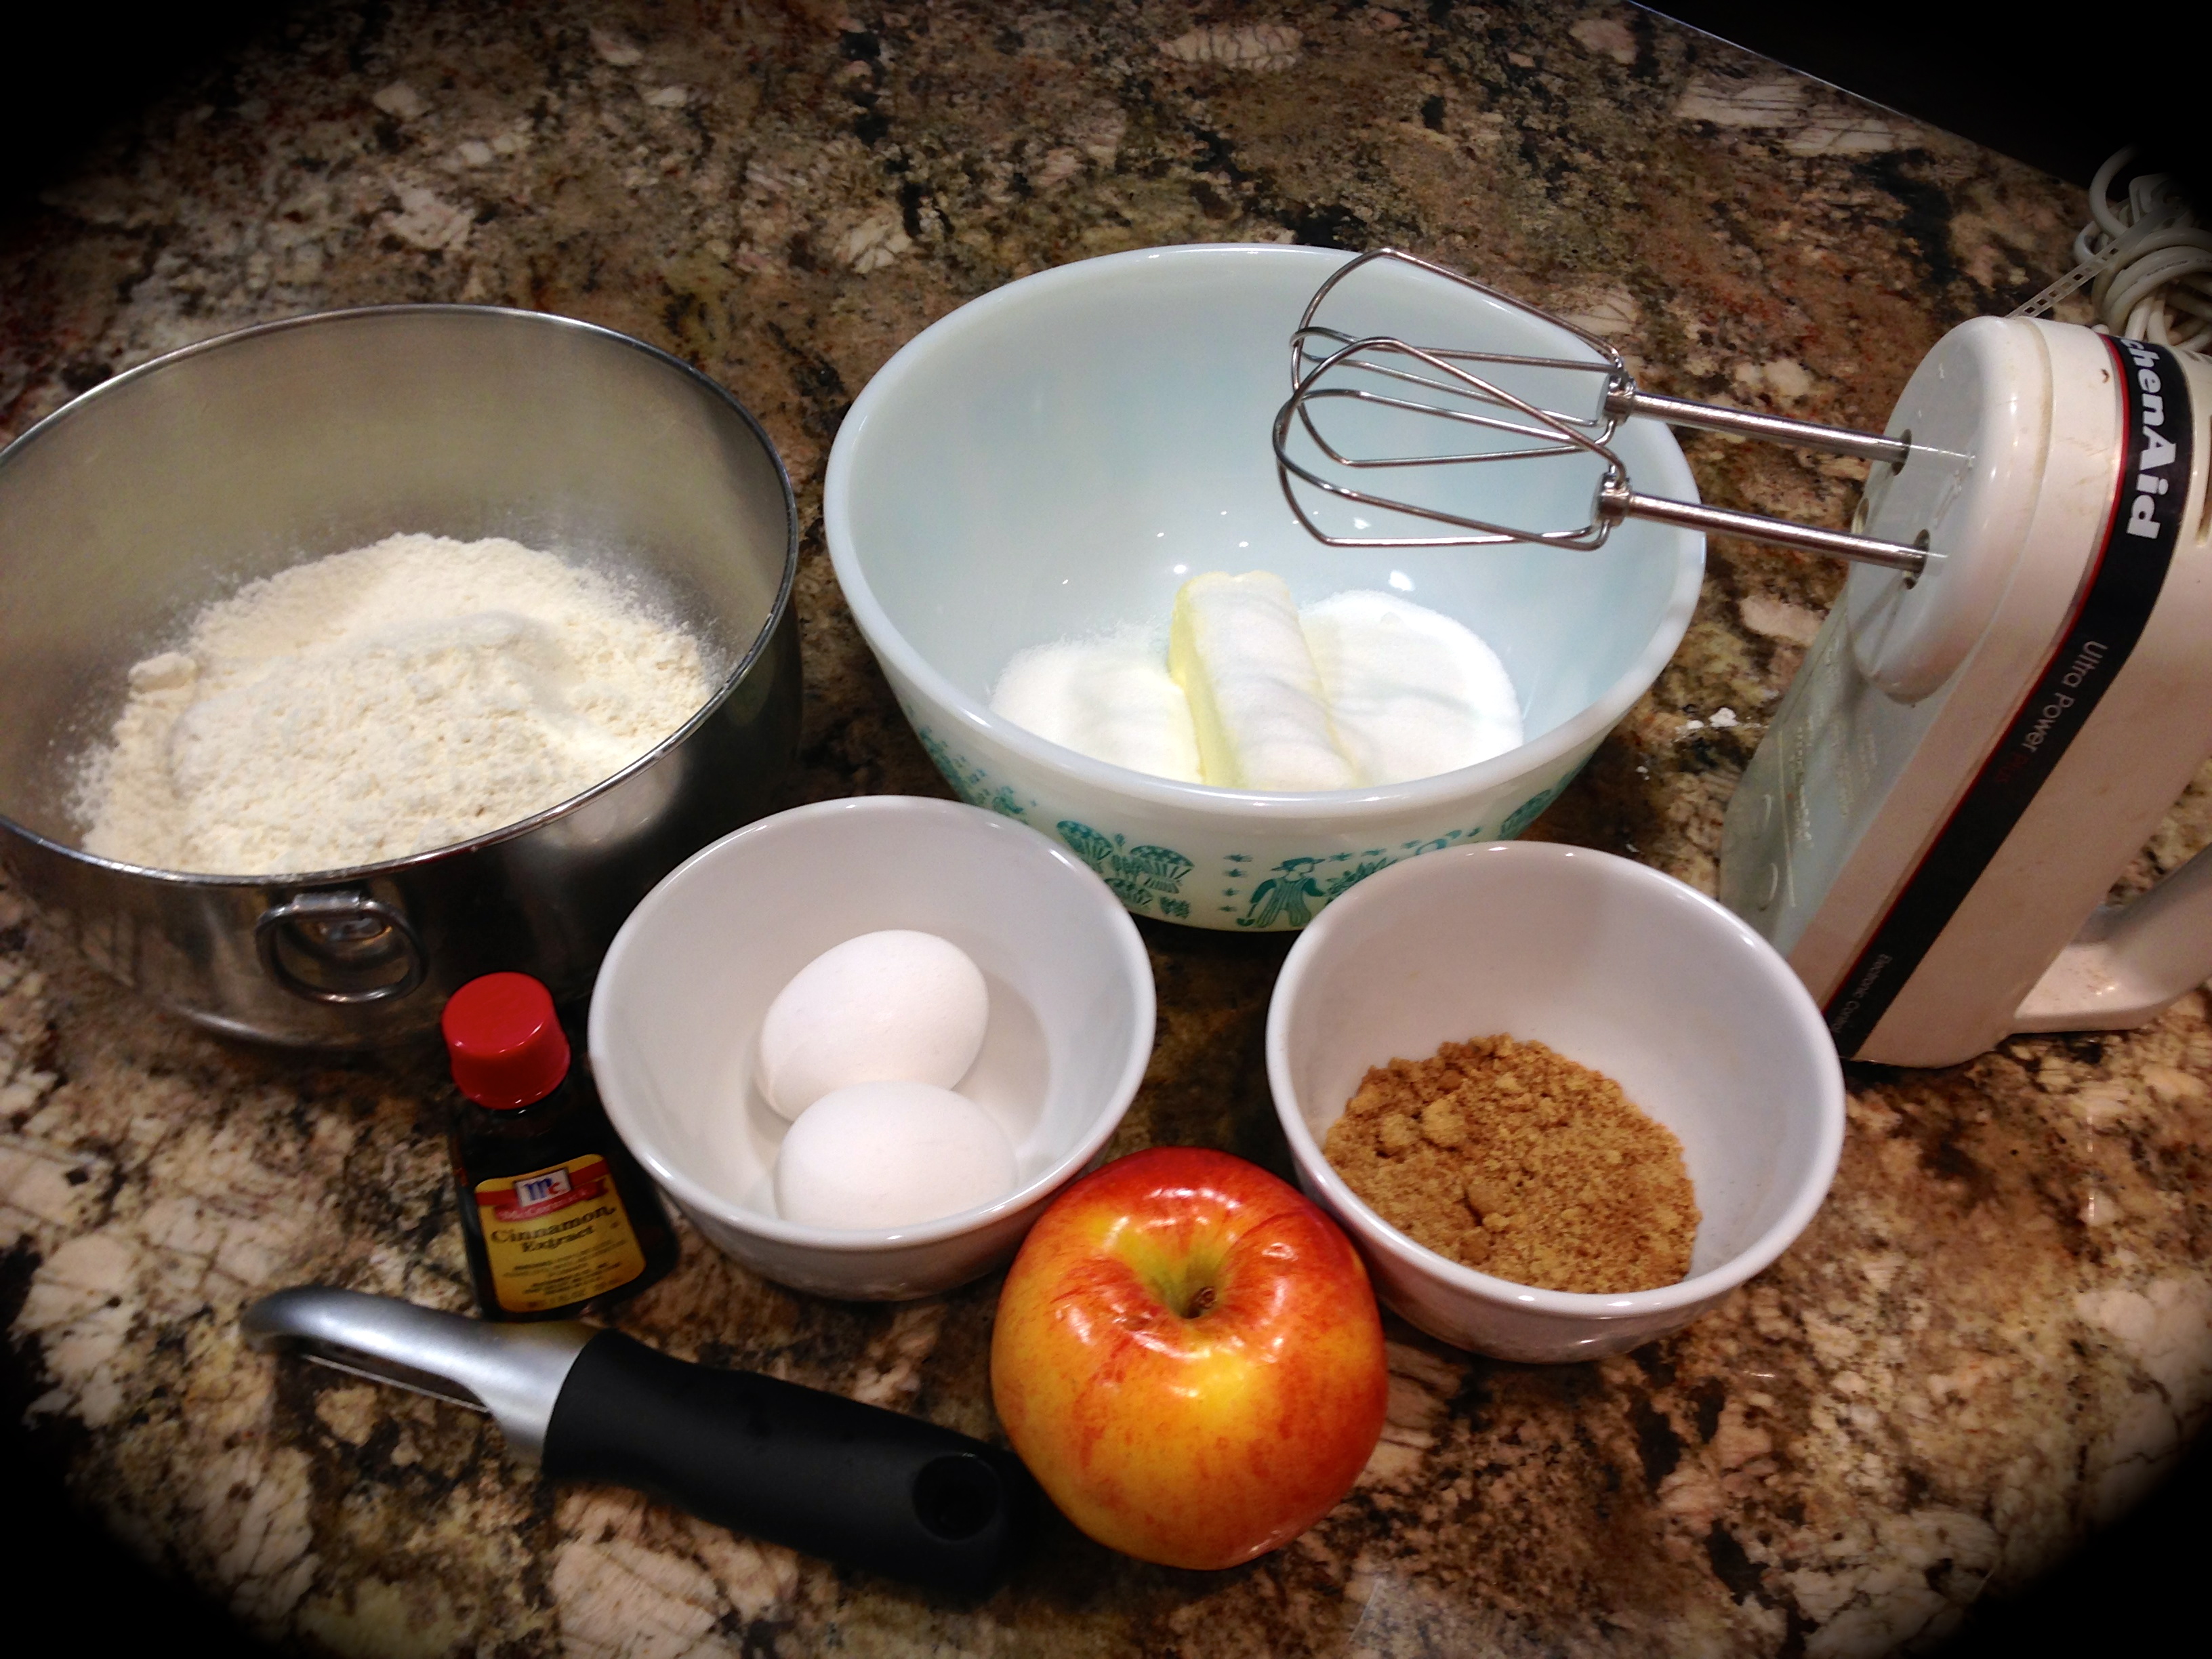
INGREDIENTS:
Crust:
1 lb. salted butter at room temperature
1 cup sugar
1 1/2 cups powdered sugar
2 TBS. vanilla
4 cups flour
Filling:
1 bag caramel candies (you will need a 14 ounce bag) or about 50 pieces
1/4 cup milk or cream
1/2 tsp. vanilla
1 TBS. sea salt (optional)
DIRECTIONS:
Preheat the oven to 325 and grease a 9×13 pan (or use cooking spray).
In a large bowl combine the butter and sugars and beat until creamy. Add the vanilla and beat until combined. Add the flour and mix until a smooth dough forms.
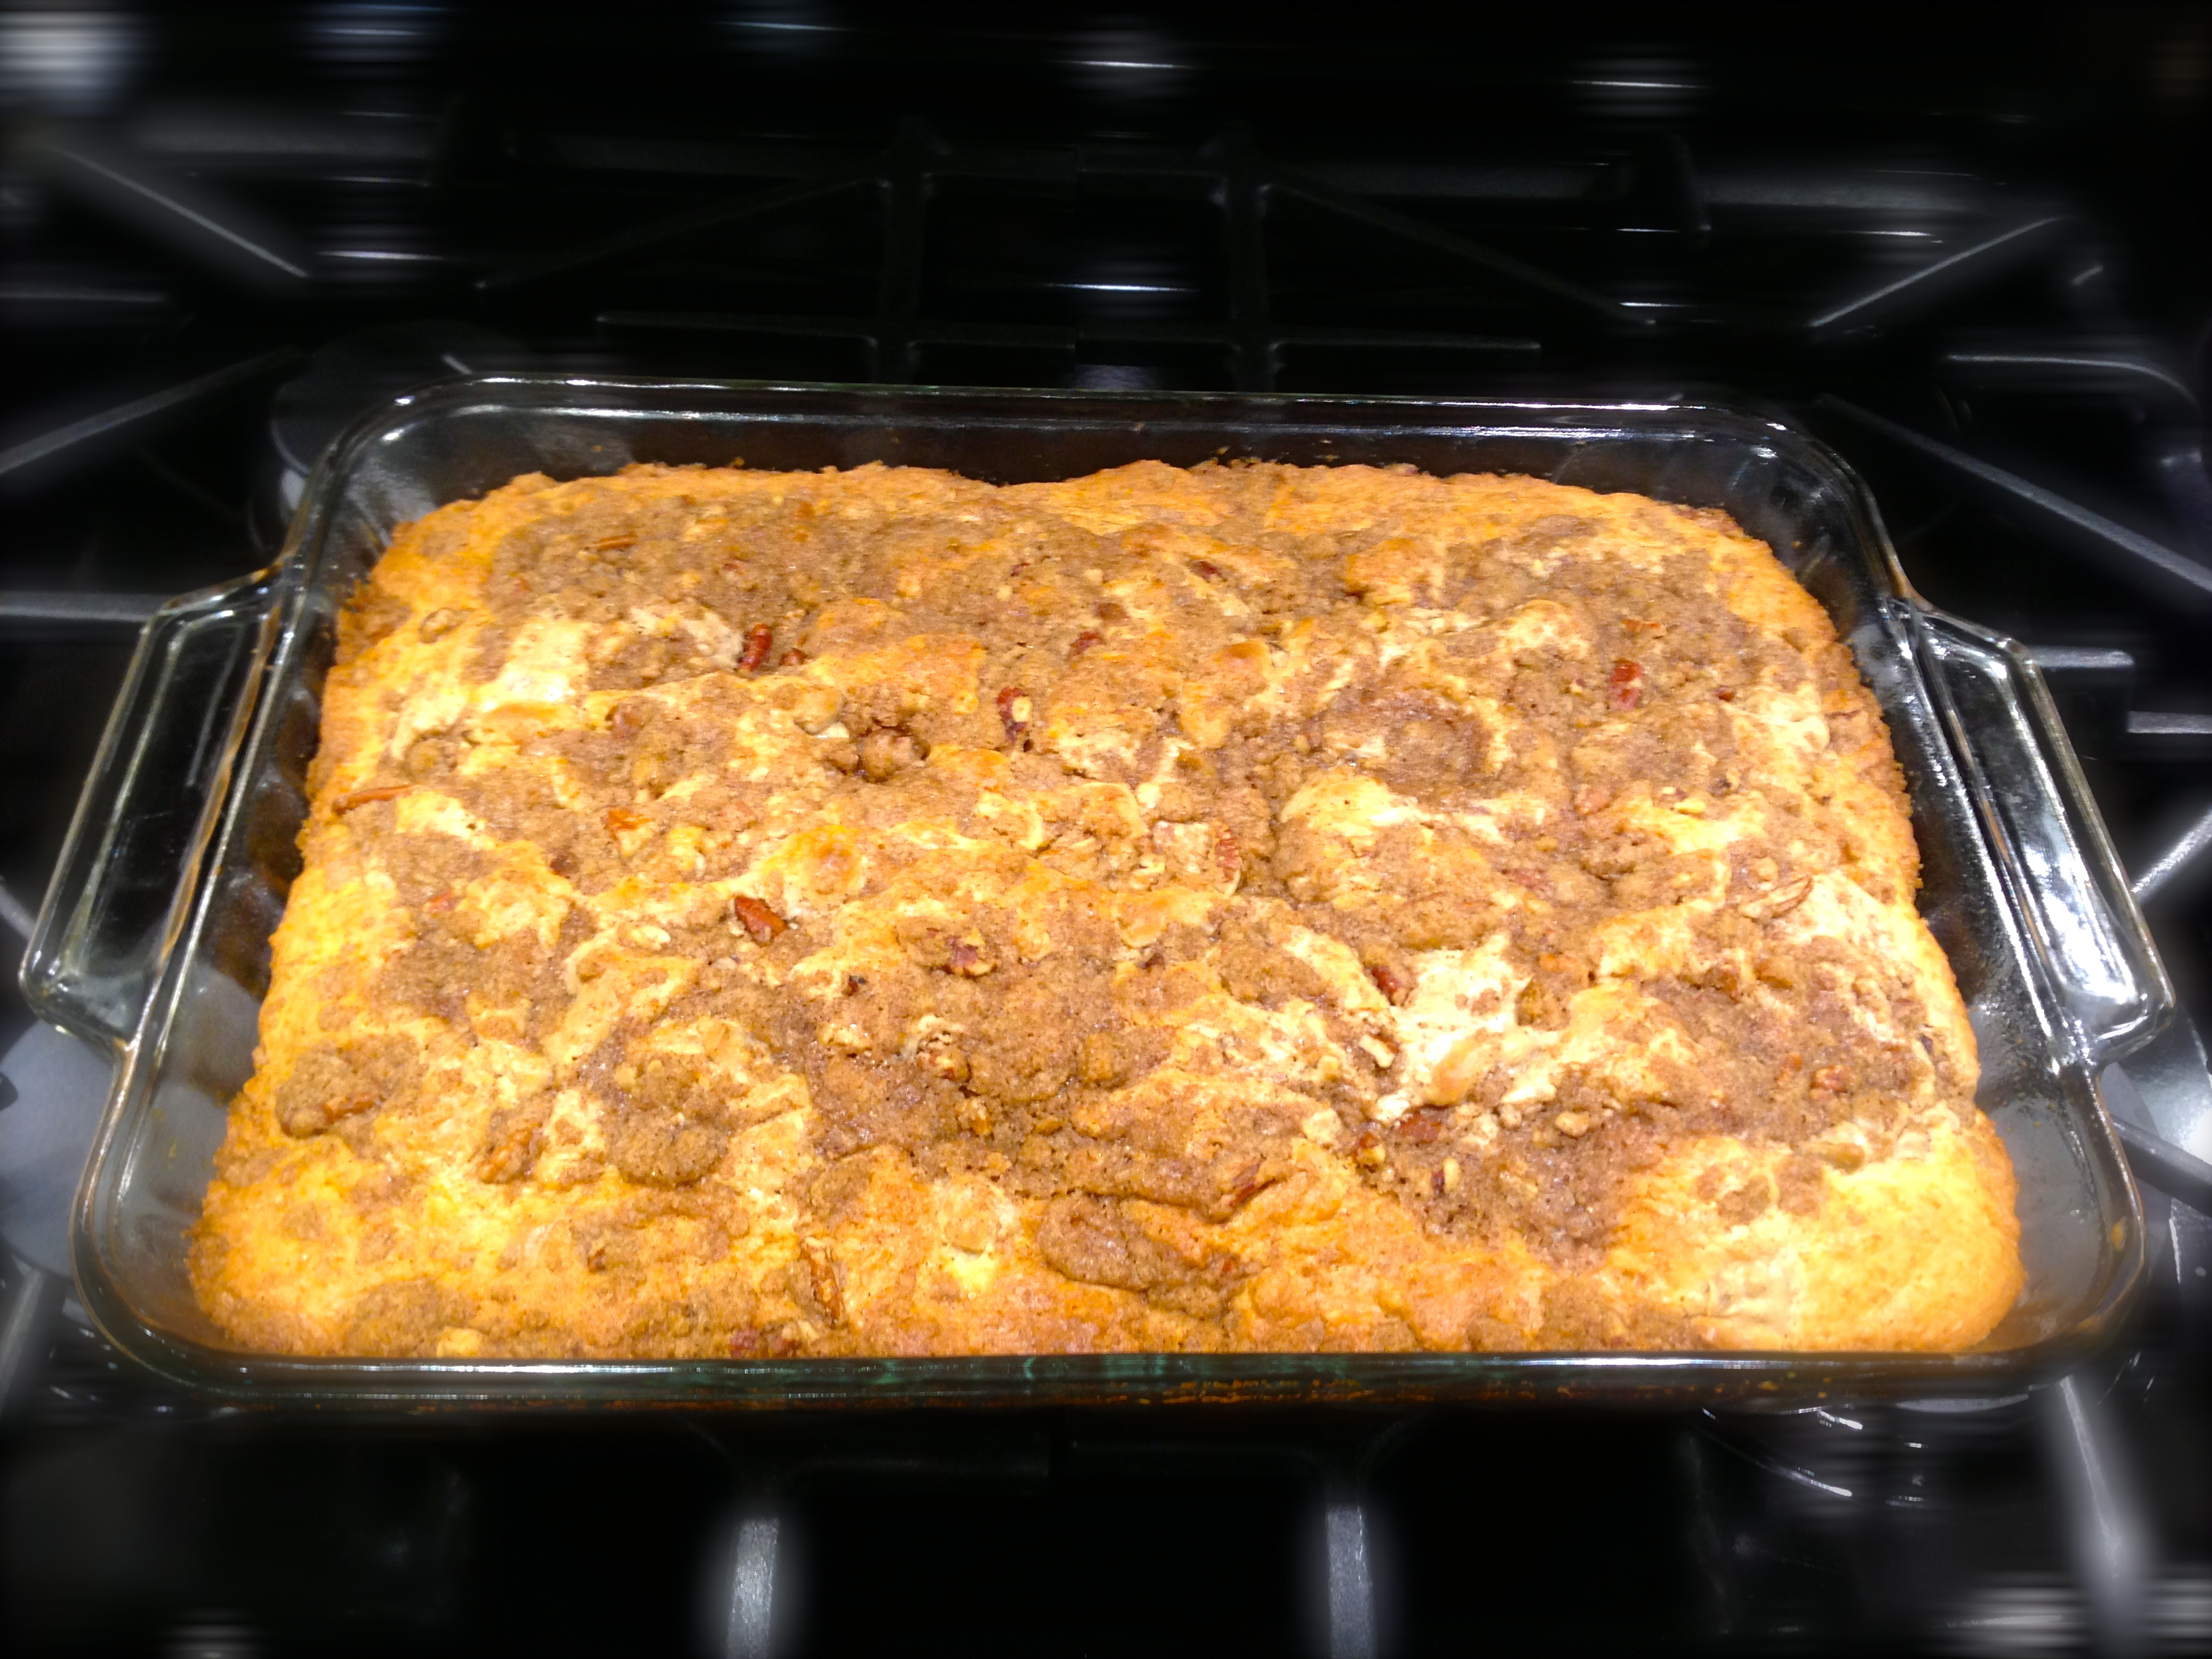
Press one third of the dough evenly into the pan. Wrap the remaining dough in plastic wrap and refrigerate. Bake the crust approximately 20 minutes or until firm and the edges are lightly browned. Transfer the dish to a wire rack and cool for 15 minutes.
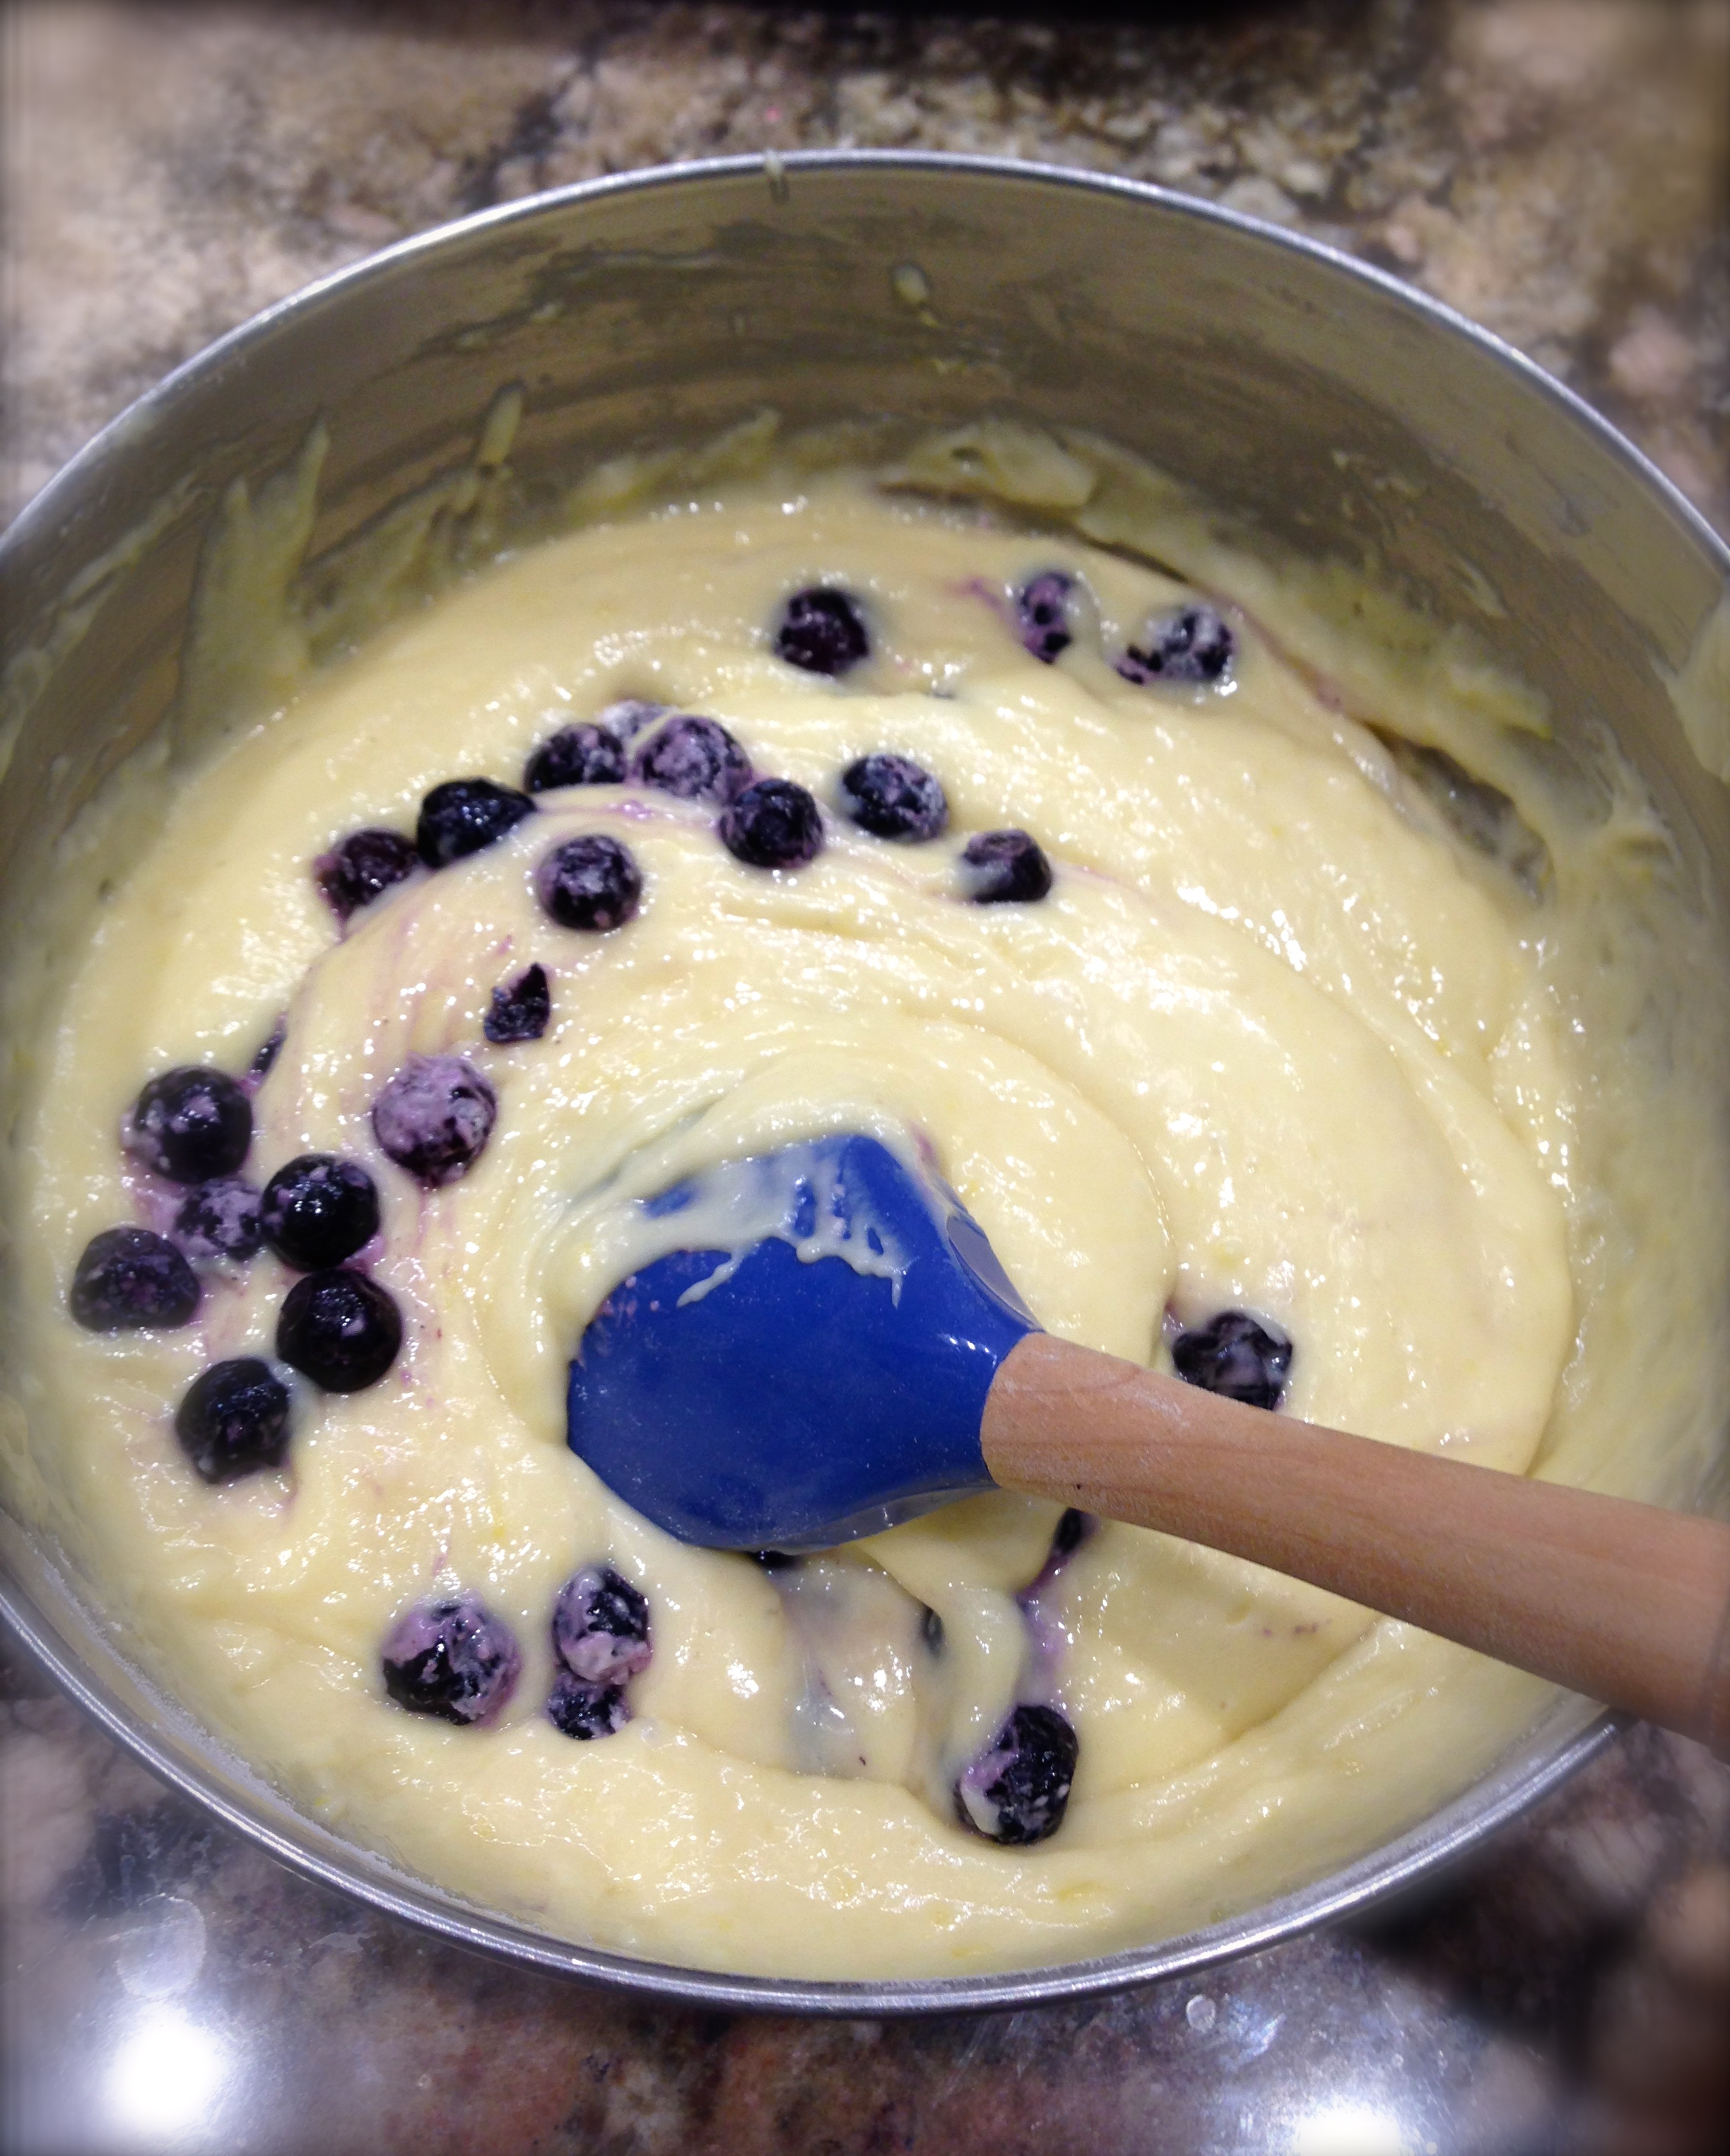
While the crust is baking make the caramel filling. Place the unwrapped caramels and cream in a microwave safe bowl and cook on high for 1 minutes. Stir and continue to cook for 30 second intervals until the mixture is combined and smooth. Once the caramel is melted add the vanilla and stir until combined. Pour and smooth the caramel filling over the somewhat cooled crust. If you are going to use sea salt, now is the time to add it on top of the caramel. Take the remaining chilled dough and crumble it over the entire top.
Return the pan to the oven and bake until the filling is bubbly and the crumbled topping is firm and lightly golden, about 25 – 30 minutes. Let cool before cutting into squares.